


New Balsa USA Smoothie XL Build
 11-04-2016, 02:46 PM
#26


 11-04-2016, 03:18 PM
#29
Thanks,
Flaps are optional, so you will end up with basically a large strip aileron. I don't think you can go wrong either way. I'm used to flying with flaps on large , heavy warbirds. Take a look at my Corsairs flaps, they will give you a headache. LOL With full flaps, the Corsair comes in like a trainer. Let us know what you decide.
Thanks,
Fred
11-05-2016, 08:31 AM
#30
OK, started on the stab and rudder. First pin down your templates over wax paper. Then I soak the laminating strips in warm water. I submerged the whole stack in the bath tub for around 20 min. They come out like a wet noodle. Lay one strip down and apply glue, continue stacking them until you have six strips. I then wipe off excess glue with a wet paper towel. I start pinning them around the template. When you get to the tight radius, I use the heat gun on it which really allows for a tight radius without breaking any sticks. Continue pinning around until it's complete. I then wash off excess glue with a wet paper towel. The hardest part of this is waiting for the glue to dry. LOL


11-05-2016, 09:43 AM
#31
That's an interesting way of doing the laminated tail parts. Until now I had only seen it done by wrapping one strip at a time around the form.
I'd reckon your way is a little quicker and cleaner.
From the looks of it, you had no real problems wrapping them around the radius with all six strips at once?
That's cool that using the heat gun allowed you more ease of wrapping the radius also. That's a new one for me as well.
I'd reckon your way is a little quicker and cleaner.
From the looks of it, you had no real problems wrapping them around the radius with all six strips at once?
That's cool that using the heat gun allowed you more ease of wrapping the radius also. That's a new one for me as well.
11-05-2016, 10:23 AM
#33
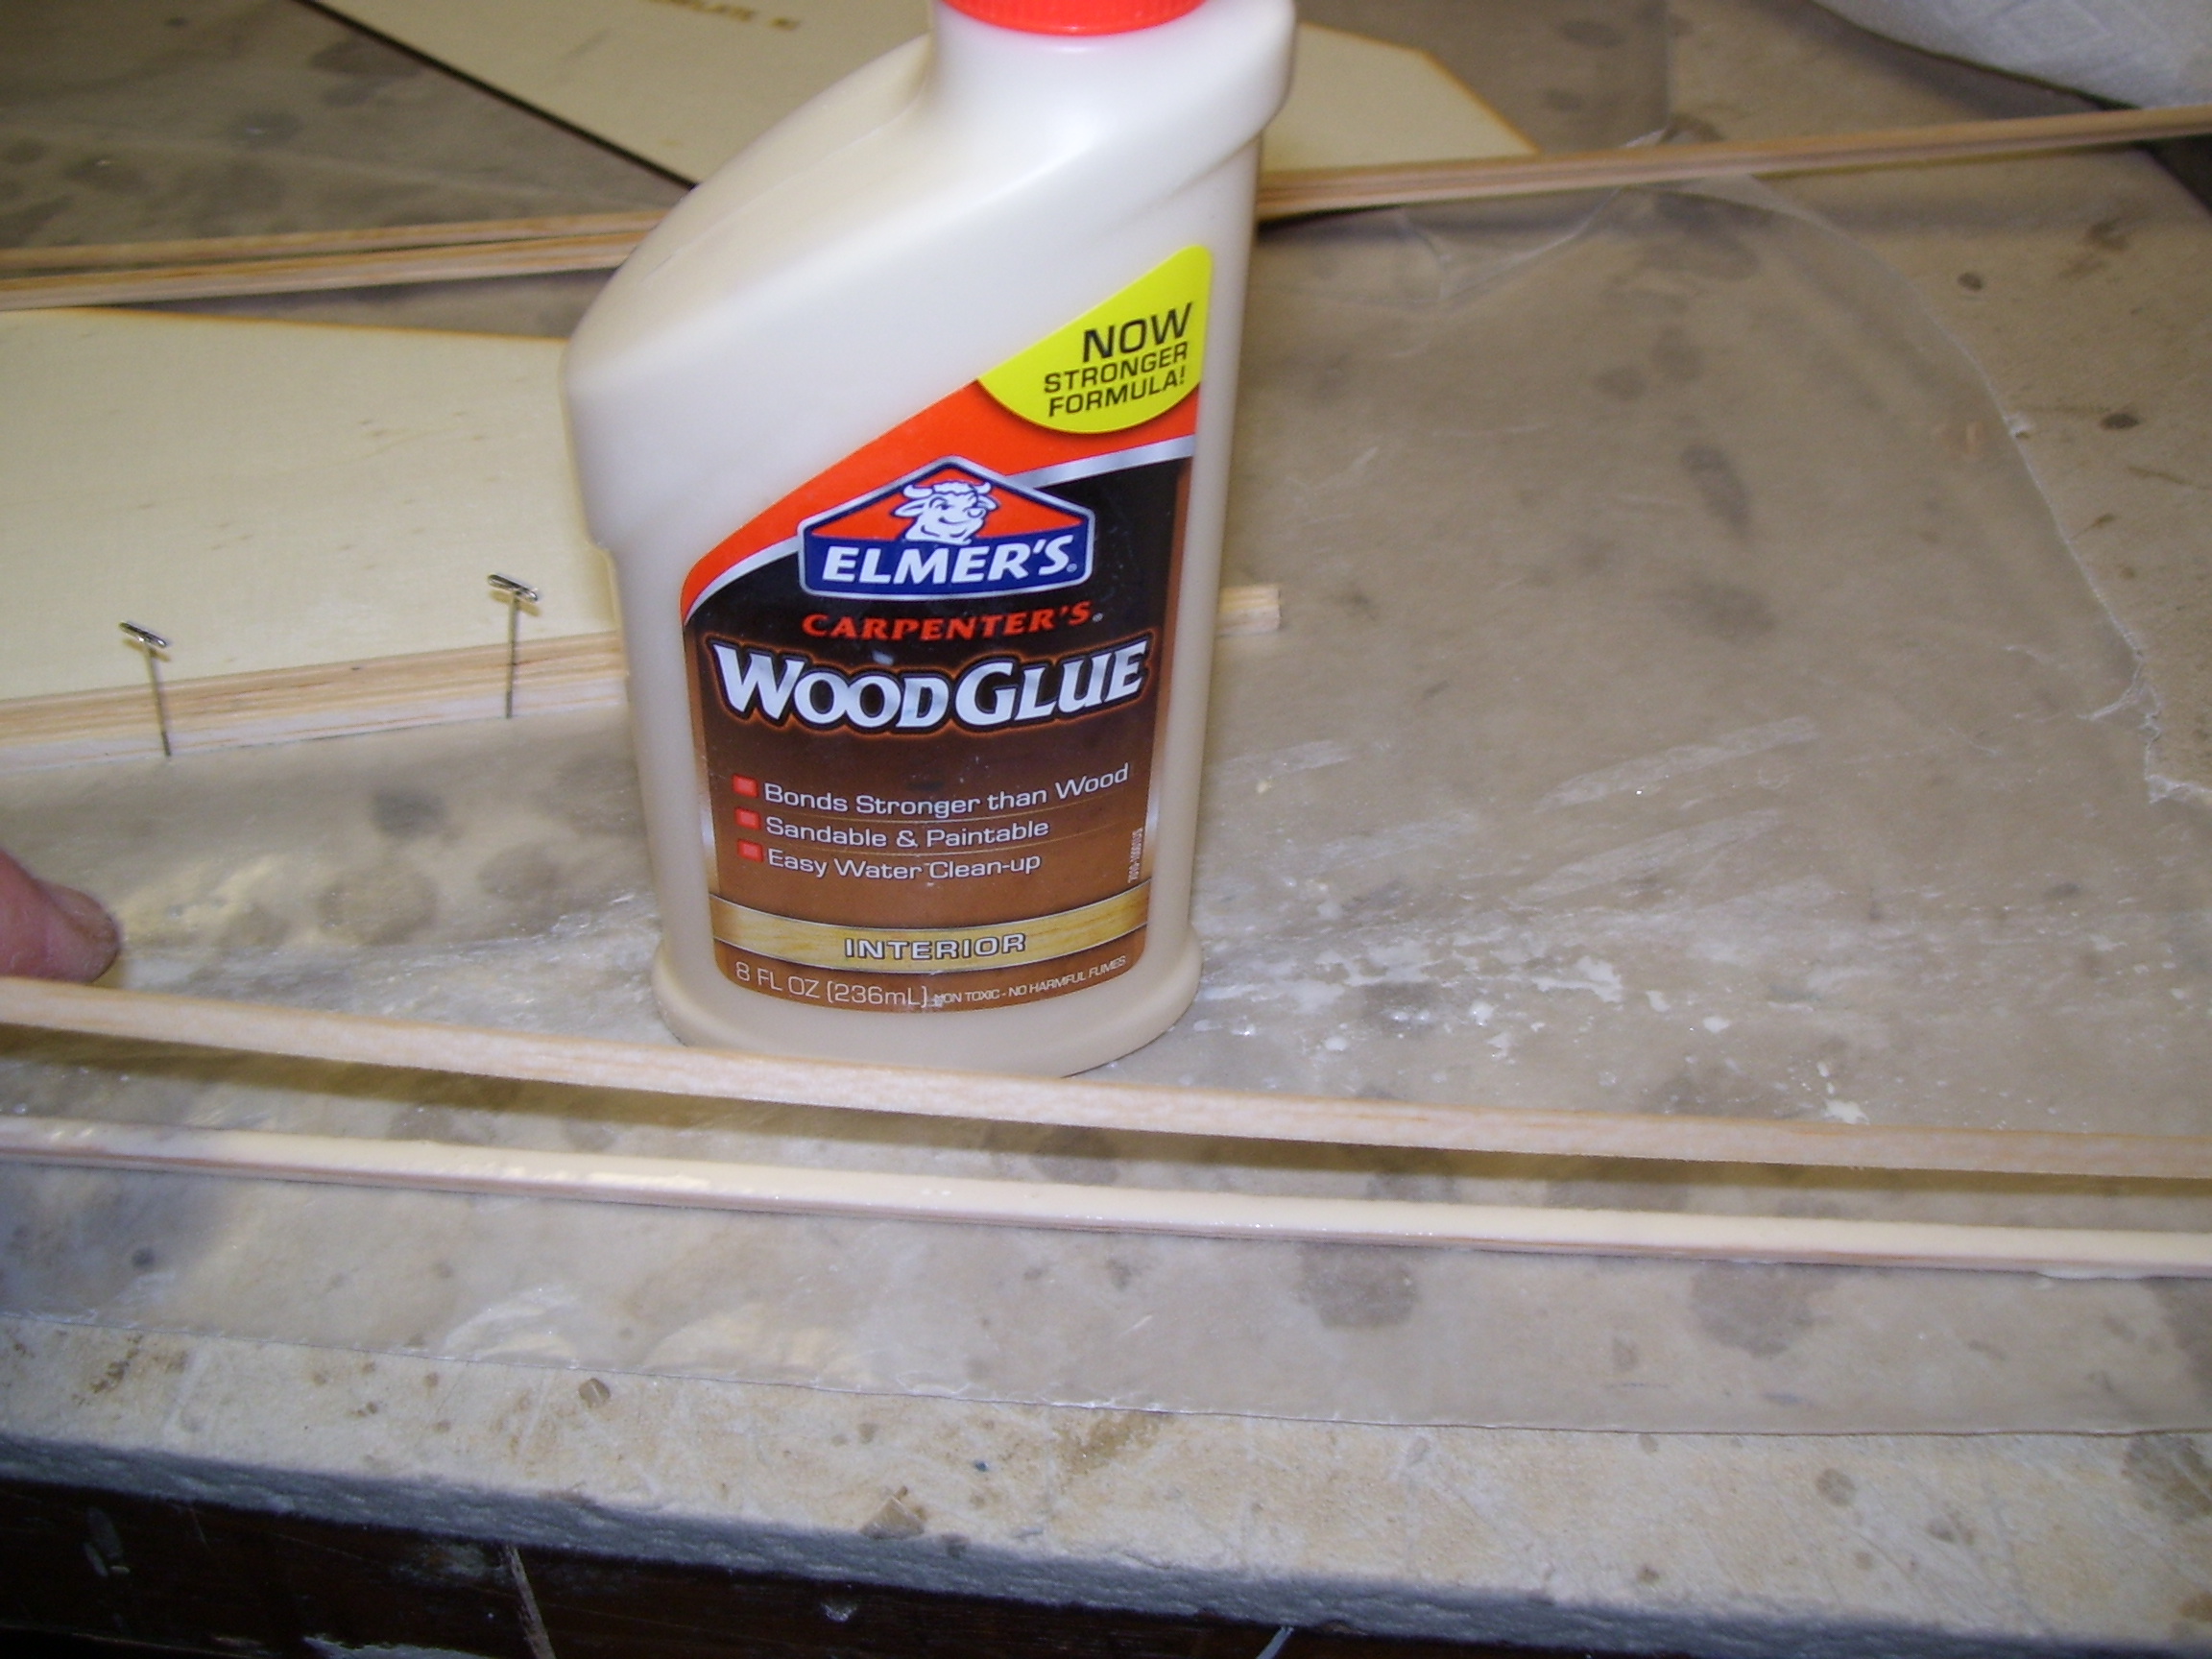
Just finished making my sheets to cover the fin, stab, rudder and elevators. This is the way I do it, I'm sure there's other methods. This is quick and painless. Make sure you have a straight edge where you mate the sheets. I then put a few pieces of tape to hold the sheets together. Then I run a long strip over the joint. Do this for all the sheets. Now flip the whole sheet over and lay the first sheet over your work bench edge. Now you have a hinge section. Apply glue, use water based carpenters glue for easy cleanup.
Continue doing this for all the sheets. When finished, wash all the excess glue from the joints. You will have a nice seamless sheet when the glue dries. Don't use CA, you won't be able to sand the joints. When I complete all the sheets , I lay them on the workbench with a sheet of waxed paper between them to keep them separated. I then weigh them down because when you wash the glue off, the sheets tend to bow up. Weight them down until they are dry. Pictures in the next post. Hope this helps.
Continue doing this for all the sheets. When finished, wash all the excess glue from the joints. You will have a nice seamless sheet when the glue dries. Don't use CA, you won't be able to sand the joints. When I complete all the sheets , I lay them on the workbench with a sheet of waxed paper between them to keep them separated. I then weigh them down because when you wash the glue off, the sheets tend to bow up. Weight them down until they are dry. Pictures in the next post. Hope this helps.
Last edited by Check6; 11-05-2016 at 10:57 AM.
11-05-2016, 07:58 PM
#38

Join Date: Oct 2006
Location: Collierville, TN
Posts: 602
Likes: 0
Received 0 Likes
on
0 Posts
The two rudder laminations went smoothly but the stab has a much sharper radius and proved to be quite troublesome. I got it laid on but when I do the other side tomorrow I'll try using the heat gun.
11-06-2016, 02:22 AM
#39
Mine went around very easily. Maybe the laminating strips in your kit were harder than mine. My strips were made from very soft balsa. The heat gun will help. Use slow even pressure against the strips and they should go fine. Keep us posted.
Thanks,
Fred
Thanks,
Fred
11-06-2016, 11:02 AM
#41
Join Date: Oct 2006
Location: Collierville, TN
Posts: 602
Likes: 0
Received 0 Likes
on
0 Posts
Did the 2nd stab lamination and all the sheeting this morning. Used a heat gun but I still broke one of the six. They were a combination of very light to medium grade balsa, of the 24 pieces total, I'd say about 18 were super light and the rest were medium density. The parts I made last night fit perfectly. I really like this method of forming curved structural parts.
NOTE: For those building one of these, the instructions had a typo regarding the makeup of the sheeting you edge-glue together. The correct procedure is to edge glue five 3" x 1/16" x 30 sheets to make one piece of sheeting, and three 3" x "1/16" x 36 and one 2" x "1/16" x 36 to make two pieces of sheeting. When you're done you should have one sheet that's 15" x 30" and two sheets that are 11" x 36".
NOTE: For those building one of these, the instructions had a typo regarding the makeup of the sheeting you edge-glue together. The correct procedure is to edge glue five 3" x 1/16" x 30 sheets to make one piece of sheeting, and three 3" x "1/16" x 36 and one 2" x "1/16" x 36 to make two pieces of sheeting. When you're done you should have one sheet that's 15" x 30" and two sheets that are 11" x 36".
Last edited by pappy35; 11-06-2016 at 11:10 AM.
11-06-2016, 03:48 PM
#42
My Feedback: (2)
Did the 2nd stab lamination and all the sheeting this morning. Used a heat gun but I still broke one of the six. They were a combination of very light to medium grade balsa, of the 24 pieces total, I'd say about 18 were super light and the rest were medium density. The parts I made last night fit perfectly. I really like this method of forming curved structural parts.
NOTE: For those building one of these, the instructions had a typo regarding the makeup of the sheeting you edge-glue together. The correct procedure is to edge glue five 3" x 1/16" x 30 sheets to make one piece of sheeting, and three 3" x "1/16" x 36 and one 2" x "1/16" x 36 to make two pieces of sheeting. When you're done you should have one sheet that's 15" x 30" and two sheets that are 11" x 36".
NOTE: For those building one of these, the instructions had a typo regarding the makeup of the sheeting you edge-glue together. The correct procedure is to edge glue five 3" x 1/16" x 30 sheets to make one piece of sheeting, and three 3" x "1/16" x 36 and one 2" x "1/16" x 36 to make two pieces of sheeting. When you're done you should have one sheet that's 15" x 30" and two sheets that are 11" x 36".
11-07-2016, 04:03 AM
#43

Check6, your laminations look very good! The strength that you get by laminating a few sticks together is incredible. I made up some soaking fixtures out of different length PCV piping. One end is caped while the other end has a screw off top, it makes the soaking process so much easier. Frees up the bath tub as well.  Keep up the good work.
Keep up the good work.
Last edited by VincentJ; 11-07-2016 at 04:07 AM.
11-07-2016, 04:04 AM
#44
Hi Jerry,
Looks like you have a good head start on me. Good job. I have used heat to bend sheeting for years.
I use an old flat iron to bend balsa sheeting. Wet the sheet and gradually pull up on the sheet while applying heat. Get a lot of steam and a perfectly bent sheet. This is how to sheet the gull wing on a Corsair painlessly. Like you my strips formed easily around the stab cutouts without heat, but heat does help in stubborn places. Use what your comfortable with. Thanks for the input and post some inspirational finished photos to keep us motivated. LOL
Thanks,
Fred
11-07-2016, 05:06 AM
#45
Vincent , great idea with the PVC soaking tubes. I finished framing up the tail surfaces. Then block sanded everything smooth and flat, then glued on the sheeting that was previously made. I used water based carpenters glue on all the frame work, put the sheeting down and then a 1/4 in. plywood sheet with weight on it to keep it flat until it dries. Pictures posted in the next reply.
Thanks,
Fred
Thanks,
Fred