


TF Beechcraft Bonanza F33A Build


 09-28-2019, 08:16 AM
#277

Thread Starter
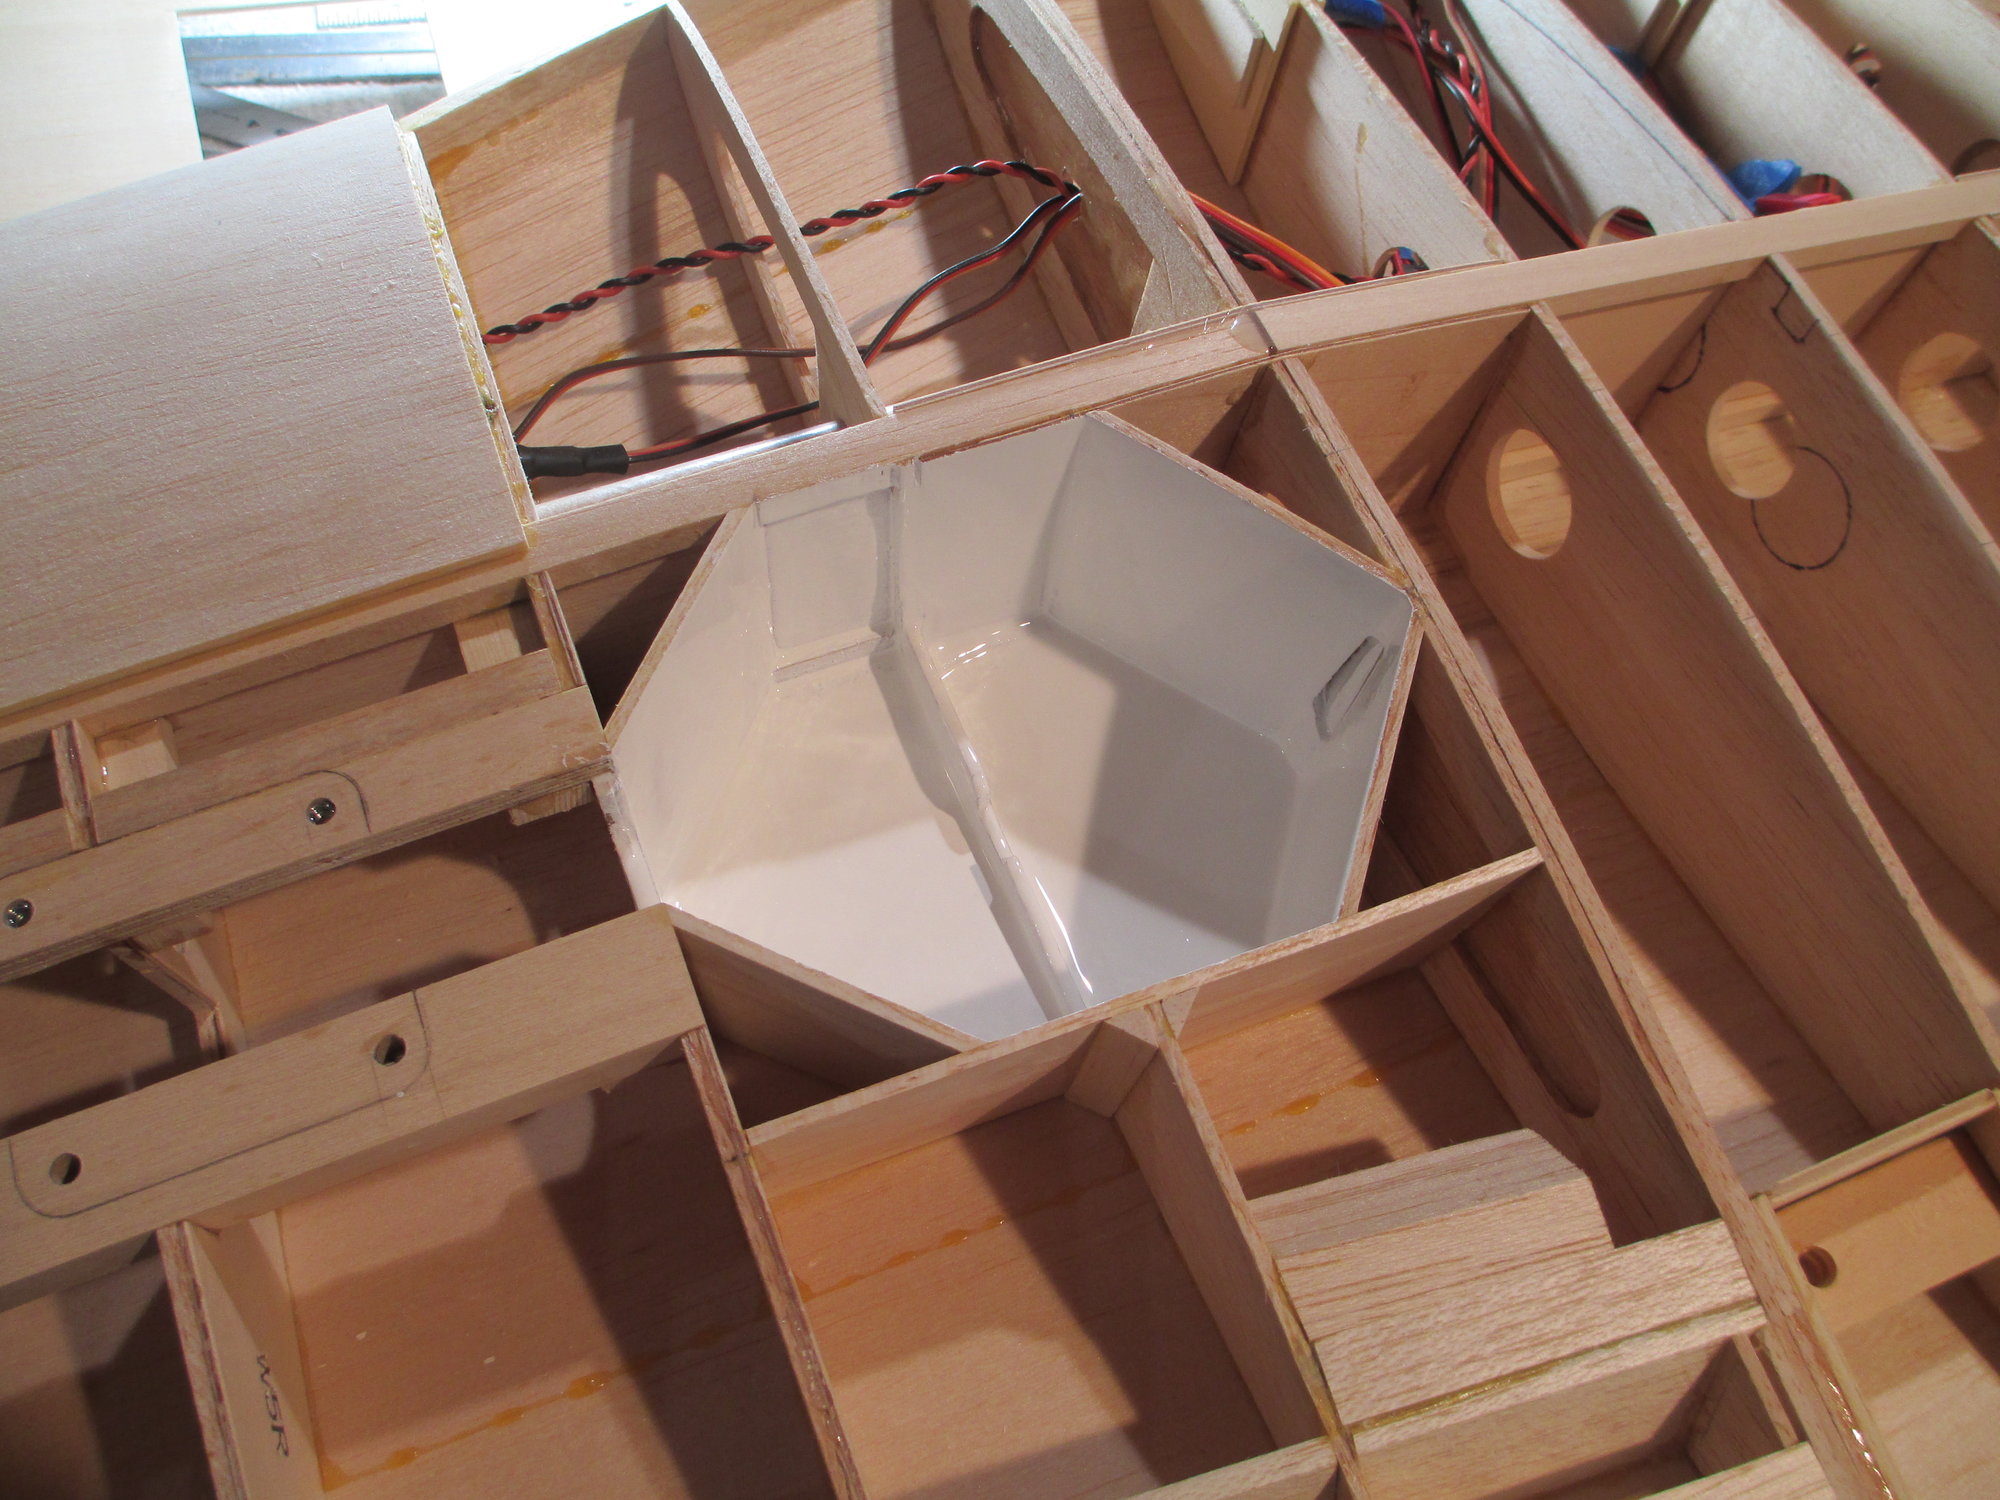
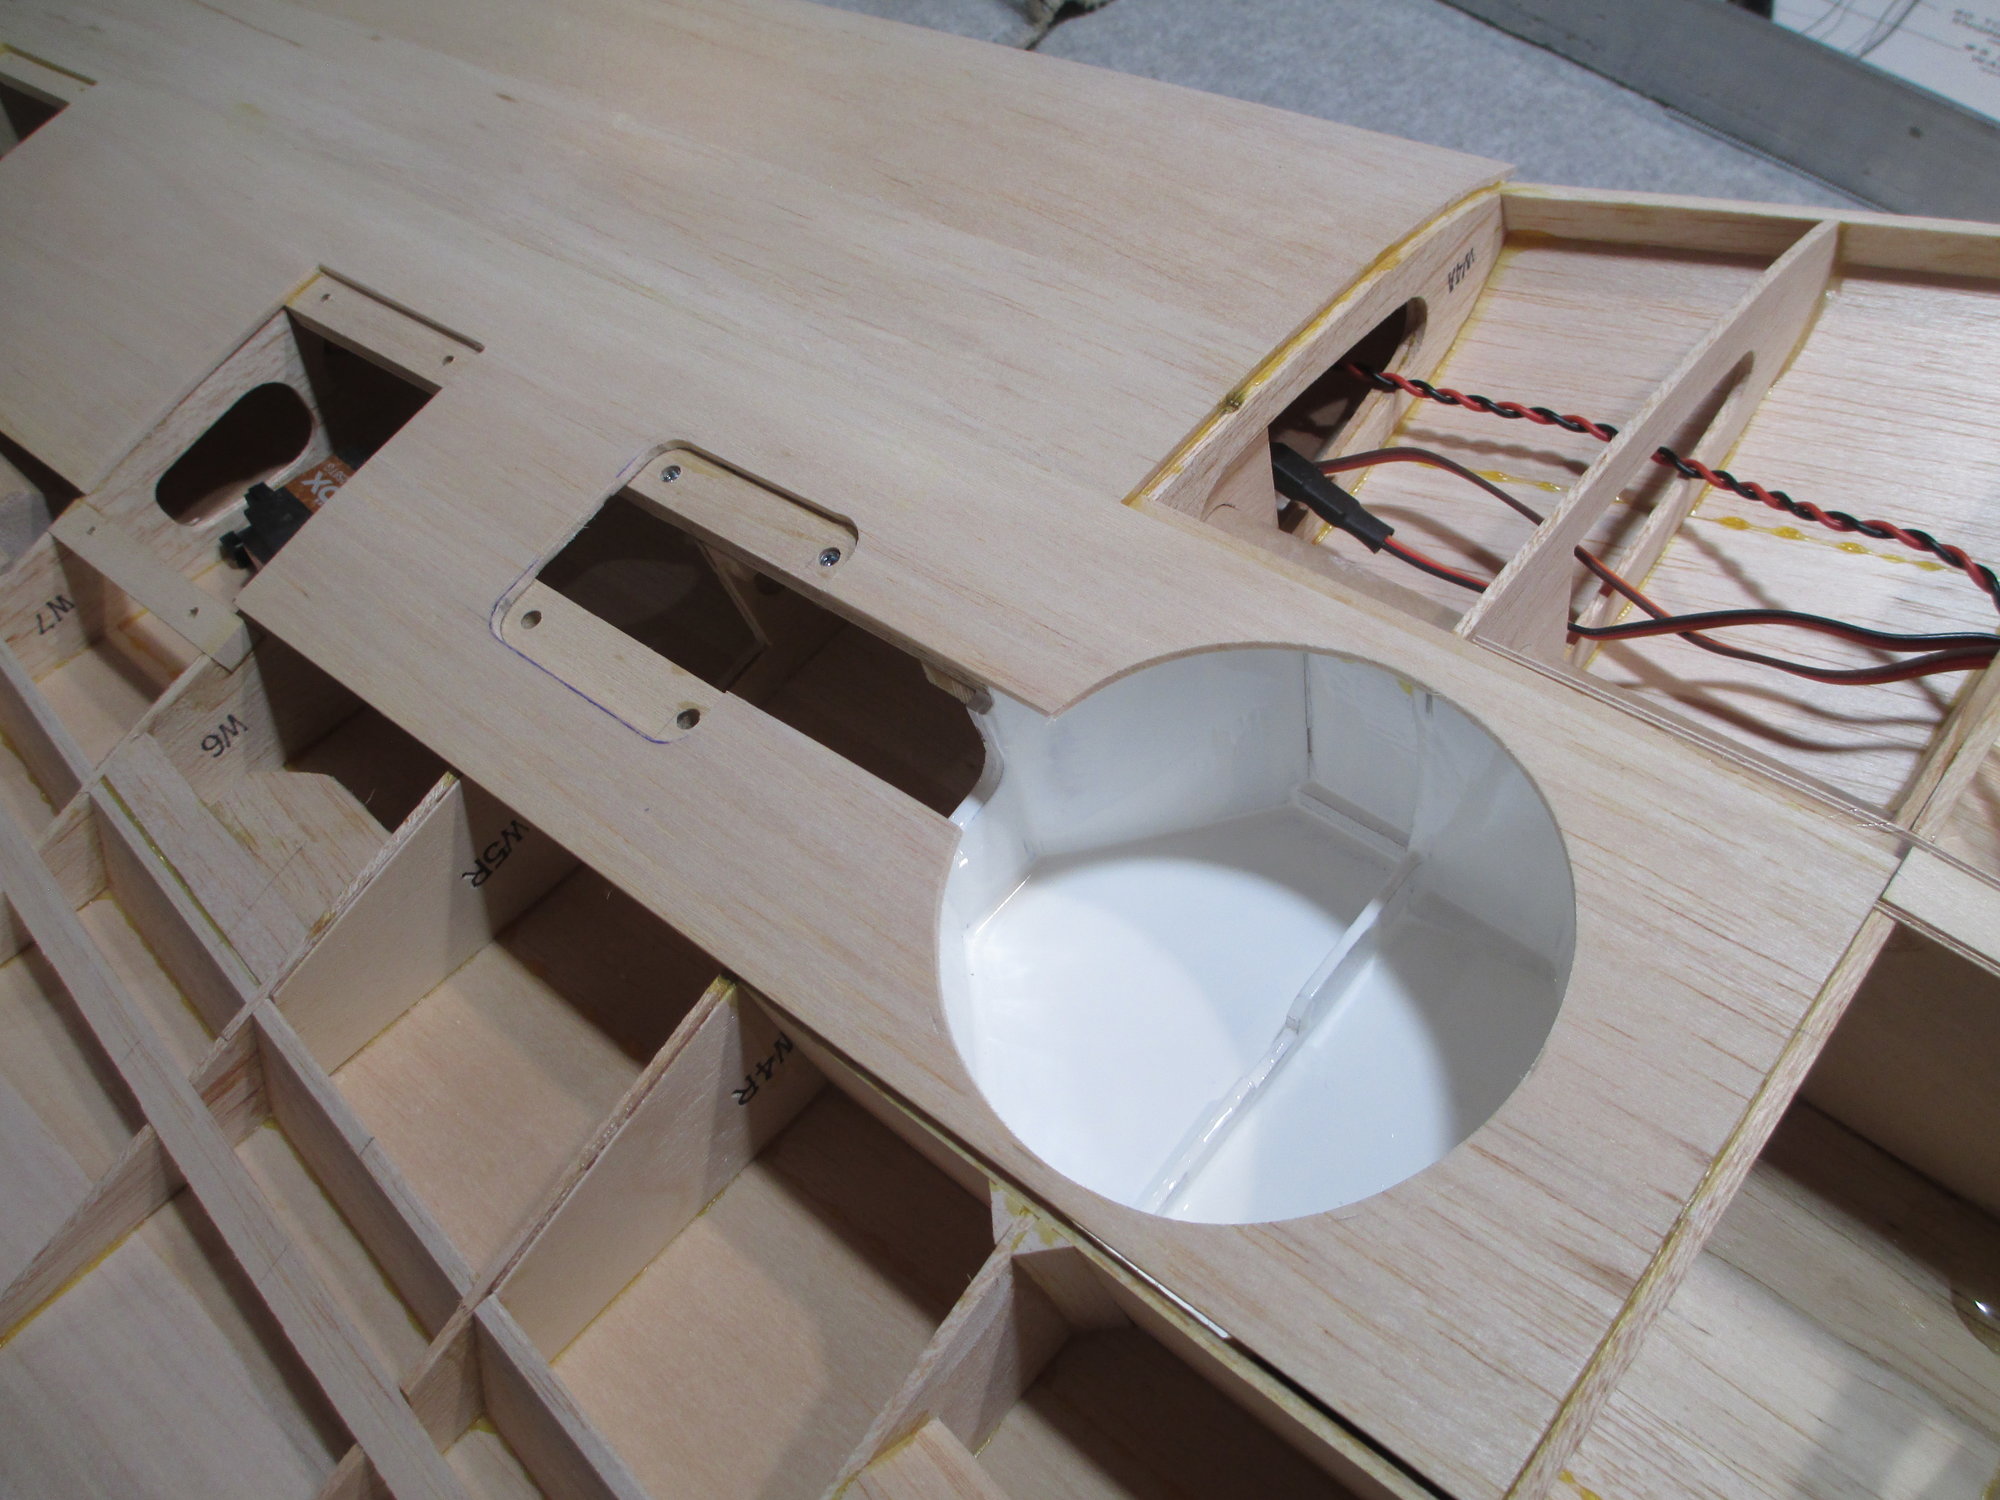
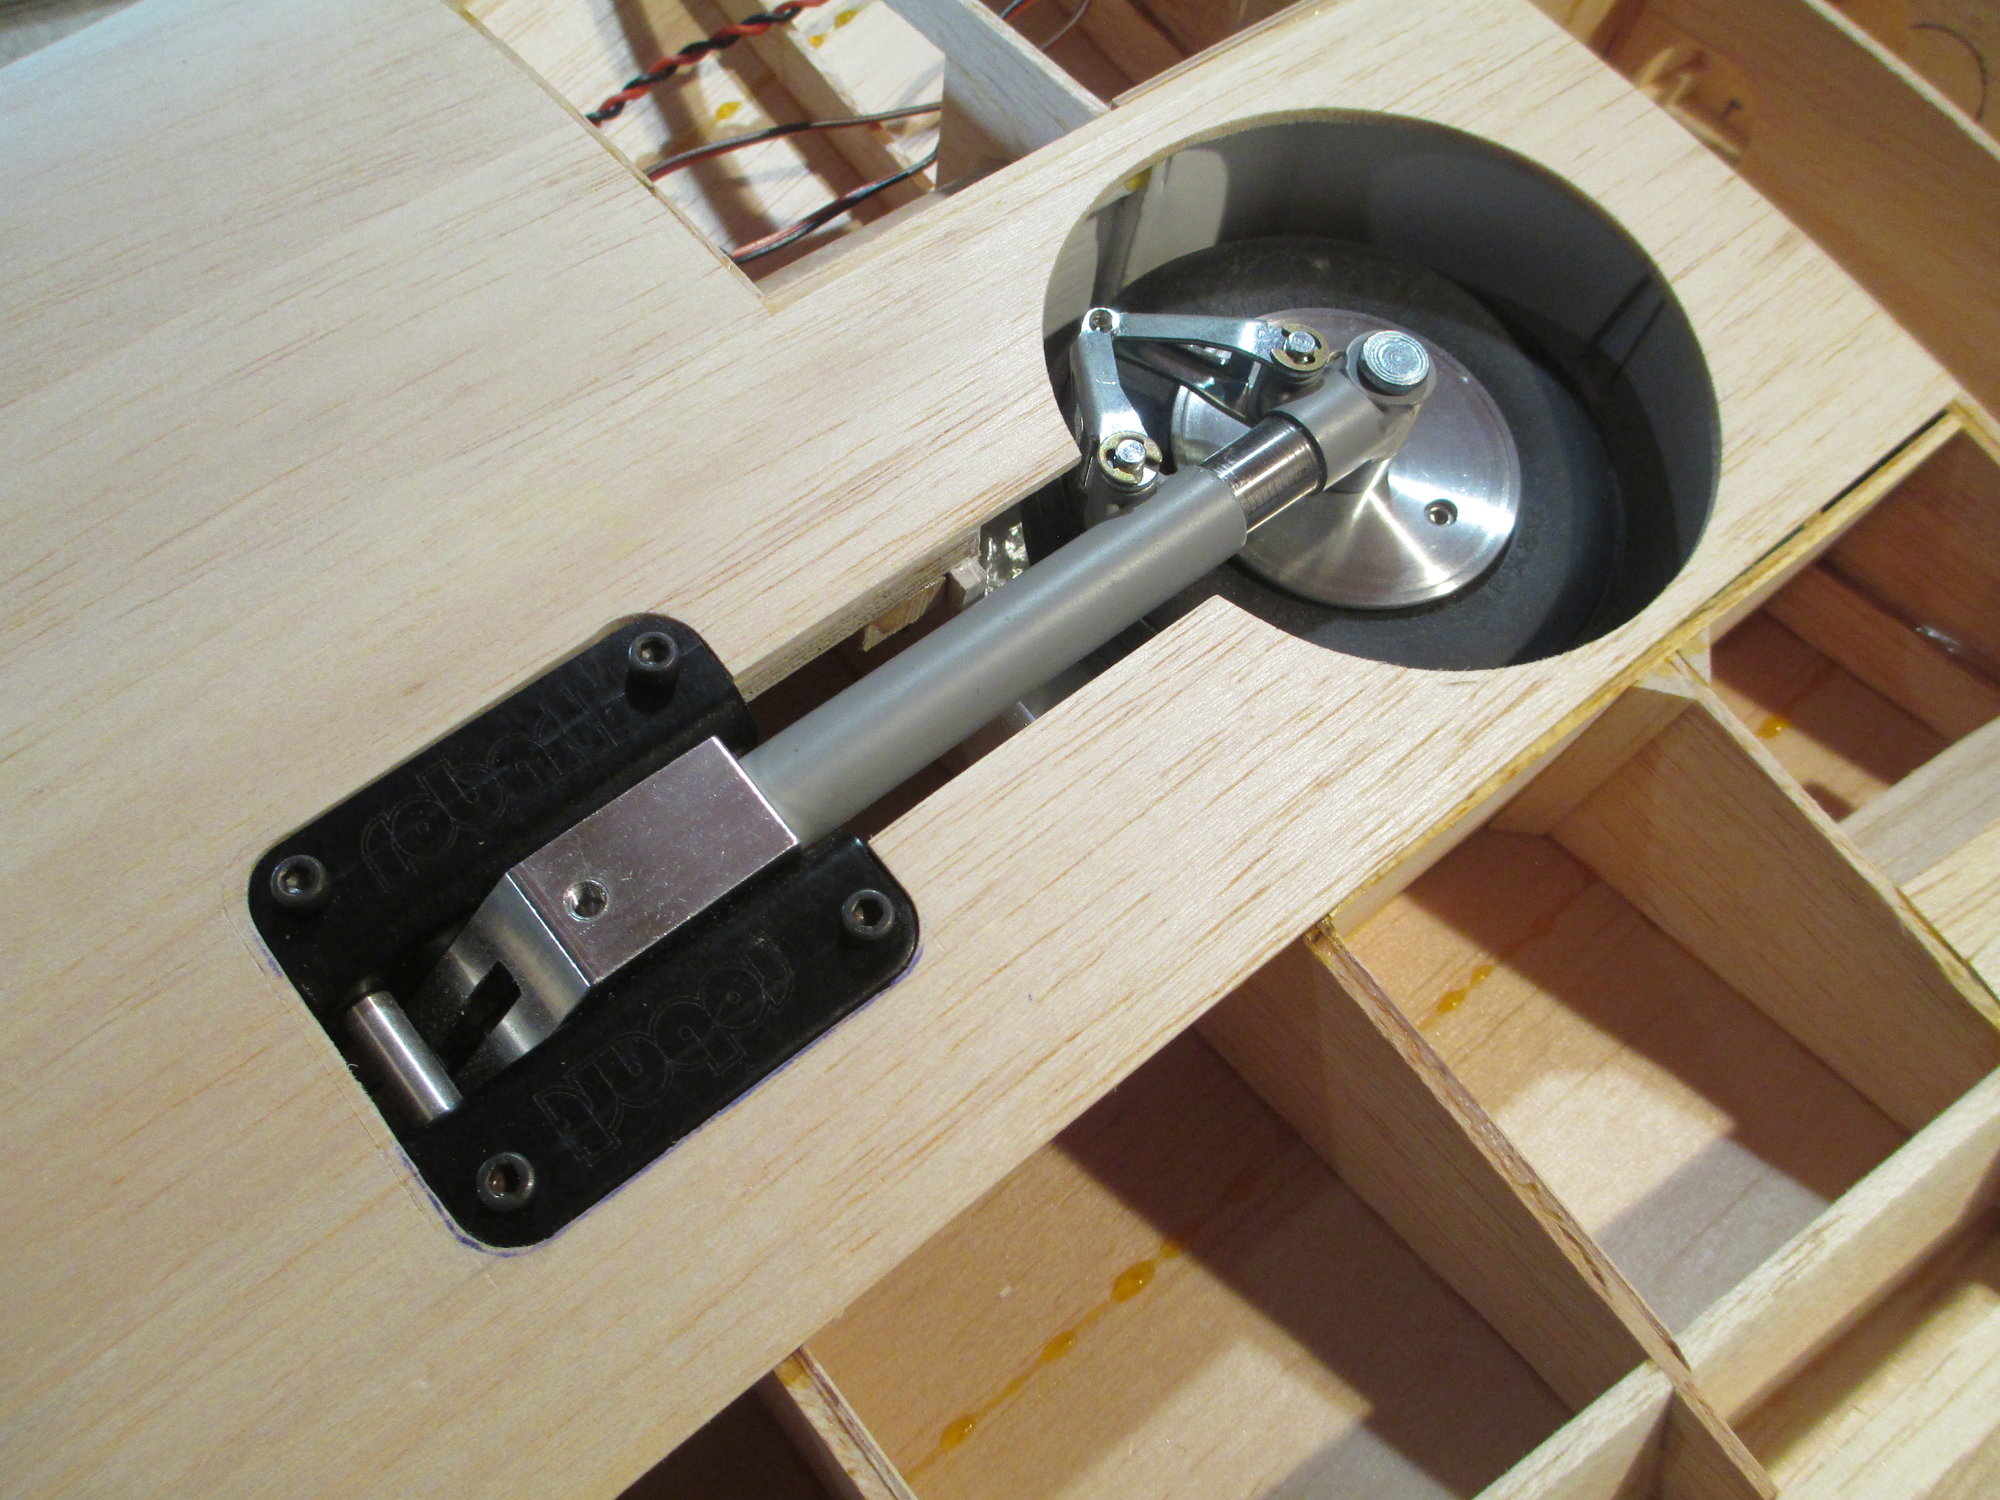
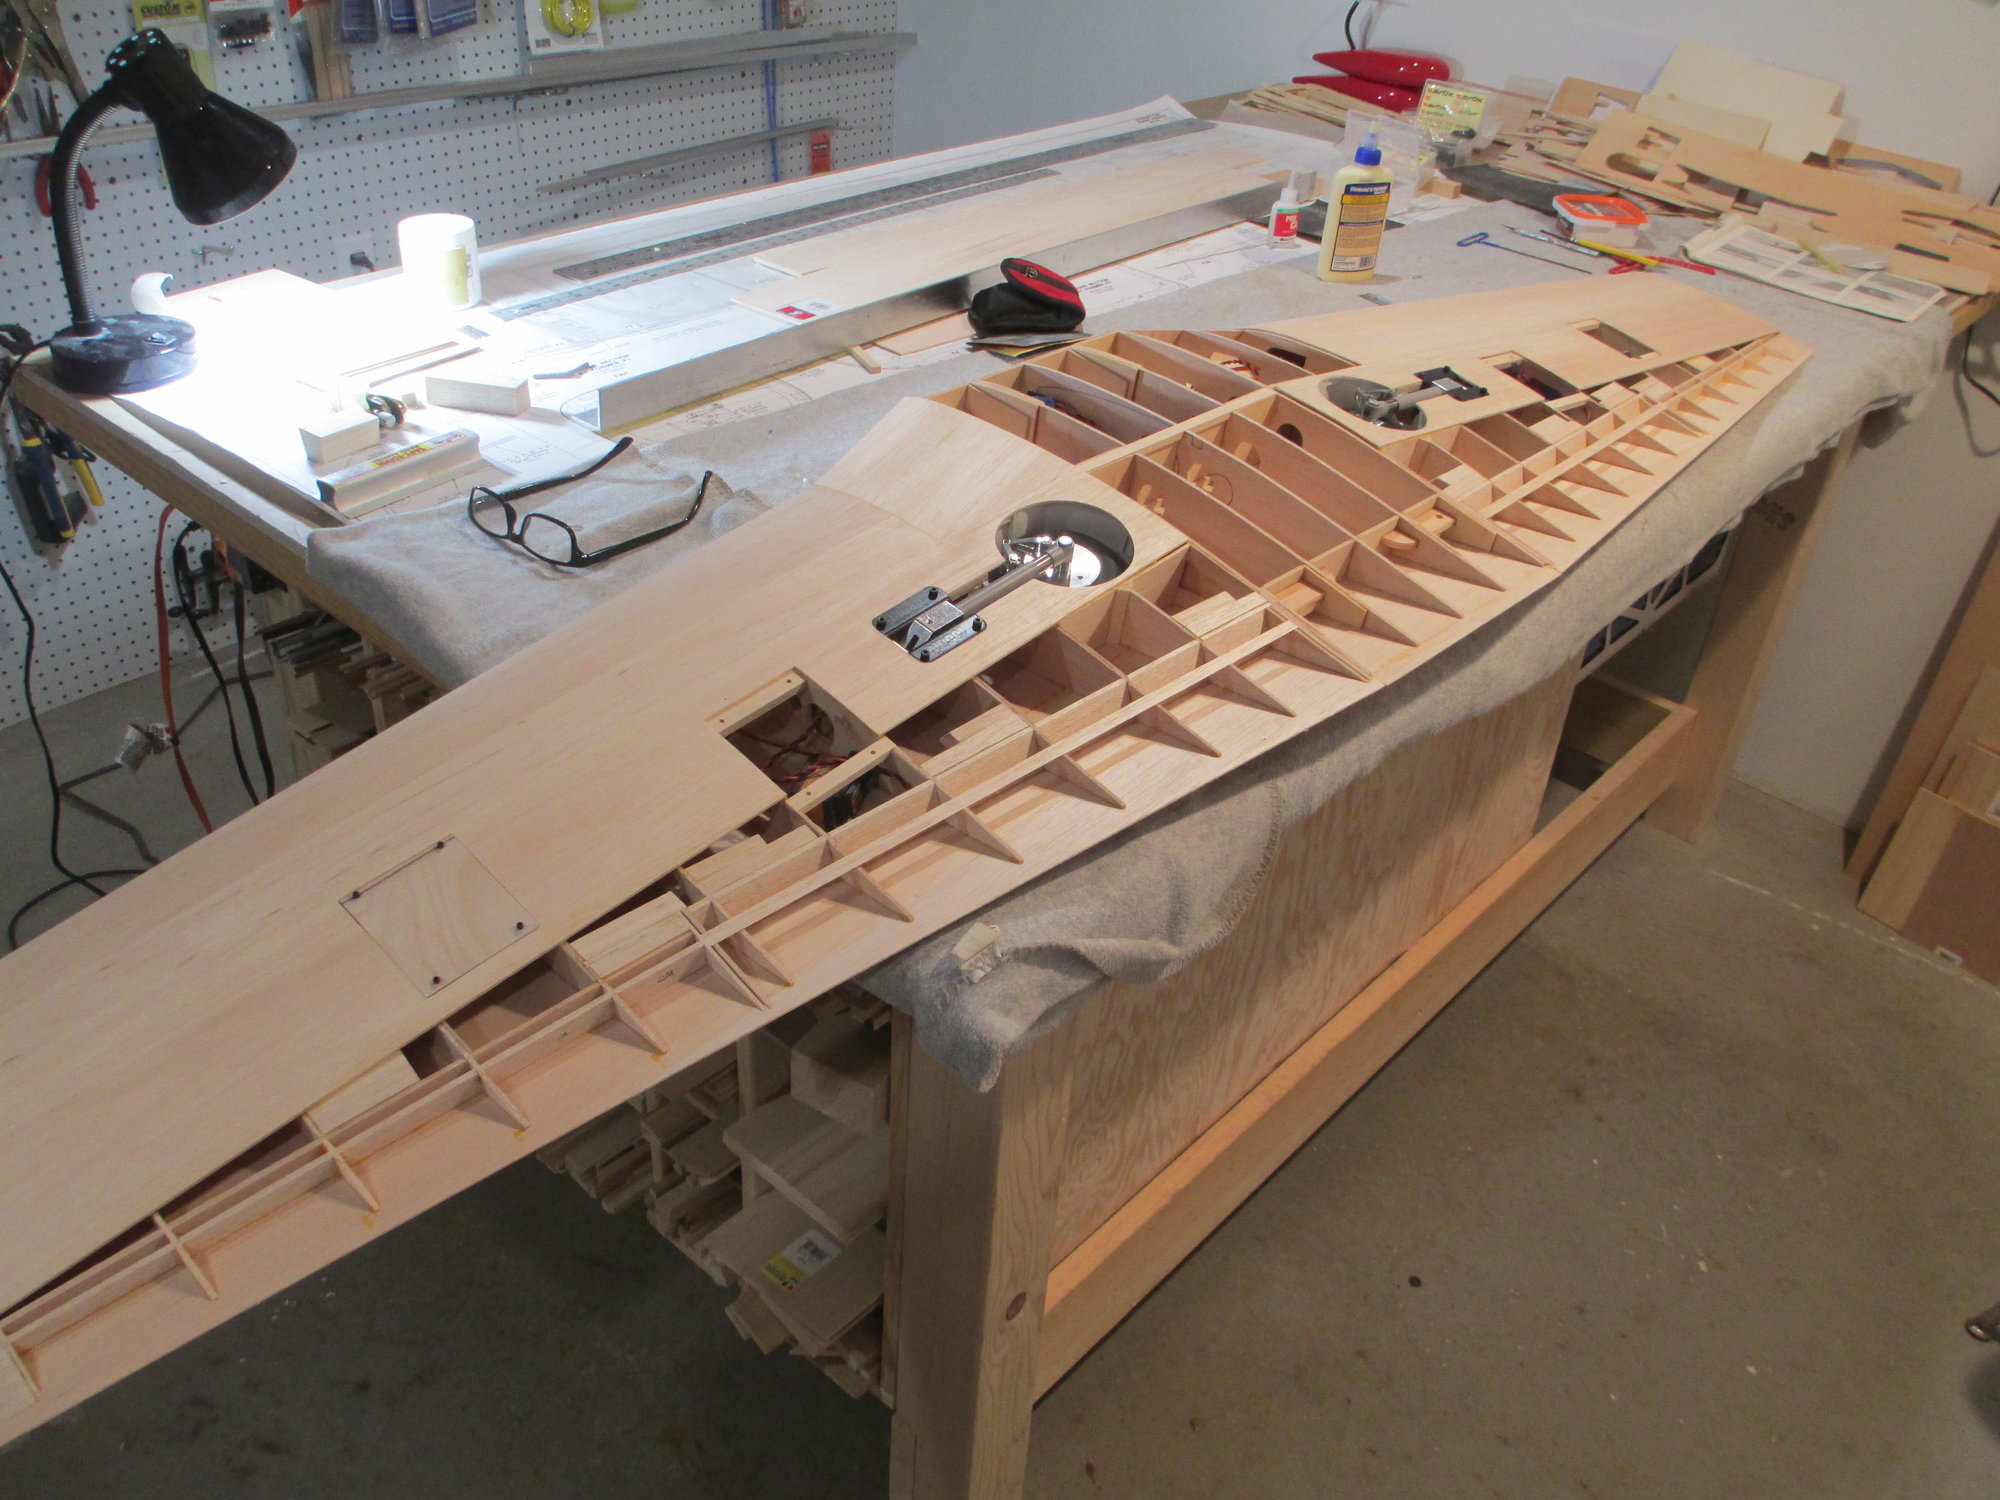
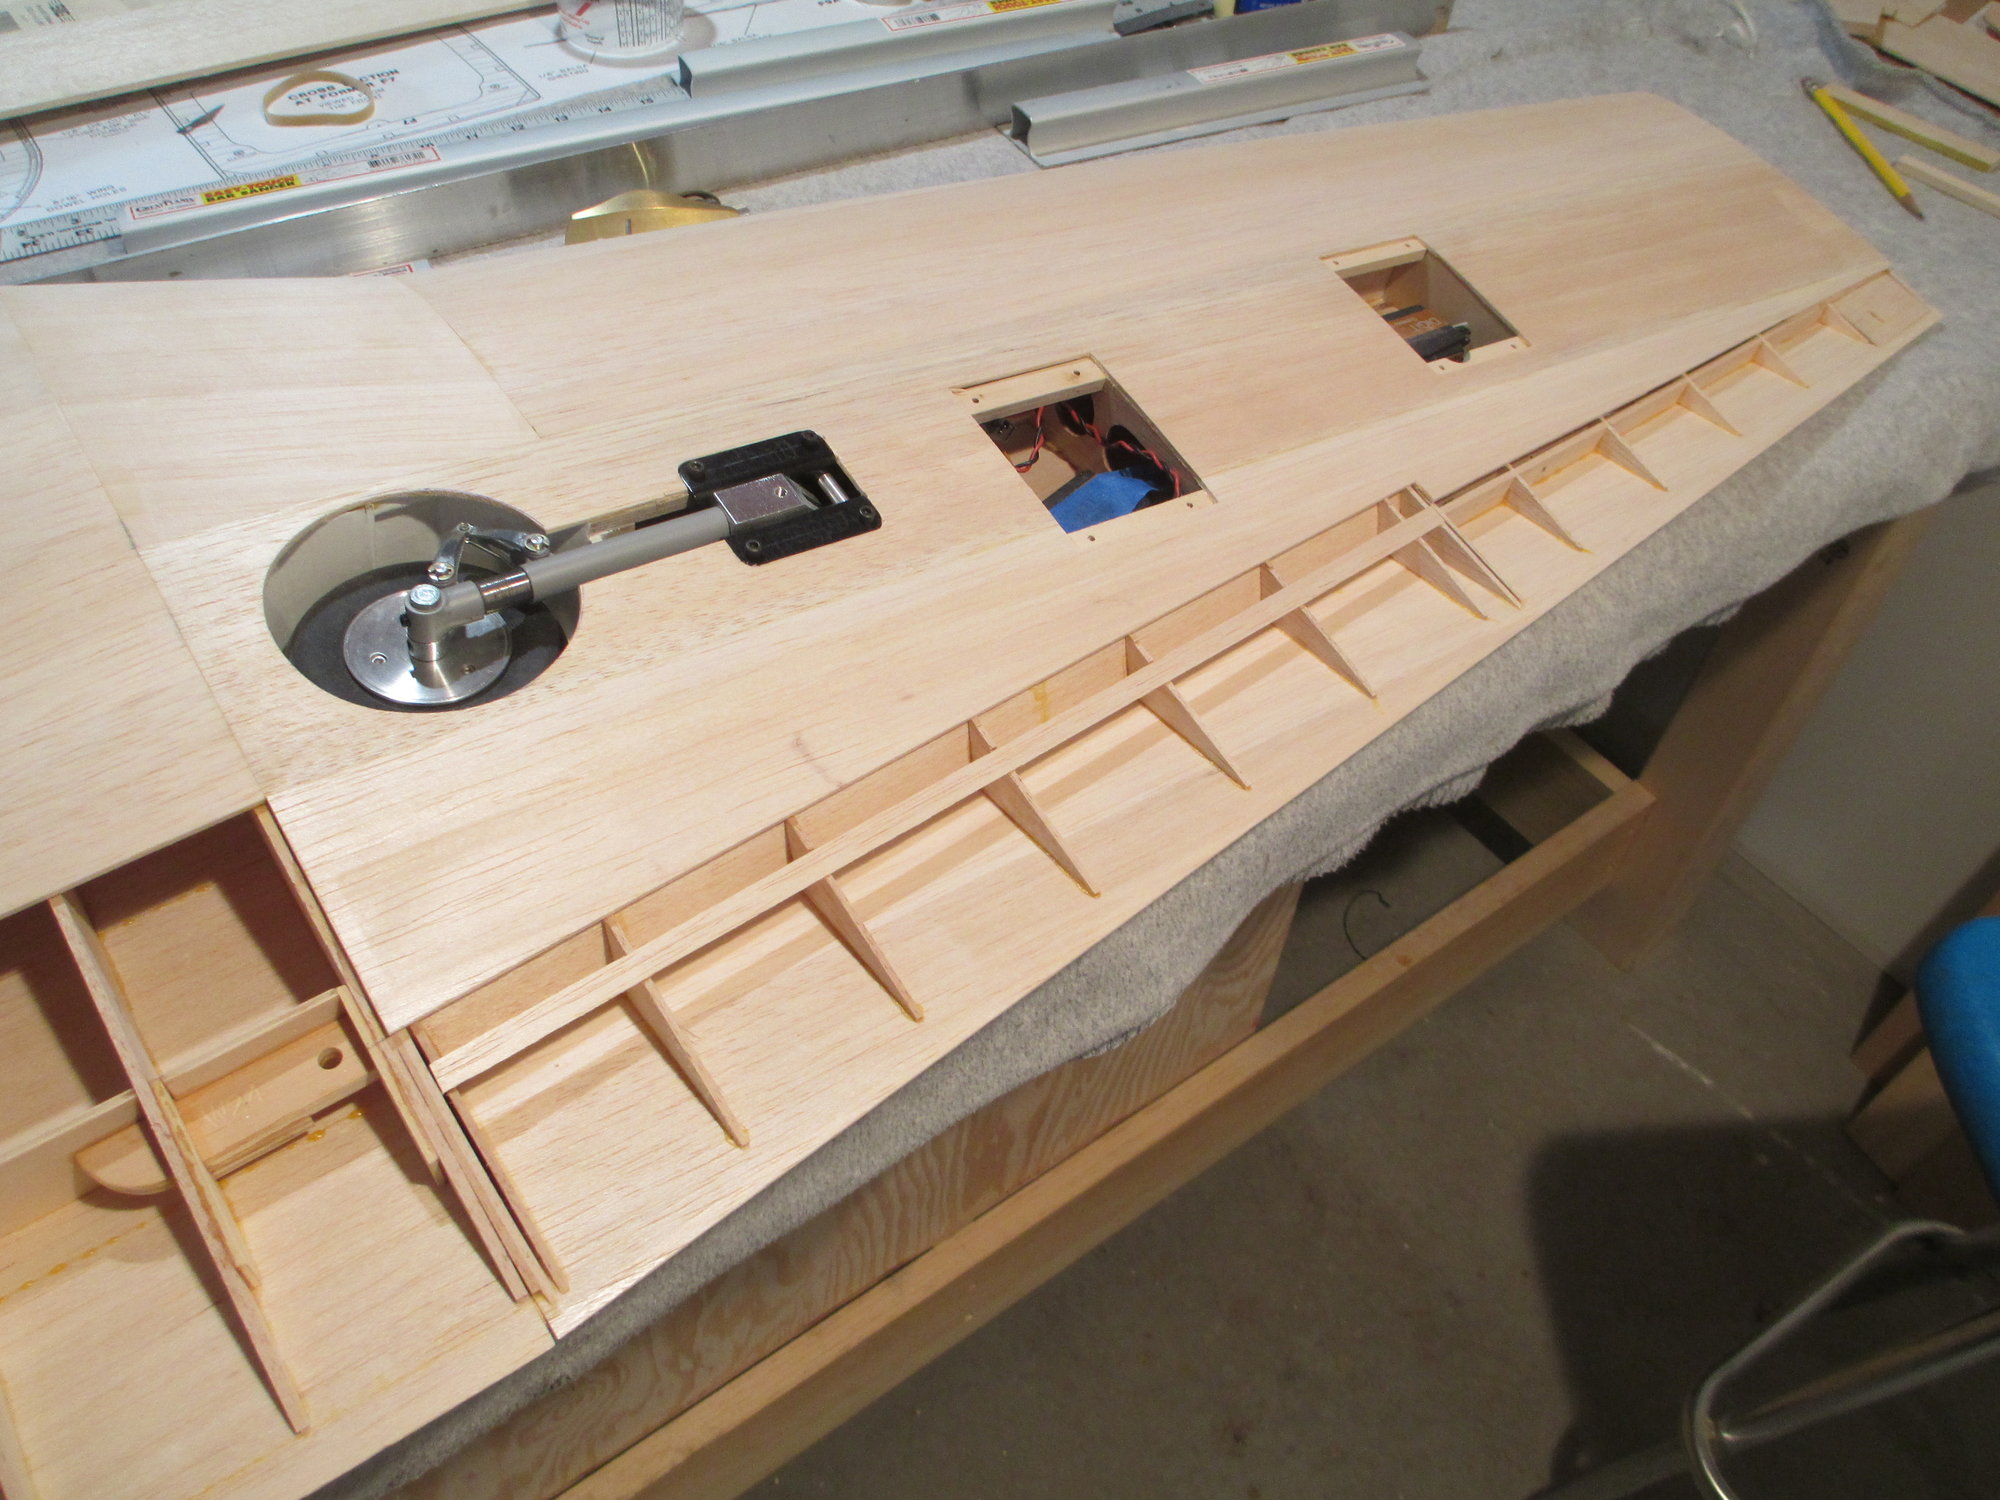
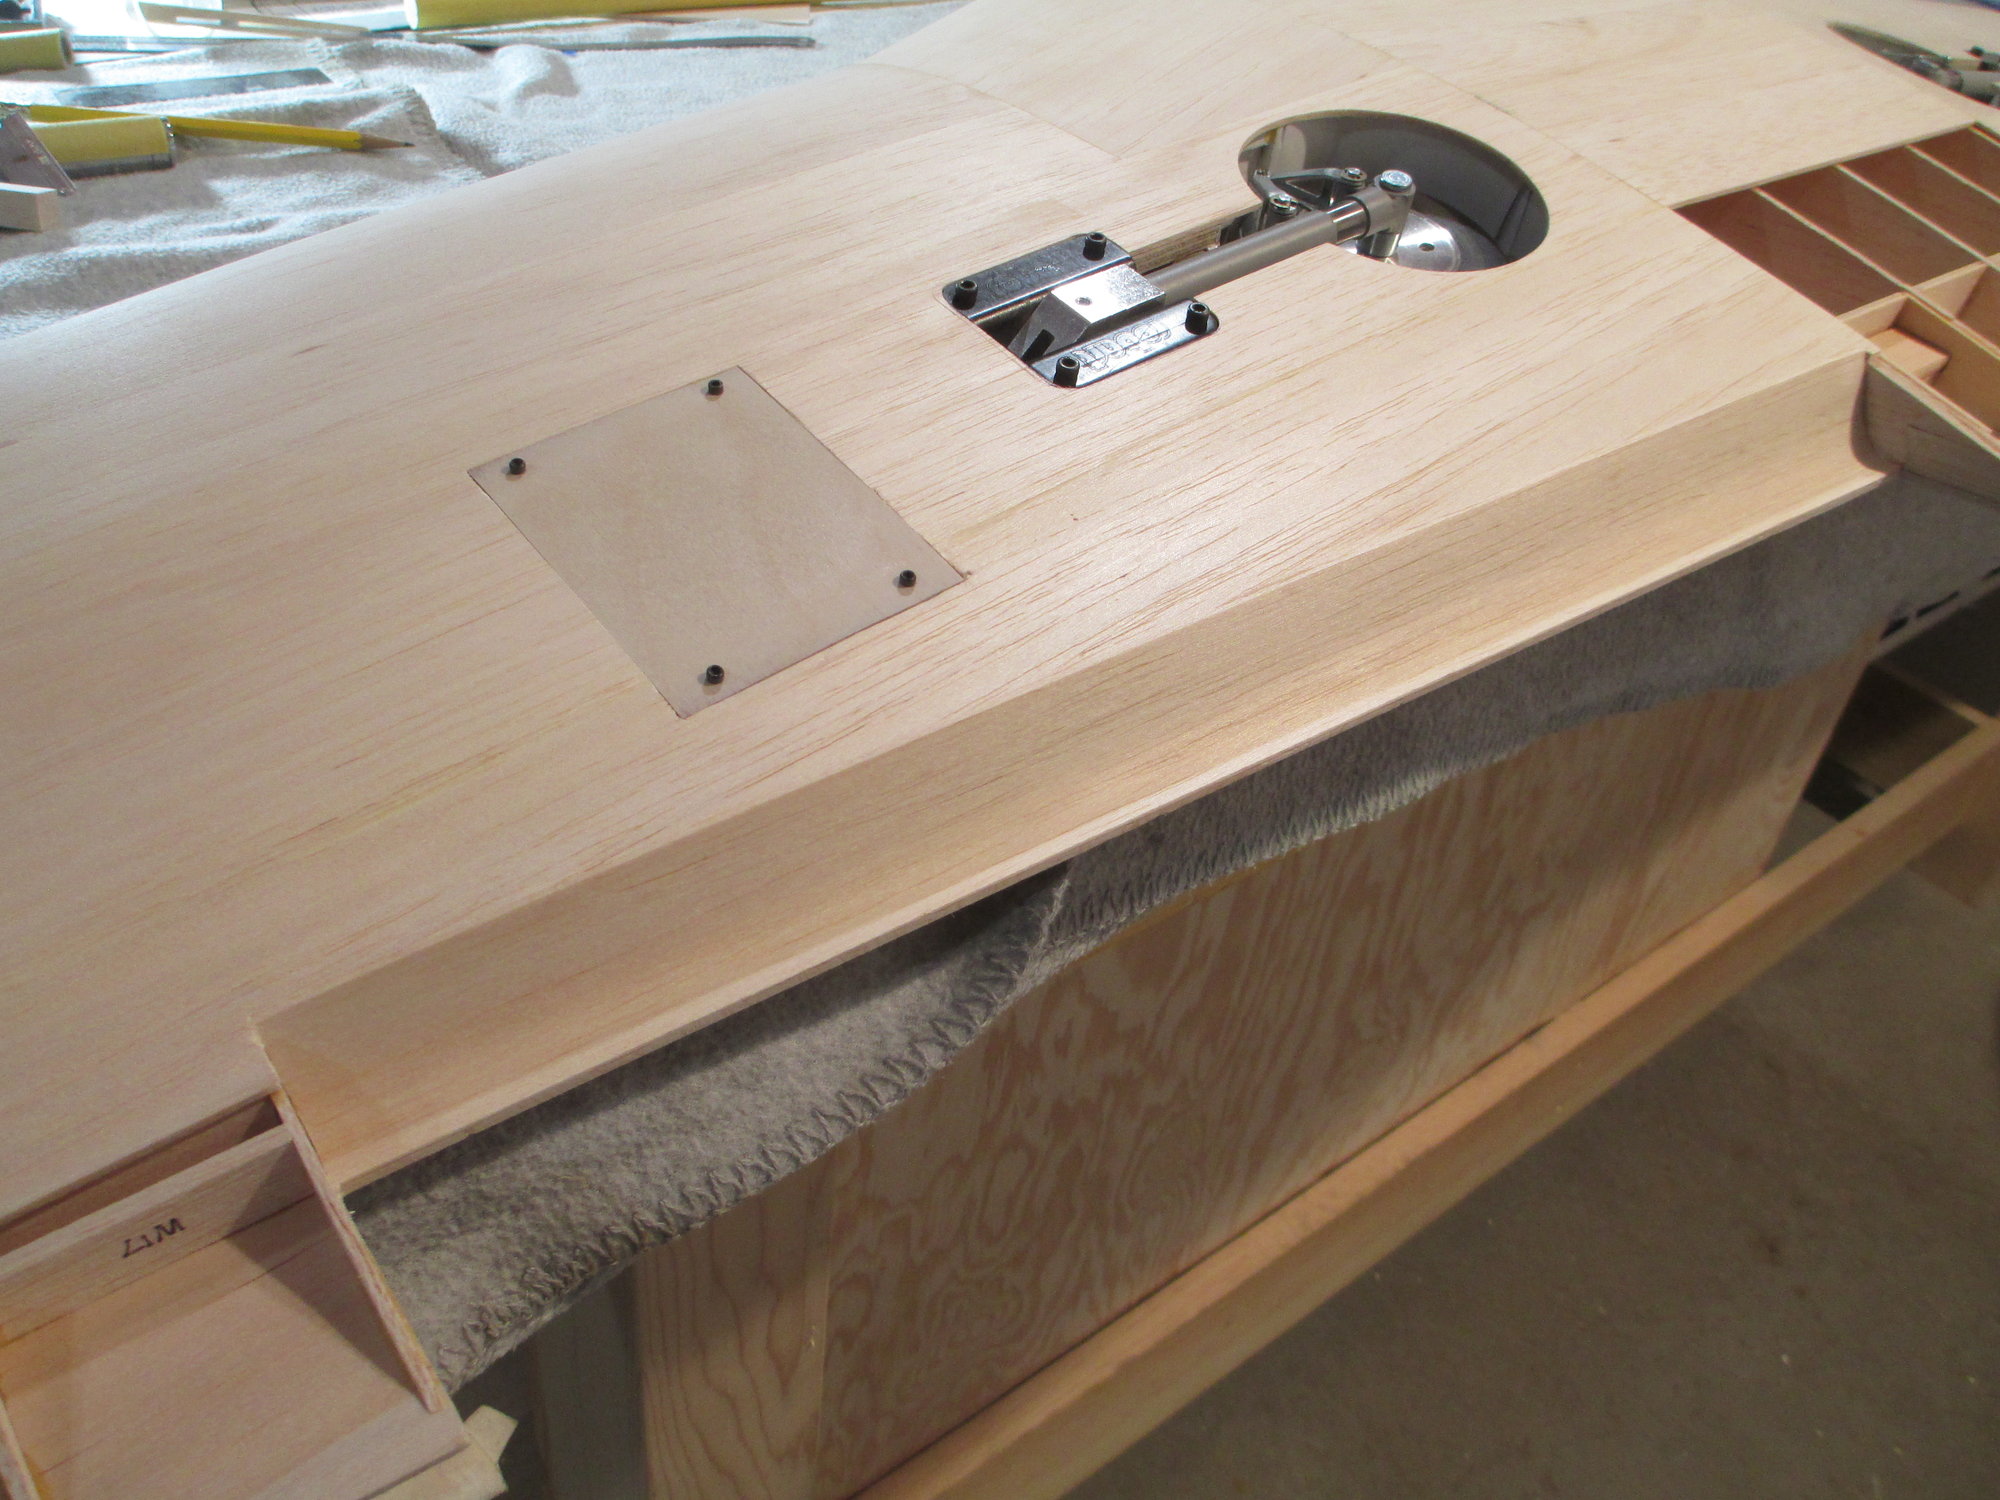
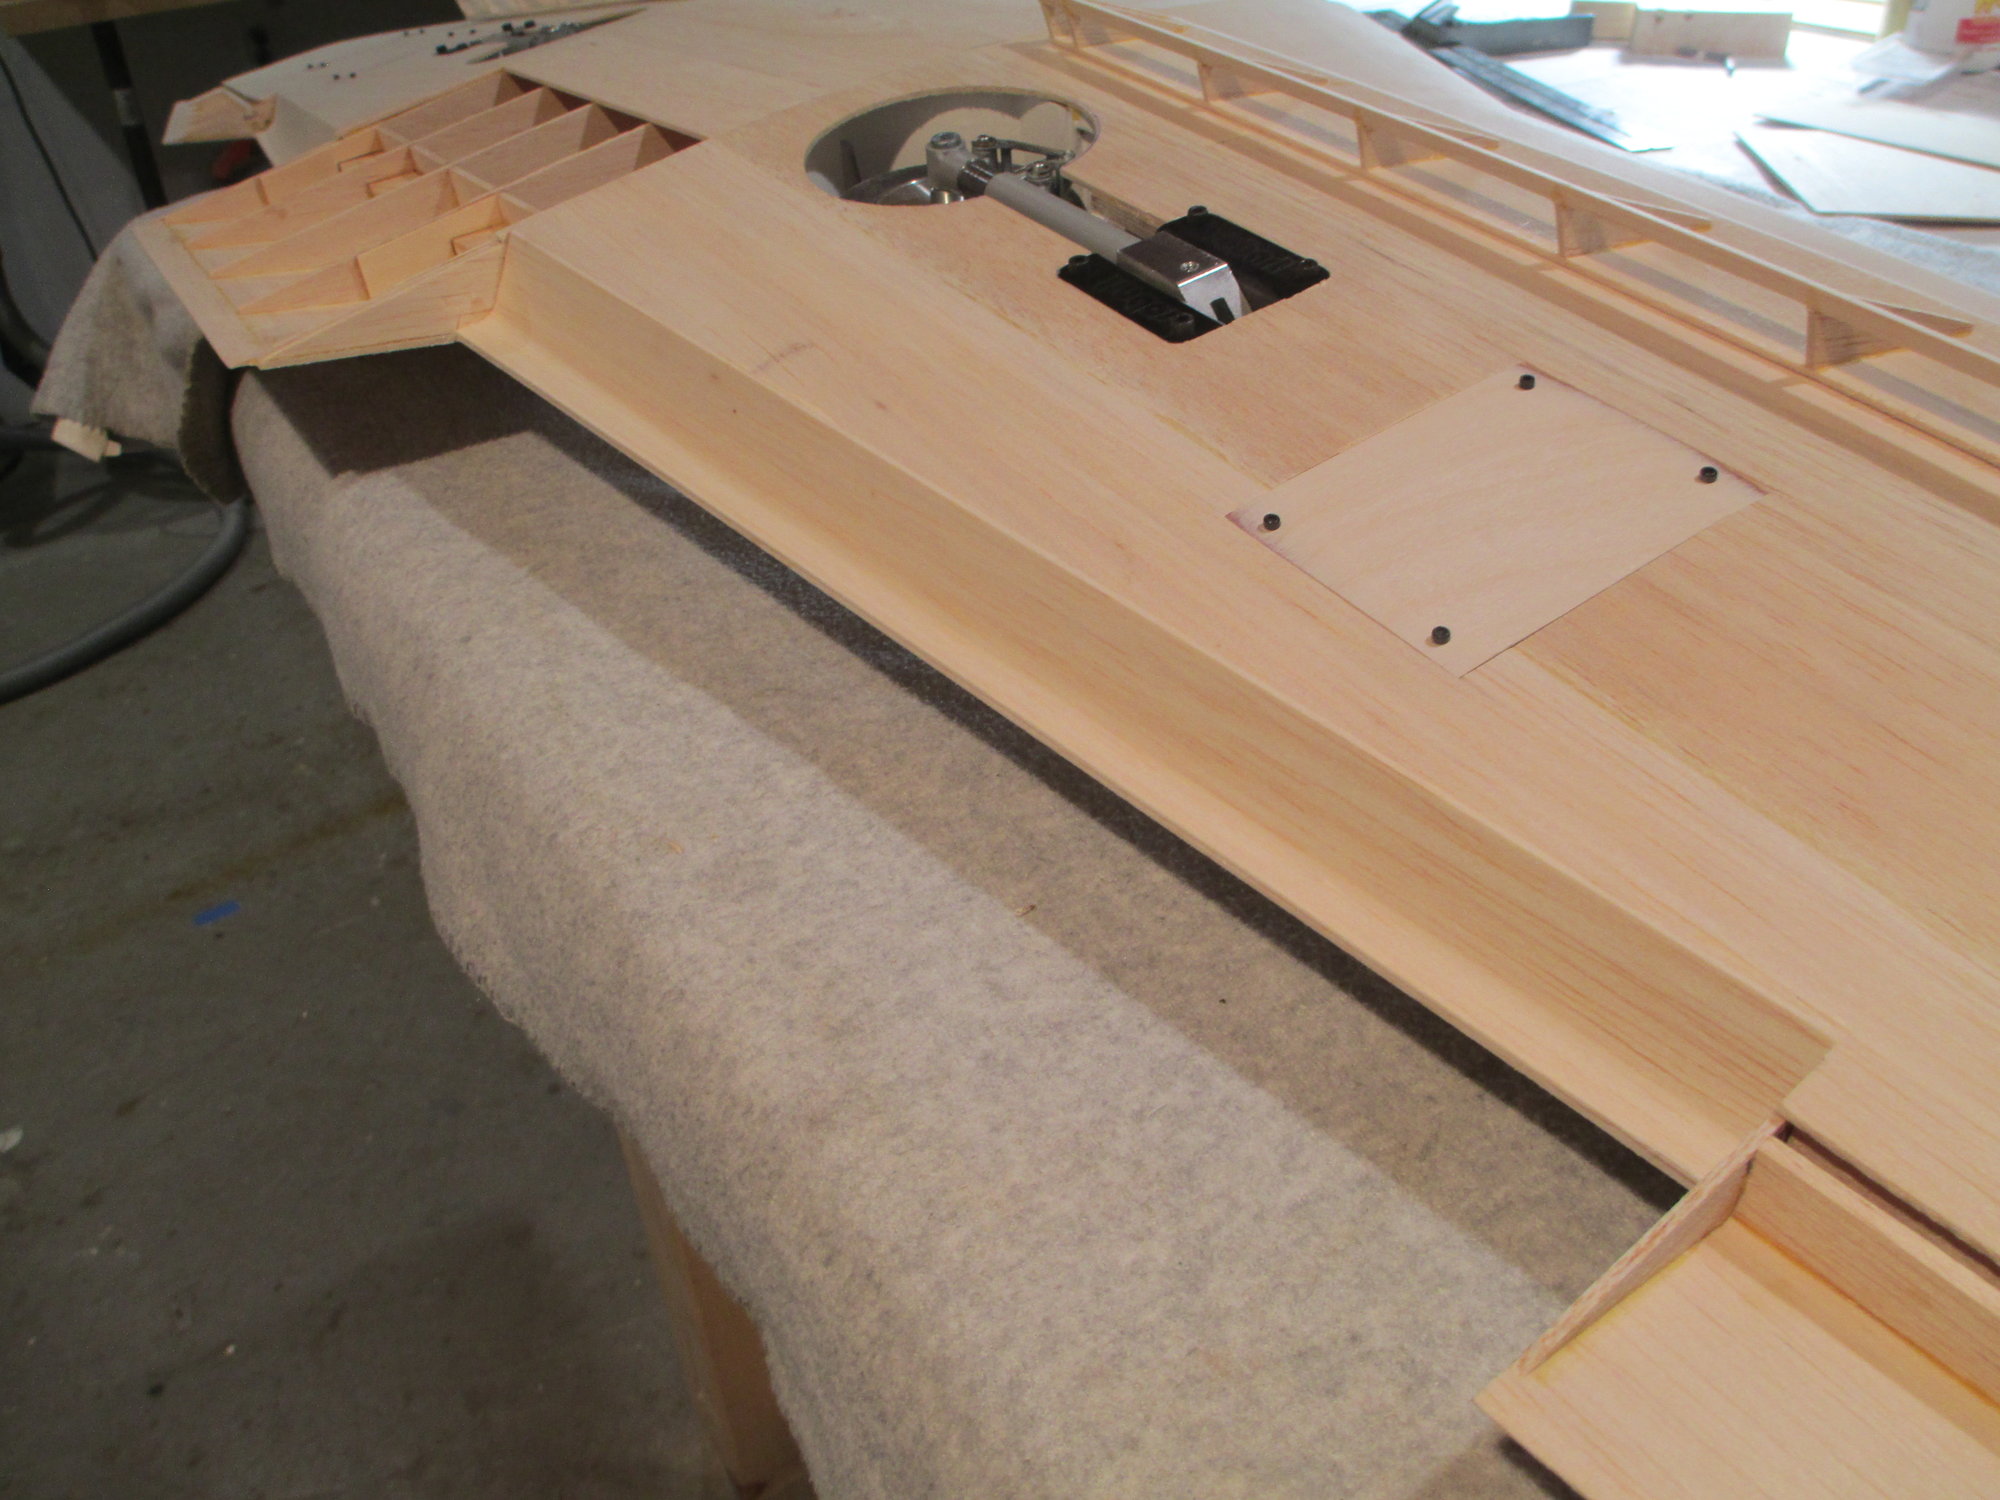
Ready to install the second sheet, but I first needed to apply the last coat of epoxy paint to the retract wheel wells. Soon as it dries I'll glue the panel in.
This second sheet is going to be a bit of a tease to install. Not wanting to to do it in smaller pieces, I decided to do it in one piece.
Some careful measuring and cutting. let's see if it fits...
 09-28-2019, 11:31 AM
#278
Thread Starter
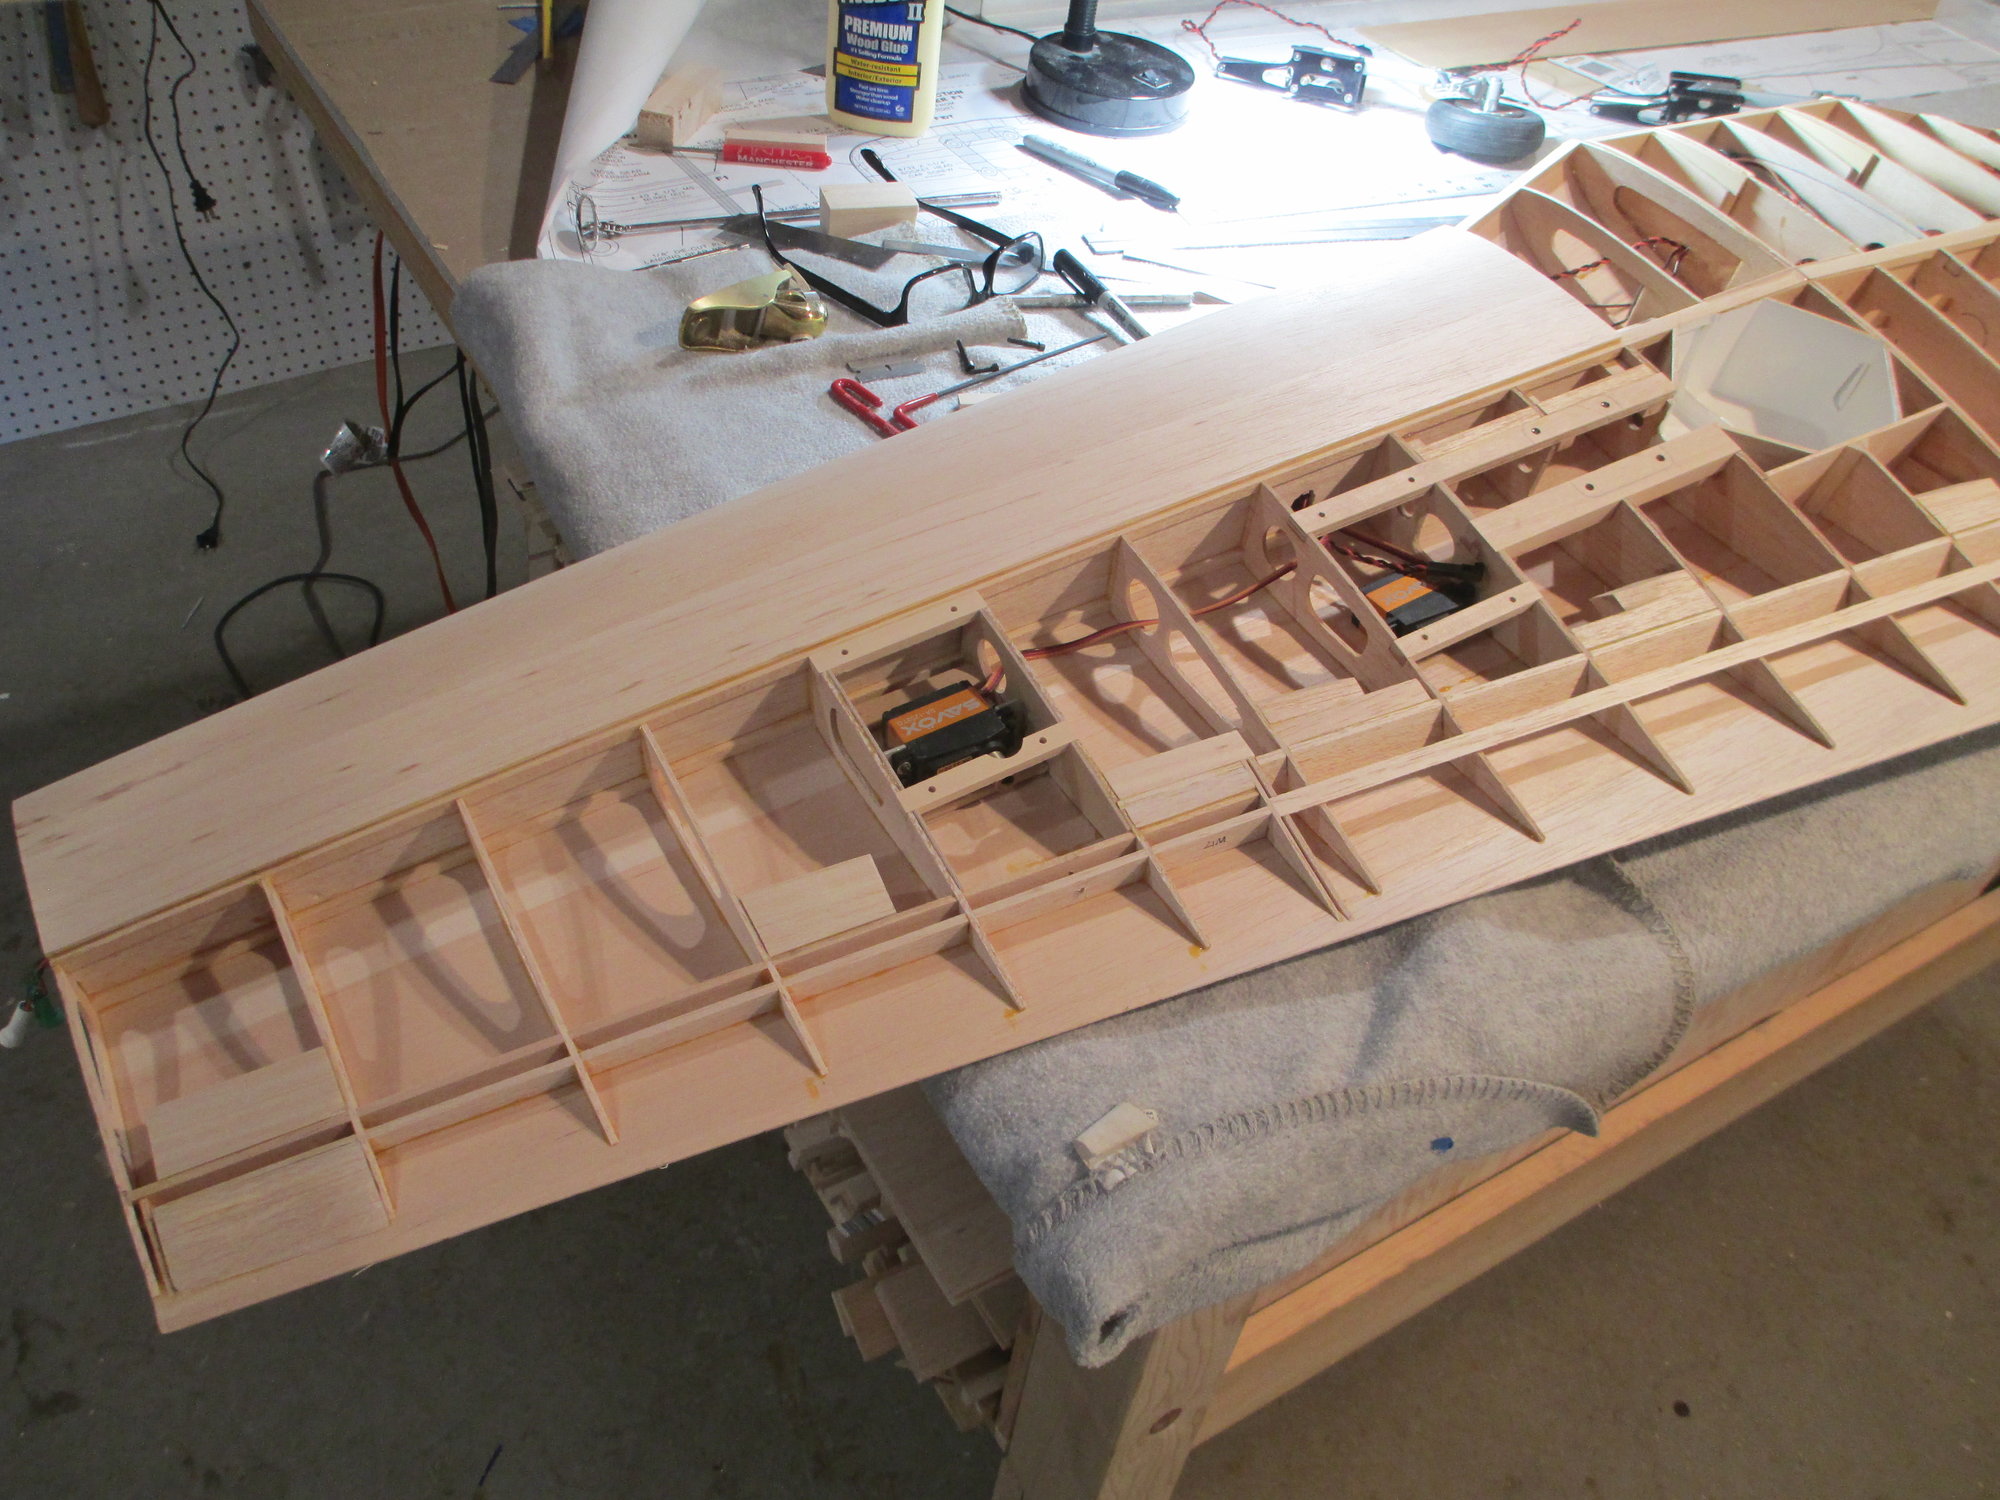
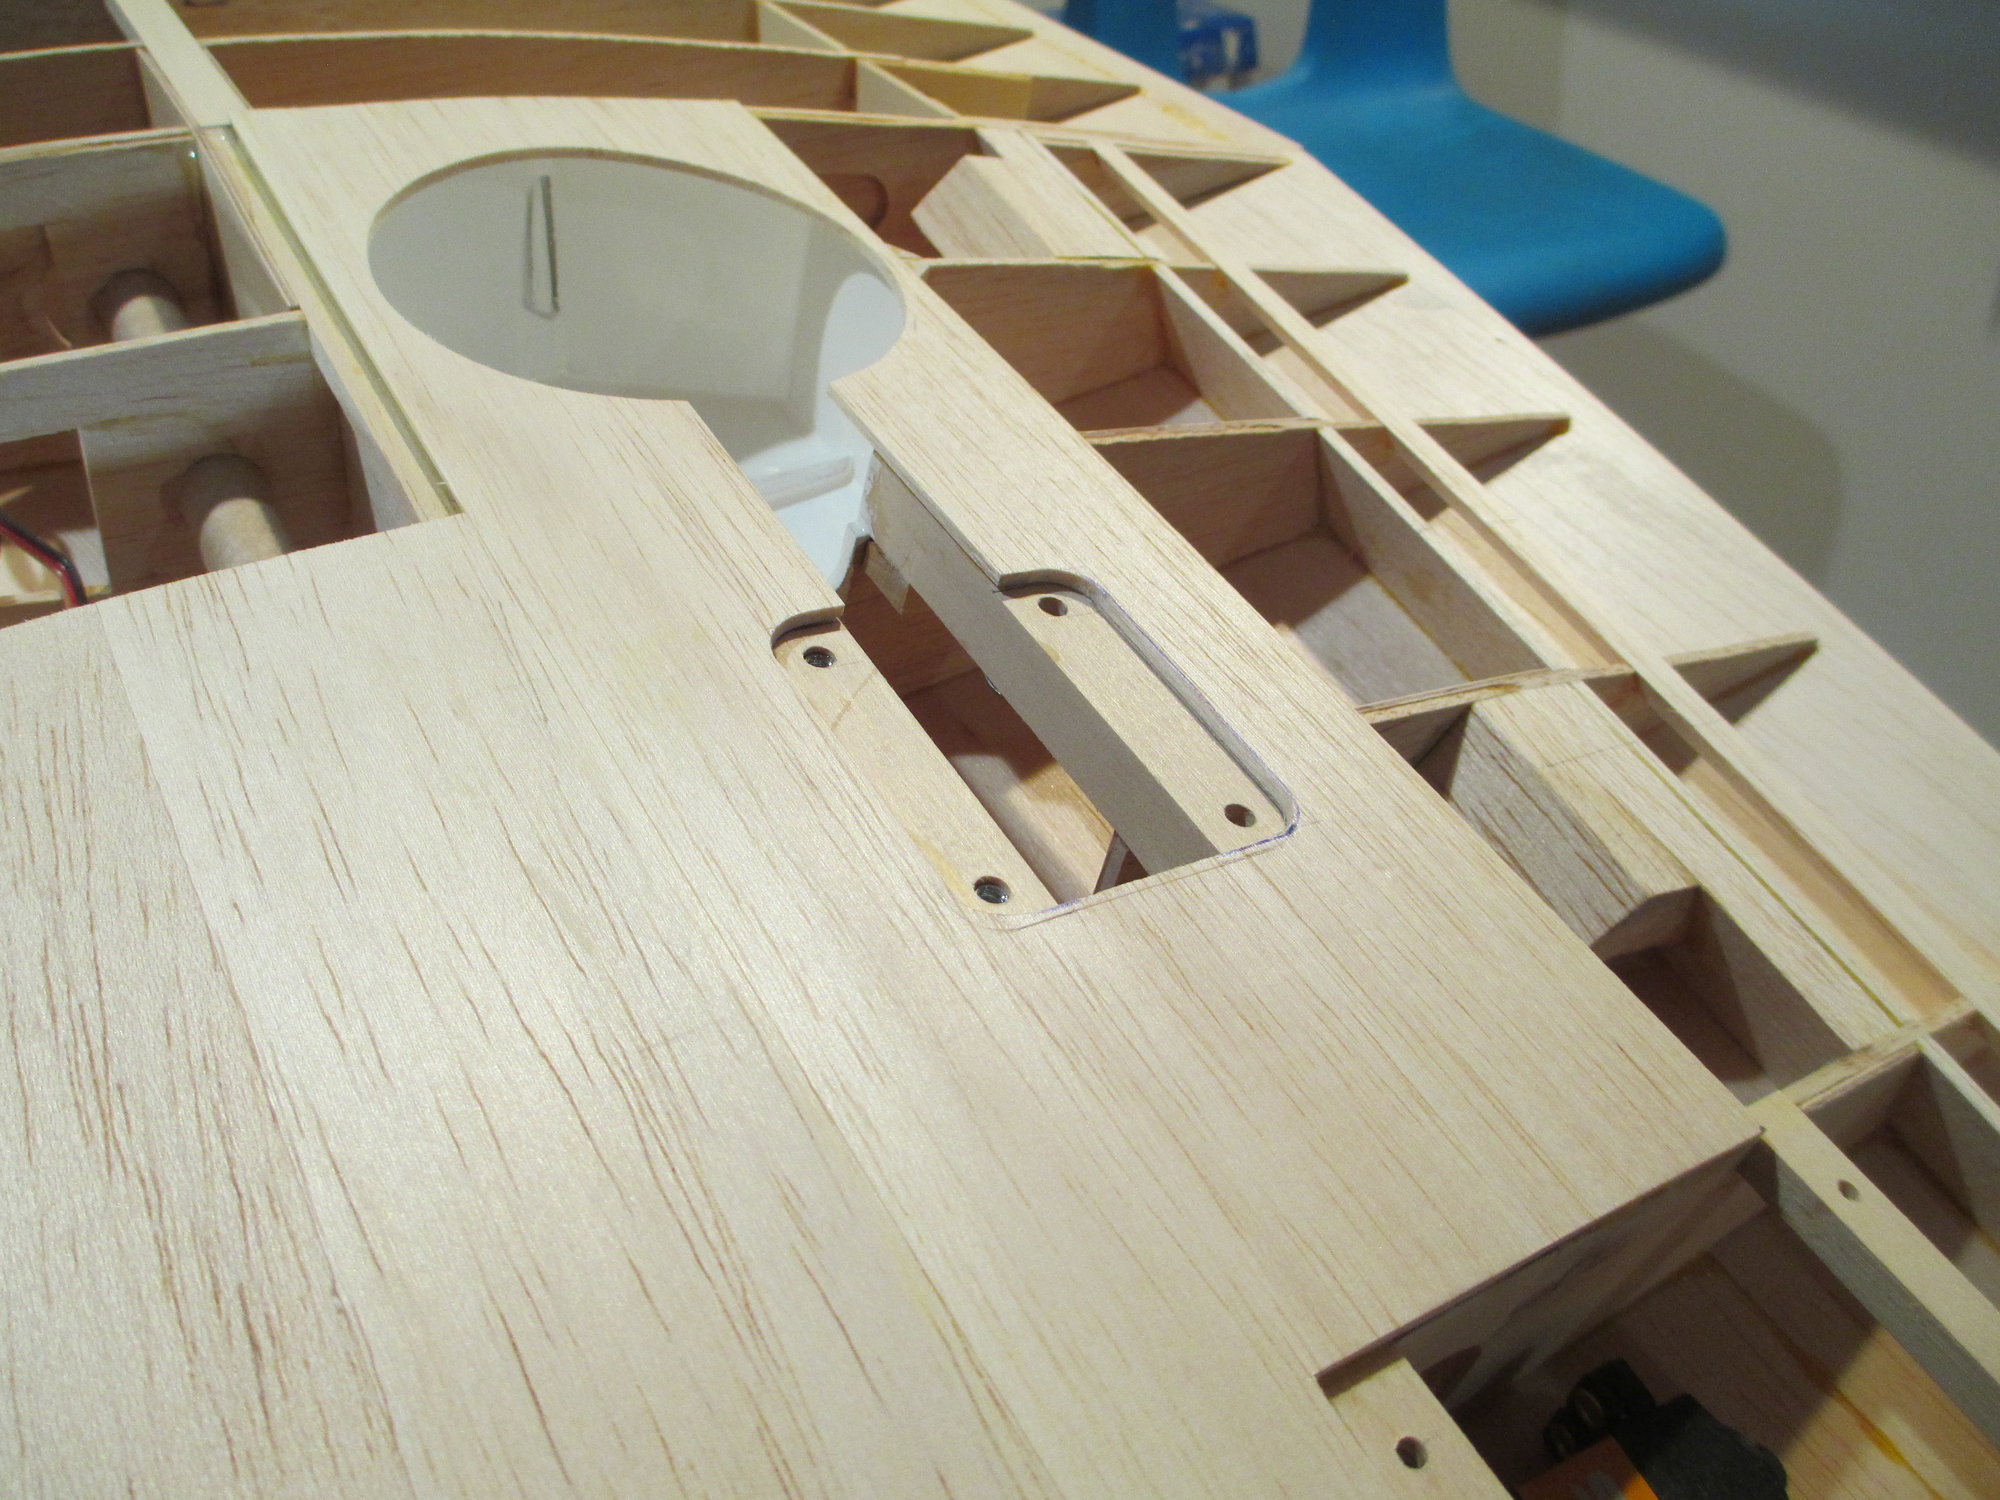
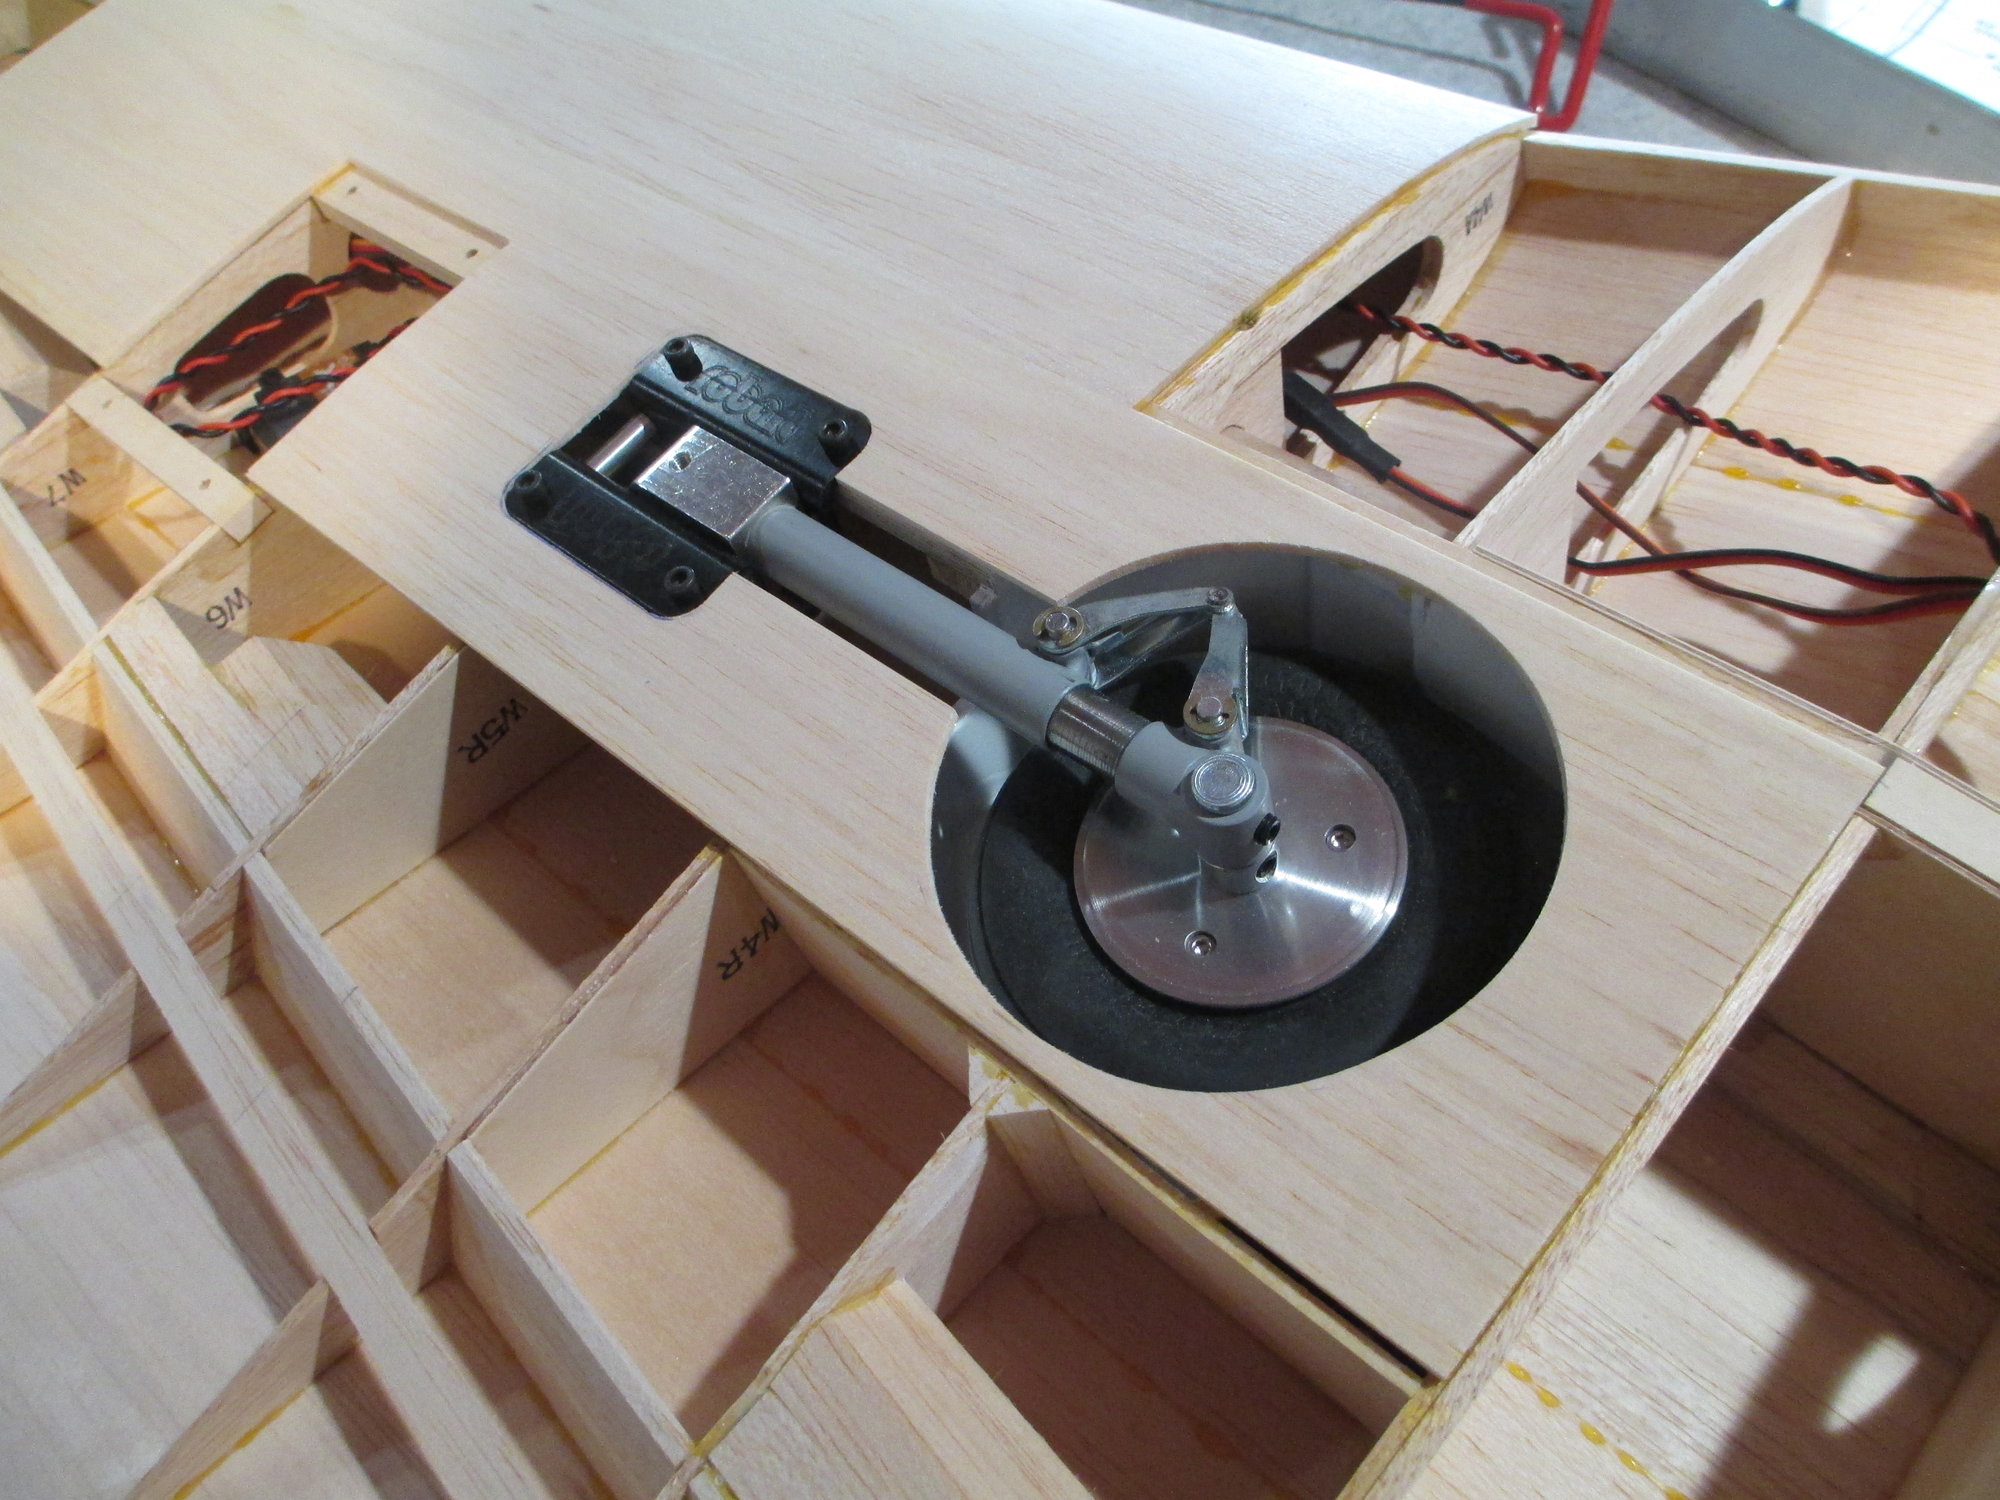
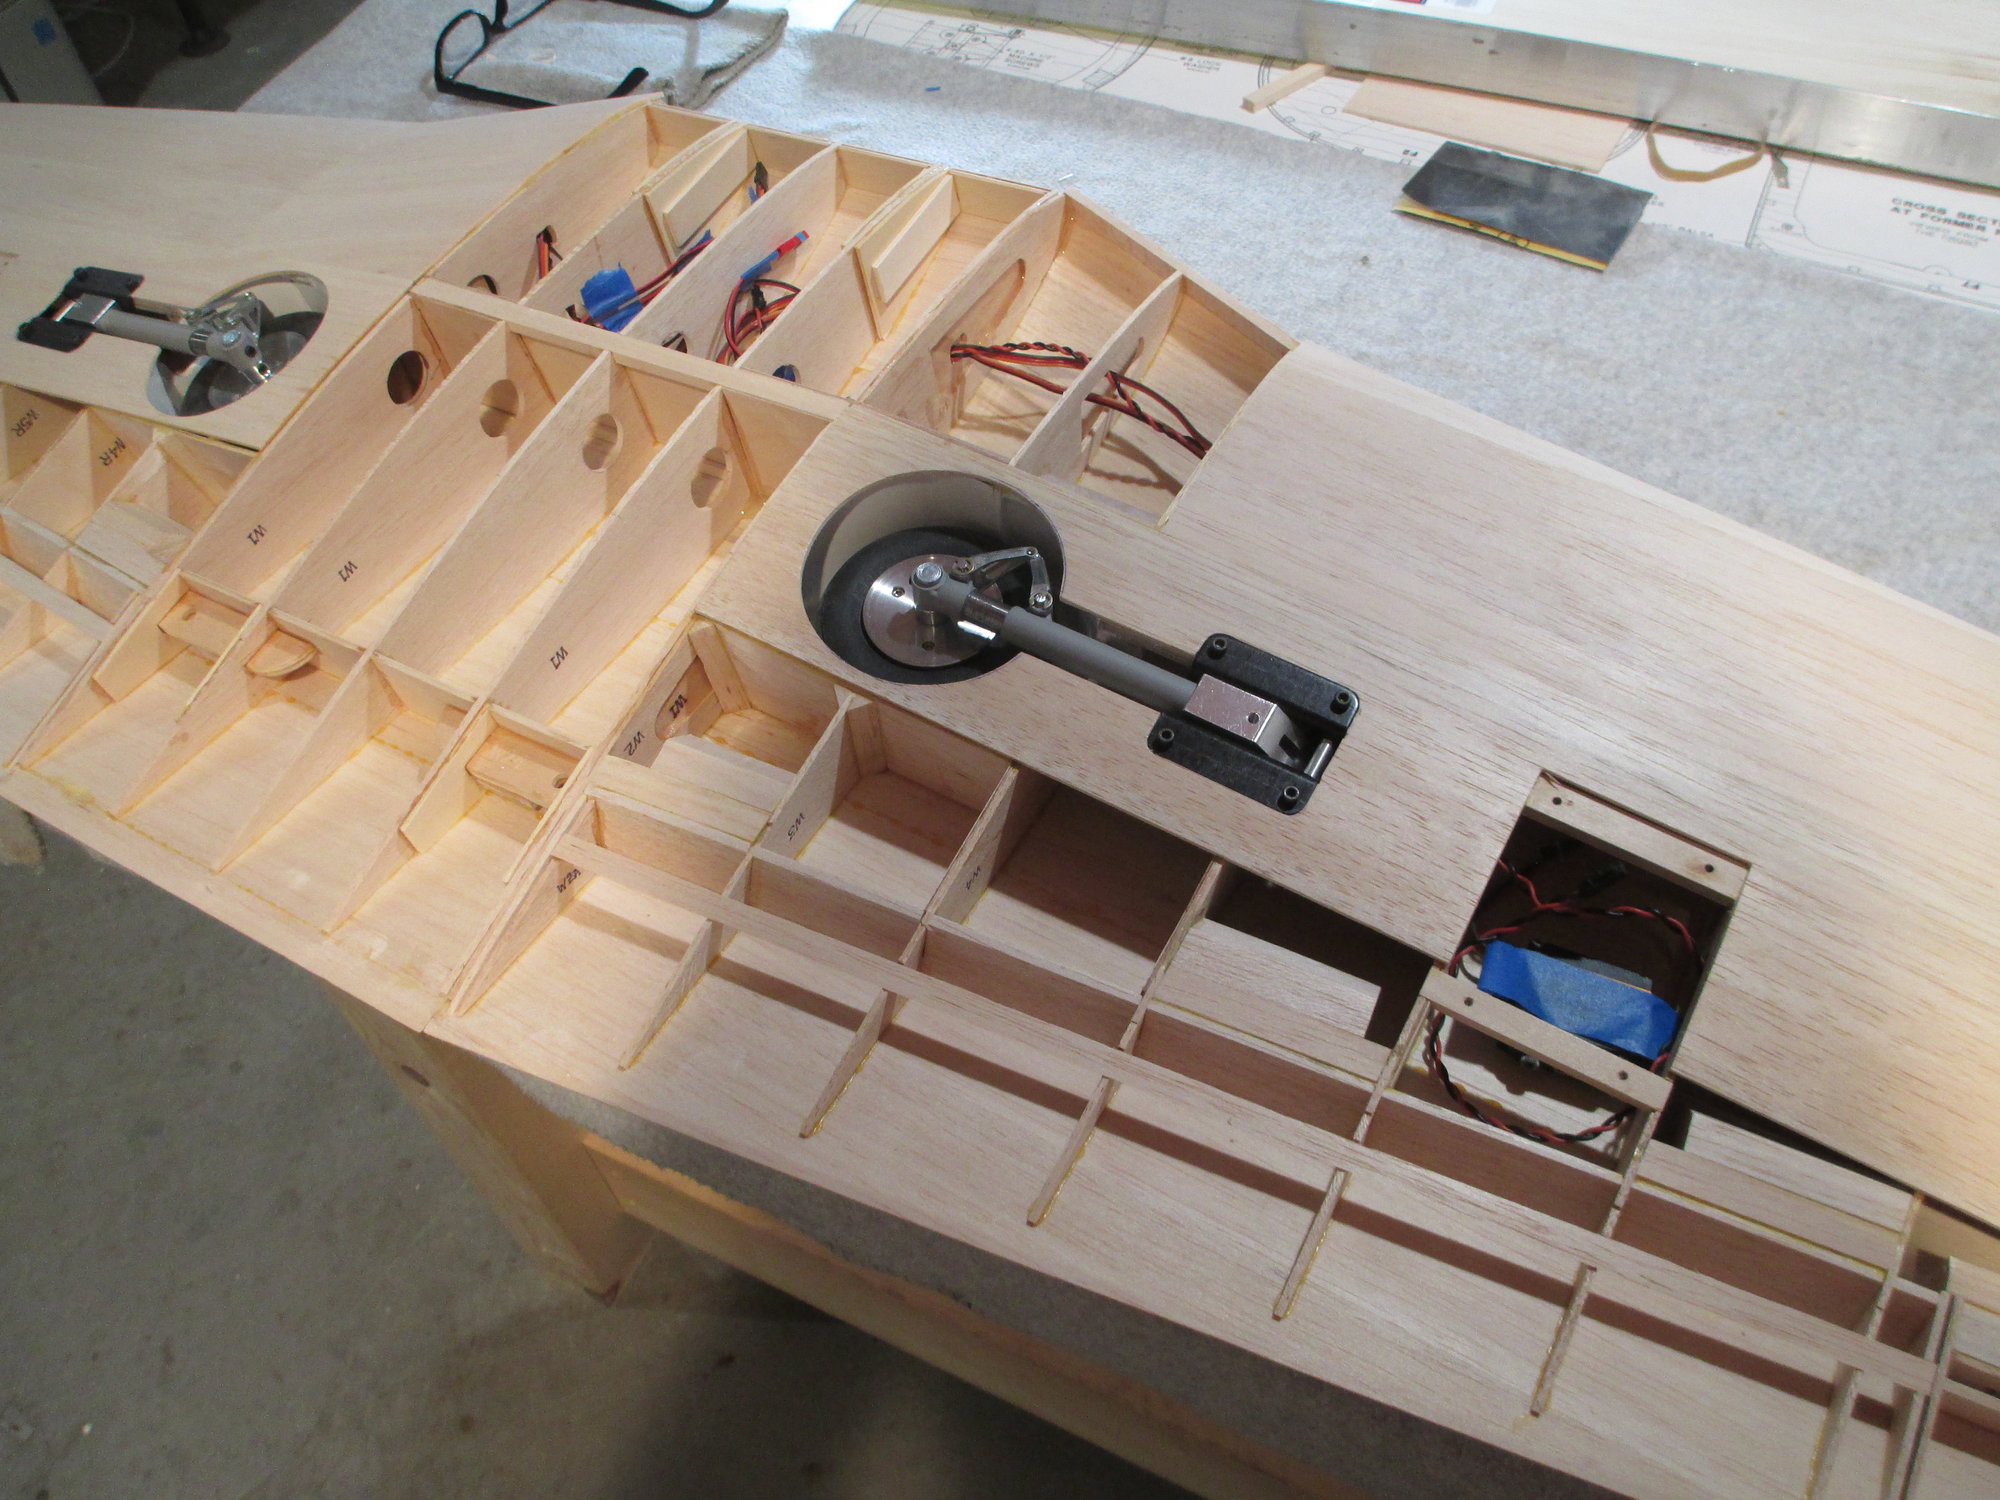
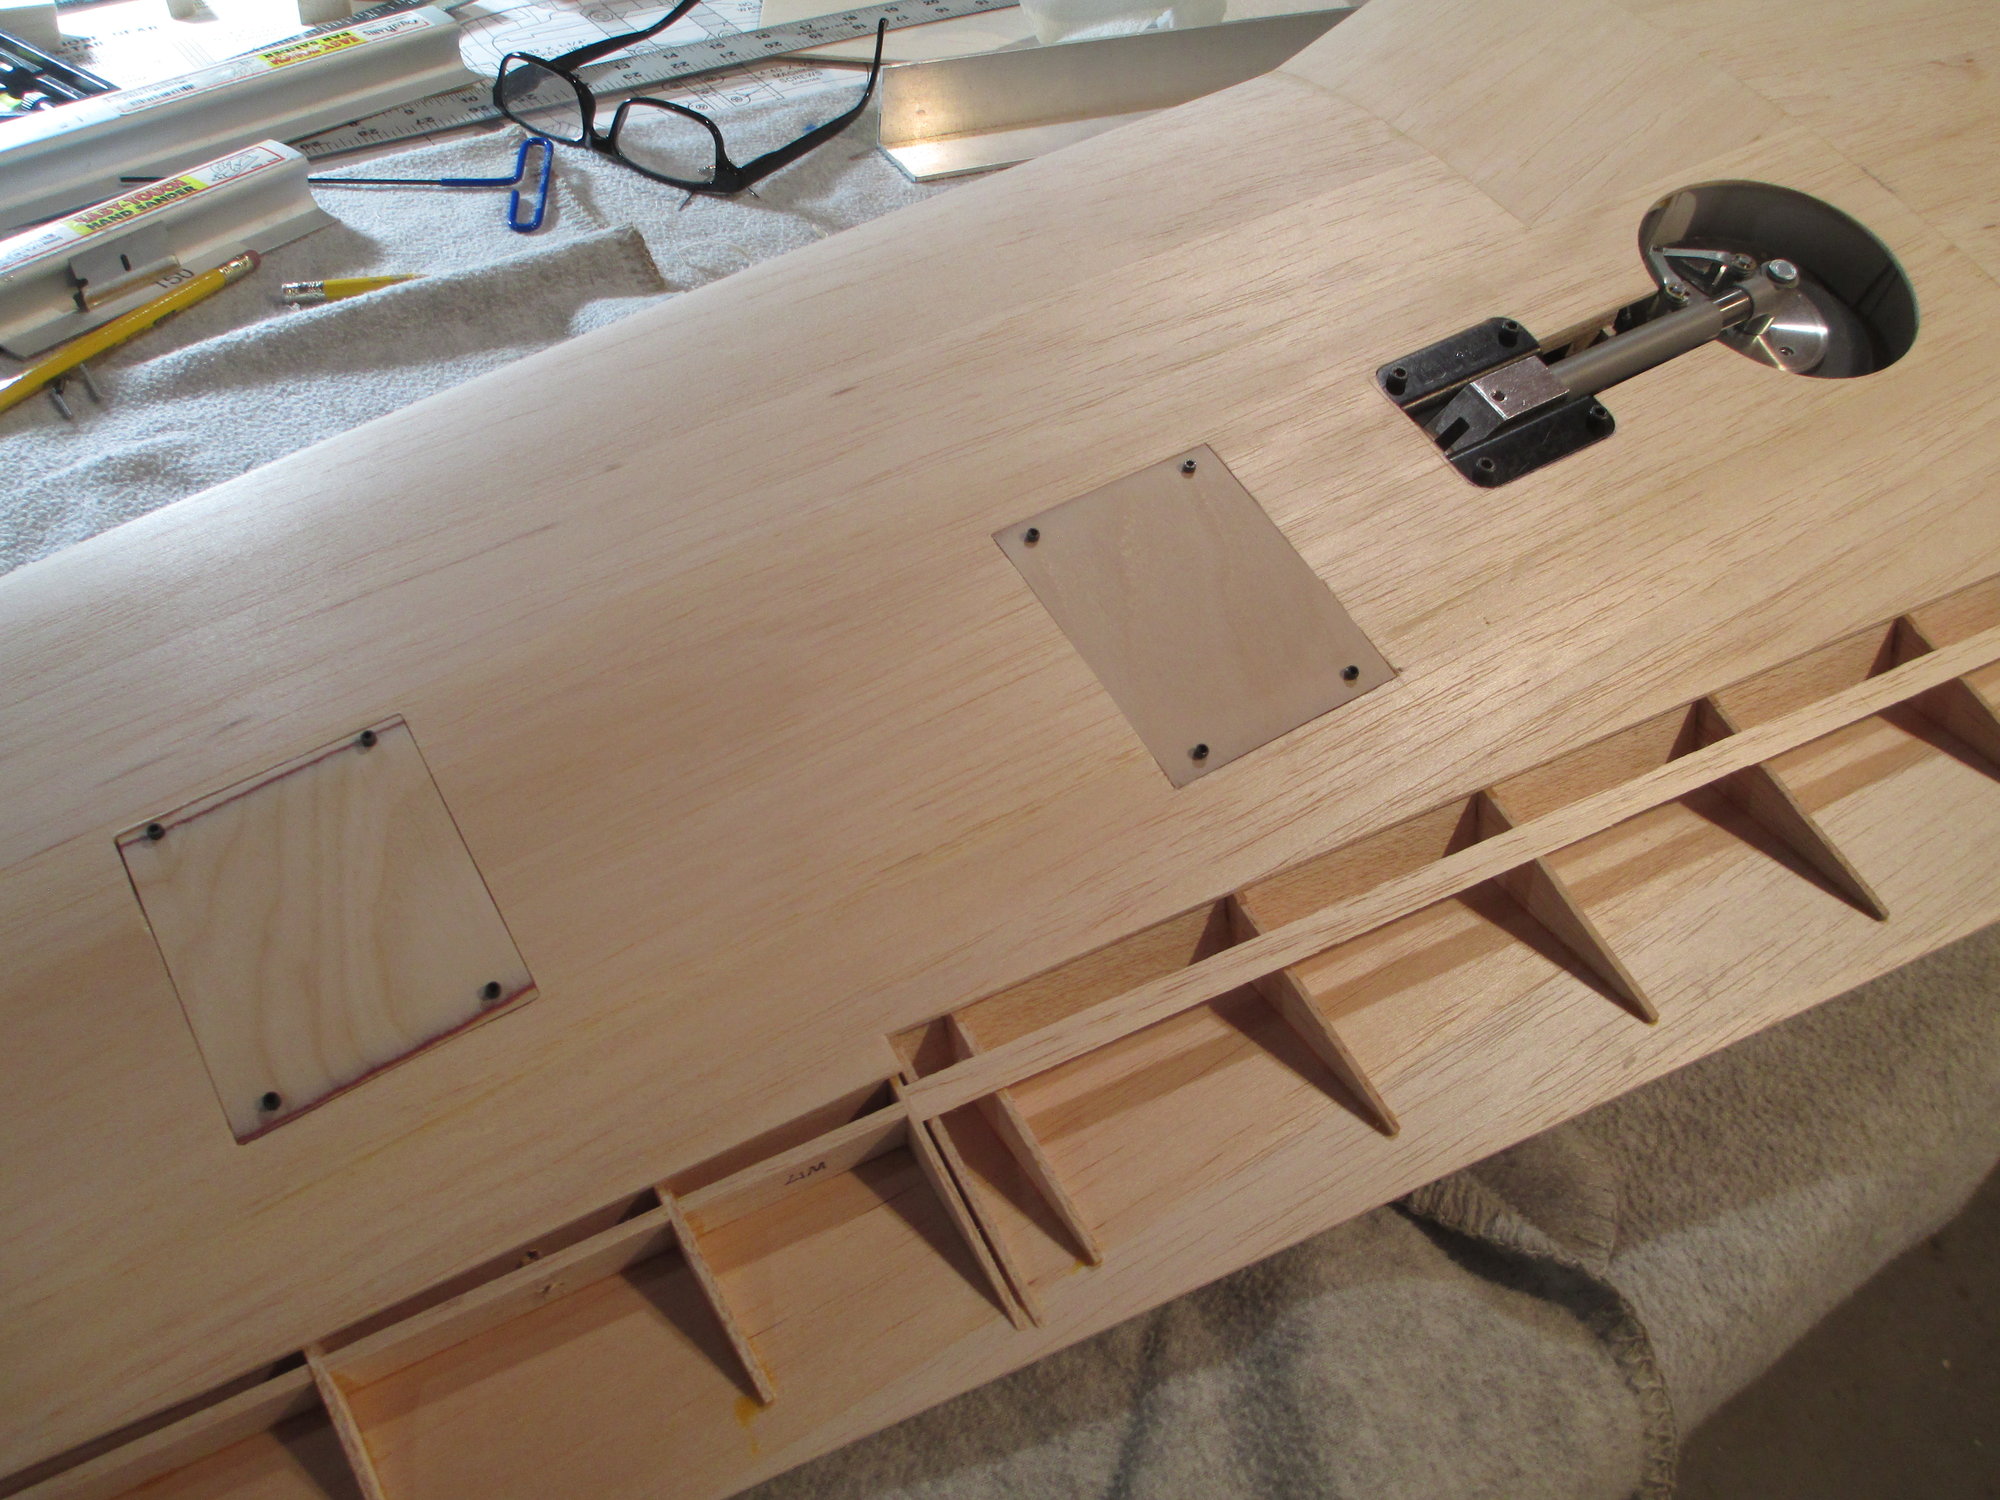
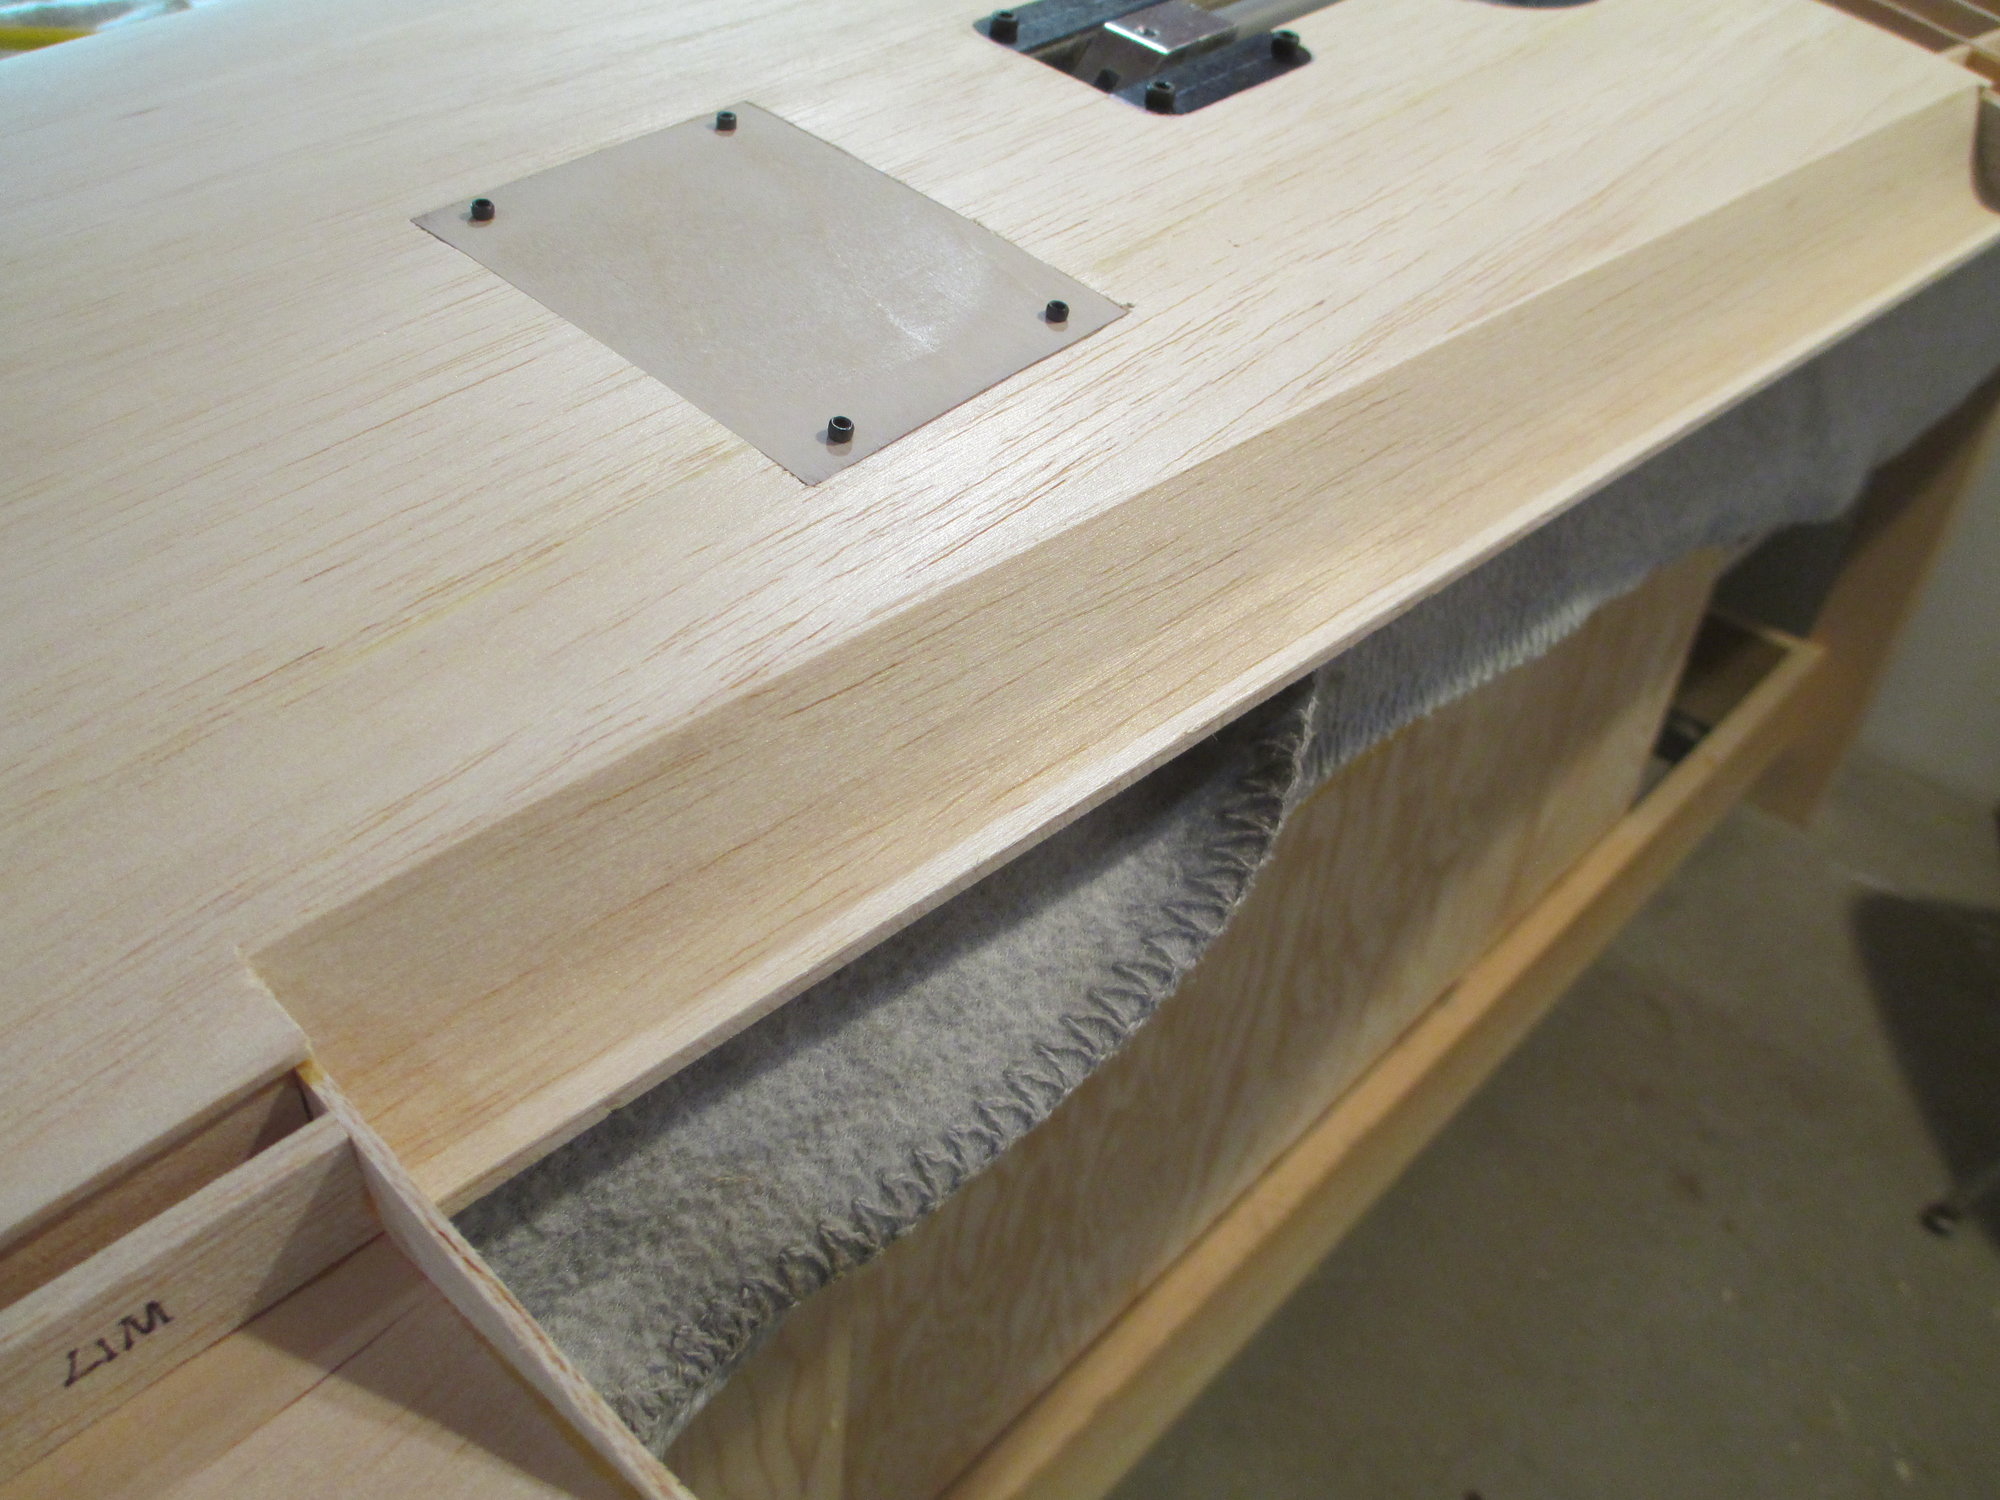
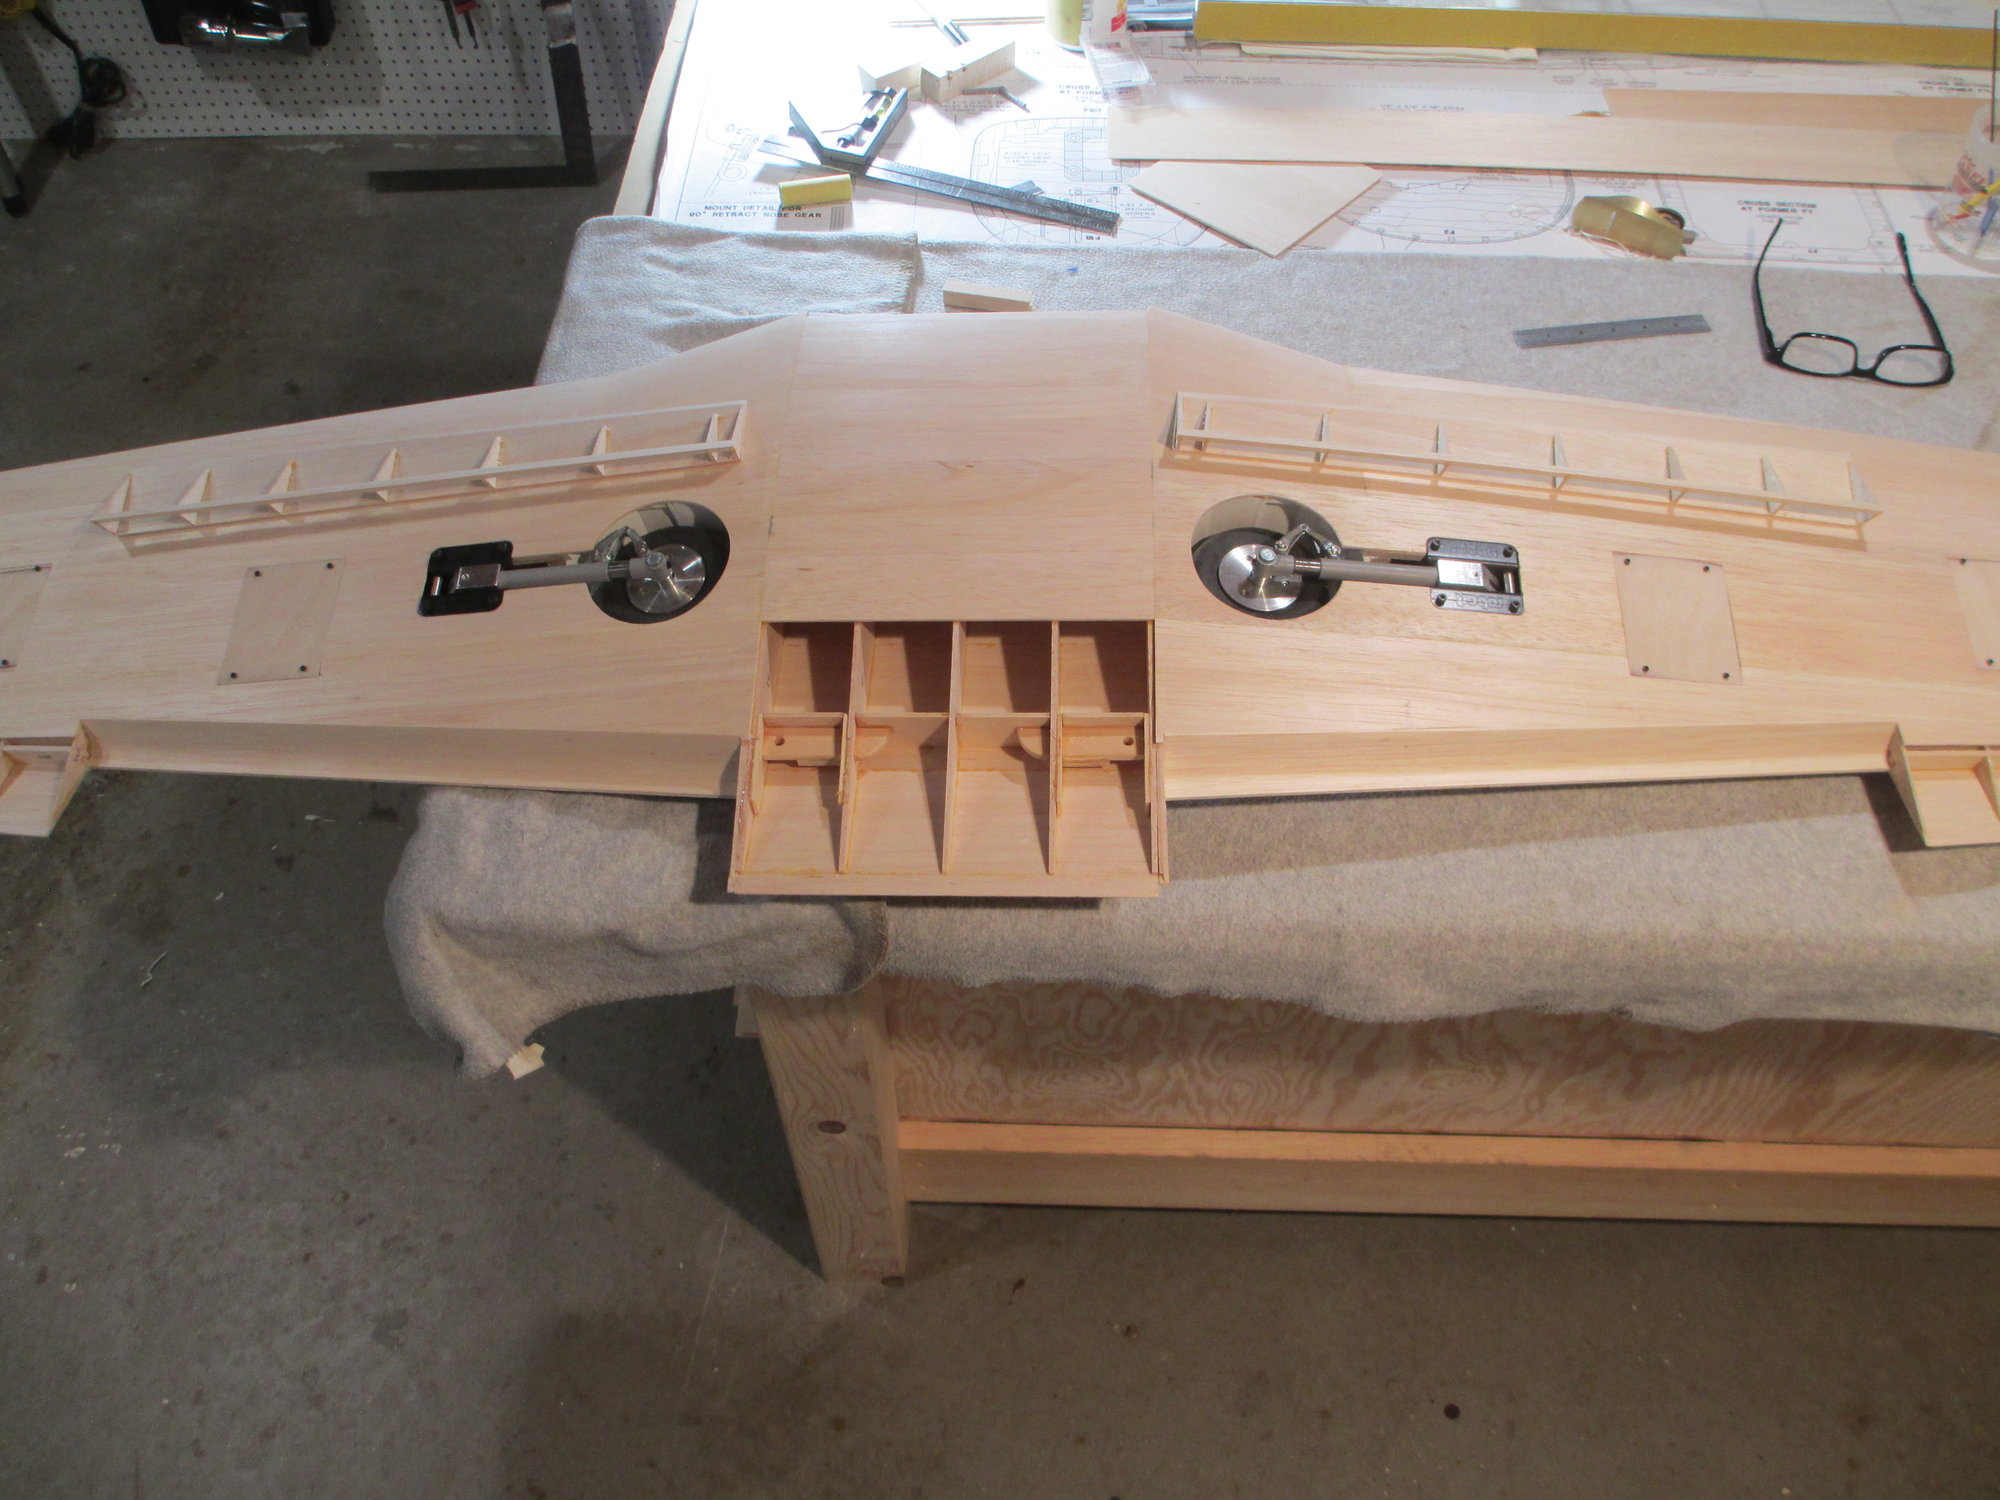
Here's the the finished sheet, it took me a fair amount of time to carefully measure and cut out.
I think with a bit of tweaking here and there it will be good.
I am so glad that I spent the time previously to box in the wheel well, it really does give the top sheeting the much needed support.
Last edited by VincentJ; 09-28-2019 at 02:10 PM.

 09-29-2019, 04:29 PM
#280
Thread Starter
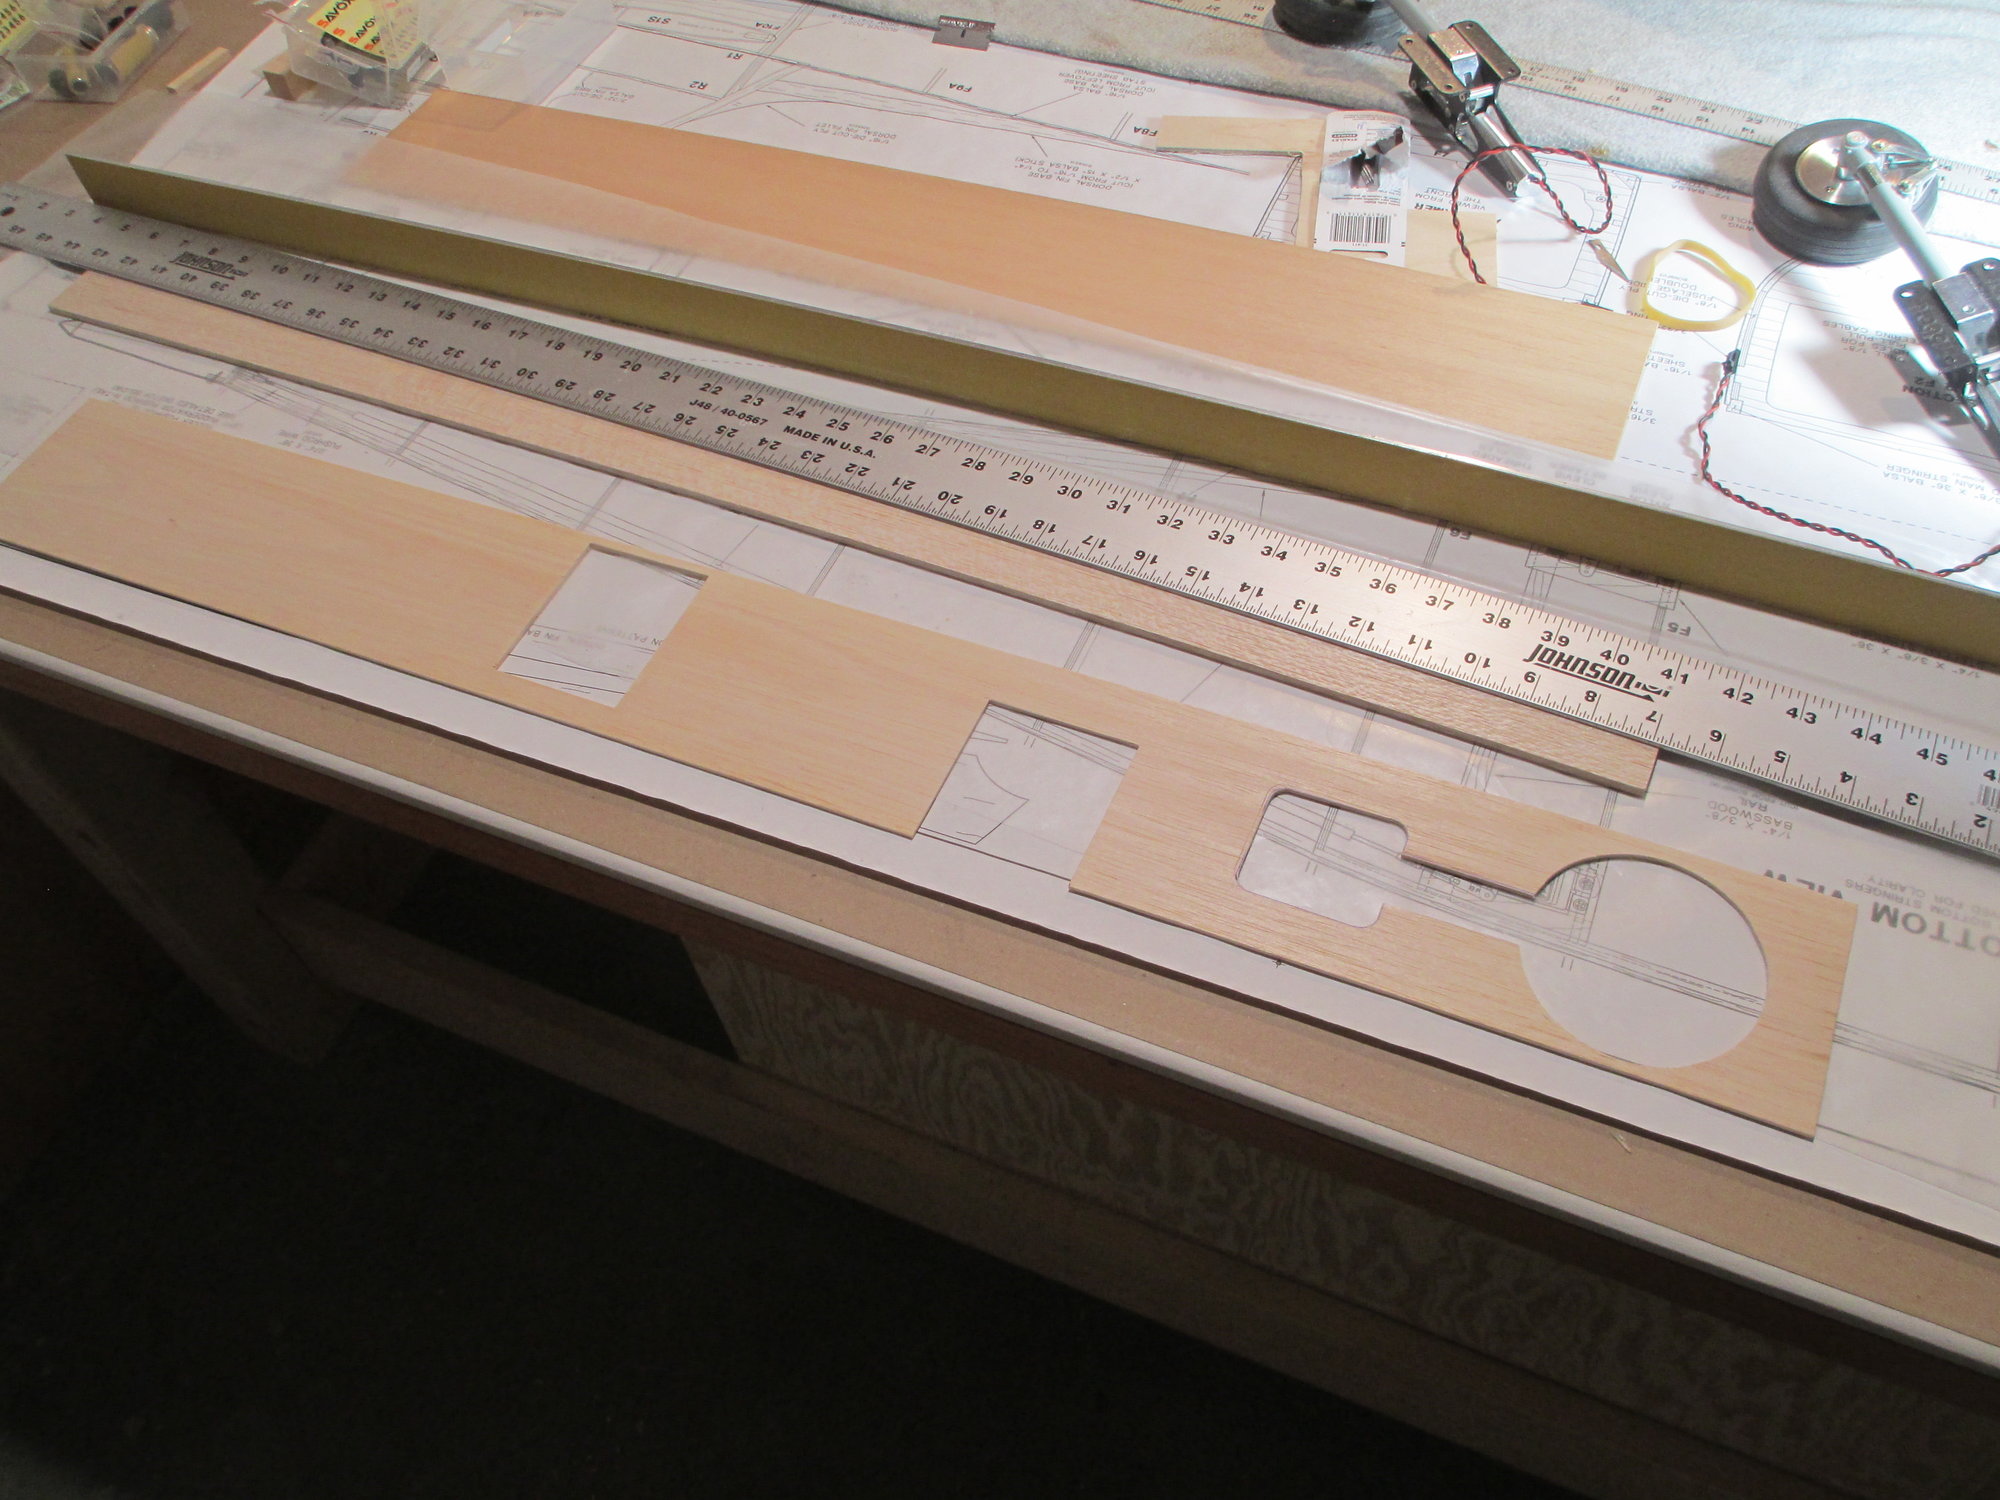
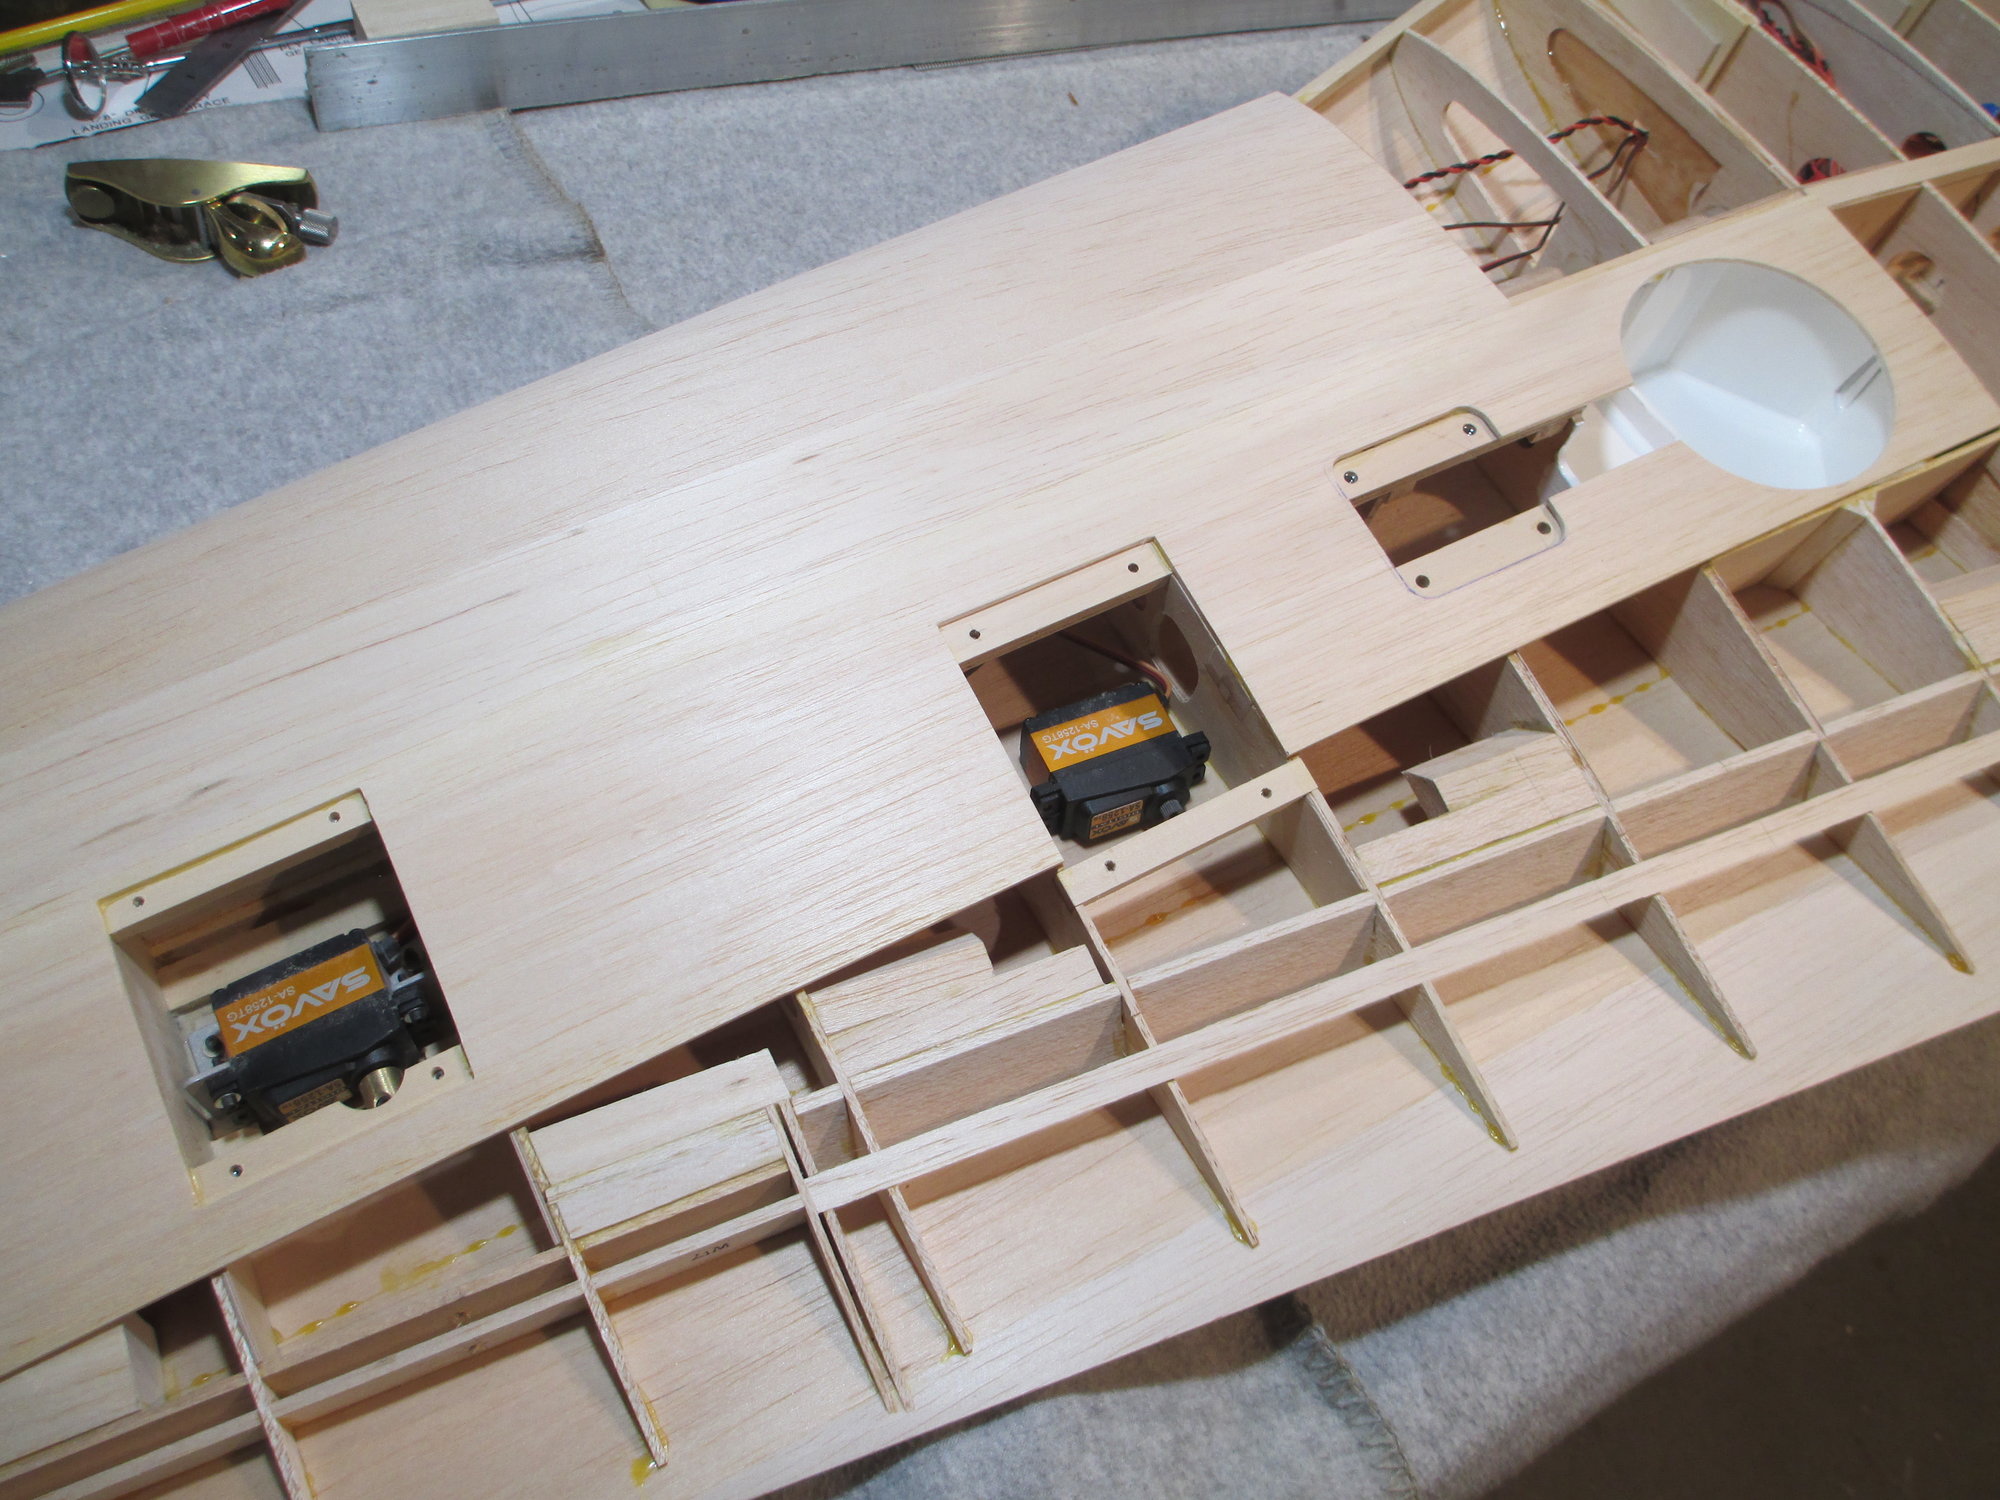
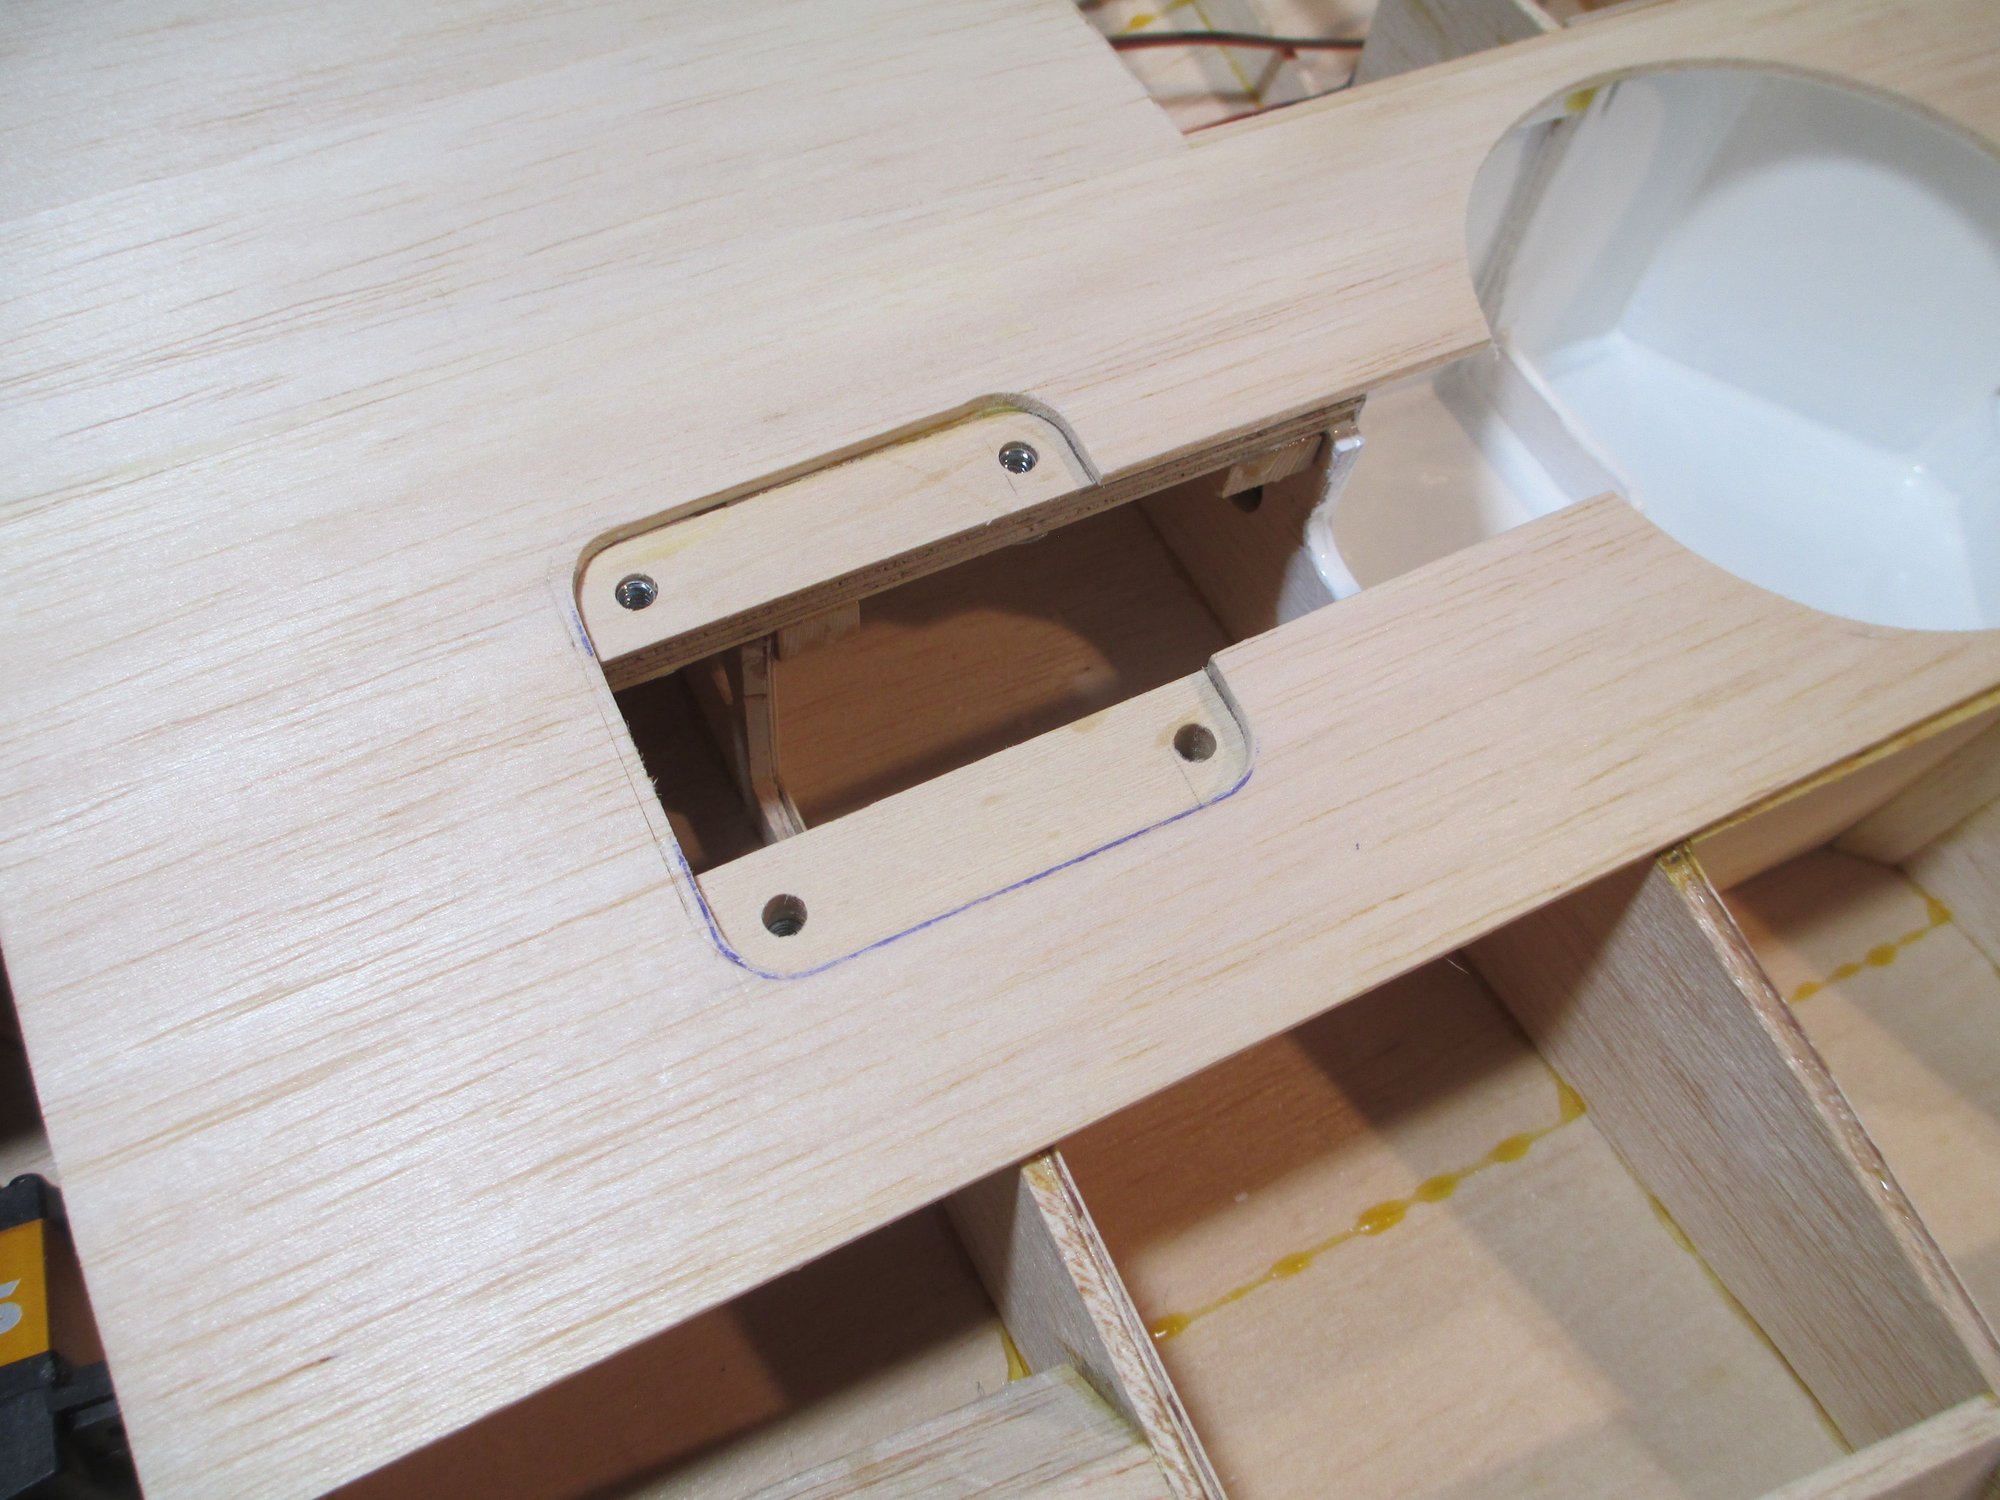
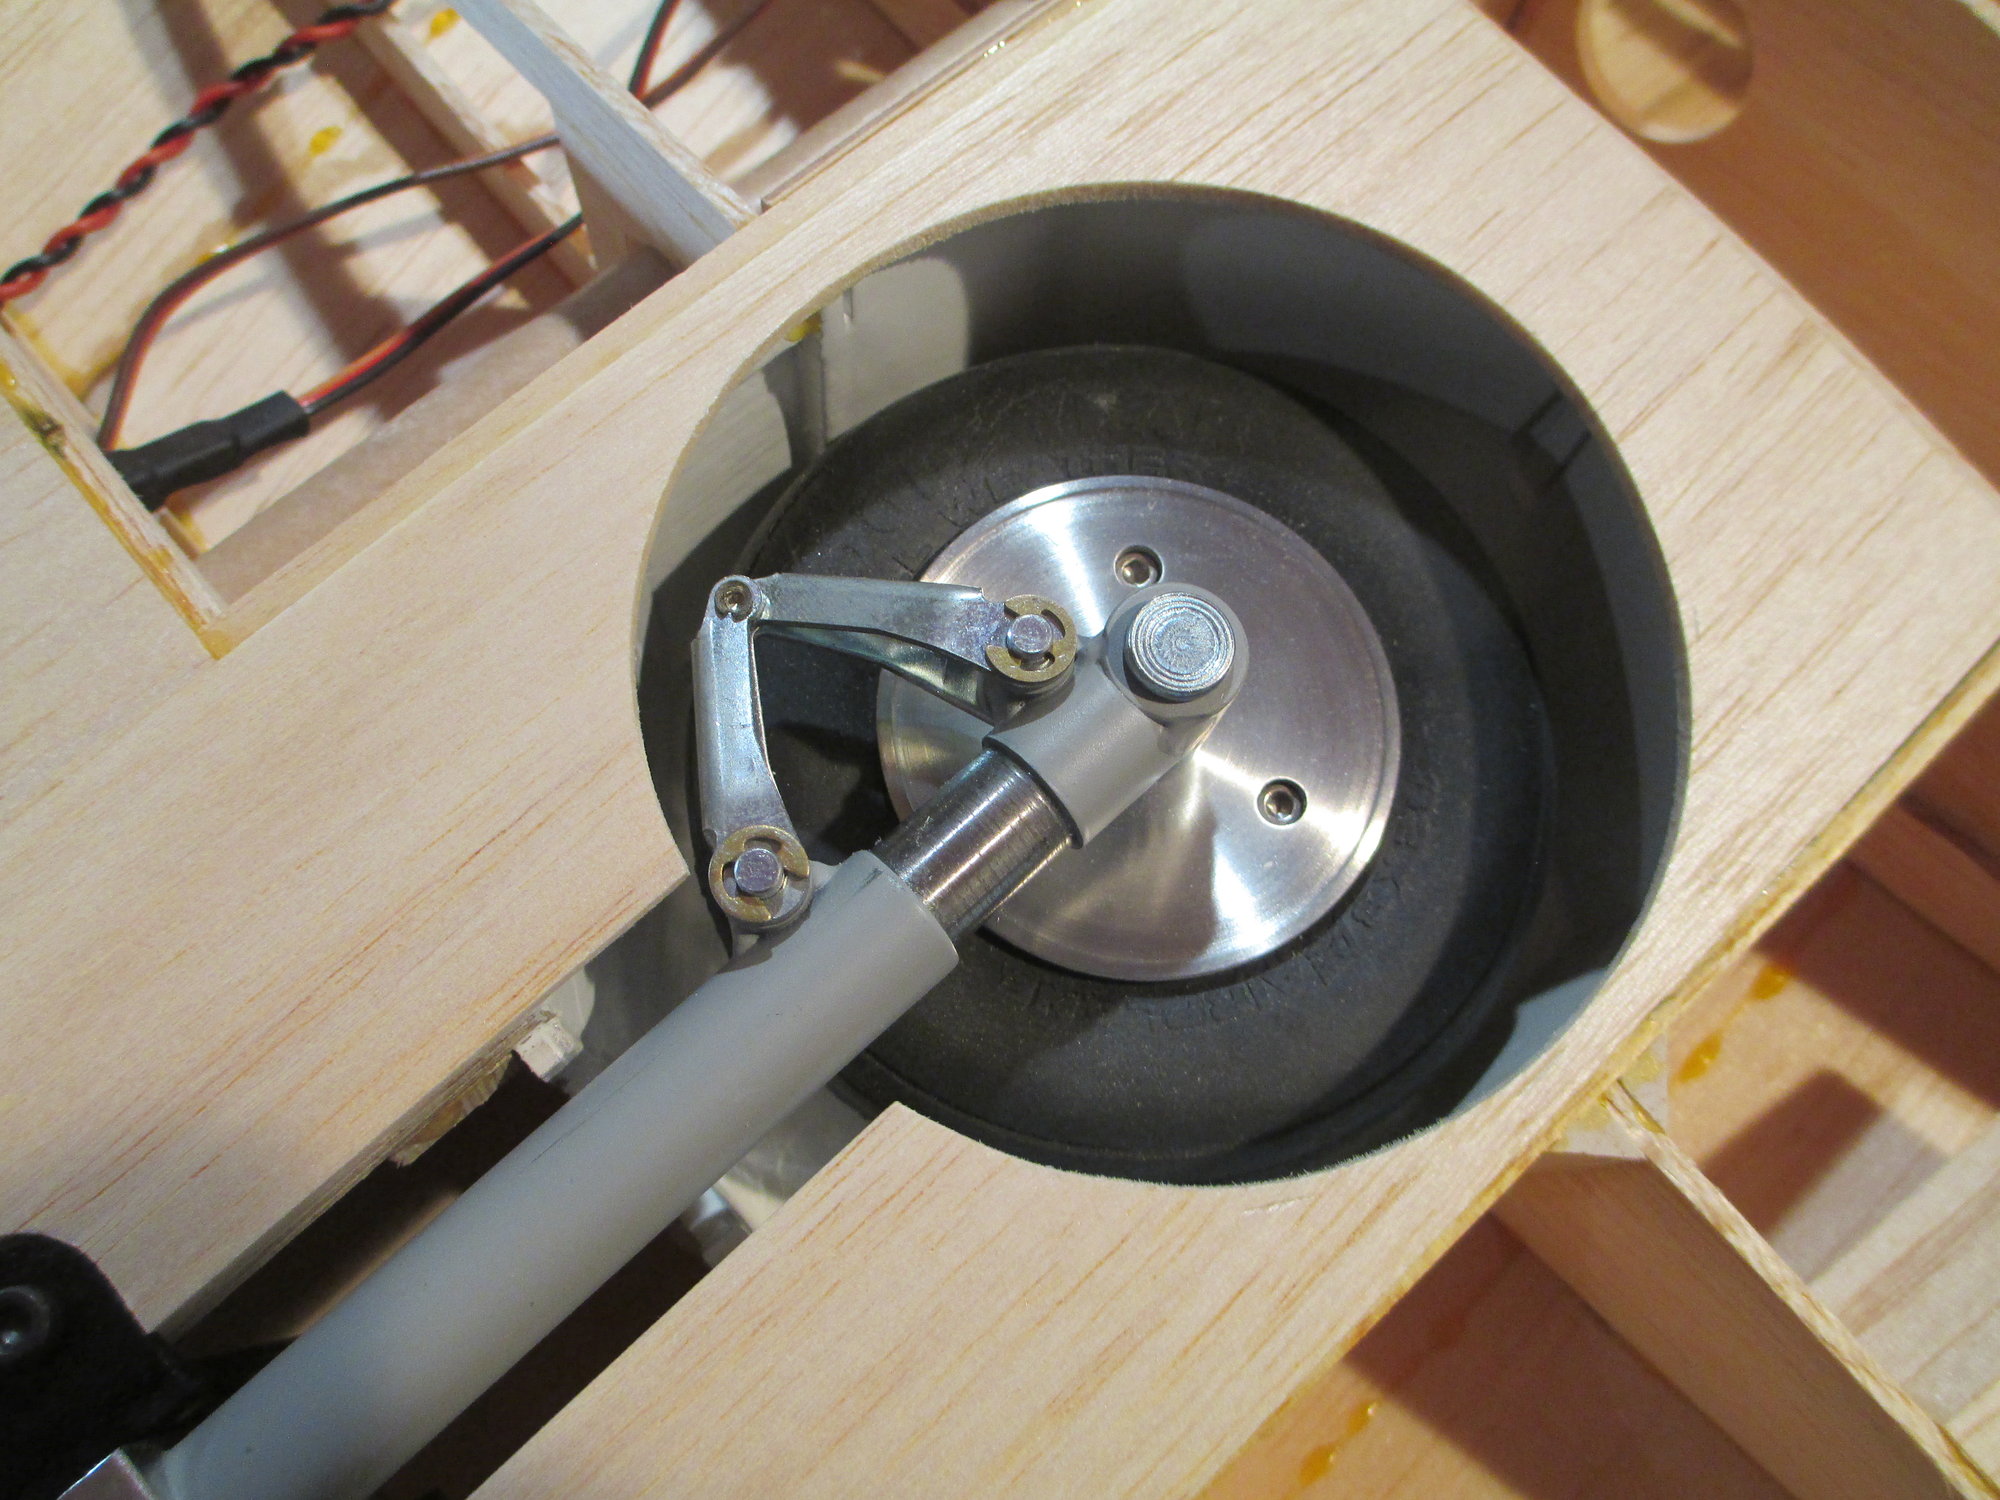
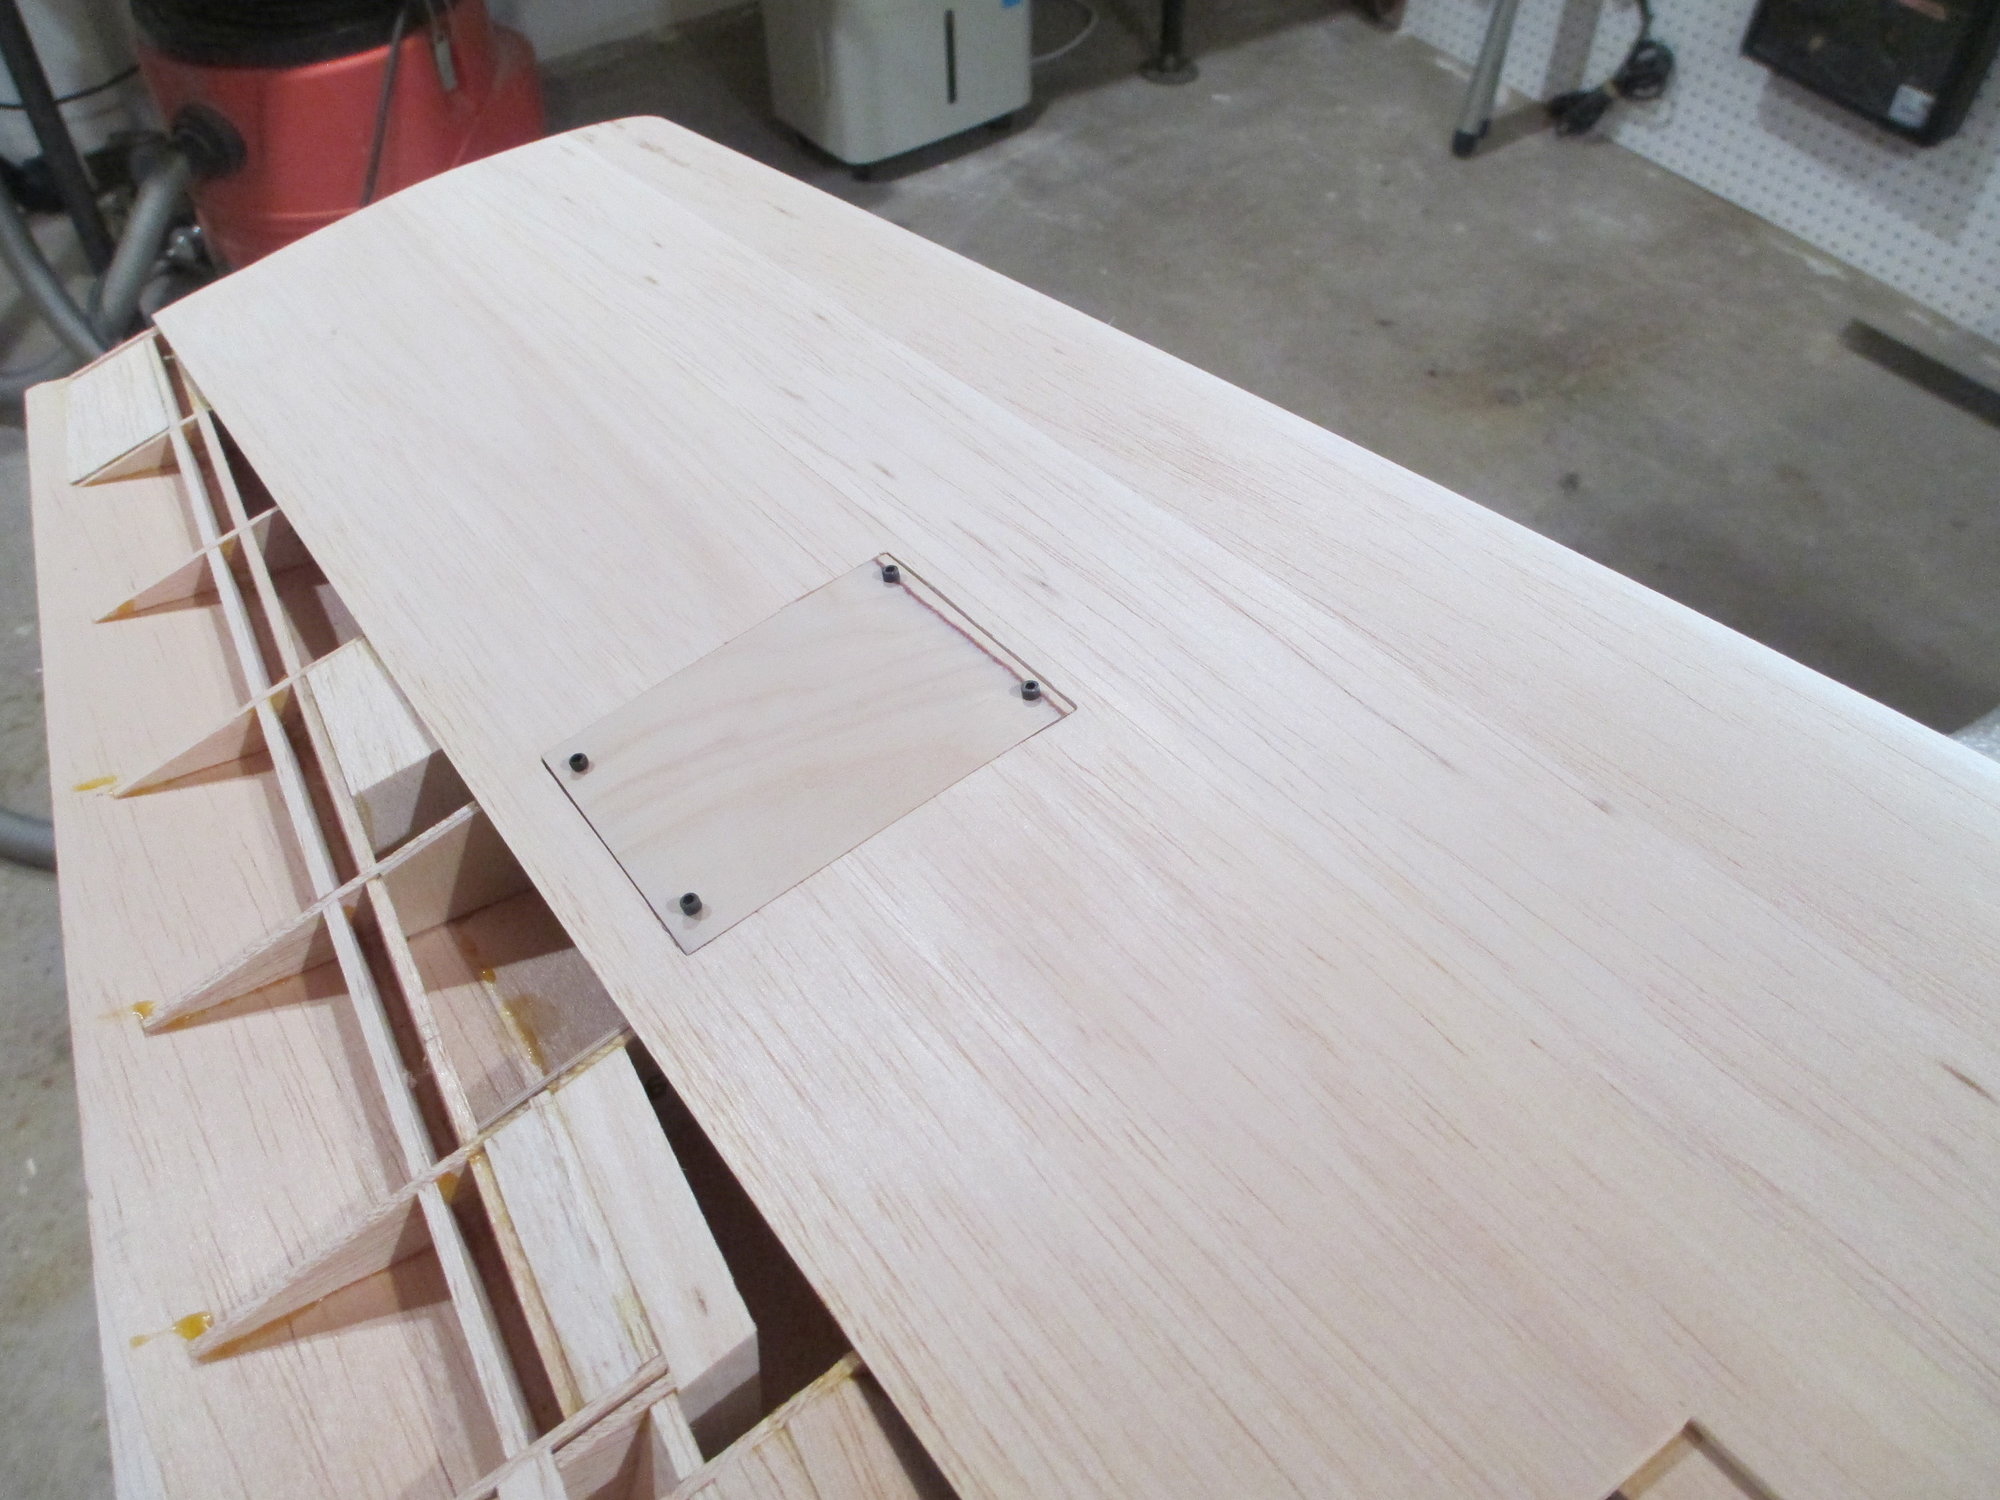
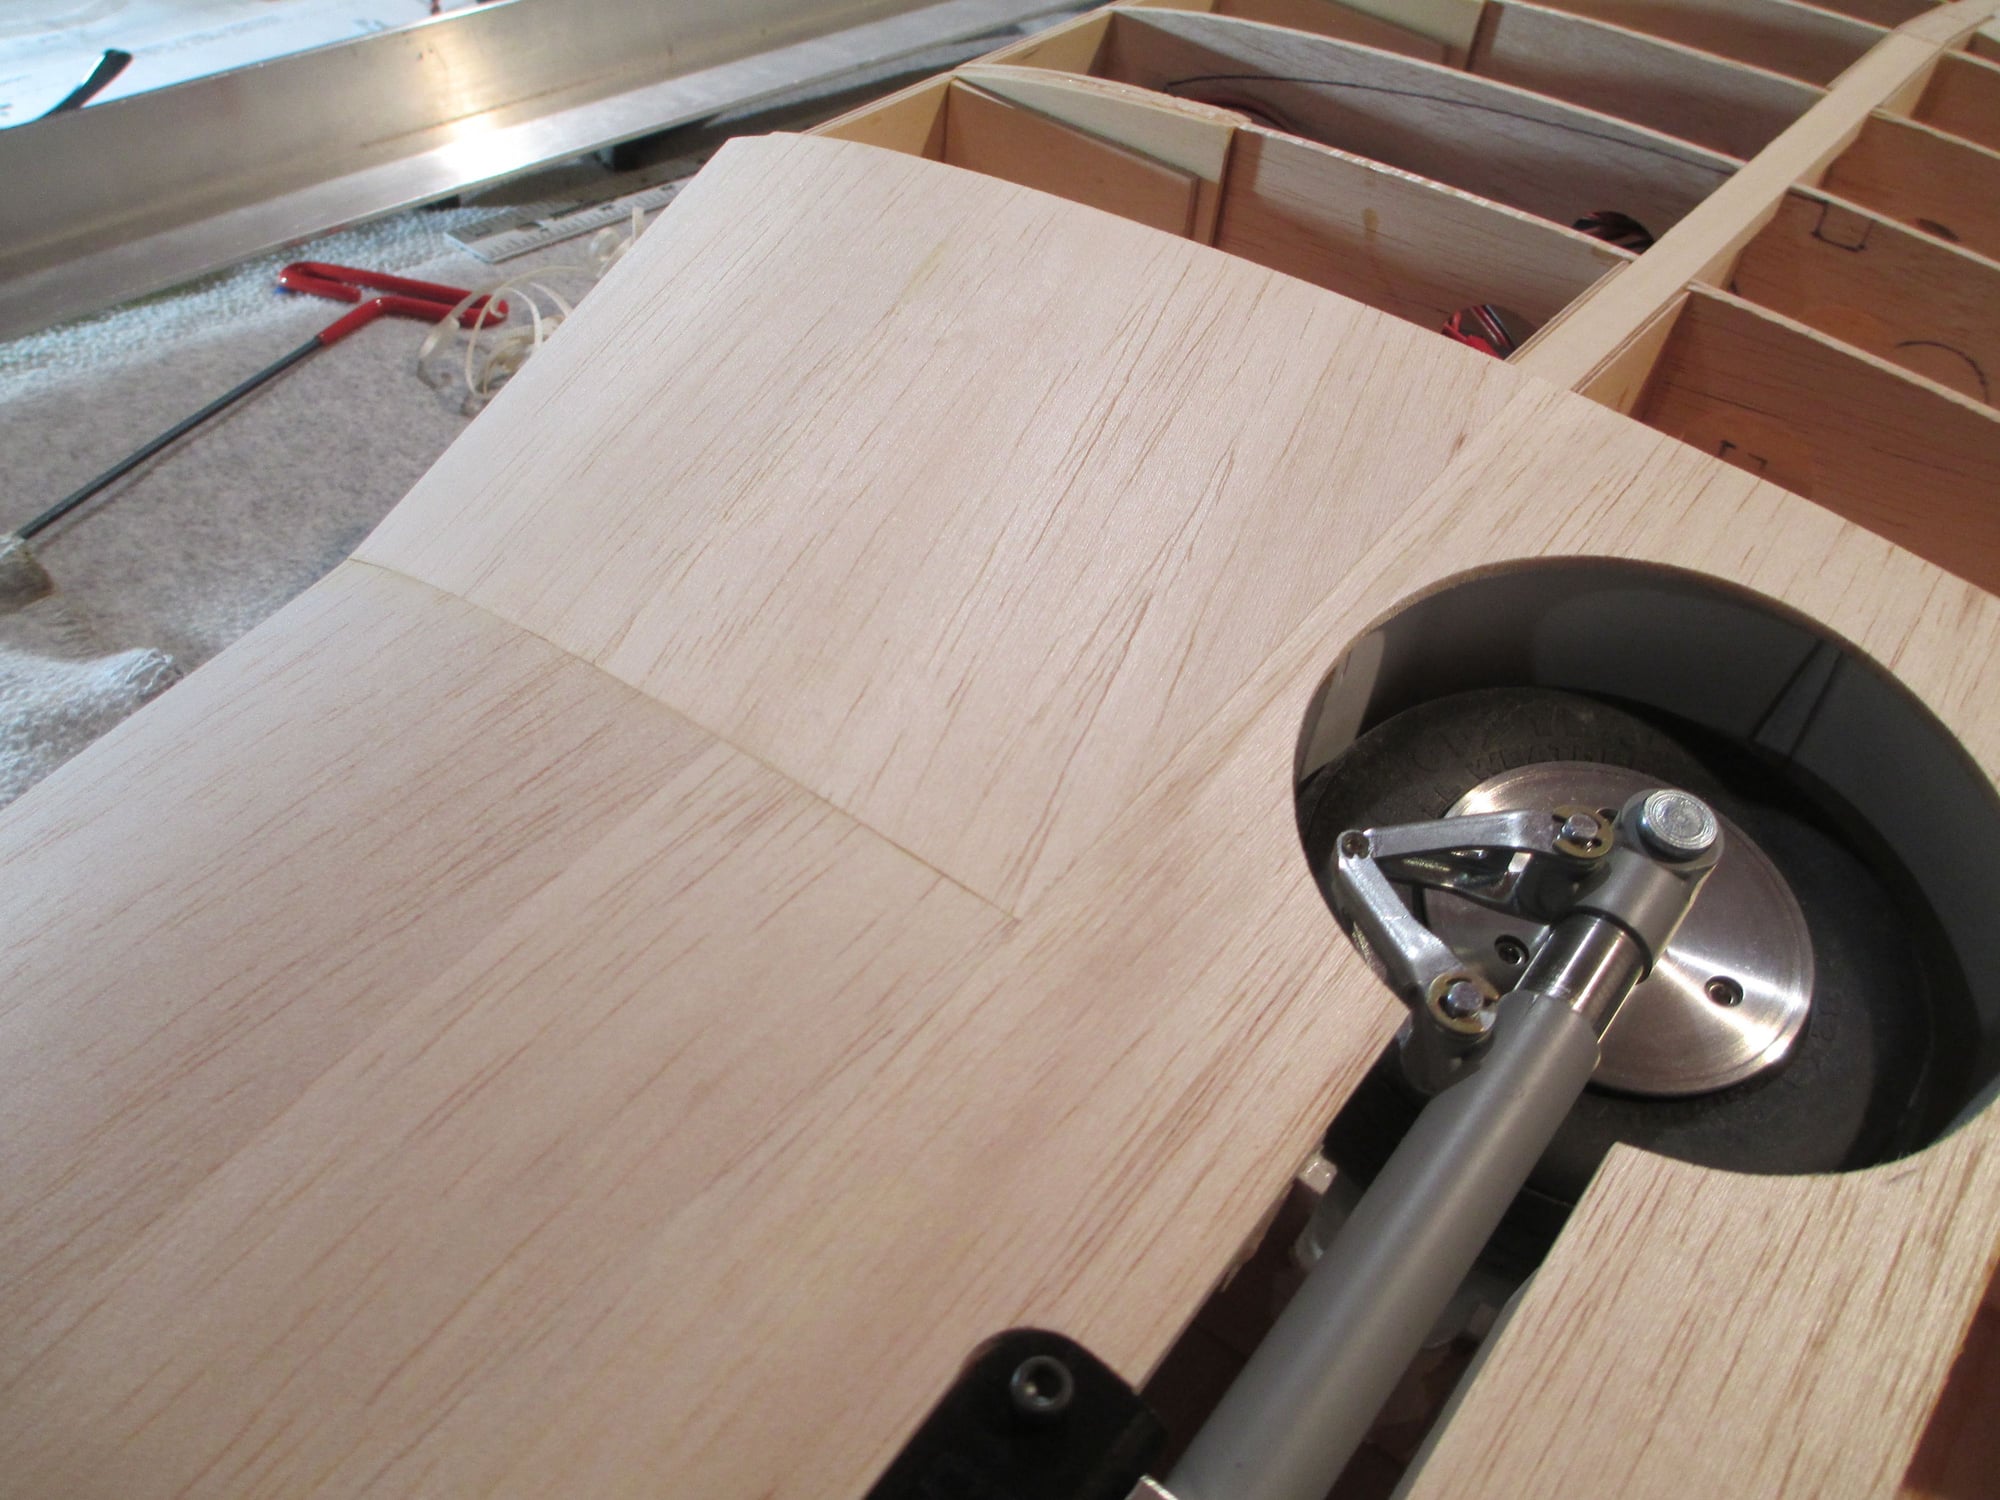
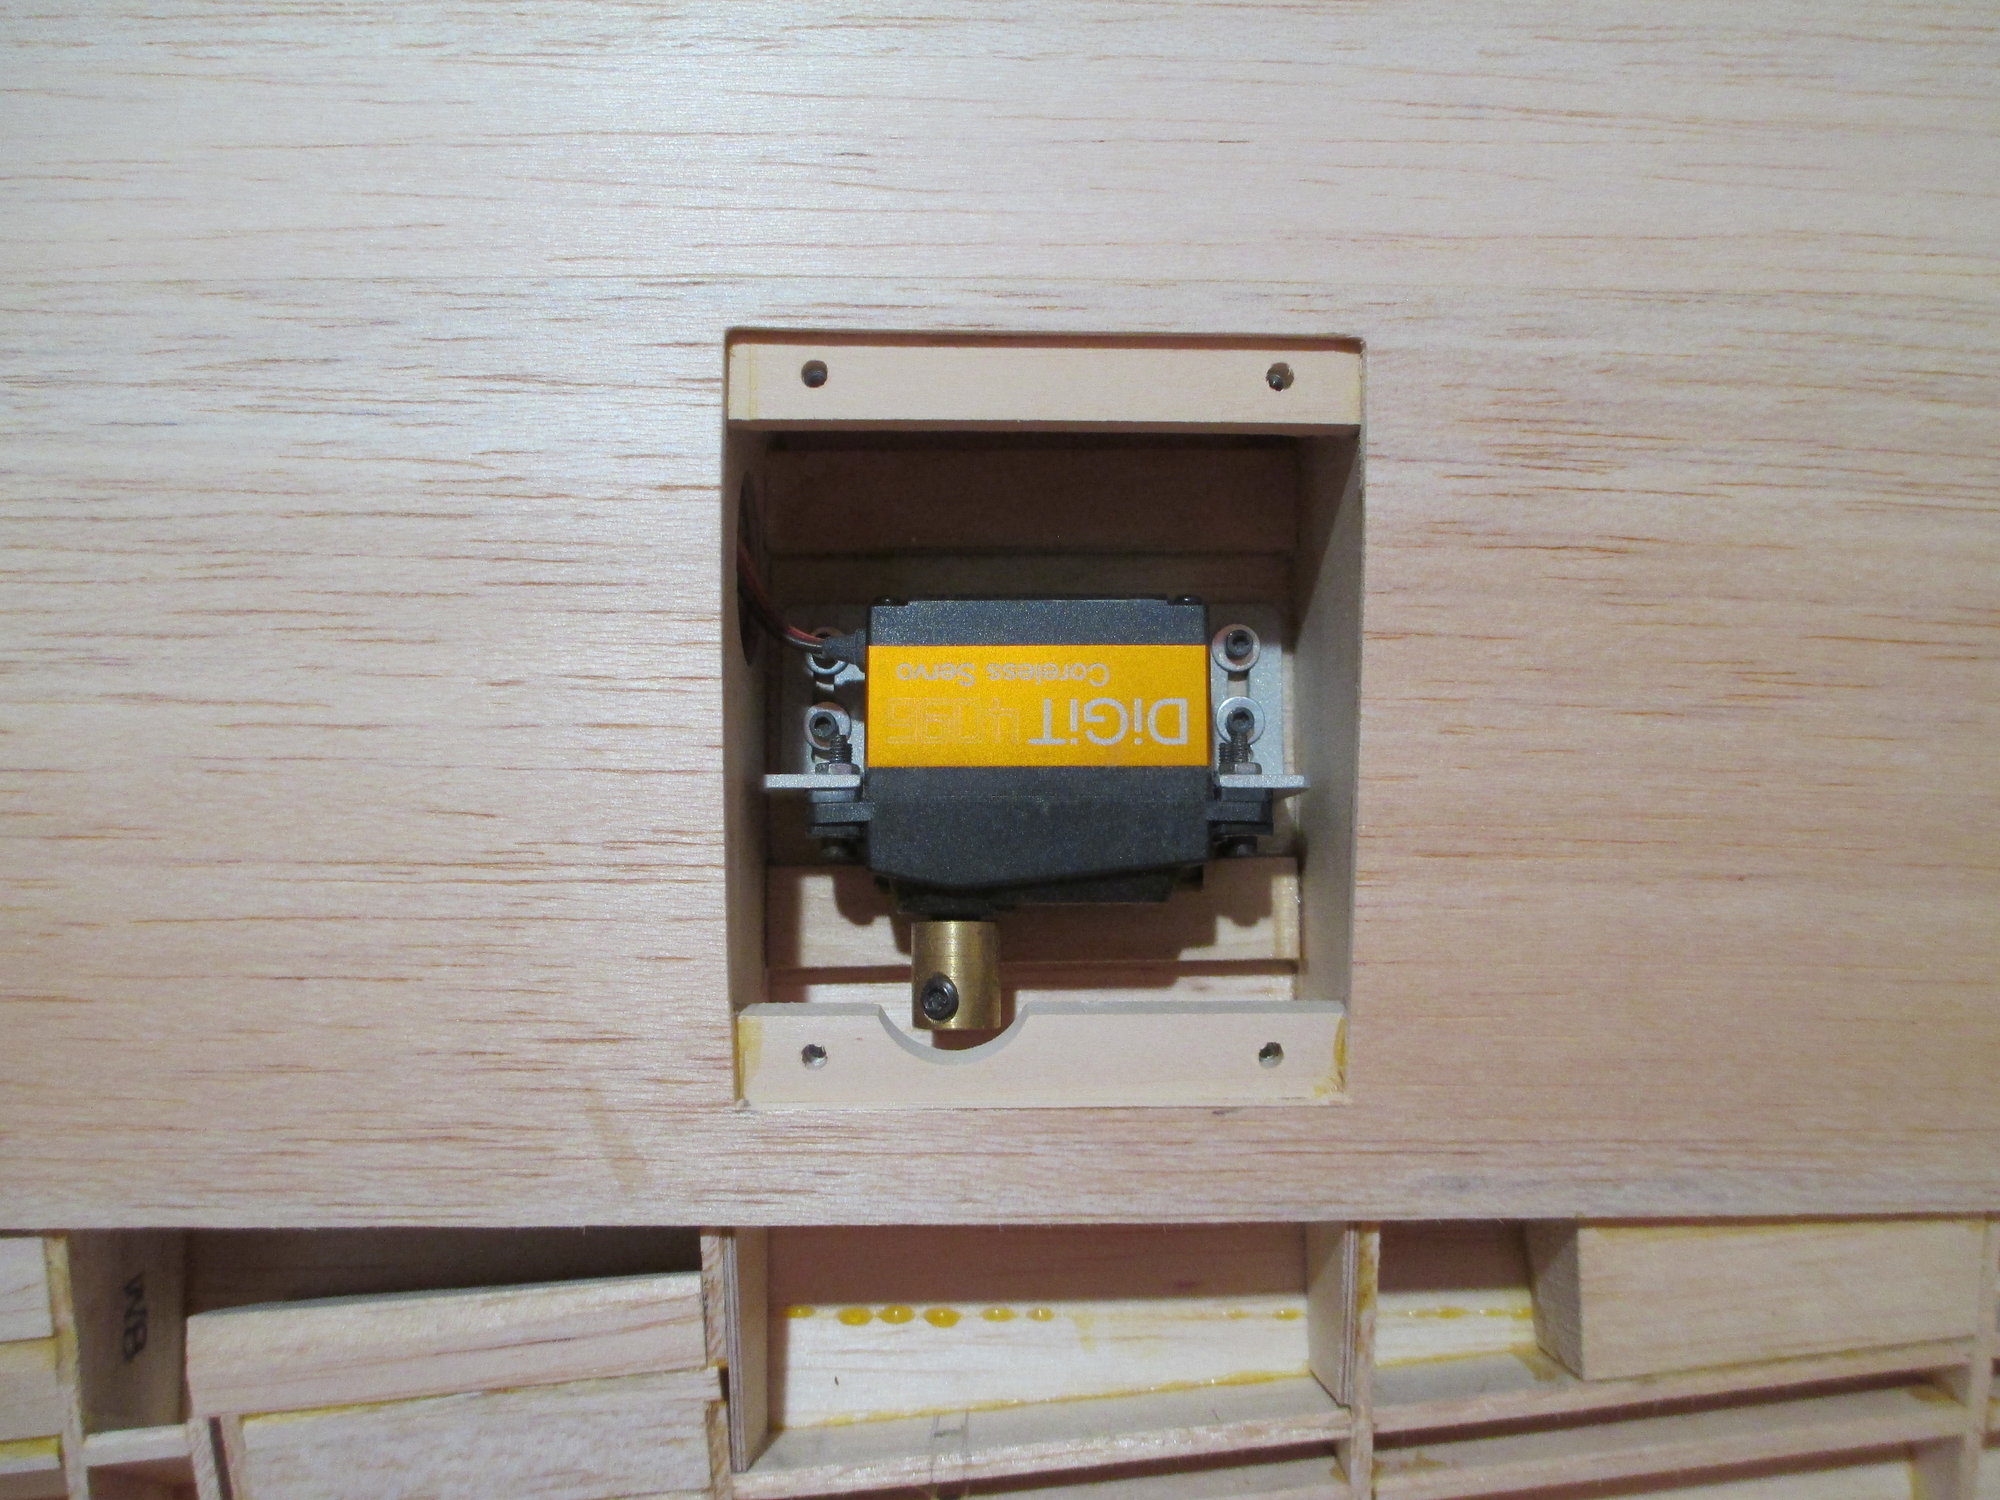
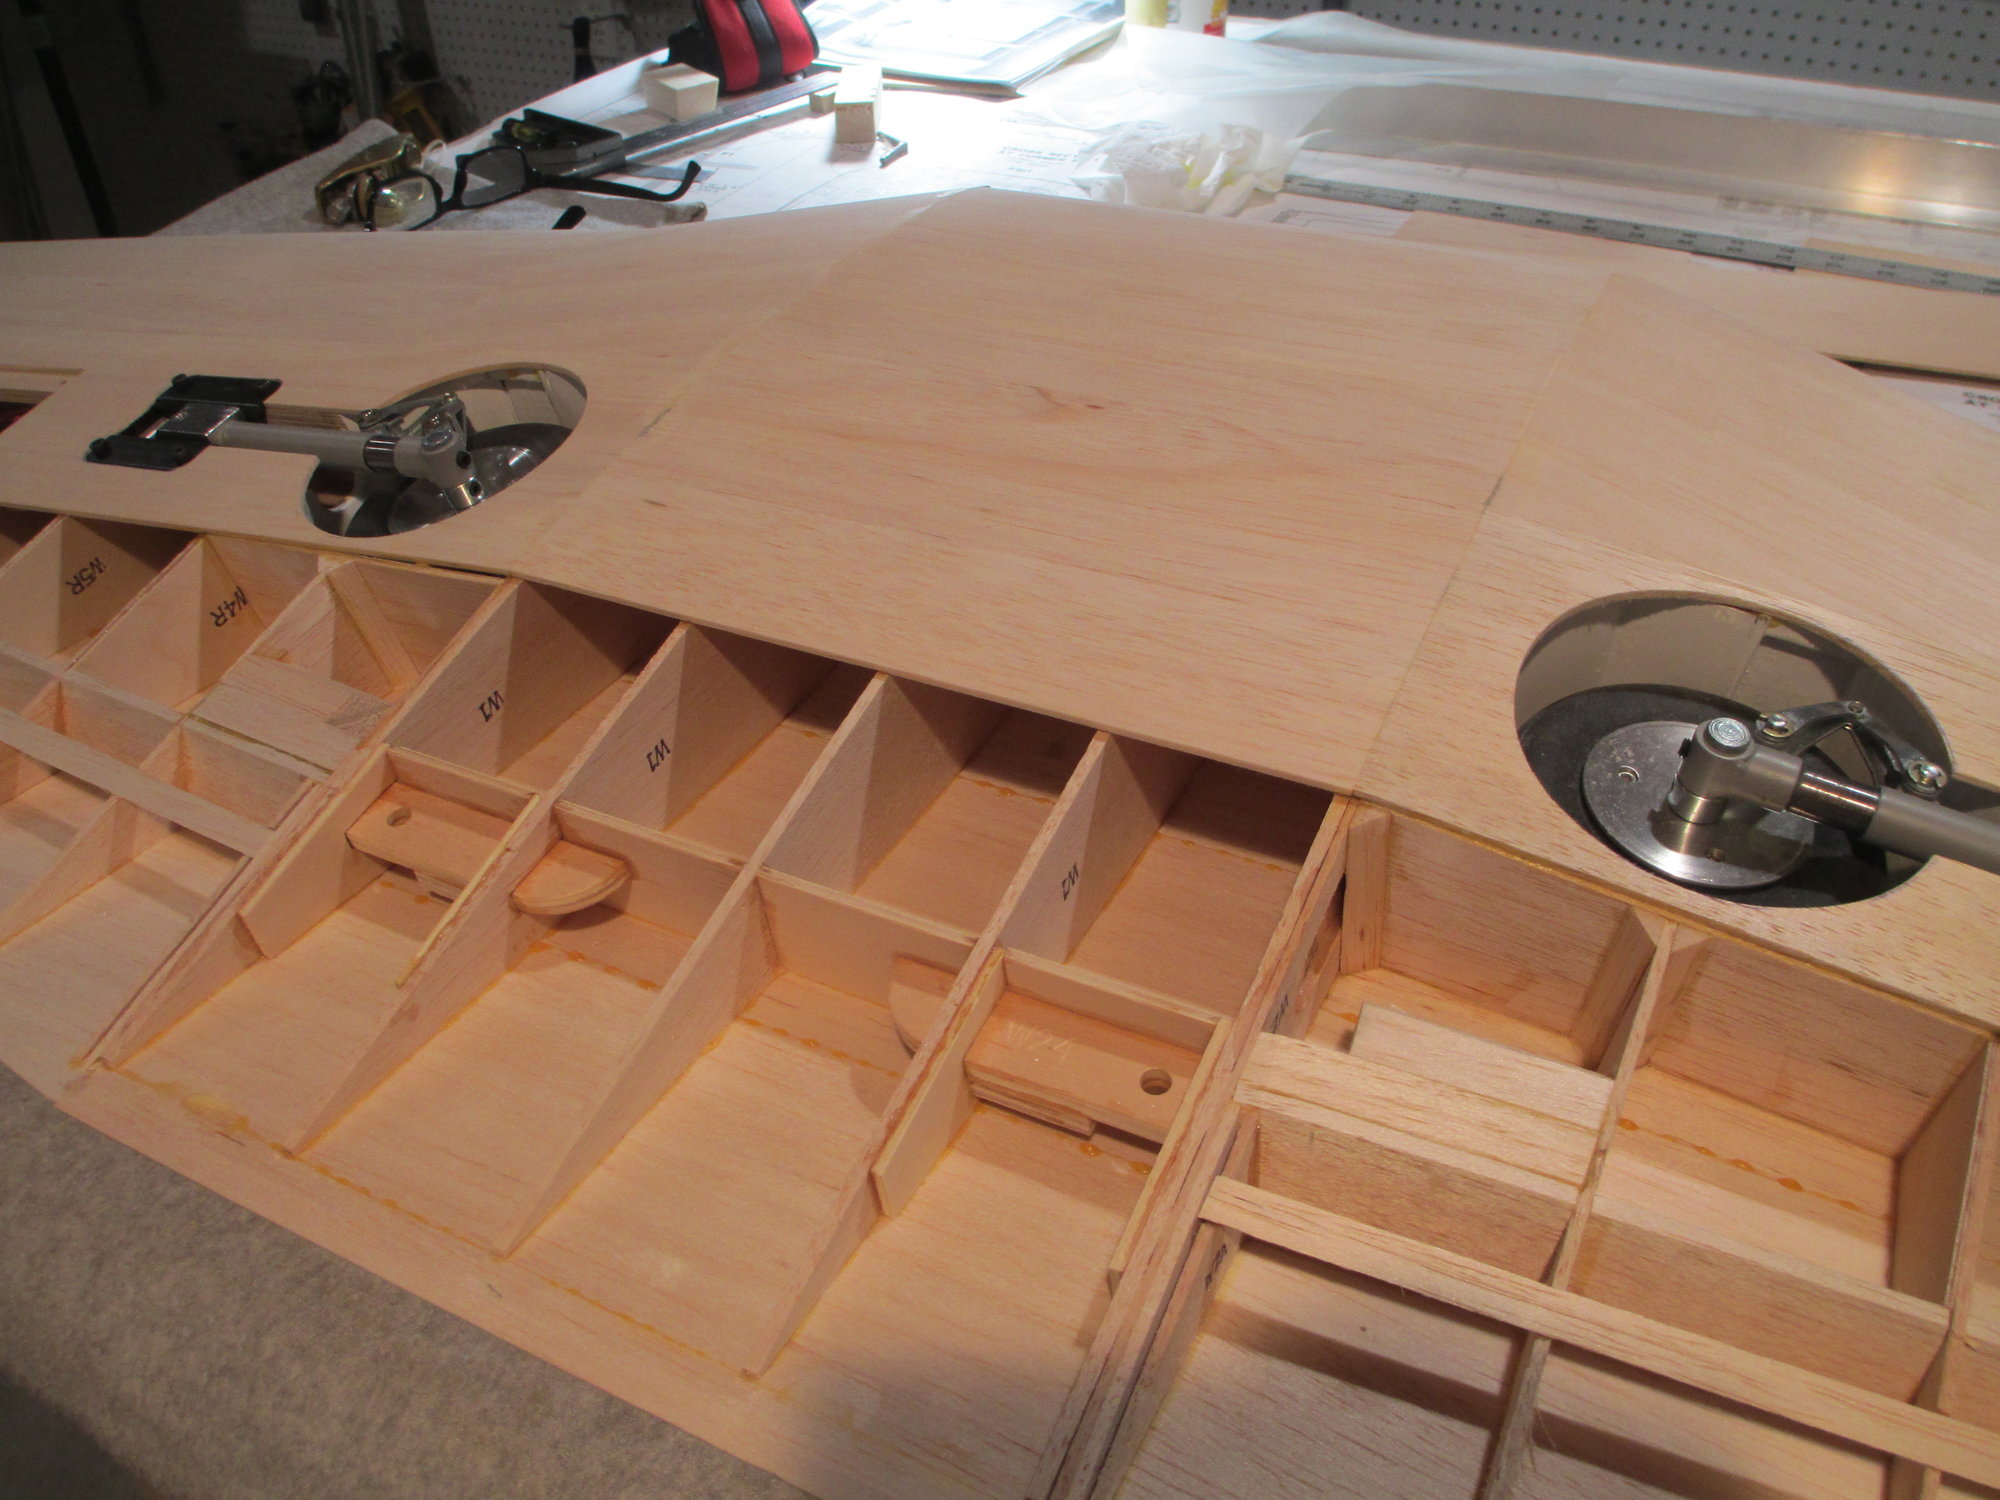
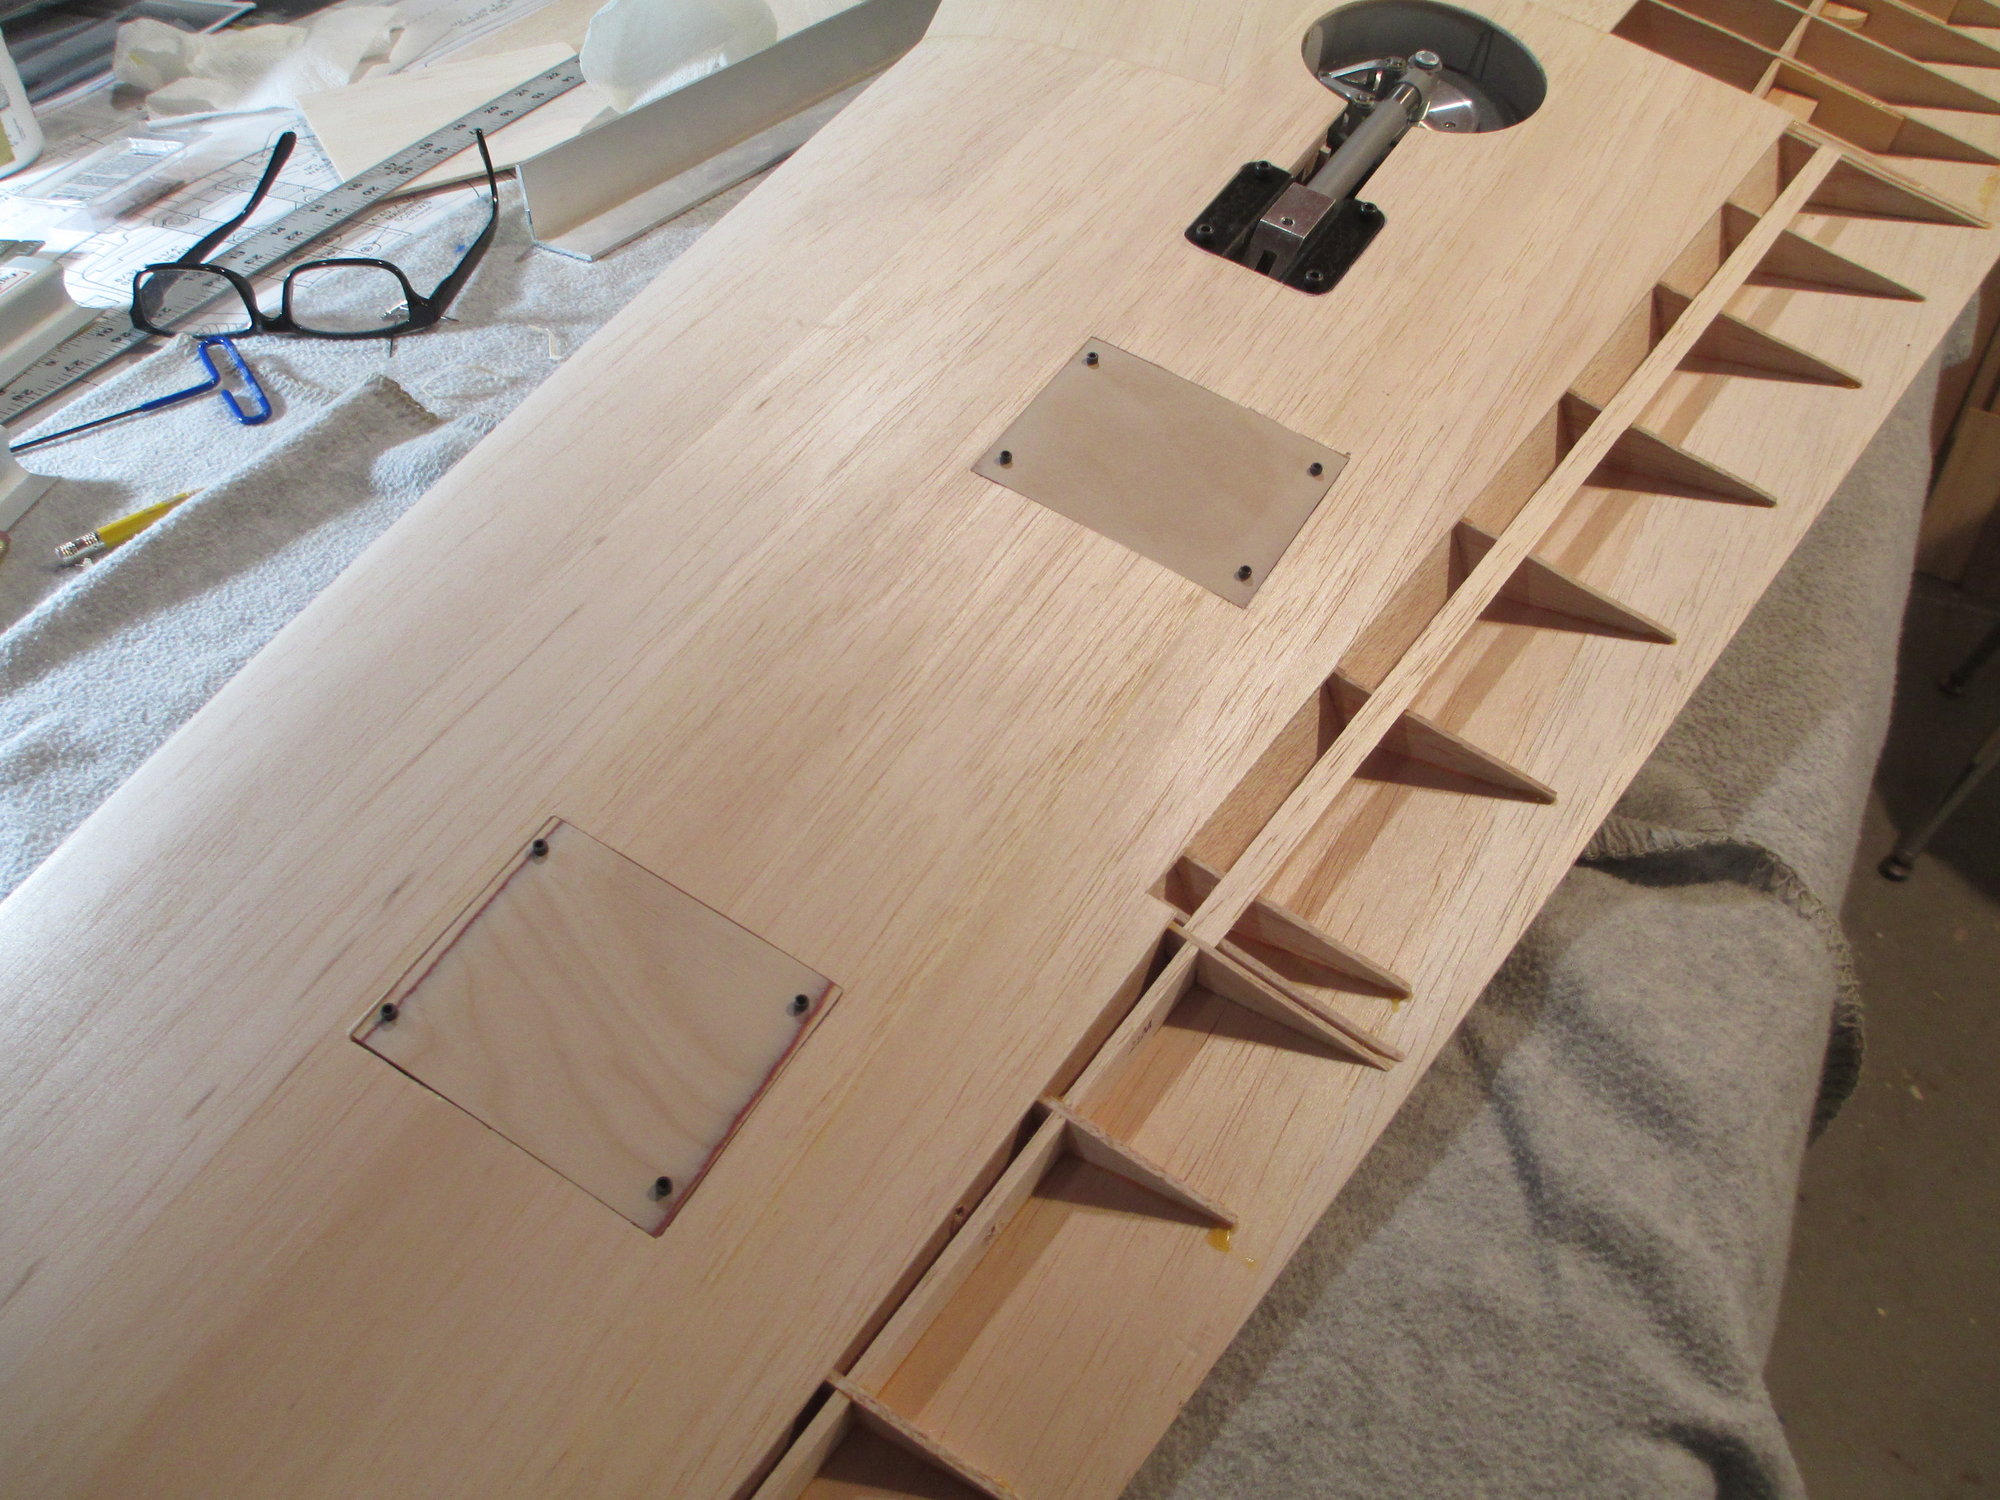
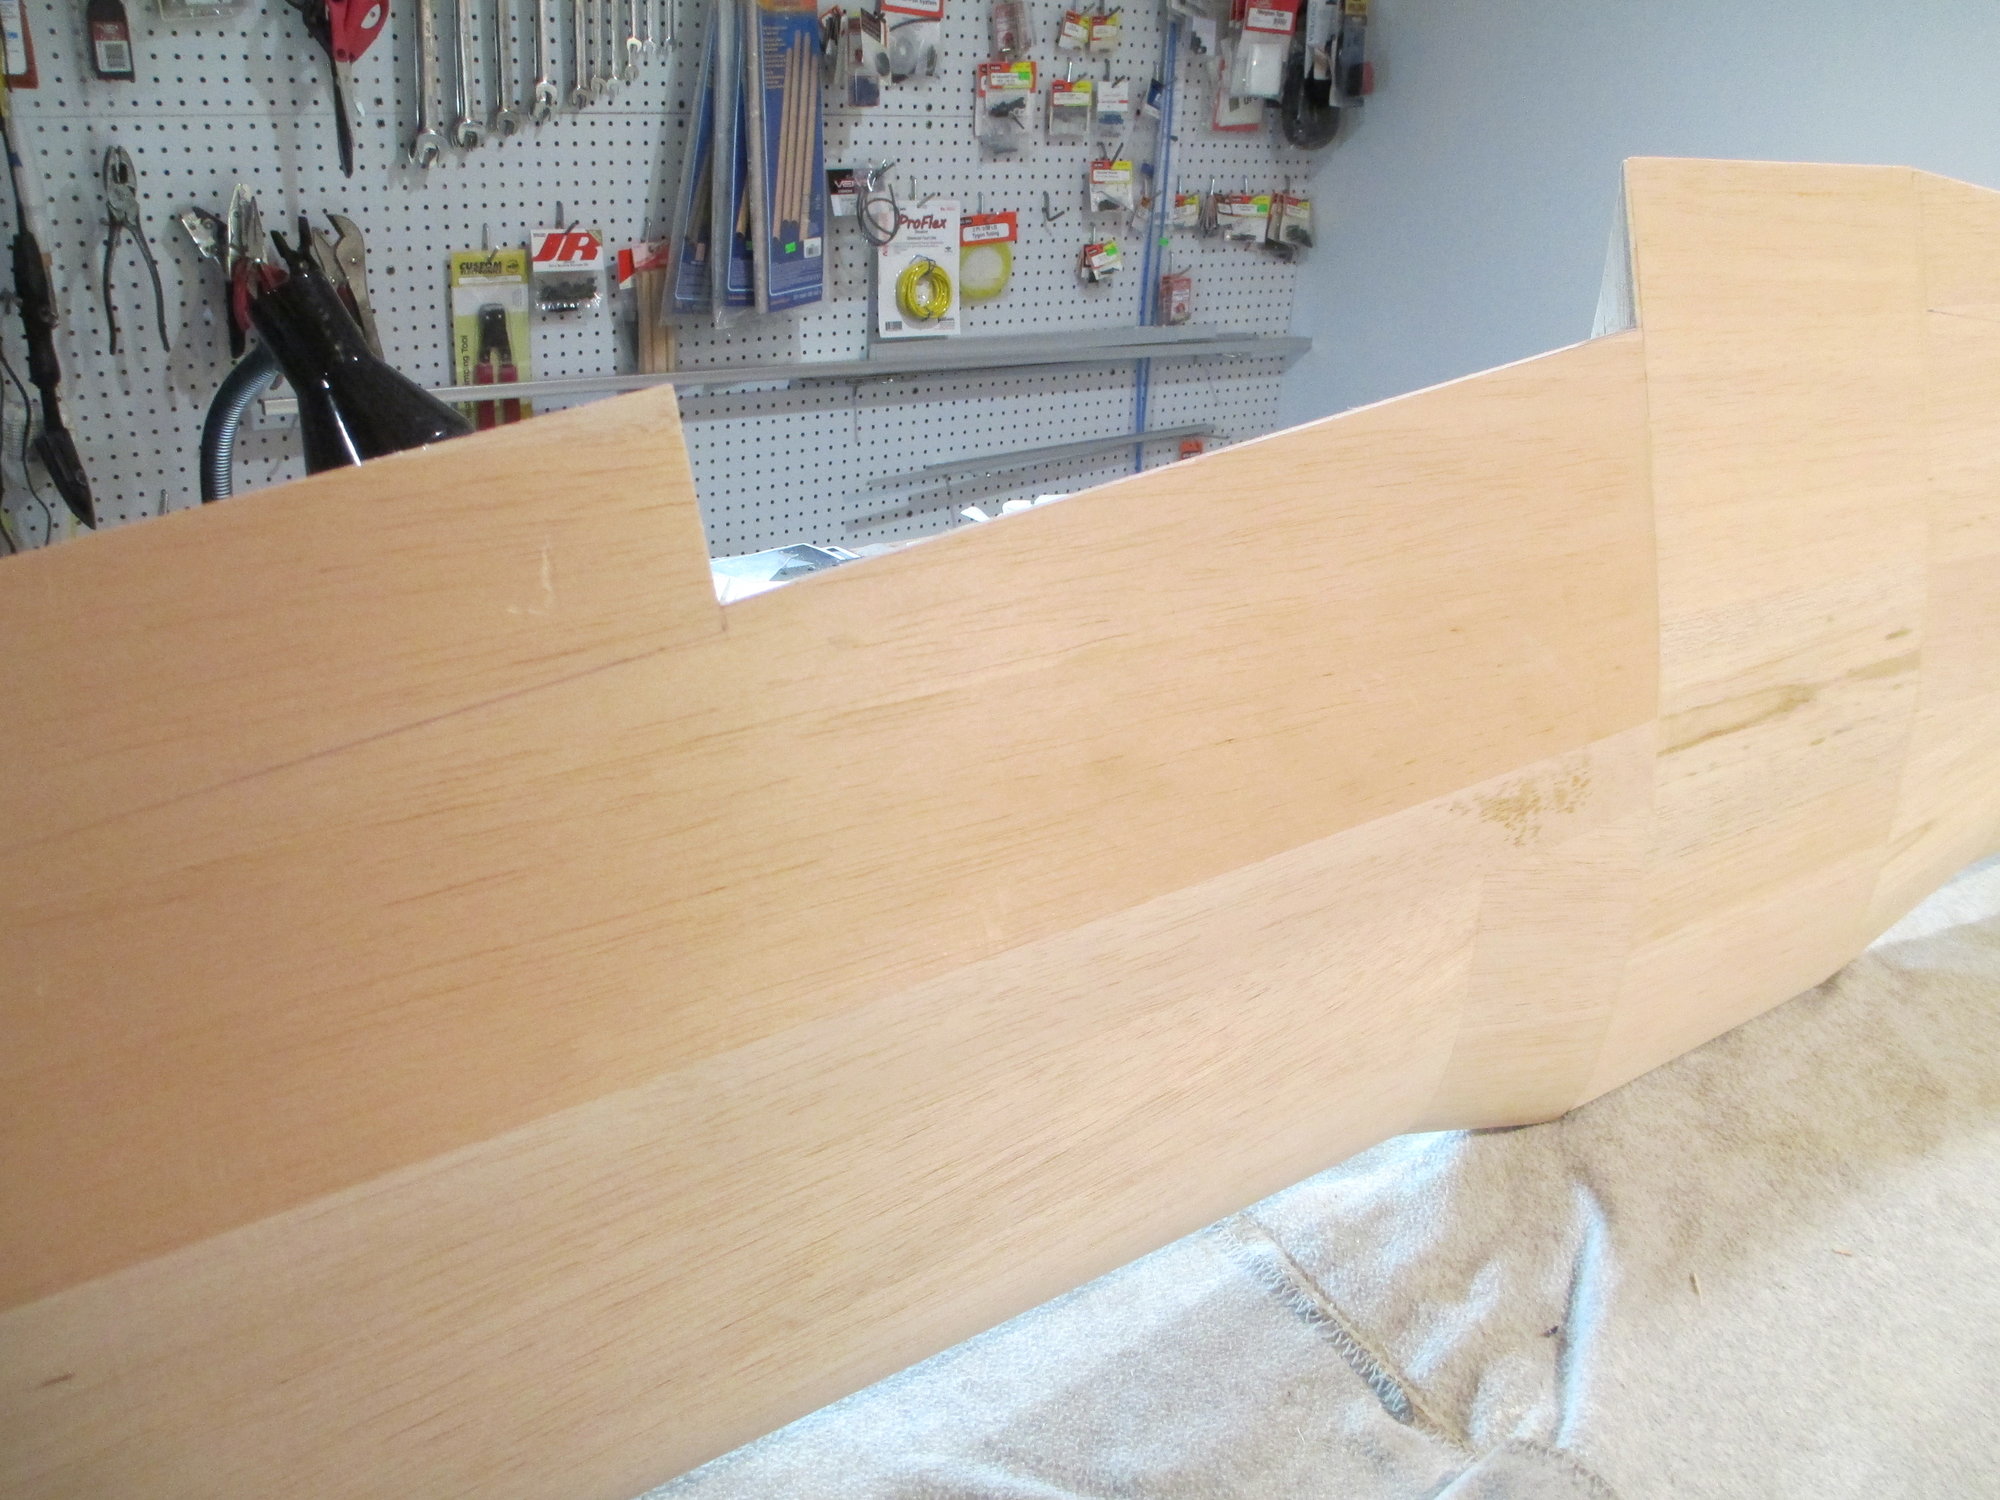
Sheeting is coming along. The hard part is now over. Measuring and cutting around the retracts and hatch covers proved to be formidable and time consuming. It's done and more importantly, it fits!
Last edited by VincentJ; 09-30-2019 at 03:03 AM.
09-30-2019, 03:06 AM
#282
Thread Starter

 10-06-2019, 01:40 PM
#289
Thread Starter
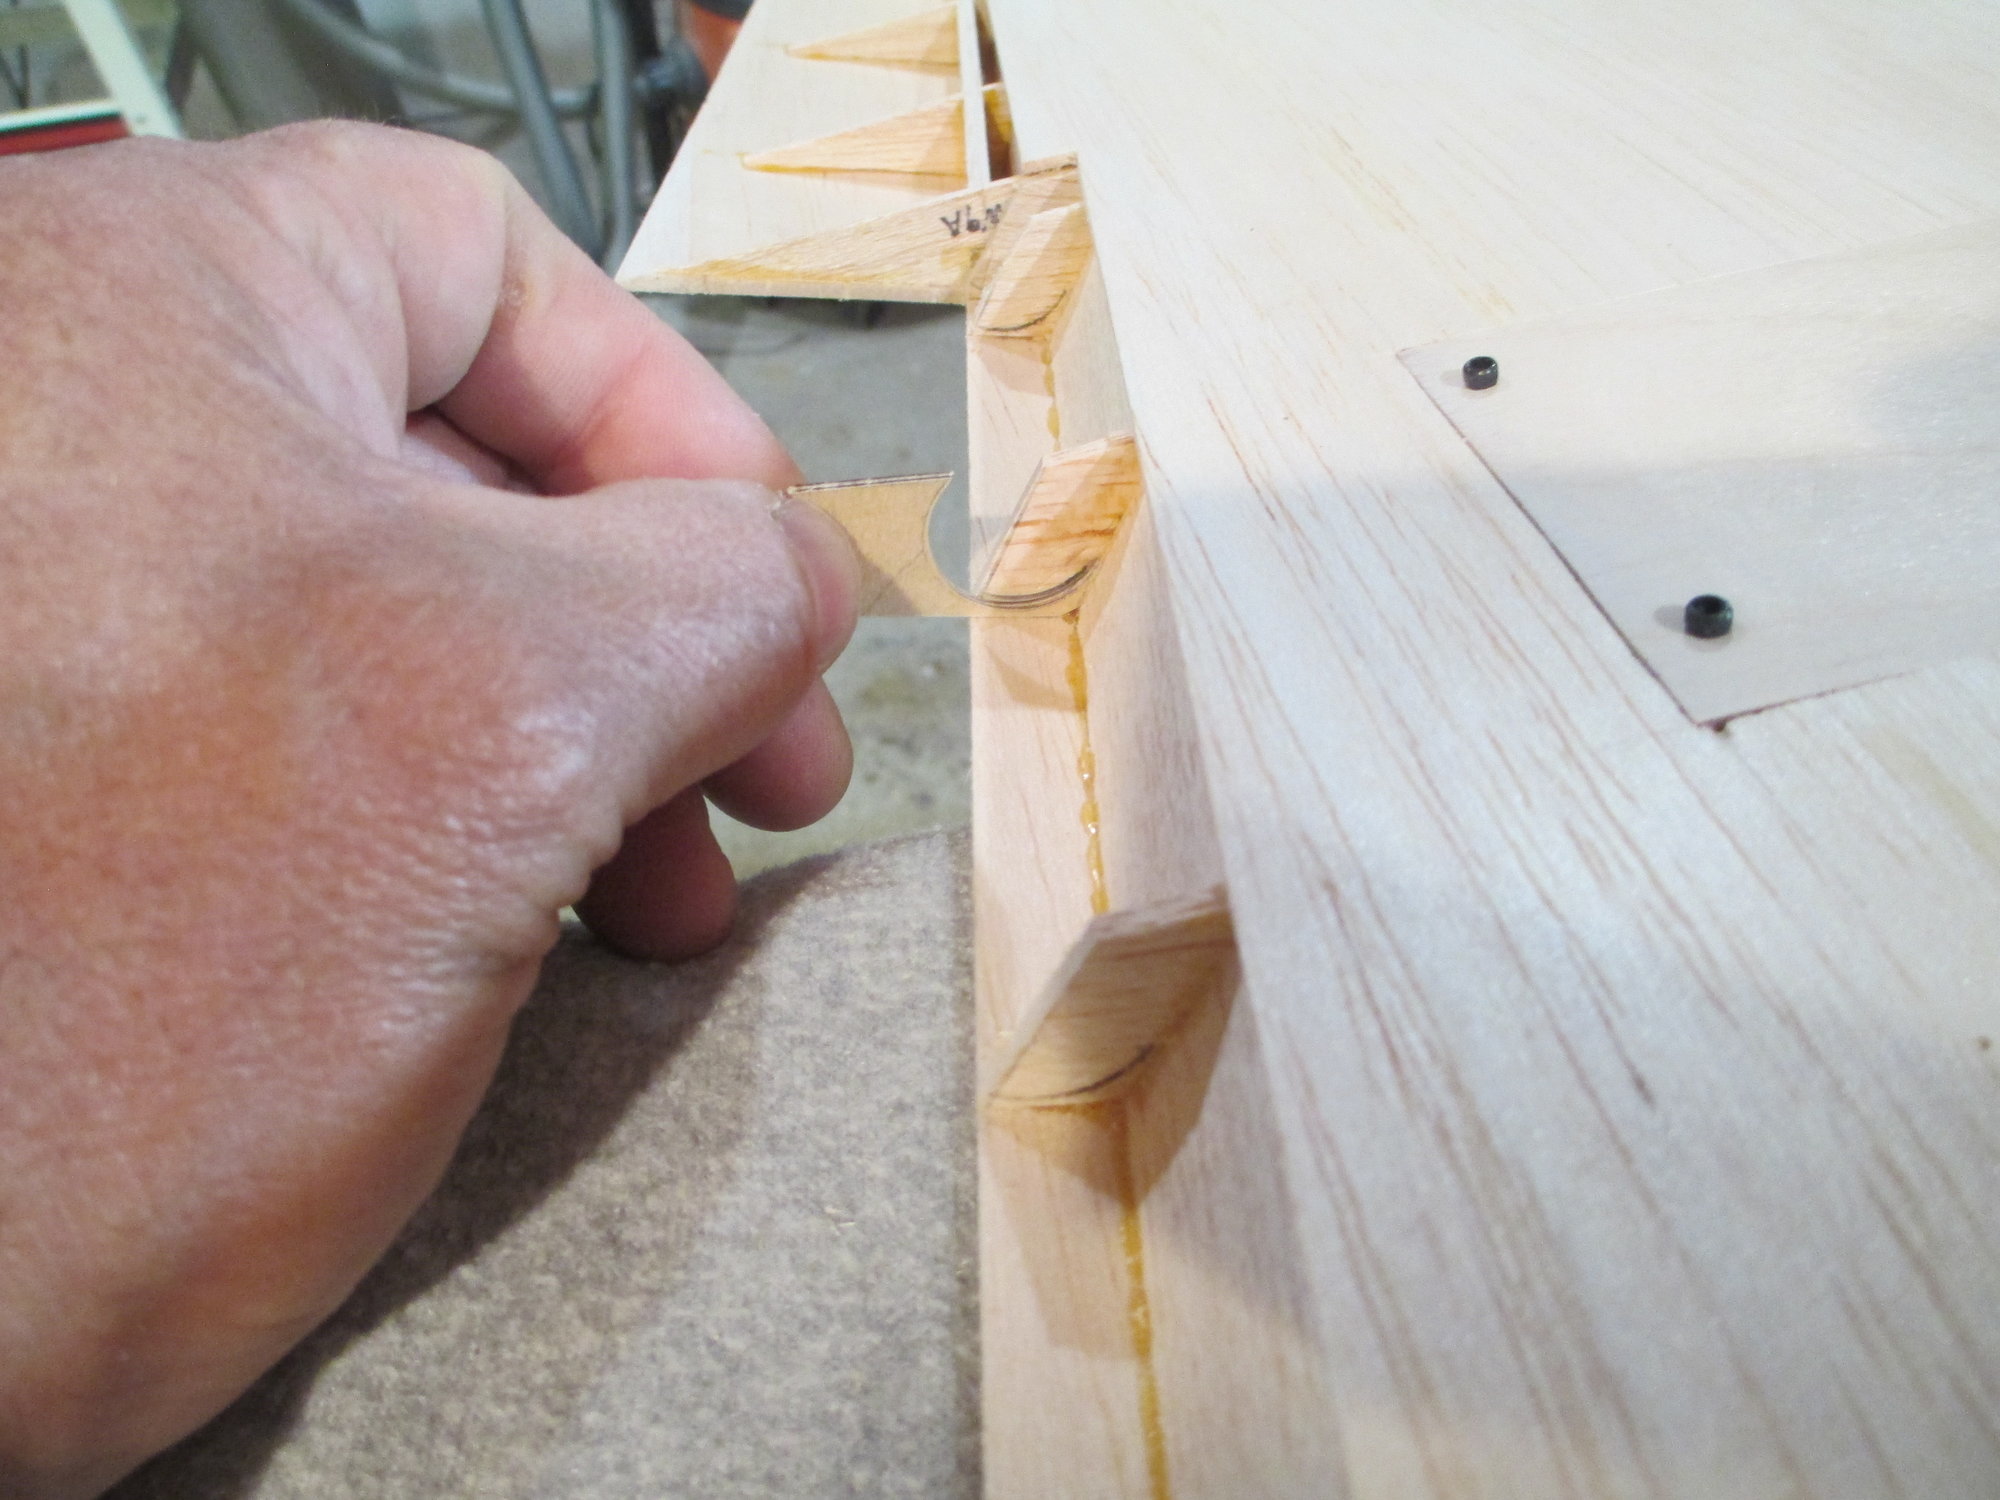
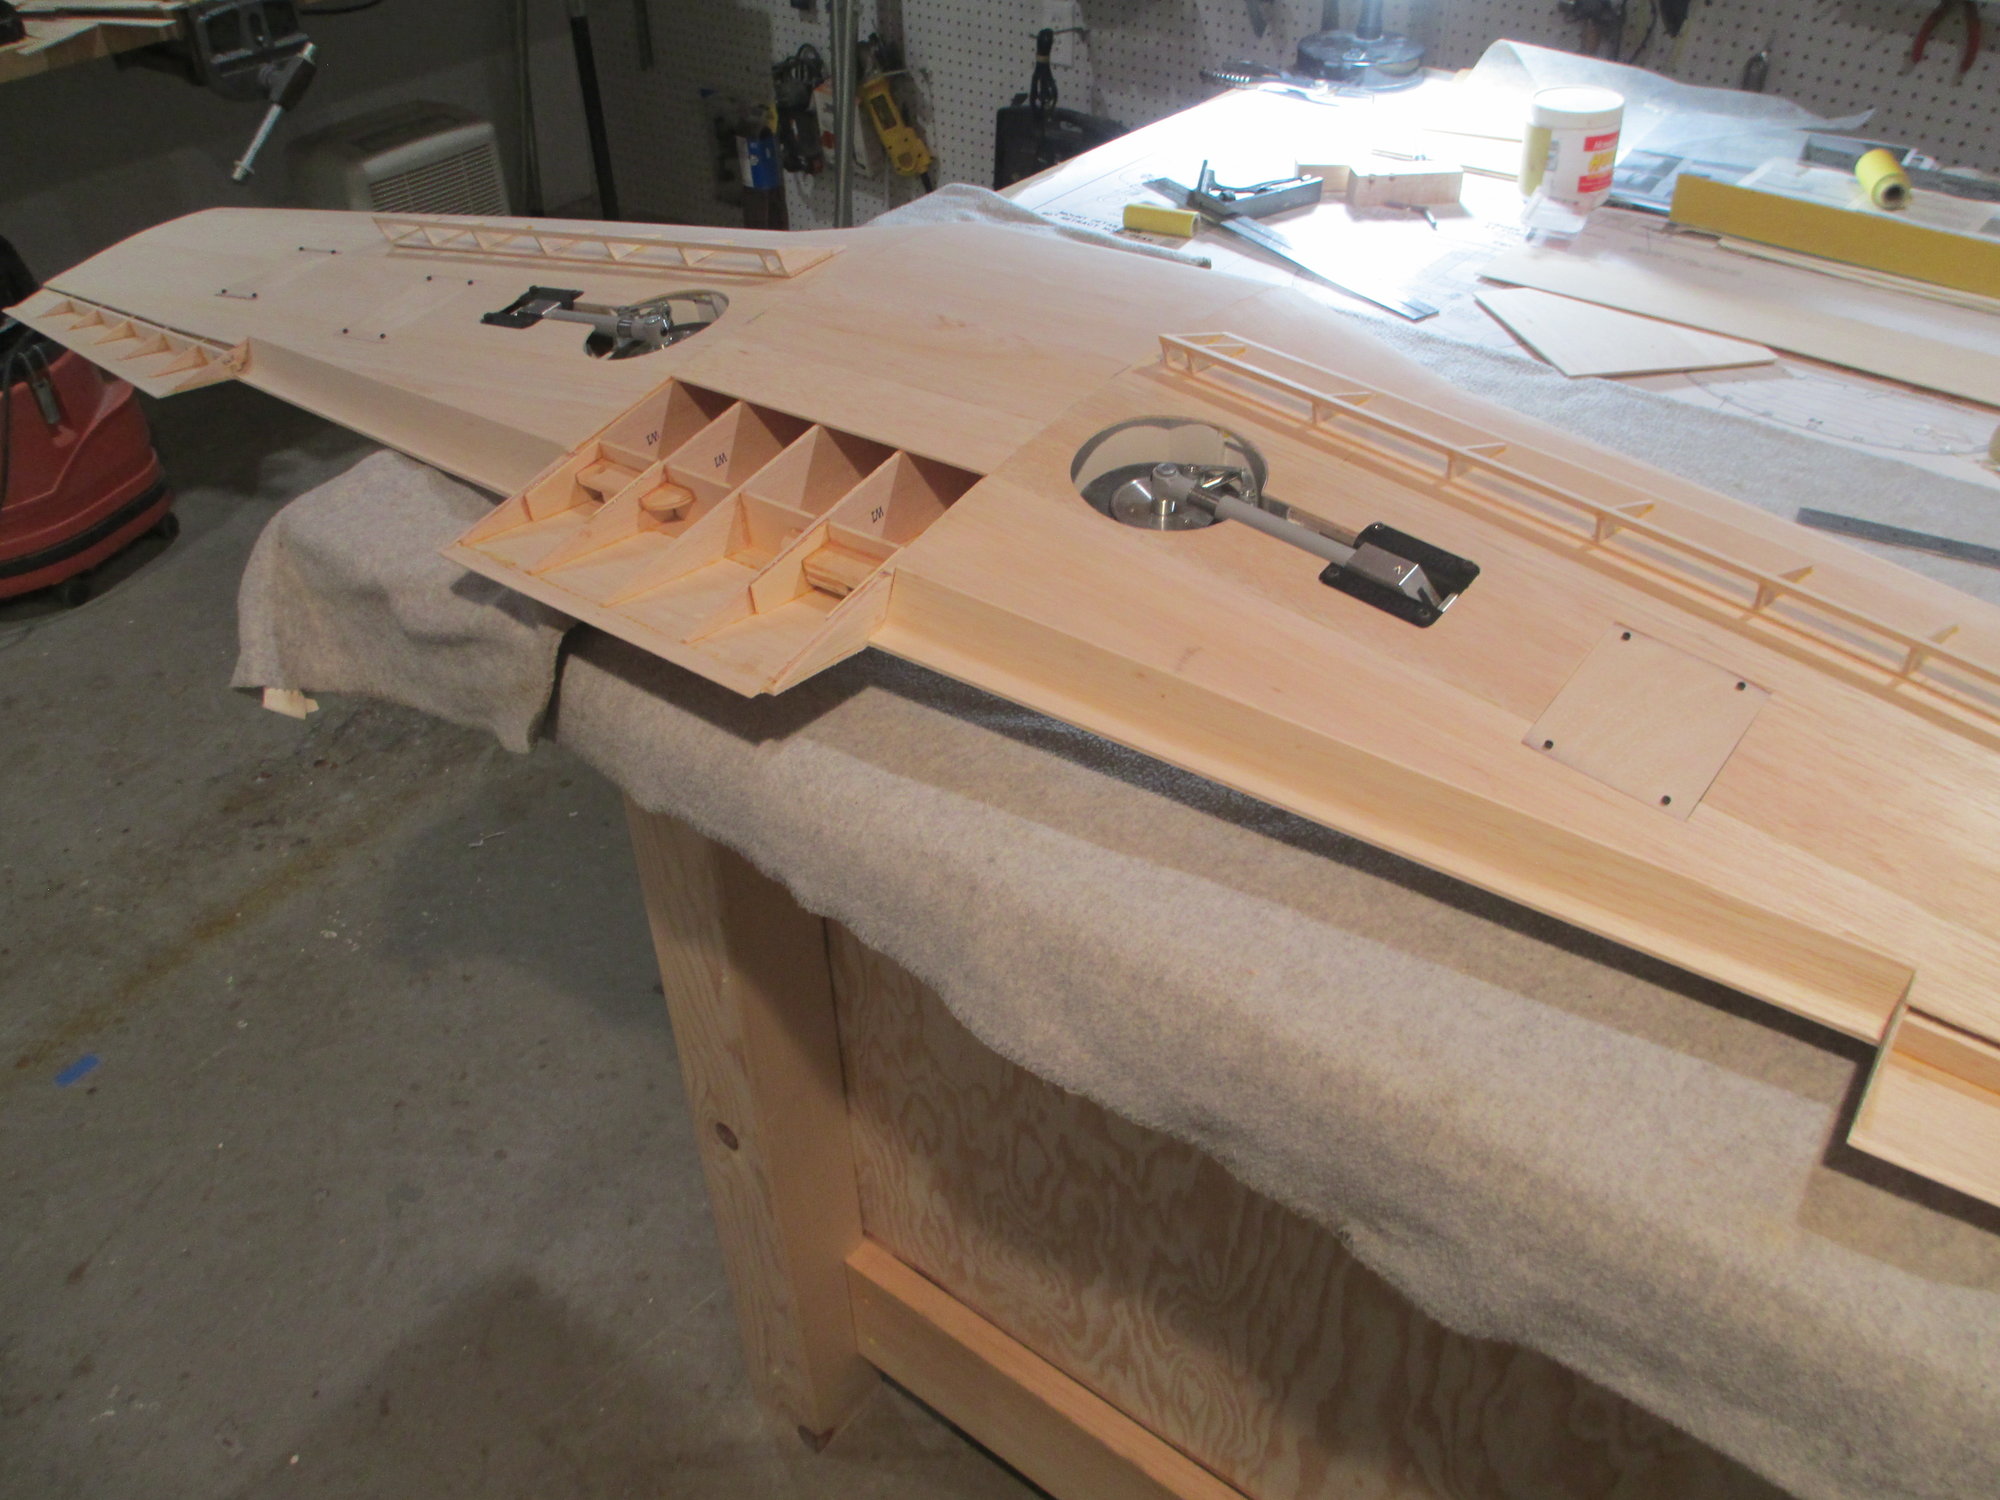
Removal of the flap Part 1
I won't pretend that removing the flap from the wing was easy for me because it wasn't. I couldn't wrap my head around the best method to accomplish this task. I like to have a full plan in place before I start. Studying the building plans more gave me the confidence on how to proceed.
Normally the margin of space between the wing's trailing edge and the flaps leading edge is where a straight cut is made, very simple. In this case however, the sheeting on the top of the wing's trailing edge extends beyond its edge while the bottom is flush leaving a curved pocket for the flap to sit into. Follow along and you'll see what I'm talking about...
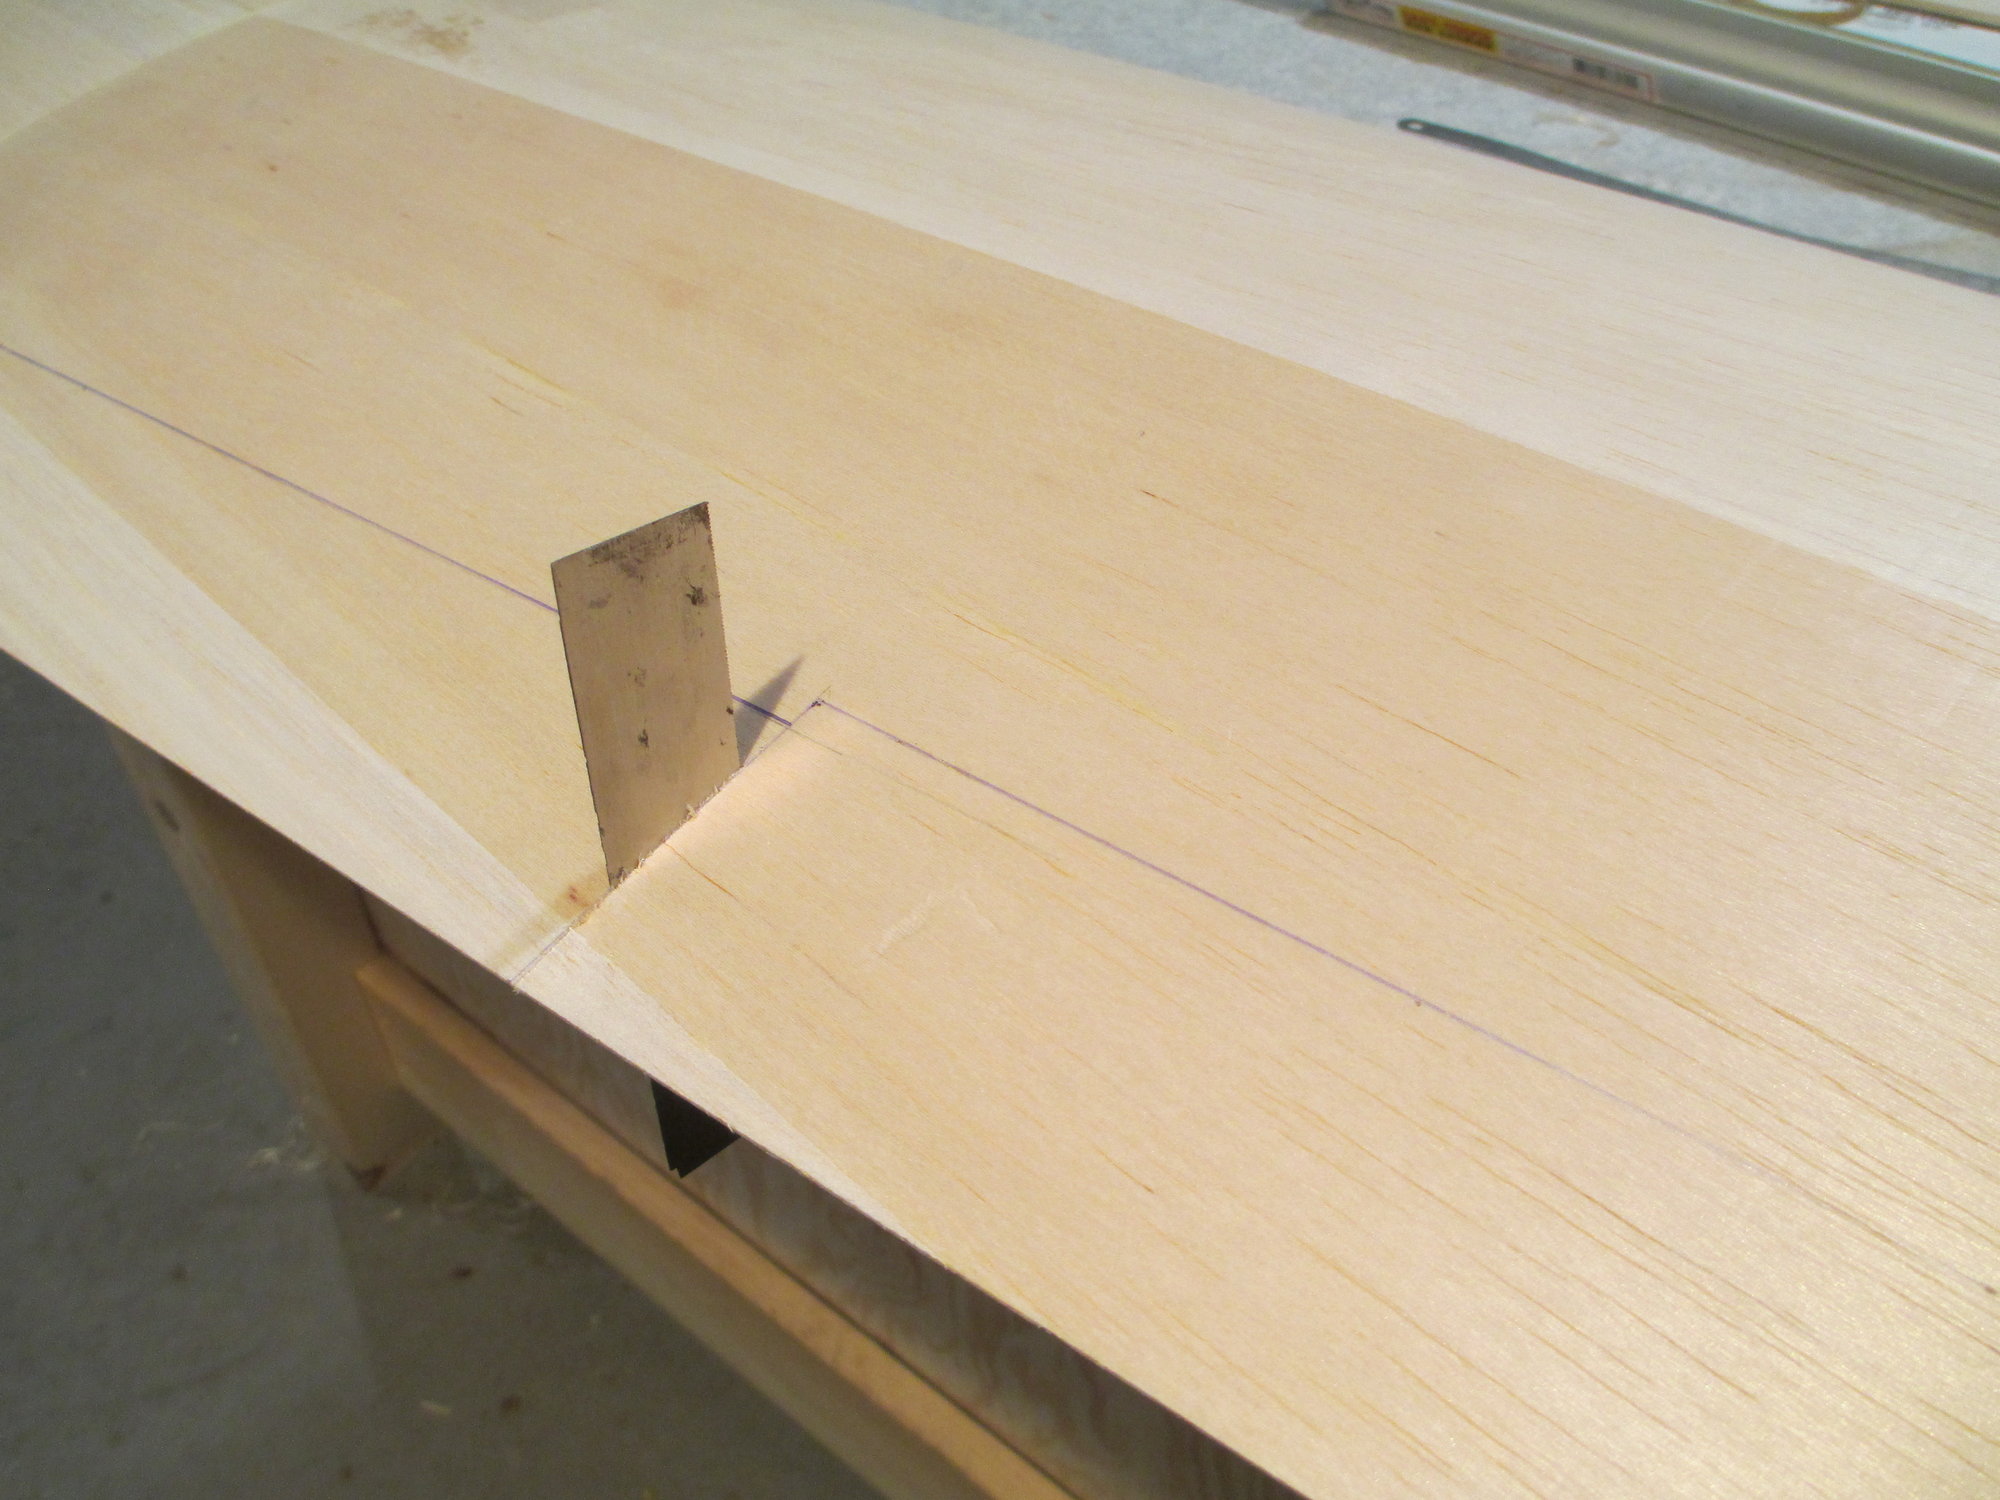
I laid out the cut marks on the top surface of the wing's sheeting using a ball point pen. I have a spare saw blade from a retired saw that I will use to cut the flap free.
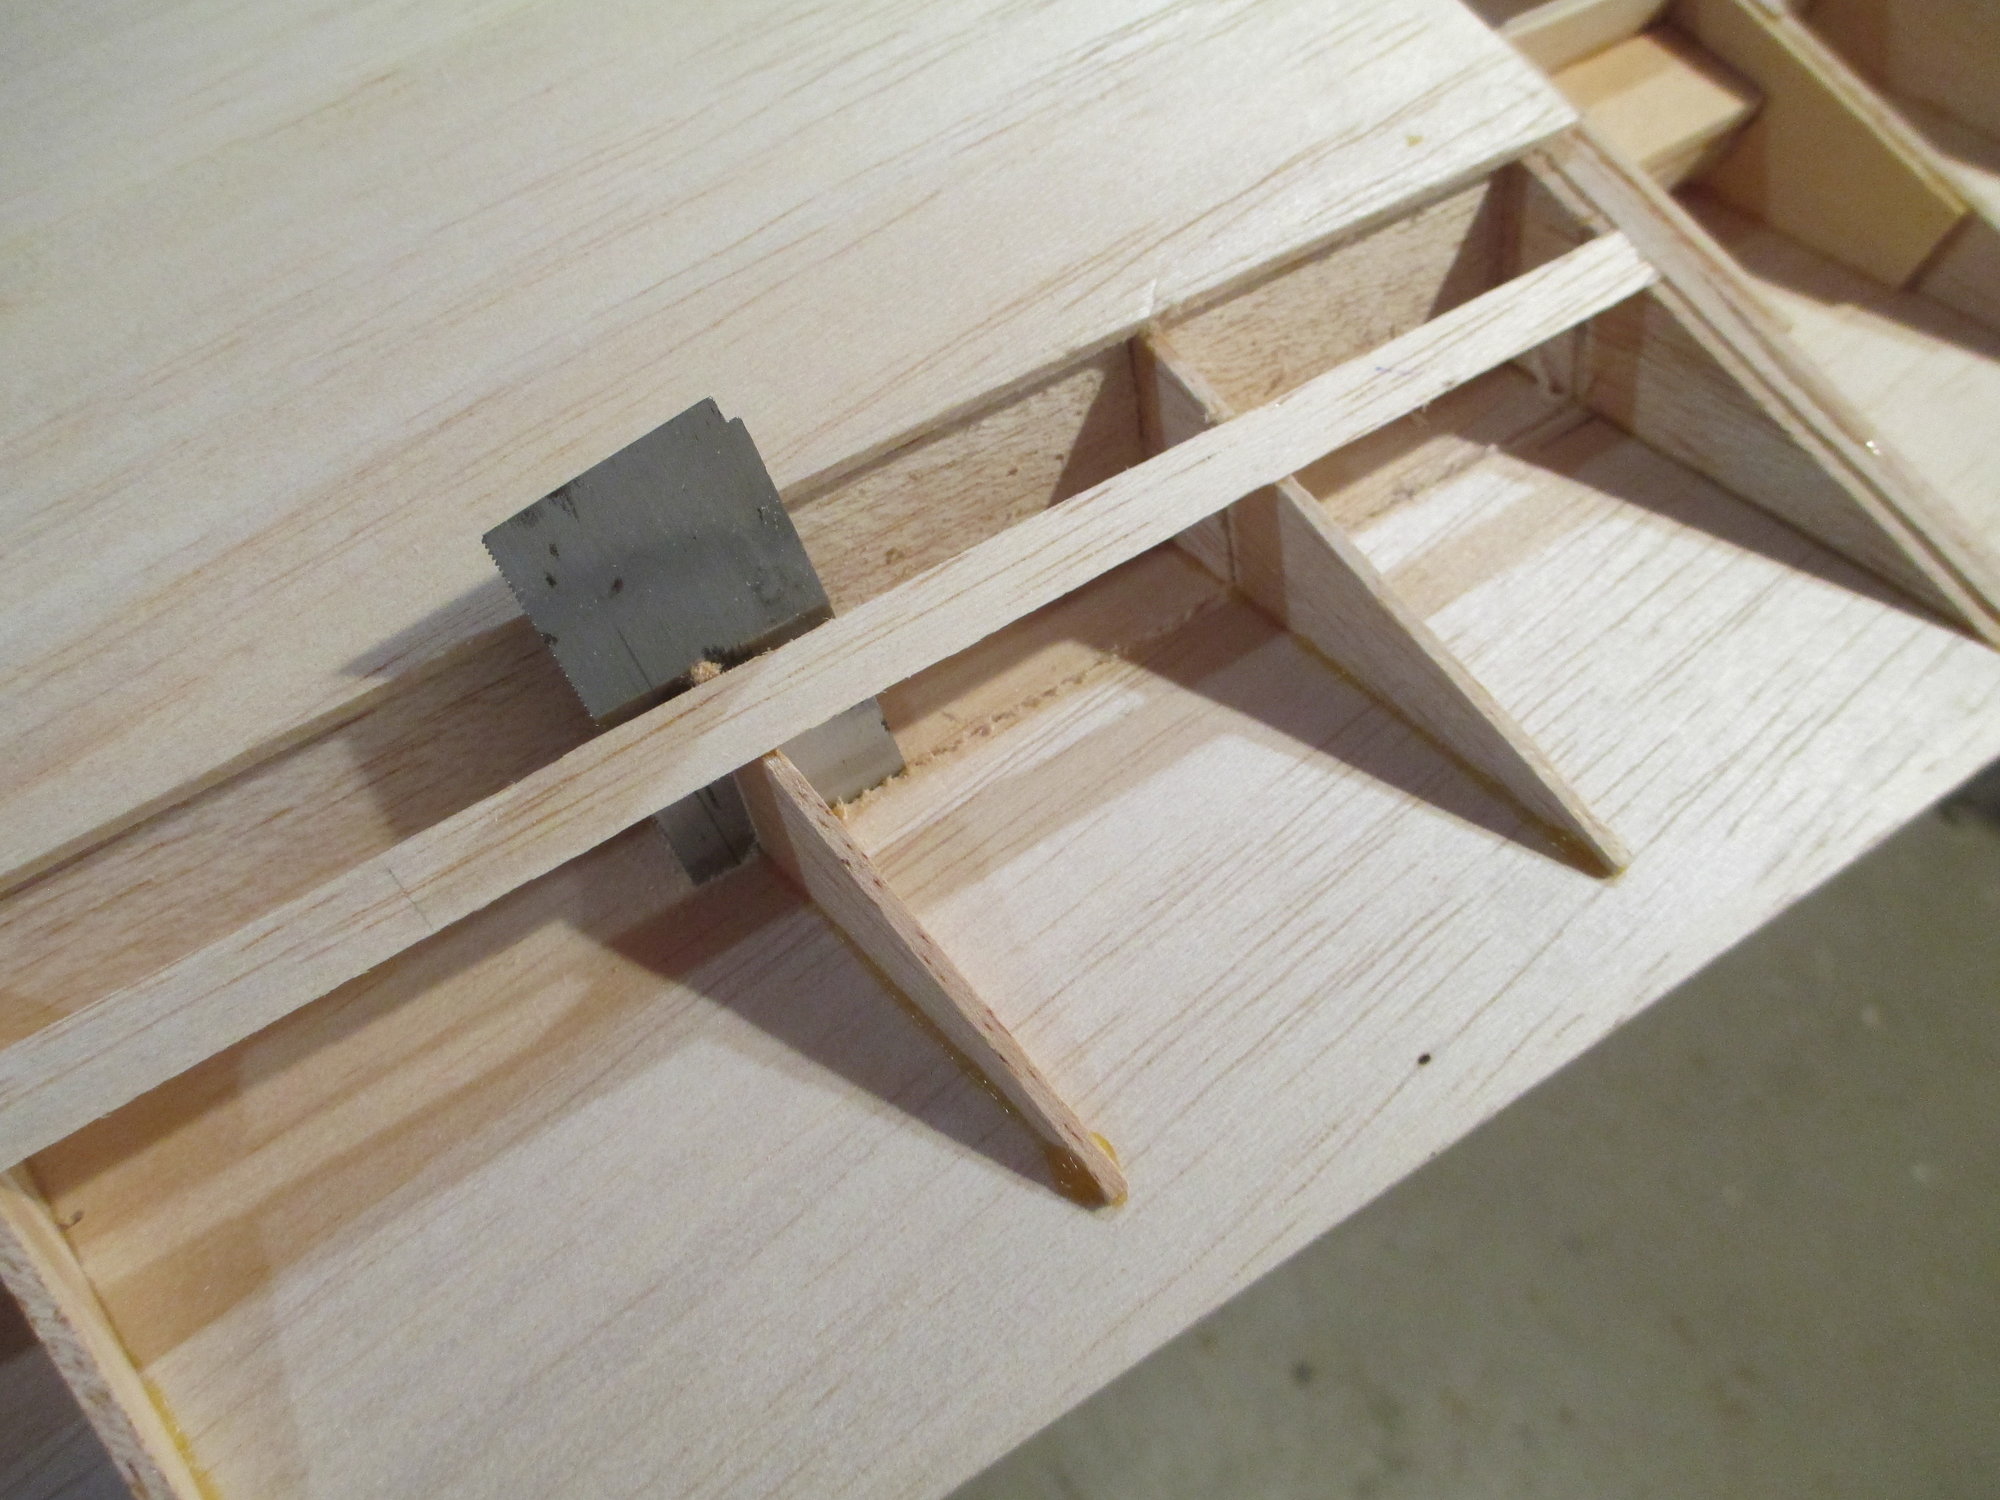
Marks were also extended to the sides of each rib on the back side.
After cutting approximately half of the flap free, I used a few pieces of blue painter's tape to stabilize the flap to the wing before finishing the cut. This helped hold the flap in place and stopped it from shifting out of place before getting to the end.
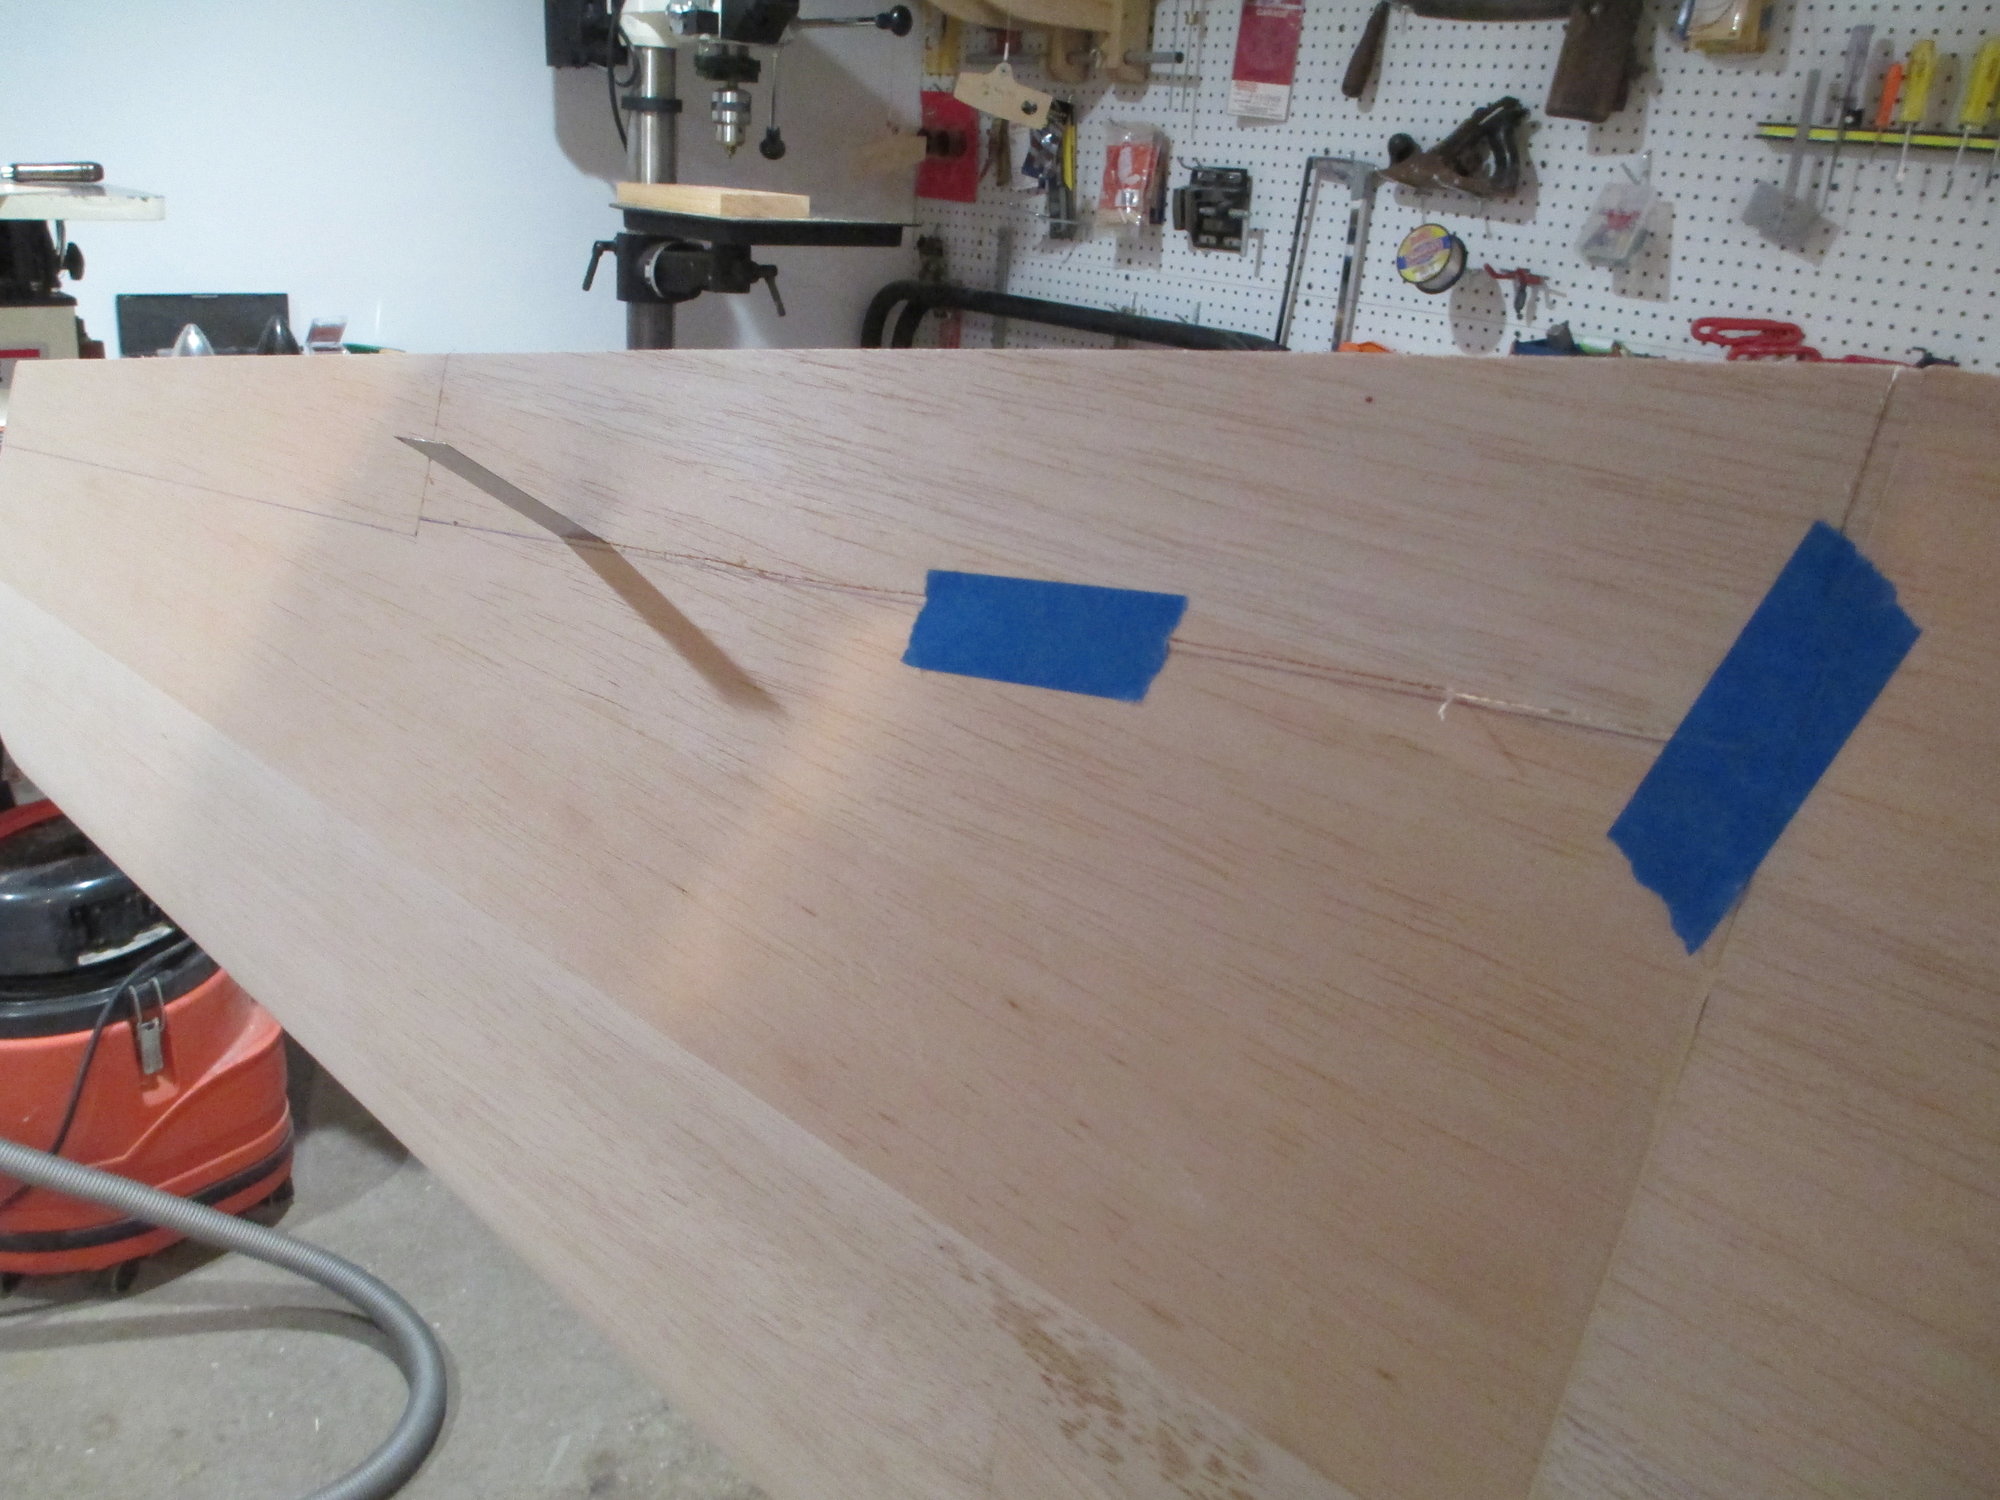
Note- I'm intentionally cutting to the right of the blue pen line. The pen line is the exact point I want the end of sheeting to be. Sanding to the line will give me more precise control...
Success, the flap is now free!
I won't pretend that removing the flap from the wing was easy for me because it wasn't. I couldn't wrap my head around the best method to accomplish this task. I like to have a full plan in place before I start. Studying the building plans more gave me the confidence on how to proceed.
Normally the margin of space between the wing's trailing edge and the flaps leading edge is where a straight cut is made, very simple. In this case however, the sheeting on the top of the wing's trailing edge extends beyond its edge while the bottom is flush leaving a curved pocket for the flap to sit into. Follow along and you'll see what I'm talking about...
I laid out the cut marks on the top surface of the wing's sheeting using a ball point pen. I have a spare saw blade from a retired saw that I will use to cut the flap free.
Marks were also extended to the sides of each rib on the back side.
After cutting approximately half of the flap free, I used a few pieces of blue painter's tape to stabilize the flap to the wing before finishing the cut. This helped hold the flap in place and stopped it from shifting out of place before getting to the end.
Note- I'm intentionally cutting to the right of the blue pen line. The pen line is the exact point I want the end of sheeting to be. Sanding to the line will give me more precise control...
Success, the flap is now free!
Last edited by VincentJ; 10-07-2019 at 07:48 AM.
10-07-2019, 03:37 PM
#291
Thread Starter
Thanks Mike, you need to take some time off my friend. There is a quote that says "If you do not take time for your wellness, you will be forced to make time for your illness". Take the time Mike and looking forward to seeing those pictures...
Last edited by VincentJ; 10-07-2019 at 04:01 PM.
10-07-2019, 03:50 PM
#292
Thread Starter
Part #2 Flaps
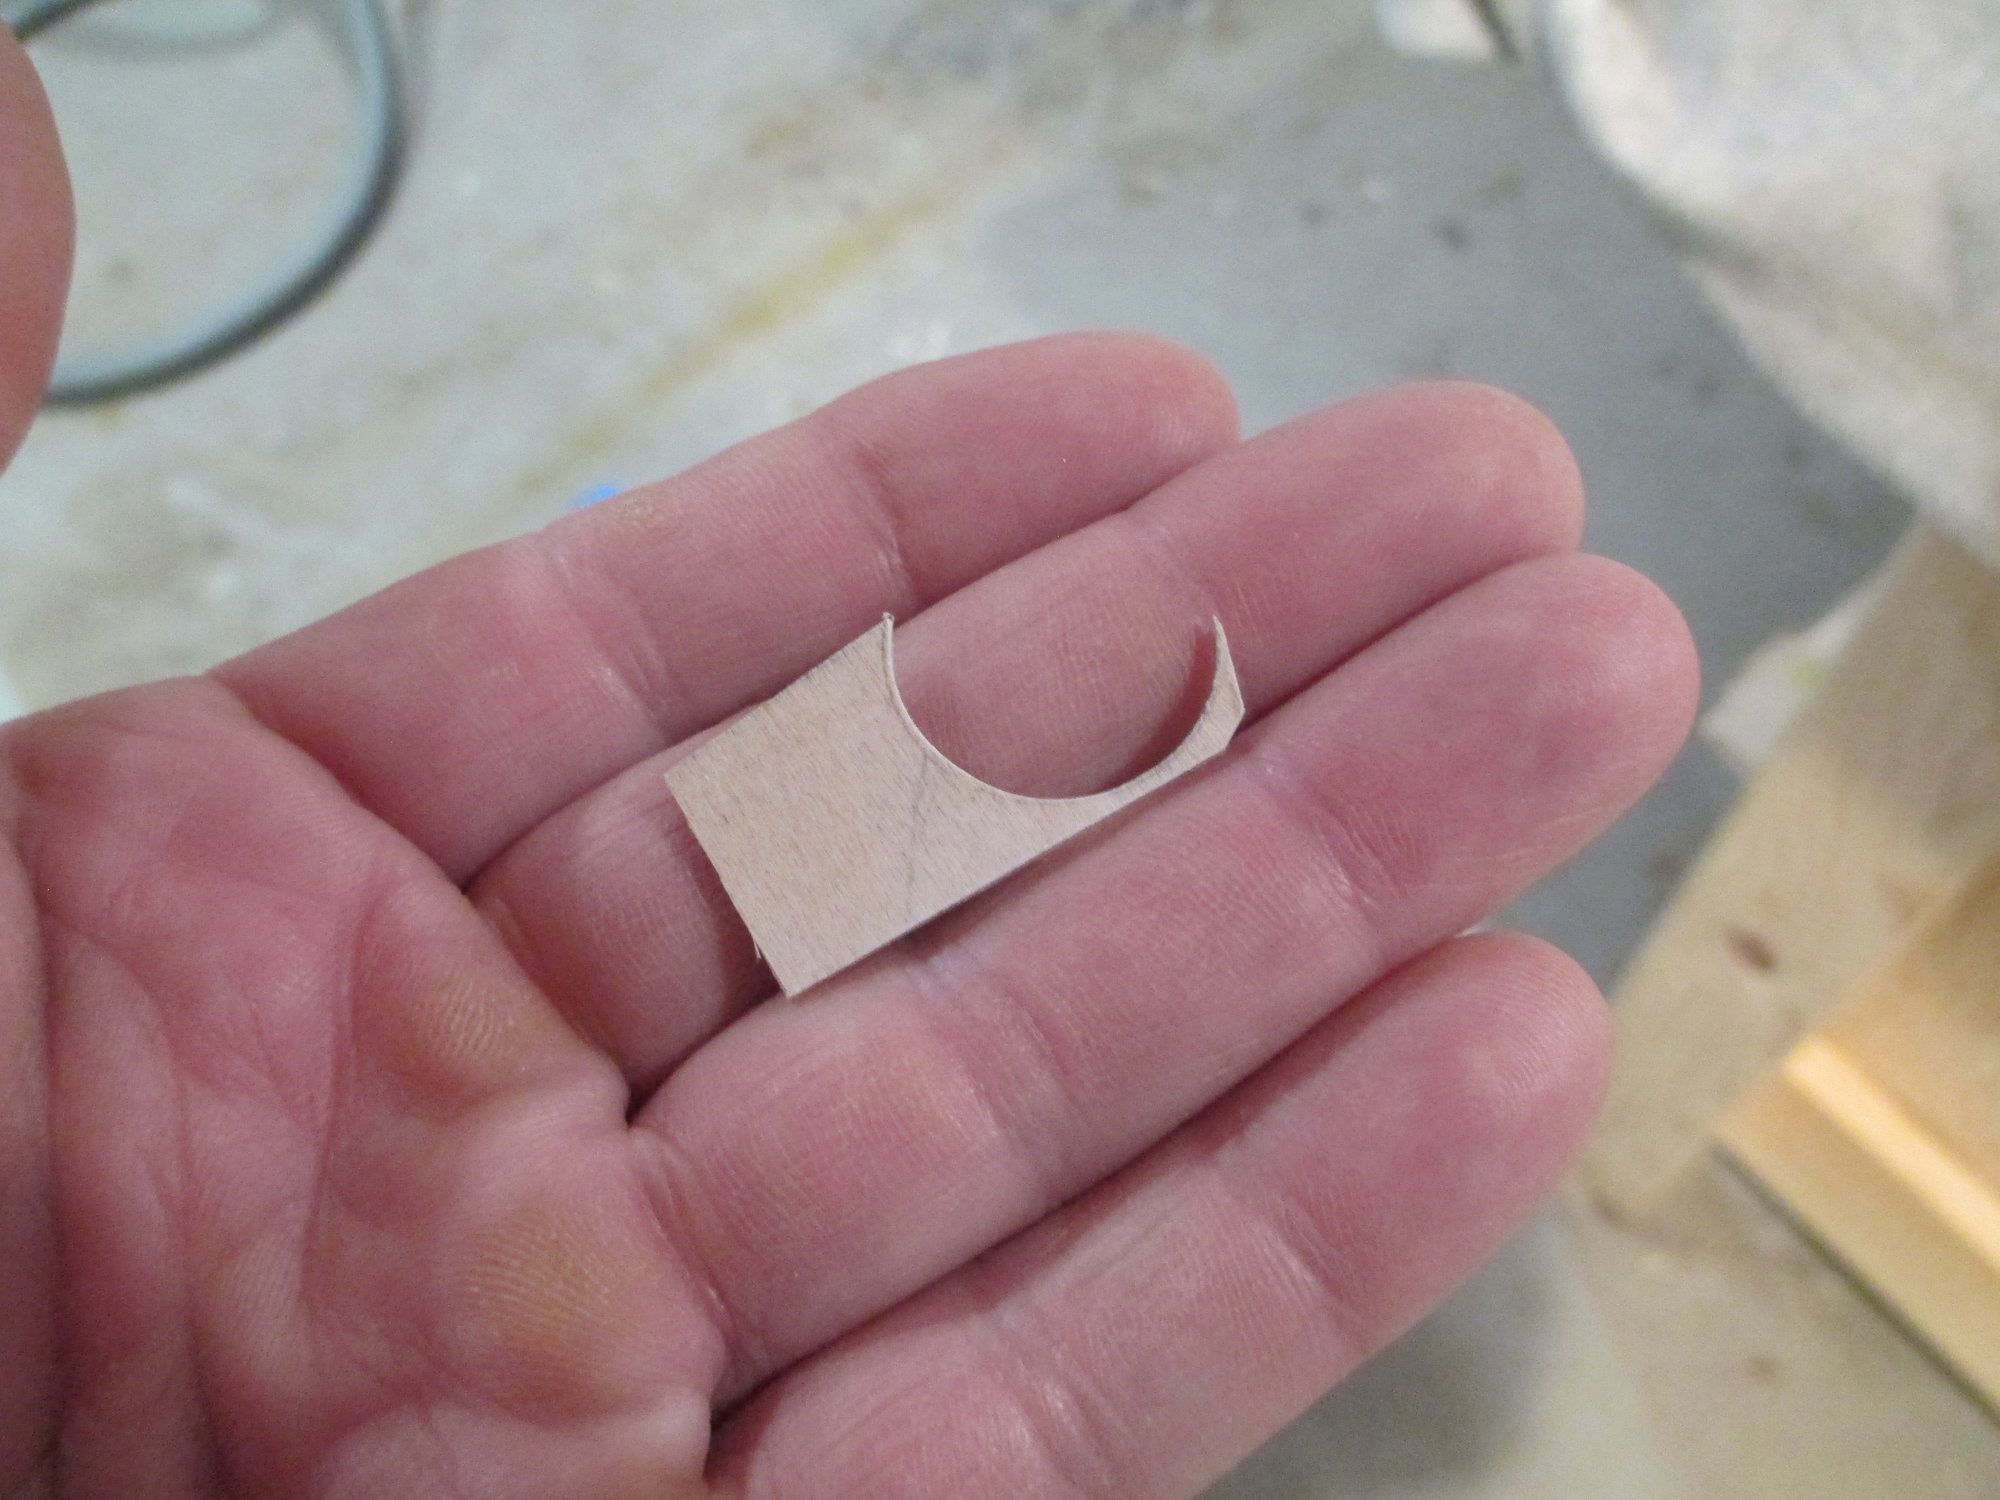
To radius each rib stub on the top portion of the flap recess I made a simple plywood template. This will duplicate consistency in shape and size on each rib stub. Note the small chamfer on the right corner, this is to allow for any left over glue (from some sloppy builder ) that would otherwise prevent the template from fully seating.
Template is in position, use a pencil and mark the radius on each rib stub.

Template has done its job, each stub is uniformly marked.
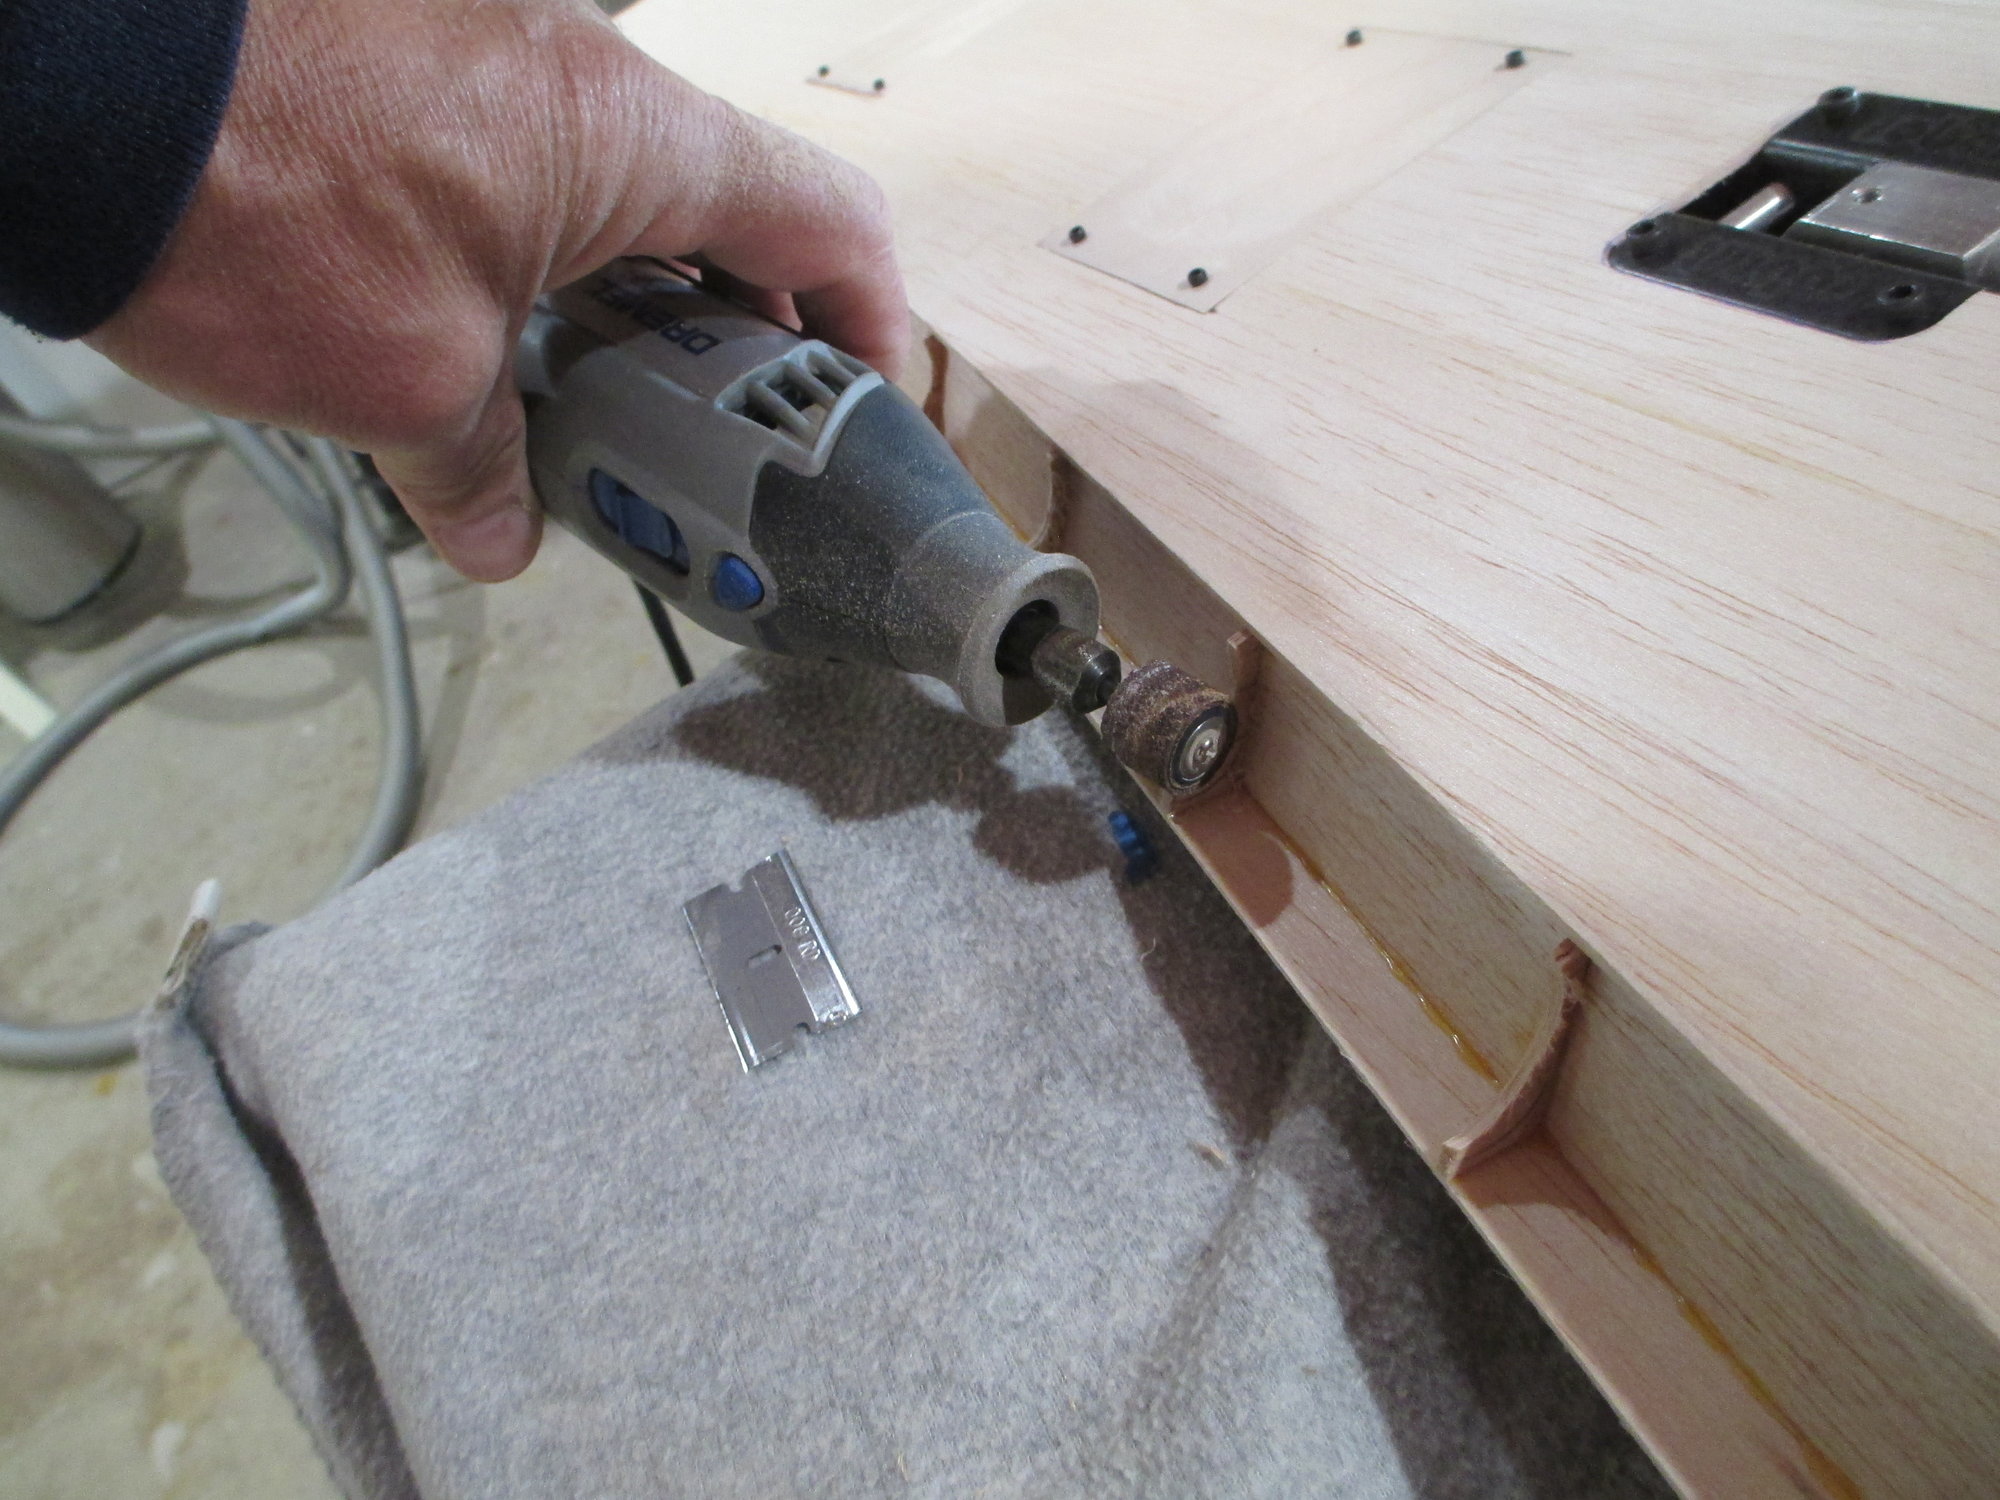
I'm using my Dremel tool to grind away the lions share of what's needed to be removed. I absolutely love my Dremel, it is a must have tool for every builder...
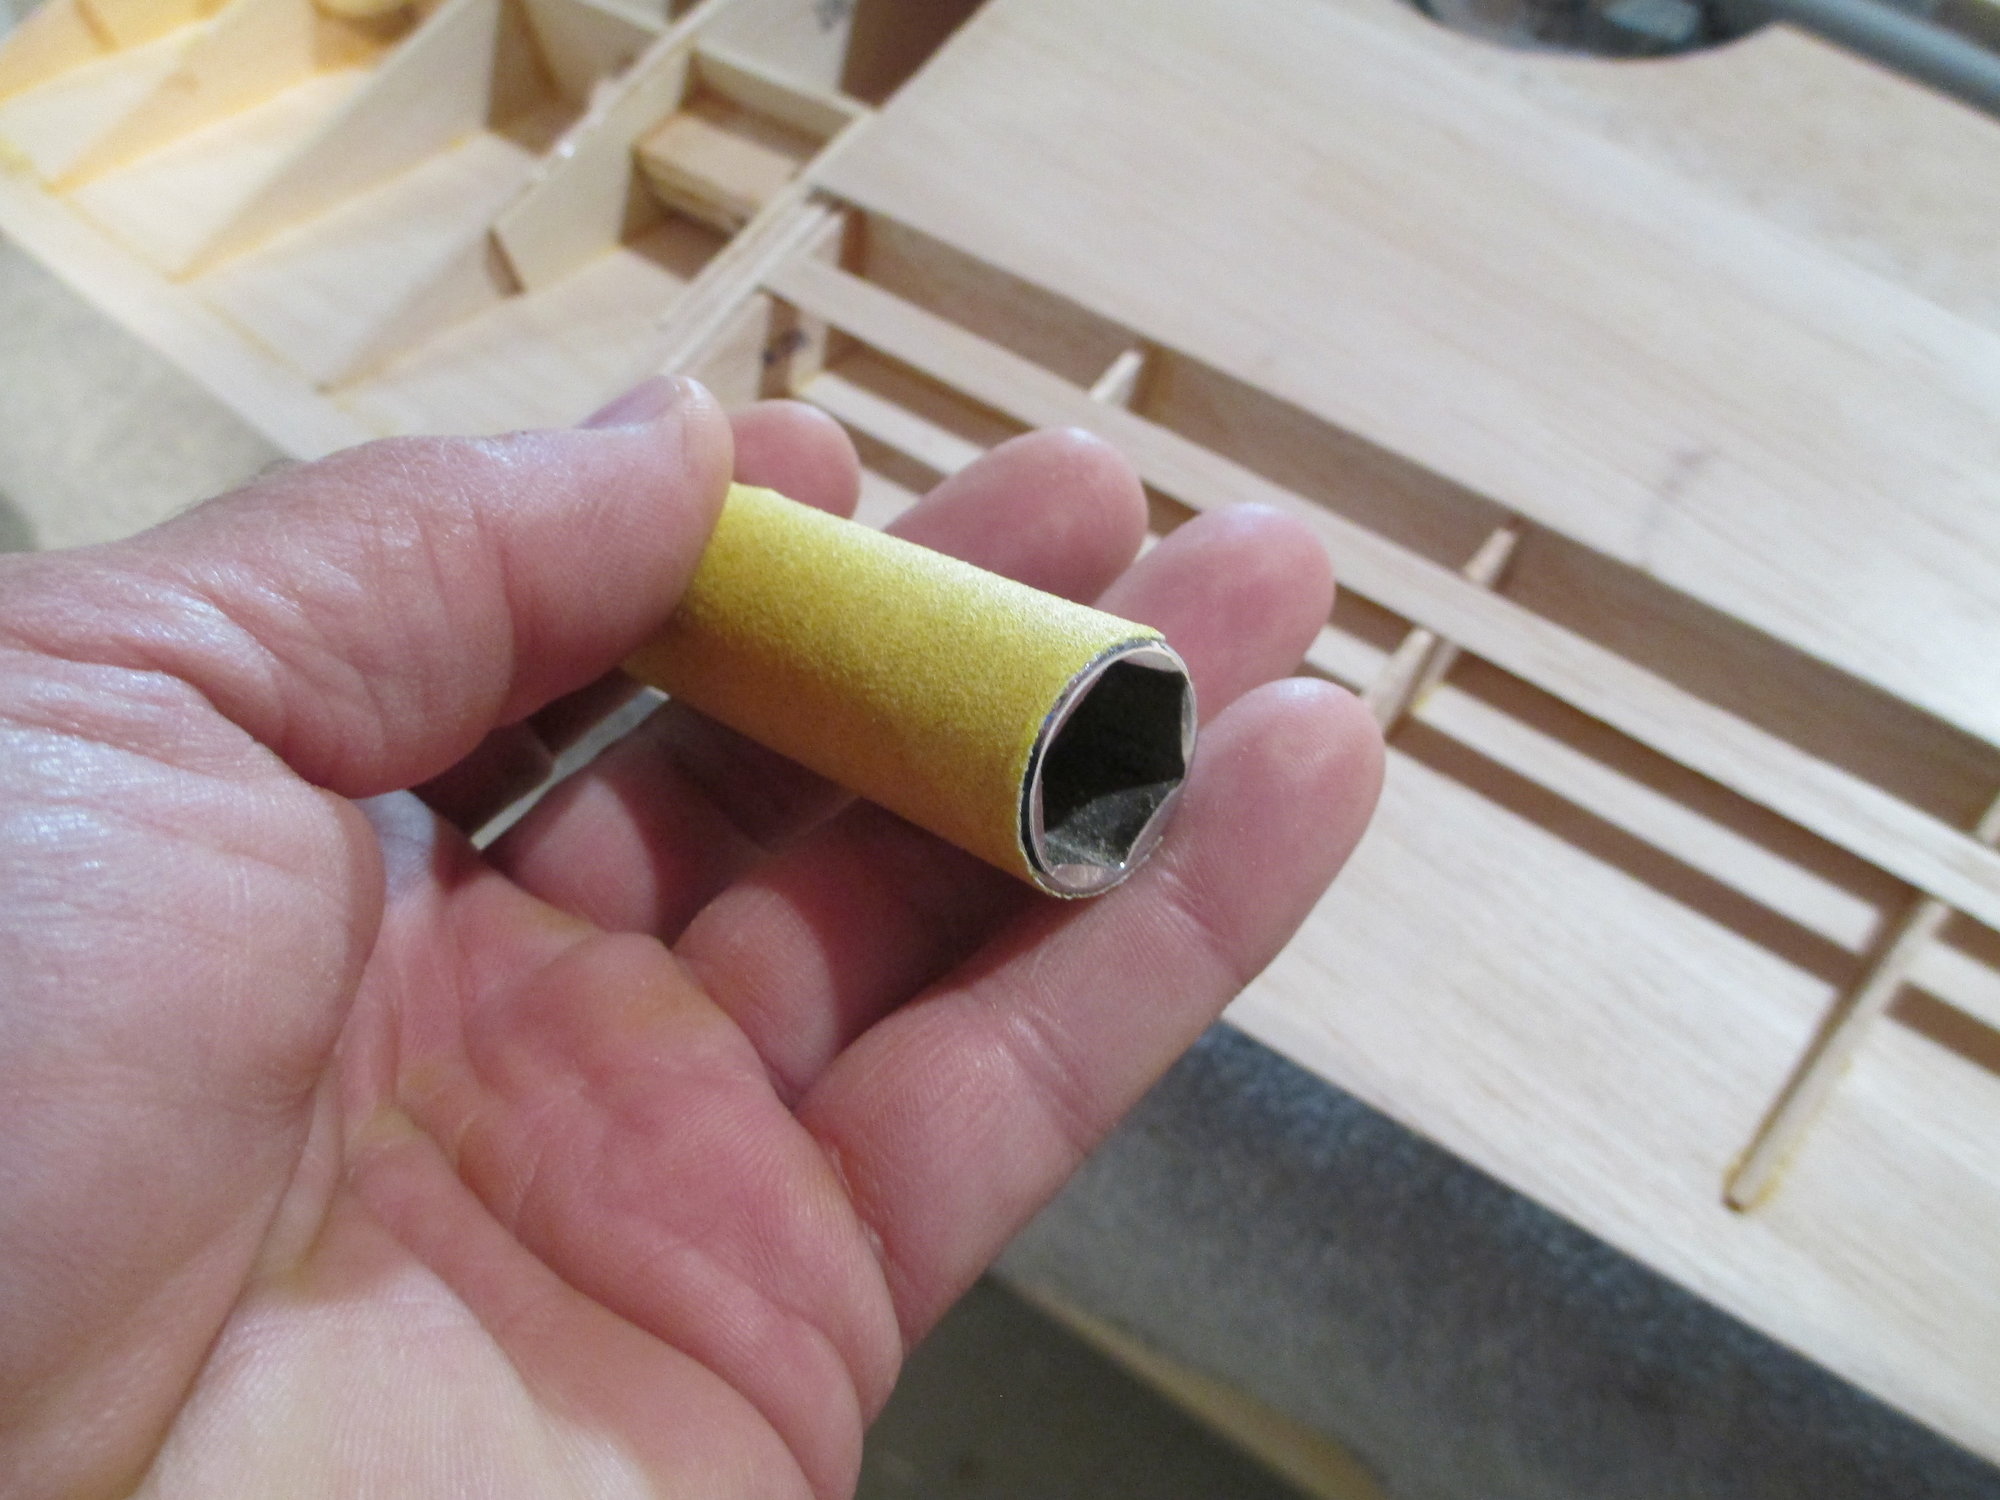
I wrapped sandpaper around a deep socket and sand to the pencil line.
Tedious work, but the sanding on this one's done... Stay tuned for Part 3.
To radius each rib stub on the top portion of the flap recess I made a simple plywood template. This will duplicate consistency in shape and size on each rib stub. Note the small chamfer on the right corner, this is to allow for any left over glue (from some sloppy builder
) that would otherwise prevent the template from fully seating.Template is in position, use a pencil and mark the radius on each rib stub.
Template has done its job, each stub is uniformly marked.
I'm using my Dremel tool to grind away the lions share of what's needed to be removed. I absolutely love my Dremel, it is a must have tool for every builder...
I wrapped sandpaper around a deep socket and sand to the pencil line.
Tedious work, but the sanding on this one's done... Stay tuned for Part 3.
Last edited by VincentJ; 10-08-2019 at 05:39 AM.
10-08-2019, 04:56 PM
#293
Thread Starter
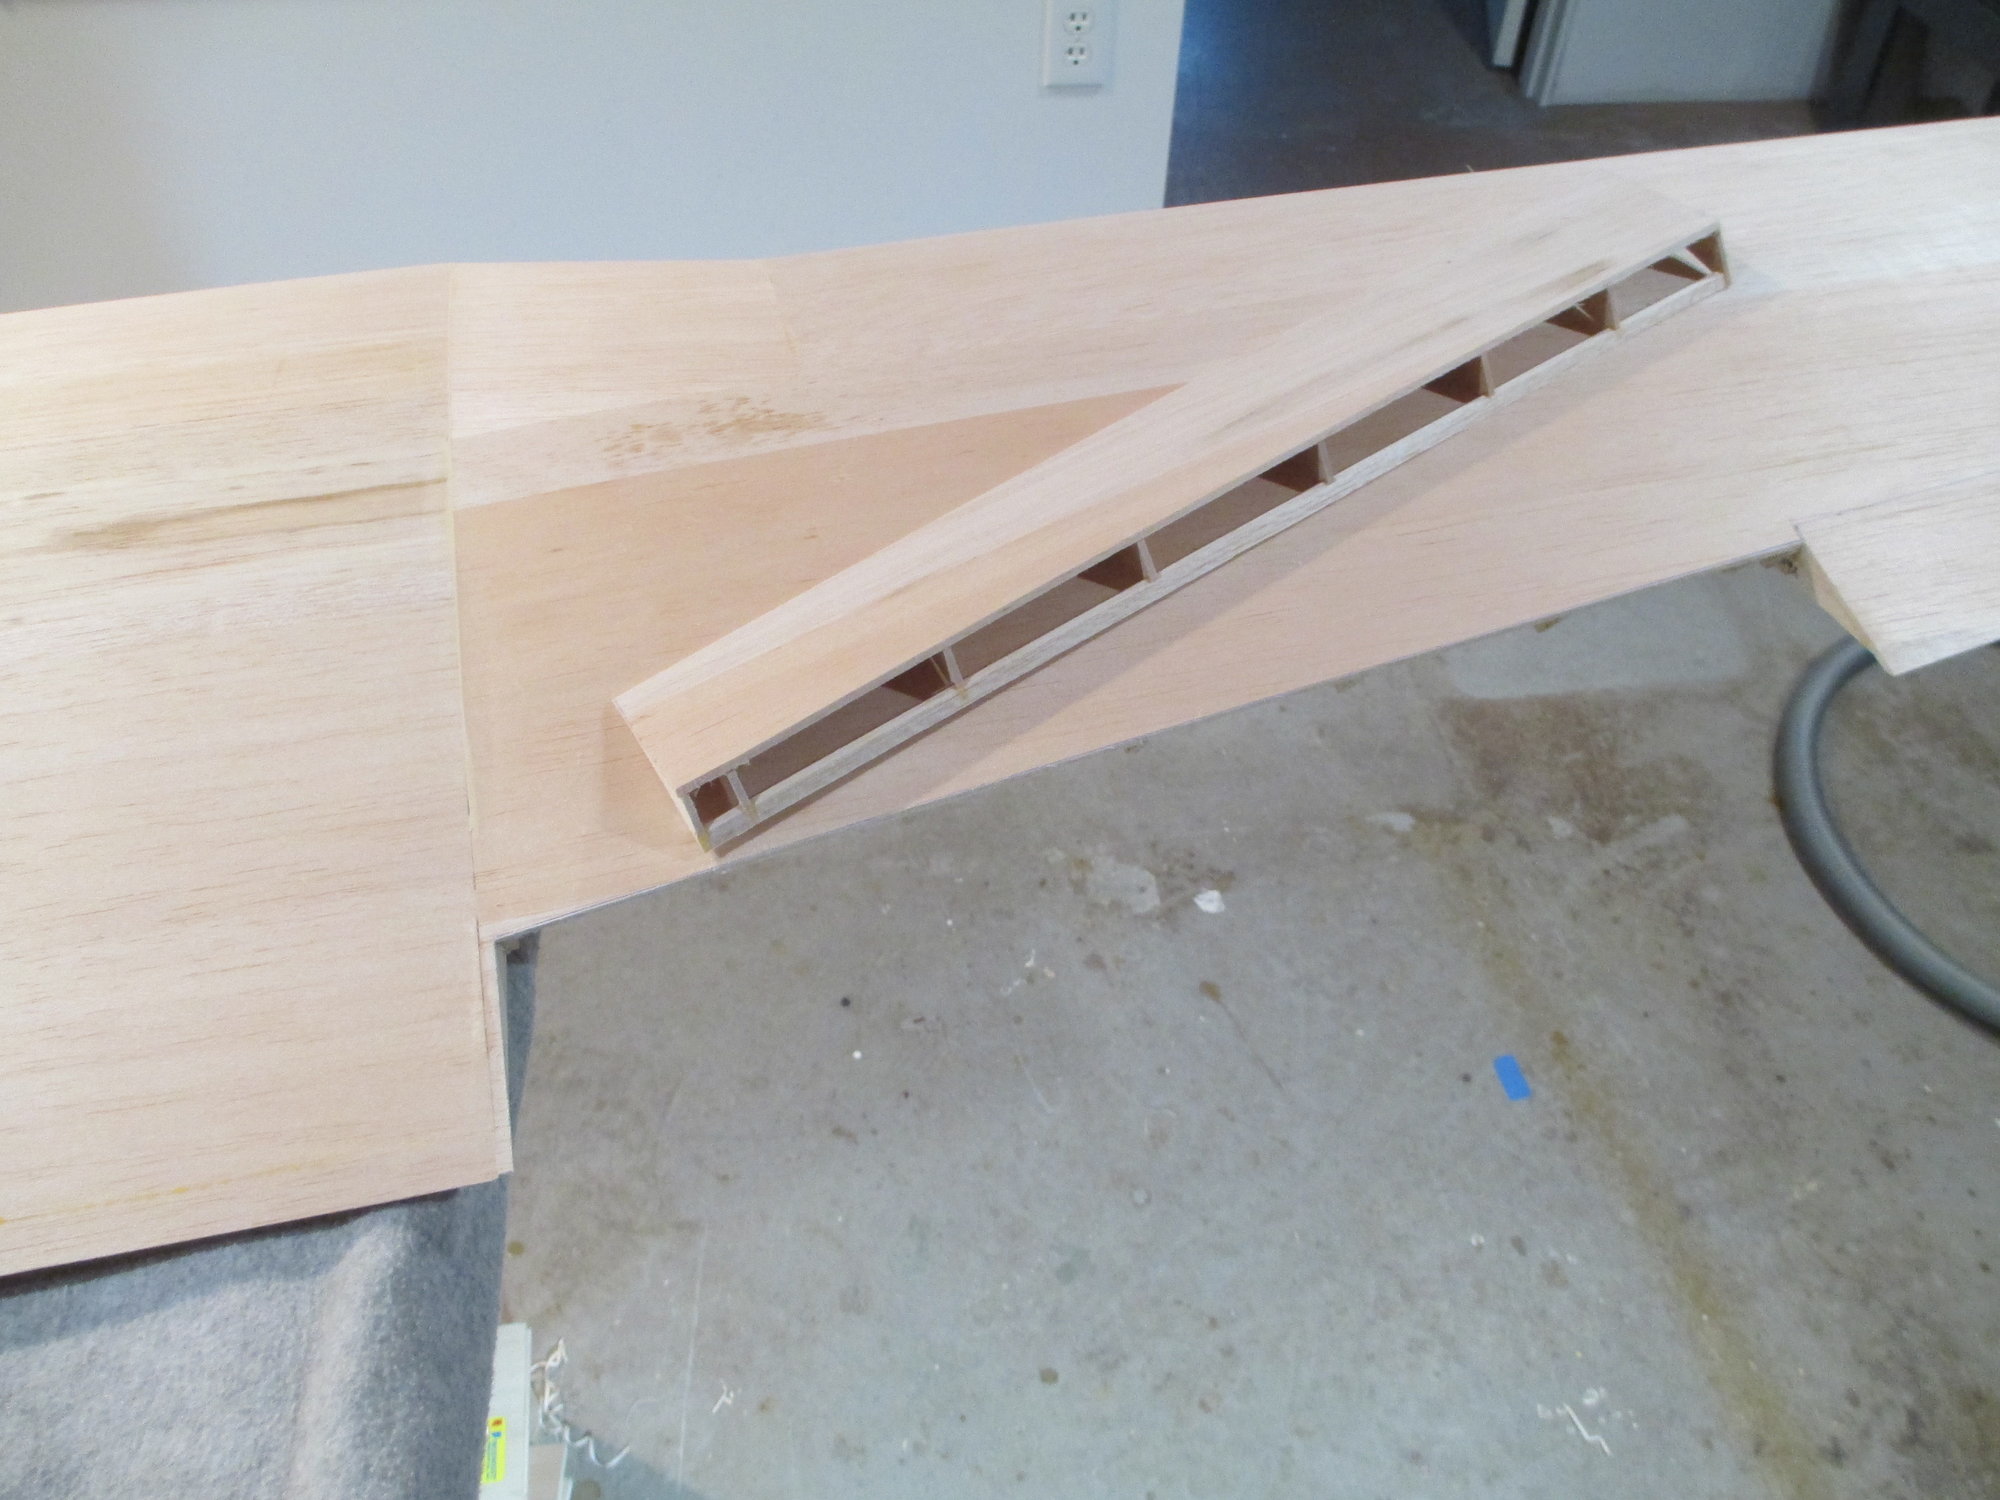
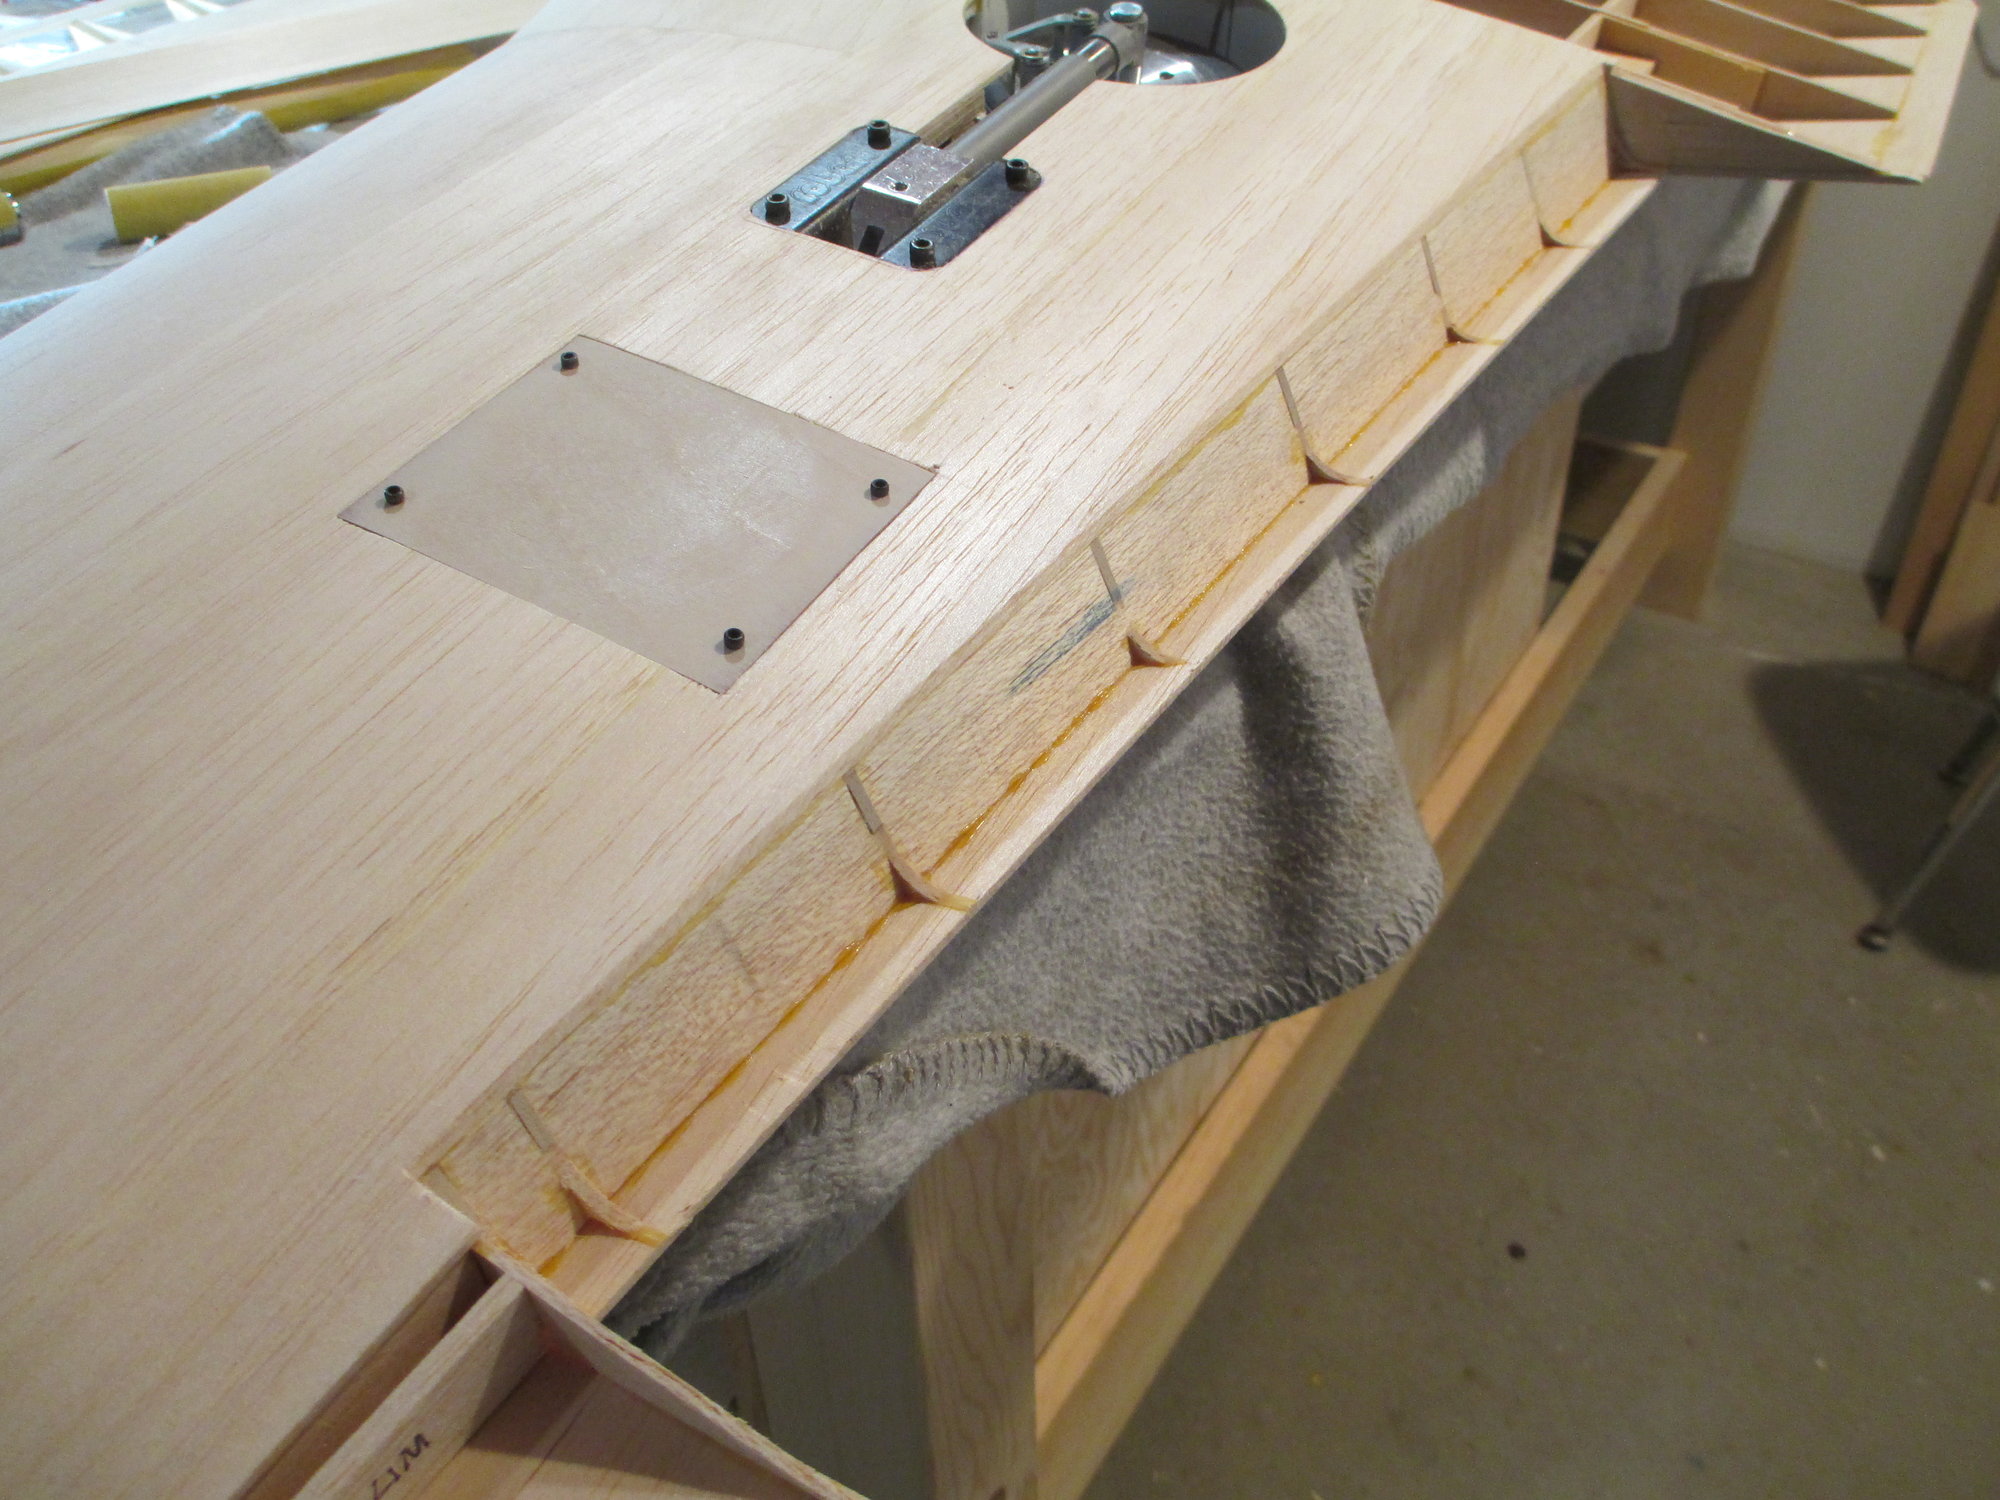
Part #3 Flaps
After shaping the rib stubs, the flap pocket was technically complete as far as the plans went. I thought I could improve on the appearance of the pocket, so I decided to go one step farther and skin the pocket with 1/32" balsa.
Knowing how thin this skin was, I decided to keep the cap on my trusty Titebond glue bottle shut and opt for using epoxy instead. The reasoning behind this decision was because the water based Titebond glue would have surely warped the thin balsa sheet. Epoxy was the right choice...
One flap pocket complete, time for the other side!
Last edited by VincentJ; 10-09-2019 at 03:12 AM.
10-10-2019, 12:52 AM
#295
Thread Starter
With the flap pockets completed, I decided that I can't cut the ailerons free quite yet until I carve and glue in place the wing tips. Of course the wing tips can't be done until I sand the wing's leading edge to shape... So I guess it's time to tackle the LE! (There is a ton of work that has gone into this wing to get it to where it is now and still quite a bit left to do. Will it ever end???)
Both flap pockets are done!
So I guess it's time to tackle the LE! (There is a ton of work that has gone into this wing to get it to where it is now and still quite a bit left to do. Will it ever end???)Both flap pockets are done!
Last edited by VincentJ; 10-10-2019 at 06:35 AM.
10-10-2019, 03:22 PM
#297
Thread Starter
Because this wings thickness tapers, I was limited as how to best make a jig that would contour the leading edge Mike. I'm afraid I'm going to disappoint you because I used my straight aluminum sanding bars and just did it by eye...I would however like to see your method. I may be an old dog, but I can still learn some new tricks!
10-10-2019, 03:31 PM
#299
Thread Starter
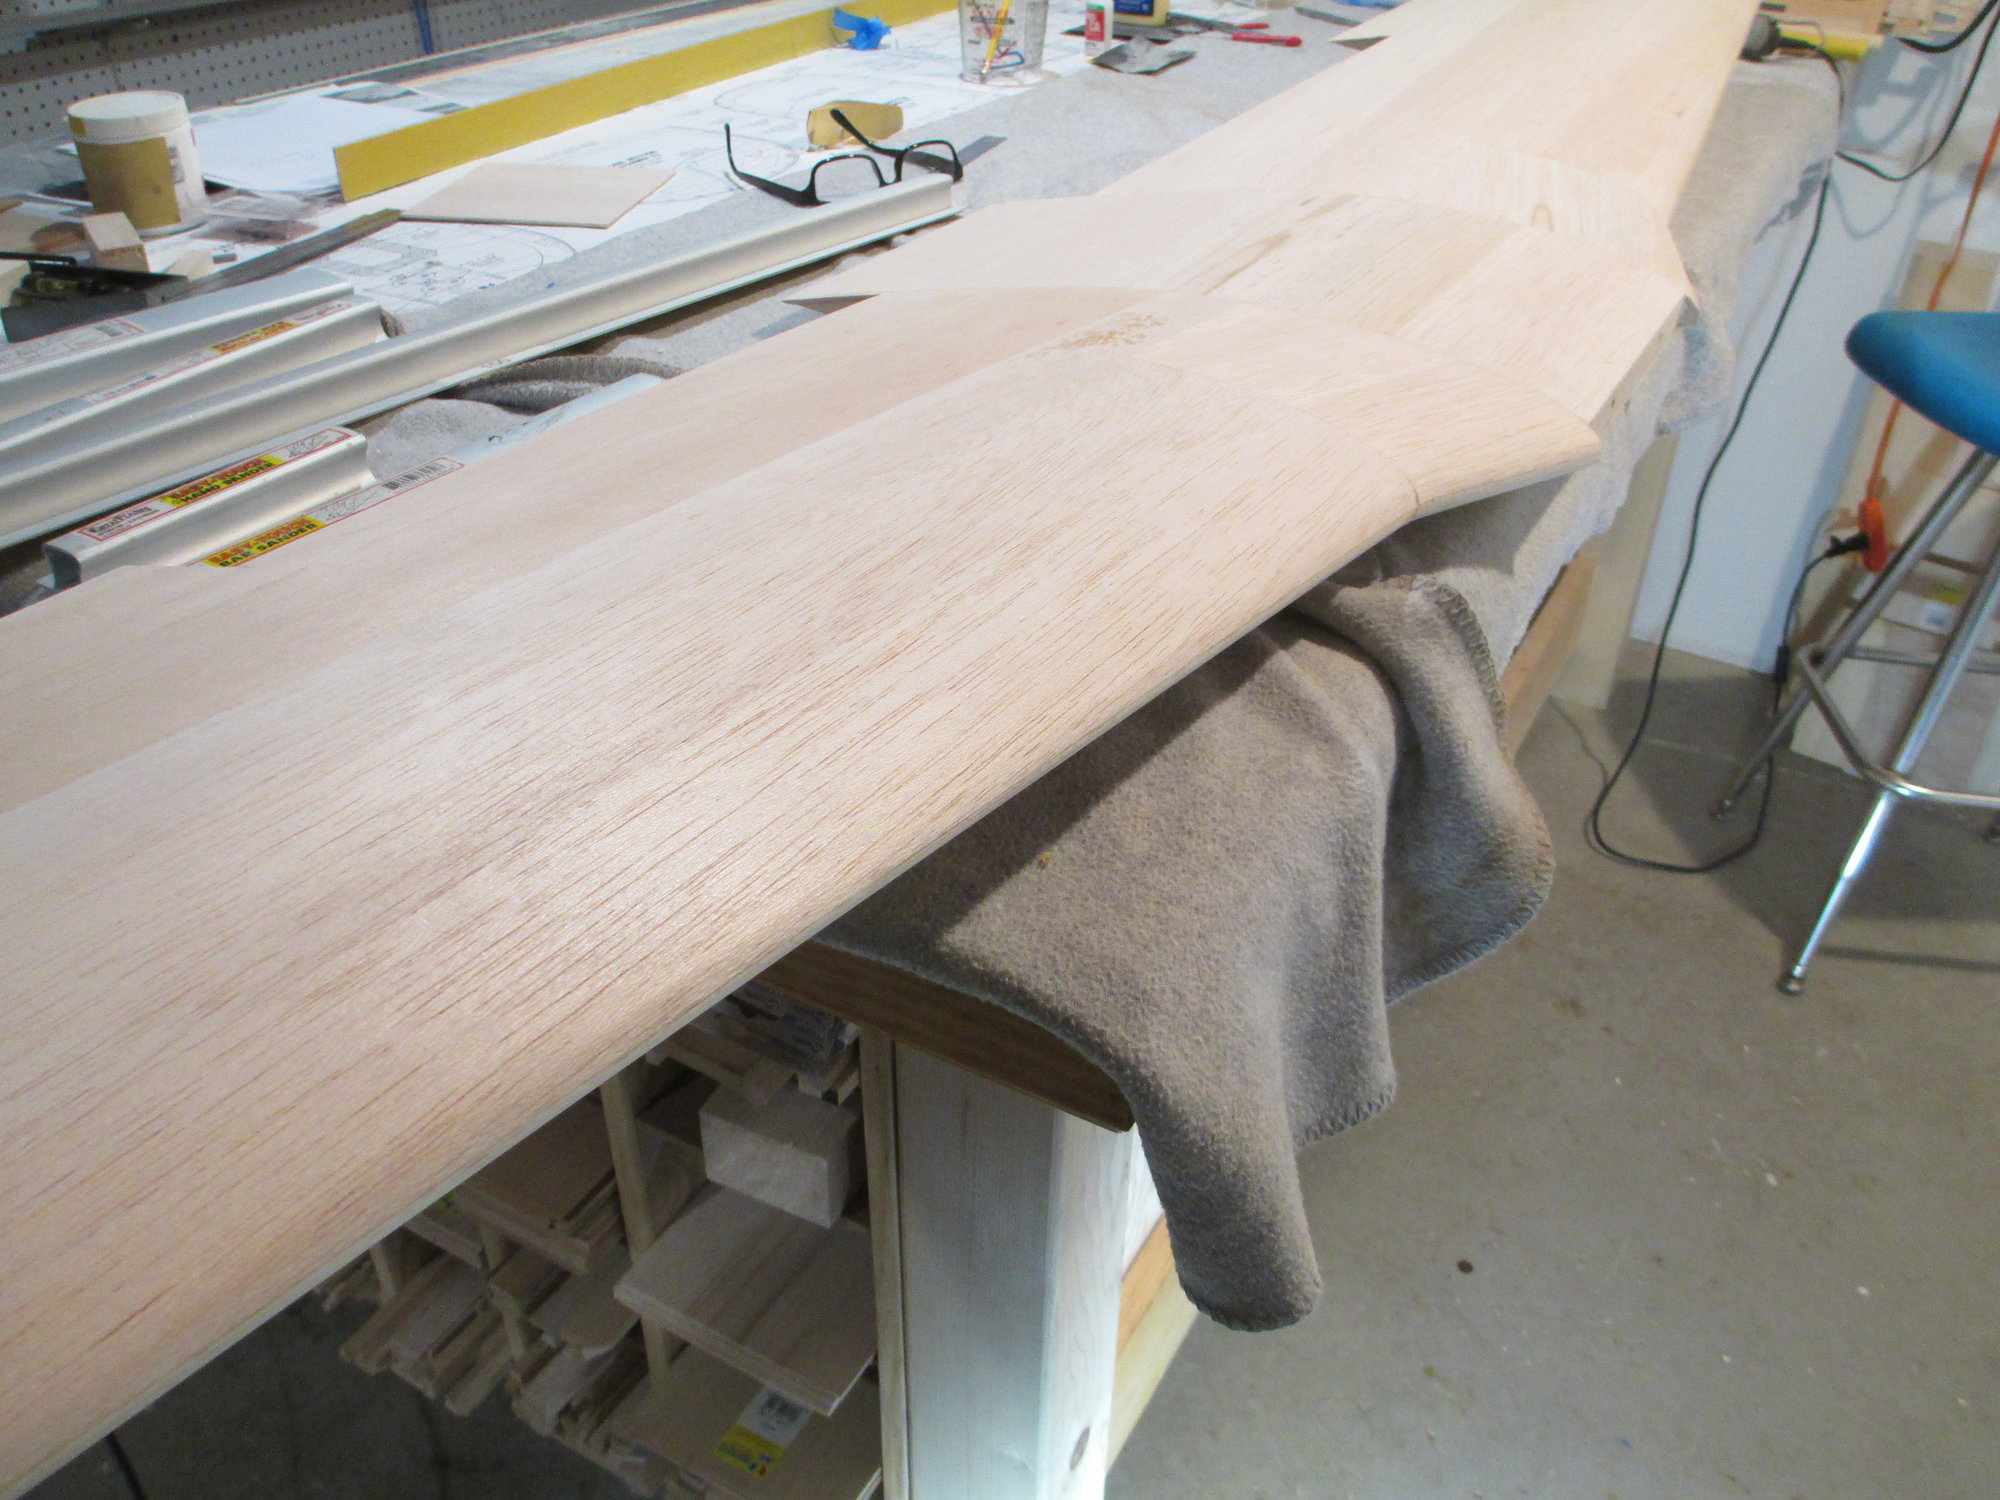
One side is done, and so am I for this evening. I inhaled my night's quota of balsa dust!
This is a "before" photo of the LE.
I am going to try and duplicate the wing's leading edge curve as shown on the plan by just sanding by hand and by eye...

I think I duplicated it pretty closely!
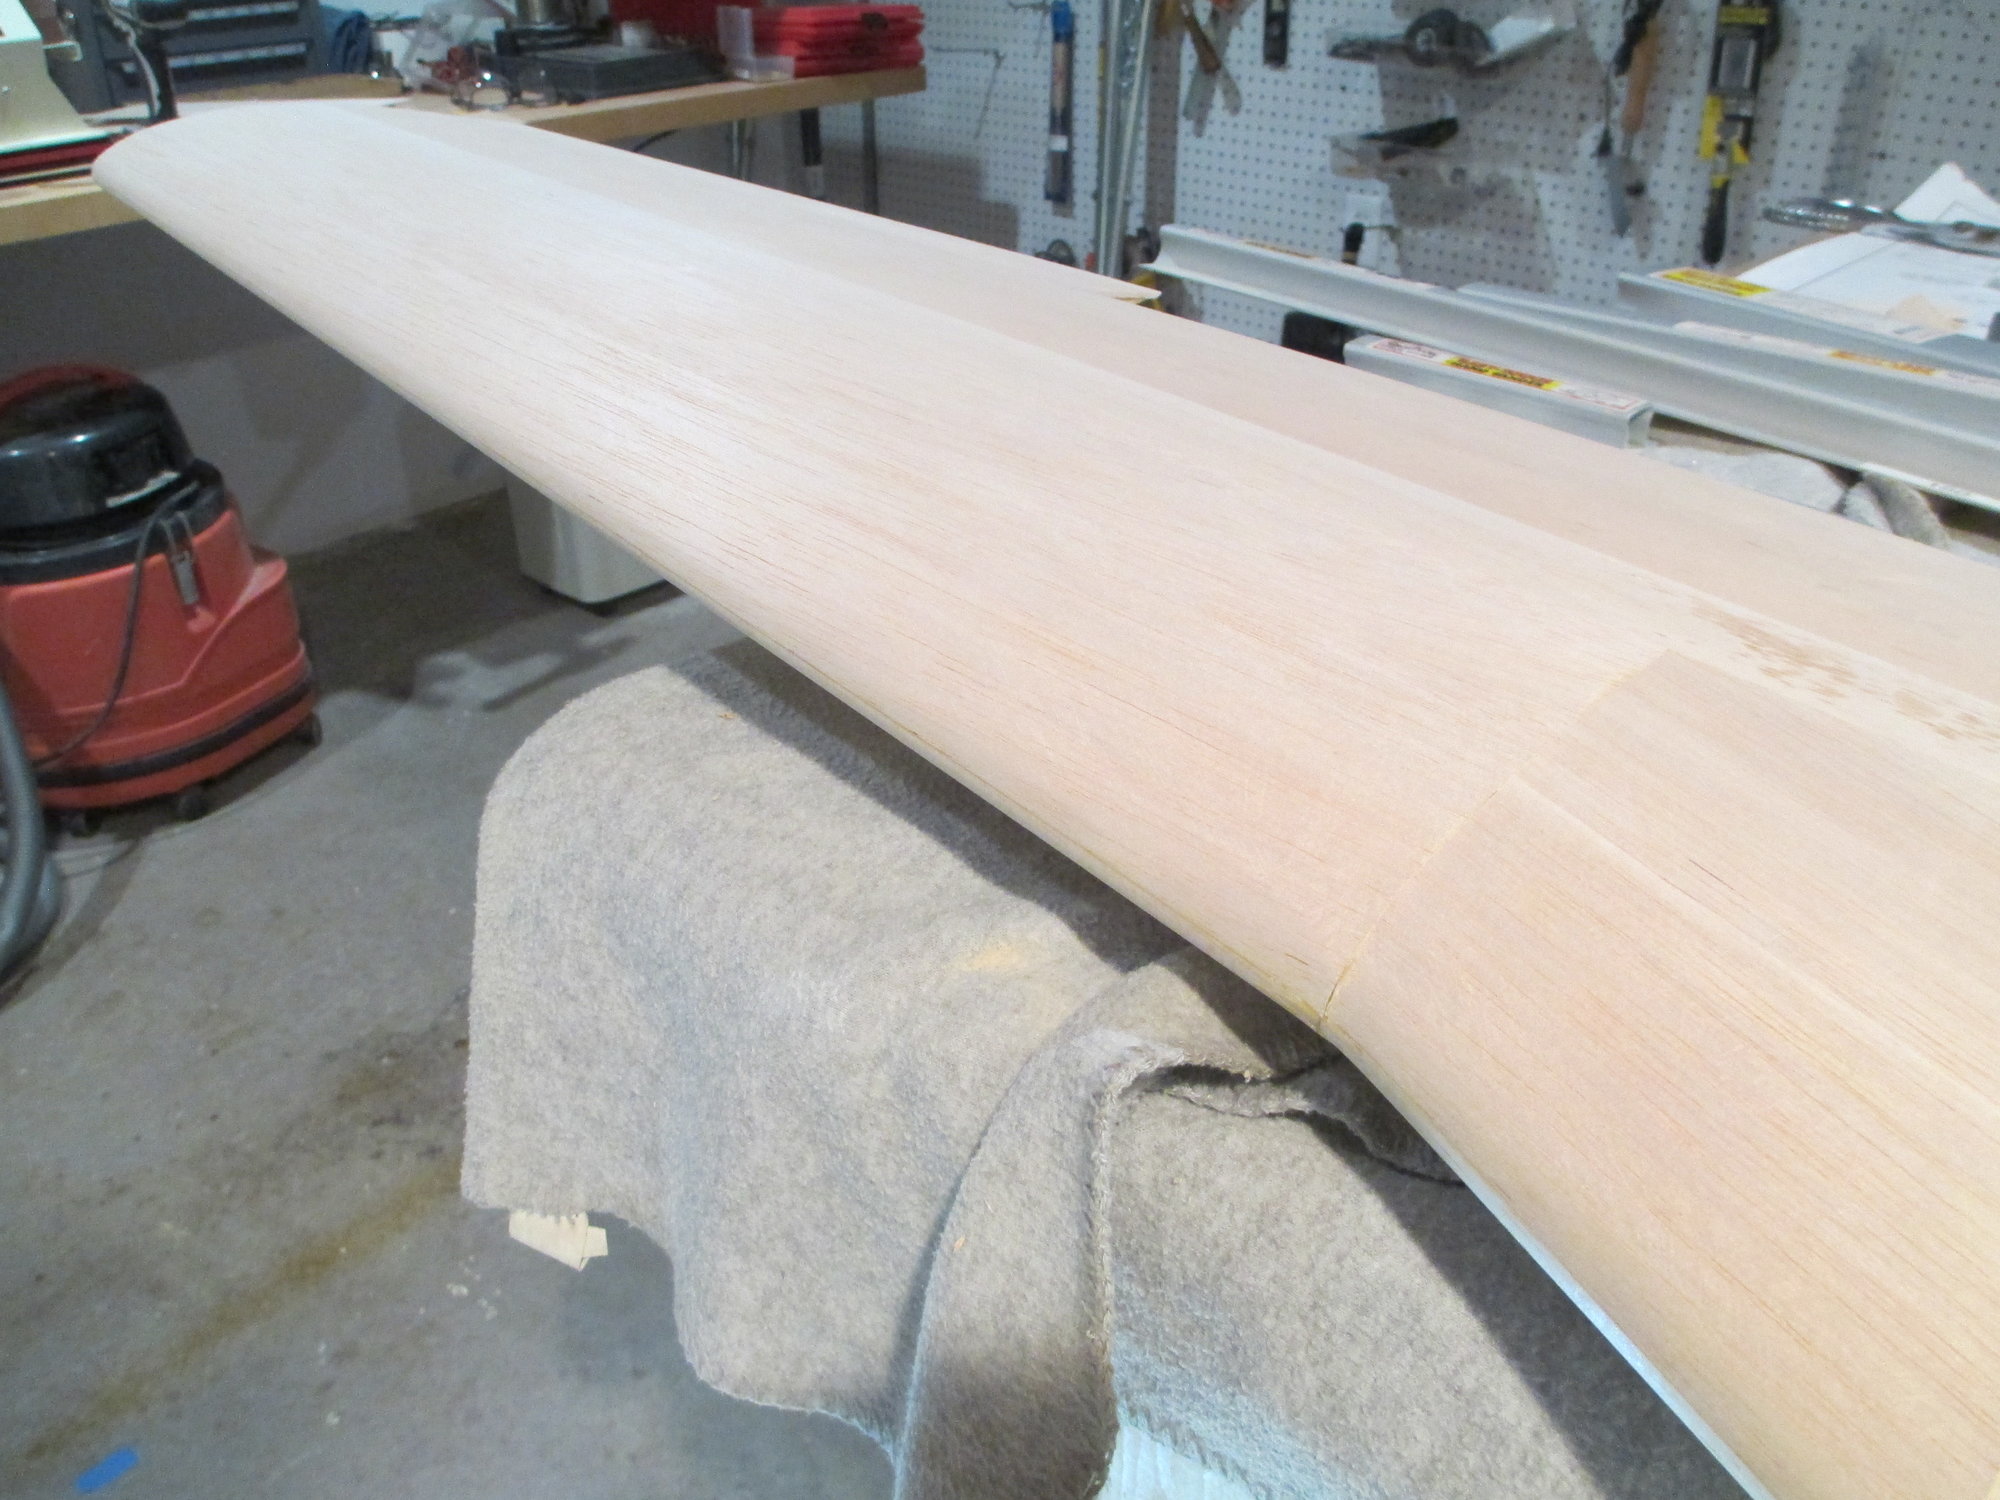


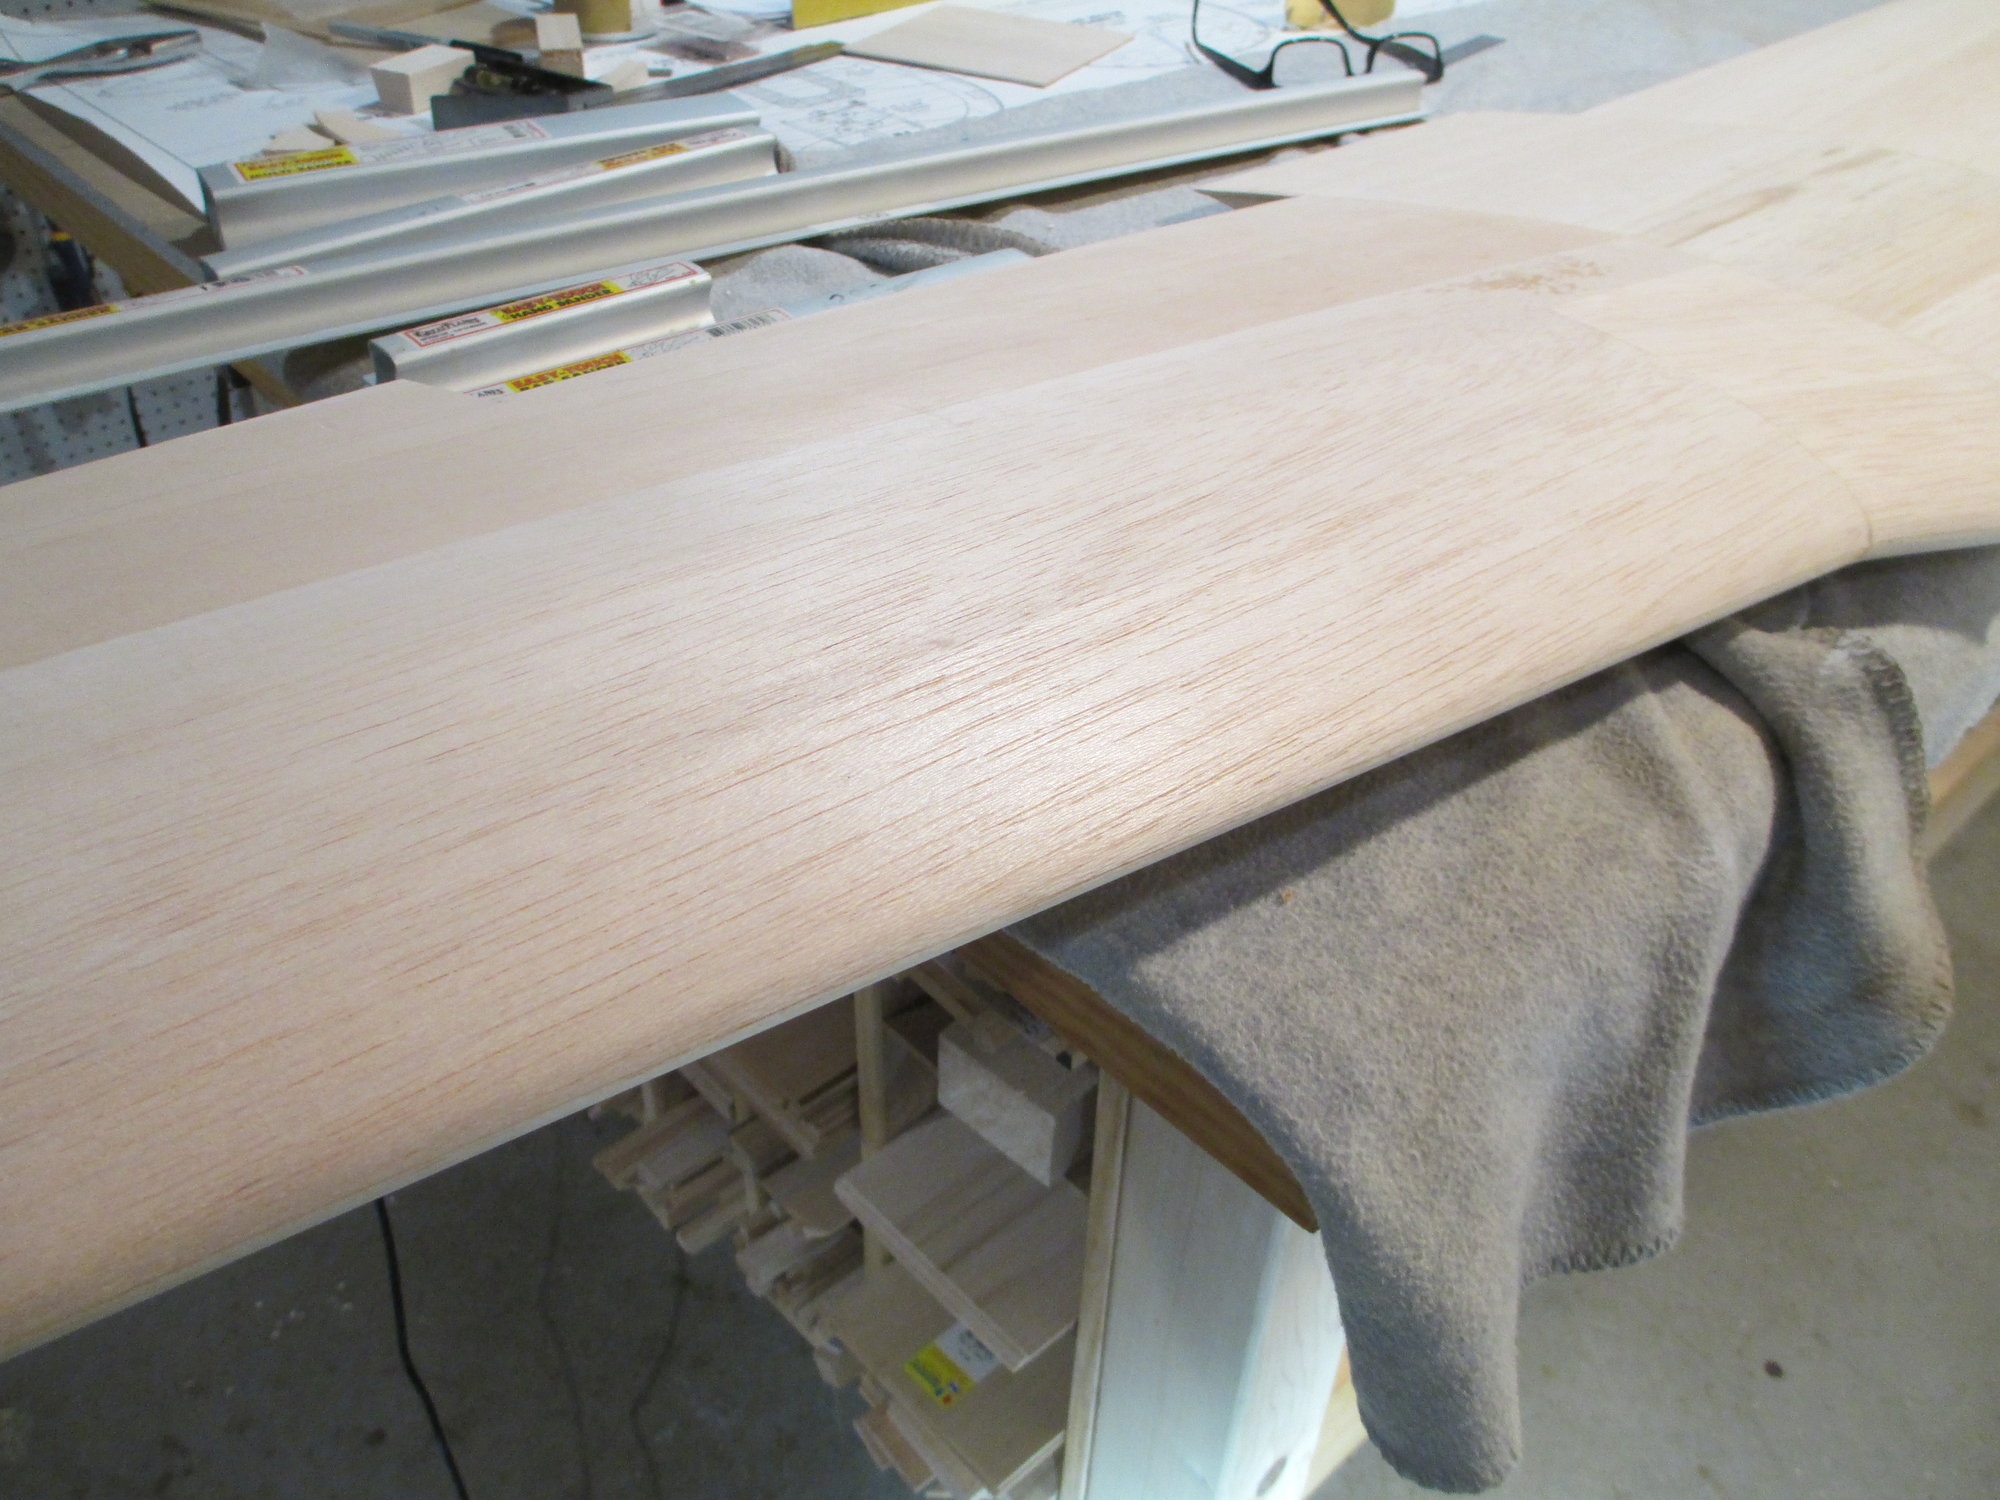
This is a "before" photo of the LE.
I am going to try and duplicate the wing's leading edge curve as shown on the plan by just sanding by hand and by eye...
I think I duplicated it pretty closely!
Last edited by VincentJ; 10-11-2019 at 12:51 AM.