


TF Beechcraft Bonanza F33A Build


 07-08-2019, 03:15 PM
#78

Thread Starter
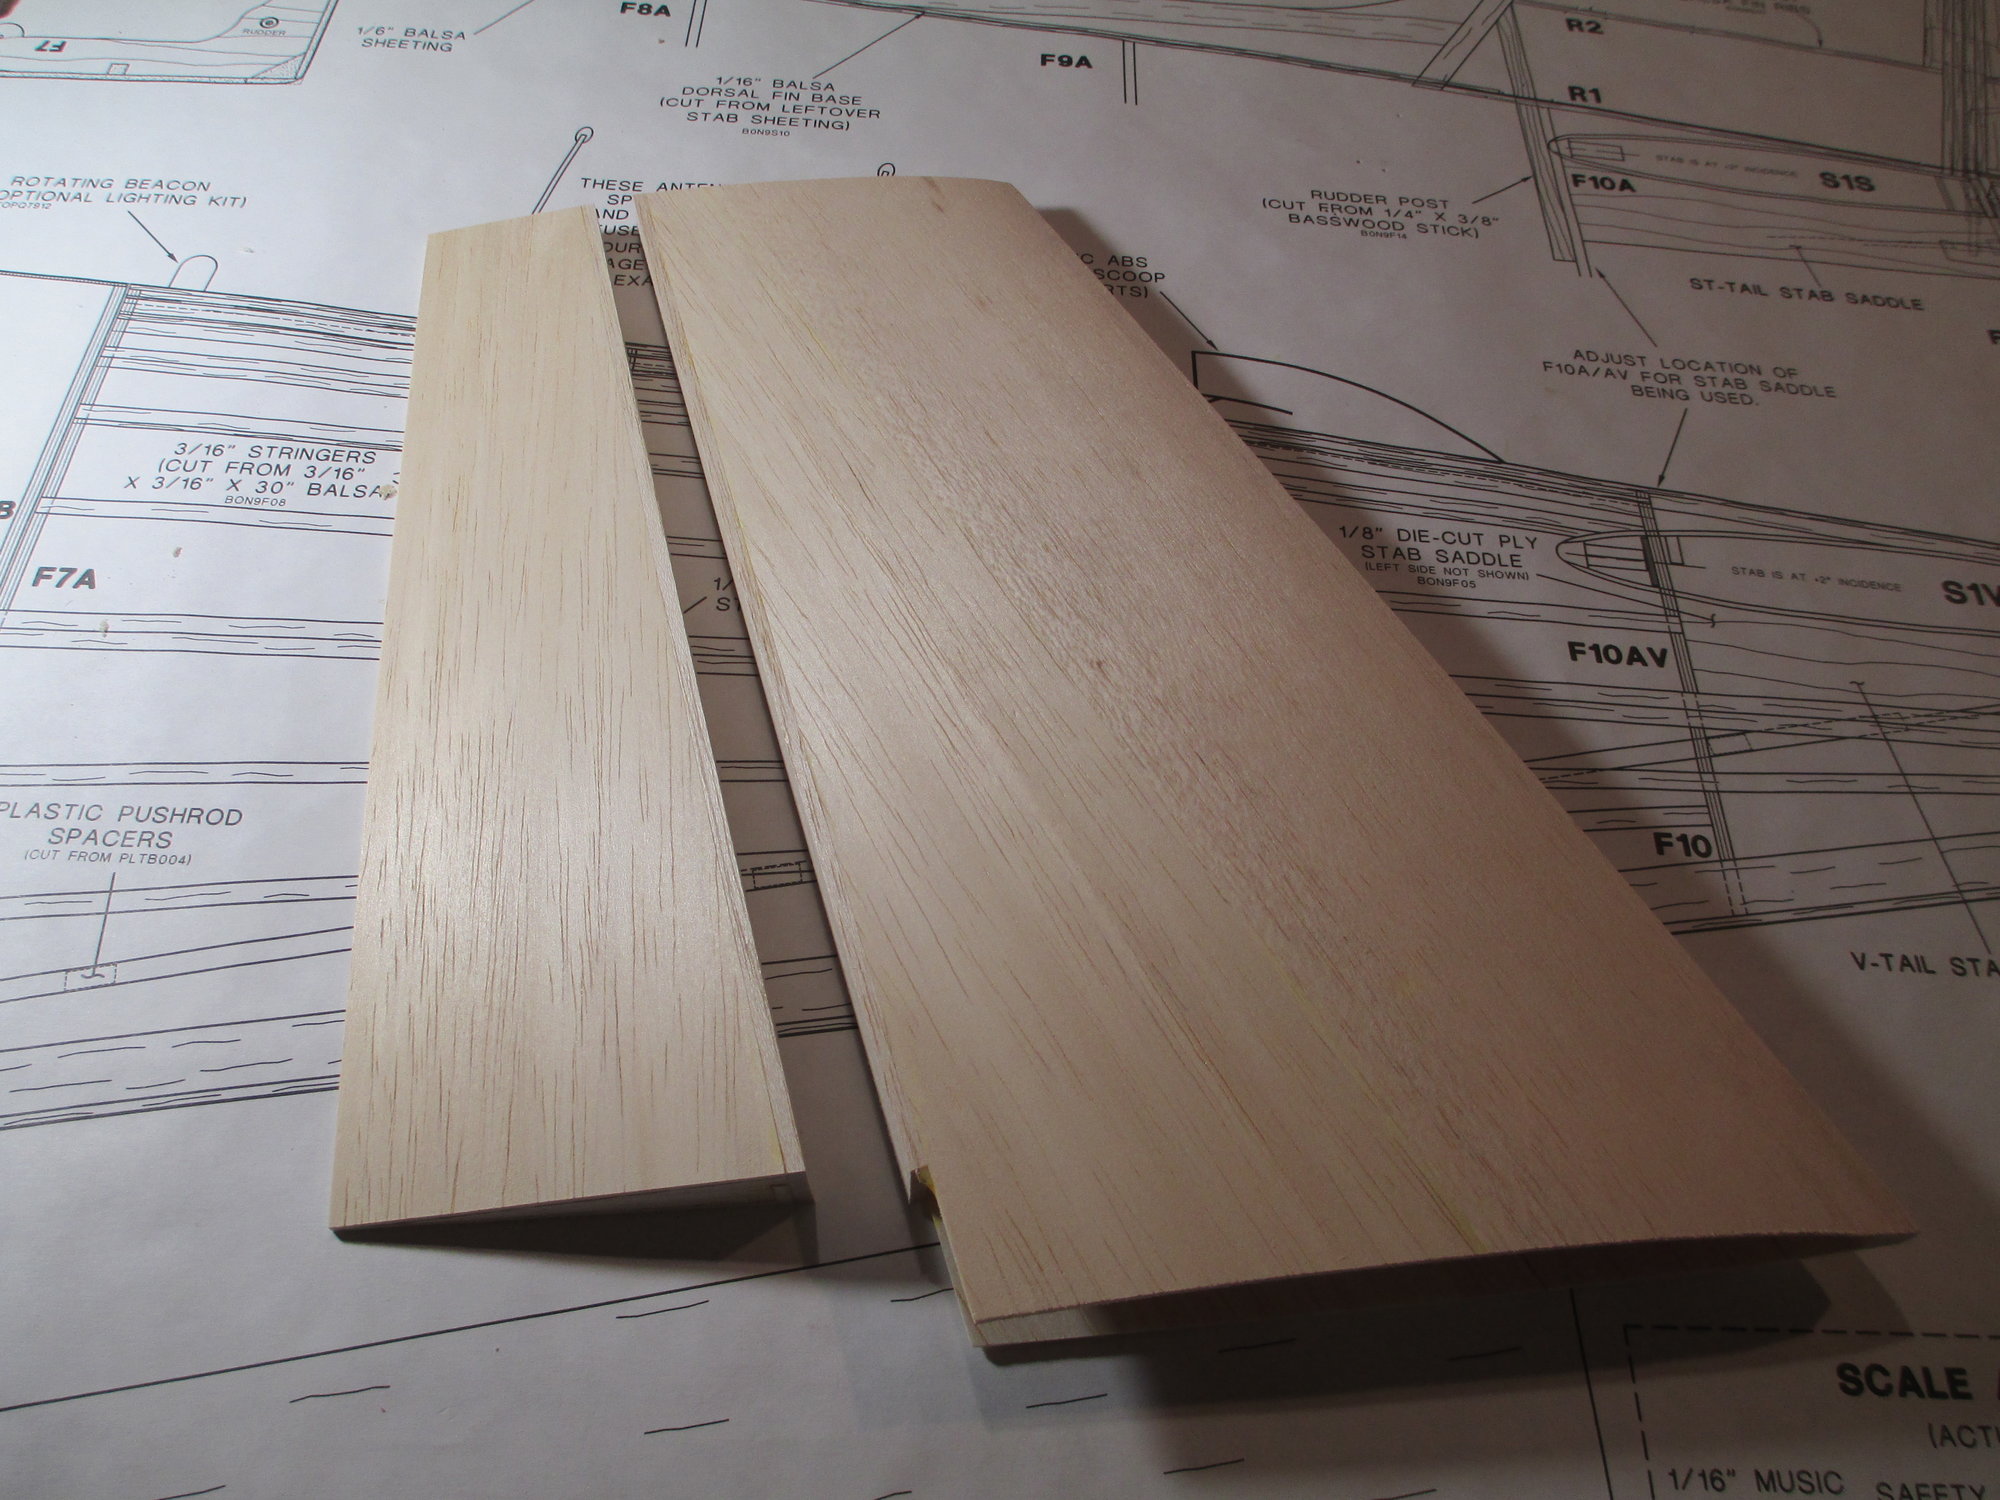
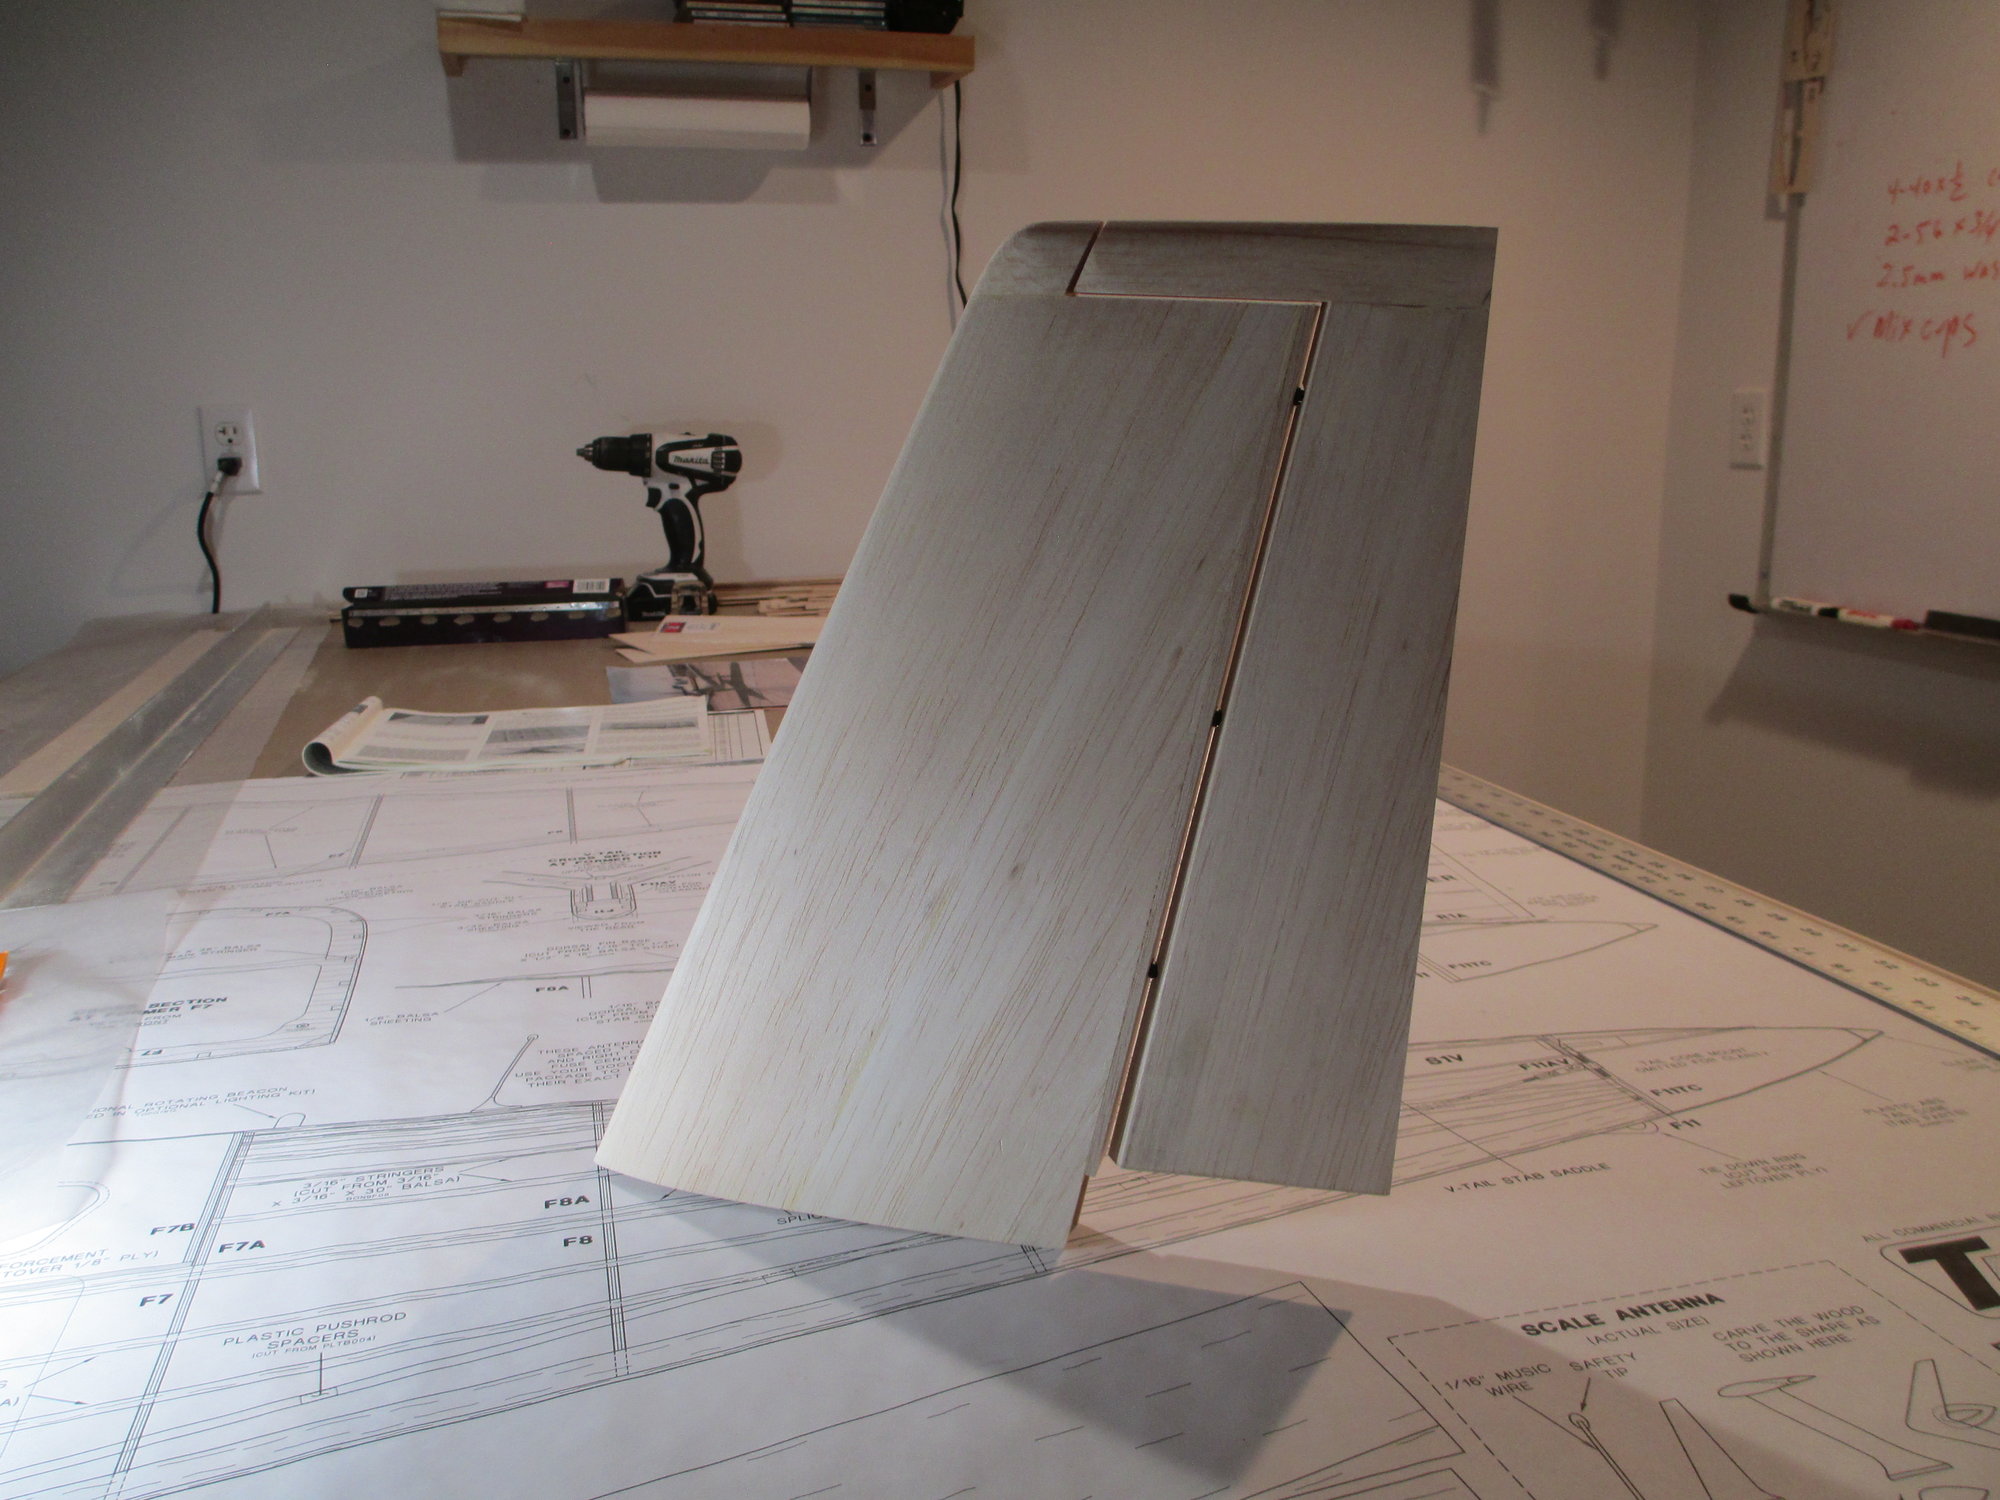
With the opposite side of the rudder/fin assembly now sheeted, it's time to separate them from each other.
The process is exactly the same as I separated the stab from the elevator halves. My hand saw blade made quick work of it.
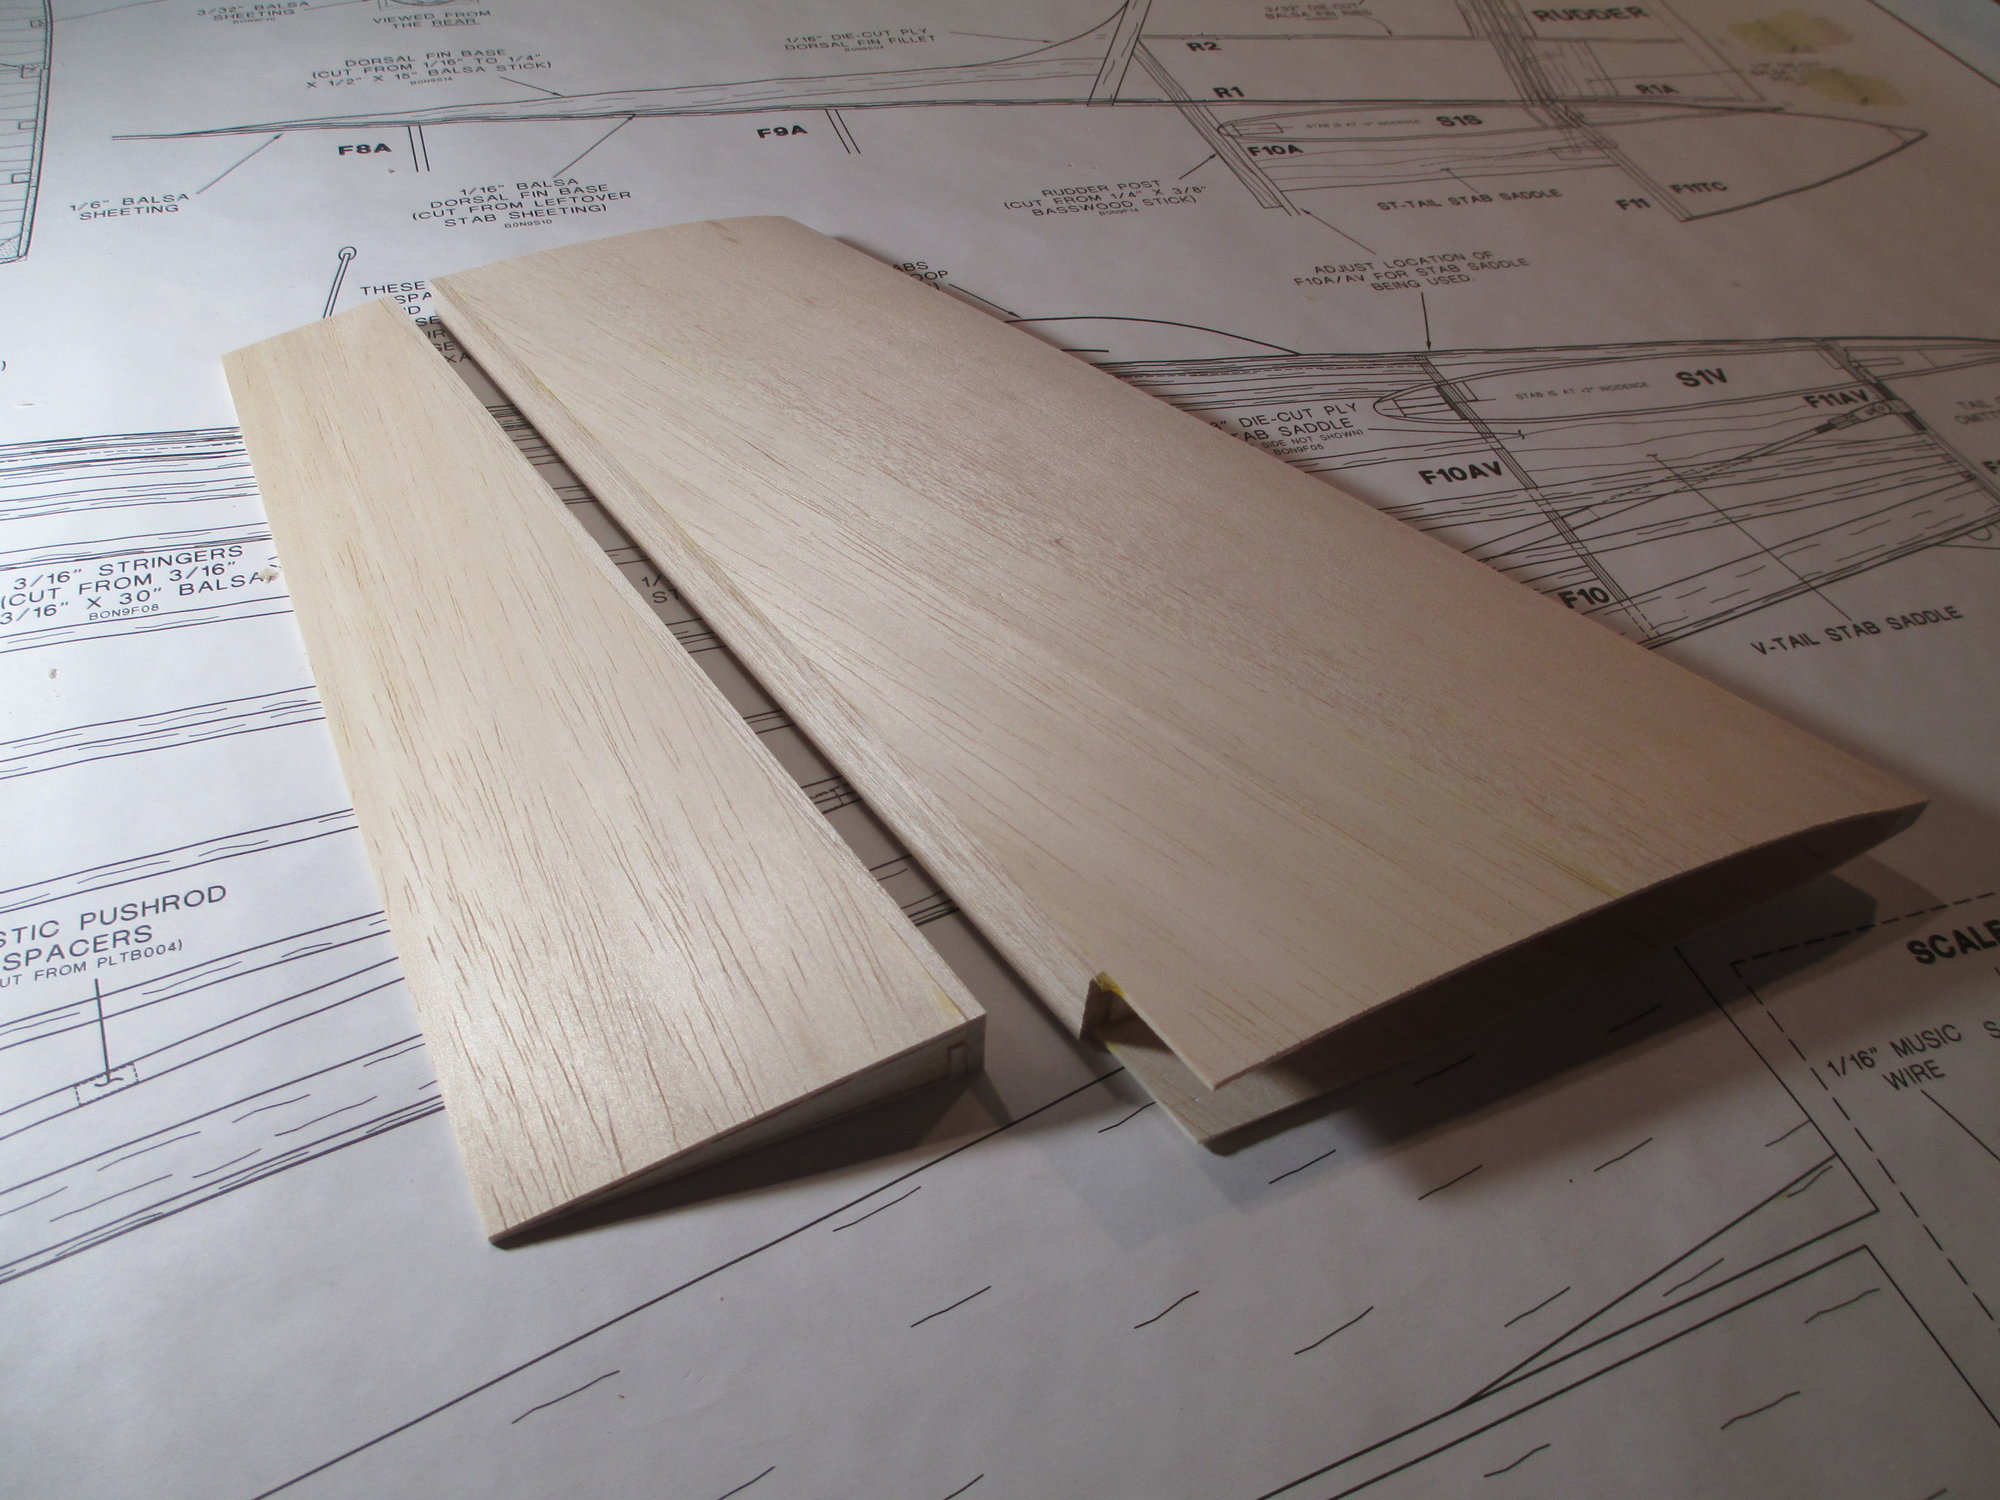
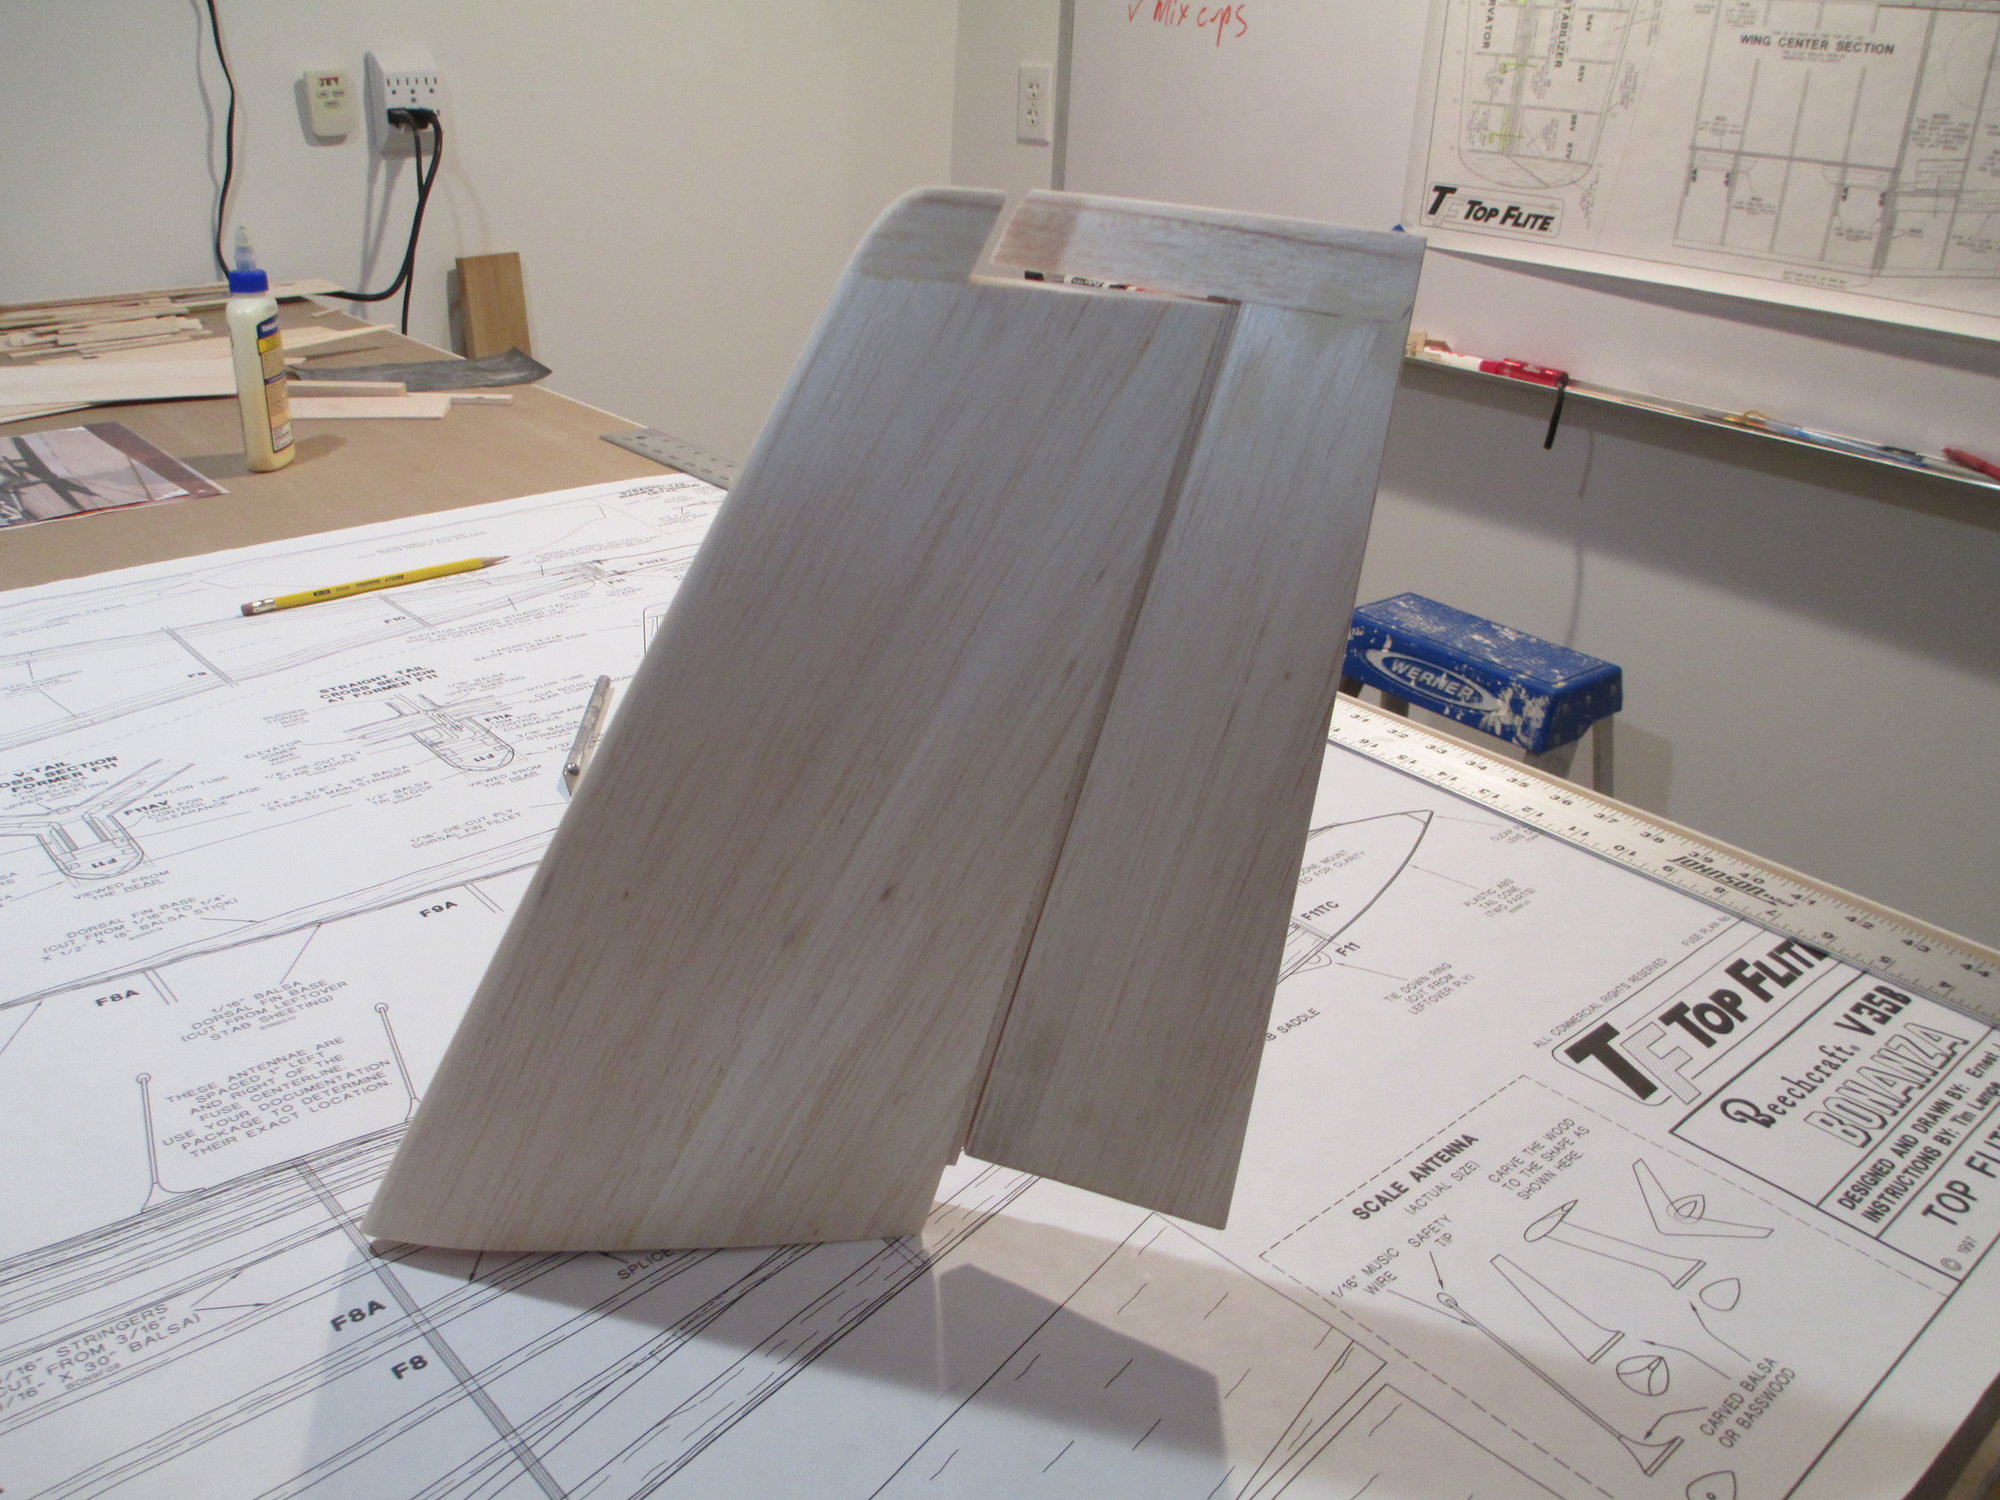
This is what it should look like after the cuts made. Now it's time to sand down the rudder's leading edge and the fin's trailing edge flush to accept 1/8" cap strips.
Both edges are ready for cap strips to be glued on.
Last edited by VincentJ; 07-09-2019 at 12:14 AM.
 07-10-2019, 03:15 PM
#81
Thread Starter
I haven't been making much progress these past few days due to a pretty deep cut I sustained on my right index finger. Unfortunately it required a trip to the emergency room. It was however neat to see how they used thin CA to close the cut and apply the stitches...The end result is a standard aluminum splint on my index finger that now prevents it from bending, it also prevents me from building. It's like an aluminum anchor on my finger that dents everything I touch as I am a very tactile builder. So sadly I think I'll be taking a few days off. I don't want to risk any more dents on my hard work. It took me triple the time just to get what you see done in these few photos. I should be back at it by Saturday or Sunday as the doctor said I would be able to remove the splint by then. Sorry for the delay. 

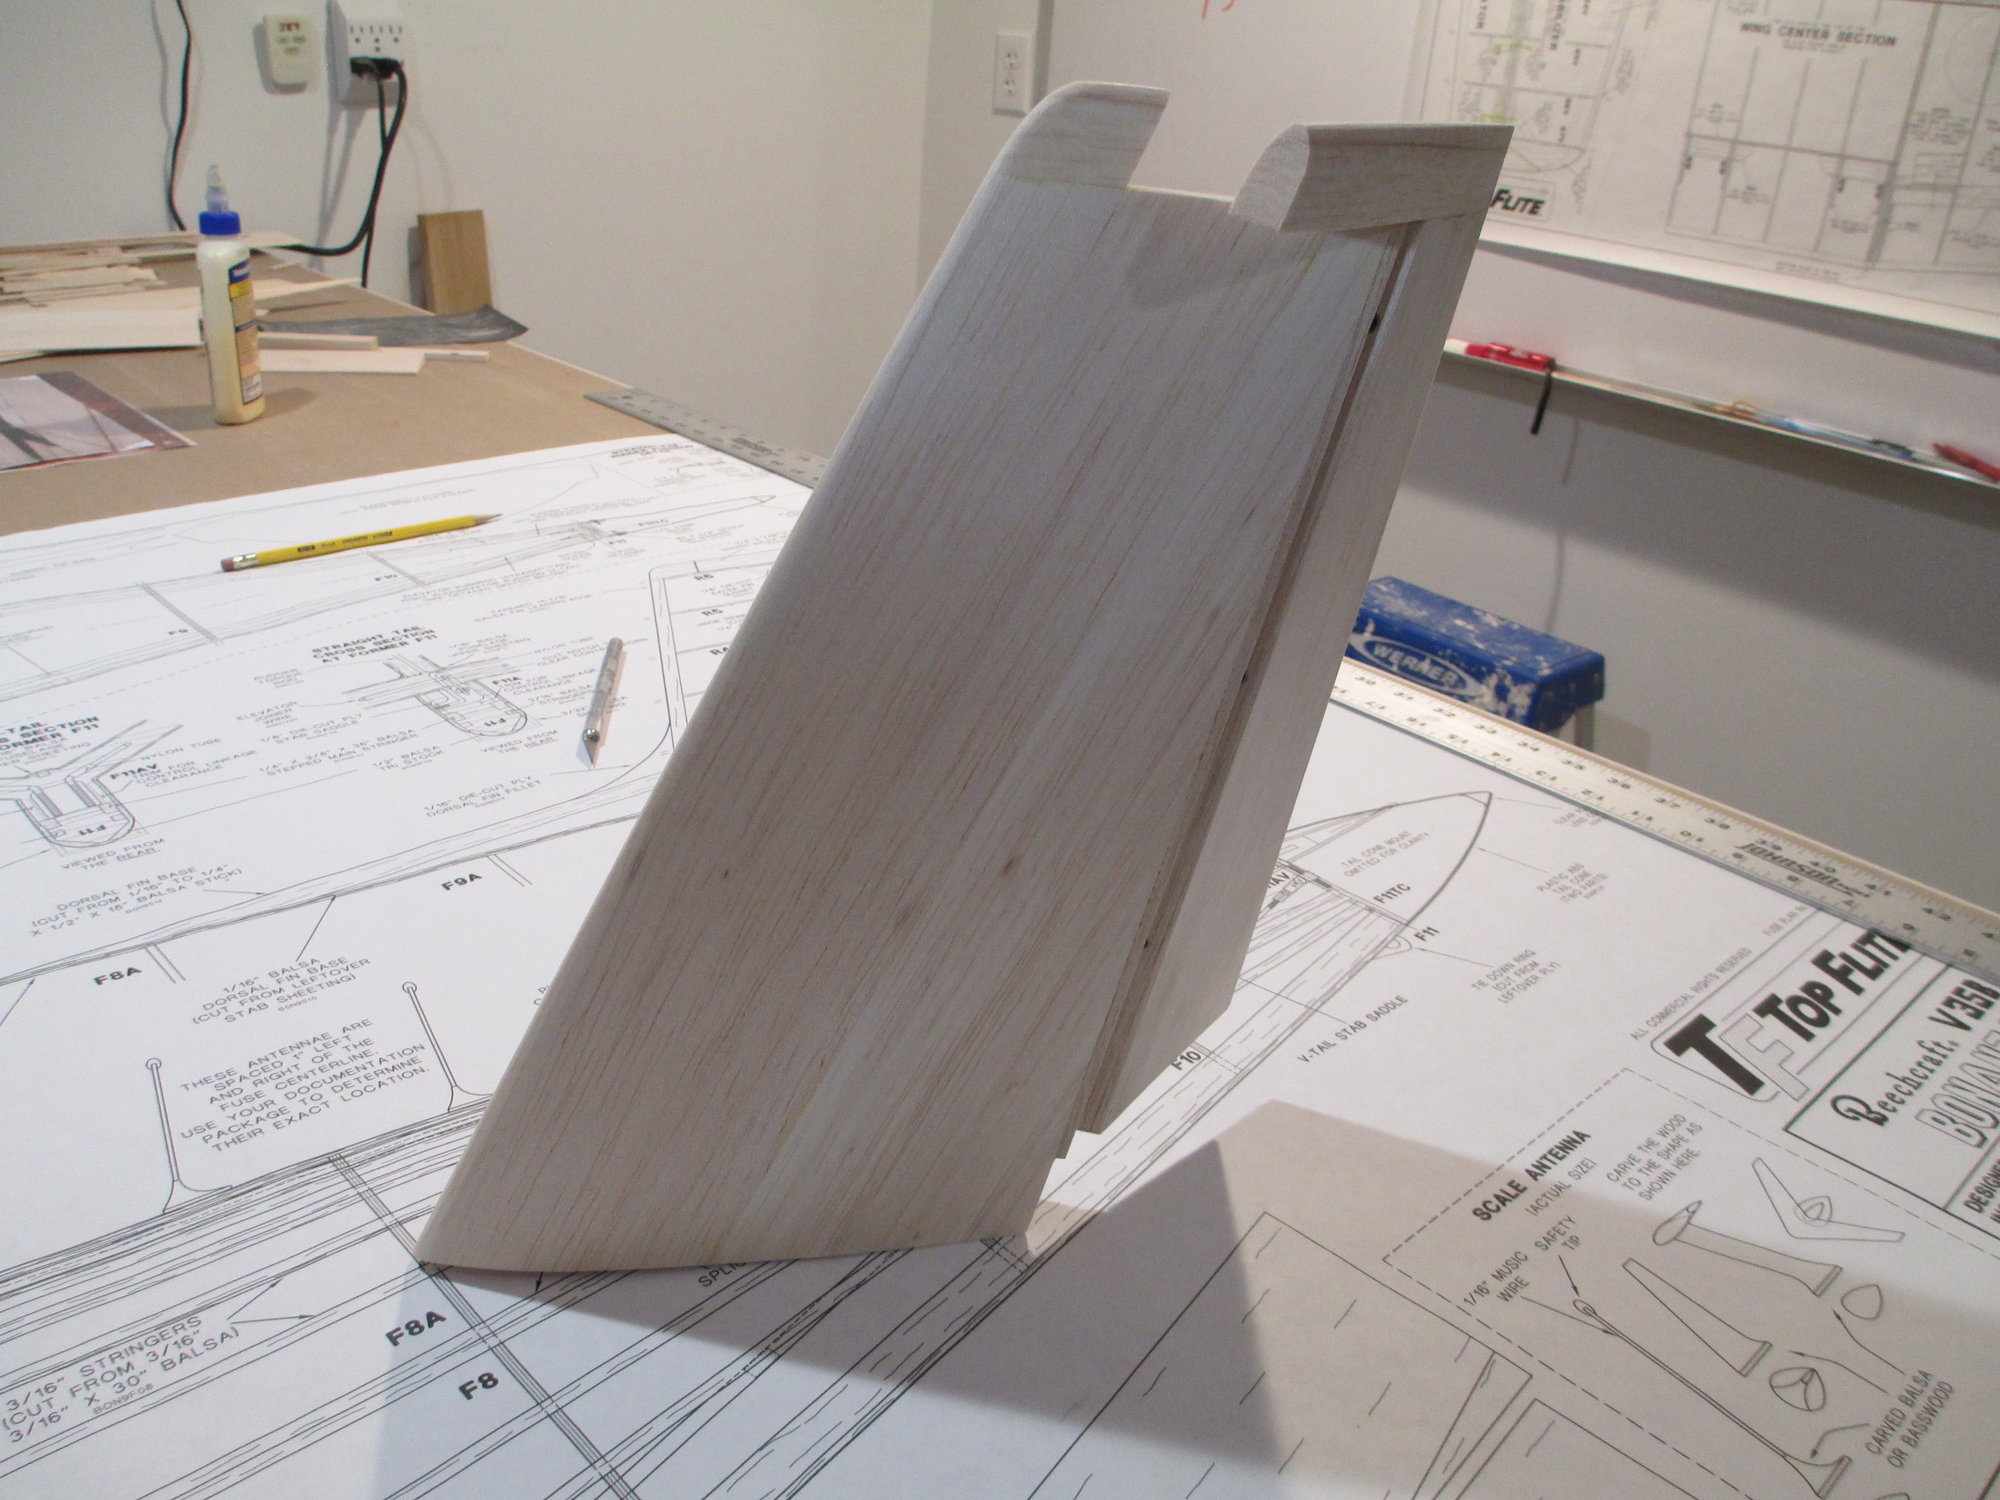
With the rudder butted against the fin, the hinge marks are lined up.
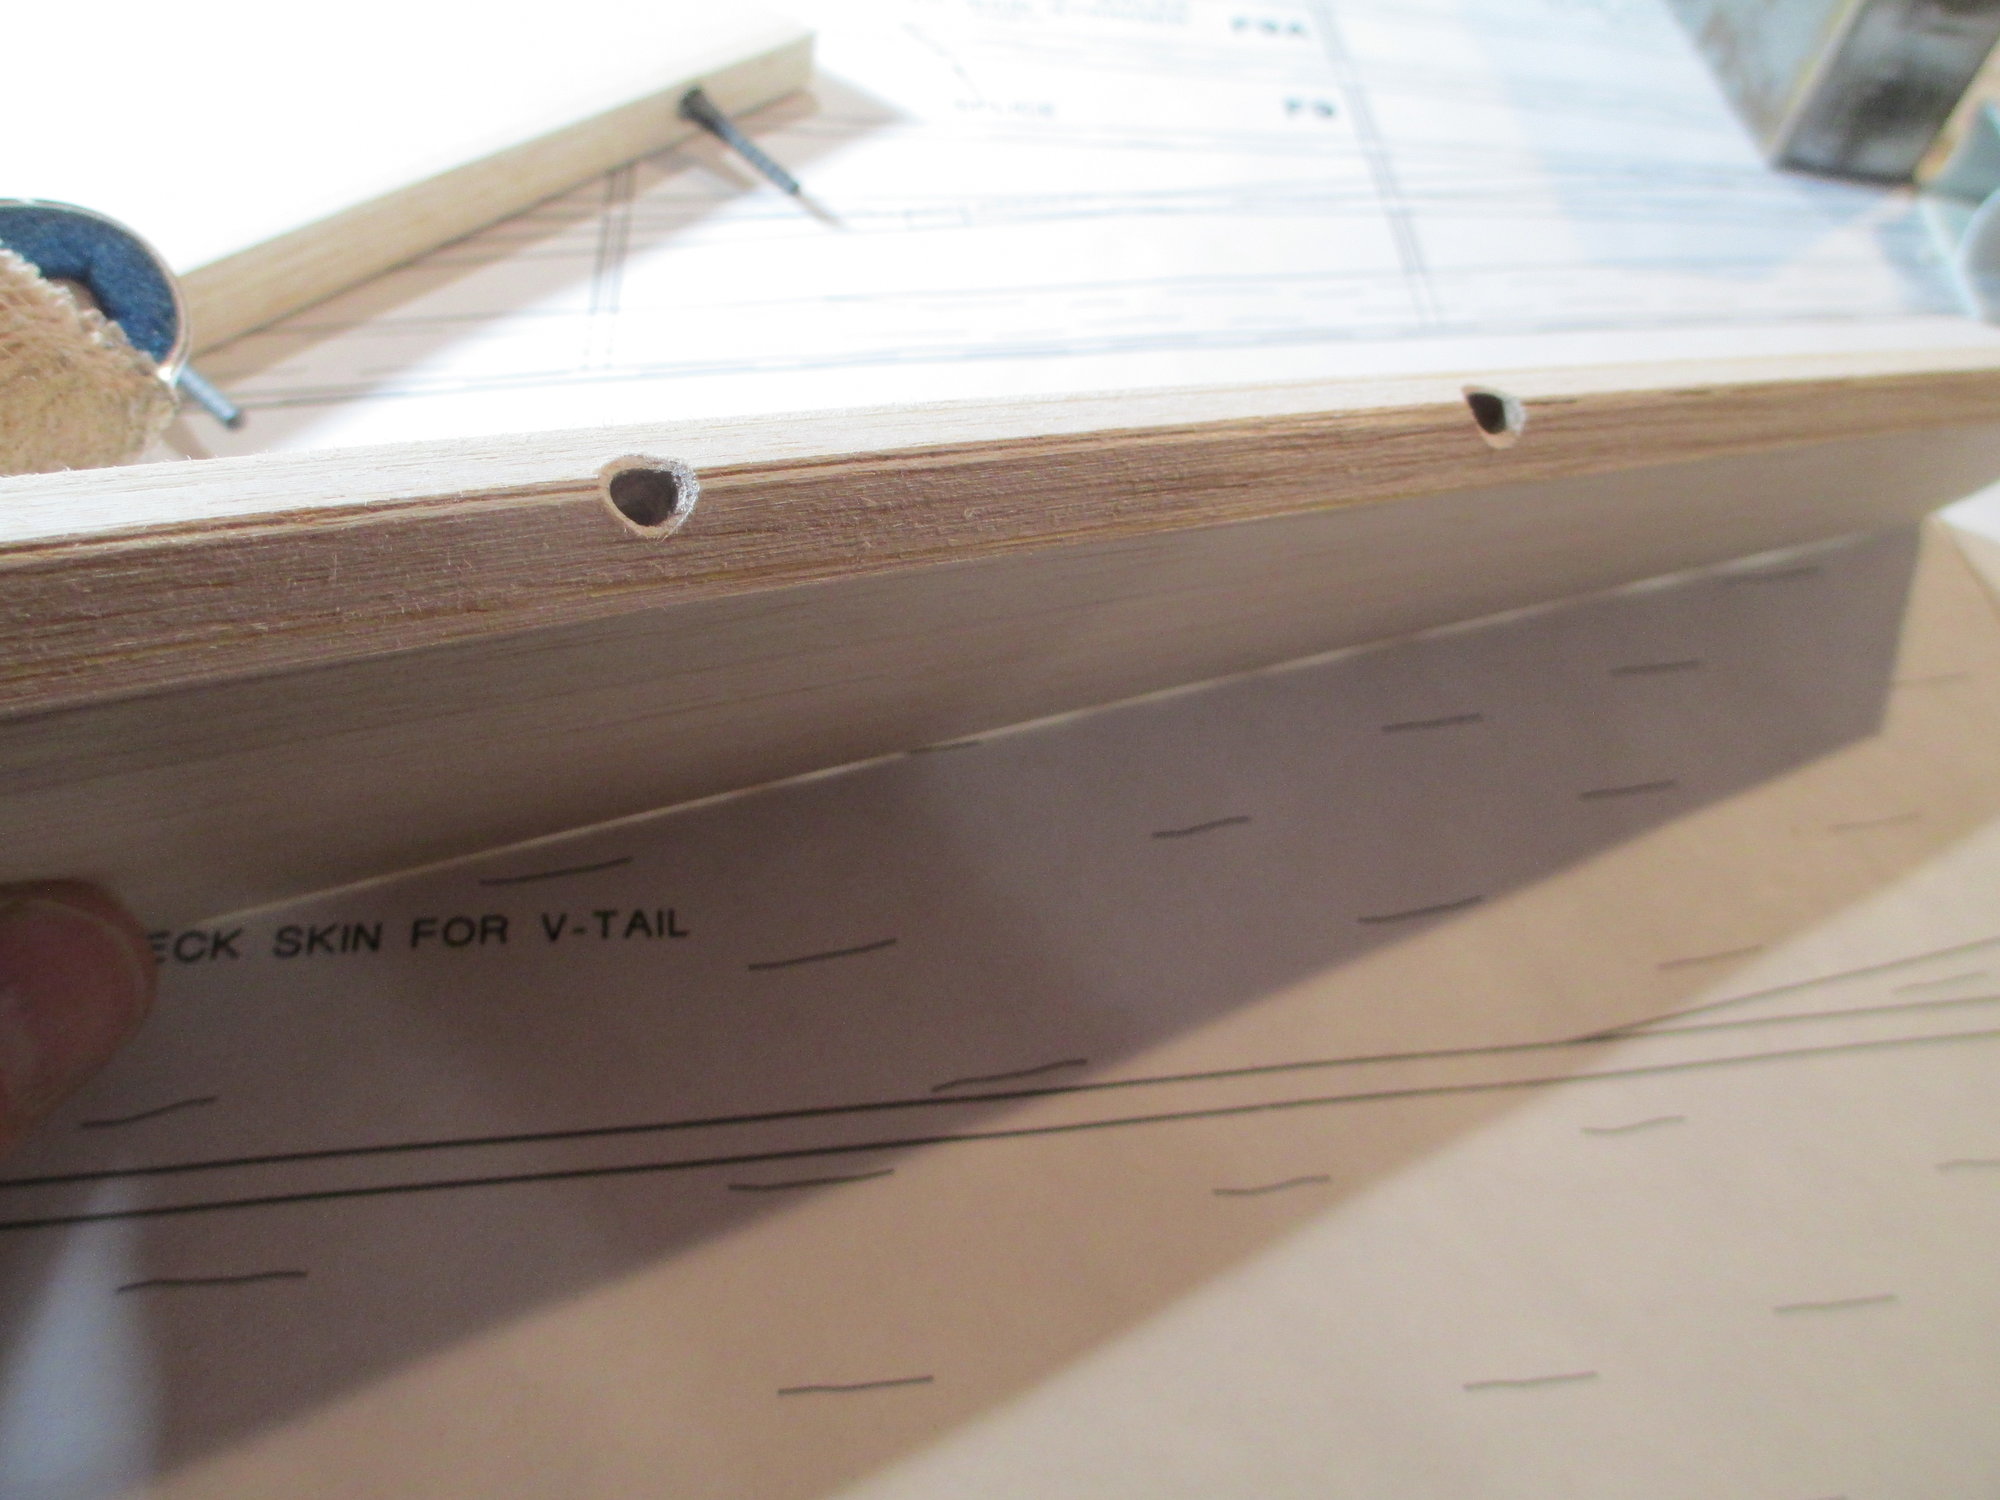
The hinges were drilled and fitted just as I had done on the elevator halves. 60 degree beveled edge for control surface was also done.
The fin and rudder are now hinged. Hinge gap is very narrow, about a playing card thickness...
With the rudder butted against the fin, the hinge marks are lined up.
The hinges were drilled and fitted just as I had done on the elevator halves. 60 degree beveled edge for control surface was also done.
The fin and rudder are now hinged. Hinge gap is very narrow, about a playing card thickness...
Last edited by VincentJ; 07-10-2019 at 03:23 PM.

 07-11-2019, 08:09 AM
#84
Member

Vince, sorry to hear about the finger!
I'm sure you explained to the doctor how to apply the CA properly to give a perfect finish! 
It was however neat to see how they used thin CA to close the cut and apply the stitches.
07-11-2019, 01:15 PM
#86
Thread Starter
Well I sincerely tried not to work on this project but I decided to give it a go with one (good) hand. With some creative clamping I seem to have got it done...more or less.
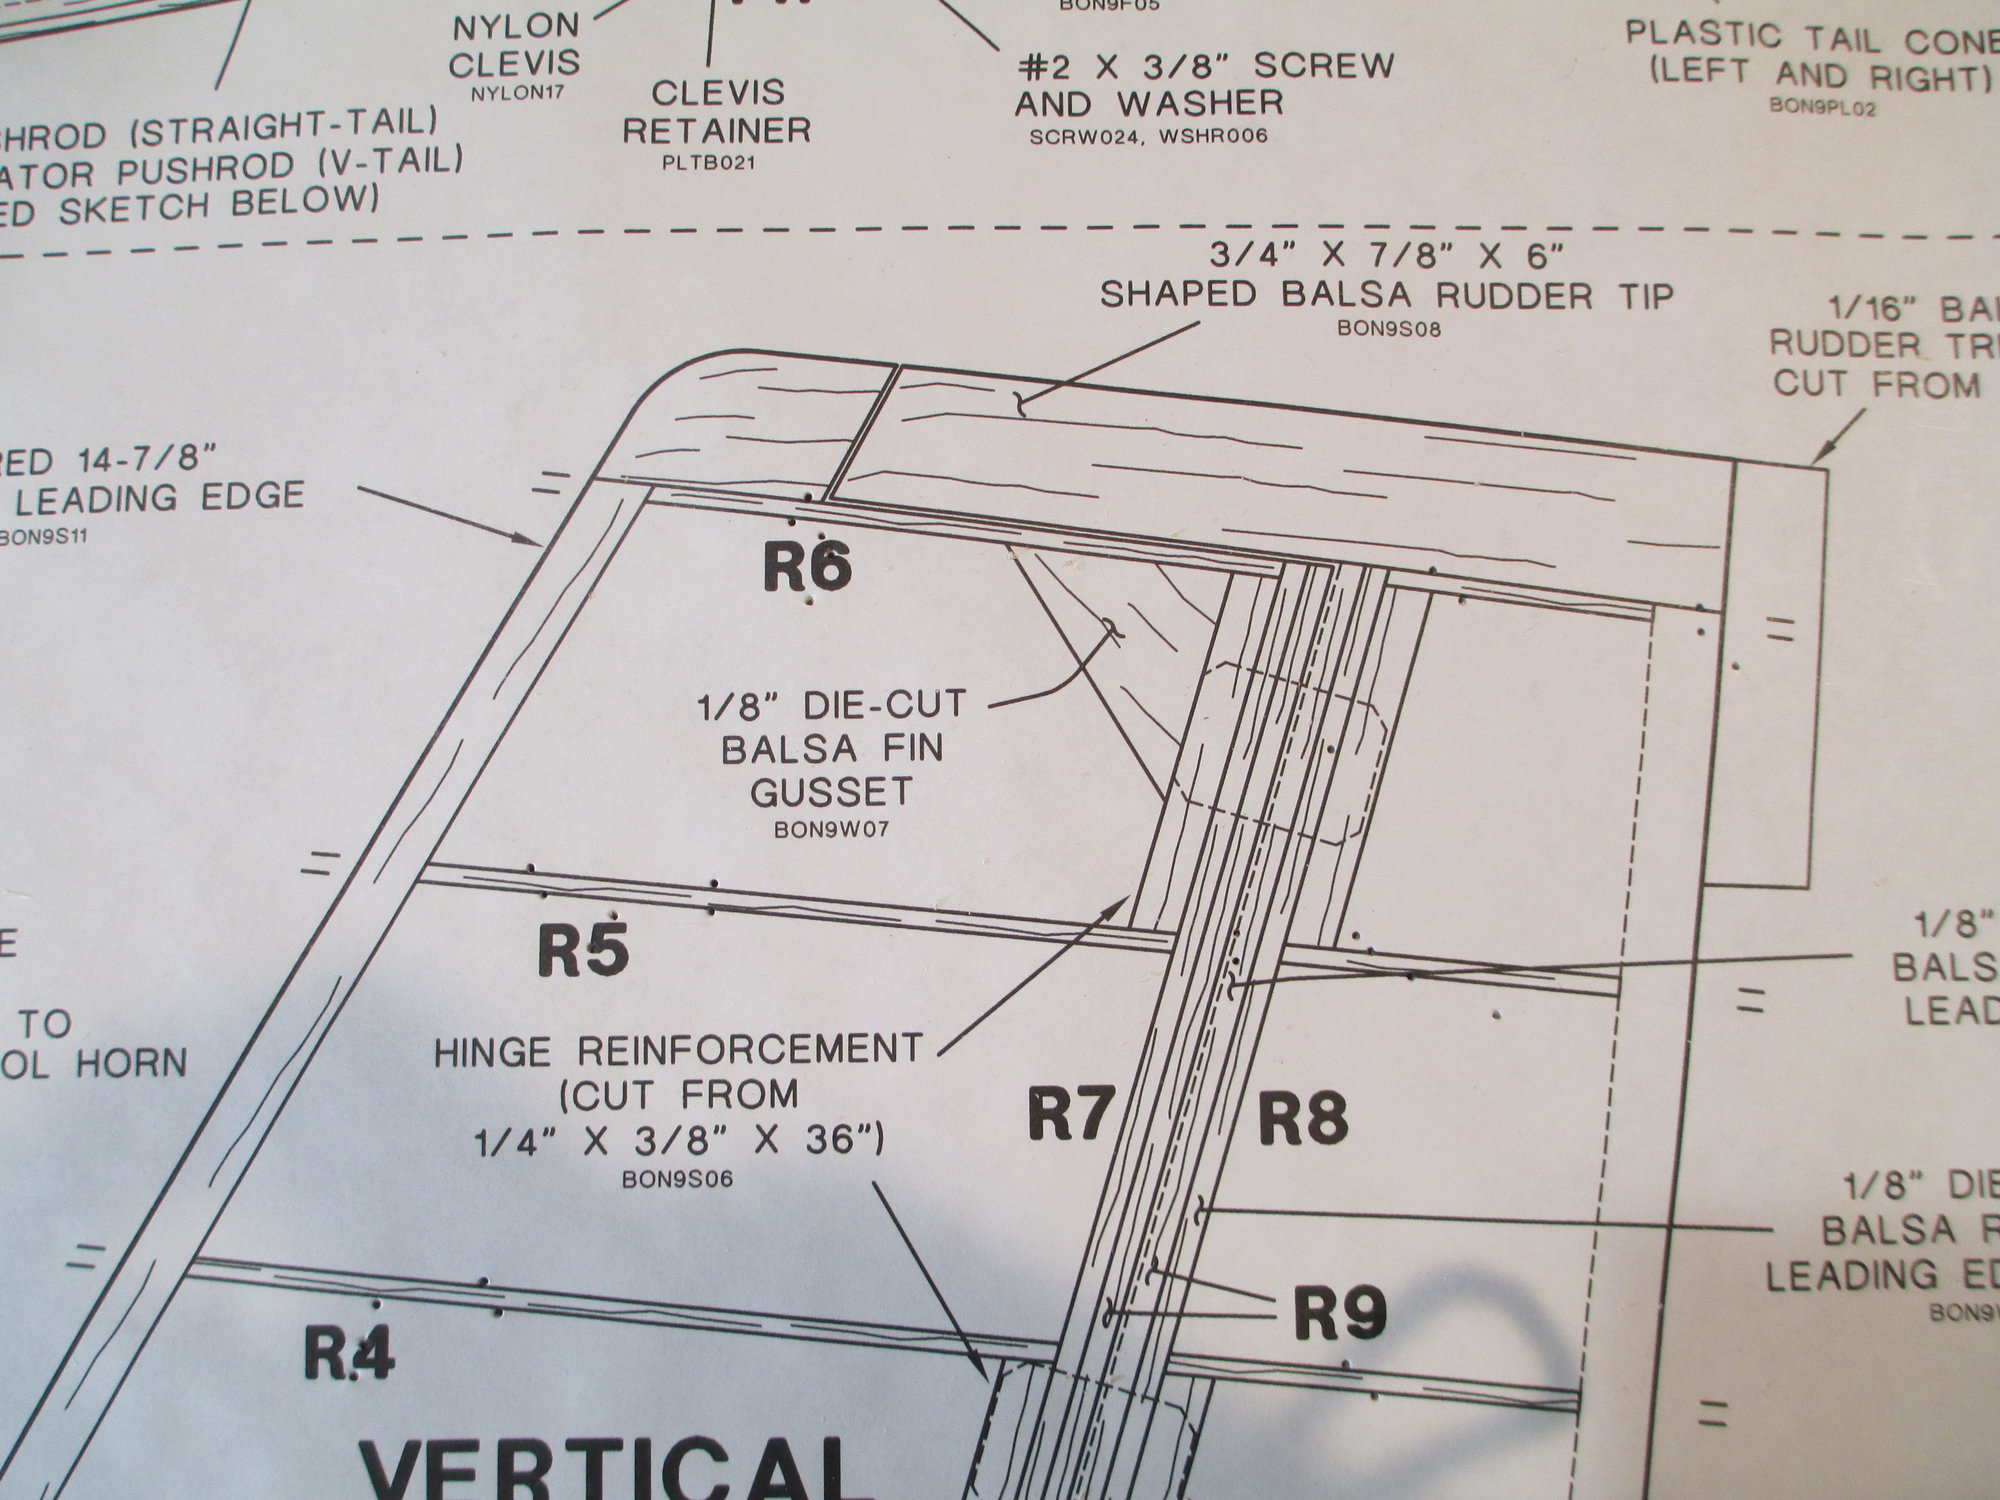
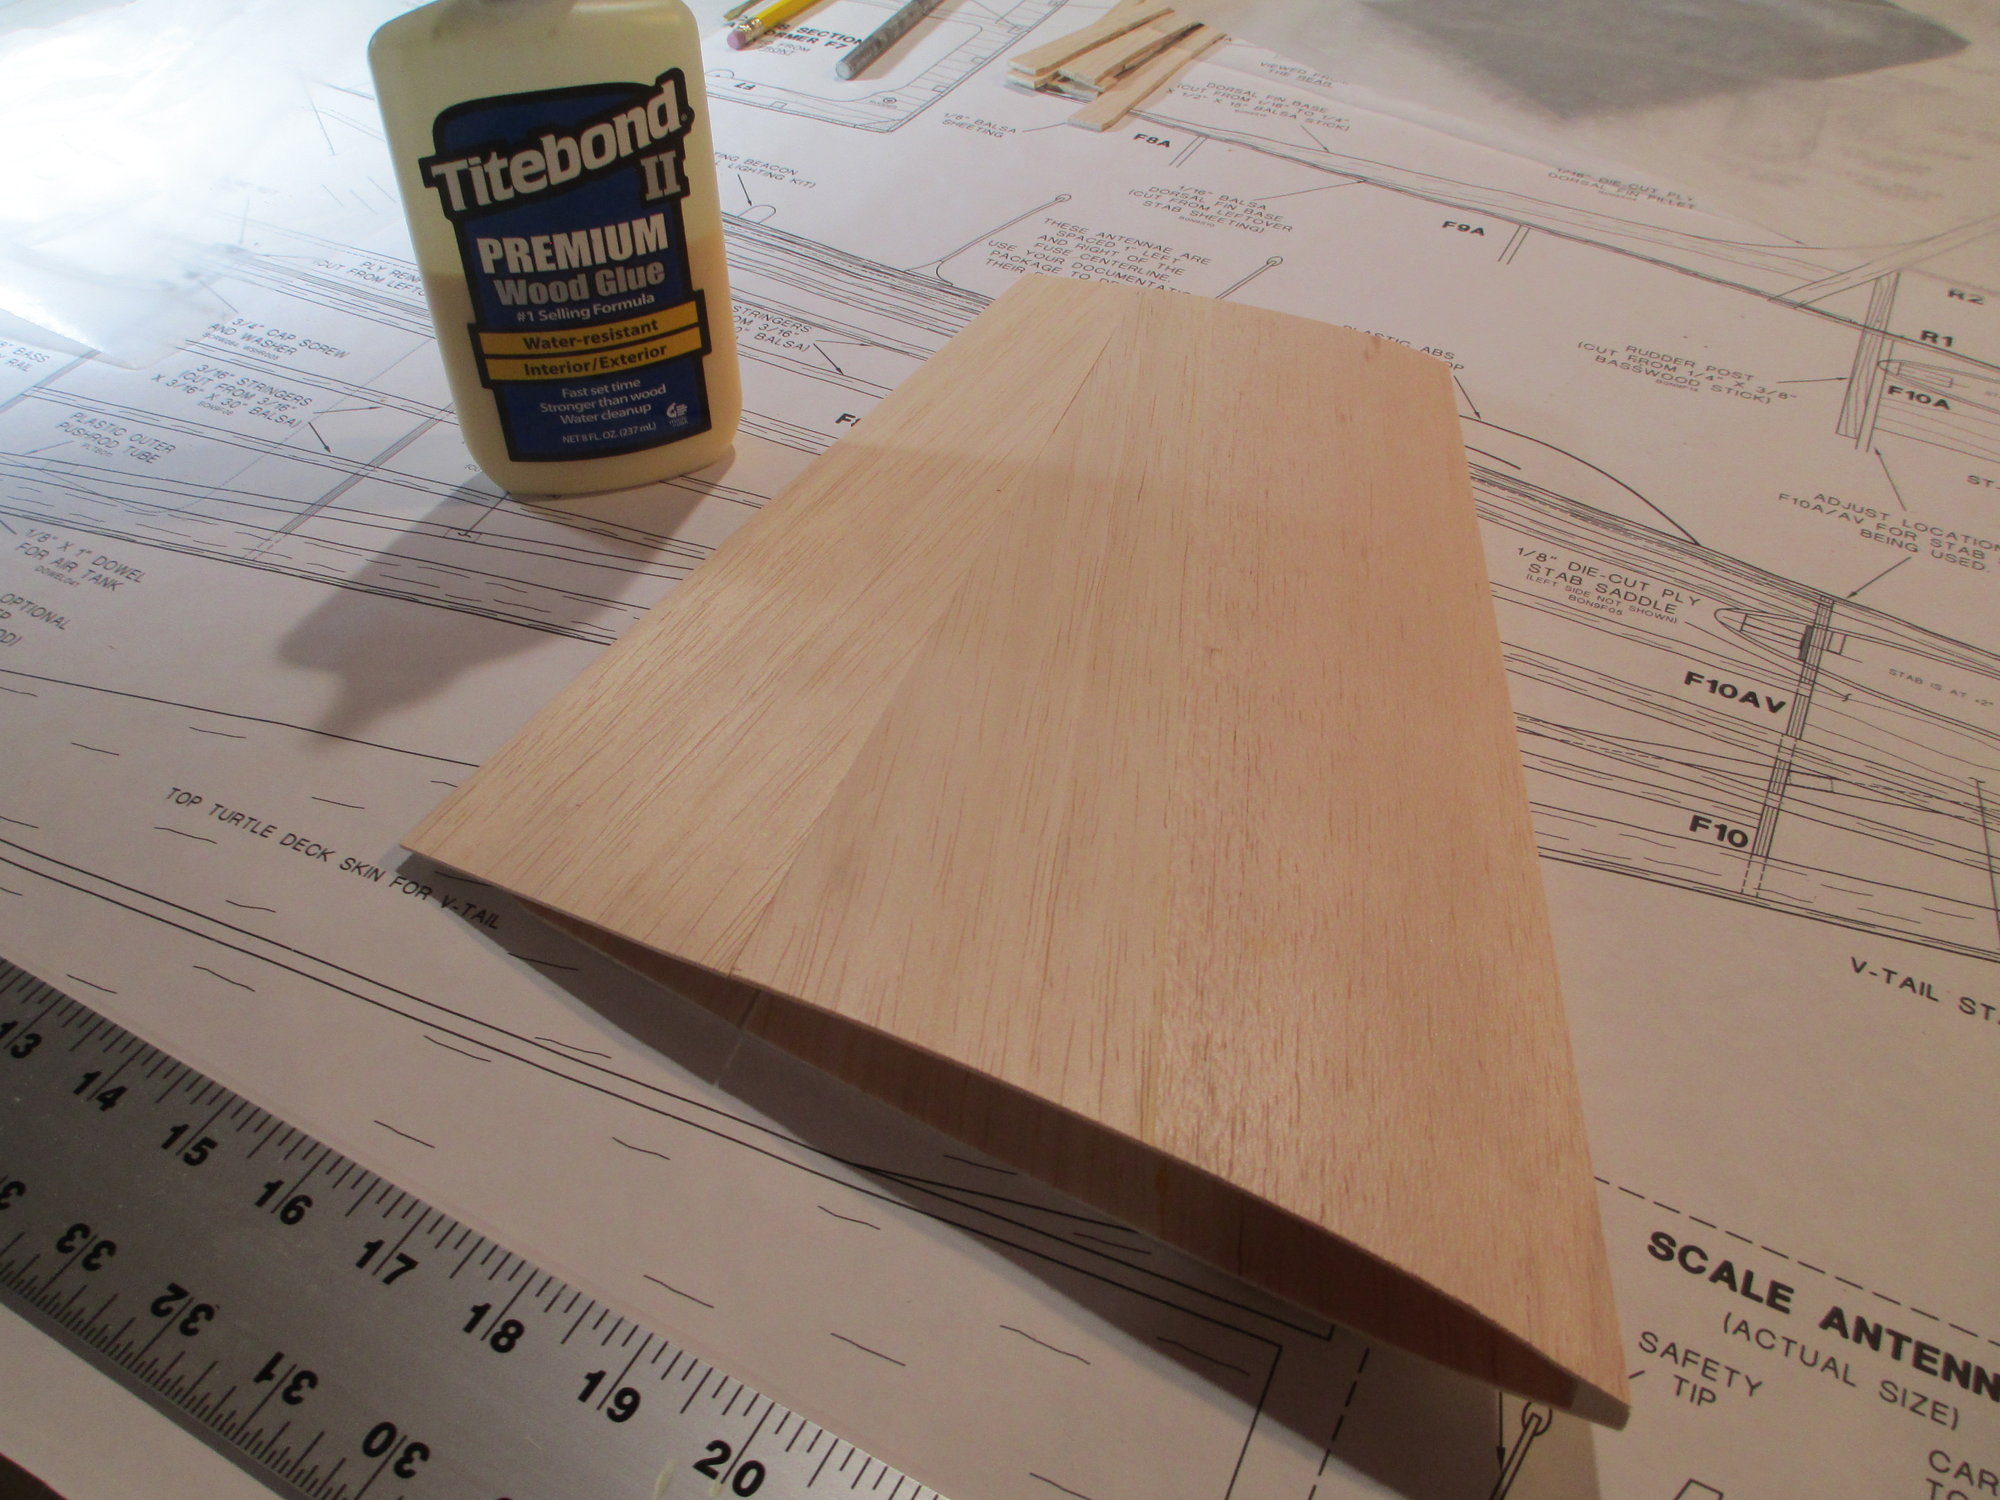
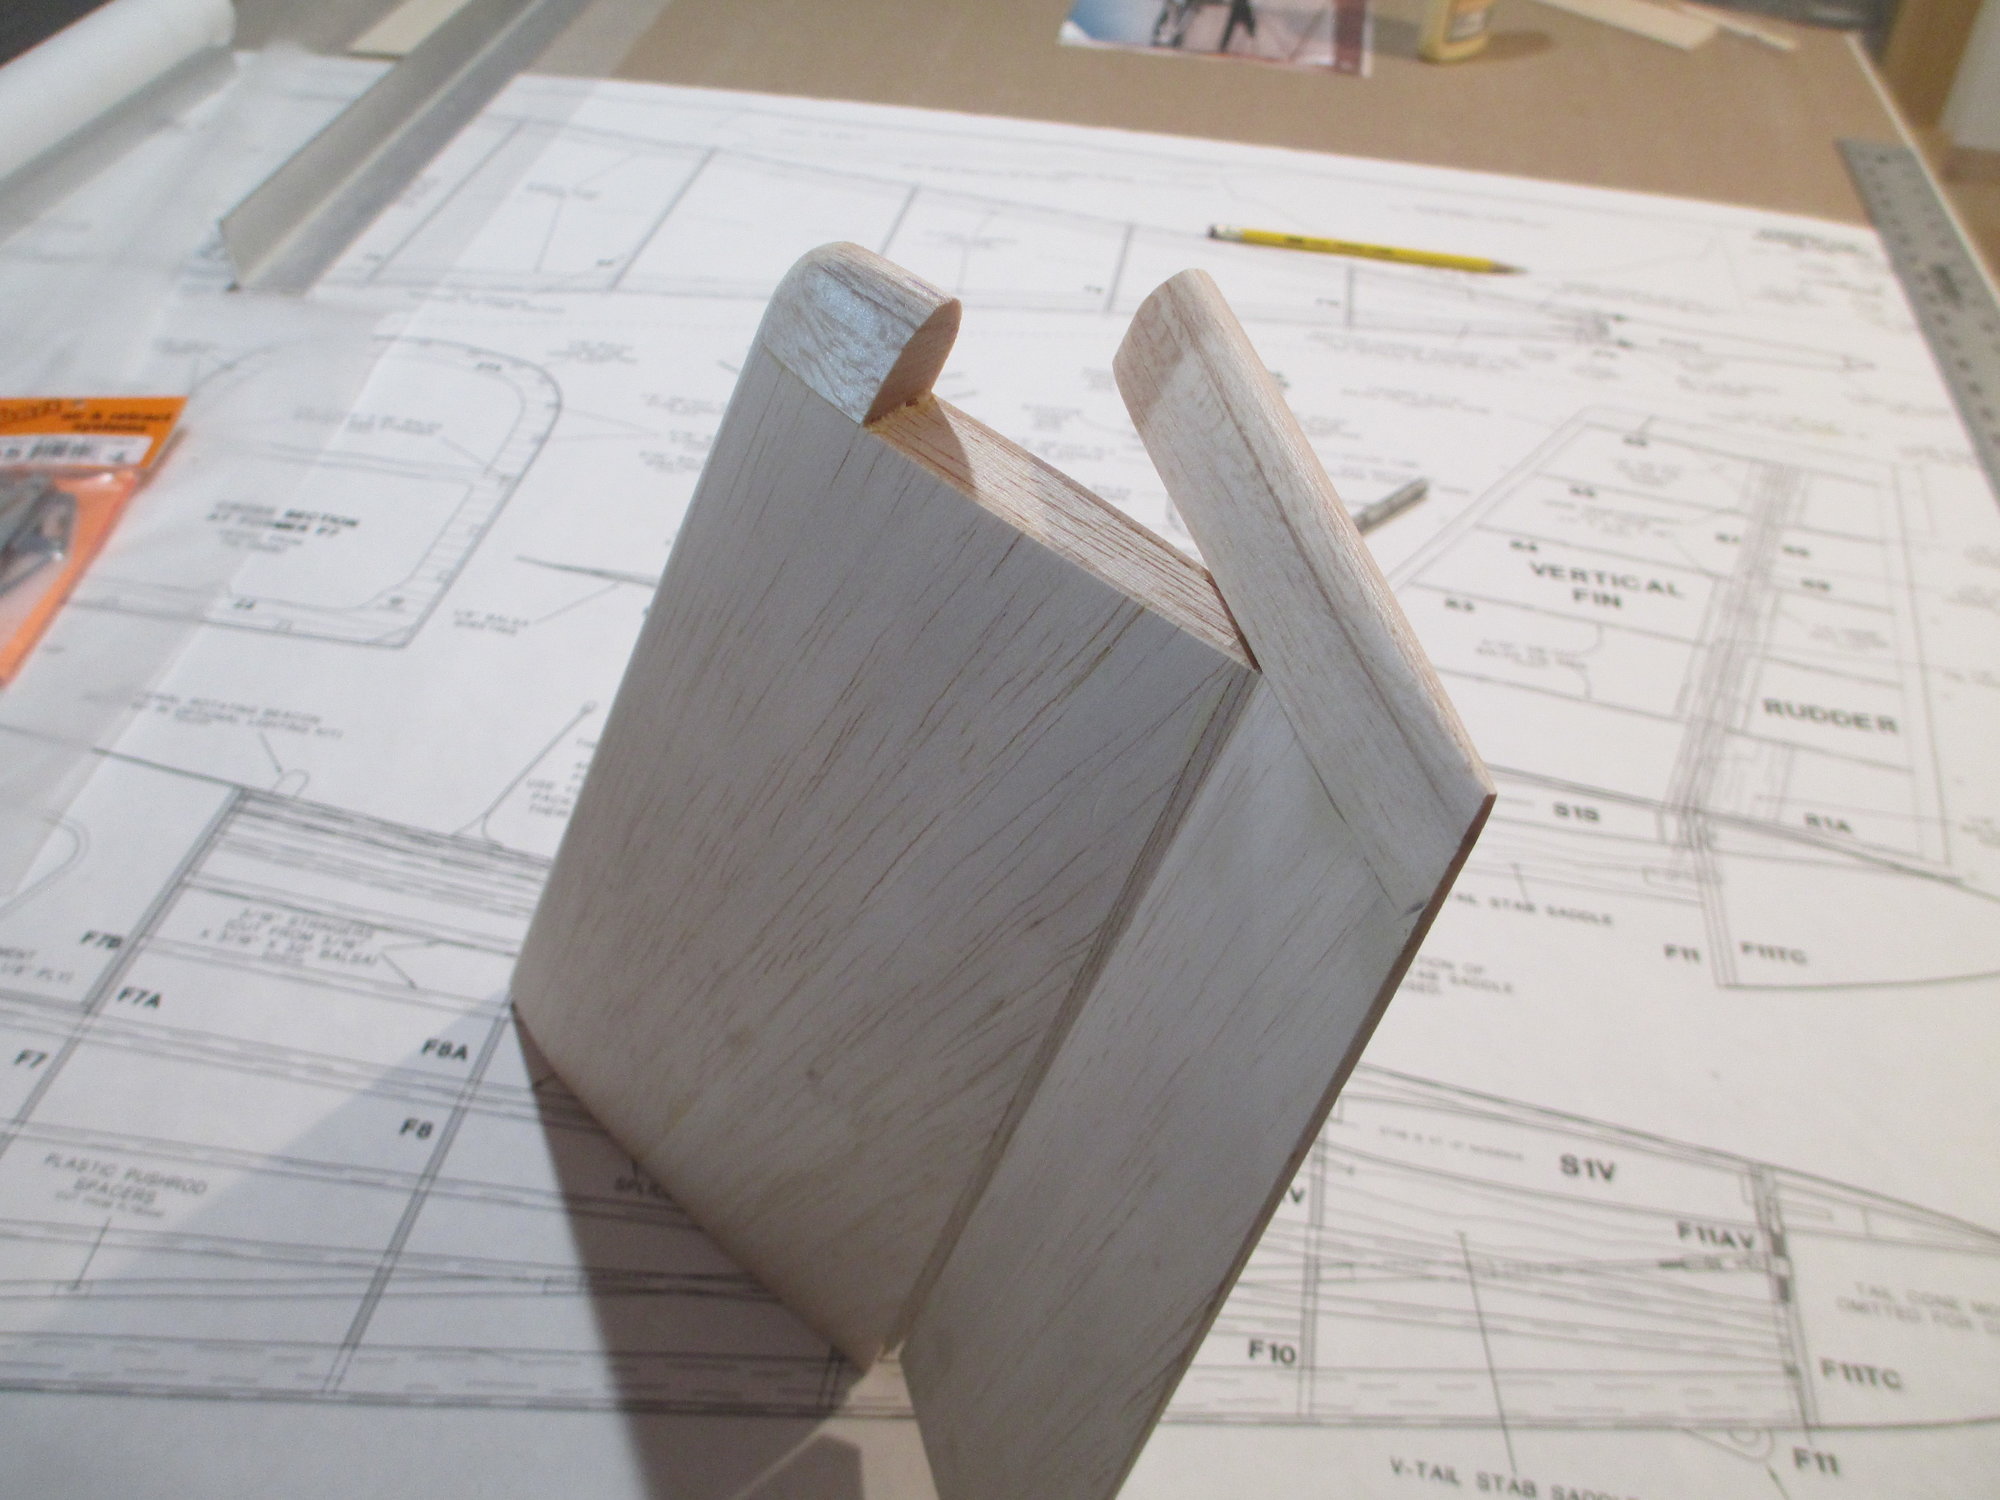
The rudder/fin tip is a solid rectangular piece of balsa that will need to be cut separating the small fin tip from the larger rudder tip. This will need to be cut at an angle.

I'm using a bevel gauge to replicate the angle. This bevel gauge is very special to me as it belonged to my grandfather who was a general contractor. I think about him every time I use it...
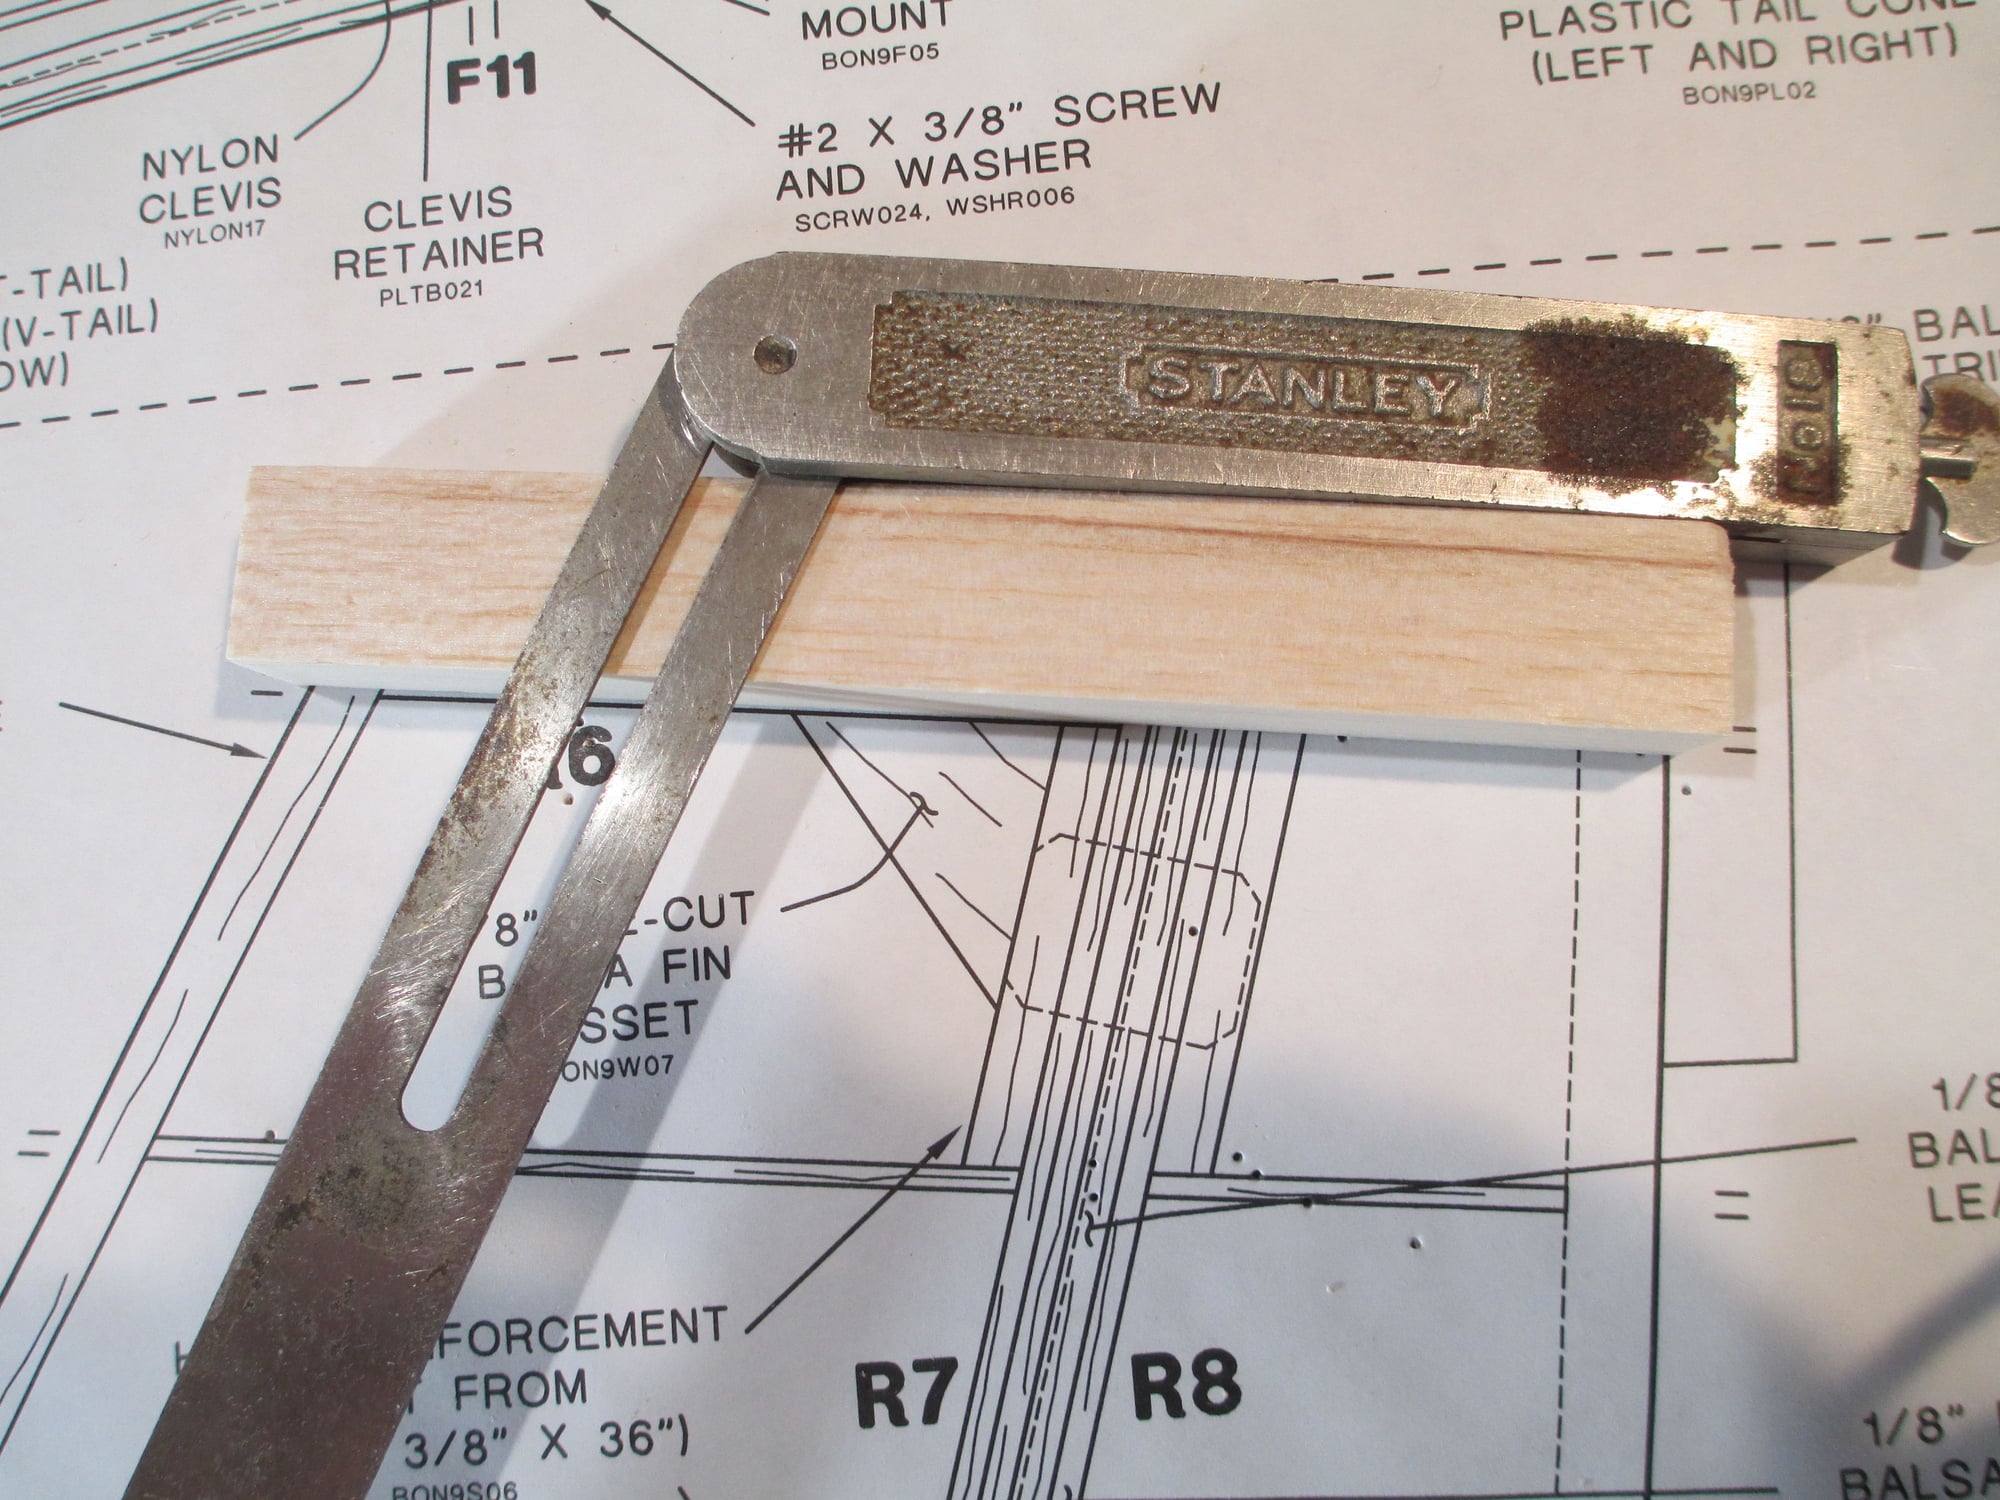
With the gauge locked, it's easy to mark the angle onto the balsa.
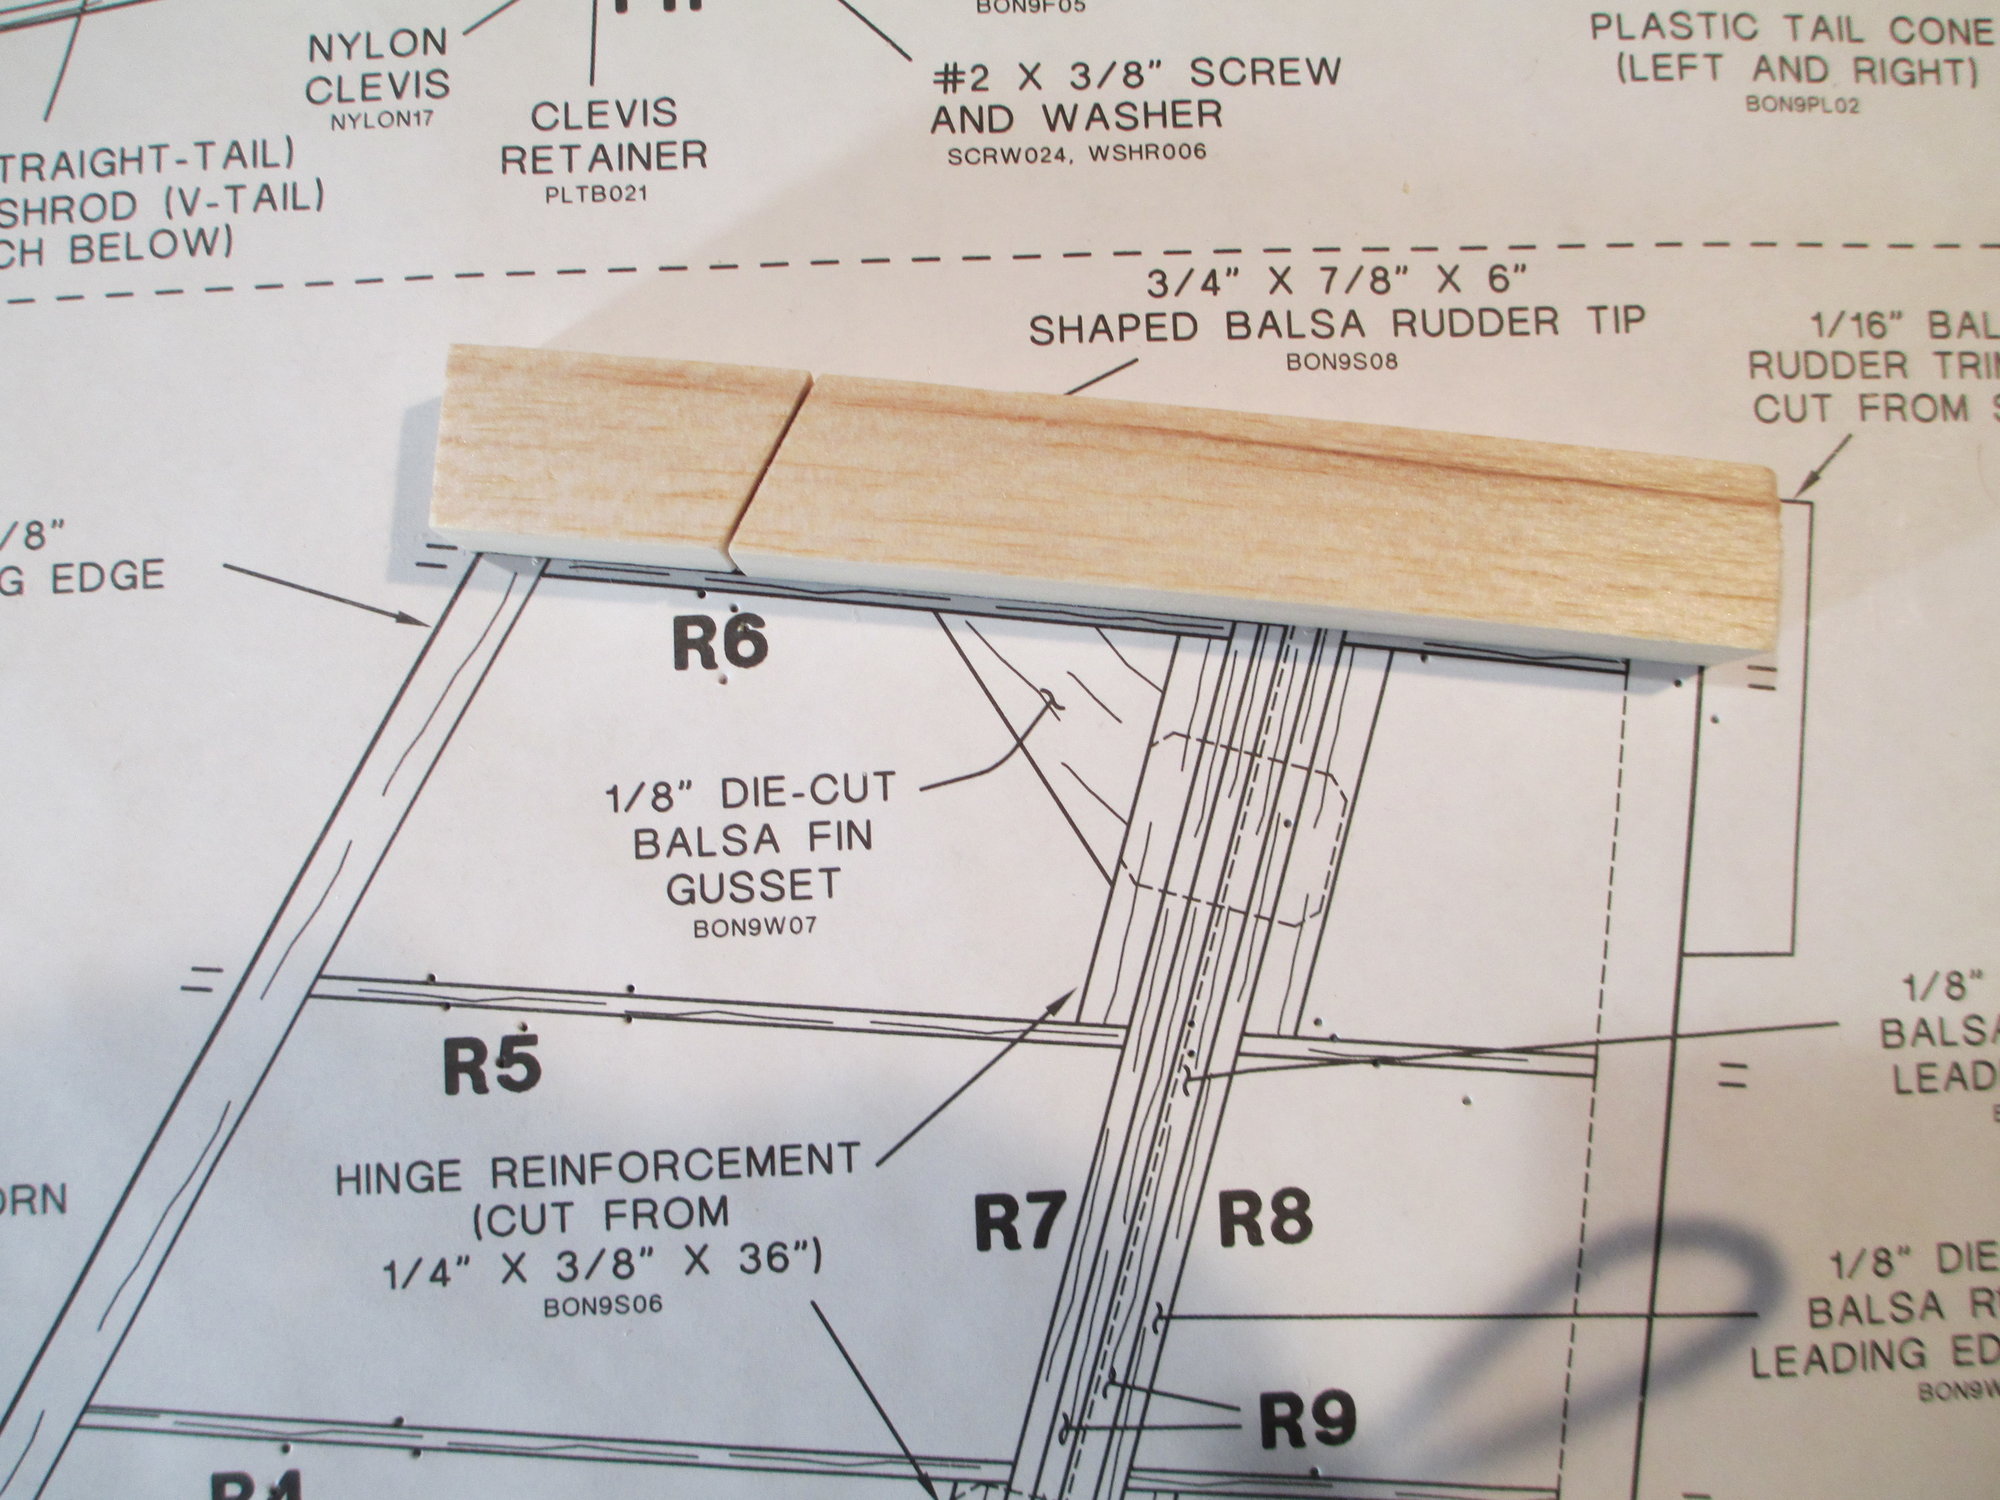
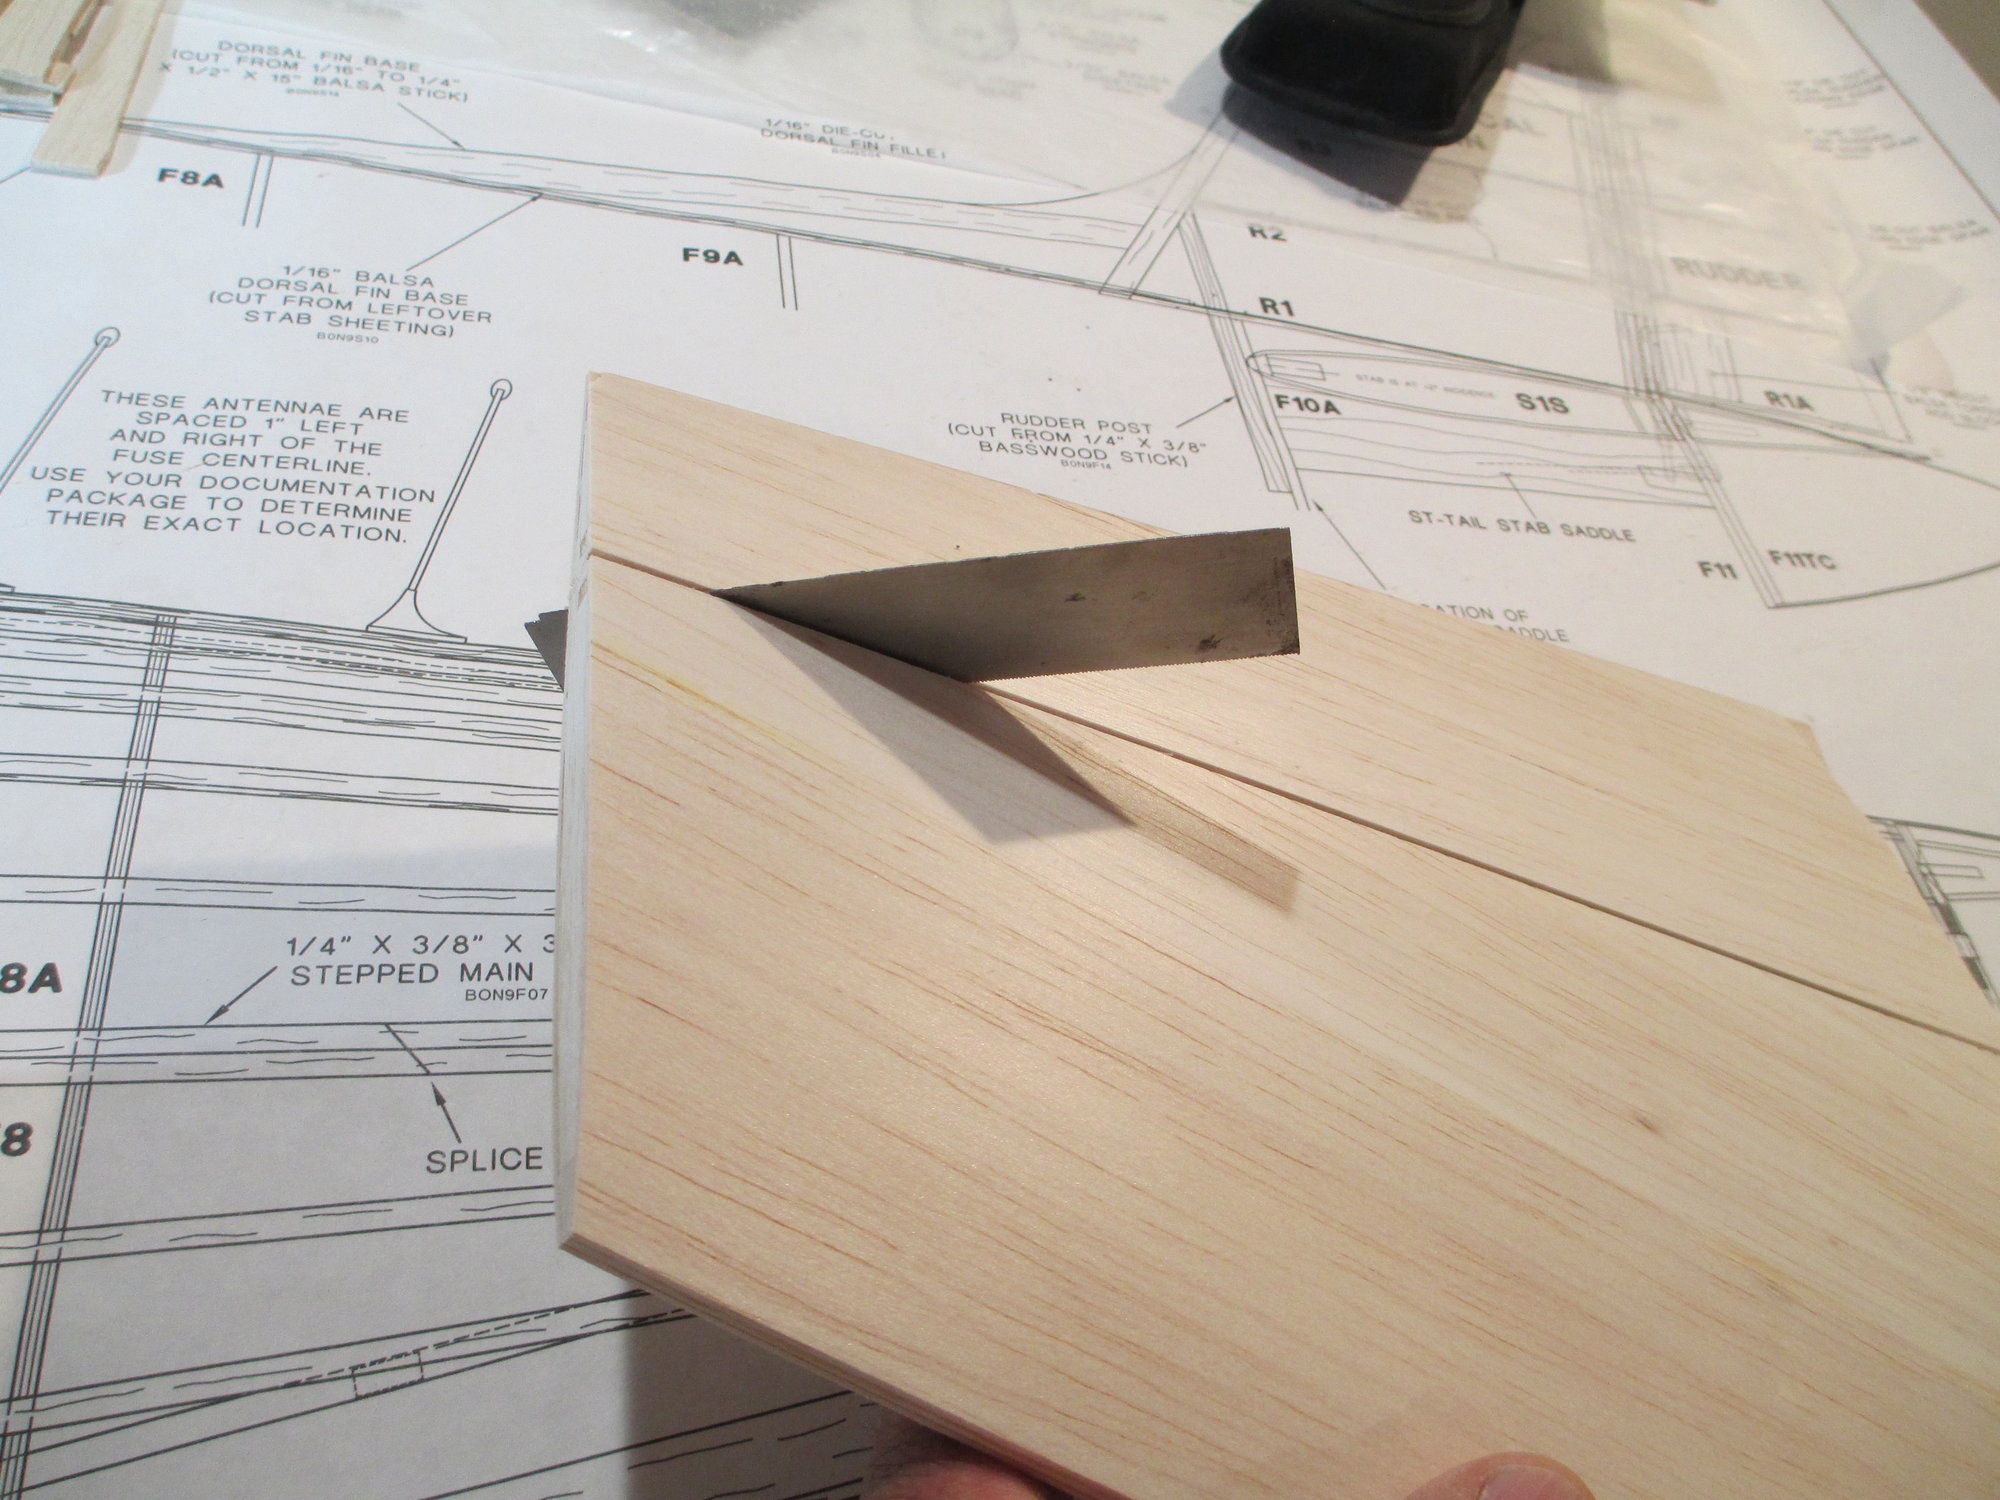
The cut was made using my Zona saw.
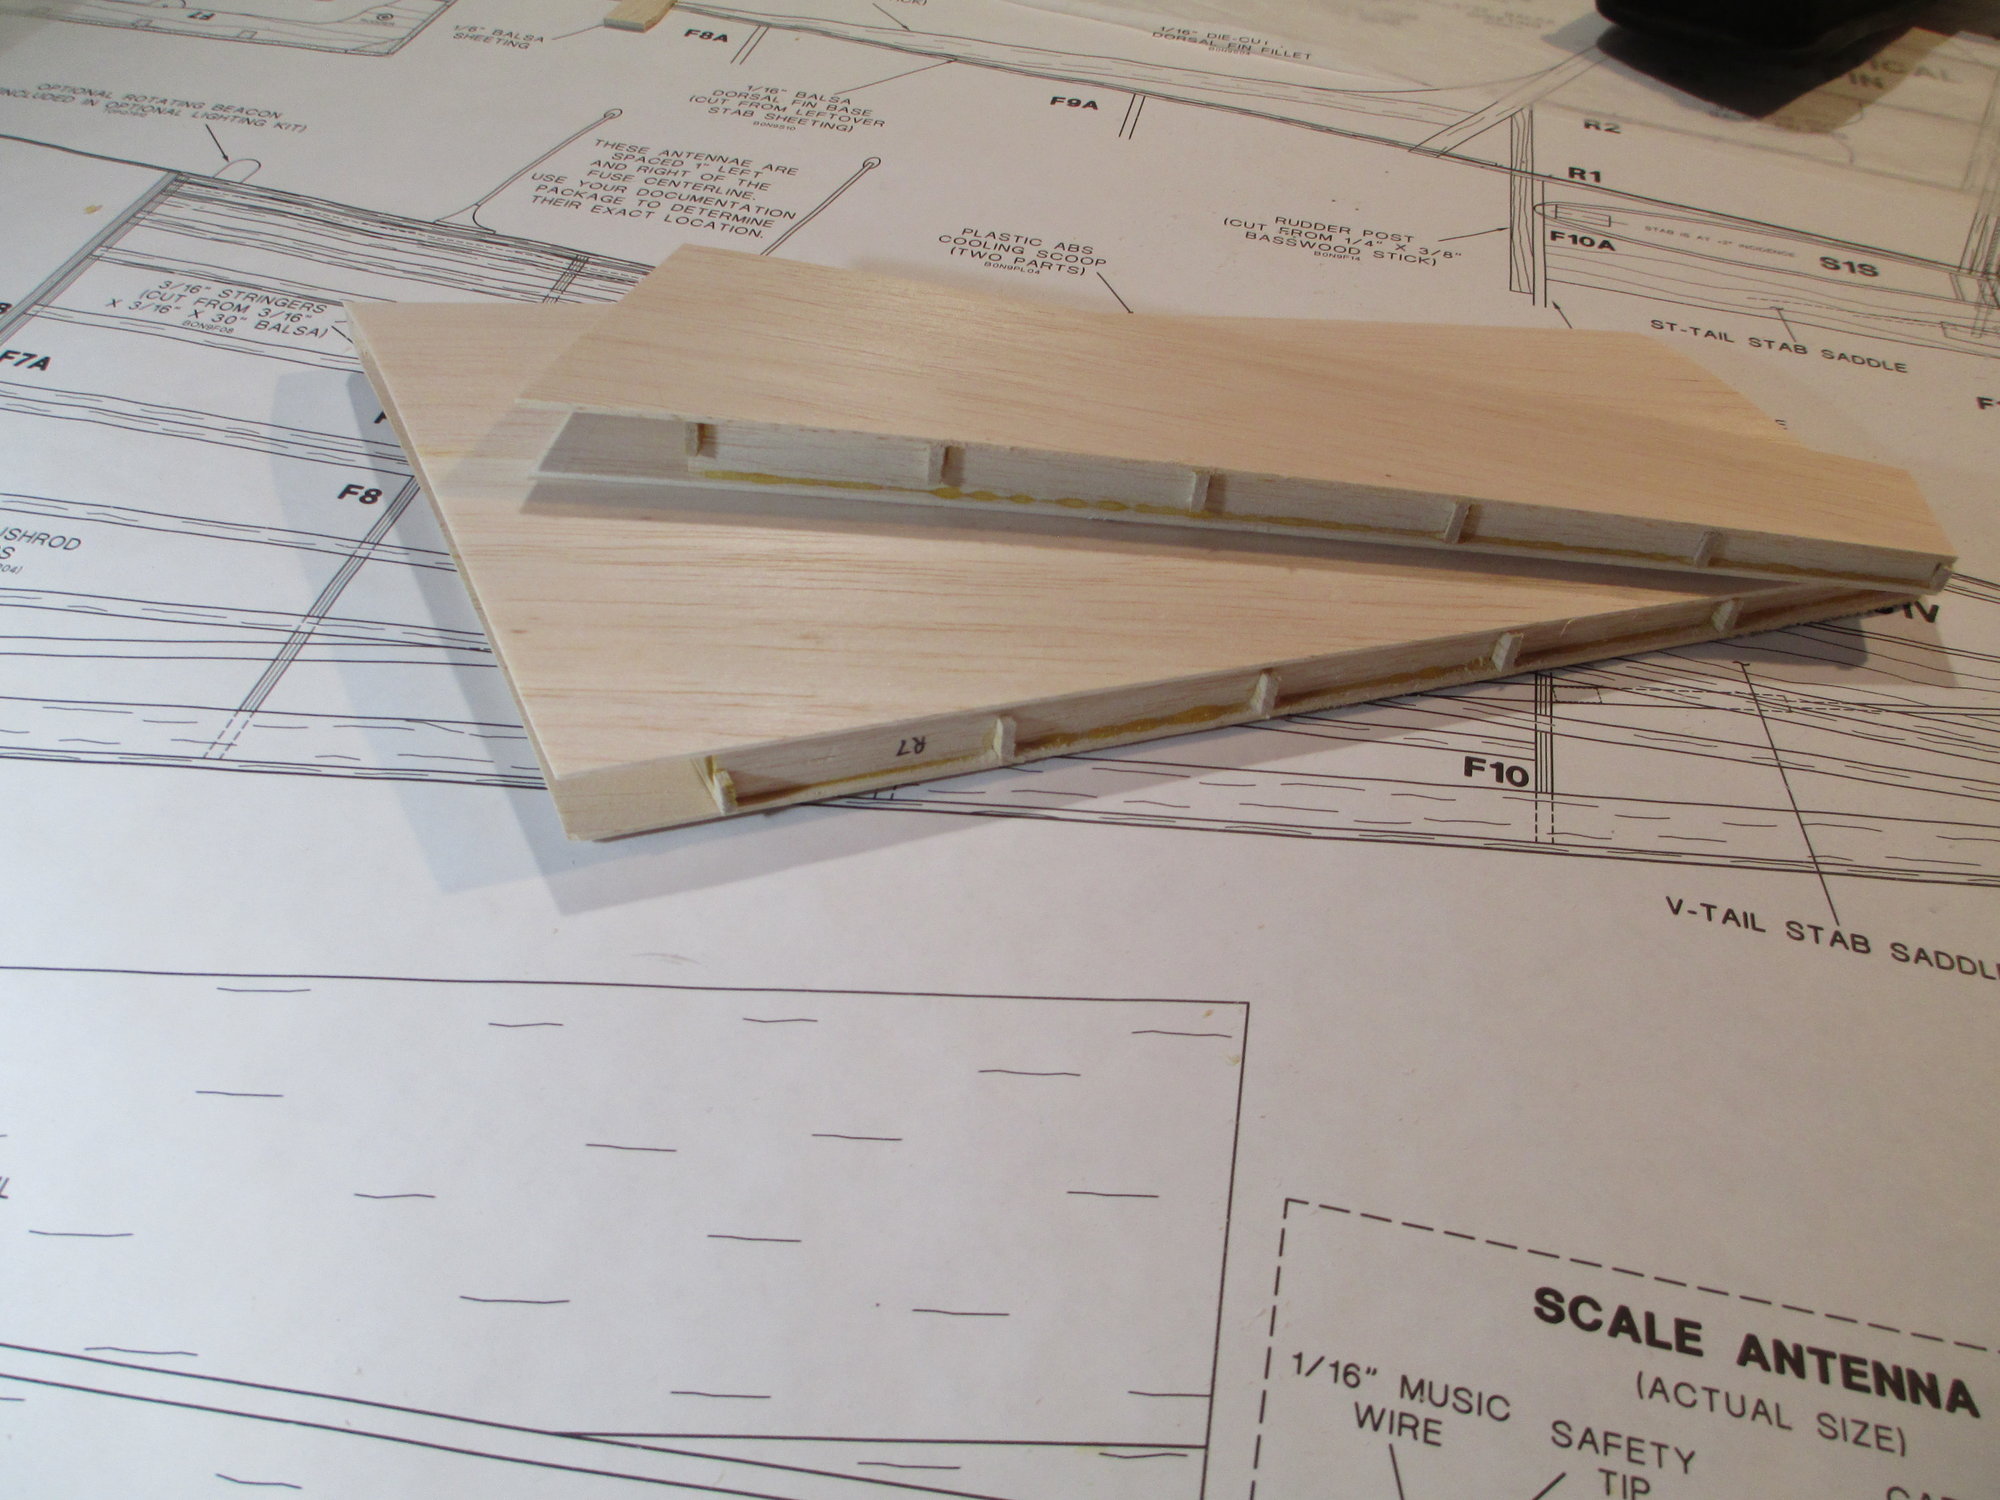
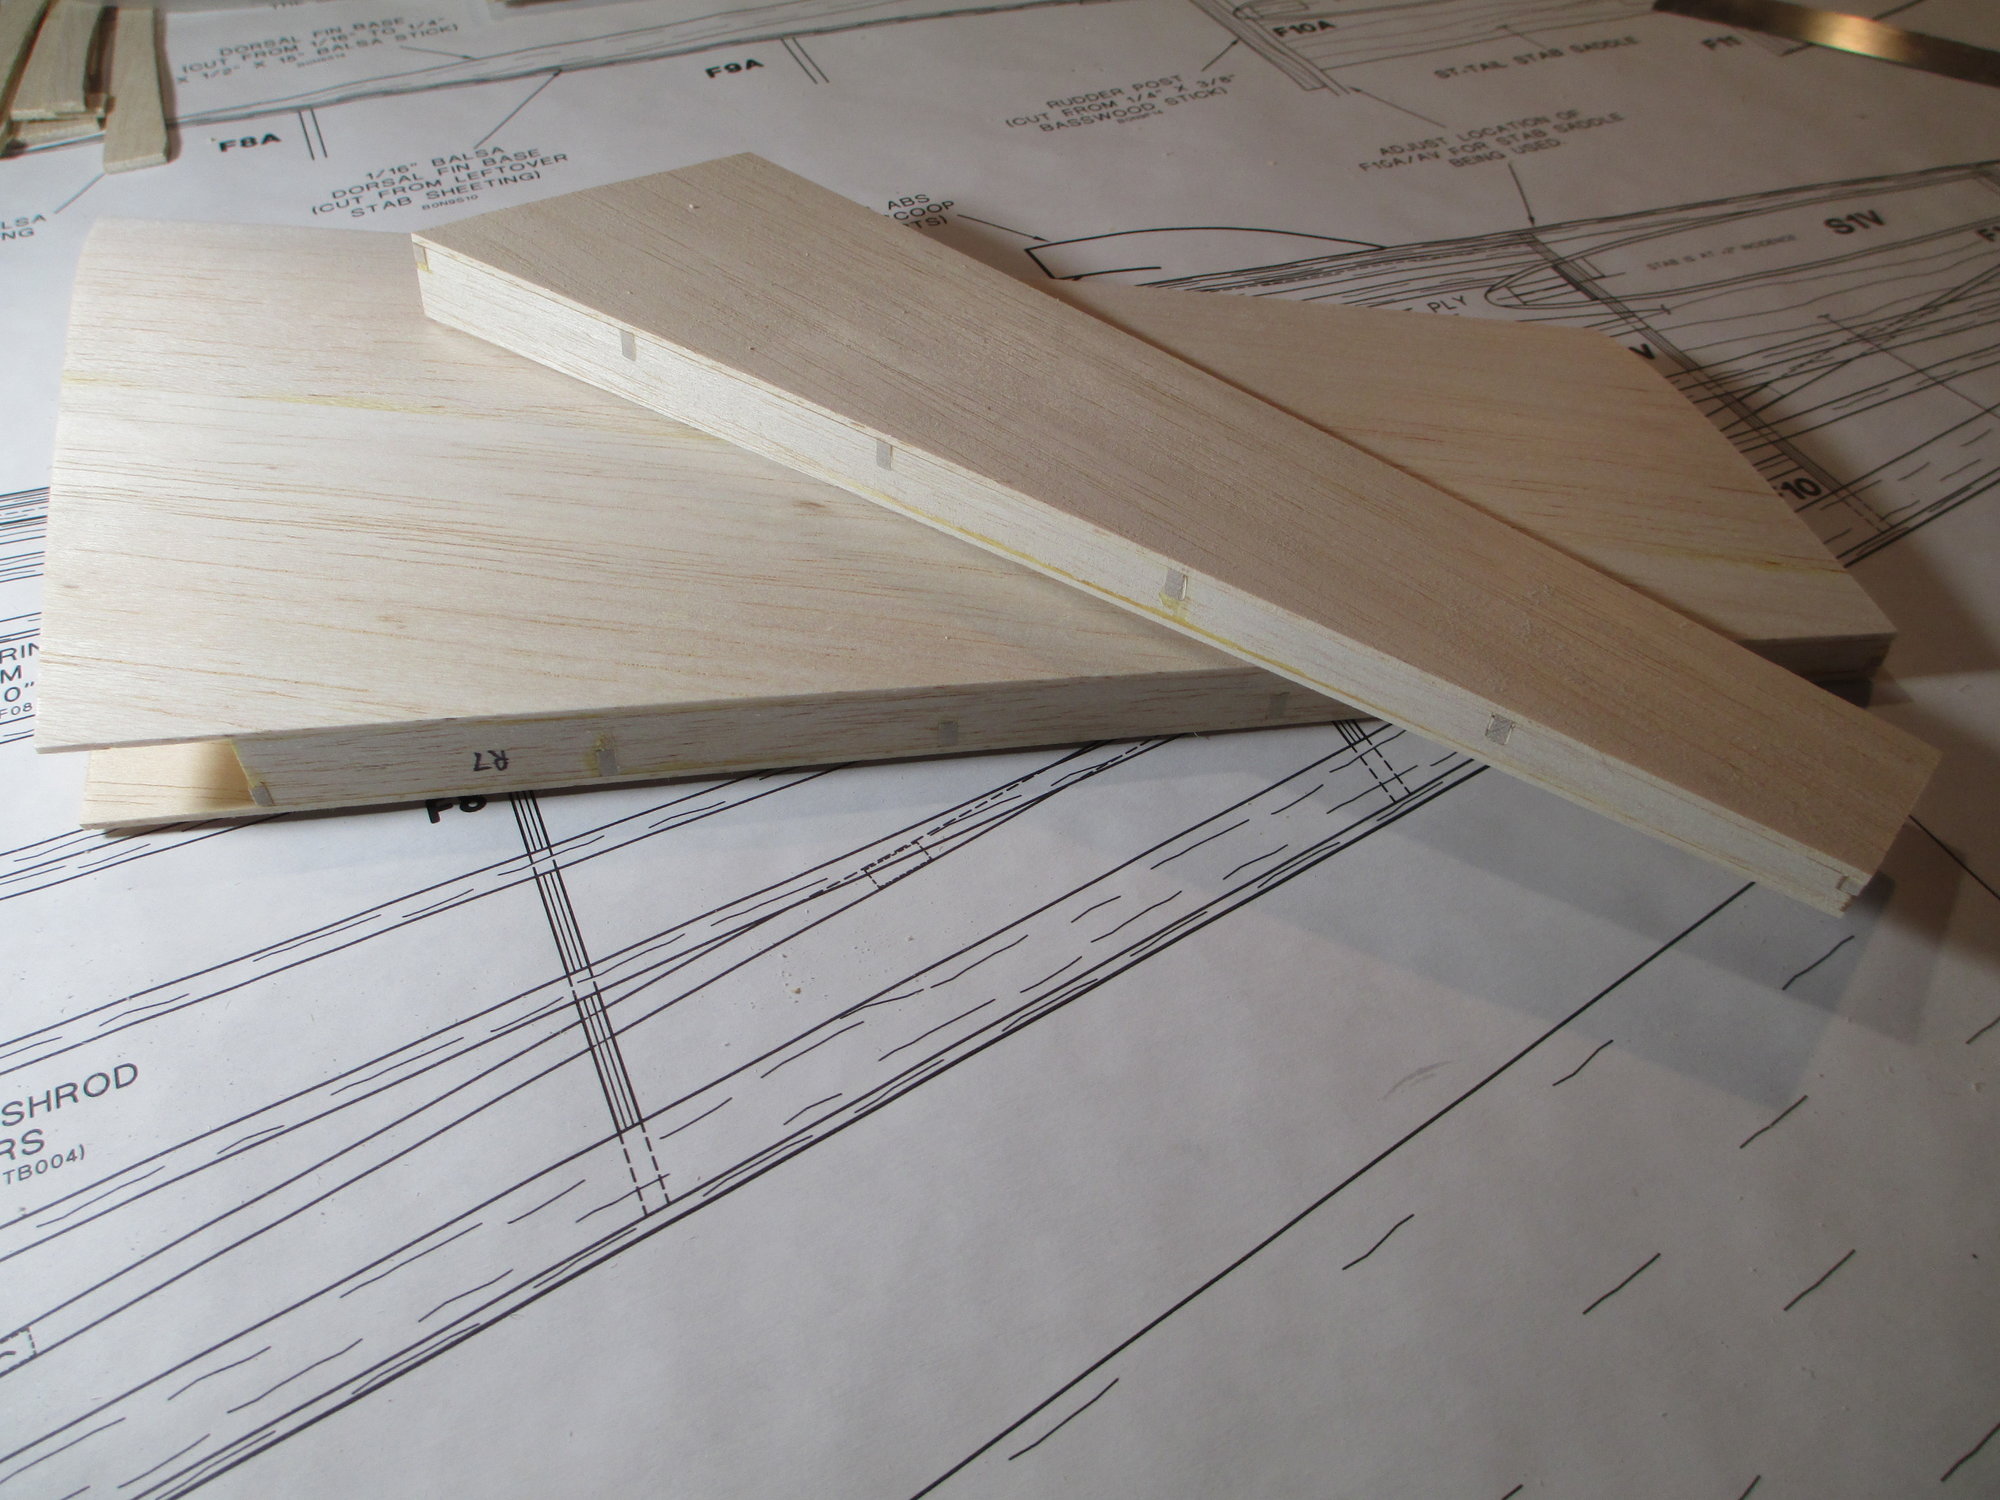
I decided to epoxy the rudder tip to the rudder for added strength. The smaller fin tip will be glued using Titebond.
With a little shaping, the tips are completed. They still need to be final sanded, but for now they're good enough.
The rudder/fin tip is a solid rectangular piece of balsa that will need to be cut separating the small fin tip from the larger rudder tip. This will need to be cut at an angle.
I'm using a bevel gauge to replicate the angle. This bevel gauge is very special to me as it belonged to my grandfather who was a general contractor. I think about him every time I use it...
With the gauge locked, it's easy to mark the angle onto the balsa.
The cut was made using my Zona saw.
I decided to epoxy the rudder tip to the rudder for added strength. The smaller fin tip will be glued using Titebond.
With a little shaping, the tips are completed. They still need to be final sanded, but for now they're good enough.
Last edited by VincentJ; 07-11-2019 at 02:41 PM.
07-12-2019, 04:36 AM
#88
Thread Starter
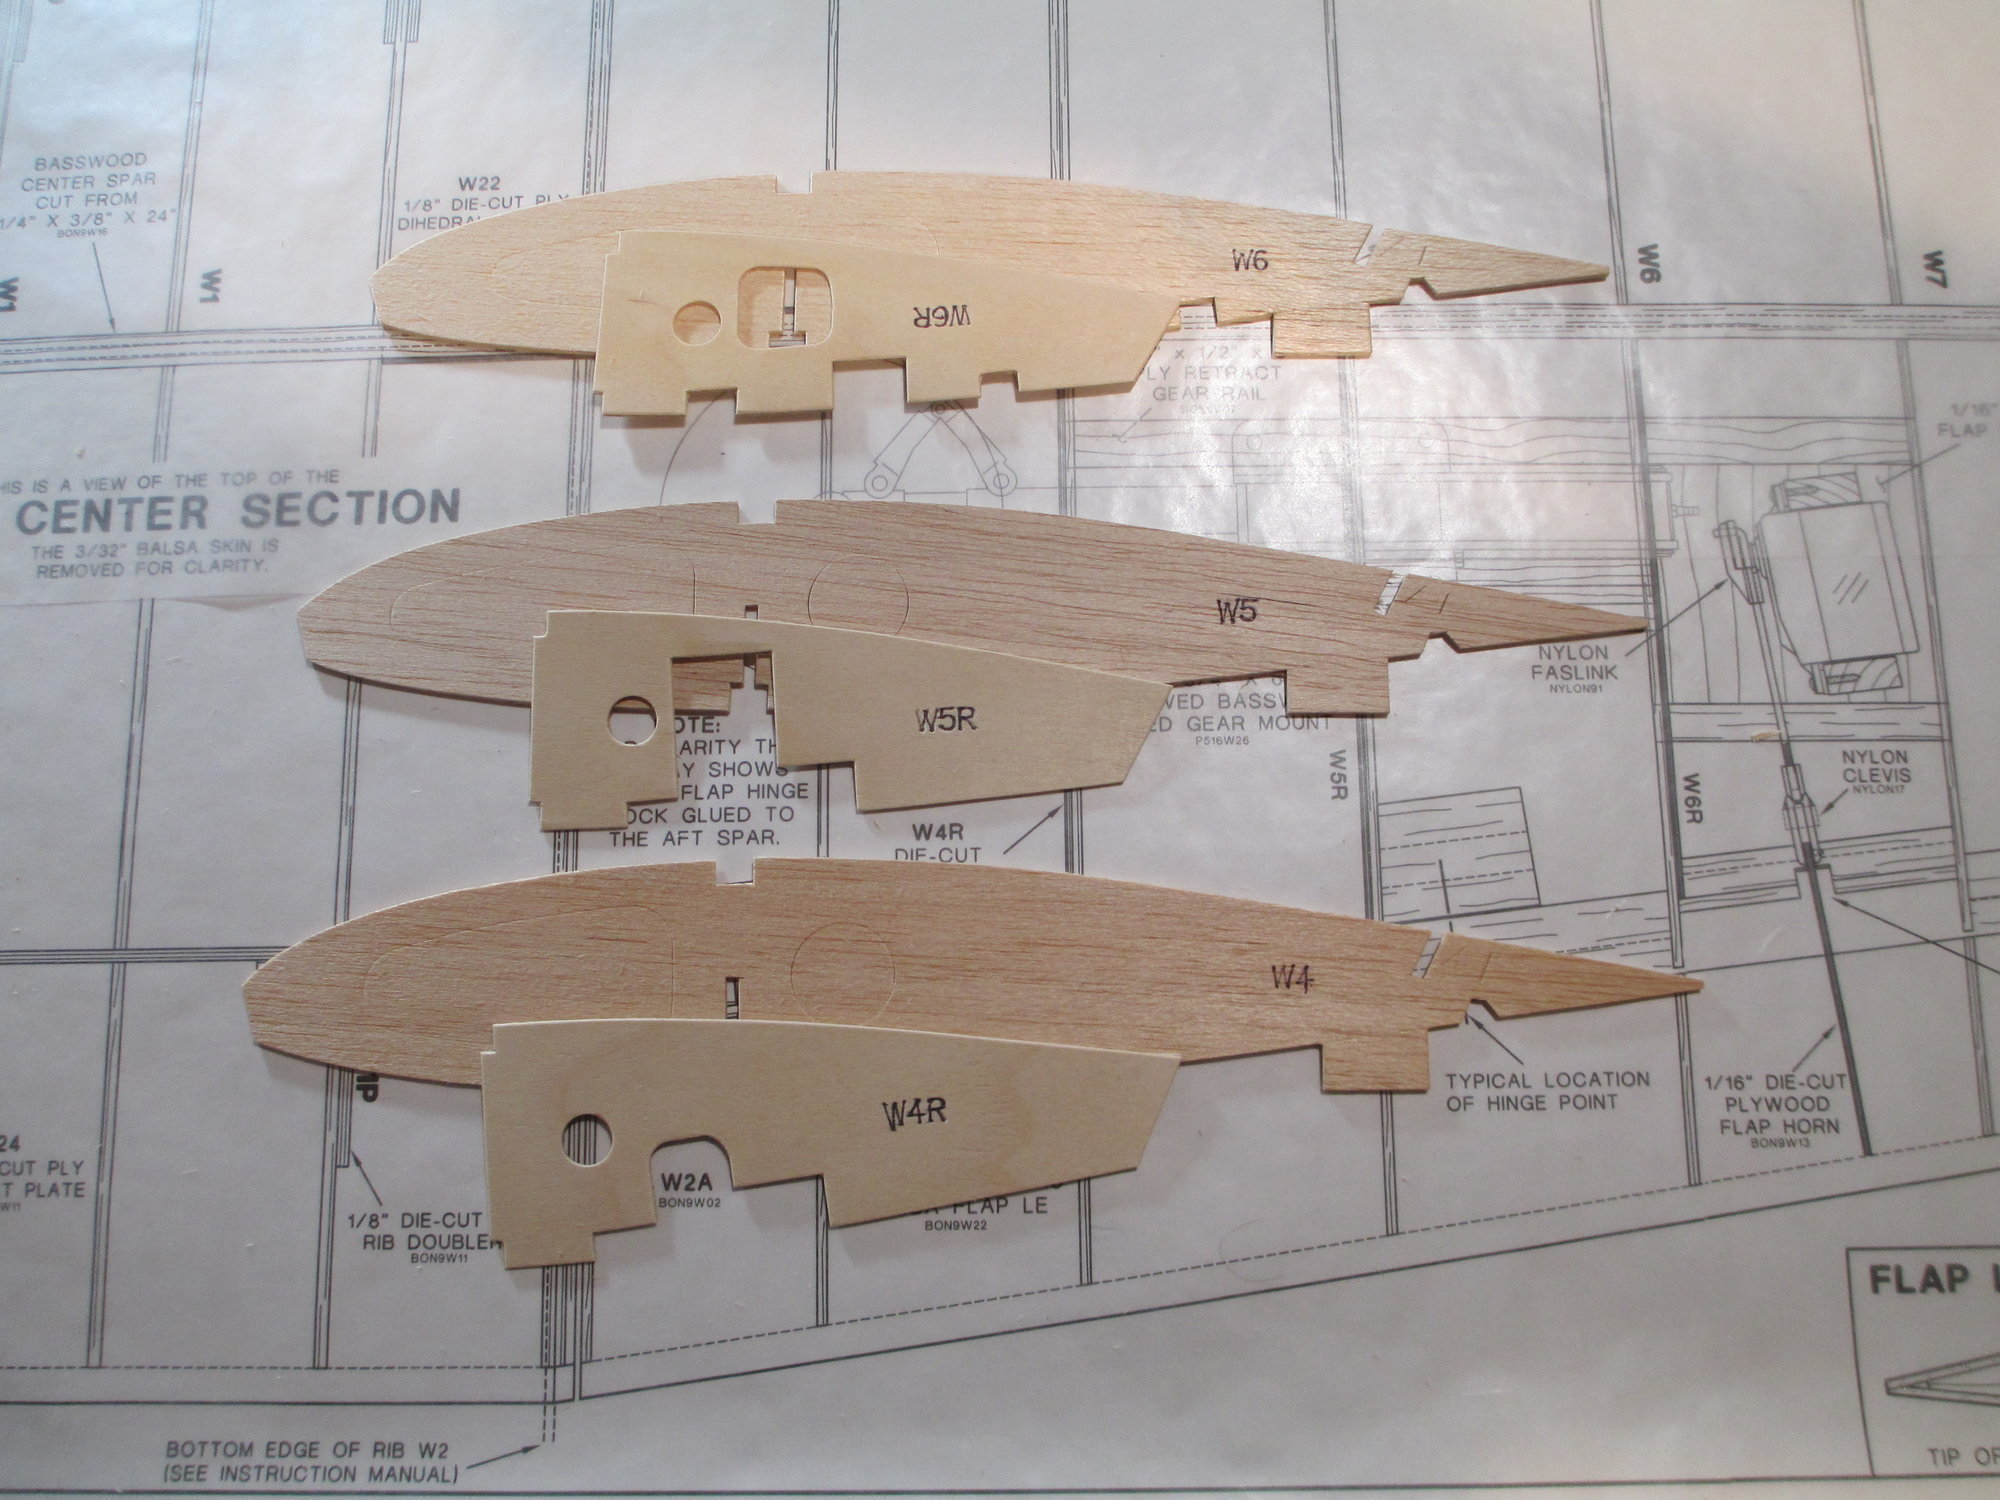
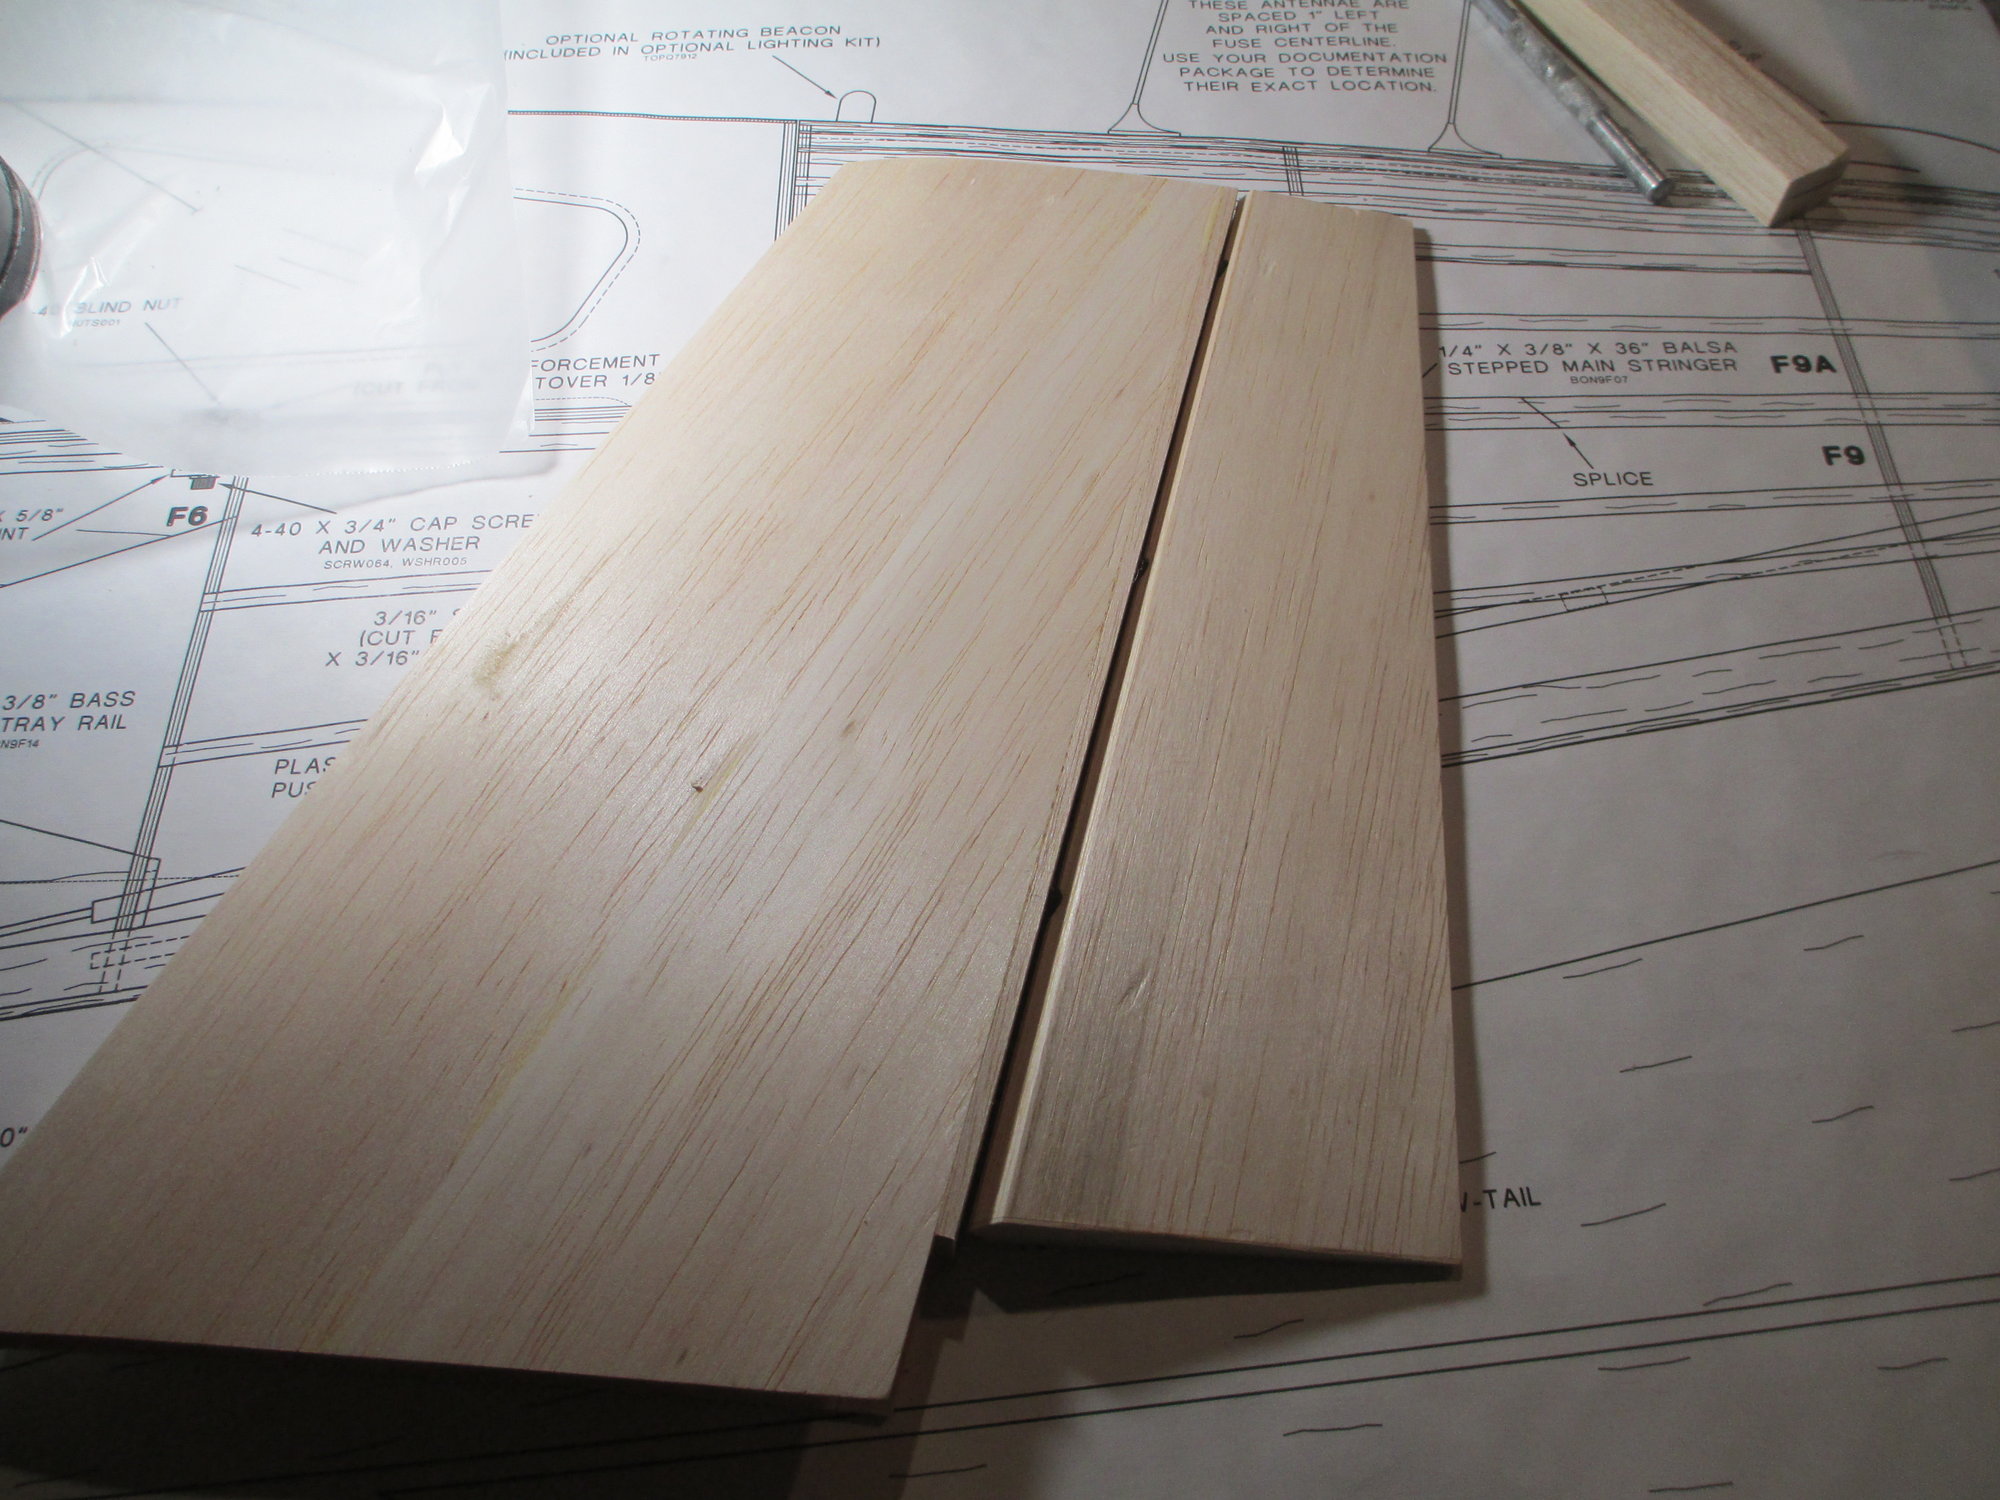
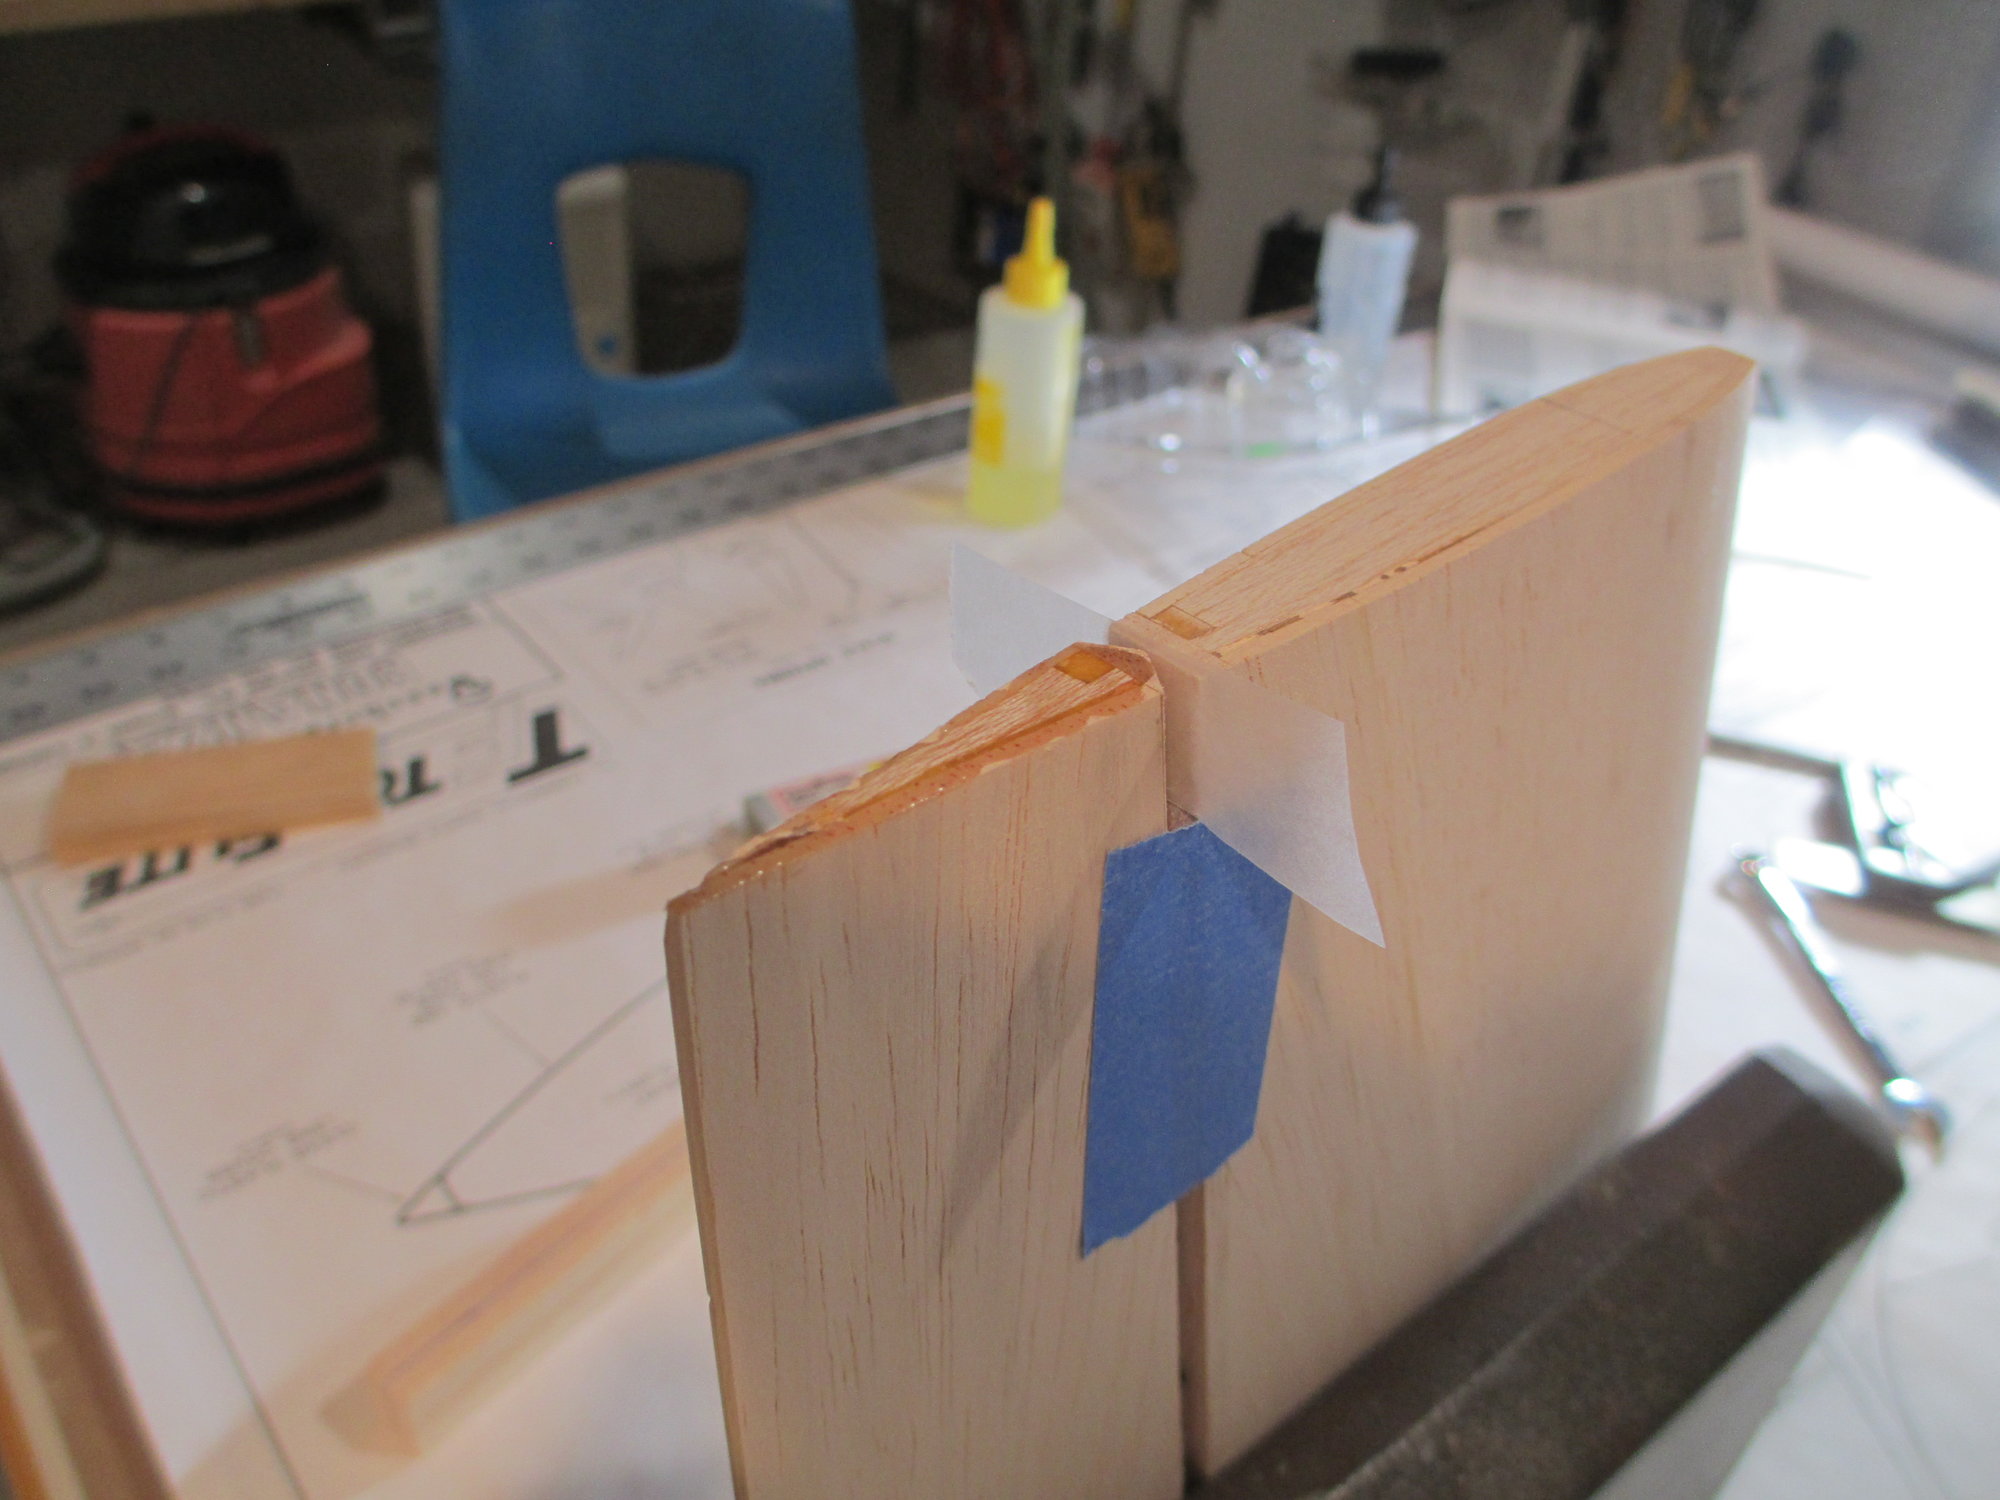
Before I can start assembling the wing, three ribs (W4, W5 & W6) which support the retracts, must be reinforced by epoxying 1/16" plywood rib doublers to their sides.
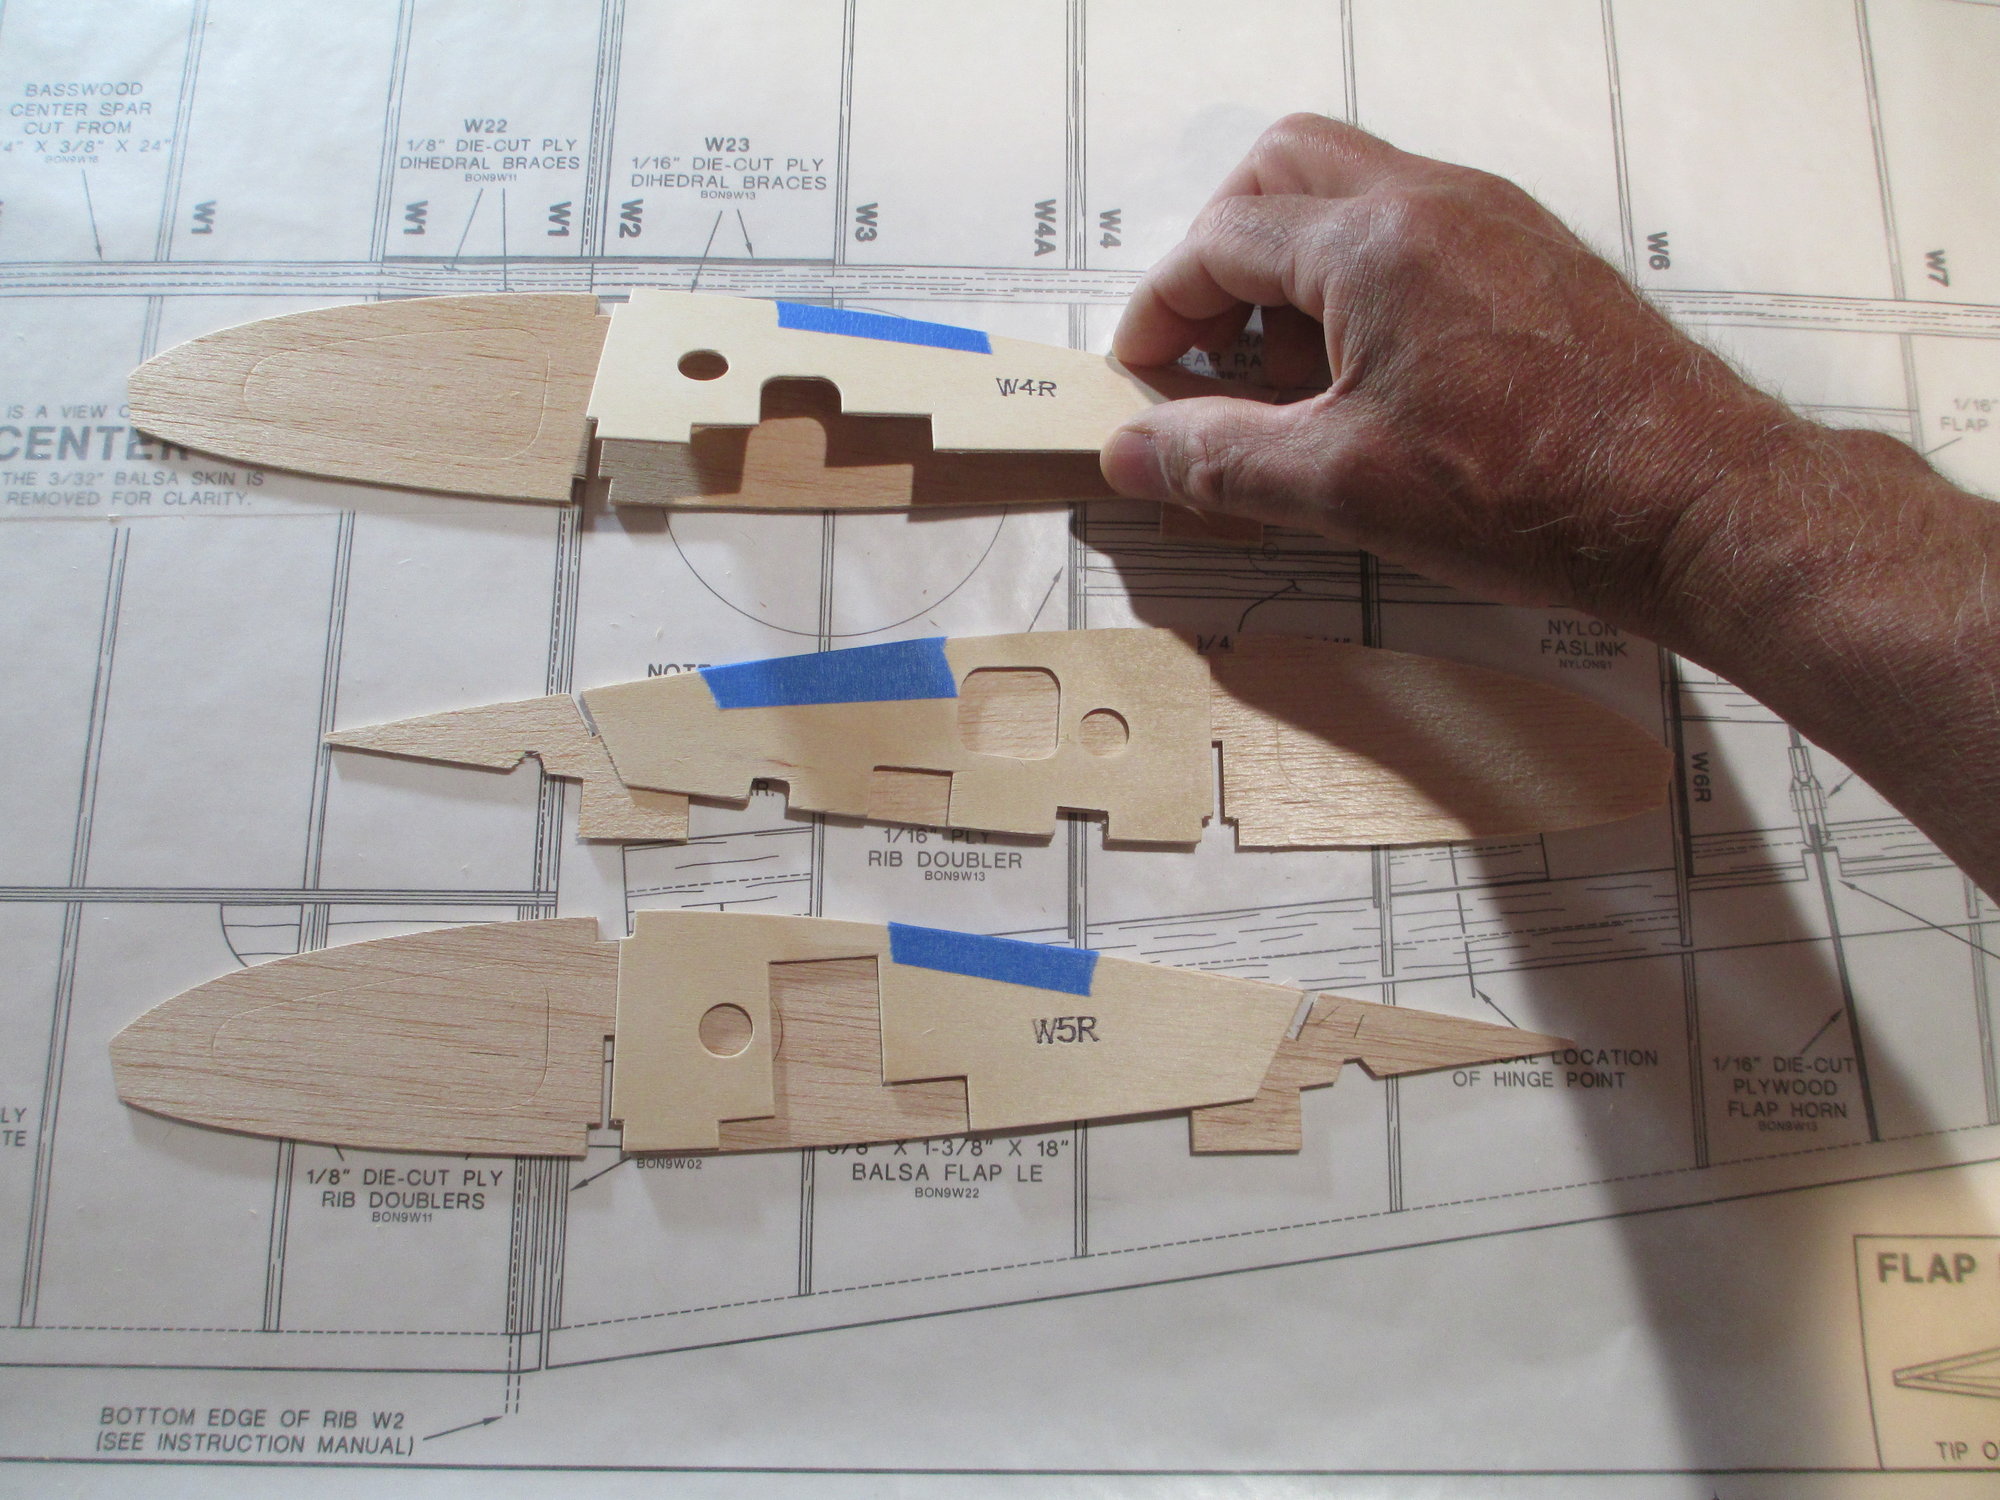
Before the epoxy is spread, I like to hinge the doublers with blue painter's tape. This creates a hinge which aids in alignment when the epoxy is applied.
Last edited by VincentJ; 07-12-2019 at 08:10 AM.
07-12-2019, 05:51 AM
#90
Vincent,
Thanks for the tip. Now, I know how to keep small parts from sliding out of alignment. Trying to drive T-pins through plywood after applying epoxy is impossible (for me).
And, using epoxy instead of wood glue to attach the rudder tip is another. It is sure to stay on when this area is bumped accidentally.
I understand the love for continuing on a project even with a recovering injury. So, keep on trucking, safely.
Lupe
07-12-2019, 08:16 AM
#92
Thread Starter
I was trimming a white cedar shingle with a utility knife (siding my house), the shingle split with the grain. The blade stopped in my index finger...
07-12-2019, 08:55 AM
#95
I was running a ST .40 with the airplane sitting on a test stand. My checklist slipped and was sucked into the prop in the blink of an eye. My son looked at the damage to the first 1 1/2" of the edge that the prop hit and cut every 1/4". He was immediately impressed and scared of the prop. I told him stay that way you'll less likely to get lax and make a mistake. I still have a scars on my left index and tall man fingers from an .049 Cox 55 years later!
07-12-2019, 12:52 PM
#96
My Feedback: (2)
I remember the first glow engine I got as kid wasa Cox P40 War hawk string control airplane. My dad could'nt get it to start for ever so I think my mom threw it away! I bought a Cox funny car years later and that thing ran like a top wow! To this day I dont know how I got my fingers into the back of the prop on that 25!
Thank You
Michael Johnst
Thank You
Michael Johnst
07-12-2019, 02:59 PM
#98
Thread Starter

It took awhile, but I finally freed all of the wing ribs from their sheets without cracking any of them. It's time to dry fit the ribs to the bottom spar. Notice that I've butted the spar to a known straight aluminum square stock. I never trust the straightness of lines on plans...
07-12-2019, 11:07 PM
#100
My Feedback: (2)
Hi Mike, it was a strange year about a week before I cut my fingers my friend was had starting an old glow engine and it backfired and cracked him right across his knuckles! I seem to have trouble breaking ribs when I am gluing them to the stingers. I have two wings that I built 4 months ago and I broke the ribs or the stringers in three or four different places. I wanted to ask why do you use Tite Bond II instead of just regular tight bond Vincent? The guy who runs the local hobby shop waters his Tite bond down, he said you dont need full strength to glue balsa wood together. I tried it and it seems to work but I could not get the right water to glue ratio. I tried very little and even more and the glue seem to be so thick I couldn't get to work.
Thank You
Michael Johnston
Thank You
Michael Johnston