Lanier RC 84" Stinger


 11-30-2023, 10:42 PM
#52

Thread Starter
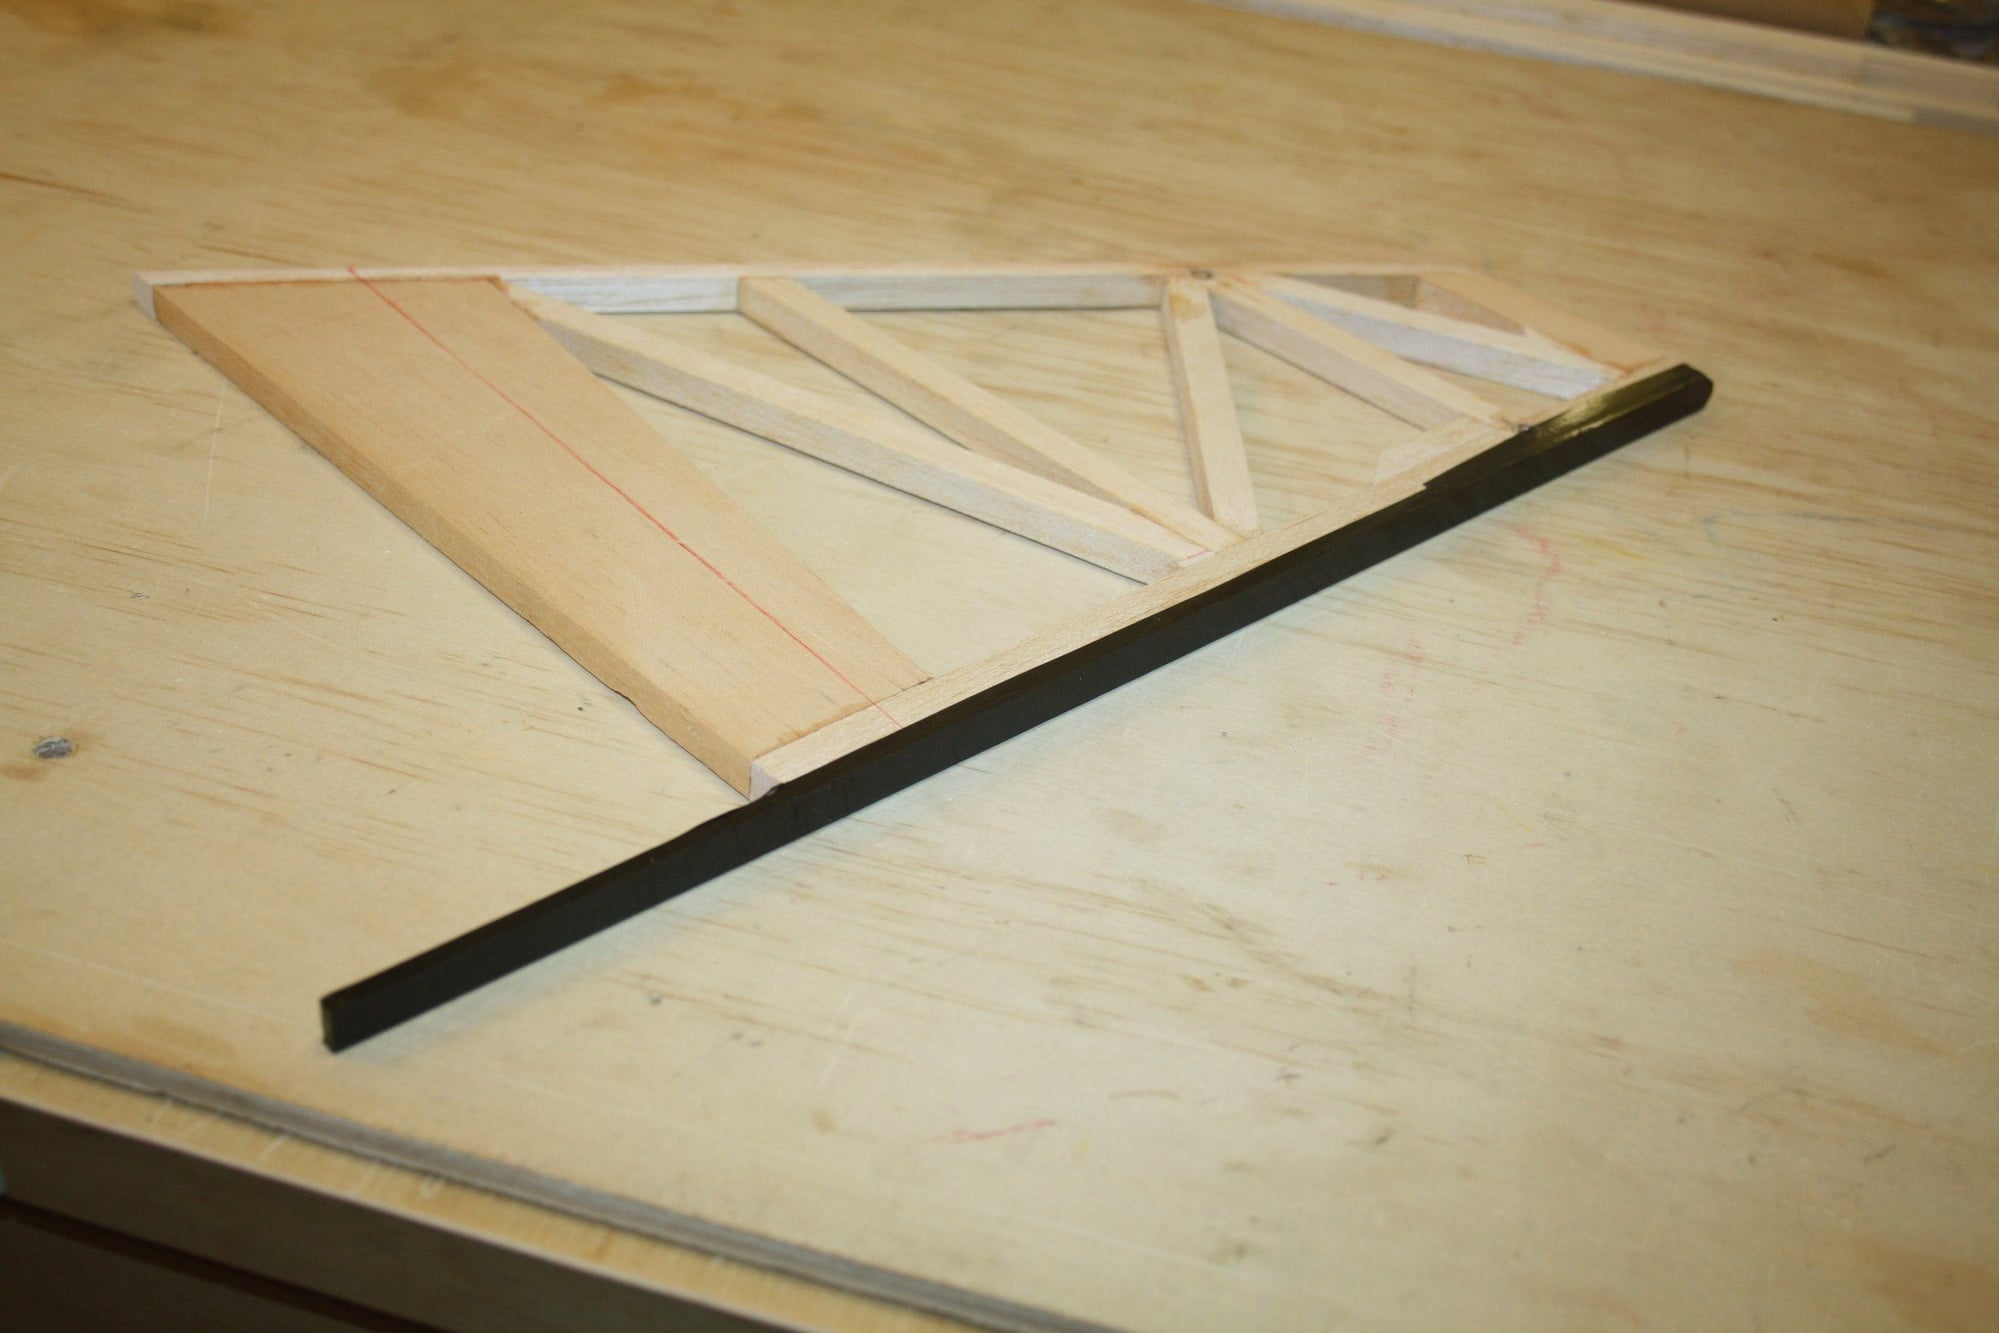
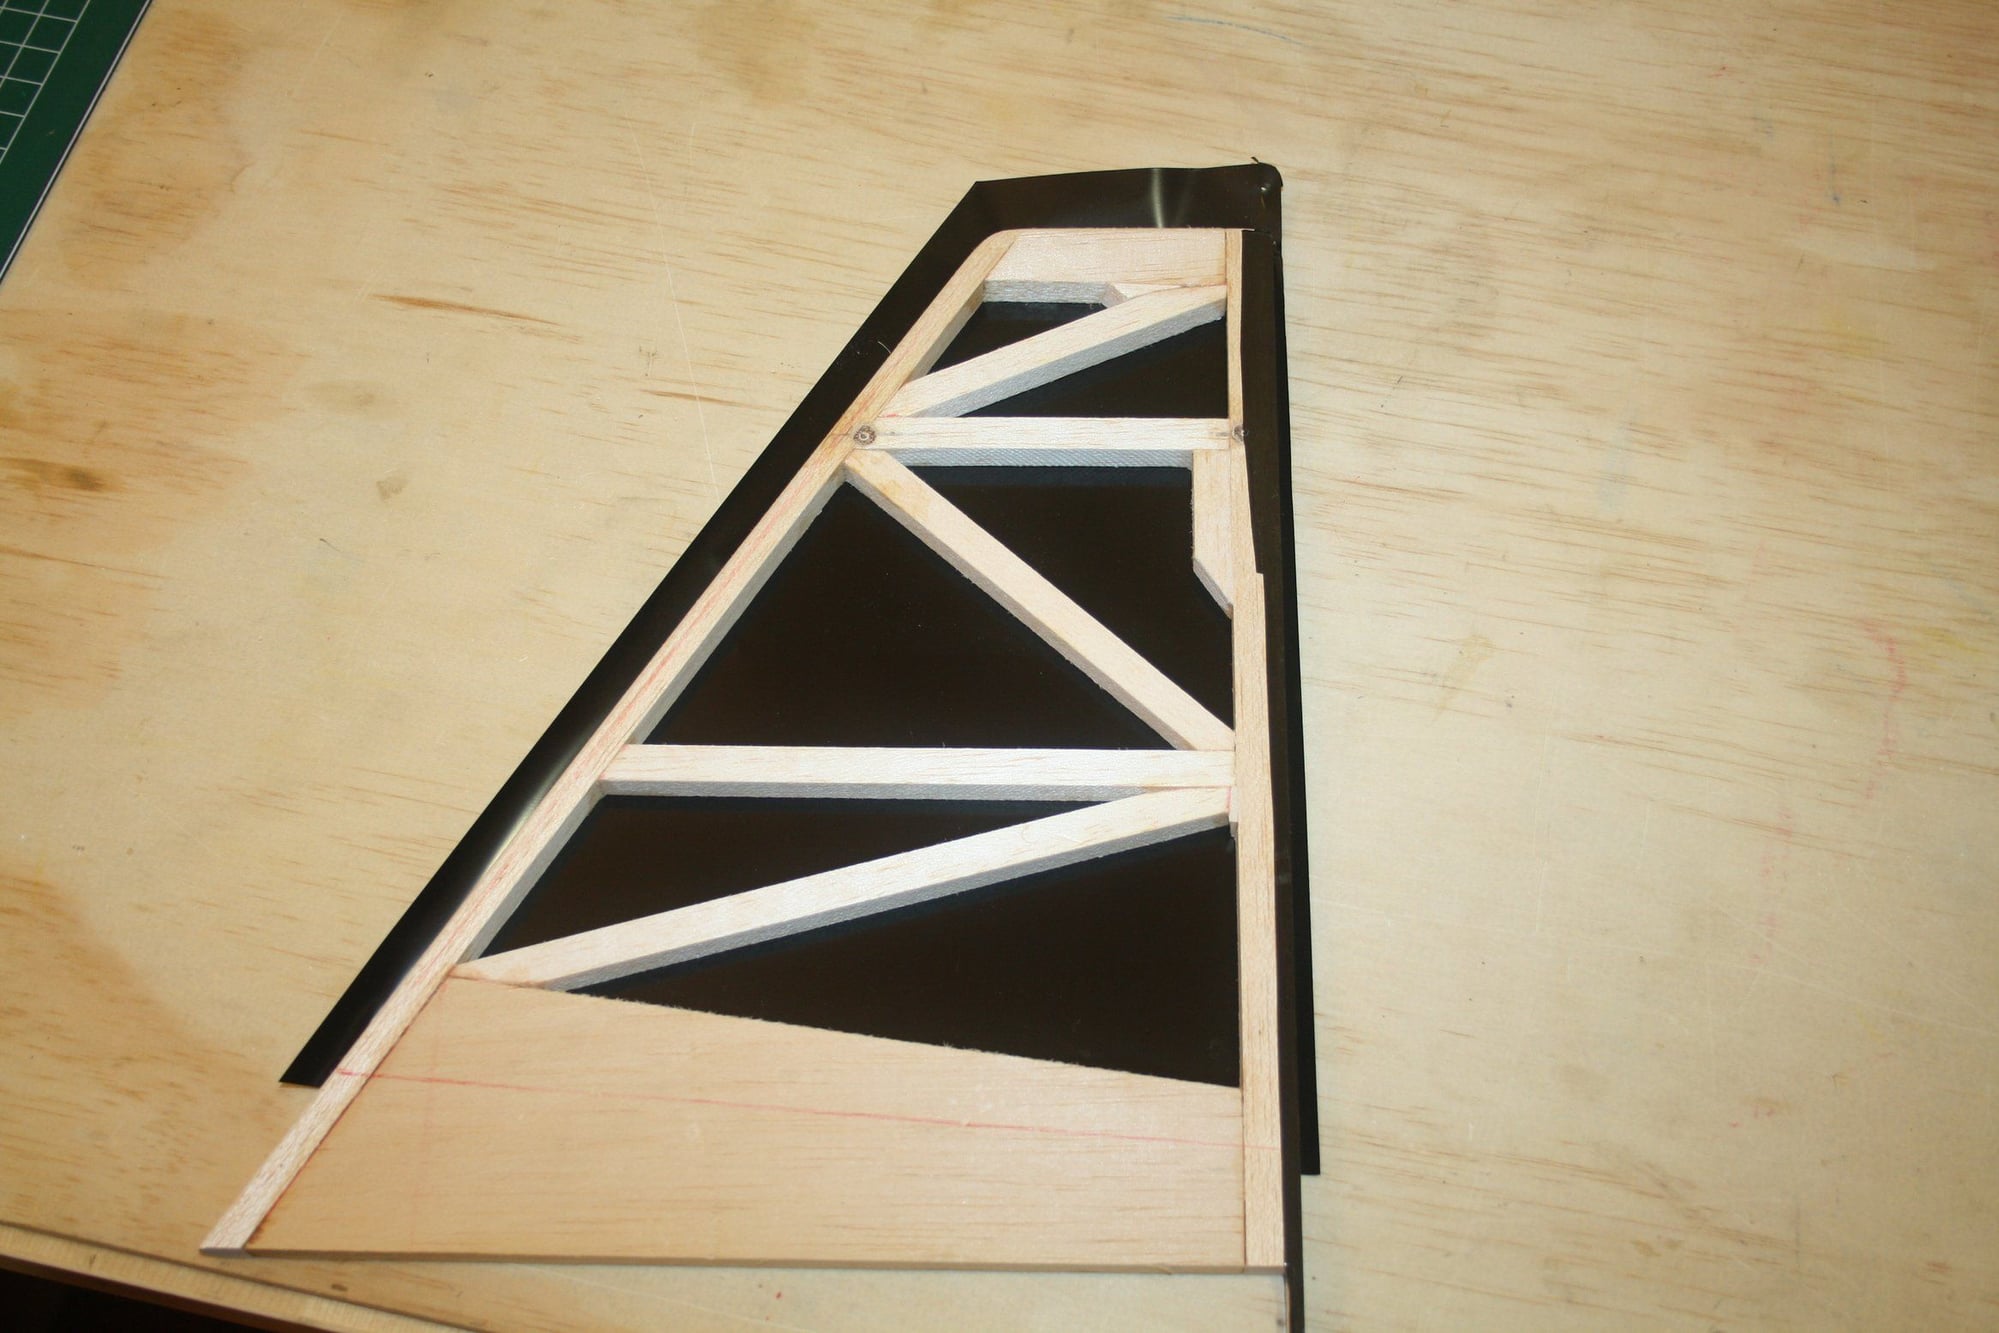
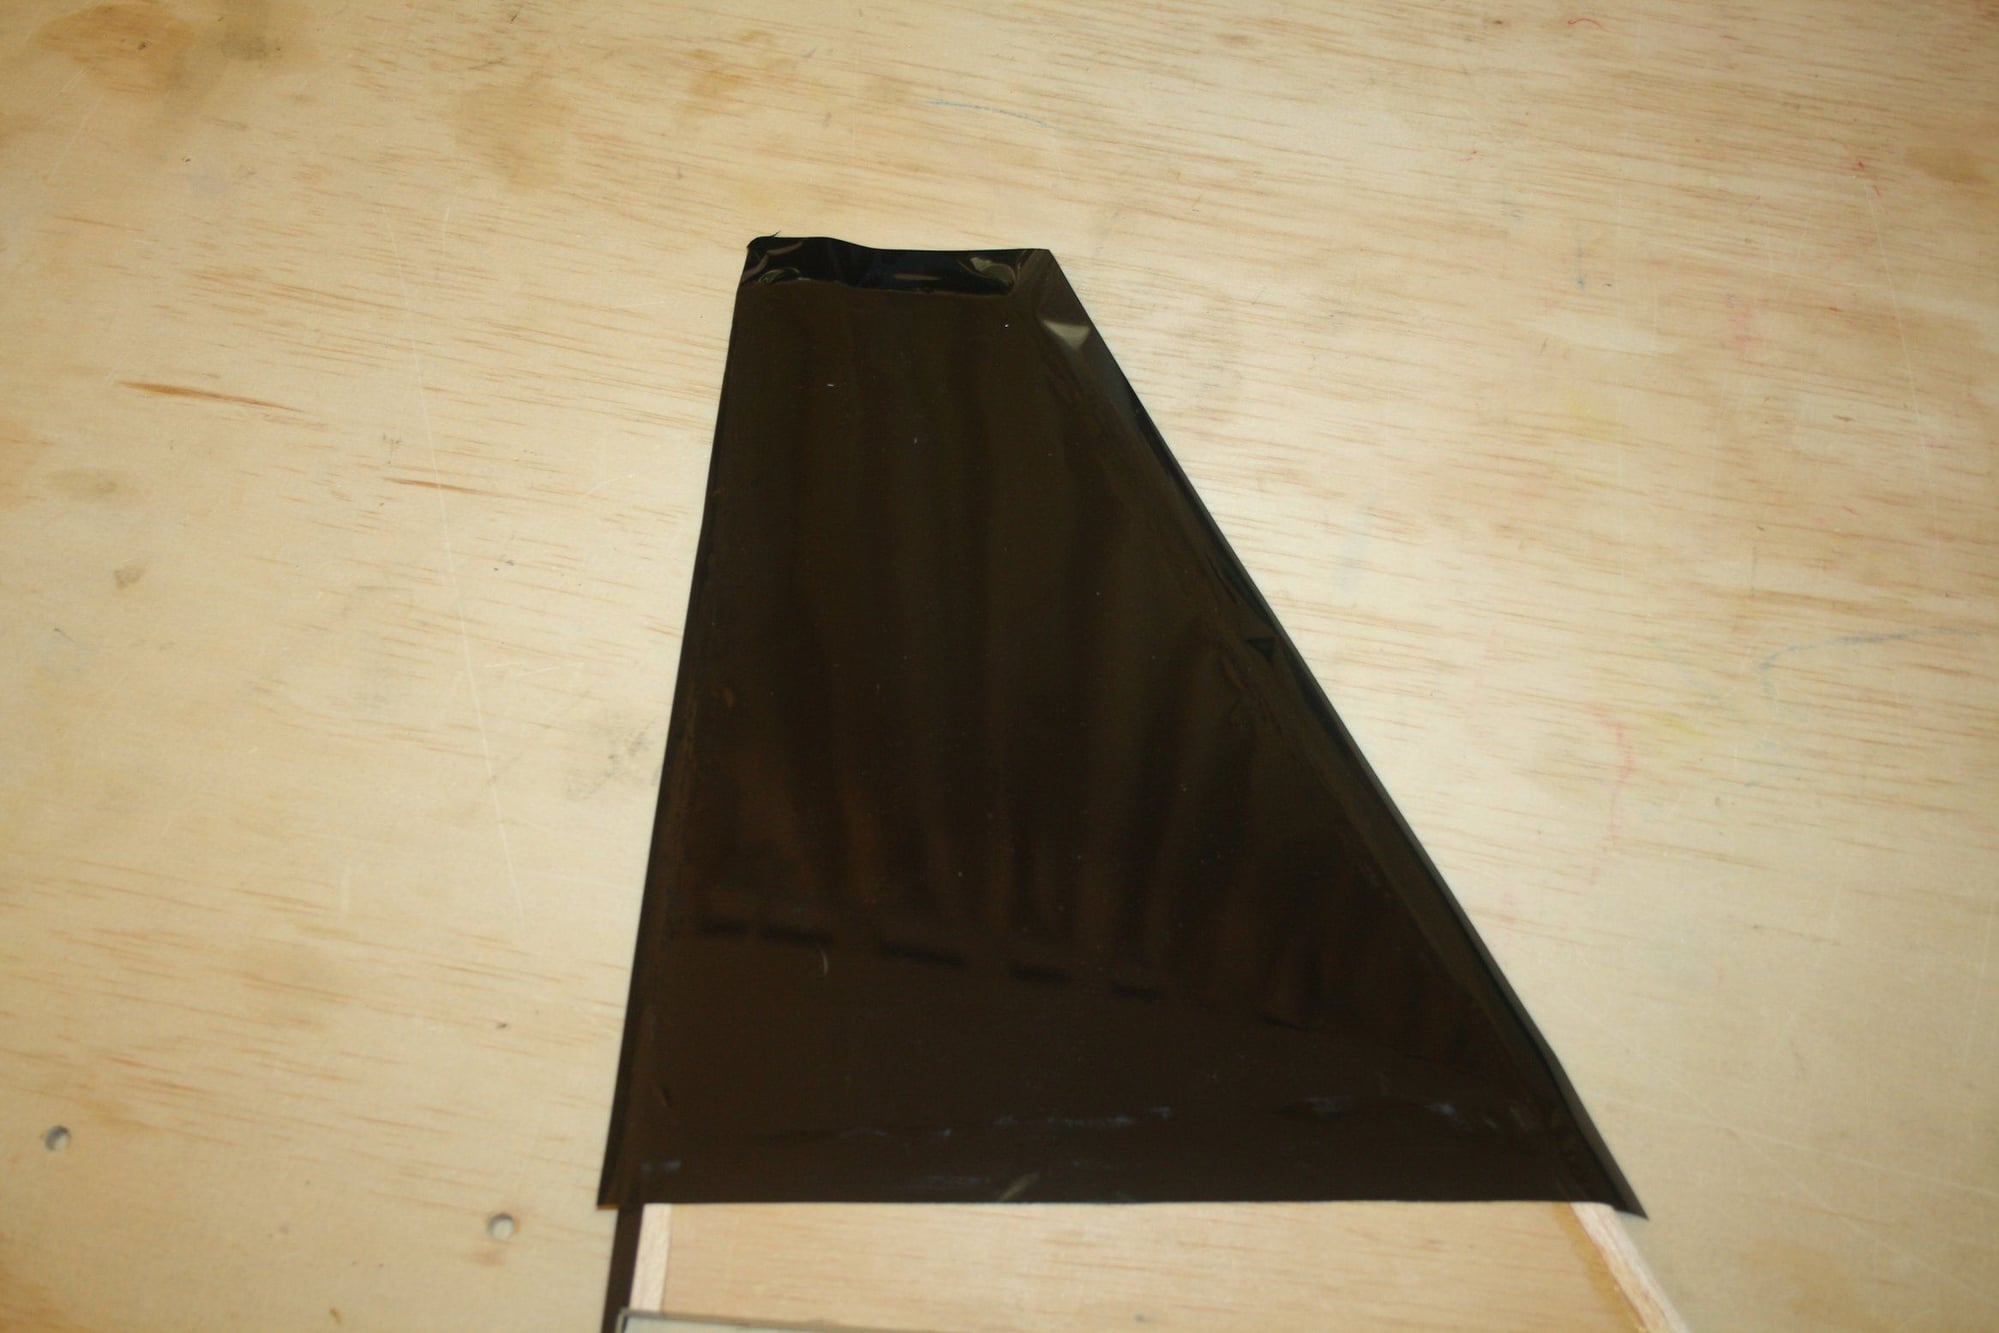
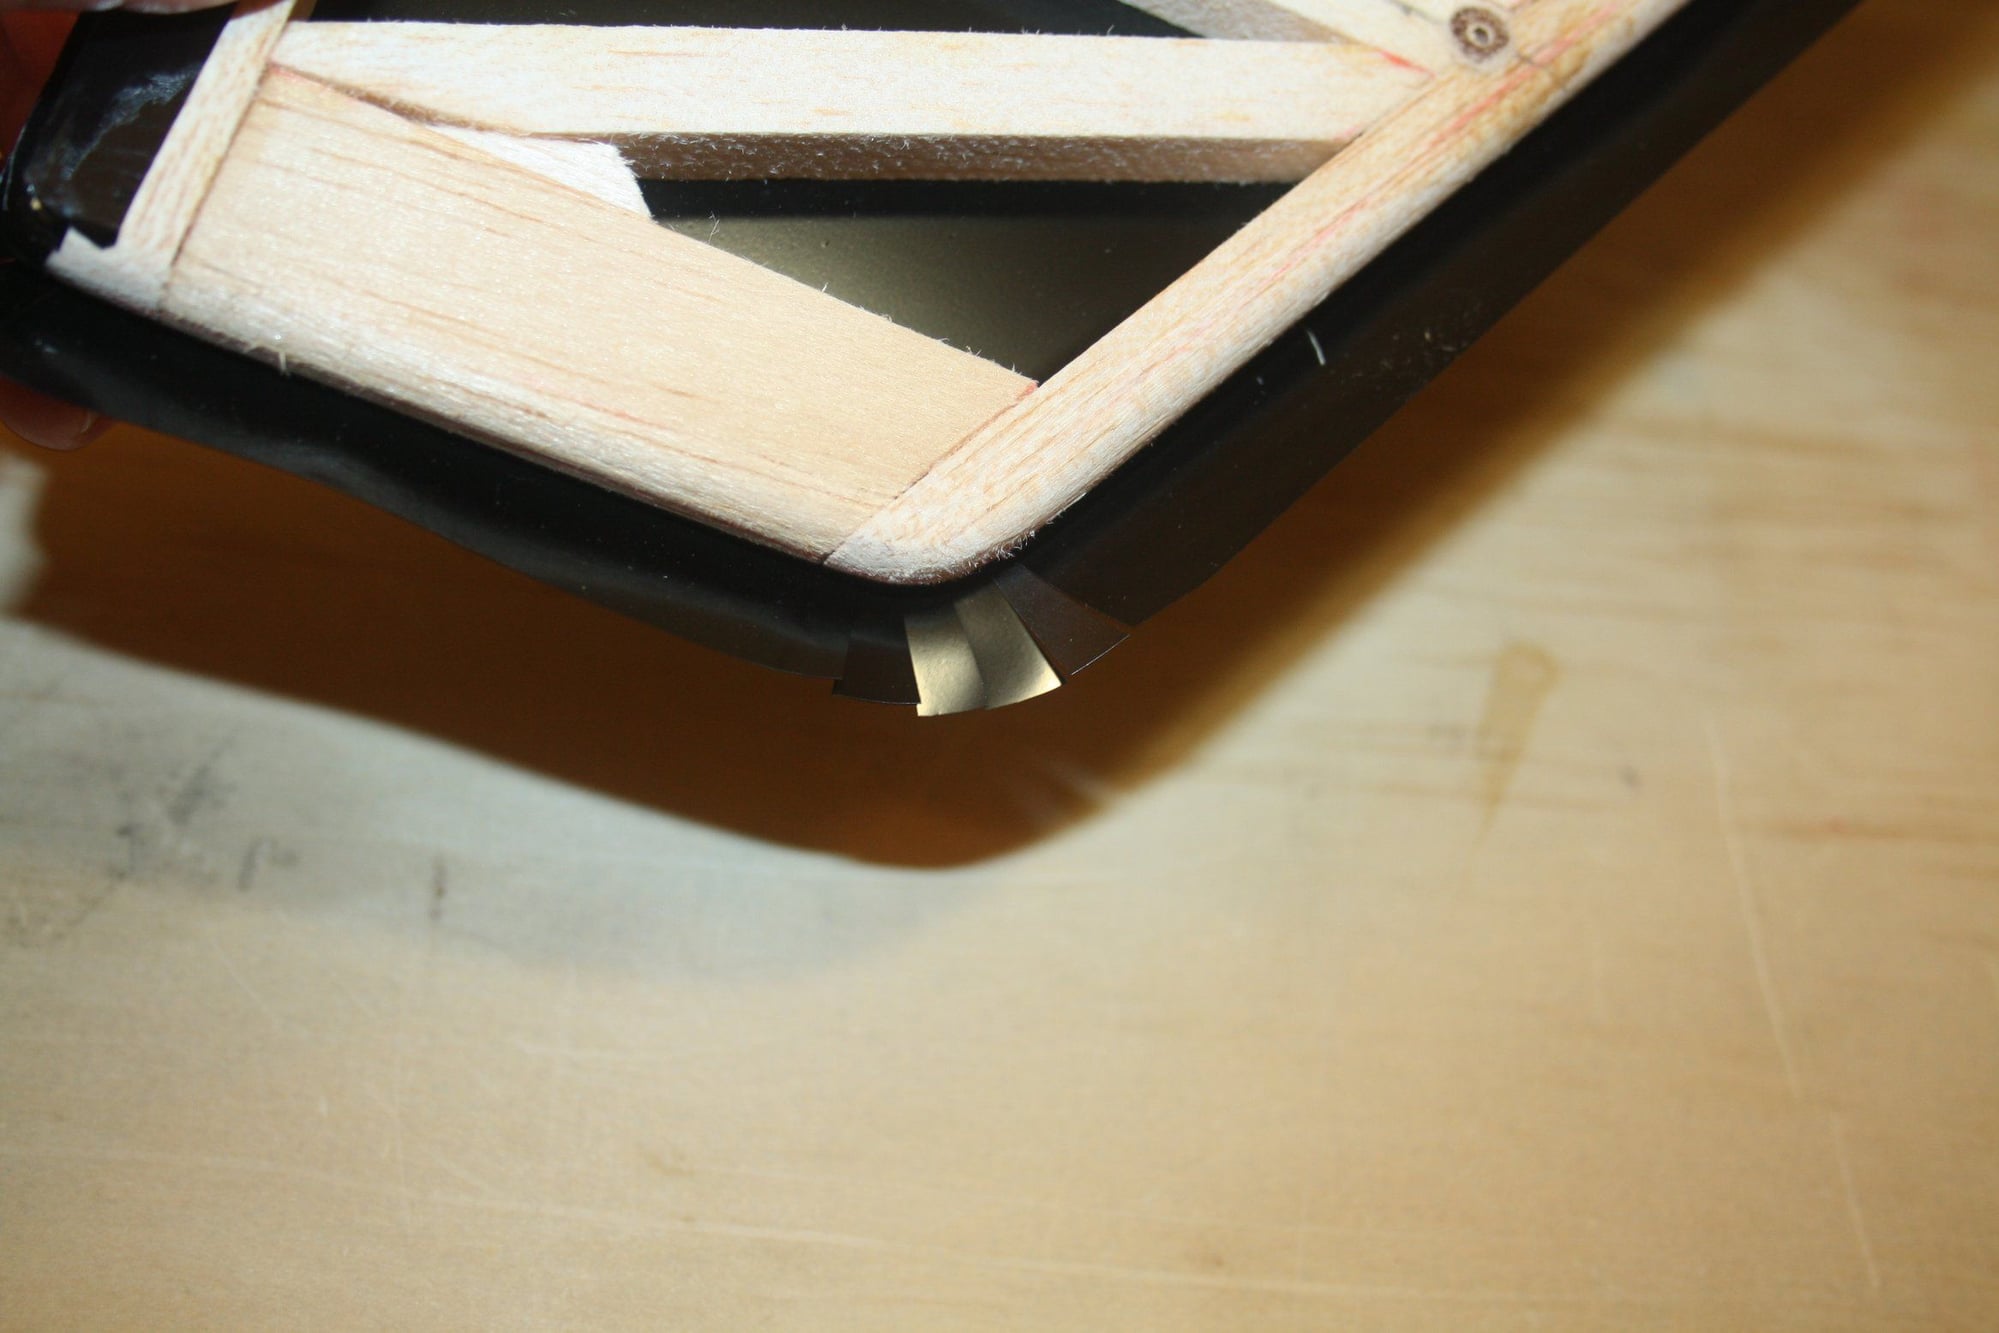
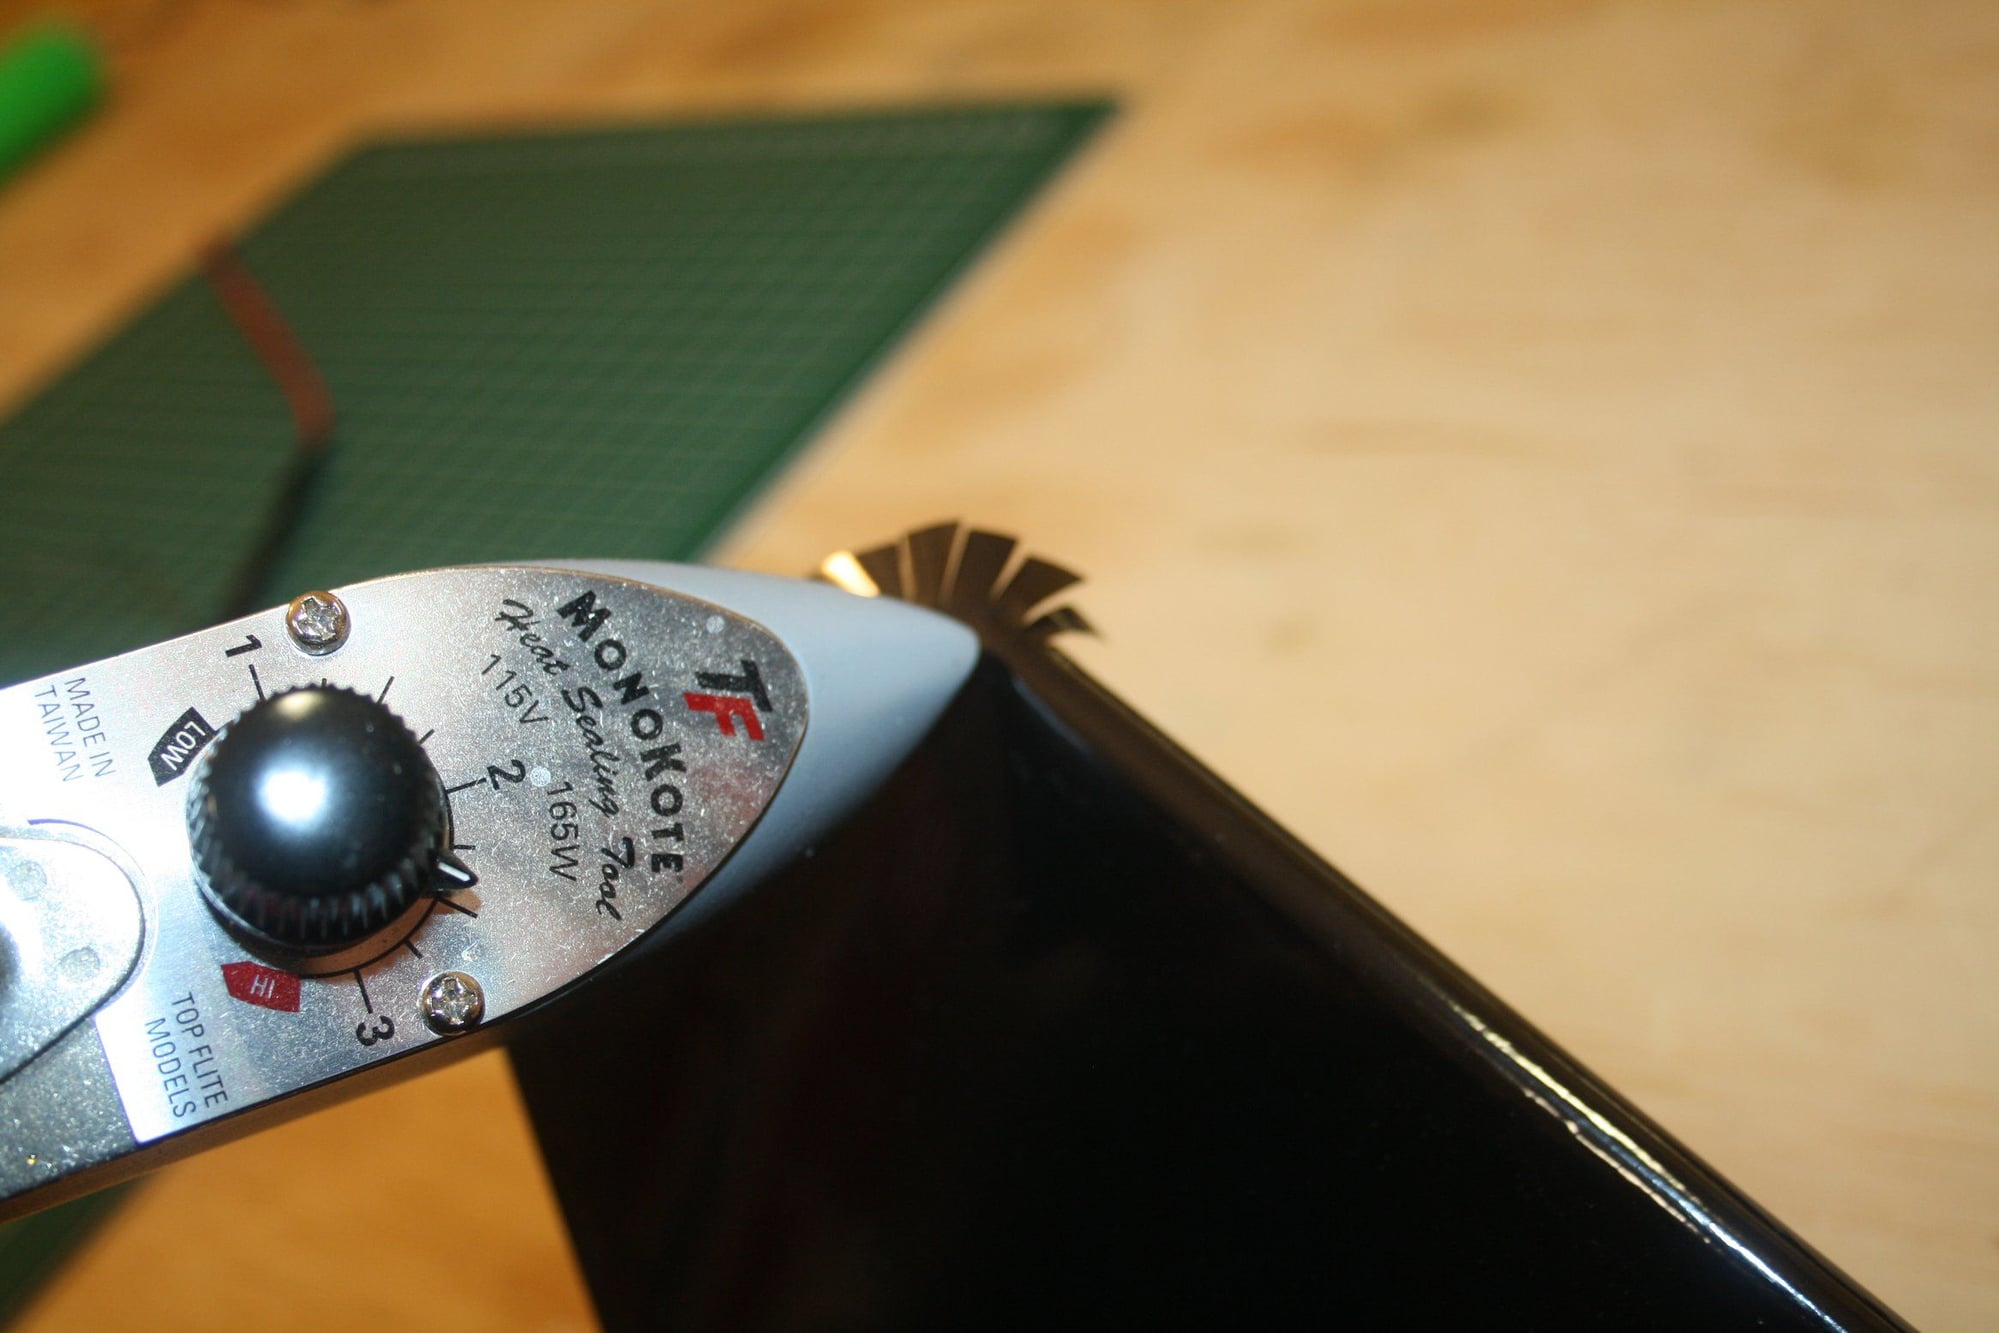
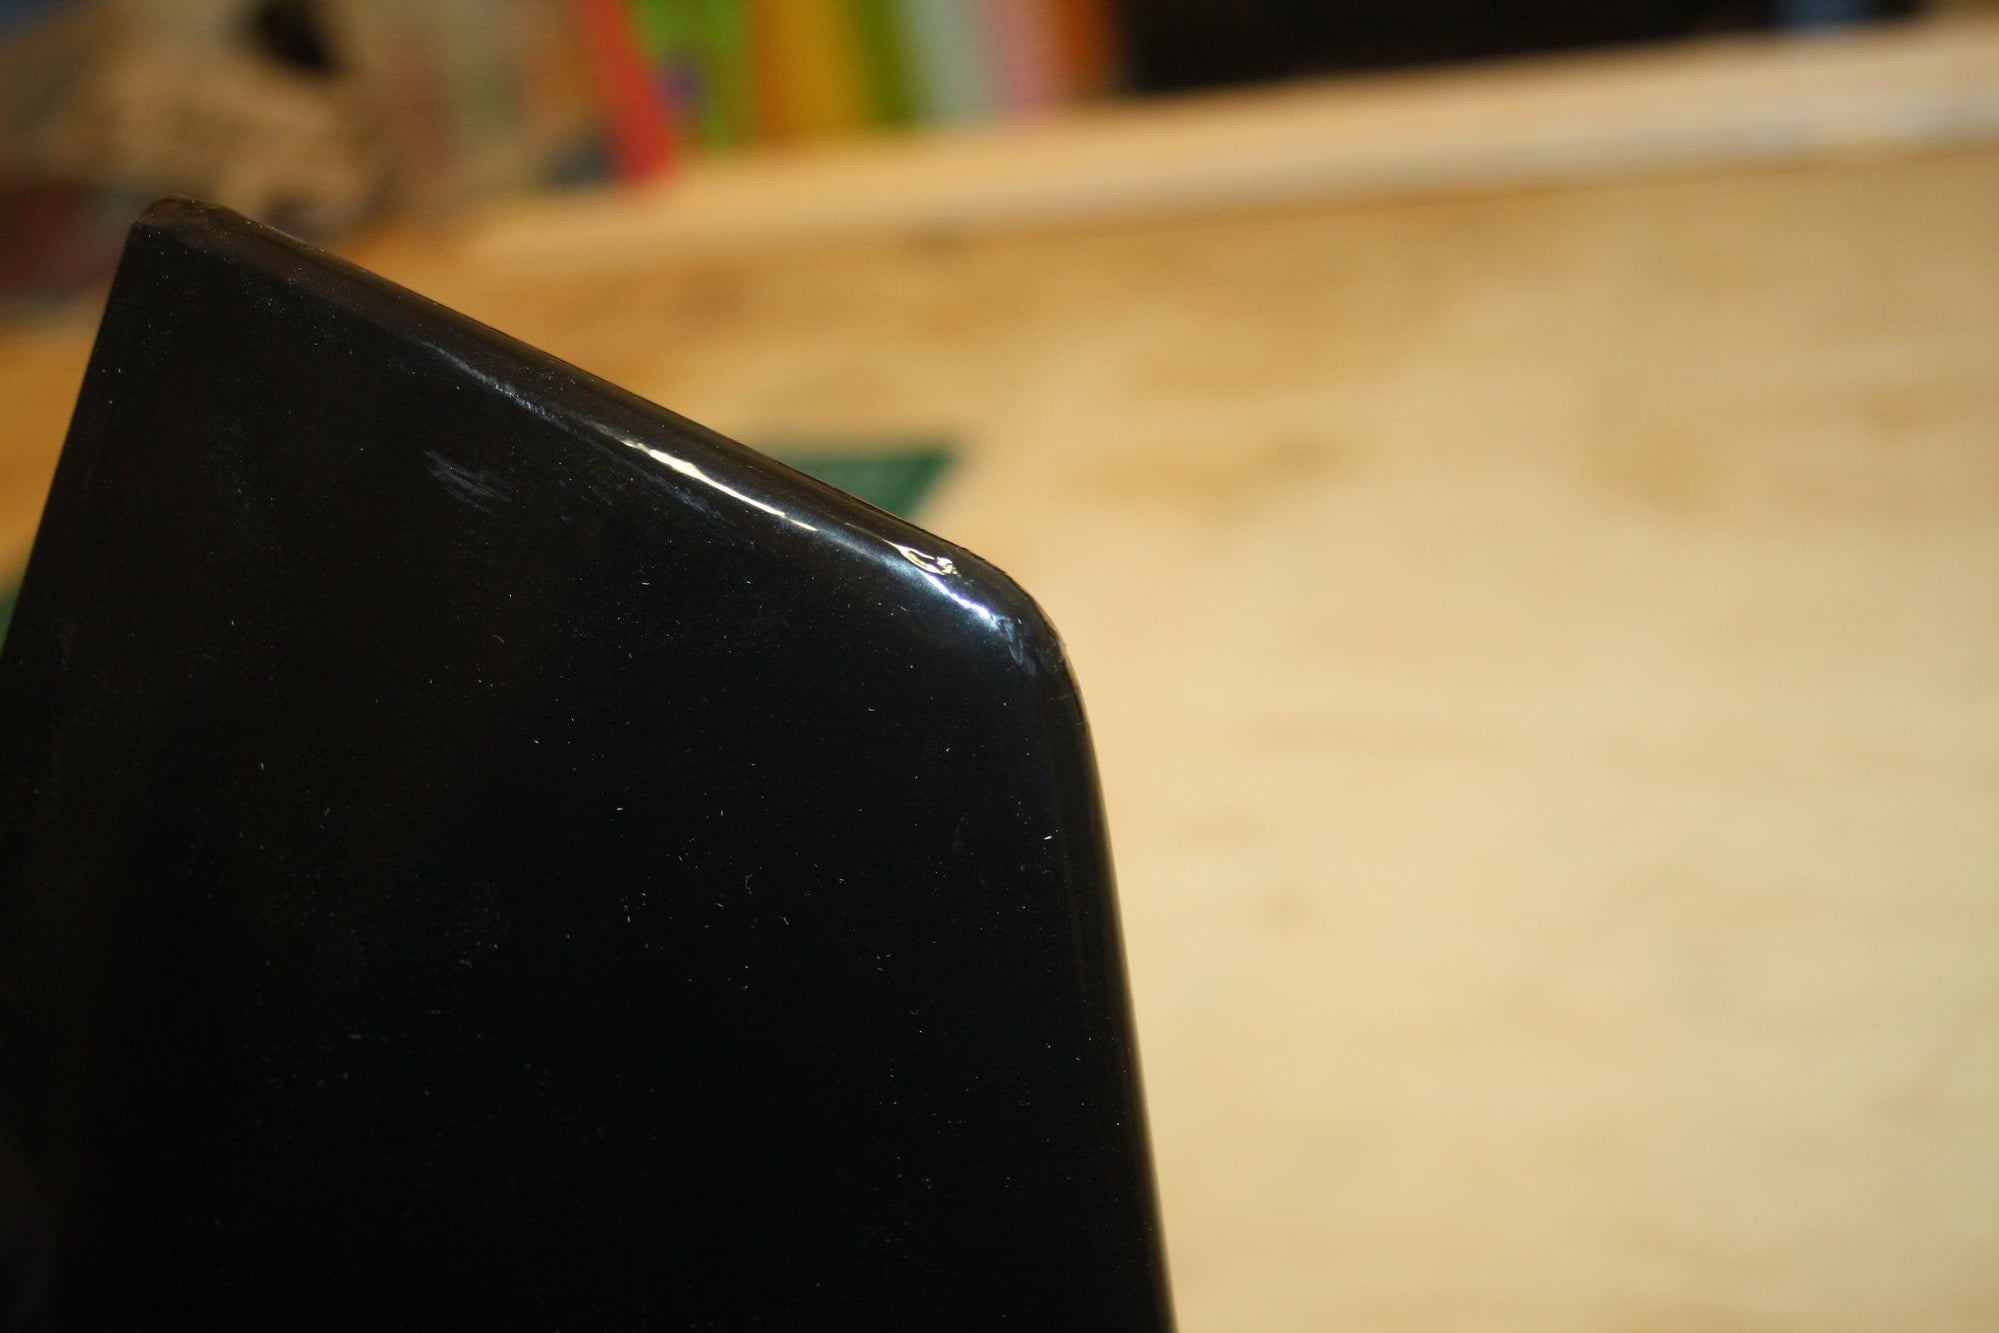
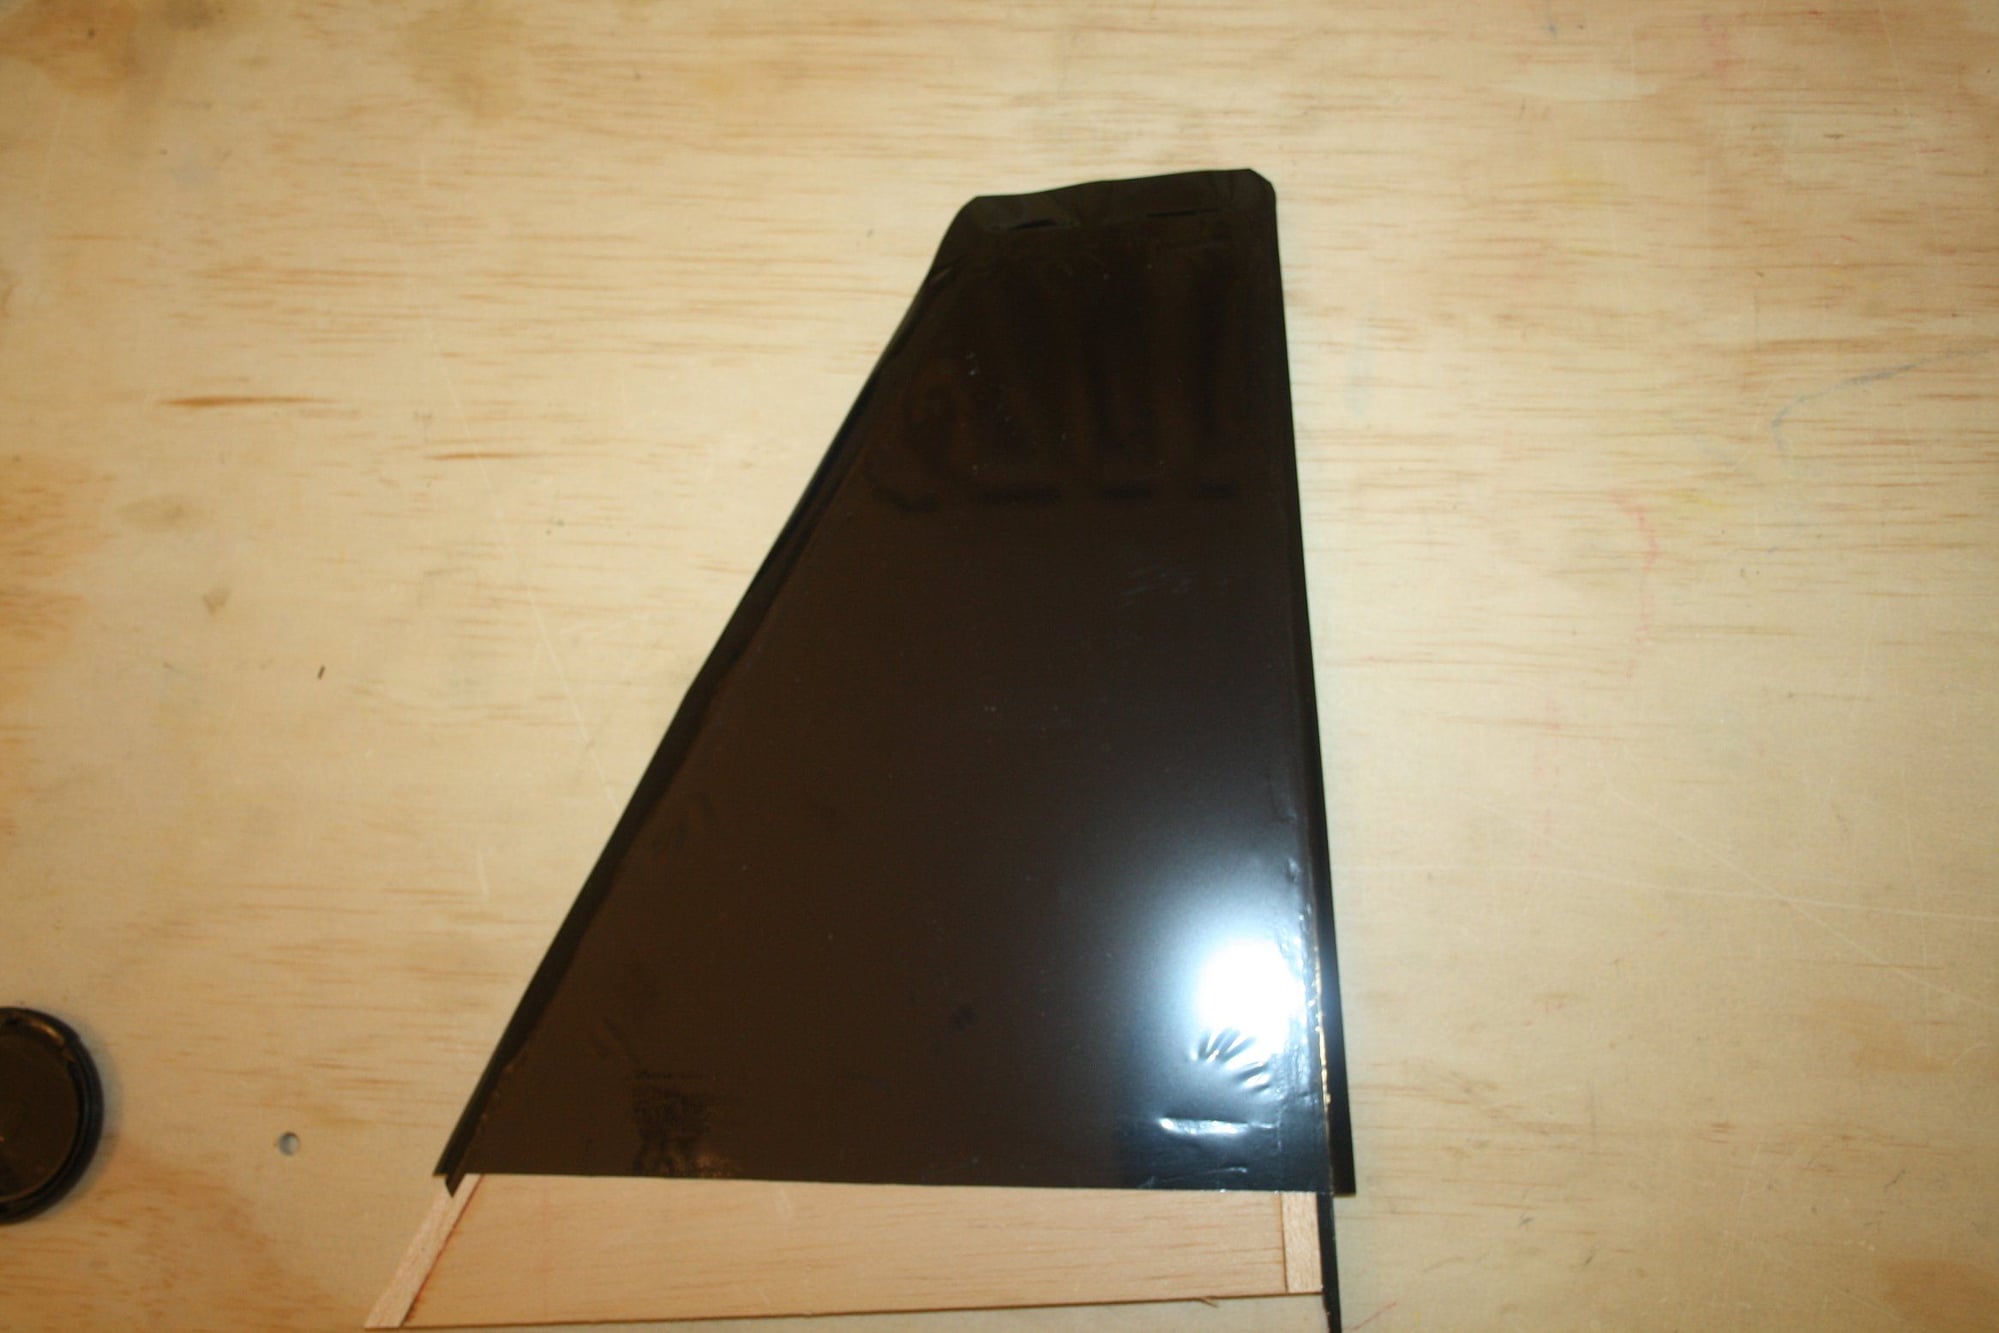
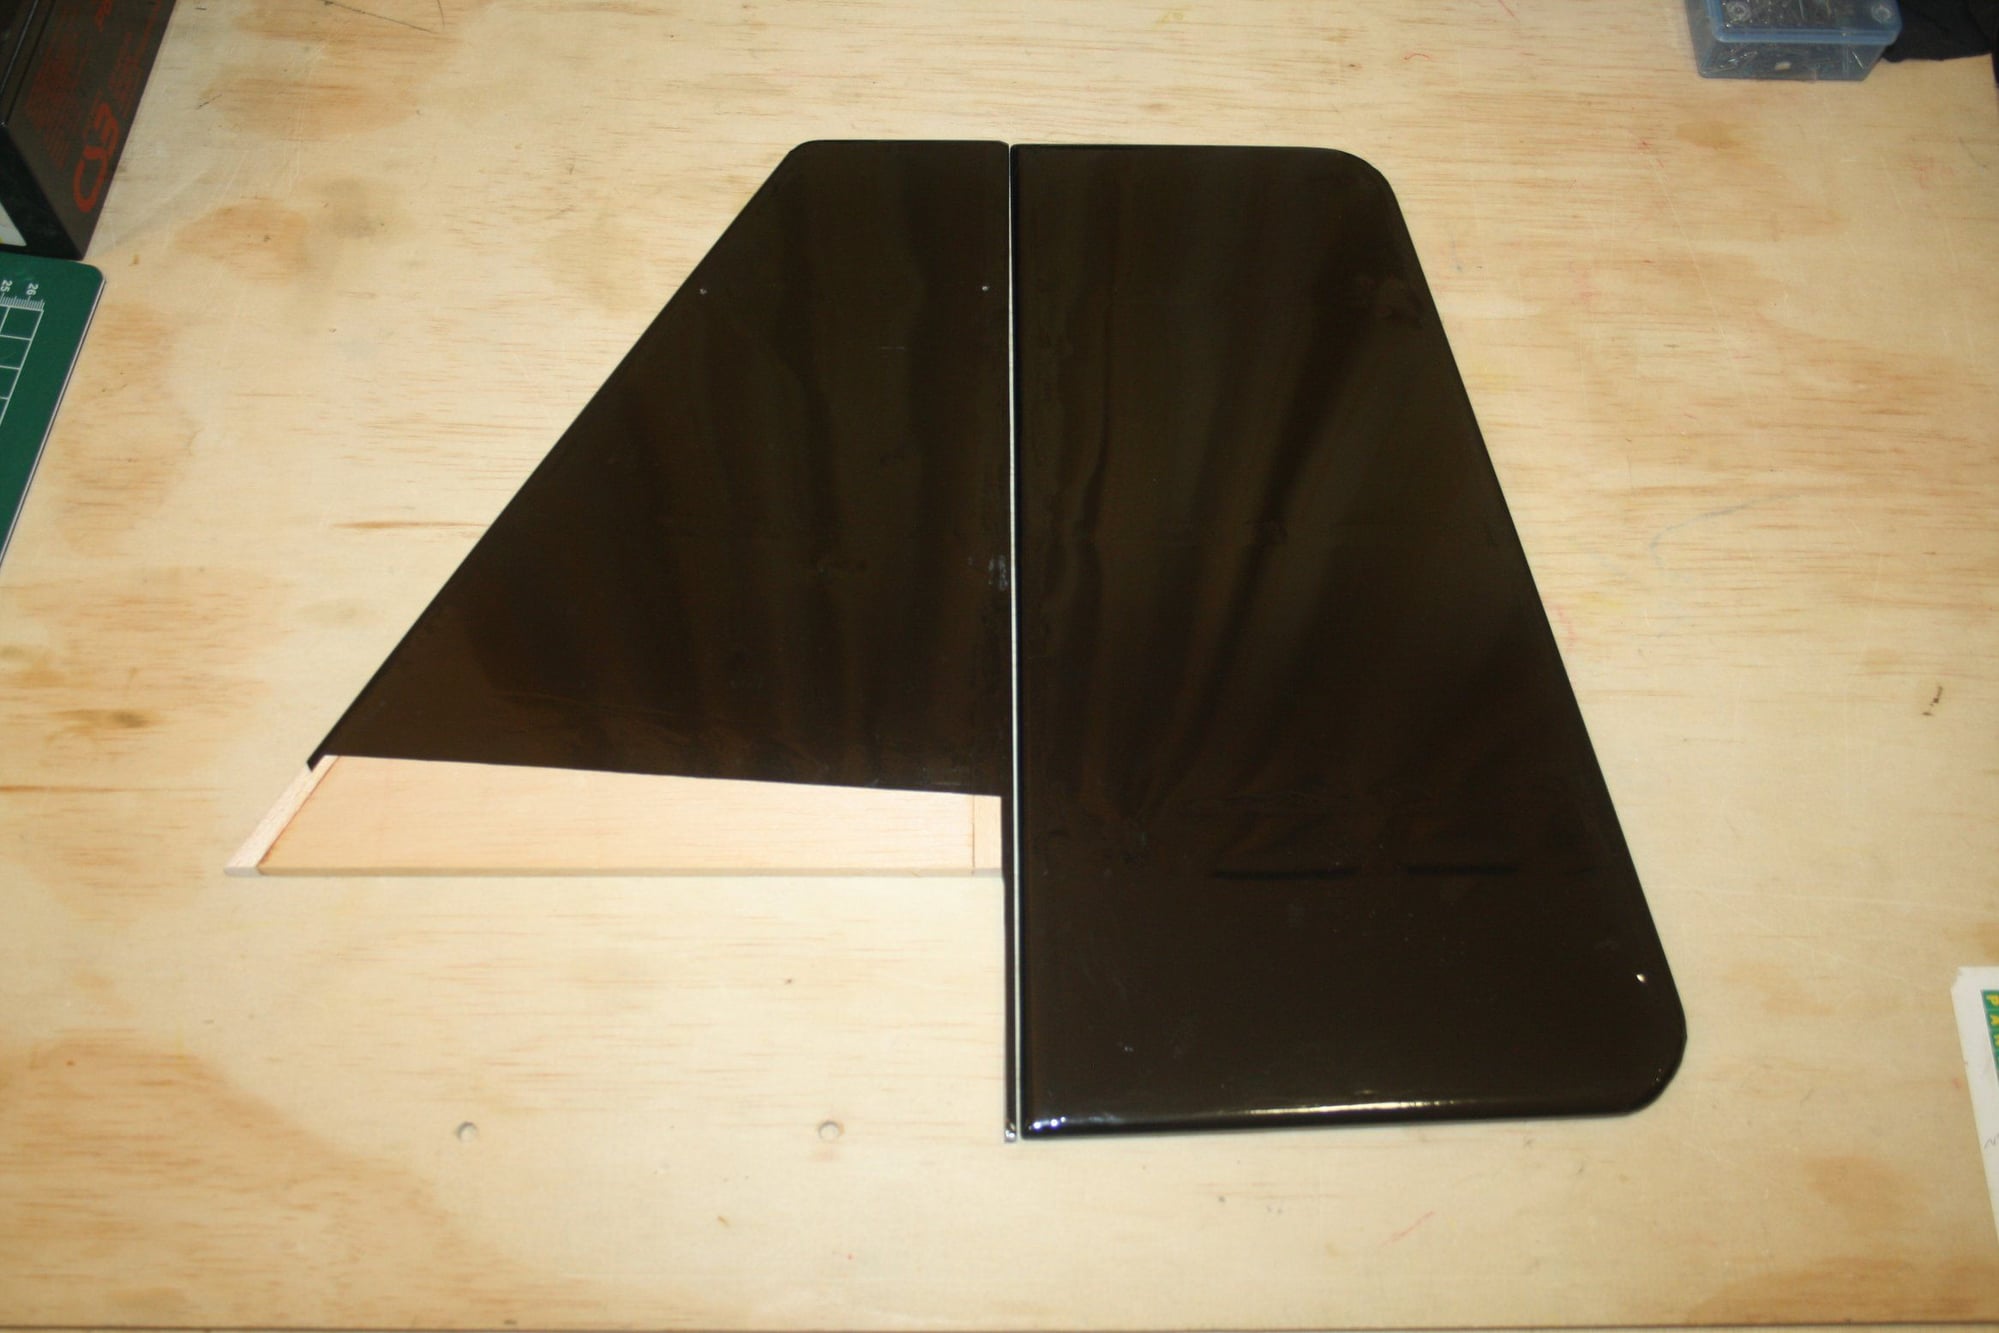
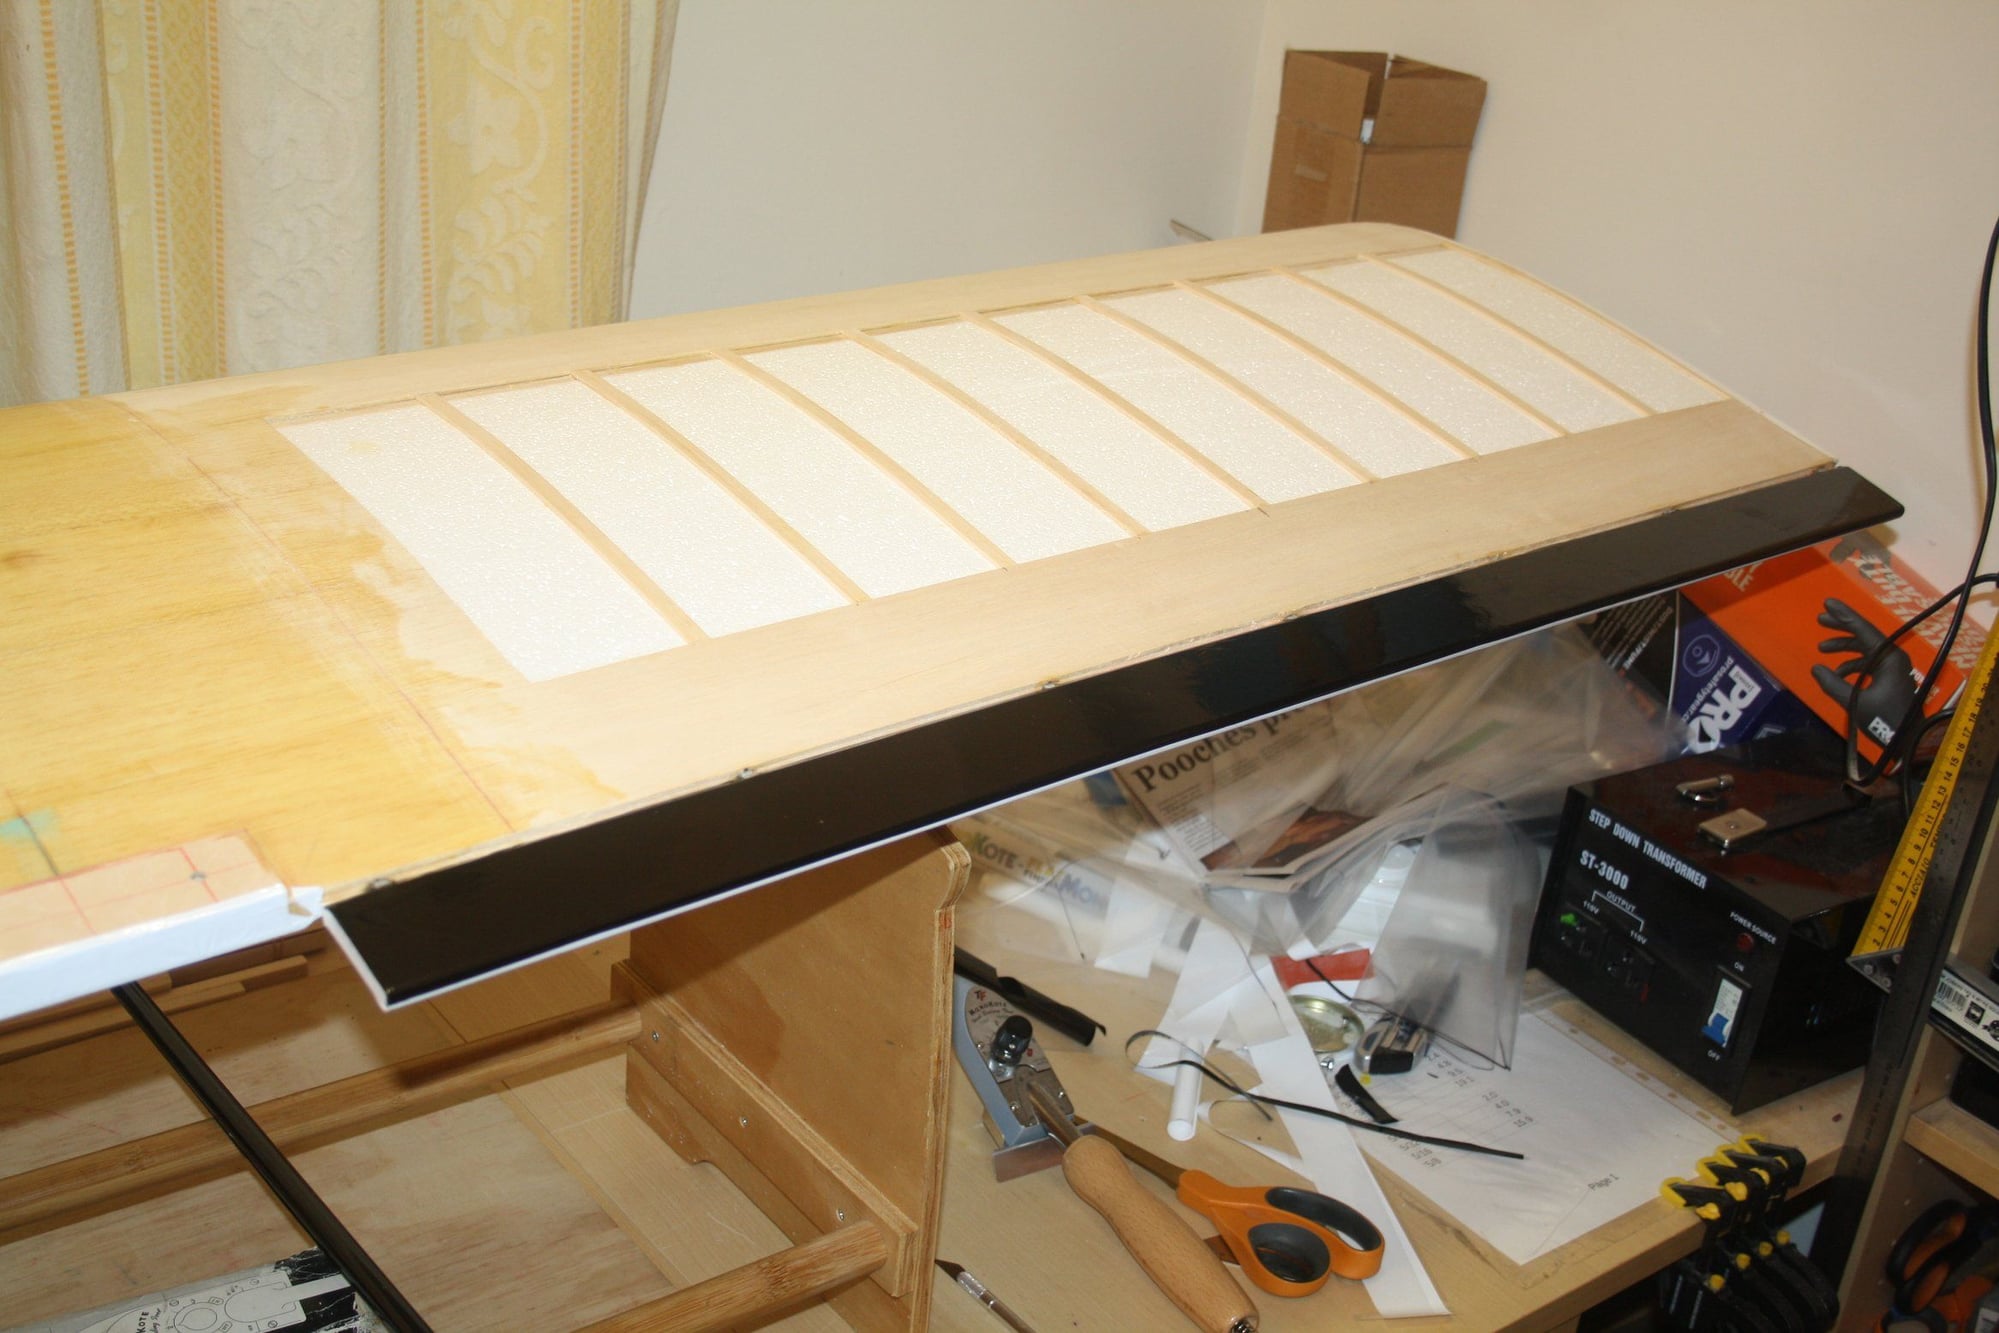
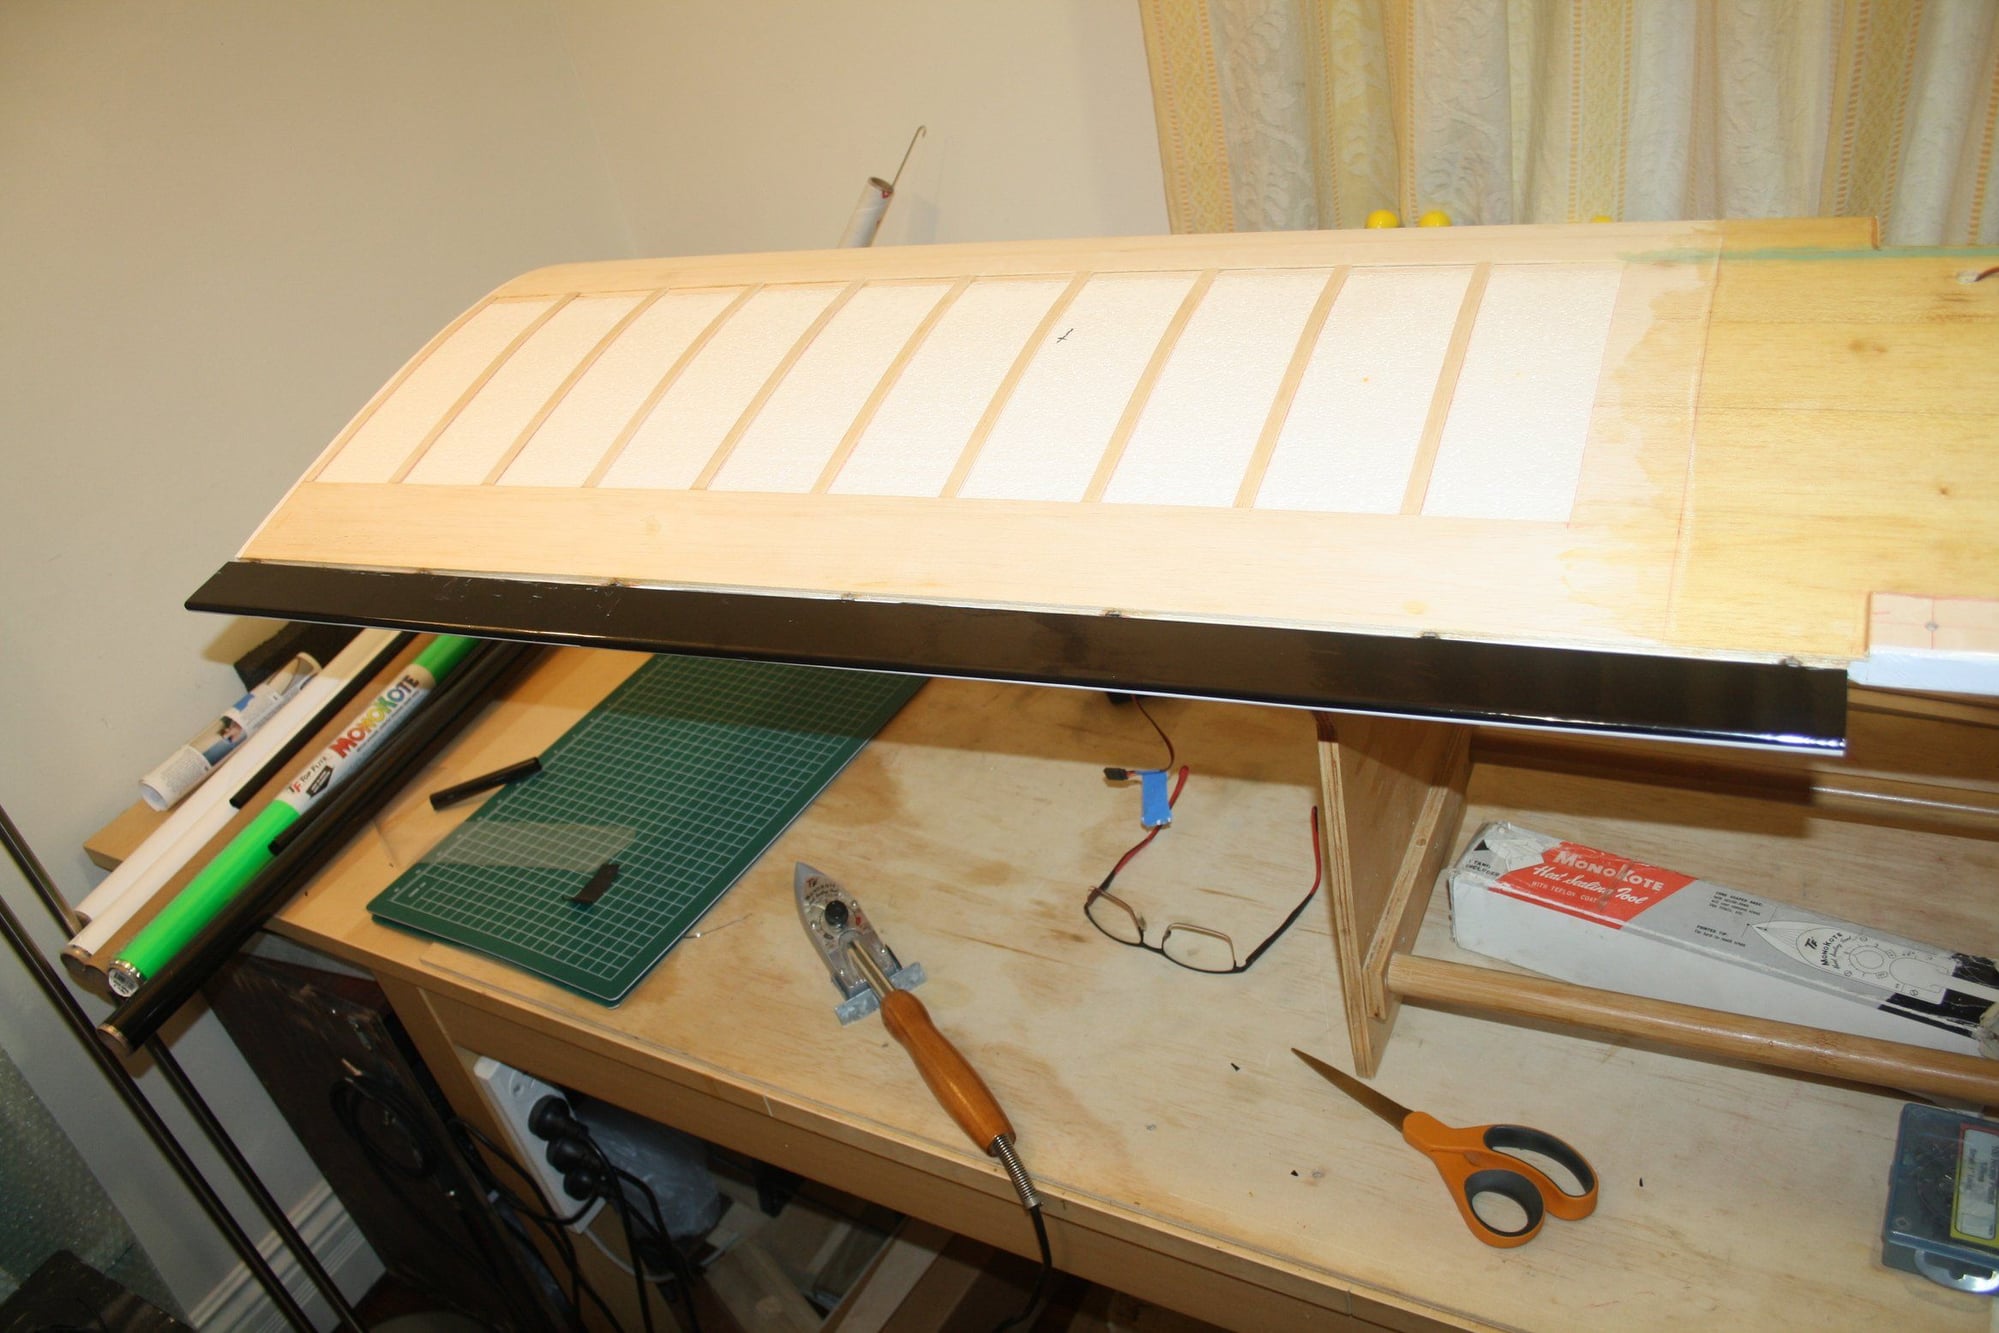
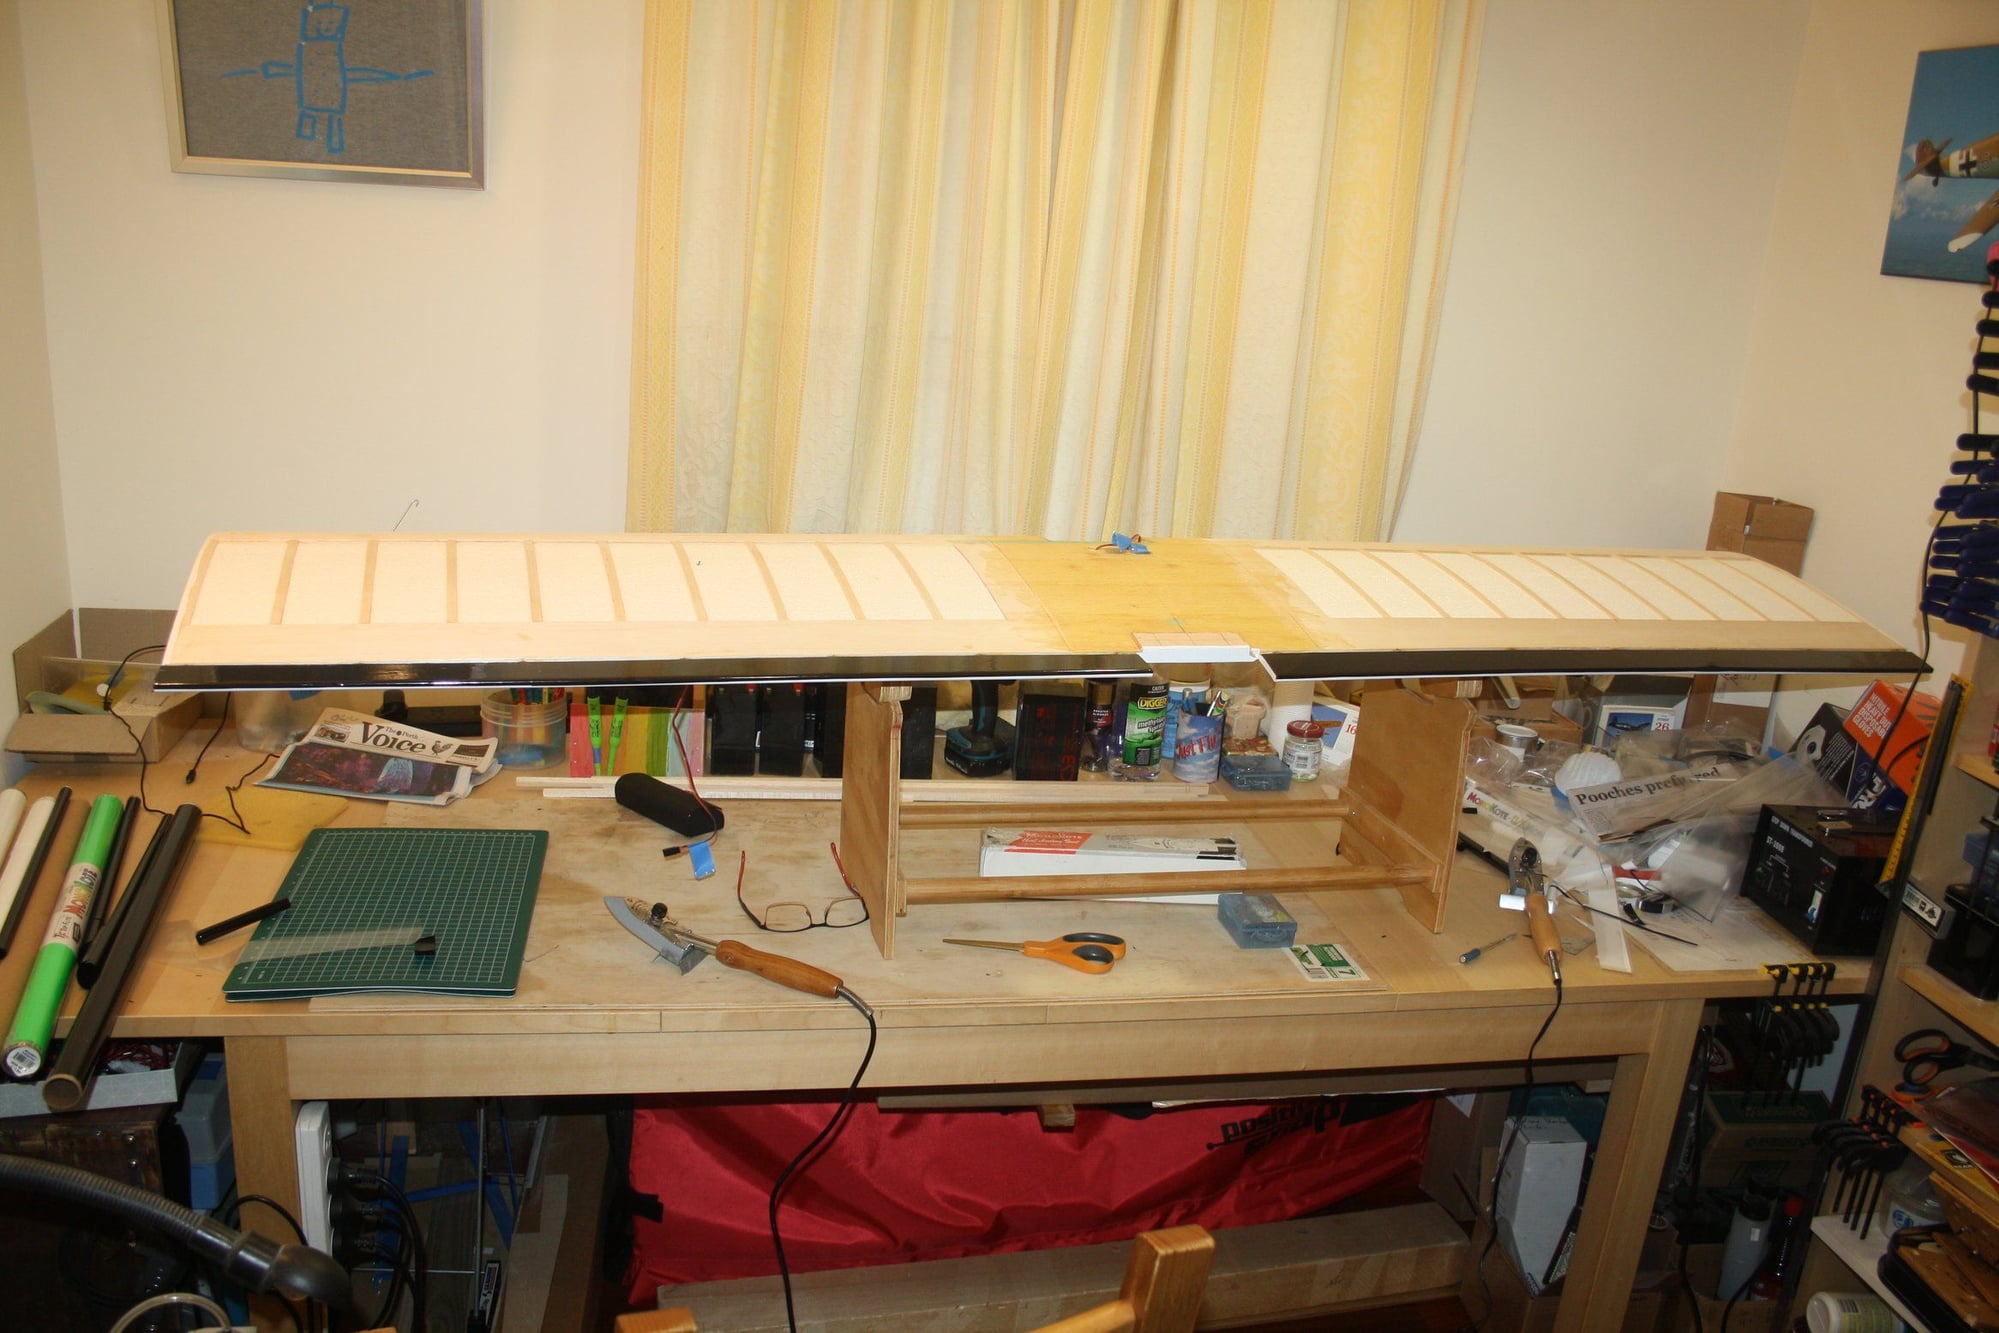
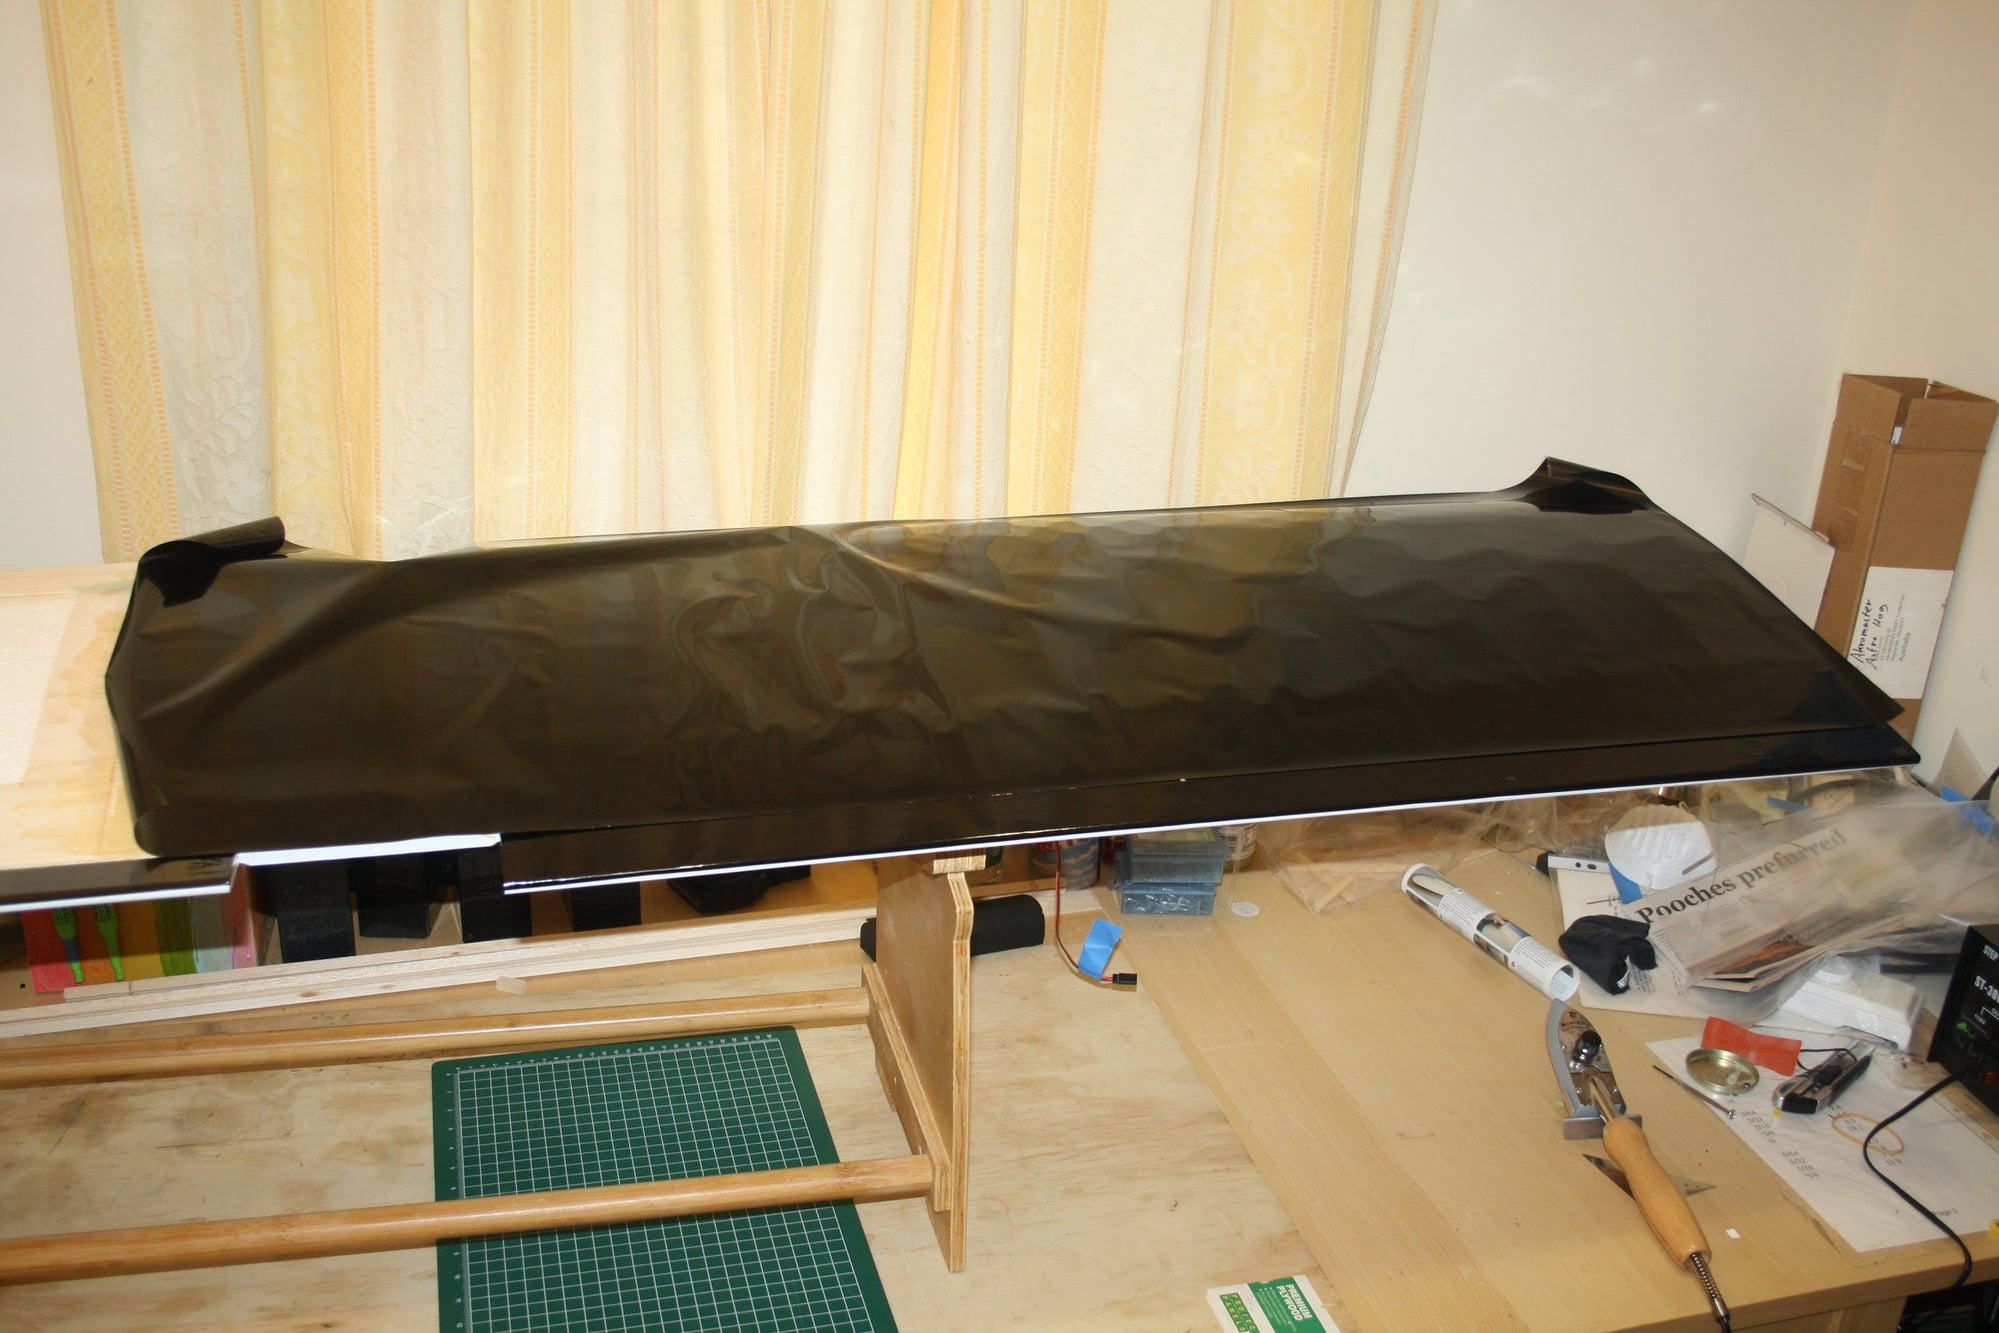
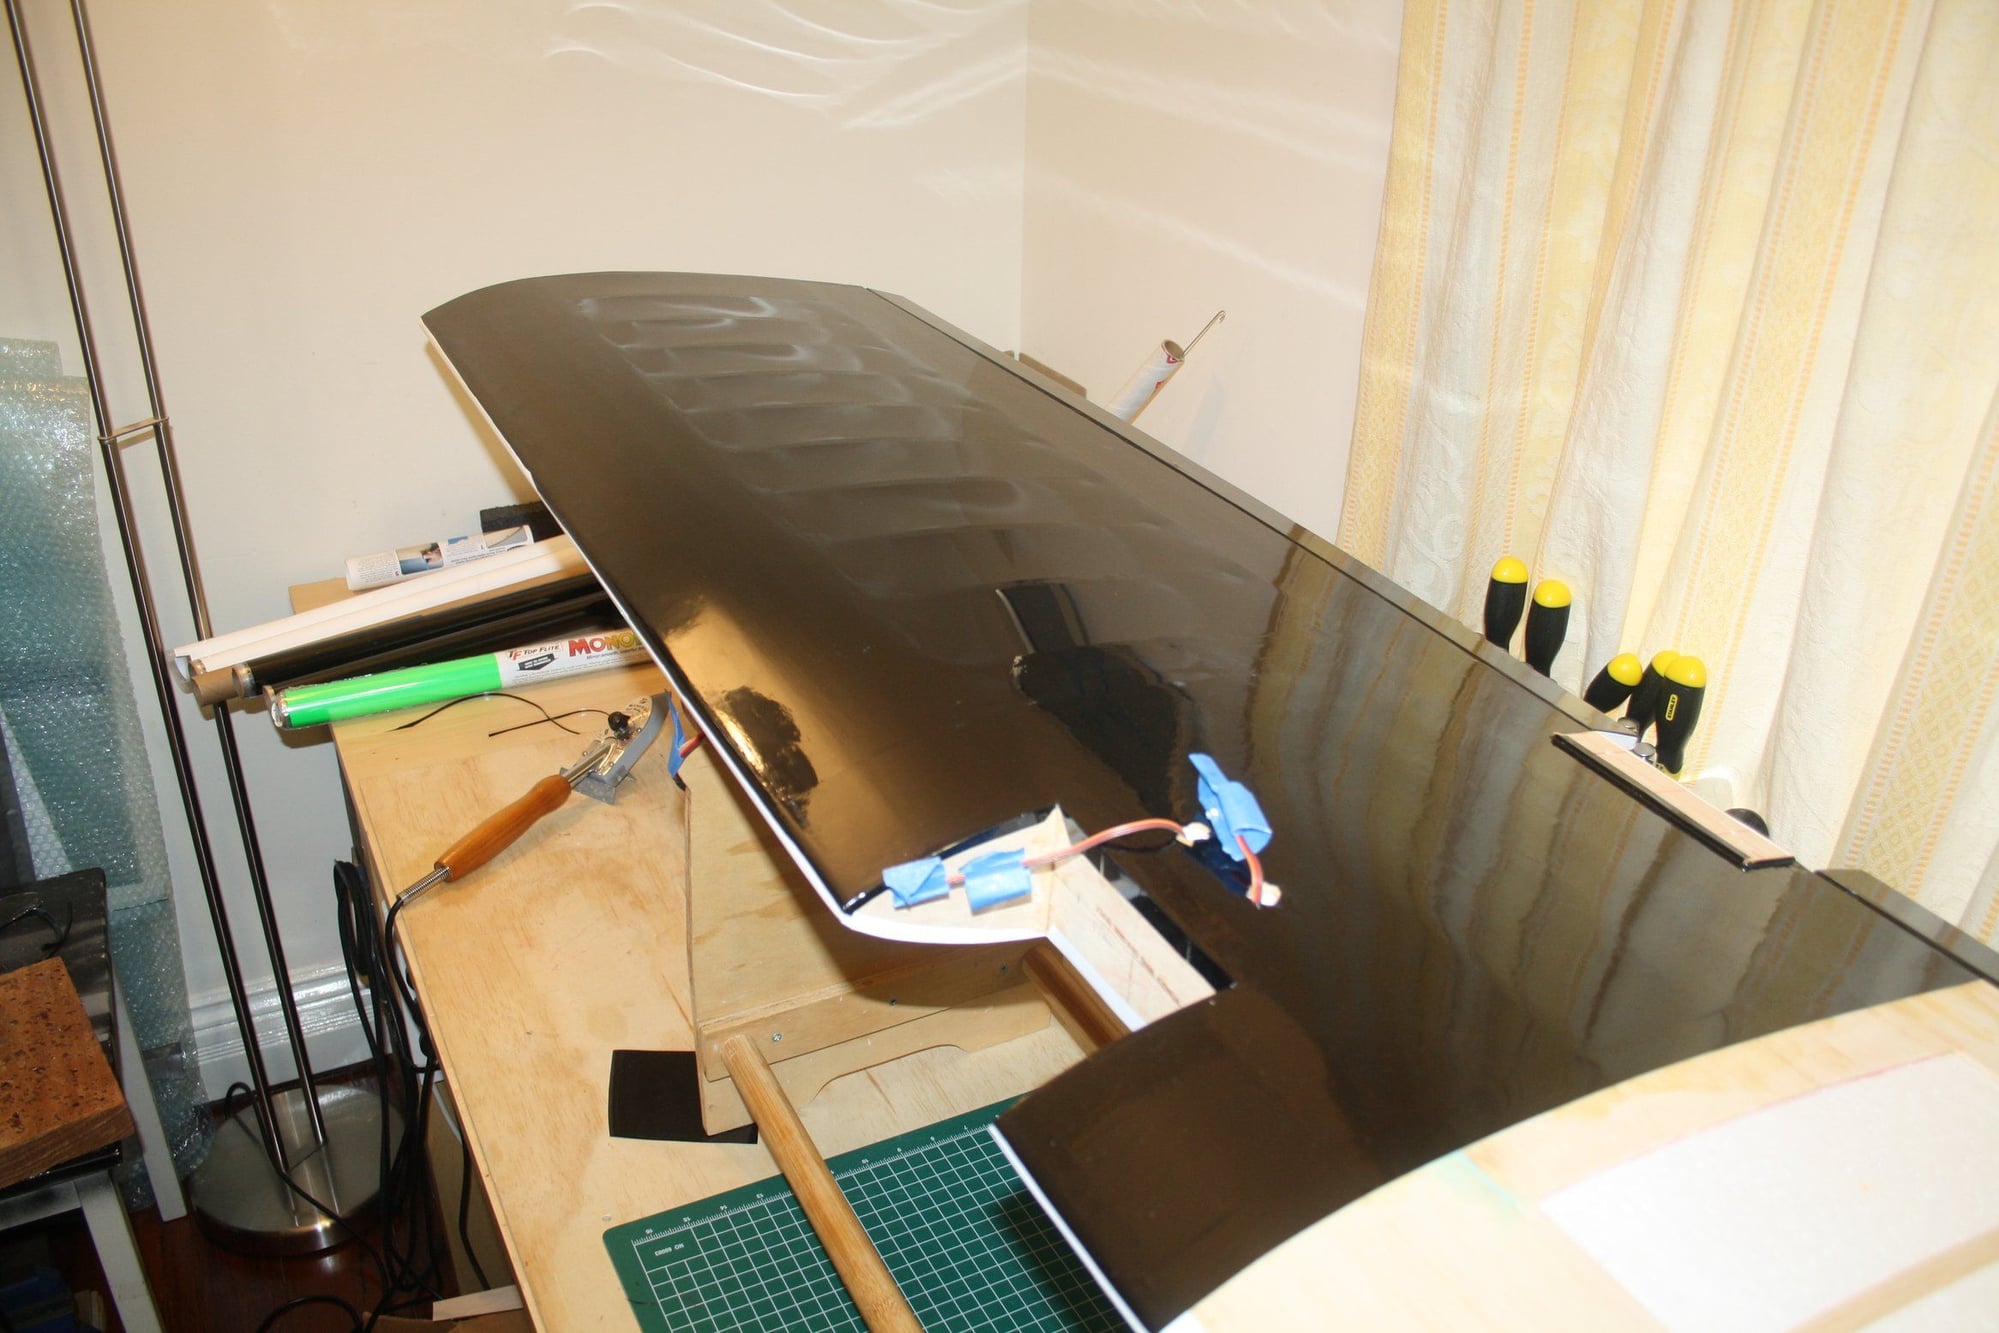
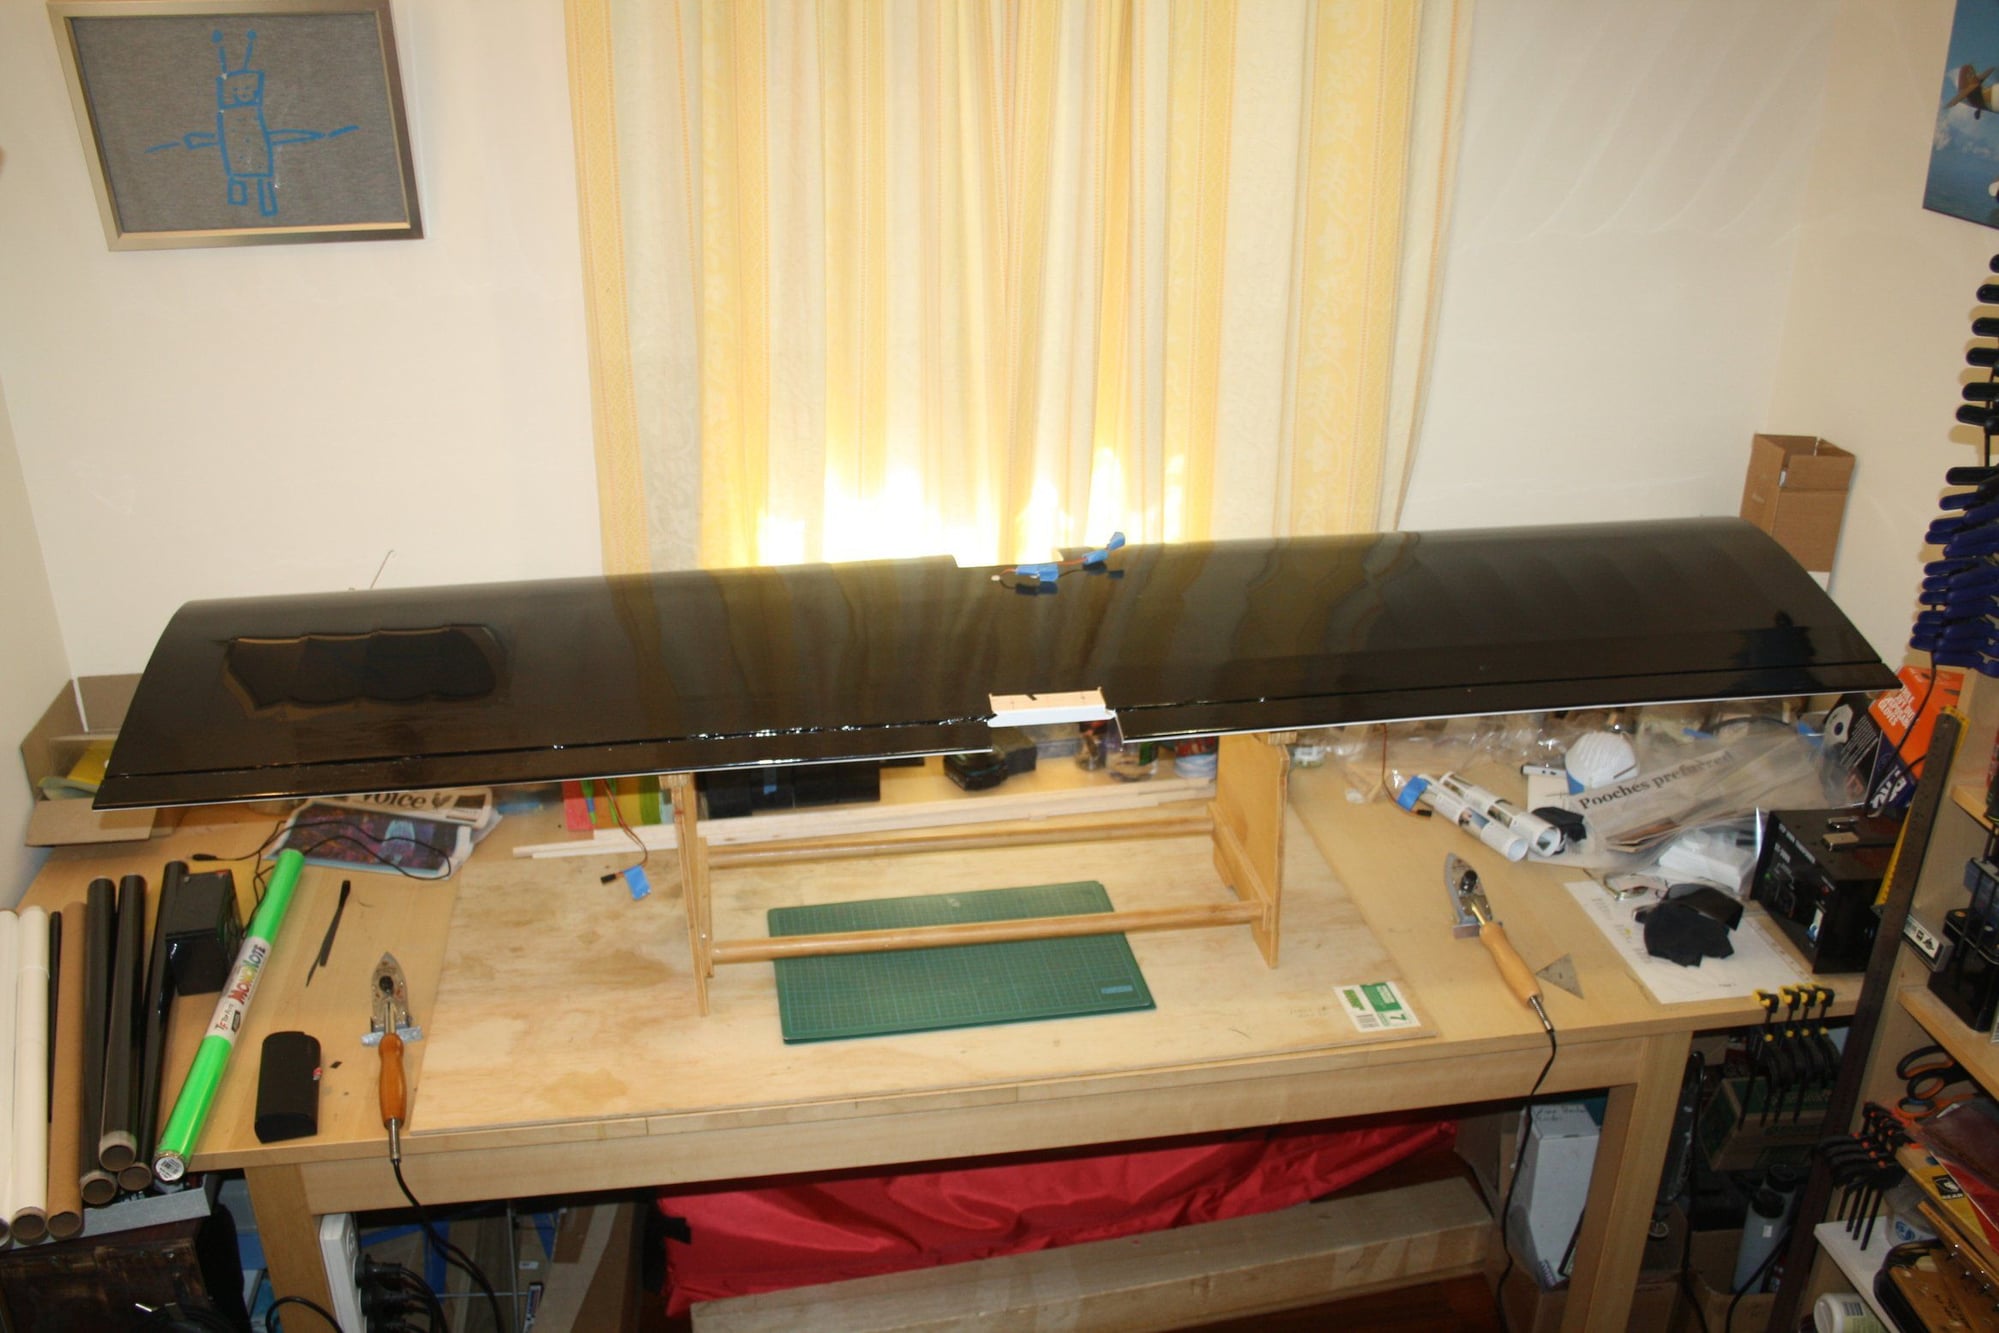
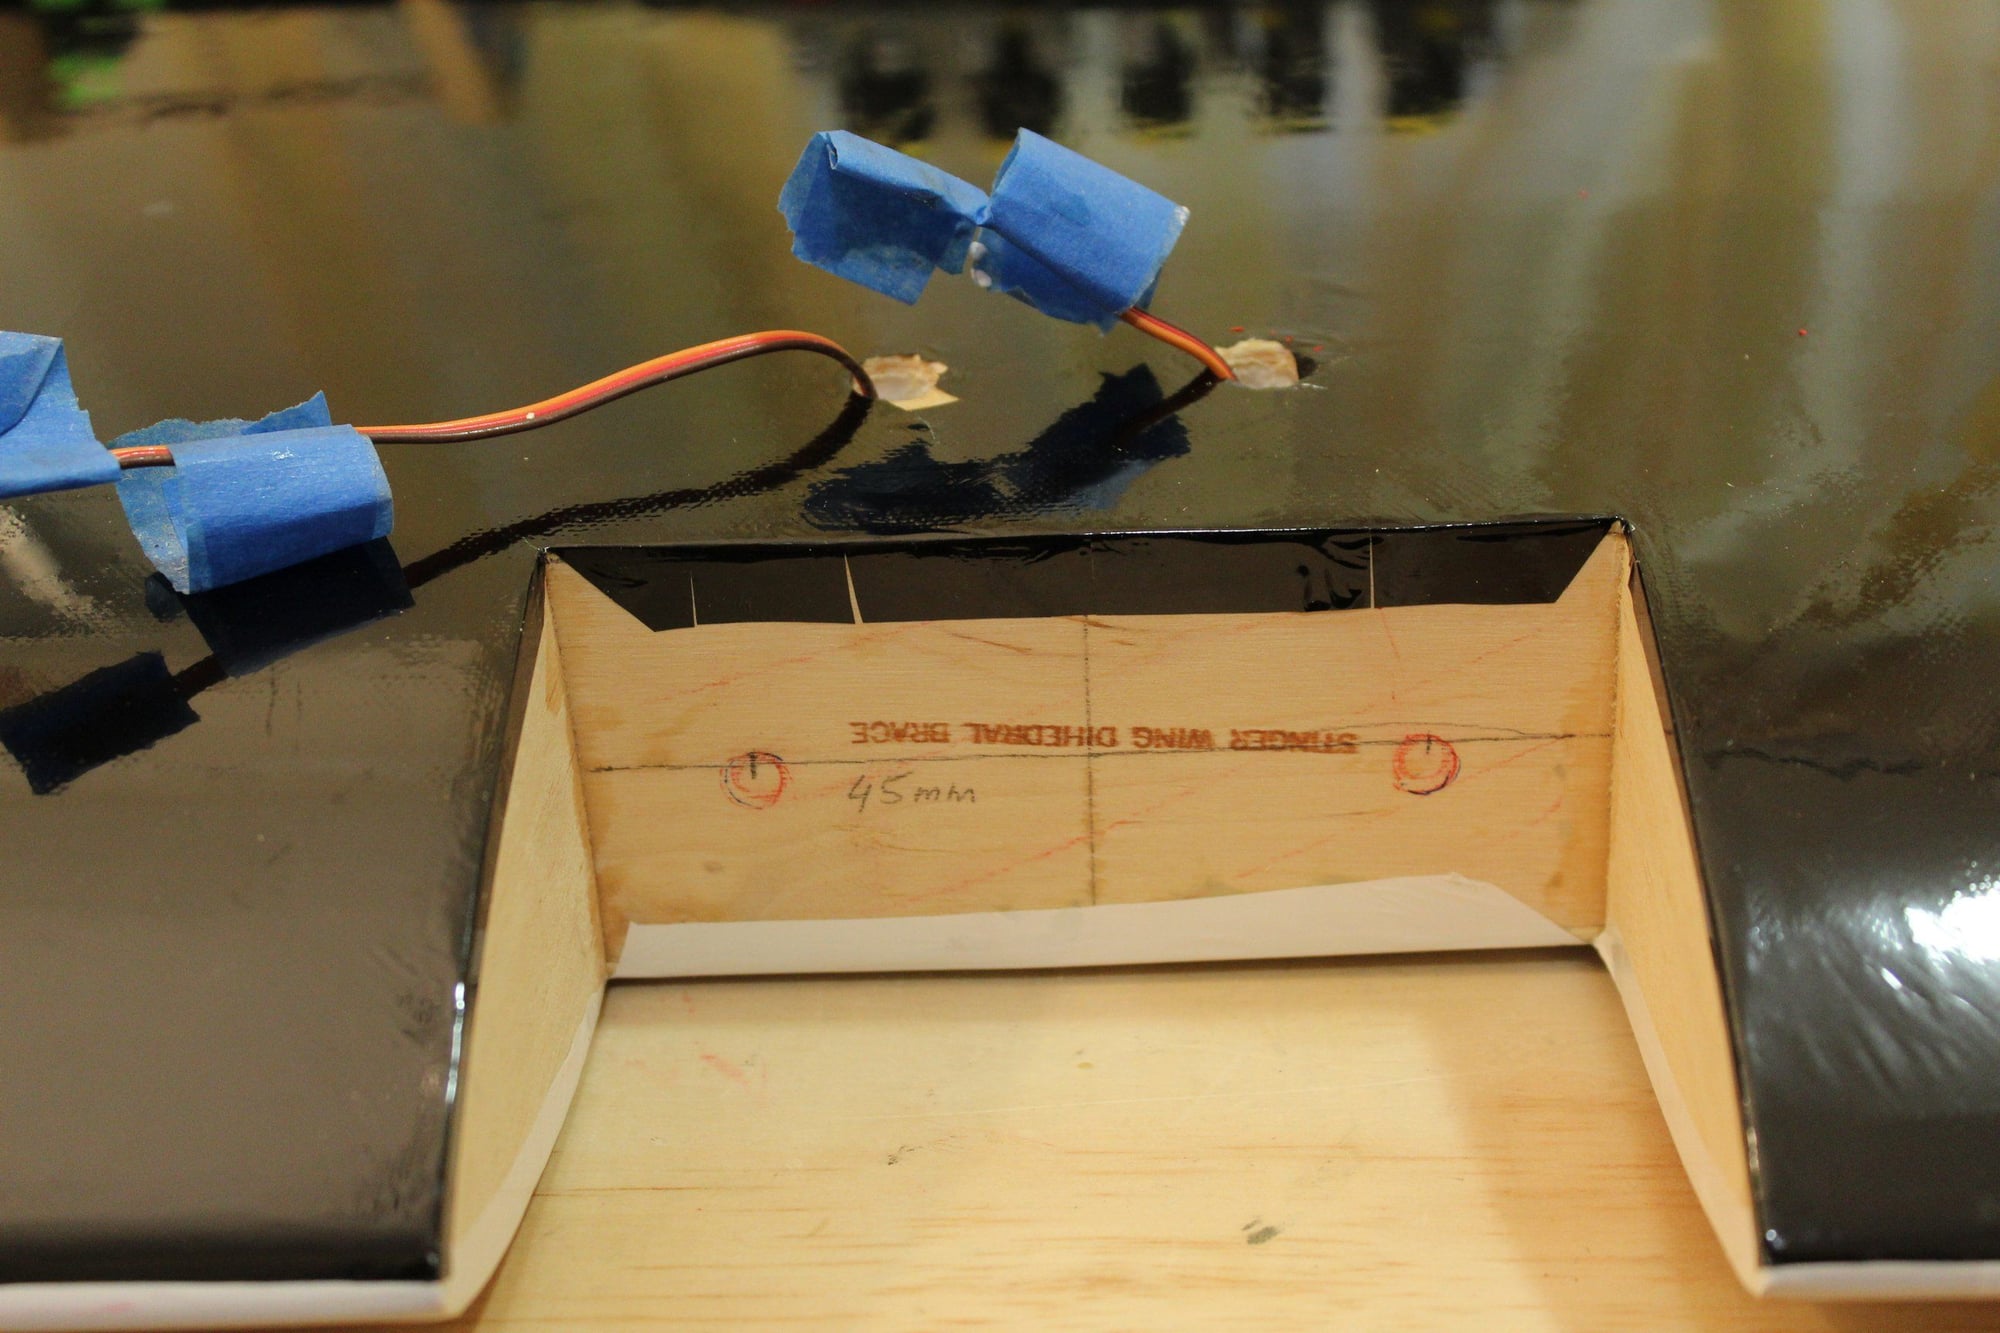
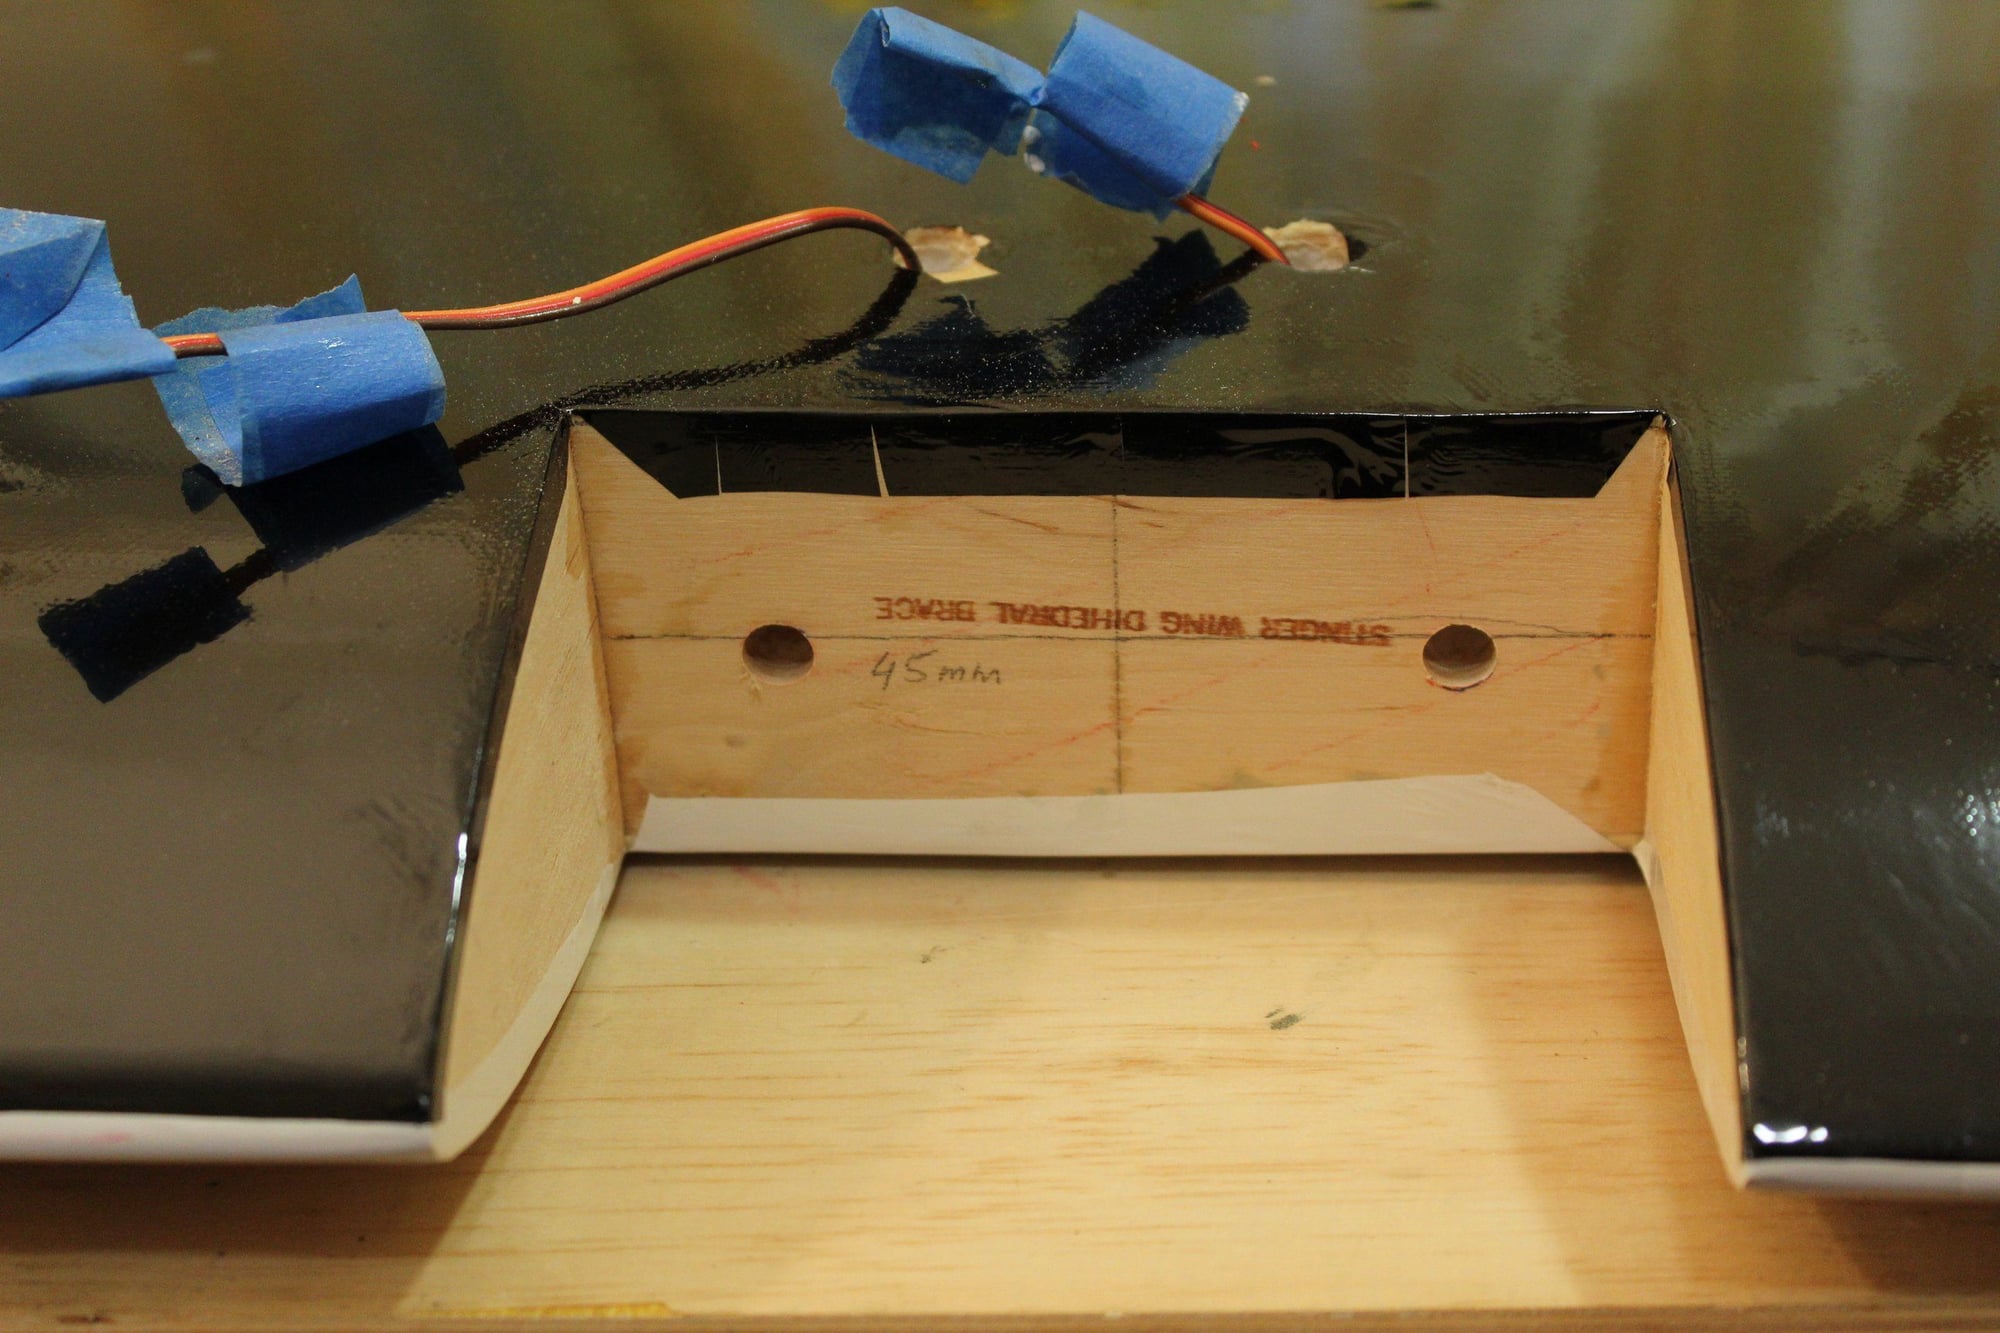
Back to the wing, completing the base colour covering with the top in black Monokote. A point worthy of mentioning, the ailerons gap is sealed.
It never fails to amaze me how big is this wing...
Cheers,
Eran
It never fails to amaze me how big is this wing...
Cheers,
Eran
12-01-2023, 07:19 PM
#53

My Feedback: (19)
Is this going to be an all black airplane. Beautiful but I can't imagine how hot it will get out in bright sunlight. Some black coverings don't react well to that and soon start looking like prunes. I had a couple of black planes years ago and soon learned .....never again. Just my opinion though. Enjoy following along with your build. You'll enjoy the Stinger!!
12-01-2023, 07:34 PM
#54
Thread Starter
Truckracer - Thank you for the comment. Black is definitely more sensitive to heat than other colours, but the Monokote covering (which is used here) is better than any other covering material in my experience.
In addition, my aeroplanes are stored inside the house which is climate controlled environment (roughly 23 Deg. Celsius year round) and only taken out of the house when taken to the airfield, where the aeroplanes are under a roof between flights (we have great club facilities, we are lucky). I think it will be OK ; )
Cheers,
Eran
12-01-2023, 08:11 PM
#55
My Feedback: (19)
Truckracer - Thank you for the comment. Black is definitely more sensitive to heat than other colours, but the Monokote covering (which is used here) is better than any other covering material in my experience.
In addition, my aeroplanes are stored inside the house which is climate controlled environment (roughly 23 Deg. Celsius year round) and only taken out of the house when taken to the airfield, where the aeroplanes are under a roof between flights (we have great club facilities, we are lucky). I think it will be OK ; )
Cheers,
Eran
In addition, my aeroplanes are stored inside the house which is climate controlled environment (roughly 23 Deg. Celsius year round) and only taken out of the house when taken to the airfield, where the aeroplanes are under a roof between flights (we have great club facilities, we are lucky). I think it will be OK ; )
Cheers,
Eran
The following users liked this post:
sensei (01-15-2024)
12-07-2023, 05:29 PM
#56
Thread Starter
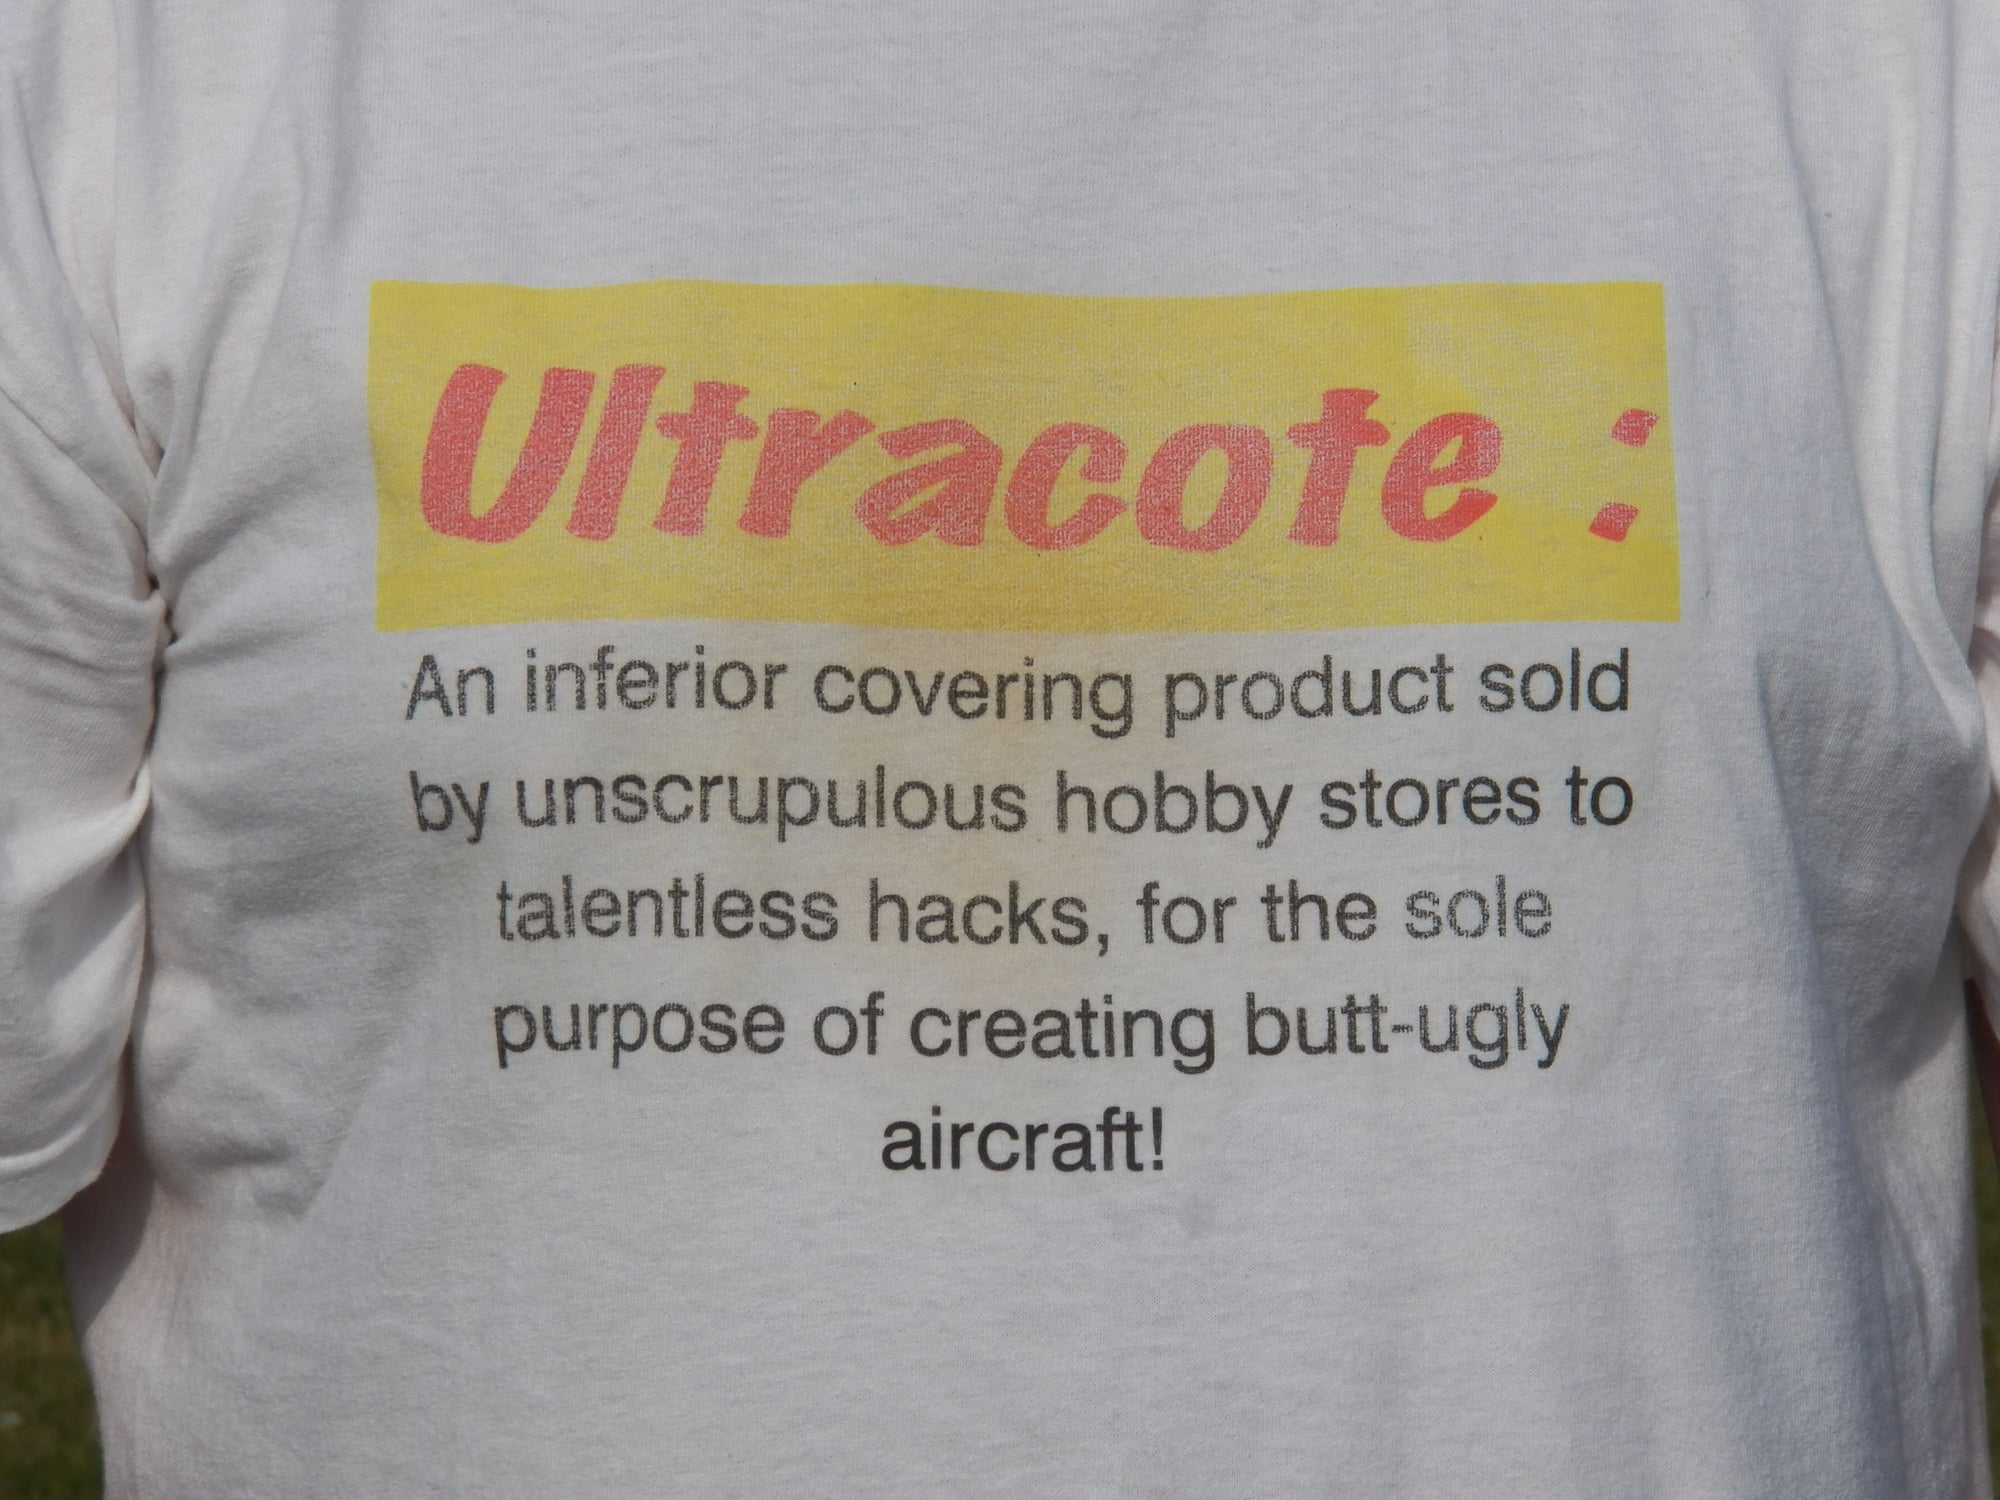
Truckracer - Loved the T-Shirt. Since the production stop of Monokote, I am on a quest to buy as much of it as I can afford for my future projects. My daughter bought me 4 rolls as my Christmas gift : )
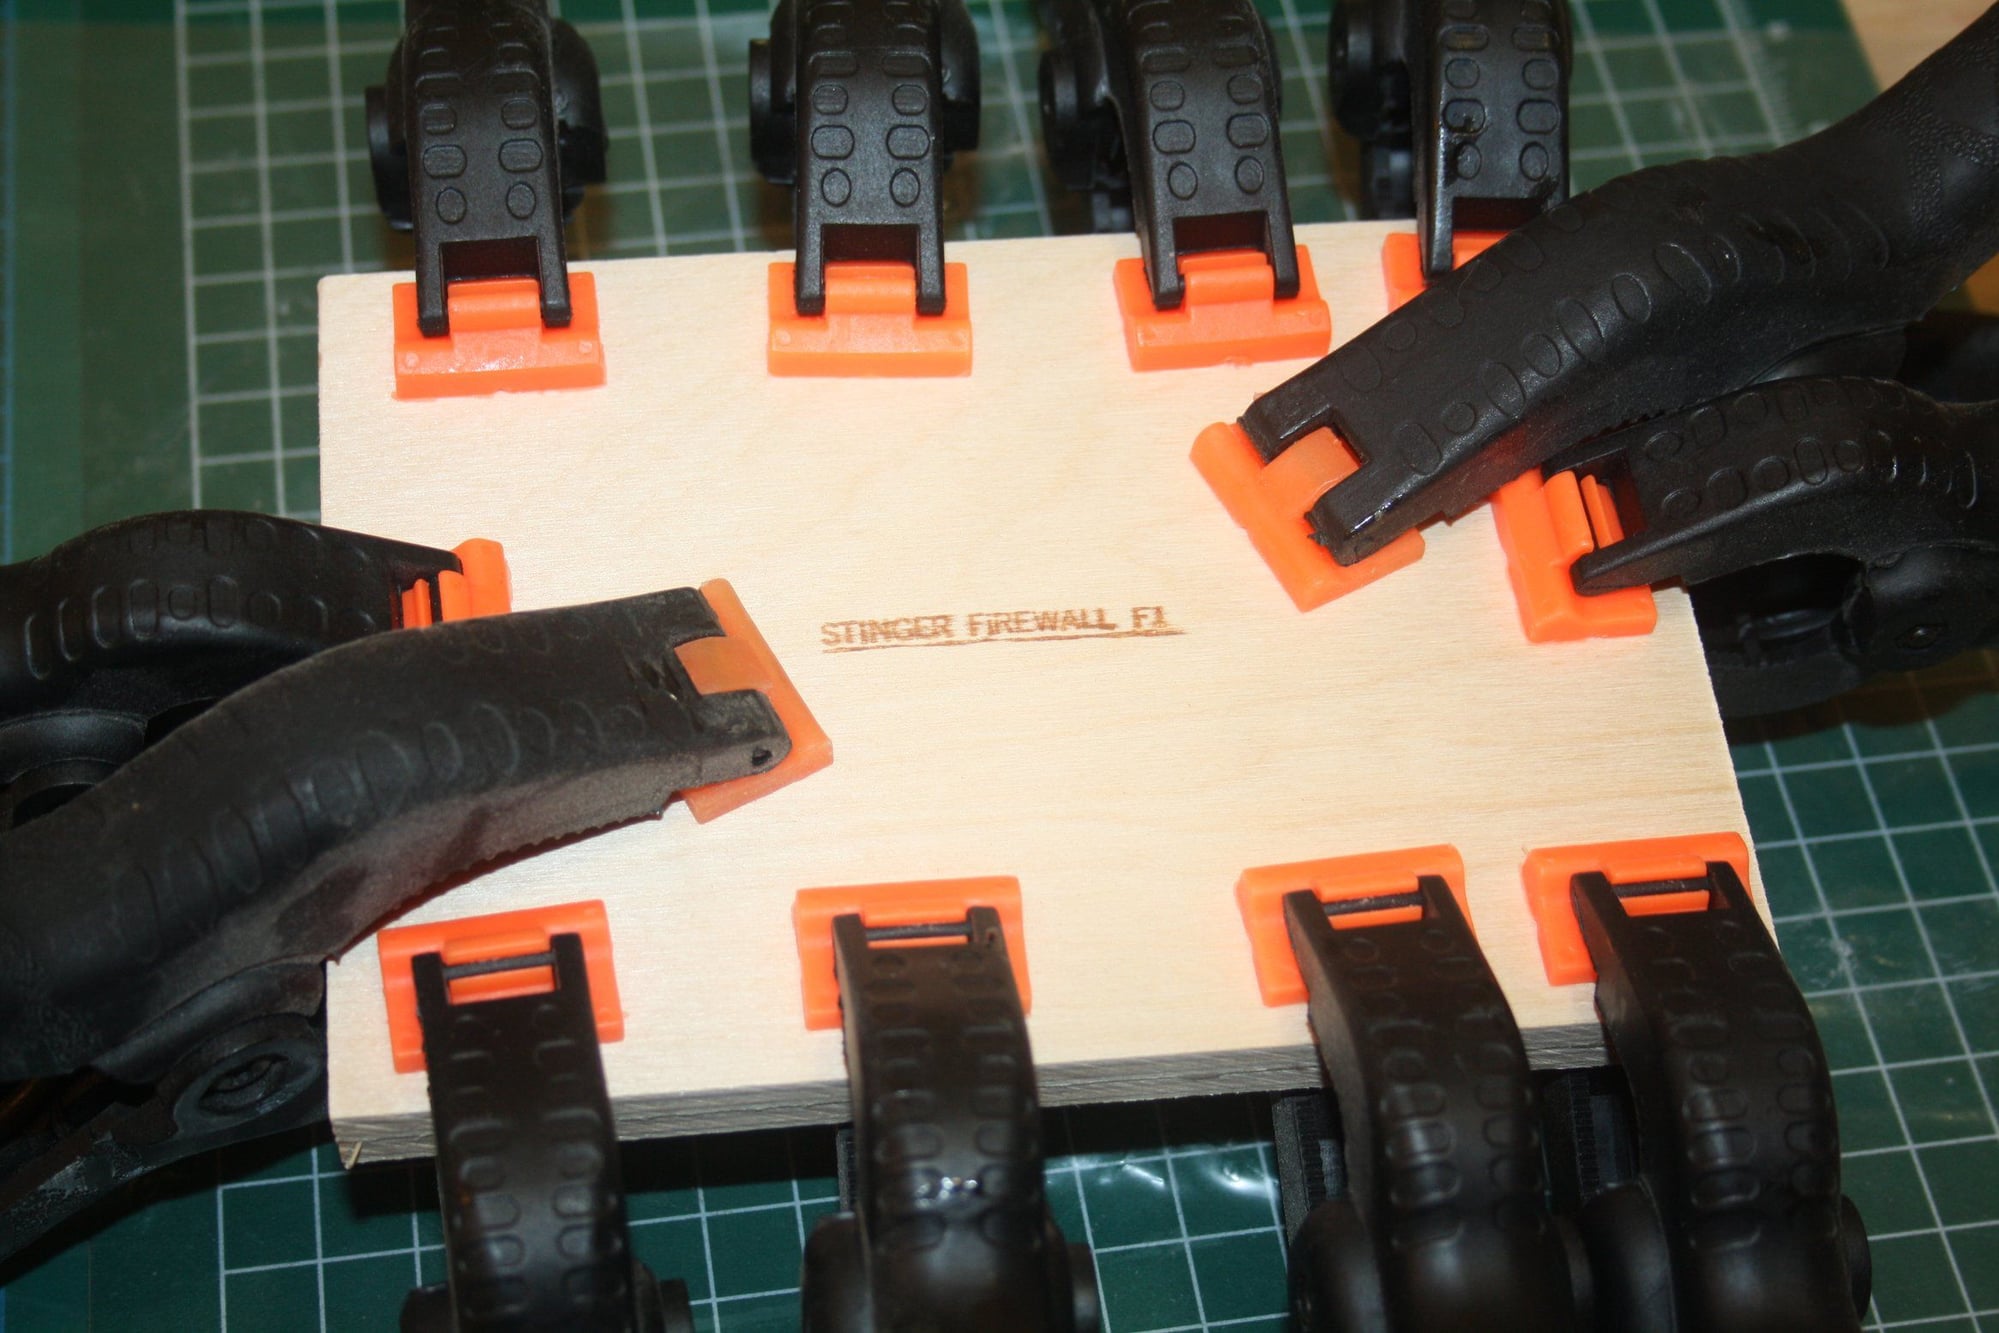
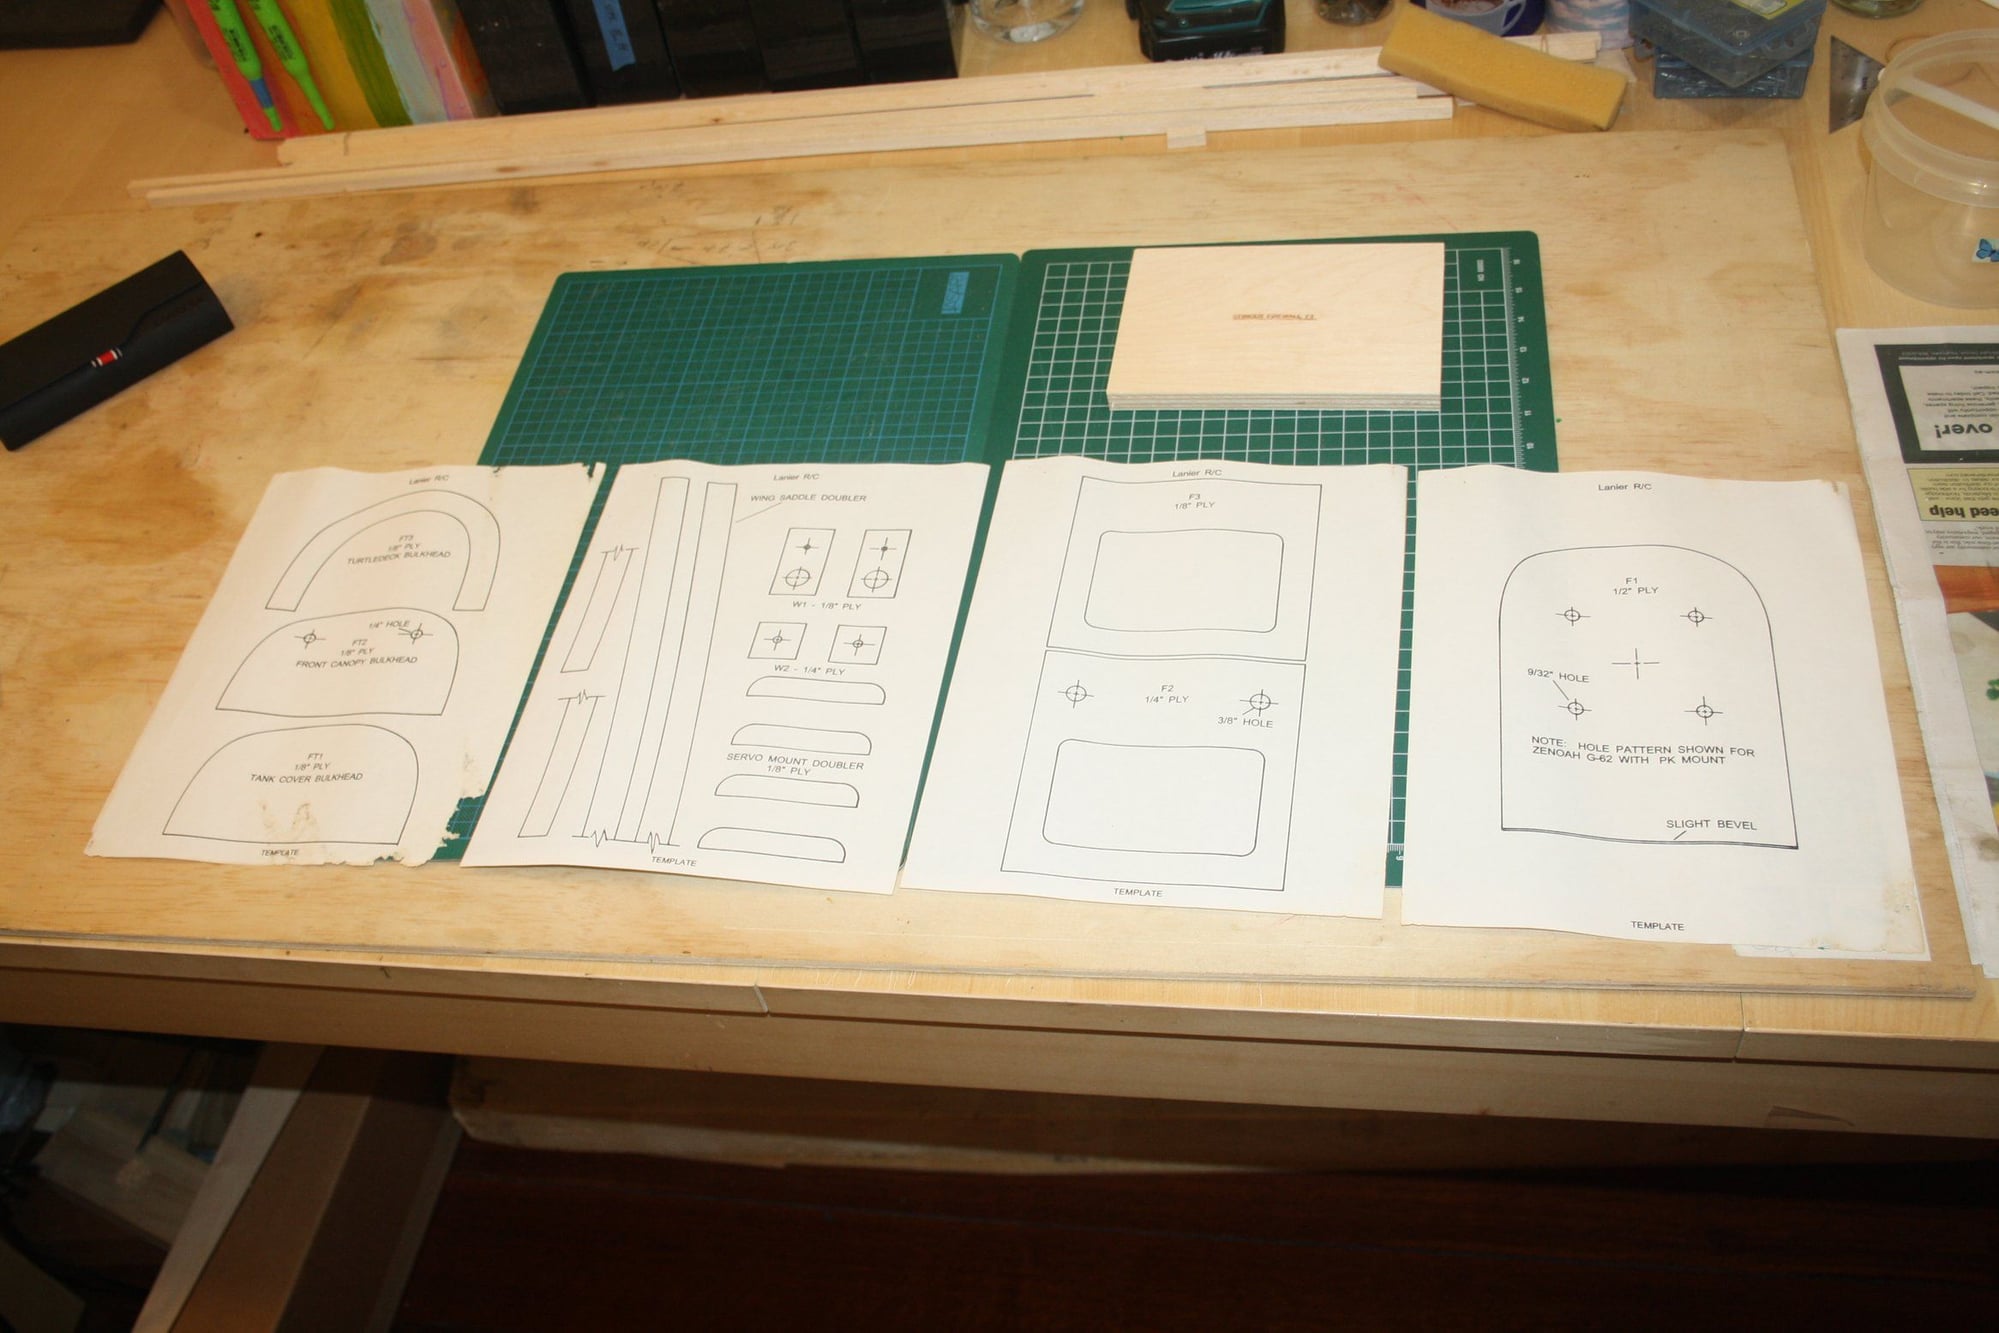
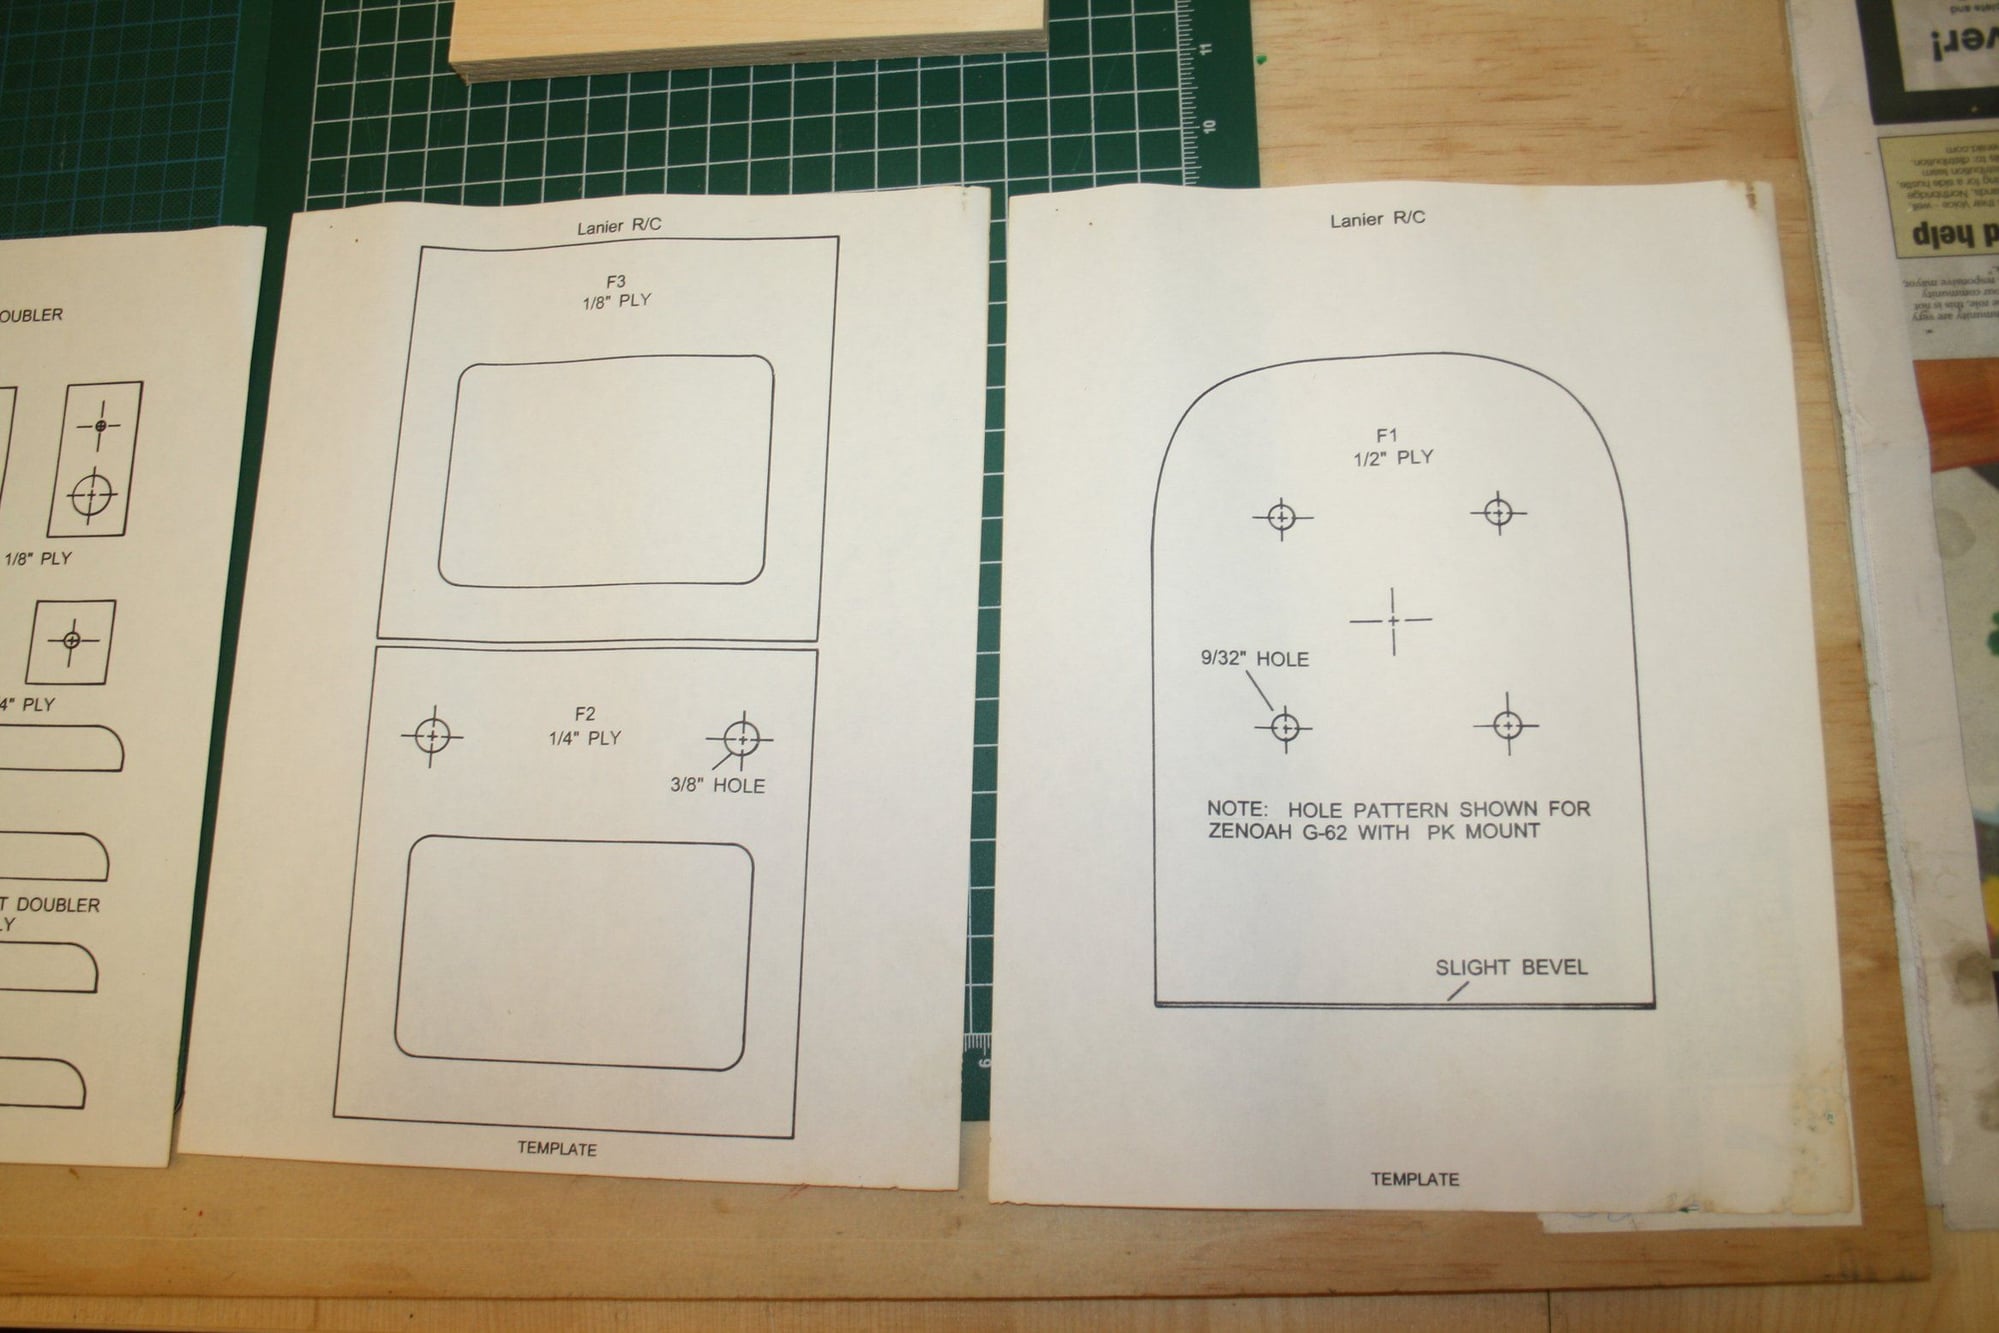
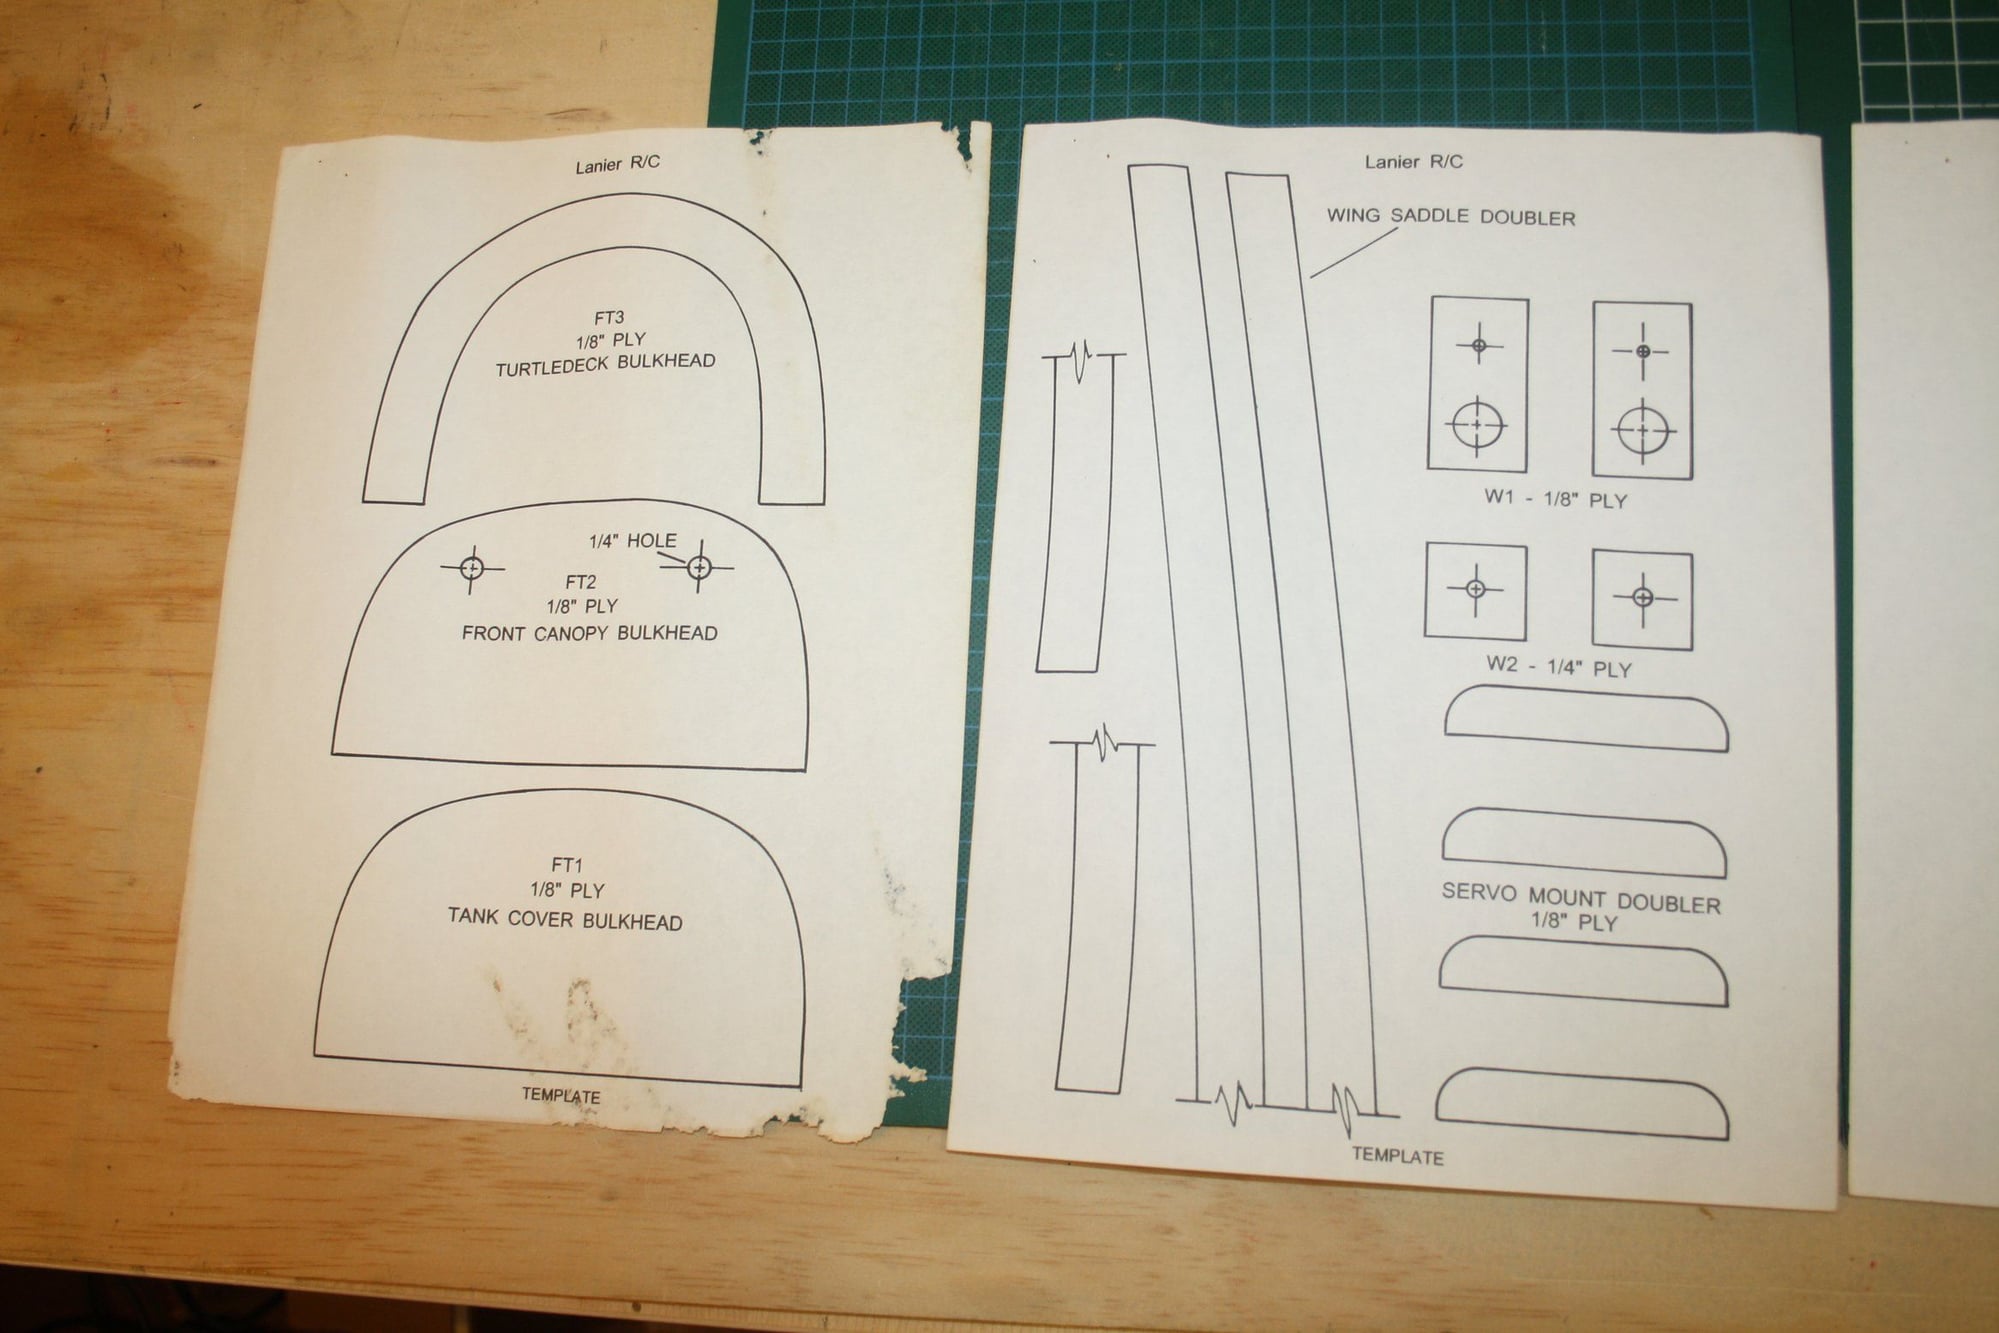
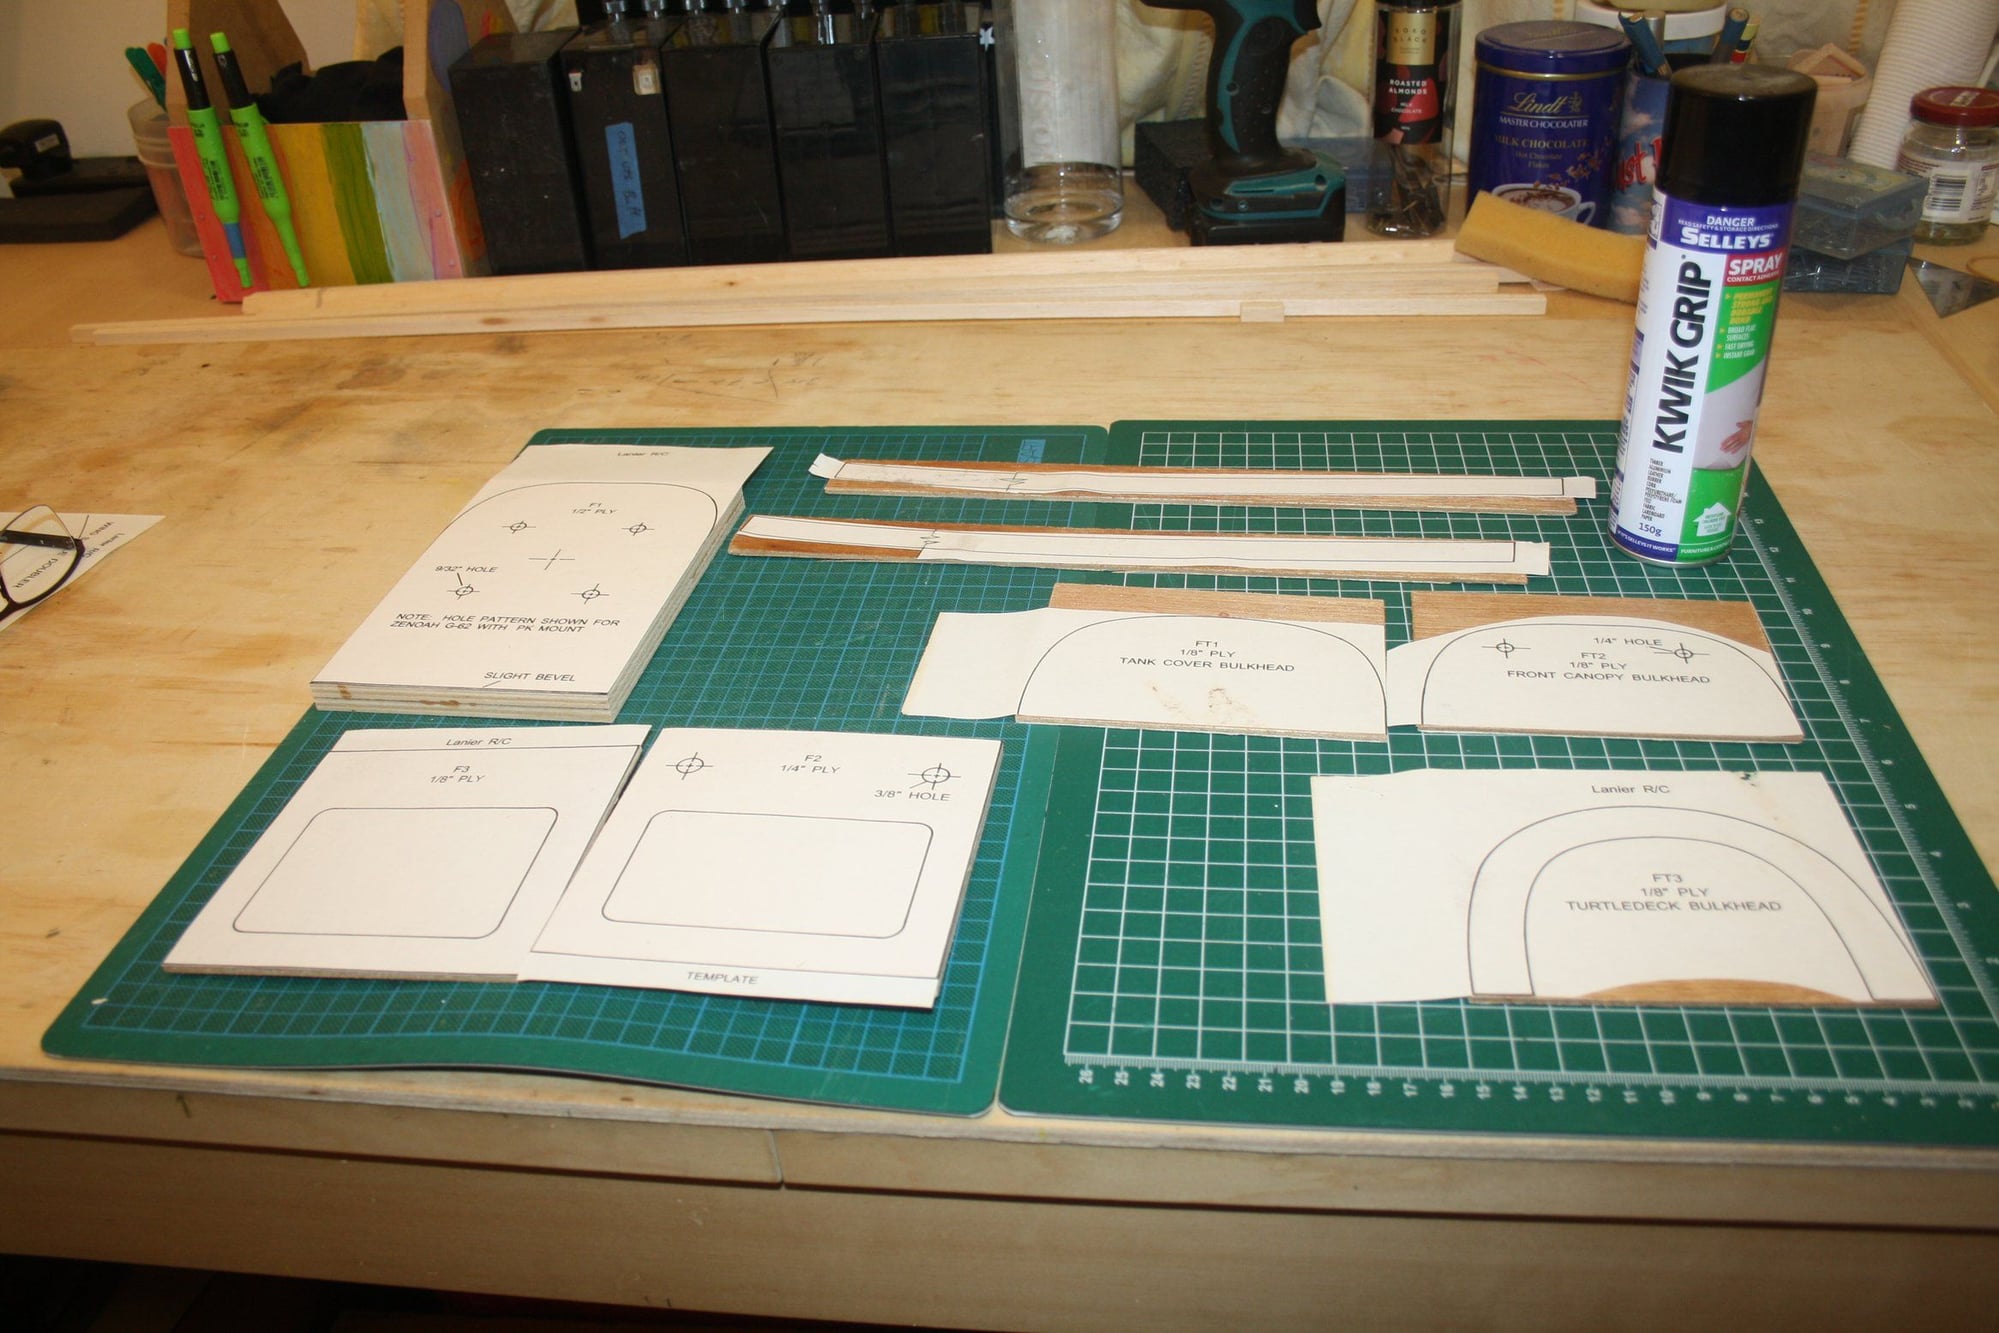
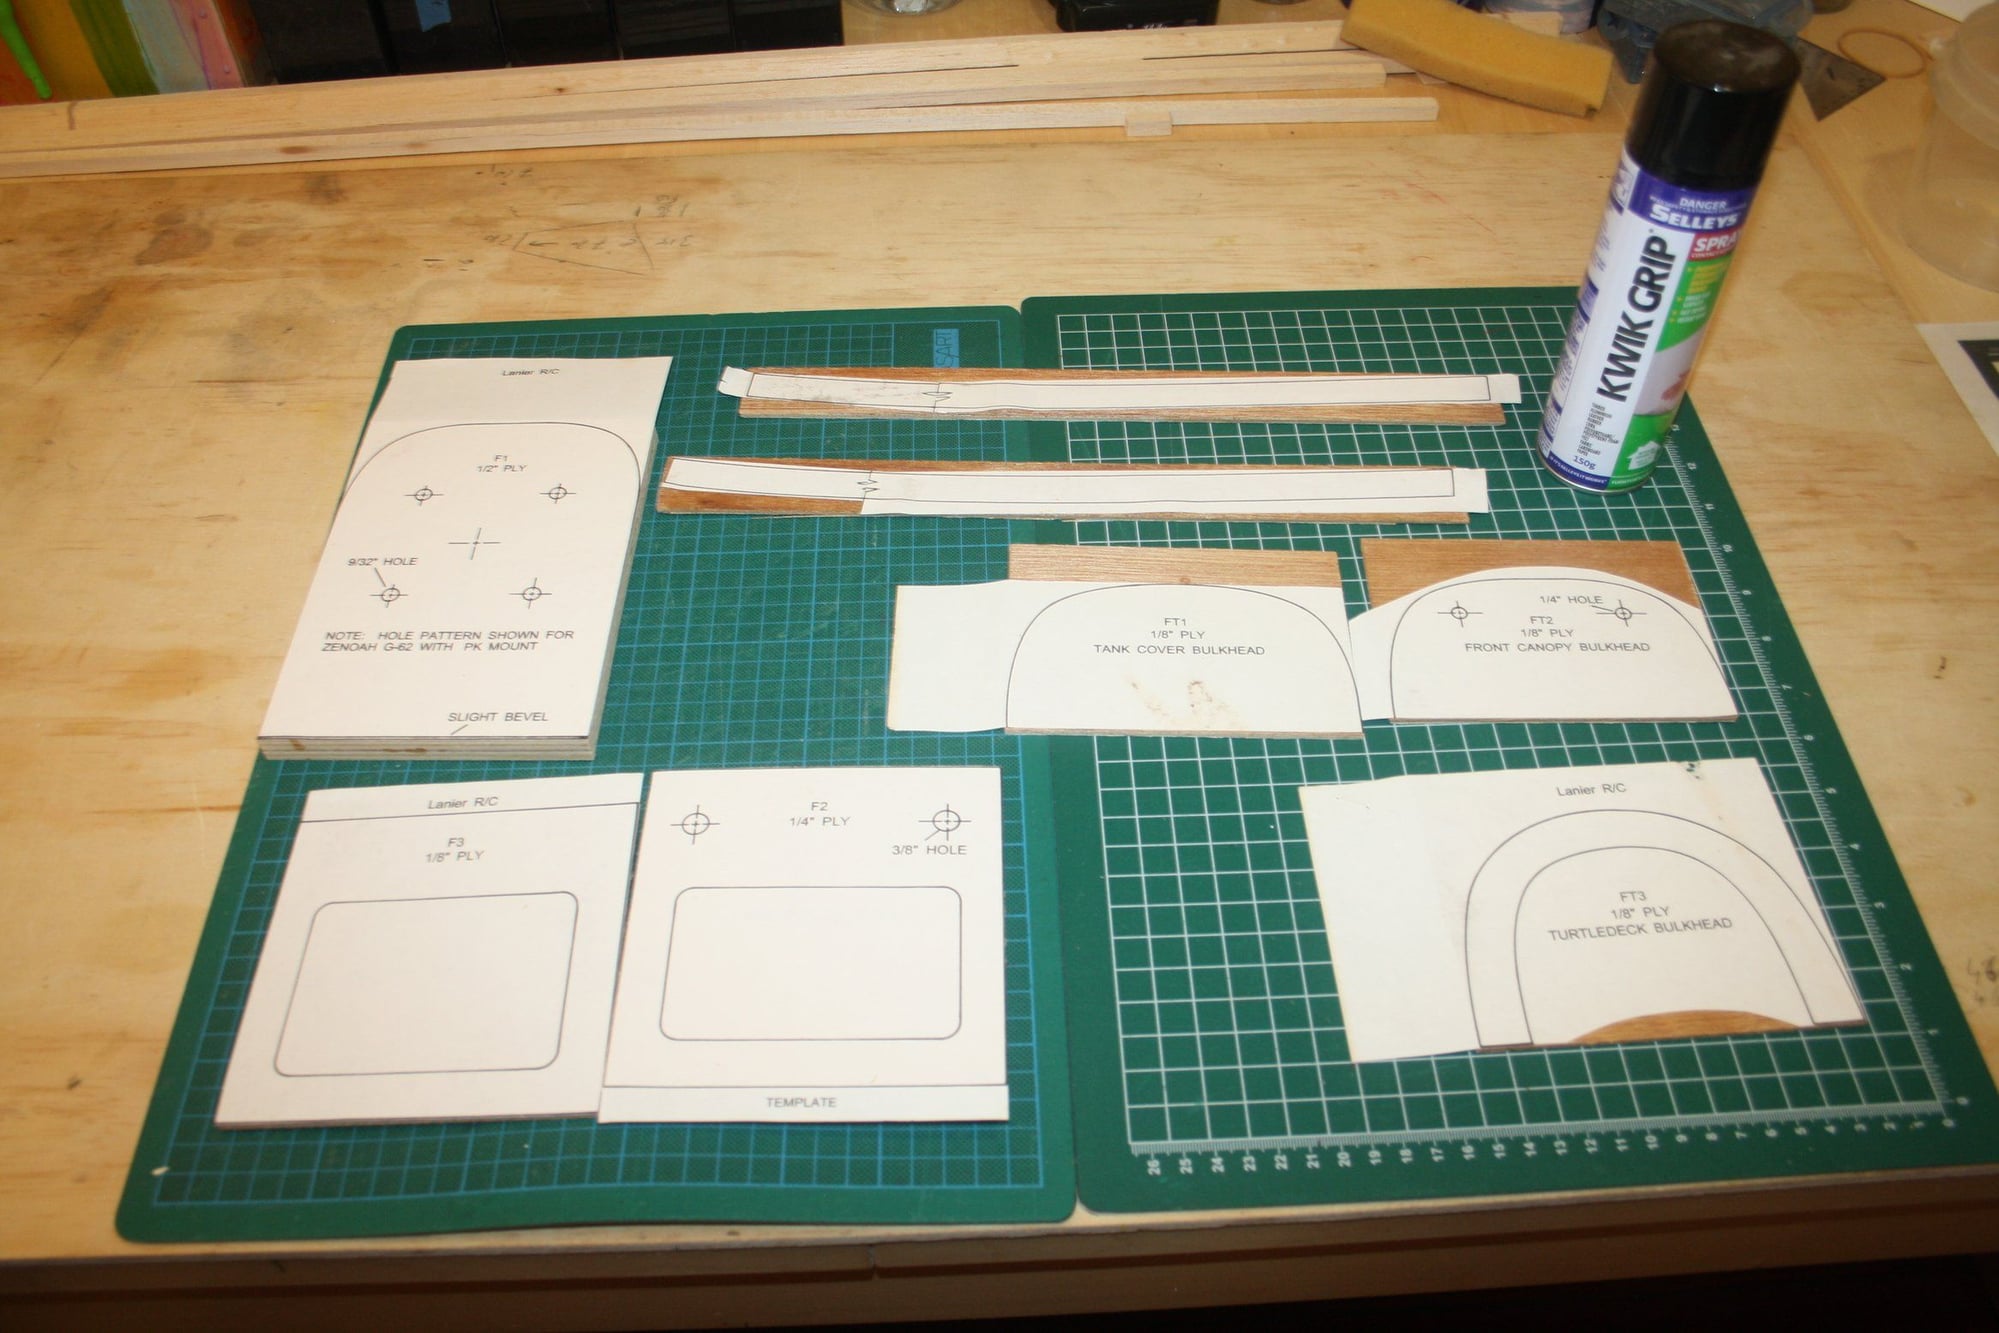
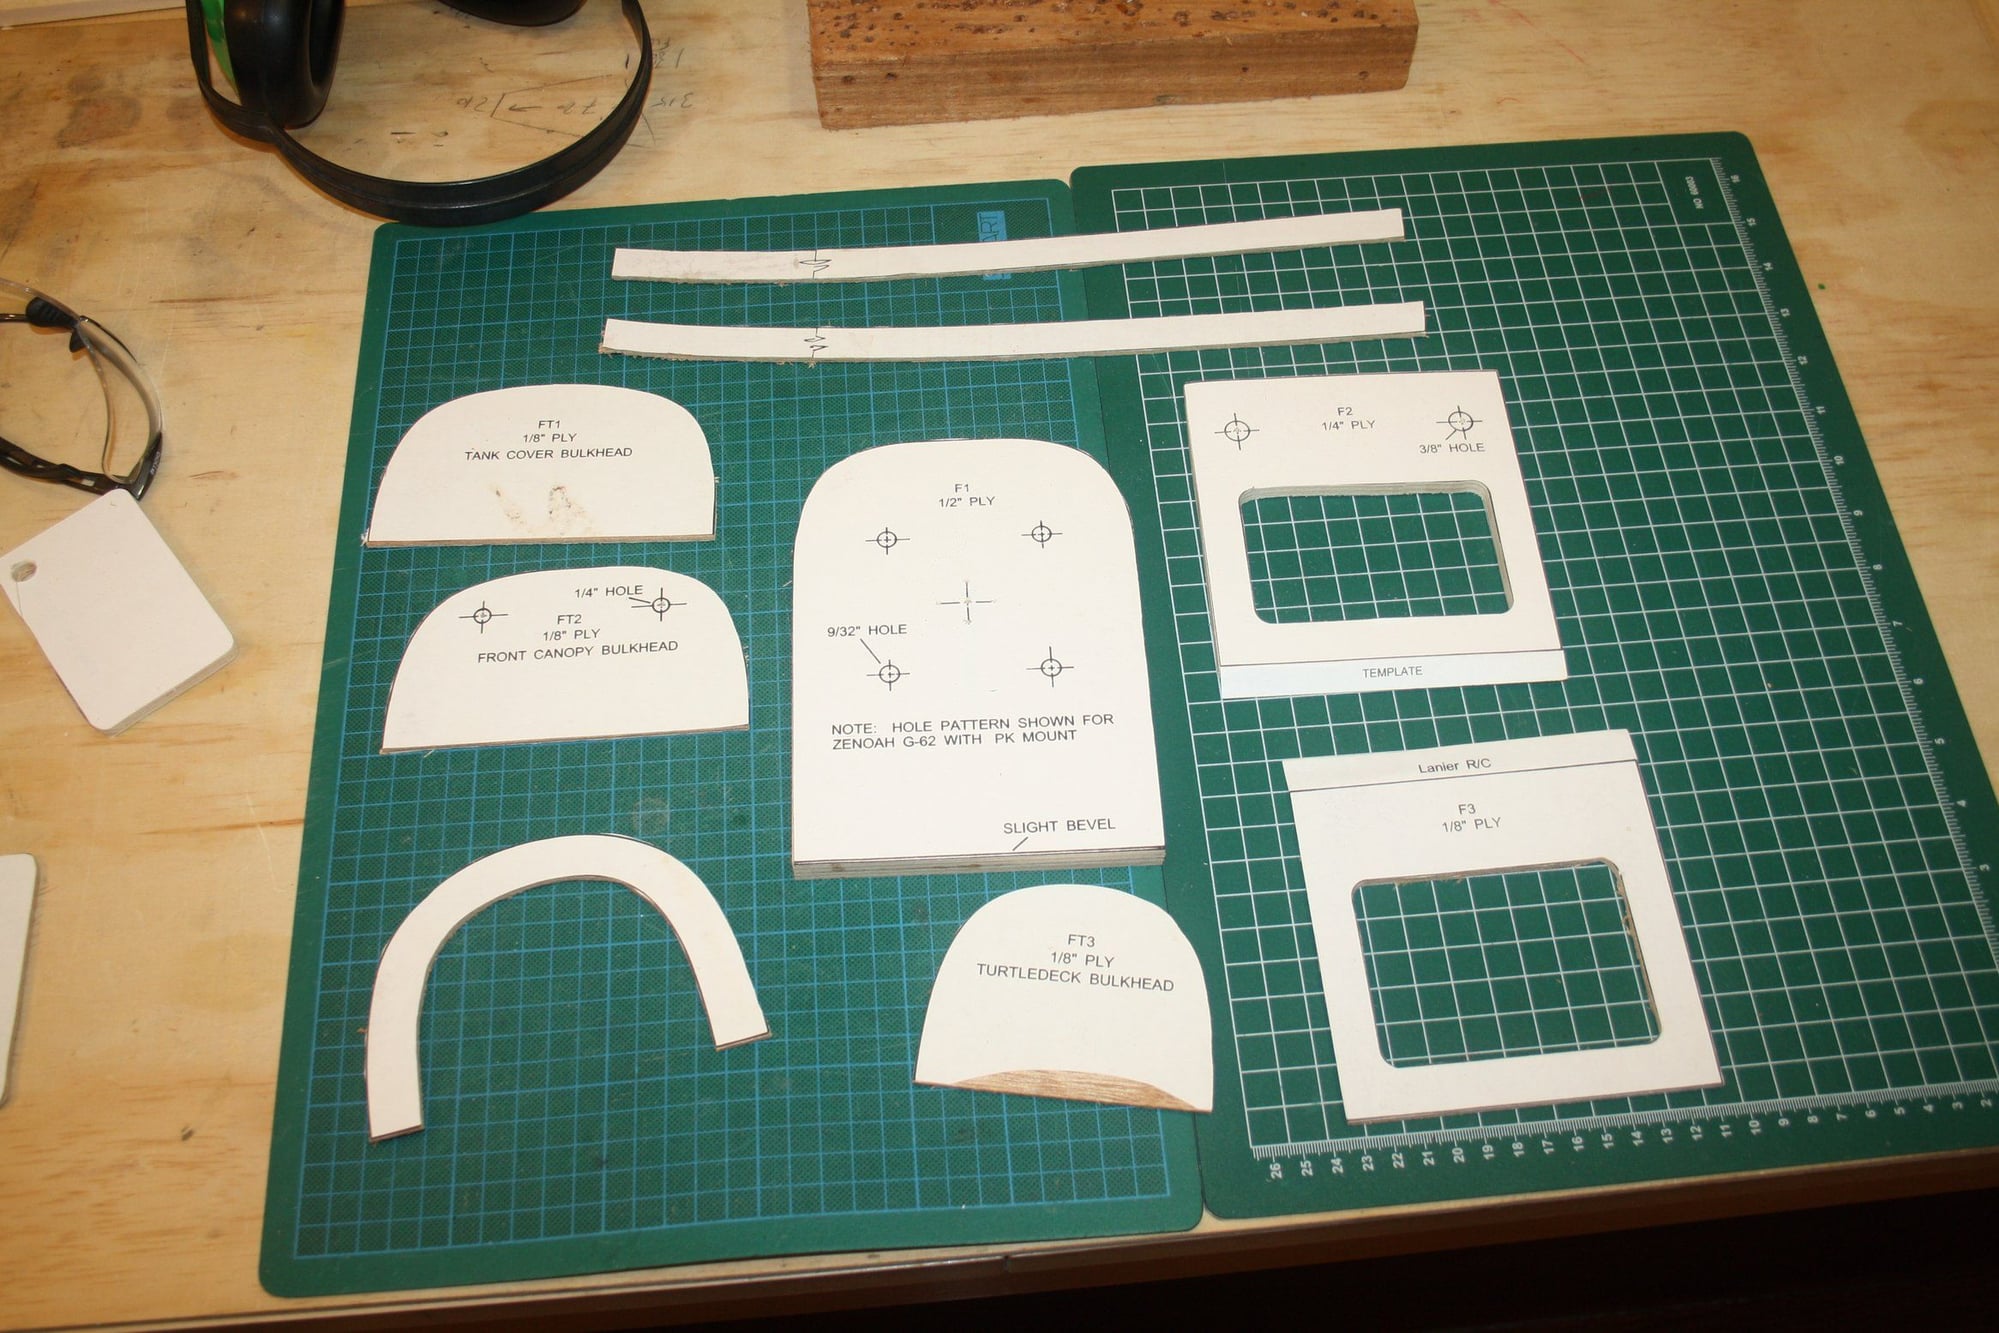
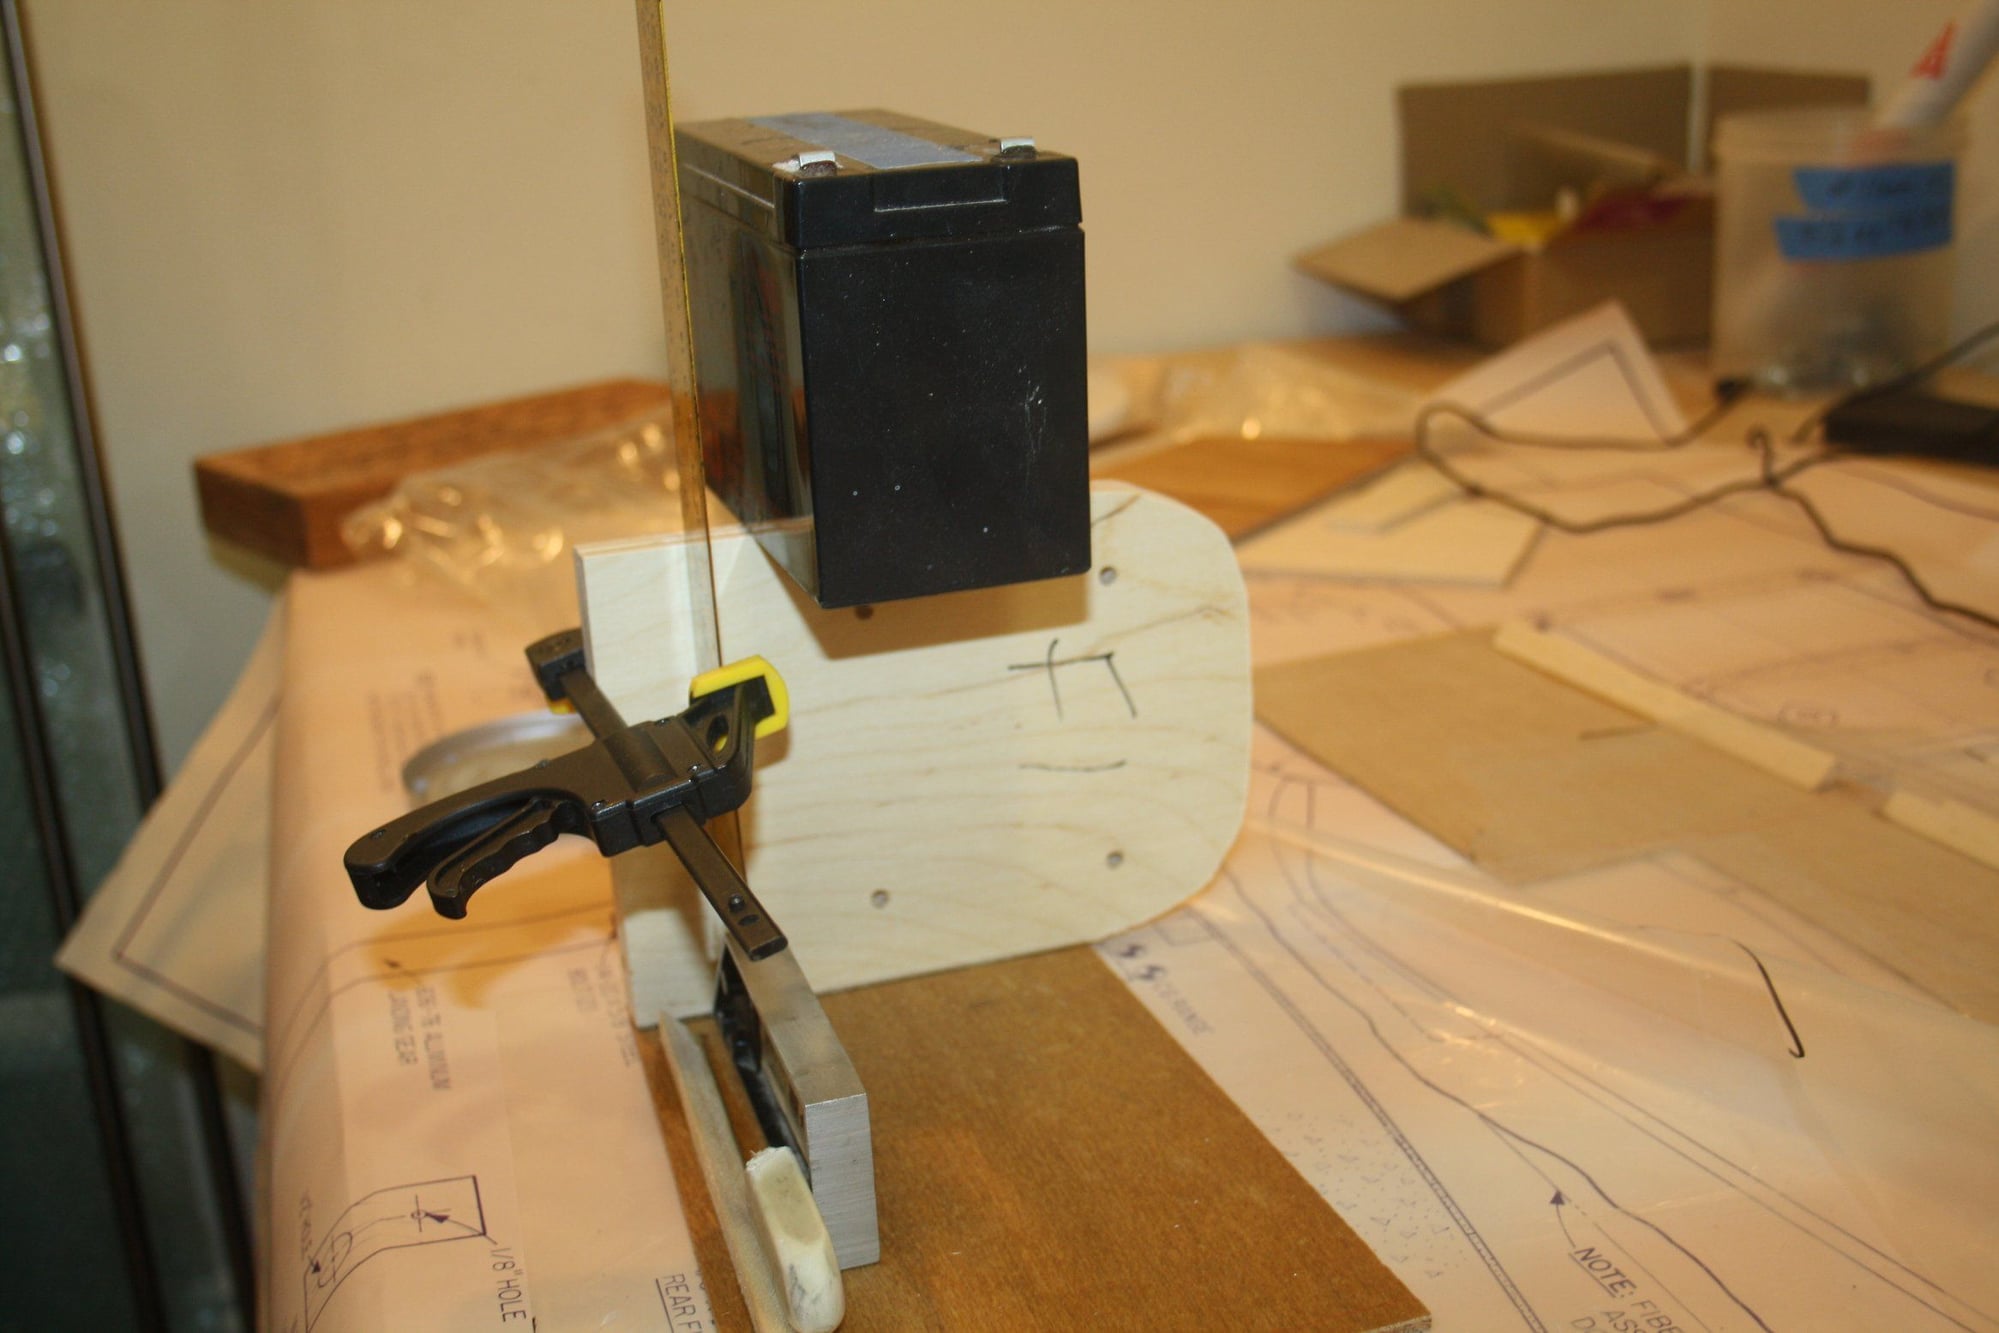
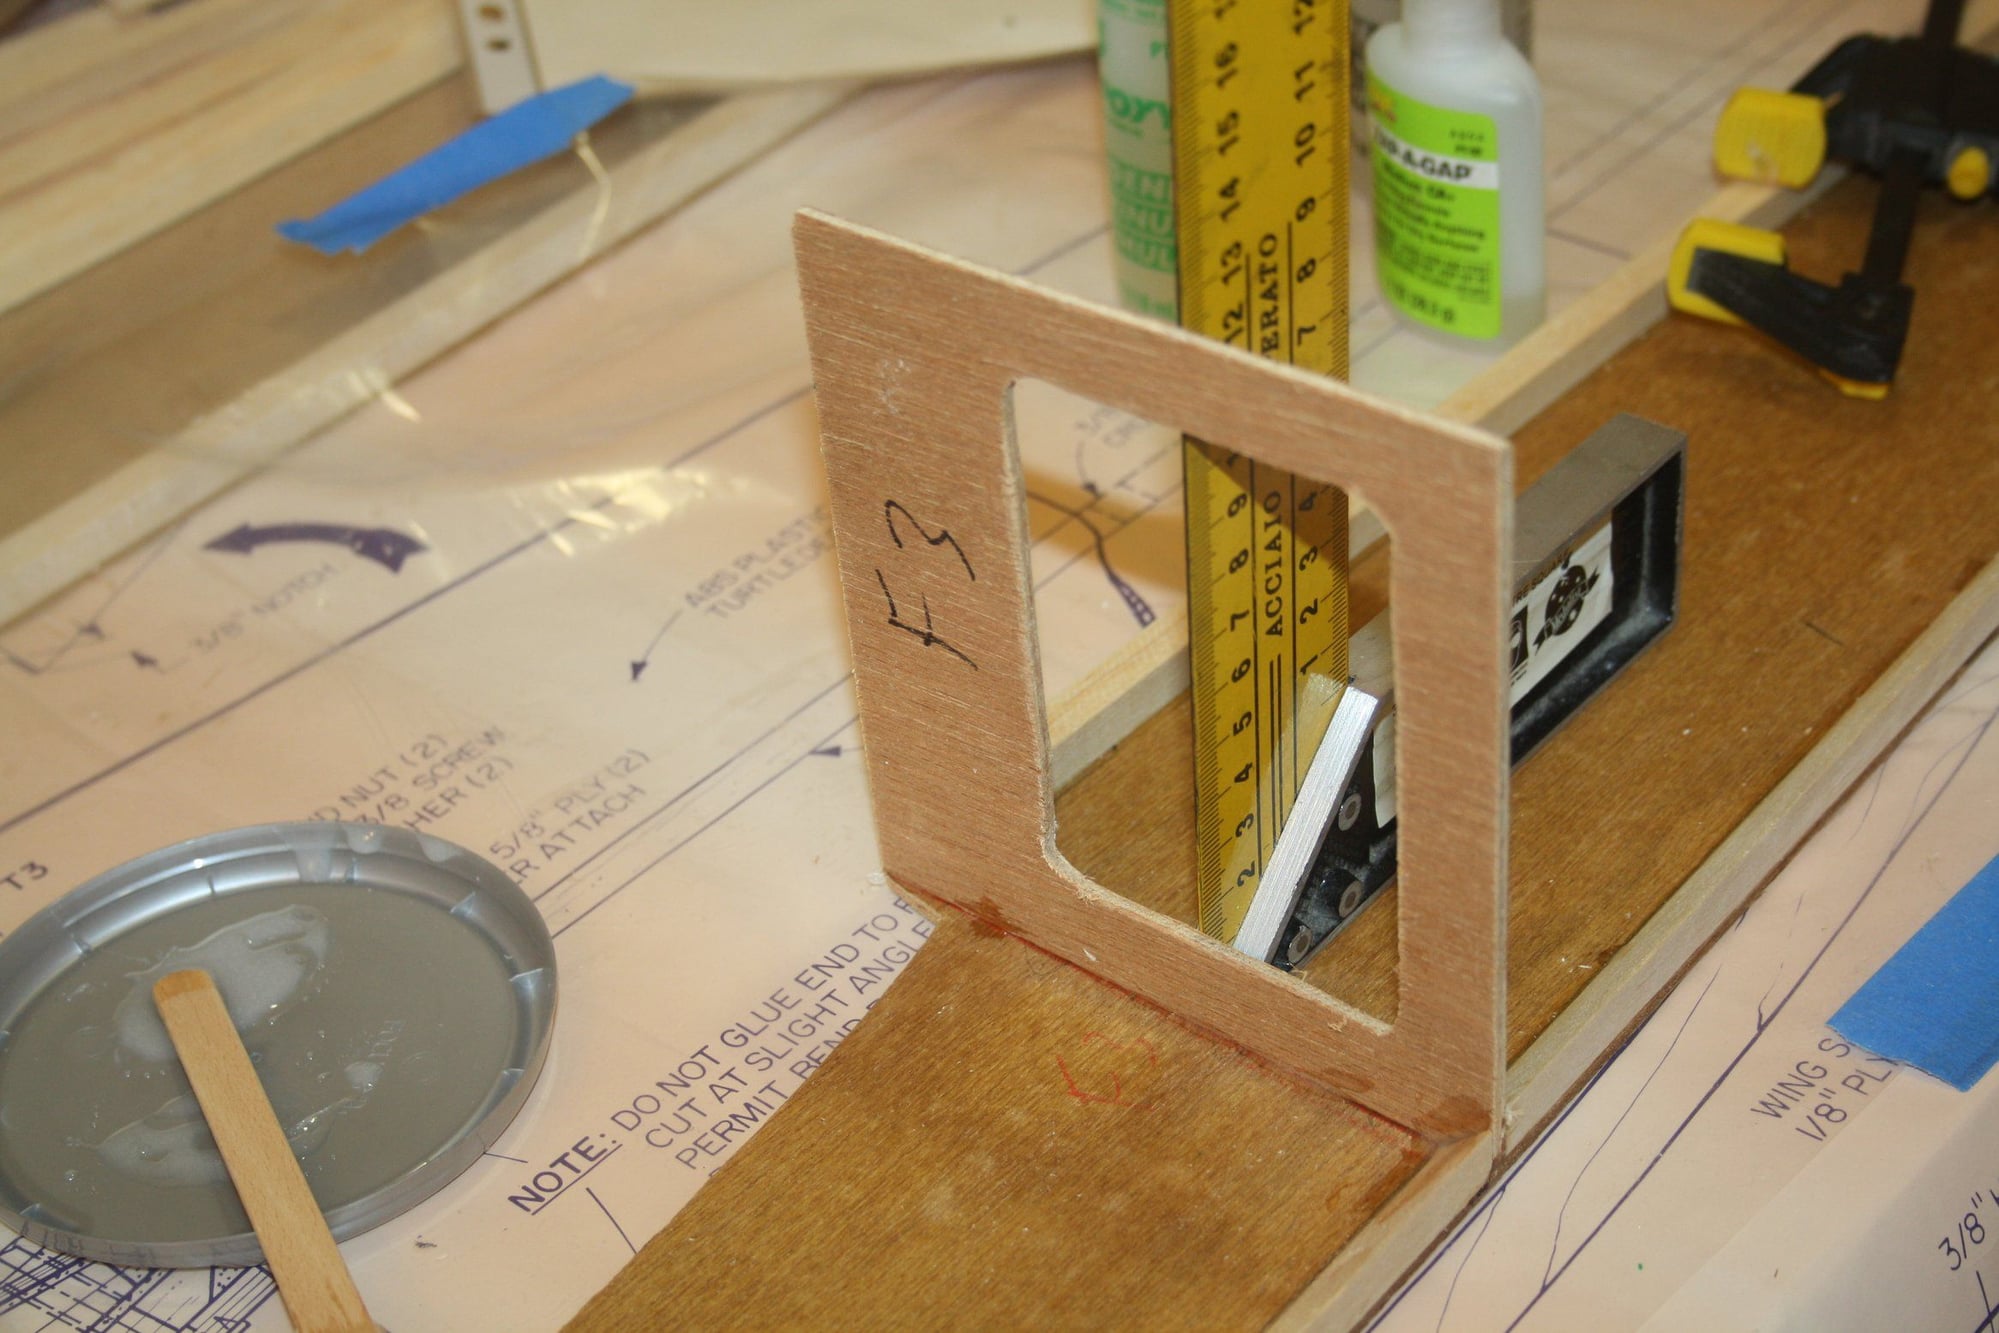
Work started on the fuselage by creating the firewall, formers and bulkheads from the templates provided.
Cheers,
Eran
Work started on the fuselage by creating the firewall, formers and bulkheads from the templates provided.
Cheers,
Eran
12-15-2023, 12:09 AM
#57
Thread Starter
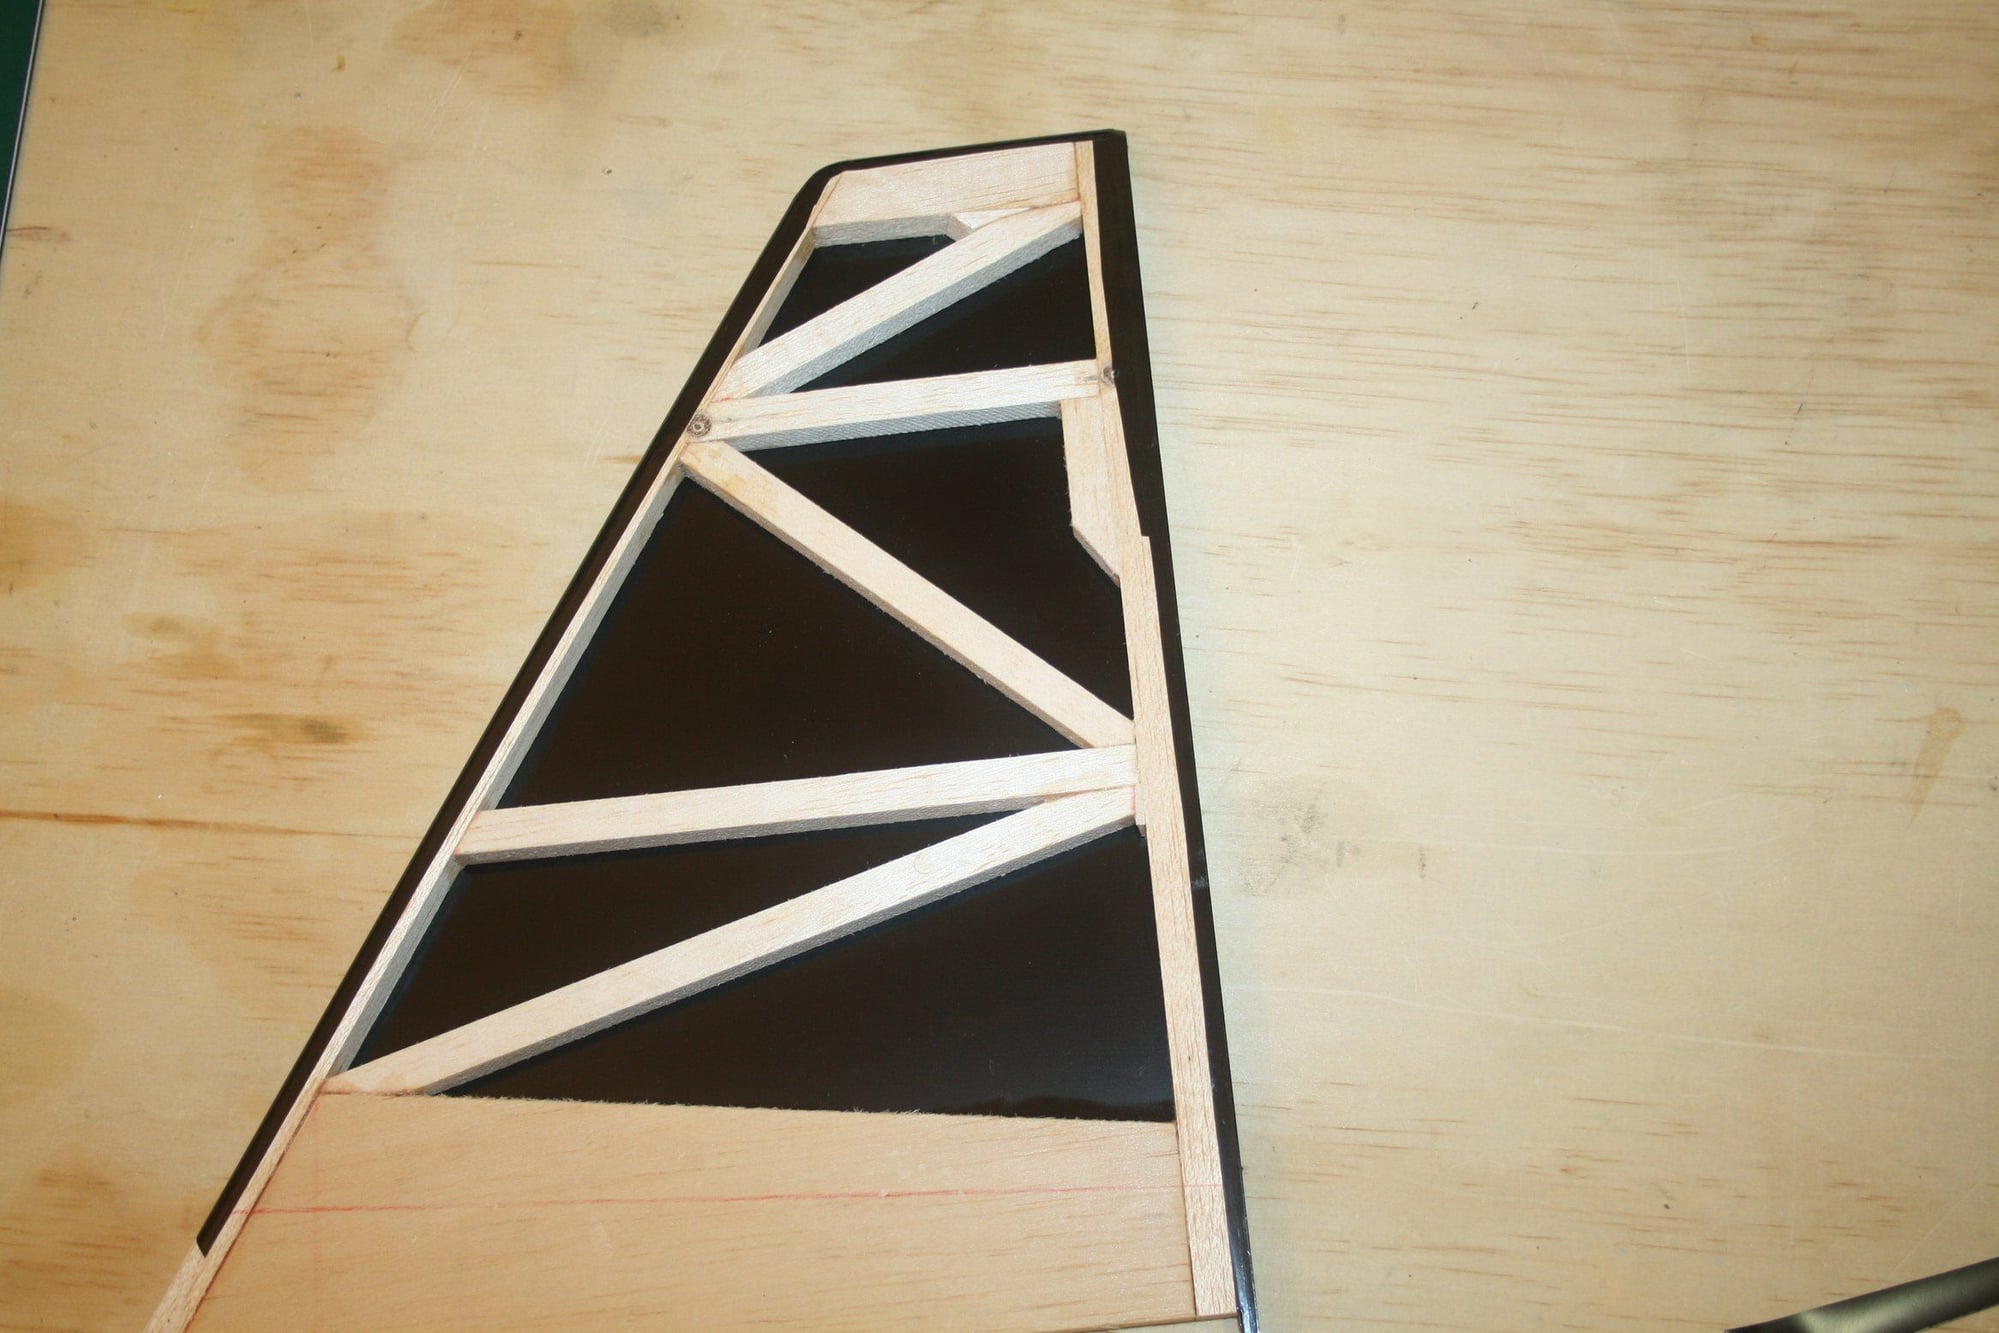
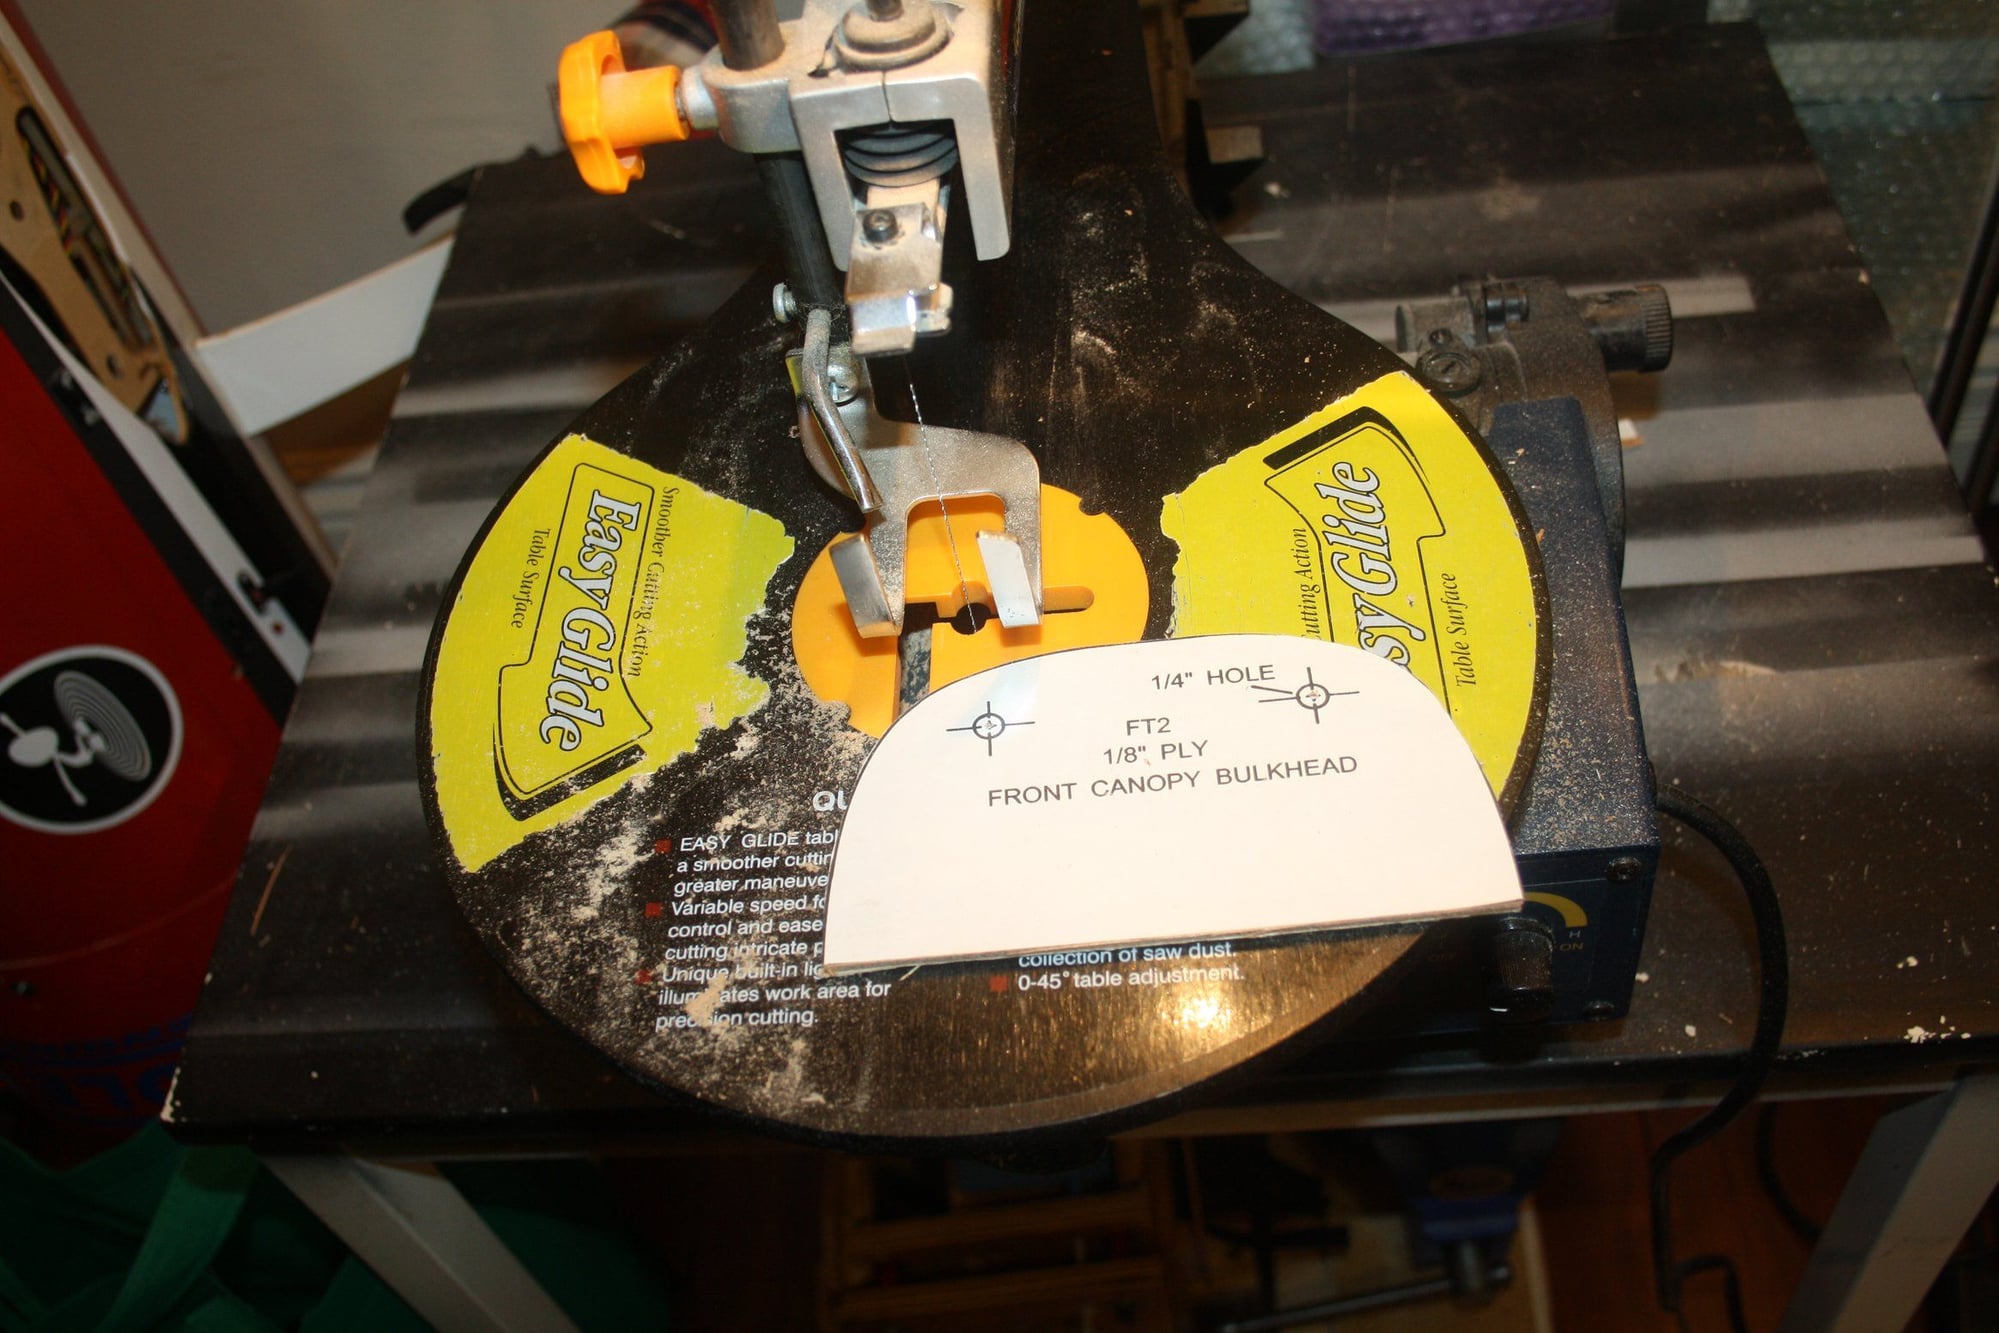
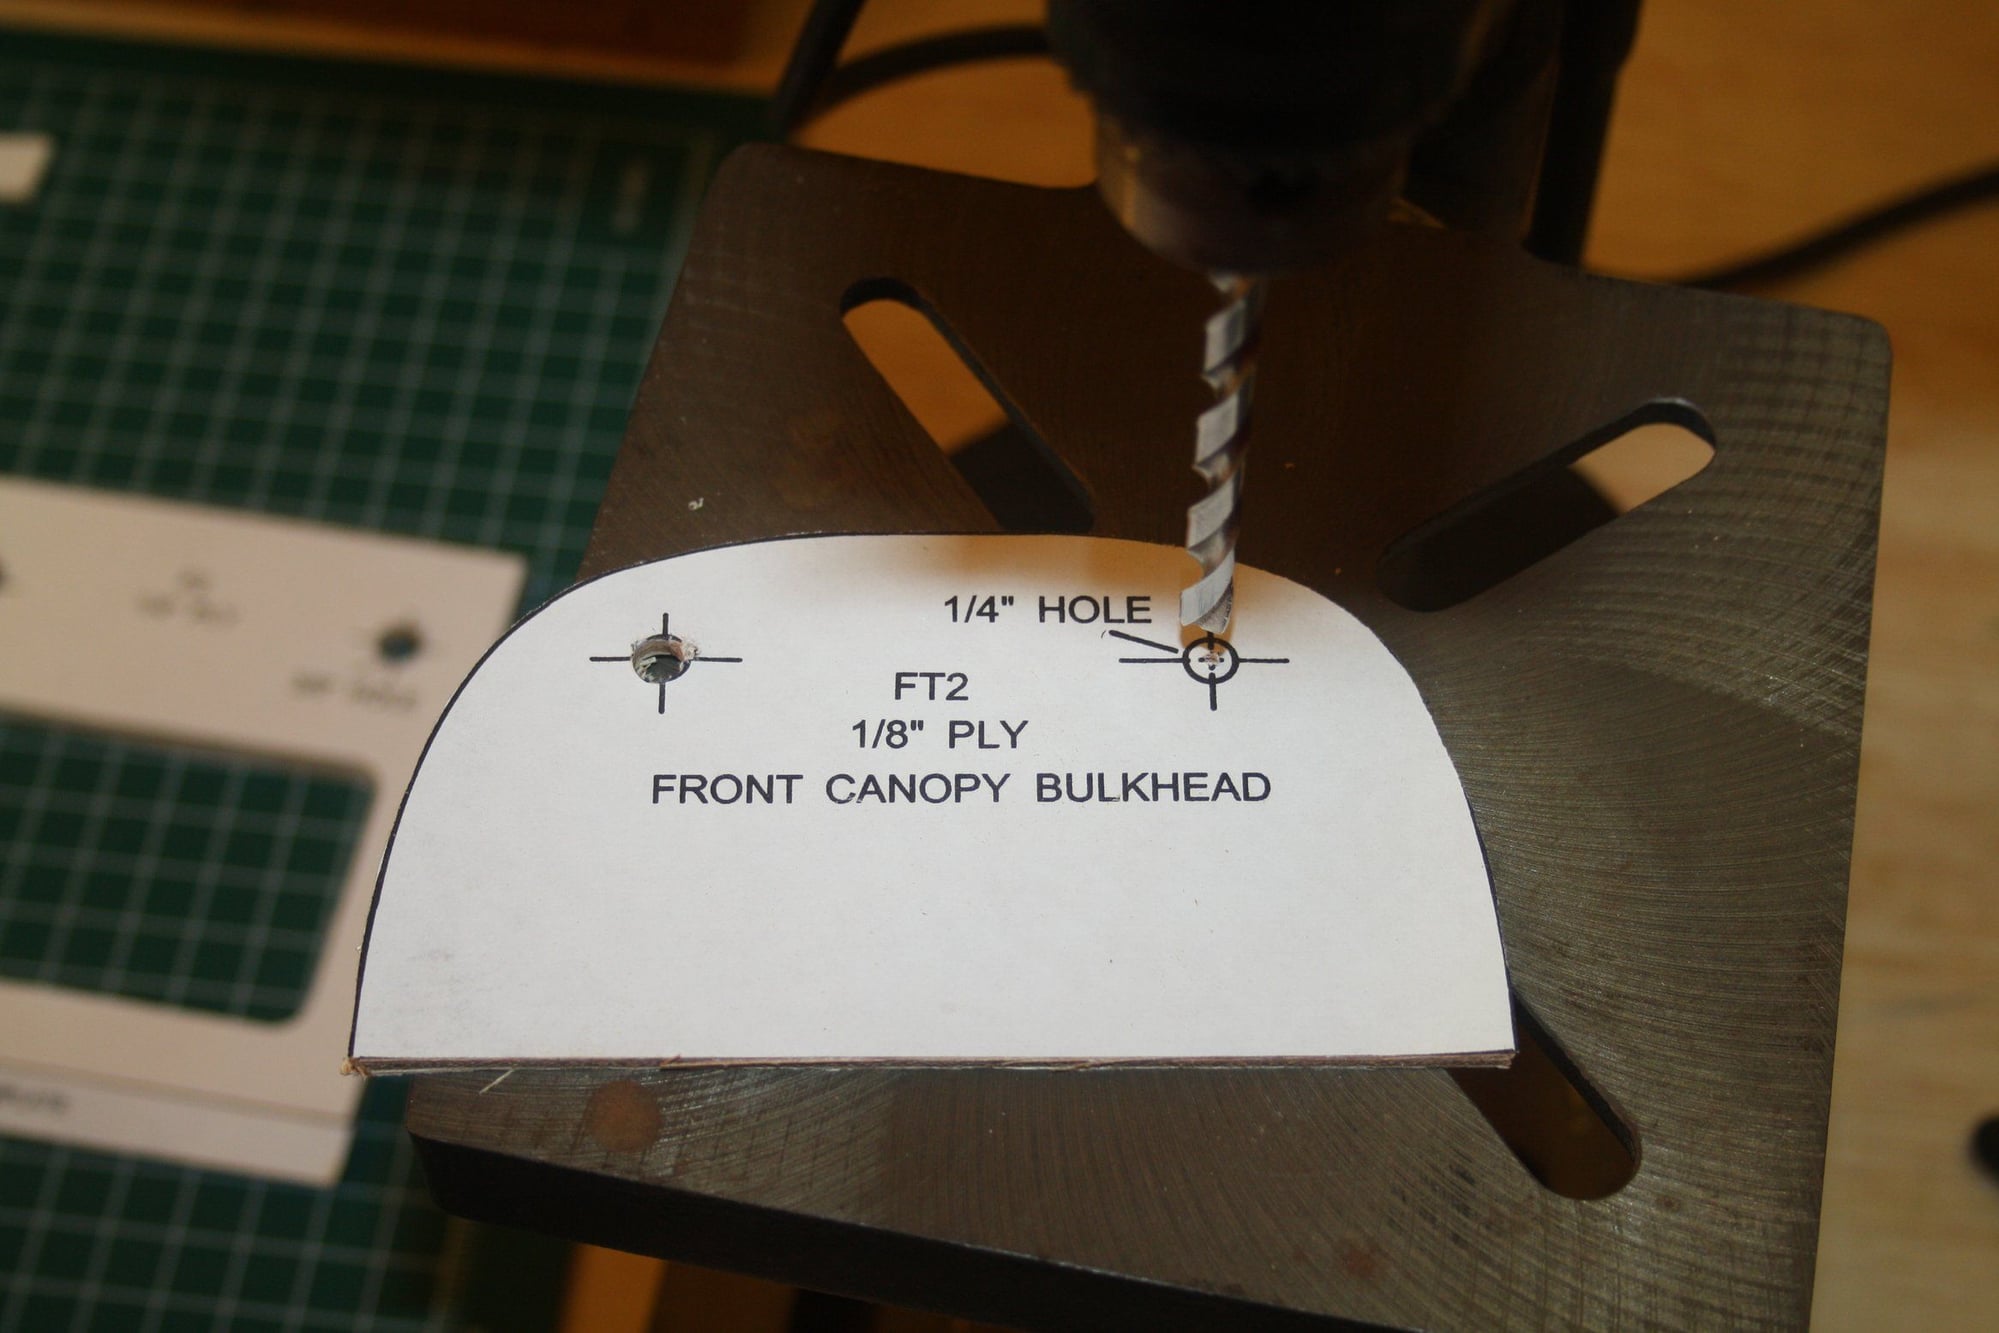
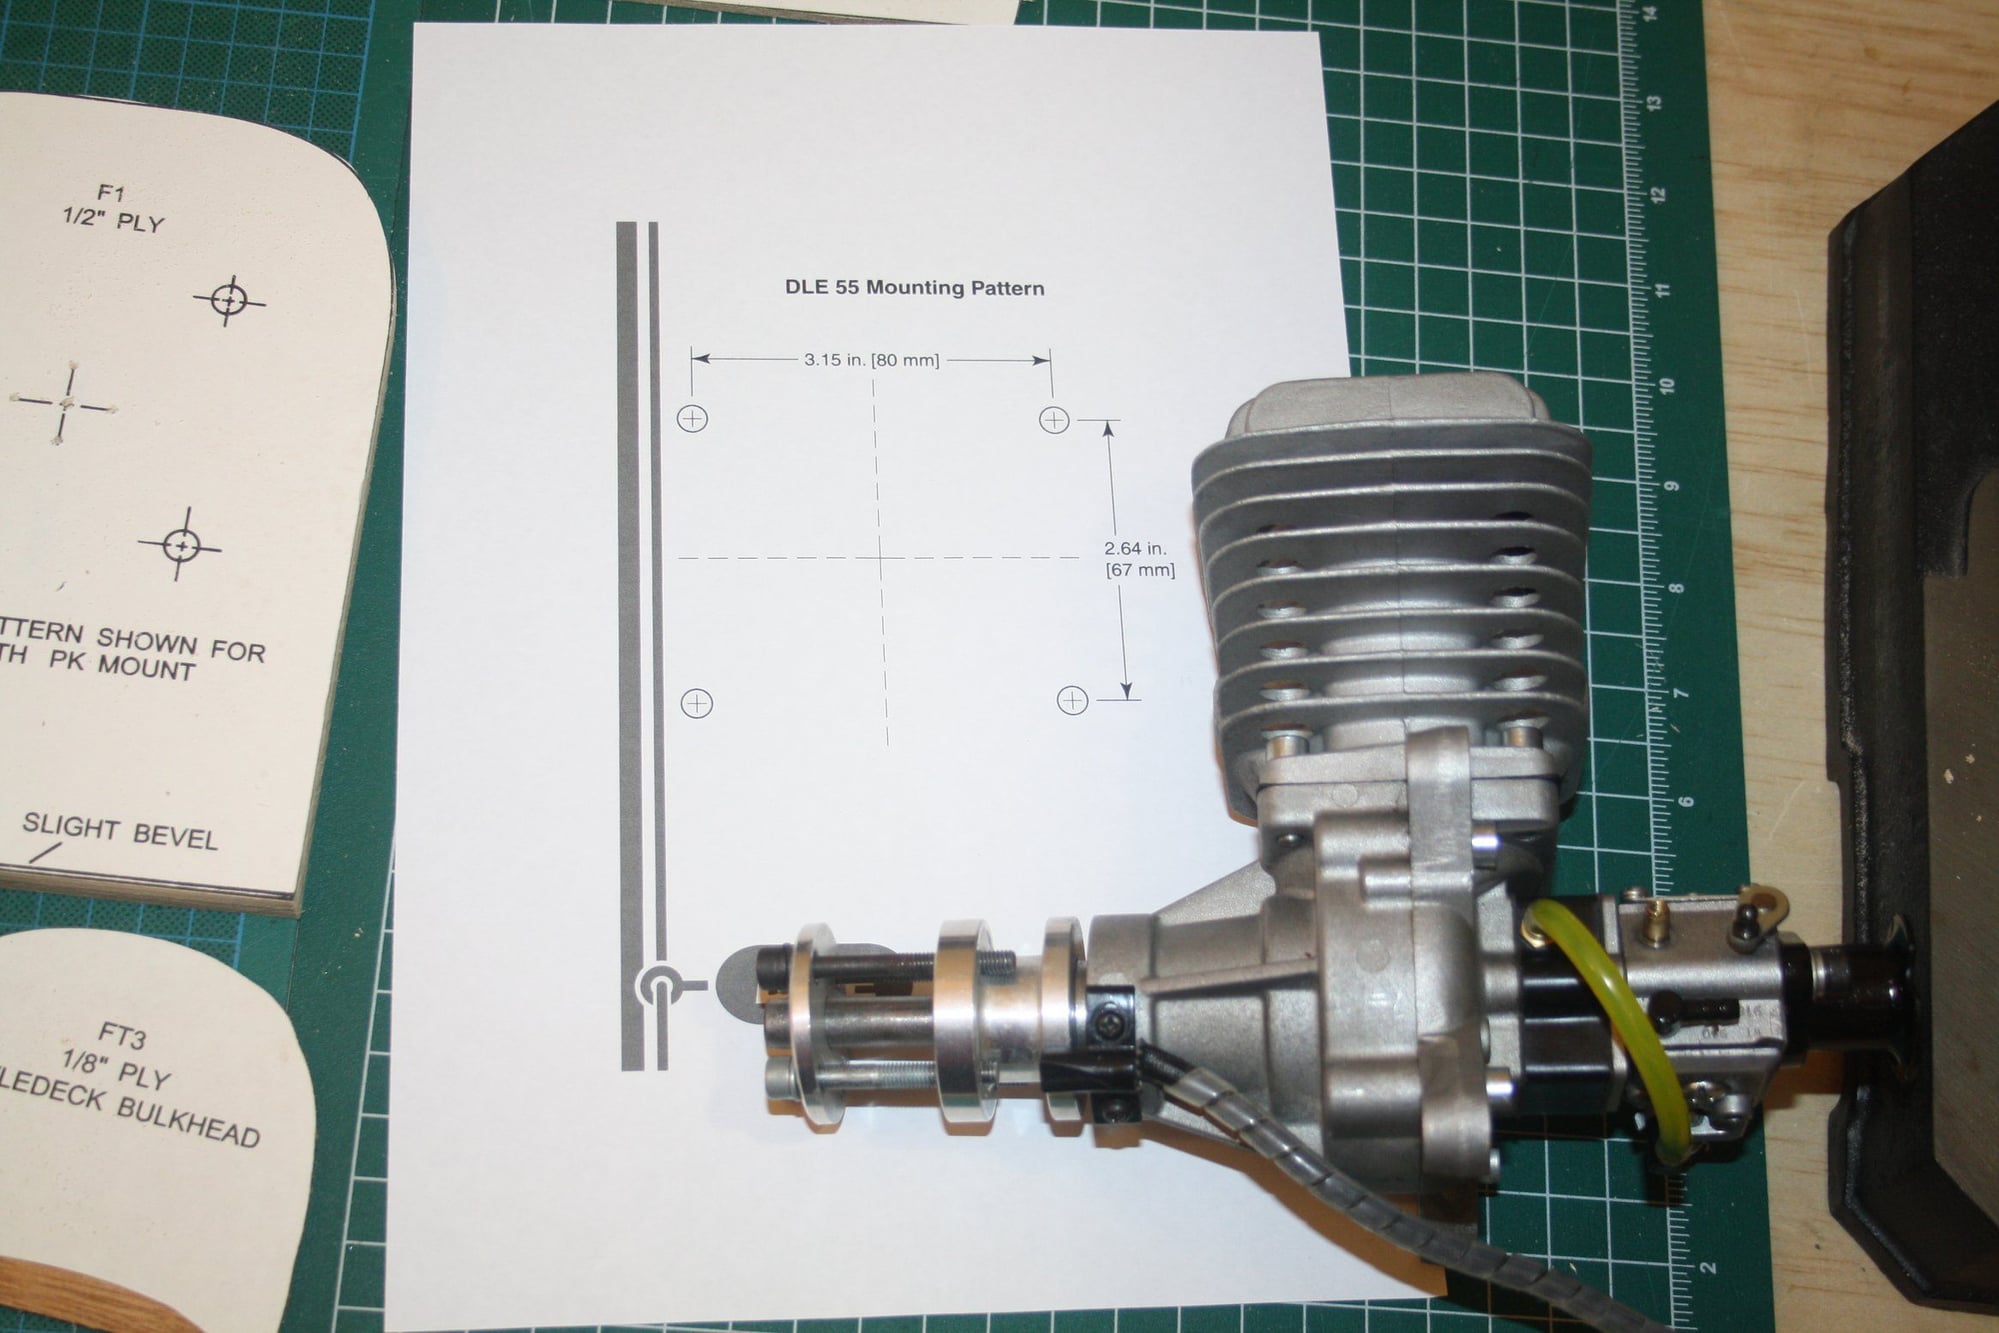
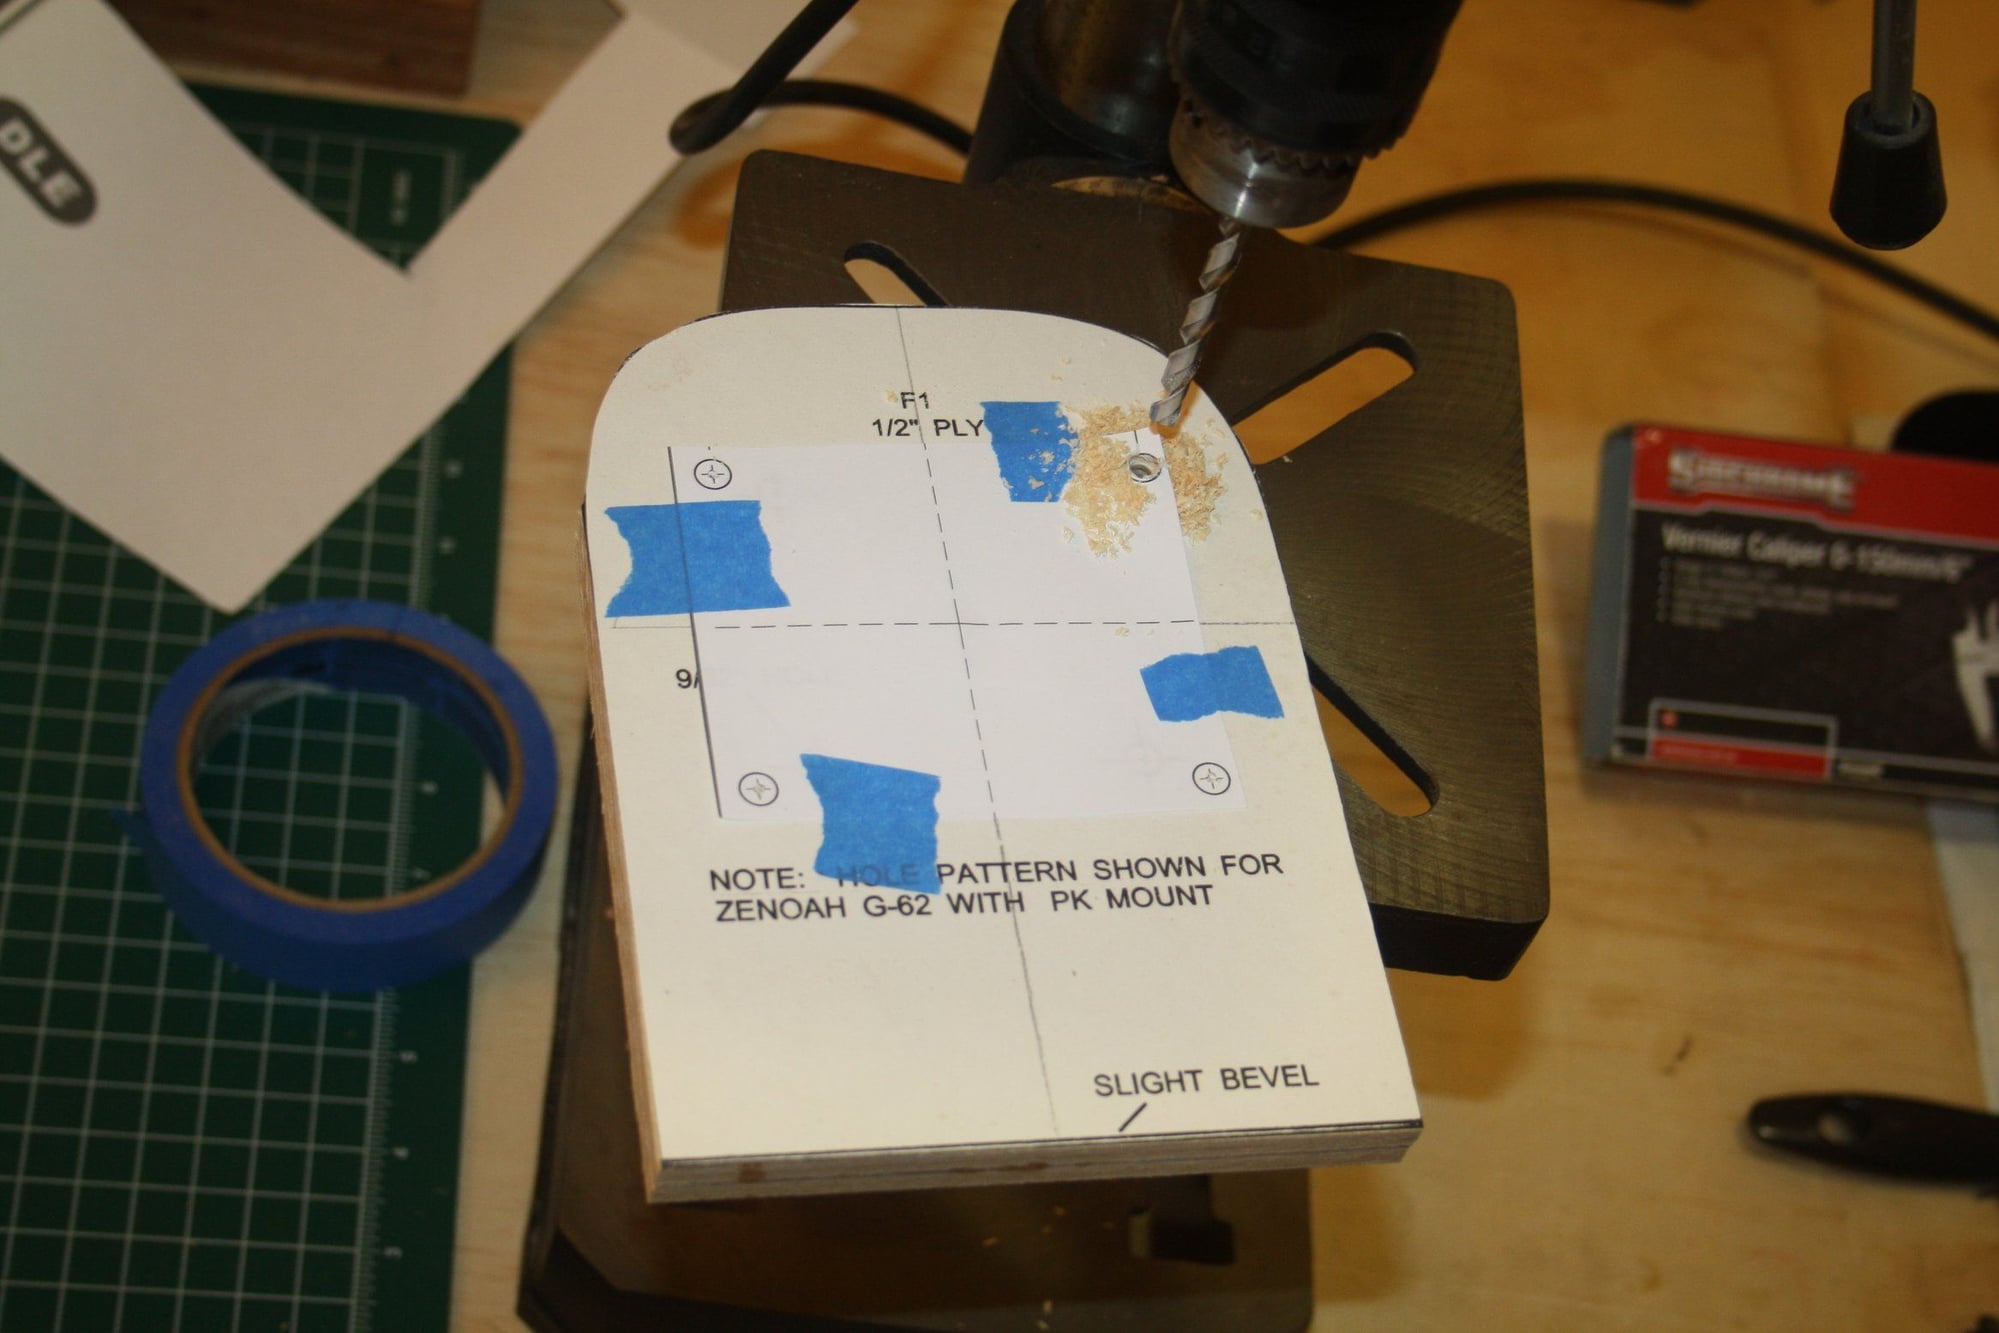
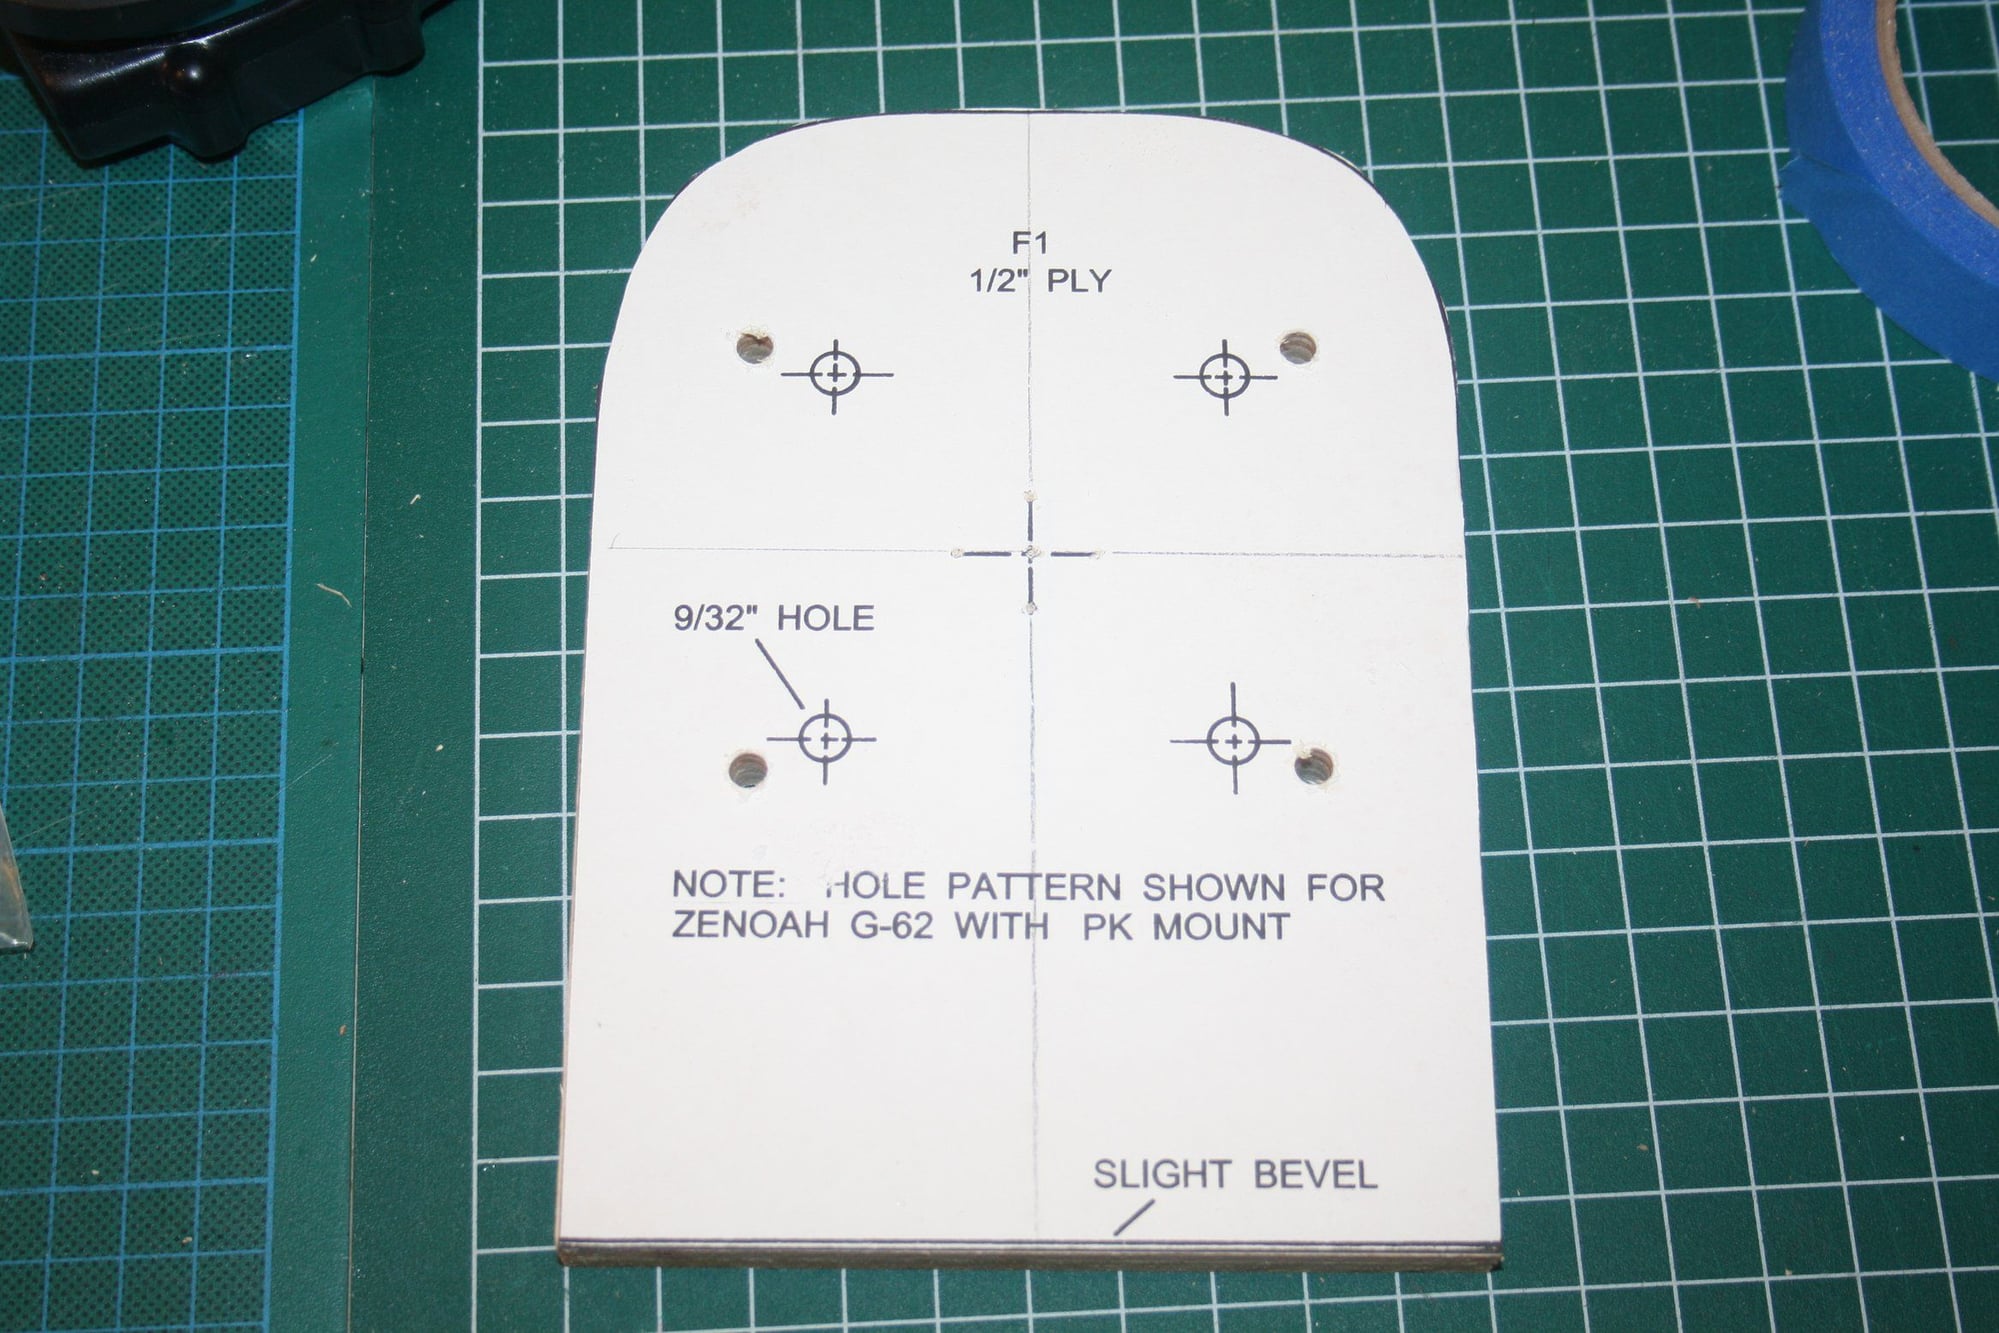
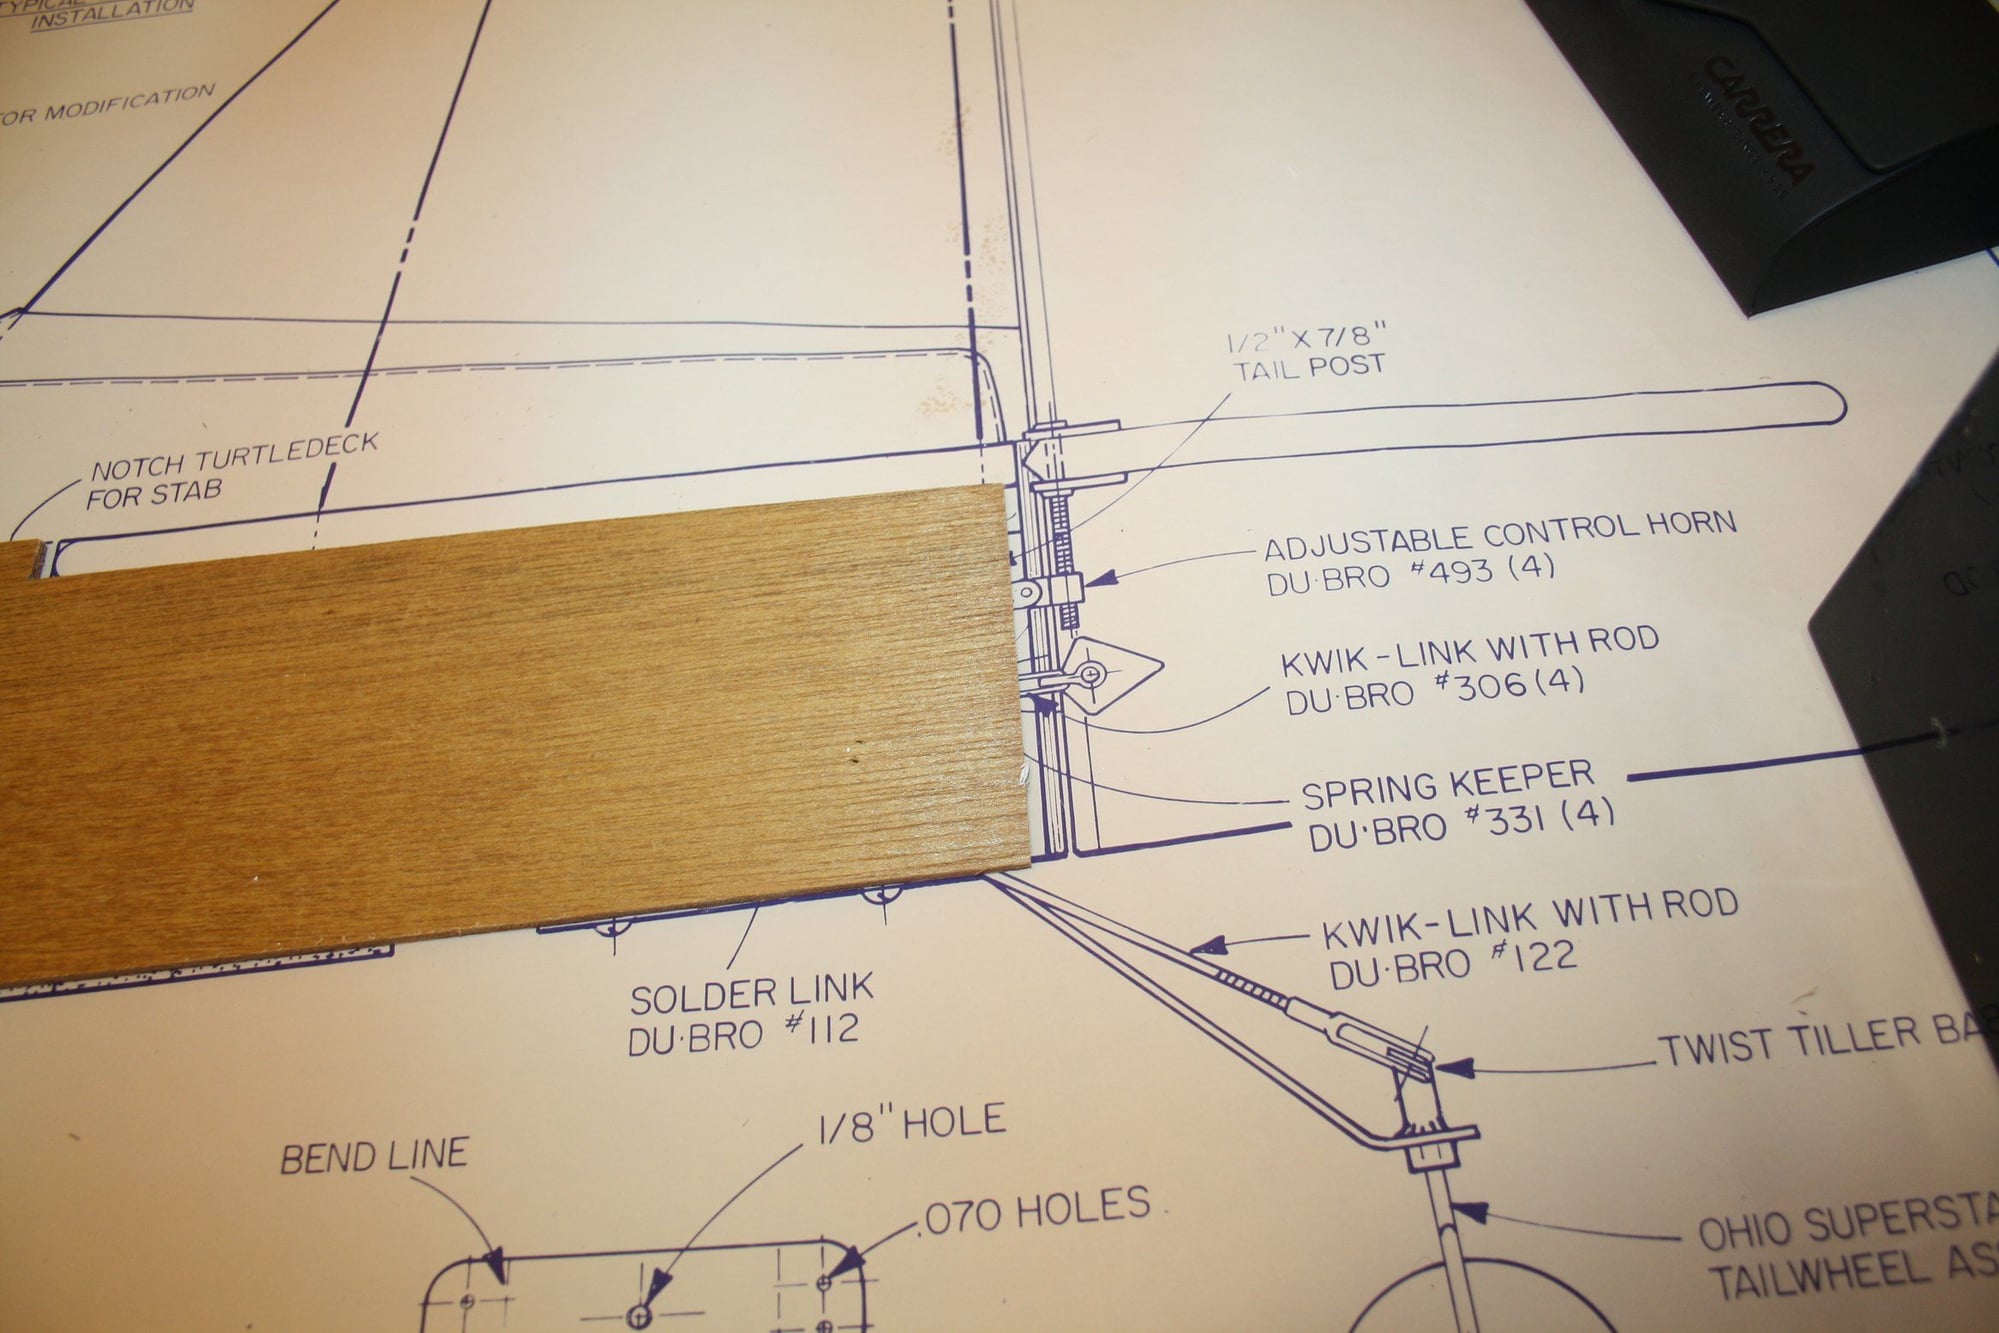
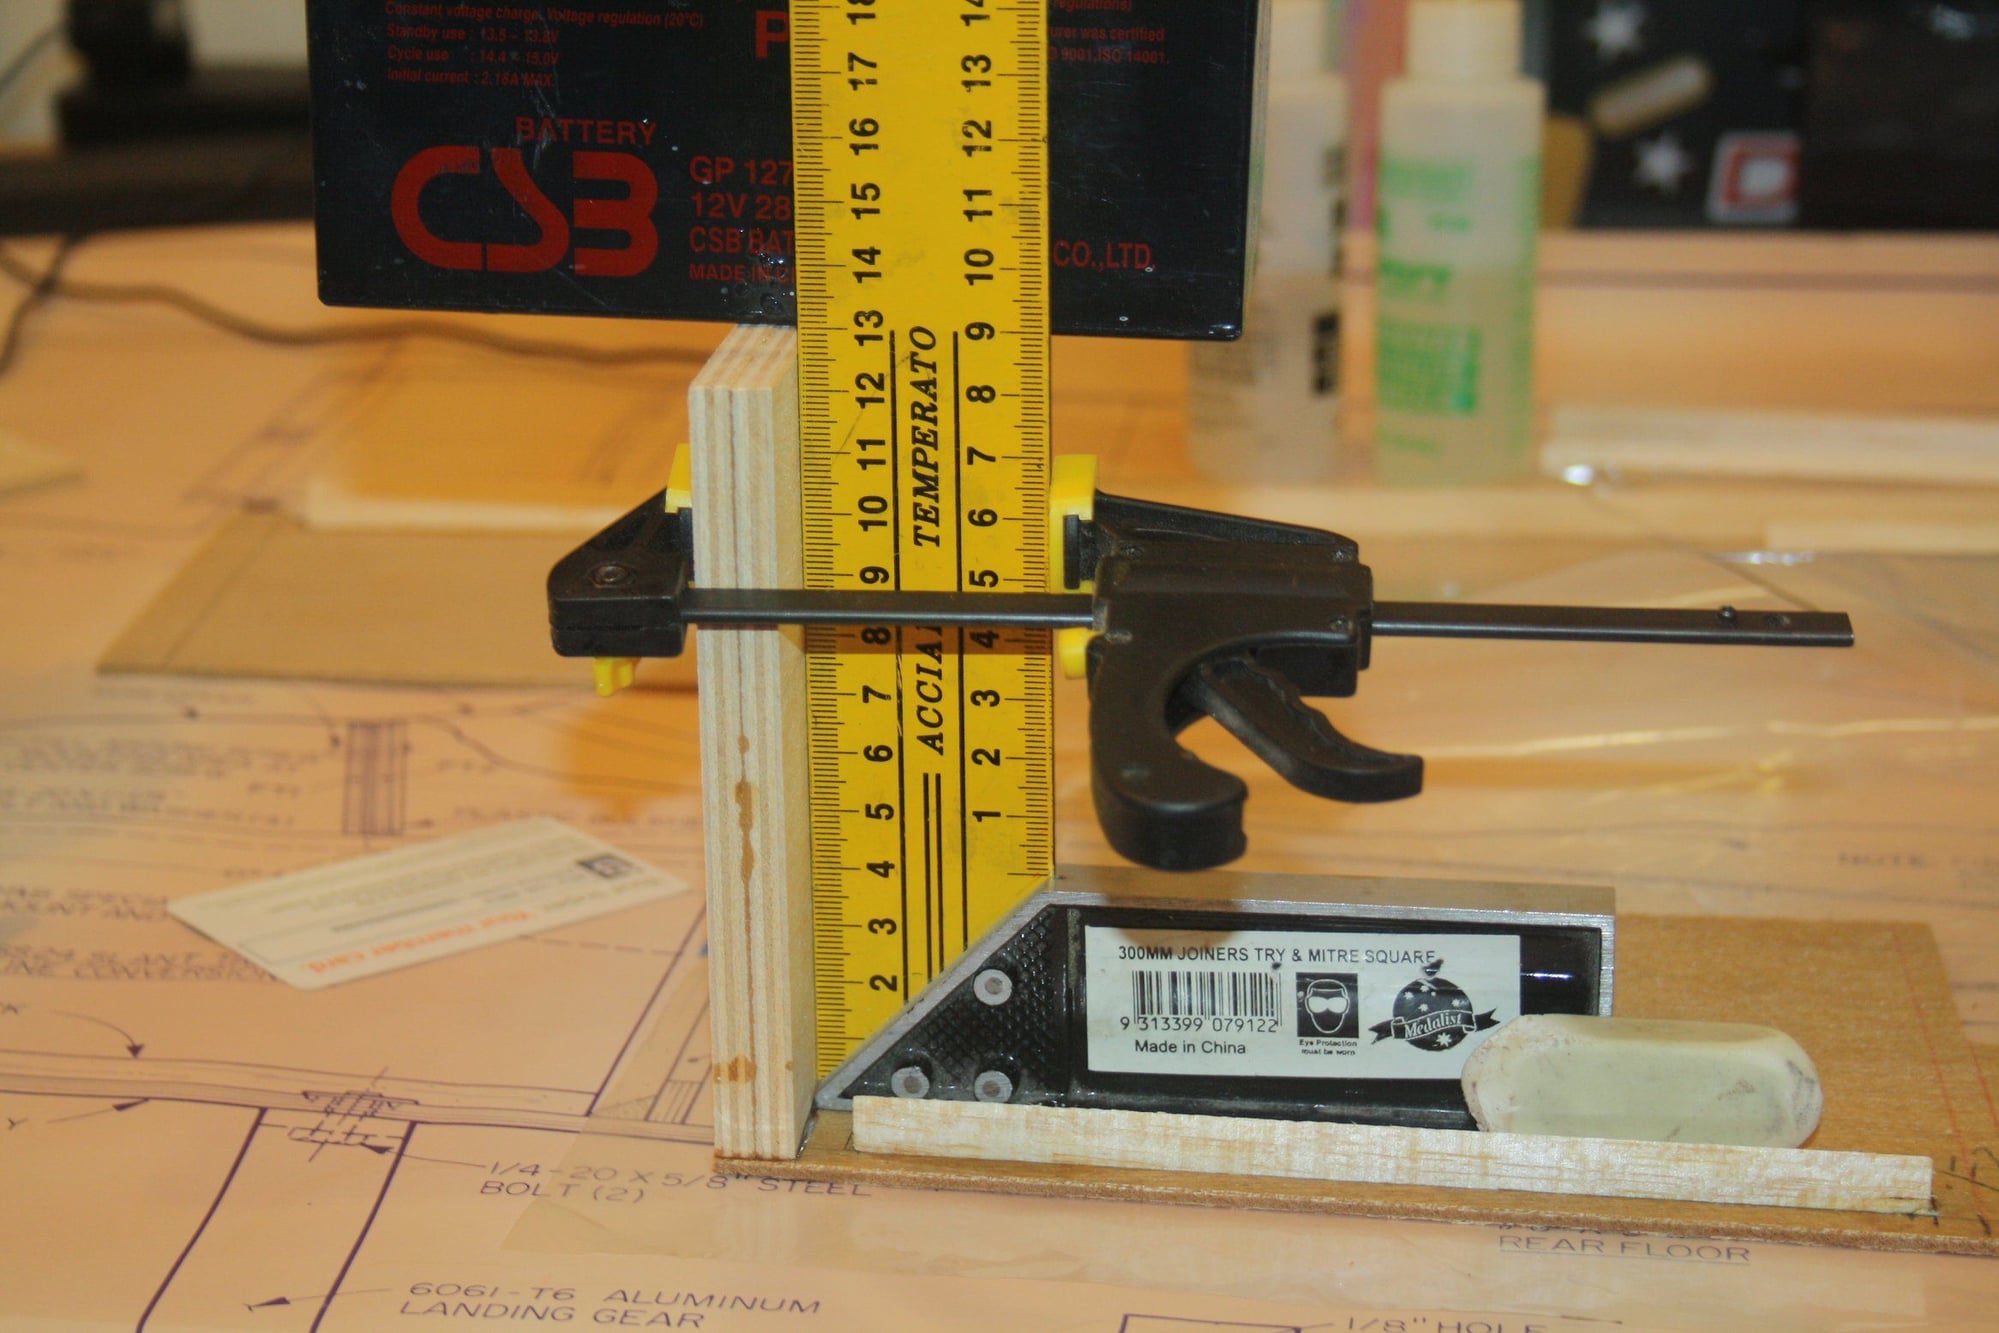
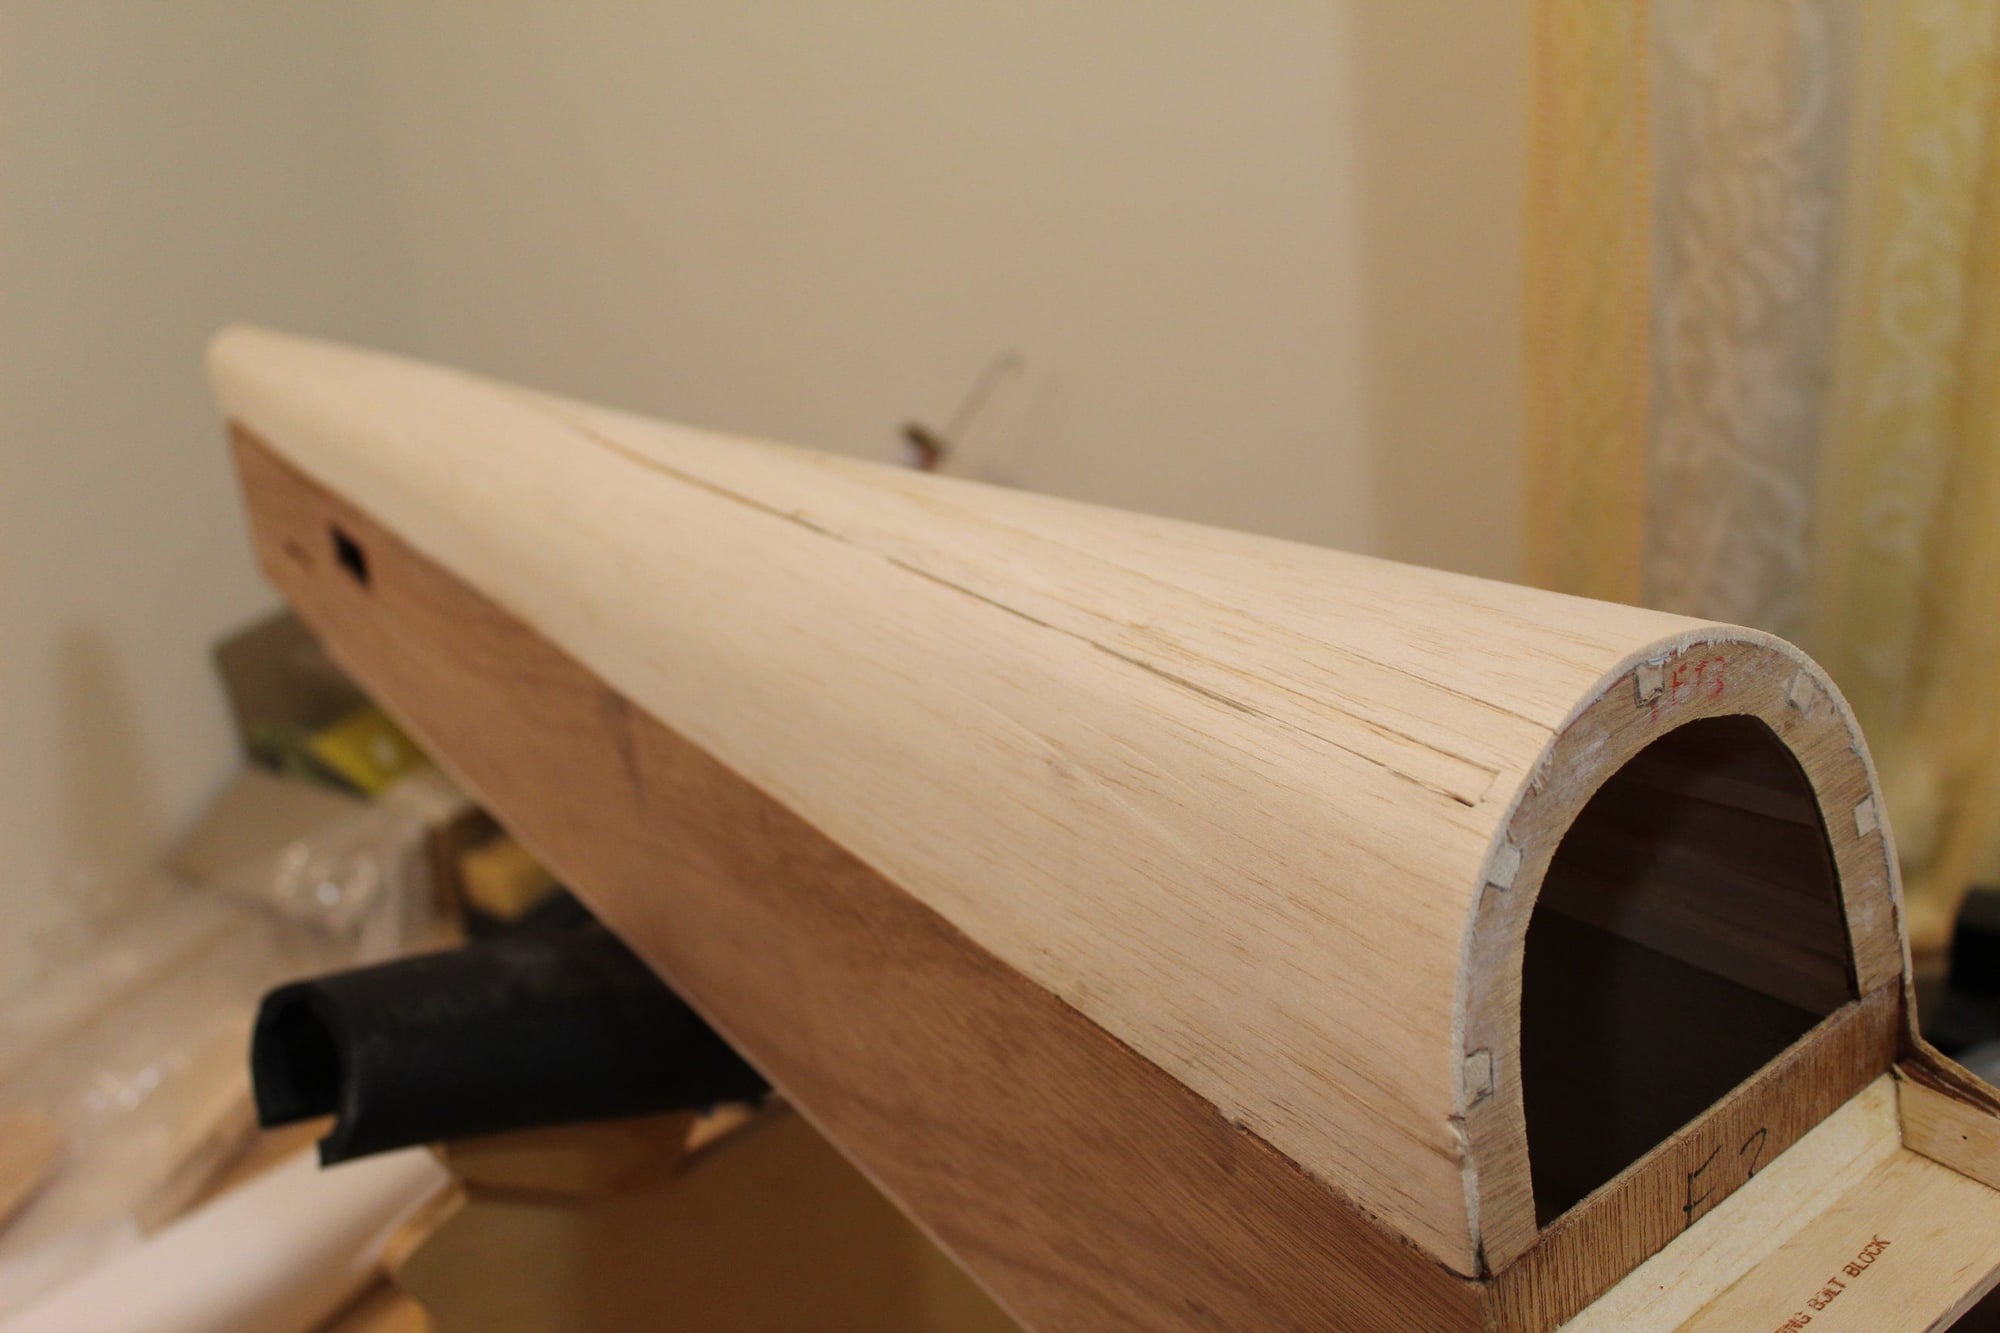
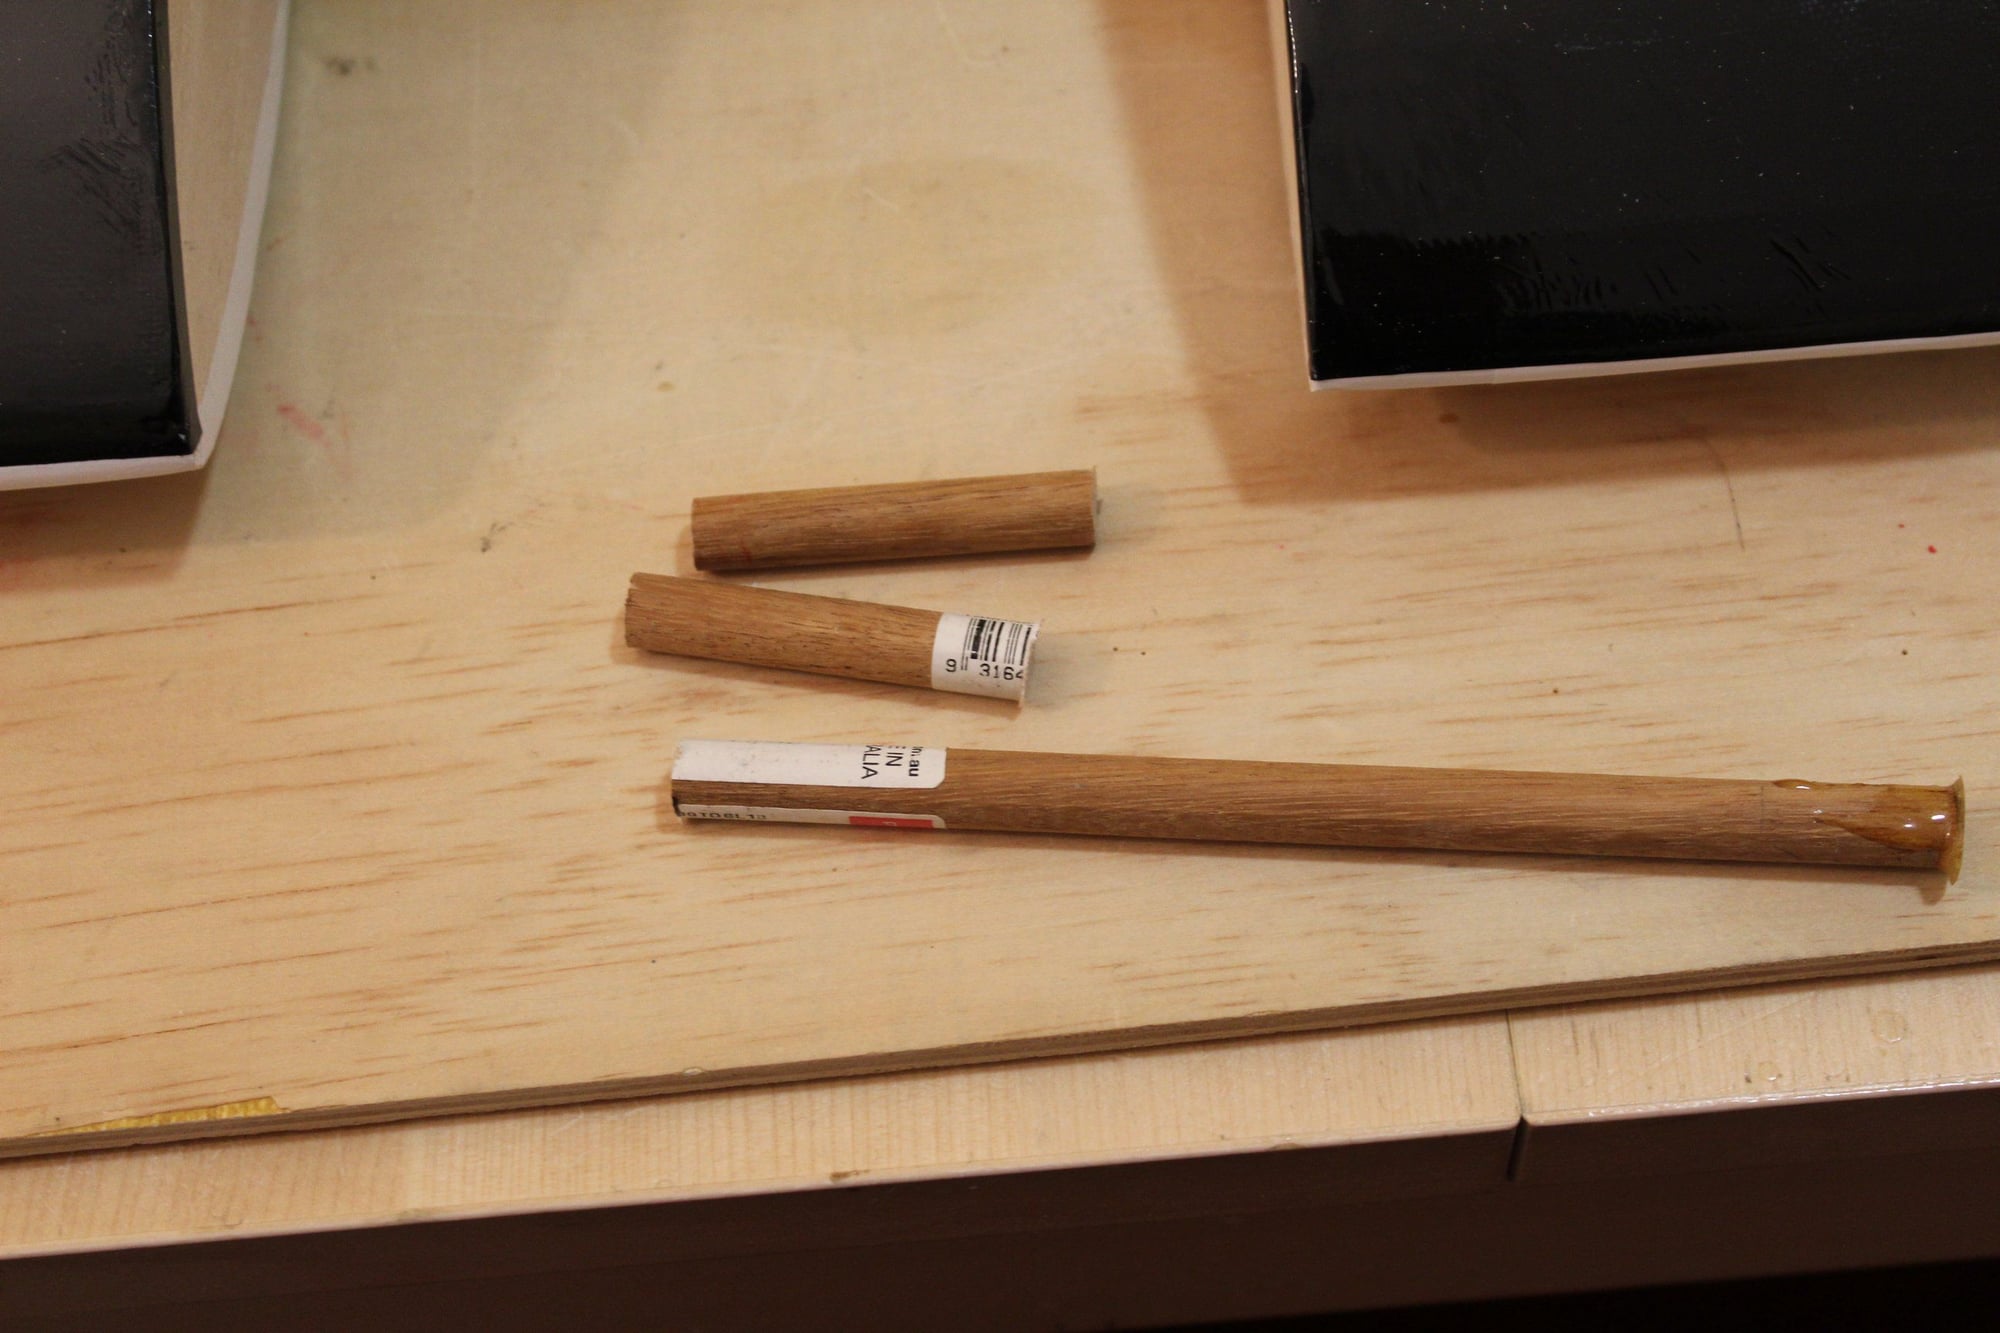
Drilling the front canopy bulkheads to accept future dowels and the Firewall to accept the DL 50 stand offs (the current candidate to power this aeroplane). The holes pattern is identical to the DLE 55 in case I will need more power in the future.
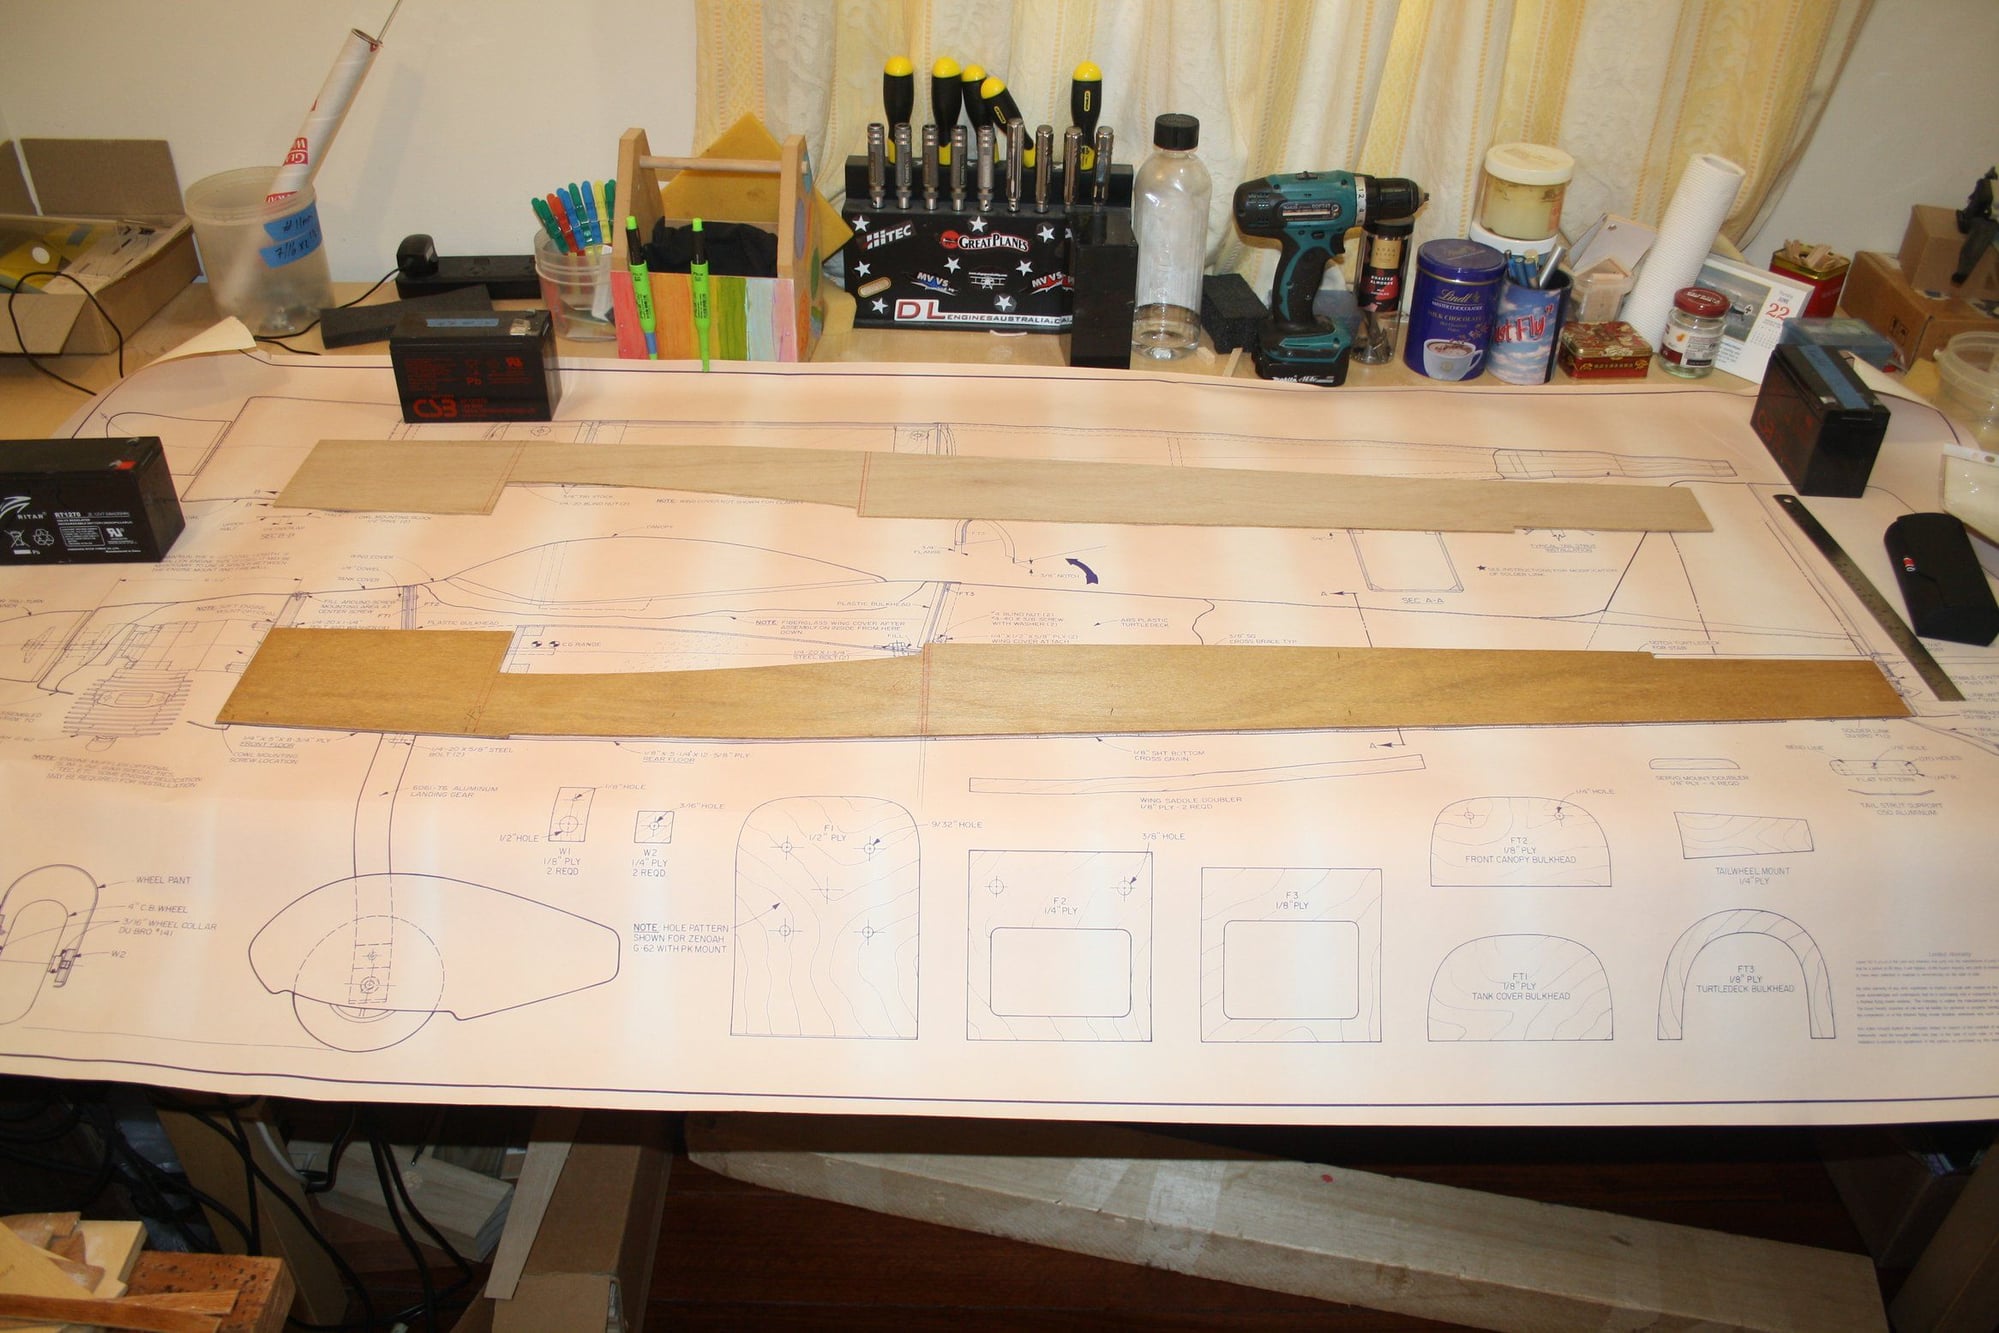
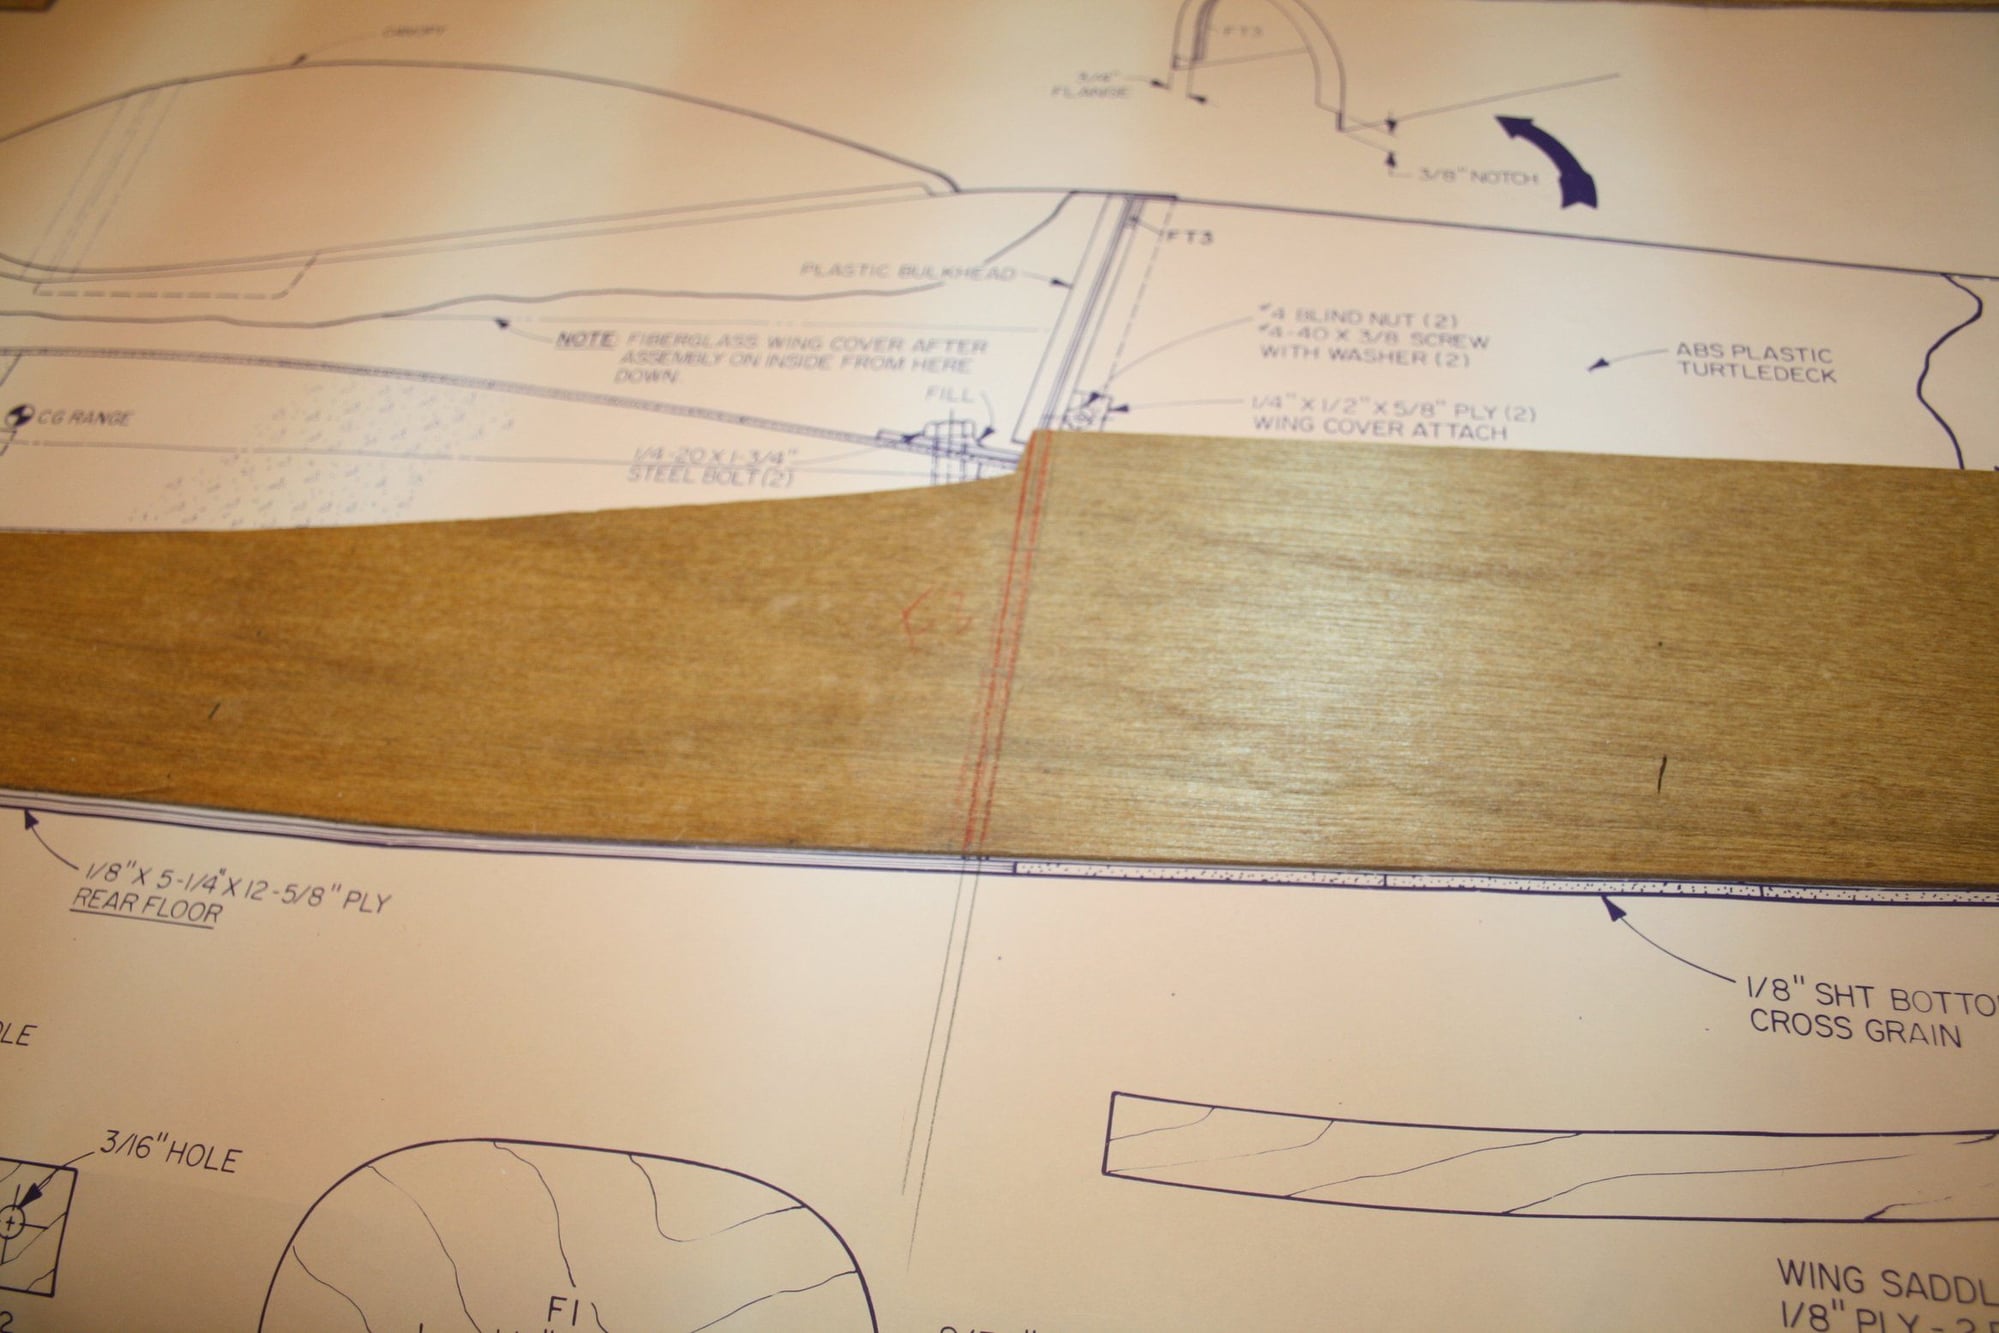
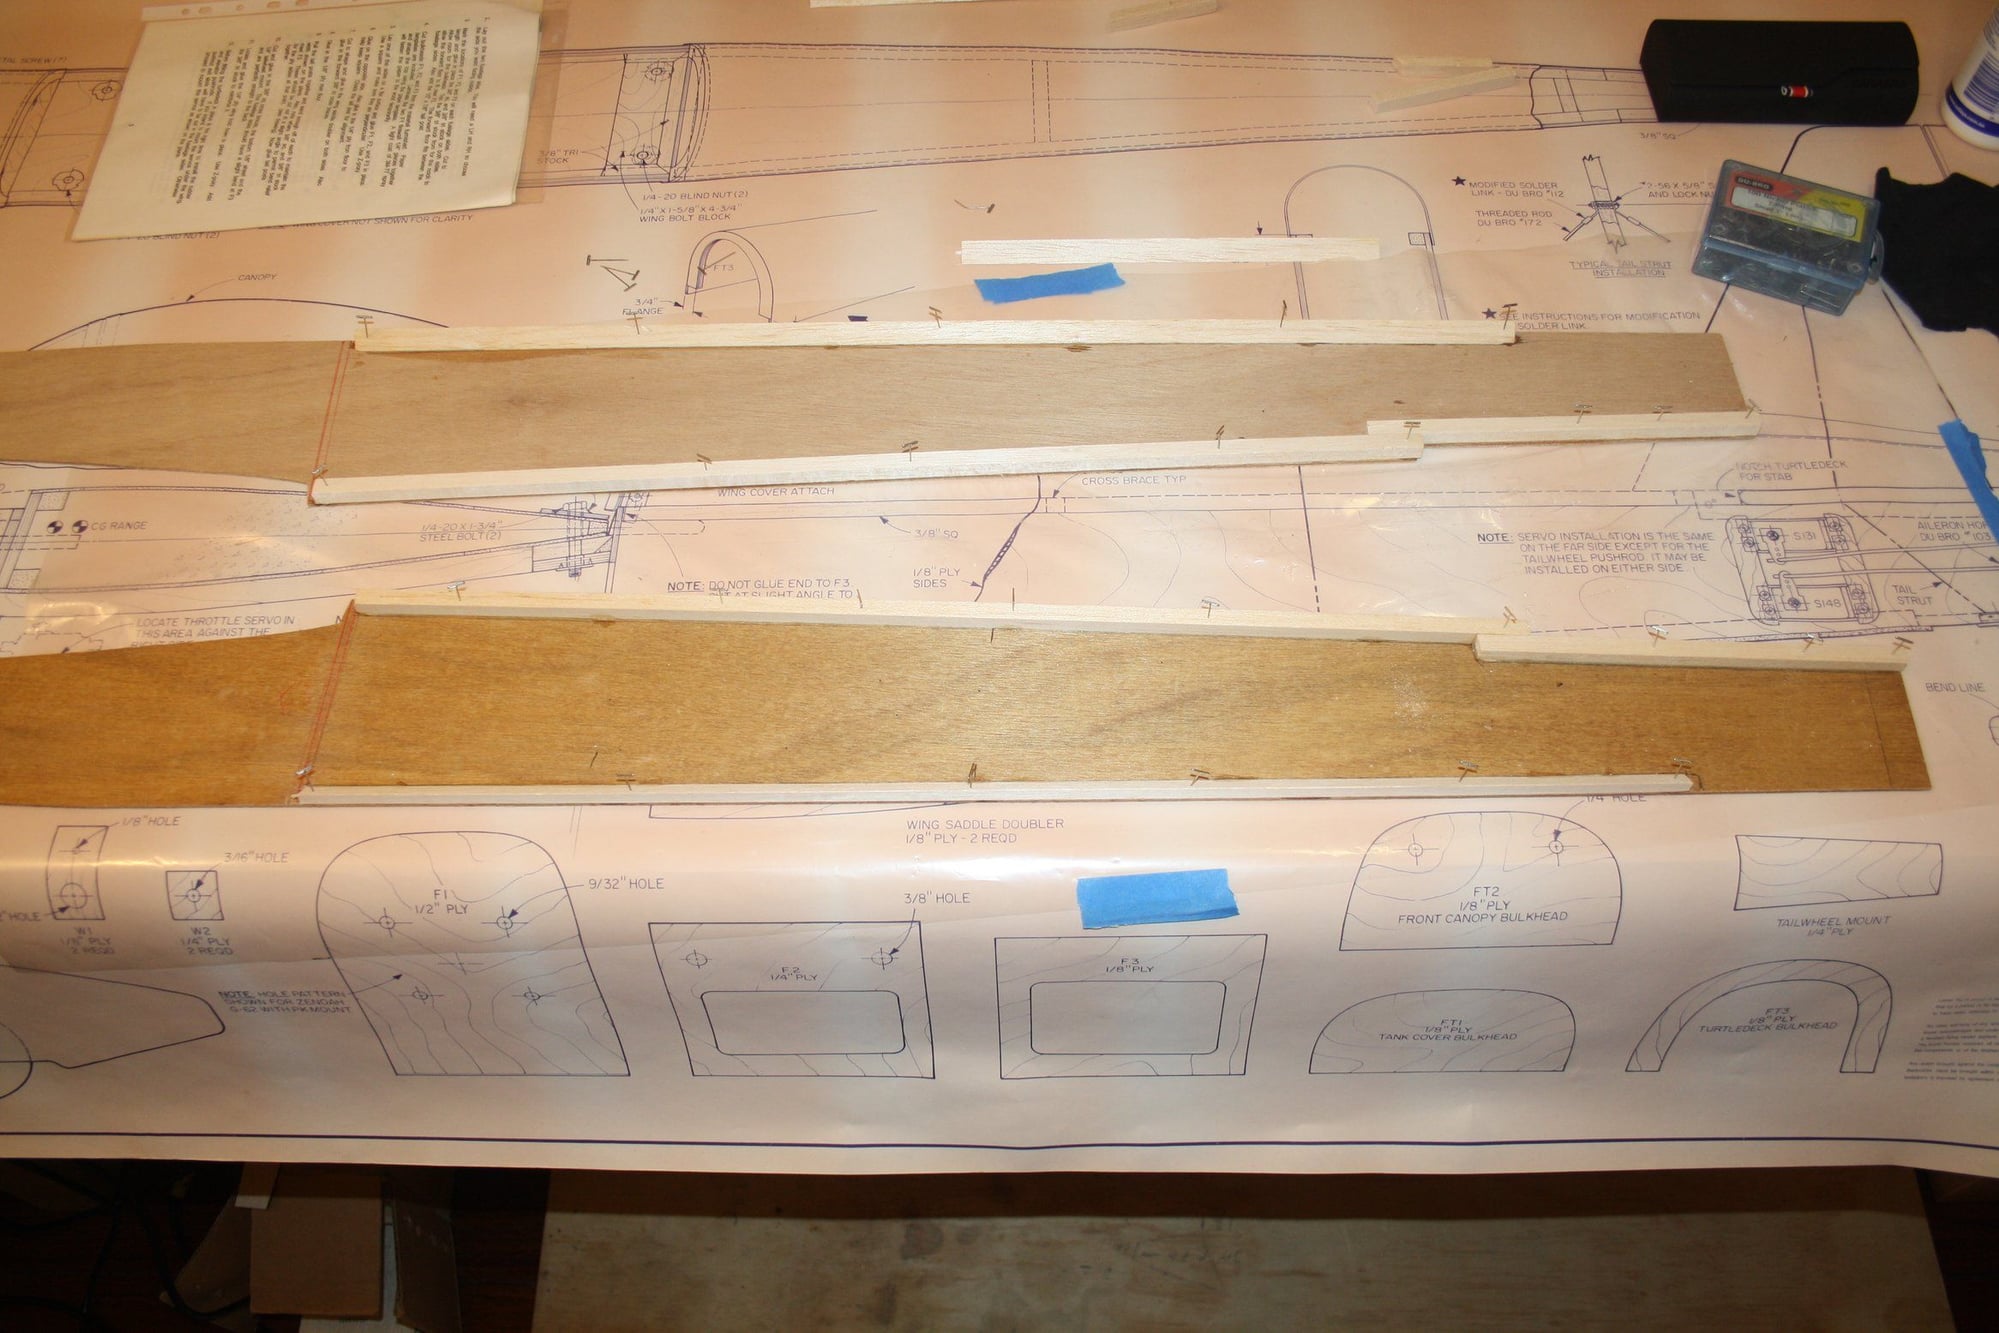
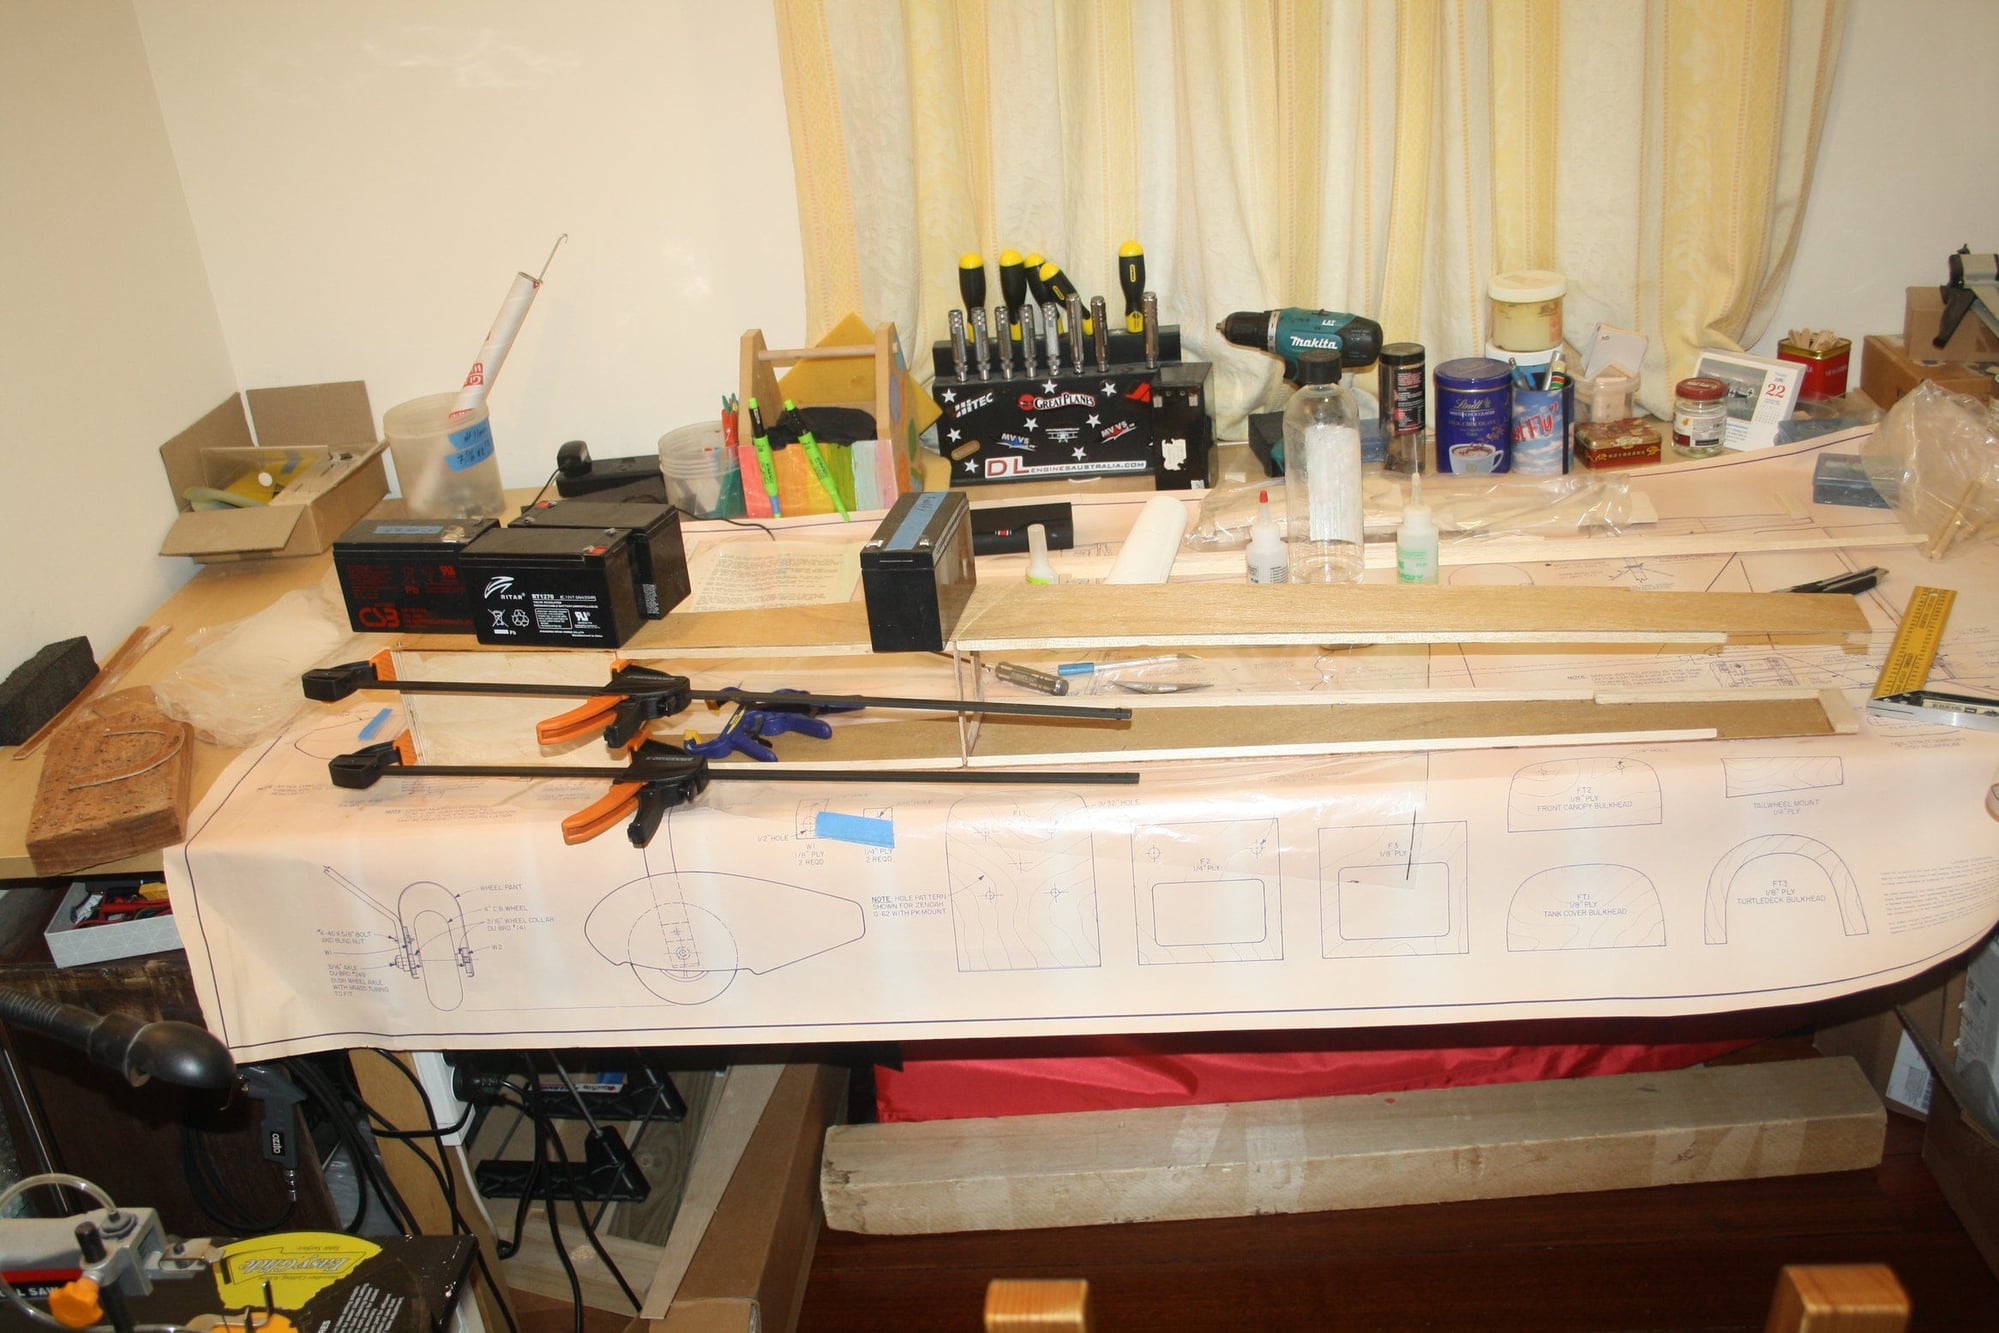
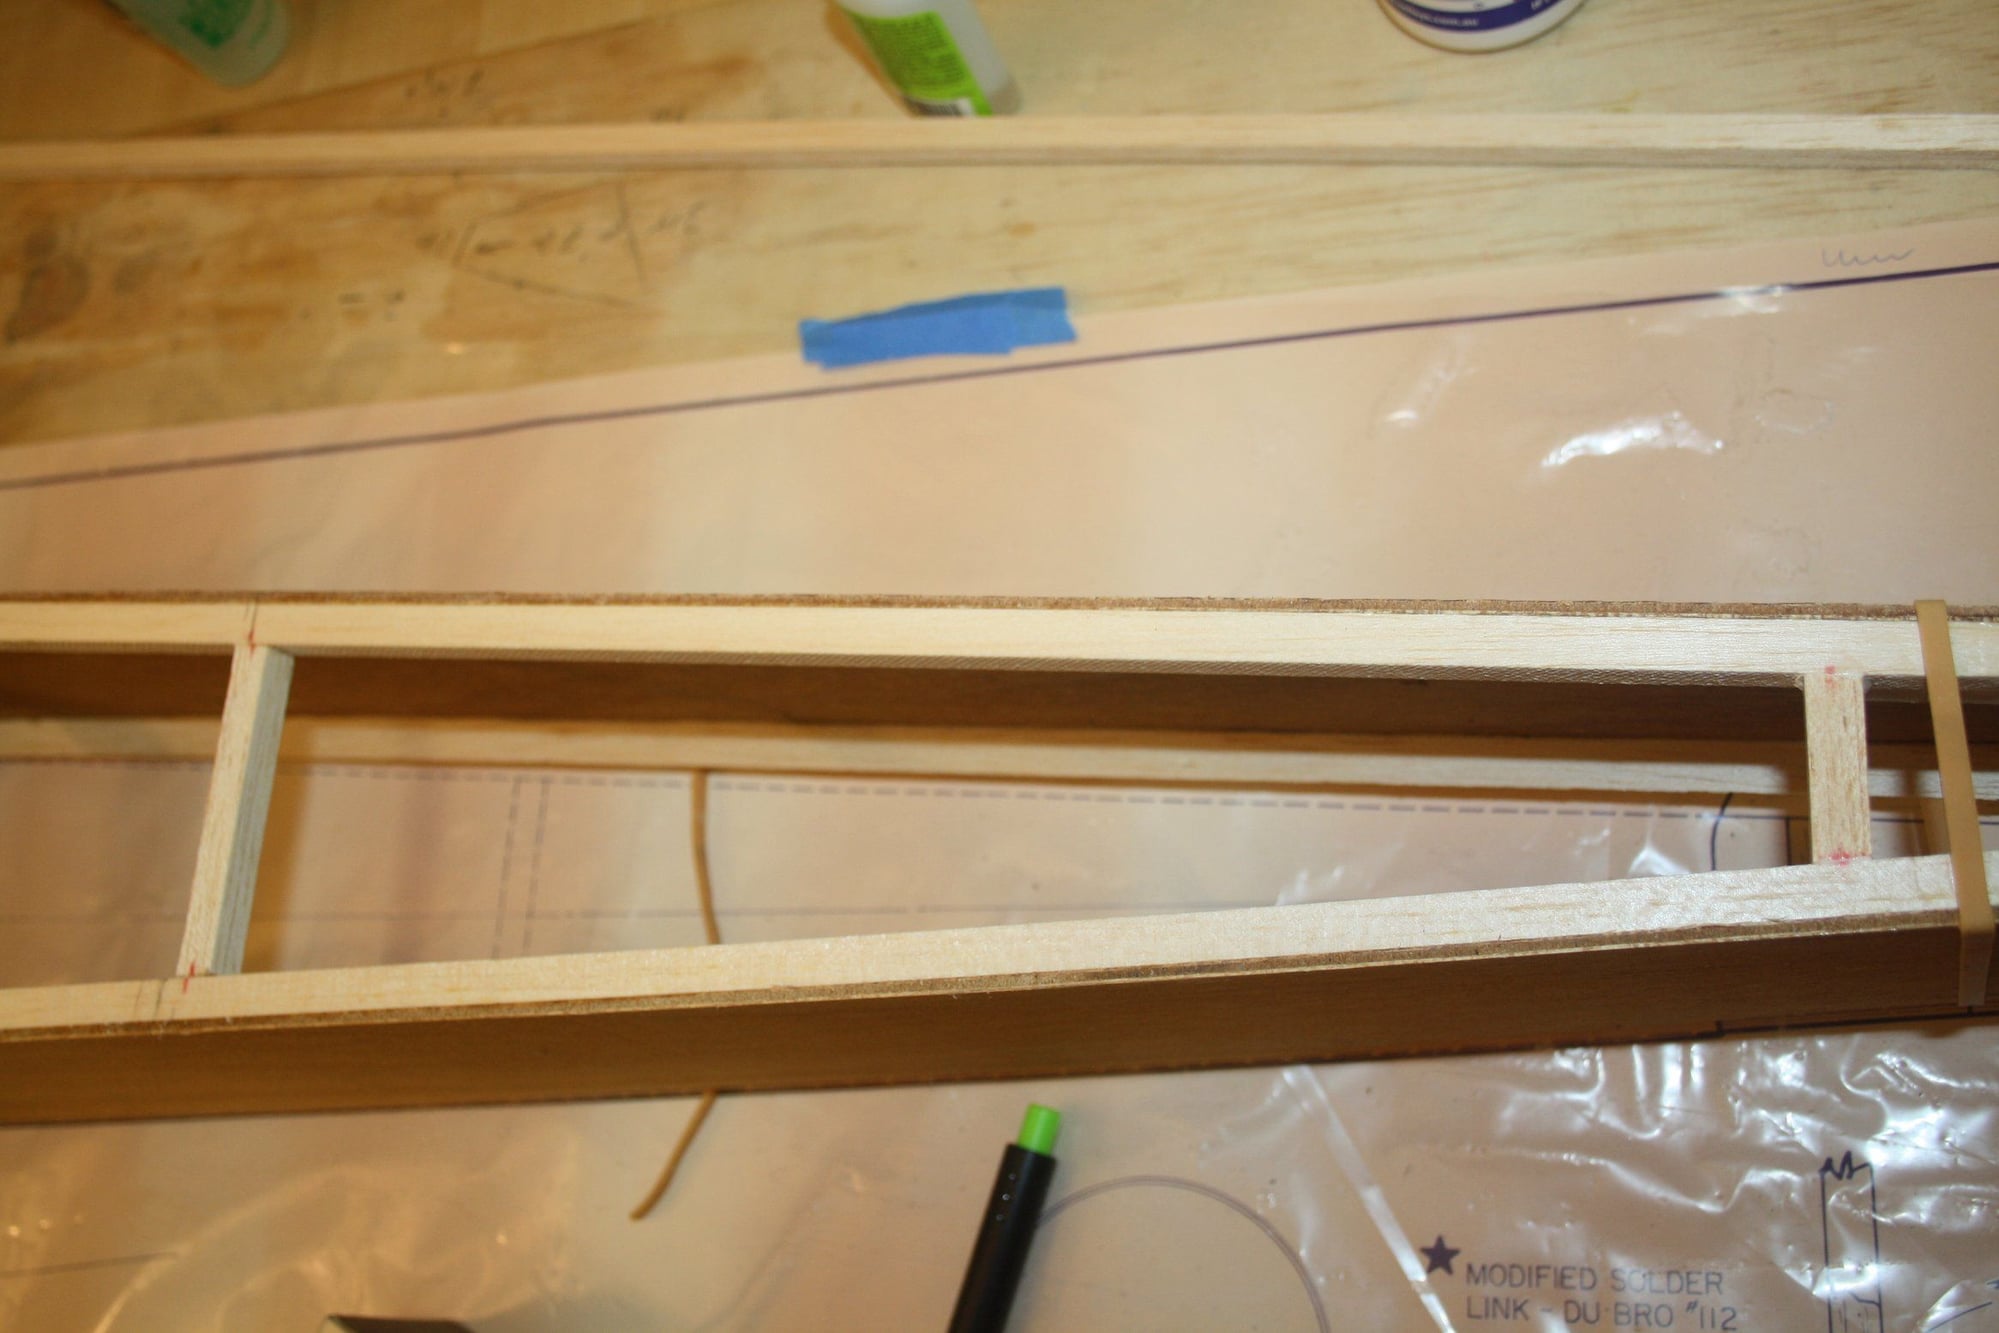
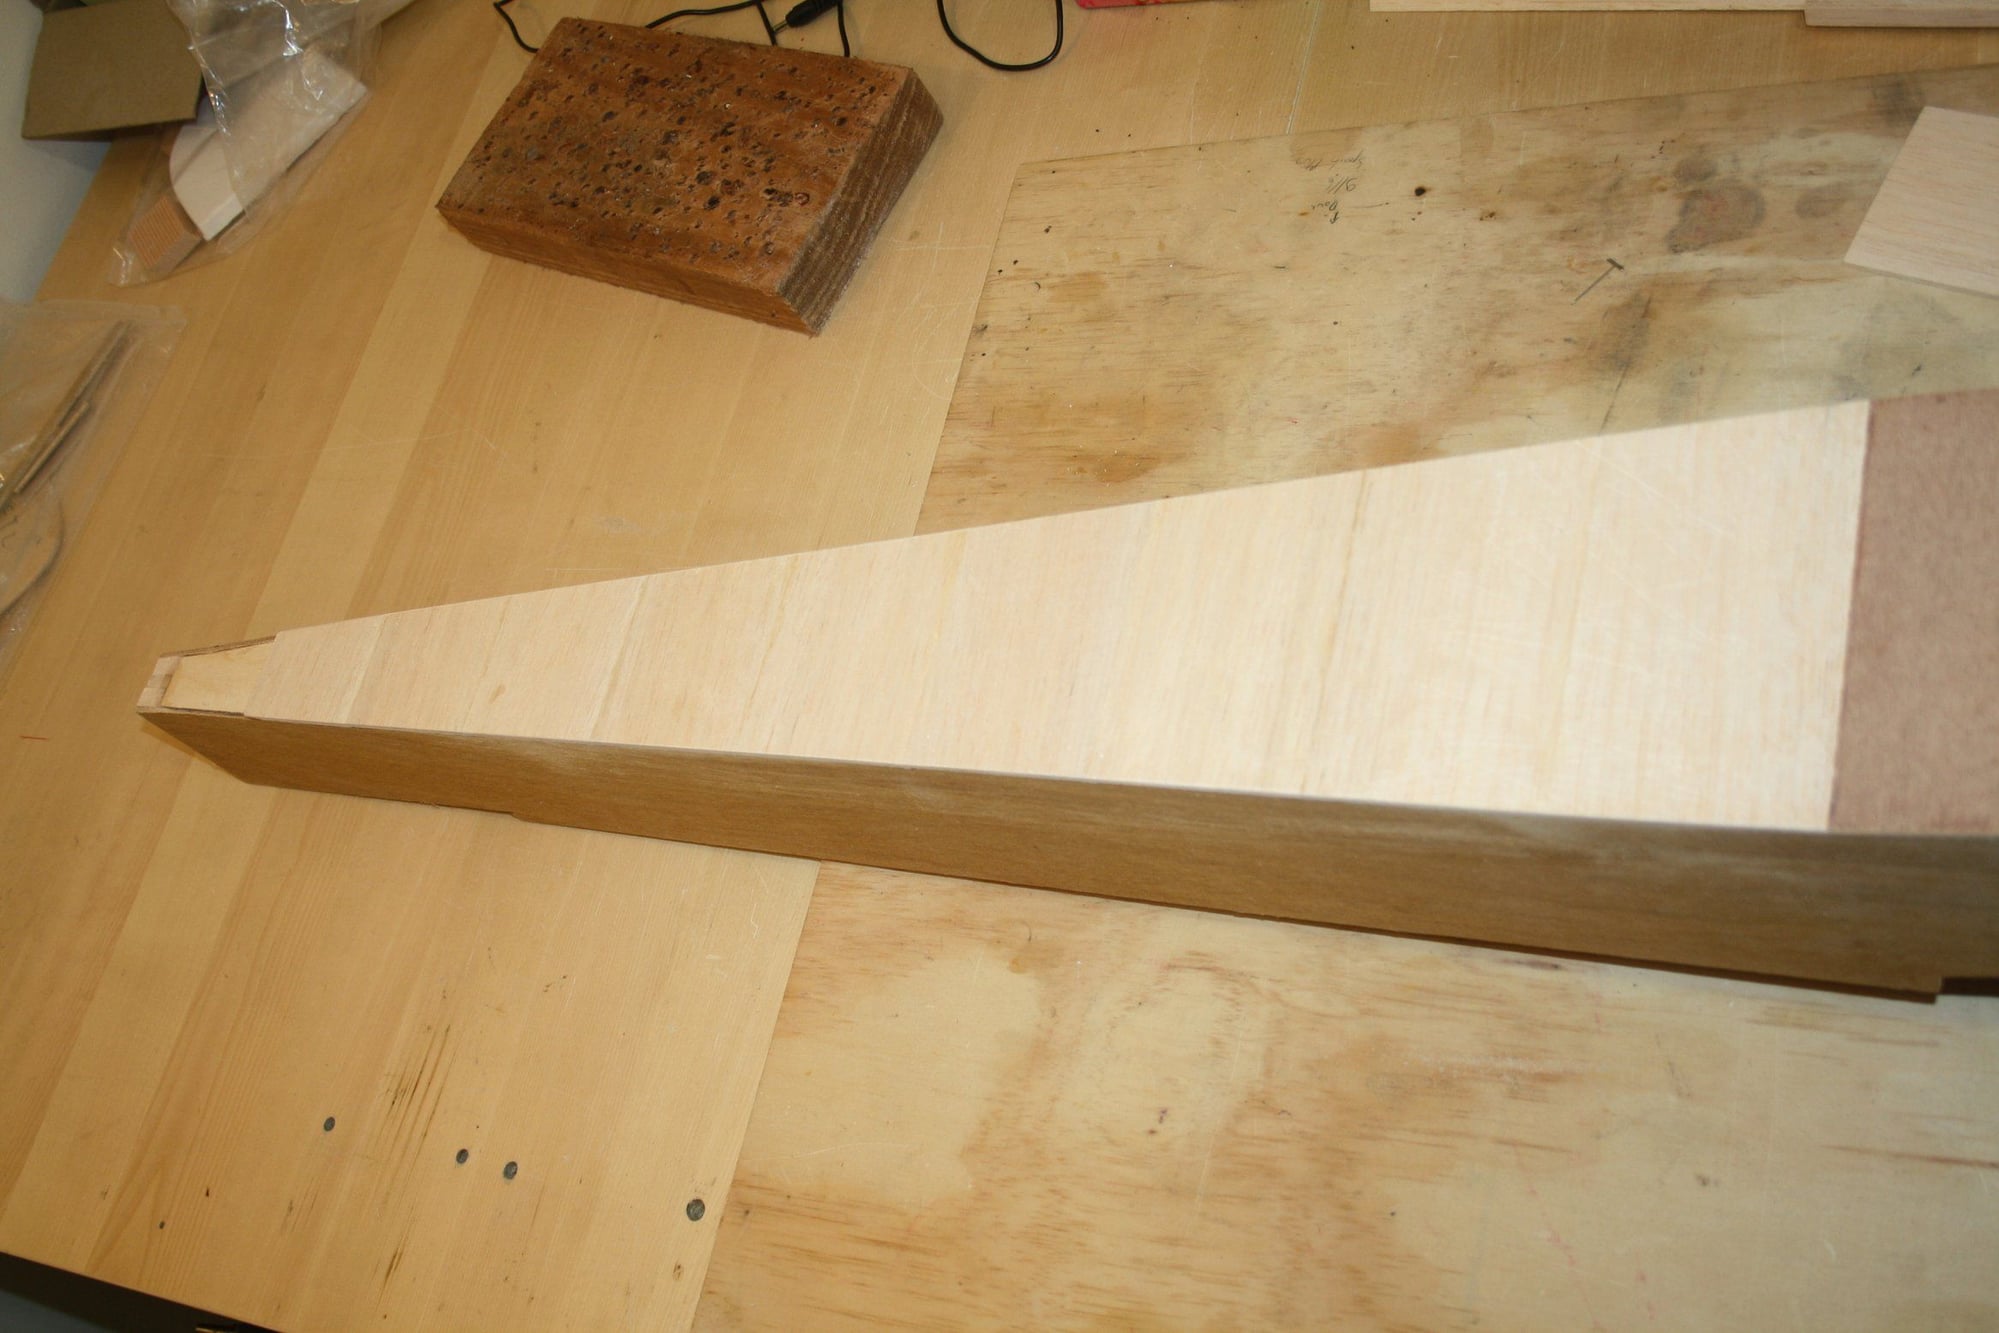
Work started on the fuselage sides (the supplied parts are shorter then what is shown on the drawings), marking the former location and gluing triangle strips.
Cheers,
Eran
Work started on the fuselage sides (the supplied parts are shorter then what is shown on the drawings), marking the former location and gluing triangle strips.
Cheers,
Eran
12-15-2023, 02:07 PM
#58
My Feedback: (19)
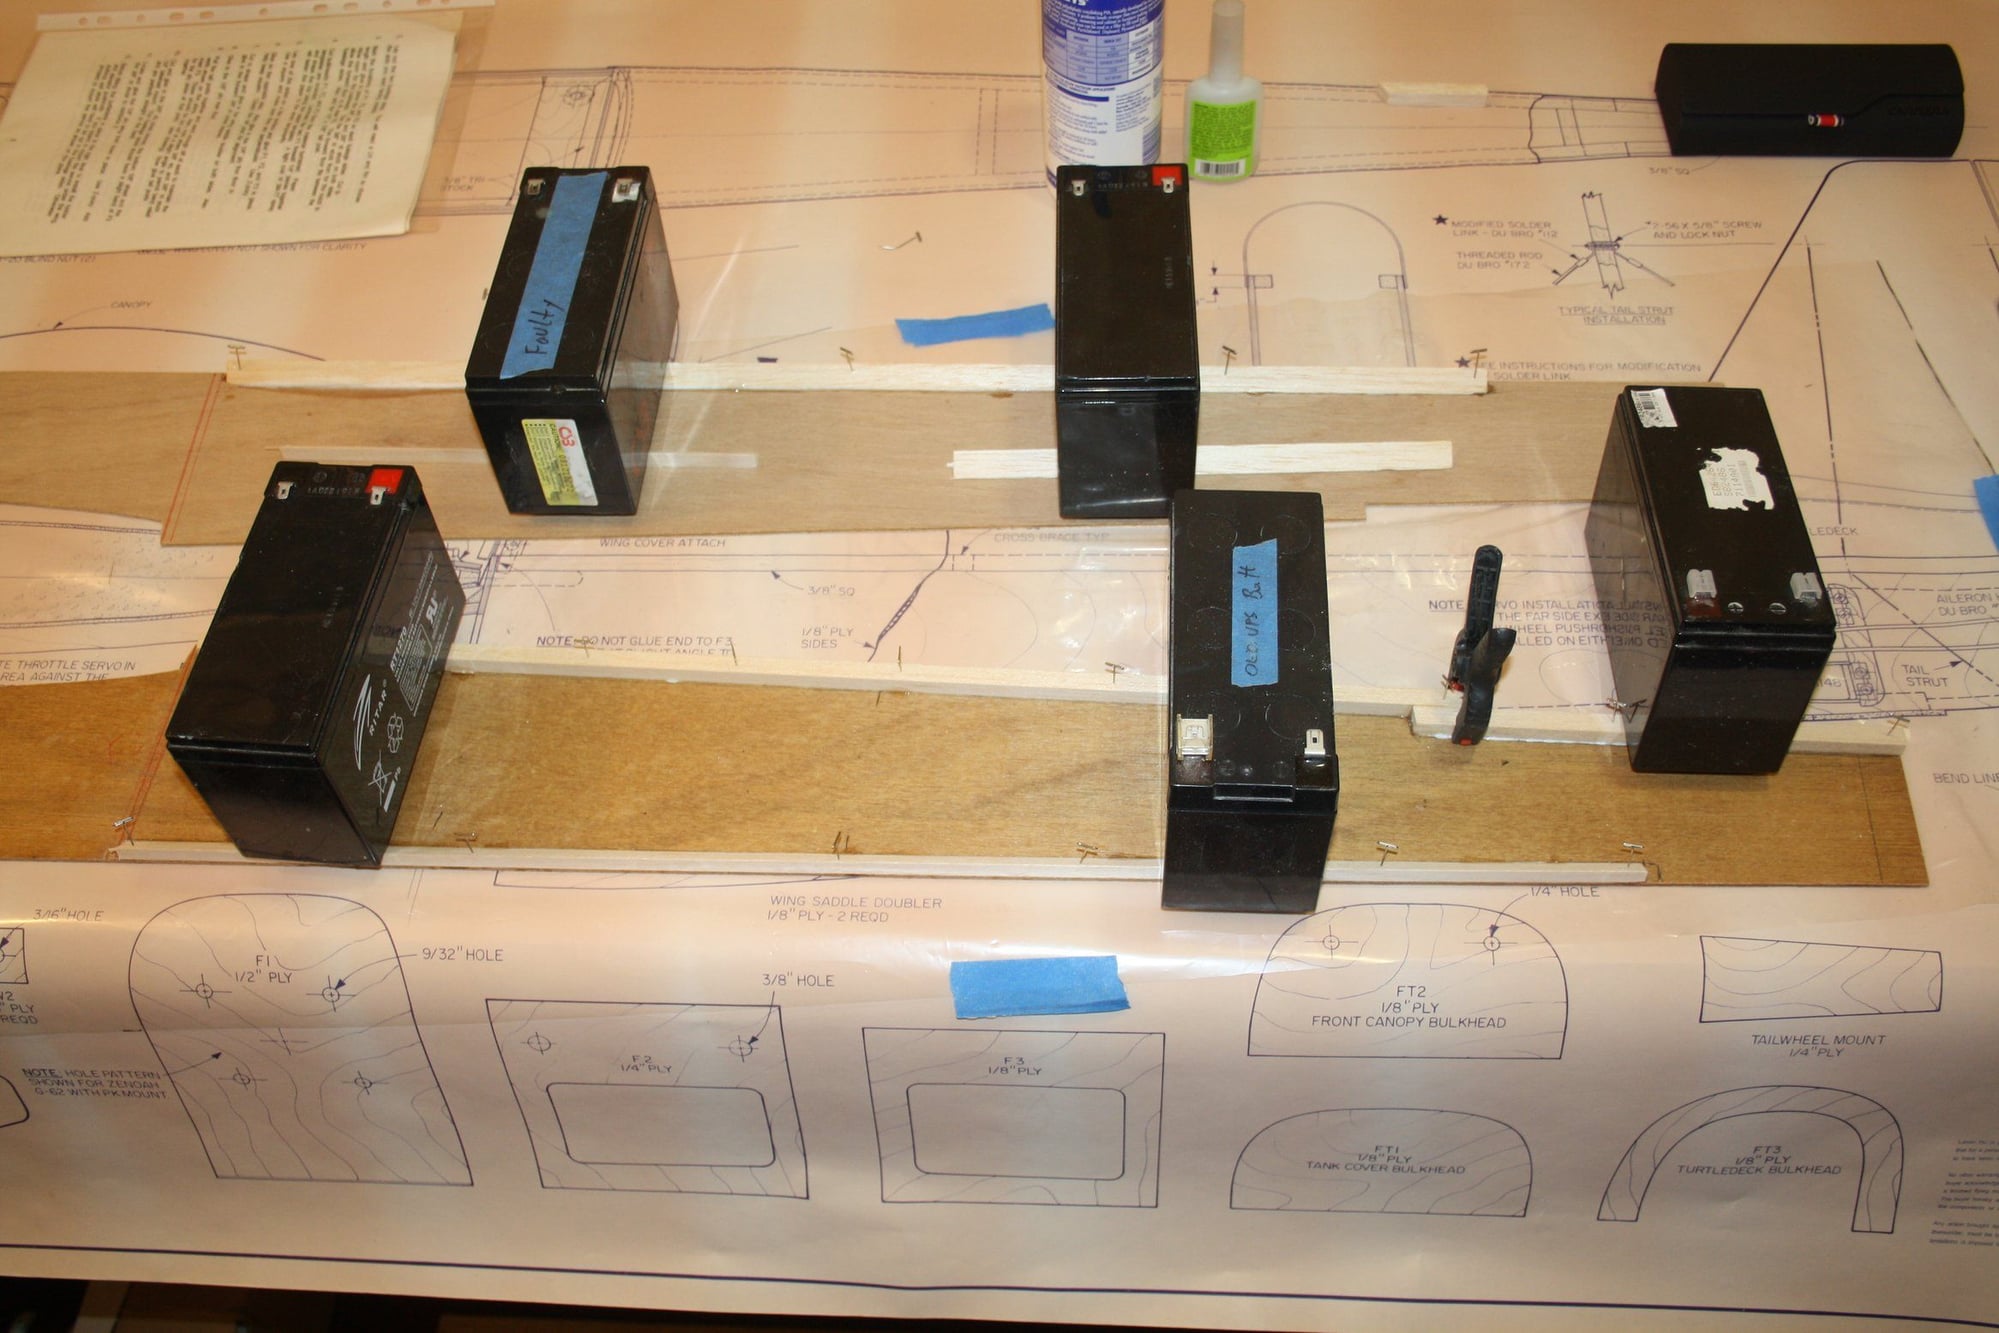
You may want to lighten the fuselage sides some behind the wing. You'll probably have less engine weight up front than when that plane was designed. The combination of the heavy mahogany plywood sides and plastic deck will probably create a tail heavy plane. Even back in the day, these planes tended to get tail heavy with the much heavier mag and flywheel equipped engines common then.
12-15-2023, 03:23 PM
#59
Thread Starter
Trackracer - Thank you for the advice. I am planning on having the rudder servo in a pull-pull setup under the wing and am planning to not use the ABS plastic deck piece going to the tail (it will be build up balsa). These two modifications will eliminate some weight in the tail. I will have the servo tray in the fuselage ready to accept the elevator servos in case it is needed (which is what marked on the plans for lighter engines).
Cheers,
Eran
Cheers,
Eran
12-22-2023, 02:15 PM
#60
Thread Starter
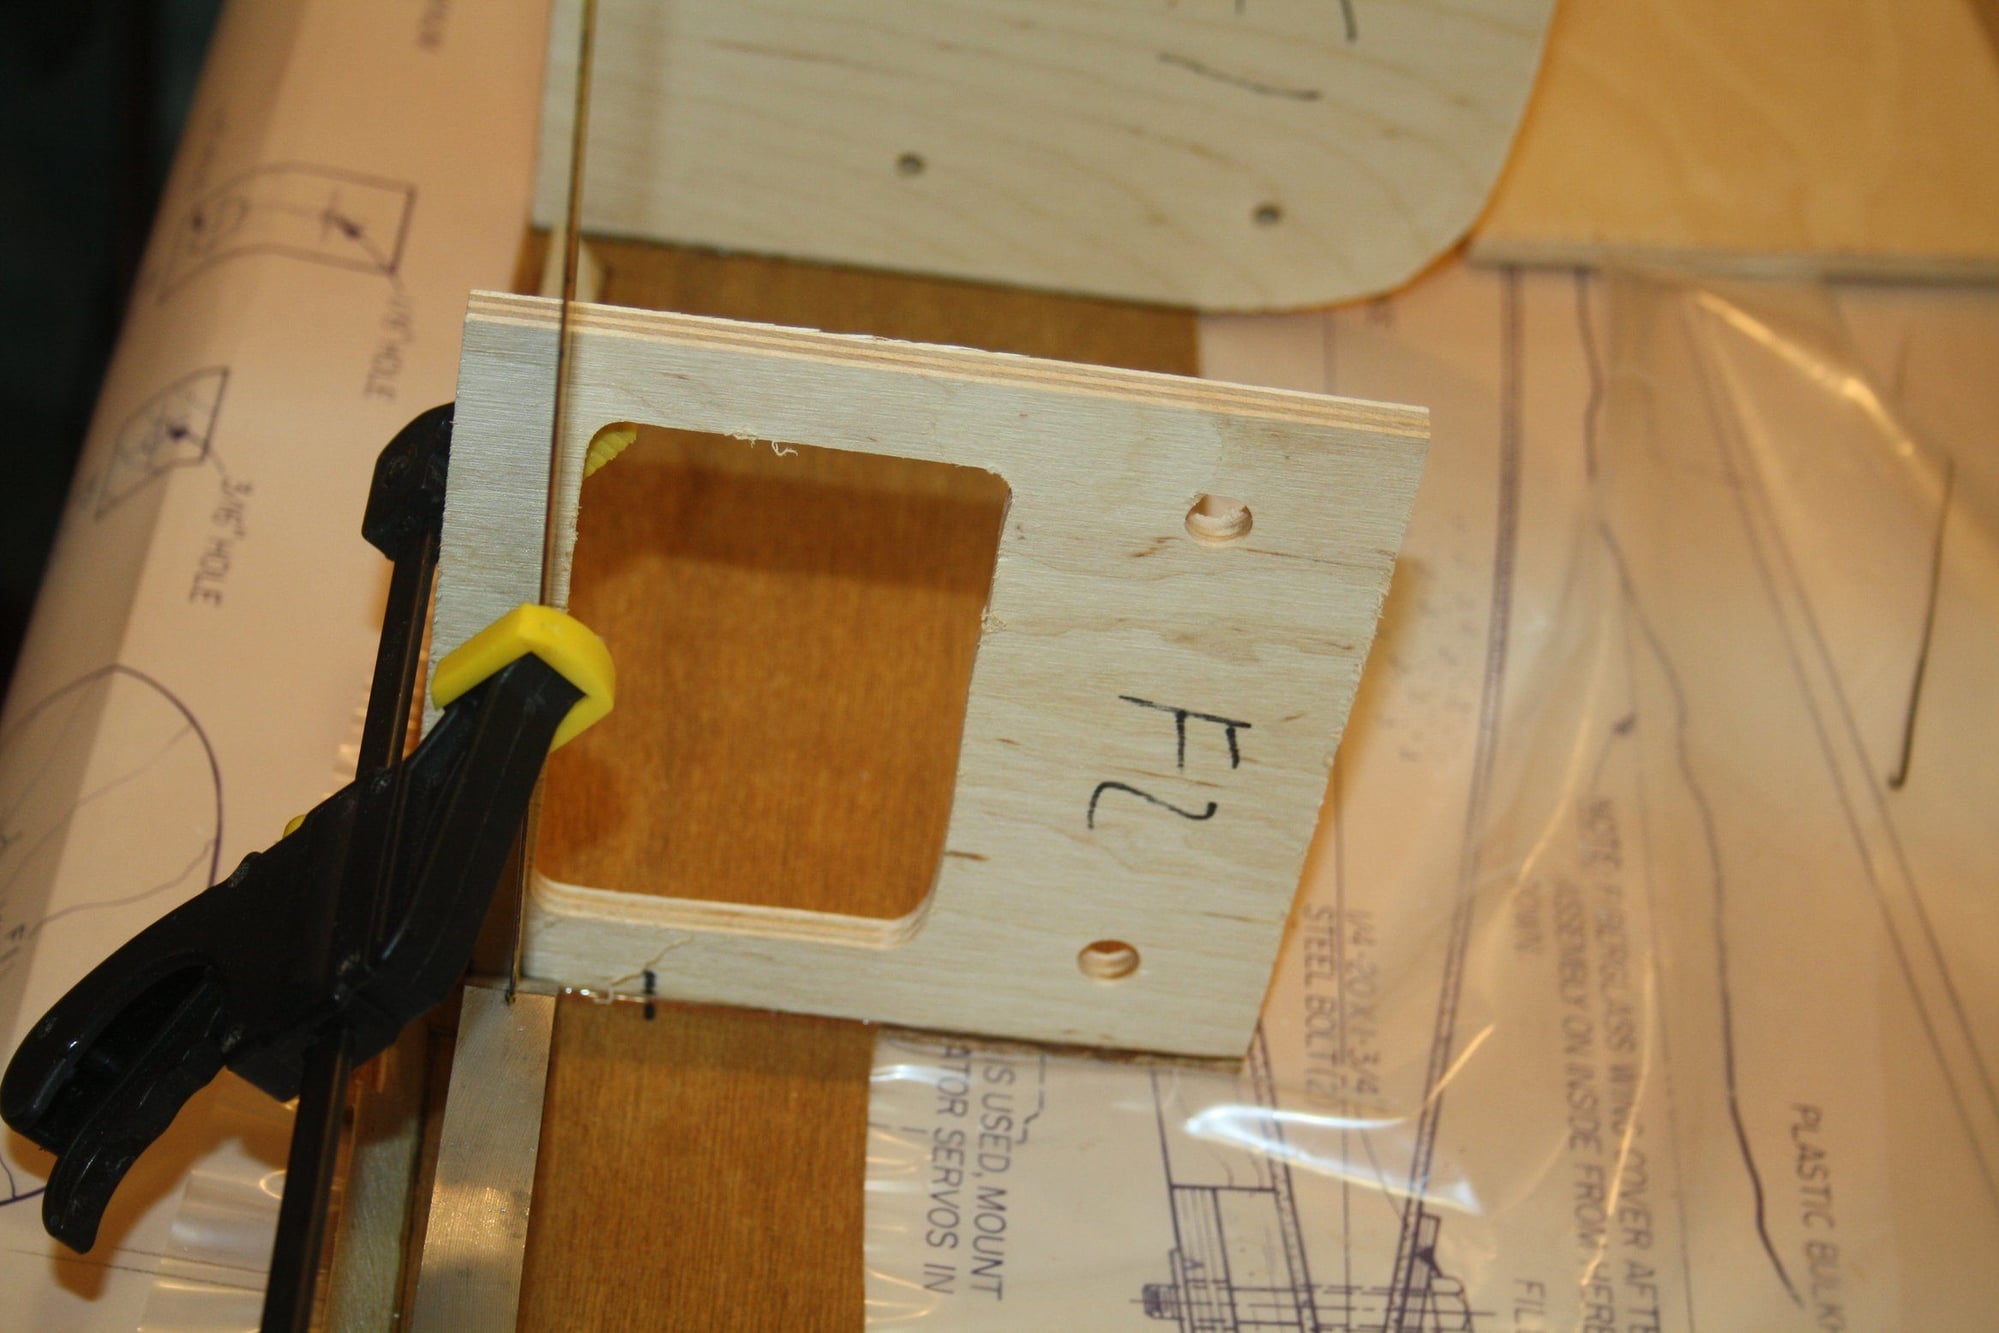
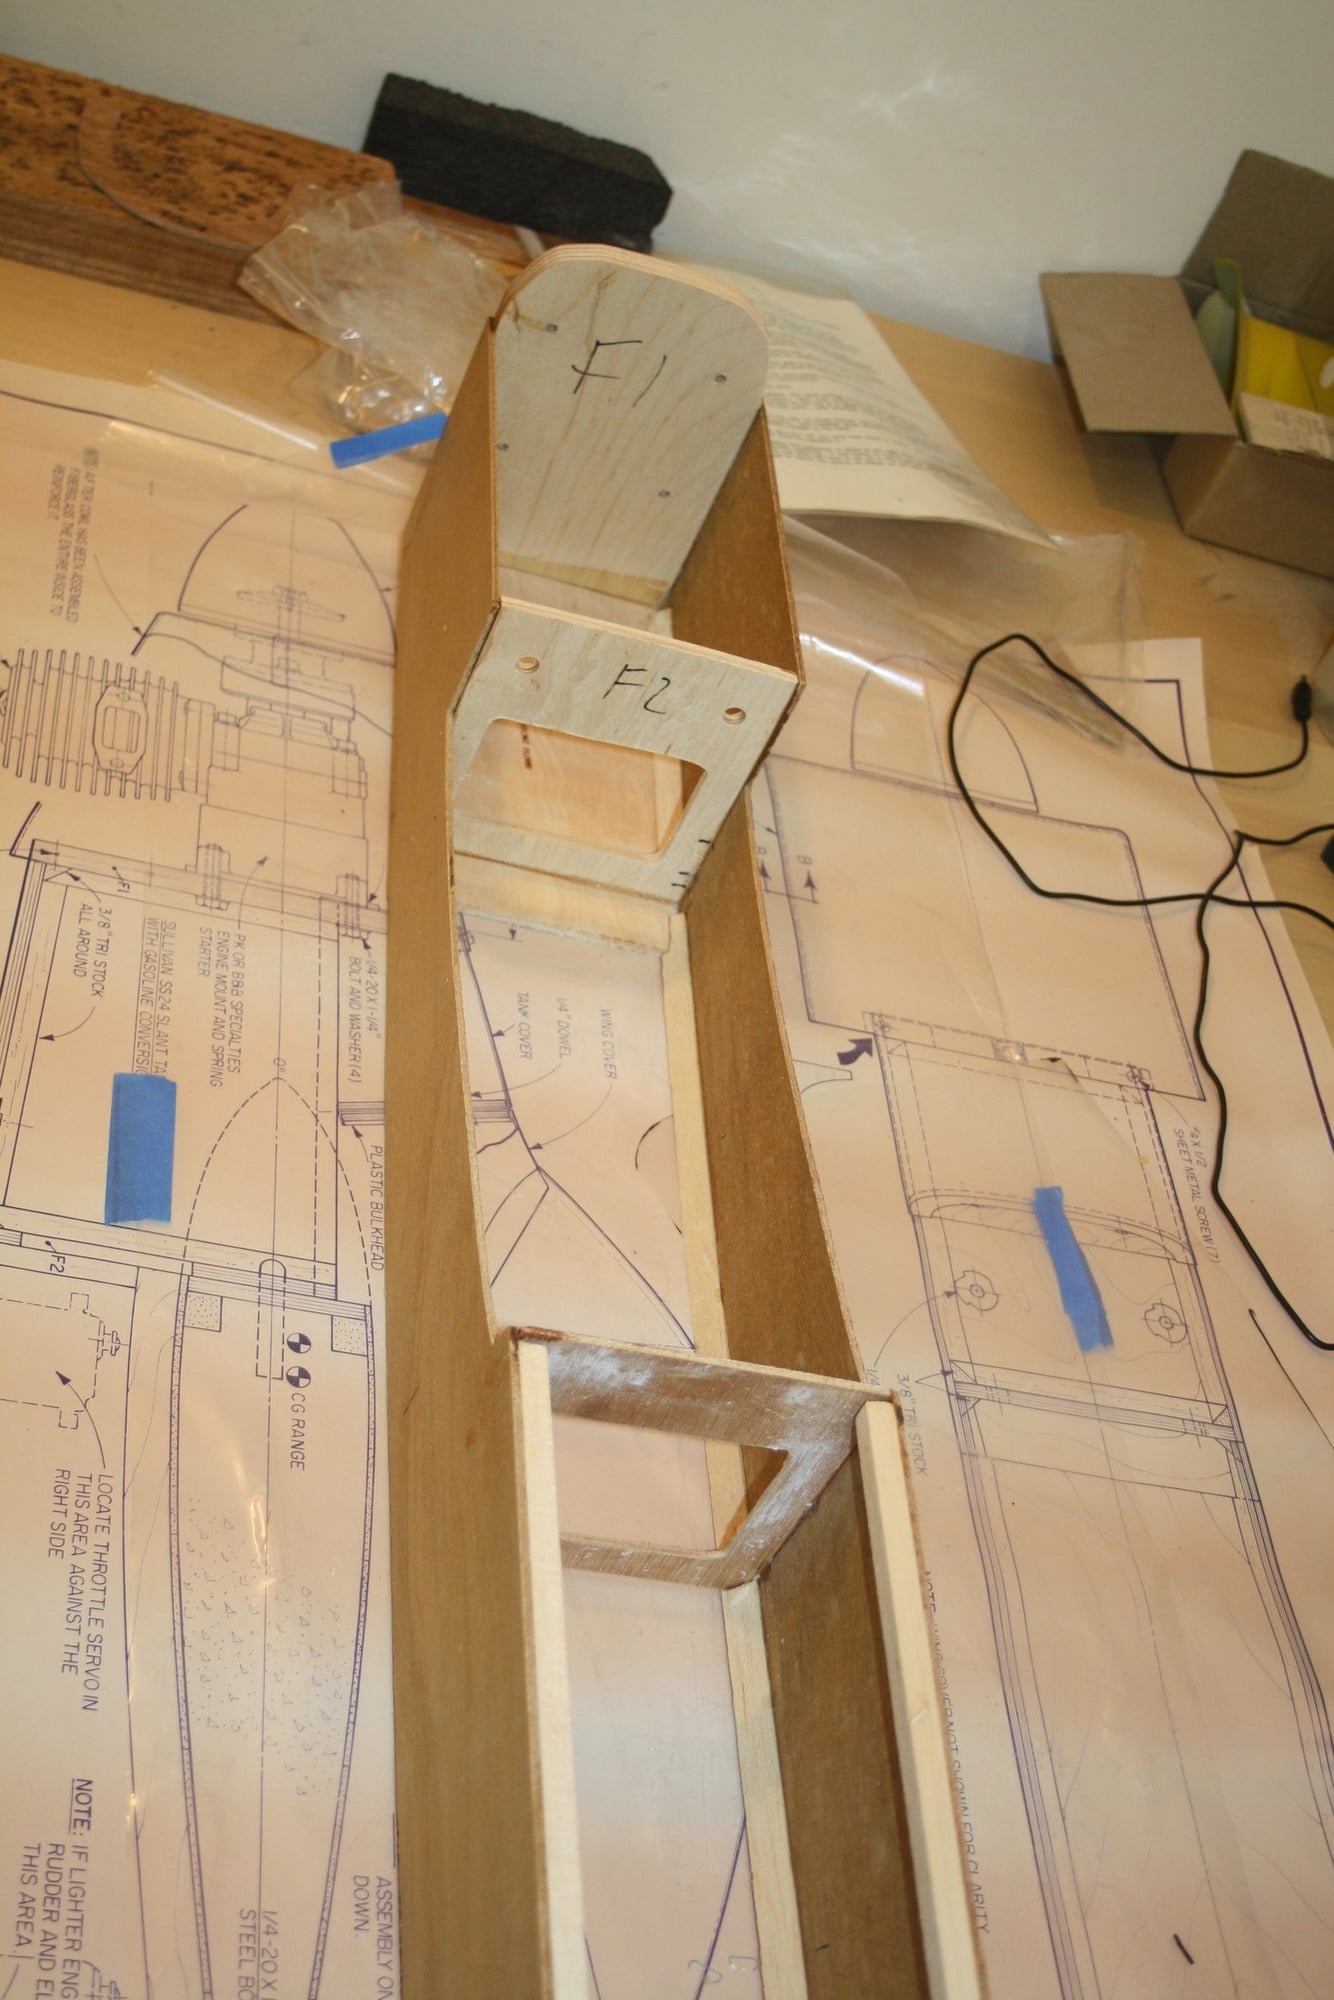
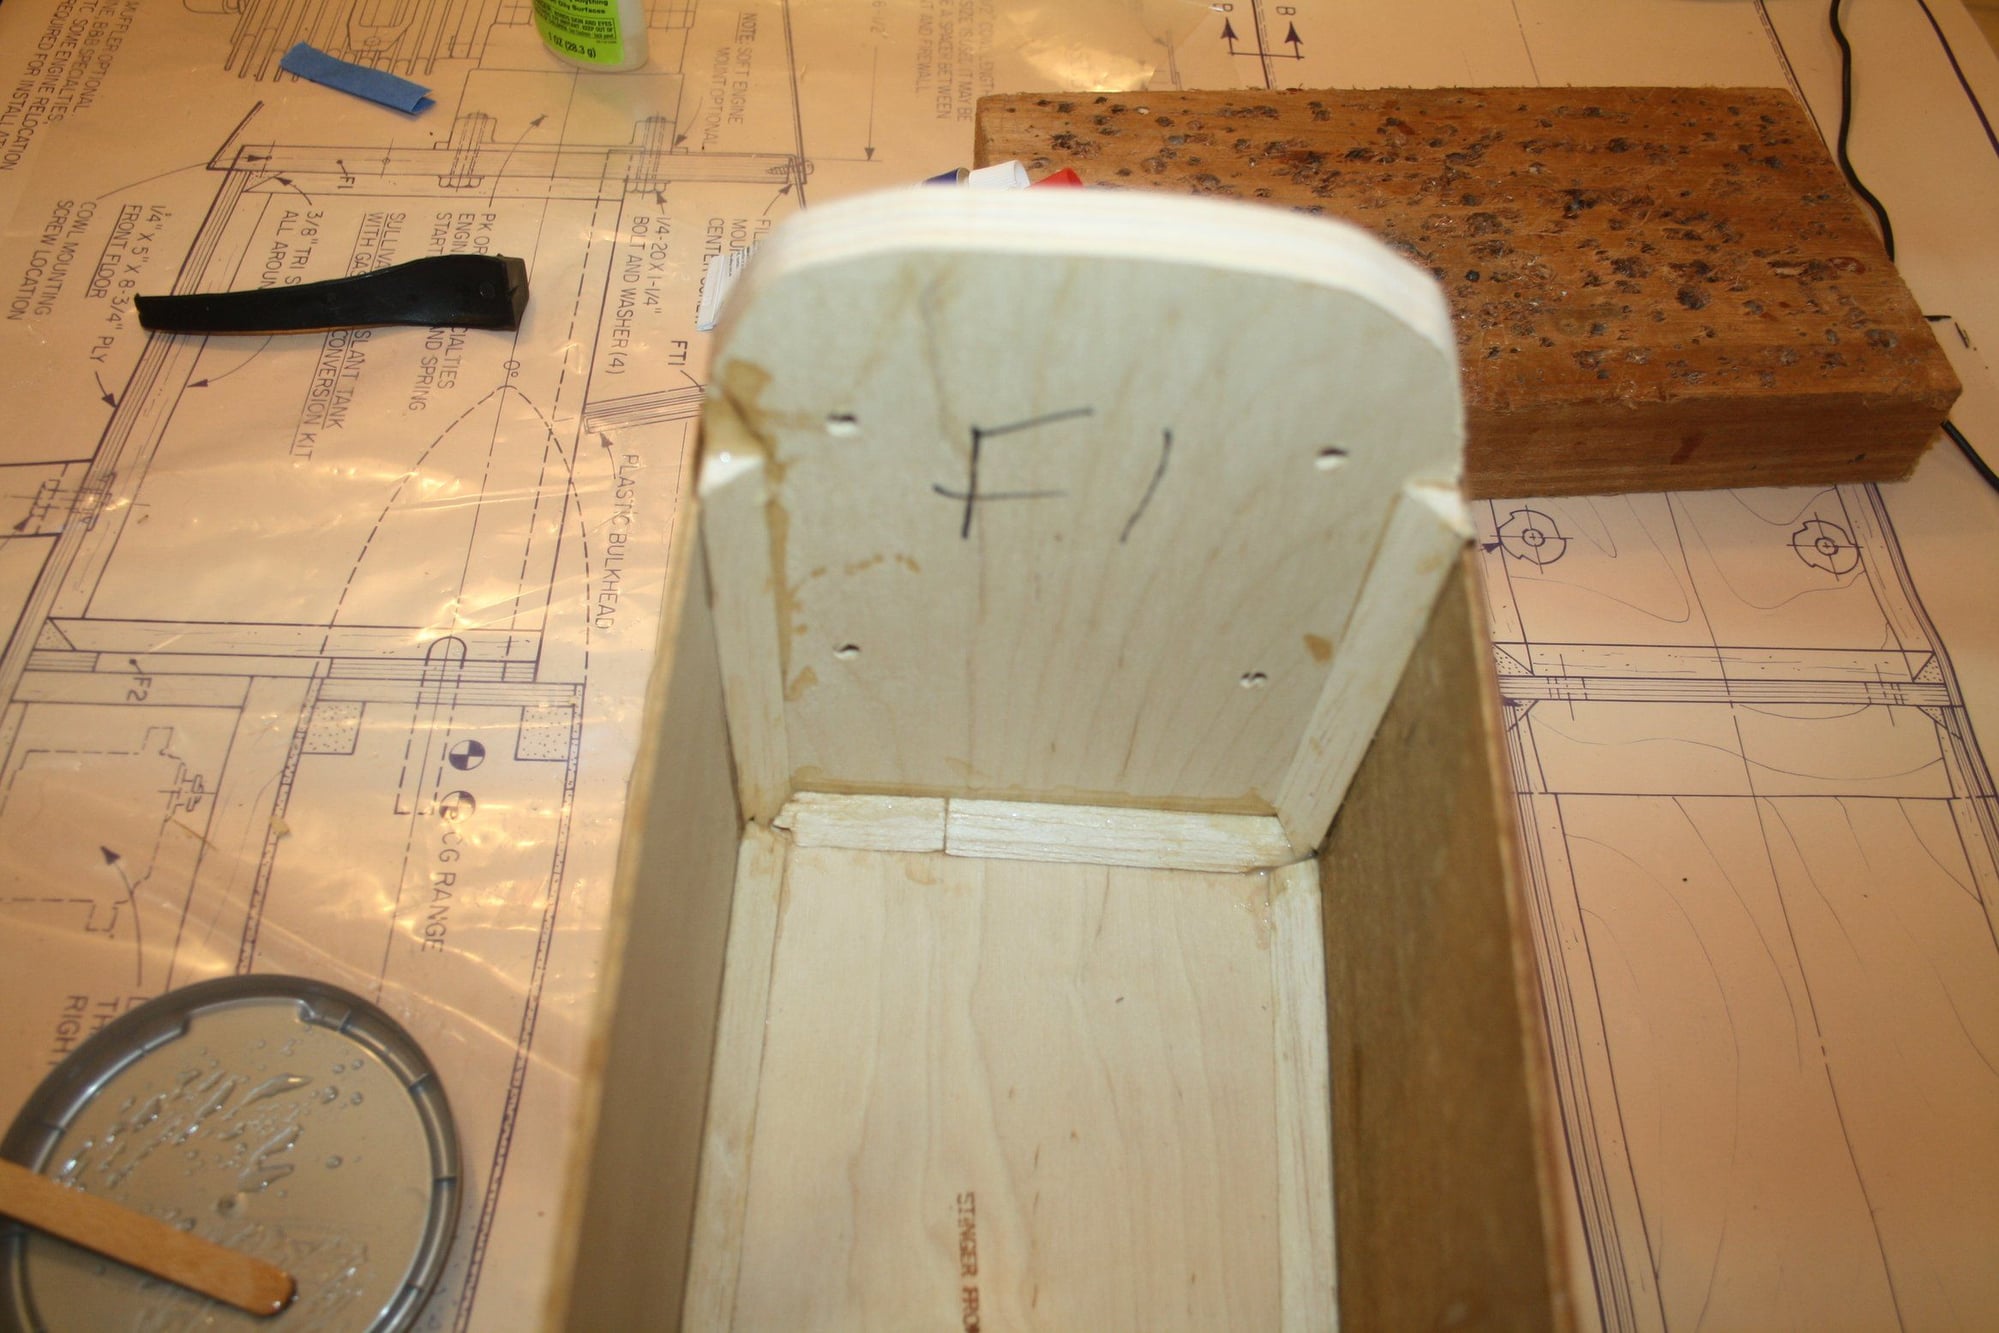
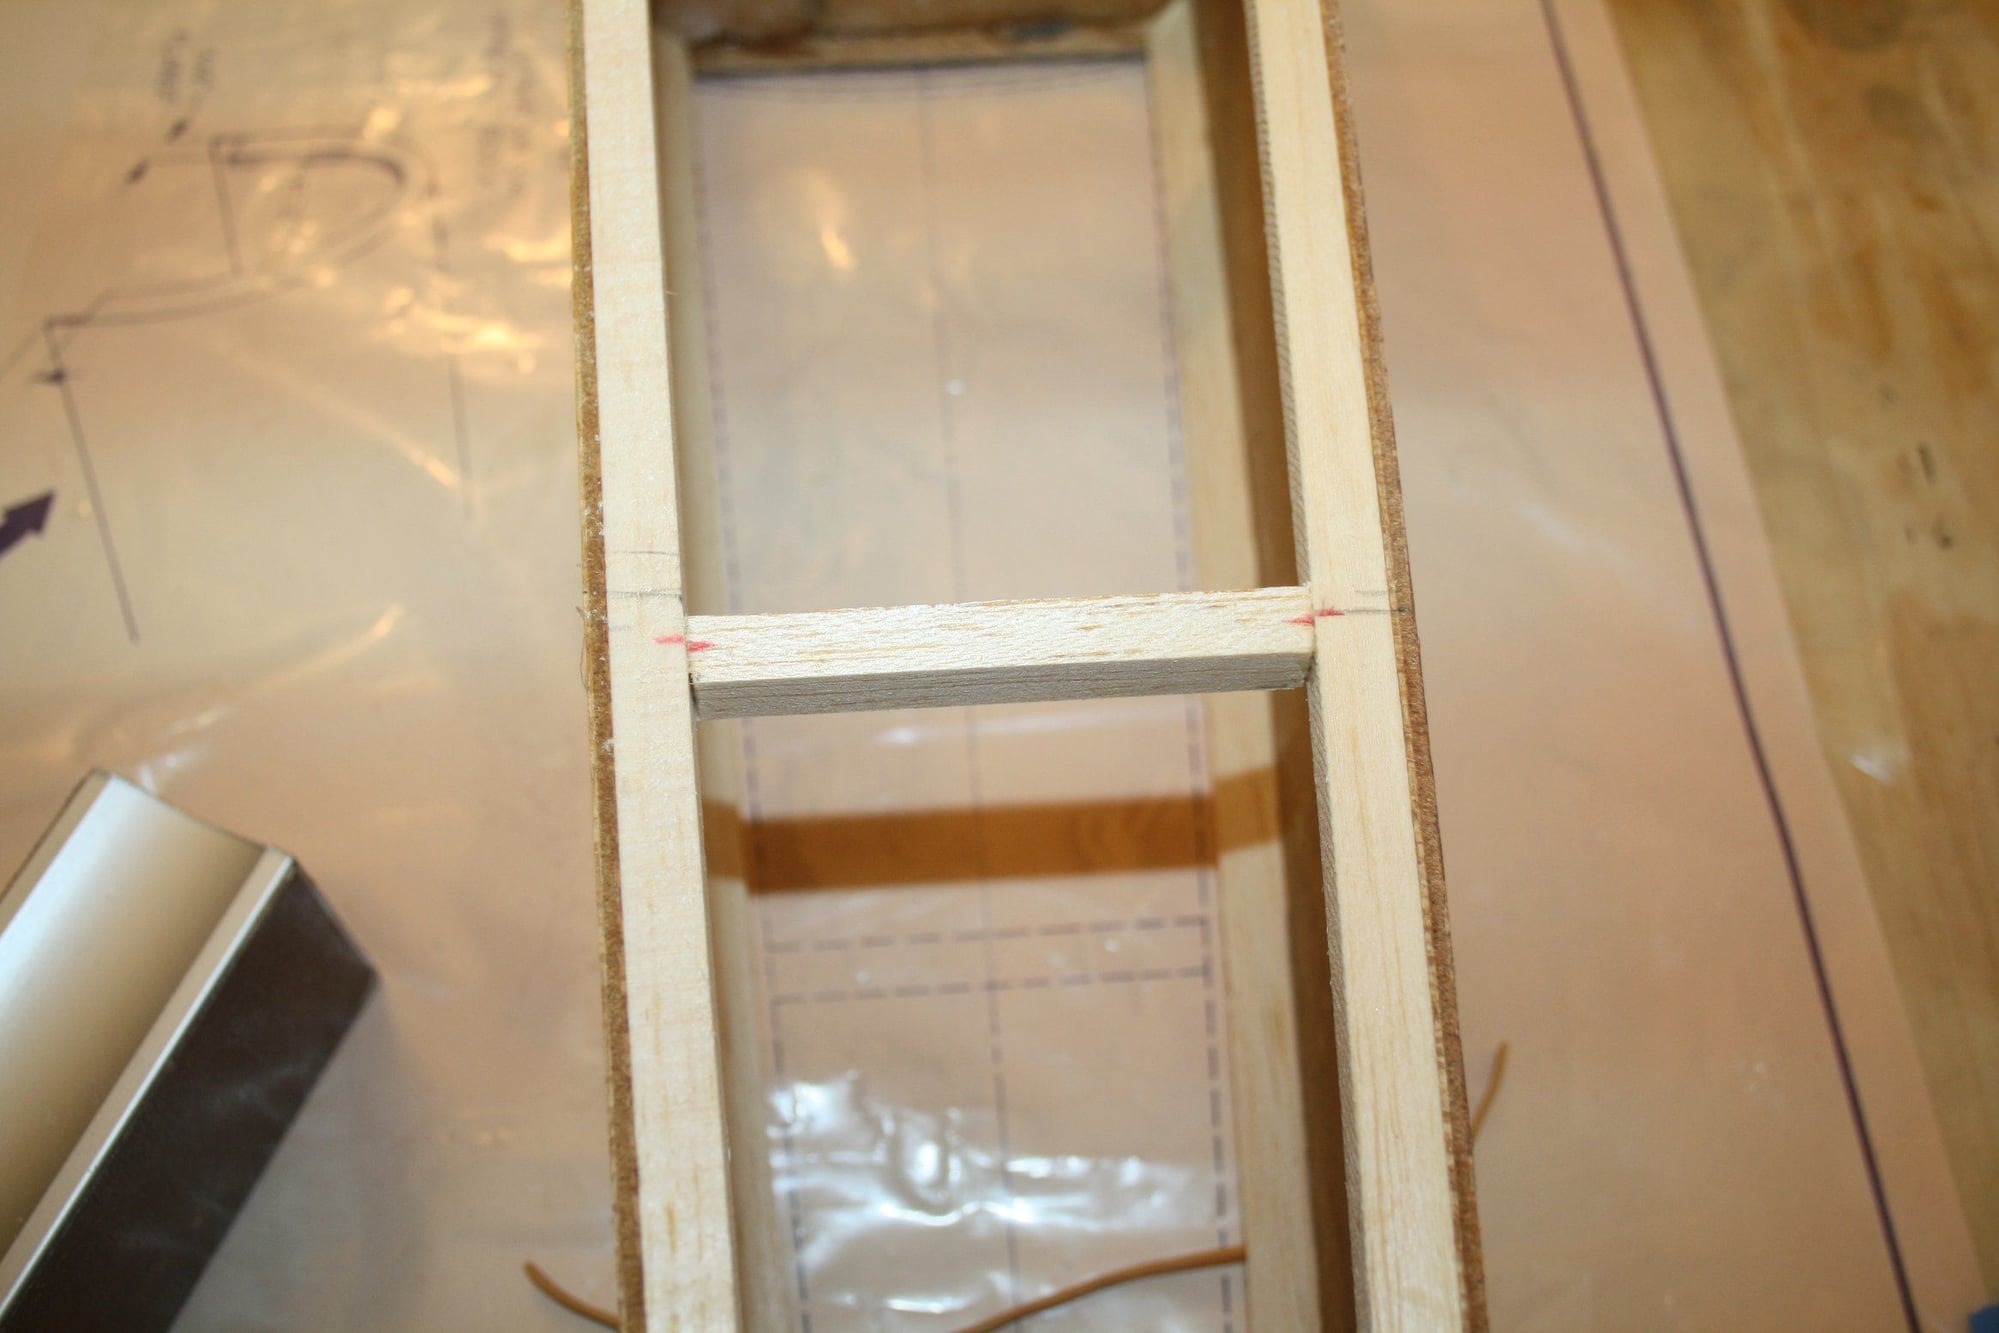
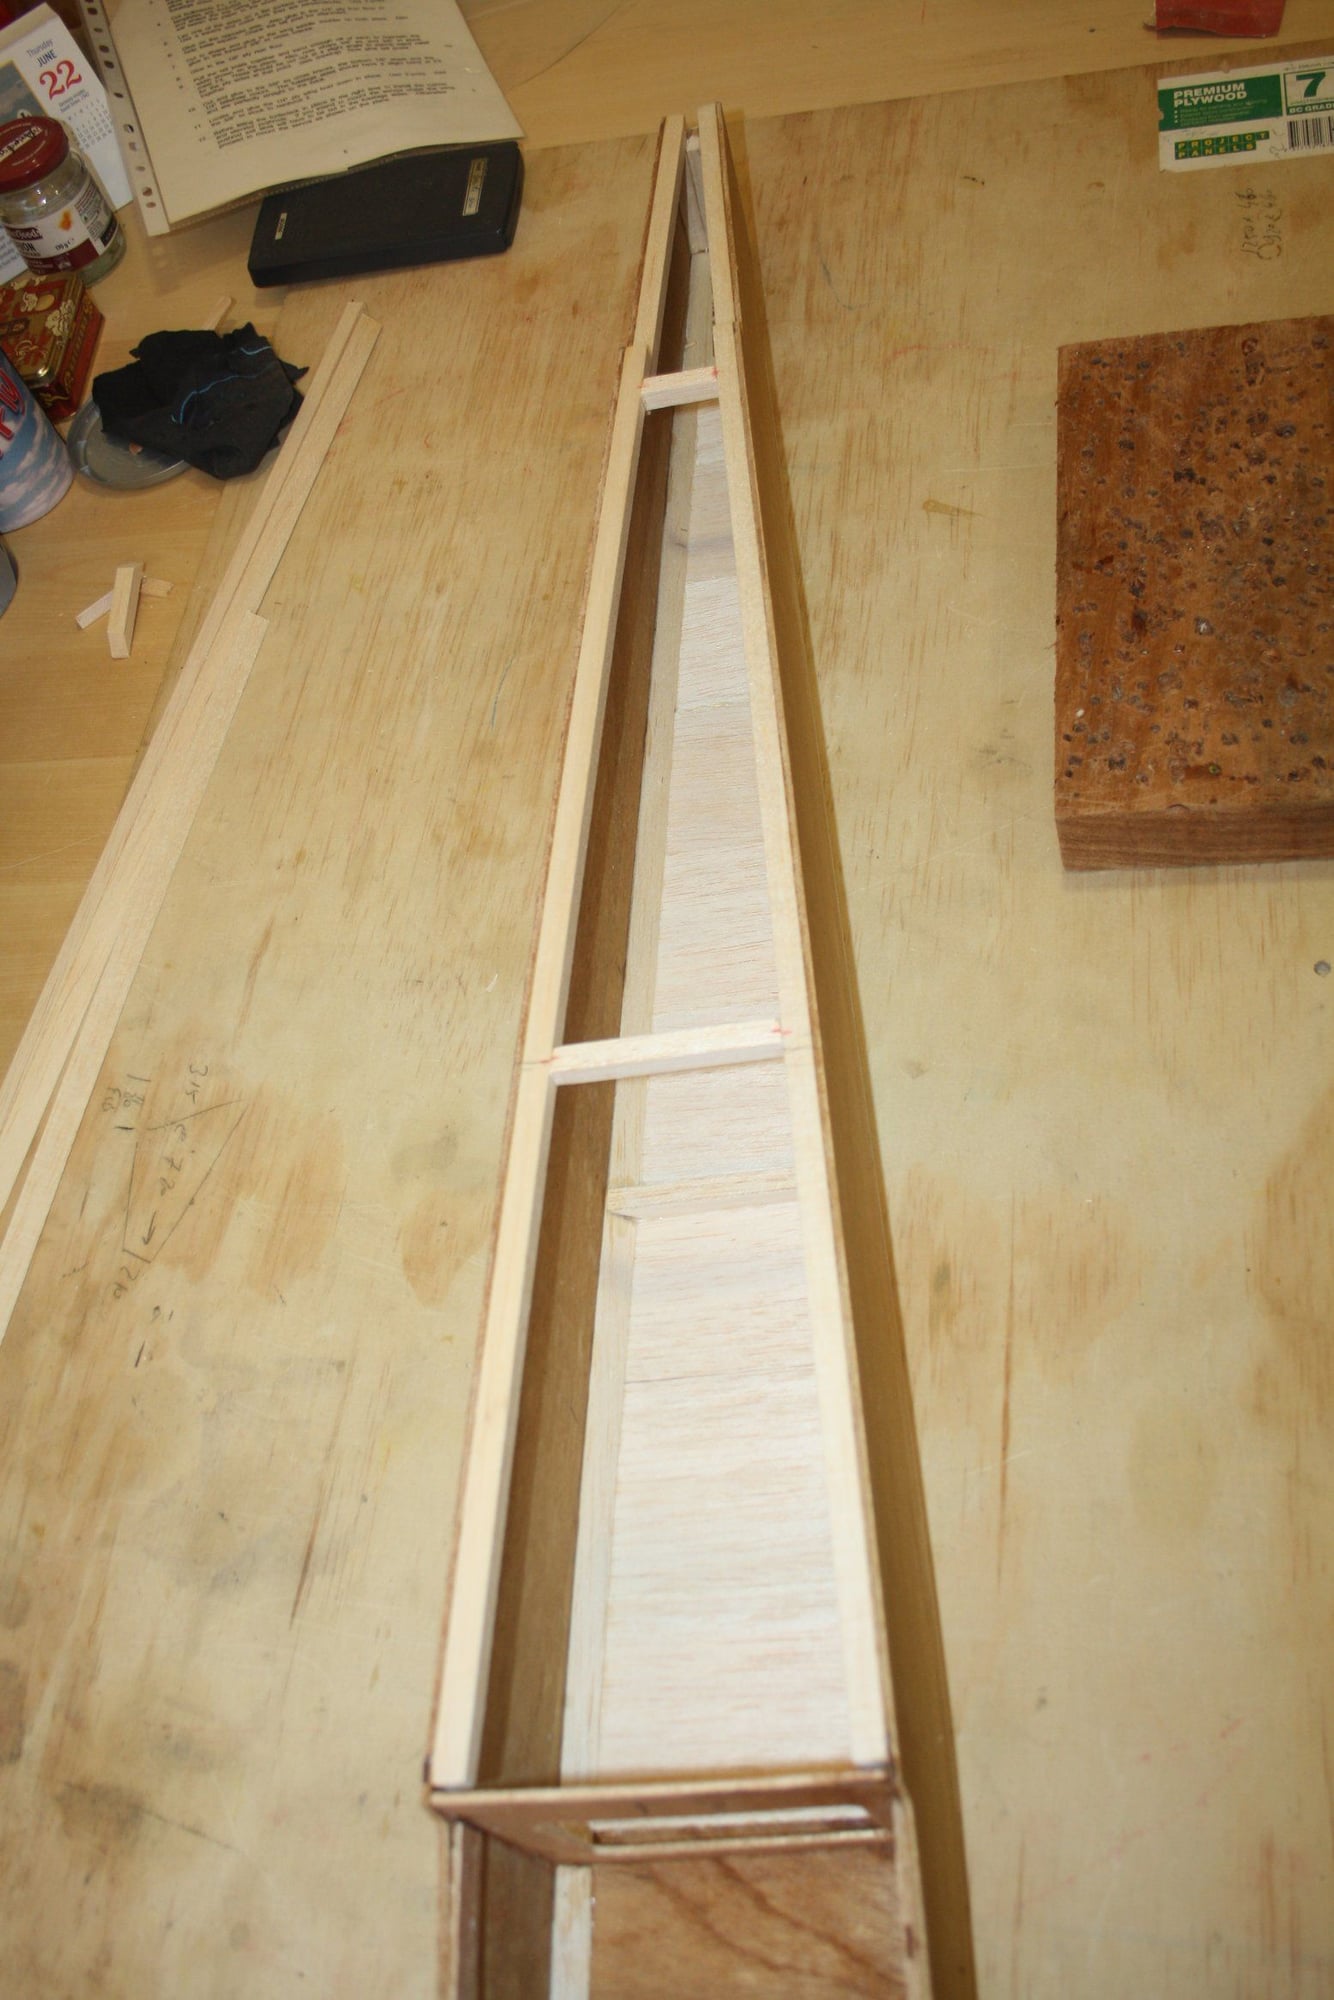
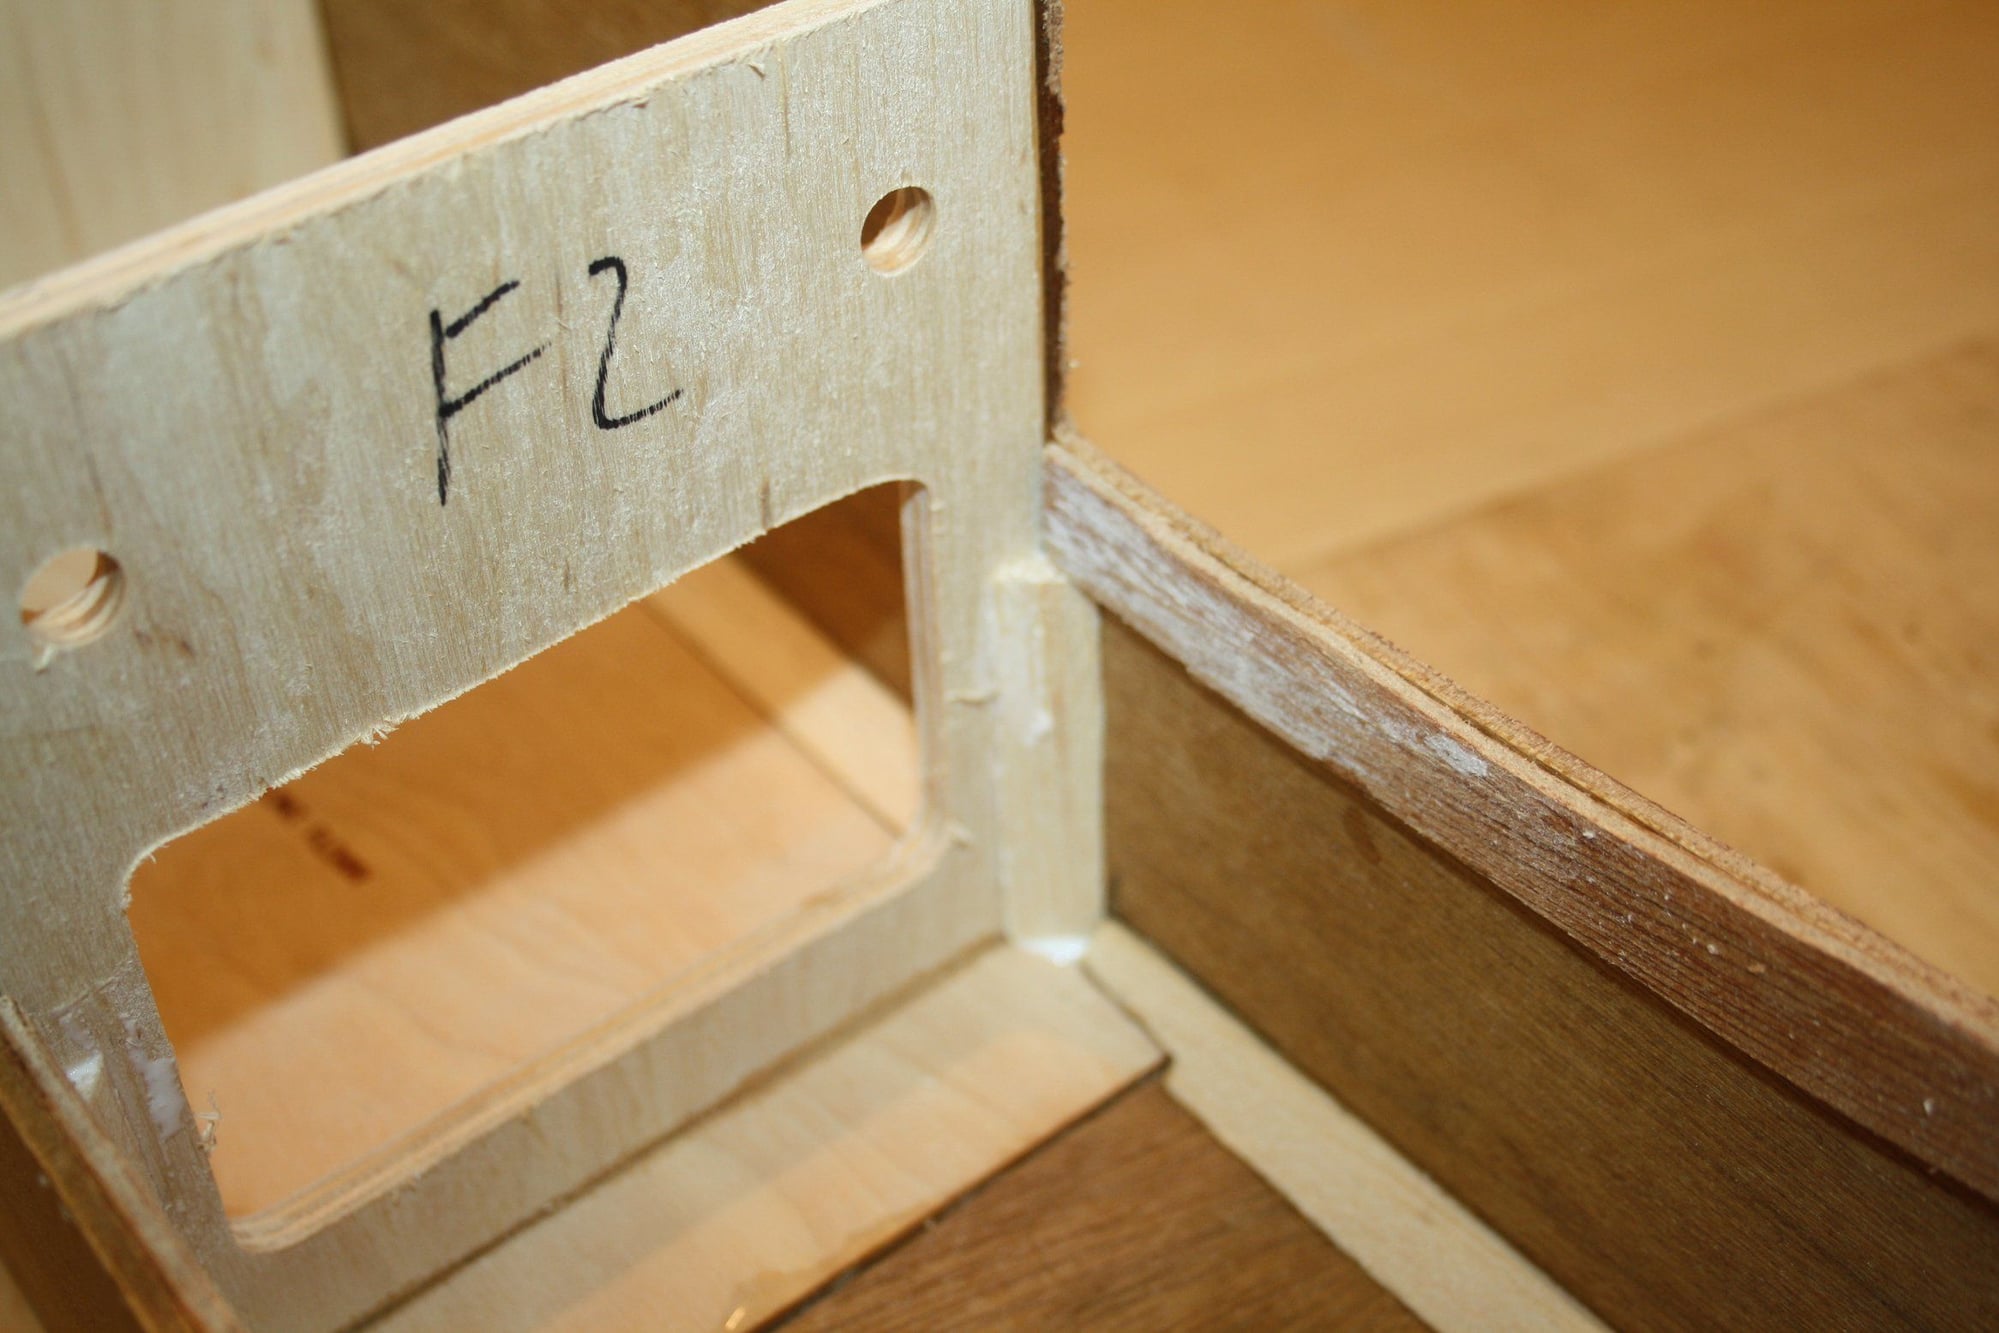
After sanding the center tail post to shape and gluing the square ones into place on the fuselage sides, I glued the firewall, former F2 and F3 into place taking the time to make sure all is square.
Cheers,
Eran
Cheers,
Eran

 12-27-2023, 02:39 PM
#62
Thread Starter
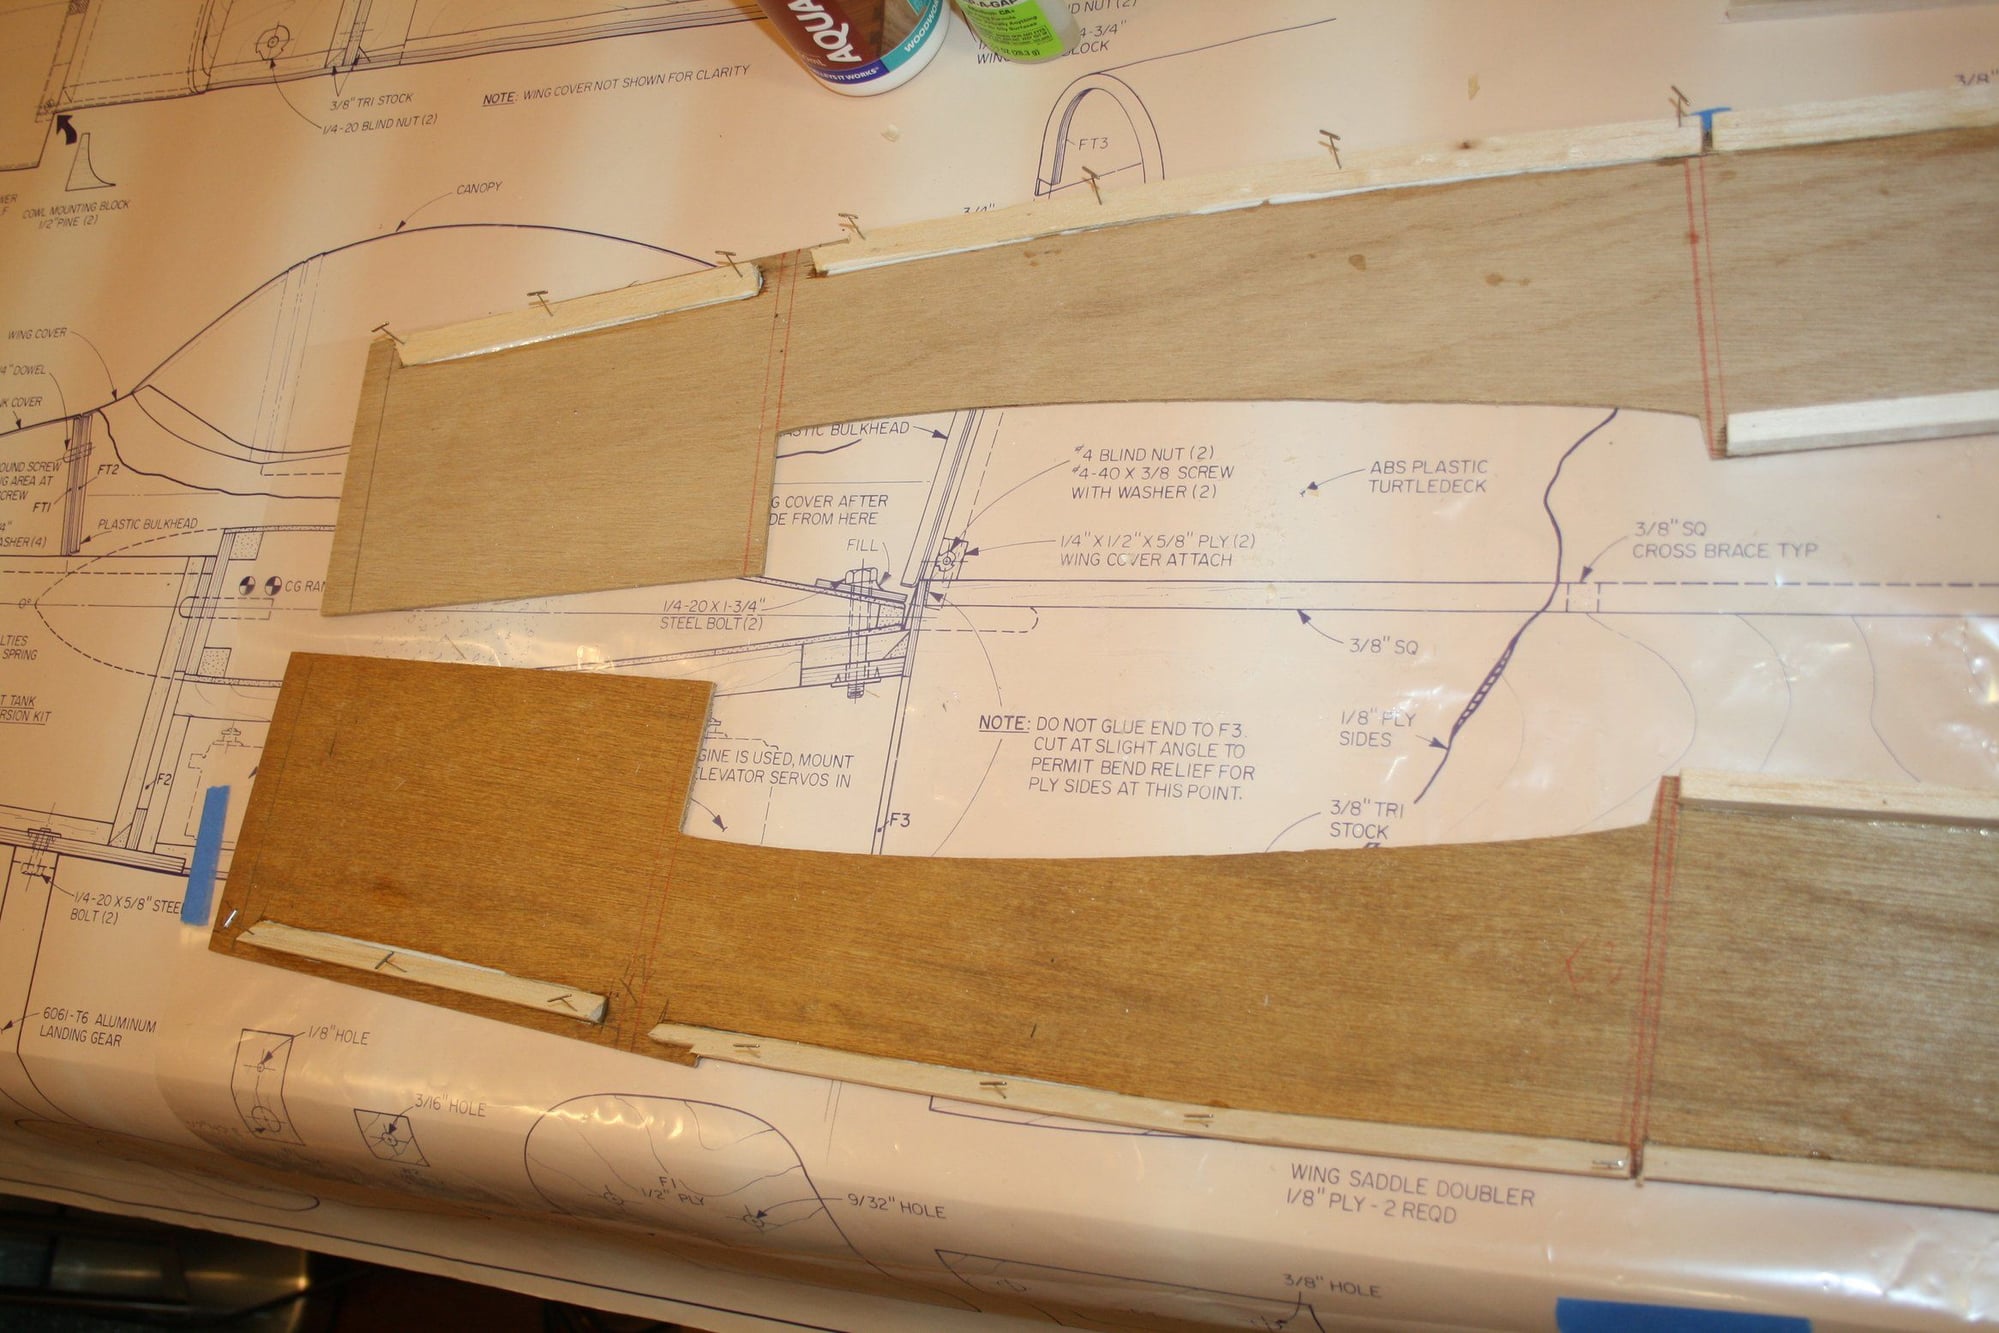
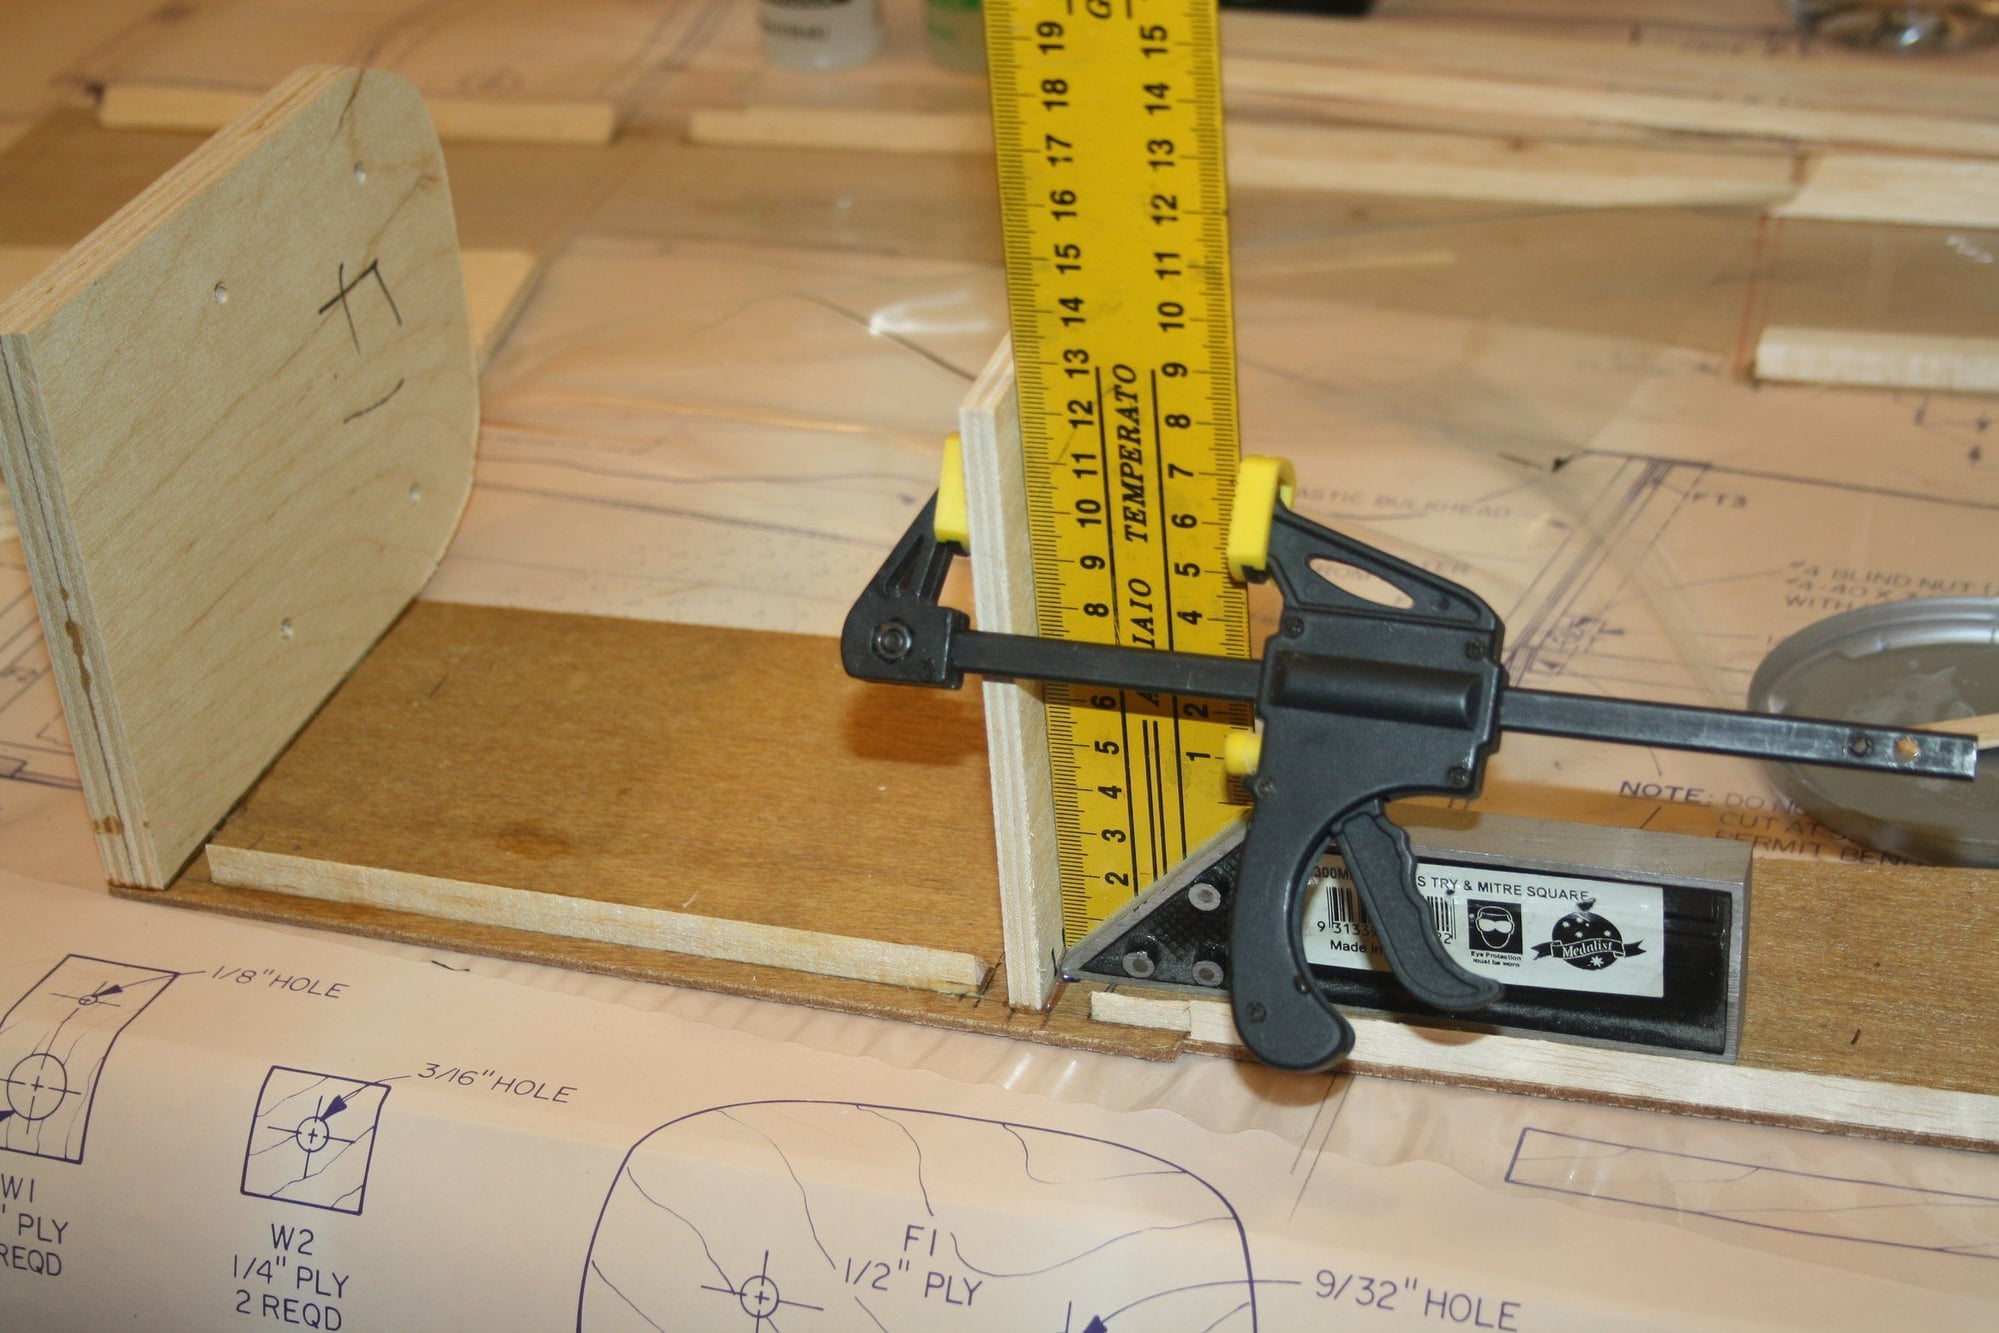
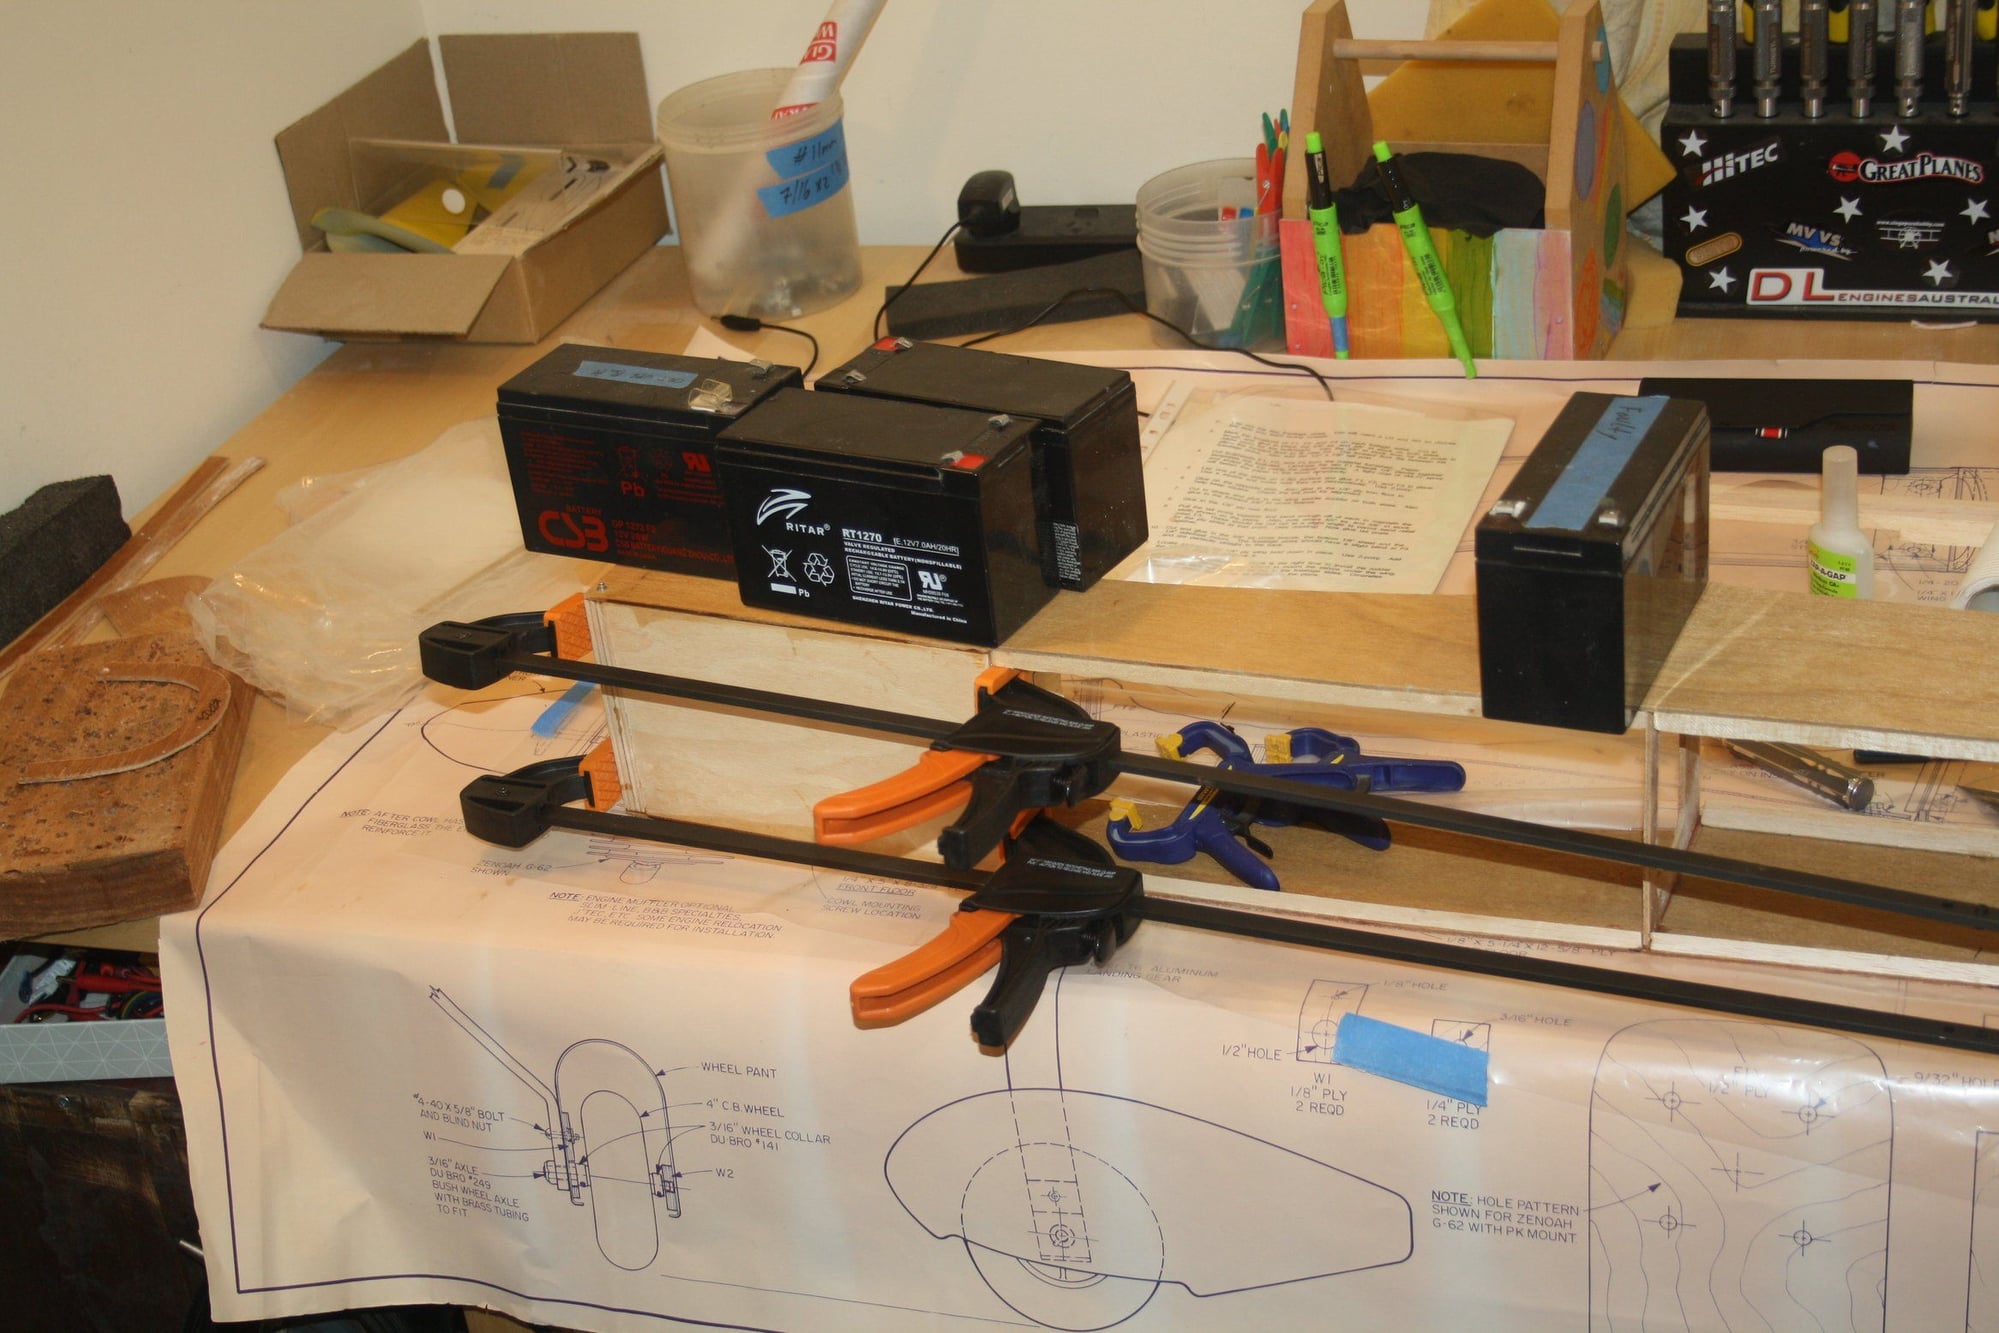
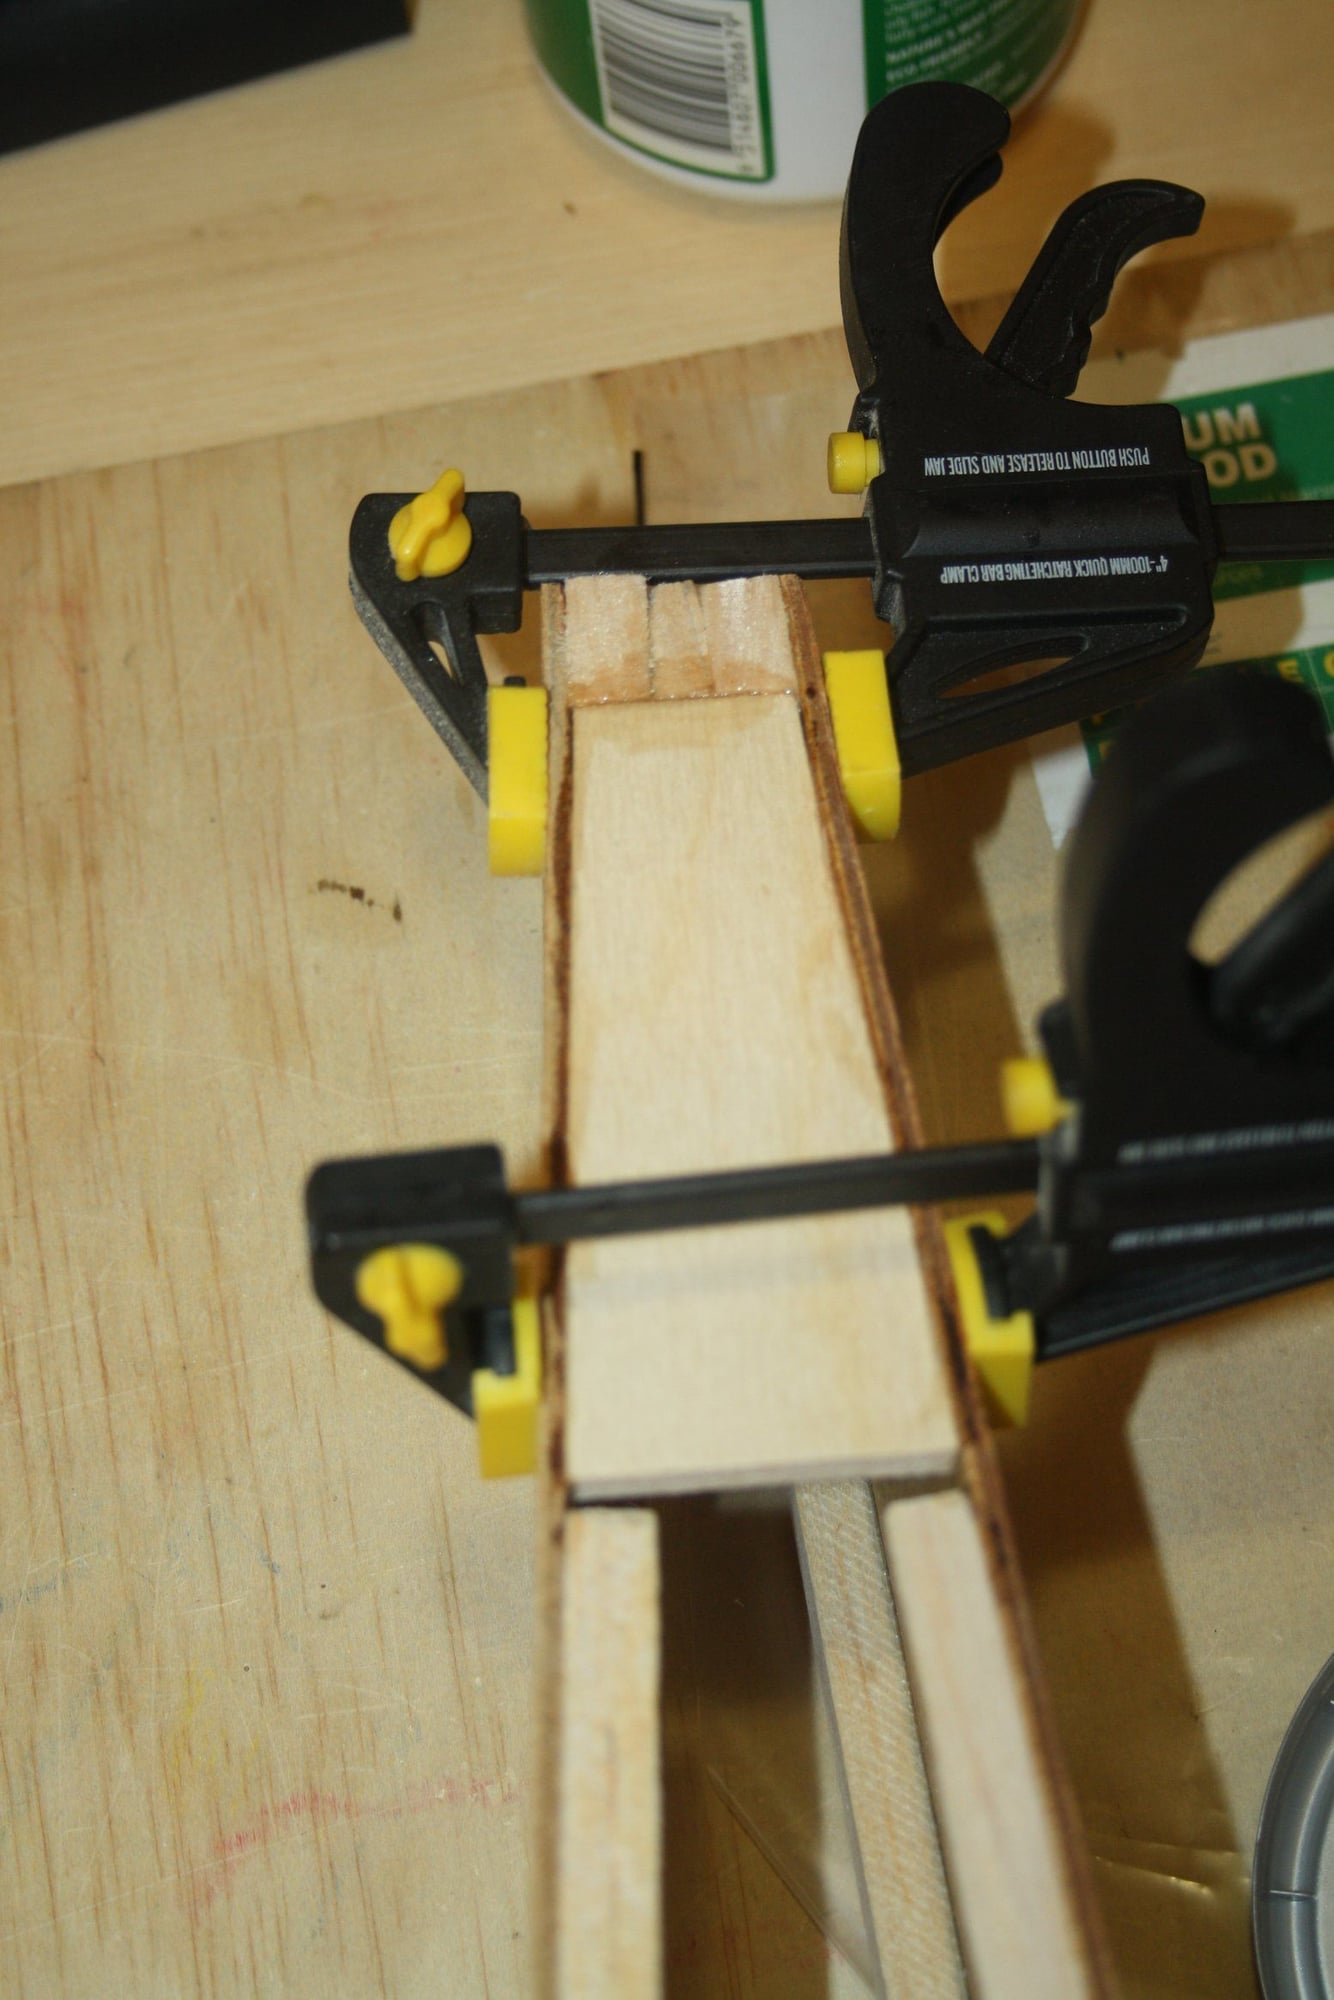
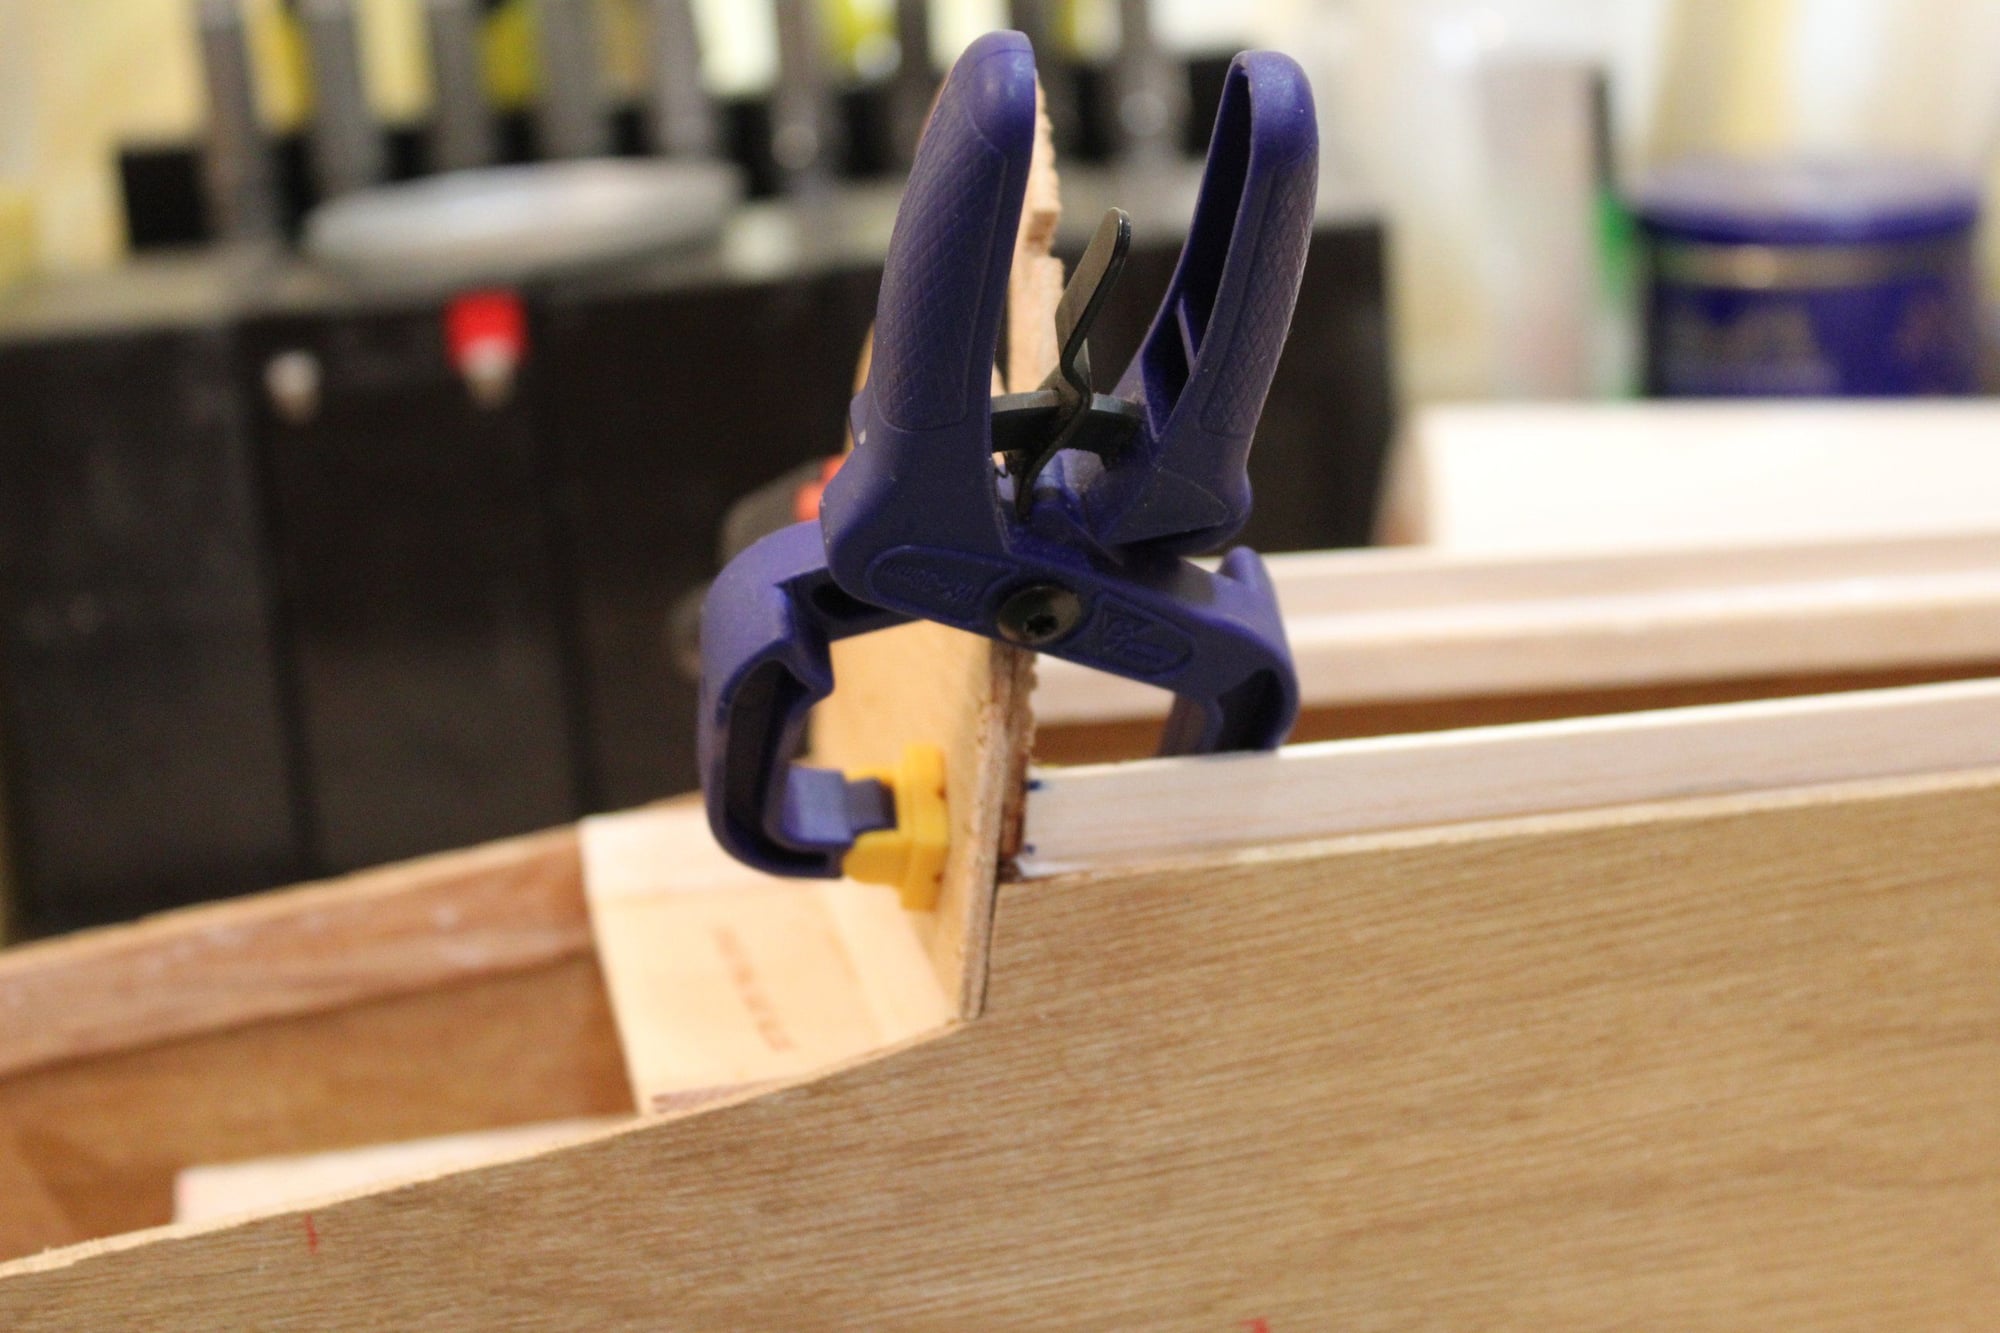
I Glued the triangle stock to the firewall, F2 and fuselage sides as per the plans. I then glued the fuselage floor.
Last, I positioned the fuselage over the plan, screwing it to the building board to prevent it from moving, aligning the tail post (which was held together with rubber bands) to the plan. When I was satisfied that it is properly aligned, I glued the tail post.

Cheers,
Eran
Last, I positioned the fuselage over the plan, screwing it to the building board to prevent it from moving, aligning the tail post (which was held together with rubber bands) to the plan. When I was satisfied that it is properly aligned, I glued the tail post.
Cheers,
Eran
12-29-2023, 06:56 PM
#63
Thread Starter
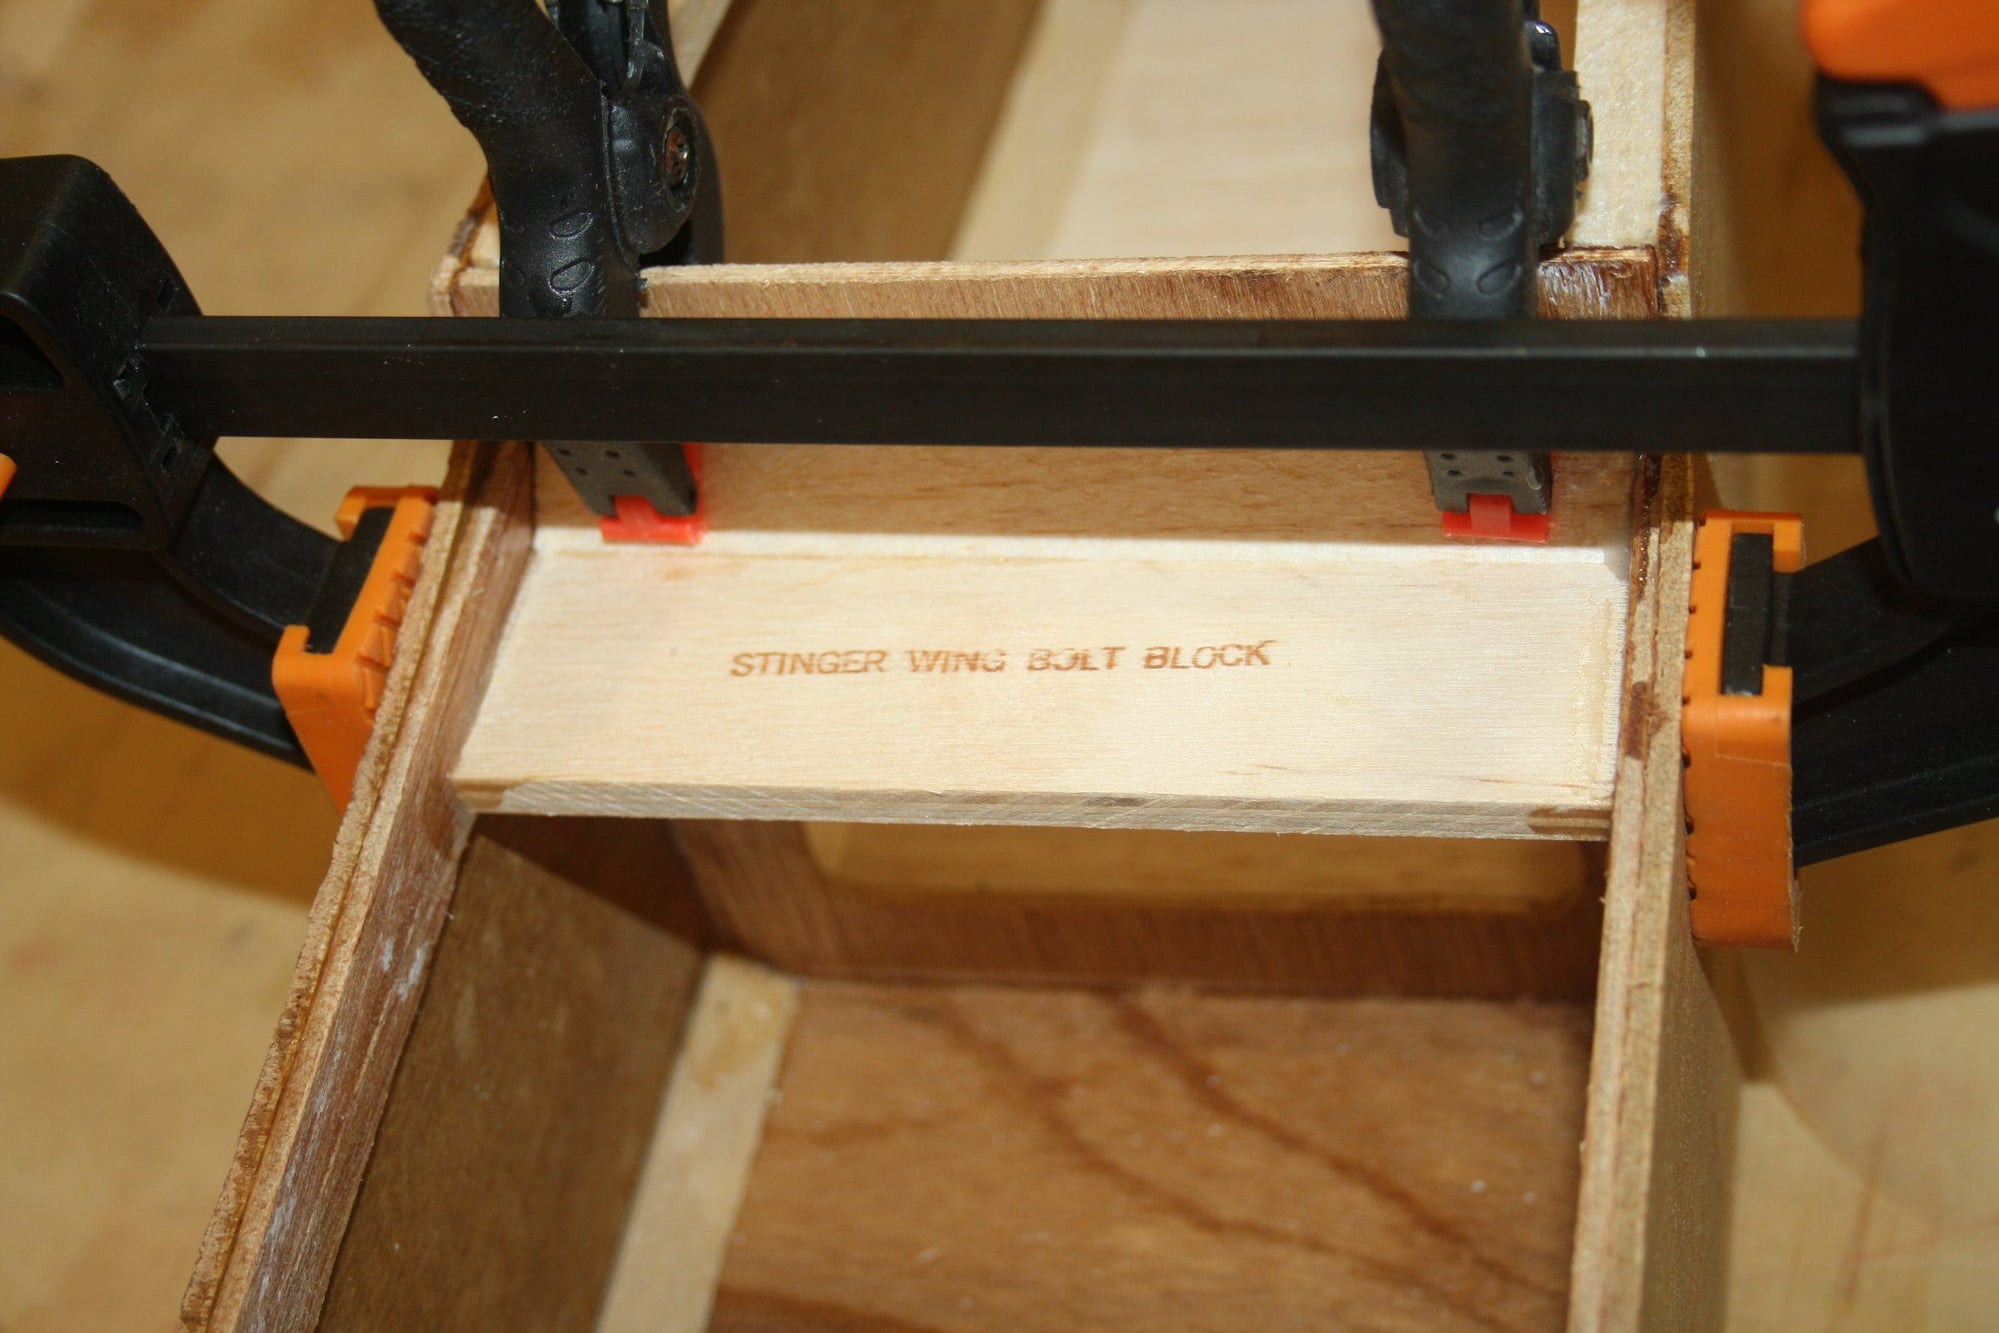
Some more progress, gluing the tail braces and the tail wheel plywood bracket into place.
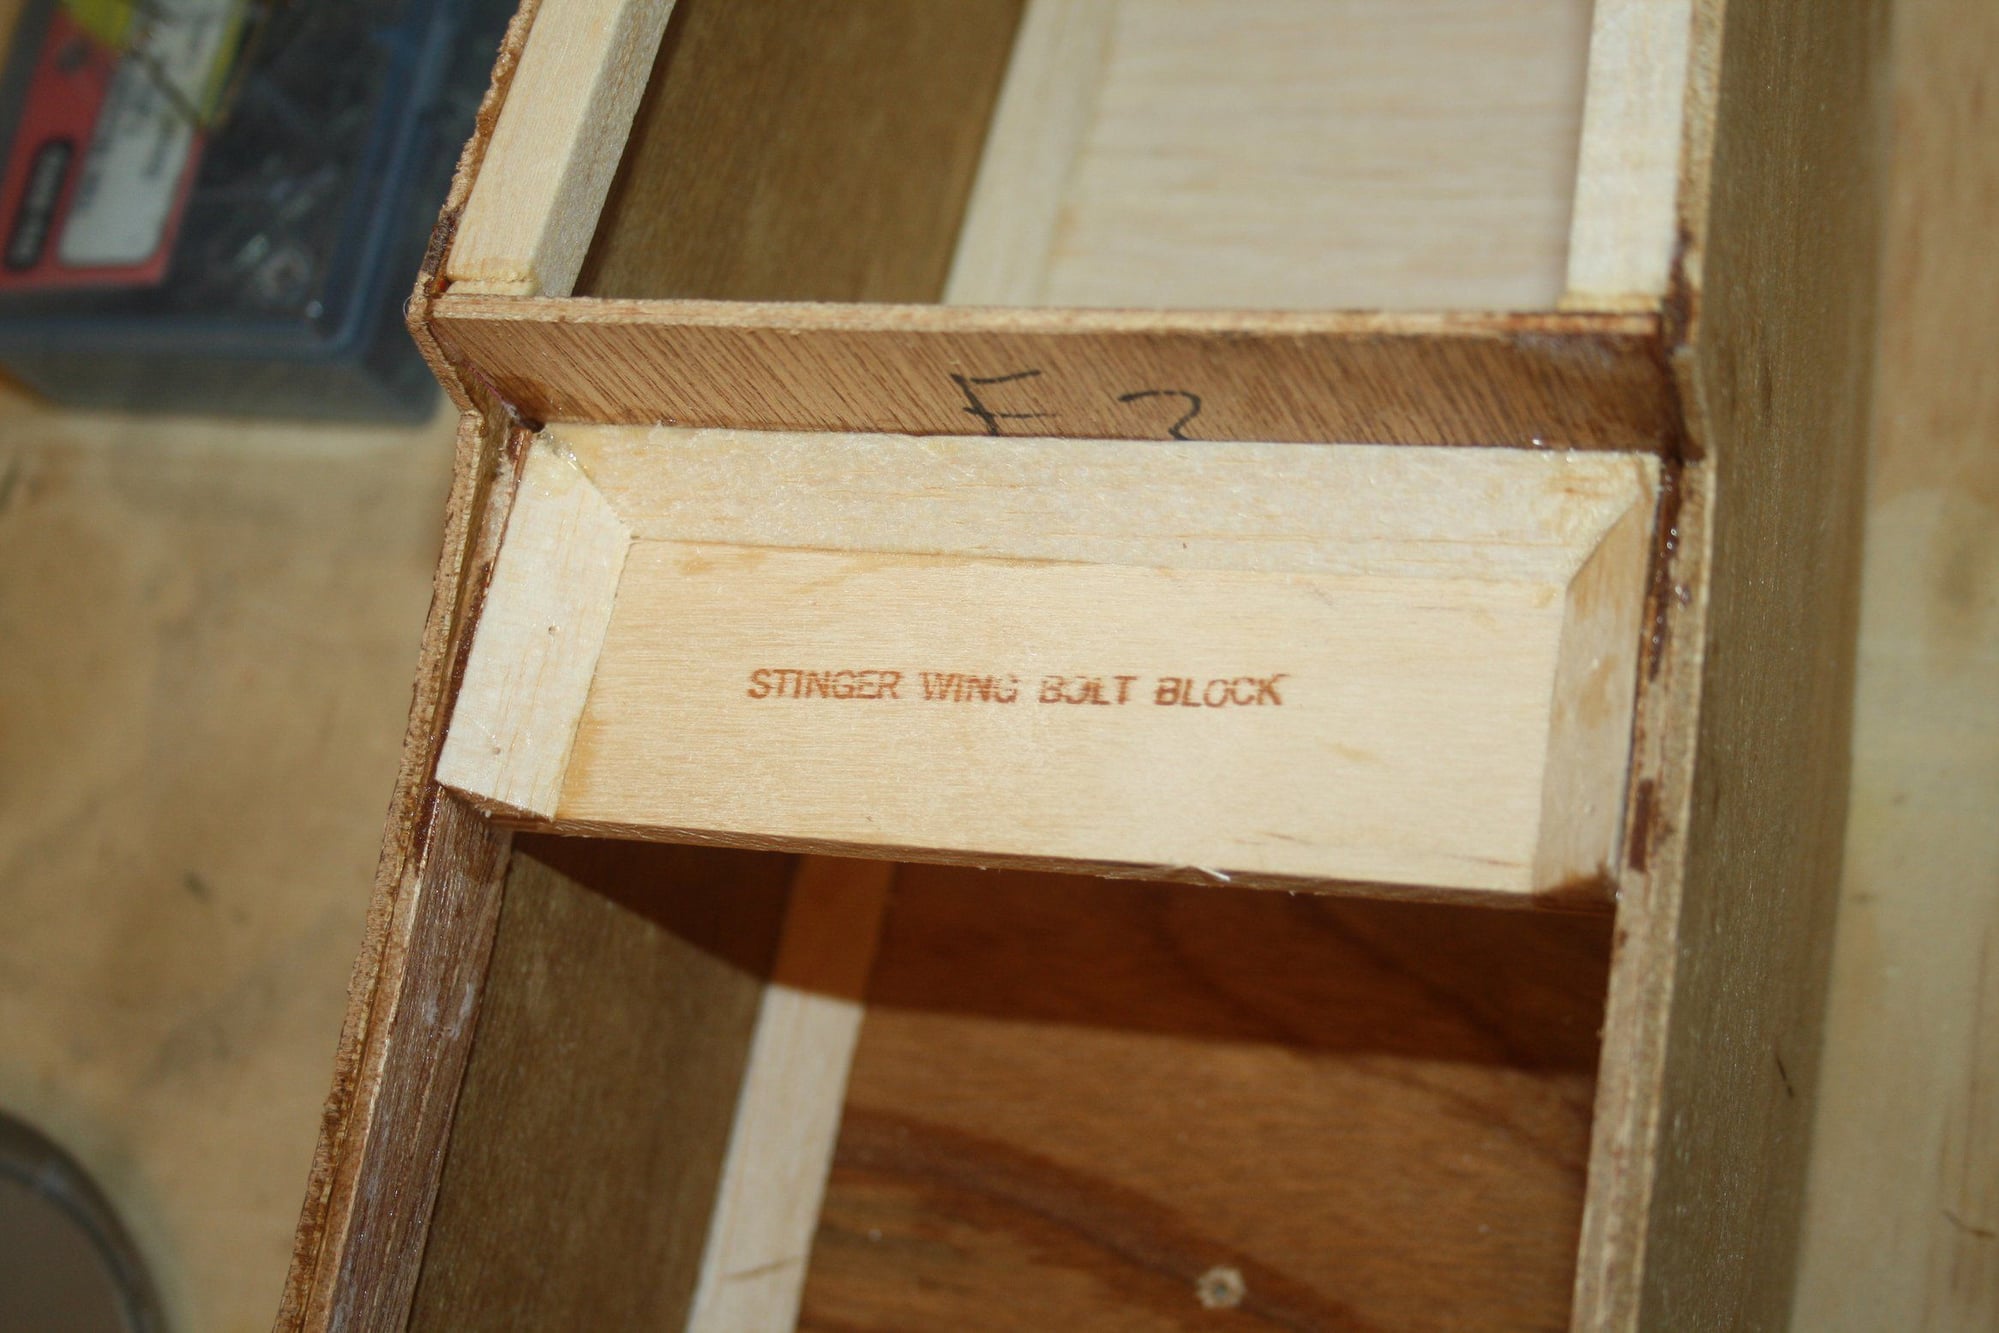
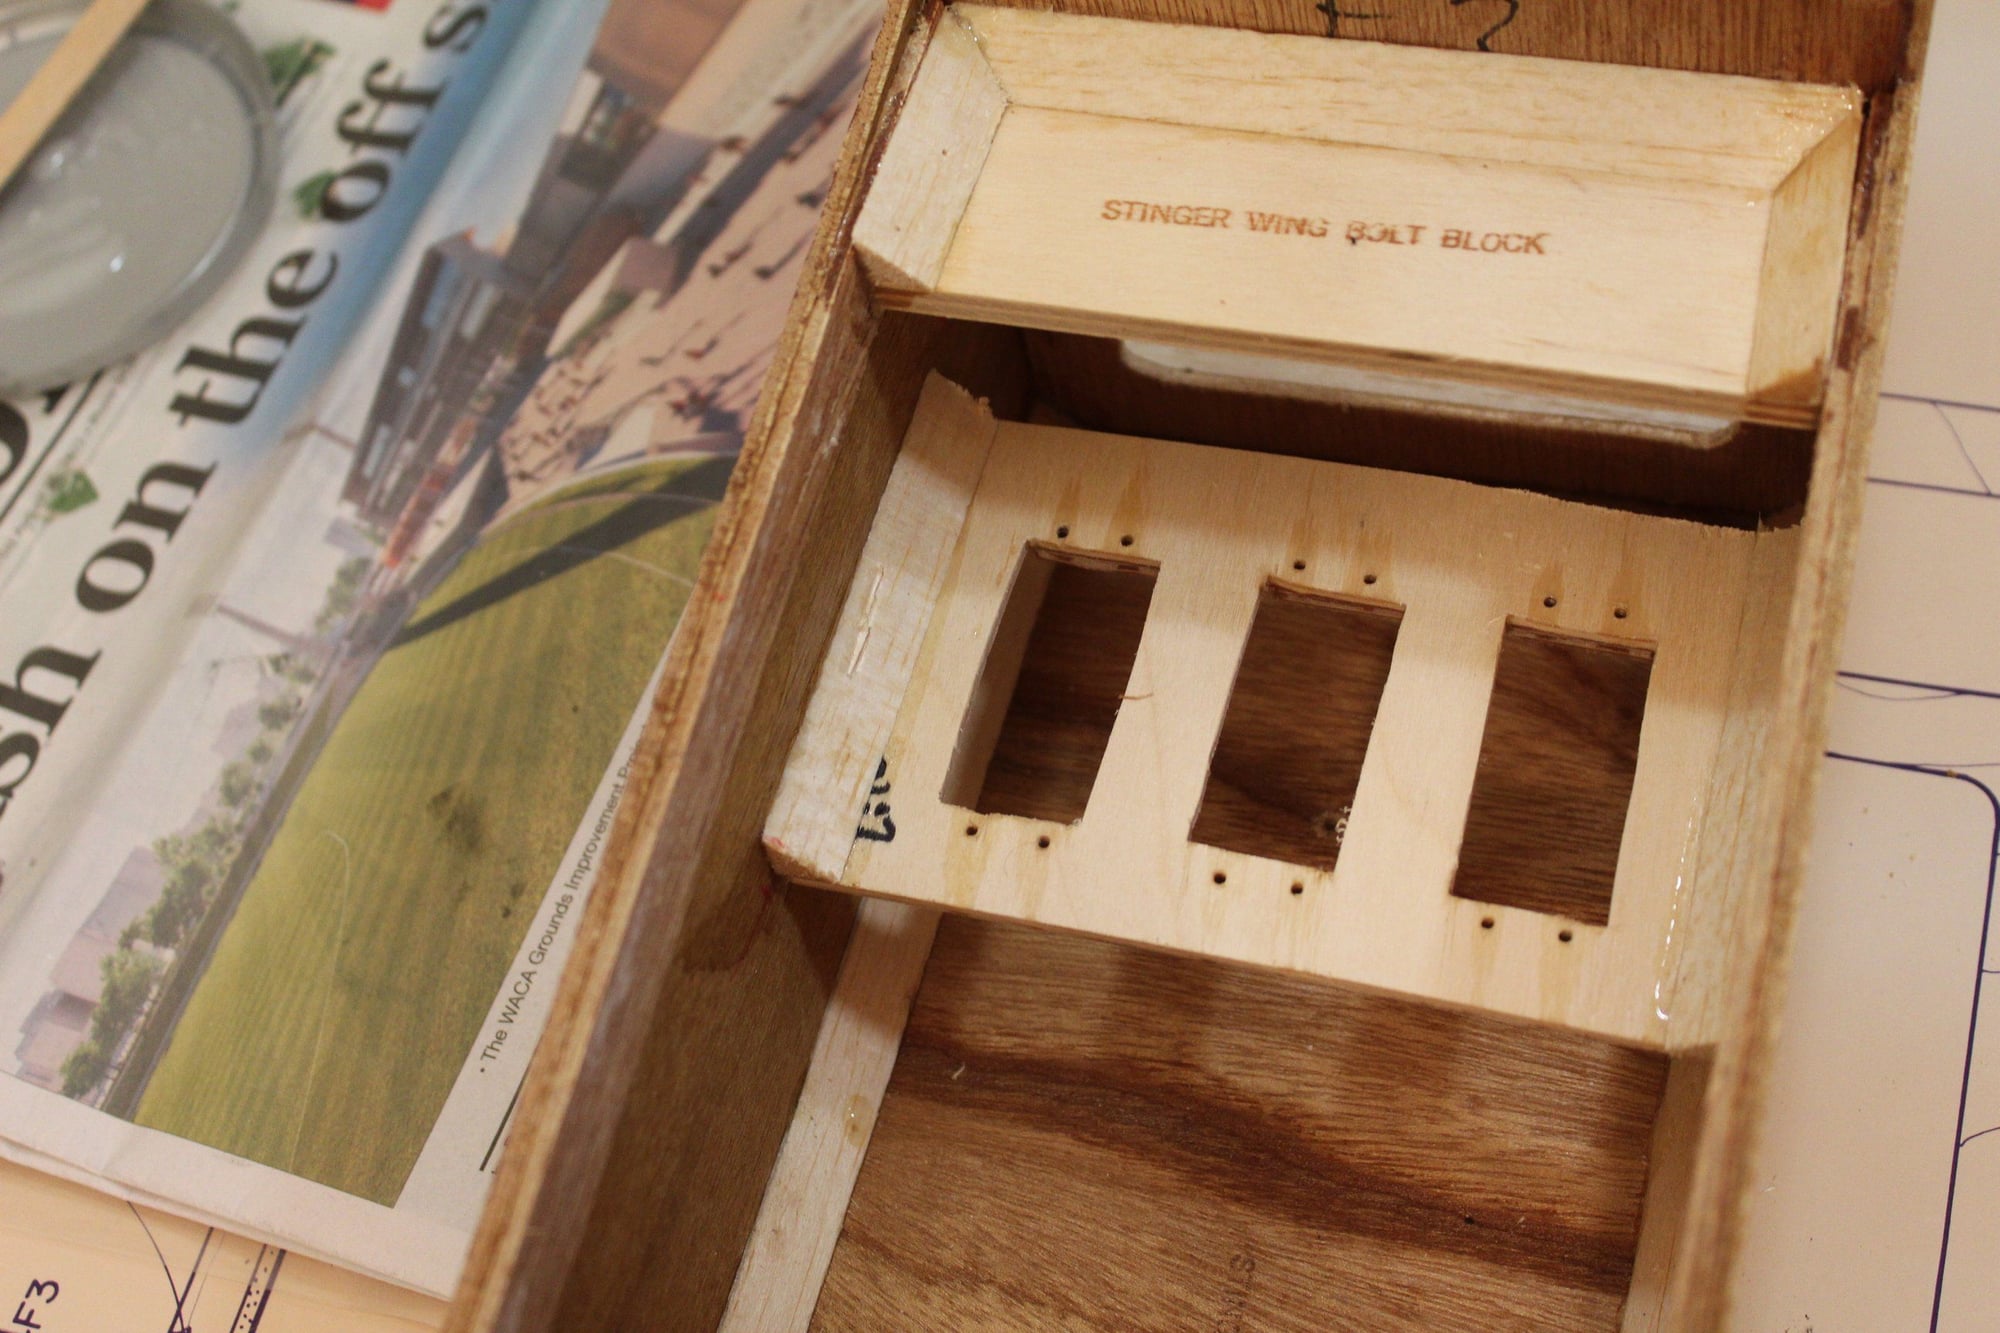
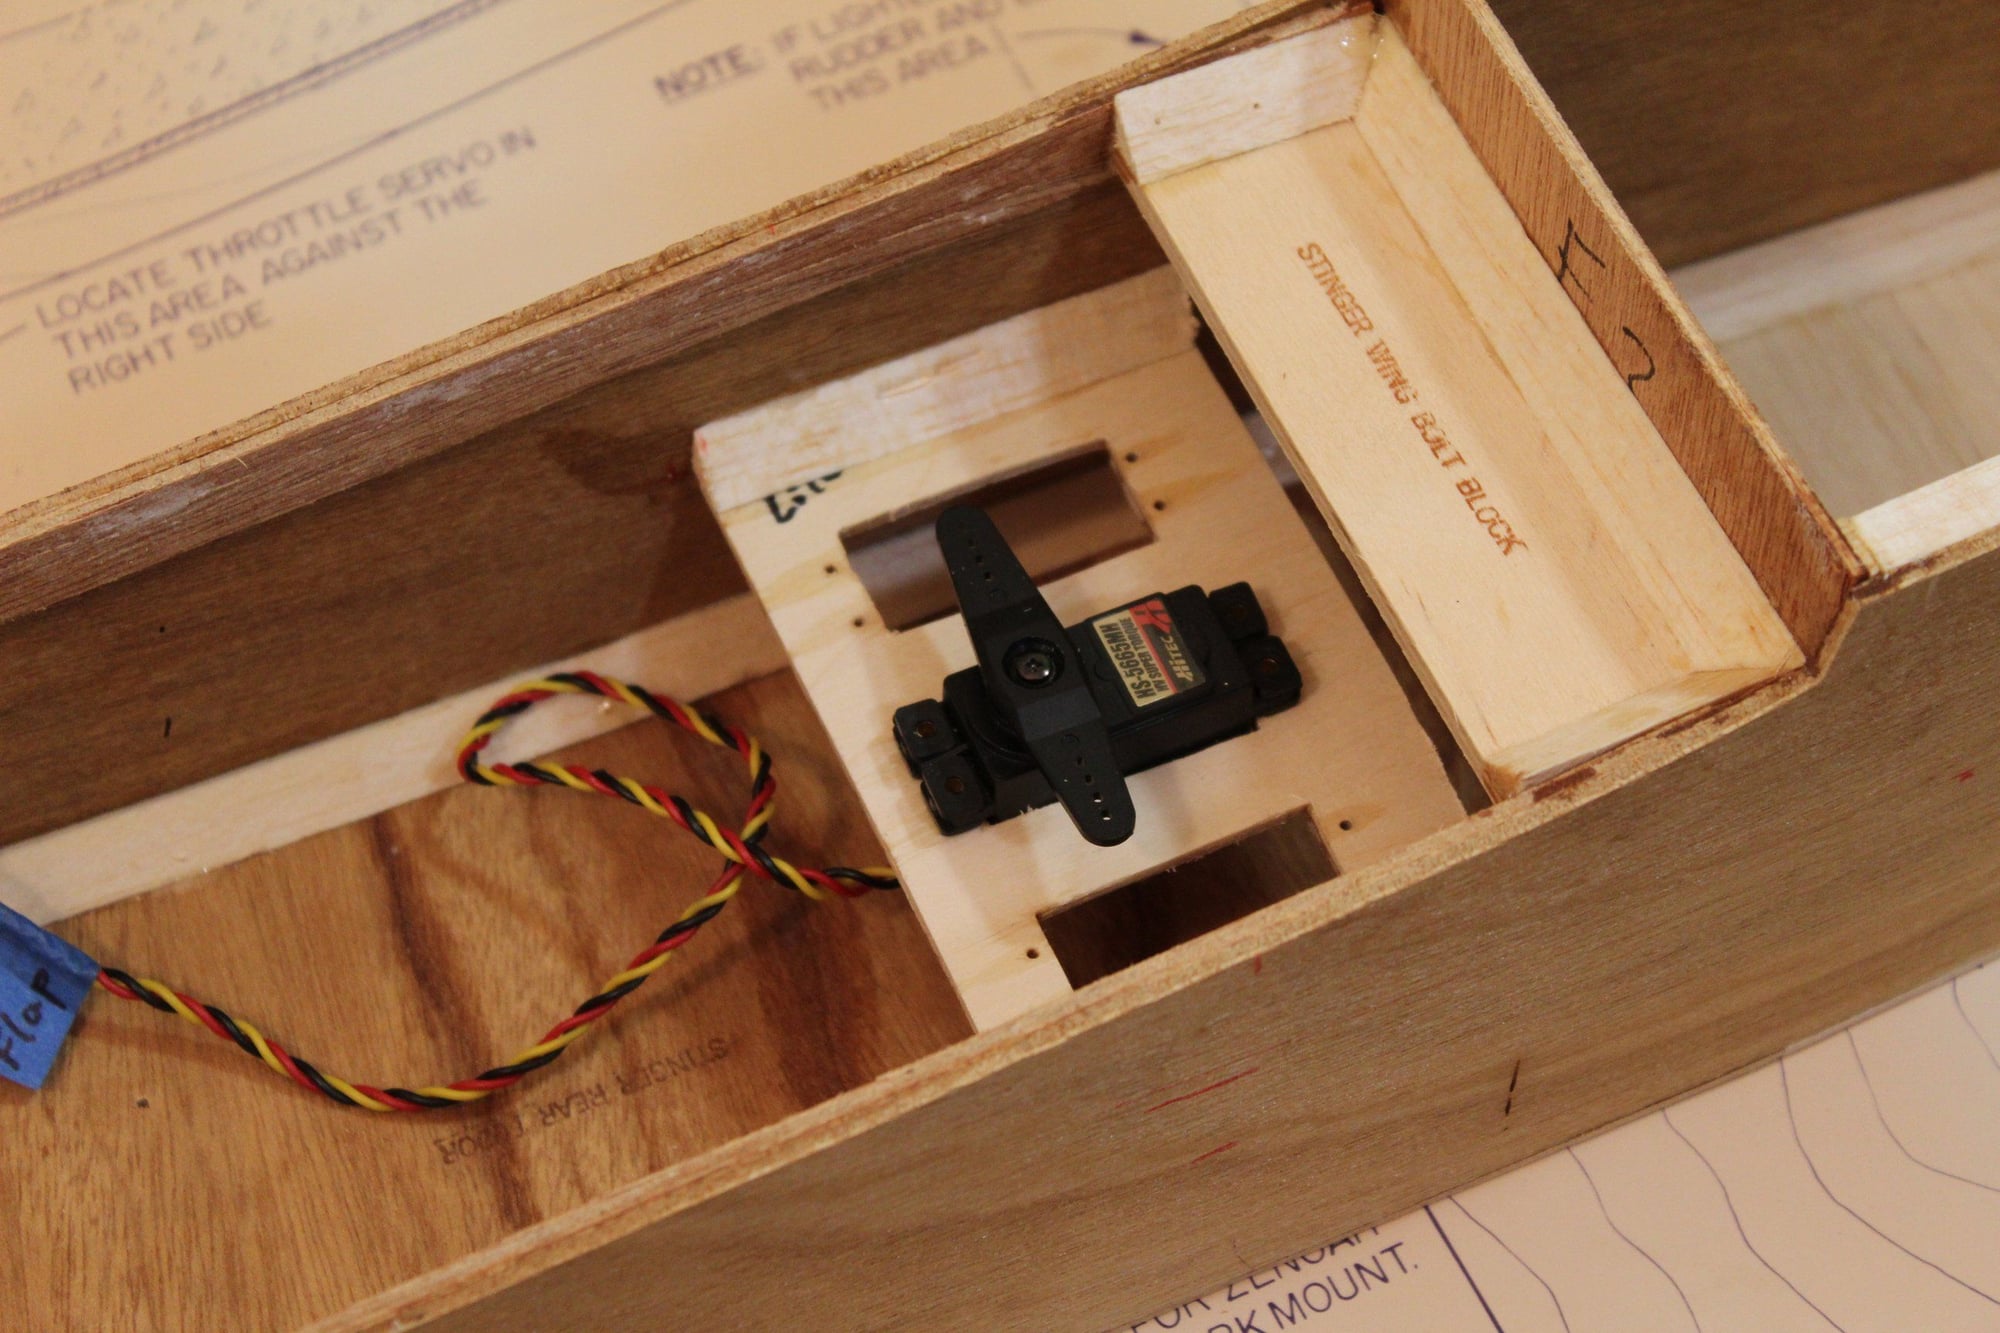
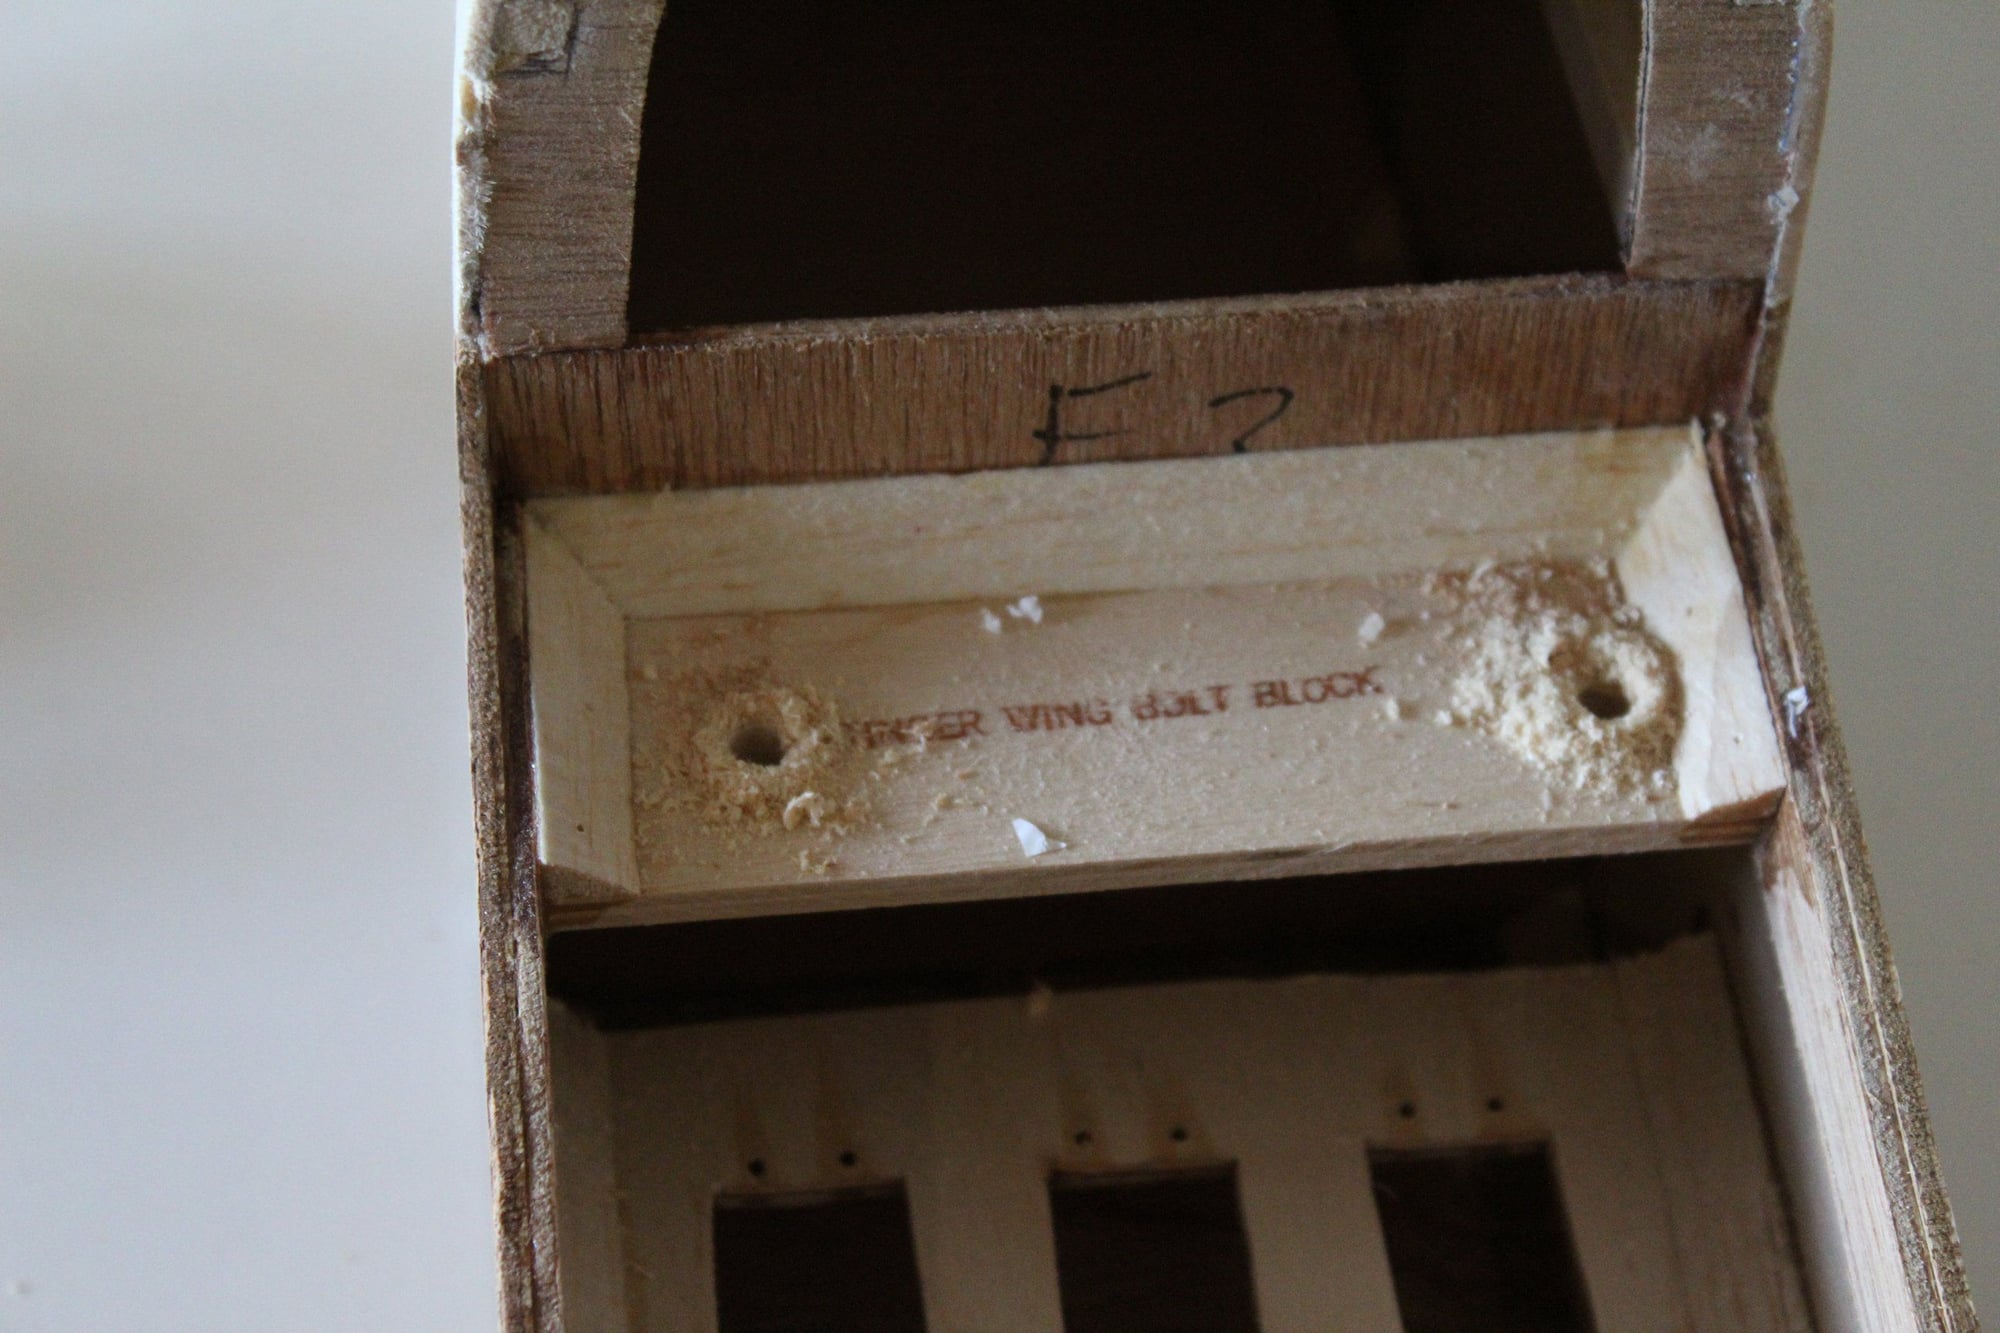
I then sheeted the rest of the fuselage bottom with balsa, added a couple of triangle stock against F2 and glued the wing-bolts block into place.
Cheers,
Eran
I then sheeted the rest of the fuselage bottom with balsa, added a couple of triangle stock against F2 and glued the wing-bolts block into place.
Cheers,
Eran
01-02-2024, 02:35 PM
#64
Thread Starter
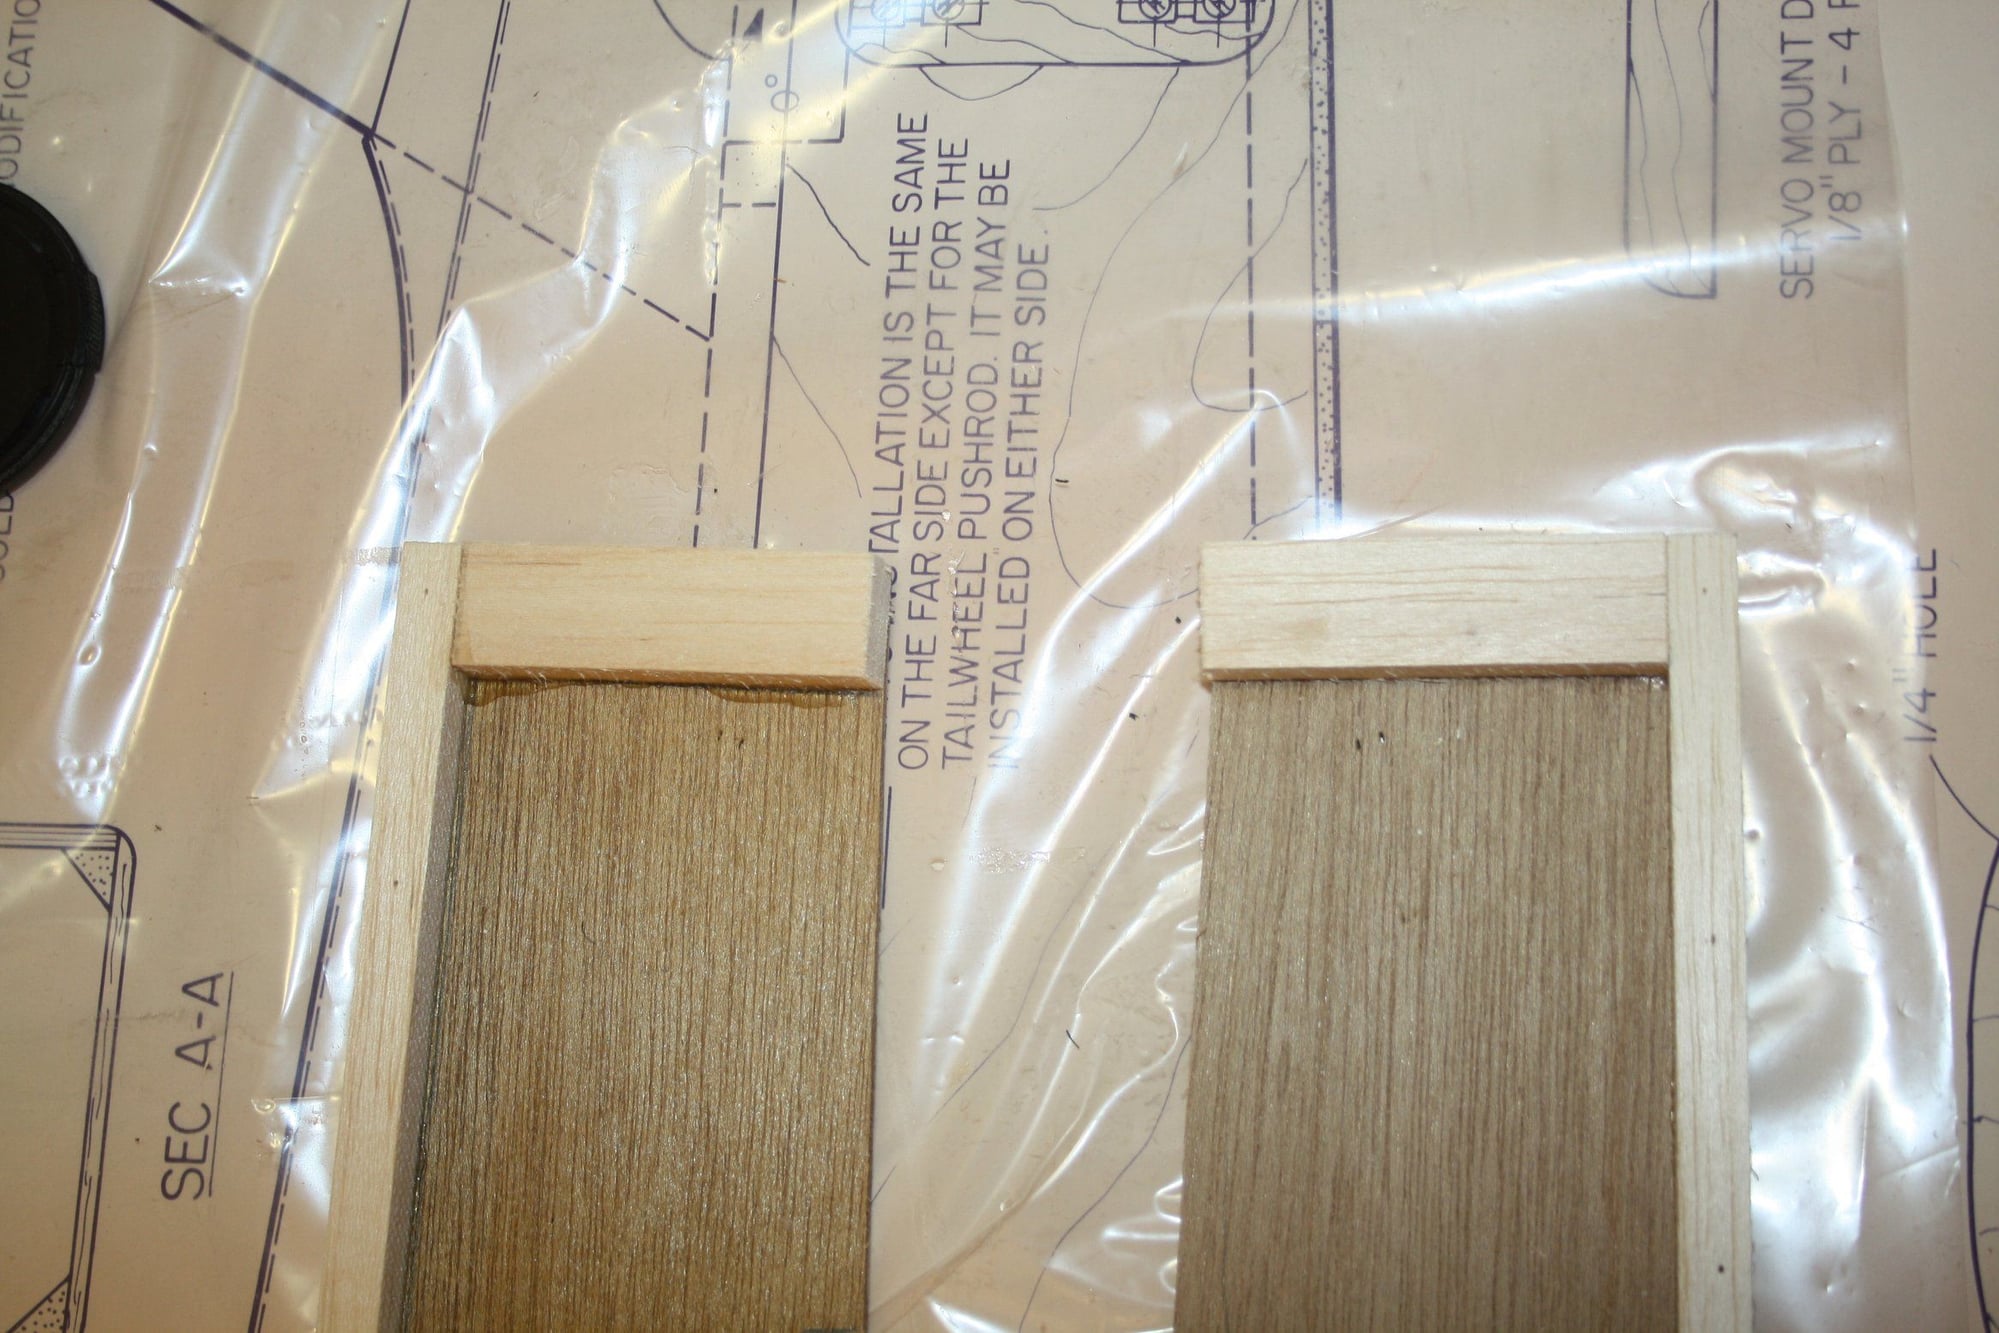
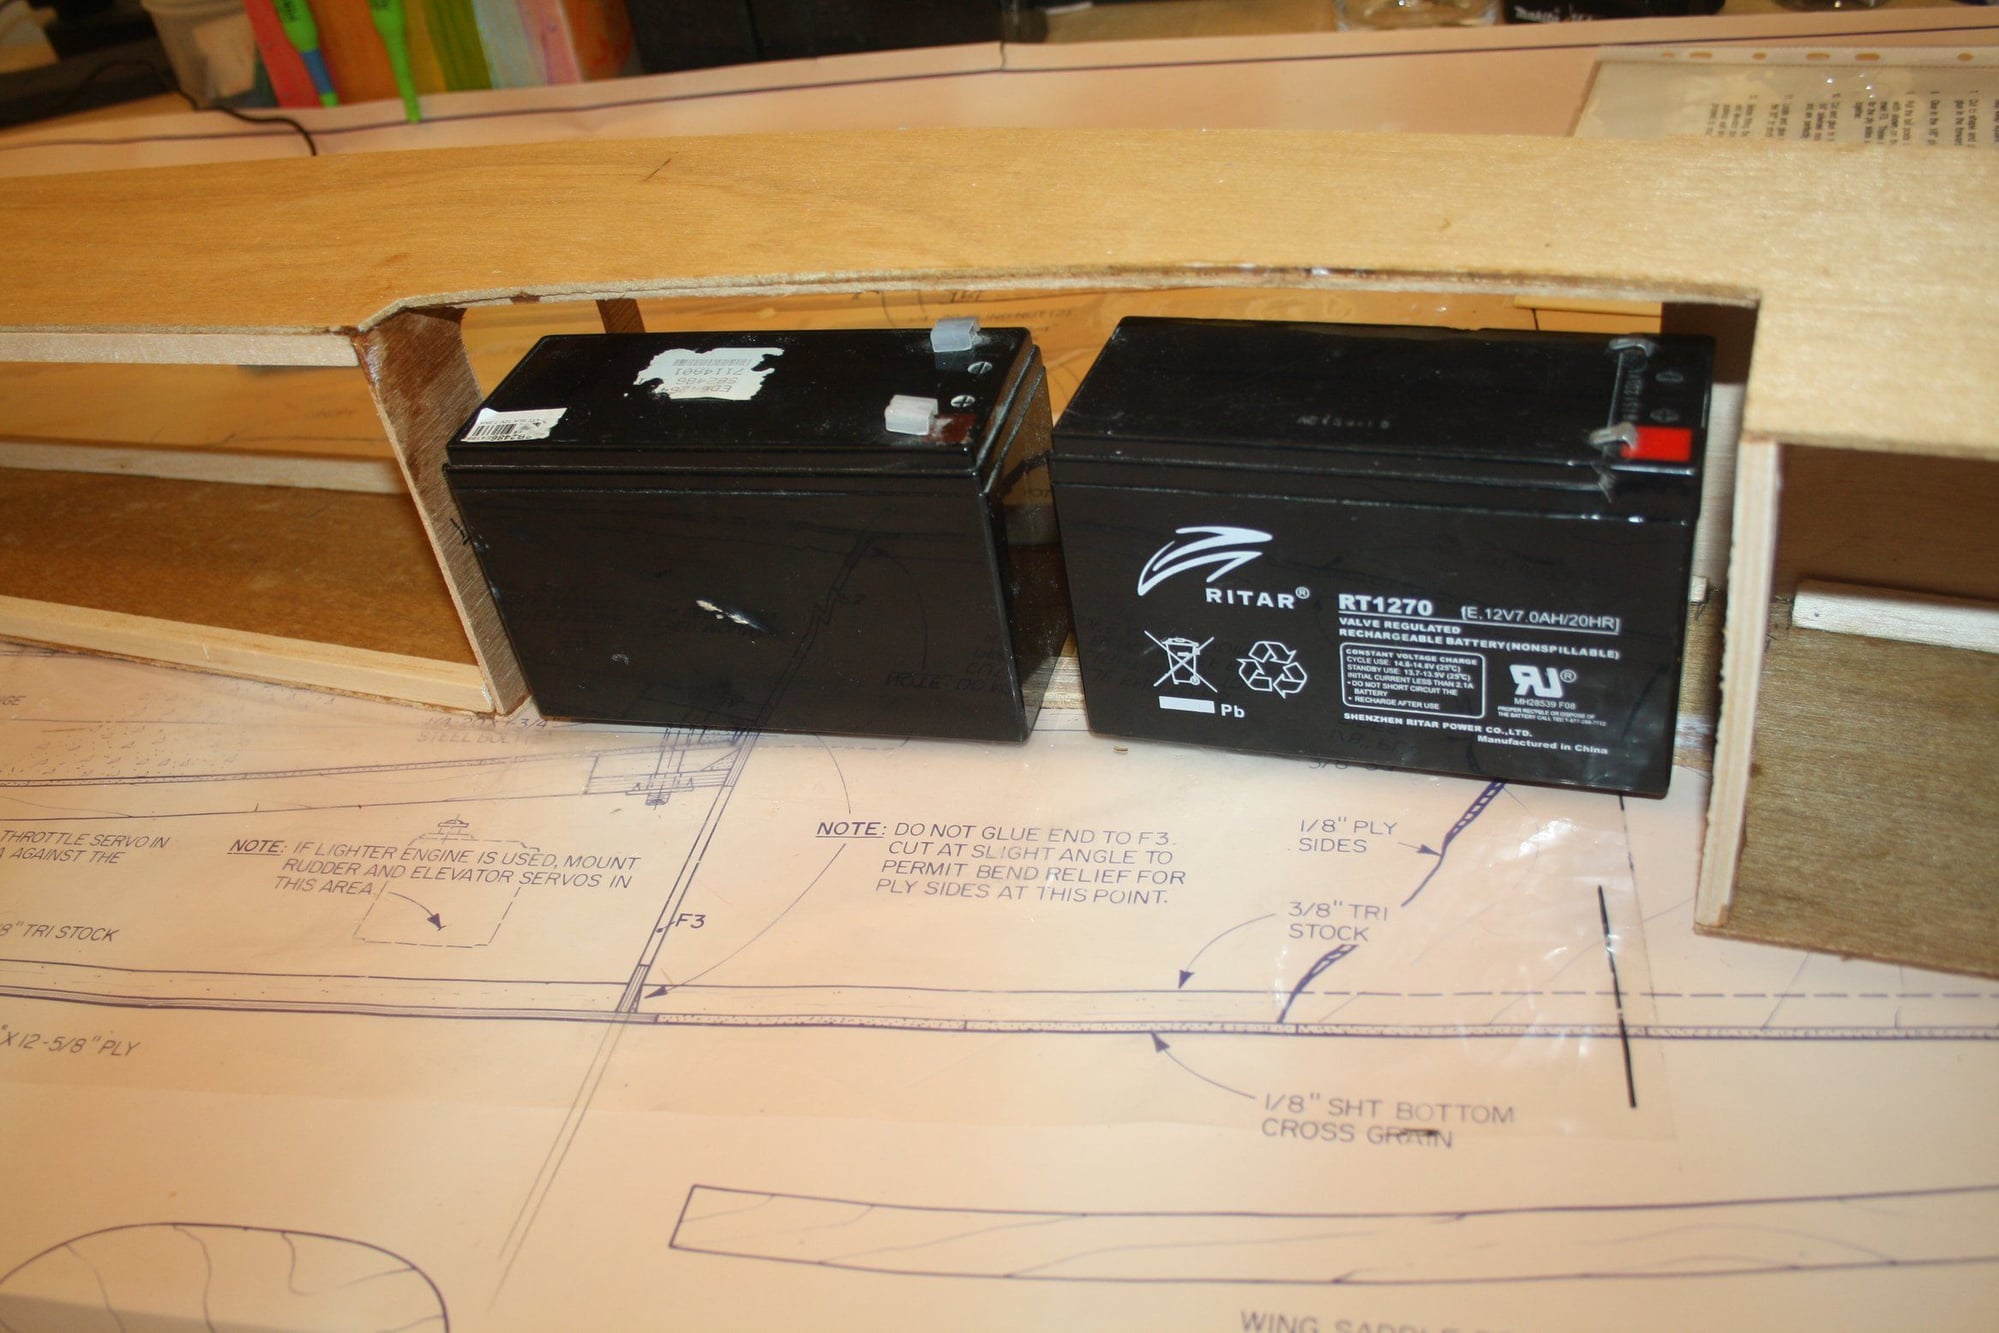
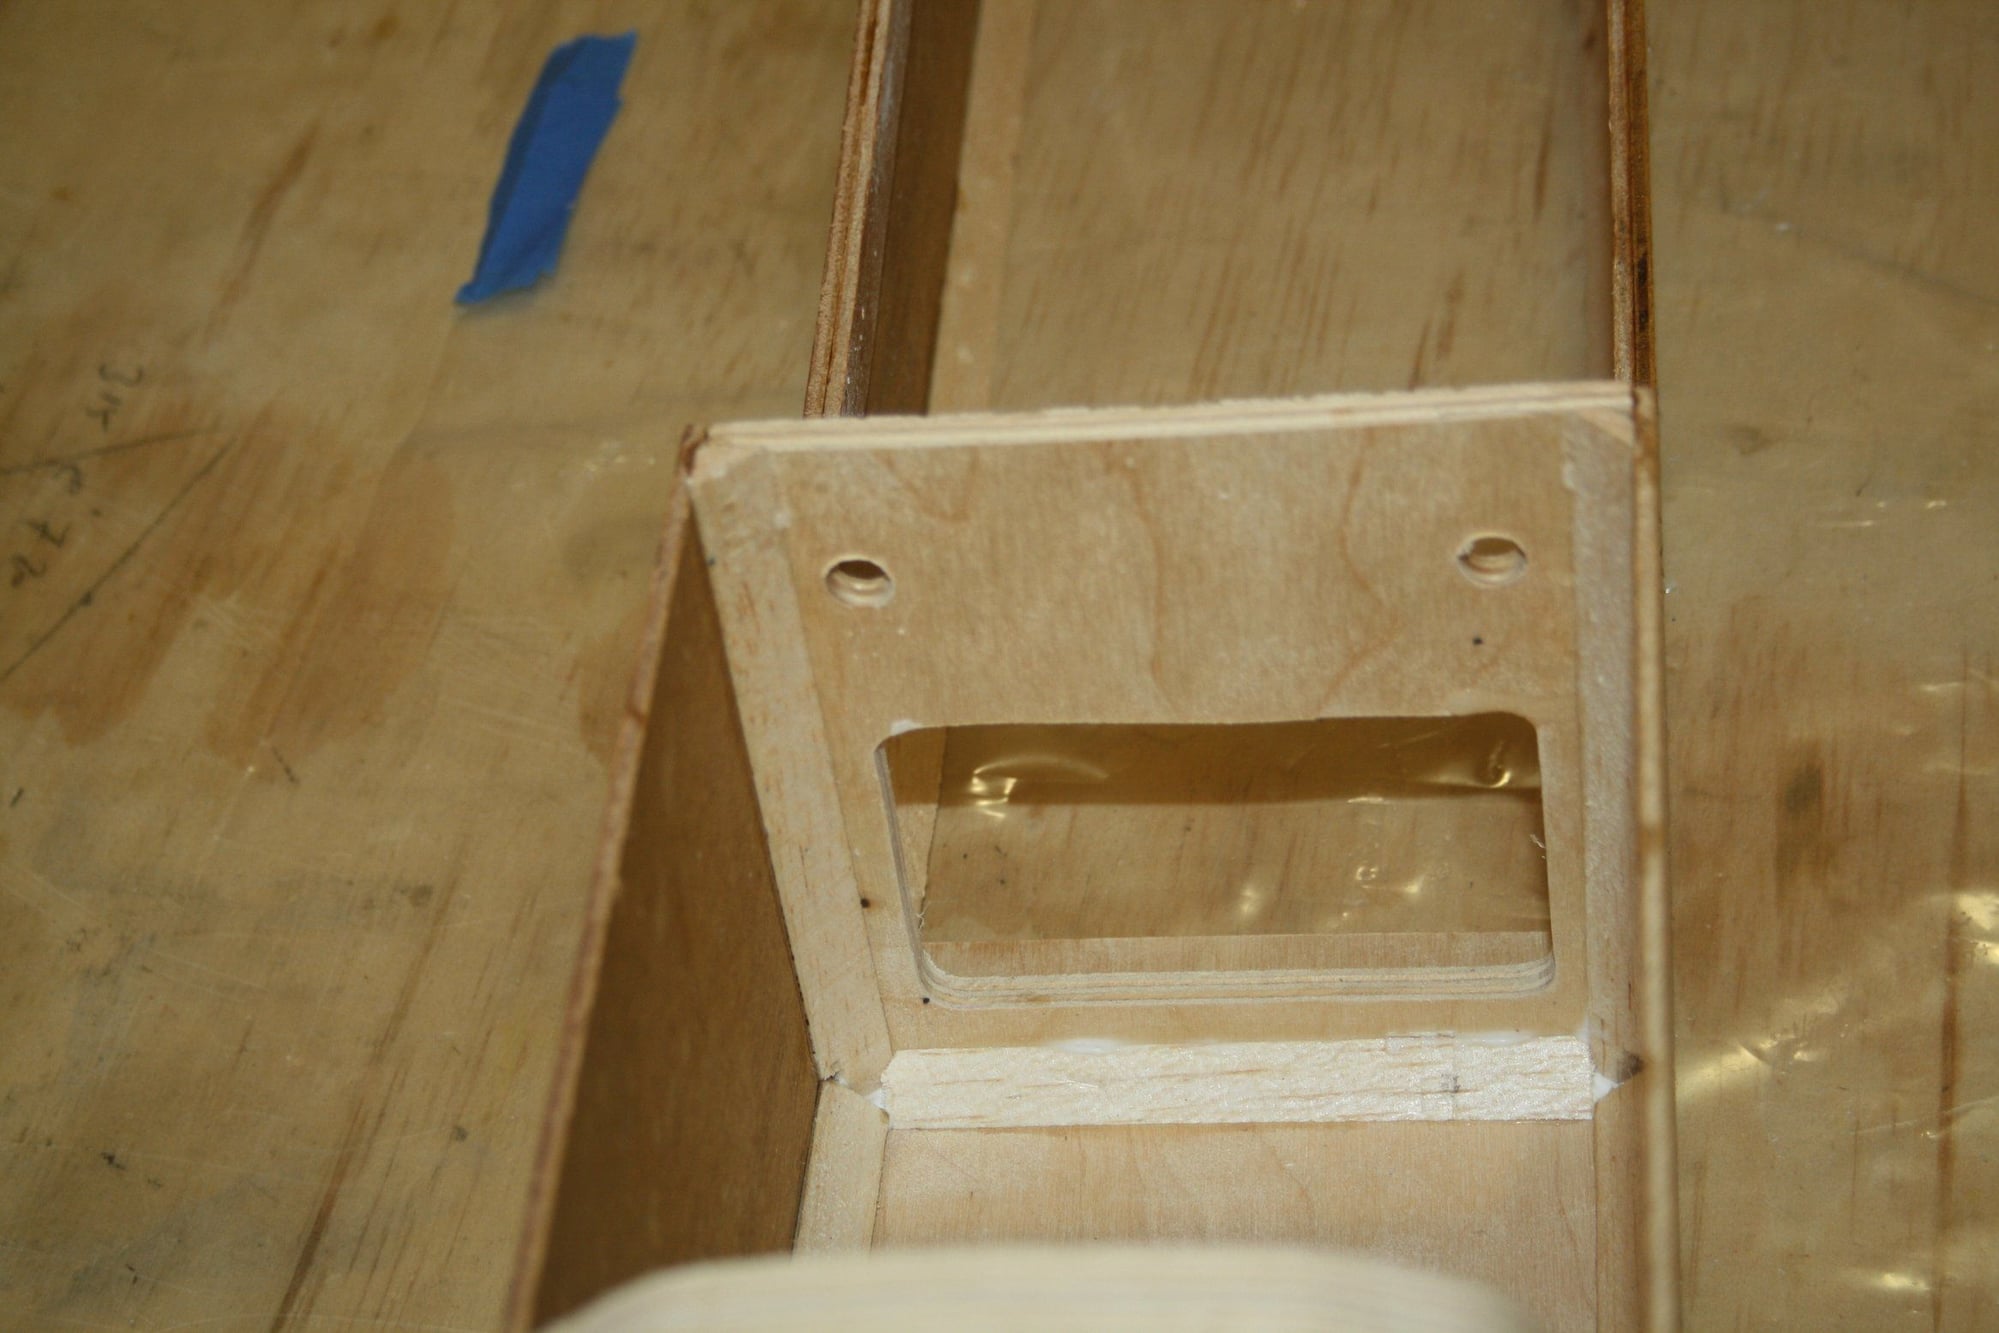
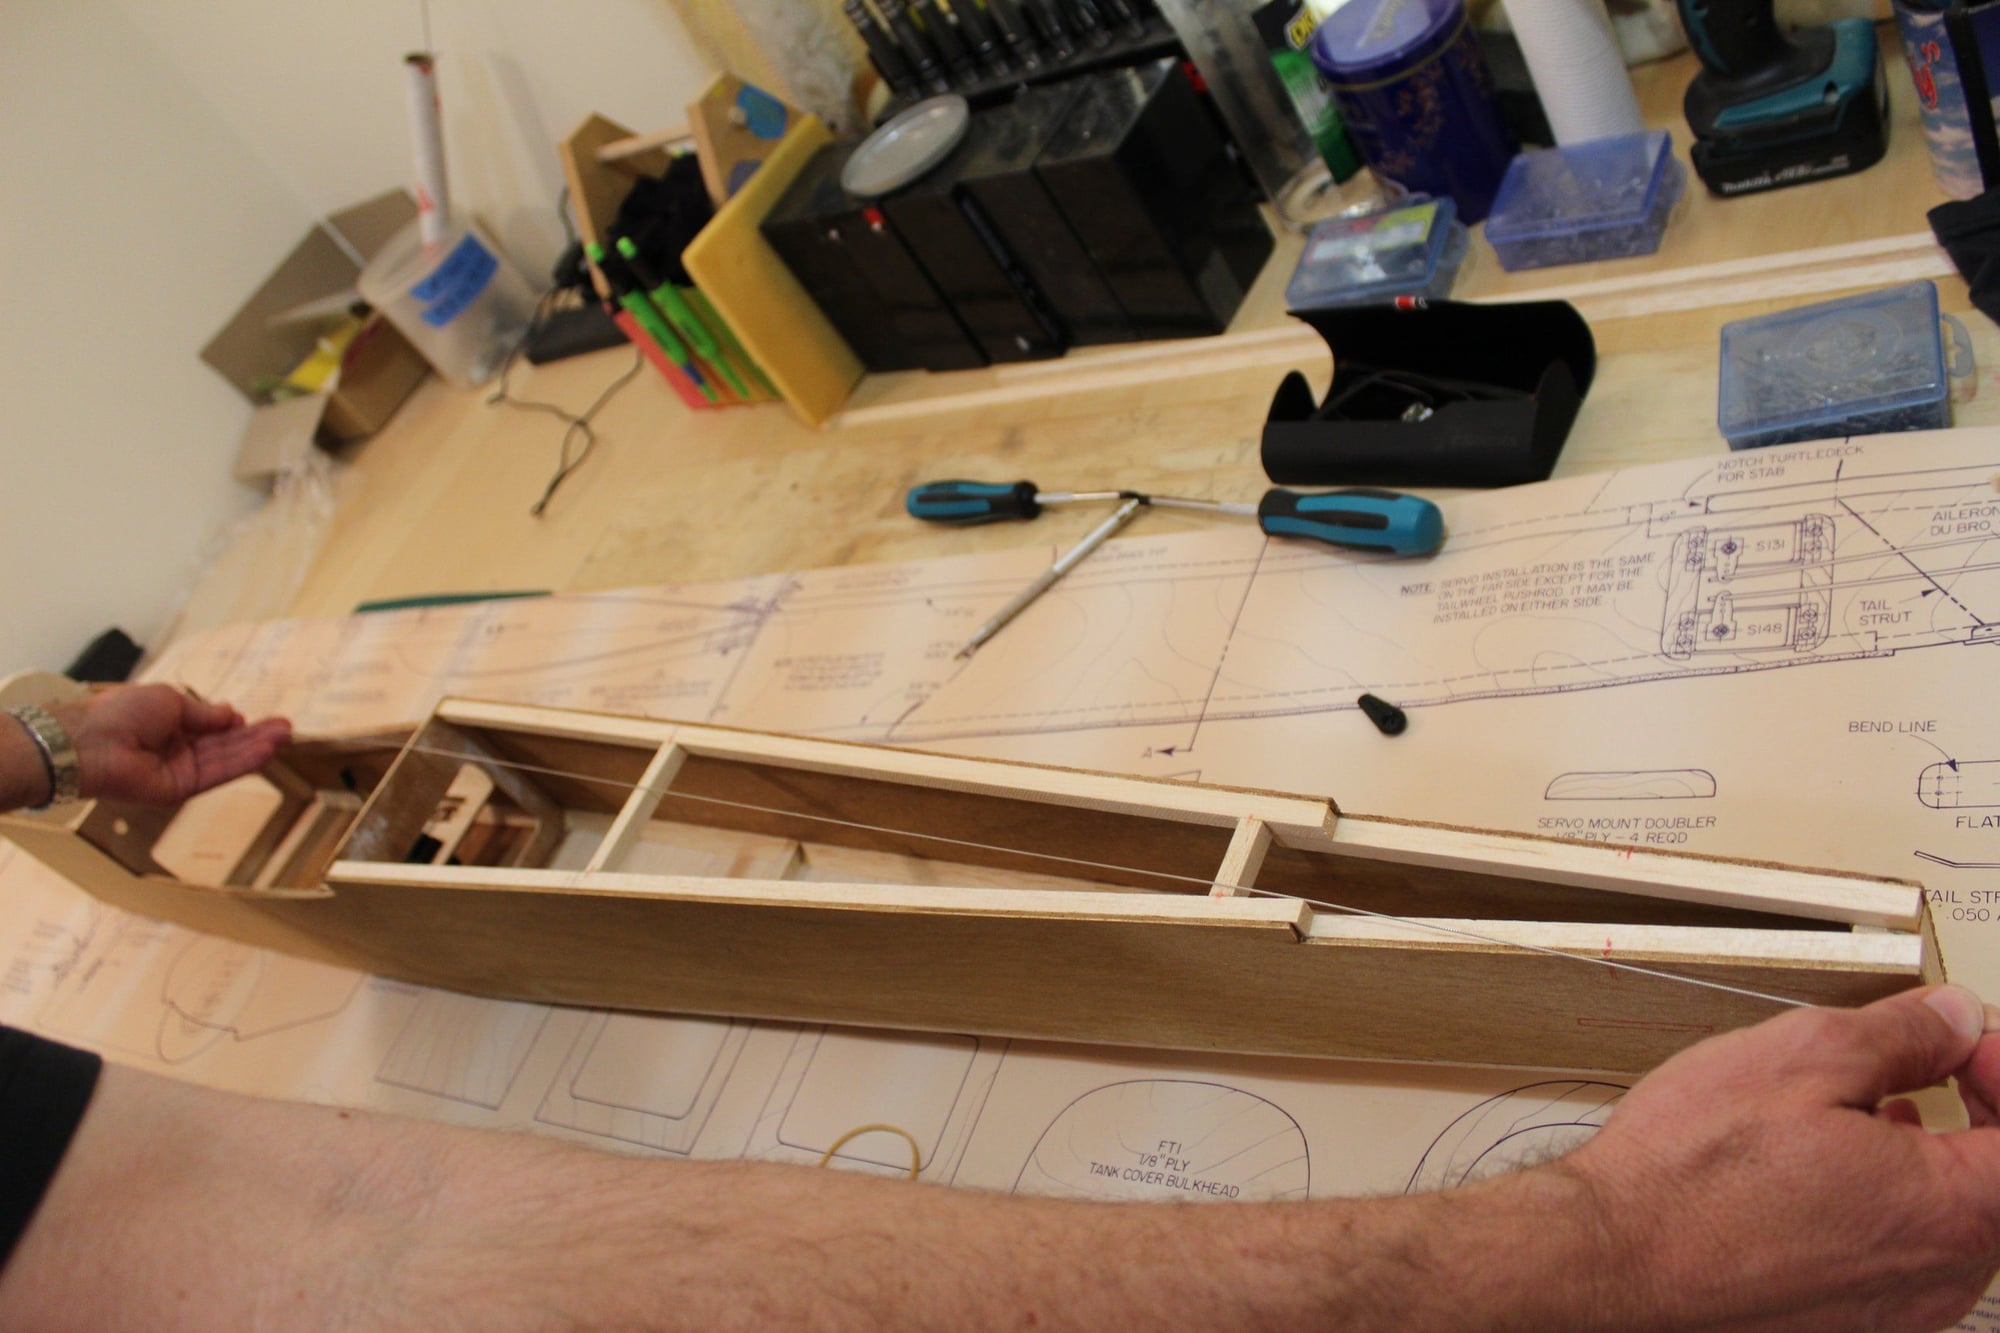
Not committing to a final decision on elevators servos location (at the tail vs. under the wing), I made a servo tray with mounting available for them under the wing, as well as cutting mounting location in the tail. My preference is to have the elevator servos in the tail.
I also measured, marked and cut the exit for the pull-pull cables for the rudder. I definitely will not be able to have 3 servos in the tail and have an acceptable amount of weight to balance the aeroplane in the nose with my lighter engine.
Cheers,
Eran
I also measured, marked and cut the exit for the pull-pull cables for the rudder. I definitely will not be able to have 3 servos in the tail and have an acceptable amount of weight to balance the aeroplane in the nose with my lighter engine.
Cheers,
Eran
01-04-2024, 11:54 PM
#65
Thread Starter
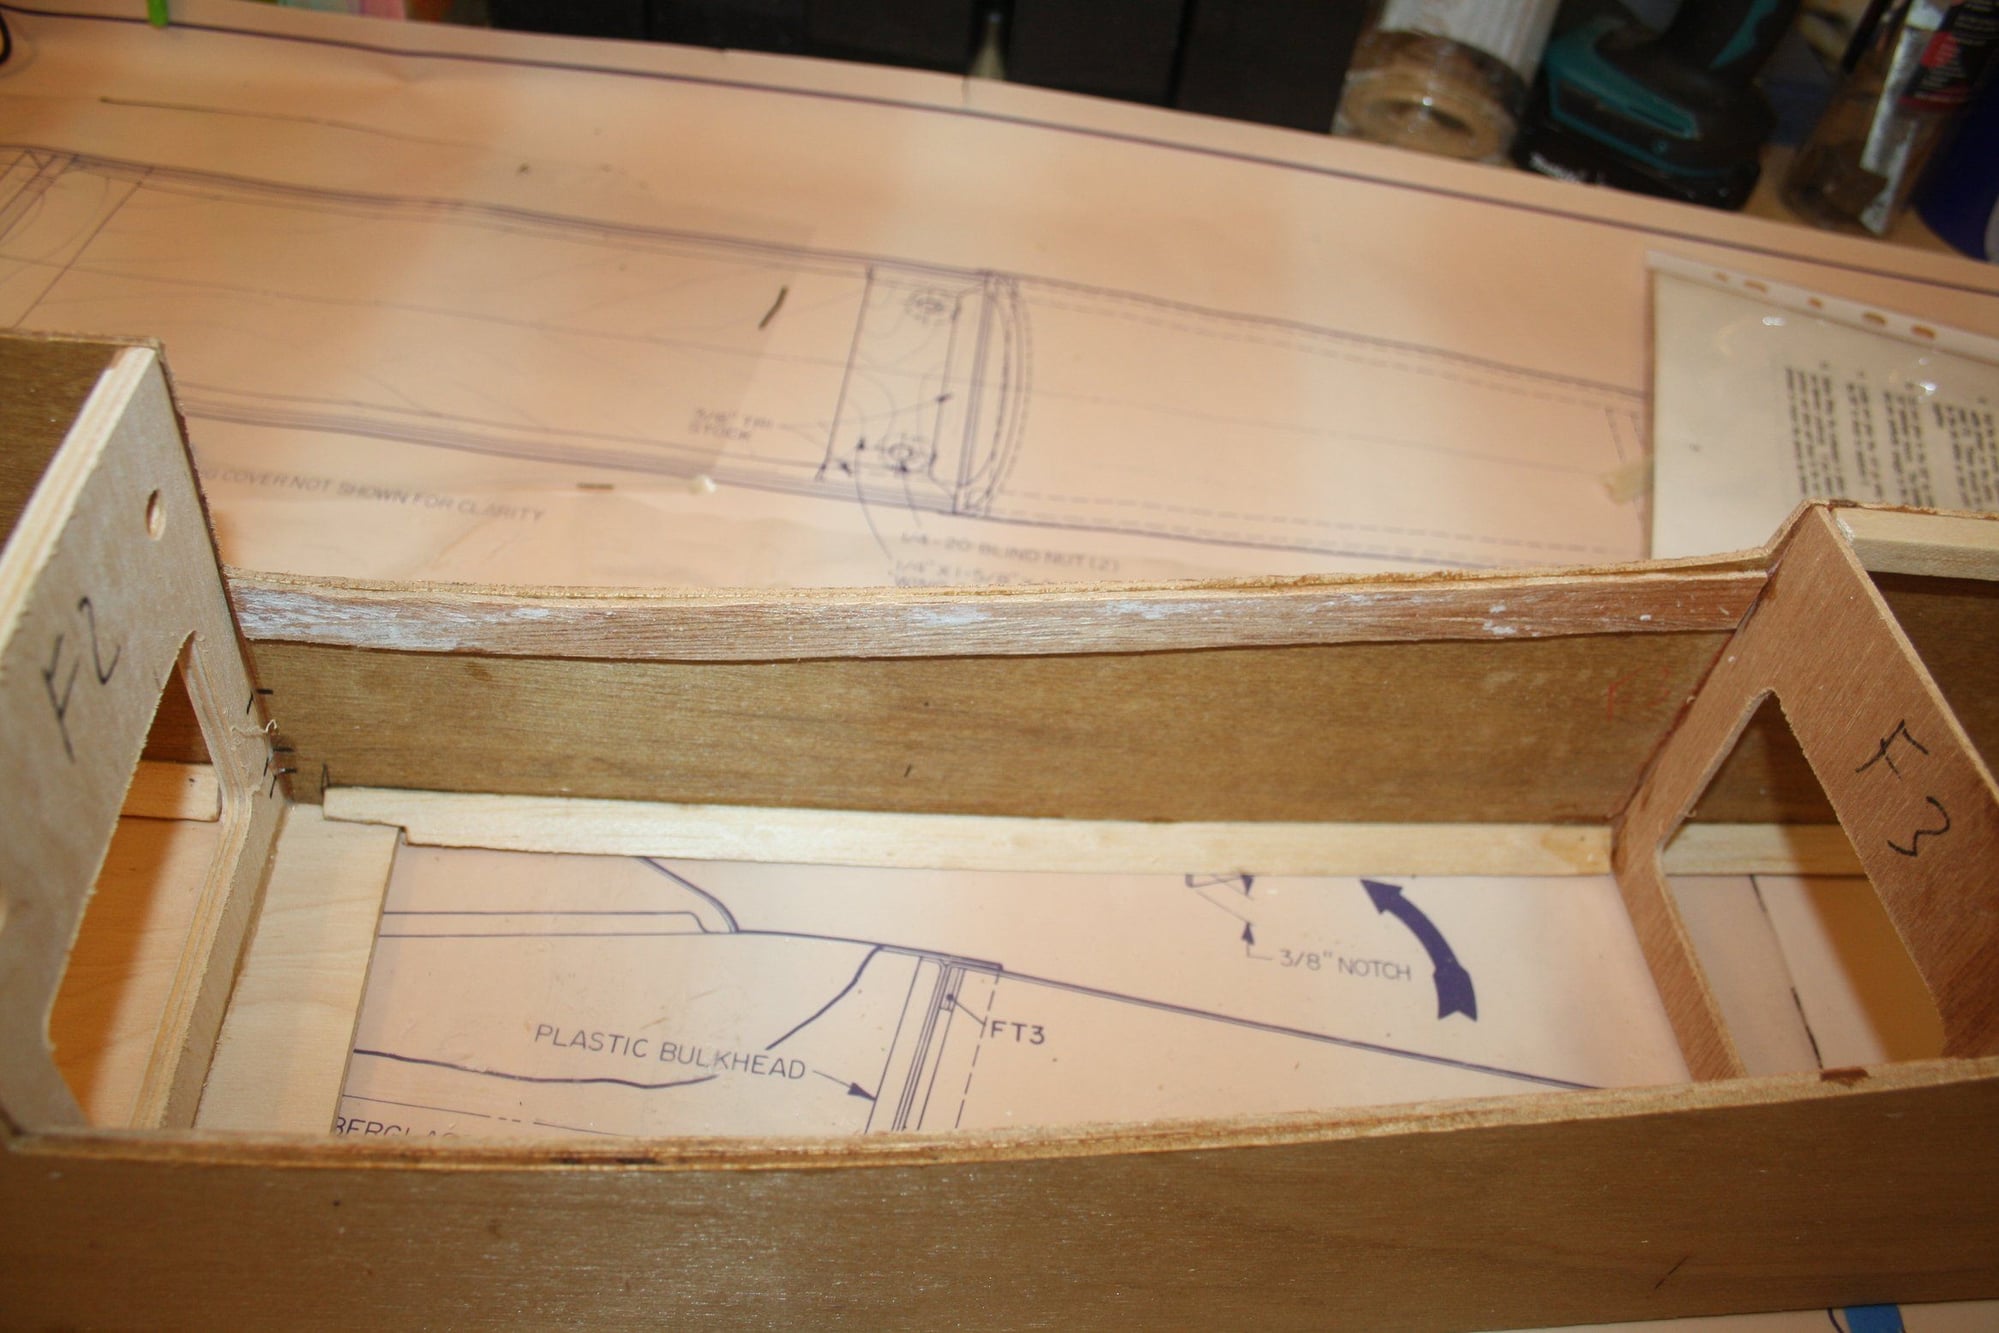
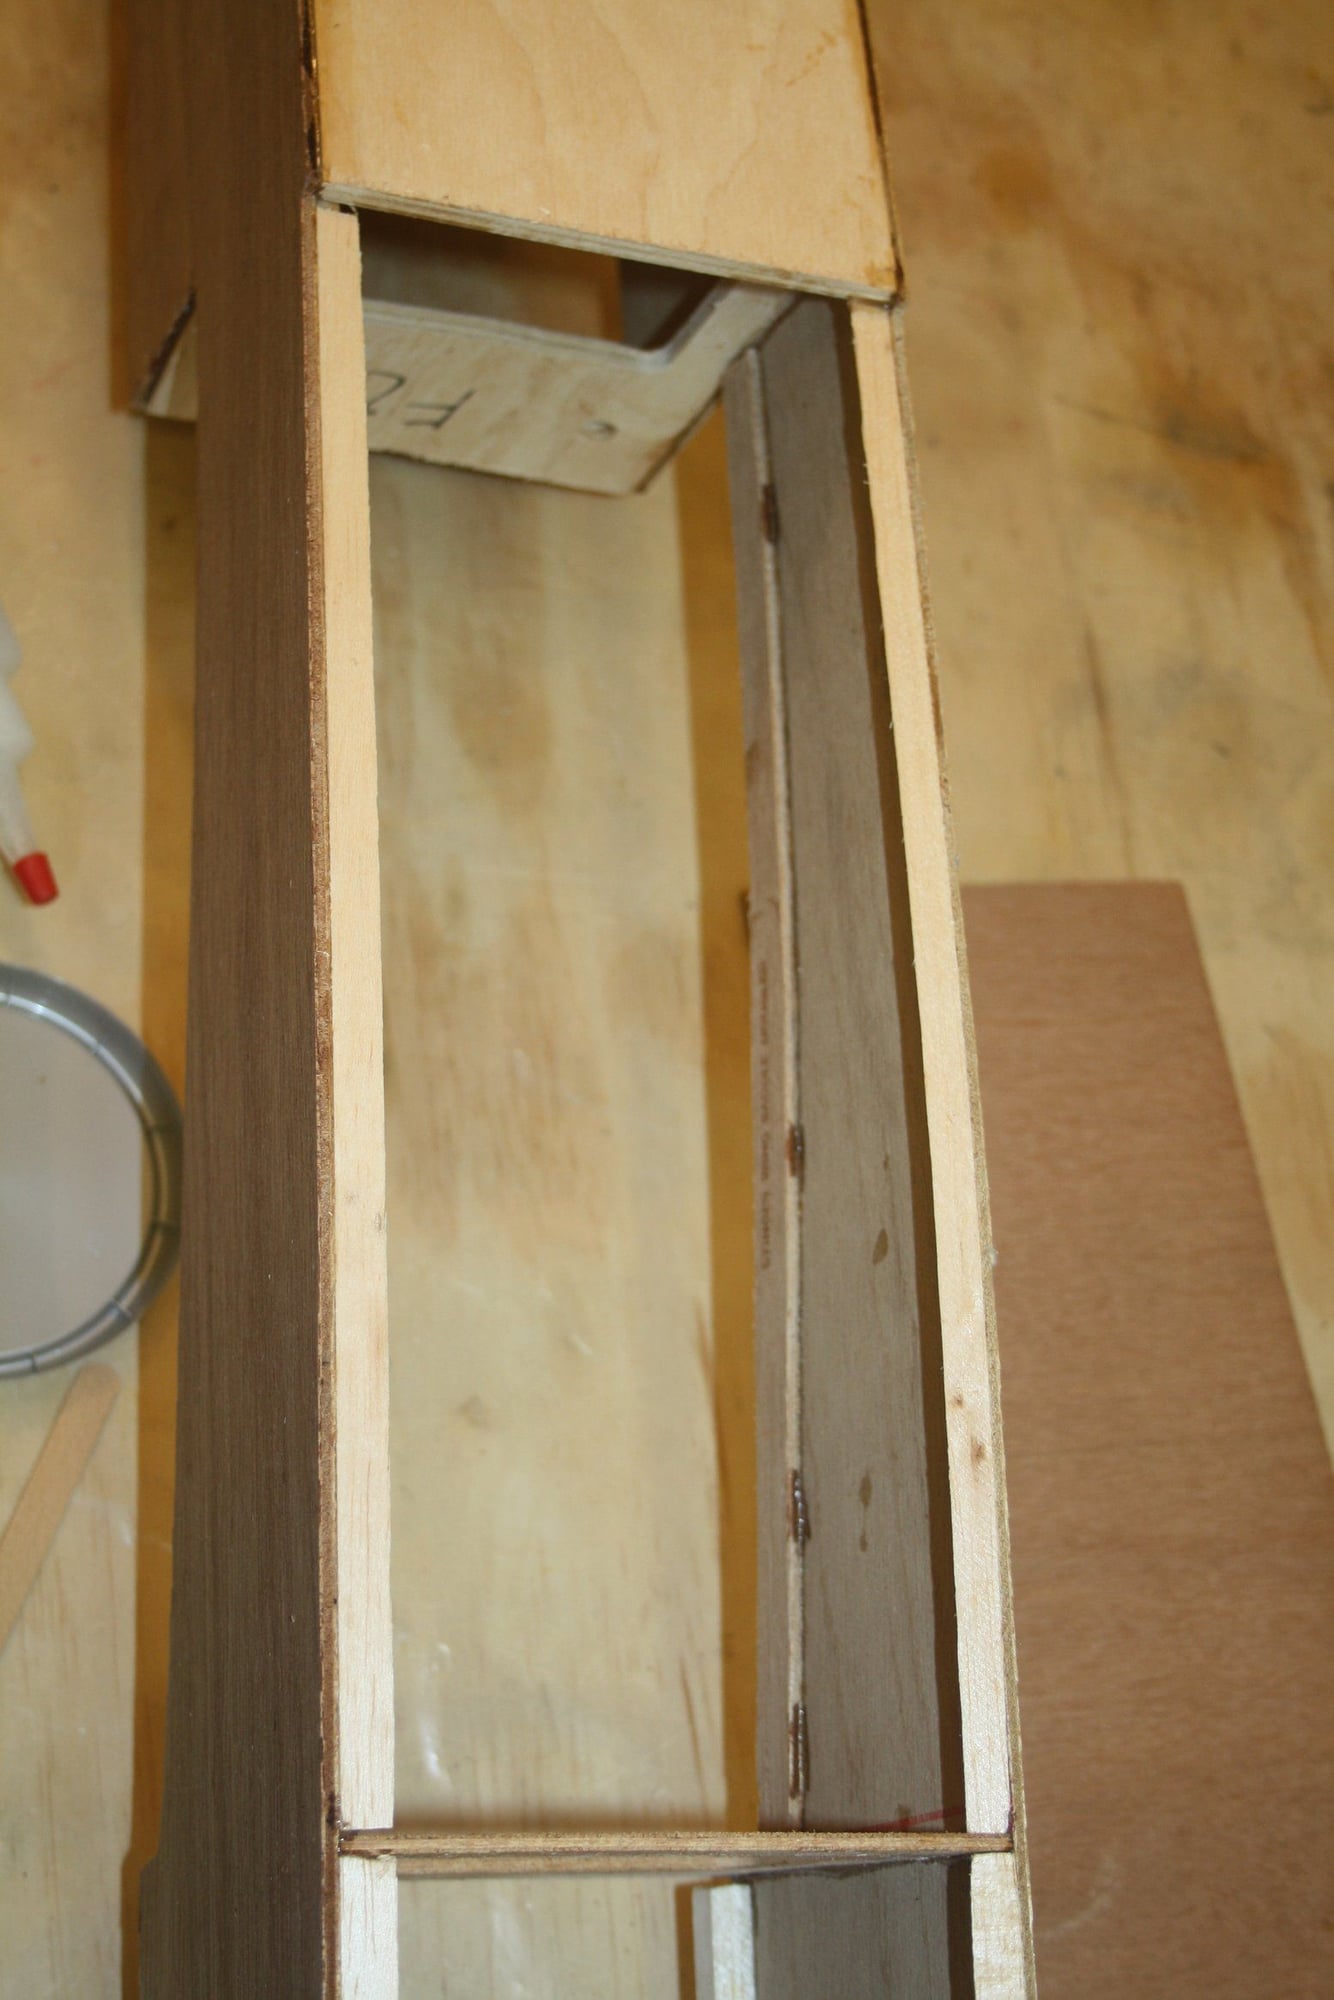
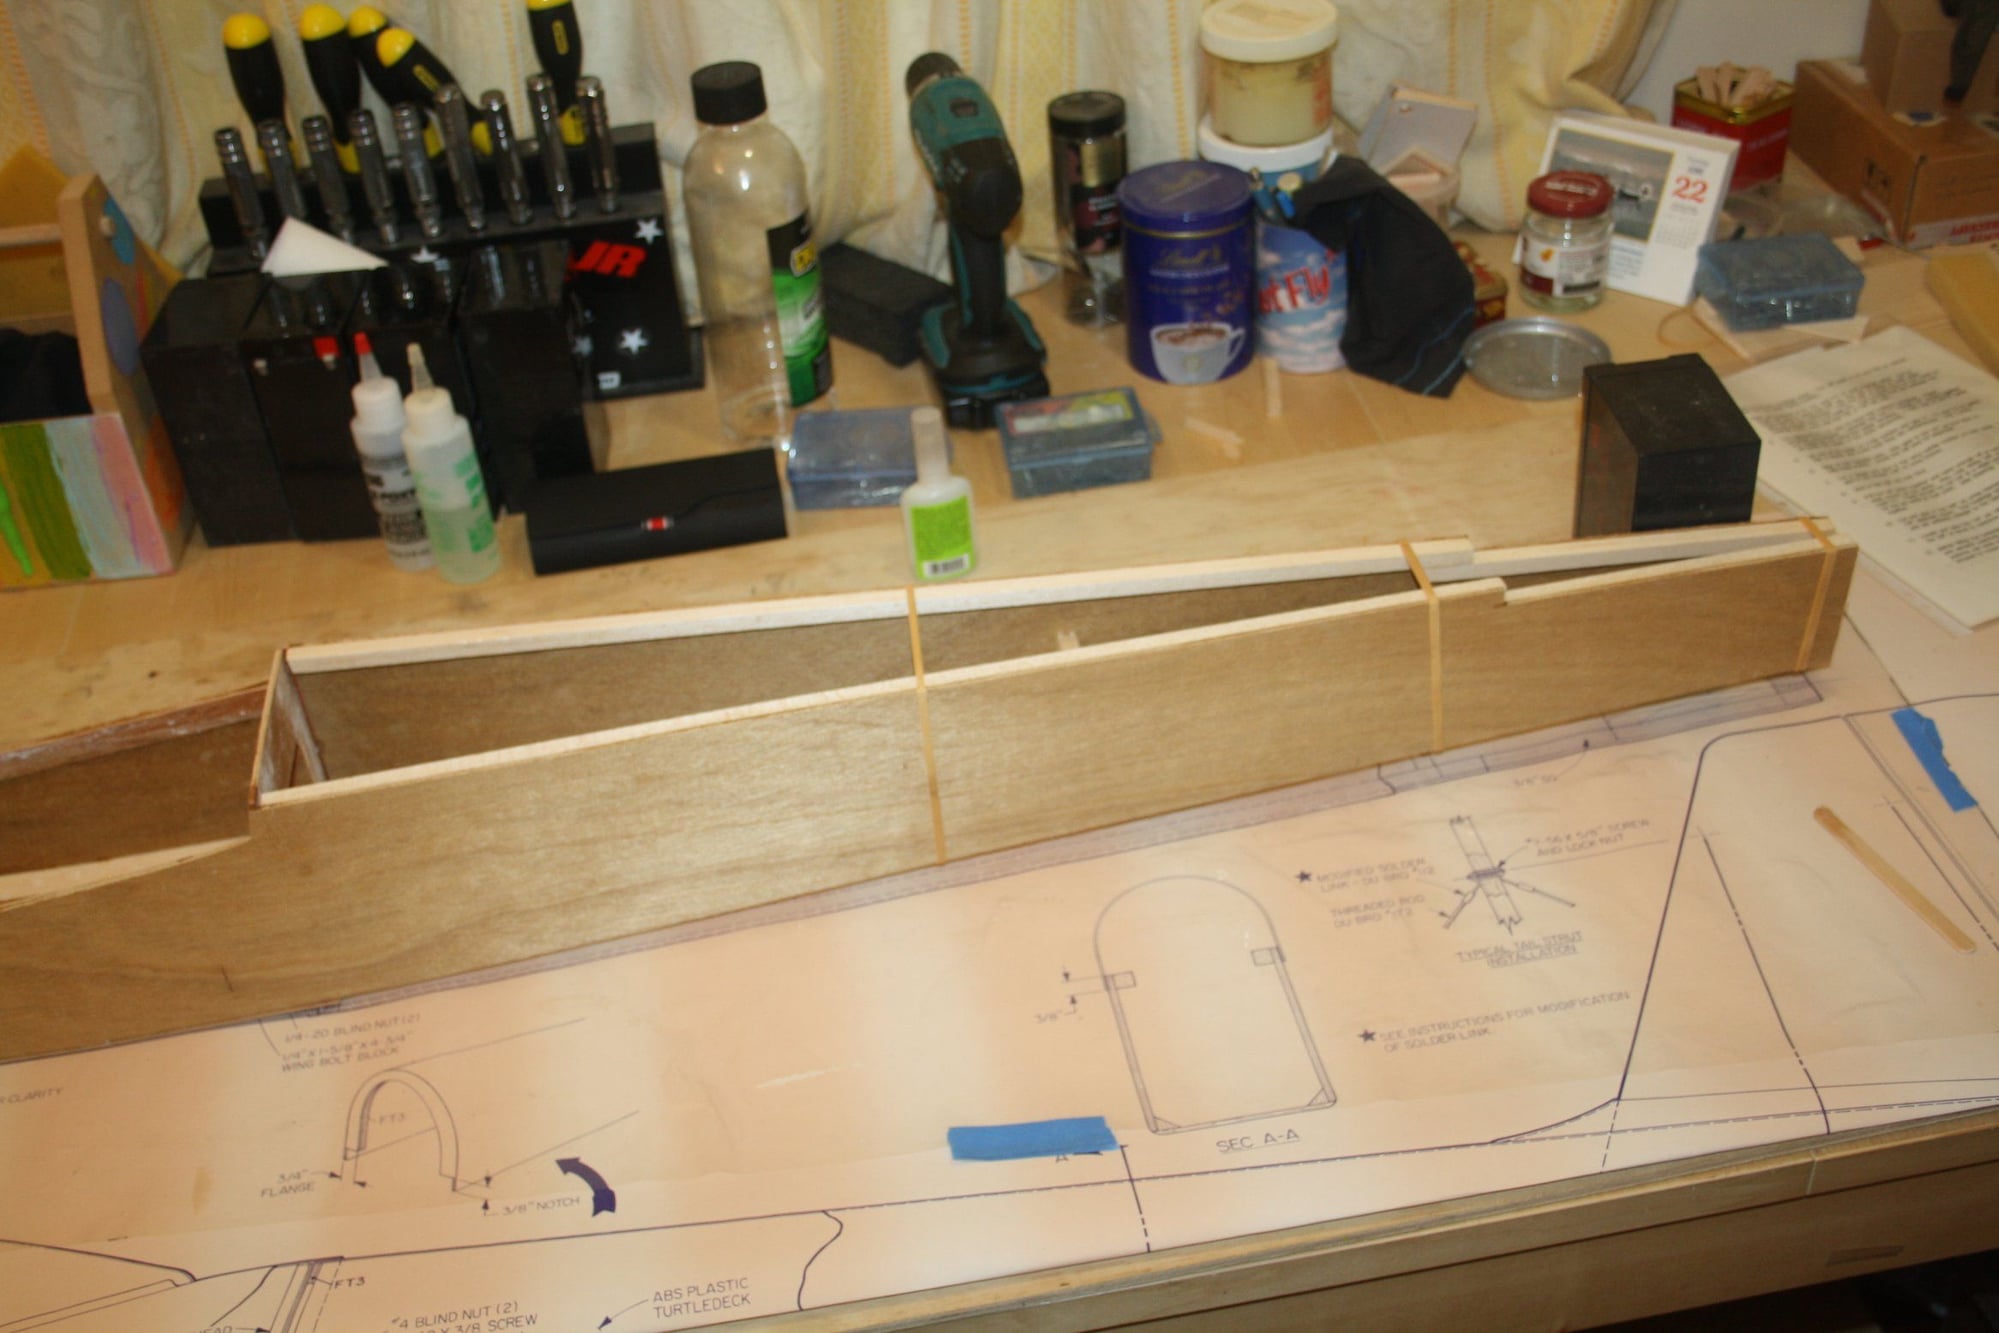
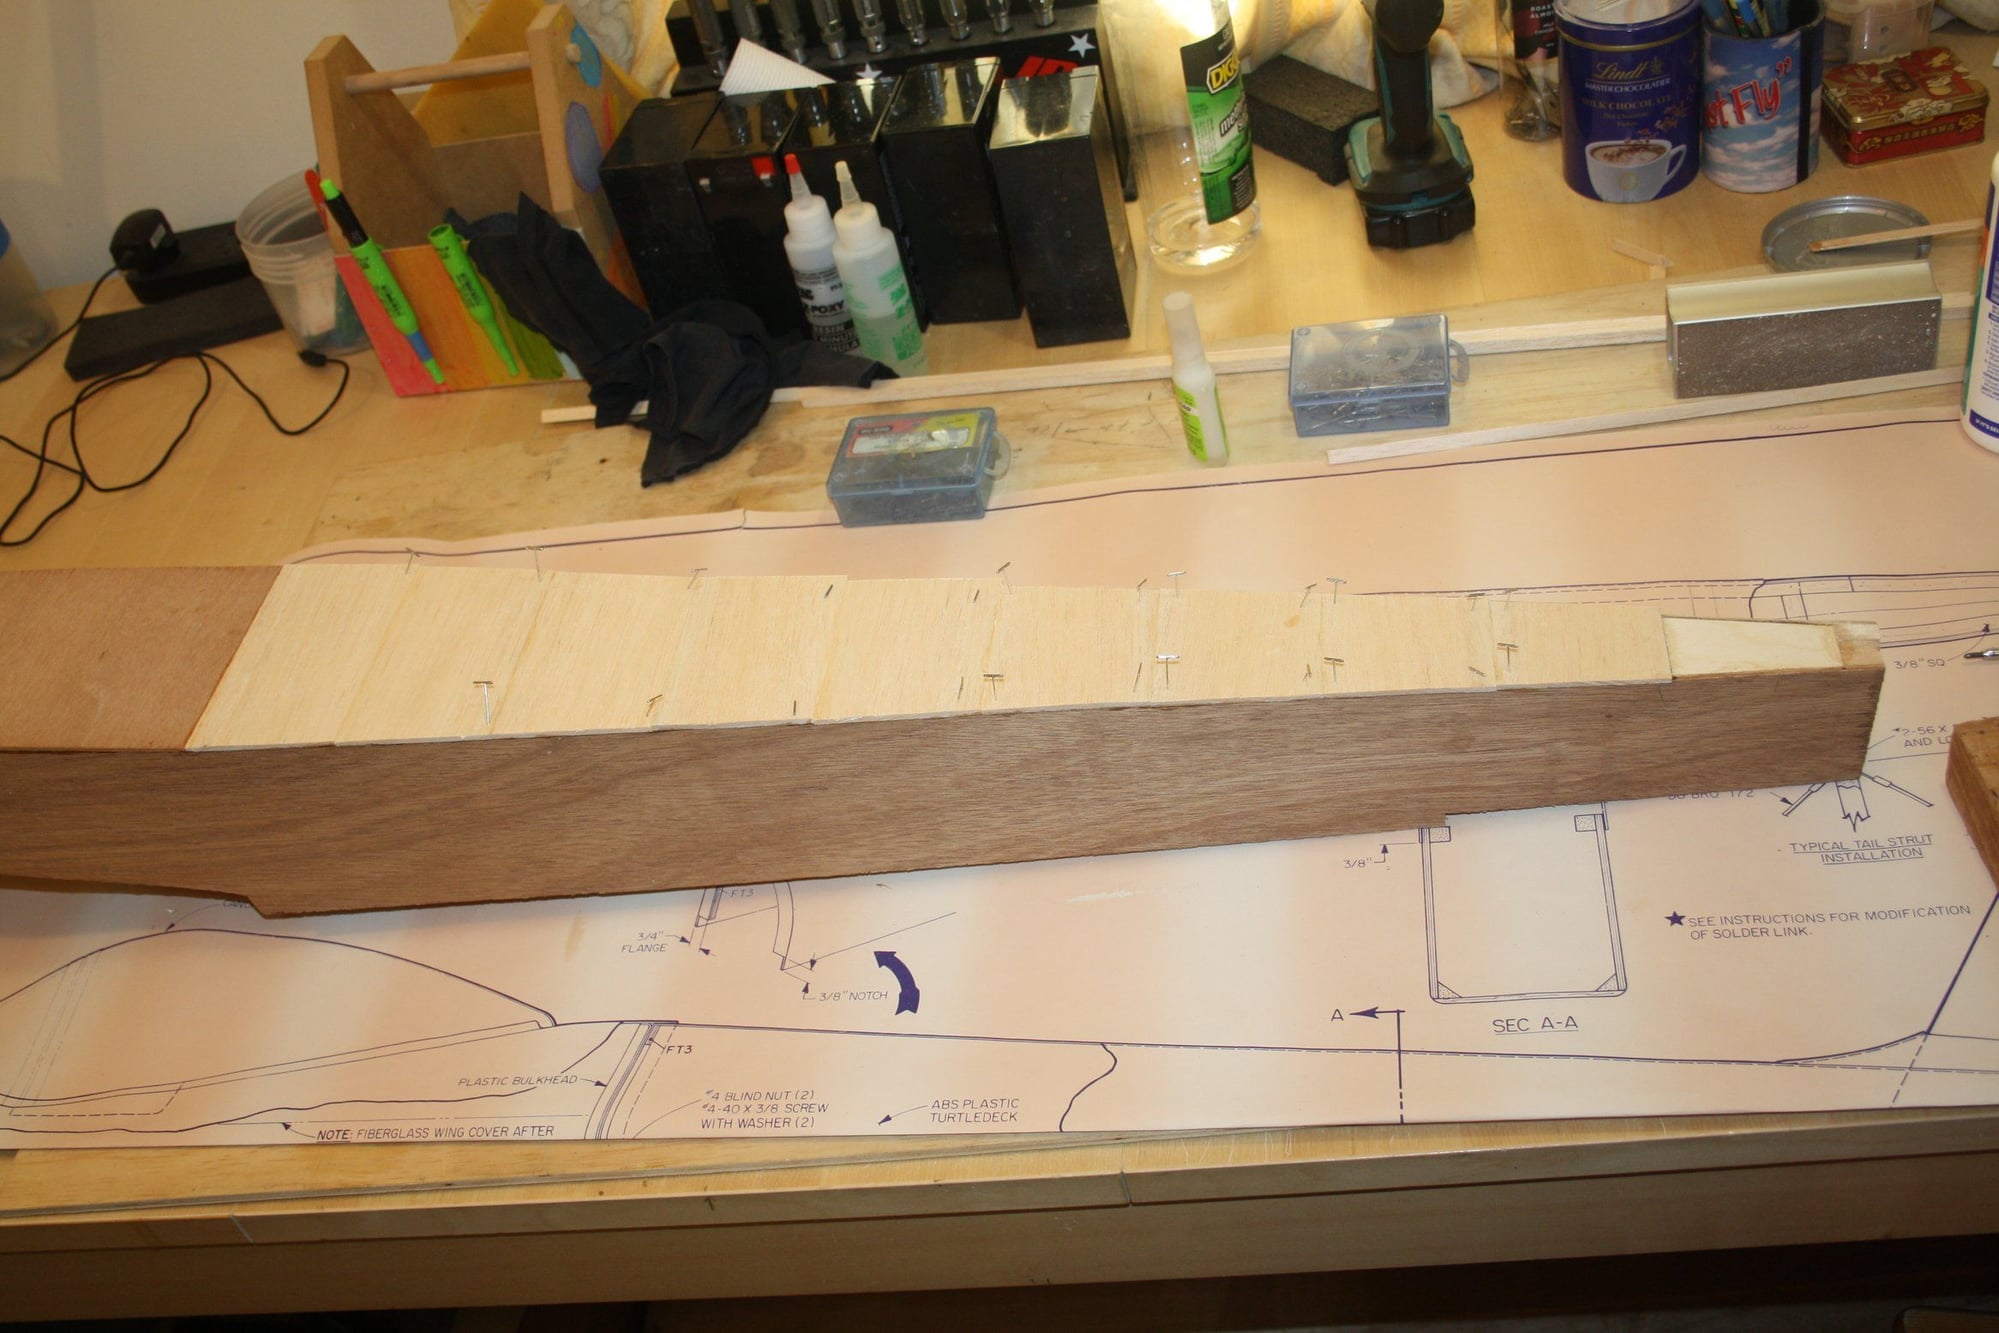
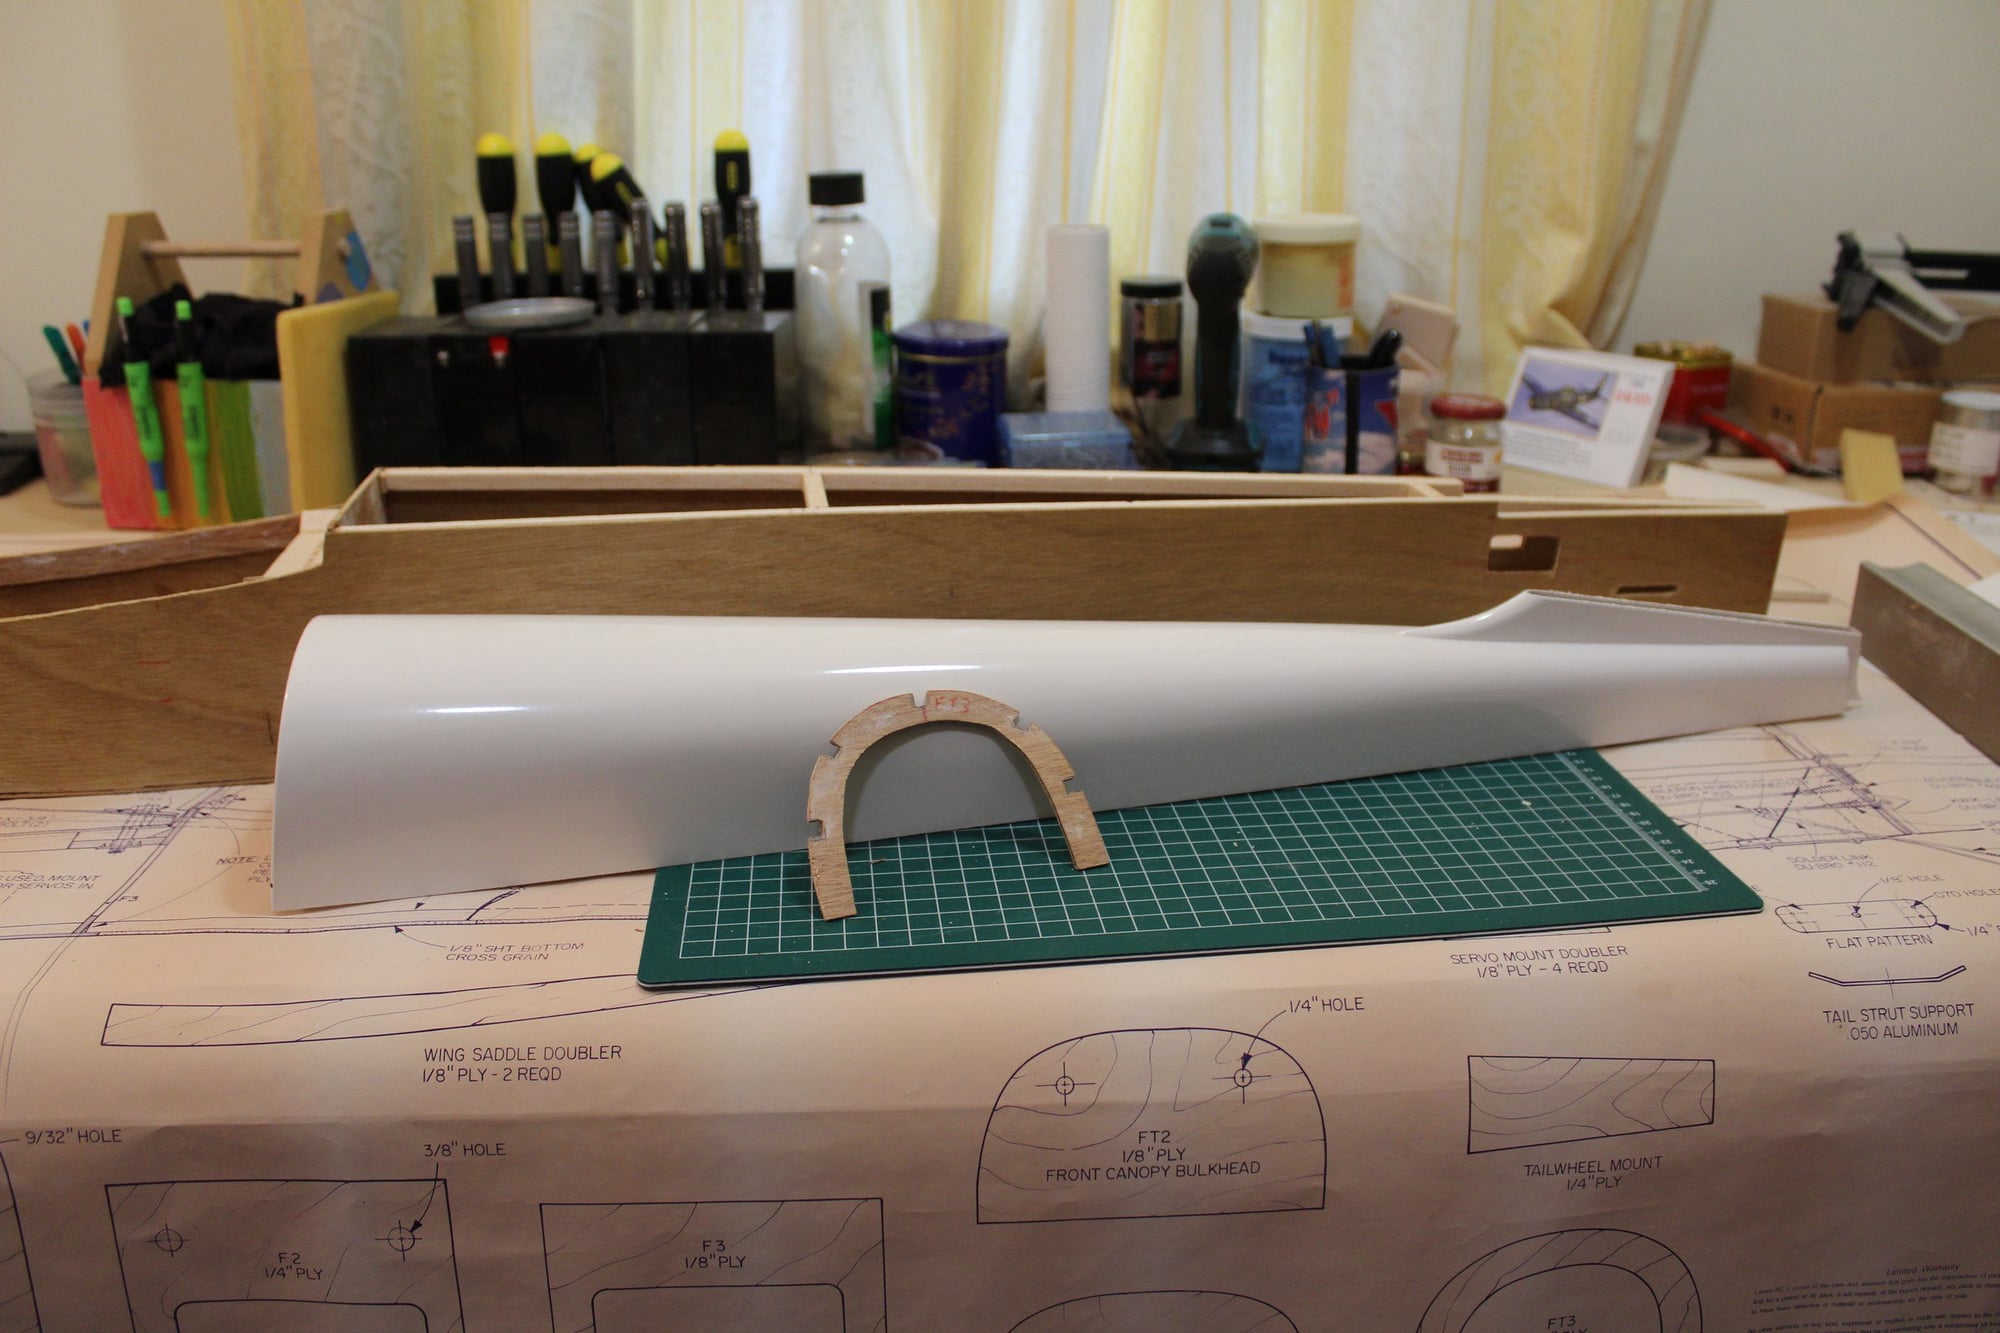
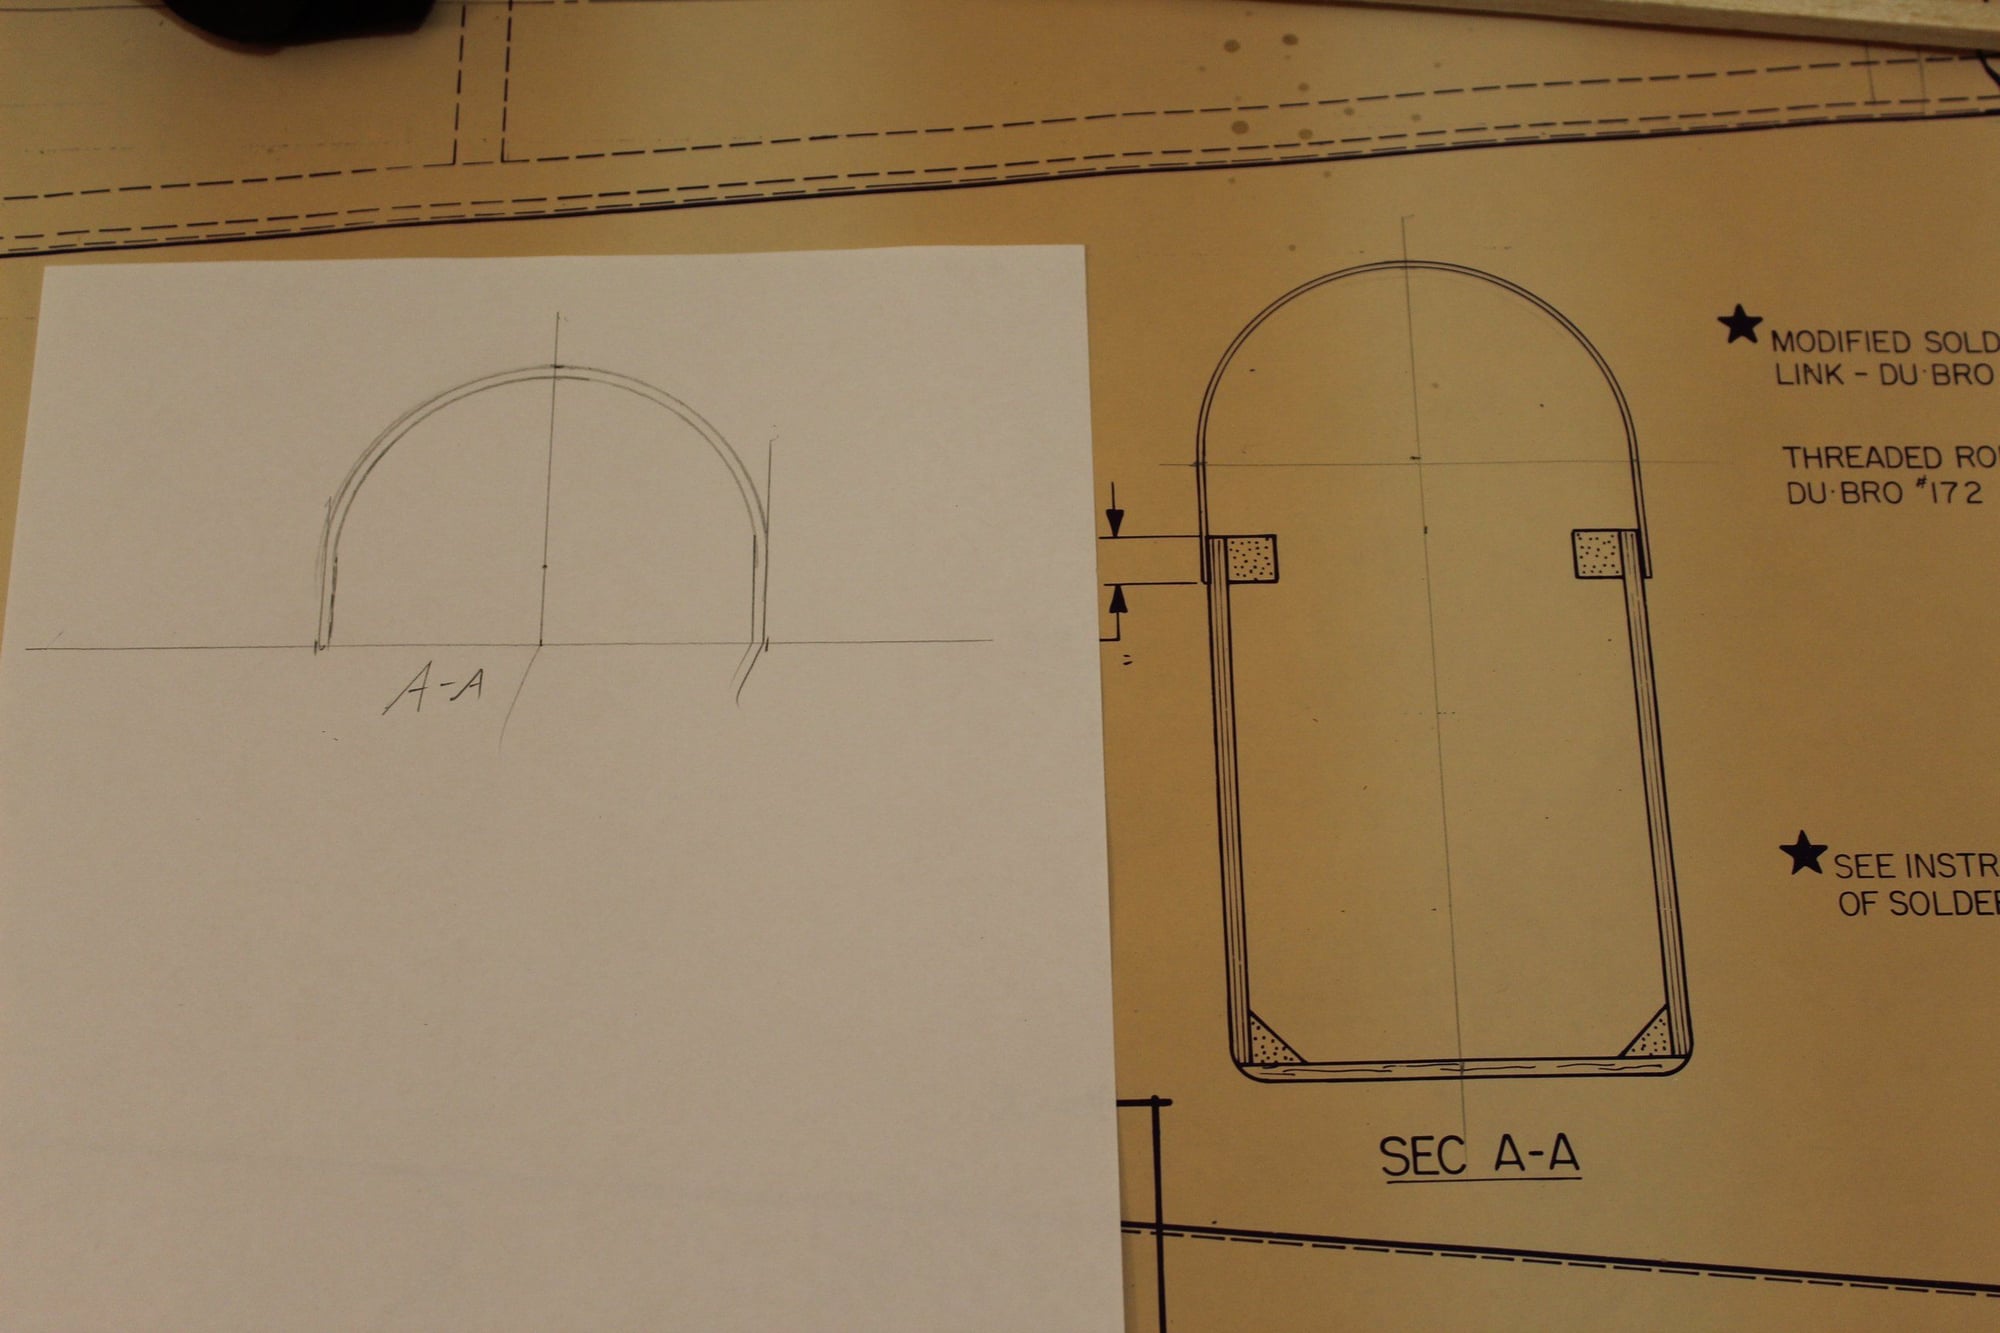
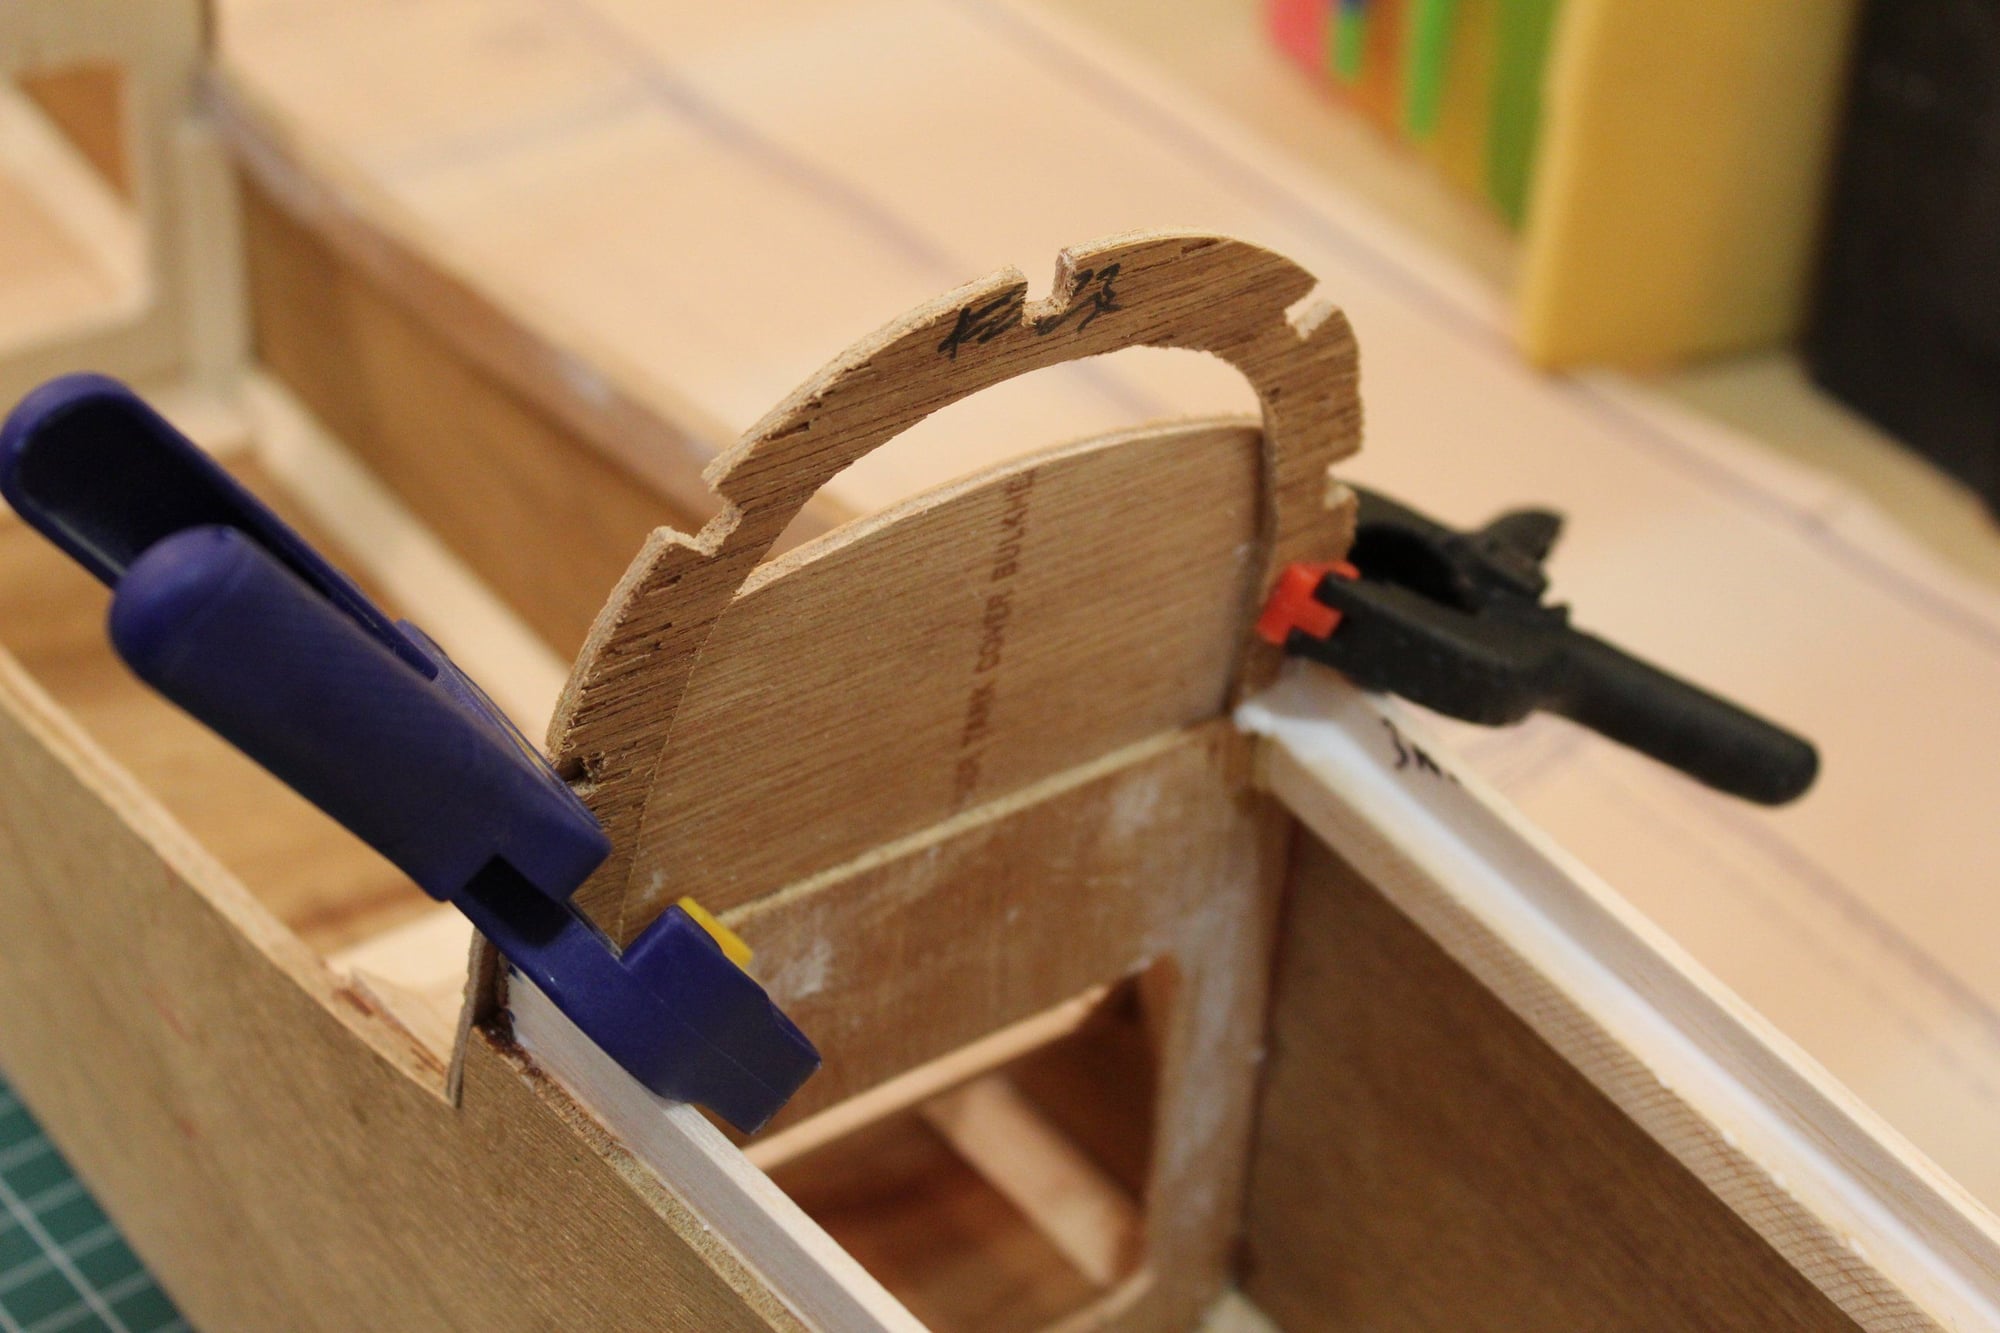
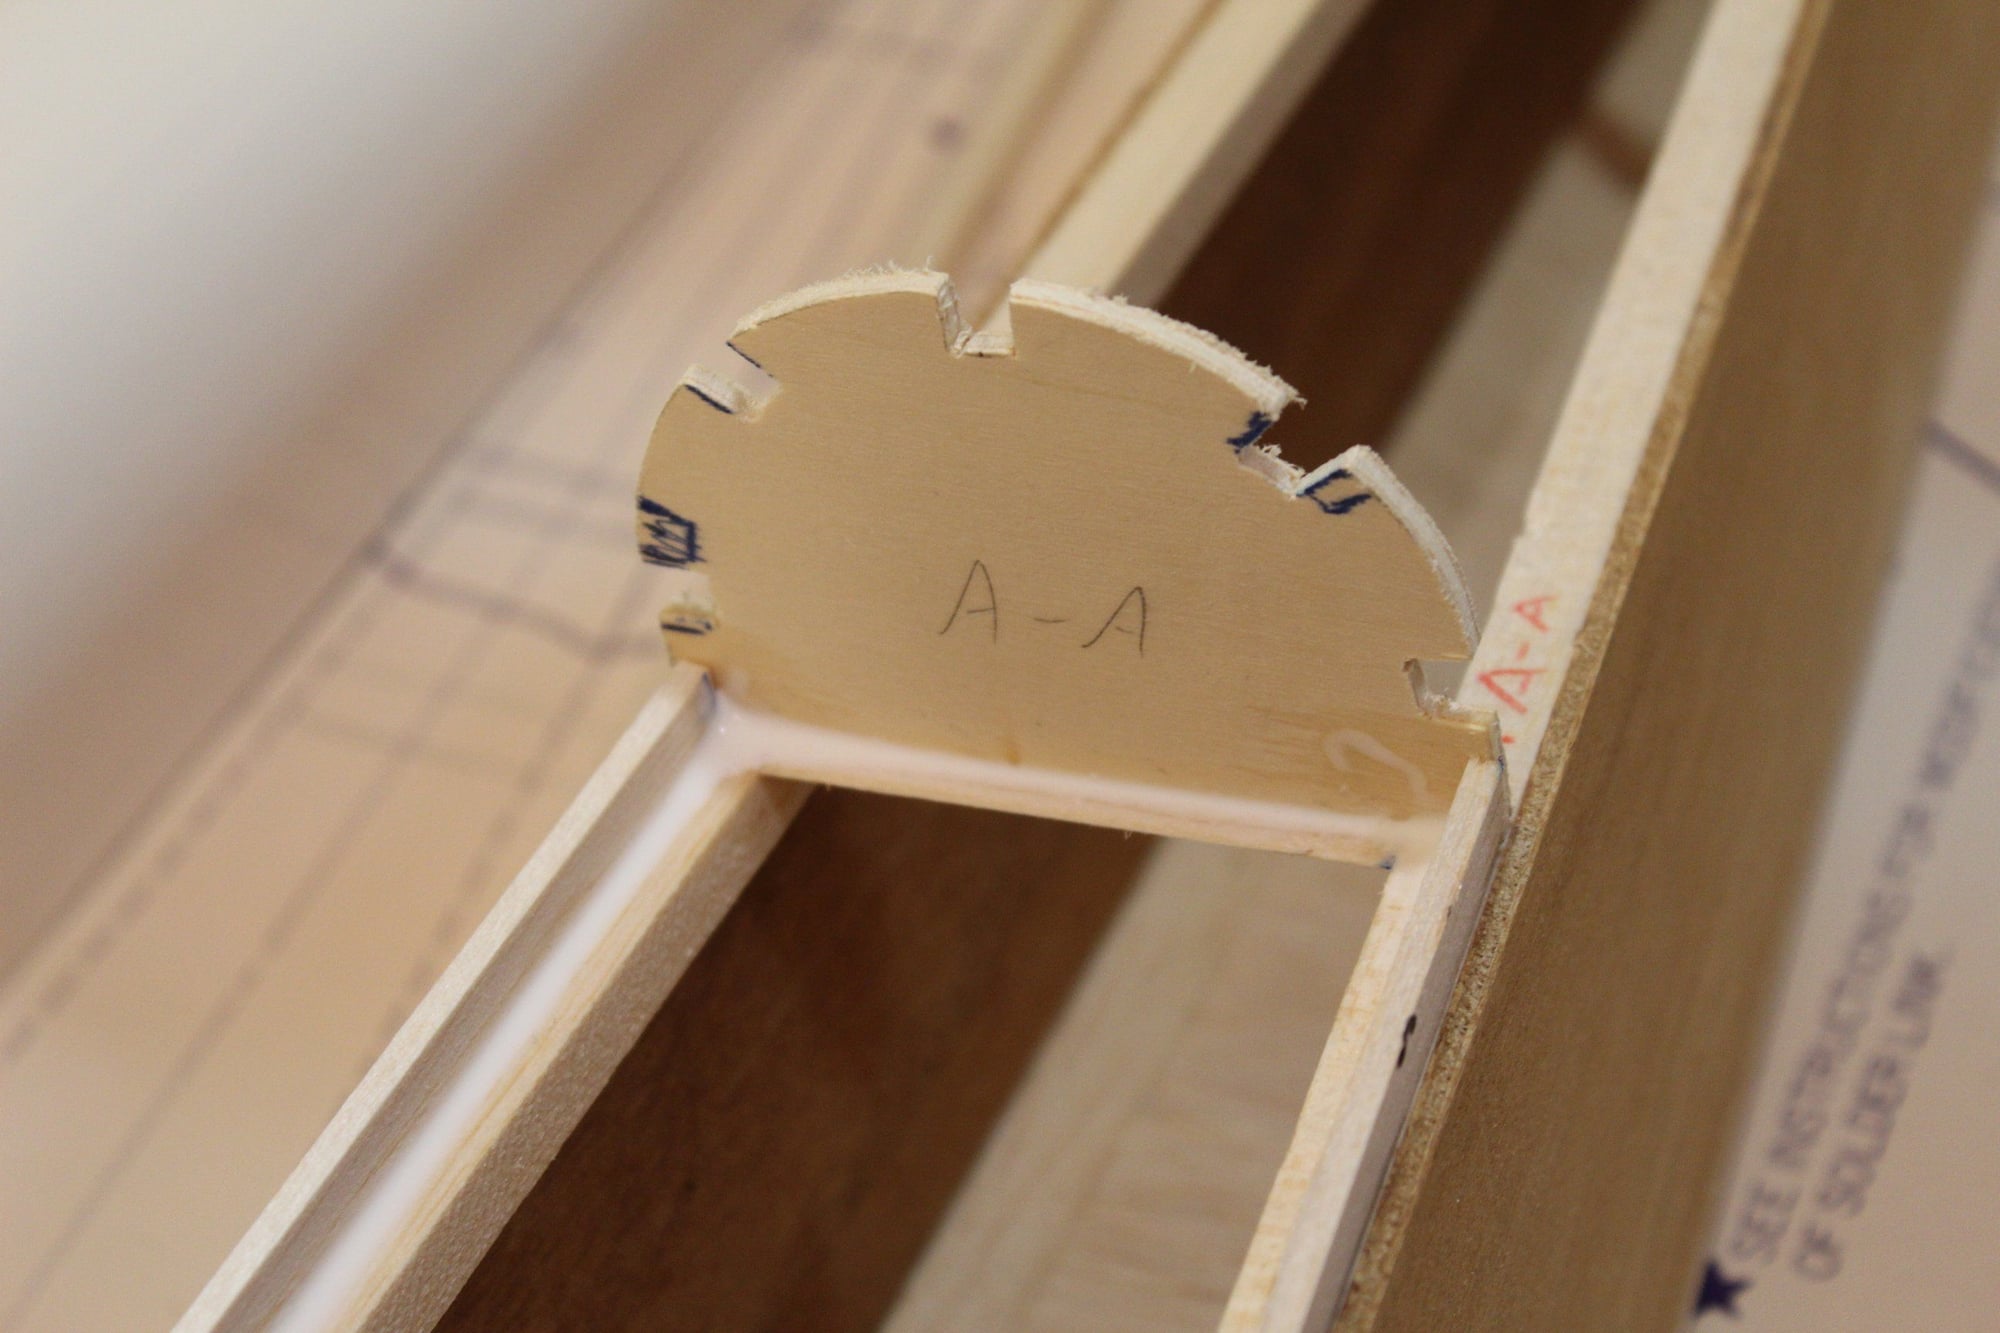
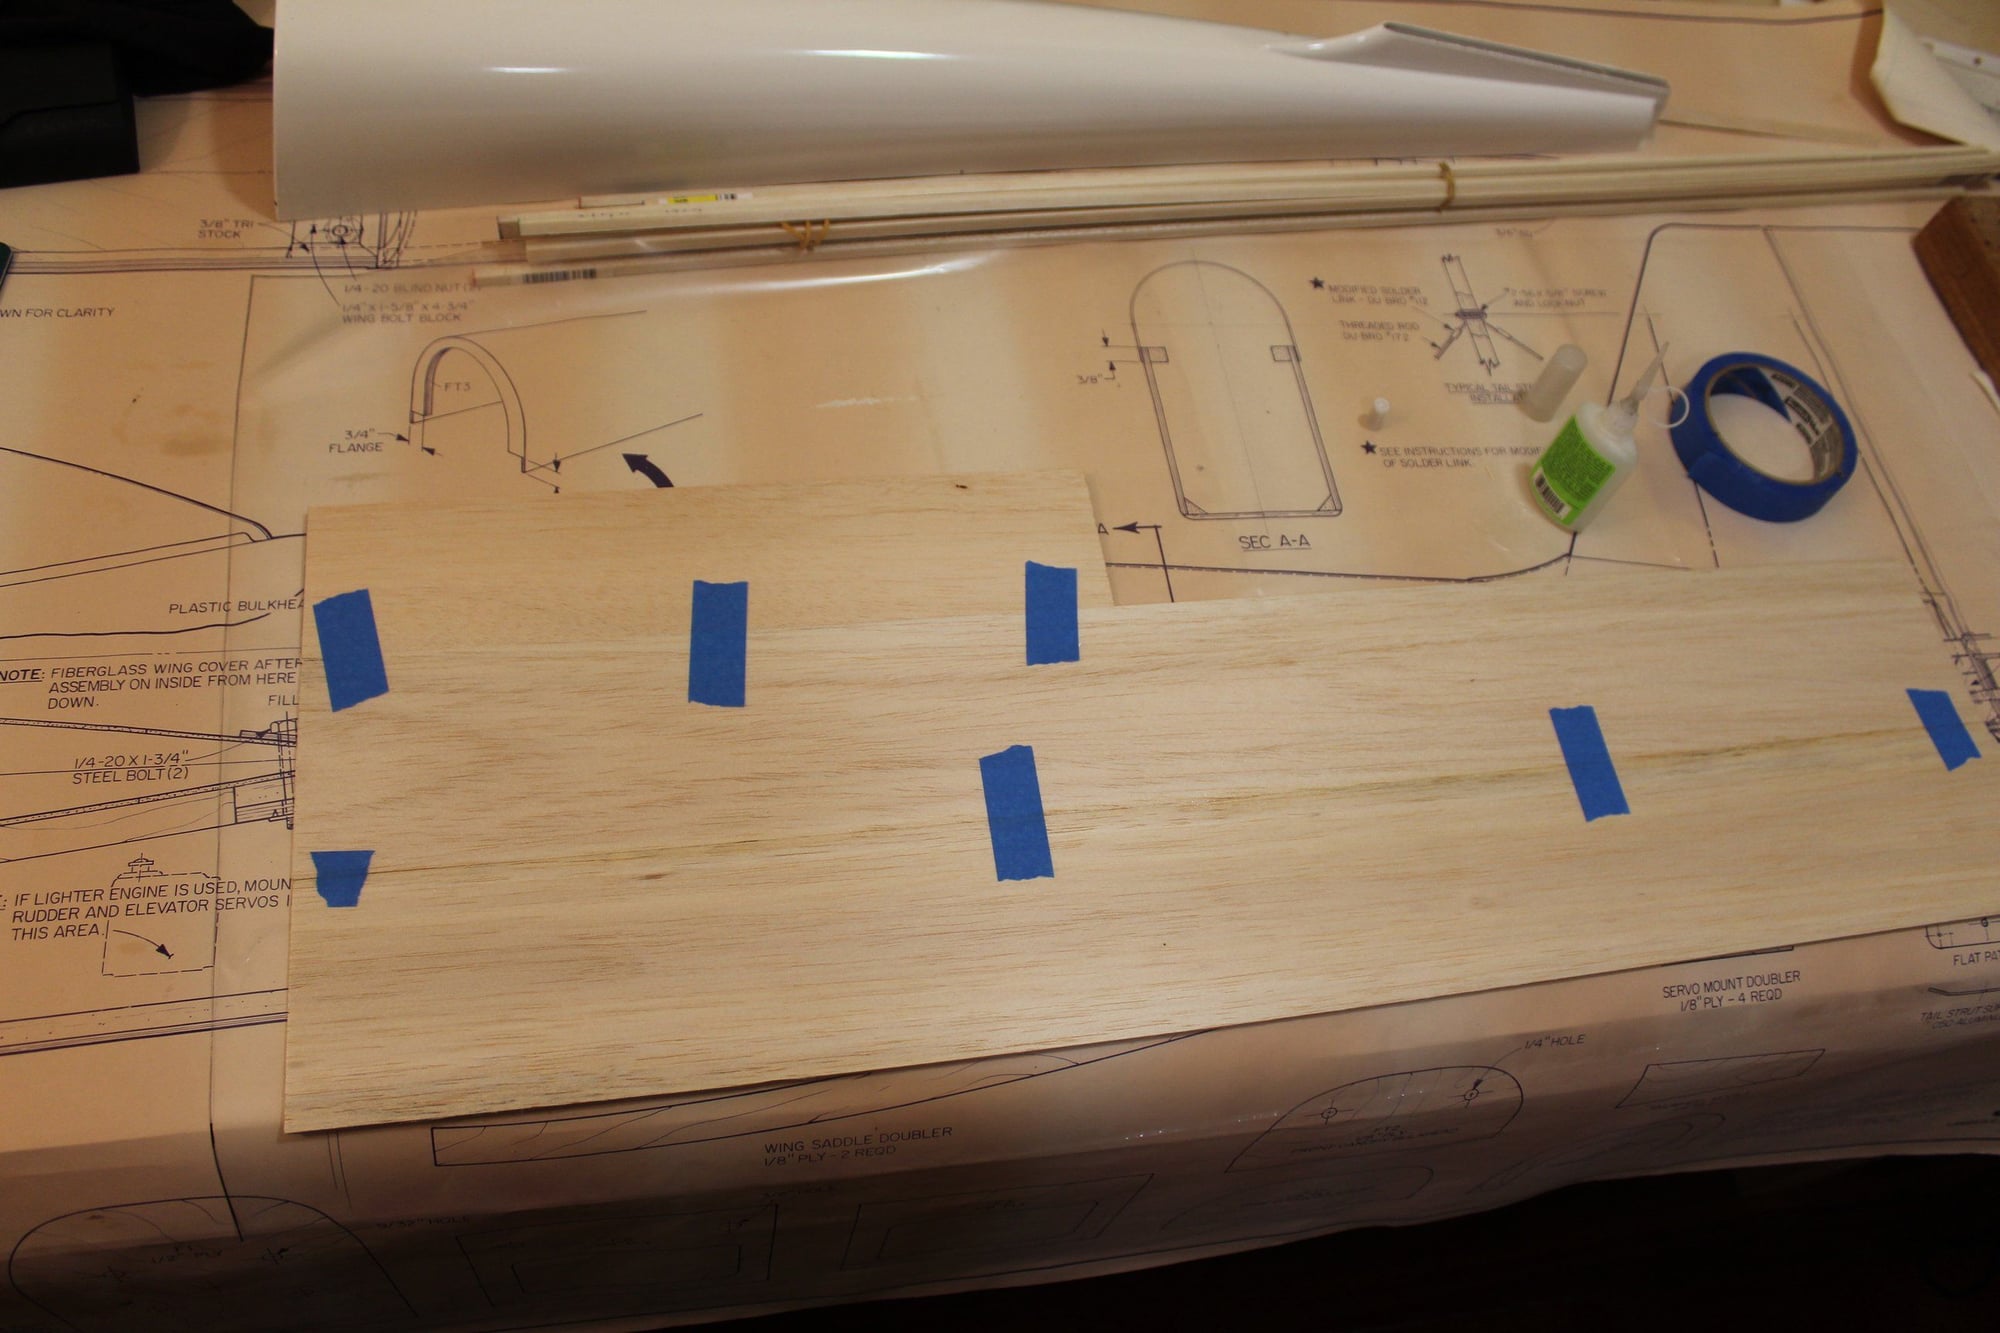
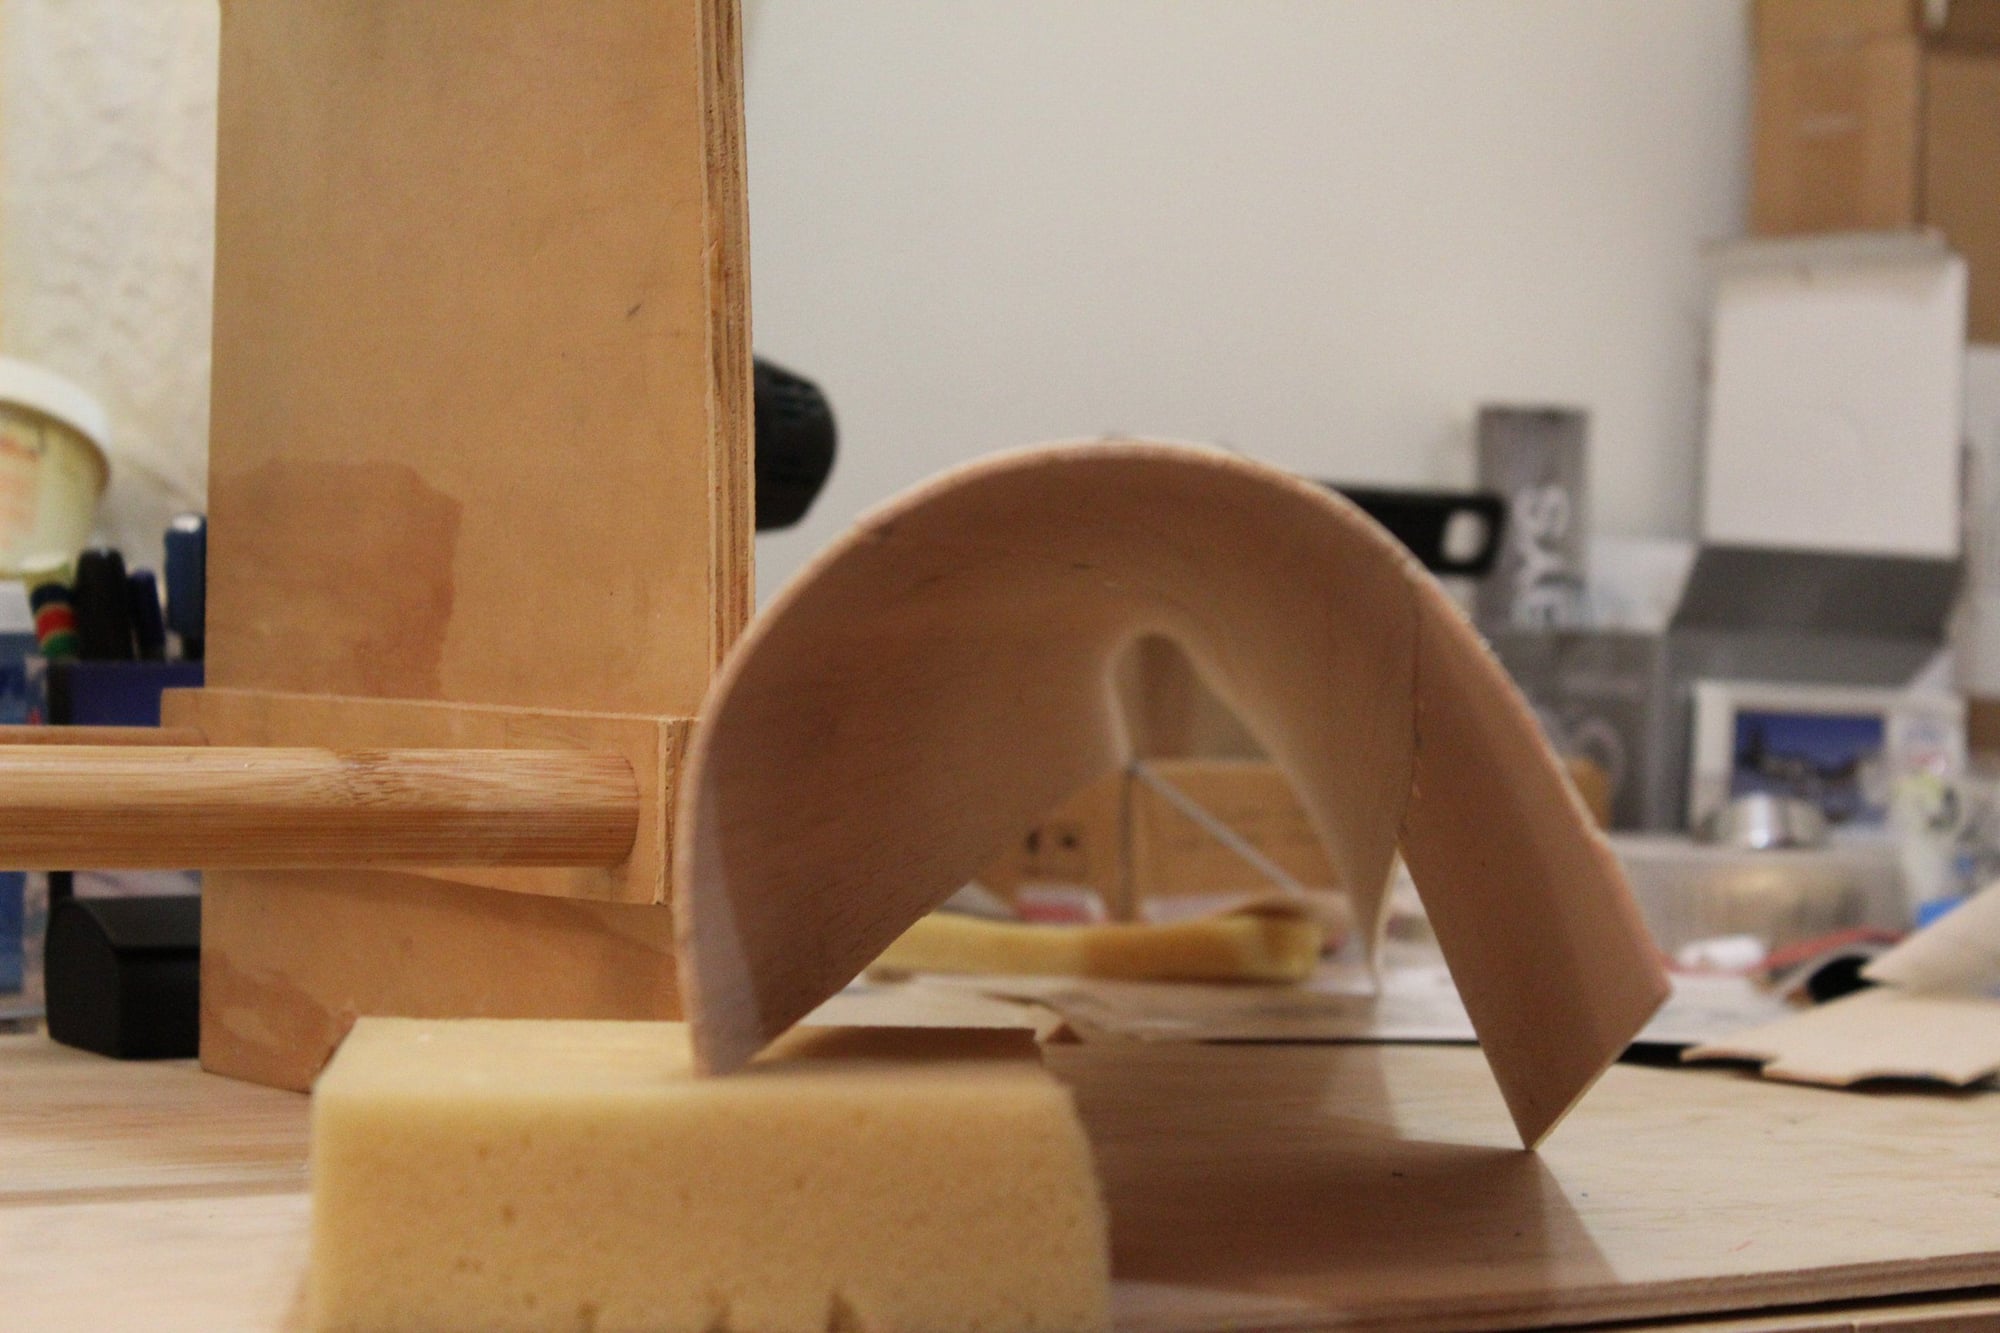
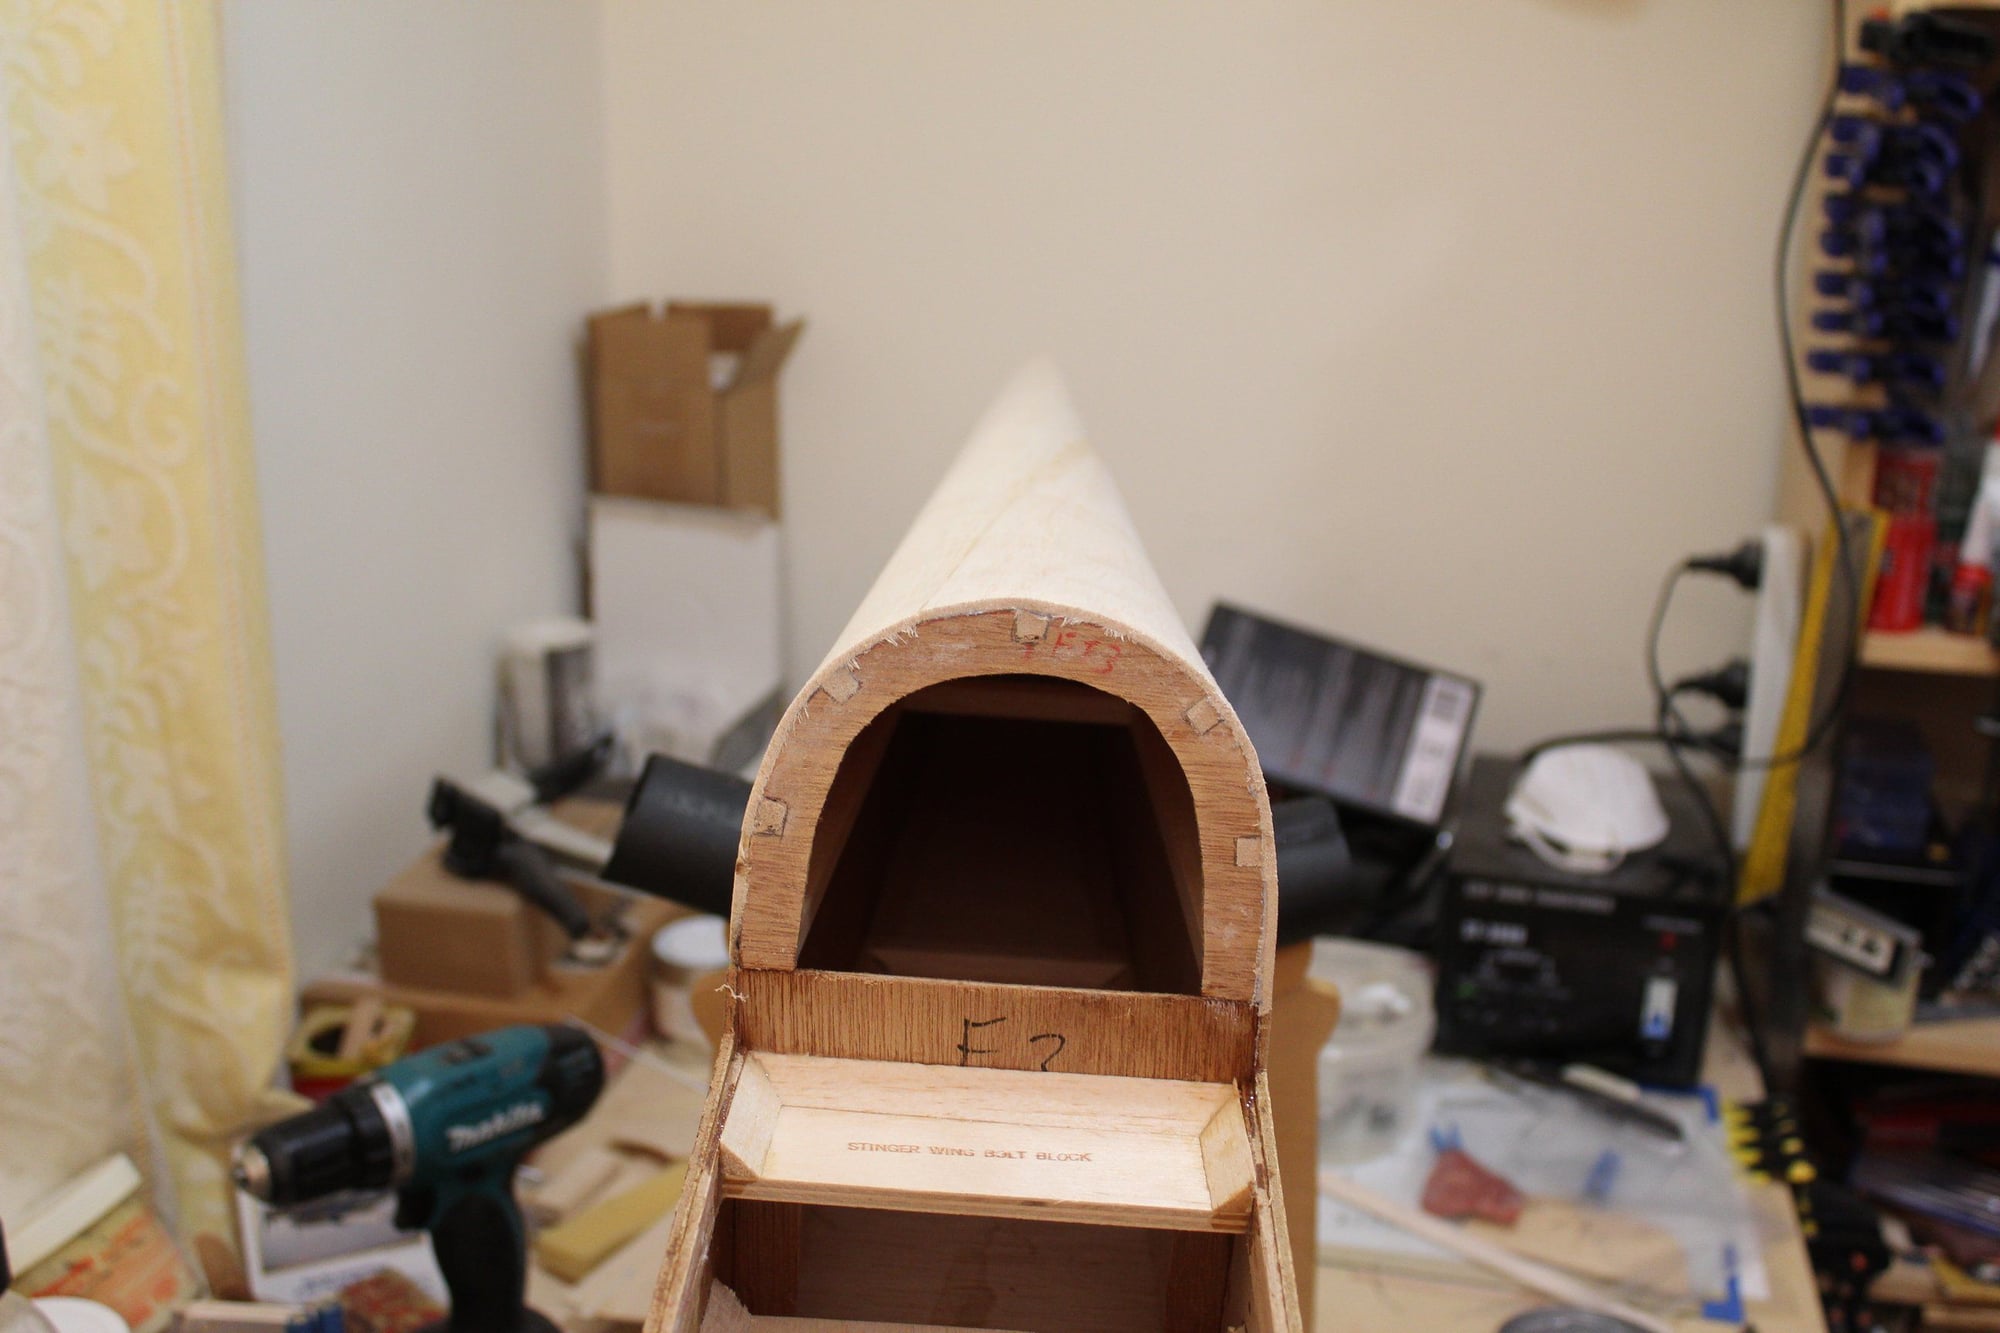
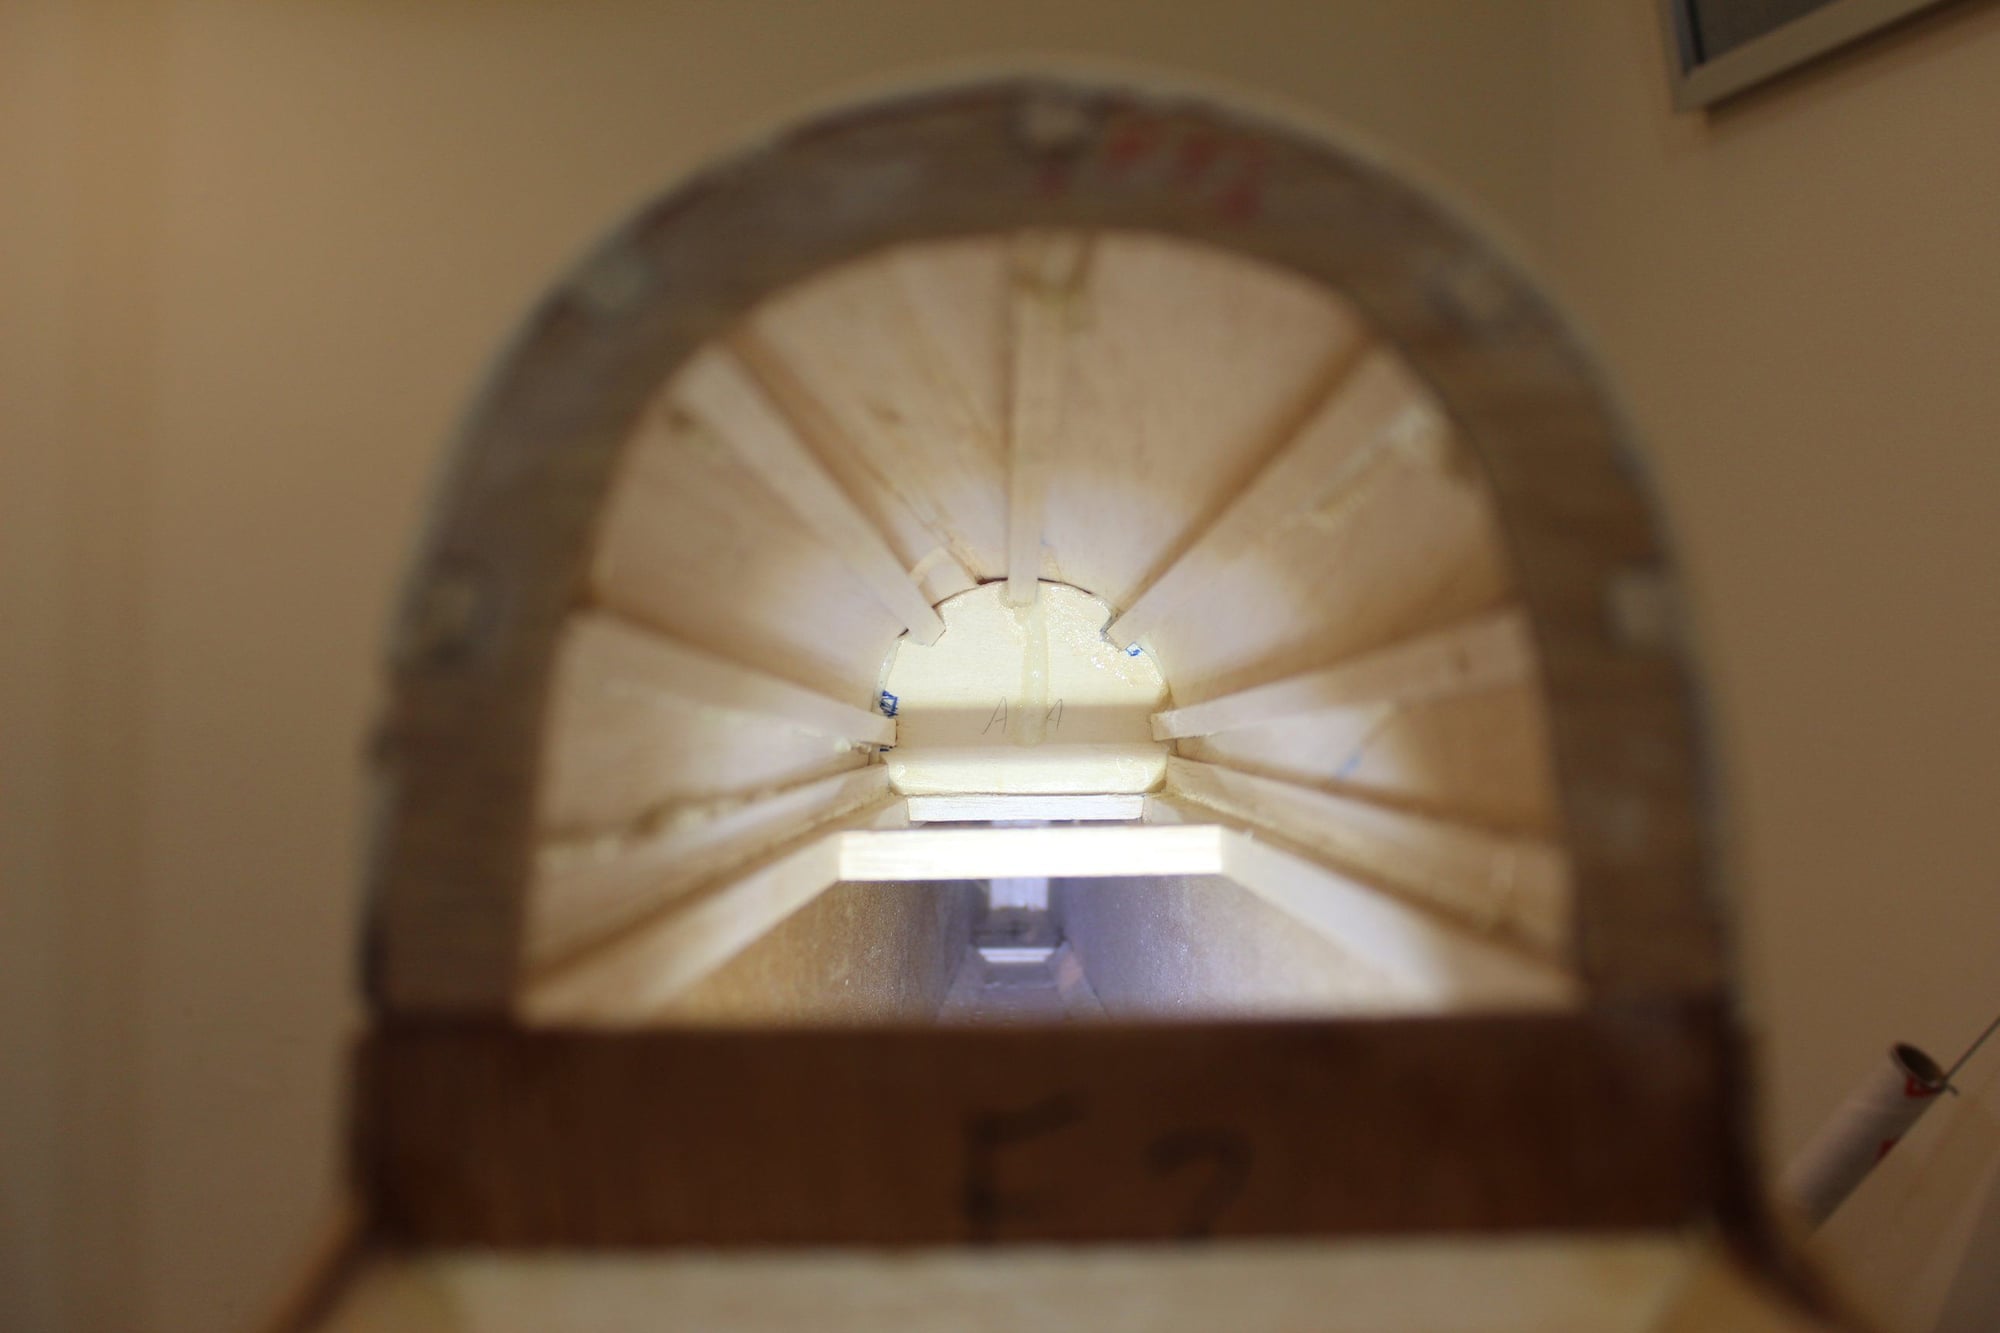
I am at a point where I had to make a decision on the use of the ABS plastic parts. While very advanced for the time when this kit was produced, we know now that they are usually get brittle and break.
I decided to replace the ABS plastic parts with fibreglass parts, with the exception of the rear turtle deck which I will build up from balsa.
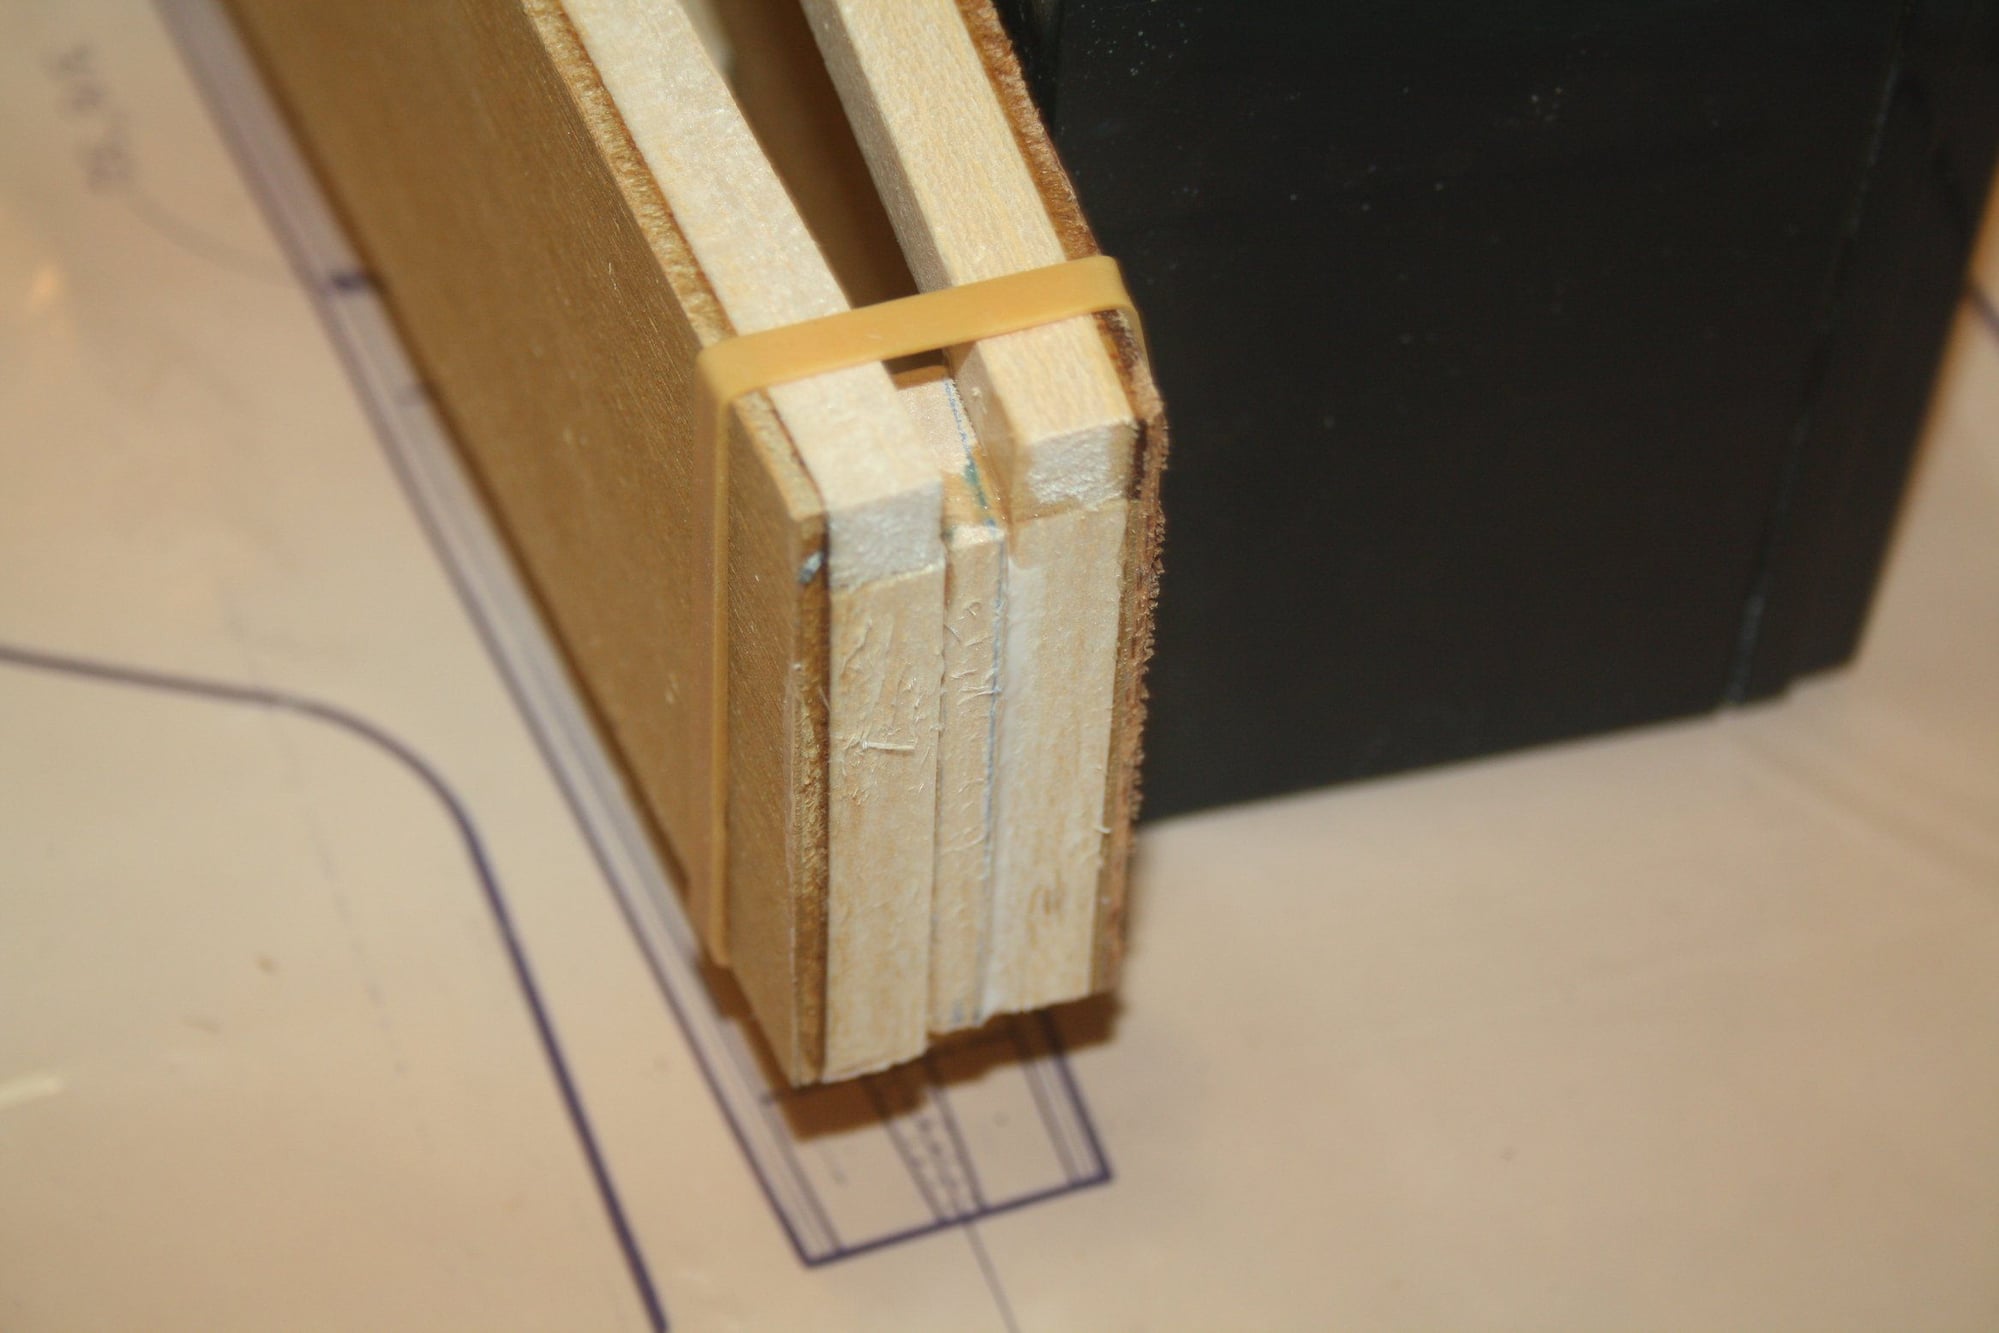
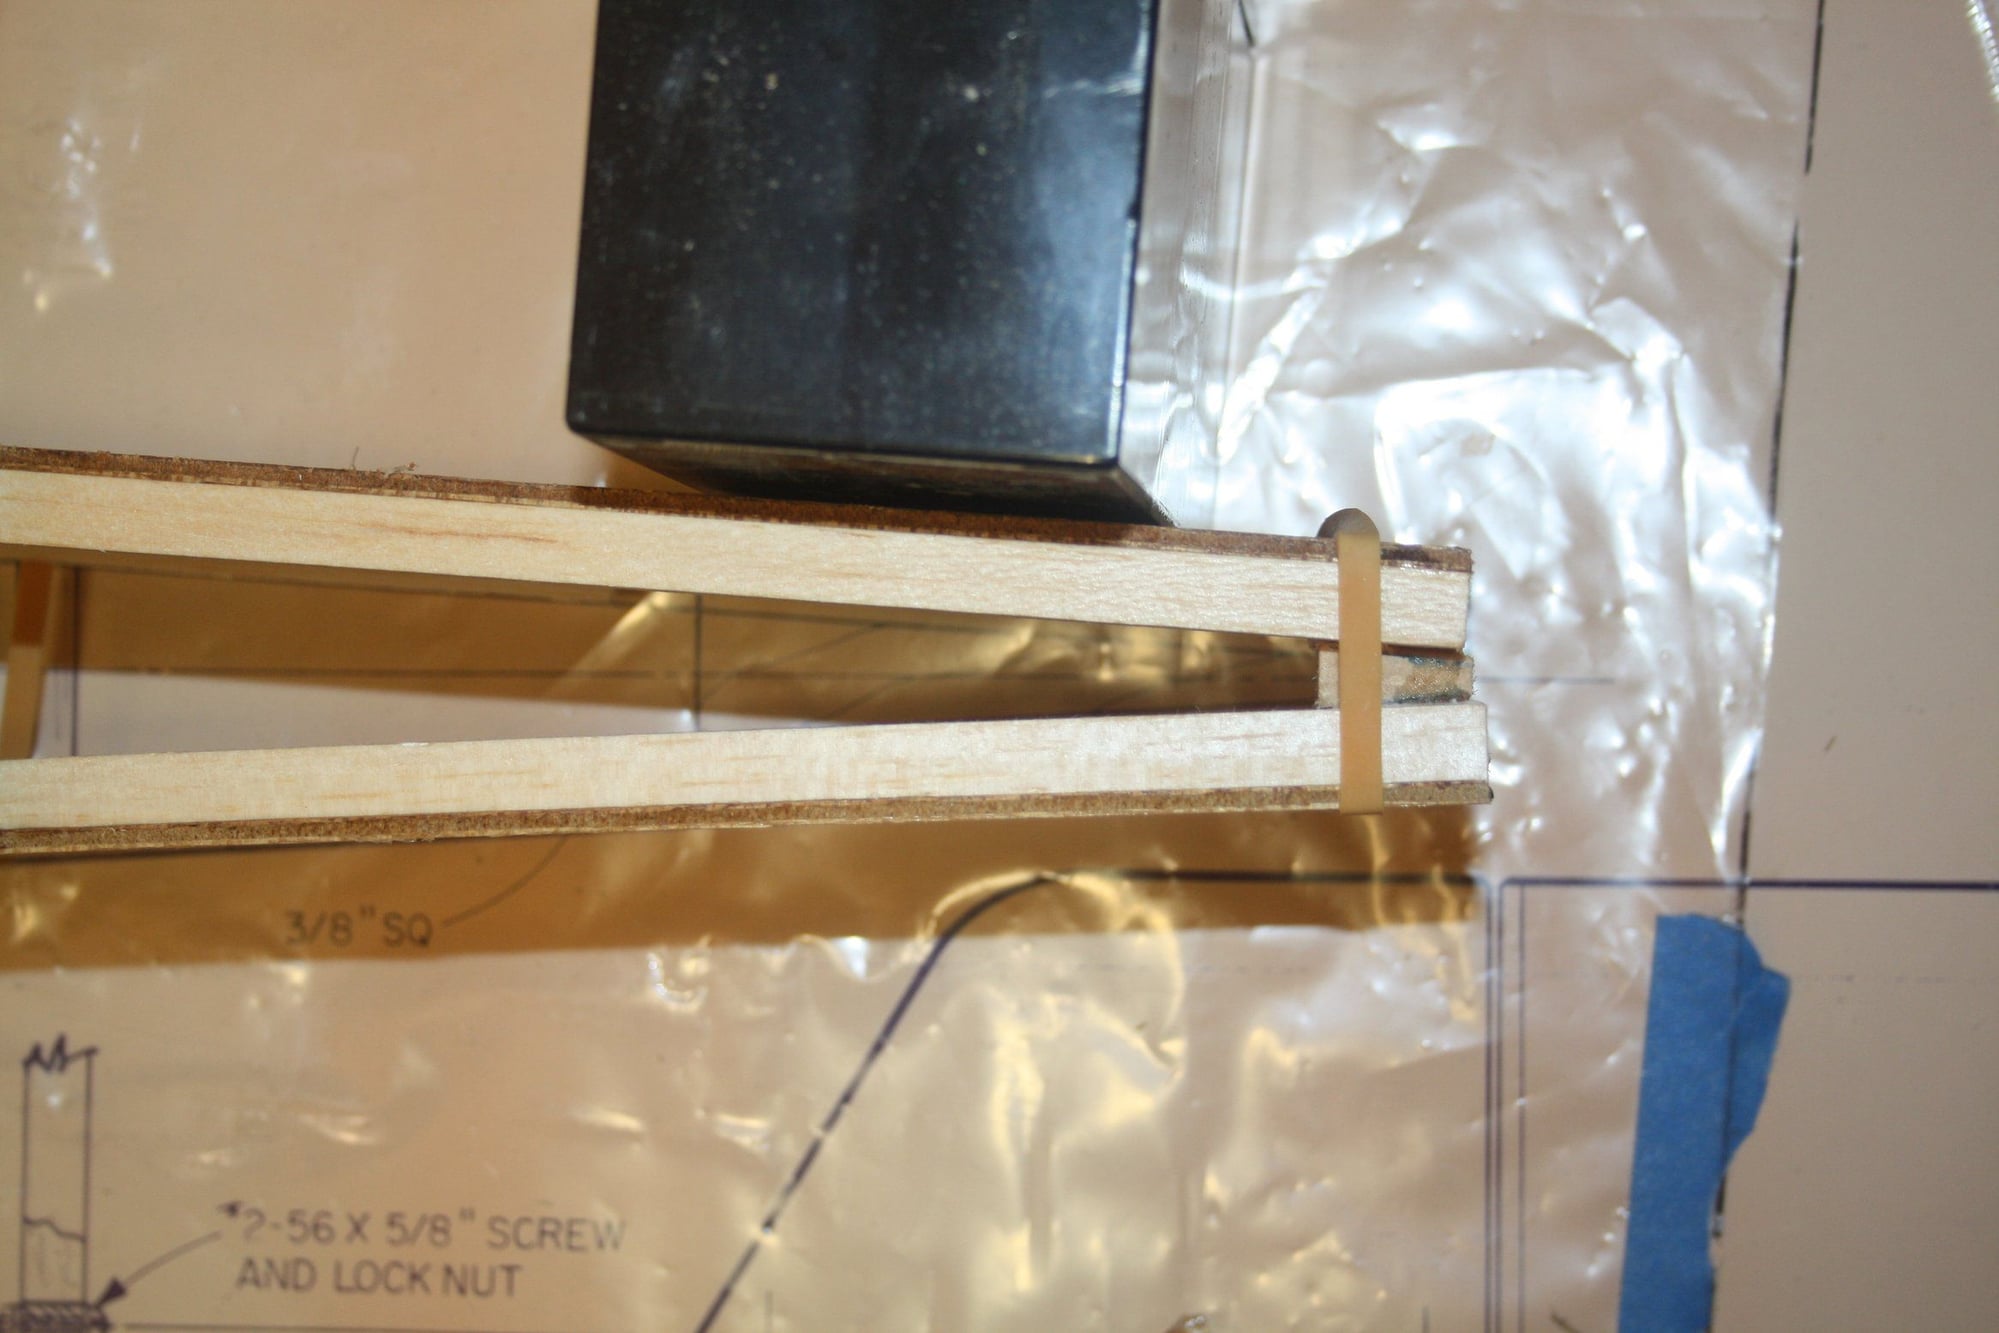
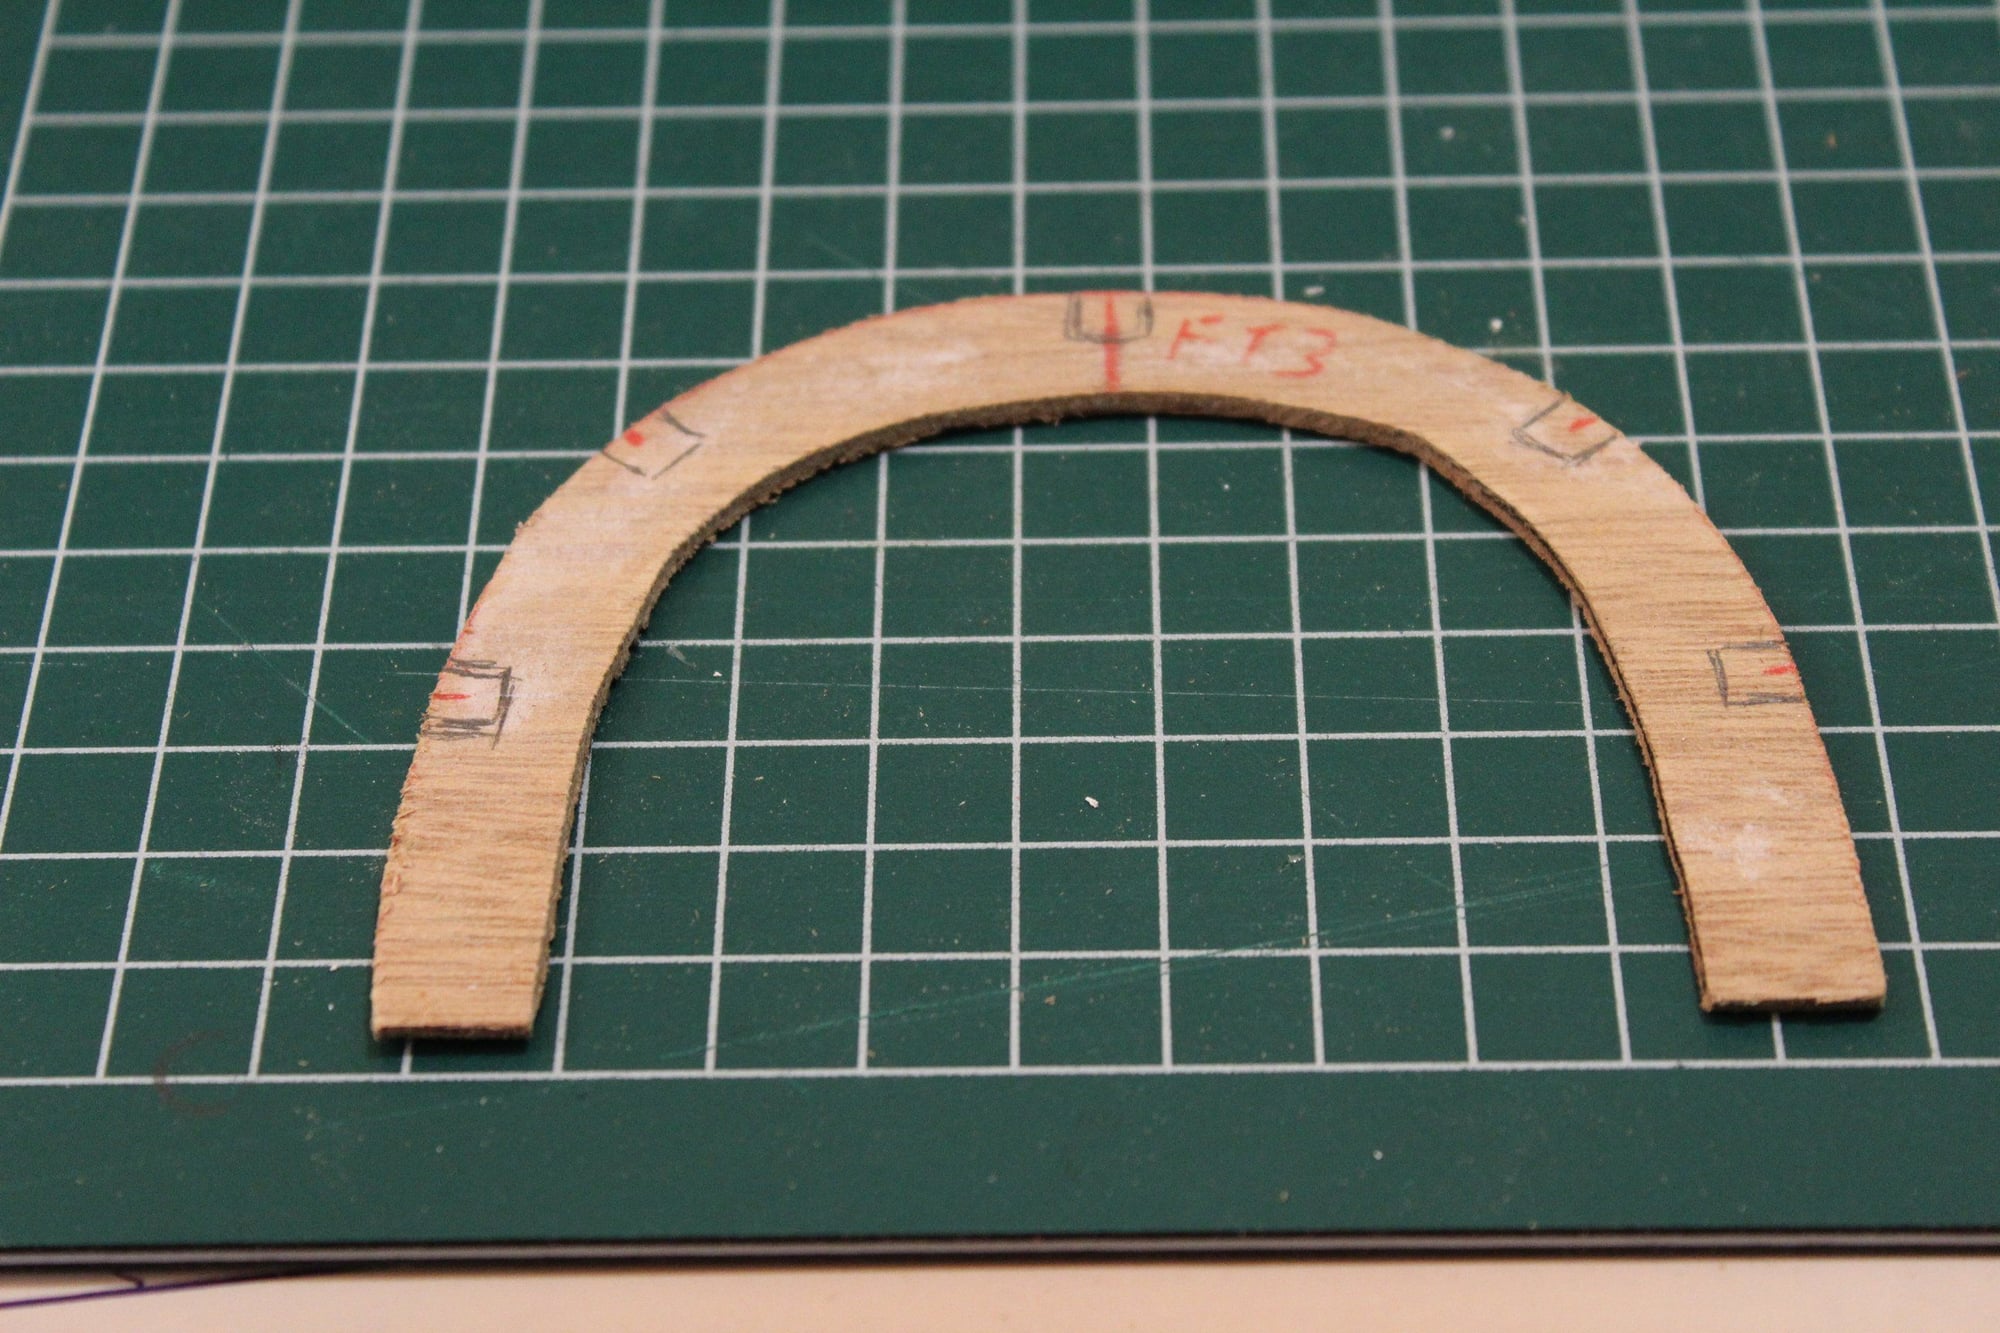
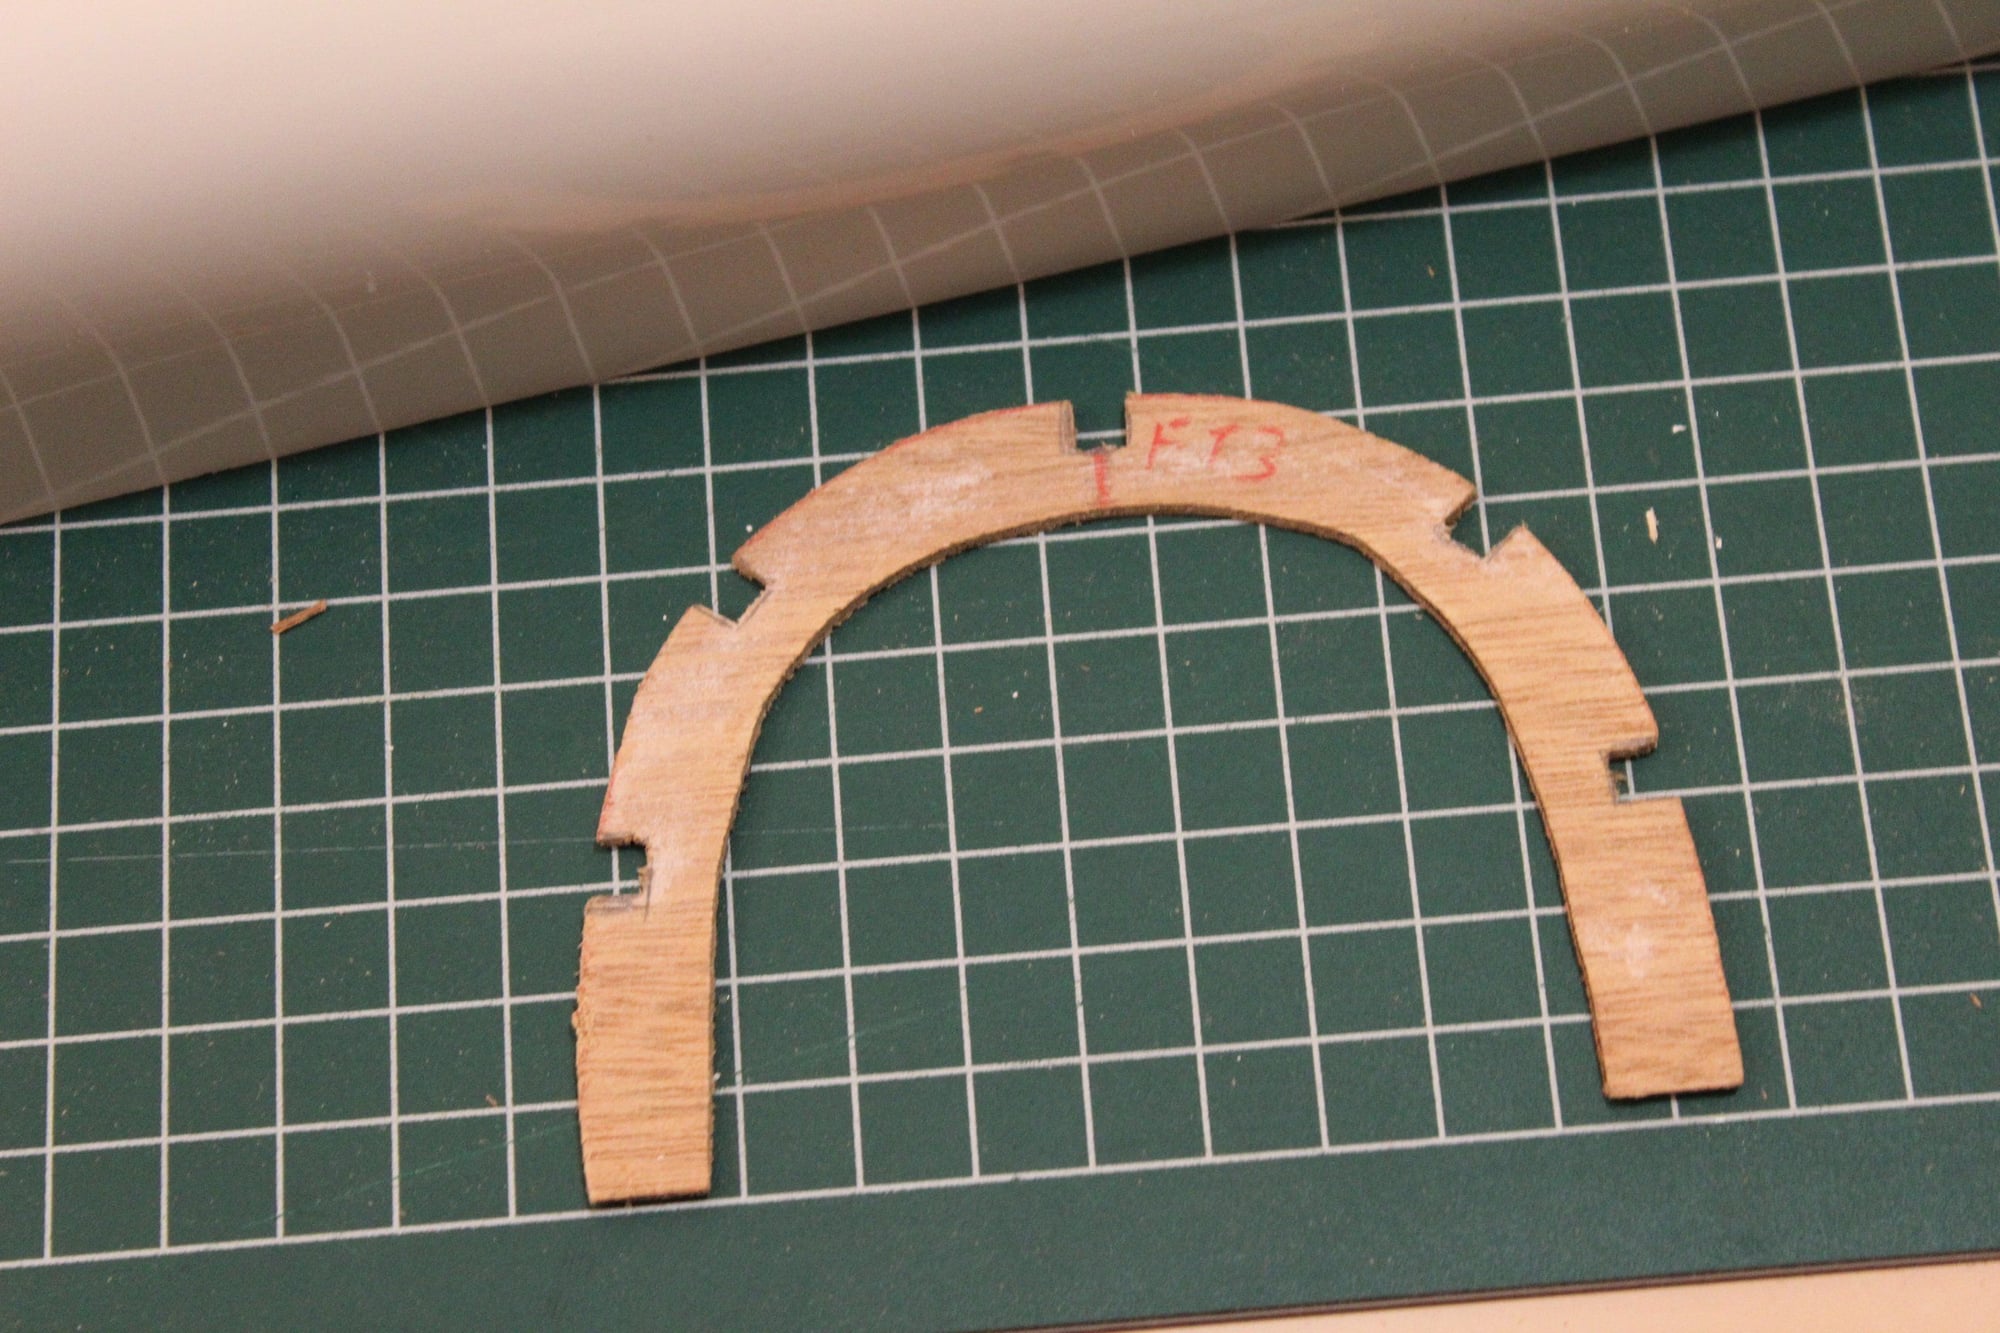
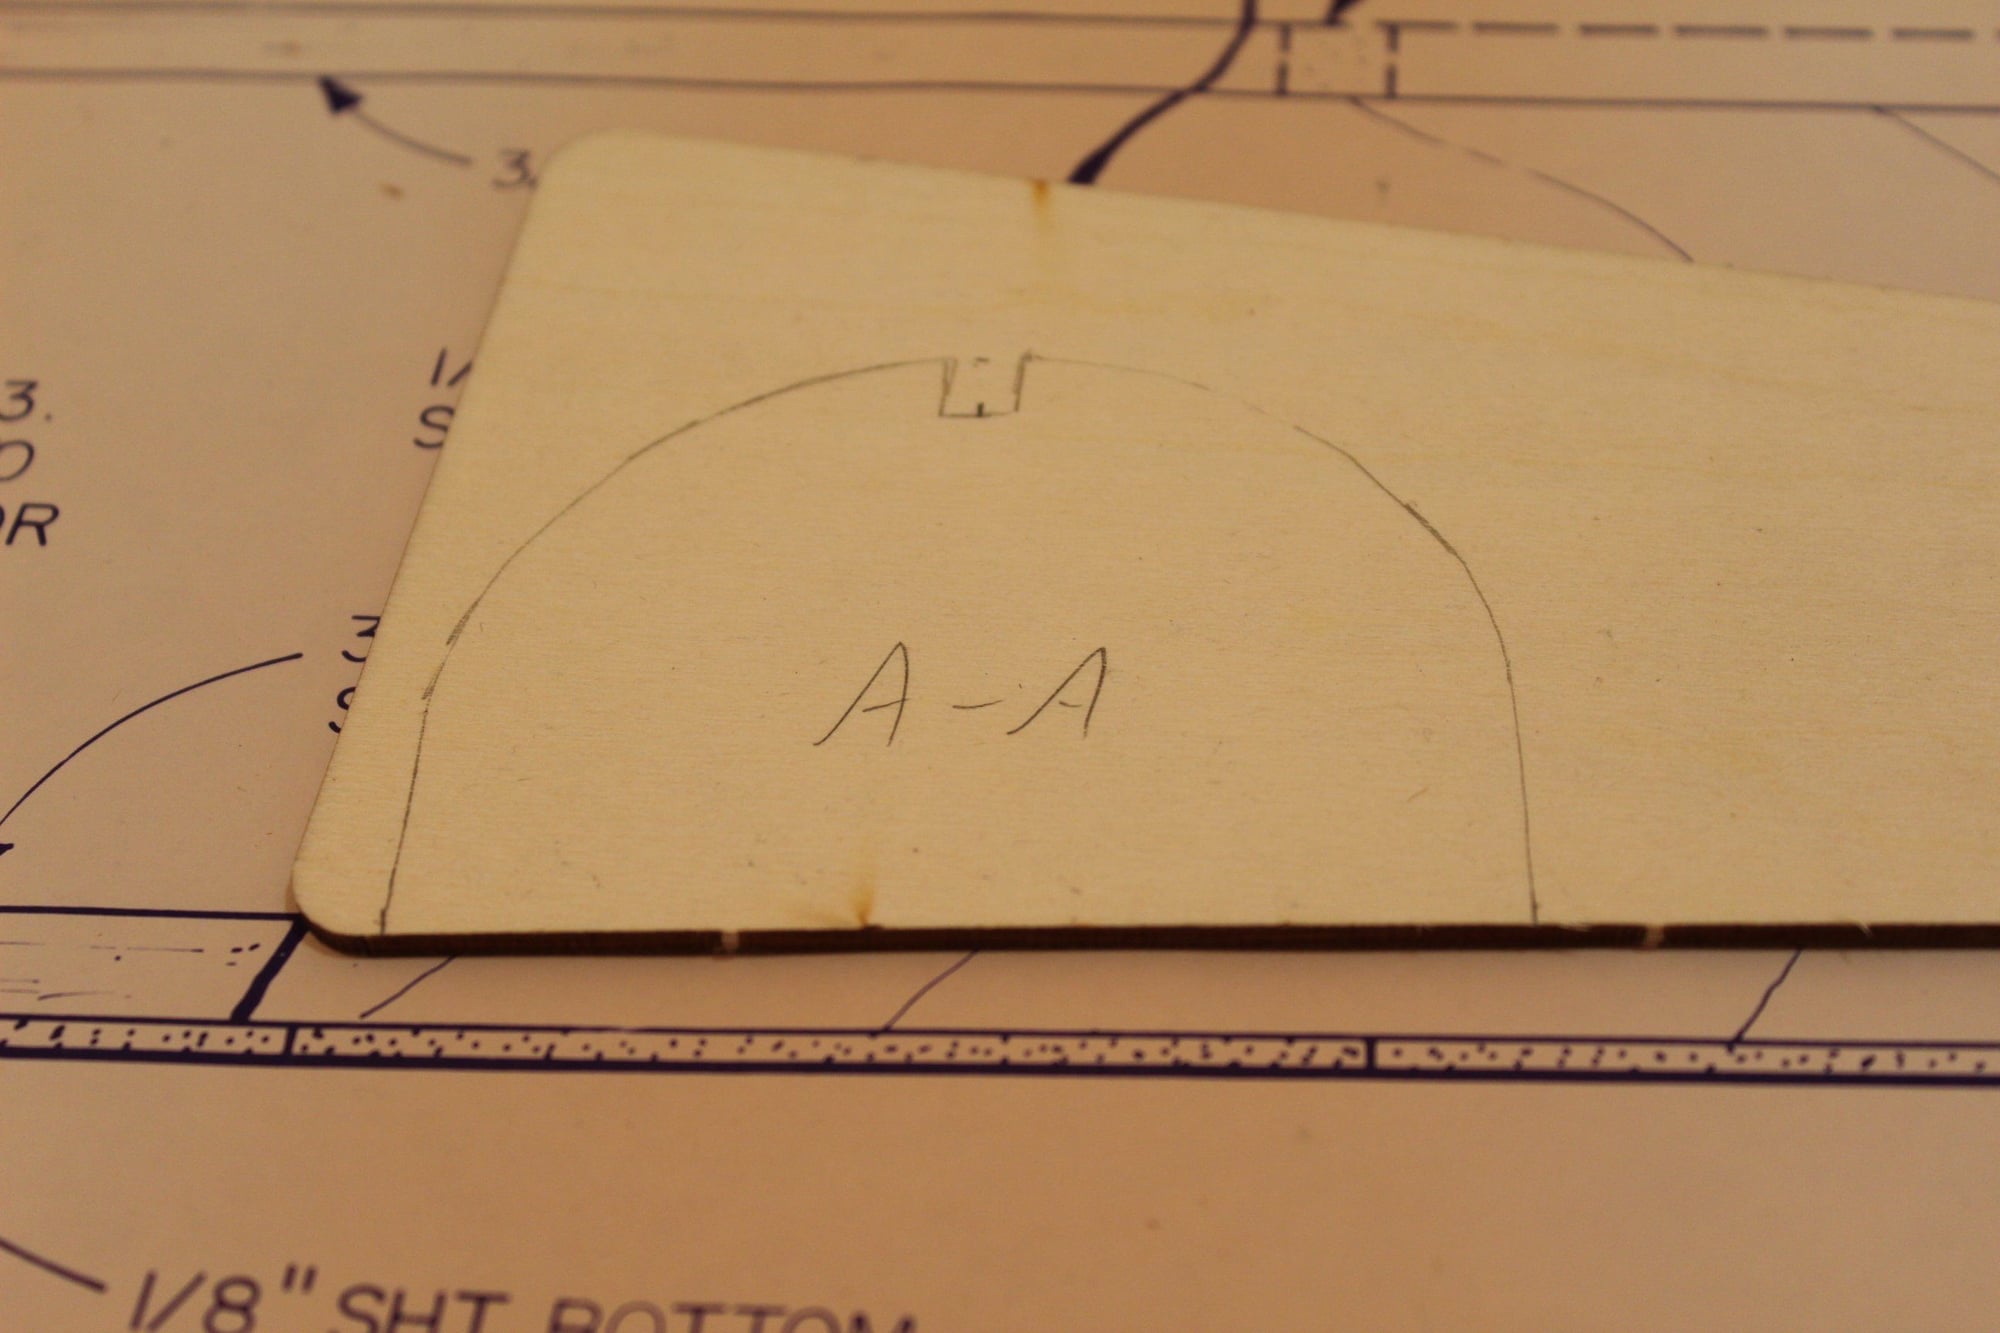
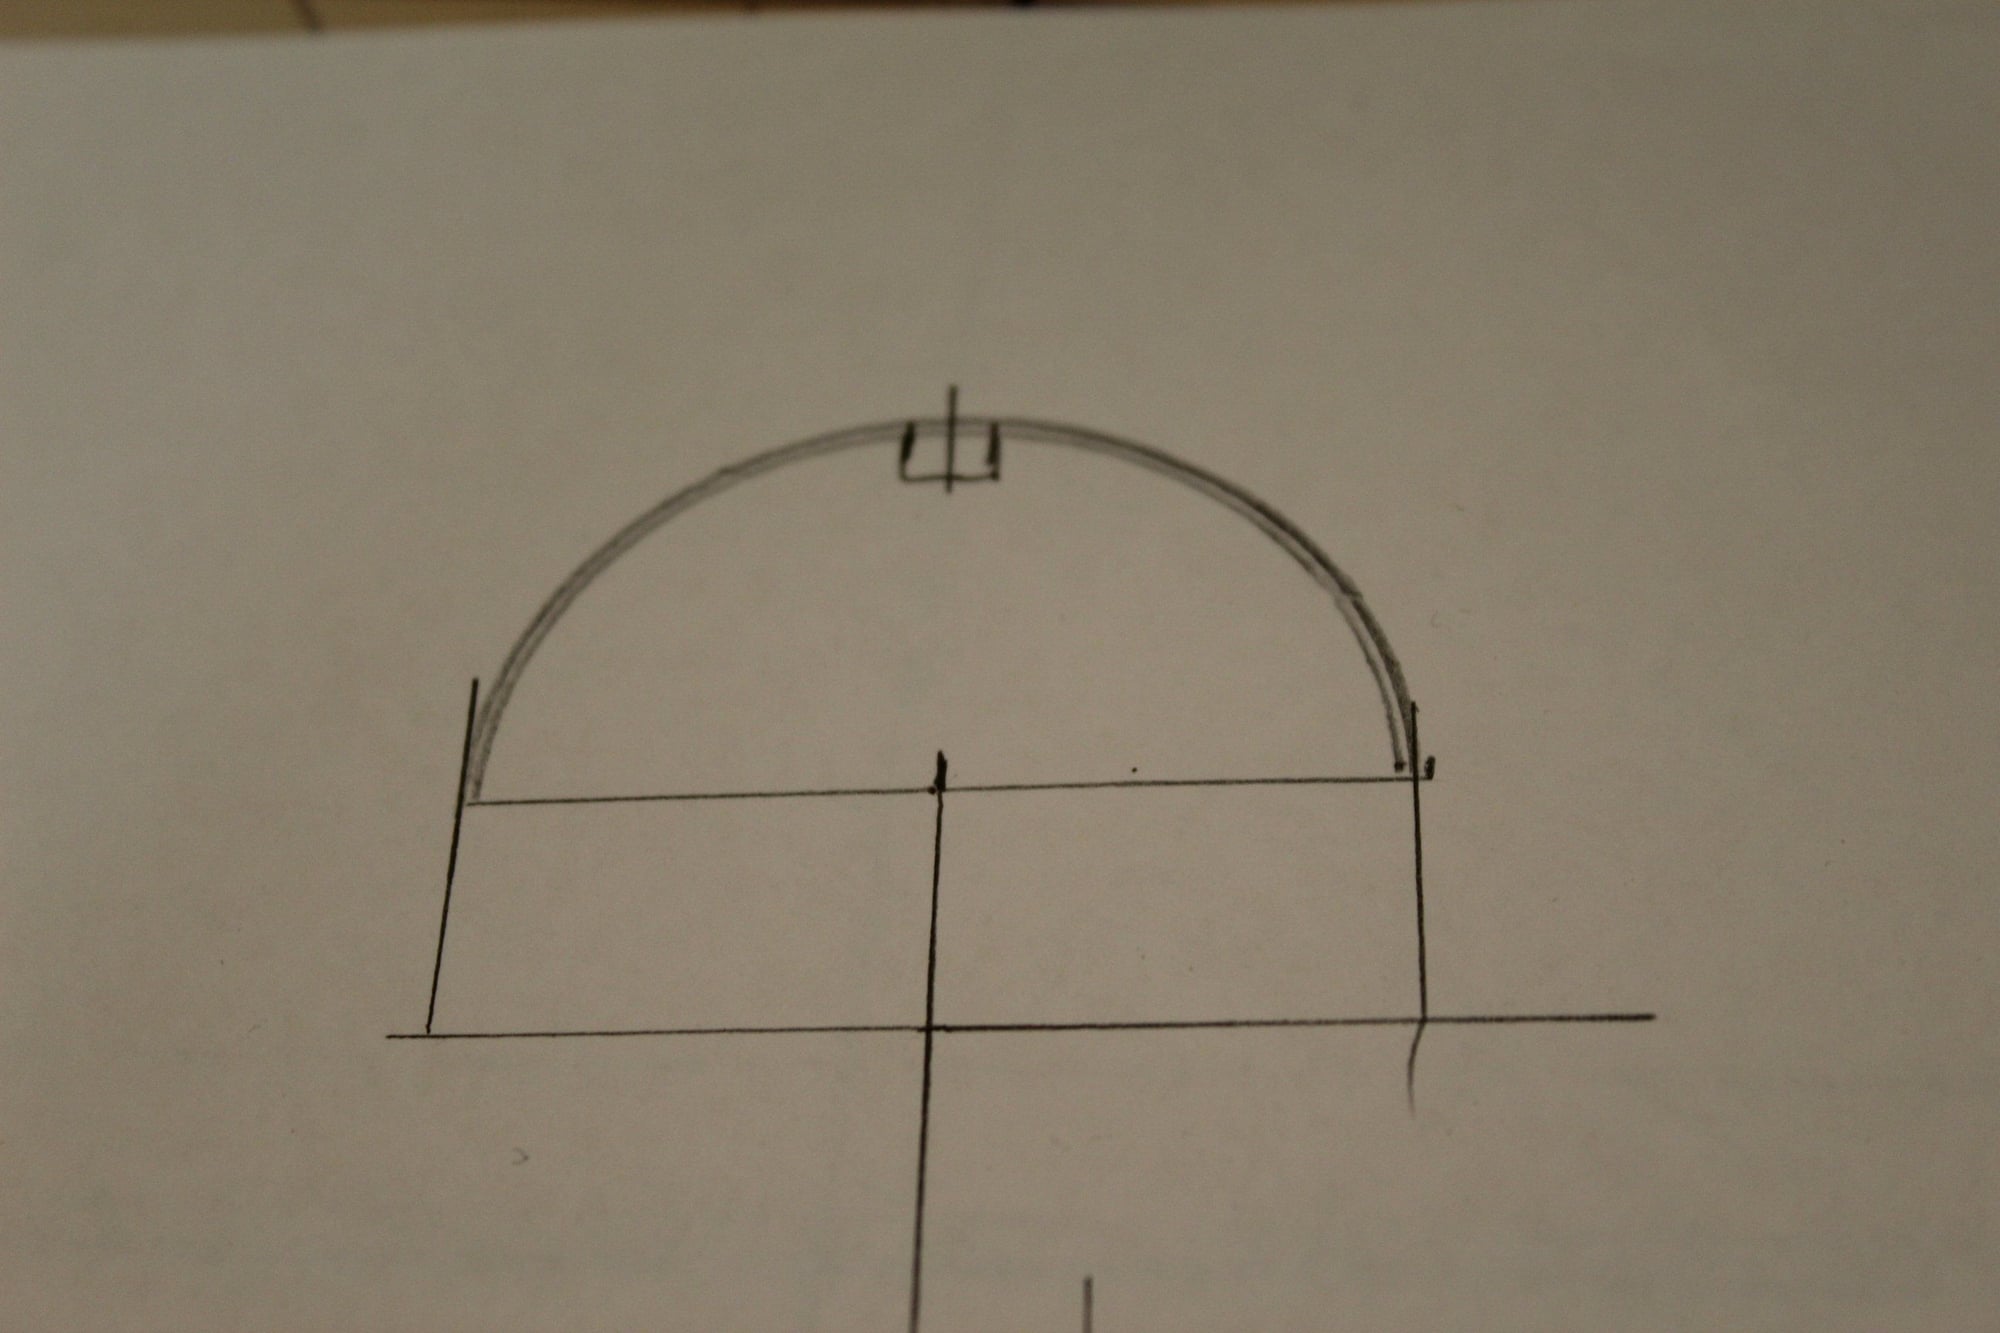
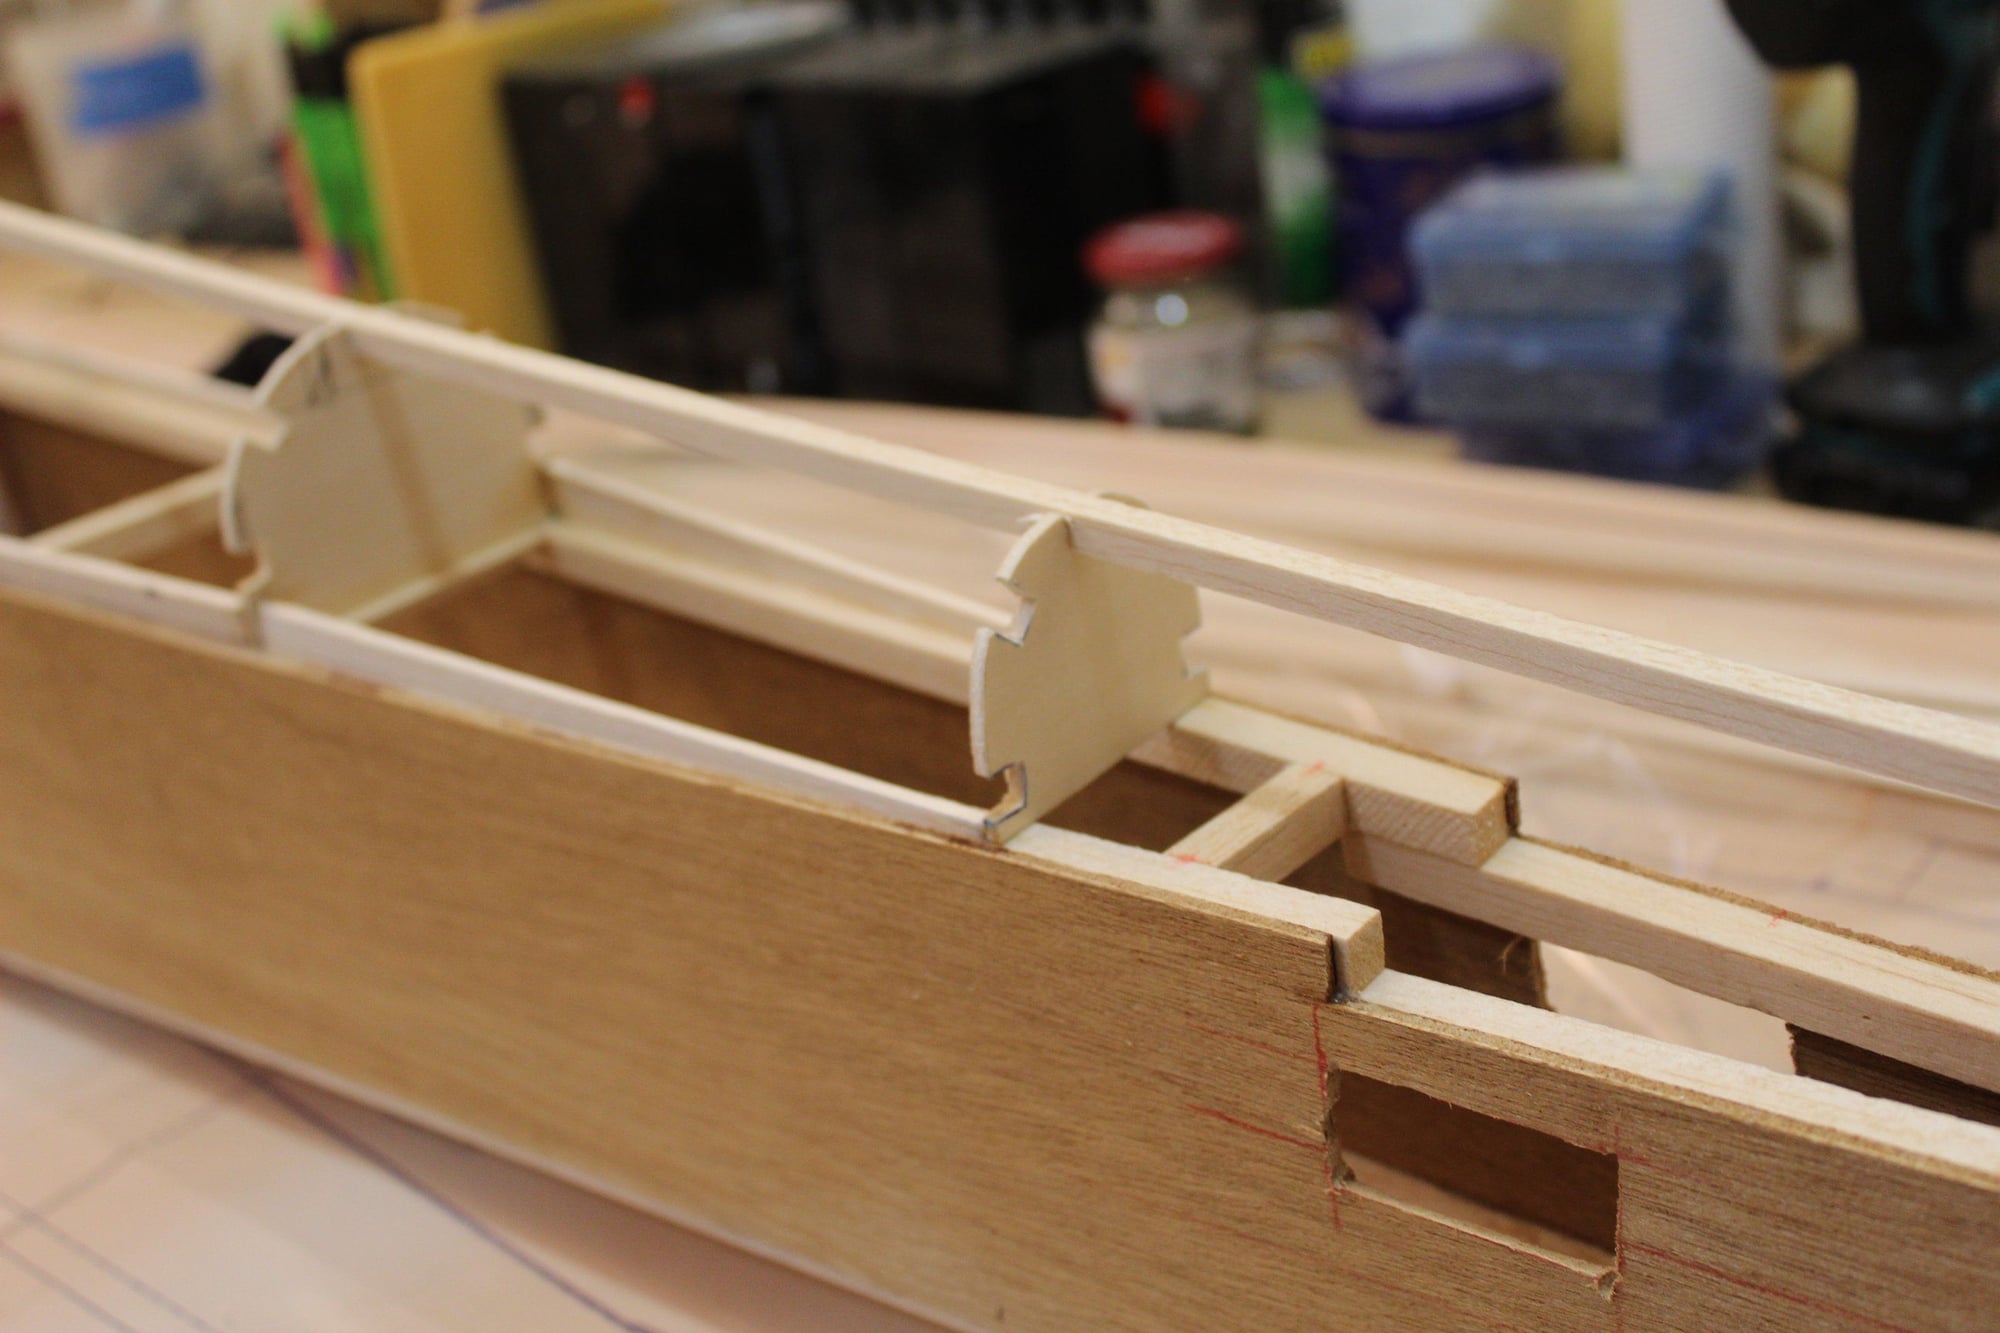
The construction started with FT3 notched to accept square balsa sticks. The plans show the ABS part in section A-A which allowed me to use that shape for a new former. I also glued "guard rails" from the back of FT3 to the new "A-A" former that will hold the edge of the sheet balsa.
Cheers,
Eran
I decided to replace the ABS plastic parts with fibreglass parts, with the exception of the rear turtle deck which I will build up from balsa.
The construction started with FT3 notched to accept square balsa sticks. The plans show the ABS part in section A-A which allowed me to use that shape for a new former. I also glued "guard rails" from the back of FT3 to the new "A-A" former that will hold the edge of the sheet balsa.
Cheers,
Eran
01-05-2024, 03:39 PM
#66
Good decision on the ABS parts I attempted to use the ABS turtledeck on a Stinger 120 after many failed attempts (mostly due to inexperience ) I got so frustrated I threw the fuselage into a corner where it still resides now hidden under piles of decomposing balsa shavings and dust,
Good Luck
Tas
Good Luck
Tas
01-10-2024, 03:50 AM
#67
Thread Starter
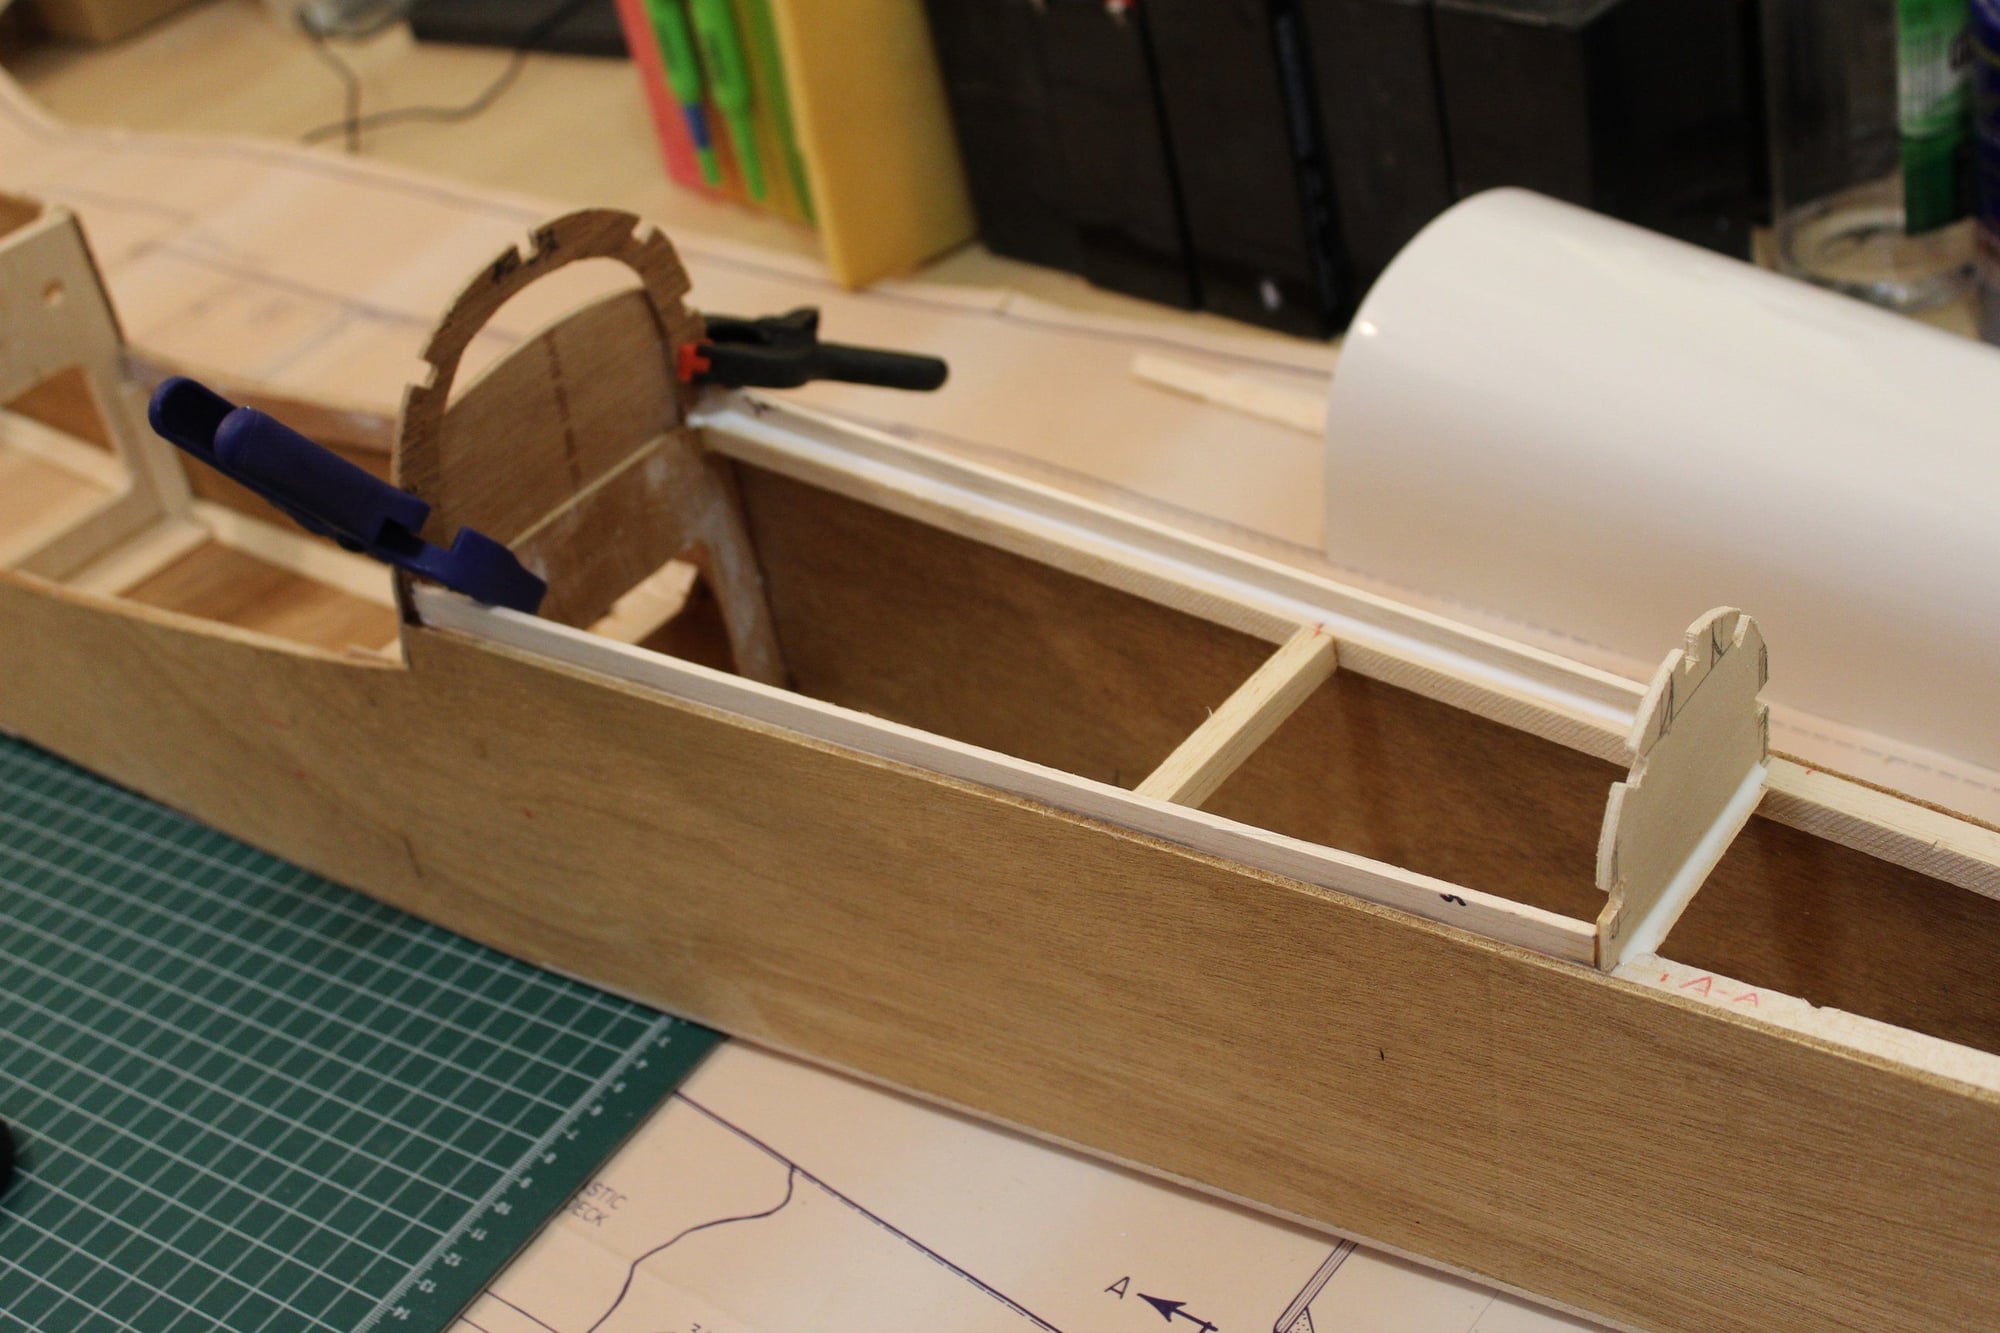
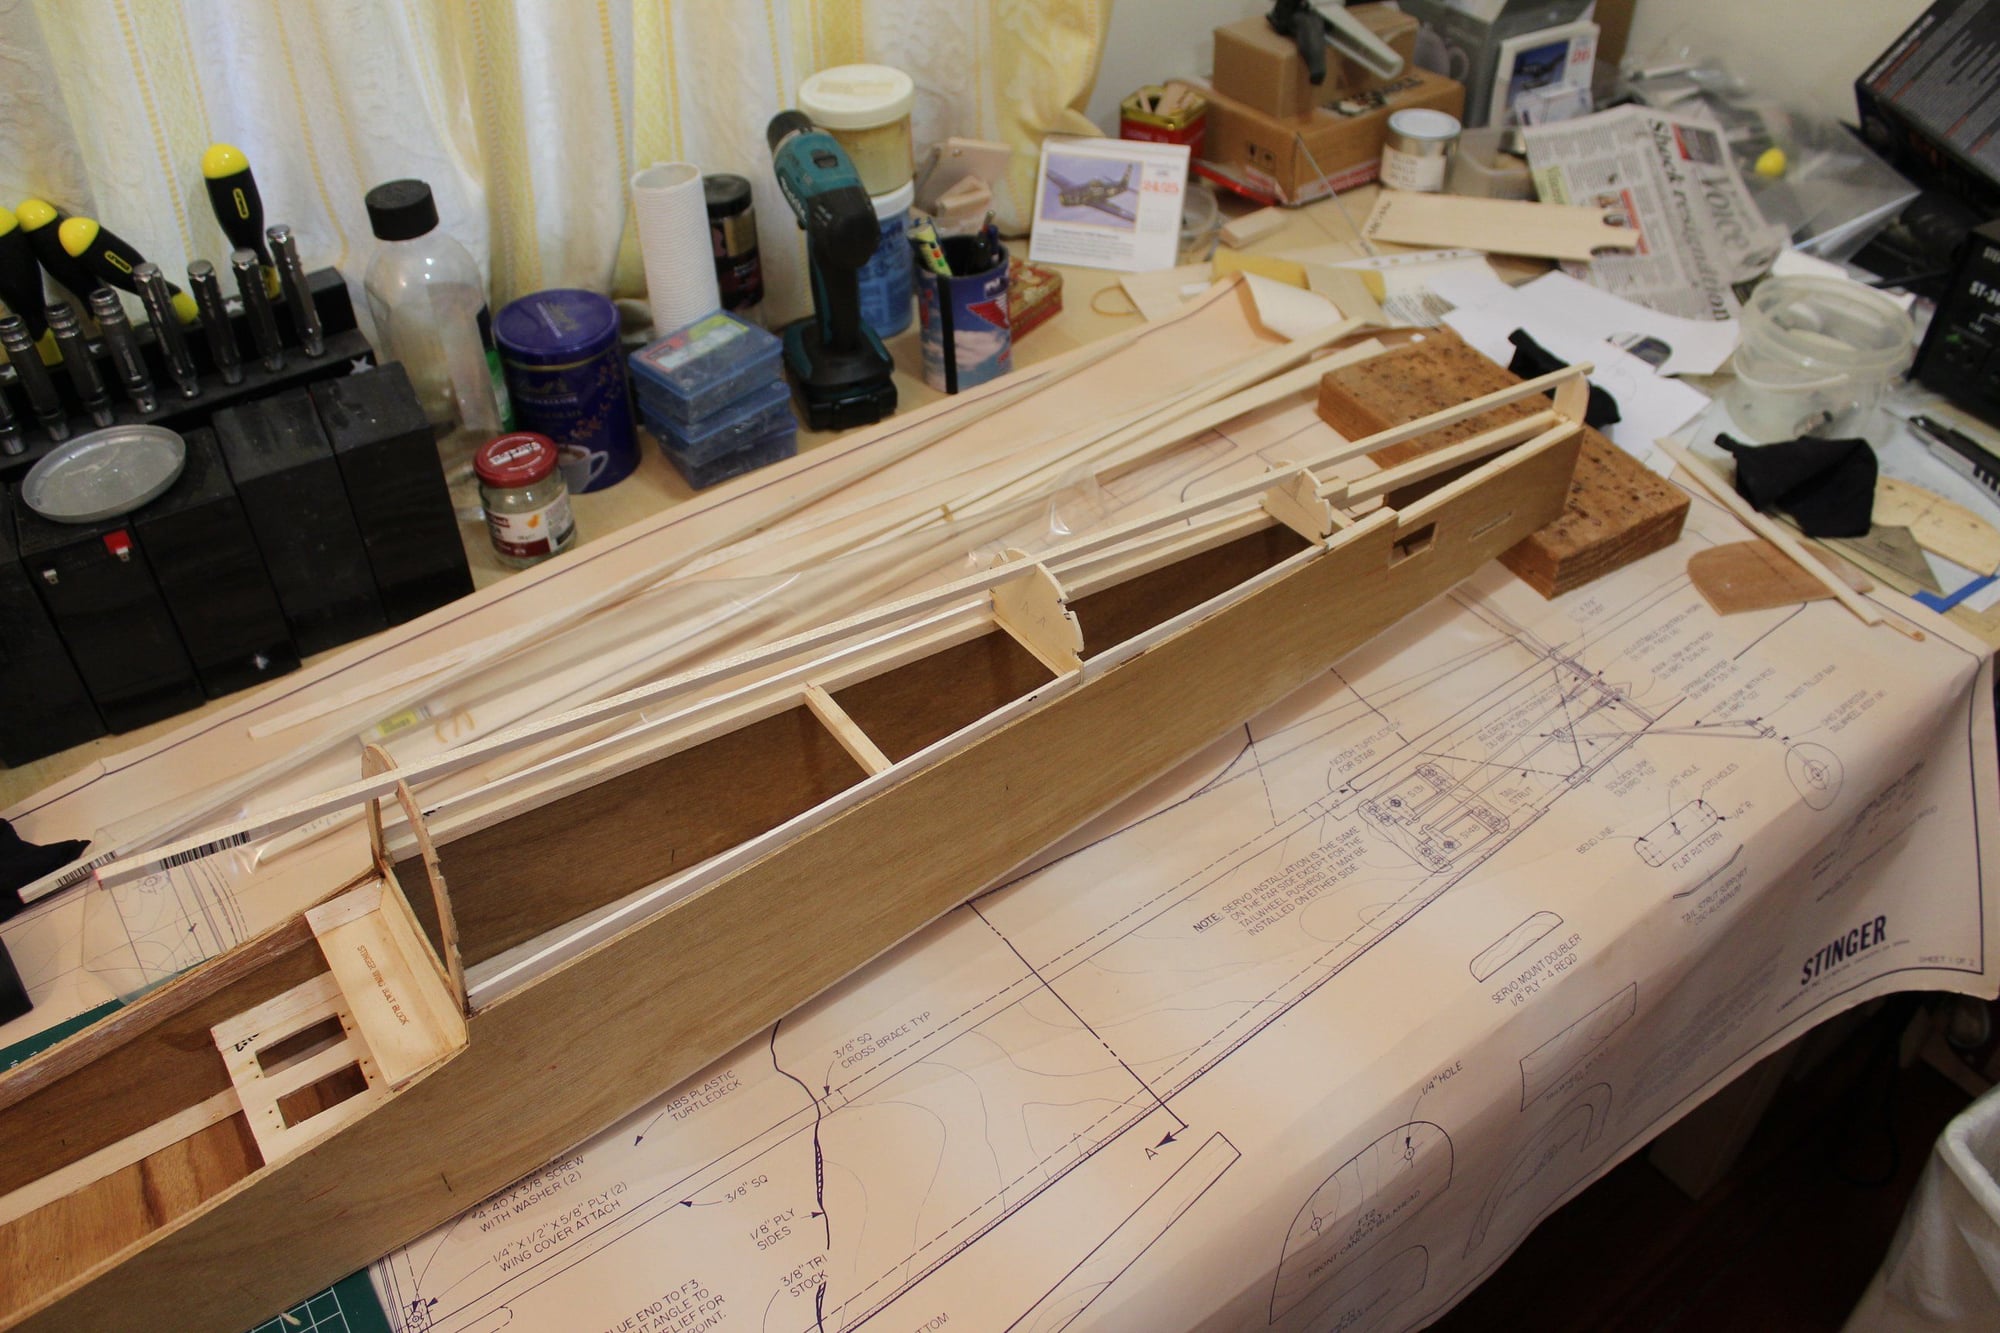
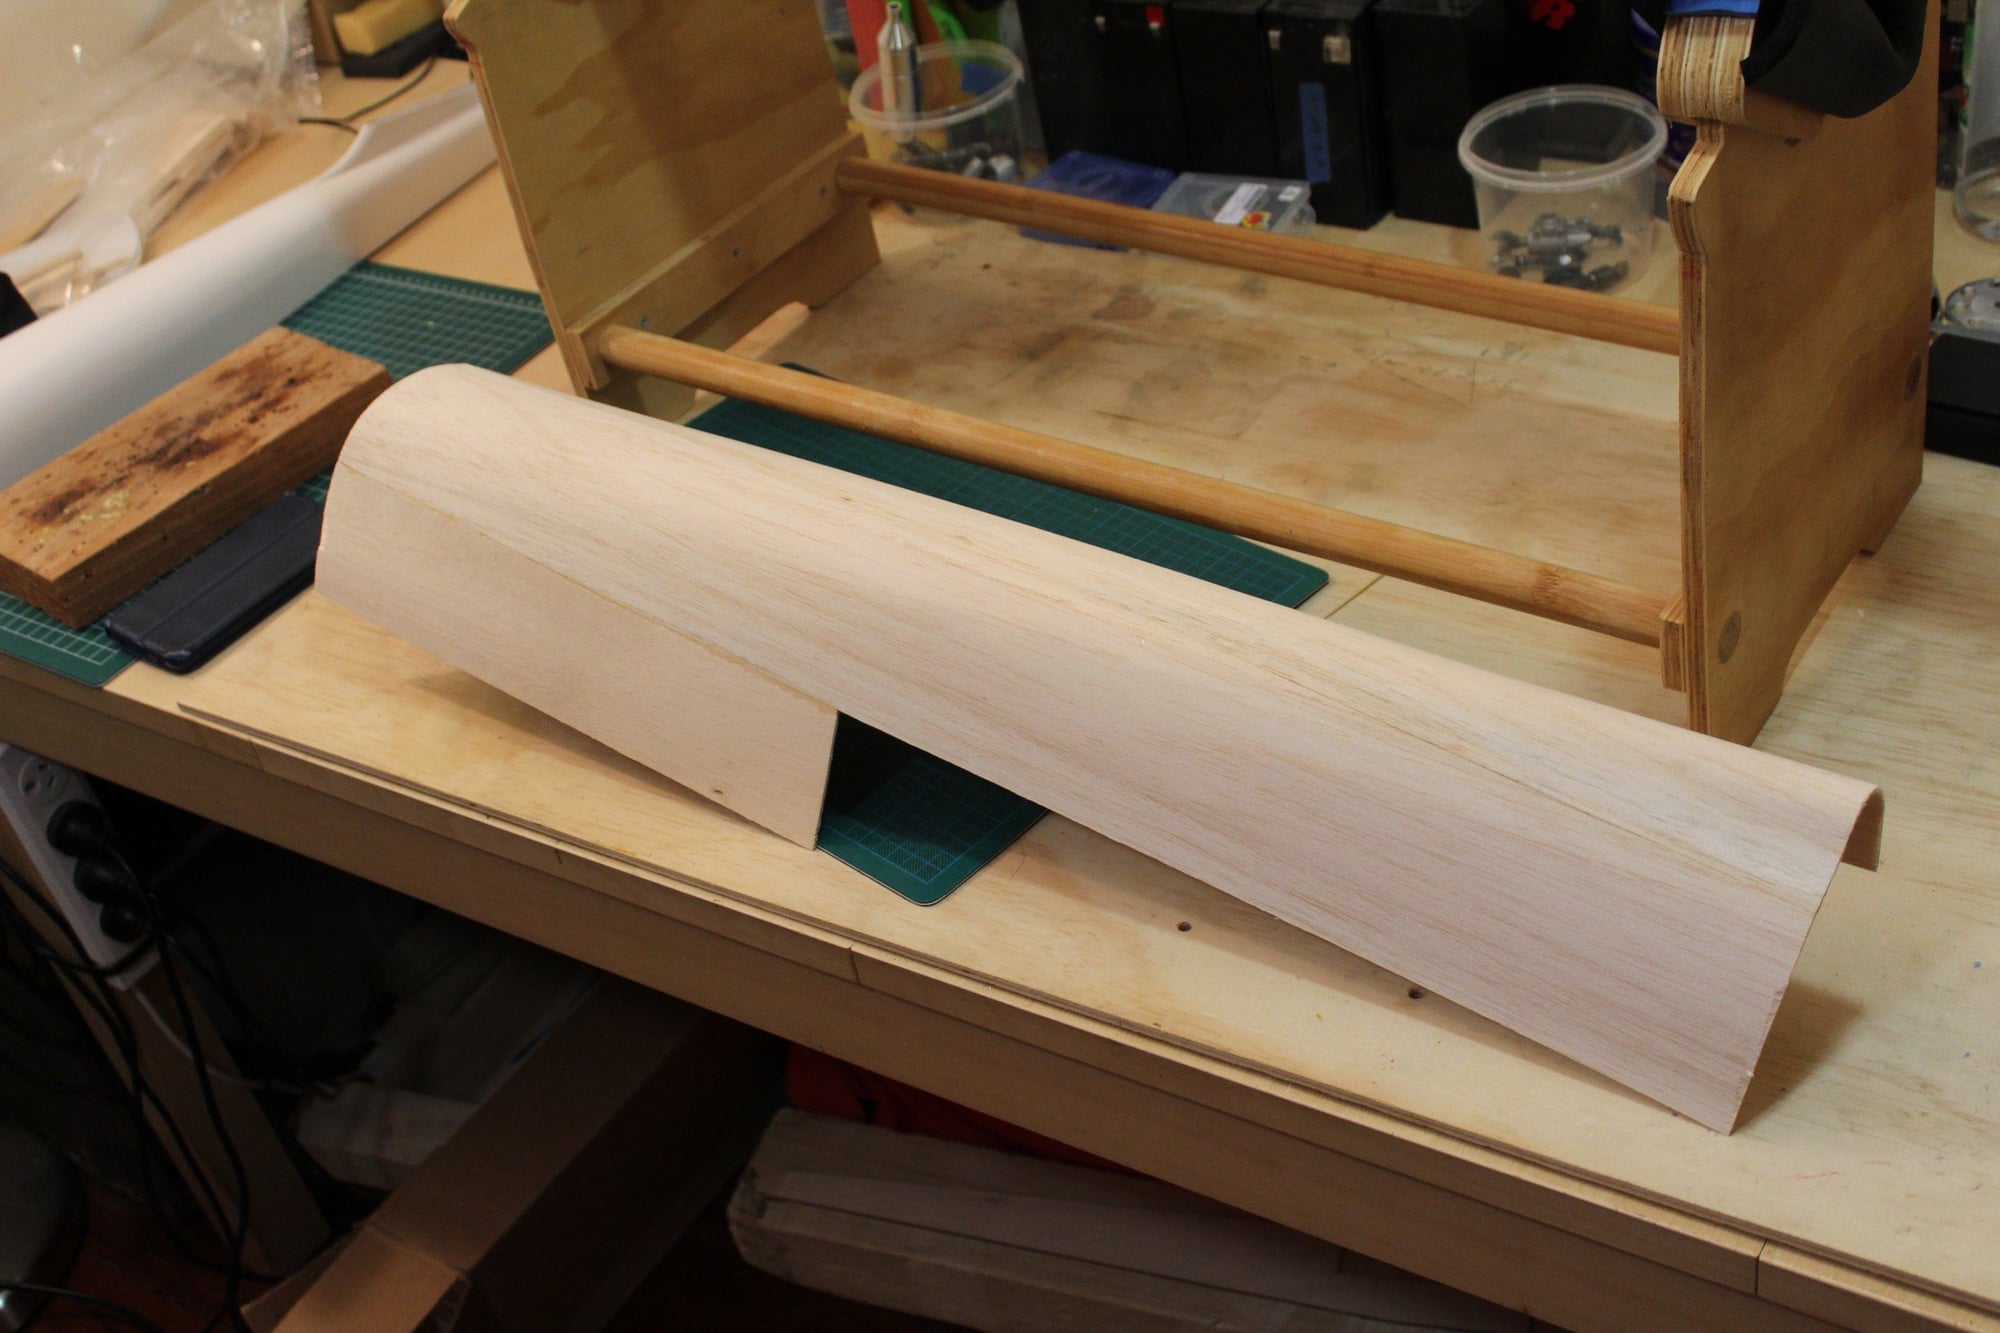
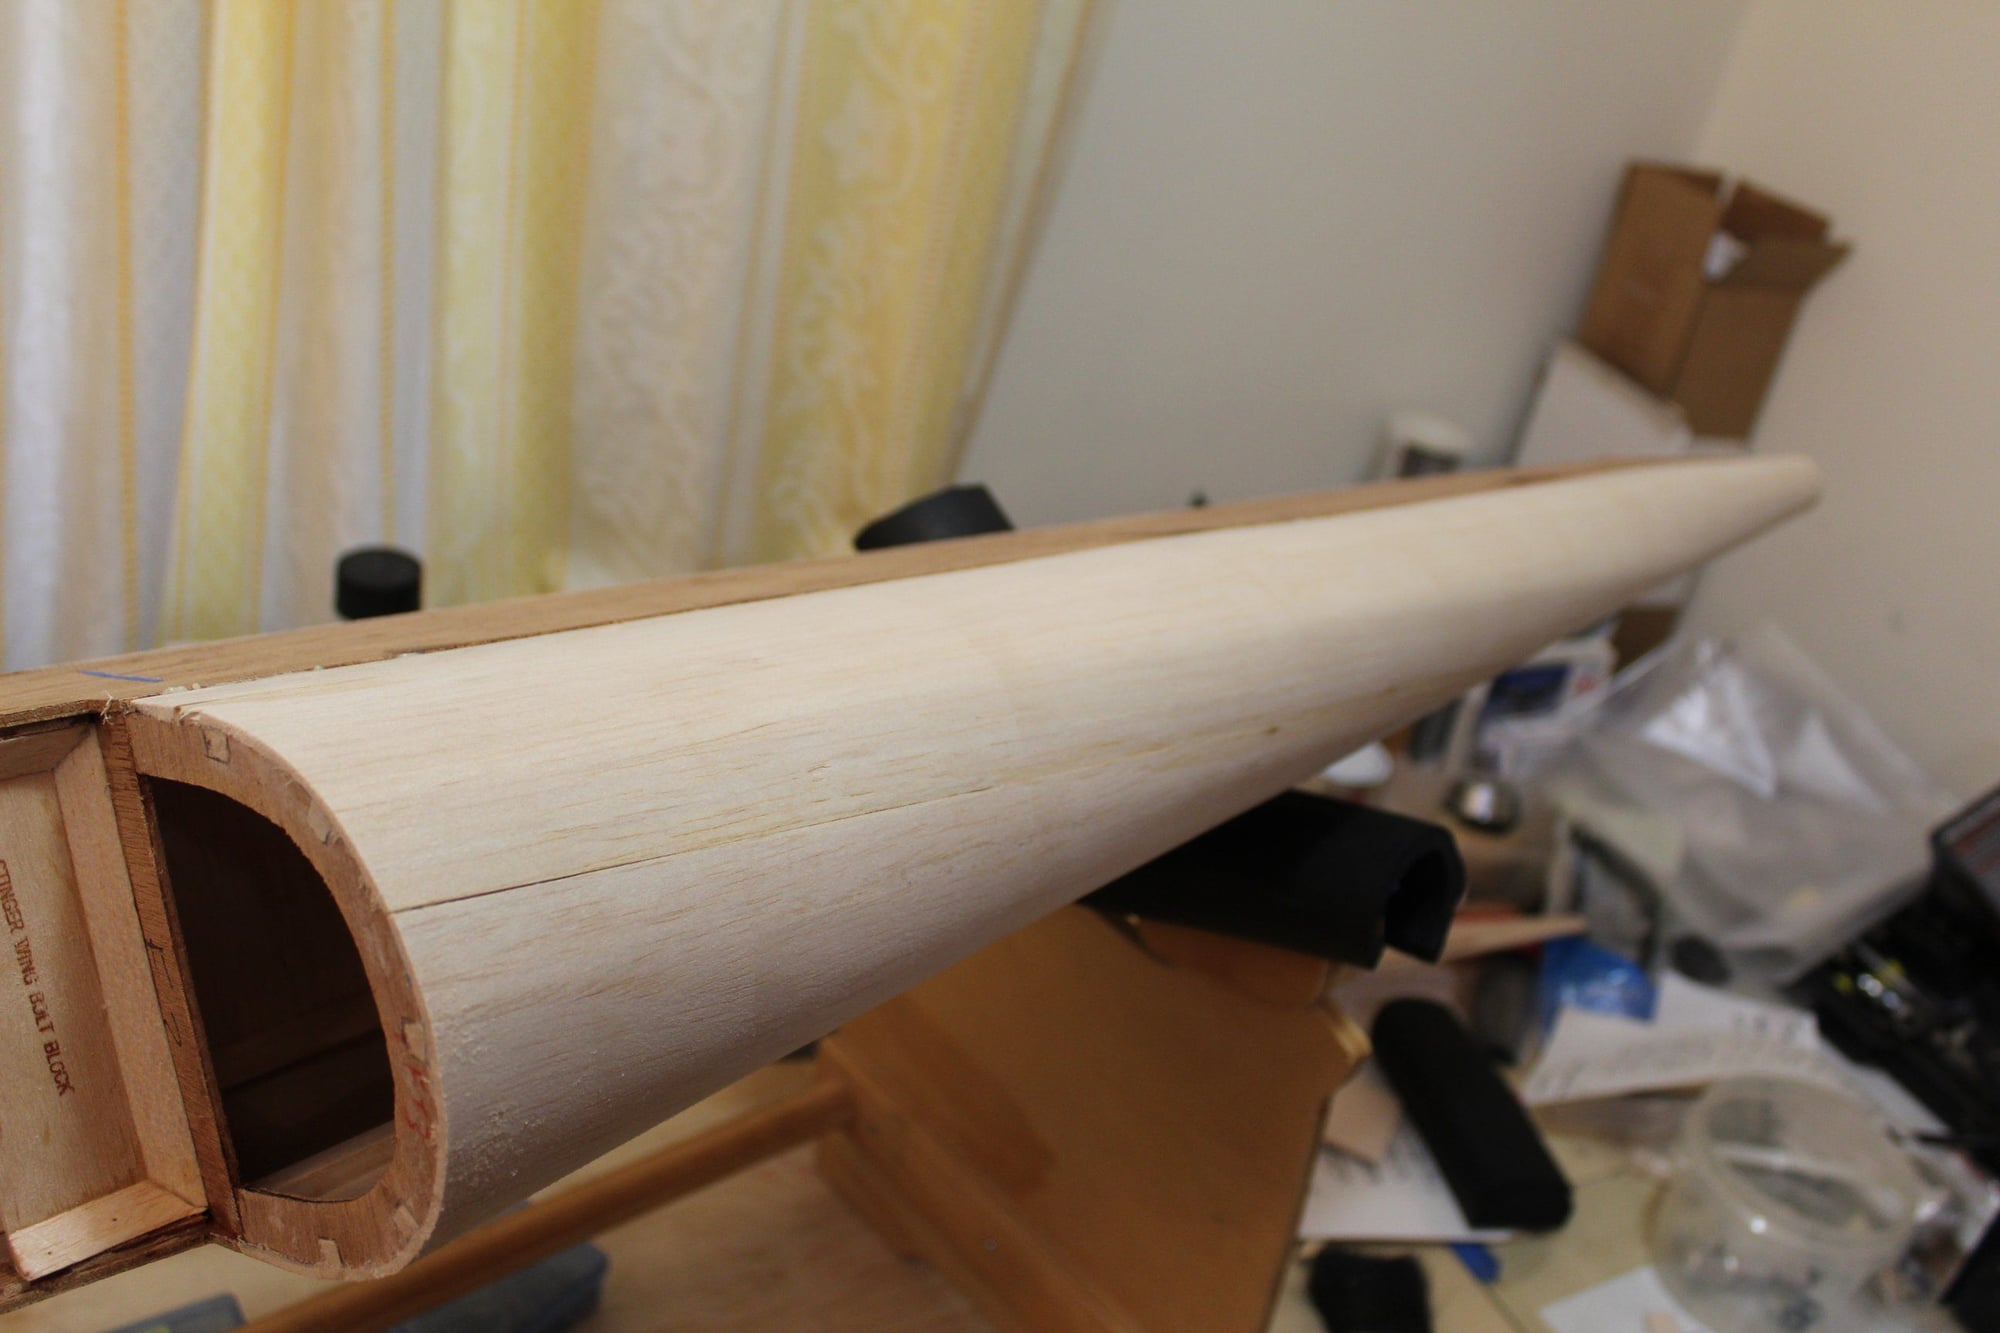
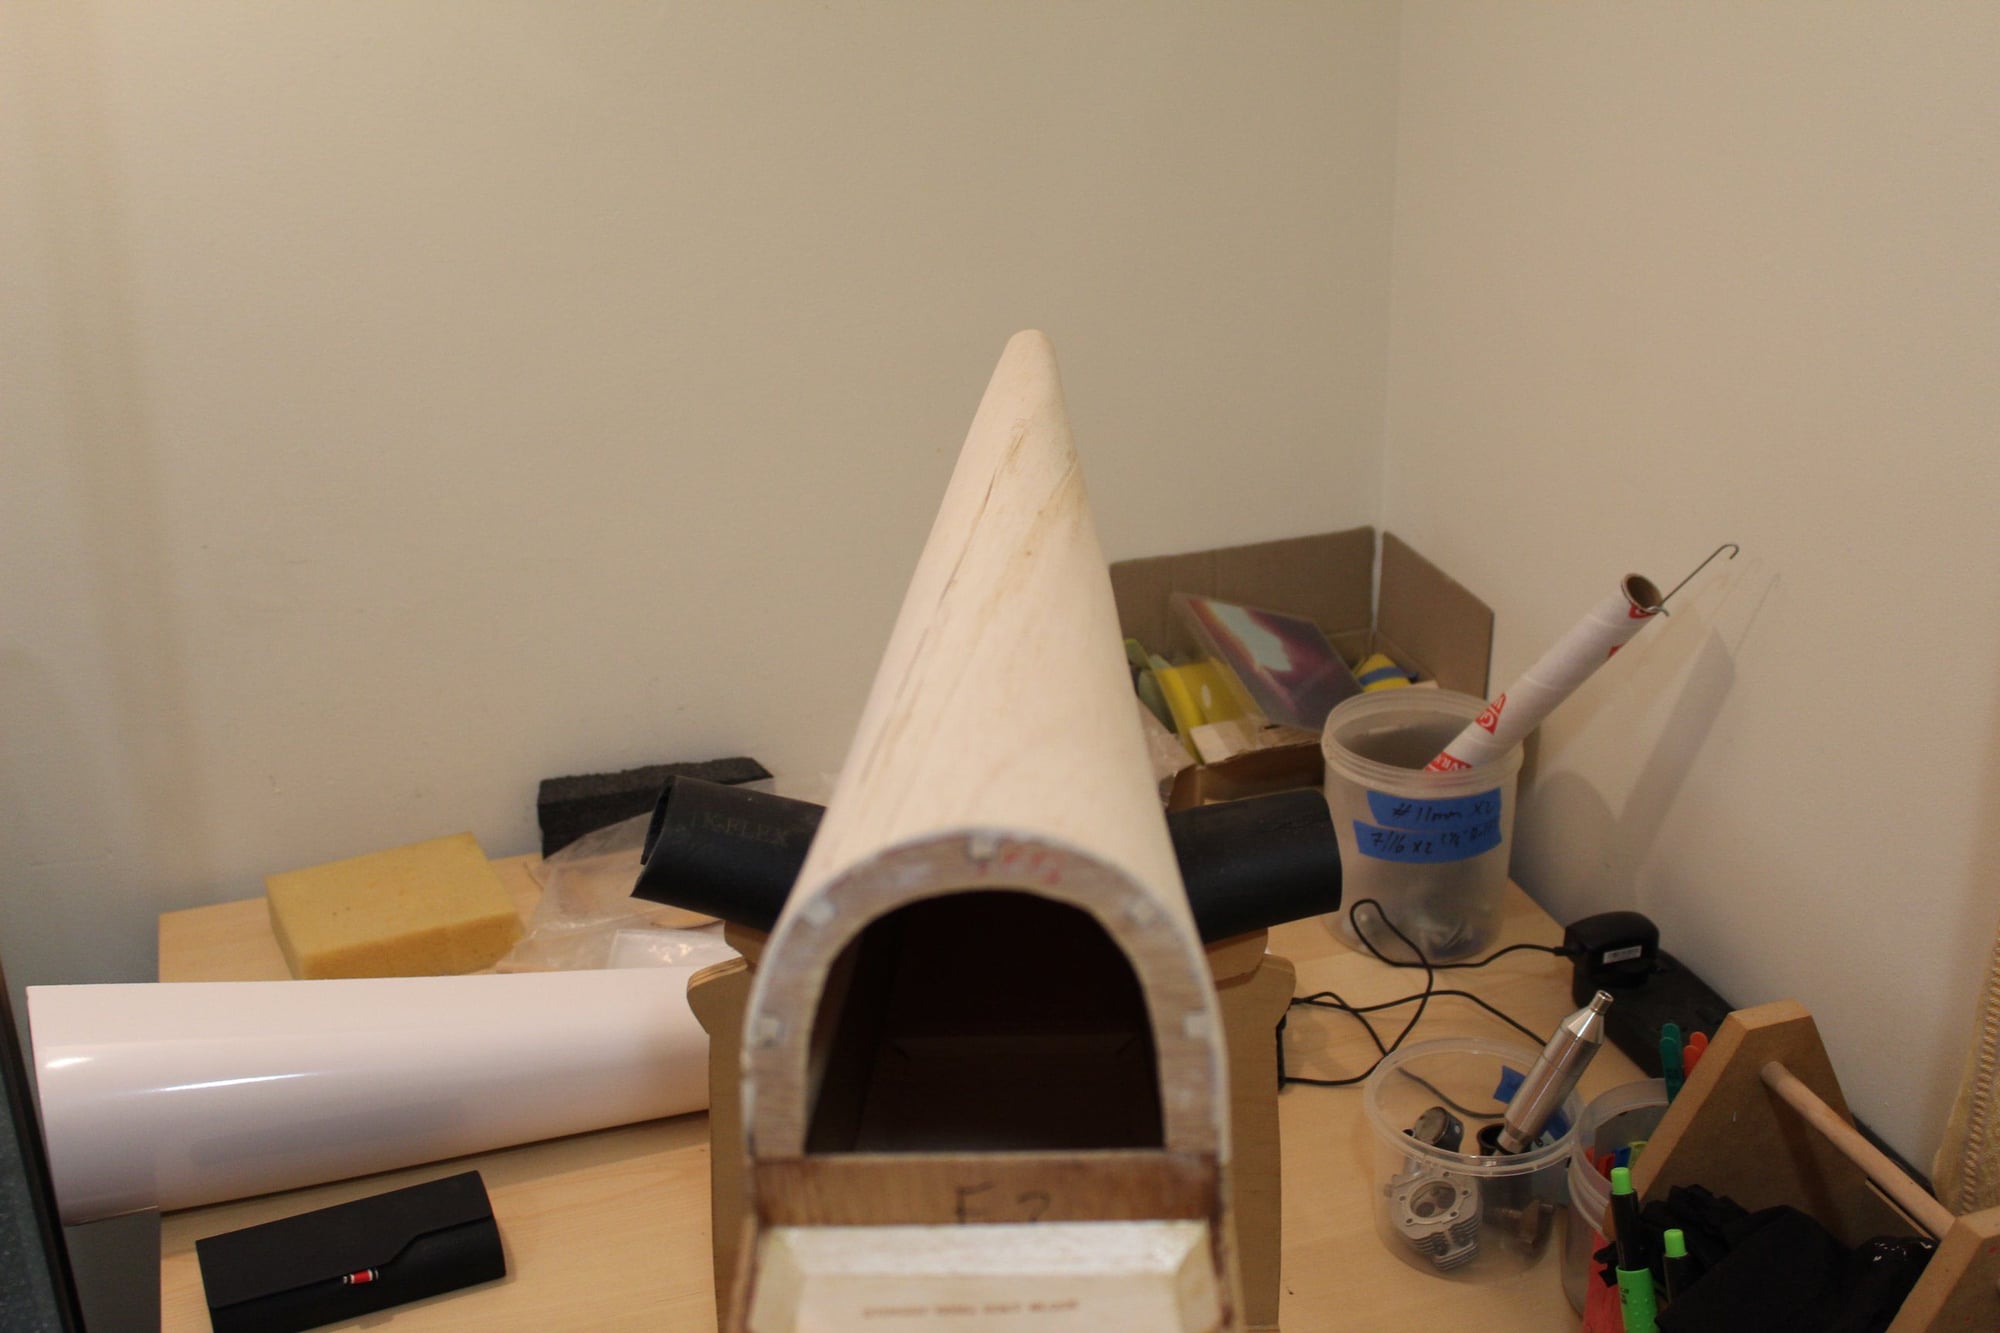
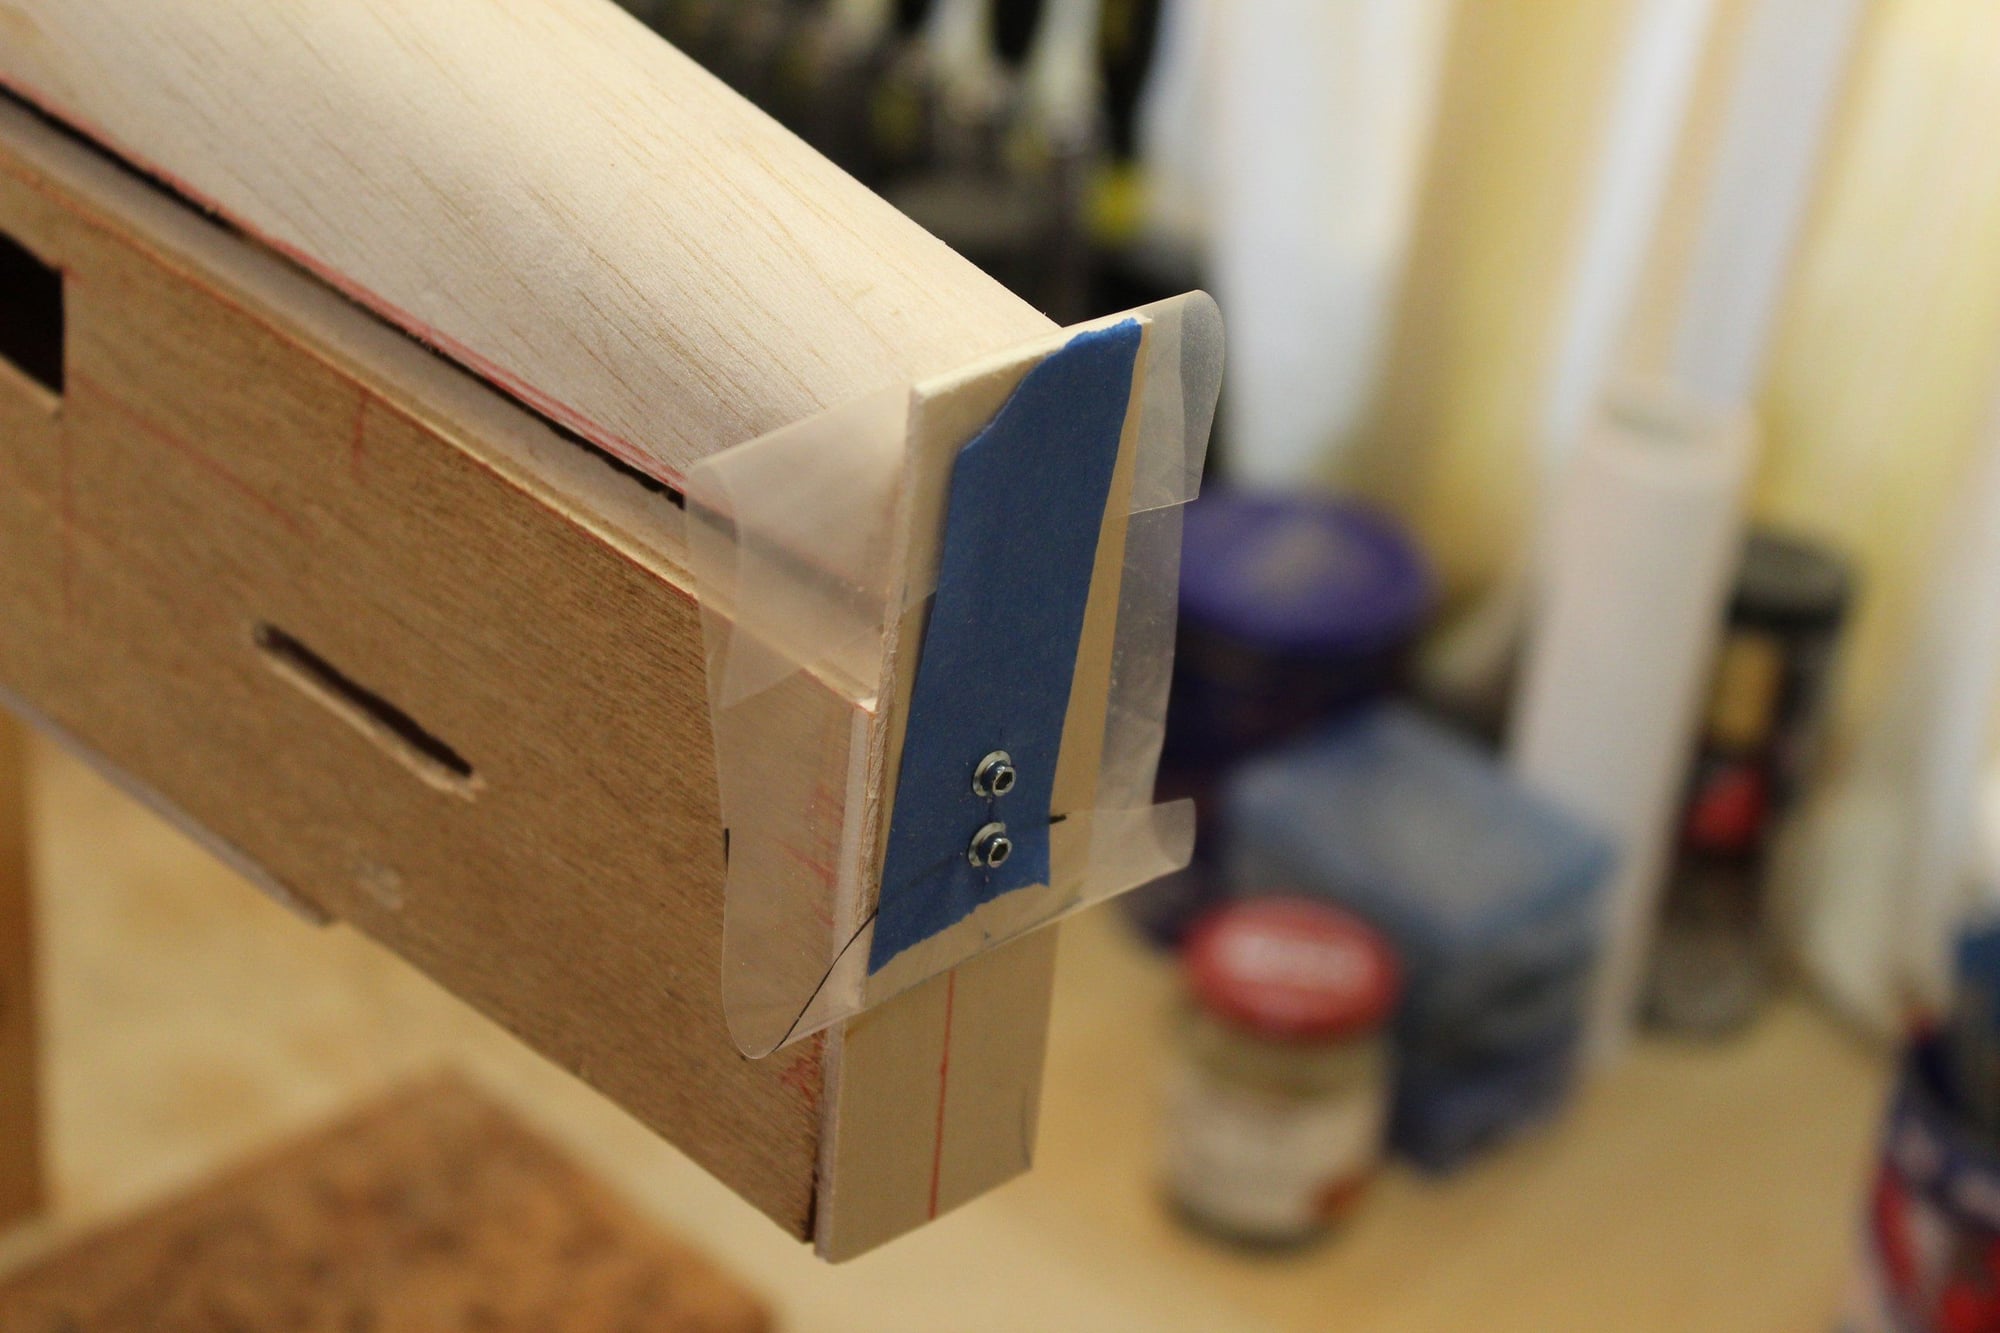
tcrowson - I hope that you can still resurrect that fuselage and save the aeroplane by building up the turtledeck similar to what I am attempting to do here.
I prepared the turtledeck sheeting by gluing the sheets of balsa to each other, letting it dry while making an additional "former" near where the vertical fin ends.
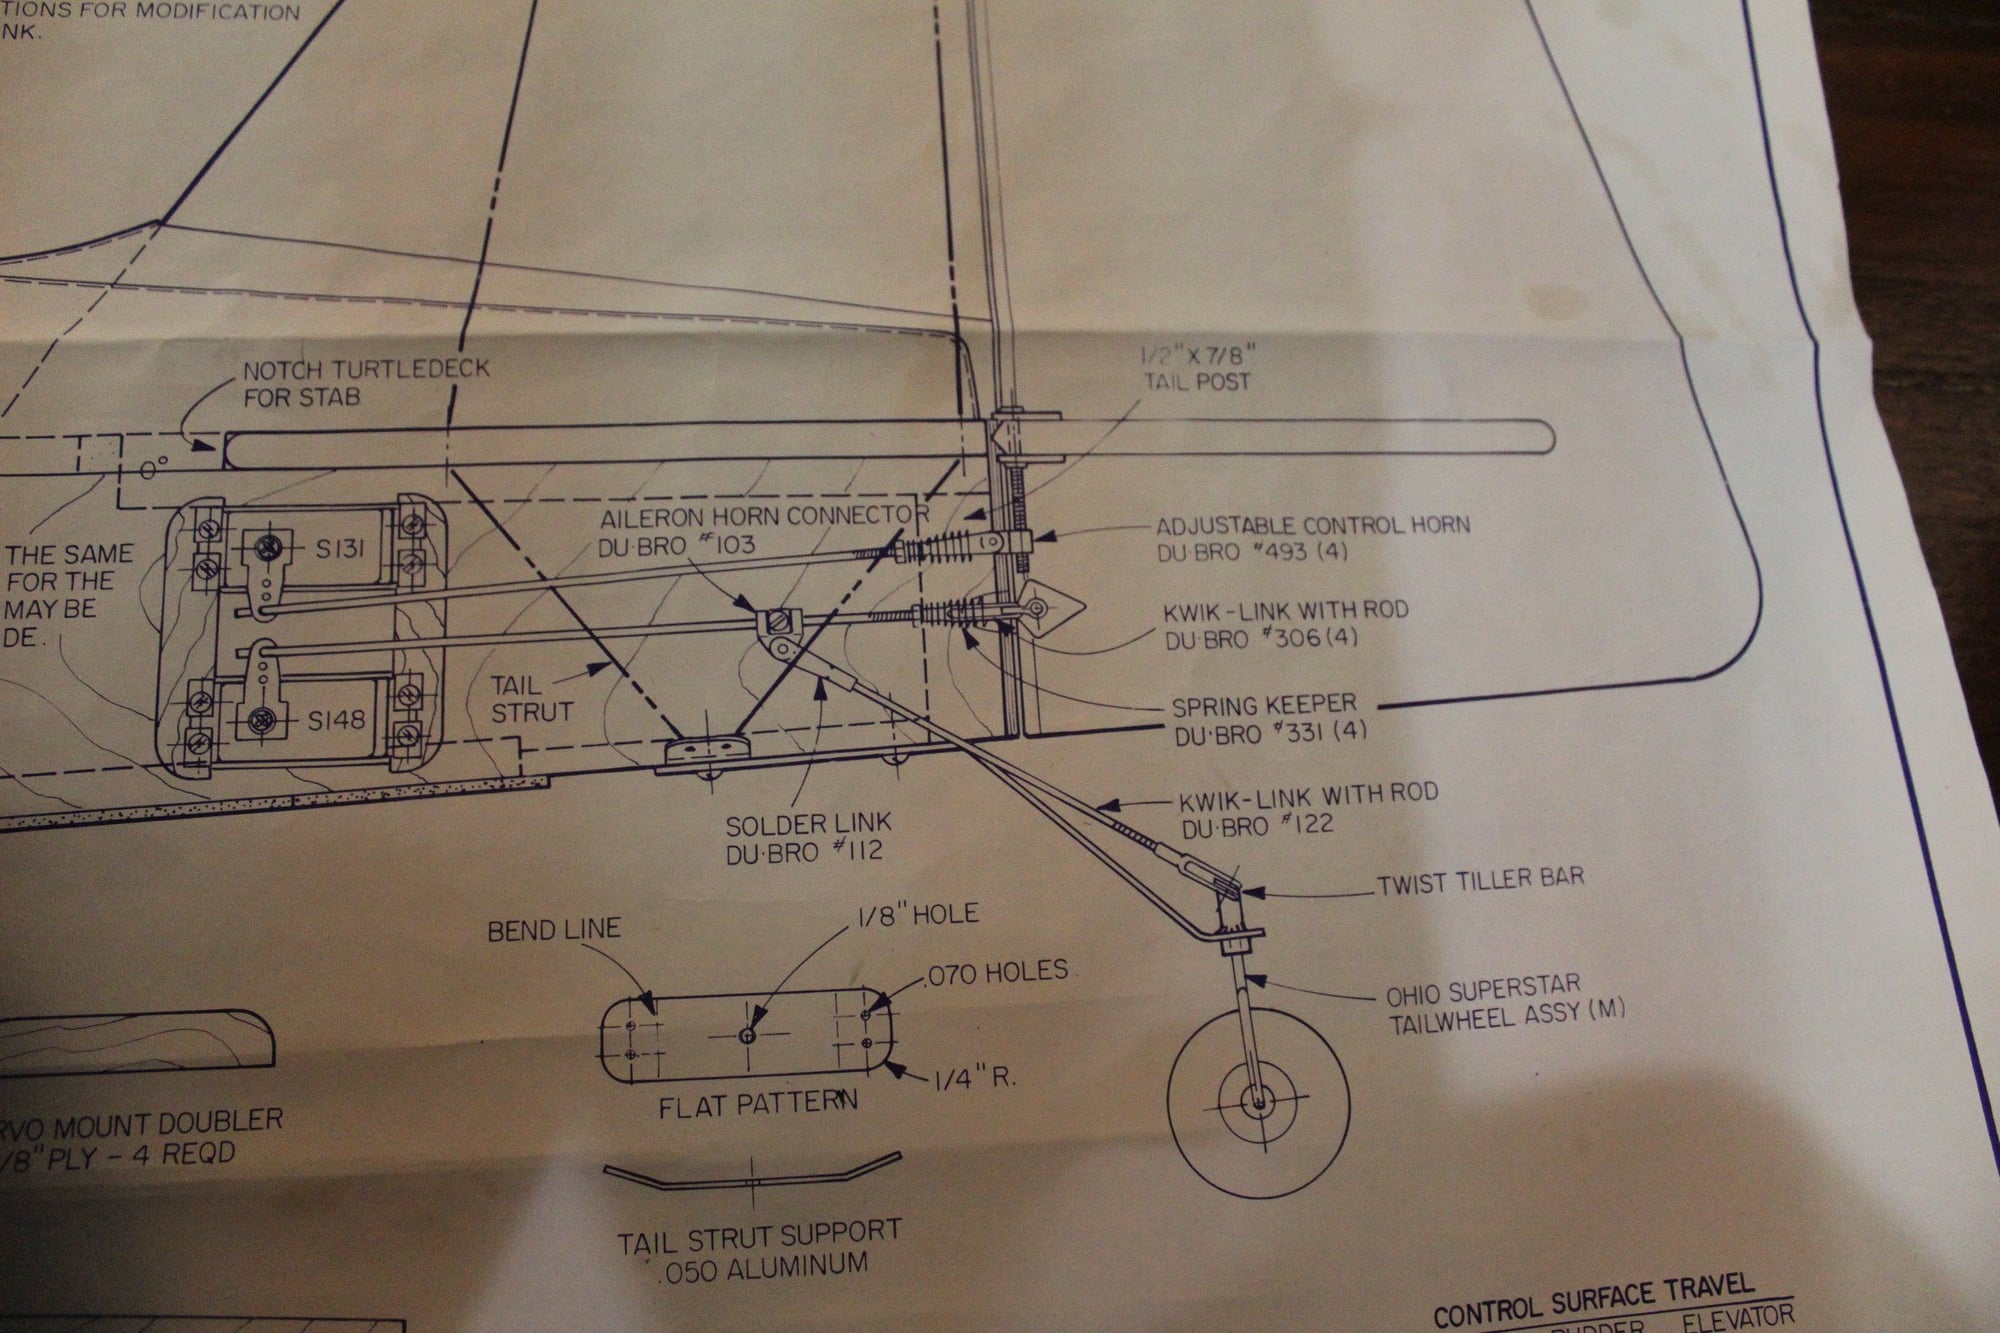
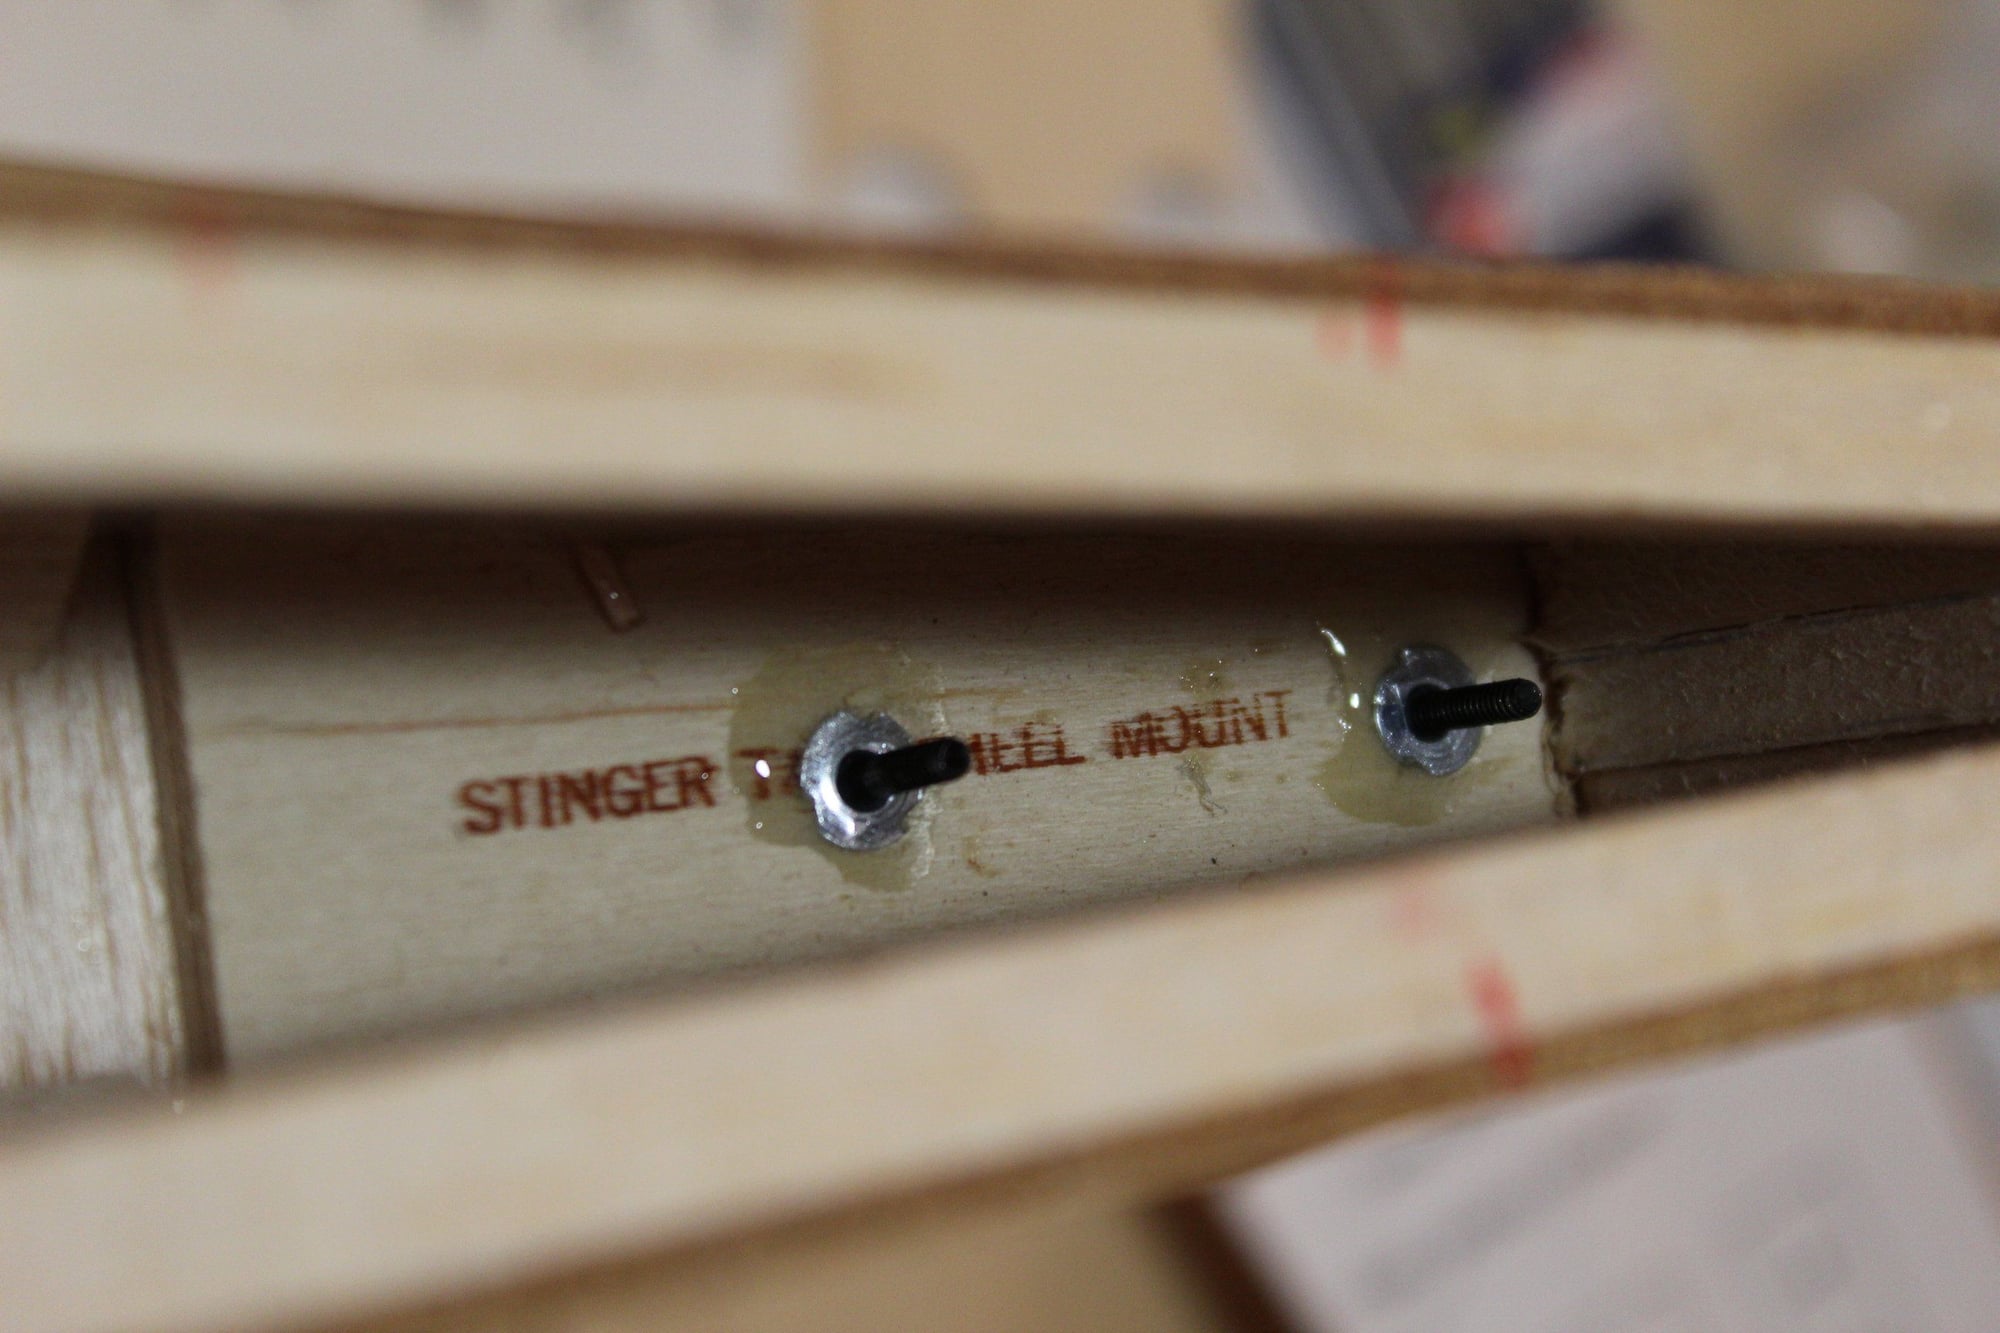
Looking ahead, I saw on the internet that the tail-wheel specified in the plans is still being sold, so I placed an order with Ohio Superstar. As access to place the lock-nuts will be unavailable once the turtledeck is in place, I drilled the tail-wheel bracket as per plans for this landing gear.
Cheers,
Eran
I prepared the turtledeck sheeting by gluing the sheets of balsa to each other, letting it dry while making an additional "former" near where the vertical fin ends.
Looking ahead, I saw on the internet that the tail-wheel specified in the plans is still being sold, so I placed an order with Ohio Superstar. As access to place the lock-nuts will be unavailable once the turtledeck is in place, I drilled the tail-wheel bracket as per plans for this landing gear.
Cheers,
Eran
 01-15-2024, 02:24 PM
#69
Thread Starter
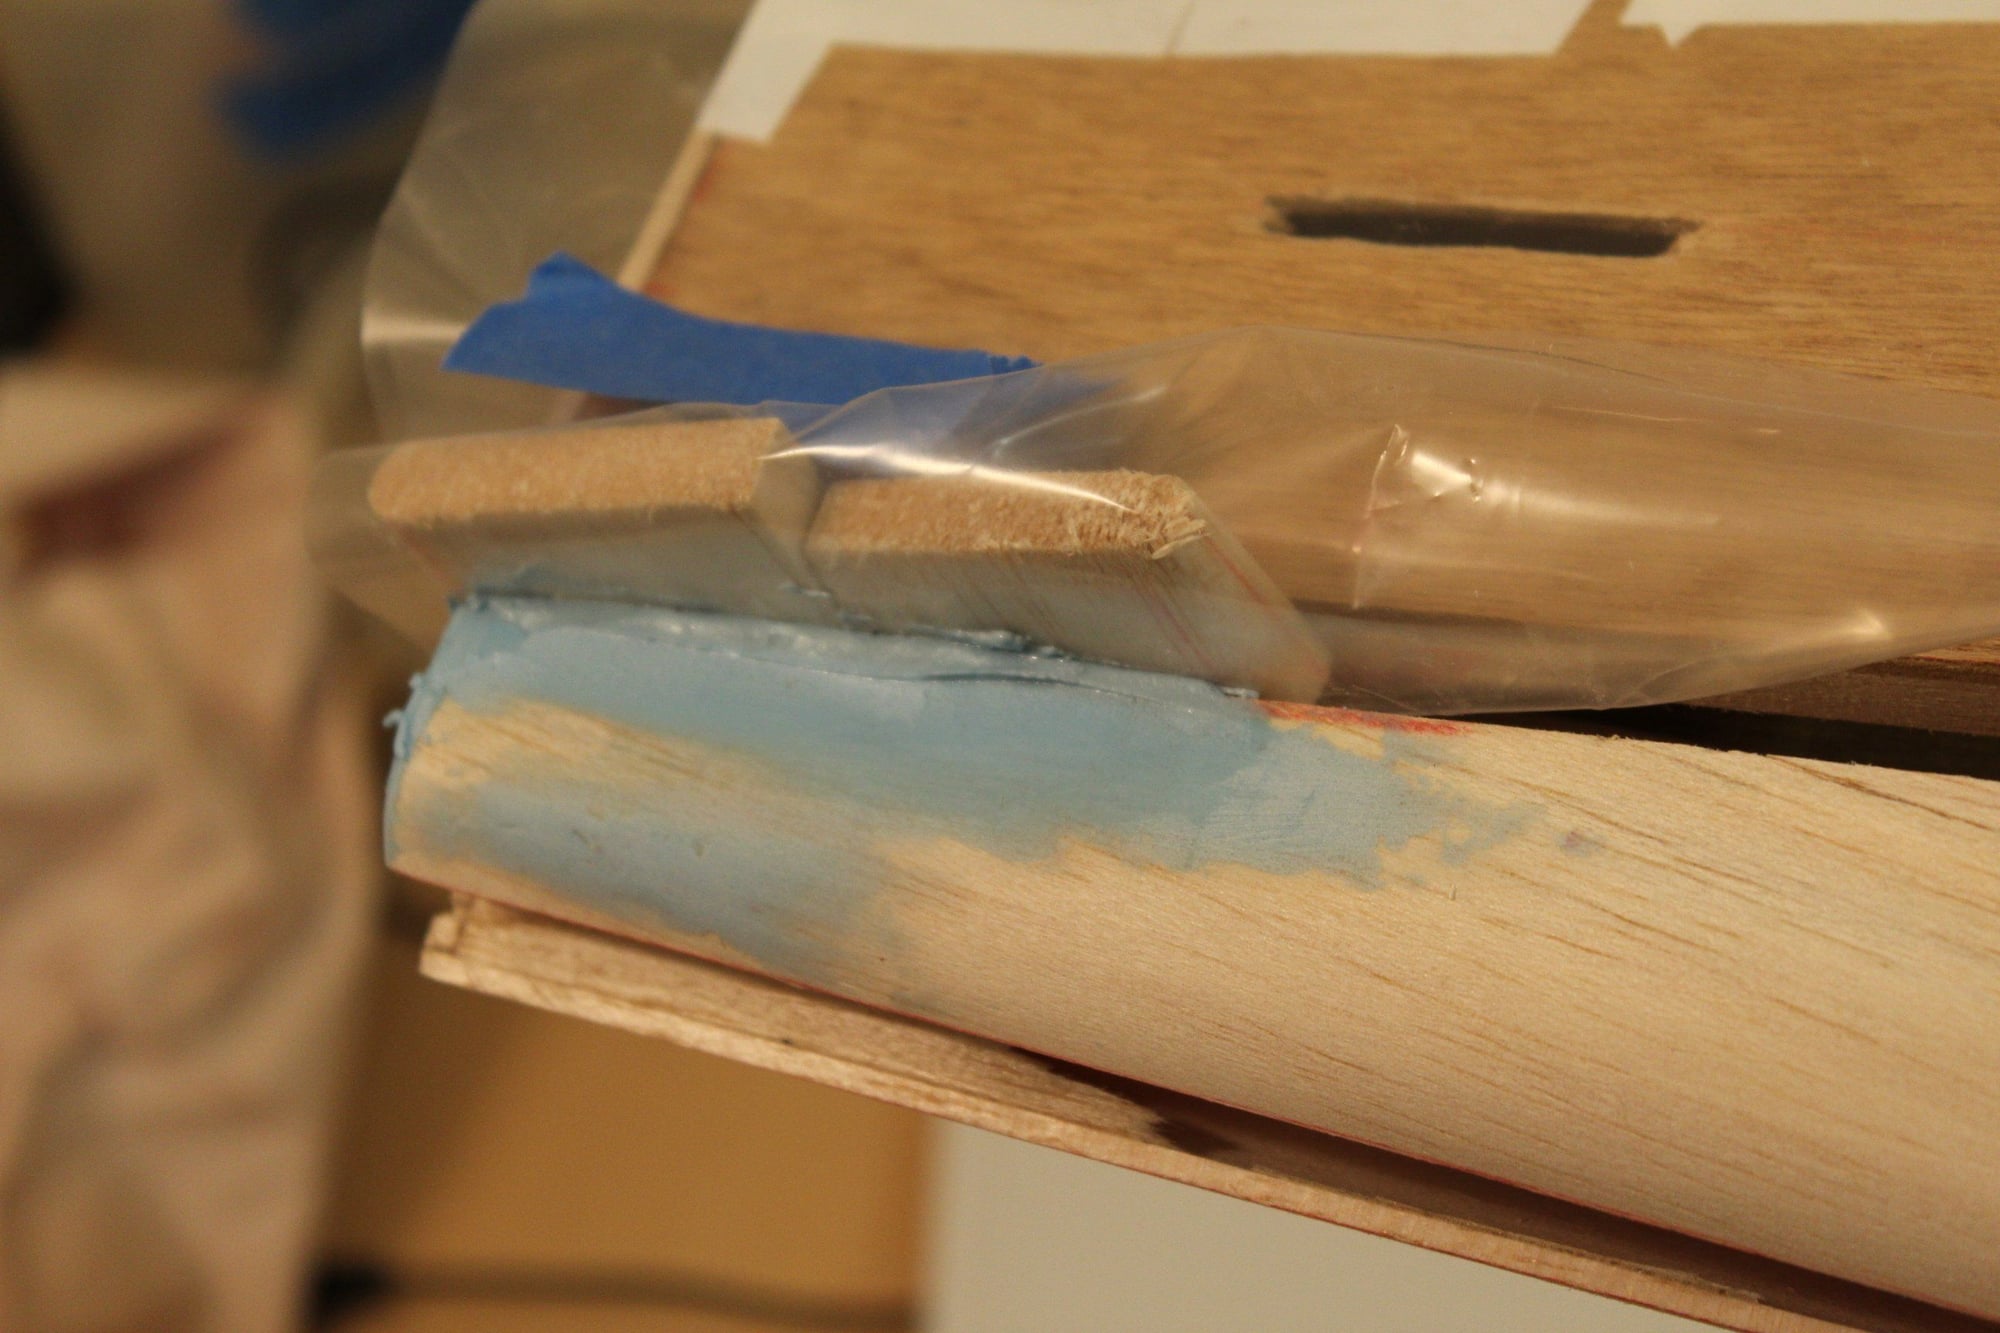
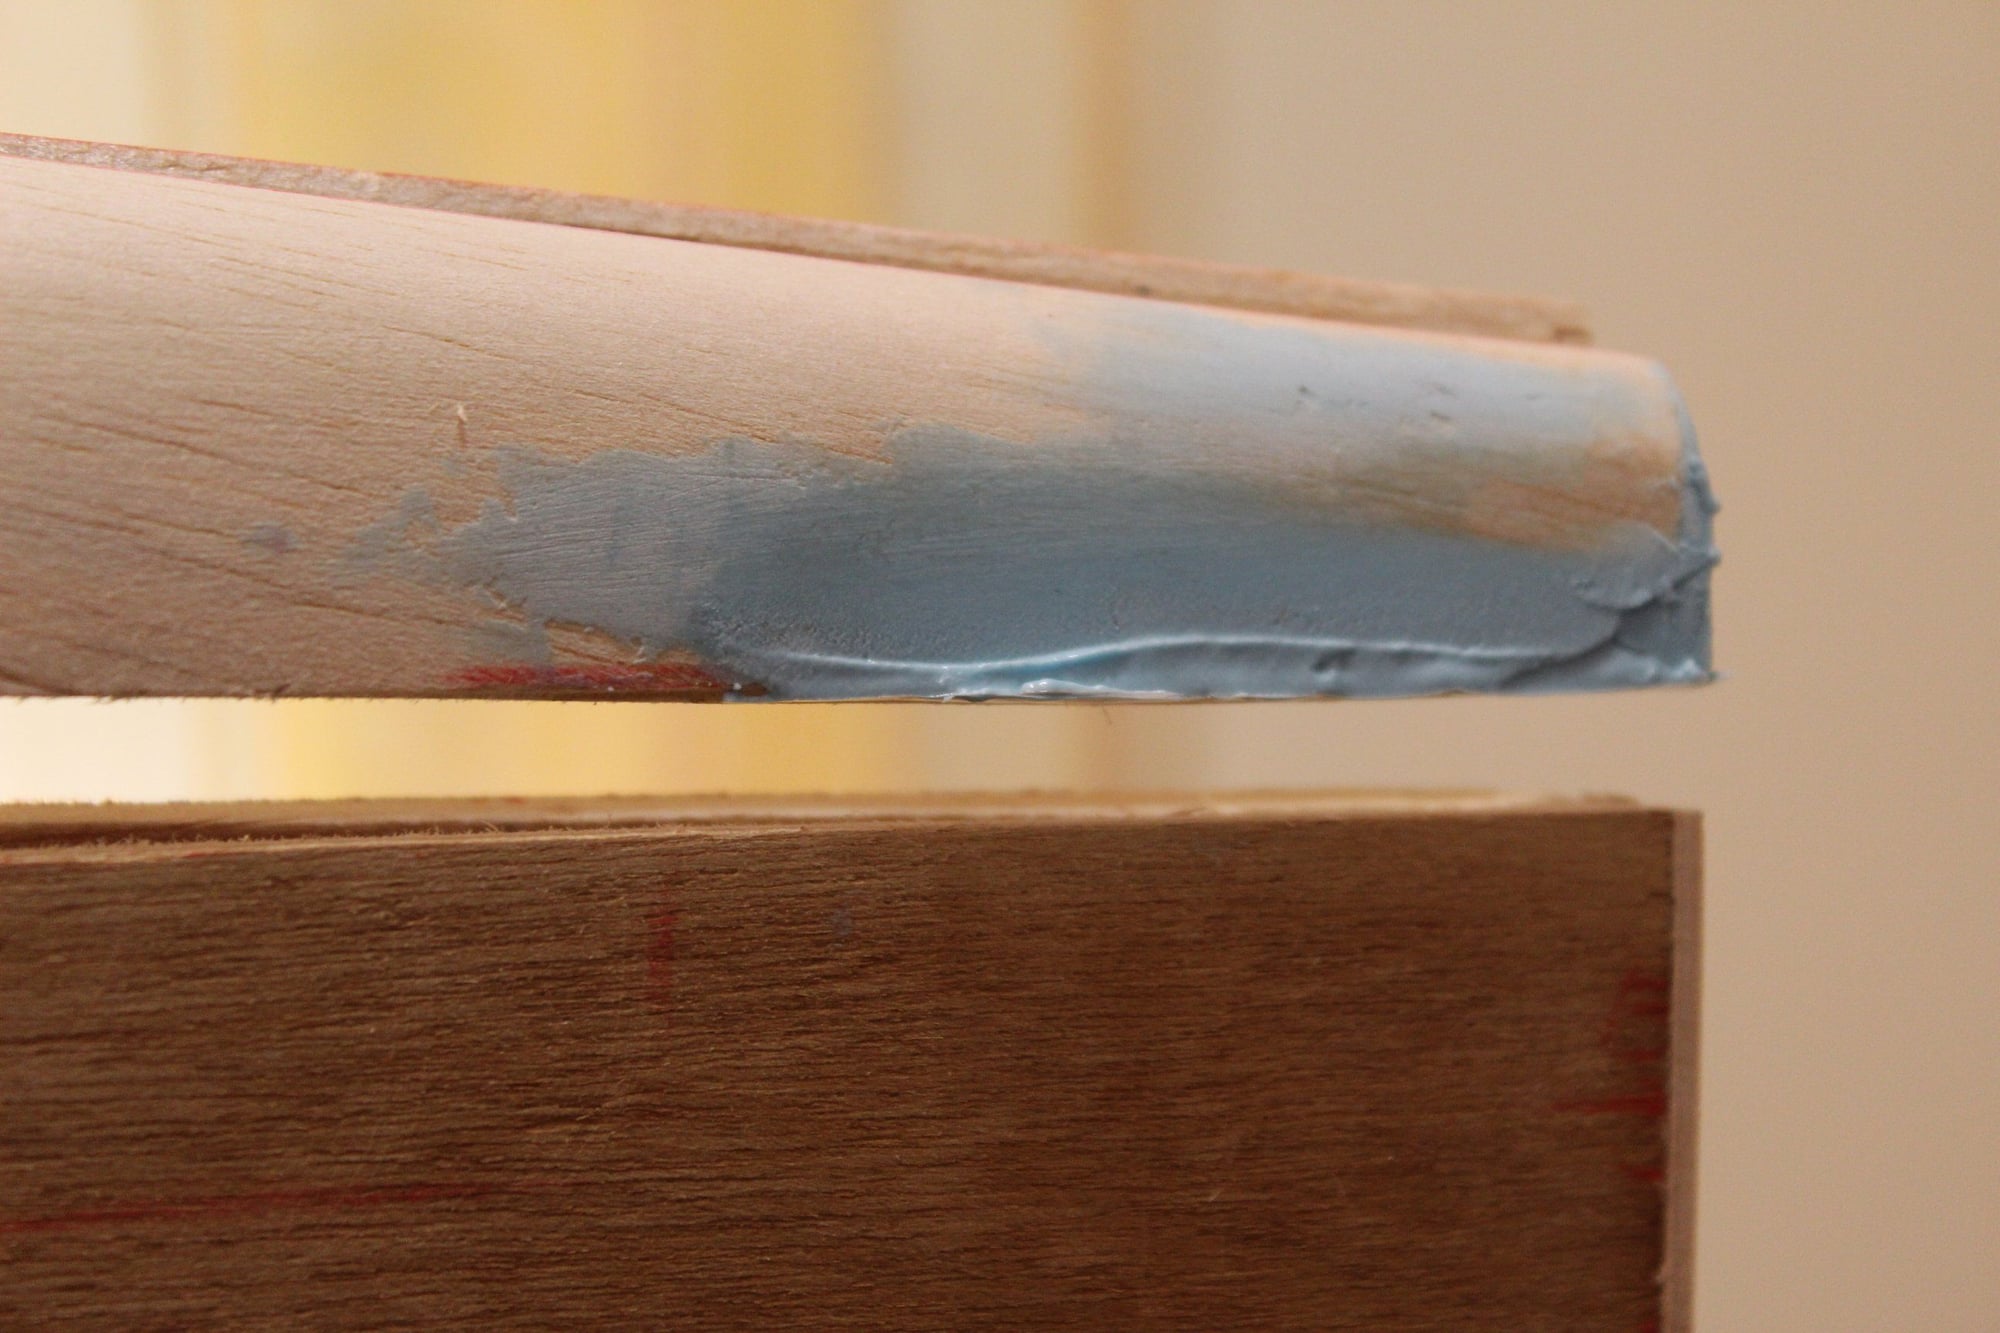
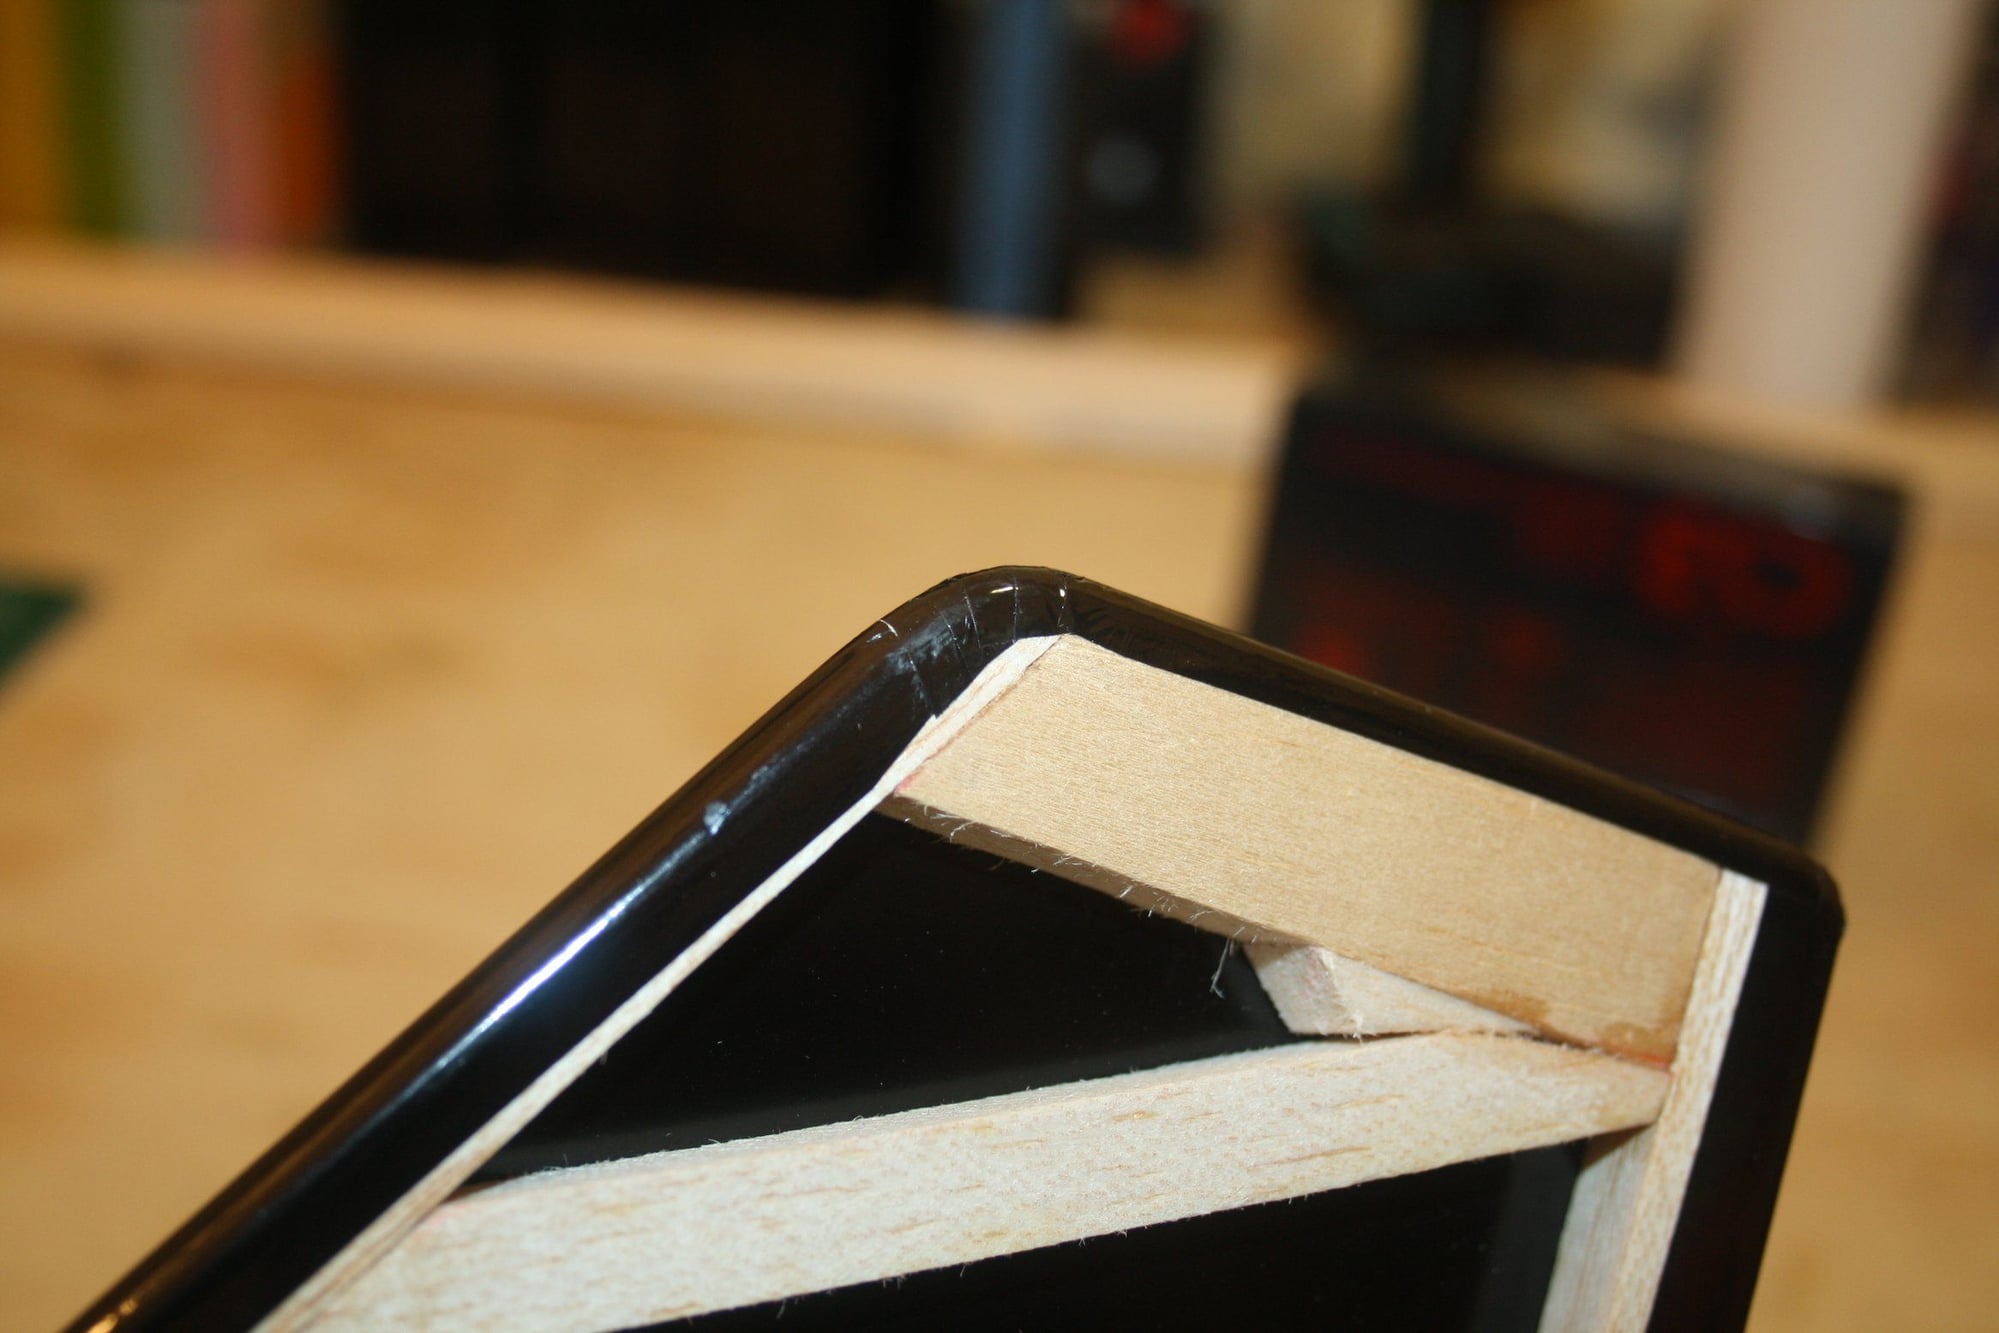
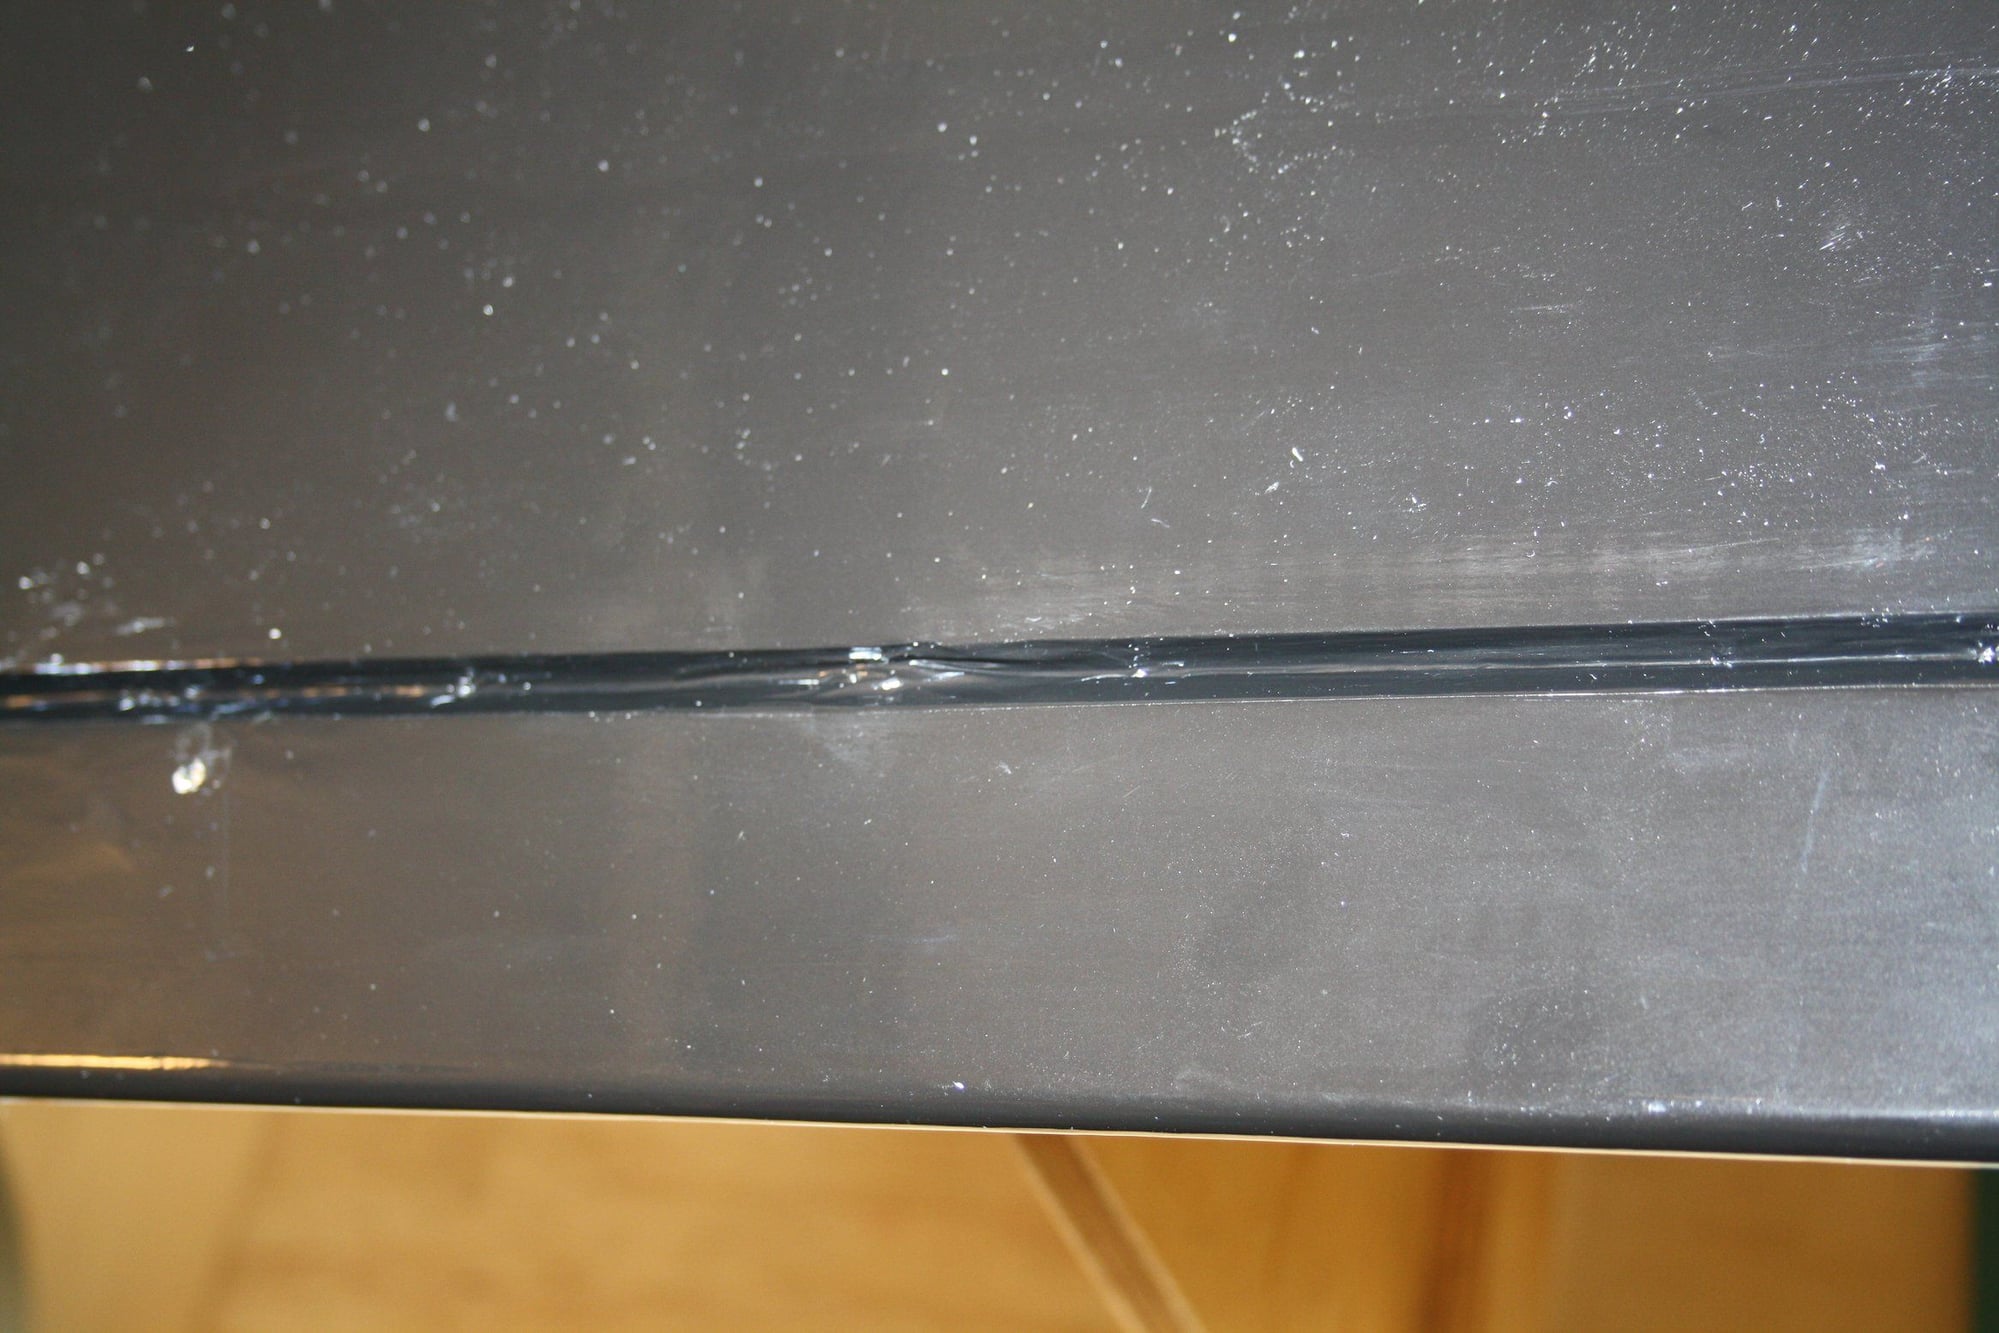
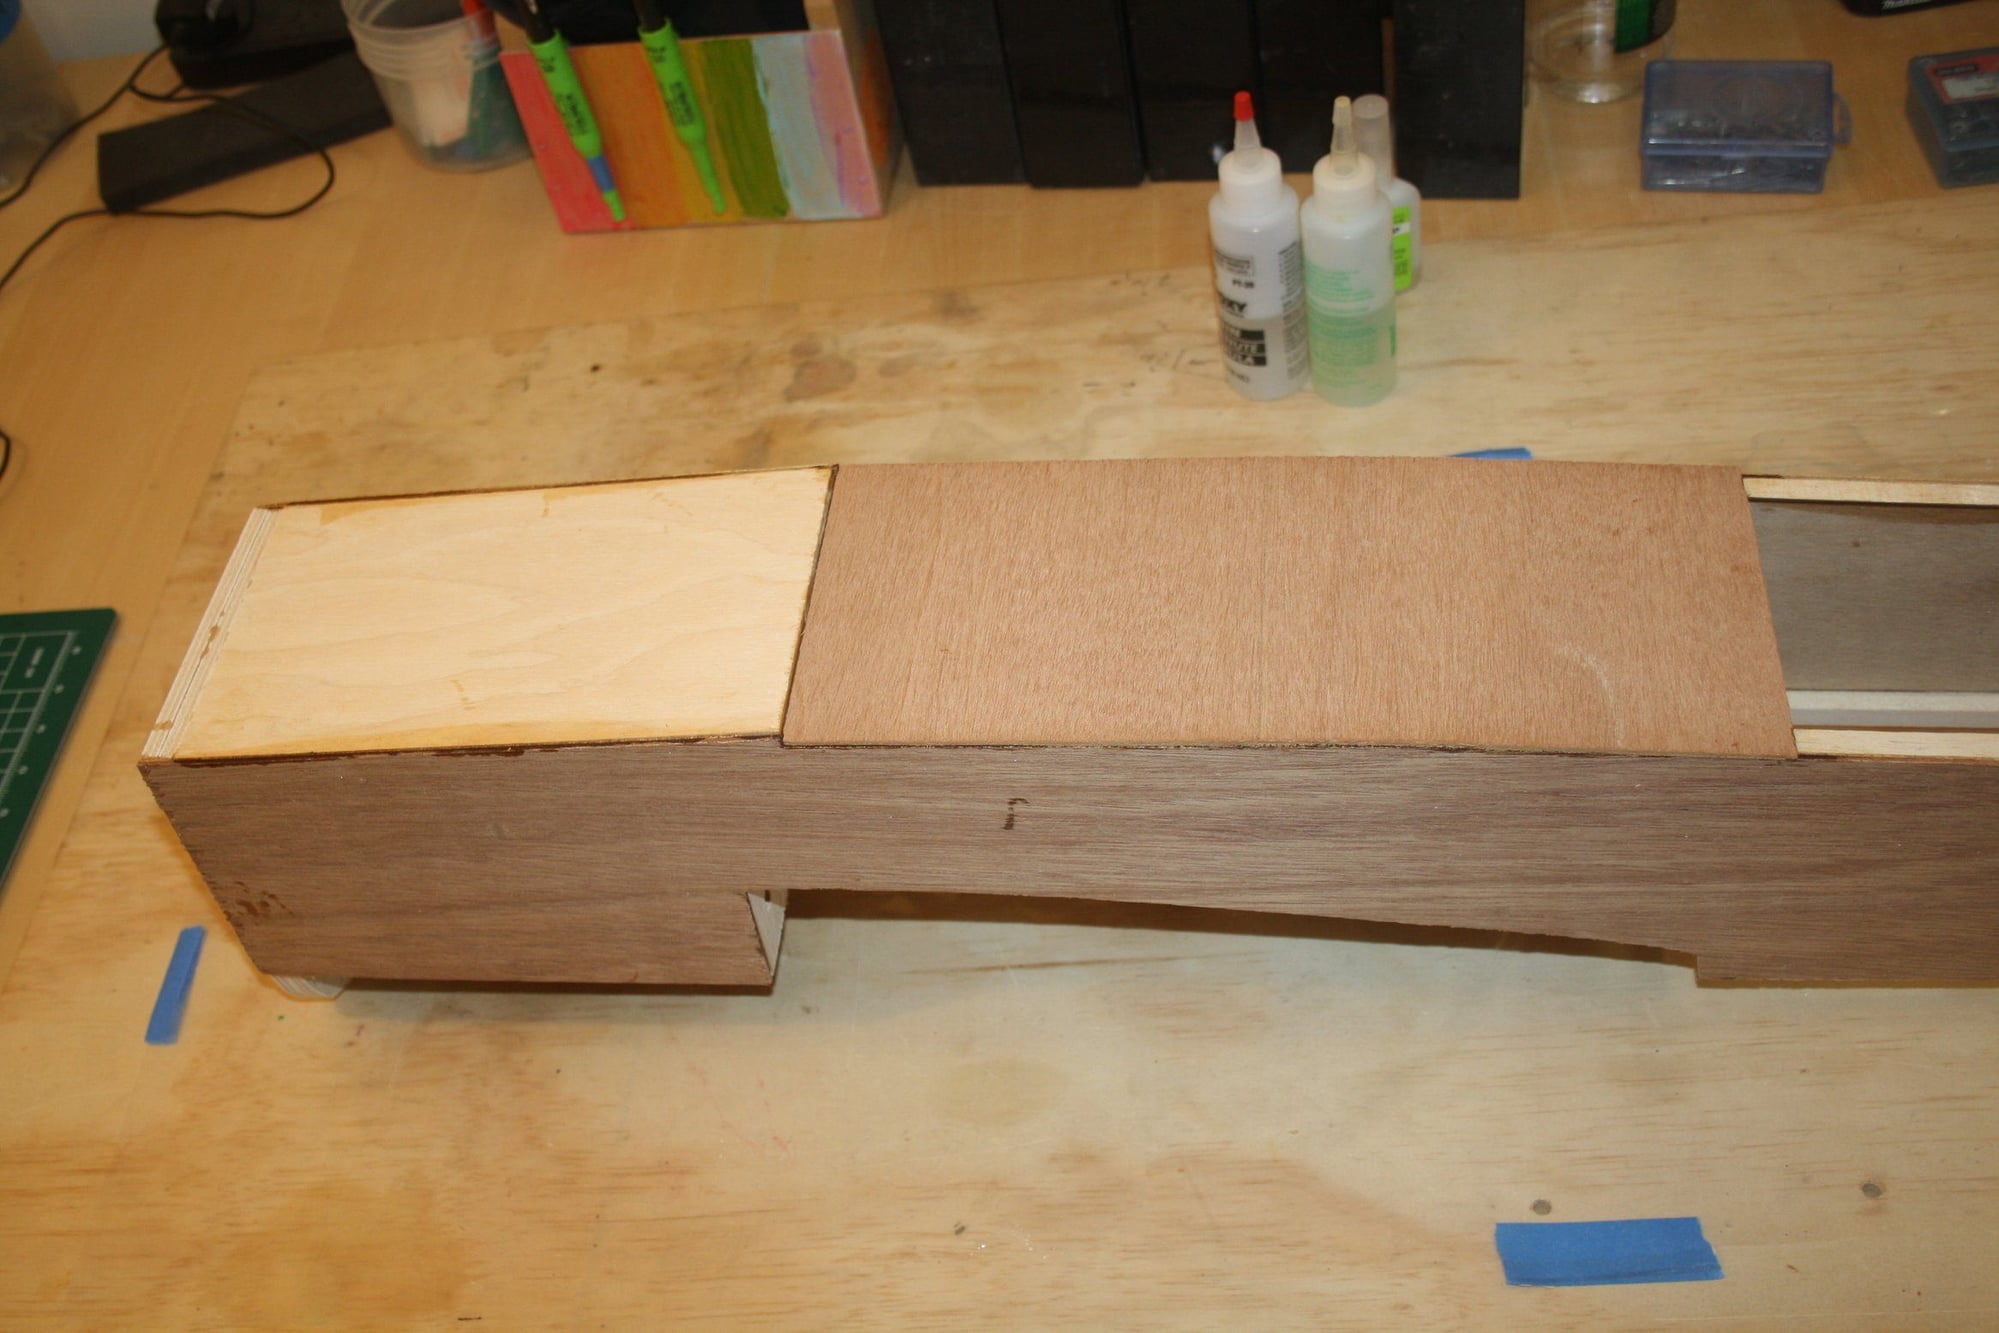
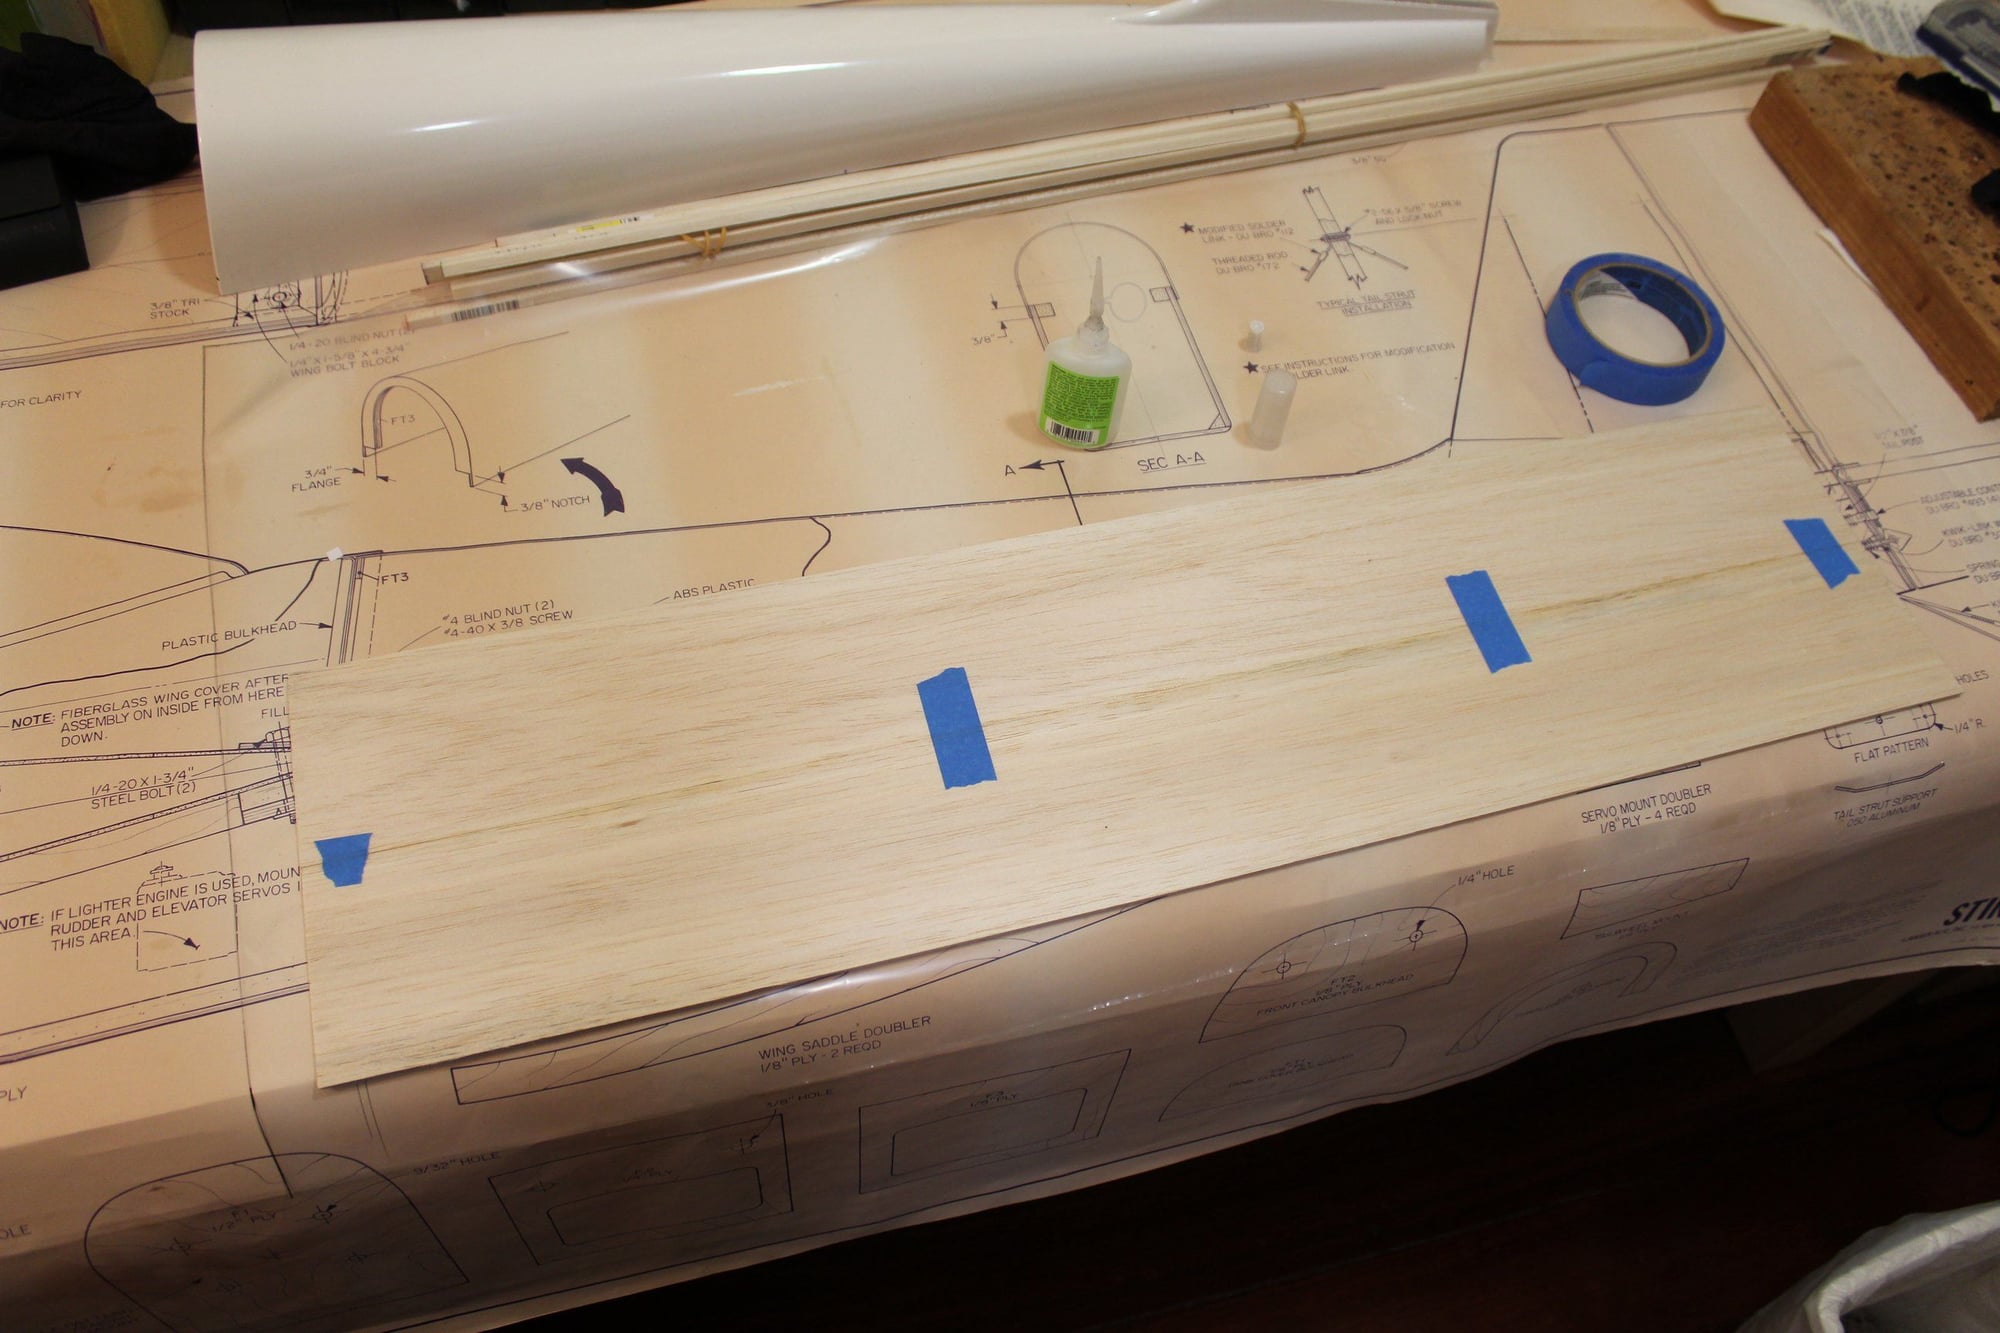
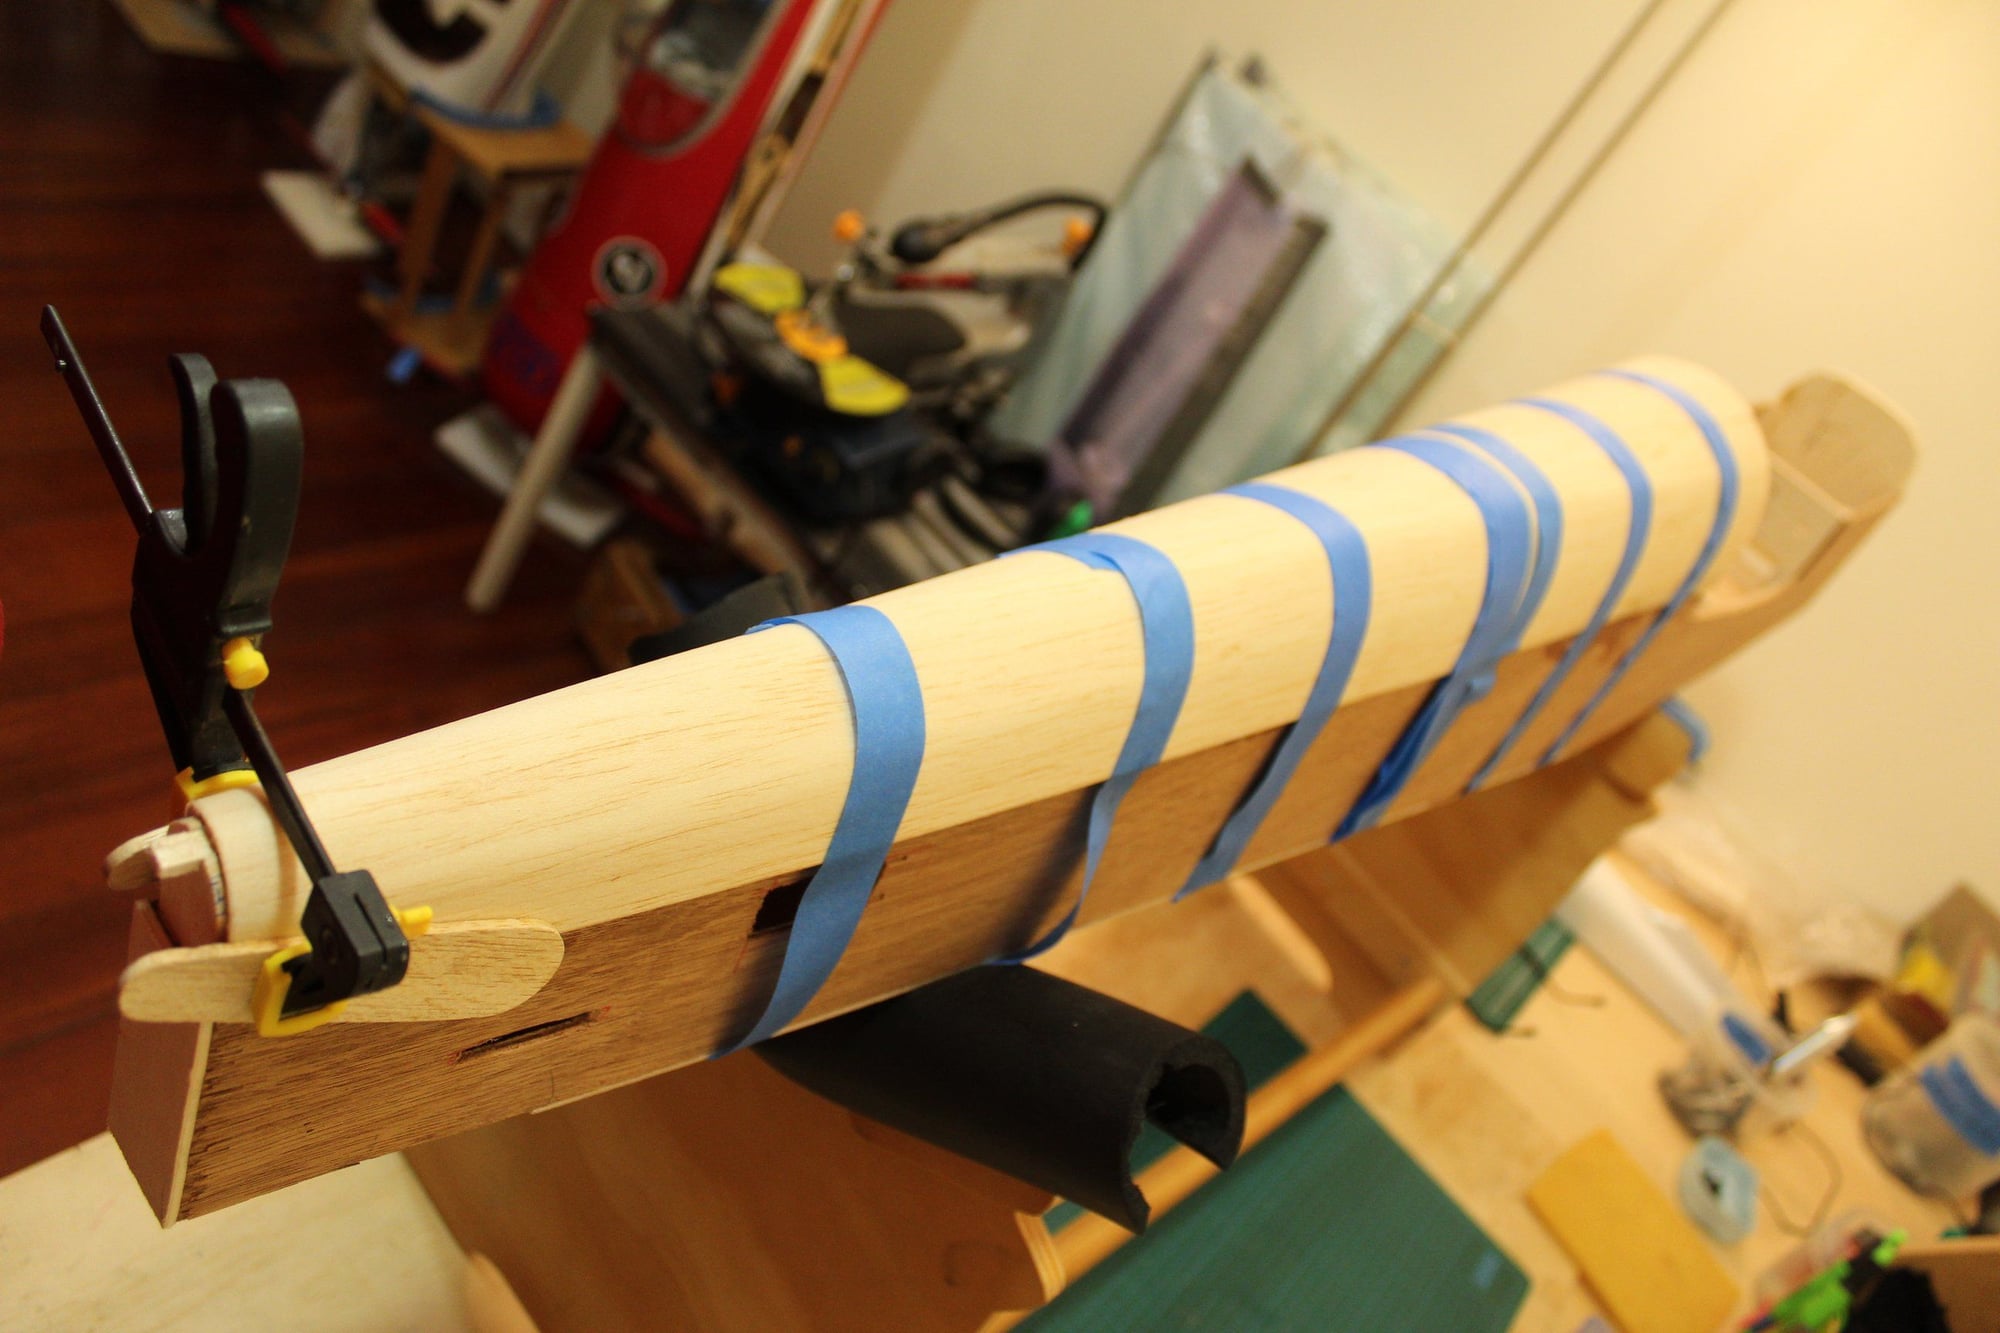
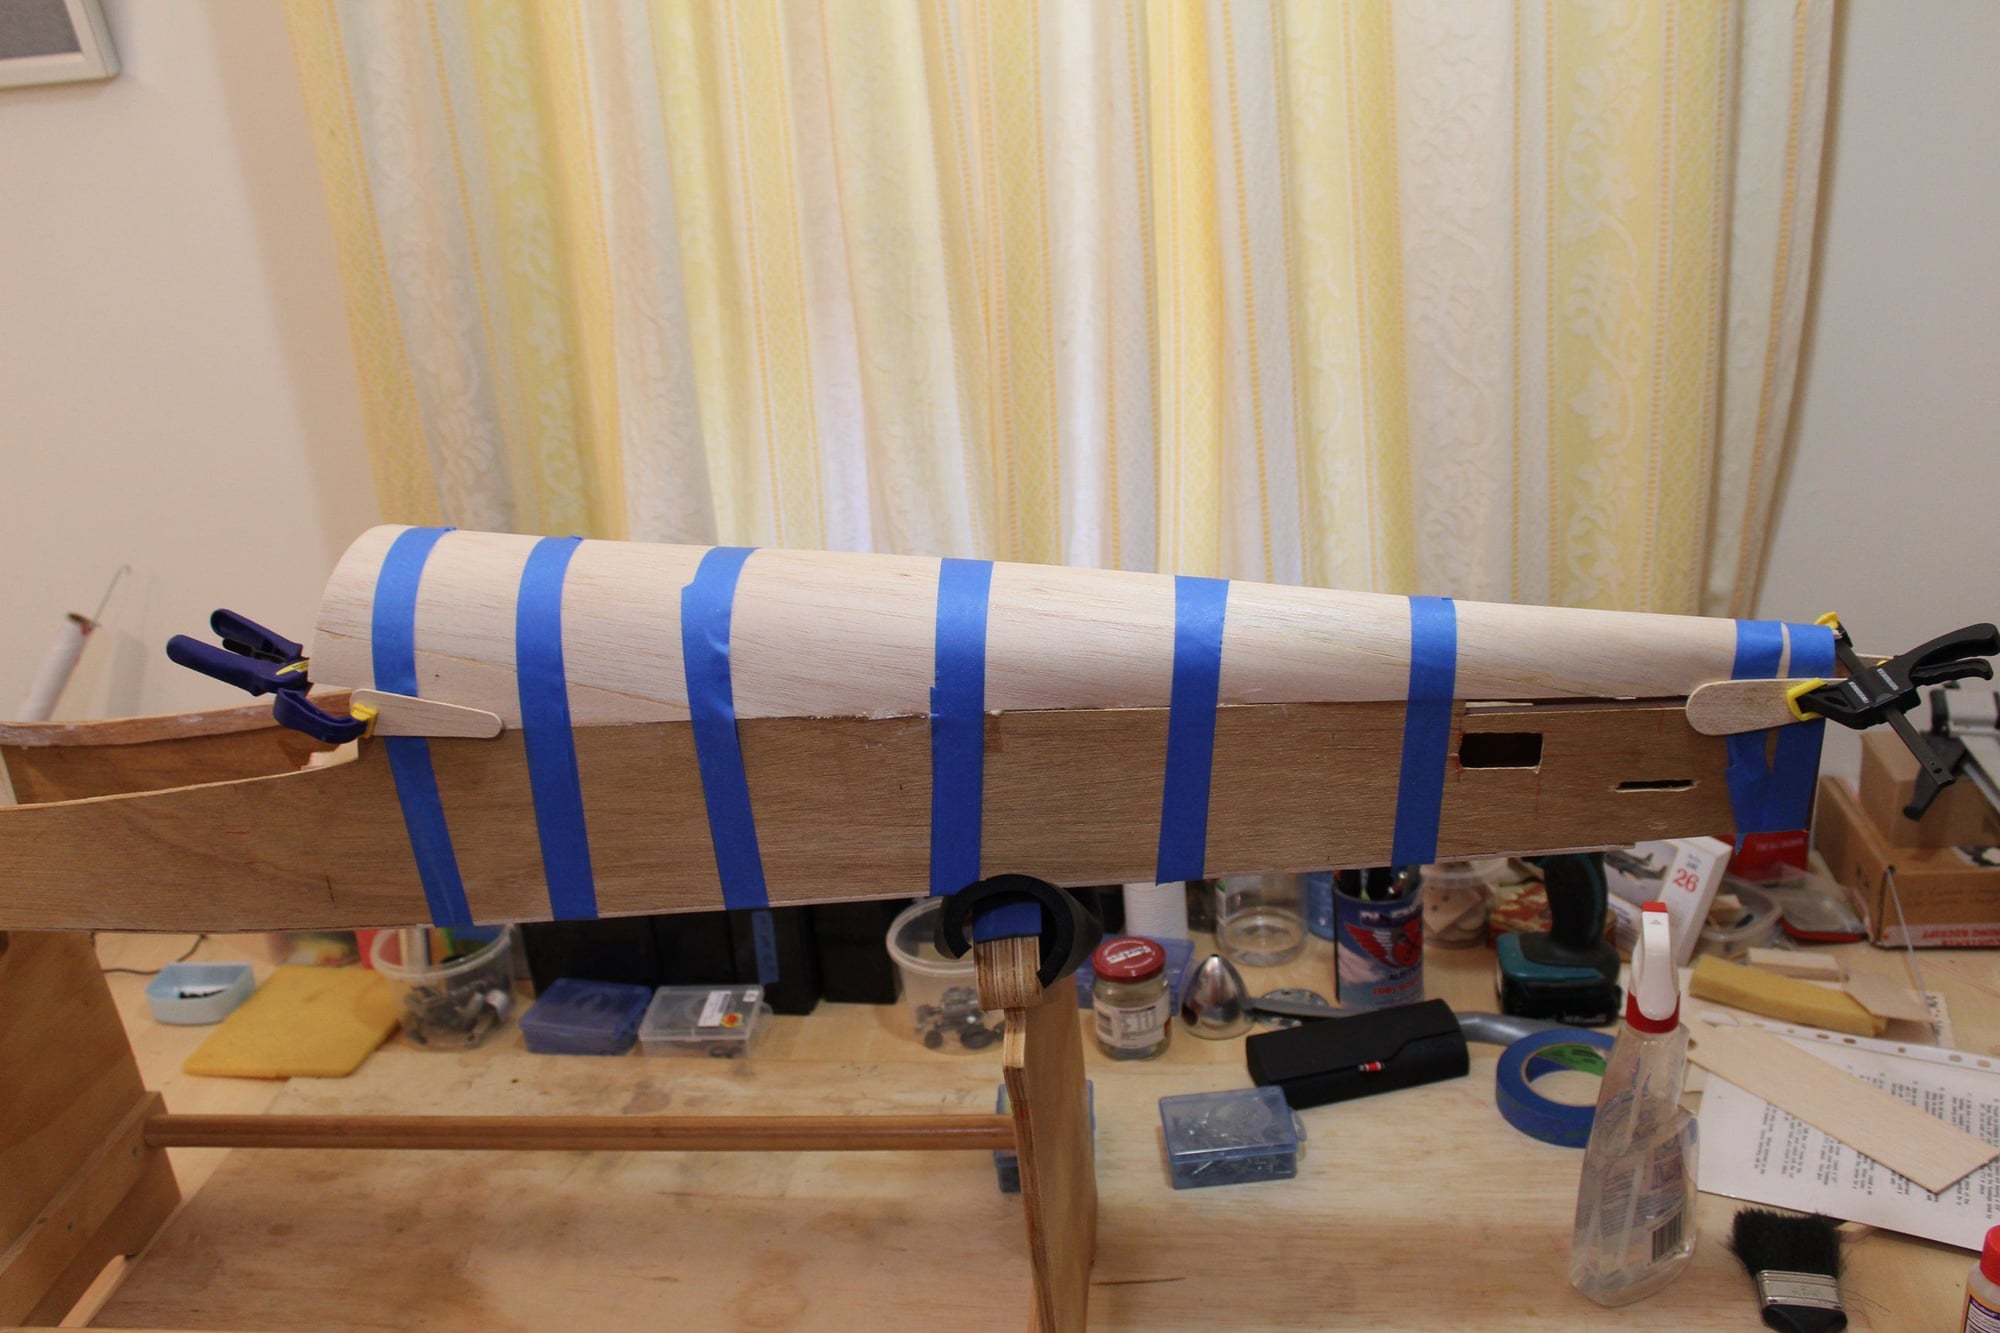
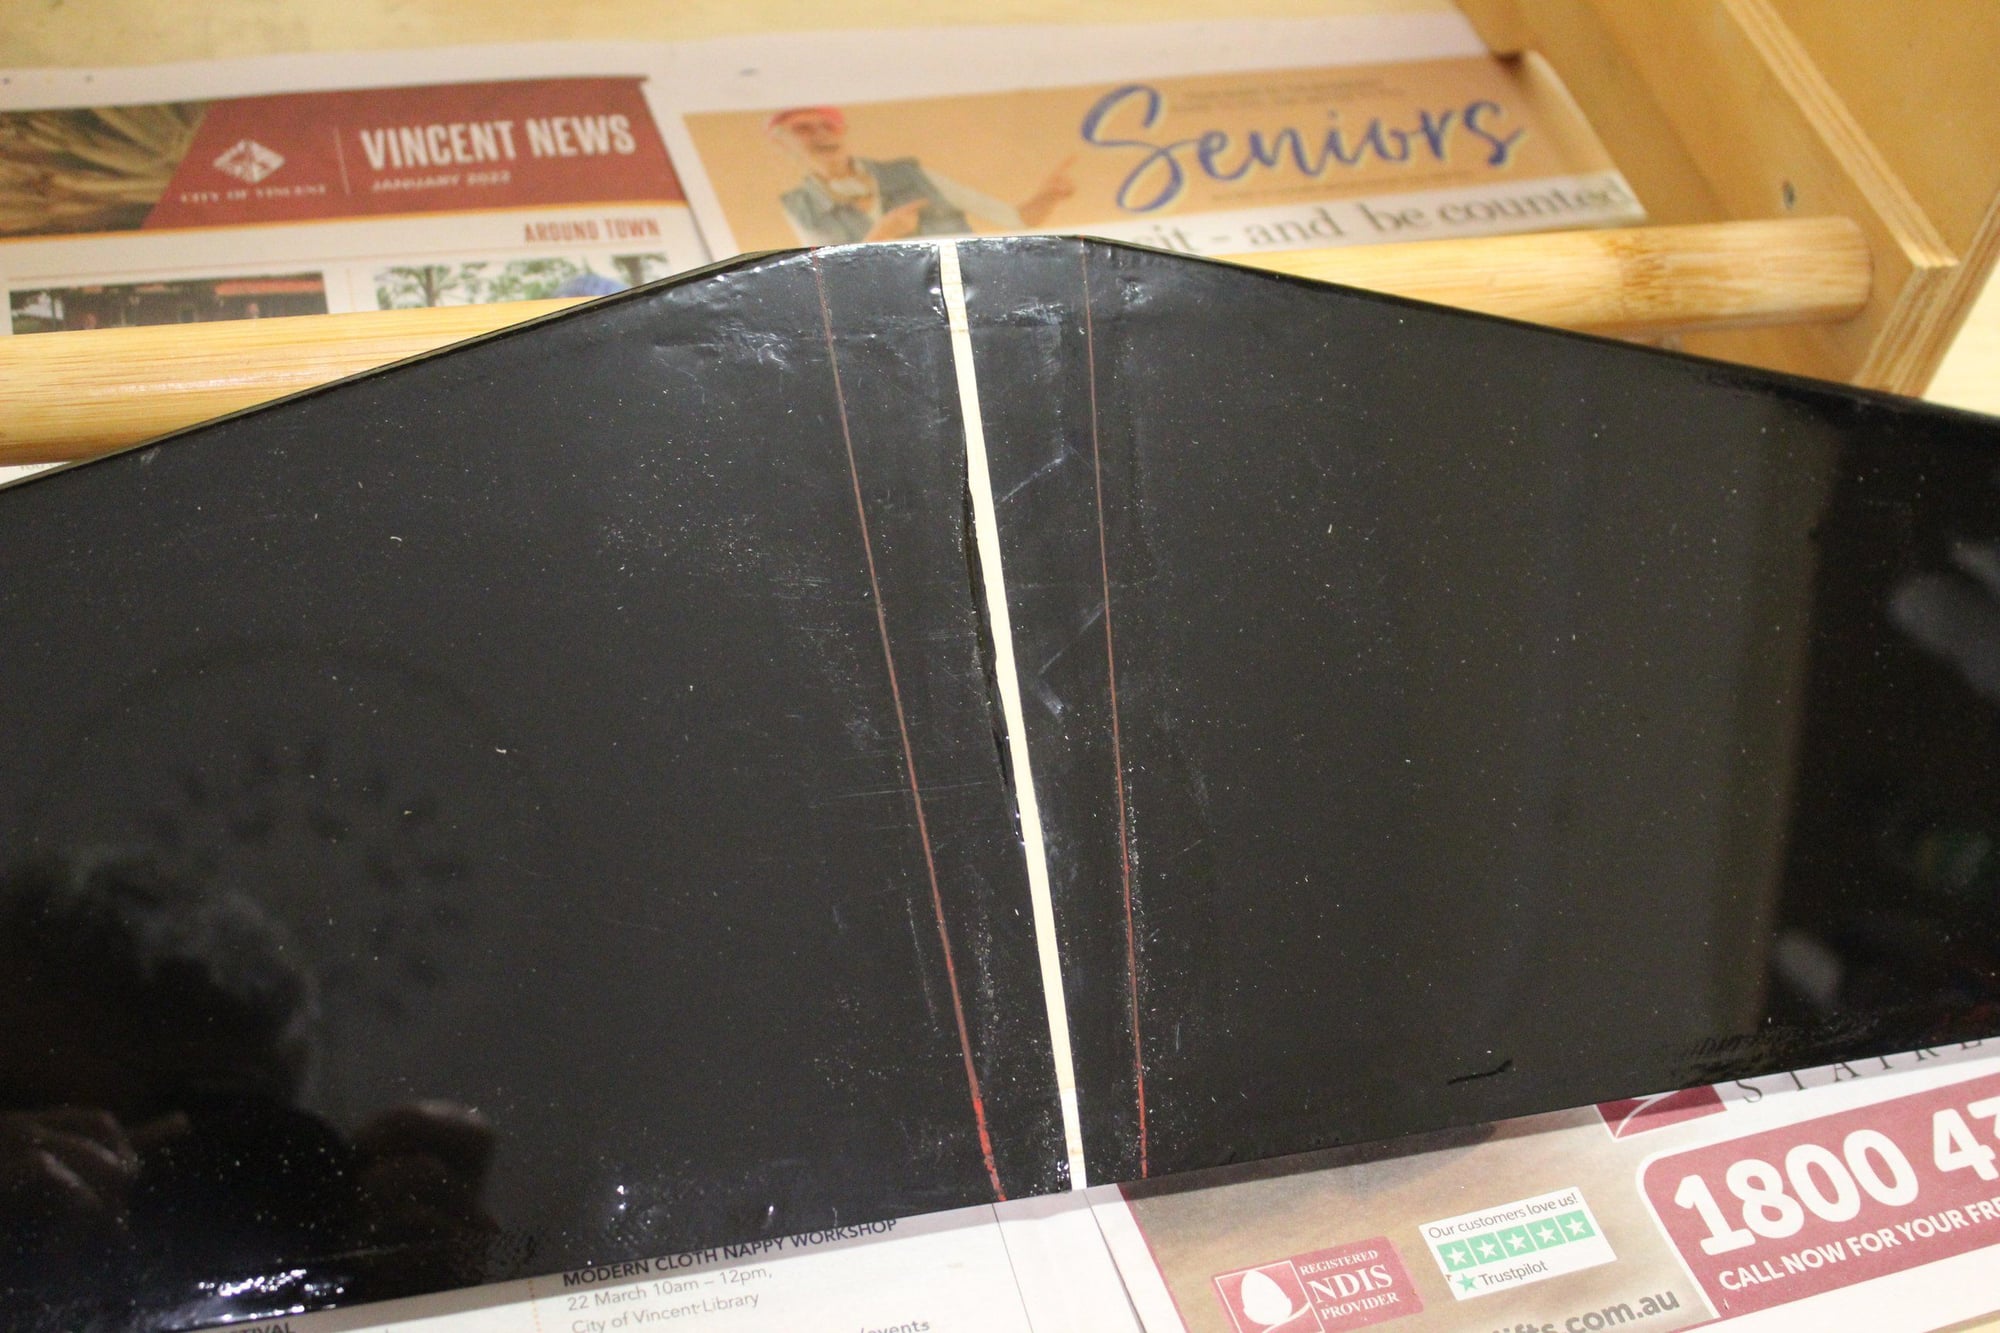
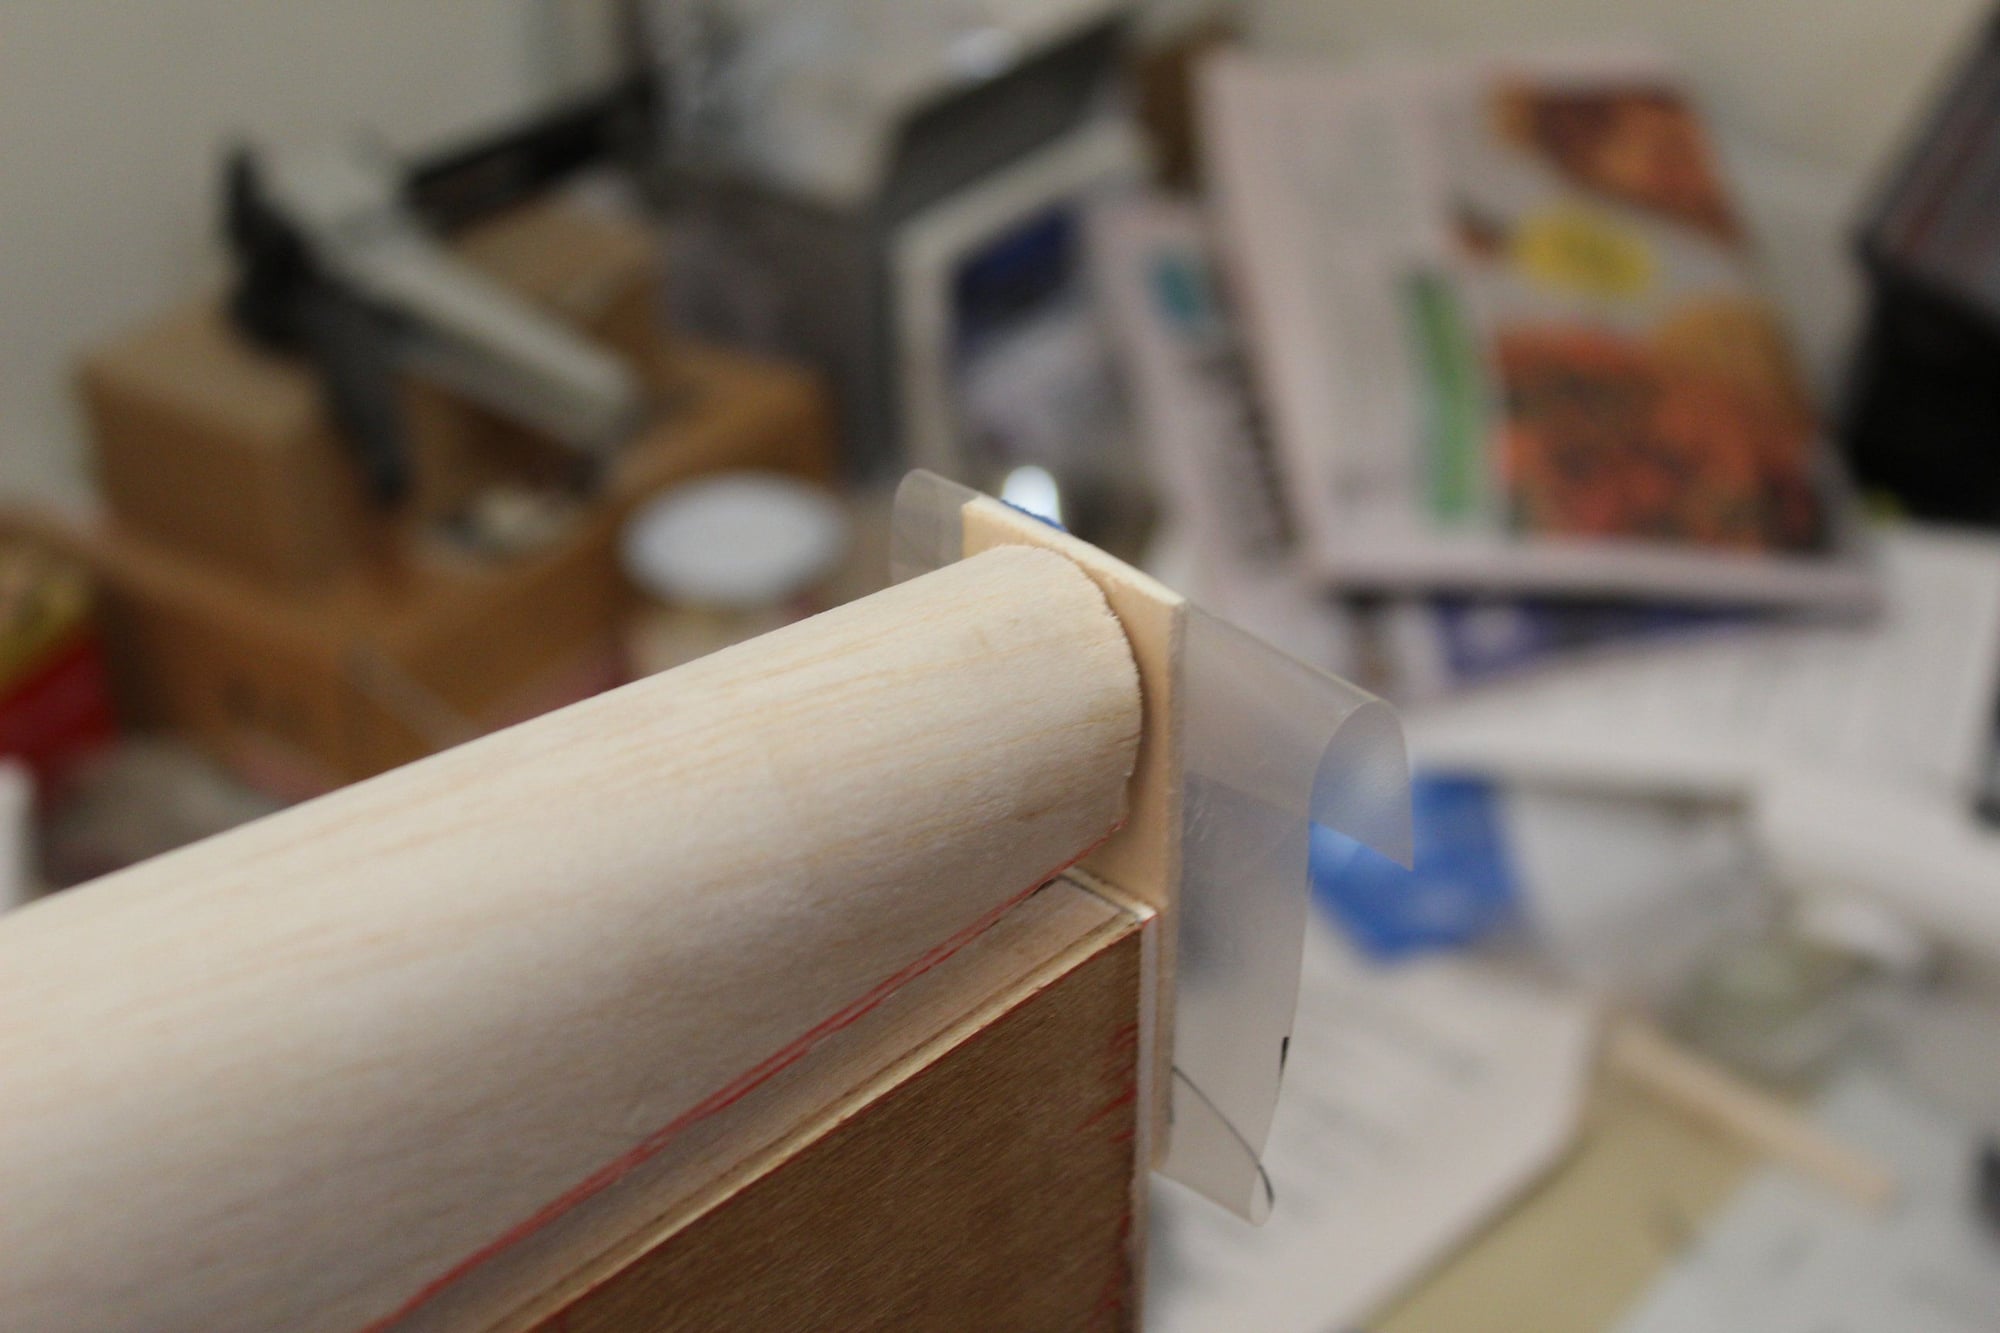
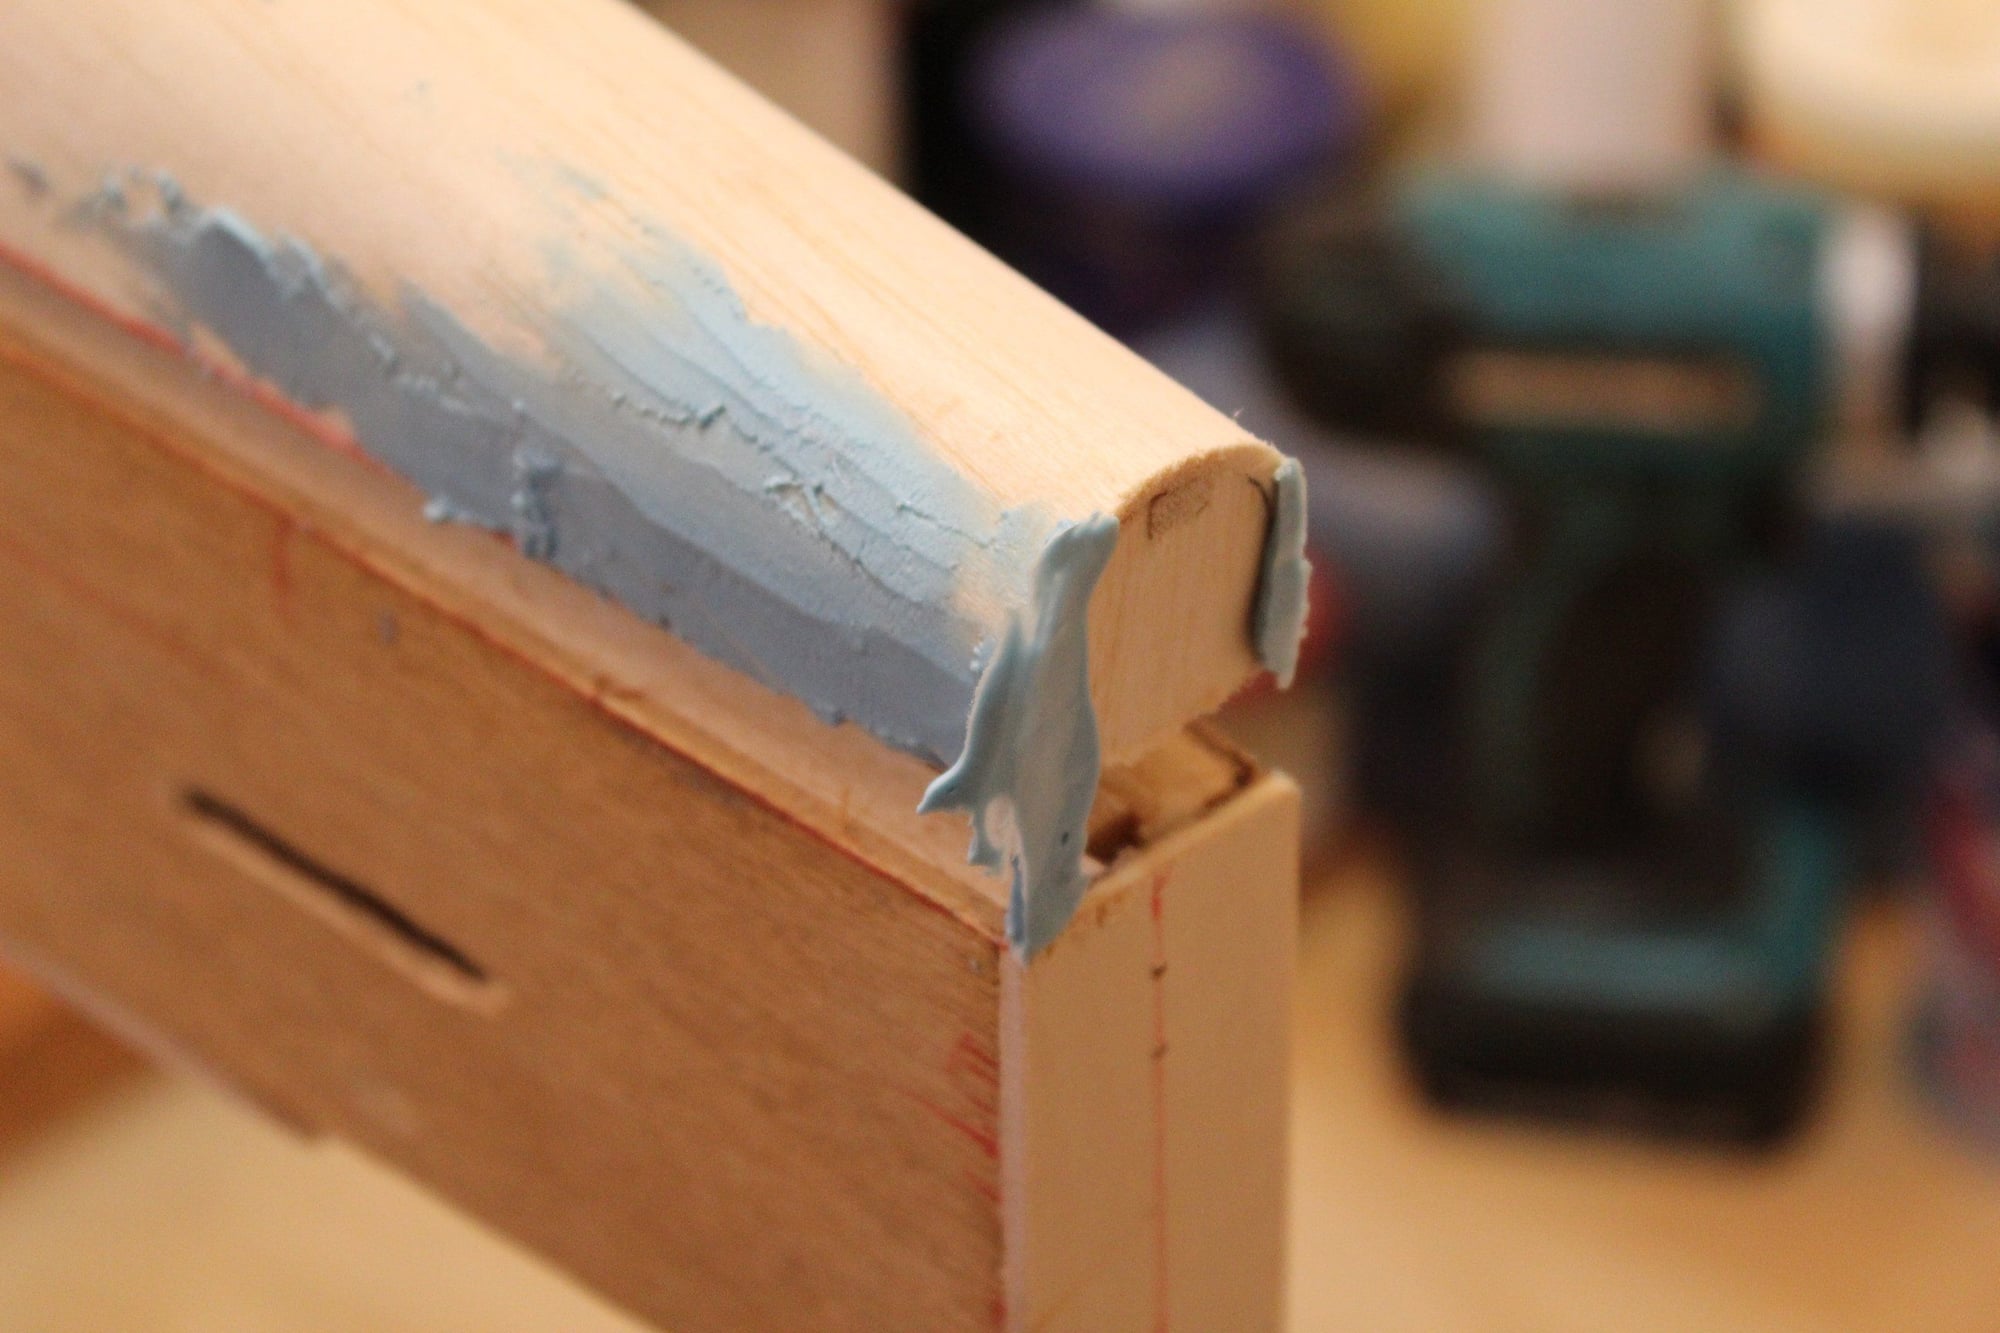
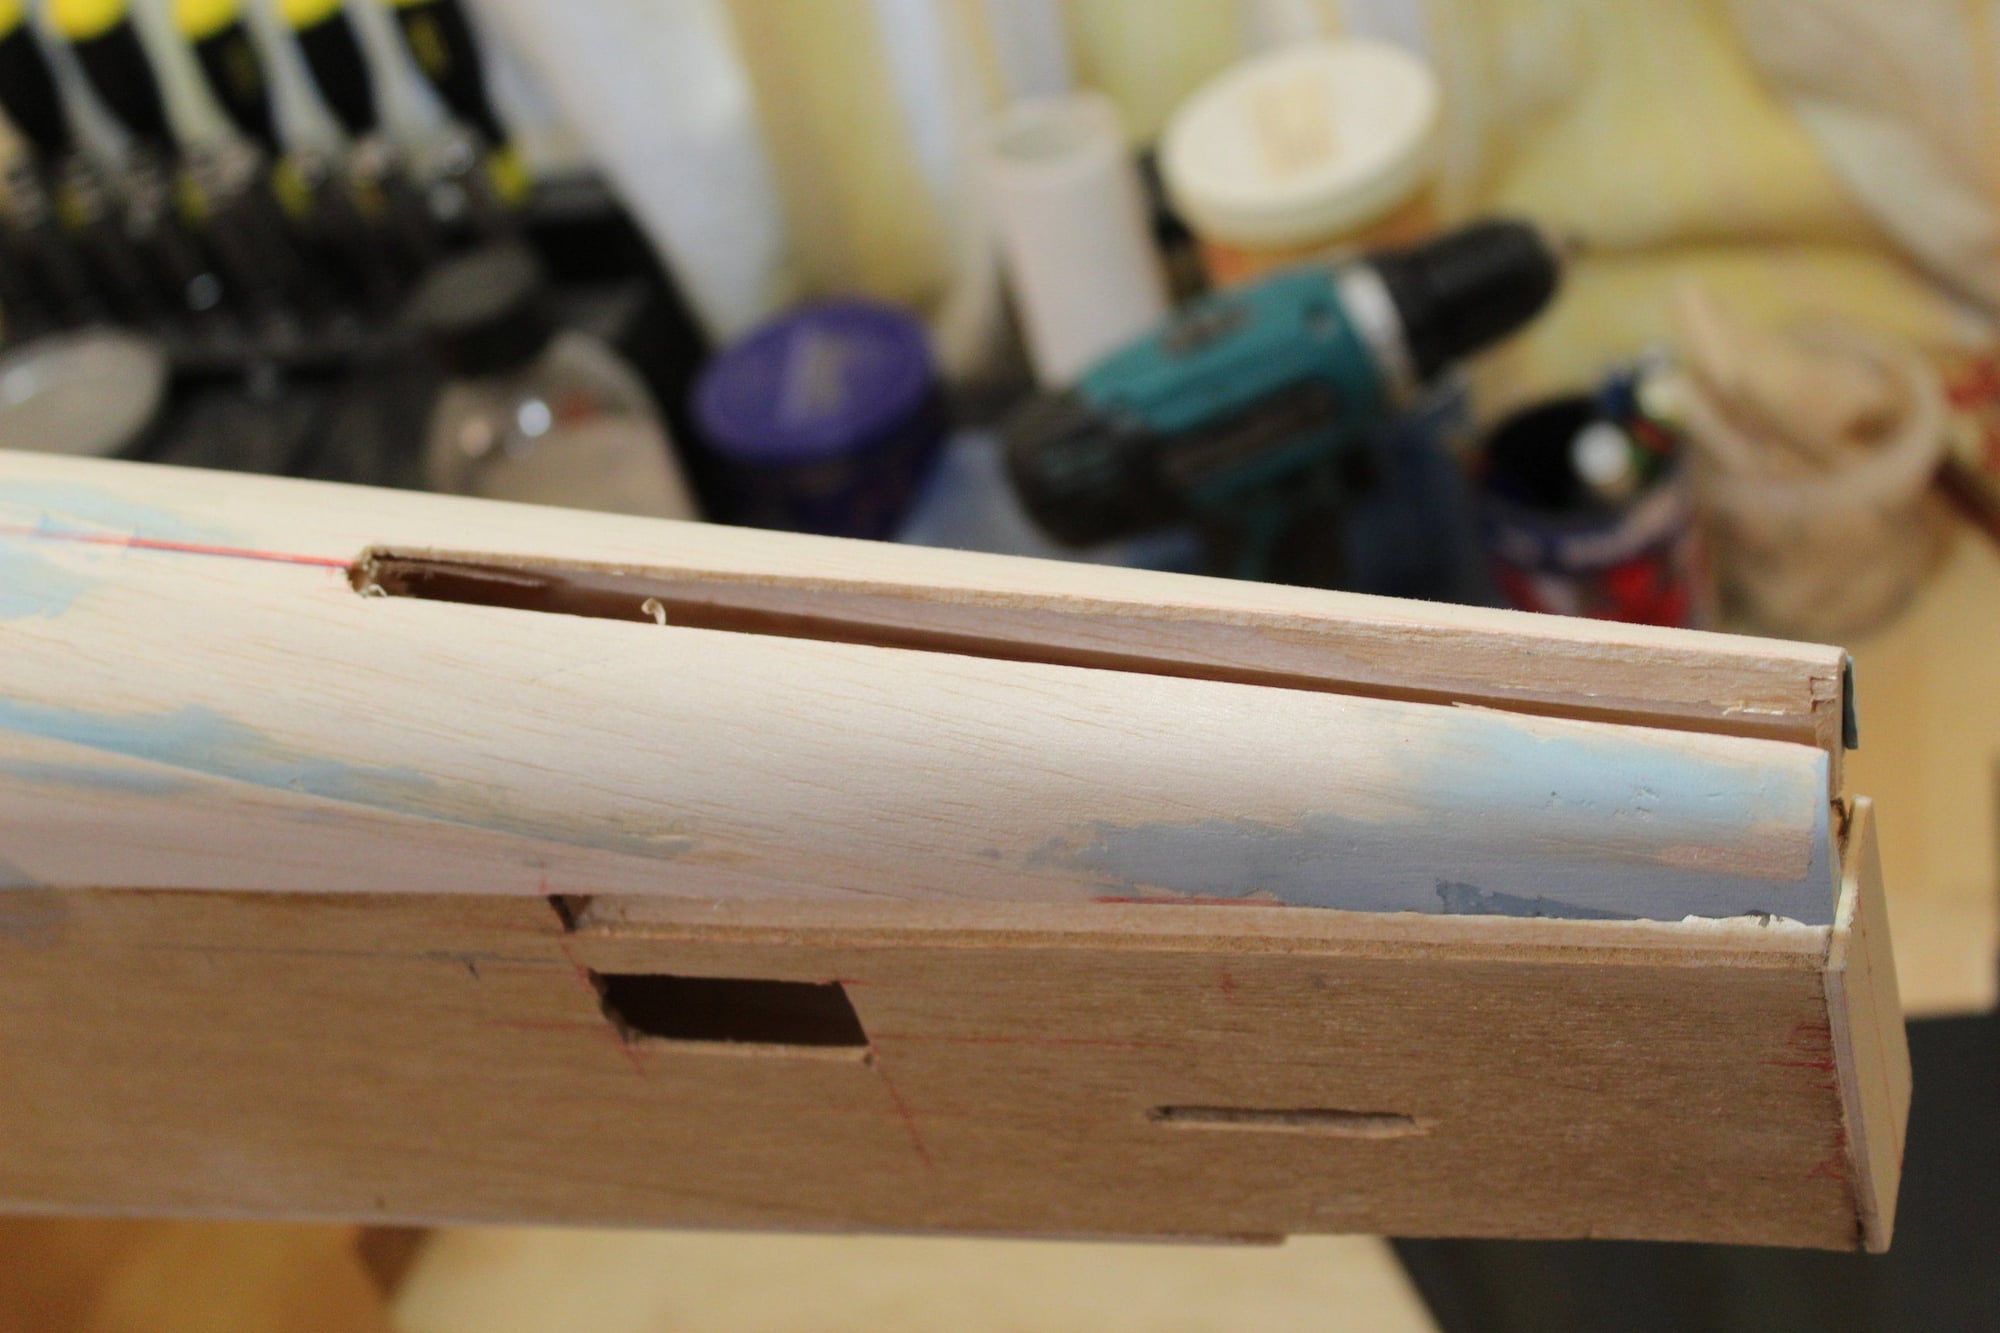
Upon drying, I realised that the sheeting did not adhere properly to the "A-A" former and that I have a "ridge" as shown in the photos.
I cut a slot, re-glued it and then filled the slot. It is now looking good.
Cheers,
Eran
I cut a slot, re-glued it and then filled the slot. It is now looking good.
Cheers,
Eran
01-19-2024, 03:56 AM
#70
Thread Starter
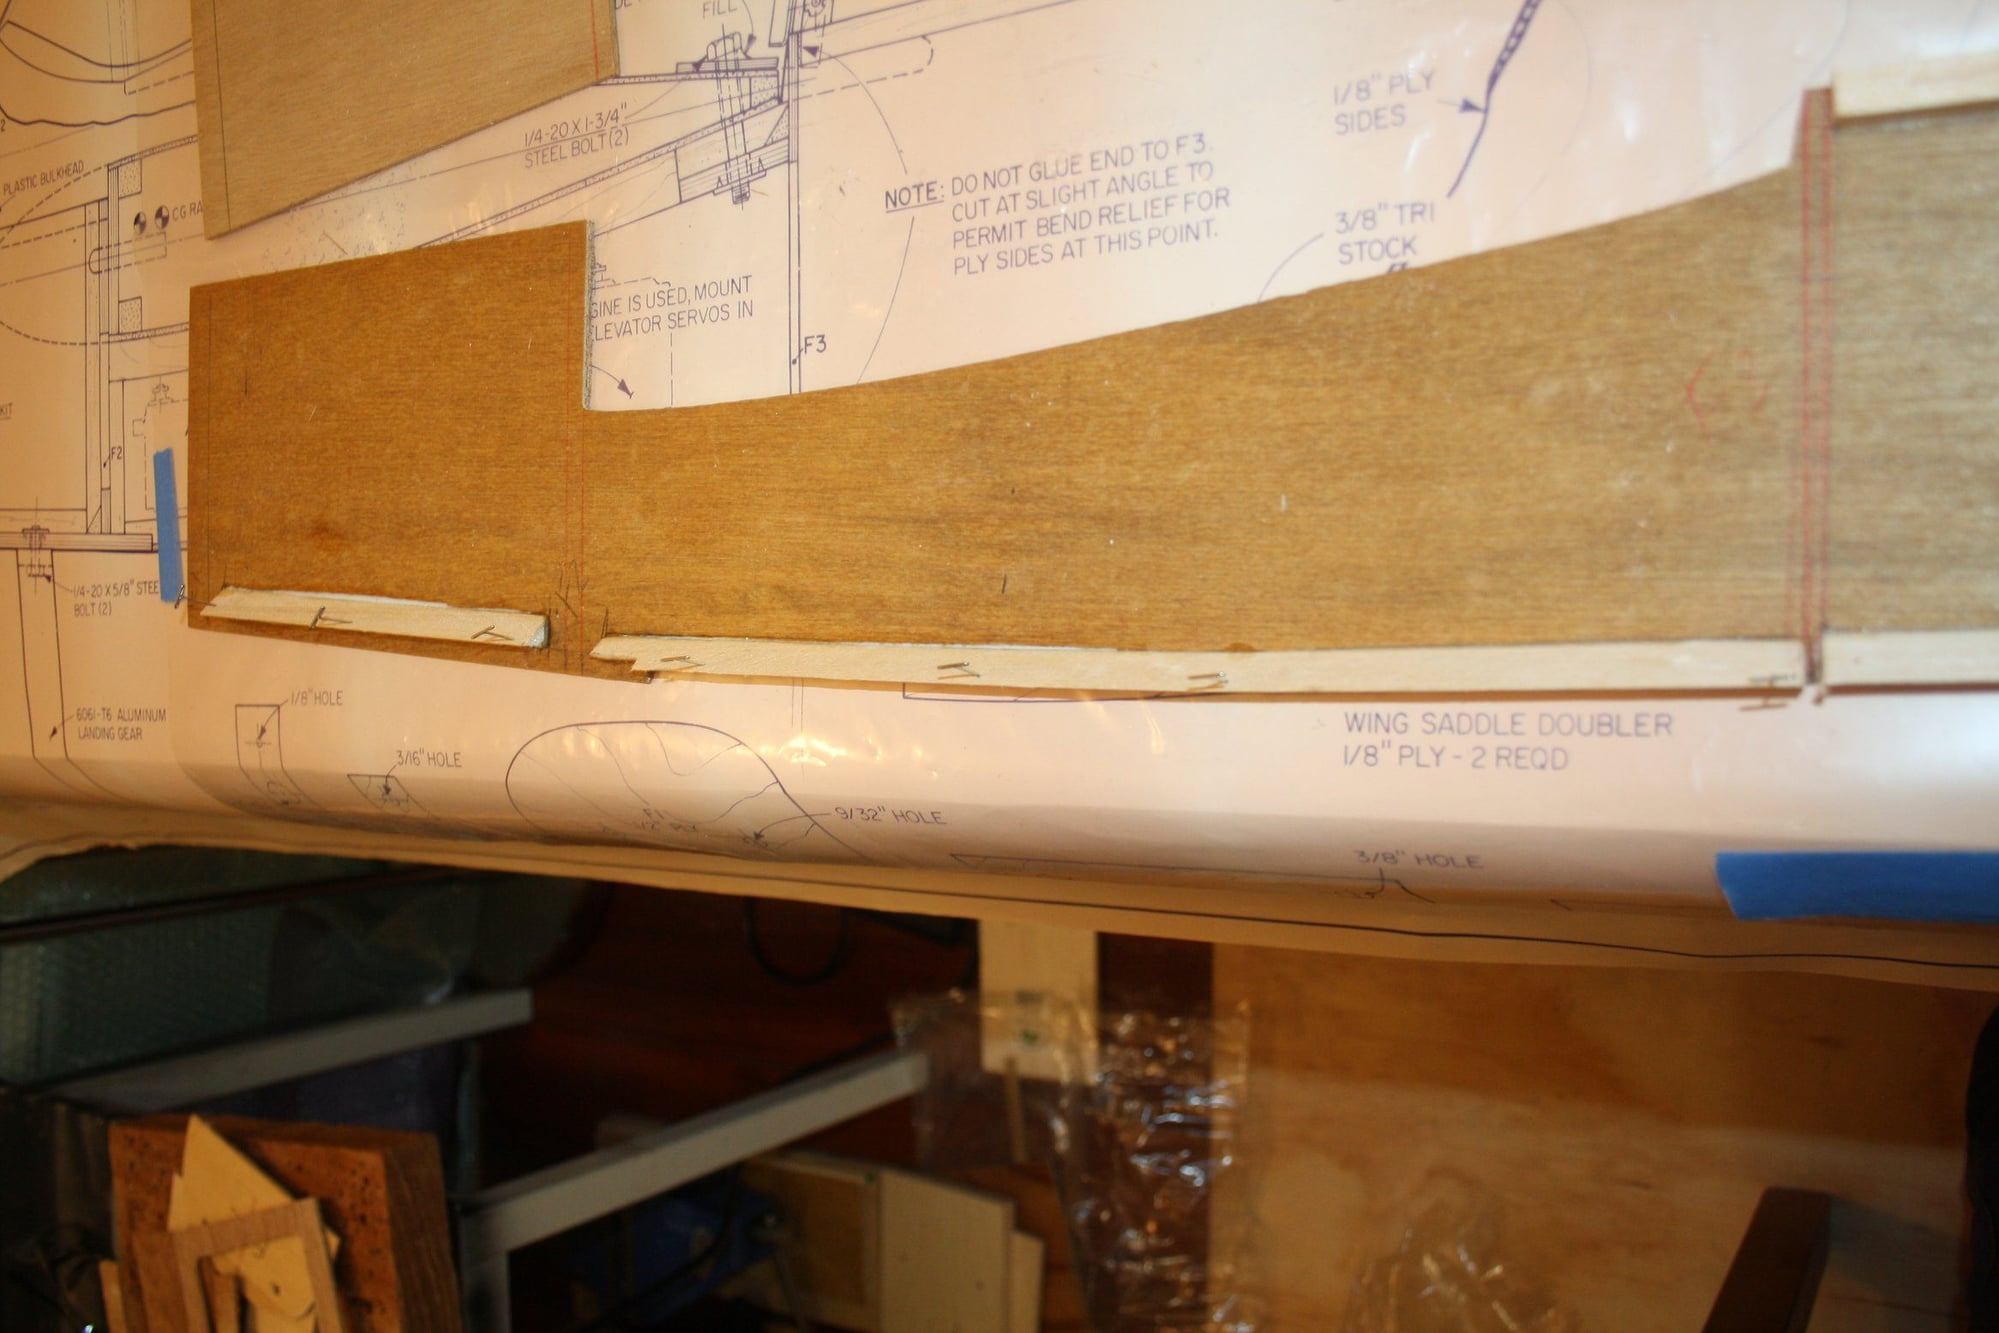
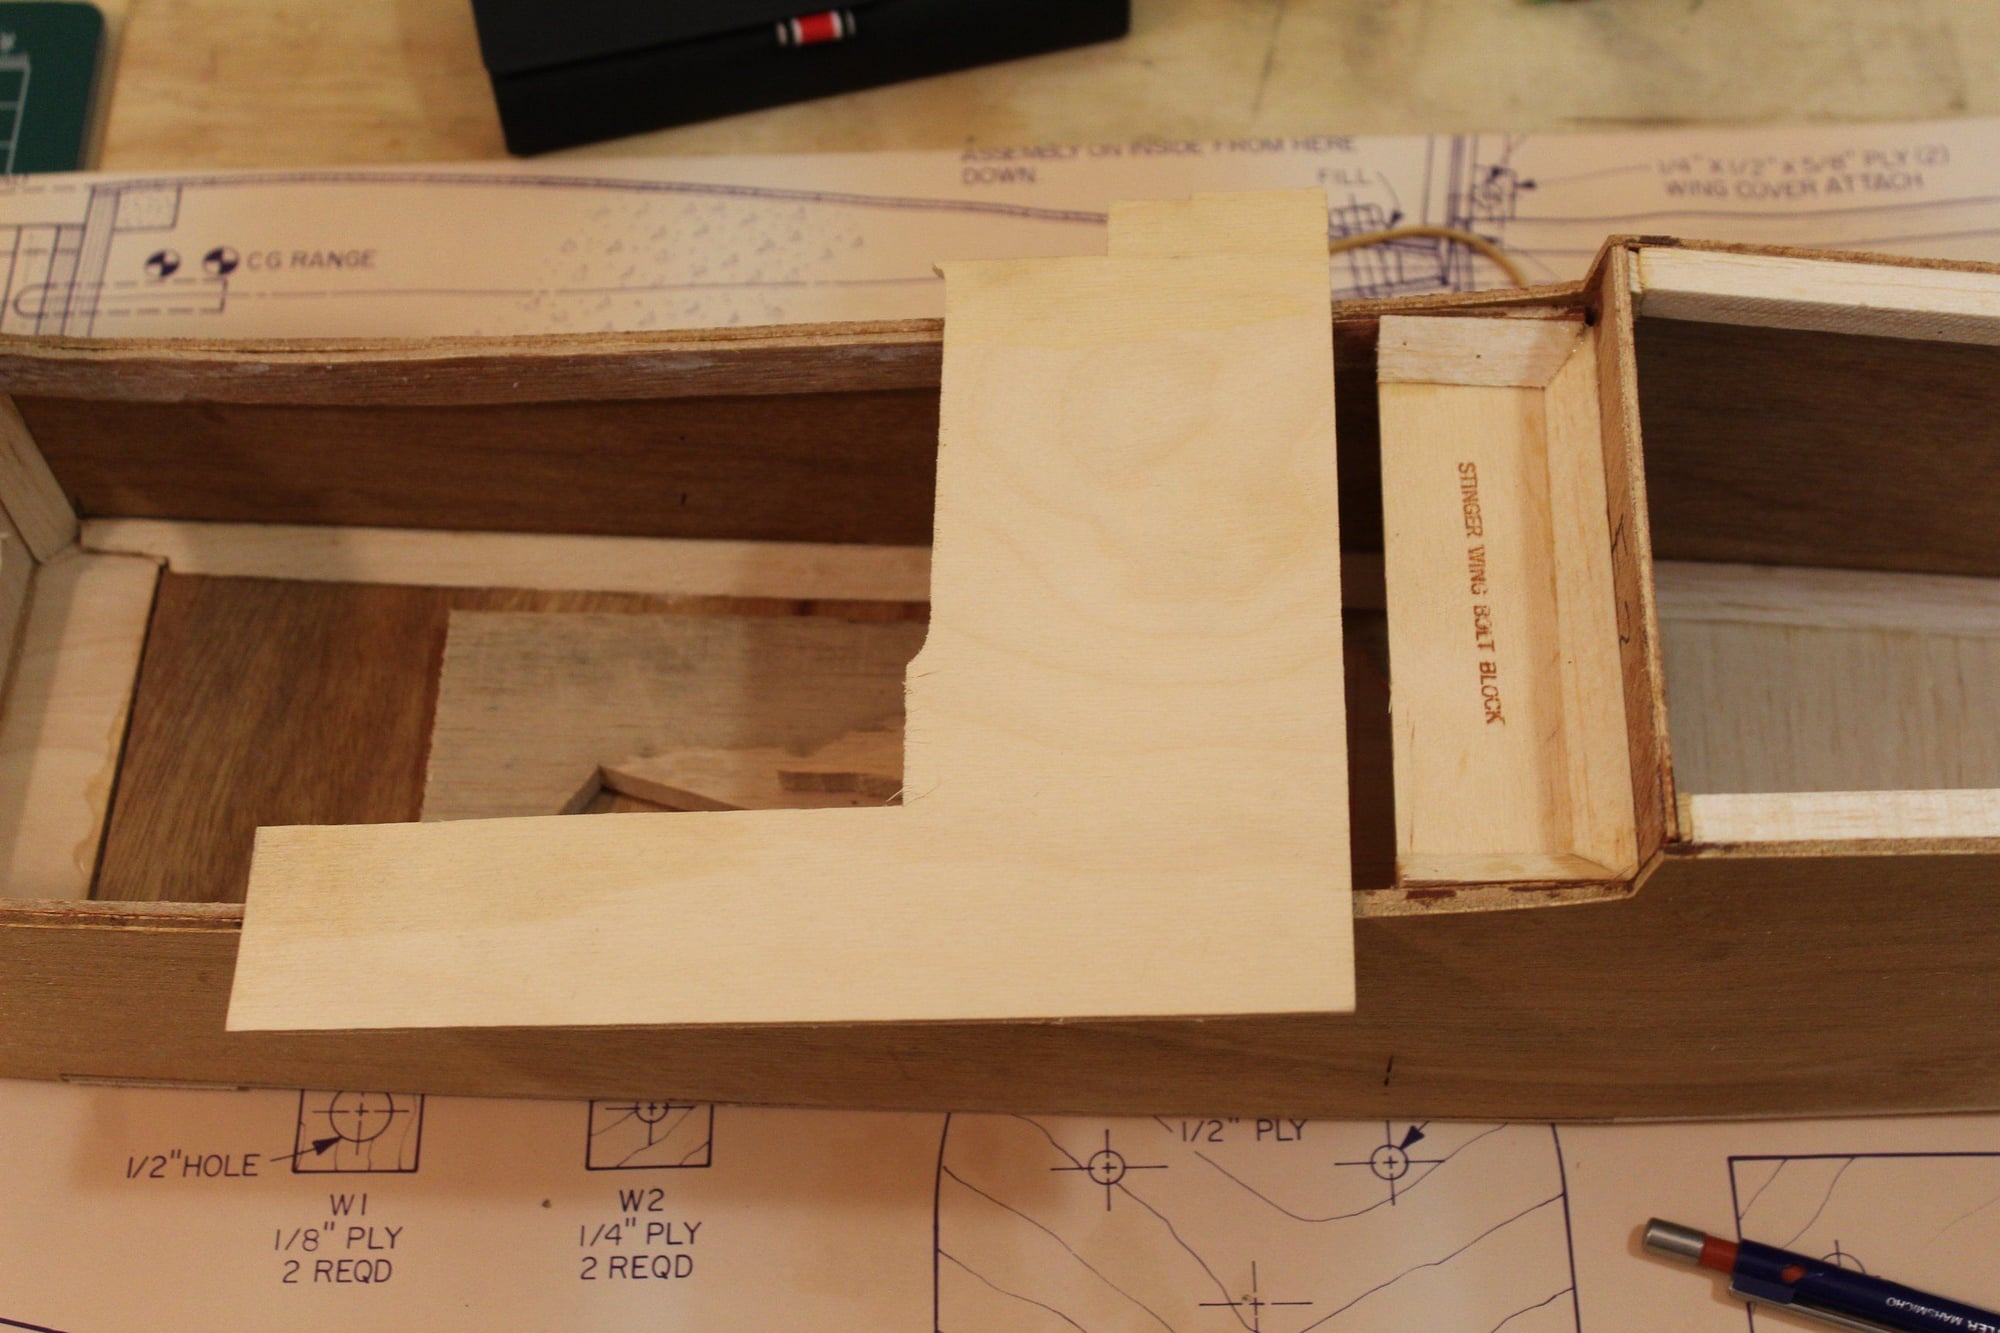
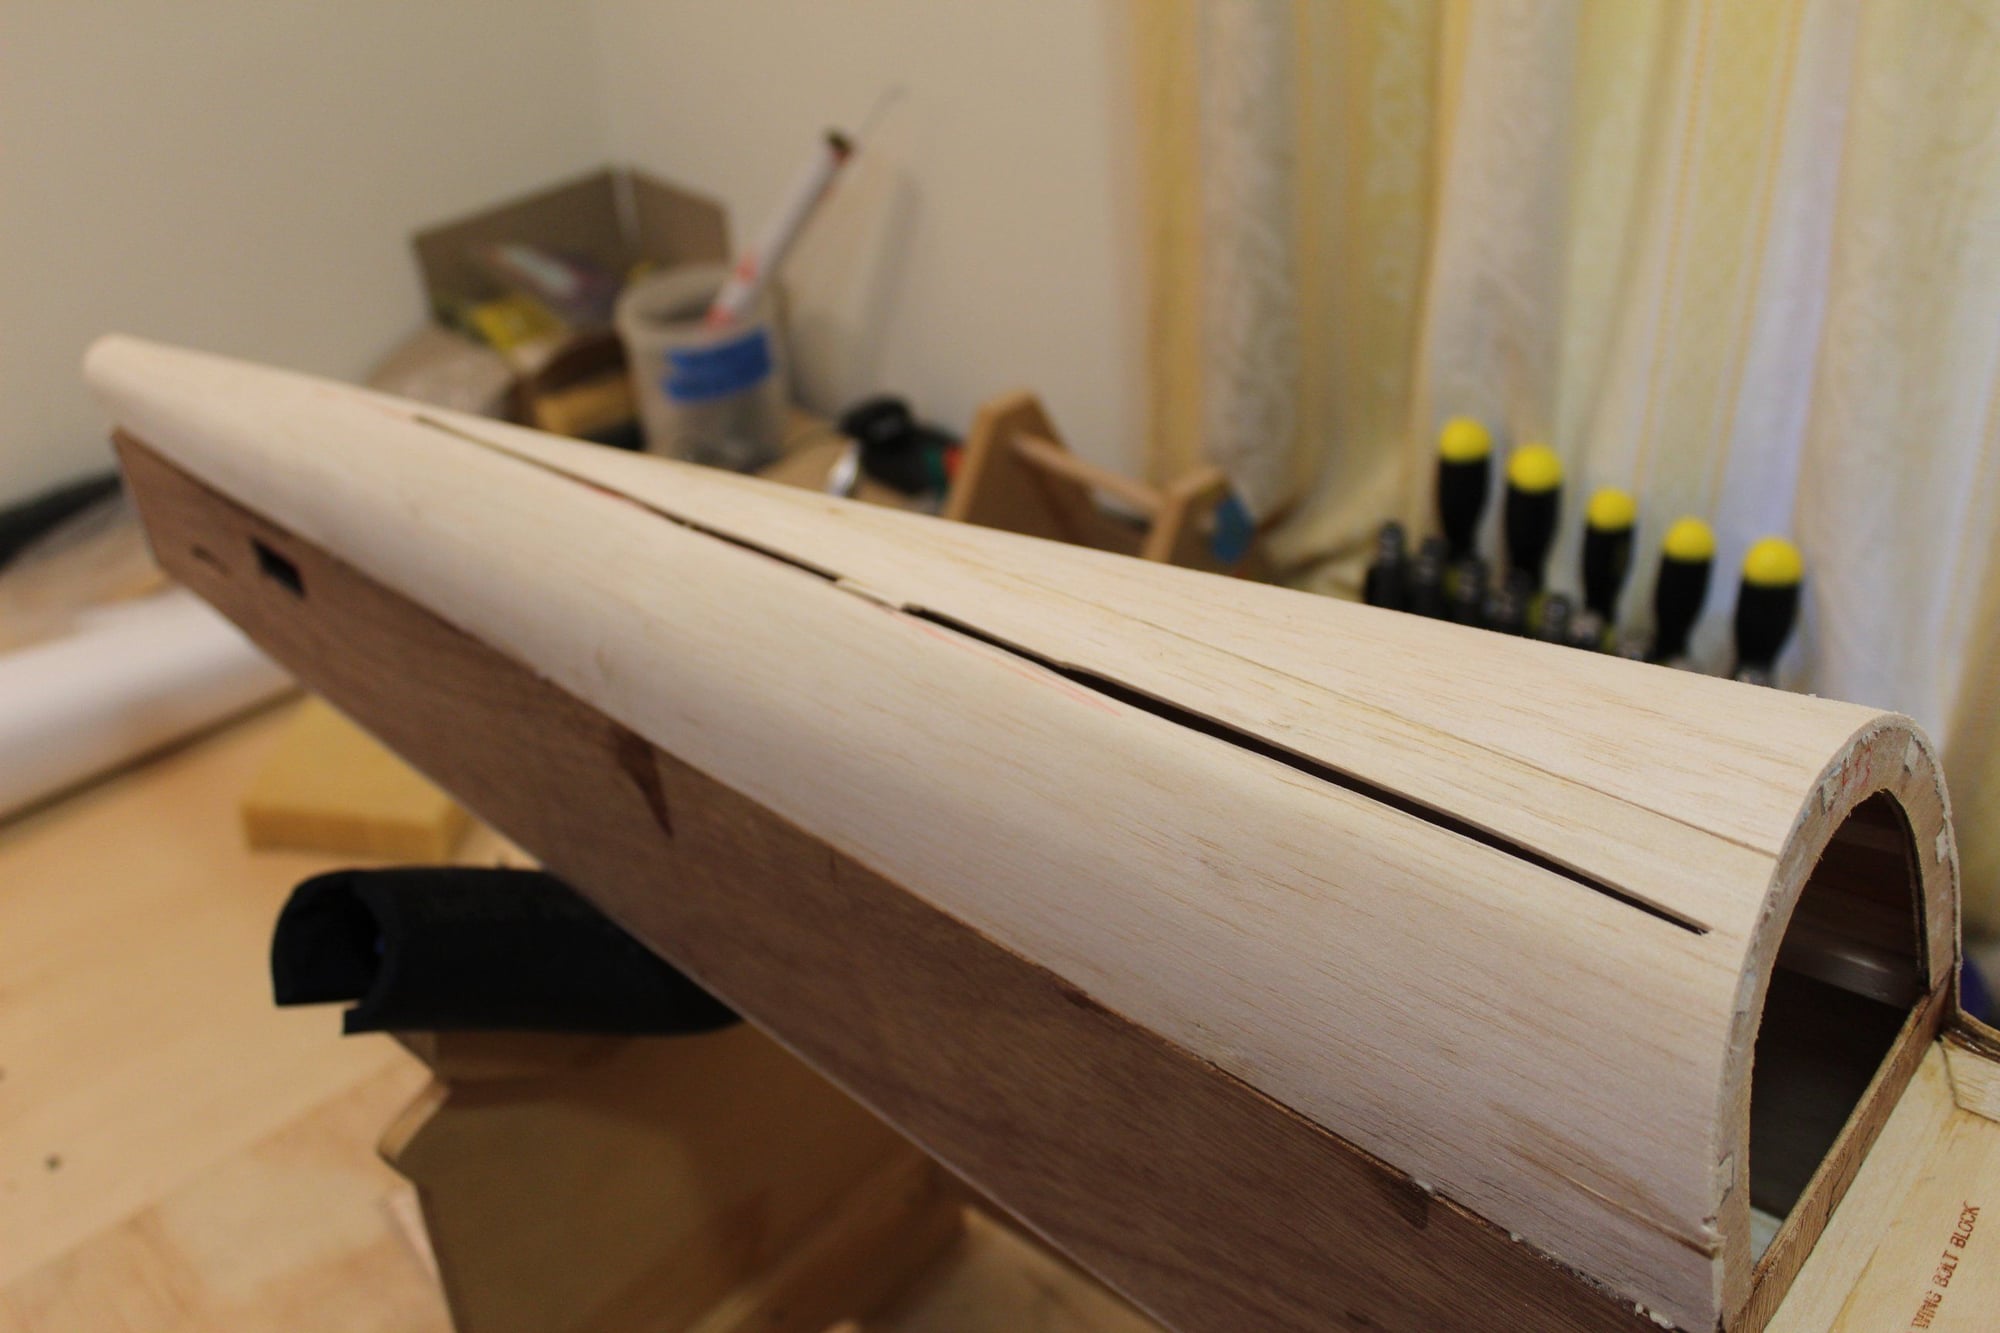
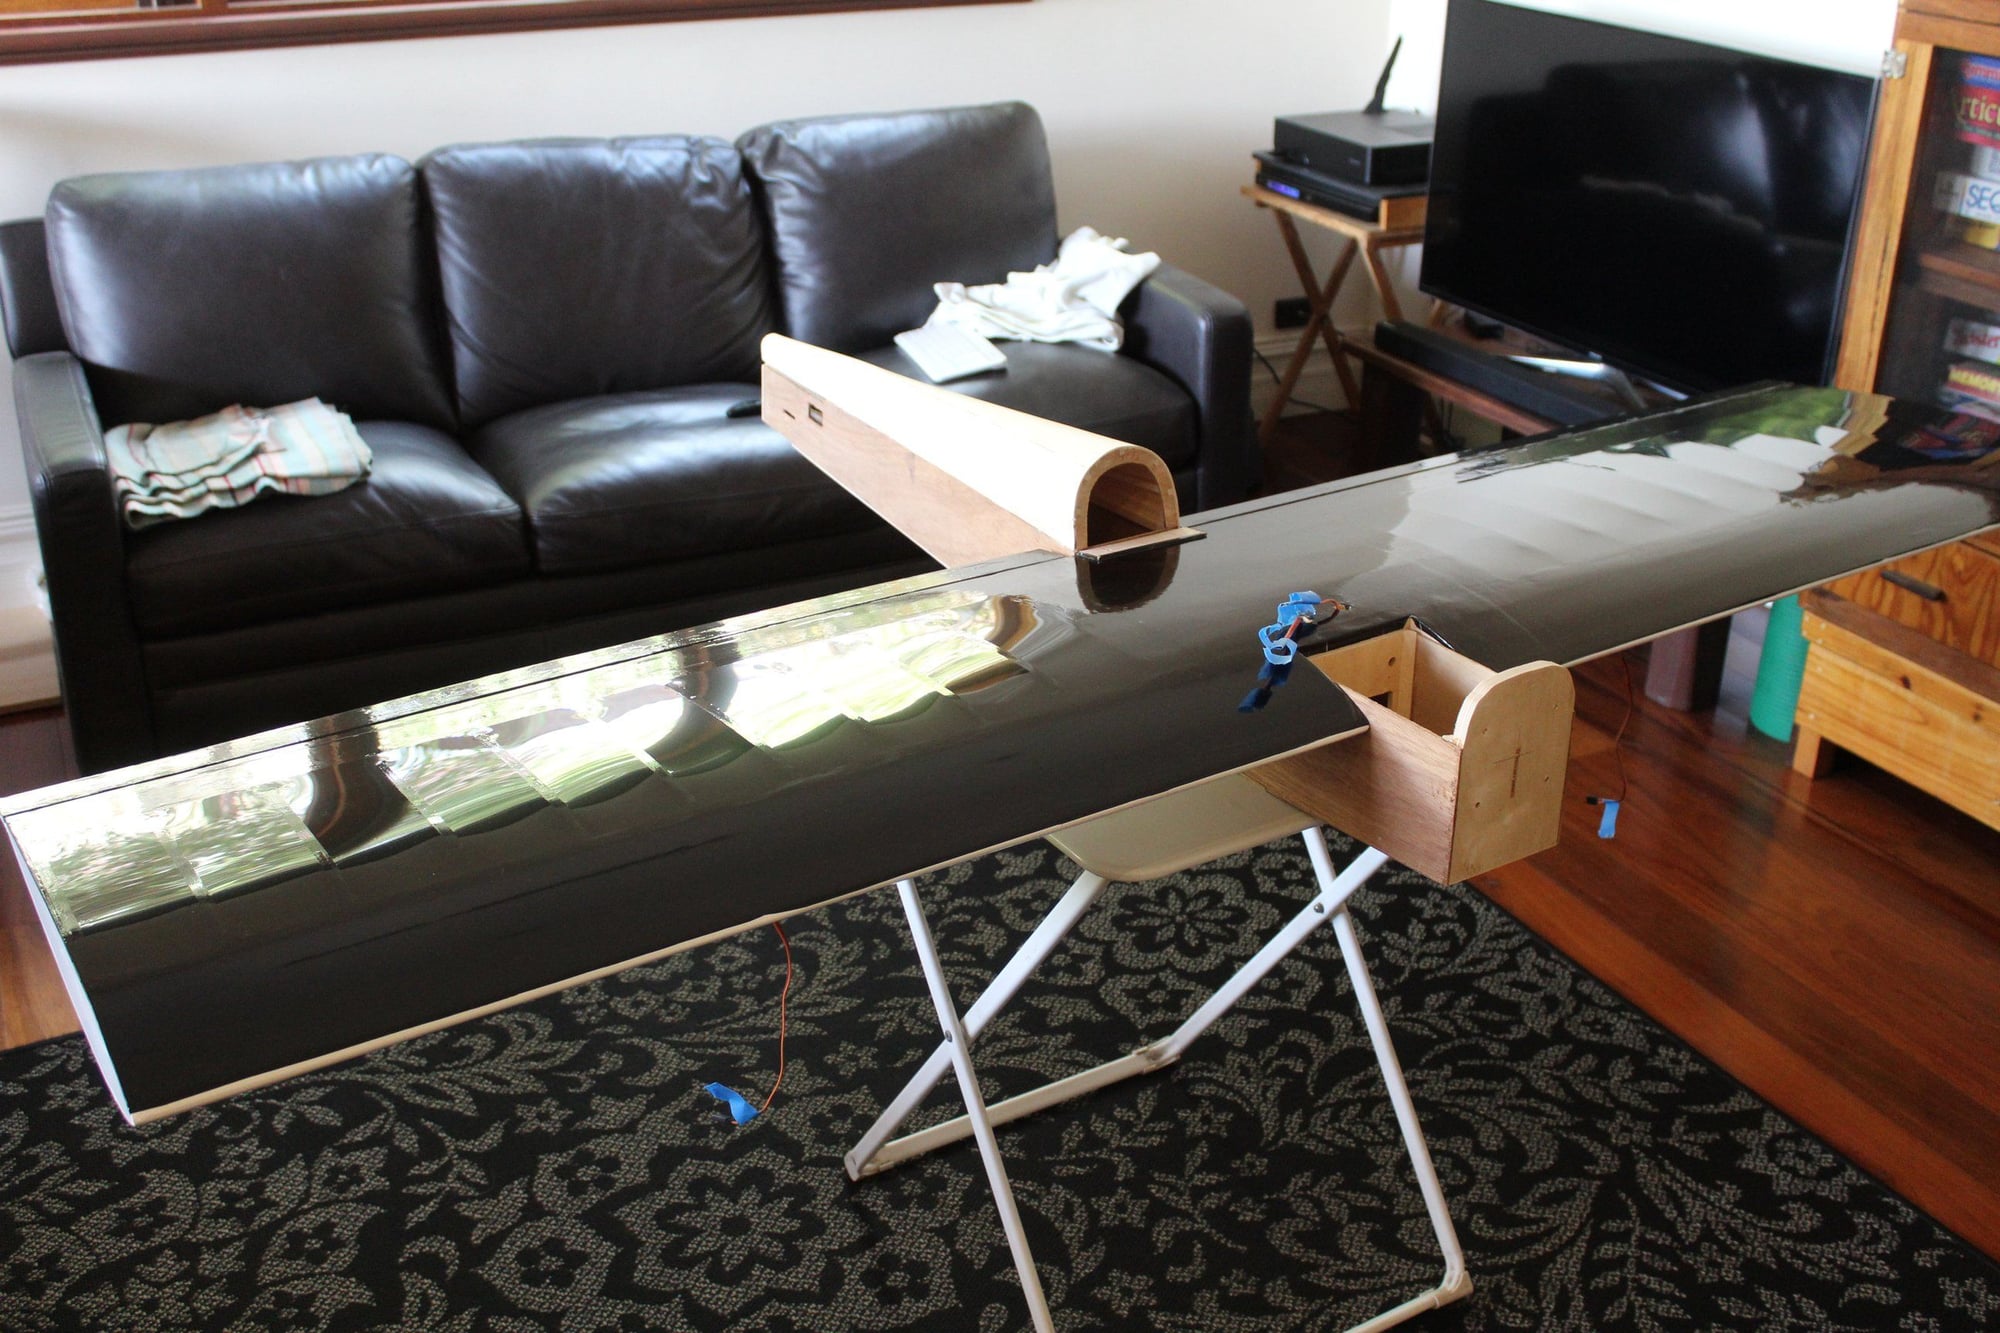
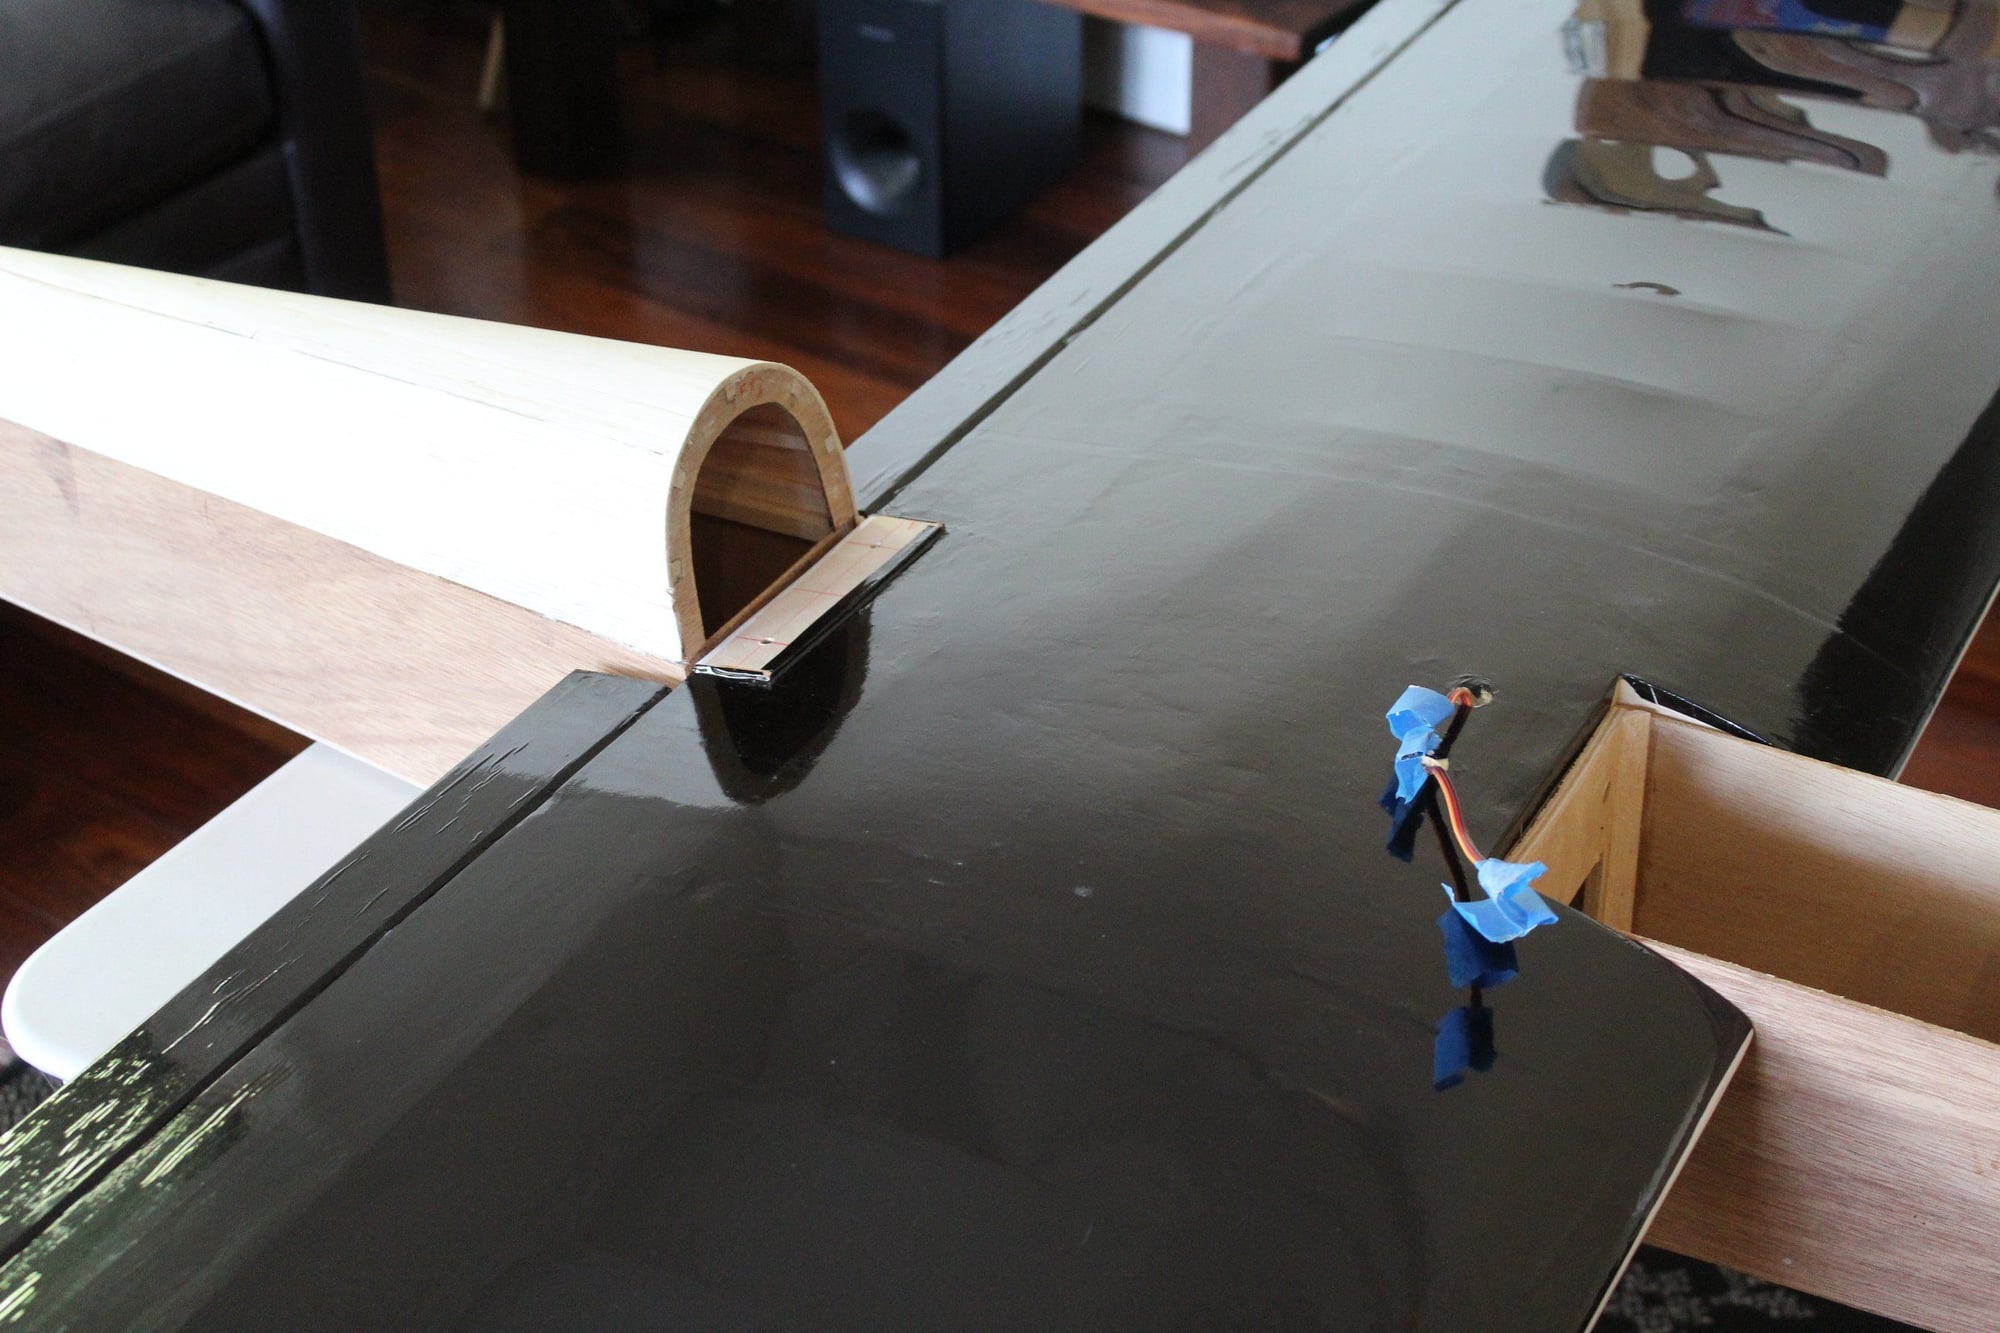
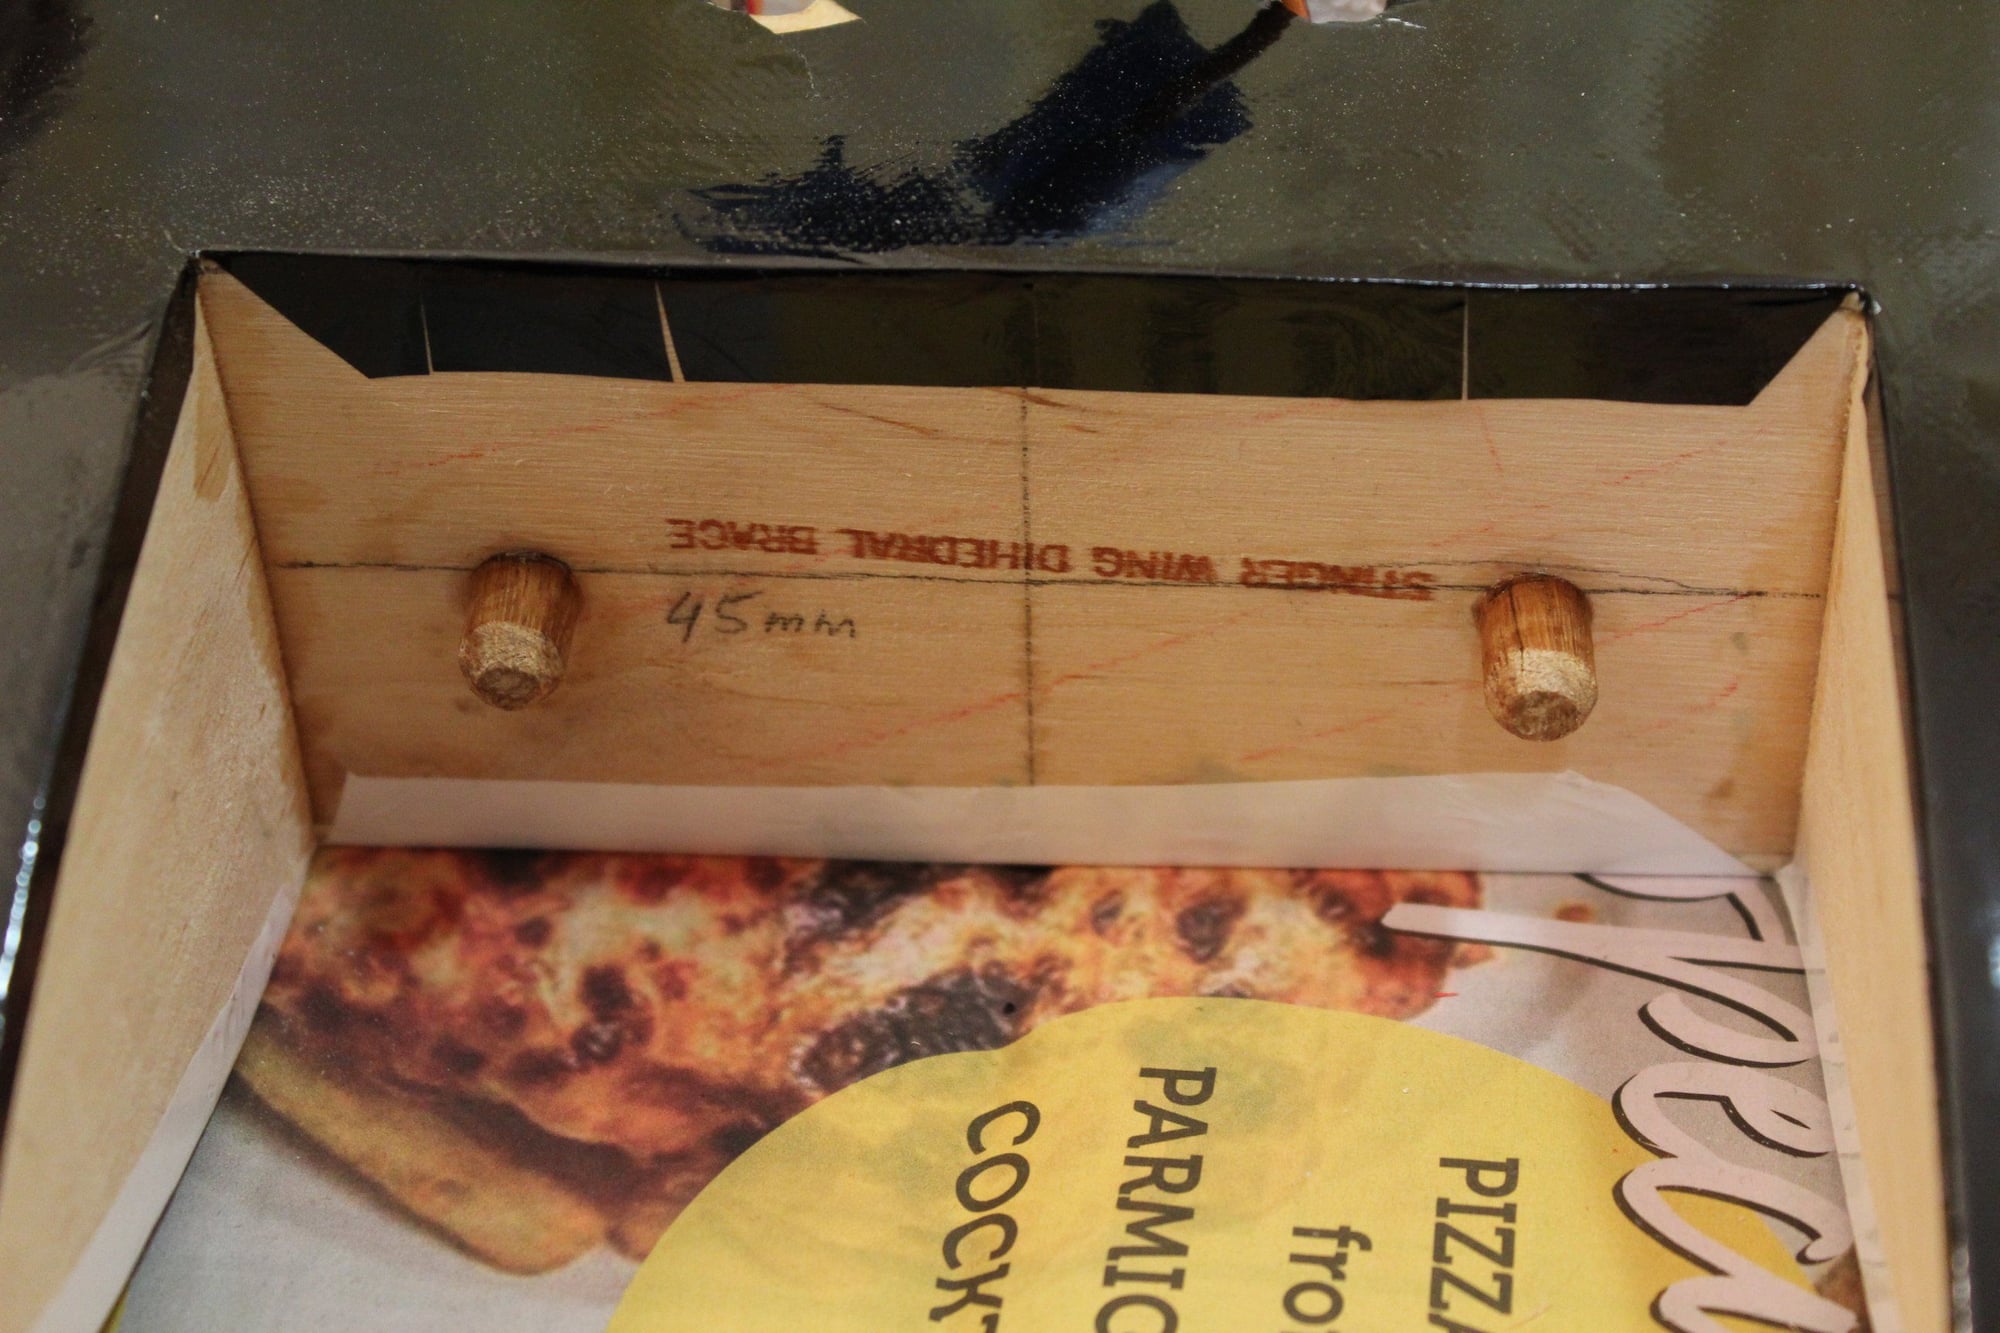
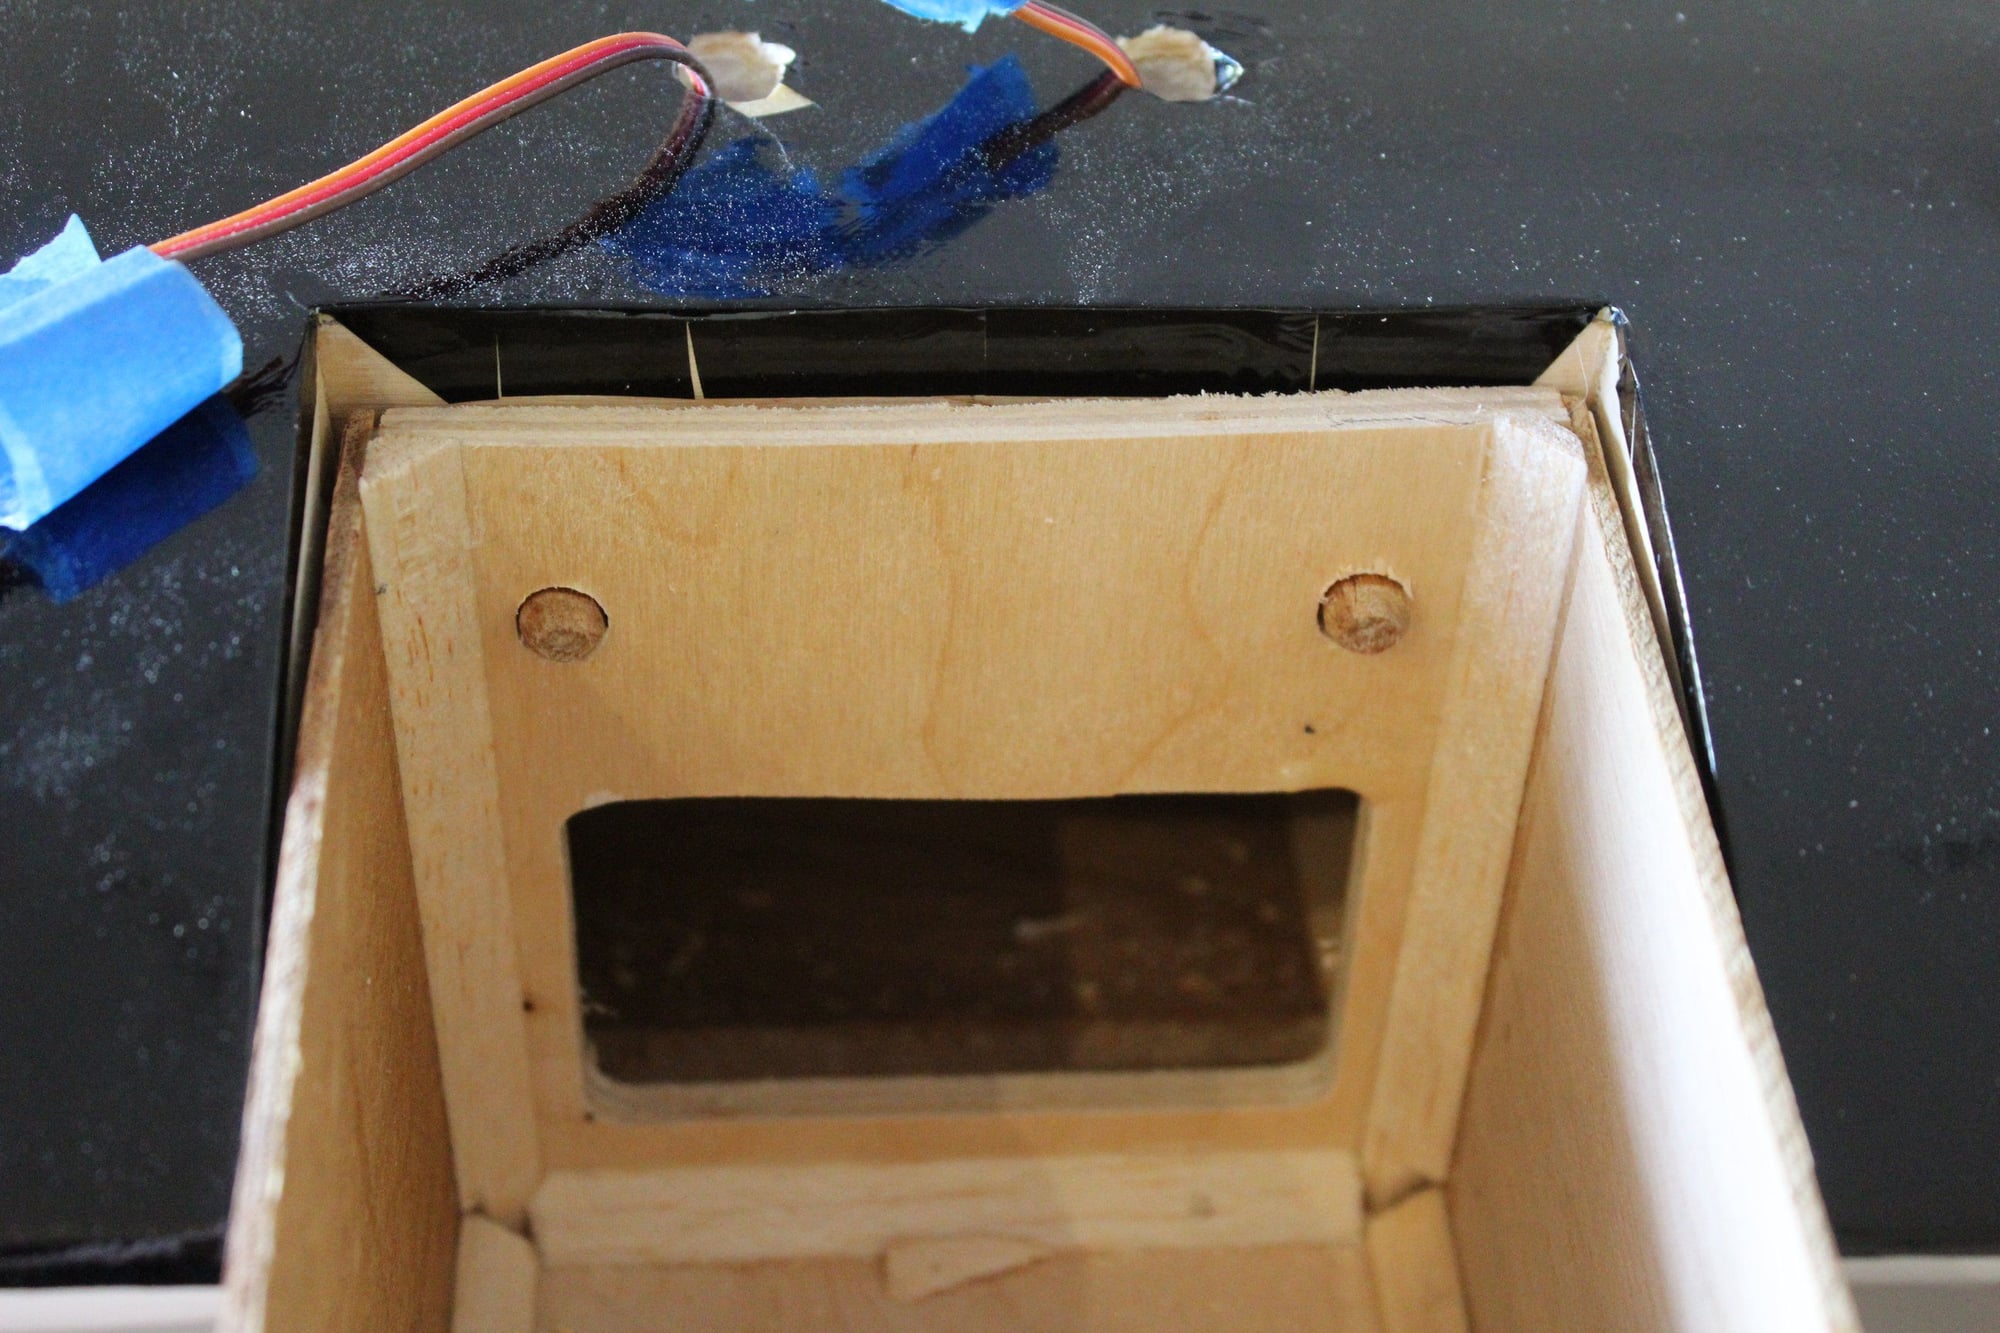
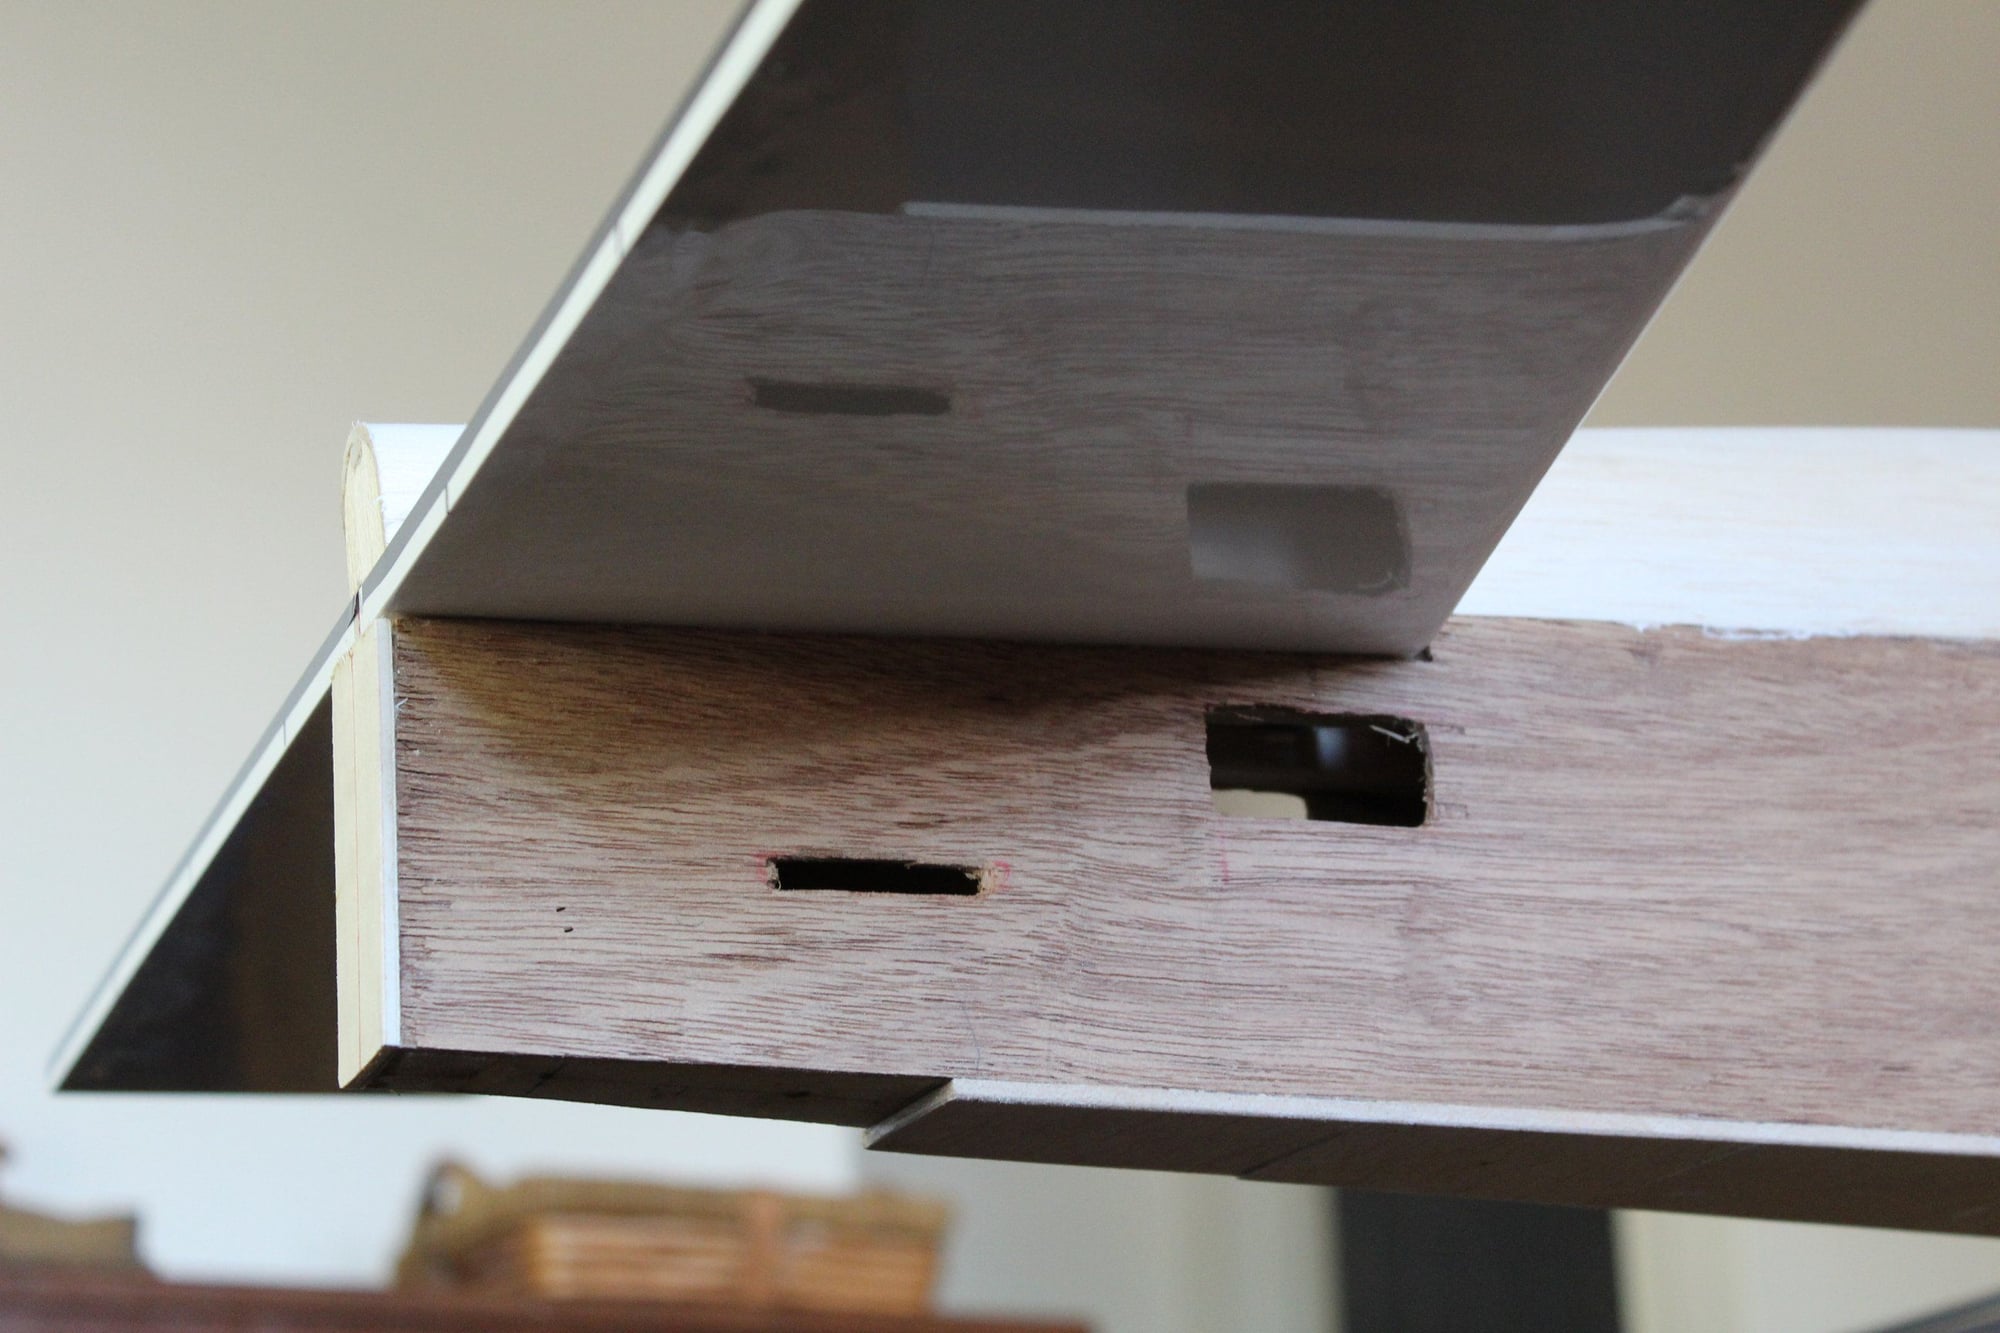
I was checking the wing to fuselage fitting and realised that the incorrect wing bolts bracket I left in place is too wide and prevents the wing from sitting correctly in the saddle.
I sanded the problem areas and the wing now sit correctly.


Cheers,
Eran
I sanded the problem areas and the wing now sit correctly.
Cheers,
Eran
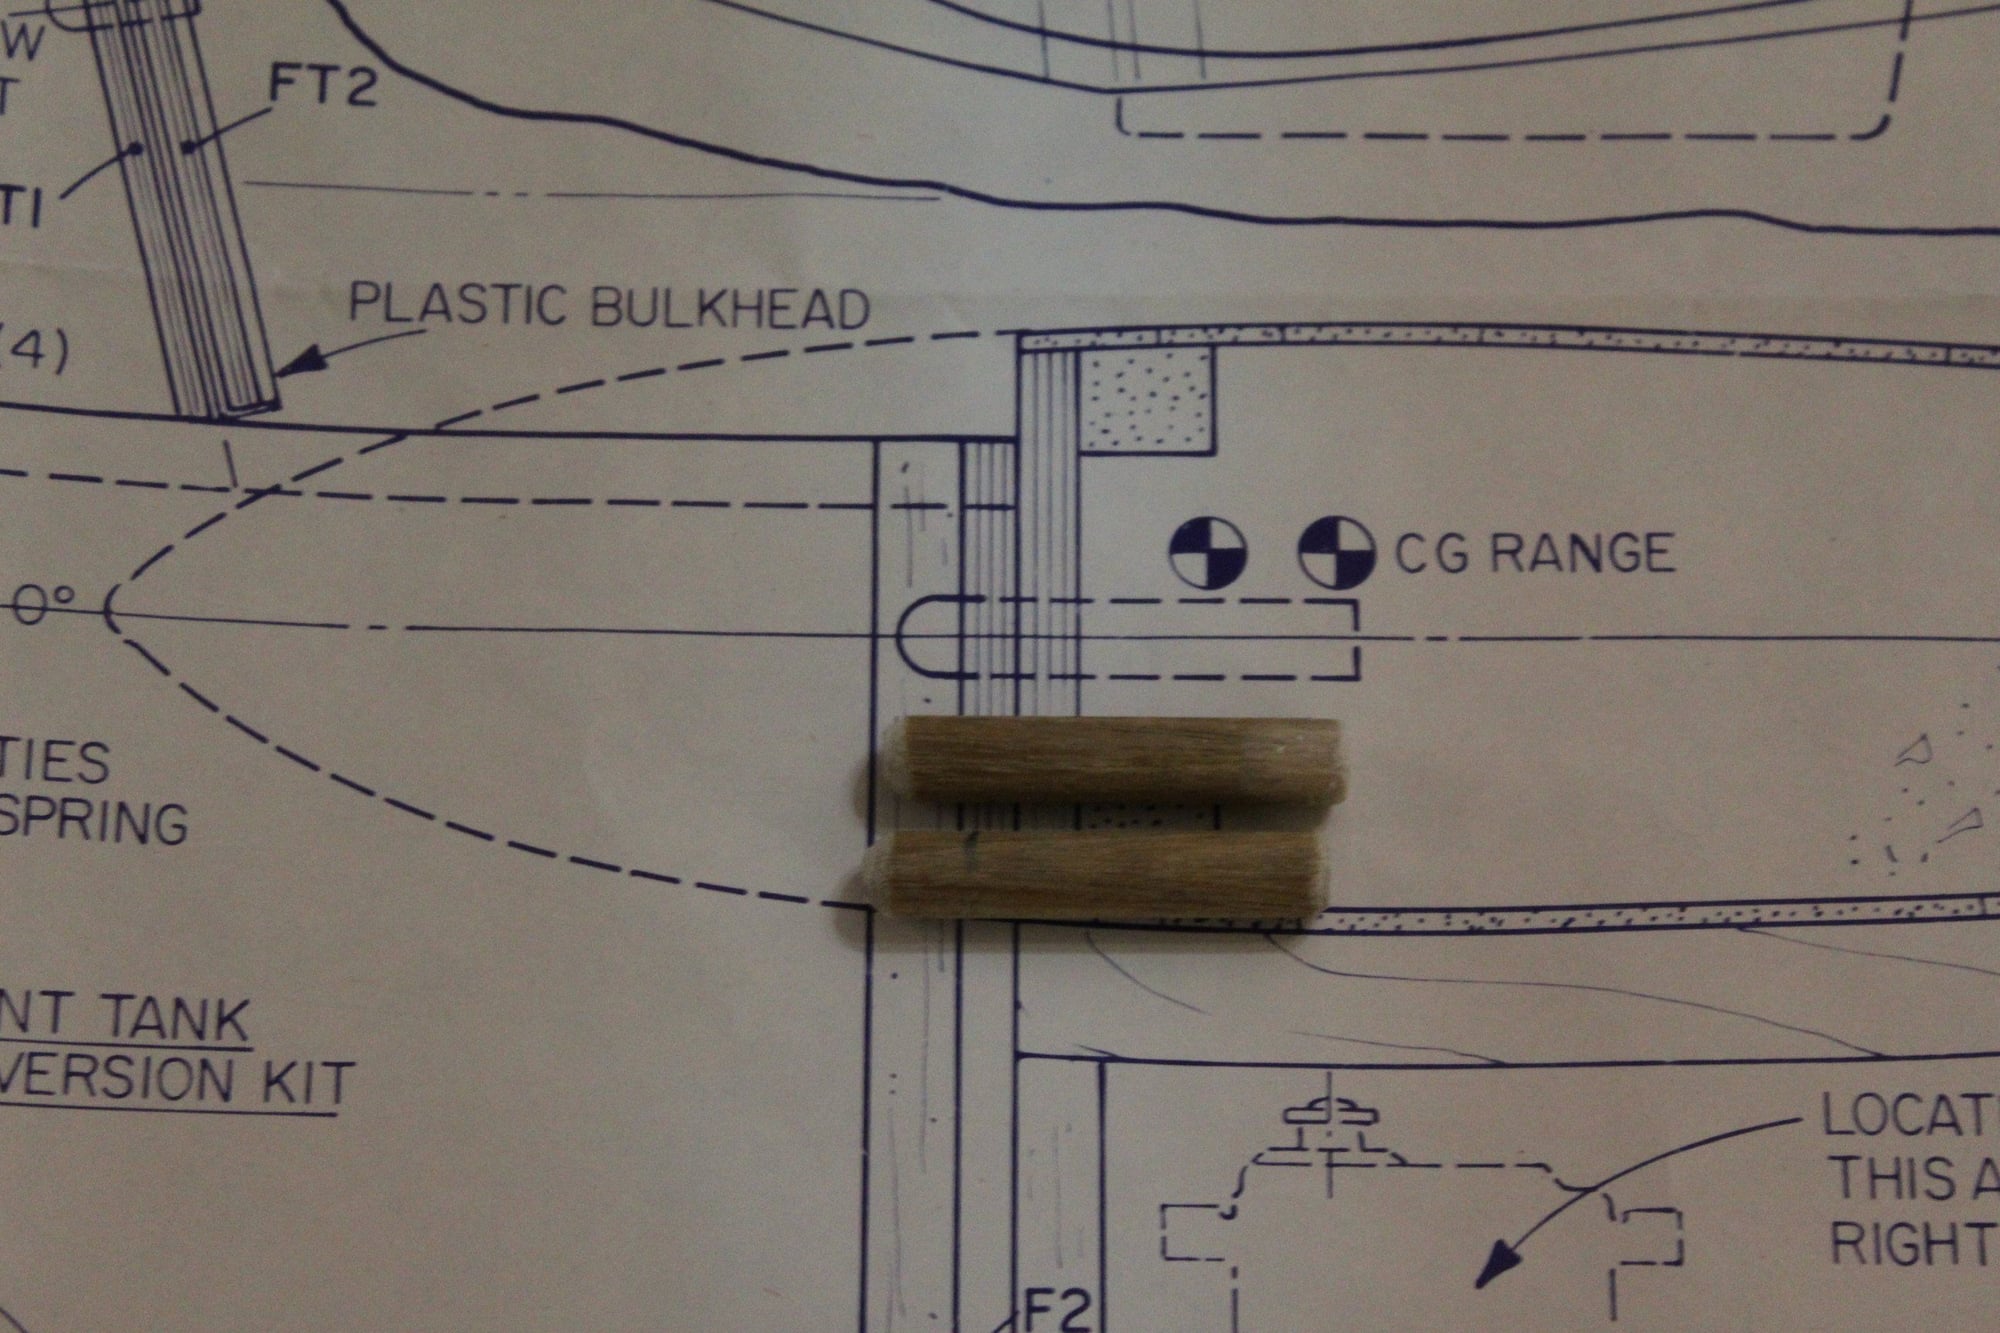
01-19-2024, 04:02 AM
#71
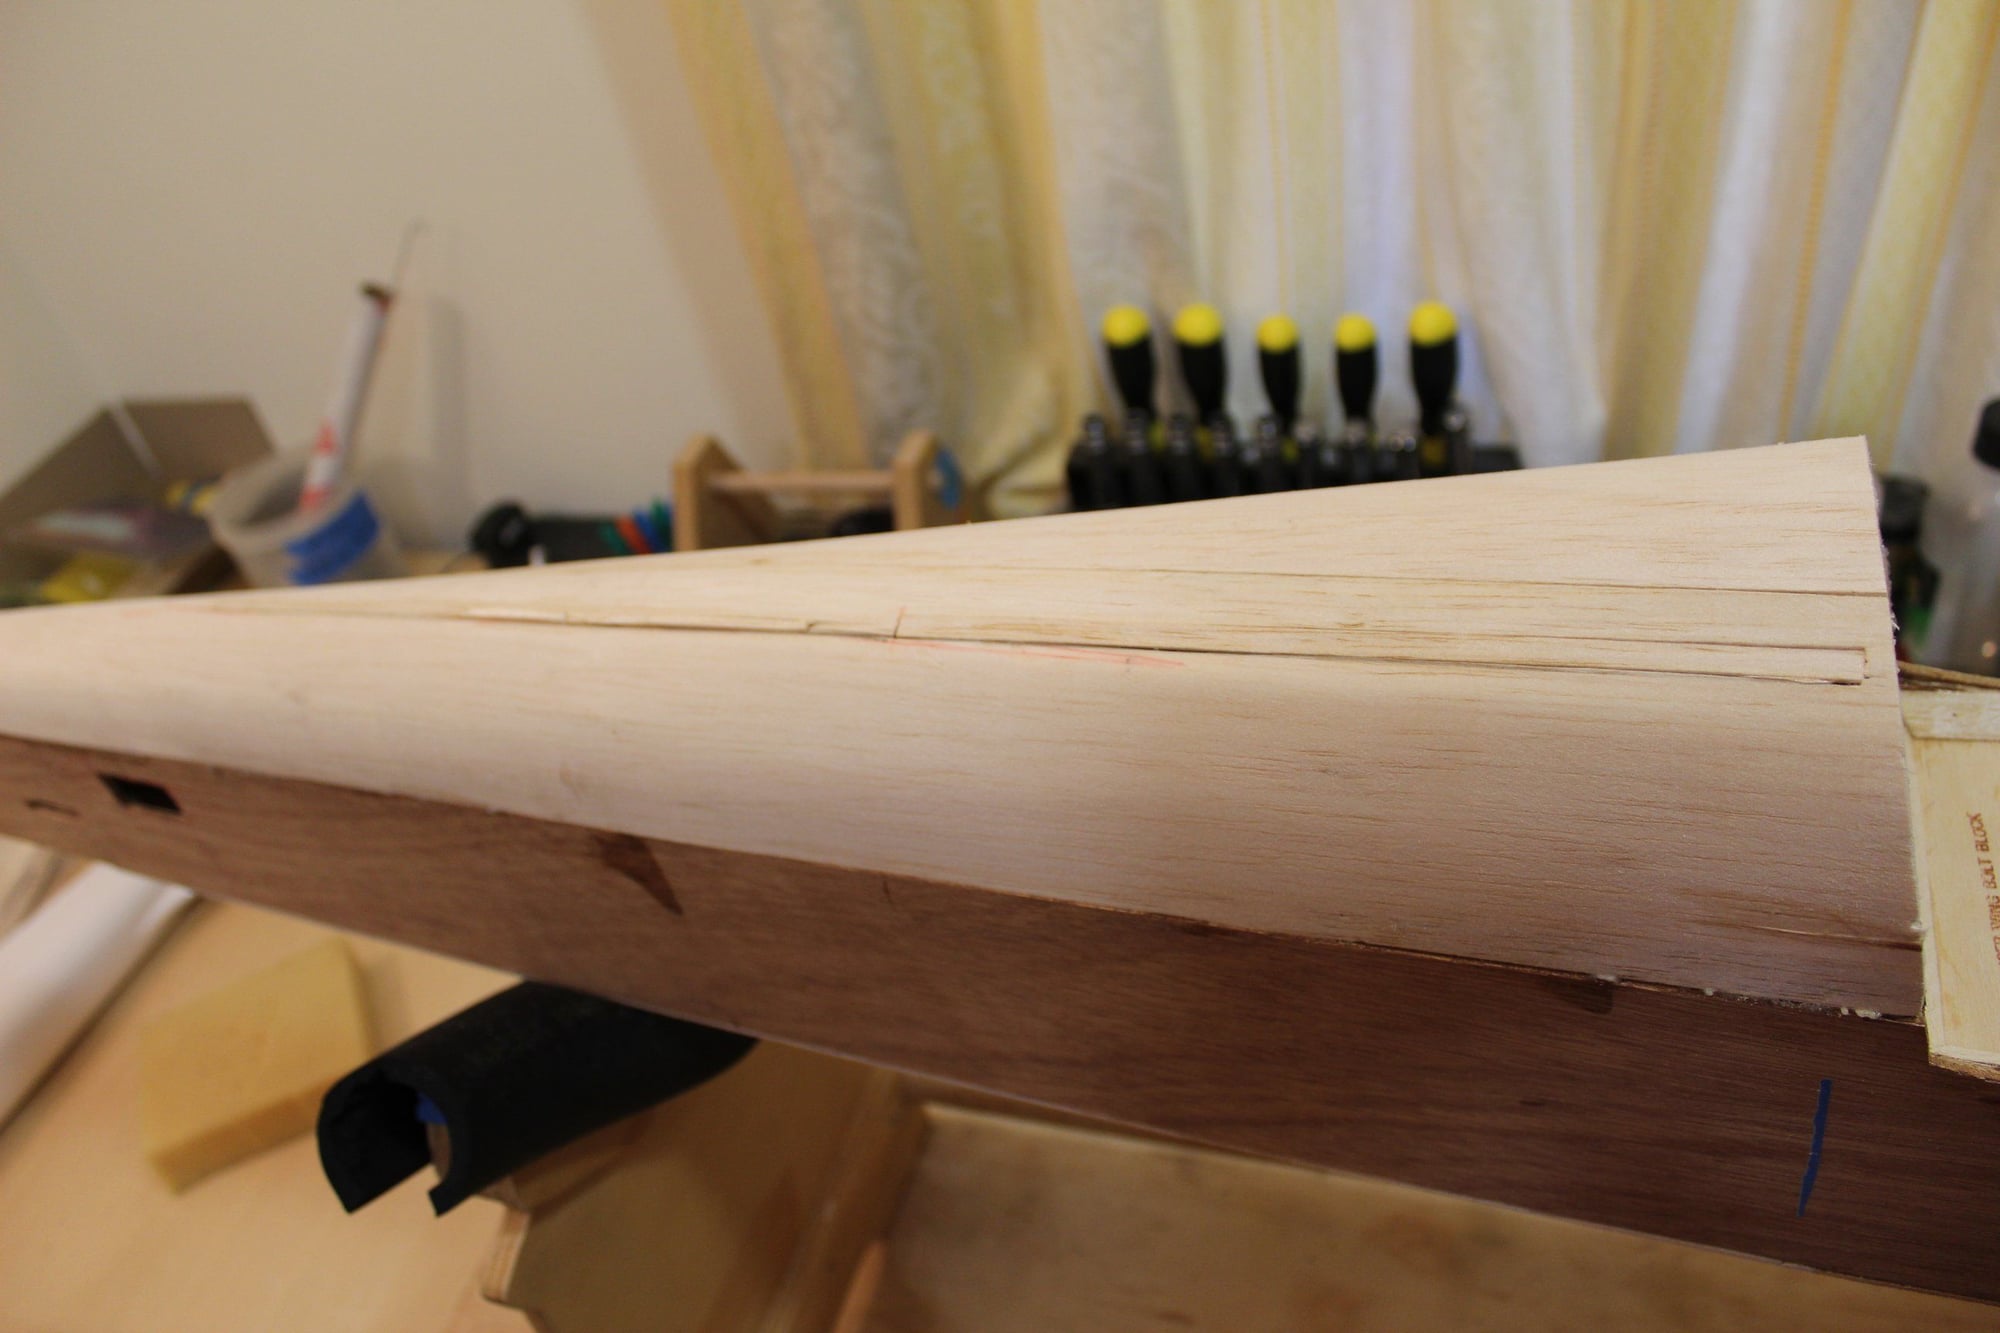
Thread Starter
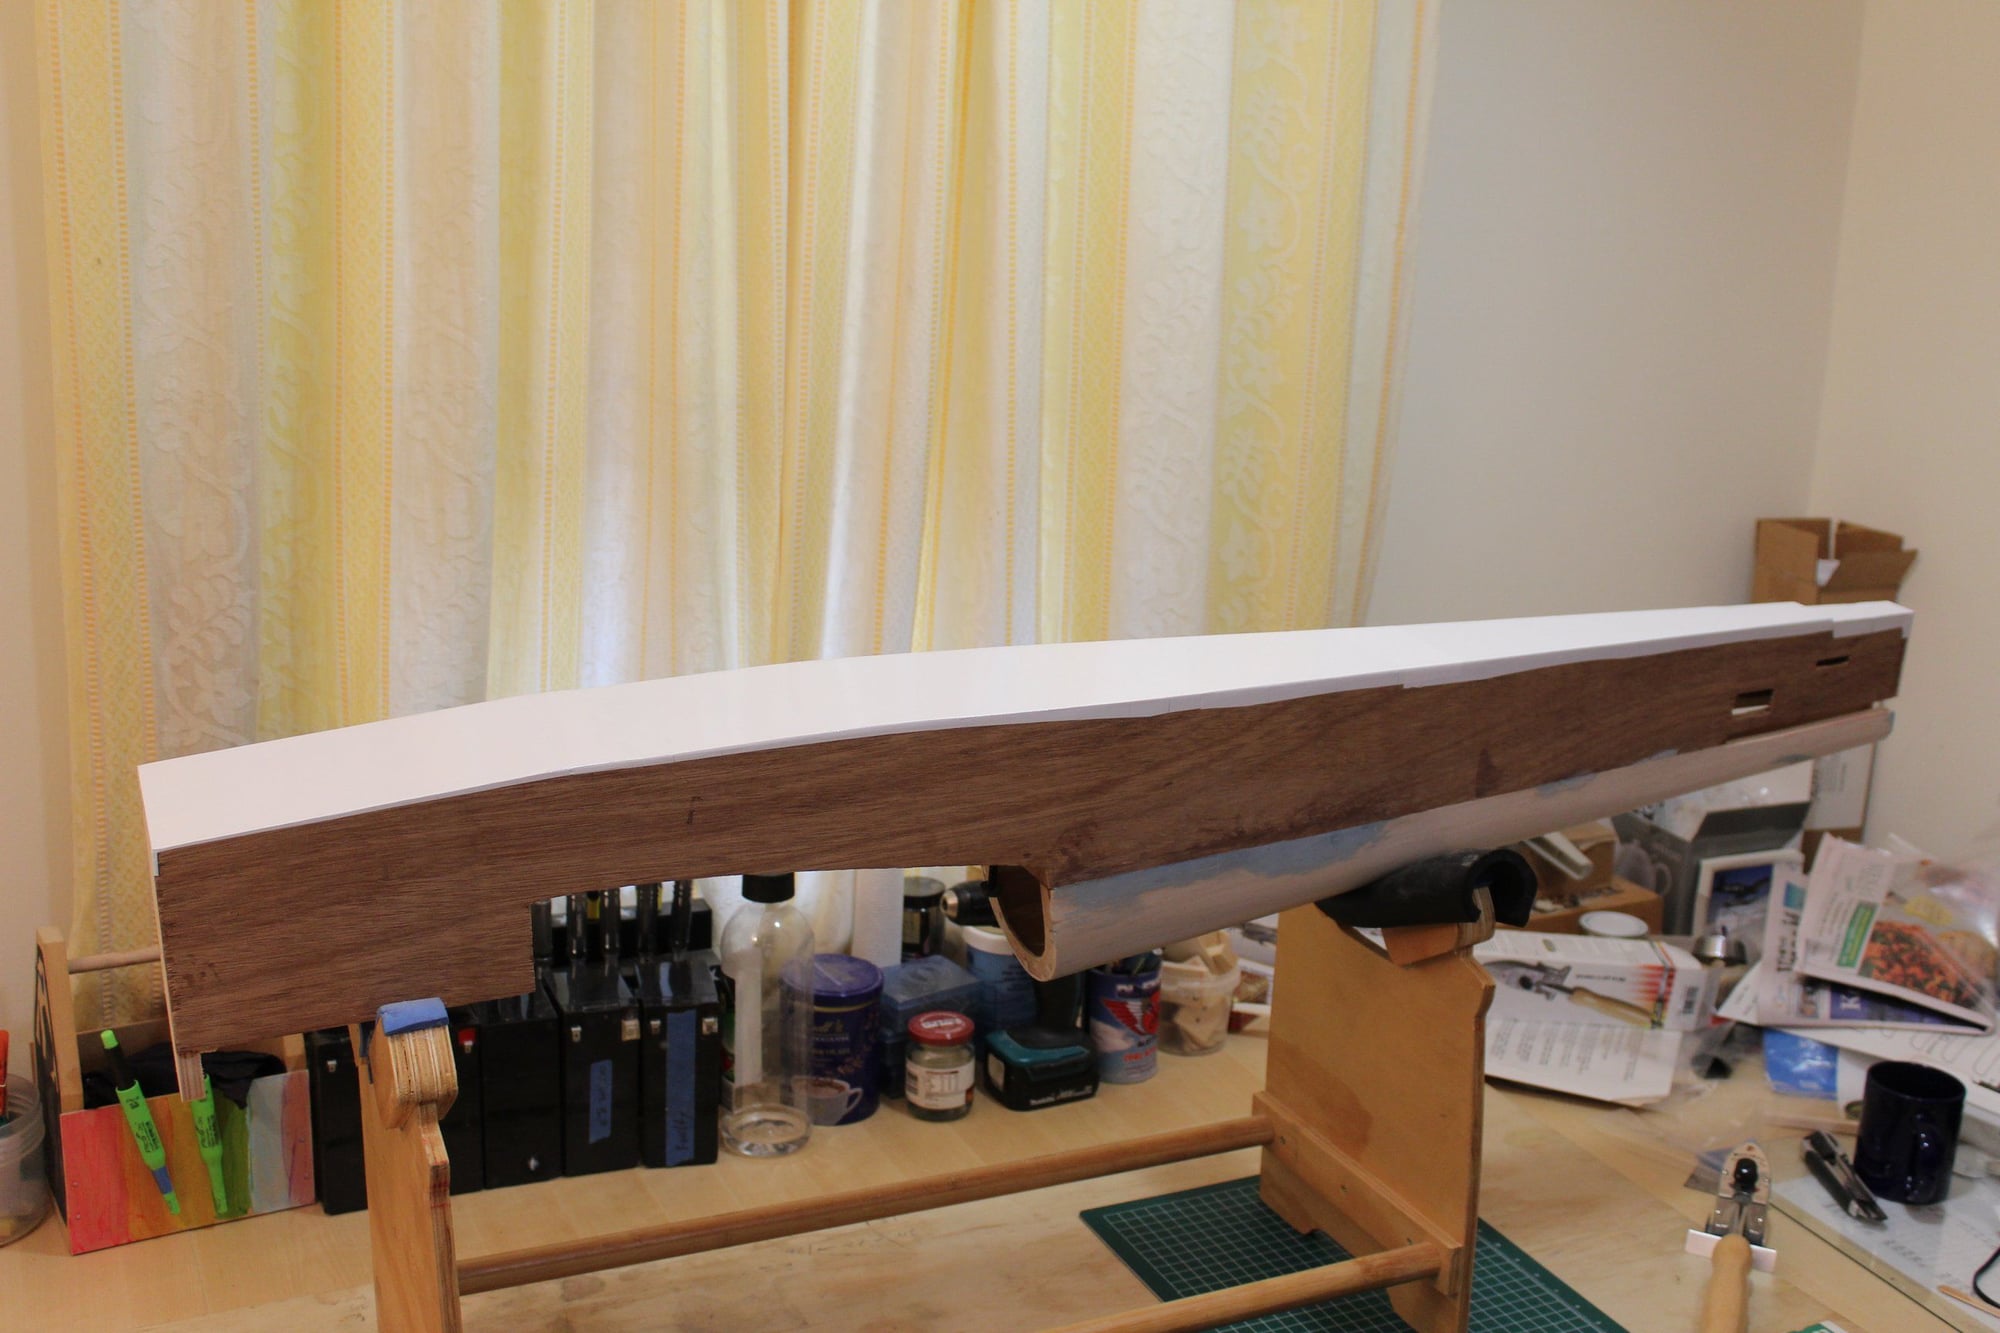
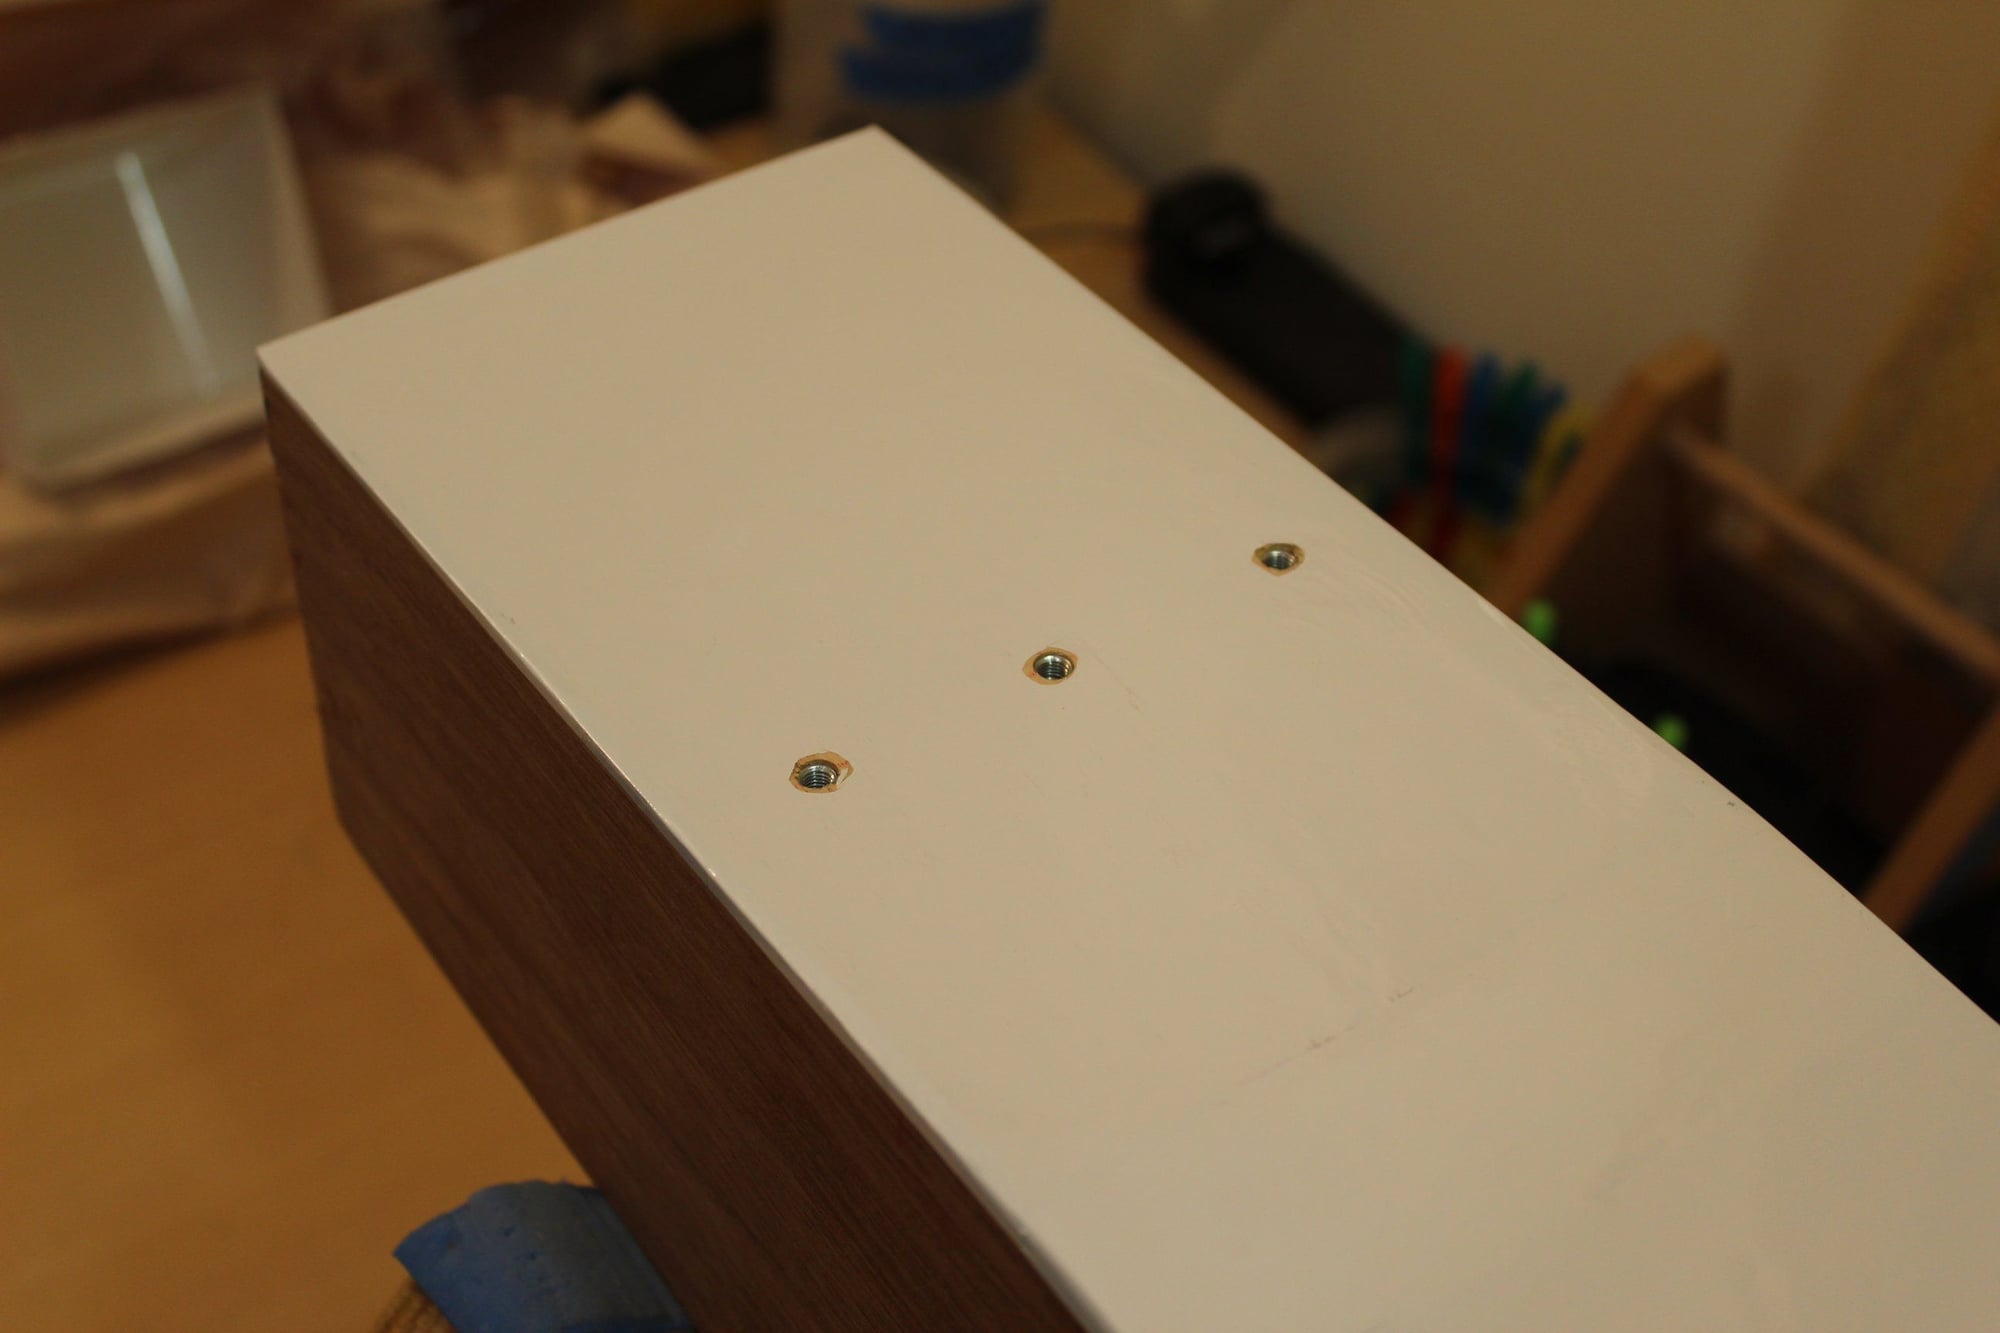
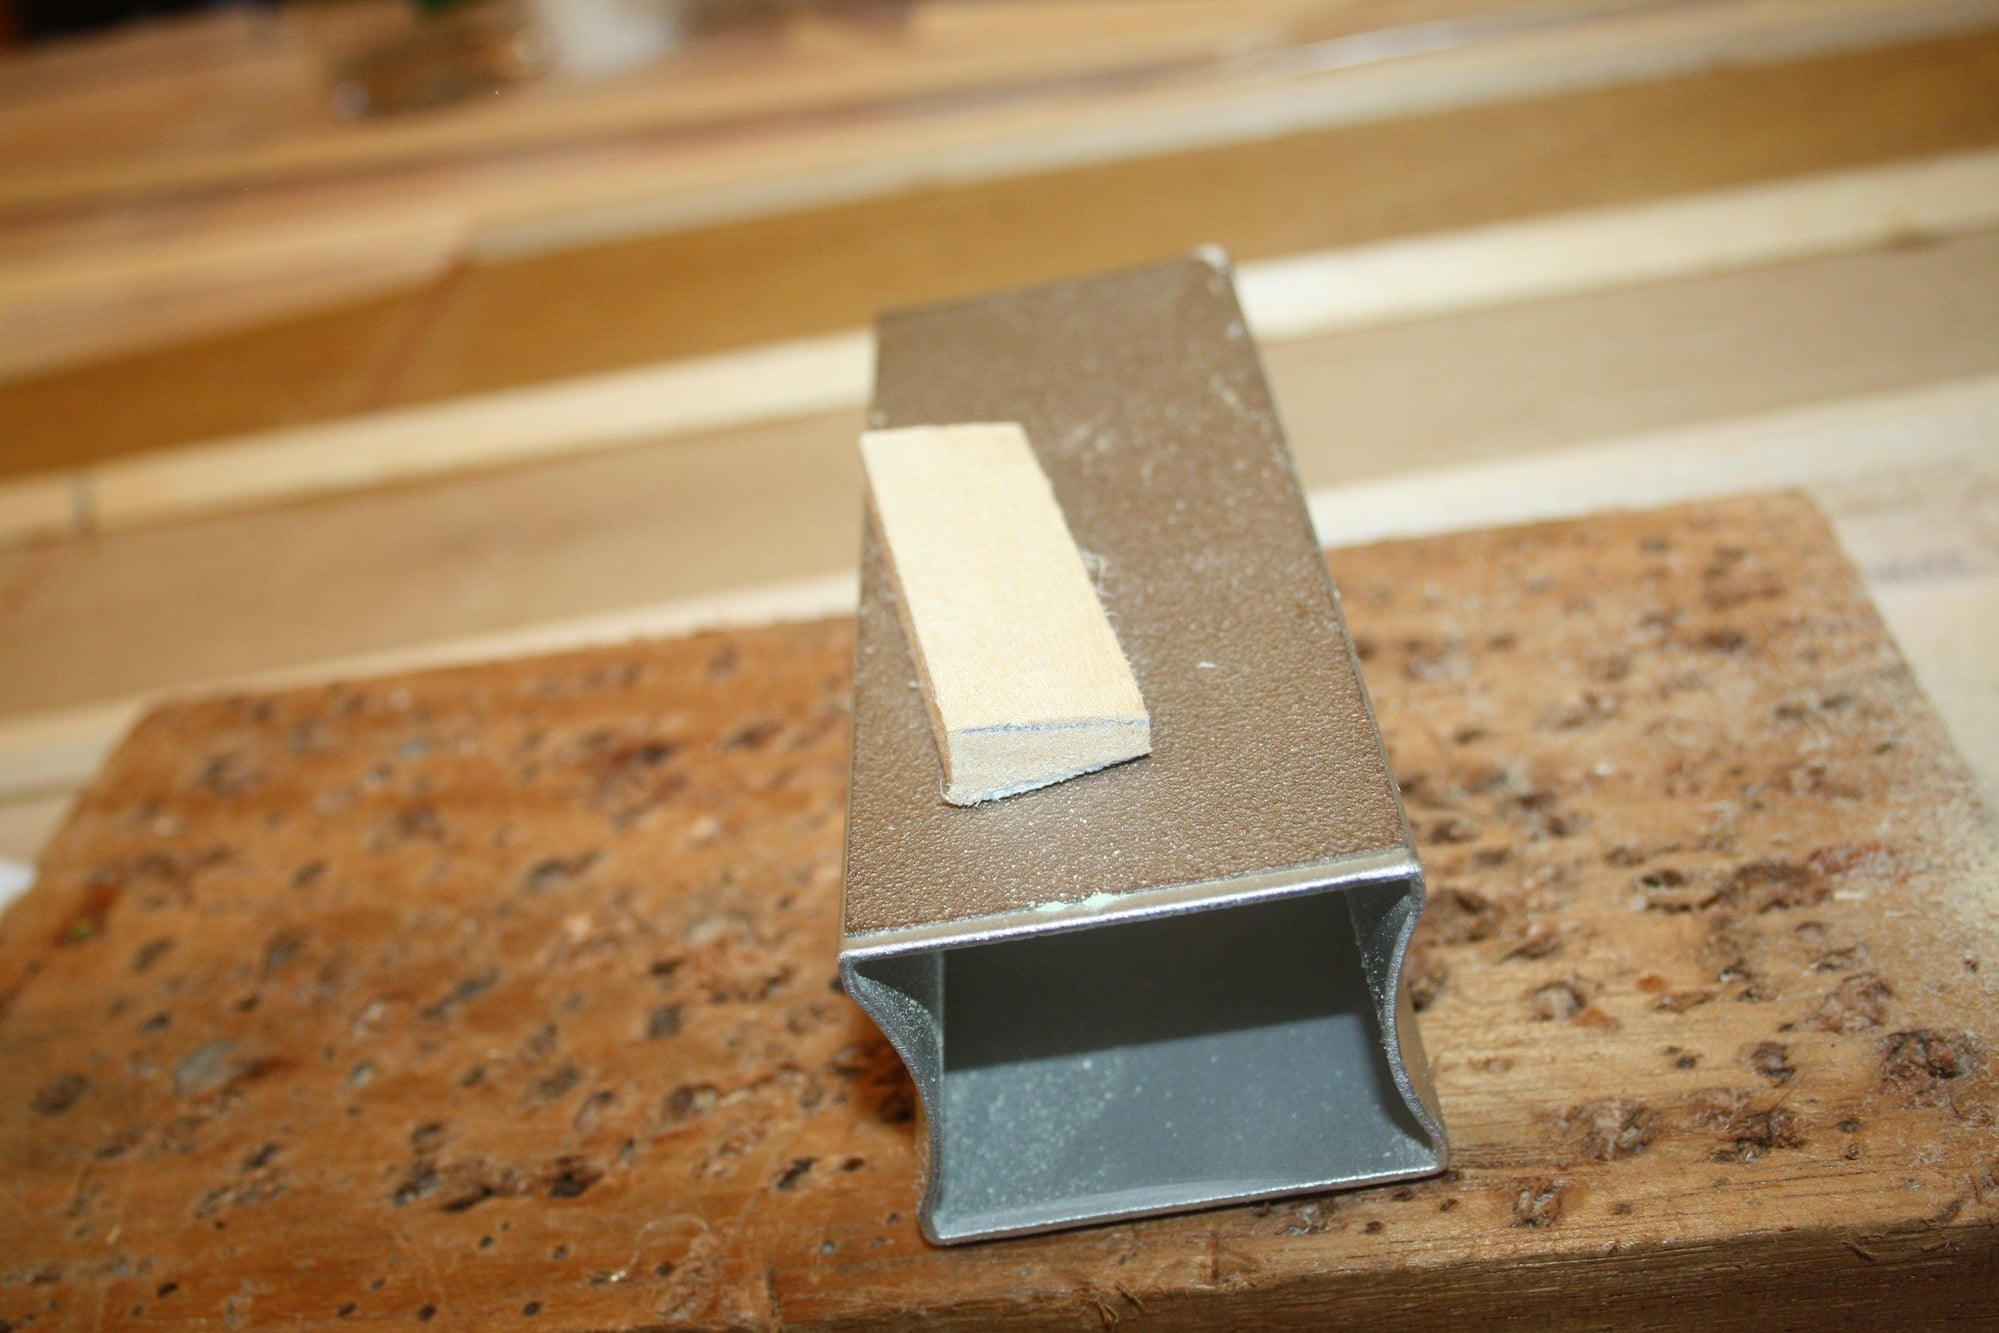
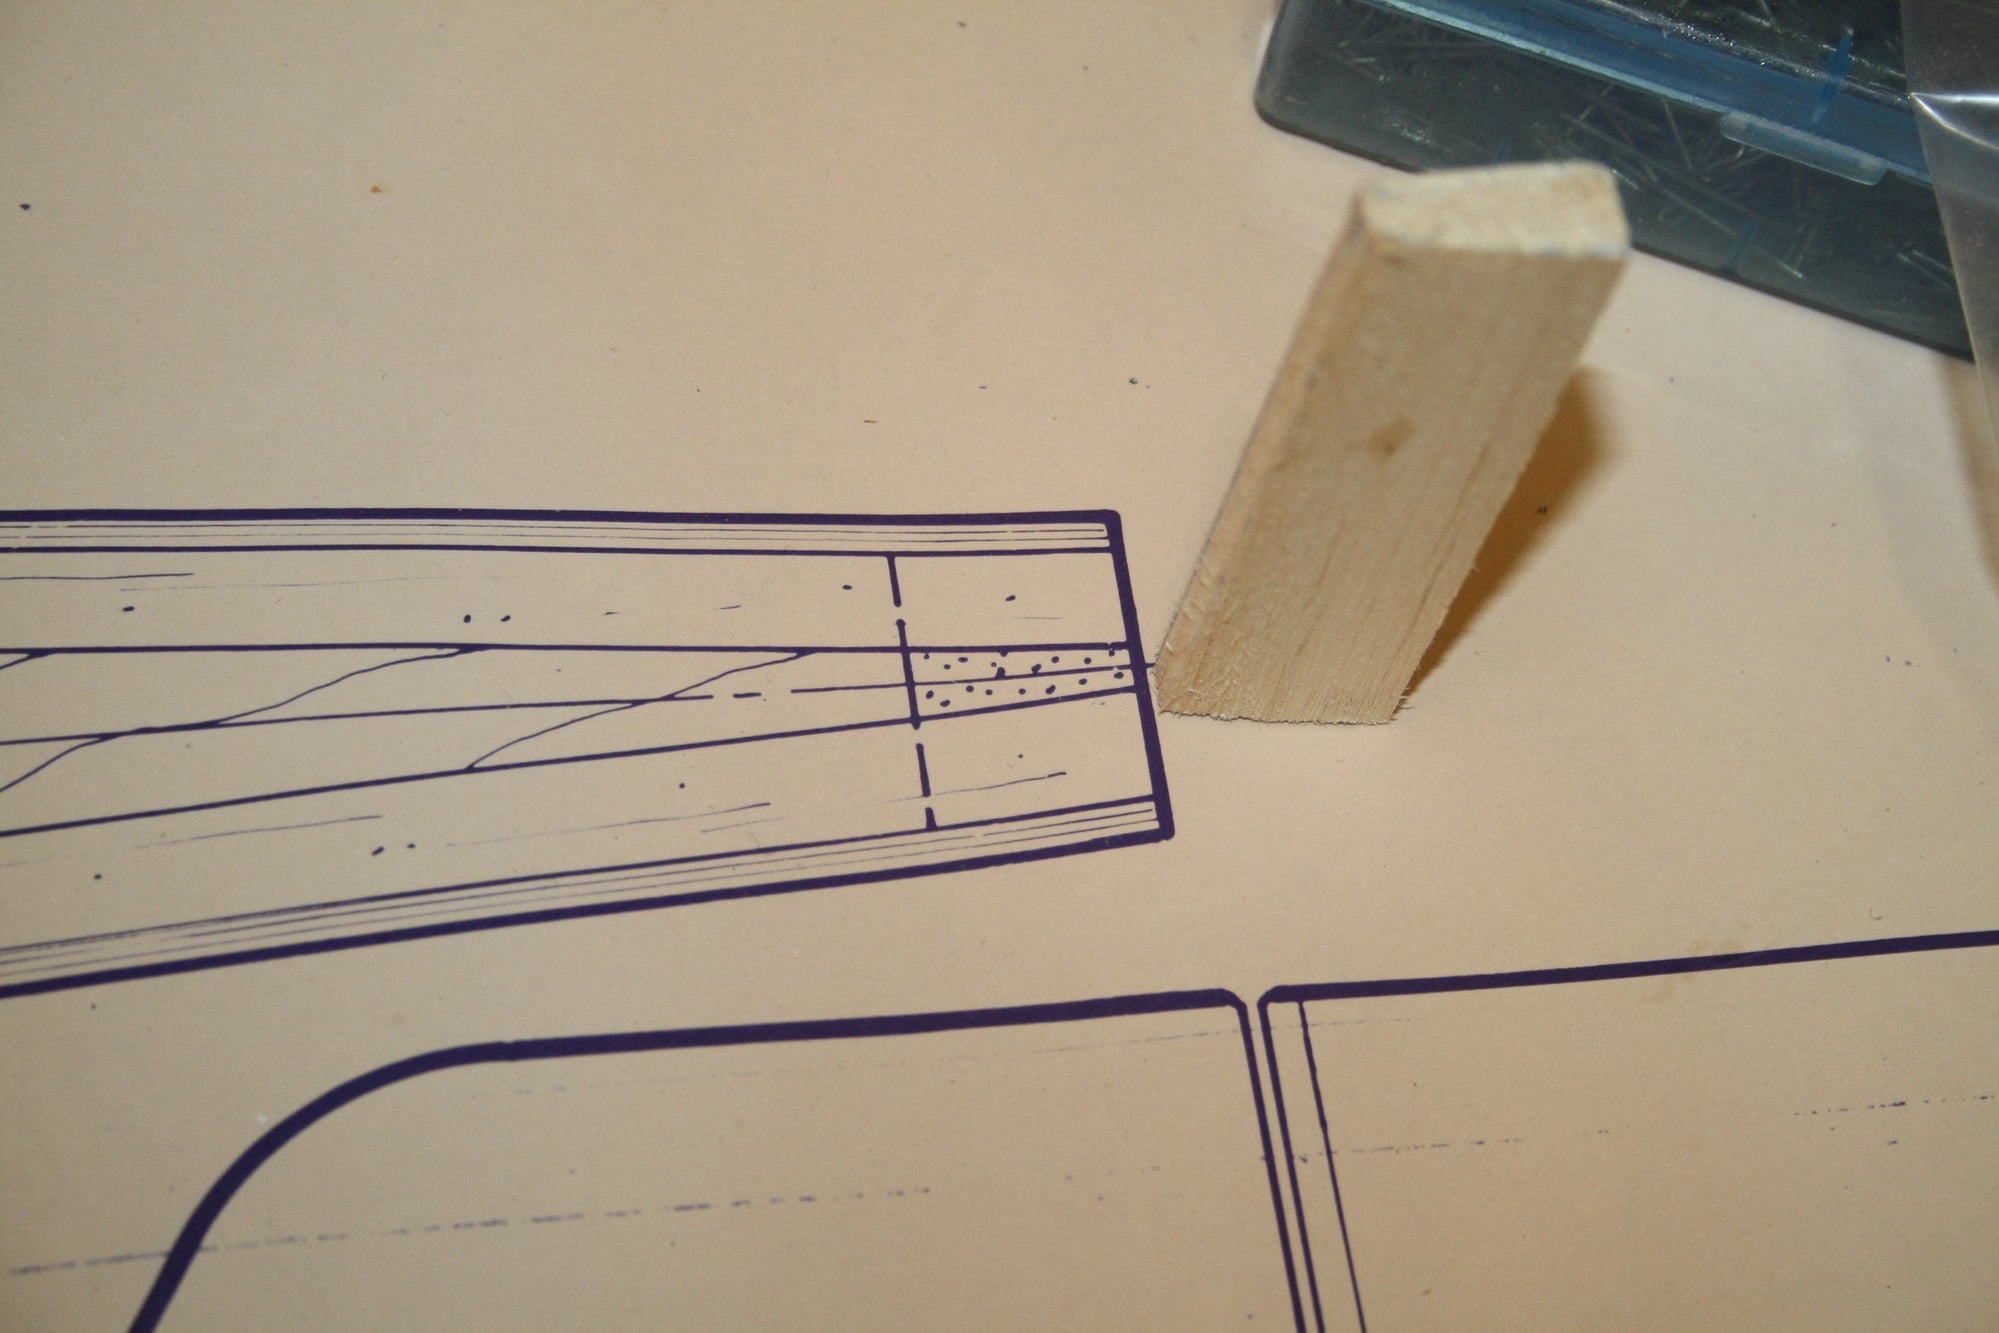
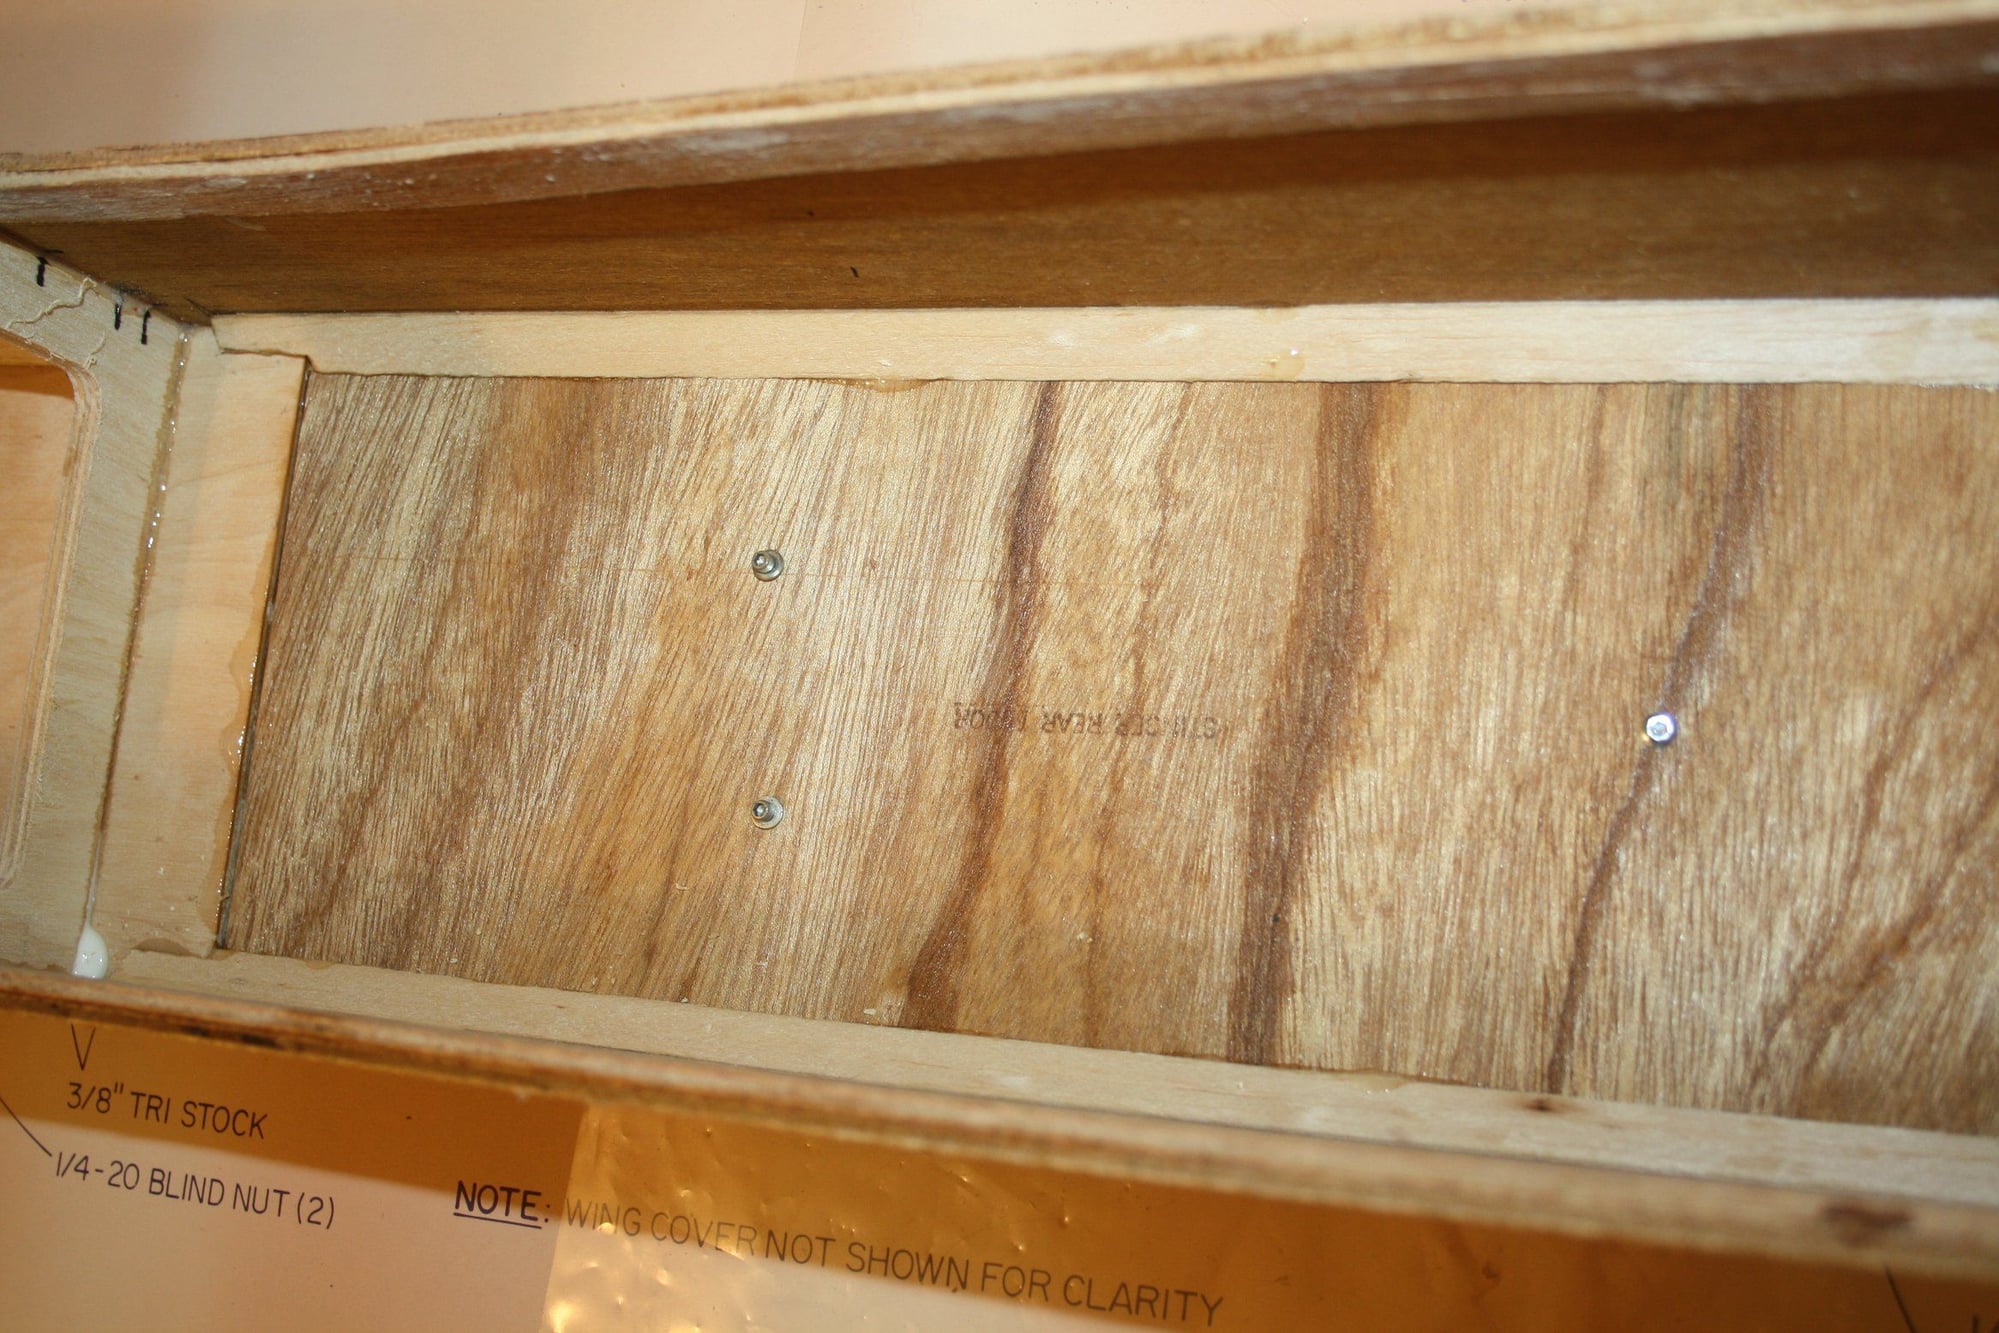
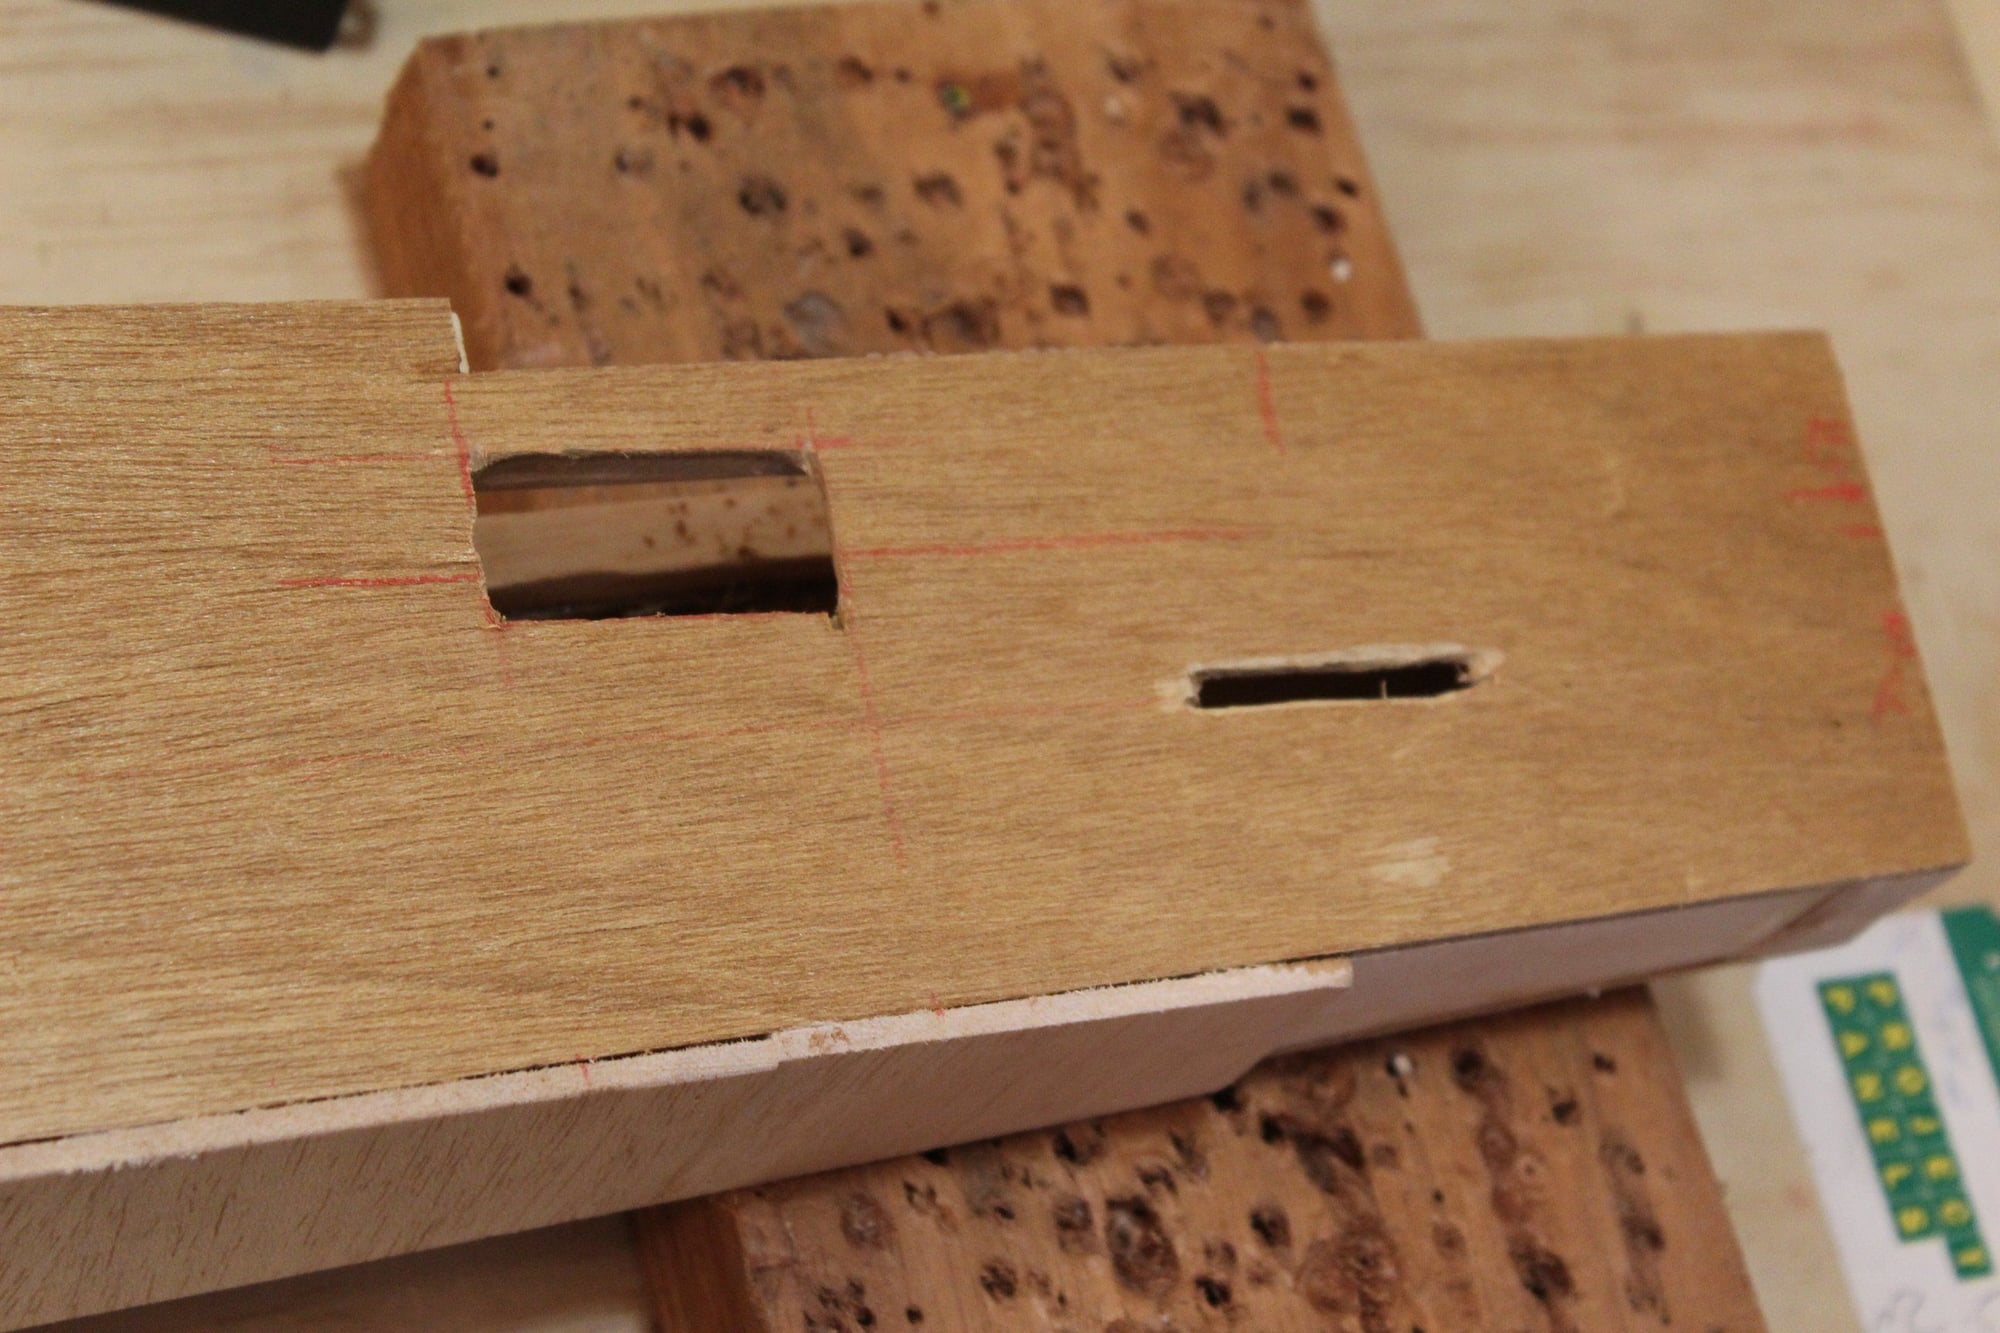
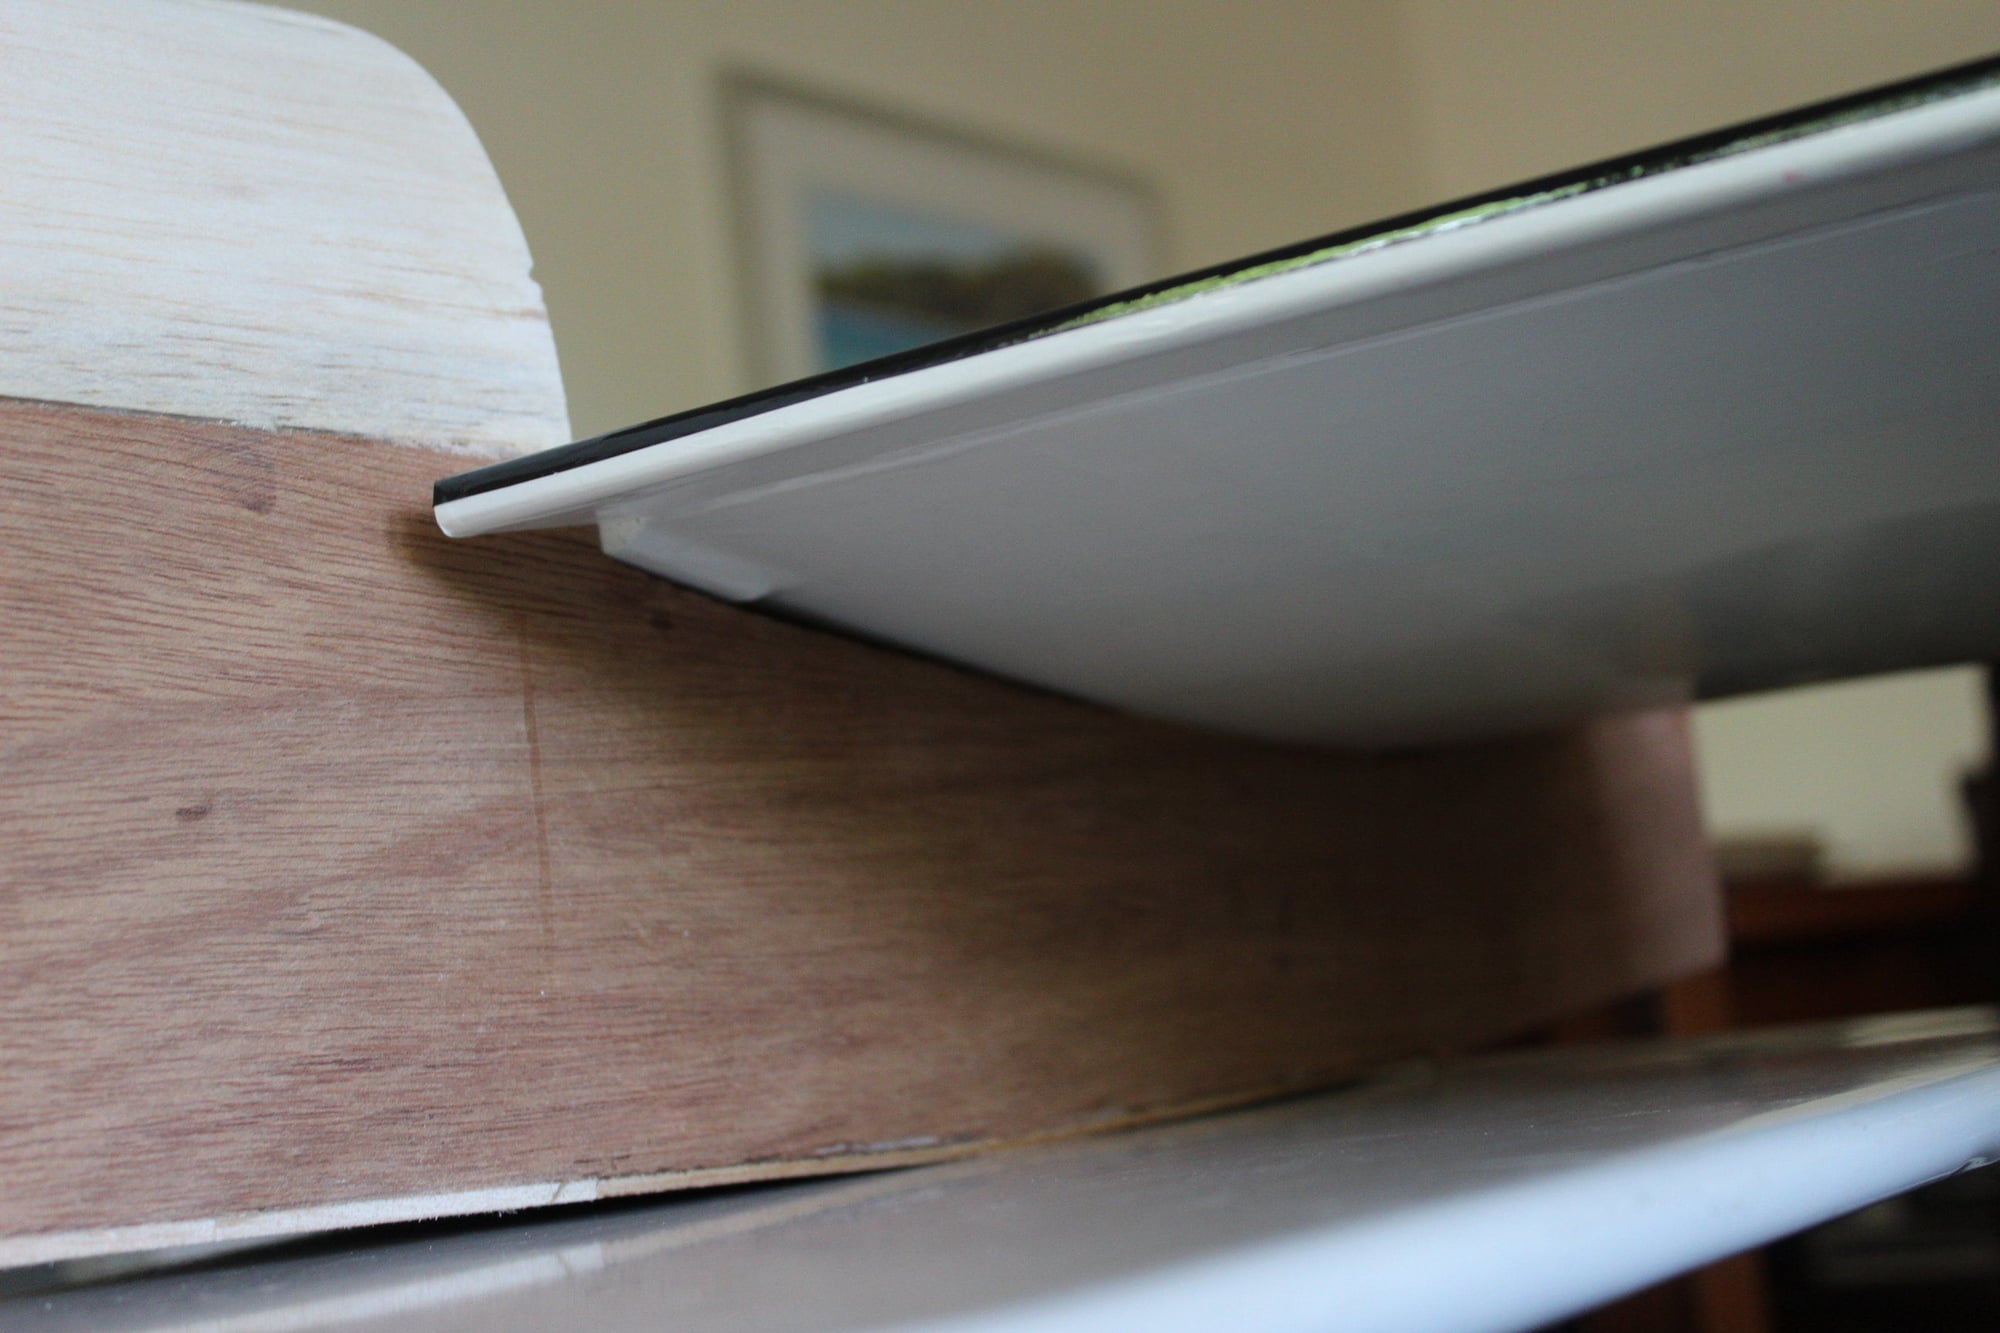
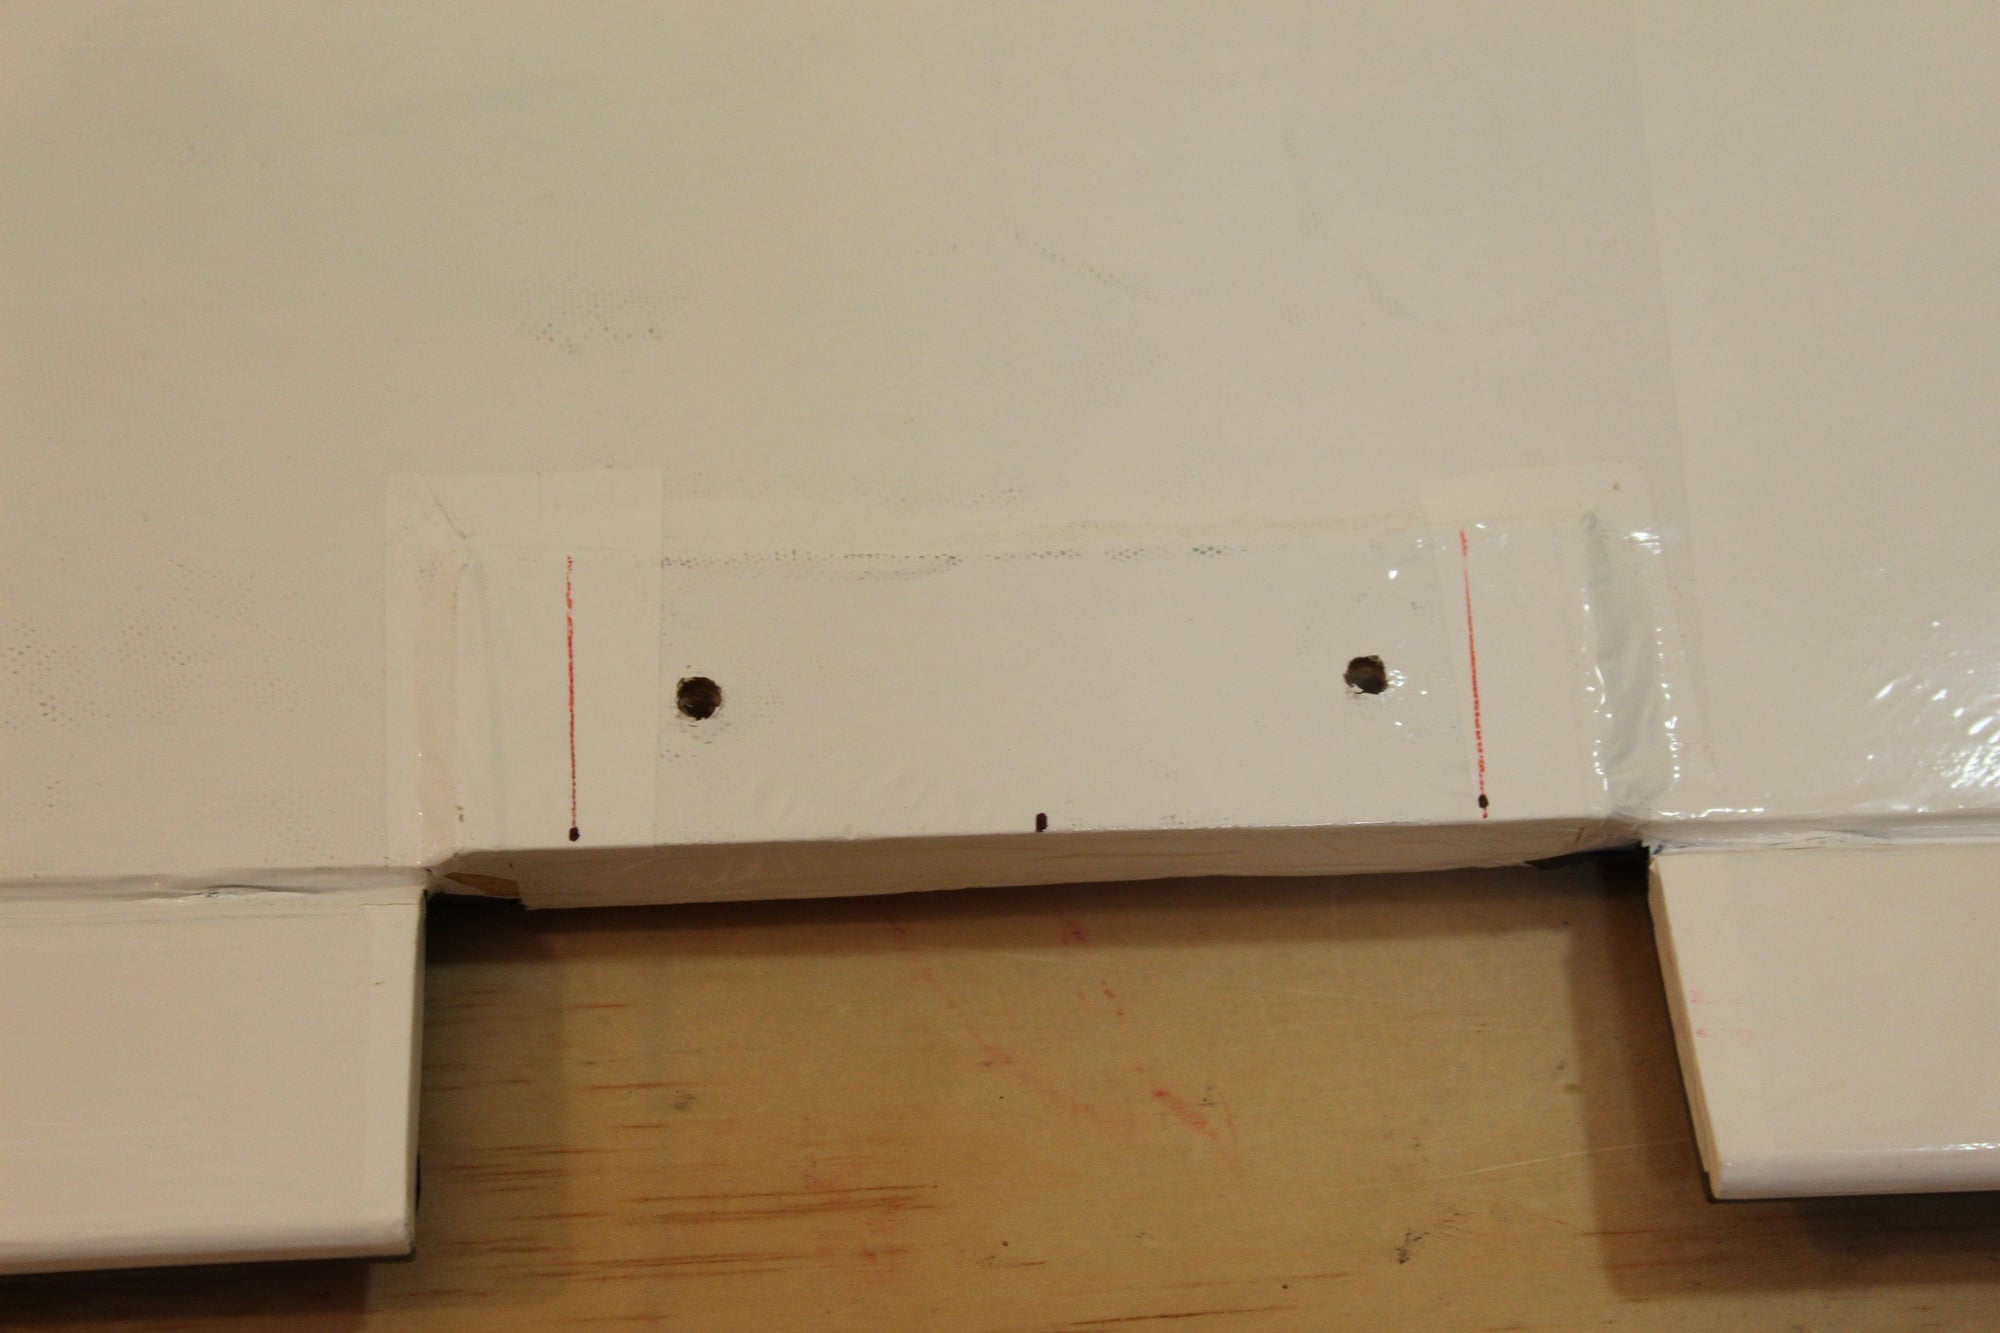
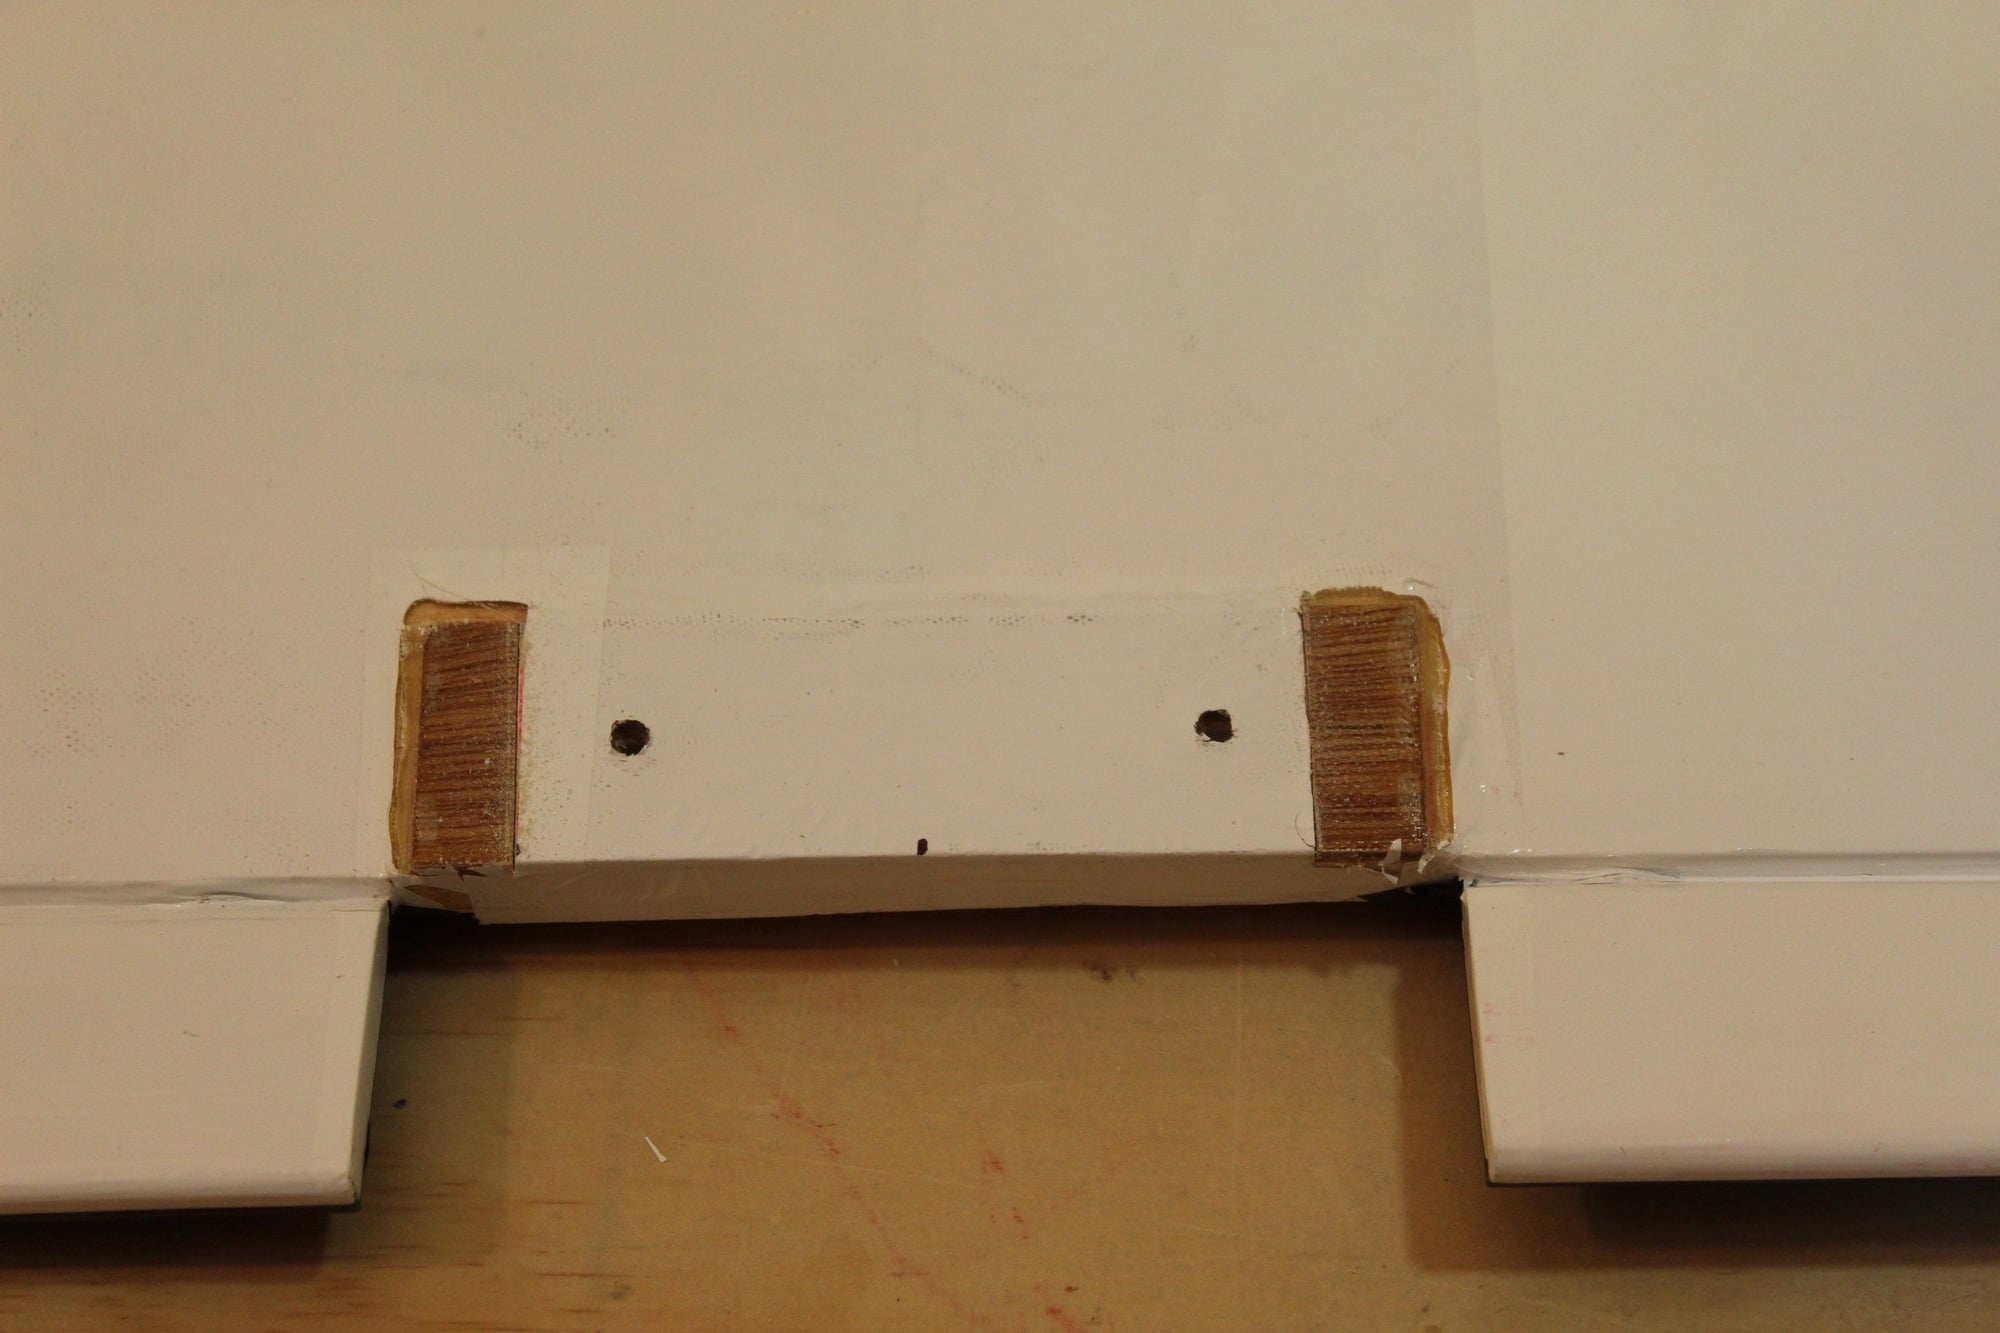
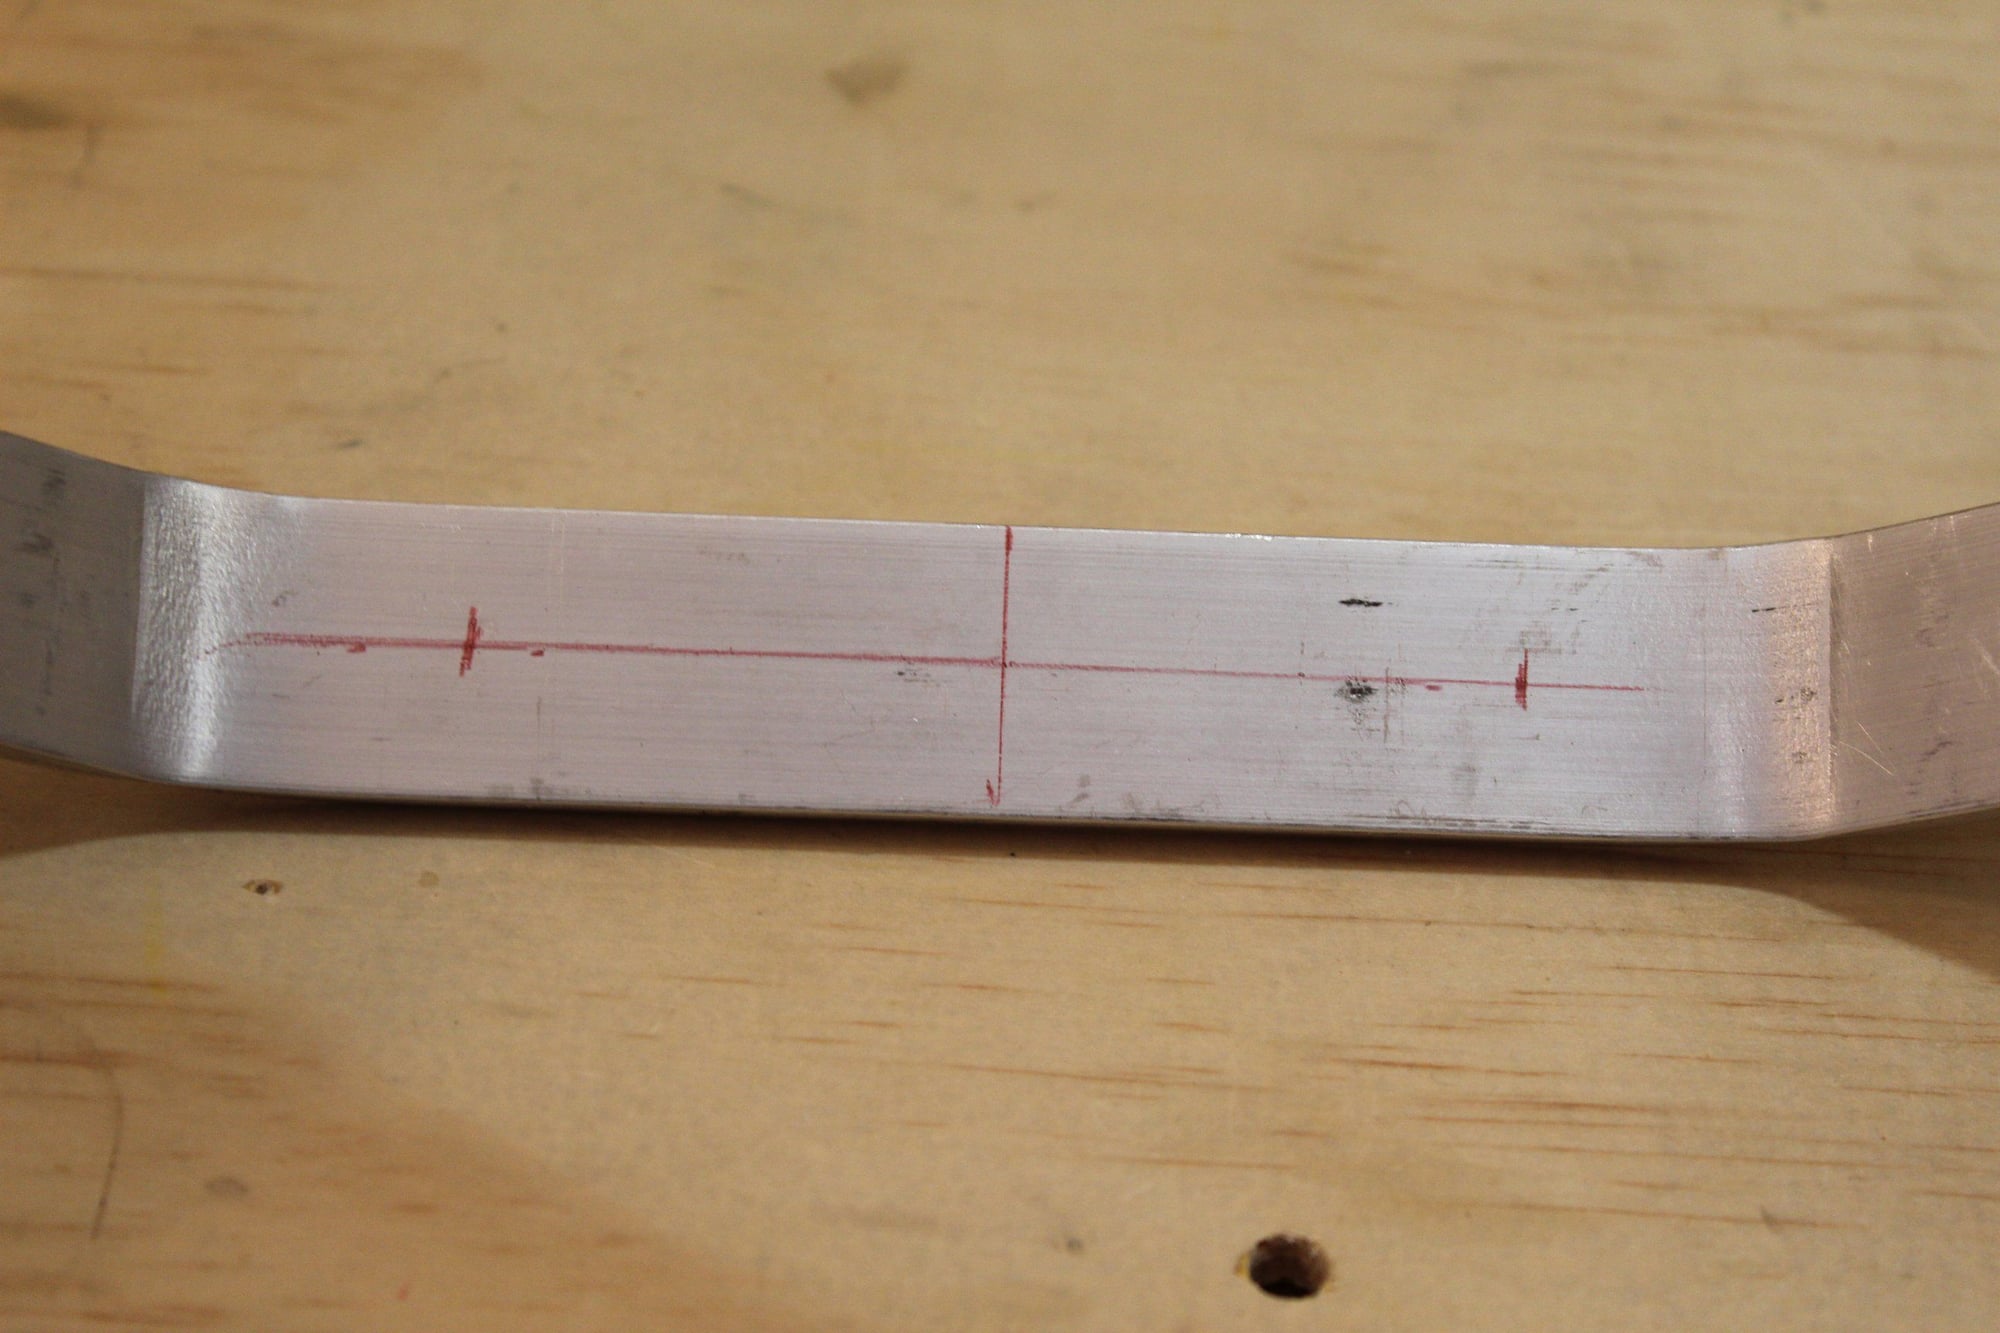
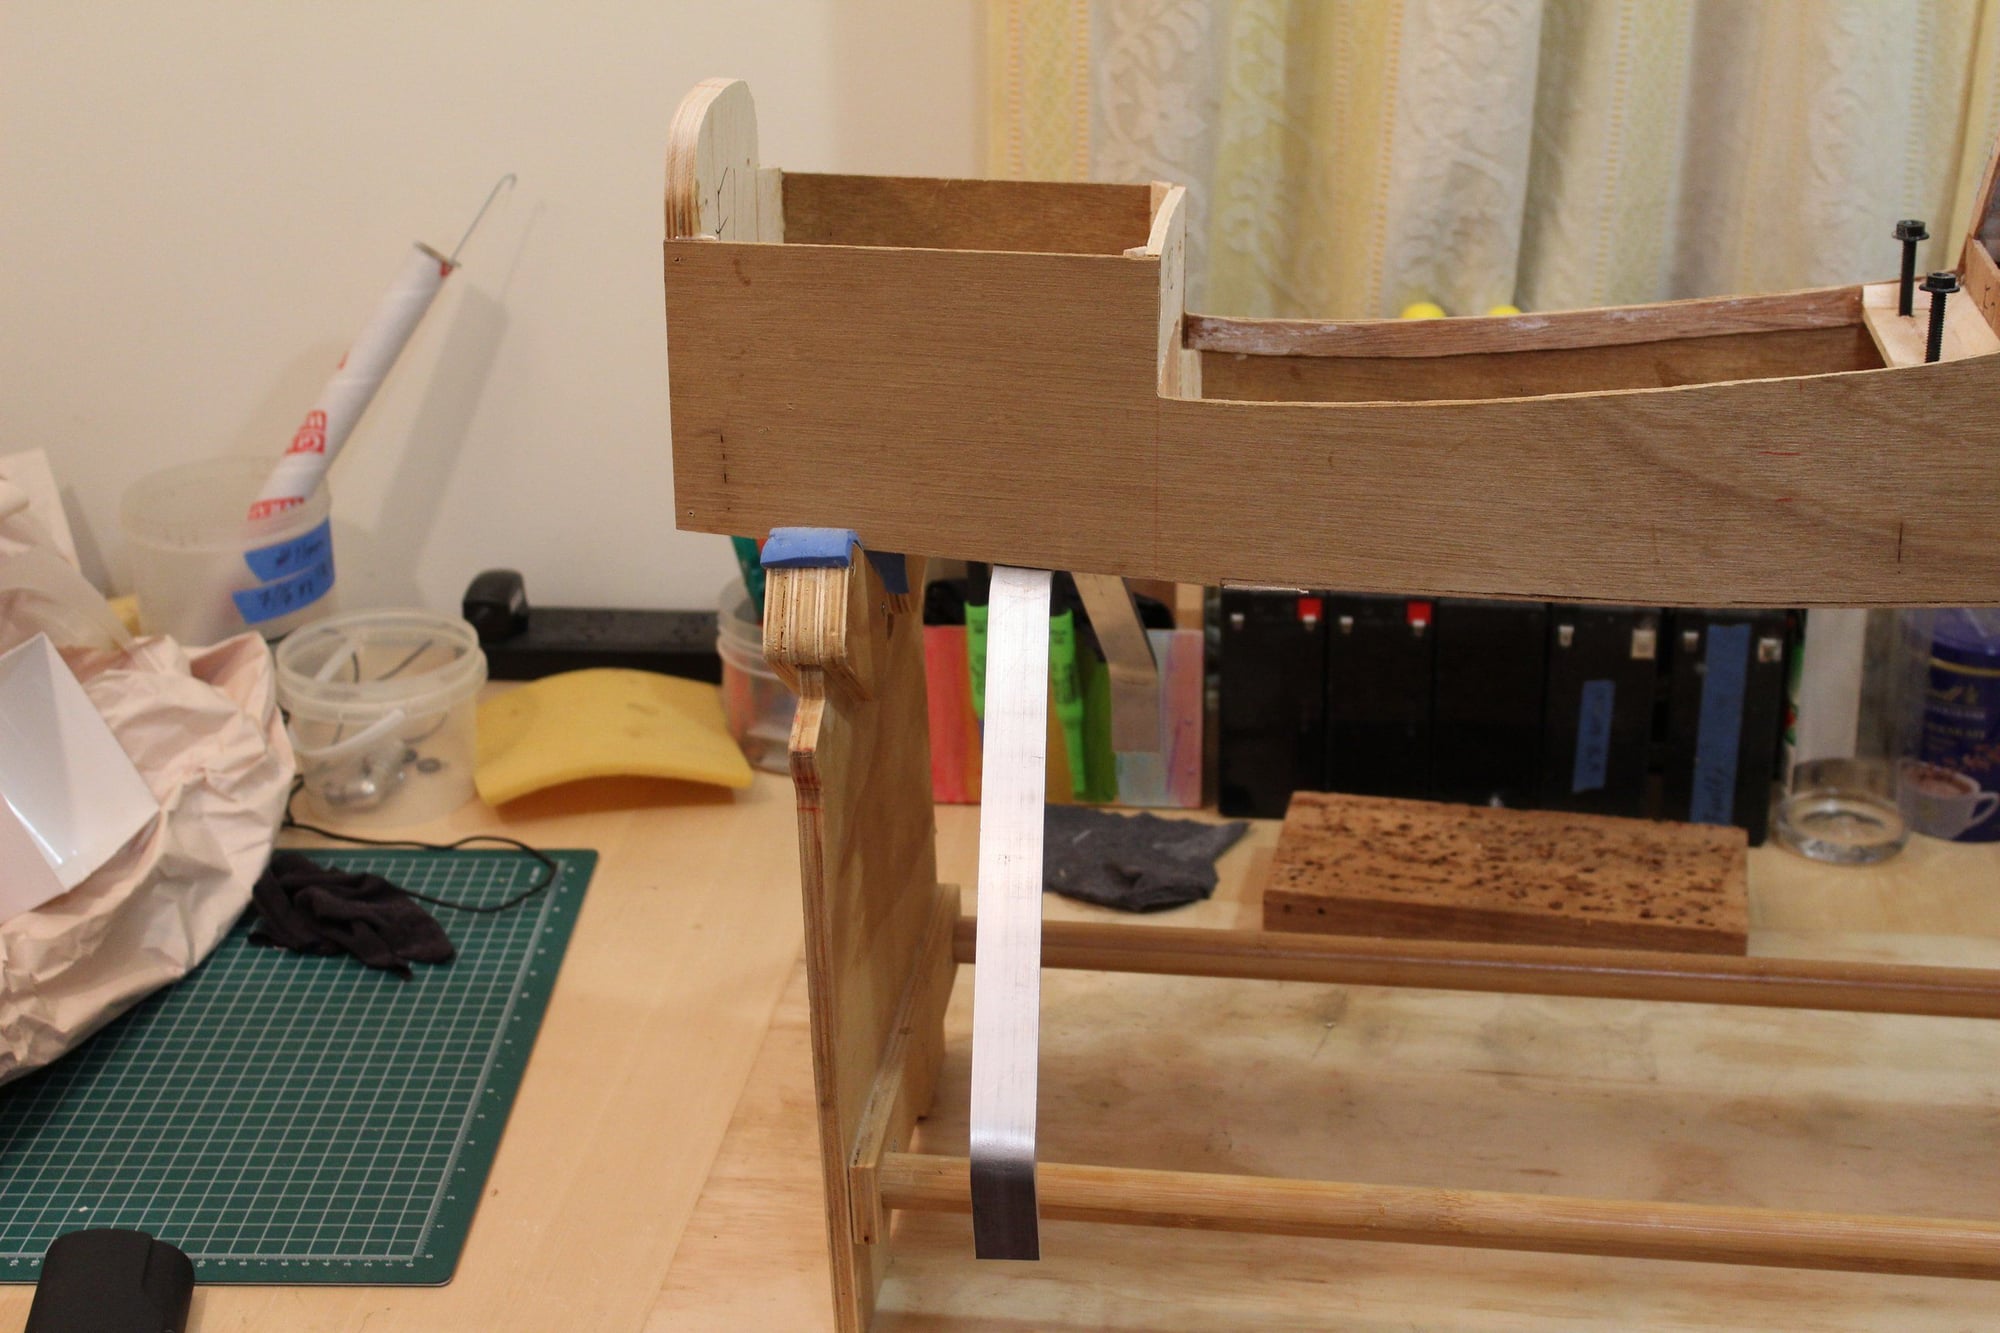
Next I fitted the wing dowels, made sure the wing is sitting correctly (performing all measurements) and finally drilled the wing bolt block to fit the lock nuts for the wing bolts.

Cheers,
Eran
Cheers,
Eran
01-24-2024, 05:31 PM
#72
Thread Starter
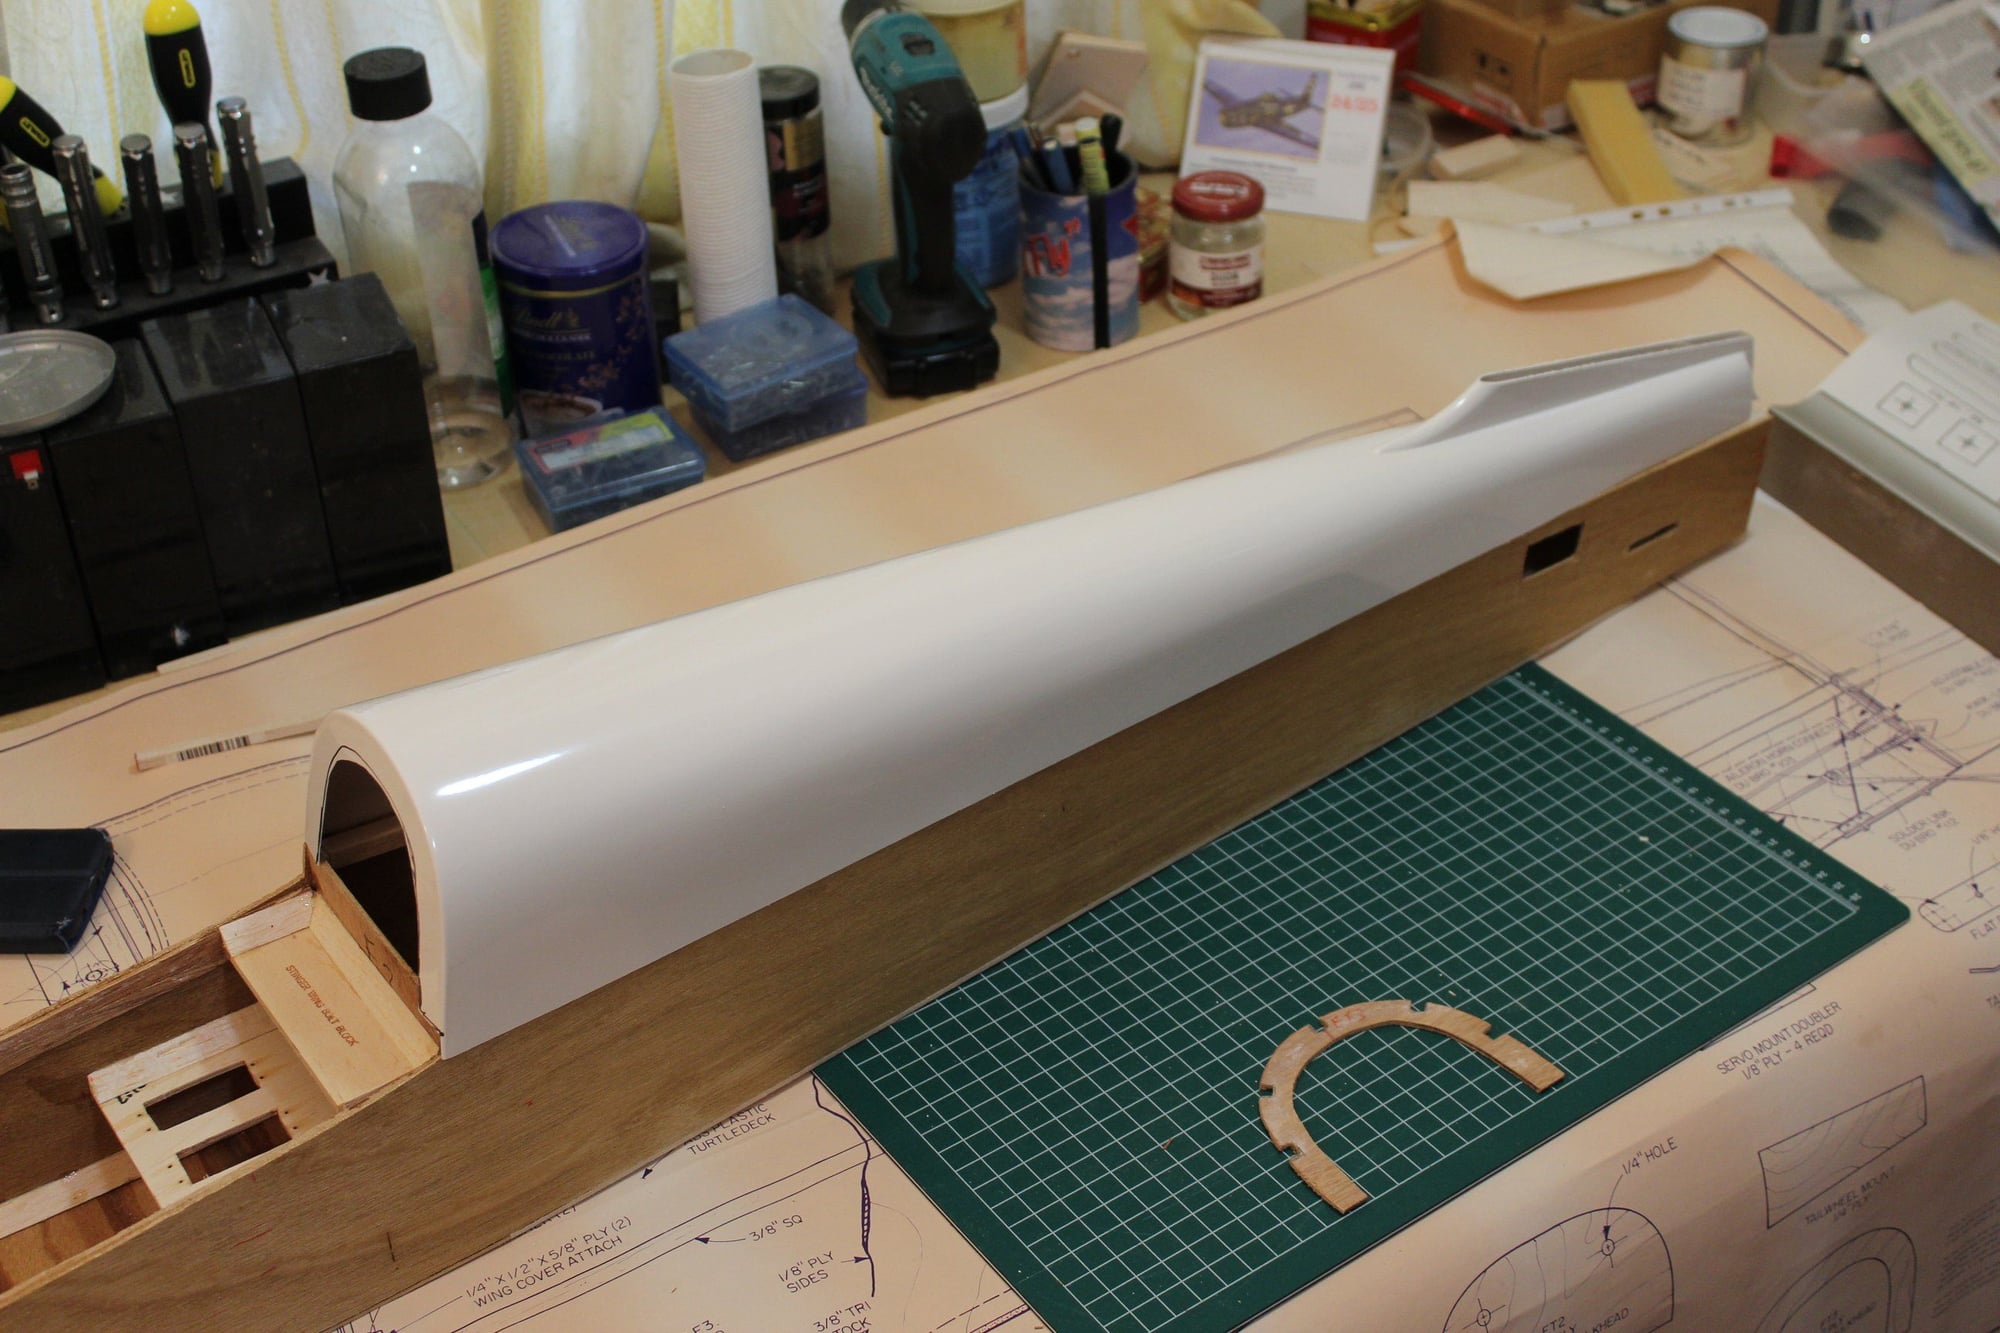
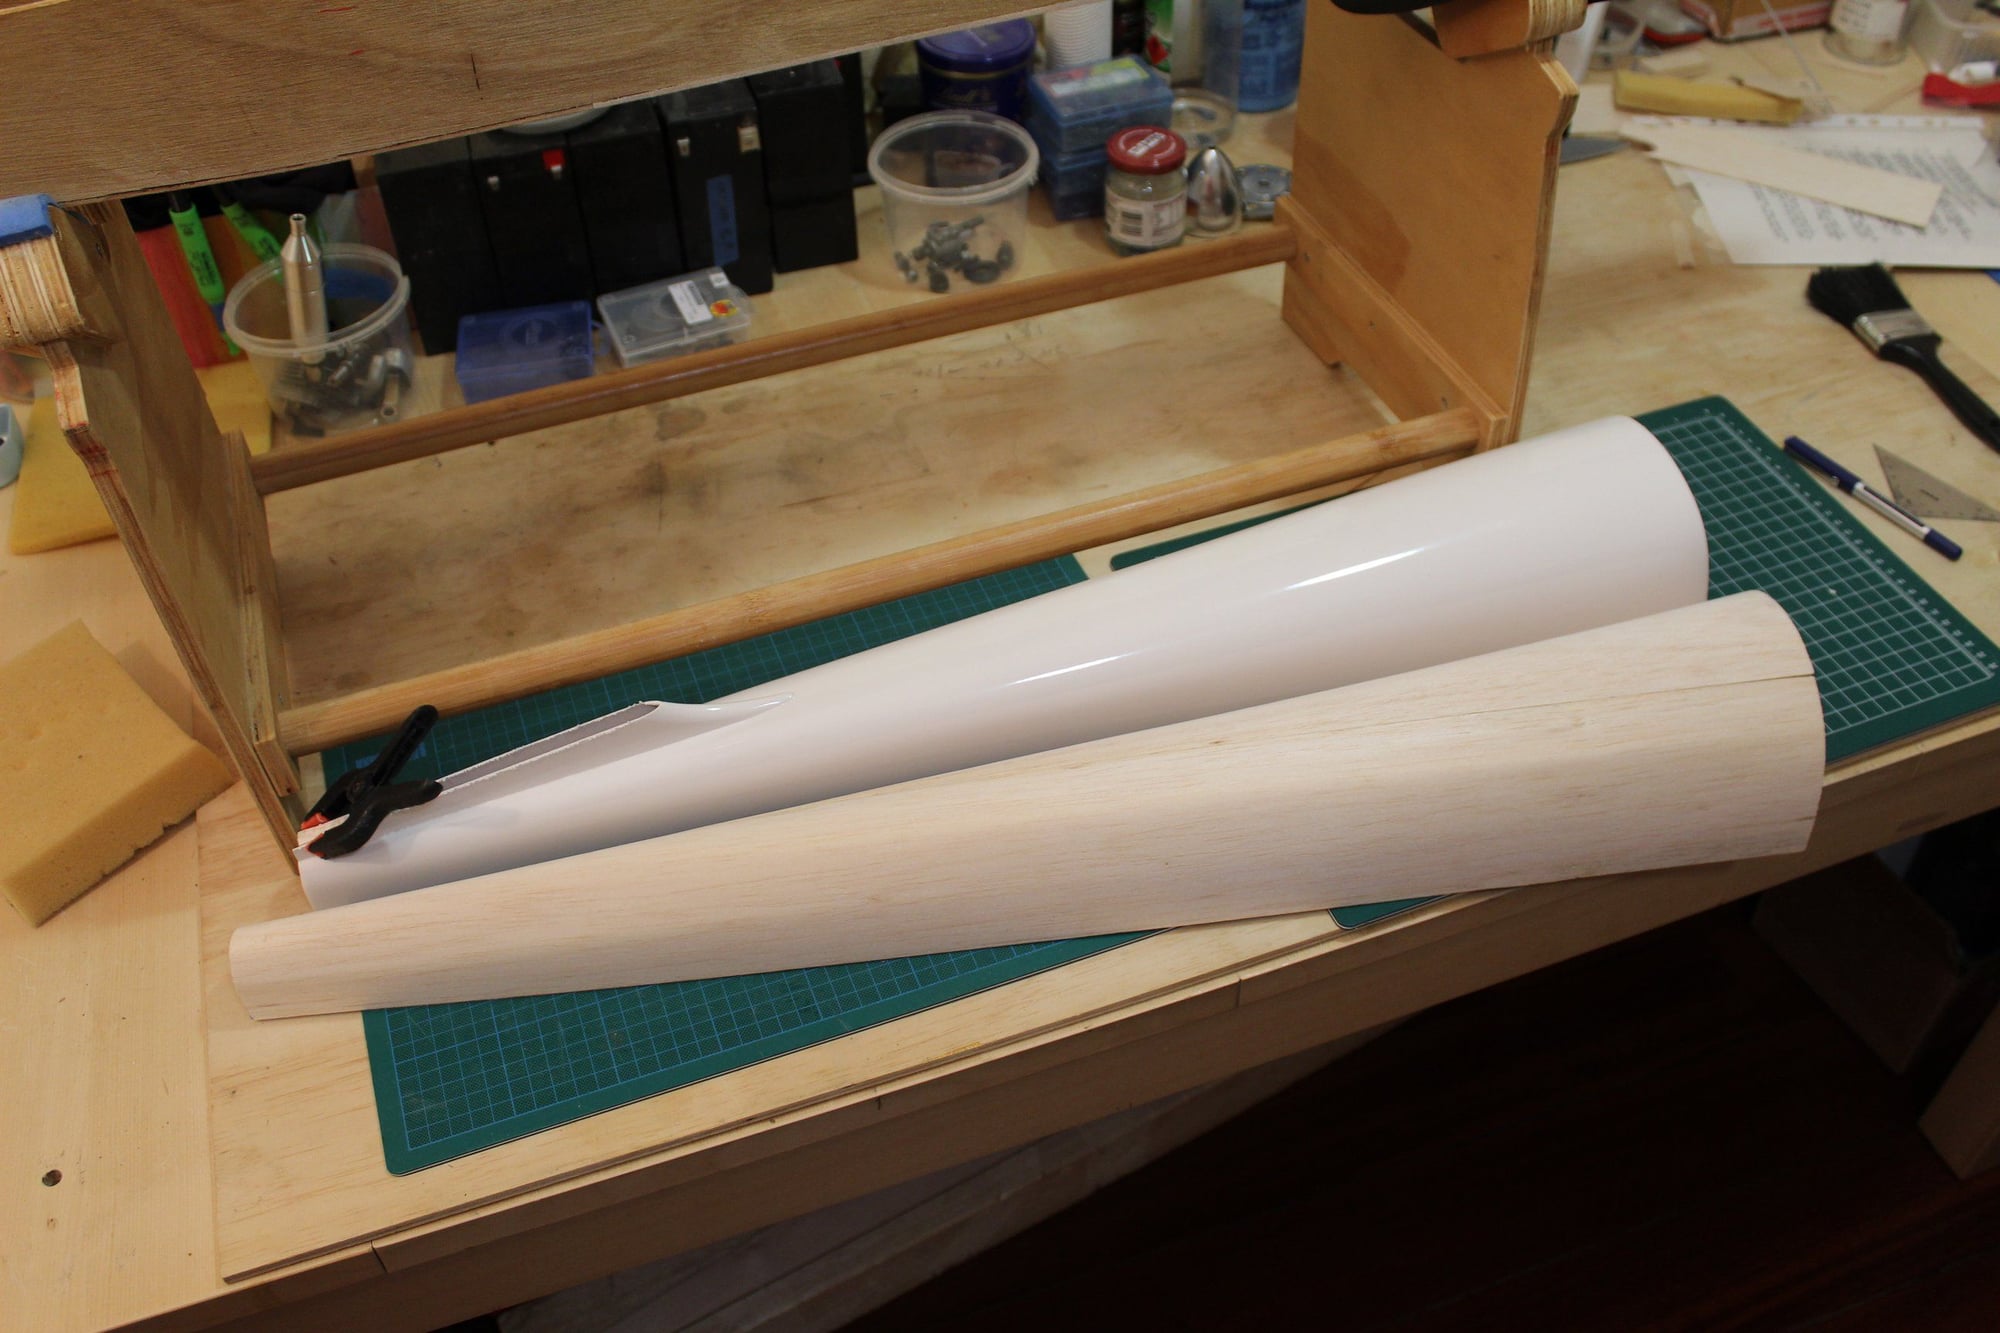
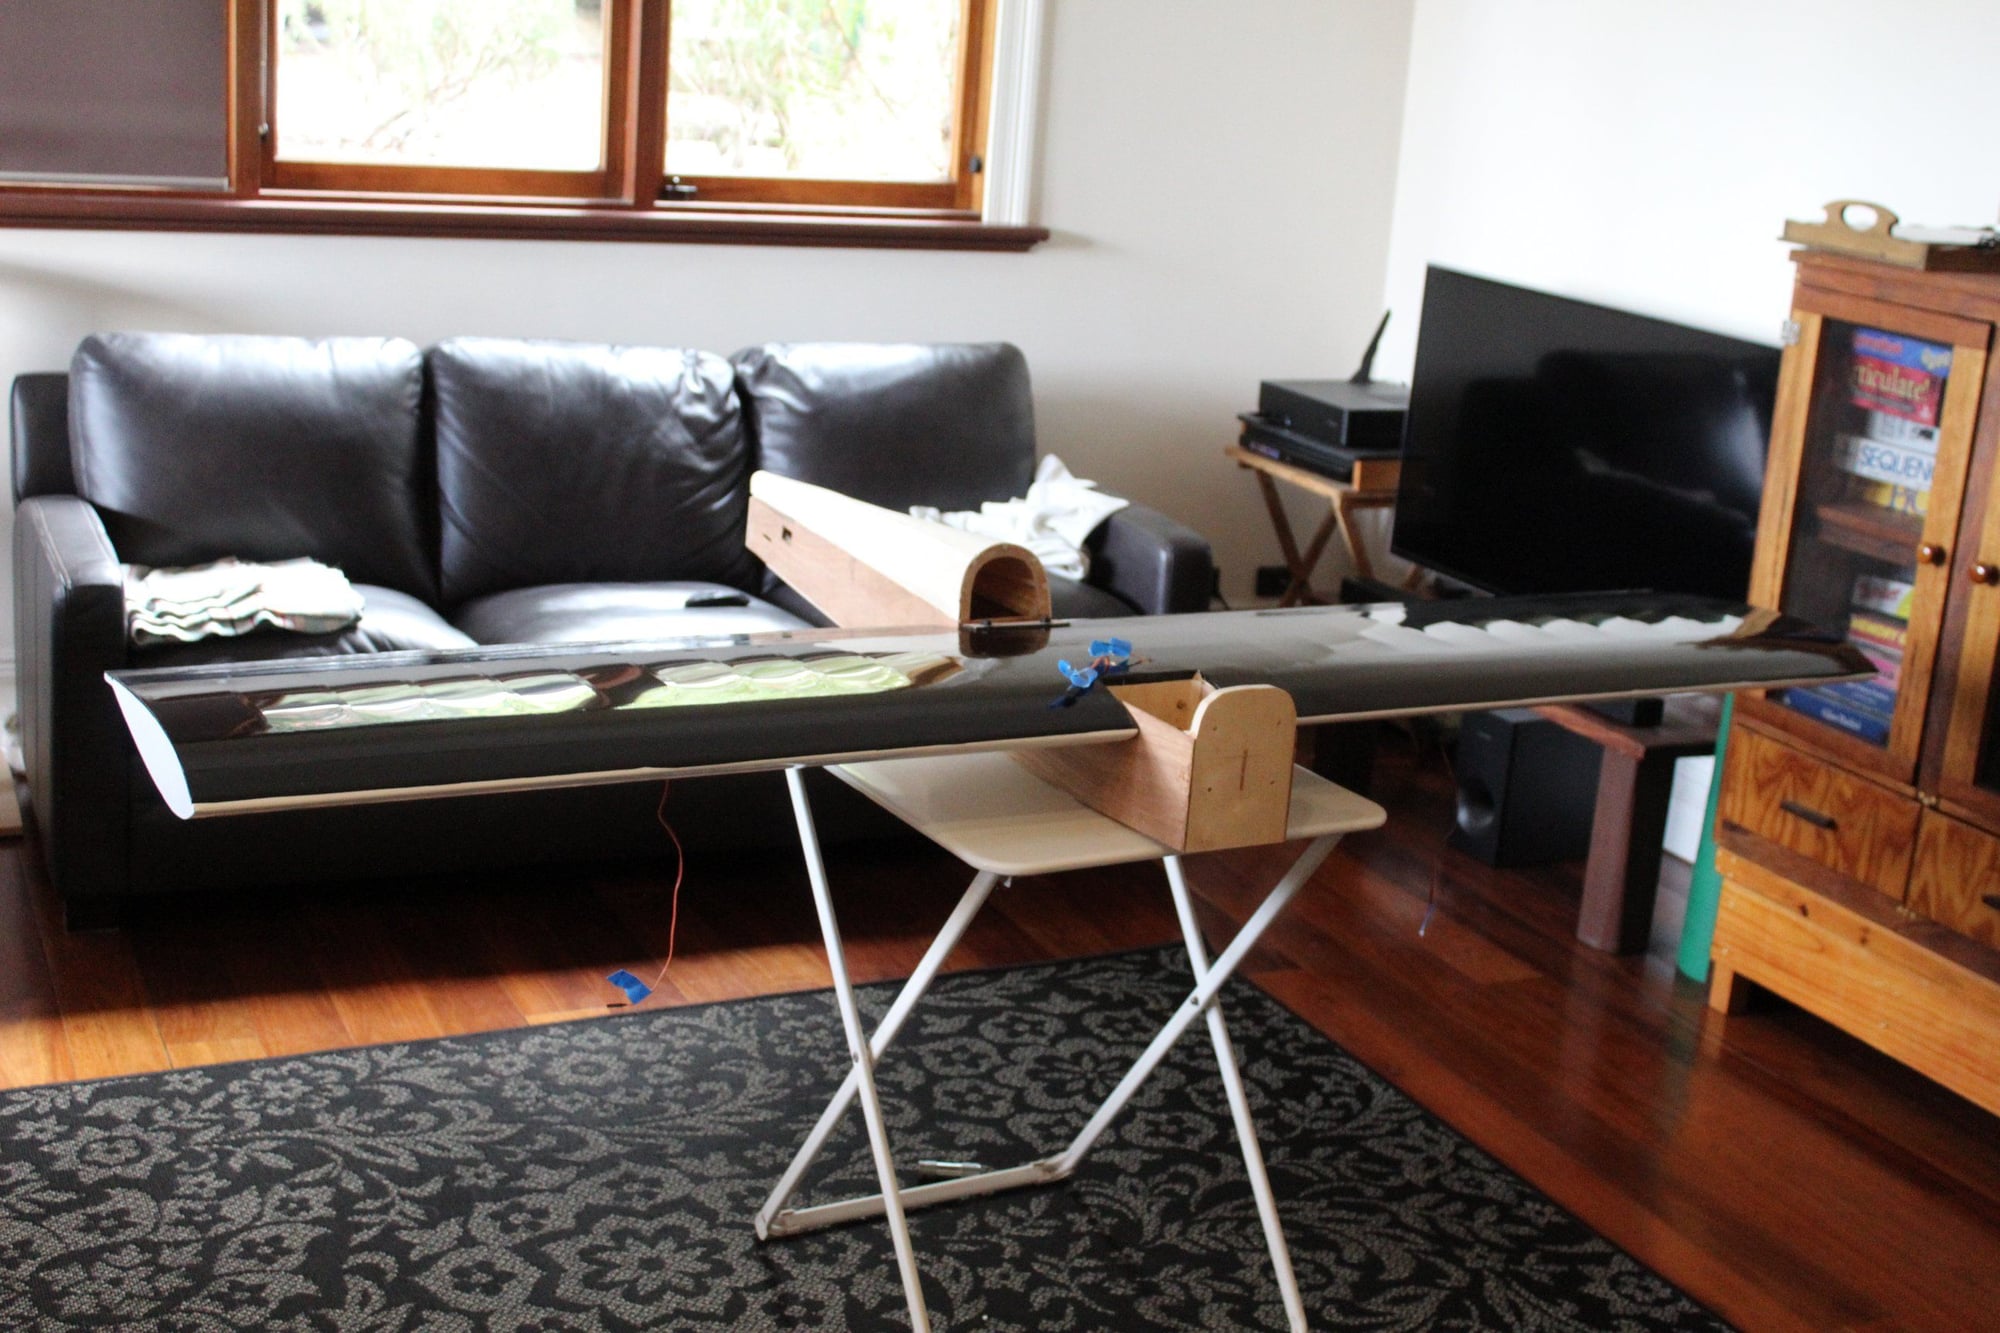
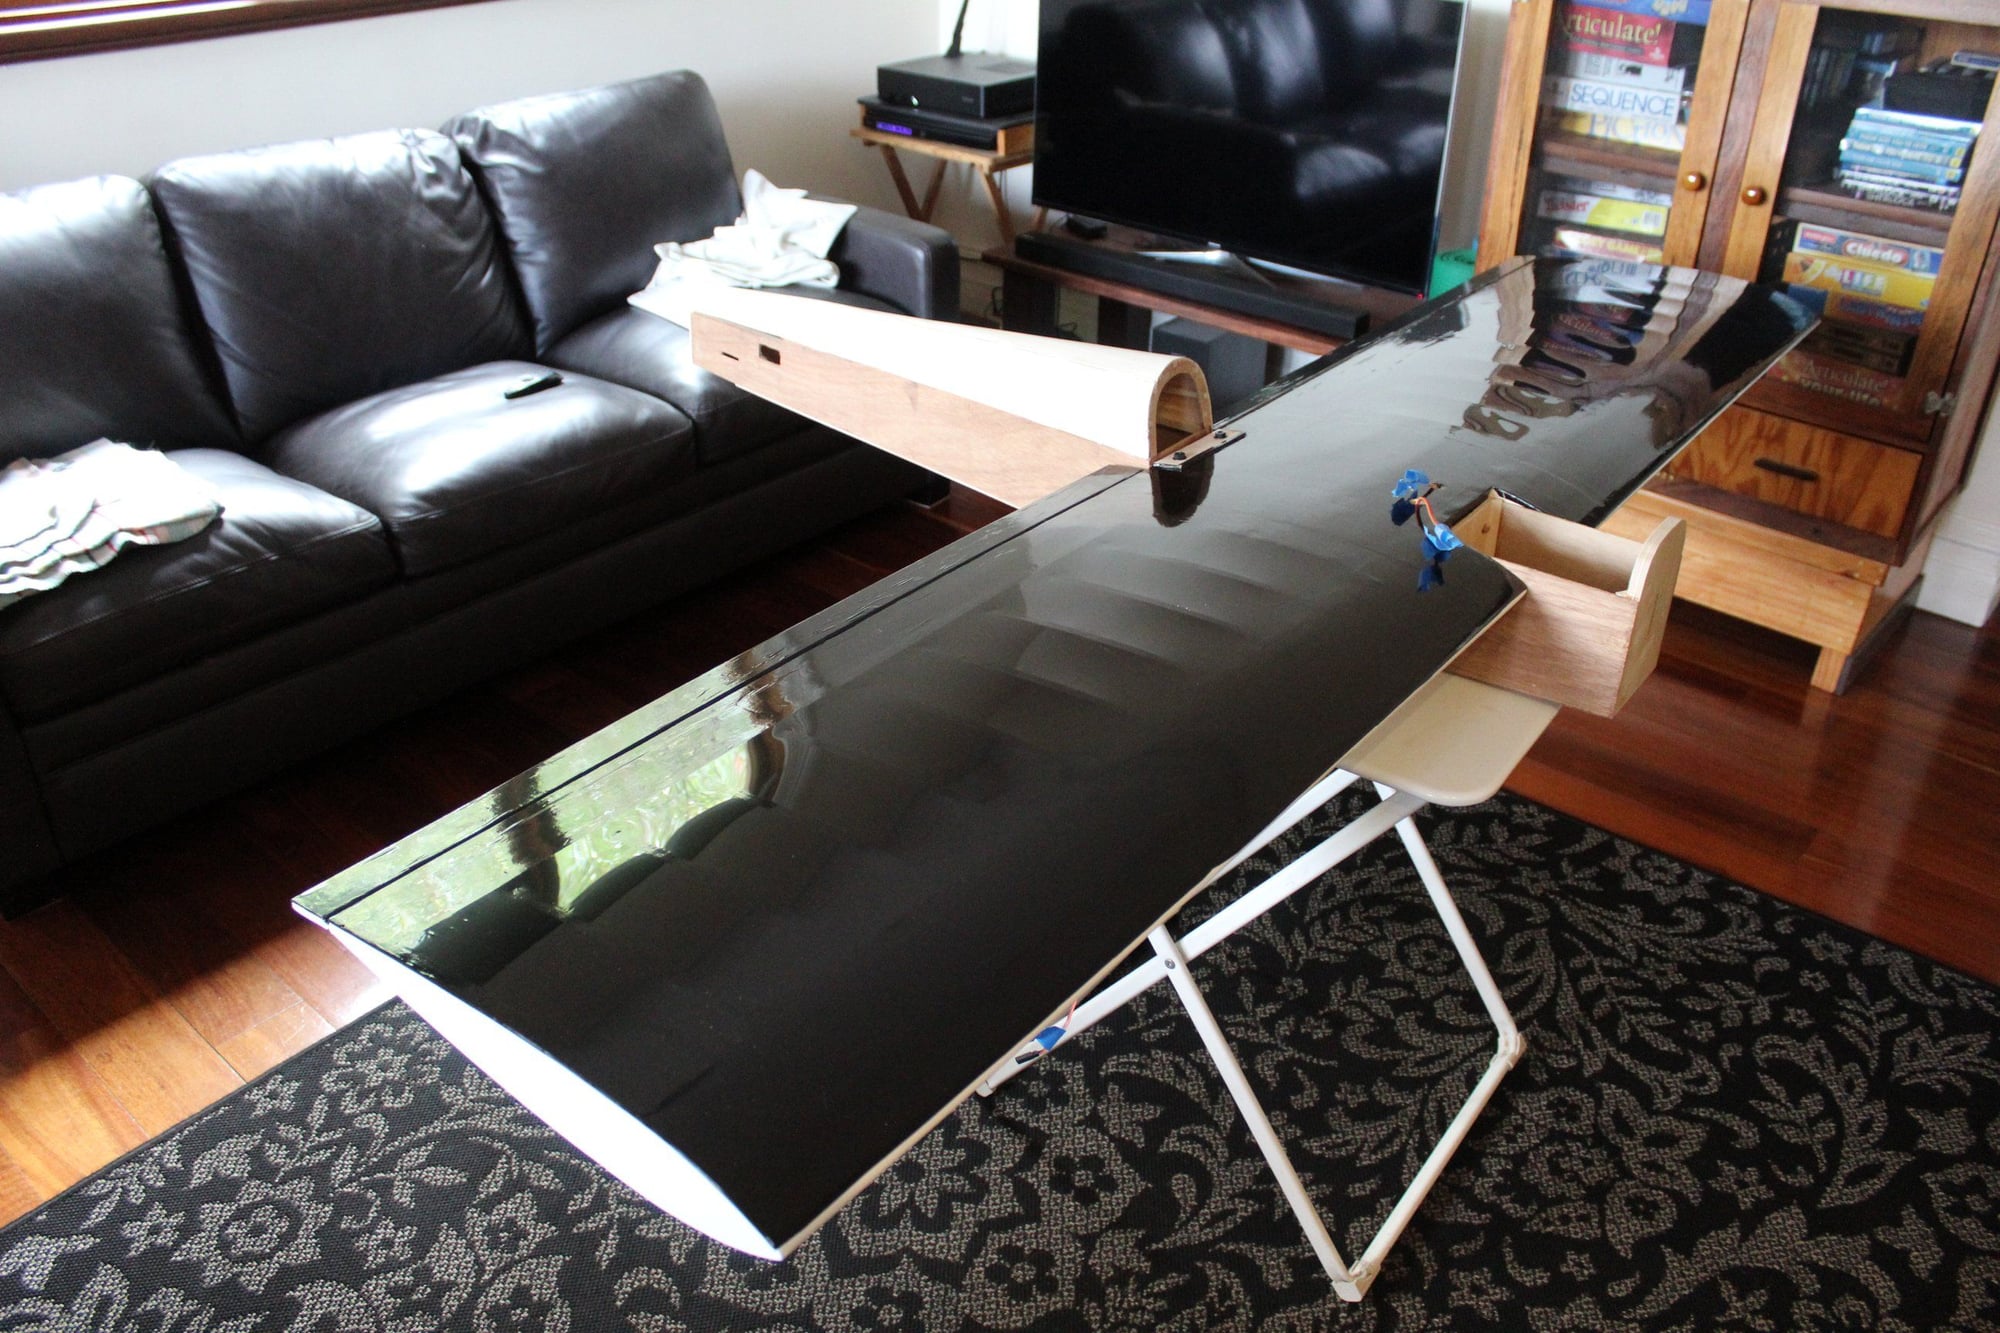
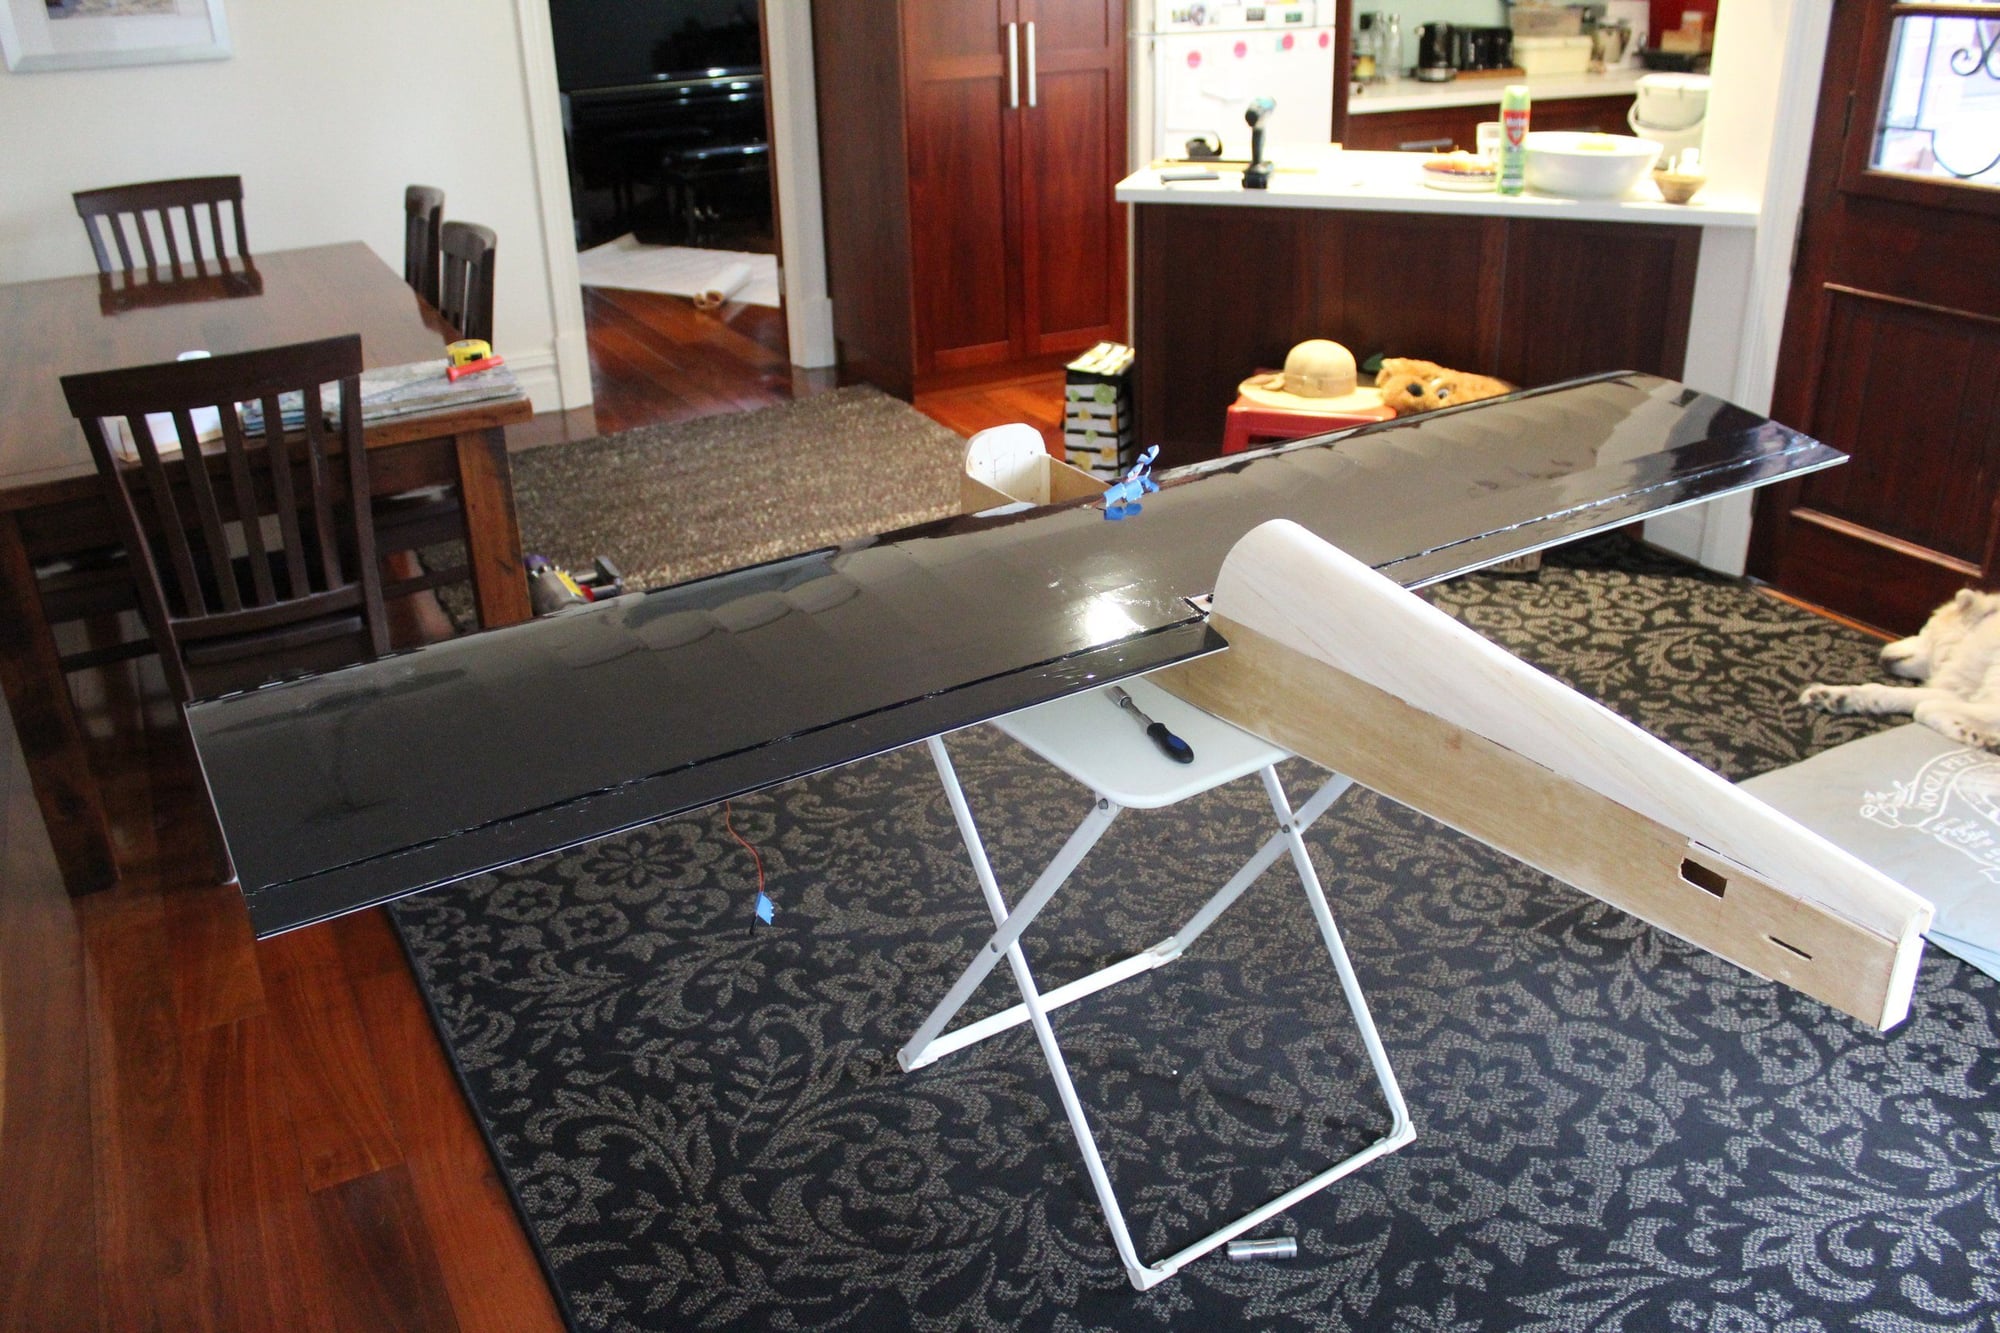
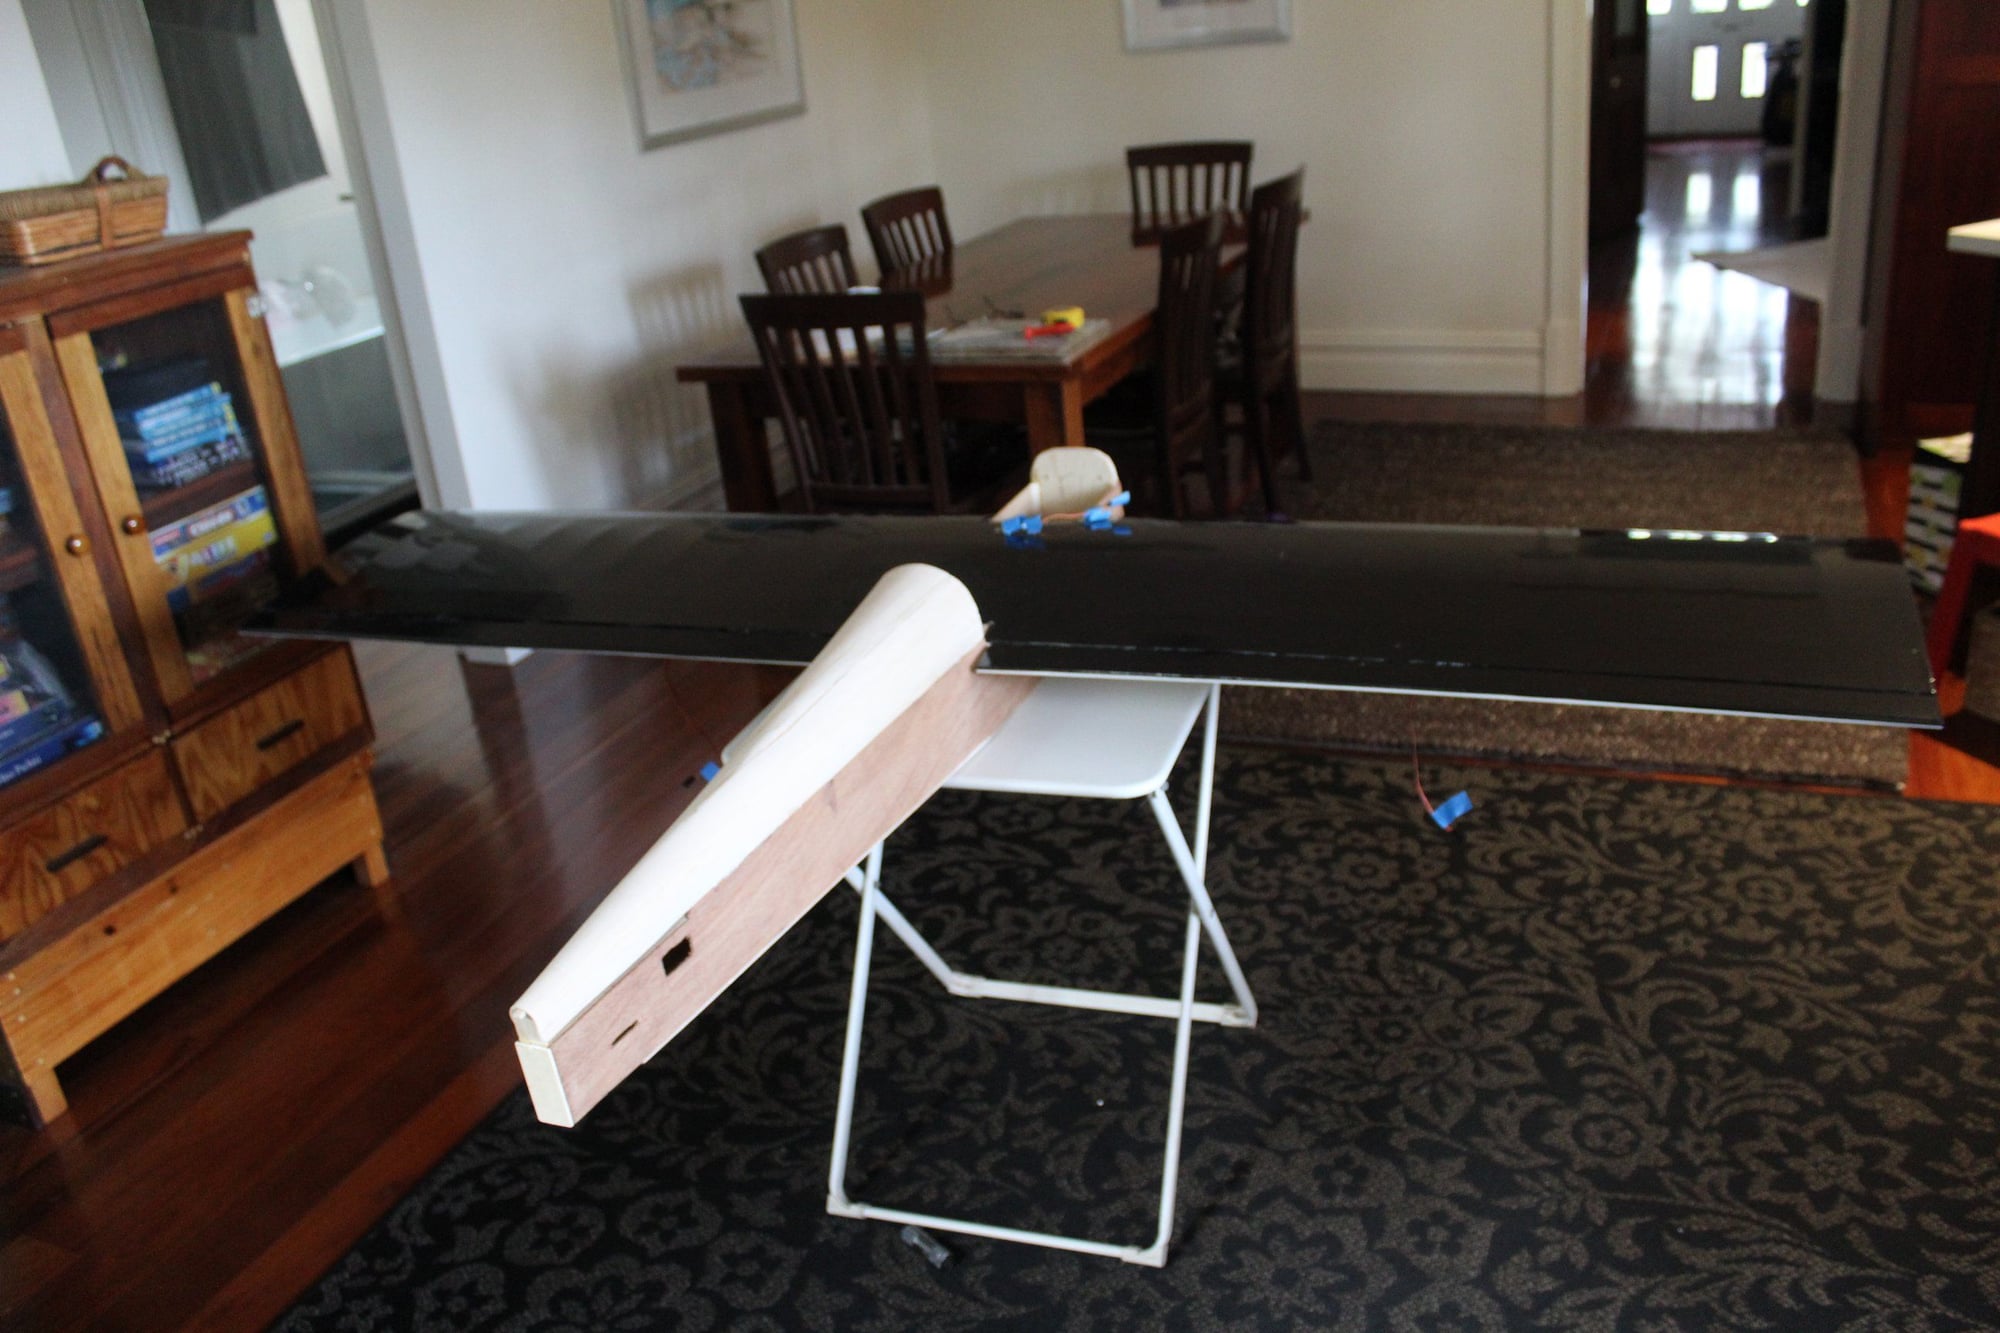
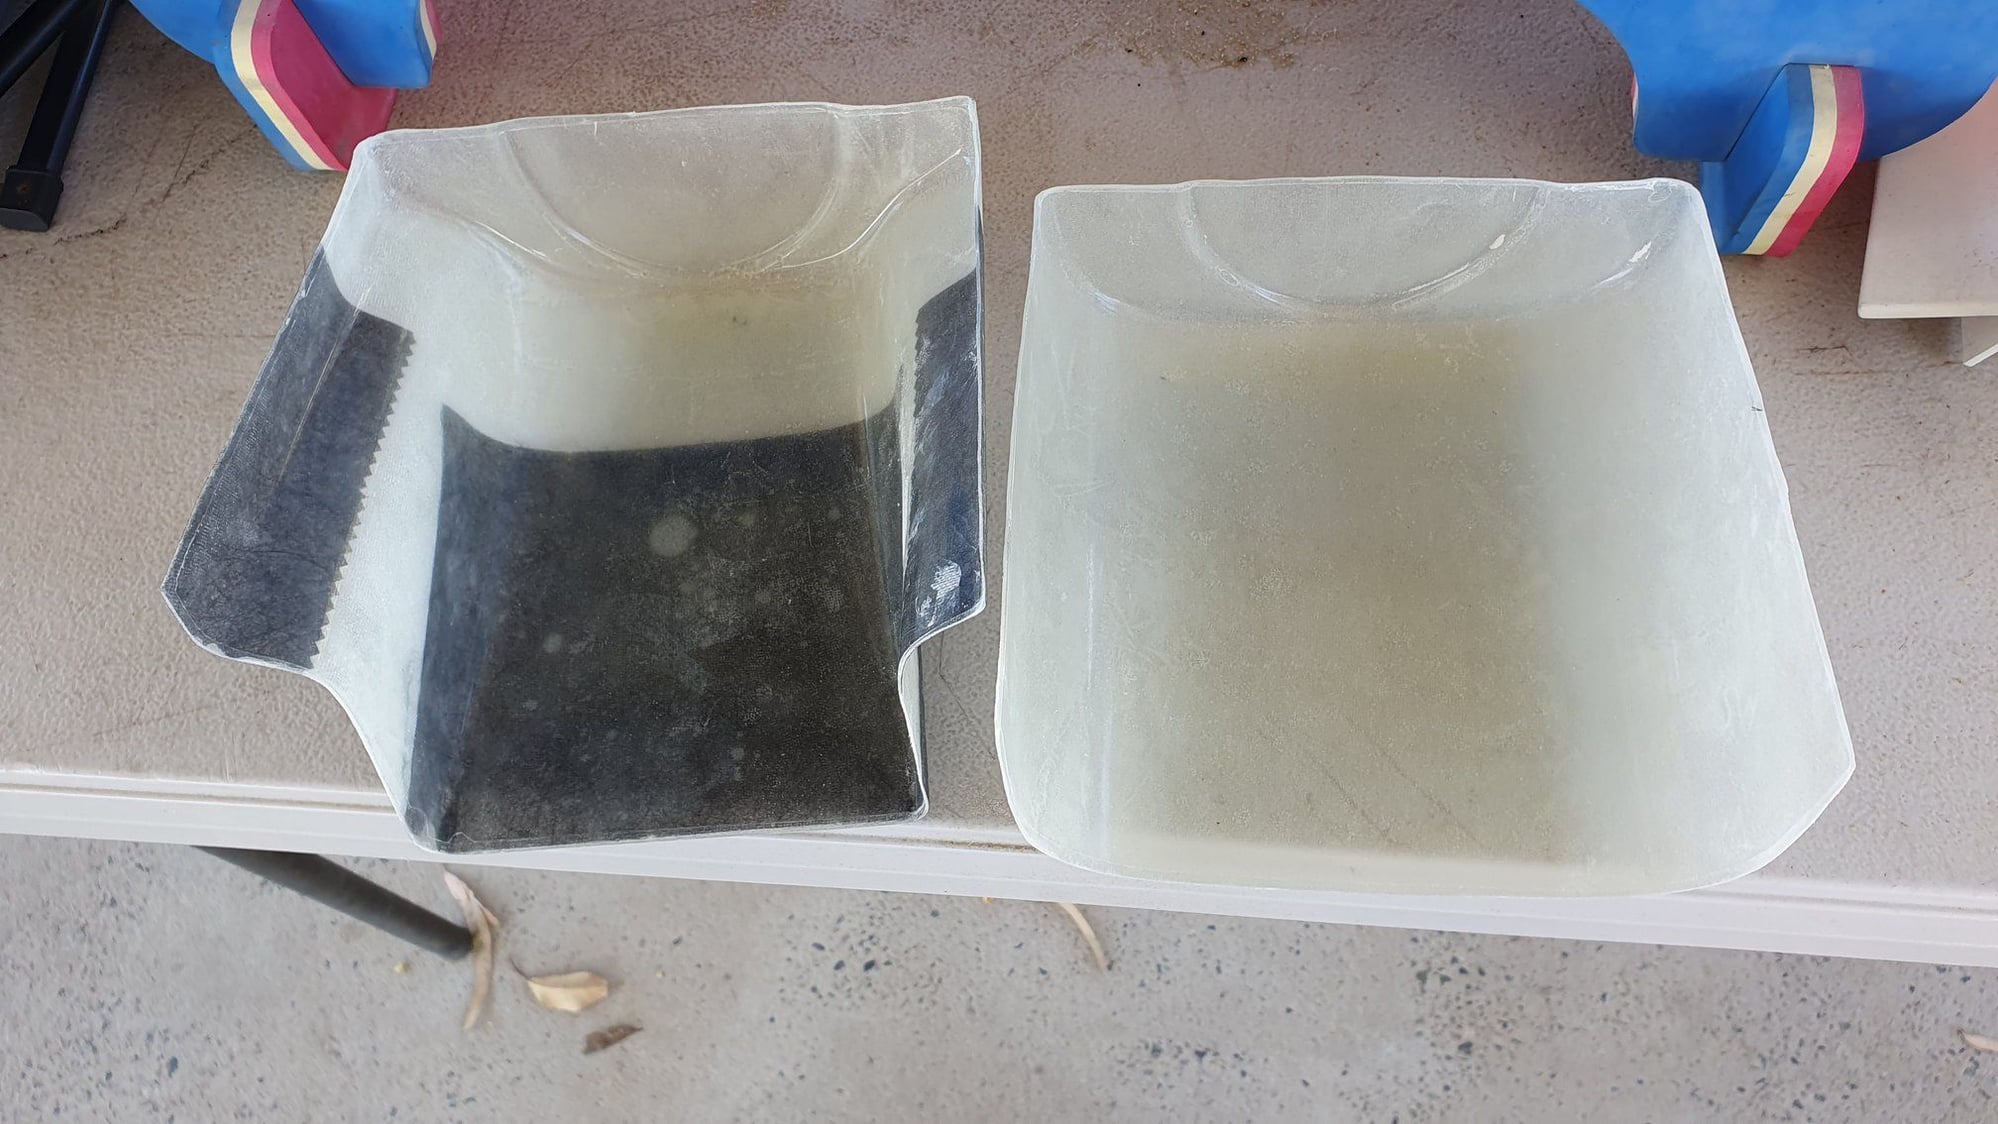
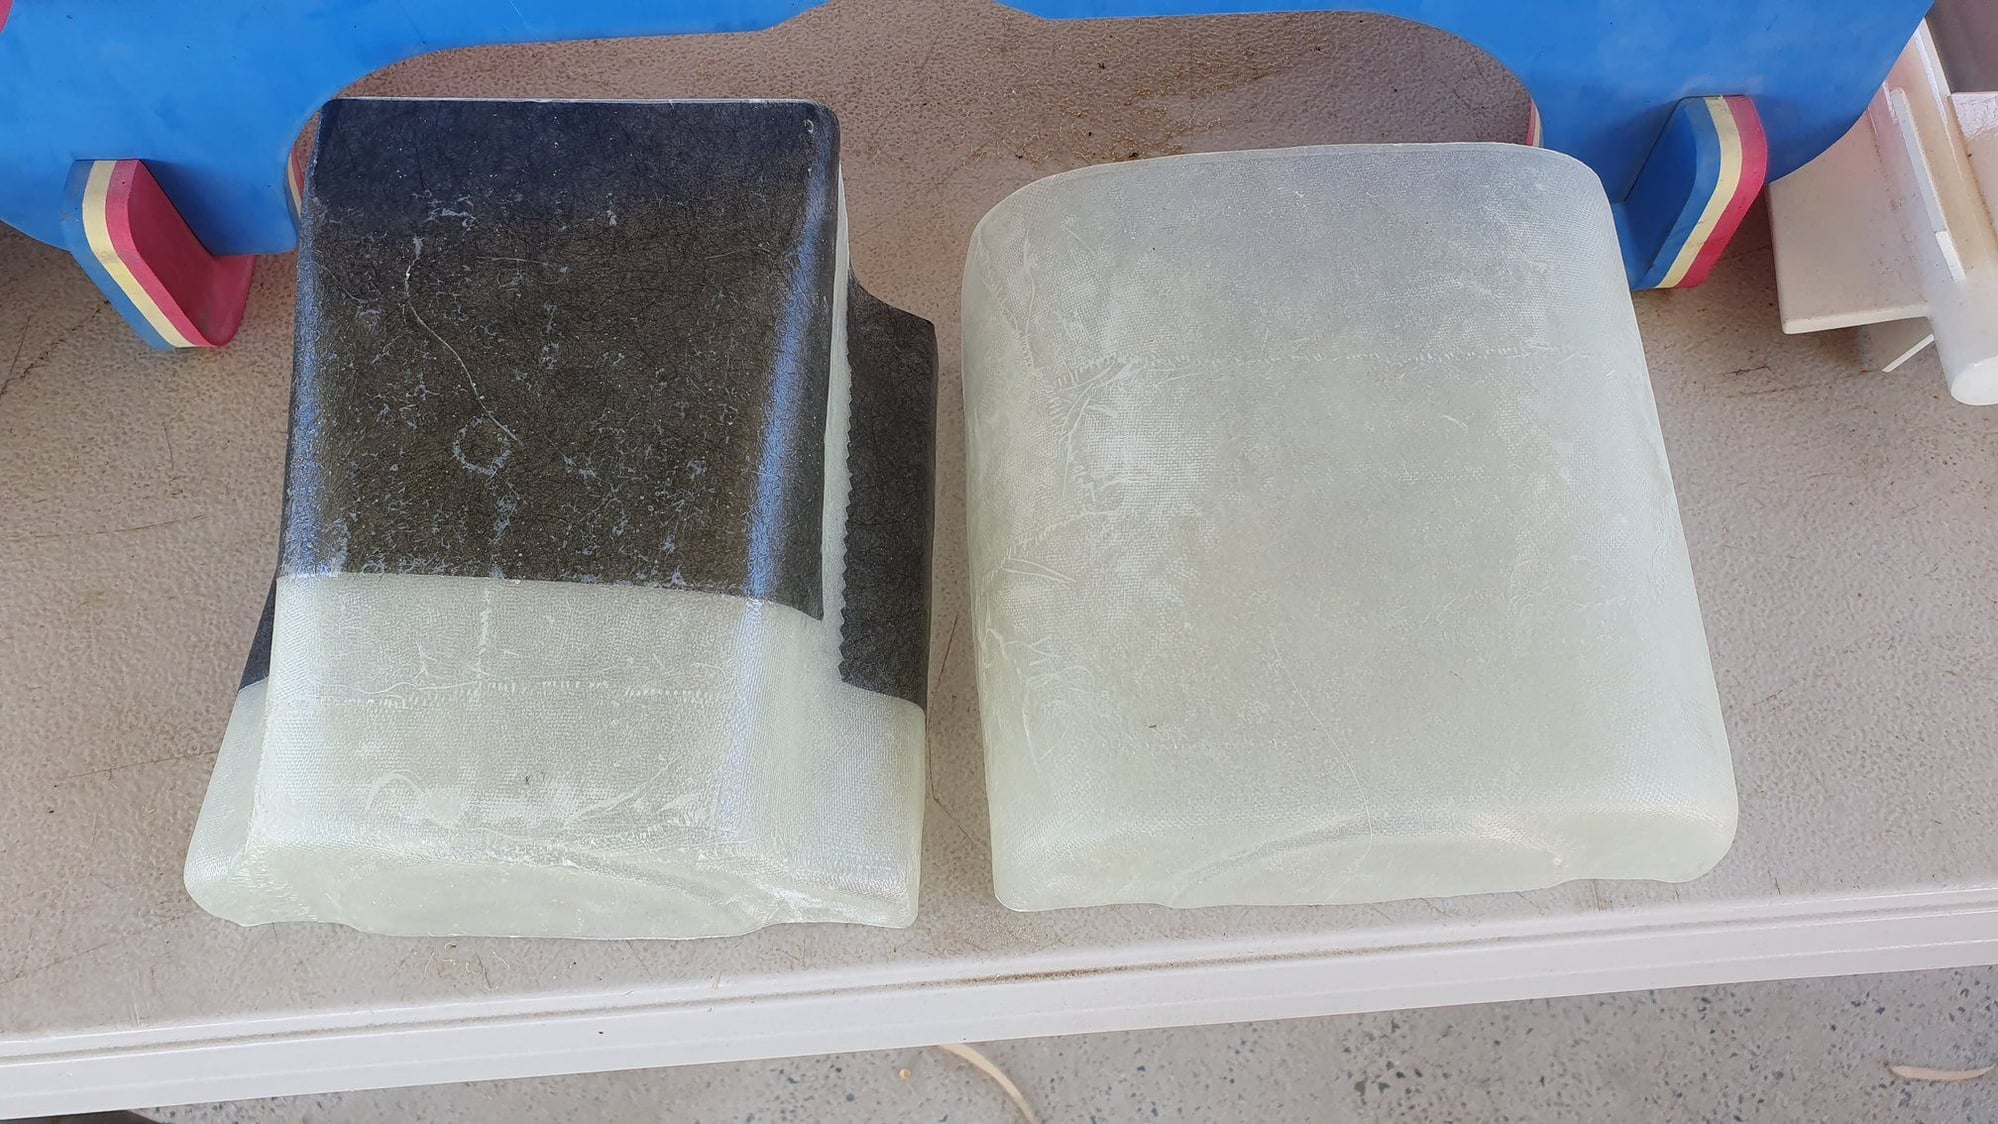
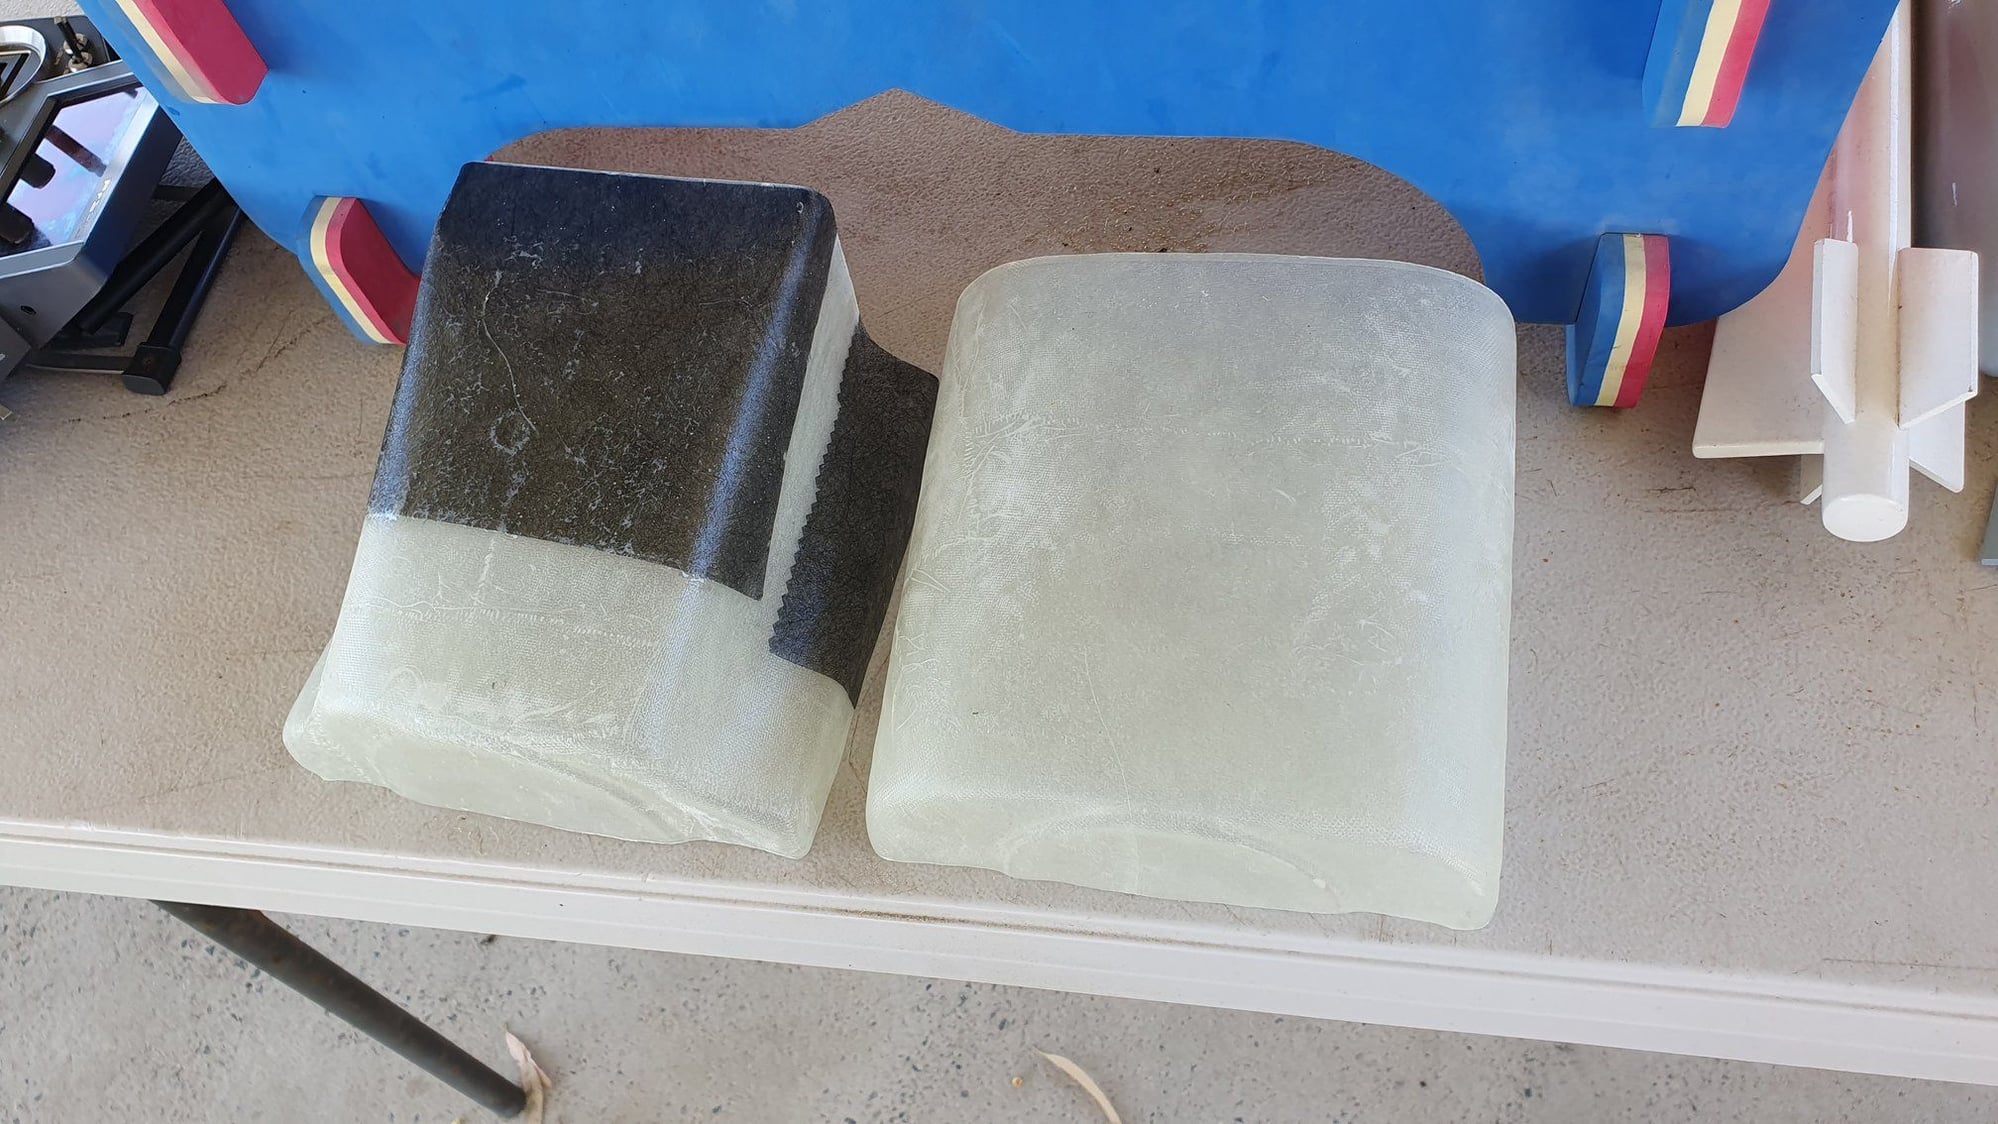
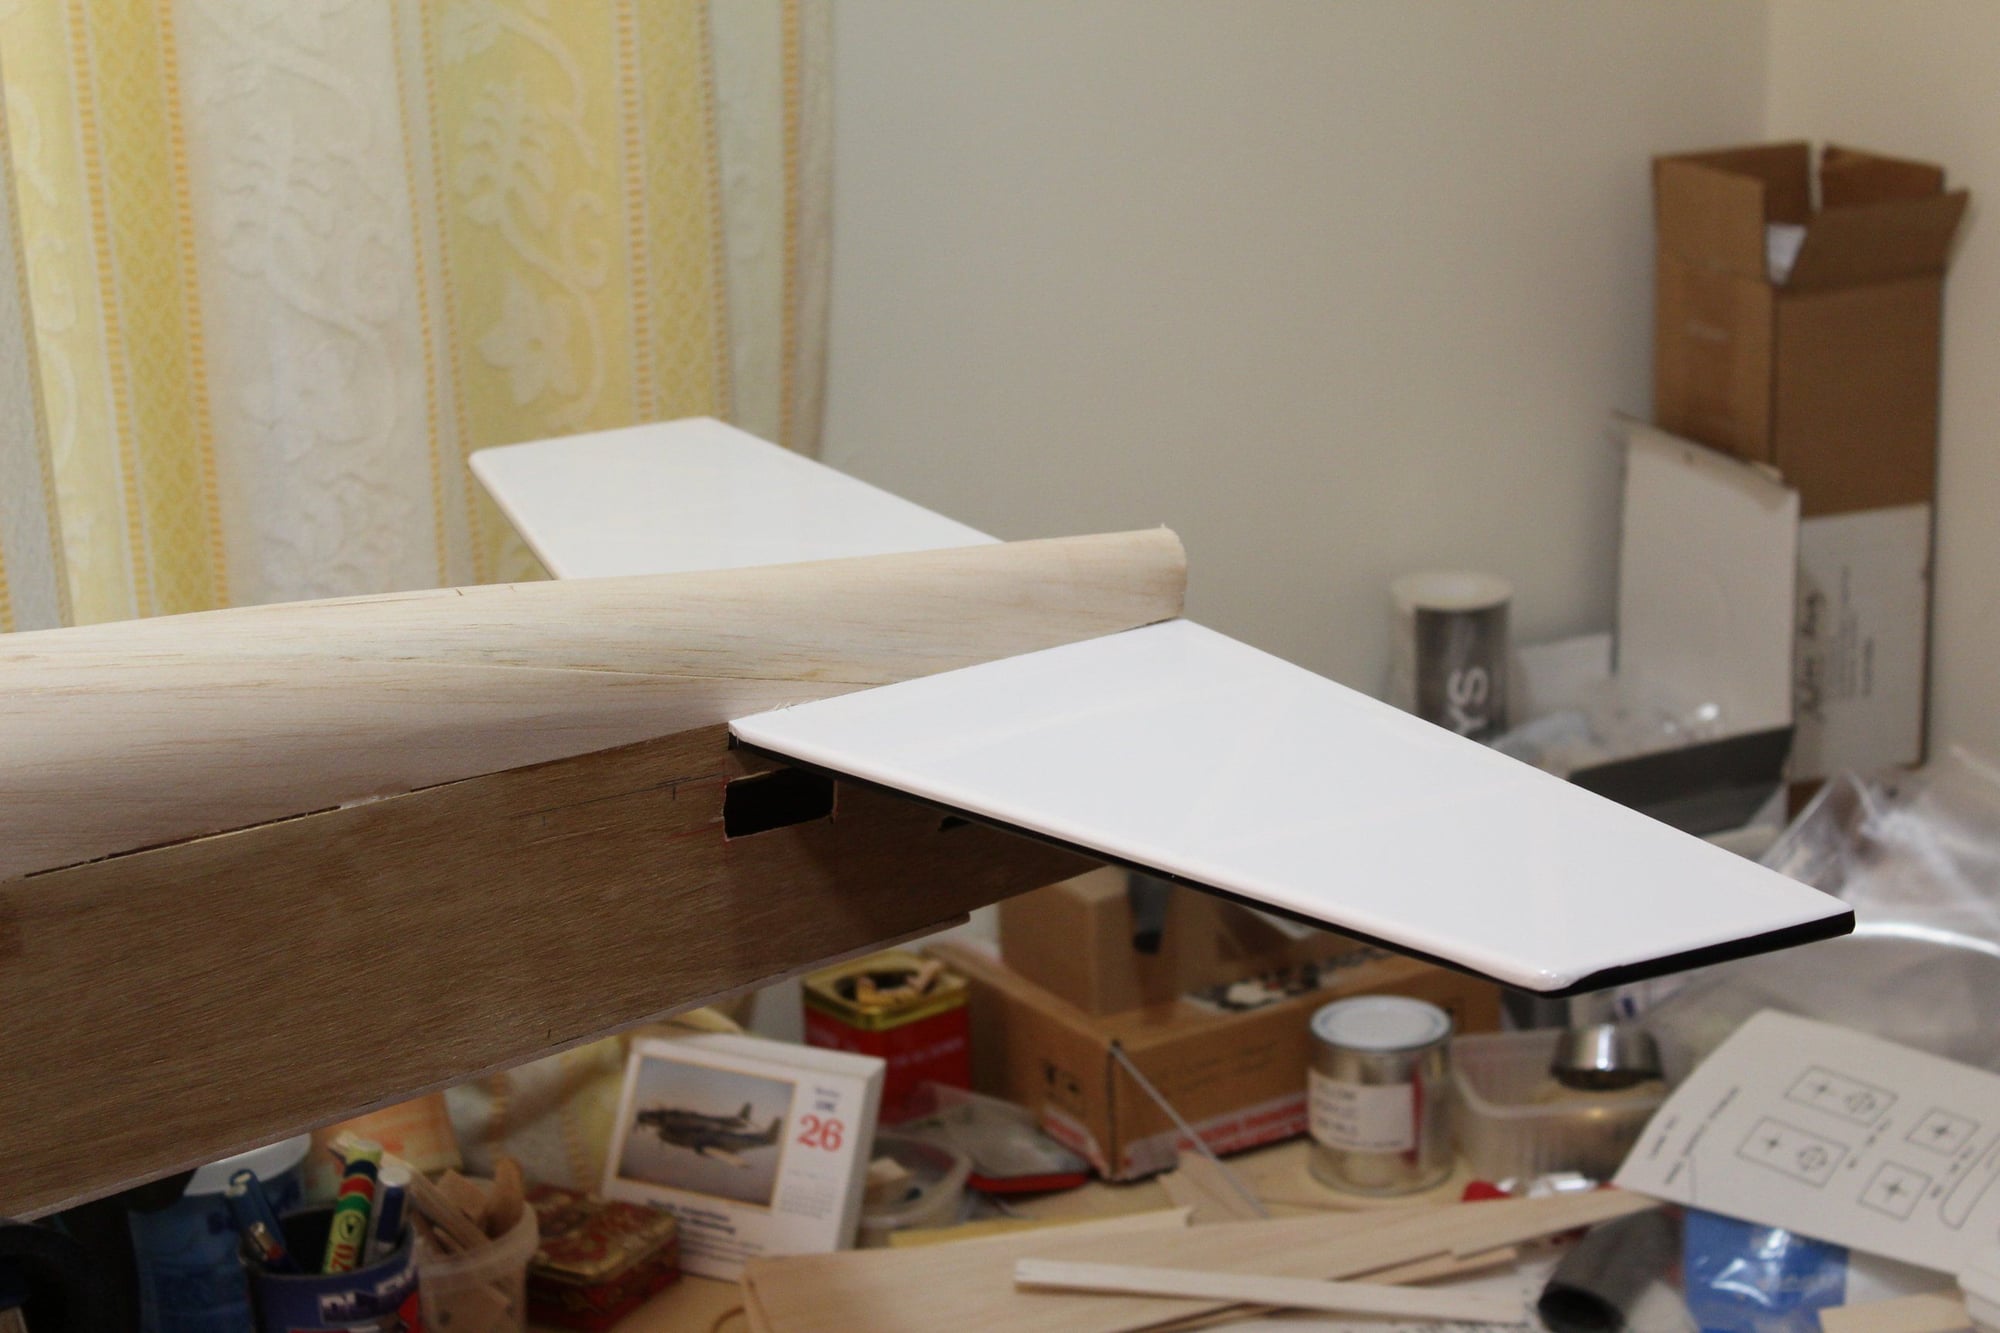
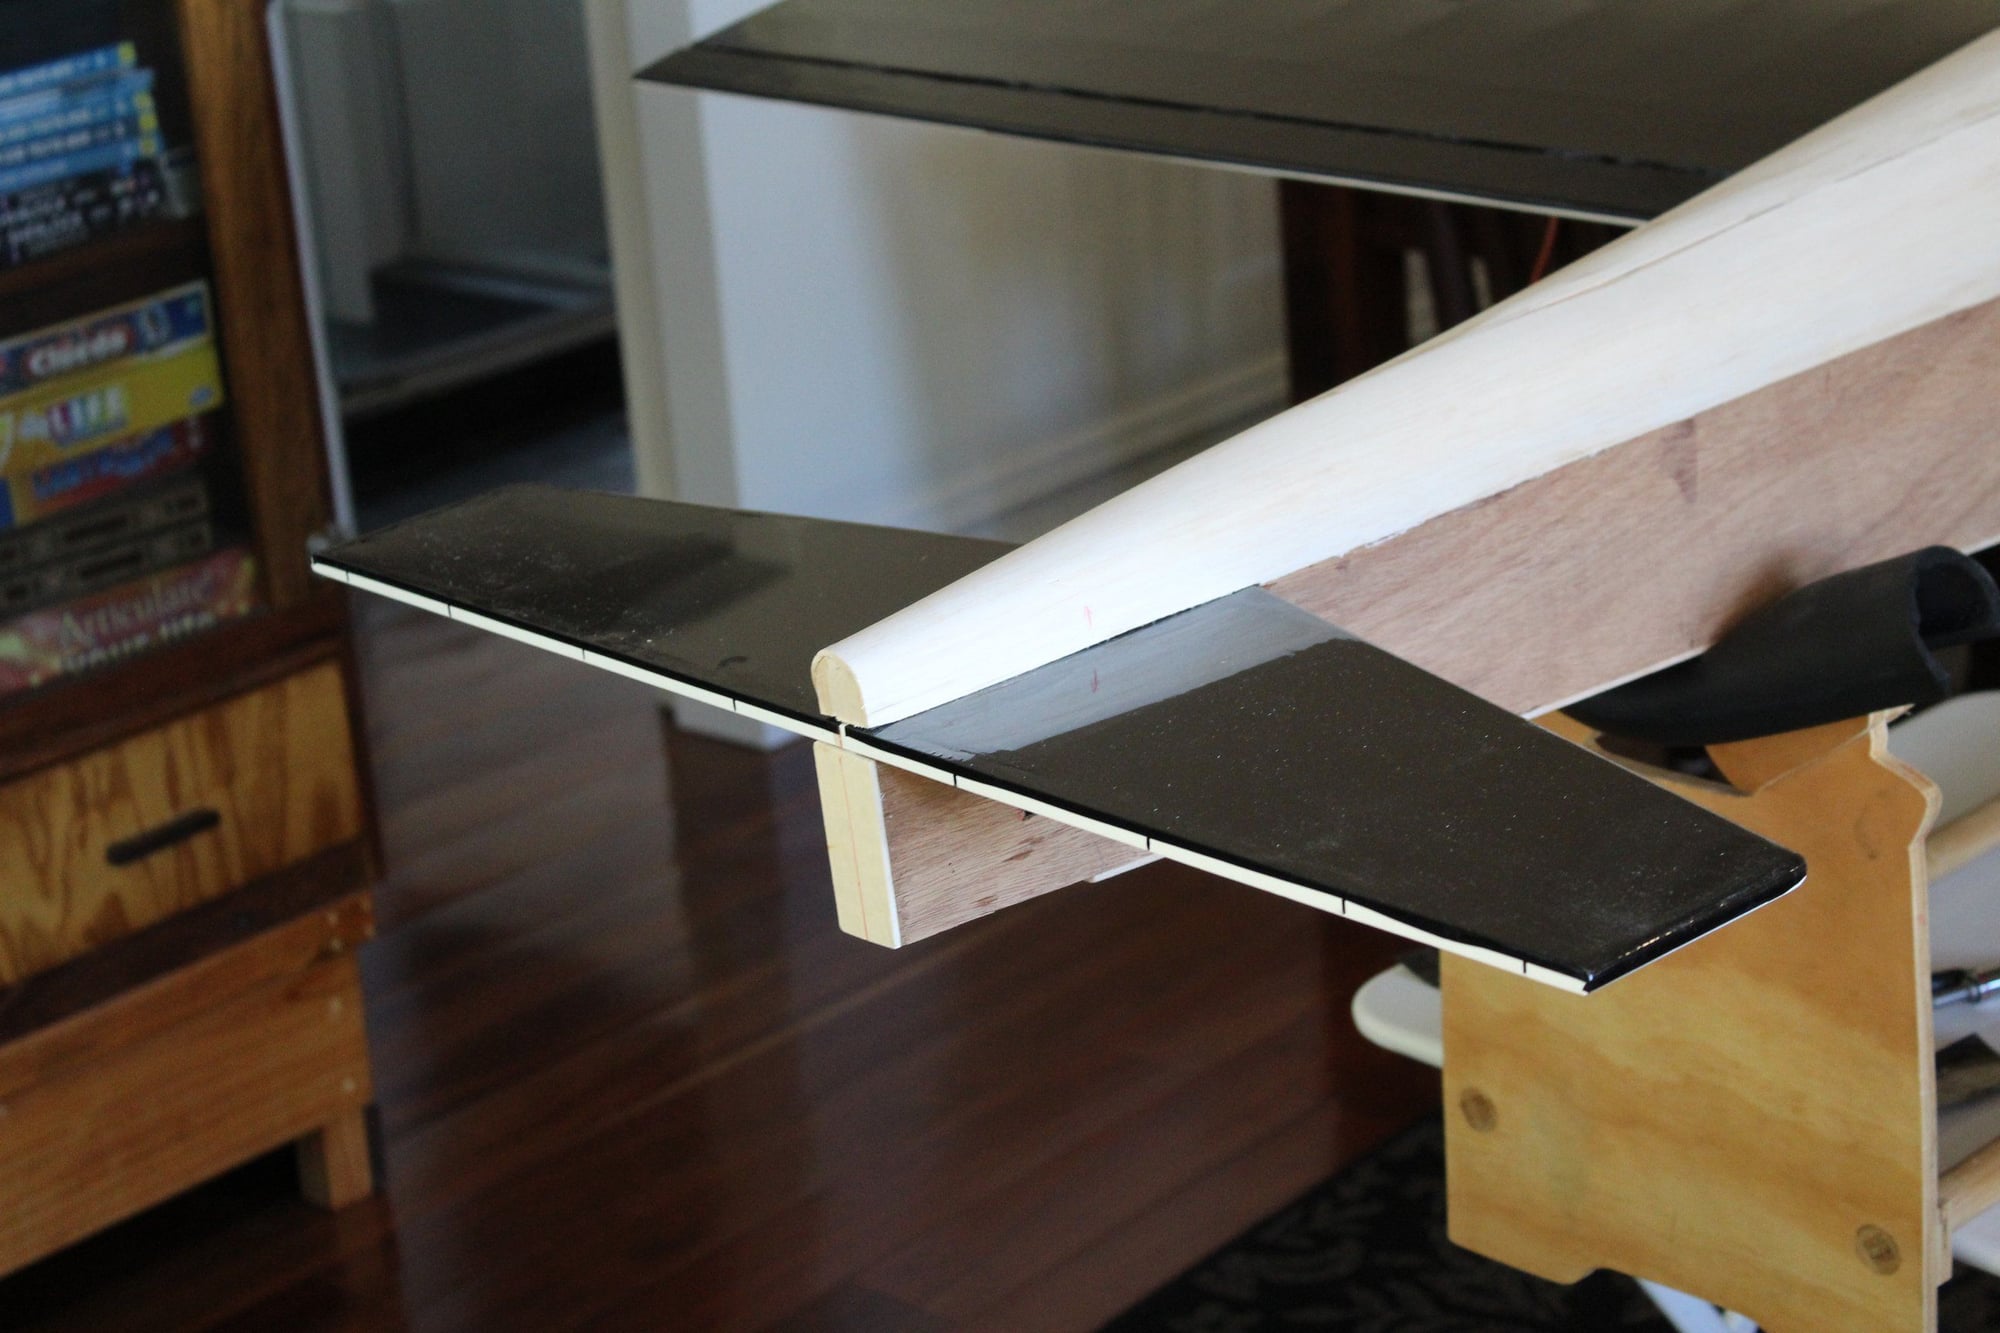
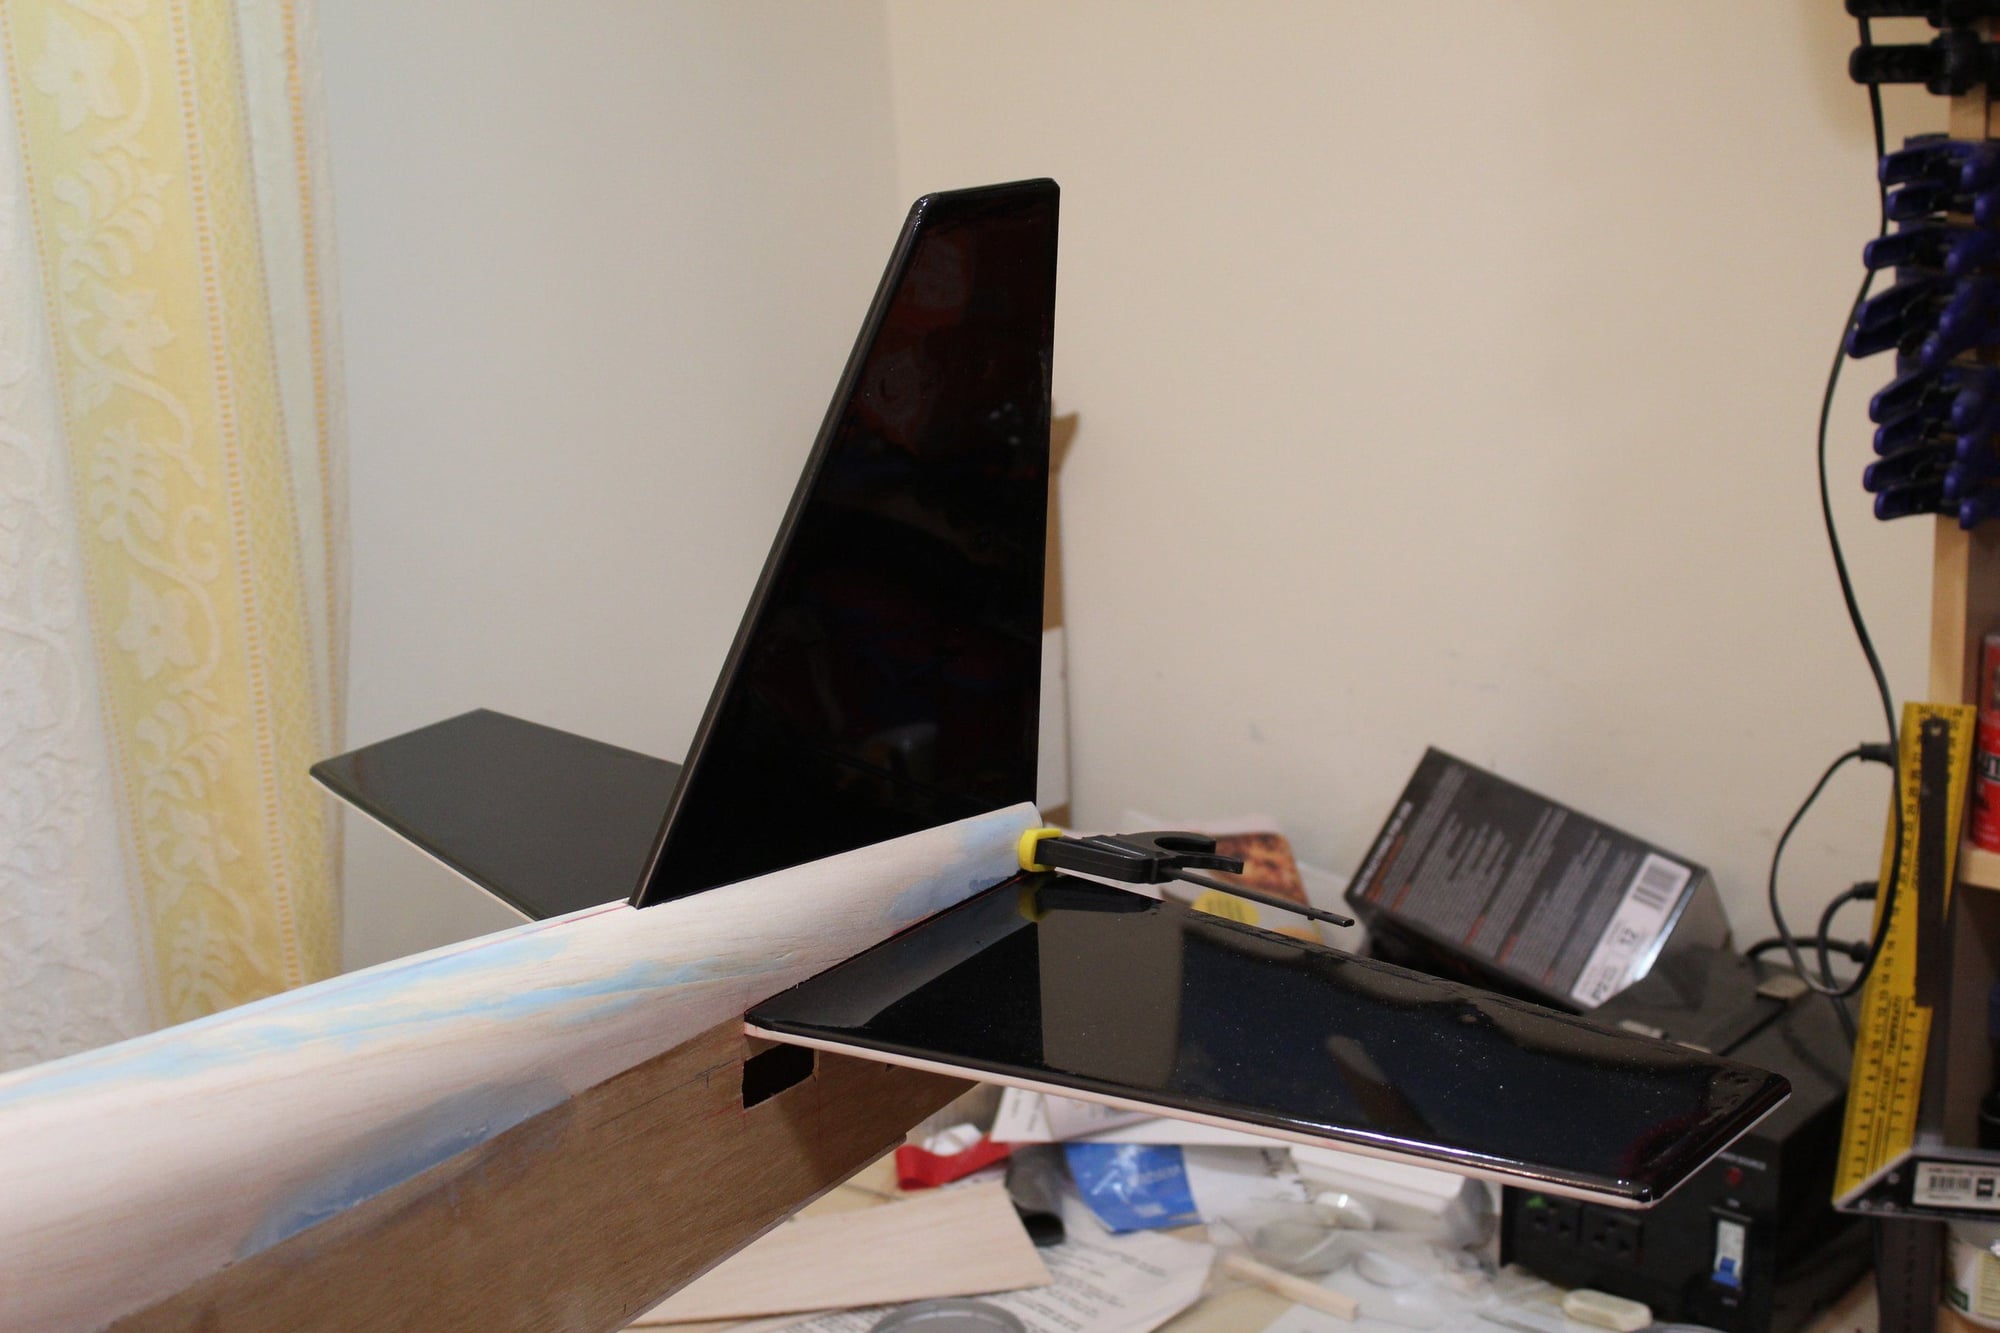
While I was working on the fuselage, a friend took the ABS plastic cowl and made a fiberglass reinforced with carbon fibre moulds for me.
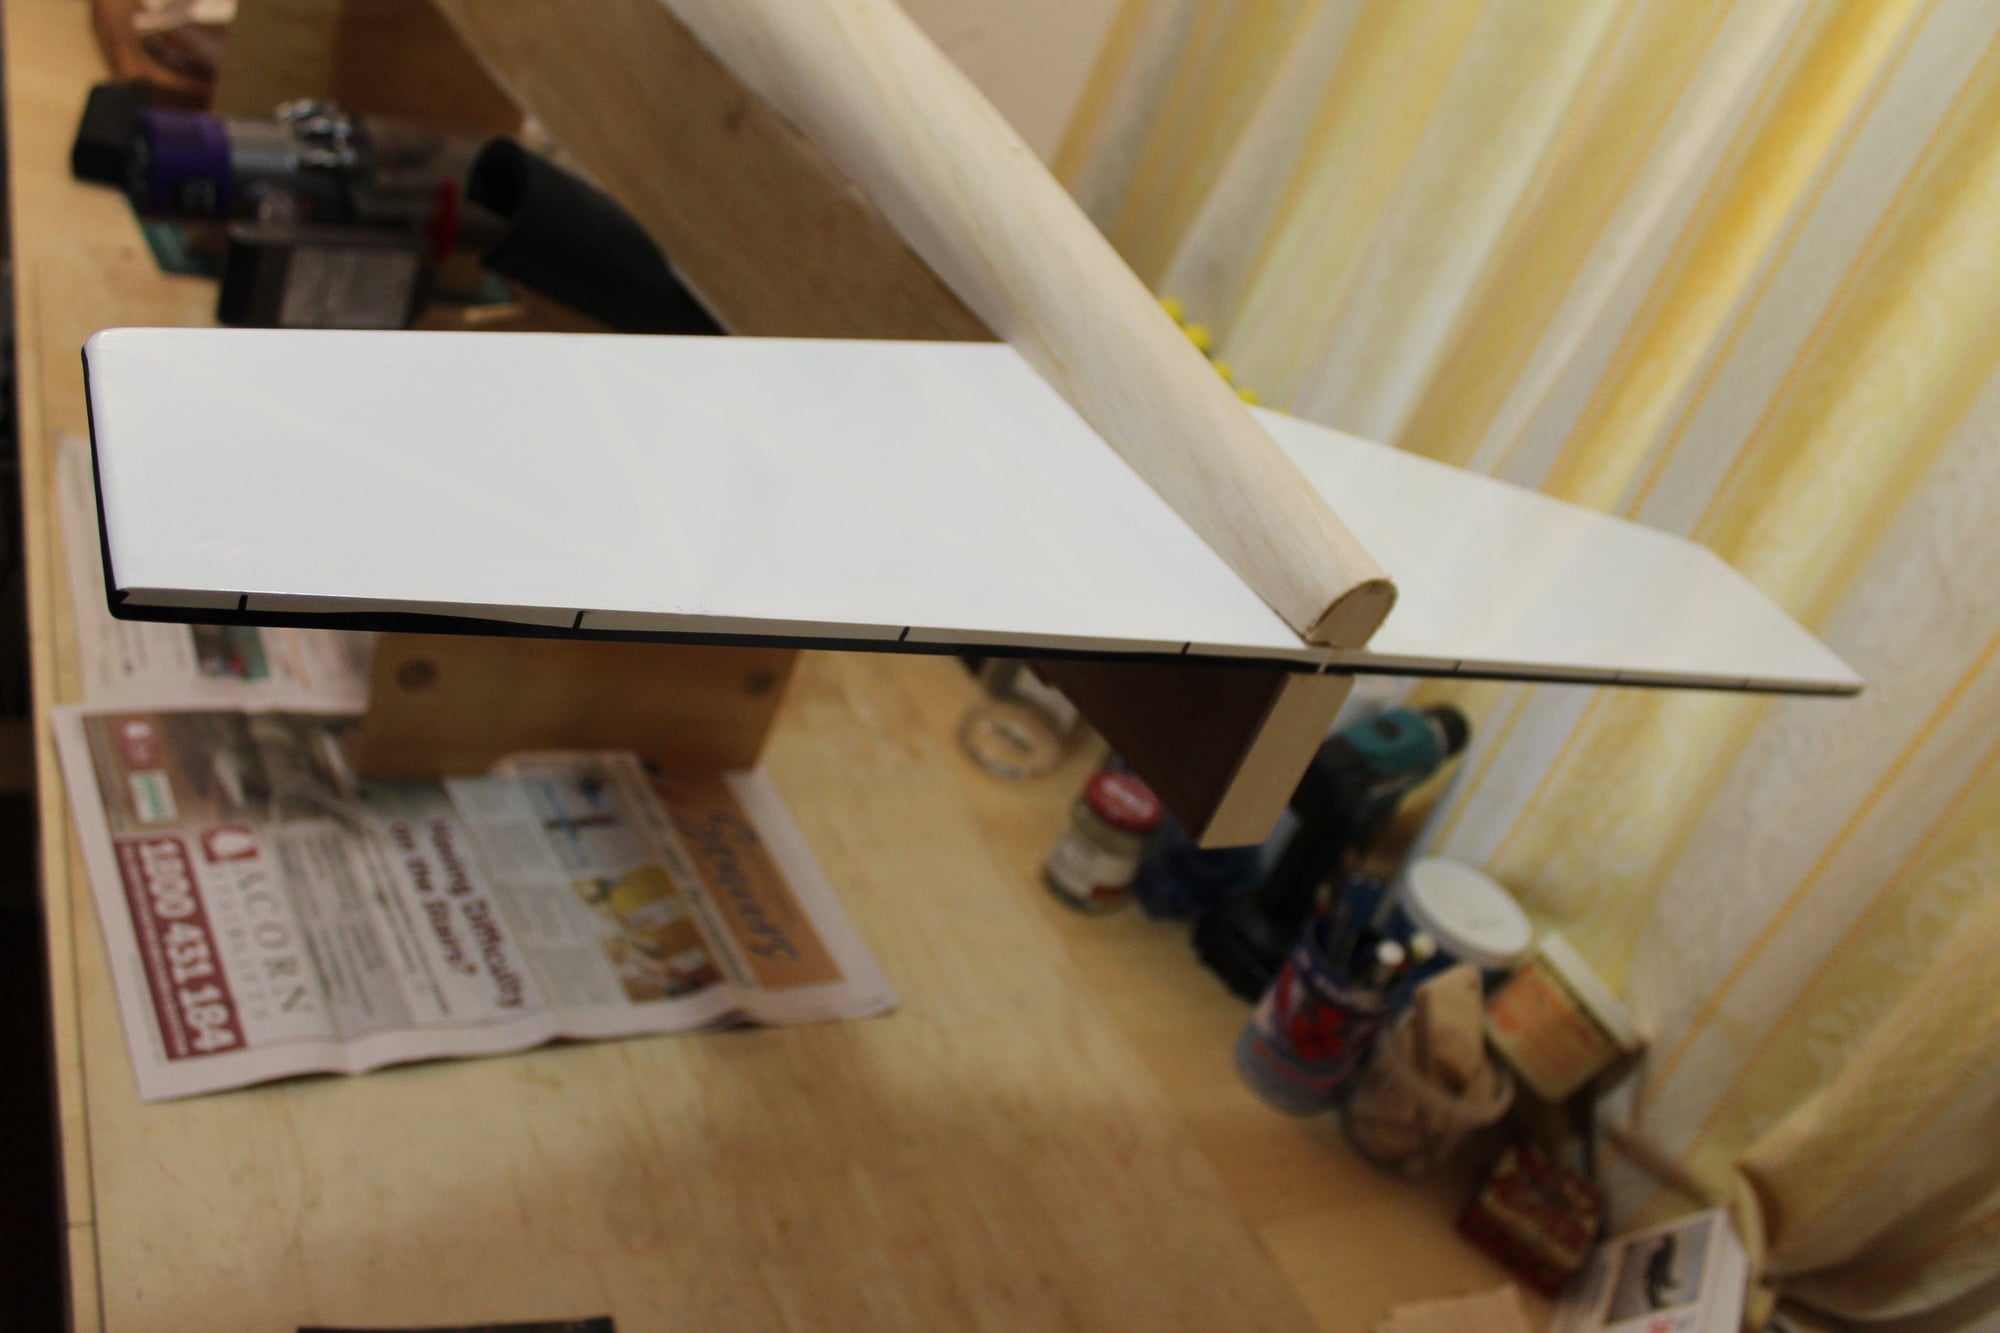
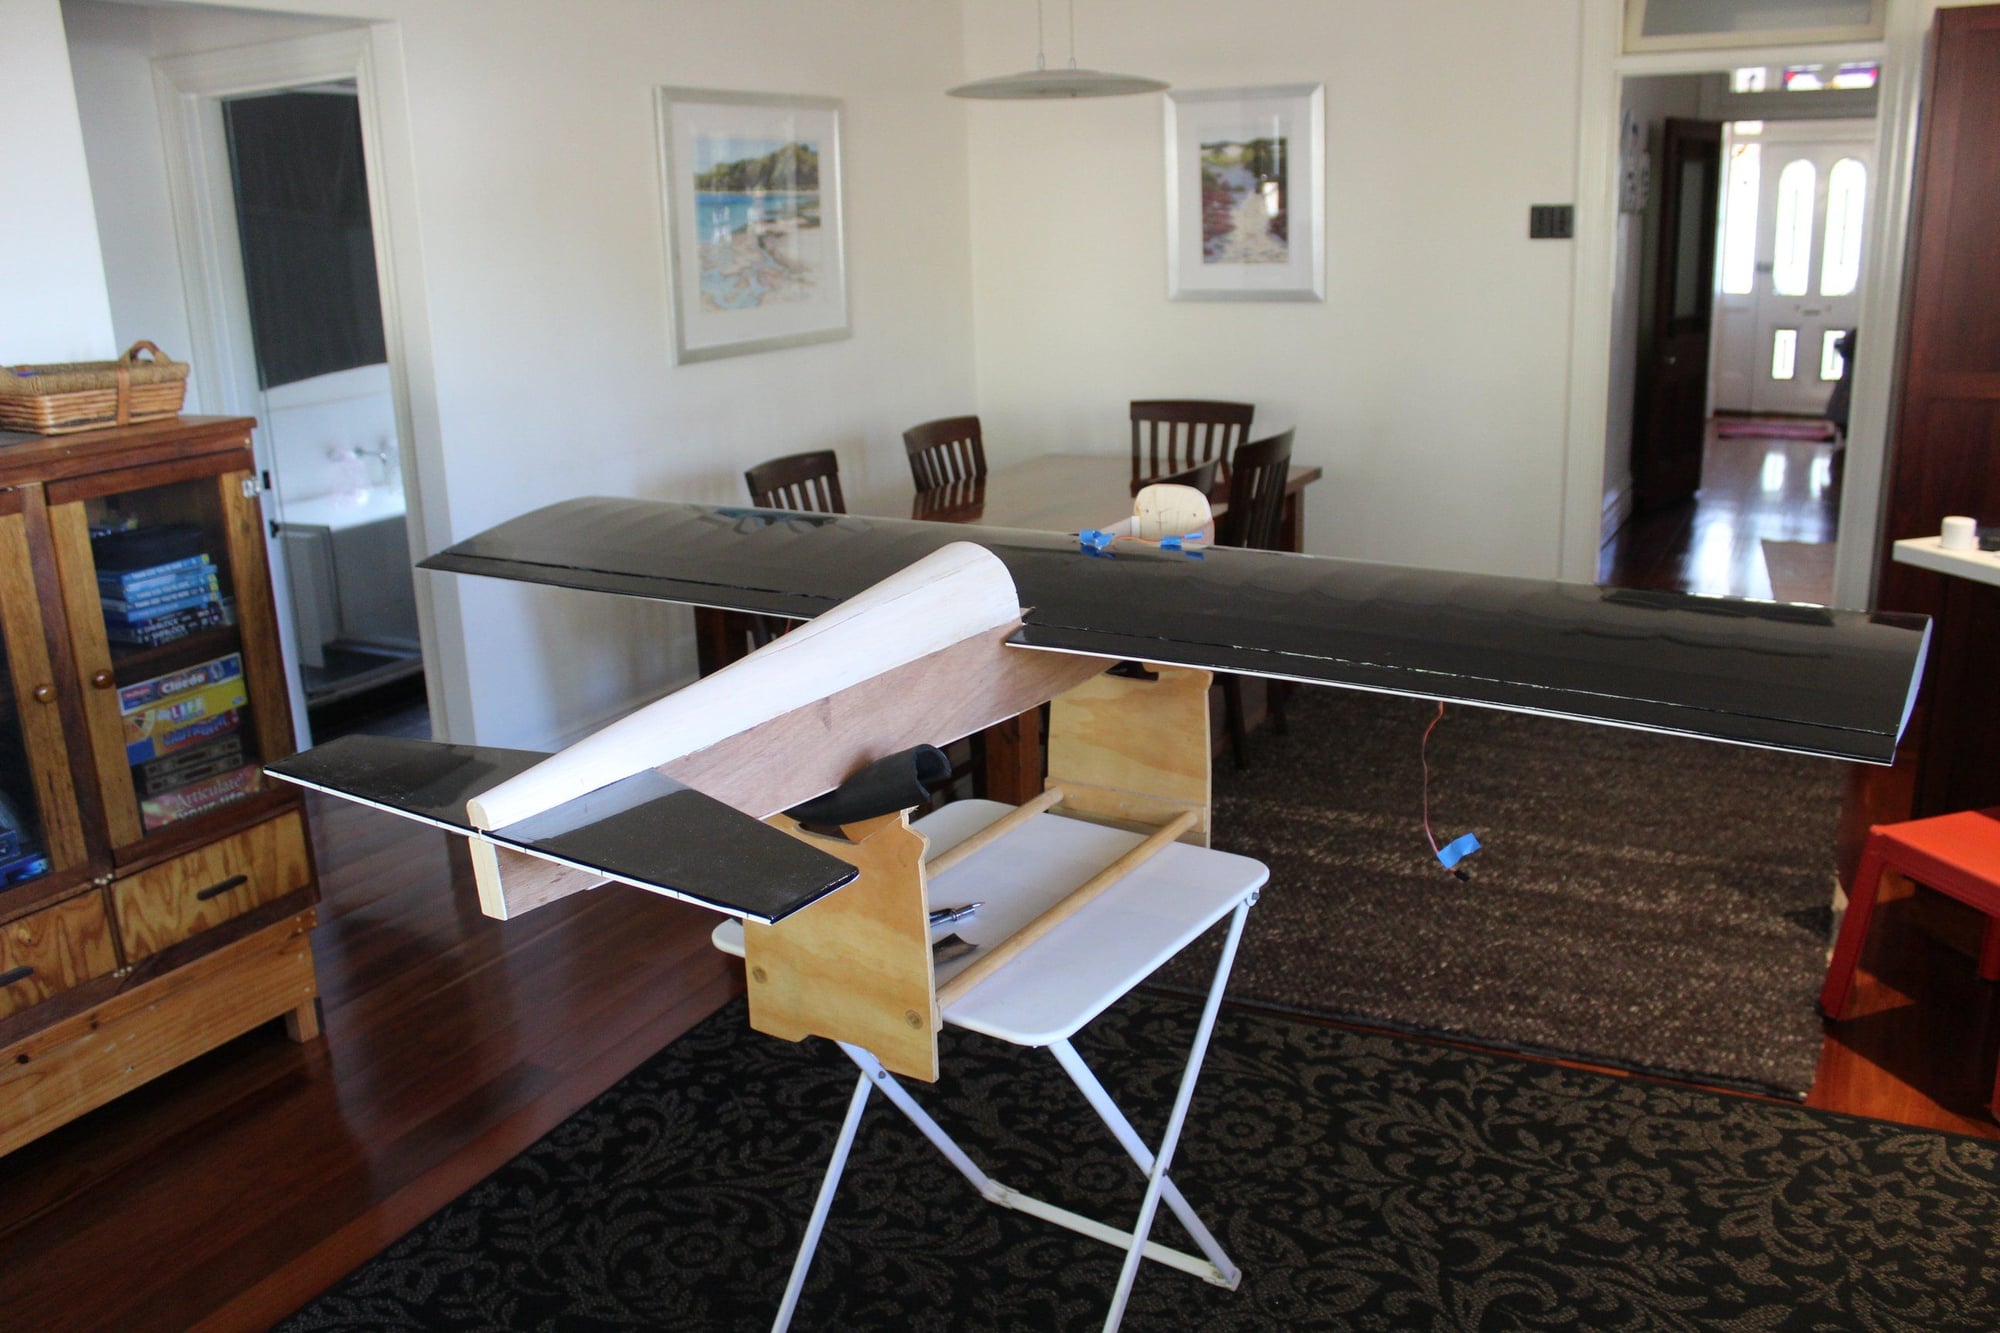
I assembled the wing and made a trial fit-out for the horizontal stabiliser in preparation for permanent assembly.
Cheers,
Eran
I assembled the wing and made a trial fit-out for the horizontal stabiliser in preparation for permanent assembly.
Cheers,
Eran
01-24-2024, 05:35 PM
#73
Thread Starter
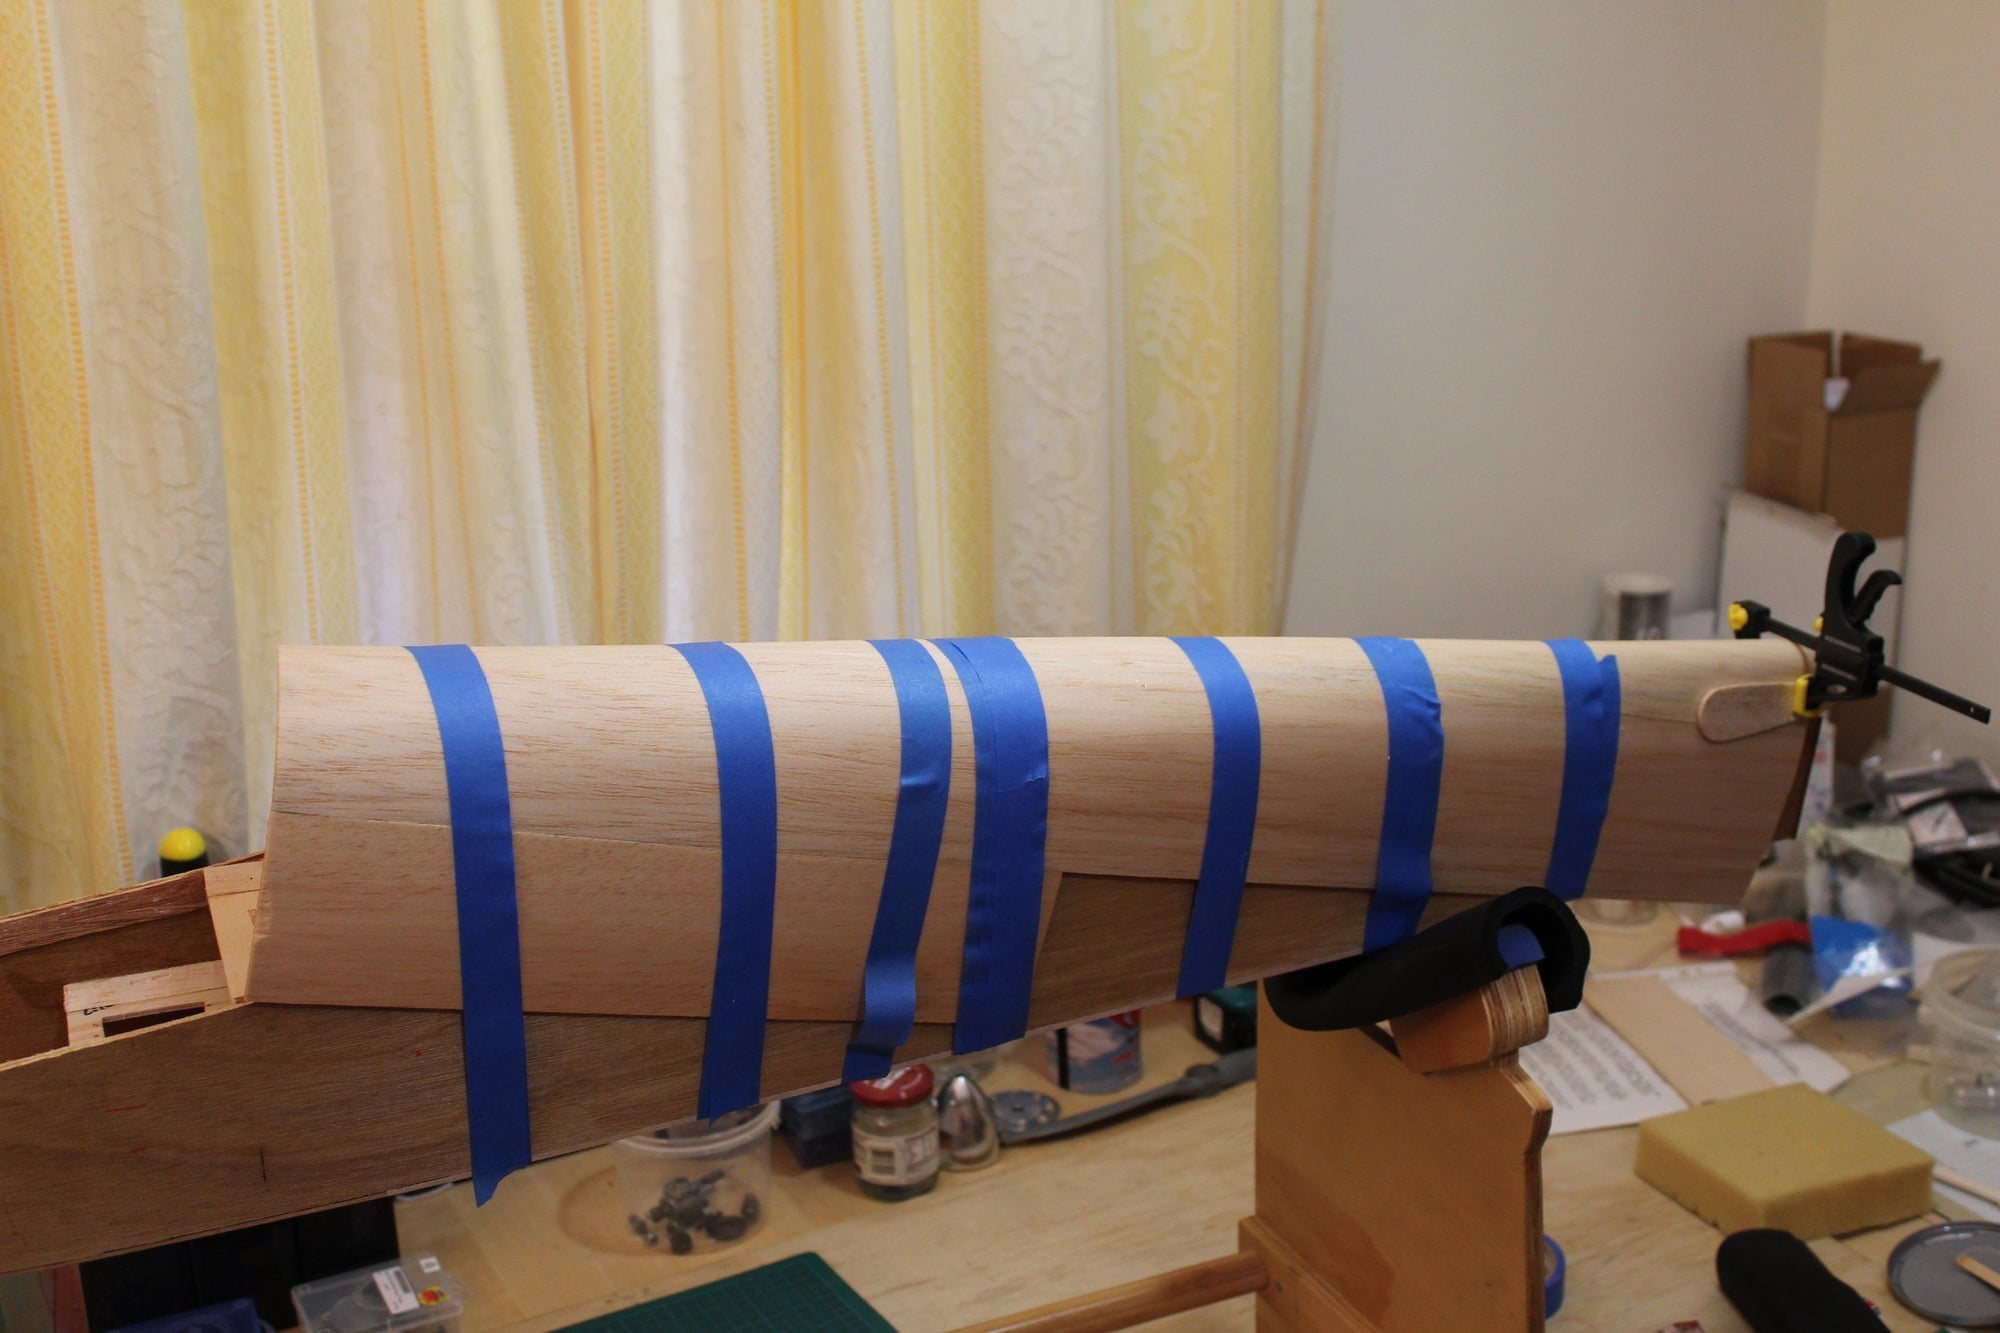
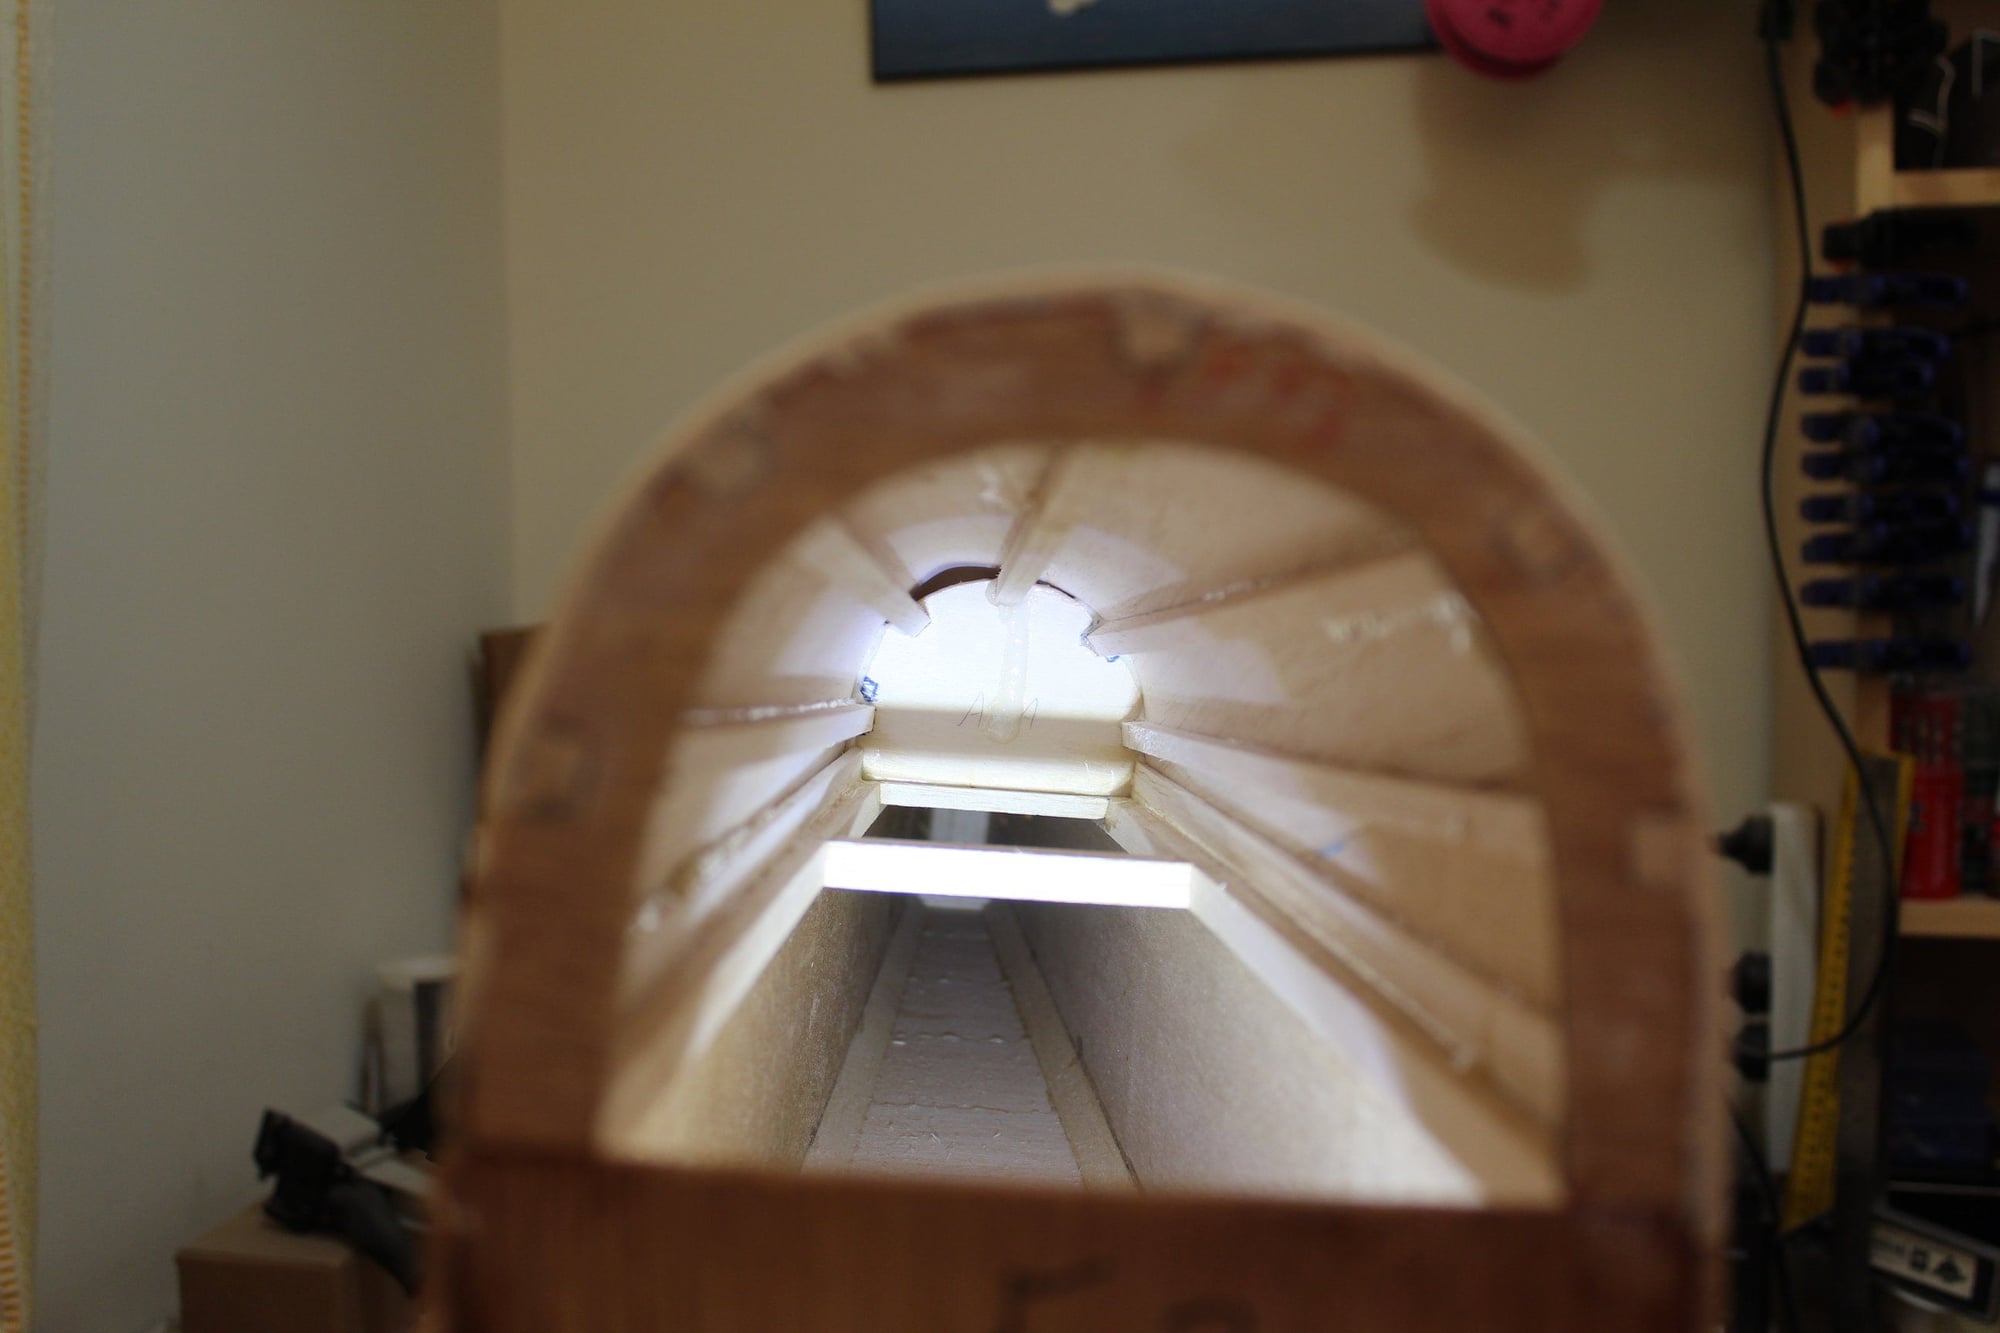
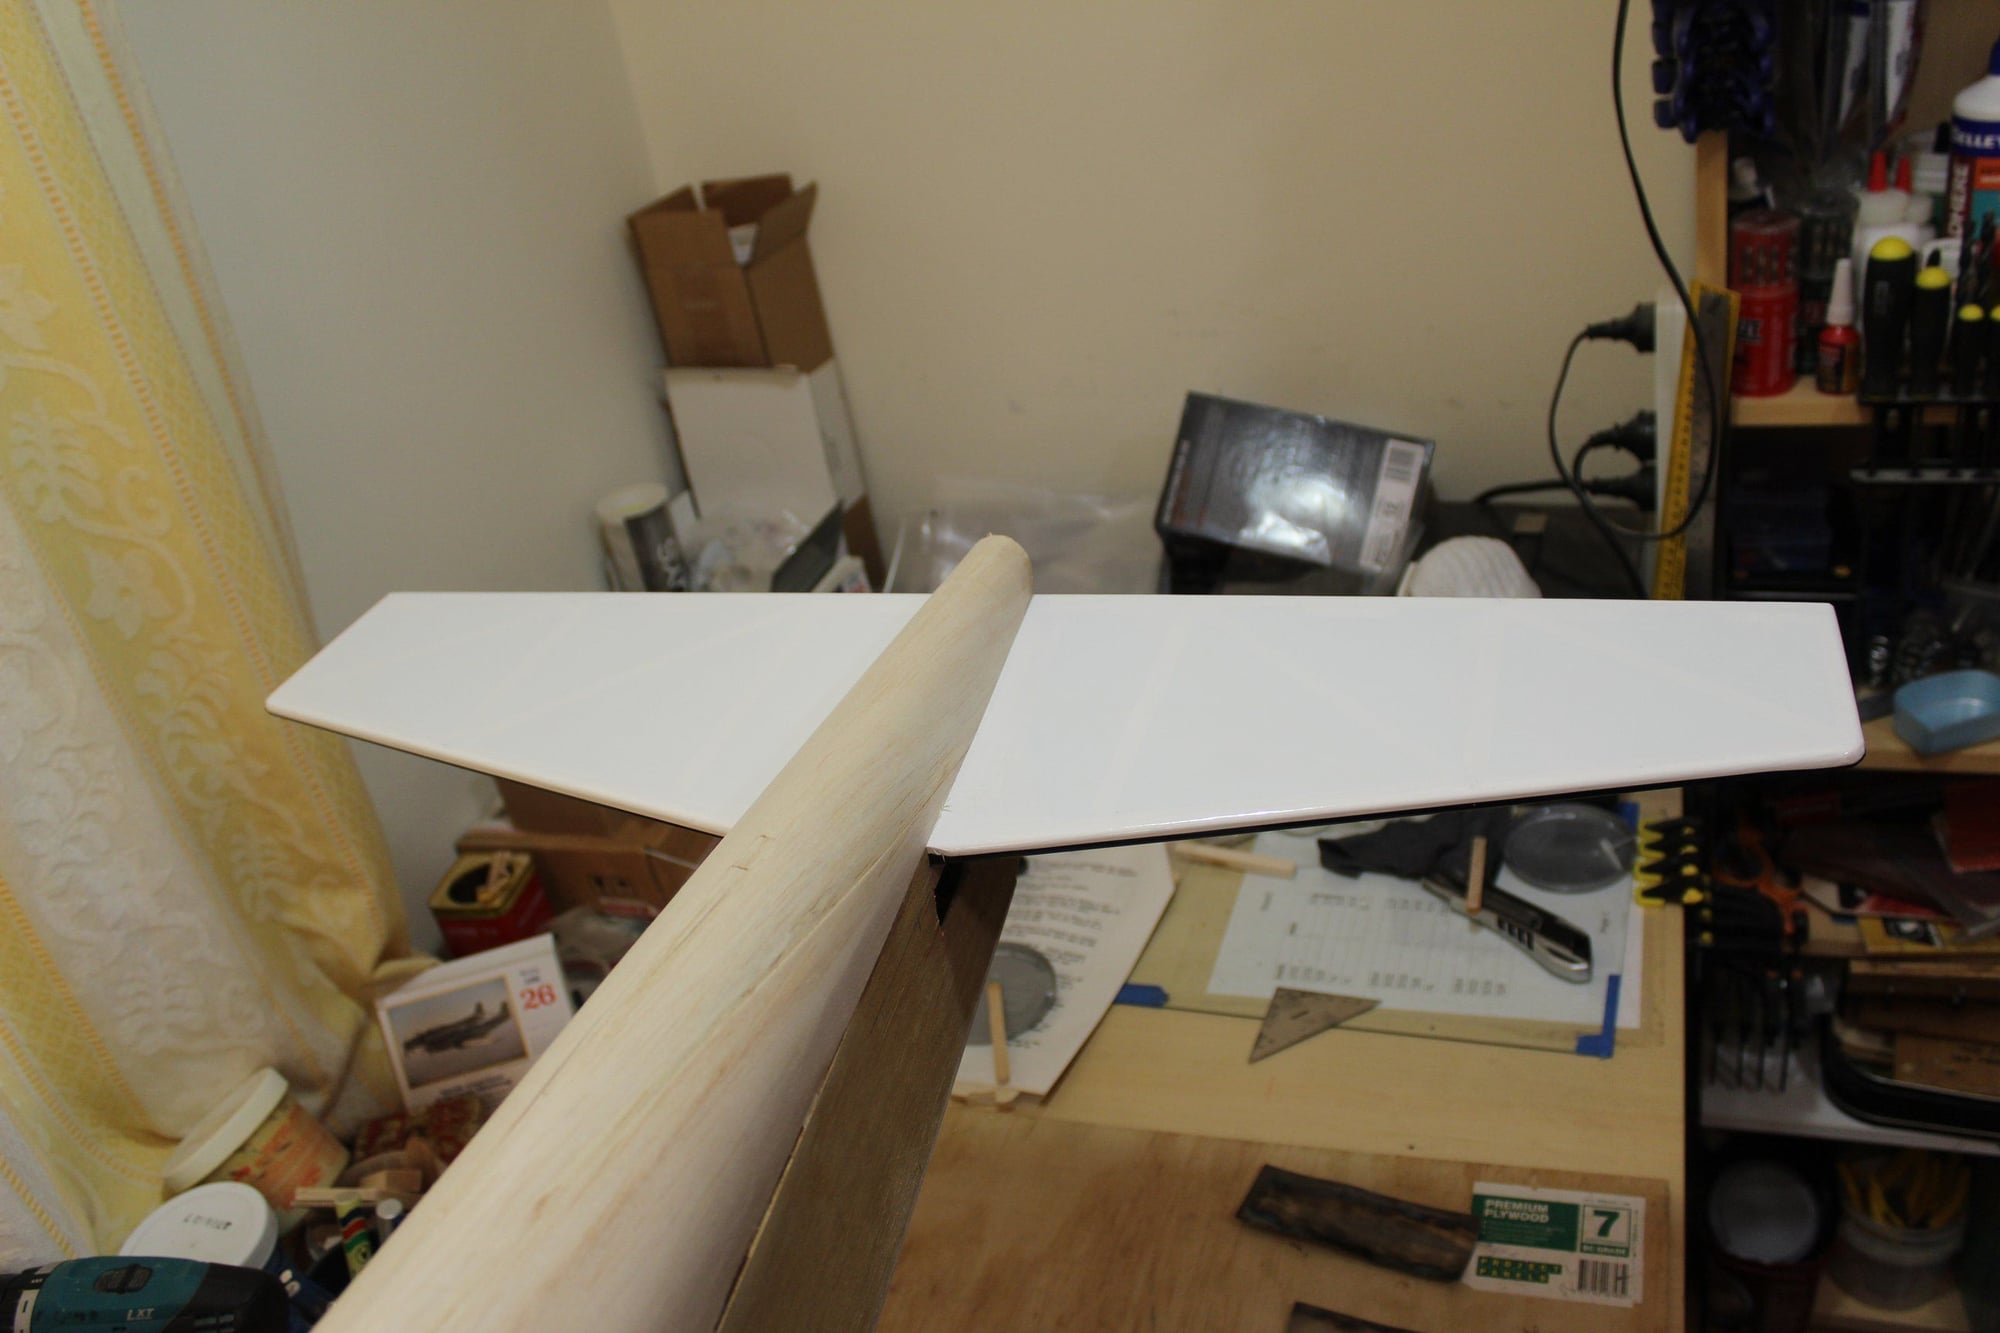
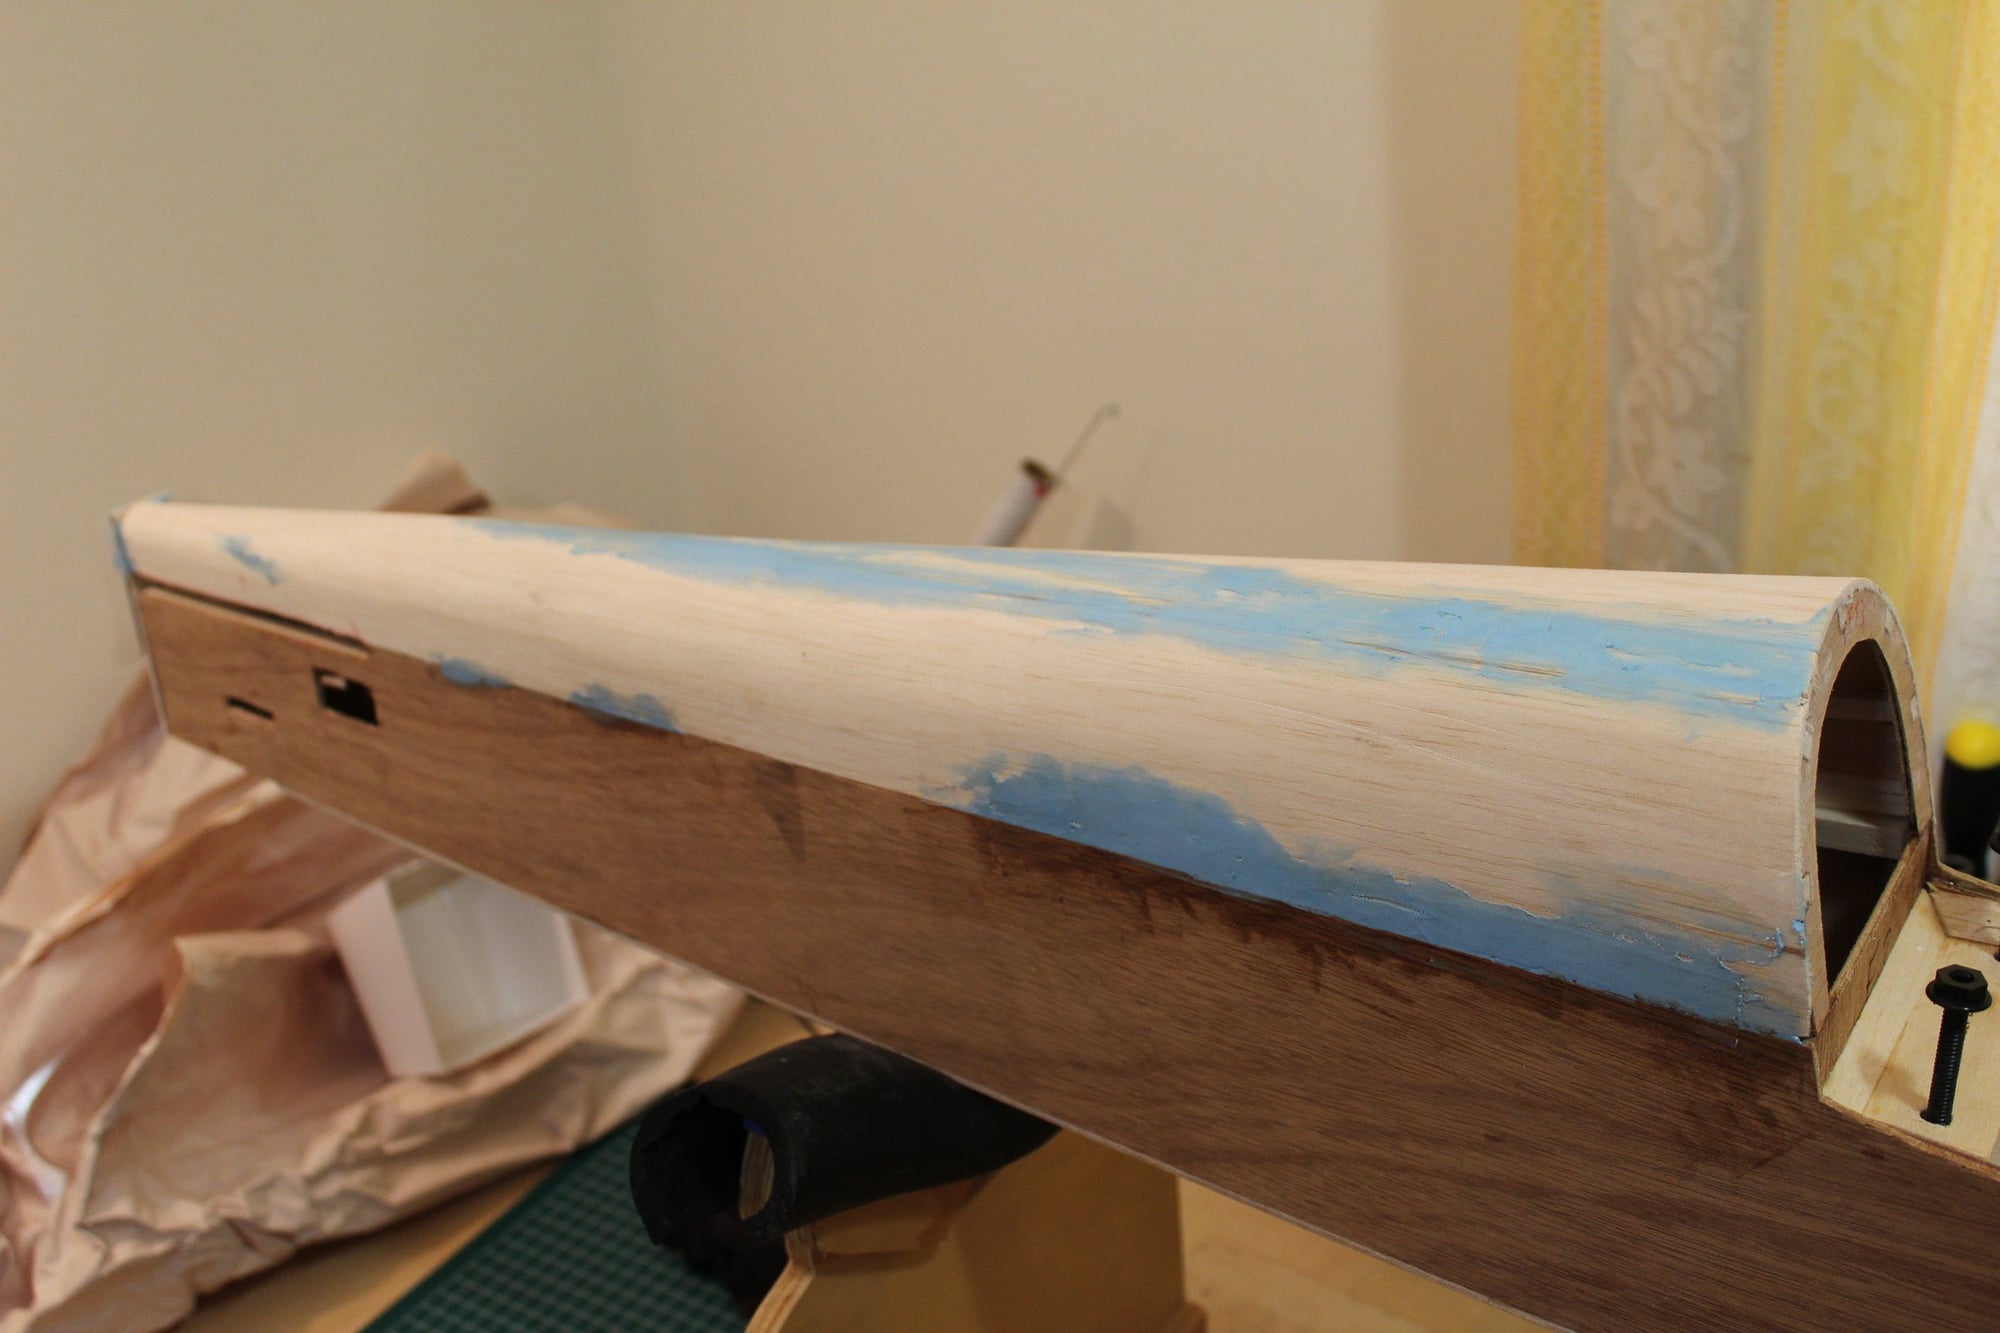
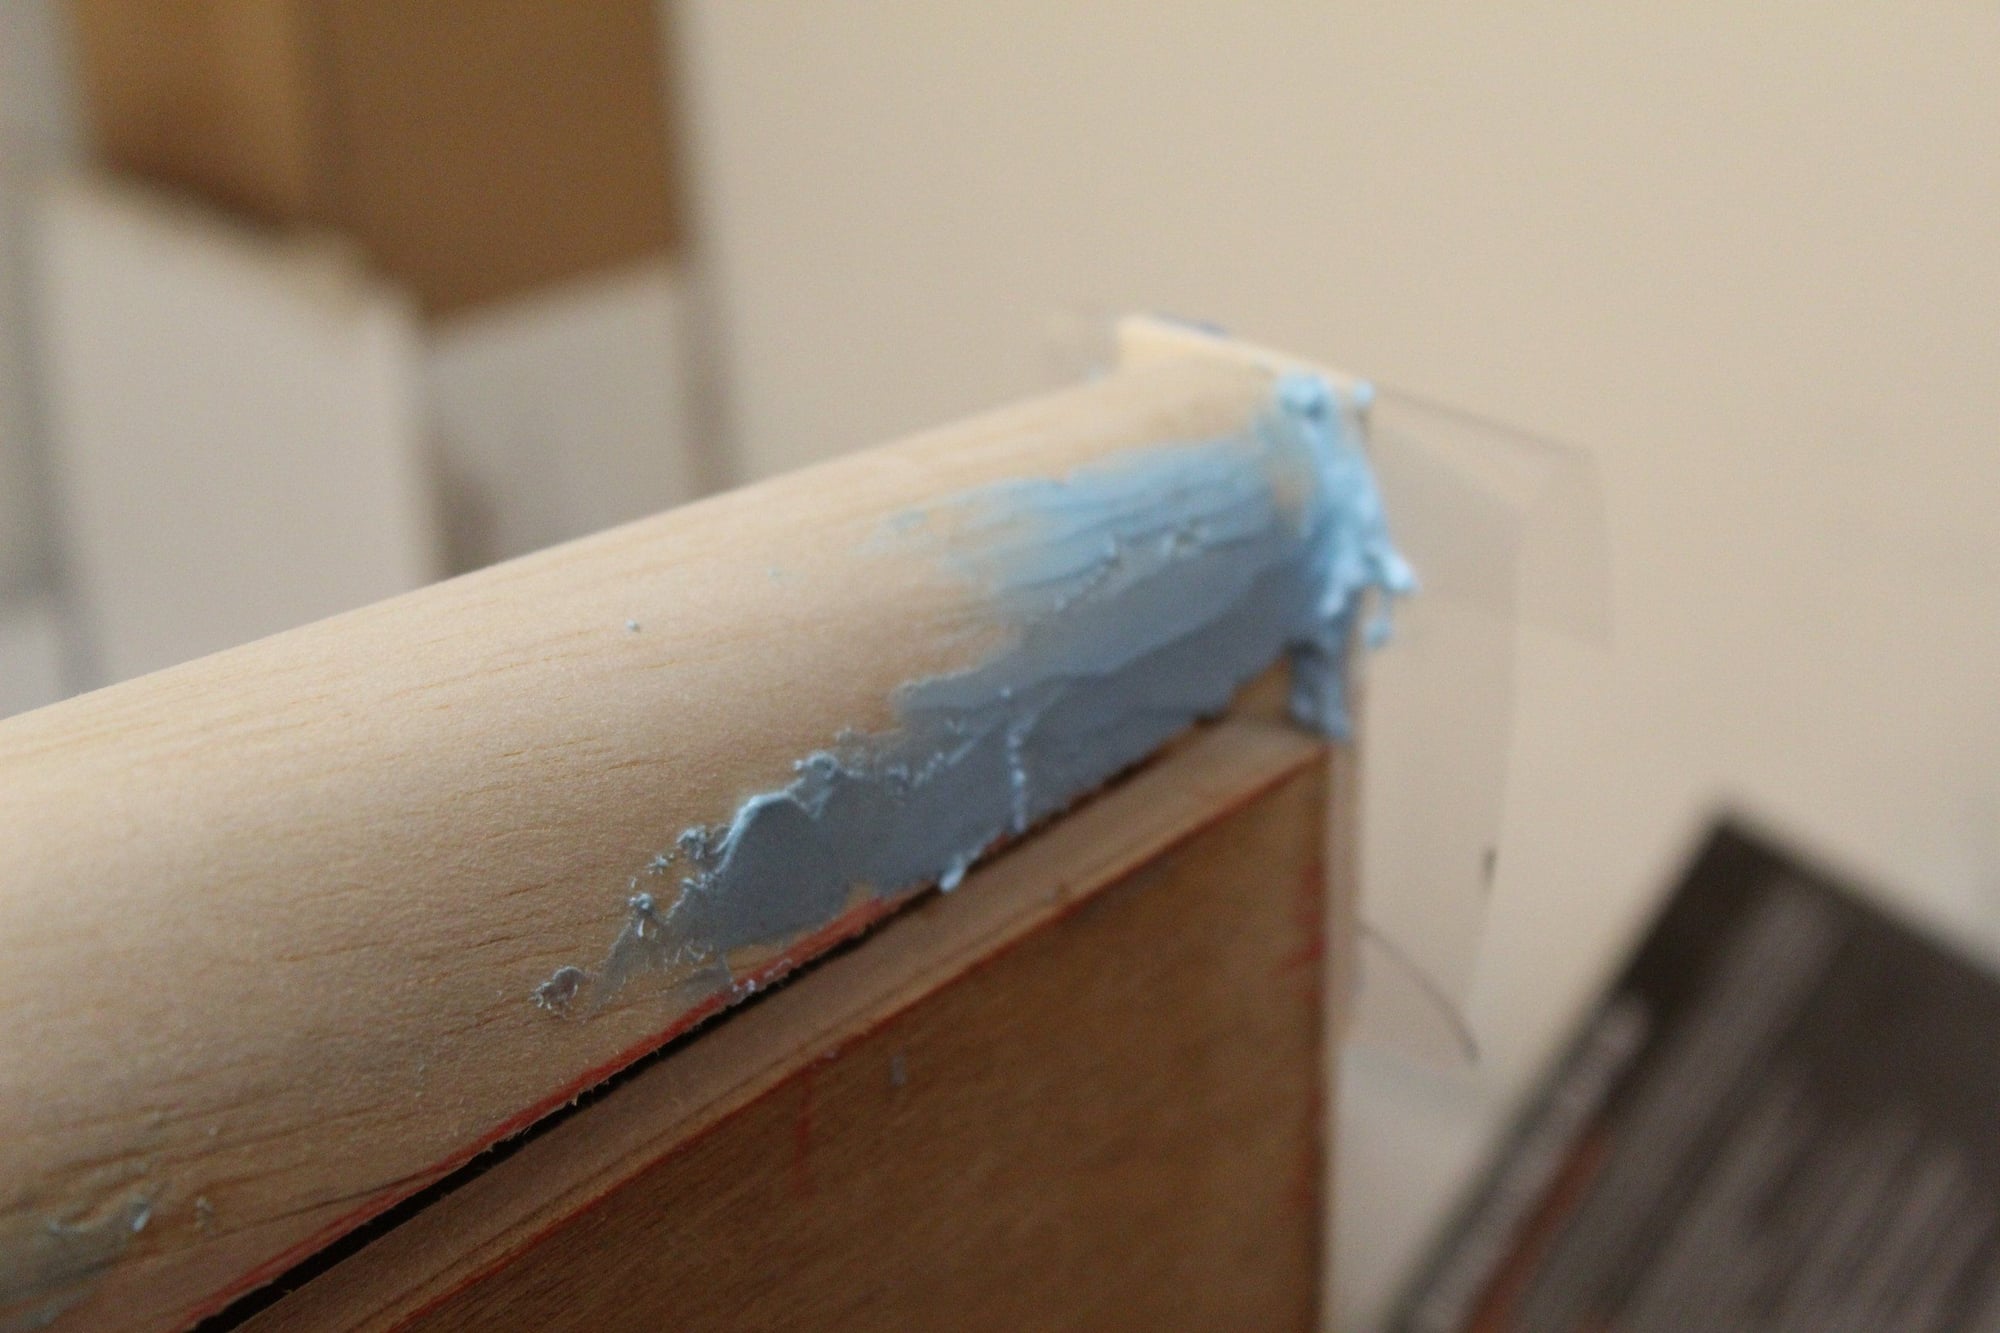
Filler applied to the turtle deck and sanded. I had to build up material to align with the end of the fuselage, achieving it with a "stopper" scrapp piece of wood placed on the correct line.
Then another fit test for both horizontal stabiliser and vertical fin.

Cheers,
Eran
Then another fit test for both horizontal stabiliser and vertical fin.
Cheers,
Eran
01-28-2024, 02:08 PM
#74
Thread Starter
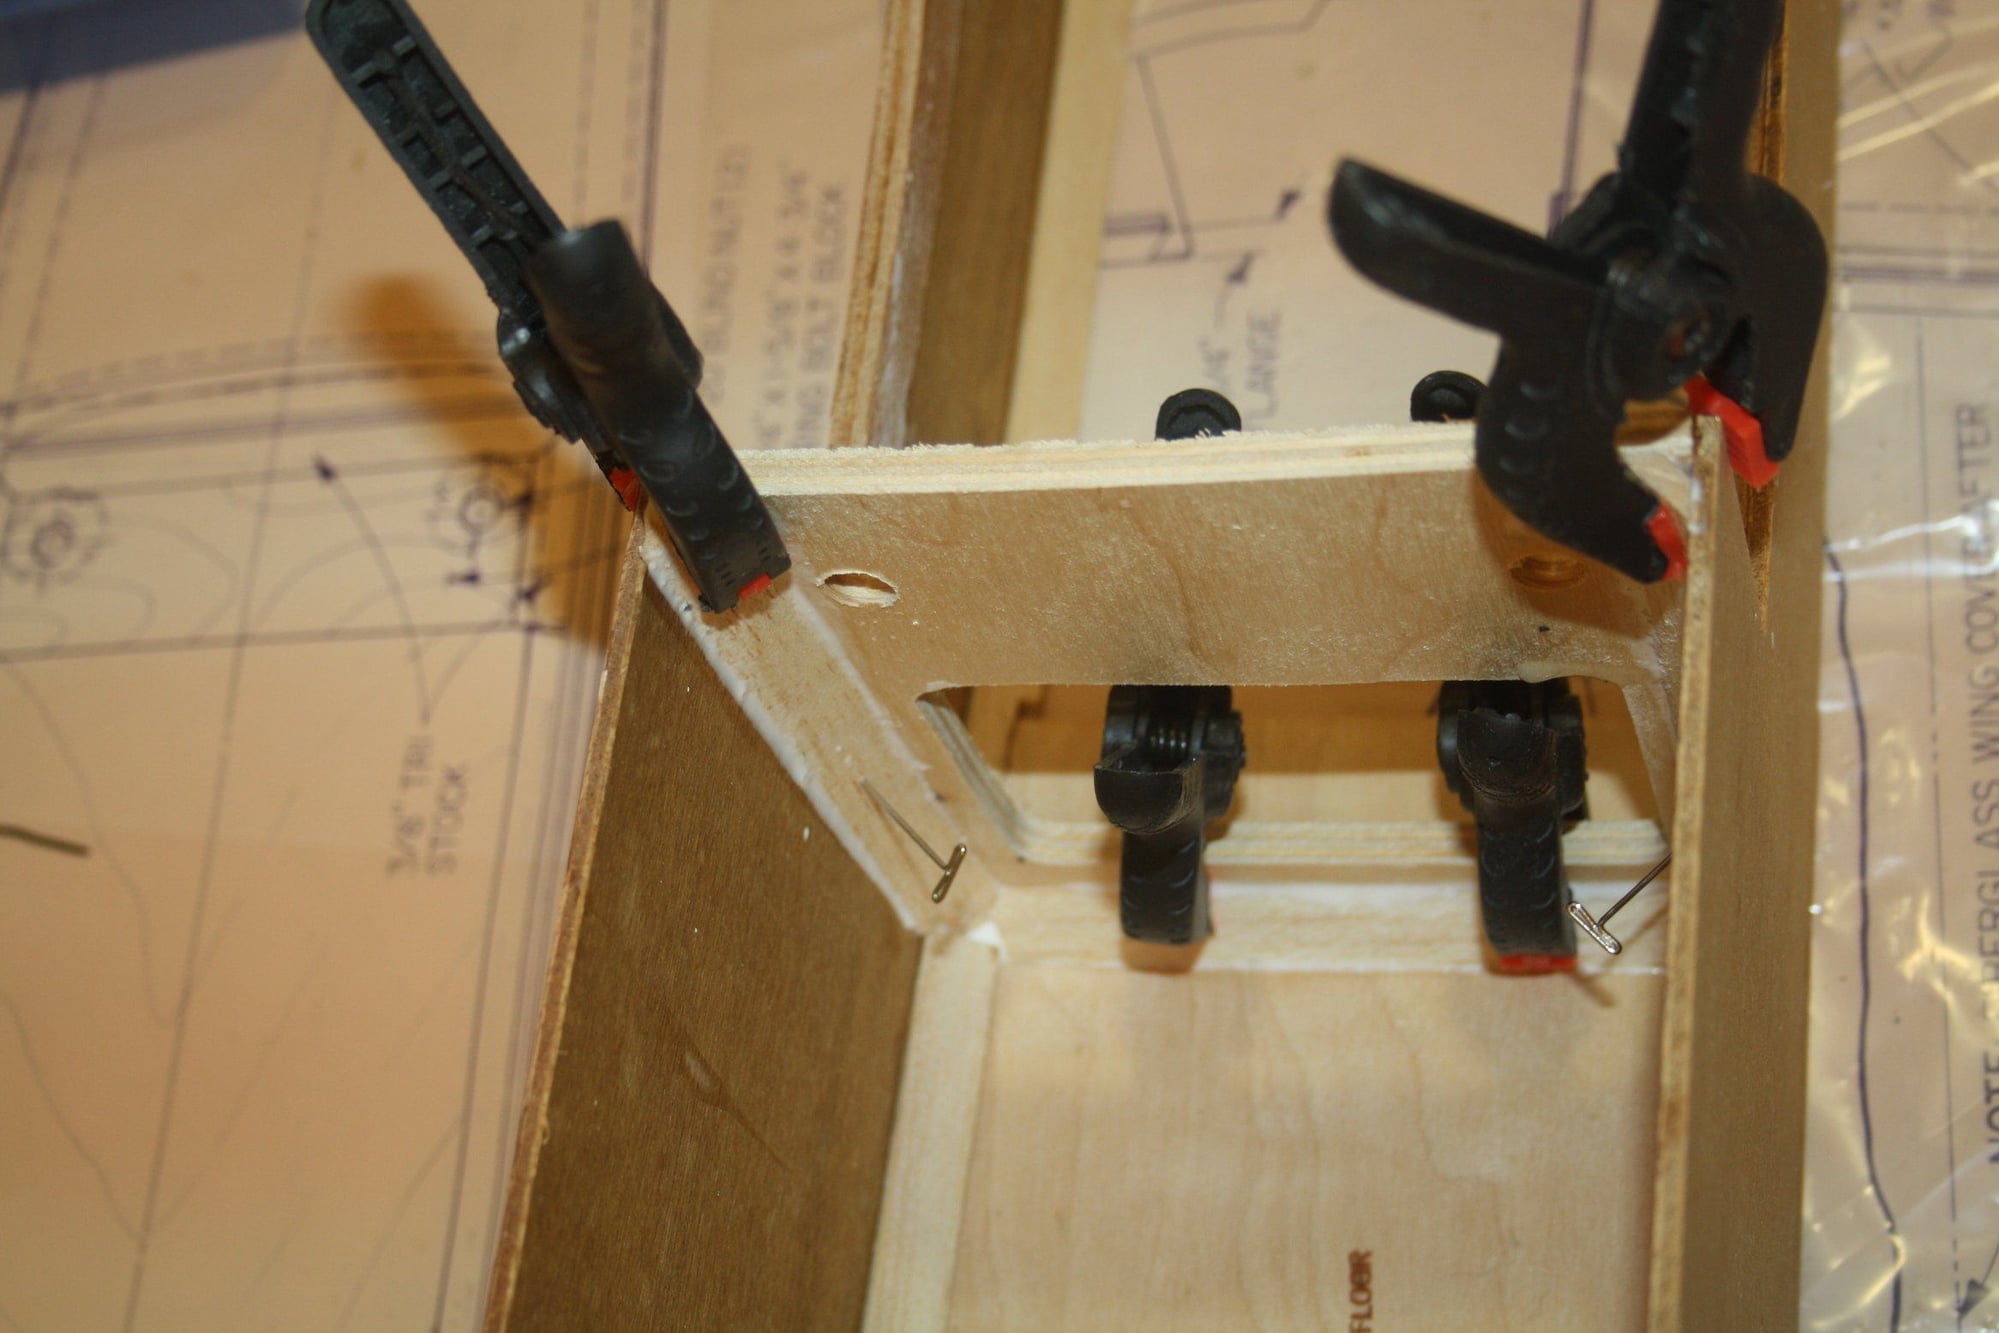
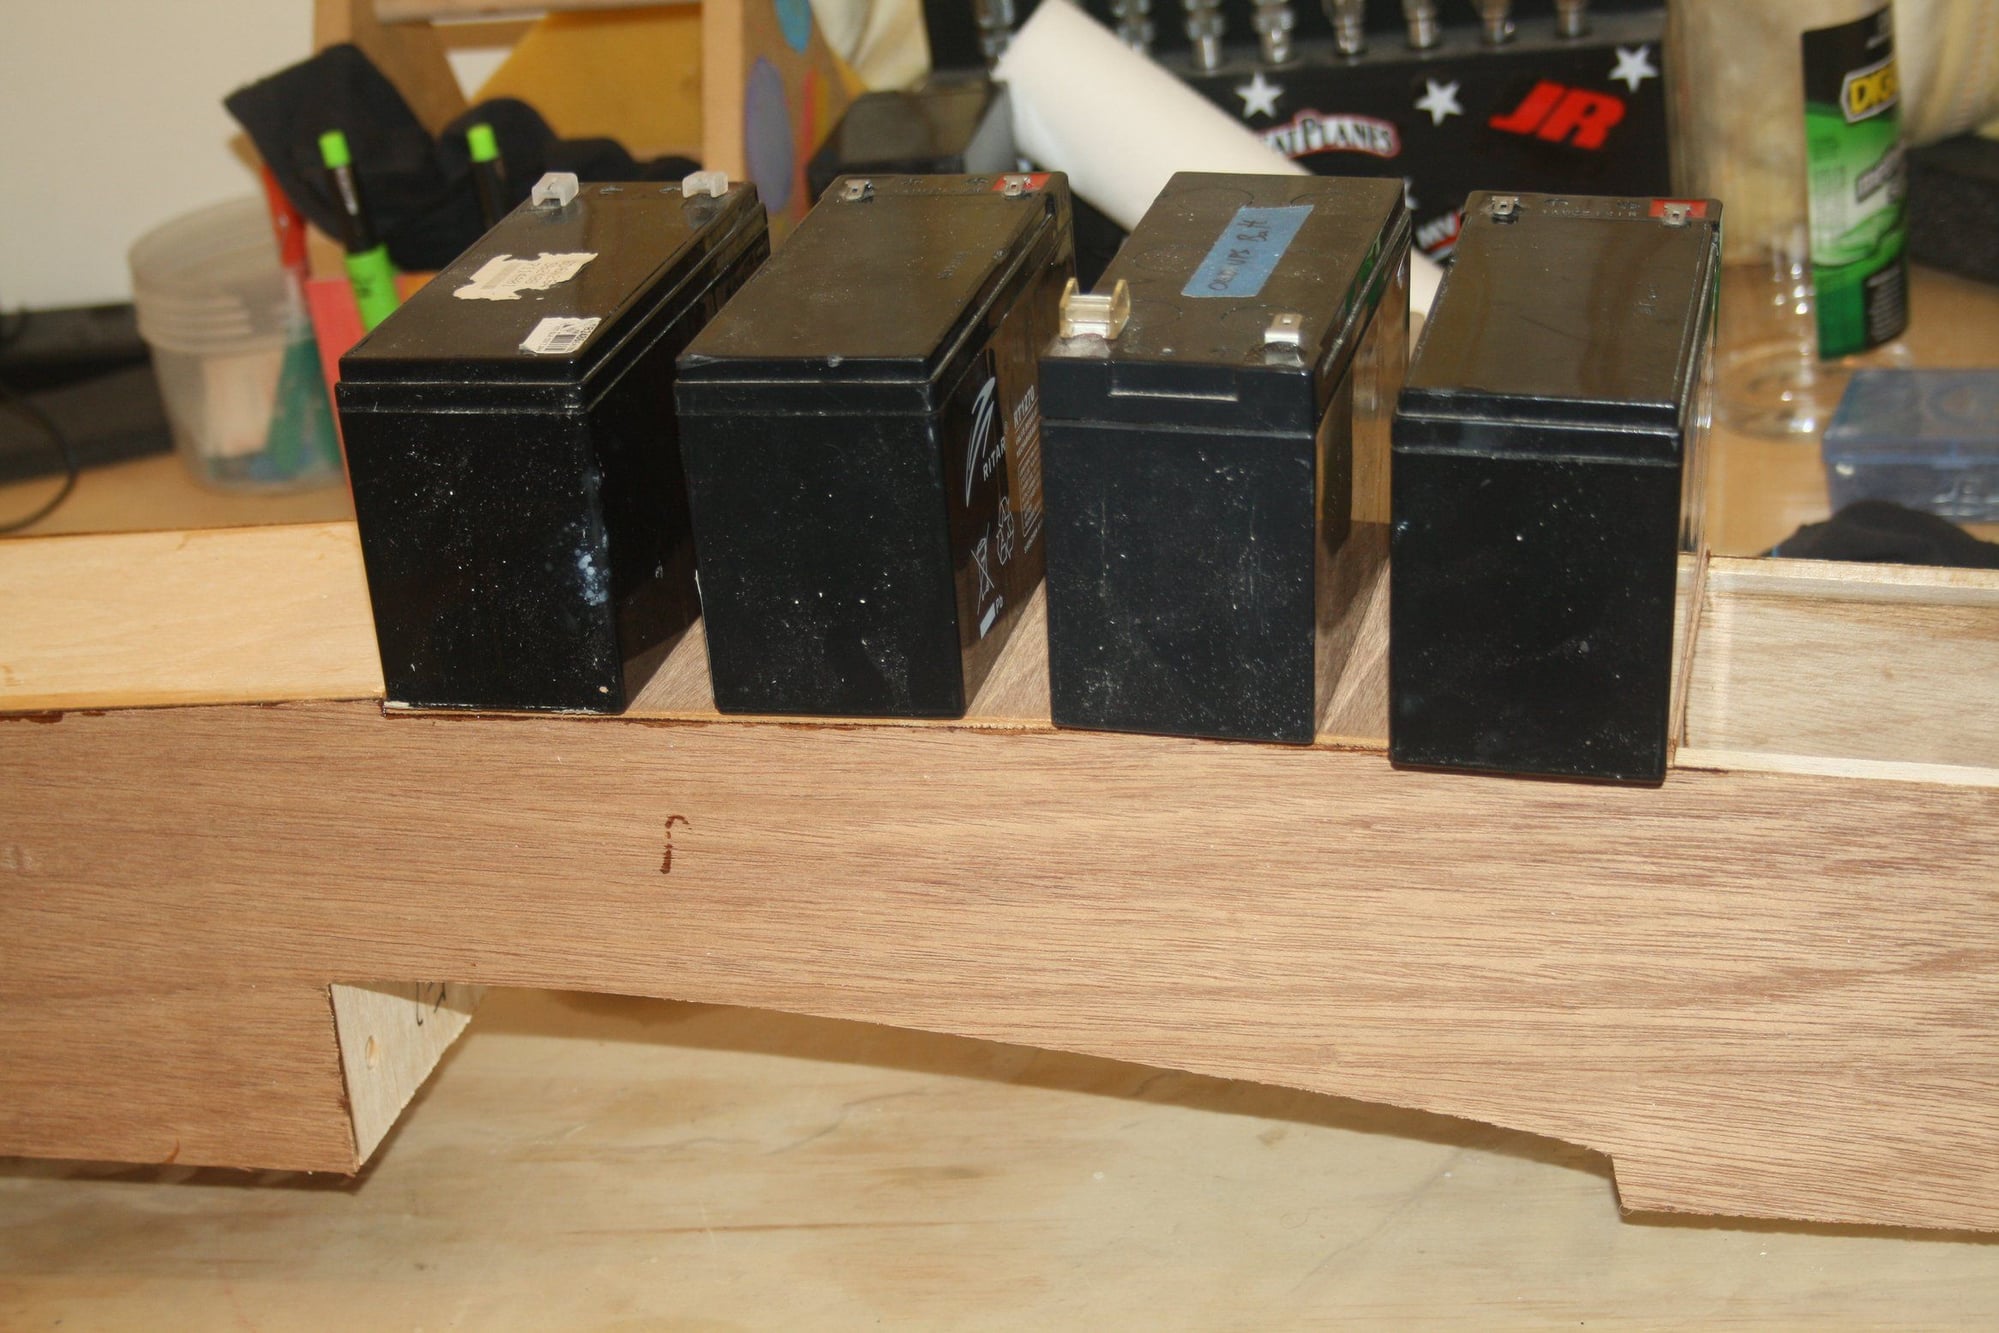
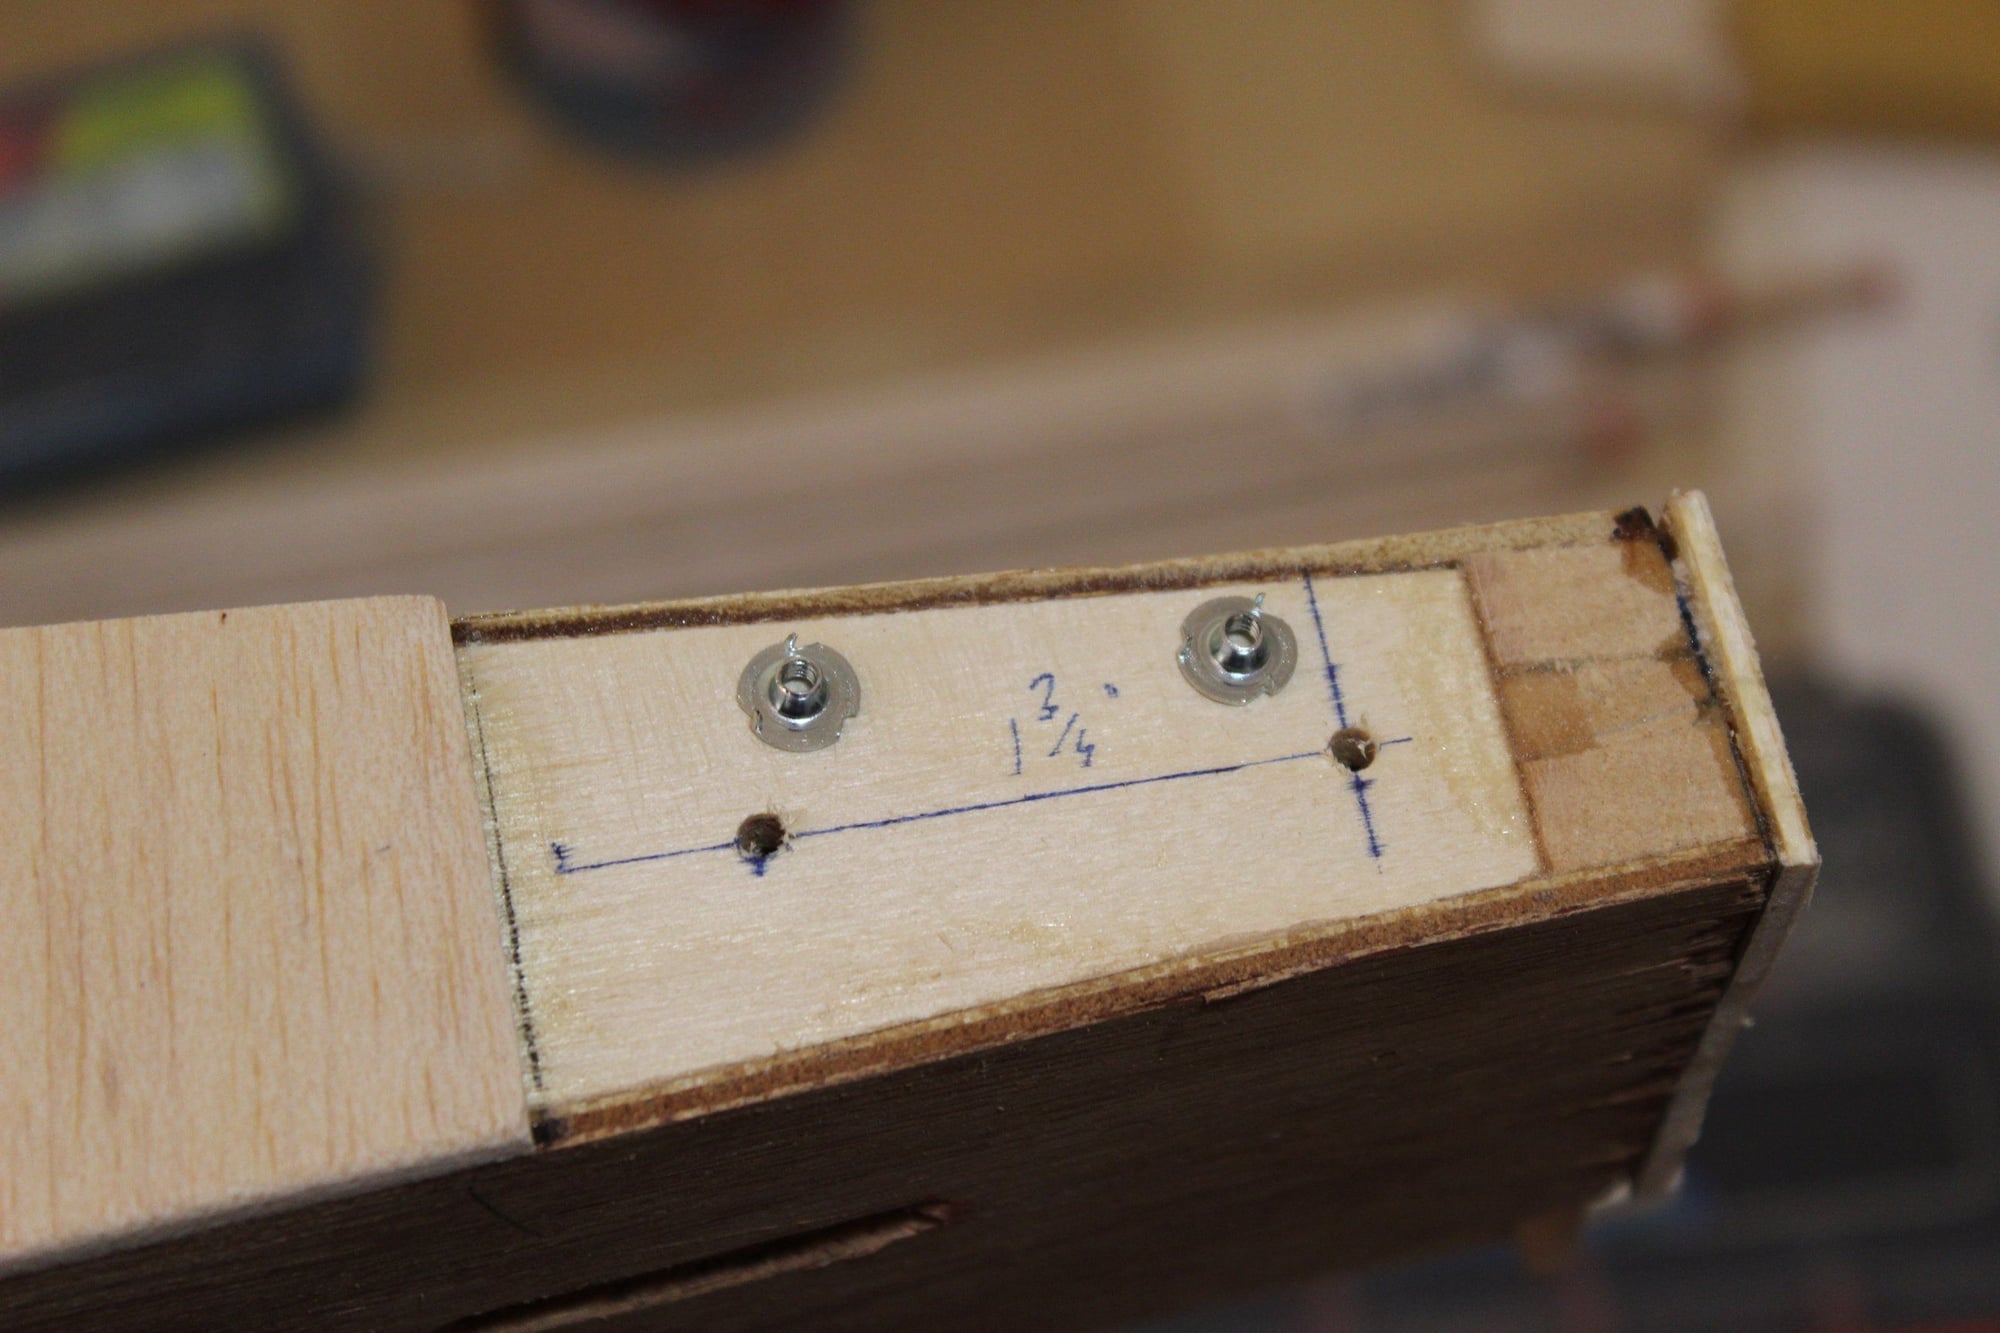
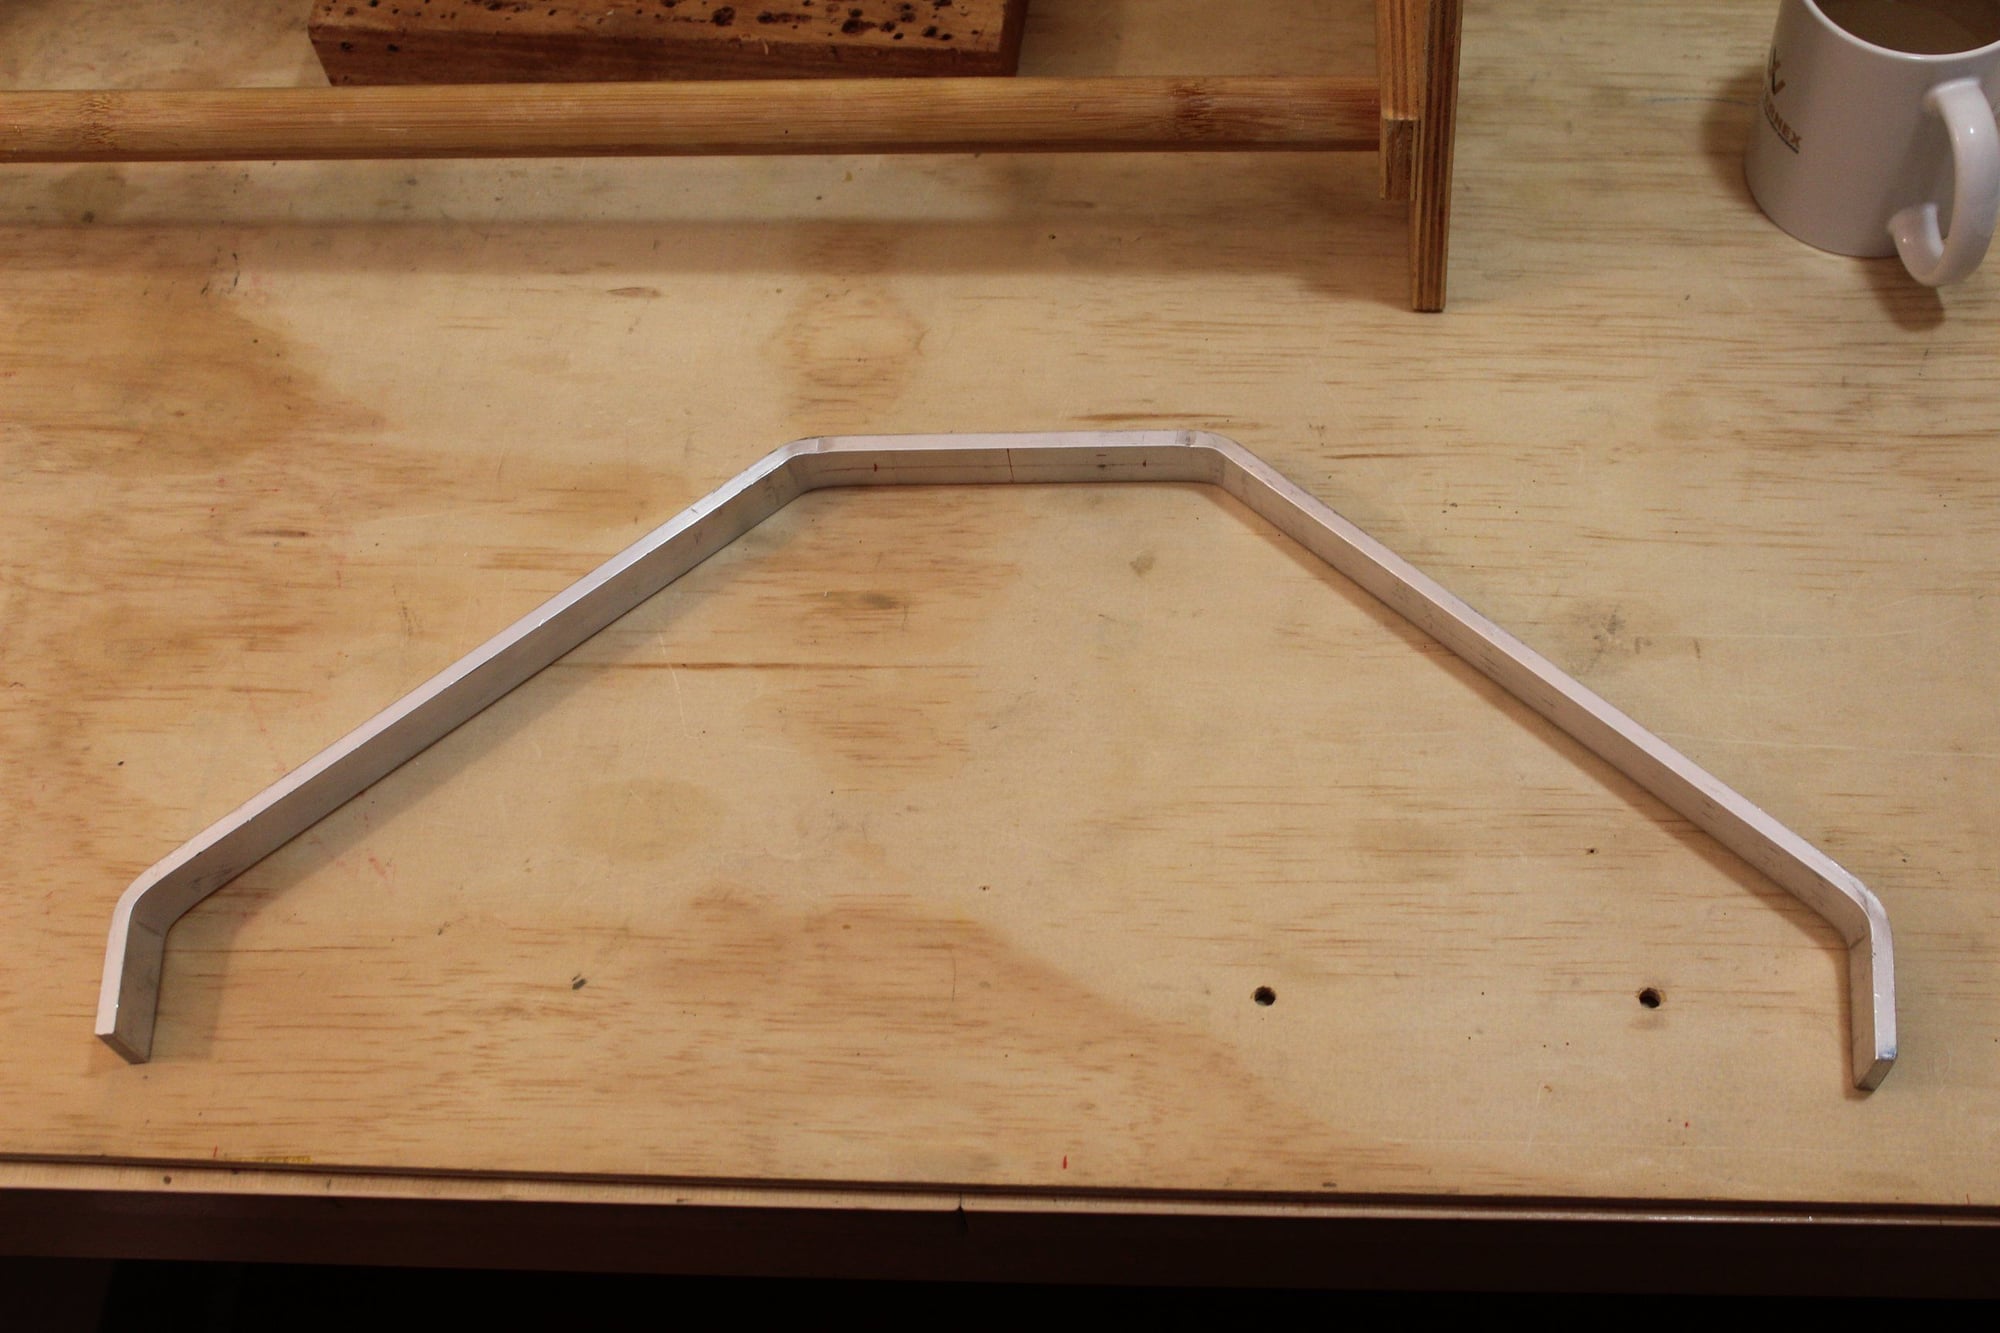
Prior covering the fuselage, I drilled the landing gear and positioned it on the landing gear mount. The plywood floor was not thick enough to accommodate the lock nuts, so I added a strip of plywood.

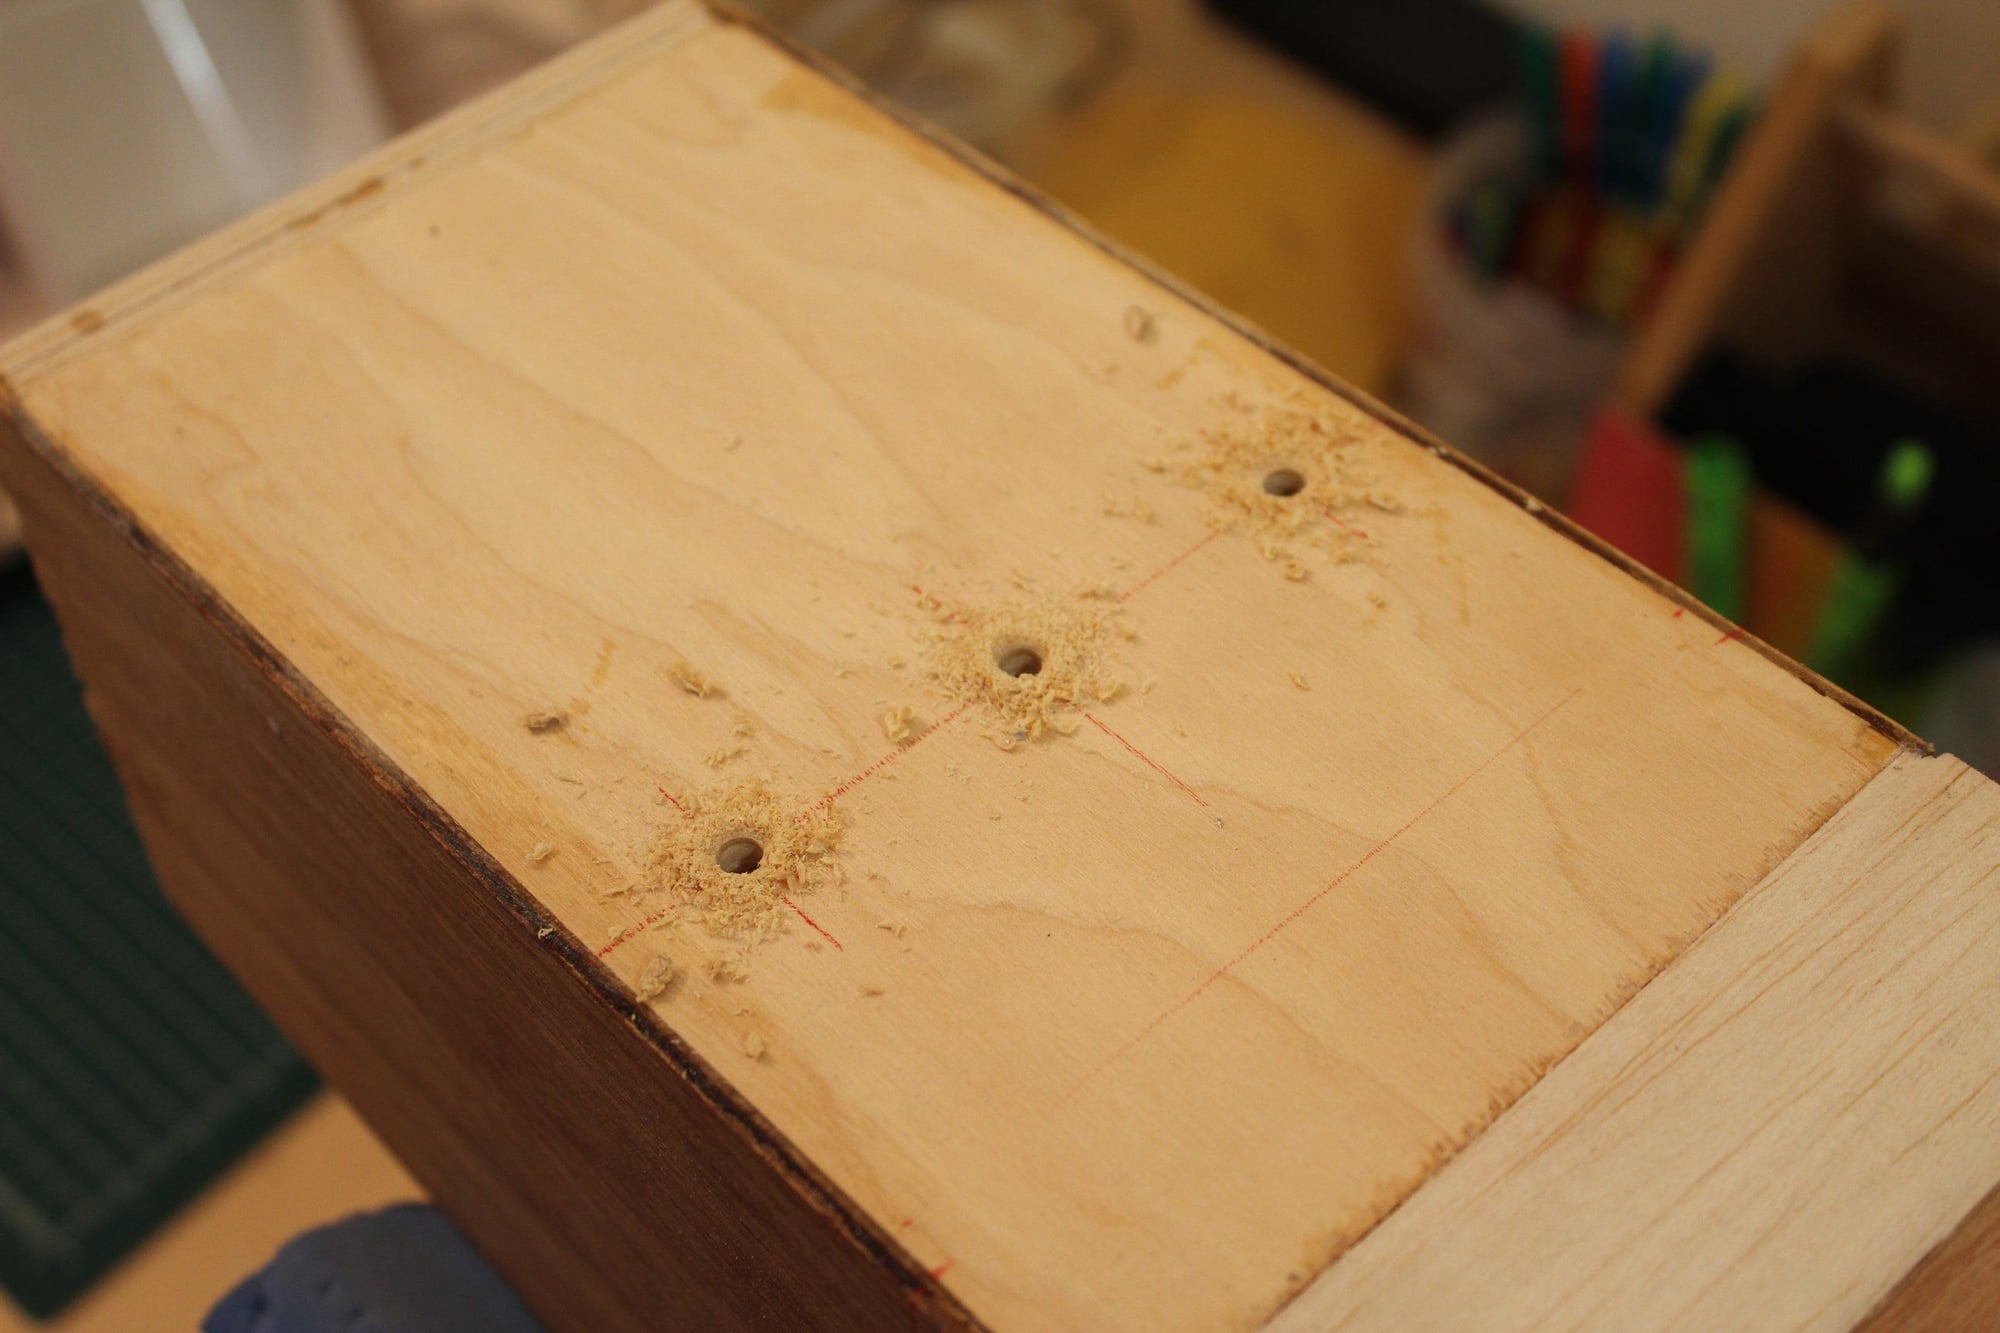
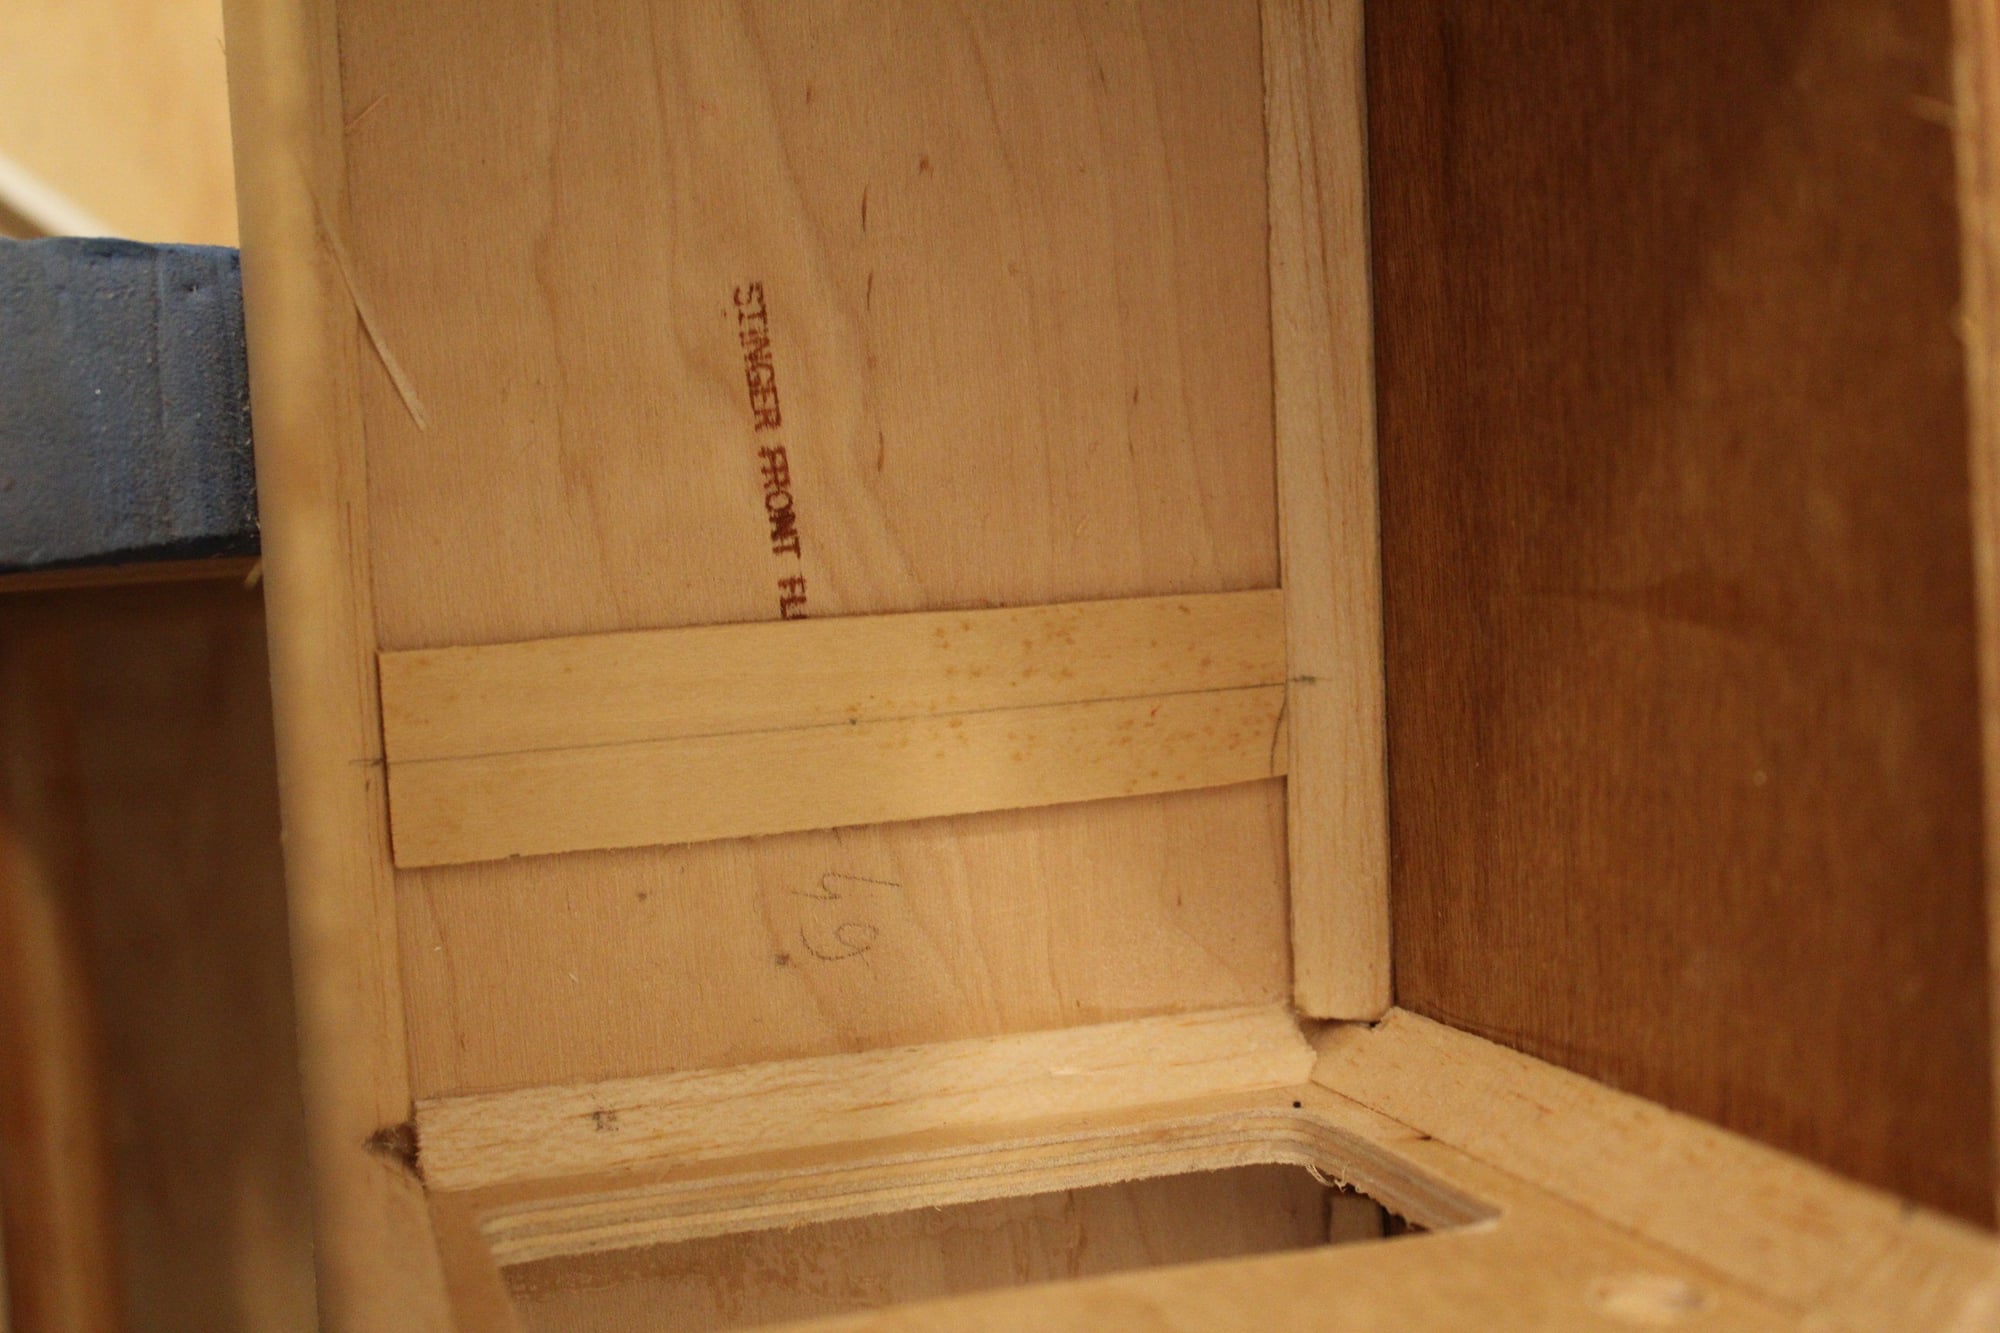
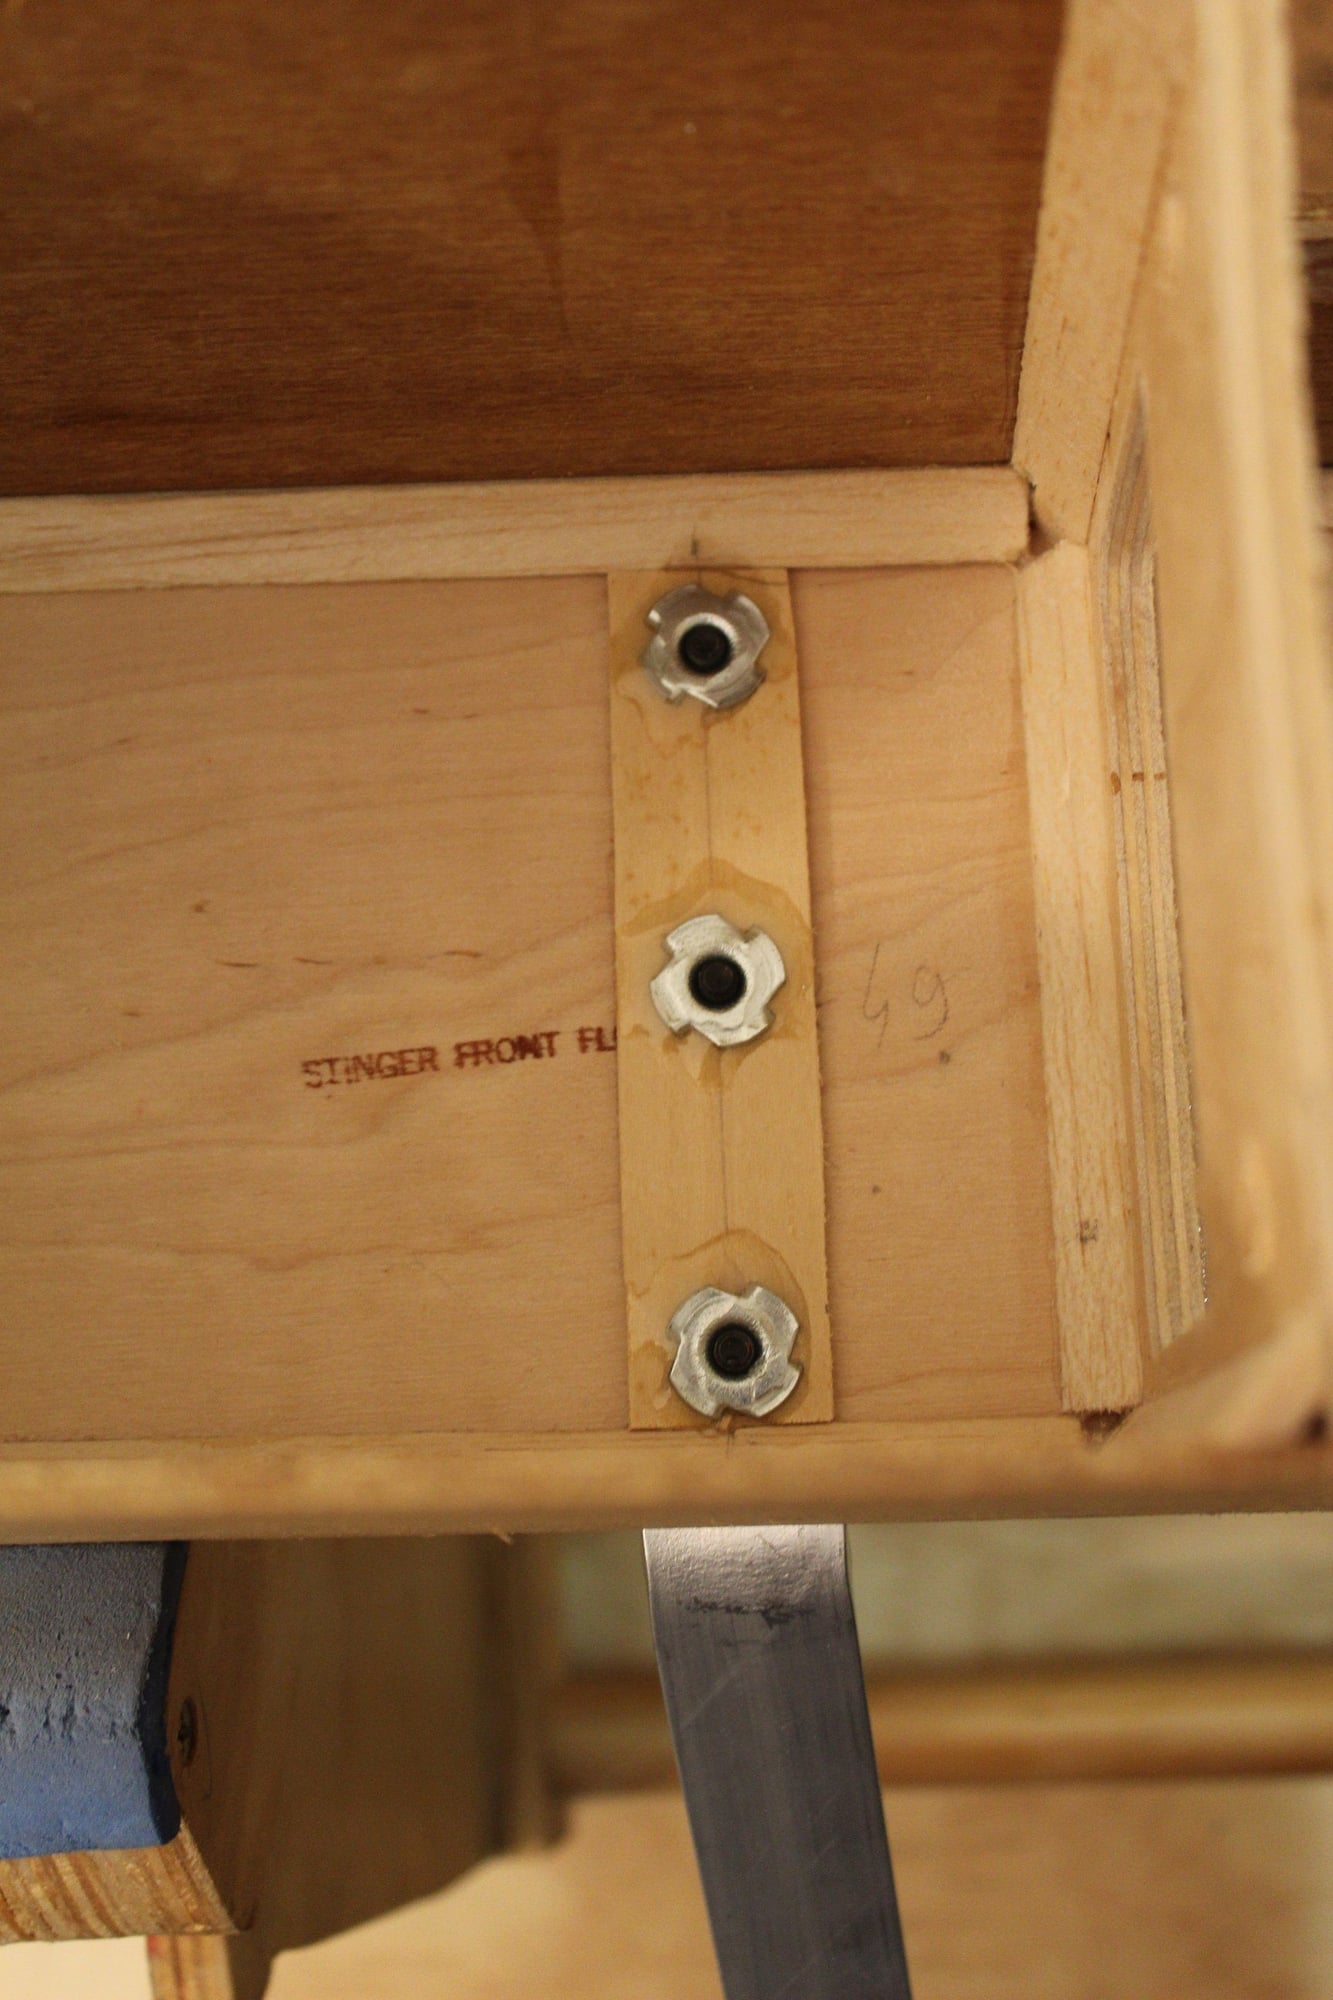
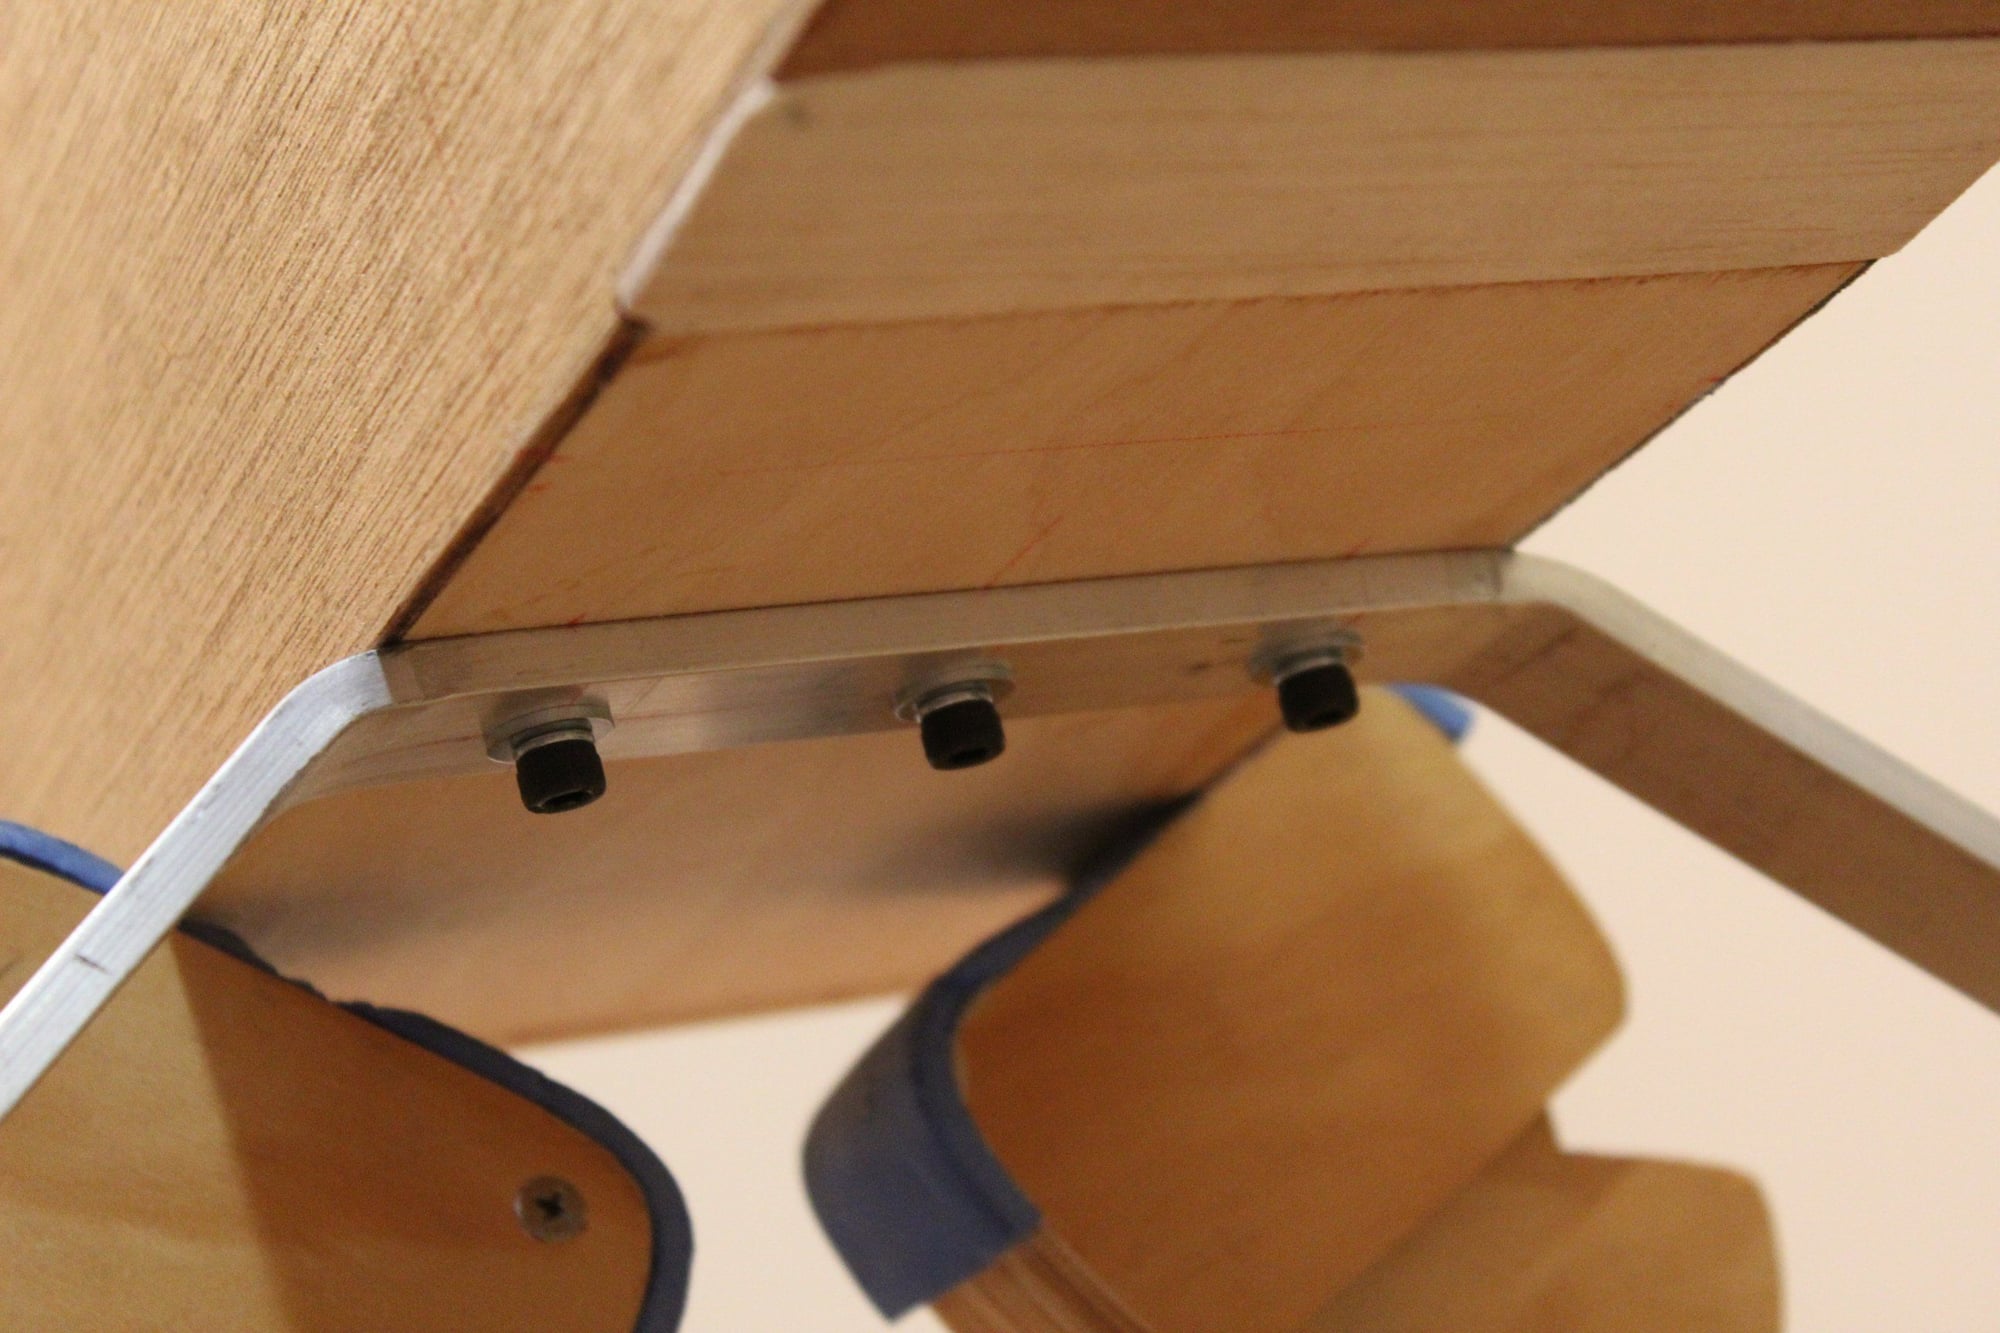
Cheers,
Eran
Cheers,
Eran