


"TOUCH of MAGENTA" -foamy, powered by PST600R
 04-25-2014, 12:05 AM
#1

Thread Starter
Join Date: Nov 2010
Location: Coffs Harbour NSW, AUSTRALIA
Posts: 1,630
Likes: 0
Received 72 Likes
on
68 Posts
It's been few years since I visited this site, lot of water passing by and dozens of models built since, this huge delta is one of them, Joe.


 04-25-2014, 05:18 AM
#2
Nice work Joseph.
Quite a unique looking plane you have built there.
Paul.
Quite a unique looking plane you have built there.
Paul.
09-22-2014, 12:33 AM
#3
Senior Member
Join Date: Sep 2010
Location: Coffs Harbournsw, AUSTRALIA
Posts: 138
Likes: 0
Received 0 Likes
on
0 Posts
"TOUCH OF MAGENTA"
It has been quite few years since my first jet turbine powered foamy (fitted with Wren44G) hit the skies and despite my little drama during the 3[SUP]rd flight at "Jets over Fraser Coast", the model performs great to date especially after my recent improvements to Elevon trialing edges. The main aim of building this model was to be able fly it of any grass field, but being such a light wing loader there is a drawback, not the greatest model to fly in windy conditions. As a large Delta wing at 6kg AUW, and coming home 5kg dry, shifts the CofG slightly back and can bite you a little in stronger head or cross winds. This gave me an idea to build new, slightly larger model using more powerful turbine and ad few more kilos to the frame along the way to increase the wing loading. Jets meant to be heavy, so let’s start new design. [/SUP]
[SUP]
The first thing before my build I make sure it can fit in the vehicle for transport so I decide on wing span and the lengths. 142x250cm seems pretty practical size to handle on my own and hoping to keep empty weight under 8.5kg. Experience of building and flying my large EDF powered models comes very handy in project like this and as with each model I decided to do few new modifications. More shallower fuselage profile, with longer front nose section for future possibilities of installing small fixed canards, 30deg. winglets fitted to the wing tips and 65cm long rail winglets set at 45deg. to the belly for more stability and extra fuse strength. Another new concept I will try at later stage is to install small operational Rudder fins at the rear fuselage belly, to help on finals in cross wind conditions. Placing the power unit further back will force me to ad considerable amount of ballast in the nose but even at 10.5kg AUW the wing loading is expected to be around 80grams per decimeter sq. That’s pretty light, just about the load of an average 2 meter pattern model, so it should make it enjoyable, stress free jet flying model. Unfortunately reaching my grey old age I’m trying to unload any unnecessary stress load on my fragile foamy-marsh mellow system.
Putting down 5 sheets of Depron joint together with masking tape I start drawing the main fuselage layout and cutting it out. Joining it together and laminating two more layers with carbon fibre tubing sandwiched laterally in the middle using epoxy, gives me the basic frame. Power unit and fuel tank position located prior is extra reinforced during lamination process and the main plywood reinforcement follows length wise. Modellers always ask me how do I get the strength using the foam with such large models, my answer is simple, just see what they put in before they pour concrete. Further, the whole frame is lined up with various balsa profiles to create leading and trial edges. Extra ply/balsa inserts are also position before lamination in all control hinges and landing gear areas. Upper fuselage frame comes next, while using 6 and 9mm Depron cut to shape, further strengthened with balsa profiles creating super light and strong structure. Most unusual in my designs is, I don’t use single curve line in my build giving it more of a stealth look alike. Special attention is paid to engine formers well anchored to the frame, using quality ply wood to spread the load. Slightly sunk-in fuel tank base is made large enough for the future adjustments of fuel tank position to achieve correct balance, well seal off, with external drainage and air vent tubes fitted. For easy access to all installed gear I built entire top fuse cover removable in 4 panels. As my power unit is sunken � the way inside the fuse I have also added 5 extra openings (cheater holes) to the fuselage as air intakes. Being a simple elevon control set up I have decided to use my old faithful 36meg. radio gear with RX antenna erected from the nose well away from any possible interference. After preliminary fit of all the gear it took aprx. 1kg of ballast in the nose to balance it at assumed CofG position. Learning from my earlier builds I found my Delta designs need to be considerably nose heavy on full tank as they can become handful coming home dry with remaining fuel pushed back in the tank with slight flaring angle, making model tail heavy.
Painting time, using metal ruler, I mark off with ball pen all areas to be painted leaving embossed line in the foam. Using the same method is also easy way to create any panel lines if needed as a special effect. Next step is application of water based primer over the whole frame, white is used for light colour tones and darker grey used where darker tones will be applied. All imperfections are easy to spot after the base colour dries, filled, sanded and final coats is being applied by hand. To compliment rather "religious" colour of the power unit I have chosen various tones of magenta as a final finish and giving to my model appropriate name "Touch of magenta". I normally put two to three coats of satin water based finish to get good and even cover over Depron. I always prefer numerous thinned down coats then applying thick paint. Simple fixed landing gear is made up to minimize drag, while using hard rubber wheels designed for heavy jet models. Gear is fitted to the ply formers set inside the foam frame. 6mm hardened wire is shaped for the nose gear and pull-push steering mechanism made up driven by strong metal gear servo. While fitting the landing gear I always make sure to get good positive angle of attack, and while still upside down on the bench I find very useful to epoxy 50mm long skewers embedded inside foam at CofG position.
Back on its wheels and ready to be fully fitted out. Now the exiting part comes, fuelled up for the first time to check the plumbing and first spool up in the backyard. This is done normally early in the morn to wake up all the neighbourhood wondering what the hell is going on, but lasting only a minute or so to confirm all is well. Next thing is taking it to the local club to show it off, proper range check is done with turbine running at various throttle settings from the distance that I couldn’t hear it even at full 163000 RPM and some taxi and acceleration test runs. All this was with positive results but the provisional nose gear foam tyre busting on the rugged grass strip. (replaced only after my maiden due to Christmas brake delays)
Few days later the big day arrived, perfect weather conditions, ready fuelled up on the tarmac for its first flight, and guess what! Opening my transmitter case I was horrified to see my radio dead, accidentally leaving power turned on night before while resetting my timer. After quickly making up an open wire charging jack I have managed to recharge the battery to safe level for my maiden. All this added unnecessary stress, but it all quickly dissipated after model smoothly rotated to safe level on its first circuit. Awesome turbine sound gives you goose bumps all over, it feels so wonderful to see all your hard work paying off. Aileron controls were much too touch� and reduced for the next flight, requiring even further reduction. First two landings were rather longer then I have expected due to the residue turbine thrust requiring gradual power reduction lot earlier on downwind leg. During my second landing wind changed to 90deg. across the strip making my final little tricky with no rudder controls making the model drift right to the edge of the sealed strip.
More than satisfied, on my return after two successful flights I started to think about installing some sort of rudder to help in above situations. Painting tall ships and ocean liners for living most of my life gave me an idea, if I can’t fit it to the top why not to fit it to the belly like on the "Bounty". Back on the bench, two rudder fins with moving controls were made up and epoxied to the rear bottom of the fuselage operated by two parallel hooked up metal gear servos. Simple, heavy duty push rod controls are hooked up to rudder axis fitted through alloy made bushings. I wouldn’t rely doing knife edging with this rudder concept but for minor corrections on final approaches it should work is my expectation next flying session. Currently experiencing extremely hot weather spell with fire bans all over the state so anxiously waiting for cooler weather to get back to the air, stay tuned for more report , Joseph Frost.
[/SUP]
04-19-2021, 12:27 AM
#6
Thread Starter
Join Date: Nov 2010
Location: Coffs Harbour NSW, AUSTRALIA
Posts: 1,630
Likes: 0
Received 72 Likes
on
68 Posts
Lot of water has past under the bridge since released from the jail, another major service to all fuel system for more flying action.
Regular fuel system maintenance, a must.

Belly Rudder system.
Regular fuel system maintenance, a must.
Belly Rudder system.
 08-18-2021, 06:42 PM
#8
My Feedback: (2)
You might get more interest and / or discussion about your project if you posted in the jets forum. The turbine clinic and sub forums are for customers to discuss problems, and get help with their engines. Just a suggestion.
KW
(former, long-long ago PST support rep...)
KW
(former, long-long ago PST support rep...)
 08-03-2022, 12:59 AM
#9
Thread Starter
Join Date: Nov 2010
Location: Coffs Harbour NSW, AUSTRALIA
Posts: 1,630
Likes: 0
Received 72 Likes
on
68 Posts
TX, I'm here only to share my creations, wouldn't care less how many follow it. Been in this hobby too long to get an idea about modellers, LOL.
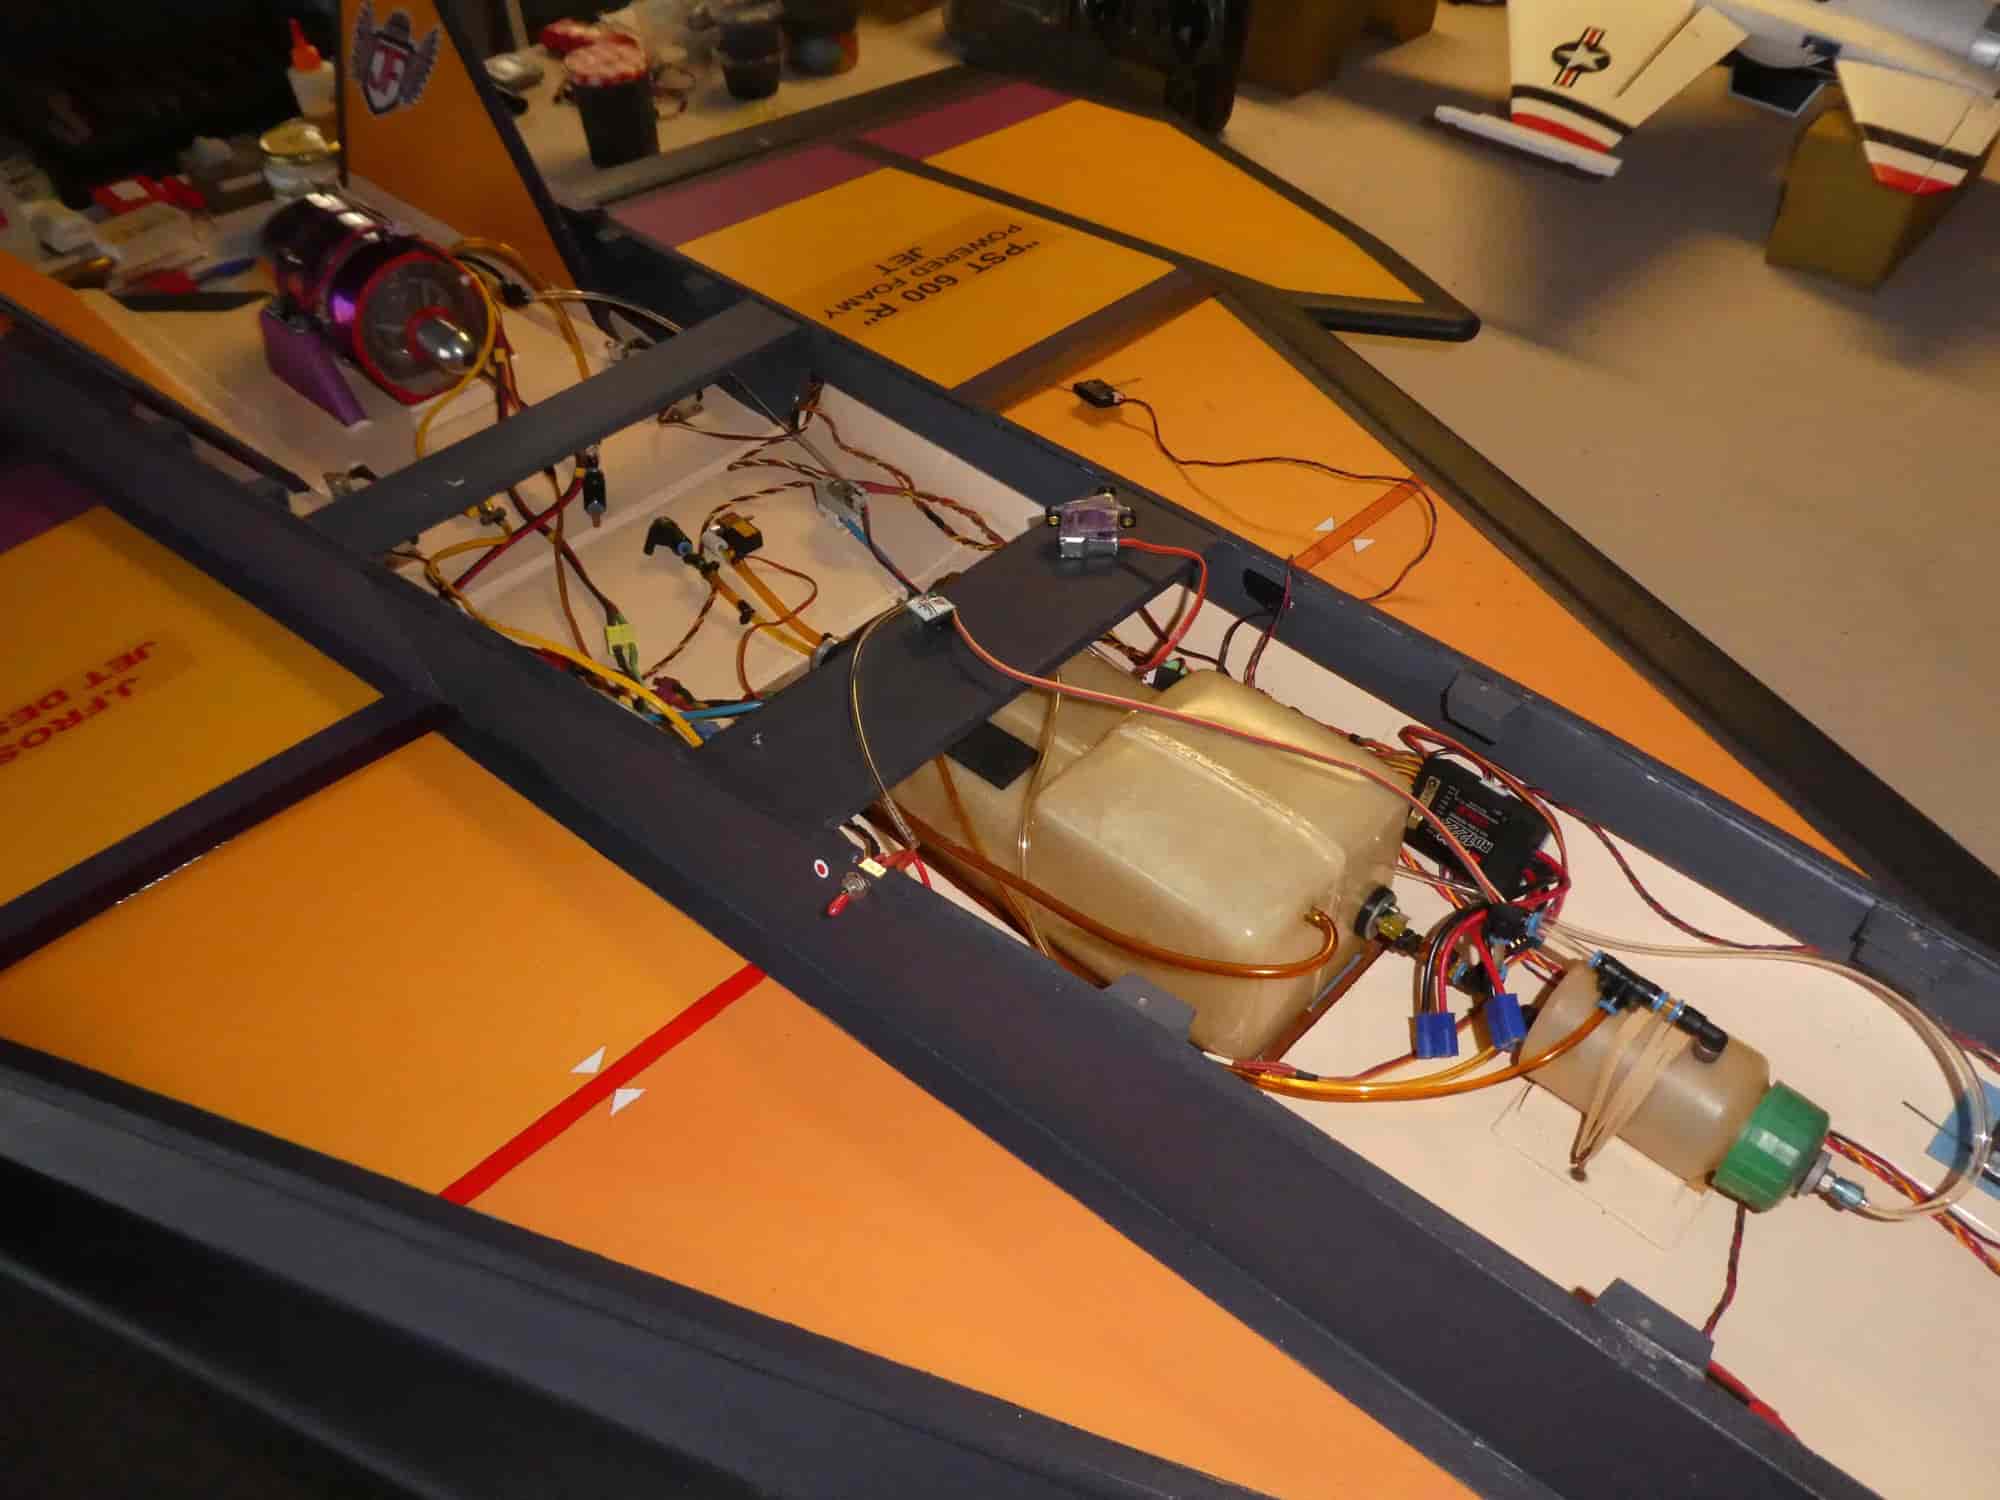
The good thing is, my good old "Touch of Magenta" is now converted to 10+ Kw EDF, after few mods, some 2 kilos heavier, but doesn't seem to affect its performance beside shorter flight time after some wing load reduction by adding front canards and delta tip winglets. Just loving it, plug it in and off I go!
Power unit was fitted to "F9F", which is now 2.5 kilo lighter than EDF version and just listed for sale to get rid off it to downsize from IC fleet.

Old PST powered Magenta now as an EDF.
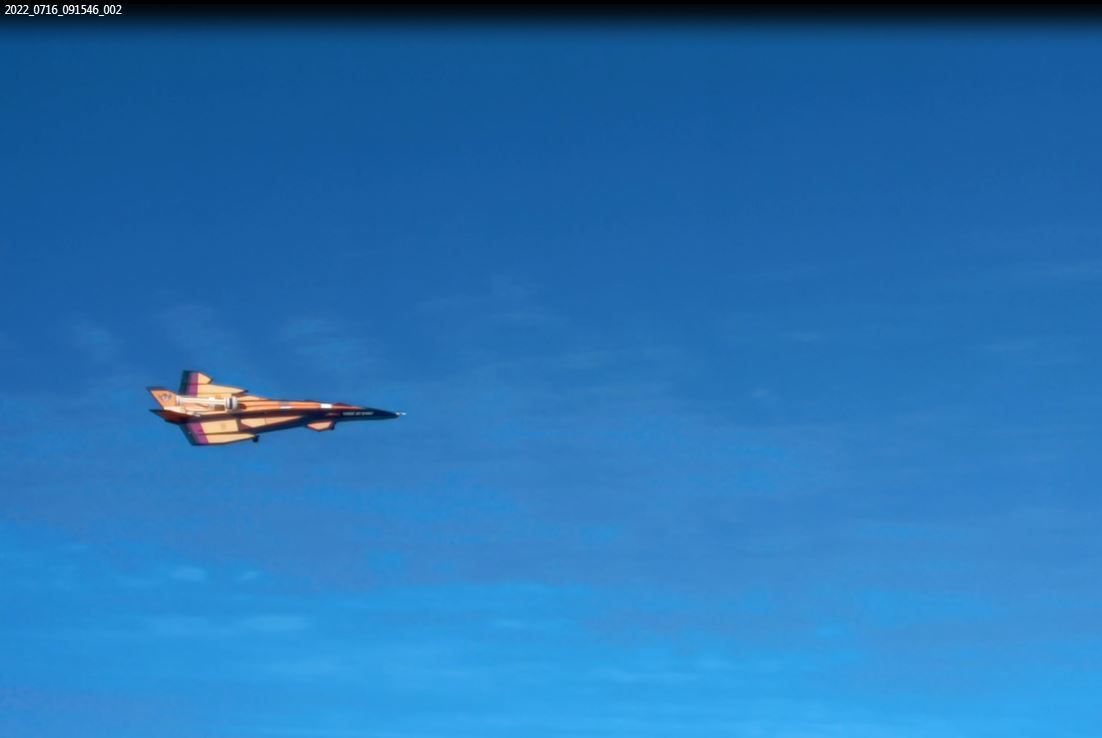
In action as an EDF.

Good old PST got a new home.
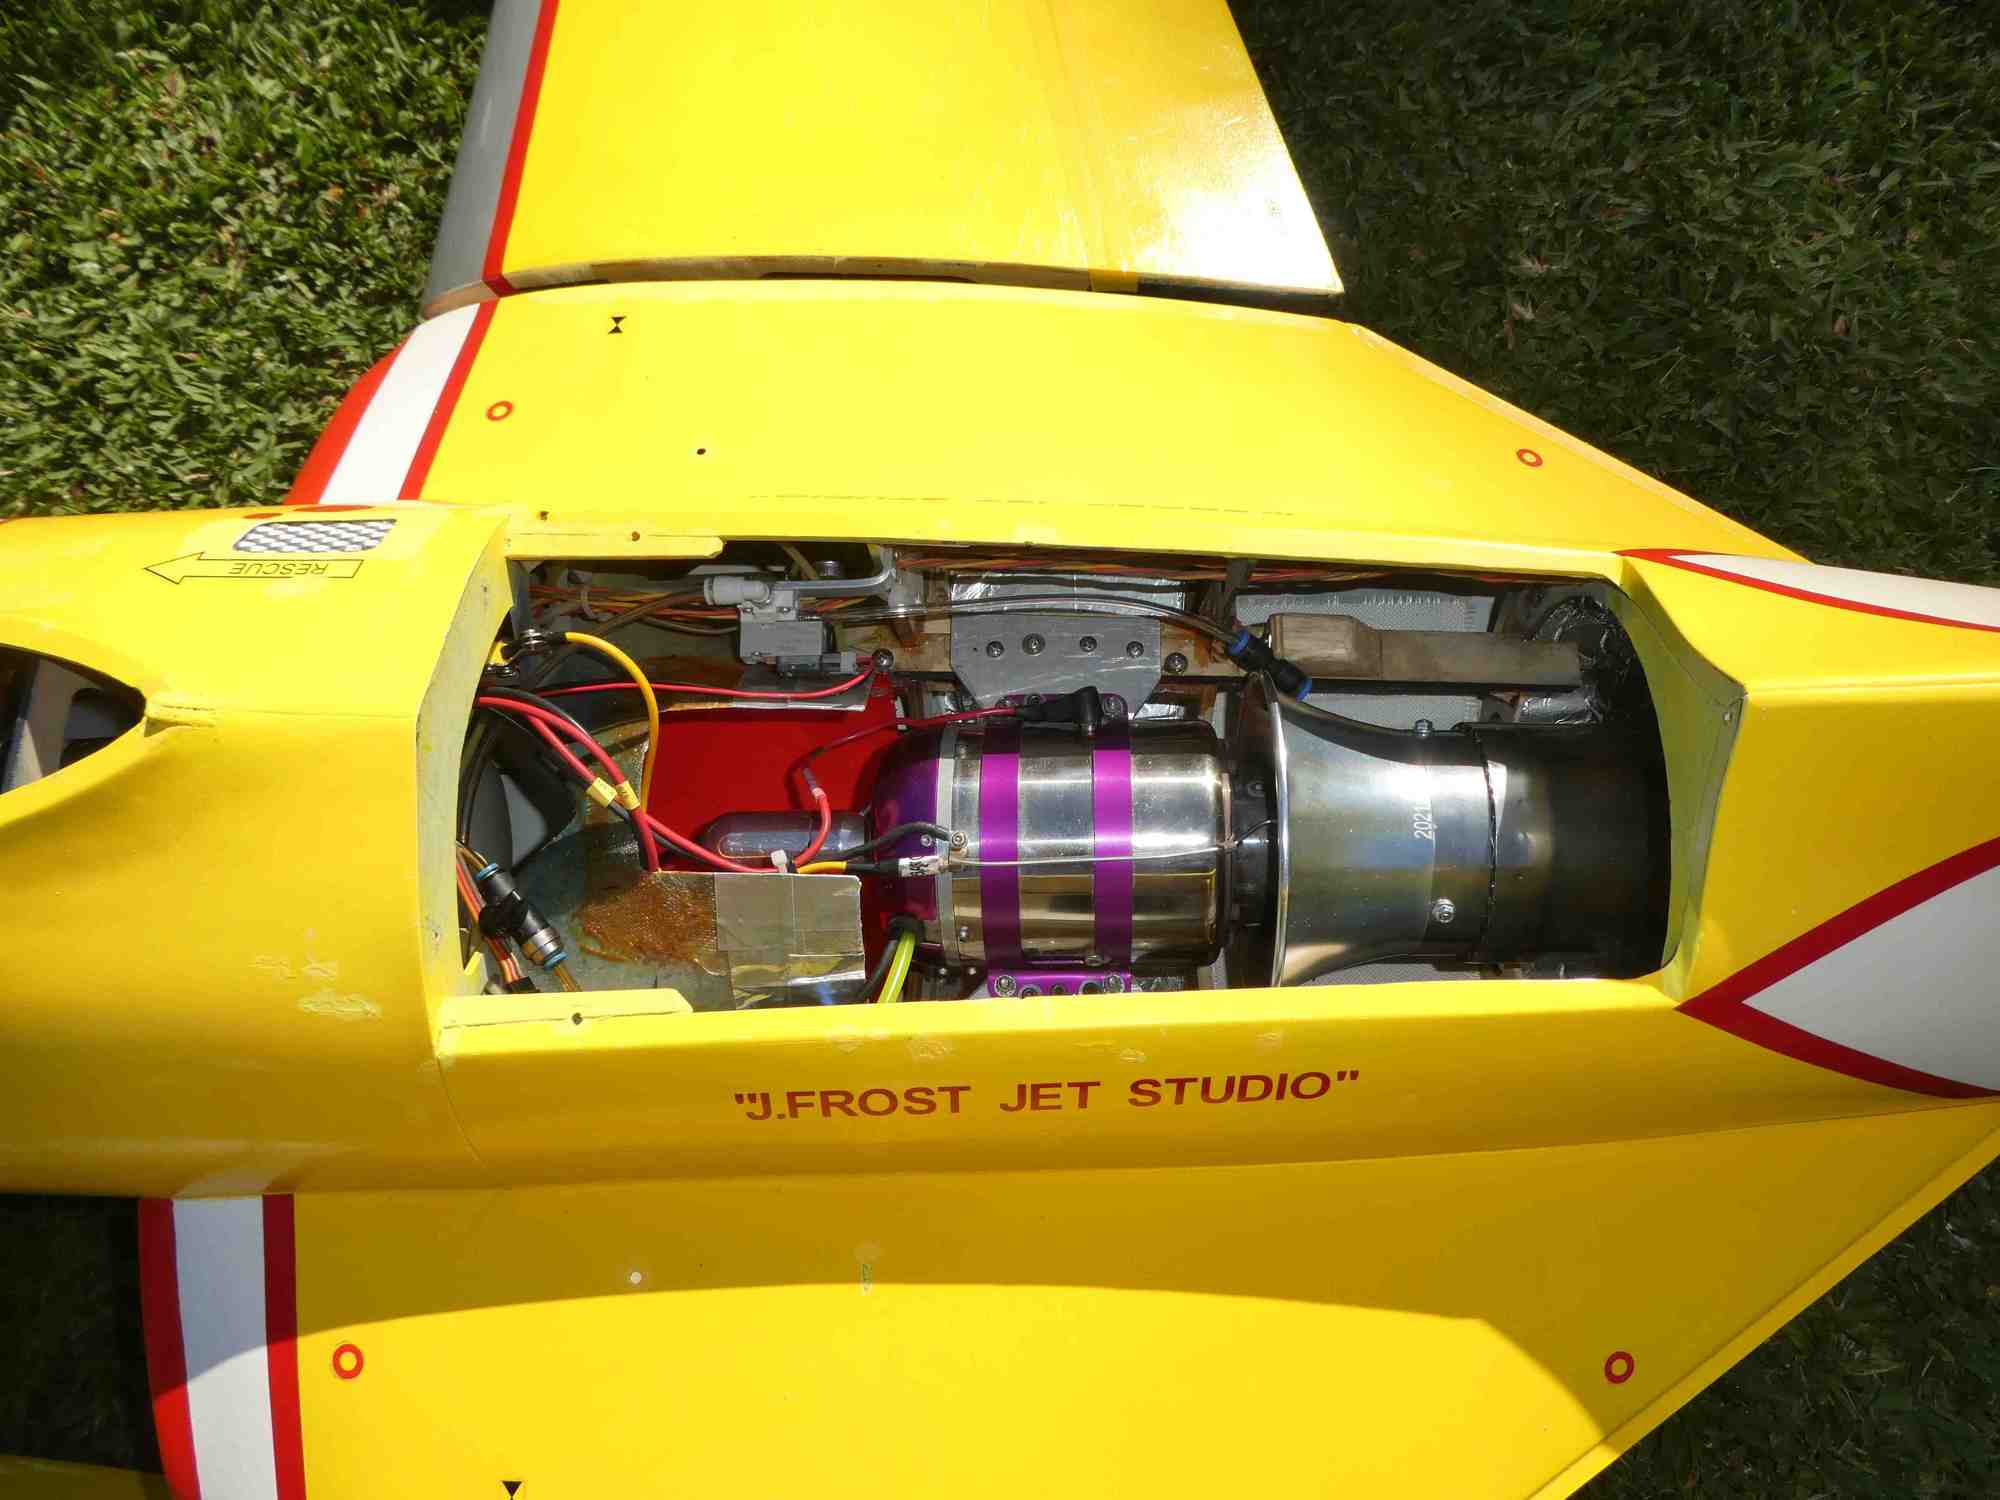
Now 2.5kg lighter as turbine powered.
The good thing is, my good old "Touch of Magenta" is now converted to 10+ Kw EDF, after few mods, some 2 kilos heavier, but doesn't seem to affect its performance beside shorter flight time after some wing load reduction by adding front canards and delta tip winglets. Just loving it, plug it in and off I go!
Power unit was fitted to "F9F", which is now 2.5 kilo lighter than EDF version and just listed for sale to get rid off it to downsize from IC fleet.
Old PST powered Magenta now as an EDF.
In action as an EDF.
Good old PST got a new home.
Now 2.5kg lighter as turbine powered.


