Hirobo Lama 35b helicopter conversion,Gas to electric power.
 01-24-2026 | 07:39 PM
#1
Thread Starter

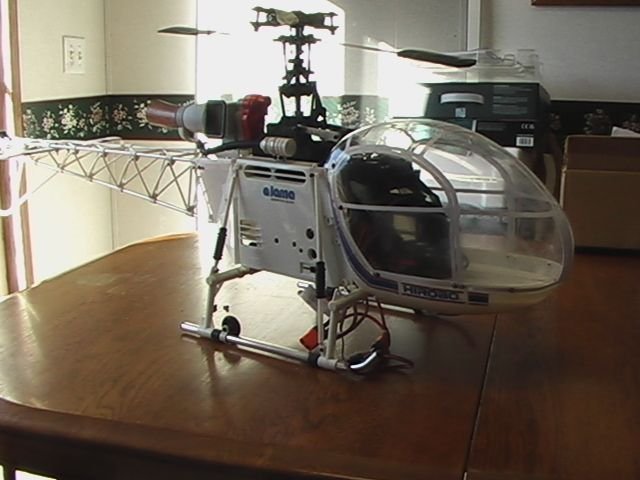
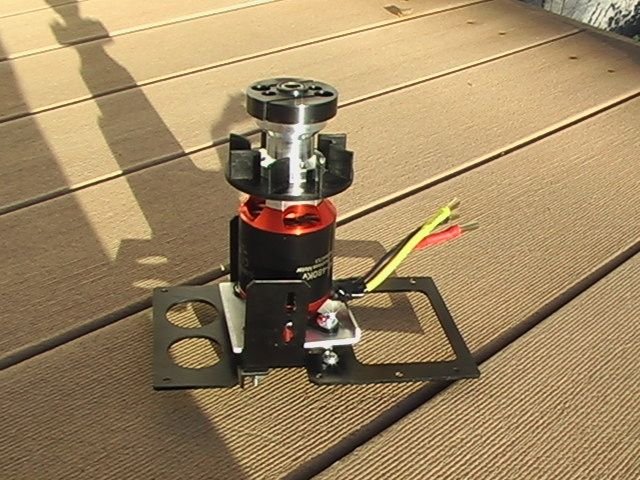
Last summer, I brought a used Hirobo Lama 35B helicopter. The RC model looked to be in not not to bad of shape when I received it.. It came complete with all the parts.but it was a gas model,and I wanted a run electric power, I thought I wold share on how my model was converted over.to electric and learn tips on how other people did there electric conversions.This might be a slow thread,as I am taking my time on this build. Here are a couple of pictures of the model.

 01-25-2026 | 08:24 AM
#2
Thread Starter
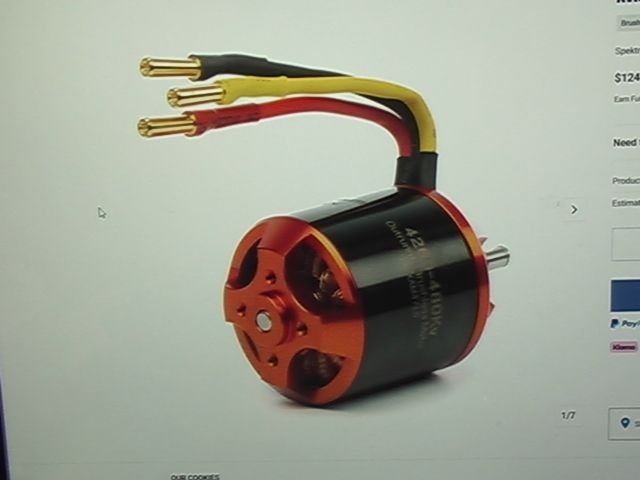
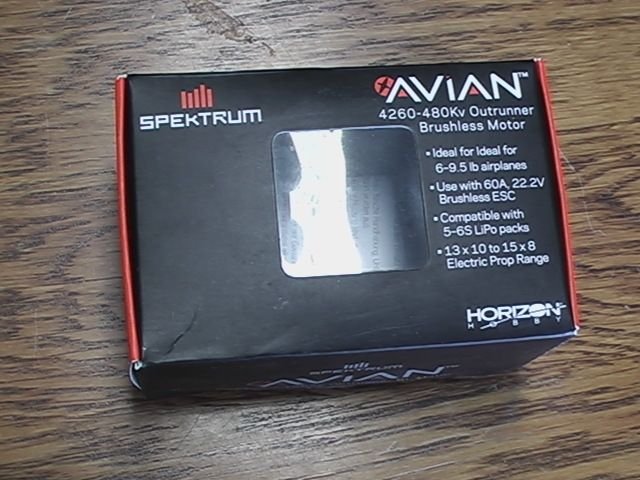
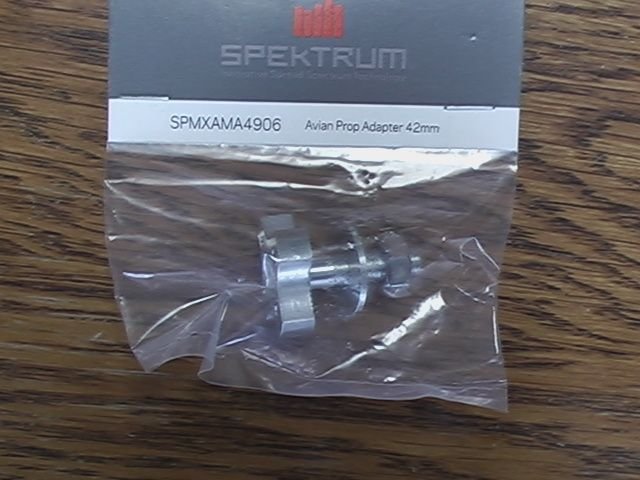
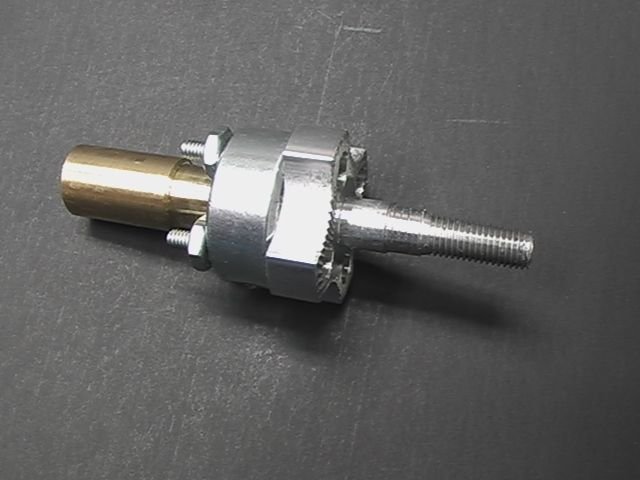
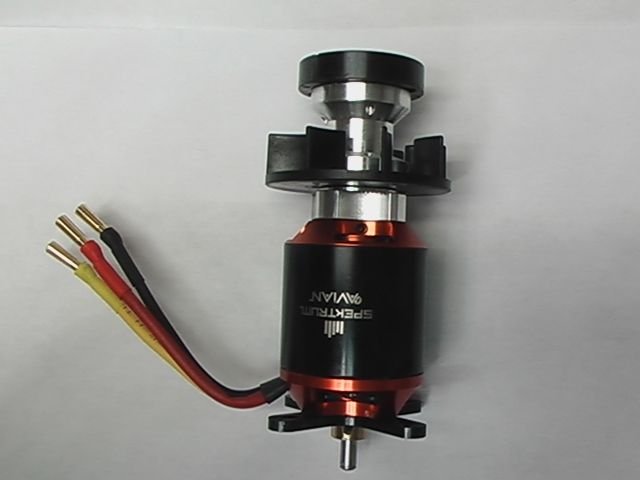
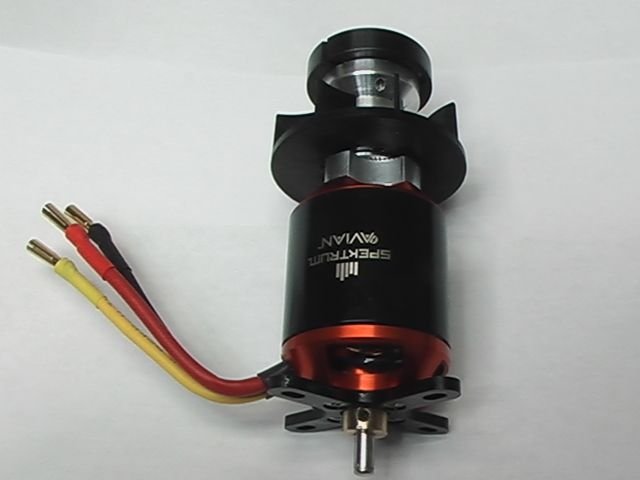
The internet gave me a lot of ideas on other people electric conversions.Some of the posts dated a few years back. Back then they said to use a Electric fly 46 rim fire electric motor. finding out this motor was no longer available. The motor to replace it was now a Spektrum Avian 4260-480KV Brushless motor,so that is the motor that I used. After buying a lot different prop adapters I found the Spektrum SPMXAMA4906 prop adapter 42mm was the one to use. The shaft was a little to big to work with the clutch hub,so this had to be turned on my lathe.Here are a few pictures.

01-25-2026 | 02:53 PM
#3
Thread Starter
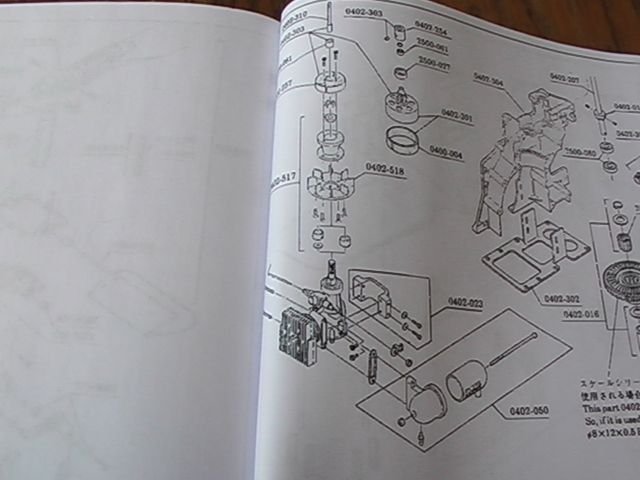
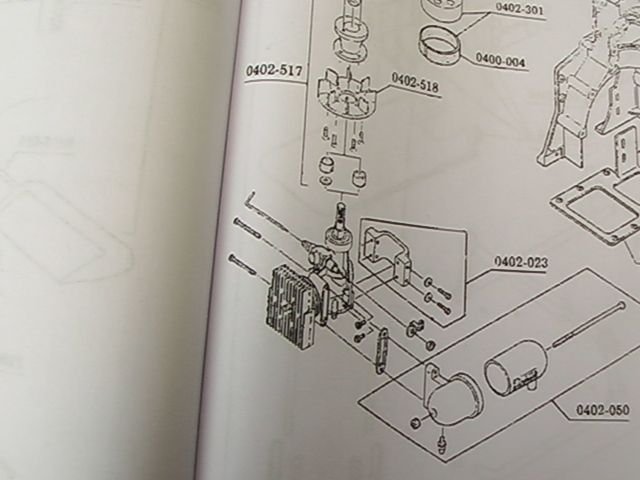
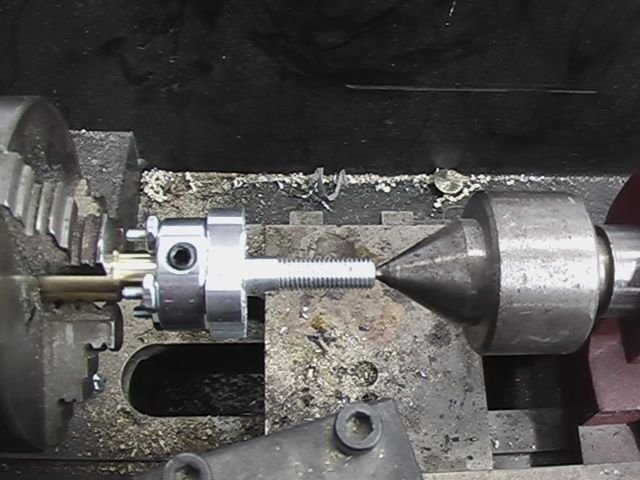
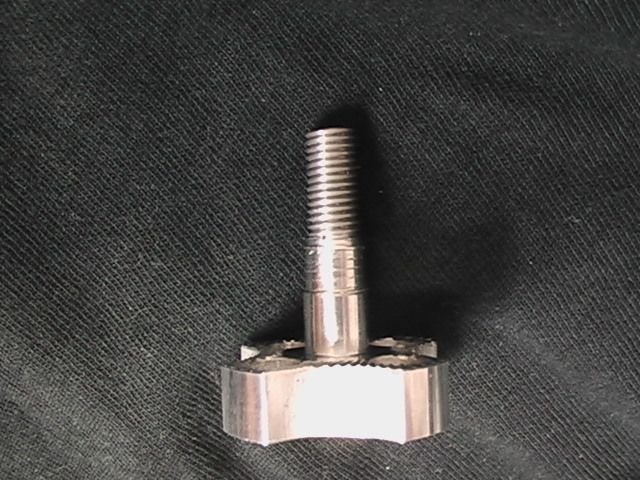
You can find the Hirobo manual on the internet,which tells how to assemble the helicopter along with a parts list. To remove the engine was not to bad. The muffler was removed,along with the gas line. Remove the wiring and fuel turning screw. Four bolts hold the motor bracket in place,two on each side. I had to make a wooden stand so I could turn the helicopter with the bottom up. Then remove the screws that hold the bottom of the floor plate in place. You can then remove the engine from the bottom of the helicopter..A special lathe bracket had to be made to hold the prop adapter.The prop adapter was turned in a lathe to make the right size threads. This took quite a bit of time as I do not want to bend the shaft. These pictures show some of the process that I went thru.

.
.
01-29-2026 | 06:25 AM
#4
Thread Starter
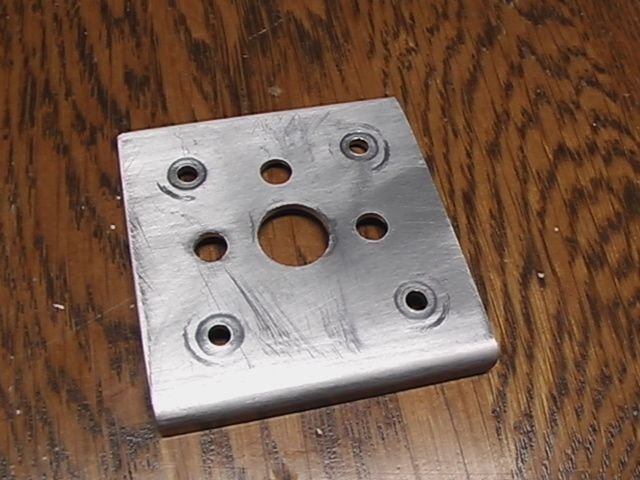
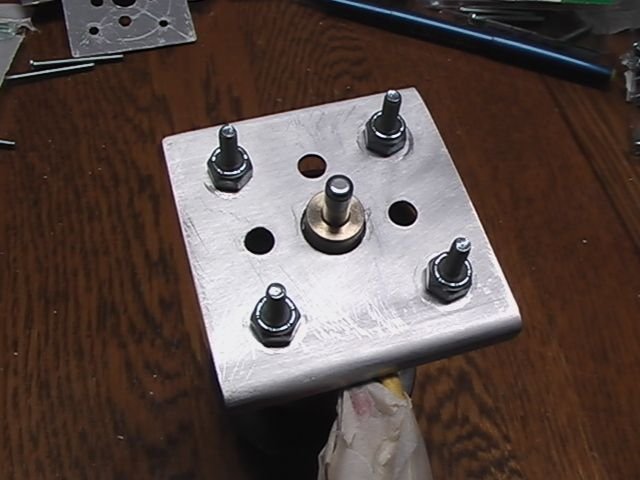
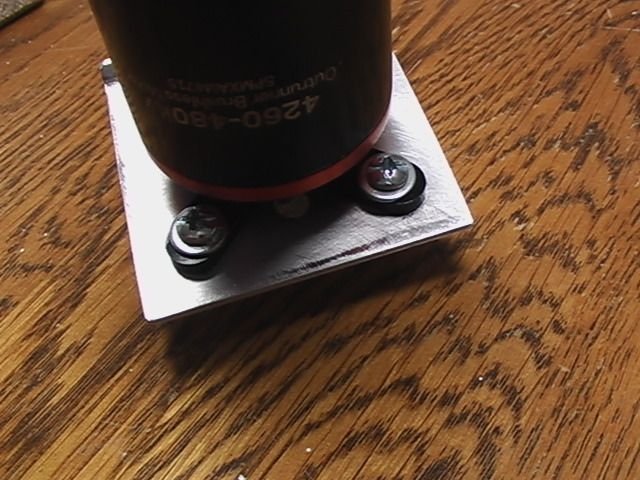
Before I did all this work on building my own electric motor conversion parts,I looked for a conversion kit available for the Hirobo lama. I was told that there was one made years back,and was no longer available. Some people said they liked it and some did not.Any way it would have saved me a lot of work of building my own! So the only thing was to build the electric motor set up myself. Anyway back to the build. The next step was to build the motor mount plate. I used a K&S aluminum.64 thick sheet. I had to draw out the mounting holes locations on the plate. after this was done I could then mount the aluminum plate to the bottom of the motor mounting plate. The complete motor was inserted into the bottom of the helicopter. Then aluminum channel was laid across the bottom of the motor plate for added support. Everything was bolted into place. Some spacers were used for spacing between the motor plate abs channel supports. I hope the pictures might give you a better idea on how this works. More to come!


..
..

 01-29-2026 | 09:55 AM
#7
Thread Starter
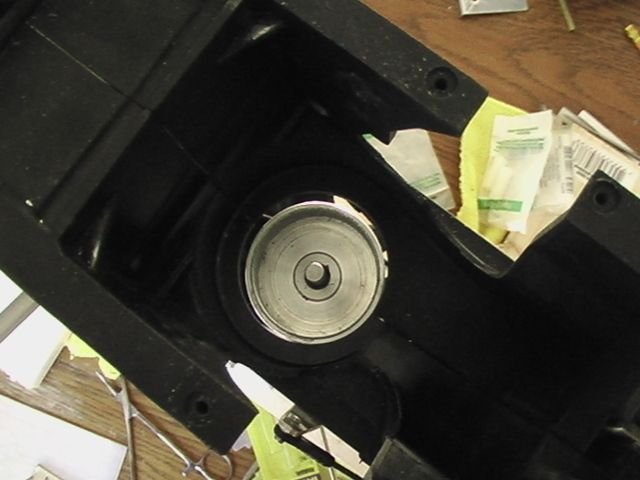
That is the way mine works also. It starts up the blades slow and ran really smooth. The only thing was my clutch lining was wore out, so I had to replace that first,which made a big difference! Here is a picture of the clutch cleaned up before I installed the new lining.


 02-04-2026 | 12:45 PM
#12
Thread Starter
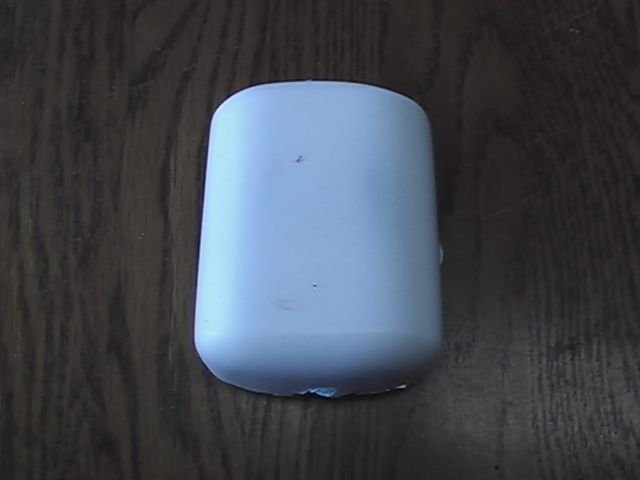
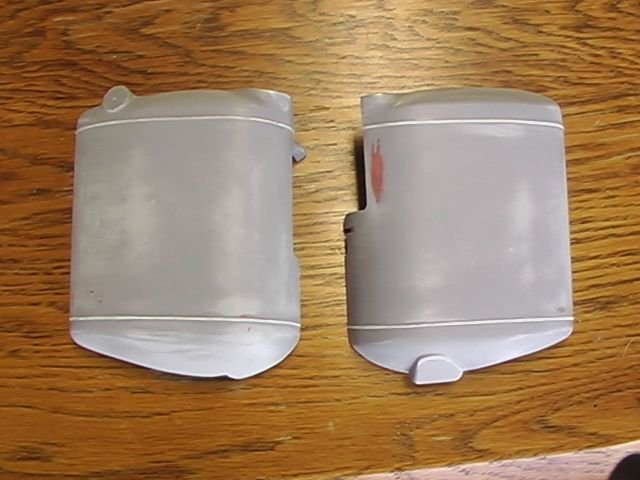
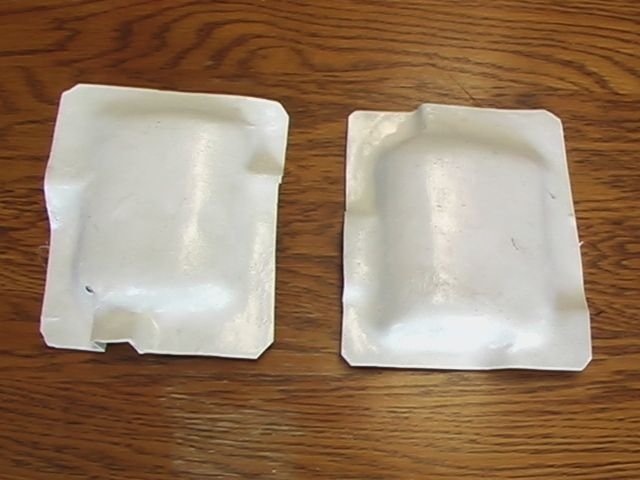
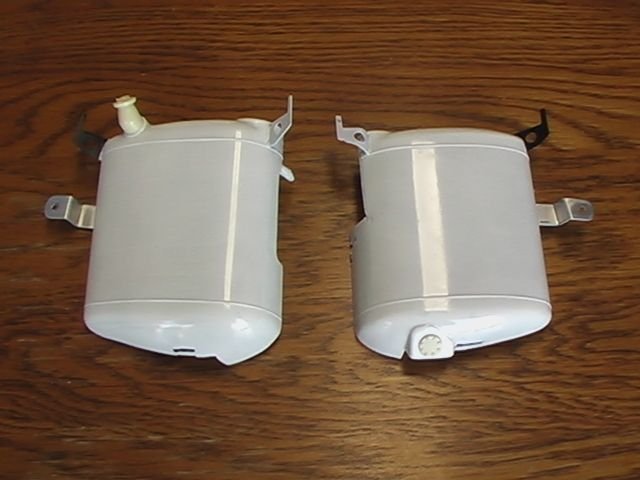
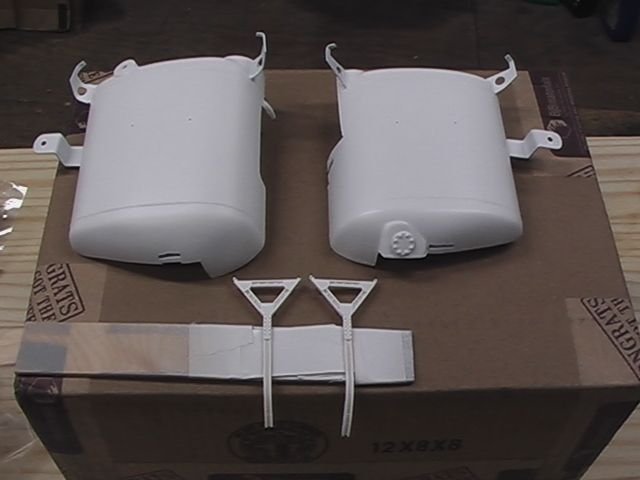
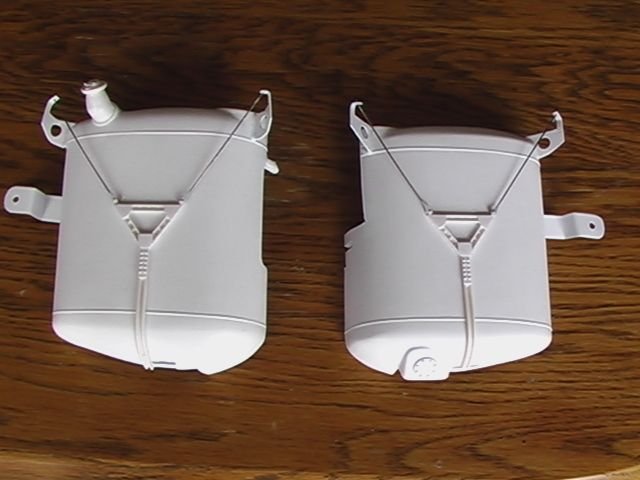
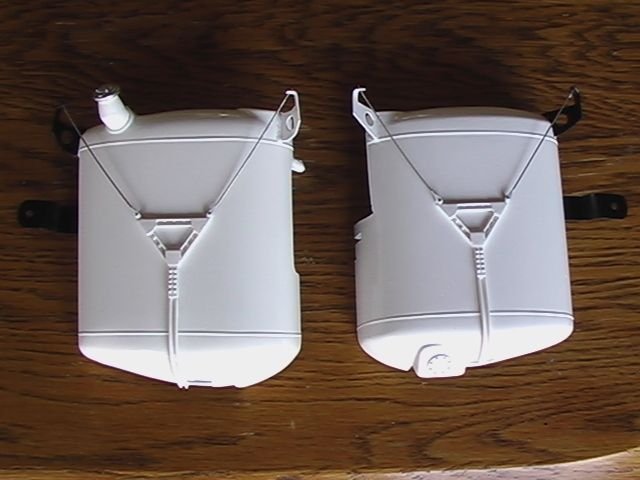
With the light weight fiberglass fuel tanks made,it was time to make the fuel tank holding brackets. These were made from plastic sheet, ( was not easy to make), and going by a lot of close up pictures on internet. The cables holding the tank brackets were made from real cable from a push-pull rudder control on a park flyer airplane. Nothing like using the real thing right?. These cables were made to be removable from the tanks so painting was made easy later on.A rubber mold was made to make more bracket if I needed to later in the future.
 02-24-2026 | 03:17 PM
#16
Thread Starter
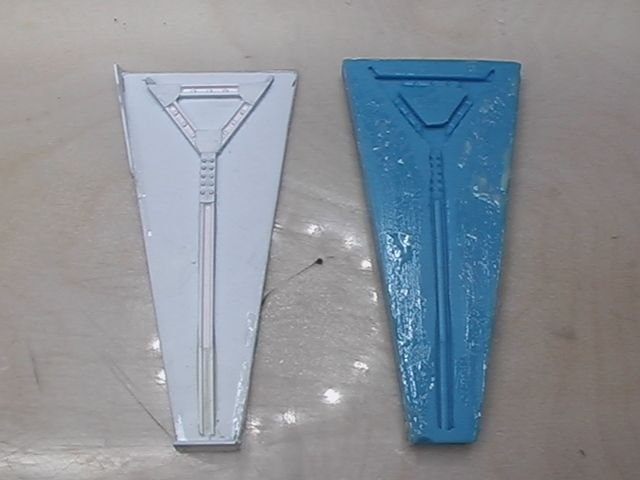
Been away from the project for a while,,I had to get caught up on other things that had to be done. The last few weeks I scratch built 4
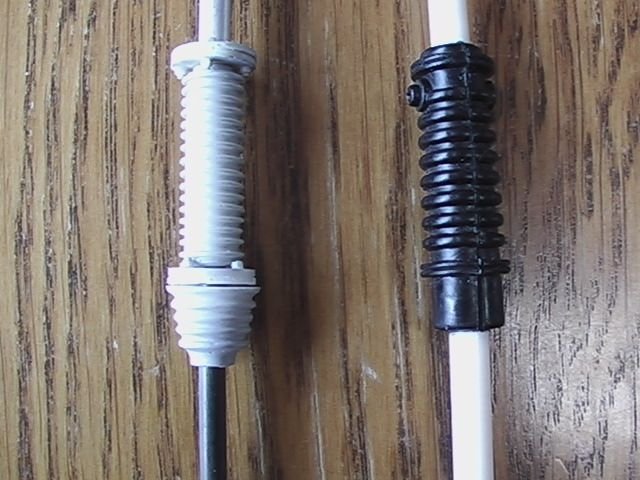
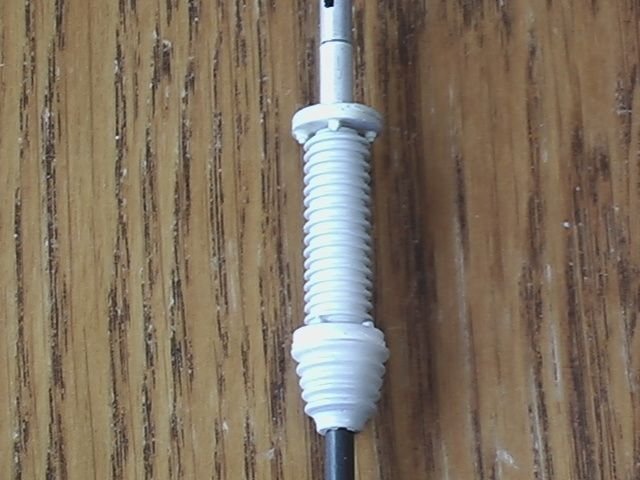
new shocks for the Lama. I wanted a more scale look to these parts.This toke a lot of time and work,as rubber molds had to be made to make 4 sets. here are a couple of pictures of the carbon fiber shocks in primer. I will try to post a sooner in the future.
new shocks for the Lama. I wanted a more scale look to these parts.This toke a lot of time and work,as rubber molds had to be made to make 4 sets. here are a couple of pictures of the carbon fiber shocks in primer. I will try to post a sooner in the future.
03-05-2026 | 10:45 AM
#17
Thread Starter
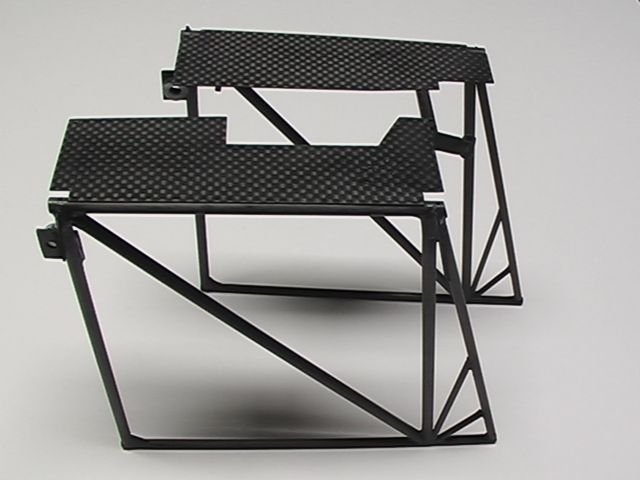
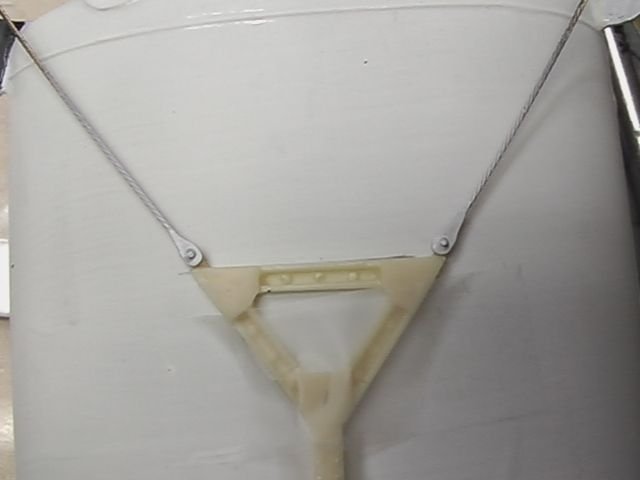
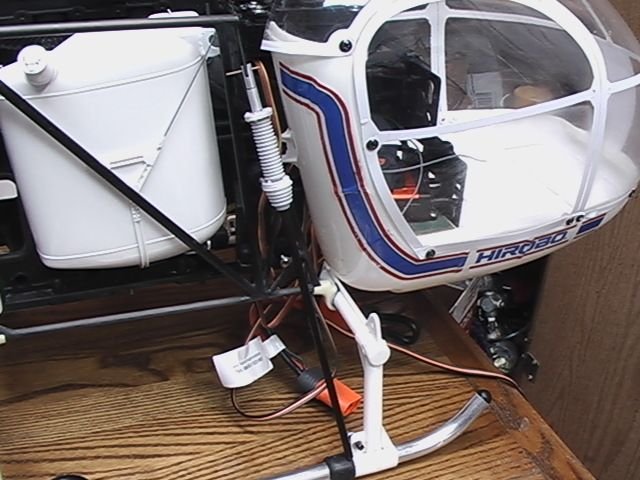
When I started this build,the idea was to make the stock Hirobo Lame into the style with the open fuel tank etc. Carbon fiber tubing was used for most of the construction of the frame work. I liked this because it was light and very strong. Glue that worked with the carbon was the real problem. I tried epoxy glue and if worked fair but still it seem to be not that strong when under stress. Sanding and cleaning were the glue would be applied,,I also did every time. Trying about every glue that I could buy seem to not work the best. Then I heard about 3M Scotch-Weld. 420. The carbon fiber area was first sanded and then cleaned with alcohol before the glued was applied. To my surprise the joint could not be broken under stress!! The glue was as strong as the carbon fiber it self. Just be sure you follow 3M instructions in the preparations for good adhesion.Here are a few pictures of the carbon fiber frame work around the fuel tank. This area is not done yet as more framing has to be done.

03-16-2026 | 04:52 AM
#18
Thread Starter
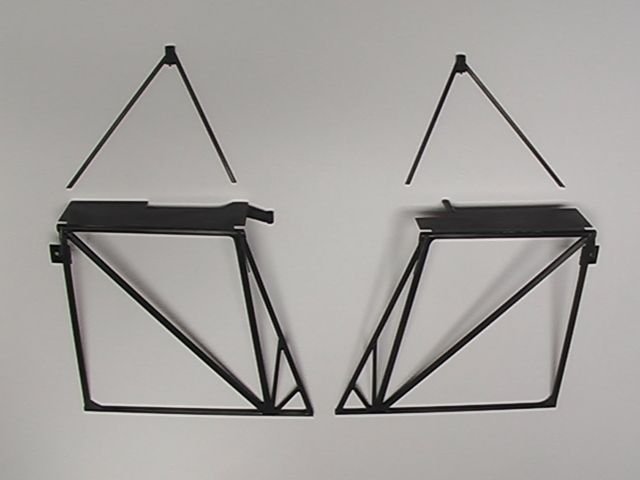
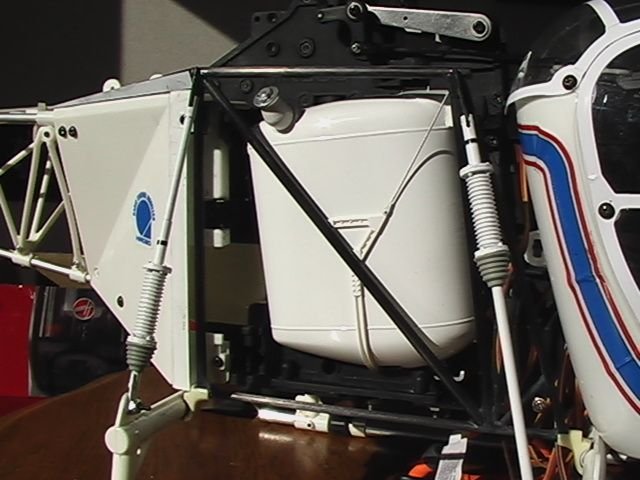
A small up date: Over the weekend a few pictures of the Carbon fiber frame work that goes around the fuel tank of the lama was taken. I was really surprised on how feather light the frame work was, suck a great difference than the heavy stock plastic parts. These pictures show the carbon fiber frames sanded,and ready for the white primer. Soon I will show the resin (shoes) that the frames fit in to hold up them up.