CARF Skygate Hawk in the house !


The following users liked this post:
jws_aces (05-06-2021)
 10-19-2021, 11:23 AM
#1380

Hi Guys,
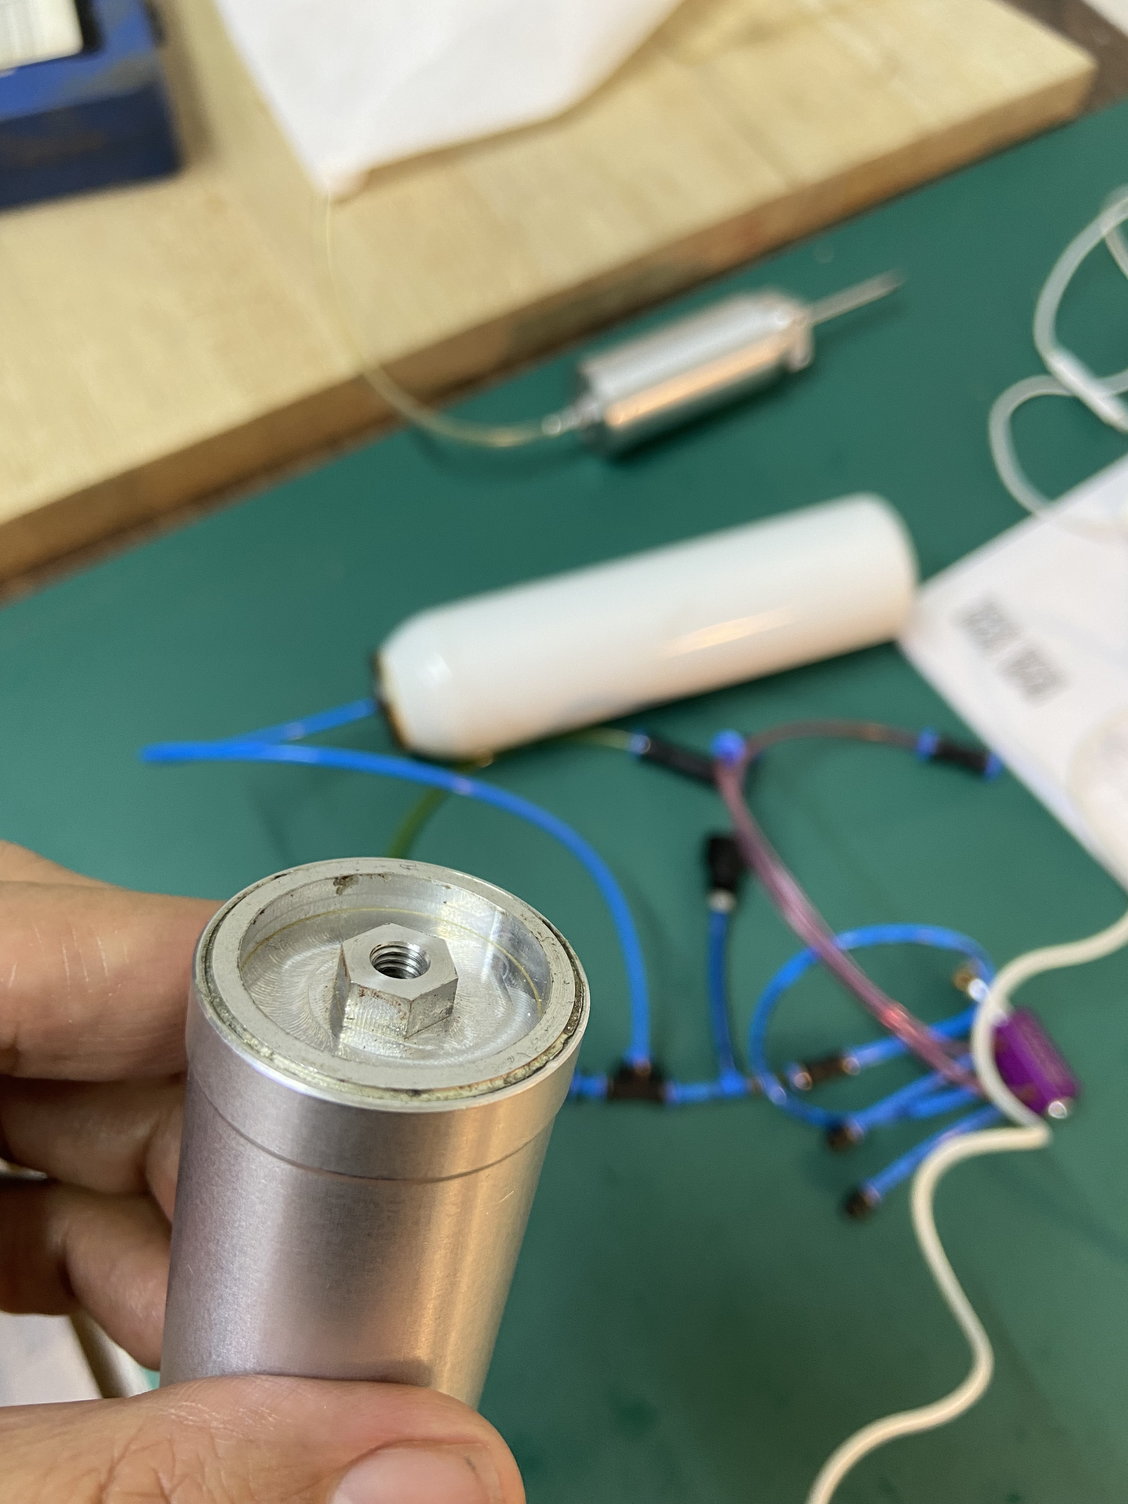
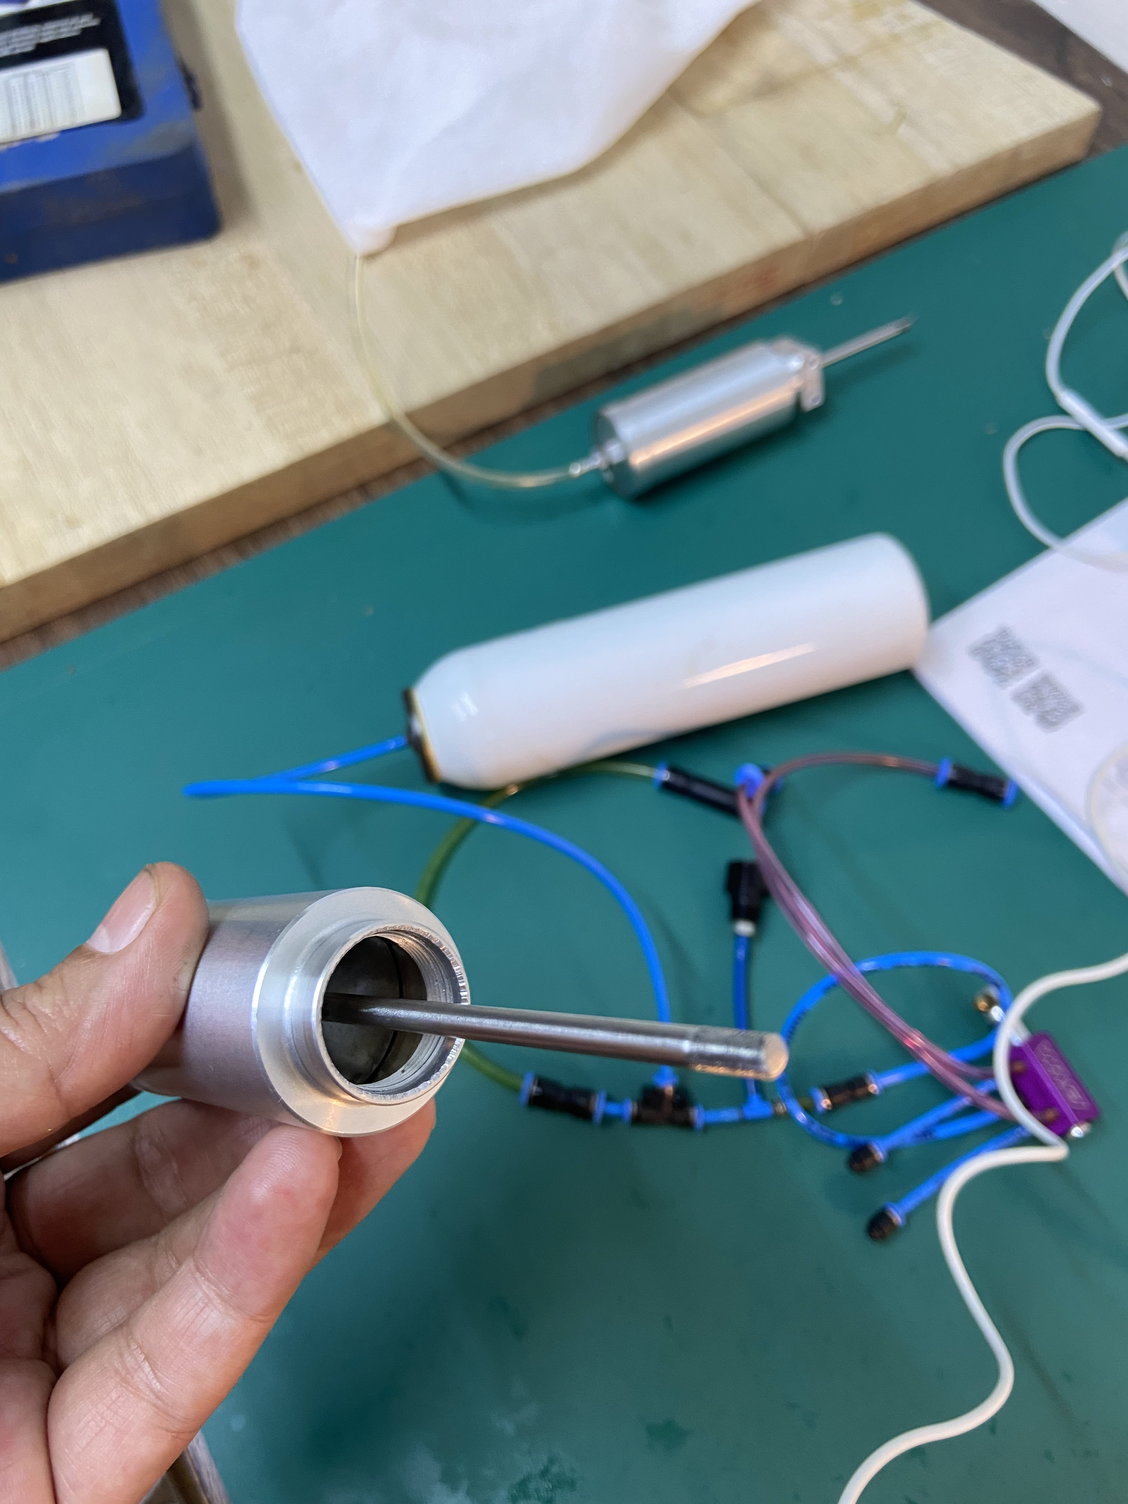
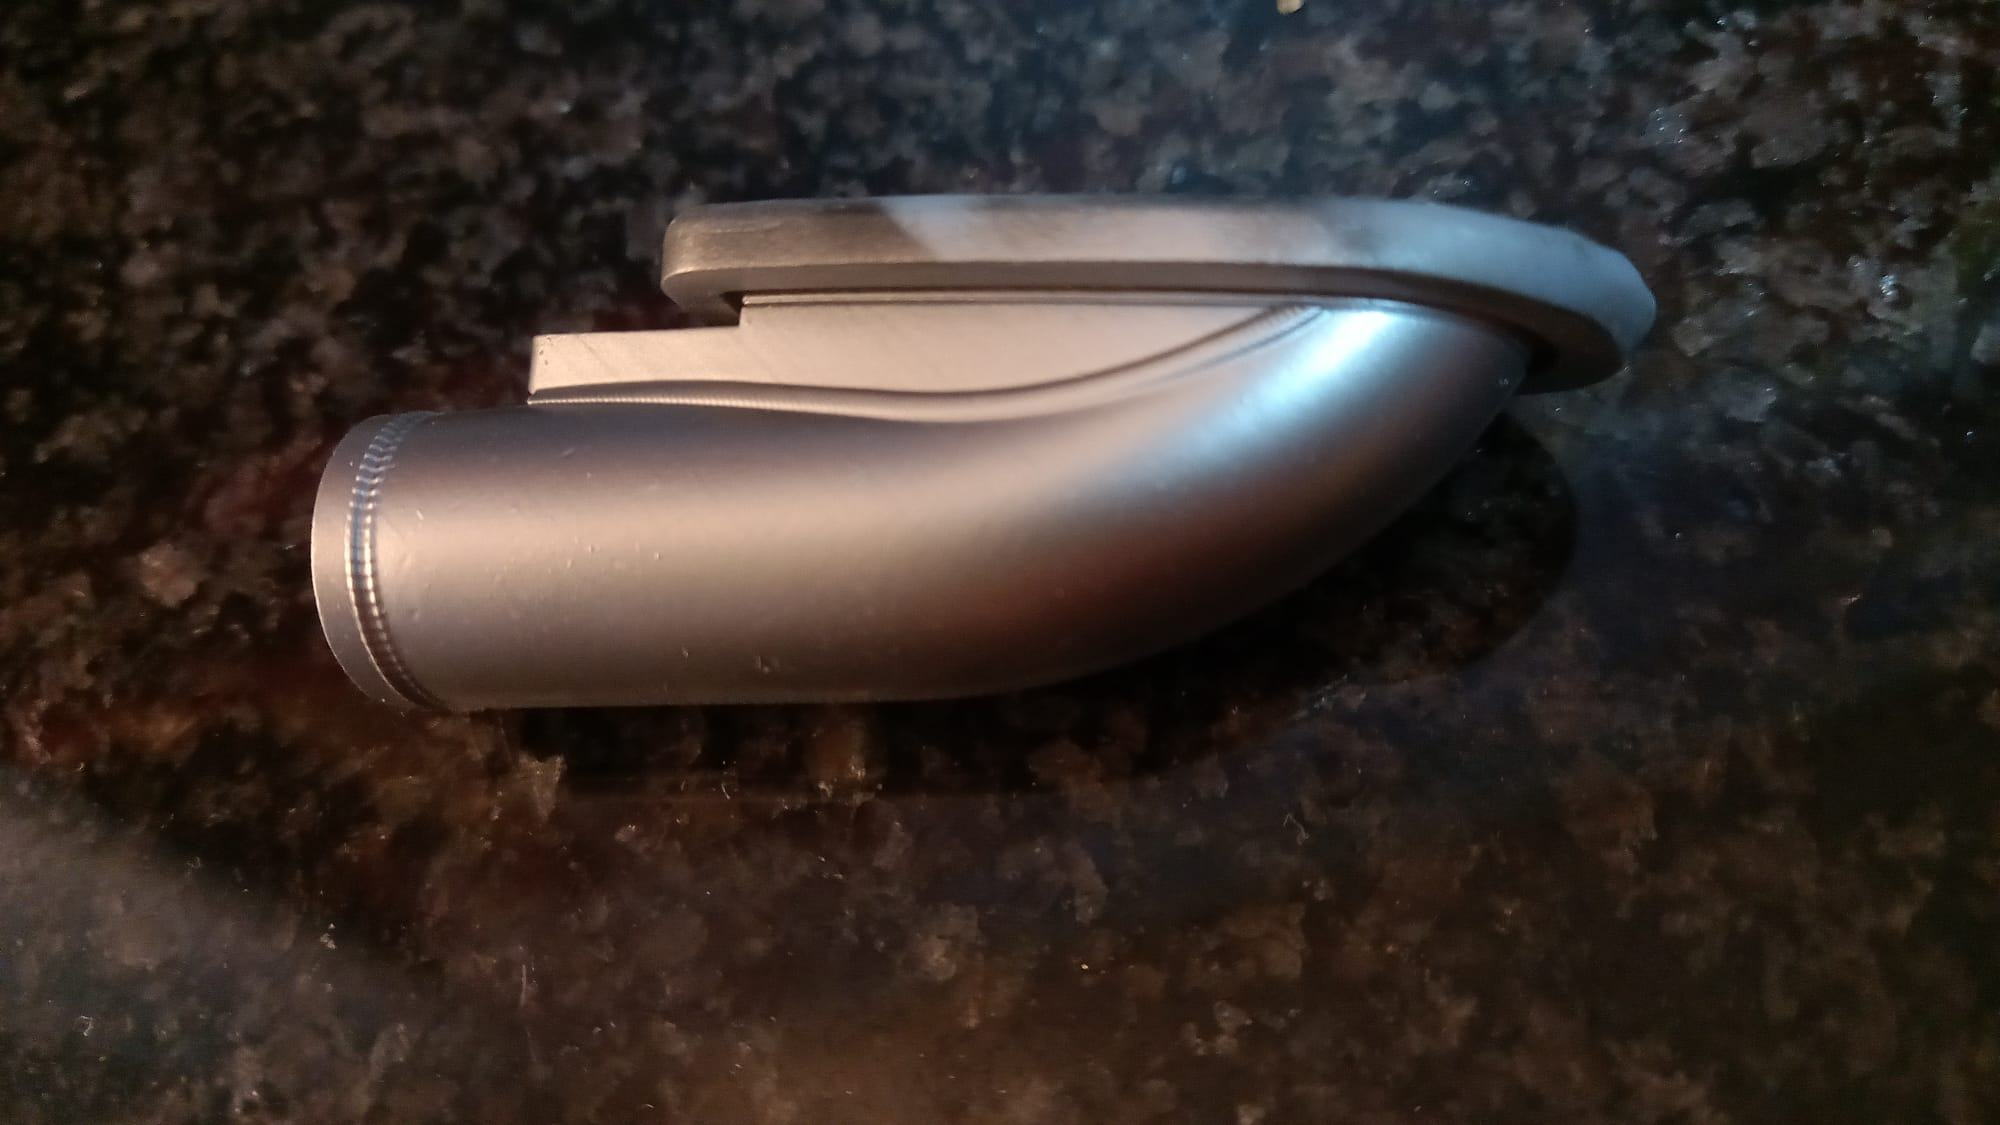
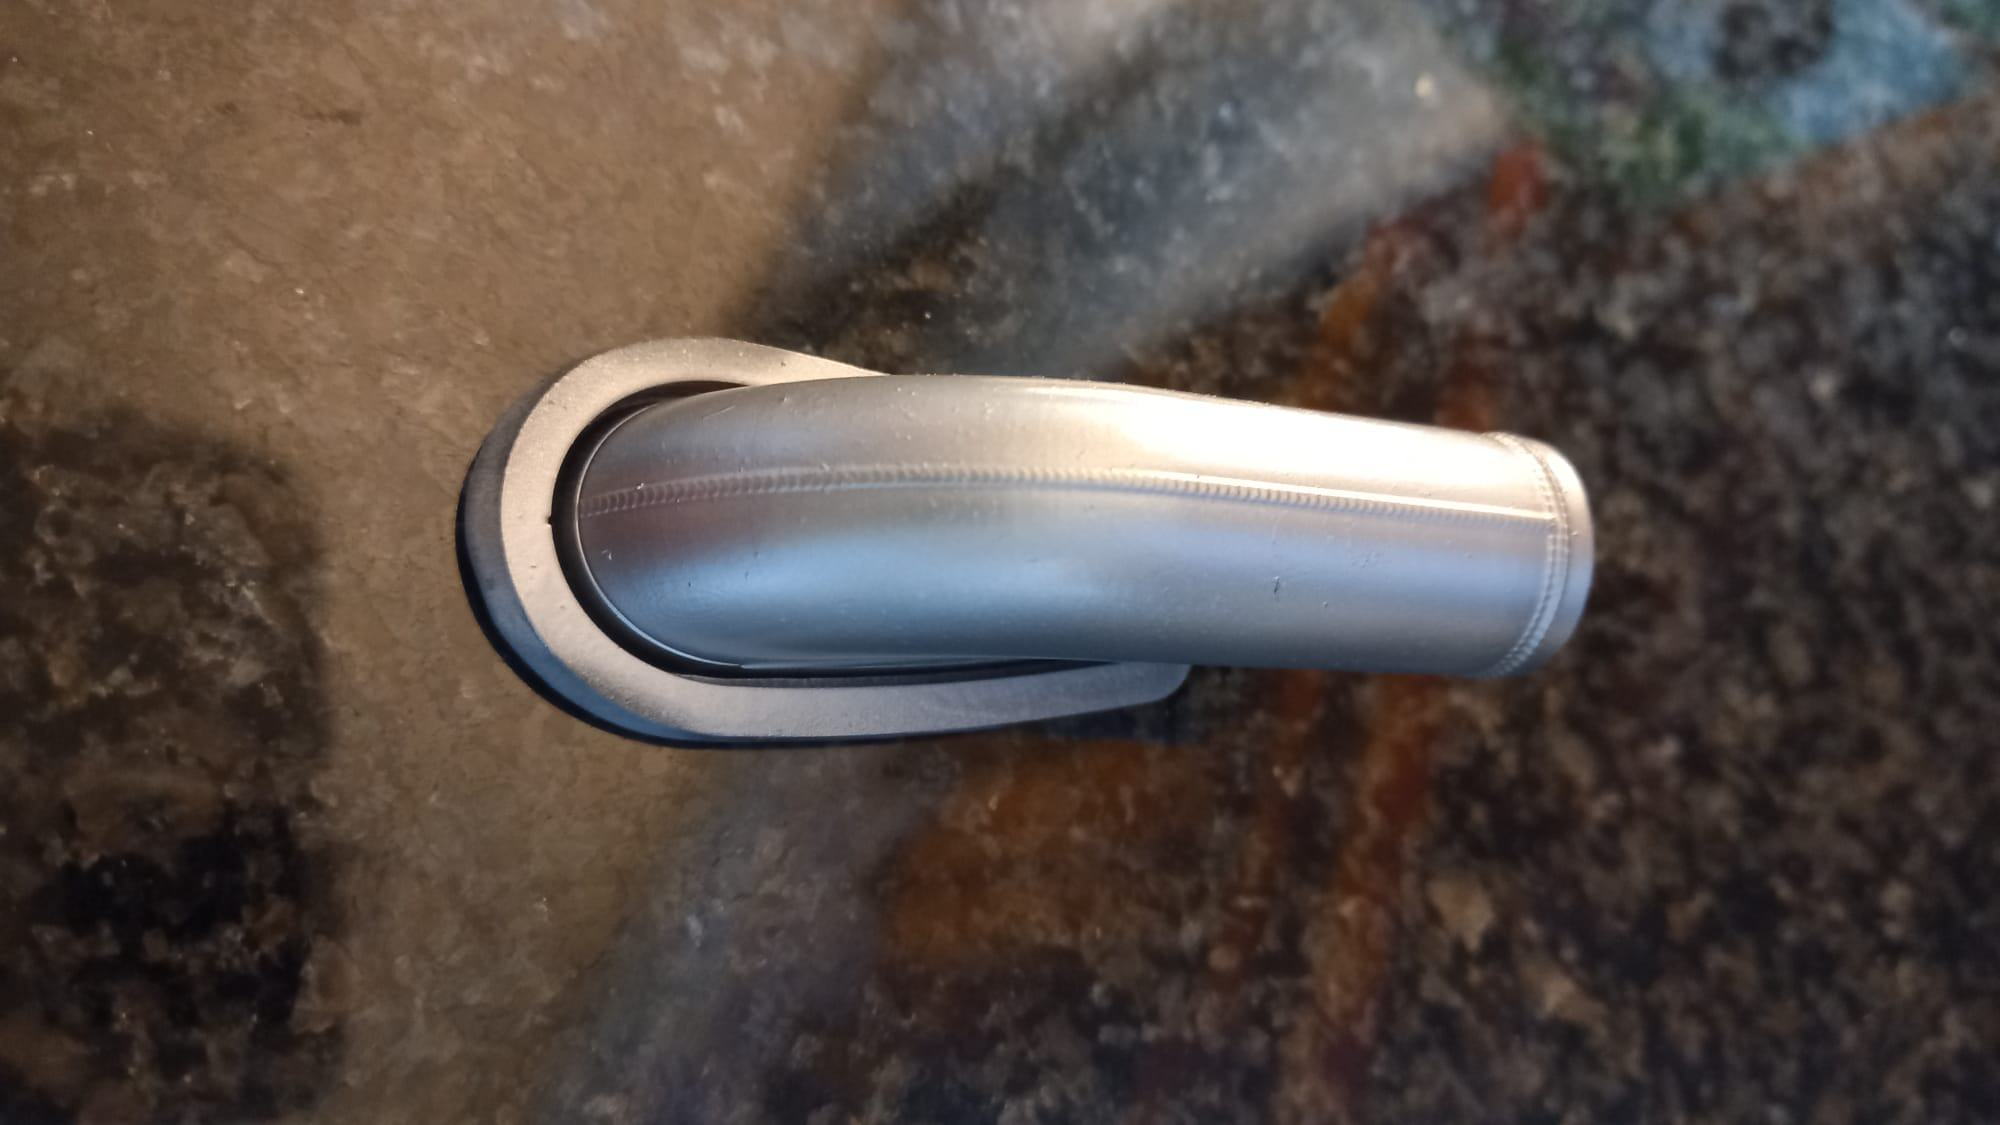
Need to change the O rings on the main and nose cylinders. One end of the main cylinder opened up easily but the other end won�t.
Any idea if some heat would help loosen it? Would a heat gun be enough? Would be a little afraid to use a blow torch.
Both ends of the nose came apart easily. The seal on one end of the mains looks different from the nose cylinder, otherwise identical.
Thanks Chatty.
10-19-2021, 01:57 PM
#1381
Yes, use a heat gun all around, just before trying to undo the insert give it a squirt of CA kickers square on the end, it will cool the blanking plug and help is shrink slightly. If you are changing the Orings anyway, it’s not such a fear to use good heat. The Rod seals are the main area, AT used quite a coarse grain steel and it eat the inside hole each cycle. Polish the rods slightly with metal polish while they are In pieces.
D
D
10-20-2021, 12:45 PM
#1382
Yes, use a heat gun all around, just before trying to undo the insert give it a squirt of CA kickers square on the end, it will cool the blanking plug and help is shrink slightly. If you are changing the Orings anyway, it�s not such a fear to use good heat. The Rod seals are the main area, AT used quite a coarse grain steel and it eat the inside hole each cycle. Polish the rods slightly with metal polish while they are In pieces.
D
D
Regards
Chatty.
12-08-2021, 11:35 AM
#1384
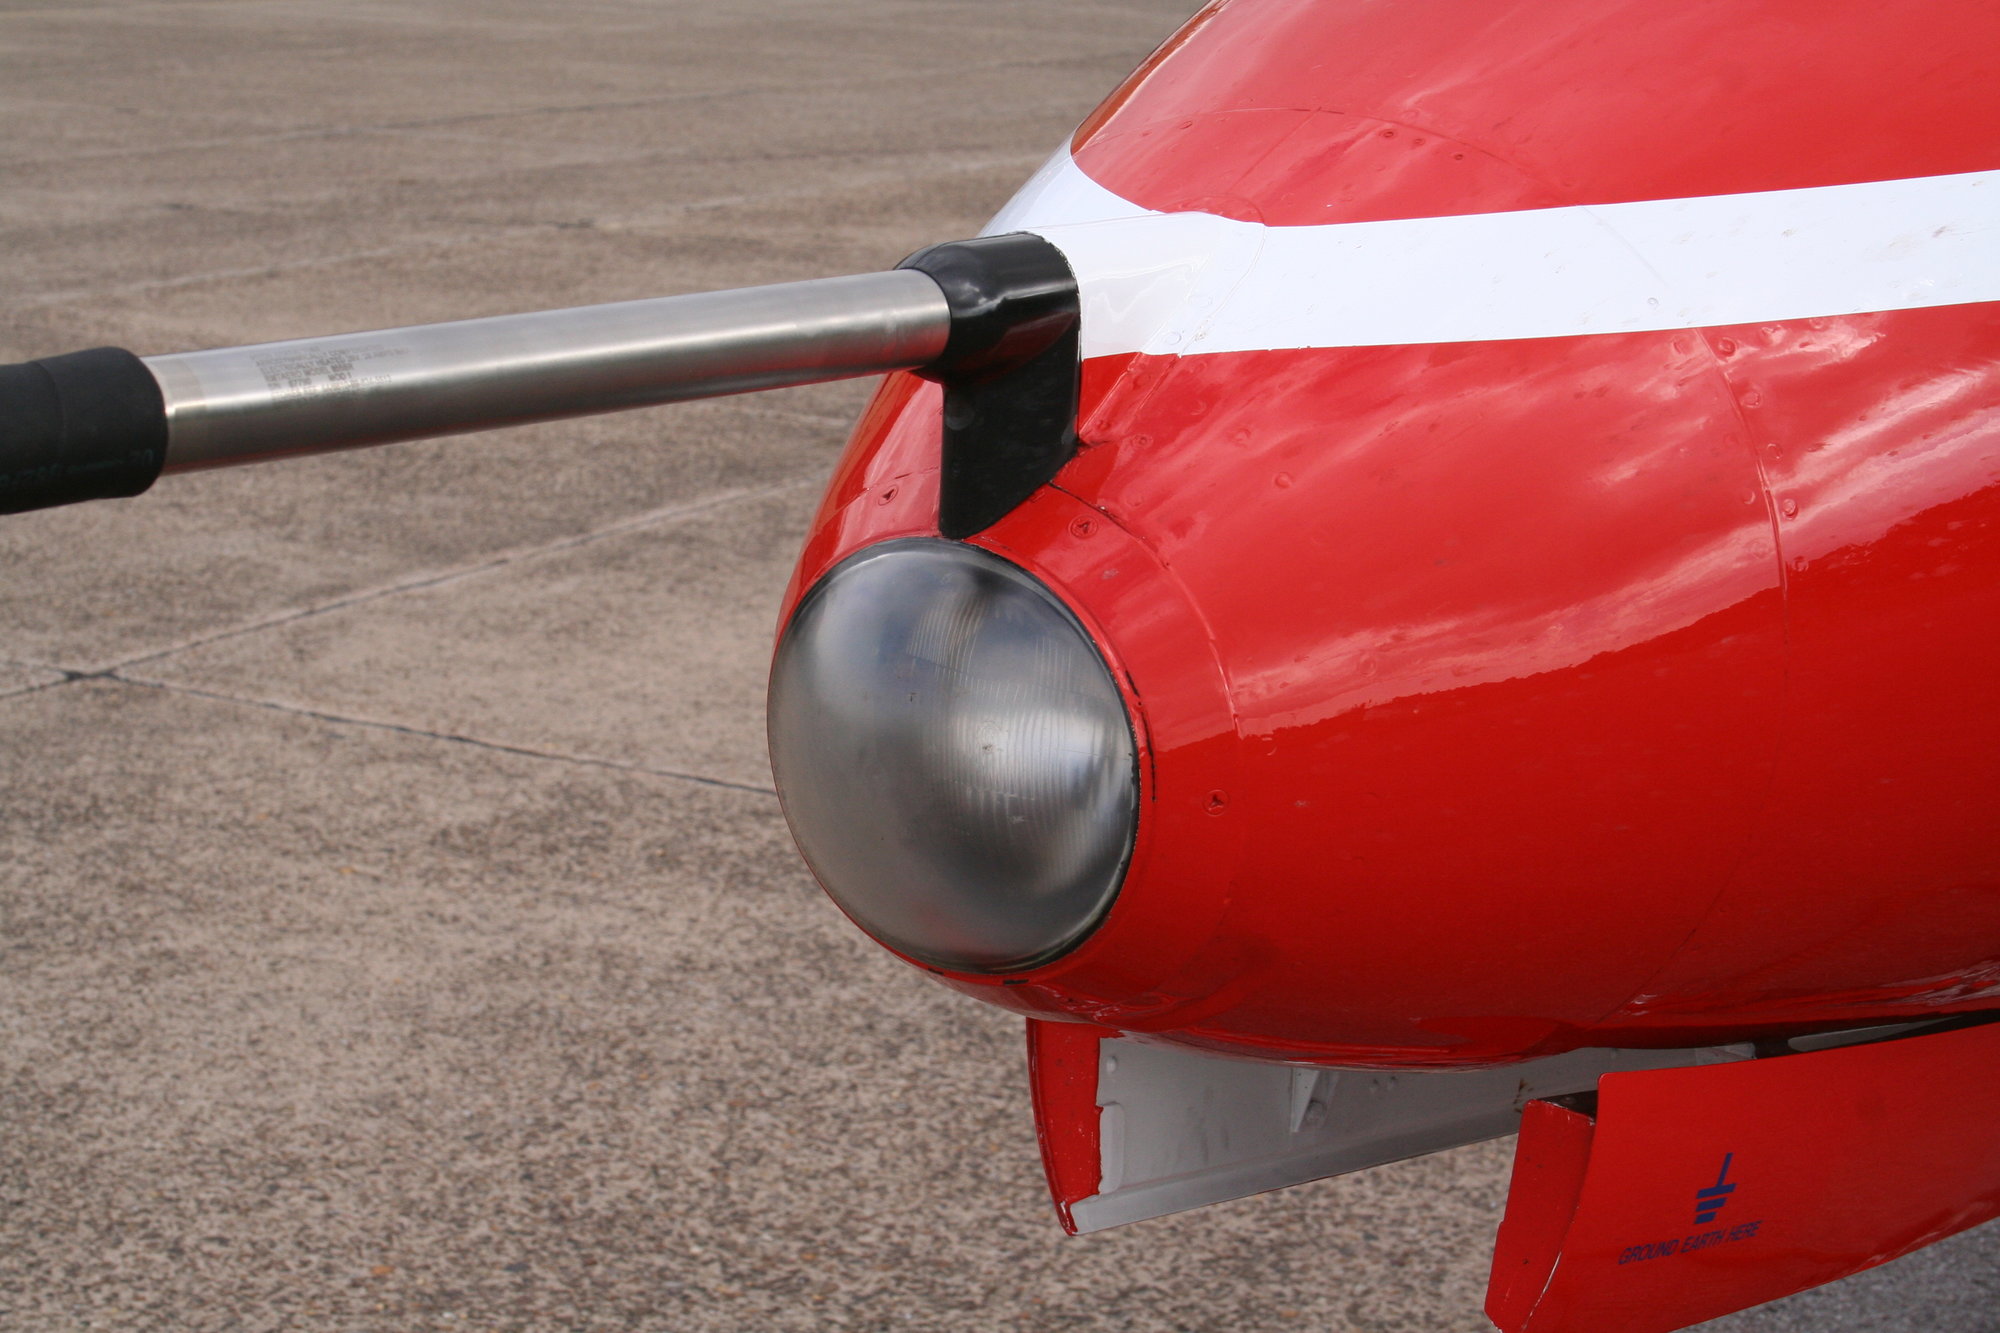
Just the small hot air exhaust lower rear right. Already have the APU ( GST). Exhaust used for lubing the long shaft bearing. That and the Rosemount probe.
That said, I may well modify my Hawk to have rear mounted servos, look good !
Sorry, no luck on the ADI/ AH designation.
The one you show is very close, on the Hawk instrument the horizon bar is yellow and does not have the slip indicator at the bottom.
Really like those stab. servo arrangements, pity as I have just reassembled my big Hawk after winter inspection, replacing the servos with two Futaba HPS A700 s.
Slight difference to DW s suggestion of twin 20 kg servos replacing ONE 40, even better is two 40 kg servos !
As Dave says, you can NEVER have too much control surface servo power.
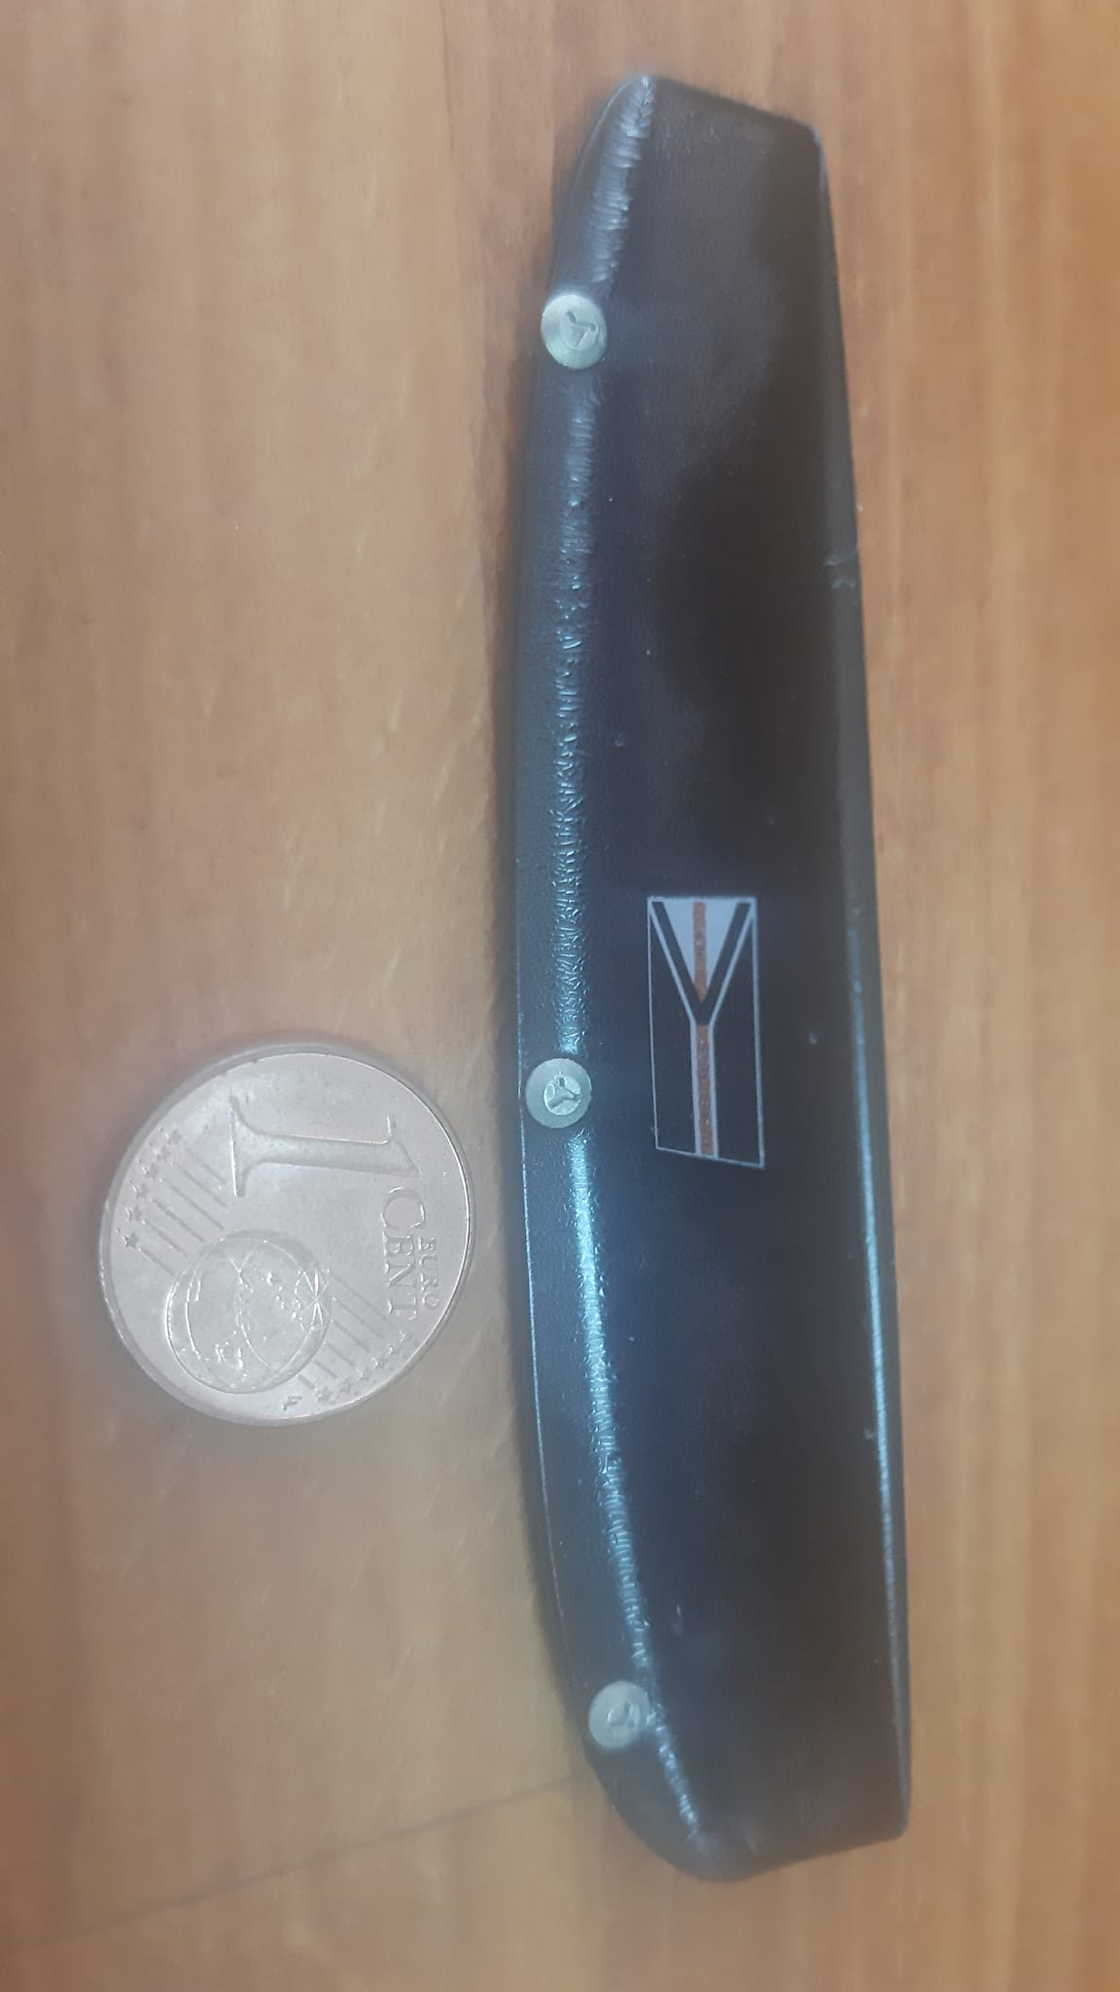
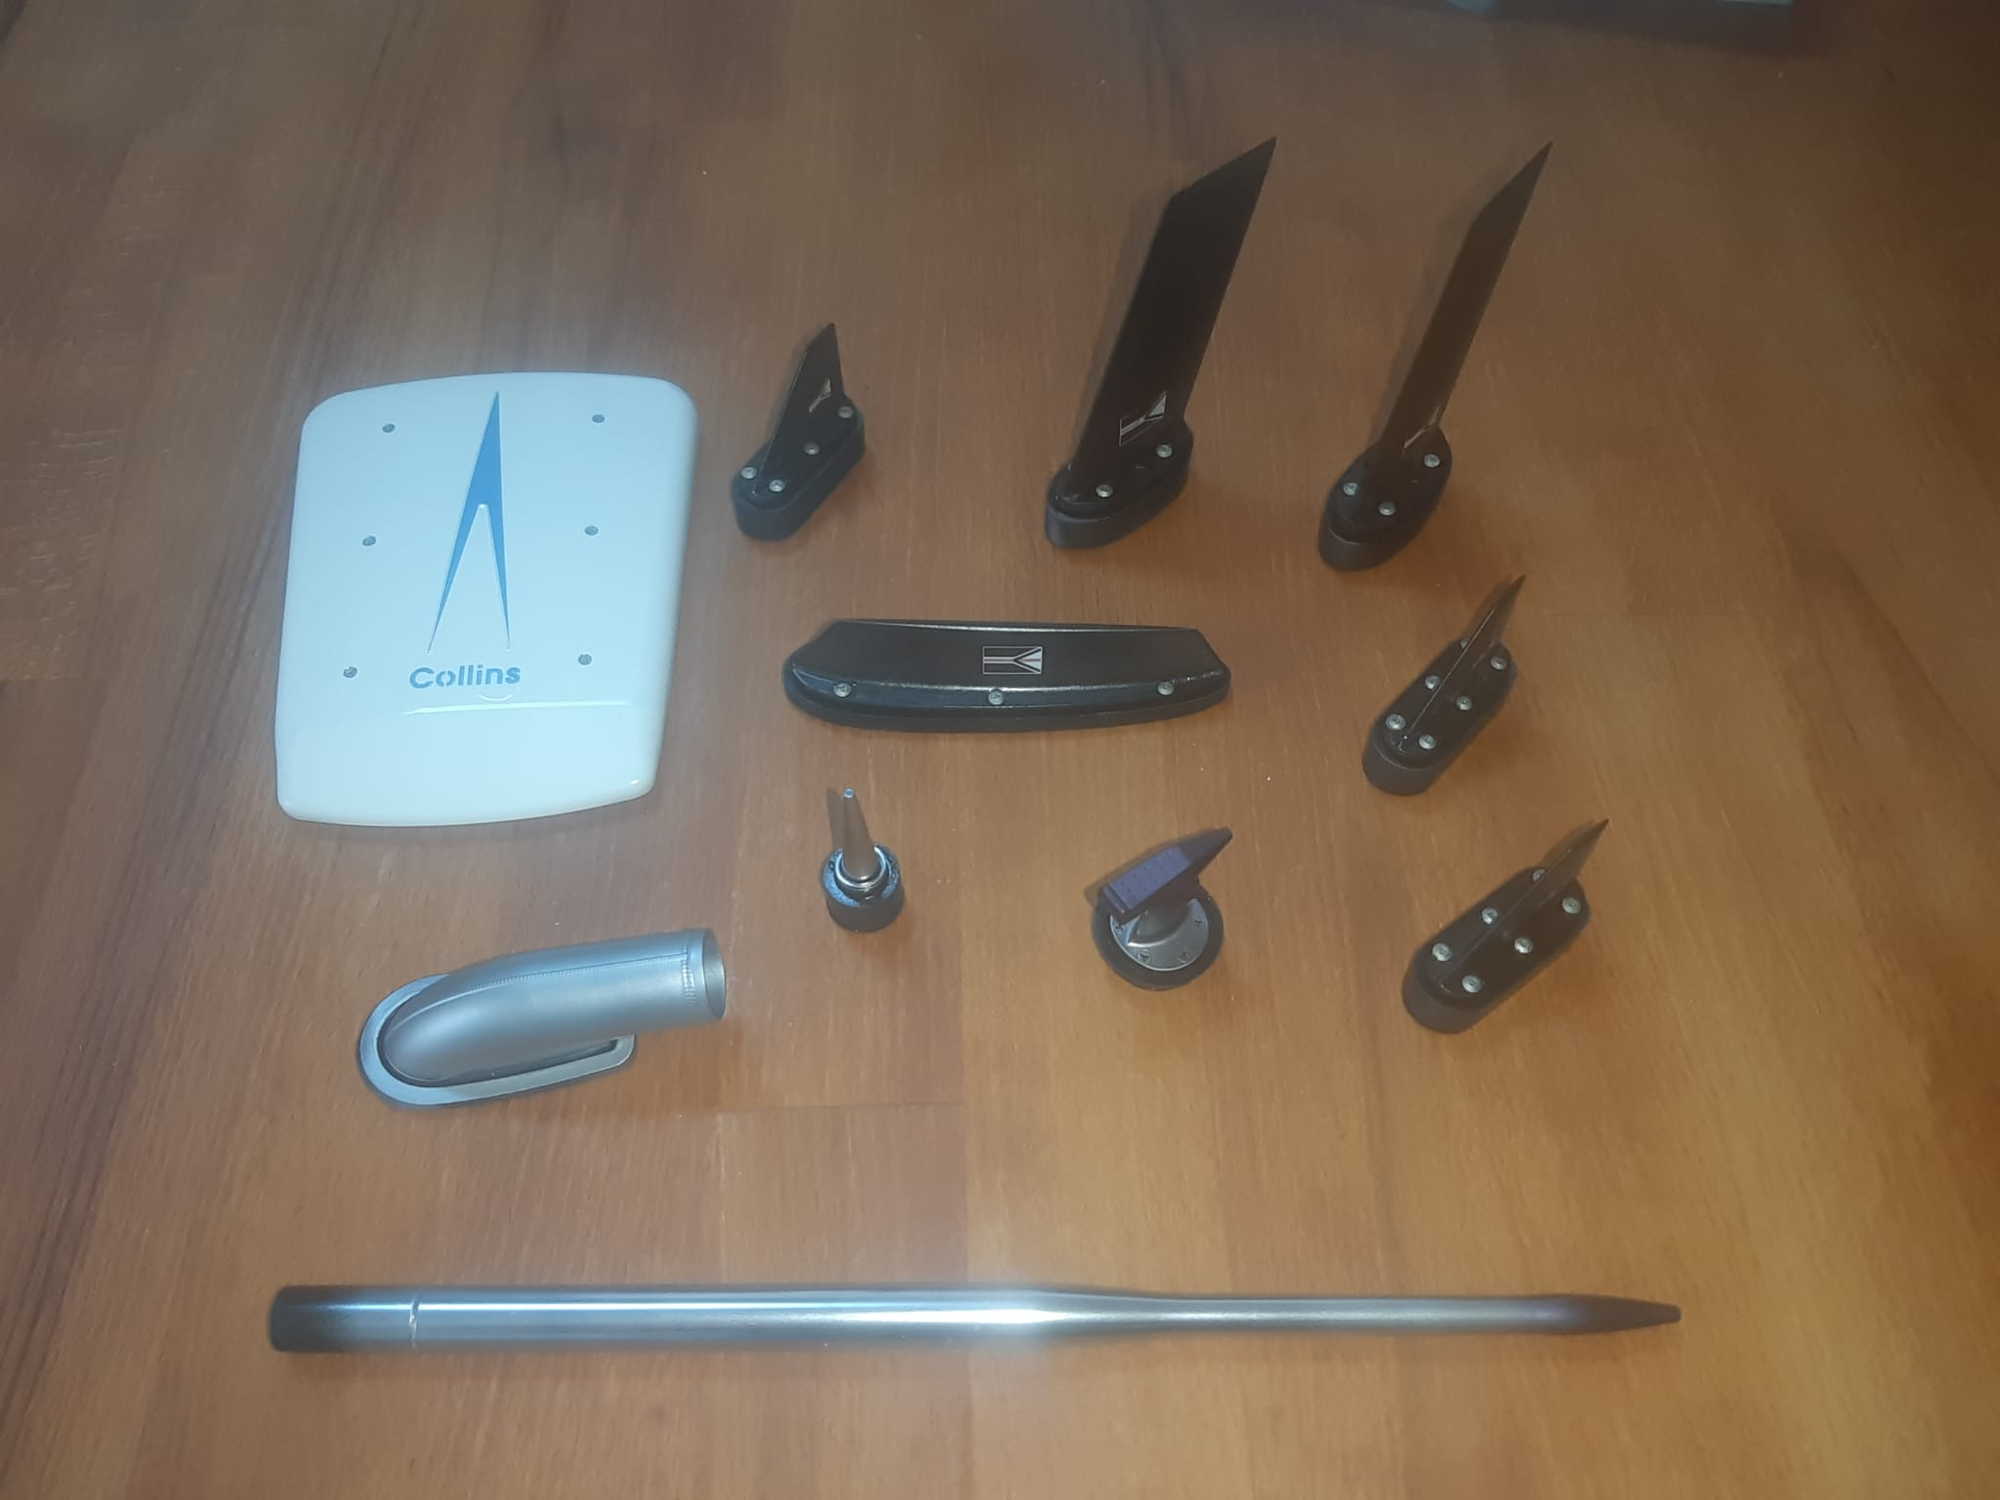
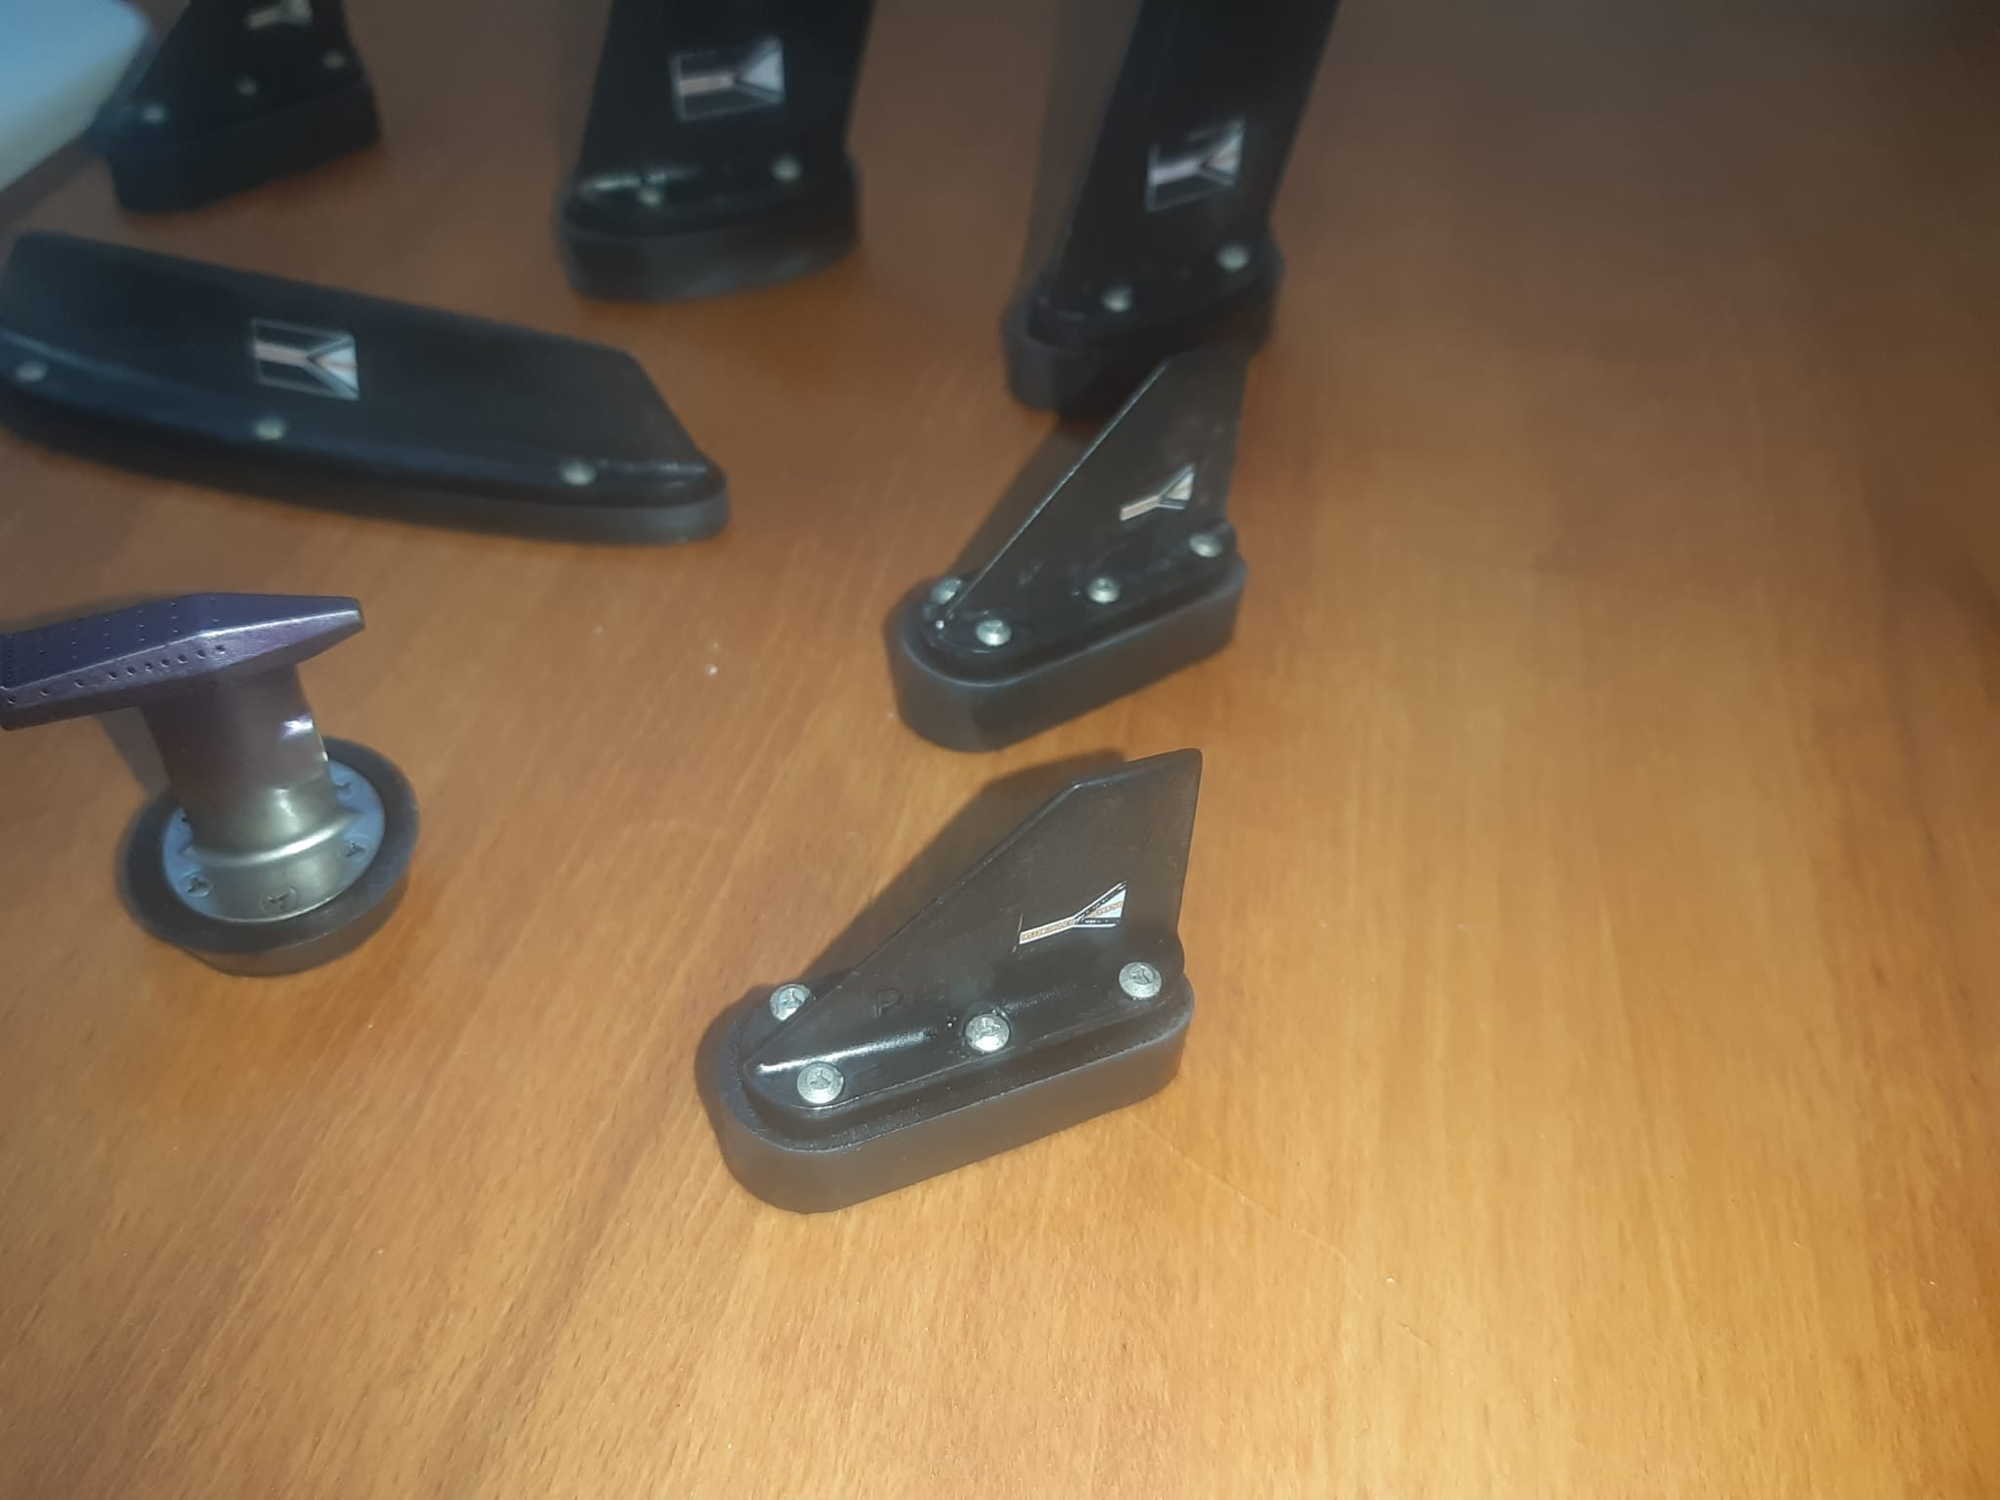
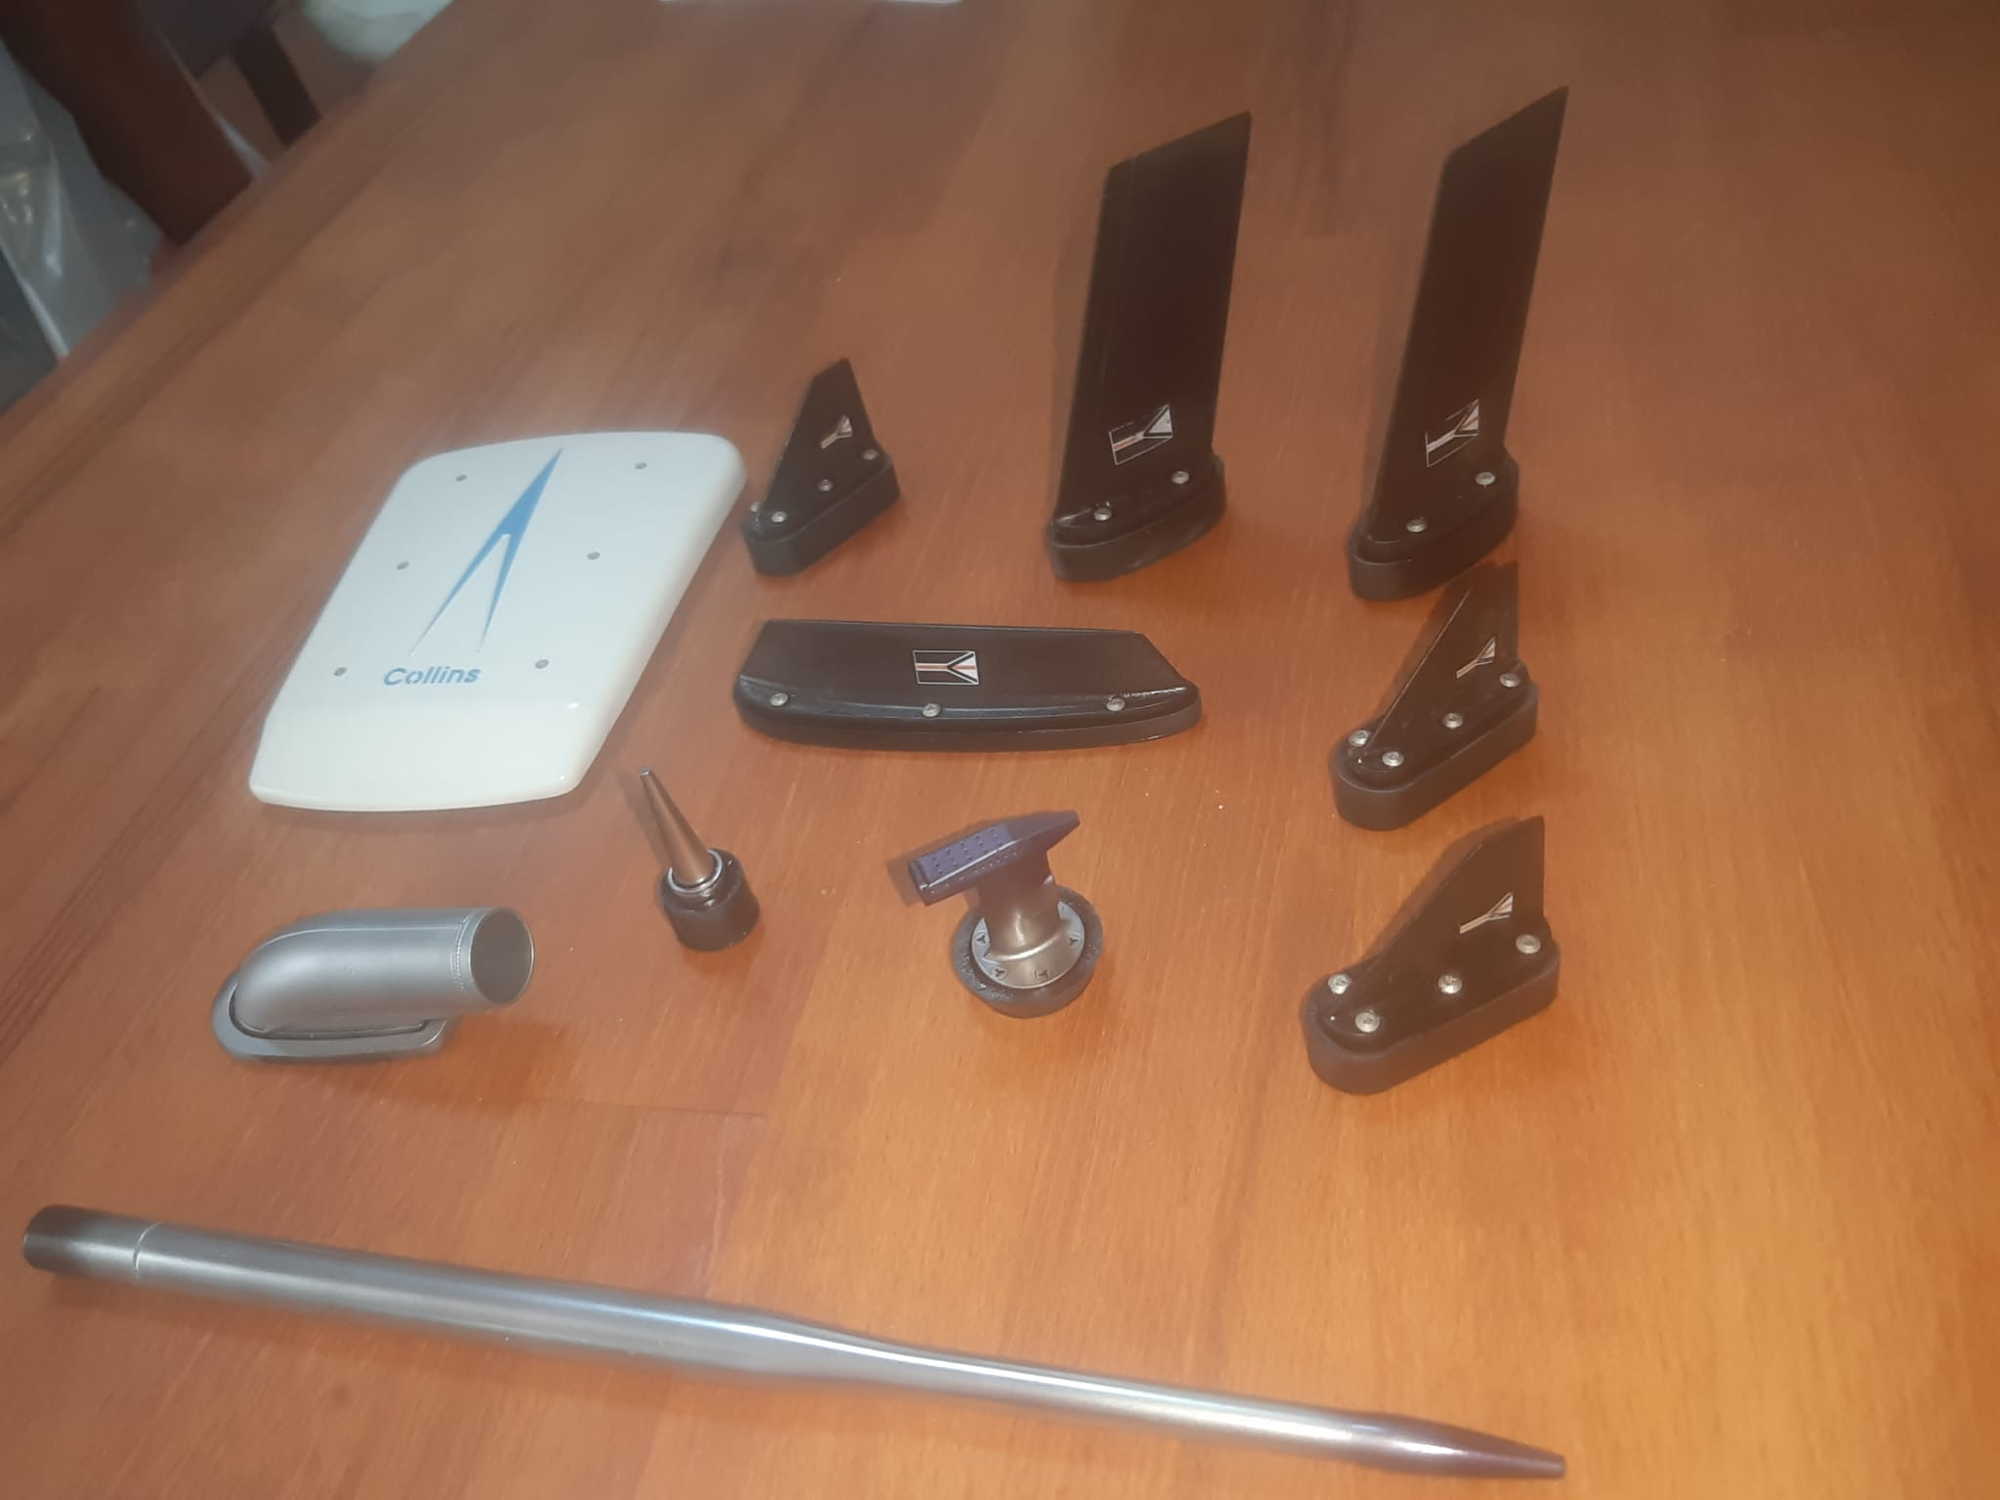
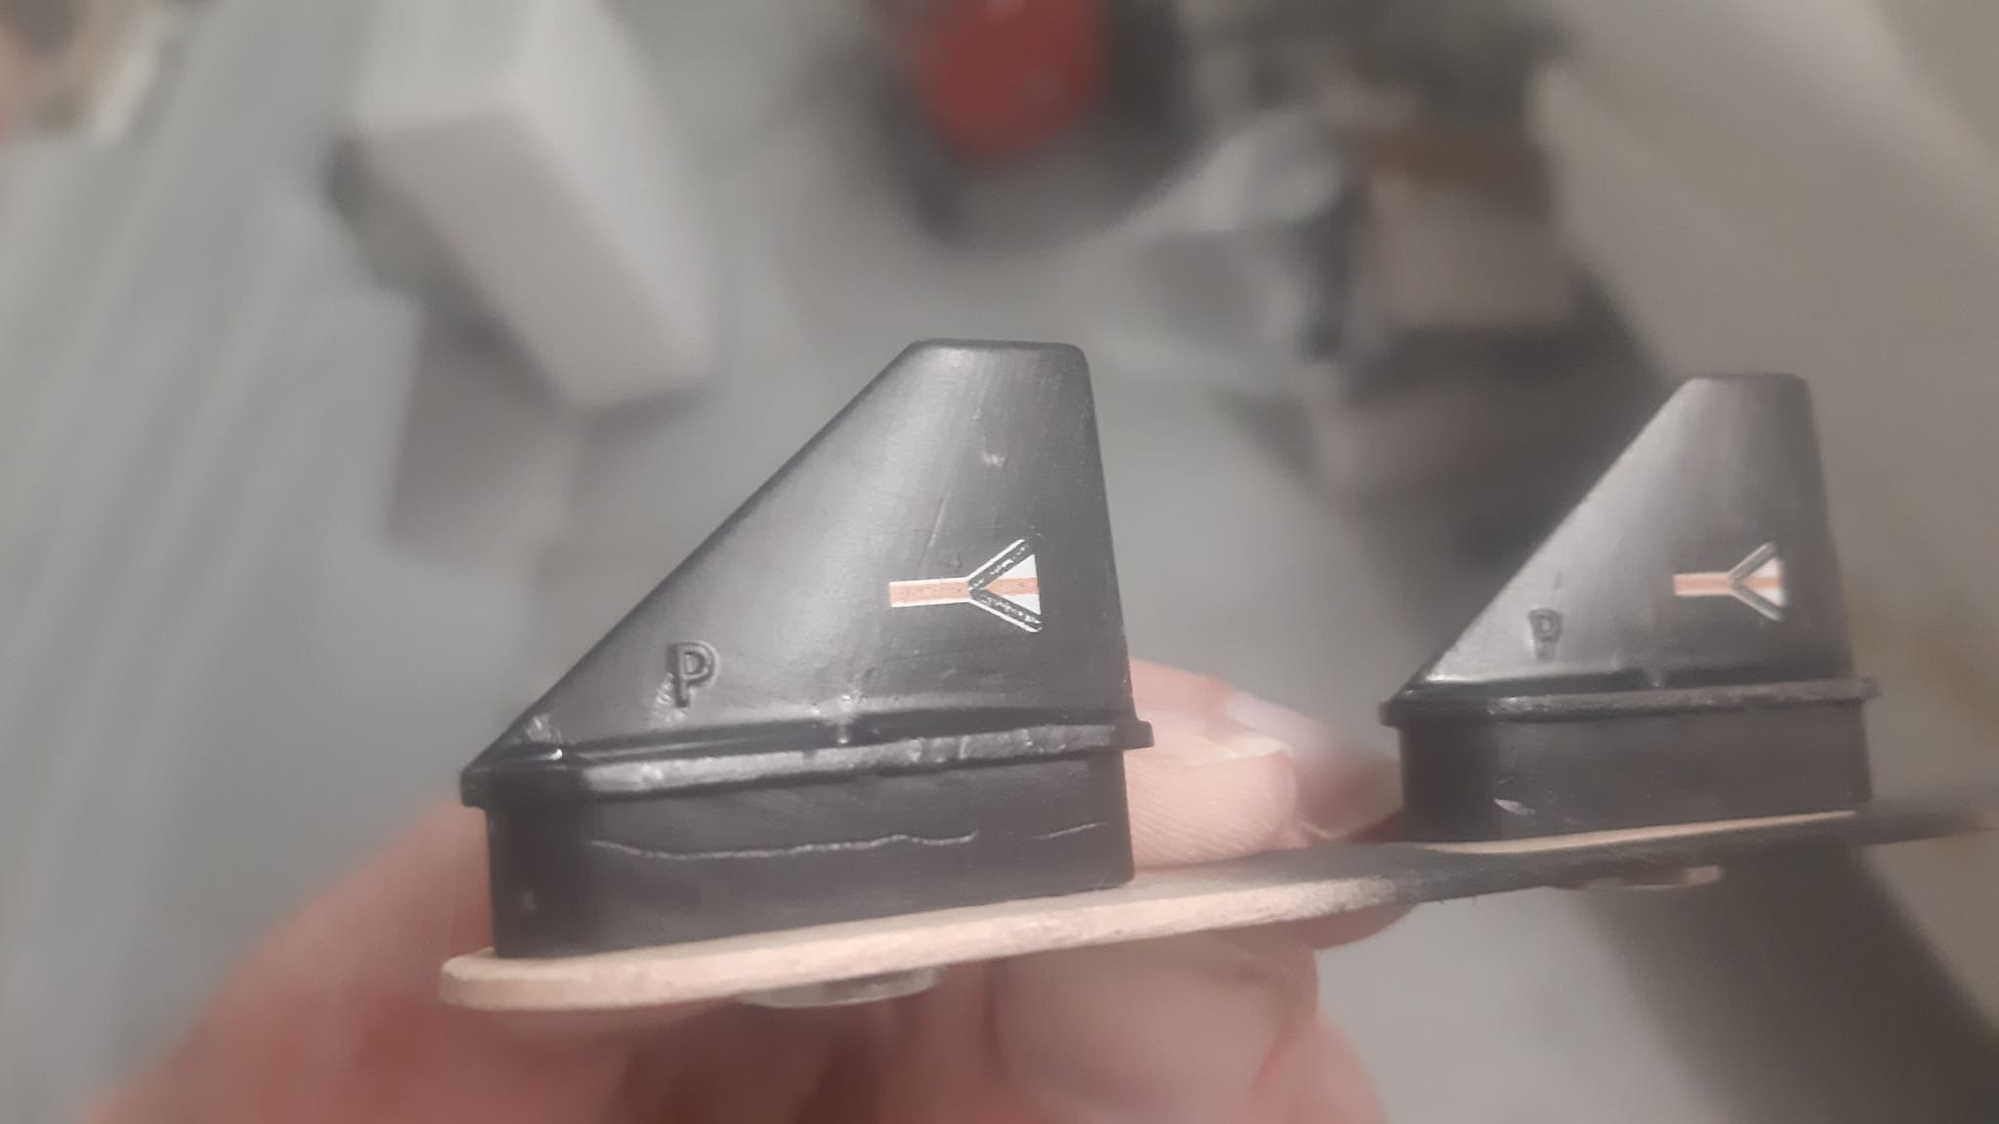
Are these the ones?

Last edited by Miniflyer; 12-08-2021 at 11:47 AM.
 12-09-2021, 01:54 AM
#1386

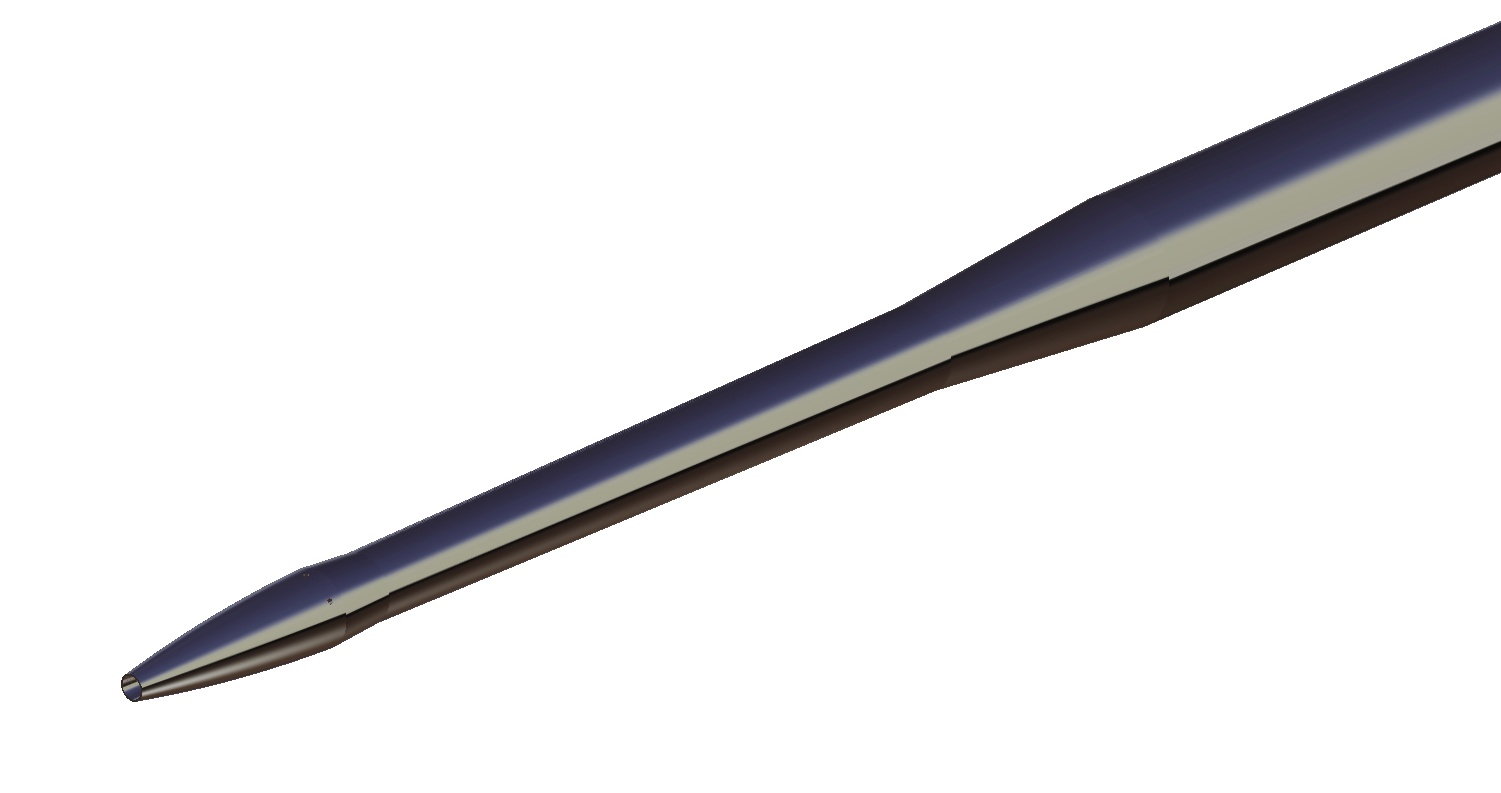
Yes, this is the one, it looks so accurate, well done !
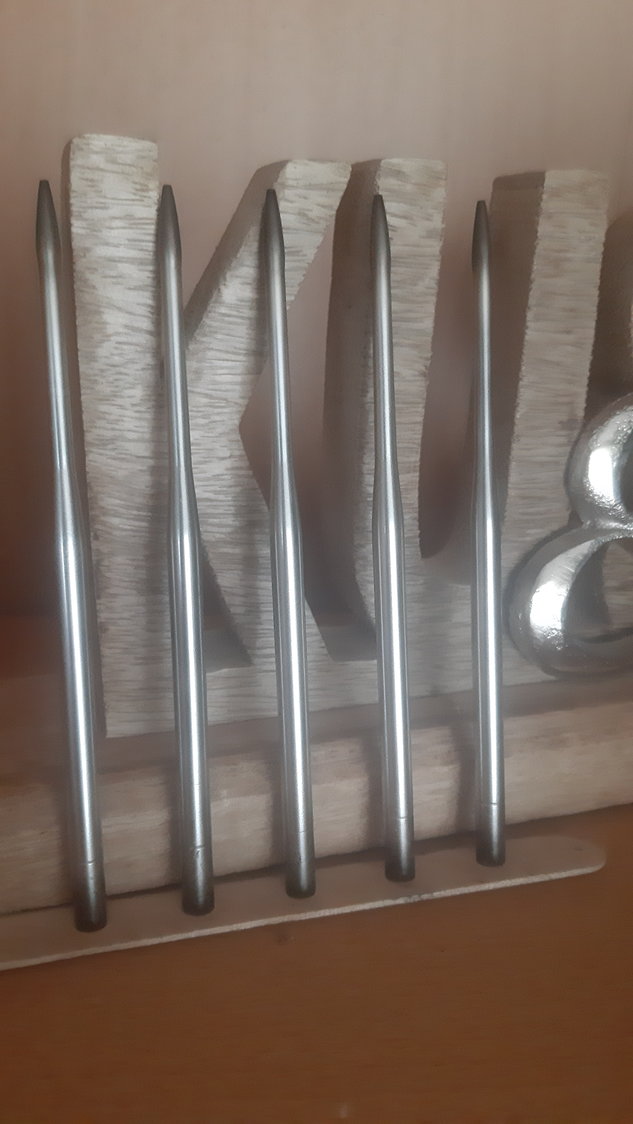
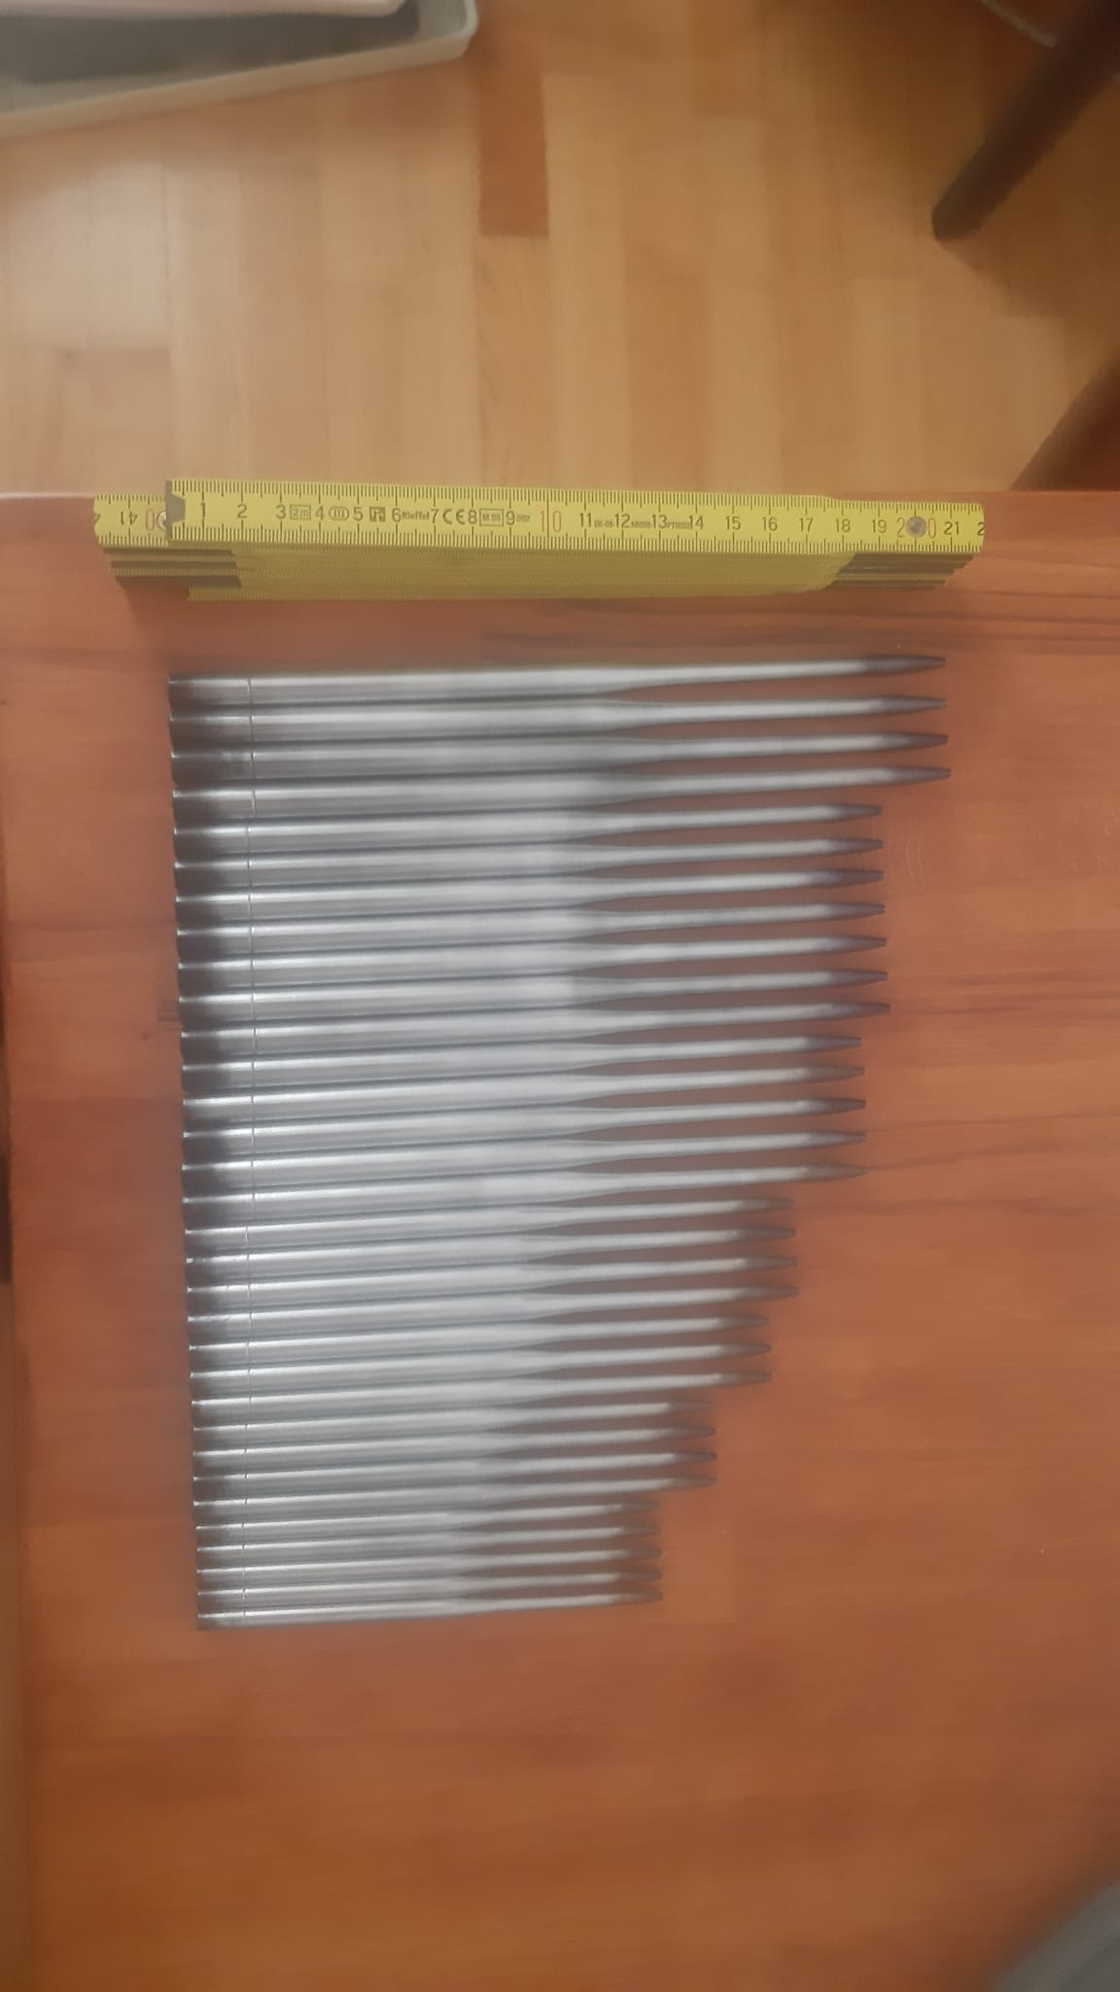
Plus a Rosemount probe if available , then my Skygate is complete !
Thank you in advance !
Plus a Rosemount probe if available , then my Skygate is complete !
Thank you in advance !
Last edited by David Gladwin; 12-09-2021 at 03:28 AM.
12-09-2021, 02:36 AM
#1387
Is this how the model looks? With the sensor mount? Or is the mount not included in the kit?
Thank you for the compliment, all measurements and references were taken at the air force museum, so it should be a perfect match.
 12-18-2021, 04:34 PM
#1389
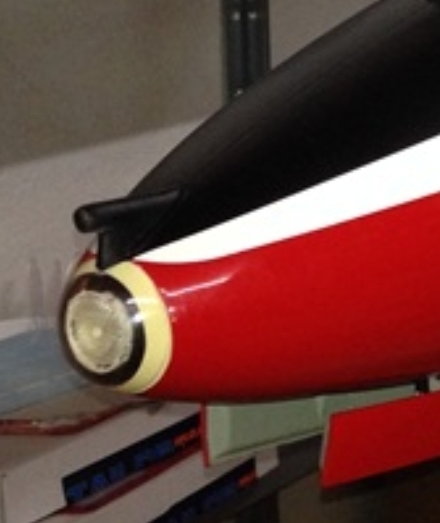
David did you get a chance to take some pictures of the nose? What kind of mount are you looking at?
 12-21-2021, 03:24 AM
#1391
Hey david,
yes thats the real thing, but hoe does the kit look? Is the base of the pitot molded in? Is it partr of the kit? I need to now what i have to work with on the model. I do have very precice measurements of just about the entire airframe so drawing it is not the issue.....
Cheers
yes thats the real thing, but hoe does the kit look? Is the base of the pitot molded in? Is it partr of the kit? I need to now what i have to work with on the model. I do have very precice measurements of just about the entire airframe so drawing it is not the issue.....
Cheers
02-21-2022, 11:16 PM
#1392

I am looking at getting into a 1:3.75 CARF Hawk. I have been getting back into flying over this past year, and now that we are out west, and with a new house and garage/shop finally coming to completion I think it will be time for this jet. I have had it on my list for a good while now, and having designed and built a few cockpits for these back in the All-Scale days, it is time for my own ..
What I am looking to find out is who nowadays is making accessories and possibly any scale bits for these. Details-4-Scale is no more and they used to have a good number of items, but is anyone else making similar items? Here are some things id be looking for:
- all / any scale detailed pieces
- canopy opening/latching set up
- modified intakes for full bypass
- landing drag chutes
- 1:4 sized pilot figures
I appreciate any references and suggestions !
Voy

 10-05-2022, 11:46 AM
#1396
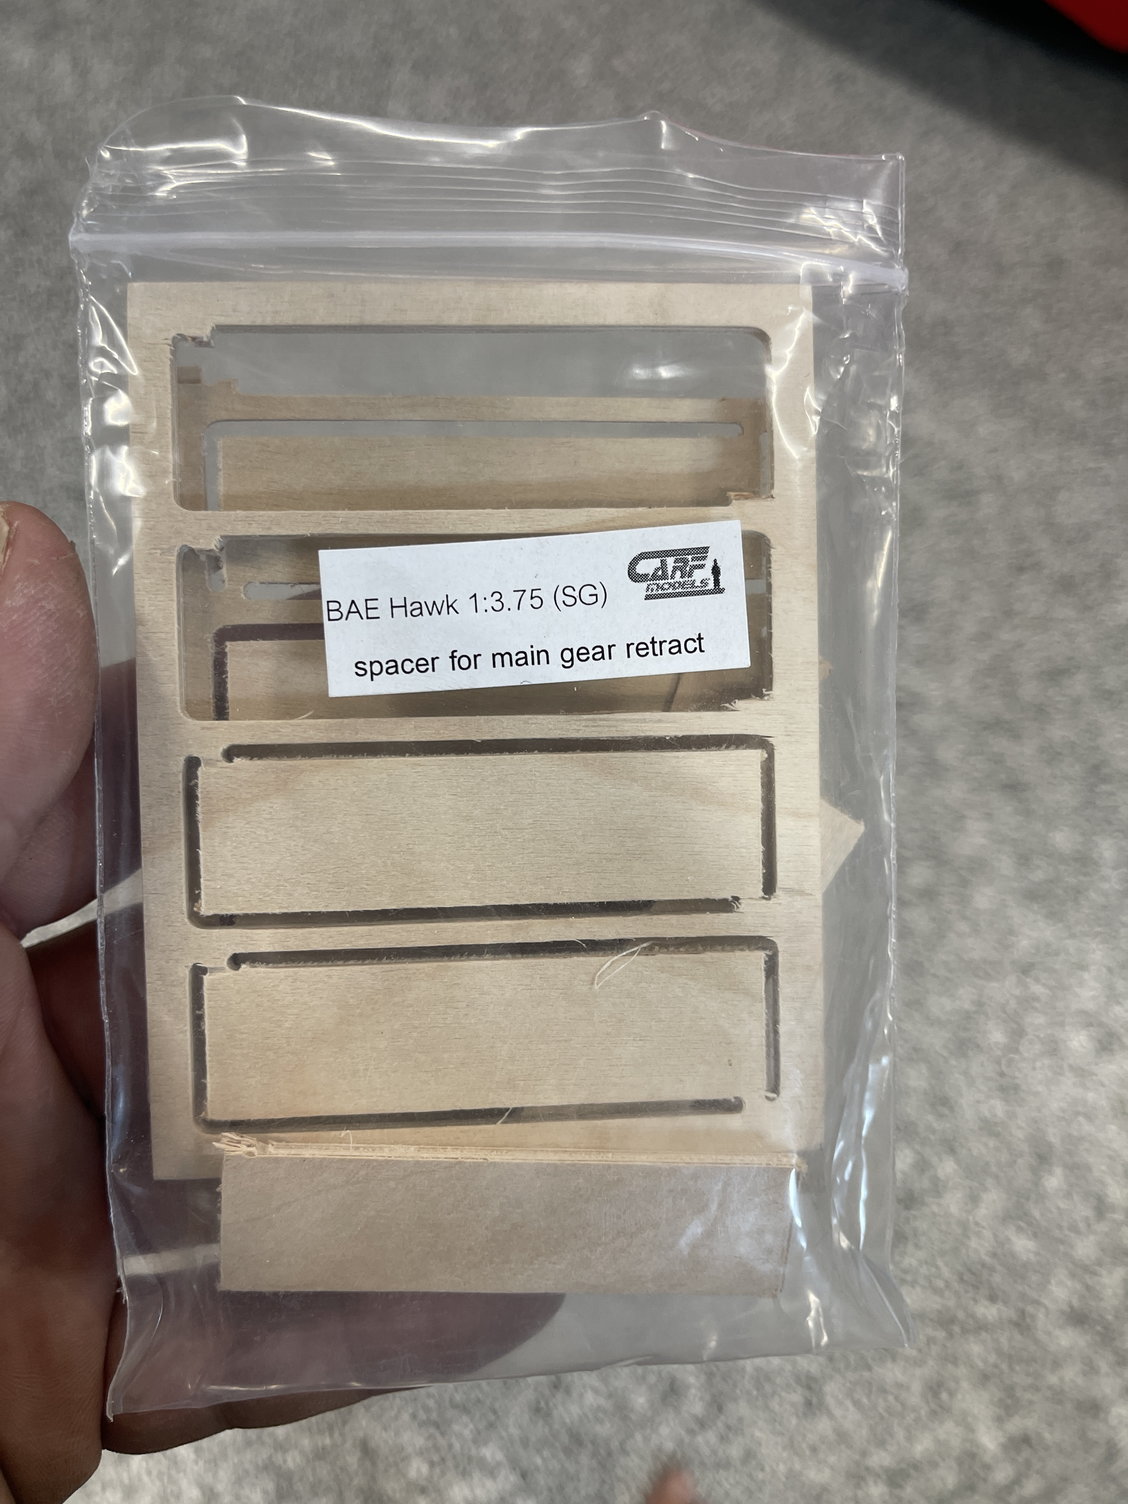
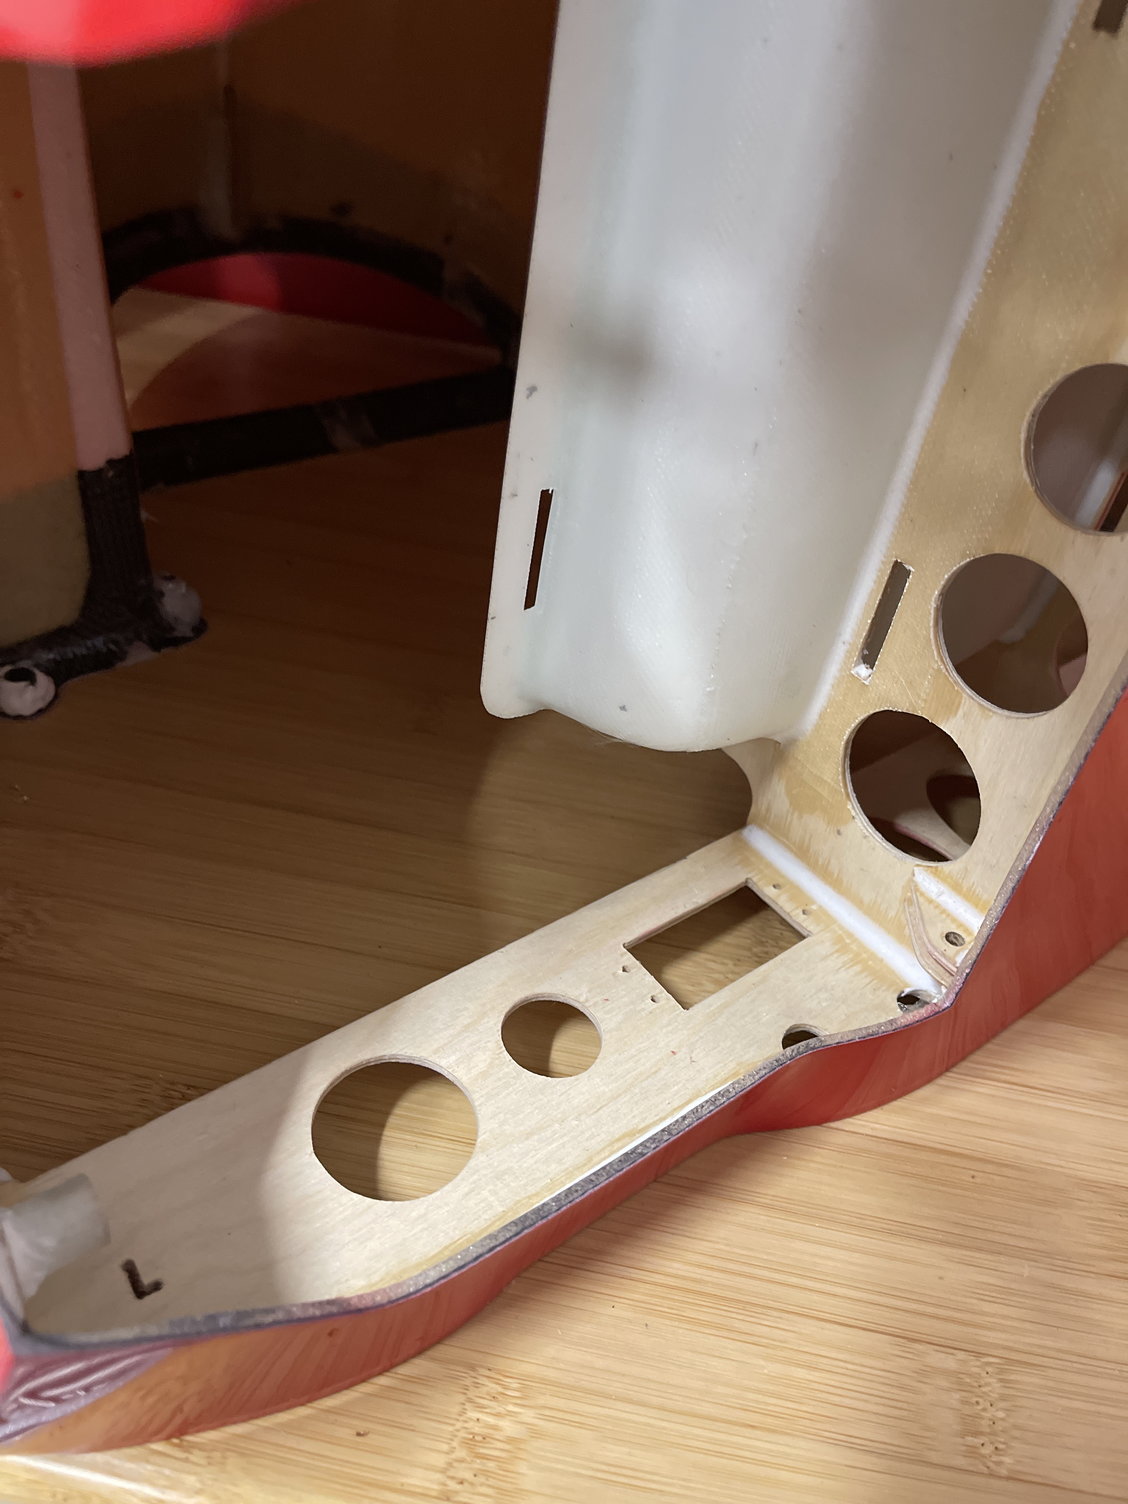
I just got my hawk delivered and am about to start on it ... I definitely will have a few questions as I engage on the build, but one of the first ones was regarding the Electron landing gear. Is this gear set including the strut lengths sized to be a drop fir on the mounts in the nose and wings, or are any spacers needed? I can already see where the ply mounts will need to be trimmed down laterally to fit the retracts ... but i don't see any references as to stance / angle once the jet is sitting on the ground to verify ..
This thread looks to be a super resource , and i'm excited to be building one of these of my own finally, especially having developed a cockpit for this plane years ago !!
by the way, the scale parts from @Miniflyer are super 👍
Voy
Last edited by wojtek; 10-05-2022 at 01:16 PM.
10-05-2022, 08:57 PM
#1397
I�m not sure what has been modified since the first conversations back in 2019, but memory says it�s now correct without packing.
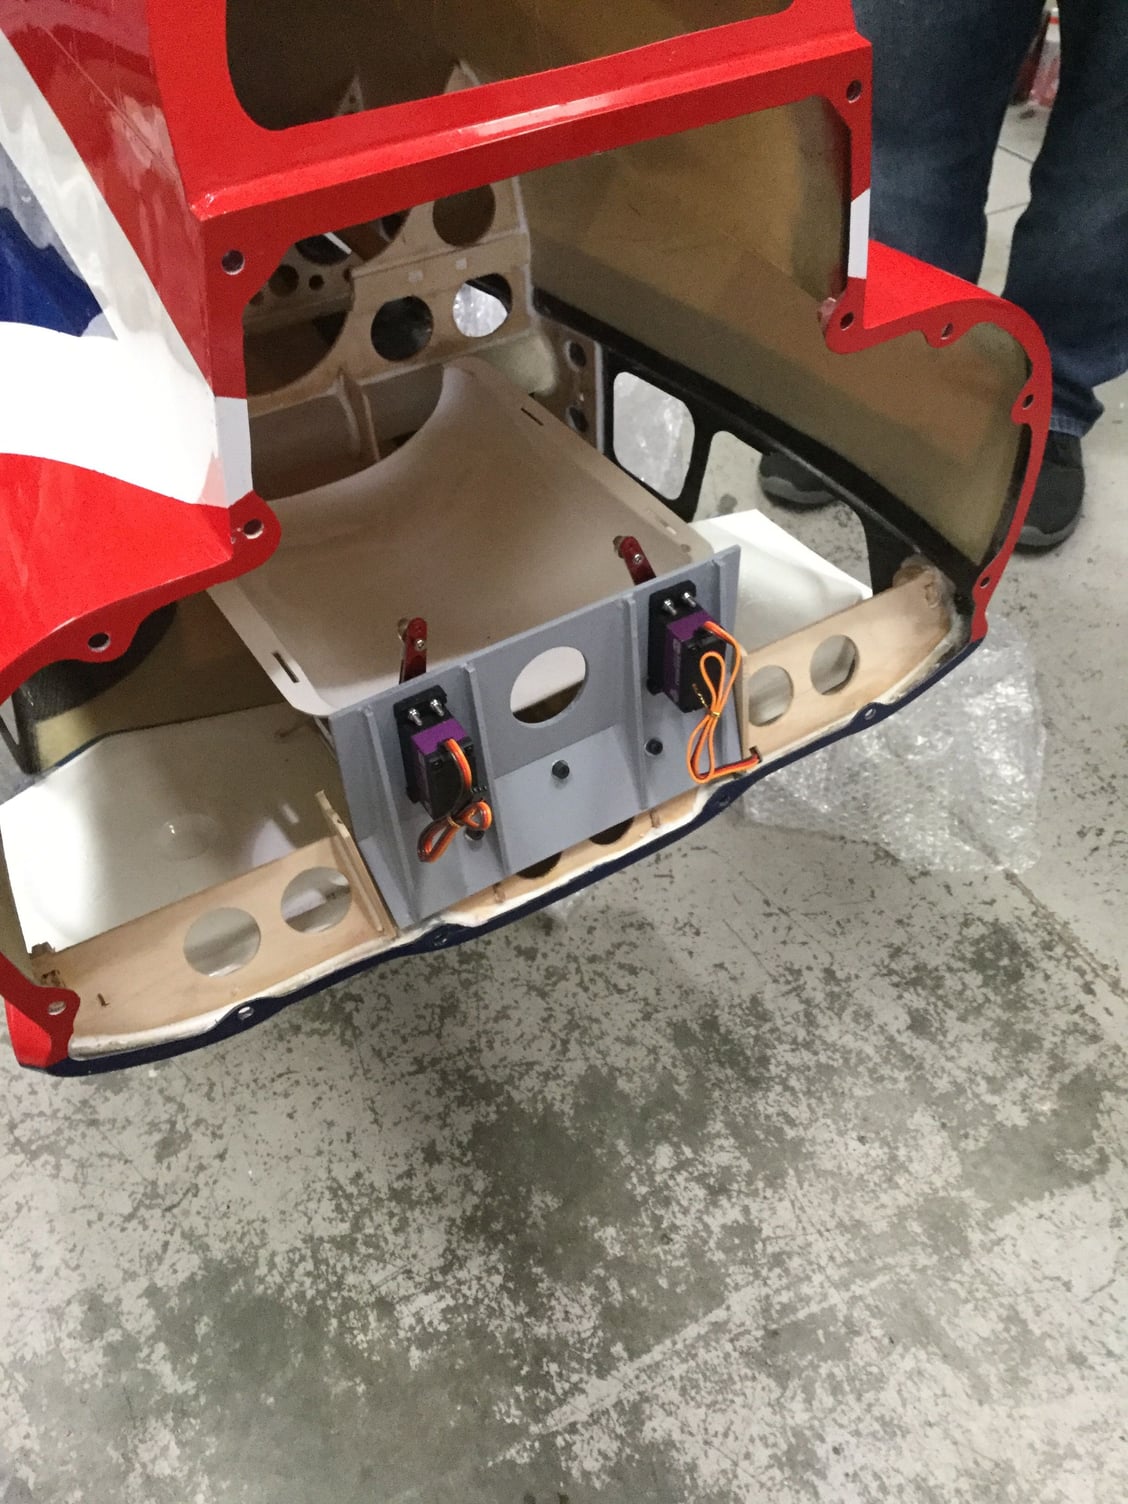
This is the main door servo mount one of my customers designed so the Arms are vertical when the doors are closed.
This is the main door servo mount one of my customers designed so the Arms are vertical when the doors are closed.
10-05-2022, 10:21 PM
#1398
- for the nose to fit the mound requires trimming and I�m going to assume that the height is correct for now. I guess I will see how it sits when it�s on all 3 on the ground. This is where I would be curious for any first-hand information on whether any additional shimming is needed for the nose gear mounts ?
- The main gear door servo pockets are now cut out in the main former. For the nose gear, servo mouse come included that get glued inside of the fuselage. This should be easy enough�.