


Ripmax Xcalibur Sports jet
 02-17-2014, 10:37 AM
#426

[QUOTE=Dave Wilshere;11718921]We have had the odd tank issue, one other thing worth watching is the hard point in the elevator for the horn. We found one kit with the trim on the wrong side, the off-set horn location ends up with one screw missing. Best bet is letting in a hard block or dowel and bolting through, but its worth checking before hinging the surface (you can hold the elevator up to a light and see the half moon plate)
The factory have been informed and Ripmax are requesting a larger plate to guarantee it does not matter.
Hi Dave, I have one of those elevators as well. I removed some film and attached the horn with epoxy and then put the screws in, one in balsa and one in the hardwood. You think this strong enough? It's my first jet.
and another question for now: The RC jet jockeys in my neighborhood secure ALL tubes with wire. None of the pictures have the air tubes secured. I'd appreciate your opinion and practice on this subject.
Marco


 02-17-2014, 01:36 PM
#428
Thread Starter
[QUOTE=marcokemp;11738883]
Marco
Sorry, no. the elevator is built up and we worry the horn will crush into the surface and you can lose movement. Drilling a hole and glue in a hard wood dowel. I know Ripmax have spoken to the factory about checking this on all future batches.
Depends on your ambient temps I guess. In England its not needed, the tube and barb are a good fit, but we don't see super hot days so the tube does not soften
Dave
We have had the odd tank issue, one other thing worth watching is the hard point in the elevator for the horn. We found one kit with the trim on the wrong side, the off-set horn location ends up with one screw missing. Best bet is letting in a hard block or dowel and bolting through, but its worth checking before hinging the surface (you can hold the elevator up to a light and see the half moon plate)
The factory have been informed and Ripmax are requesting a larger plate to guarantee it does not matter.
Hi Dave, I have one of those elevators as well. I removed some film and attached the horn with epoxy and then put the screws in, one in balsa and one in the hardwood. You think this strong enough? It's my first jet.
and another question for now: The RC jet jockeys in my neighborhood secure ALL tubes with wire. None of the pictures have the air tubes secured. I'd appreciate your opinion and practice on this subject.
Marco
Sorry, no. the elevator is built up and we worry the horn will crush into the surface and you can lose movement. Drilling a hole and glue in a hard wood dowel. I know Ripmax have spoken to the factory about checking this on all future batches.
Depends on your ambient temps I guess. In England its not needed, the tube and barb are a good fit, but we don't see super hot days so the tube does not soften
Dave
02-18-2014, 04:02 AM
#429
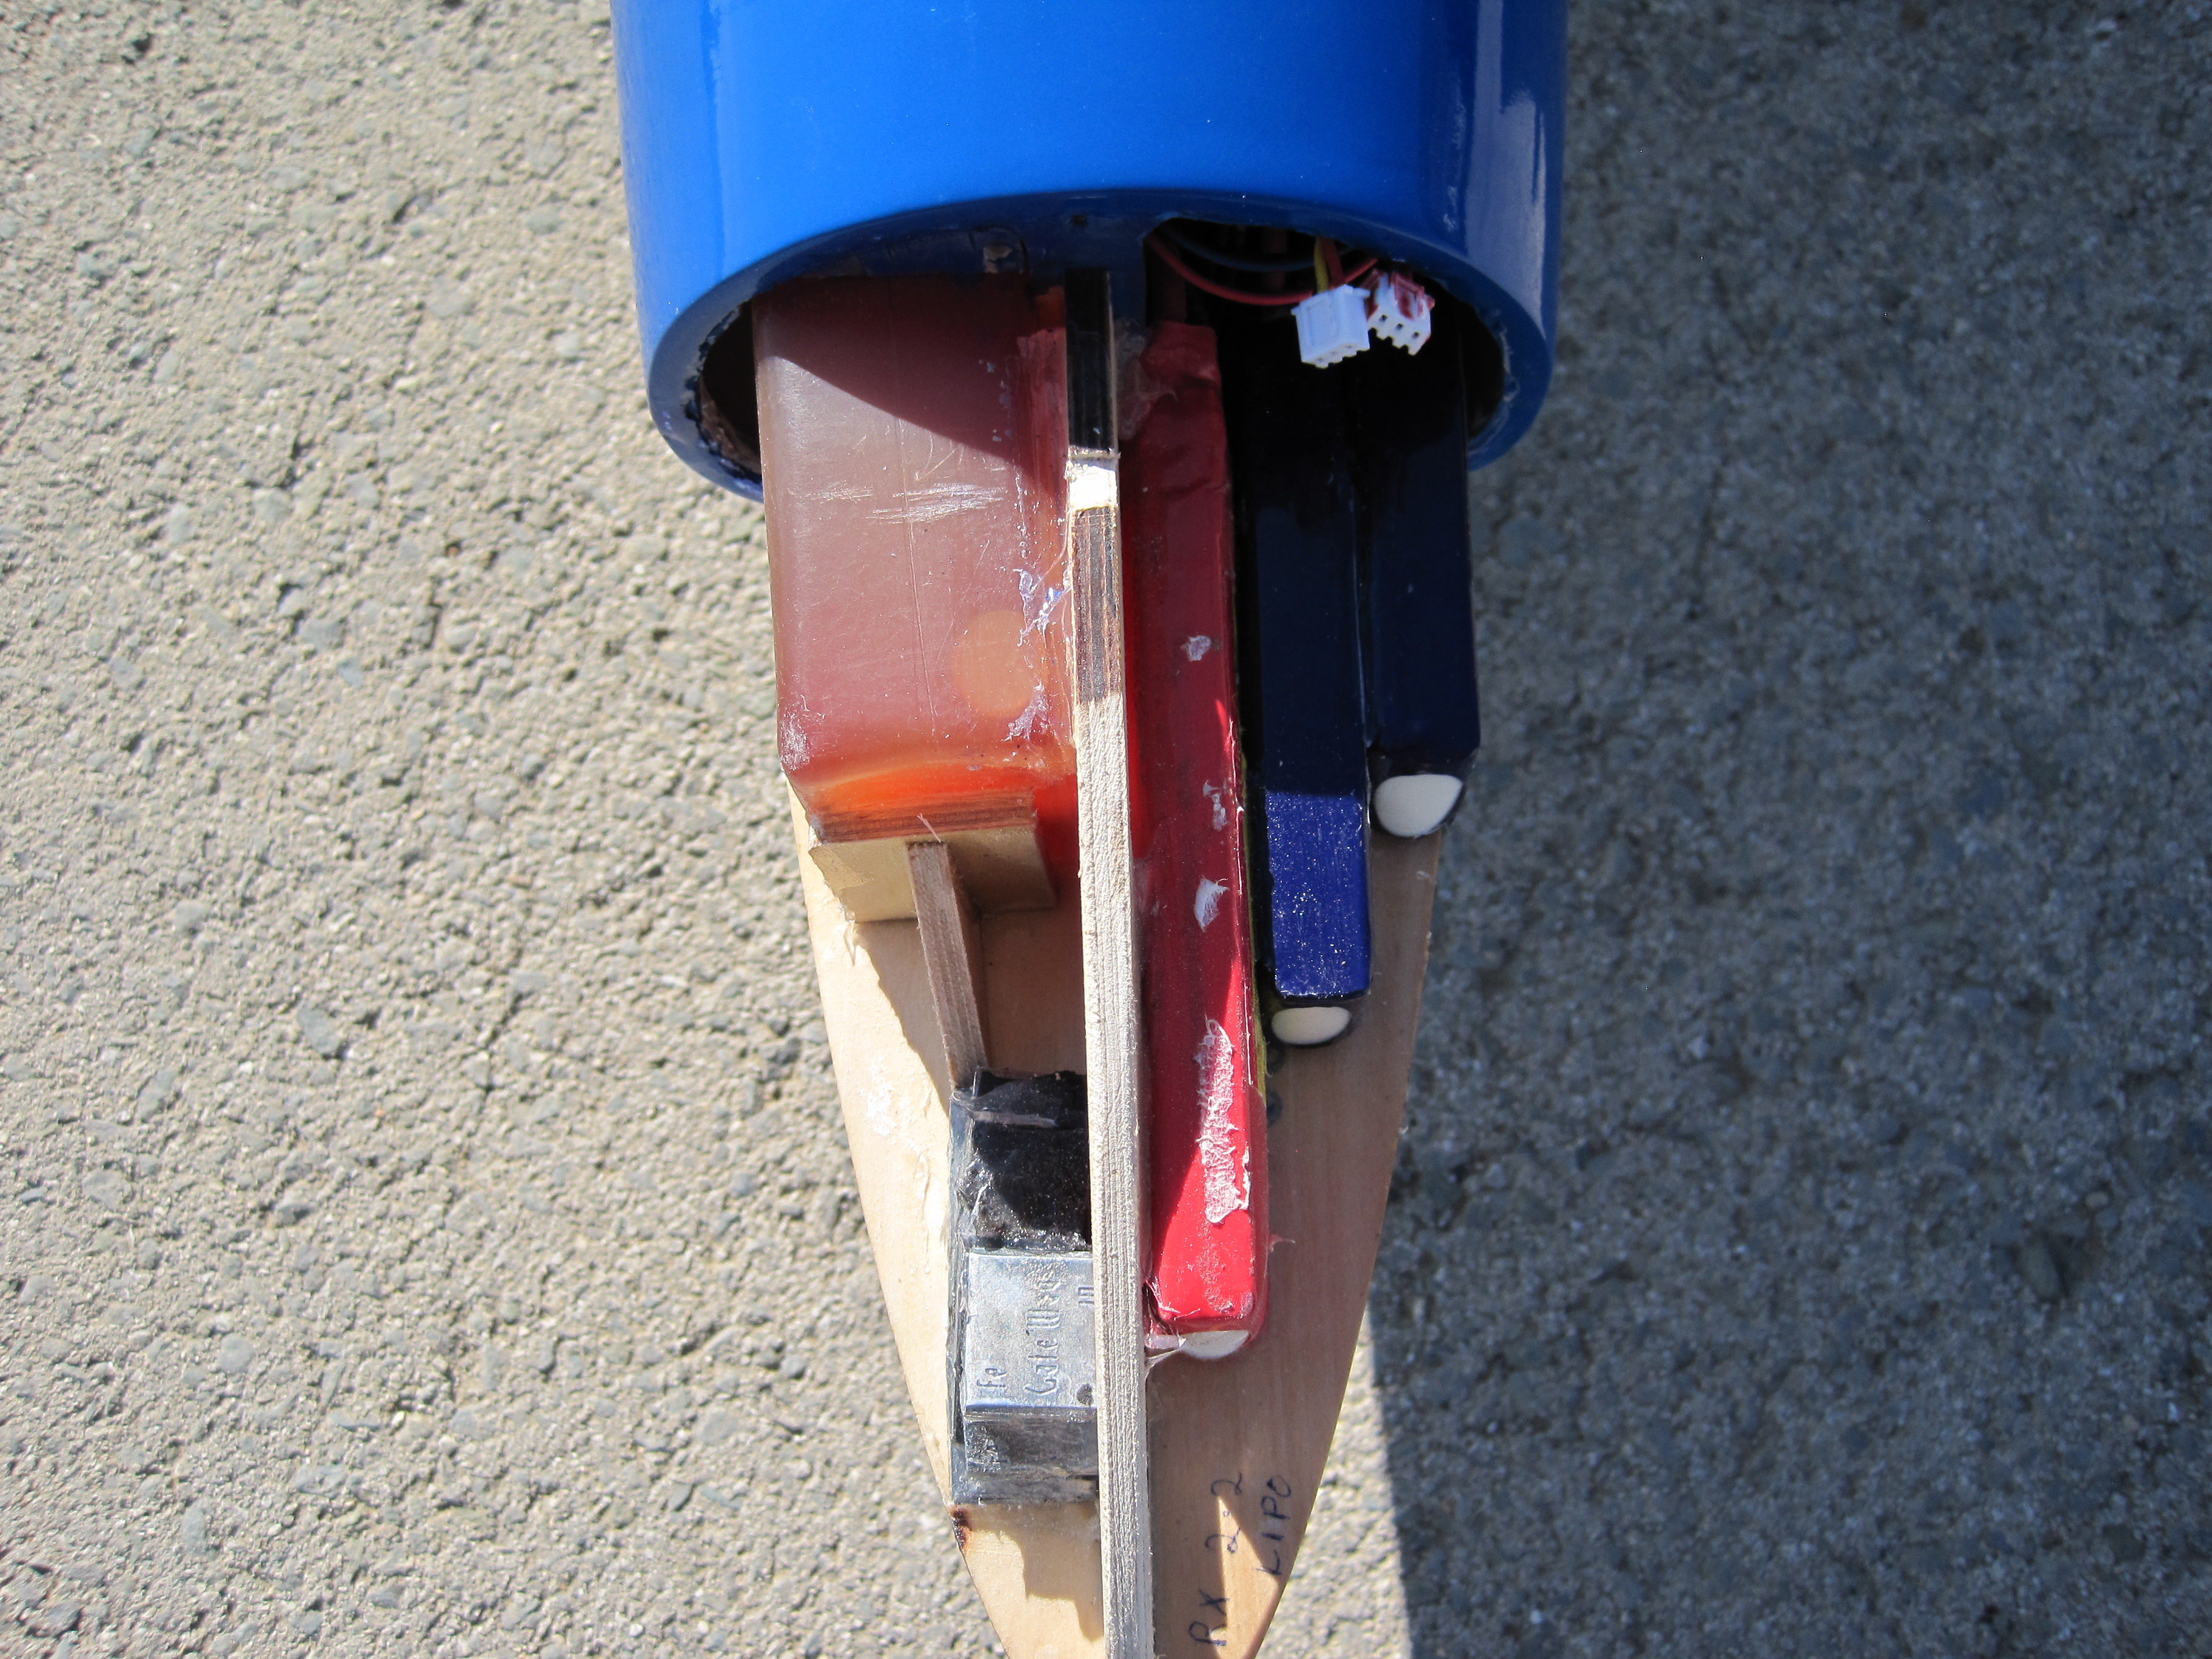
Just finished building my Xcalibur. I didn't like placing the air tanks on top of the fuel tank, so i fitted them under the equipment trays. The former just prevents getting them in place, so I made one cut on each side of the former, down to the first hole & sprung it apart to get the tank nipples in place. I then glued a small piece of ply over the cuts. It cannot be seen anyway, as the equipment trays cover the cuts & the tanks.
Placed the UAT & batteries in the nose. Just needed 100 grams of lead to balance using the Merlin VT80 turbine.
Had six flights today & it was a great jet to fly. No bad habits, very easy to fly & land. Better than the Boomerang, in my opinion.
I have attached some photos.


Placed the UAT & batteries in the nose. Just needed 100 grams of lead to balance using the Merlin VT80 turbine.
Had six flights today & it was a great jet to fly. No bad habits, very easy to fly & land. Better than the Boomerang, in my opinion.
I have attached some photos.
Marco
02-18-2014, 05:02 AM
#430
Join Date: Mar 2006
Location: Hensley,
AR
Posts: 390
Likes: 0
Received 0 Likes
on
0 Posts
Today is the day!, Tracking info says my Xcalibur is on a Fedex truck in Little Rock so its within 20 miles. Im thinking about calling in sick so i can be here waiting on it!
Cody

Cody
02-18-2014, 07:10 AM
#431
Dave,
I looking at your M&R site trying to find some securing wire. Do you sell that stuff? Also, I'm about to order that small hopper tank to fit in the front of my Xcalibur, suppose it is small enough? What is the deal with "providing you get the air out when filling". Is this tank different from others in that respect? I need fool proof stuff !!
!!
Marco
I looking at your M&R site trying to find some securing wire. Do you sell that stuff? Also, I'm about to order that small hopper tank to fit in the front of my Xcalibur, suppose it is small enough? What is the deal with "providing you get the air out when filling". Is this tank different from others in that respect? I need fool proof stuff
!!Marco
02-18-2014, 12:48 PM
#432
Thread Starter
Couple of options, but http://www.motorsandrotors.co/index....roducts_id=359
Long as the nipples are upper most when you first fill it will be fine. All MAP tanks have been faultless in all my models (actually in 100's sold!)
Dave
Long as the nipples are upper most when you first fill it will be fine. All MAP tanks have been faultless in all my models (actually in 100's sold!)
Dave
02-19-2014, 01:50 AM
#433

Hi Jim, my Xcalibur is also gonna be fitted with an VT80. Until I had seen your post I wondered if the hot exhaust gasses of the short engine won't damage the fuselage. All the other photos of Xcaliburs have turbines with a longer exhaust that sticks out of the fuselage. Apparently your glass/epoxy doesn't melt?
Marco
Marco
02-19-2014, 10:12 AM
#434
Banned
Join Date: Jul 2013
Location: , UNITED KINGDOM
Posts: 454
Likes: 0
Received 0 Likes
on
0 Posts

 02-19-2014, 11:27 PM
#438
Winter & spring are our main flying seasons. Only the brave venture out flying in the heat of summer.
However, it is better than it was in Scotland. Nice & sunny when you packed the car, then poured with rain once you got to the flying site. Better here I think.
Our runway extension should be finished this weekend & gives us 750 feet of tarmac. Should be fine for the Xcalibur
.Last edited by Jim Cattanach; 02-19-2014 at 11:36 PM.
02-24-2014, 03:46 AM
#440
Picked up mine yesterday. Quick look shows good quality on covering, wing structure quick peek looks good too. Retracts are nice. Fuse paint spotless. I have to go back to work today so I wont get it started until next week. Will try to post some pix of the build. I'm happy with first look.
02-24-2014, 05:43 AM
#441
Help!
Anyone with a tip on how to drill the holes in the nose wheel well for the air tubes?? My 90 degree Dremel is 5 times too large! I am about to take the jet to the dentist .
.
Thanks Marco
Anyone with a tip on how to drill the holes in the nose wheel well for the air tubes?? My 90 degree Dremel is 5 times too large! I am about to take the jet to the dentist
.Thanks Marco
 02-24-2014, 11:48 AM
#444
Thread Starter
The next UK delivery is due on our little island end of this week, can't wait will finally get to build one myself, plenty of jet meetings in March so looks like I'll have one new toy at least :-)
02-24-2014, 09:05 PM
#445
Member
Join Date: Oct 2010
Location: Bradenton Florida
Posts: 56
Likes: 0
Received 0 Likes
on
0 Posts
After a busy weekend, I finally got a chance to look over my kit. I too am very pleased with the quality of this jet. I will have to put the build on hold till I finish my move to Florida. I will be leaving on 3-5-14 to attend Florida Jets, & will return back to NY for the final move. I'm looking forward to see Jose's XCalibur in action at FJ. Will post some Xcalibur video's first chance I get.
Paul
Paul
Last edited by PVS41960; 02-24-2014 at 09:11 PM.
02-26-2014, 02:06 PM
#446
Back from my trip today. Got a couple of hours in the shop. I got flight controls hinging complete and built the elevator servo tray. I took a router and opened up the hinge holes in the rudders, elevator and ailerons to allow the hinge line to be as tight as possible. The smaller the gap the less chance of flutter. I put a couple of screws in the elevator servo tray just for peace of mind. Drill a pilot hole to avoid splitting the hardwood blocks. Tomorrow I hope to install the control horns and the servos for all the flight controls. If you guys dont want to see what I am doing let me know and I will air off. I just thought with this a beginners type model some pix may be of some value to new jet jocks.


Last edited by tp777fo; 02-26-2014 at 02:08 PM.
02-27-2014, 01:38 AM
#447
Thx, Marco
Last edited by marcokemp; 02-27-2014 at 01:46 AM.
02-27-2014, 02:03 AM
#448
Senior Member
Join Date: Feb 2011
Location: london, UNITED KINGDOM
Posts: 864
Likes: 0
Received 0 Likes
on
0 Posts
02-27-2014, 09:04 AM
#449
