


Ripmax Xcalibur Sports jet
 09-06-2015, 01:11 AM
#1526

I am having so much fun with mine
not sure if link will work but trying anyway ....
https://www.facebook.com/shahar.avrahamov/videos/10204954060878179/
not sure if link will work but trying anyway ....
https://www.facebook.com/shahar.avrahamov/videos/10204954060878179/
 09-06-2015, 06:07 AM
#1527
Went to test fly/set up a couple of models for a club member Musafa, seen smiling after I had finished tweaking the set up to suit him. This Xcalibur BA is powered by a Wren 100, JR DSX-12 radio. Other than removing 150g!! of nose weight it flew just like all of them.

i also see another excalibur in the background - wht scheme is that - cant make it out , looks also nice
09-08-2015, 02:00 PM
#1531

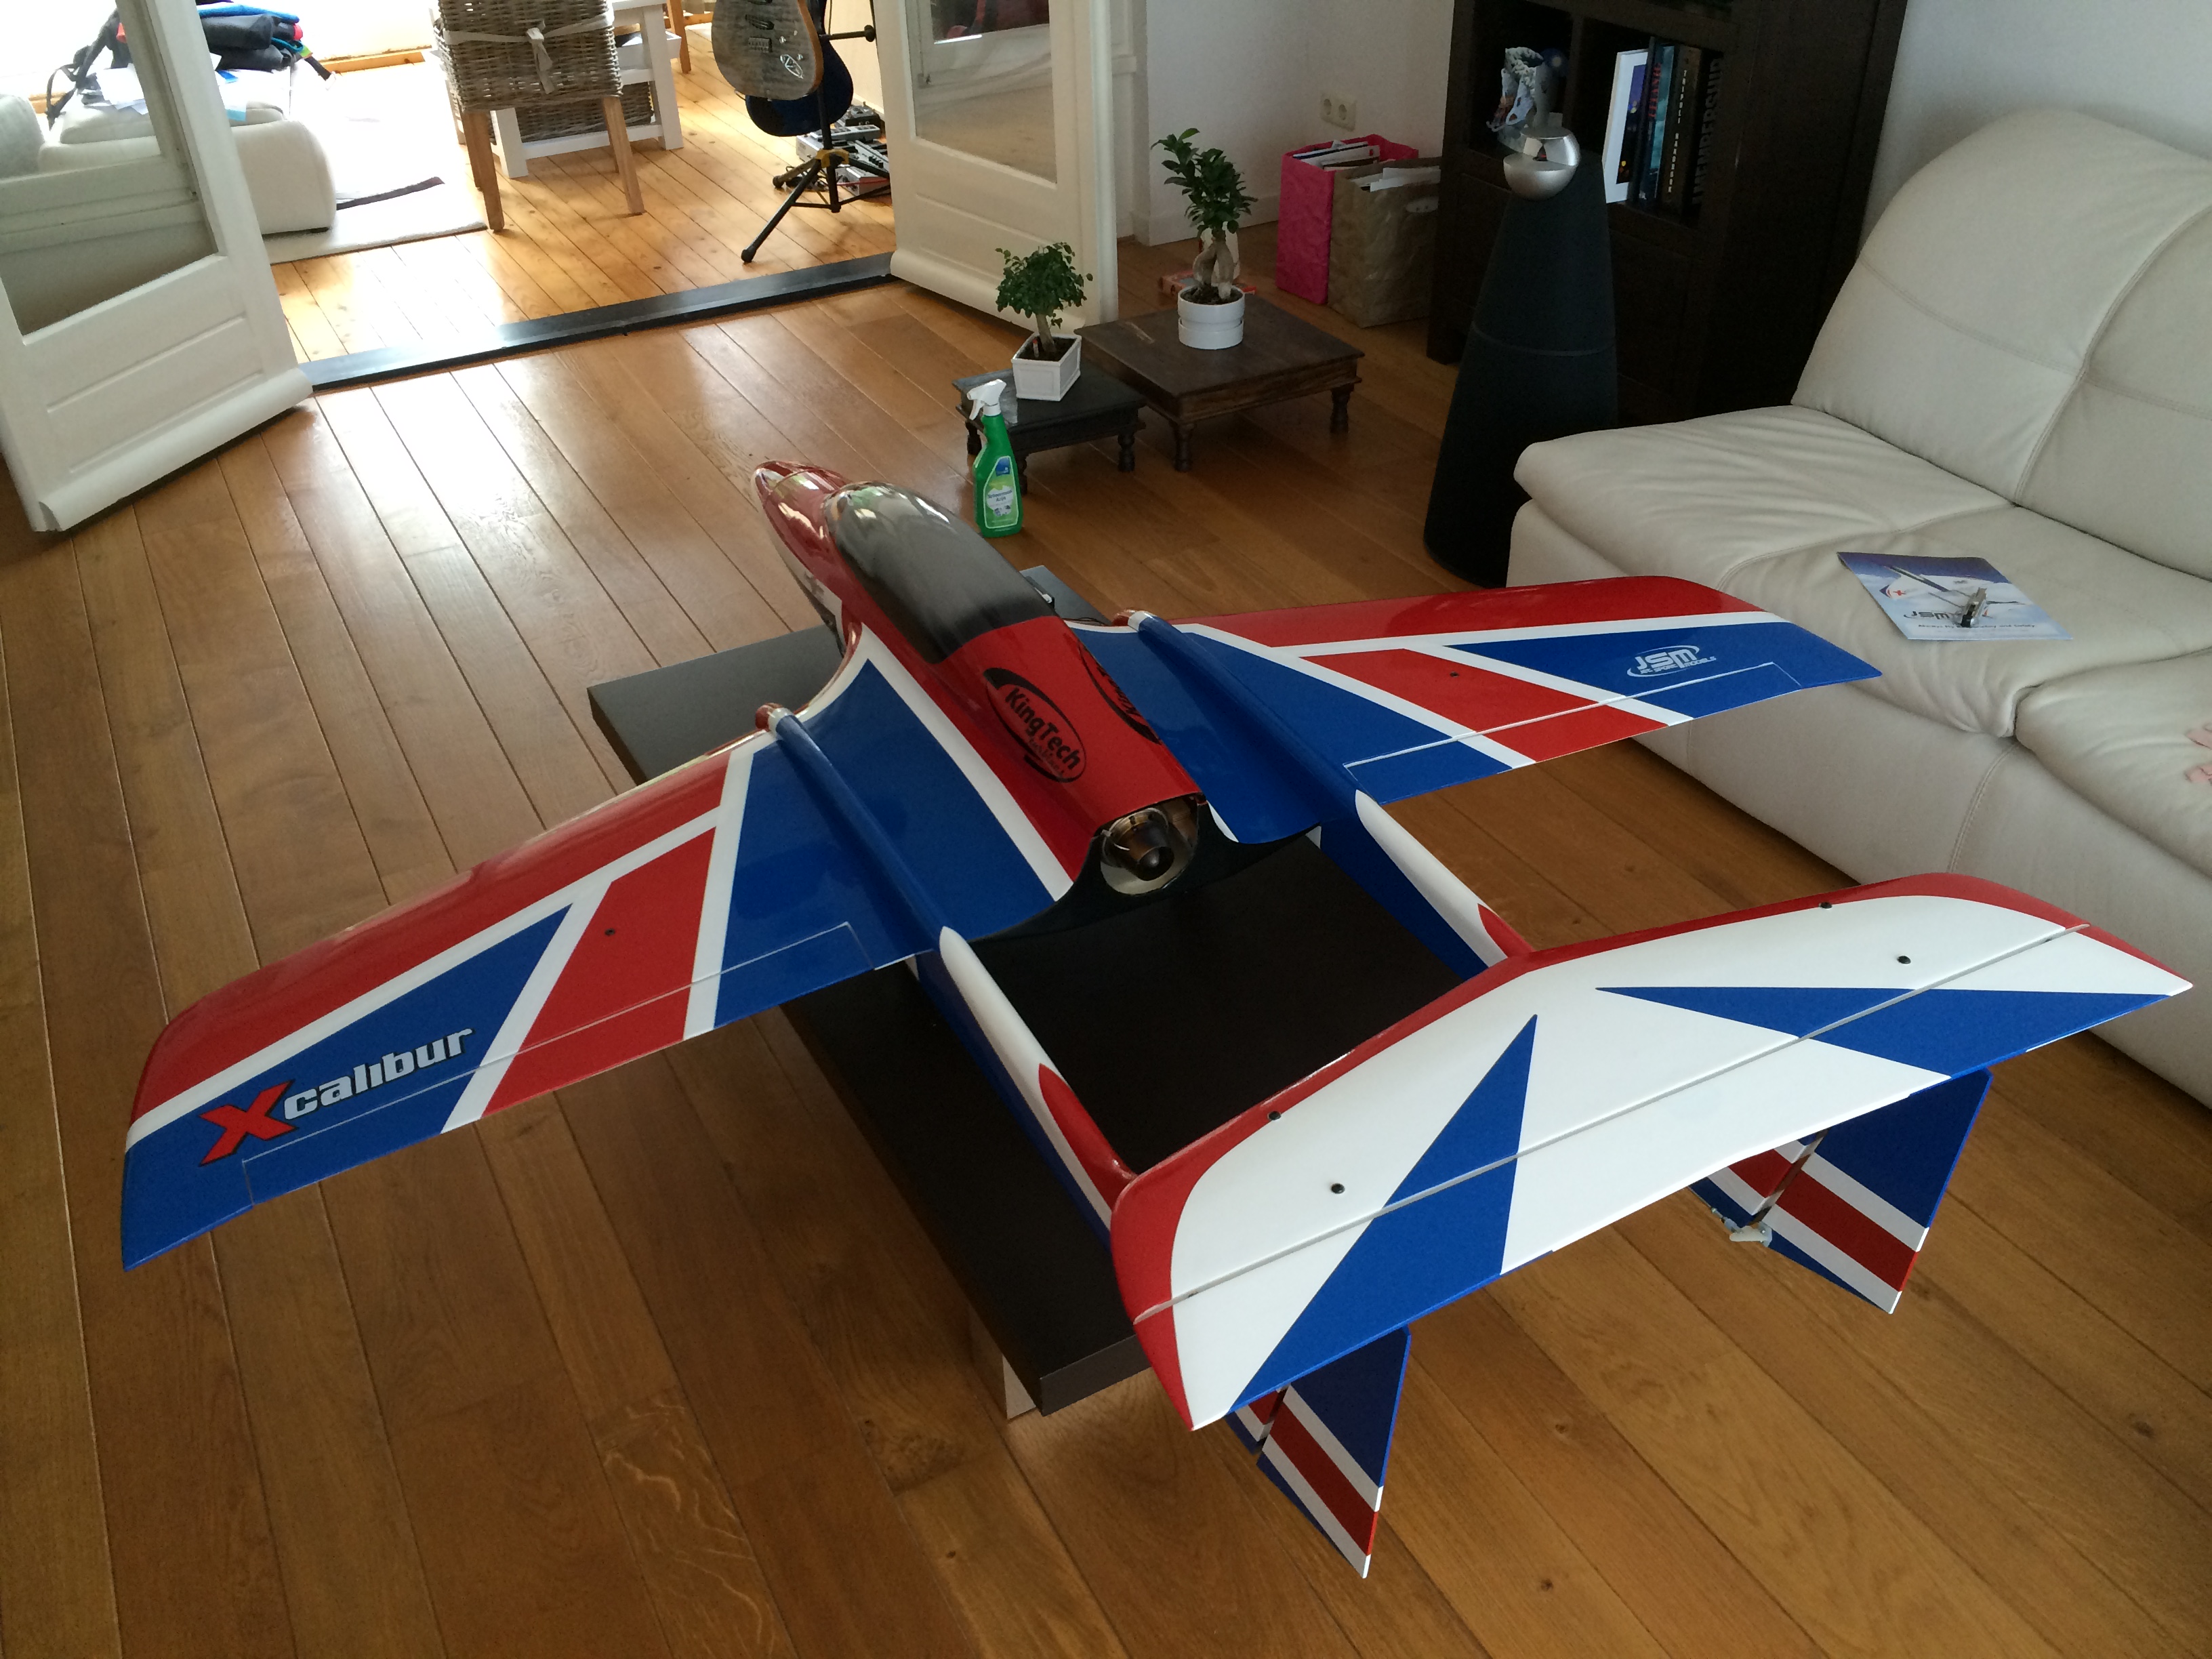
Well folks I am having fun putting my Xcalibur together. Have hit a snag though, I ordered the very nice wing bag set - received the elevator bag and tails bag, but unfortunately all of the wing bags are now sold out and Ripmax informed me that they will take a few months to come back in to stock due to a problem at the factory 
Any resellers here still have stock? otherwise I will buy a sleeping bag and do a hatchet job on it . not the end of the world I guess and enjoying getting my Bird ready to do some flying!
Any resellers here still have stock? otherwise I will buy a sleeping bag and do a hatchet job on it
. not the end of the world I guess and enjoying getting my Bird ready to do some flying!
09-08-2015, 02:30 PM
#1532

Join Date: Aug 2010
Location: , , UNITED KINGDOM
Posts: 305
Likes: 0
Received 0 Likes
on
0 Posts
I Just used one of the Hobbyking Tote bags for my wings. For the price it's not worth chopping up a sleeping bag. Got the boom and tail bags which are worth having to keep the hangar rash at bay.
Got 20 odd flights in mine now and really enjoying it.
Simon
Got 20 odd flights in mine now and really enjoying it.
Simon
09-09-2015, 12:29 AM
#1533
09-09-2015, 11:00 PM
#1535
Thread Starter
Wood or glass/wood?
i do wick thin ca in around the areas you can get at, always have done on every wood model. Formers I would use hysol if anything needed sorting
Dave
i do wick thin ca in around the areas you can get at, always have done on every wood model. Formers I would use hysol if anything needed sorting
Dave
09-09-2015, 11:31 PM
#1537
My Feedback: (51)
I wanted too try some lights on my Exalibur, ordered the 4-channel controller, two "landing" lights and one red strobe from Unilight, wow, they are really really bright, tested today in sunny weather, and they are clearly visible at all times, i am only on 2S, would be even brighter at 3S.
The install and programming was very easy, i have a big light-package for my Nijhuis Vulcan, looking forward too install them.
Viggo
The install and programming was very easy, i have a big light-package for my Nijhuis Vulcan, looking forward too install them.
Viggo
did you just drill the leading edges and glued them inside?
09-09-2015, 11:36 PM
#1538
Thread Starter
Drill the wood cross shelf and glue a 4mm bullet connector female socket in. In the nose cone glue the male 4mm bullet...
09-09-2015, 11:49 PM
#1539

Join Date: Jan 2005
Location: Vlodrop, The Netherlands
Posts: 383
Likes: 0
Received 1 Like
on
1 Post
I'm pretty much done with mine and I'm happy with the way it turned out and the way it looks. I did some taxing tests already but I'm waiting for the week-end to maiden it in a bigger field... my next-to-home field is a little bit too tight and I prefer to play it safe at least for the first flights.
I used the Xicoy weight and COG tool and I went for the manual figure, 160 mm. No extra weight required.
During the taxi tests I noticed that the turbine sucks in some serious crap... is this normal? I was not expecting it to this extent... small stones??


I used the Xicoy weight and COG tool and I went for the manual figure, 160 mm. No extra weight required.
During the taxi tests I noticed that the turbine sucks in some serious crap... is this normal? I was not expecting it to this extent... small stones??
09-10-2015, 01:47 AM
#1540
I'm looking at the same thing Lior. The nose pins on my model are a bit bent and I much prefer a 'non screw' type release. Dave's suggestion of using bullet connectors is an interesting one.
Along a similar line I'm also brainstorming ideas for the main canopy release, at the moment I am thinking either a split pin release or maybe retrofitting a quarter turn thumb screw.
Interesting suggestion Dave!
09-10-2015, 05:32 AM
#1541
My Feedback: (51)
Very neat idea!
do you have pics of how you did yours?
it might be easier to do ths mod on the root of the nose cone rather than the tip (better access for gluing), maybe even 2 bullets, one on right and one on left side.
Last edited by i3dm; 09-10-2015 at 05:35 AM.
09-10-2015, 05:52 AM
#1542
 09-10-2015, 08:29 AM
#1543
Thread Starter
Mine is stock, I am charging it now for tomorrow's CJ event, it takes nearly 10sec to remove the screw inc getting the screw driver....the time to do the mod would be several dozen charge cycles.
its just something I thought about could be done, but it's never been an issue for me, the driver for wing and nose is in my Tx case, so I always have them.
The early prototypes had quick release canopies with hatch pins, having seen a couple of Boomerangs destroyed when the canopy came off ( it takes the tail plane most times) we decided a screw was better....
i start my turbine and as it spools up I fit the canopy and screw it down, the time taken to start the turbine and stabilise is enough to screw it down.
Dave
09-10-2015, 12:49 PM
#1545
My Feedback: (57)
Depending on the room available, either do a full nose cone former with 3-4 slots and partial formers in the fuse nose to hold the screws or vice-versa, then slide the cone over the head of the screws and turn.
09-11-2015, 01:53 PM
#1550
Hi all,
one more Xcalibur perfectly flying from today
At last, today I did my Xcalibur test flight and it's been pure fun and amazing!
After +30 years flying jet, i.c. and electric hely's and quarter scale electric and i.c. rc planes, my little dream came true today when I finally could fly my very first jet model!
My calibre flies great, just few clicks of trim, flap to elev trim mix volume value setting and there she went in the air.
I've been simply amazed by the cleanliness of the model shape that gives it good inertia and it's a pleasure to fools, loops and other aerobatic basic manoeuvres.
Engine is Wren 80 DCi (full digital control), great engine, very smooth control and I could fly 7.5 mins landing with still 1/3 of main tank still full!
I kept my command little more than indicated on the manual, around 20% expo and full flap down to 95mm. CG at 170mm and the model flies great!
During landing, very nice and elegant nose slightly up attitude, very precise to be put down on the runway once made of course some experience...
I'm totally amazed, excited and satisfied by my first jet model, I'm now fully convinced I could not have done a better choice to start with jets model!
One more time (and won0t be the last), one huge thank you goes to Dave Wilshere for having not only suggested this model from the very beginning, but also driven and oriented during all my very slow building phase...that's surely been a great part of the fun.
I really loved to build such a model, that of course comes in a very advanced state and with not so much time (but good experience) can be put together and very reduced period of time!
After that, it's only fun!
Thank you Dave and thank you for the impressive amount of knowledge, ideas, suggestions, photos of this RCU thread too!
Have fun with all your Xcalibur
Denis
Last edited by DenisFerrari; 09-11-2015 at 02:10 PM.