New 1/4 scale build starting
 01-20-2015, 06:57 PM
#26

My Feedback: (16)
Definitely get yourself a balsa stripper. I learned on my 1/4 scale t33 to strip 1/2" strips and just be patient. Lay your sheeting flat on the table, and don't set the blade to go all the way through the sheet. That way the tip doesn't drag the table and catch a groove to mess up the cut. Also get the softest balsa you can, the tighter grain stuff is tough to strip. Man I'm stripping a 116" long fuse with lots of curves. It's tough but fun, hang in there it looks good.
 01-21-2015, 01:35 AM
#27

Thanks will invest in a balsa stripper when I get to that point. Jerry looks like you are using Cyno would be interested to hear if you are using Cyno throughout or a combination of Cyno and Aliphatic resin glue. Have used Cyno in the past but have never felt that the joints are as strong a resin glue.
Regards,
Paul
Regards,
Paul
01-21-2015, 03:51 PM
#28
Well one of the difficult parts is over with I got the hatch separated from the air frame with no problems I will fill out the rest of the air frame with stringers tonight, Paul, here is a picture of the balsa stripper I
bought
Till next time,
Jerry B


bought
Till next time,
Jerry B
01-21-2015, 03:51 PM
#29
Well one of the difficult parts is over with I got the hatch separated from the air frame with no problems I will fill out the rest of the air frame with stringers tonight, Paul, here is a picture of the balsa stripper I
bought
Till next time,
Jerry B
bought
Till next time,
Jerry B
01-21-2015, 11:43 PM
#30
Thanks Jerry did a search on balsa strip cutters an a lot of people recommended the Mater Airscrew cutter. Did you see my question in post #27 re glue types. Am interested in your thoughts on glues.
Regards
Paul
P.S. The planking of the hatch looks neat
Regards
Paul
P.S. The planking of the hatch looks neat
Last edited by Air Works; 01-21-2015 at 11:46 PM.
01-22-2015, 05:49 AM
#31
the center pod.You could use white or wood glues but you would some how have to pin it untill it cures
Are you going to build one ?
Jerry
B
01-22-2015, 05:51 AM
#32
Definitely get yourself a balsa stripper. I learned on my 1/4 scale t33 to strip 1/2" strips and just be patient. Lay your sheeting flat on the table, and don't set the blade to go all the way through the sheet. That way the tip doesn't drag the table and catch a groove to mess up the cut. Also get the softest balsa you can, the tighter grain stuff is tough to strip. Man I'm stripping a 116" long fuse with lots of curves. It's tough but fun, hang in there it looks good.
Jerry B
01-22-2015, 11:37 AM
#33
Thanks Paul for the compliment on the hatch. I have always used CA type glues on balsa and slow drying epoxy on hard woods and plywoods., I don't think you can use anything but CA on the planks due to the curves on
the center pod.You could use white or wood glues but you would some how have to pin it untill it cures
Are you going to build one ?
Jerry
B
the center pod.You could use white or wood glues but you would some how have to pin it untill it cures
Are you going to build one ?
Jerry
B
Regards,
Paul
01-22-2015, 11:37 AM
#34
Thanks Paul for the compliment on the hatch. I have always used CA type glues on balsa and slow drying epoxy on hard woods and plywoods., I don't think you can use anything but CA on the planks due to the curves on
the center pod.You could use white or wood glues but you would some how have to pin it untill it cures
Are you going to build one ?
Jerry
B
the center pod.You could use white or wood glues but you would some how have to pin it untill it cures
Are you going to build one ?
Jerry
B
Regards,
Paul
01-26-2015, 04:50 PM
#35
I finished sheeting the top of the pod and inner wing,I also put in the rest of the stringers,and here we go more planking and sanding and filling 


 Please forgive my messy basement,I start working and I don't clean it until I trip over something LOL
Till next time,
Jerry B
Till next time,
Jerry B
01-28-2015, 01:04 PM
#36
I worked on planking the bottom and the front half of the pod,this is about 2 hours work

I bought this little motor tool at Harbor Freight for $10.00 reduced from $25.00, it is not even worth .50 cents it stall out the second it touchs any thing, I guess you get what you pay for.
Till next Time,
Jerry B
I bought this little motor tool at Harbor Freight for $10.00 reduced from $25.00, it is not even worth .50 cents it stall out the second it touchs any thing, I guess you get what you pay for.
Till next Time,
Jerry B
 01-31-2015, 01:00 PM
#38
Regards,
Paul
02-07-2015, 07:02 AM
#39
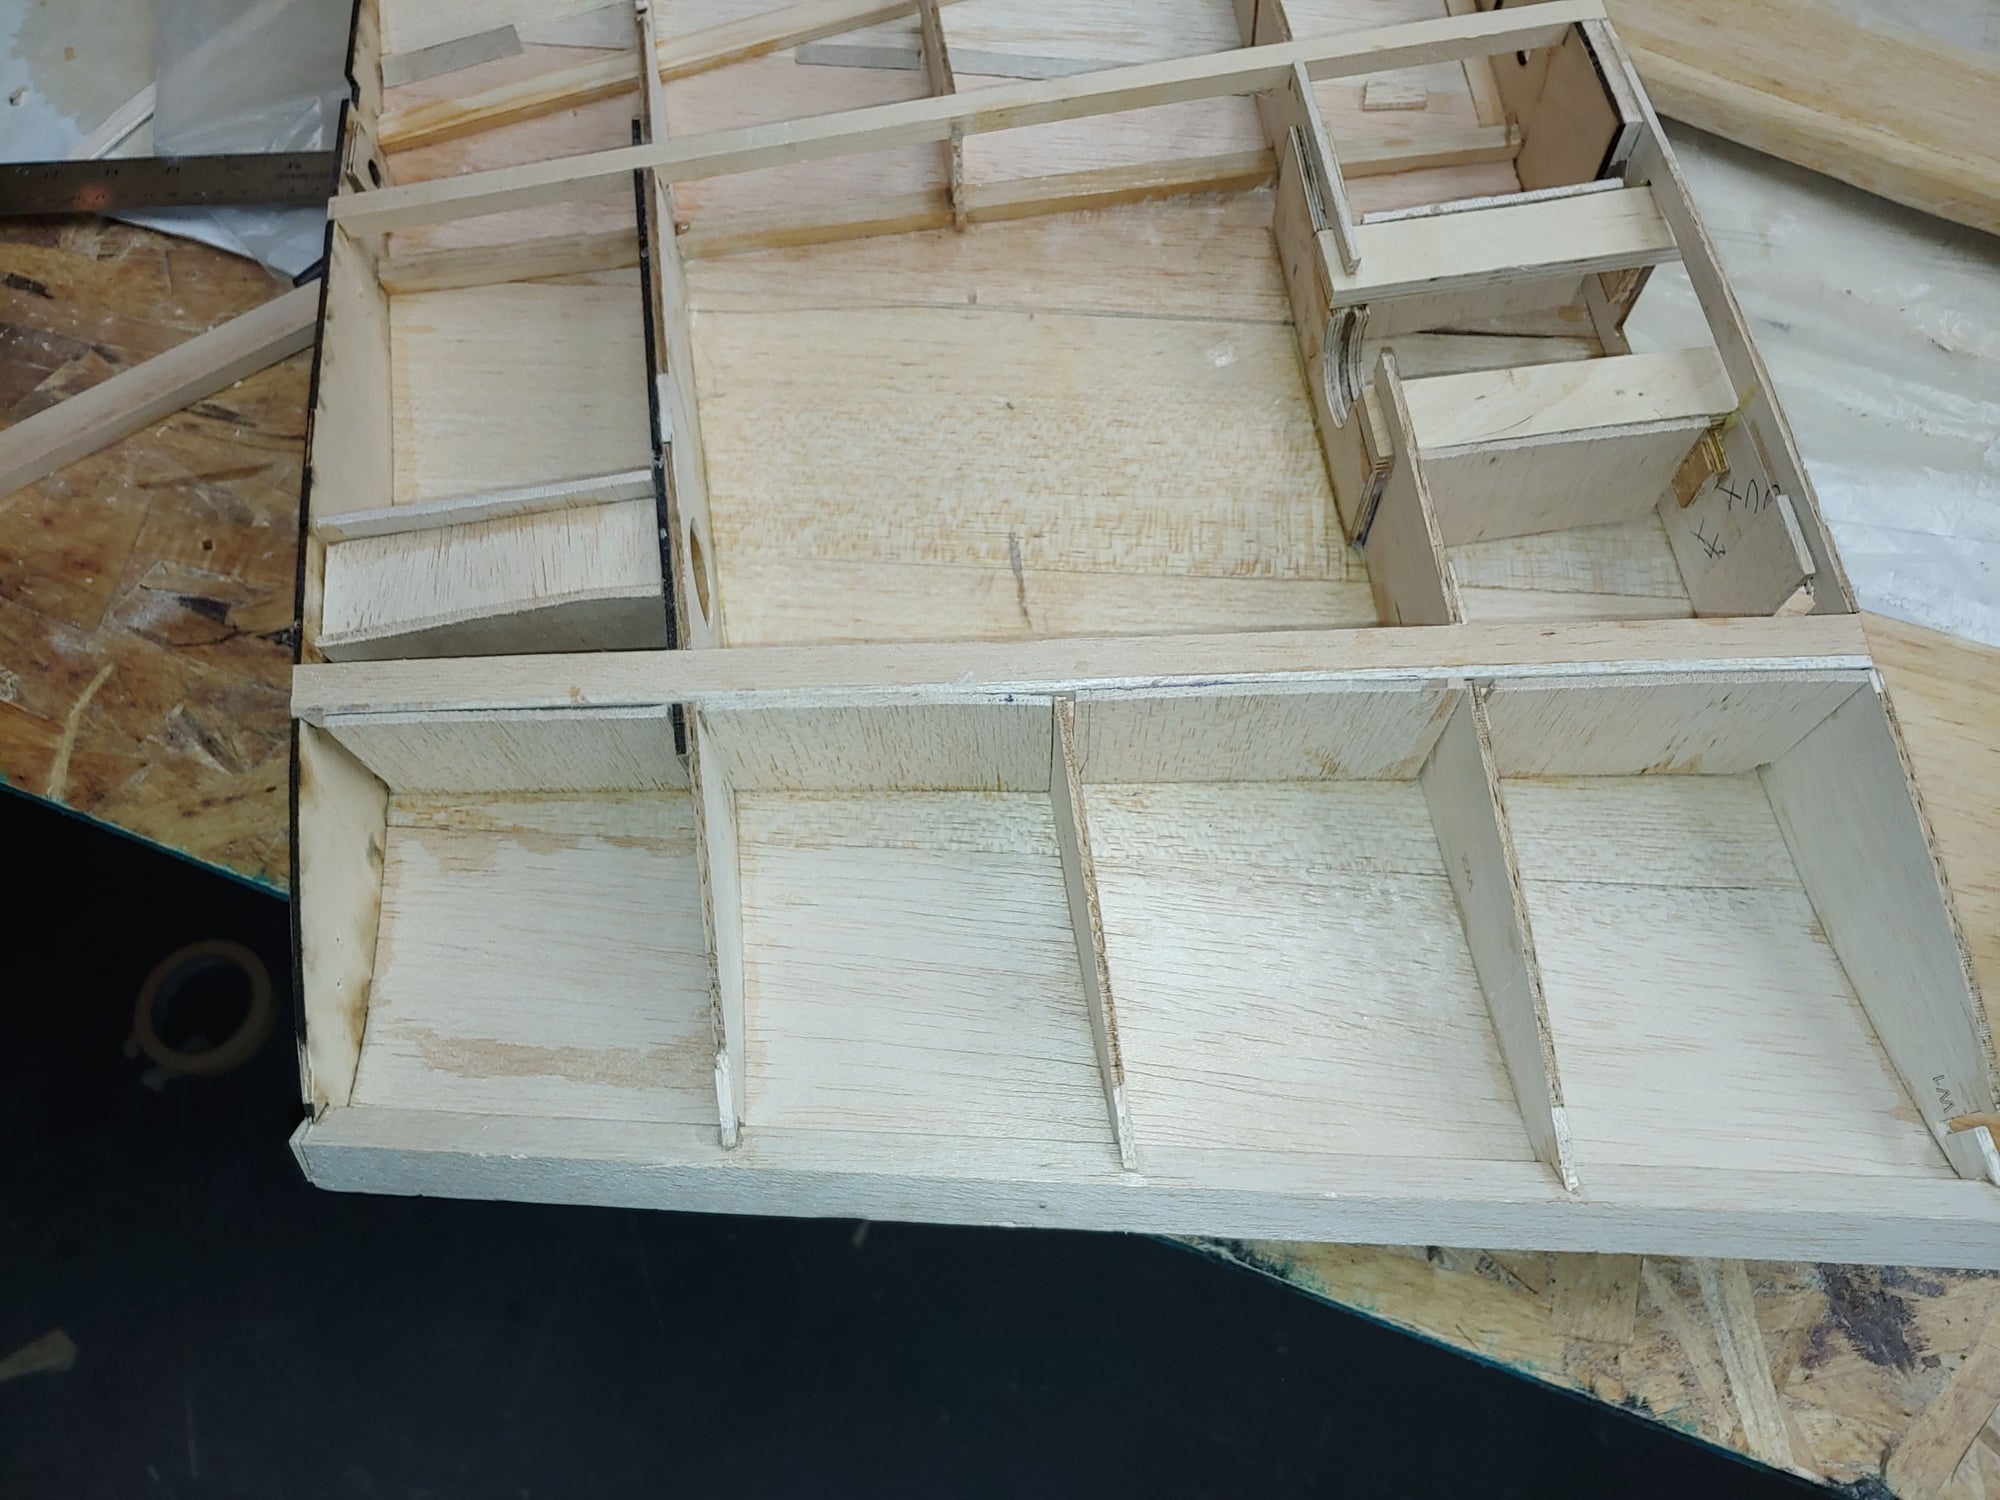
I did some more work on the Vampire,I got the front part of the fusalage filled in with balsa blocks .The Bottom portion gets filled in after you fit the landing gear in. I also started a plug for the nose that I will make a mold from
to make a fiberglass nose cone that is removable, that way you will be able to service the gear and add ballast as far forward as possible.


Till Next Time, Jerry B
to make a fiberglass nose cone that is removable, that way you will be able to service the gear and add ballast as far forward as possible.
Till Next Time, Jerry B
Last edited by jerrybern; 02-07-2015 at 07:16 AM.
02-07-2015, 07:09 AM
#40
Till Next Time,
Jerry B
Last edited by jerrybern; 02-07-2015 at 07:11 AM.
02-13-2015, 12:37 PM
#42
I had a little set back this week with the Vampire this week.. I with someones recommendations I used gorilla brand glue to make the hatch l more ridged.. The glue expanded and warped the hatch with wise and not fitting right.
I had two options make a new one, or try and fix this one. I got some 1/2 balsa sticks and used them as cross braces to pull it back into shape.It seems to be working ,however I might end up building a new one


Till Next Time,
Jerry B
I had two options make a new one, or try and fix this one. I got some 1/2 balsa sticks and used them as cross braces to pull it back into shape.It seems to be working ,however I might end up building a new one
Till Next Time,
Jerry B
02-19-2015, 12:43 PM
#43
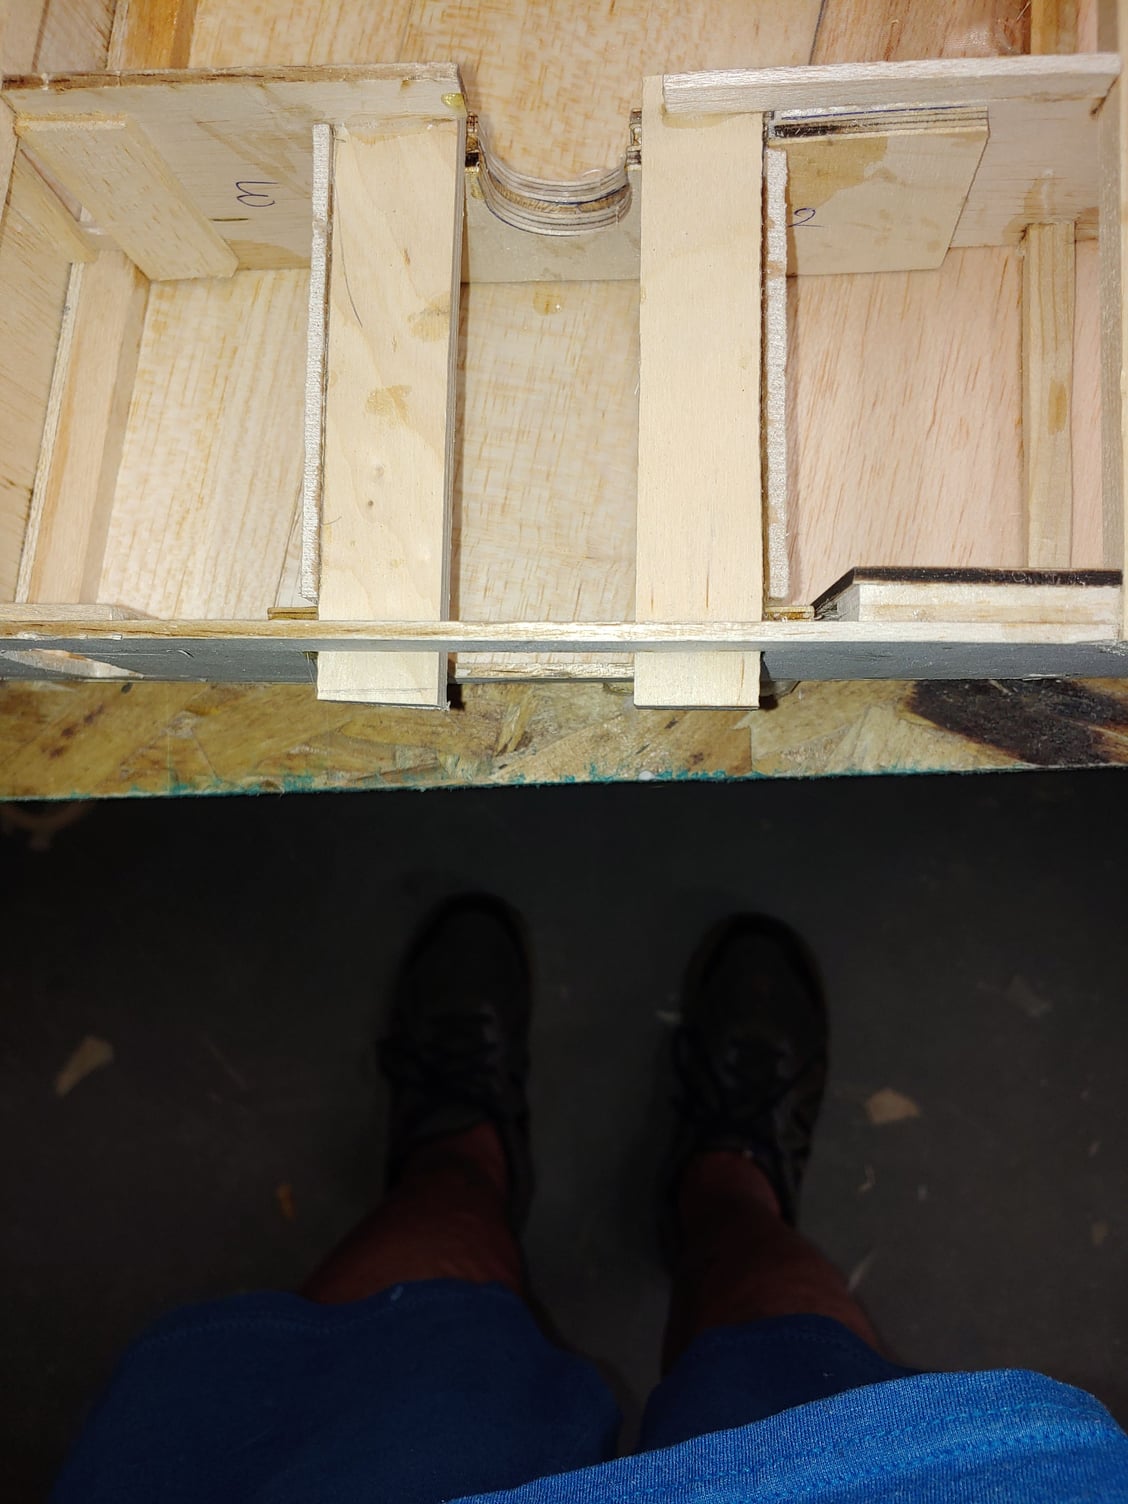
I did some work on the Vampire this week, I used foam block between formers F-1 and F-2 to try and save some work with carving and sanding it all down, I did not like the shape of the foan,the compound curves were not there so I ripped it all out too start over (saving some work !) LOL now I had to do it twice. I used blocks that I had and filled in the area,  While that was drying I laminated the doublers to the ribs


Till, Next Time,
Jerry B
Till, Next Time,
Jerry B
01-06-2021, 02:15 PM
#44
Hi
Started glassing some of the flying surfaces.
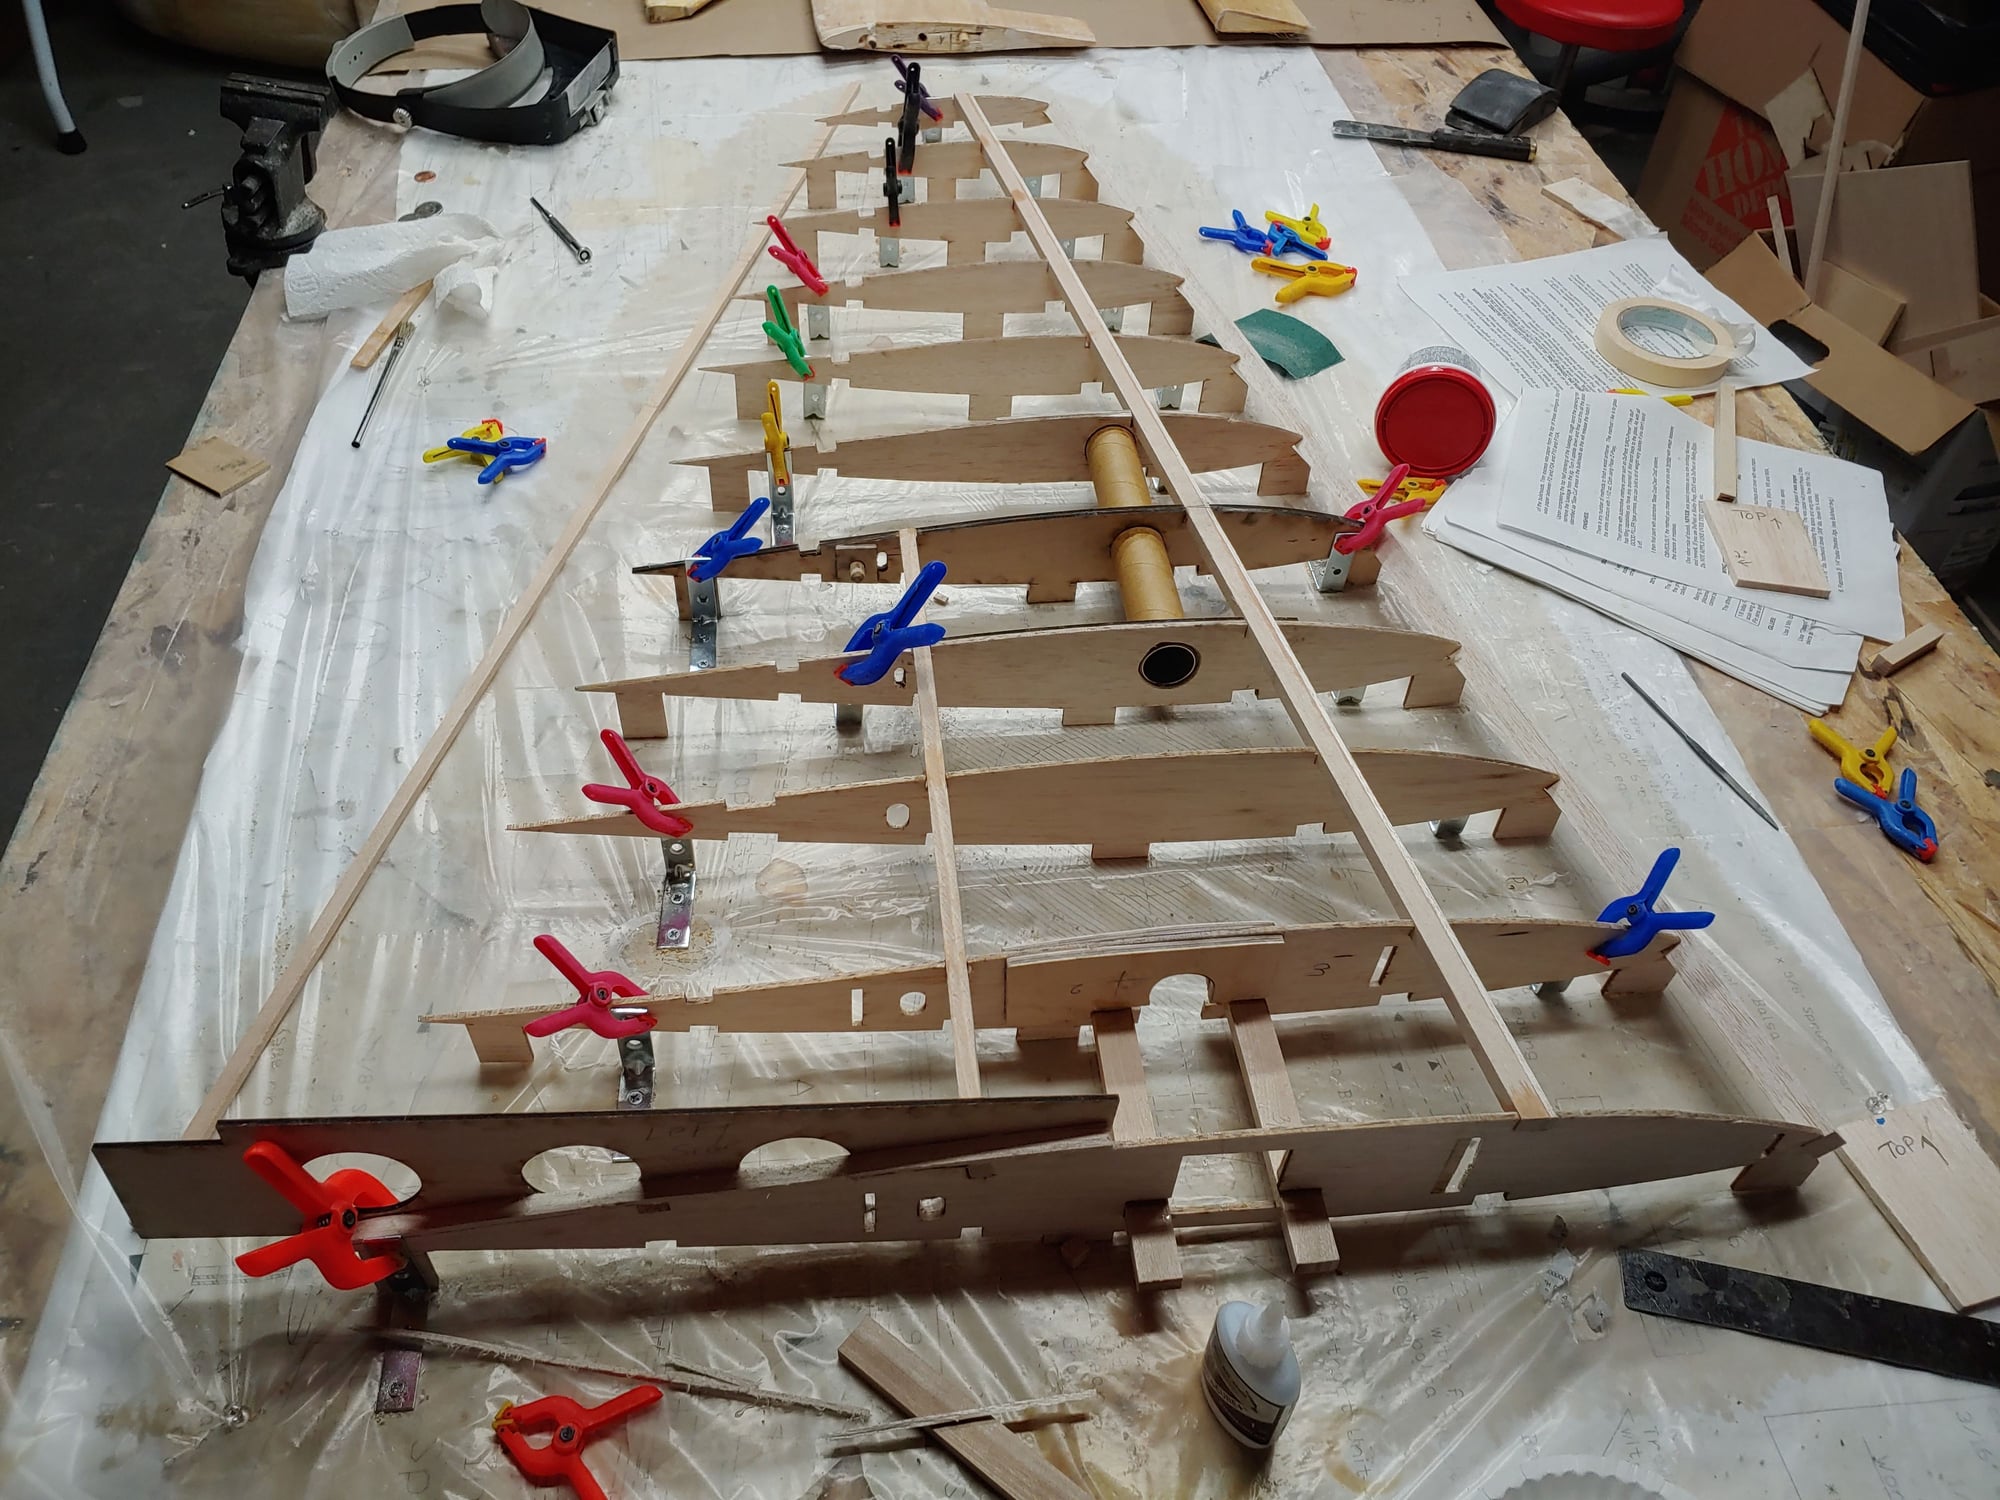
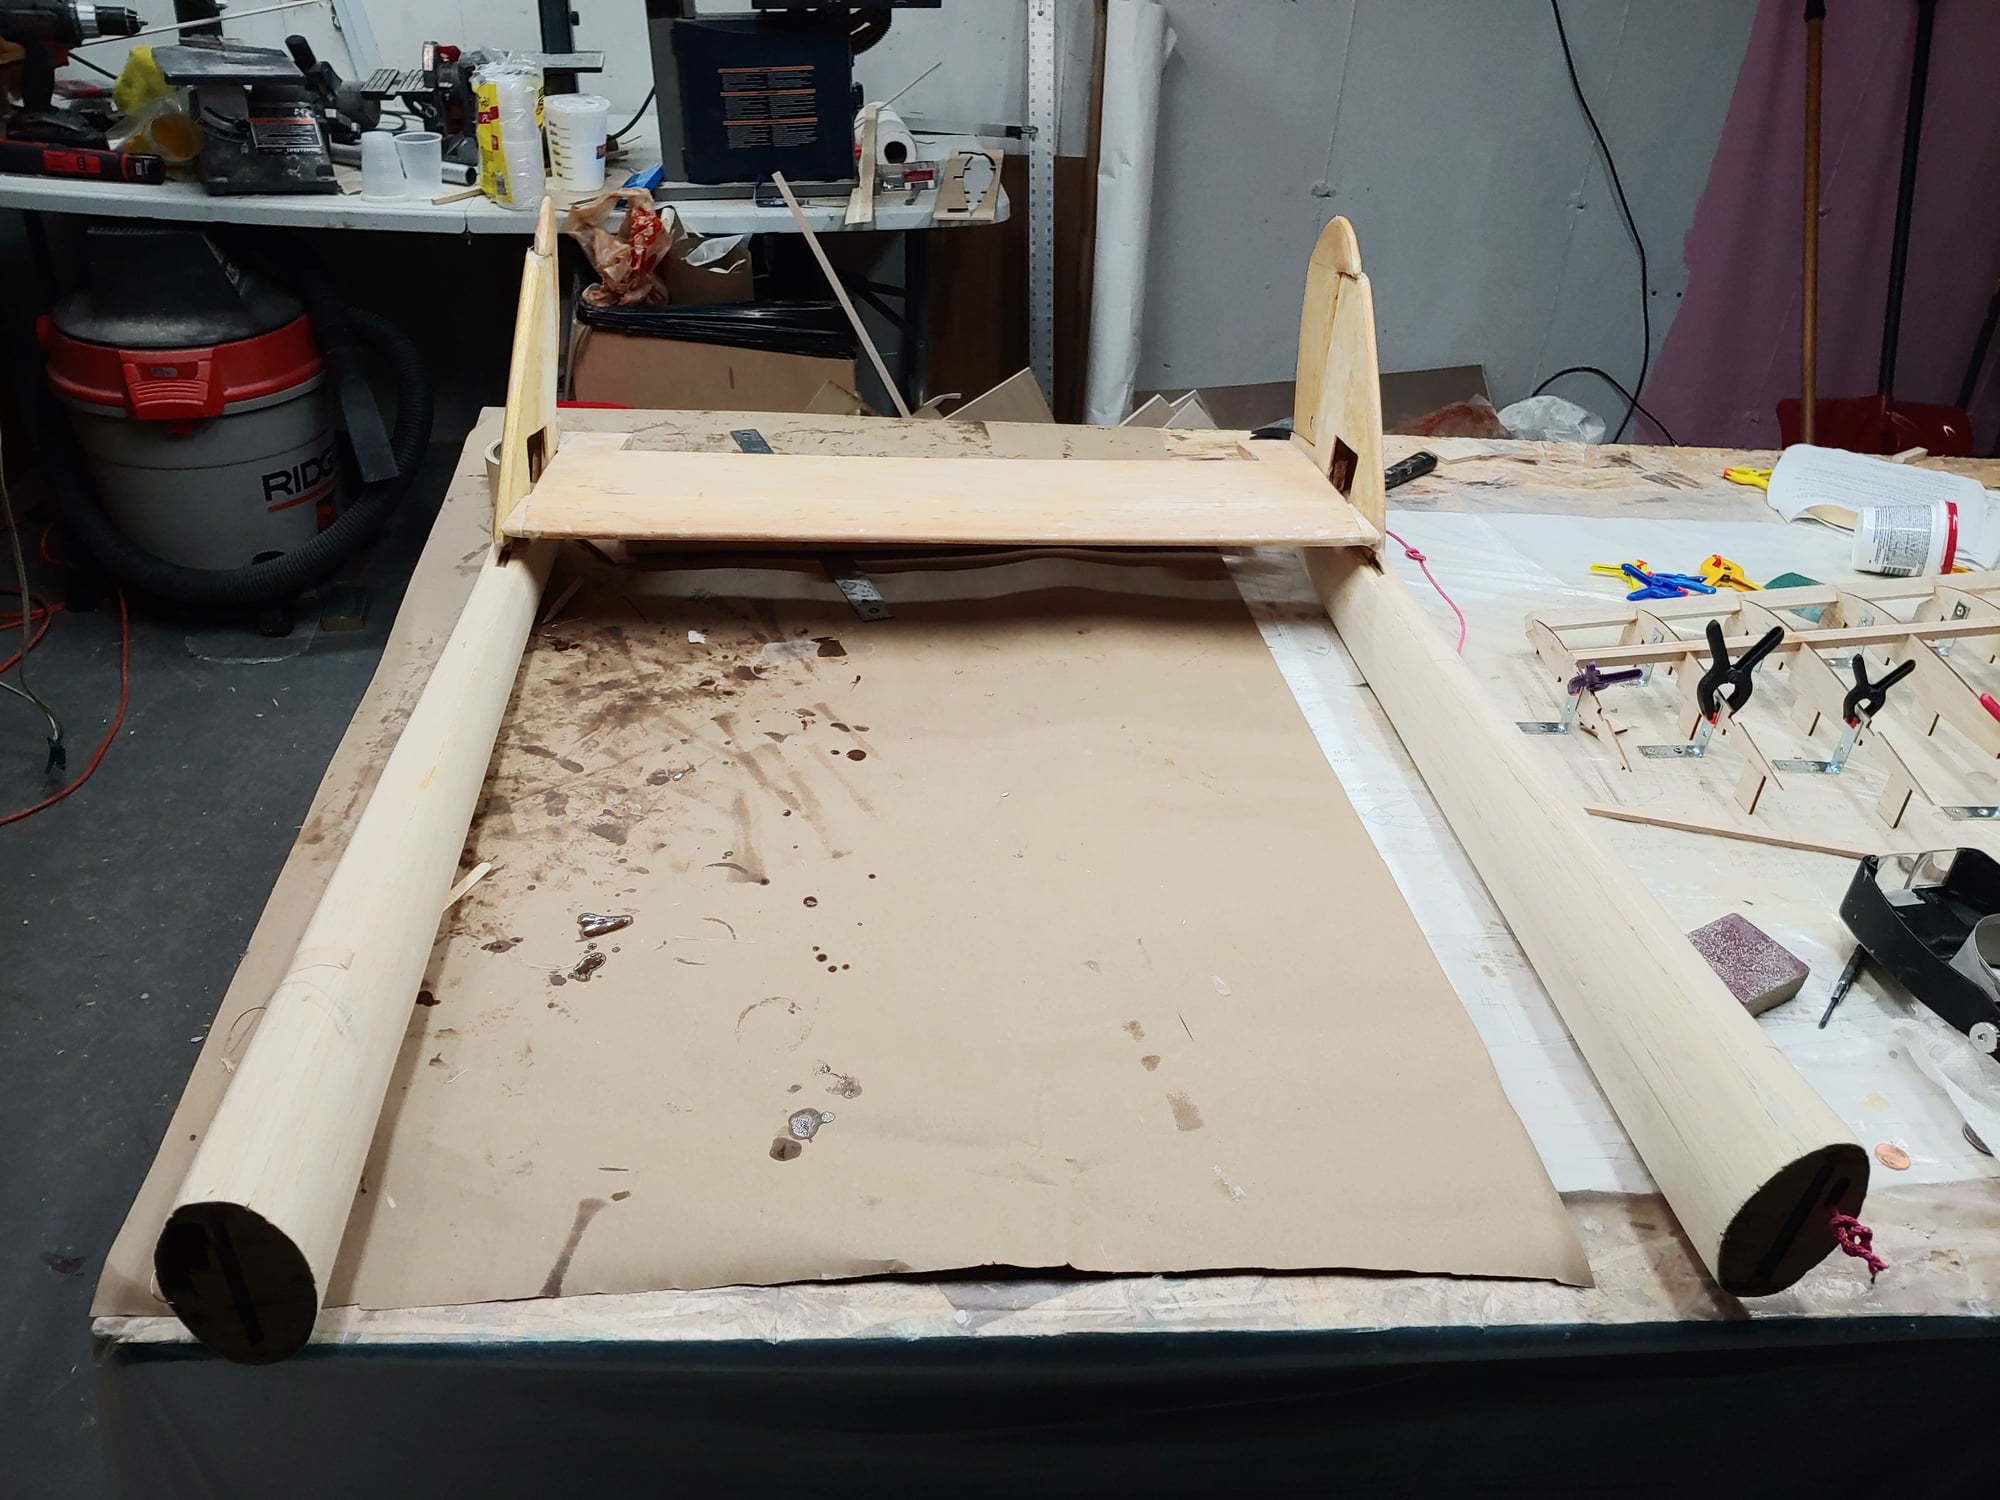
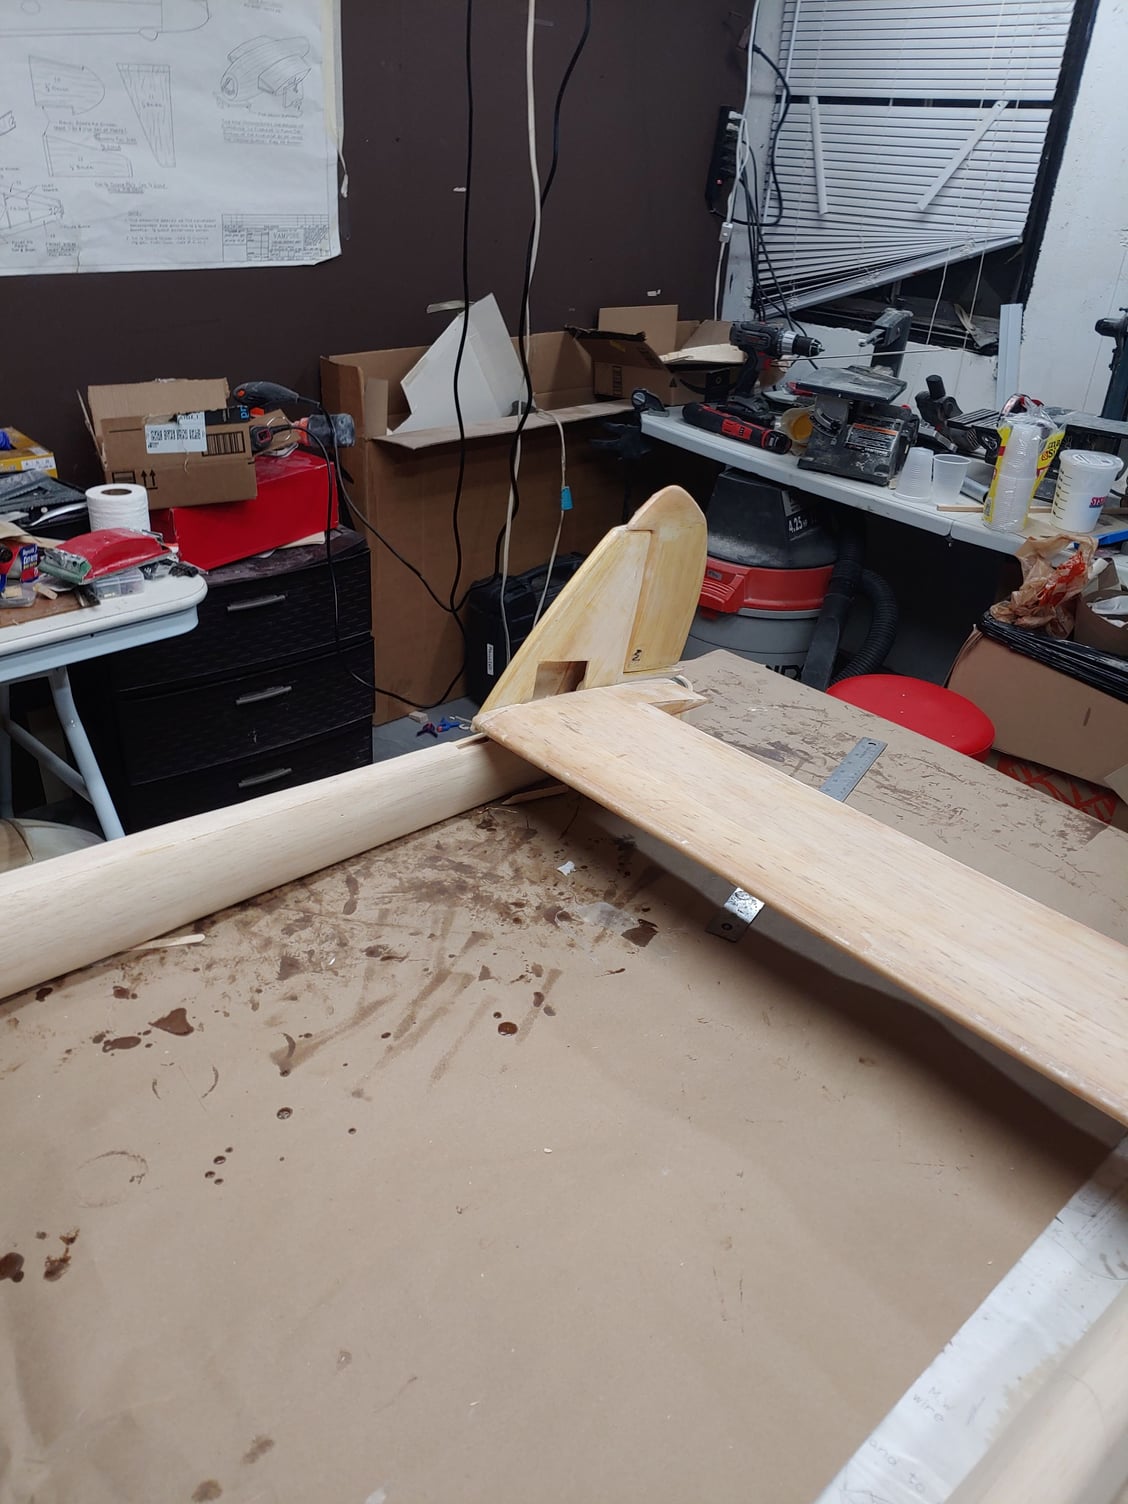
Wing being built up
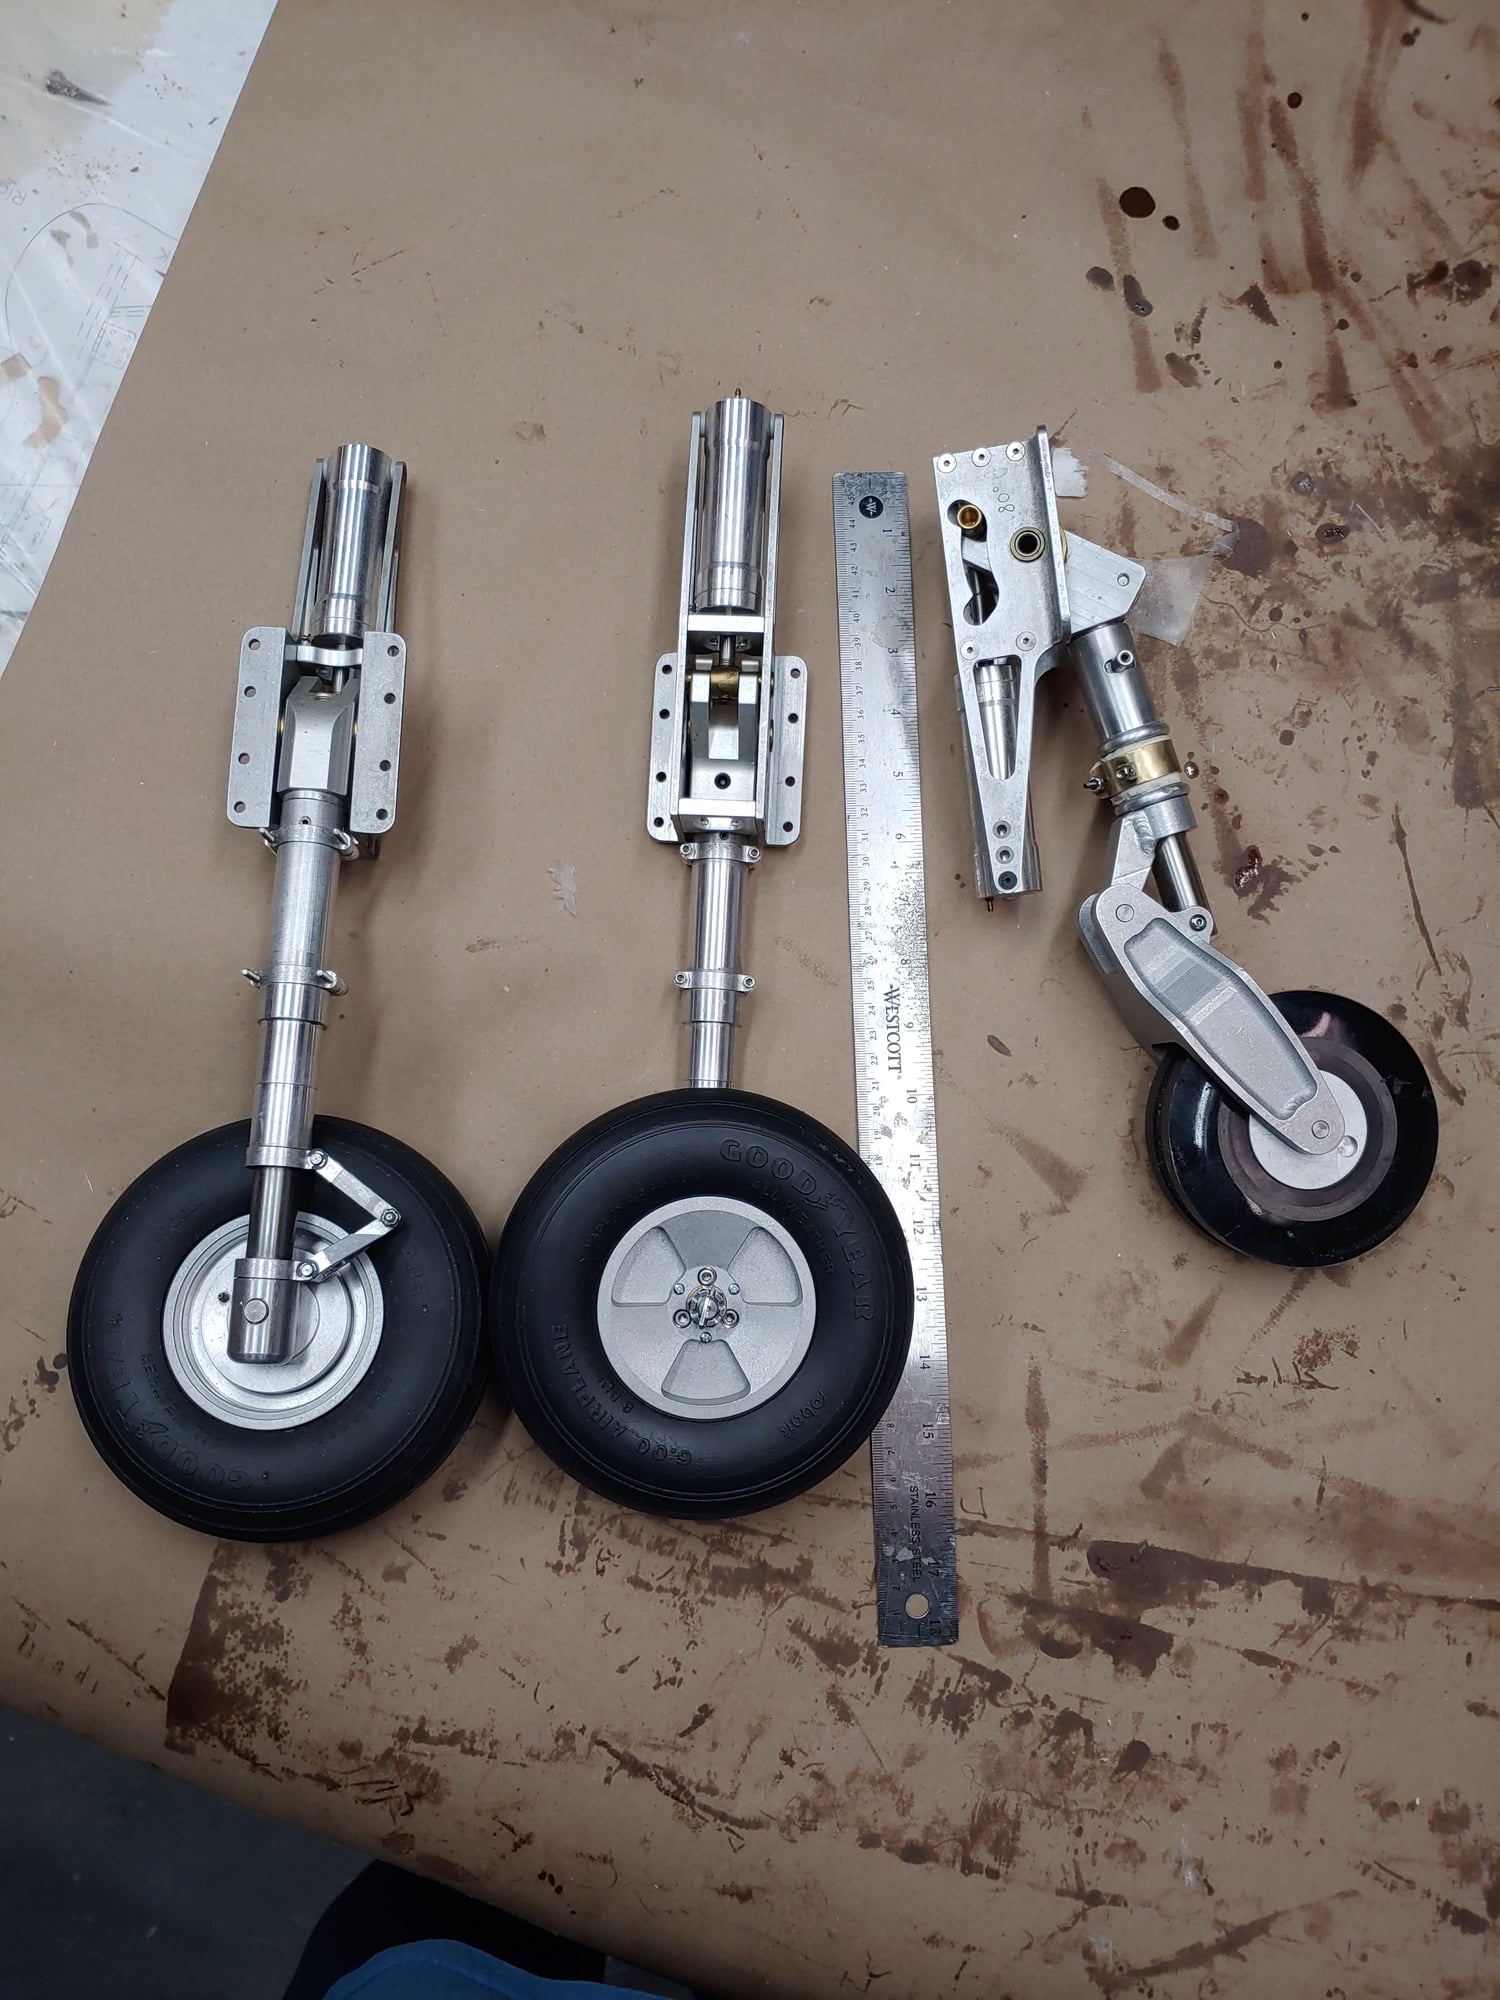
Sierra giant scale landing gear
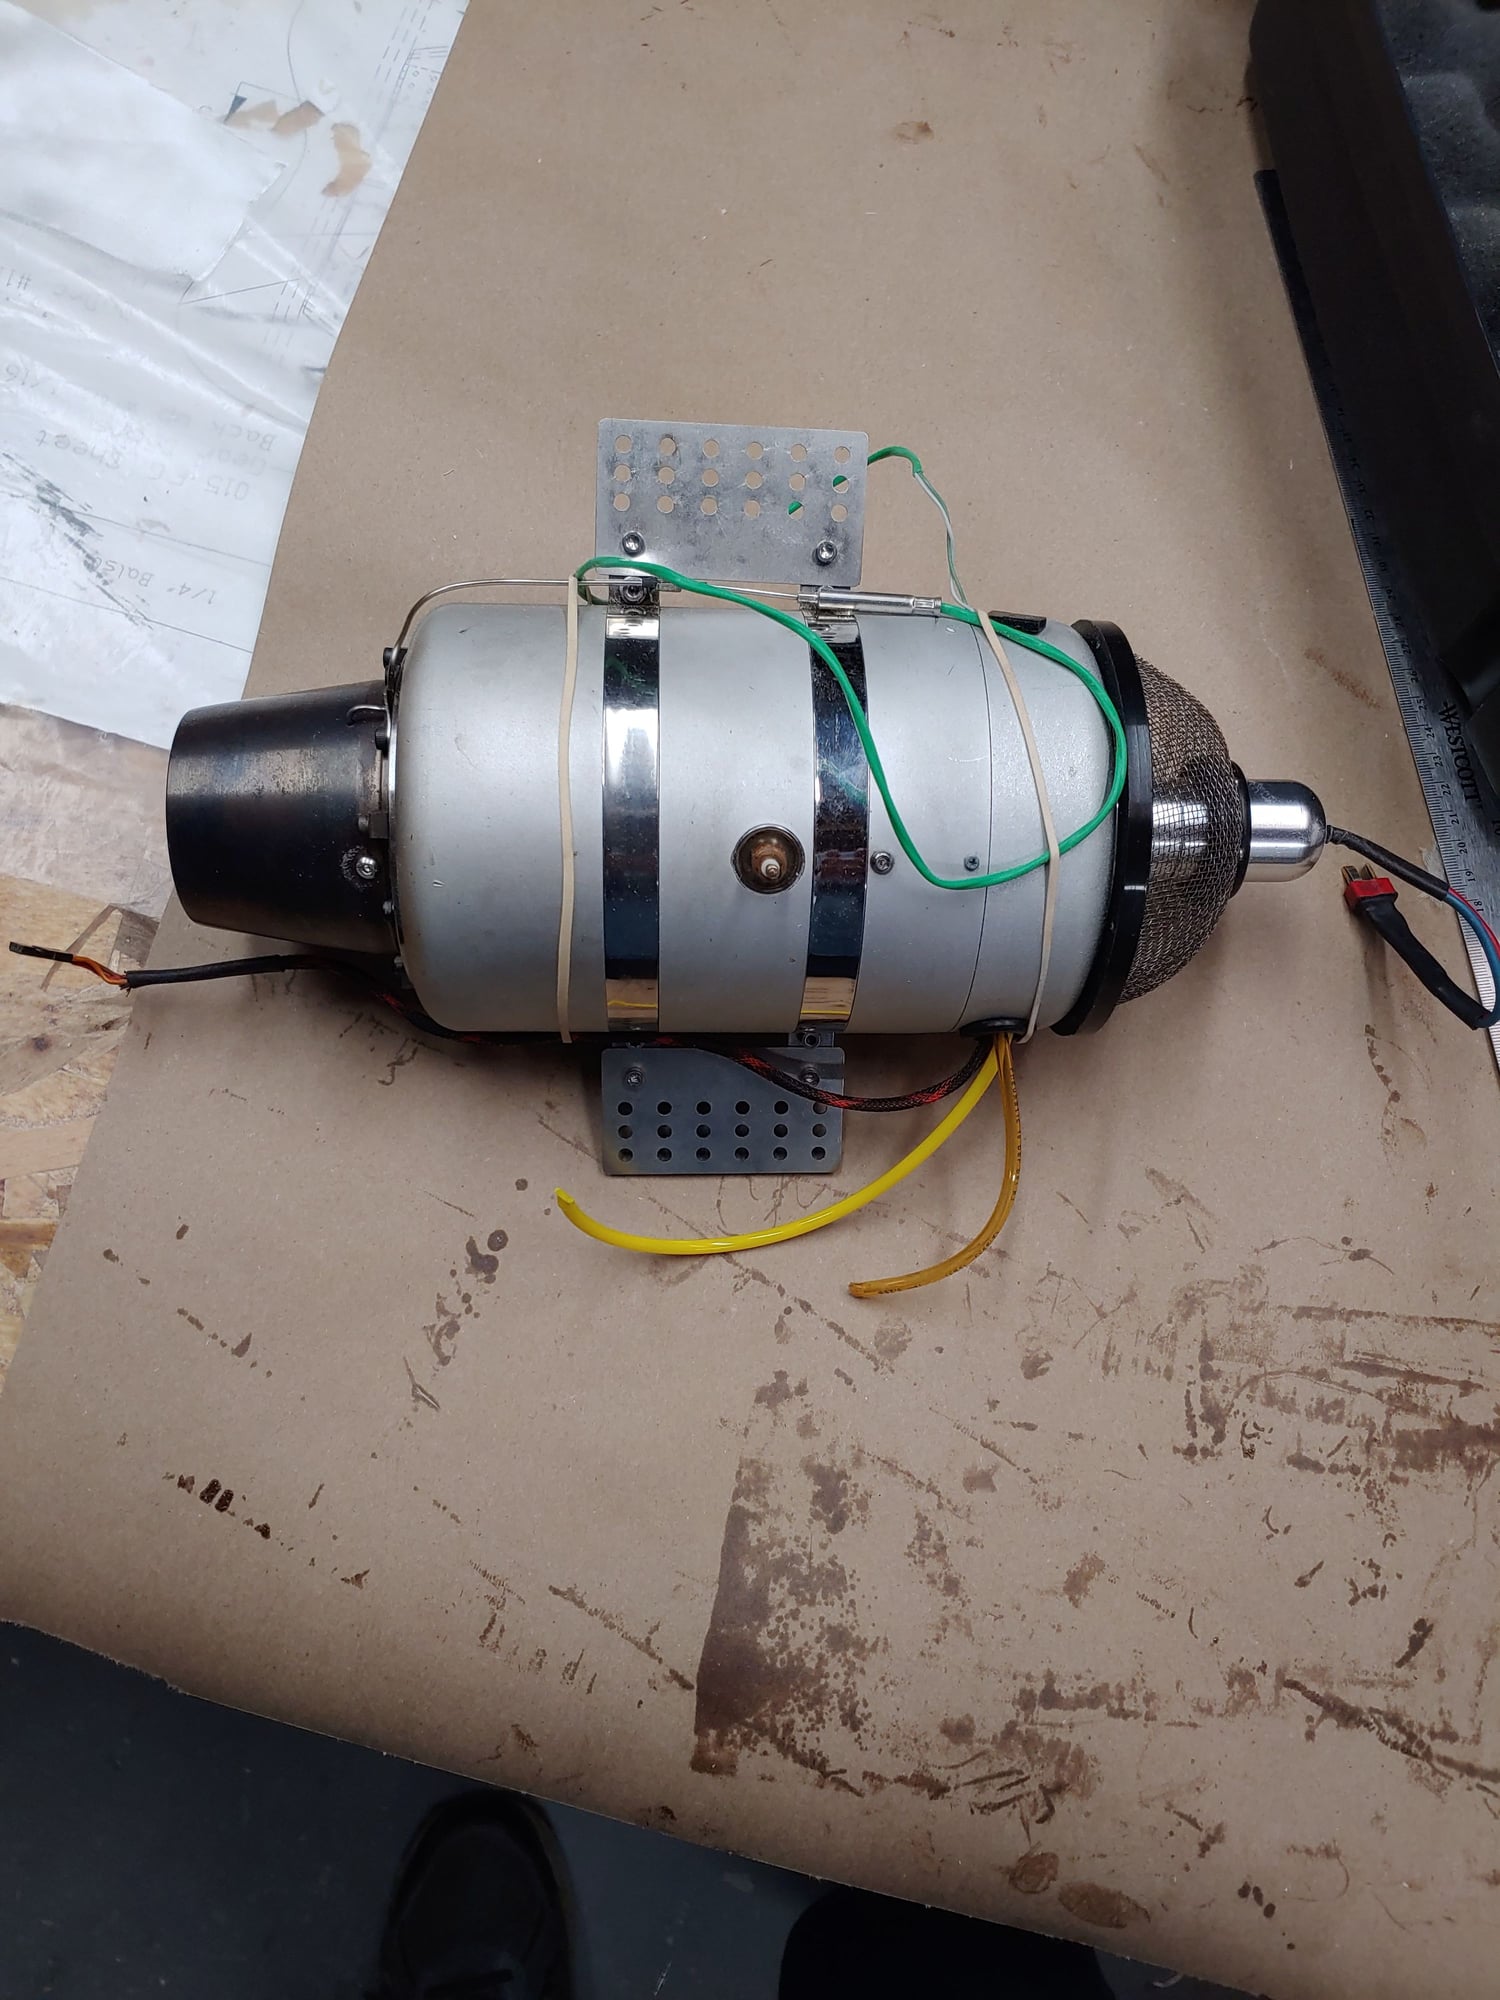
Jet Central Rhino for power
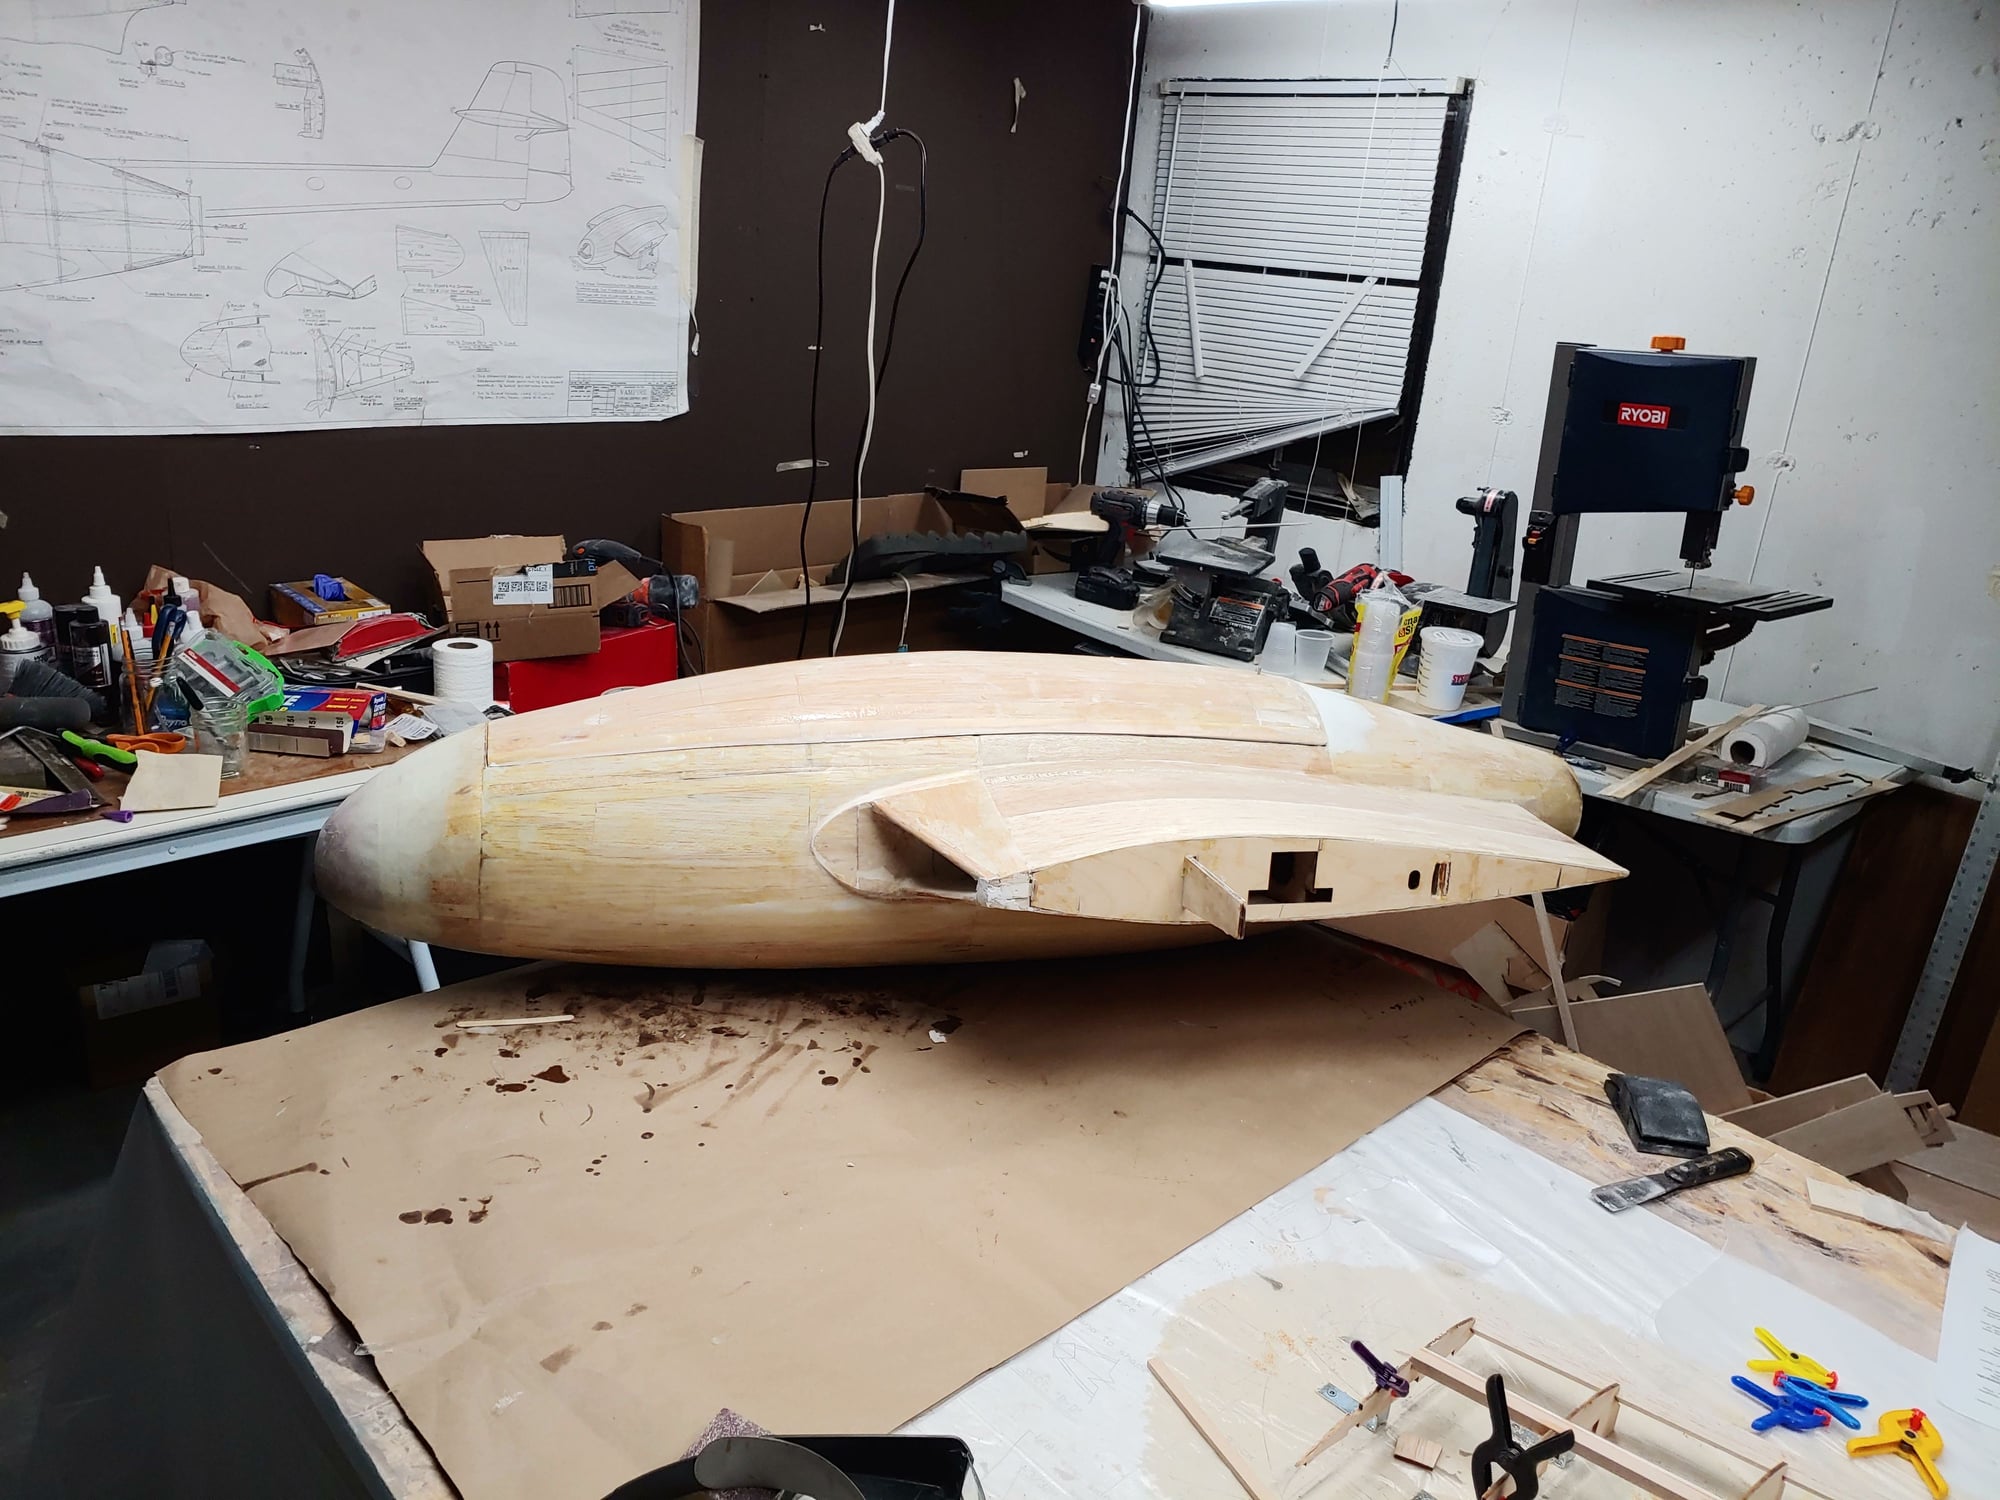
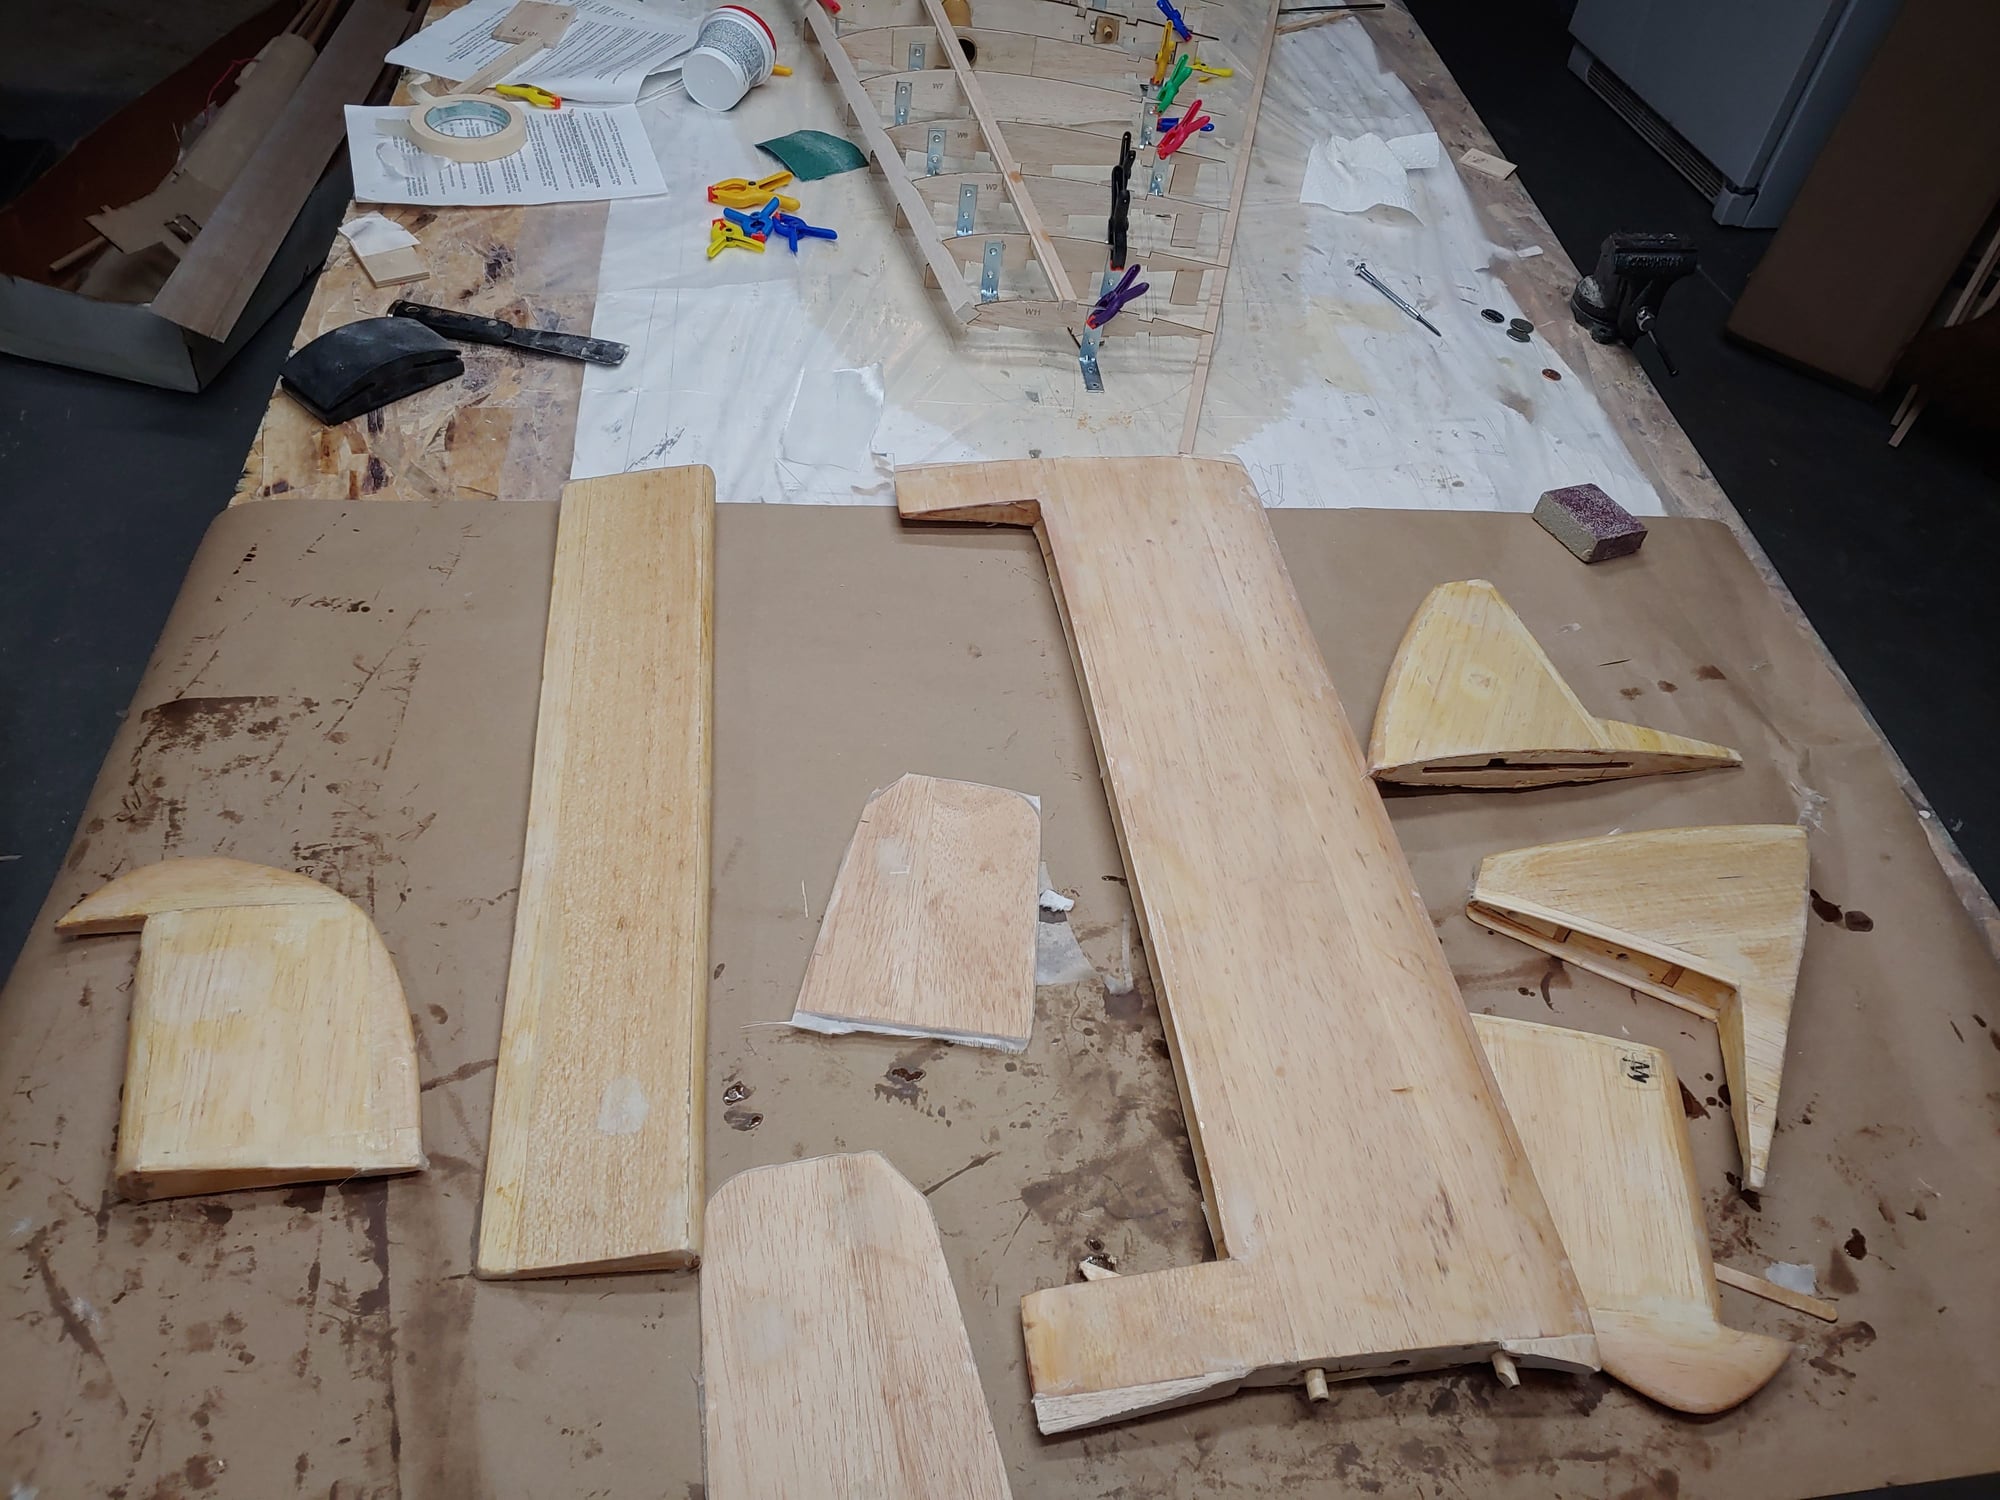
Fuselage finished except for final sanding and primer
I am back working on my 1/4 scale Vampire after some time away.here are some pictures of were I am at now
Started glassing some of the flying surfaces.
Wing being built up
Sierra giant scale landing gear
Jet Central Rhino for power
Fuselage finished except for final sanding and primer
I am back working on my 1/4 scale Vampire after some time away.here are some pictures of were I am at now
 01-08-2021, 12:57 PM
#46
Yeah, sometimes life gets in the way of long projects, good to see you have re-started.
A couple of guys co-built a couple of large Vampires in Oz many years ago, I'm pretty sure they were of composite
construction. Unfortunately both met their demise, one scarily flew away after radio failure, fortunately crashed in
a field away from civilisation when it ran out of fuel.
The other suffered in flight structural failure, I was flying at the time just in front of him, didn't see it, just heard the bang.
People joked it was wake turbulence from my little Wren 44 powered model.
01-10-2021, 10:46 AM
#47
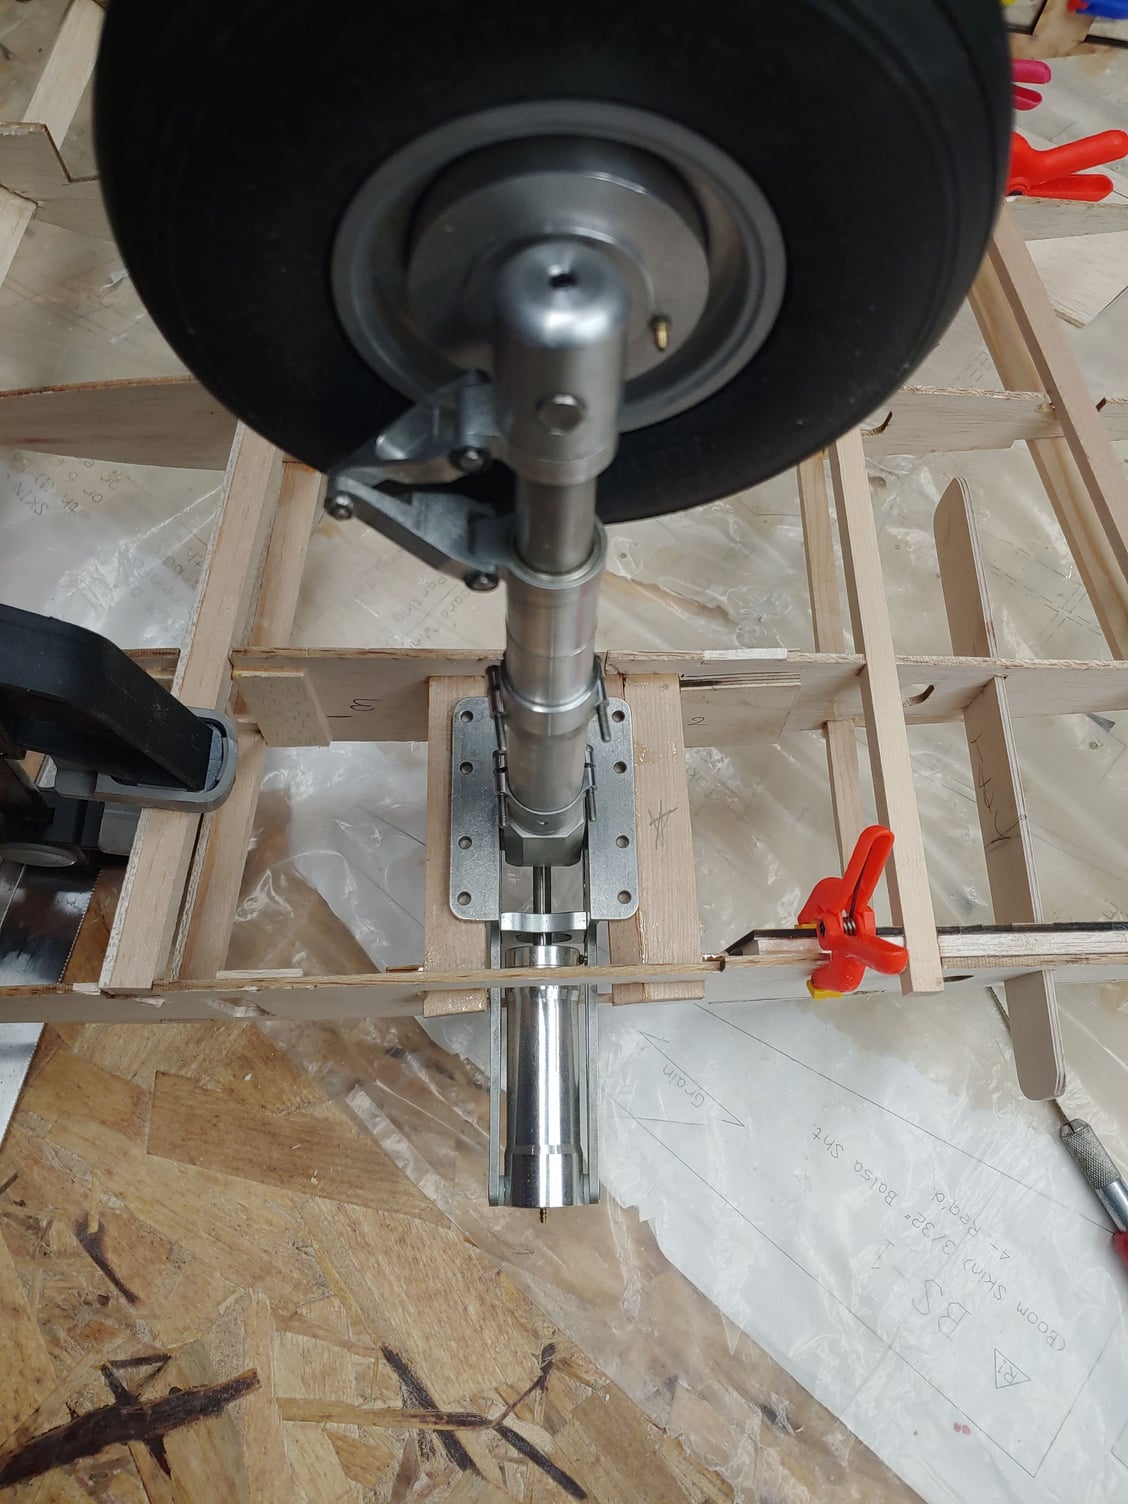
I did some more work on the left wing and after putting the
gear mounts in it turns out to be about a half inch to narrow.I used the maple mount size that were called for in the plans.The Sierra gear was to wide for it. I don't know if Sierra changed there flange side on the gear. I laminated in a another piece to take up the gap.I thought about cutting it out, but I was afraid of doing more damage.I will take this into account when I build the right wing.
till next time,
Jerry B

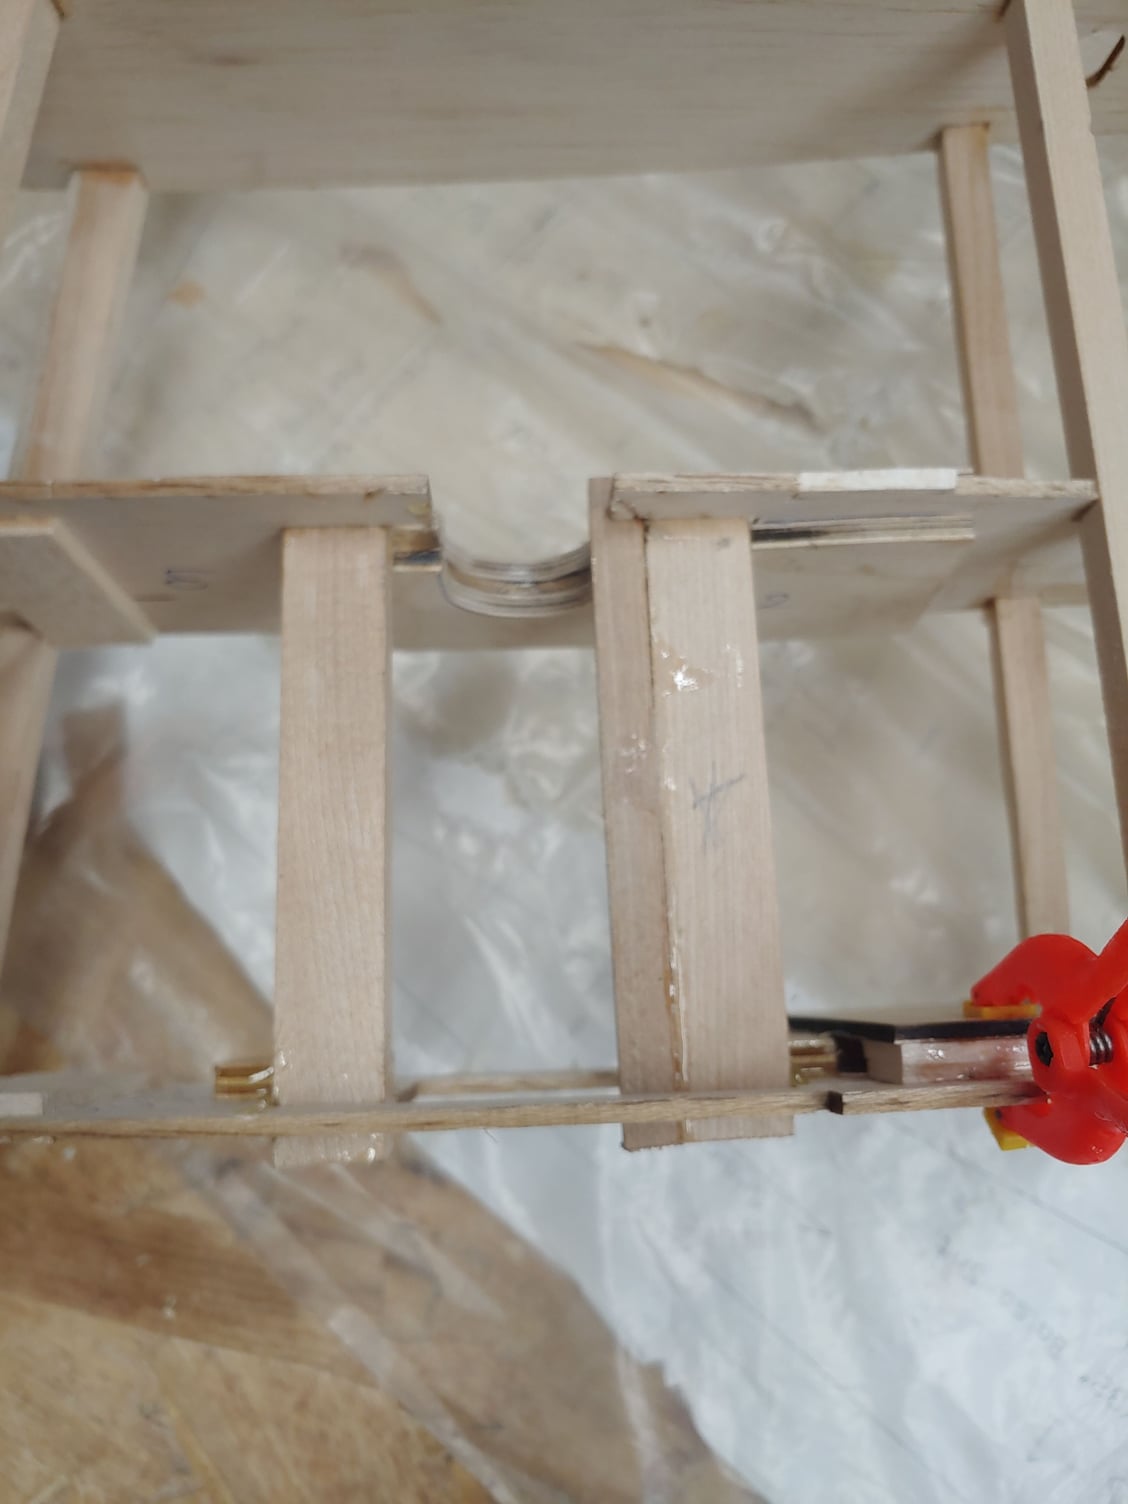
Extra maple added
Gear set in place
gear mounts in it turns out to be about a half inch to narrow.I used the maple mount size that were called for in the plans.The Sierra gear was to wide for it. I don't know if Sierra changed there flange side on the gear. I laminated in a another piece to take up the gap.I thought about cutting it out, but I was afraid of doing more damage.I will take this into account when I build the right wing.
till next time,
Jerry B
Extra maple added
Gear set in place
01-11-2021, 12:48 PM
#48
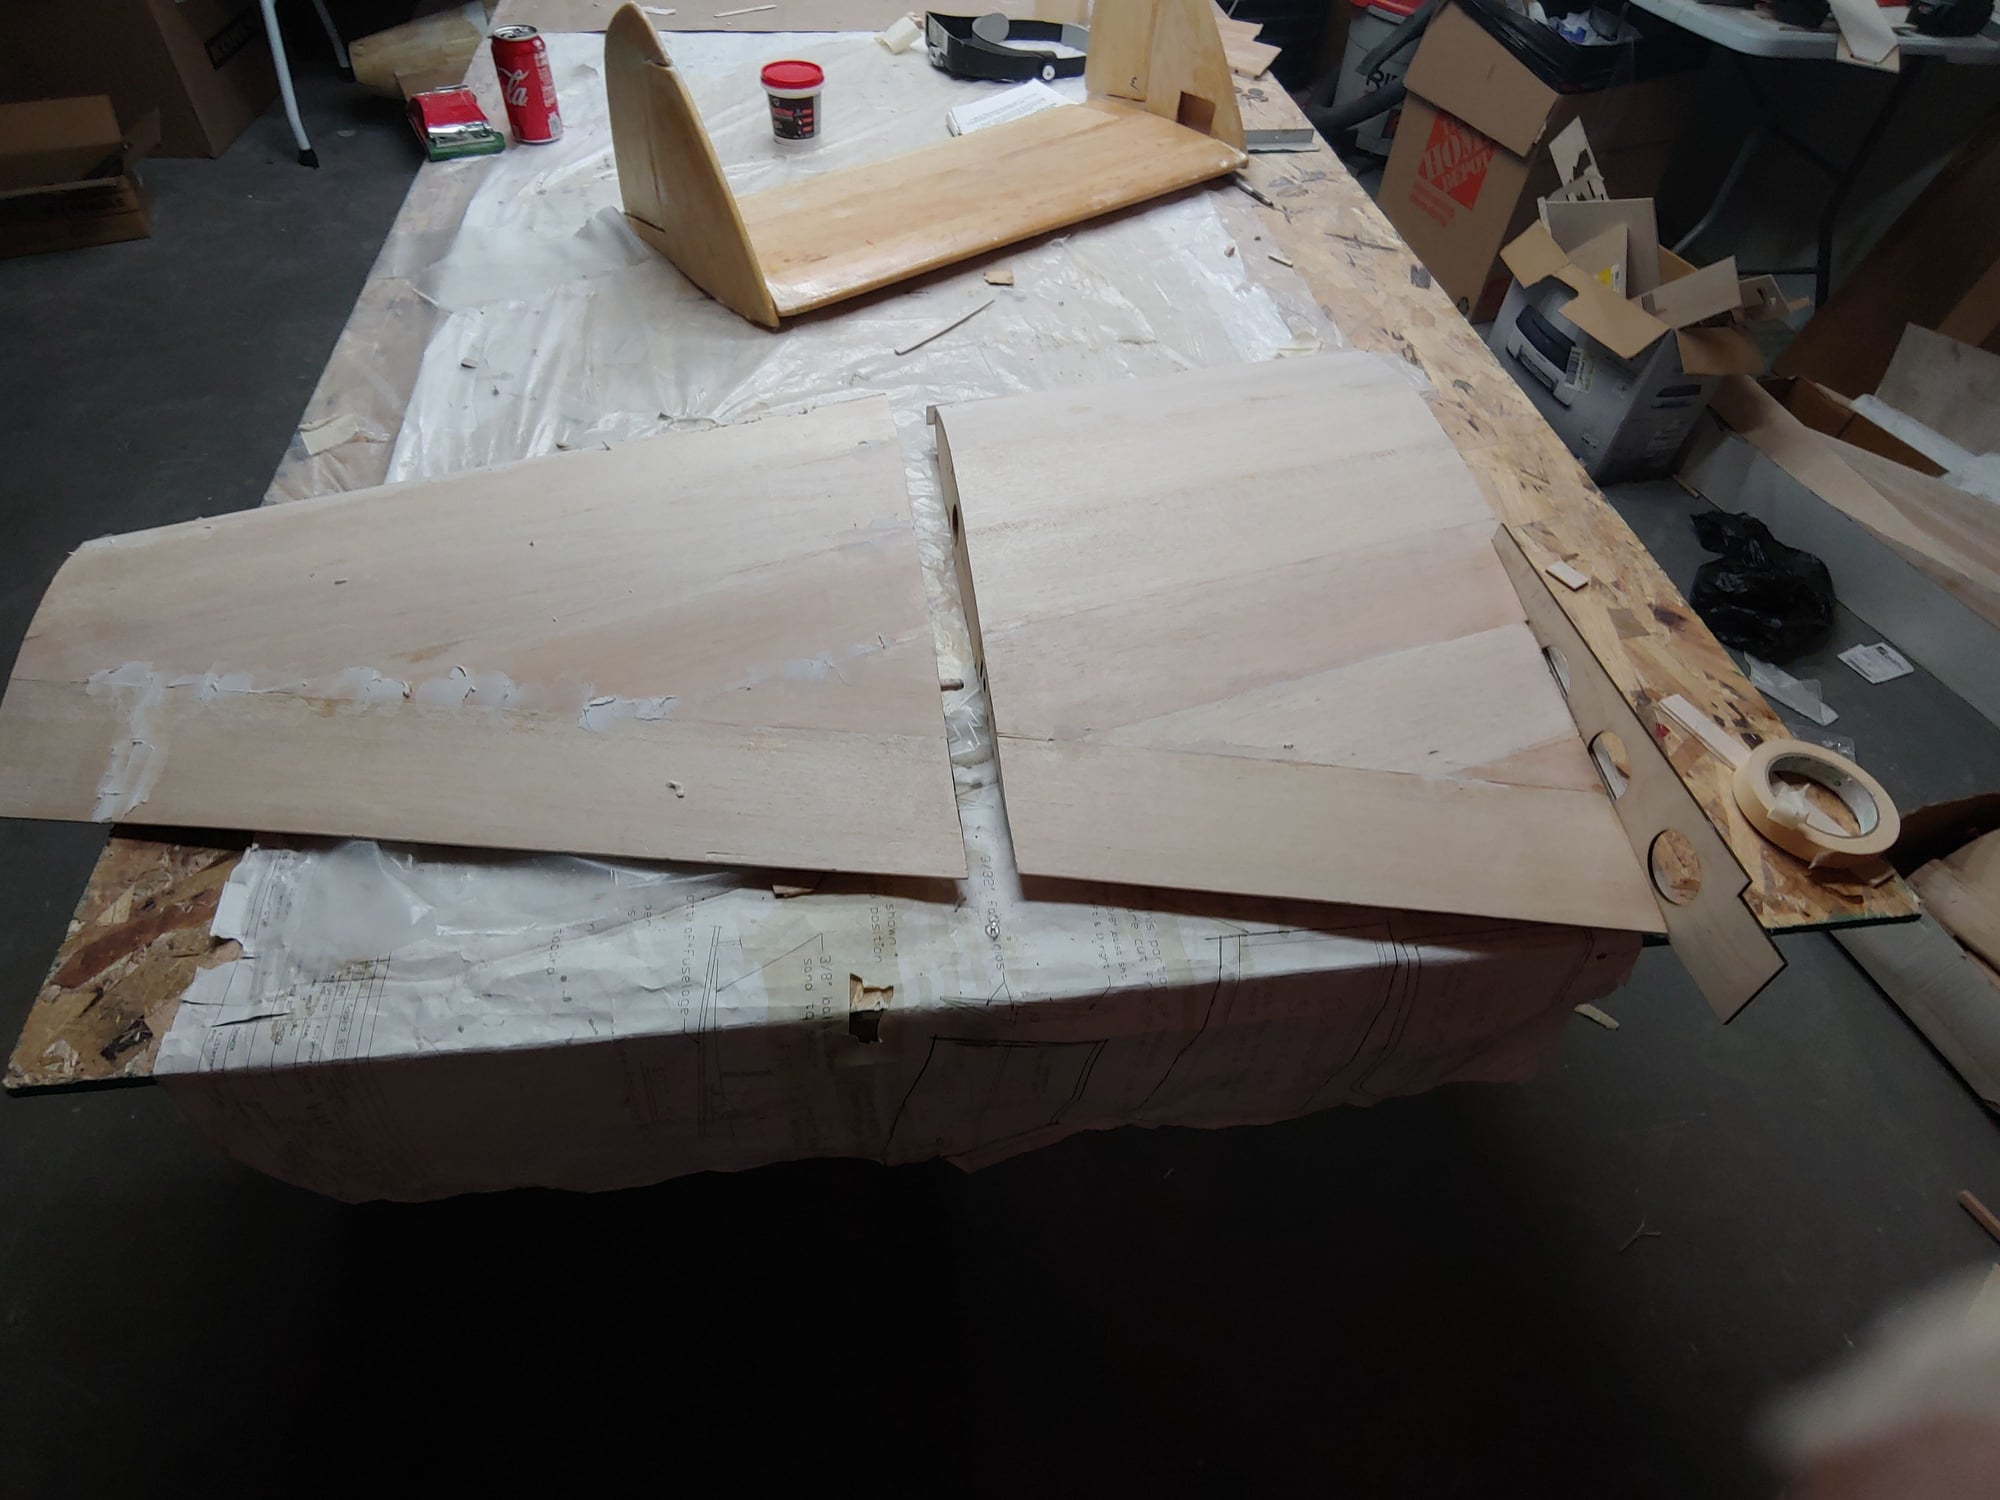
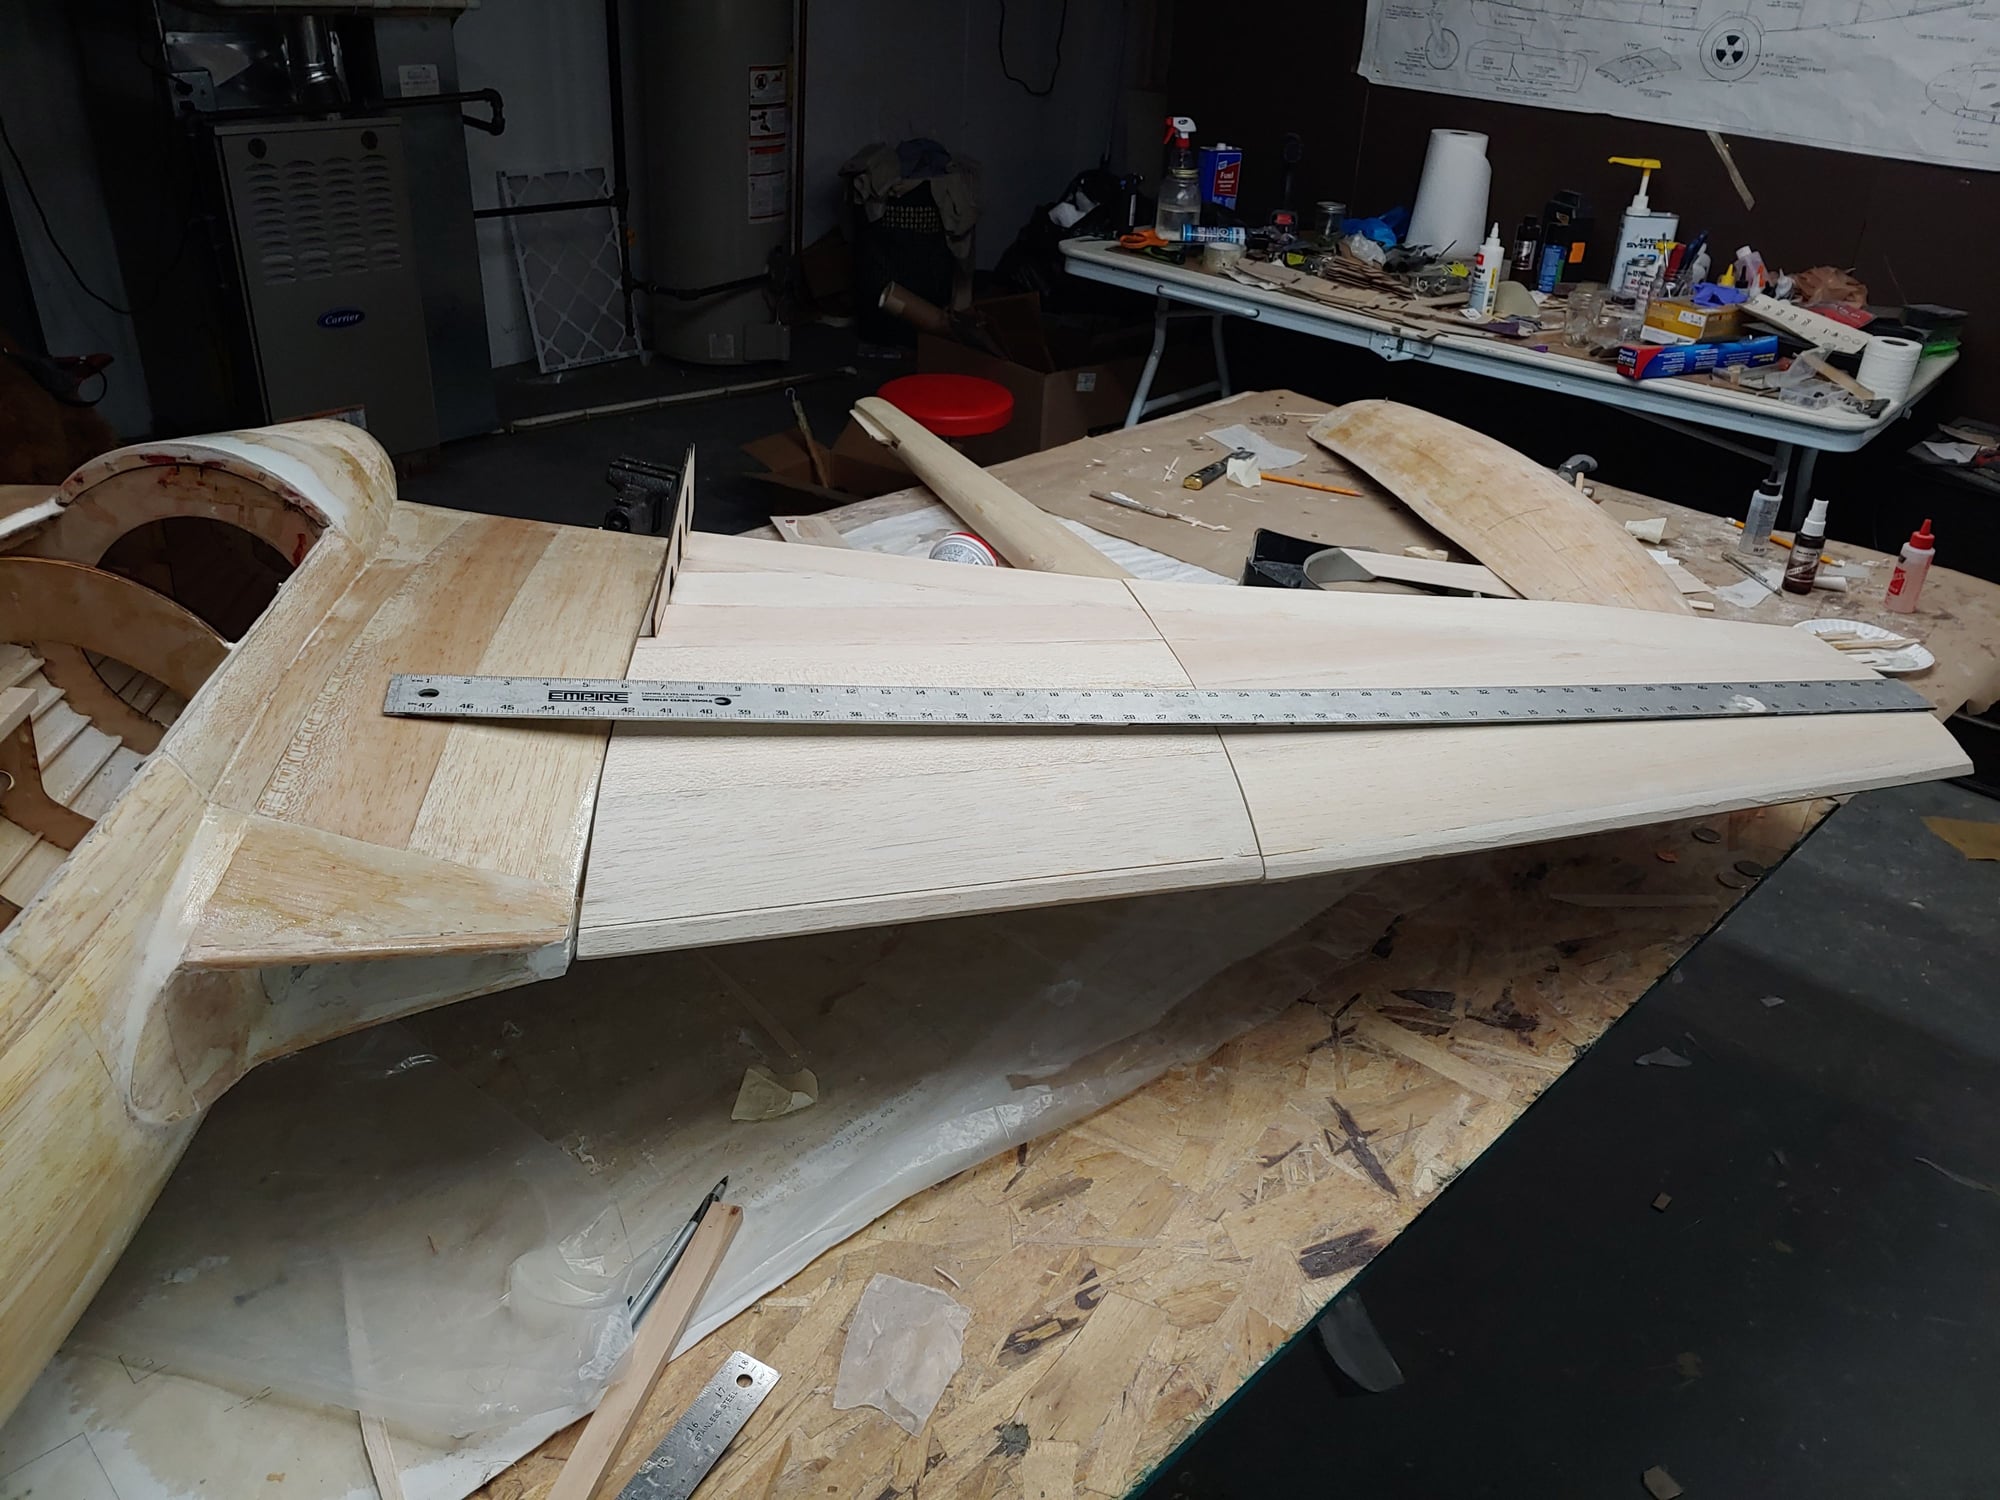
Thanks to the Bears losing, I did not the pist game show, so I spent some time working on sheeting the upper panels og the left wing.The panel on the right gets attached to the fuselage ann the outet panel uses a aluminum tube.
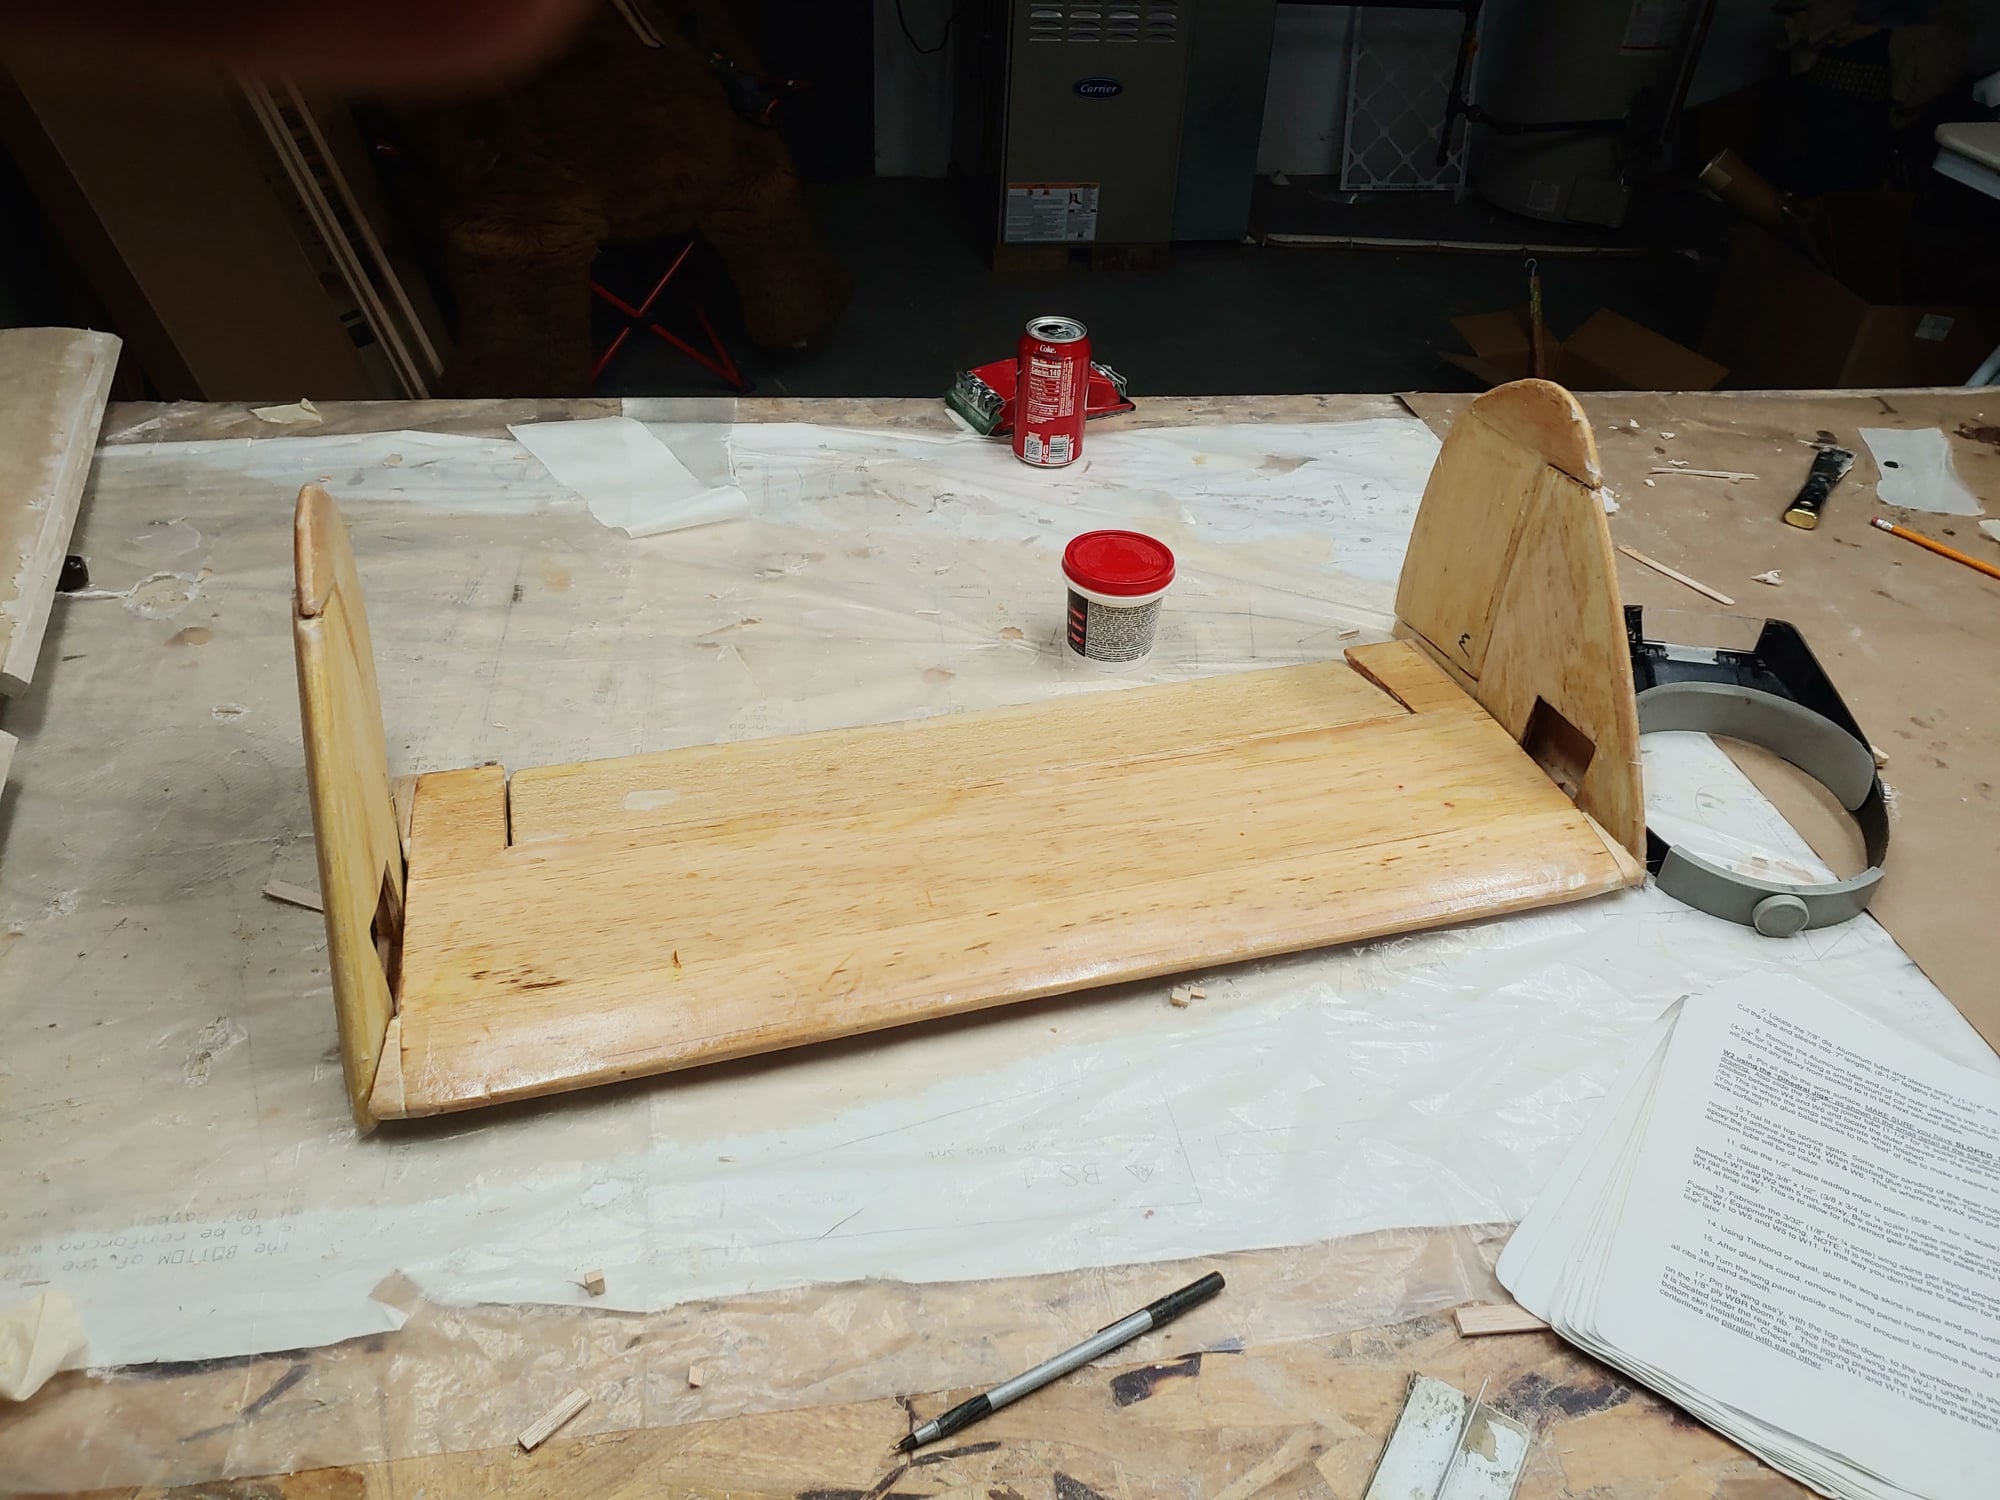
I finished covering the vertical stab and horizontal stab and rudders and elevator with 2.75 glass cloth and West Systems epoxy Till next Time Jerry B
01-13-2021, 08:25 AM
#49
I was not happy with having to shim the mount.. So I was able to cut out the maple railings and replace them. 1 inch wide plywood
I started adding the shear webbing to the spars and wing tube box Till next time Jerry B