


Help With Viper Jet 2m Built.
 03-20-2015 | 05:06 AM
#1
Thread Starter

Joined: Jun 2007
Posts: 321
Likes: 0
Received 0 Likes
on
0 Posts
From: Sao PauloSao Paulo, BRAZIL
Hi Gus I'm bulding a Viperjet 2m from Skymaster, I've built tre jets before, a Tornado a Panther from Feibao and a L39 from Feibao too, I'm not a master builder but not a rookie too ")
I'm Having trouble with the cockipt instalation, can you post some pics of how do you did it?
And how do you secure the fuel tanks? The manual asks for glue with silicone, but I don't want to do that, I'm thinking about gluing some formers and then secure it, if some one can post pics I will really apreciate that
Many Thanks in advance guys!
Fly Safe!
 03-23-2015 | 10:43 PM
#2
Senior Member
Joined: Sep 2005
Posts: 141
Likes: 0
Received 0 Likes
on
0 Posts
From: SingaporeSingapore, SINGAPORE
hi,
For mine, I glued a plywood plate to the bottom of the fuselage to support the main tank. 2 long cable tie looped through a pair of holes I made on the plywood plate (on either side of the tank, front and back) straps it in place. I also epoxy glued several cable tie holders (http://www.avbcable.com/1-x-1-adhesi...white-100pack/) with the adhesive tape on their mounting surfaces removed and roughened with a file to the sides on the tank. The cable tie loops through these cable tie holders as well. These prevent the tank from moving forward and back.
Hope this helps.
Isaac
03-24-2015 | 08:35 AM
#3


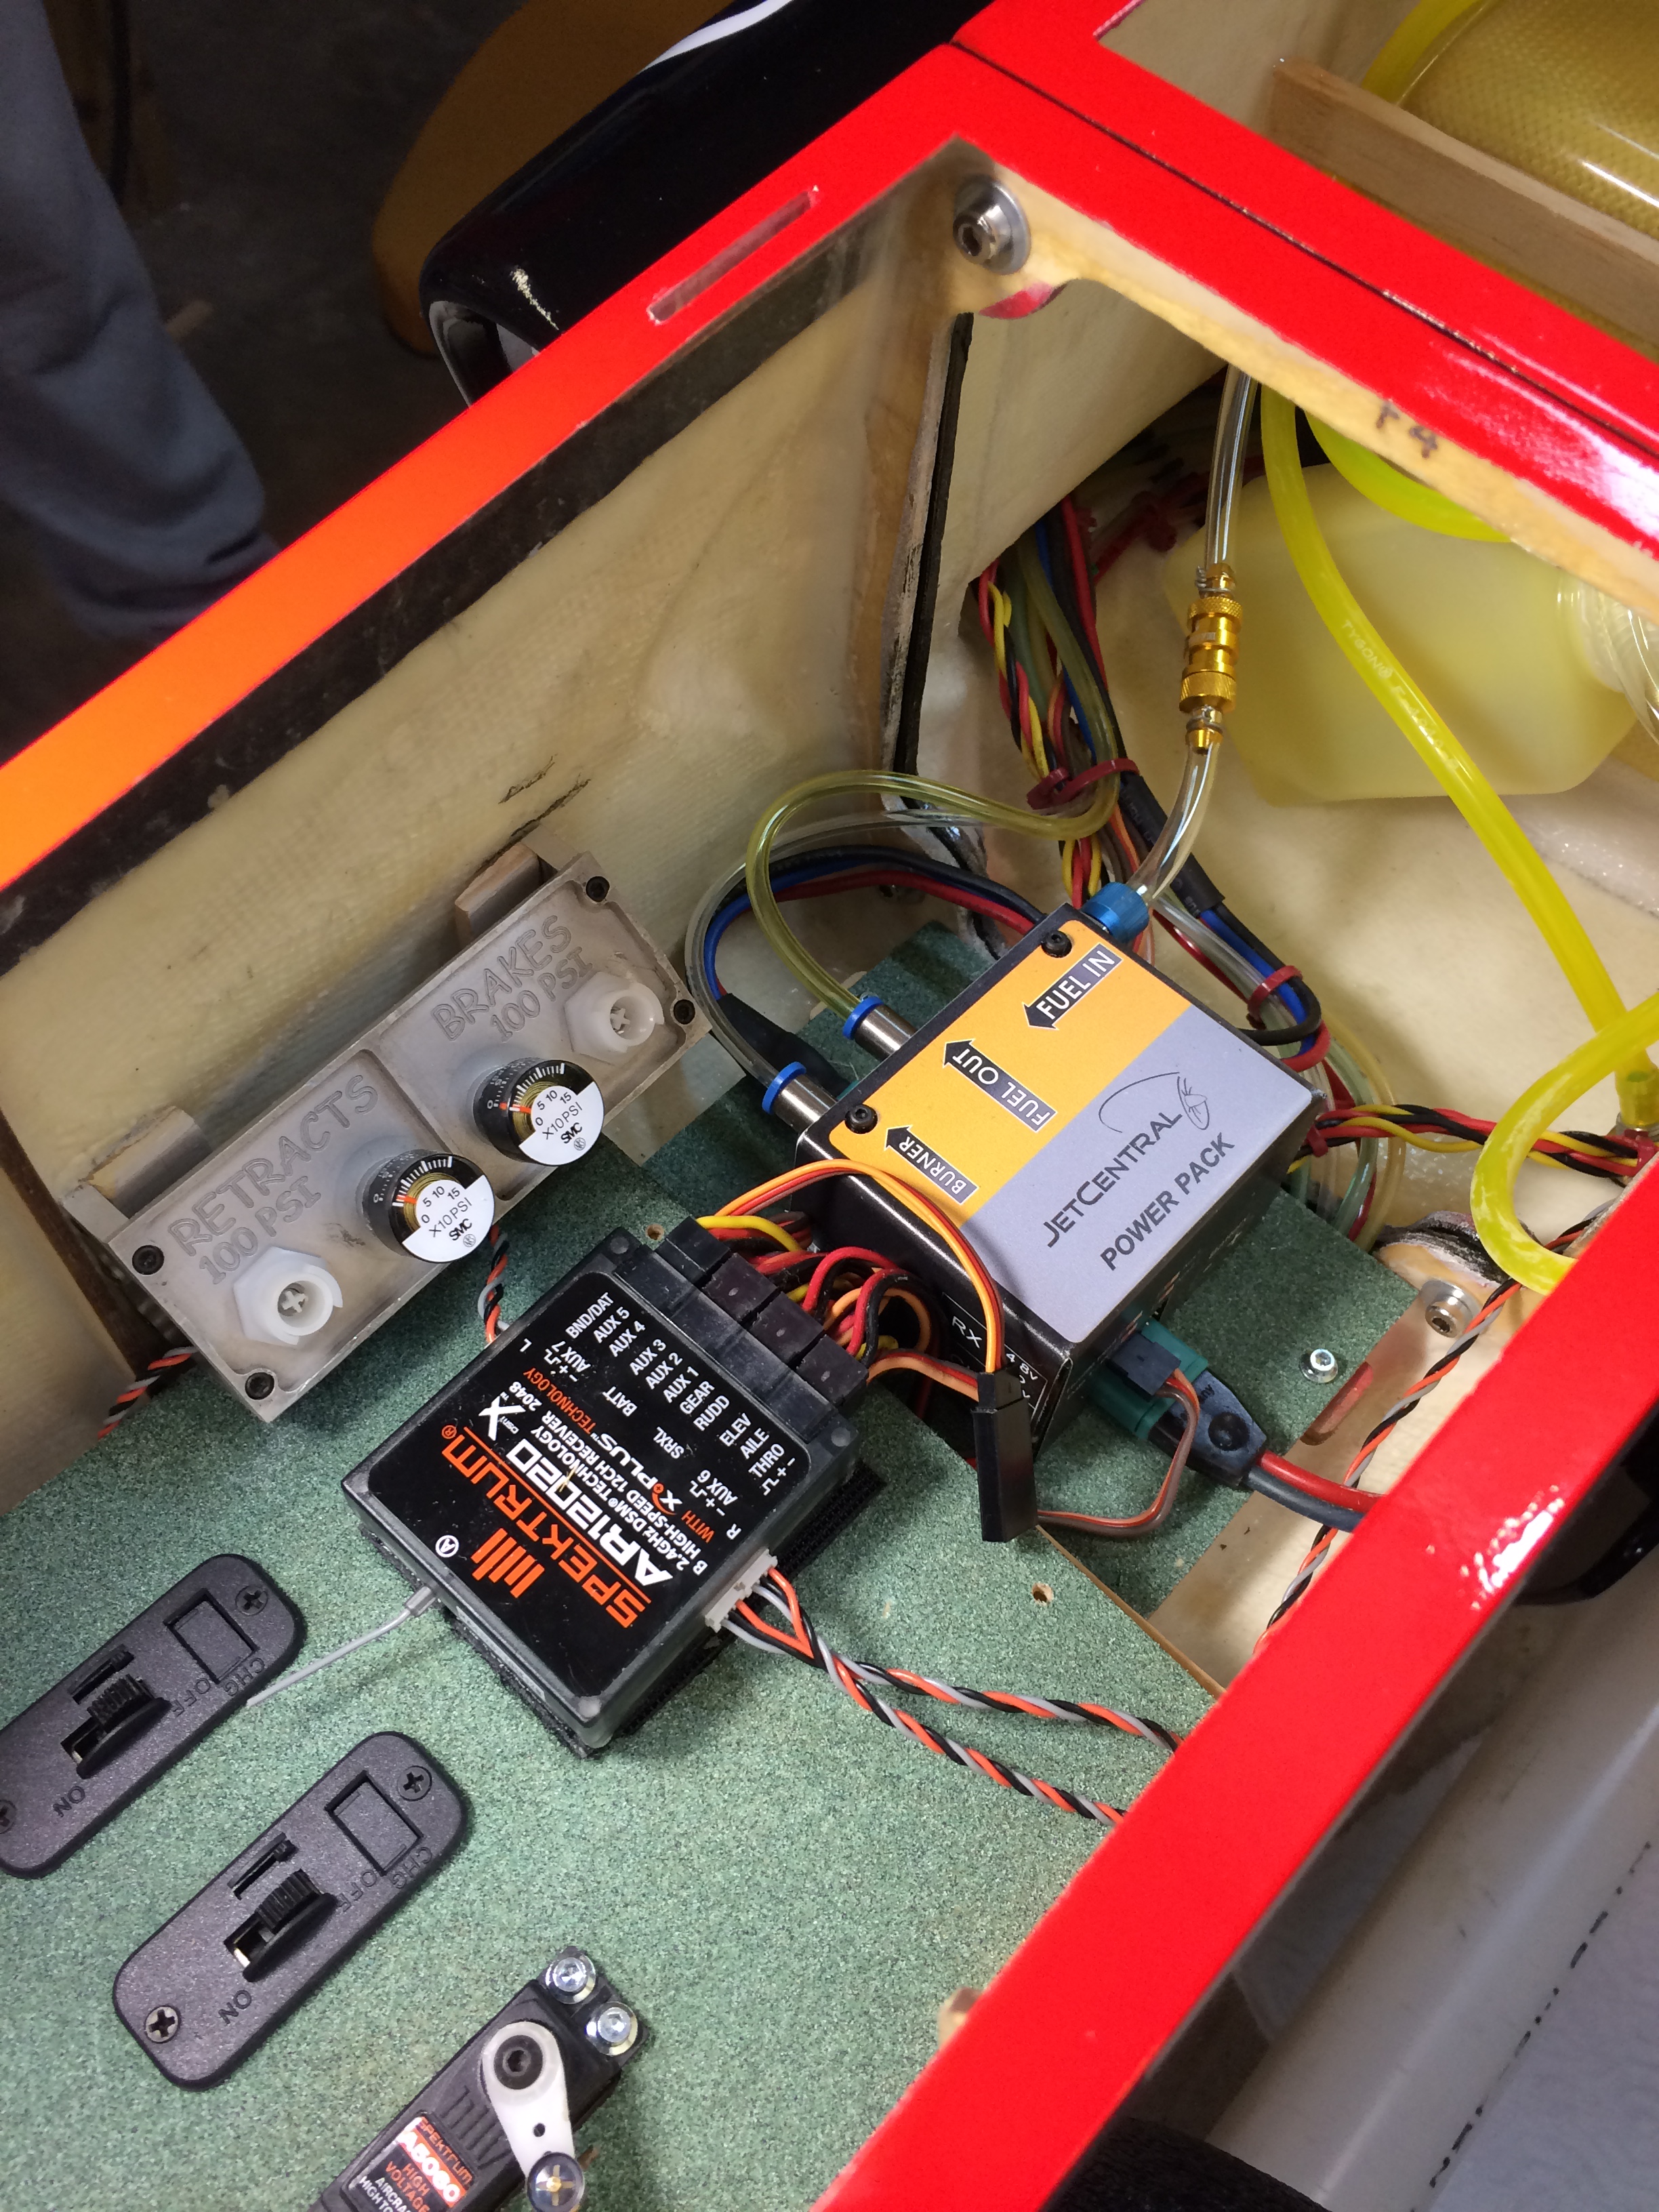
Here are a few pics I took. I 'll get you more this weekend. I made a plywood tray and painted it as you see, It is down very low to allow the cockpit tubs to clear. The fuel tanks are in the described locations and I used foam to wedge them and captured the front with a wood bar from left to right. The air tanks I tie wrapped them on either side of the engine hatch opening., there is limited room in the front of this kit. I'll take more pics Sunday/Monday and post. I'm all loaded up going to an event now. This install of equipment takes a little imagination for sure. 
Cheers,
Danno

Cheers,
Danno


