


Elite Aerosport Rebel Pro Build

 03-09-2018, 07:18 AM
#327

Thread Starter

Hey I m still scratching my head on the canopy retaining rods.
I understood that the front is secured by the carbon rod and the baud and metal rods pass thru the rear , but where are they accessed from outside the canopy ?
Anybody have pics of the standard setup as per the manual?
Please post
Thanks
I understood that the front is secured by the carbon rod and the baud and metal rods pass thru the rear , but where are they accessed from outside the canopy ?
Anybody have pics of the standard setup as per the manual?
Please post
Thanks
03-10-2018, 07:33 AM
#328

Hey I m still scratching my head on the canopy retaining rods.
I understood that the front is secured by the carbon rod and the baud and metal rods pass thru the rear , but where are they accessed from outside the canopy ?
Anybody have pics of the standard setup as per the manual?
Please post
Thanks
I understood that the front is secured by the carbon rod and the baud and metal rods pass thru the rear , but where are they accessed from outside the canopy ?
Anybody have pics of the standard setup as per the manual?
Please post
Thanks
Great jet, you are going to love it. The Rebel is my daily and can't imagine not having it. This is what I did, hope it helps. Note that I installed wheel collars & a little piece of tubing to create a soft stop when pulling/unlocking the canopy against the carbon rod guides. I hysol'd plywood blocks where the rods exits the canopy in the back and sanded down the exit in the front to ensure smooth operation. I included a couple close shots for you to see the ends and collars. Rod guides are hysol'd in for a smooth fit. Please be mindful of Mauro's suggestion. If you are not careful the rods or guides may hit the top of the fuselage when installed. I tried to keep mine as symmetrical as possible and clear everything. Works great.
Last edited by skunkwurk; 03-10-2018 at 07:44 AM.
03-13-2018, 03:08 AM
#329
Hello Xantos,
Great jet, you are going to love it. The Rebel is my daily and can't imagine not having it. This is what I did, hope it helps. Note that I installed wheel collars & a little piece of tubing to create a soft stop when pulling/unlocking the canopy against the carbon rod guides. I hysol'd plywood blocks where the rods exits the canopy in the back and sanded down the exit in the front to ensure smooth operation. I included a couple close shots for you to see the ends and collars. Rod guides are hysol'd in for a smooth fit. Please be mindful of Mauro's suggestion. If you are not careful the rods or guides may hit the top of the fuselage when installed. I tried to keep mine as symmetrical as possible and clear everything. Works great.
Great jet, you are going to love it. The Rebel is my daily and can't imagine not having it. This is what I did, hope it helps. Note that I installed wheel collars & a little piece of tubing to create a soft stop when pulling/unlocking the canopy against the carbon rod guides. I hysol'd plywood blocks where the rods exits the canopy in the back and sanded down the exit in the front to ensure smooth operation. I included a couple close shots for you to see the ends and collars. Rod guides are hysol'd in for a smooth fit. Please be mindful of Mauro's suggestion. If you are not careful the rods or guides may hit the top of the fuselage when installed. I tried to keep mine as symmetrical as possible and clear everything. Works great.
Another question - Im planning to run a Rhino 200 , are the Intakes big enough to let the Rhino breathe or should I consider cutting out NACA inlets in the fuse ?
03-13-2018, 04:00 AM
#330
Around 30 flights now with the RP and Rhino 200. No mods. Stock intakes are large enough.
Chatty.
05-03-2018, 11:39 PM
#333
Hey Guys
My build is coming along quite well.
I just had one question on joining the 2 fuse halves.
If i choose to go with the standard Method A with the 4 bolts is it enough?
I dont need to take the model apart to get it to the field & can open it by unscrewing 4 bolts to get at the tailpipe or rear fuse if necessary.
Any other structural issues ?
05-09-2018, 03:32 AM
#335
Hey Guys,
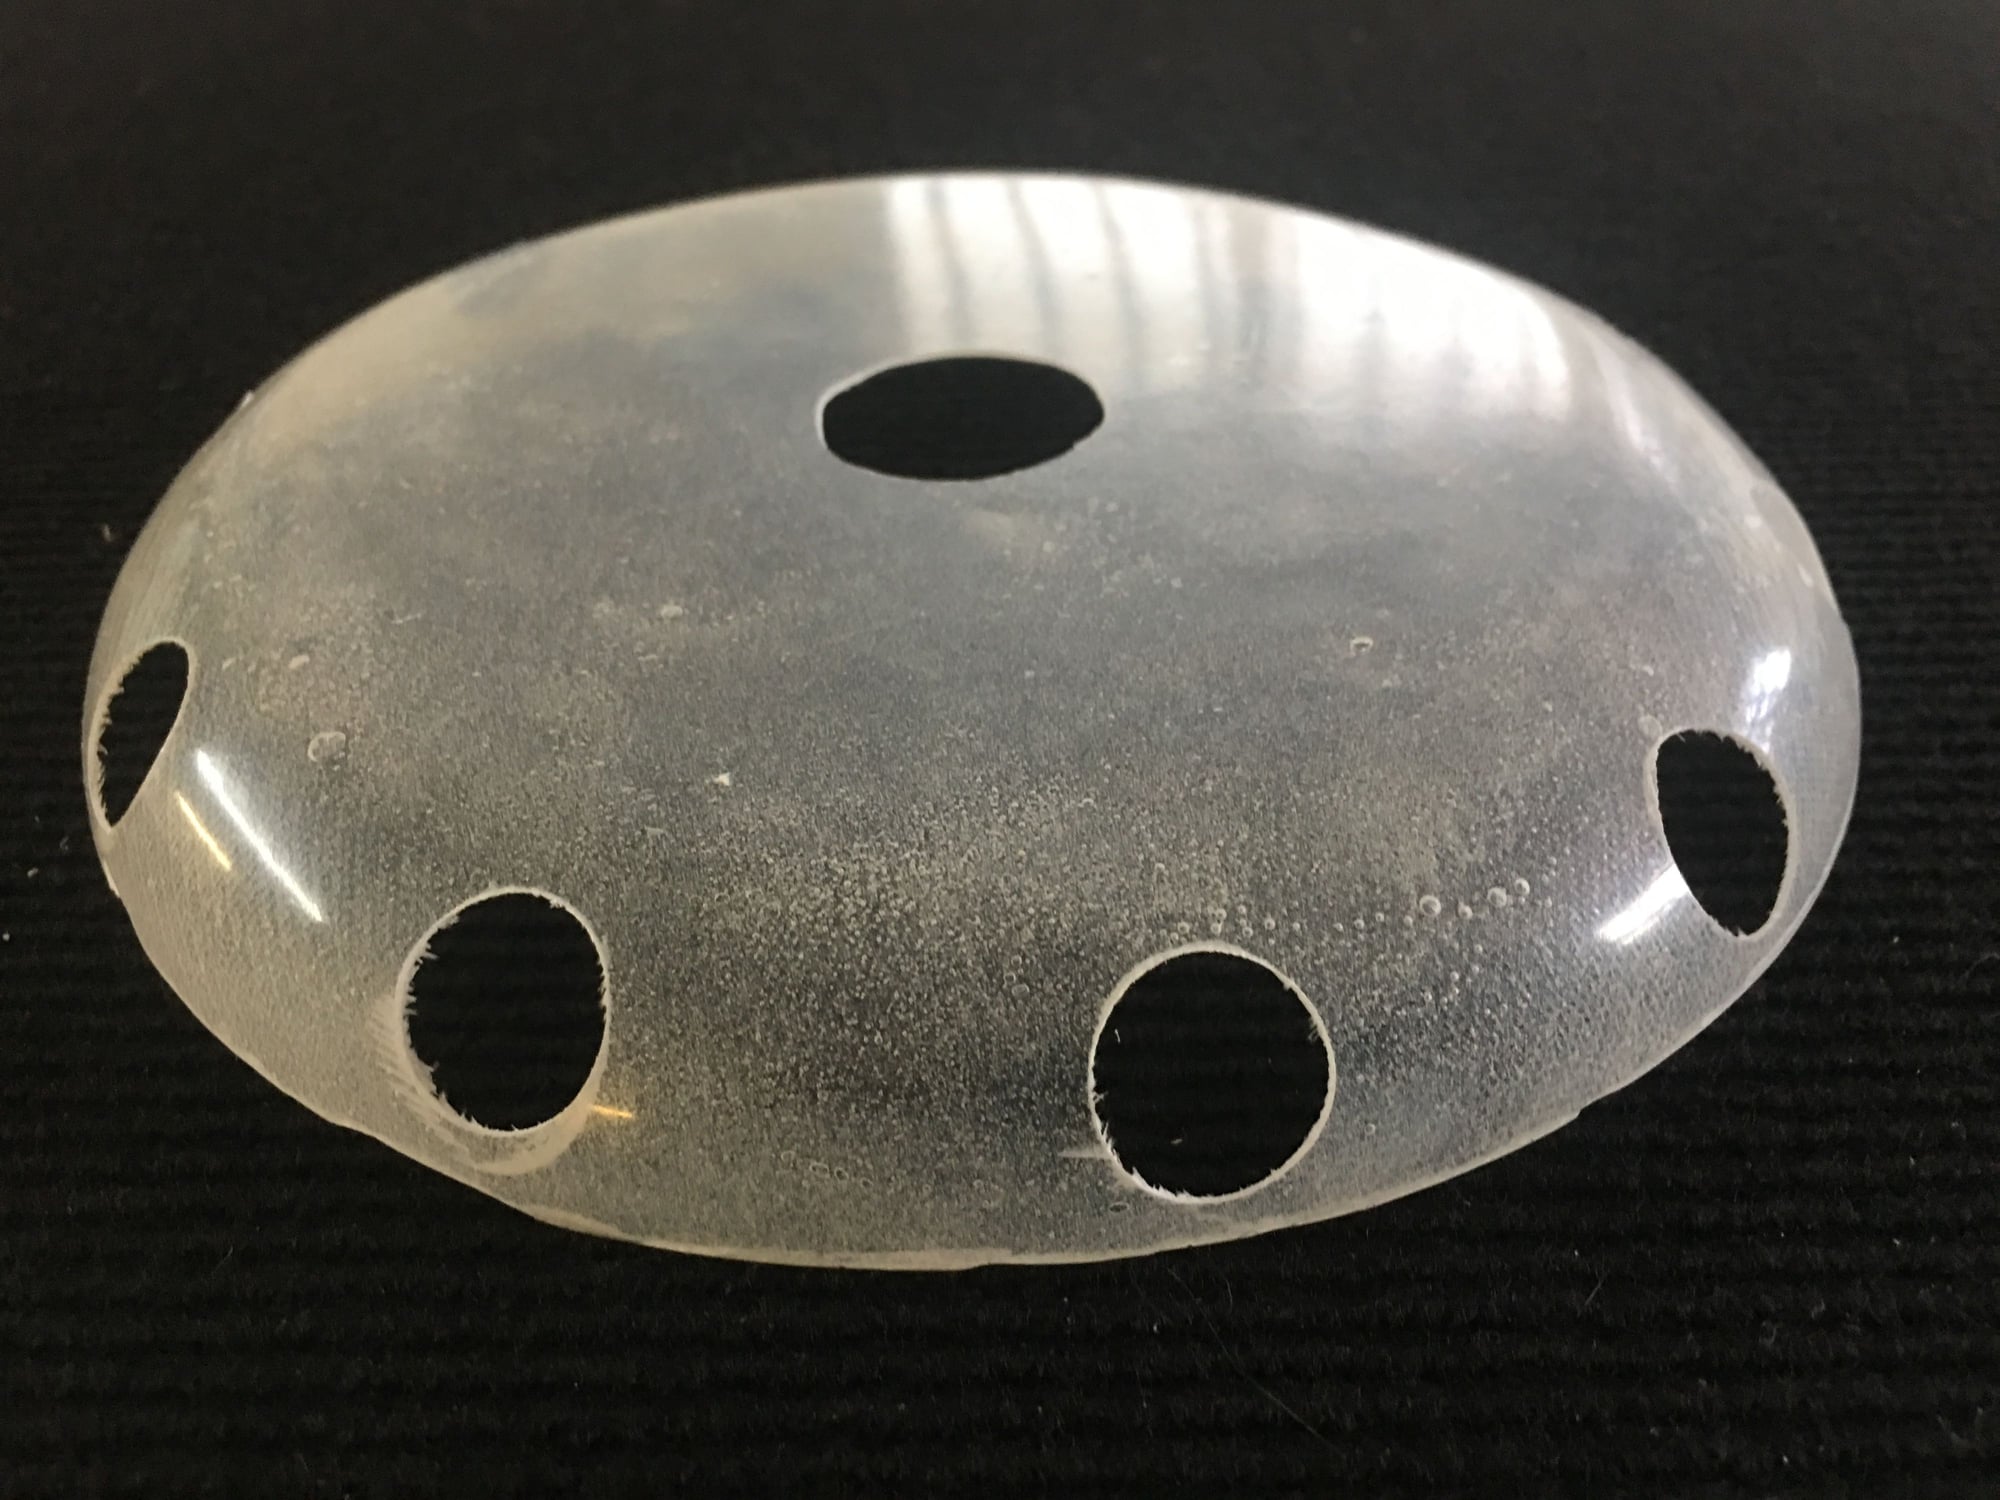
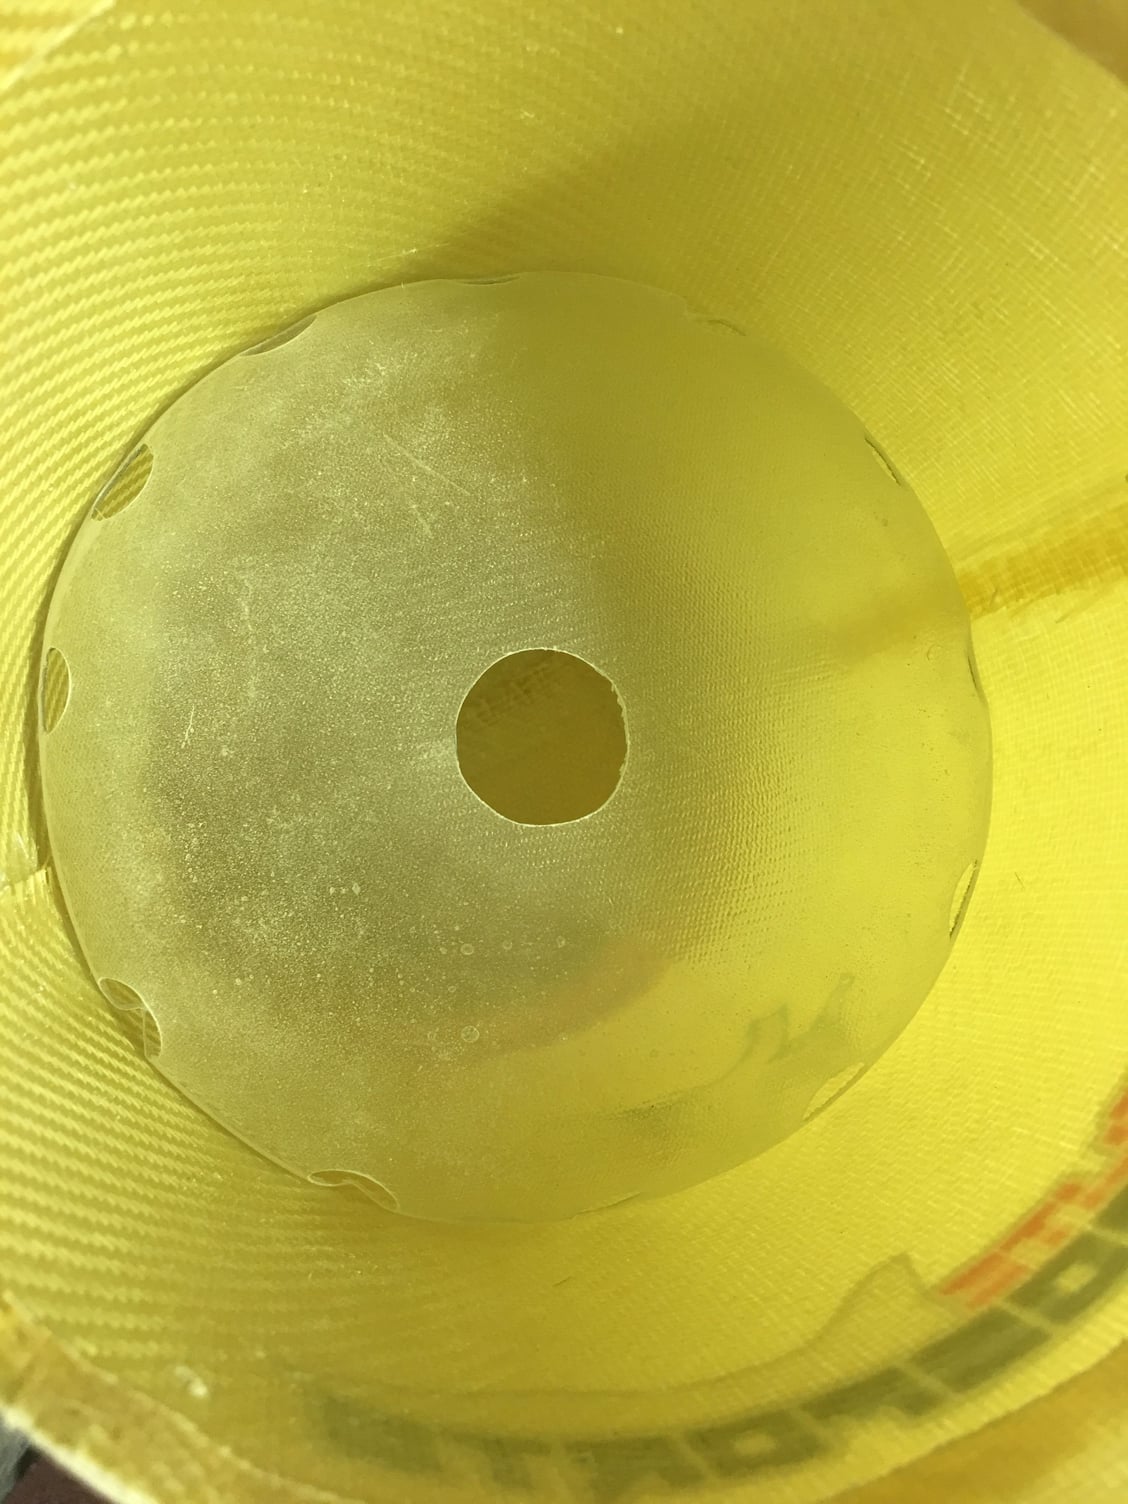
The Standard 6L tank that comes with the Rebel Pro does not have any baffles inside ,its quite a large volume of fuel in there.
All airplane Ive built so far BVM , CARF etc all have had baffles inside the tank to prevent fuel from sloshing around
Isn't it a problem to have it sloshing around ?
Im thinking of either cutting the tank and installing baffles or buying a new kevlar tank
Any ideas?
Last edited by Xantos; 05-09-2018 at 03:35 AM.
05-09-2018, 05:07 AM
#336
Hey Guys,
The Standard 6L tank that comes with the Rebel Pro does not have any baffles inside ,its quite a large volume of fuel in there.
All airplane Ive built so far BVM , CARF etc all have had baffles inside the tank to prevent fuel from sloshing around
Isn't it a problem to have it sloshing around ?
Im thinking of either cutting the tank and installing baffles or buying a new kevlar tank
Any ideas?
05-09-2018, 07:28 AM
#337
Thread Starter
Hey Guys,
The Standard 6L tank that comes with the Rebel Pro does not have any baffles inside ,its quite a large volume of fuel in there.
All airplane Ive built so far BVM , CARF etc all have had baffles inside the tank to prevent fuel from sloshing around
Isn't it a problem to have it sloshing around ?
Im thinking of either cutting the tank and installing baffles or buying a new kevlar tank
Any ideas?
The Standard 6L tank that comes with the Rebel Pro does not have any baffles inside ,its quite a large volume of fuel in there.
All airplane Ive built so far BVM , CARF etc all have had baffles inside the tank to prevent fuel from sloshing around
Isn't it a problem to have it sloshing around ?
Im thinking of either cutting the tank and installing baffles or buying a new kevlar tank
Any ideas?
05-09-2018, 09:53 AM
#339

I have 230 10 minute flights on my Rebel Pro from tumbling it, lots of vertical hammerheads, Red Flag Competition,and many other maneuvers! You don�t need a baffel! But, as all tanks, inspect, glue if needed, then pressure test under water blowing into fuel tubing!
I fill it 2/3 full for plenty reserve with a Behotec 220 for normal 10min. flights and return with 1/3 tank. But, I fly throttle as needed not just leaving it up!
I fill it 2/3 full for plenty reserve with a Behotec 220 for normal 10min. flights and return with 1/3 tank. But, I fly throttle as needed not just leaving it up!
 05-11-2018, 06:46 PM
#341
Guys where have you guys been putting your uat/hopper tanks
i have the PB Mercury, Electron retract ECU, Turbine ECU and hopper all to be installed on the top deck.
can you please post pics of your installs
i have the PB Mercury, Electron retract ECU, Turbine ECU and hopper all to be installed on the top deck.
can you please post pics of your installs
05-11-2018, 07:27 PM
#342

Join Date: May 2004
Location: Canberra,
AZ, AUSTRALIA
Posts: 122
Likes: 0
Received 2 Likes
on
2 Posts
I've had three flame outs. Due to excessive air entering the UAT. I ended up fitting a larger UAT. Problem solved.
To be fair it wasn't the fault of model , my plumbing, the tank, or the UAT.
I was just giving my Rebel a very hard time.
Chris
To be fair it wasn't the fault of model , my plumbing, the tank, or the UAT.
I was just giving my Rebel a very hard time.
Chris
05-11-2018, 10:26 PM
#343

Hello friends, I make a Kevlar tank for this model with baffle inside.
https://cmjets.com/pirotti-models/60-rebel-pro-6l.html
Regards from Spain
Carlos
https://cmjets.com/pirotti-models/60-rebel-pro-6l.html
Regards from Spain
Carlos
The following users liked this post:
bodywerks (05-28-2020)
05-12-2018, 02:36 AM
#344
Thread Starter
if you scroll back a few pages the build thread shows my setup, some folks do things similar to mine and I seen others with everything underneath out of site.
05-12-2018, 02:41 AM
#345
Thread Starter
Hello friends, I make a Kevlar tank for this model with baffle inside.
https://cmjets.com/pirotti-models/60-rebel-pro-6l.html
Regards from Spain
Carlos
https://cmjets.com/pirotti-models/60-rebel-pro-6l.html
Regards from Spain
Carlos
Last edited by FenderBean; 05-12-2018 at 03:39 AM.


 05-19-2020, 01:37 AM
#350

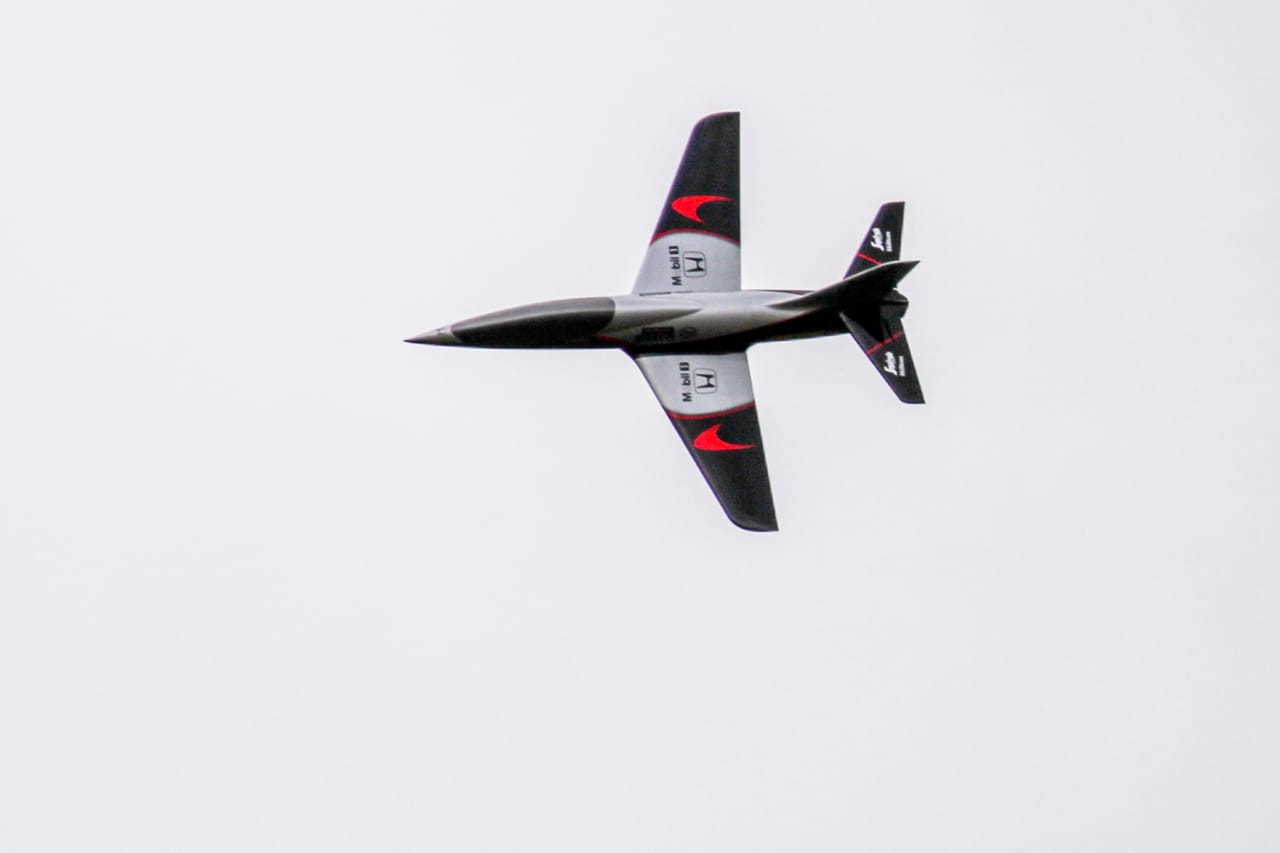
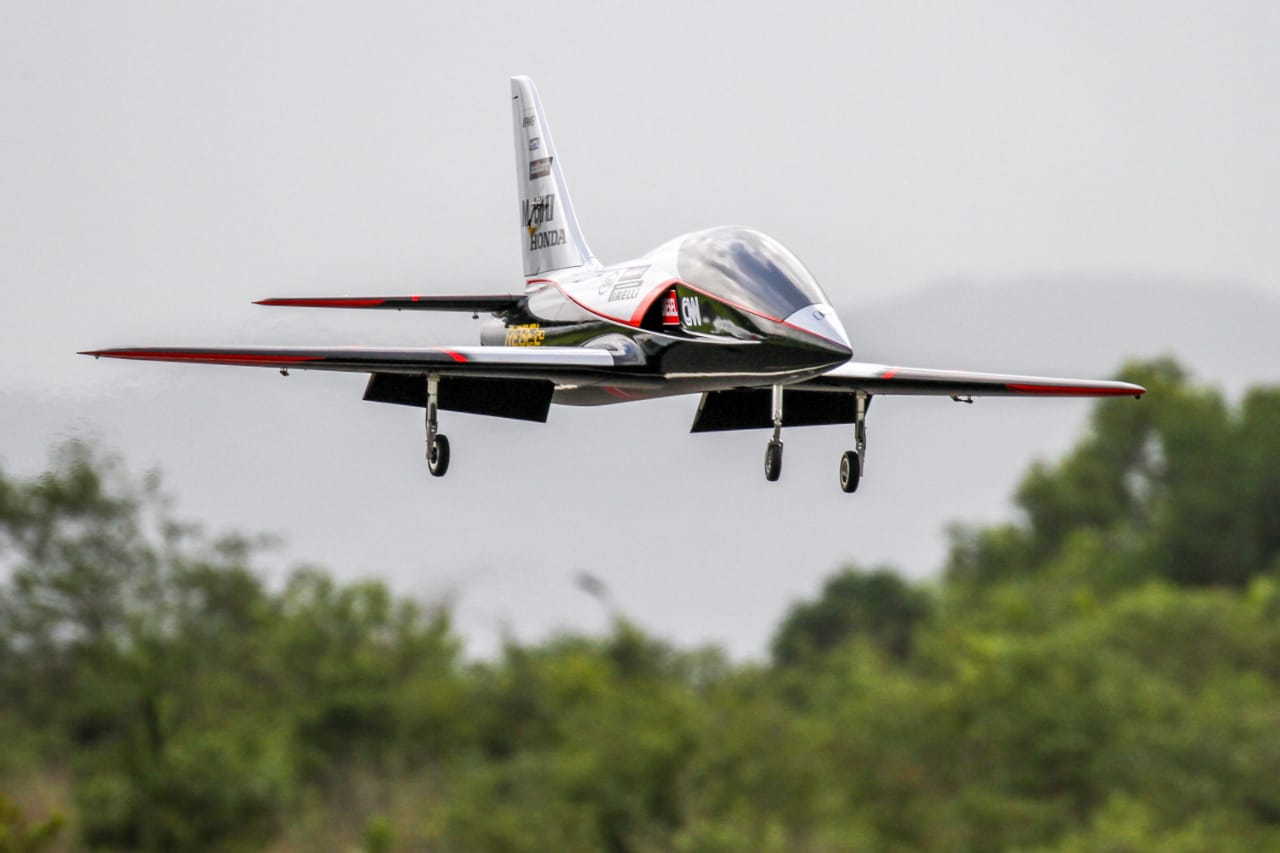
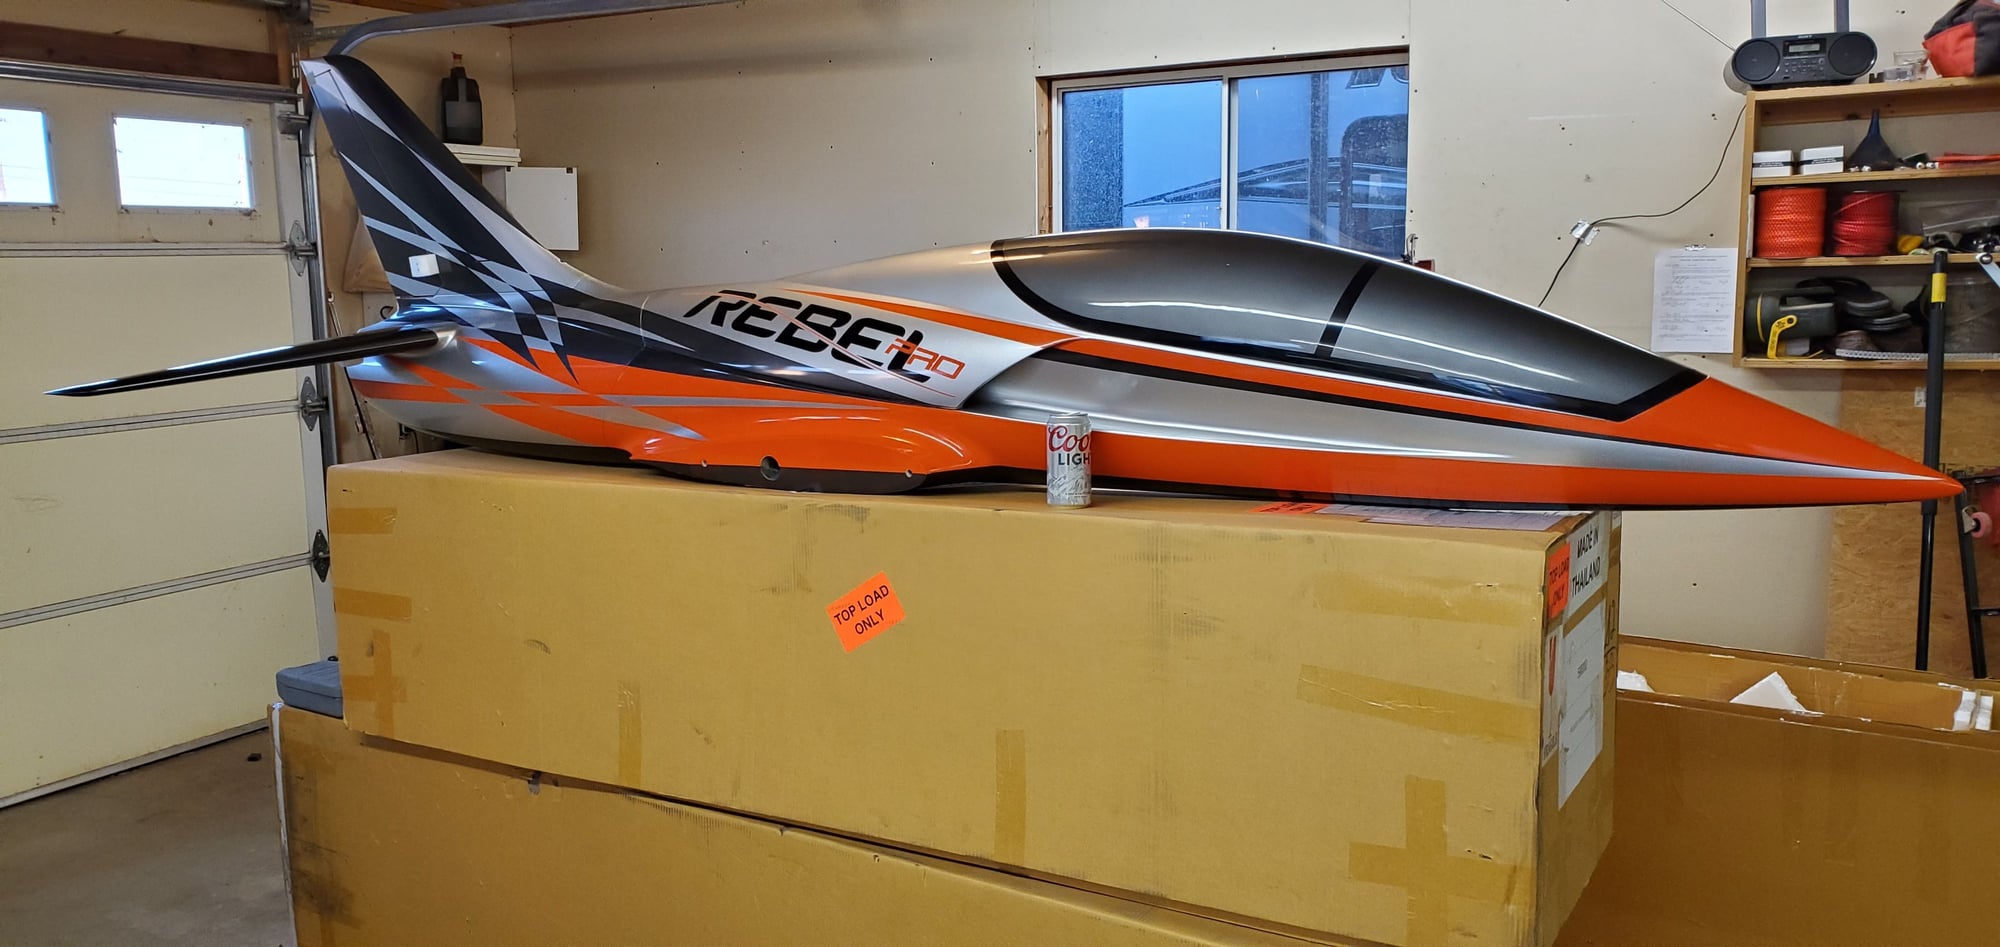
Reviving an old thread, as I just took delivery of the CARF version Rebel Pro and wanted to see the differences, including final weight.
Upon initial inspection, the main hatch attachment has been improved. The 'hooks' that 'grip' it to the fuse go the opposite direction as Pirotti, so air load will actually help hold it down, and instead of the rods at the intake to hold it down it's just a single bolt up front, like the Havoc.
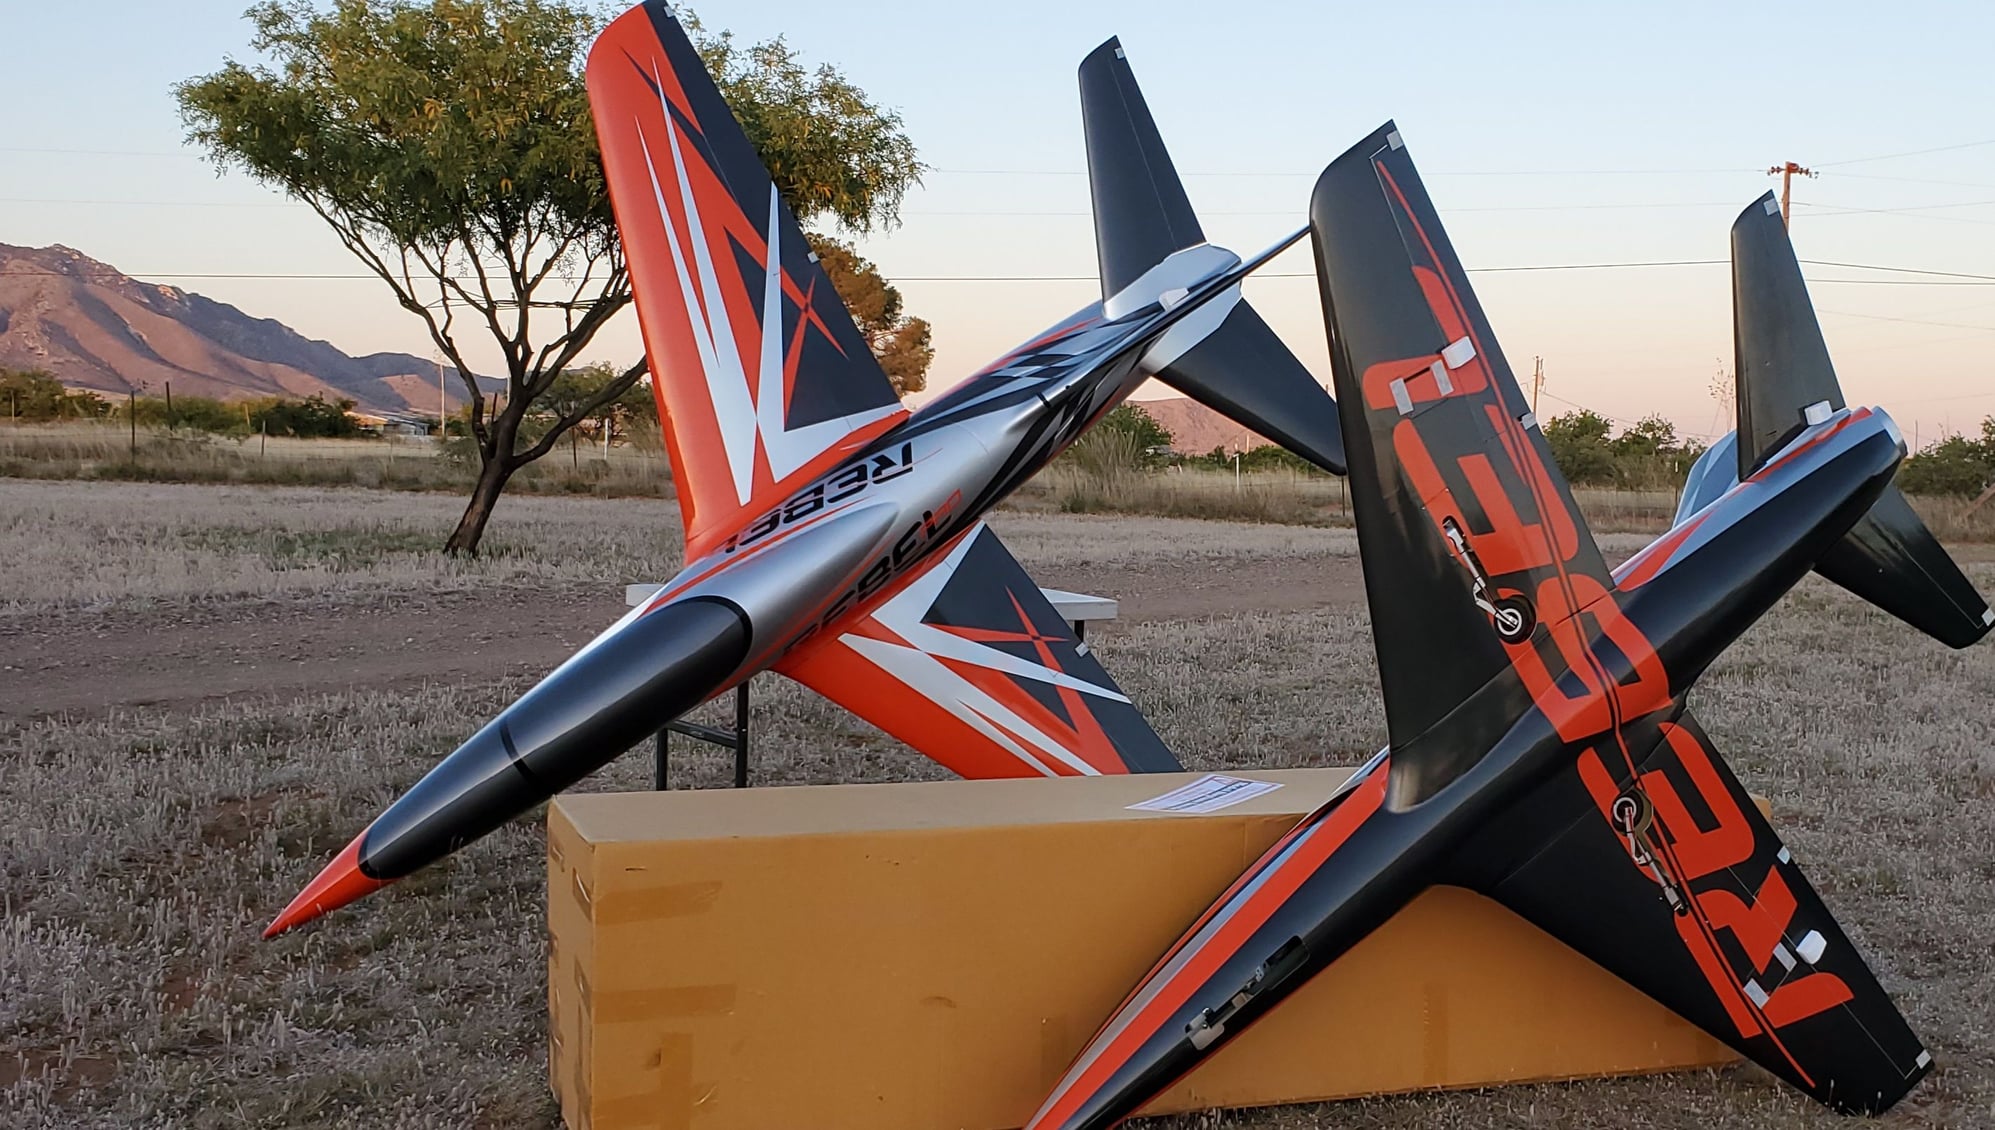
Additionally, the wing, stab, and vert fin tubes are carbon, the gear cutouts, control horns, and servo hatches are already done for you, the rudder servo setup is much like the elevators(servo mounted in the lower rib through the opening, so no 'hatch' to cut out), and the vert fin is held on with a bolt instead of the pin.
Basically, a refined version of the original design and a lot more prefabrication. But I'm also wondering if it will be lighter than the Pirotti versions. So far, there are only a handful of the CARF versions of this Pro in the hands of the public so not much info on weight for them, yet.
Can anyone tell me what length of servo arms are needed for each surface? Thanks.
Last edited by bodywerks; 05-19-2020 at 02:14 AM.