


Pirotti REBELHOT build thread

 02-25-2018 | 07:06 AM
#3
Thread Starter

Joined: Feb 2018
Posts: 23
Likes: 0
Received 0 Likes
on
0 Posts
hi,
I started with the wings,
first I redesigned the templates for cut ( original printed on normal paper) and cut on adhesive vinyl,
then I redesigned and cut all new horns with 1.5mm carbon ( original in GFK without hole...)
I started with the wings,
first I redesigned the templates for cut ( original printed on normal paper) and cut on adhesive vinyl,
then I redesigned and cut all new horns with 1.5mm carbon ( original in GFK without hole...)
 03-03-2018 | 04:59 PM
#8
Thread Starter
Joined: Feb 2018
Posts: 23
Likes: 0
Received 0 Likes
on
0 Posts
Hi,
the wing, elevator and rudder is complete...
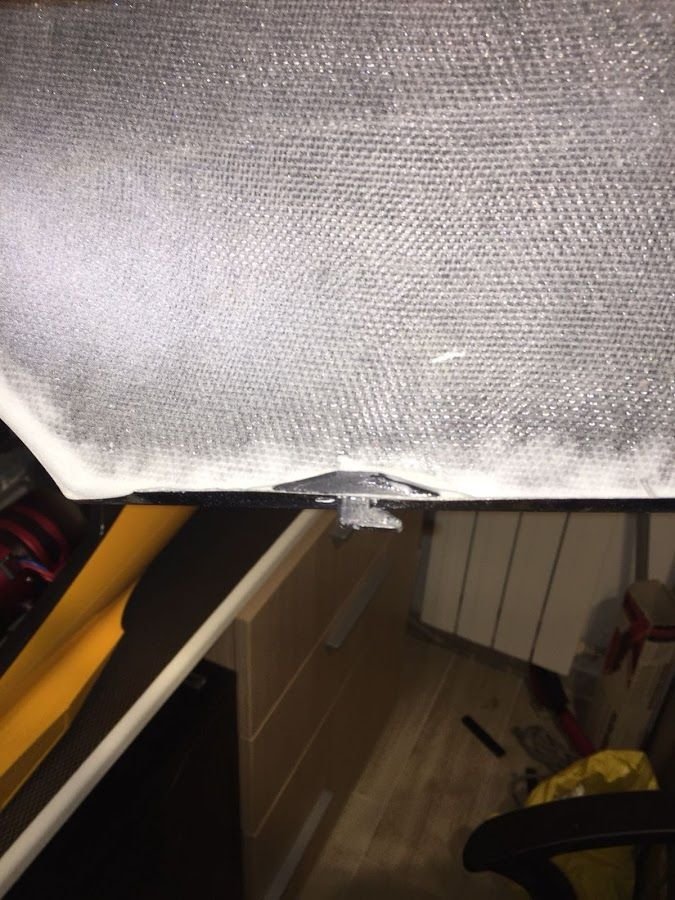
For the gear, it was necessary cut additional carbon support, because the hole is too close to the edge of the wood...
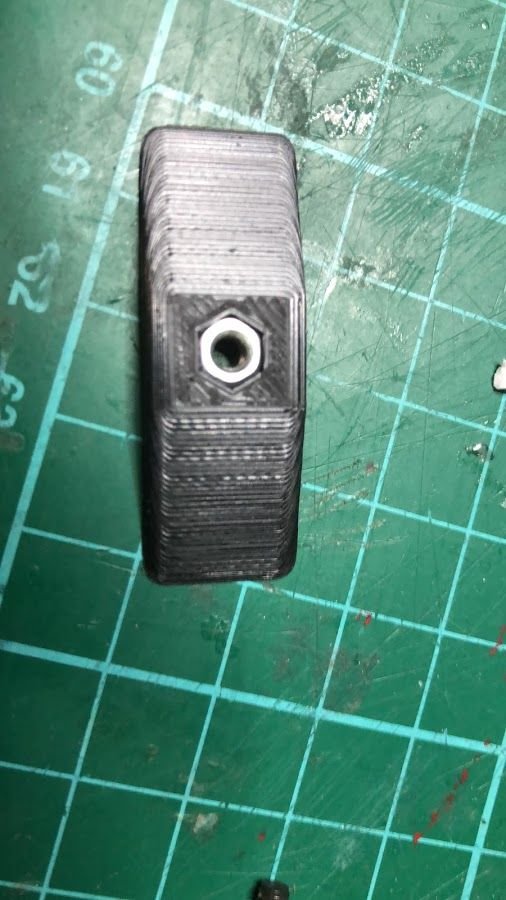
For lock the elevator and main tube, i printed two plug with m3 nuts inserted.
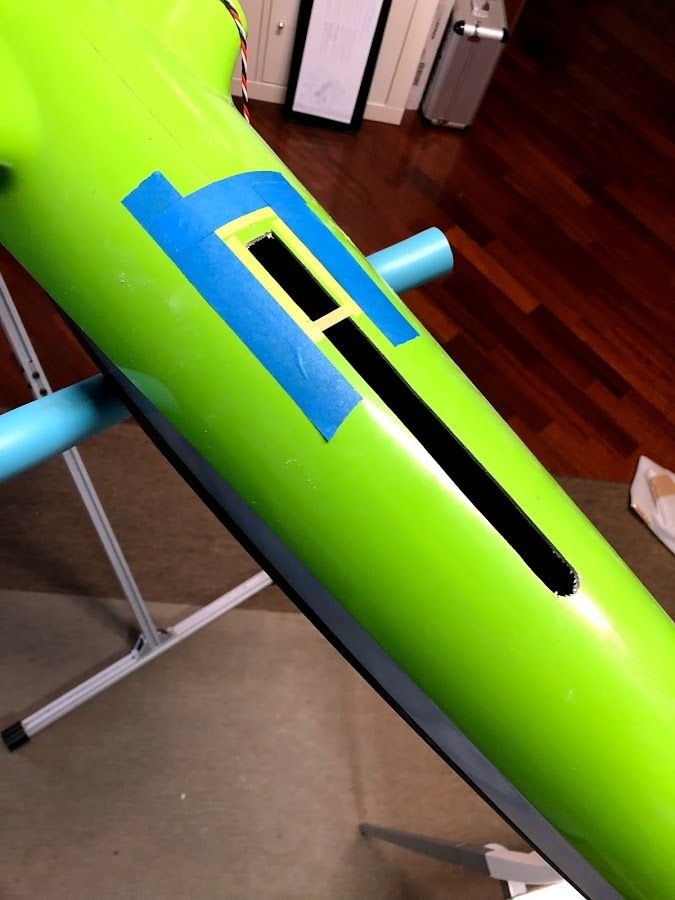
And in the end... I do not like the original cuts, with carbon fiber 0.3mm I cut new servo cover.
The overall quality of this kit, on a scale 1-10.......................is 6
I think because they are the very first model models delivered,
I believe that with time many details will be improved... I hope.
Luca
the wing, elevator and rudder is complete...
For the gear, it was necessary cut additional carbon support, because the hole is too close to the edge of the wood...
For lock the elevator and main tube, i printed two plug with m3 nuts inserted.
And in the end... I do not like the original cuts, with carbon fiber 0.3mm I cut new servo cover.
The overall quality of this kit, on a scale 1-10.......................is 6
I think because they are the very first model models delivered,
I believe that with time many details will be improved... I hope.
Luca


 03-30-2018 | 11:47 AM
#21
Joined: Oct 2008
Posts: 10
Likes: 0
Received 0 Likes
on
0 Posts
From: toulouse, FRANCE
wow, that's a quite huge update ... thank you for sharing ... great job!!
Some questions:
- When mentioning 'disassemble', I guess you are talking about the "funnel" part of the exhaust pipe ?
- You are using an I-trap, 40size, as UAT ... correct ? Or is it the mini-trap ?
- Are you using voltage regulator / dual input batteries ? If yes which module ?
And last but not least .... you first feelings in flight ?
And indeed, videos are not working.
Thanks for sharing
03-30-2018 | 01:46 PM
#22
Thread Starter
Joined: Feb 2018
Posts: 23
Likes: 0
Received 0 Likes
on
0 Posts
hi,
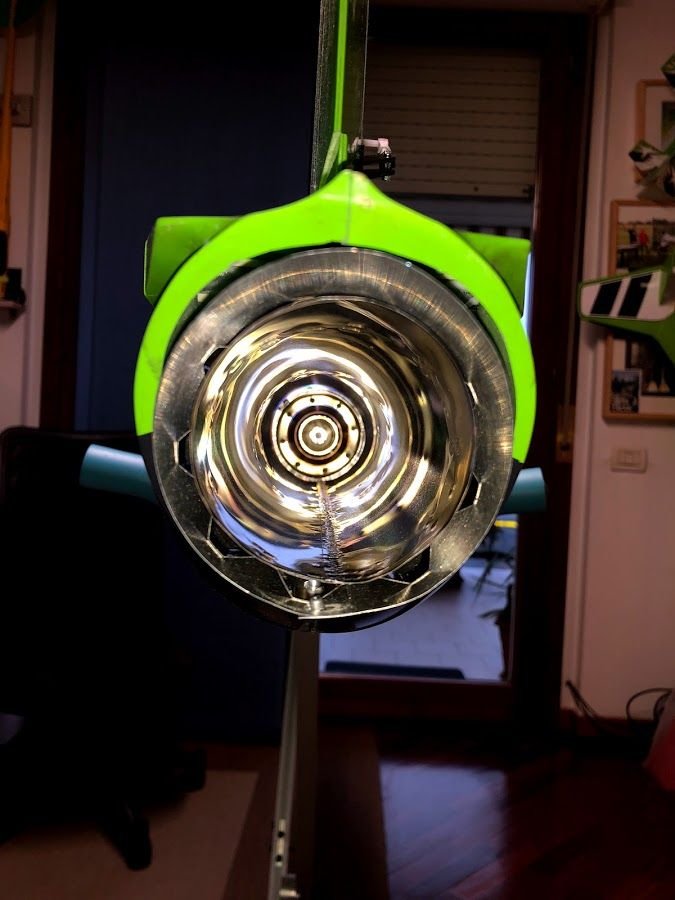
1: yes, you need disassemble the funnel from exahust and fixing 3 screw inside, it is also very difficoult to make hole for fixing exahaust support.
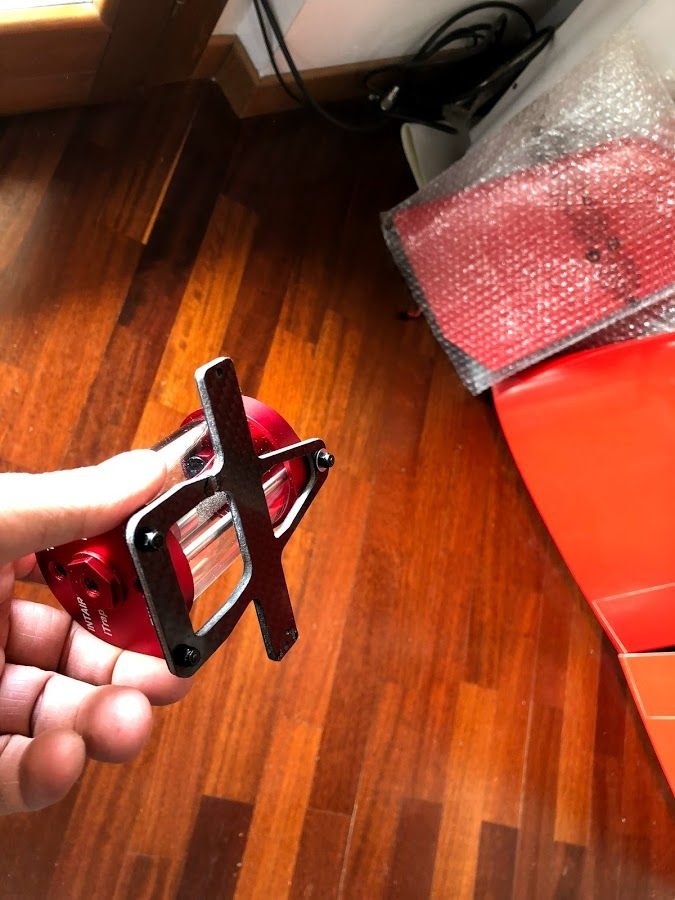
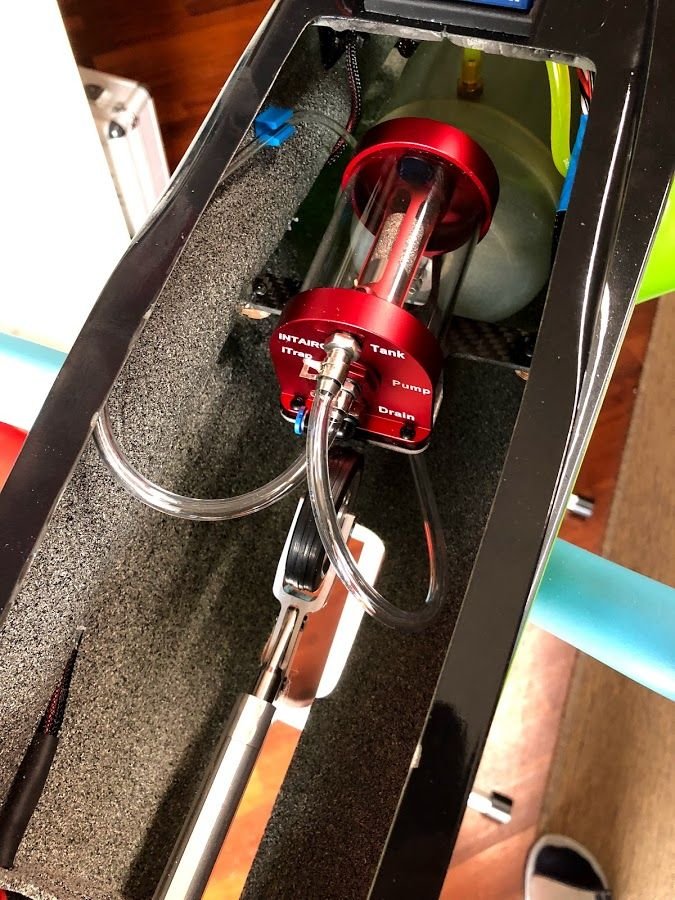
2: yes i use itrap 40 size.
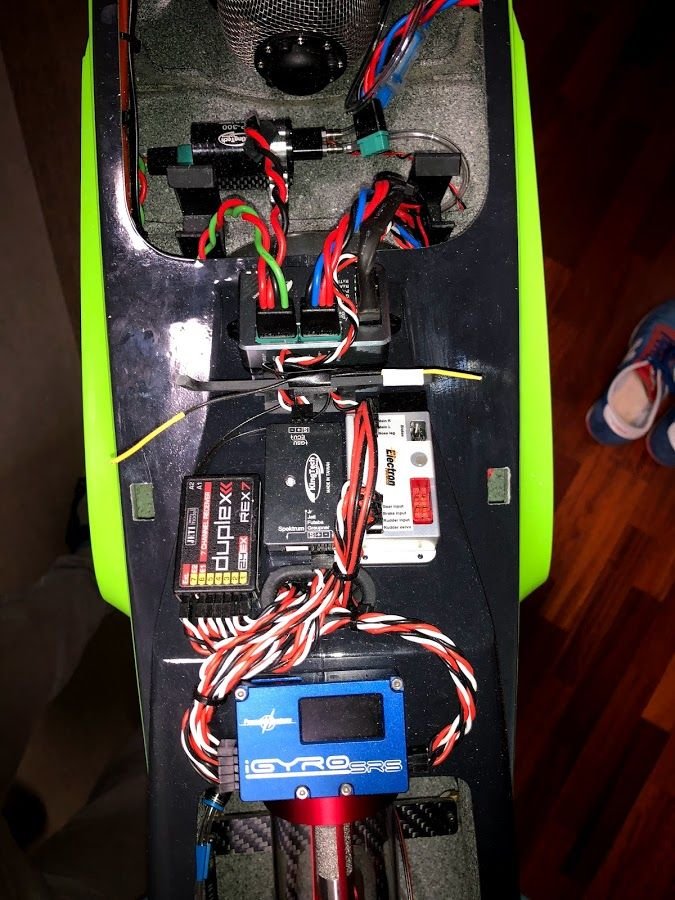
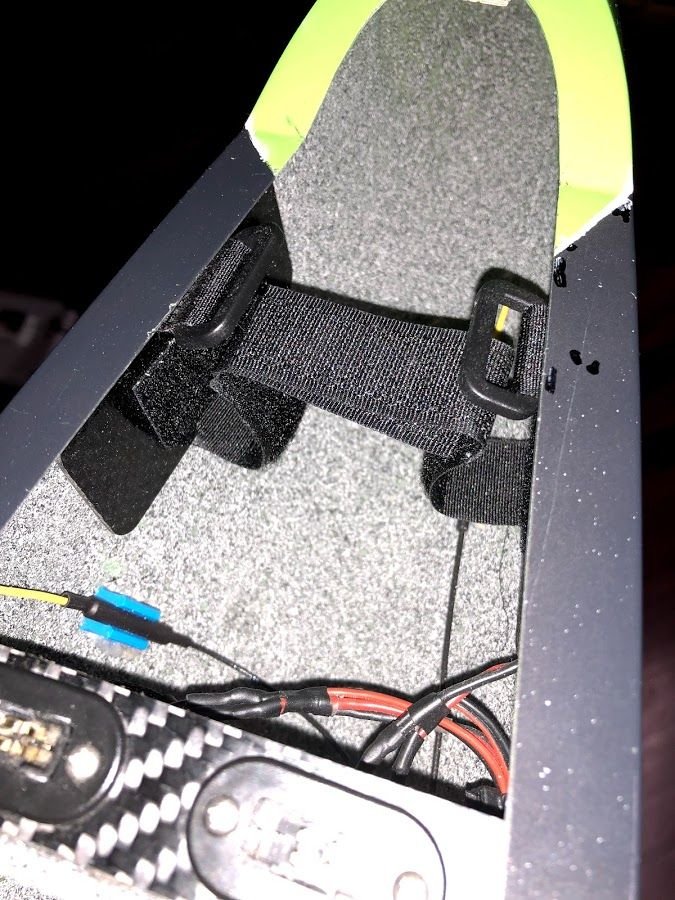
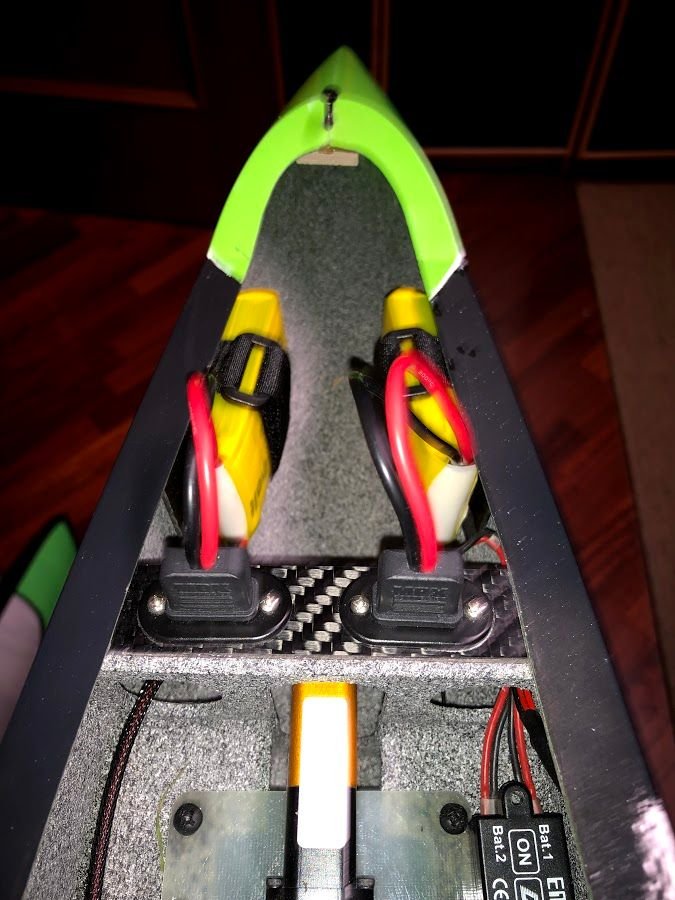
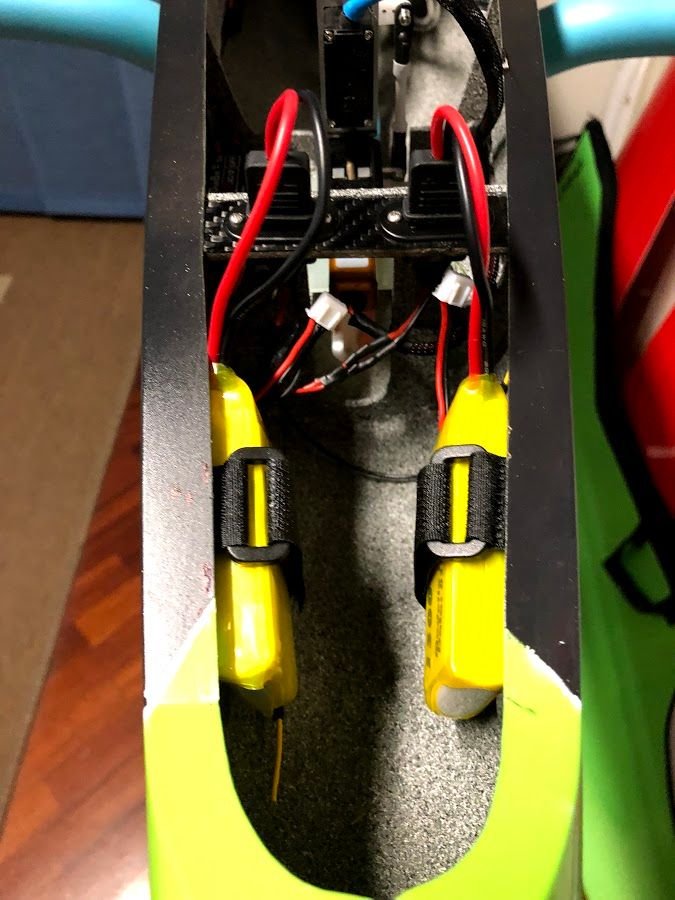
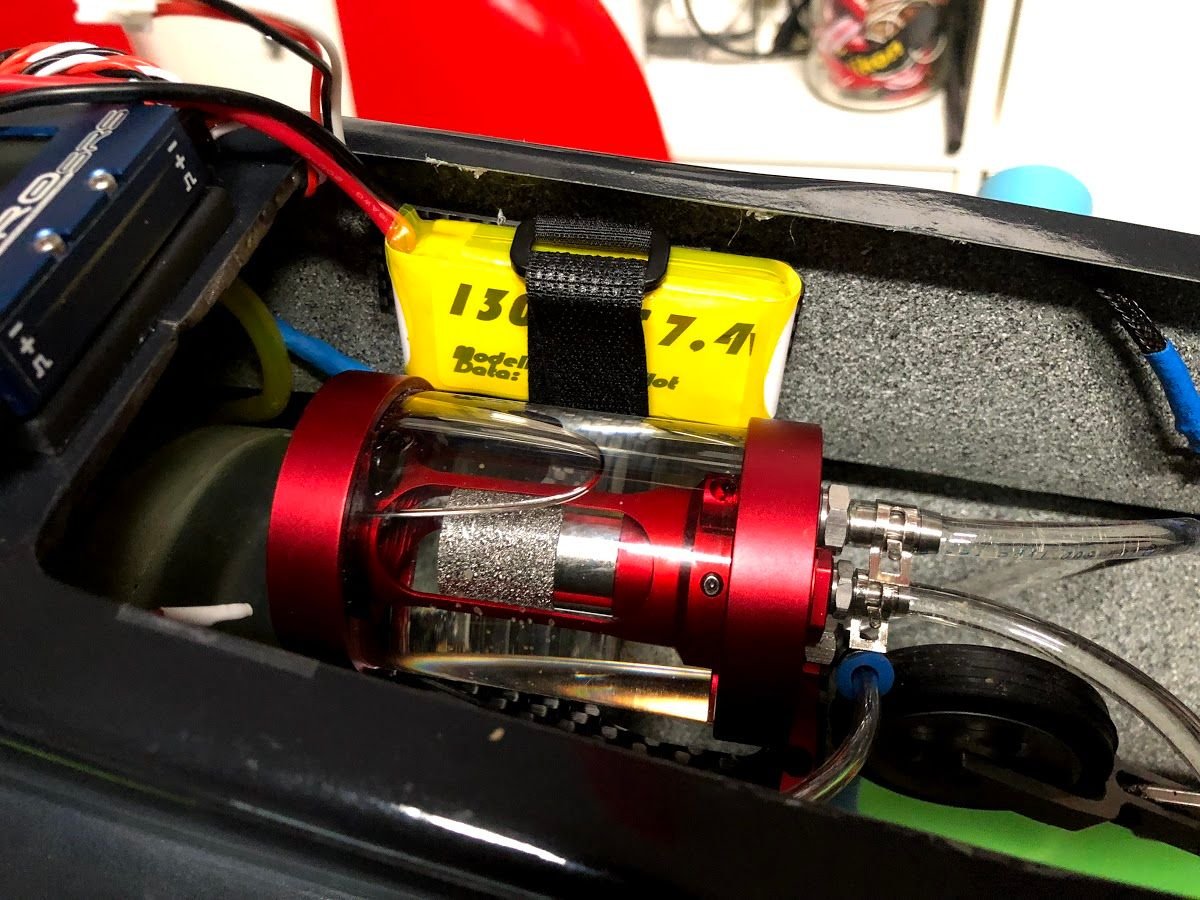
3: I use Emcotec Dualbatt regulator with two 2S lipo 1300 in the nose and another one same size for gear fixing to the side of UAT.
with the turbine battery placed on top of main tube, the CG is perfect.
I try to re-link the videos again...
The model in flight is fantastic, precise at the control, neutral, with K70 the speed is very very high, but when you need to go slow, there i no problem never stall.
I'm very very satisfied.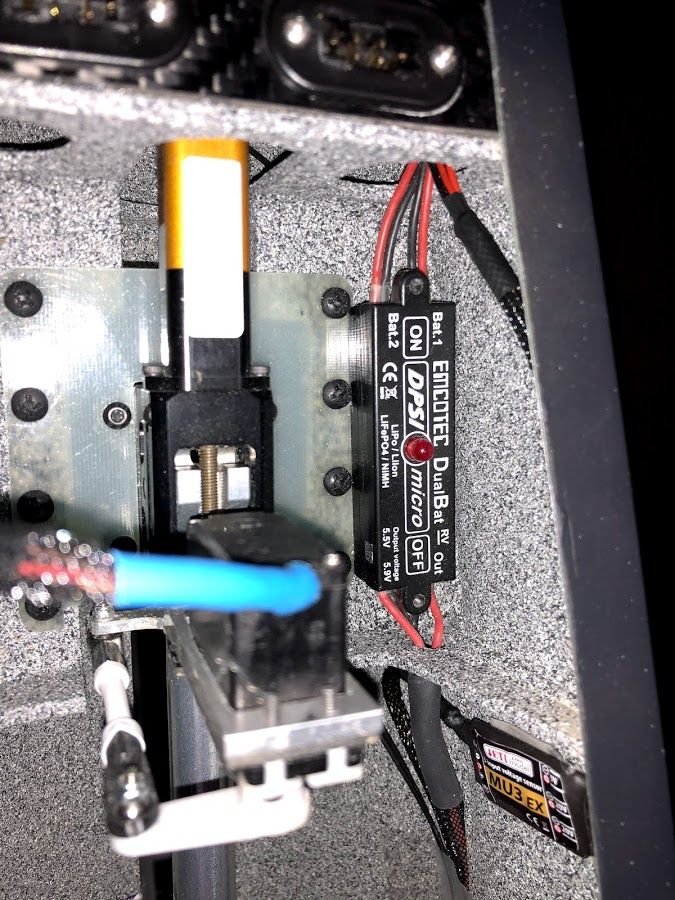
1: yes, you need disassemble the funnel from exahust and fixing 3 screw inside, it is also very difficoult to make hole for fixing exahaust support.
2: yes i use itrap 40 size.
3: I use Emcotec Dualbatt regulator with two 2S lipo 1300 in the nose and another one same size for gear fixing to the side of UAT.
with the turbine battery placed on top of main tube, the CG is perfect.
I try to re-link the videos again...
The model in flight is fantastic, precise at the control, neutral, with K70 the speed is very very high, but when you need to go slow, there i no problem never stall.
I'm very very satisfied.


