Mibo A-10 Gen 6


 09-06-2020, 11:33 PM
#356
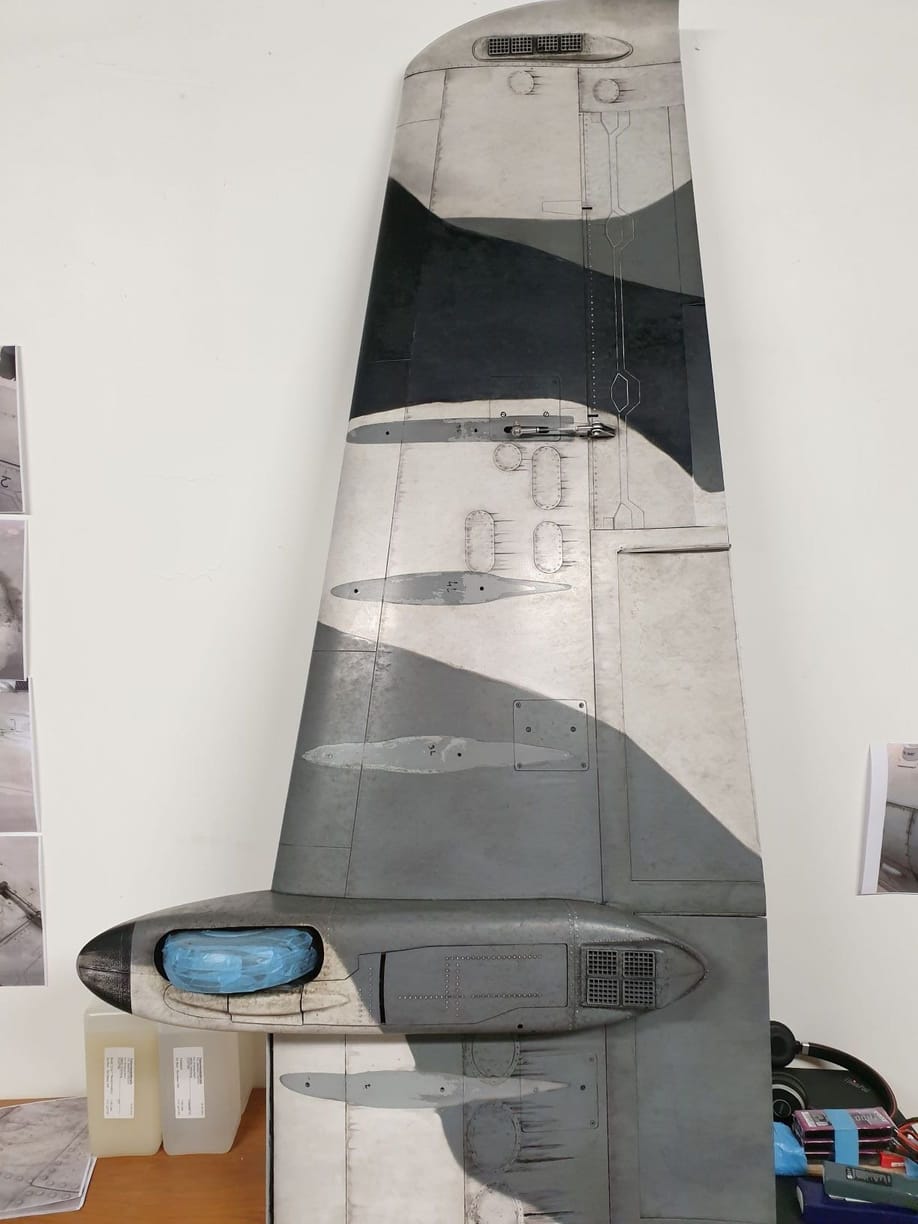
My weathering is a bit complicated as I'm working in layers and multiples steps. Mostly like the modelling guys.
I'm using products from AMMO by Mig Jimenez, this brand is well known in the modelling world.
I'm happy with the result but to be honest with you, I think I'm going too far. This is not a 1/32 model and it's taking so much time to complete ... And keeping in mind that it is an RC model, most of the people won't even notice 1/10th of the details that I'm trying to do.
I'll post pictures later, I've finished the bottom of one wing. Now I need to get the motivation to continue ...
Regarding the steps on the weathering after the paint job, decals and one layer of goss varnish :
-first wash using black oil paint (regular oil paint from artist shop) and turpentine, I let it dry for 24 hours but depending on the result you are searching you can wipe it straight away
-wiping all the paint from the plane, this layer is used to tone the clear surface like the white and the grey paint. It is also really usefull for the recesses and rivets.
-next I apply various colors of oil paints from AMMO (they are calling it oilbrusher) in a dot shape. I'm doing that by small square surfaces to avoid the paint to dry too fast
-then I'm dabbing the dots with white spirit and a small brush - this is the step where you decide how far you want to go with your weathering, do you want it light or heavy, the more heavy you want, the less white spirit you use, It's hard to explain but the goal is to represent dirt on the surface and the dilution is important
-I let the surface dry for 24 hours, not more because the oil brushers from AMMO are drying quite fast and you might have trouble cleaning it after
-once the paint is almost dry you can alter the result of the level of dirt by using kitchen towels, if you consider it too dirty, you can just wipe the dried paint
-then I'm doing all the oil leaks and stains using oil paint and a brush, working as above in layers
The following users liked this post:
Dansy (09-10-2020)
 09-10-2020, 11:53 AM
#359
Hi Craig,
I believe it is the next size down from 1/2". I'm trying to find the thread where I saw it and was recommended. I think it was Invertmast's thread.
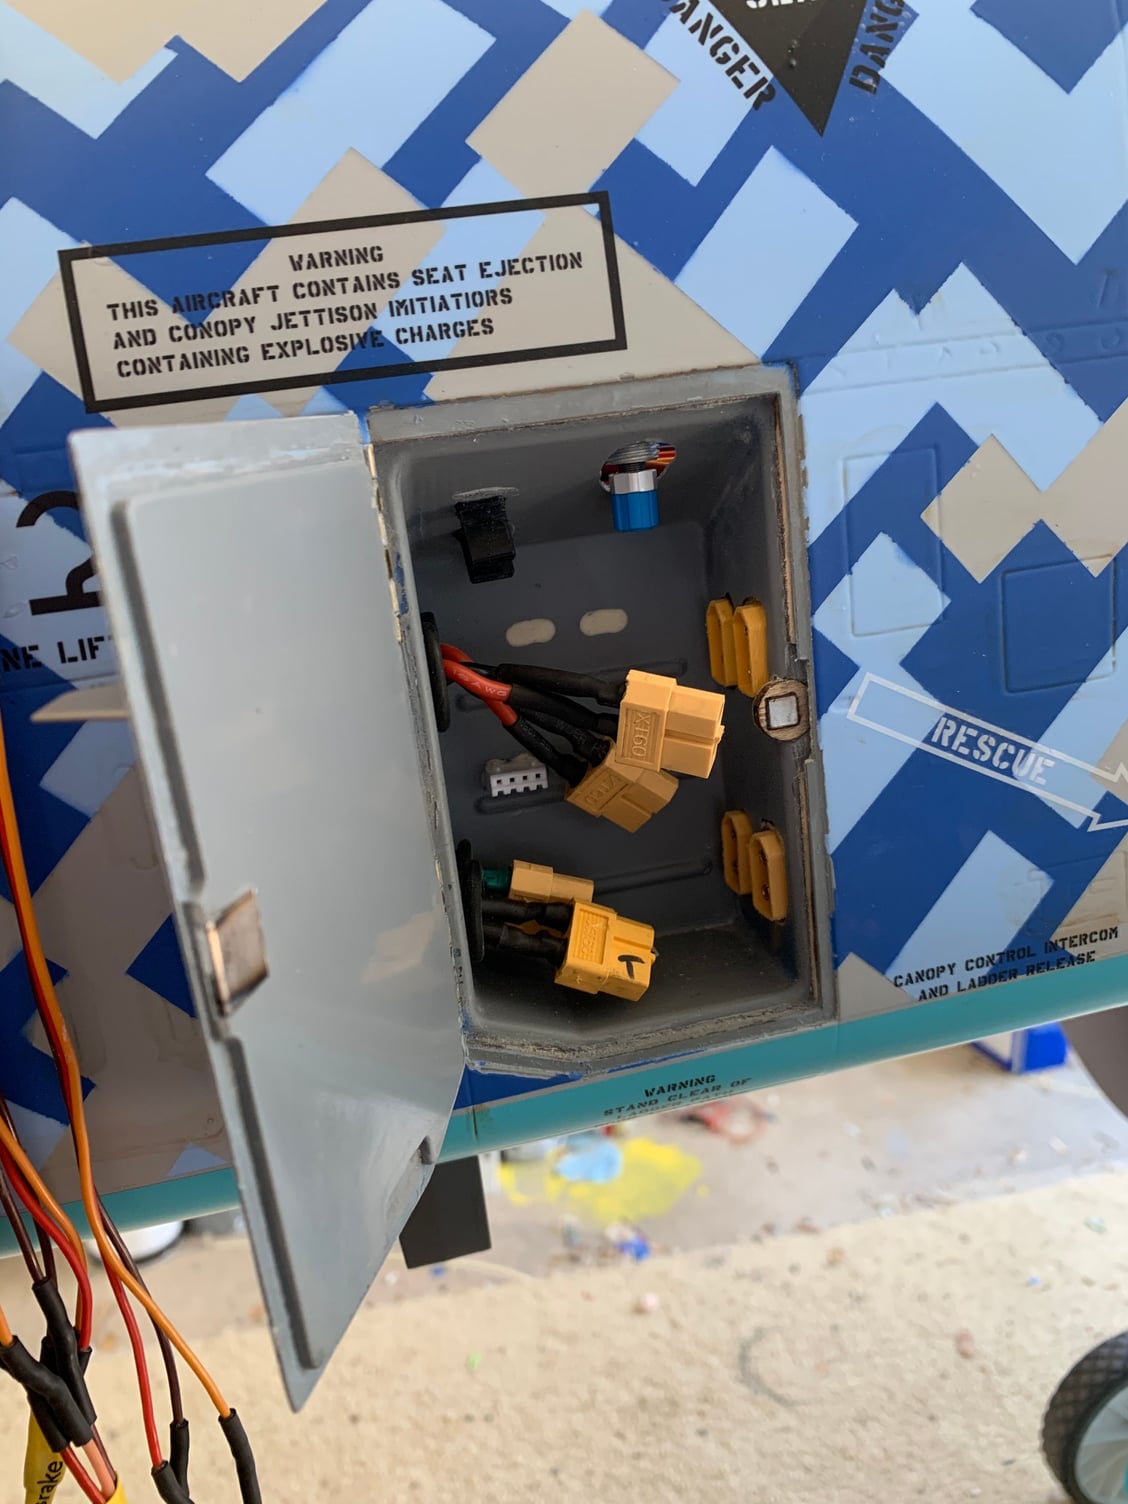
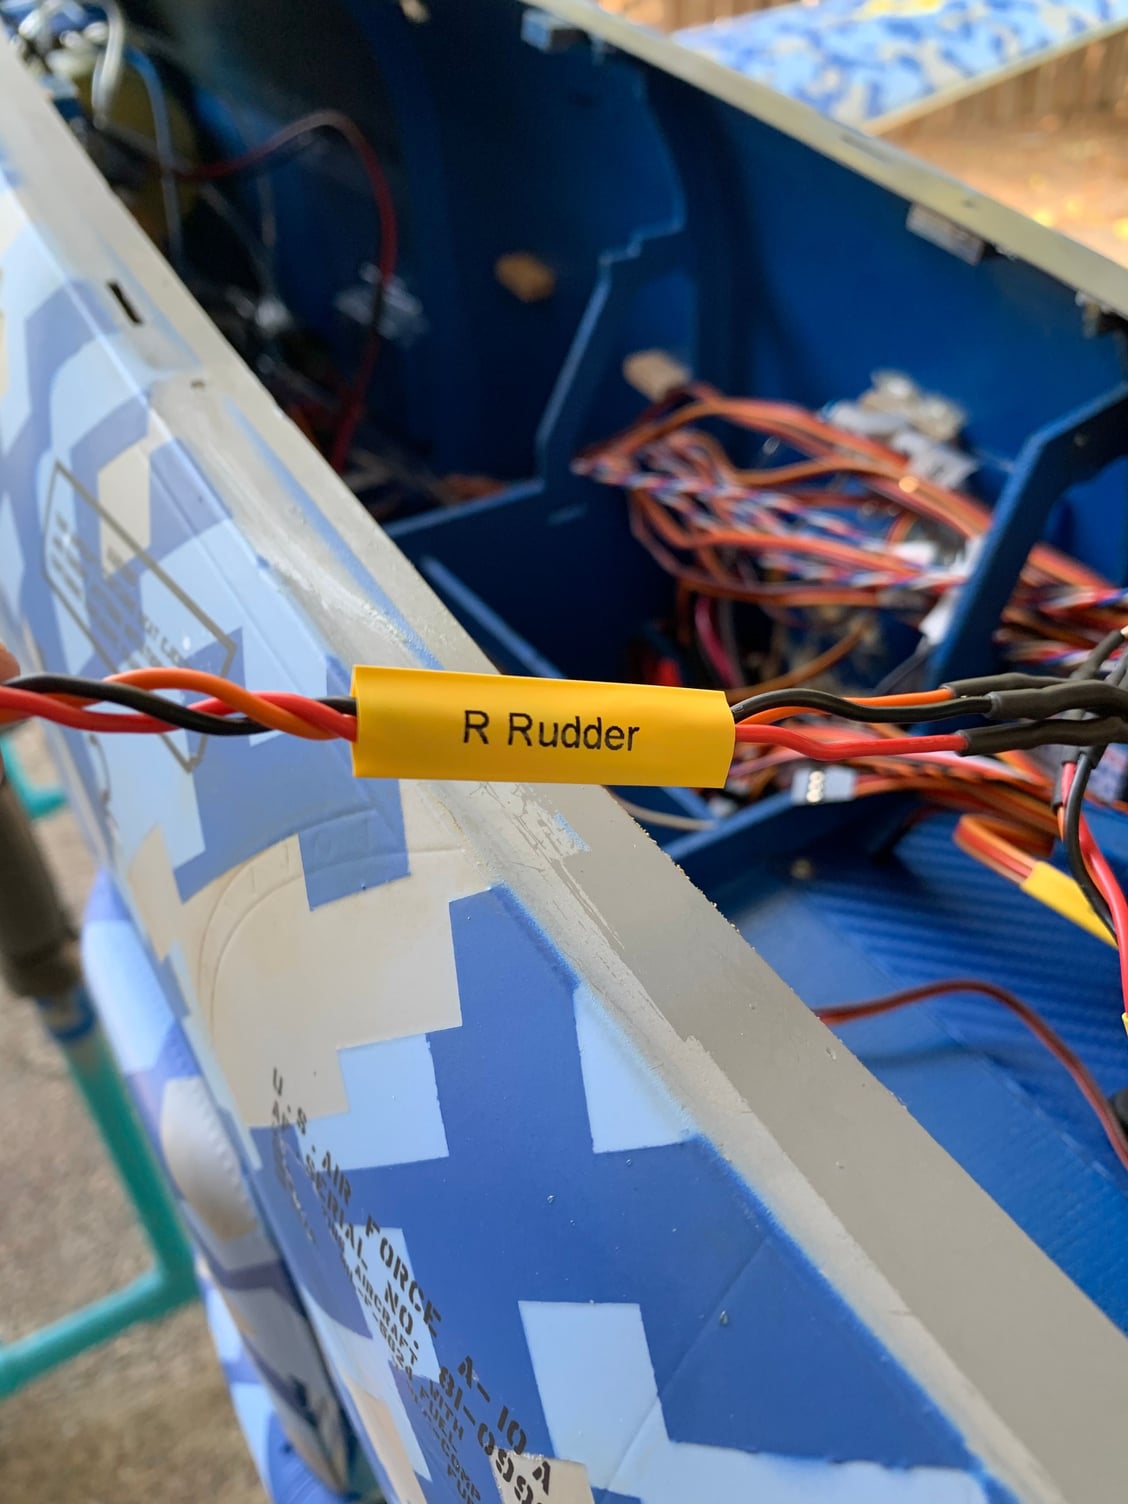
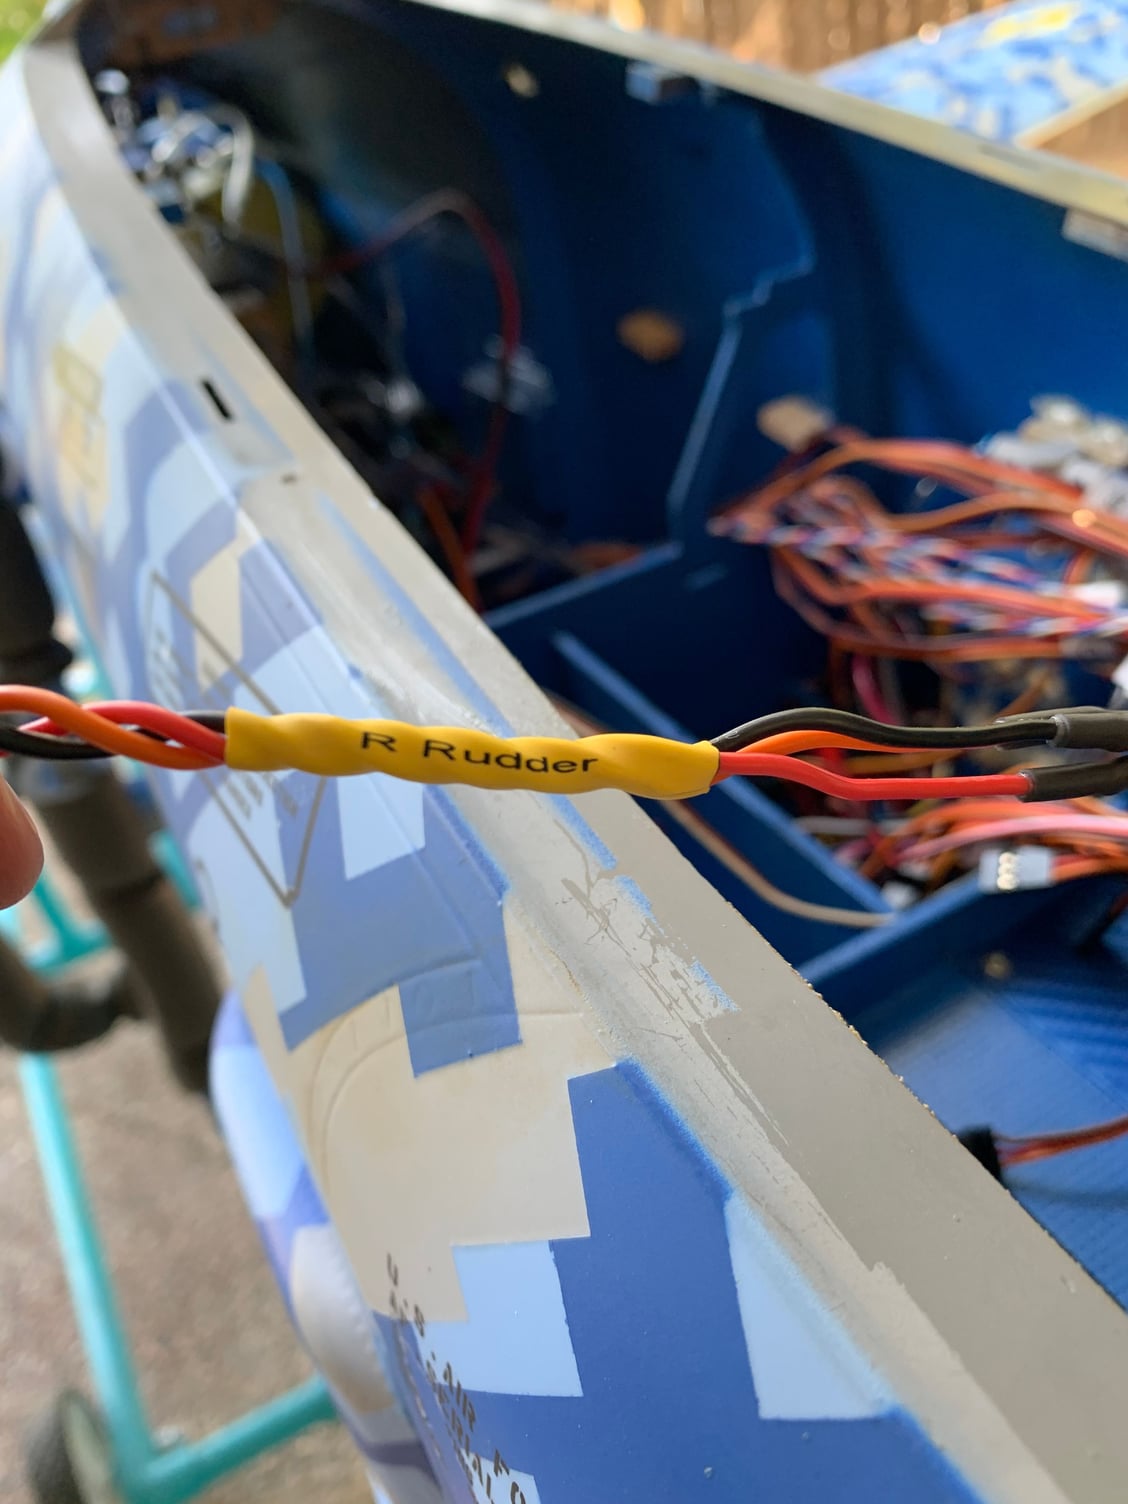
It fits right over servo ends and snugs on down very well. You can change the font size so that the writing is larger when shrunk.
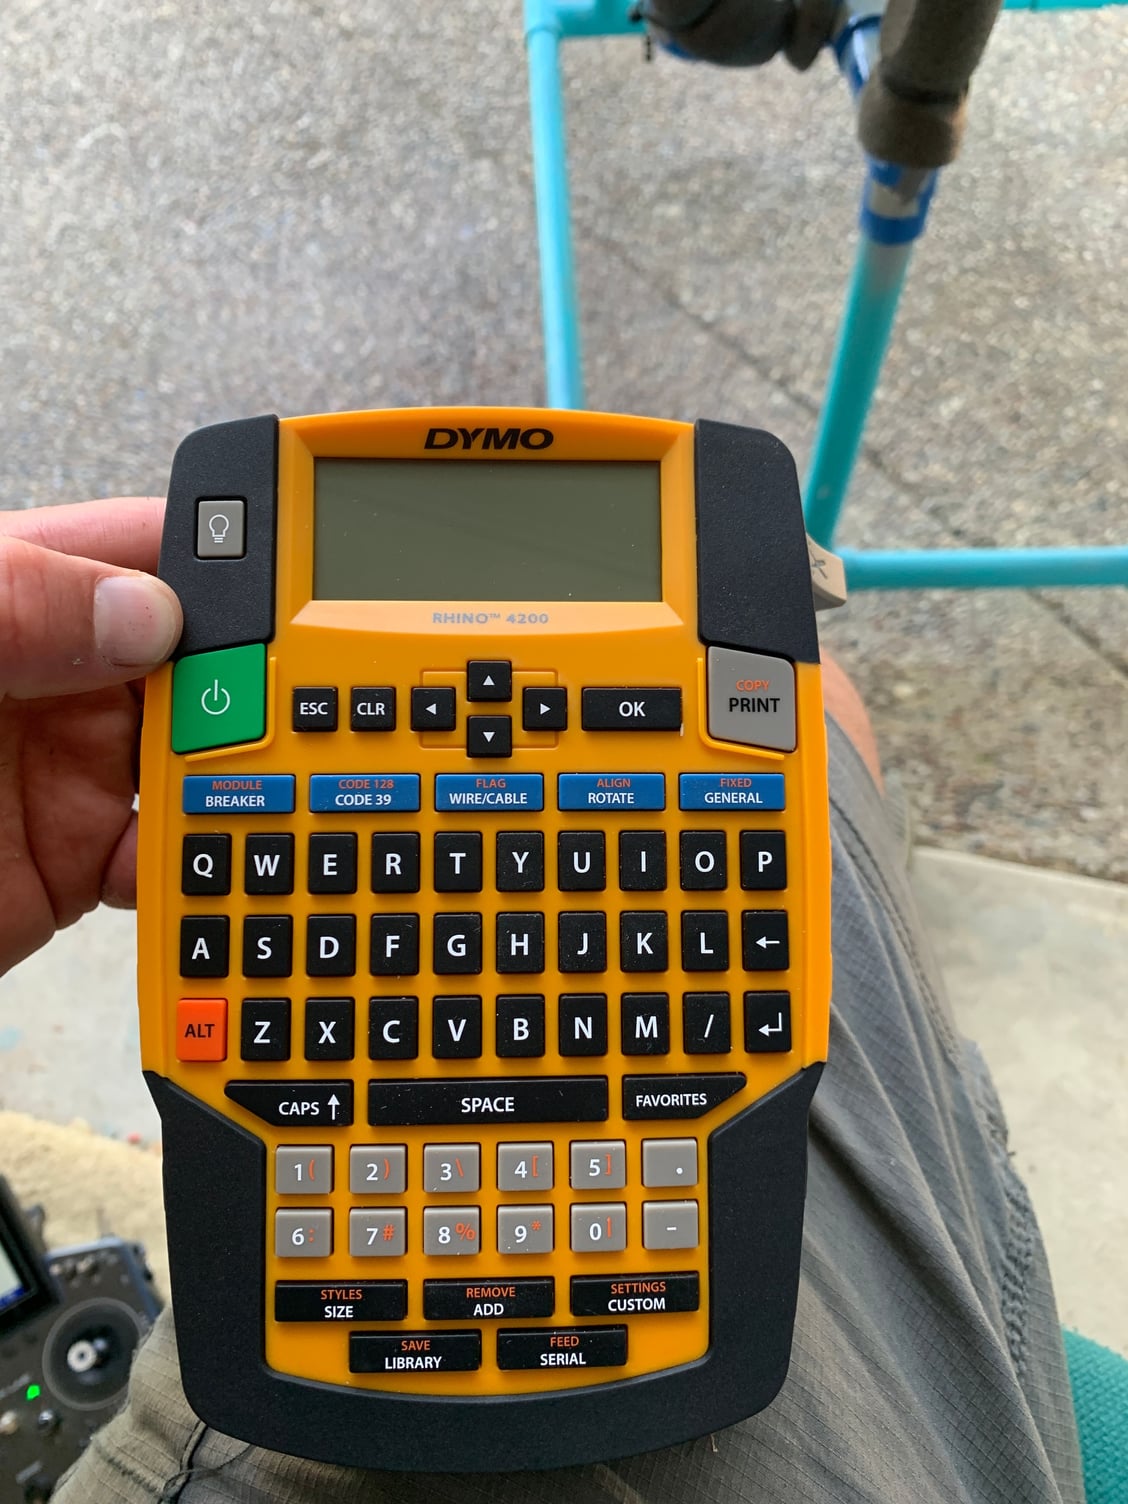
That little label maker is awesome.
09-10-2020, 12:59 PM
#360
Hi Craig,
I believe it is the next size down from 1/2". I'm trying to find the thread where I saw it and was recommended. I think it was Invertmast's thread.
It fits right over servo ends and snugs on down very well. You can change the font size so that the writing is larger when shrunk.
That little label maker is awesome.
09-10-2020, 06:27 PM
#364

My Feedback: (20)
I use 1/2" for everything. It nicely fits over the smaller servo plugs. With just a slight stretch it fits over the large servo plugs. You can stretch it to fit over Deans T plugs and last week I stretched it to fit over Multiplex plugs. In all cases it shrinks tight over the wires and looks good. I stretch it with a small set of needle nose pliers. See post #685 here: 1/6 F-105 Build Thread
Gary
Gary
09-11-2020, 05:48 AM
#365

My Feedback: (53)

I use 1/2" for everything. It nicely fits over the smaller servo plugs. With just a slight stretch it fits over the large servo plugs. You can stretch it to fit over Deans T plugs and last week I stretched it to fit over Multiplex plugs. In all cases it shrinks tight over the wires and looks good. I stretch it with a small set of needle nose pliers. See post #685 here: 1/6 F-105 Build Thread
Gary
Gary
 09-11-2020, 06:56 AM
#369
09-14-2020, 06:48 AM
#370
Short update on mine: Went to start the turbines (JC Cheetah) and realized that the 4mm main fuel line was putting too much resistance and could not achieve full power. My setup in the fuselage is with the UATs is in front of the tanks and the ECUs in front of the UAT's. There is a 4mm bulkhead festo in the fuselage where the nacelles connect, and from them it goes to the turbine. The combination of distance and height differential is too much resistance to flow.
So will be increasing from 4mm to 6mm from the ECU to the turbine. Will also increase the kero start line from 3mm to 4mm. I don't think I need to increase the ECU fuel input line from 6mm, but will see.
So will be increasing from 4mm to 6mm from the ECU to the turbine. Will also increase the kero start line from 3mm to 4mm. I don't think I need to increase the ECU fuel input line from 6mm, but will see.
 09-16-2020, 03:15 AM
#373
I don't like when a plane is too clean, it does not makes sens but you are making me doubting, I want something which looks realistic ...