Go Back  RCU Forums > RC Airplanes > RC Jets
Reload this Page >

Avonds Fouga Magistar

Community
Search
Notices
RC Jets Discuss RC jets in this forum plus rc turbines and ducted fan power systems

Avonds Fouga Magistar

Thread Tools
 
Search this Thread
 
Old 03-06-2019, 06:52 PM
  #76  
Viper1GJ
My Feedback: (20)
 
Viper1GJ's Avatar
 
Join Date: Oct 2003
Location: Saint George , SC
Posts: 2,423
Received 330 Likes on 217 Posts
Default

Looking good Tom! LOL, your cheating using all those pre planned templates for the cutouts!

What tool are you using to make the FG cuts?
Gary
Old 03-07-2019, 04:20 AM
  #77  
tp777fo
Thread Starter
My Feedback: (28)
 
tp777fo's Avatar
 
Join Date: Feb 2002
Location: Greer, SC
Posts: 3,507
Received 126 Likes on 87 Posts
Default

Robart grinder bits
Old 03-08-2019, 07:01 AM
  #78  
tp777fo
Thread Starter
My Feedback: (28)
 
tp777fo's Avatar
 
Join Date: Feb 2002
Location: Greer, SC
Posts: 3,507
Received 126 Likes on 87 Posts
Default


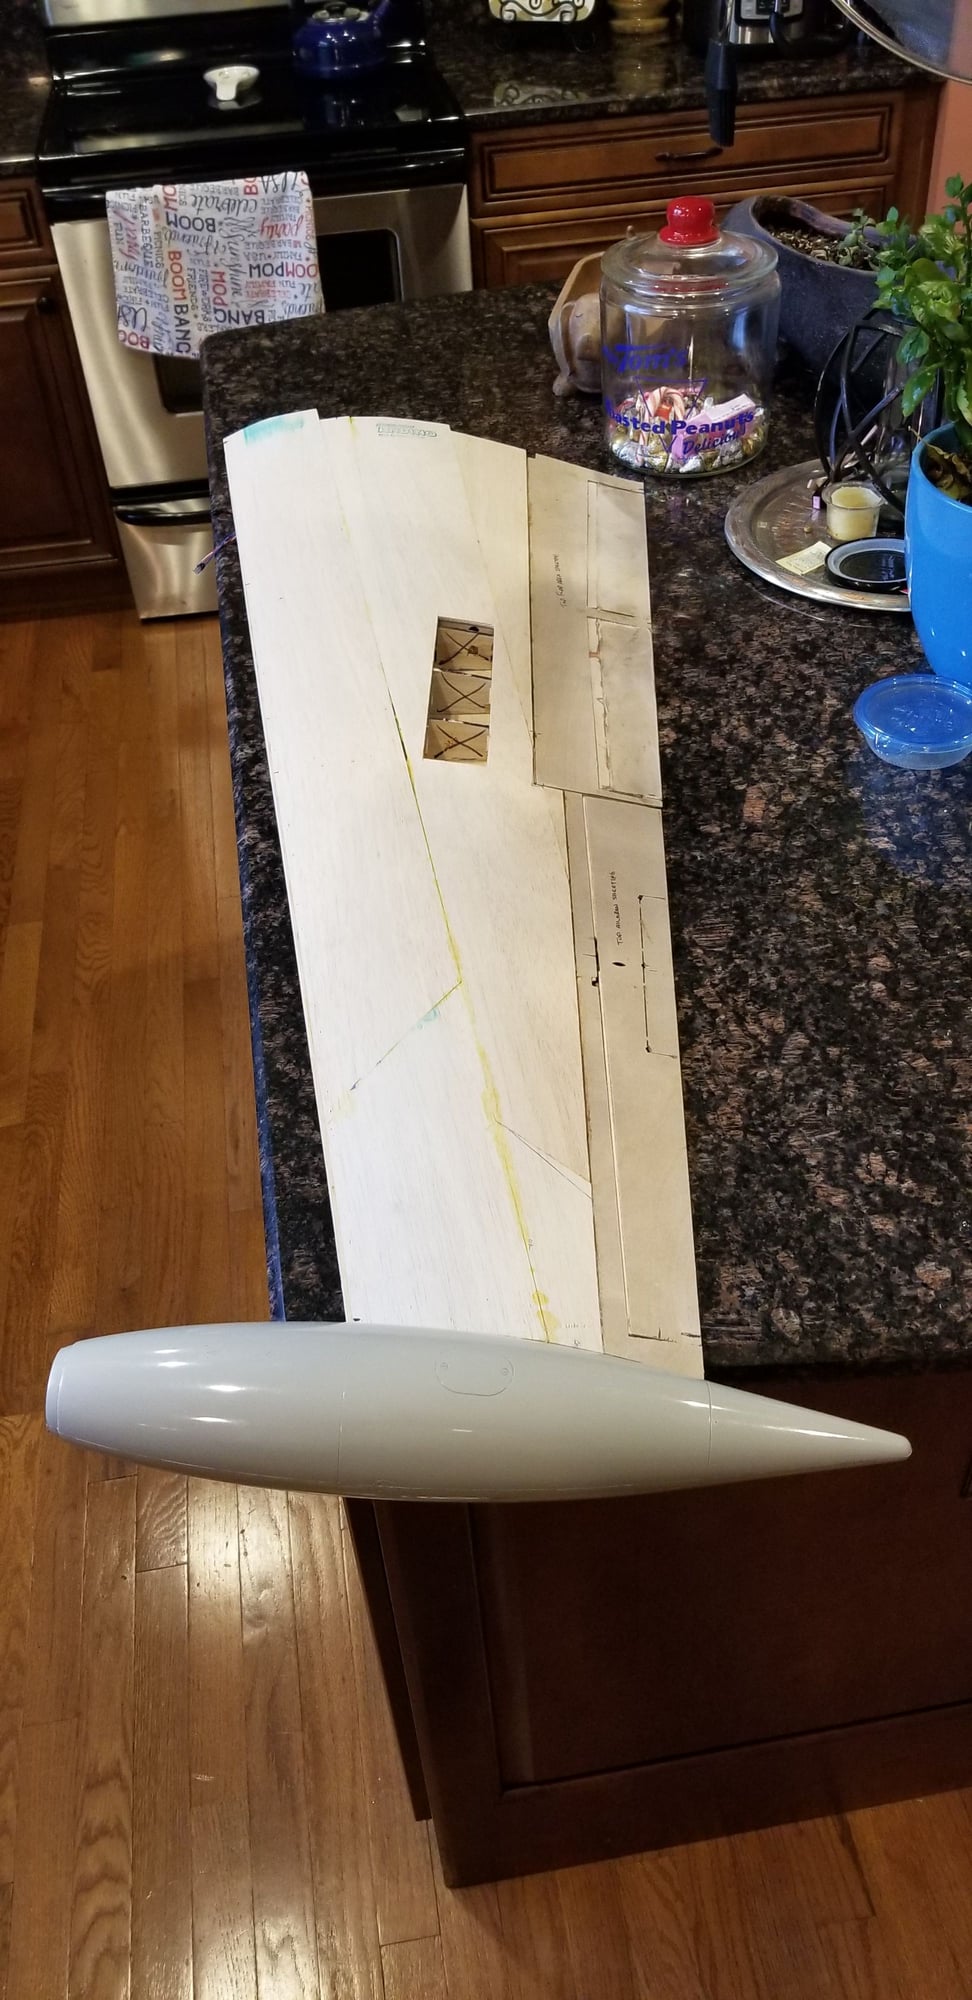
Well the last "fatal error" opportunity for the wings has been passed. The ailerons and flaps were cut out and move as expected. I have to sheet the flaps with .5mm ply and do final fitting. The ailerons require a balsa leading edge and counter weights. When I get the flaps complete I will take a much needed break from balsa wood and will finish the wings after a mental health break.
Old 03-08-2019, 06:22 PM
  #79  
tp777fo
Thread Starter
My Feedback: (28)
 
tp777fo's Avatar
 
Join Date: Feb 2002
Location: Greer, SC
Posts: 3,507
Received 126 Likes on 87 Posts
Default

Well one side of canopies complete. This wire hold down will run from nose hatch, through both canopies and thru main engine hatch. No visible latches on jet.

Last edited by tp777fo; 03-08-2019 at 06:25 PM.
Old 03-09-2019, 09:28 AM
  #80  
tp777fo
Thread Starter
My Feedback: (28)
 
tp777fo's Avatar
 
Join Date: Feb 2002
Location: Greer, SC
Posts: 3,507
Received 126 Likes on 87 Posts
Default

All canopy and hatch latches complete. Next project....fuselage formers.

Old 03-09-2019, 01:23 PM
  #81  
tp777fo
Thread Starter
My Feedback: (28)
 
tp777fo's Avatar
 
Join Date: Feb 2002
Location: Greer, SC
Posts: 3,507
Received 126 Likes on 87 Posts
Default


Main former tacked in. After assembly epoxy cures I will do some serious hysol. After that f/g cloth on both sides over wing tubes. Gold tube is the wing tube being used to keep everything aligned.
Old 03-11-2019, 06:20 AM
  #82  
tp777fo
Thread Starter
My Feedback: (28)
 
tp777fo's Avatar
 
Join Date: Feb 2002
Location: Greer, SC
Posts: 3,507
Received 126 Likes on 87 Posts
Default

Well, today it started looking like a Fouga. Next step...nose wheel former installation. This will be tough as nose is real small and the former sits at about a 45° angle.
Old 03-11-2019, 04:01 PM
  #83  
Viper1GJ
My Feedback: (20)
 
Viper1GJ's Avatar
 
Join Date: Oct 2003
Location: Saint George , SC
Posts: 2,423
Received 330 Likes on 217 Posts
Default

Looking good Tom, love your workbench!
Old 03-11-2019, 05:33 PM
  #84  
tp777fo
Thread Starter
My Feedback: (28)
 
tp777fo's Avatar
 
Join Date: Feb 2002
Location: Greer, SC
Posts: 3,507
Received 126 Likes on 87 Posts
Default

Last day of the kitchen build for a while. Robbi was very patient with me but didnt want to push too far. Will do fuse work before i pull the wings back out for the bottom sheeting.
Old 03-14-2019, 06:36 AM
  #85  
tp777fo
Thread Starter
My Feedback: (28)
 
tp777fo's Avatar
 
Join Date: Feb 2002
Location: Greer, SC
Posts: 3,507
Received 126 Likes on 87 Posts
Default


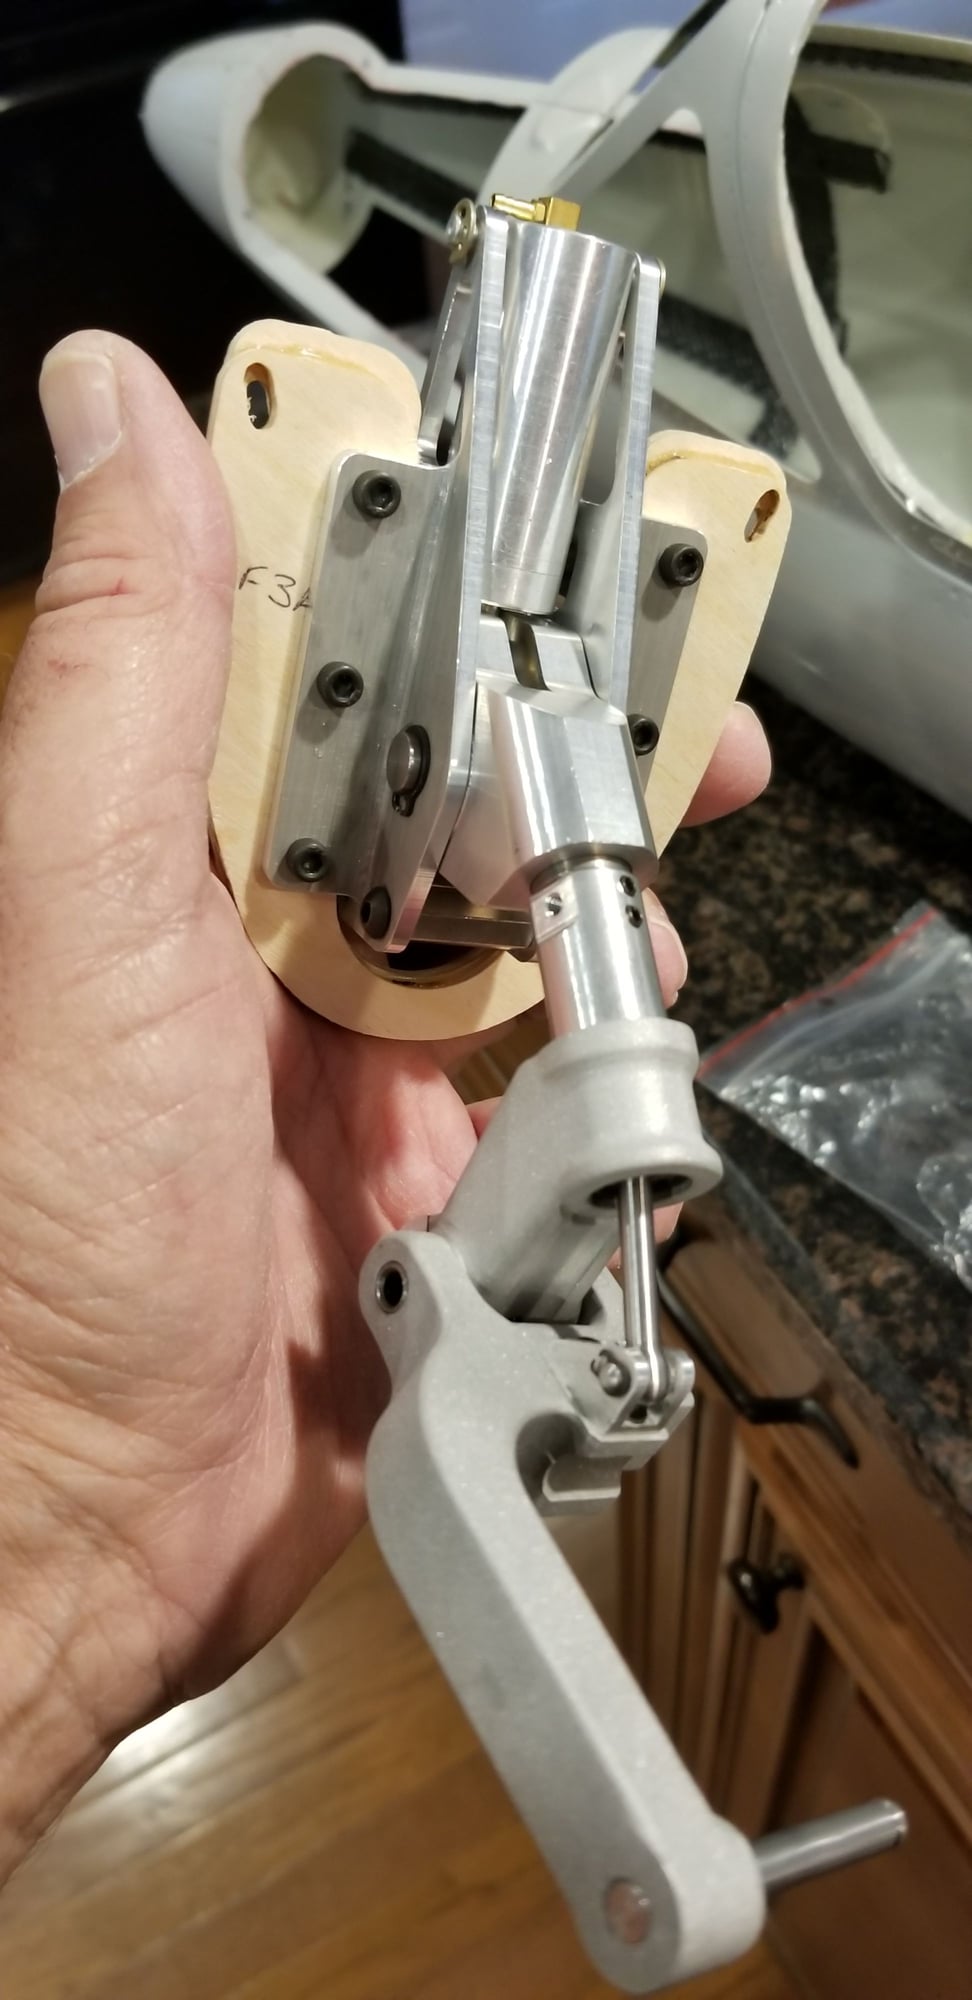
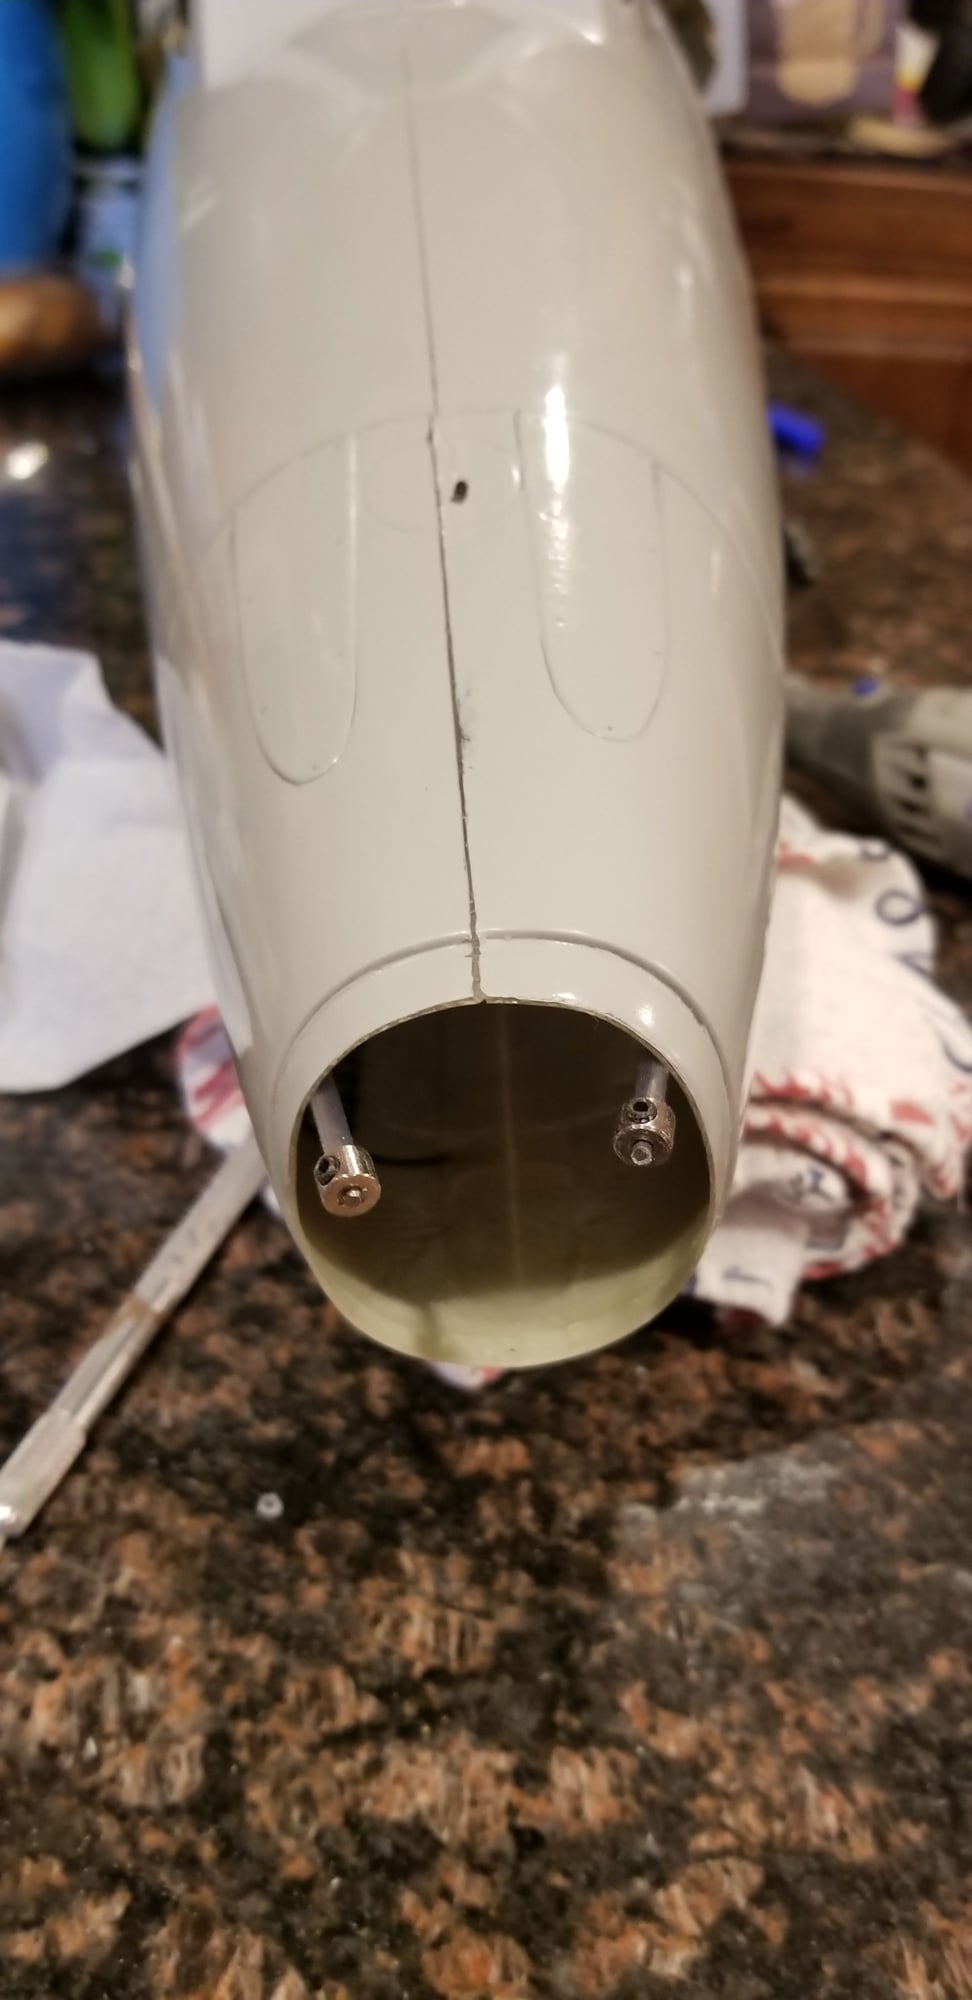
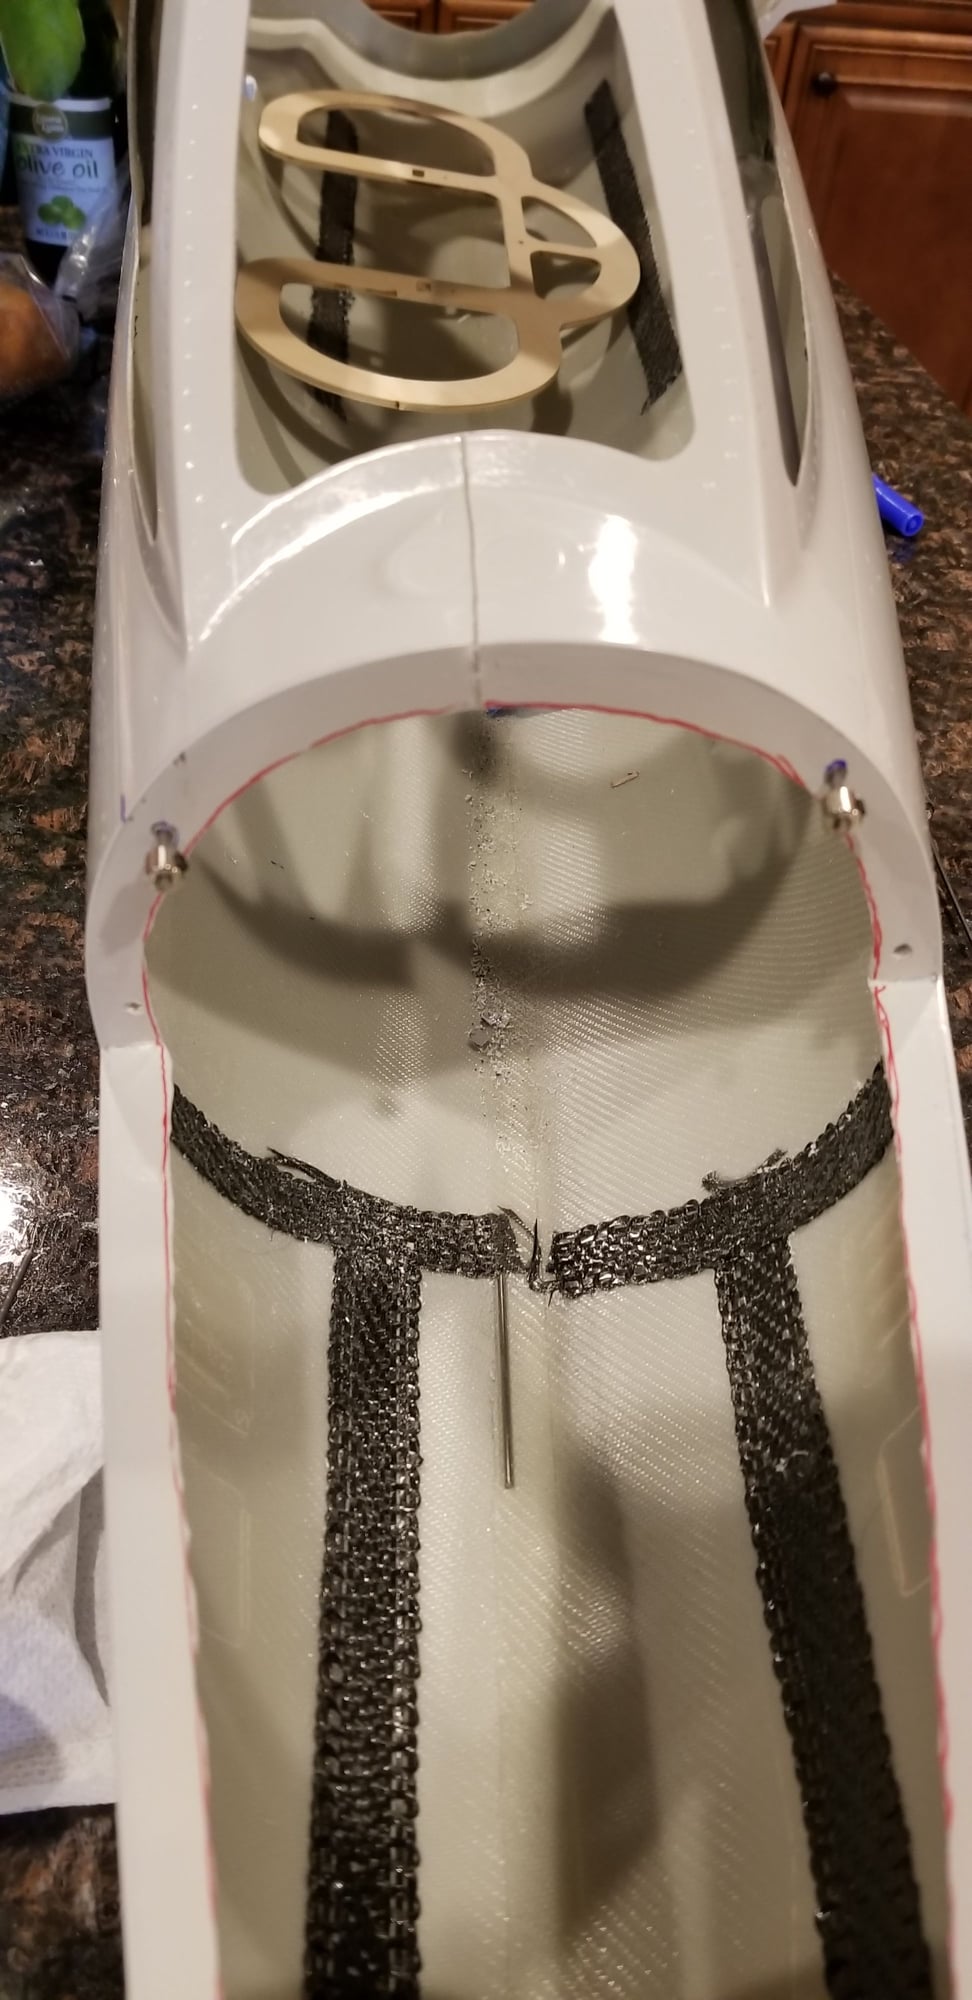
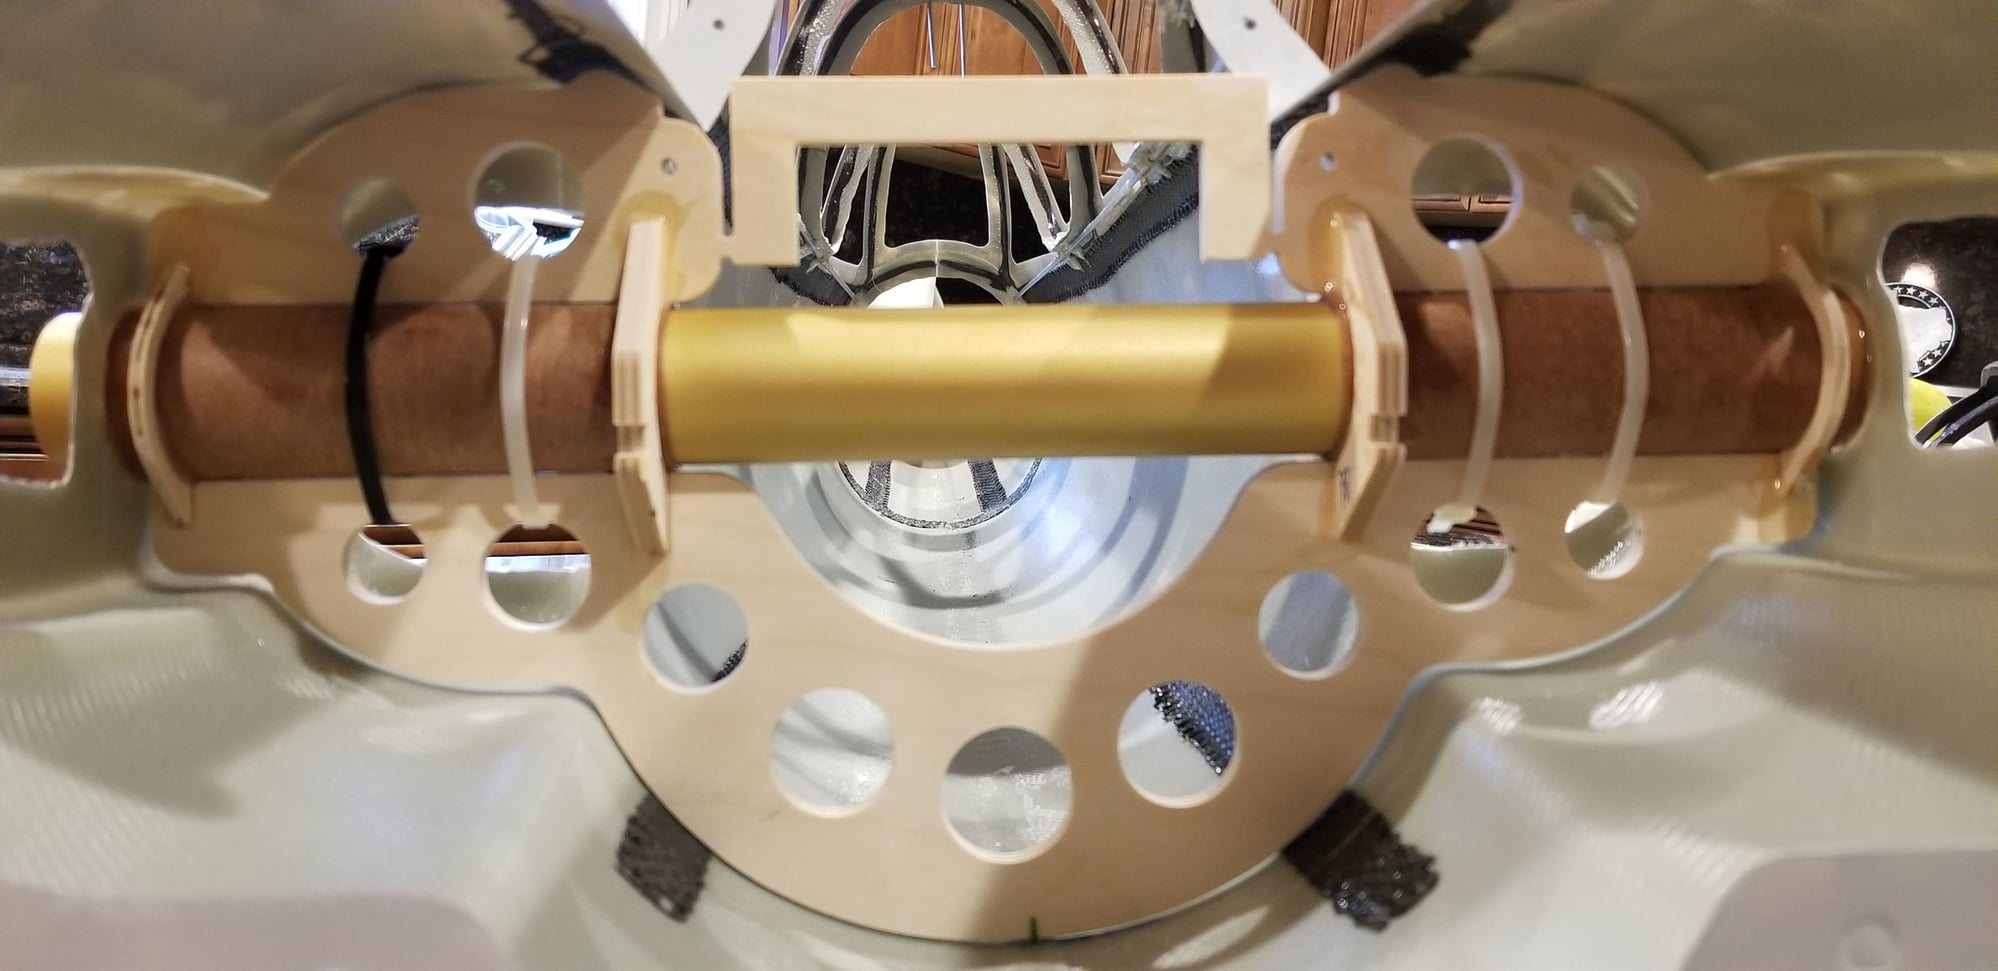
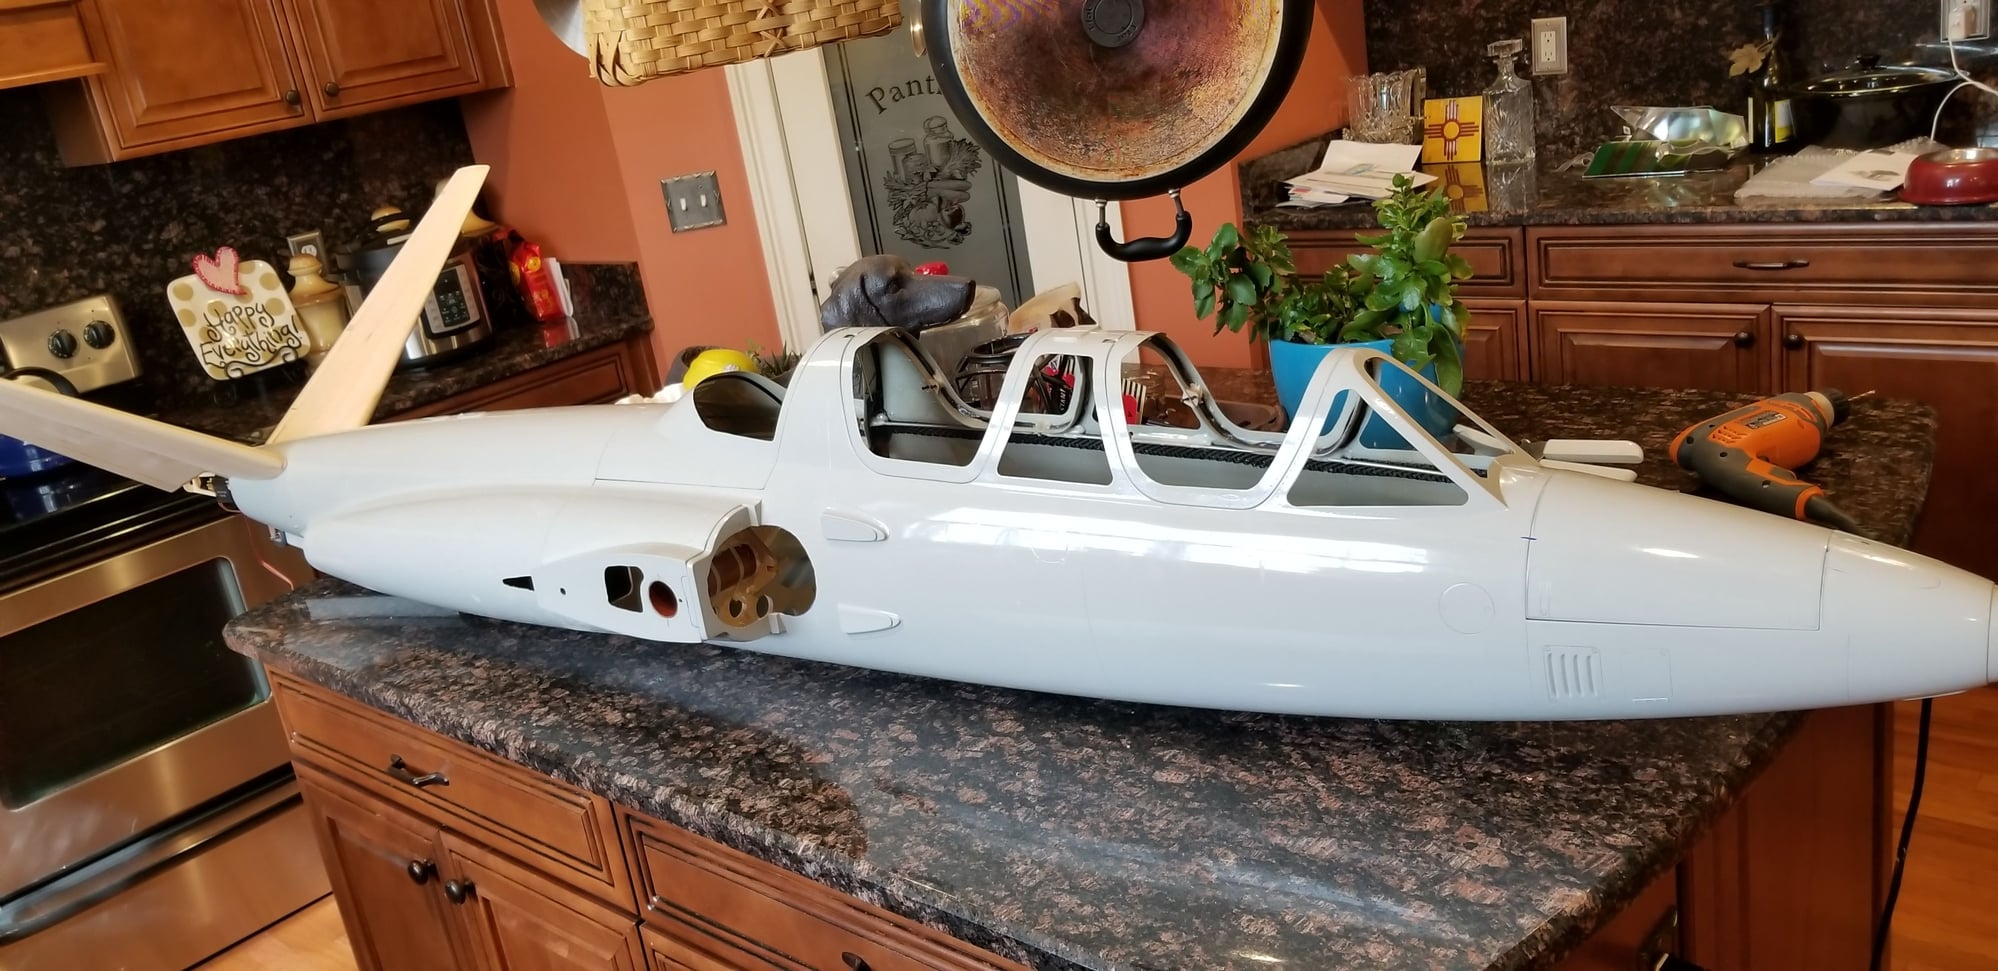
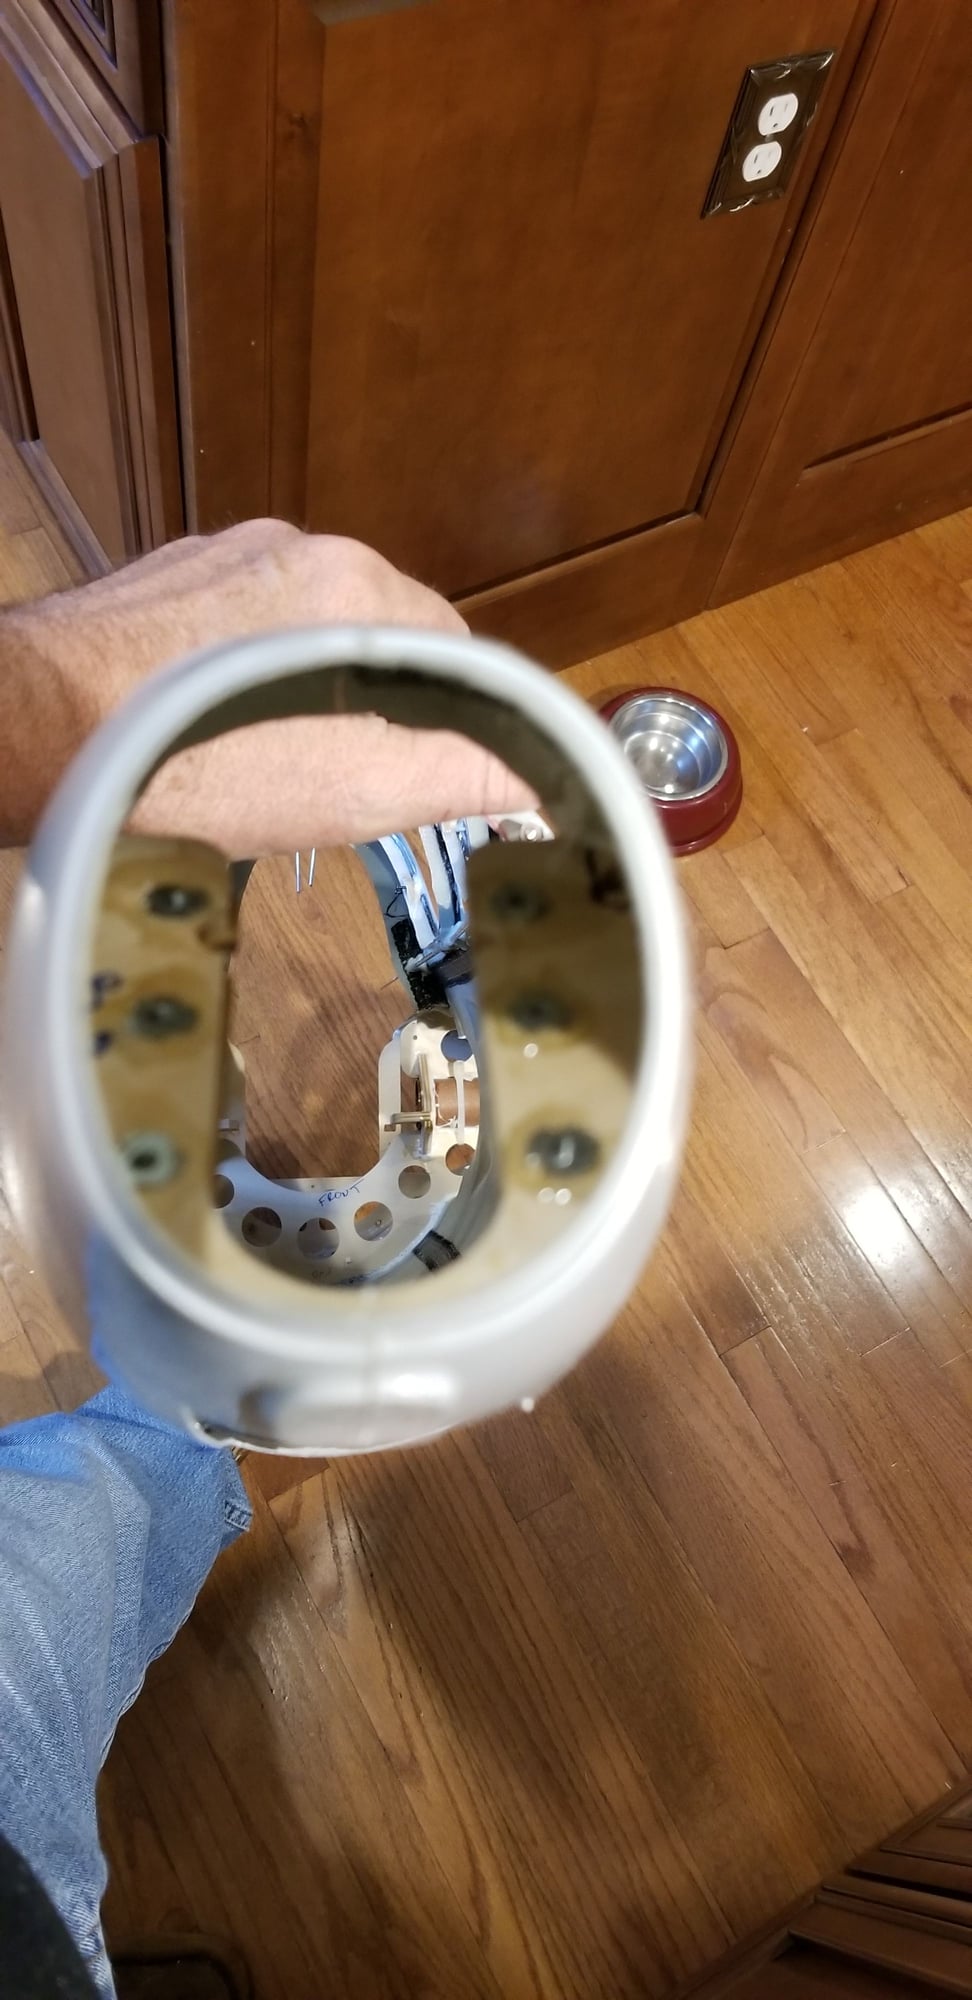
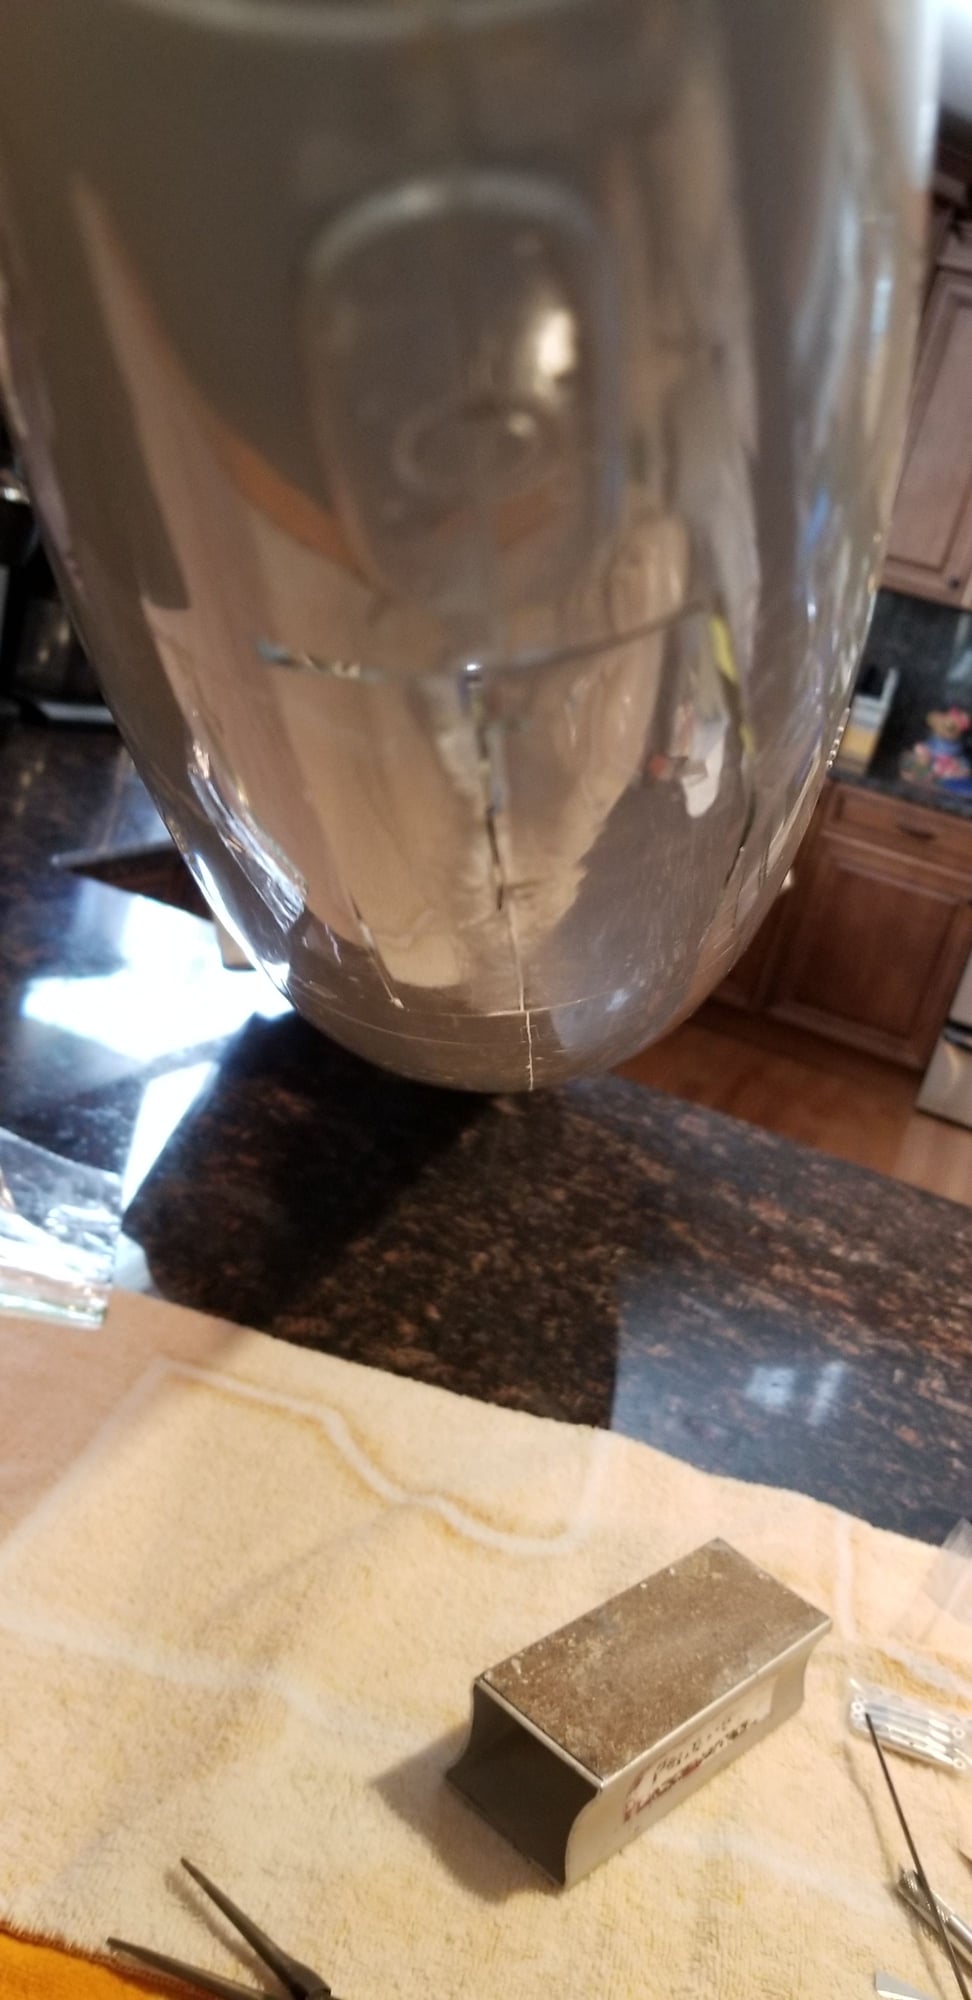
A little work done this morning. Nose wheel door cut out,(the small door outline will be cut later as it opens wider than main door), nose retract former assembled, carry thru spar and motor mounts dry fitted.

Last edited by tp777fo; 03-14-2019 at 06:39 AM.
Old 03-15-2019, 07:51 AM
  #86  
tp777fo
Thread Starter
My Feedback: (28)
 
tp777fo's Avatar
 
Join Date: Feb 2002
Location: Greer, SC
Posts: 3,507
Received 126 Likes on 87 Posts
Default

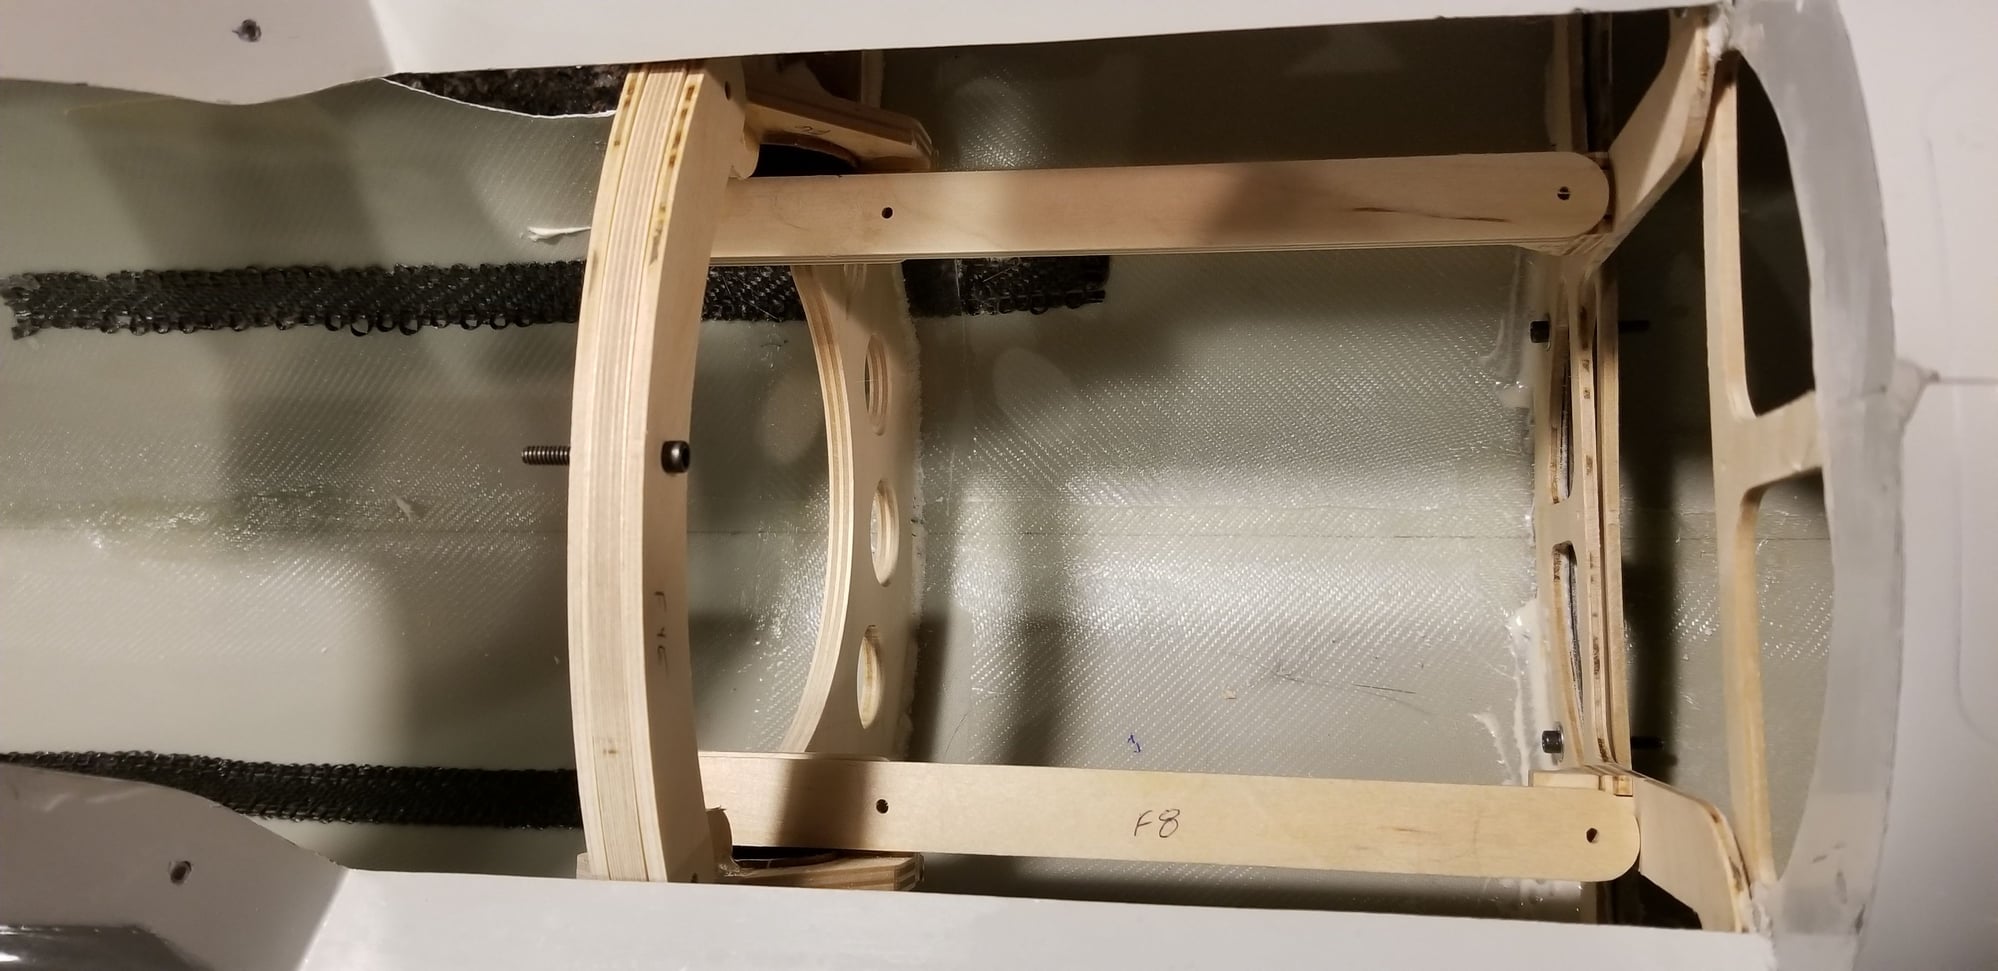
Well glad this is over. Like building a ship in a bottle. Nose gear former is installed. I had to grind out my fwd latch hold downs as they interferred with the former. After hysol sets i will reinstall and add a second former to hold the hatch wires and the nose light. No more Fougaing for a week or so. Our club has theJason Jordan Jet Jam next weekend. Come fly with us. We have good wx forecast, lots of prizes, steak dinner and a special event. A piano burning in memory of Jason Jordan...complete with a shot of Jeremiah Weed for all.
Old 
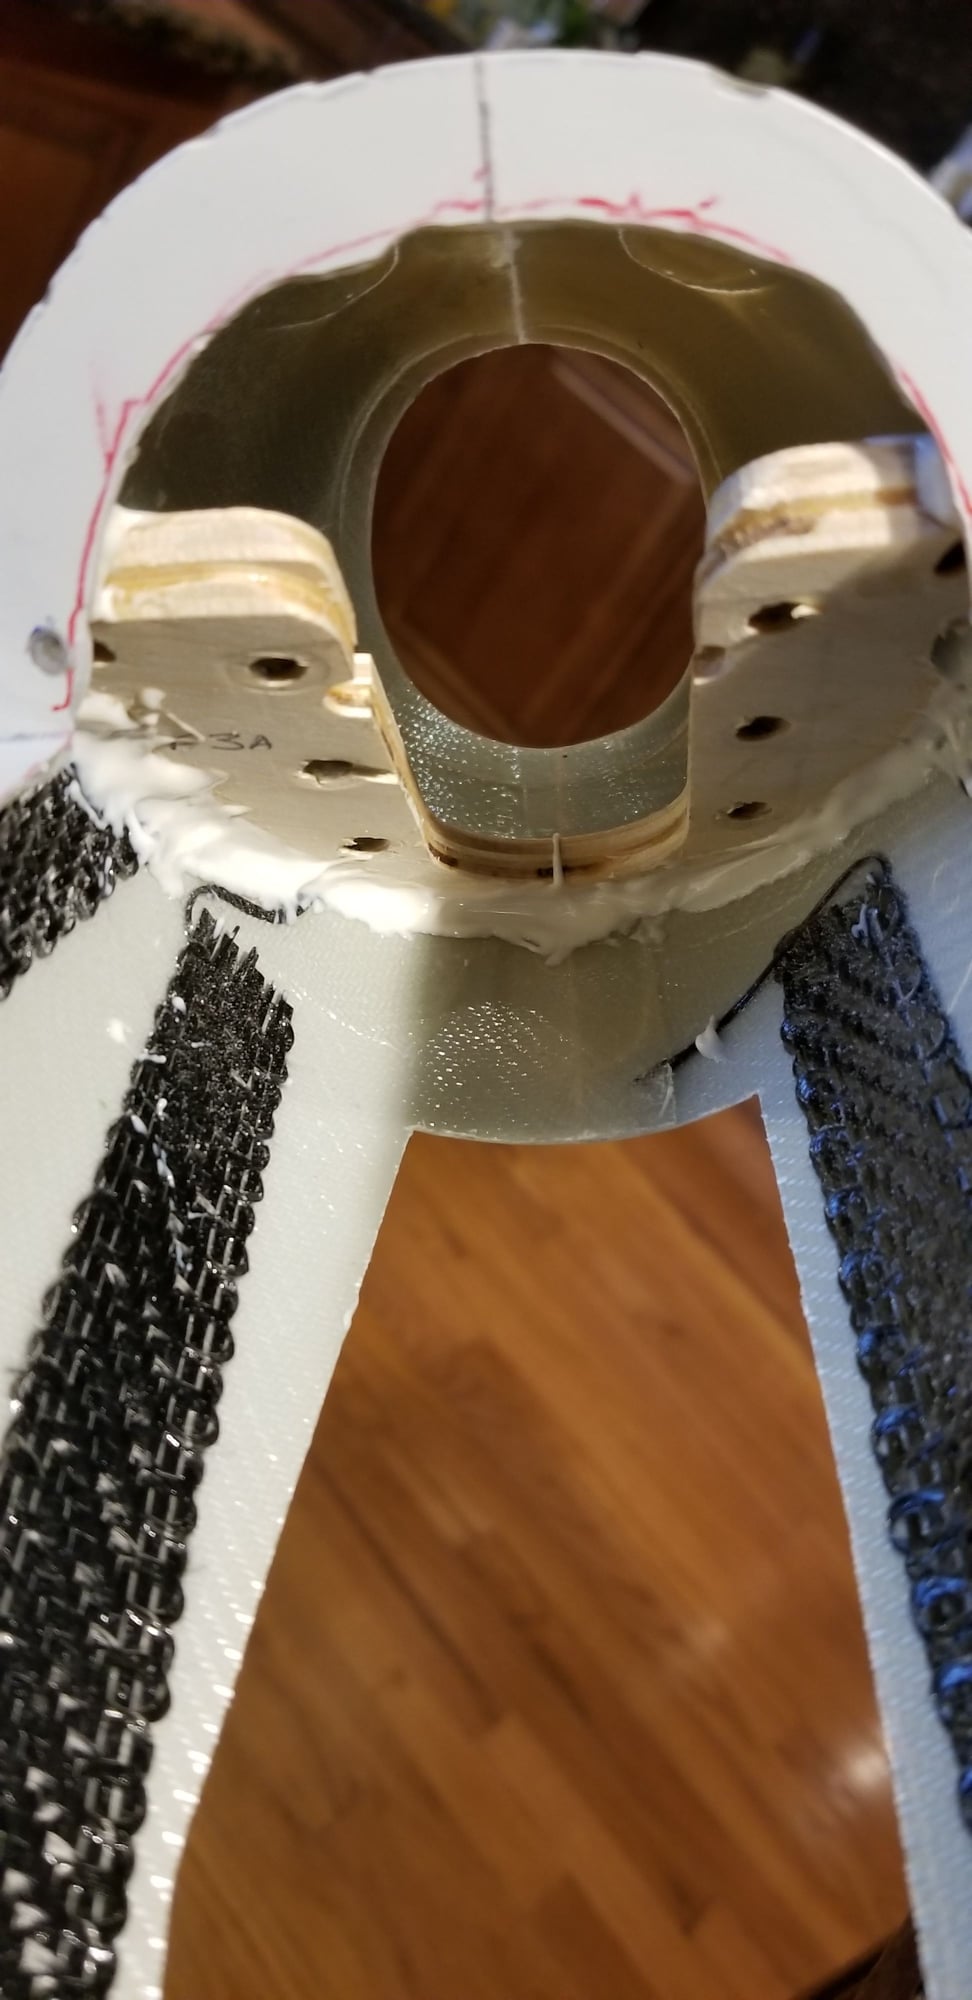
04-05-2019, 09:03 AM
  #87  
tp777fo
Thread Starter
My Feedback: (28)
 
tp777fo's Avatar
 
Join Date: Feb 2002
Location: Greer, SC
Posts: 3,507
Received 126 Likes on 87 Posts
Default

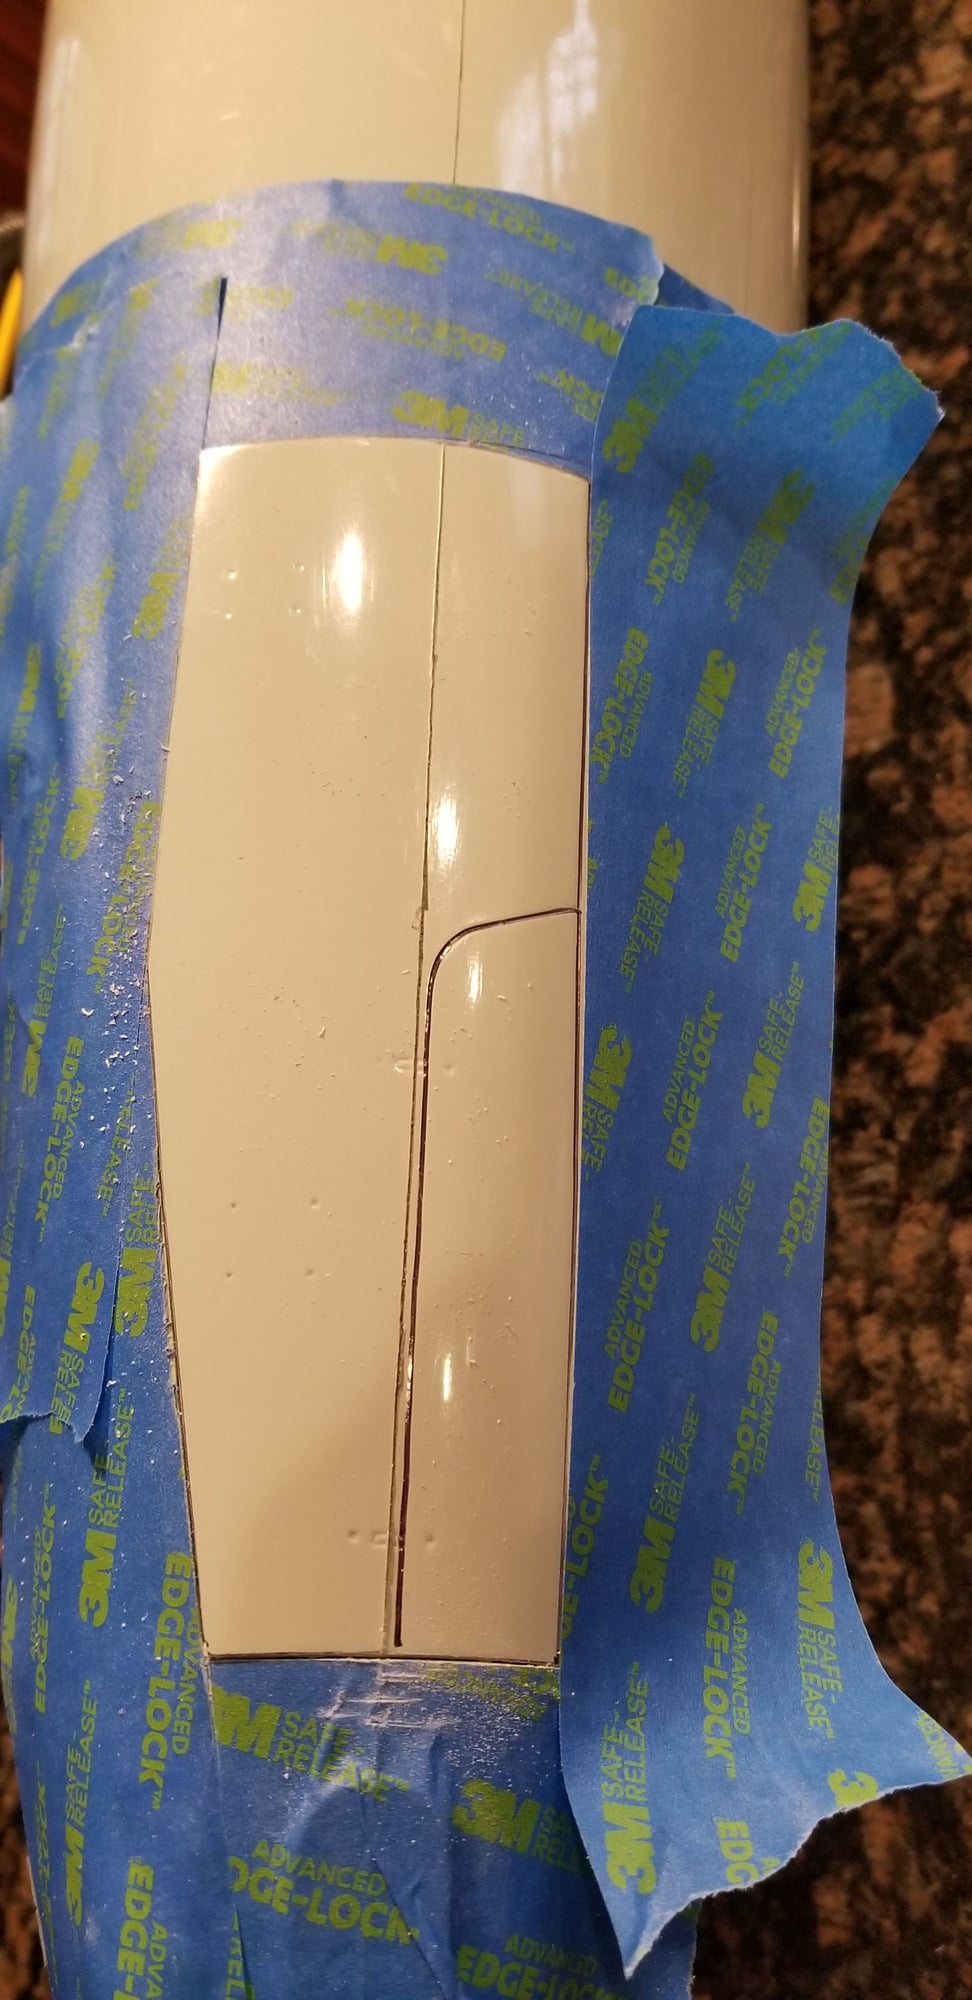
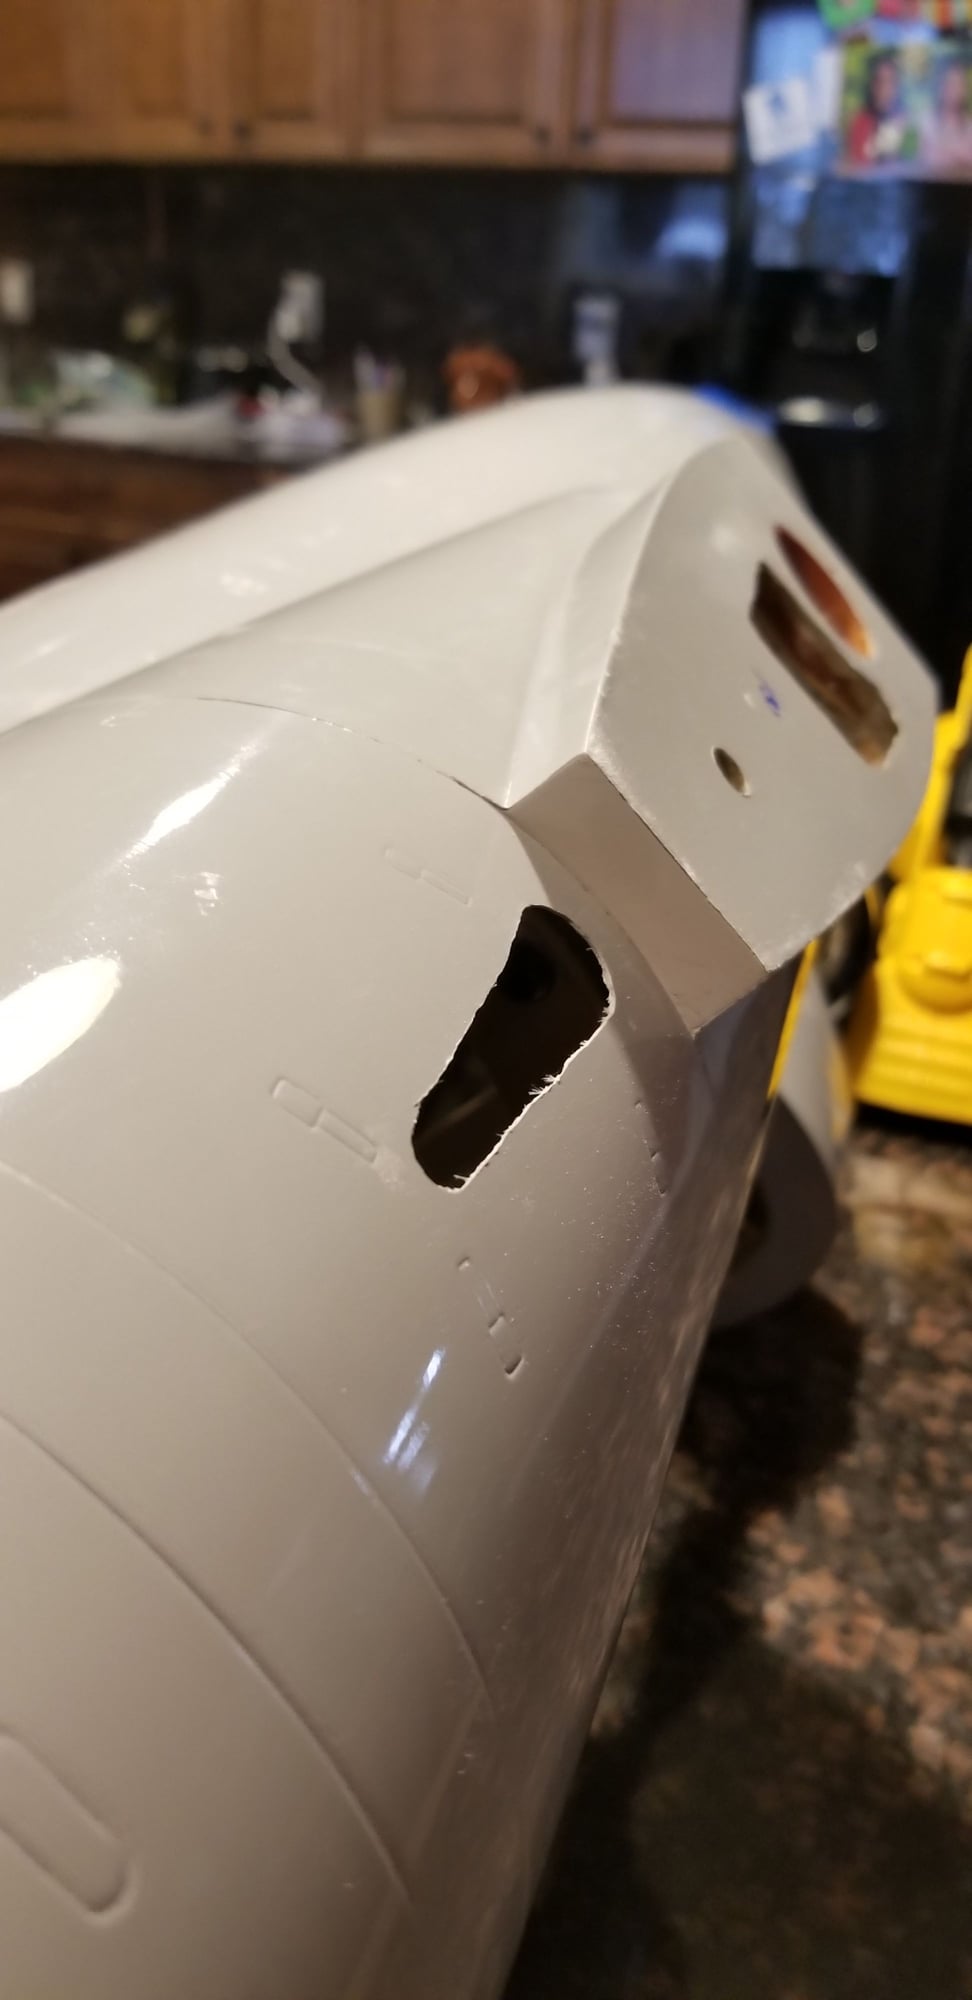
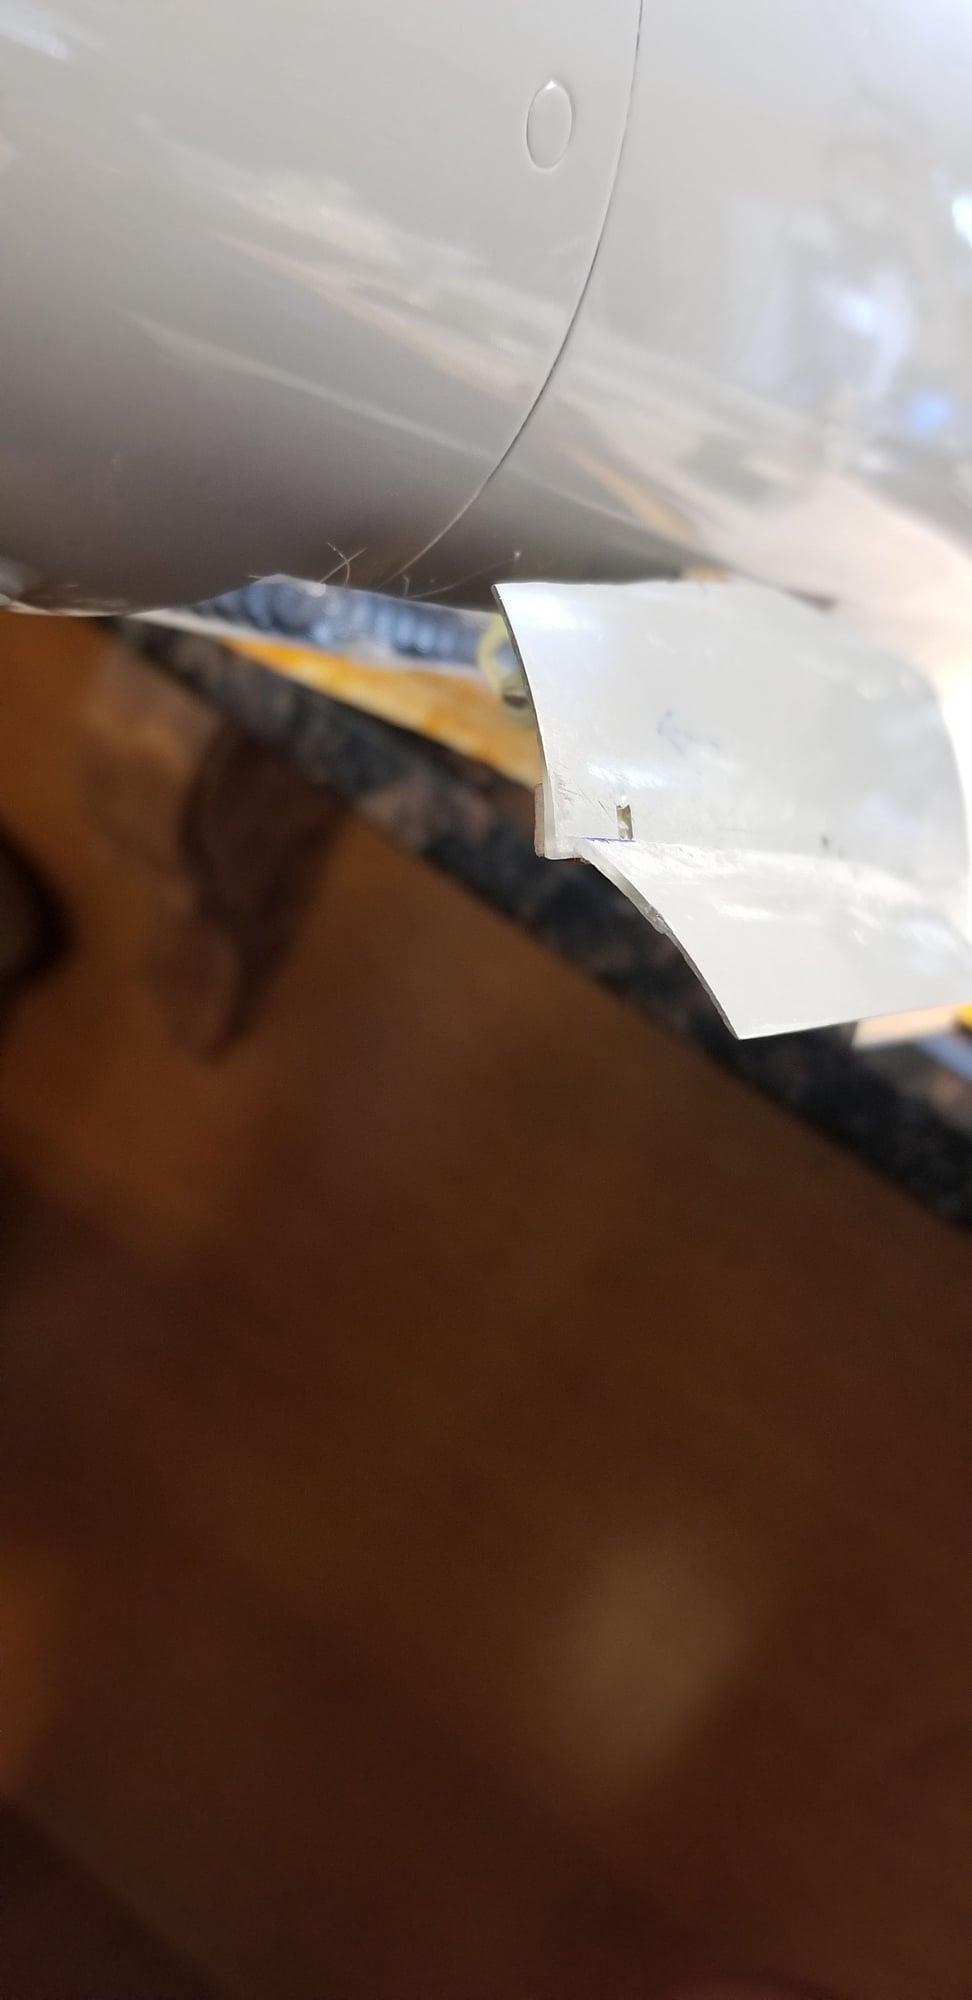
Back at work today. Needed a mental health break plus other airplanes and flying took my time. The nose gear door opens and a small section of it expands out farther to allow steering. Tacked in today and after i ensure its correct i will permanently glue it.
Old 
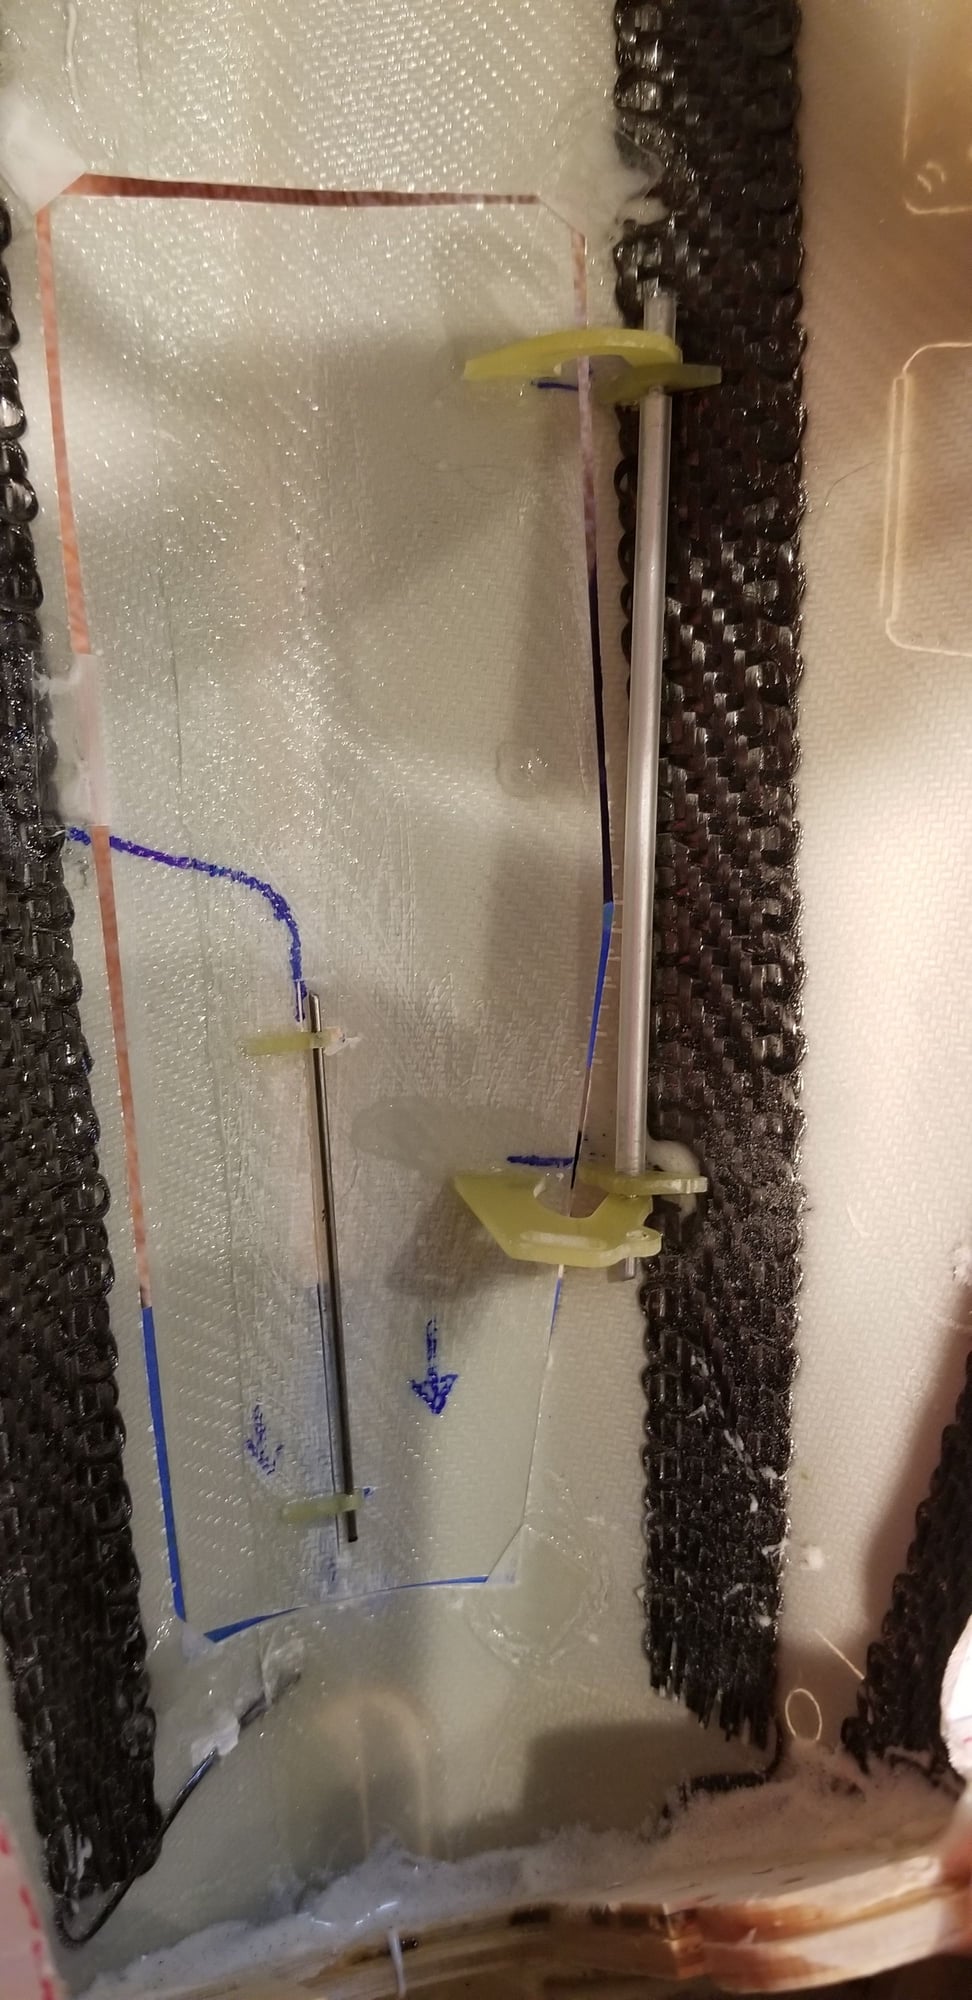
04-16-2019, 05:20 AM
  #88  
tp777fo
Thread Starter
My Feedback: (28)
 
tp777fo's Avatar
 
Join Date: Feb 2002
Location: Greer, SC
Posts: 3,507
Received 126 Likes on 87 Posts
Default

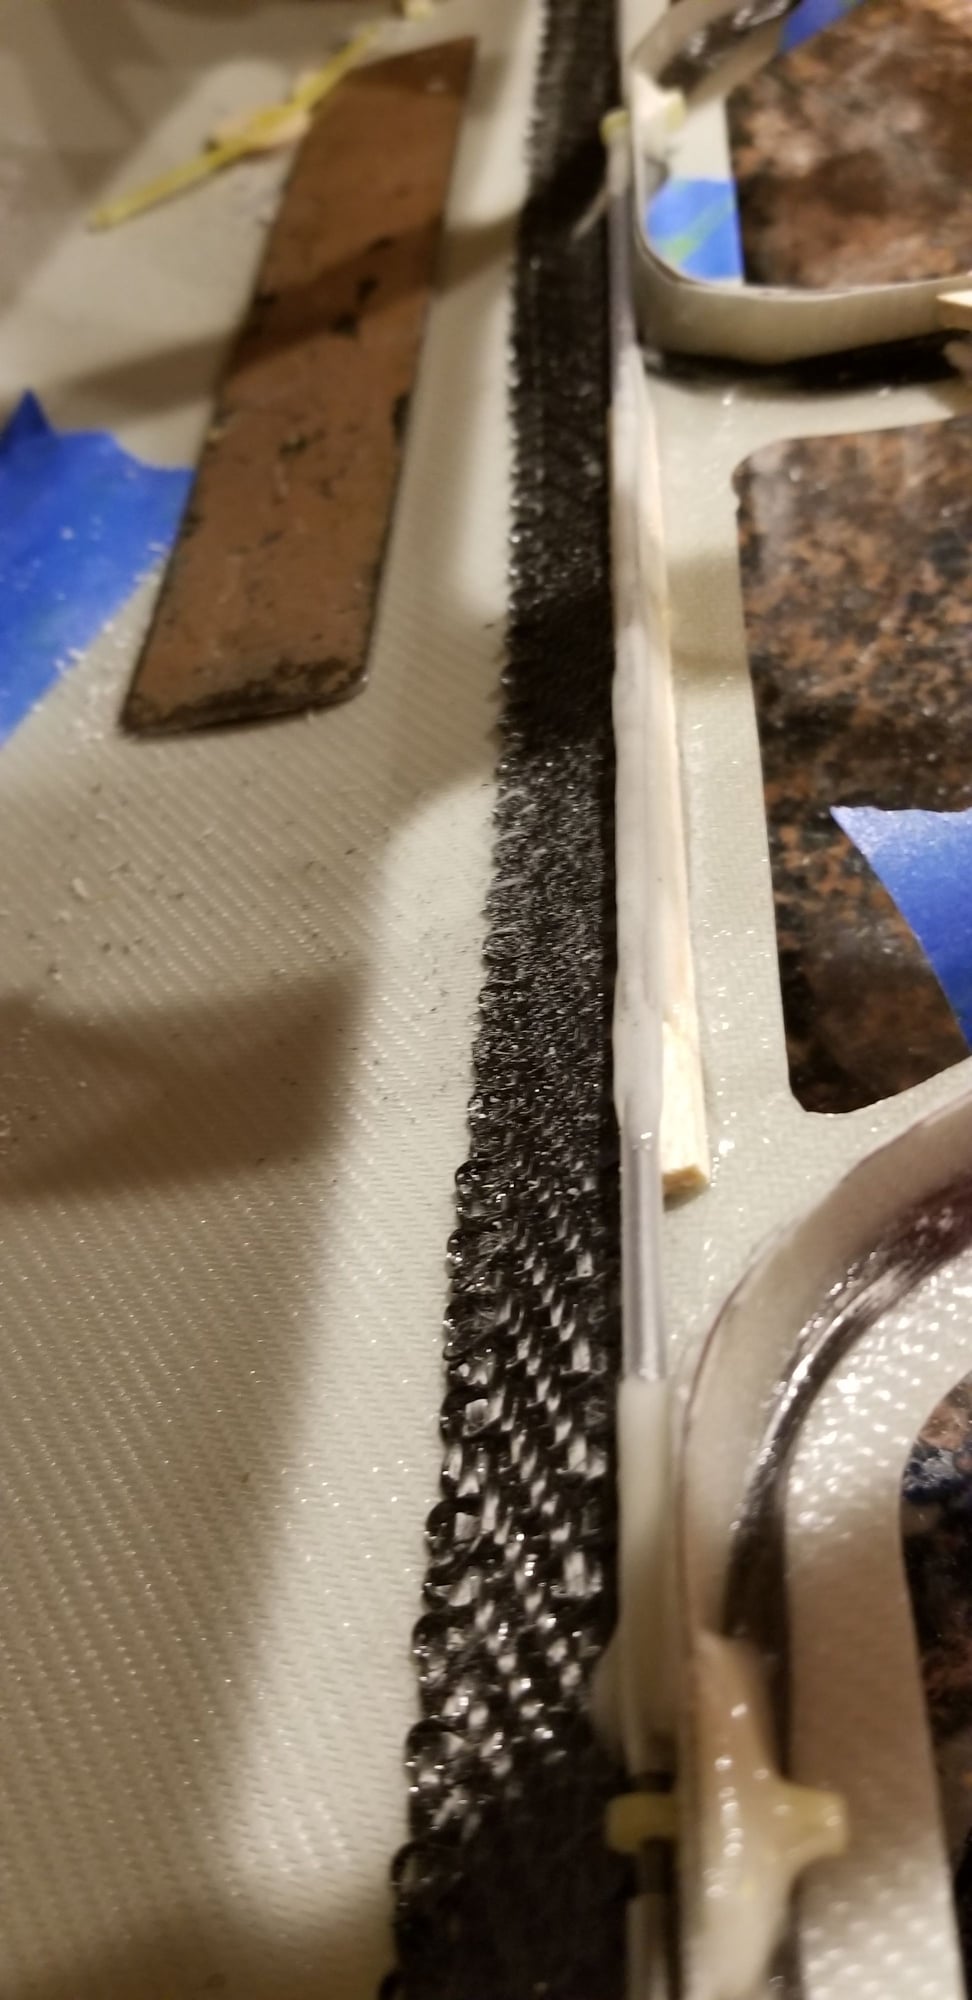
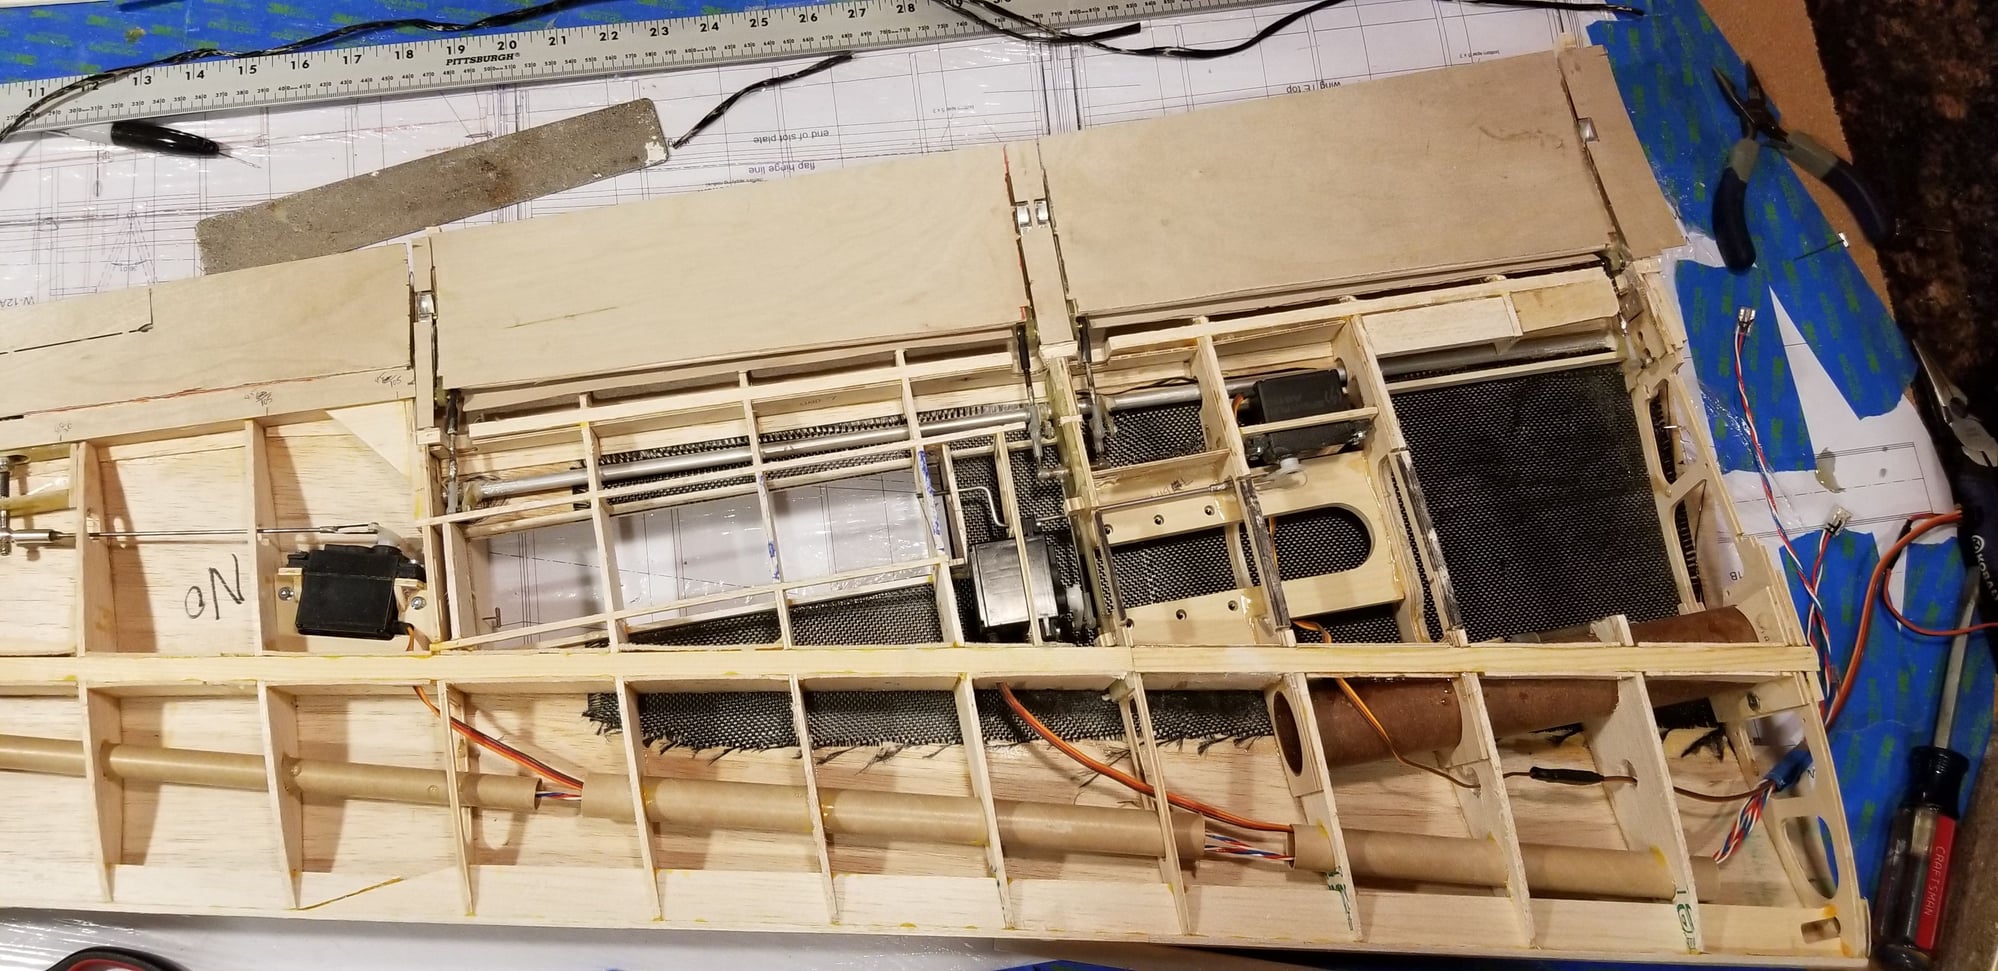
T33 finally figured out and flying well, motor back in Dolphin after a 25hr check, SC Jet Fest attended and now back on the Fouga. Wife out of town so I moved back to the kitchen(yeah I am chicken) to get the wings sheeting complete. Bottom more difficult due to the flap and aileron areas. I had to piece together about 10 pieces of different shapes. I hope to get at least one complete before the weekend.
Old 04-17-2019, 02:56 AM
  #89  
tp777fo
Thread Starter
My Feedback: (28)
 
tp777fo's Avatar
 
Join Date: Feb 2002
Location: Greer, SC
Posts: 3,507
Received 126 Likes on 87 Posts
Default


Last chance to see inside Fouga wing. Made some minor adjustments to flap linkage. Checked aileron and speedbrake servos. C/F roving will be placed on spar and sheeting then applied.
Old 
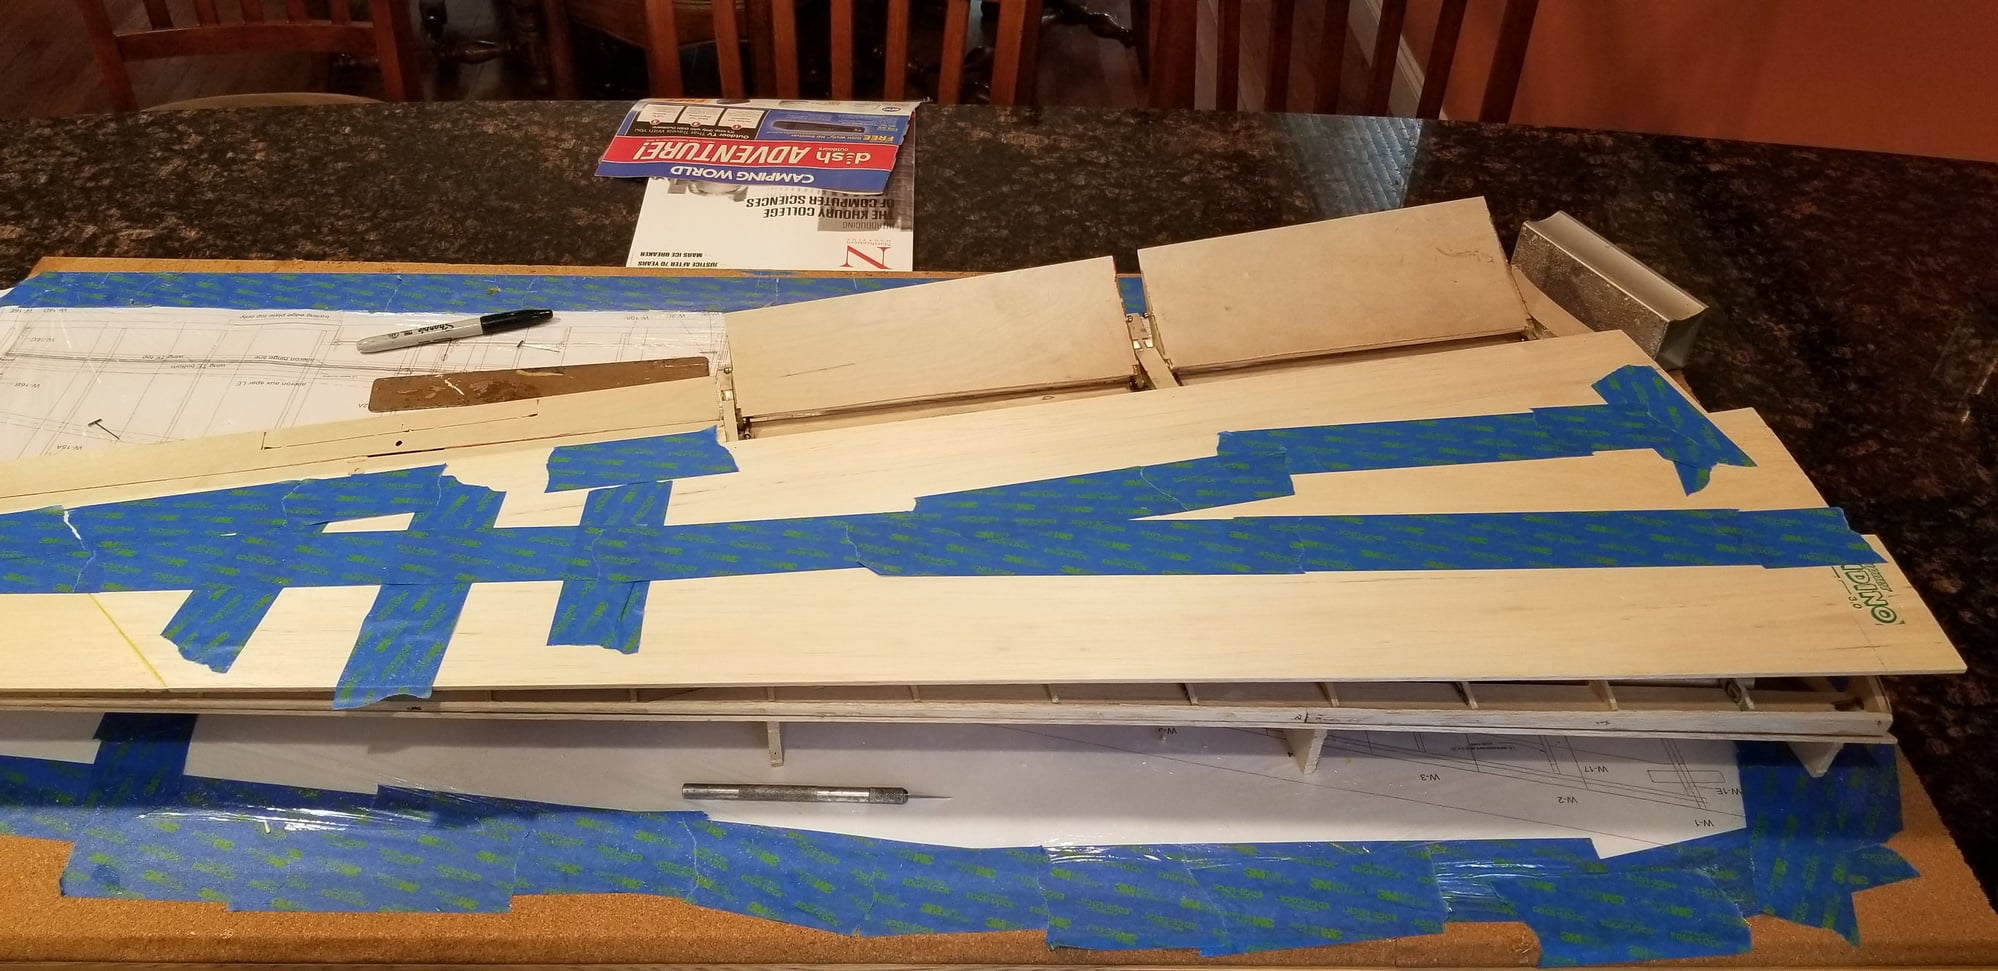
04-19-2019, 03:59 AM
  #90  
tp777fo
Thread Starter
My Feedback: (28)
 
tp777fo's Avatar
 
Join Date: Feb 2002
Location: Greer, SC
Posts: 3,507
Received 126 Likes on 87 Posts
Default


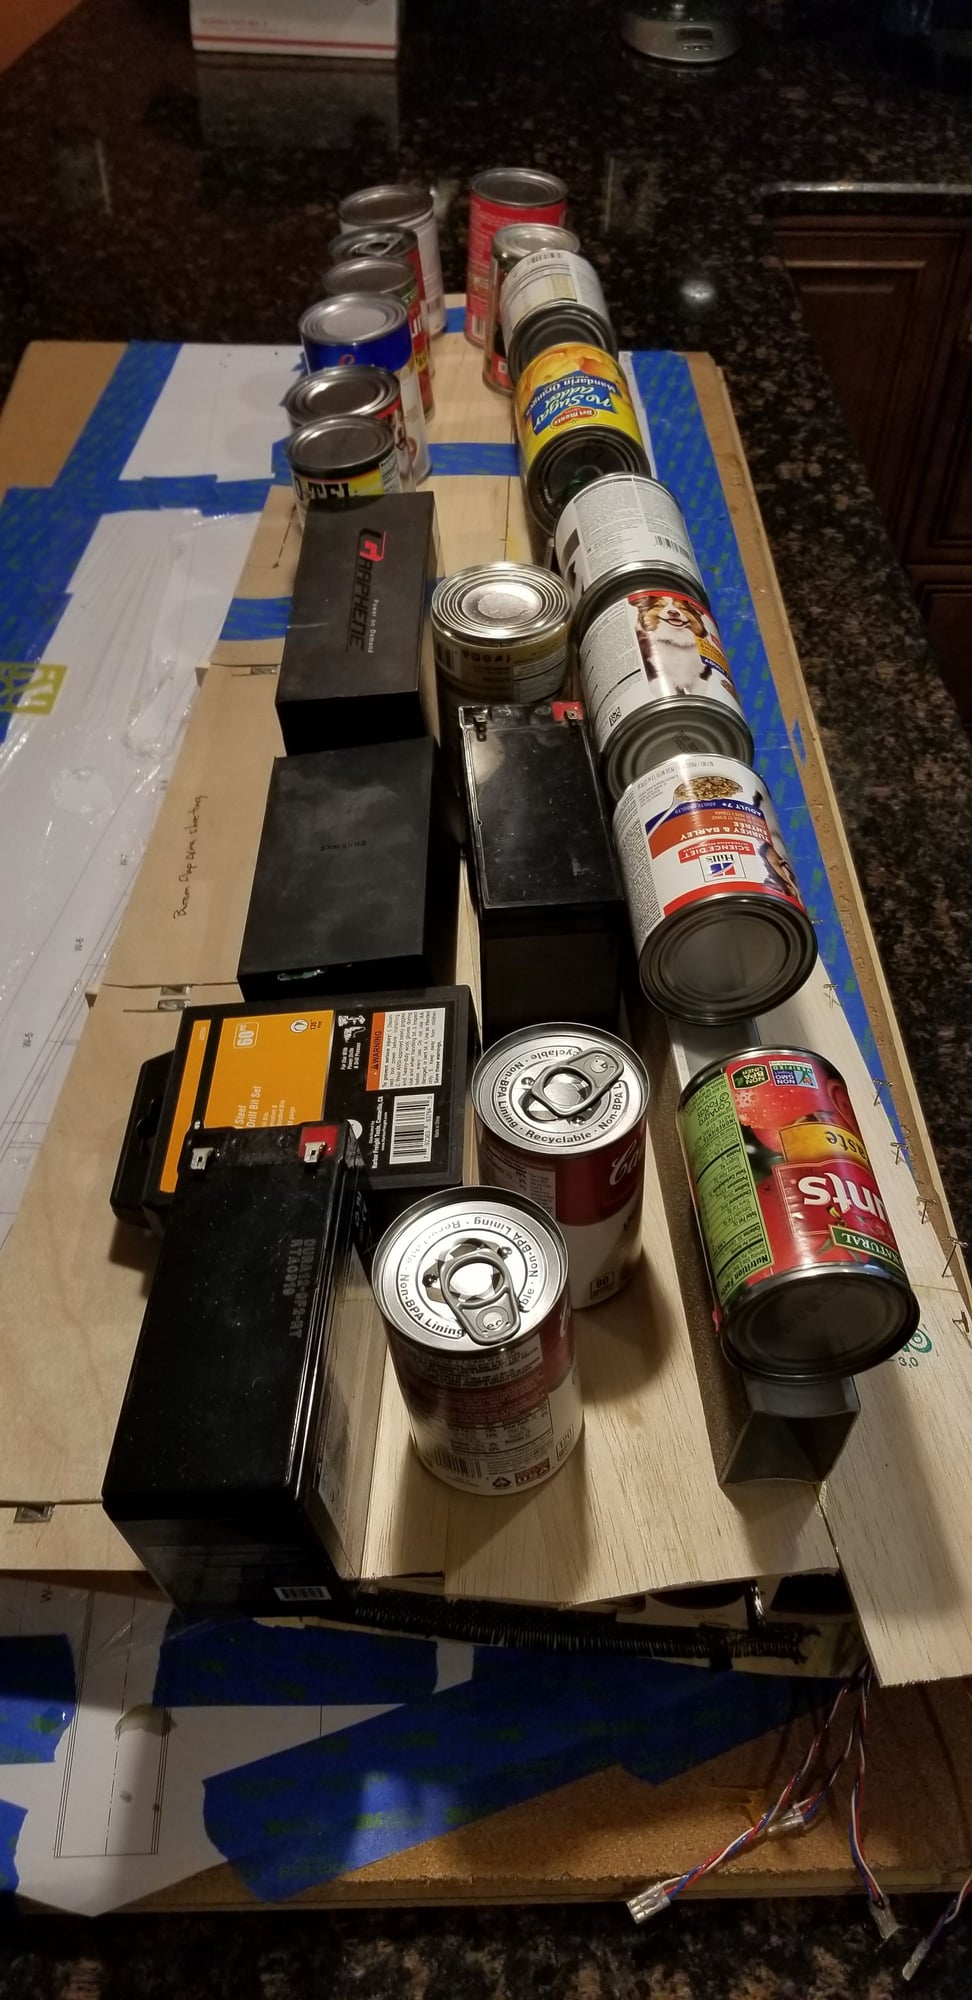
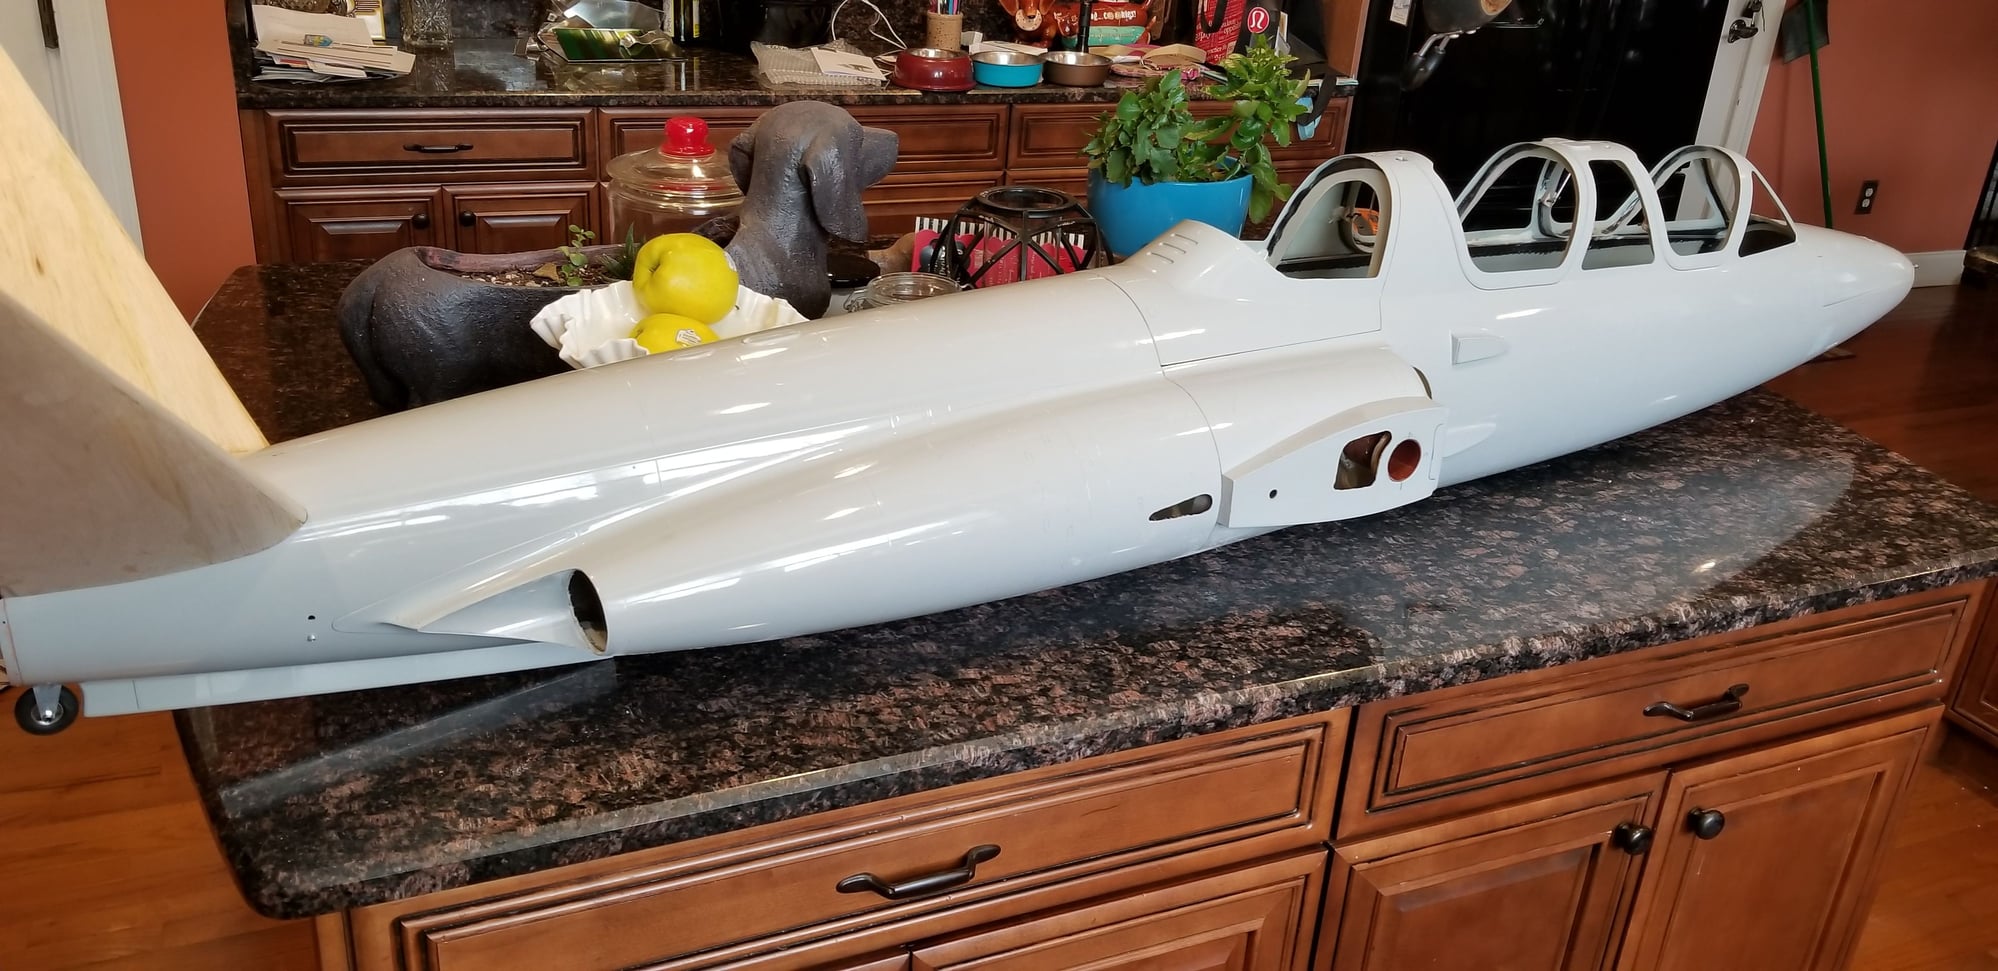
Ok guys, under this pile of cans, batteries and everything else I could find lies the Great Balsa Monster. He is dead! I bet i have 500 hours in the wings/tail just to get them assembled. I still have lots of small trim balsa work, speed brakes, tip tanks and gear doors to finish on the wings, hours of sanding and fiberglassing but the worst is behind me. As for the fuselage I still need to install the intakes, cockpit kit, finish the nose gear door and install about a gazillion ABS trim parts. This kit has been the most challenging project in my 60 year modelling journey.

Last edited by tp777fo; 04-19-2019 at 10:37 AM.
Old 04-19-2019, 06:40 AM
  #91  
DUCMOZ
 
Join Date: Sep 2006
Location: , WA
Posts: 864
Likes: 0
Received 26 Likes on 22 Posts
Default

Hey TP, no worries, 30 years ago I built a BVM f16 with all the details and lost to an Eagle 63 at a hobby fair. Explanation I got; the glass fuse is easier to work on than building the balsa fuse��
Old 04-19-2019, 10:39 AM
  #92  
tp777fo
Thread Starter
My Feedback: (28)
 
tp777fo's Avatar
 
Join Date: Feb 2002
Location: Greer, SC
Posts: 3,507
Received 126 Likes on 87 Posts
Default

Looking kinda Fougaly
Old 04-19-2019, 10:40 AM
  #93  
tp777fo
Thread Starter
My Feedback: (28)
 
tp777fo's Avatar
 
Join Date: Feb 2002
Location: Greer, SC
Posts: 3,507
Received 126 Likes on 87 Posts
Default

Looking kinda Fougaly
Old 04-23-2019, 07:23 AM
  #94  
tp777fo
Thread Starter
My Feedback: (28)
 
tp777fo's Avatar
 
Join Date: Feb 2002
Location: Greer, SC
Posts: 3,507
Received 126 Likes on 87 Posts
Default

Nose door open/closed. Makes room for nose strut when open.
Old 04-23-2019, 08:11 AM
  #95  
Dieselman1220
My Feedback: (25)
 
Dieselman1220's Avatar
 
Join Date: Feb 2004
Location: New Braunfels, TX
Posts: 886
Received 9 Likes on 8 Posts
Default

Hey Tom, I know serveral years ago you built the Avonds F104. I’ve been contemplating that kit for years.
How does this build compare to the F104?
Old 04-23-2019, 08:54 AM
  #96  
tp777fo
Thread Starter
My Feedback: (28)
 
tp777fo's Avatar
 
Join Date: Feb 2002
Location: Greer, SC
Posts: 3,507
Received 126 Likes on 87 Posts
Default

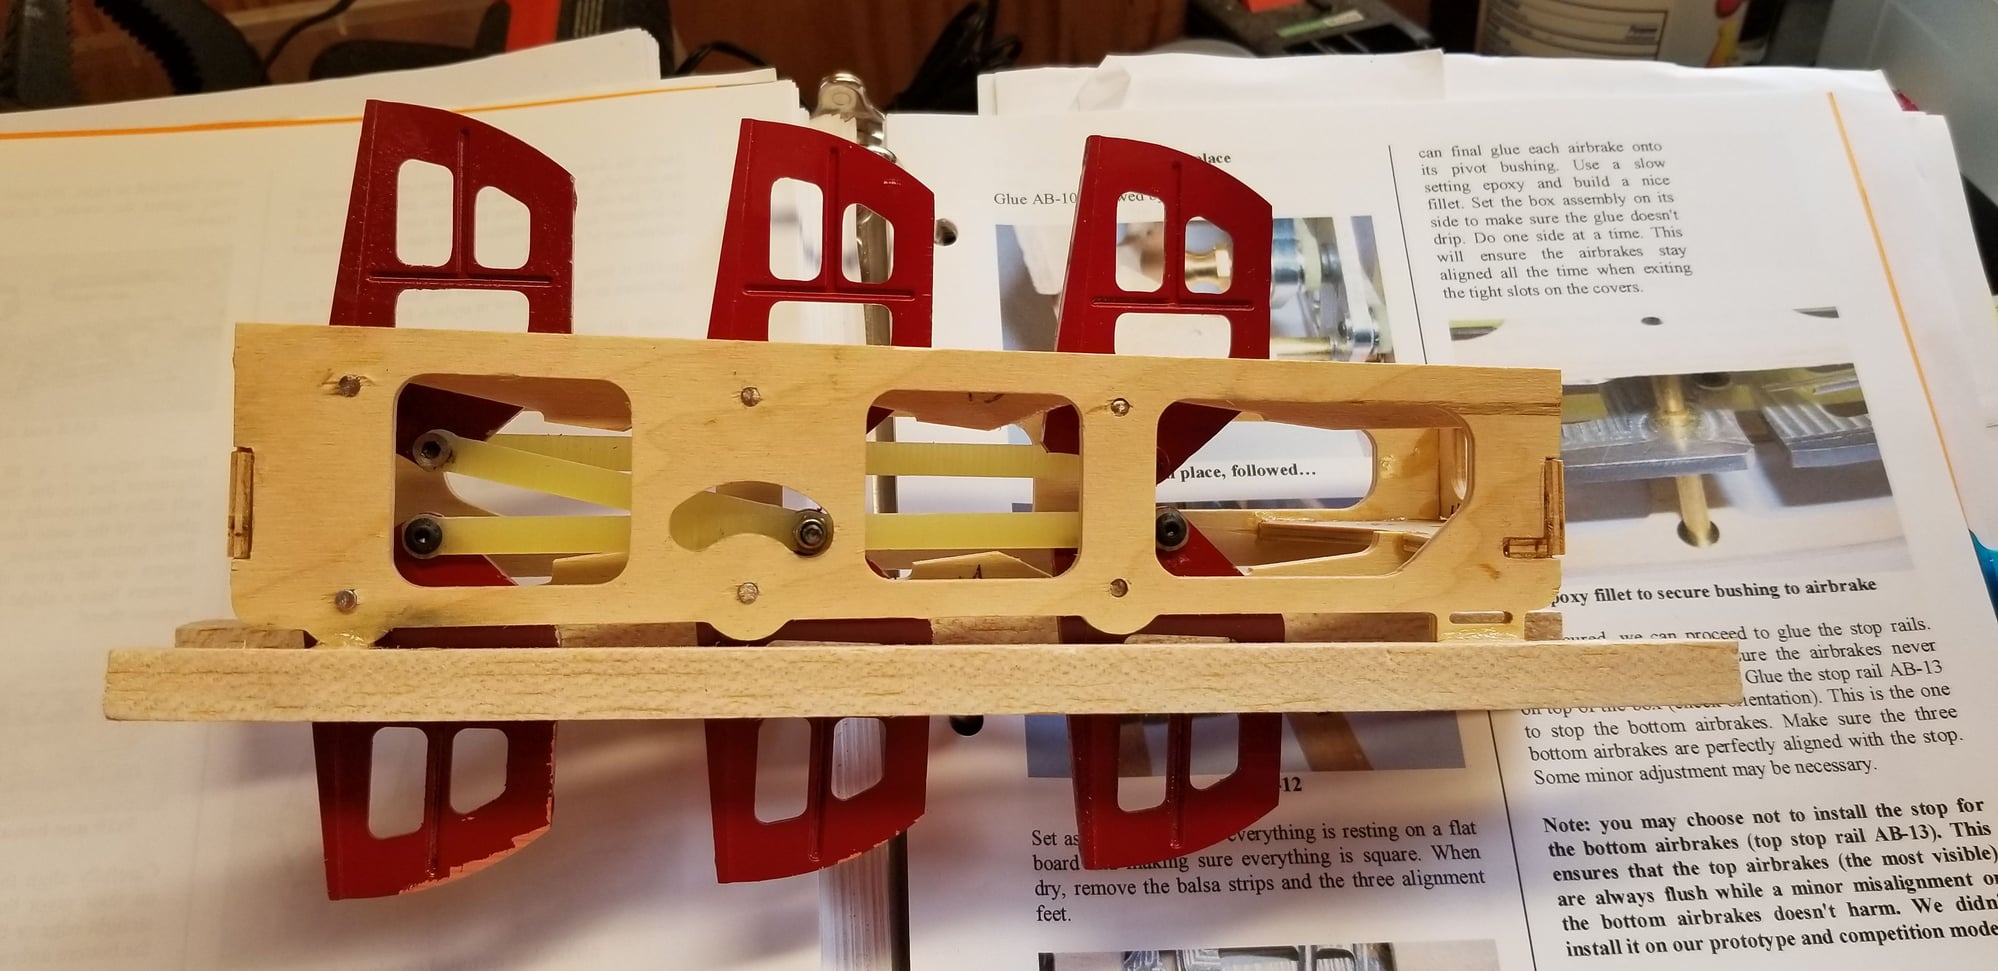
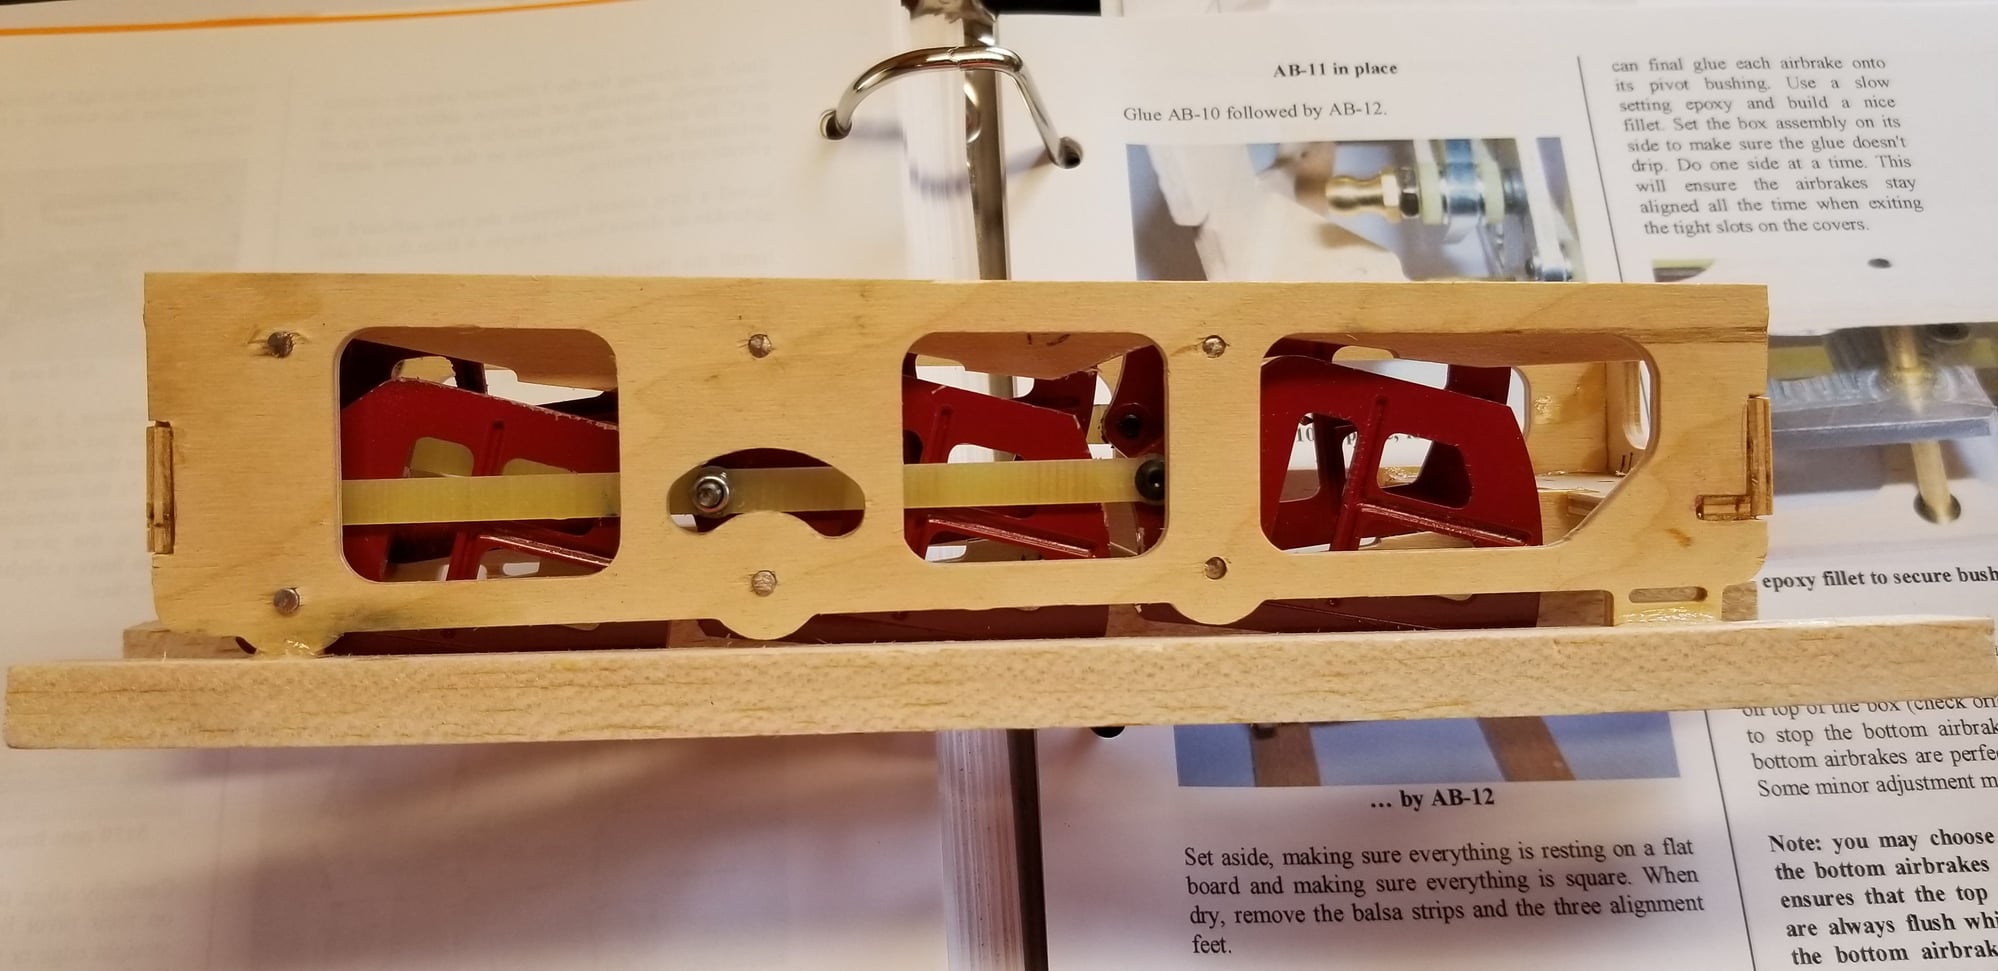
Compared to this the 104 is a beginner's kit. As normal in Avonds kits everything is provided down to the very last screw (Dubro or equivalent). The parts fit perfectly and the glass is perfect. Instructions are scarce on this one as PA expects only experienced guys build it...he is right. Only world class modellers or fools, (I am the later). Weim Renners (sp) and Jack Diaz have a build thread on RCScale builders. Without that I would never get it done. The precision on the flaps and ailerons require .5mm tolerance to get them to work....mine do and Im thrilled. No visible control horns and everything is perfect scale. You don't know if the ailerons and flaps work until you are finished and cut them loose. I hope to have it finished by next fall. The major construction items are nearly complete but the final fitting,fiberglass, trim work and painting will require lots of time.

PAs 104 is a wonderful kit and flies on rails. The anhedral is set with the foam cutouts for the wing. You put wings in the cradles and suspend fuselage between them on the main spar. You can build the 104 under 20# with a little work. Build with or without gear doors as you prefer. Go for it. It is a pleasure to build and fly.

Last edited by tp777fo; 04-23-2019 at 09:19 AM.
Old 04-23-2019, 09:16 AM
  #97  
tp777fo
Thread Starter
My Feedback: (28)
 
tp777fo's Avatar
 
Join Date: Feb 2002
Location: Greer, SC
Posts: 3,507
Received 126 Likes on 87 Posts
Default

Here is a neat thing about PAs engineering. He makes the ram mounts adjustable for the perfect fit
gear doors.

Last edited by tp777fo; 04-23-2019 at 11:45 AM.
Old 04-25-2019, 08:25 AM
  #98  
tp777fo
Thread Starter
My Feedback: (28)
 
tp777fo's Avatar
 
Join Date: Feb 2002
Location: Greer, SC
Posts: 3,507
Received 126 Likes on 87 Posts
Default

Fouga airbrakes.

Now you see'em
Now you dont.
Old 04-26-2019, 06:23 AM
  #99  
WimB
My Feedback: (1)
 
WimB's Avatar
 
Join Date: Dec 2008
Location: Wichelen , BELGIUM
Posts: 441
Likes: 0
Received 1 Like on 1 Post
Default

this model is truly a work of art, and I'd love to be able to build one, must be loads of fun as I truly am a builder..........but at that price, wow...... :-)

Wim
Old 04-26-2019, 07:17 AM
  #100  
tp777fo
Thread Starter
My Feedback: (28)
 
tp777fo's Avatar
 
Join Date: Feb 2002
Location: Greer, SC
Posts: 3,507
Received 126 Likes on 87 Posts
Default

Got mine on ebay. Steeply discounted.


Contact Us - Archive - Advertising - Cookie Policy - Privacy Statement - Terms of Service -

Copyright © 2024 MH Sub I, LLC dba Internet Brands. All rights reserved. Use of this site indicates your consent to the Terms of Use.