


1/4.5 T-38C Talon scratch build
 10-31-2023, 08:00 AM
#351


I put two more flights on the T-38 this past weekend. The only changes were i added 1 pound of nose weight to help soften the sensitivity a bit (it helped!) and i found one of the left main gear mount rib glue joint had cracked where it bonded it to the upper skin, so that was fixed. I also added 2 1/2 seconds to the gear sequence for the doors to stay open longer.
Flight #4, all of the gear finally went up and it looked amazing! Of course, no one got video of that flight.
Flight #5, the left main got stuck half way up. Performance is still pretty good though and I am getting more comfortable with the model as a whole. It needs some adjustment in the stabs as it has a rolling tendency with more than half elevator deflection, so that is on the to do list for this winter.
Landing is pretty entertaining since it uses about 60-70% power on the landing approach.
Here are two short clips of flight #5:

The following users liked this post:
causeitflies (10-31-2023)
01-27-2024, 04:41 PM
#354
Junior Member
Join Date: Feb 2023
Posts: 7
Likes: 0
Received 0 Likes
on
0 Posts
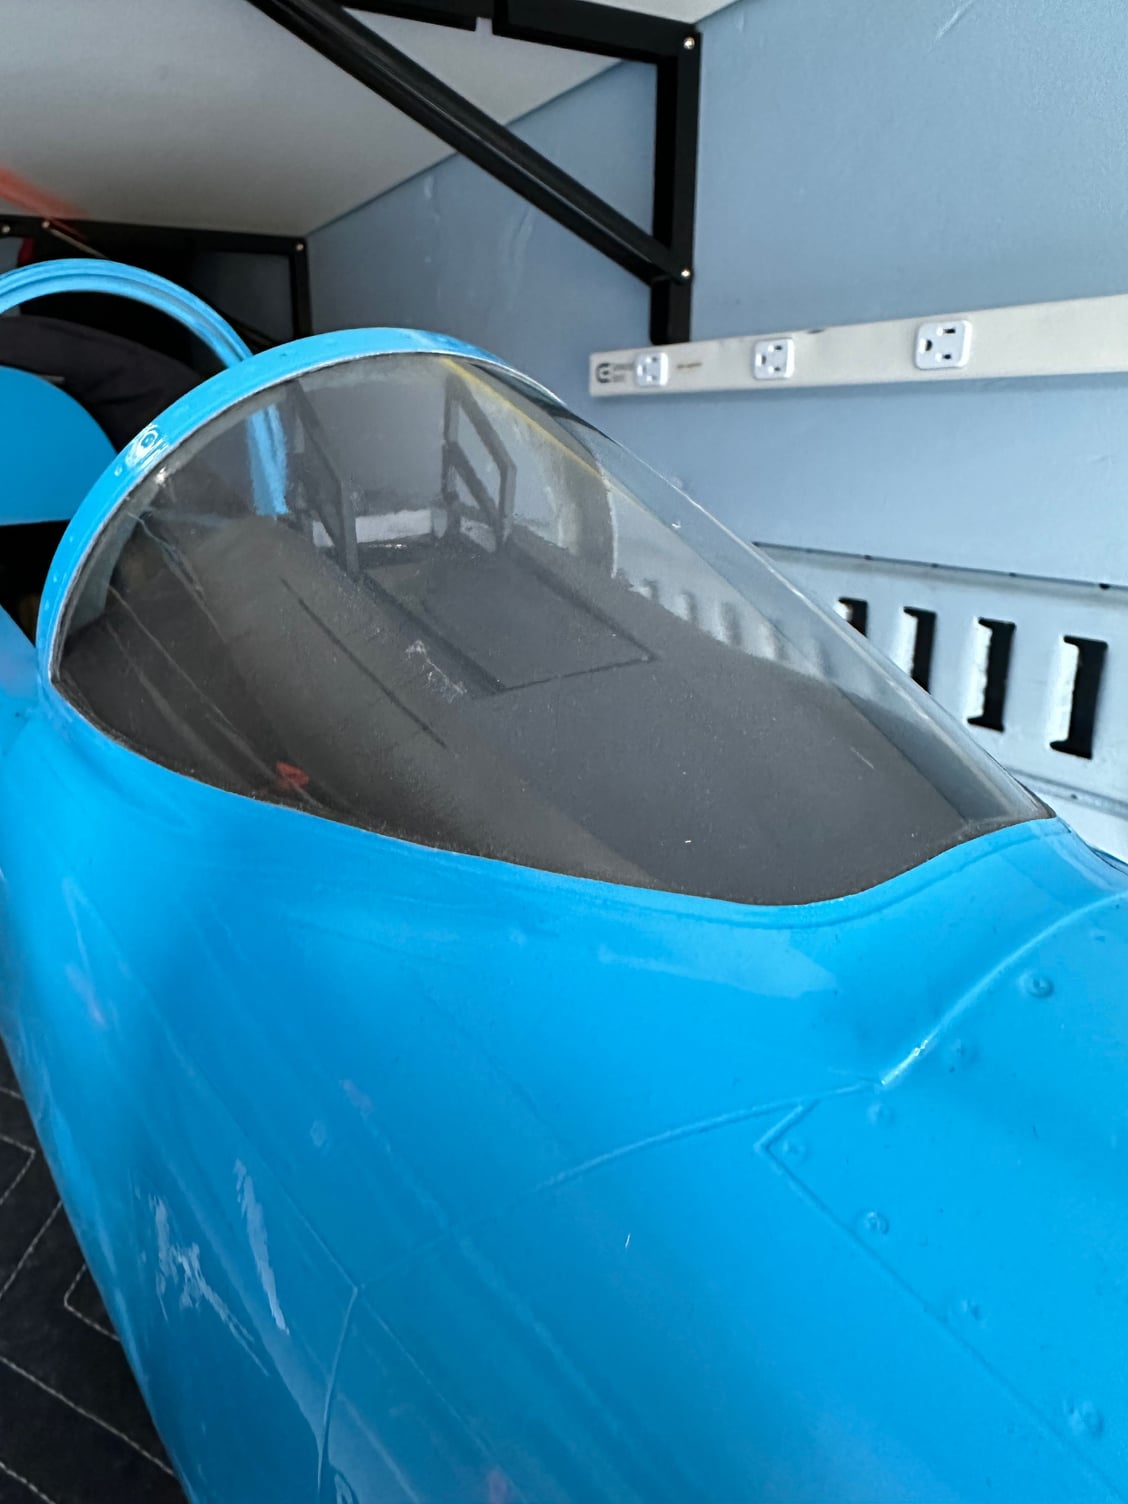
Nice scale size choice for this plane. It has nice presence in the air. Looking forward to seeing the cockpit to finish off "The Look". By the way, what thickness plywood do you use for your projects?
01-28-2024, 08:03 AM
#356
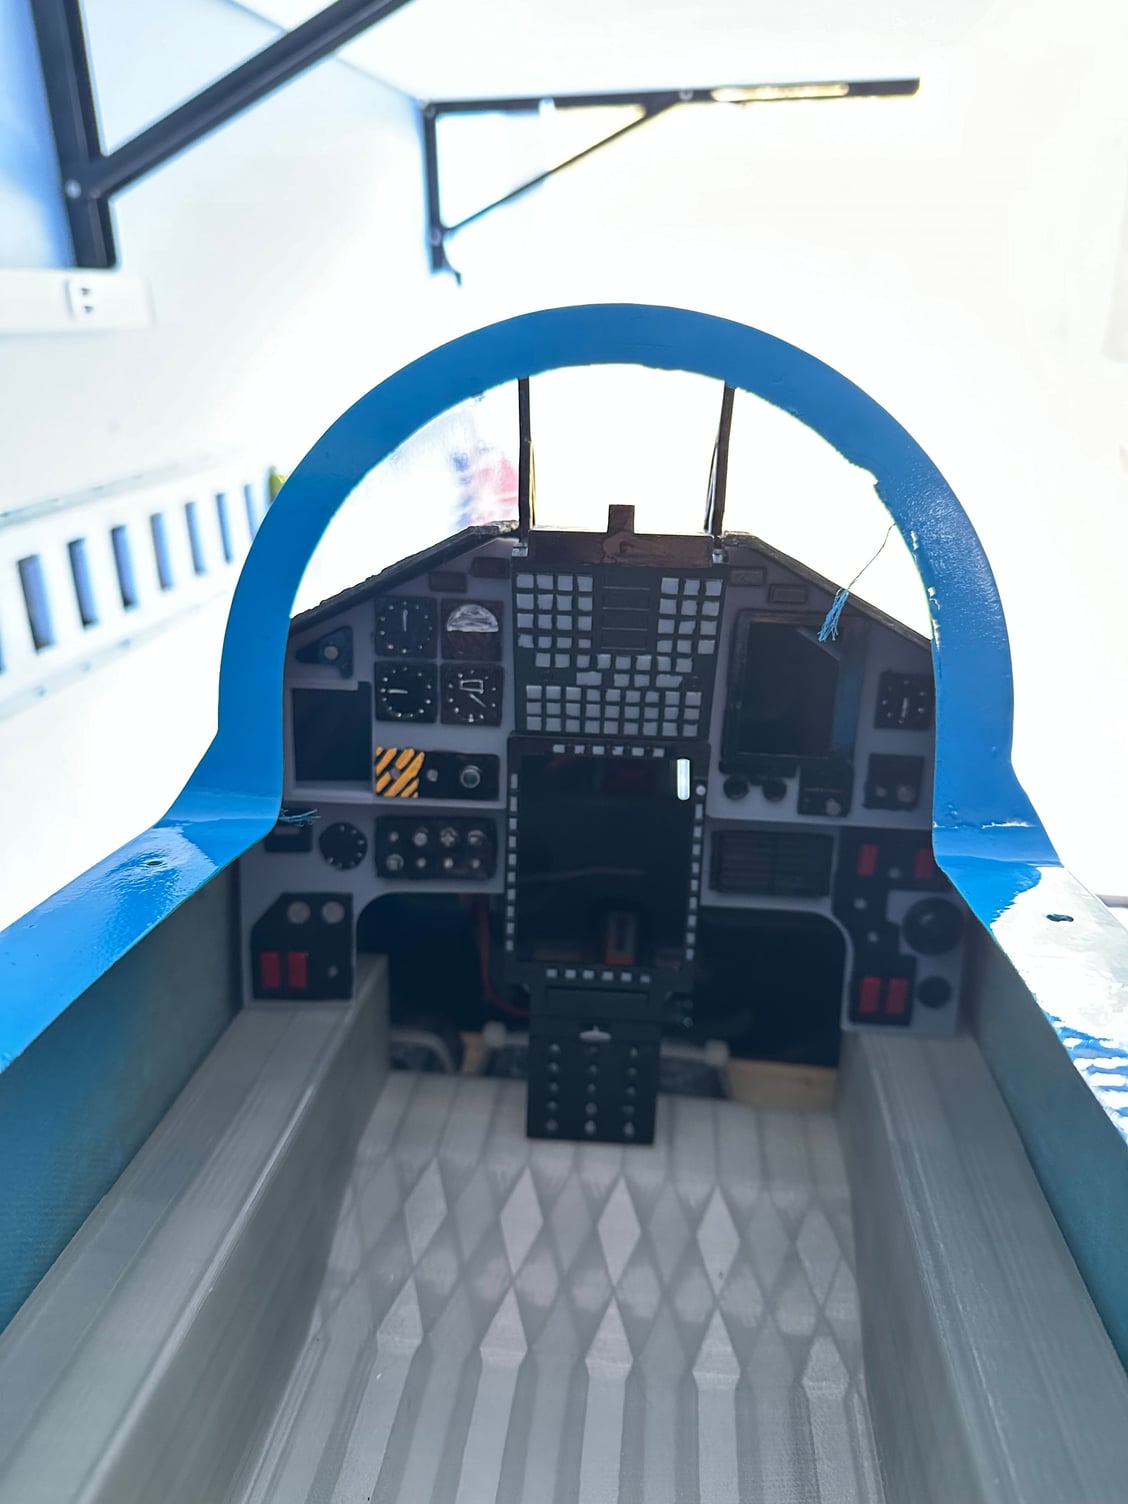
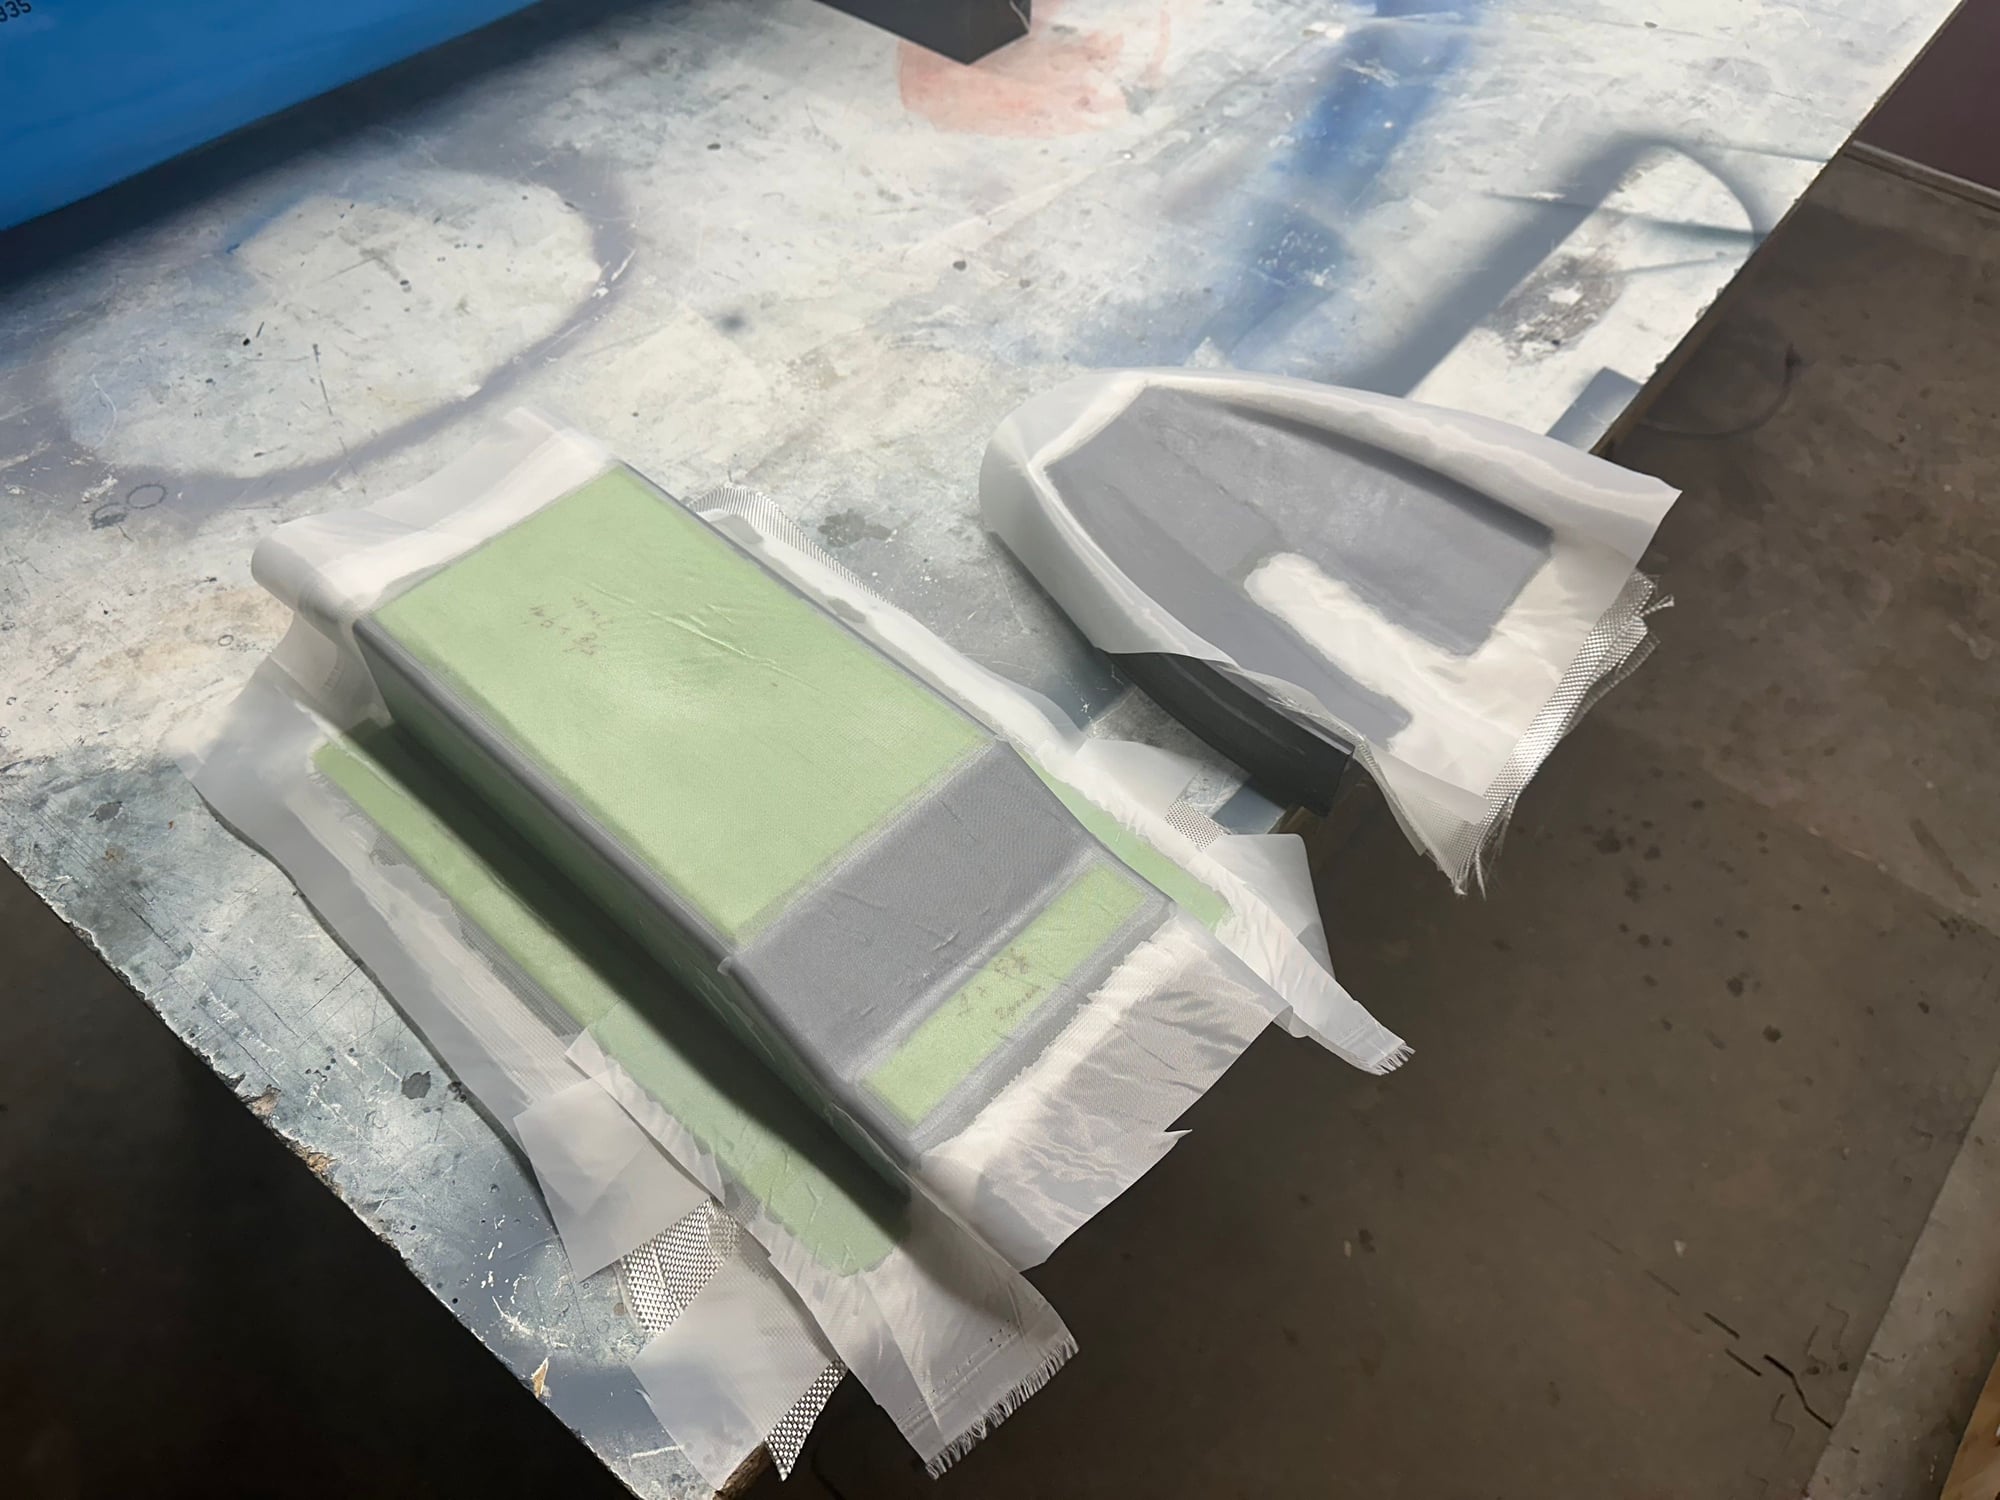
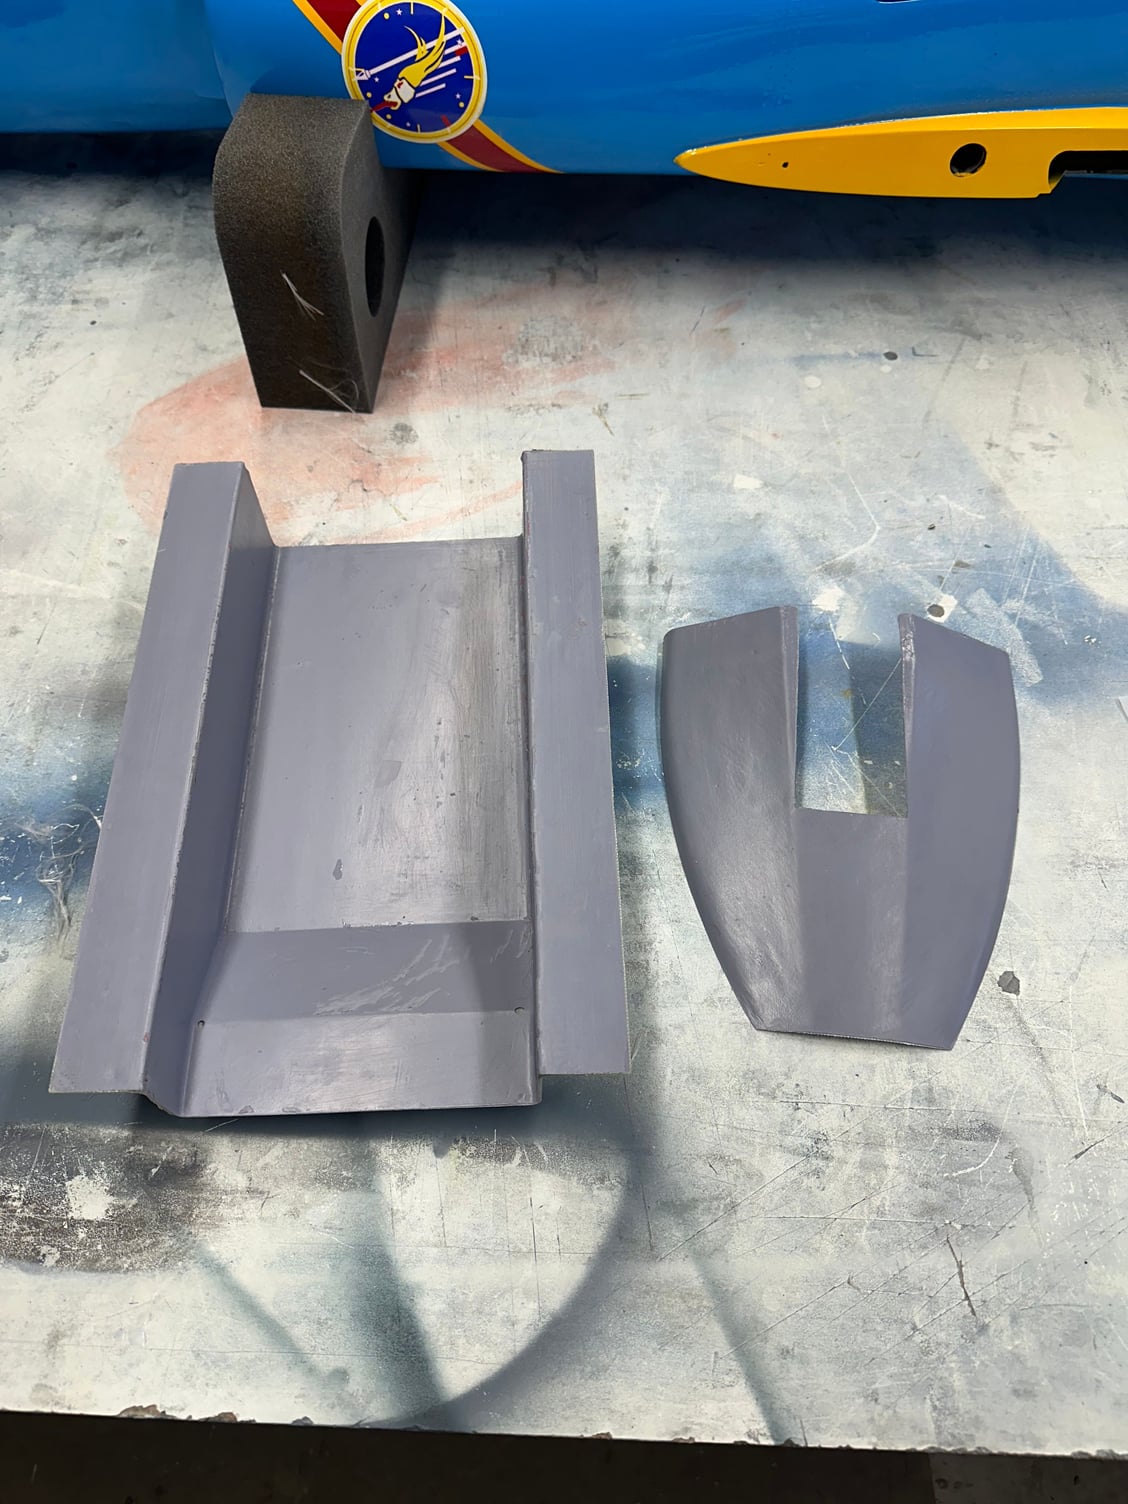
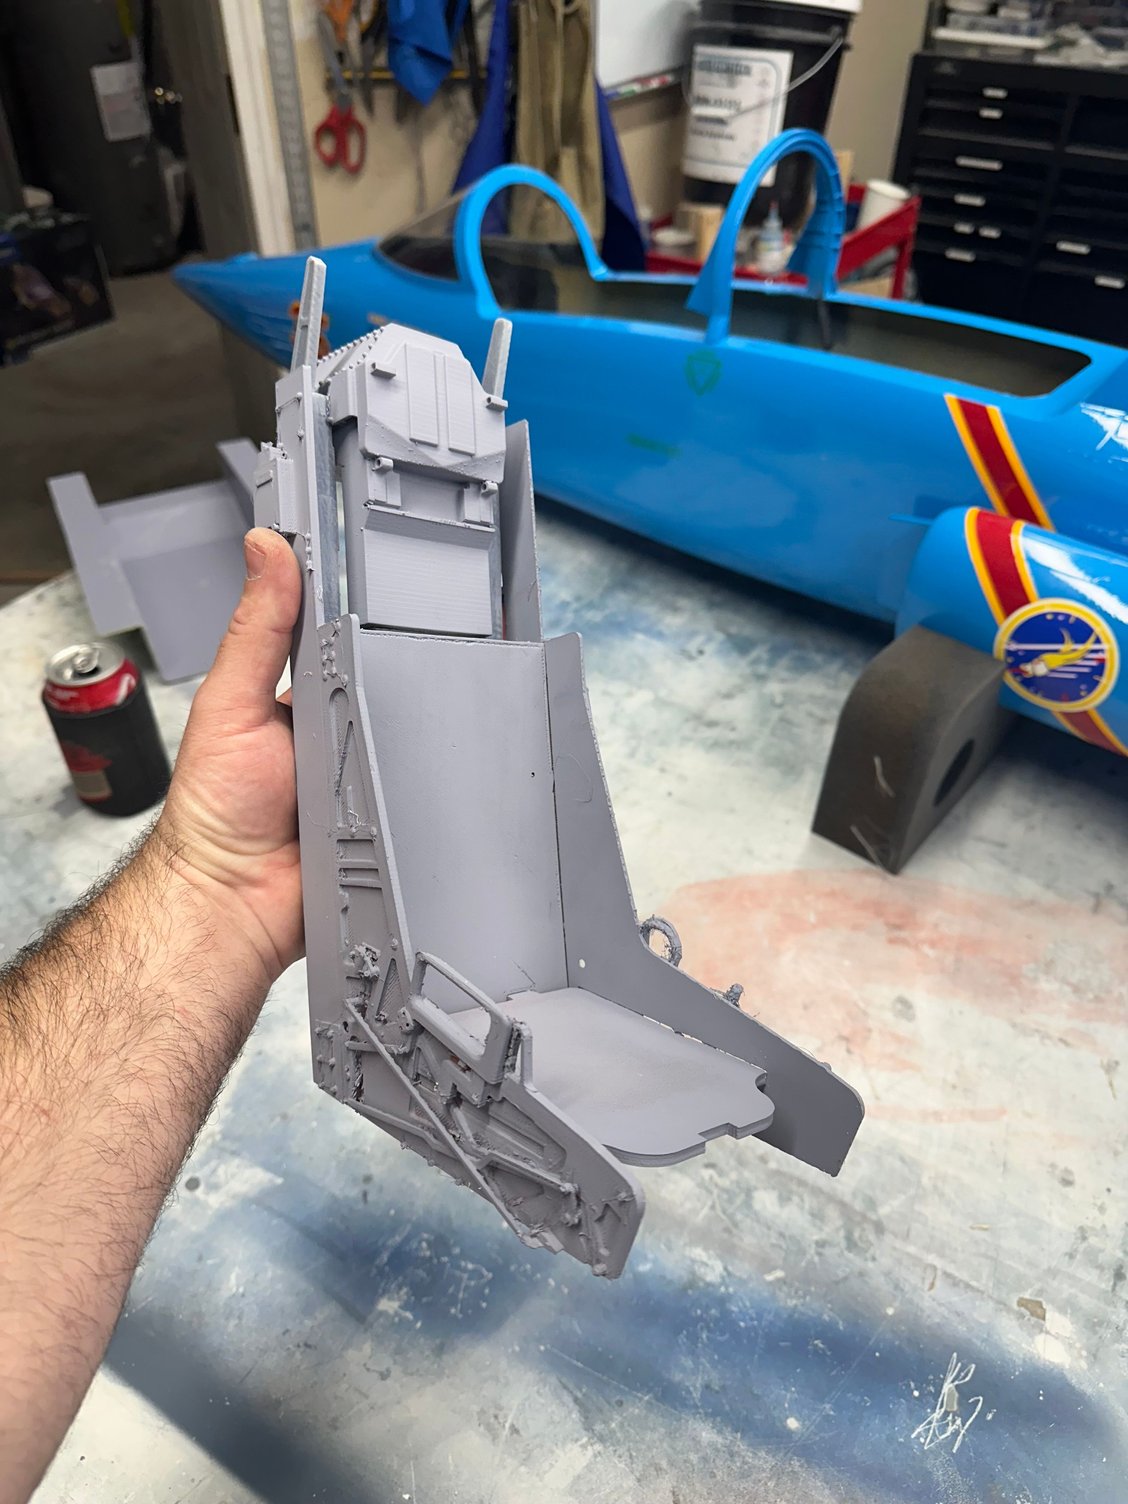
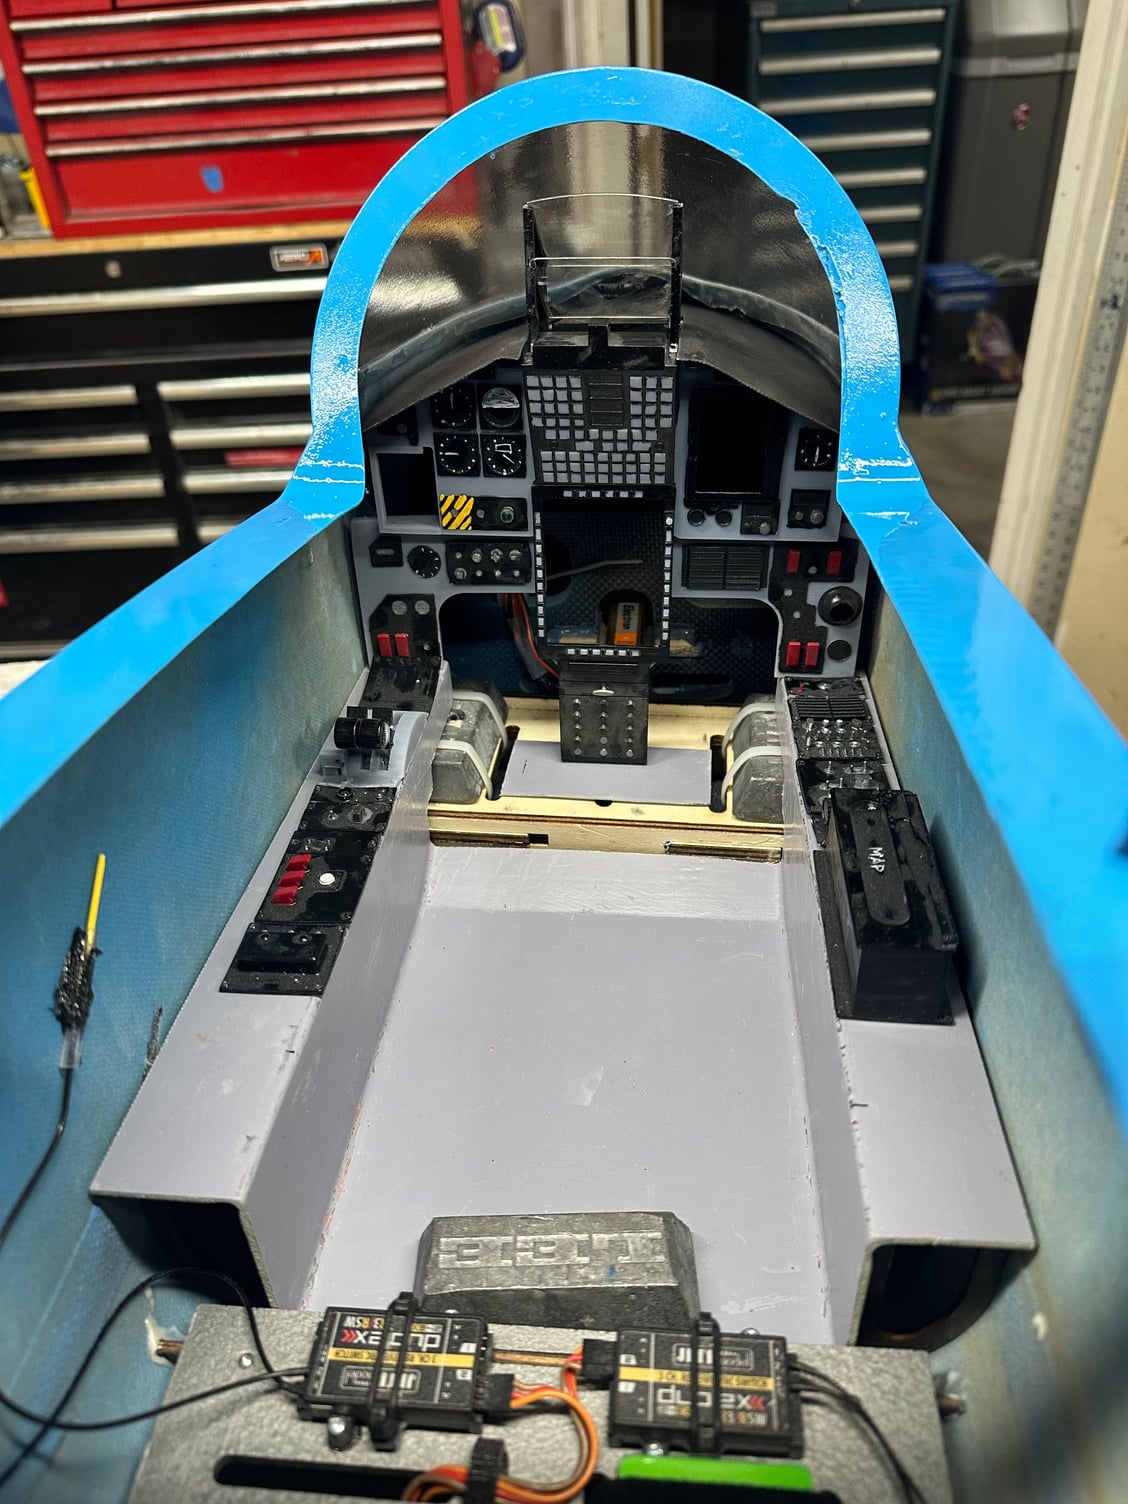
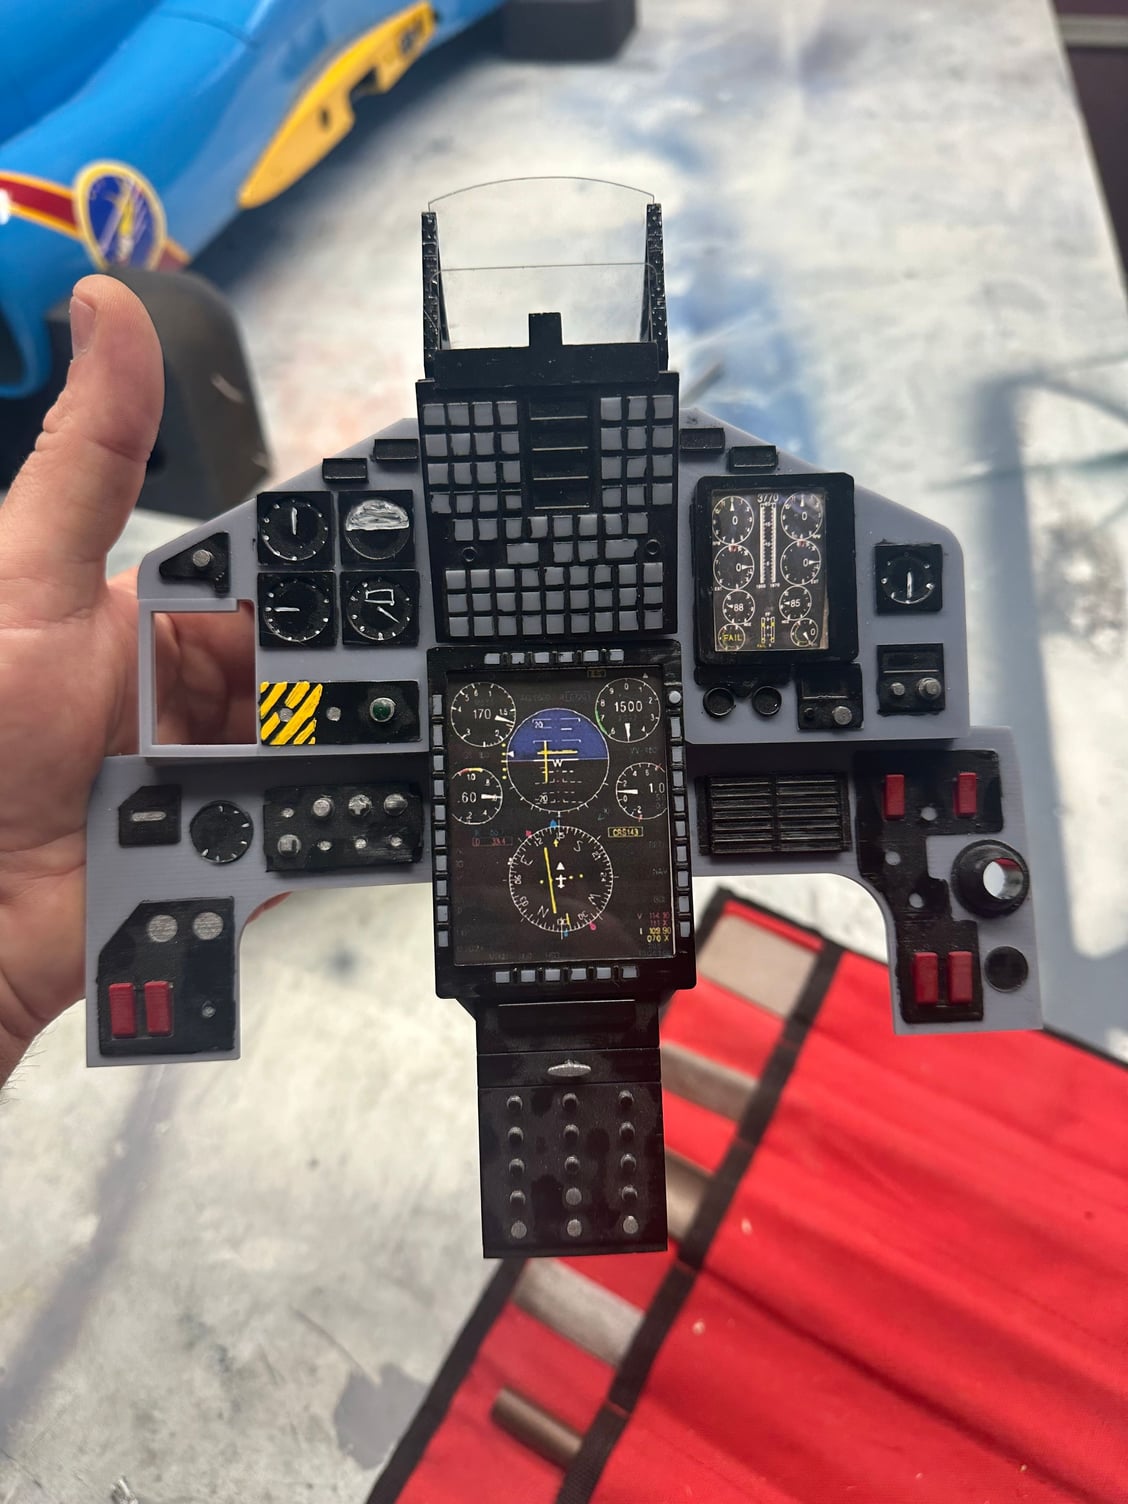
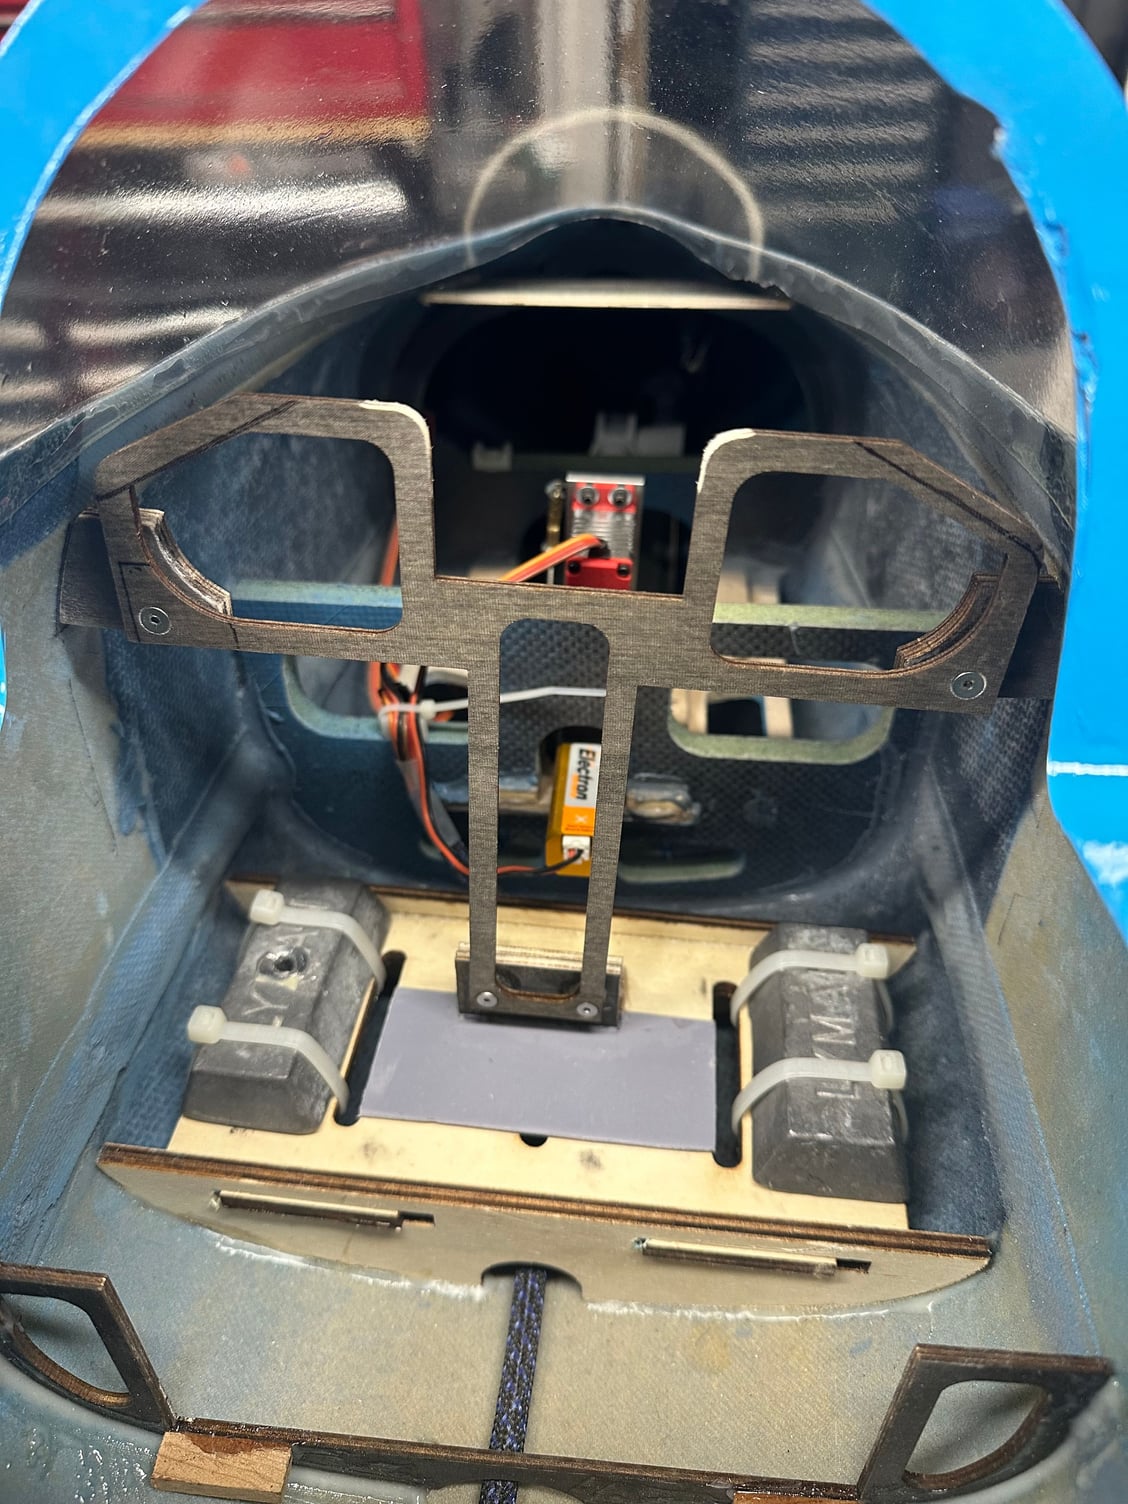
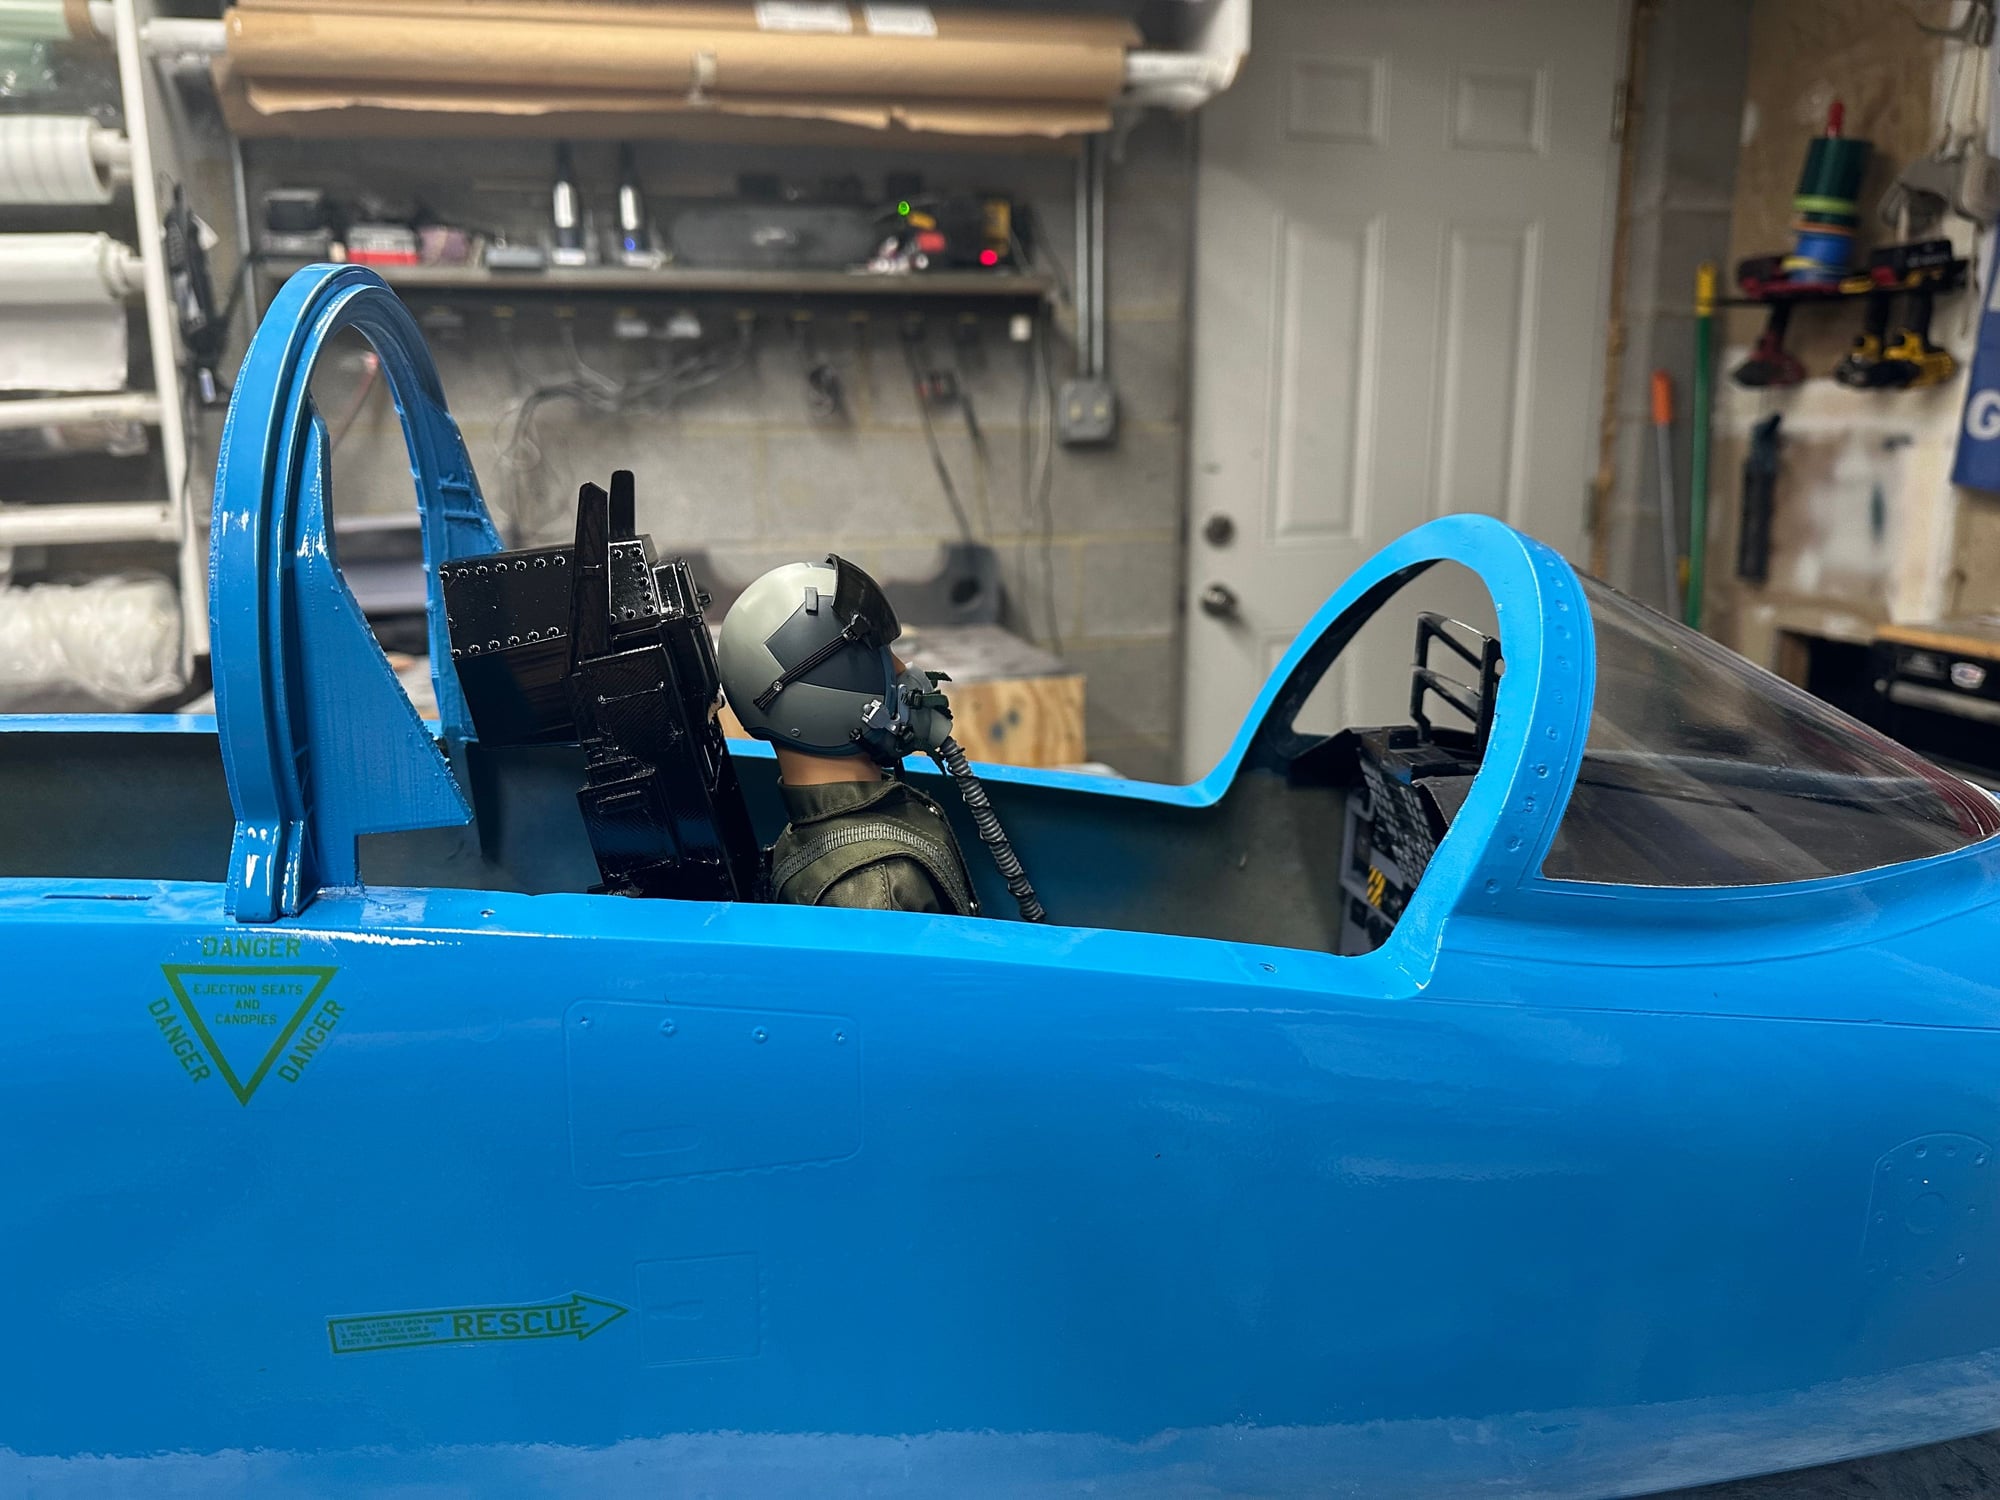
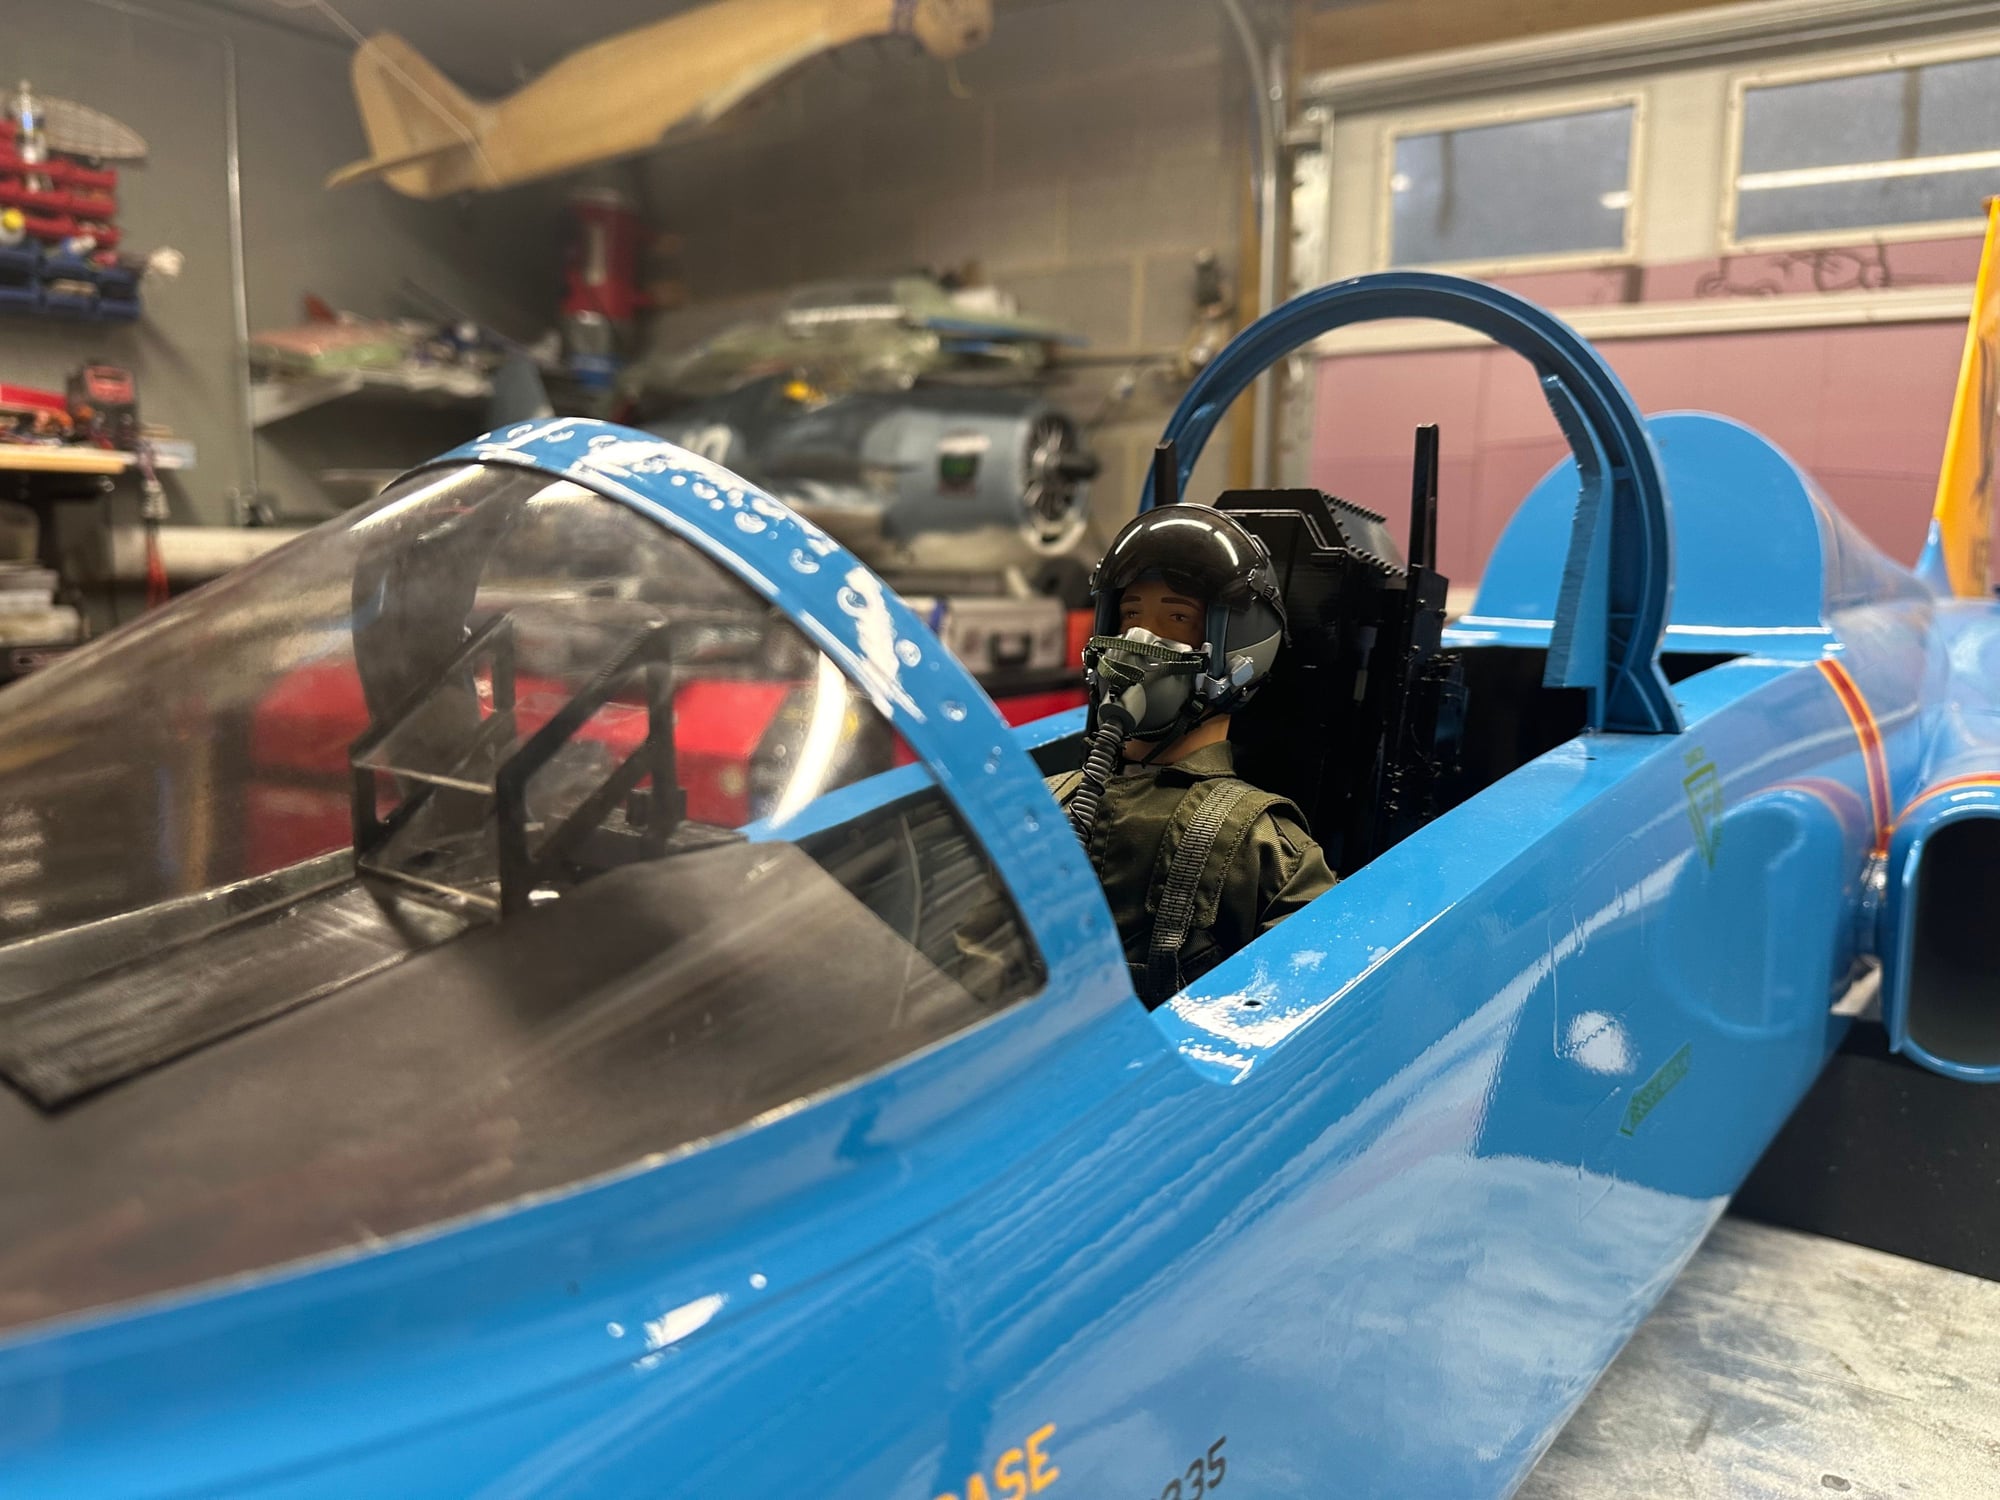
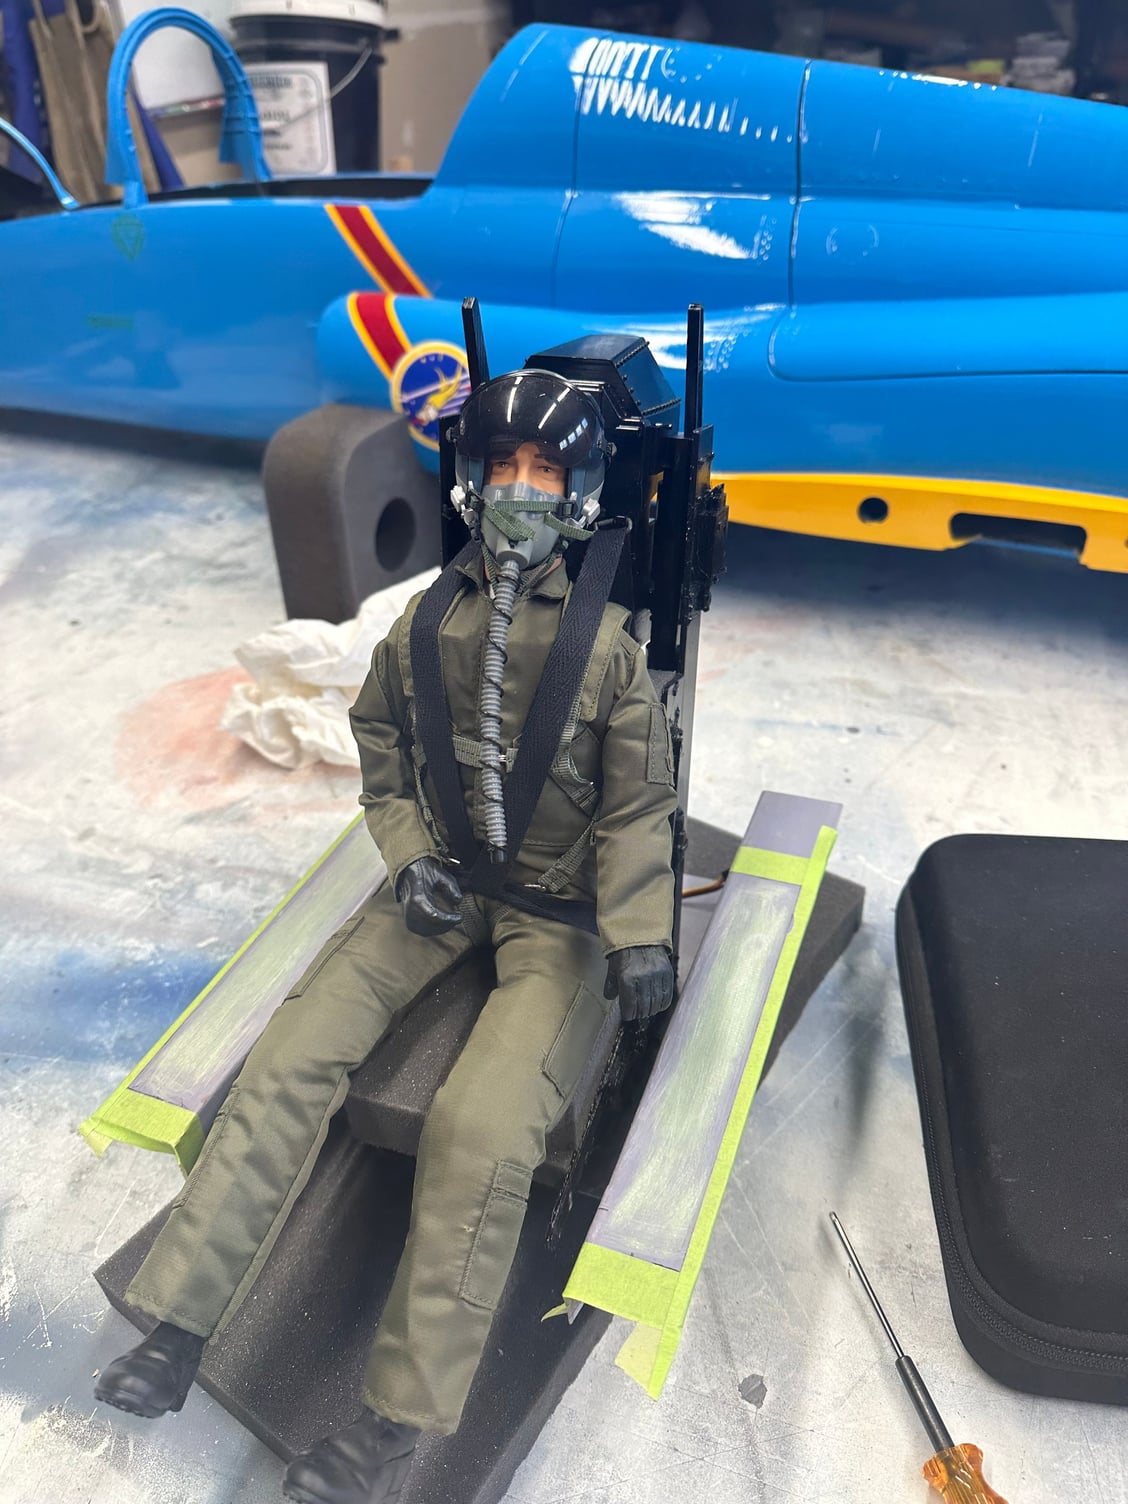
I got the printed forward cockpit parts printed a few weeks ago and finally got the time to test fit them to the fuselage. Things fit very nicely, so now i need to get the tooling for the tub and glareshield made up so i can layup the fiberglass pieces for that.


The following users liked this post:
yeahbaby (01-28-2024)
01-29-2024, 04:50 AM
#359
Im prepping materials and planning to lay one or two arfs up this fall to sell, the construction to be done will include painting, canopy/hatch attachment, equipment install and gear door hinging. Will include a 200-240size tailpipe, bypass, kevlar tanks and a complete gear package. Price is comparable to similar sized models. If anyone is interested, send me a PM. These will likely be the only two i sell.
The following users liked this post:
yeahbaby (04-12-2024)
04-14-2024, 08:12 AM
#363
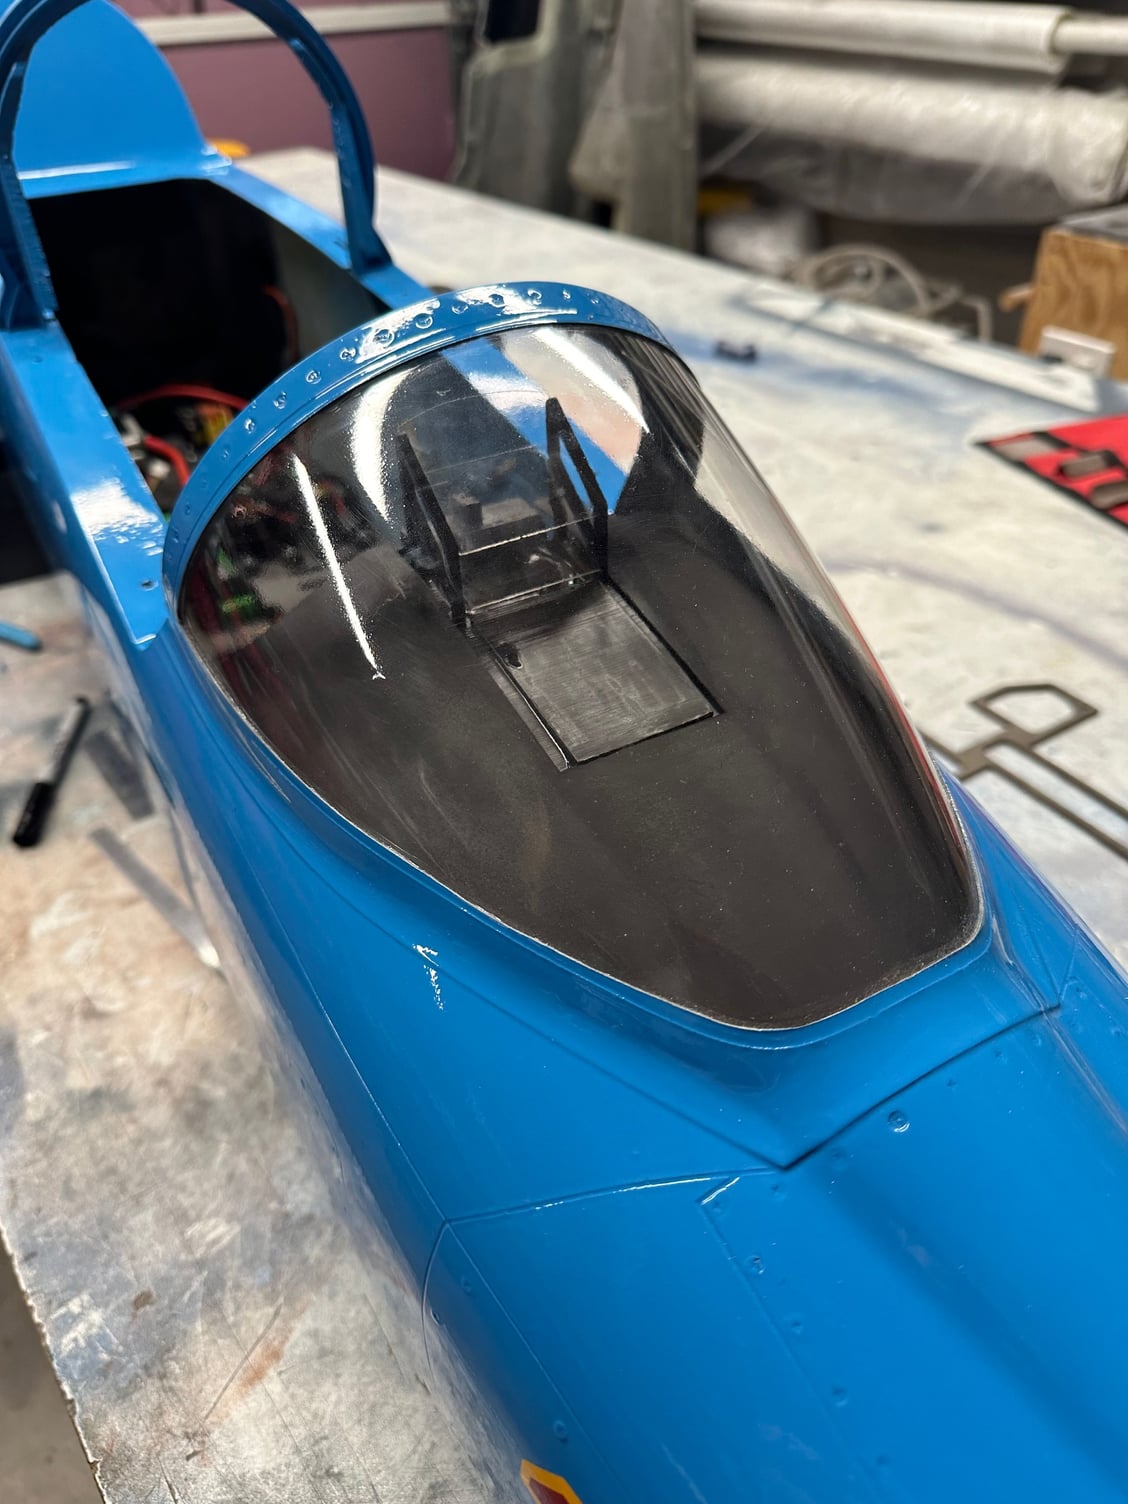
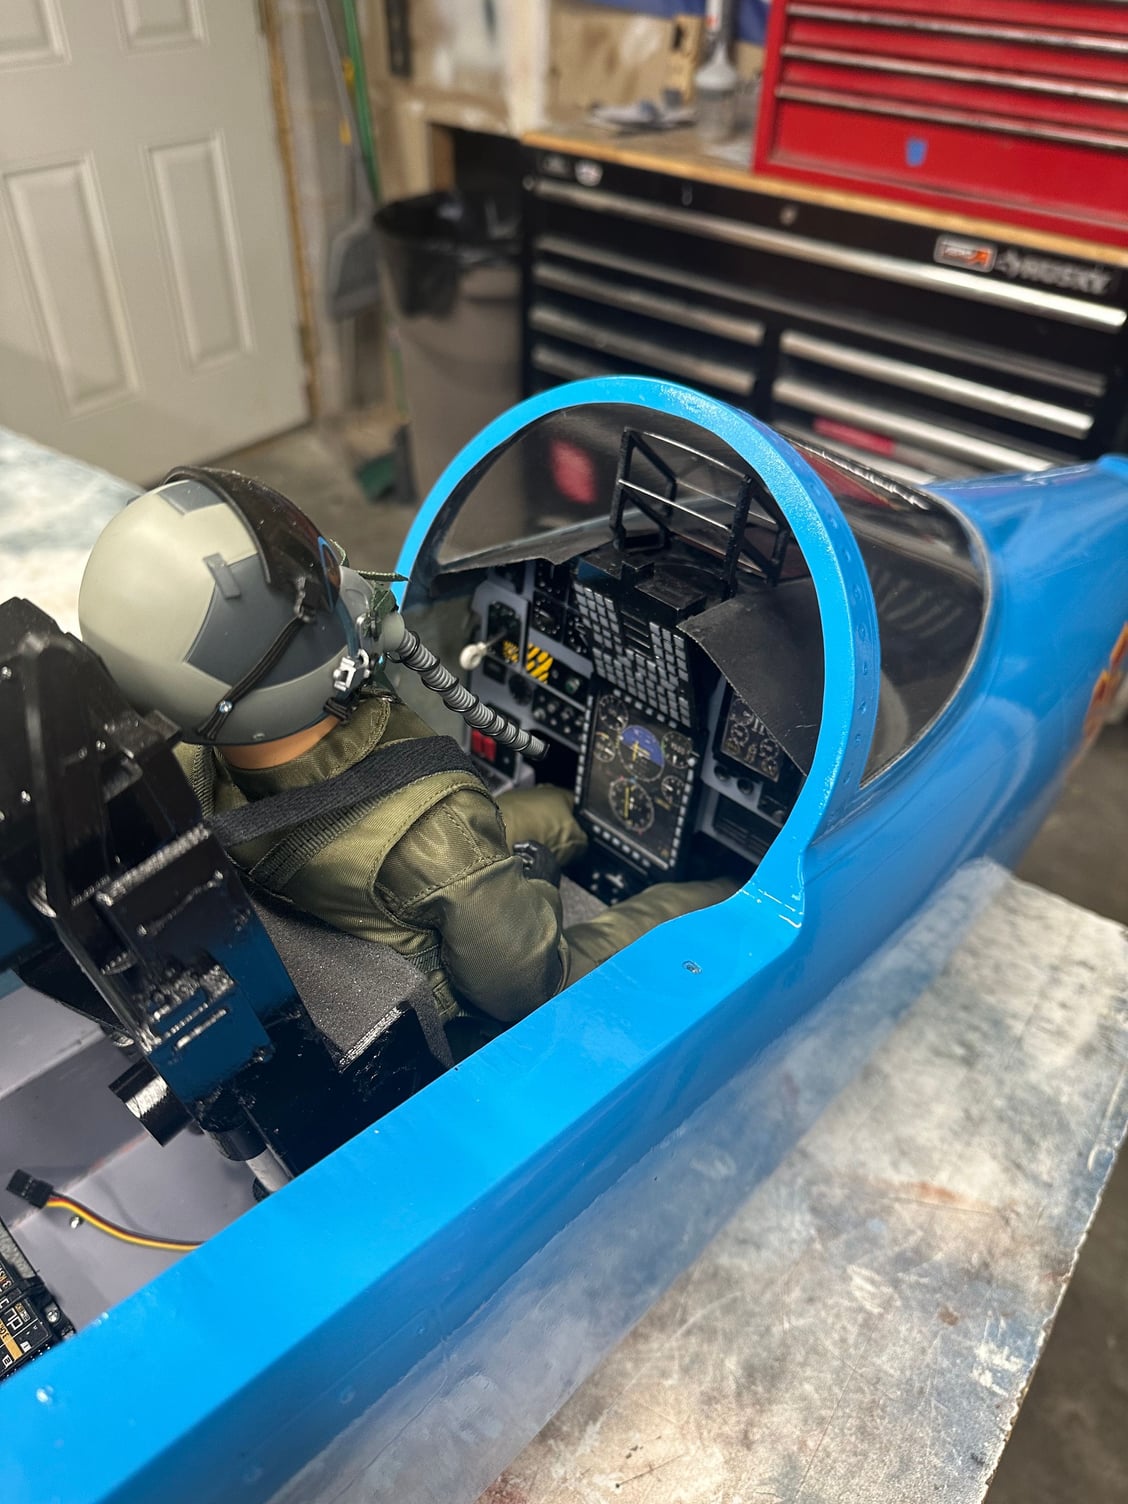
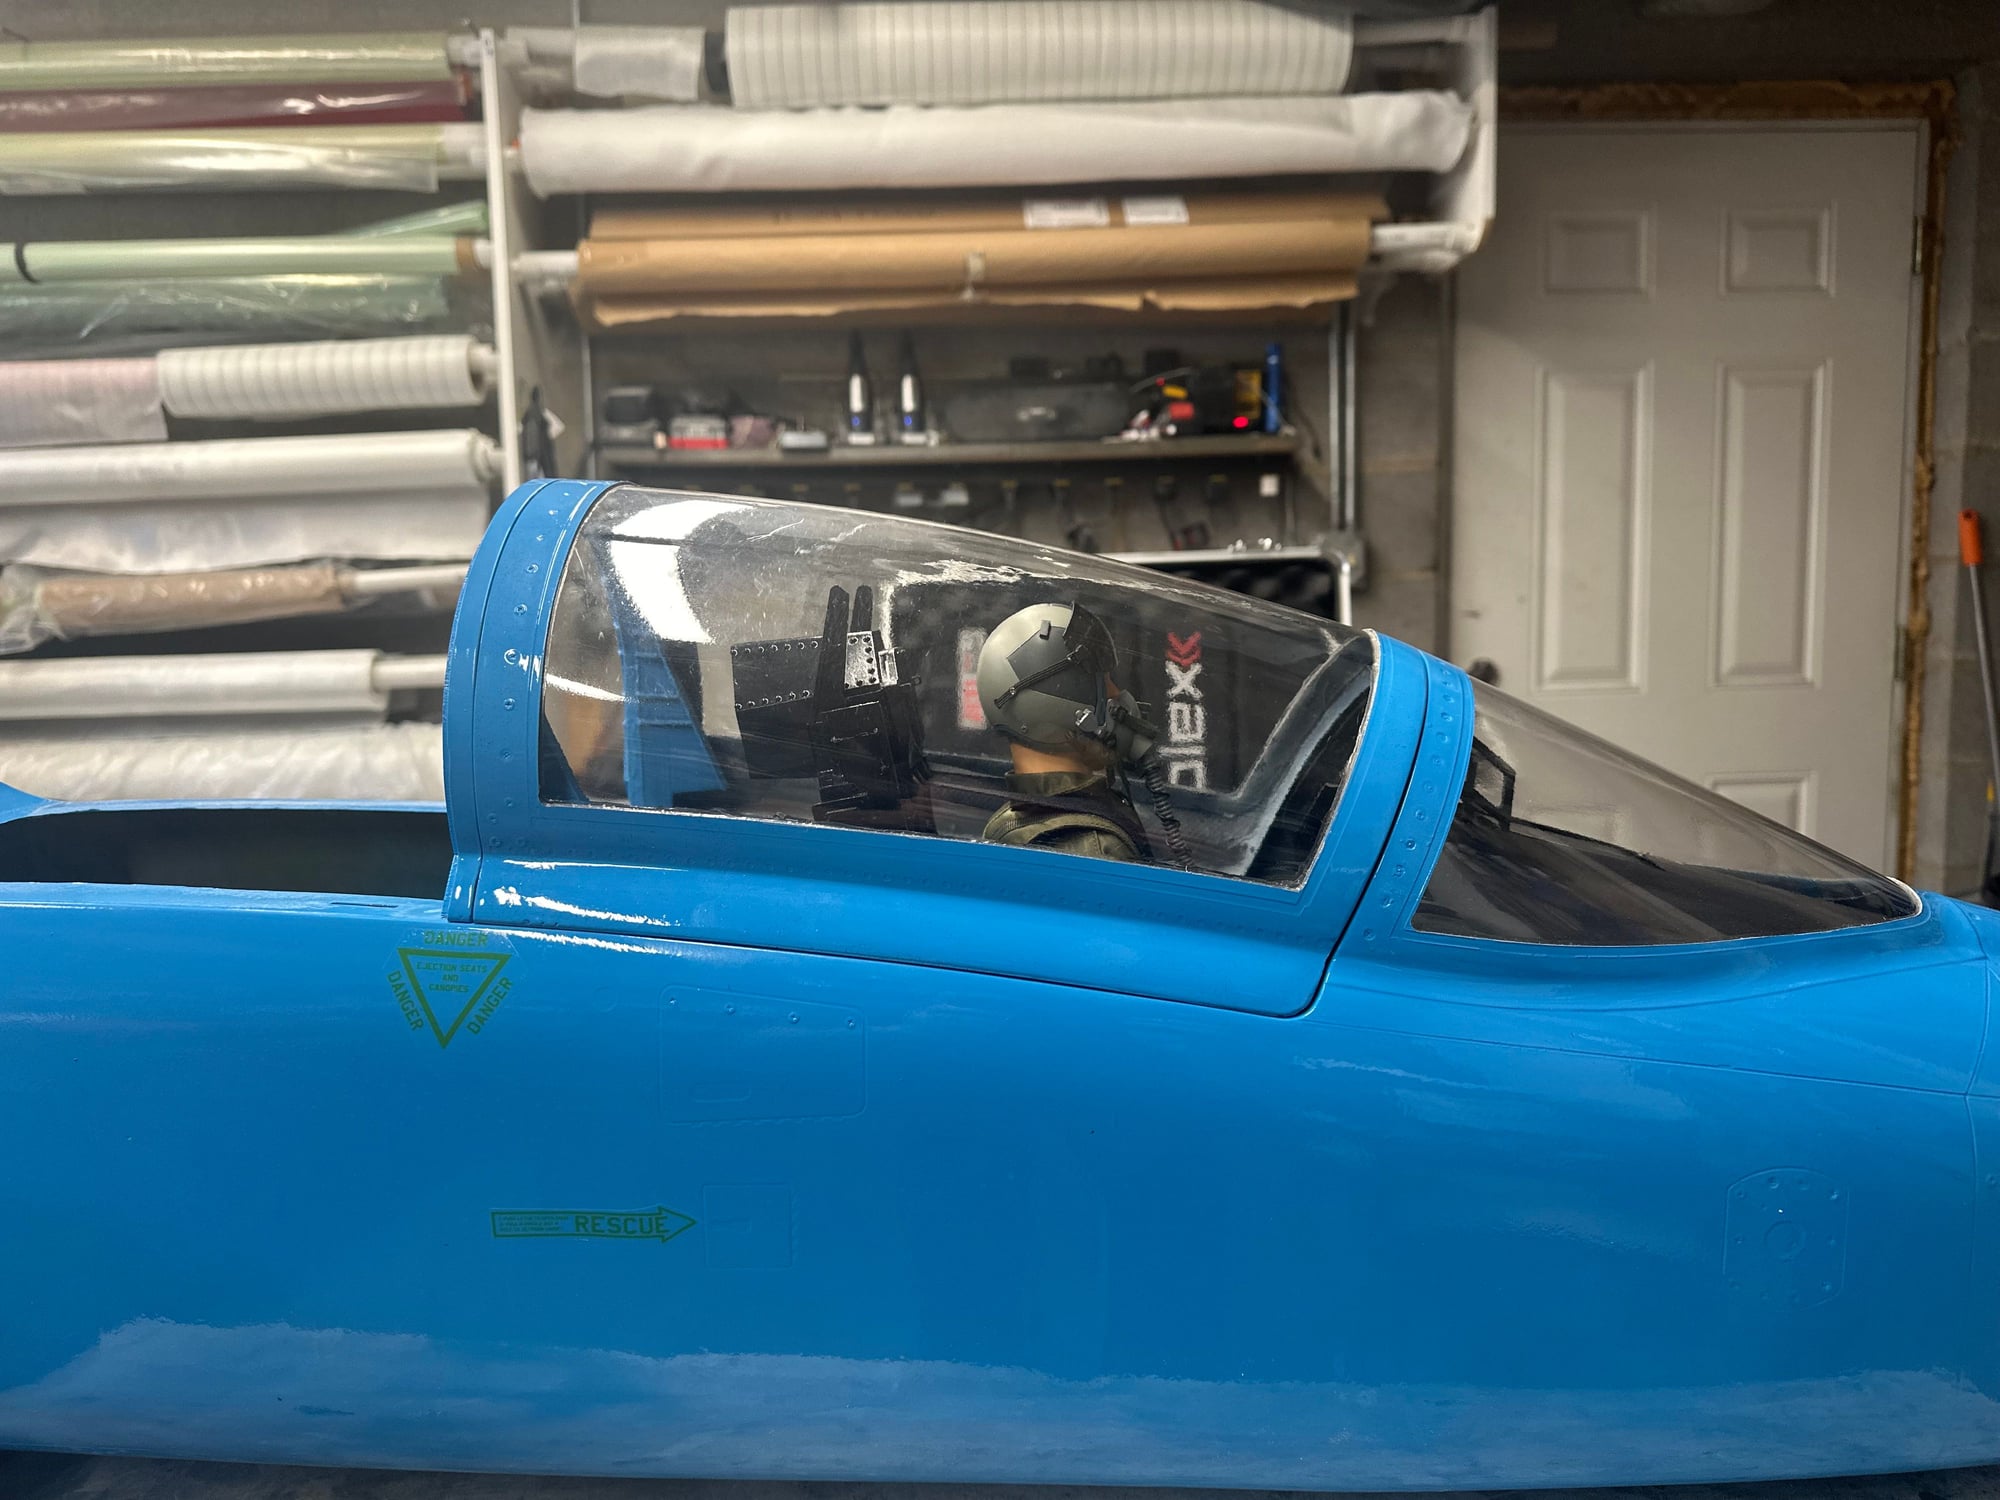
After removing everything from the other day so i could raise it all 1/2 and inch, The forward cockpit is essentially done. I need to model up a control stick, but i will worry about that once i start doing the rear cockpit after this years flying season.
The following users liked this post:
yeahbaby (04-14-2024)
04-15-2024, 07:01 AM
#364
Junior Member
Join Date: Feb 2023
Posts: 7
Likes: 0
Received 0 Likes
on
0 Posts
I was thinking If you cant make it mechanically functional, worse case scenario you could hinge conventionally and just design the the scale part as a follower mechanism? either way, this project will be way over the top.
