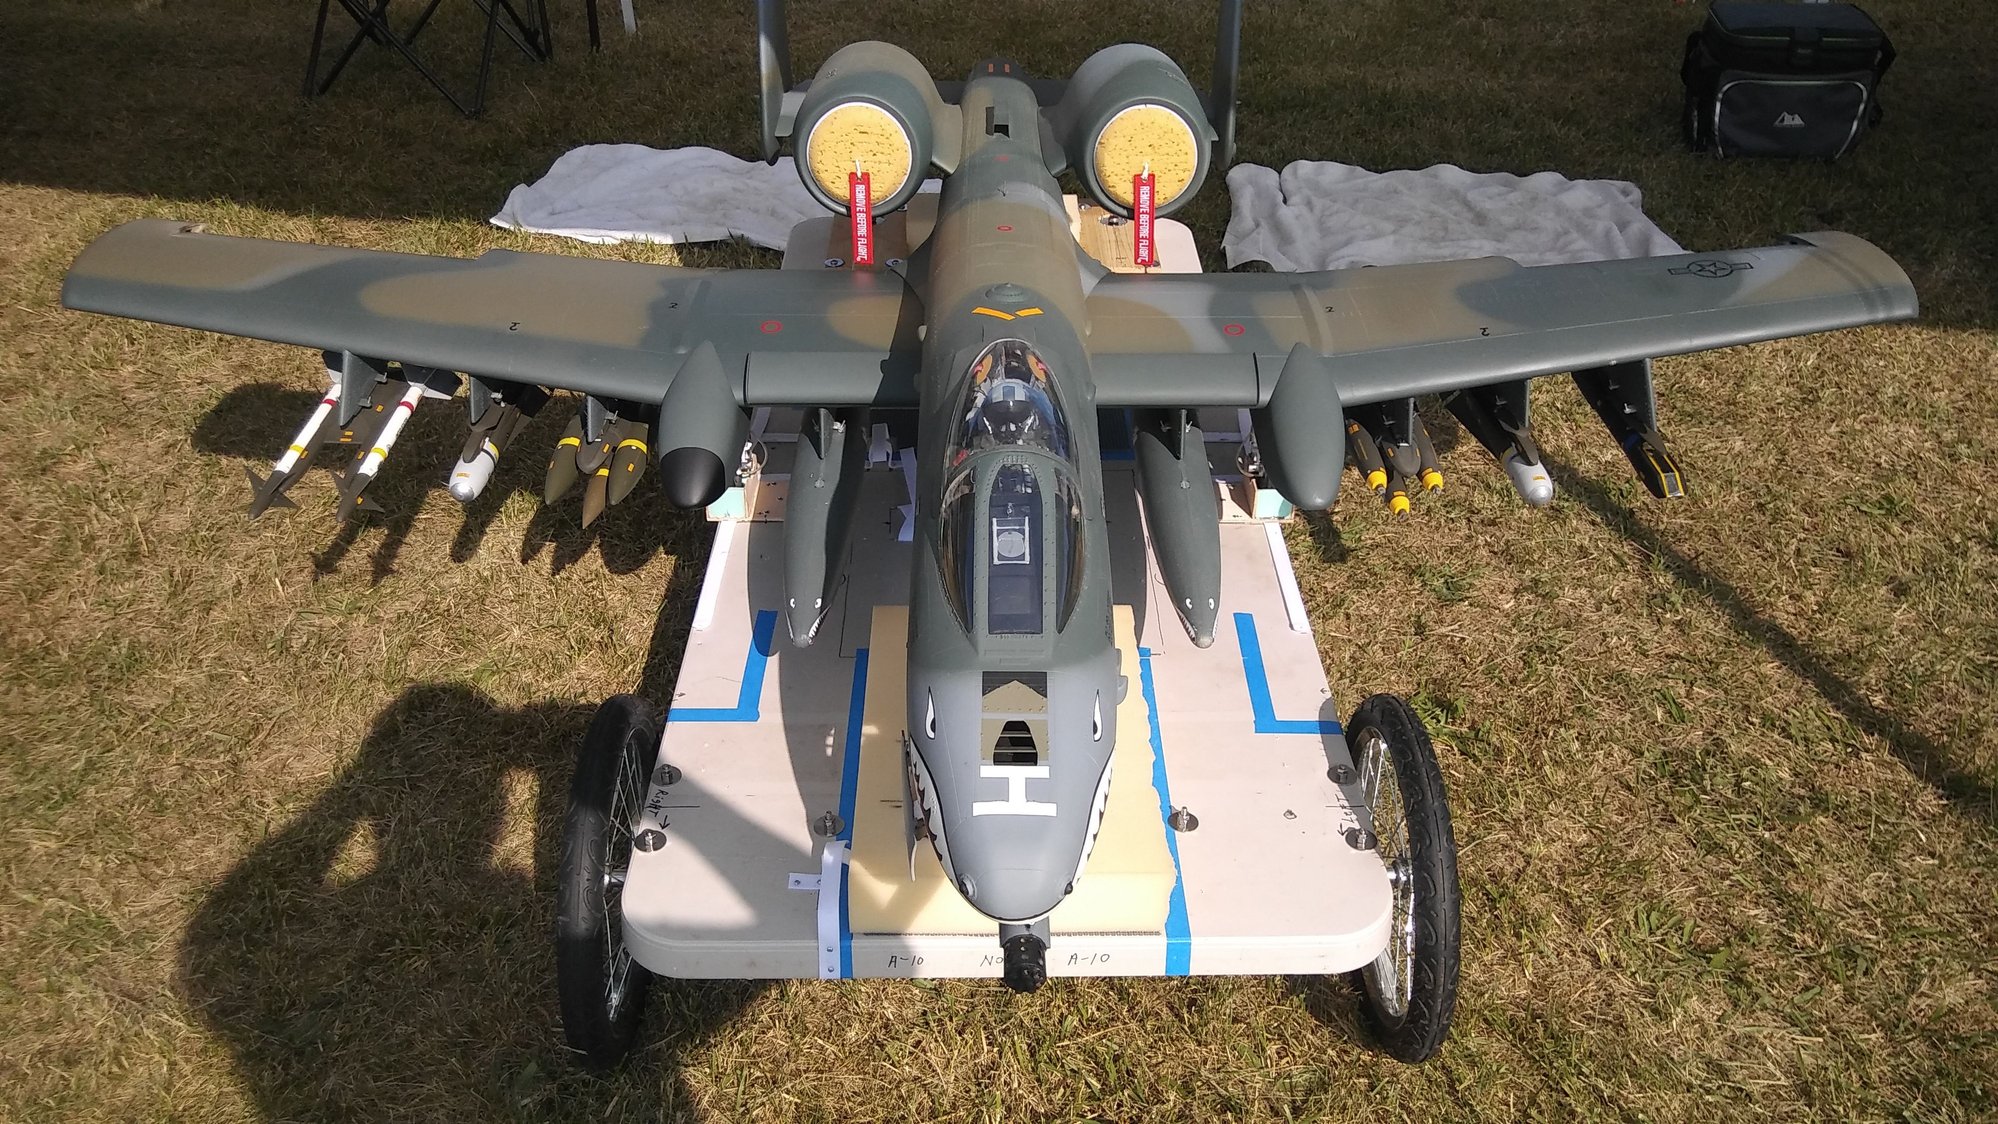
Spencer Scale Missile Build Thread!!
 02-04-2021 | 10:46 AM
#1
Thread Starter

My Feedback: (14)
 Spencer Scale Missile Build Thread!!
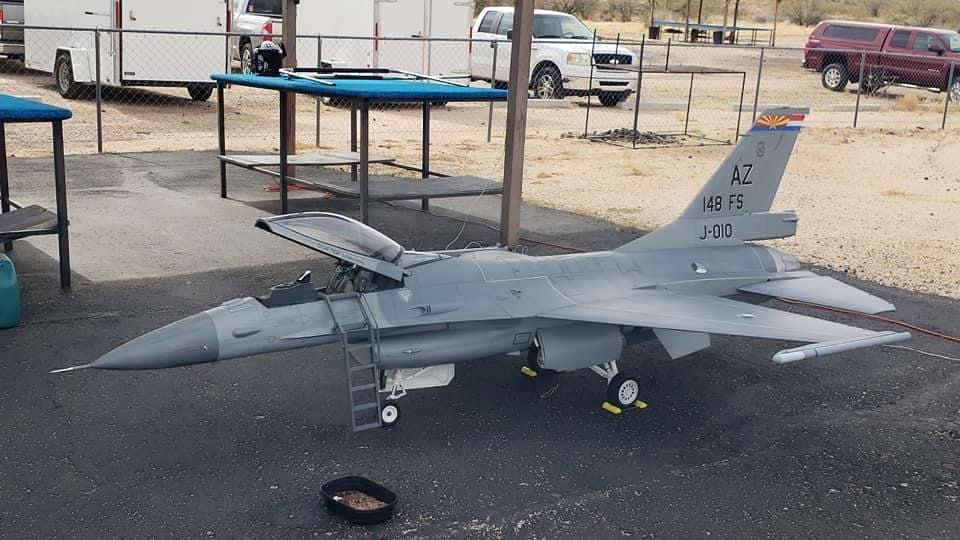
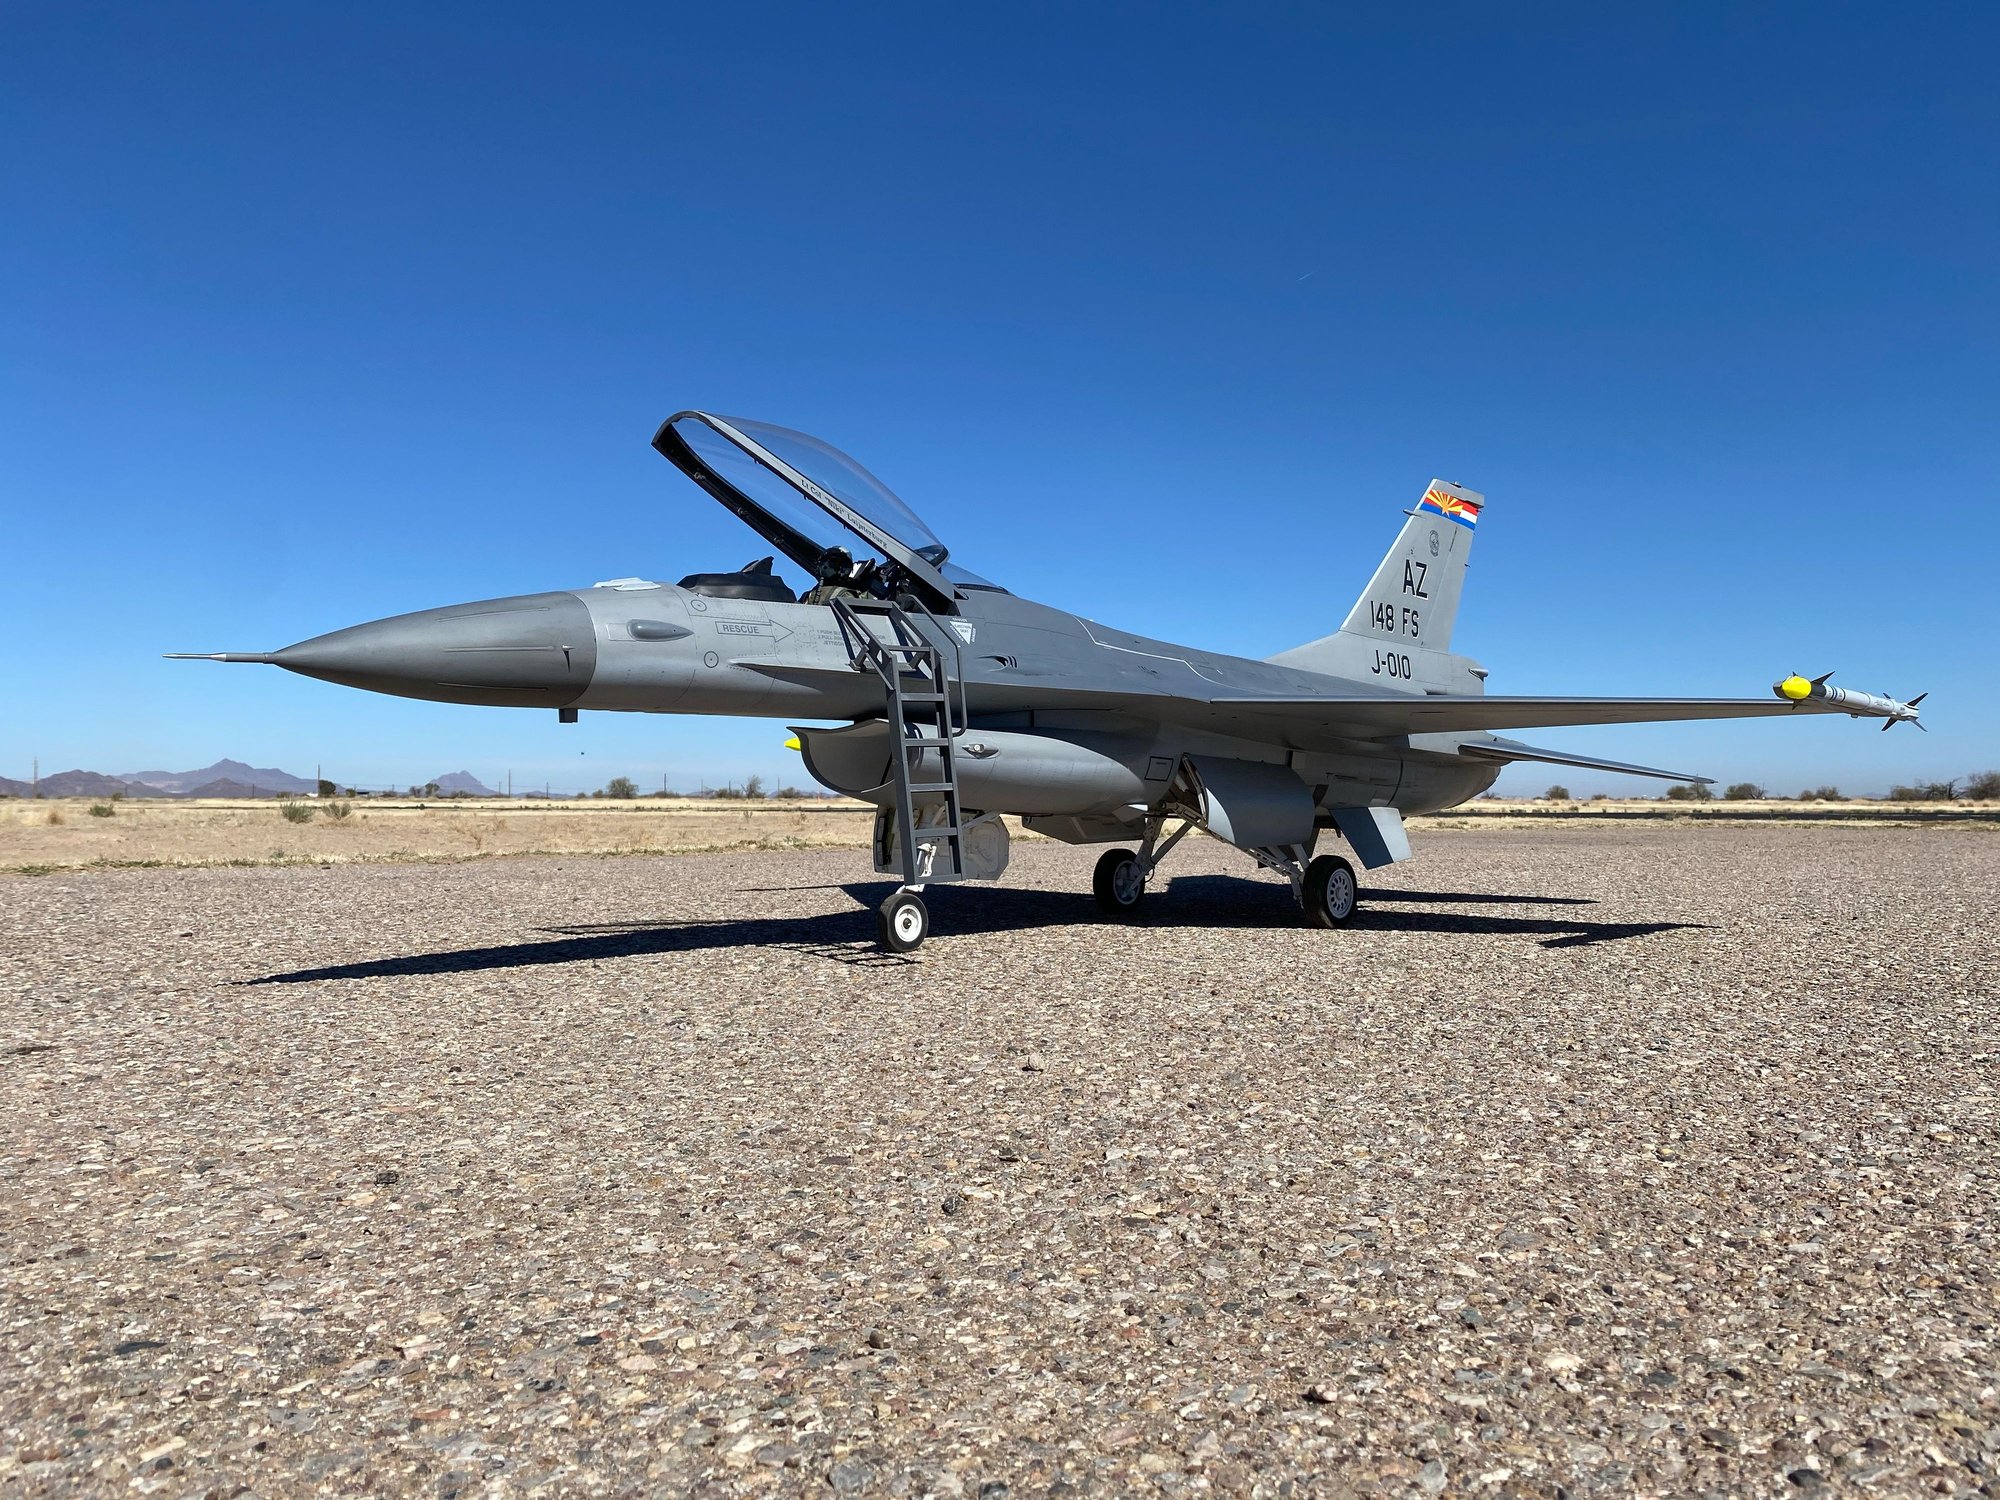
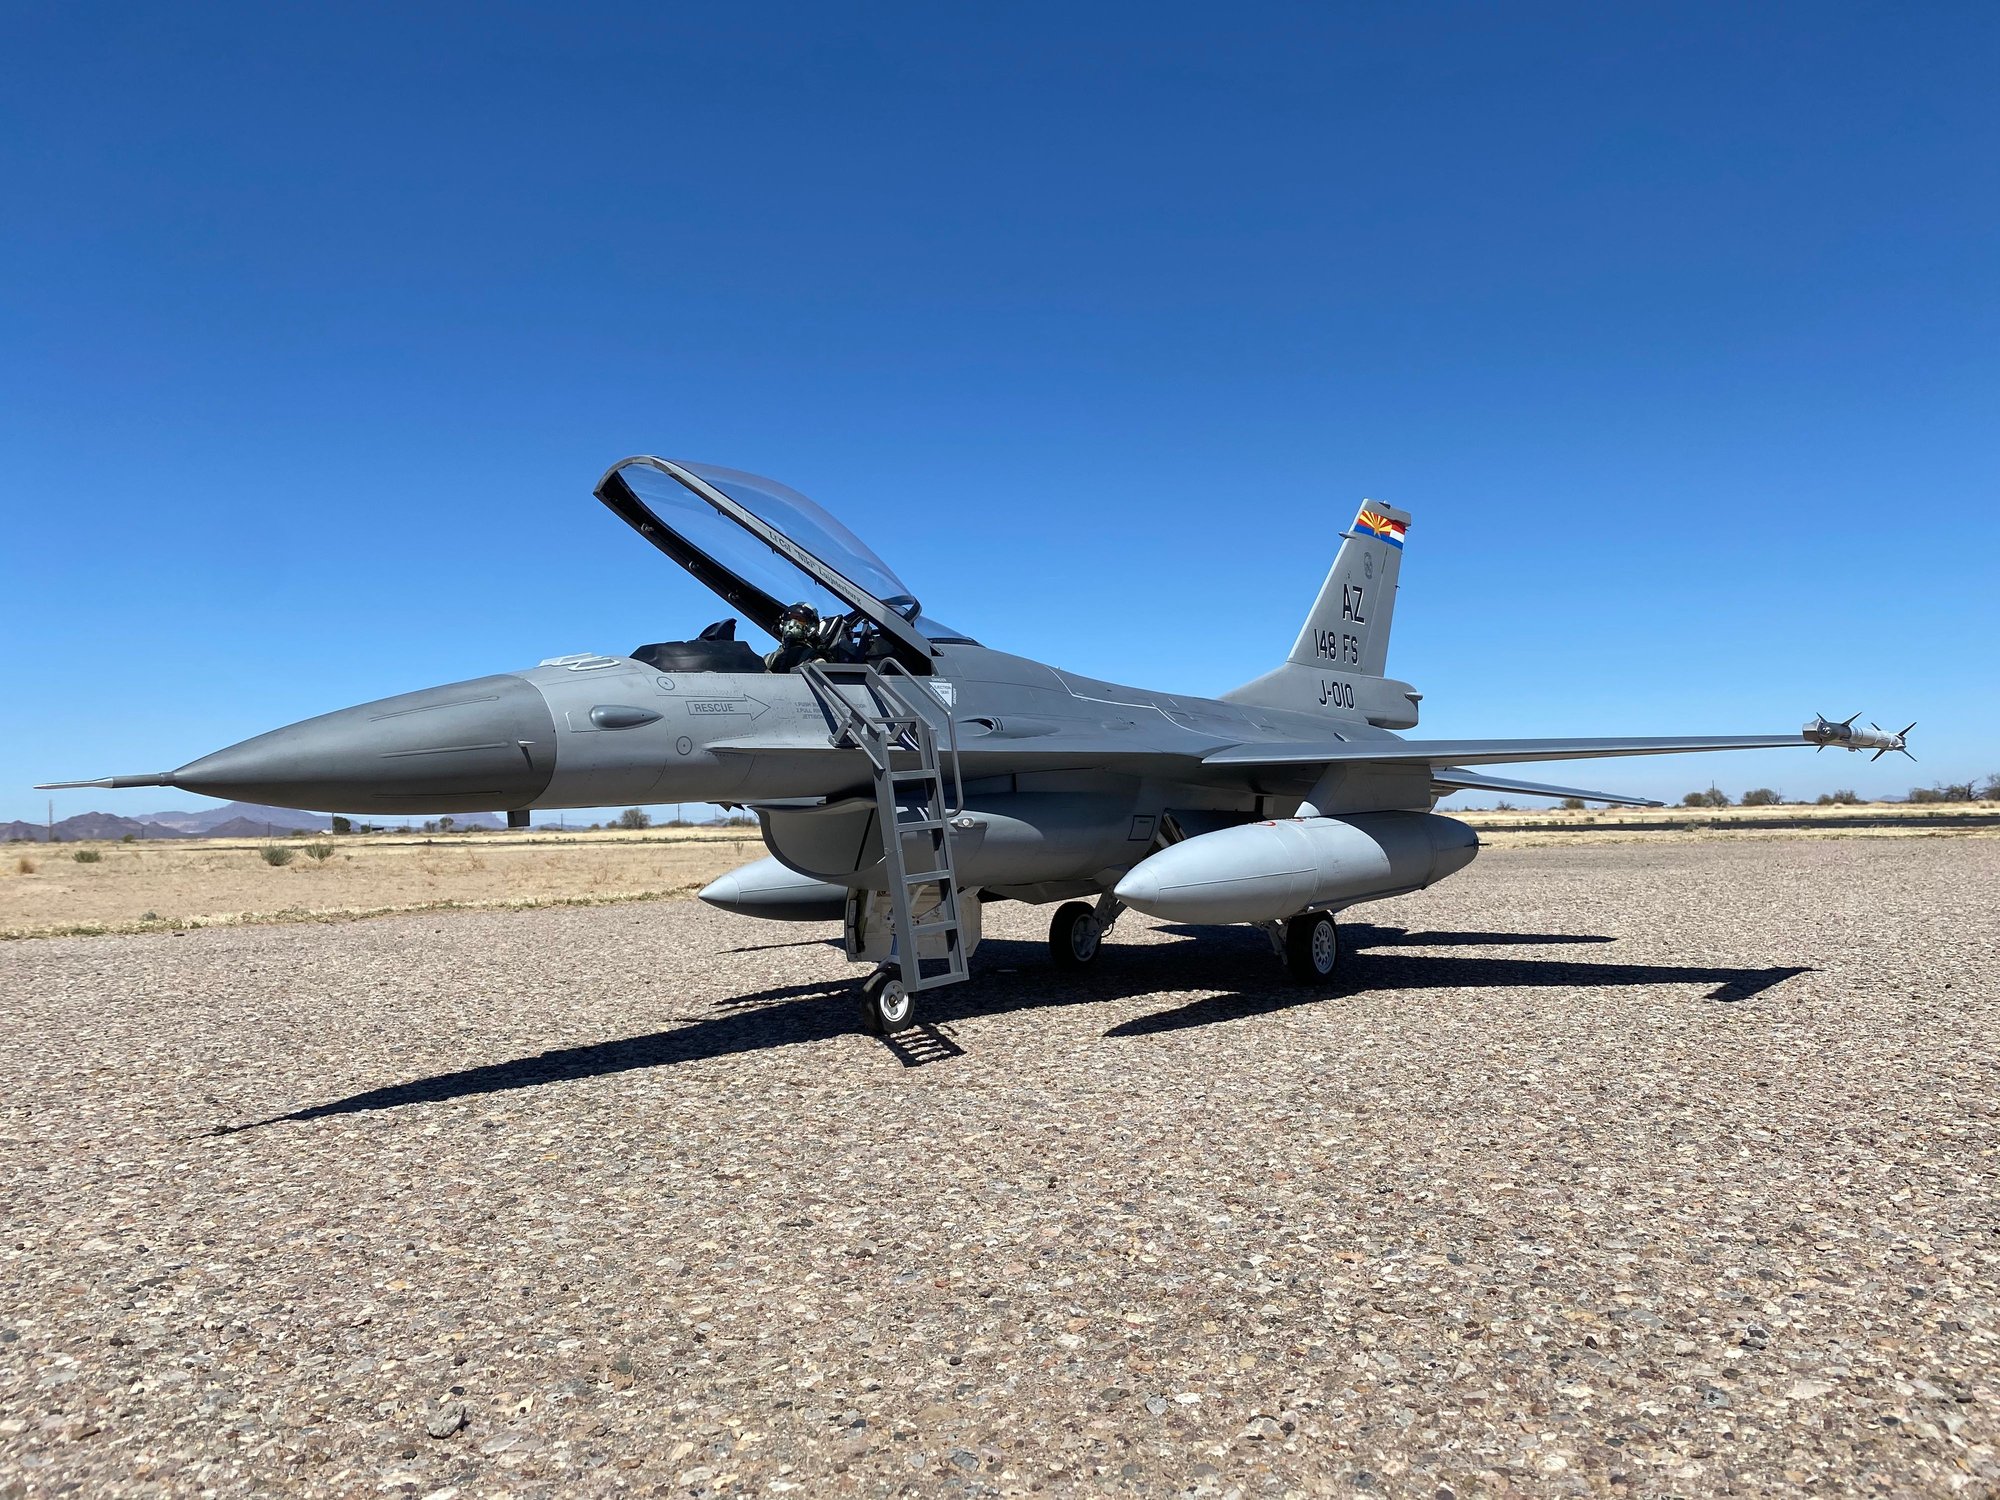
My skymaster 1/5 F-16 with boarding ladder, balancer and Aim9x and of course personalized chocks!
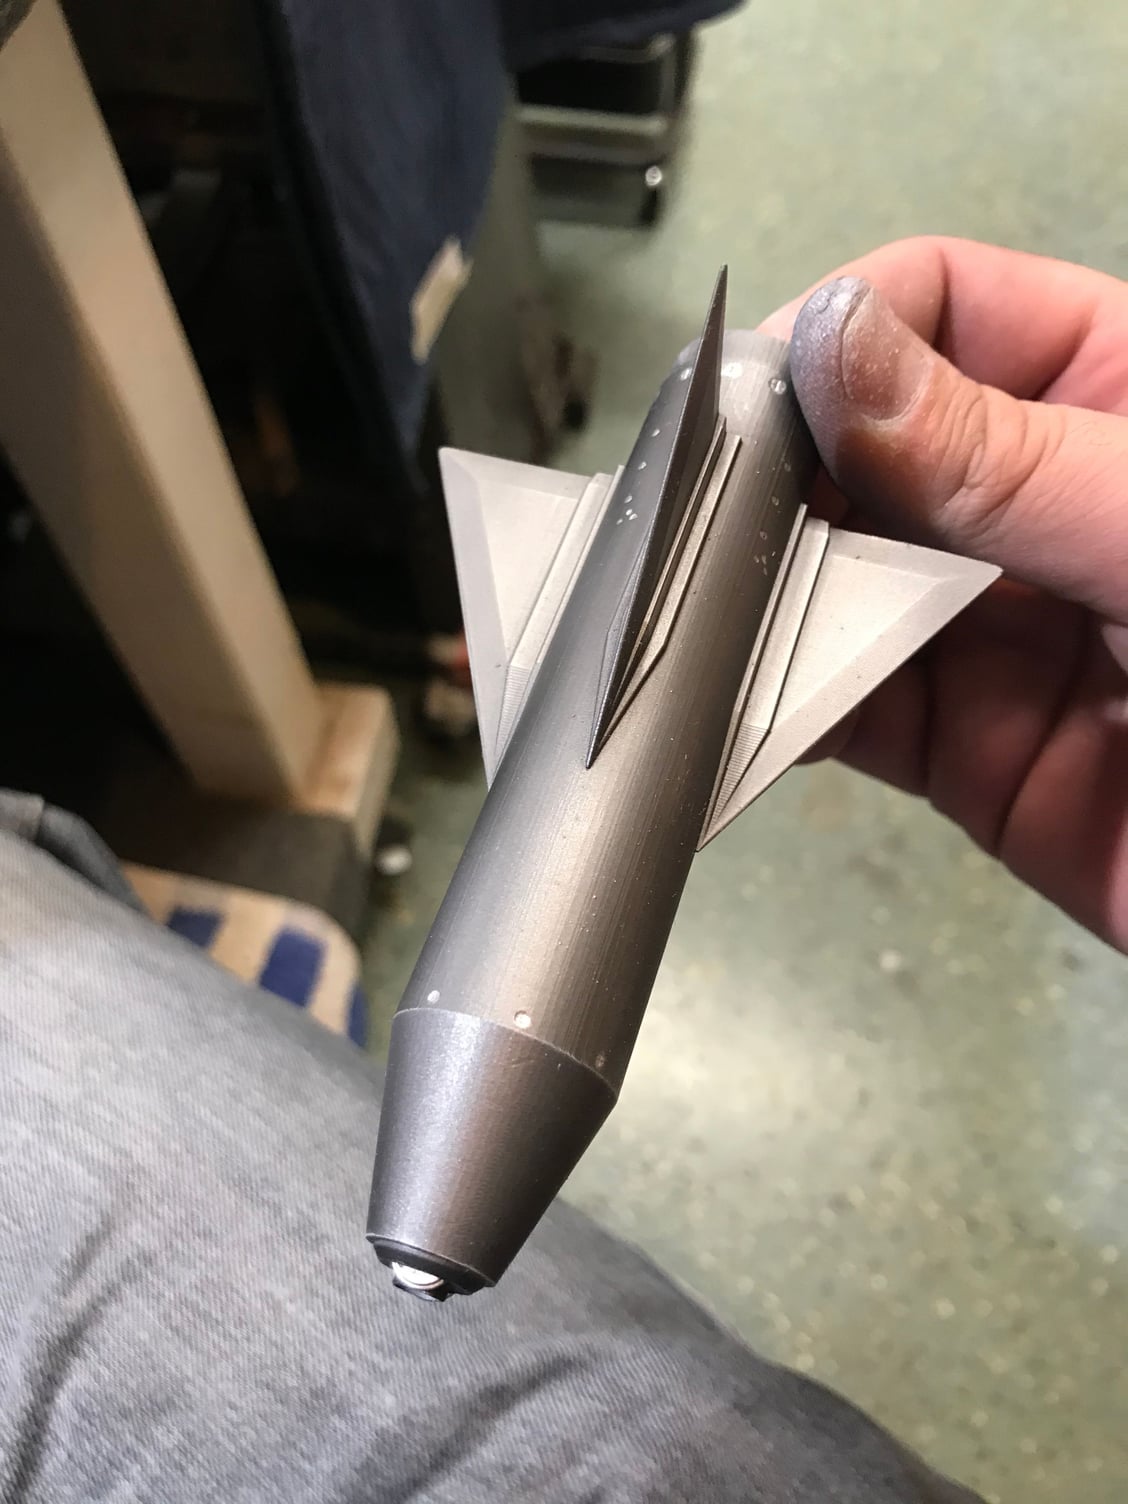
Zero sanding, this is what the 1/5 AIM9X head looks like after a quick shot of primer and model masters airbrush paint!

Aim120 head

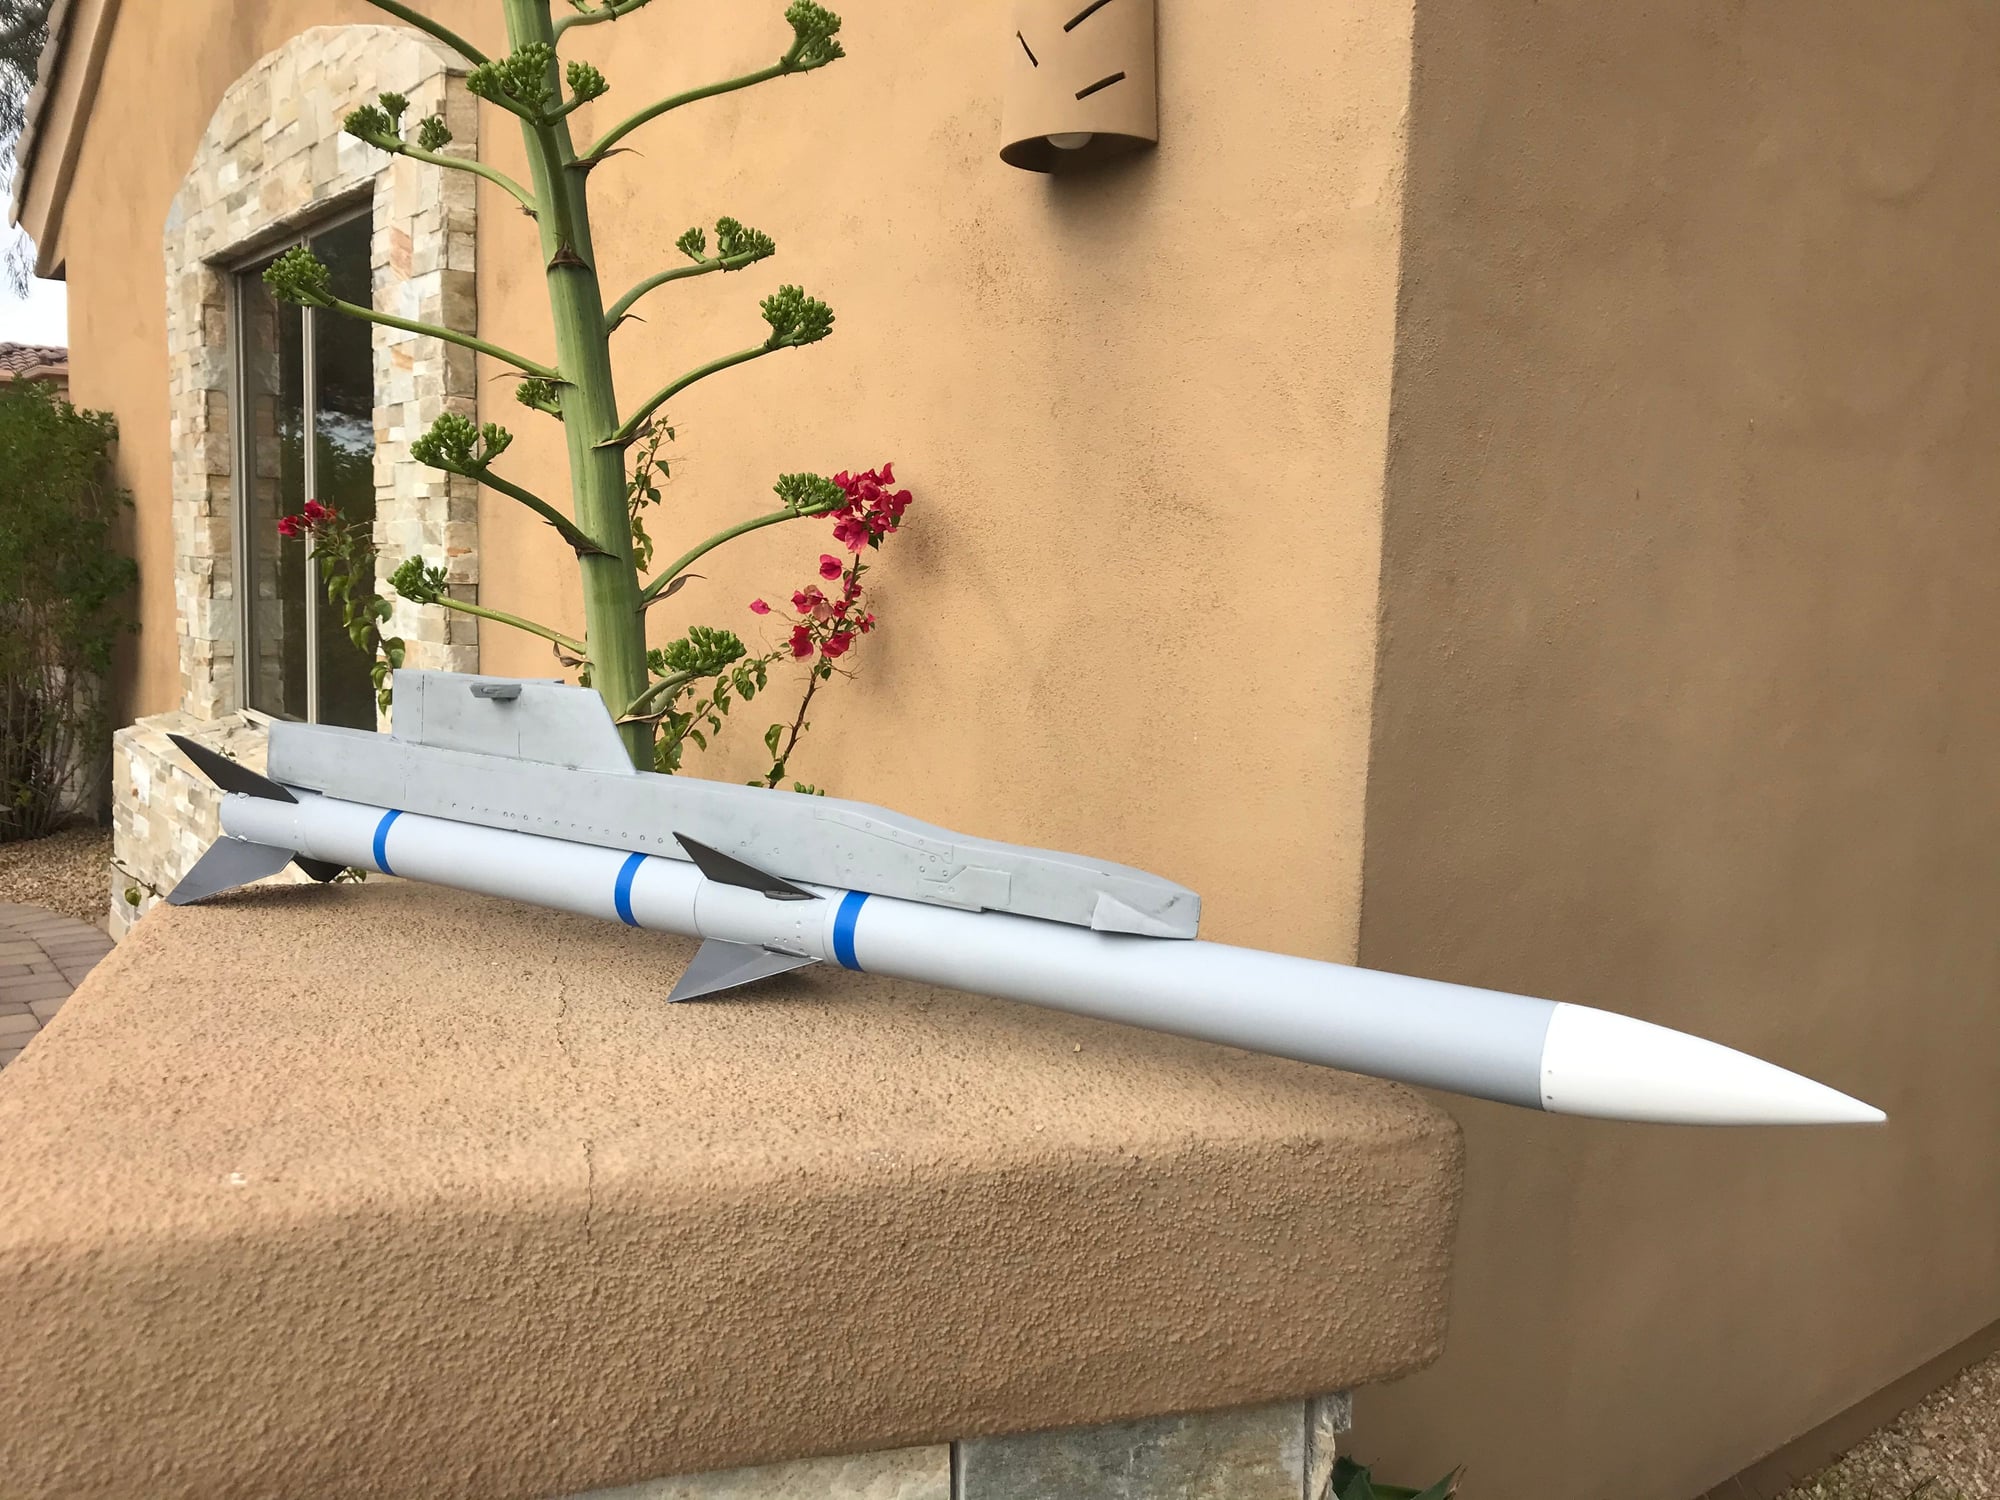
AIM120- still working on the decals... Only 3.5oz each at nearly 29” long!
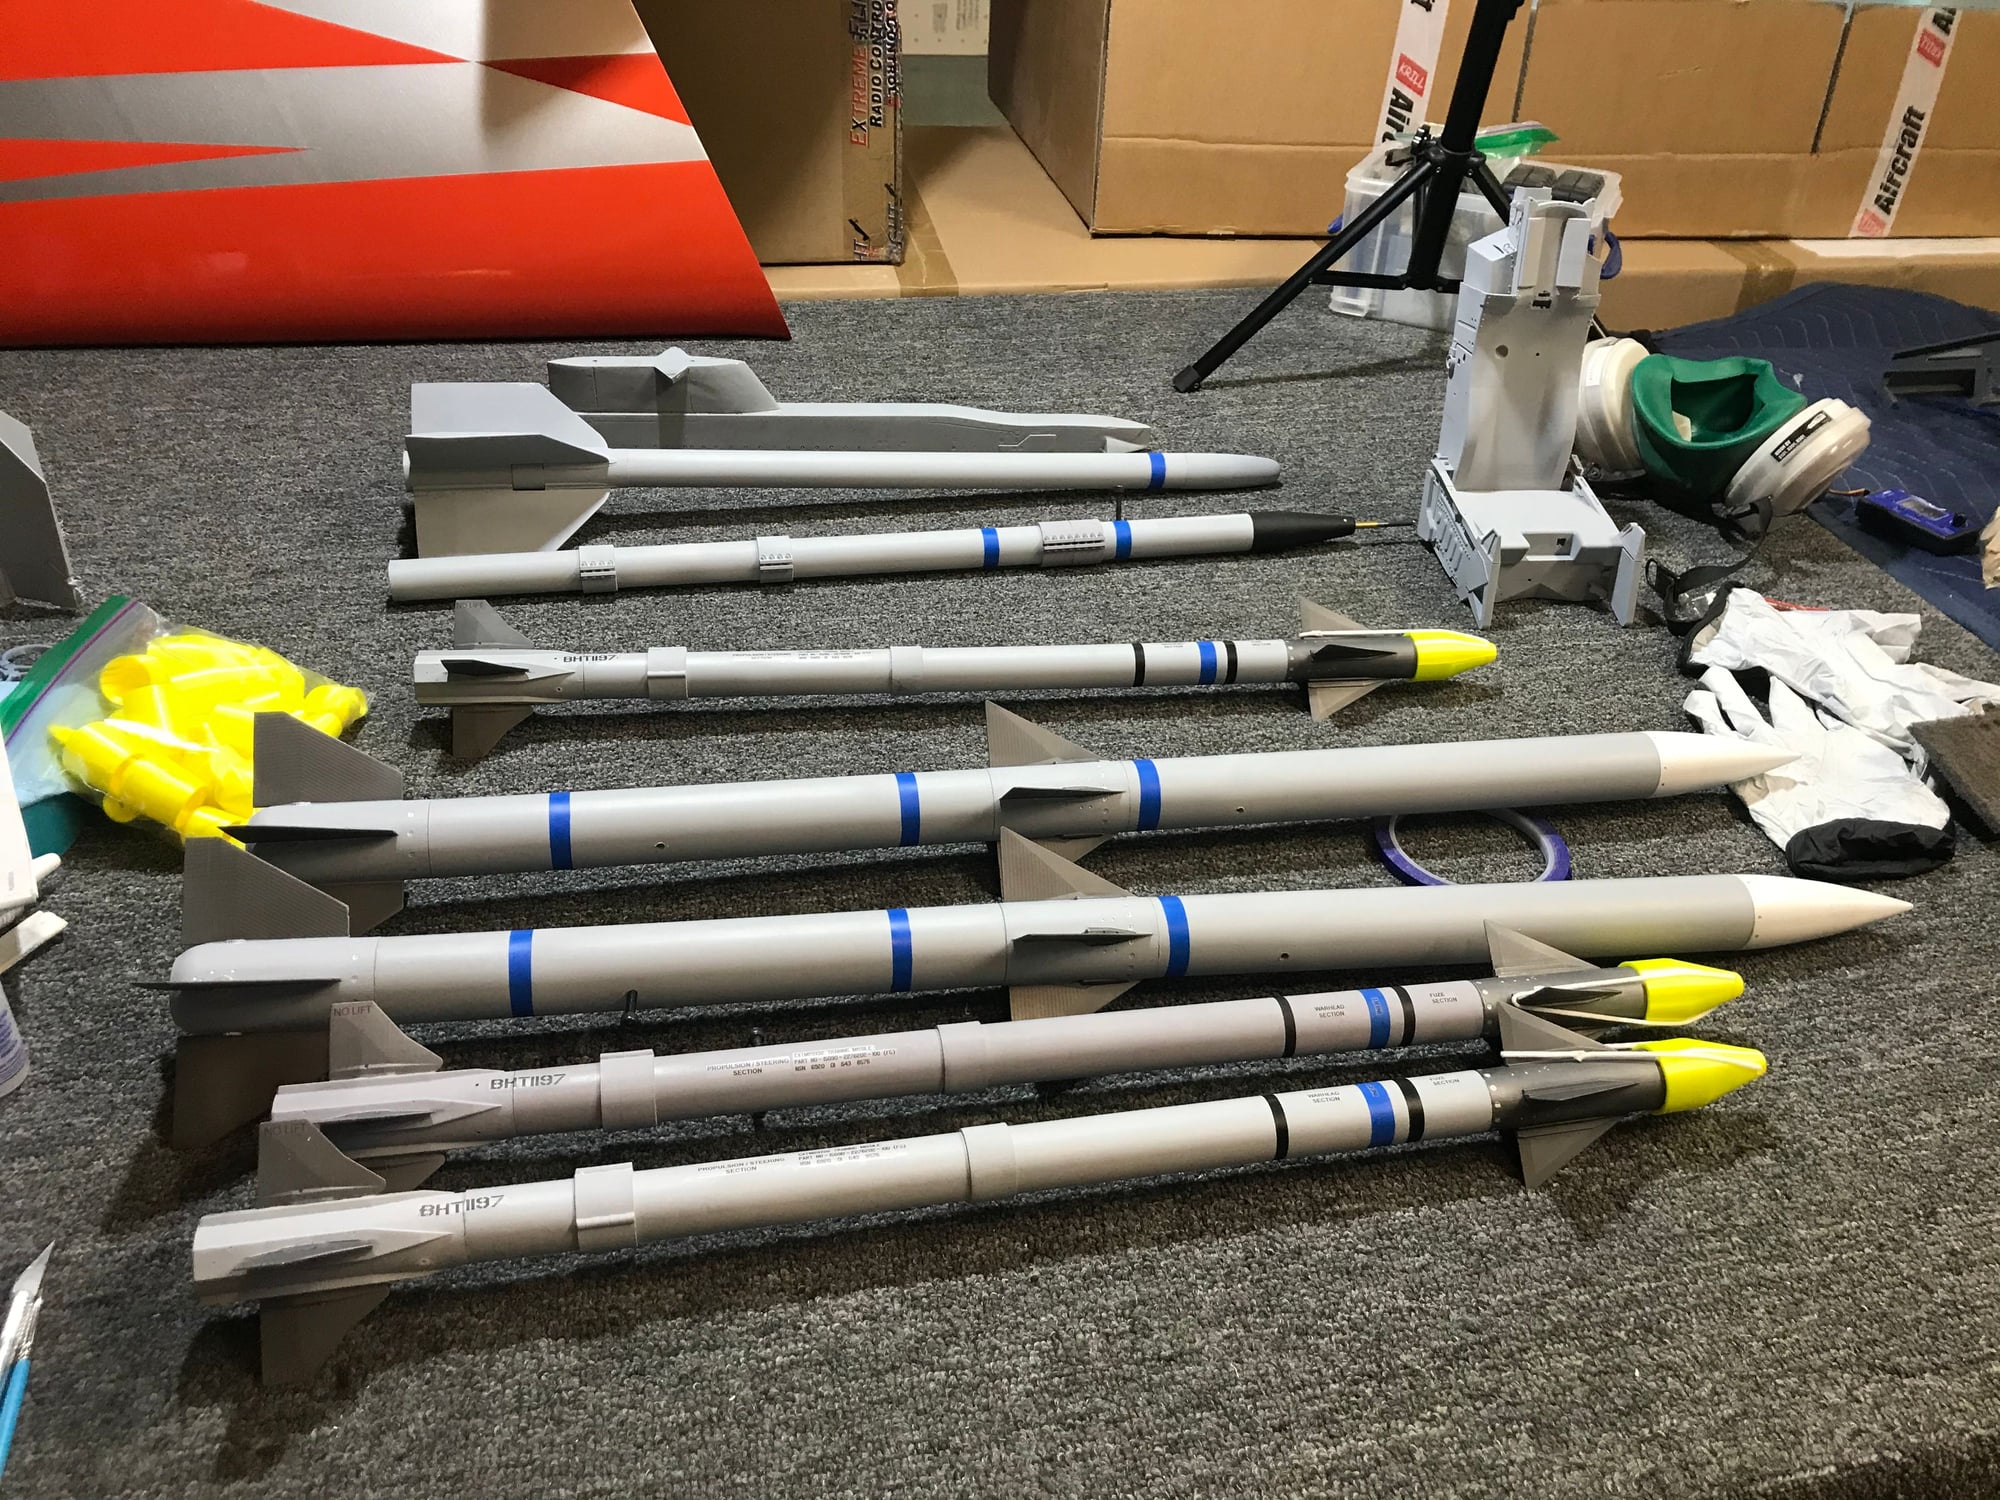
Getting there! Time for decals and some weathering...
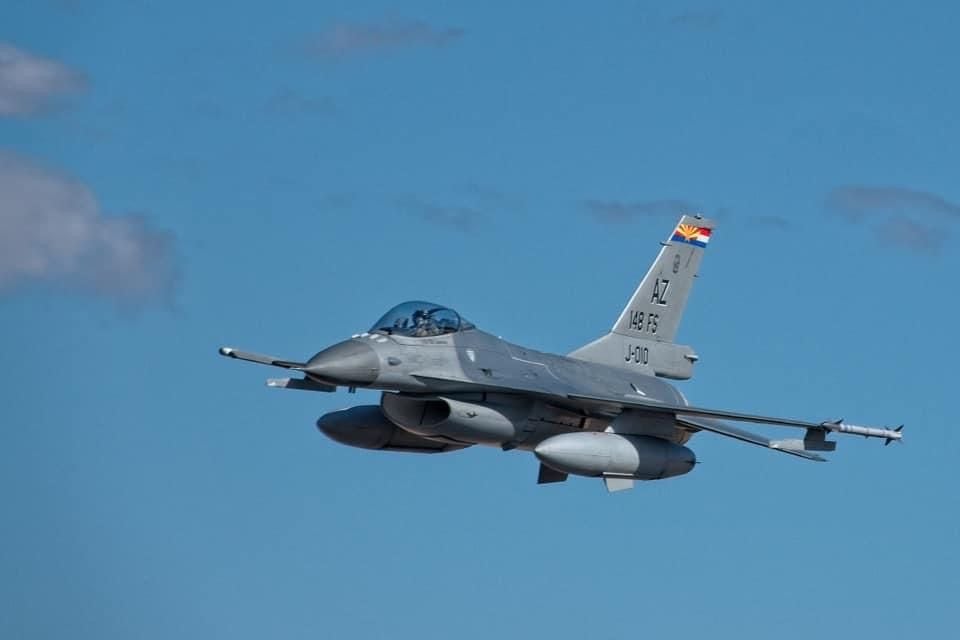
She’s looking good dirty!
Hey guys, there’s been a lot of suggestions to start a fun build thread to see different missiles, paint schemes and The beautiful planes they will be flown on! I enjoy my down time in a hotel room at work designing the world’s most scale replica missile kits and making them available to you. It has become a hobby within a hobby learning how to engineer, 3D model and produce a light weight kit that are strong and accurate to the real deal is a rewarding challenge.
Currently I offer AIM9 sidewinders, AIM9X sidewinders, AIM120 Amraams, Scale Missile “balancers”, TCTS pods, MK82 bombs, scale boarding ladders and soon cockpits/ejection seats! They come ready to assemble and can be build and painted in as little as 2 hours/ pair. For more info PM me or even better visit and like www.facebook.com/spencerscale so stay up to date with the latest developments!
I’ll start us off- Yesterday I began working on my AIM120’s. My kits are designed to be quickly assembled and self aligning. I built/painted two aim9xs, 2 aim 120s, and a balancer in about 5 hours. Feel free to chime in on what you’d like to see made next!
Last edited by Spencer K; 02-04-2021 at 03:32 PM.

The following 4 users liked this post by Spencer K:
02-04-2021 | 11:38 AM
#2
Junior Member
All of these products are truly works of art. Having been able to handle these several times now, even these high quality photos don’t do them justice.
Being a novice turbine pilot I look forward to having a bird soon which I hang a few of these sweethearts on.
So, whoever you are out there; your model deserves these.
Being a novice turbine pilot I look forward to having a bird soon which I hang a few of these sweethearts on.
So, whoever you are out there; your model deserves these.
The following users liked this post:
Spencer K (02-04-2021)
 02-15-2021 | 06:47 AM
#5
 The SLUF gets a makeover!
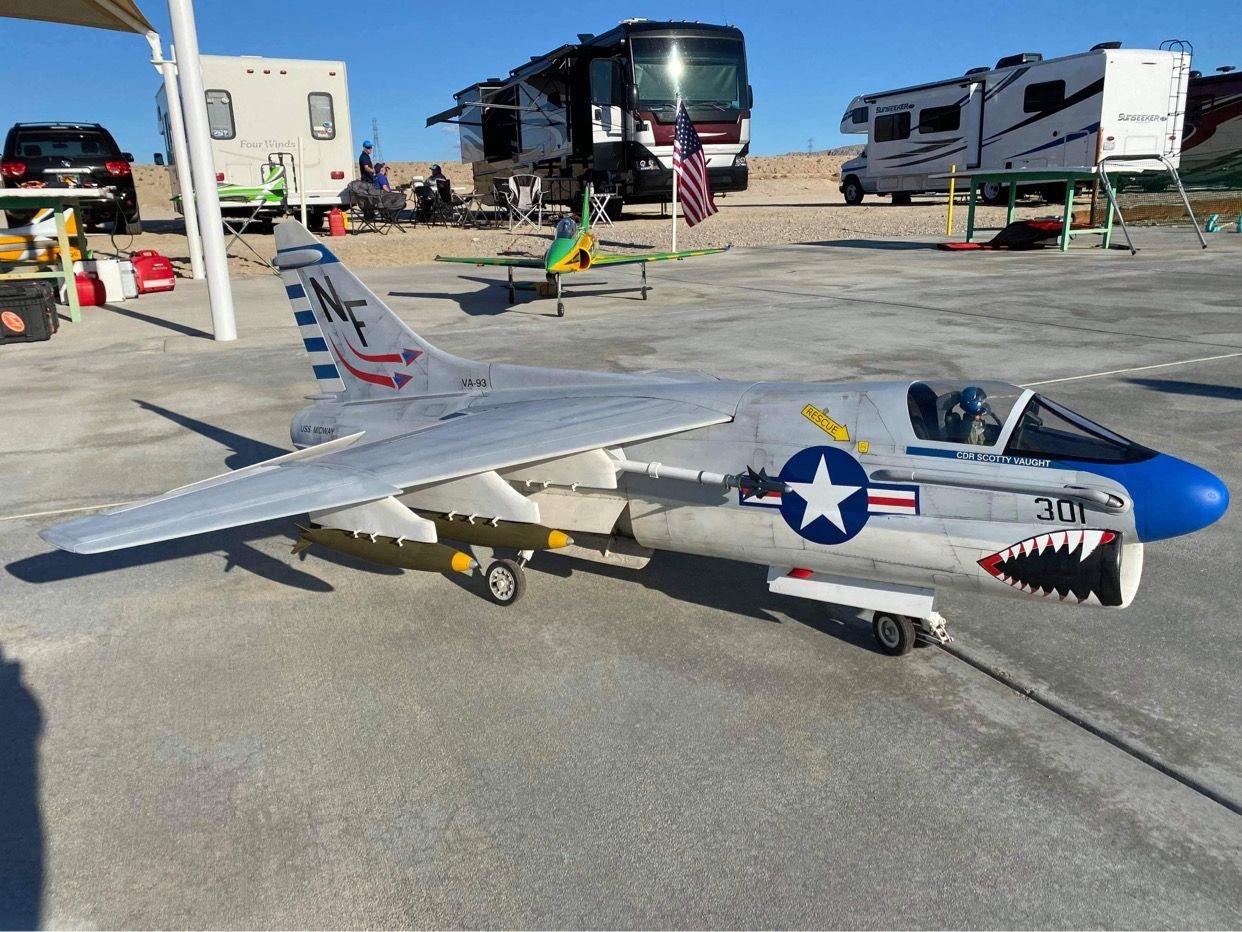
After 12 years, my A7 got a makeover with Spencer Scale AIM-9s. An AWESOME addition! Thanks Spencer!
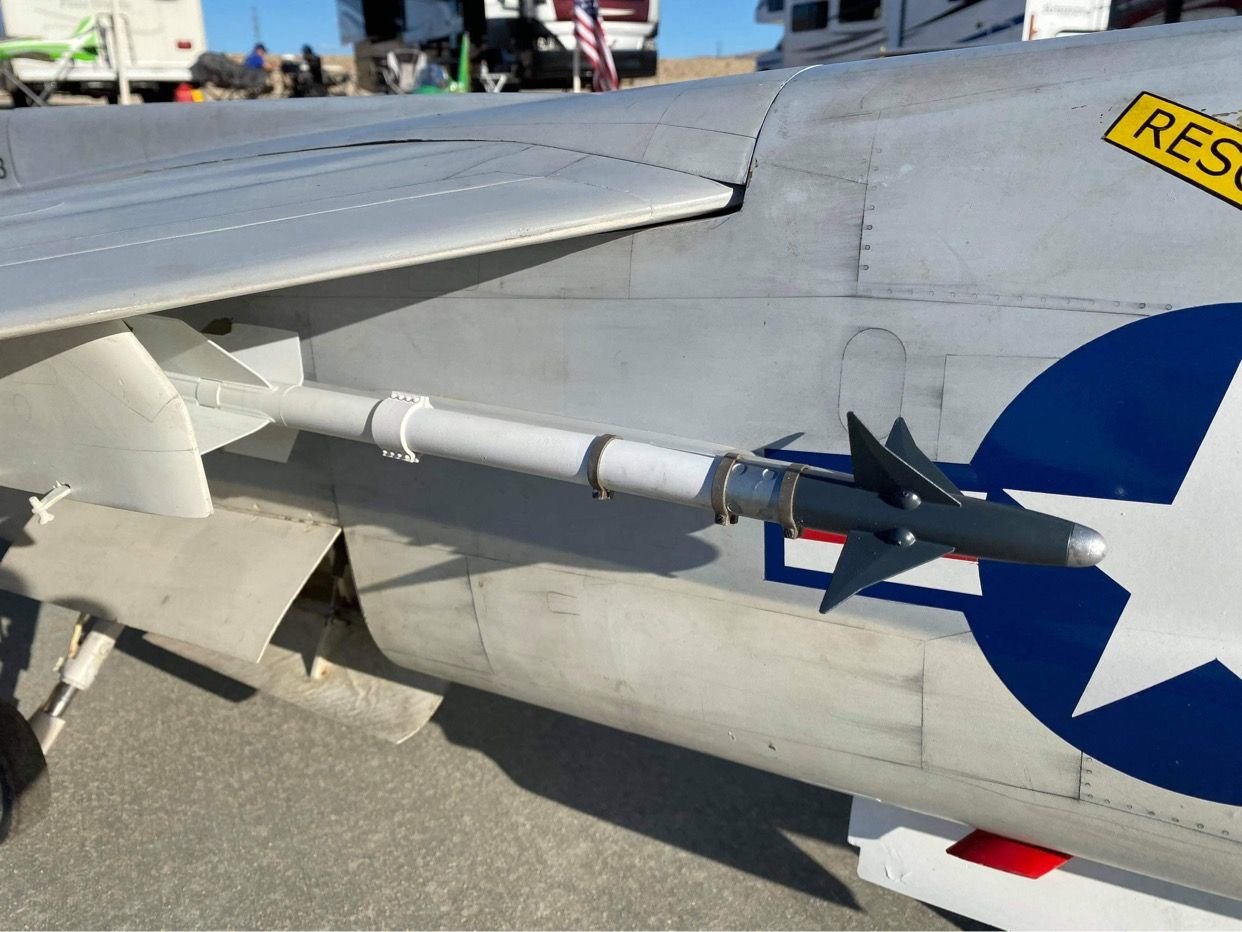
I still need to add a couple stripes and decals to the Sidewinders. The 3D printed detail is incredible.
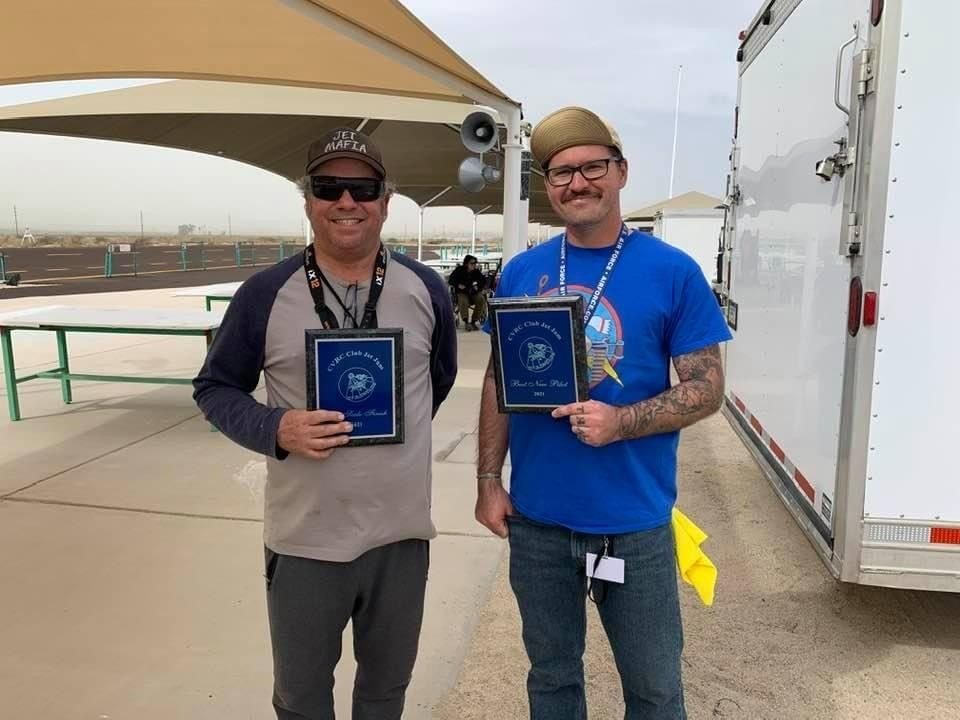
I think the new Sidewinders help me bring home the Best Scale Finish plaque at the Coachella Jet Jam last weekend.
Last edited by cactusflyer; 02-15-2021 at 06:50 AM.


 02-22-2021 | 02:26 PM
#13

My Feedback: (34)
After 12 years, my A7 got a makeover with Spencer Scale AIM-9s. An AWESOME addition! Thanks Spencer!
I still need to add a couple stripes and decals to the Sidewinders. The 3D printed detail is incredible.
I think the new Sidewinders help me bring home the Best Scale Finish plaque at the Coachella Jet Jam last weekend.
The following 2 users liked this post by Doug Cronkhite:
Bob_B (02-22-2021),
cactusflyer (02-22-2021)

 05-07-2021 | 05:46 AM
#17

My Feedback: (4)
Interesting article on why AIM 120s are on the -16 wingtips now instead of sidewinders
https://www.thedrive.com/the-war-zon...-wingtip-rails
TLDR: flutter!
https://www.thedrive.com/the-war-zon...-wingtip-rails
TLDR: flutter!
05-07-2021 | 10:17 AM
#18

Senior Member
Interesting article, didn't know the F16 had these issues with flutter. So if the sidewinder helps reduce it is their video of wing flutter without the missle attached to the wing.
I was shocked back in 2017 at how many F16 were retired at Davis Monthan airfare boneyard. At the time the guide suggested there were over 350 F16 slated for destruction.

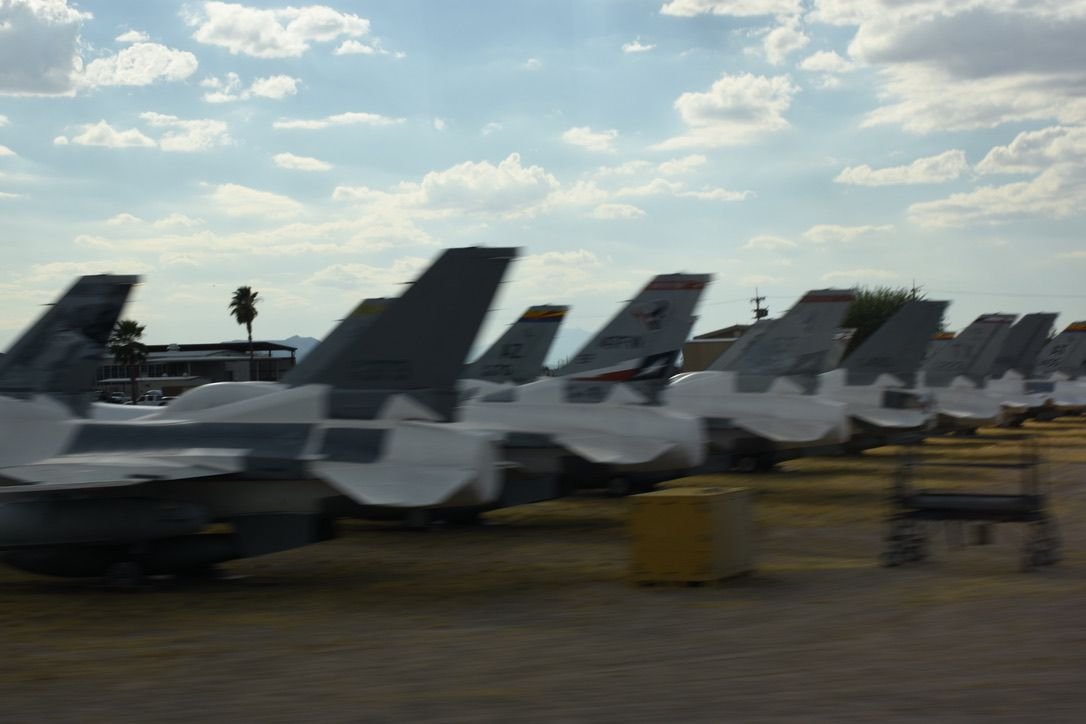
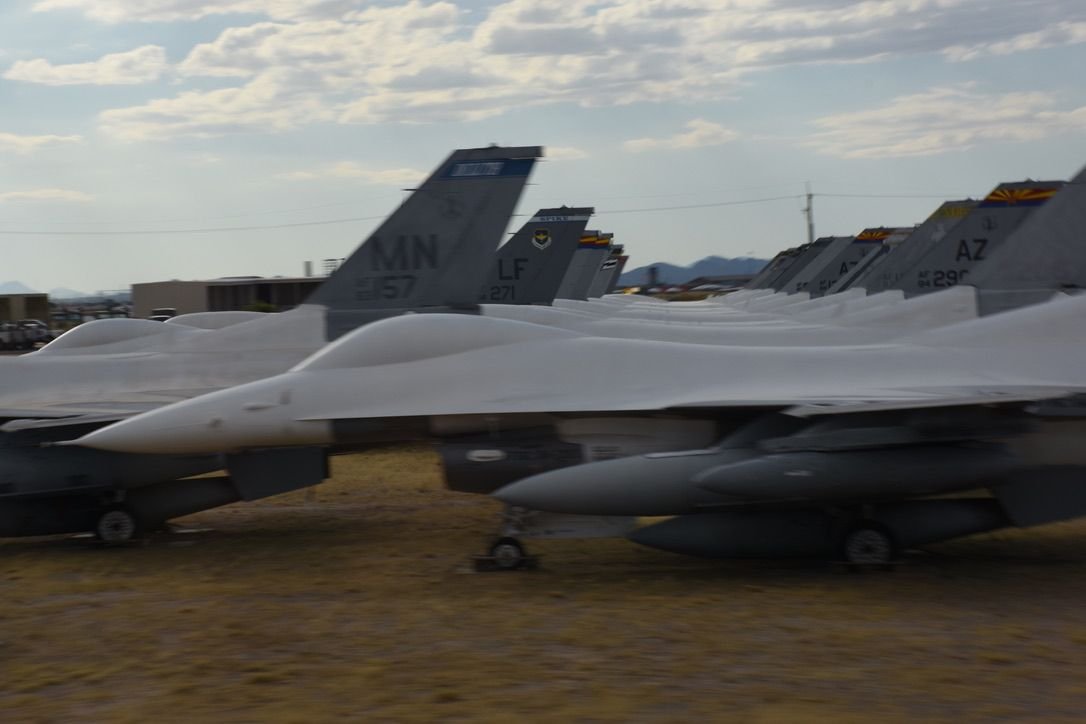
I was shocked back in 2017 at how many F16 were retired at Davis Monthan airfare boneyard. At the time the guide suggested there were over 350 F16 slated for destruction.
03-26-2022 | 03:43 PM
#19

My Feedback: (1)
Just bought a pair of AIM-9 and 2 pairs of AIM-120 from Spencer. Having lived in Arizona up until last July, I got to see his works of art in person several times. Looking forward to receiving my kits! I have the Global Knight F-16XL on order and these will be going on that.
 03-26-2022 | 04:54 PM
#20

My Feedback: (20)
Just bought a pair of AIM-9 and 2 pairs of AIM-120 from Spencer. Having lived in Arizona up until last July, I got to see his works of art in person several times. Looking forward to receiving my kits! I have the Global Knight F-16XL on order and these will be going on that.
Thanks, Gary
03-31-2022 | 07:00 AM
#21
My Feedback: (1)
My missiles arrived this morning, and I am blown away by the scale details! Even includes decals which is awesome! Came packed very nicely and no damage to the parts at all. I will be taking lots of pics during the builds and will post them up here. Sorry about the blurry first pic, but you get the idea.
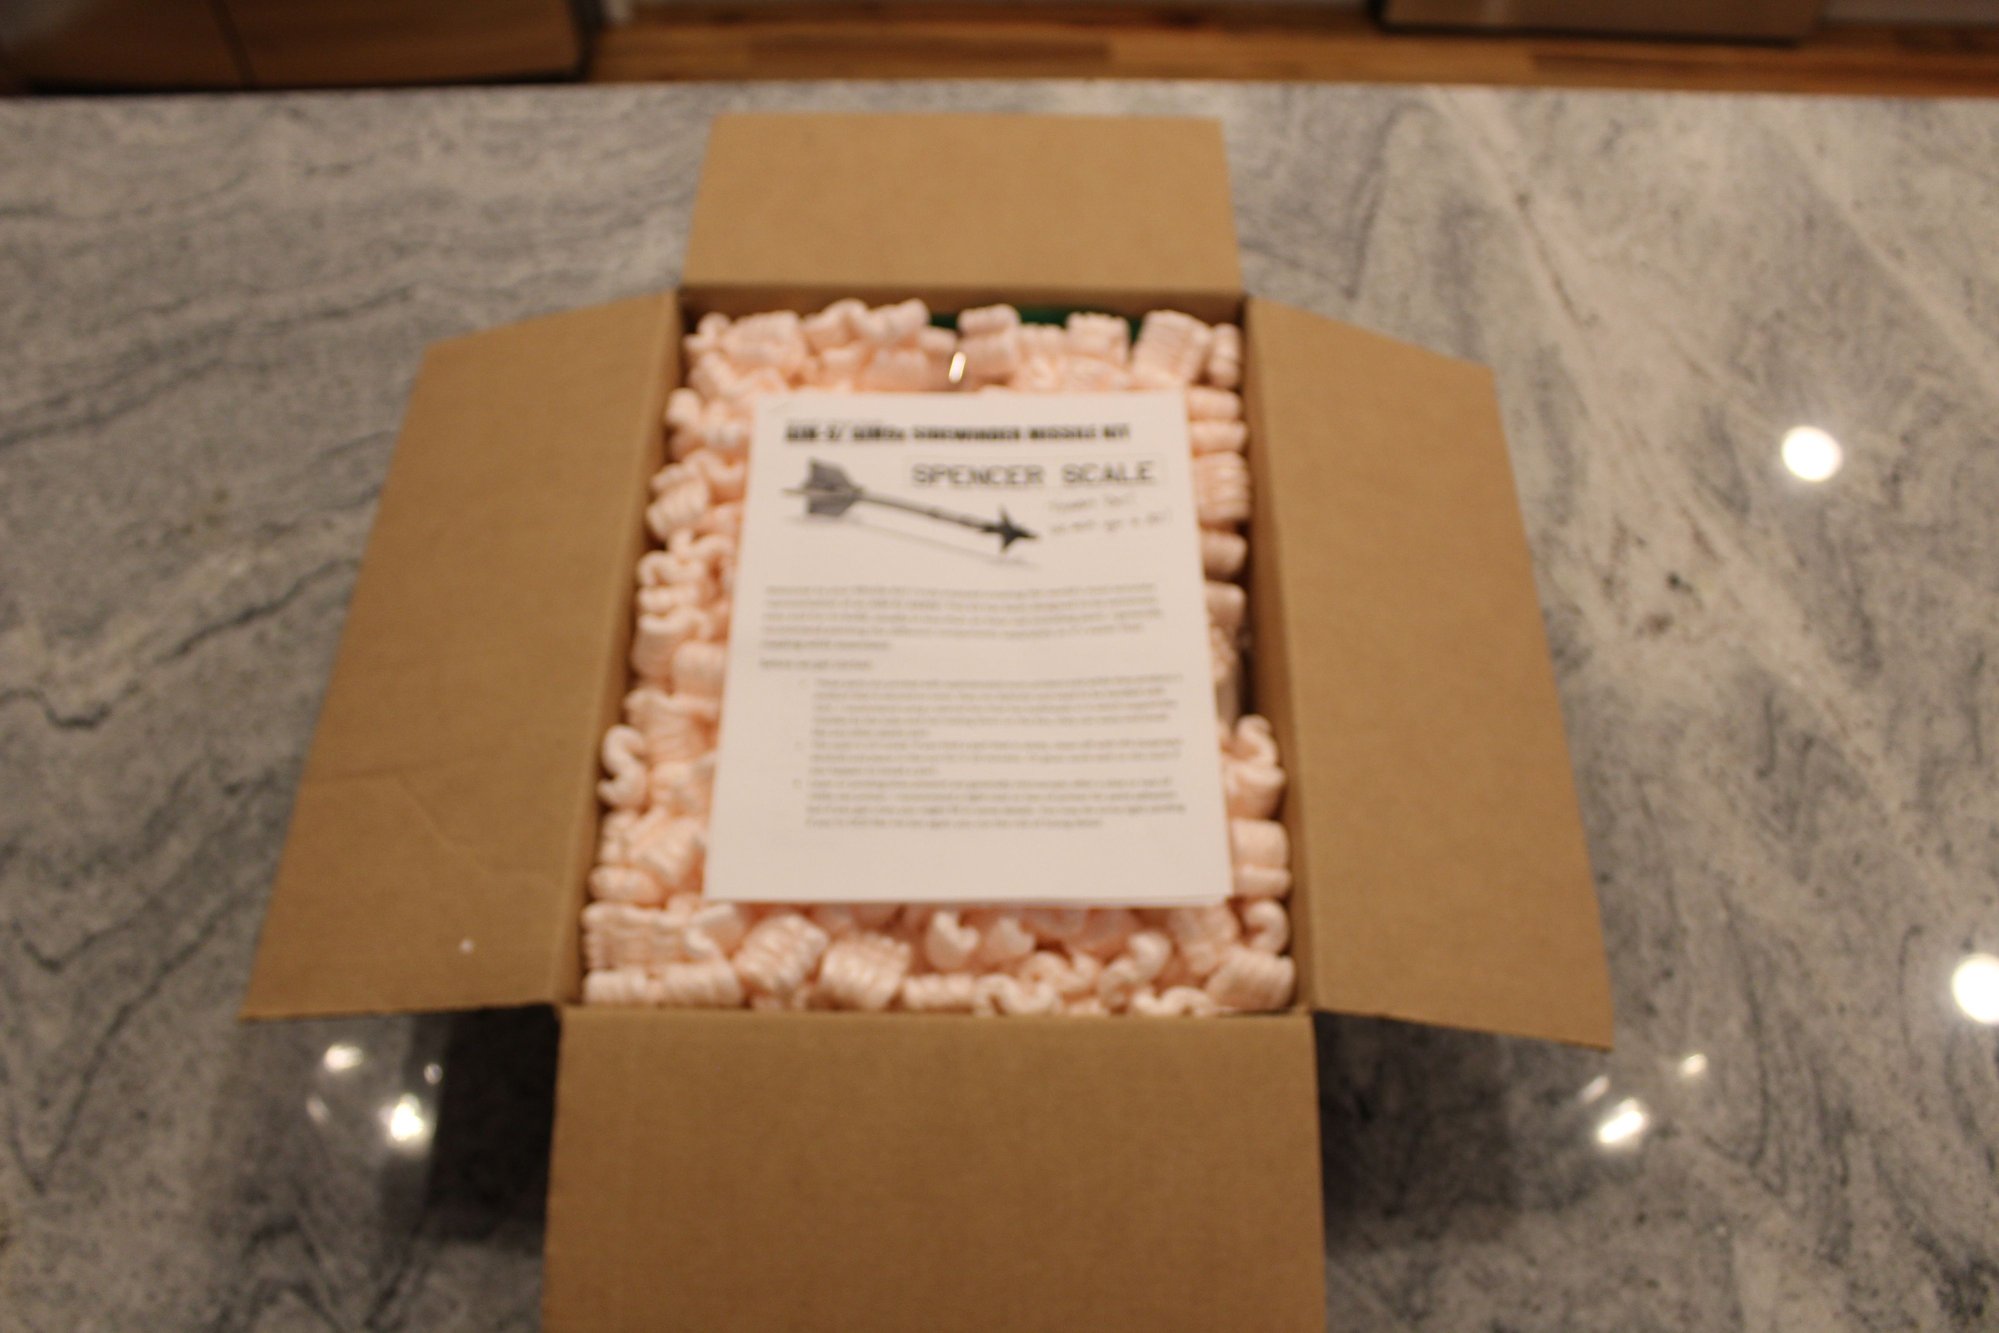
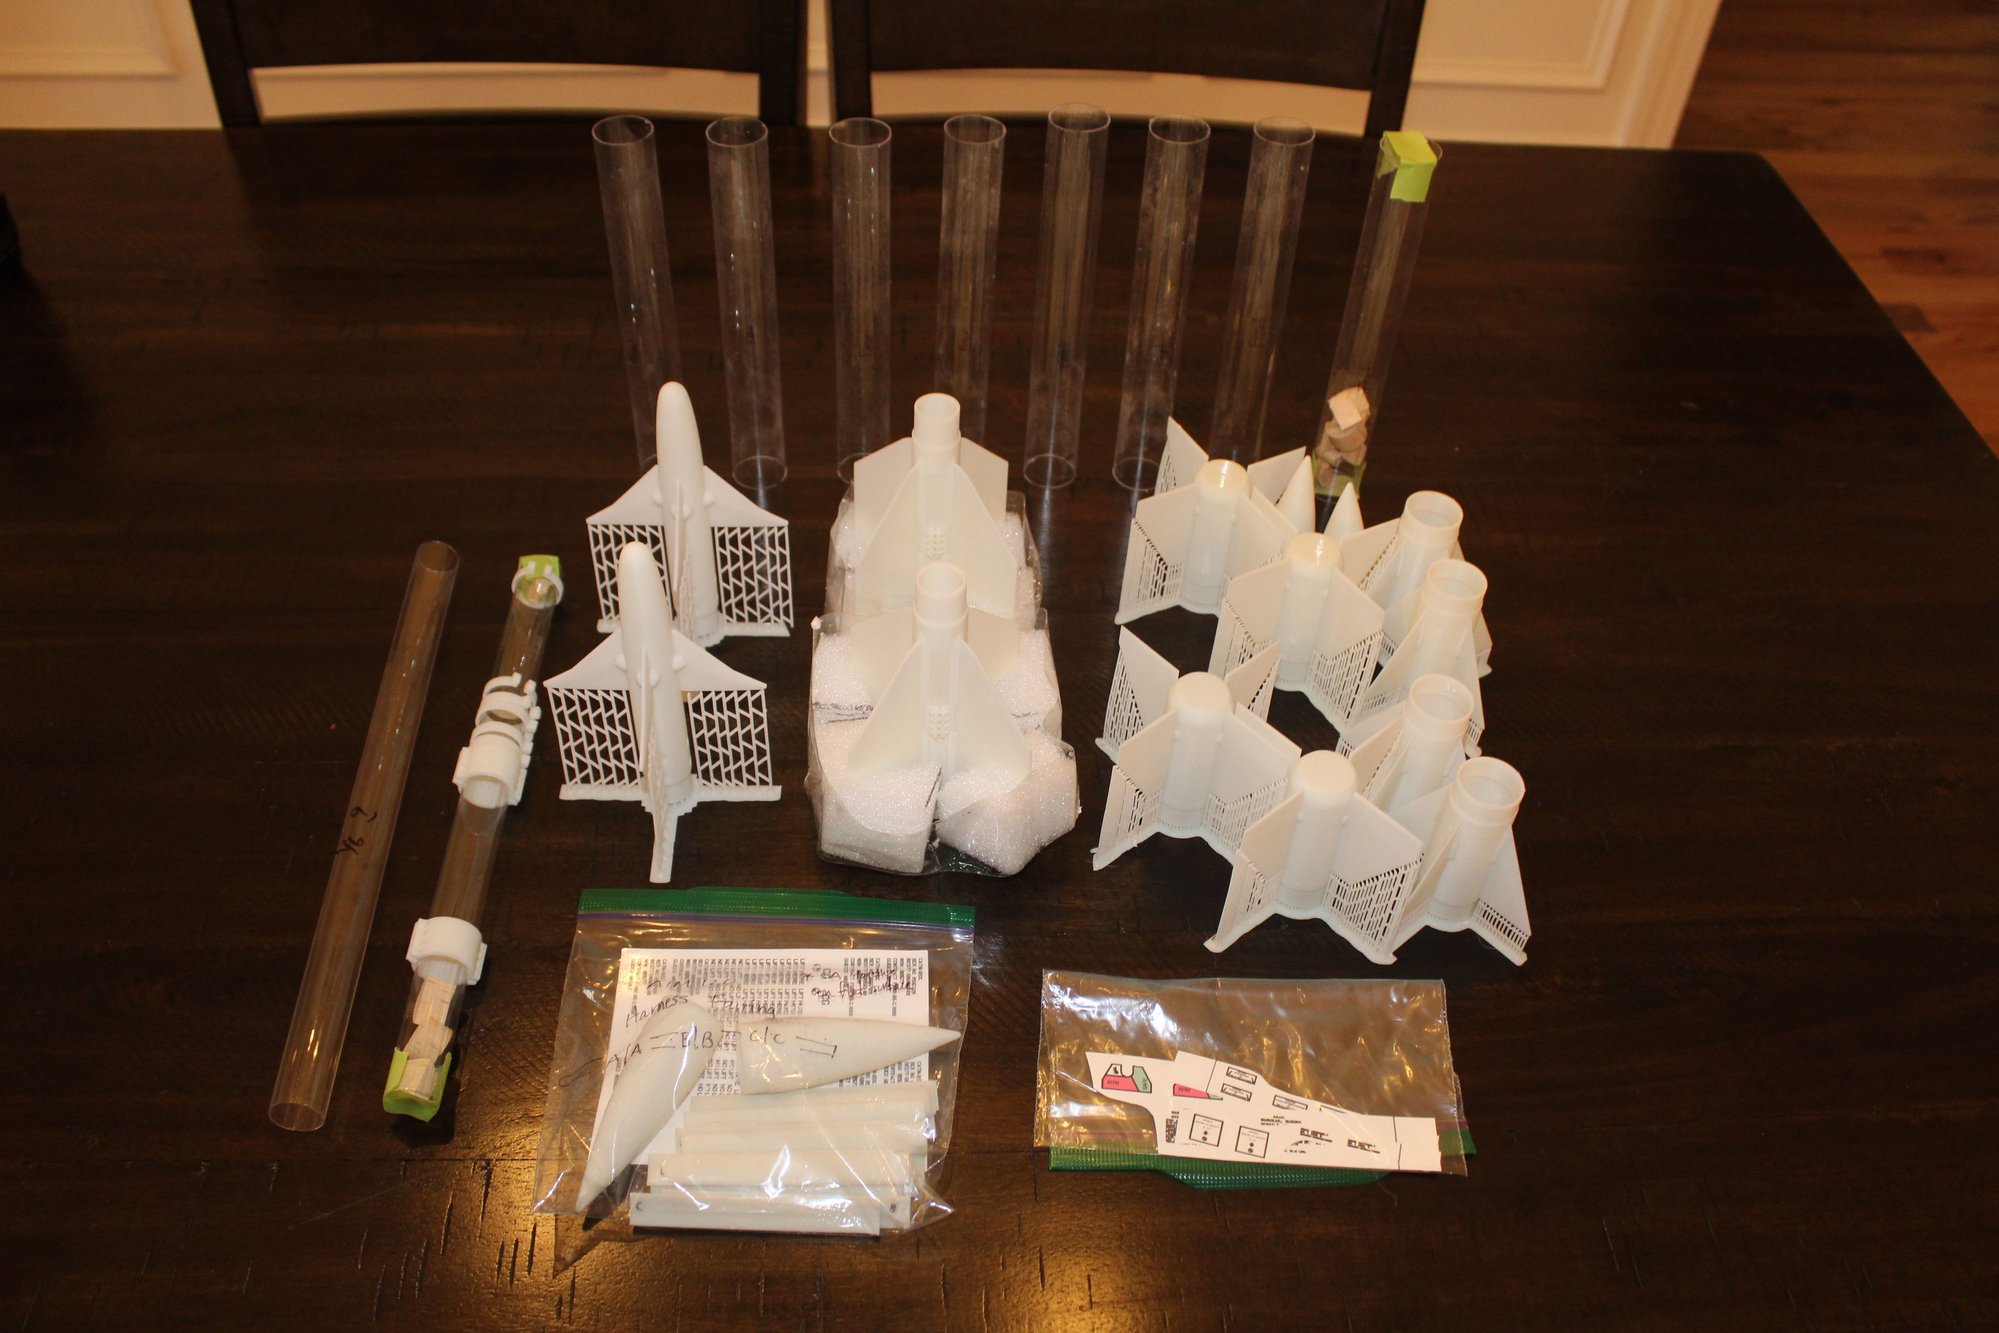
The following users liked this post:
mongo (03-31-2022)
04-05-2022 | 03:24 PM
#22
My Feedback: (1)
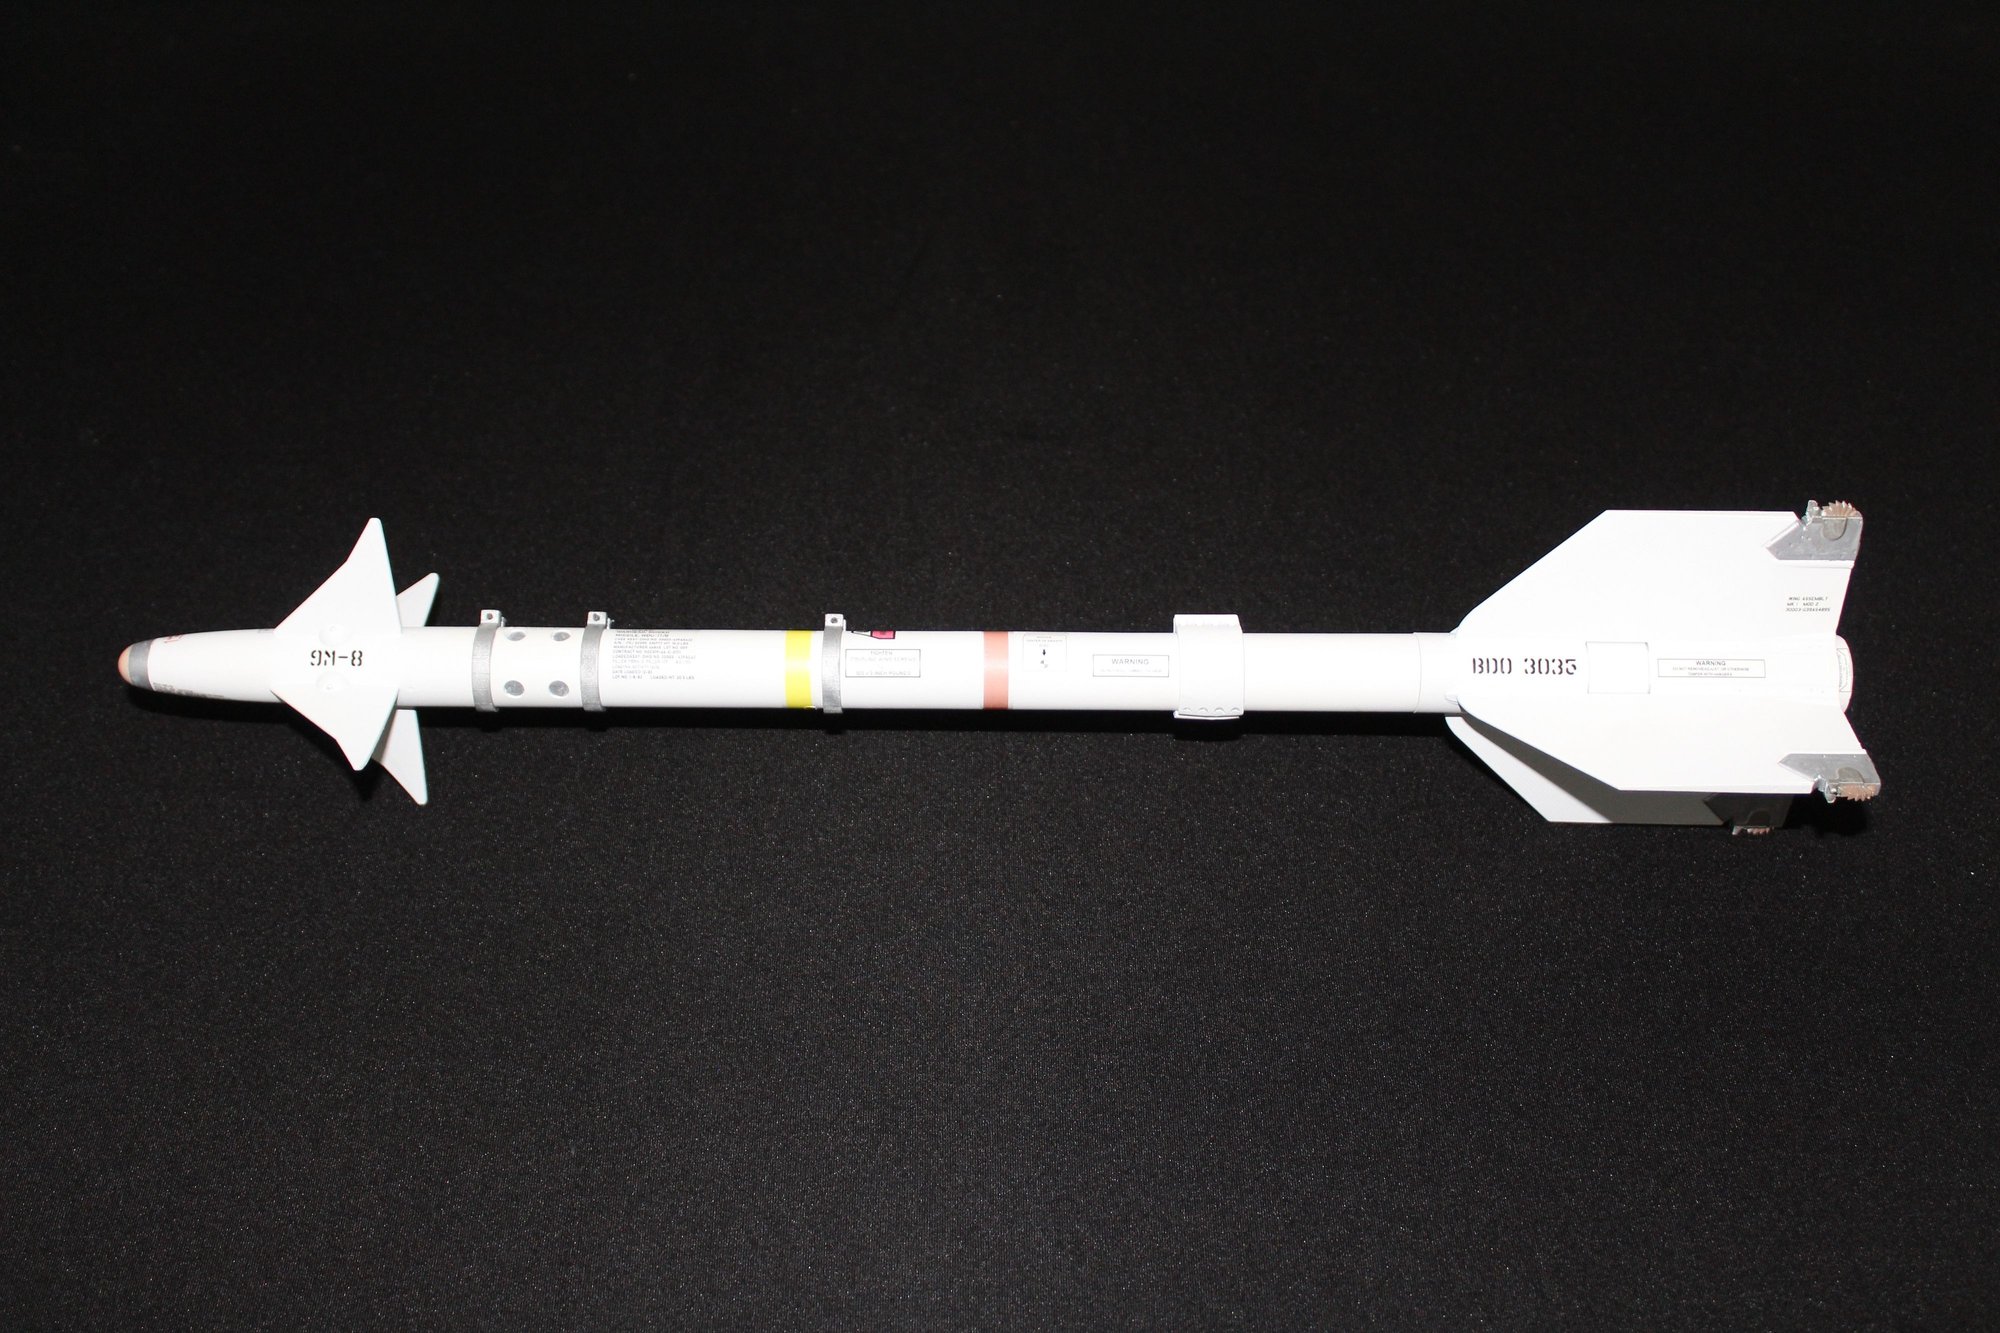
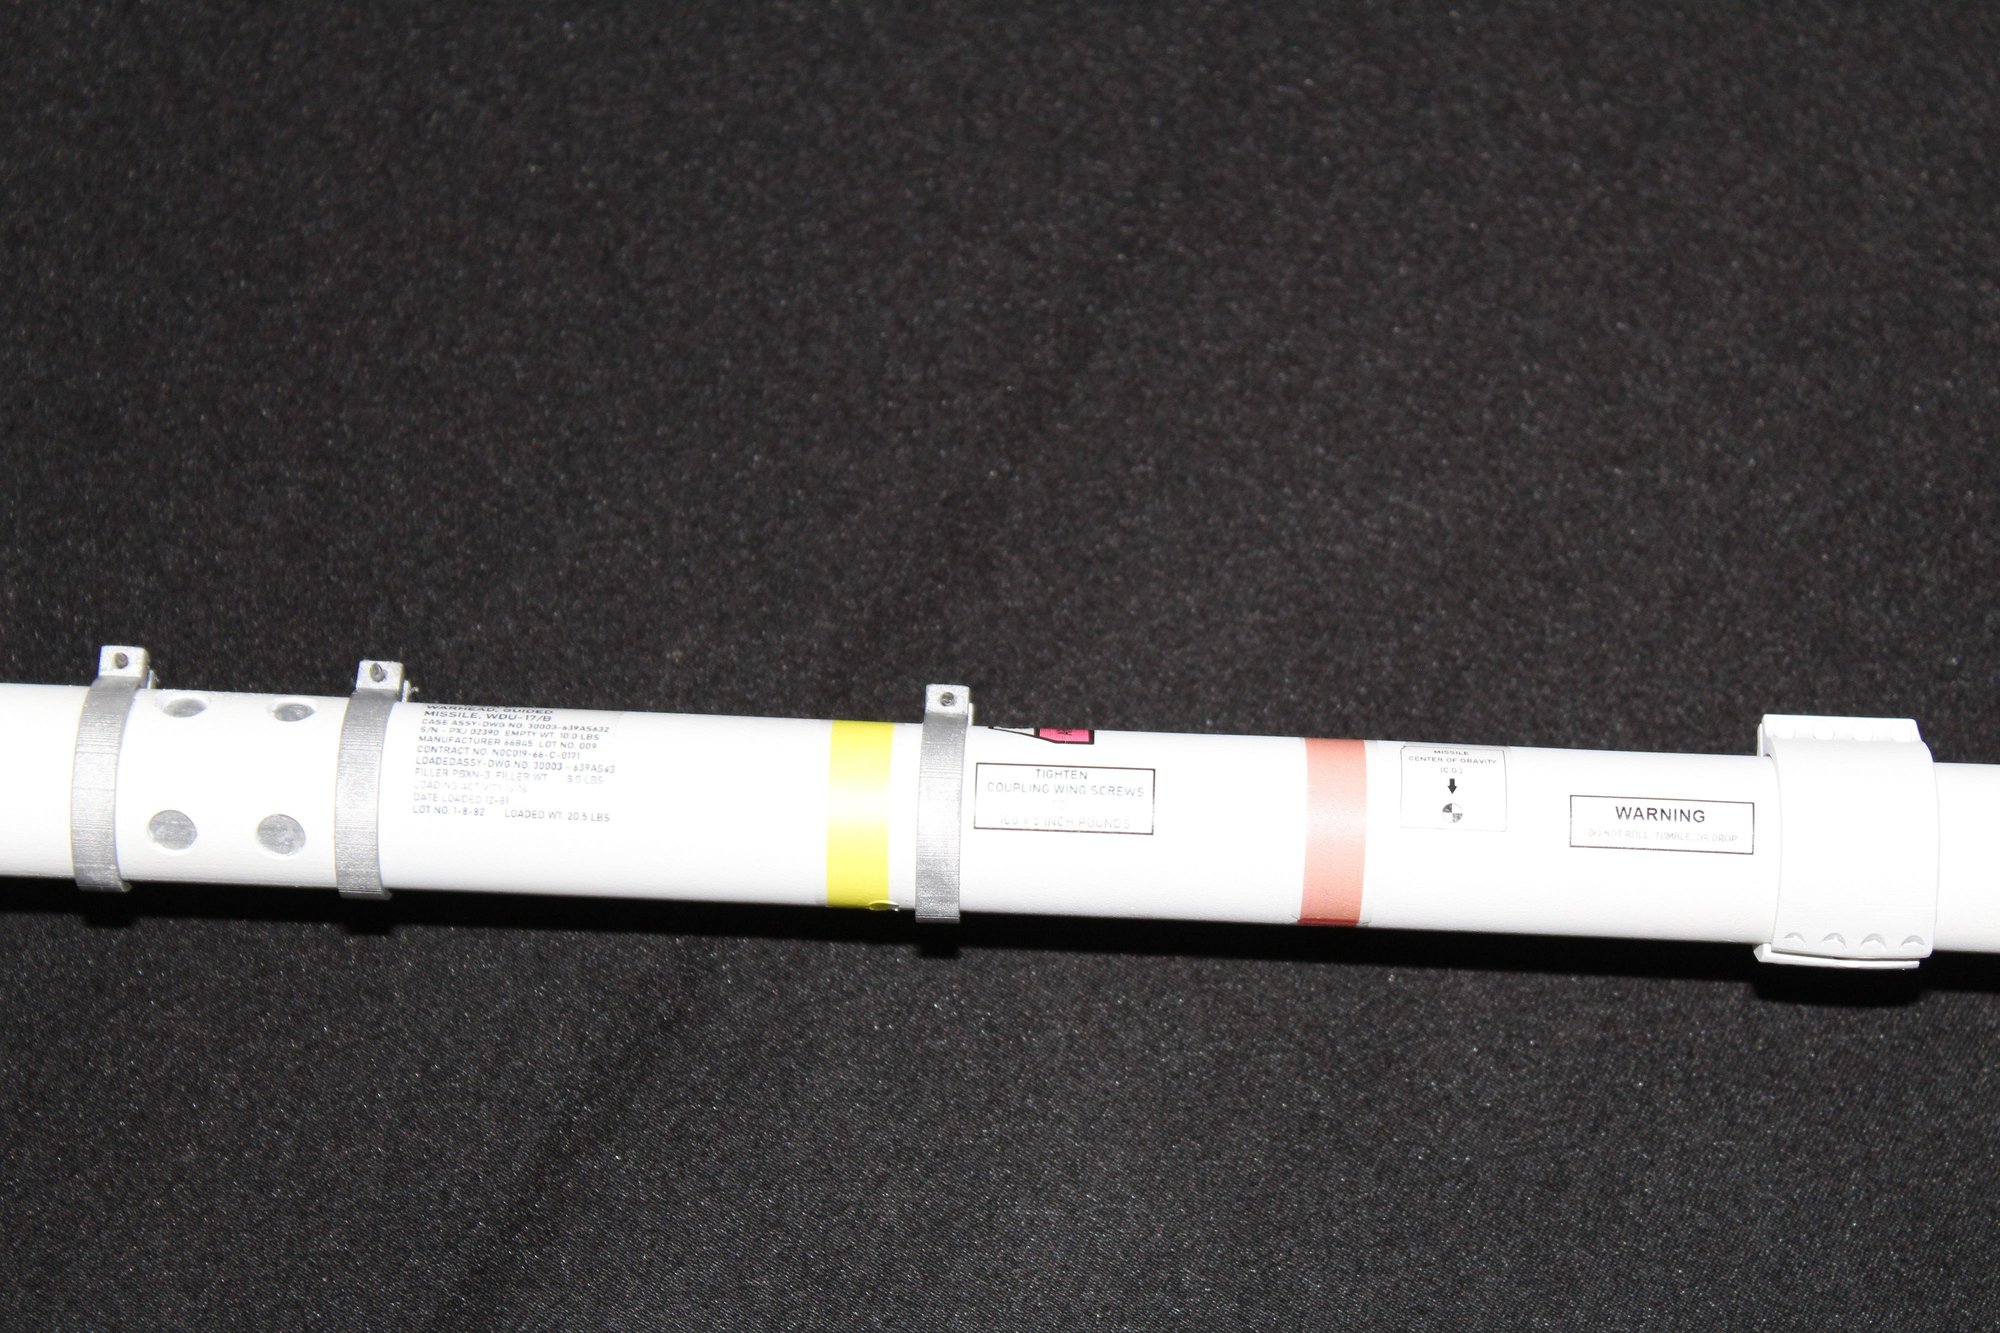
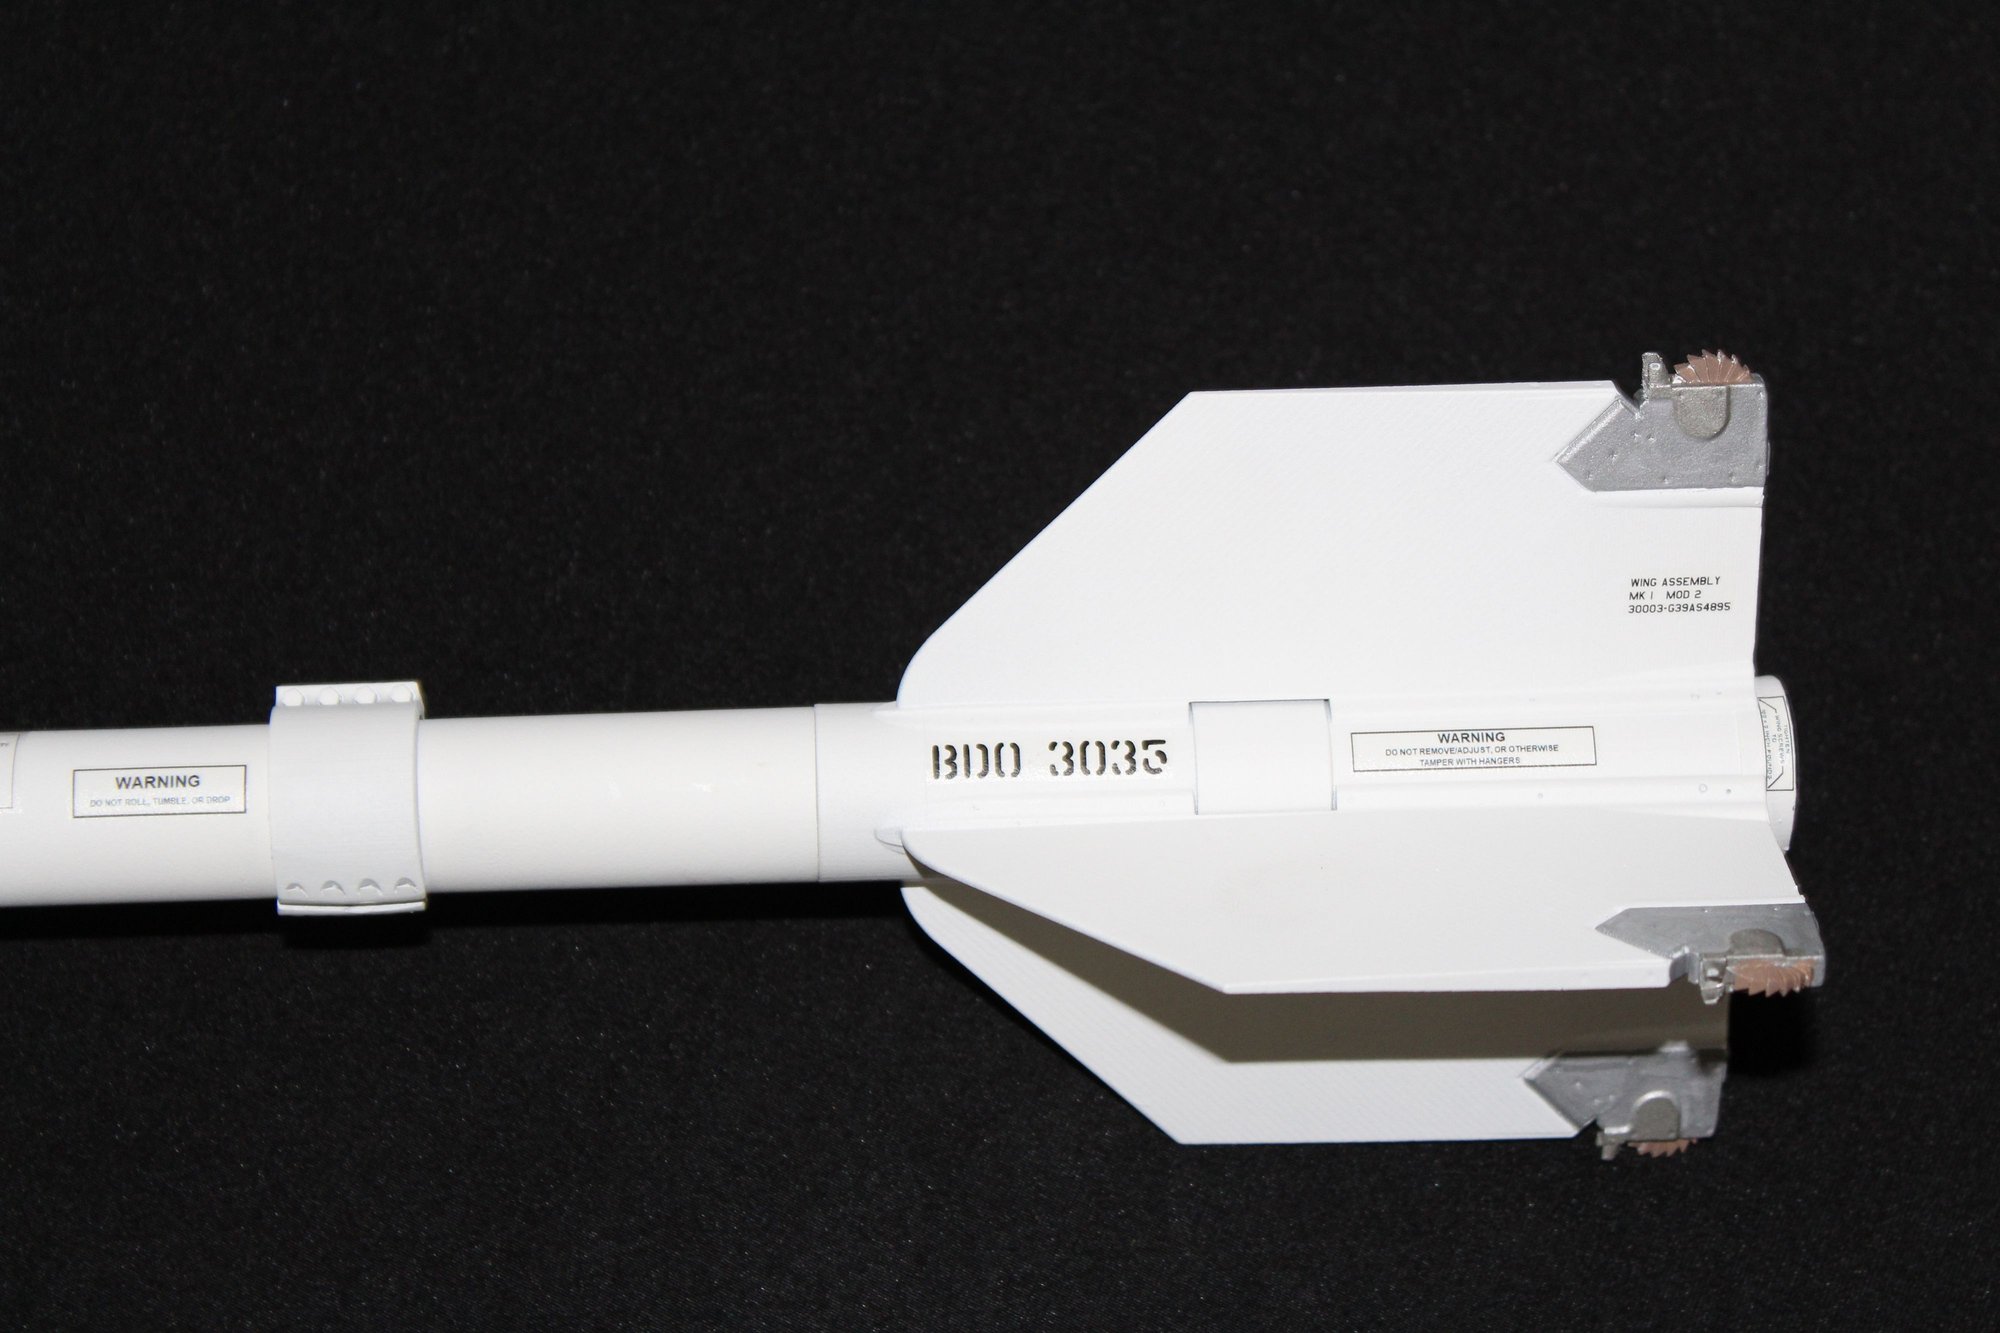
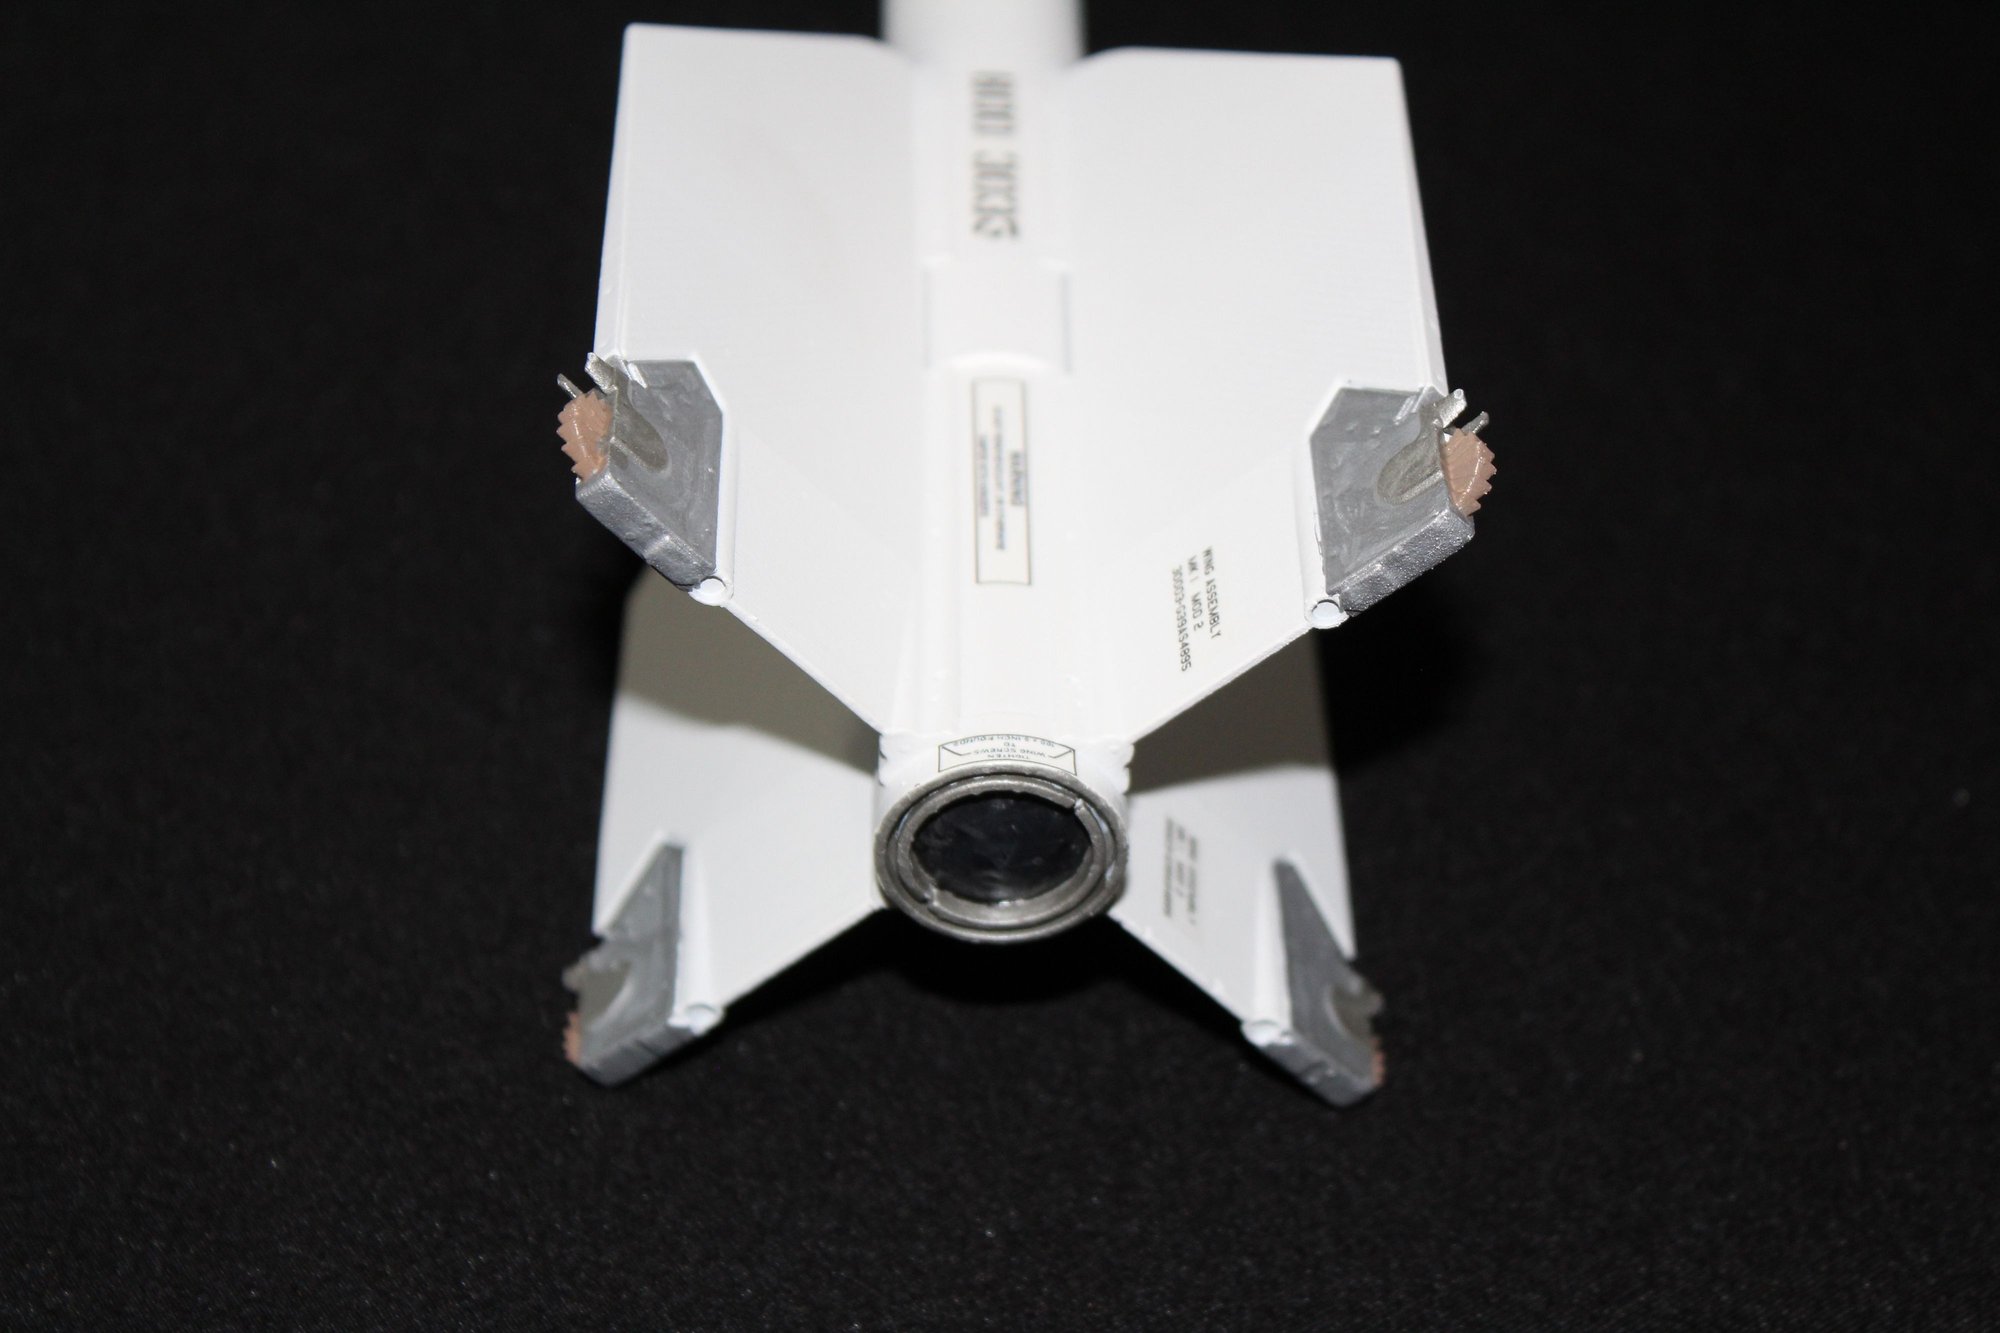
OK, I've assembled one of the Sidewinders. I said it before, but I'll say it again. The scale details of this thing is amazing! Here's a step-by-step guide to building these.
Step 1 - Carefully remove any parts attached to support rafts. A sharp knife (Xacto) works well here. I also light sanded the areas where the rafts were attached to remove any excess material. (Save some of the raft material to test your primer and paint on!)

Step 2 - Cut your clear missile tubes to length. I'm doing 1/6 scale missiles. The full scale AIM-9M is 113" long, so 1/6 scale is 18.83". The nose section is 5.1875" from tip to tube join and the tail section is 4.6875", for a total of 9.875". This means I needed to cut the tube to 8.955", or right about 8 17/16". I marked my cut line and used a band saw to make the cut. I then sanded the ends of the tube to be flat and level.
Step 3 - Determine what type and where your mounting system will go. Spencer provides half circle wood dowel to use as mounting blocks for the interior of the tube. I'm using M3x12mm socket head screws for my mounting tabs. Mark the tube for your mounts, then scuff up the area where the wood will glue to and glue them in place. I used Hysol. If your mounts are going to be different lengths from the tube openings. make sure you make a direction mark on the tube! I also made a mark on the inside of the tube so that I can still see it after painting.
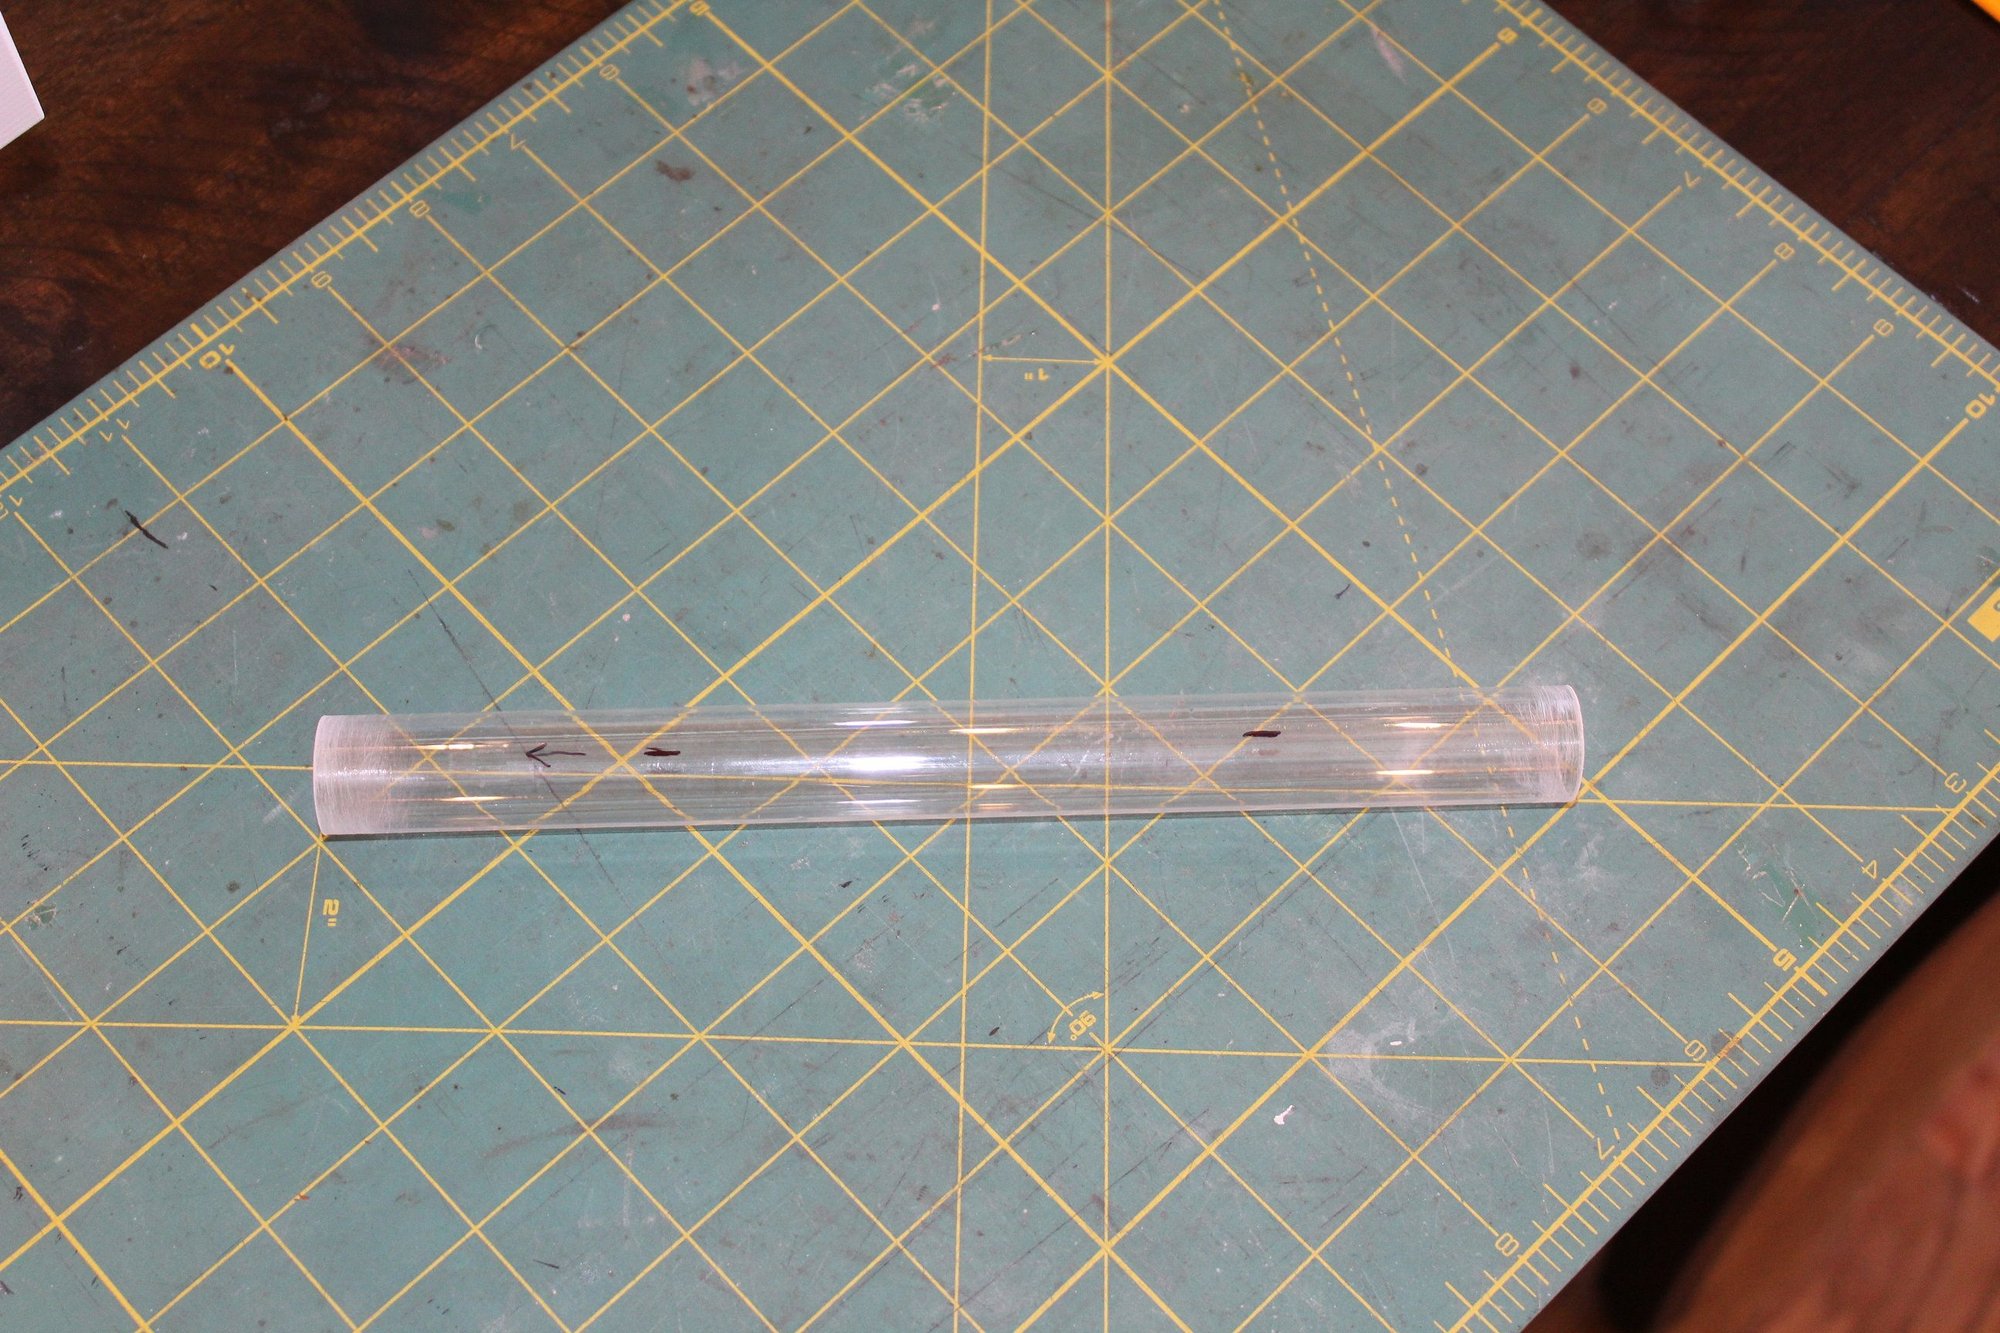
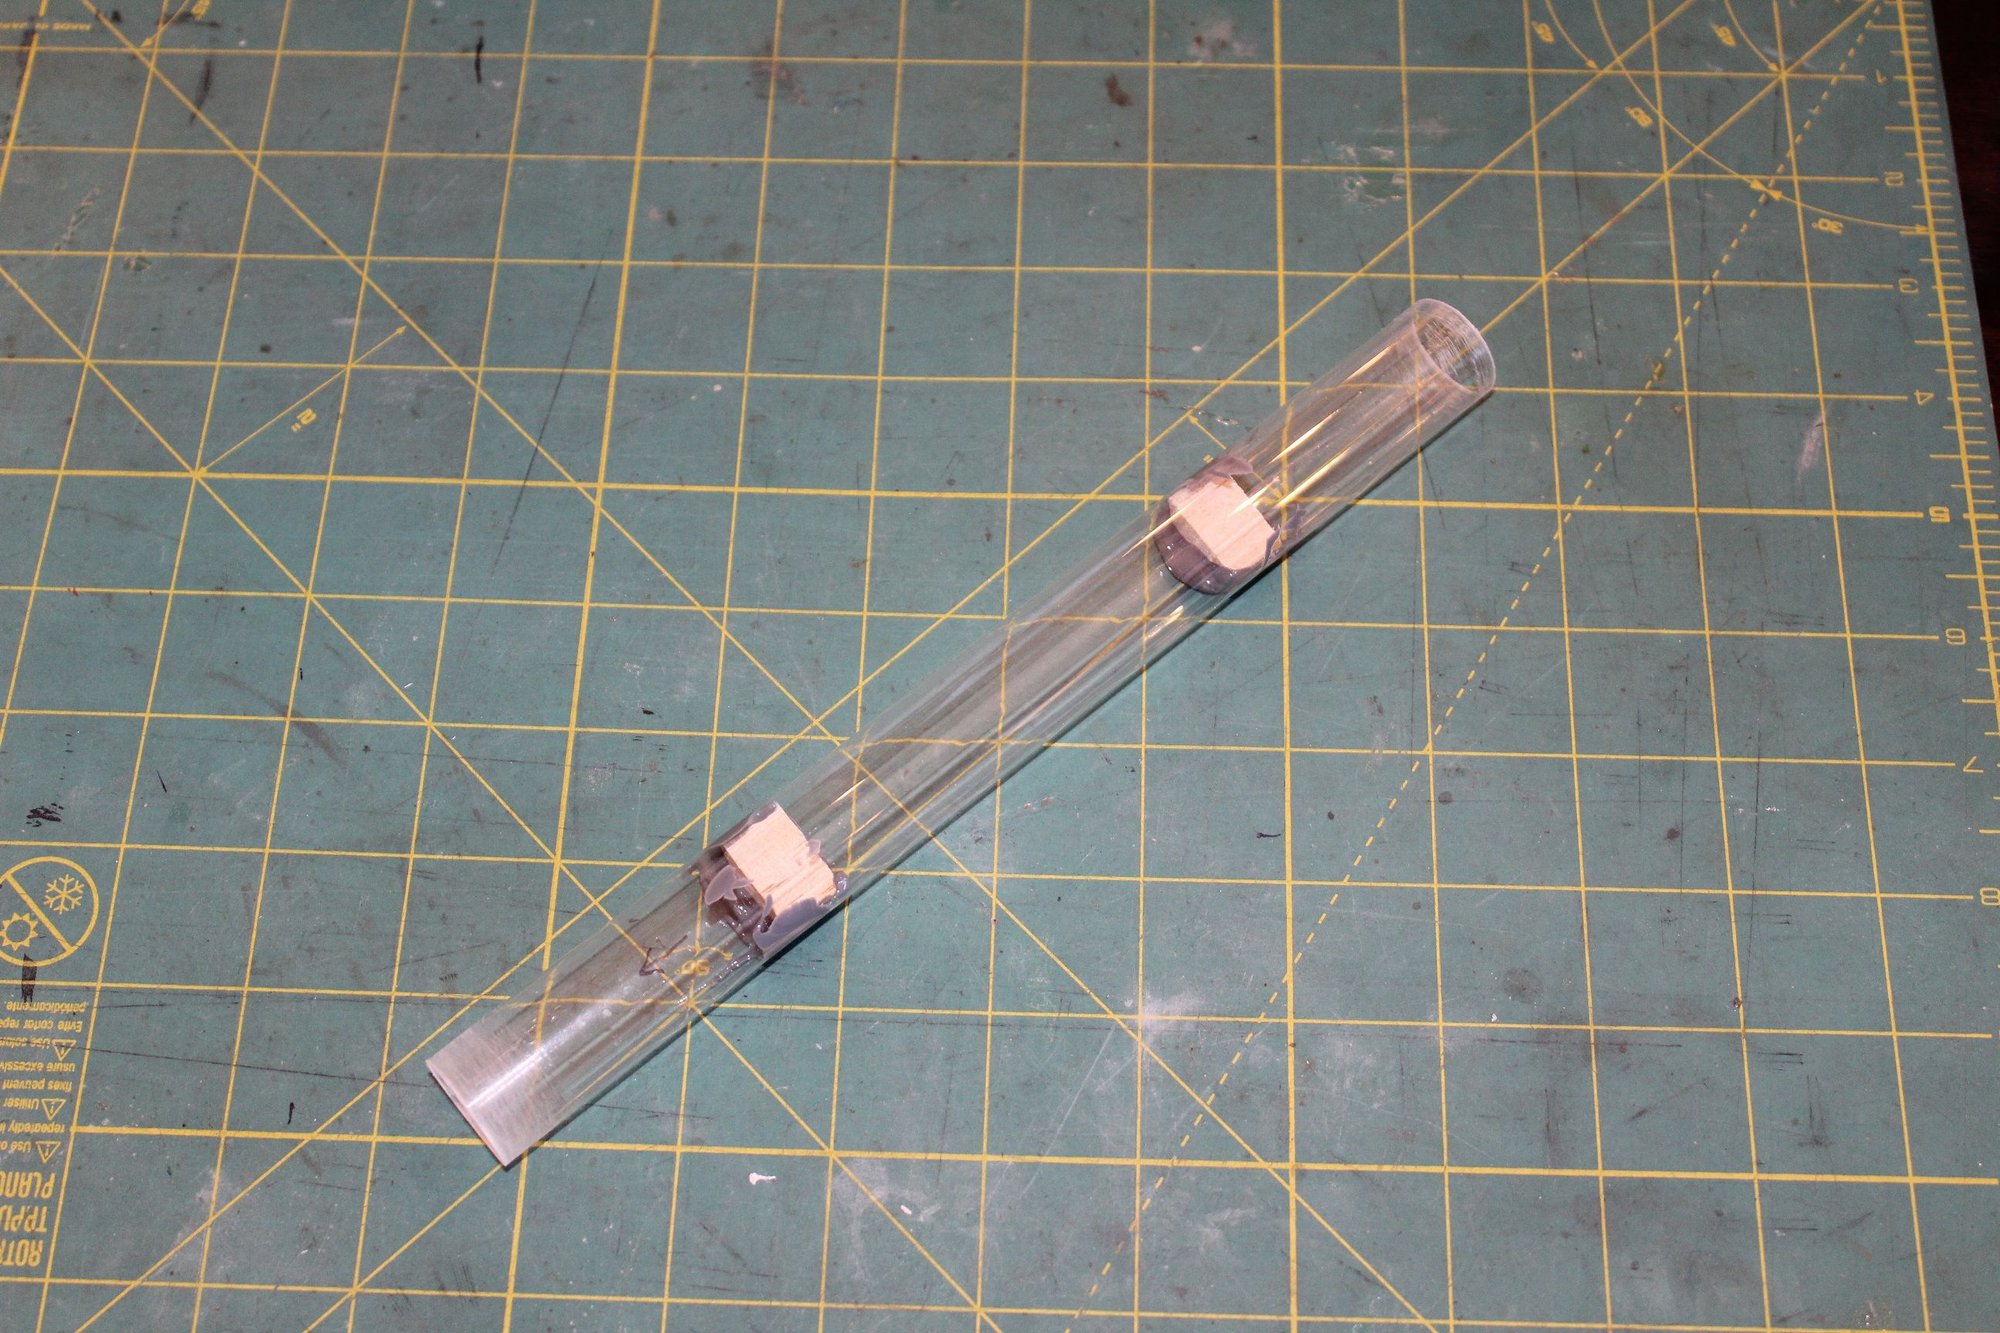
Step 4 - For what I did for mounts, once the Hysol dried I marked a centerline then marked the locations to drill for the M3 screws. I started with a 1/16 drill bit to make a pilot hole, then went back with a 1/8 bit to make the screw hole.
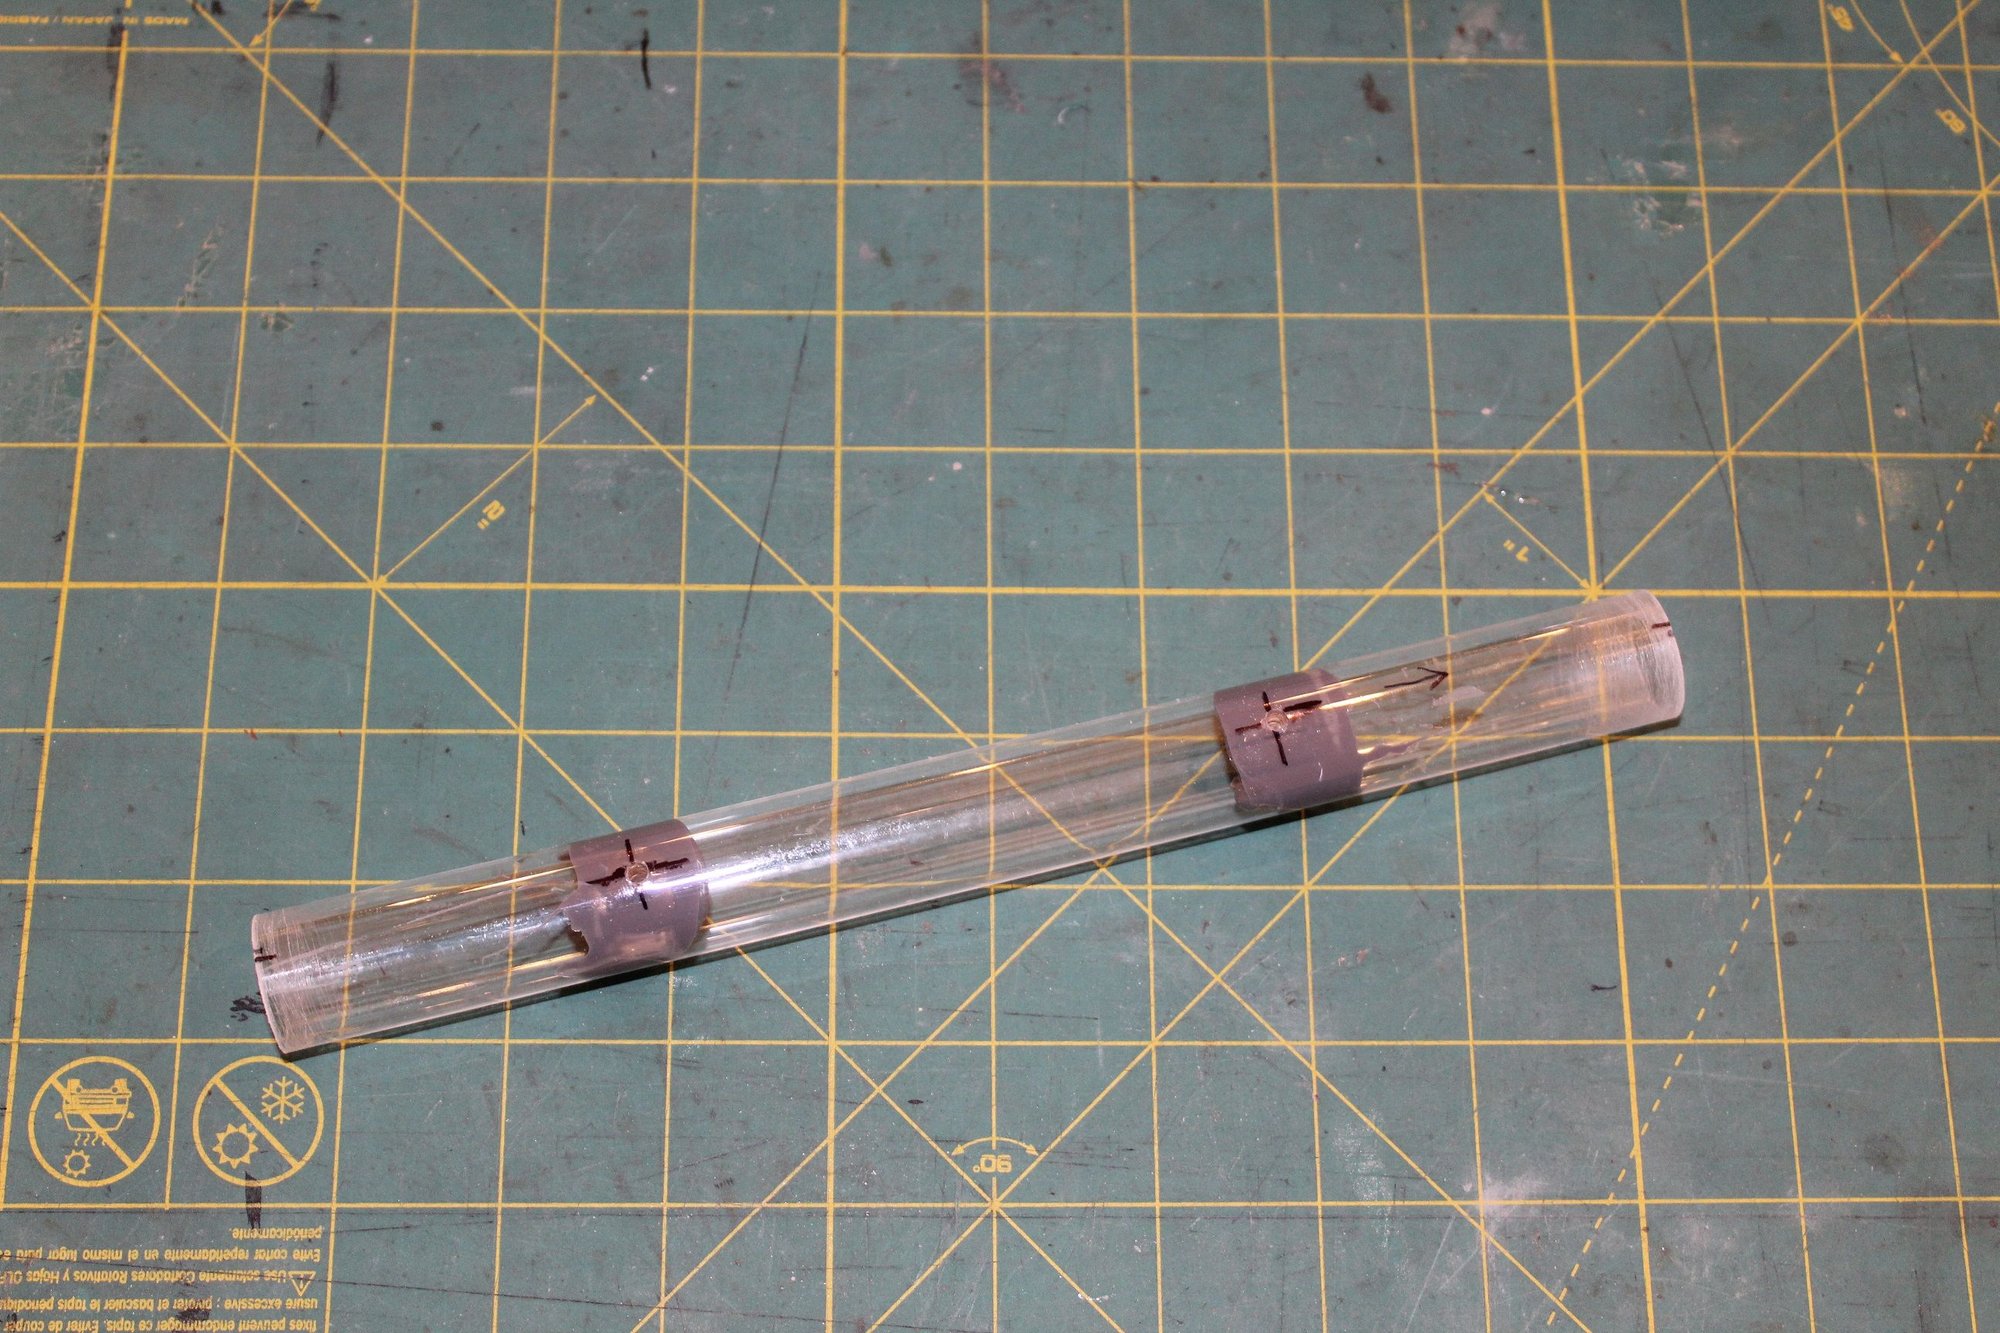

Step 5 - Prime and paint all parts. Scuff the outer tube before primer. I used 400 grit sandpaper. There are 3 "metal" band clamps that come separately, along with a larger clamp. I painted the band clamps with Model Master Aluminum. The larger clamp gets white. The scale details really pop once paint goes on!
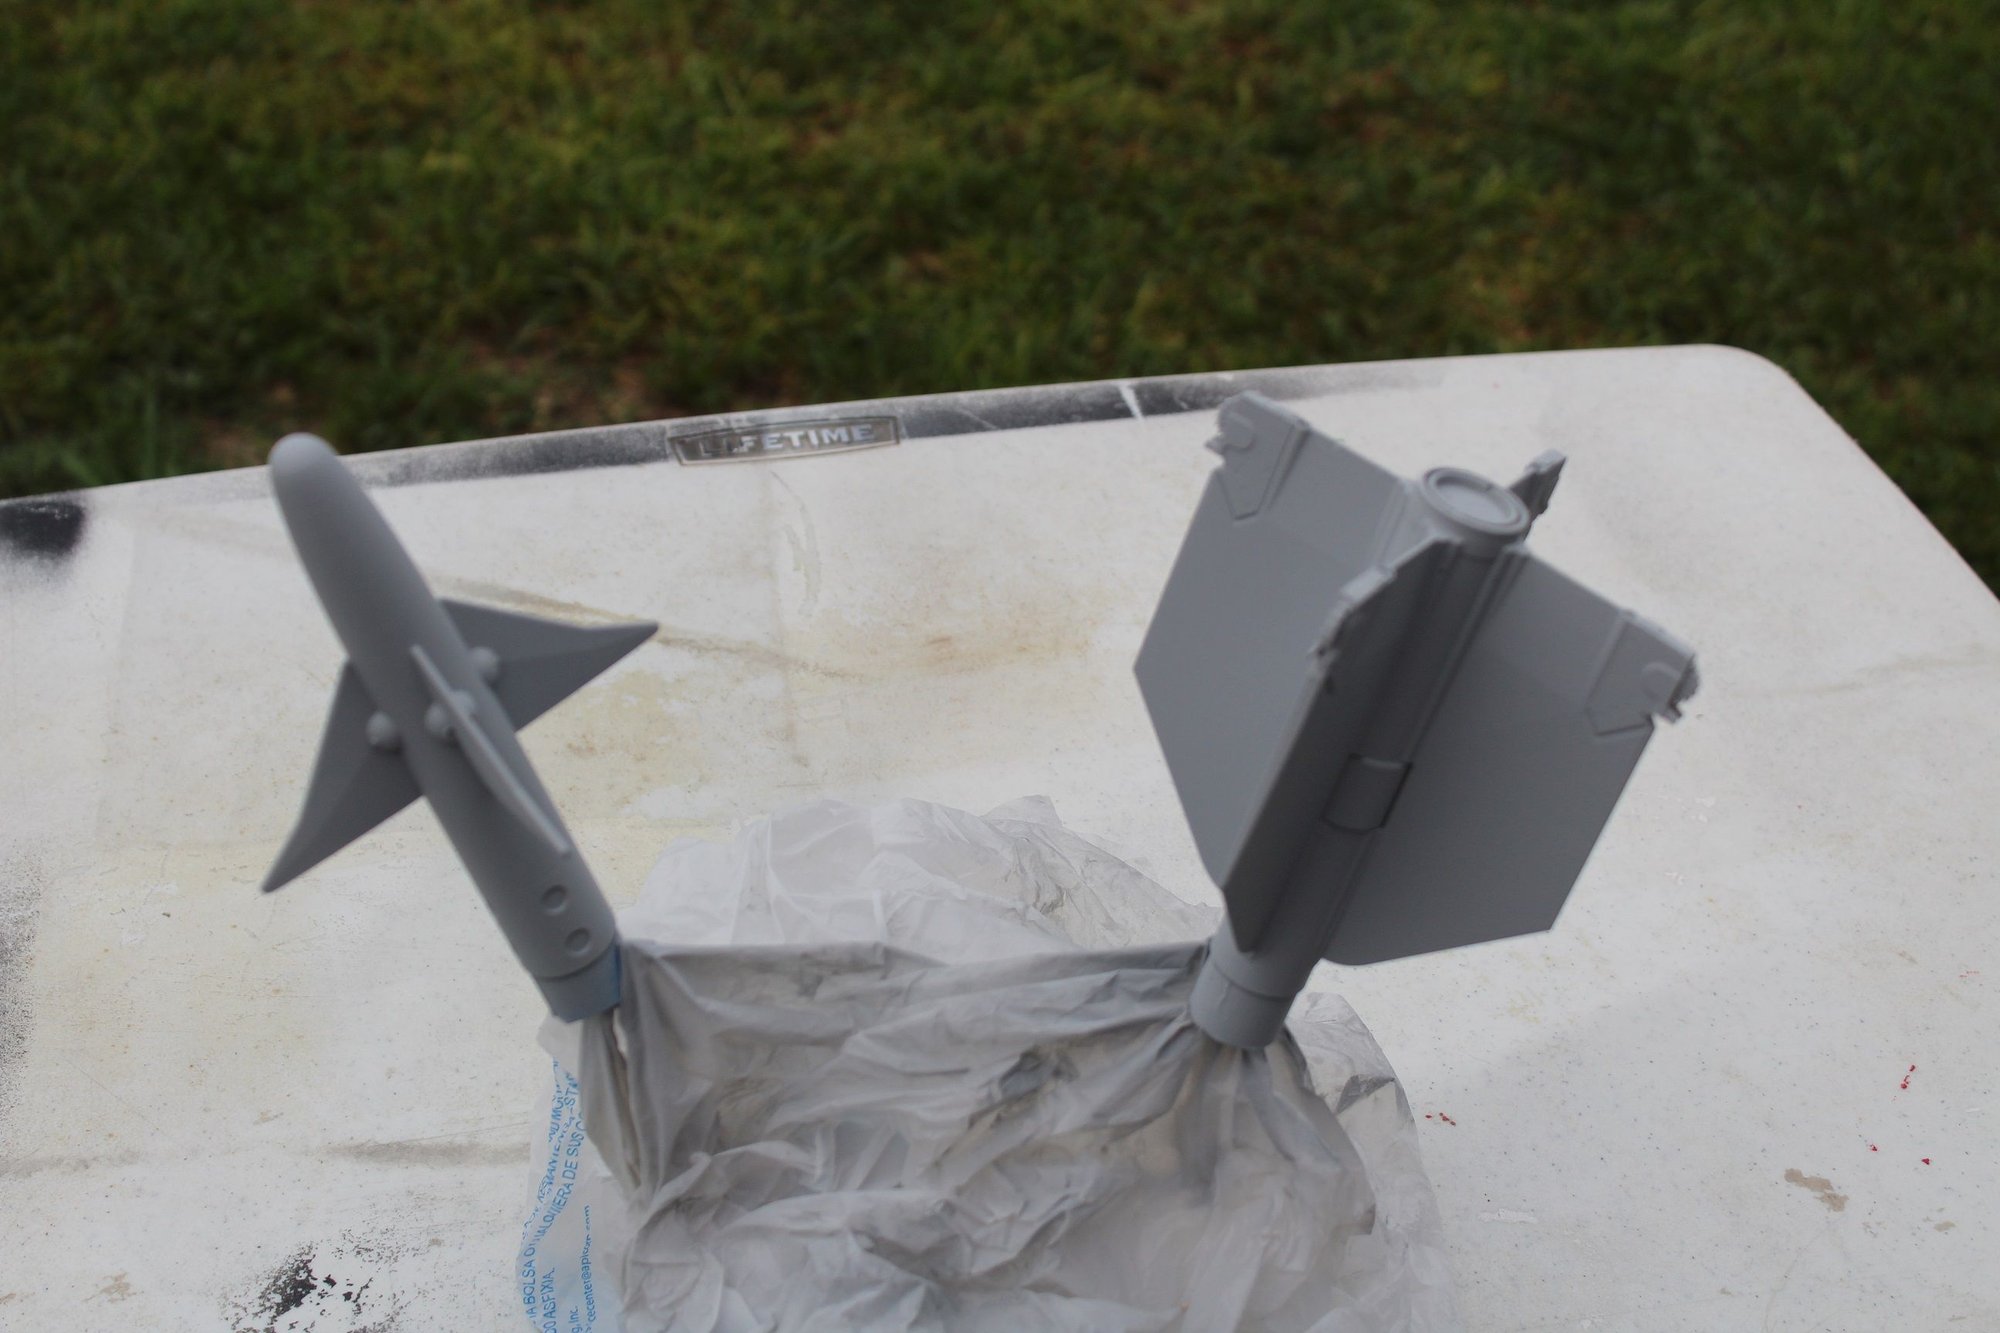
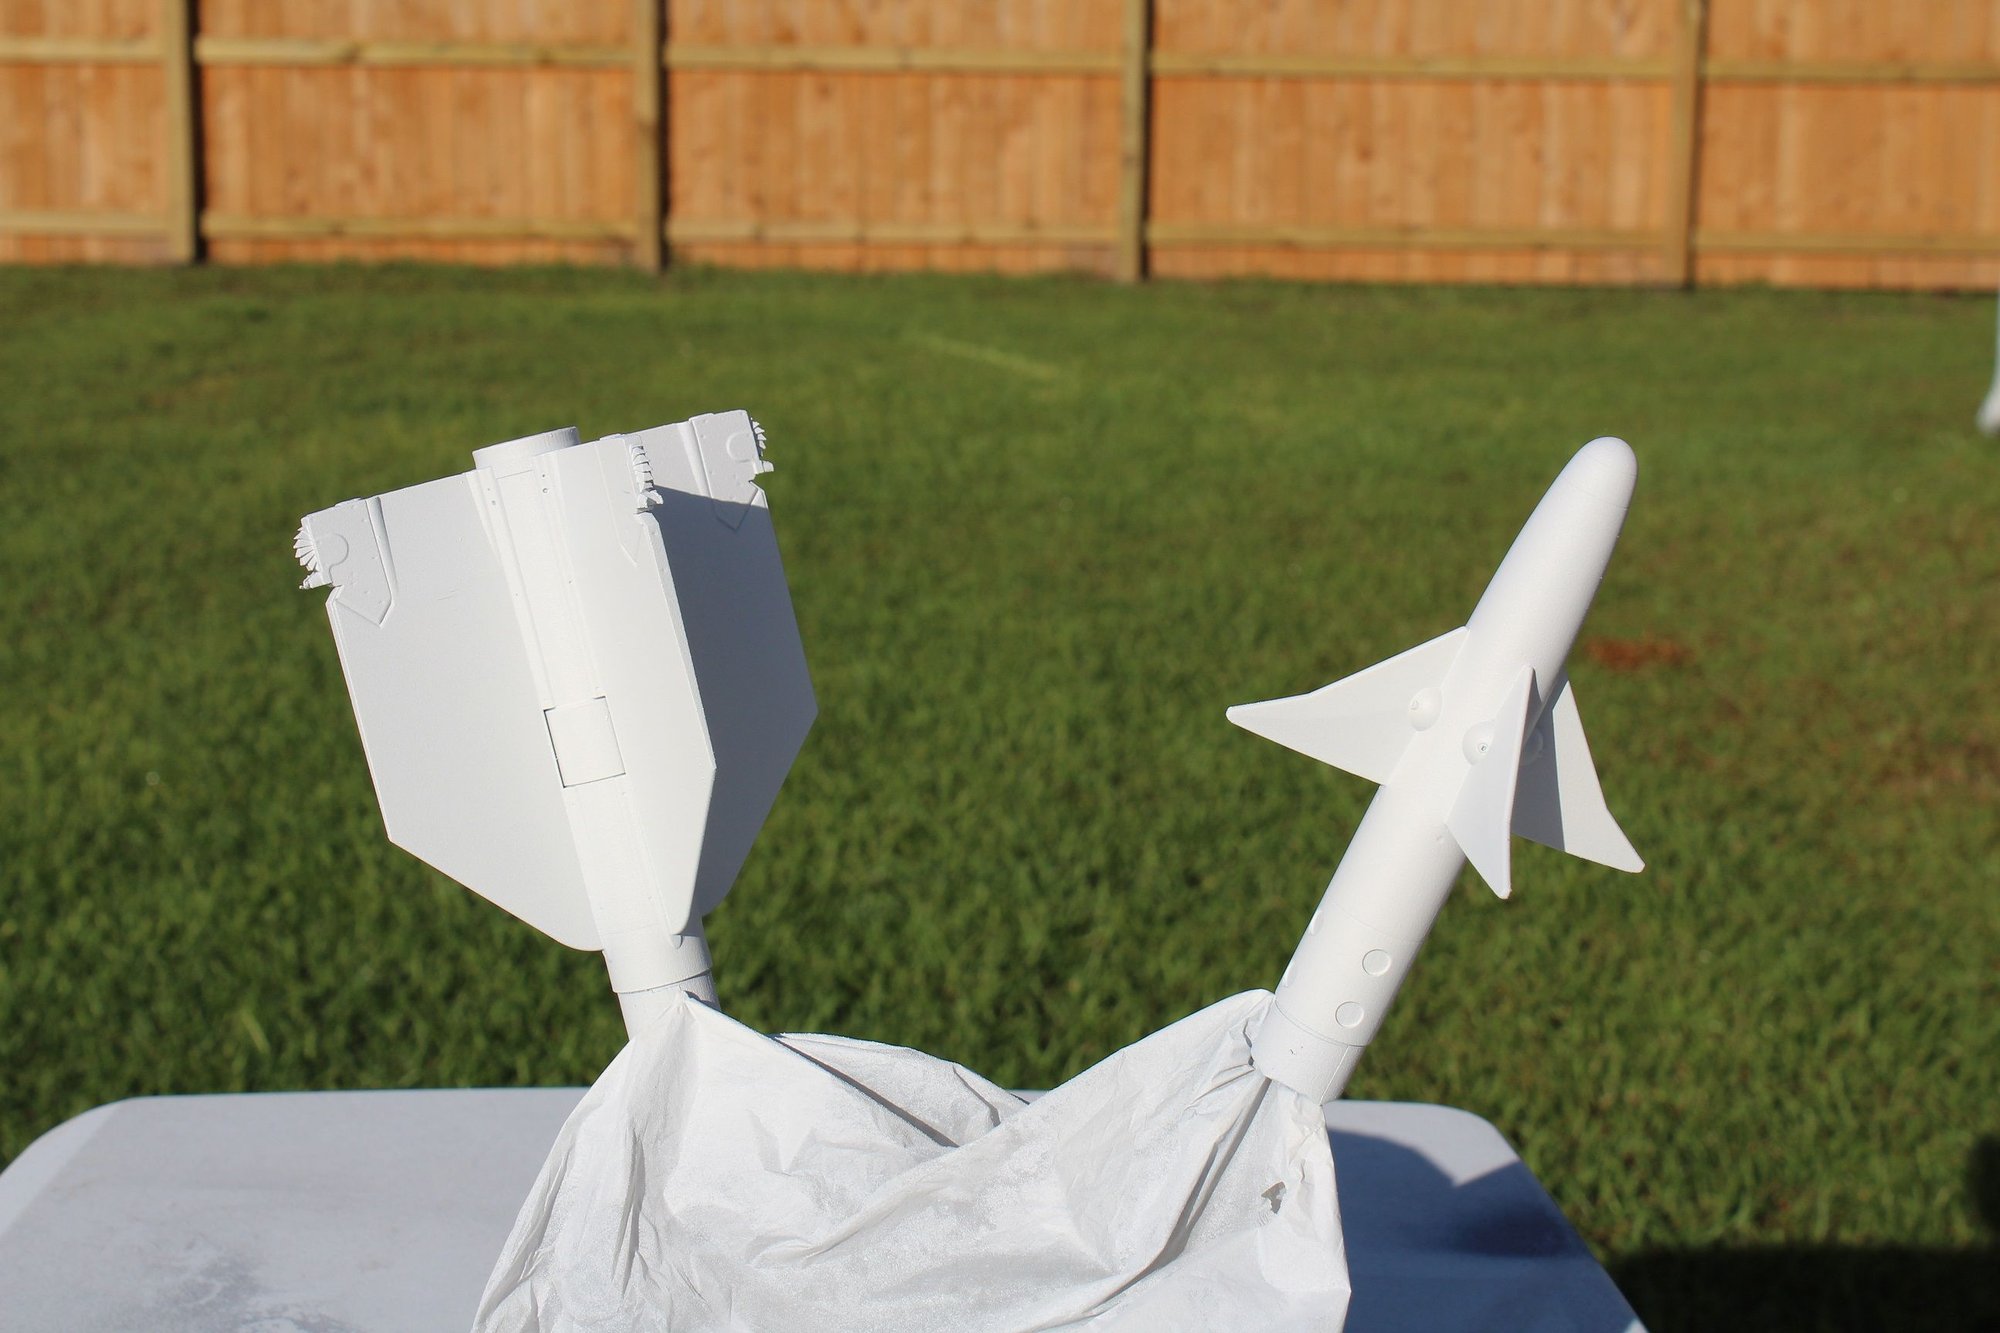

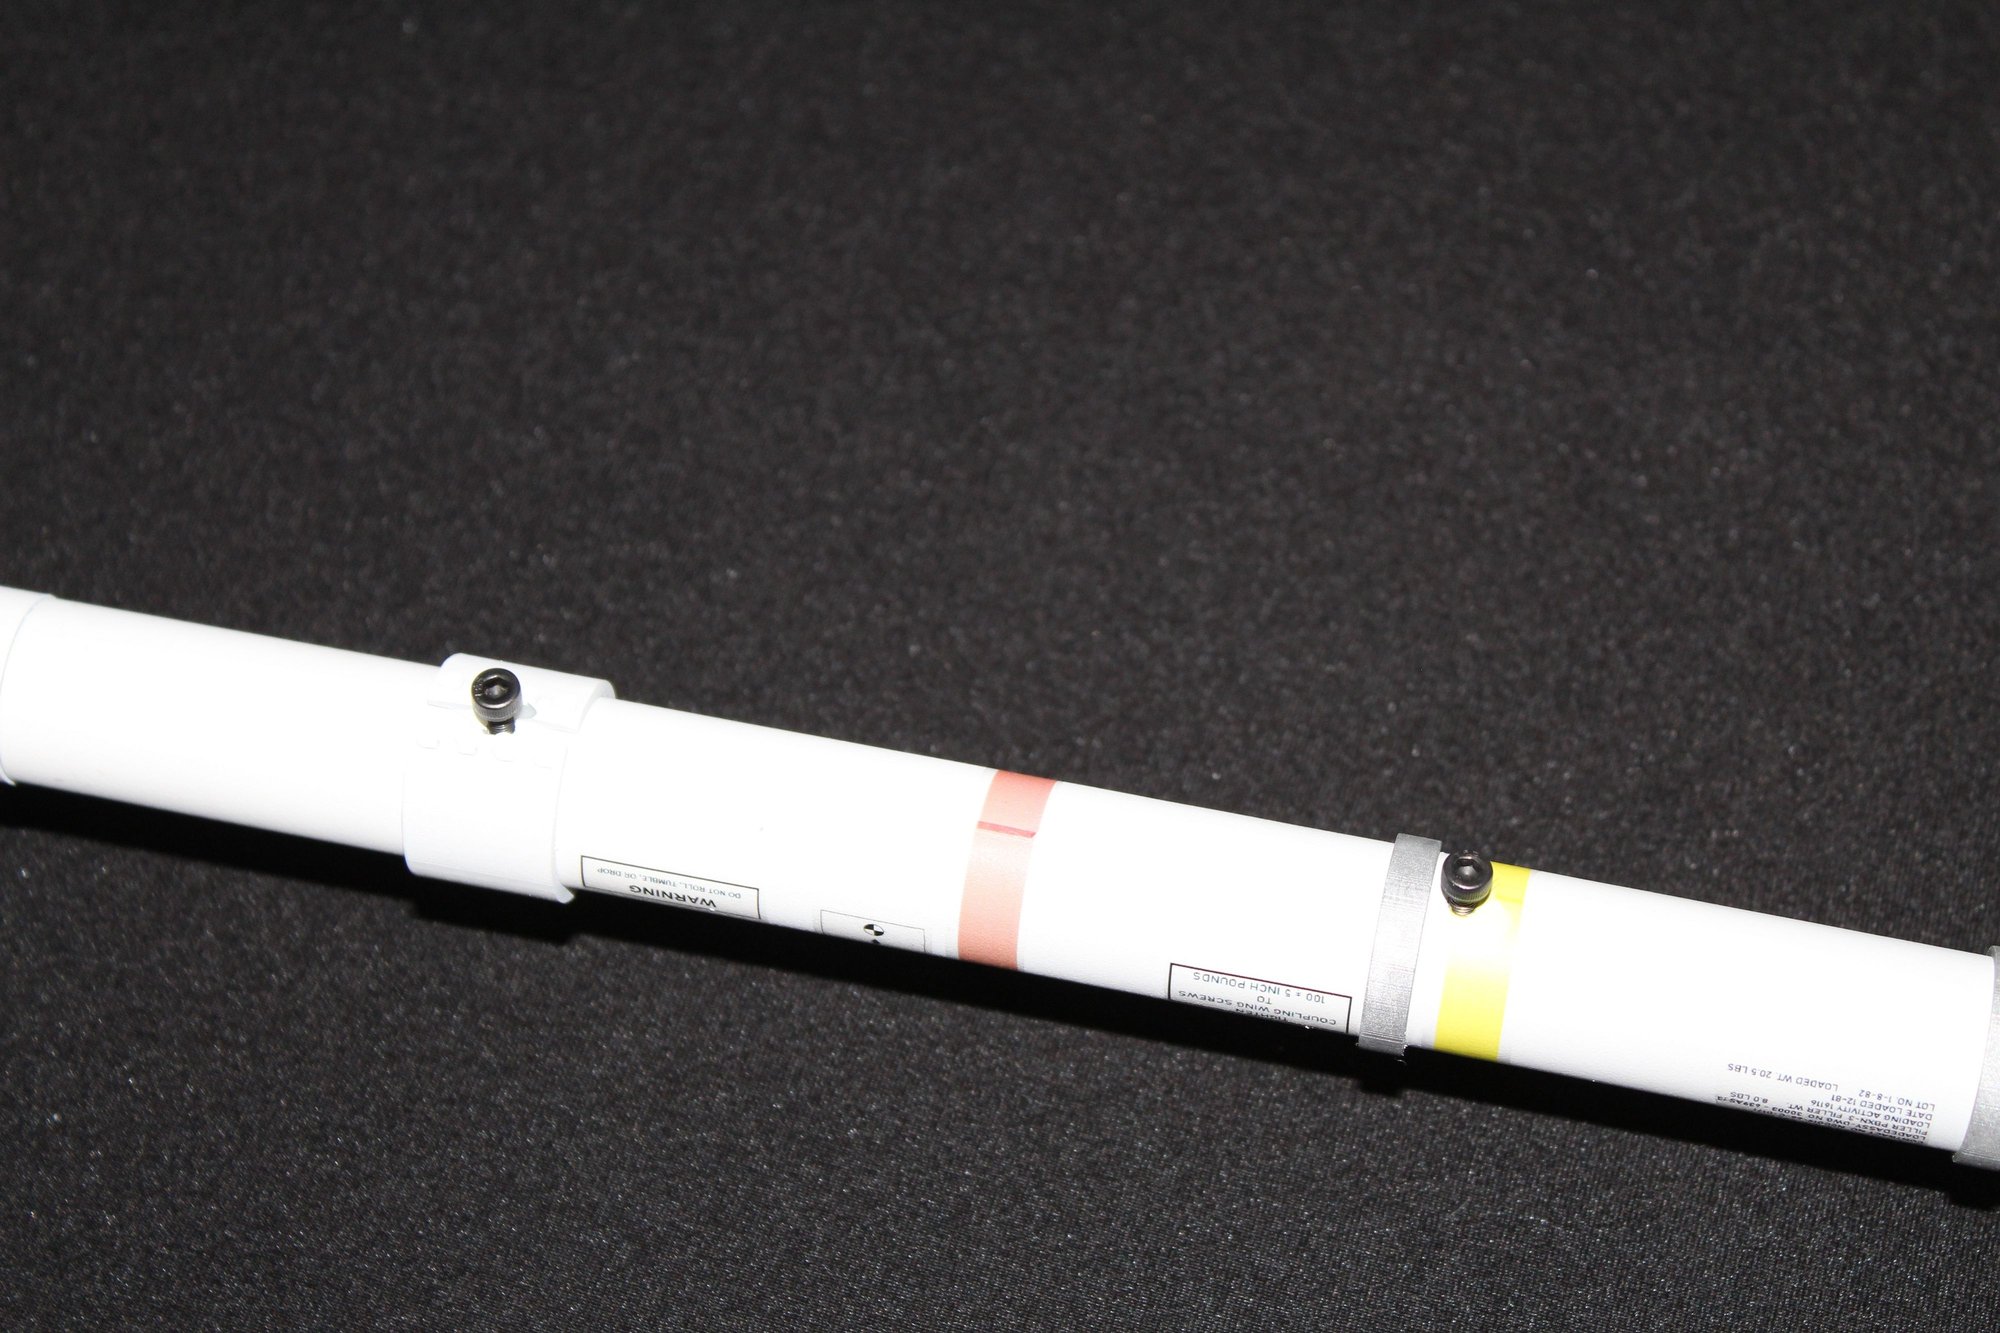
Step 6 - Once all the parts are dry, assemble your parts. Be sure to slide the clamps onto the tube before gluing. There are 8 circles at the back side of the printed nose. One of the clamps will go on the line ahead of those, one will go on the join with the tube, and one will go approximately 2.5" back from the join. The large clamp will go approximately 2" ahead of the tube join of the tail section. When you glue the nose and tail to the tube, make sure your fins are all aligned. A good way to do this is to lay the missile down on a flat surface and have all four points touching the surface. DO NOT ever allow the missile to rest on the fins to avoid any possible warping, including after assembly. The fins are somewhat flexible because of the material used to print them. Spencer recommends making an ordnance case so that the missiles rest on the tube section only.
Step 7 - Detail and decal your missile!
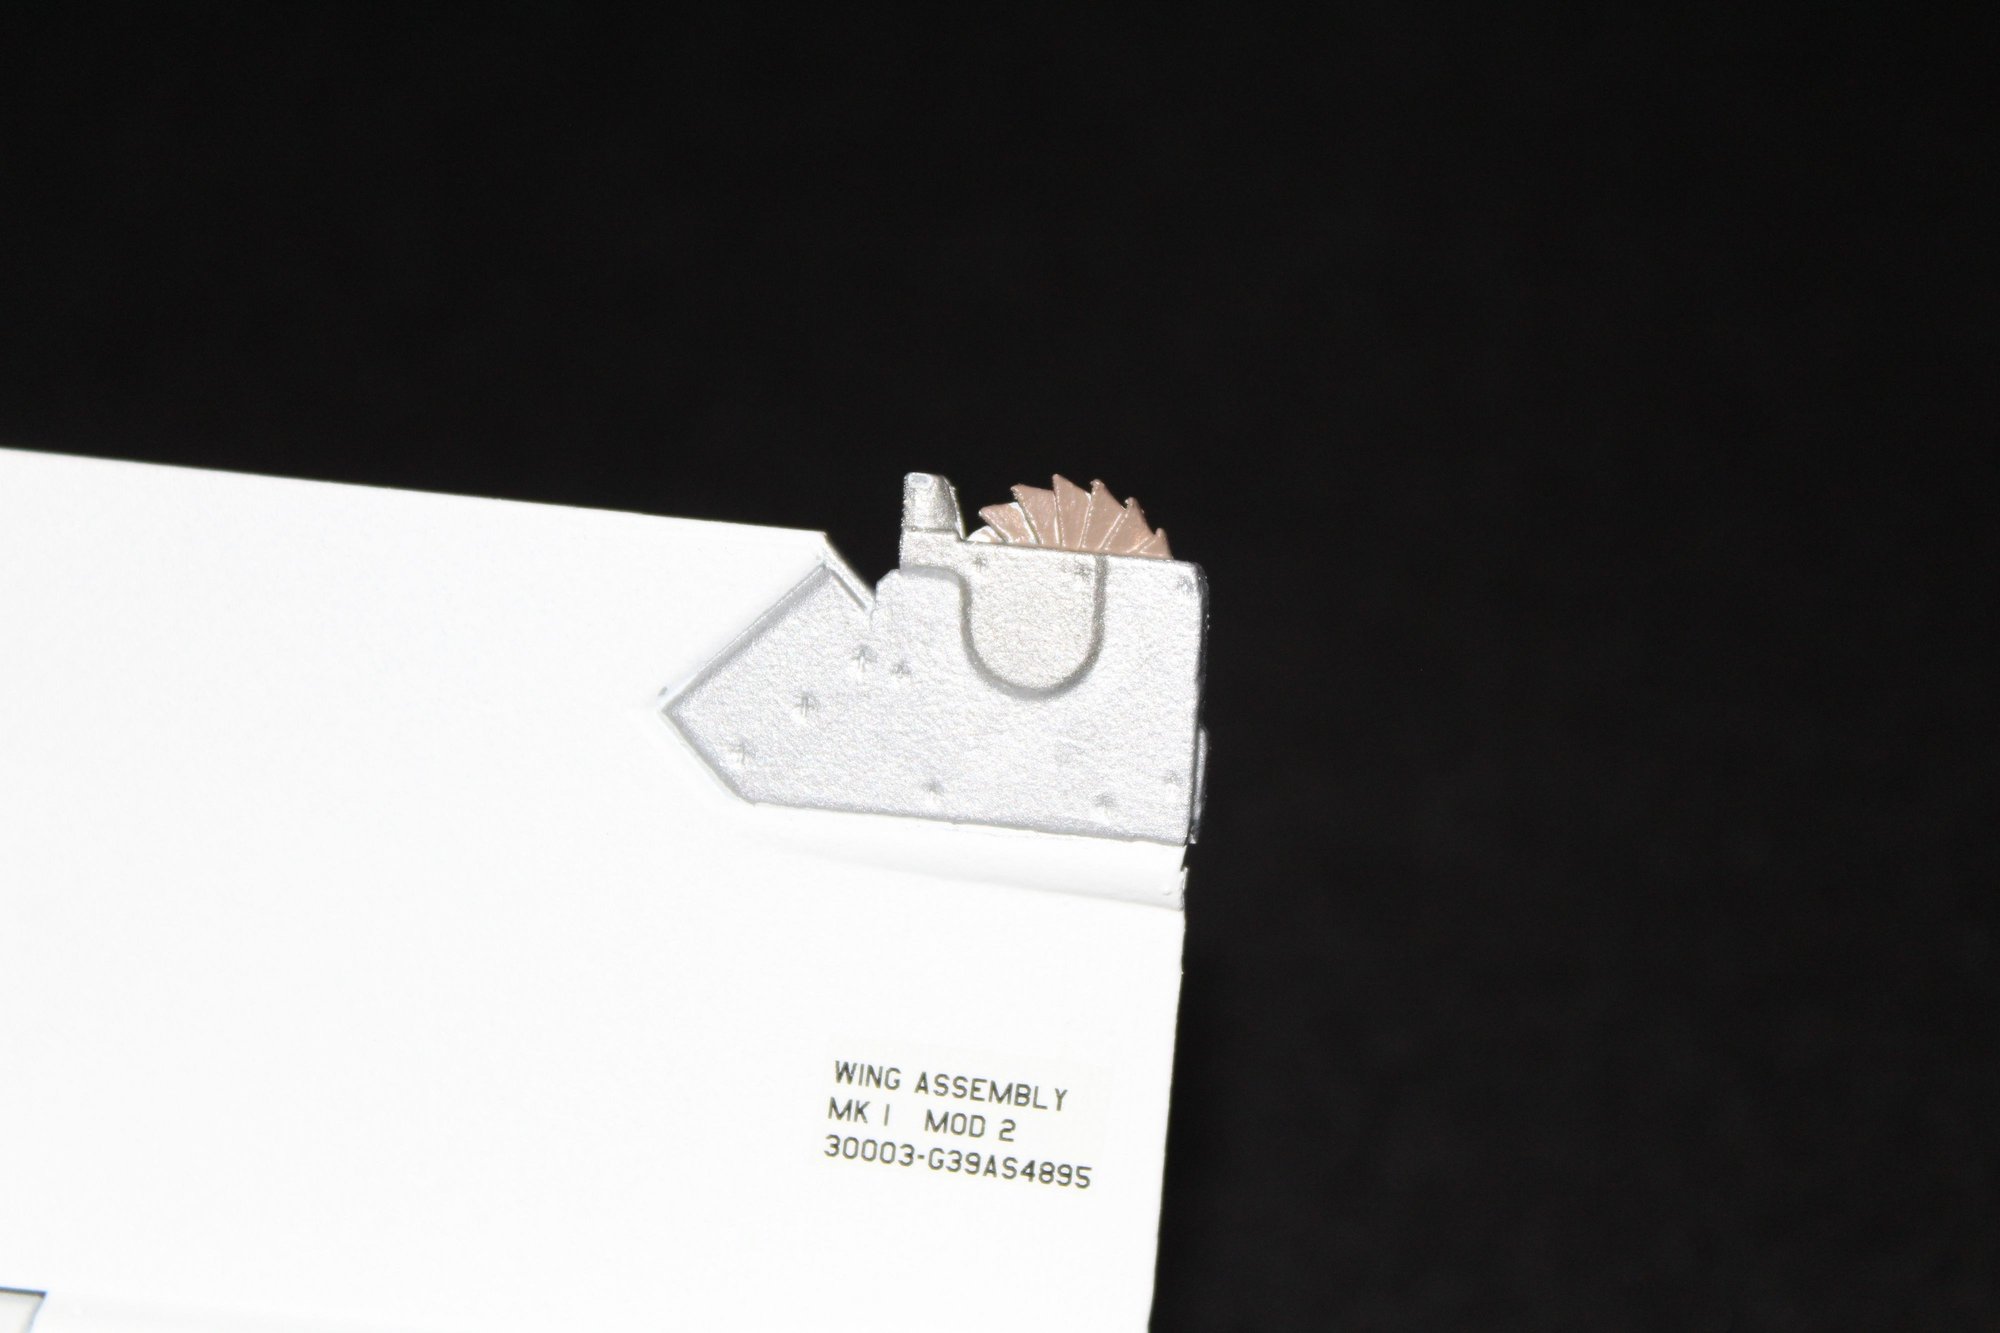
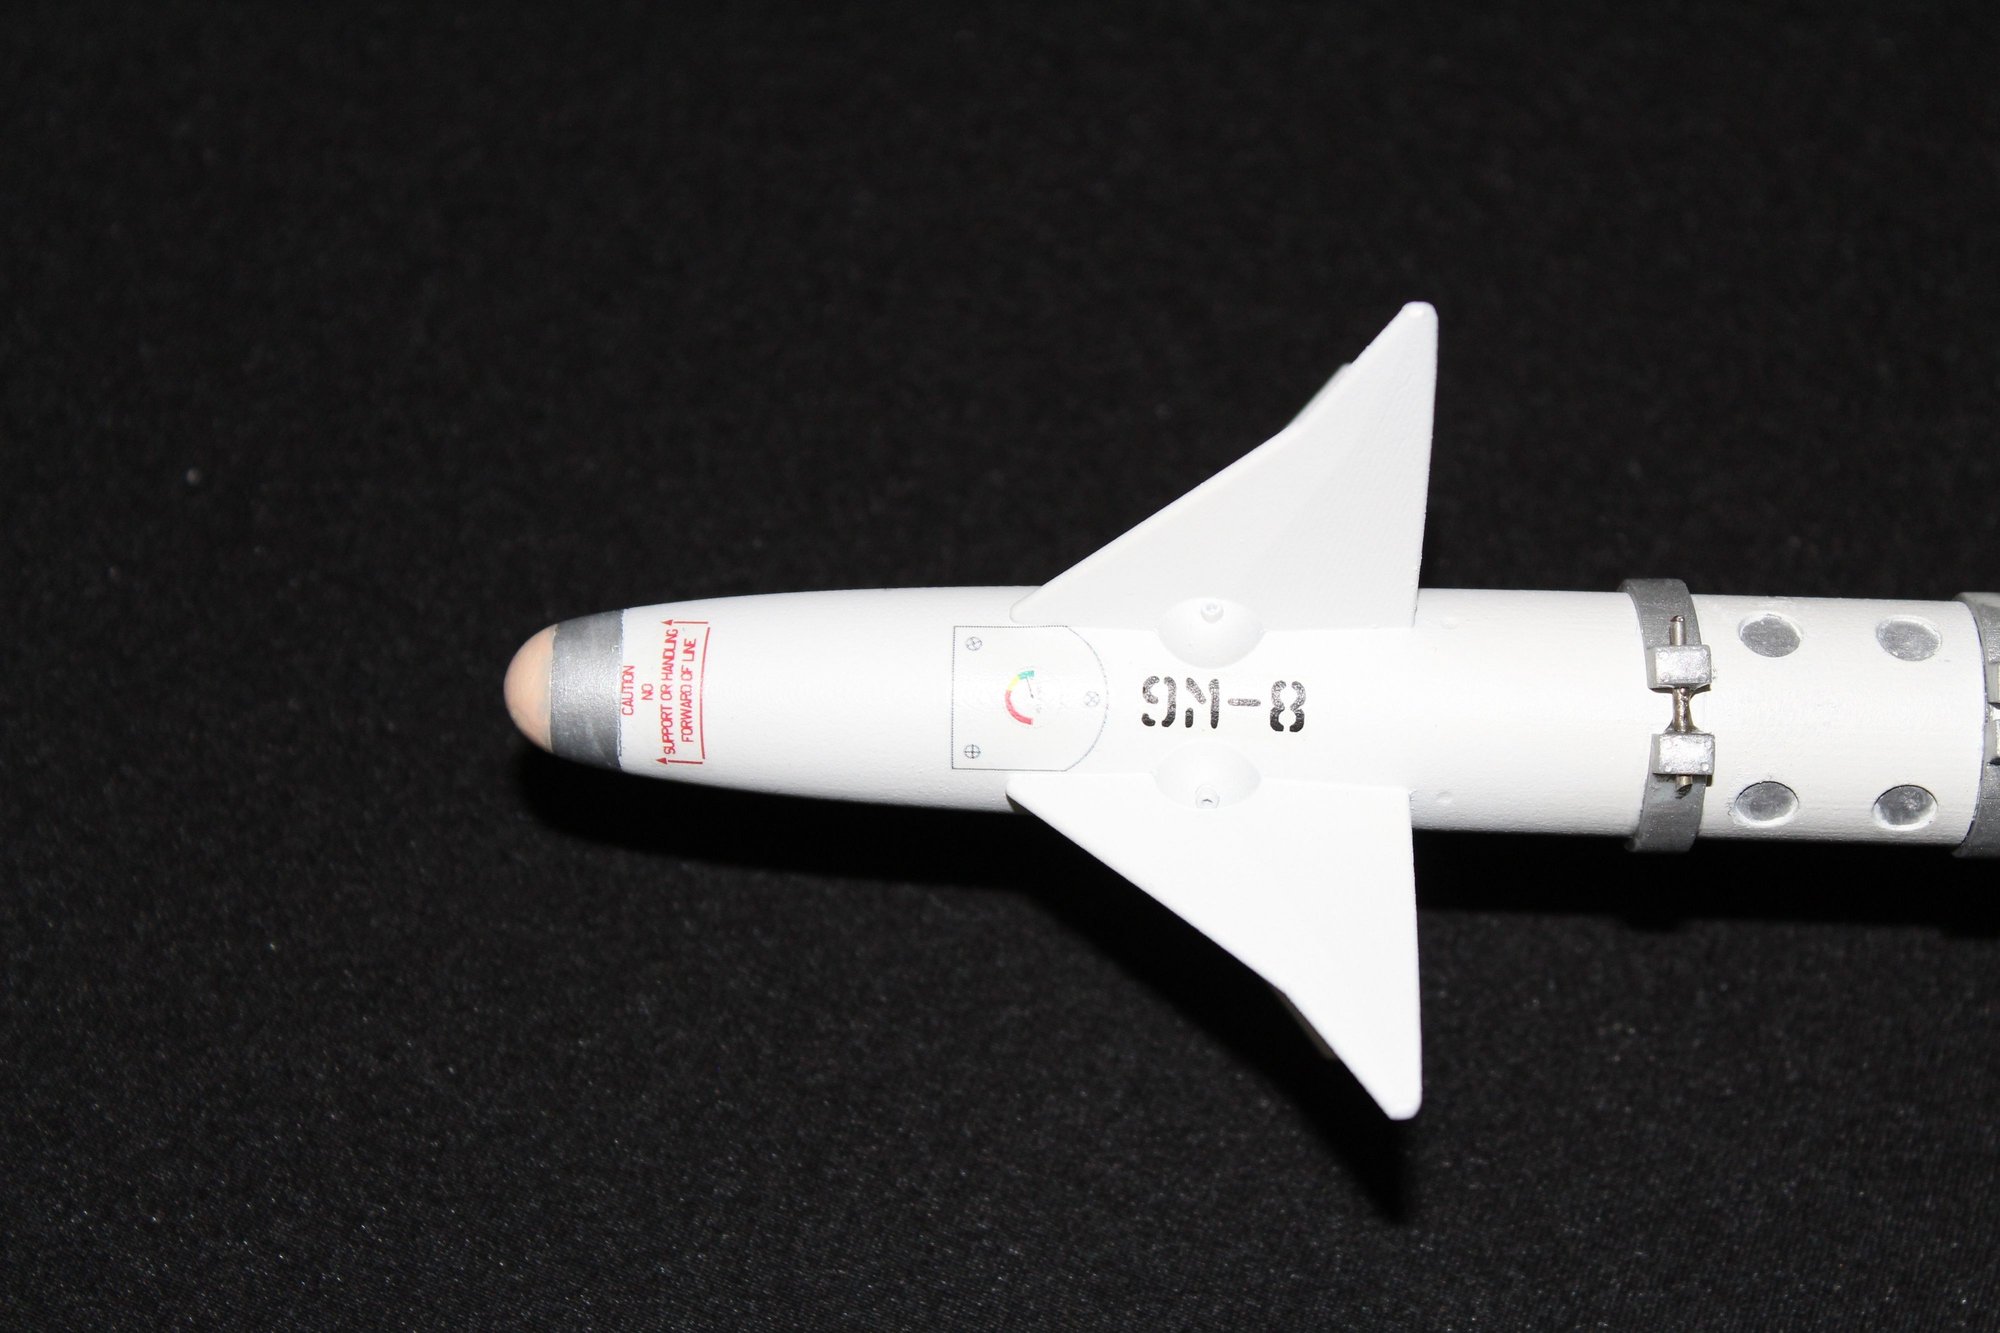
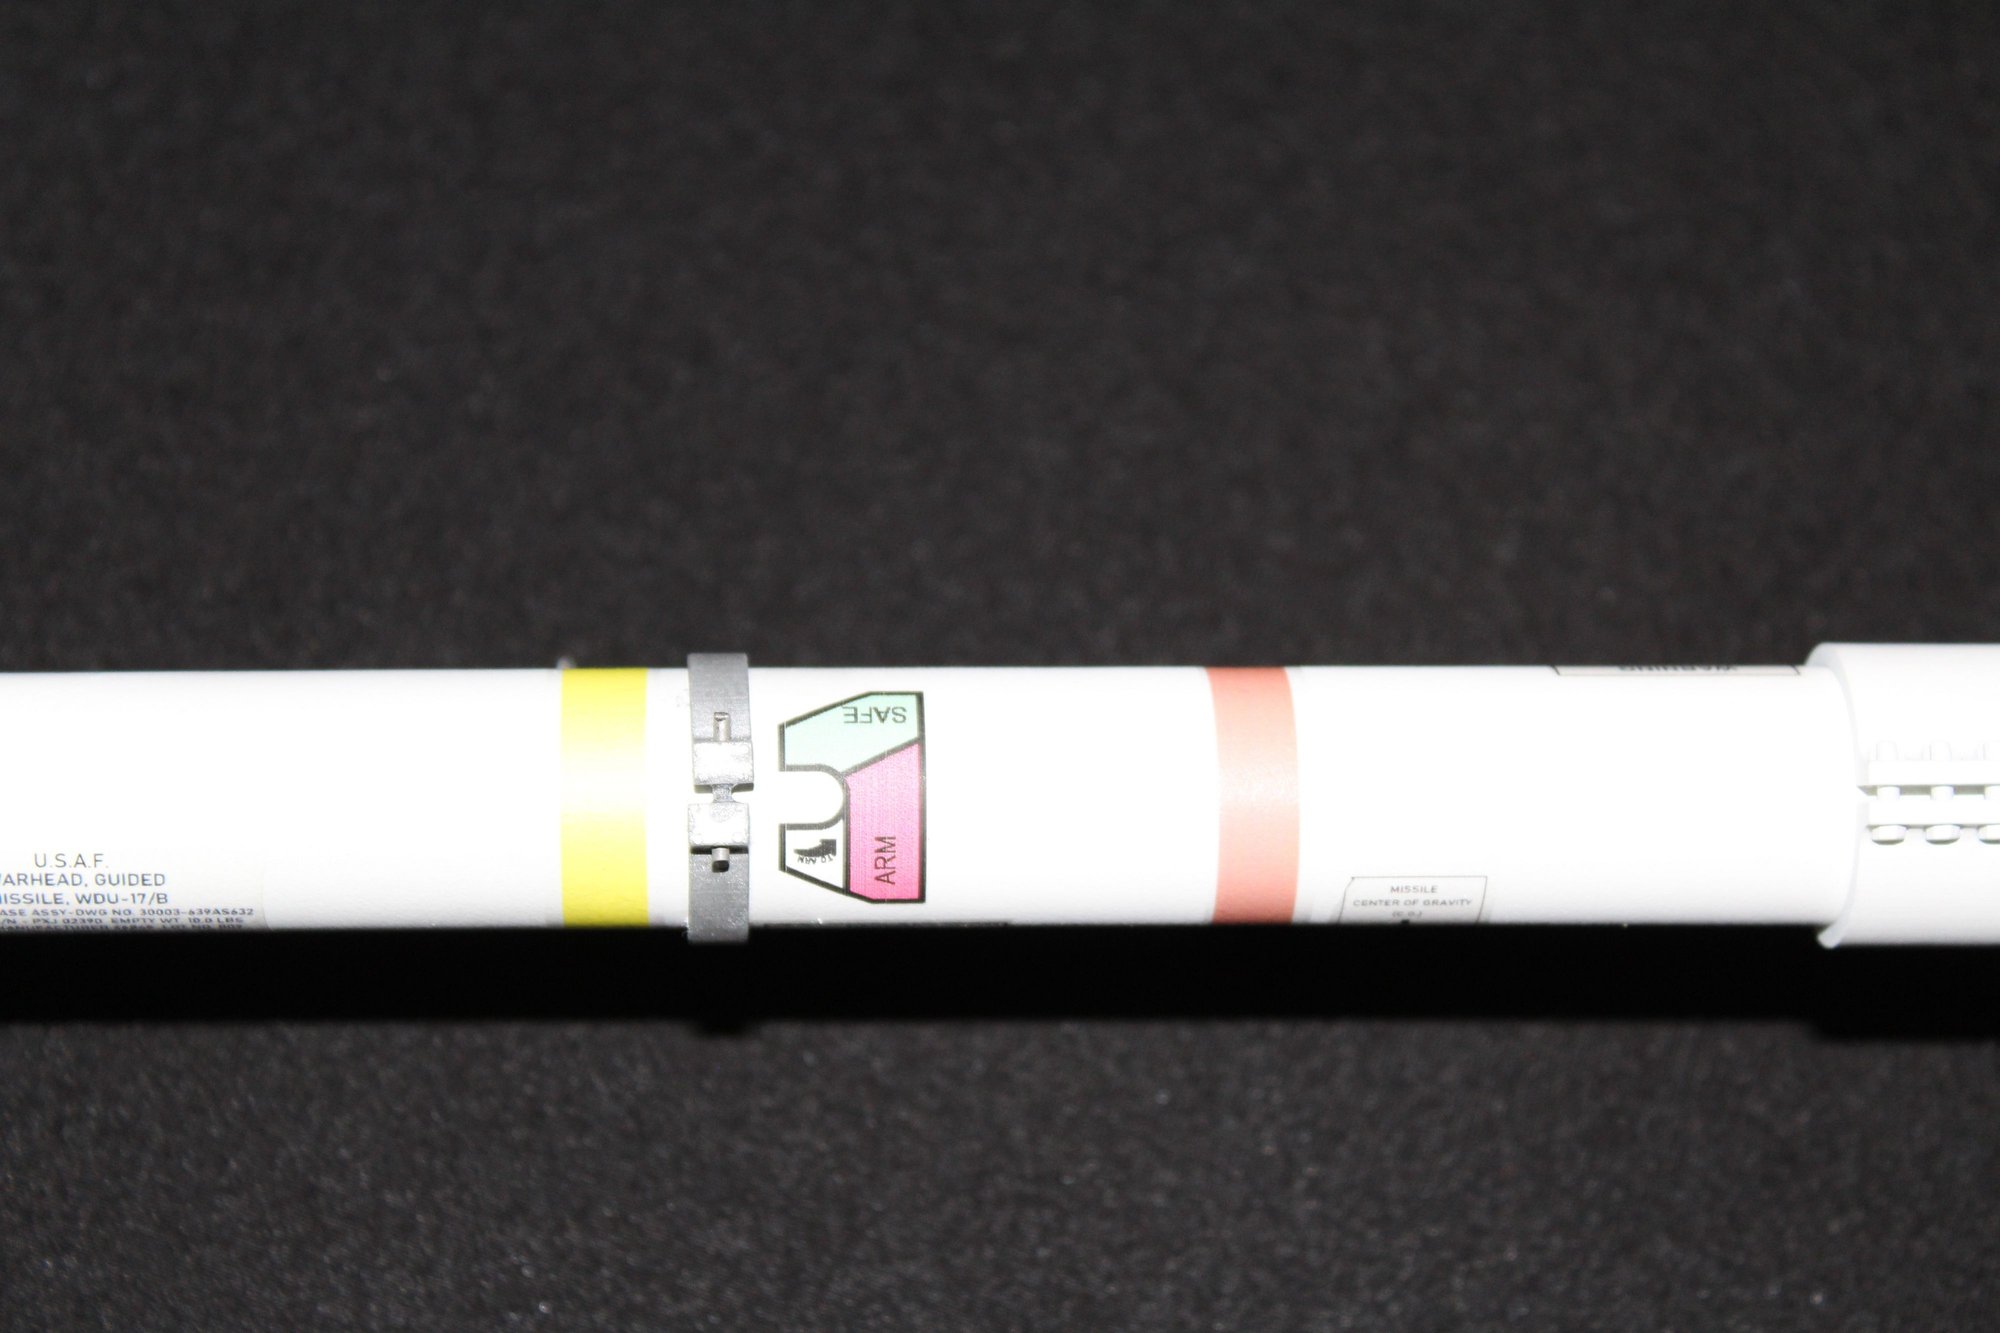
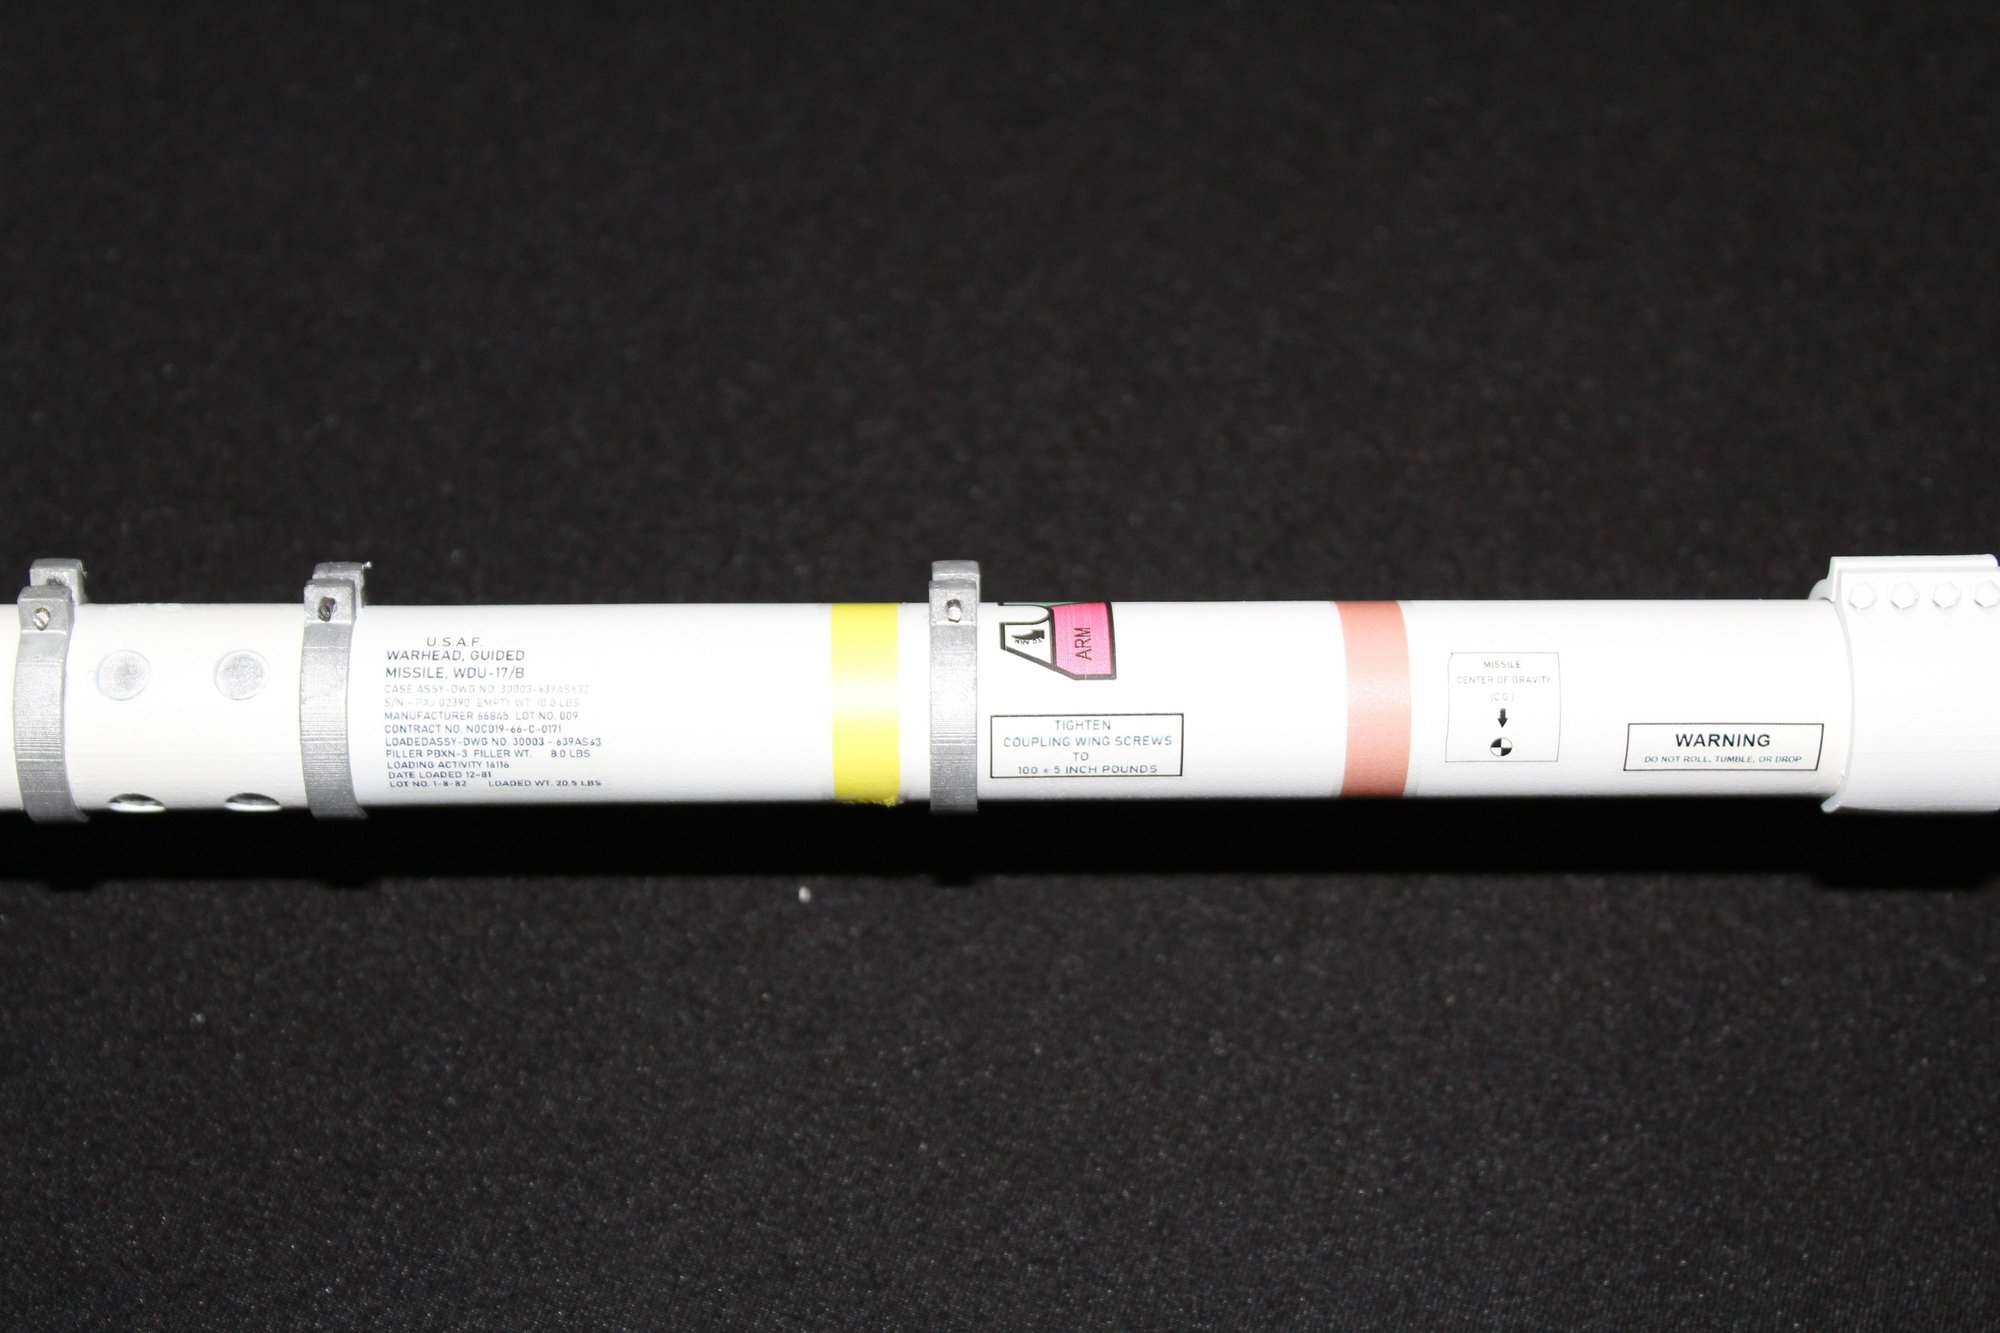
OK, here's where I went a little crazy. I was searching for examples of late 70's/early 80's pics of AIM-9s (as they were mostly painted white) and came across a couple 3D models on turbosquid. These models had lots of scale details and markings, and although Spencer makes a nice set of decals for these, I went a little overboard on scale. I took some time and made up a new set of decals based on what I found. Another thing I did was drill out the holes in the smaller clamps with a 1/16 bit, then inserted piano wire to simulate screws. I still need to add a couple coats of Testors Dullcote, but had bad weather moving in so I have to put it off till later.
And here's the finished product!


Step 1 - Carefully remove any parts attached to support rafts. A sharp knife (Xacto) works well here. I also light sanded the areas where the rafts were attached to remove any excess material. (Save some of the raft material to test your primer and paint on!)
Step 2 - Cut your clear missile tubes to length. I'm doing 1/6 scale missiles. The full scale AIM-9M is 113" long, so 1/6 scale is 18.83". The nose section is 5.1875" from tip to tube join and the tail section is 4.6875", for a total of 9.875". This means I needed to cut the tube to 8.955", or right about 8 17/16". I marked my cut line and used a band saw to make the cut. I then sanded the ends of the tube to be flat and level.
Step 3 - Determine what type and where your mounting system will go. Spencer provides half circle wood dowel to use as mounting blocks for the interior of the tube. I'm using M3x12mm socket head screws for my mounting tabs. Mark the tube for your mounts, then scuff up the area where the wood will glue to and glue them in place. I used Hysol. If your mounts are going to be different lengths from the tube openings. make sure you make a direction mark on the tube! I also made a mark on the inside of the tube so that I can still see it after painting.
Step 4 - For what I did for mounts, once the Hysol dried I marked a centerline then marked the locations to drill for the M3 screws. I started with a 1/16 drill bit to make a pilot hole, then went back with a 1/8 bit to make the screw hole.
Step 5 - Prime and paint all parts. Scuff the outer tube before primer. I used 400 grit sandpaper. There are 3 "metal" band clamps that come separately, along with a larger clamp. I painted the band clamps with Model Master Aluminum. The larger clamp gets white. The scale details really pop once paint goes on!
Step 6 - Once all the parts are dry, assemble your parts. Be sure to slide the clamps onto the tube before gluing. There are 8 circles at the back side of the printed nose. One of the clamps will go on the line ahead of those, one will go on the join with the tube, and one will go approximately 2.5" back from the join. The large clamp will go approximately 2" ahead of the tube join of the tail section. When you glue the nose and tail to the tube, make sure your fins are all aligned. A good way to do this is to lay the missile down on a flat surface and have all four points touching the surface. DO NOT ever allow the missile to rest on the fins to avoid any possible warping, including after assembly. The fins are somewhat flexible because of the material used to print them. Spencer recommends making an ordnance case so that the missiles rest on the tube section only.
Step 7 - Detail and decal your missile!
OK, here's where I went a little crazy. I was searching for examples of late 70's/early 80's pics of AIM-9s (as they were mostly painted white) and came across a couple 3D models on turbosquid. These models had lots of scale details and markings, and although Spencer makes a nice set of decals for these, I went a little overboard on scale. I took some time and made up a new set of decals based on what I found. Another thing I did was drill out the holes in the smaller clamps with a 1/16 bit, then inserted piano wire to simulate screws. I still need to add a couple coats of Testors Dullcote, but had bad weather moving in so I have to put it off till later.
And here's the finished product!
Last edited by crxmanpat; 04-05-2022 at 03:30 PM.
The following users liked this post:
mongo (04-05-2022)