


Tidy strips 3d print file
 03-23-2024, 10:58 AM
#1


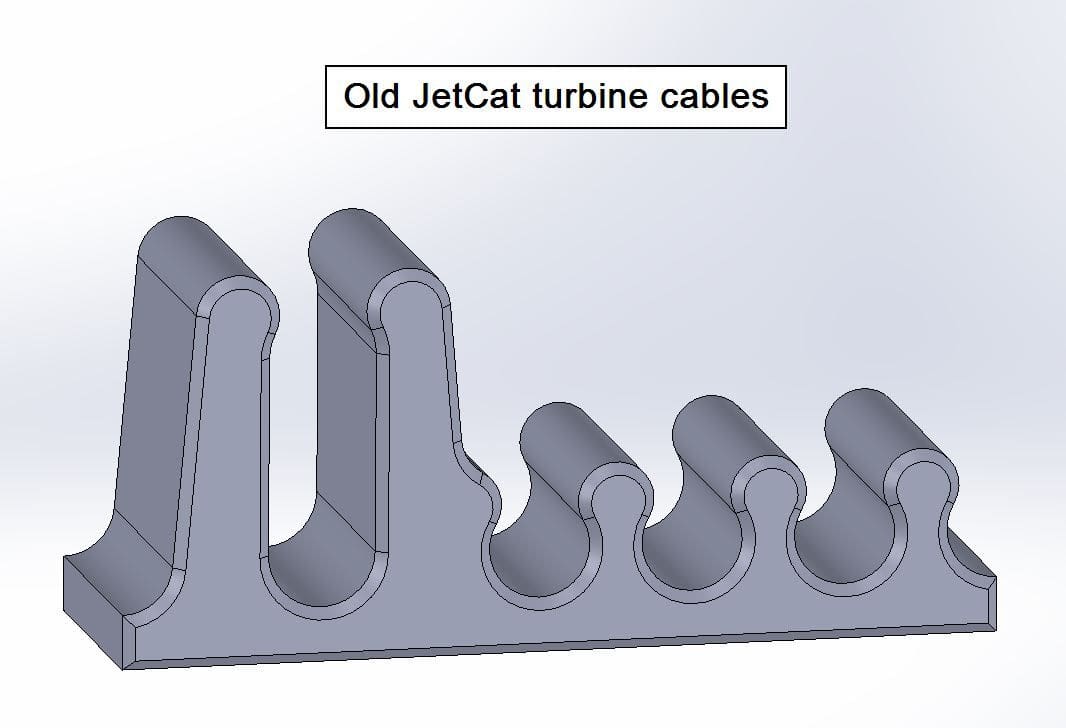
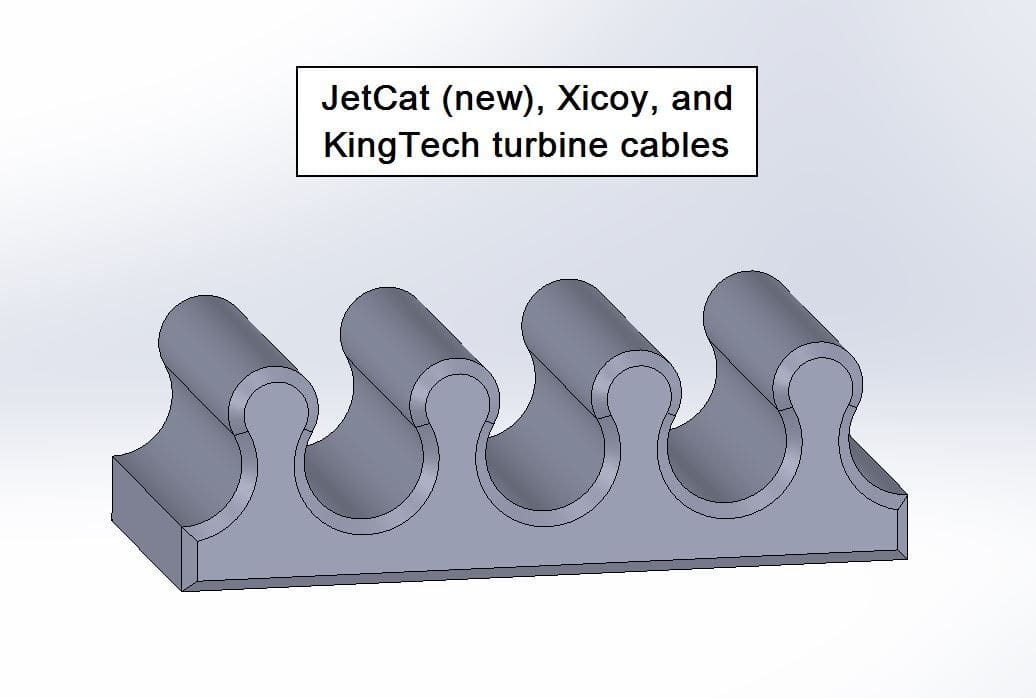
Back in about 2003 I came up with the idea for the tidy strip wire and hose organizer. It is still a great product and used often.
My friend Kelly asked me about creating a 3d print file and offering it for free to modelers and I wholeheartedly agreed.
So with my blessing, here is the file for anyone who wants to print them.
https://cults3d.com/en/3d-model/gadget/r-c-airplane-tidy-strips
My friend Kelly asked me about creating a 3d print file and offering it for free to modelers and I wholeheartedly agreed.
So with my blessing, here is the file for anyone who wants to print them.
https://cults3d.com/en/3d-model/gadget/r-c-airplane-tidy-strips
Last edited by LGM Graphix; 03-23-2024 at 11:07 AM.

The following users liked this post:
jetflyr (03-24-2024)
The following users liked this post:
jetflyr (03-24-2024)
The following users liked this post:
jetflyr (03-25-2024)

 03-26-2024, 09:28 AM
#5

My Feedback: (2)
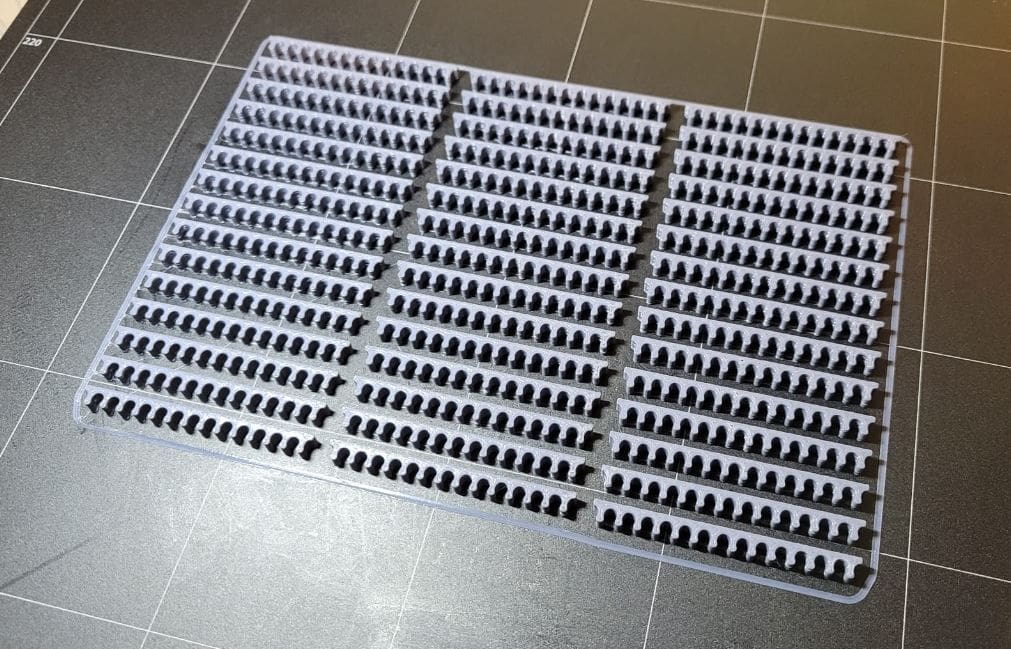
For everyone - a warning. These parts are small, so the can be very finnicky to print. You need a well tuned machine. Make sure your Z height is calibrated well, good bed levelling (if needed), good adhesion, filament flow, etc.
Here are the setting I used on a Snapmaker 2.0 A350T machine:
0.2mm layer height, 0.4 nozzle works but 0.2 might be cleaner. Bed temp 65C (1st layer) then 50C. 120mm/sec max speed, 40mm/sec outer walls + top / bottom surfaces. eSun PLA+ gray, 210 C. The parts are so small that there's probably ~no infill. I have mine set to 20% anyway. Make sure you have your Z height calibrated well, your table flat, nozzle flow calibrated, etc.
And - I tried a bunch of different filaments. eSun PLA+ Gray ( ) is the most reliable so far. Lots of the others turned into a pile of goo.
KW
Last edited by Kelly W; 03-26-2024 at 01:24 PM.


