Taigen tiger (early version)
 10-04-2013 | 06:36 AM
#1
Thread Starter

 Taigen tiger (early version) FINISHED!
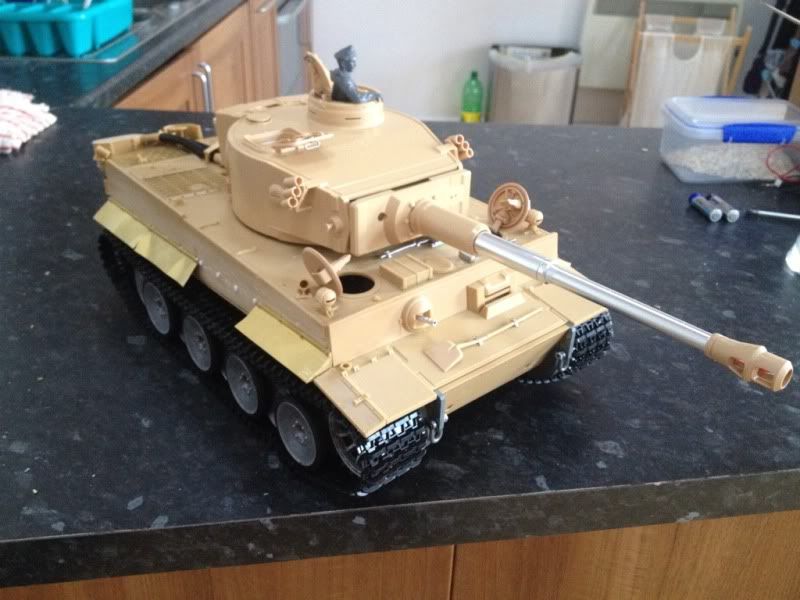
I seem to have developed armour specific ADD, so I've started yet another build! This time I'm building an early tiger using parts purchased from blue Danube.
I've got the normal metal bits, lower hull, asiatam wheels (with bearings), sprockets and idlers as gearboxes. However the tracks are currently plastic and this is the plastic version of the upper hull/turret.
The model came mostly disassembled so I have plenty of oppertunity to tinker. So far I've assembled the lower hull and running gear and removed the moulded tools. Pictures to follow tomorrow!
I've got the normal metal bits, lower hull, asiatam wheels (with bearings), sprockets and idlers as gearboxes. However the tracks are currently plastic and this is the plastic version of the upper hull/turret.
The model came mostly disassembled so I have plenty of oppertunity to tinker. So far I've assembled the lower hull and running gear and removed the moulded tools. Pictures to follow tomorrow!
Last edited by tomhugill; 10-31-2013 at 09:30 AM.
 10-04-2013 | 06:38 AM
#3
Thread Starter
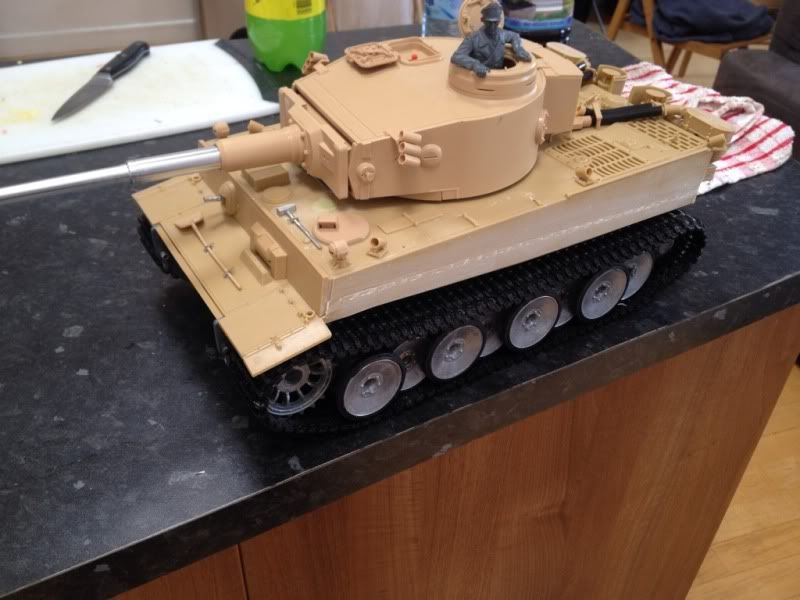
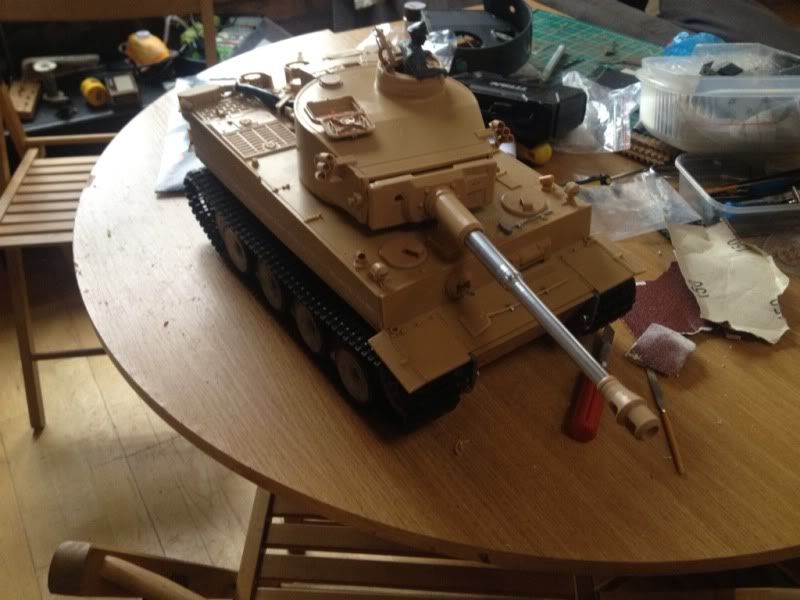
Done some more work on it today, put the exhausts back on the right way so the air filters go on properly. Added the notek light from the tamiya kit which is a bit more detailed. Fitted the driver and radio operators hatches, smoke launchers and last but not least metal tools, reworked with photo etched working clasps (a massive pita).
Pictures!


Pictures!
10-04-2013 | 06:39 AM
#4
Thread Starter
Skirts off! Thirty minutes with the xuron cutters and then the dremel grinding wheel. Left a much better finish than when I tried to saw them off.Hopefully the PE skirts will arrive by the time I'm back from work:
10-04-2013 | 06:39 AM
#5
Thread Starter
Multiple build syndrome has been caused by all my unfinished tanks, still keeps me busy. Picked up my package from welsh dragon this morning. Got some black steel 4:1s, brass side skirts, intake covers and some butterfly screws to make the track holders with.
The tank modelbau skirts come with the mounts and scale hex bolts (sadly no nuts). They took a while to fit but are really nice quality and sturdy (they only cost £25 too!)


Next up fitted the PE grills

Finally I added some clasps to one of the boxes on the back:
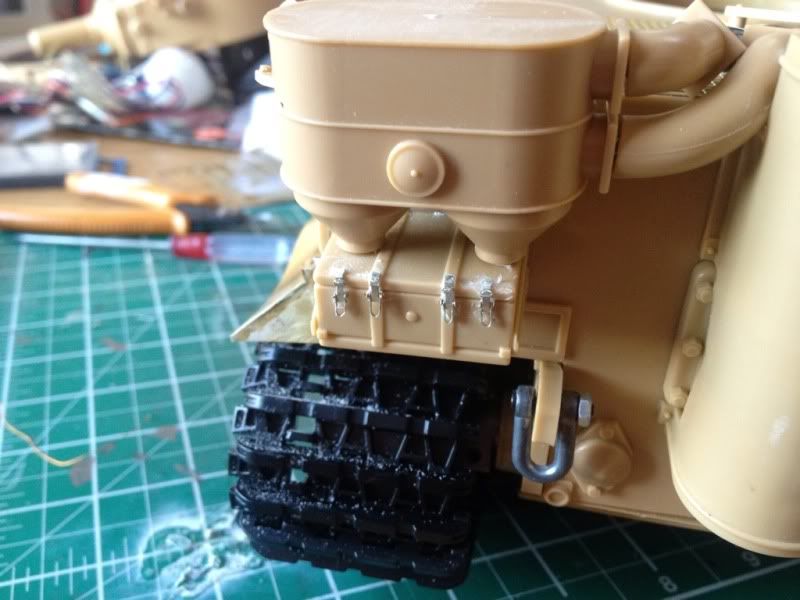
Very fiddly to make but worth it!

The tank modelbau skirts come with the mounts and scale hex bolts (sadly no nuts). They took a while to fit but are really nice quality and sturdy (they only cost £25 too!)
Next up fitted the PE grills
Finally I added some clasps to one of the boxes on the back:
Very fiddly to make but worth it!
10-04-2013 | 06:40 AM
#6
Thread Starter
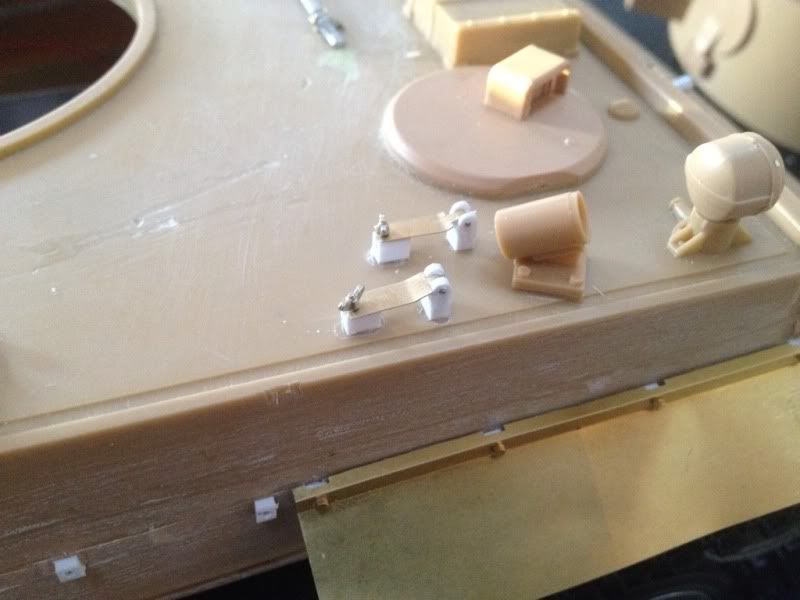
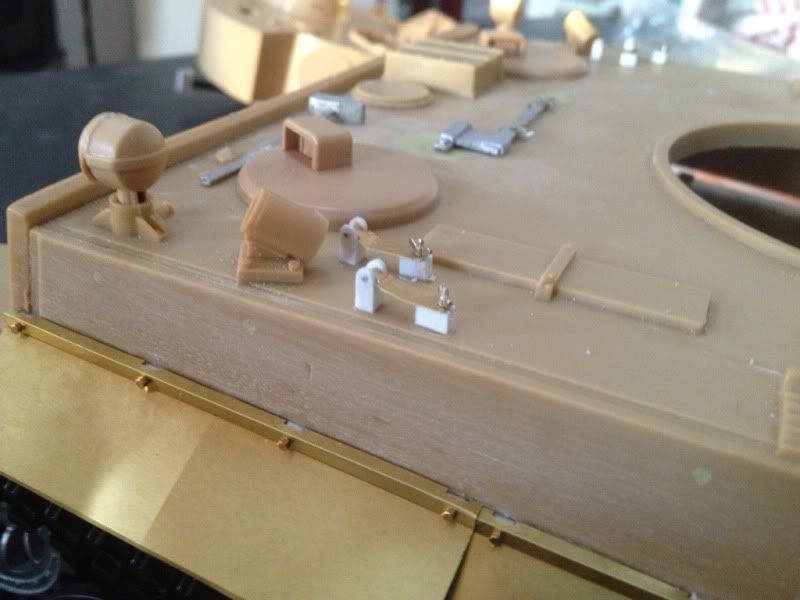
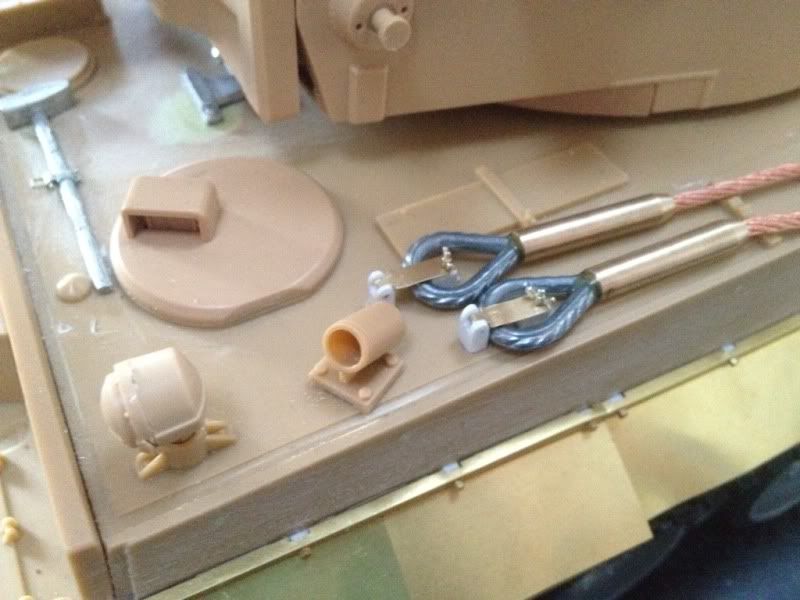
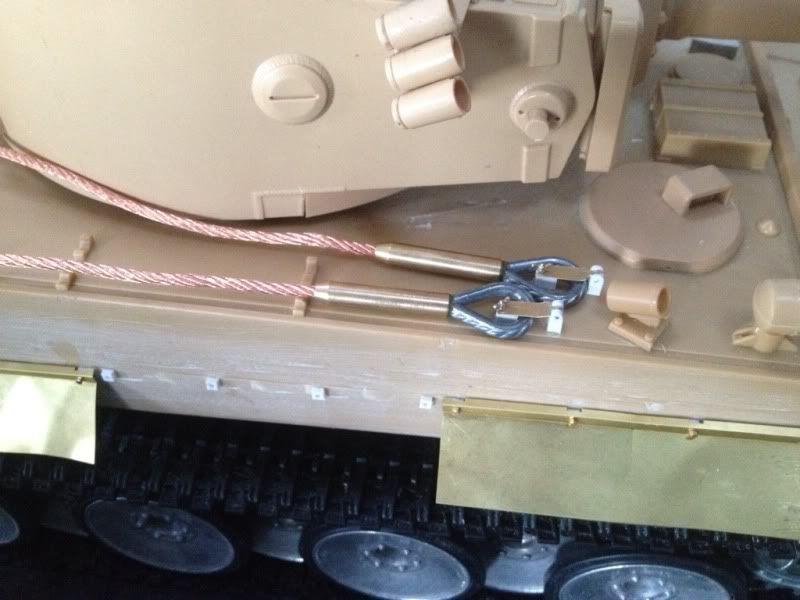
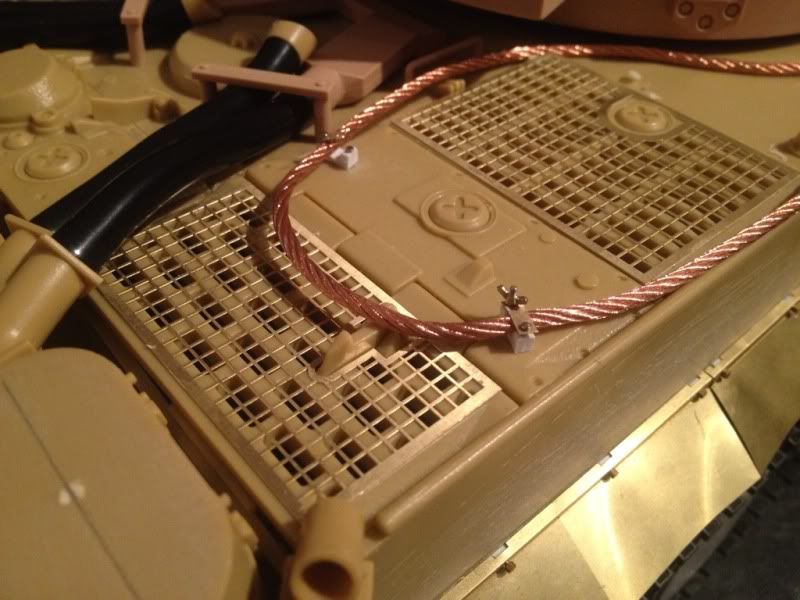
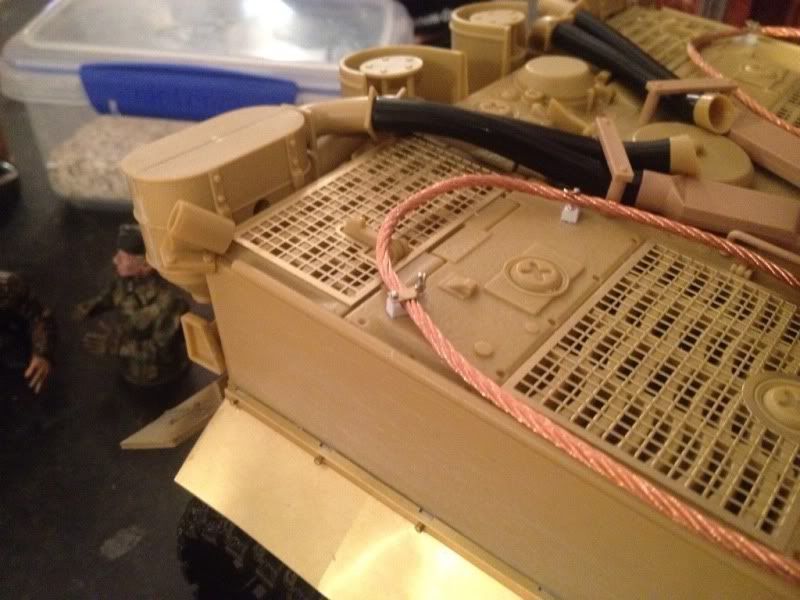
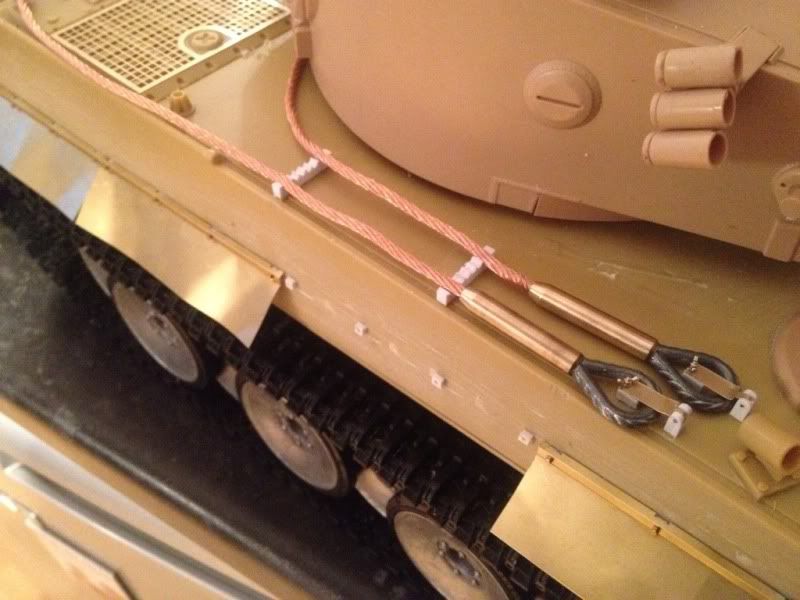
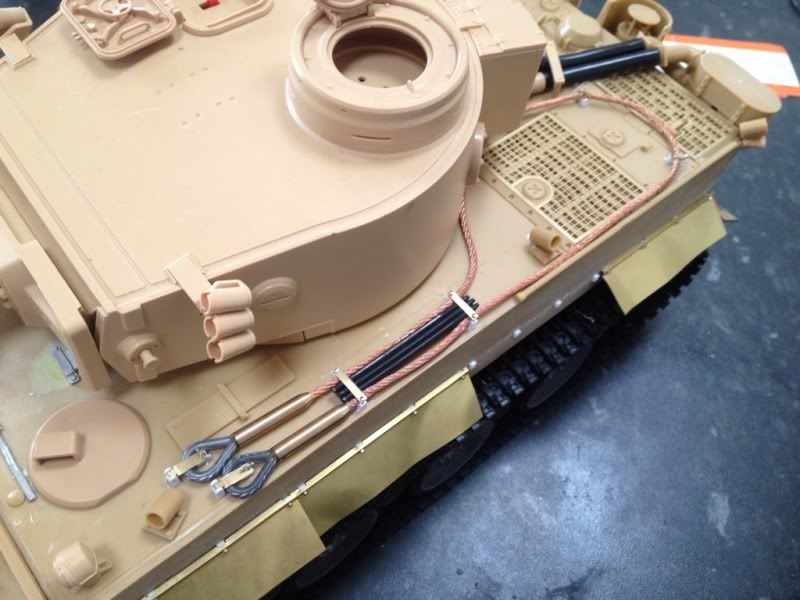
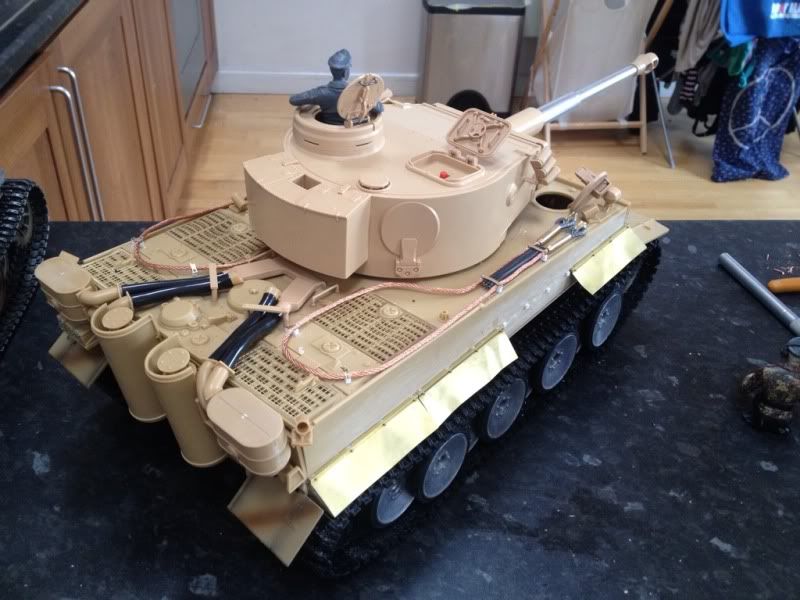
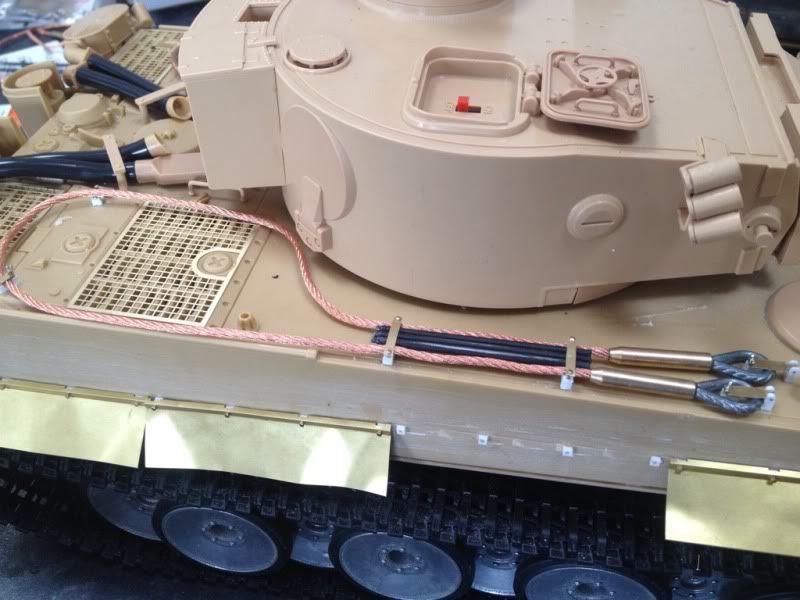
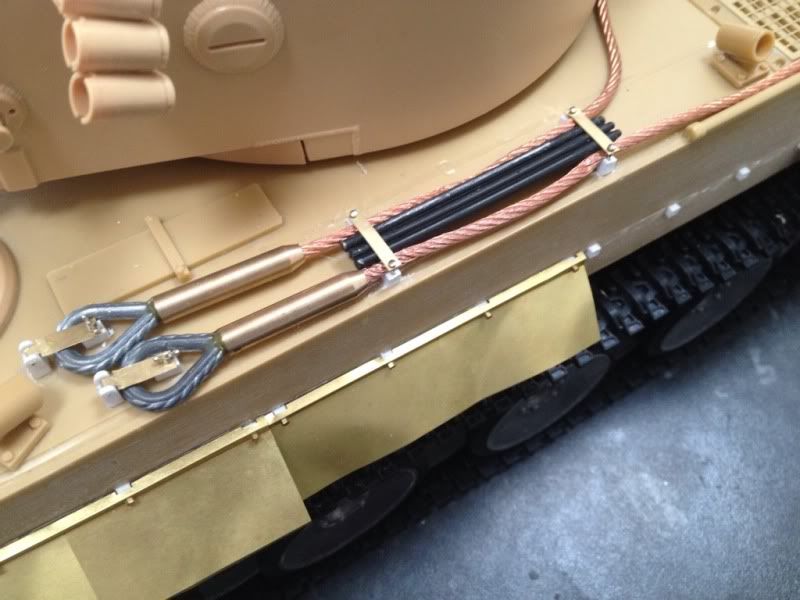
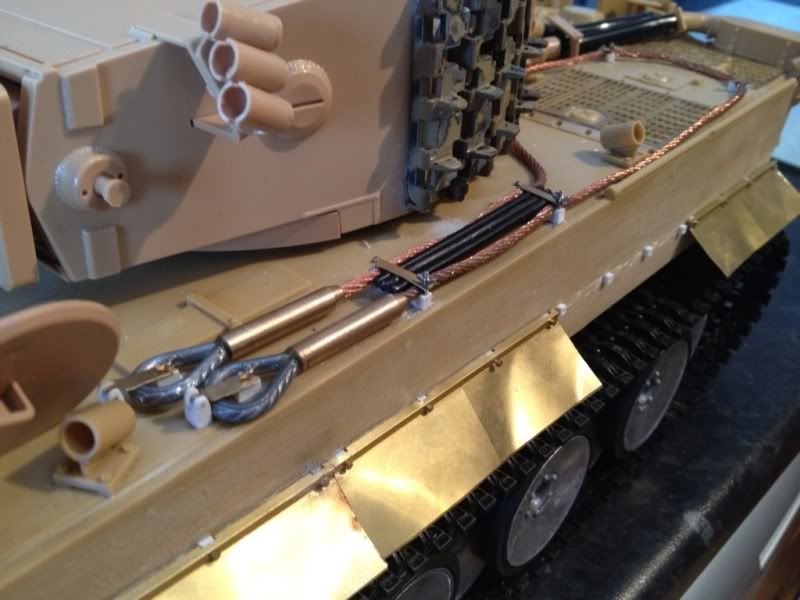
A little update, I've started work on the tow cable holders. Made the uprights out of styrene, brass sheet for the clasps and I bought the butterfly nuts from welsh dragon, only had the one lot in stock so I'll have to wait to finish them:
 10-04-2013 | 06:41 AM
#8
Thread Starter
Actually I have a nice gash in my thumb as a result of removing the moulded tools. I did use your method of drilling holes and cutting in half. Took some trial and error but worked well. The only issue is that with the barrel cleaning rods and the cable it's a tight fit. Using dress making pins to hold everything in place till I get the butterfly screws. The barrel cleaning rods are the plastic HL ones separated and reworked.
10-04-2013 | 06:42 AM
#9
Thread Starter
Nearly there; today I added some track hangers which I pillaged from a Taigen metal turret. Also Ive scratched up the retaining mechanism for the jack block and added the bar which holds the spare tracks on the front.
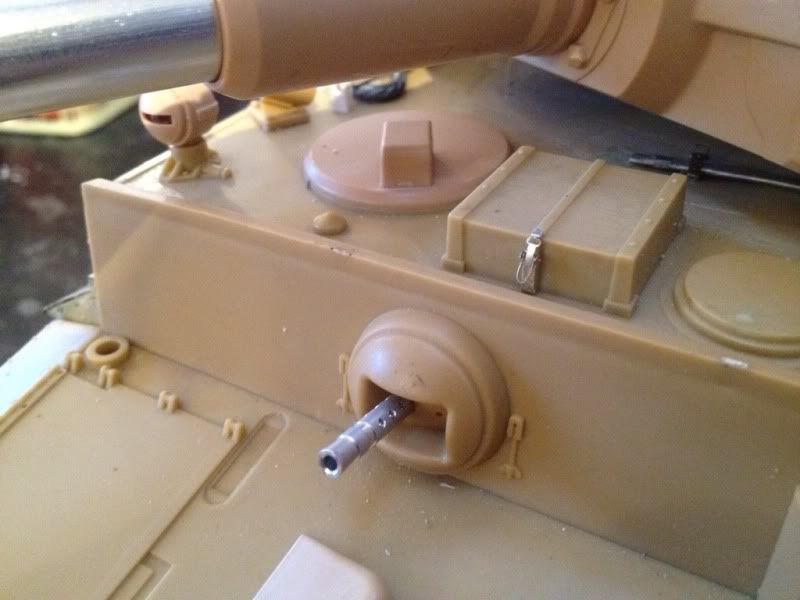
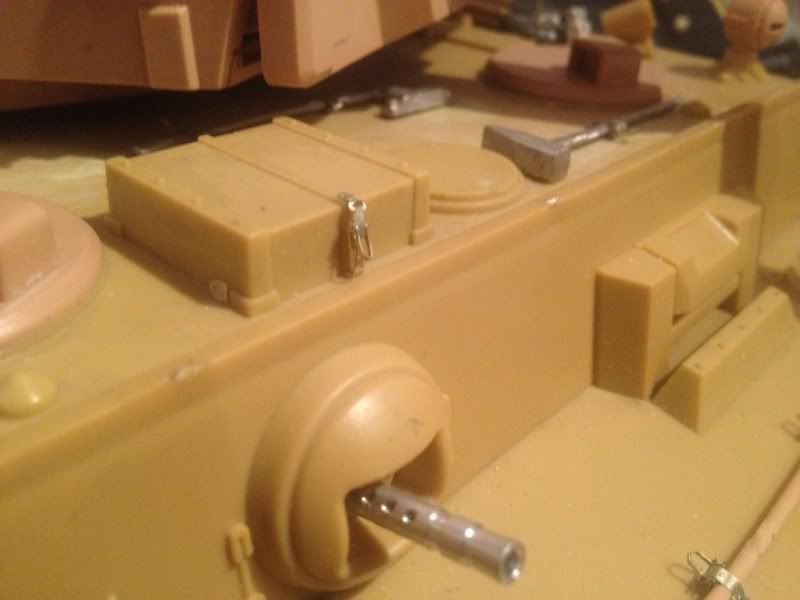
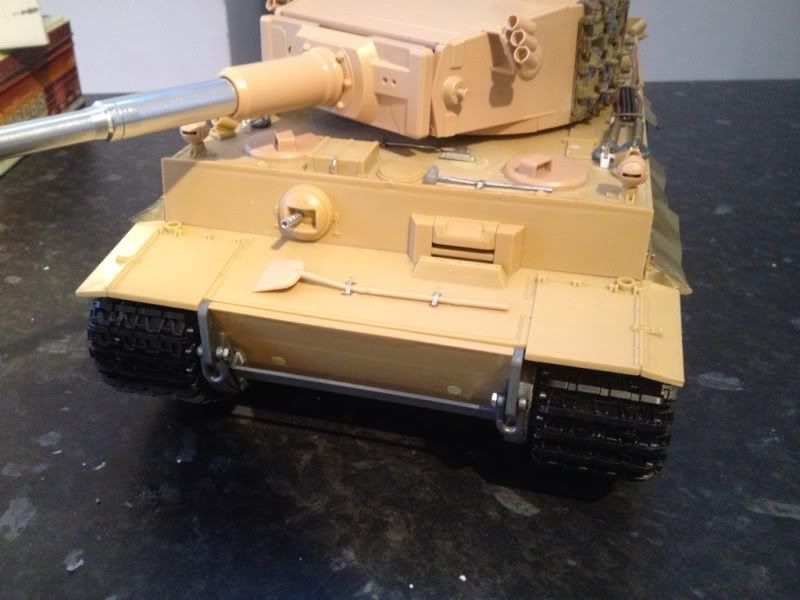
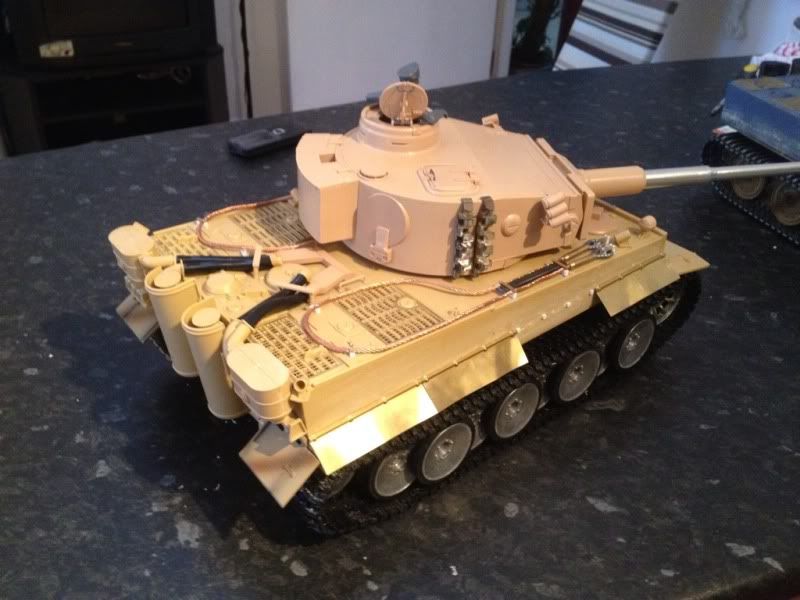
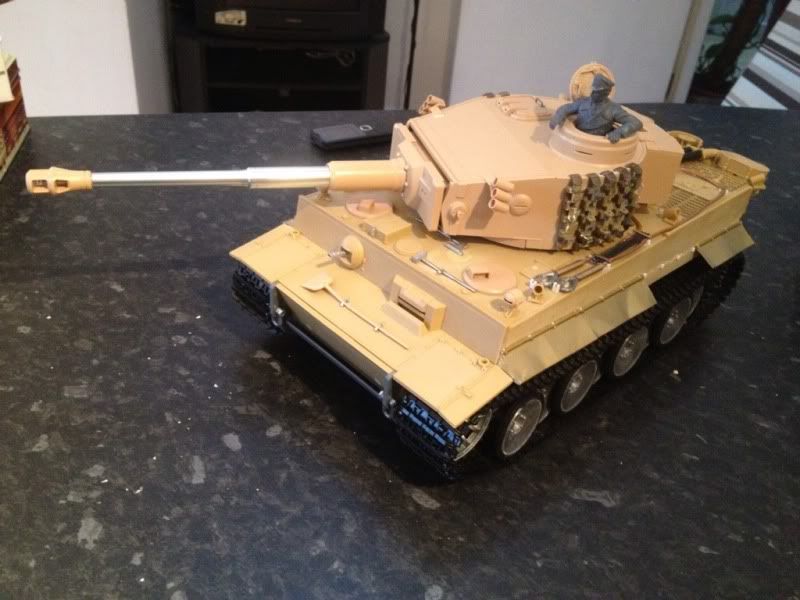
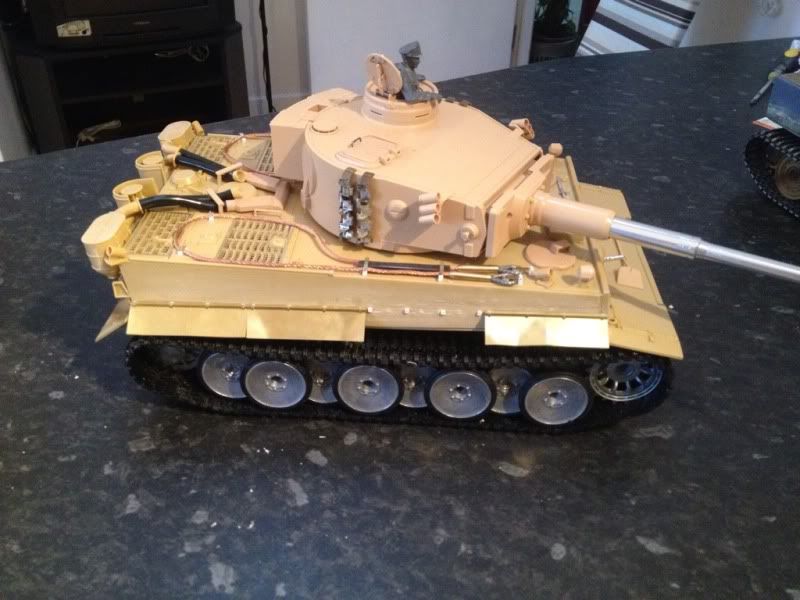
10-04-2013 | 06:43 AM
#10
Thread Starter
https://www.rcuniverse.com/forum/www.youtube.com/watch?v=xzDDxL9NS18
Finished installation of the SLU. So I will have full tamiya IR battle capacity but can still use all the Taigen fittings.
I've also rejiggd the fenders, my first attempt at soldering brass but it seems to have come out ok.
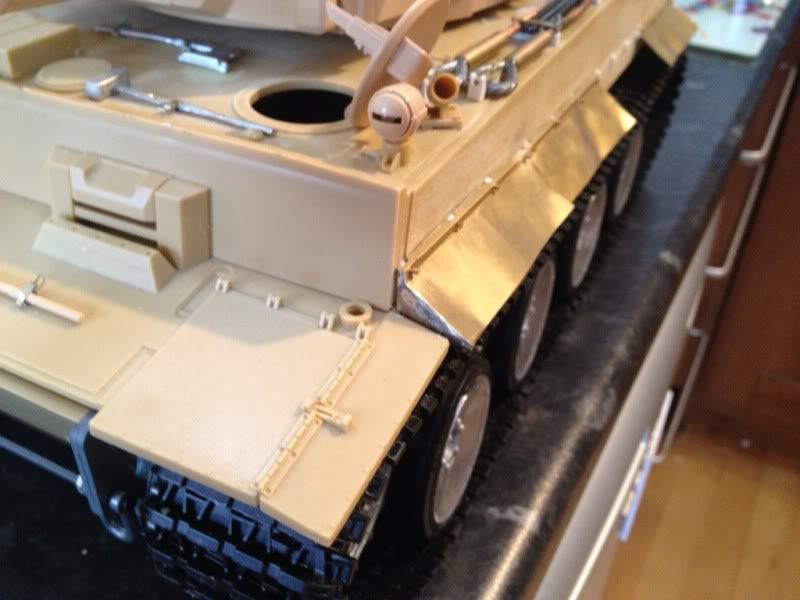
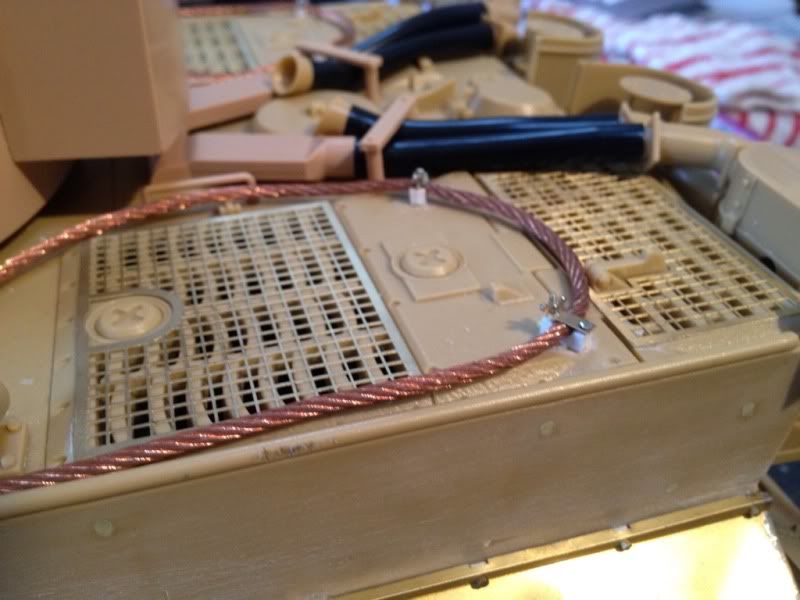
Finished installation of the SLU. So I will have full tamiya IR battle capacity but can still use all the Taigen fittings.
I've also rejiggd the fenders, my first attempt at soldering brass but it seems to have come out ok.
Last edited by tomhugill; 10-04-2013 at 06:51 AM.


 10-06-2013 | 08:06 AM
#16

Looks great. Nice detail work. Really like the fender/schurzen.

 10-23-2013 | 11:39 PM
#20
Thread Starter
Quite a big update here as I've been forgetful in posting updates on here.
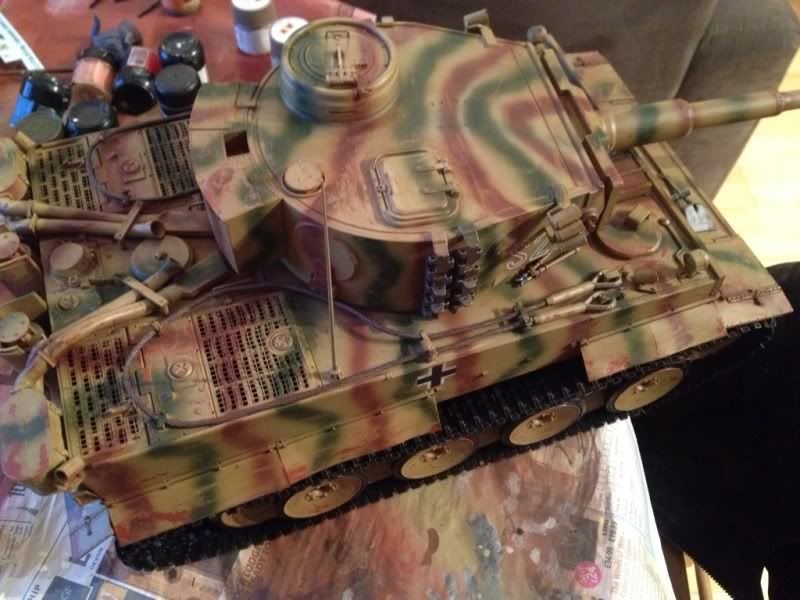
Well found my colour scheme, mainly influenced by the decals available, I know it's tri tone but it's quite different to anything I've tried before
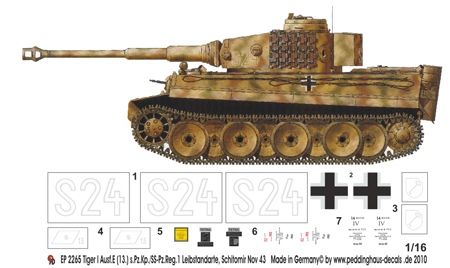
Well found my colour scheme, mainly influenced by the decals available, I know it's tri tone but it's quite different to anything I've tried before
10-23-2013 | 11:39 PM
#21
Thread Starter
Teeny tiny update, I had hoped to start painting today but still waiting on the red oxide spray. As it is a 2m aerial from Aber arrived yesterday so fitted that. I actually managed to build the PE butterfly screw this time. I also added the spare tracks on the front, removable for painting. Hopefully I'll get some paint on her for the MAD meet Sunday.


 10-23-2013 | 11:41 PM
#23
Thread Starter
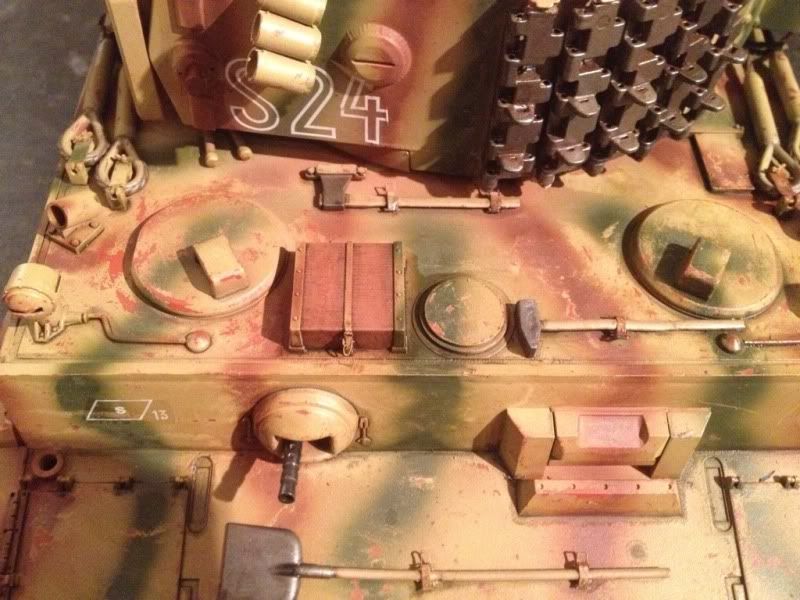
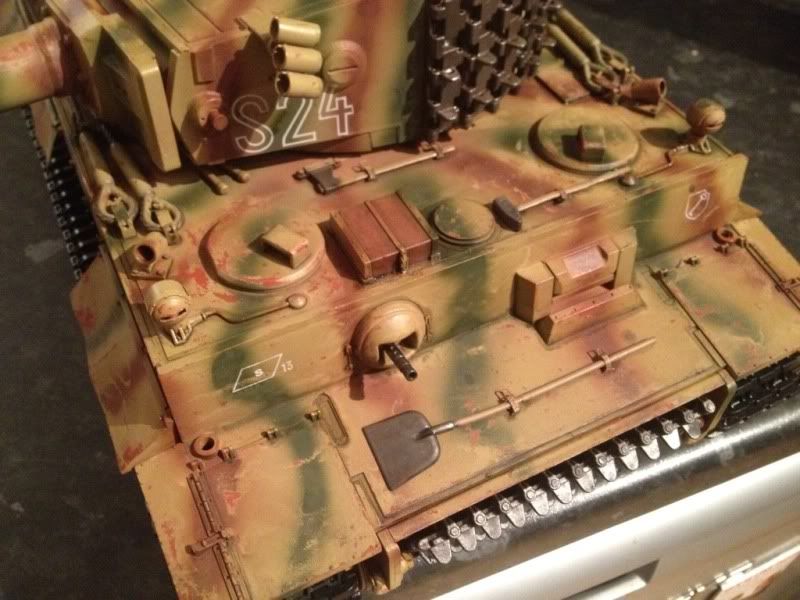
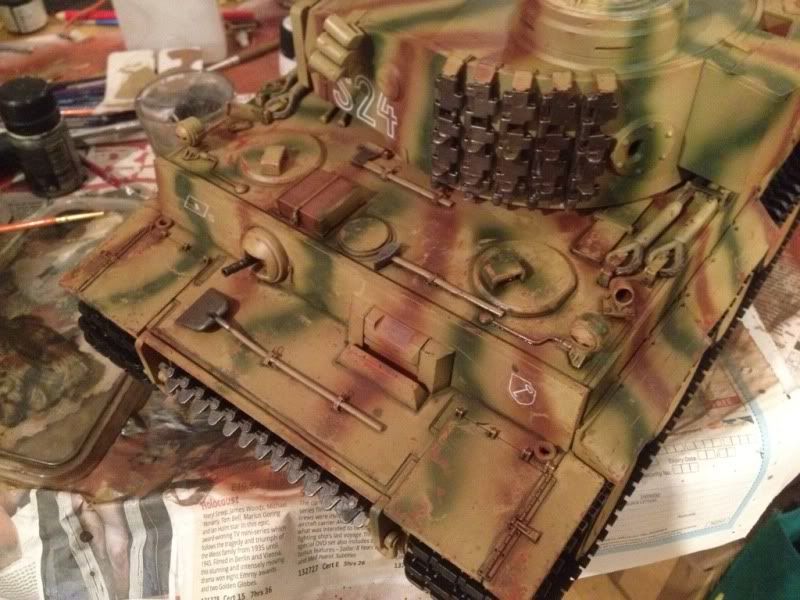
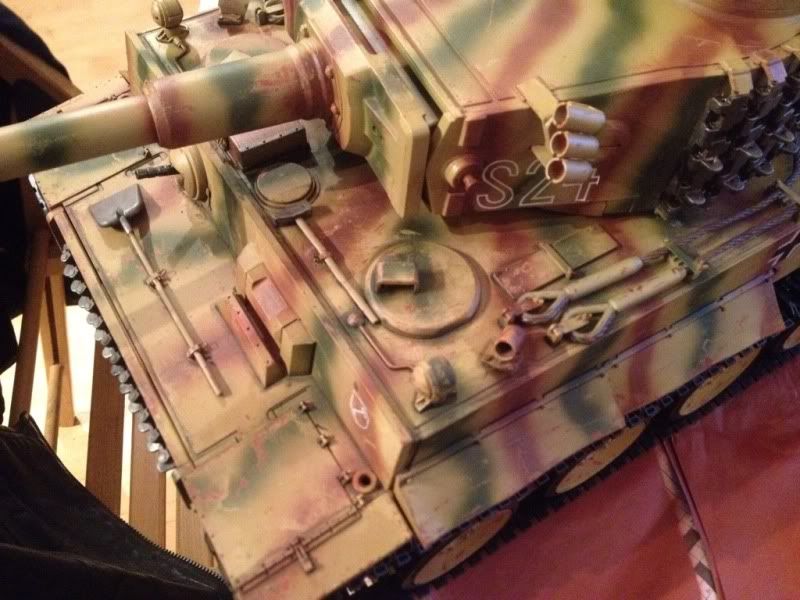
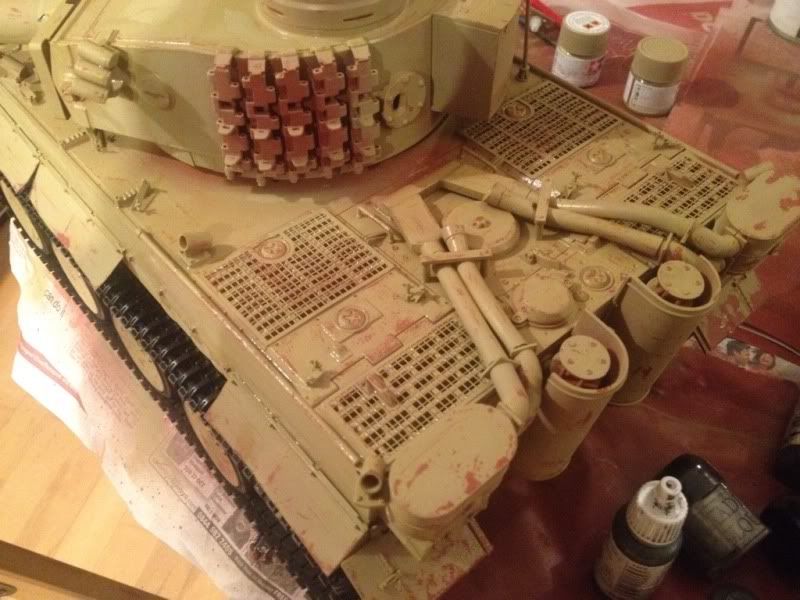
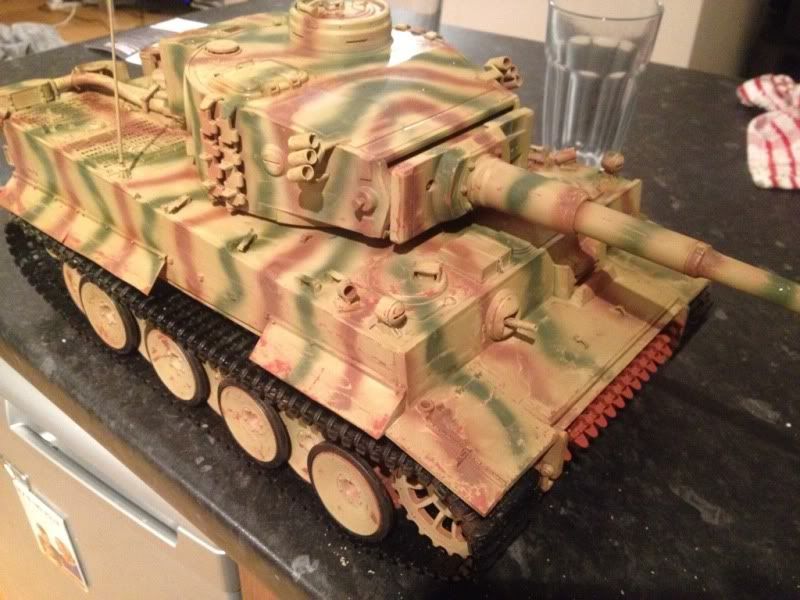
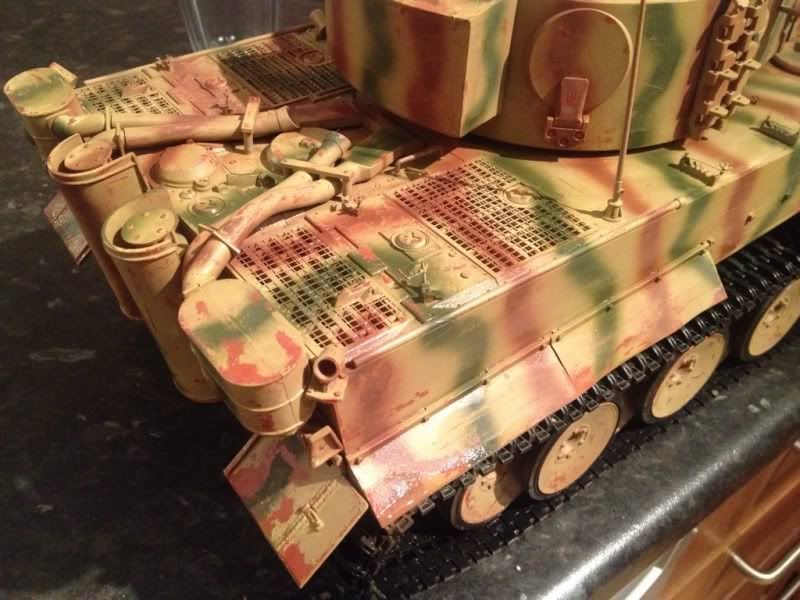
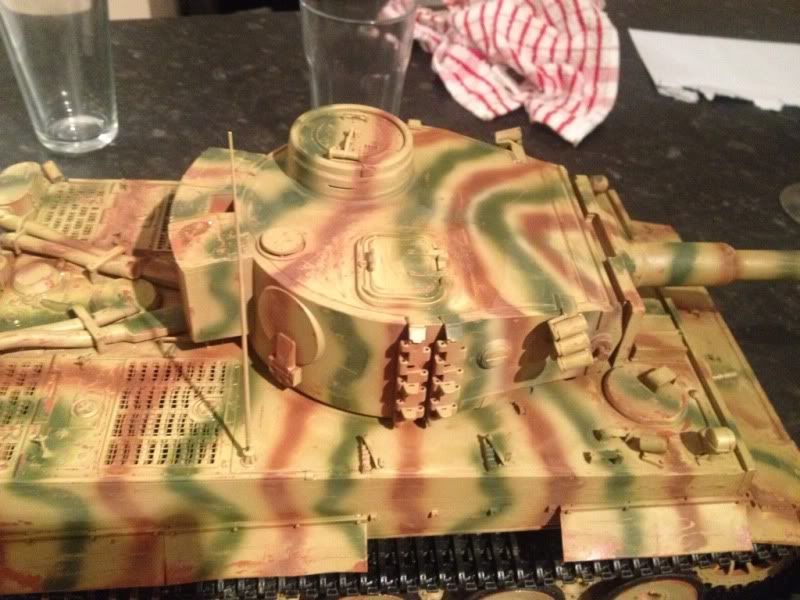
I have finally began to get some proper paint on her. This time I'm giving the hairspray technique a go. Got some good tips off Martin yesterday. As it stand the paint a chipping looks quite vivid, this means I can dull it down later without going too dark. There are a lot of scrapes and scuffs, but I have yet to add filters and any washes:
Base coat:
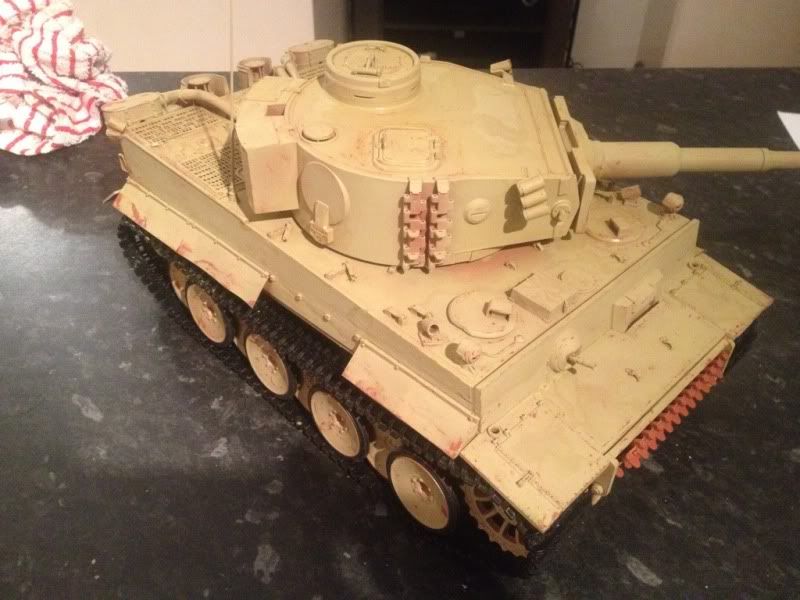
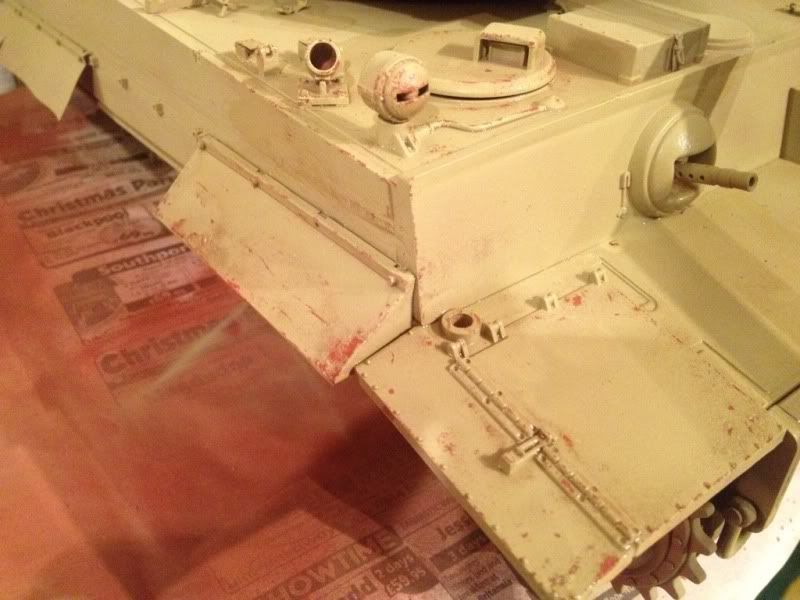
Next up three colour camo:
And the s24 decals on:
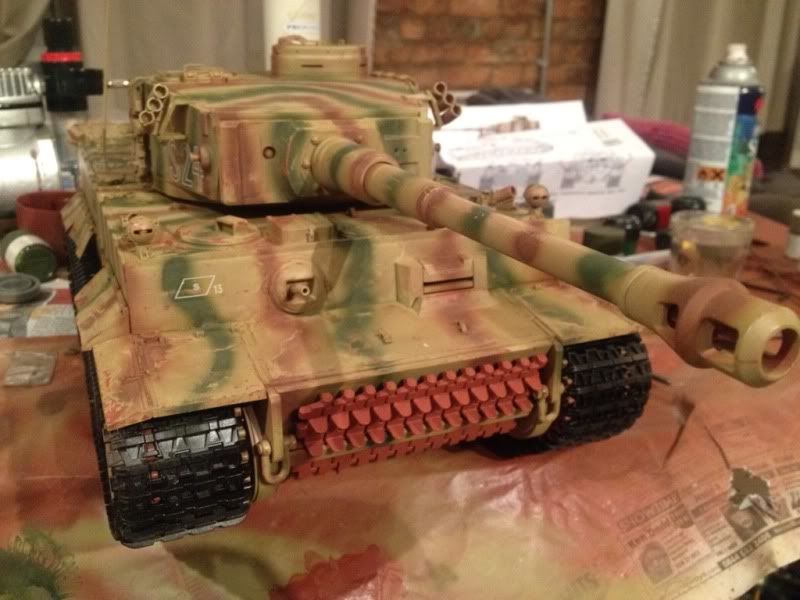
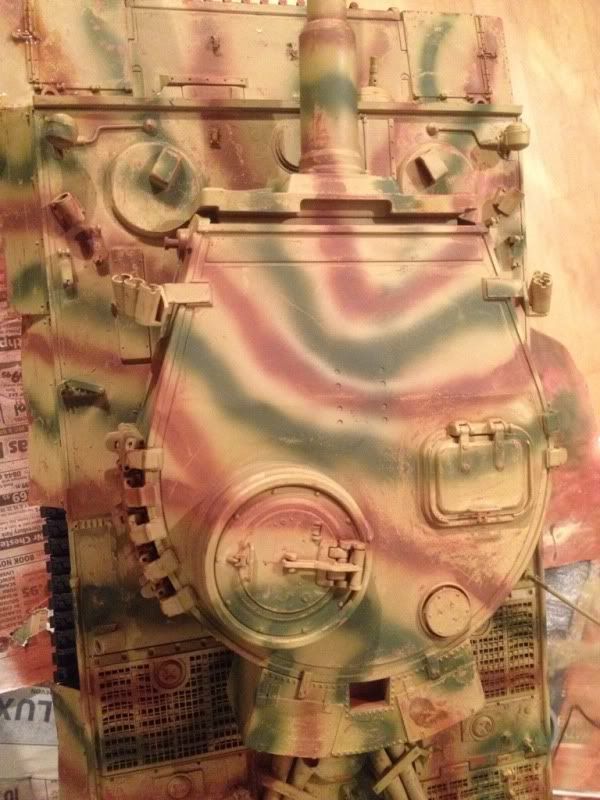
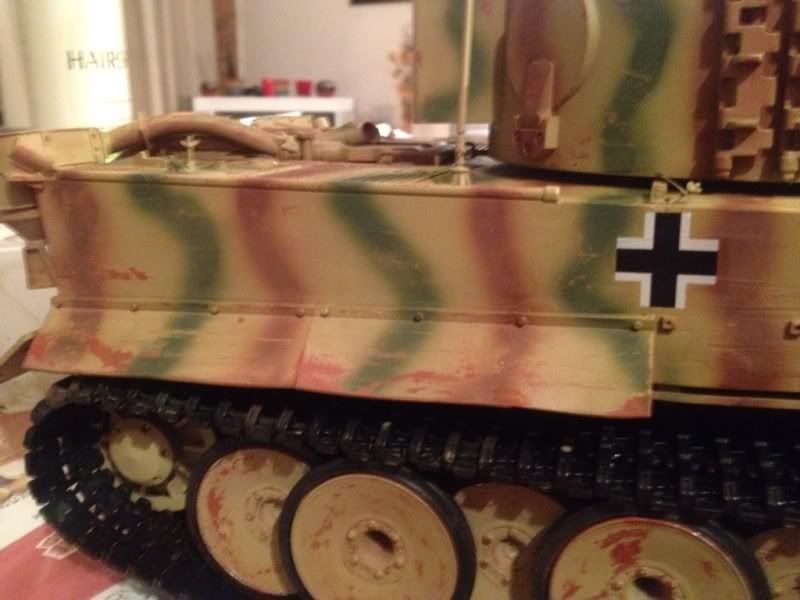
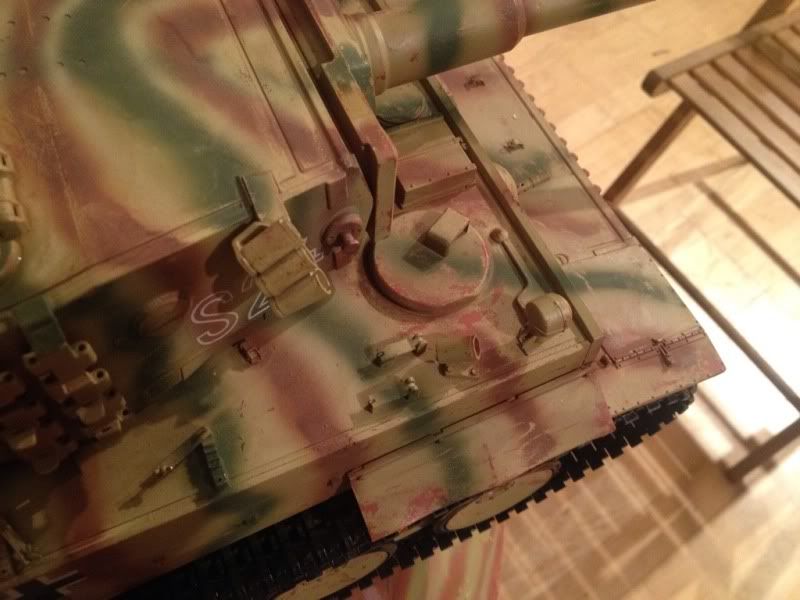
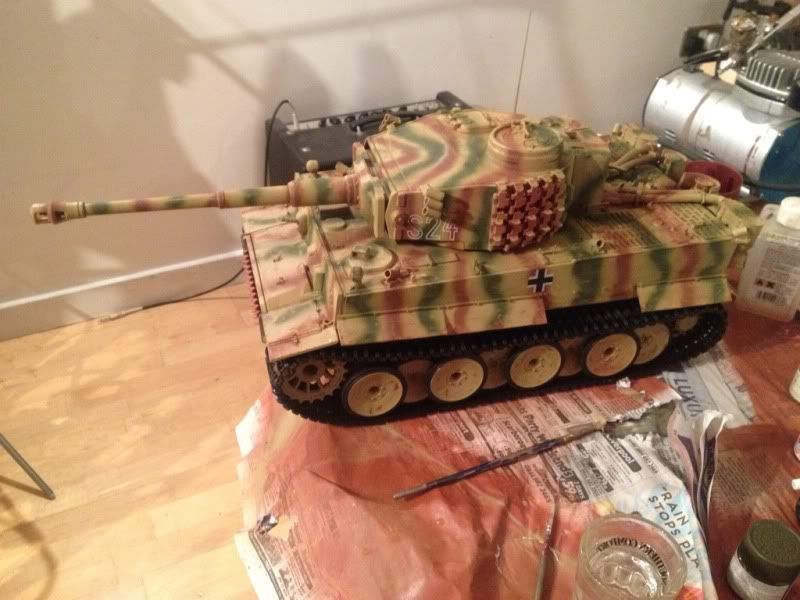
Next up pin washes and filters.
Base coat:
Next up three colour camo:
And the s24 decals on:
Next up pin washes and filters.
10-23-2013 | 11:43 PM
#24
Thread Starter
Some small progress made last night, began painting the spare tracks and two cables. Unfortunately the red oxide is too bright just to dry brush over so I've recoated in gun metal and then used a mixture of brown and black oils for get a better dull metal effect.
I also realised that you could see primer very clearly through the spare tracks on the turret so they had to come off to spray under them.
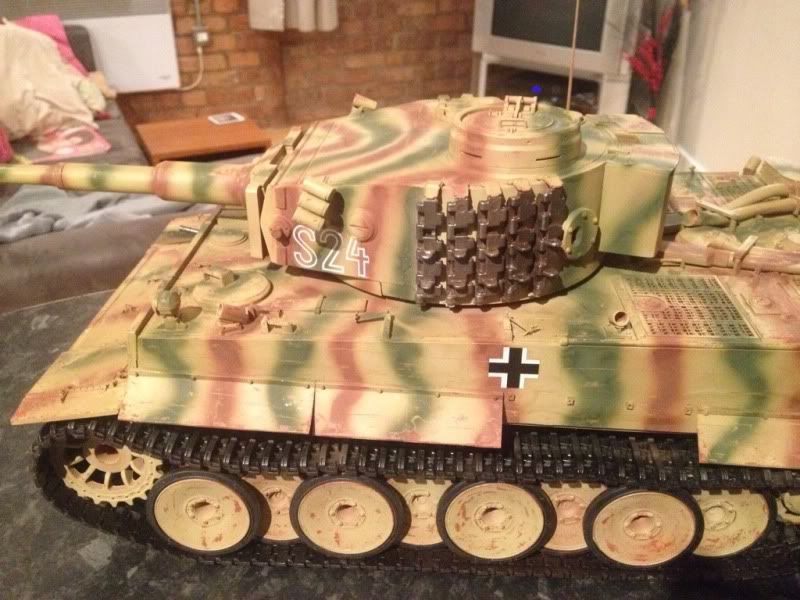
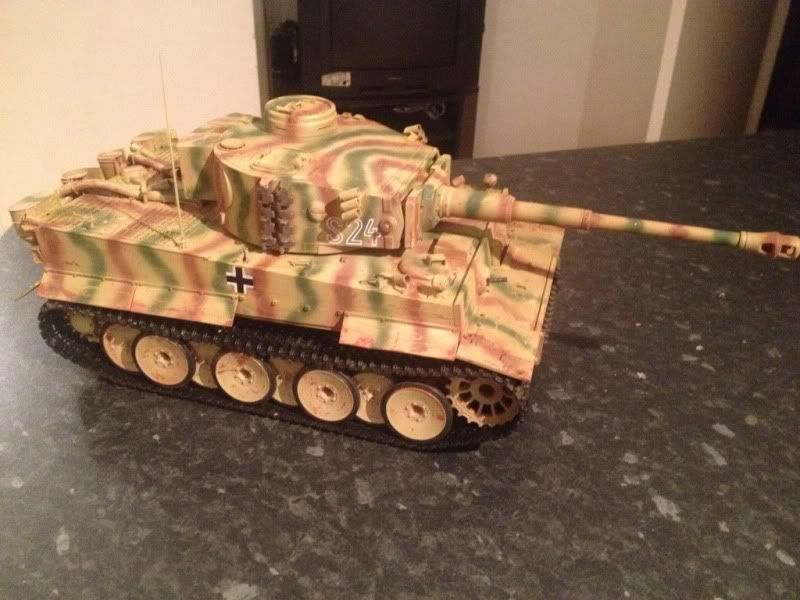
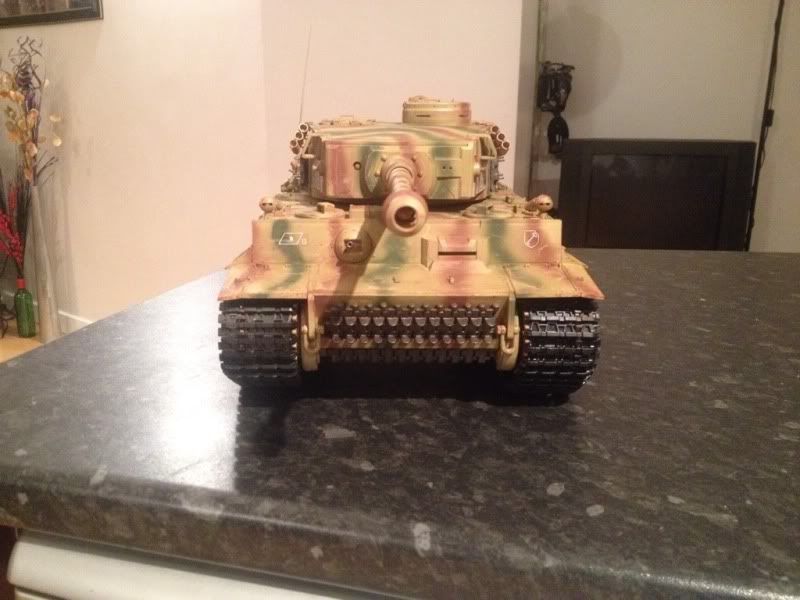
I also realised that you could see primer very clearly through the spare tracks on the turret so they had to come off to spray under them.
10-23-2013 | 11:43 PM
#25
Thread Starter
Painting continues a pace, last night I added a filter of ak interactive fresh mud, painted the the tools tow cables and started the pin washes. I am using a mixture of ak interactive NATO wash and dark mud for a hint of brown. This is my favourite part of the painting as the tank starts to come to life: