


Tamiya JS 2-Troubleshooting
 07-19-2015 | 02:18 AM
#1
Thread Starter

Hello,
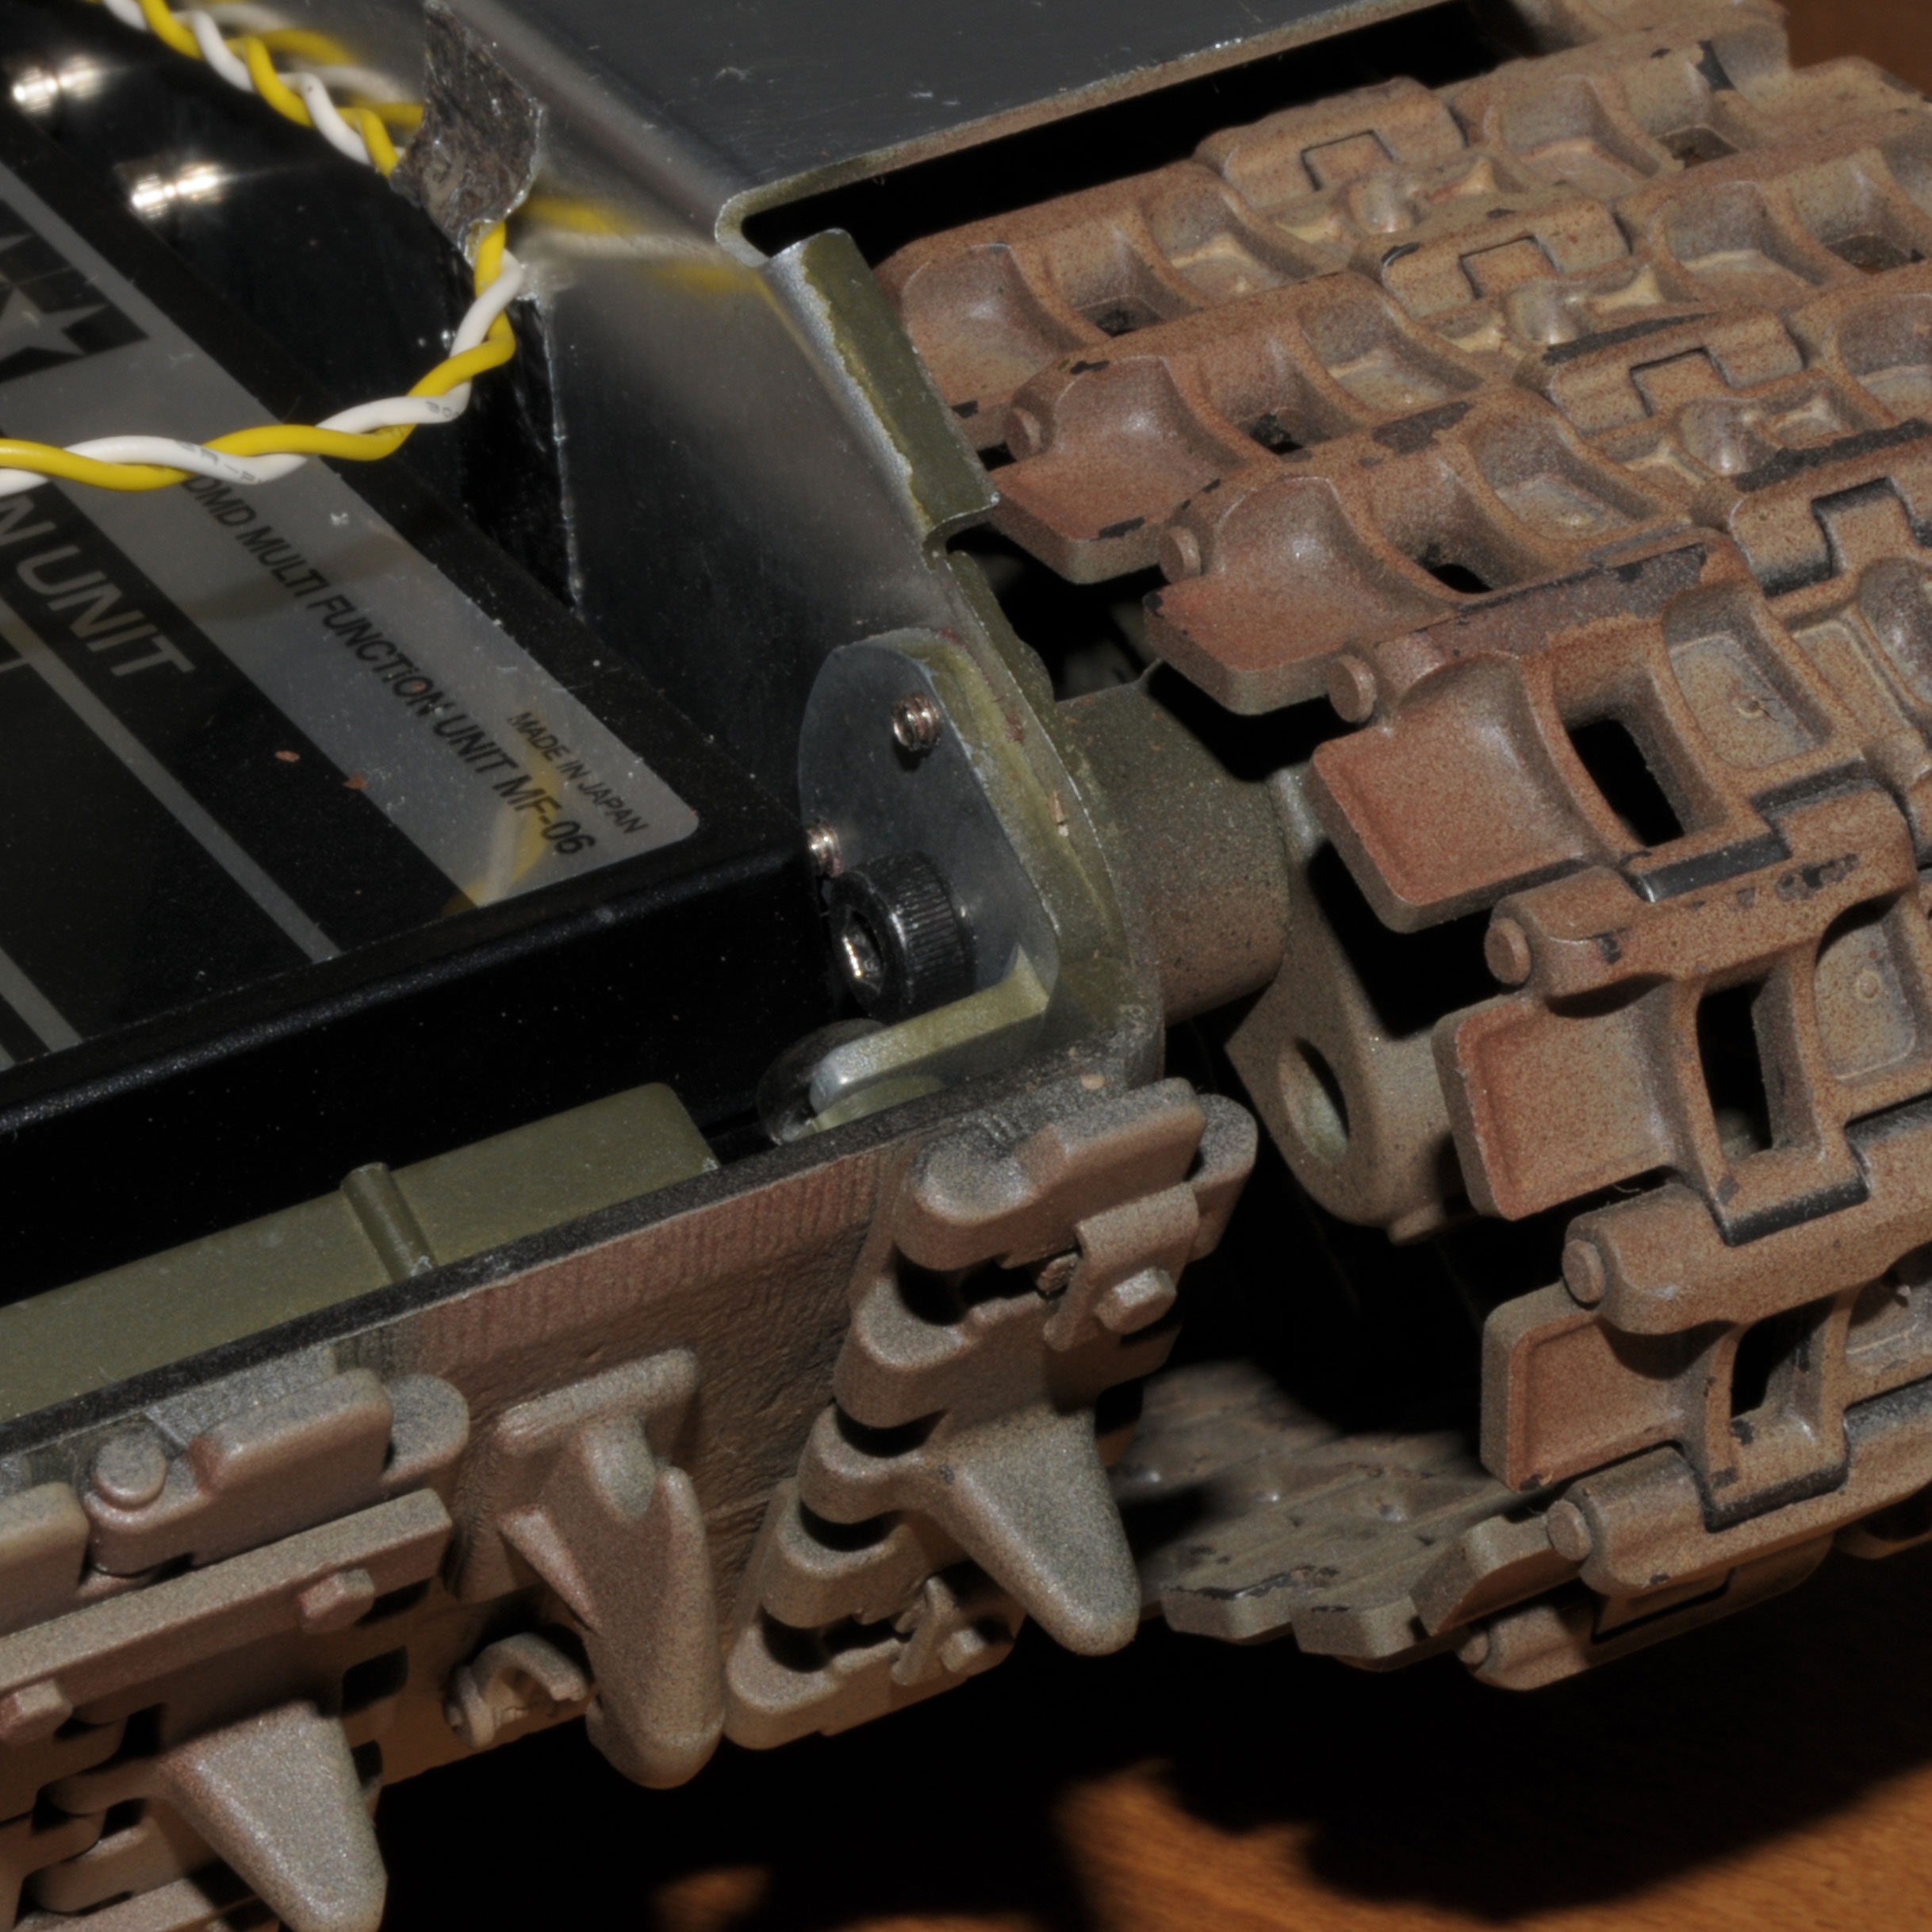
a modeller reported problems with the Tamiya JS-2 to me.
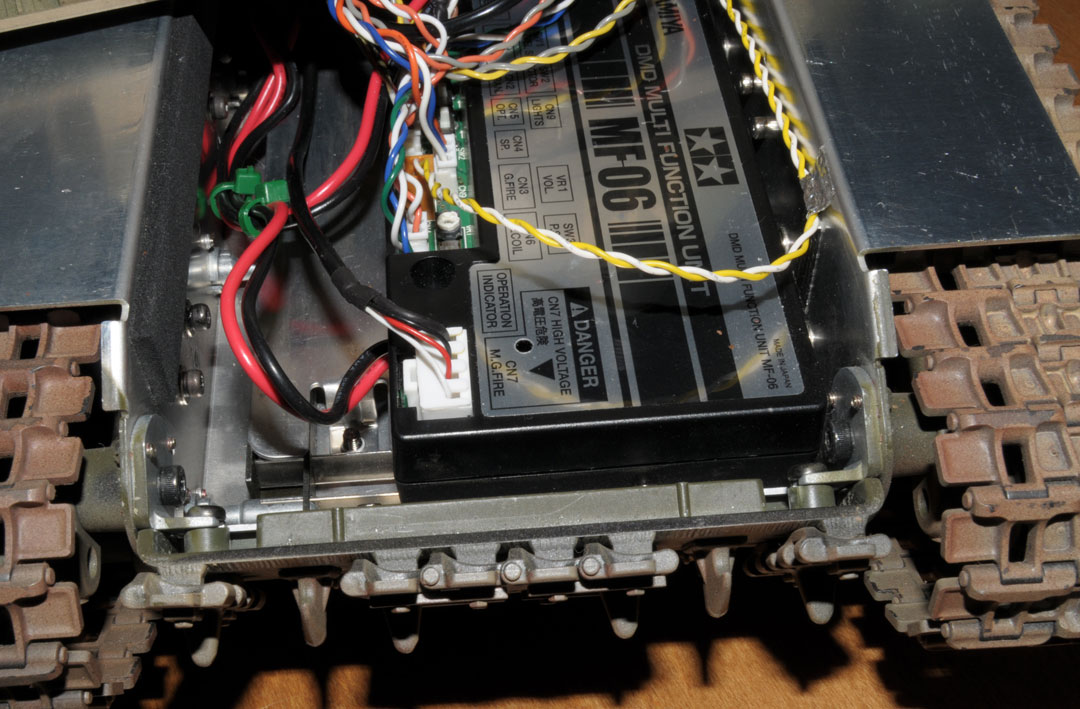
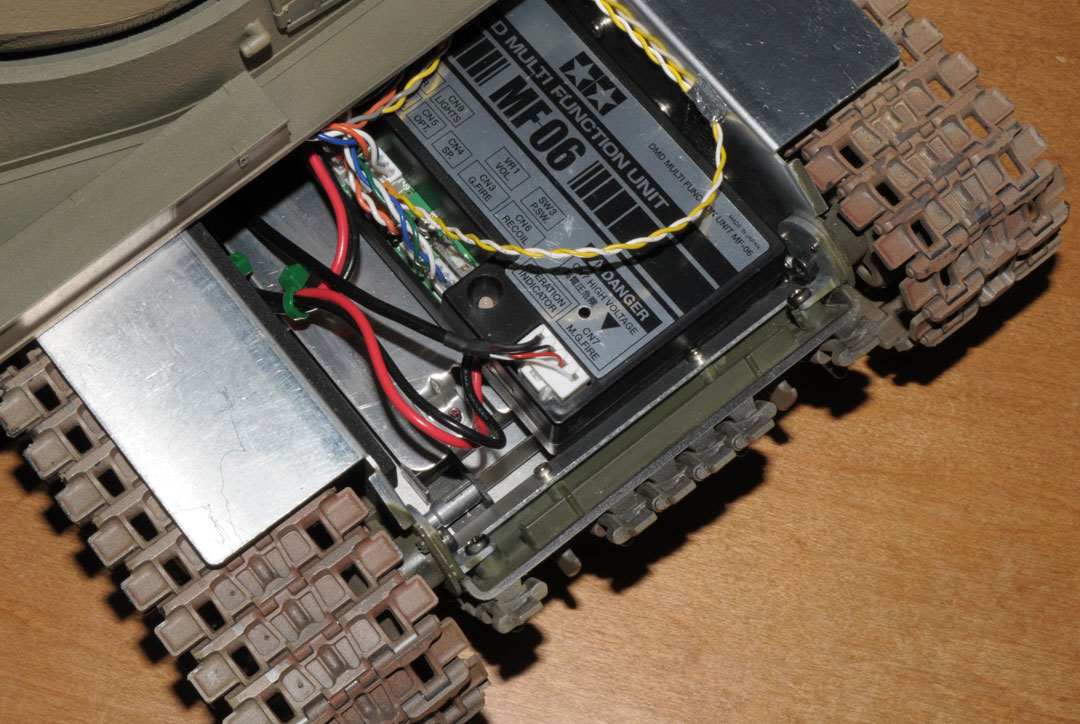
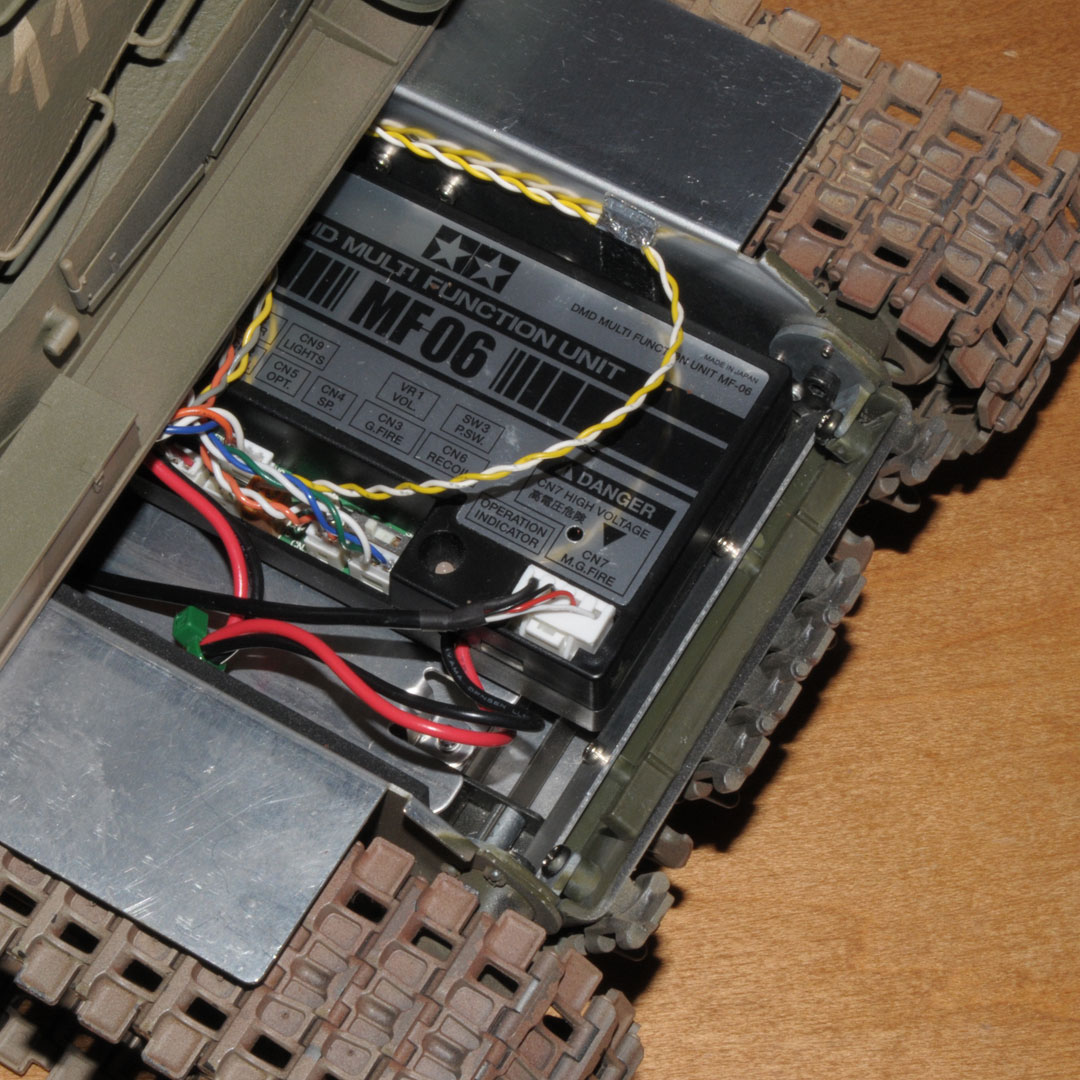
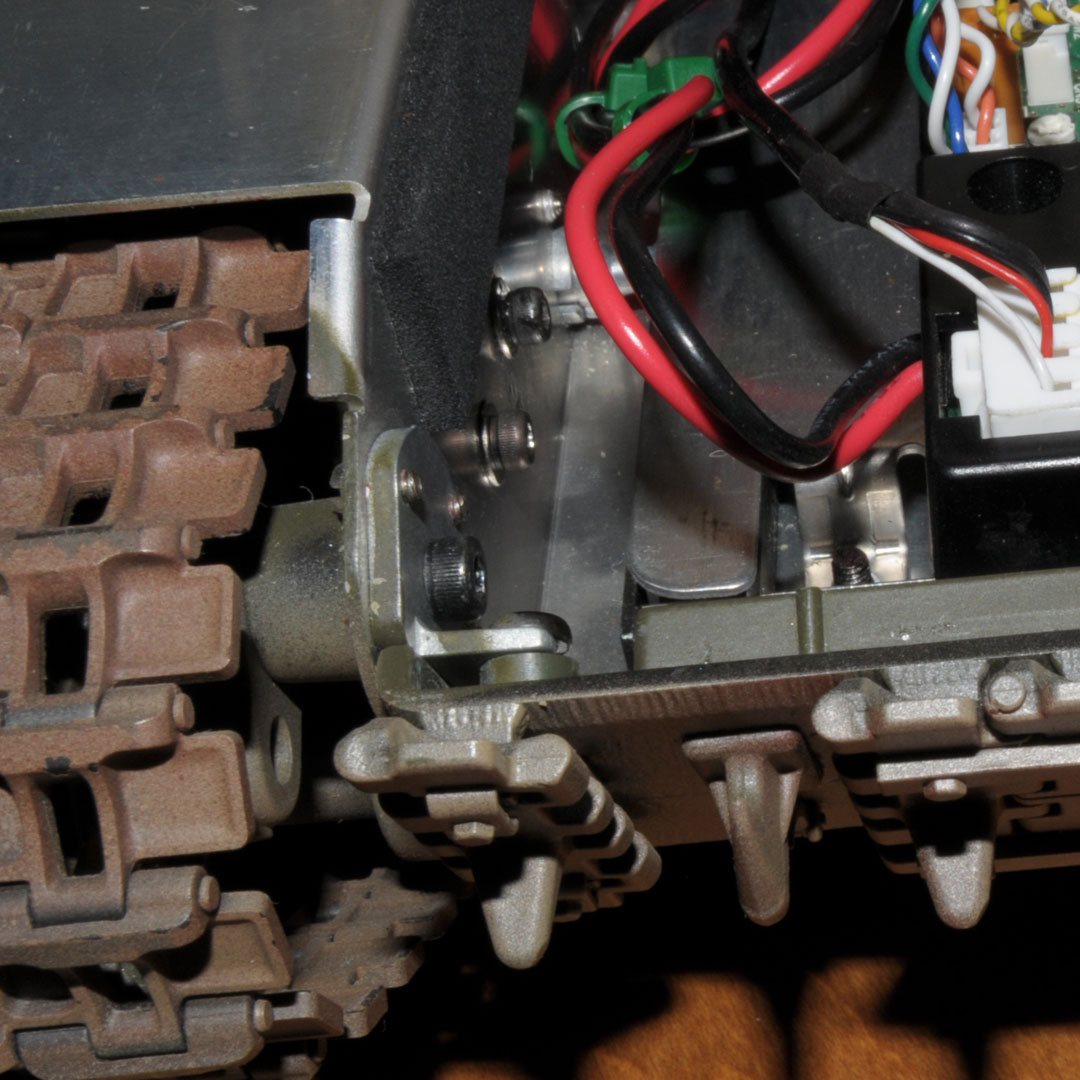
I asked him to send me the sub-tray to see itself........
The tank was only briefly in the area and is equipped with org.Plastik-chains
Here are some photos :


I will dismantle the lower hull and view how much space is available to install a more comfortable and stable chain tensioning system.
to be continued........
with regards,Guido
a modeller reported problems with the Tamiya JS-2 to me.
I asked him to send me the sub-tray to see itself........
The tank was only briefly in the area and is equipped with org.Plastik-chains
Here are some photos :
I will dismantle the lower hull and view how much space is available to install a more comfortable and stable chain tensioning system.
to be continued........
with regards,Guido
 07-19-2015 | 04:46 AM
#3

My JS-2 was dumped off the table at it's first battle day before it hit the field, 'it hit the dirt'. The idler took full impact and was bent exactly as depicted in the photos above. You can see the bracket has been pulled loose from the screw. I removed the screw on mine, bent the idler back and tightened. Fought the whole day and many hours since without issue (I'm sure a certain member will be along to counter that since hull flex is the cause of every evil in the world.  ).
).
If you're really concerned, fill that void between the screw tower and side hull with epoxy making it a solid right angle, construct a simple bracket (steel or aluminum) to span the front and sandwich between the idler stays or simply wait for Guido to work his magic.
).If you're really concerned, fill that void between the screw tower and side hull with epoxy making it a solid right angle, construct a simple bracket (steel or aluminum) to span the front and sandwich between the idler stays or simply wait for Guido to work his magic.
Last edited by ausf; 07-19-2015 at 04:53 AM.
07-19-2015 | 05:09 AM
#4

Joined: Oct 2014
Posts: 888
Likes: 0
Received 0 Likes
on
0 Posts
From: Roseville, CA
It is with with mine. I put metal tracks on for about ten minutes and had real problems with the hull actually bending. I have obviously gone back to the plastic tracks. I'll be watching closely with what Guido comes up with to solve the problem and be one of the first on the list to purchase whatever it is.
07-19-2015 | 07:28 AM
#5

"I have been seriously considering getting the JS-2 as my first Tamiya tank. Is this a common problem with this model?
I'll be watching this thread closely."
--
1. Answer: Probably not a common hull problem with the Tamiya JS-2, likely depends on how you run it or beat it.
So, I just checked my JS-2 hull today in response to this post.
So far so good, no JS-2 hull bending issues running Tamiya JS-2 plastic tracks and or the Tamiya KV-1 plastic tracks (shown in photos).
Seven months of non-abusive, grass, IR play, on this out of the box built, Tamiya JS-2 (my 3rd JS build) shows no hull damage (yet), which is not to say it didn't, can't or won't happen.
2. Hull side bracing idler plates would be welcomed plus a metal gearbox mount brace for added long term hull strength durability improvements for running heavy metal tracks and or abusive IR play.
Last edited by Pcomm1.v2; 07-19-2015 at 07:33 AM.
07-19-2015 | 07:56 AM
#6
The hull was bent back true prior to the show weekend, this is the result of two days running on grass. Look forward to seeing how guido solves this! FYI tank has never been dropped or abused.
07-19-2015 | 08:22 AM
#7
I didn't intend to imply it was dropped or oterwise abused, I hope it didn't come off that way. Mine was abused and had the same result.
It's a definite weak spot in design by Tamiya. An open-ended metal tub whose cross support is an angle bracket would be fine If the angle bracket connected to a cross brace. But it doesn't, it relies on a metal screw in plastic with little shear strength. Beef up that connection and all is well.
The flaw may never show up under normal circumstances, but require some extra torque or bang it and it's apparent.
07-19-2015 | 03:48 PM
#8
ALL RC tanks/vehicles are a compromise in design... just like the real thing.
It's up to US to overcome that so buy one with that in mind.
Jeff
It's up to US to overcome that so buy one with that in mind.
Jeff
07-19-2015 | 10:12 PM
#9
I didn't intend to imply it was dropped or oterwise abused, I hope it didn't come off that way. Mine was abused and had the same result.
It's a definite weak spot in design by Tamiya. An open-ended metal tub whose cross support is an angle bracket would be fine If the angle bracket connected to a cross brace. But it doesn't, it relies on a metal screw in plastic with little shear strength. Beef up that connection and all is well.
The flaw may never show up under normal circumstances, but require some extra torque or bang it and it's apparent.
It's a definite weak spot in design by Tamiya. An open-ended metal tub whose cross support is an angle bracket would be fine If the angle bracket connected to a cross brace. But it doesn't, it relies on a metal screw in plastic with little shear strength. Beef up that connection and all is well.
The flaw may never show up under normal circumstances, but require some extra torque or bang it and it's apparent.
Im really looking forward to see what Guido does as aside from this its a great kit and I think the weathering is going be fun!
07-20-2015 | 03:43 AM
#10
Joined: Jan 2014
Posts: 340
Likes: 0
Received 0 Likes
on
0 Posts
From: Kenosha,WI
All good inputs and photos. I had watched a video on the assembly process before. Guess I'll have to find that again and view it a little closer.
Does anyone know how much the completed model weighs without a battery installed?
Does anyone know how much the completed model weighs without a battery installed?
07-20-2015 | 04:17 AM
#11
In terms of weather, all that beautful texture is screaming for it.
07-23-2015 | 12:06 AM
#12
Thread Starter
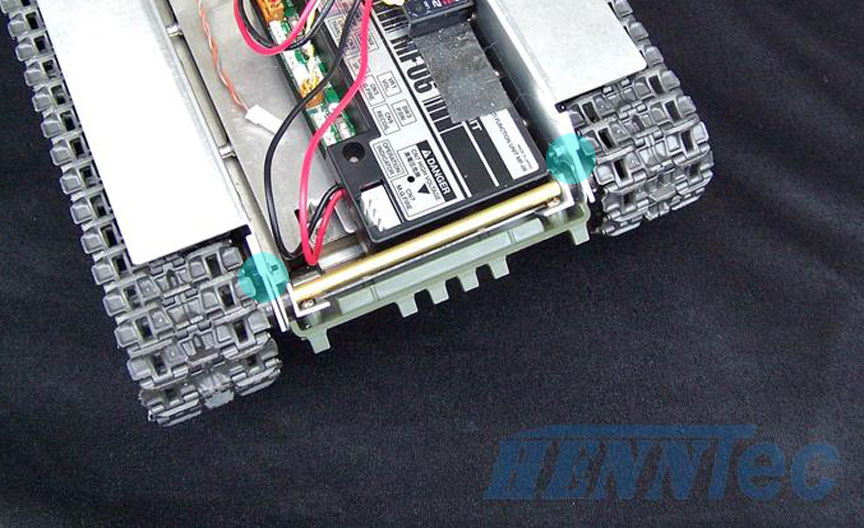
Hallo,
I do not know exactly why the problems have arisen, is important but that you can eliminate the error.
Now I want to show you my solution.
The chain can be adjusted from the outside
The important connection of the left and right side is also created, now the owner can put on,without abdominal pain raise, metal chains.


Gru�,Guido

I do not know exactly why the problems have arisen, is important but that you can eliminate the error.
Now I want to show you my solution.
The chain can be adjusted from the outside
The important connection of the left and right side is also created, now the owner can put on,without abdominal pain raise, metal chains.
Gru�,Guido
Last edited by sturmgescheutz; 07-23-2015 at 12:08 AM.
07-23-2015 | 01:53 AM
#13
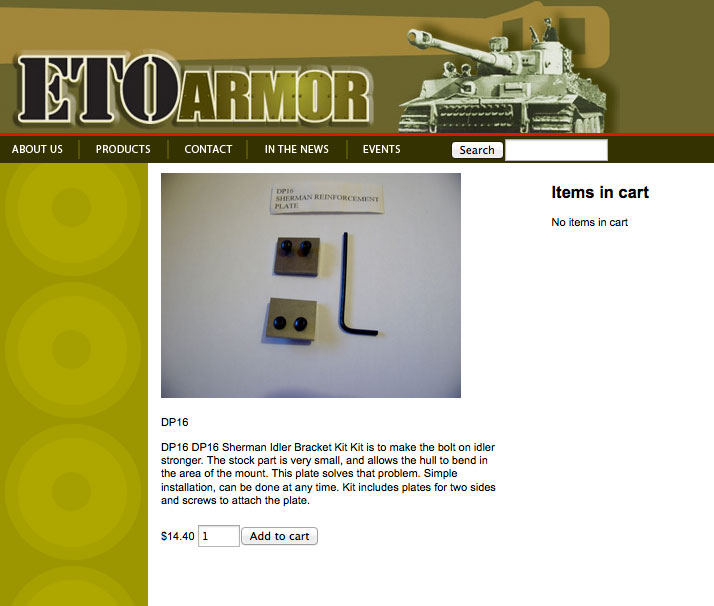
Ok start. I don't think your solution is all the way there yet and needs additional development. Why? The JS-2 hull sides still appear weak and need strengthening plates, as your part is small, and perhaps will still allow the hull to bend on each side in the mount area of your new part and or just at the original hull weak point.
Visit this solution at ETO Armor that would complement your initial JS-2 efforts.
Visit this solution at ETO Armor that would complement your initial JS-2 efforts.


