


Progress on my sherman.


 05-21-2007 | 06:20 PM
#28
Thread Starter
Senior Member
Joined: Dec 2006
Posts: 271
Likes: 0
Received 0 Likes
on
0 Posts
From: , UNITED KINGDOM
Hi all.
I have a few more pictures of recent progress.
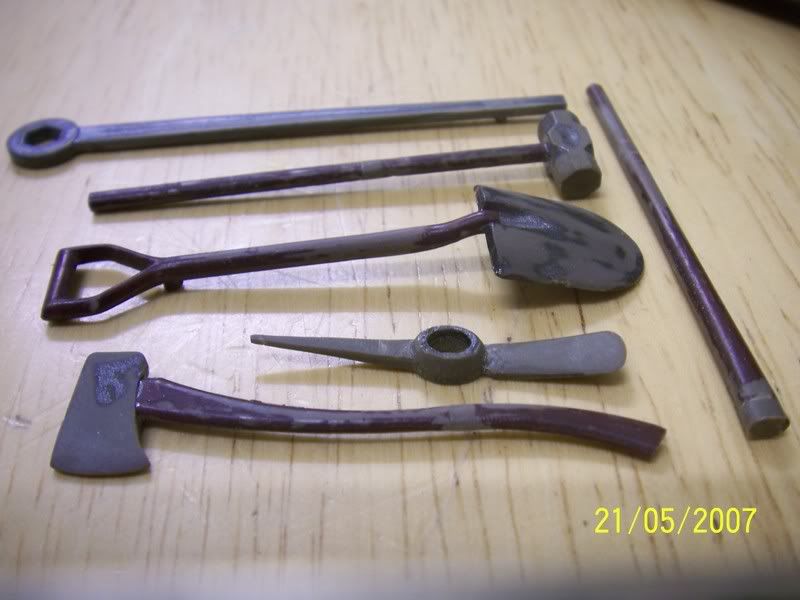
I reworked the tools to suite the stowages better,not fitted yet though.
I also made some new light and horn guards to a more scale looking thickness.Tricky bit of bending and soldering but got it in the end.


Also the small mesh in the intake next to the rear lights.
The guards are not fixed in place yet as I want to fit the lights first,and then I will need to redo the welds around them as I had to destroy the original welds on the plastic guards.Worth the effort though I think.
Thanks for the comments and encouragements guys.
Stern,looking at your king tiger it would be very interesting to see what you do with the sherman,it would be awesome.
Cheers all.
I have a few more pictures of recent progress.
I reworked the tools to suite the stowages better,not fitted yet though.
I also made some new light and horn guards to a more scale looking thickness.Tricky bit of bending and soldering but got it in the end.
Also the small mesh in the intake next to the rear lights.
The guards are not fixed in place yet as I want to fit the lights first,and then I will need to redo the welds around them as I had to destroy the original welds on the plastic guards.Worth the effort though I think.
Thanks for the comments and encouragements guys.
Stern,looking at your king tiger it would be very interesting to see what you do with the sherman,it would be awesome.
Cheers all.
06-30-2007 | 05:38 PM
#30
Thread Starter
Senior Member
Joined: Dec 2006
Posts: 271
Likes: 0
Received 0 Likes
on
0 Posts
From: , UNITED KINGDOM
Hi all.Not updated for a while so I thought I'd better.
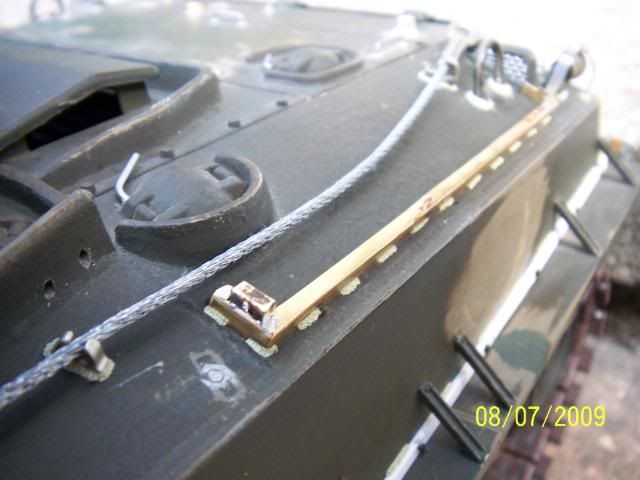
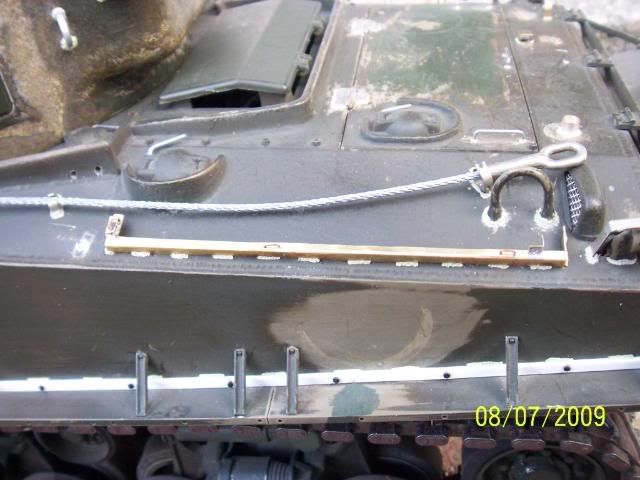
I bought a really nice tow cable set and fitted the fixings in place.
I wanted to still make it easy to remove the top hull so I arranged it so the front of the cable can be slid out of the front towing eye.
I will fix the cable on properly once painted.


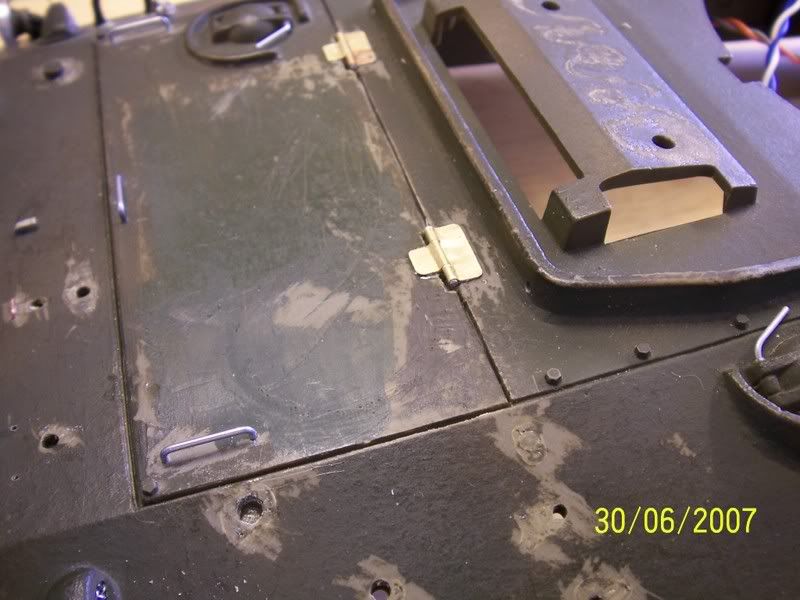
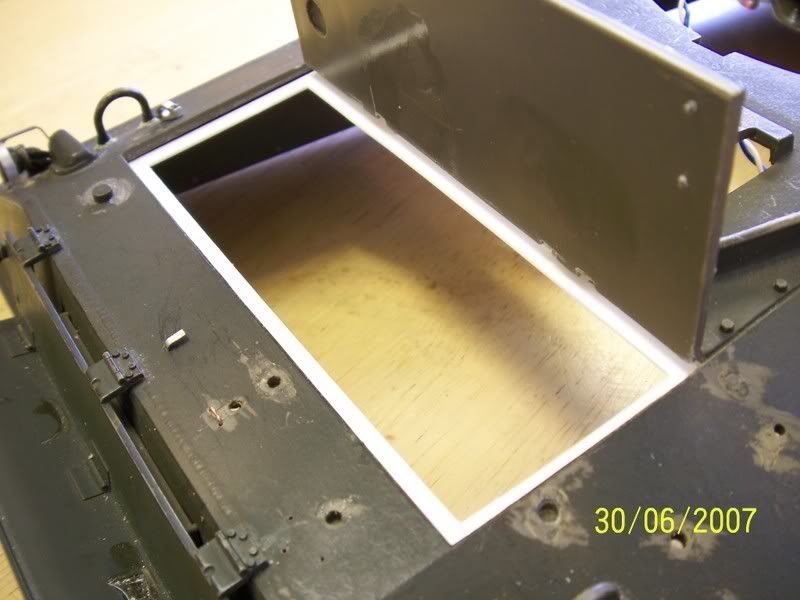
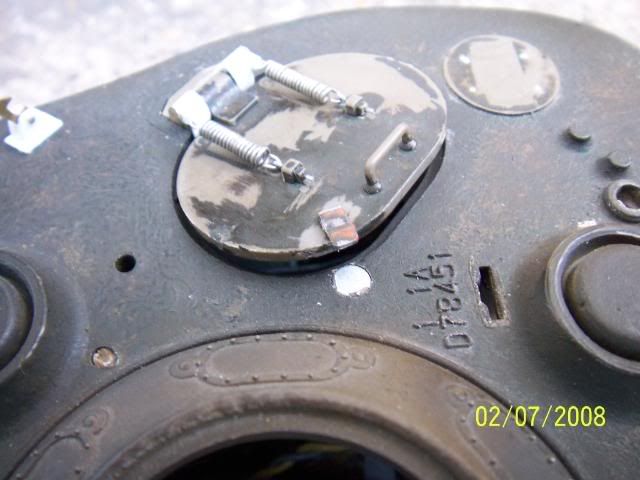
Next up I cut out the rear deck engine cover and hinged it with brass hinges I made.I want to fit a smoker eventually so I did this for that reason,access for filling with oil etc.
They actually seem to work quite well and I have surprised myself with this.
Thanks all.
I bought a really nice tow cable set and fitted the fixings in place.
I wanted to still make it easy to remove the top hull so I arranged it so the front of the cable can be slid out of the front towing eye.
I will fix the cable on properly once painted.
Next up I cut out the rear deck engine cover and hinged it with brass hinges I made.I want to fit a smoker eventually so I did this for that reason,access for filling with oil etc.
They actually seem to work quite well and I have surprised myself with this.
Thanks all.
06-30-2007 | 05:55 PM
#31
Banned
Joined: Jan 2007
Posts: 1,707
Likes: 0
Received 0 Likes
on
0 Posts
From: swindon, UNITED KINGDOM
hey wight that detailling is awesome are you sure thats 1/16 your doing and not a 1/1 youve got tucked away in your garden shed and taking photos of that

just joking mate keep up the good work and keep us posted
just joking mate keep up the good work and keep us posted


 07-10-2007 | 05:49 PM
#34
Thread Starter
Senior Member
Joined: Dec 2006
Posts: 271
Likes: 0
Received 0 Likes
on
0 Posts
From: , UNITED KINGDOM
Evening all.
Thank you for the kind words.Very encouraging.
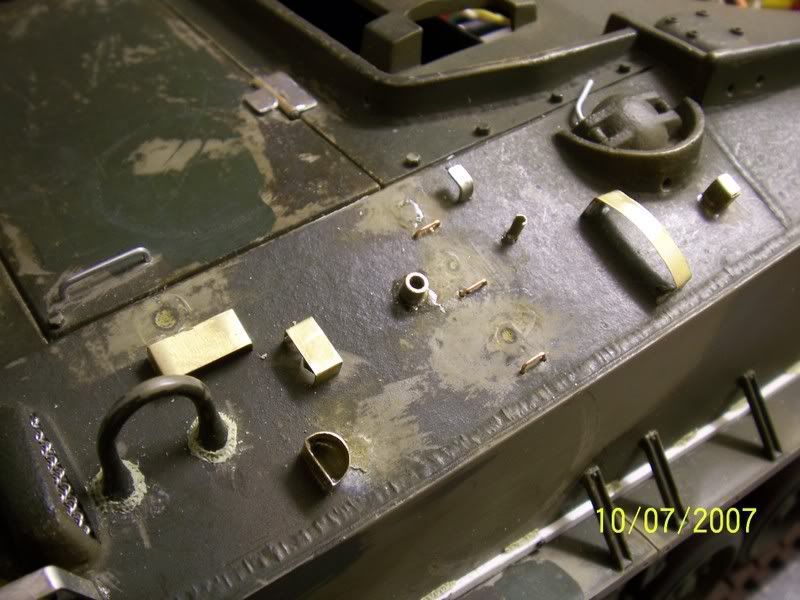
I have been doing more to the tool stowages and have now fixed them in place.The tools will be left off for now though to make it easier to paint,eventually!
Next I need to add welds to the stowages and other areas around the hull that need doing.
Stowages with tools in place.
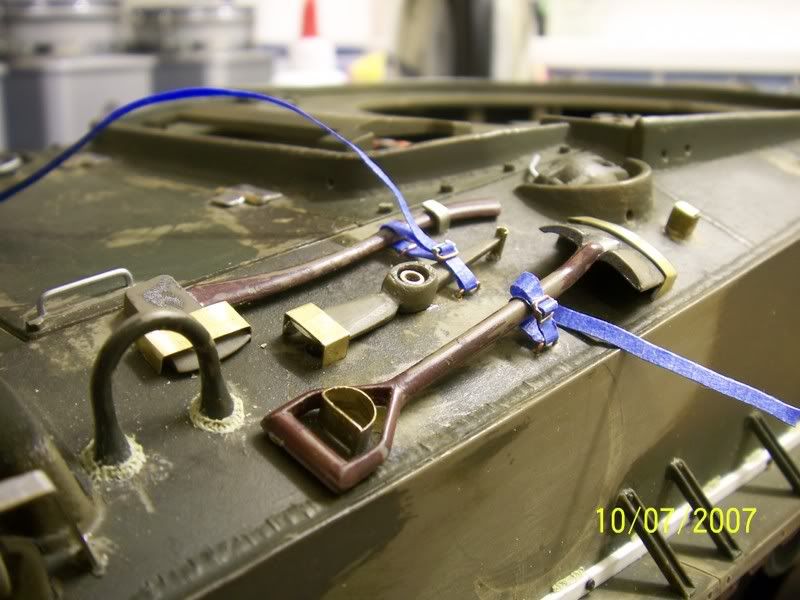
Stowages without tools.
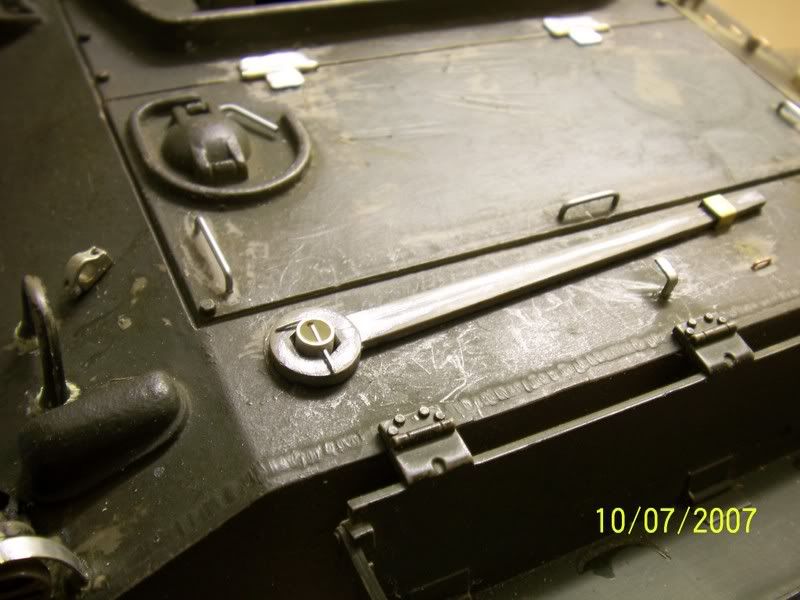
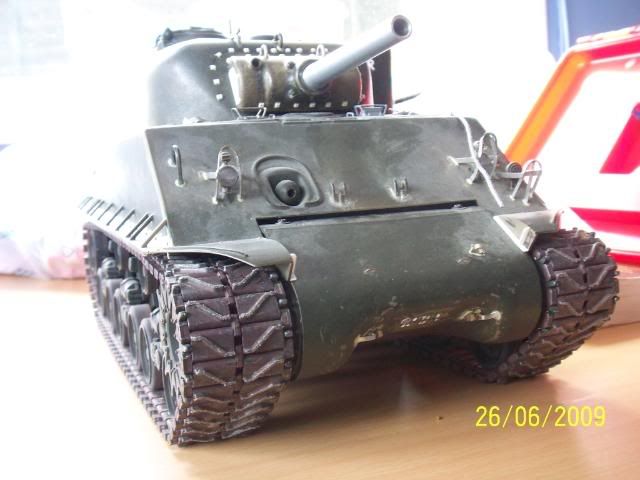
The back with giant spanner!
Cheers all.
Will post more soon,hopefully.
Thank you for the kind words.Very encouraging.
I have been doing more to the tool stowages and have now fixed them in place.The tools will be left off for now though to make it easier to paint,eventually!
Next I need to add welds to the stowages and other areas around the hull that need doing.
Stowages with tools in place.
Stowages without tools.
The back with giant spanner!
Cheers all.
Will post more soon,hopefully.
 07-11-2007 | 03:19 AM
#37

Senior Member
Joined: Mar 2007
Posts: 157
Likes: 0
Received 0 Likes
on
0 Posts
From: Newark, UNITED KINGDOM
Awesome work. Bet you wish your wife was as impressed as us... I know mine just gives me that overgrown schoolboy look.
cheers
Con
cheers
Con
07-11-2007 | 02:03 PM
#39

Senior Member
ORIGINAL: Wight
50k,I know exactly what you mean.Although I think sometimes she is very slightly impressed.
50k,I know exactly what you mean.Although I think sometimes she is very slightly impressed.
I hear you!!!!!!. Kind of the raised eyebrow look and then some comment about skill like that should be used to make furniture for a hobby.
I would like more details on the hinges you have made. They look great.
07-11-2007 | 03:20 PM
#40
Thread Starter
Senior Member
Joined: Dec 2006
Posts: 271
Likes: 0
Received 0 Likes
on
0 Posts
From: , UNITED KINGDOM
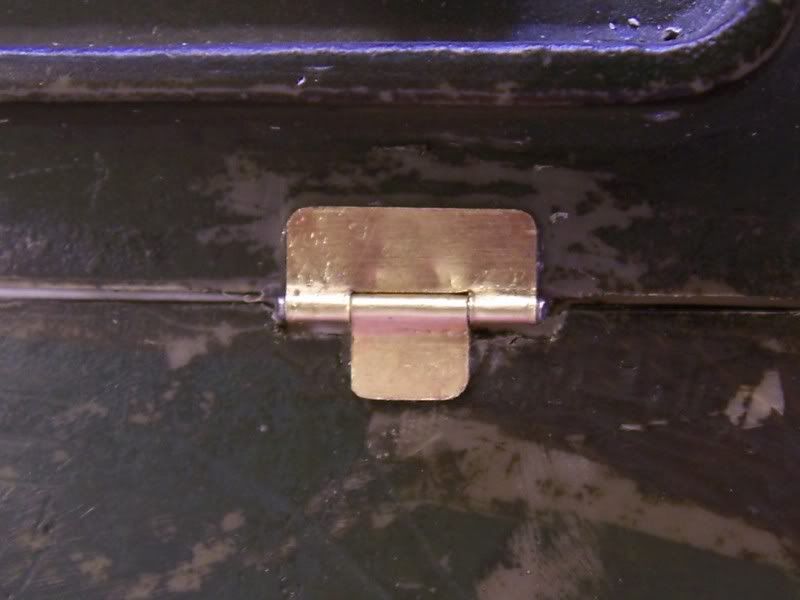
Thank you YHR.The hinges look a little different now as fixing them with superglue was not good enough.I had to pin them in place in the end and had to build them up with solder to make them beefier.The brass I used is very thin to make it easier to bend around the pivot pin.
Basicly I cut out the brass to what I thought was an appropriate shape,on piece with a long central tongue,the other with 2 thinner tongues that would fit either side of the tongue on the other piece.
The tongues were then bent around the pivot pin and the extra length soldered to the back of the hinge plate.The I drilled holes in the plates to accept brass fixing pins,which were then soldered in place.
All this is then lined up on the hull and door.drilled and glued in place.
Seems quite strong now they are pinned in postition.
I hope this helps,my descriptions are not very clear sometimes.I now wish I had taken construction photo's.
Cheers.
 11-24-2007 | 01:39 PM
#42

Senior Member
Joined: Jul 2007
Posts: 253
Likes: 0
Received 0 Likes
on
0 Posts
From: Enterprise, AL
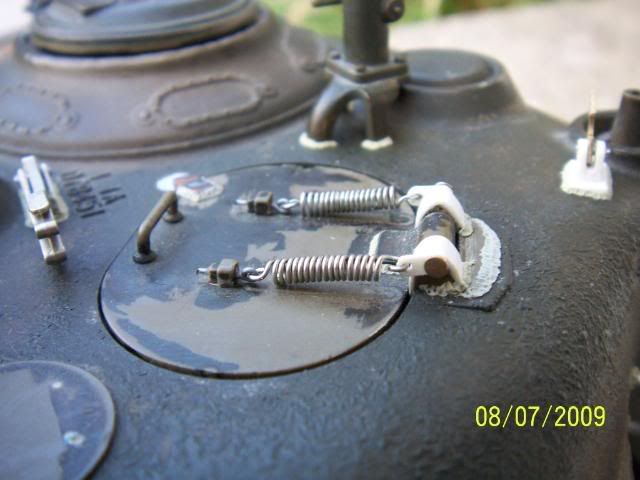
Okay, Wight, I have a question about your method of drilling the holes for the levers on the filler caps. The angle looks awkward and very close to the armor around the turret ring. I don't know of a drill bit that is small enough and long enough to drill them using a power drill, so the spinning chuck of the drill would hit the hull. It seems like it would be the same when trying to drill out the hinges on the hatches-too close. What are you using? I can imagine just turning the drill bit with your fingers would work fine since it is plastic, but it would be difficult to make straight holes. [ ] Is there a hand tool that you are using to hold the bit?
Thanks!
Chad
] Is there a hand tool that you are using to hold the bit?Thanks!
Chad
11-24-2007 | 03:12 PM
#43
Hey Chad! I'm sure Wight is using a pin vise with extra long drill bits as I do on all of my builds. He has certainly gone the extra mile on his Sherman and it shows! 
A very invaluable tool!
Jeff
A very invaluable tool!
Jeff
11-24-2007 | 03:54 PM
#44
Senior Member
Joined: Sep 2007
Posts: 229
Likes: 0
Received 0 Likes
on
0 Posts
From: swansea, UNITED KINGDOM
ORIGINAL: Panther F
Hey Chad! I'm sure Wight is using a pin vise with extra long drill bits as I do on all of my builds. He has certainly gone the extra mile on his Sherman and it shows!
A very invaluable tool!
Jeff
Hey Chad! I'm sure Wight is using a pin vise with extra long drill bits as I do on all of my builds. He has certainly gone the extra mile on his Sherman and it shows!
A very invaluable tool!
Jeff
Geoff
11-24-2007 | 04:58 PM
#45
Senior Member
Joined: Jul 2007
Posts: 253
Likes: 0
Received 0 Likes
on
0 Posts
From: Enterprise, AL
A pin vise...okay, that is good to know! I will have to find myself one of these little jewels. [sm=thumbs_up.gif]
Thanks for the information, guys. It looks like Wight has not been able to update for a while, but I hope to see more of his progress soon. I'm gathering tips, techniques and ideas for my own Sherman build at this point.
Thanks for the information, guys. It looks like Wight has not been able to update for a while, but I hope to see more of his progress soon. I'm gathering tips, techniques and ideas for my own Sherman build at this point.
08-01-2009 | 02:33 PM
#47
Thread Starter
Senior Member
Joined: Dec 2006
Posts: 271
Likes: 0
Received 0 Likes
on
0 Posts
From: , UNITED KINGDOM
Hi guys.
It's been a very long time since I updated this thread and I apologise for that.
I had not done an awful lot to my Sherman until the last couple of months and have now moved on a fair bit.
It's still as yet not finished but as you will see,it's getting there.
Anyway there are quite a few pics to put up so I'll get on with that.
These first ones are from a while back but I did'nt put them up on here for some reason.
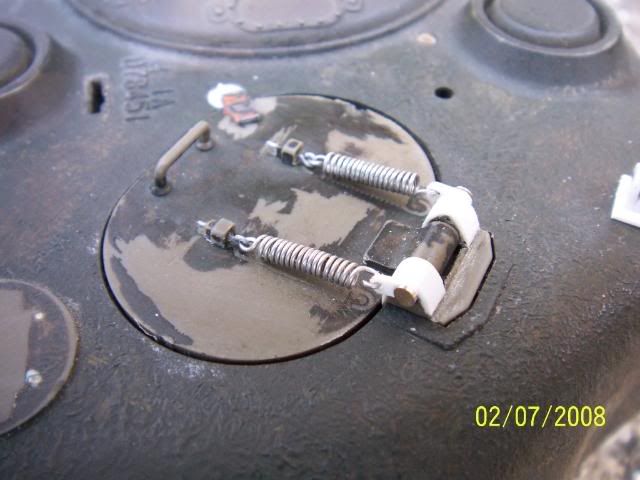
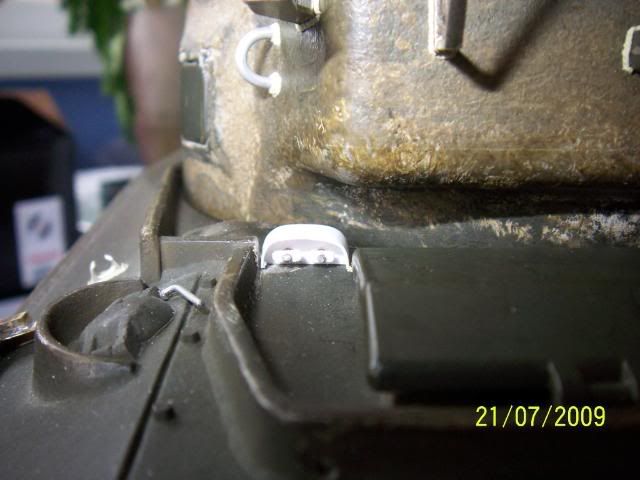
Basicly it's power and DMD switches and charging socket under the front hatches.


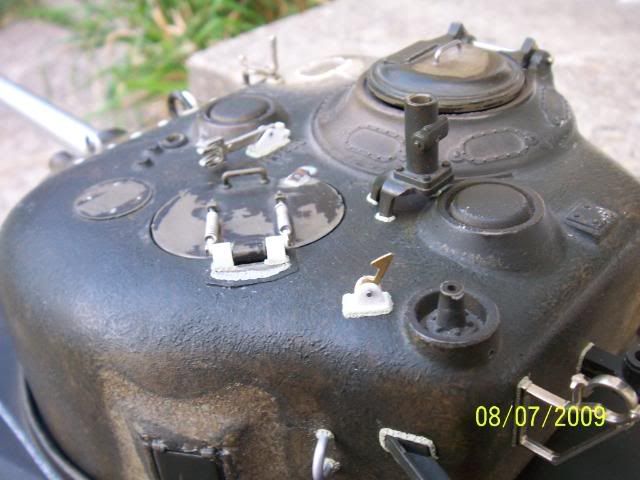
Loaders hatch
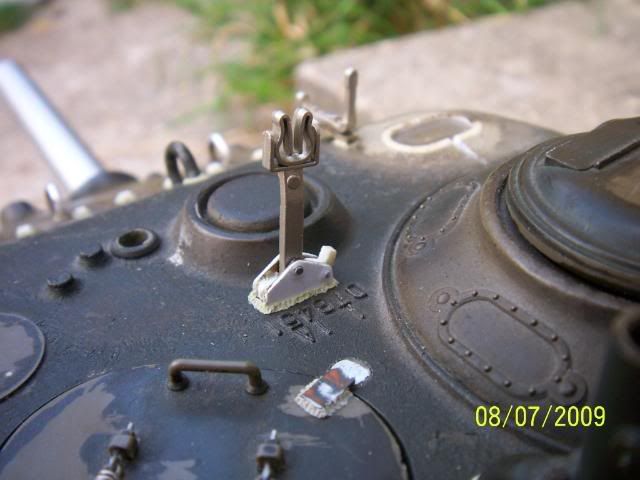
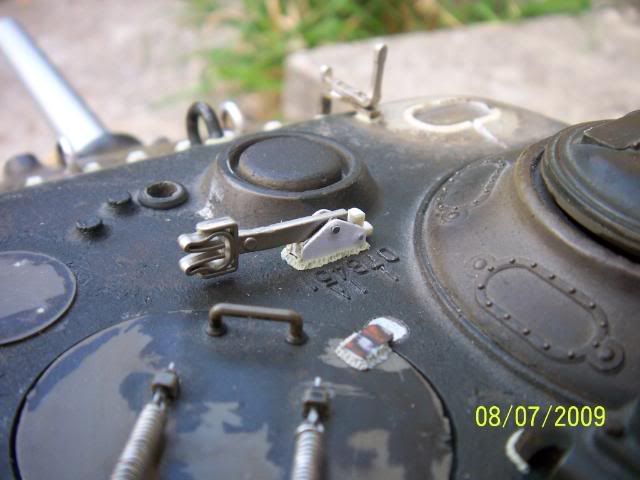


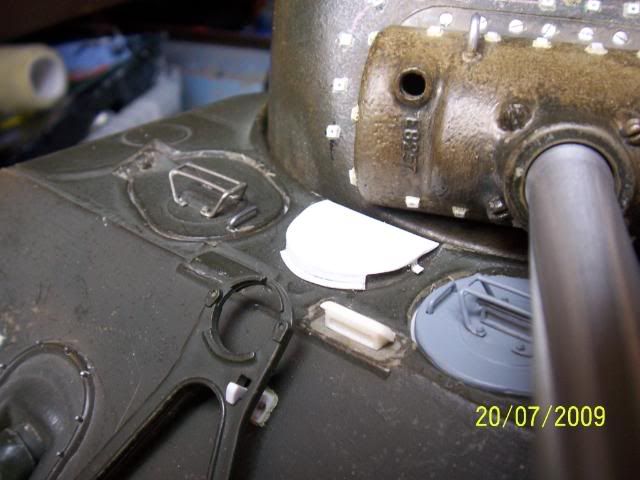
Aiming stake stowage.
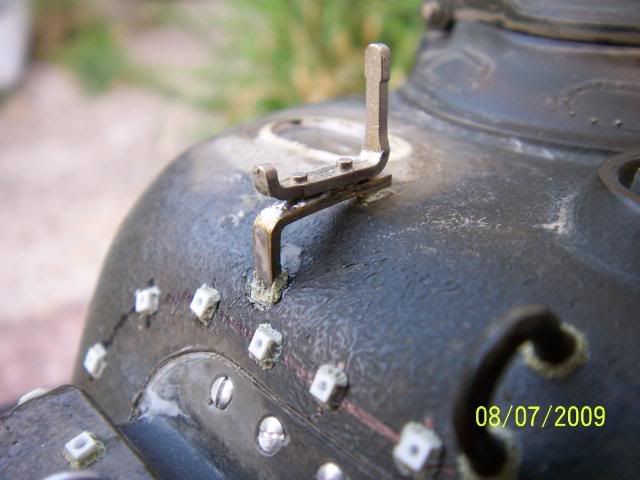
Fire extinguisher pull handles.


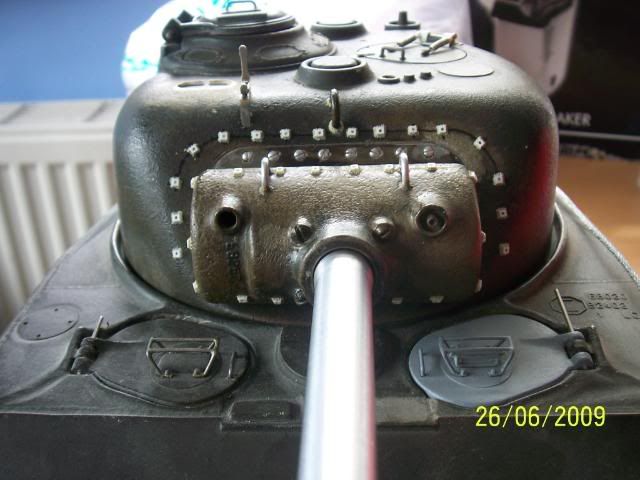
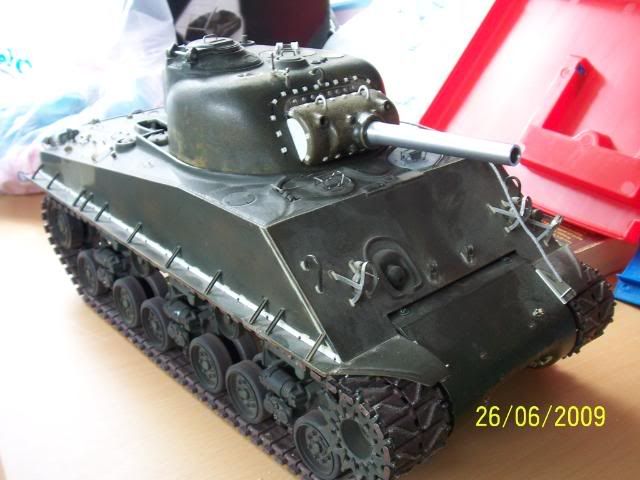
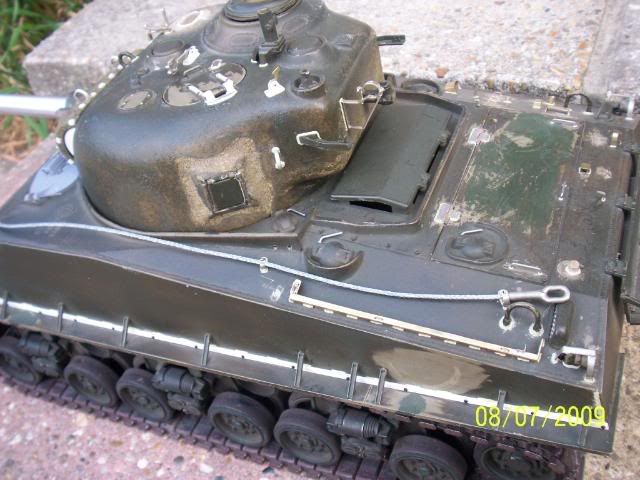
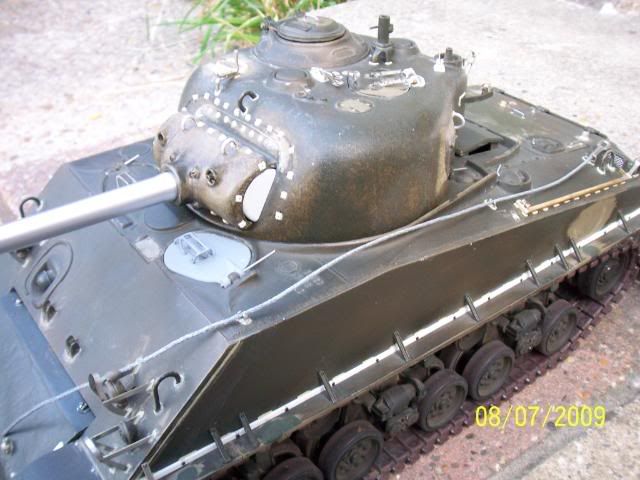
Finally,some paint!


Stars and the start of weathering.


And with my new baby!

Thats where I'm at so far.Still in the middle of weathering/painting.
At the moment I have been using pastels for for the weathering along with attacking the paint with an abrasive pad and a finger!
I still need to finish the pastels then I will seal it in gloss before any washes etc.Sounds like I know what I'm doing,but believe me I am only copying what others have done on this and other forums.
Sorry for the long post but I thought the best way to update my progress was just to put up pictures.
Cheers,
Steve.
It's been a very long time since I updated this thread and I apologise for that.
I had not done an awful lot to my Sherman until the last couple of months and have now moved on a fair bit.
It's still as yet not finished but as you will see,it's getting there.
Anyway there are quite a few pics to put up so I'll get on with that.
These first ones are from a while back but I did'nt put them up on here for some reason.
Basicly it's power and DMD switches and charging socket under the front hatches.
Loaders hatch
Aiming stake stowage.
Fire extinguisher pull handles.
Finally,some paint!
Stars and the start of weathering.
And with my new baby!
Thats where I'm at so far.Still in the middle of weathering/painting.
At the moment I have been using pastels for for the weathering along with attacking the paint with an abrasive pad and a finger!
I still need to finish the pastels then I will seal it in gloss before any washes etc.Sounds like I know what I'm doing,but believe me I am only copying what others have done on this and other forums.
Sorry for the long post but I thought the best way to update my progress was just to put up pictures.
Cheers,
Steve.
 08-01-2009 | 03:34 PM
#49
God, you're as bad as I am on my Sherman! Yours just keeps getting better and better with every picture! [sm=thumbs_up.gif]

