


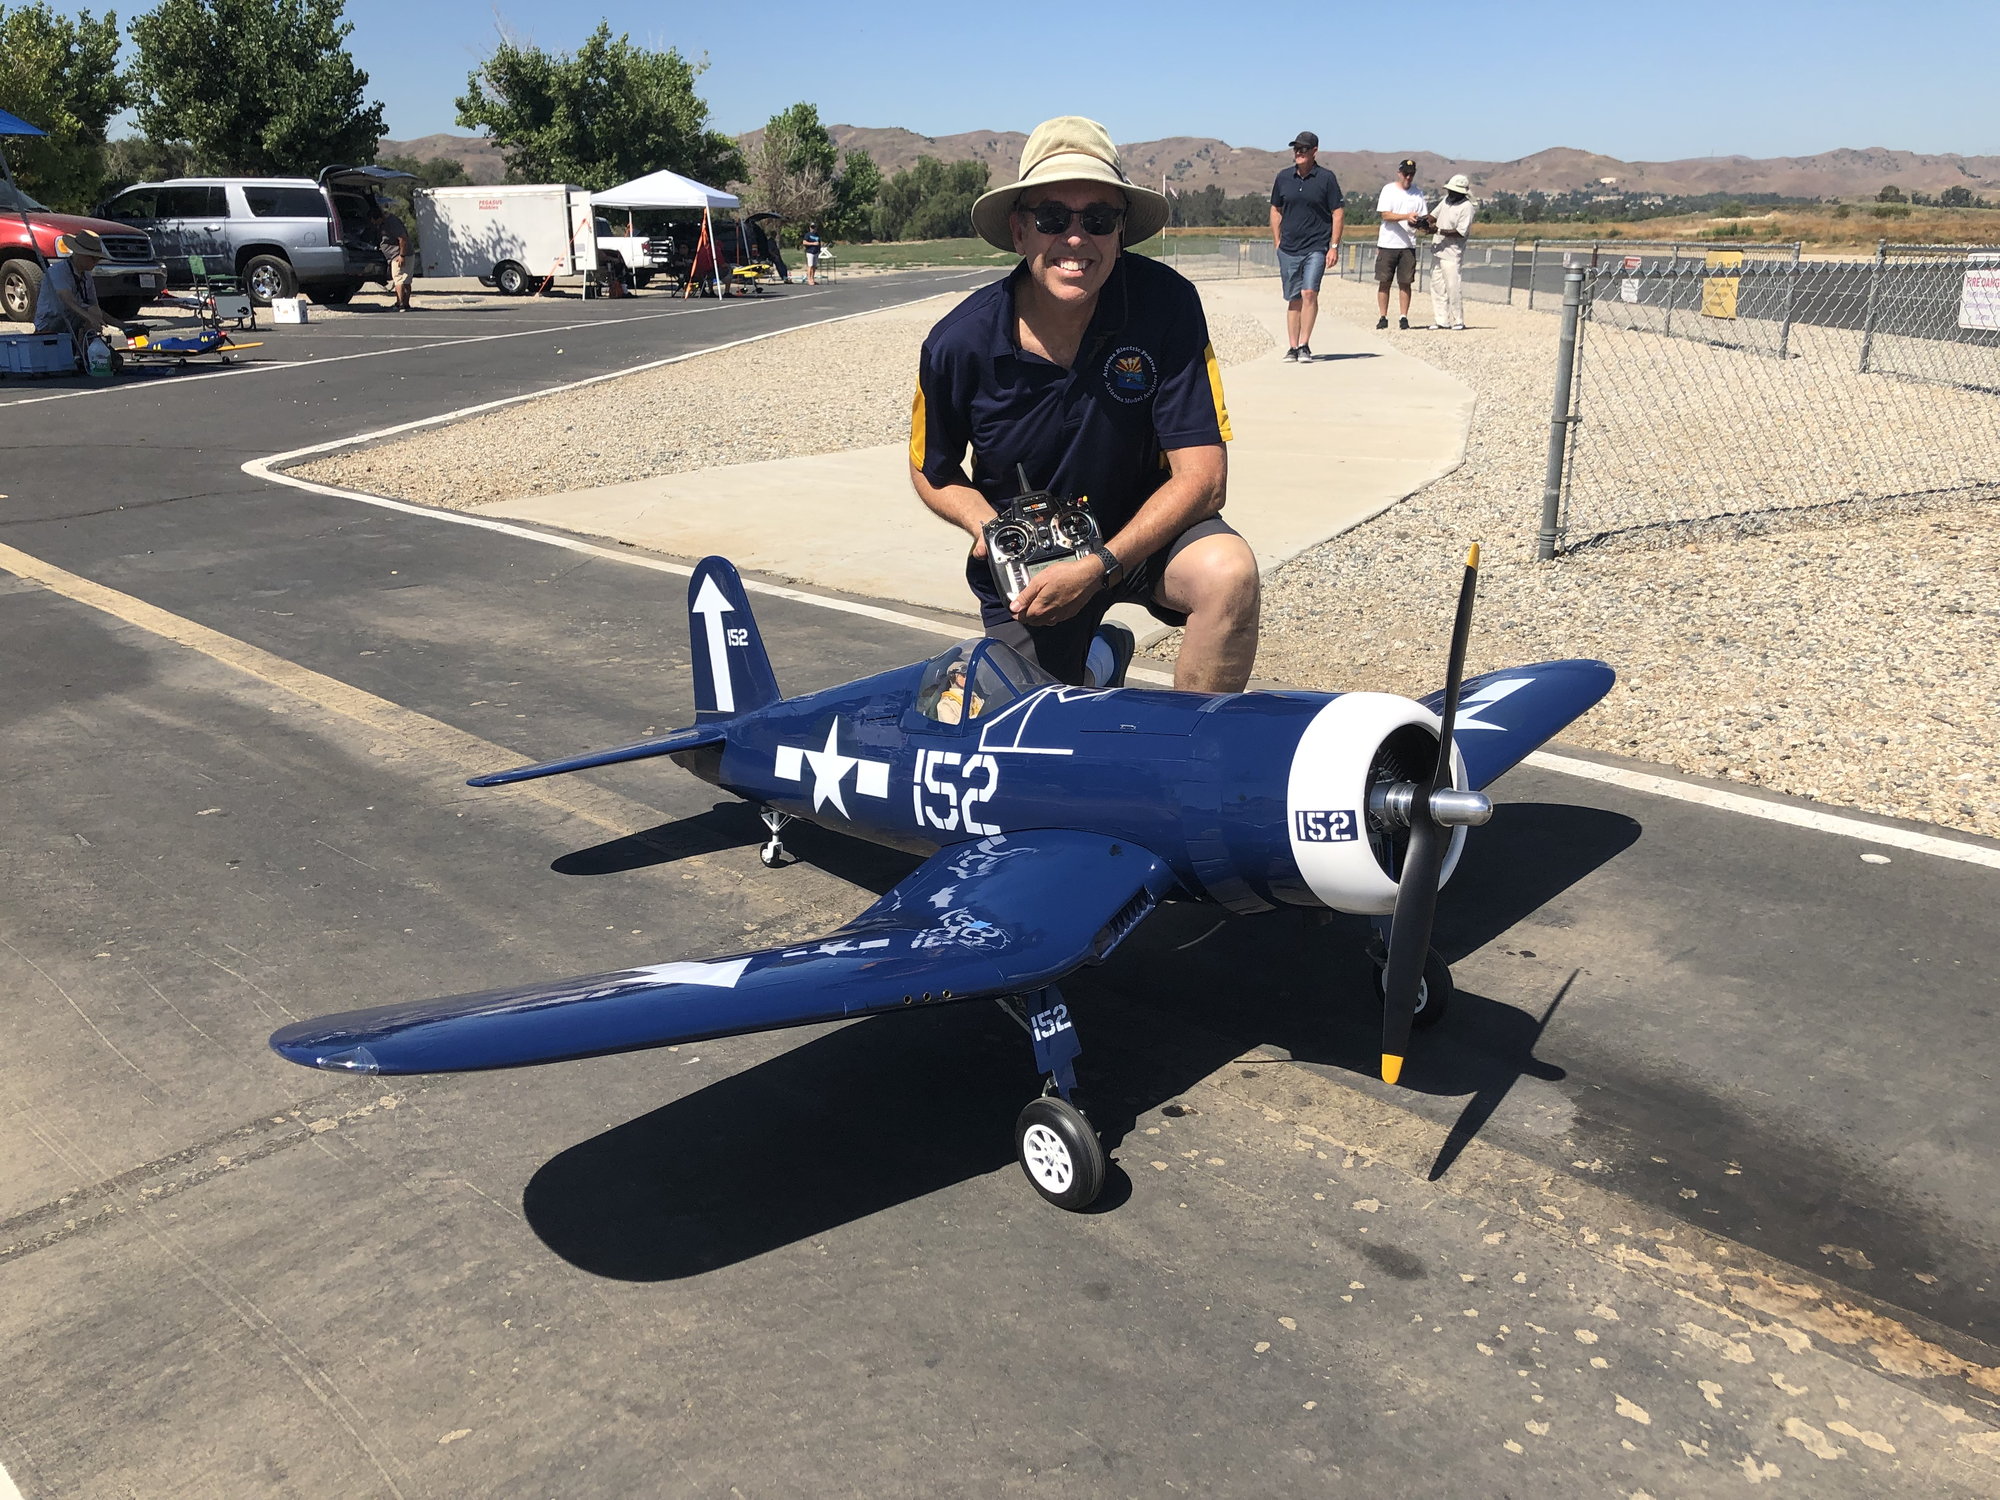
Hangar 9 60cc Corsair
 07-30-2019, 09:56 PM
#2676

My Feedback: (2)
Join Date: Feb 2008
Location: Fullerton, CA
Posts: 101
Likes: 0
Received 0 Likes
on
0 Posts
The flight was good but short. After a couple of minutes I knew something was wrong and decided to land the plane. The engine quit just as the plane was on final, but it glided down to a beautiful landing. Turns out the engine quit because it ran out of gas. It has two gas tanks, a 12 and 14 oz but I didn't plumb them correctly and it was running only on the 12 oz tank. I have fixed that now. She will fly again.
Unfortunately I didn't keep any pictures of the plane once it was airborne as it was only a dot in the sky. I guess the photographer didn't realize my phone camera could zoom in? LOL.
I have a short 14 second video of the takeoff.
Unfortunately I didn't keep any pictures of the plane once it was airborne as it was only a dot in the sky. I guess the photographer didn't realize my phone camera could zoom in? LOL.
I have a short 14 second video of the takeoff.
Last edited by heirmeistr; 07-30-2019 at 10:07 PM.

 07-31-2019, 06:06 PM
#2679

I’m not sure why you guys are getting such short flights. I’ve run the FG84, Ray Mod, with a 24oz tank and can fly 8-10min on 12oz to 15oz. Prop is a Xoar 23x12 and RPM was upper 6K to lower 7K in flight from telemetry.
The H9 Corsair is heavier than the TF model so I will concede that point.
The H9 Corsair is heavier than the TF model so I will concede that point.
07-31-2019, 08:59 PM
#2681
My Feedback: (2)
Join Date: Feb 2008
Location: Fullerton, CA
Posts: 101
Likes: 0
Received 0 Likes
on
0 Posts
I would not base your flight time on my first and only flight. As I mentioned, I had the tanks plumbed incorrectly and I was running rich. I will be able to provide better data once I get more flights in.
08-25-2019, 05:19 PM
#2682
My Feedback: (2)
Join Date: Feb 2008
Location: Fullerton, CA
Posts: 101
Likes: 0
Received 0 Likes
on
0 Posts
Today I had two successful flights (with the fuel tanks now correctly plumbed). The first flight was for 5 minutes and I'm guessing I used about 9 ounces. This is with the engine running rich as I am still breaking it it. The second flight was for 7 minutes but I forgot to figure out the gas consumed. Here is a short video of a flyby.


 08-30-2019, 06:29 PM
#2691
Comparing old verses new yes there are things to look out for.
The new gear I dealt with on the Hellcat was bound up at the scissor linkage pretty bad. I went through everything including the cylinder. I tweaked the linkages to free them up meaning I pinched the inner one tighter and checked the fit. The cylinders didn’t have very much lube so I cleaned out what was there and added 3000wt silicone oil used in RC buggy differentials. They screw apart like a cap on a cylinder, no tool required.
After all that the gear cycles with very little pressure, 10psi down and 25psi up. So far has worked perfectly. I added air restrictors to both up/down air lines, works great. I have the same on the Corsair.
For the axle you can use the stock axle with the cap. Put that on the wheel face side and pass it through the gear leg with a spacer. Then cut it to length on the back of the leg and grind a flat for the set screw.
The old gear required none of the above and has worked flawlessly for 10 years. I just add a few drops of silicone oil in the air lines from time to time, that’s it!
08-30-2019, 06:34 PM
#2692
BTW, I mentioned the Robart Hellcat gear meant for the new Top Flite Model because it’s the same base model gear just set to 100 degrees. The new production quality is not as good as before. The tolerance and burrs on the edge of the stamped parts are worse than before.
However, we would have to compare new production Corsair gear to old production gear to be fair.
However, we would have to compare new production Corsair gear to old production gear to be fair.
 09-03-2019, 10:24 PM
#2695
Ok I have that version too. You need to find a shoulder bolt with a shoulder length similar too or slightly longer than the width of the your wheel hub. Then you just screw it into the leg with thread lock and it�s done. The shoulder is your axle. You will need a spacer between the wheel and leg. The head of the bolt can be a hex cap or a pan head slot screw. In order to make mine look less like a giant screw I ground it to look like a grease cap with a shallow slot for a screw driver. See a P-51 wheel hub up close for a visual.
 09-26-2019, 03:42 PM
#2700
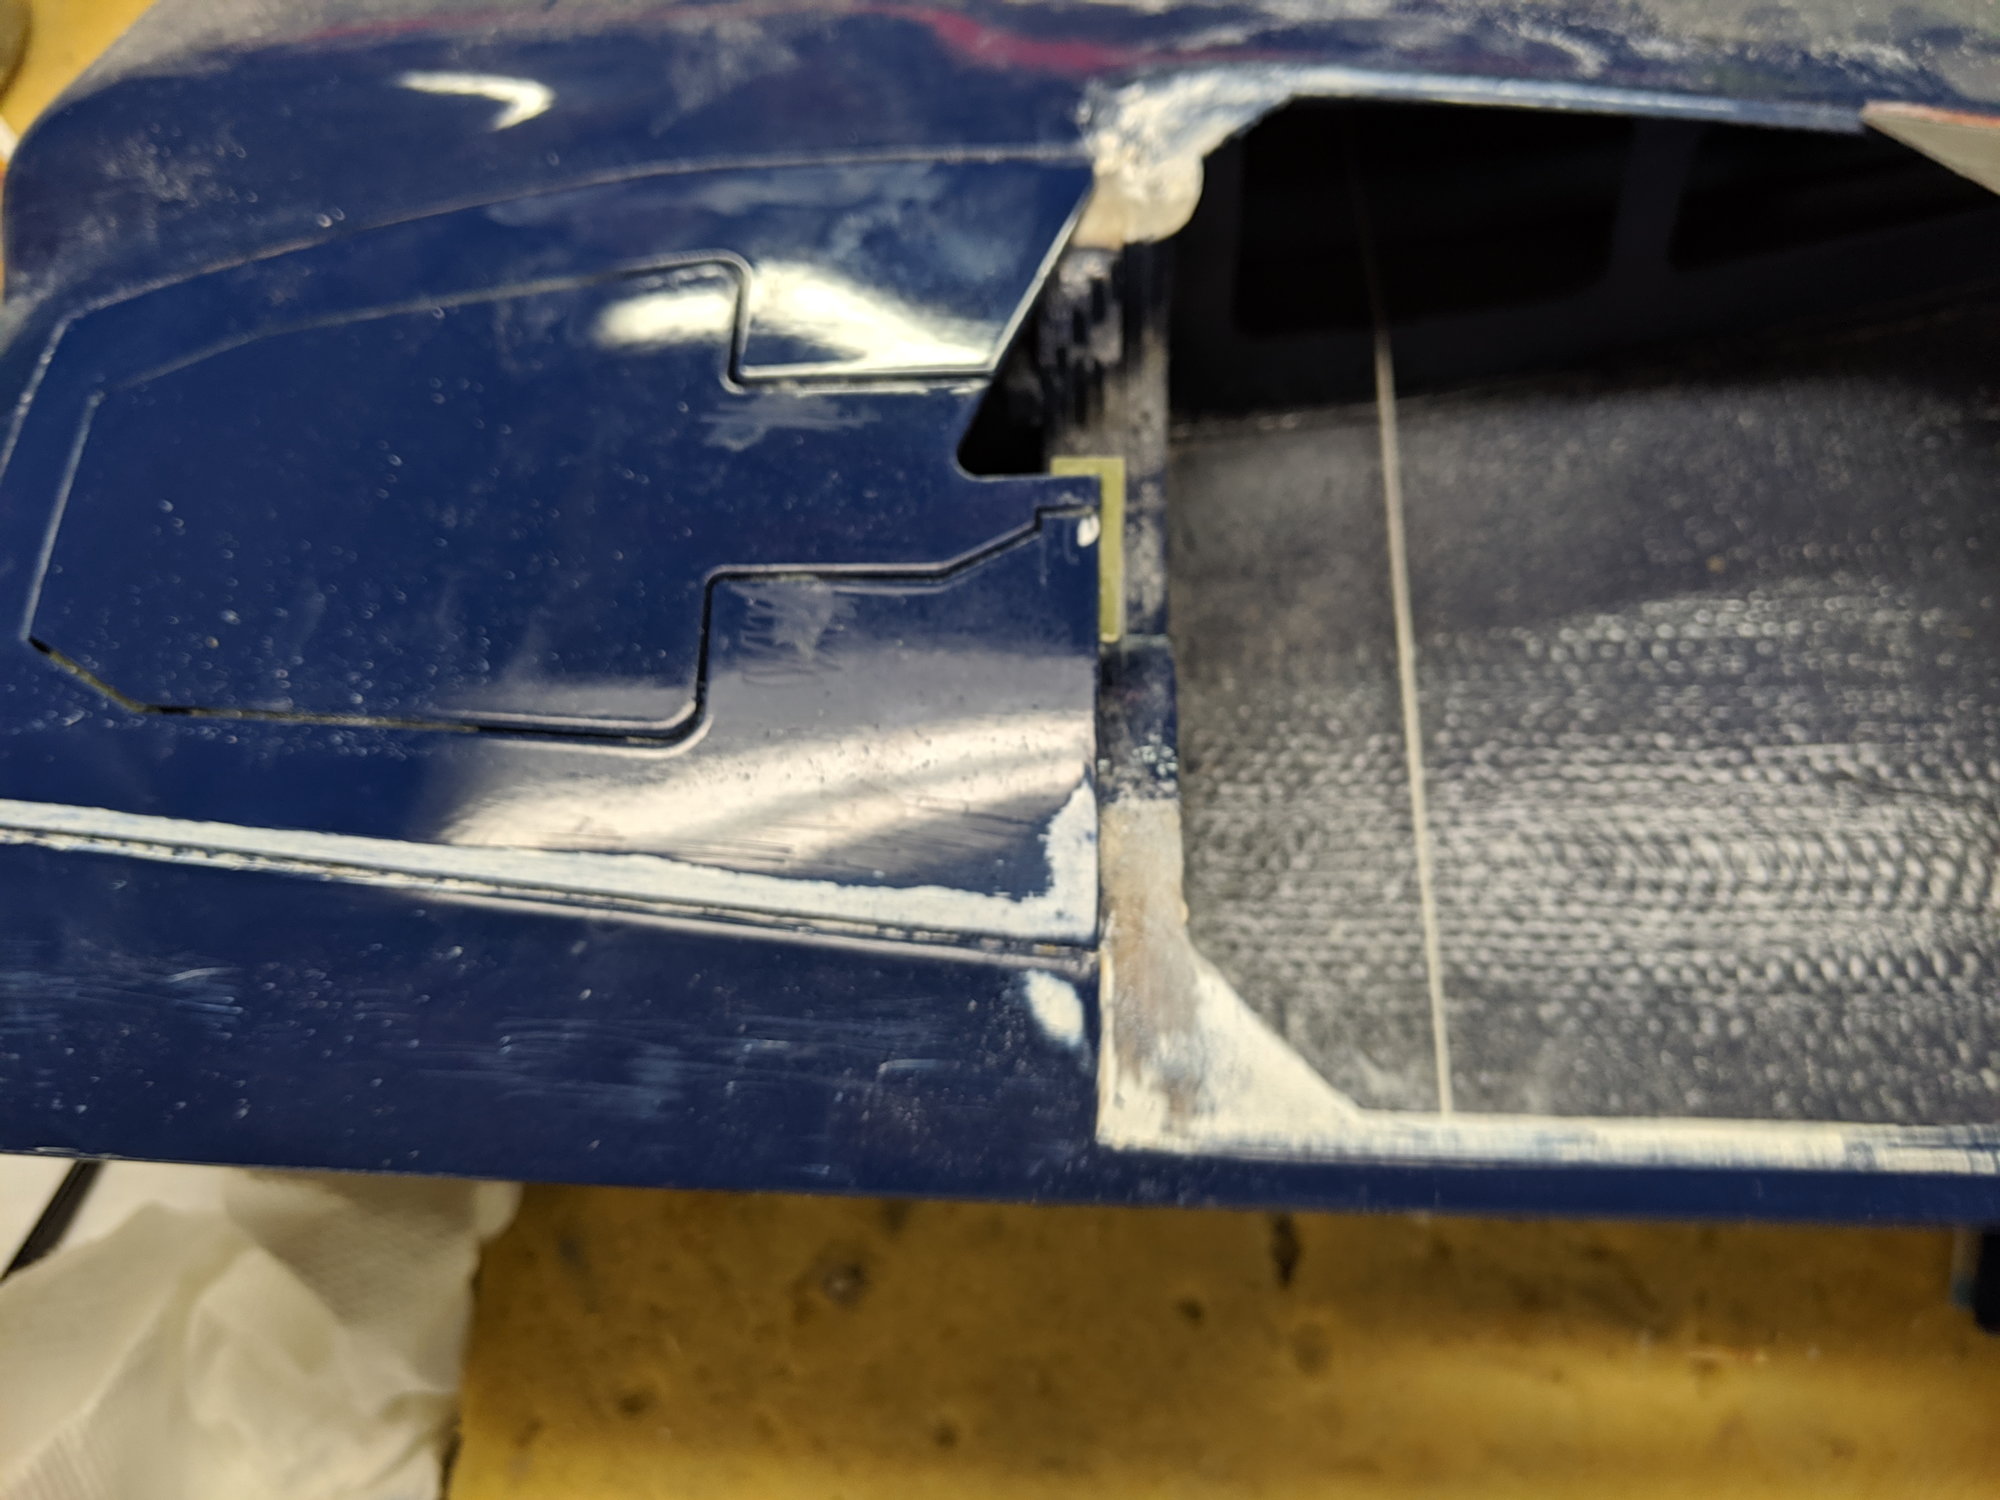
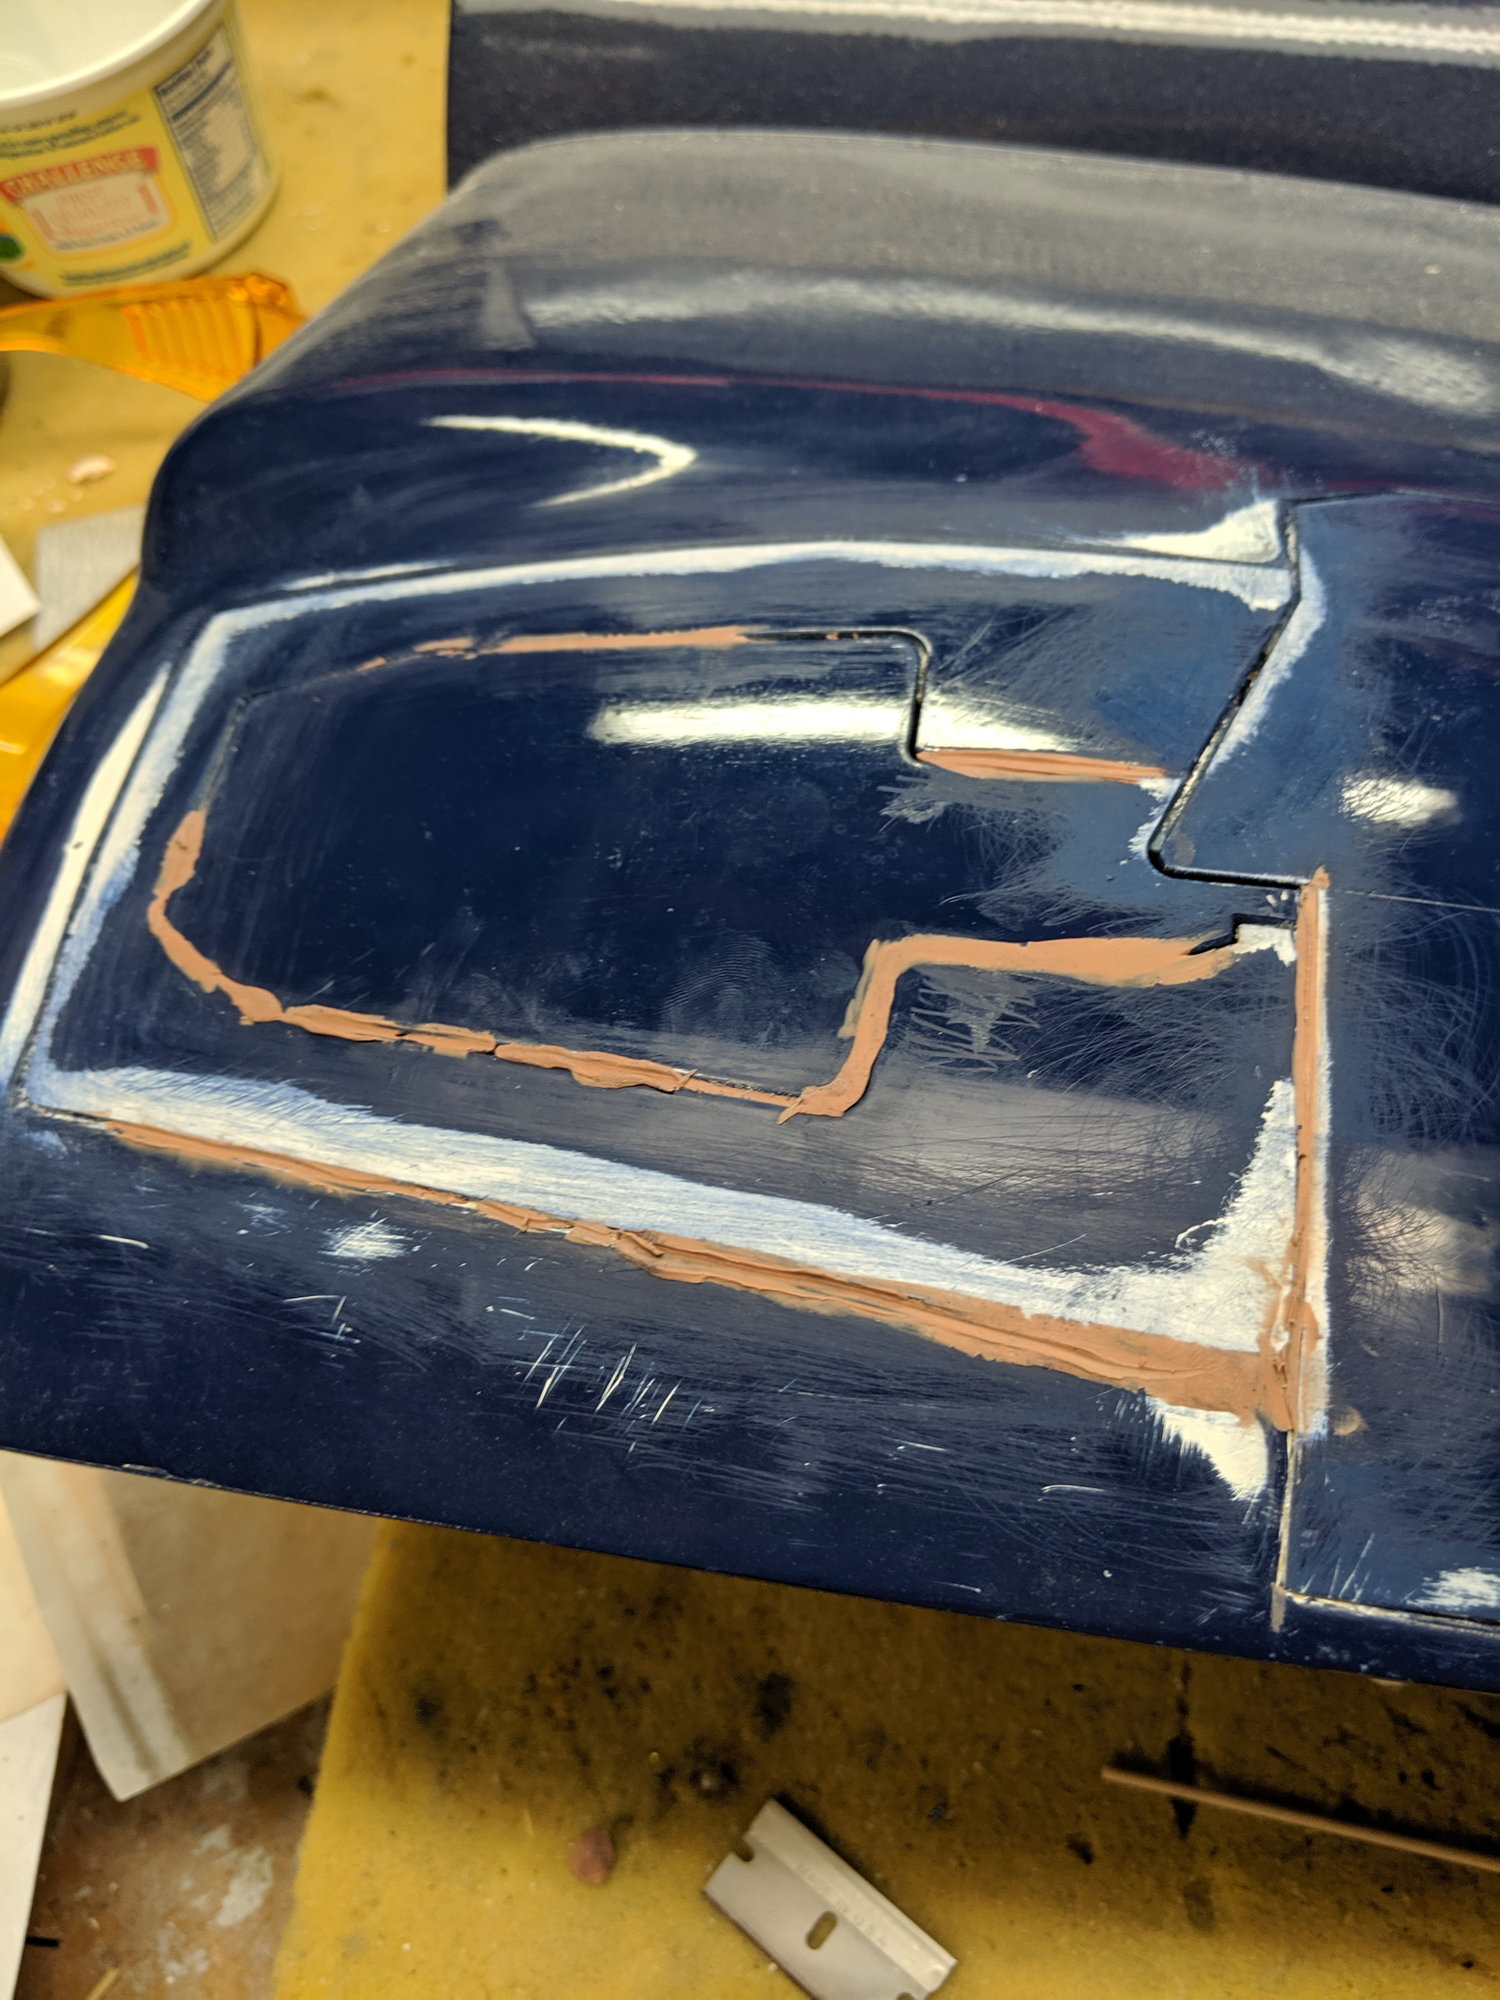
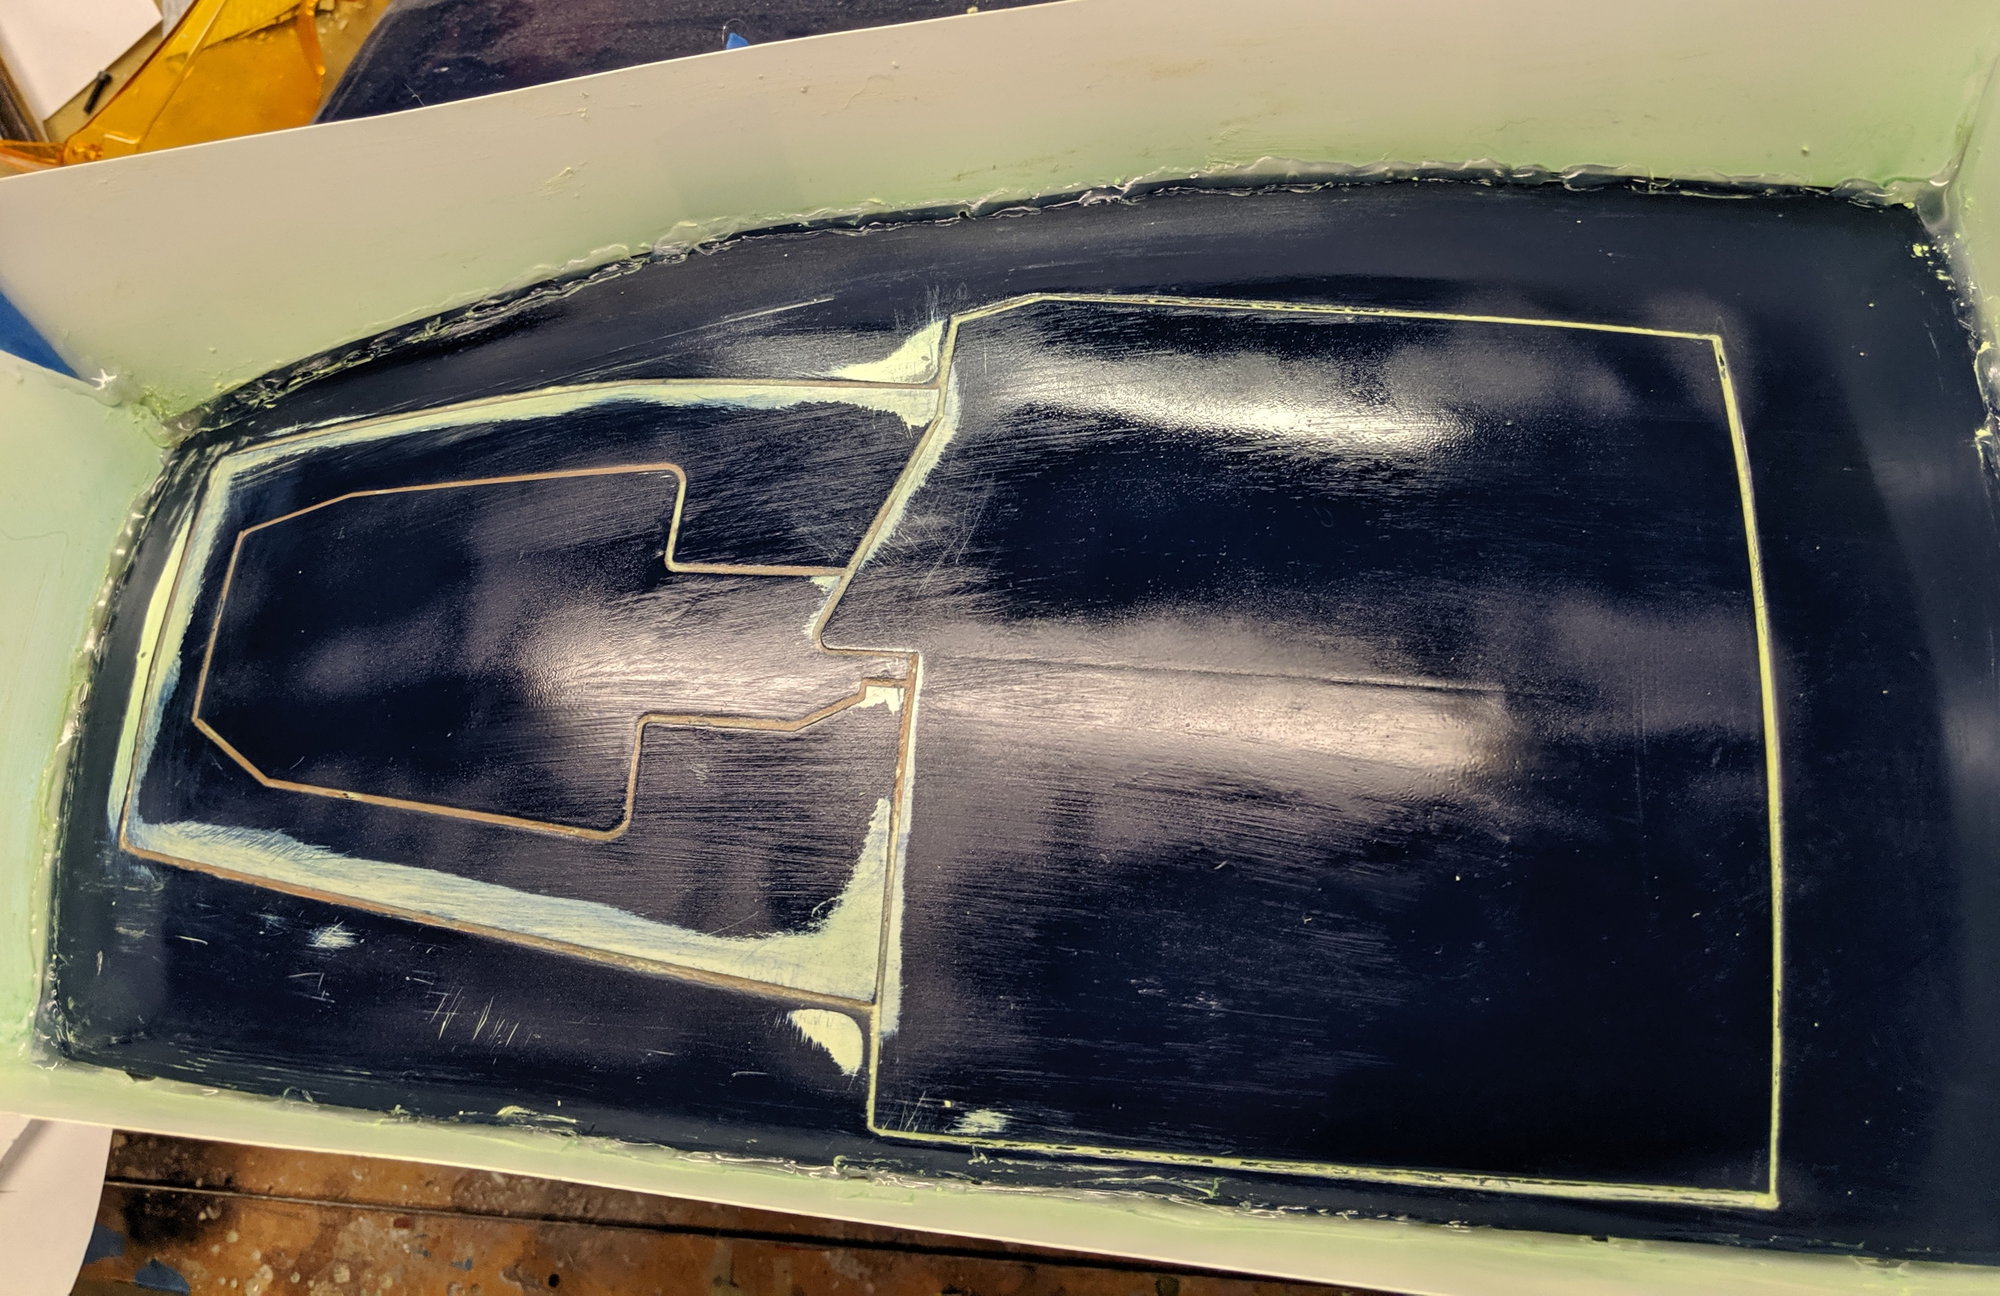
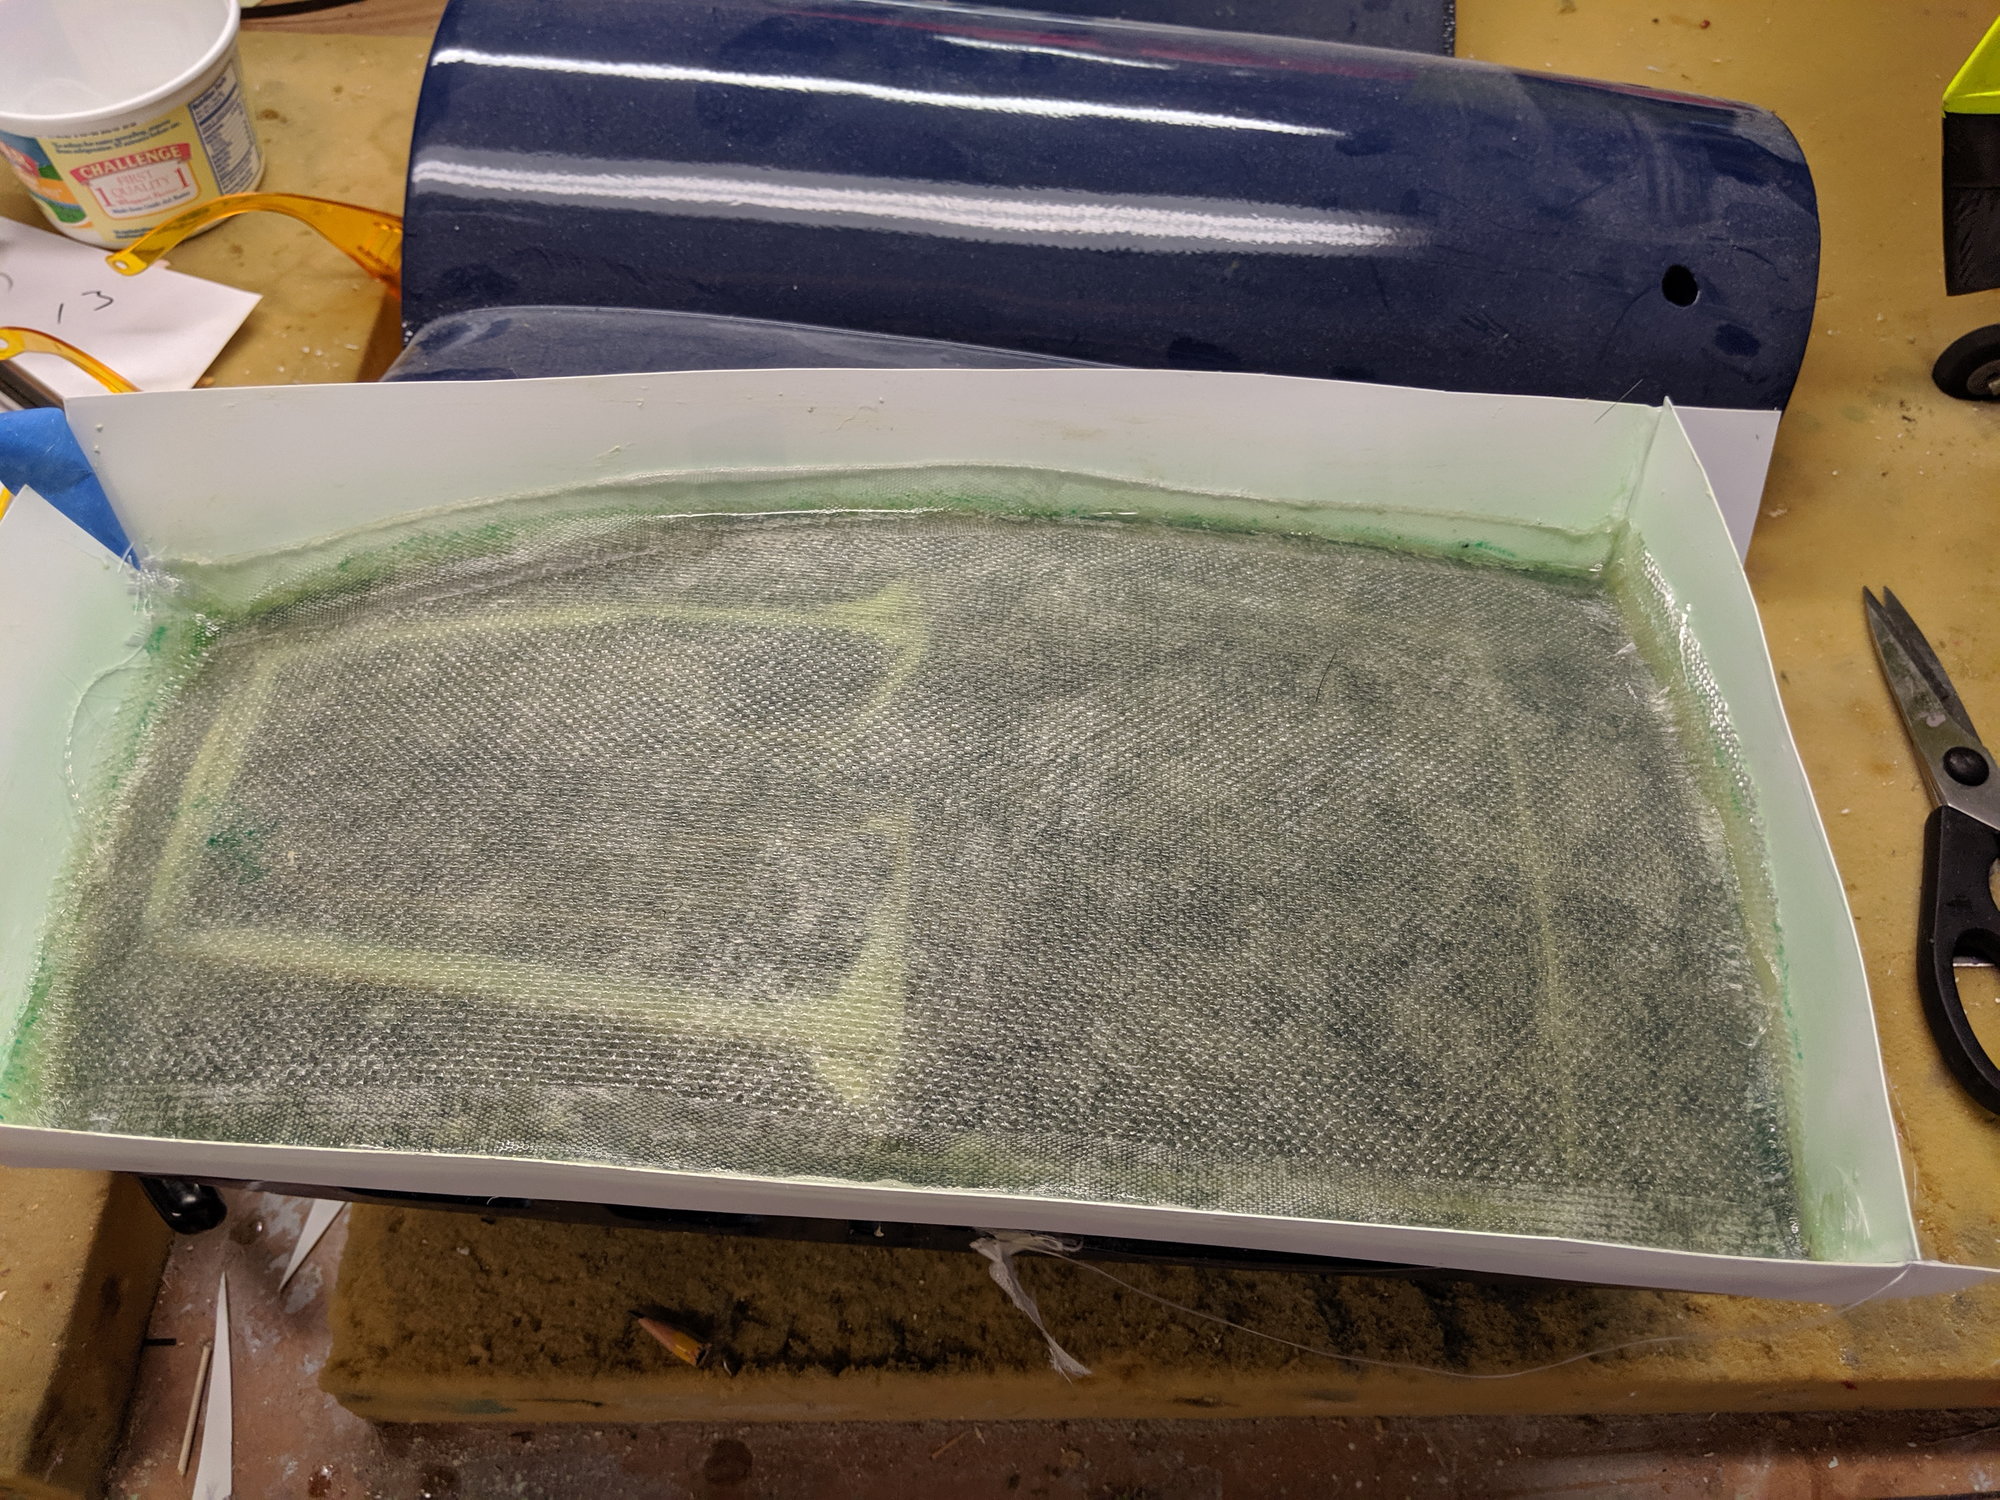
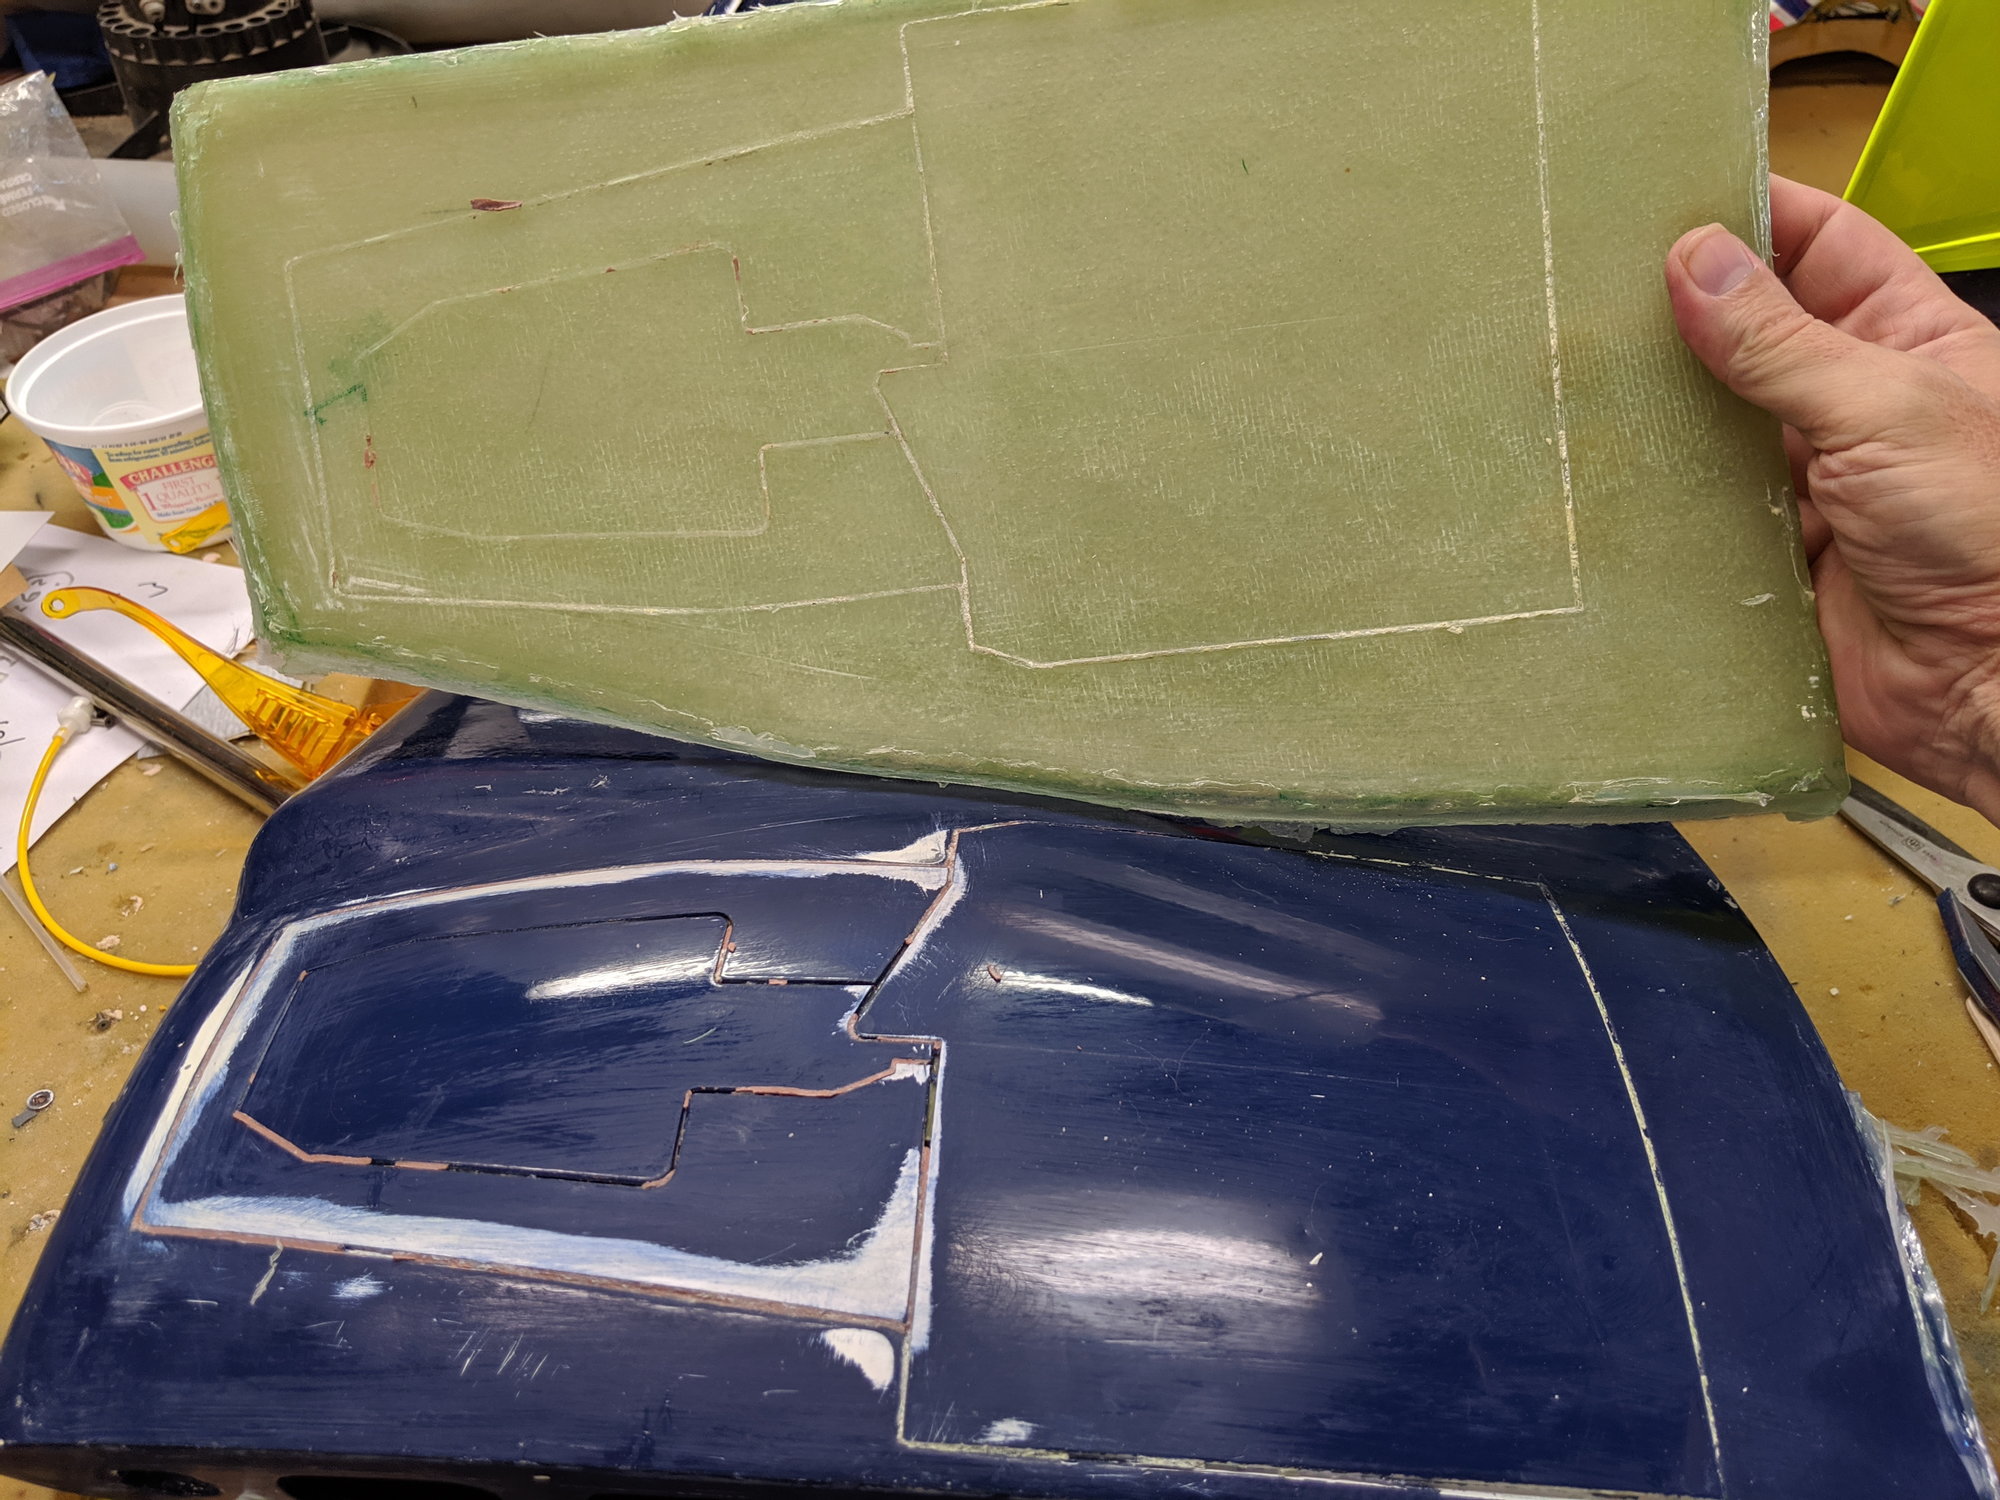
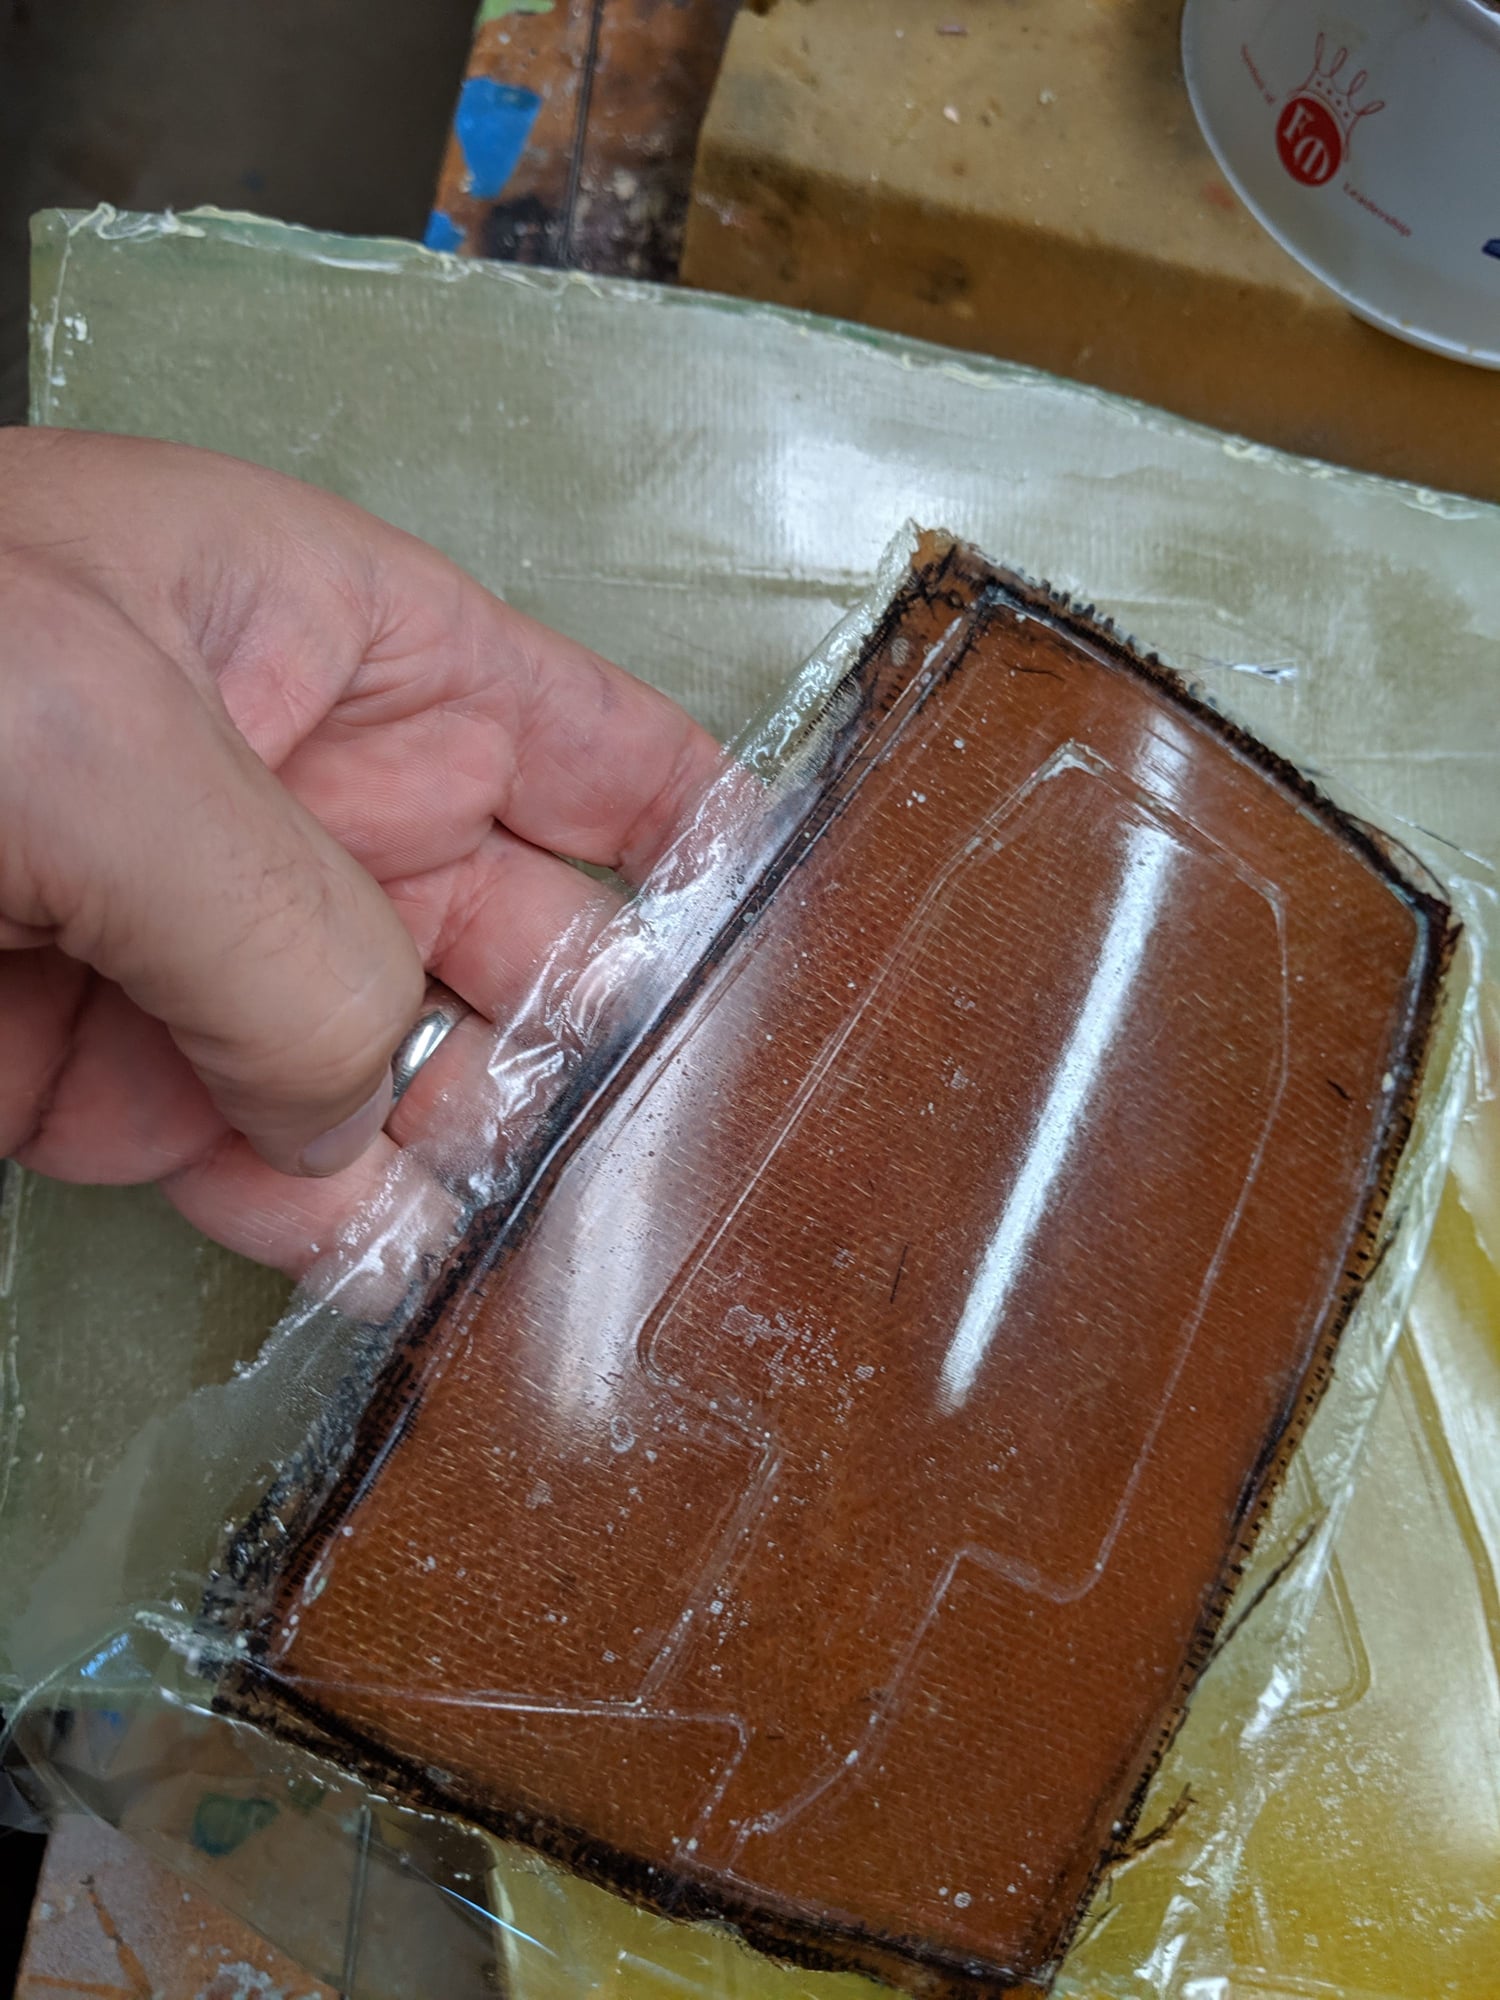
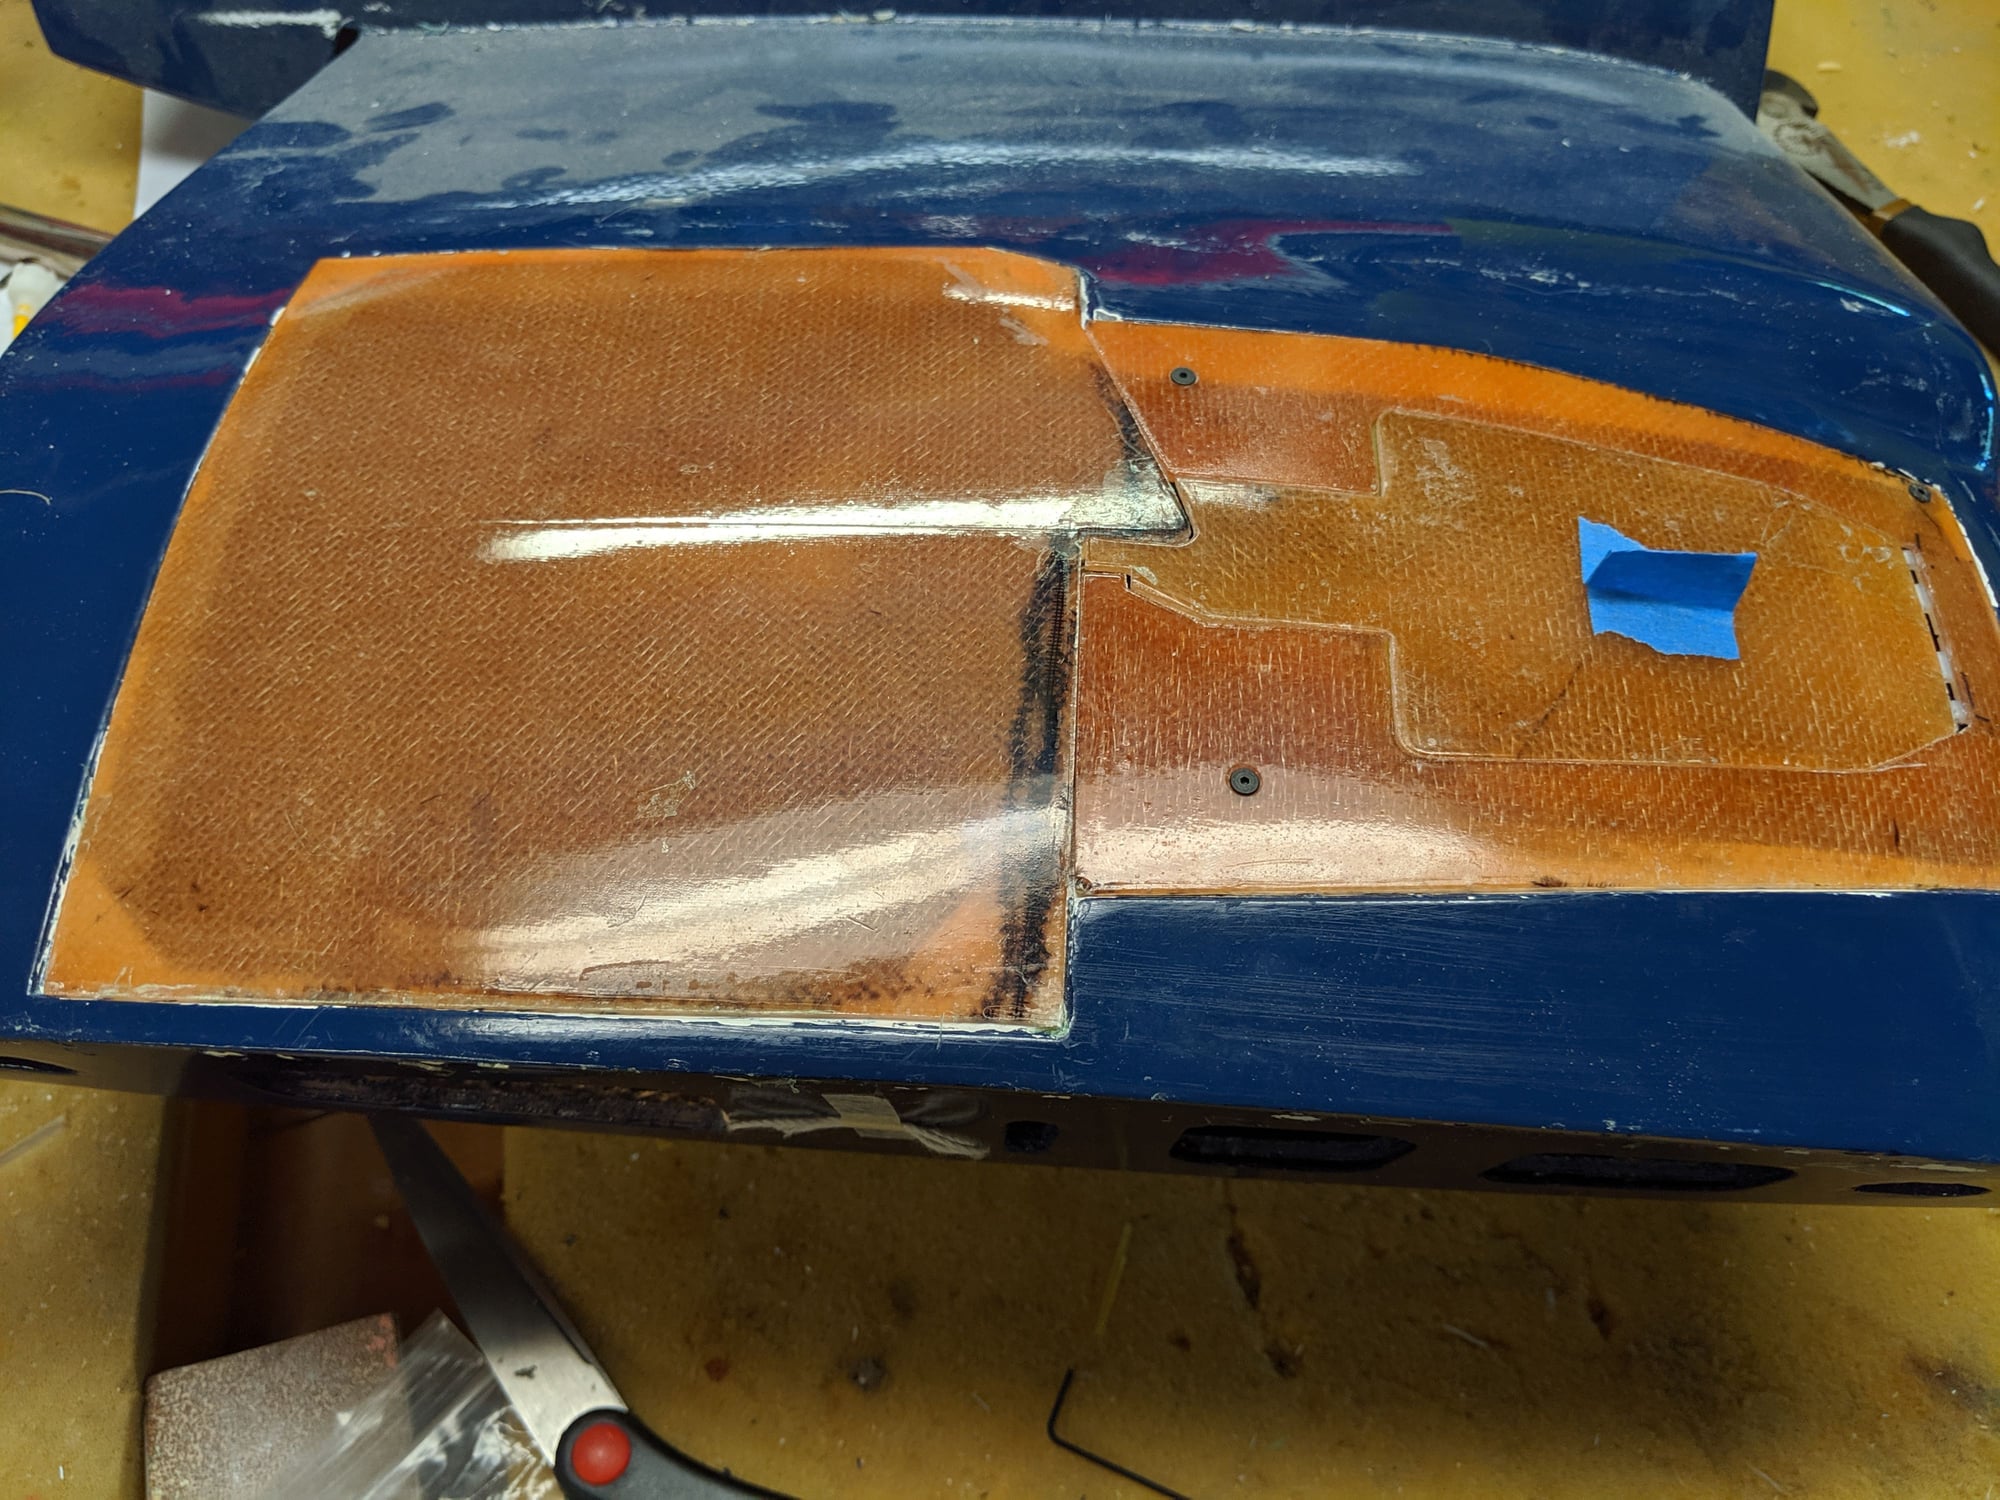
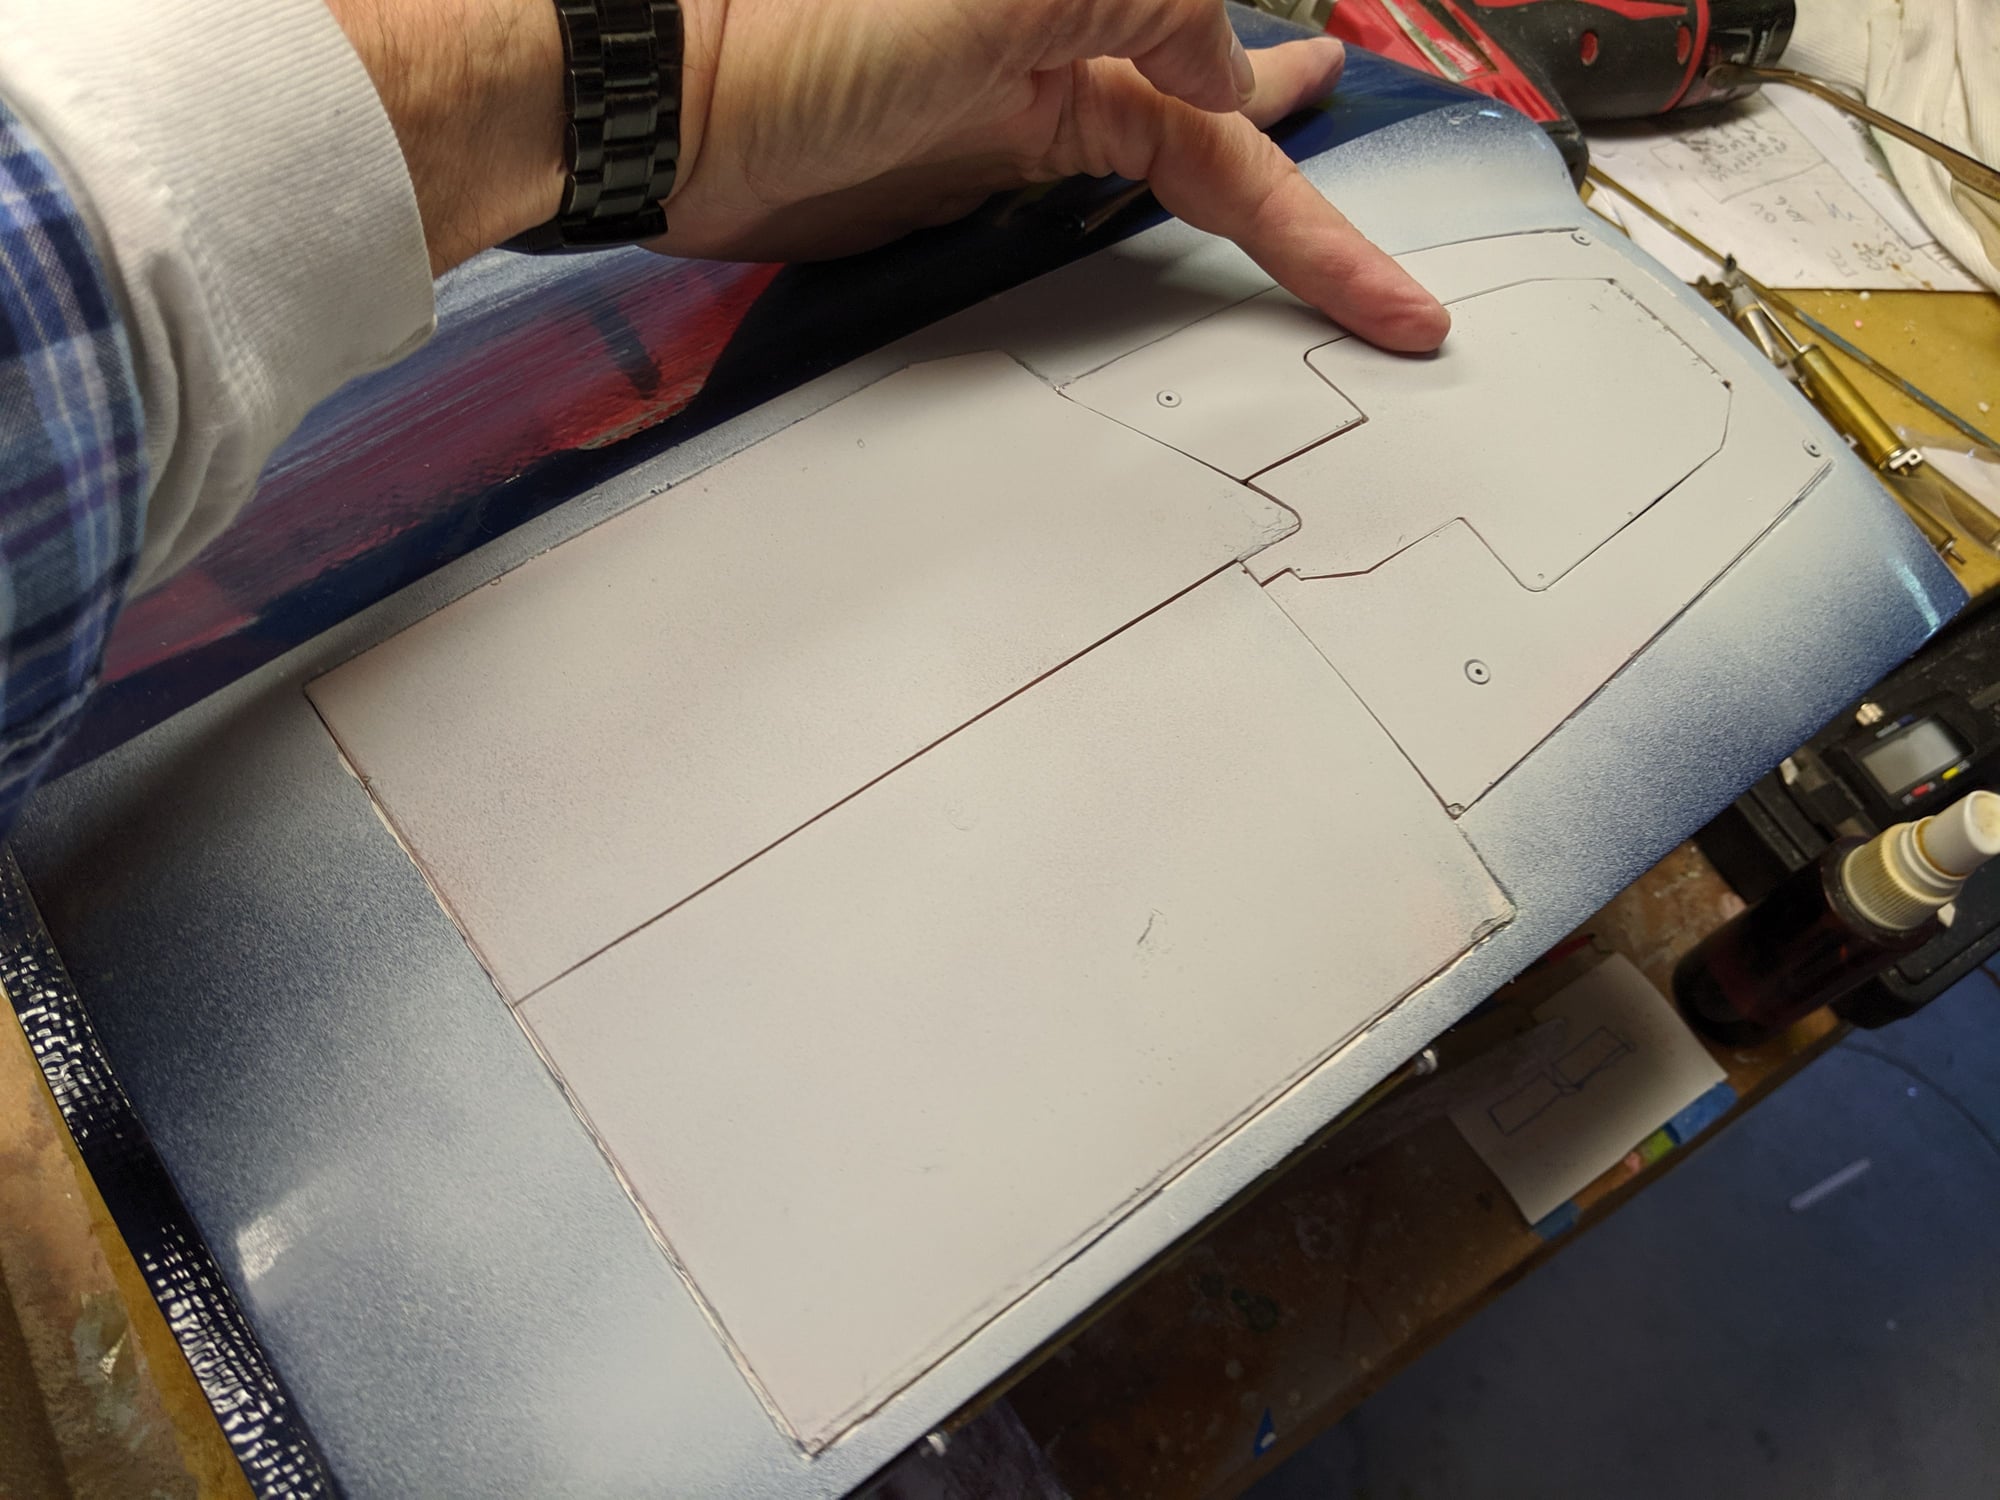
There are ways to do it. In order to keep it light you can cut foam and shape it to look like the offset inner panel. You can use balsa and do the same. Combination of balsa and body filler like Evercoat would be my choice. You can seal the wood with thin CA and work it like a hard foam. If you use foam you have to worry about CA or body filler melting it. With balsa you can shape, seal it, hit it with a building primer and paint it. Look at Upol urethane automotive primer, it’s thick, dries fast and is compatible with most paints.
You could make master models and mold them in silicone then cast them in urethane, light weight and durable, cast in color.
You could make masters and vacuum form with styrene with a shop vac set up...
Just depends on on your preference really
You could make master models and mold them in silicone then cast them in urethane, light weight and durable, cast in color.
You could make masters and vacuum form with styrene with a shop vac set up...
Just depends on on your preference really