


Top Flite P51D Mustang finishing a long term project
 04-24-2023, 01:01 PM
#1

Thread Starter

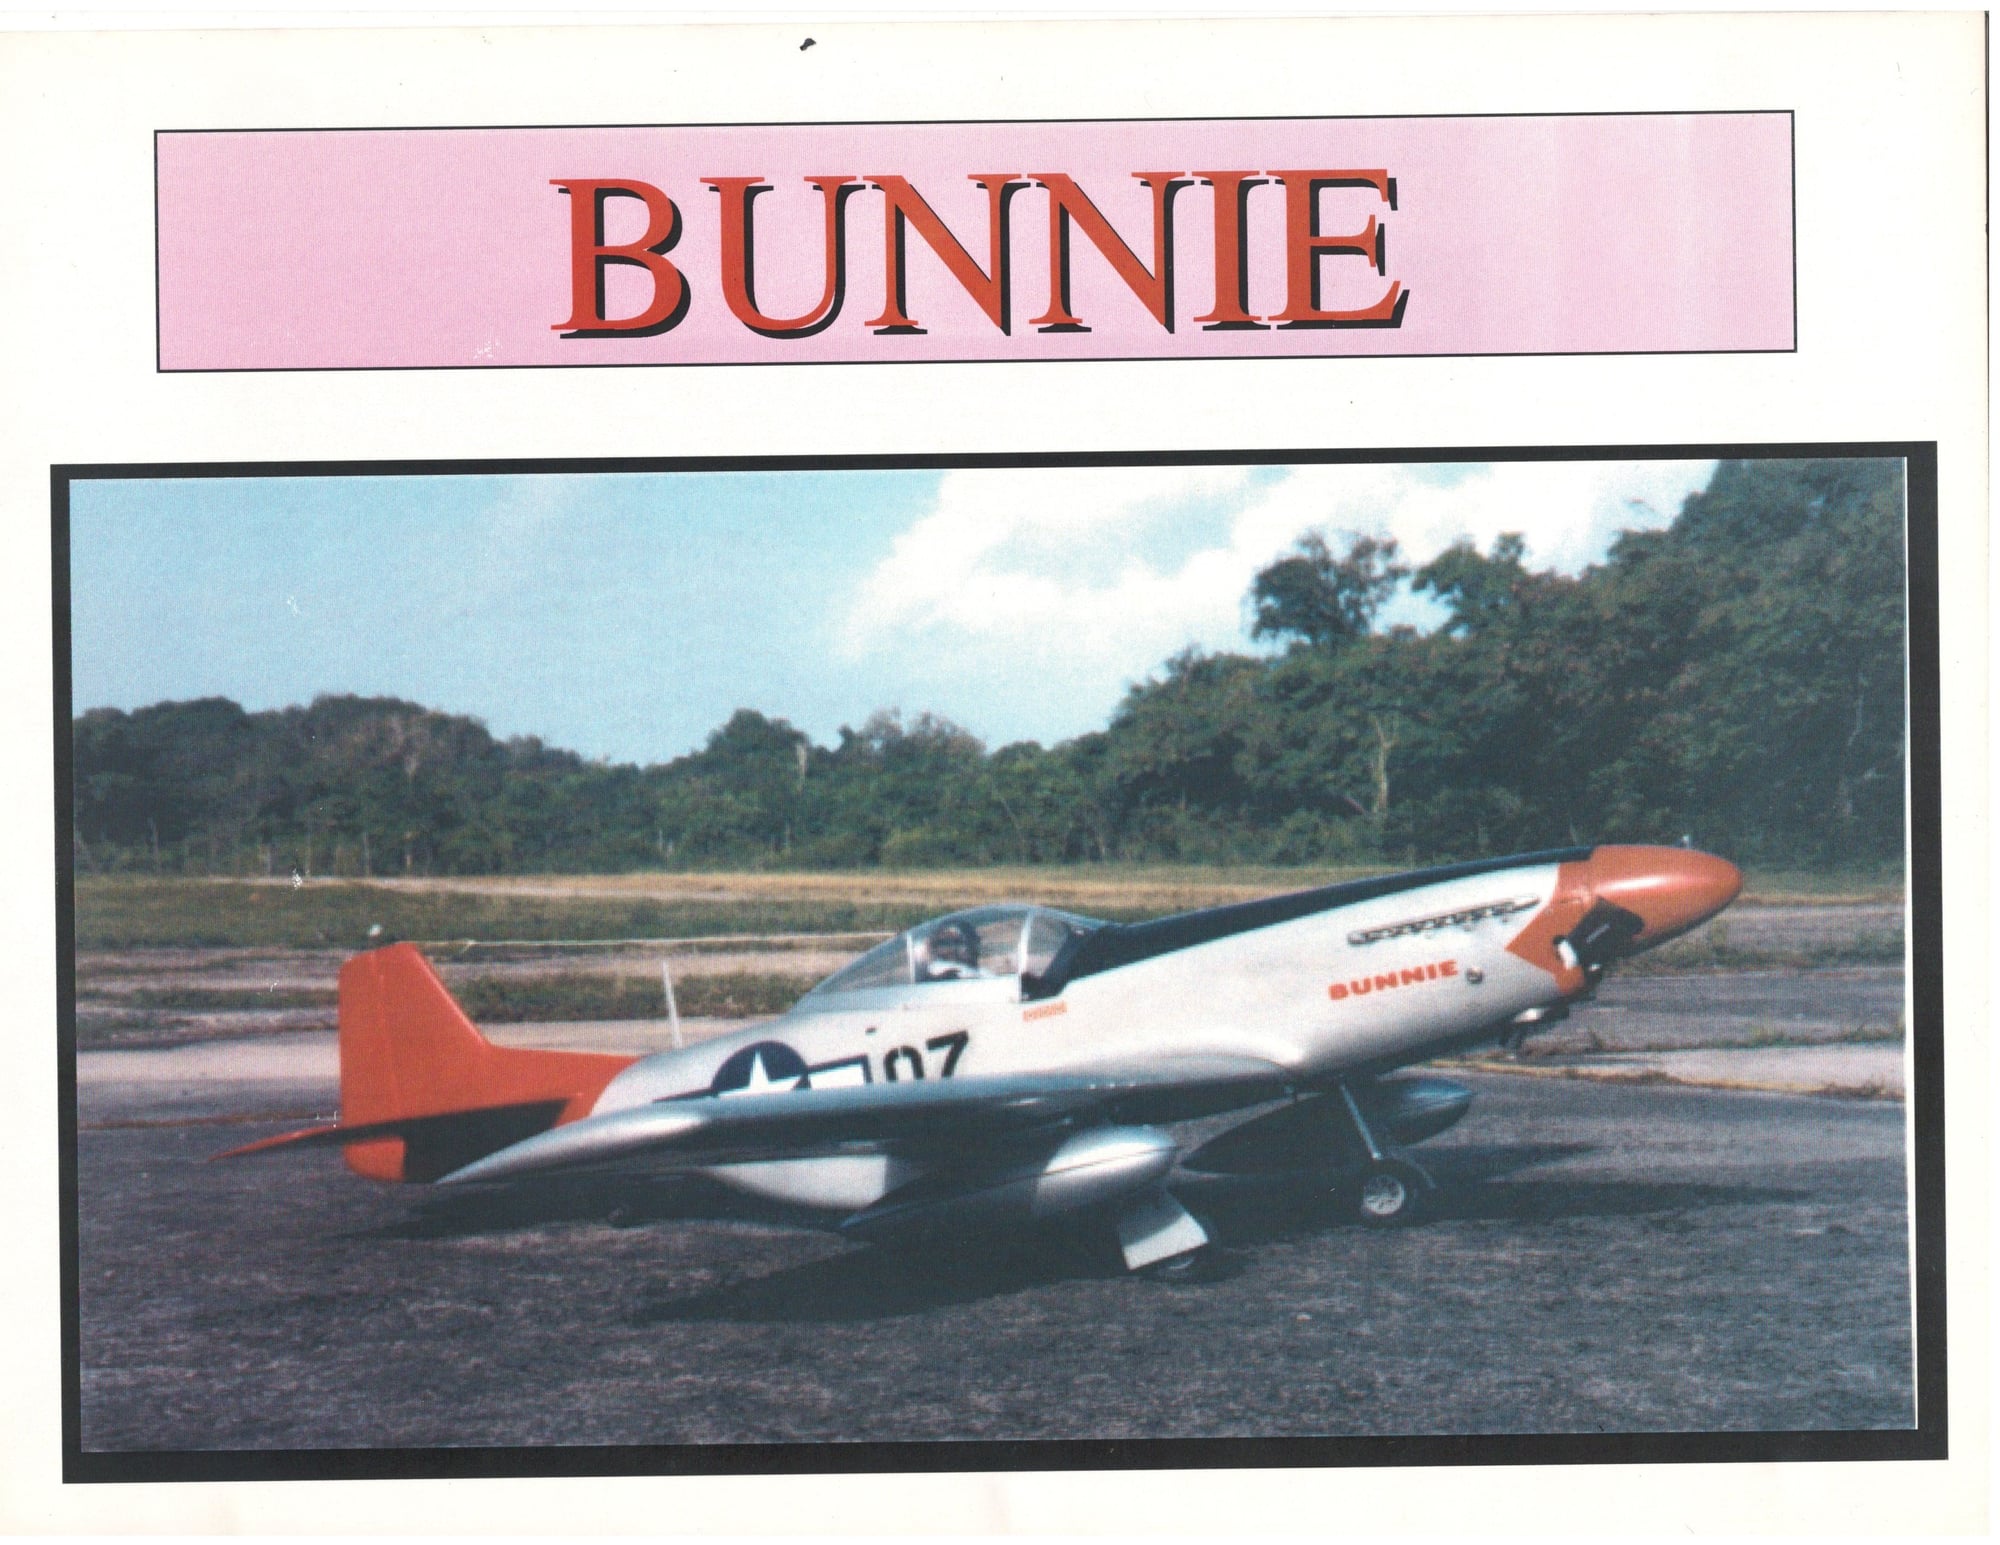
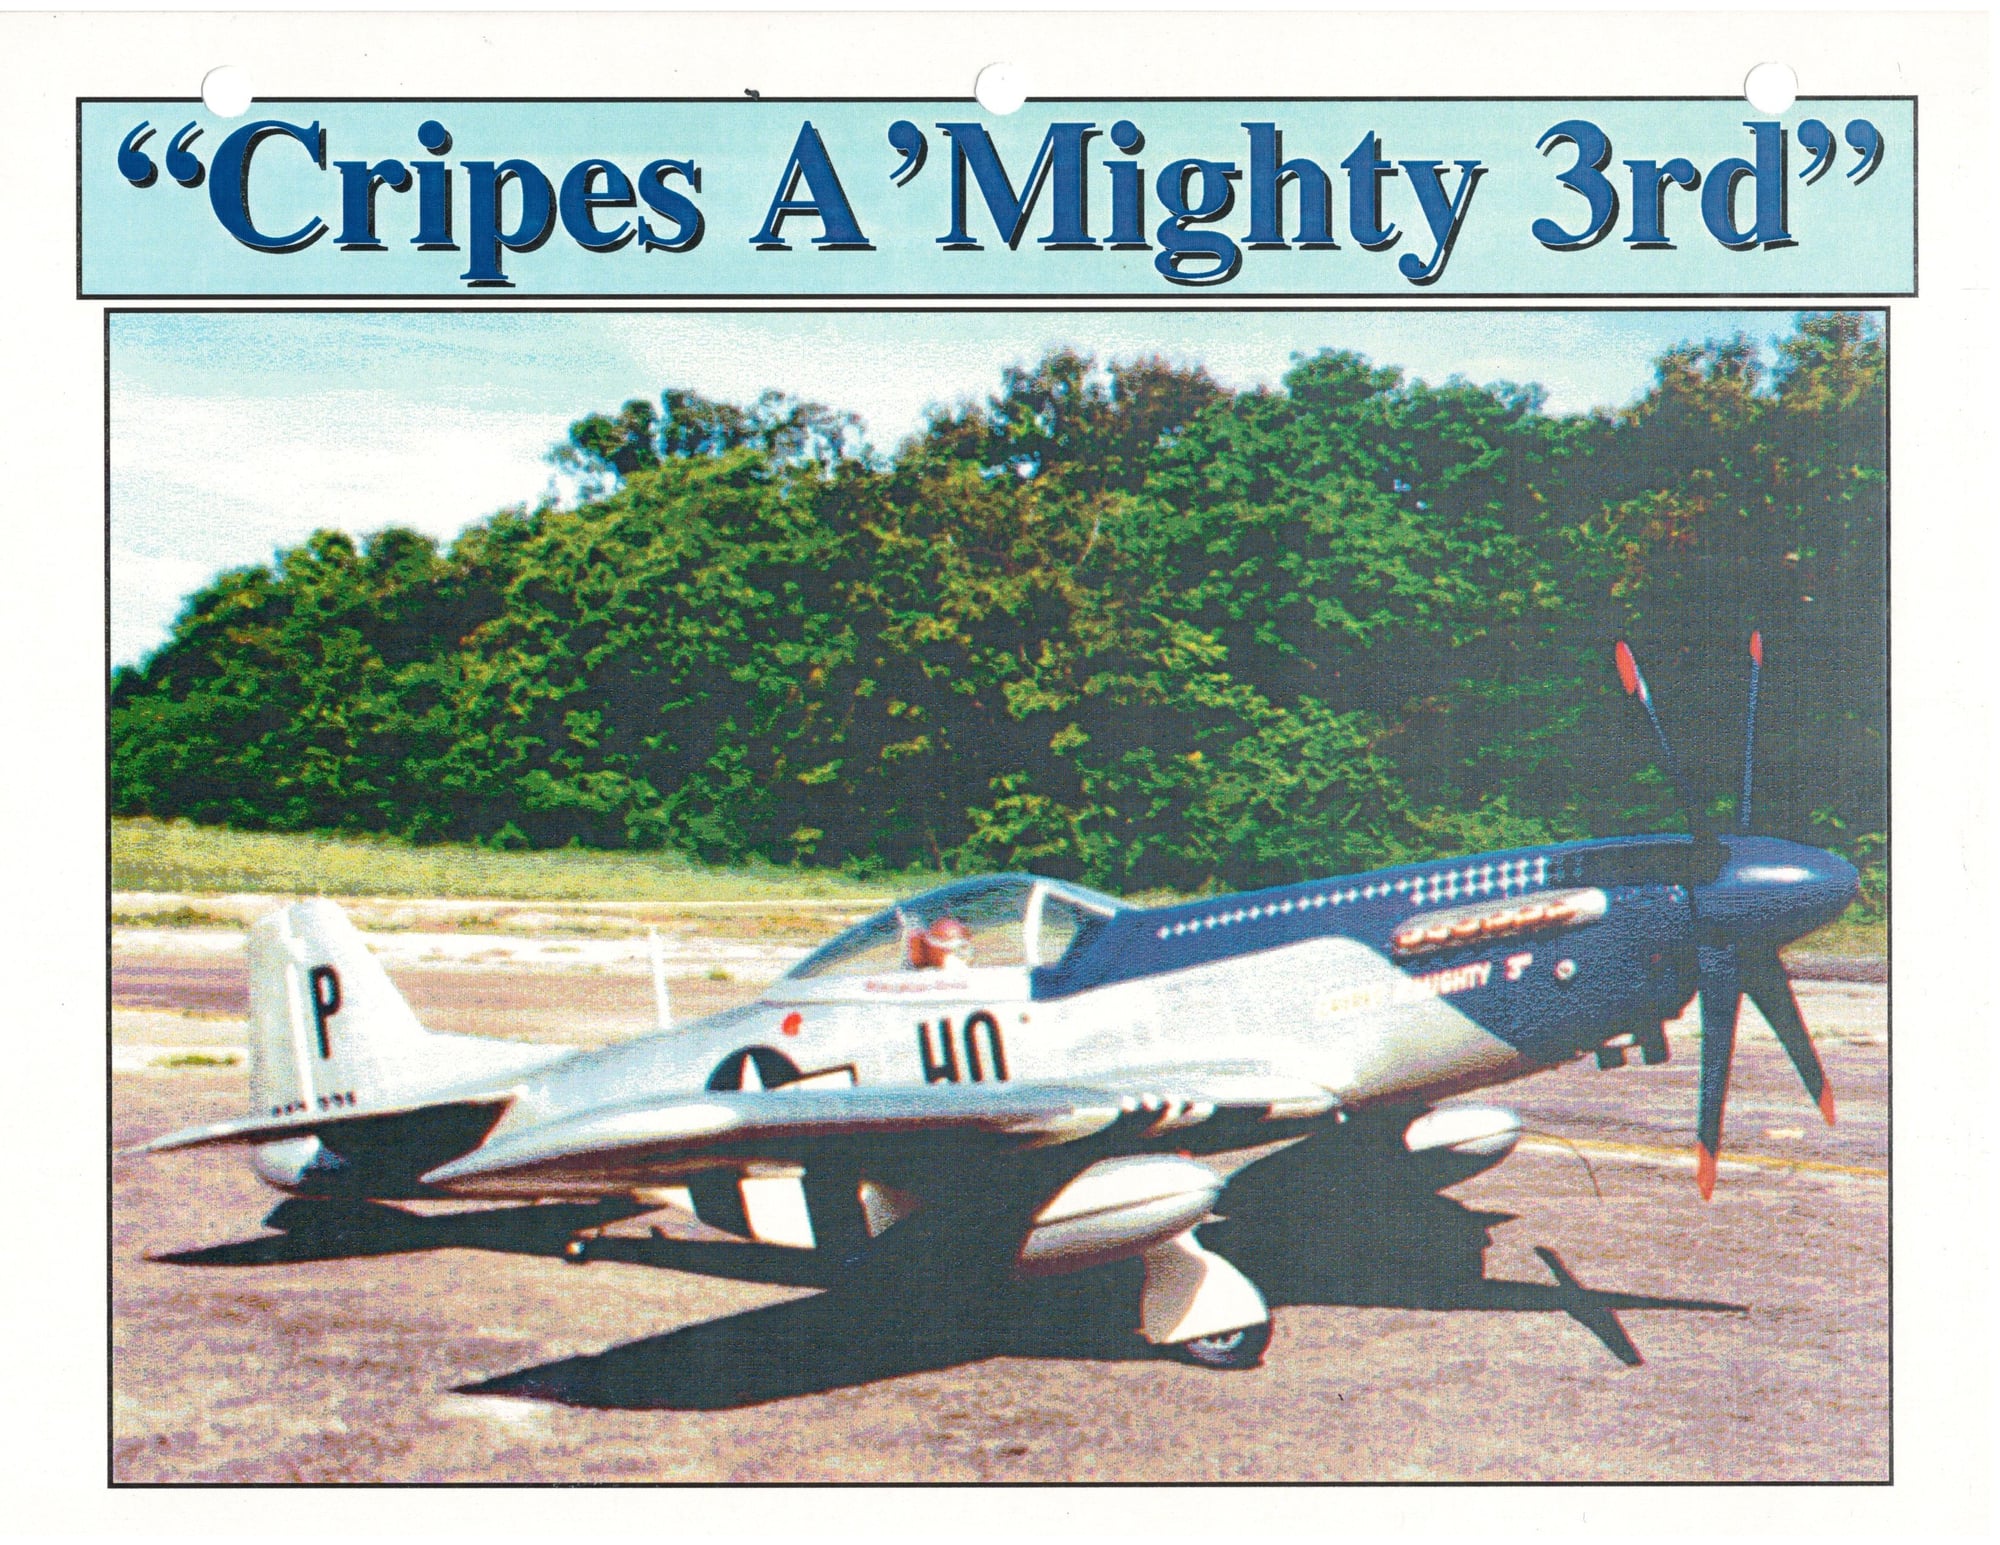
This is my 3rd P51D model. The first two were 65" wingspan fiberglass fuselage models. The scale of these two Mustangs was exceptional. The wing was foam core Obechee sheeted. The first one I finished as the Tuskegee Airmen Capt Roscoe Brown Bunnie. The second one was Capt Preddy,s Cripes a' Mighty 3rd. Both models flew in competitions and earned a 3rd place and 2nd place in the Coqui Nationals in the 90's. I loved this models and they flew very well. They had operational drop tanks, retracts in the mains and tail wheel, and the five additional control surfaces including throttle. The models were both powered by OS 1.08 they mighty mite of glow engines at the time.
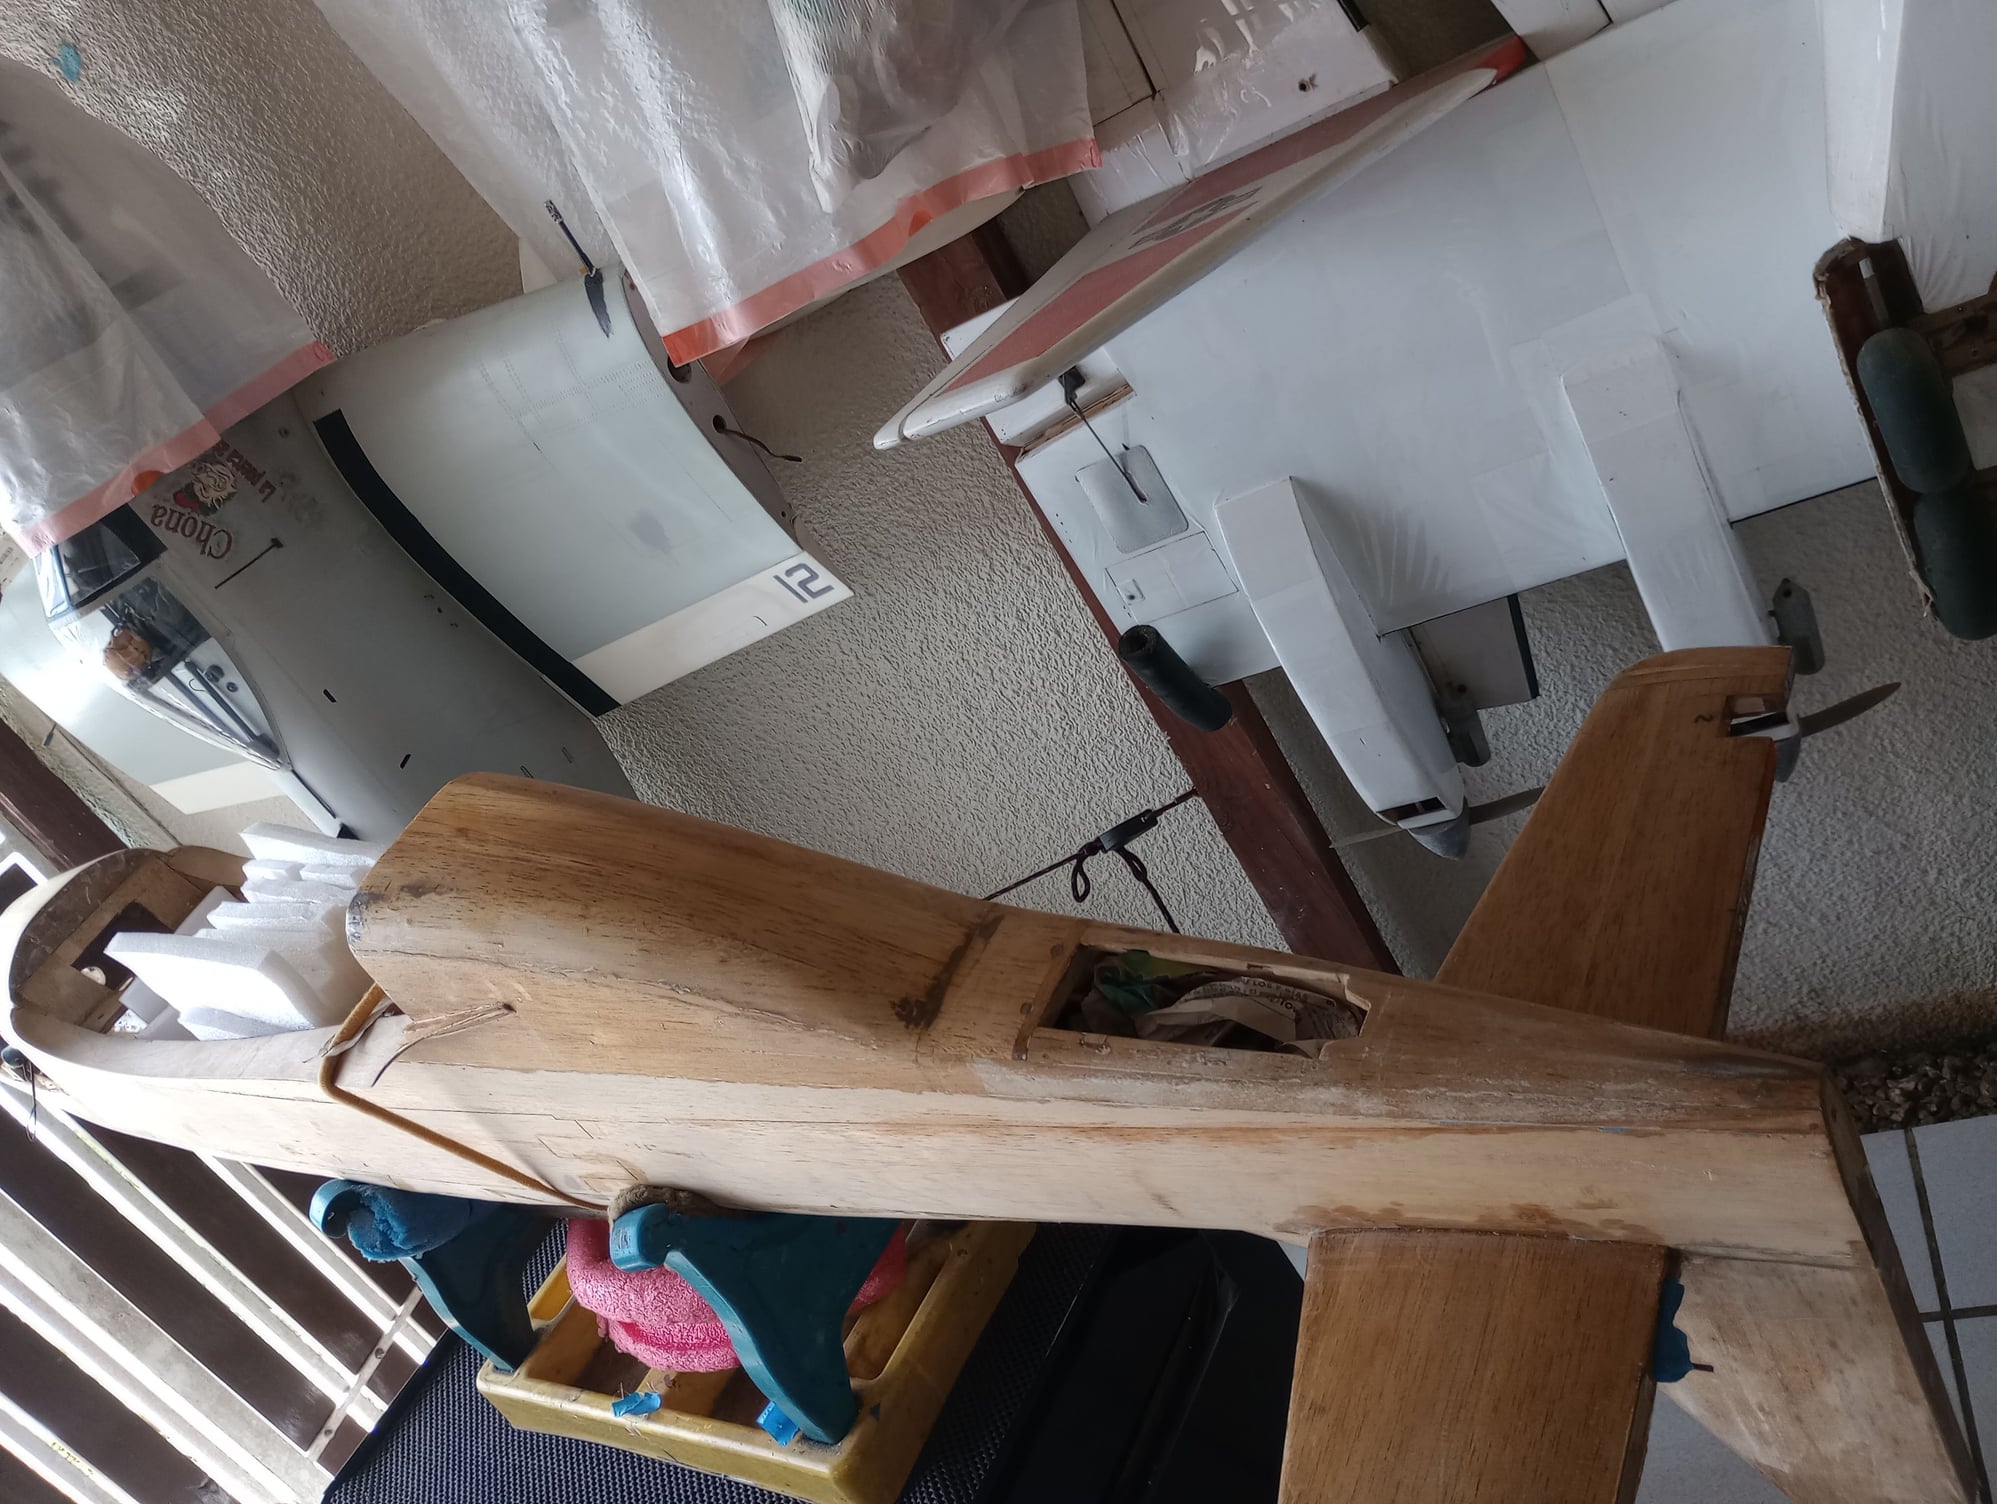
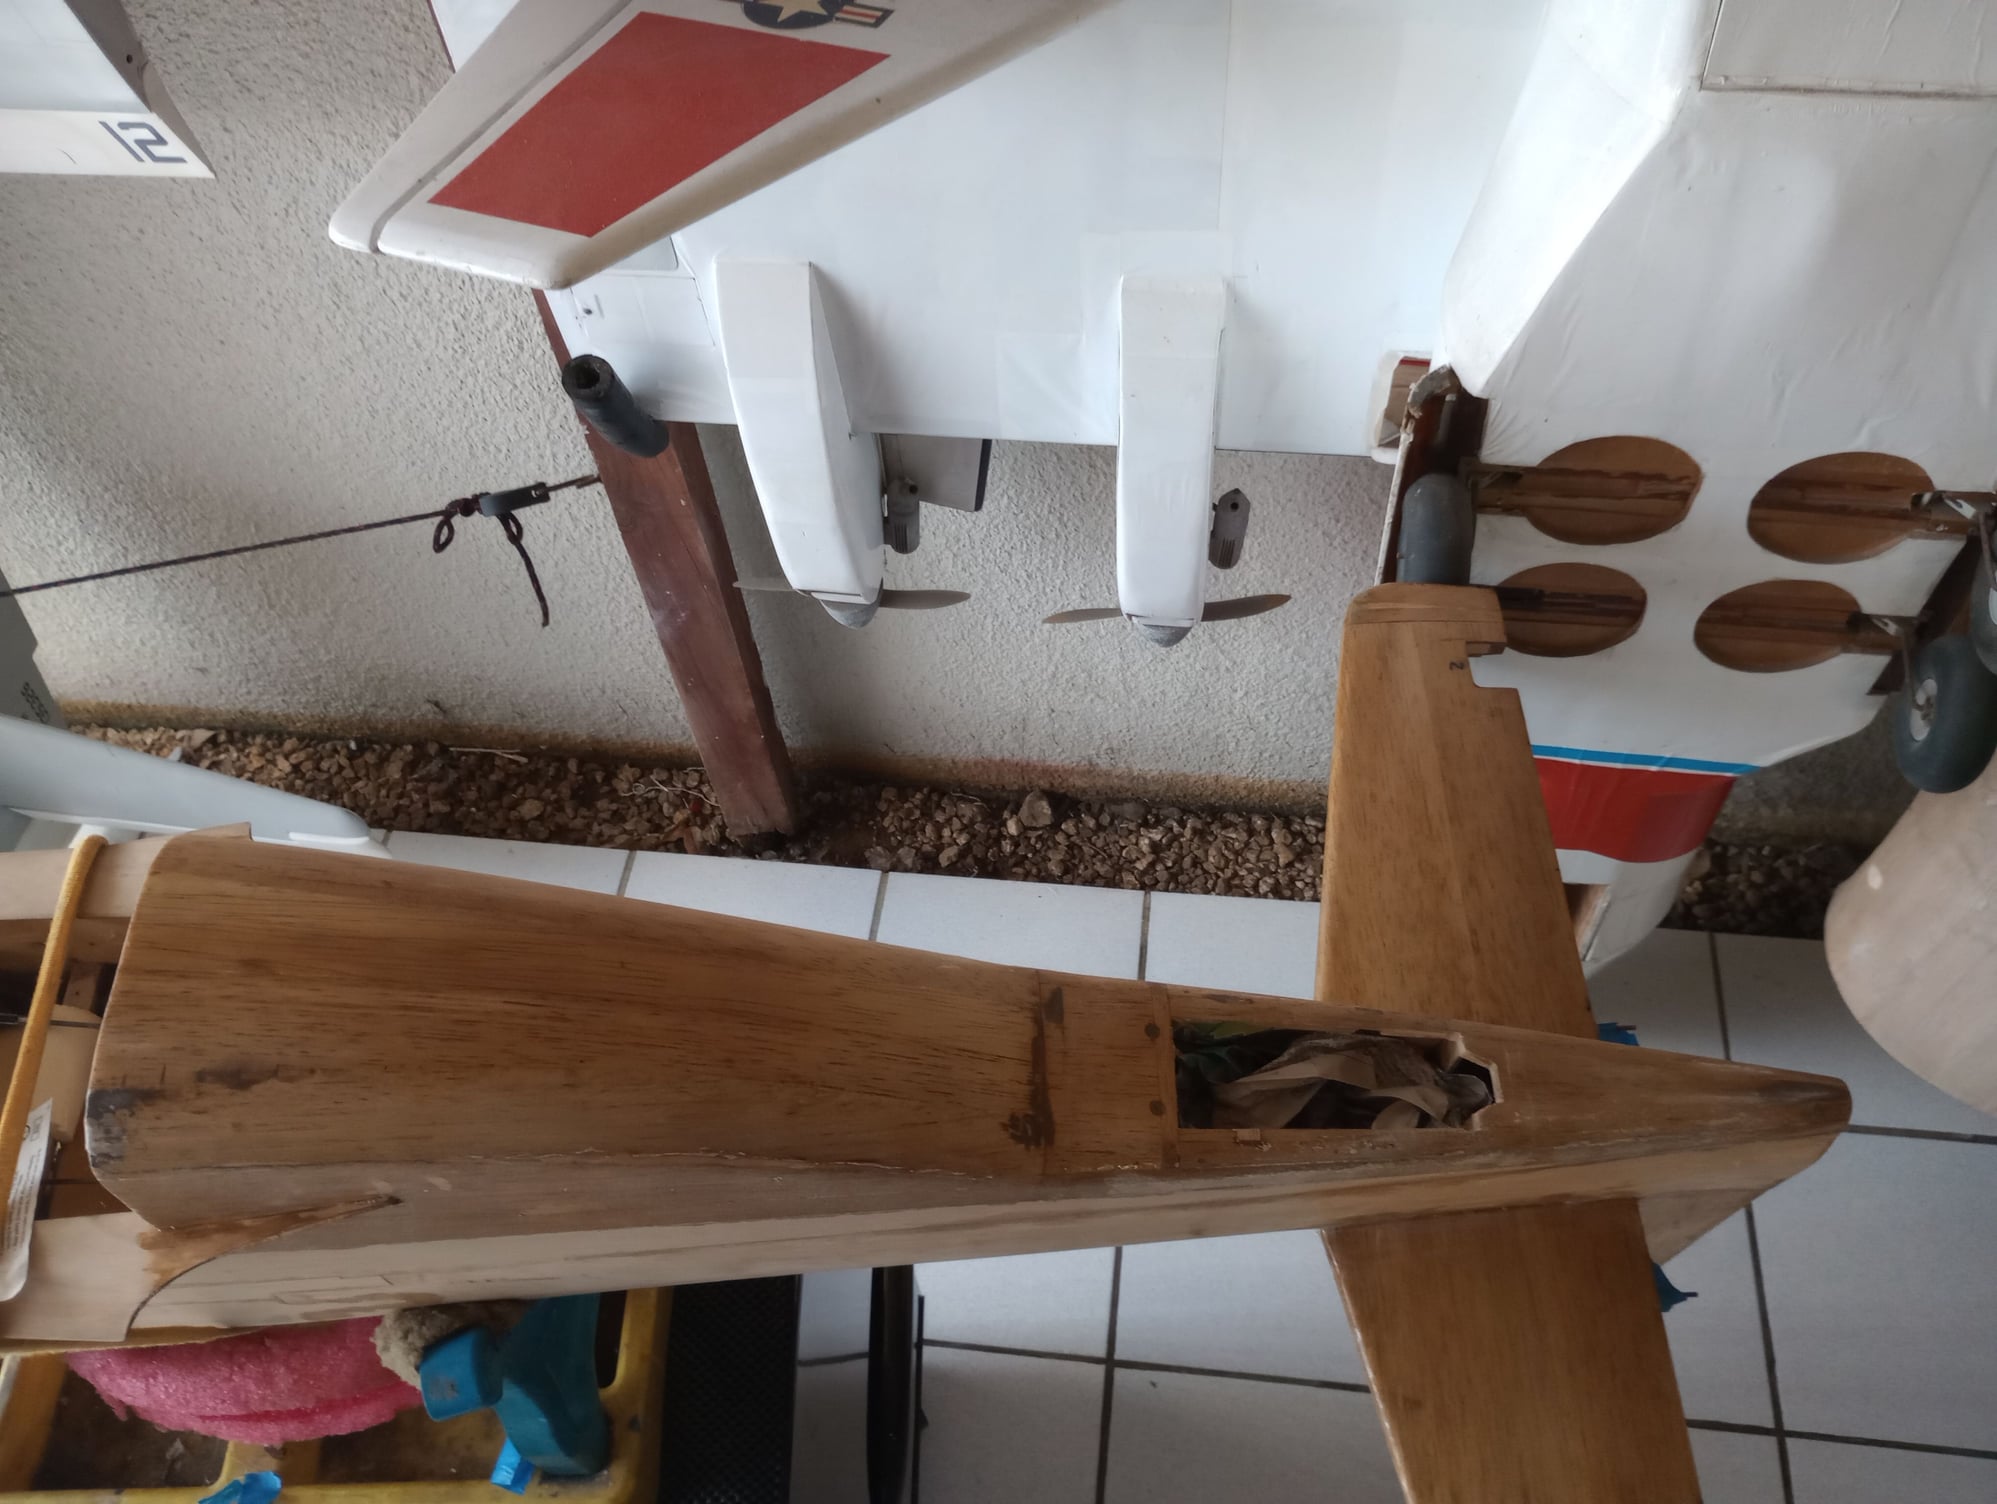
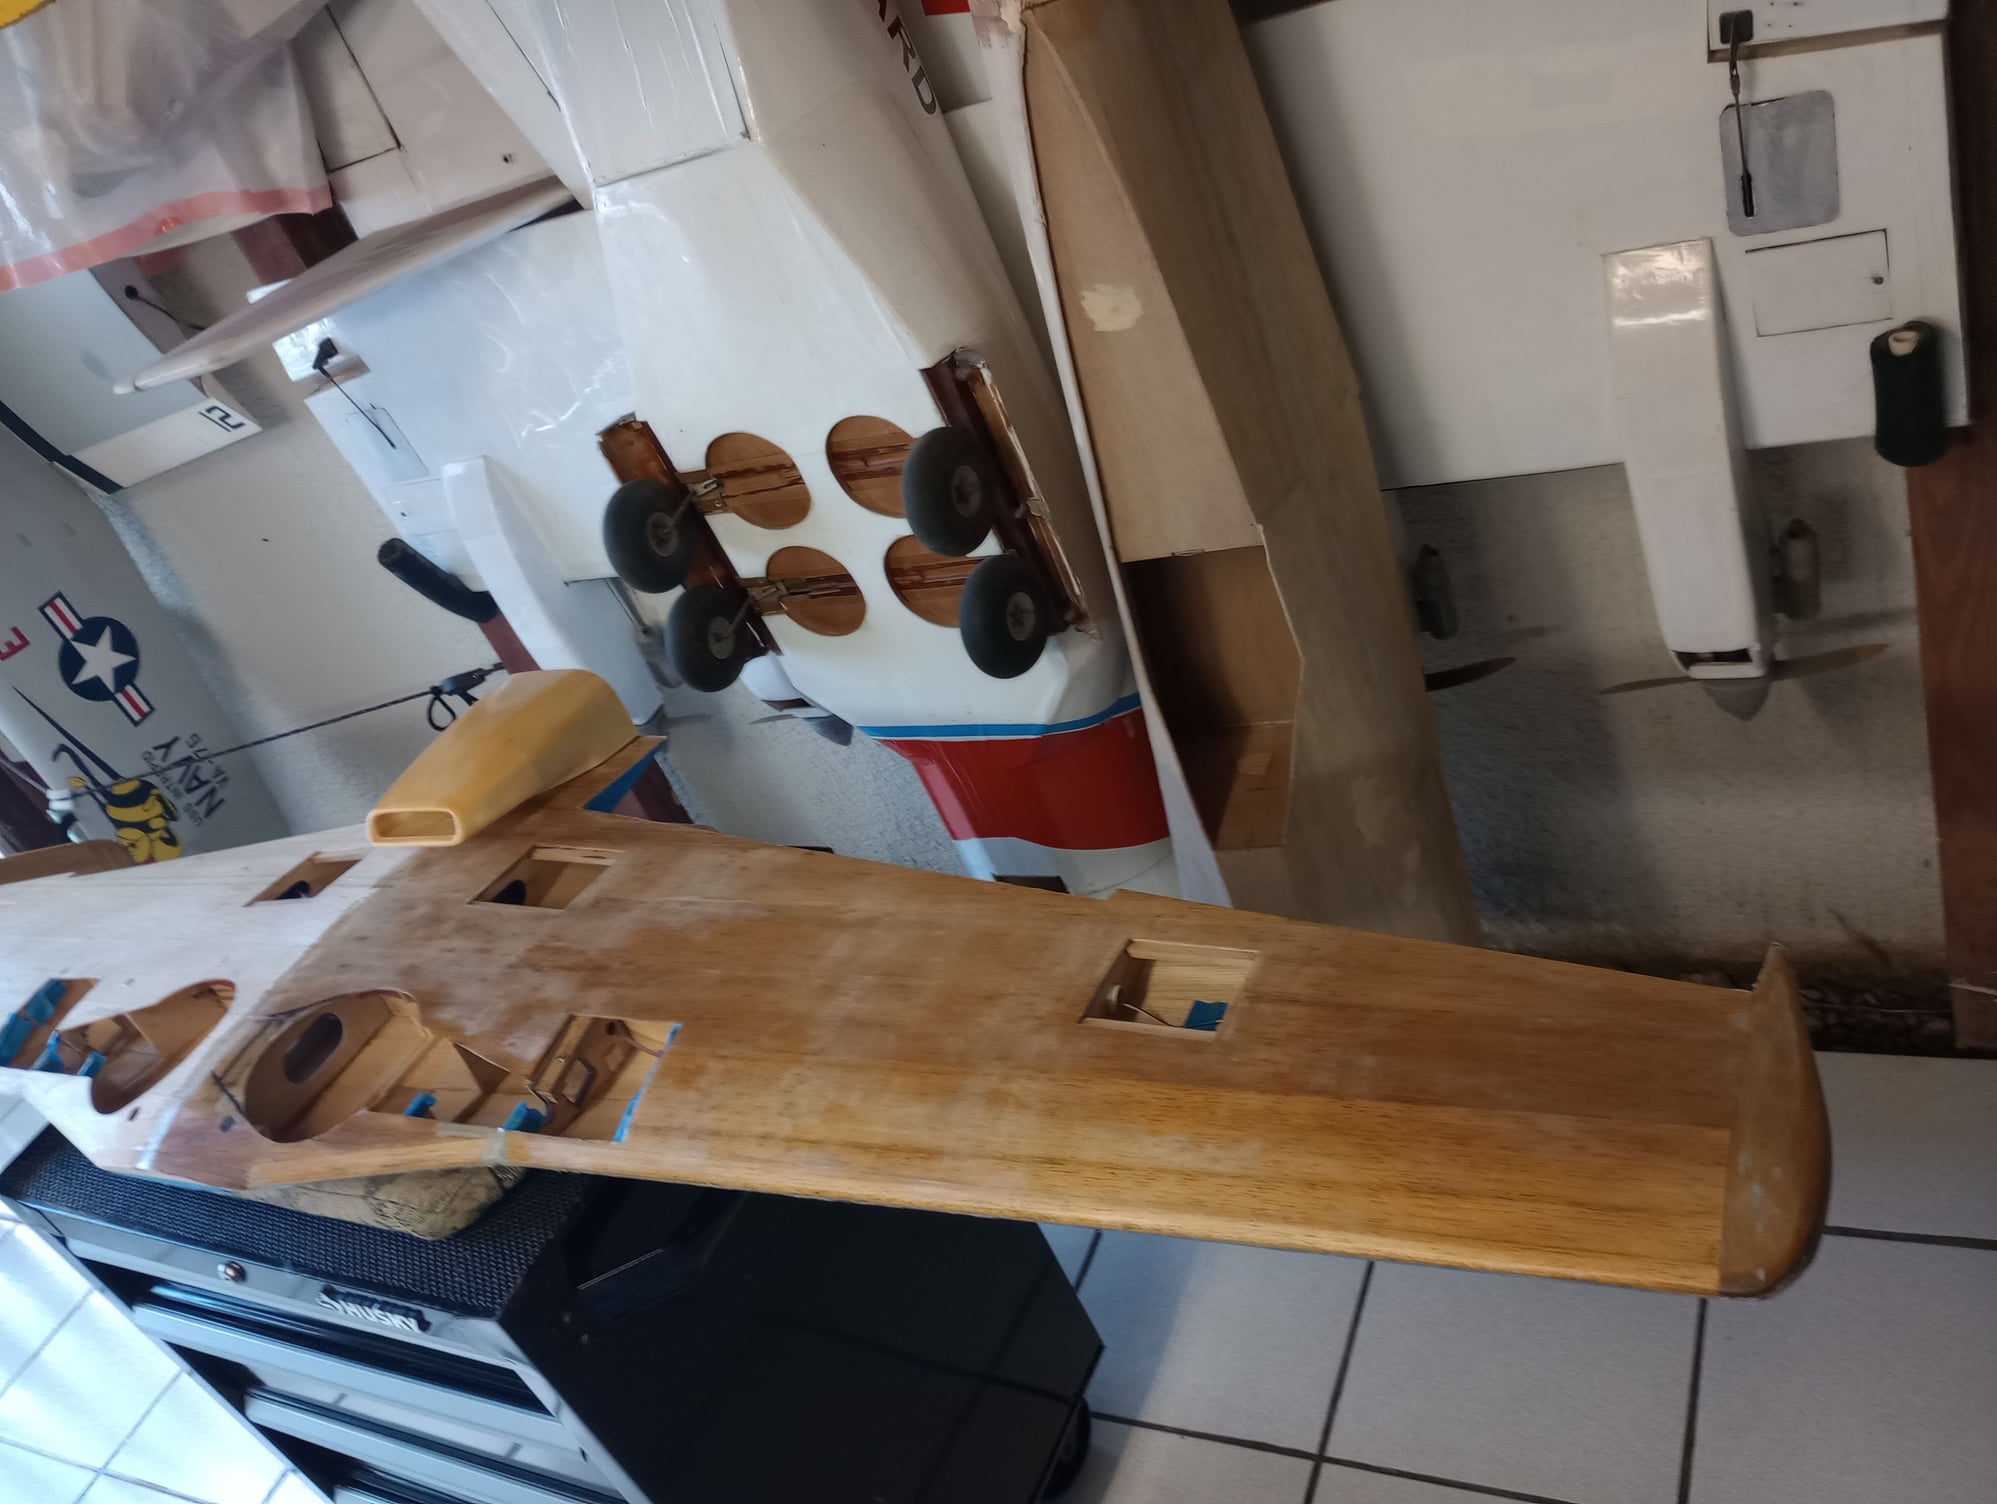
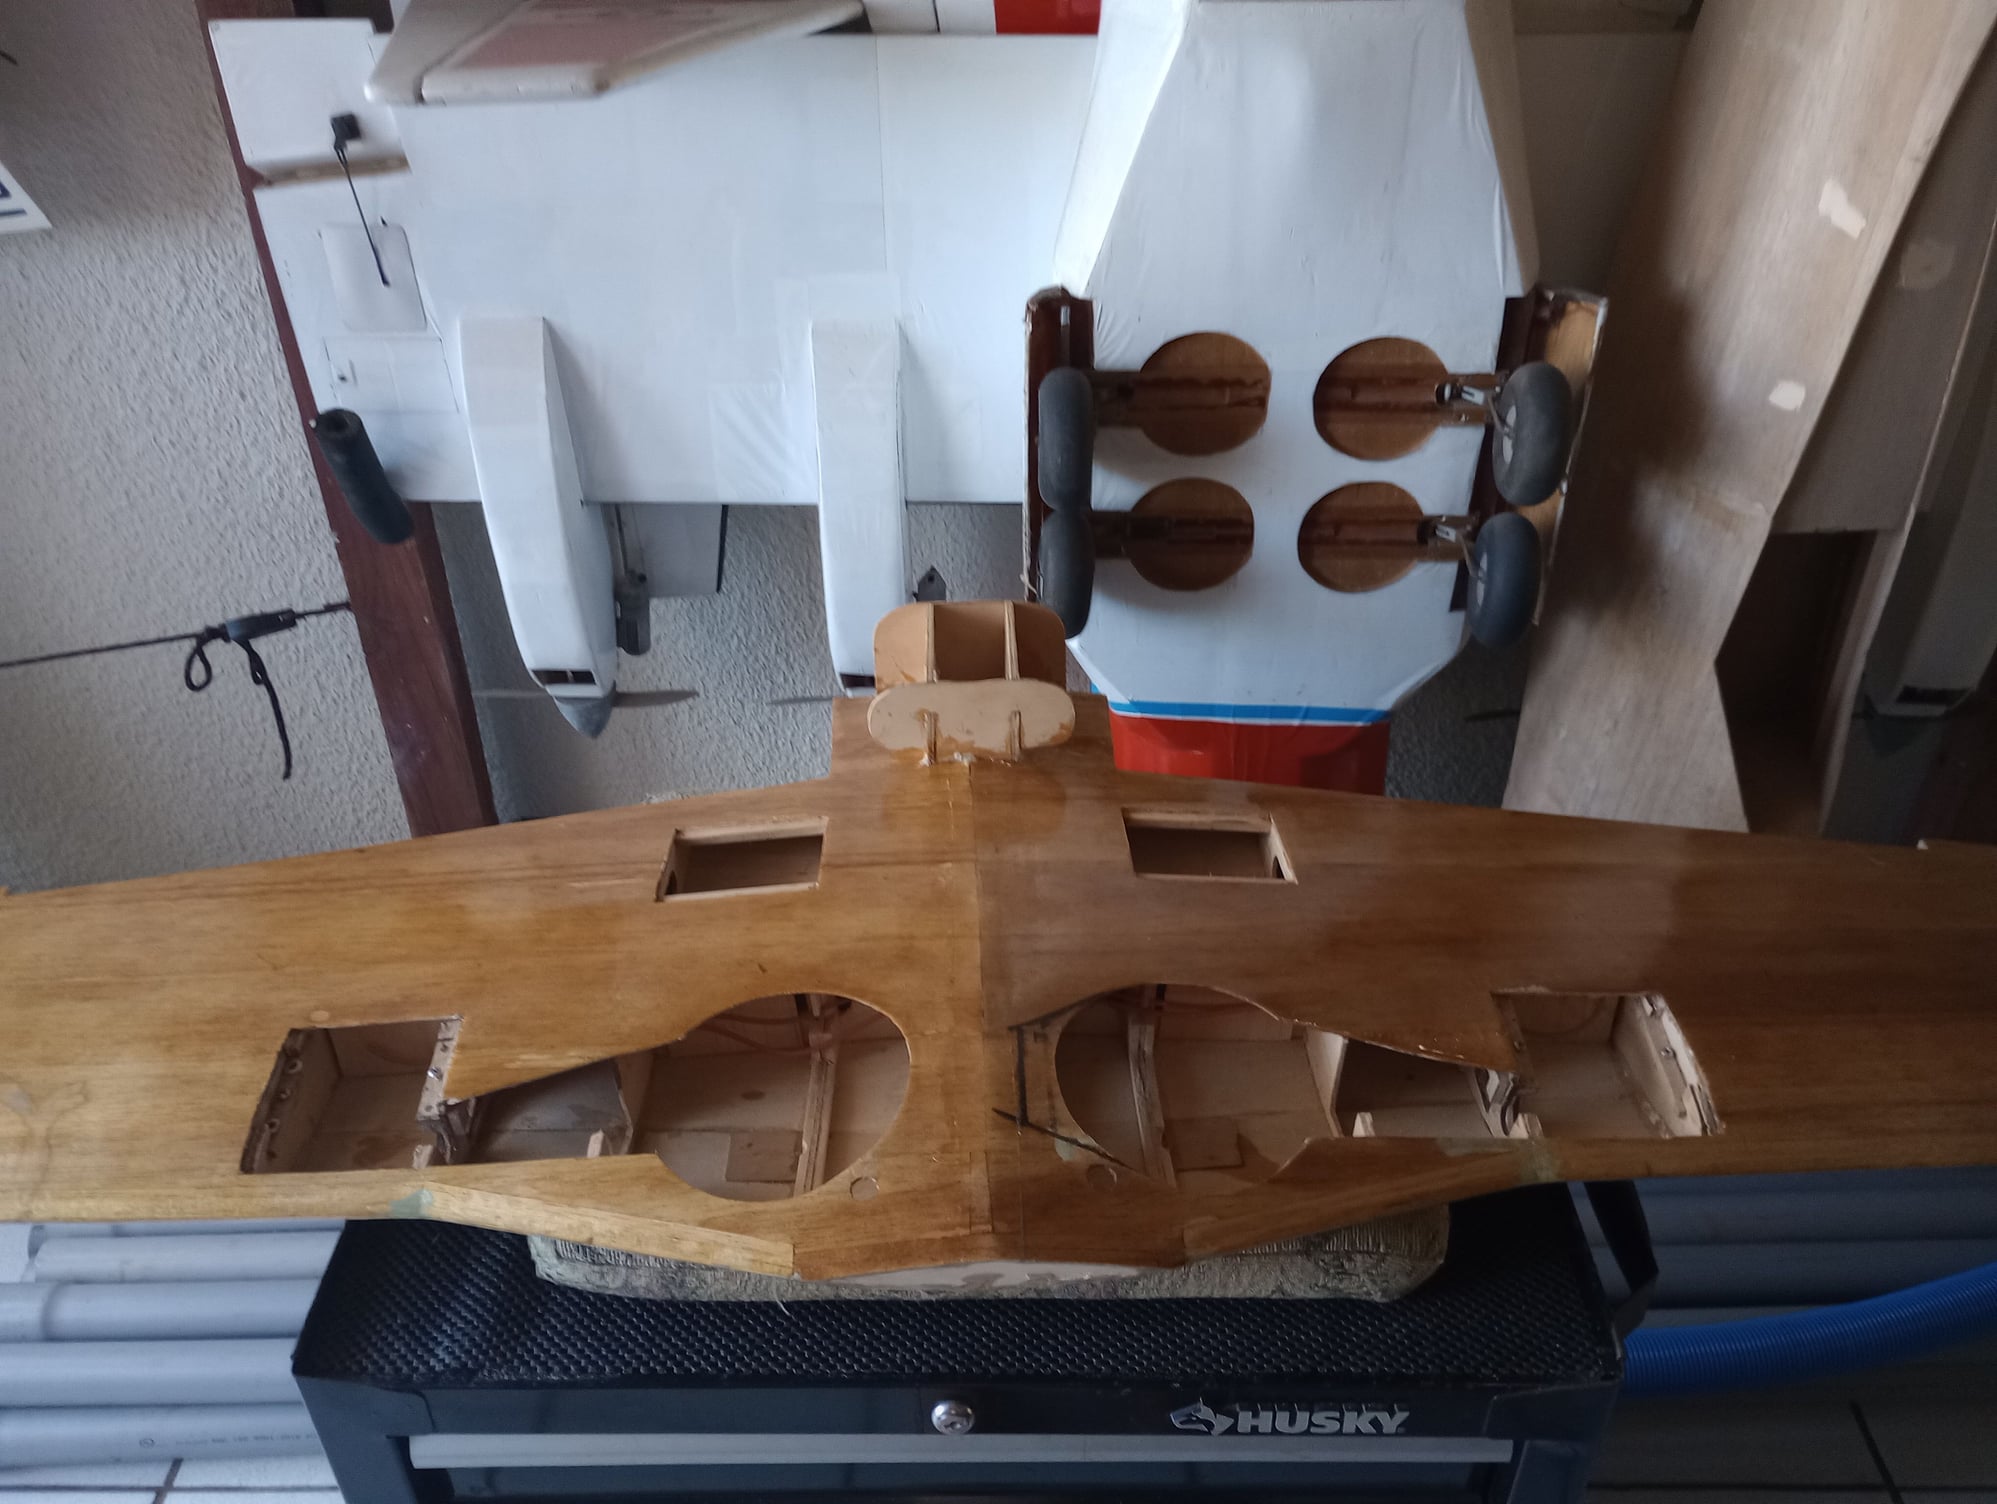
This s my 3rd P51D. I decided to go larger due to my eye sight which is no longer prime as it once was. It is the no longer produced Top Flite Giant scale Mustang, kit. Not the ARF. I have had this model almost finished in my shop for over 12 years. It has all the required accessories; Robart retracts, Robart scale tires, 3w 55i (not ever started), servos, scale cabin, spinner,etc. I am planning on finishing it as Roscoe Browns Bunnie once again.
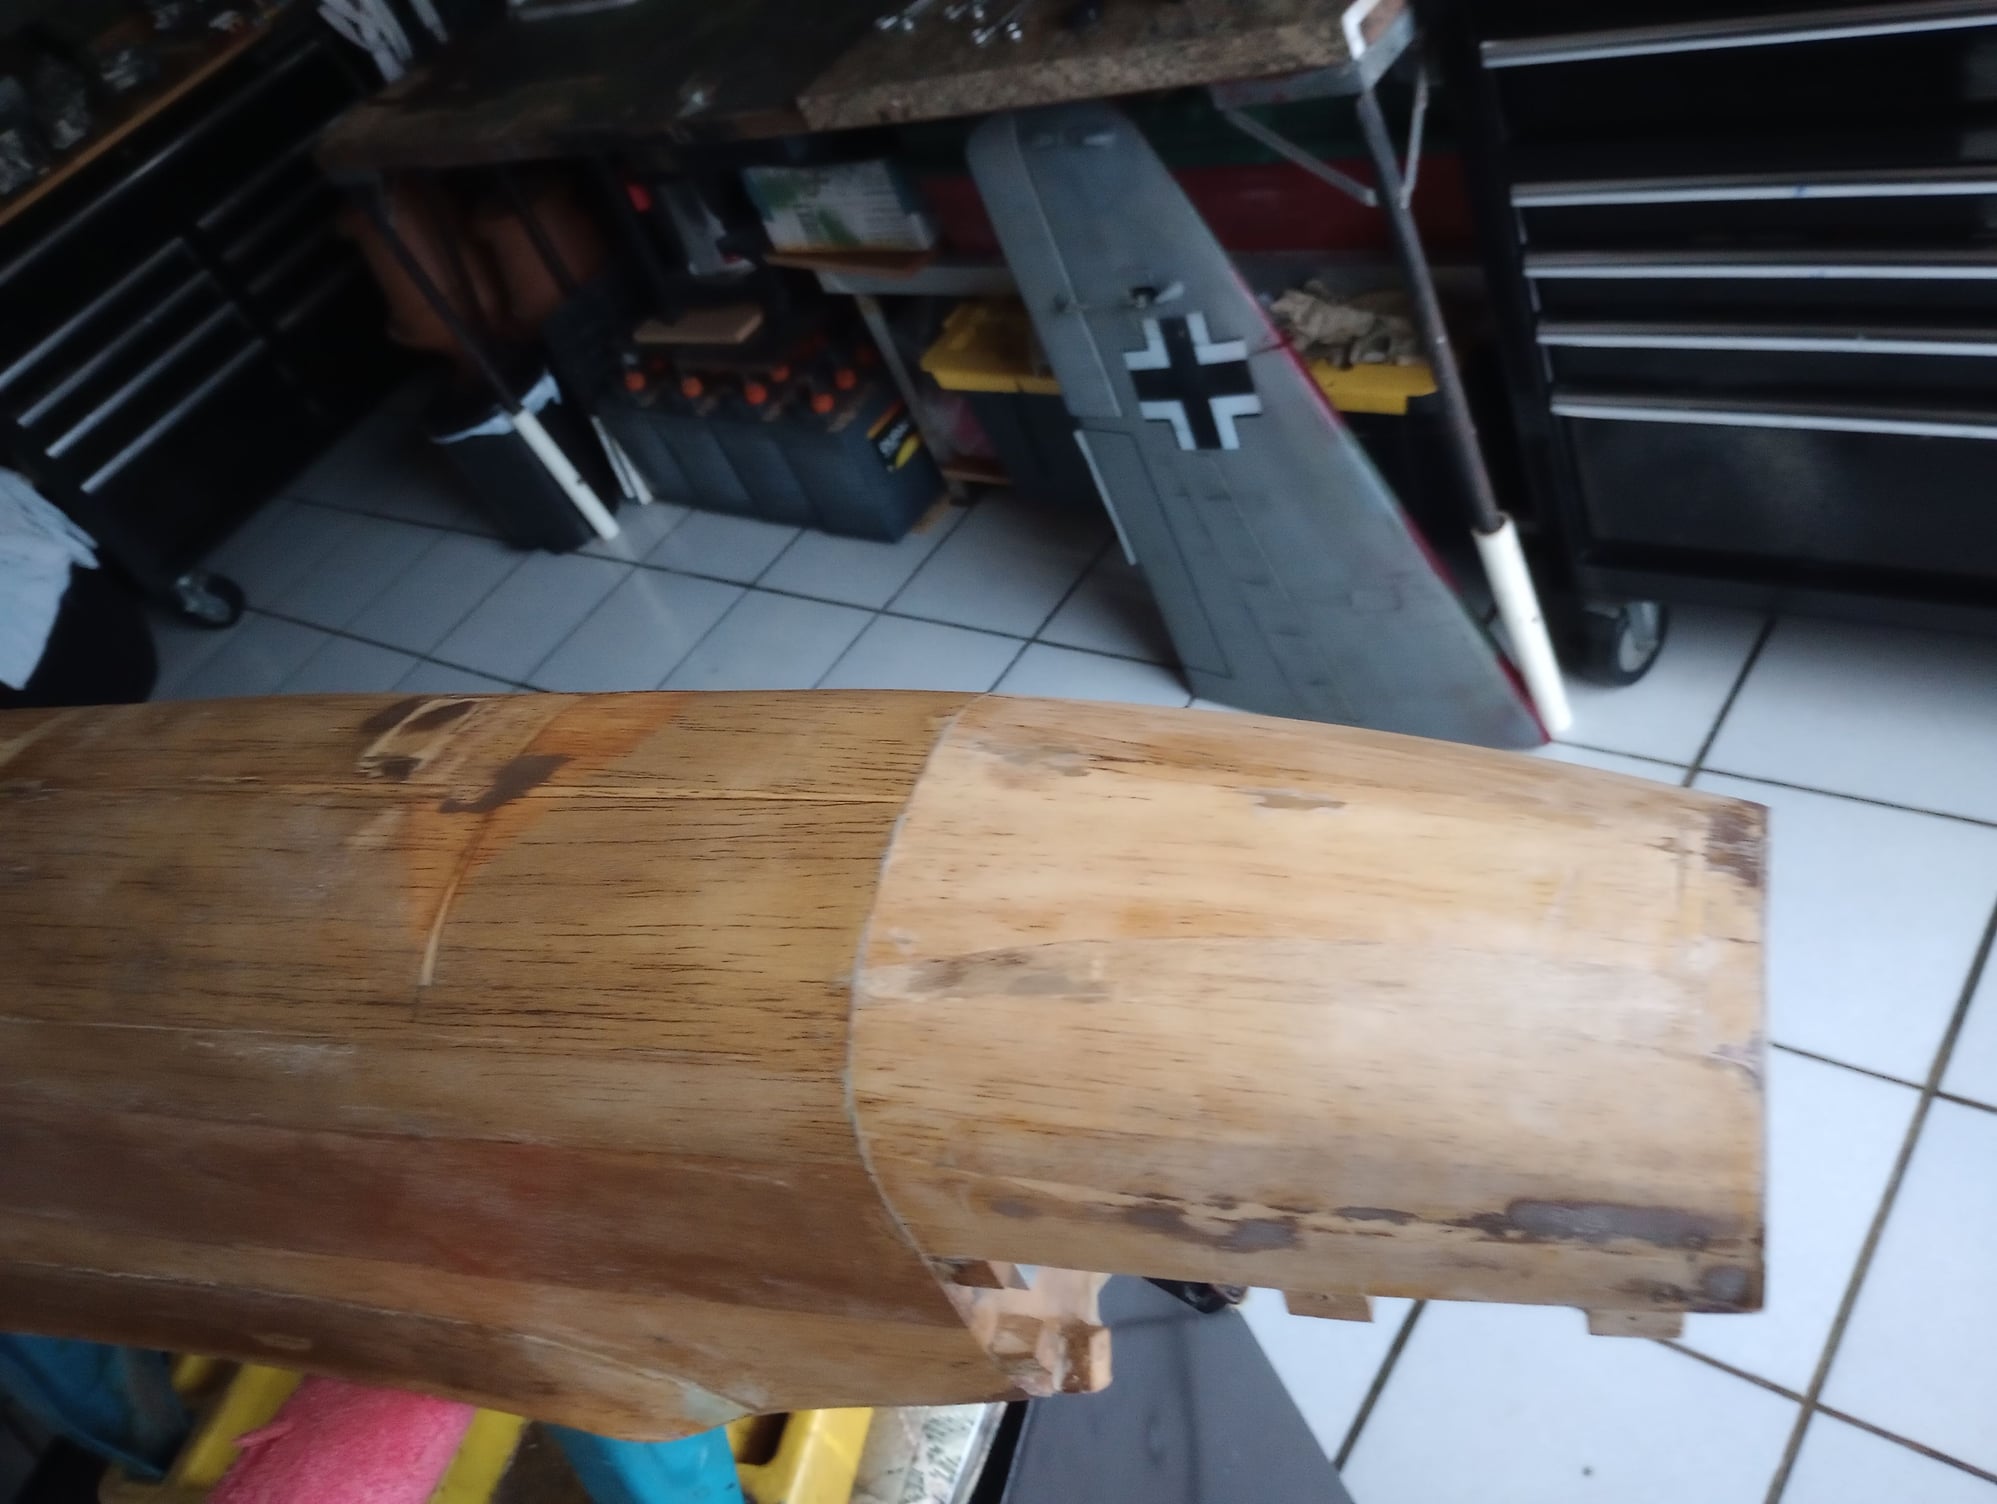
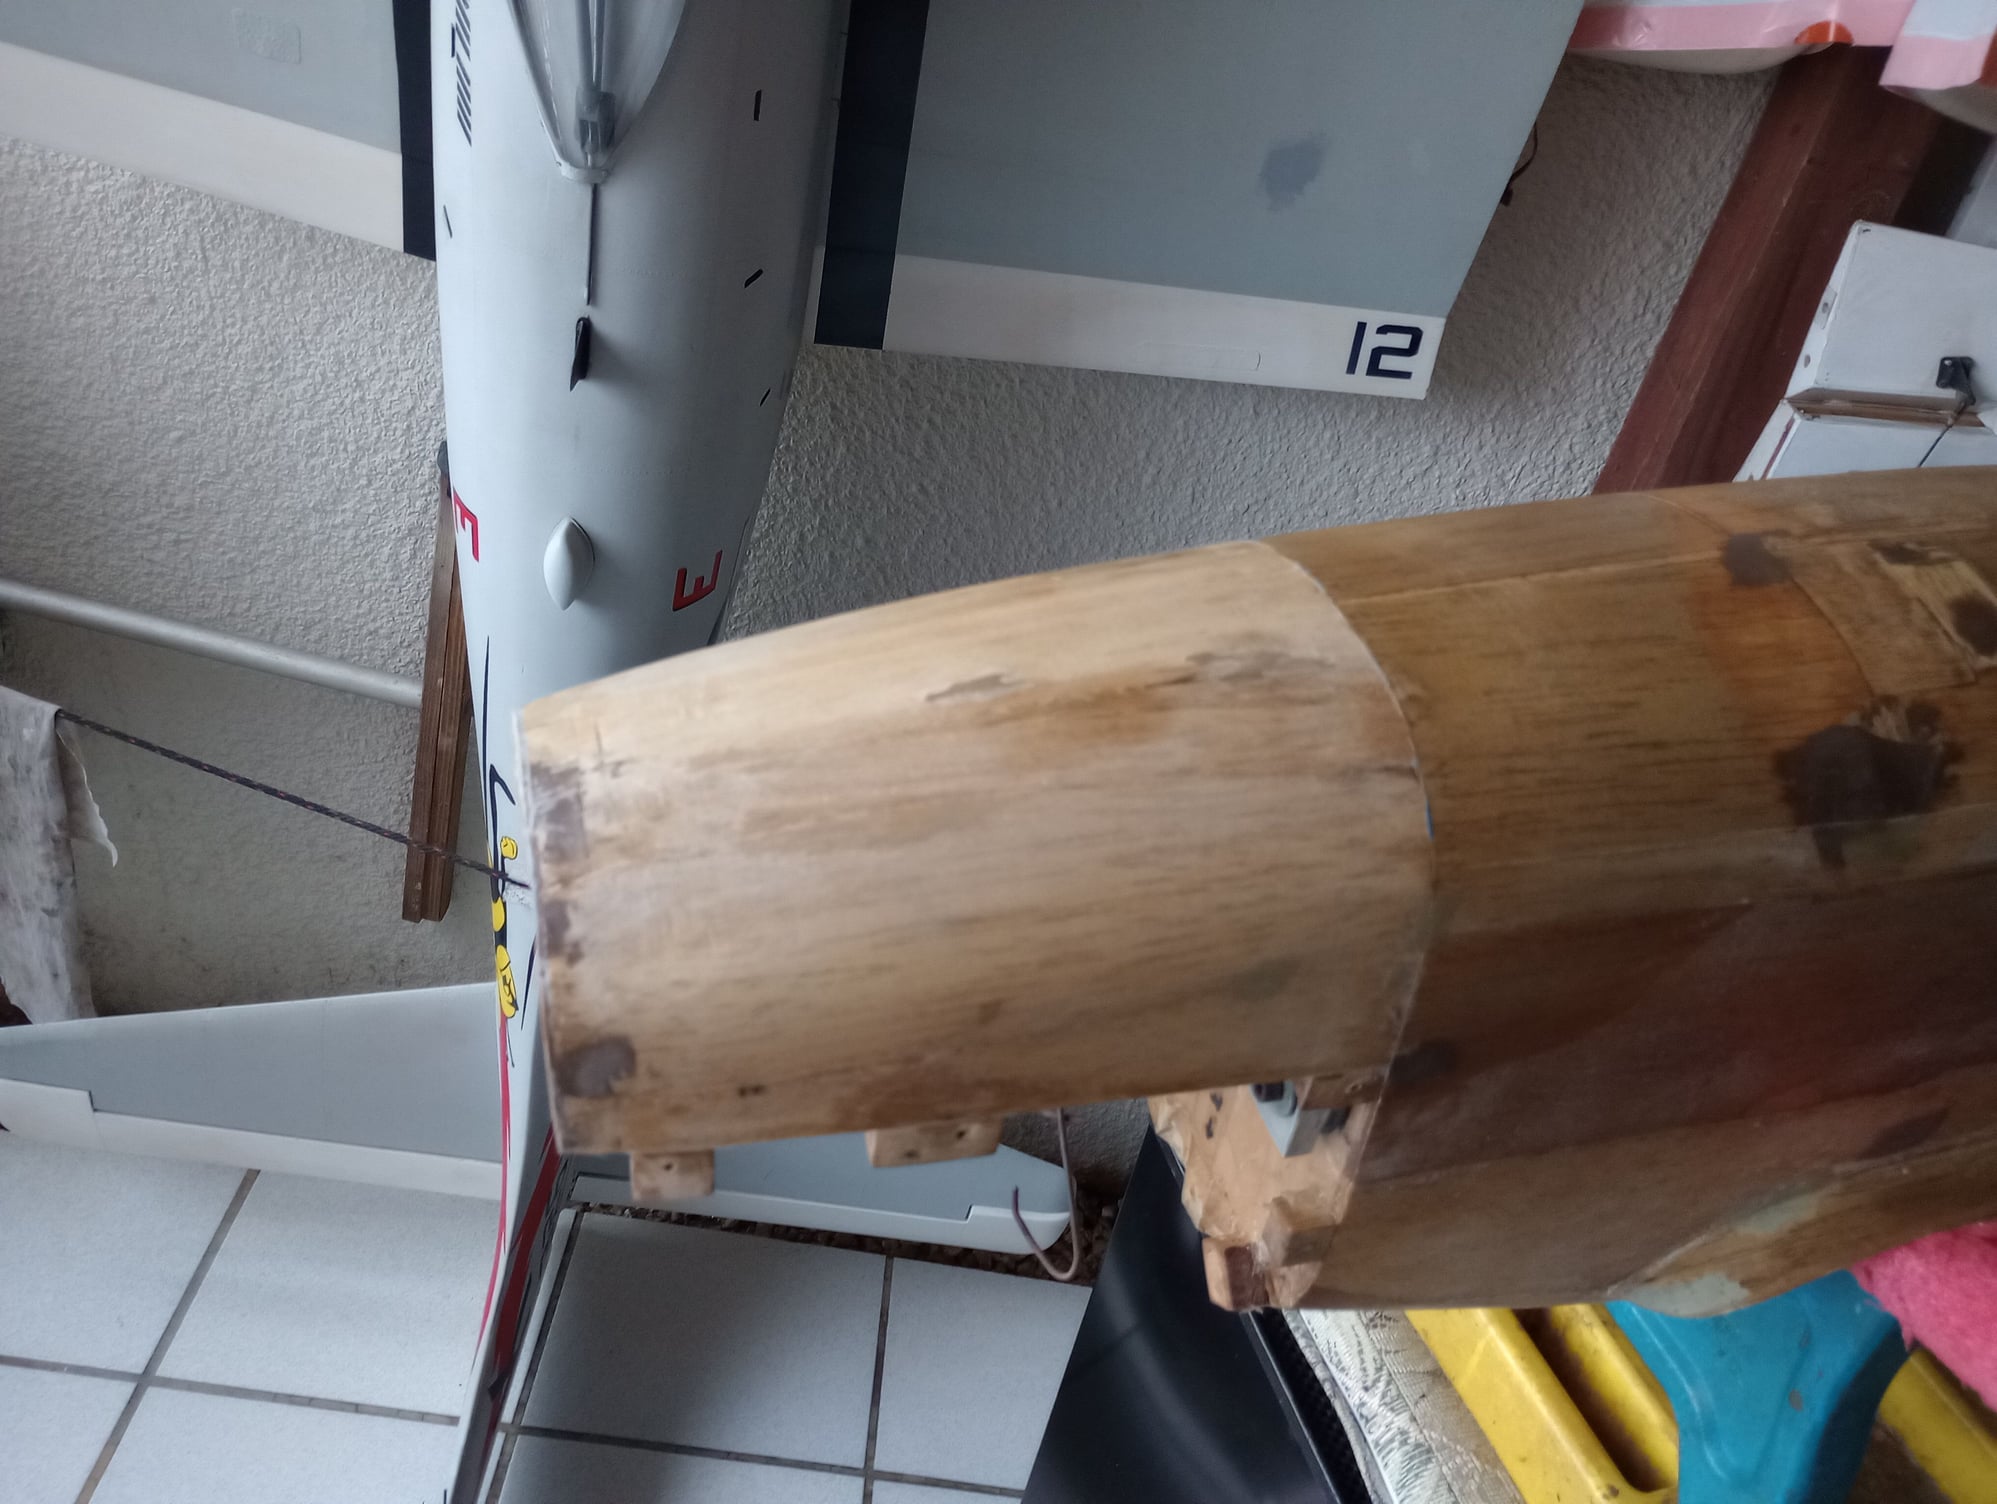
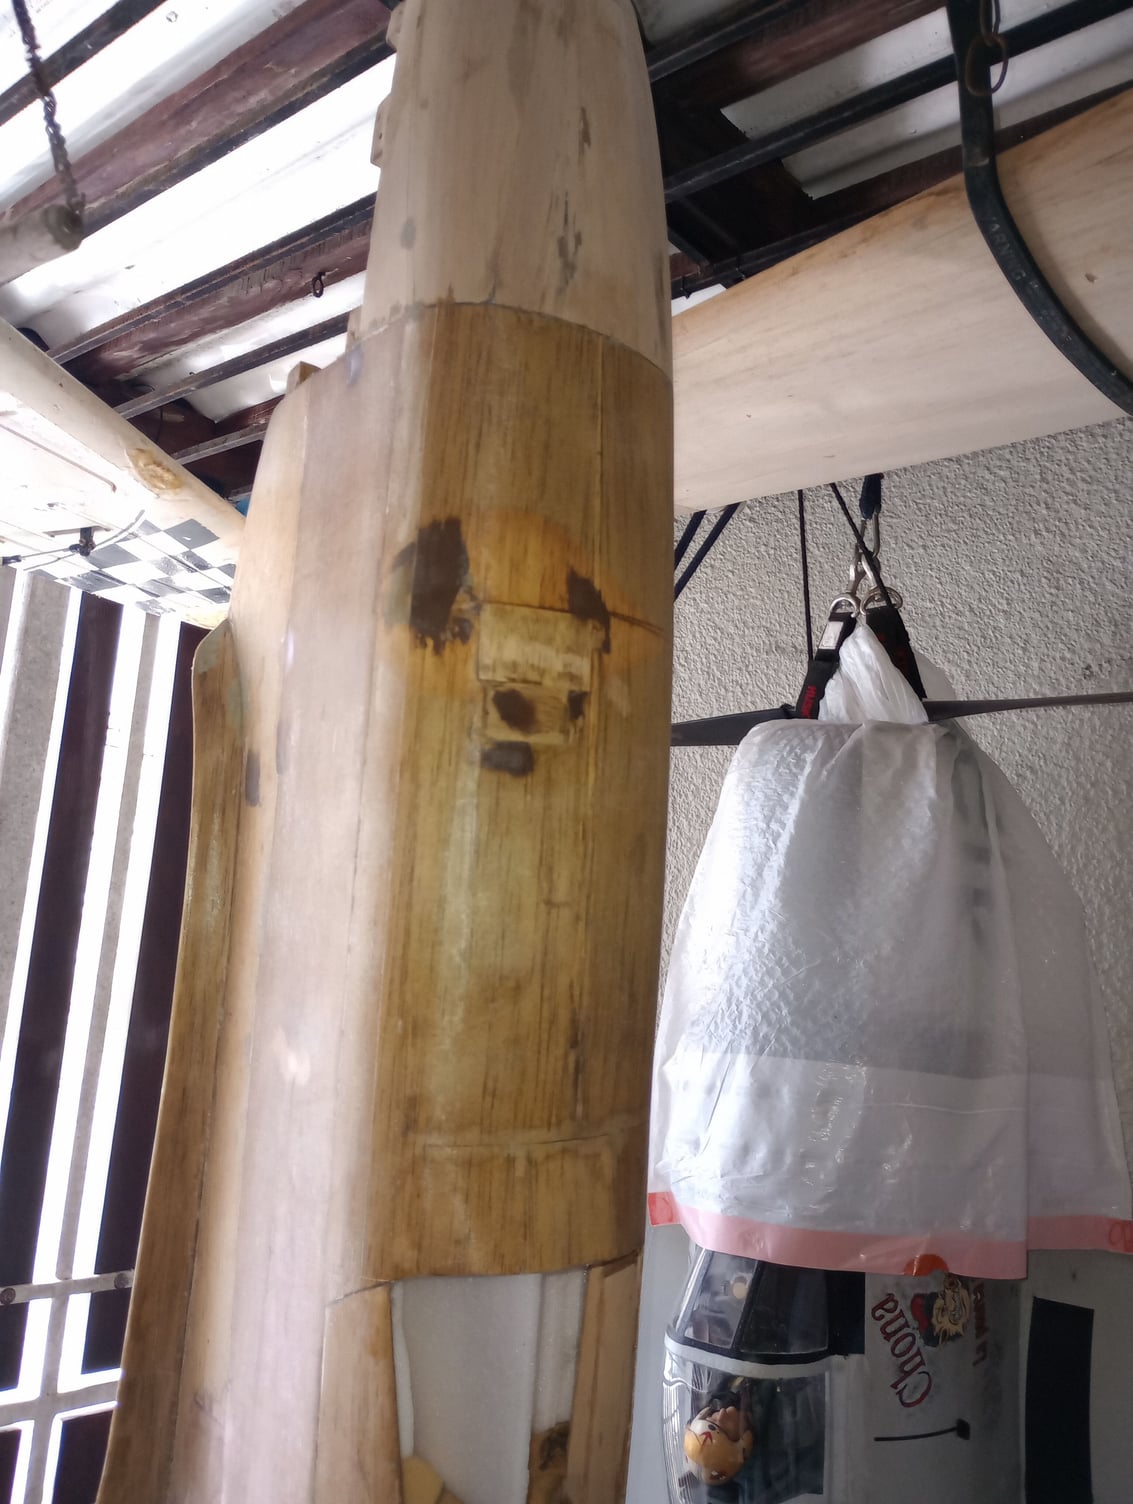
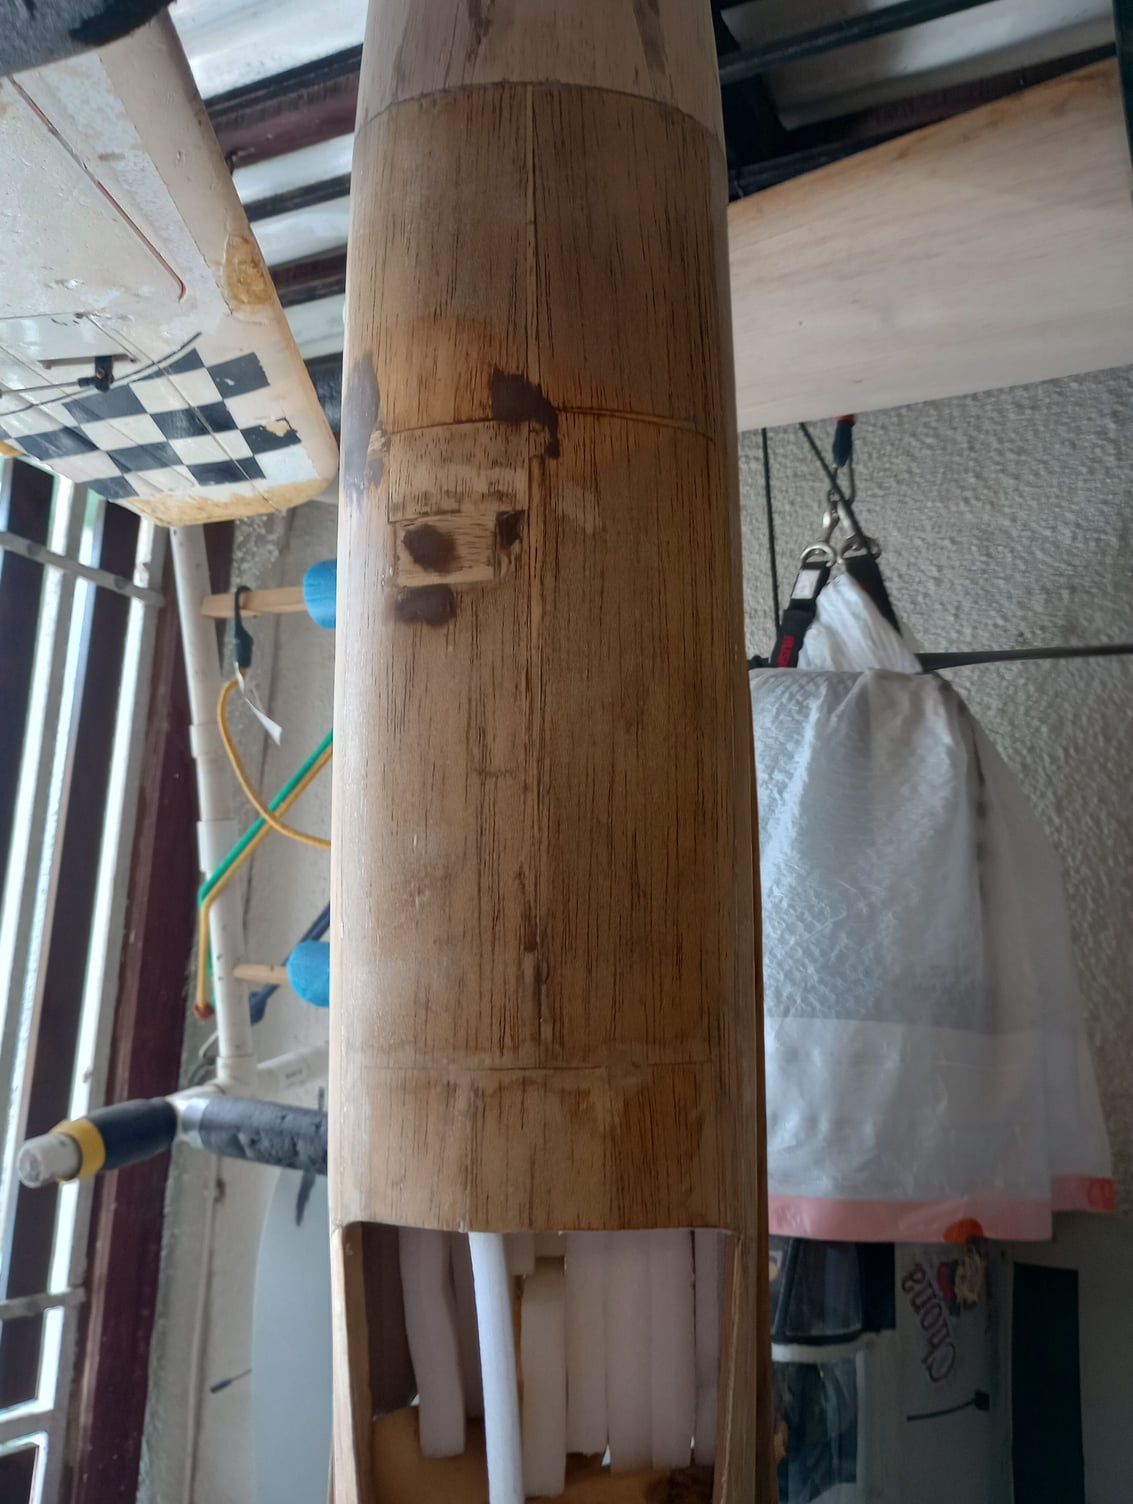
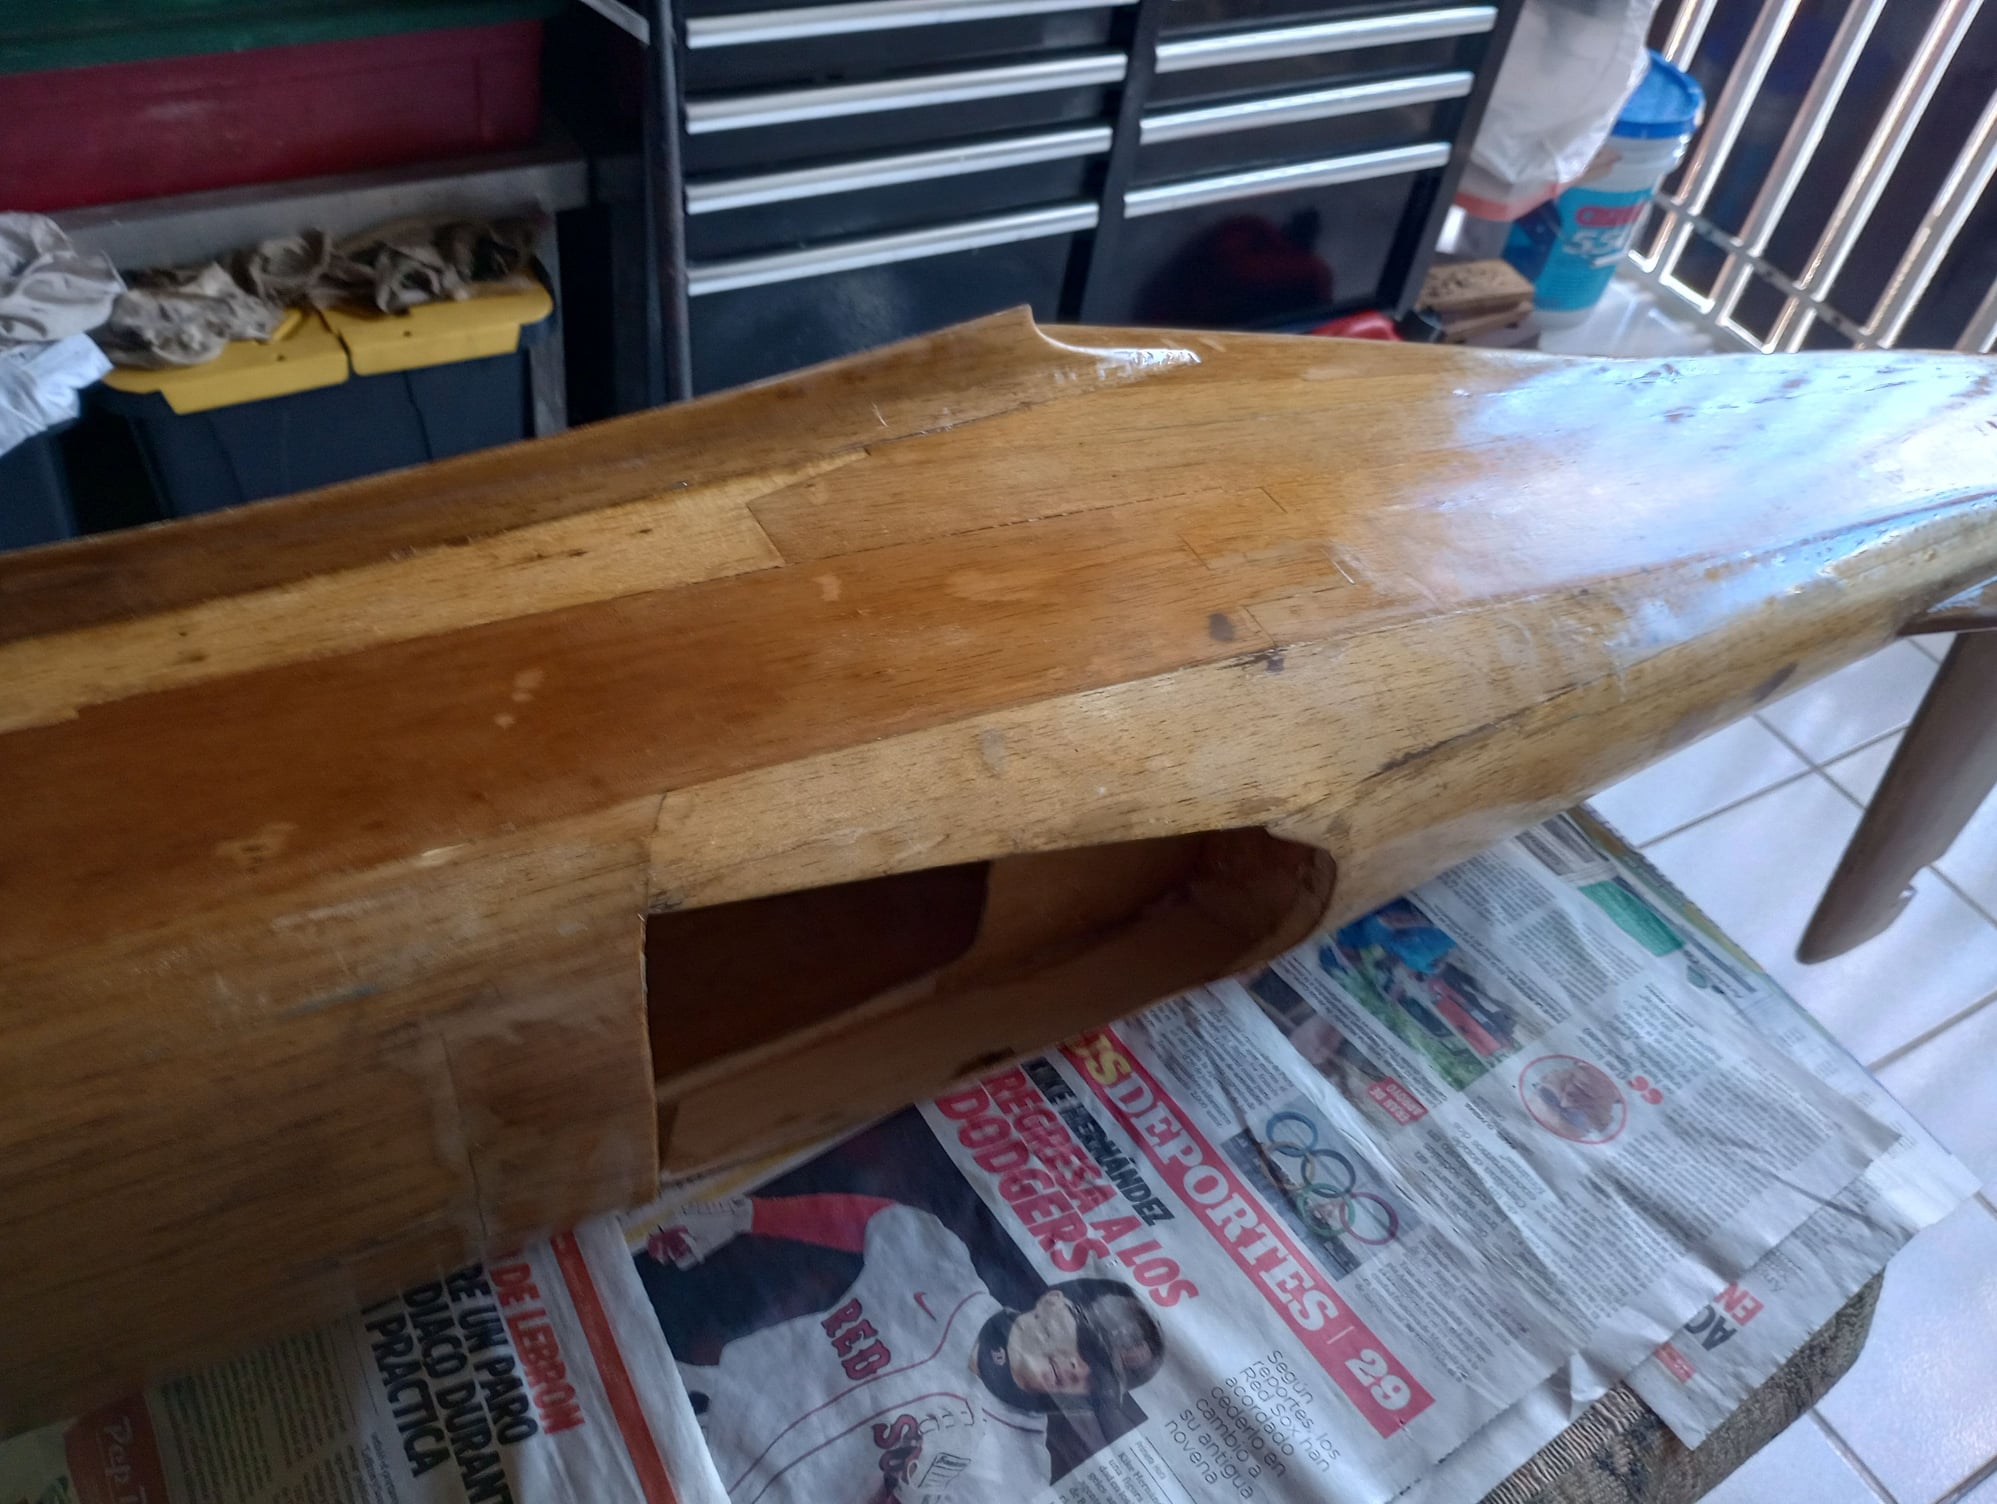
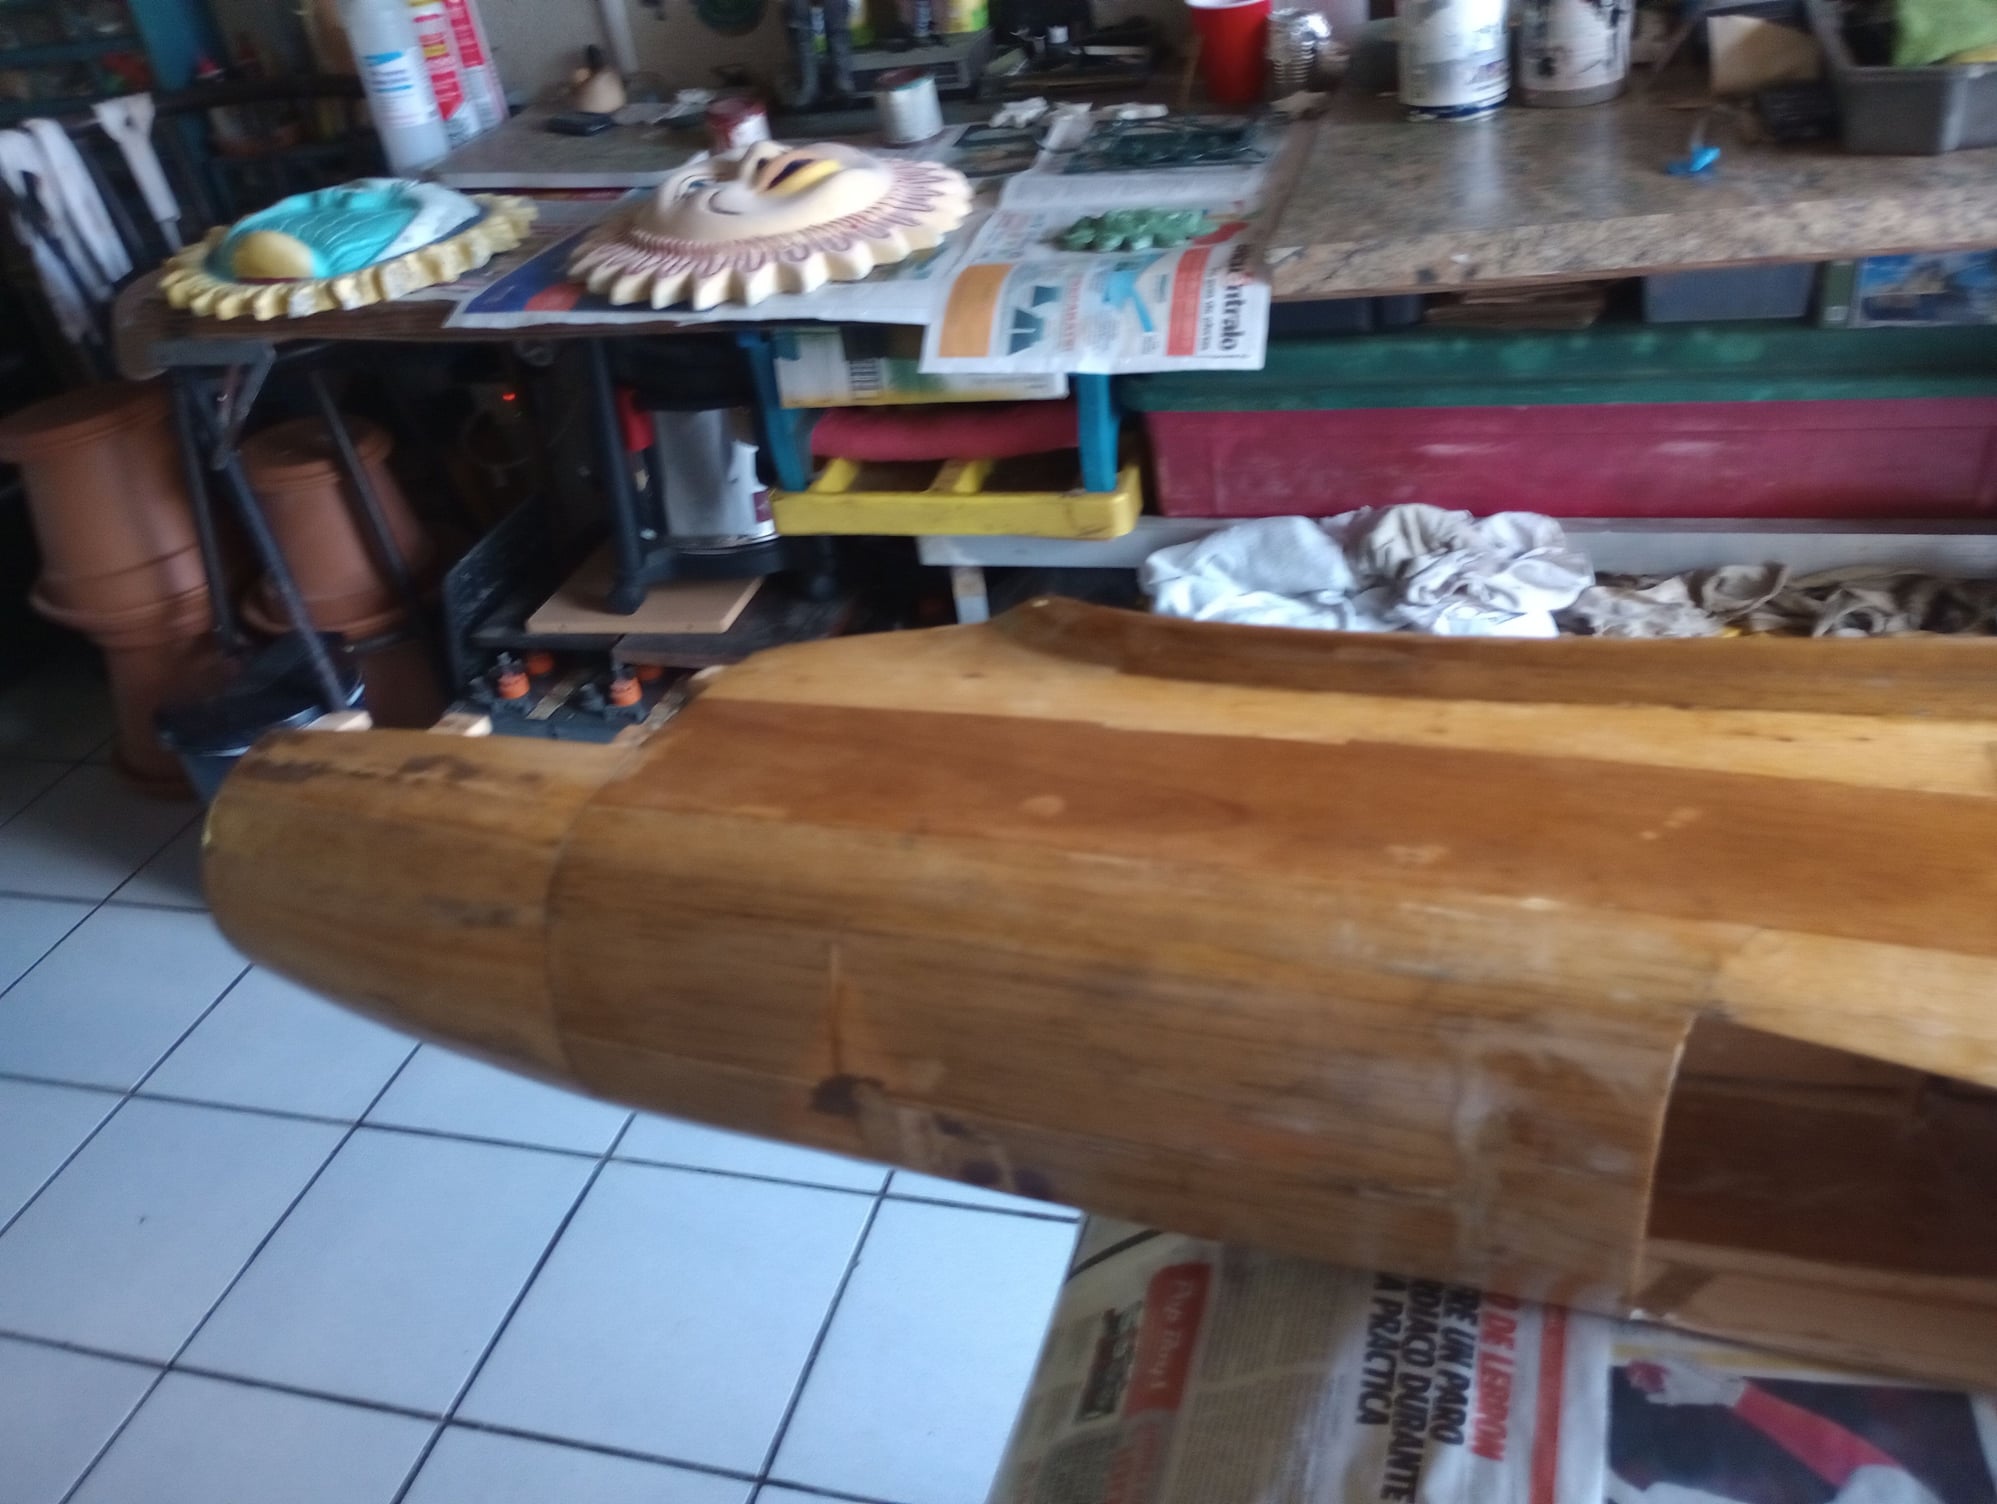
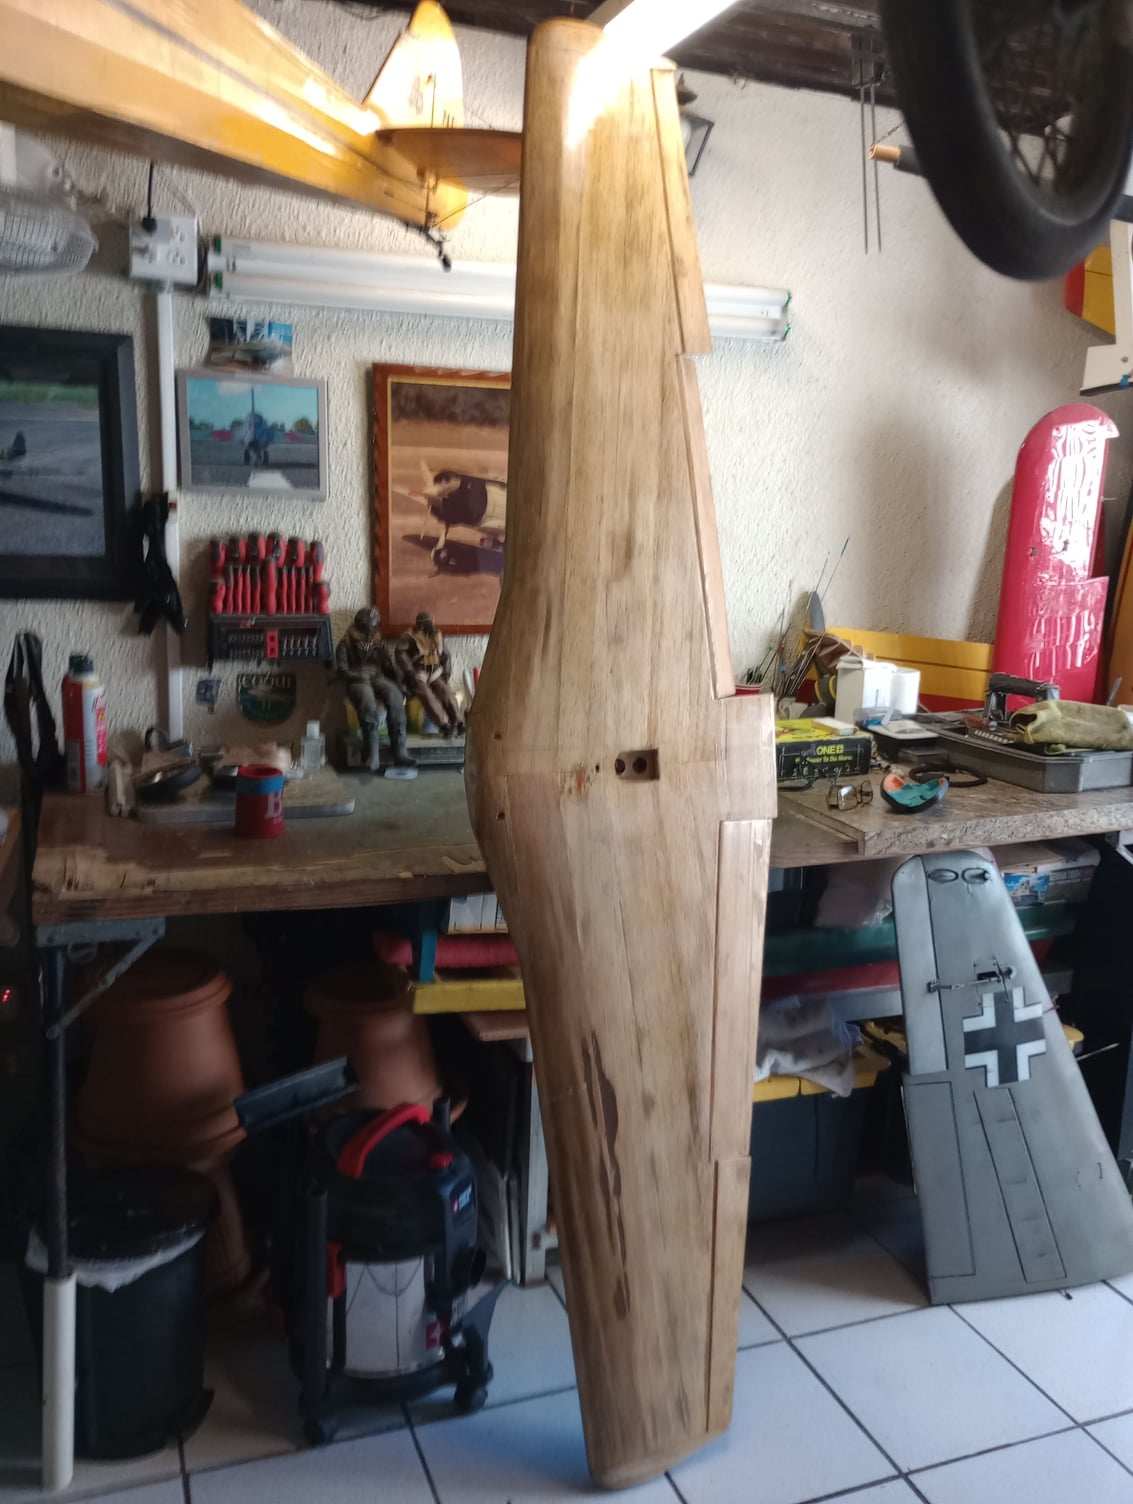
It was exposed to the damp air in my open shop. The wood is very dry and easy to sand to prepare for glassing. It did require some ding repair and a section of the fuselage nose top had been wet and i replaced that balsa.
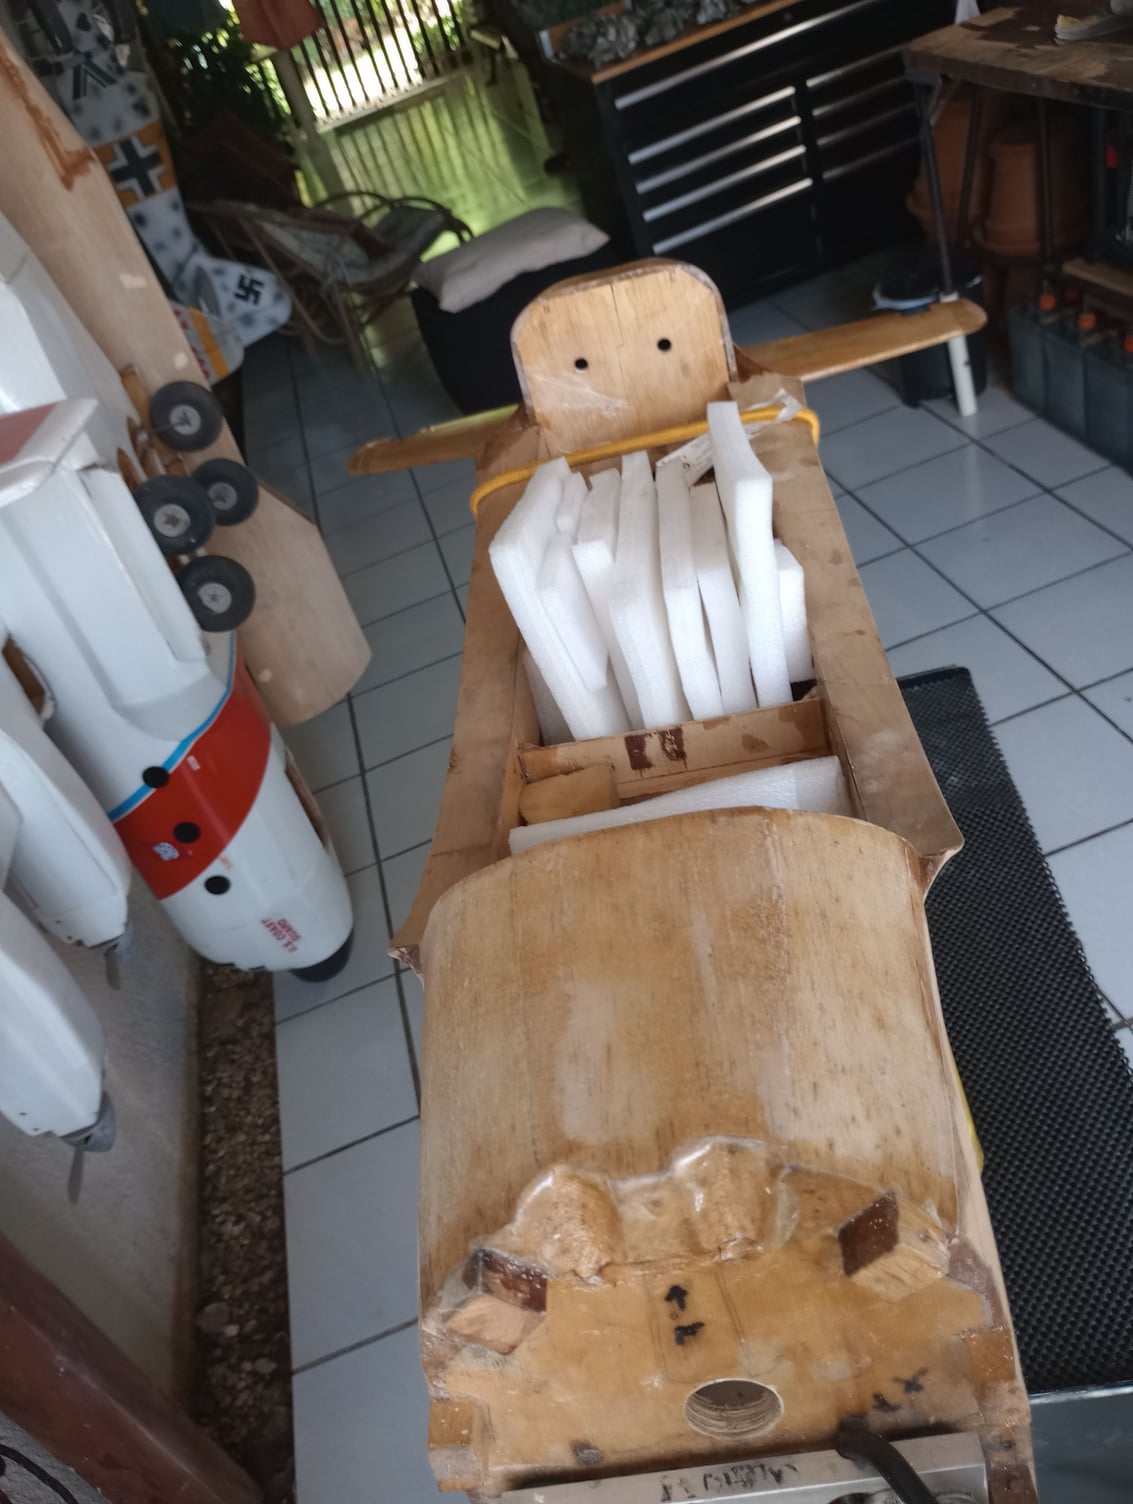
I started the finishing process by removing all the items installed for so long.
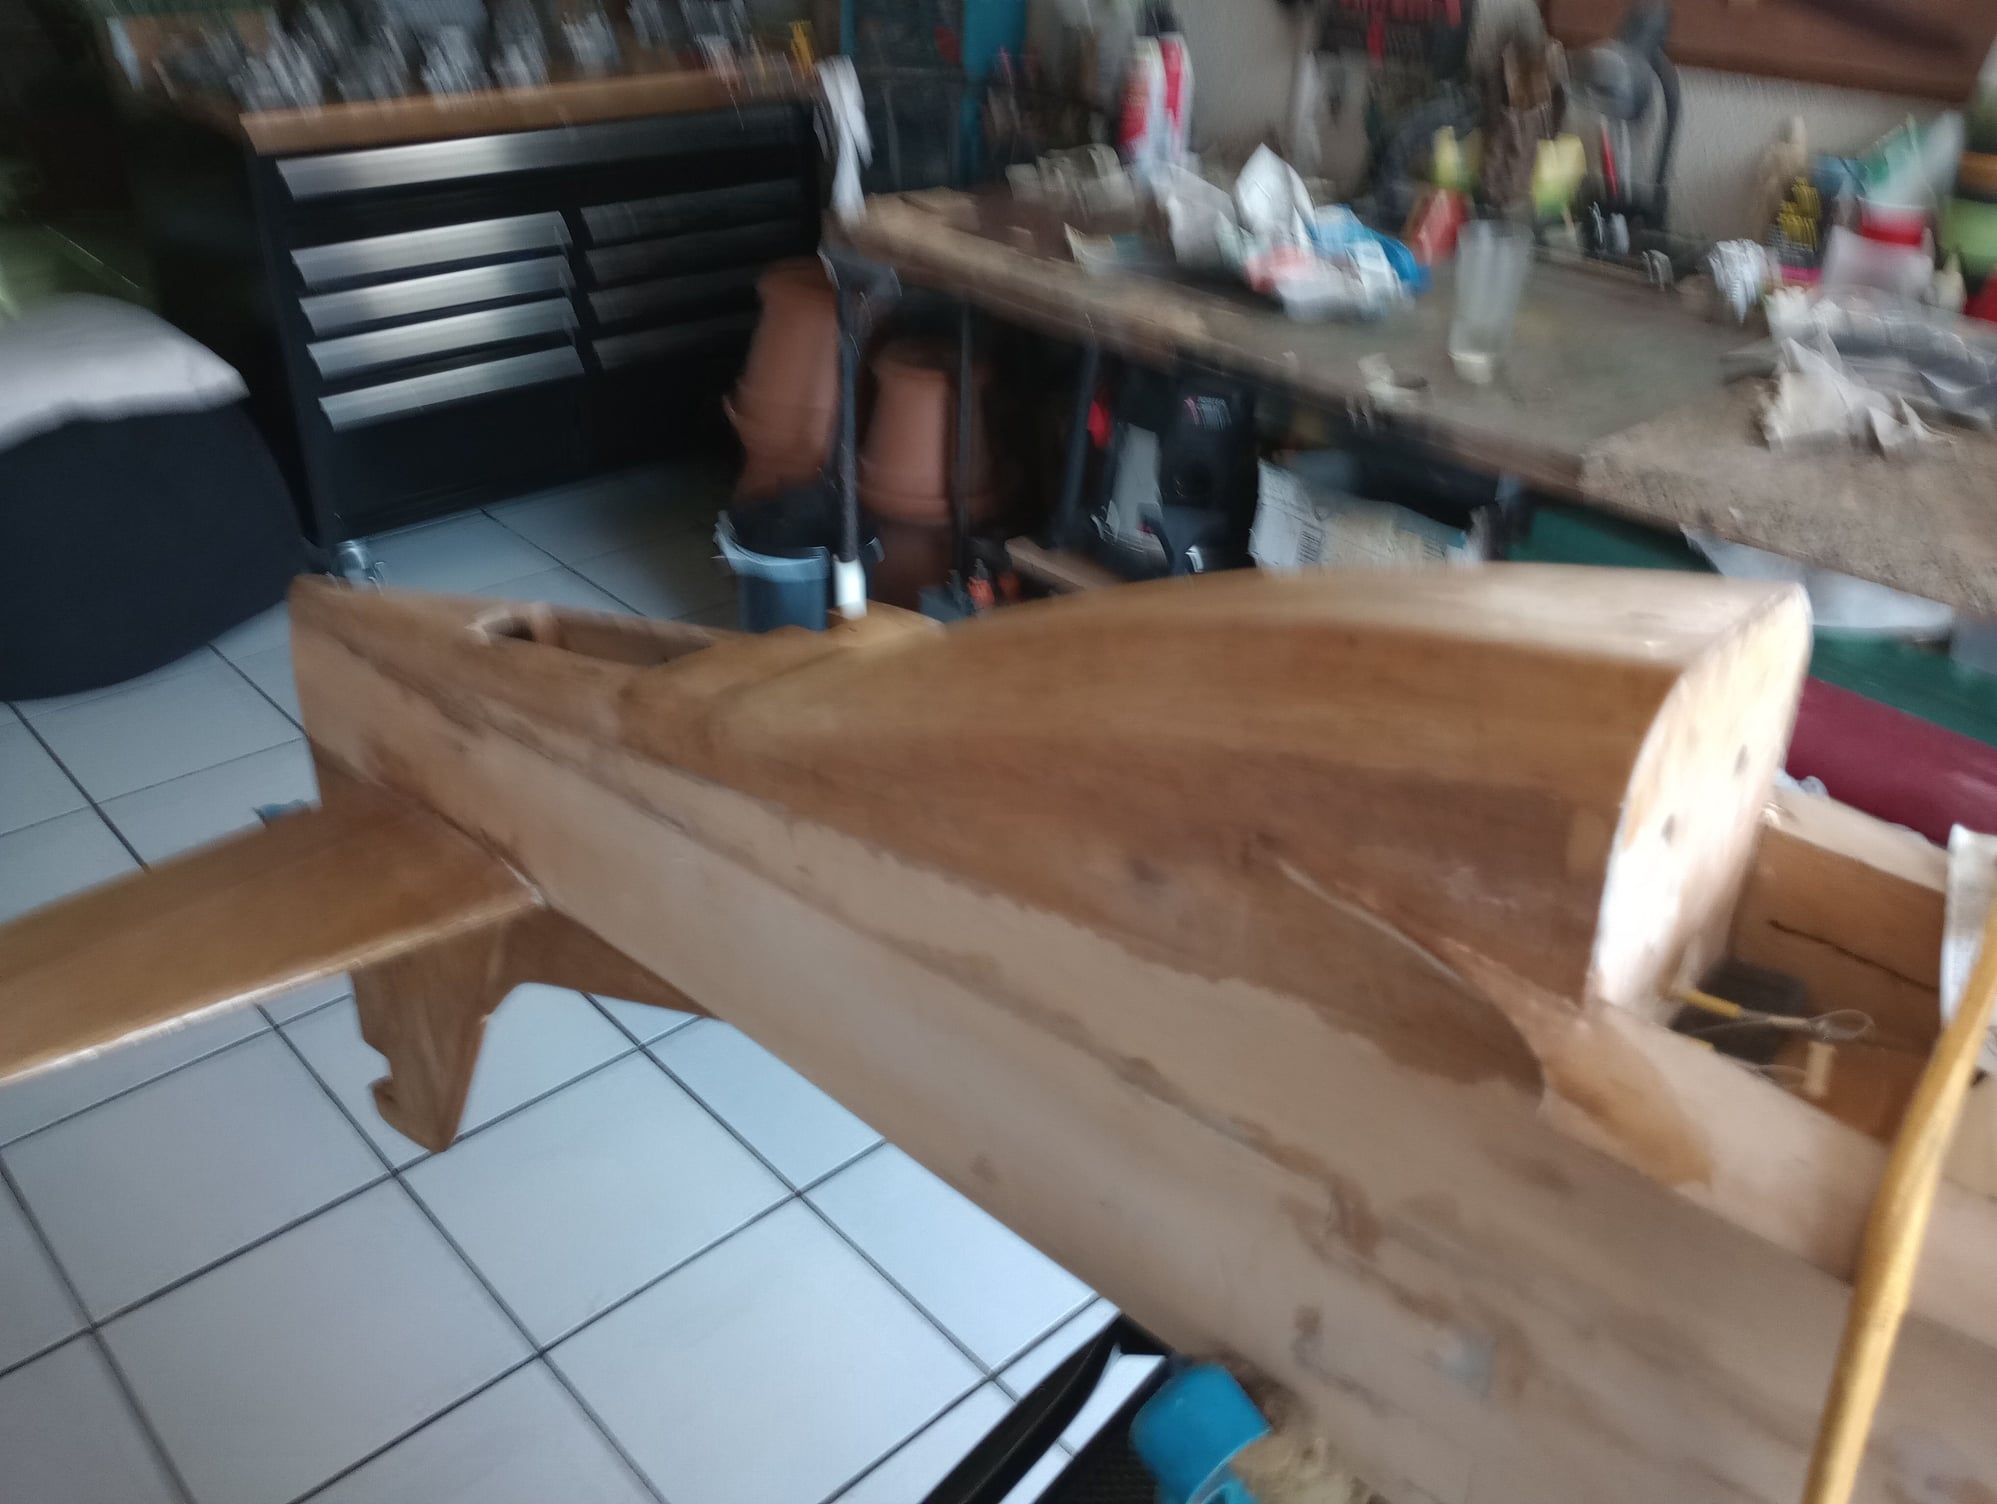
Once the fuselage and wing were stripped, I glassed the fuselage interior to reinforce the balsa. This added a few ounces of weight to the structure, but certainly the reinforcement brings peace of mind.
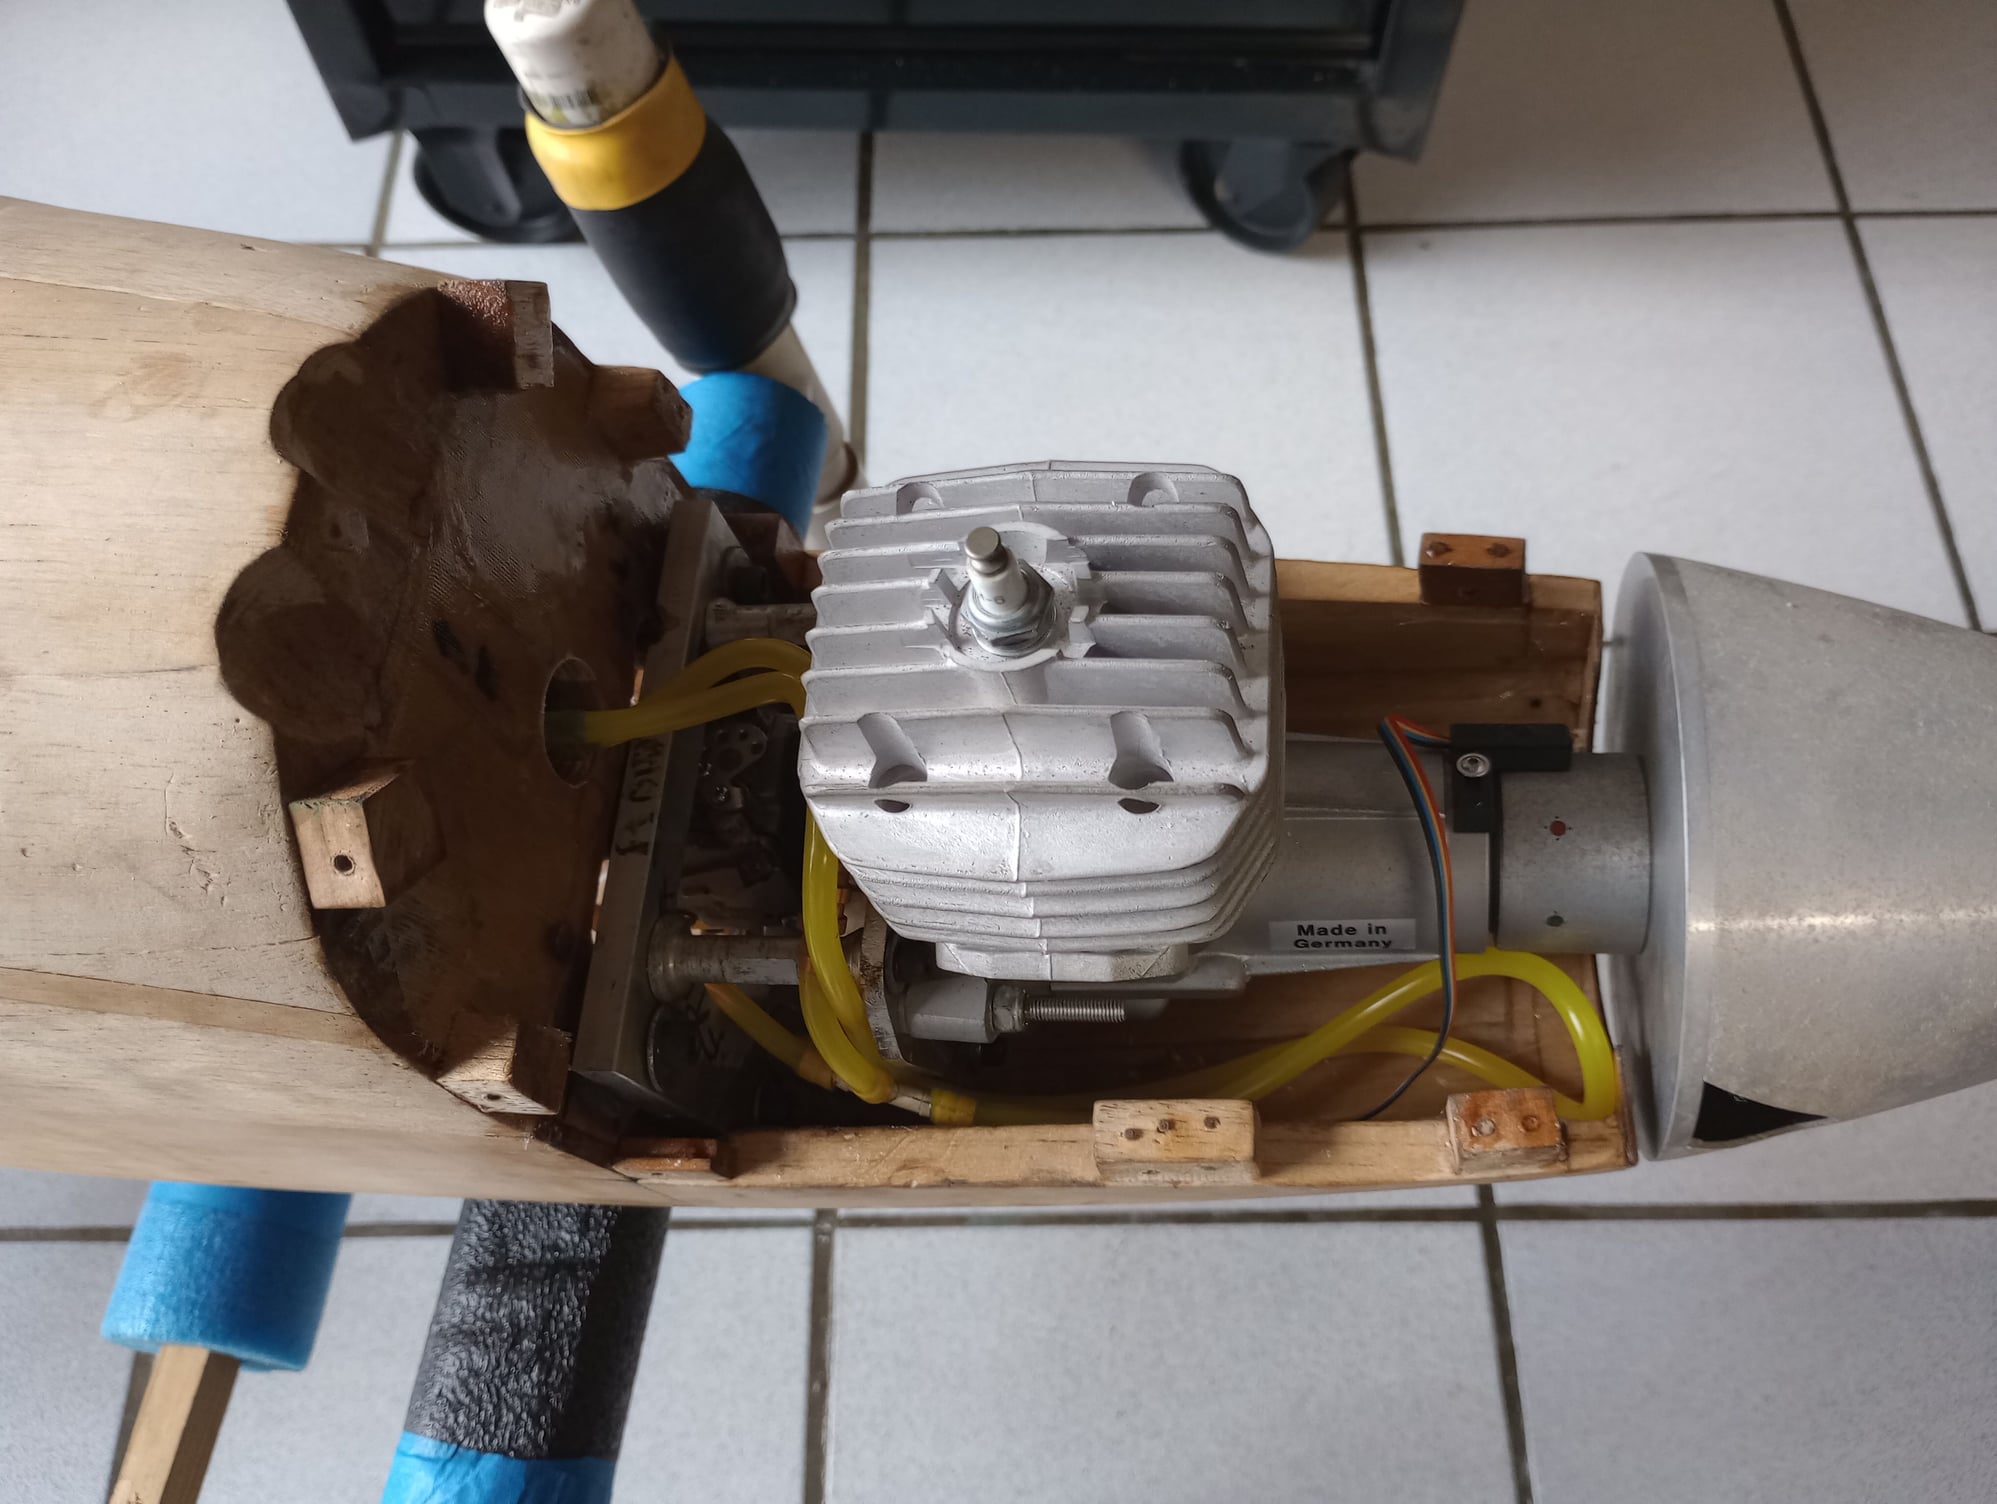
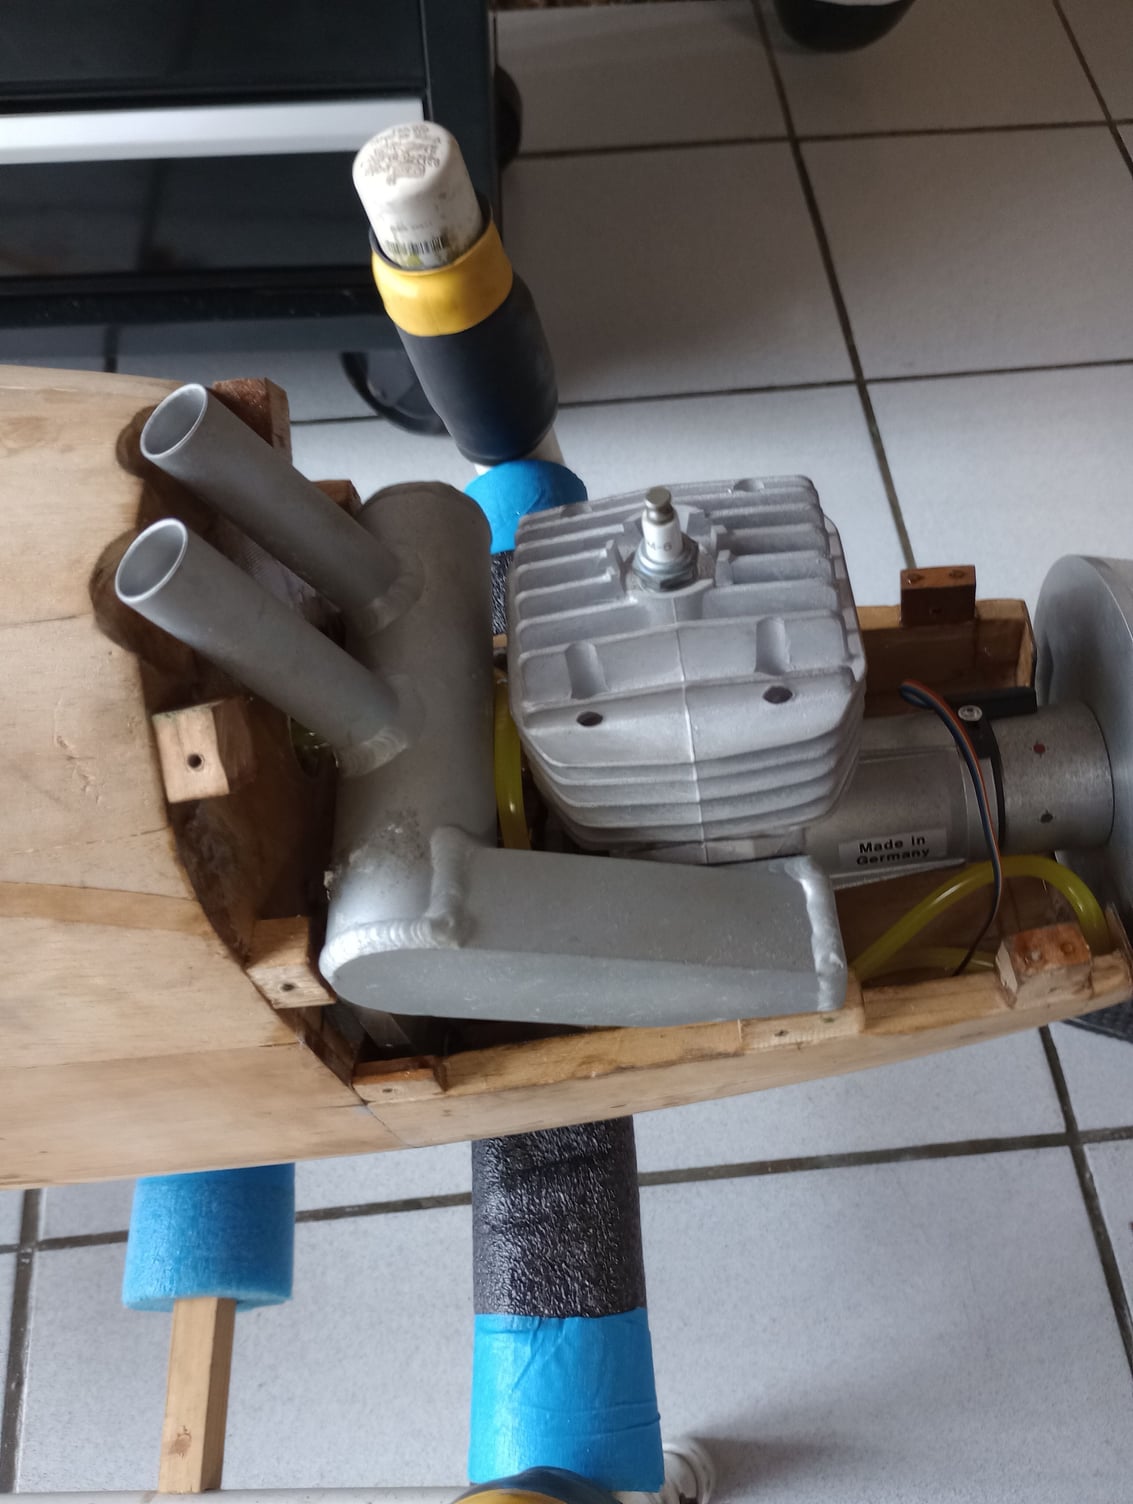
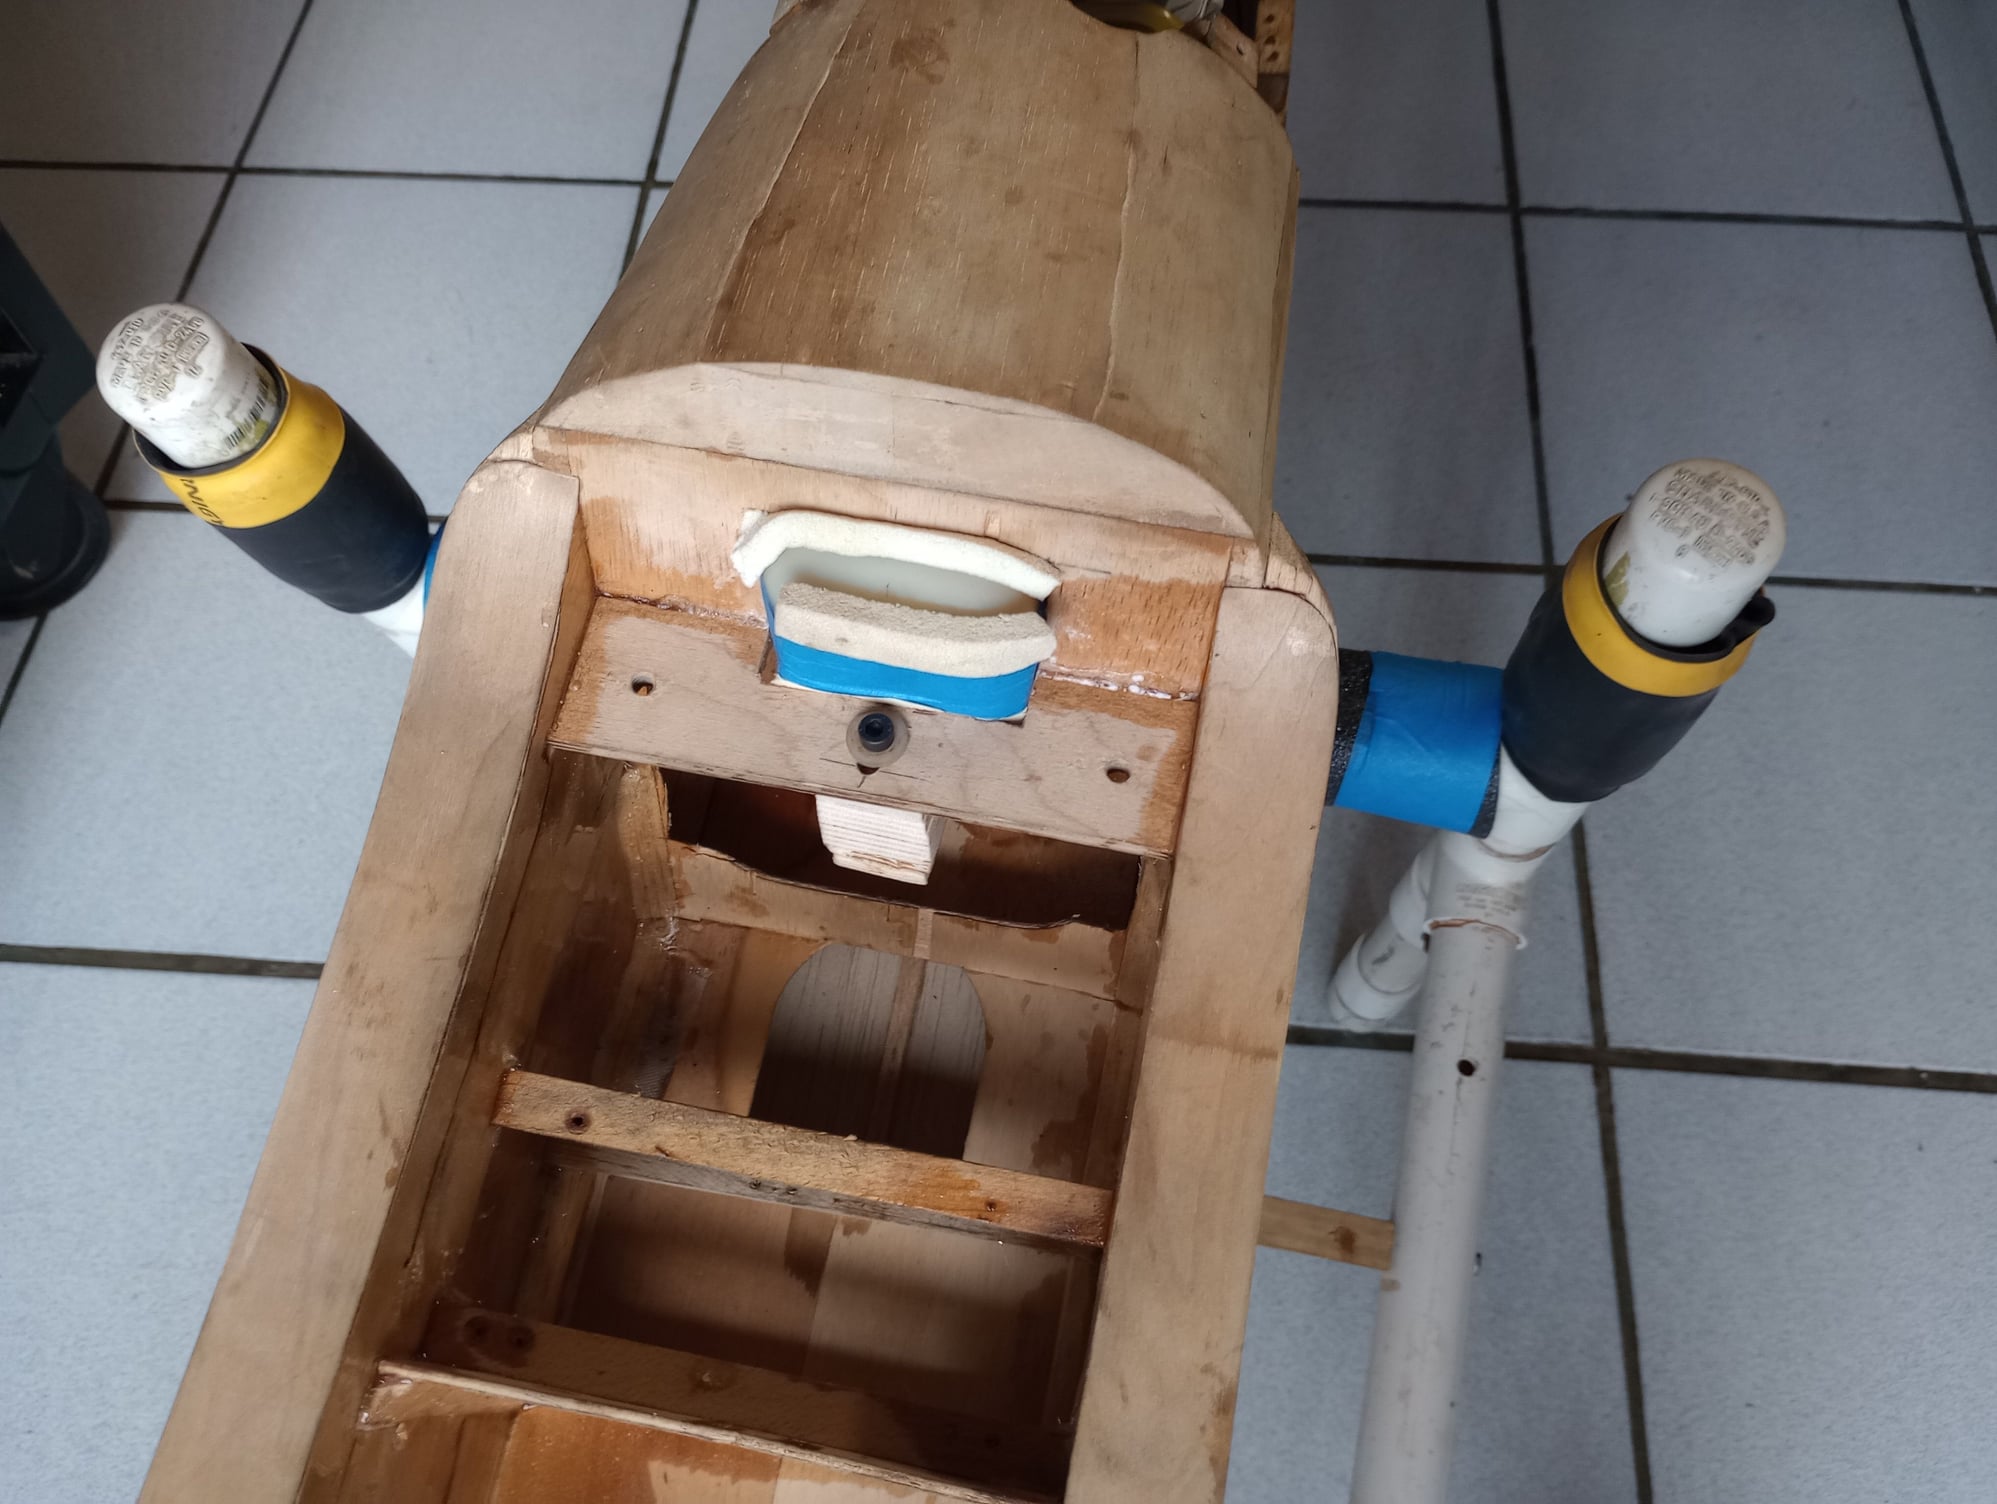
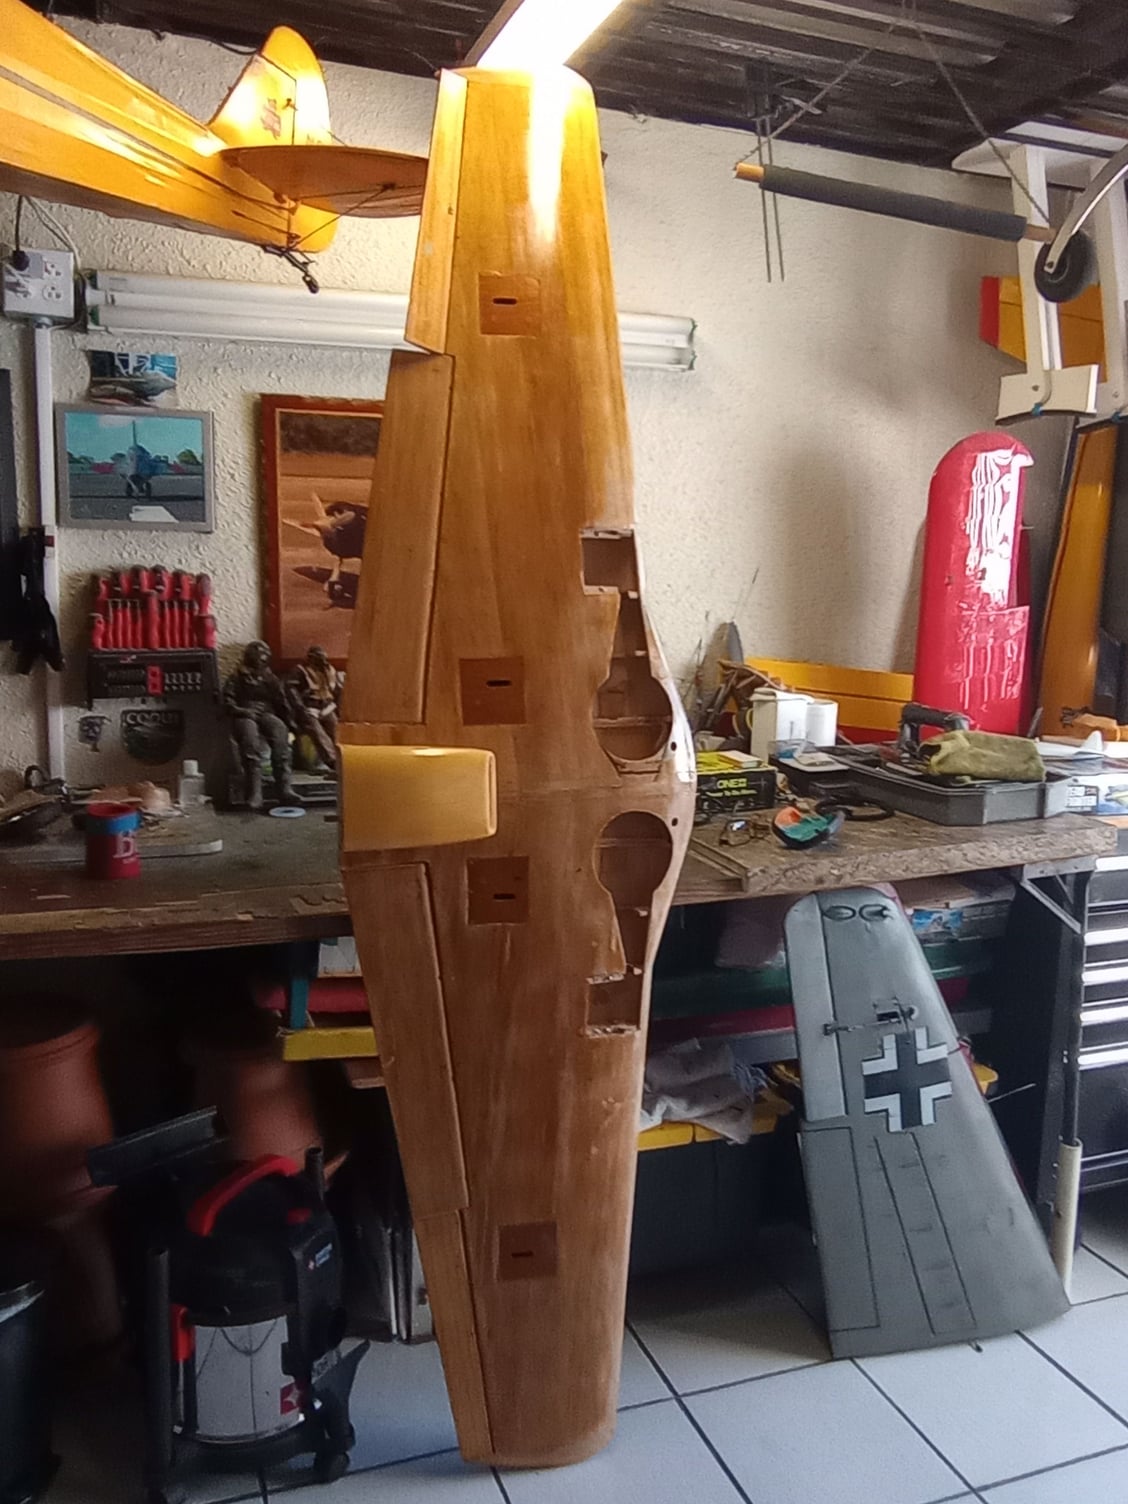
I then proceeded to install a modern type of engine mount with the normally used metal towers. The assembly is mounted on an 1/4" aluminum plate for sturdiness and proper flat mounting surface for the 3W. The interior nose area was also glassed to fuel proof and strengthen. I had to open an areas in the center of the aluminum plate to be able to pass thru the rear carburator iengine. It all fitted perfectly including the muffler. Also, there is perfect access to the fuel needles from the side. Finally I fitted the spinner to insure that it was still all squared with the P51D nose.
I then proceeded to install the fuel tank. The Top Flite P51D seems to have an enormous area to install a tank. That is so if you use a side carbonation engine. With rear carbonation, you require to install throttle linkage and choke too. Initially I had installed two tanks in series. I replaced this install with a 27 oz tank but had to modify the install for it to fit. Finally the install was perfect, the tank fitted well and the required space for the carburetor linkages available..
Now the model is ready for sanding and prep for fiber glassing. I am not to experienced in this process. My only full size model glassing was on the wings of my HE 162 Salamander. I consulted a couple of my fellow modelers, Ramon Medina and Wilfredo Rivera who have a lot of experience.
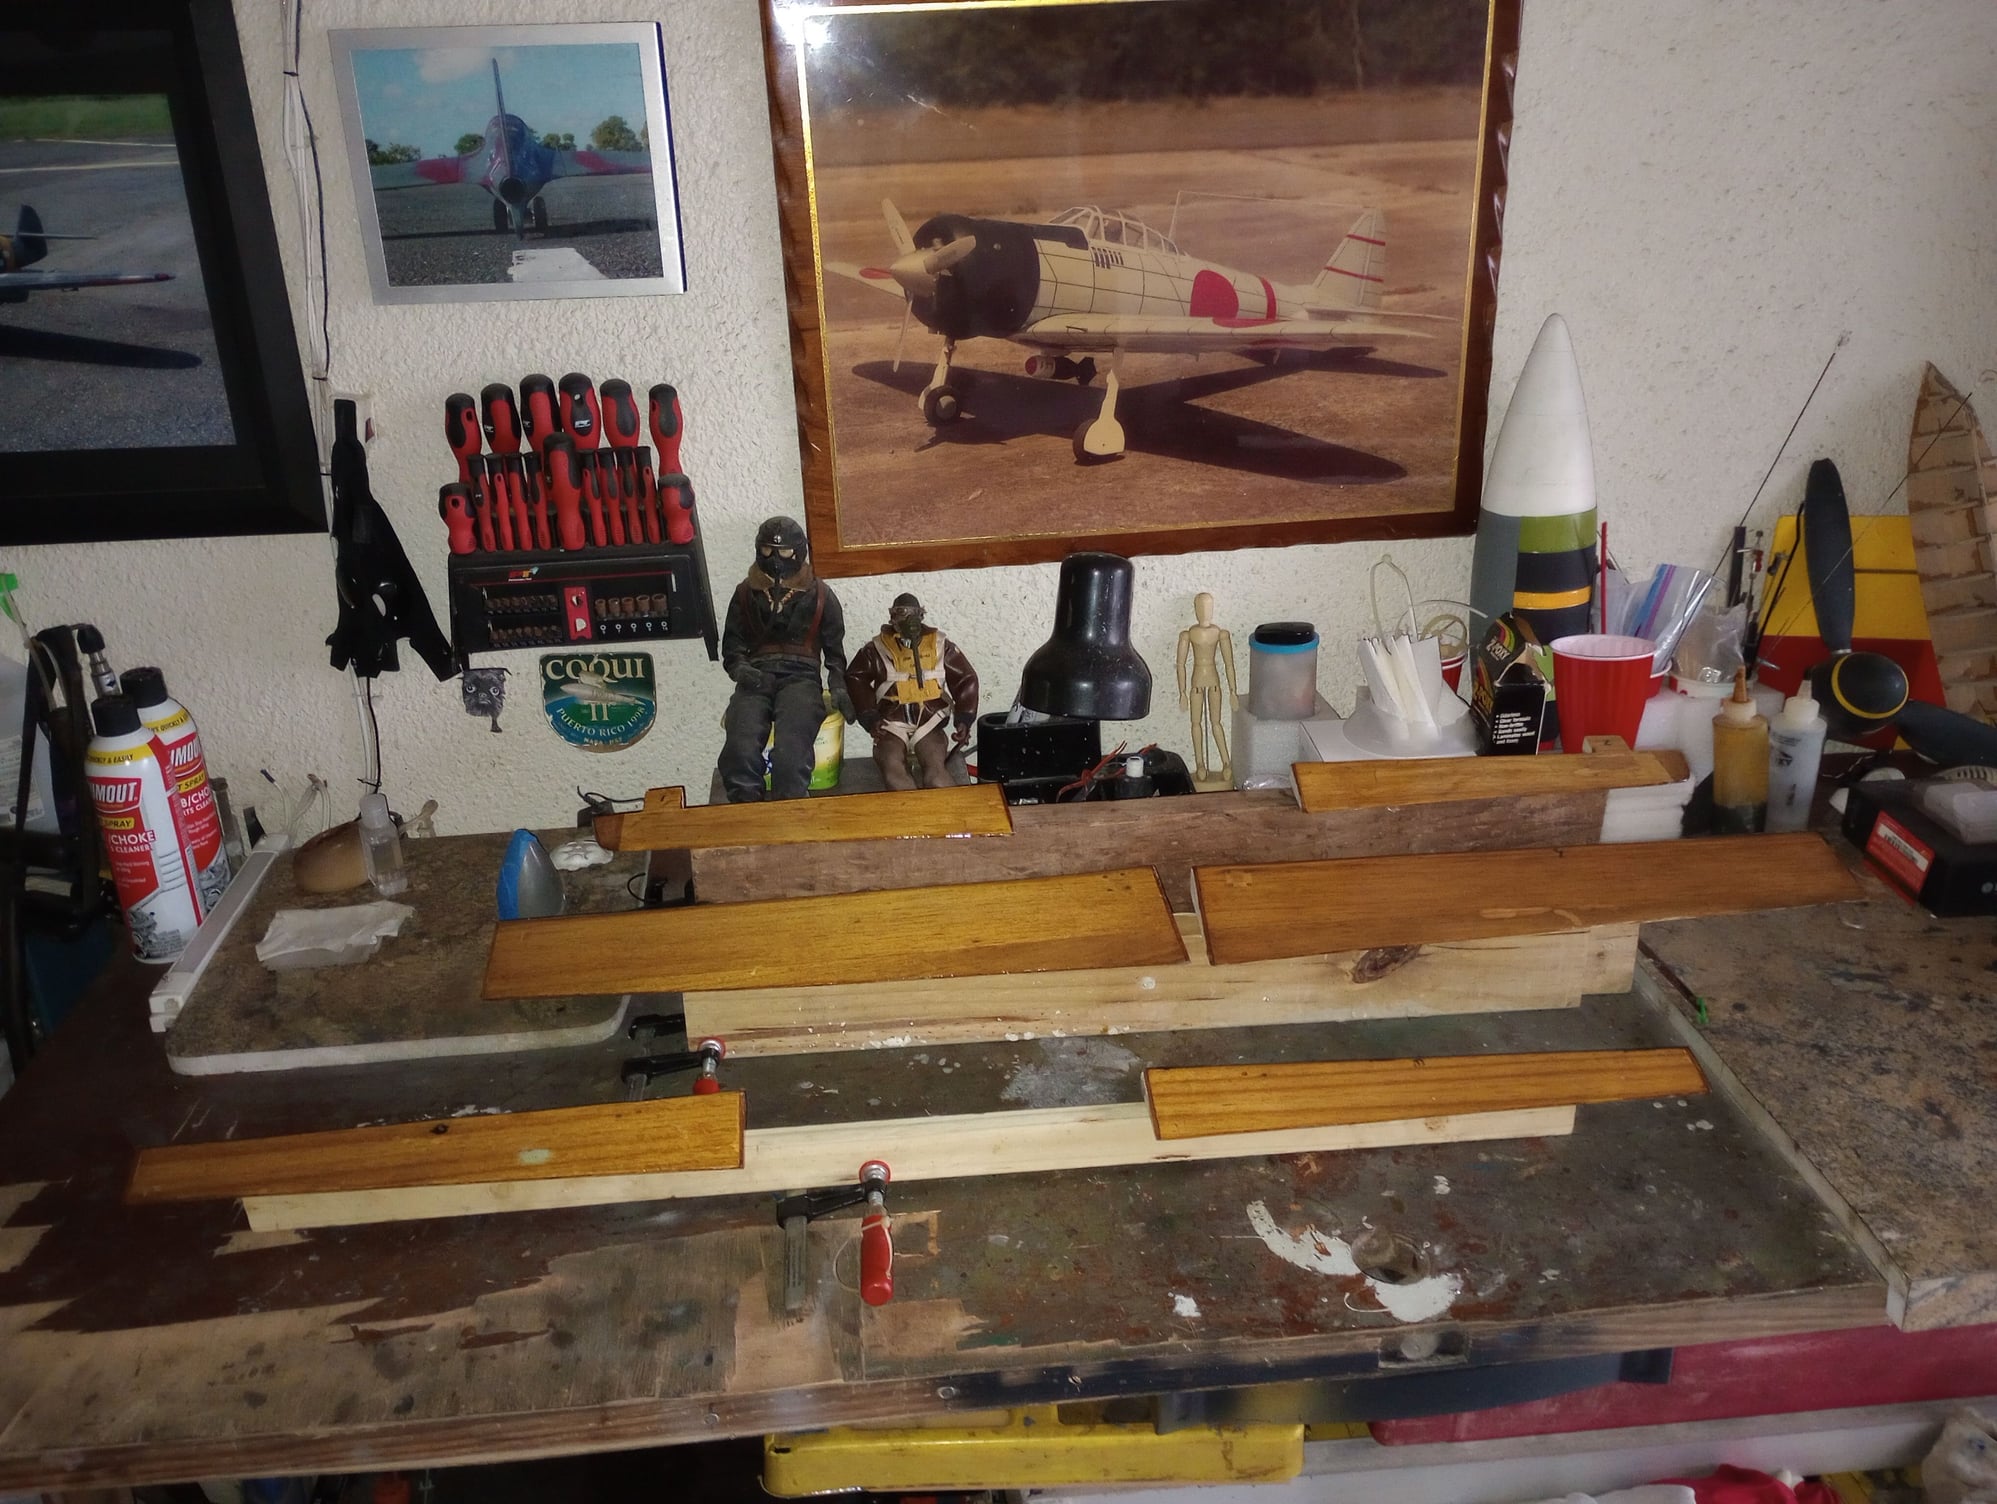
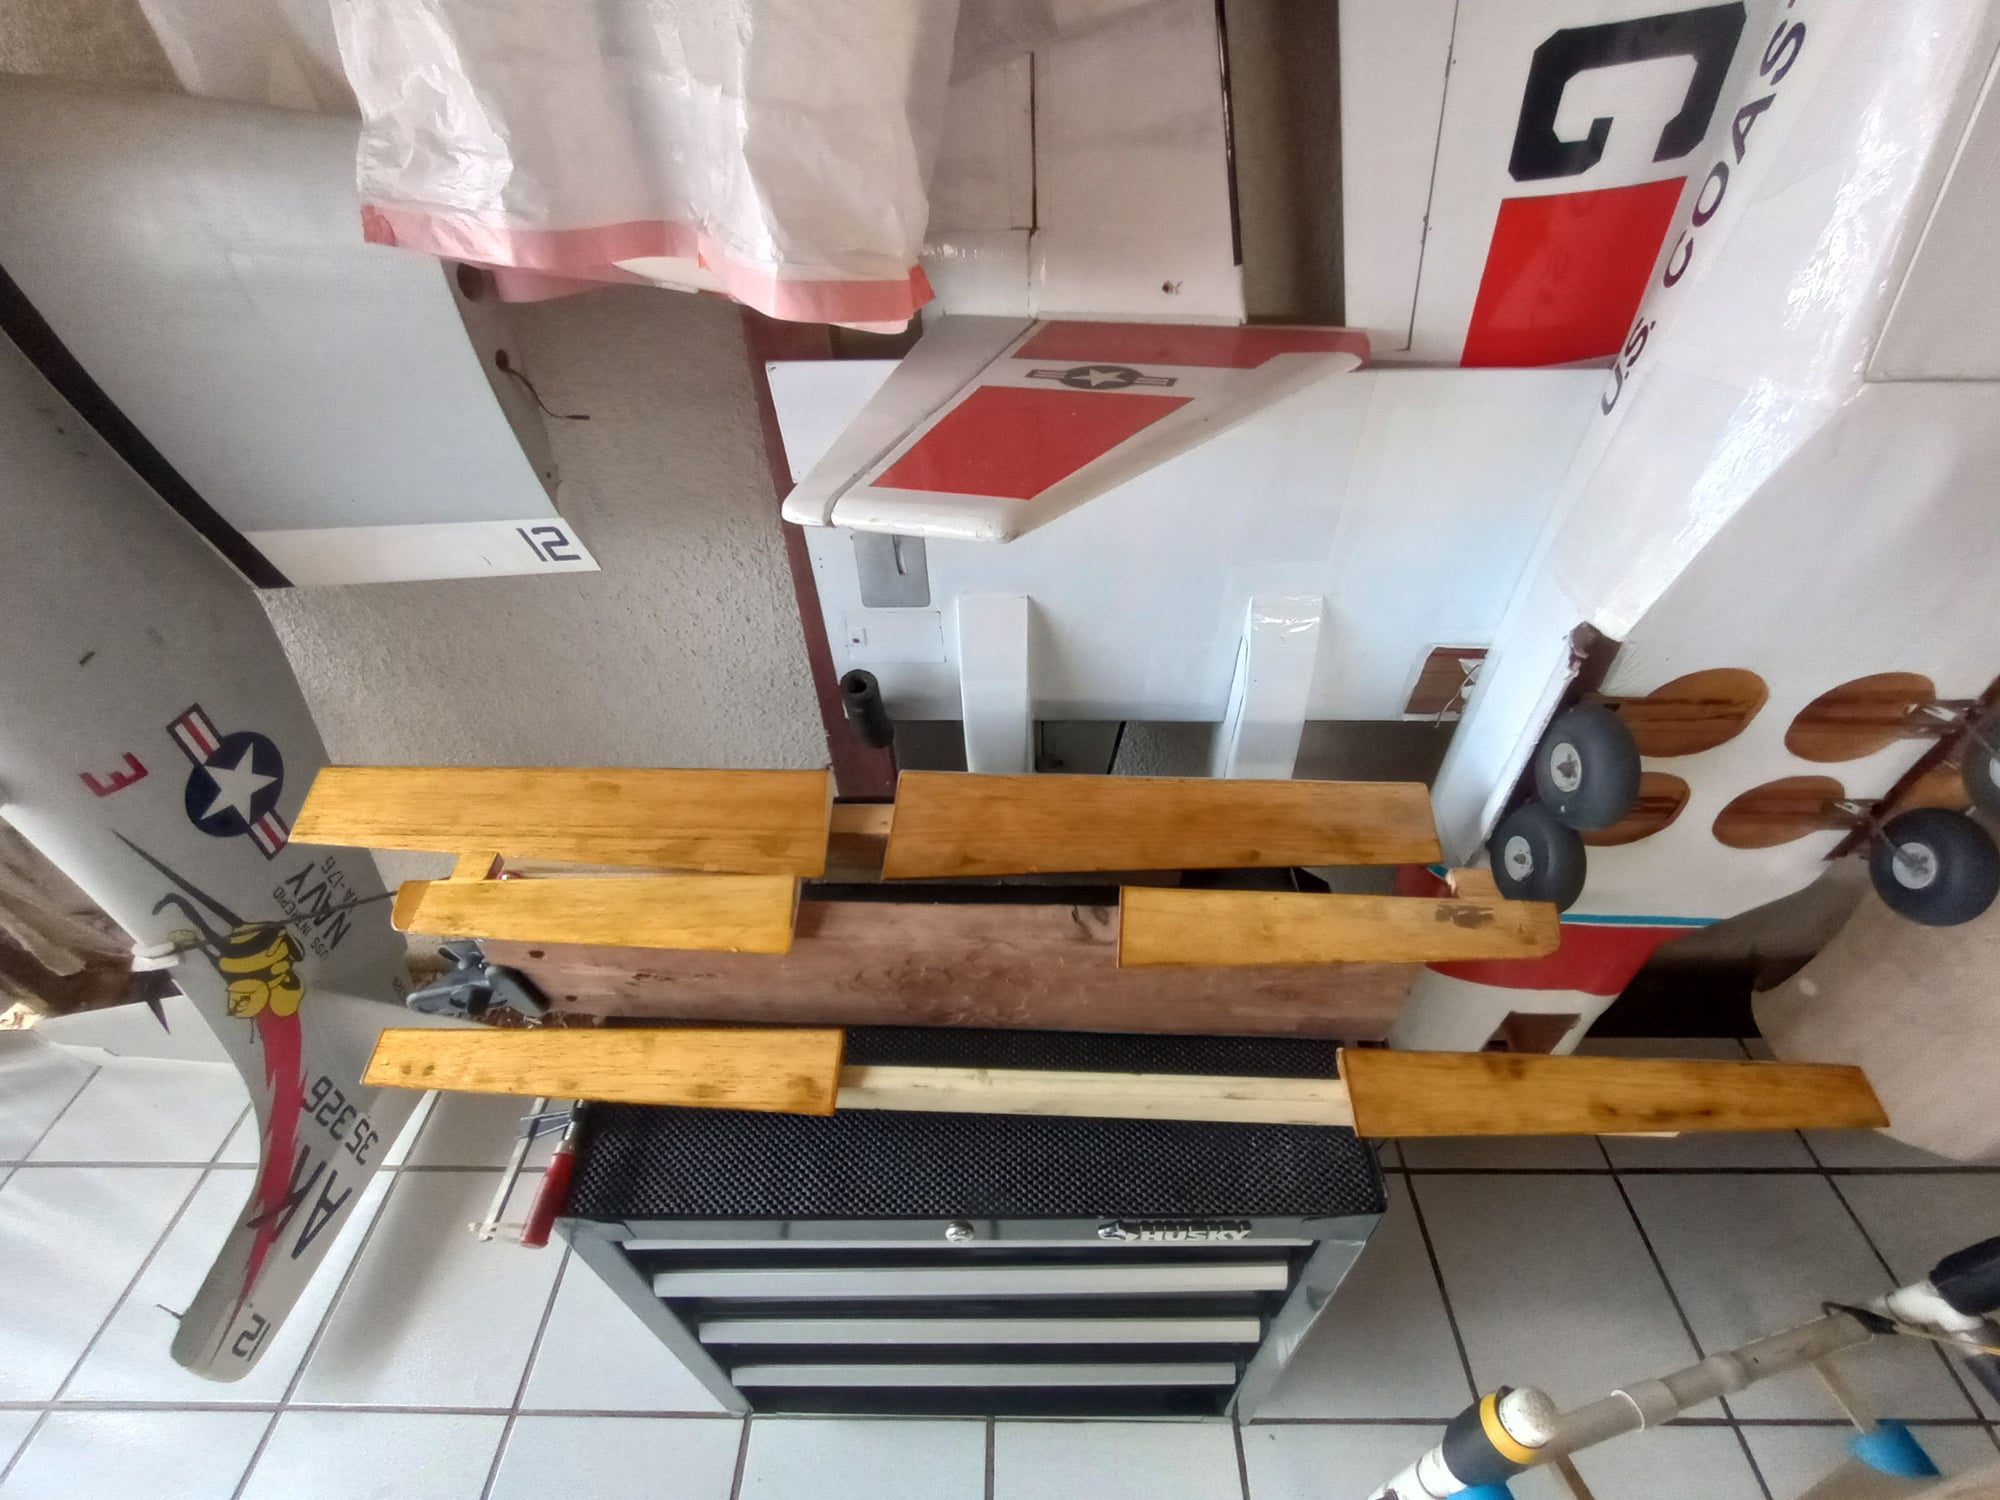
I started by sanding the 6 control surface and preparing for the cloth and resin. This parts are for me the most arduous since they are small and hard to handle. Finally, I finished the glassing these surfaces; 2 elevator, 2 flaps and 2 Ailerons. I utilized 3/4 oz cloth and finishing resin. One coat too adhere the cloth and one coat to fill and finished the surfaces.
The next step will be to refit the surfaces to model and insure that the hinges and gaps are all as planned. Then primmer the six surfaces and leave for final finishing, when the full model is primmed, painting.
This s my 3rd P51D. I decided to go larger due to my eye sight which is no longer prime as it once was. It is the no longer produced Top Flite Giant scale Mustang, kit. Not the ARF. I have had this model almost finished in my shop for over 12 years. It has all the required accessories; Robart retracts, Robart scale tires, 3w 55i (not ever started), servos, scale cabin, spinner,etc. I am planning on finishing it as Roscoe Browns Bunnie once again.
It was exposed to the damp air in my open shop. The wood is very dry and easy to sand to prepare for glassing. It did require some ding repair and a section of the fuselage nose top had been wet and i replaced that balsa.
I started the finishing process by removing all the items installed for so long.
Once the fuselage and wing were stripped, I glassed the fuselage interior to reinforce the balsa. This added a few ounces of weight to the structure, but certainly the reinforcement brings peace of mind.
I then proceeded to install a modern type of engine mount with the normally used metal towers. The assembly is mounted on an 1/4" aluminum plate for sturdiness and proper flat mounting surface for the 3W. The interior nose area was also glassed to fuel proof and strengthen. I had to open an areas in the center of the aluminum plate to be able to pass thru the rear carburator iengine. It all fitted perfectly including the muffler. Also, there is perfect access to the fuel needles from the side. Finally I fitted the spinner to insure that it was still all squared with the P51D nose.
I then proceeded to install the fuel tank. The Top Flite P51D seems to have an enormous area to install a tank. That is so if you use a side carbonation engine. With rear carbonation, you require to install throttle linkage and choke too. Initially I had installed two tanks in series. I replaced this install with a 27 oz tank but had to modify the install for it to fit. Finally the install was perfect, the tank fitted well and the required space for the carburetor linkages available..
Now the model is ready for sanding and prep for fiber glassing. I am not to experienced in this process. My only full size model glassing was on the wings of my HE 162 Salamander. I consulted a couple of my fellow modelers, Ramon Medina and Wilfredo Rivera who have a lot of experience.
I started by sanding the 6 control surface and preparing for the cloth and resin. This parts are for me the most arduous since they are small and hard to handle. Finally, I finished the glassing these surfaces; 2 elevator, 2 flaps and 2 Ailerons. I utilized 3/4 oz cloth and finishing resin. One coat too adhere the cloth and one coat to fill and finished the surfaces.
The next step will be to refit the surfaces to model and insure that the hinges and gaps are all as planned. Then primmer the six surfaces and leave for final finishing, when the full model is primmed, painting.

 07-05-2023, 07:49 AM
#3
Thread Starter
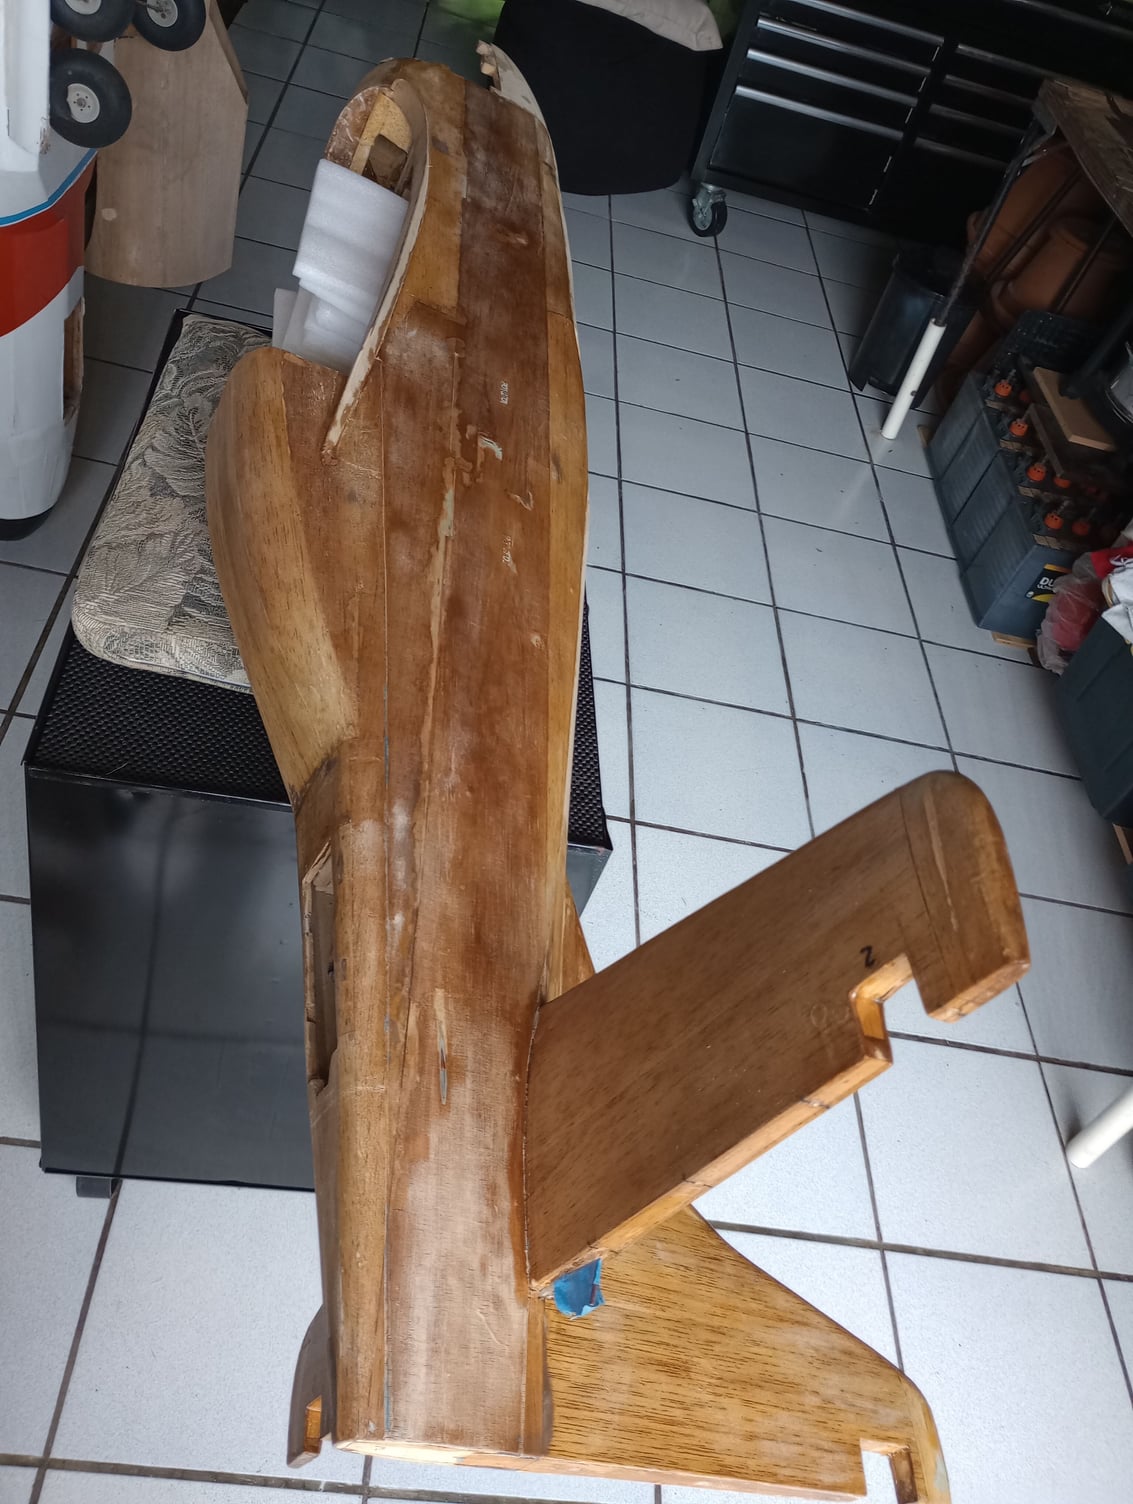
Continued the glassing process. Have gone slow due to other projects and repairs. Also its summer as you all know, but in Puerto Rico temperatures can get pretty high during the day, We have also been in a an unsual heat wave that has brought superh high temps. The sparse glassing I have doen is on the cooler days very early in the morning so the finishing epoxy does not congeal/start to set quckly.
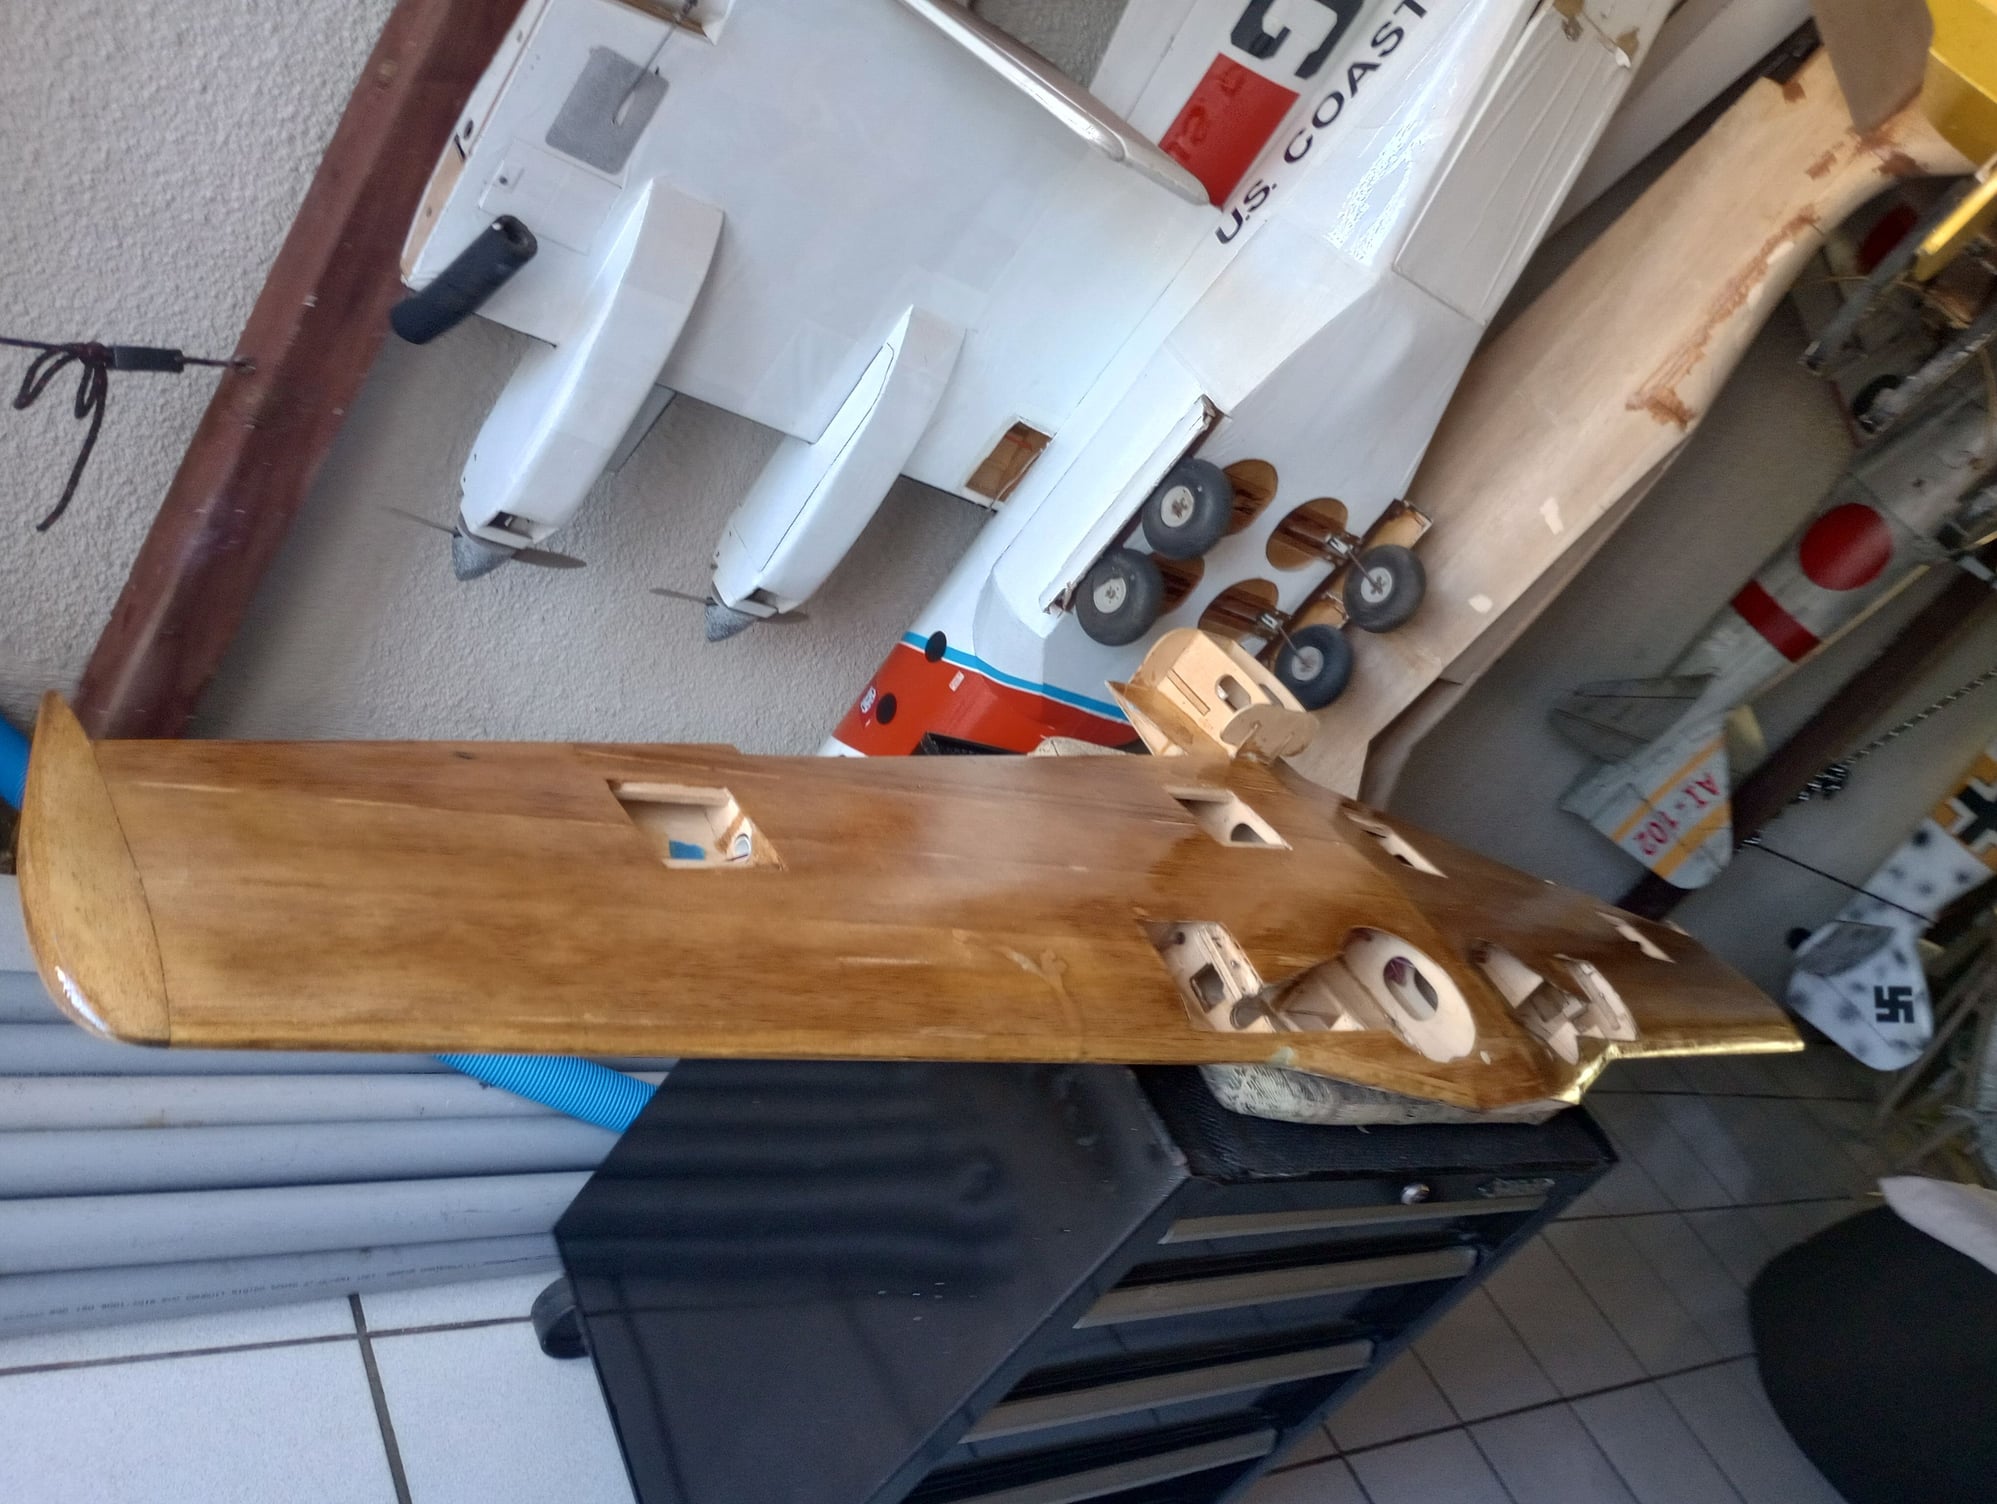
Have finished to date all flying surfaces: Ailerons X 2 , Elevators X 2 and flaps X 2. Also all the access hatches in the wing.
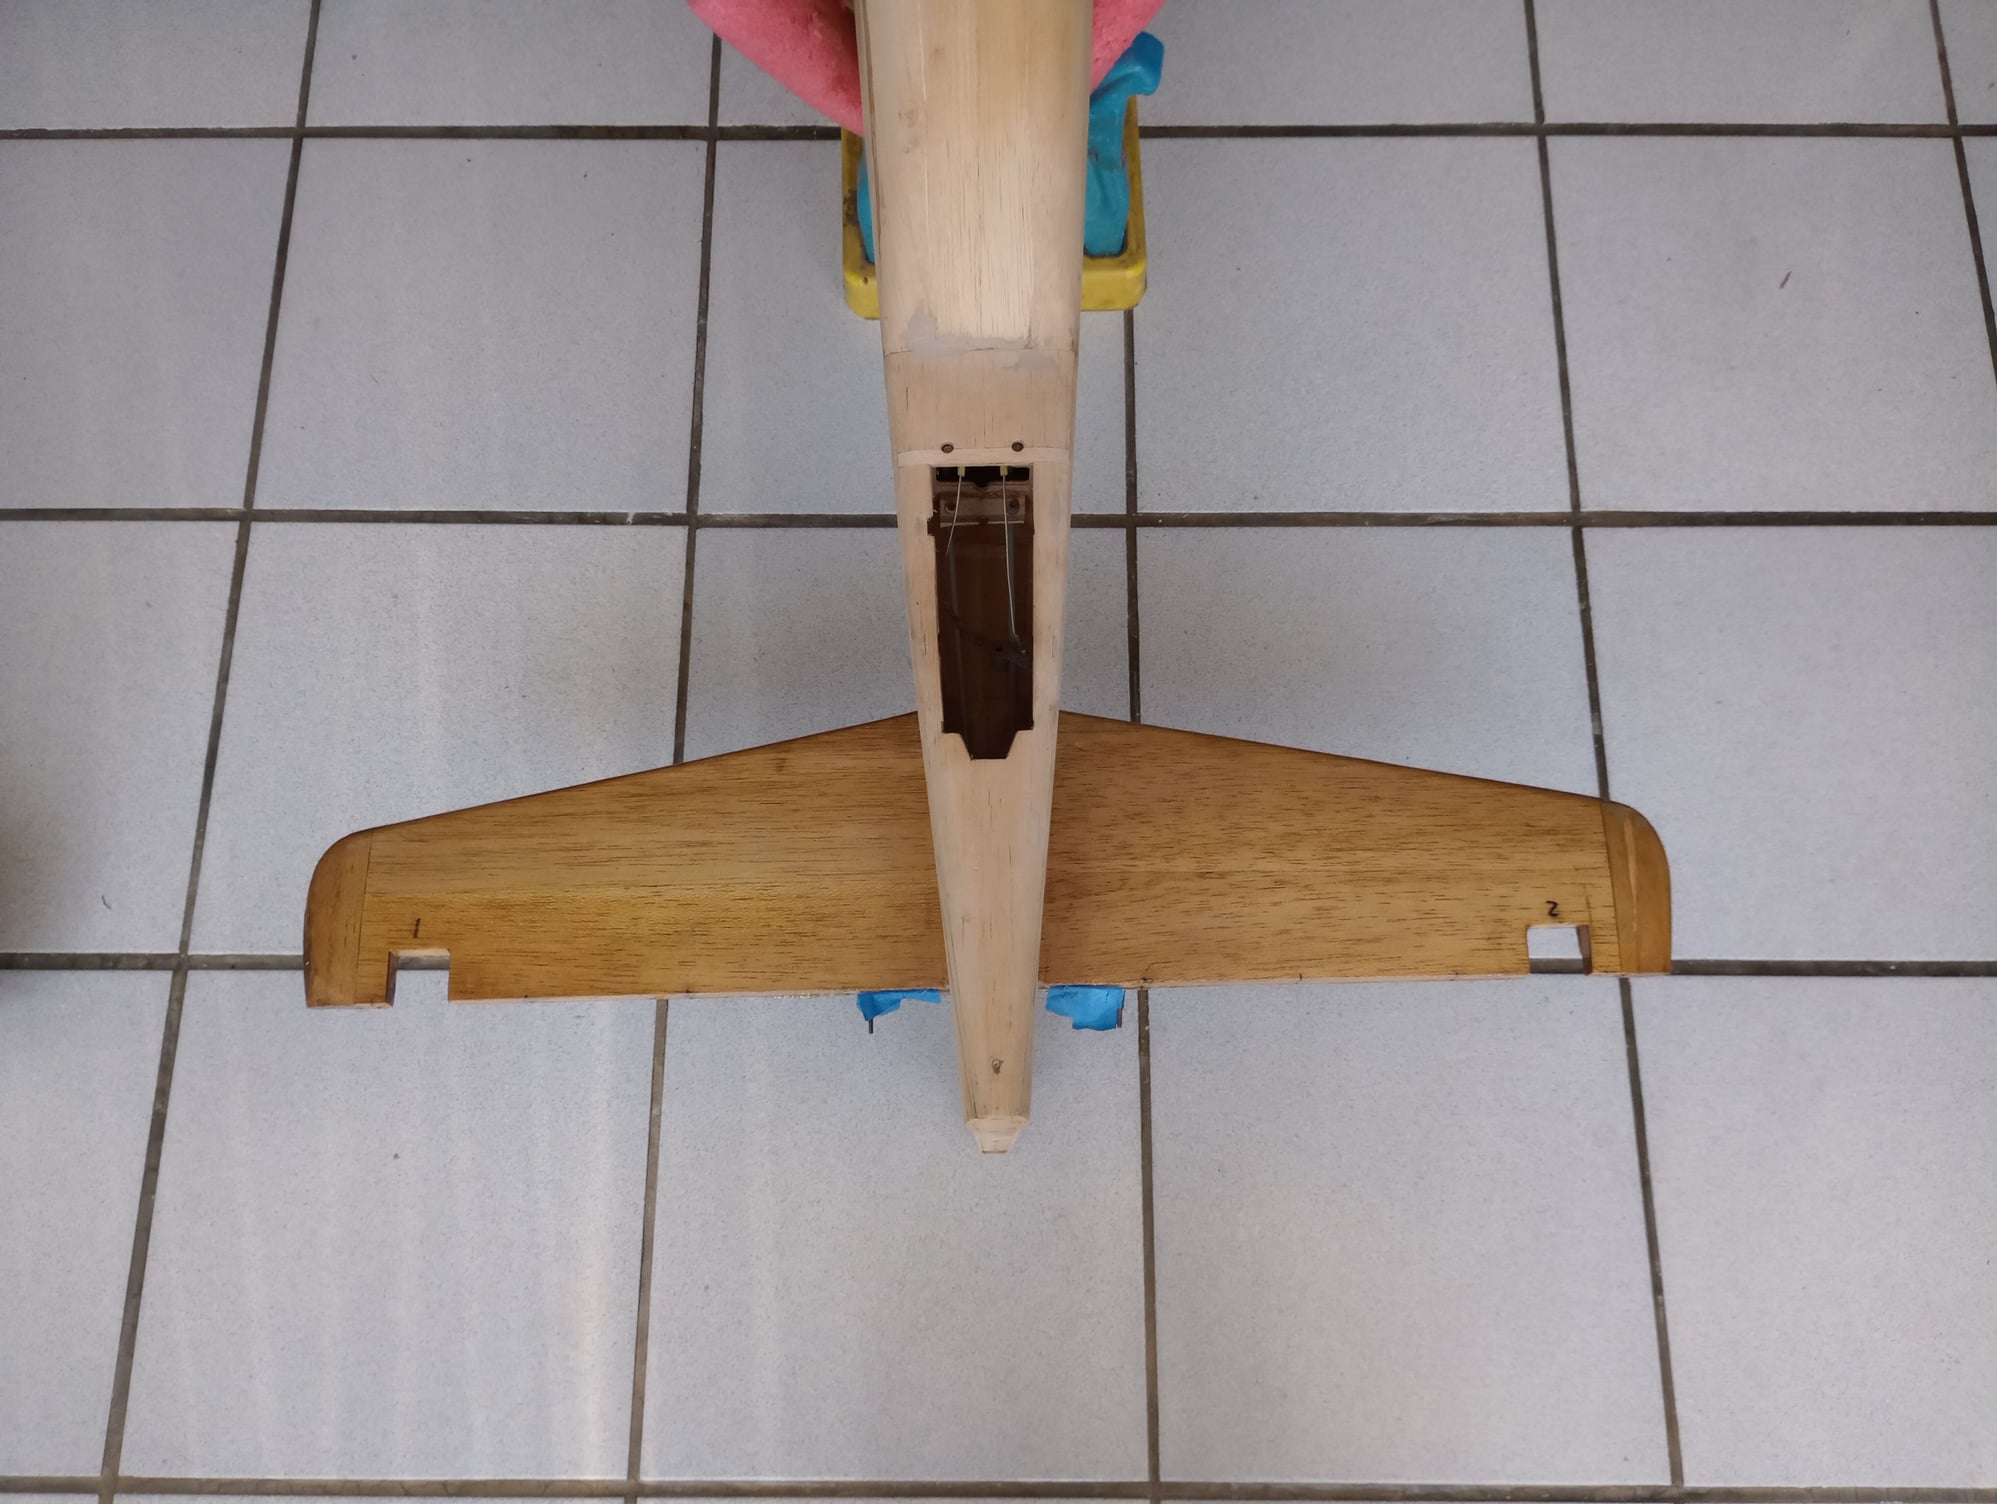
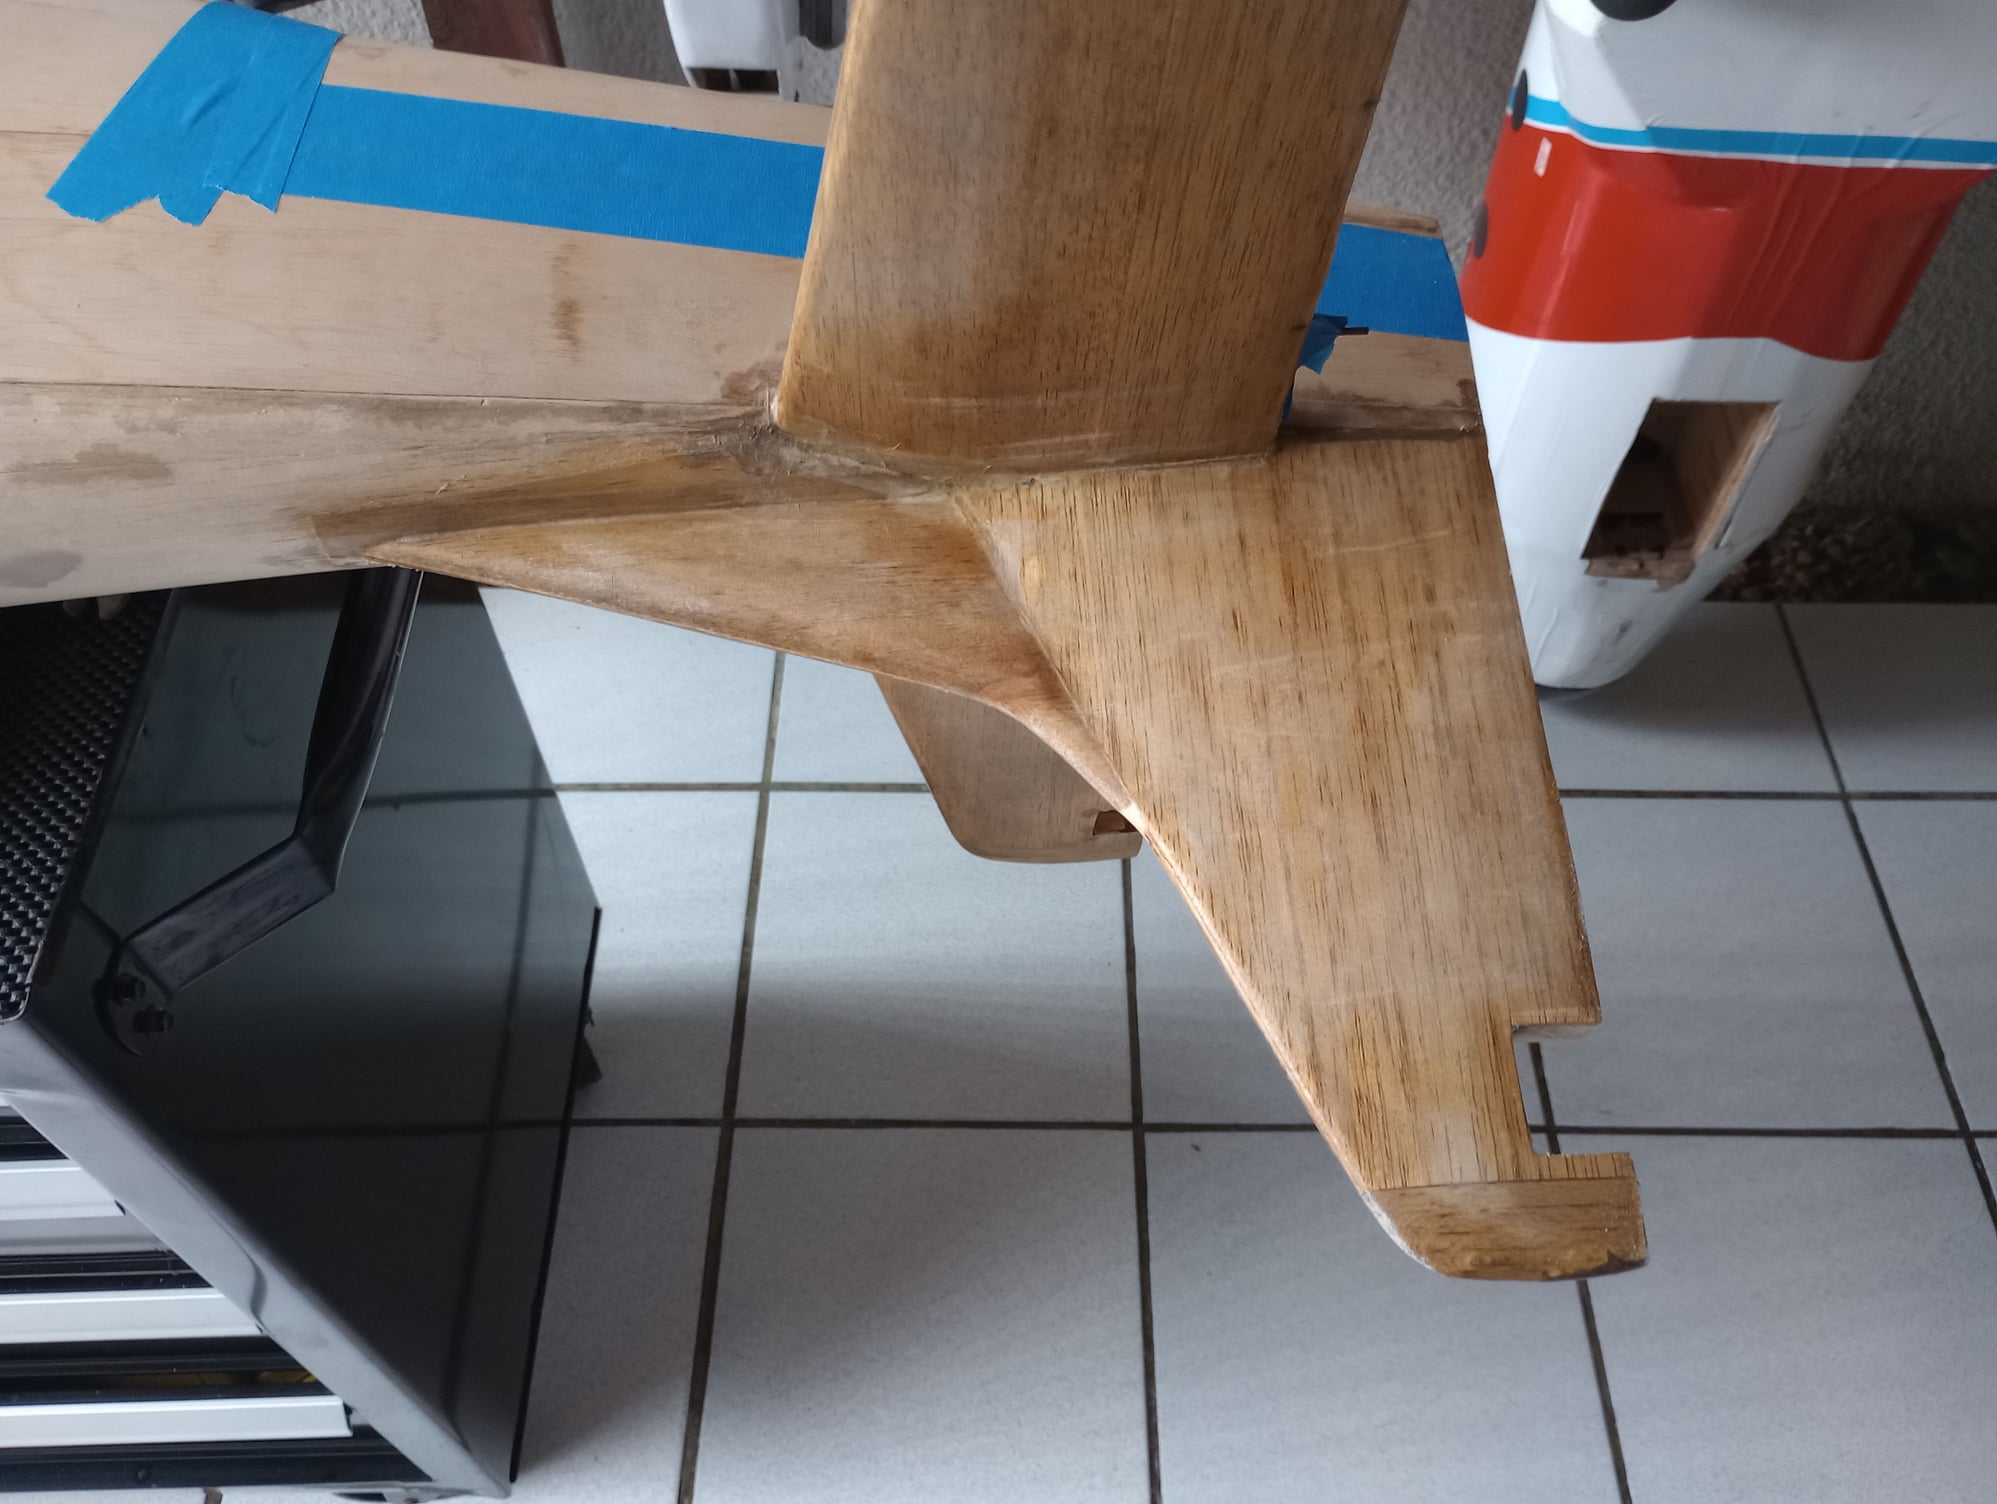
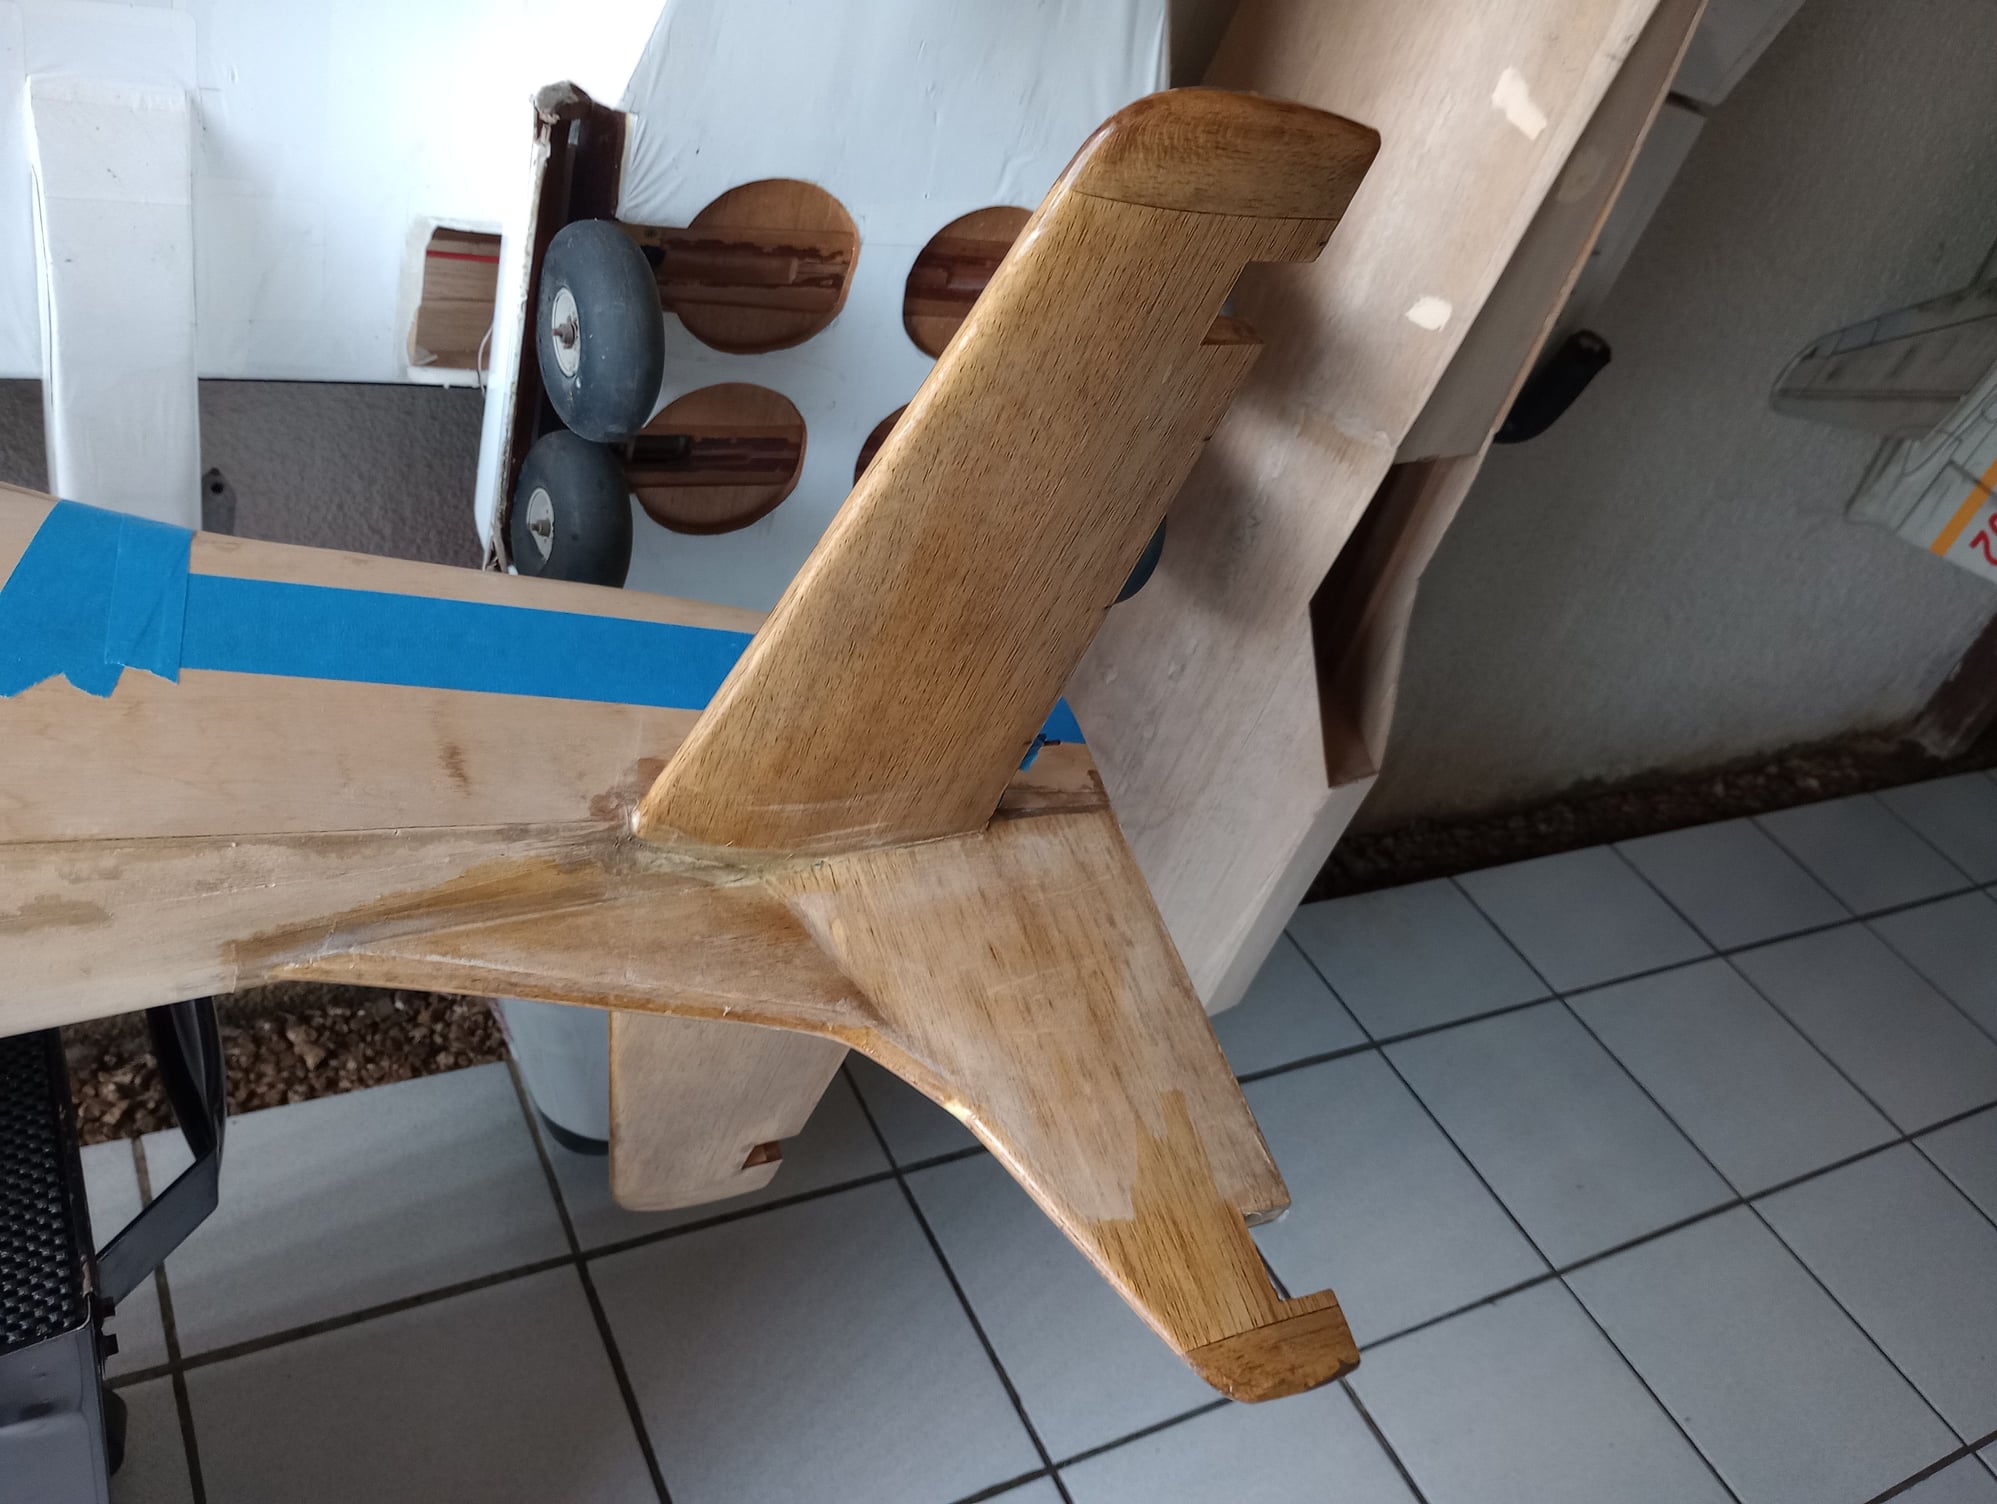
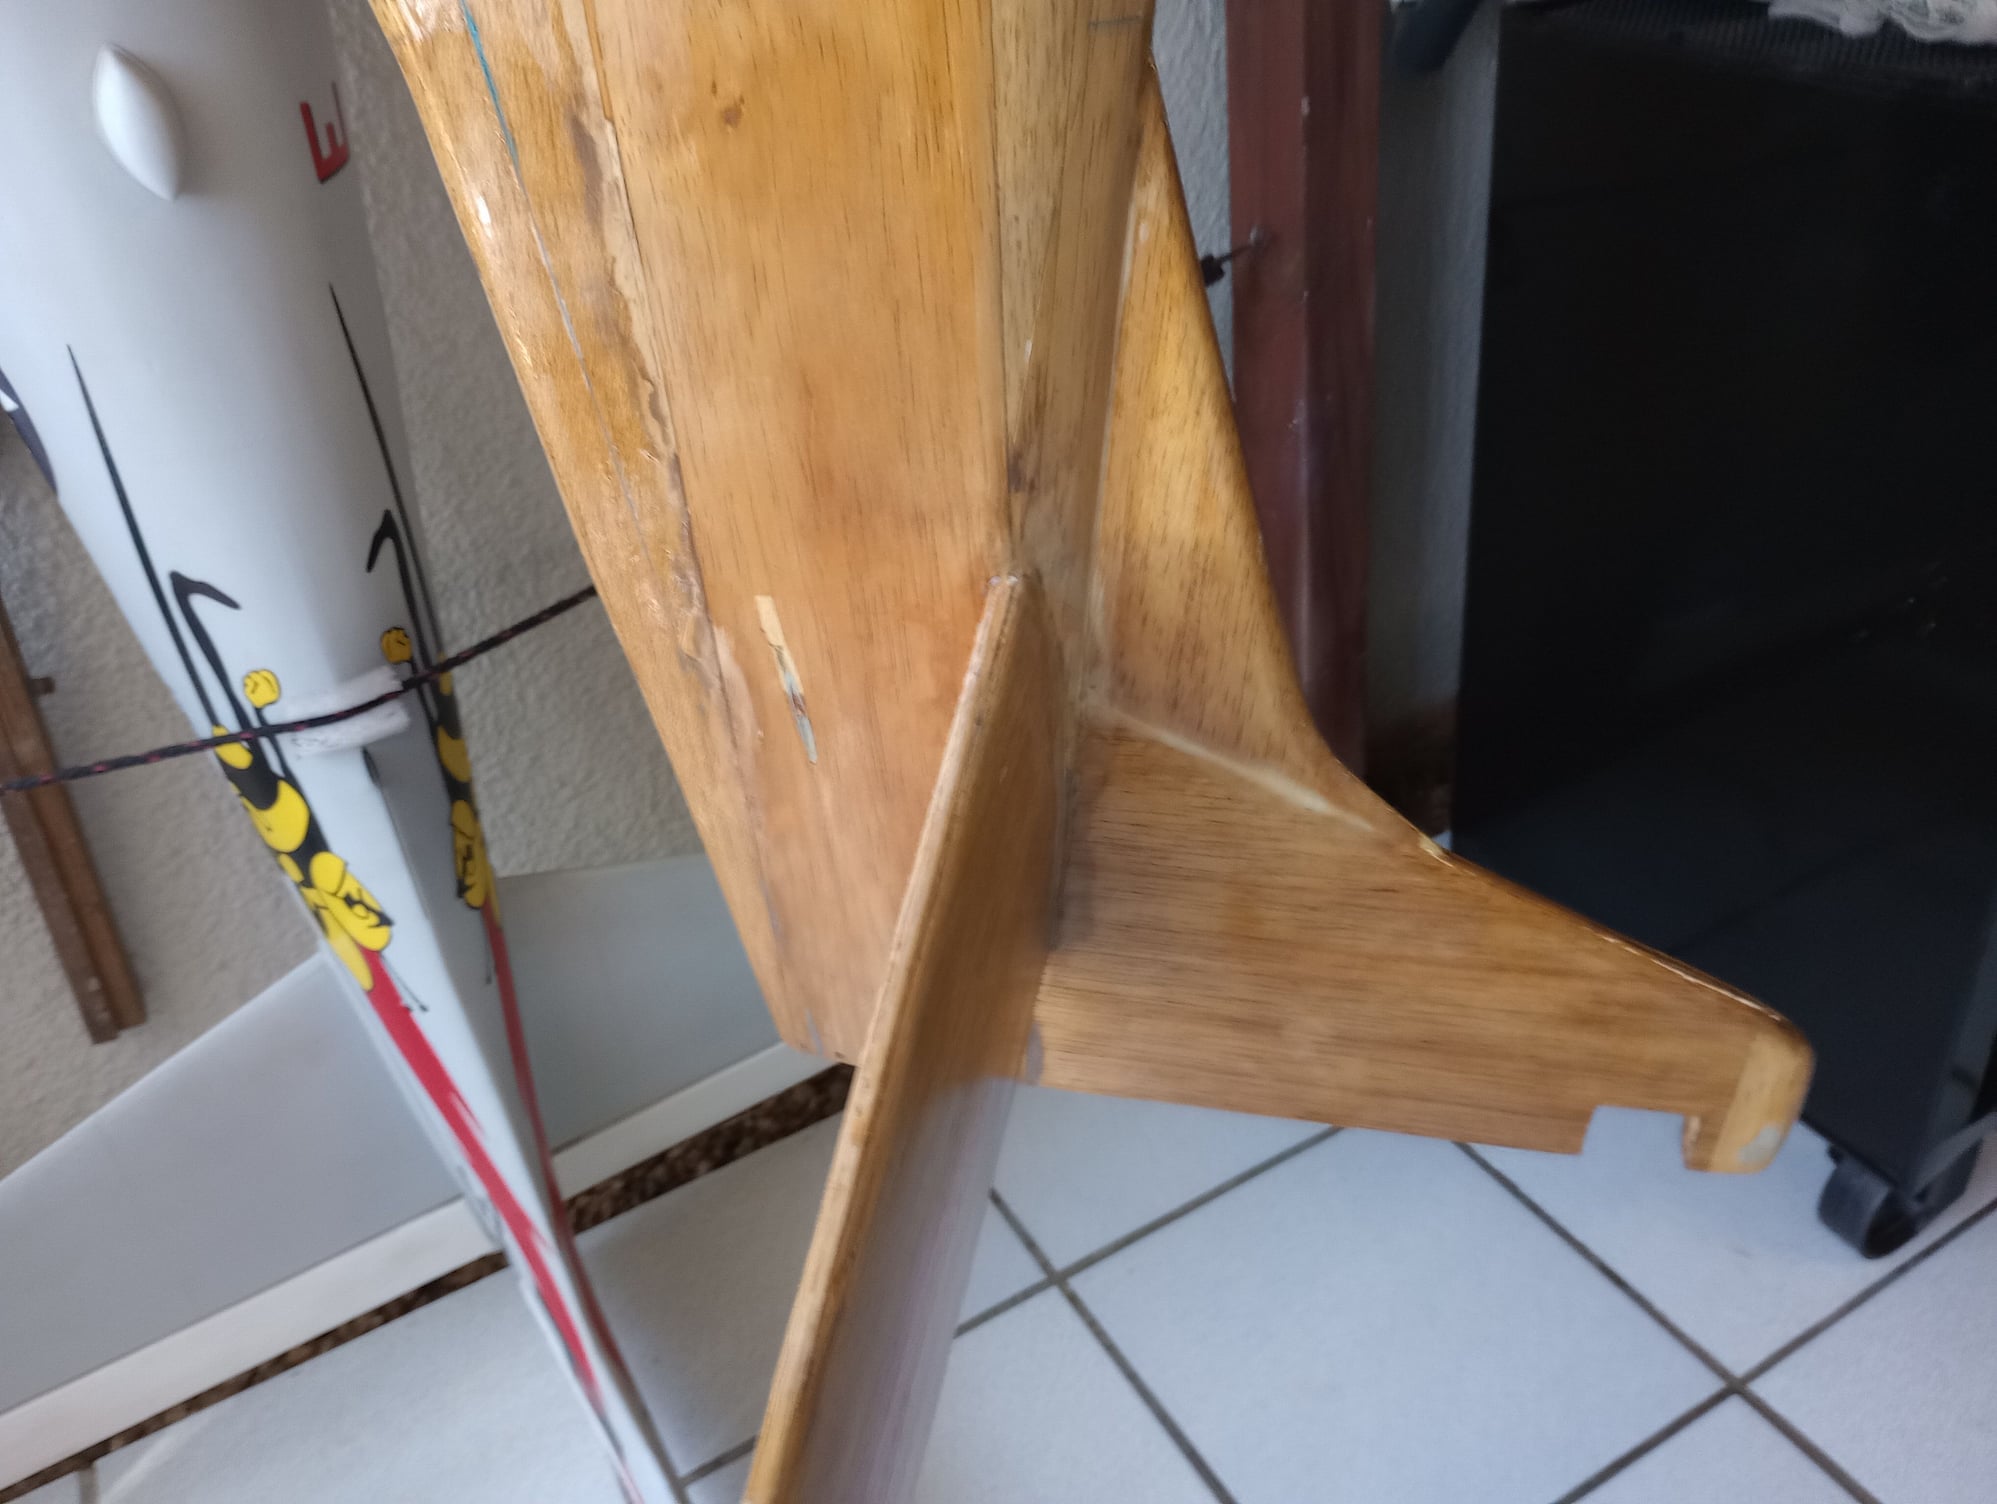
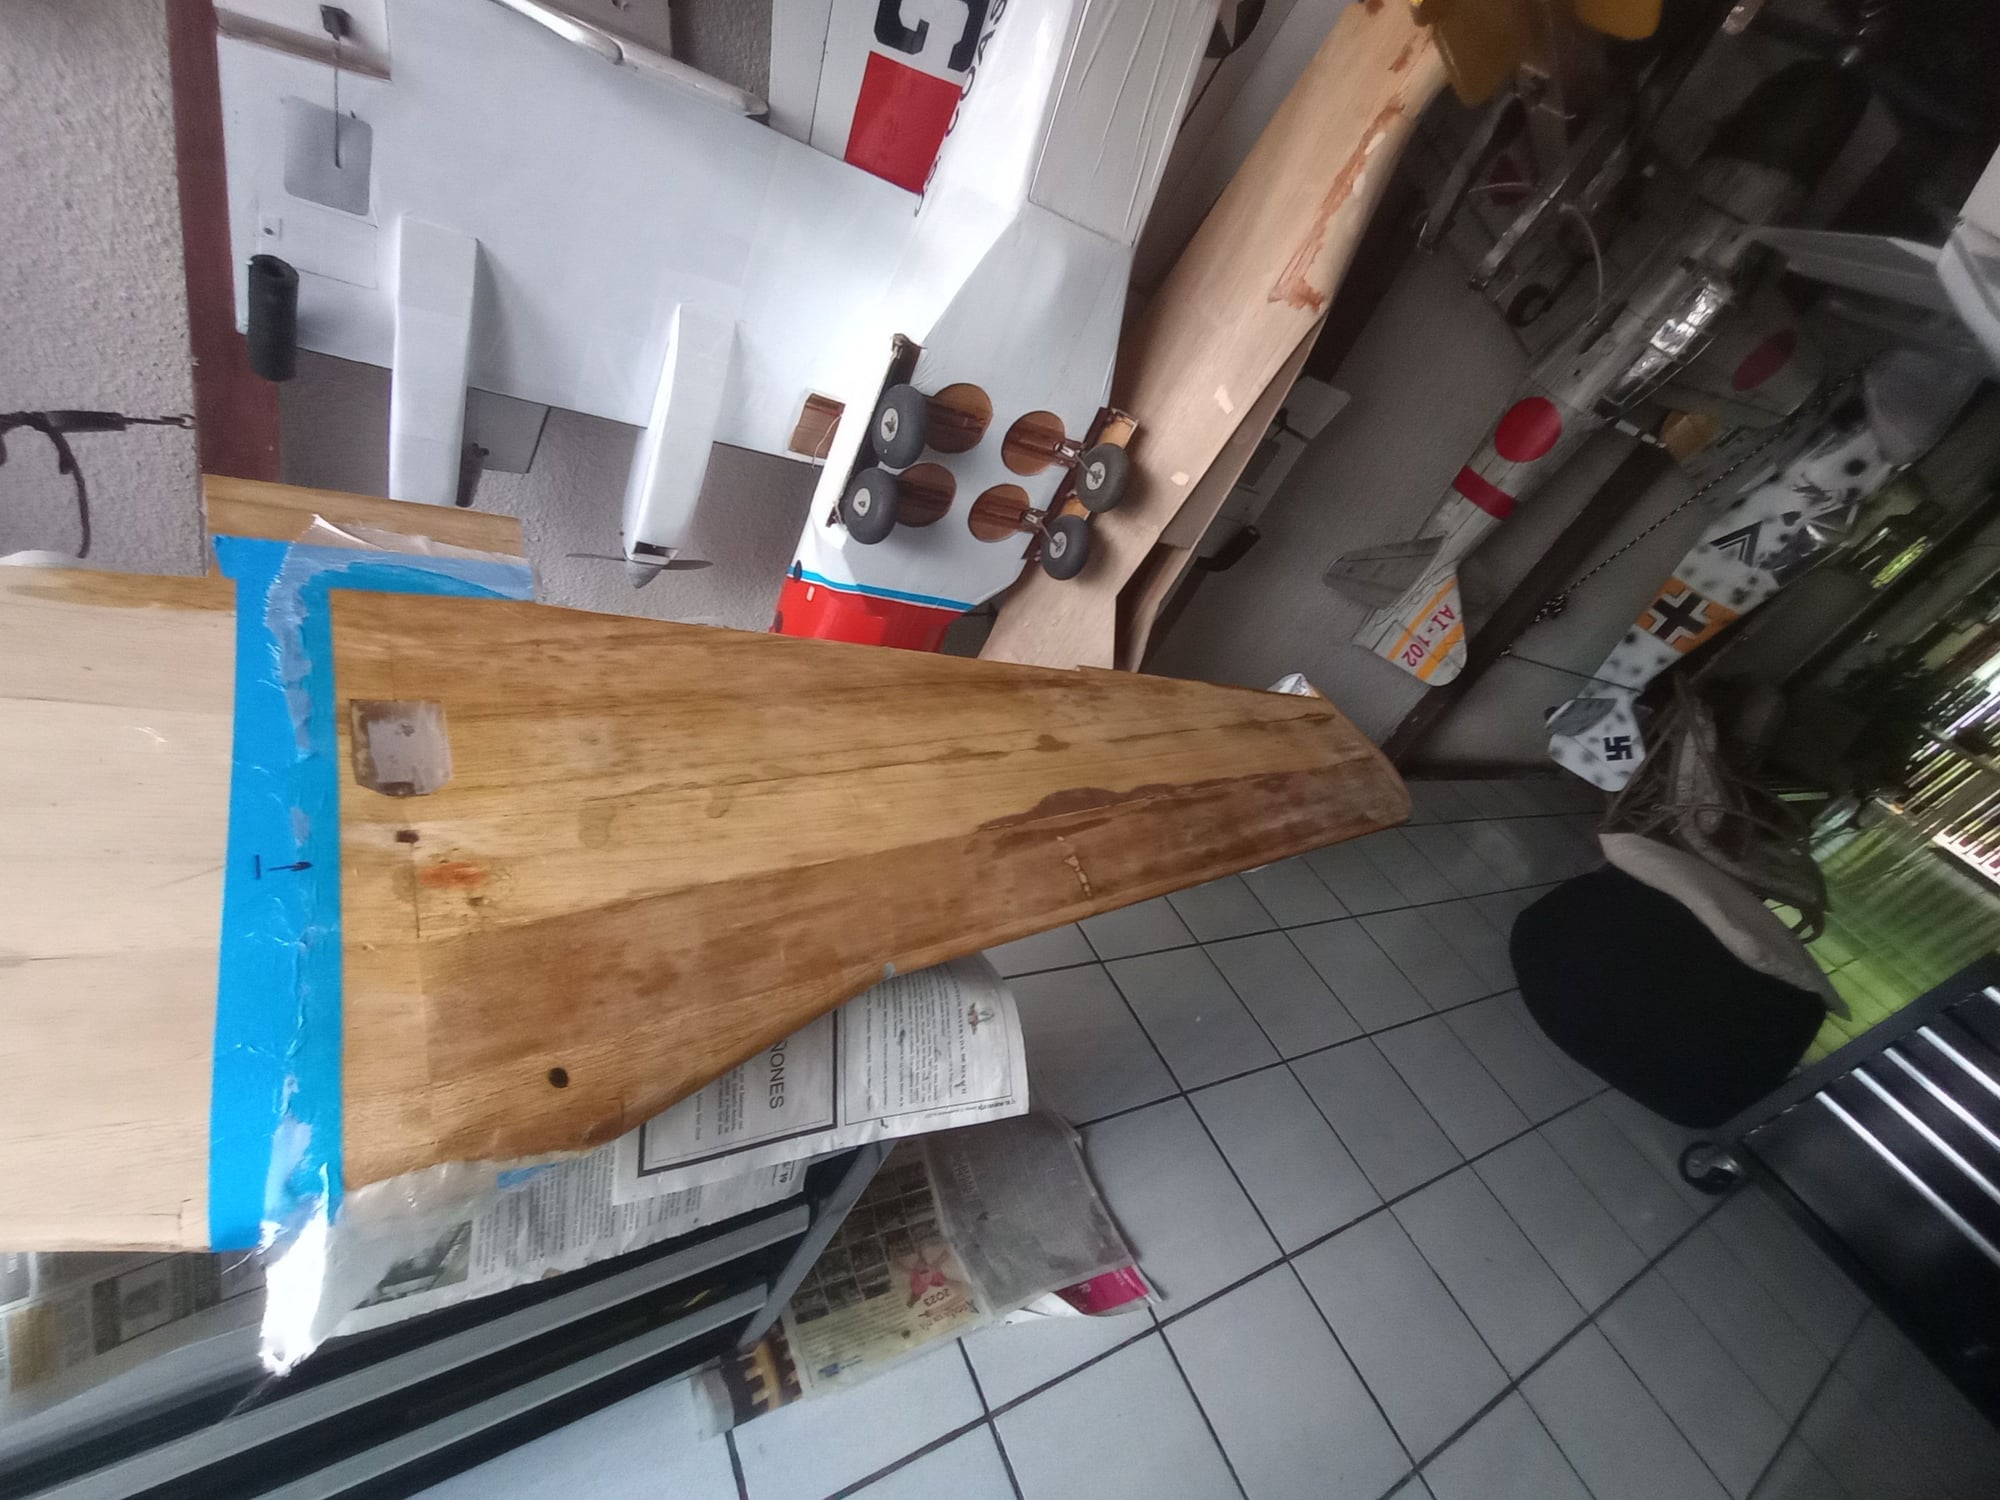
Now working on the fuselage: Finished the horizontal stabilizer with its 2 coats of resin. Only final fine sanding of that area is pending. Glassed the vertical stabilizer. Pending 2nd coat of resin and sanding.
Will continue with the fuselage belly, then the Fuselage sides and finally the top.of the fuselage. That will end 1/2 of the glassing steps. Then I will start with the wing.
Will update when I finish the fuselage.

Have finished to date all flying surfaces: Ailerons X 2 , Elevators X 2 and flaps X 2. Also all the access hatches in the wing.
Now working on the fuselage: Finished the horizontal stabilizer with its 2 coats of resin. Only final fine sanding of that area is pending. Glassed the vertical stabilizer. Pending 2nd coat of resin and sanding.
Will continue with the fuselage belly, then the Fuselage sides and finally the top.of the fuselage. That will end 1/2 of the glassing steps. Then I will start with the wing.
Will update when I finish the fuselage.

 07-06-2023, 09:34 AM
#5
Thread Starter
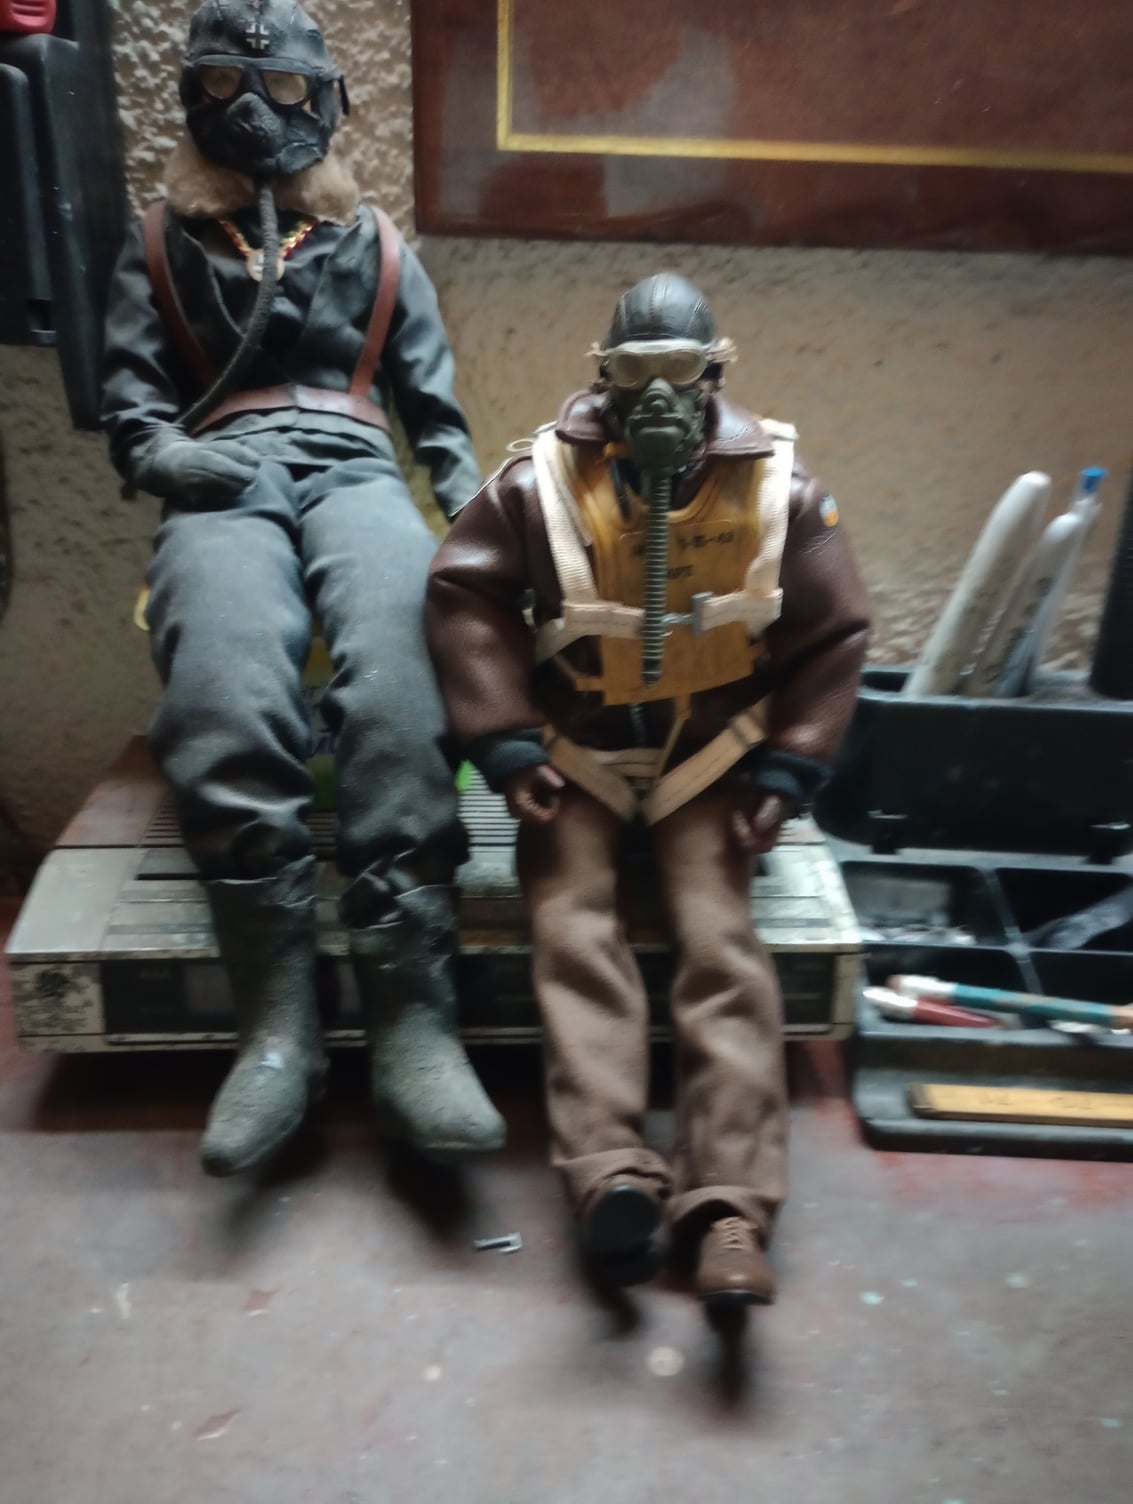
Prekin, yes they are. The German, is pending that I find the oppurtunity to update a Meister FW 190 A5 I have. The model is in flying condition and i do take it for a spin once in a while. Recently I installed a DLE 130. It had a 3W 70i which carried it well but had very little vertical performance. This is its most recent flight still with the 3W 70i
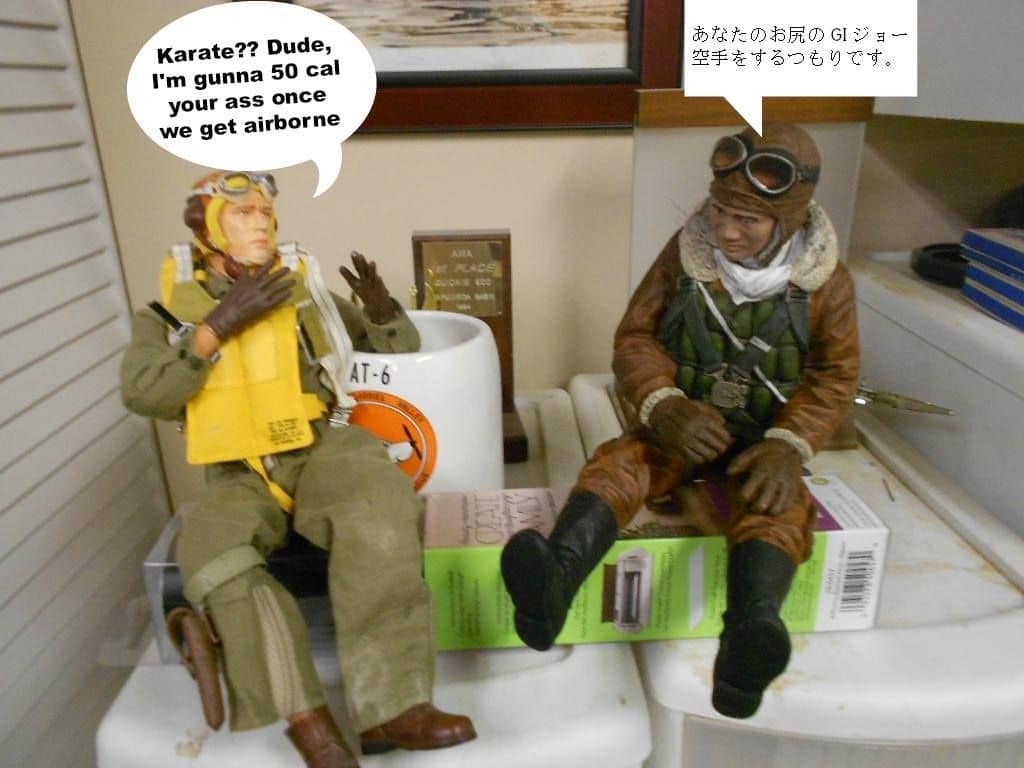
When I find a break, I will install a scale cabin, a new canopy and the German pilot.
The US pilot is for the P51D I am glassing. This model has been on the making for over 10 years. So he has sitted it out in the canopy for many years. I hope to be able to finish and maiden the Mustang this year. Building?flying seasons in Puerto Rico are year round.
Thanks for your commwnt Prekin.
Gonzo
Last edited by gonzalobures; 07-06-2023 at 09:47 AM.

 07-12-2023, 09:43 AM
#7
Thread Starter
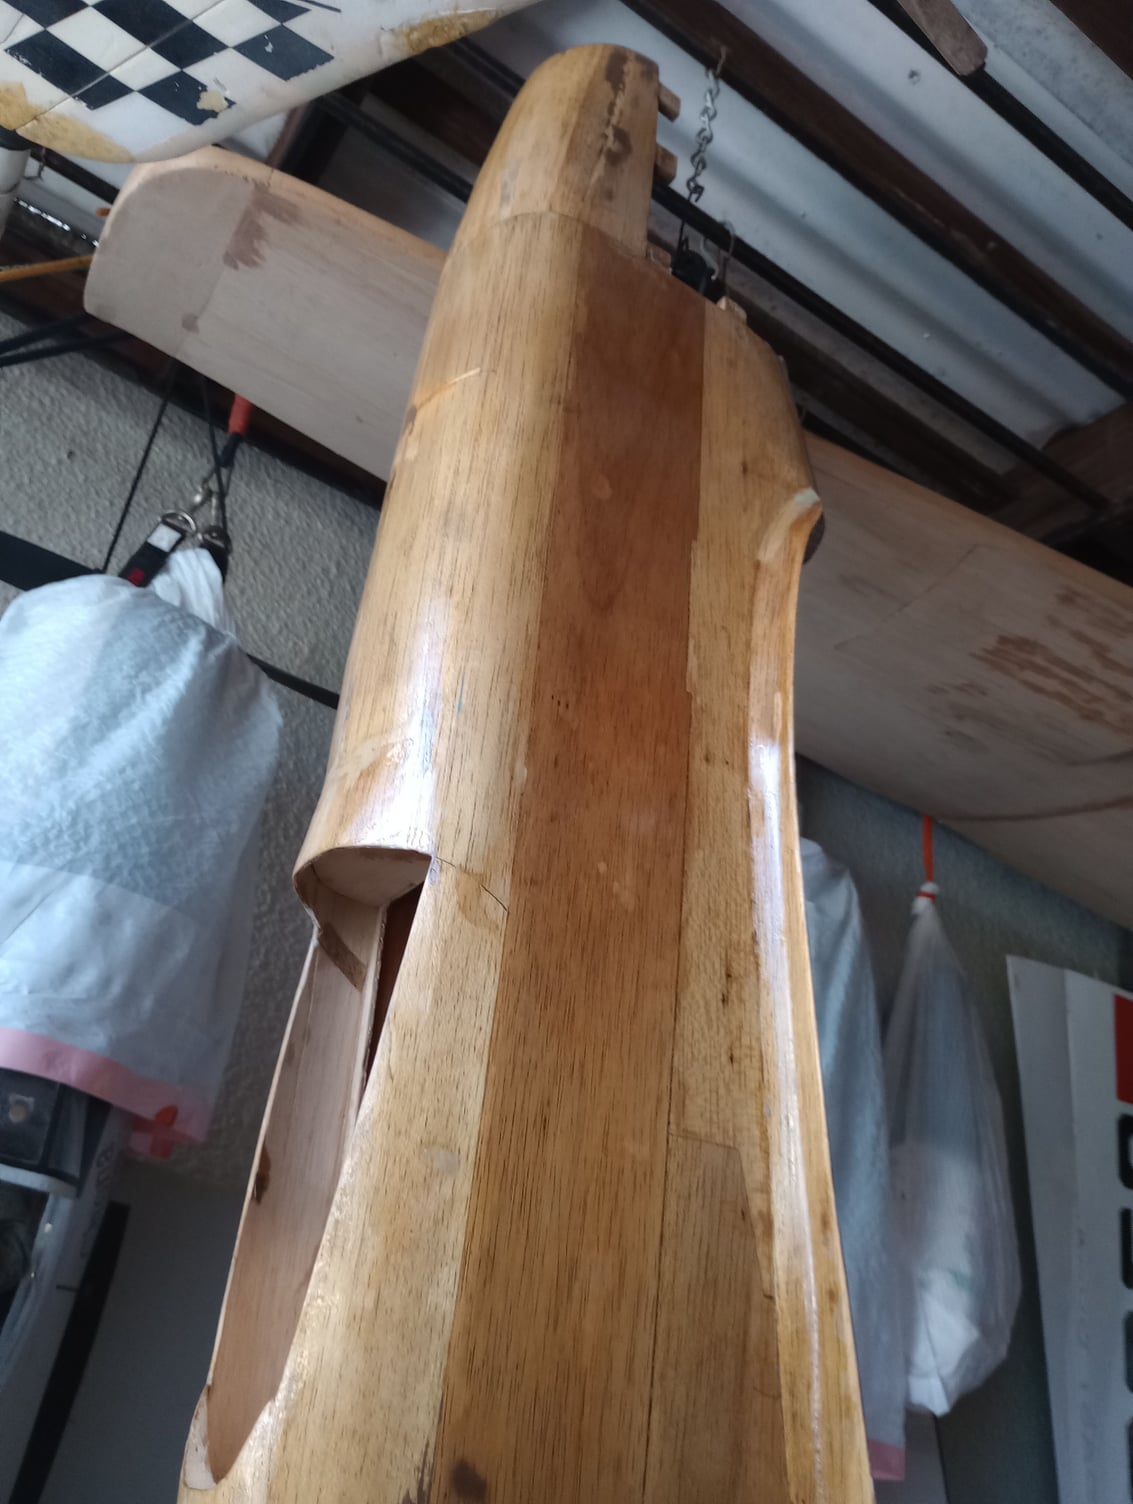
Started glassing the fuselage itself Started with the bootm of the fuselage, then the sides and last the top. . This large areas are a problem to glass due to the high ambient temperature. The resin starts congeiling faster creating an issue in squeeging the surface. I do it early in the morning before it gets too hot..Waiting to apply cloth to the total lateral surface before giving it the sanding and 2nd coat of resin.
07-27-2023, 09:37 AM
#8
Thread Starter
Well finished glassing the P51D fuselage. Layed the cloth and gave the 1st hand of resin. Now have to give it light sanding and give it the 2nd hand of resin.


08-01-2023, 08:14 AM
#9
Thread Starter
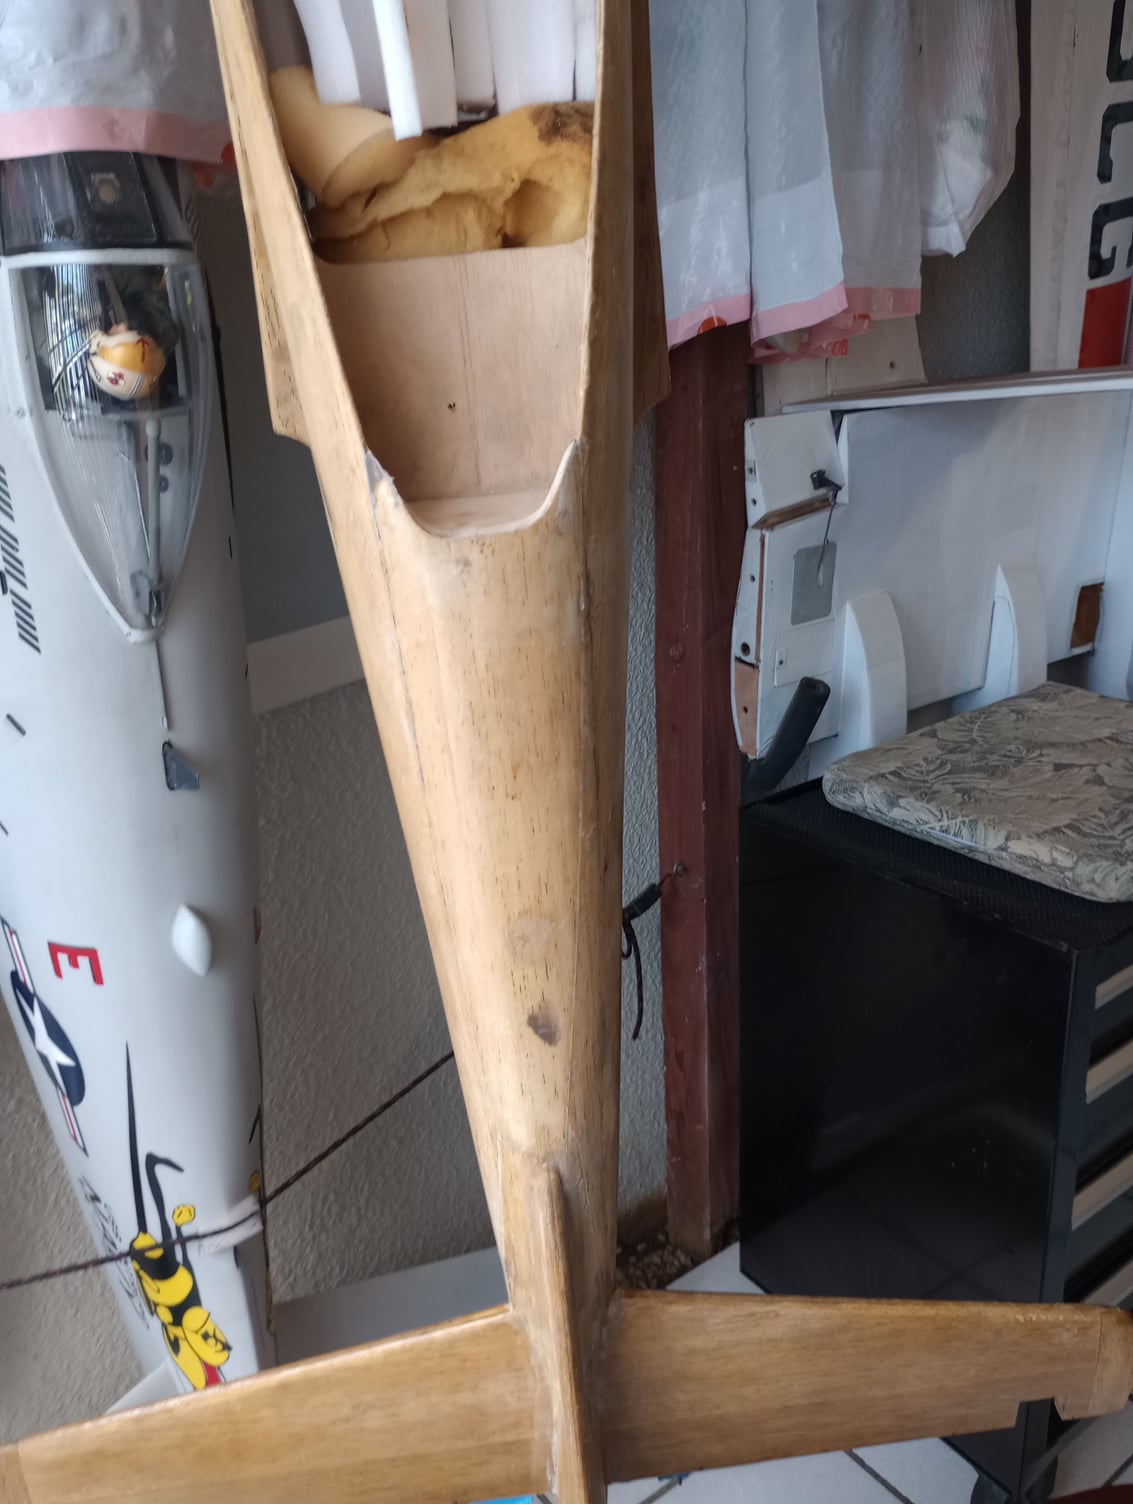
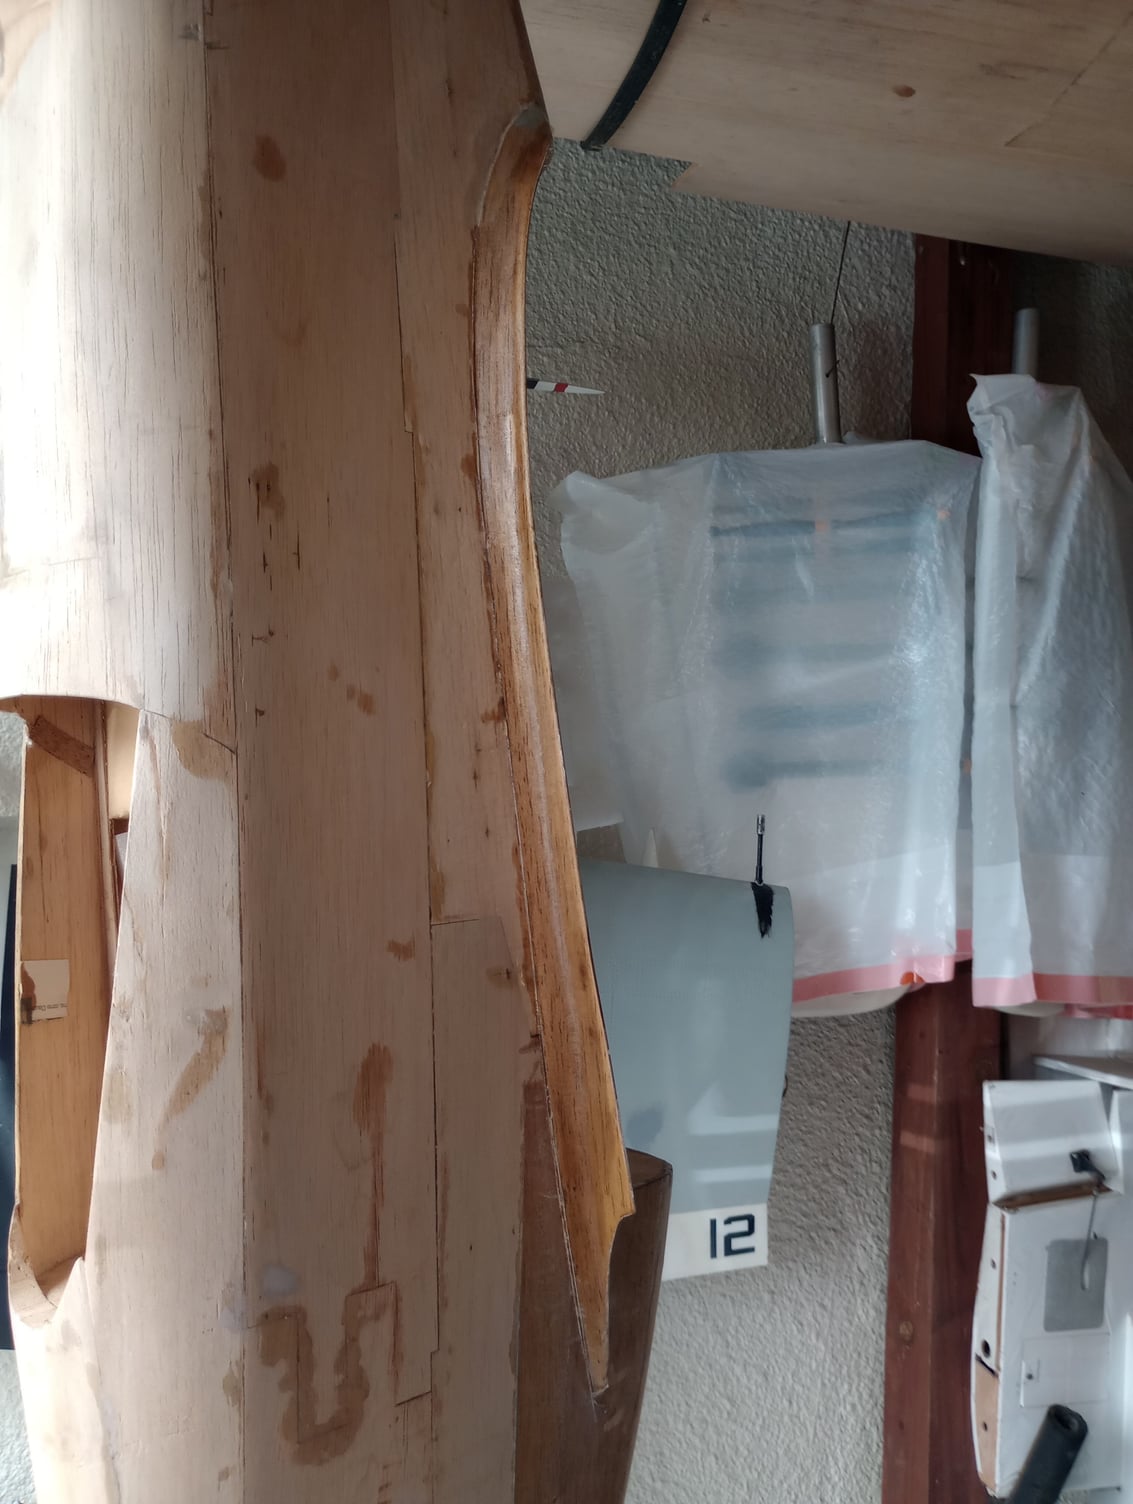
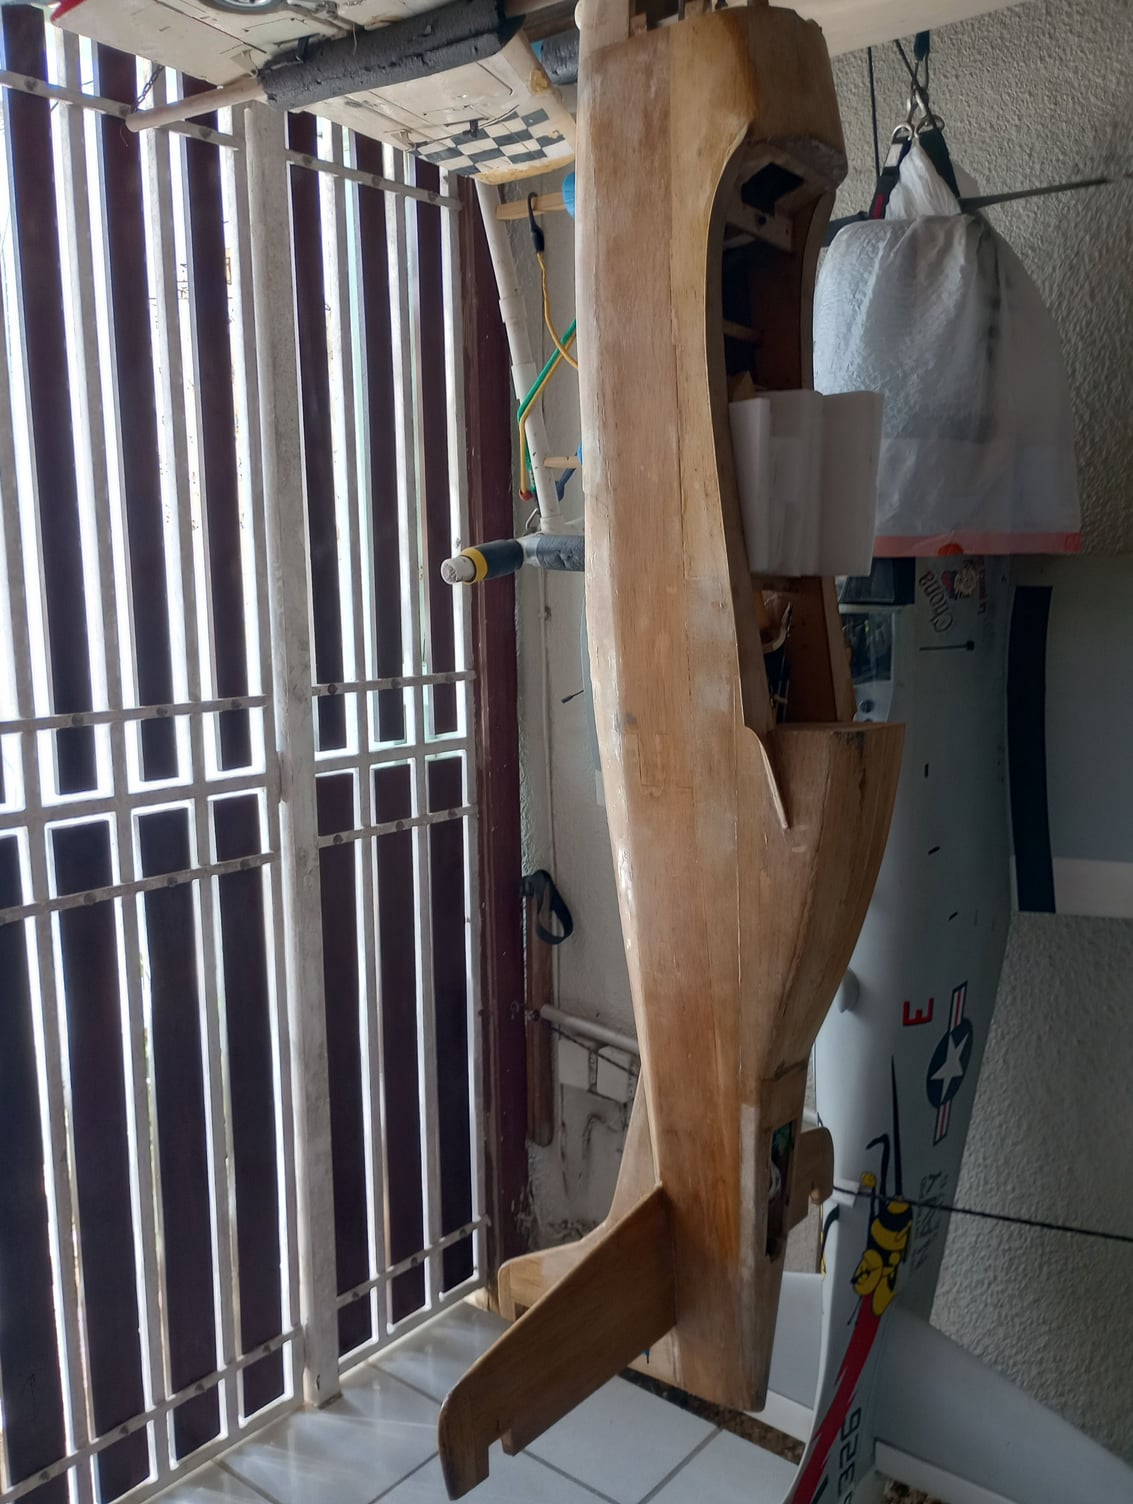
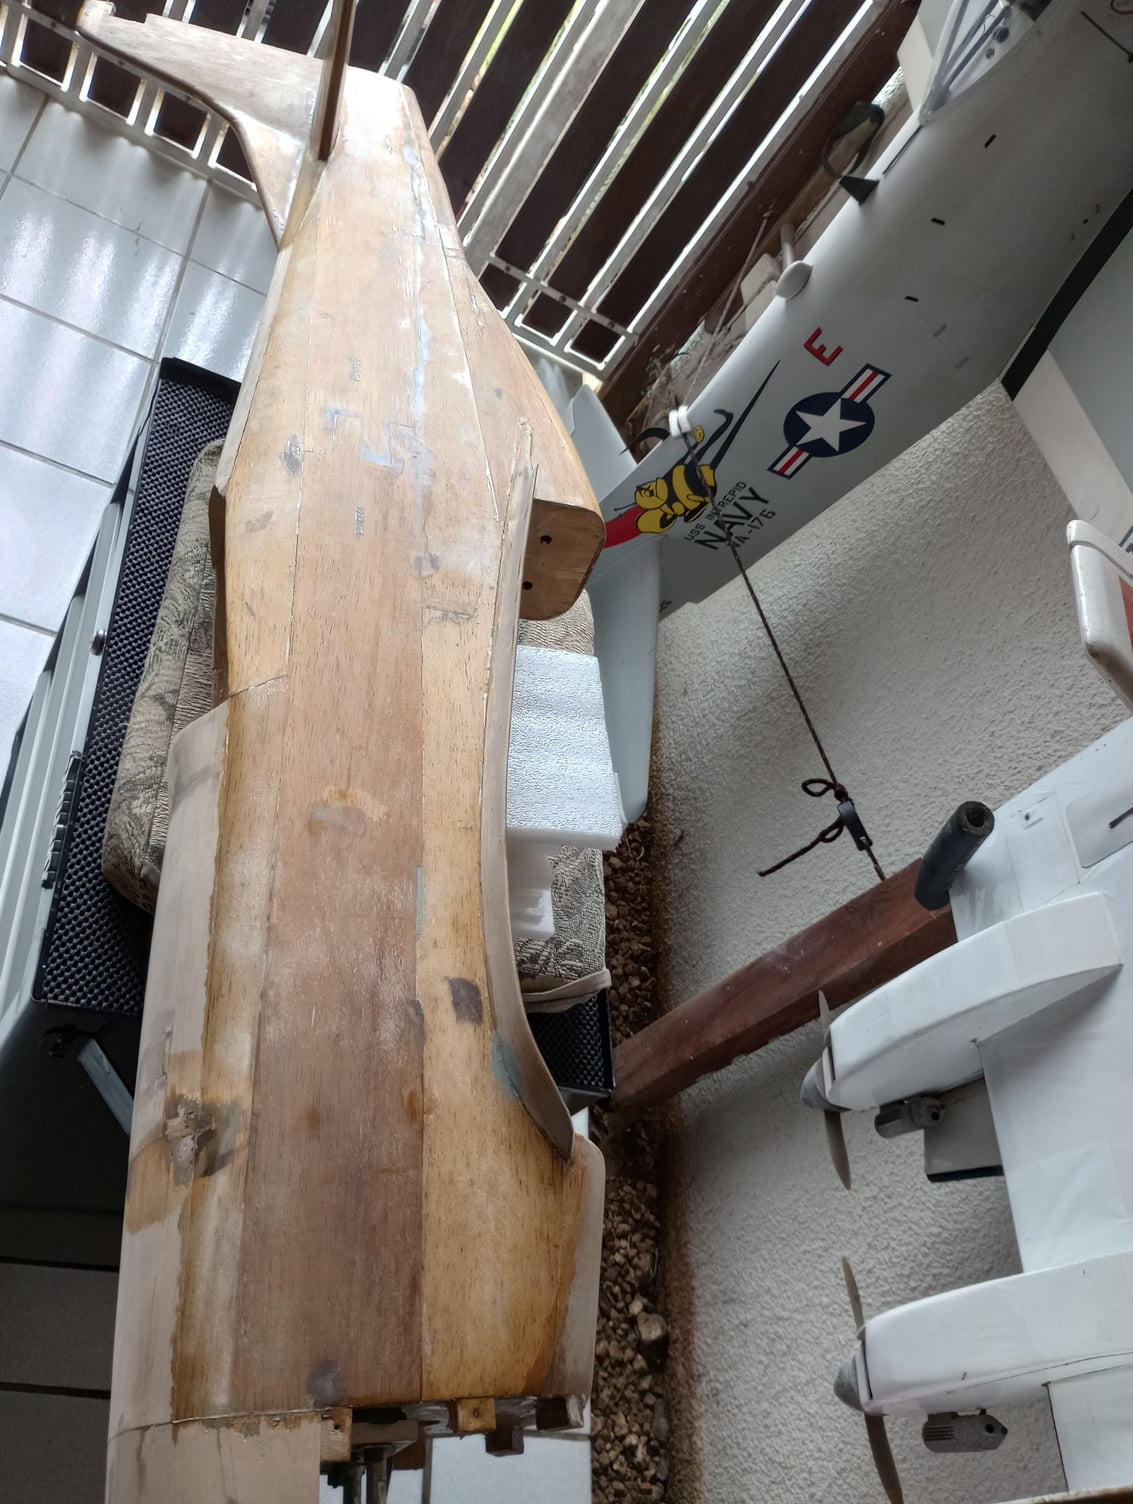
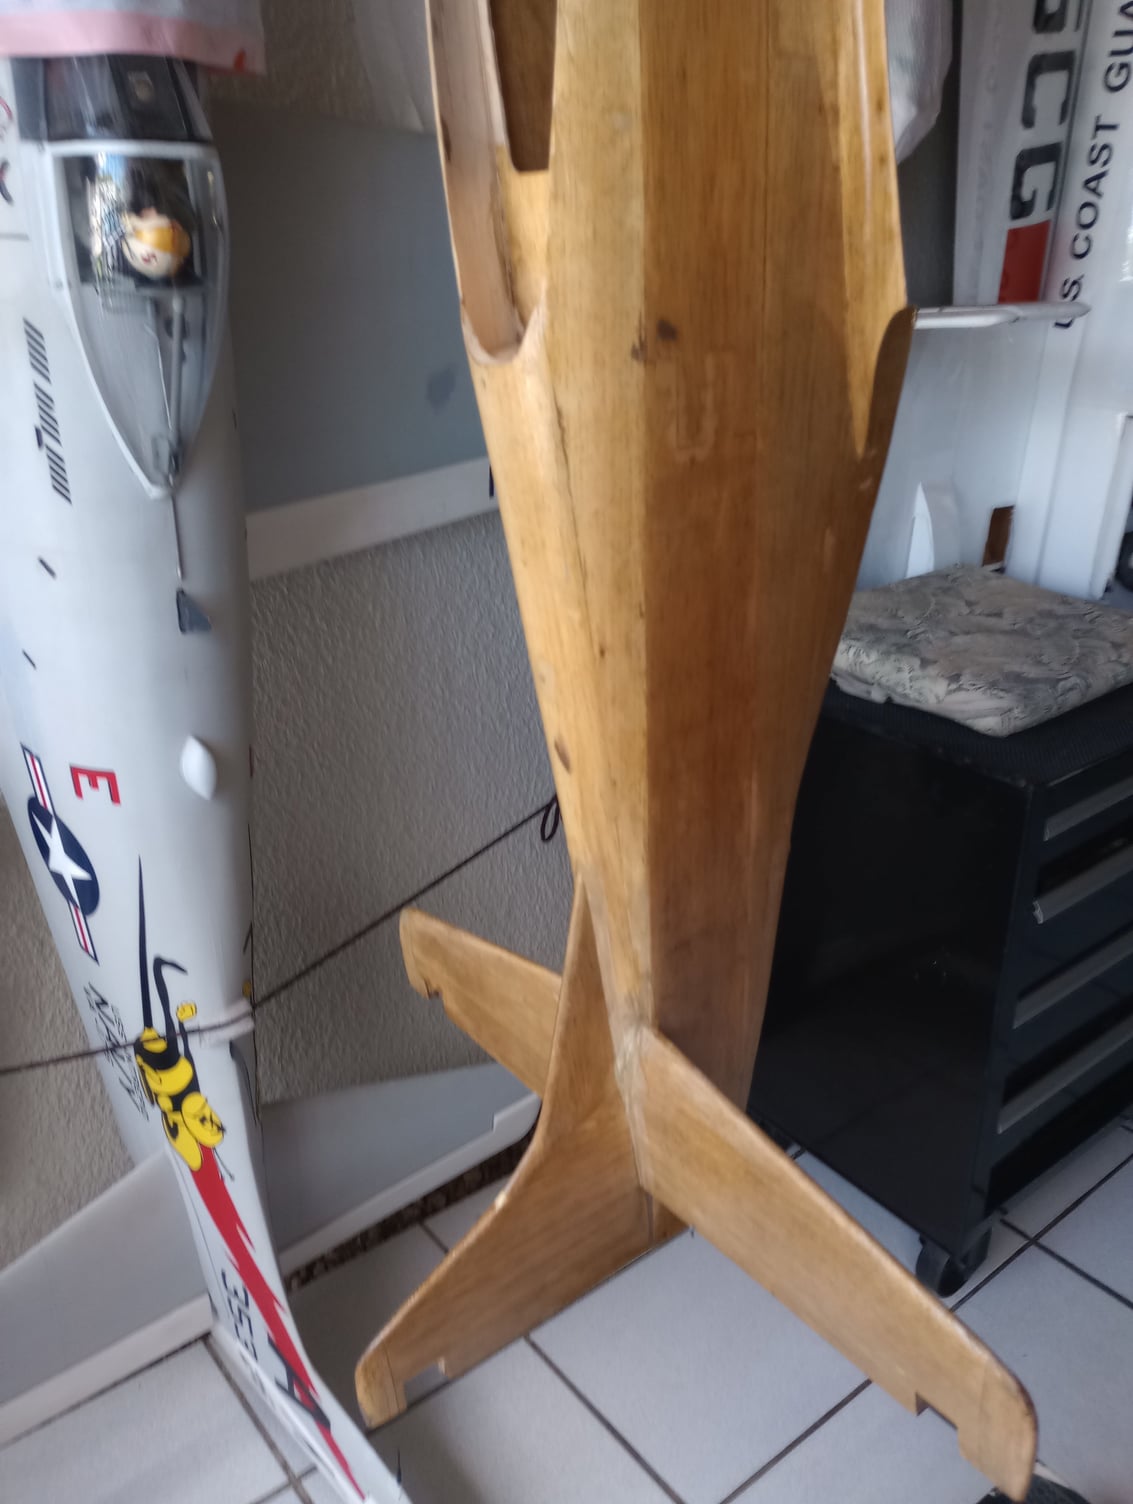
Finally finished the ardous job of glassinfg a fuselage. This is the 1st time I glass a model and defenitively it has elevated my admiration for those who do it and the end result is perfection. This is tedious work and very hard to make it flawless. I shoud have done my 1st glassing on another simpler model, but at my age, , I got to do it on the ones I have ready and hope for the best. Time is of the essence.
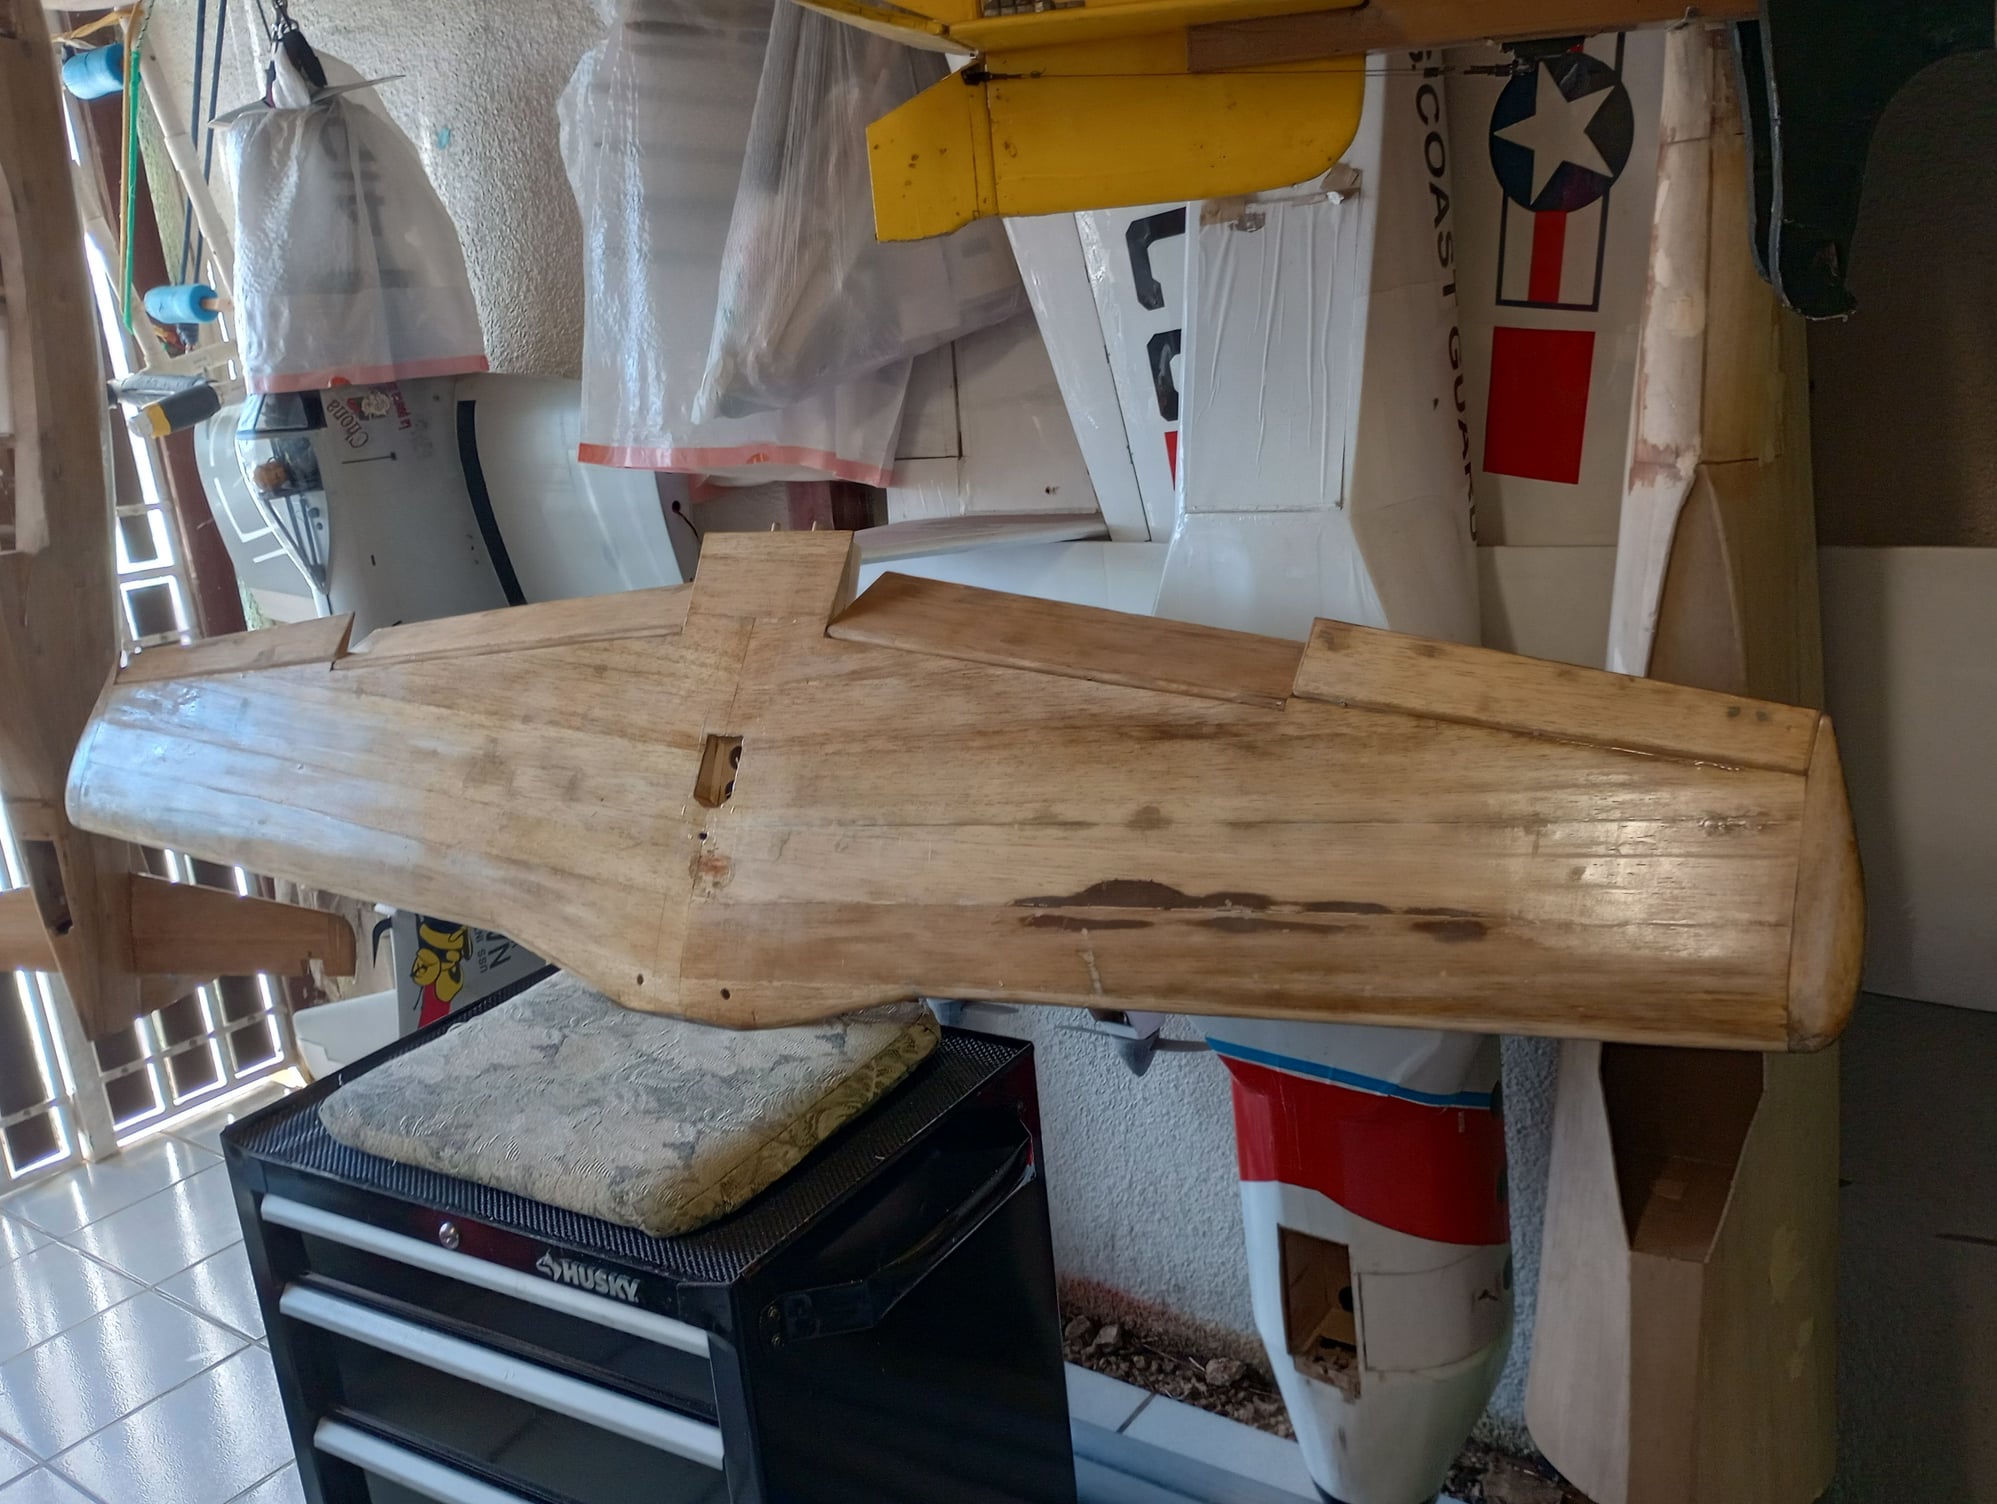
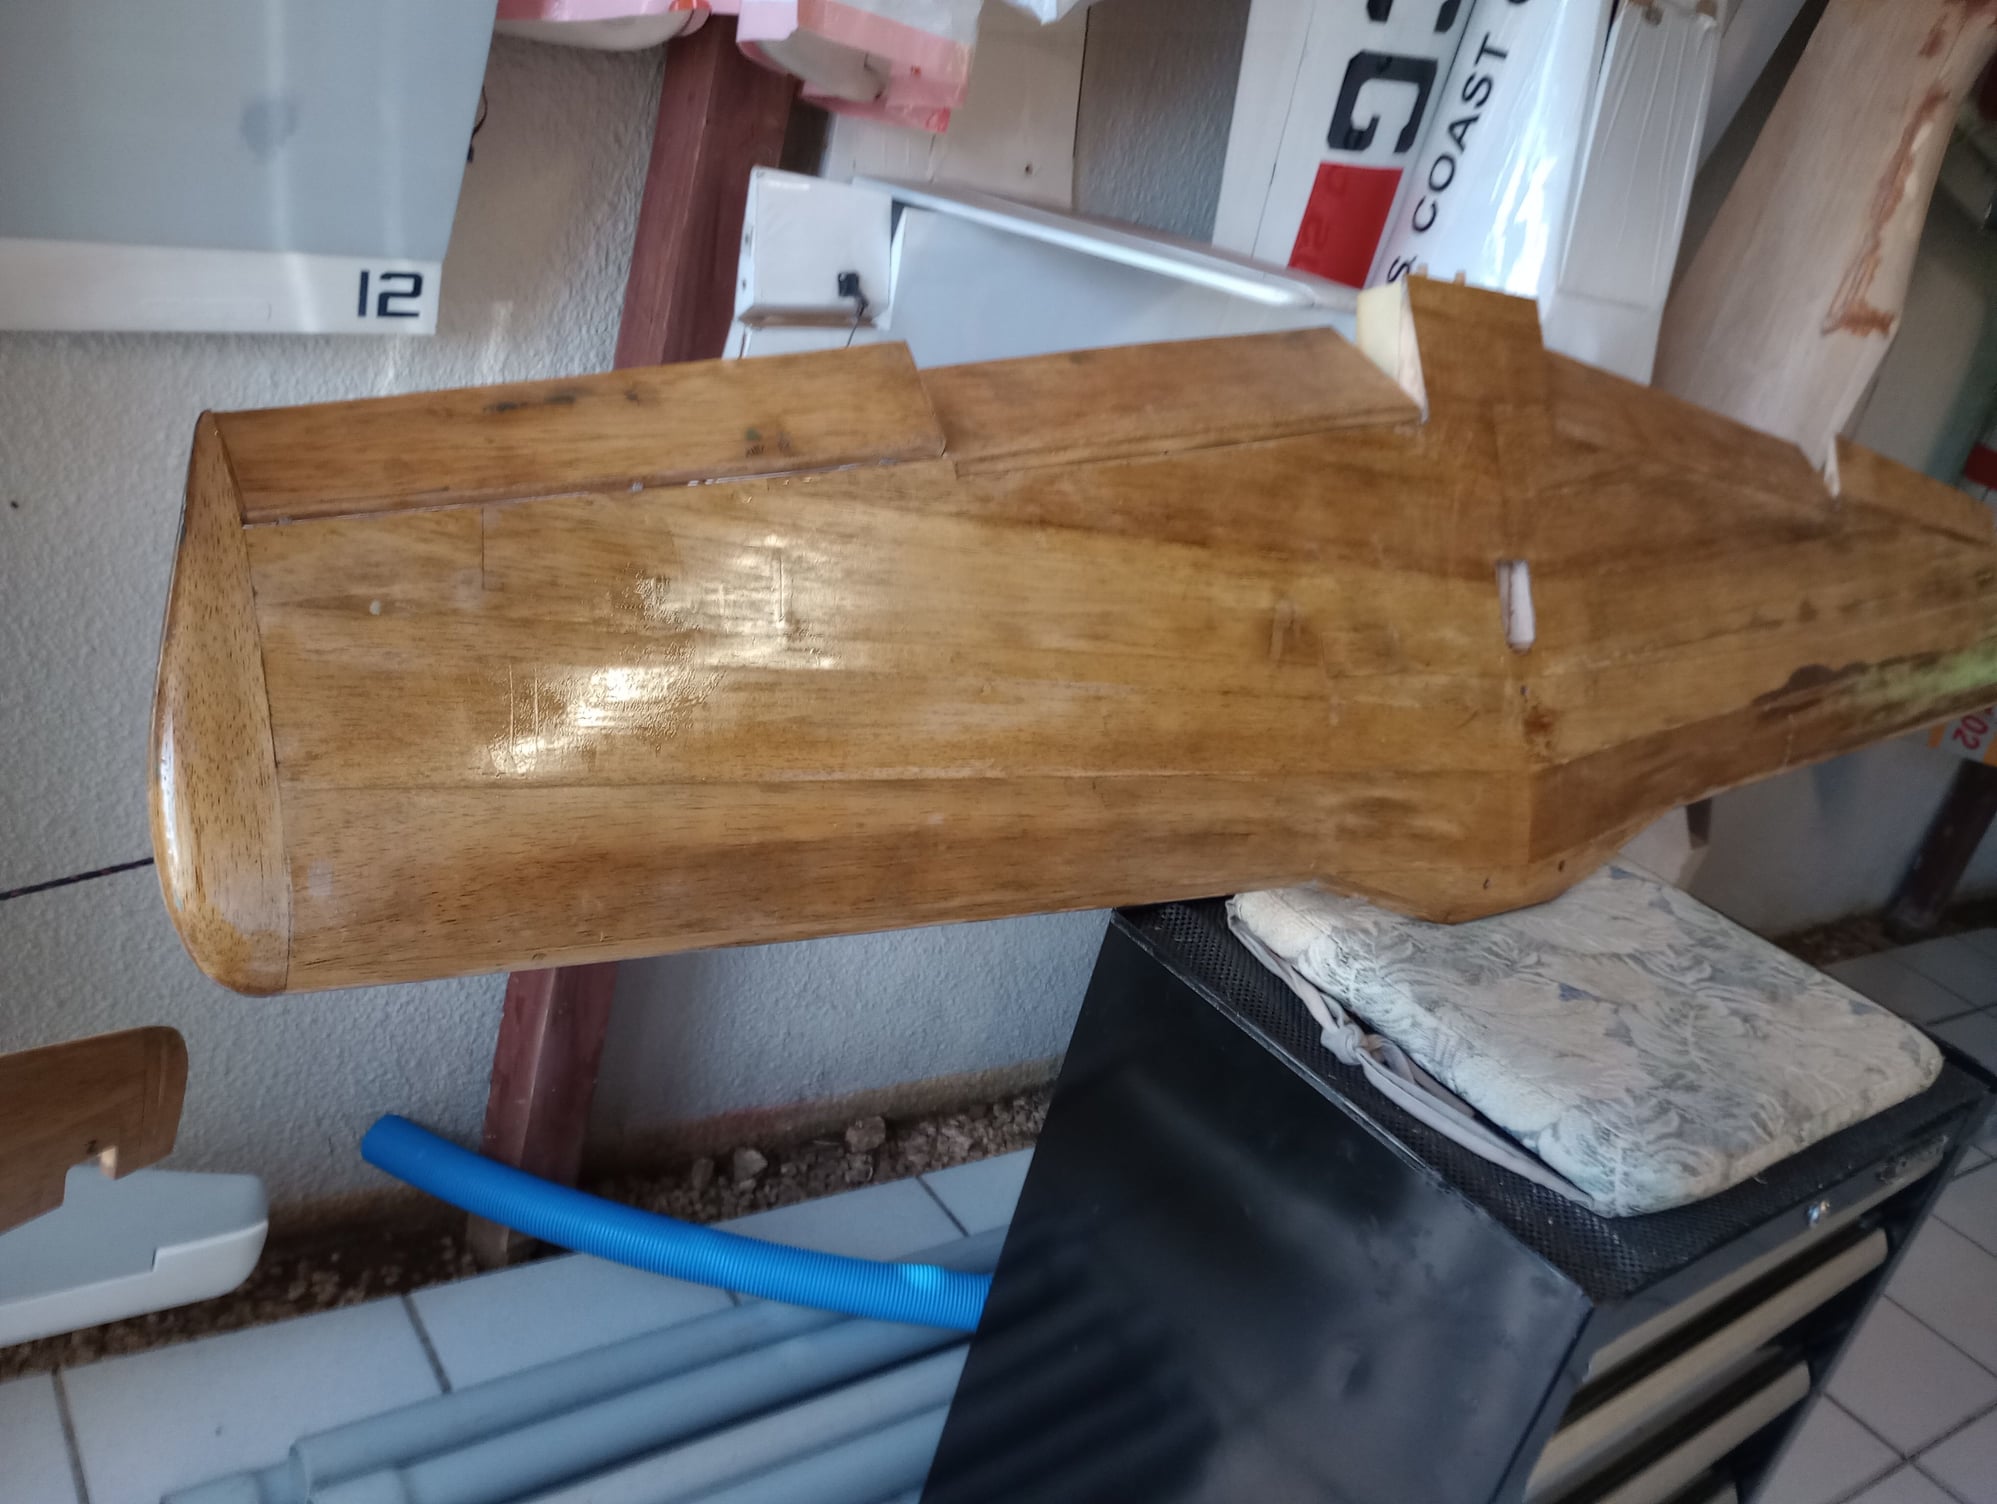
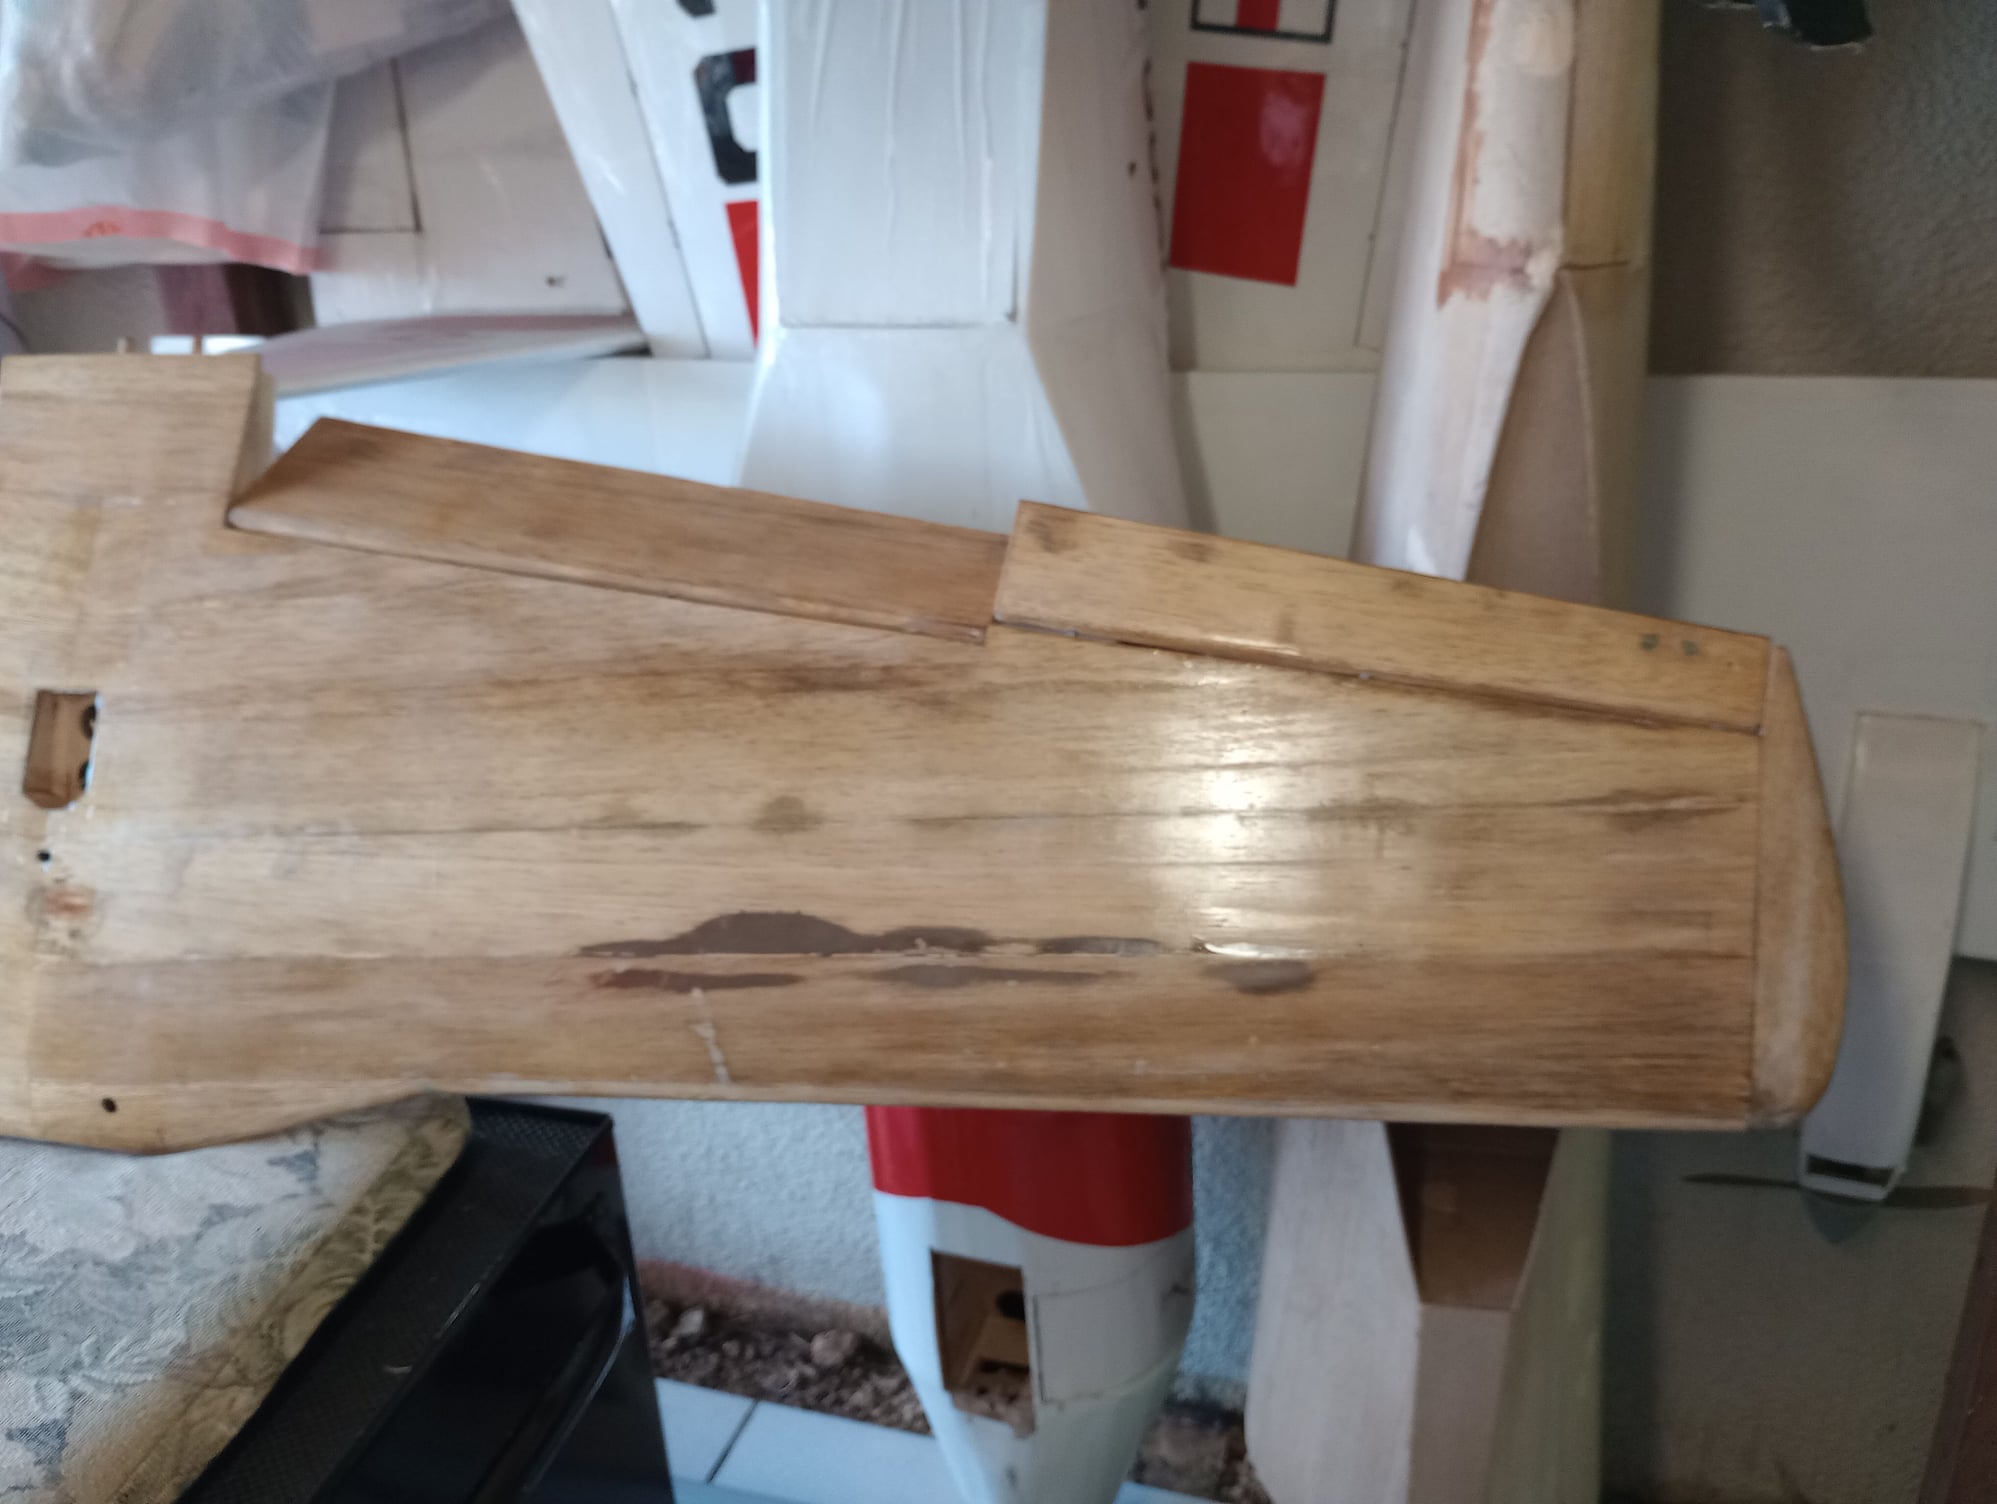
I have just finished giving the P51 fuselage its 2nd hand of finishing resin on every side. I give it a couple of days for it to cure completely and give it a light sanding. I will spot the imperfections/defects and use filler to attend tem. After will give a good hand of primmer/filler and sand it to the bone if needed. Hope this two steps attend the imperfections i will find.
Afetr that, I will glass the wing which to me should be an easier/faster task.
Will keep you updated on the progress.
Fuselage right side
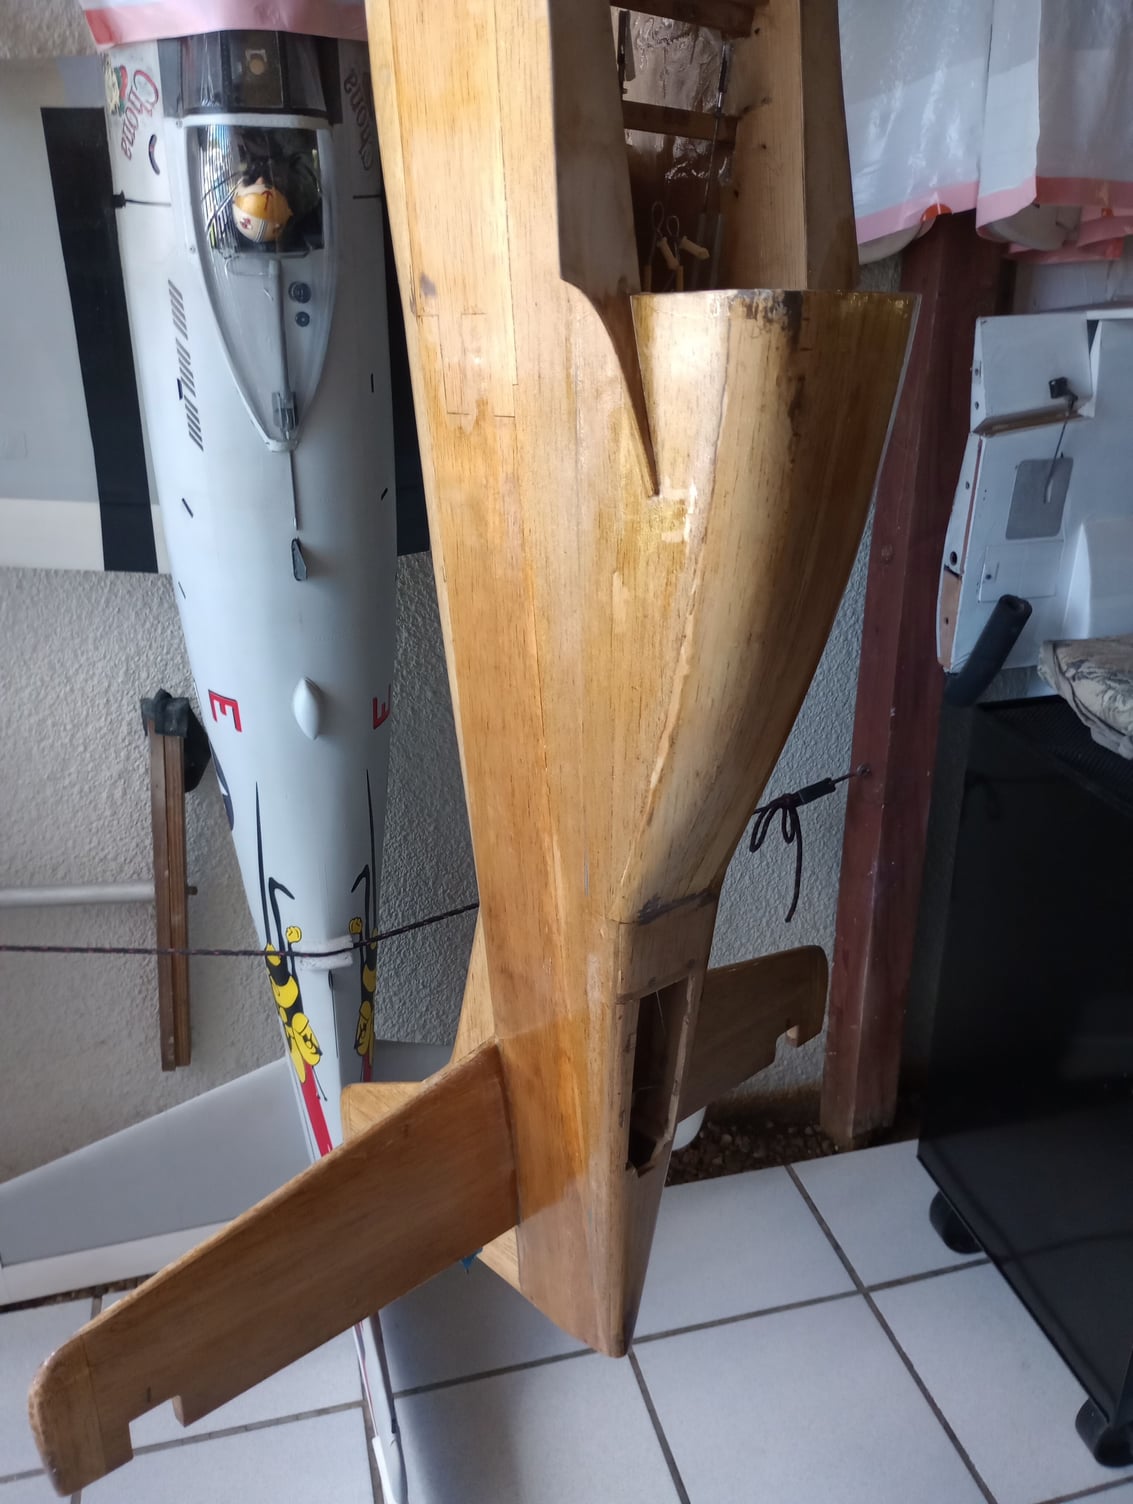
Fuselage left side

I have just finished giving the P51 fuselage its 2nd hand of finishing resin on every side. I give it a couple of days for it to cure completely and give it a light sanding. I will spot the imperfections/defects and use filler to attend tem. After will give a good hand of primmer/filler and sand it to the bone if needed. Hope this two steps attend the imperfections i will find.
Afetr that, I will glass the wing which to me should be an easier/faster task.
Will keep you updated on the progress.
Fuselage right side
Fuselage left side
09-19-2023, 07:20 AM
#10
Thread Starter
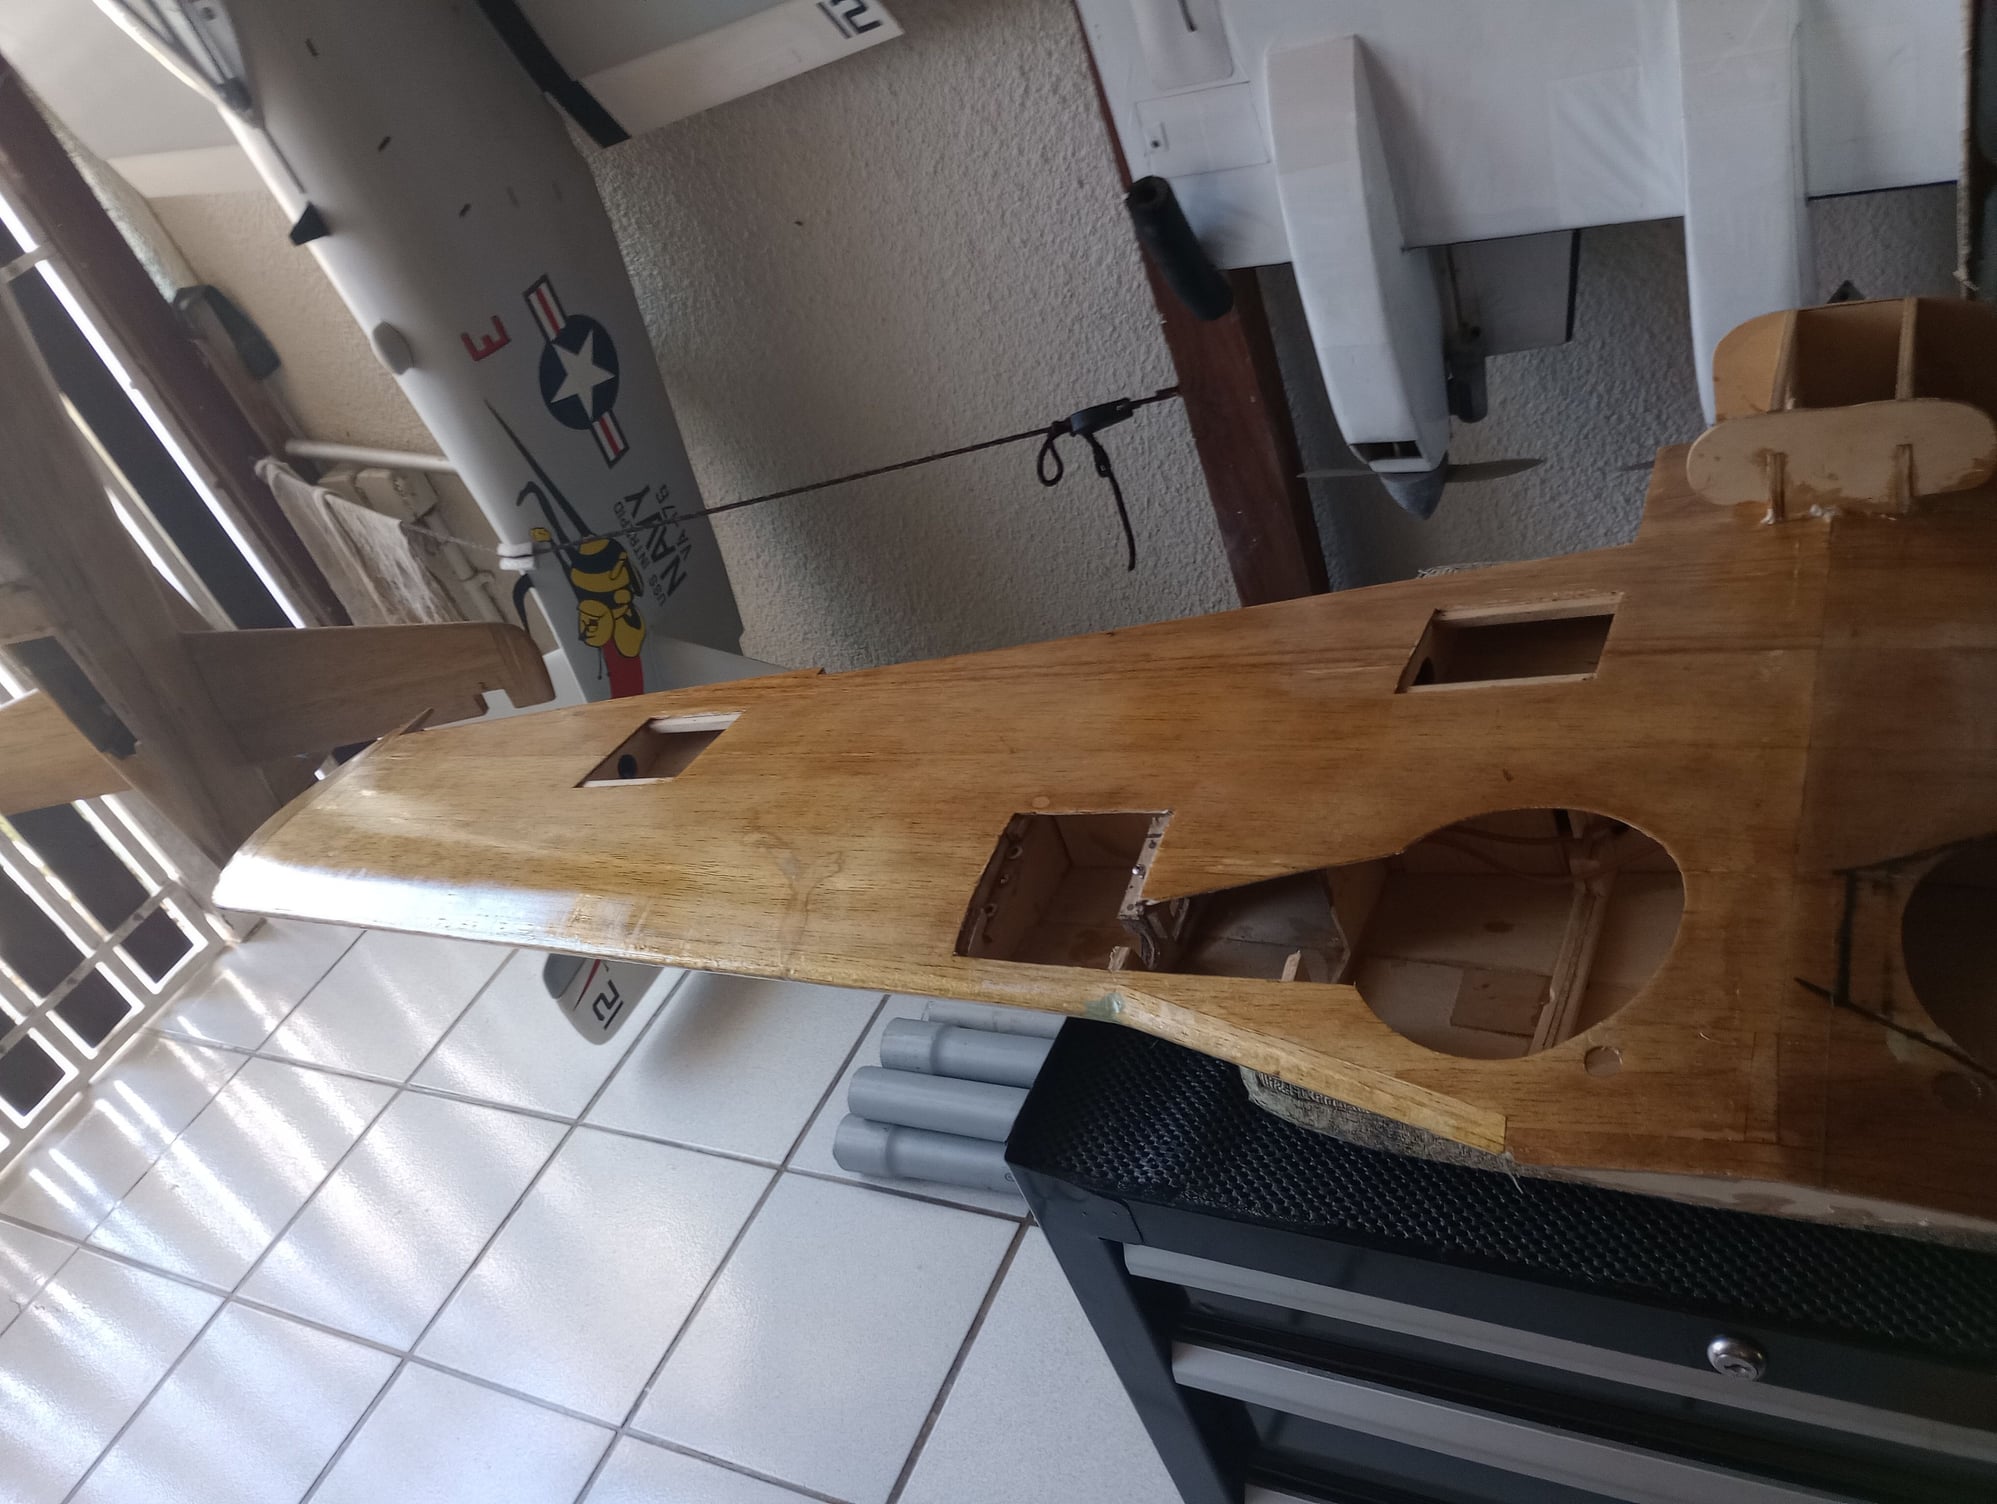
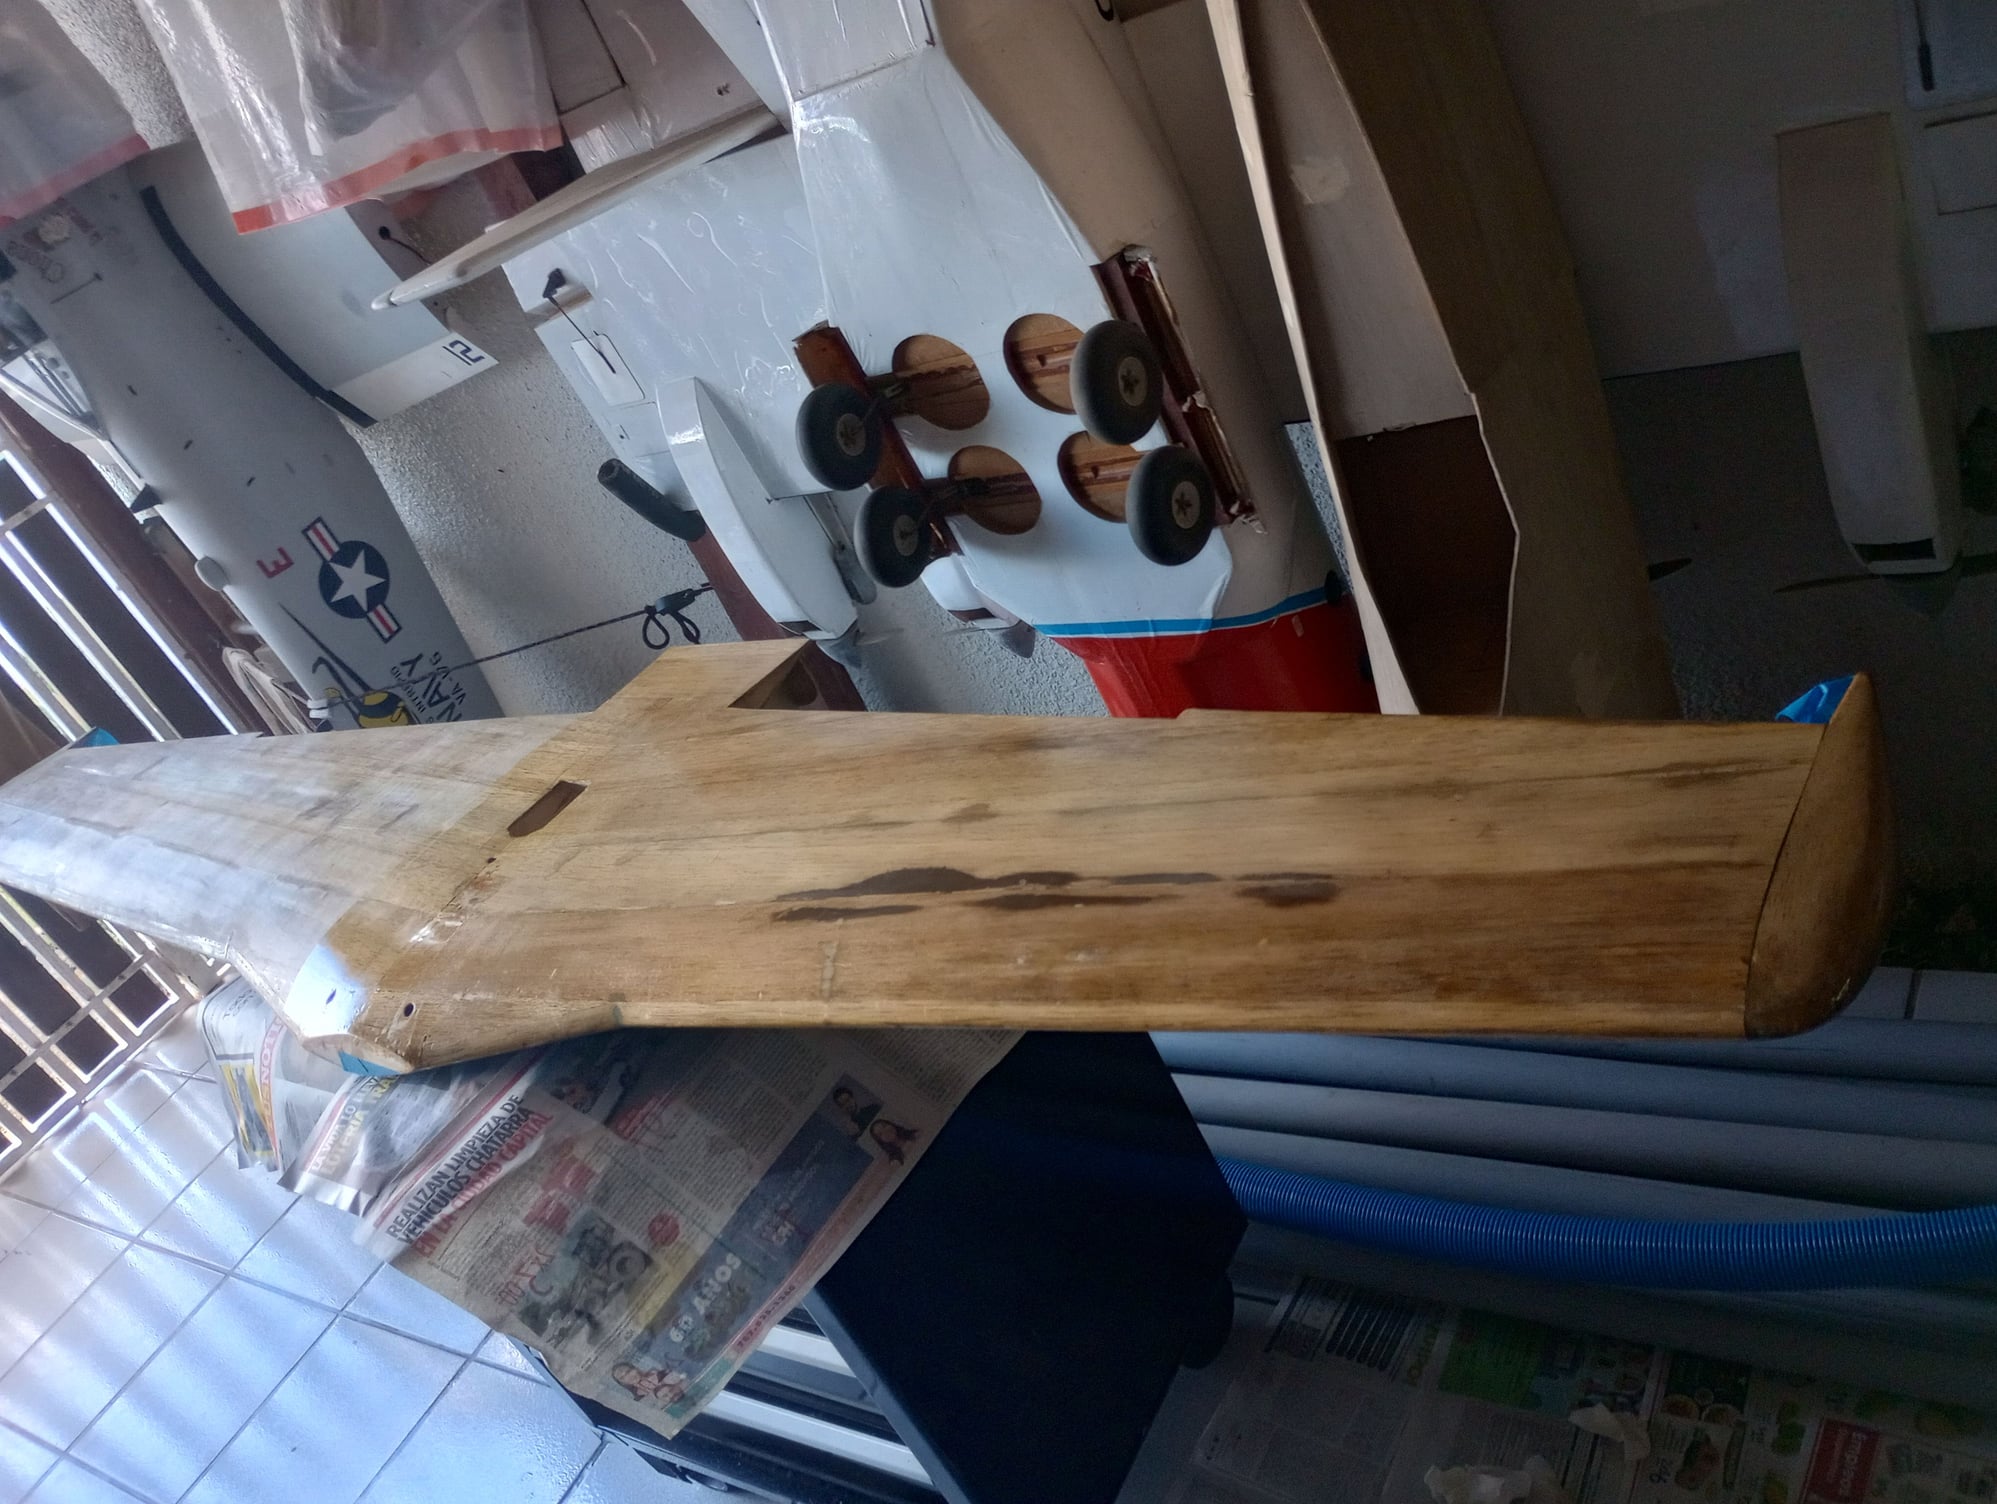
After some weeks of dedicating my time to other tasks more important in my home, I have returned to finishing the task of glassing the wing of my Topflite giant scale P51D. This morning, very early since it is still very warm in Puerto Rico, 80+ at 8:00 am, I proceeded to glass the right inferior halve of the wing. Tommorrow I will sand the edges and glass the left side of the lower halve of the wing. Then I will give the lower half of the wing the 2nd coat of resin.

09-26-2023, 07:20 AM
#11
Thread Starter
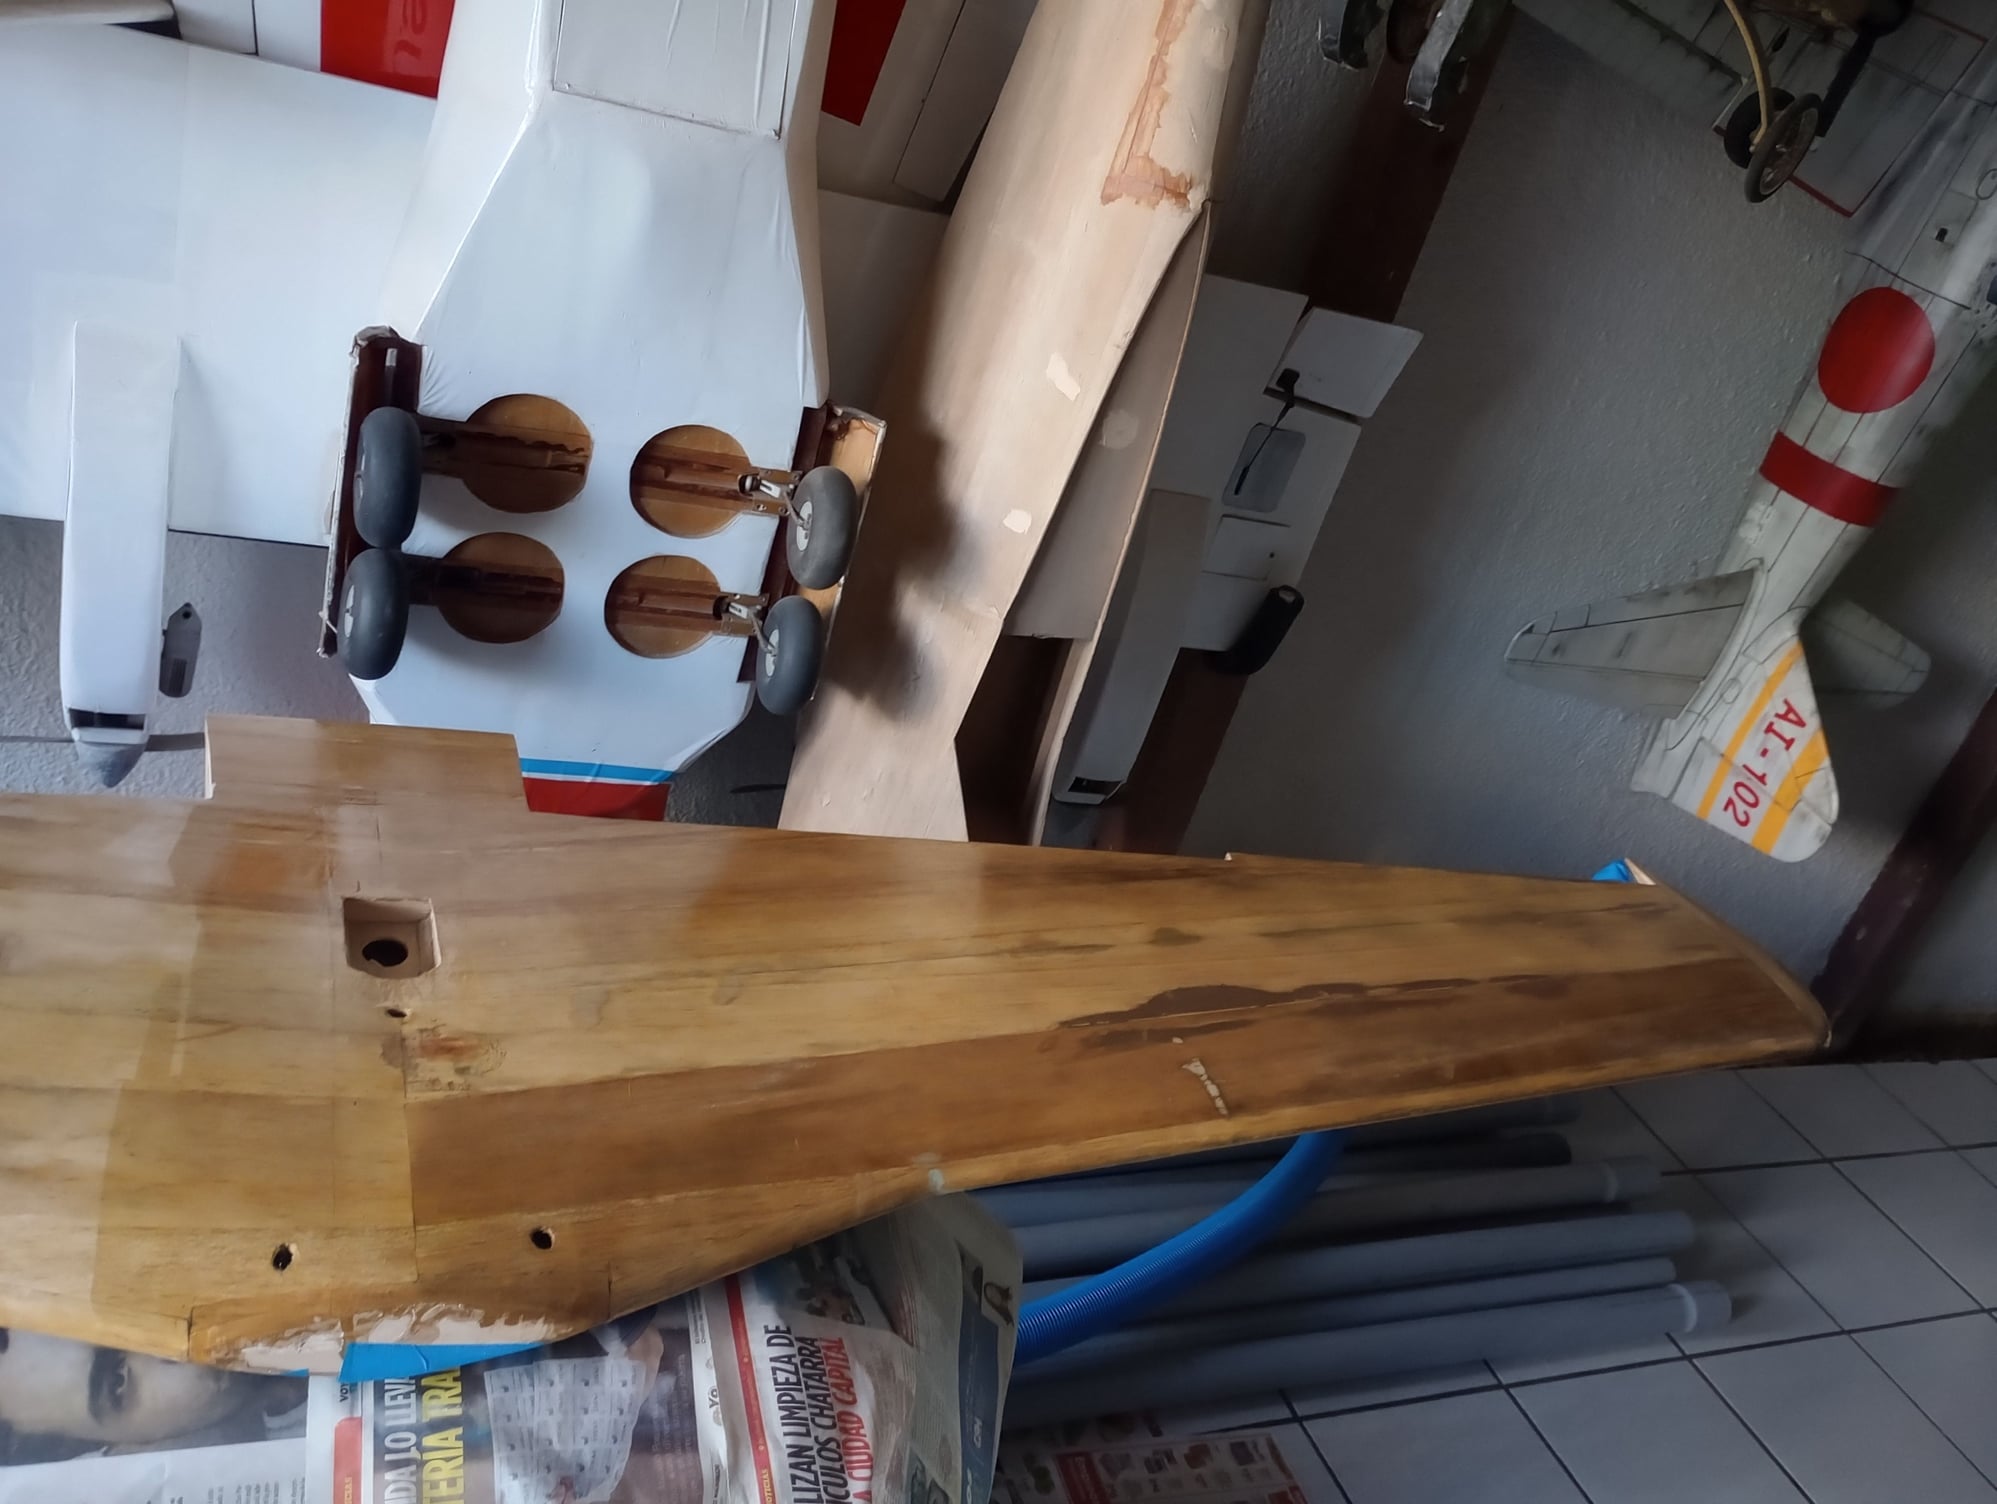
Almost at the end of this 1st glassing experience for me. Finished giving the lower halve of the wing the 2nd coat of resin. That portion is done. Gave the top half left portion the 2nd coat of resin. This afternoon will give the right top side its 2nd coat and I am finished glassing the Mustang. Even thou glassing the wings is a lot easier thna the fuselage. I am really happy of finishing this portion of the project. I amo not looking forward to glassing another model for now. Its a tedious process and expertise is gained very slowly . At 70 years of age, I do not think I will ever gain that status. ever.
Stil I feel accomplished in having done this on a full model at least once in my life. Have glassed smaller portions such as a wing, etc. But never a full model and one with a complicated fuselage as the Mustang.
Stil I feel accomplished in having done this on a full model at least once in my life. Have glassed smaller portions such as a wing, etc. But never a full model and one with a complicated fuselage as the Mustang.
09-26-2023, 03:49 PM
#12
Thread Starter
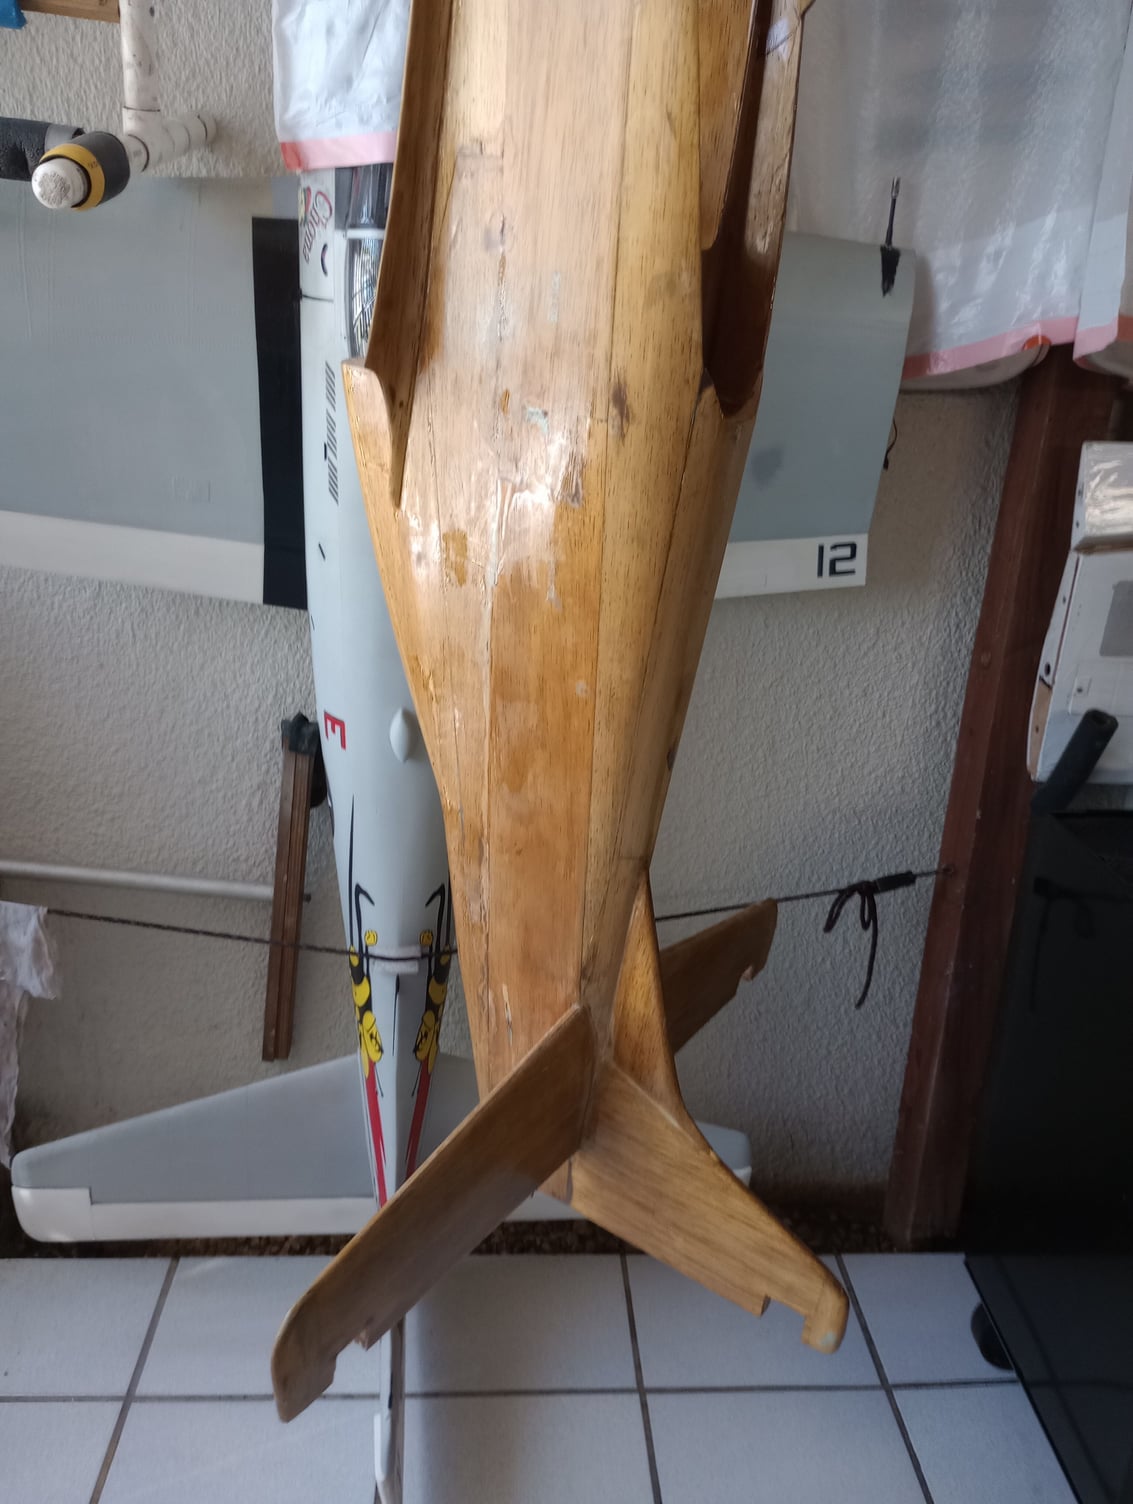
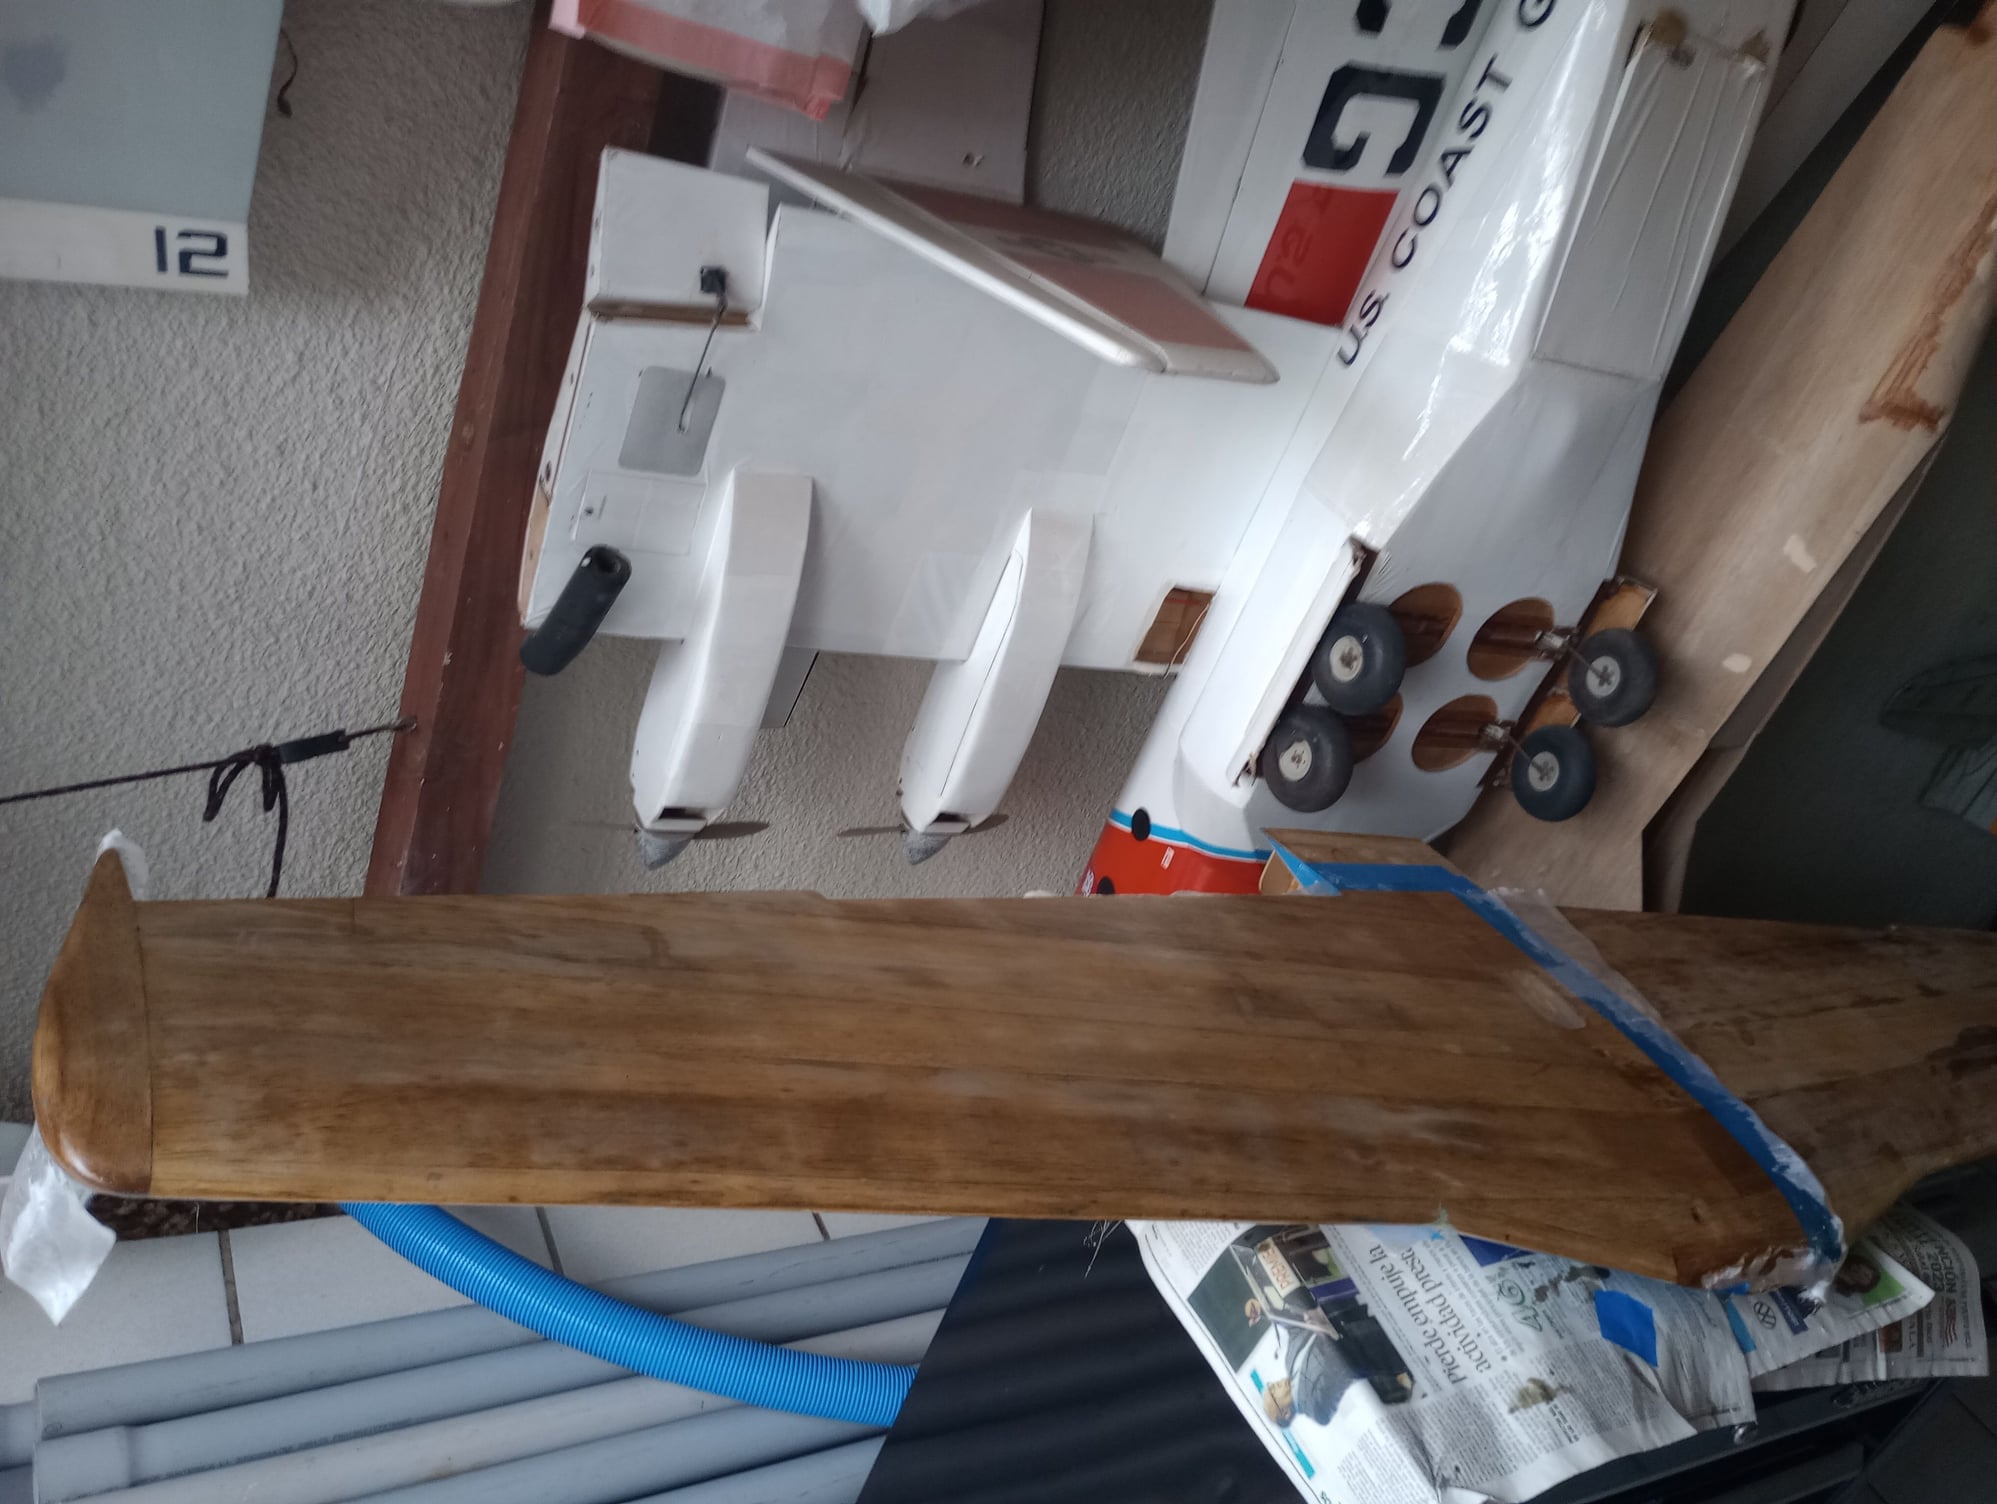
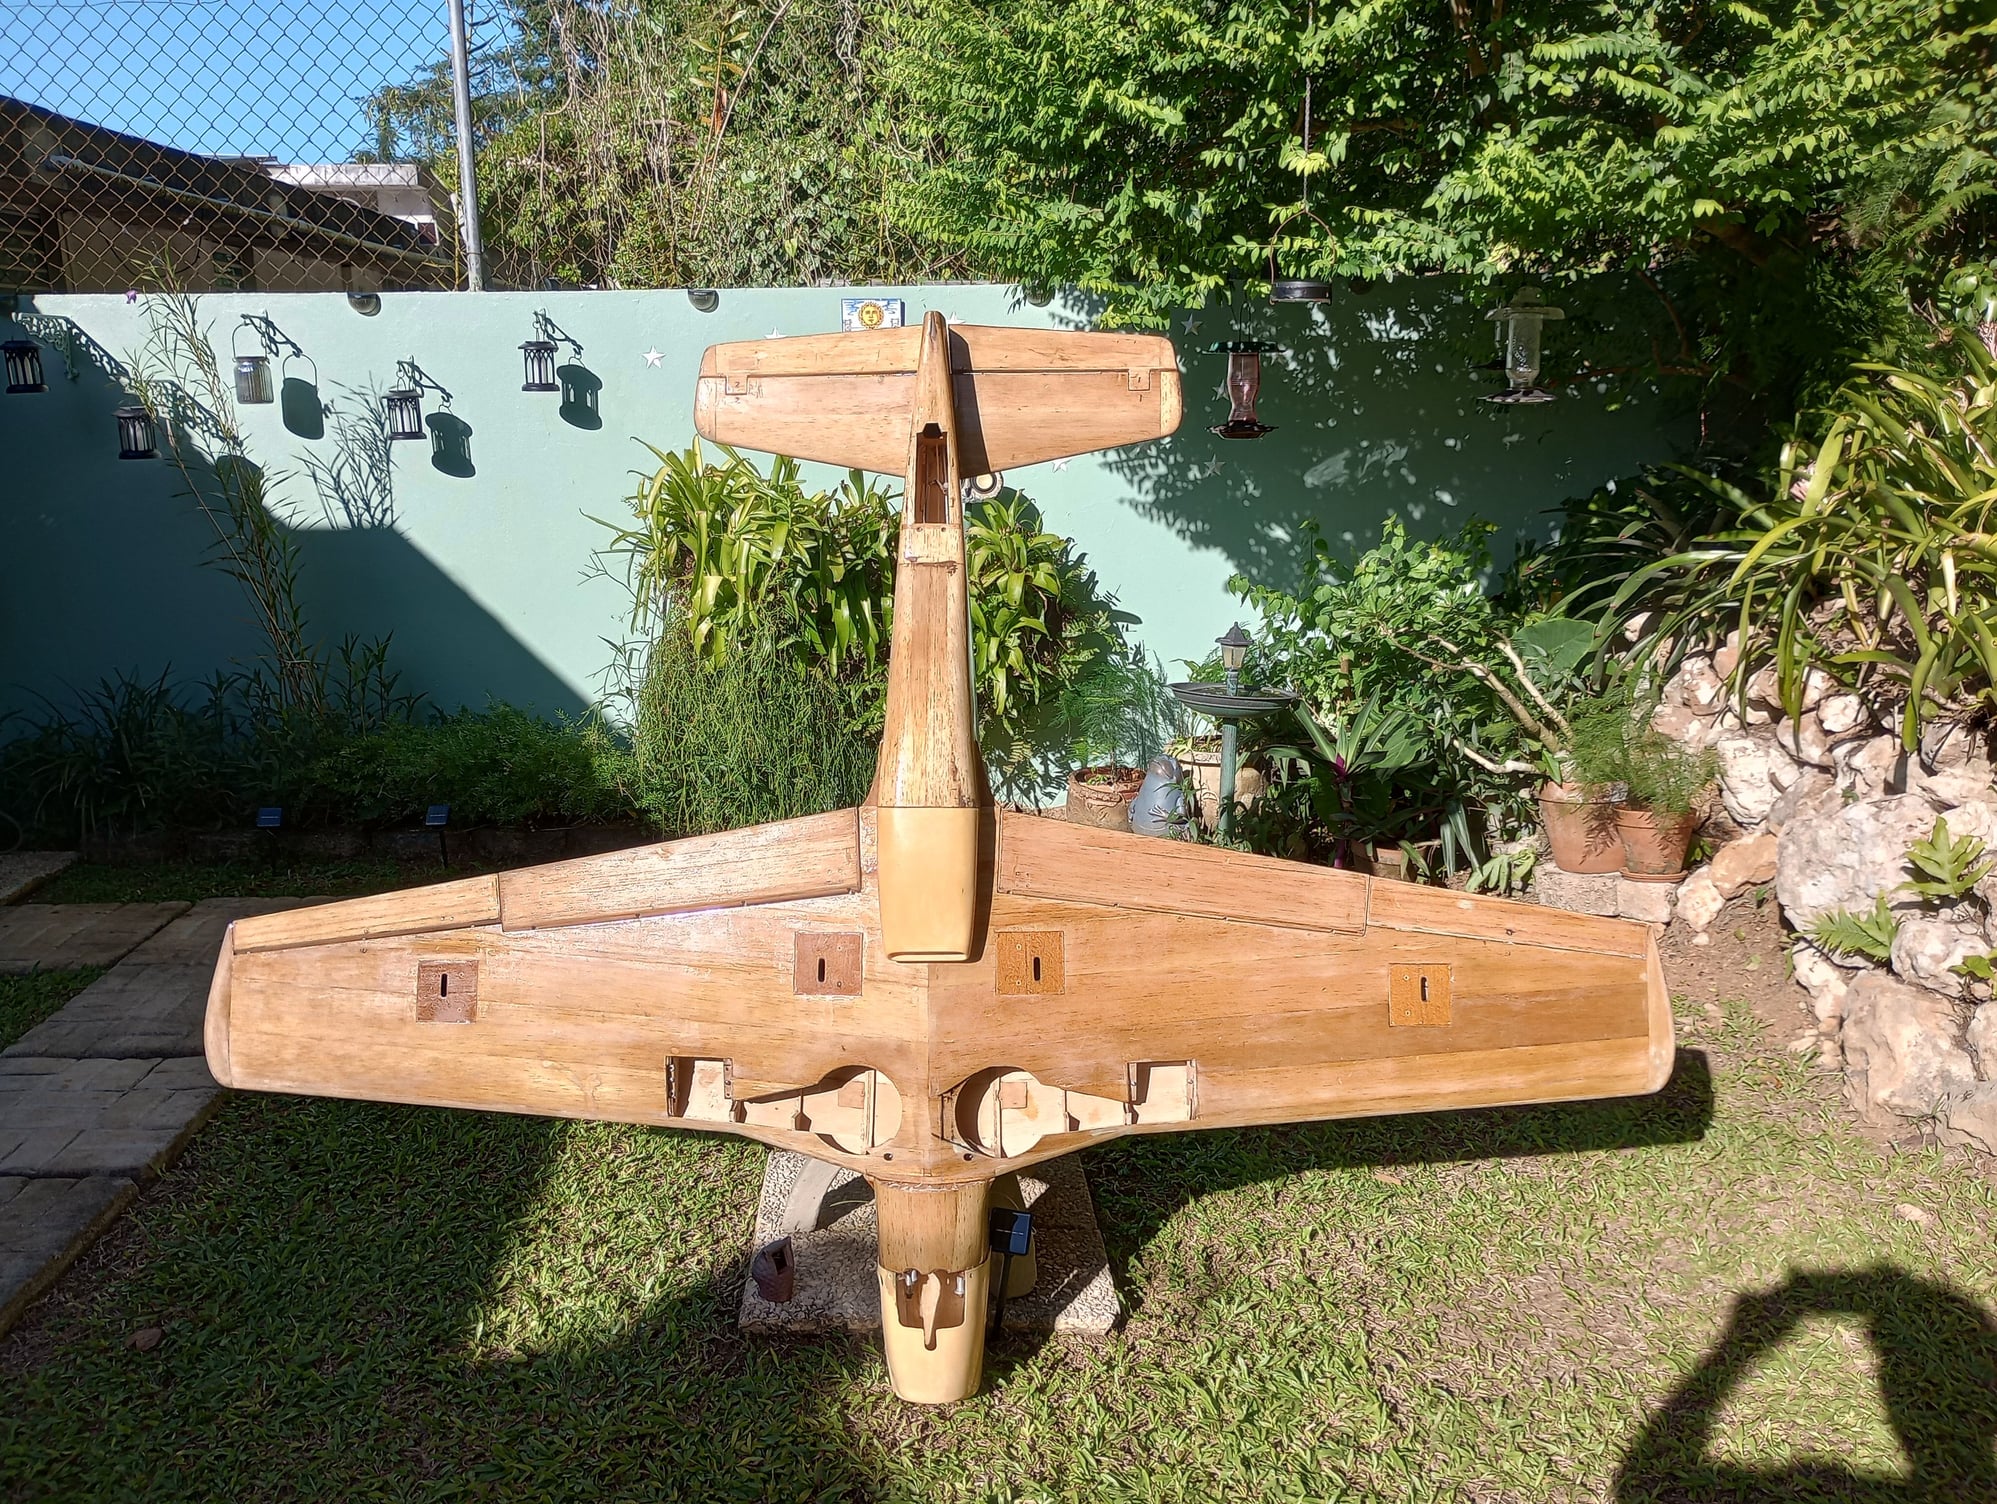
Today finished glassing the wing. Installed the flaps and ailerons temporarely just to see them together and their fit. Lightly sanded the finish to insure no imperfections in mounting surfaces.
09-26-2023, 03:54 PM
#13
Thread Starter
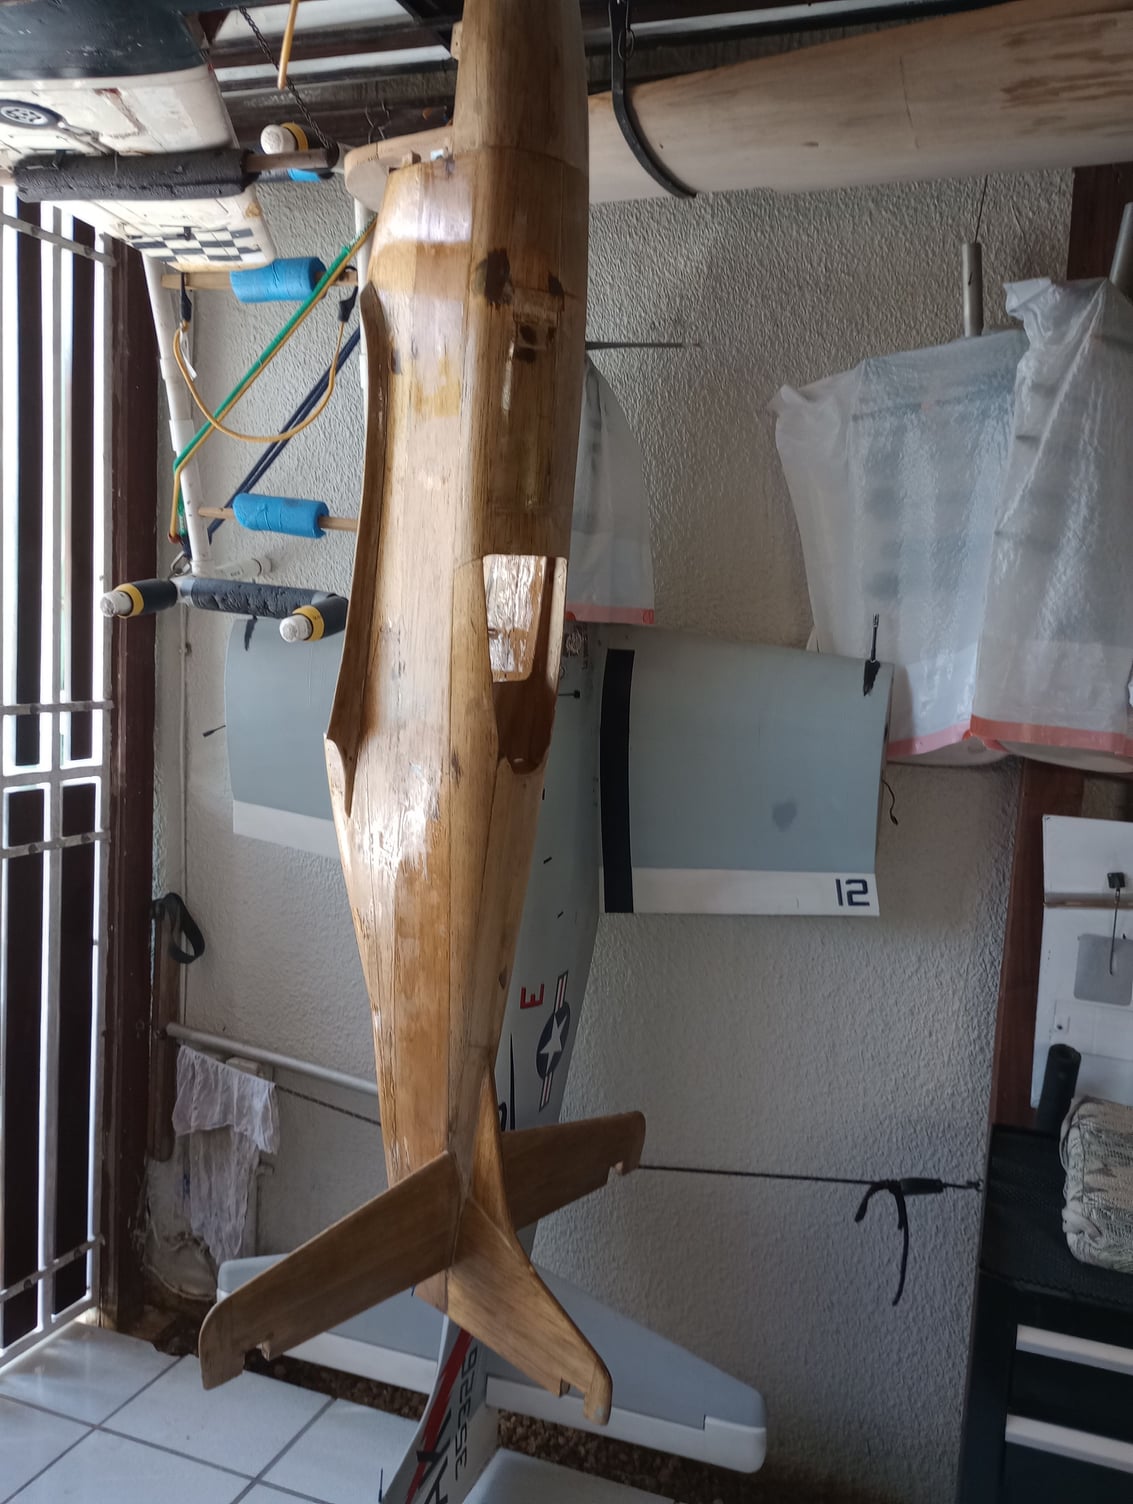
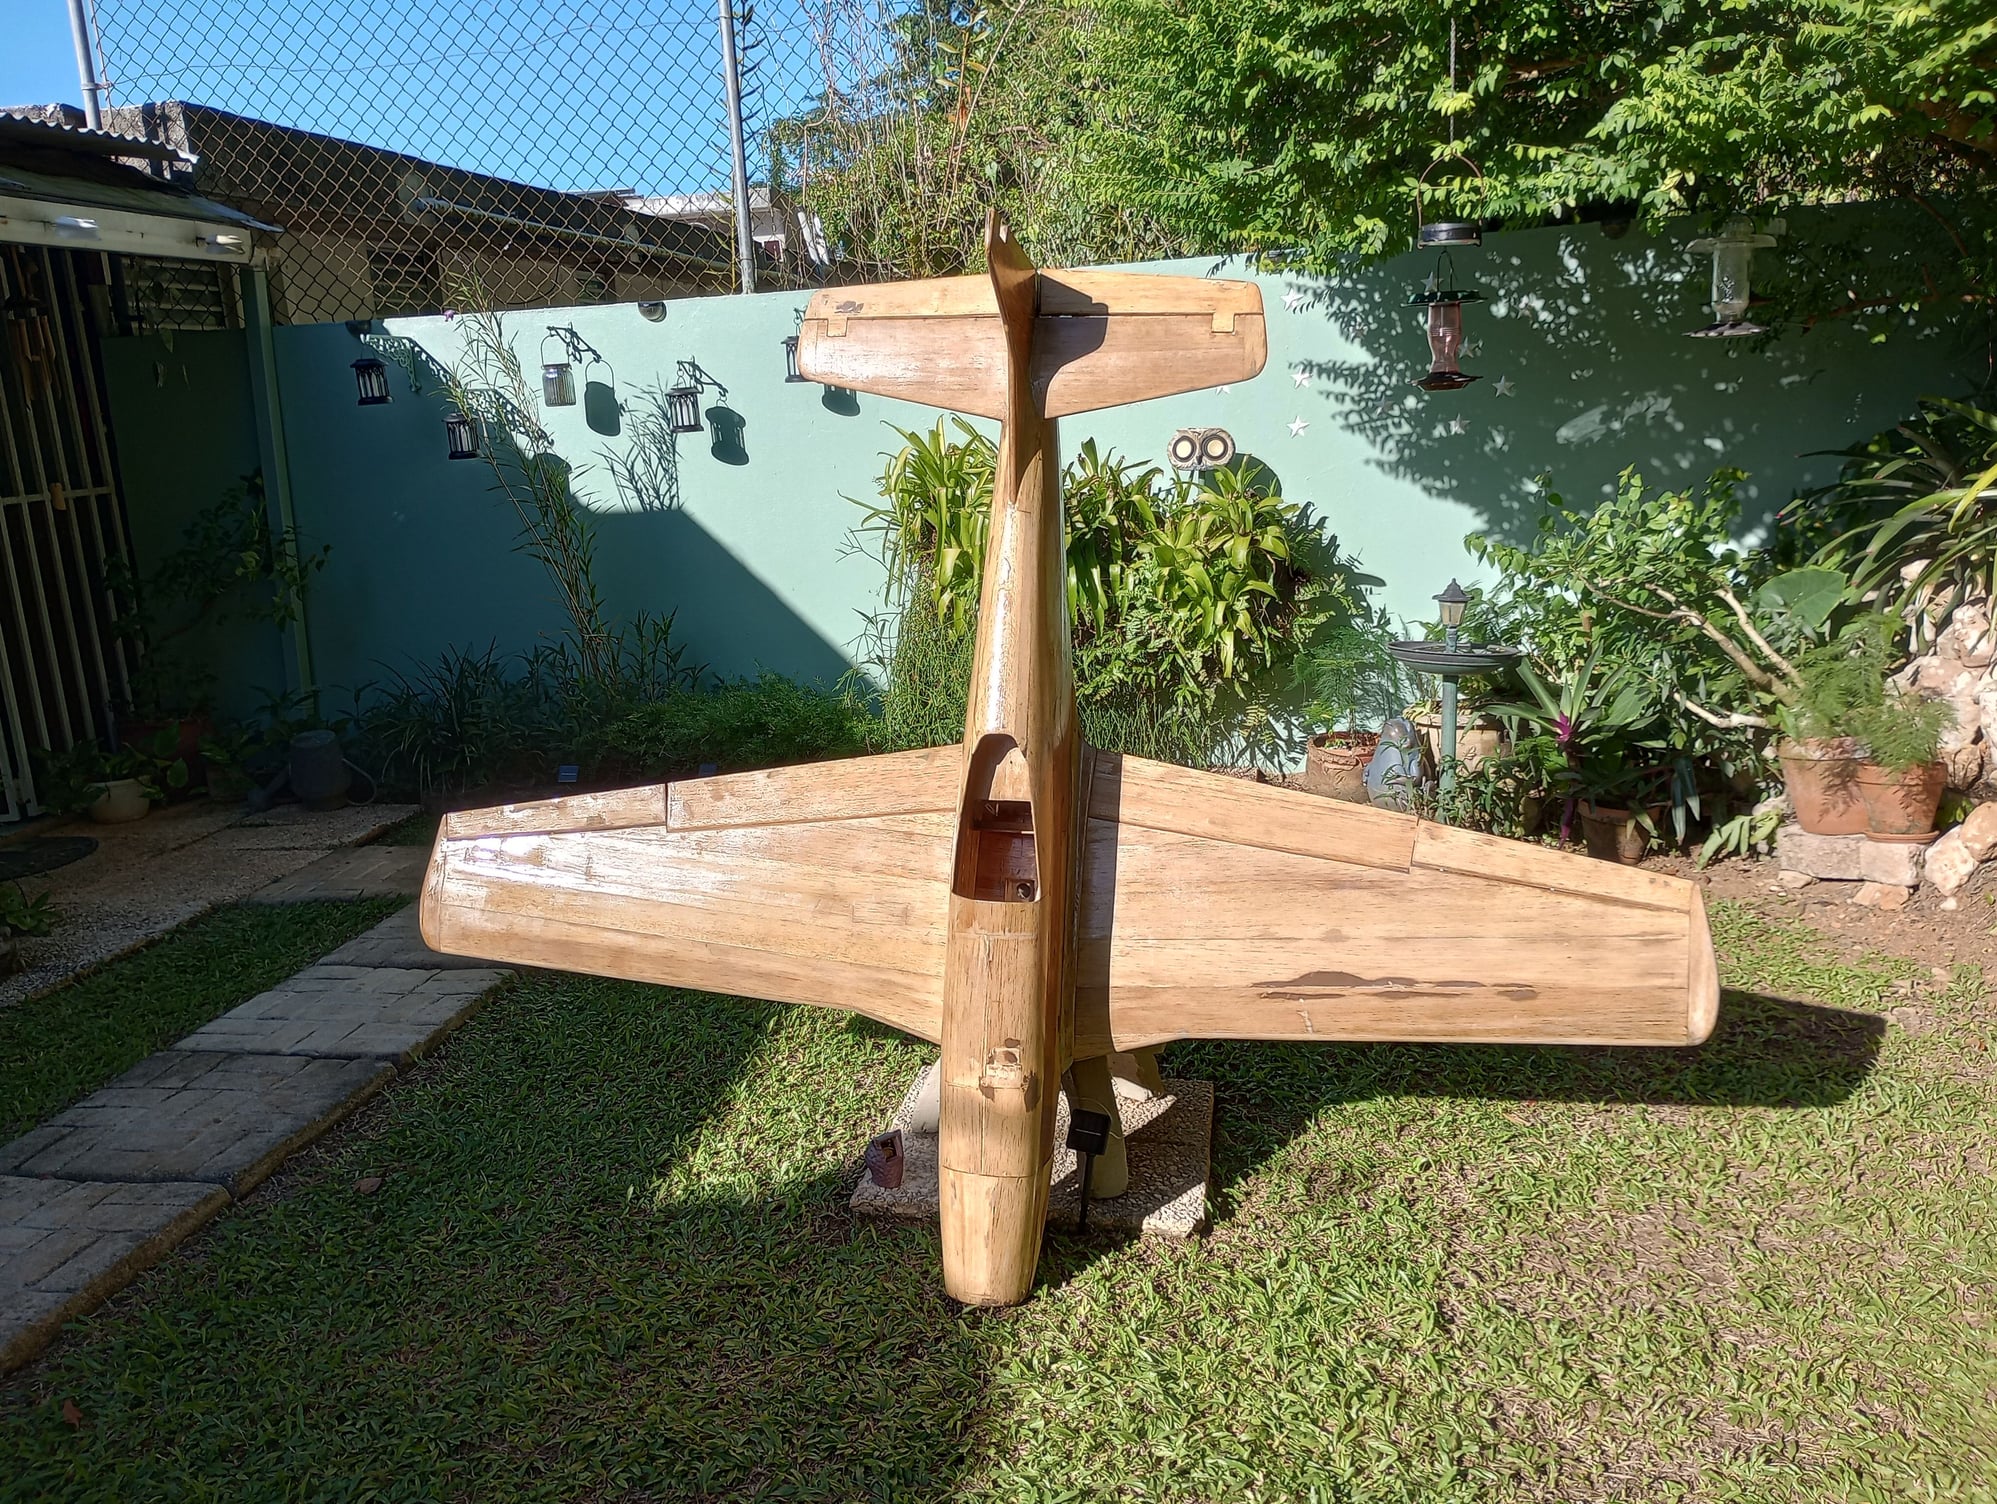
Finally finished the glassing process and mounted the Mustang to see how it looked and if the parts all fitted after adding cloth and resin. They did fit and quite well. Sanded lightly the wing, mounted the flaps and ailerons and installede in the fuselage. I have not sanded yet the fuselage,, those are steps toperform in the next days.
Needed to mounted and see it to get a boost and recharge my motivation to continue the next stpes.
Hope I don't bore you all.
Gonzo
Needed to mounted and see it to get a boost and recharge my motivation to continue the next stpes.
Hope I don't bore you all.
Gonzo
