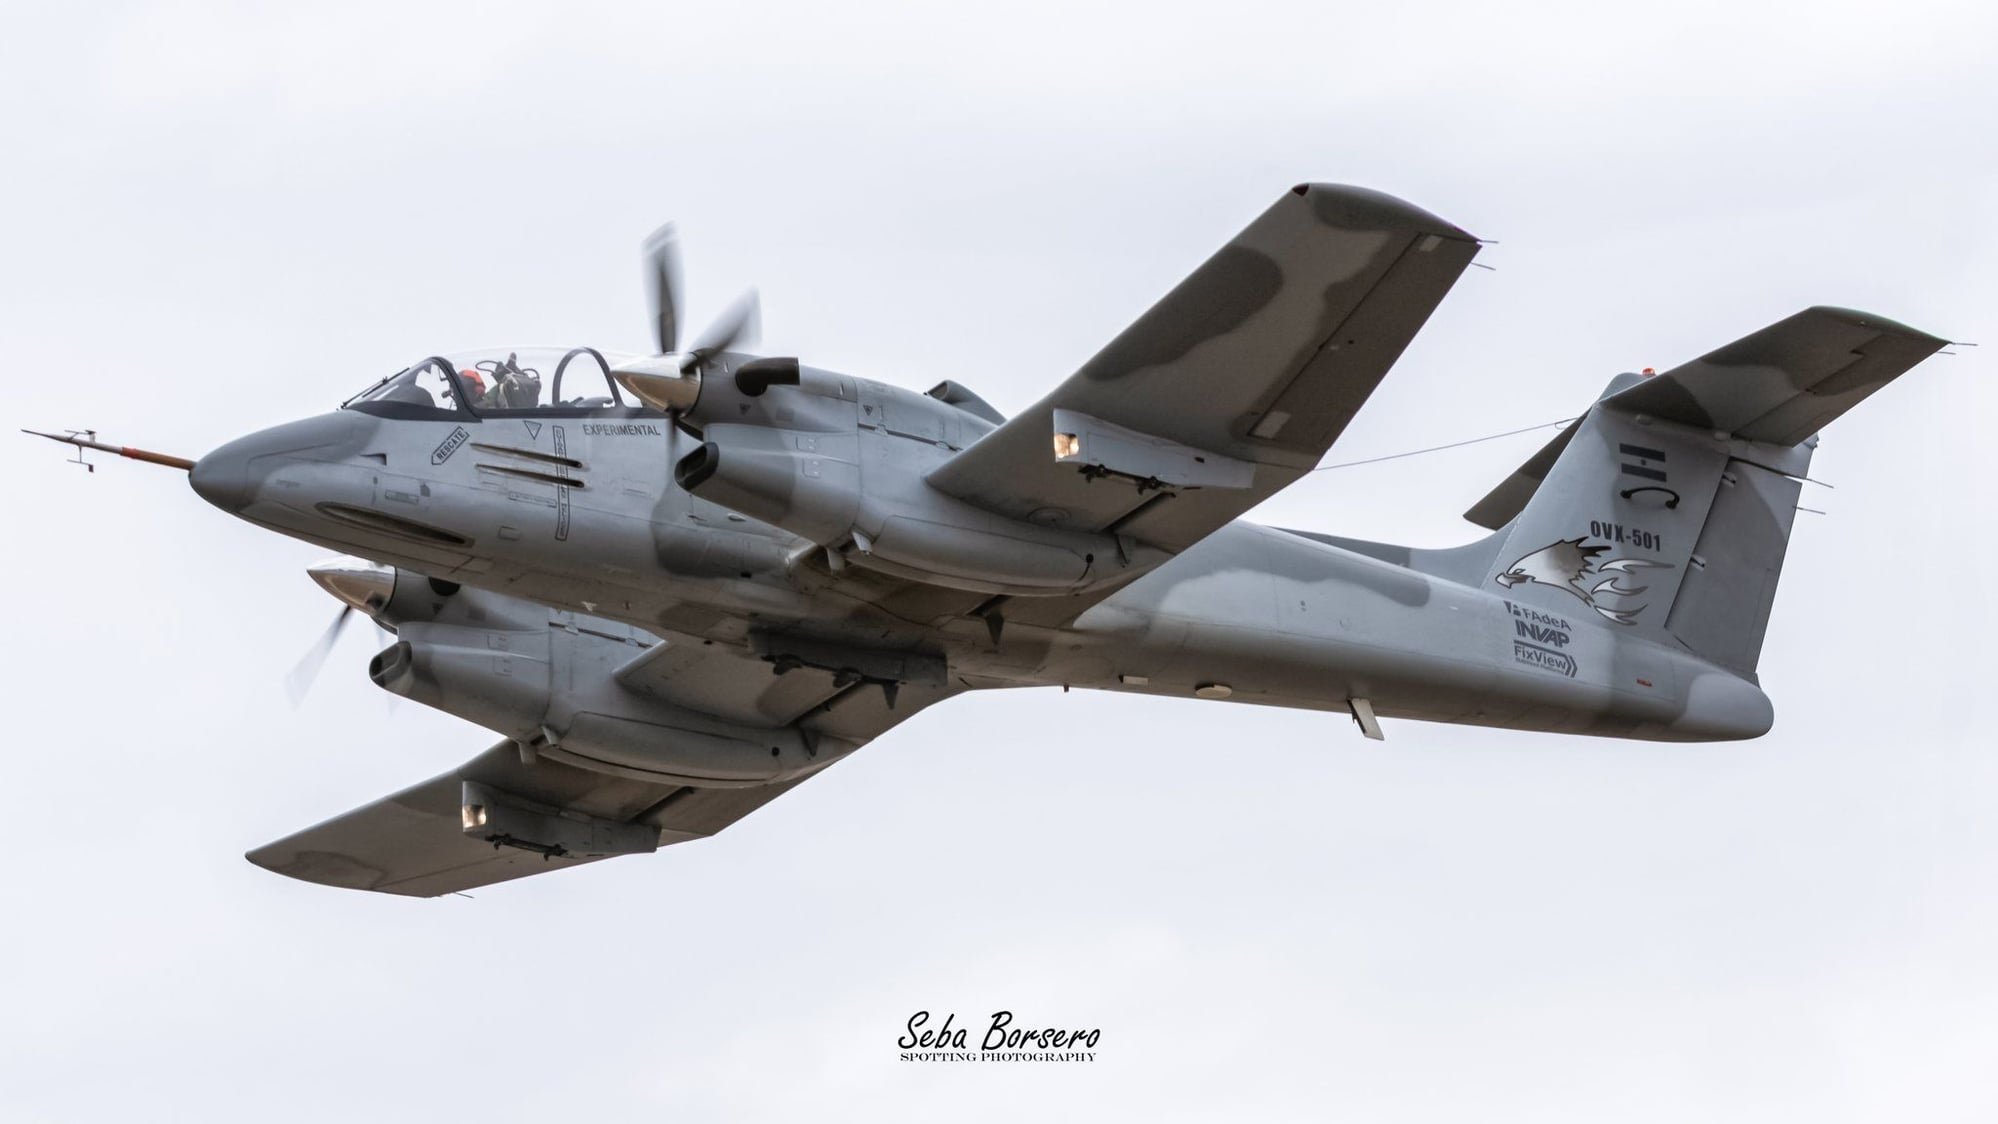
IA-58H Pucara Fenix Custom Plan and Build
 09-15-2023, 06:16 AM
#26

That is a cool objective with the small business and offering out of the ordinary designs. Jerry Bates has some similar guidelines for what he offers.
I was wondering if it might be viable to just sell the plan file? I understand that once it is out there, people can copy it and so forth. But just selling the file is a lot better than having to ship physical plans. Then it is not quite in the public domain as Outerzone. Obviously, nobody is going to get rich selling model airplane products, and to a large degree we are just helping our brothers out, but it would be nice to get a little compensation for all of the design work. Especially now that I have 1st hand experience with what goes into it.
I was wondering if it might be viable to just sell the plan file? I understand that once it is out there, people can copy it and so forth. But just selling the file is a lot better than having to ship physical plans. Then it is not quite in the public domain as Outerzone. Obviously, nobody is going to get rich selling model airplane products, and to a large degree we are just helping our brothers out, but it would be nice to get a little compensation for all of the design work. Especially now that I have 1st hand experience with what goes into it.
 09-15-2023, 06:29 AM
#27
That is a cool objective with the small business and offering out of the ordinary designs. Jerry Bates has some similar guidelines for what he offers.
I was wondering if it might be viable to just sell the plan file? I understand that once it is out there, people can copy it and so forth. But just selling the file is a lot better than having to ship physical plans. Then it is not quite in the public domain as Outerzone. Obviously, nobody is going to get rich selling model airplane products, and to a large degree we are just helping our brothers out, but it would be nice to get a little compensation for all of the design work. Especially now that I have 1st hand experience with what goes into it.
I was wondering if it might be viable to just sell the plan file? I understand that once it is out there, people can copy it and so forth. But just selling the file is a lot better than having to ship physical plans. Then it is not quite in the public domain as Outerzone. Obviously, nobody is going to get rich selling model airplane products, and to a large degree we are just helping our brothers out, but it would be nice to get a little compensation for all of the design work. Especially now that I have 1st hand experience with what goes into it.

Thanks for the idea!
09-17-2023, 06:37 AM
#28
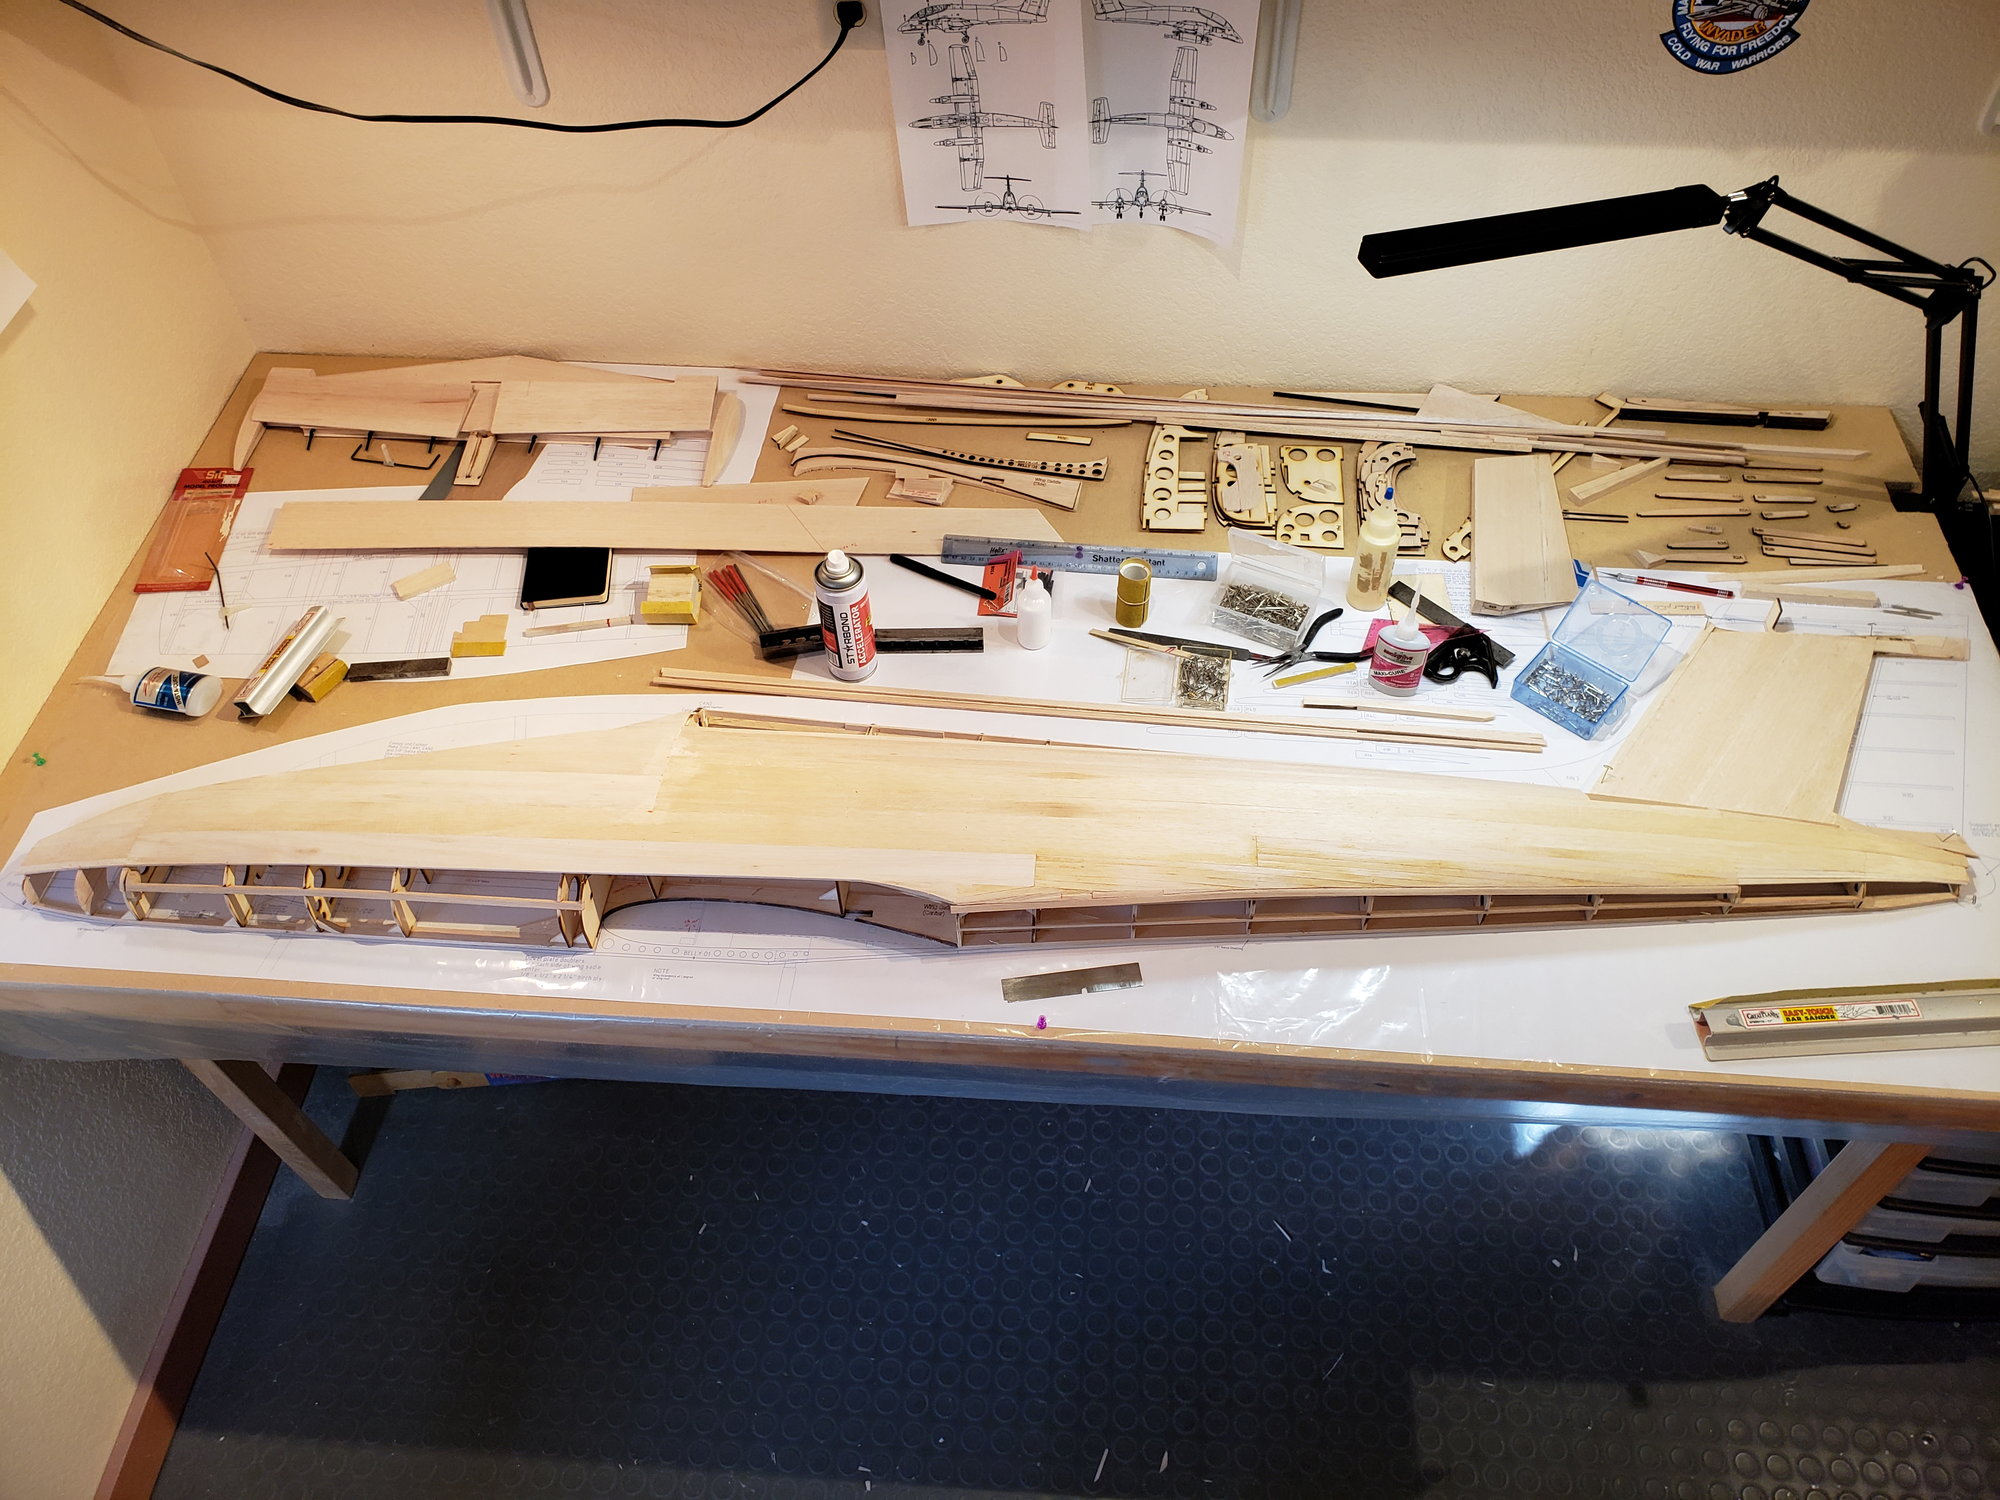
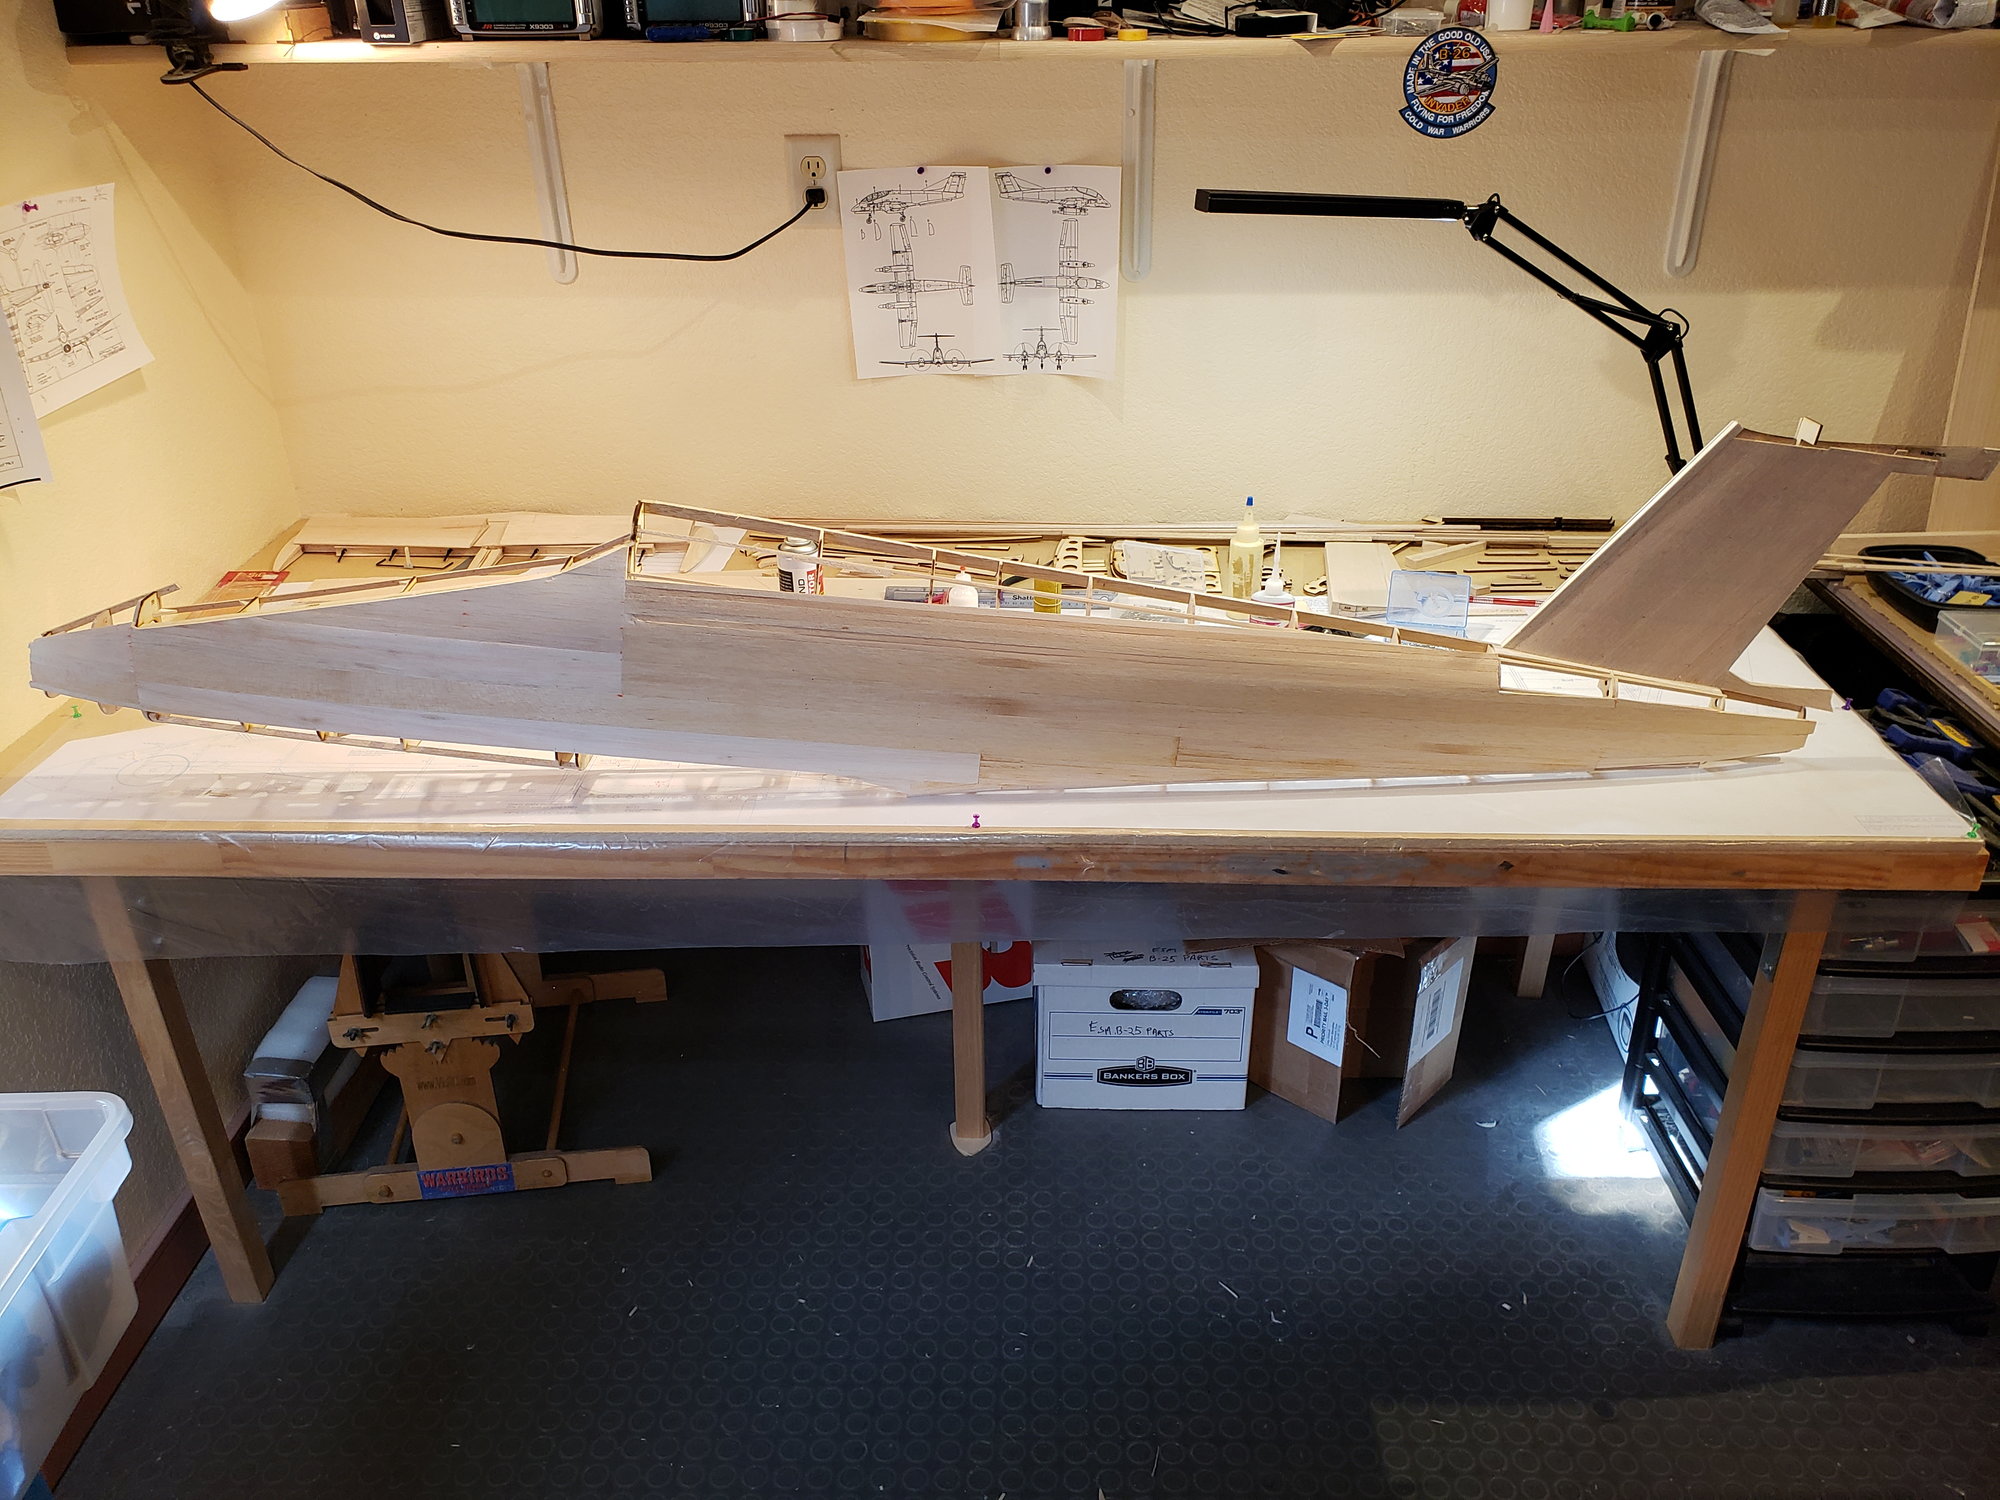
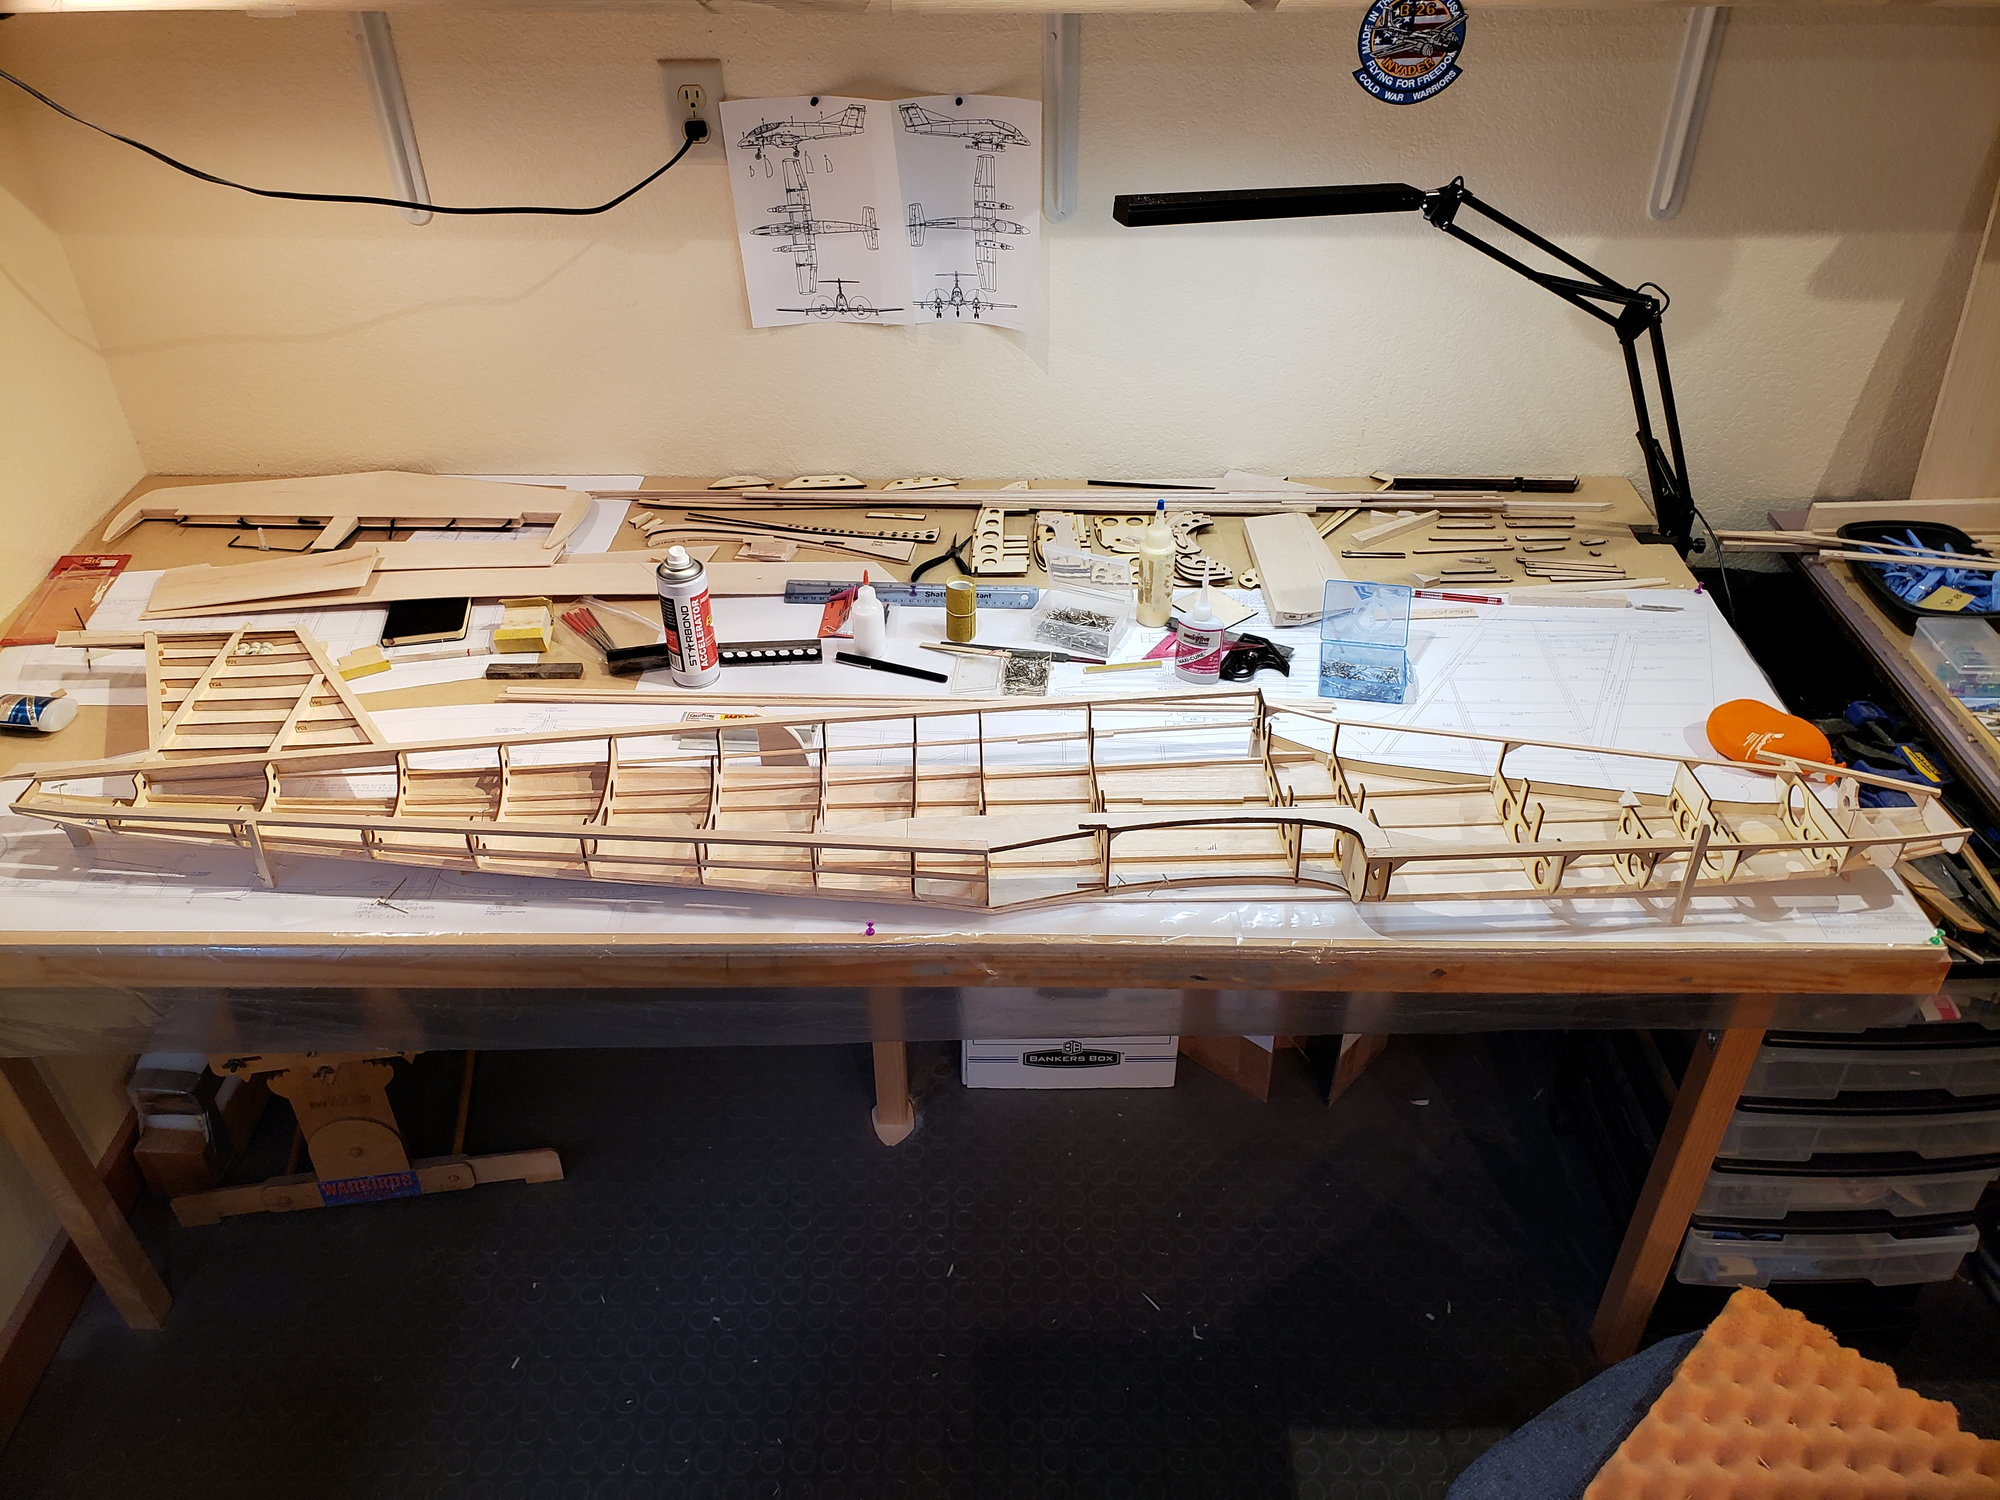
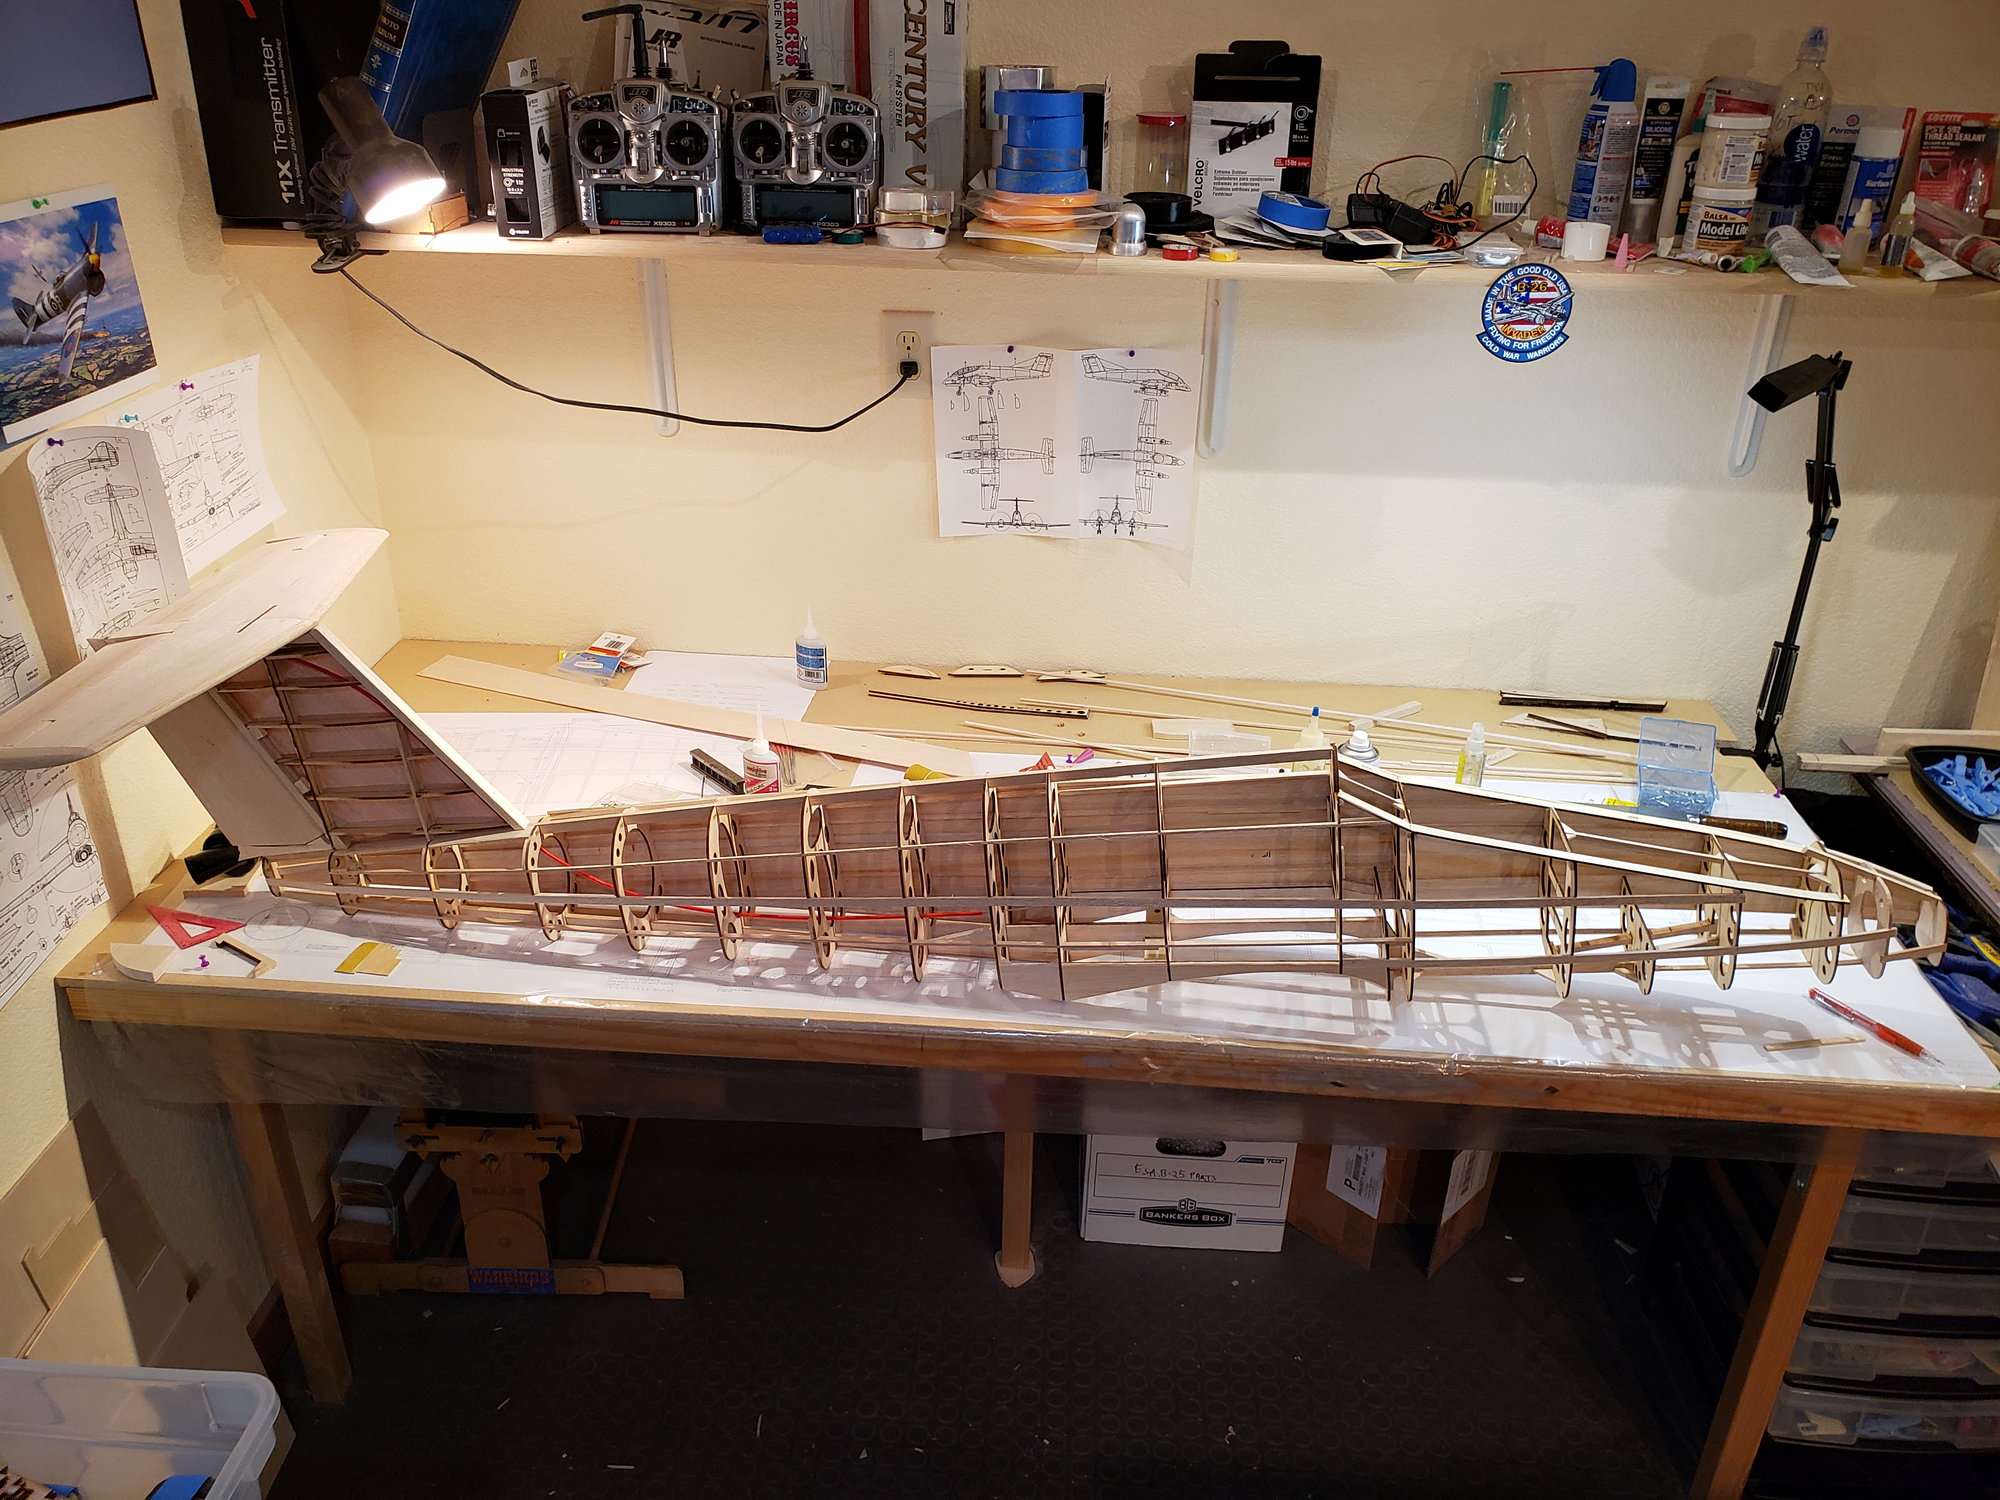
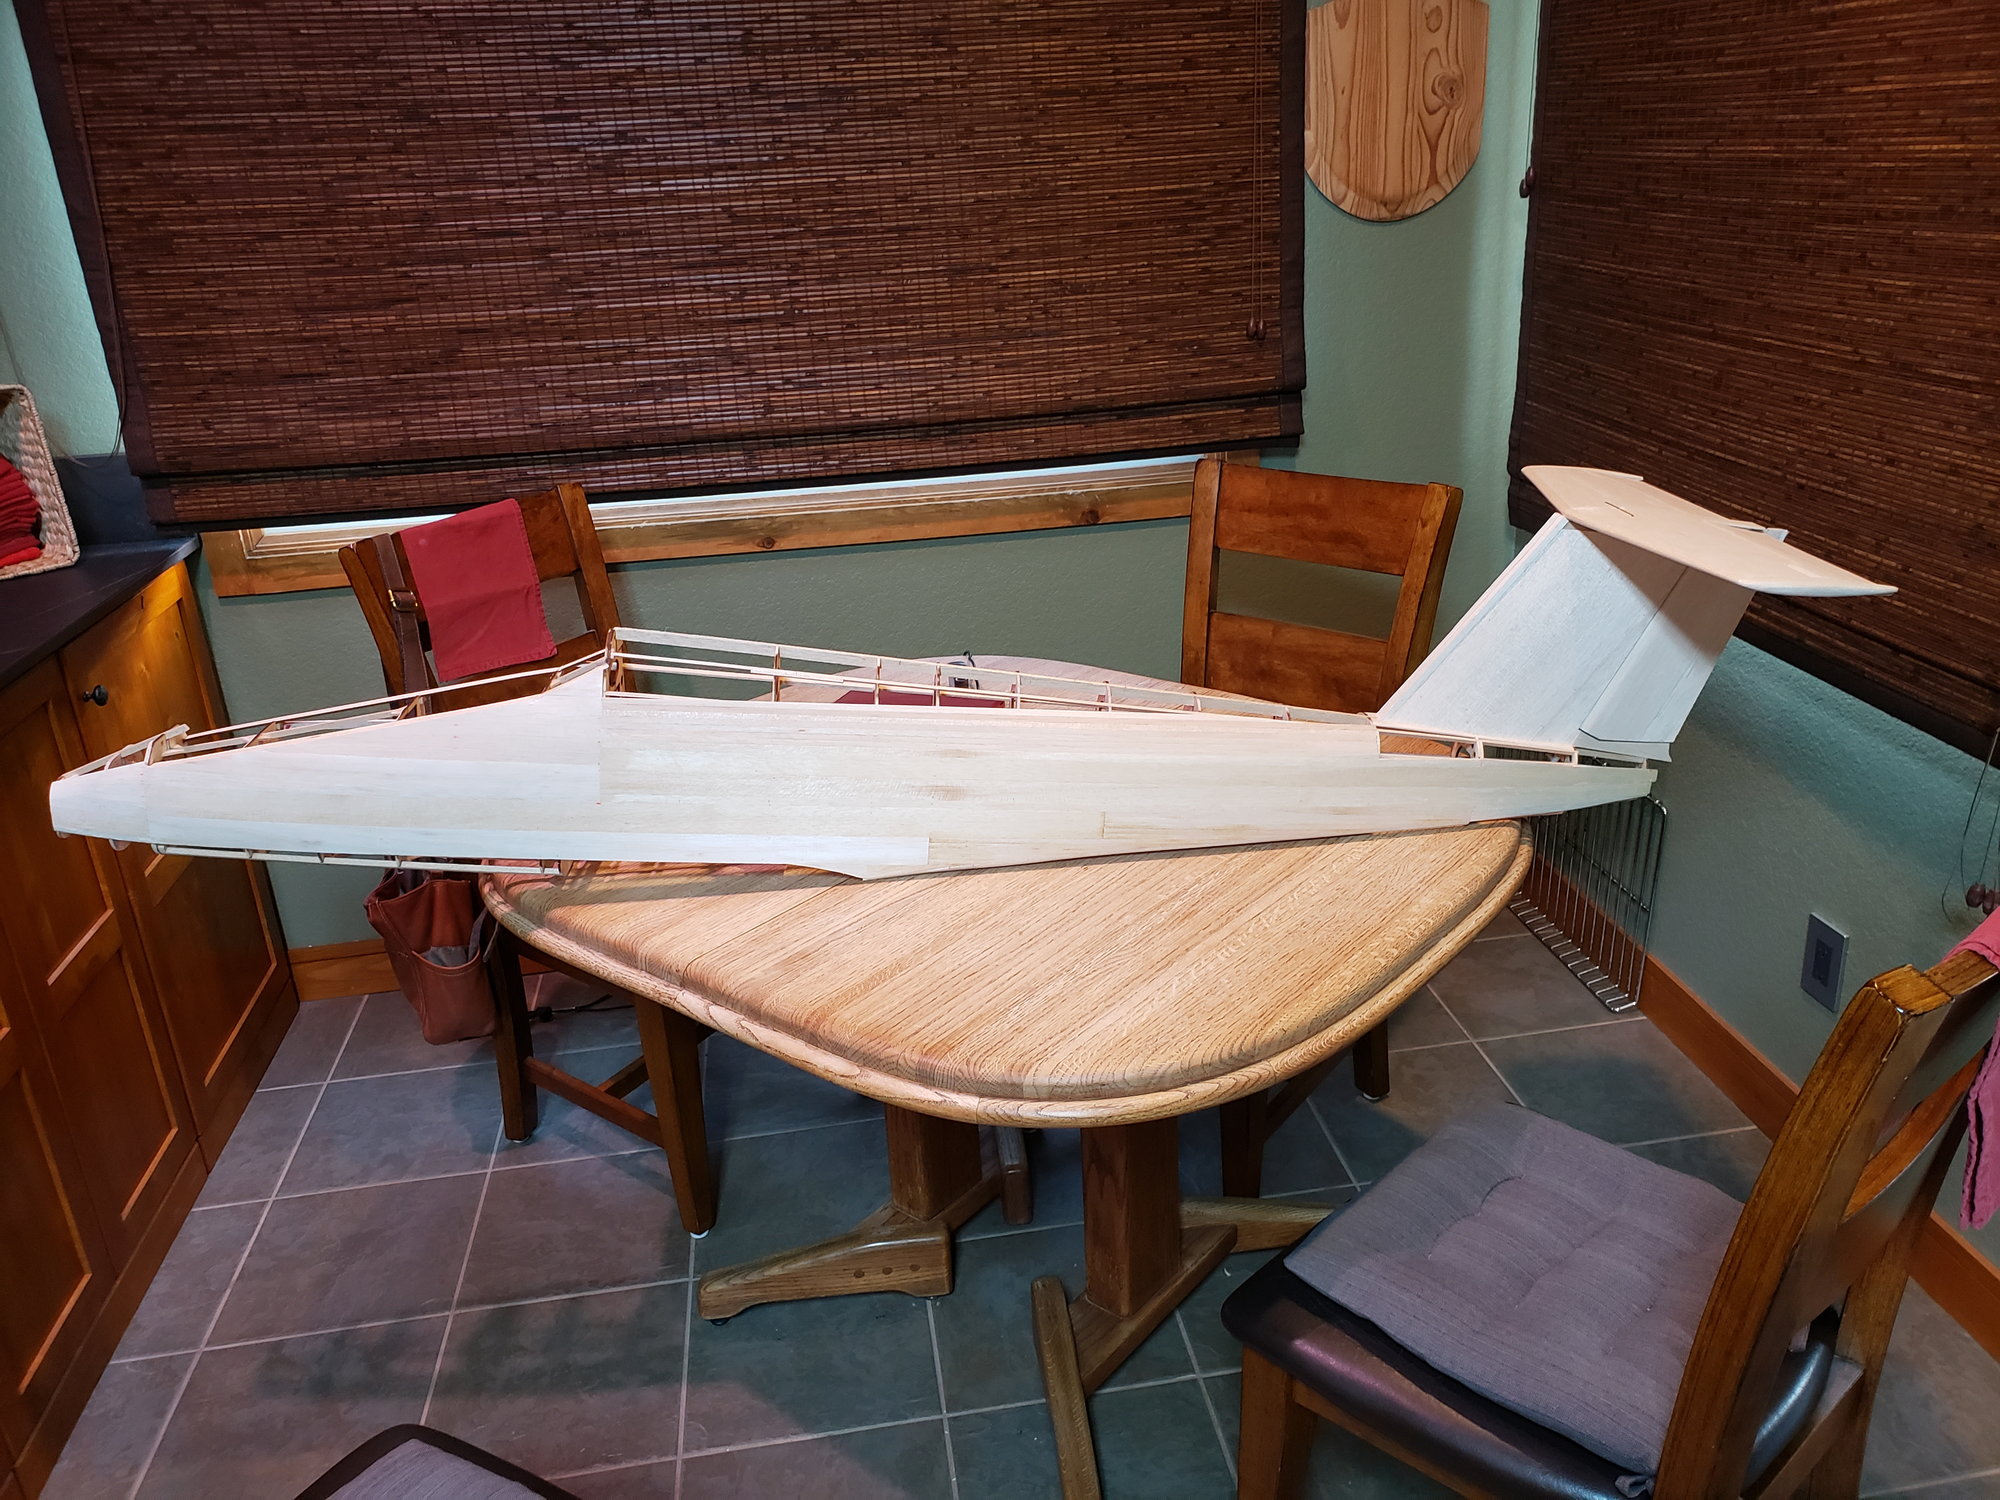
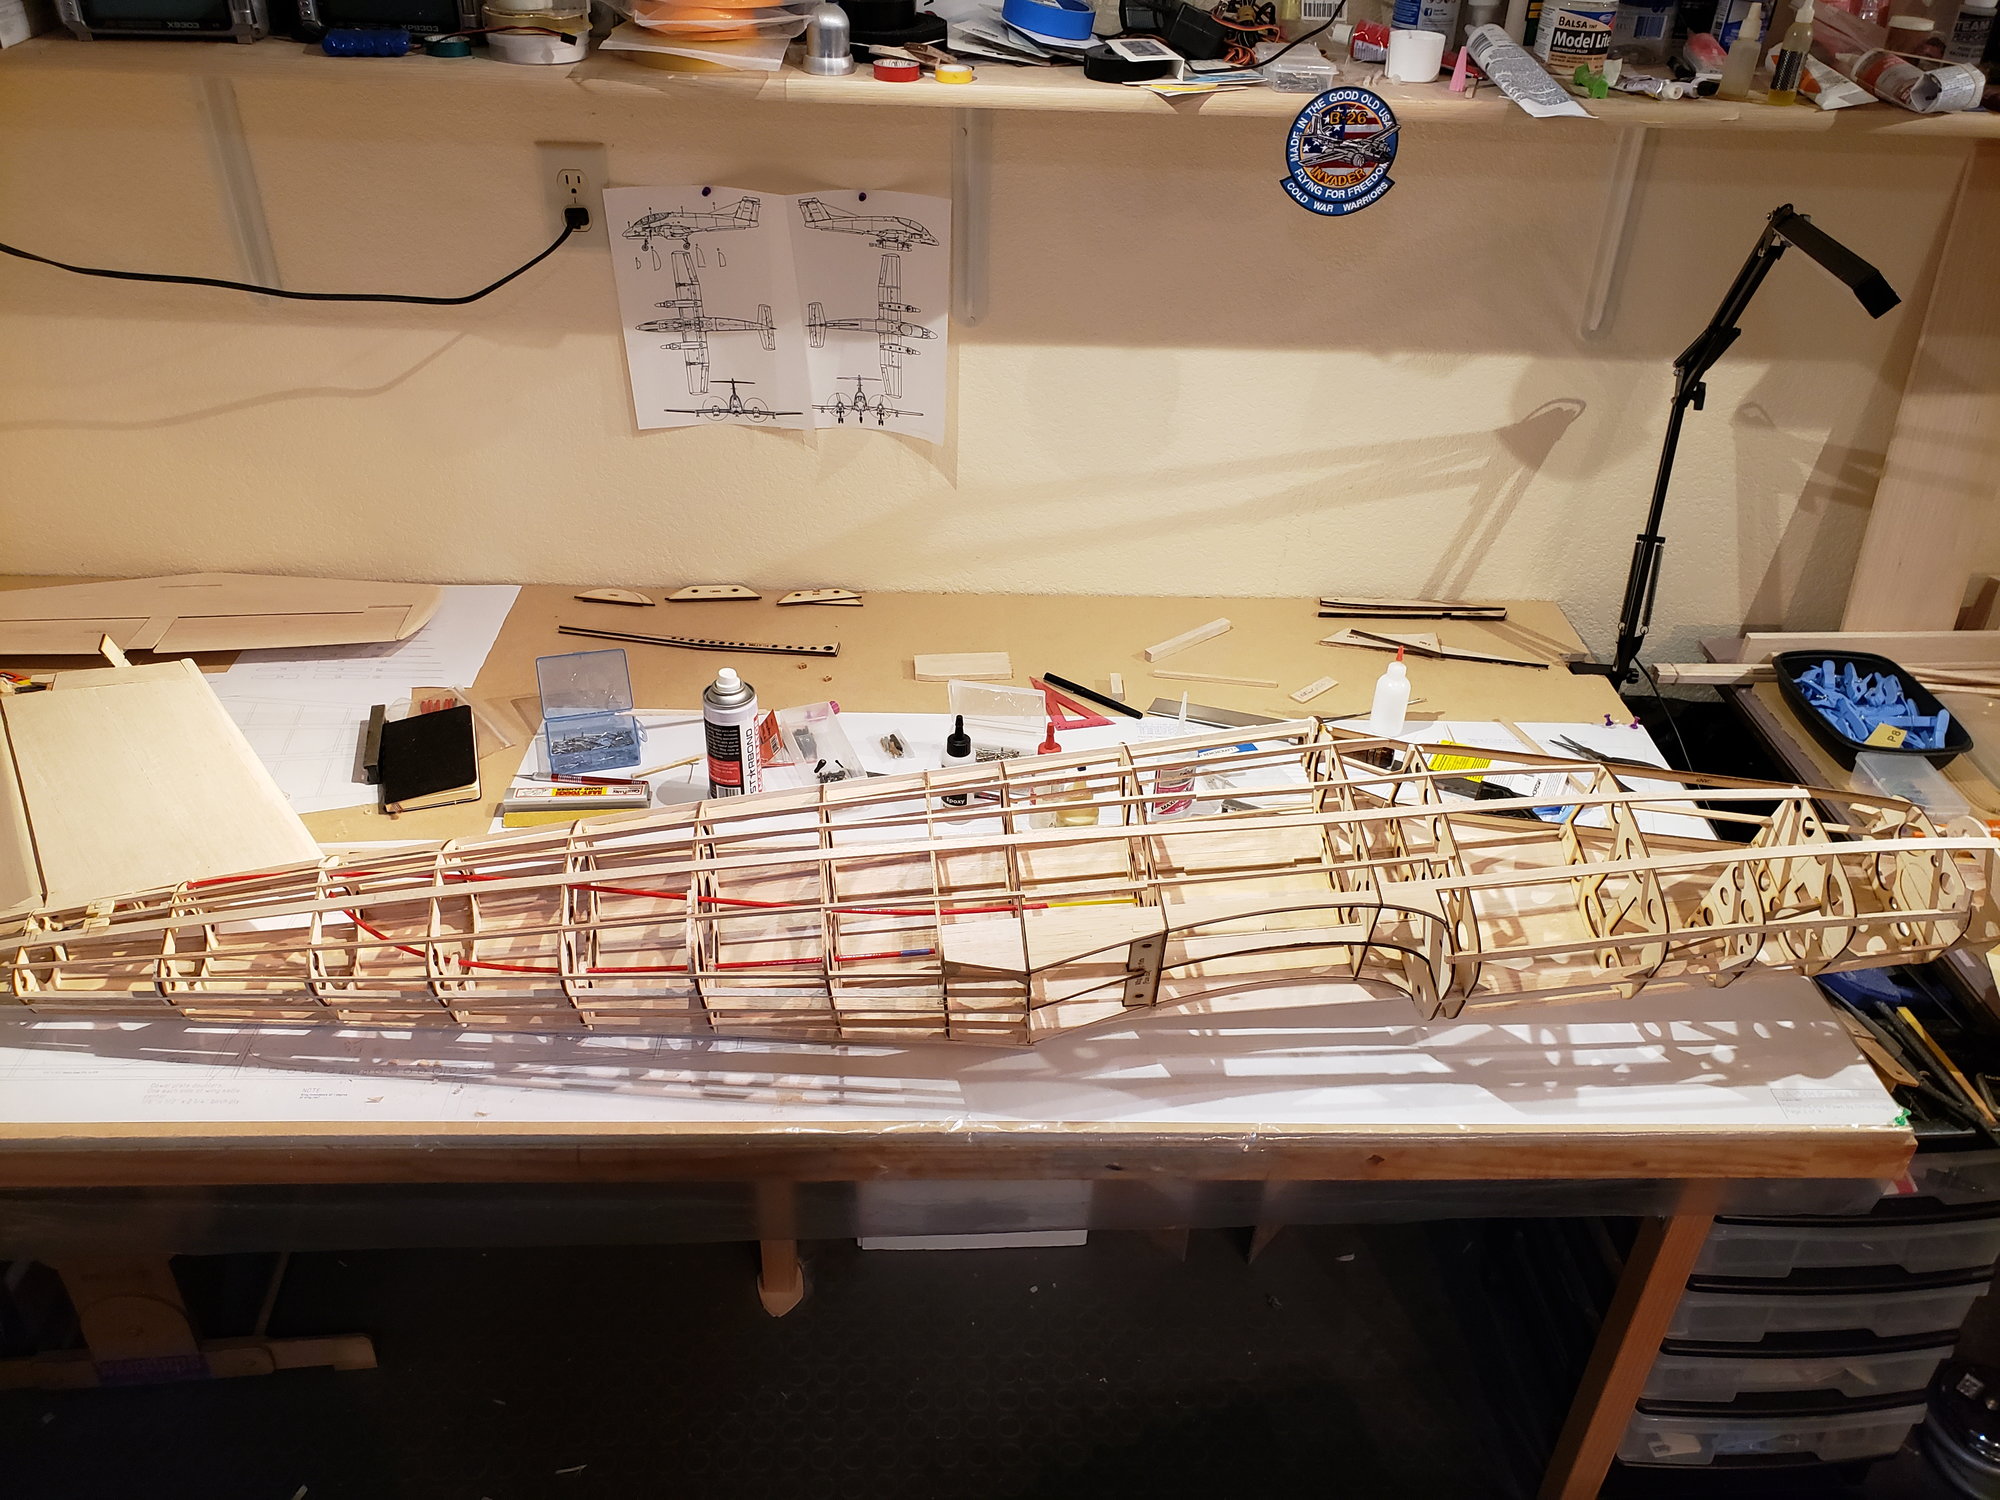
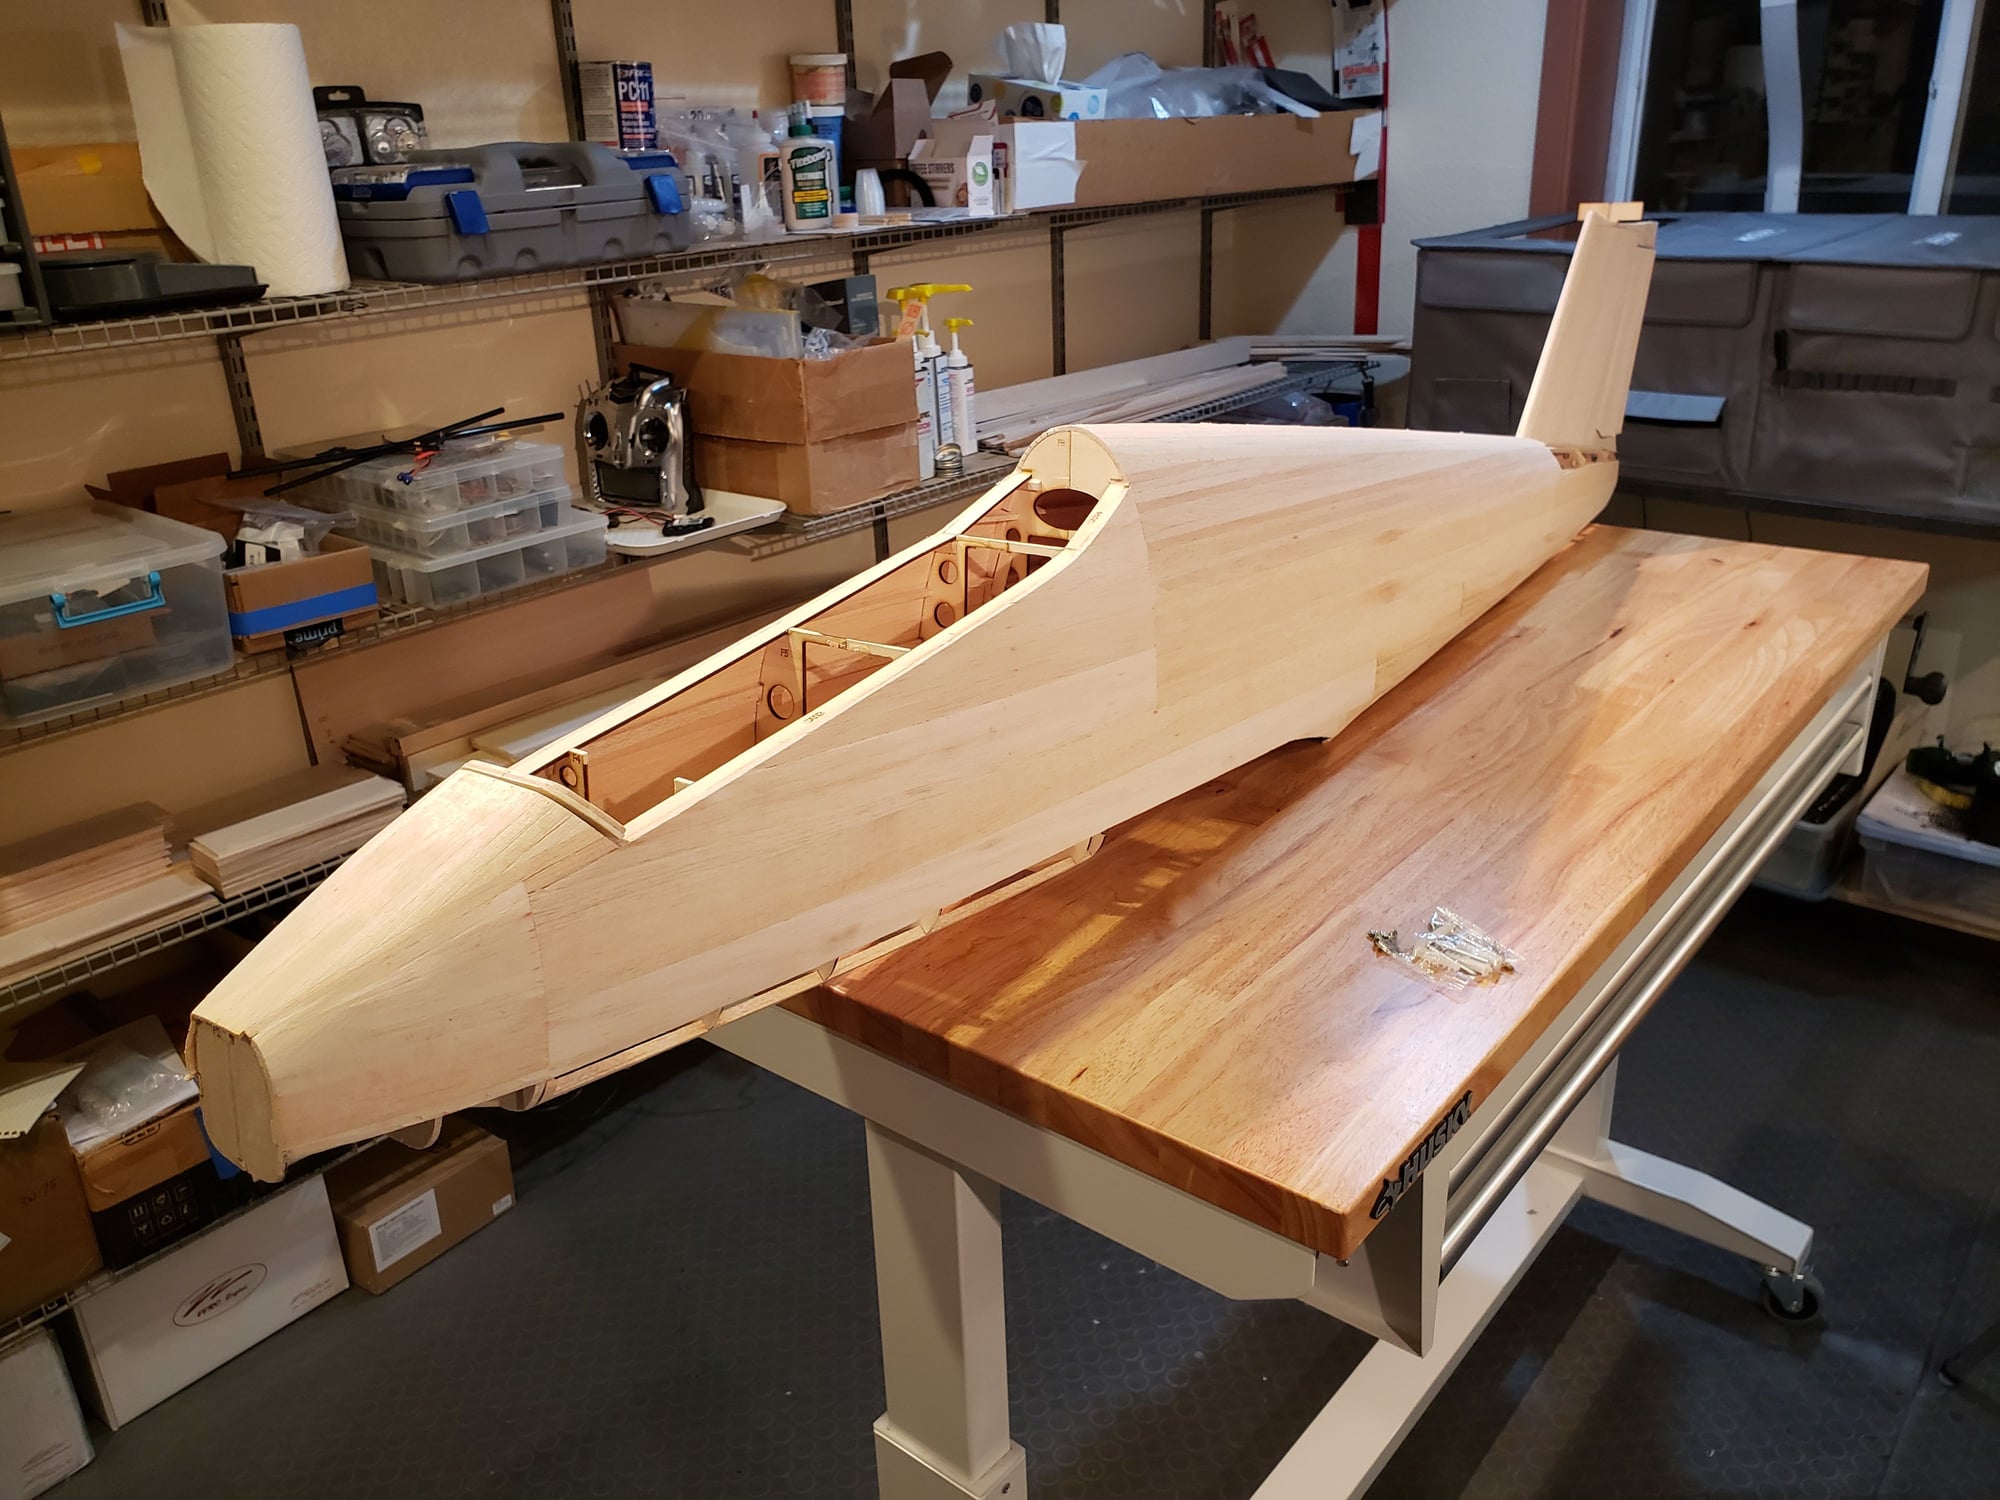
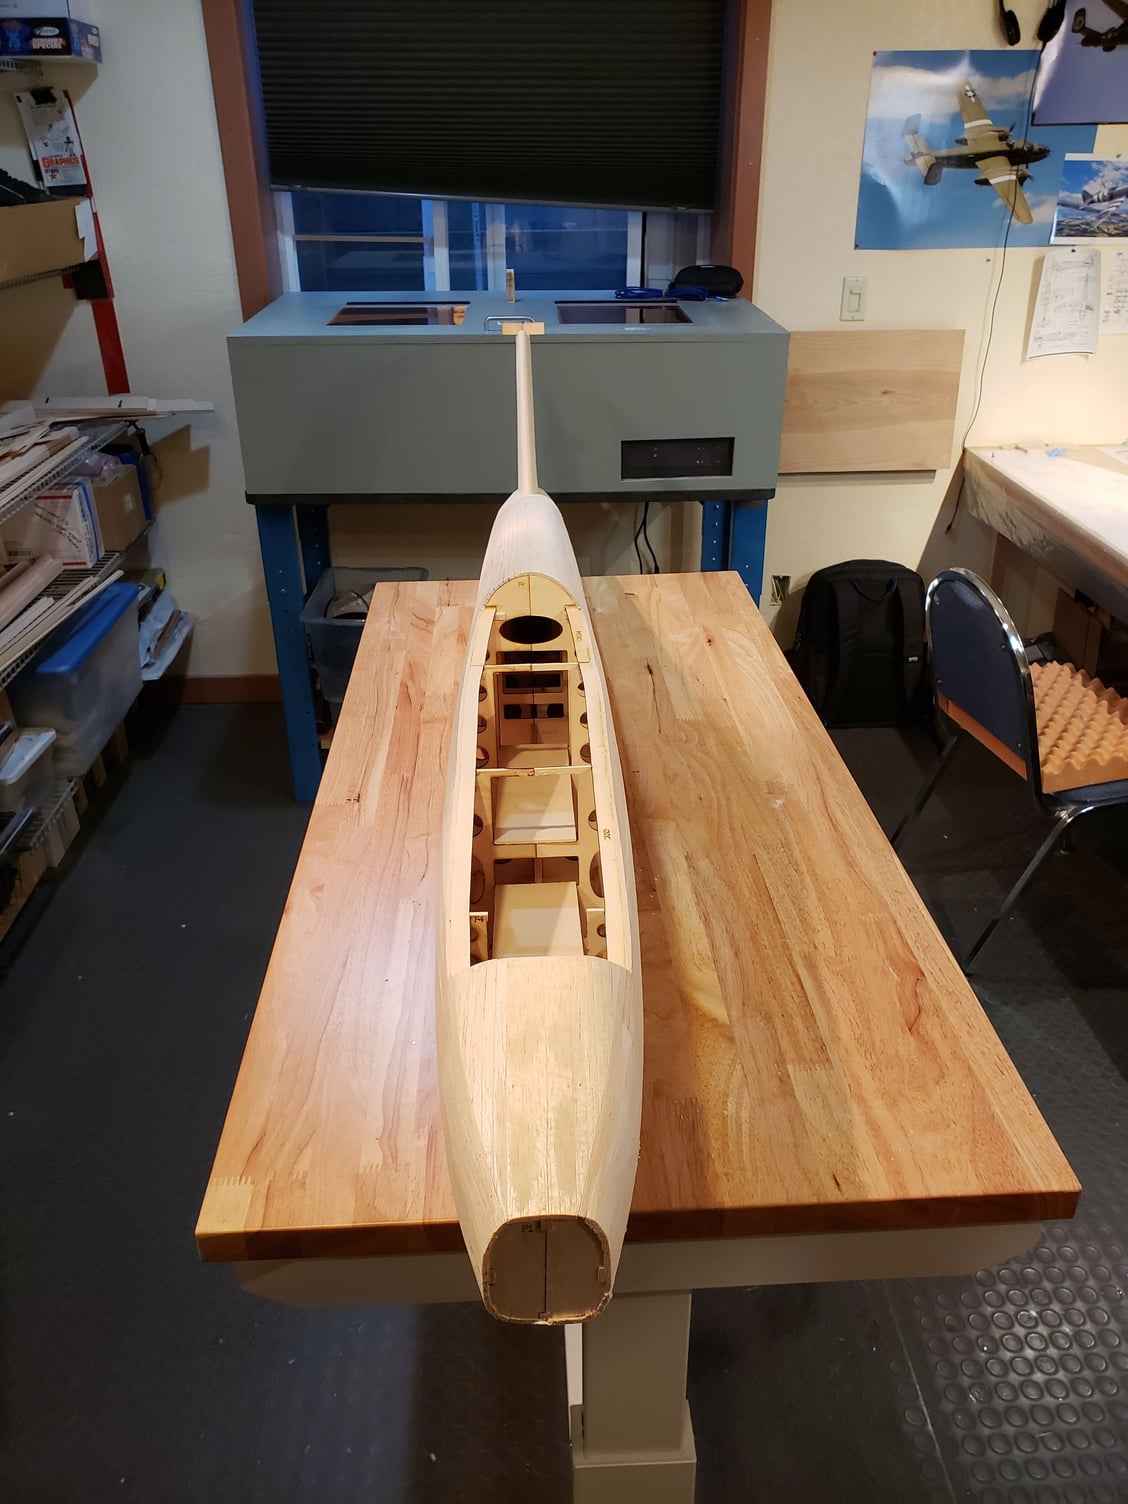
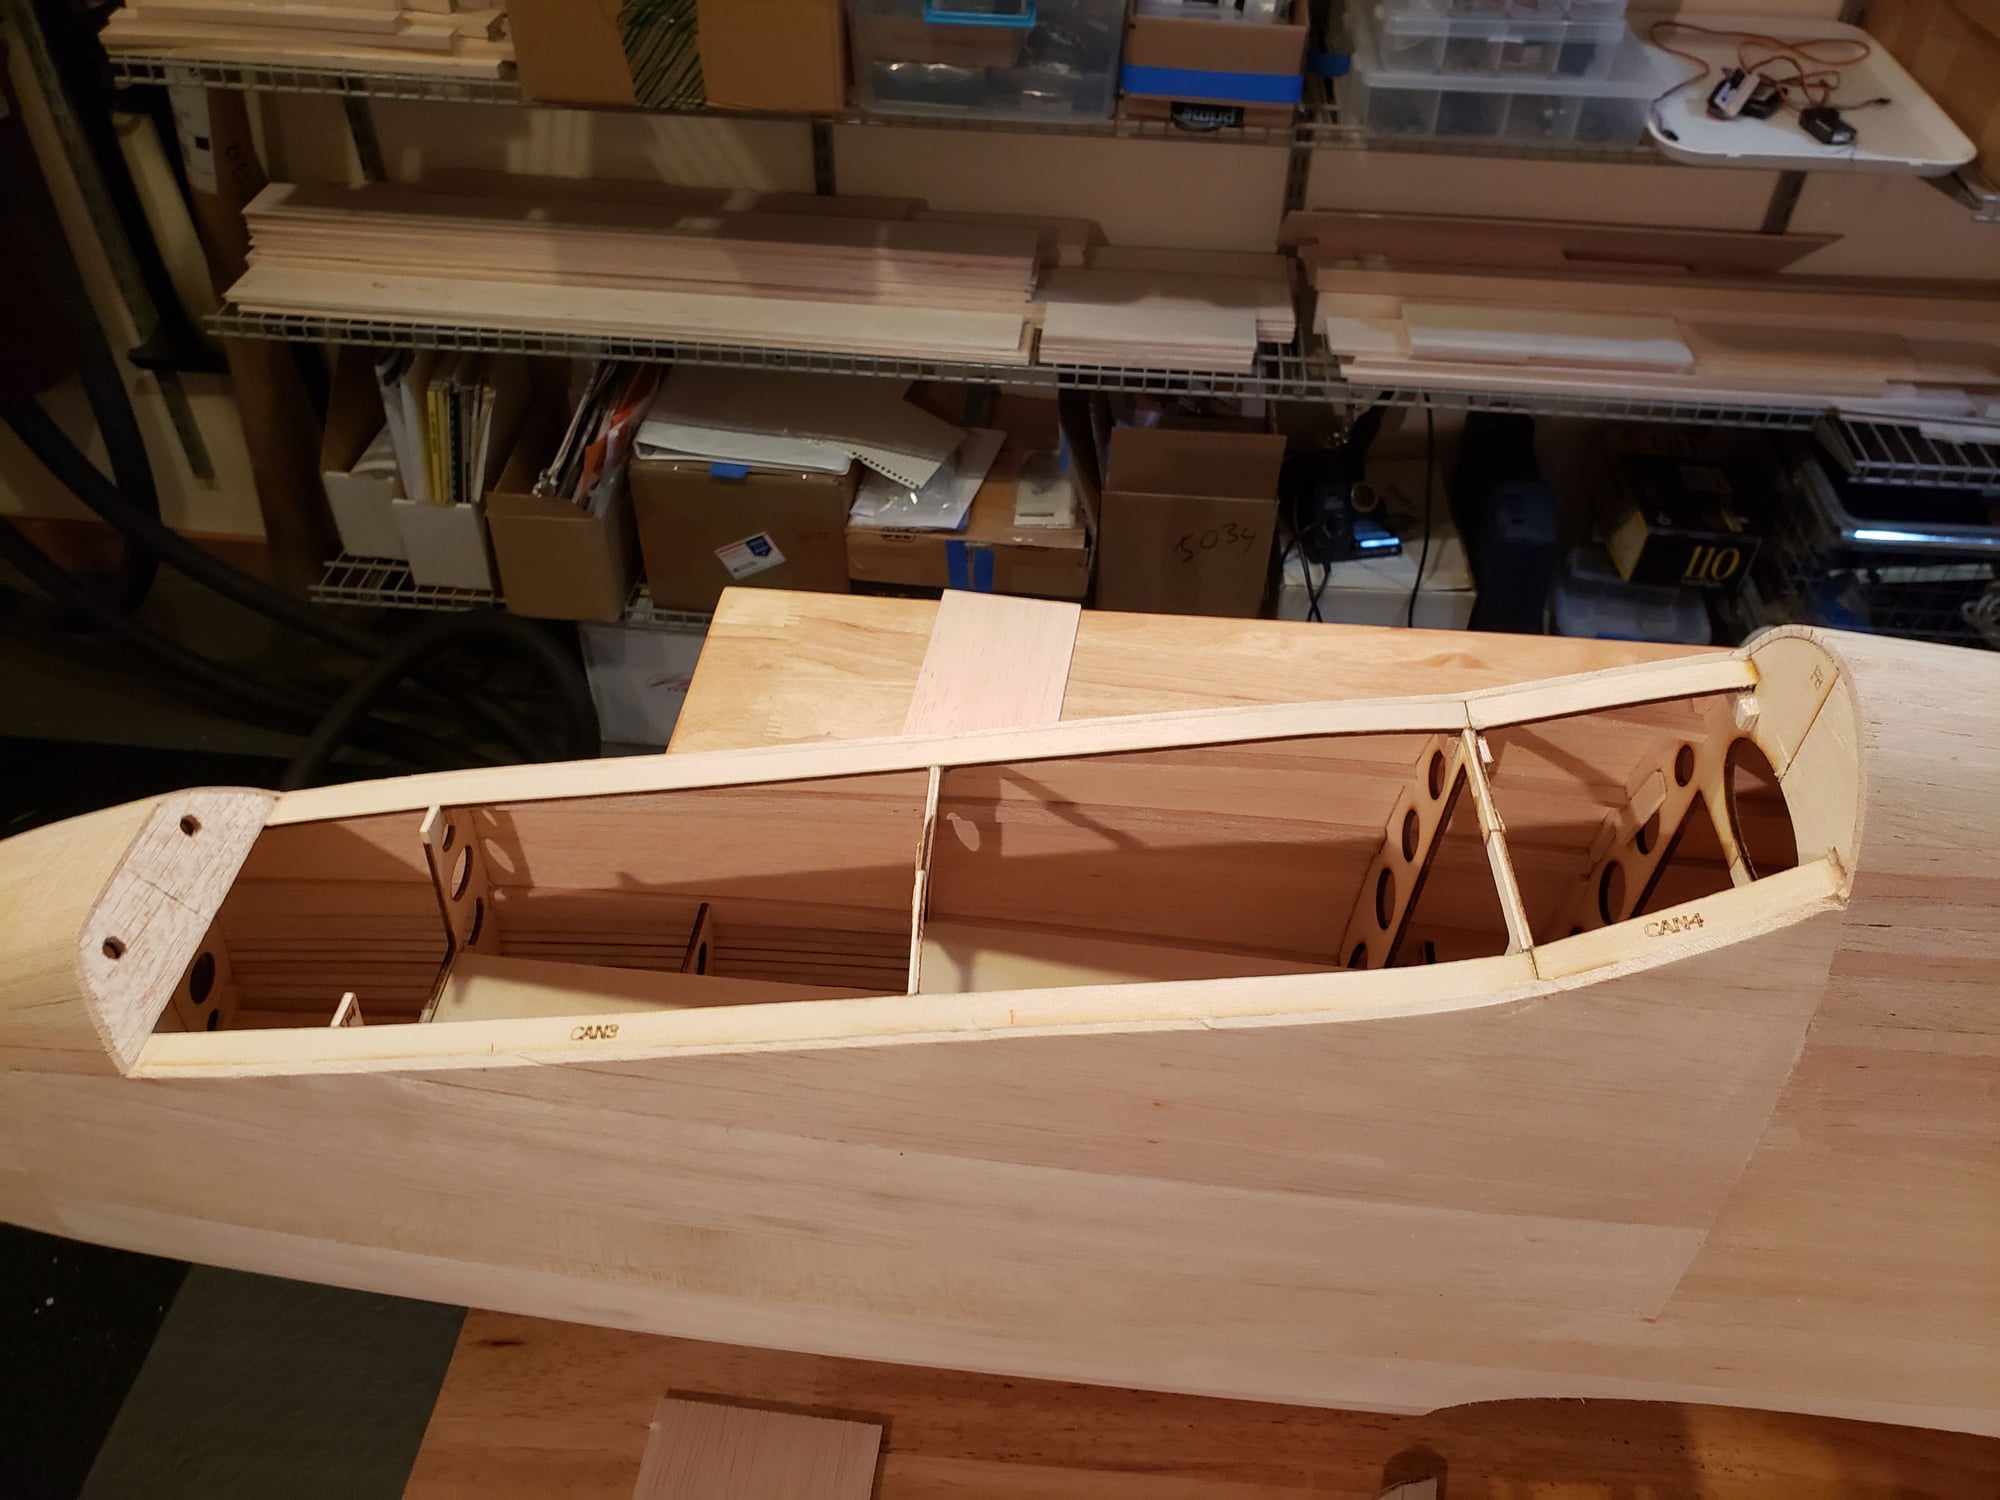
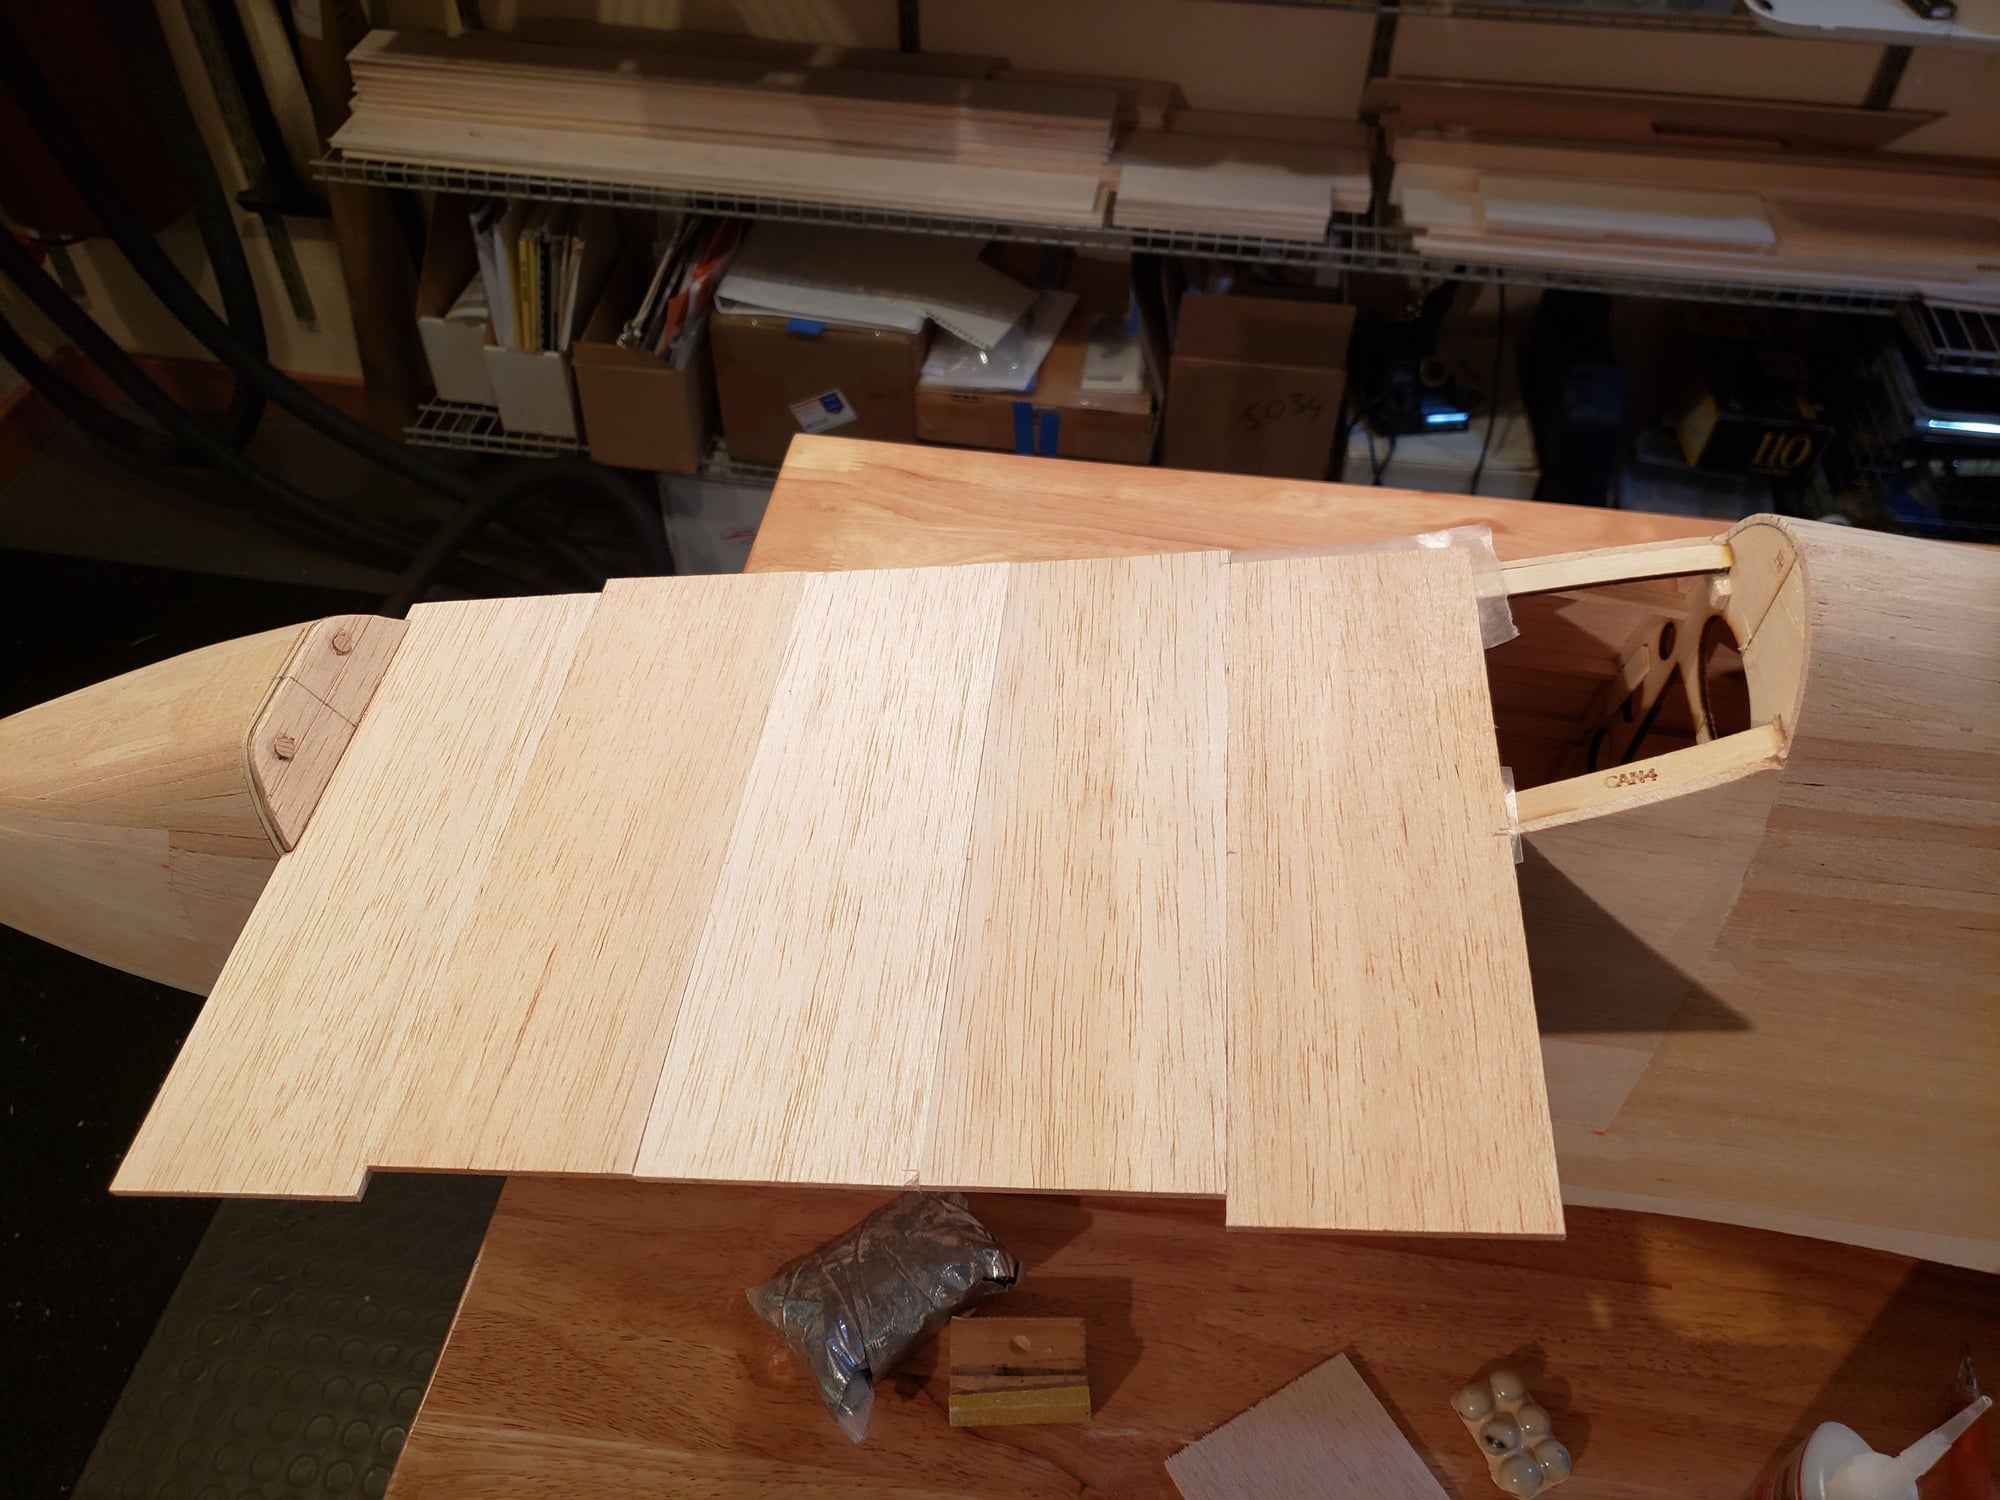
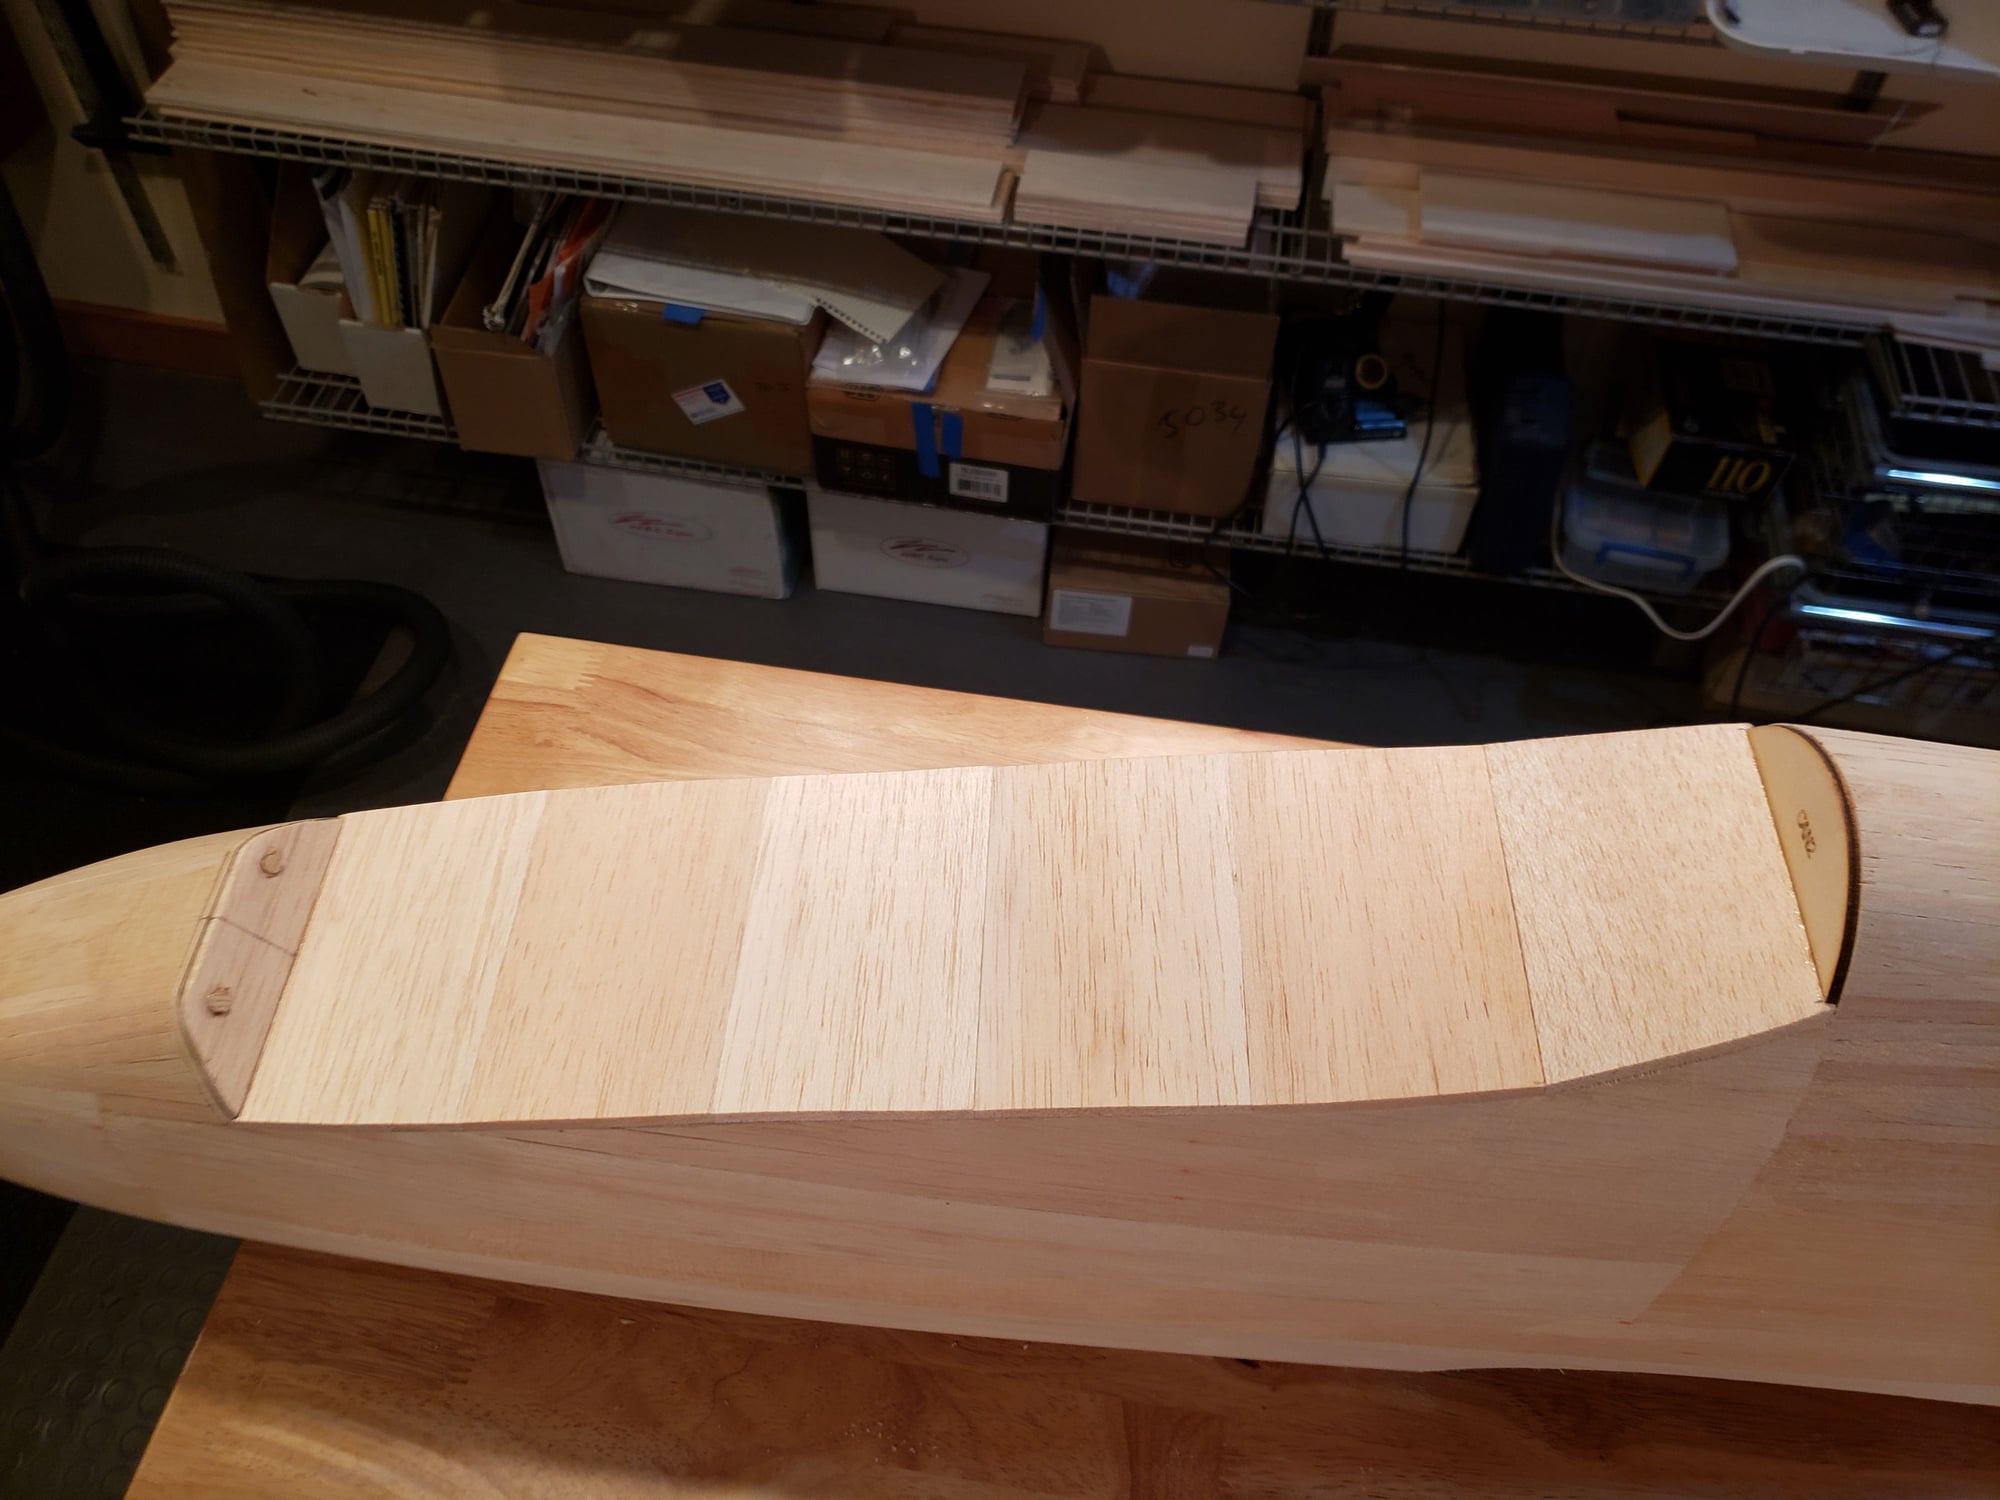
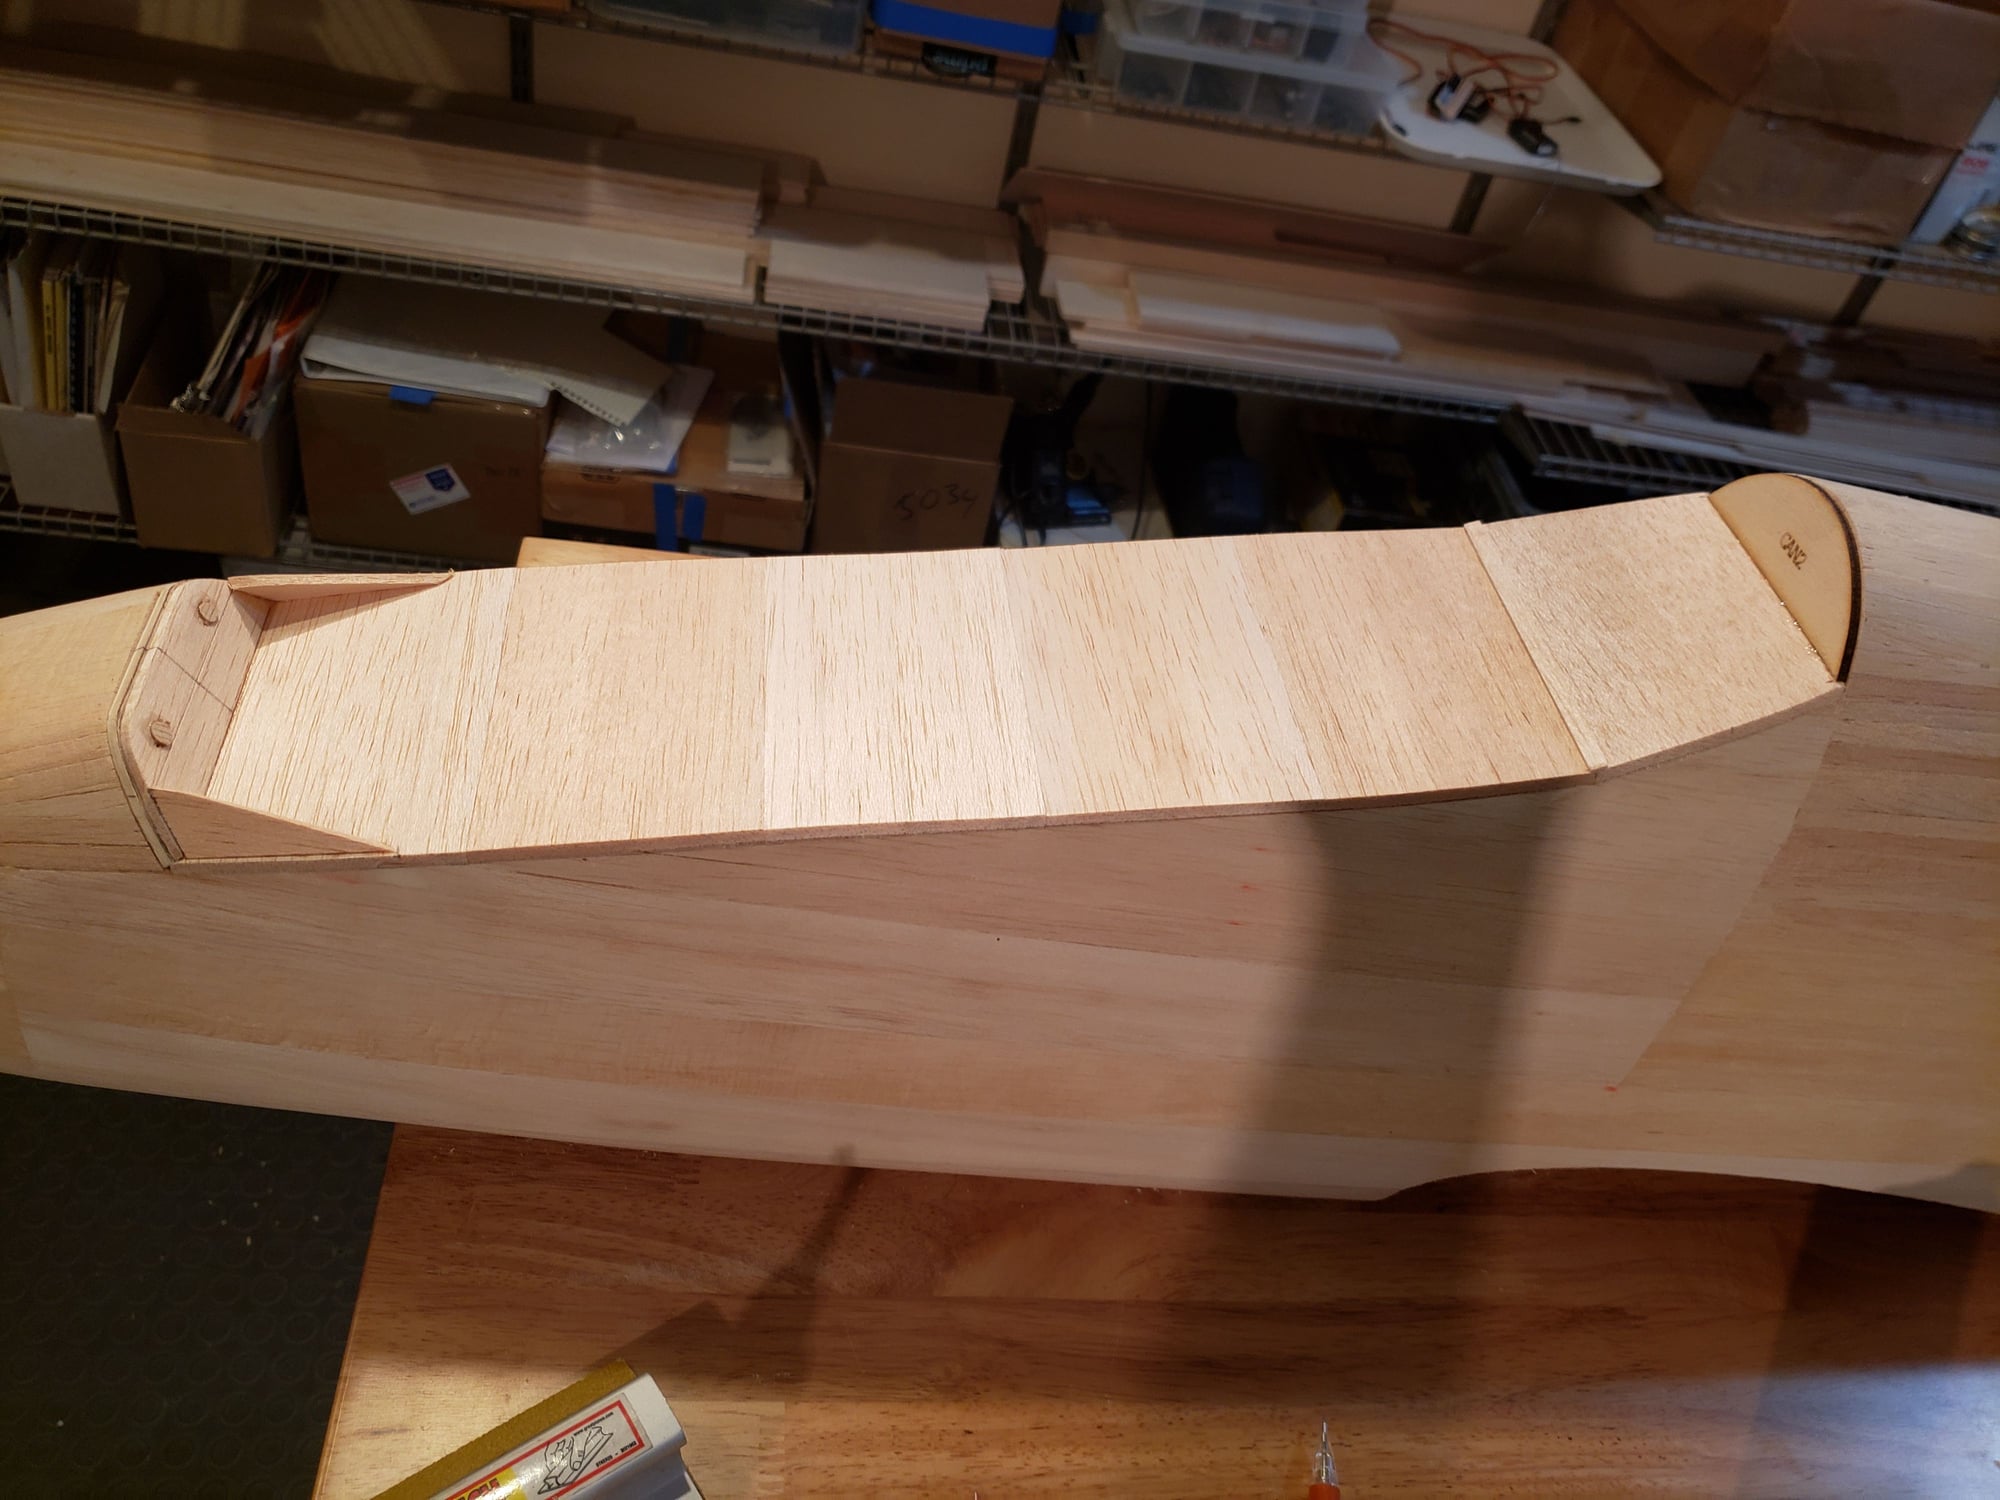
Sheeting of the left side is 90% complete, which provides lots of stability for the structure, so it can be lifted from the plan board.
Initial rough sanding has been done, but more filling and sanding will be needed before finishing.
Off the board, the structure feels good and stiff ... exactly what we want.
Here you can see 4 photos
- state of sheeting before lifting from the plan board
- outside and inside photos after lifting
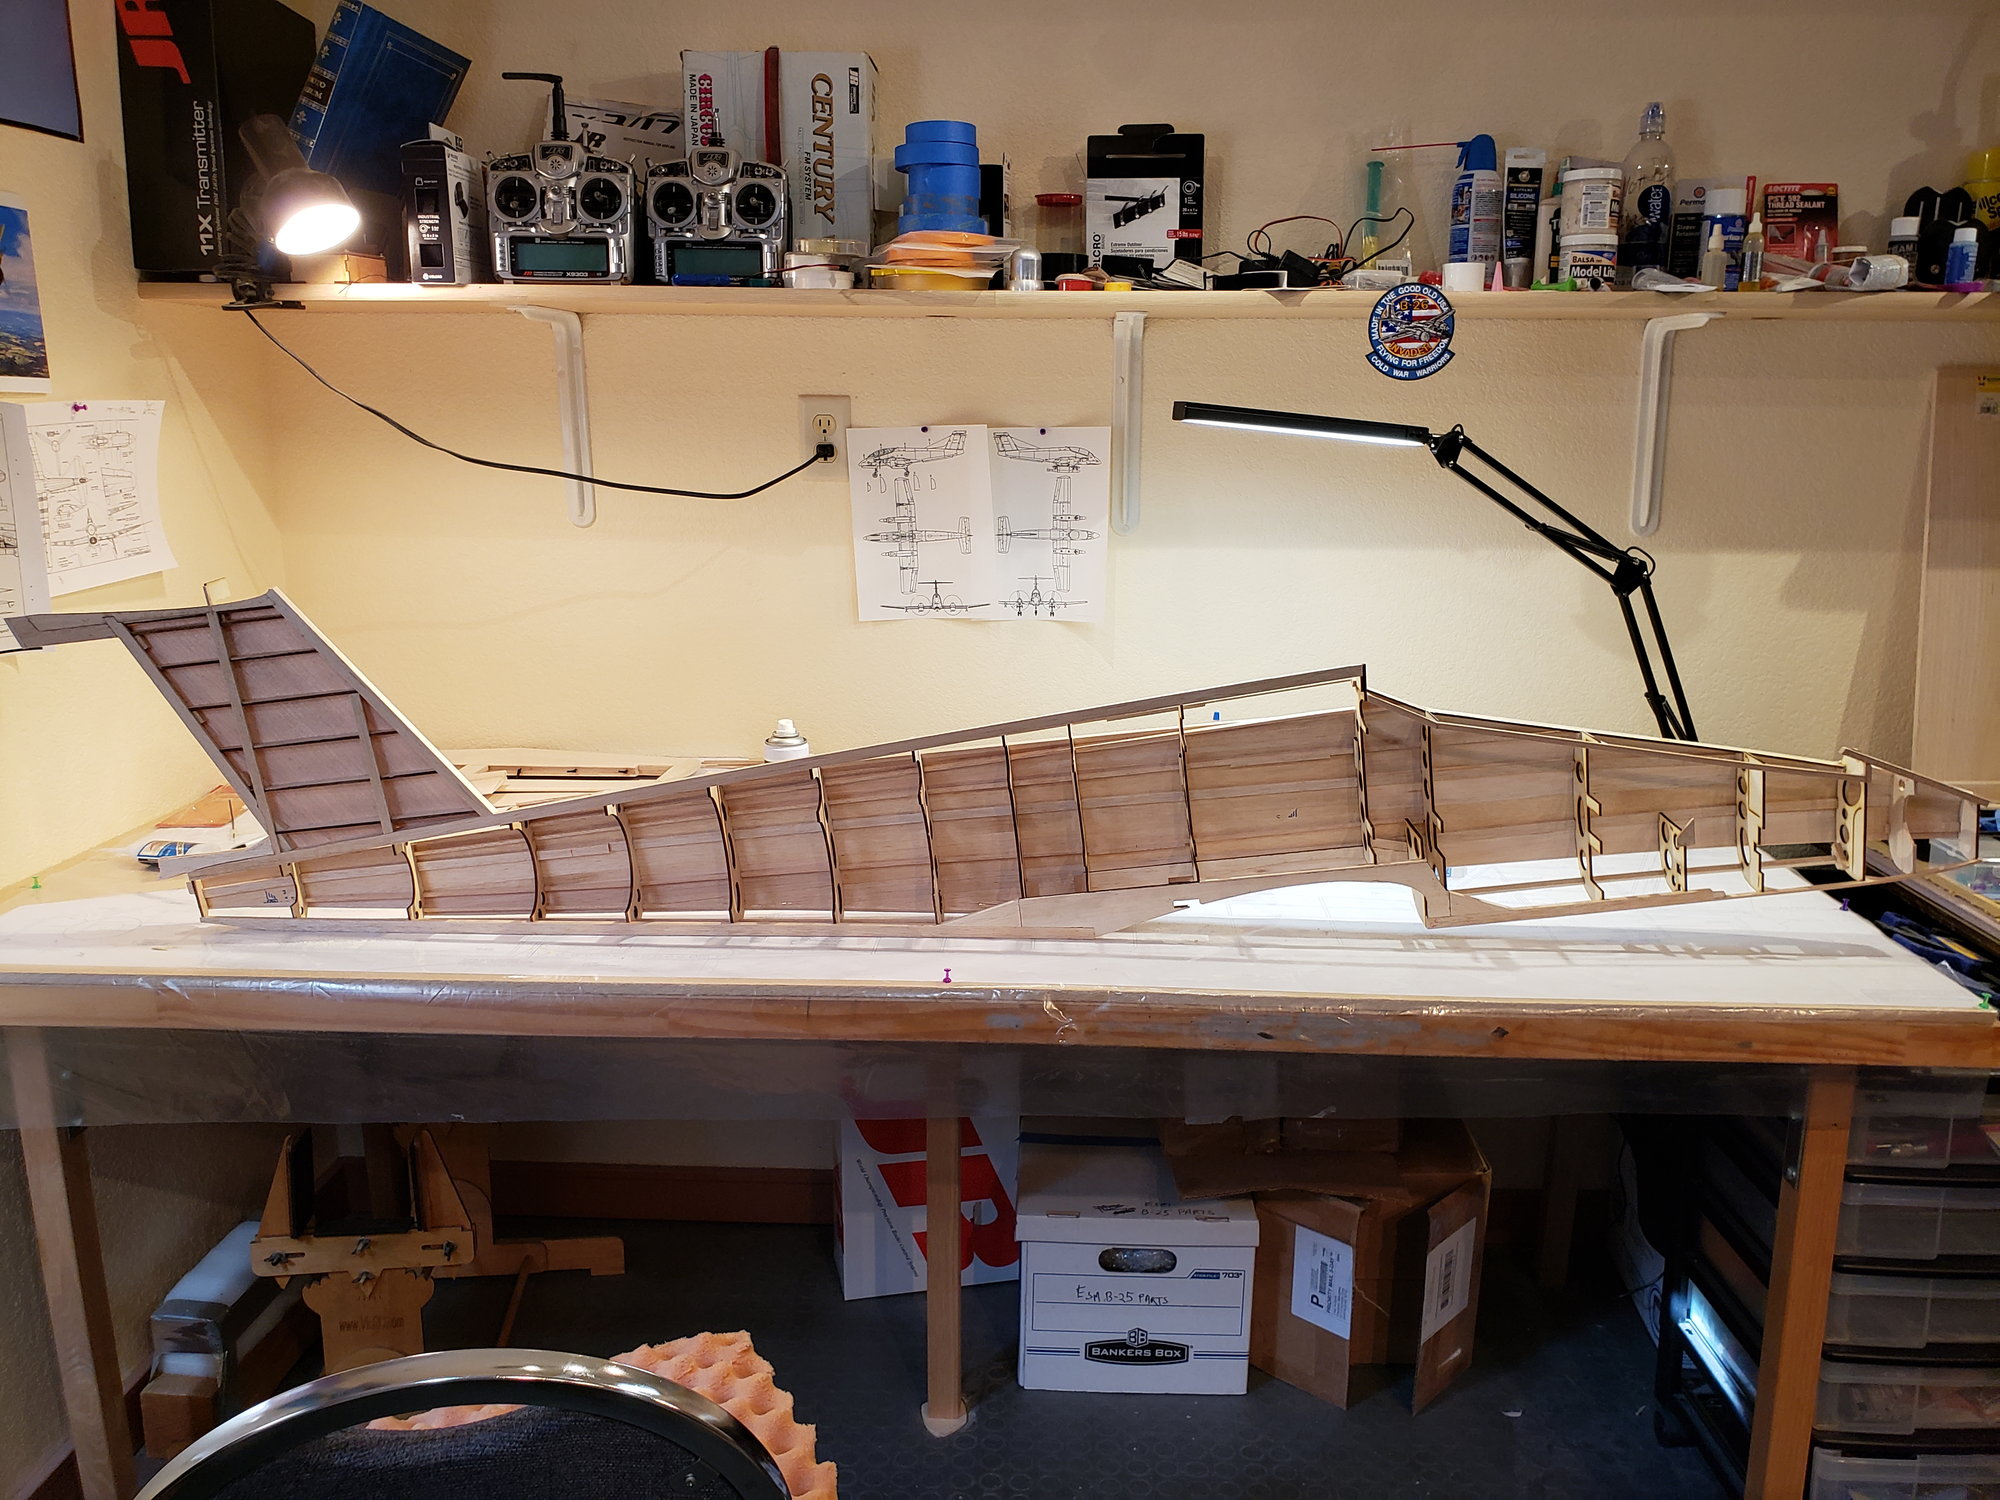
- back on the board and jigged up to build the right side on top of the left
Initial rough sanding has been done, but more filling and sanding will be needed before finishing.
Off the board, the structure feels good and stiff ... exactly what we want.
Here you can see 4 photos
- state of sheeting before lifting from the plan board
- outside and inside photos after lifting
- back on the board and jigged up to build the right side on top of the left
 09-23-2023, 06:47 PM
#30
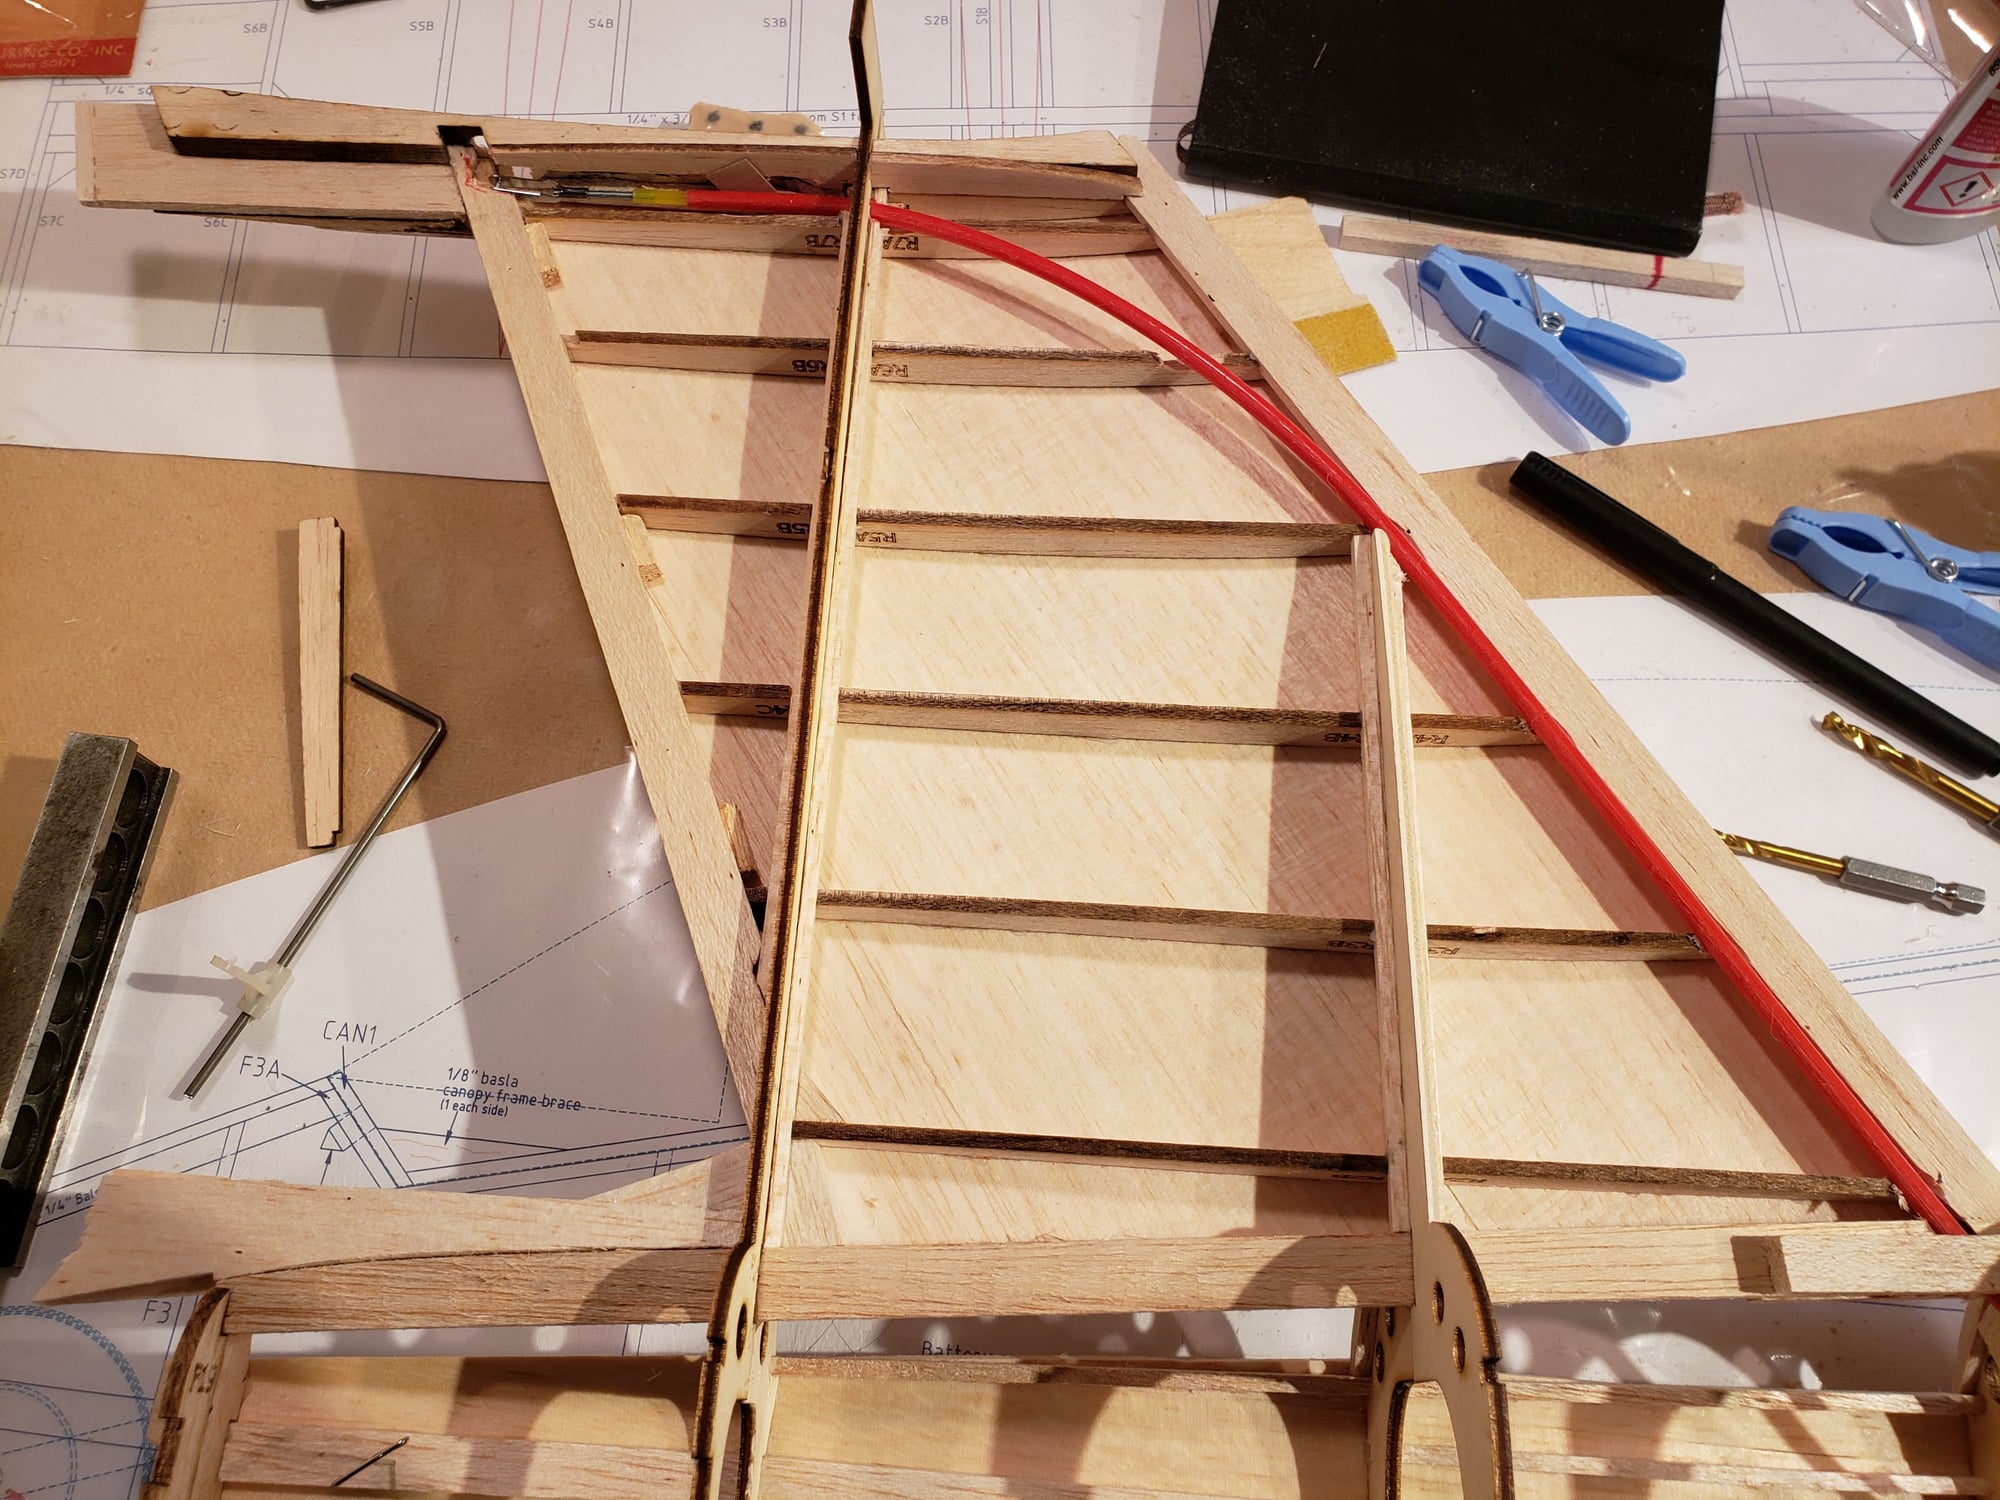
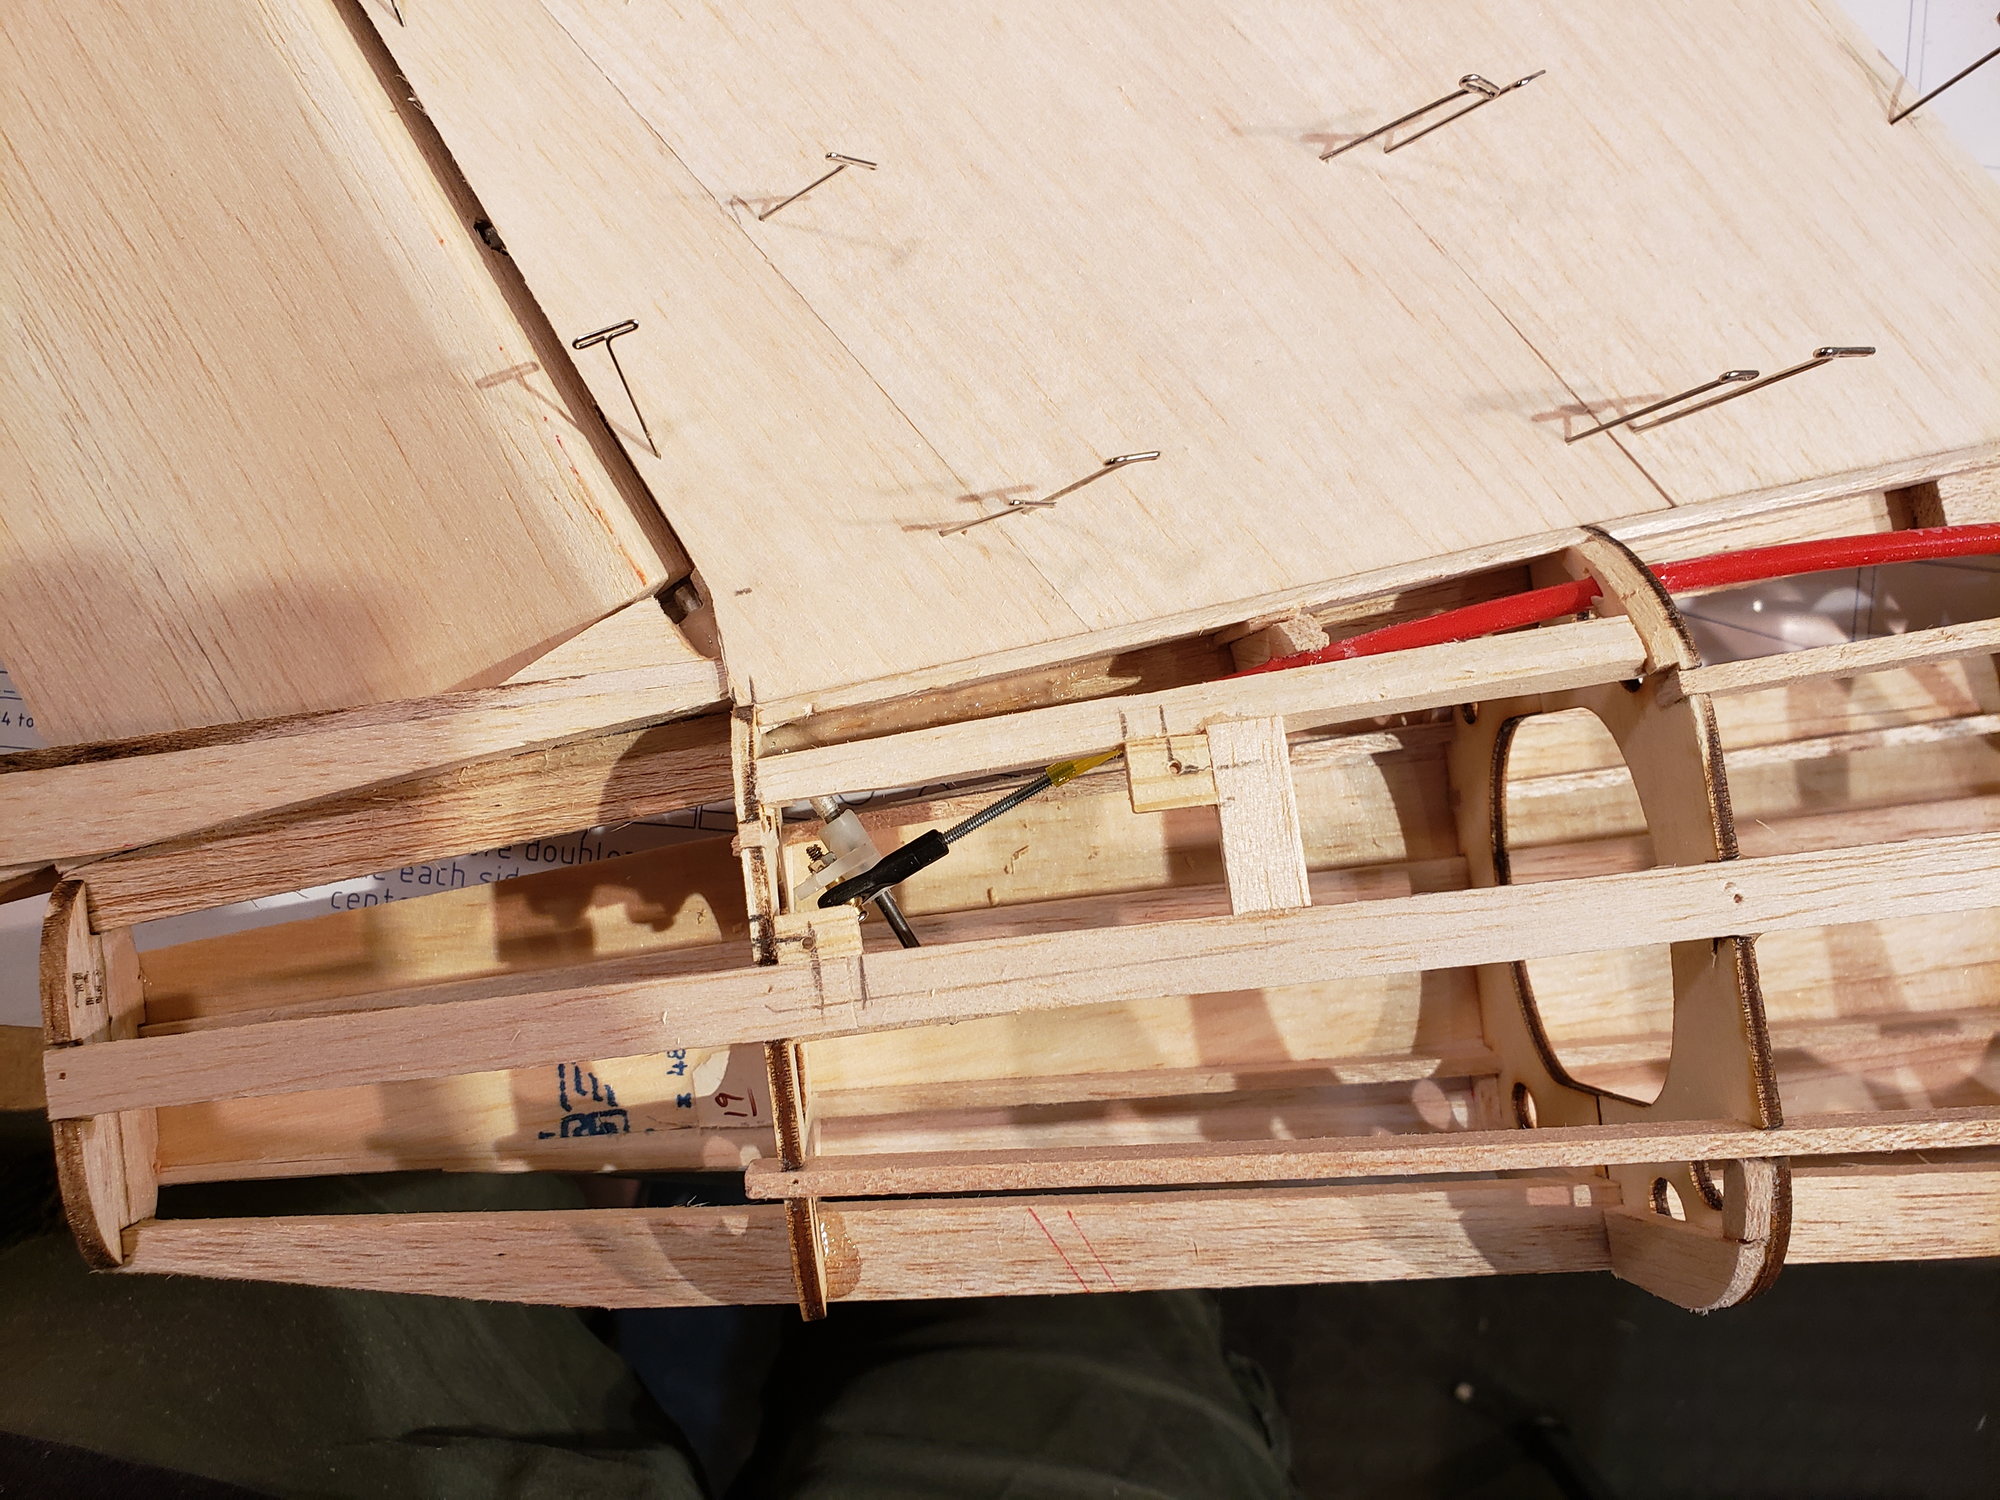
Hinging and mounting the rudder control horn. You'll note that the control horn is in at an angle, following the angle of the rudder LE. So, I'm using another flexible pushrod and a ball link connector. You can also see the mount for a ply hatch to access the ball link later.
 09-23-2023, 06:57 PM
#33
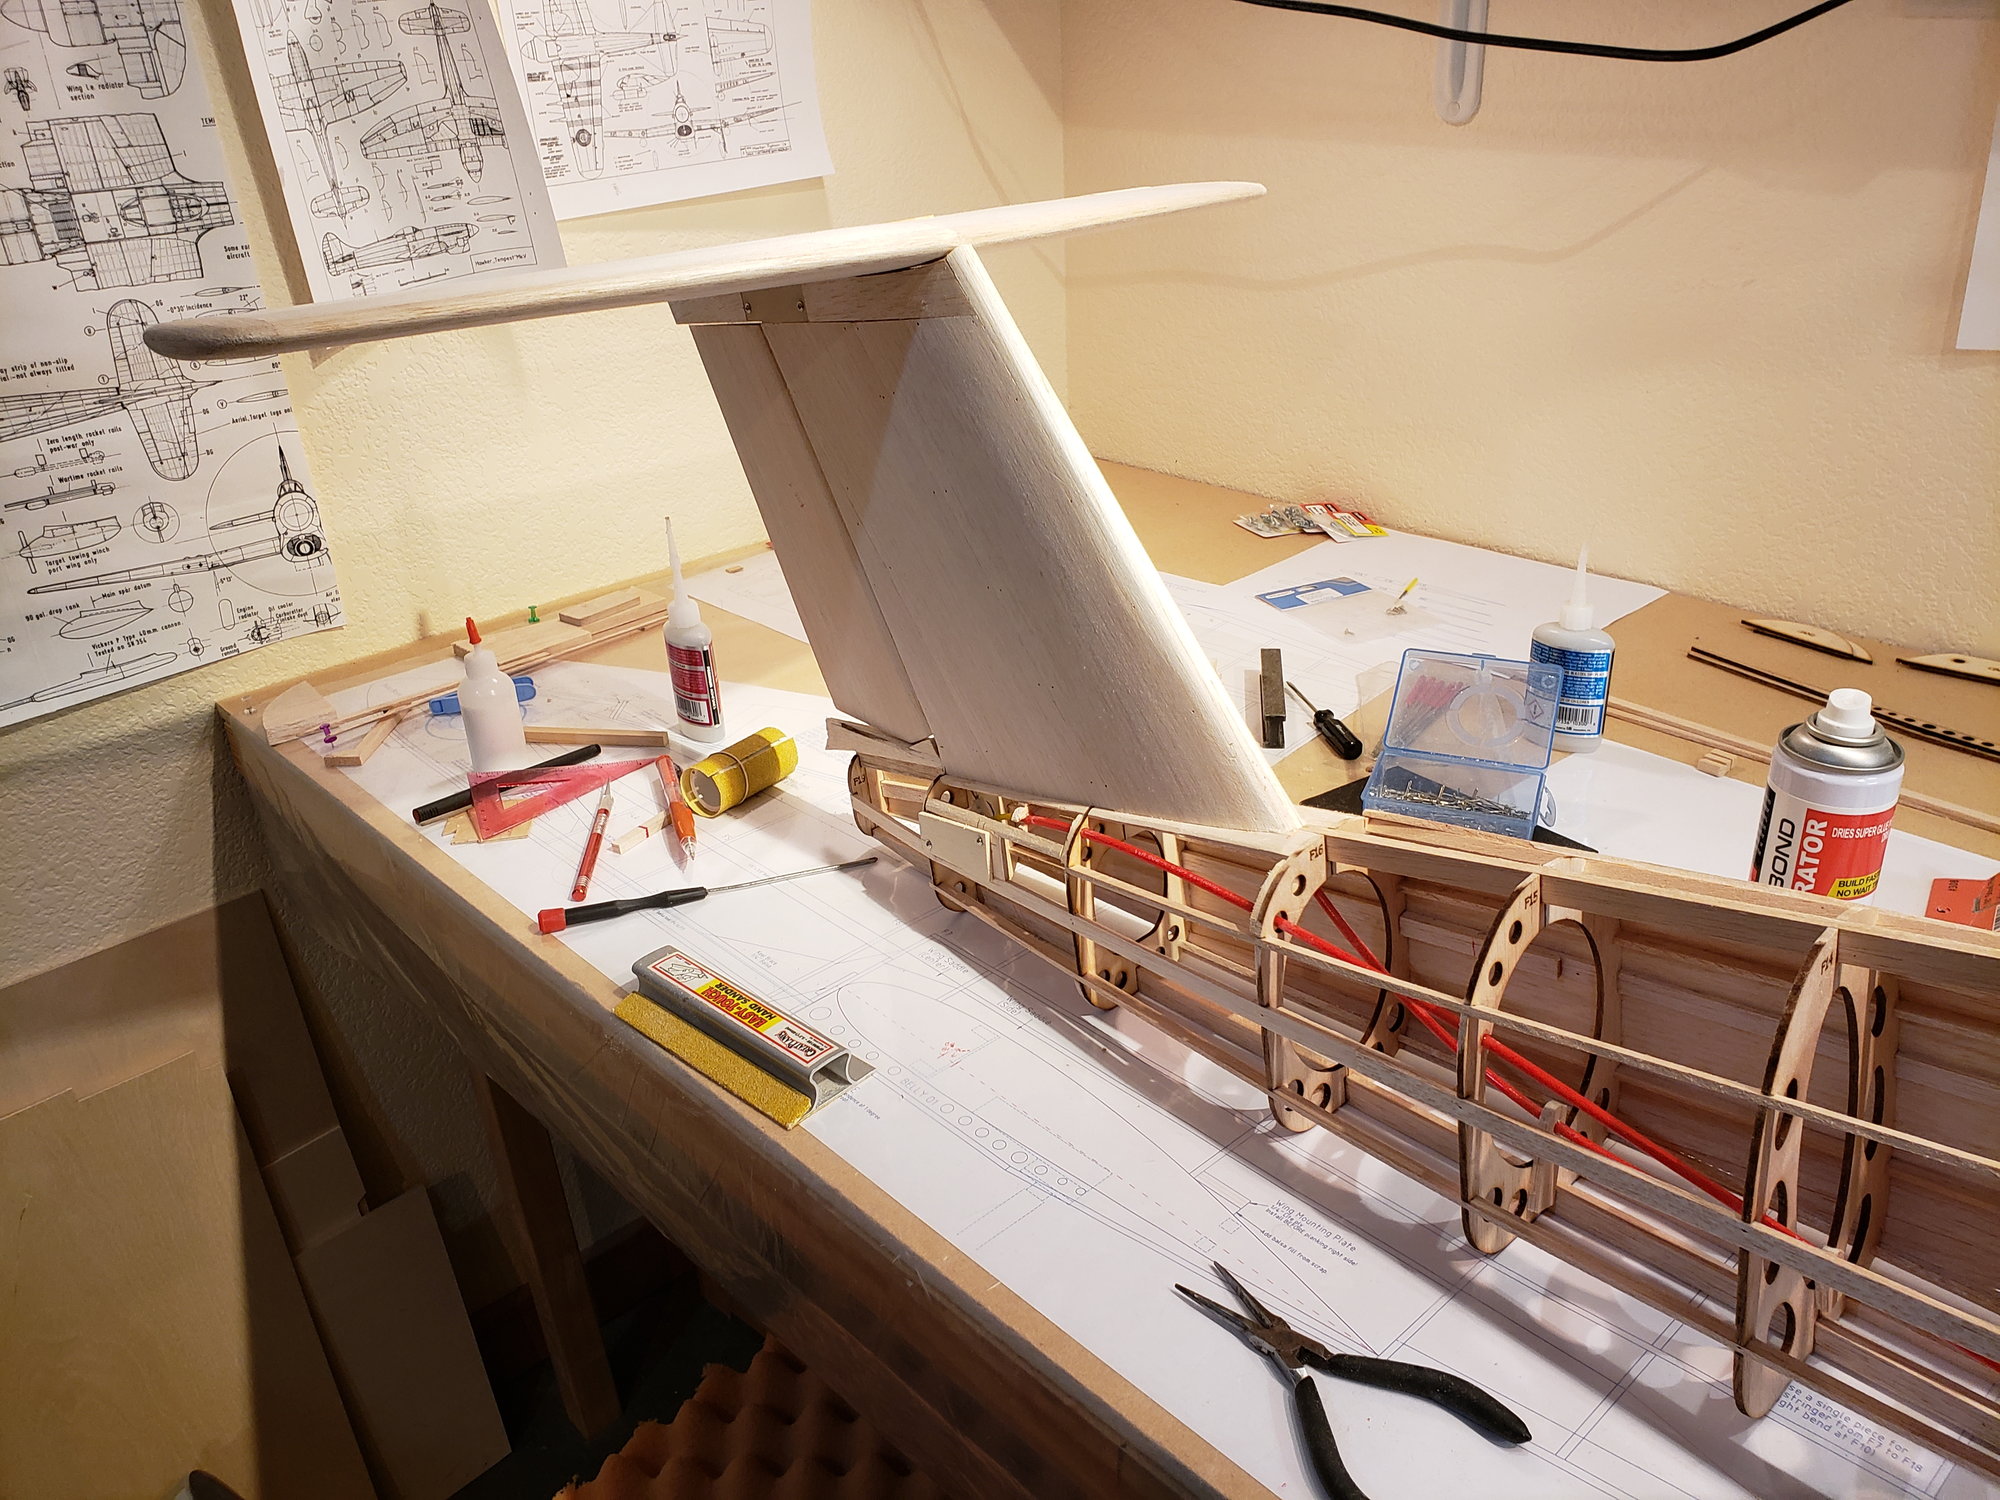
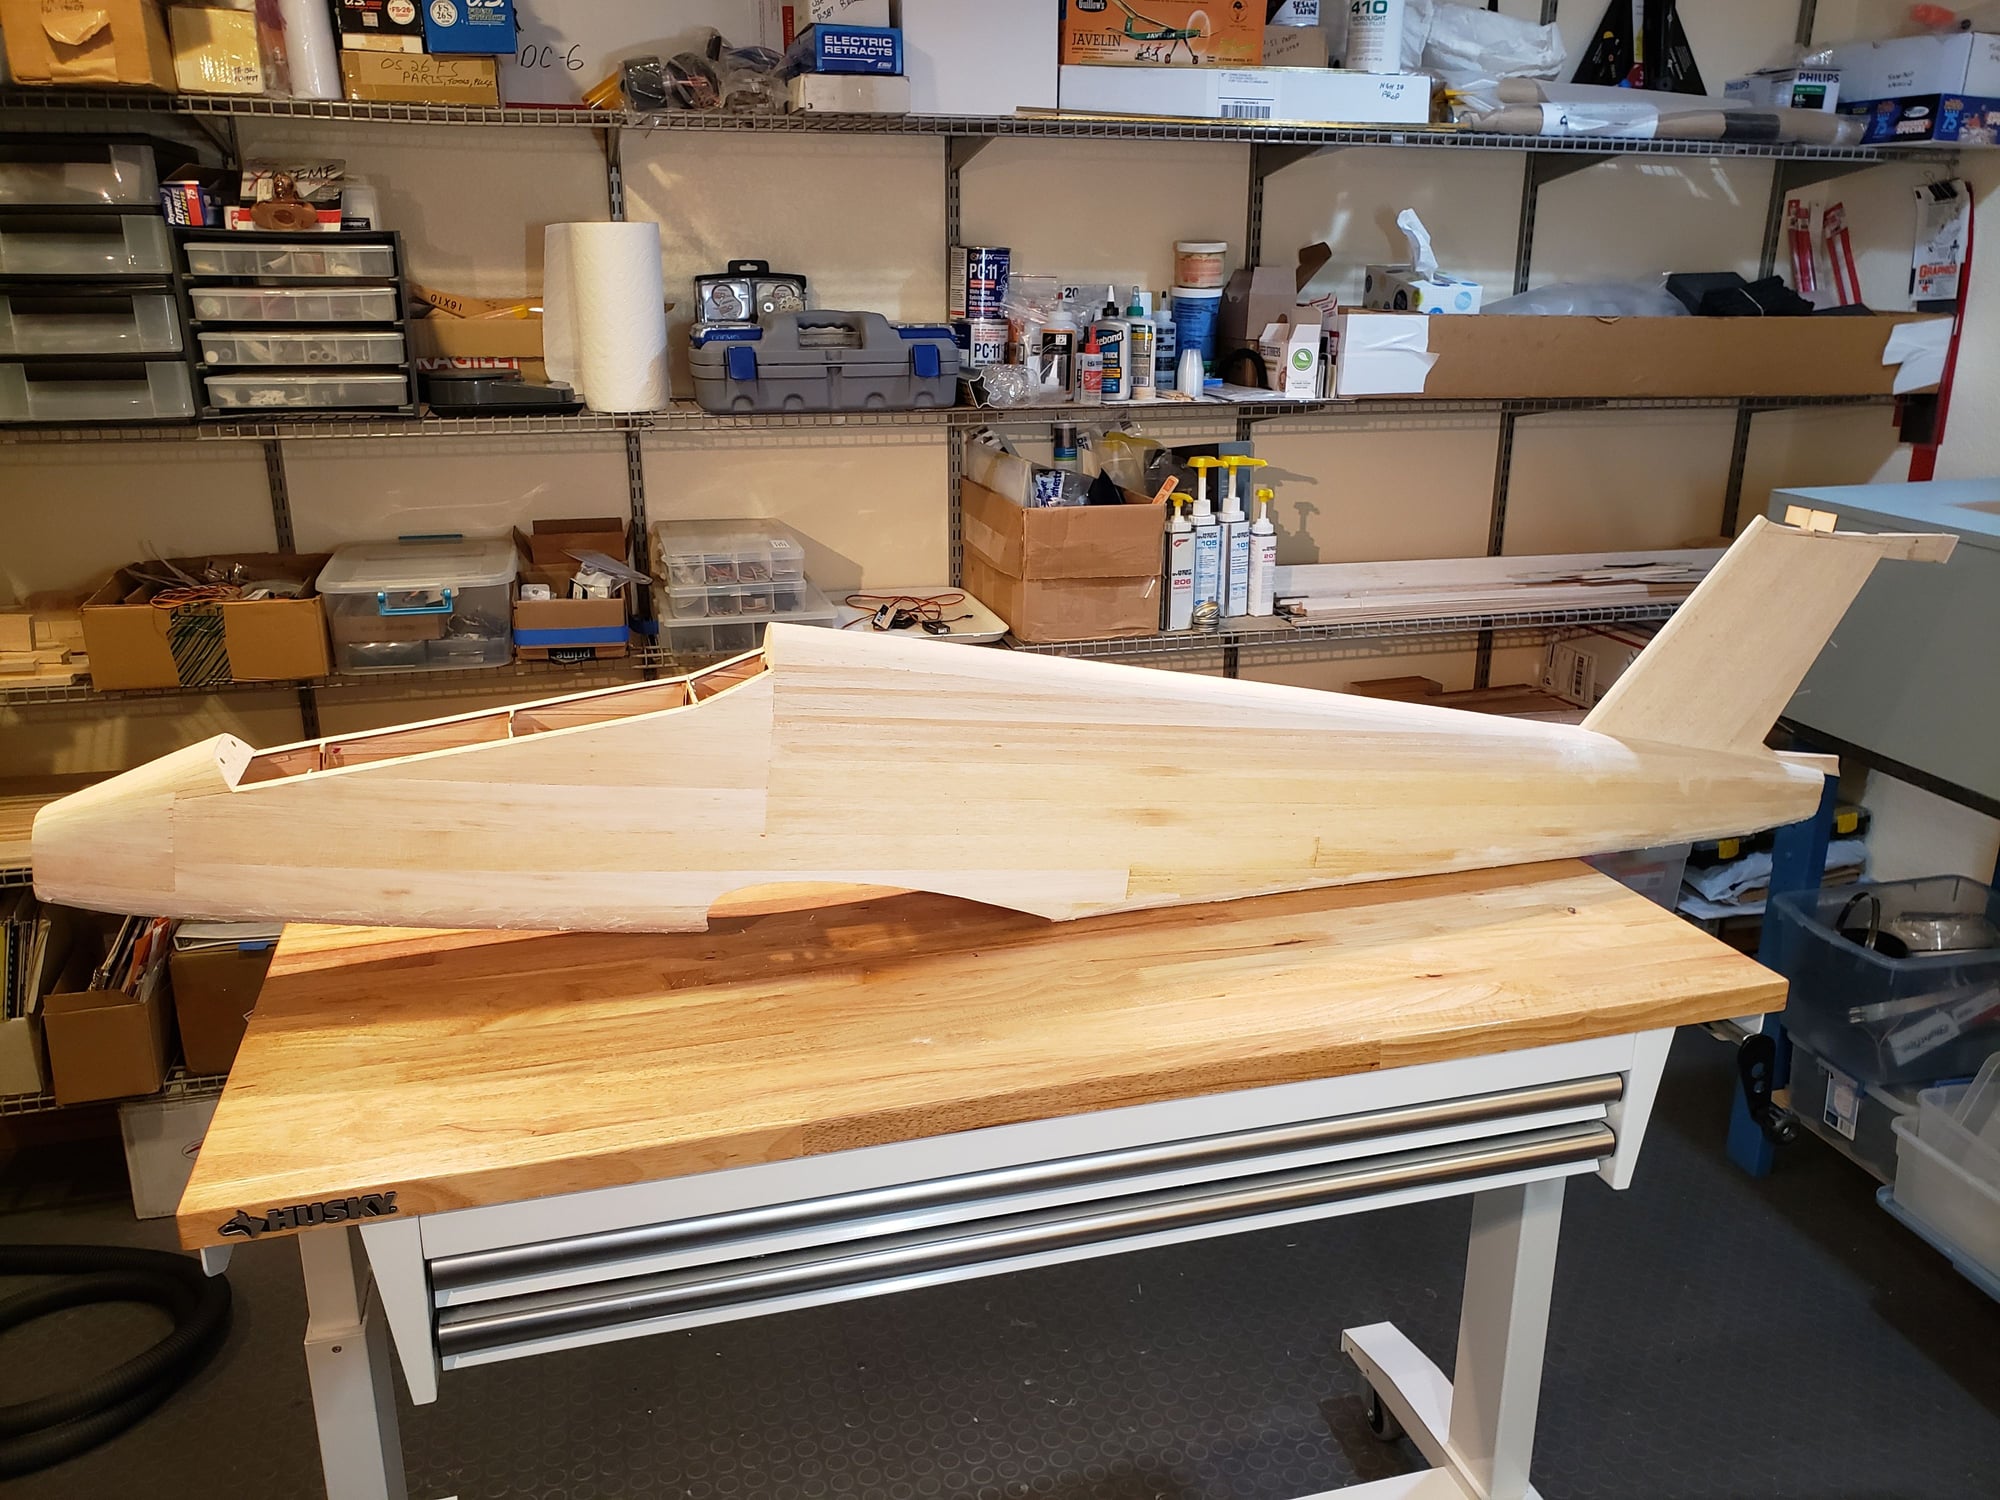
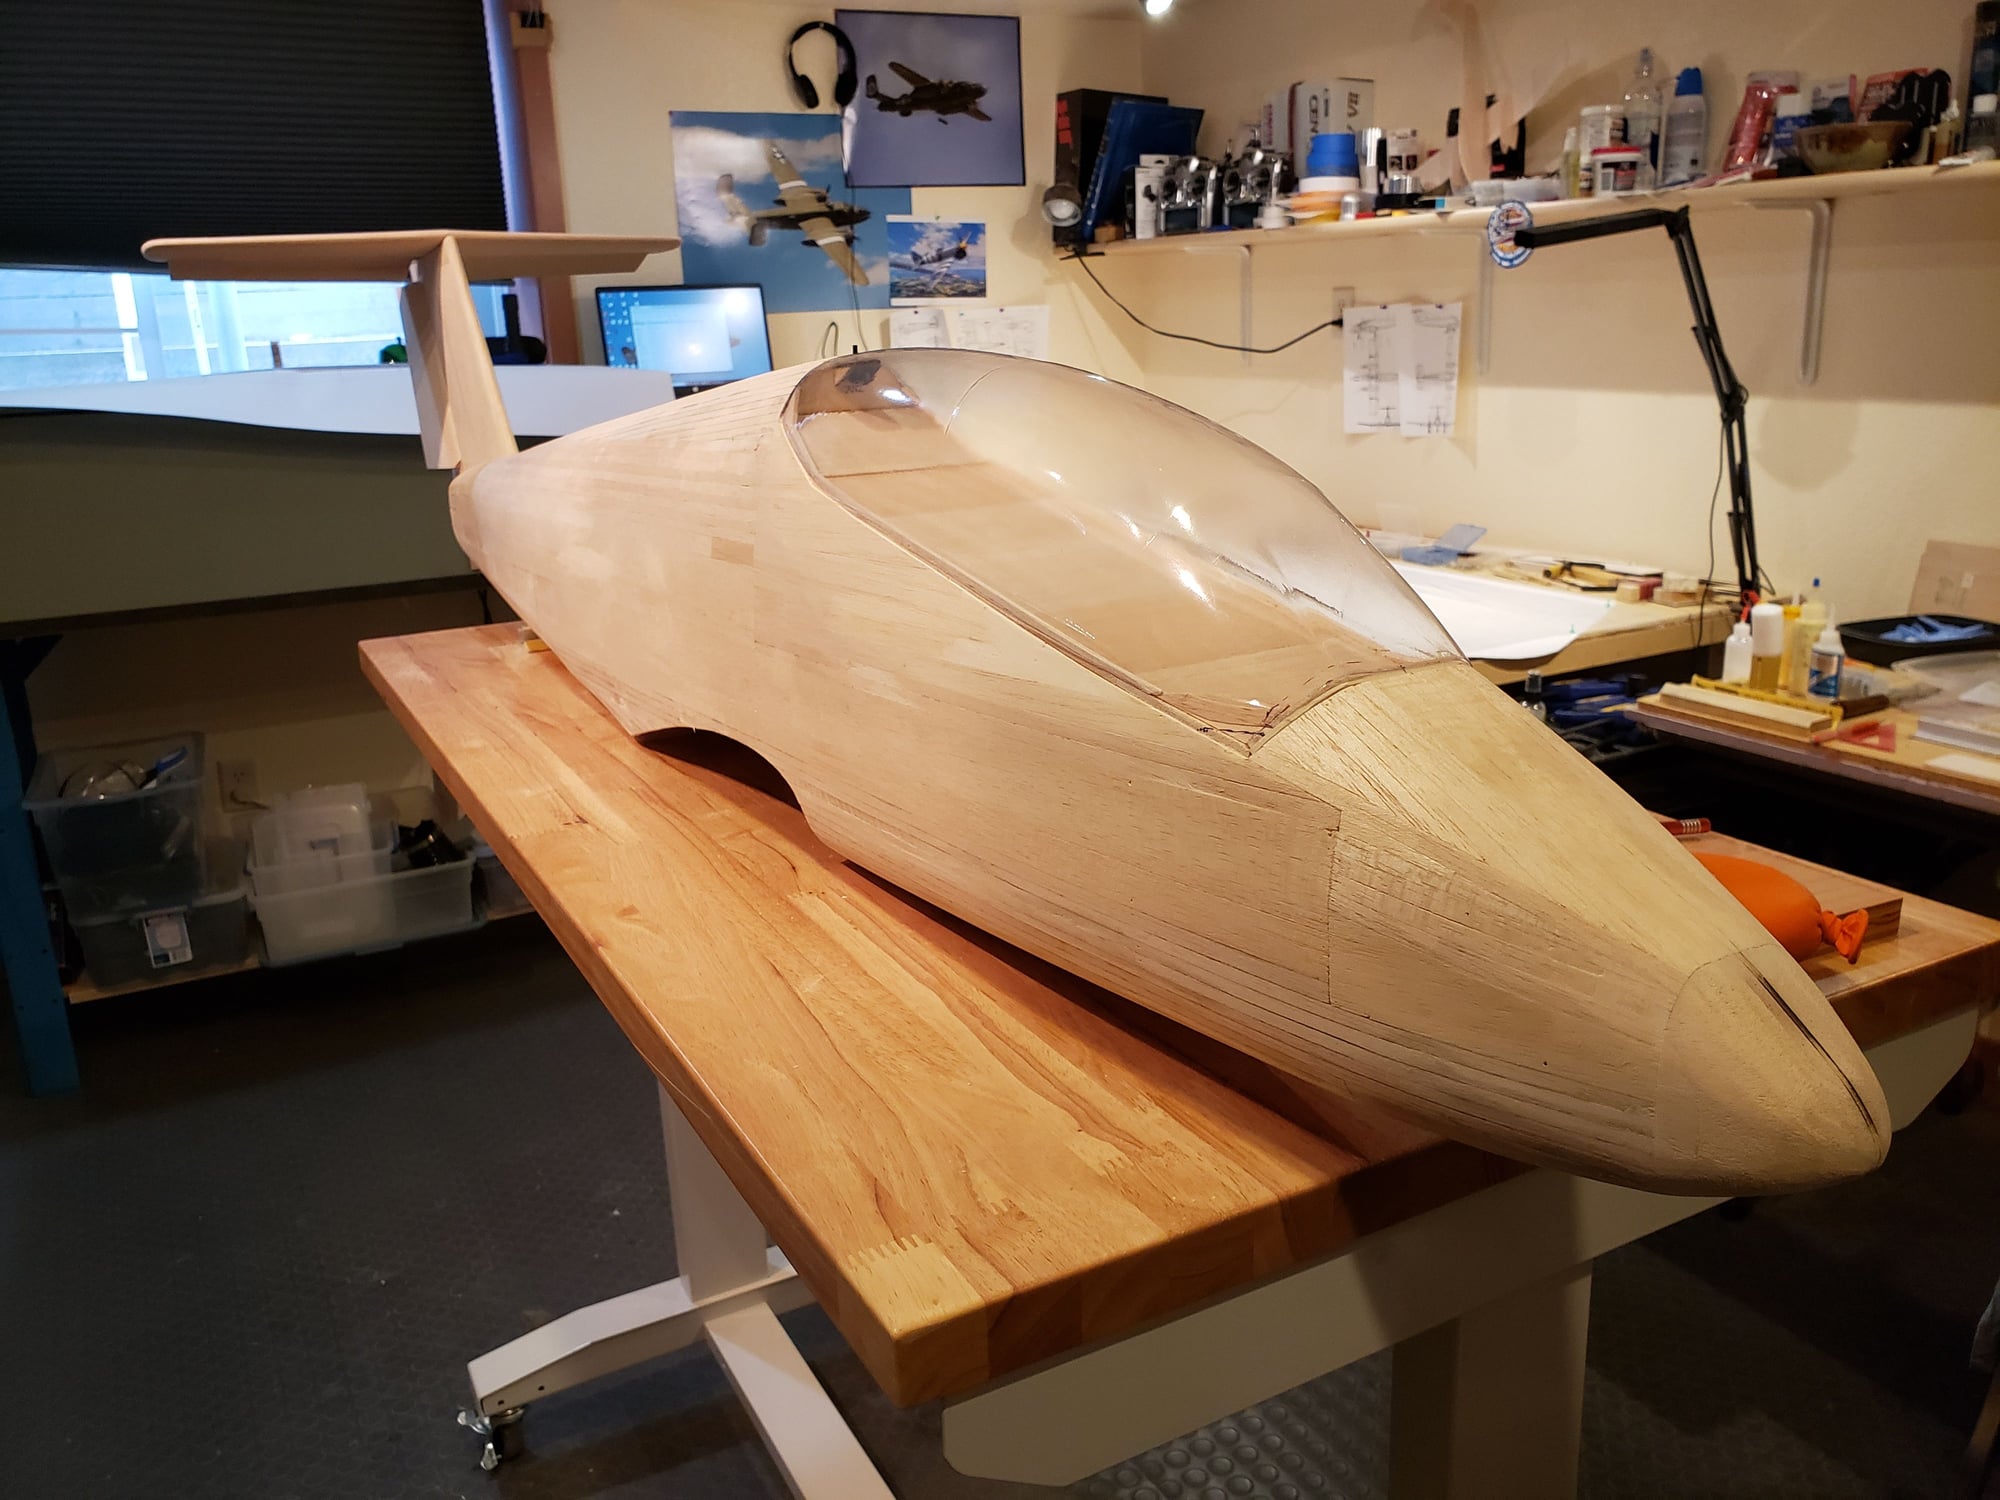
A decent view of how it looks now. At this point the complete assembly that you see weighs 1lbs 13oz. Acceptable.
Next up is to add the remaining stringers to the right side, complete the planking, and build out the cockpit area.
Next up is to add the remaining stringers to the right side, complete the planking, and build out the cockpit area.
The following users liked this post:
jescardin (09-27-2023)
09-27-2023, 04:01 PM
#34
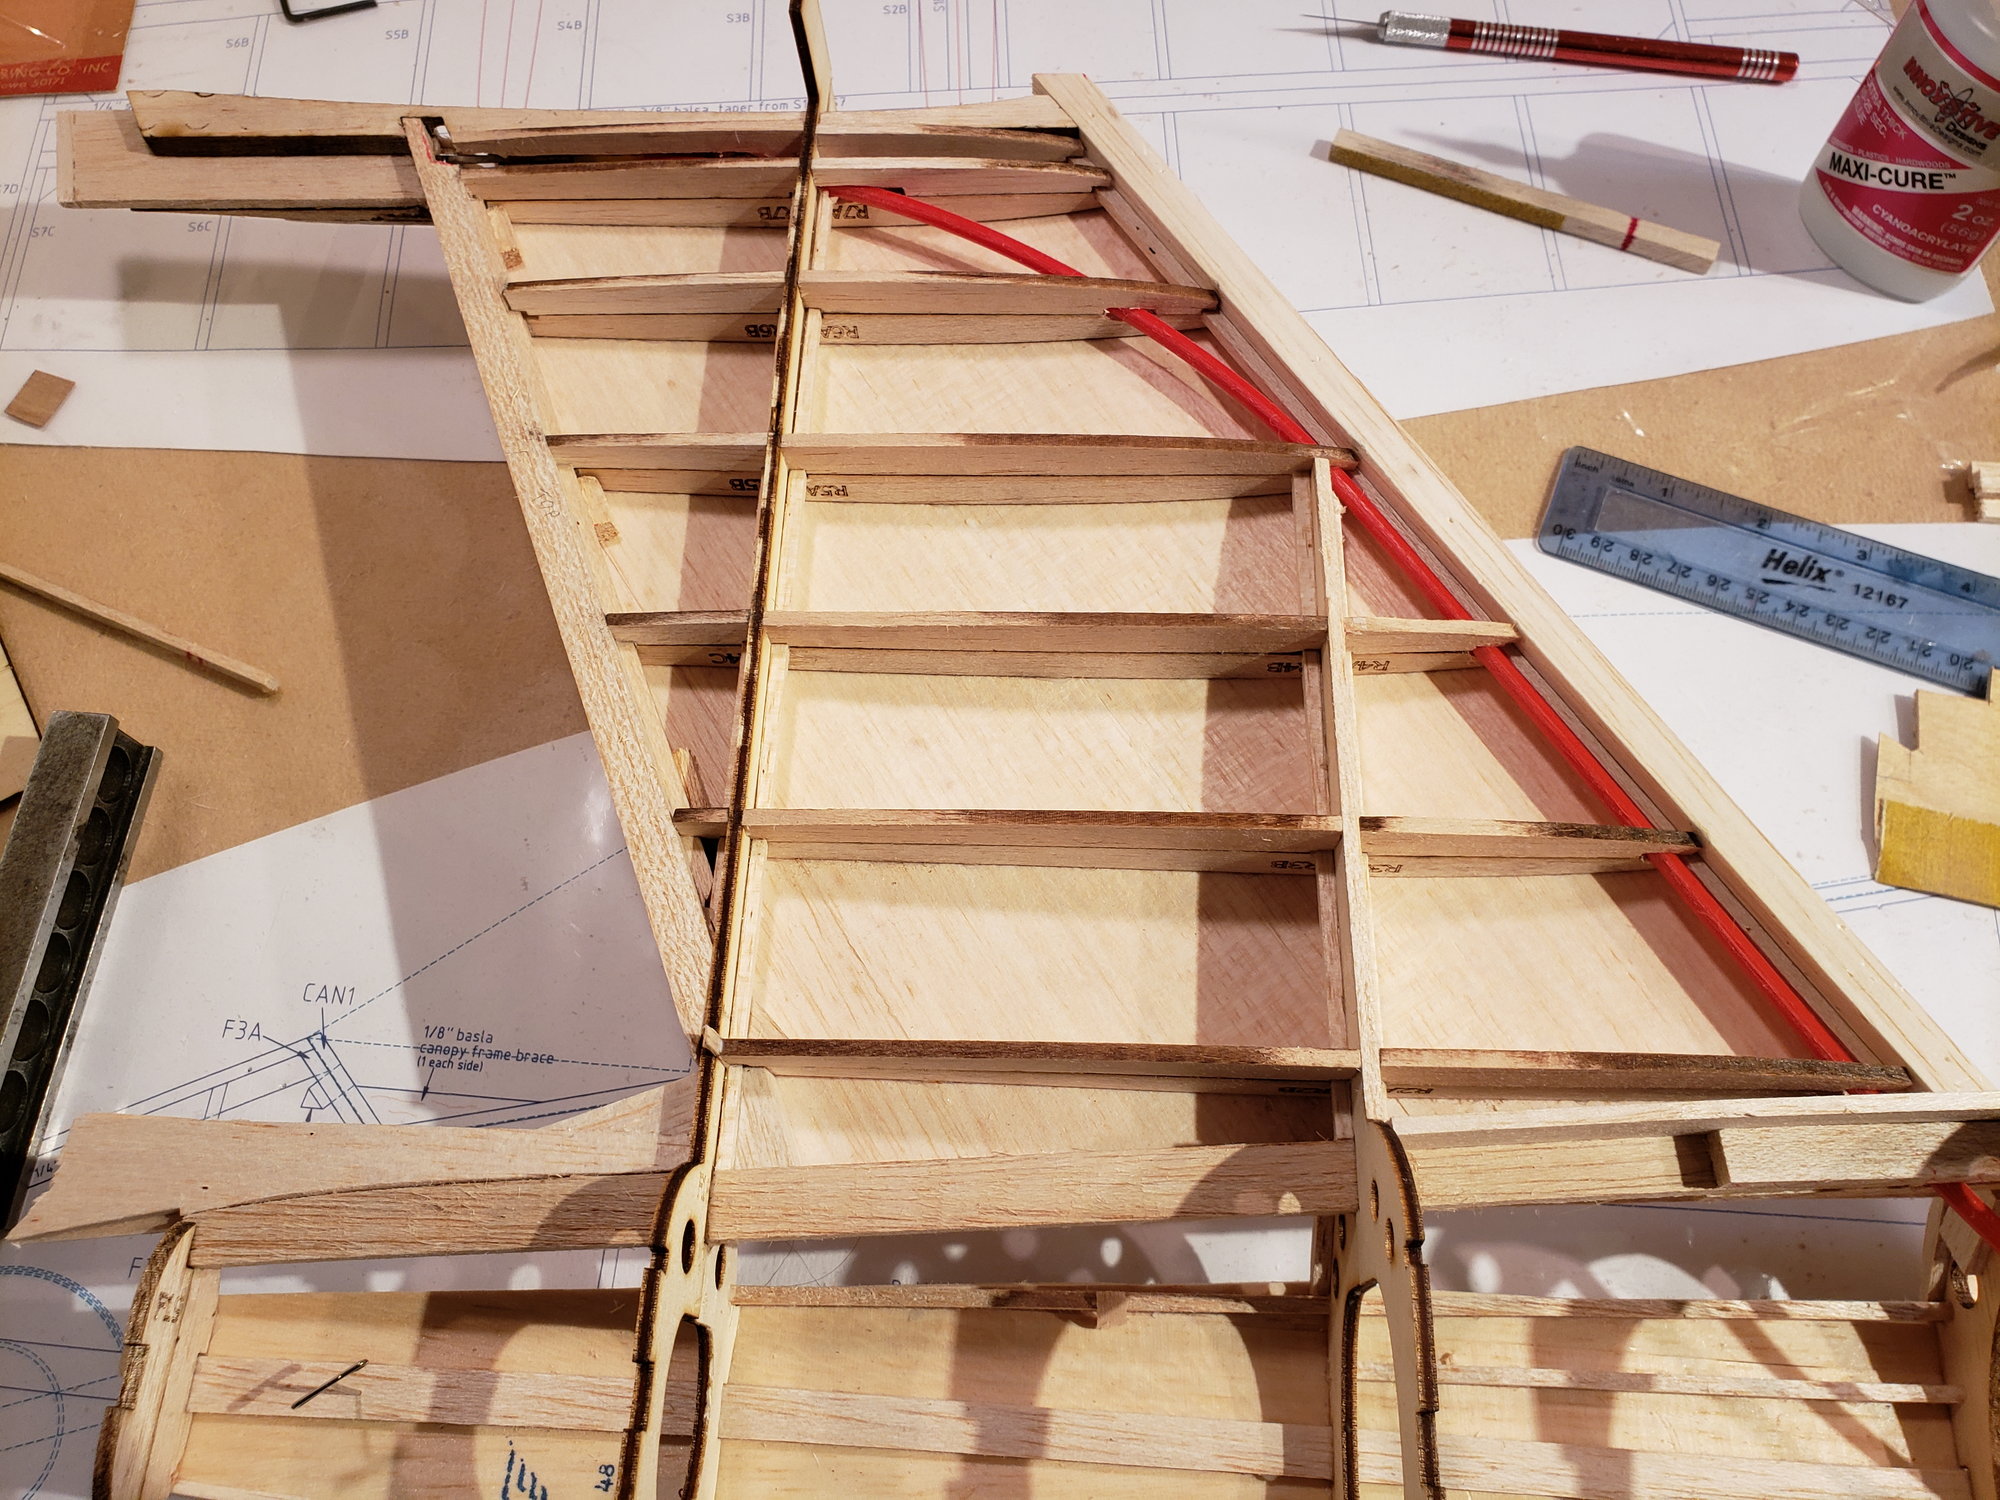
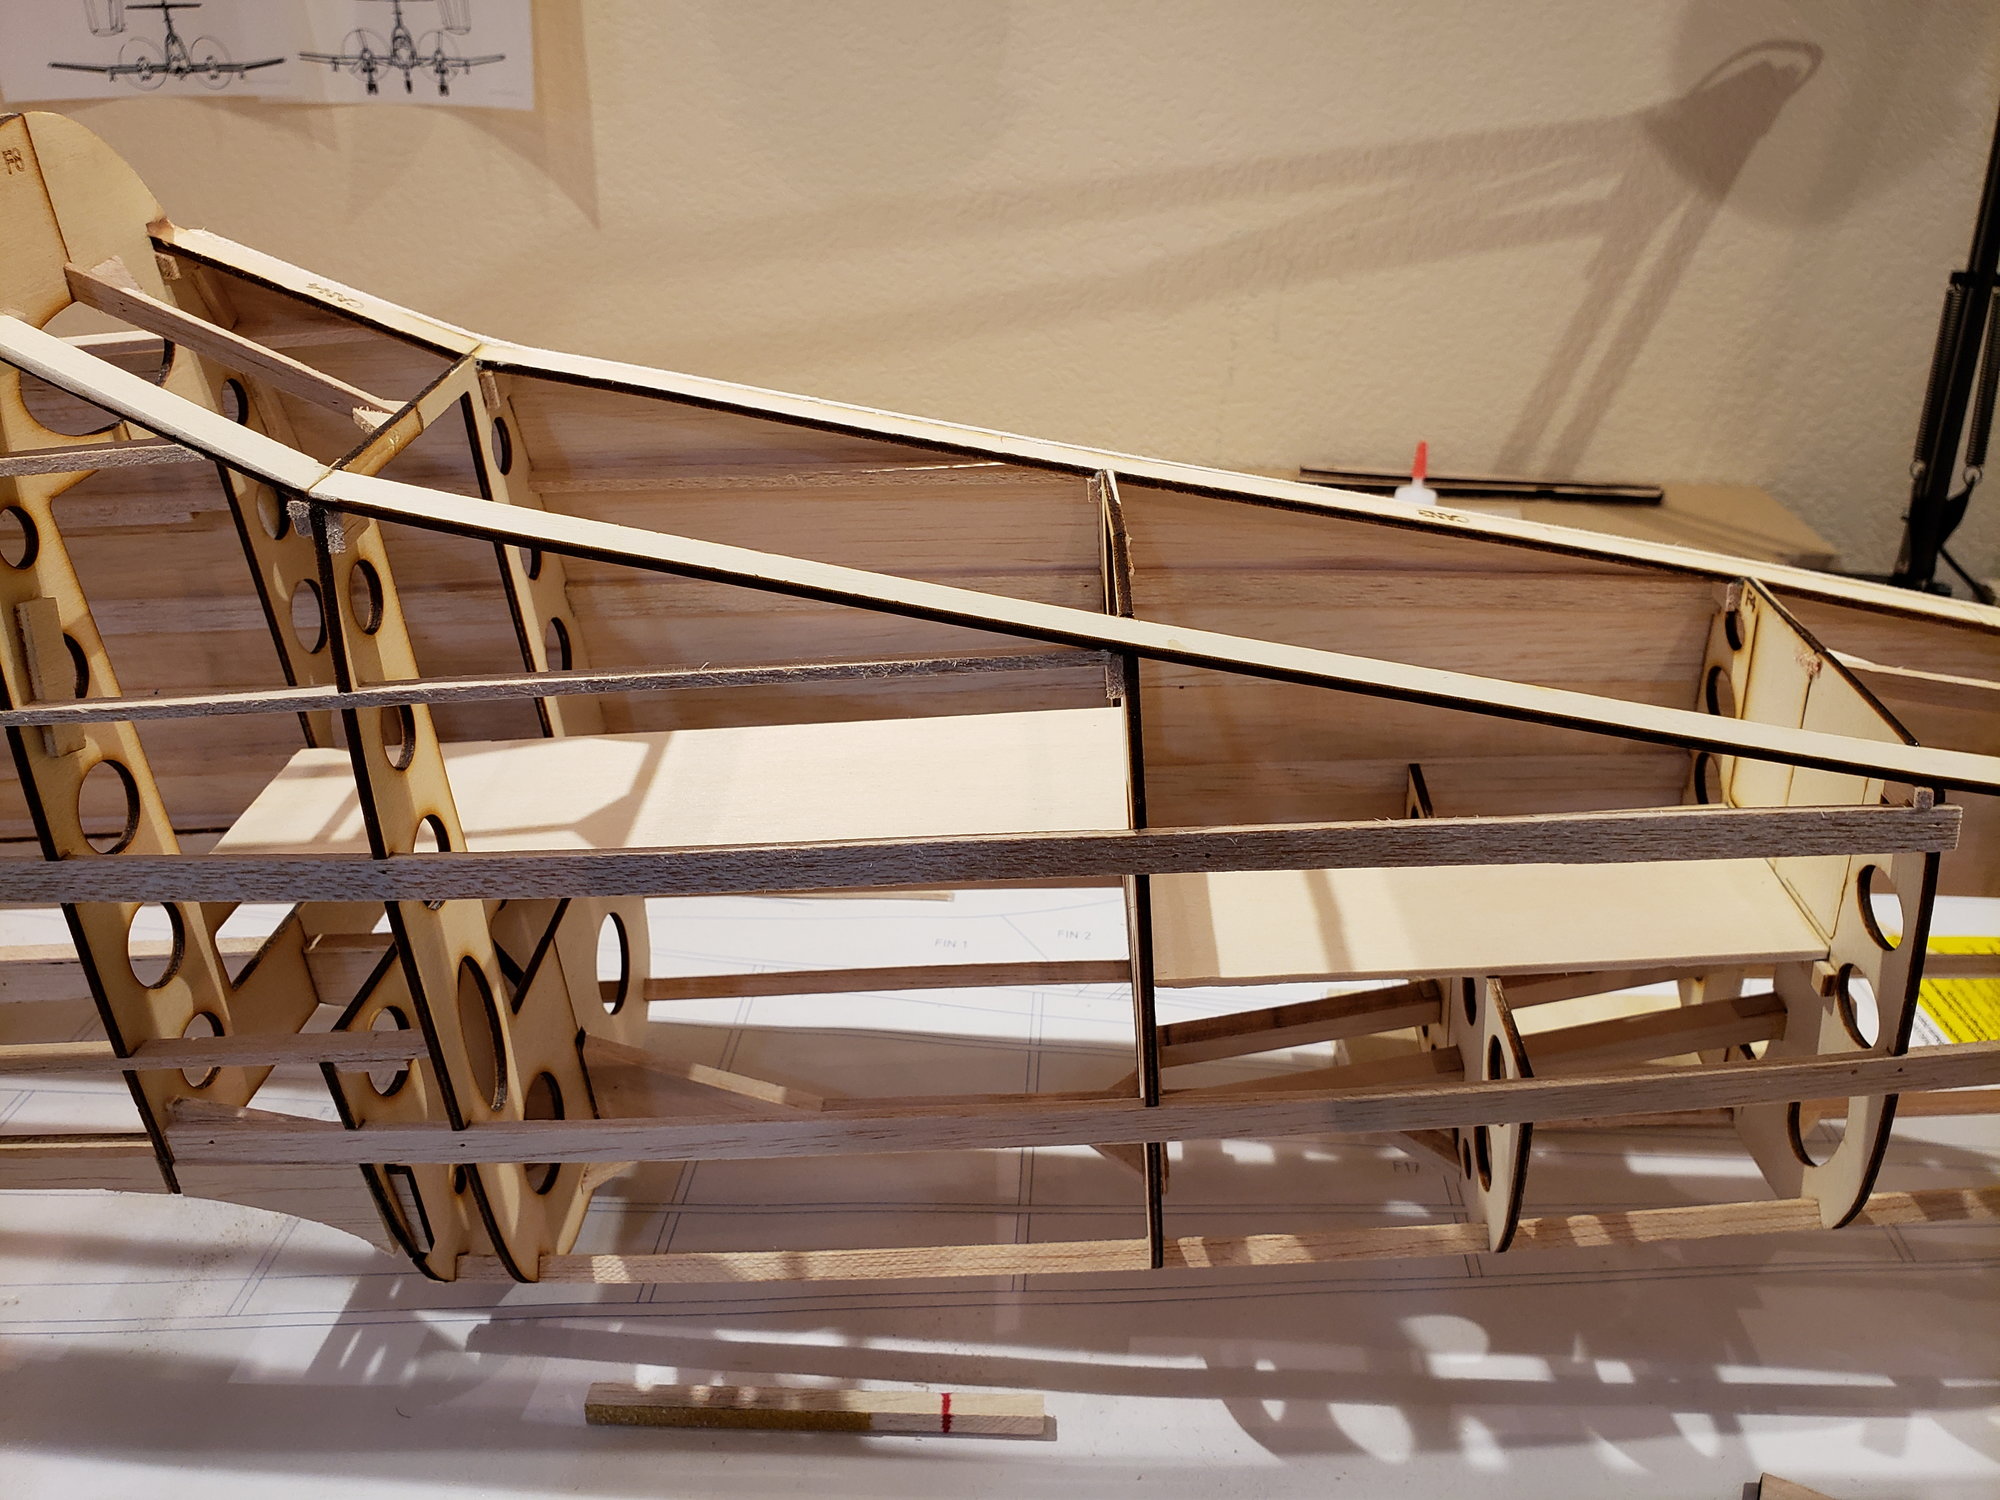
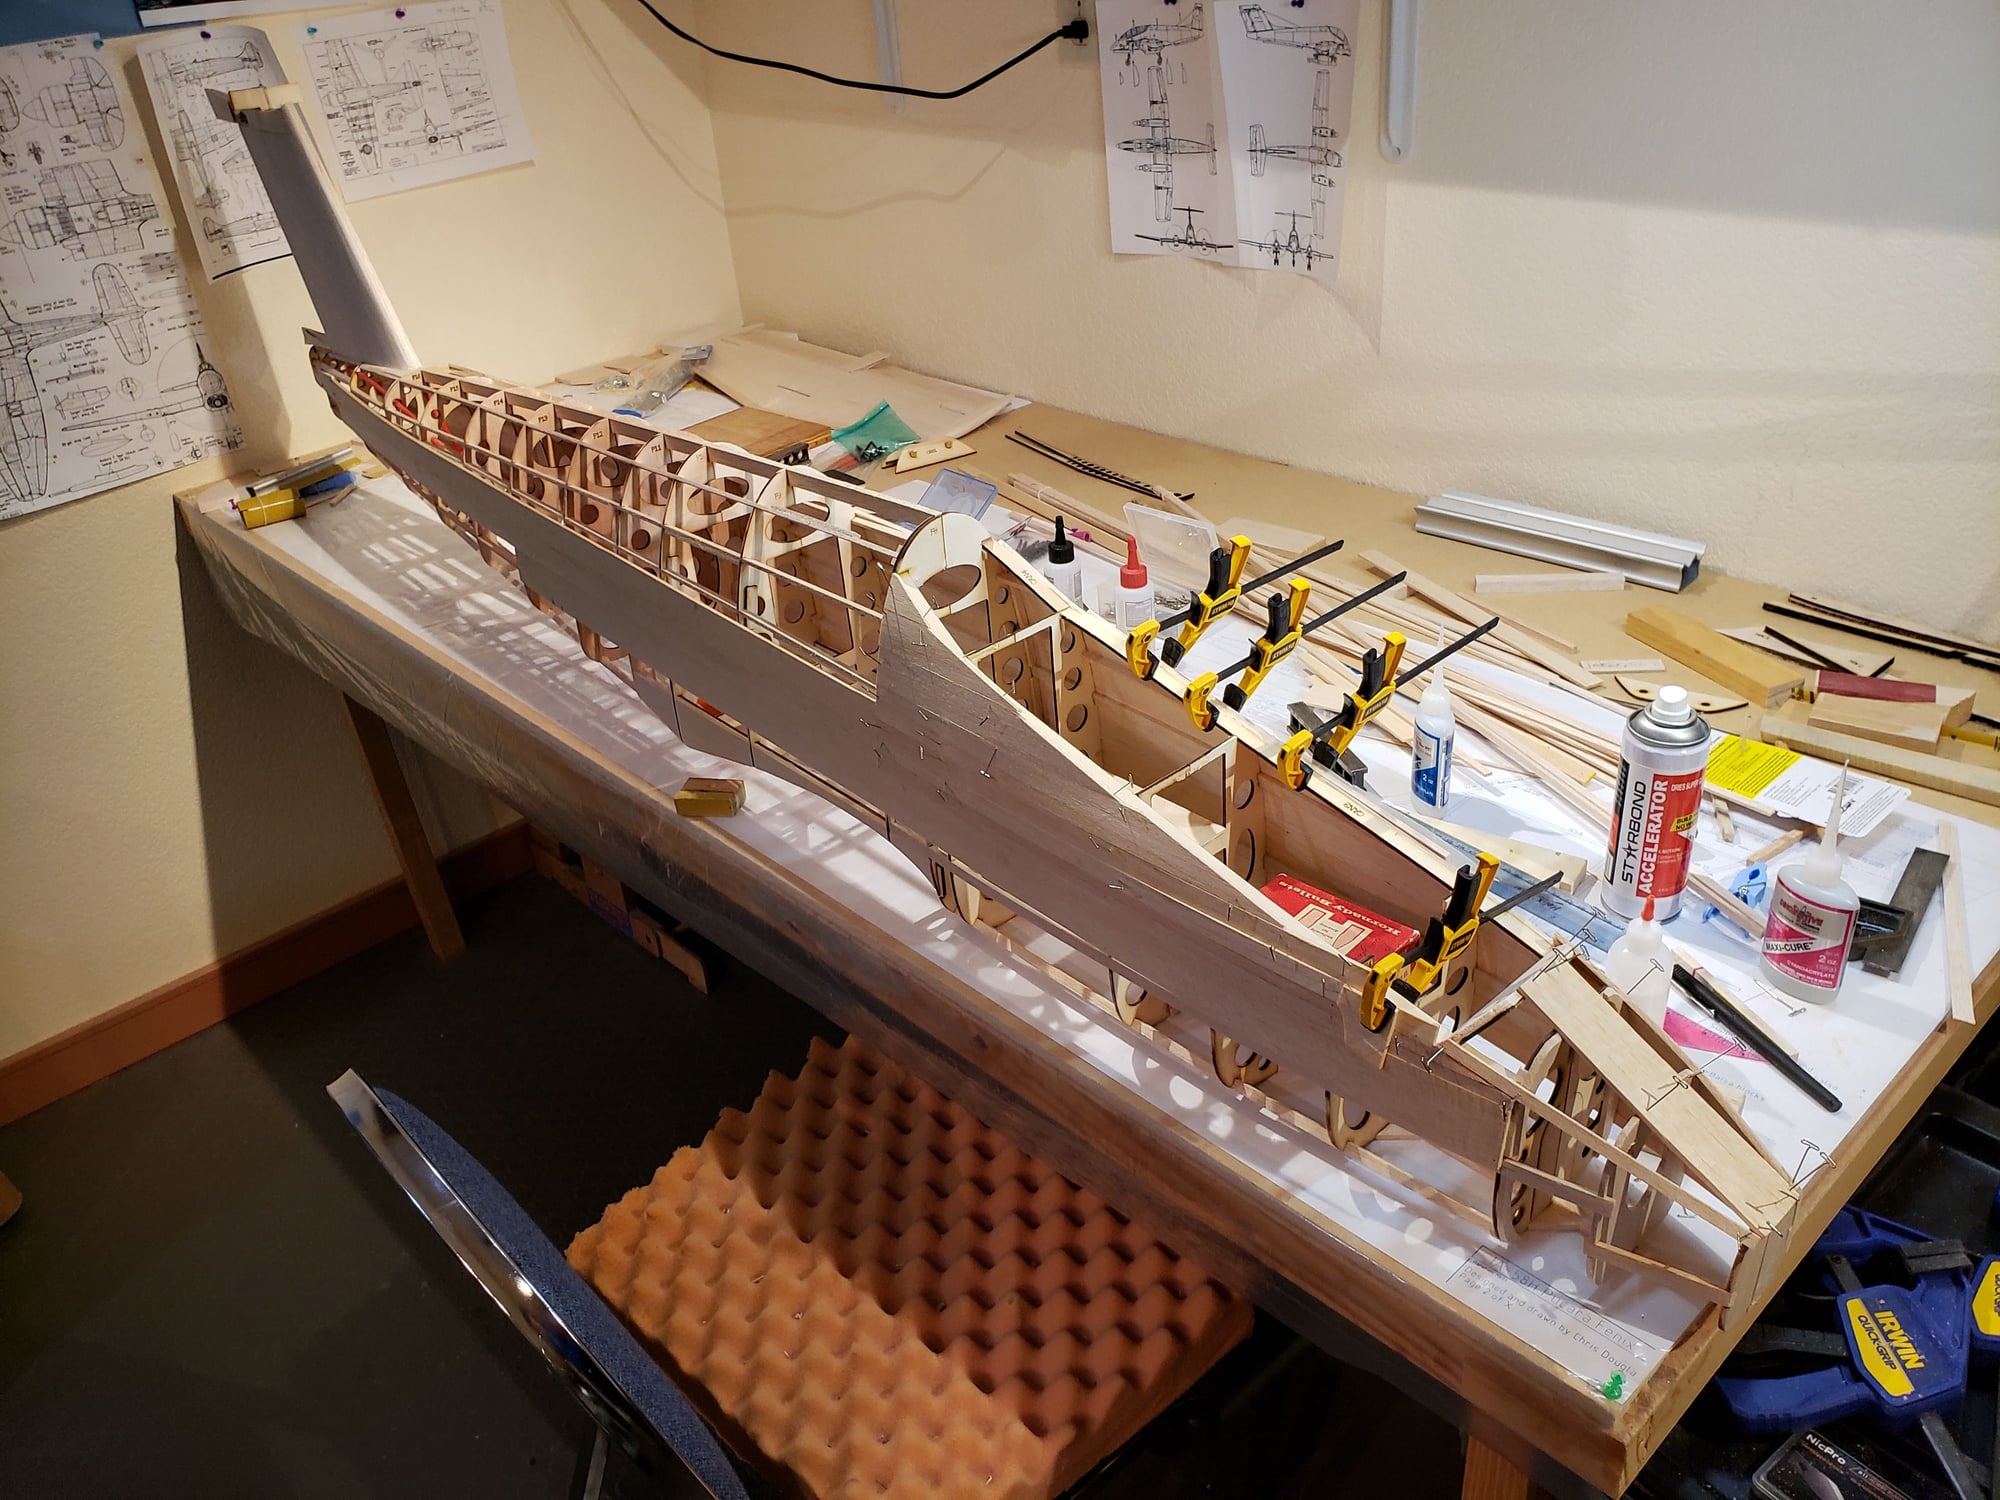
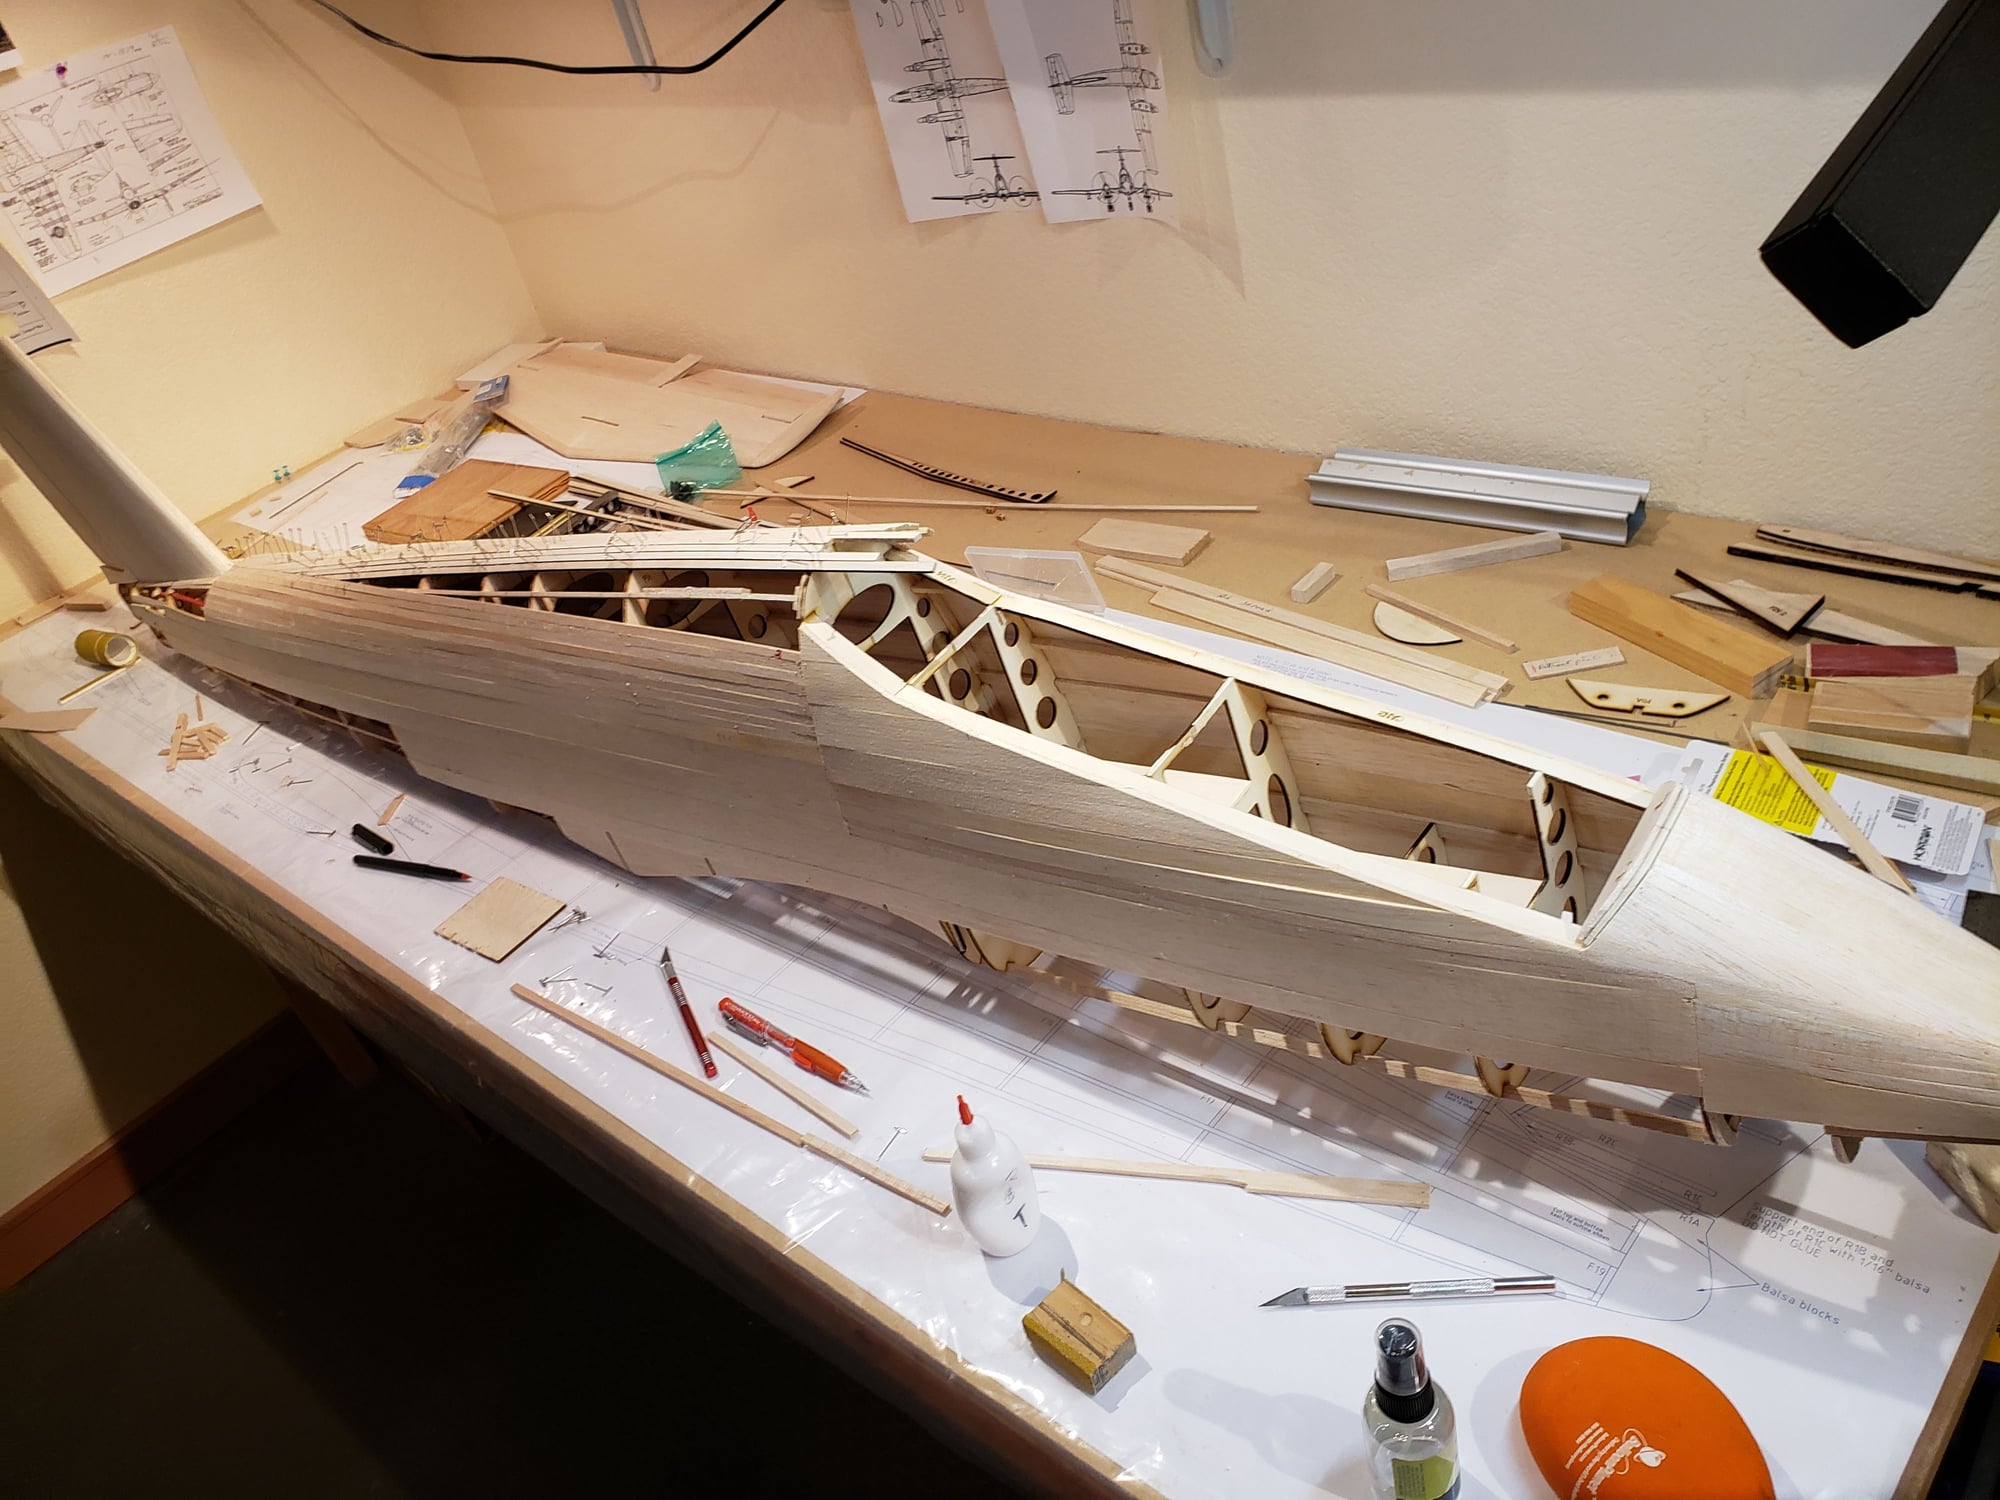
Stringers/longerons completed on the right side. There are a total of 16 around the fuse at the TE of the wing.
Need to finish more internal items to the fuse before getting back to planking (Oh joy!).
Need to finish more internal items to the fuse before getting back to planking (Oh joy!).
09-27-2023, 04:05 PM
#35
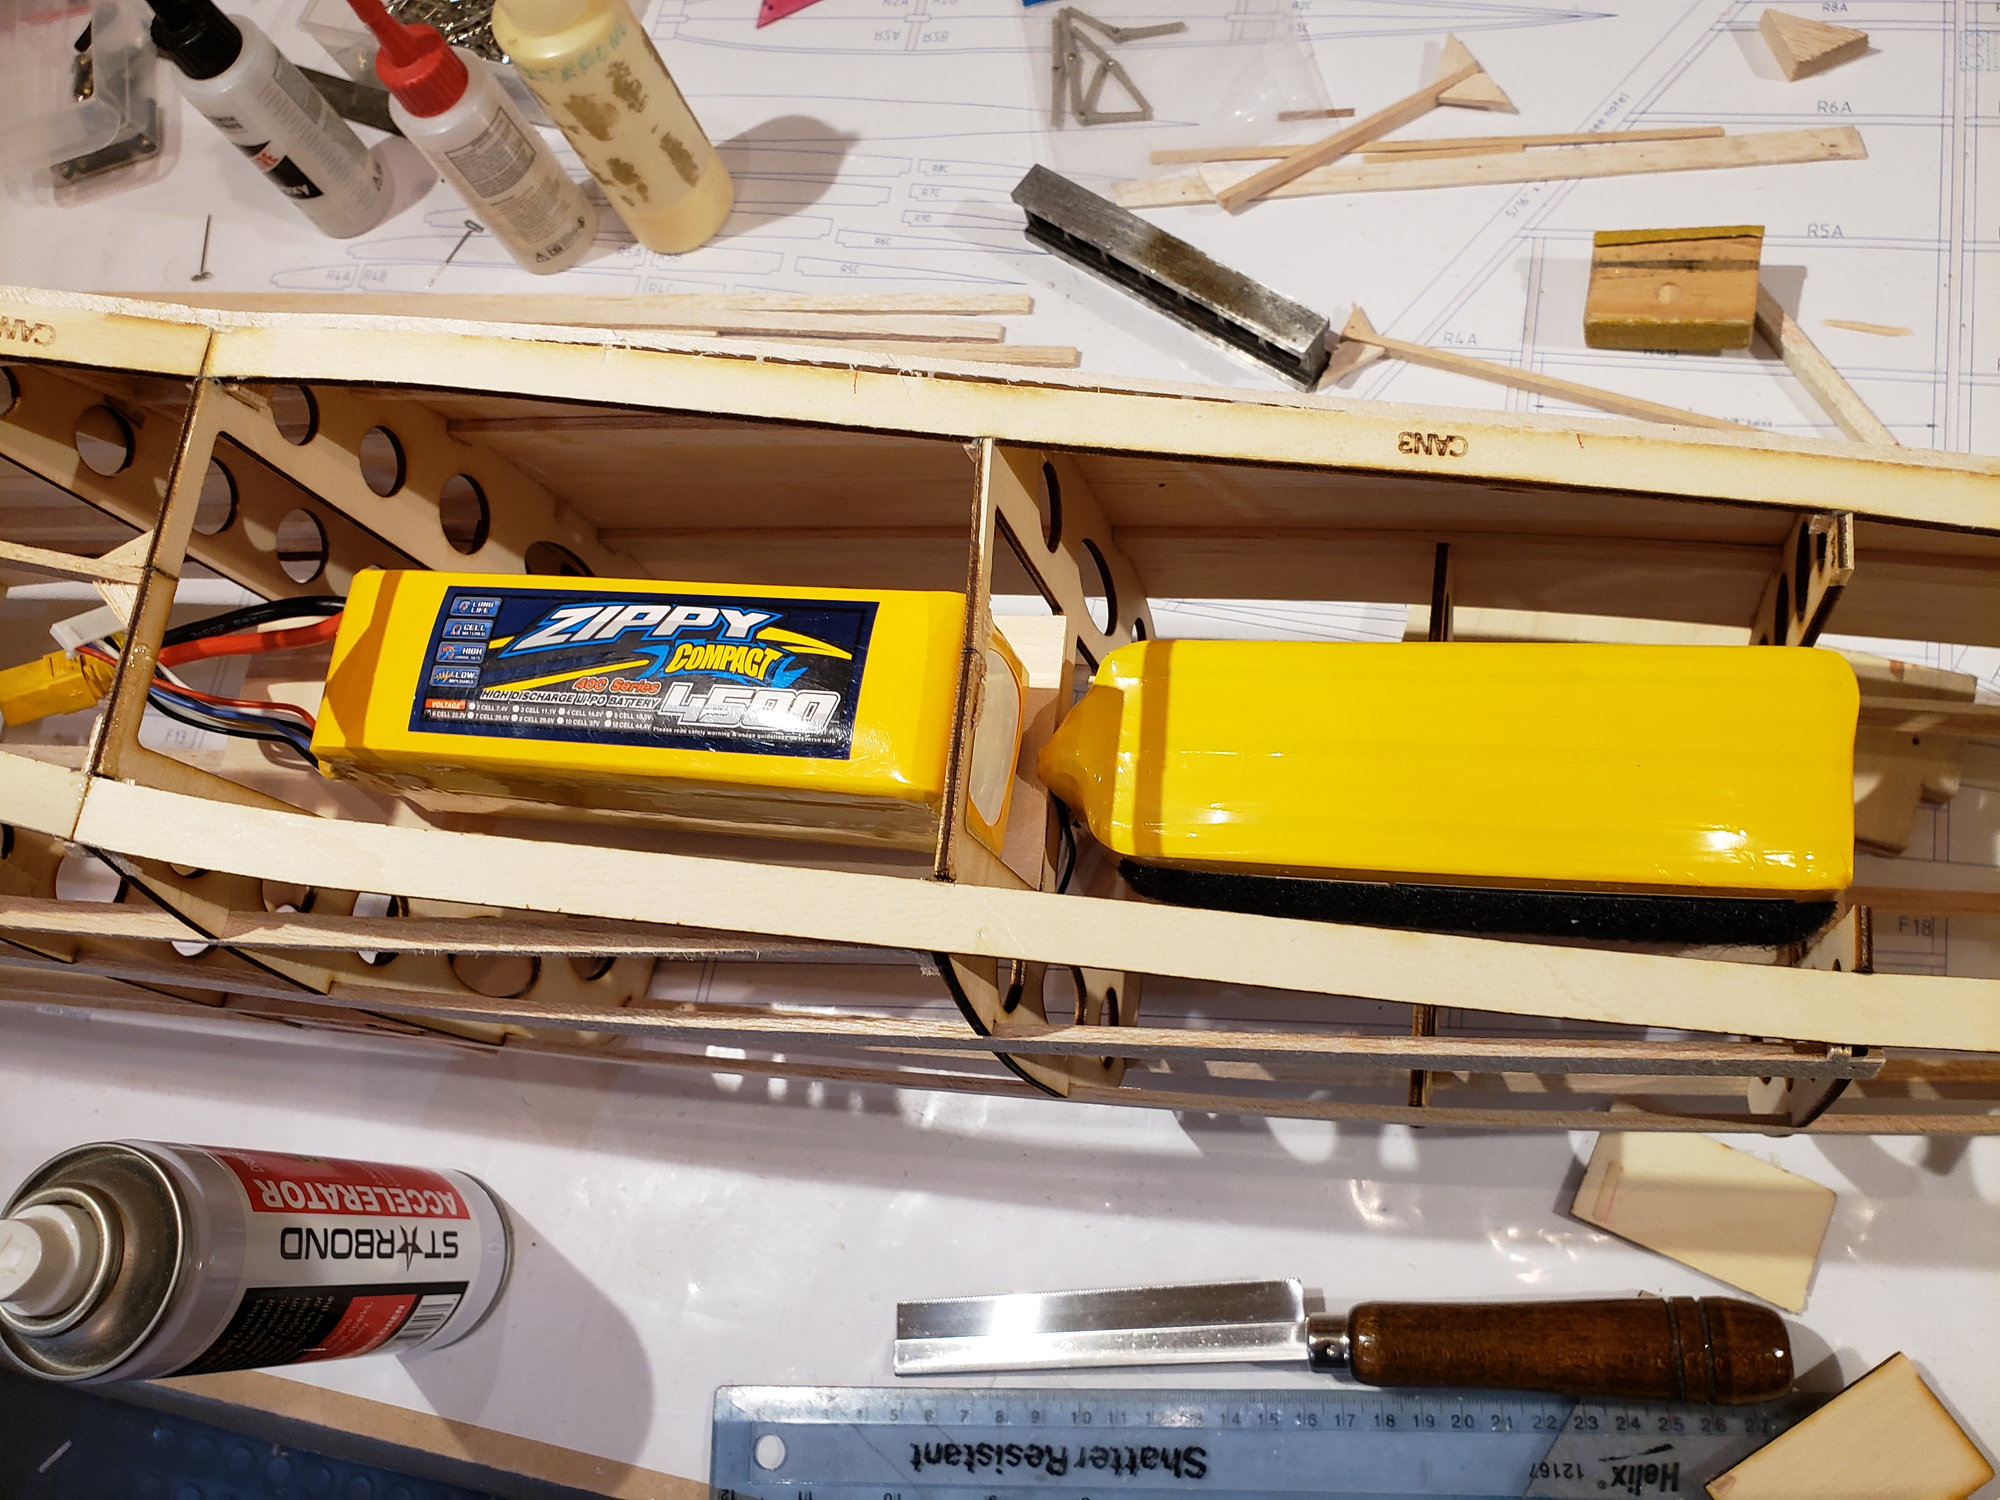
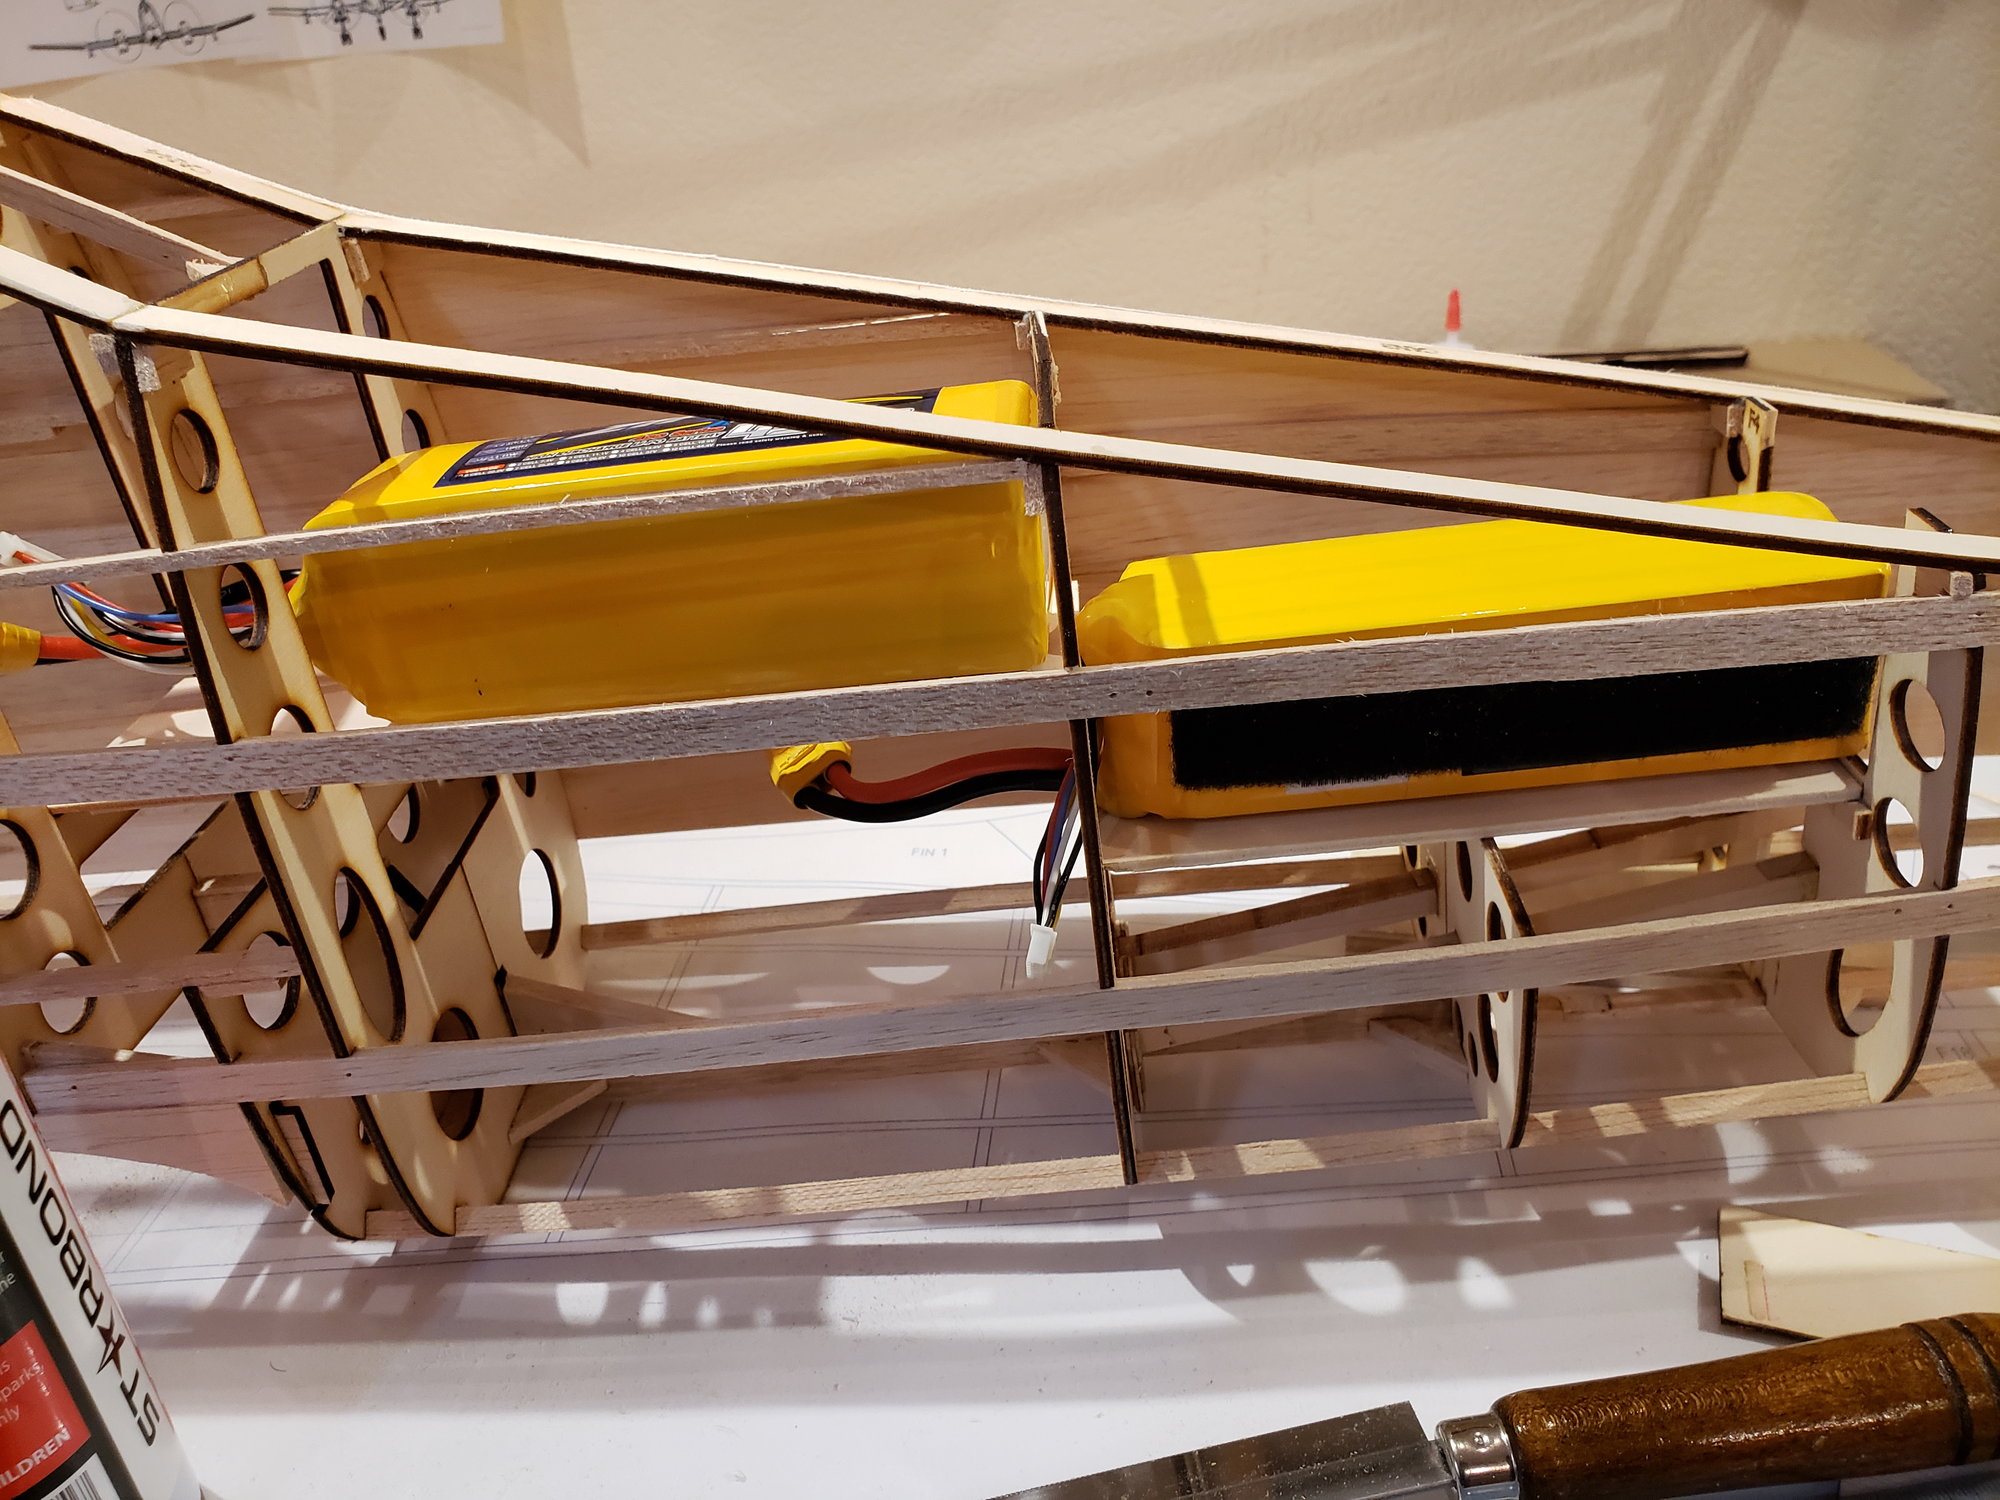
Added to shelves for the two 6S batteries. It's unclear at this point if this much weight will be needed up front (about 3 lbs). So there is room to extend the rear shelf back over the wing. This should allow a fairly straight forward approach to balancing the plane without adding any weight.
10-09-2023, 08:14 PM
#36
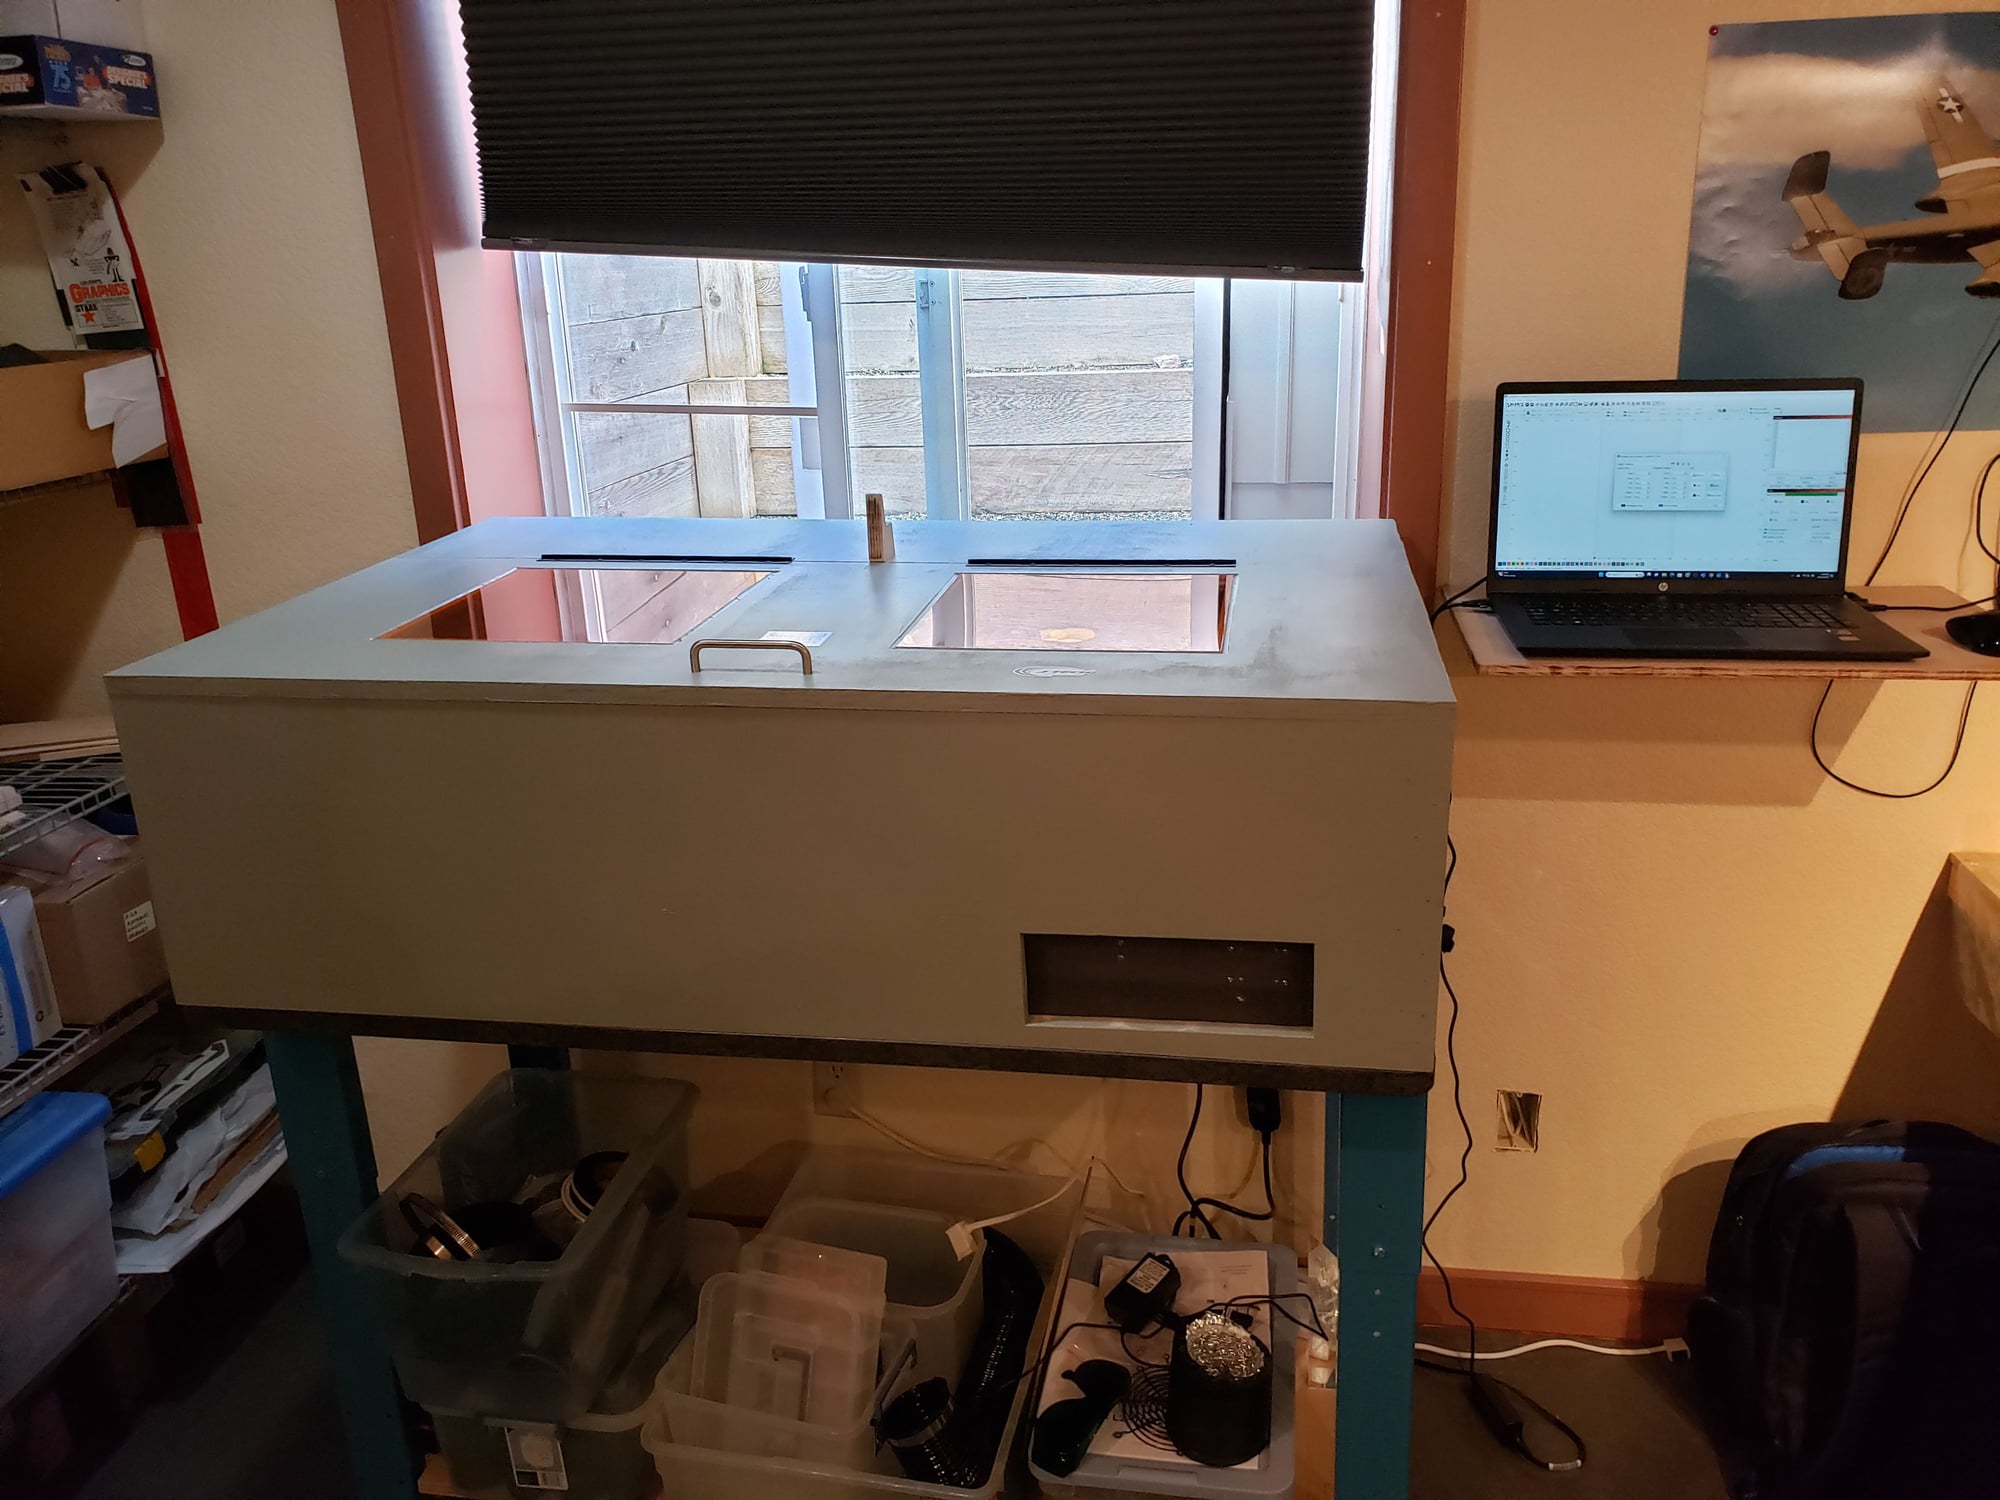
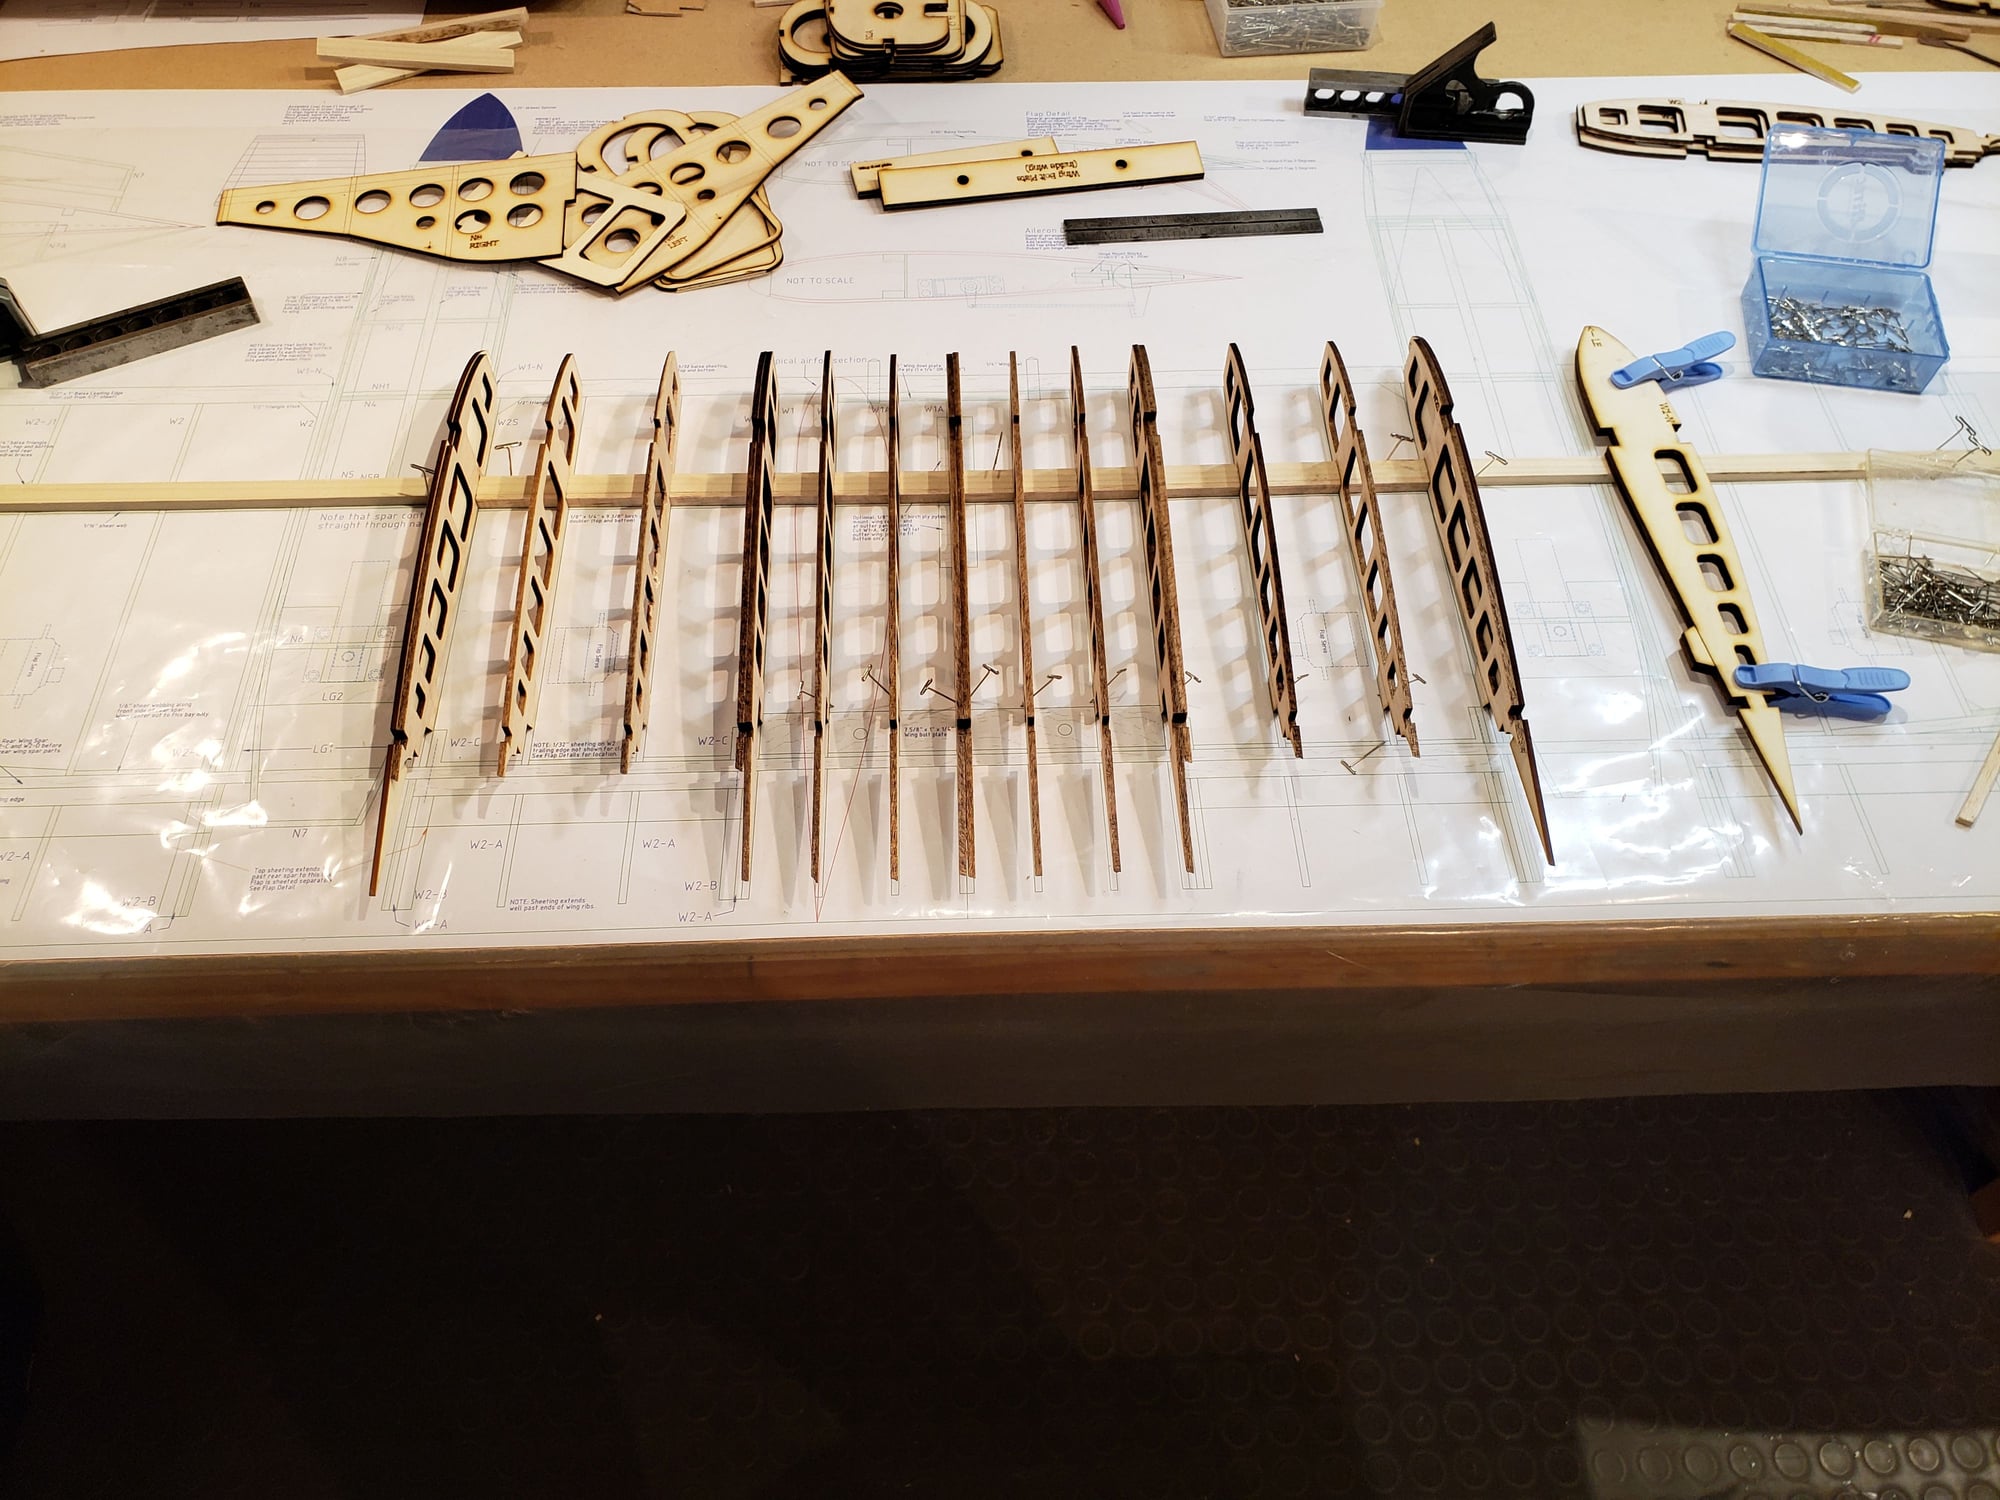
Progress has been slow the past couple weeks. I decided to buy a laser engraver/cutter to be able to make my own parts. Had to research it, purchase, get the initial setup done, etc. Always takes more time than I expect 
I bought the Atzer L2 36 Watt laser with the extended frame.
Anyway, back to the Fenix!
I've continued with the fuse planking. BTW, one nice thing about having the laser is that I can have it cutting planks while I focus on installing them. Saves a lot of time.
Getting Close!
I bought the Atzer L2 36 Watt laser with the extended frame.
Anyway, back to the Fenix!
I've continued with the fuse planking. BTW, one nice thing about having the laser is that I can have it cutting planks while I focus on installing them. Saves a lot of time.
Getting Close!
10-09-2023, 08:24 PM
#37
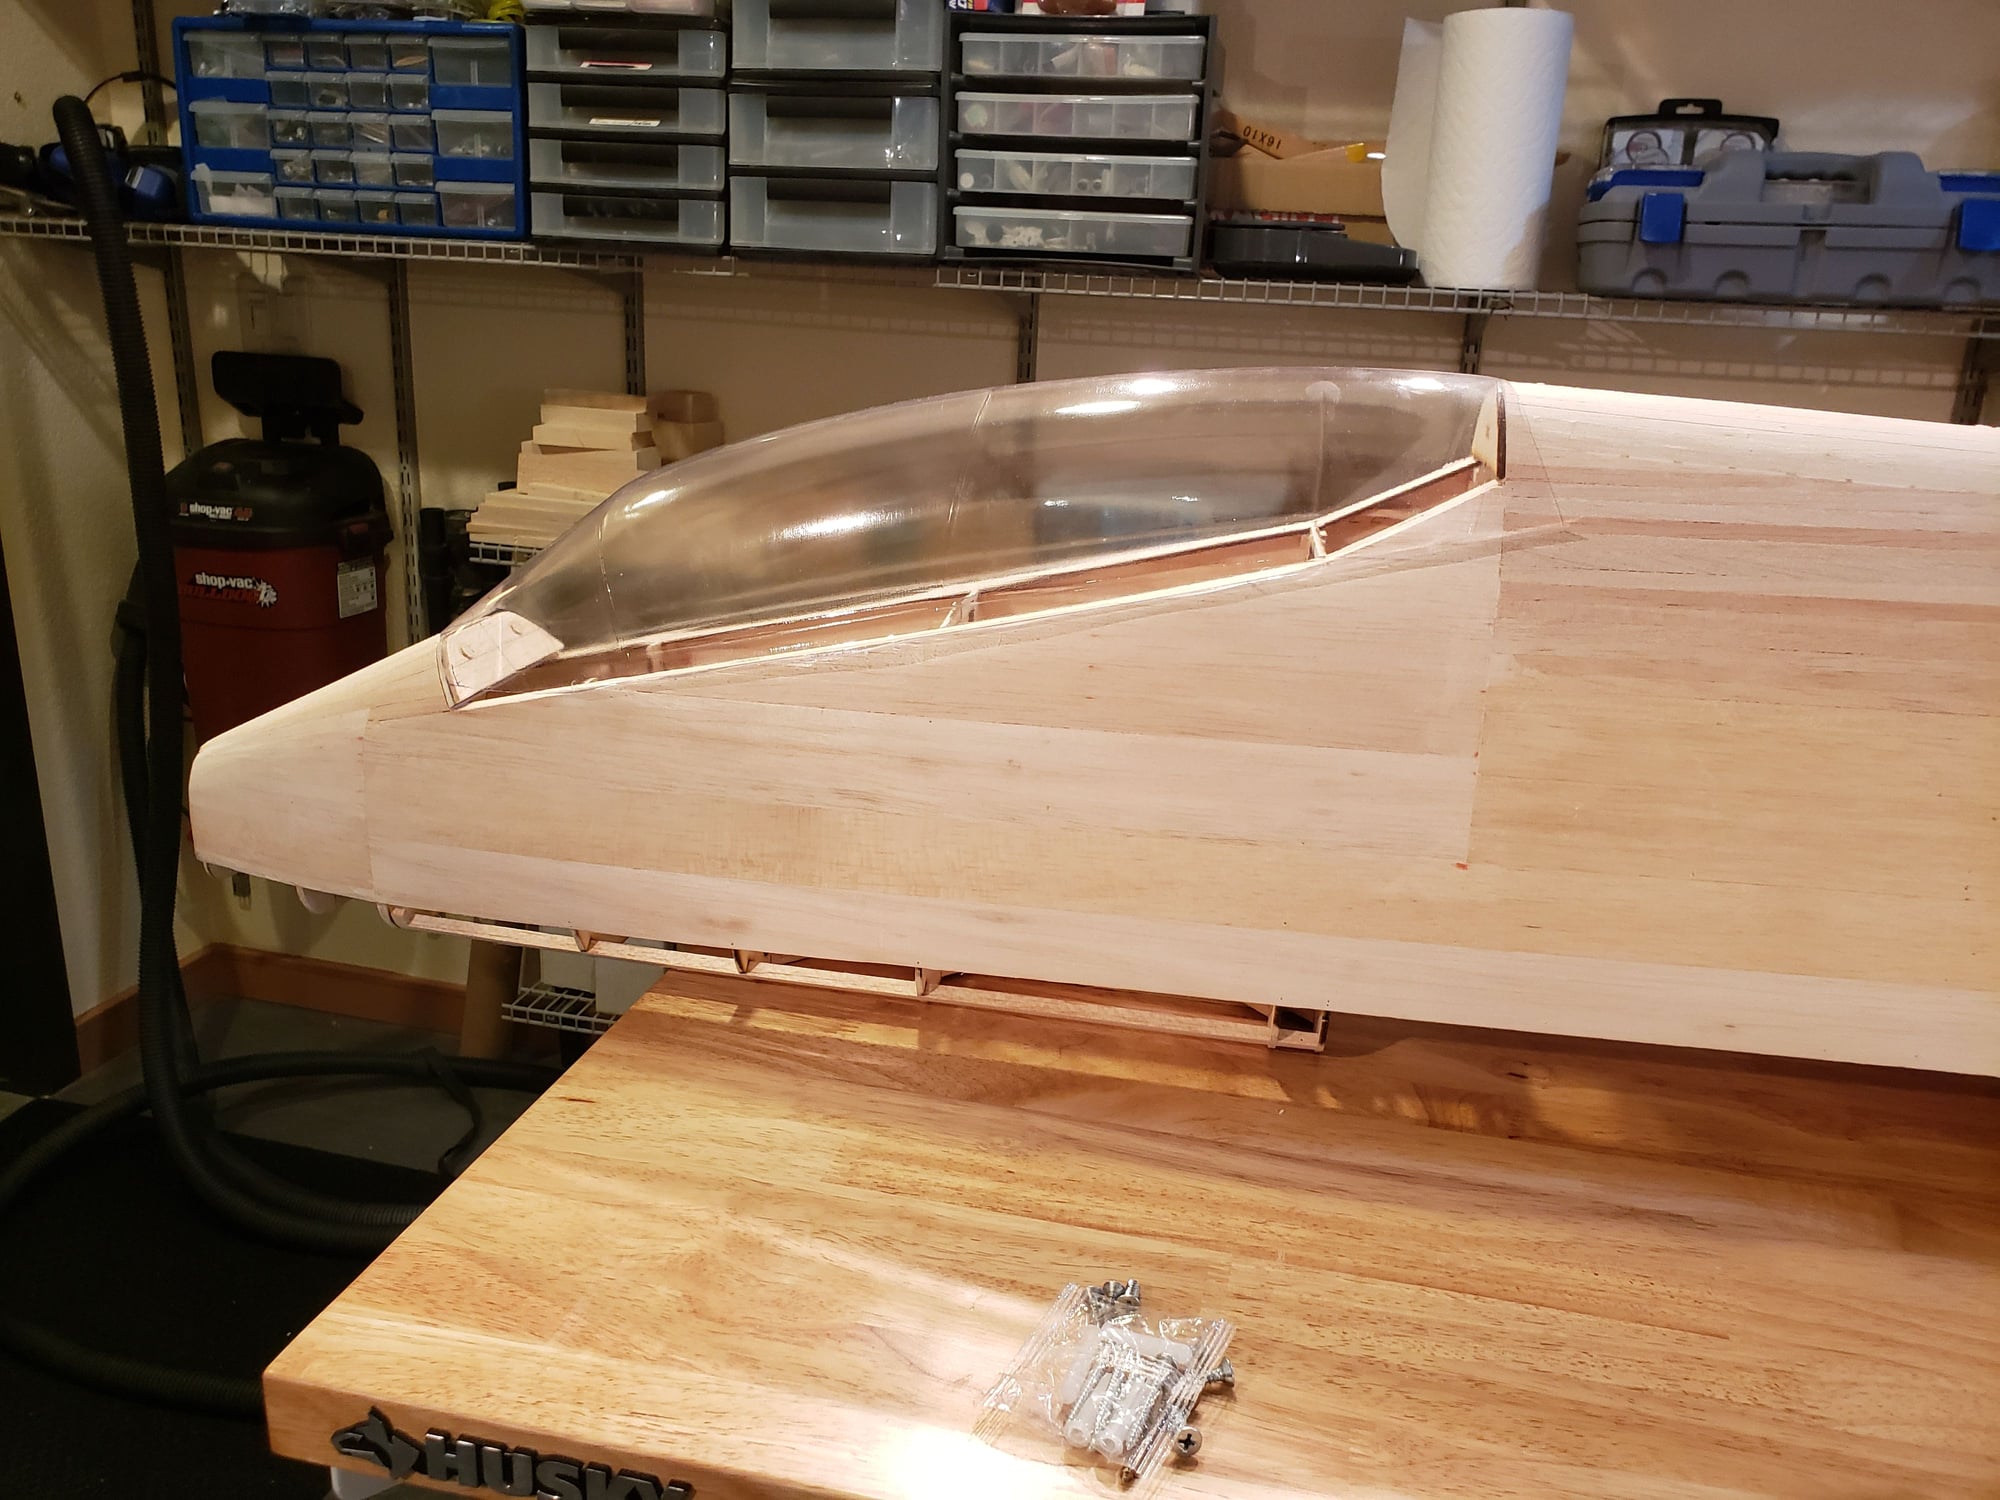
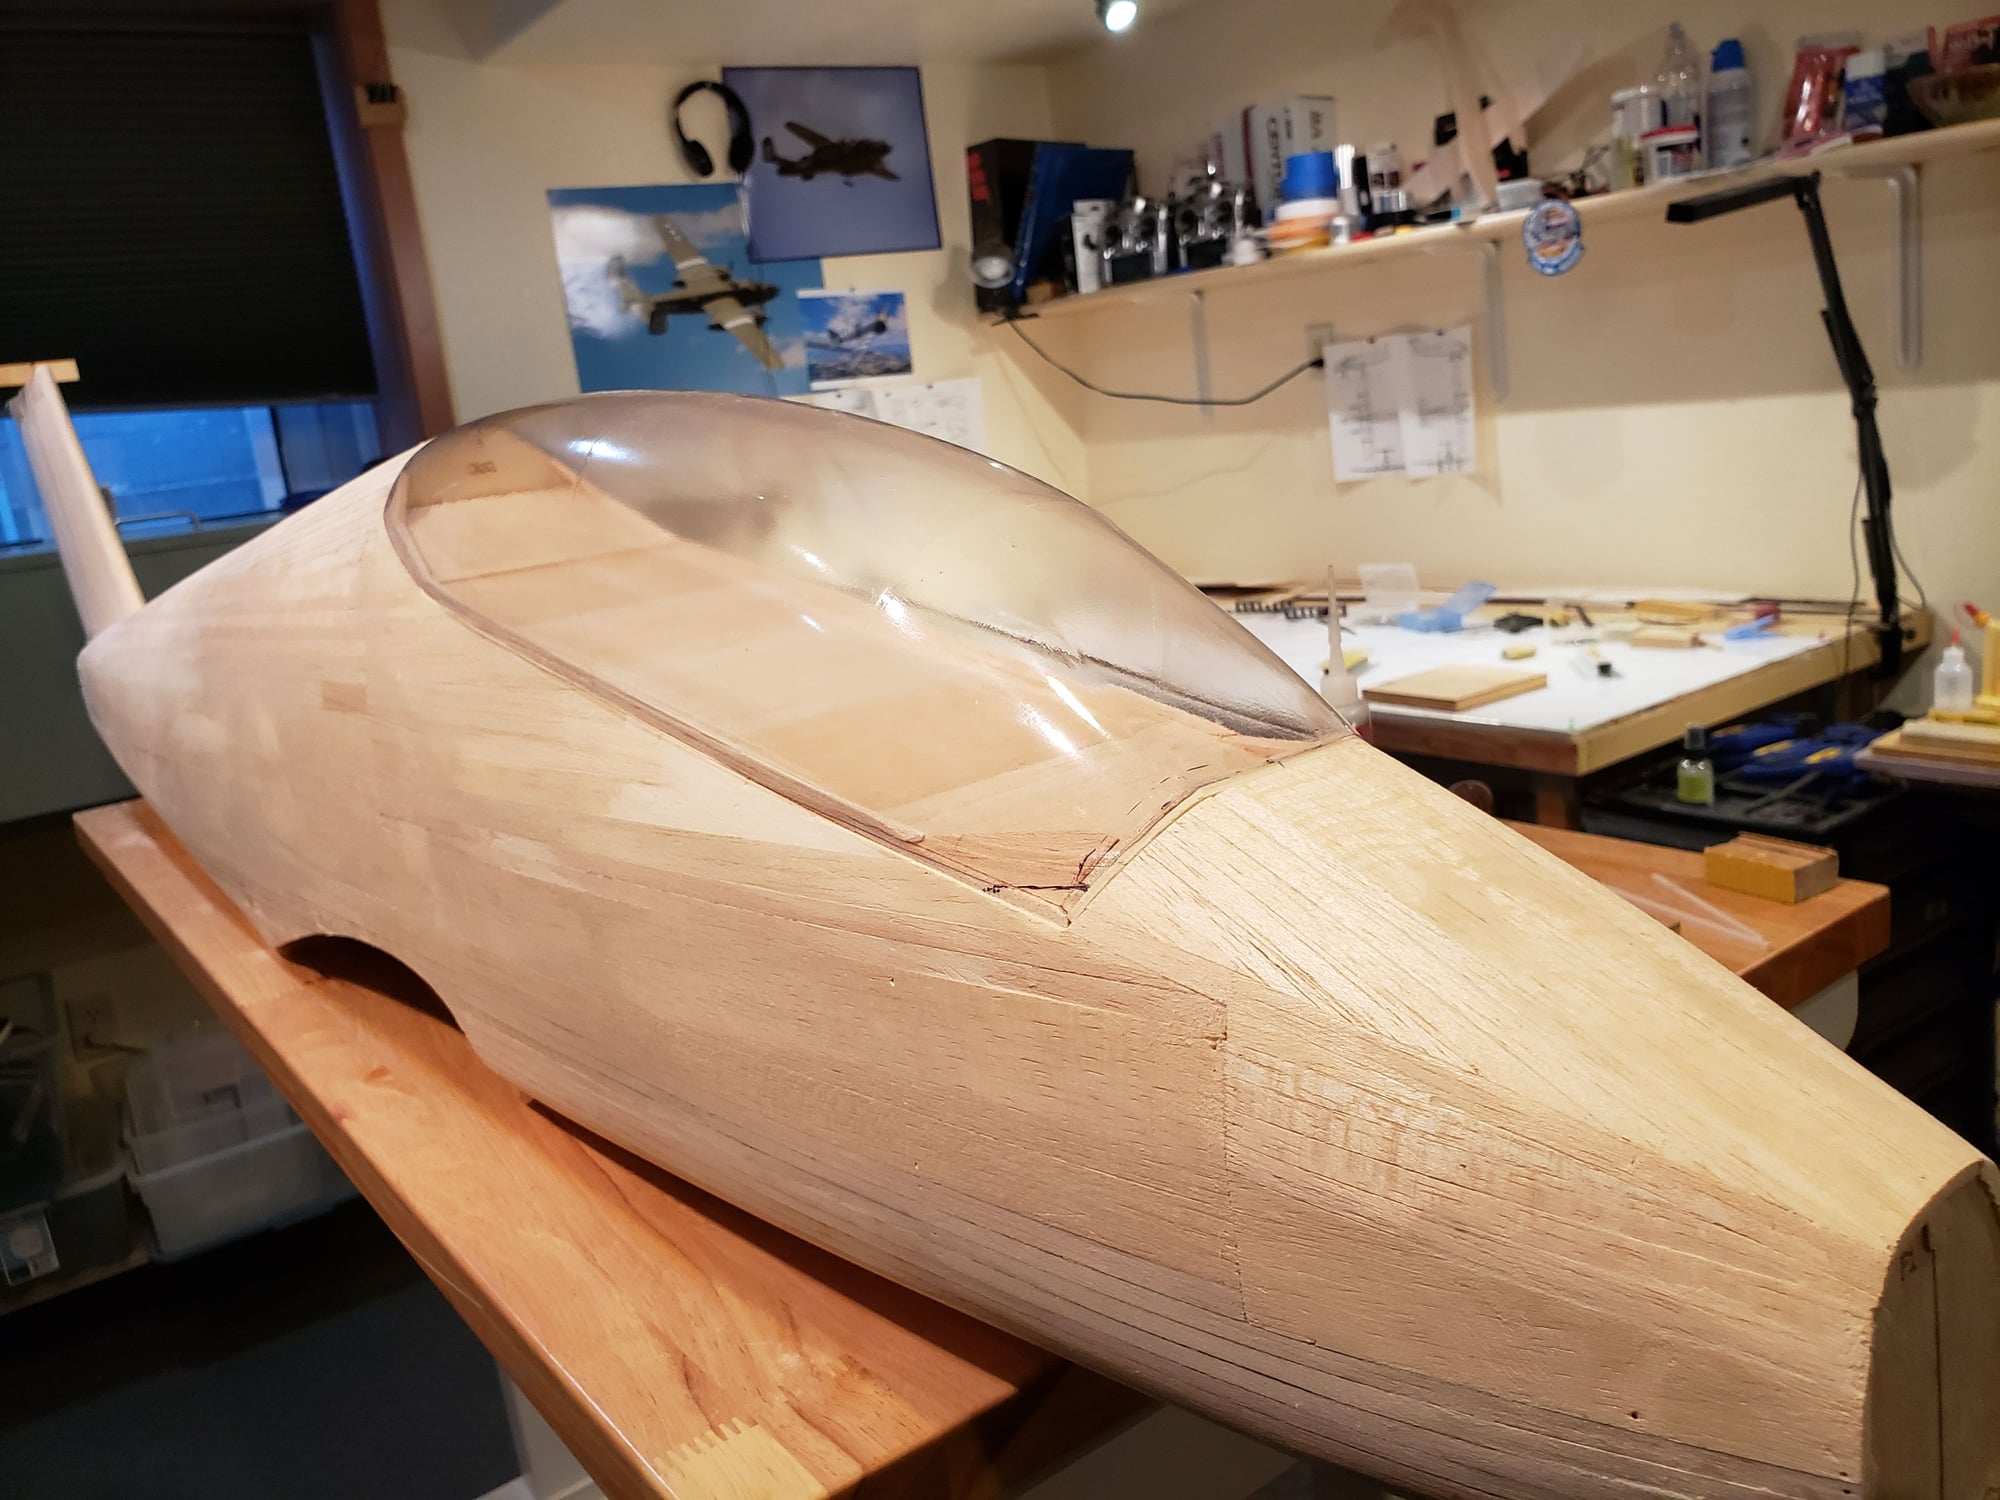
The other thing I've been working on is the fit of the canopy to the fuse. Given the I've not invested (yet!) in a vacuum forming setup, I'm working with an off the shelf canopy. The one I have I got from Park Flyer Plastics. It's from the "T2A Buckeye". It's very close to the one on the Fenix. But not exact. So in the plans I had to do some slight modifications to the fuse shape to get it close. Now I'm working to get it fully mated.
10-19-2023, 07:14 PM
#38
After some significant issues with the laser enclosure from Atezr ... I decided to build my own. Let just say, the Atezr laser is FANTASTIC. Their large enclosure SUCKS. Poor air draw. Poor access to the laser bed. Too DANG LOUD! Here's the replacement. It's basically the same physical size, but far more effective in all regards, save portability 
Good news is that I'm back to planking the fuse ...
Good news is that I'm back to planking the fuse ...

 10-23-2023, 07:17 AM
#40
Making the cockpit into a hatch buy building a canopy floor (1/8" balsa), fitting the canopy, and installing a release pin.
The picts go step by step basically. I'll put this in a couple of posts as there are a lot of pictures.
Trying to keep this light.
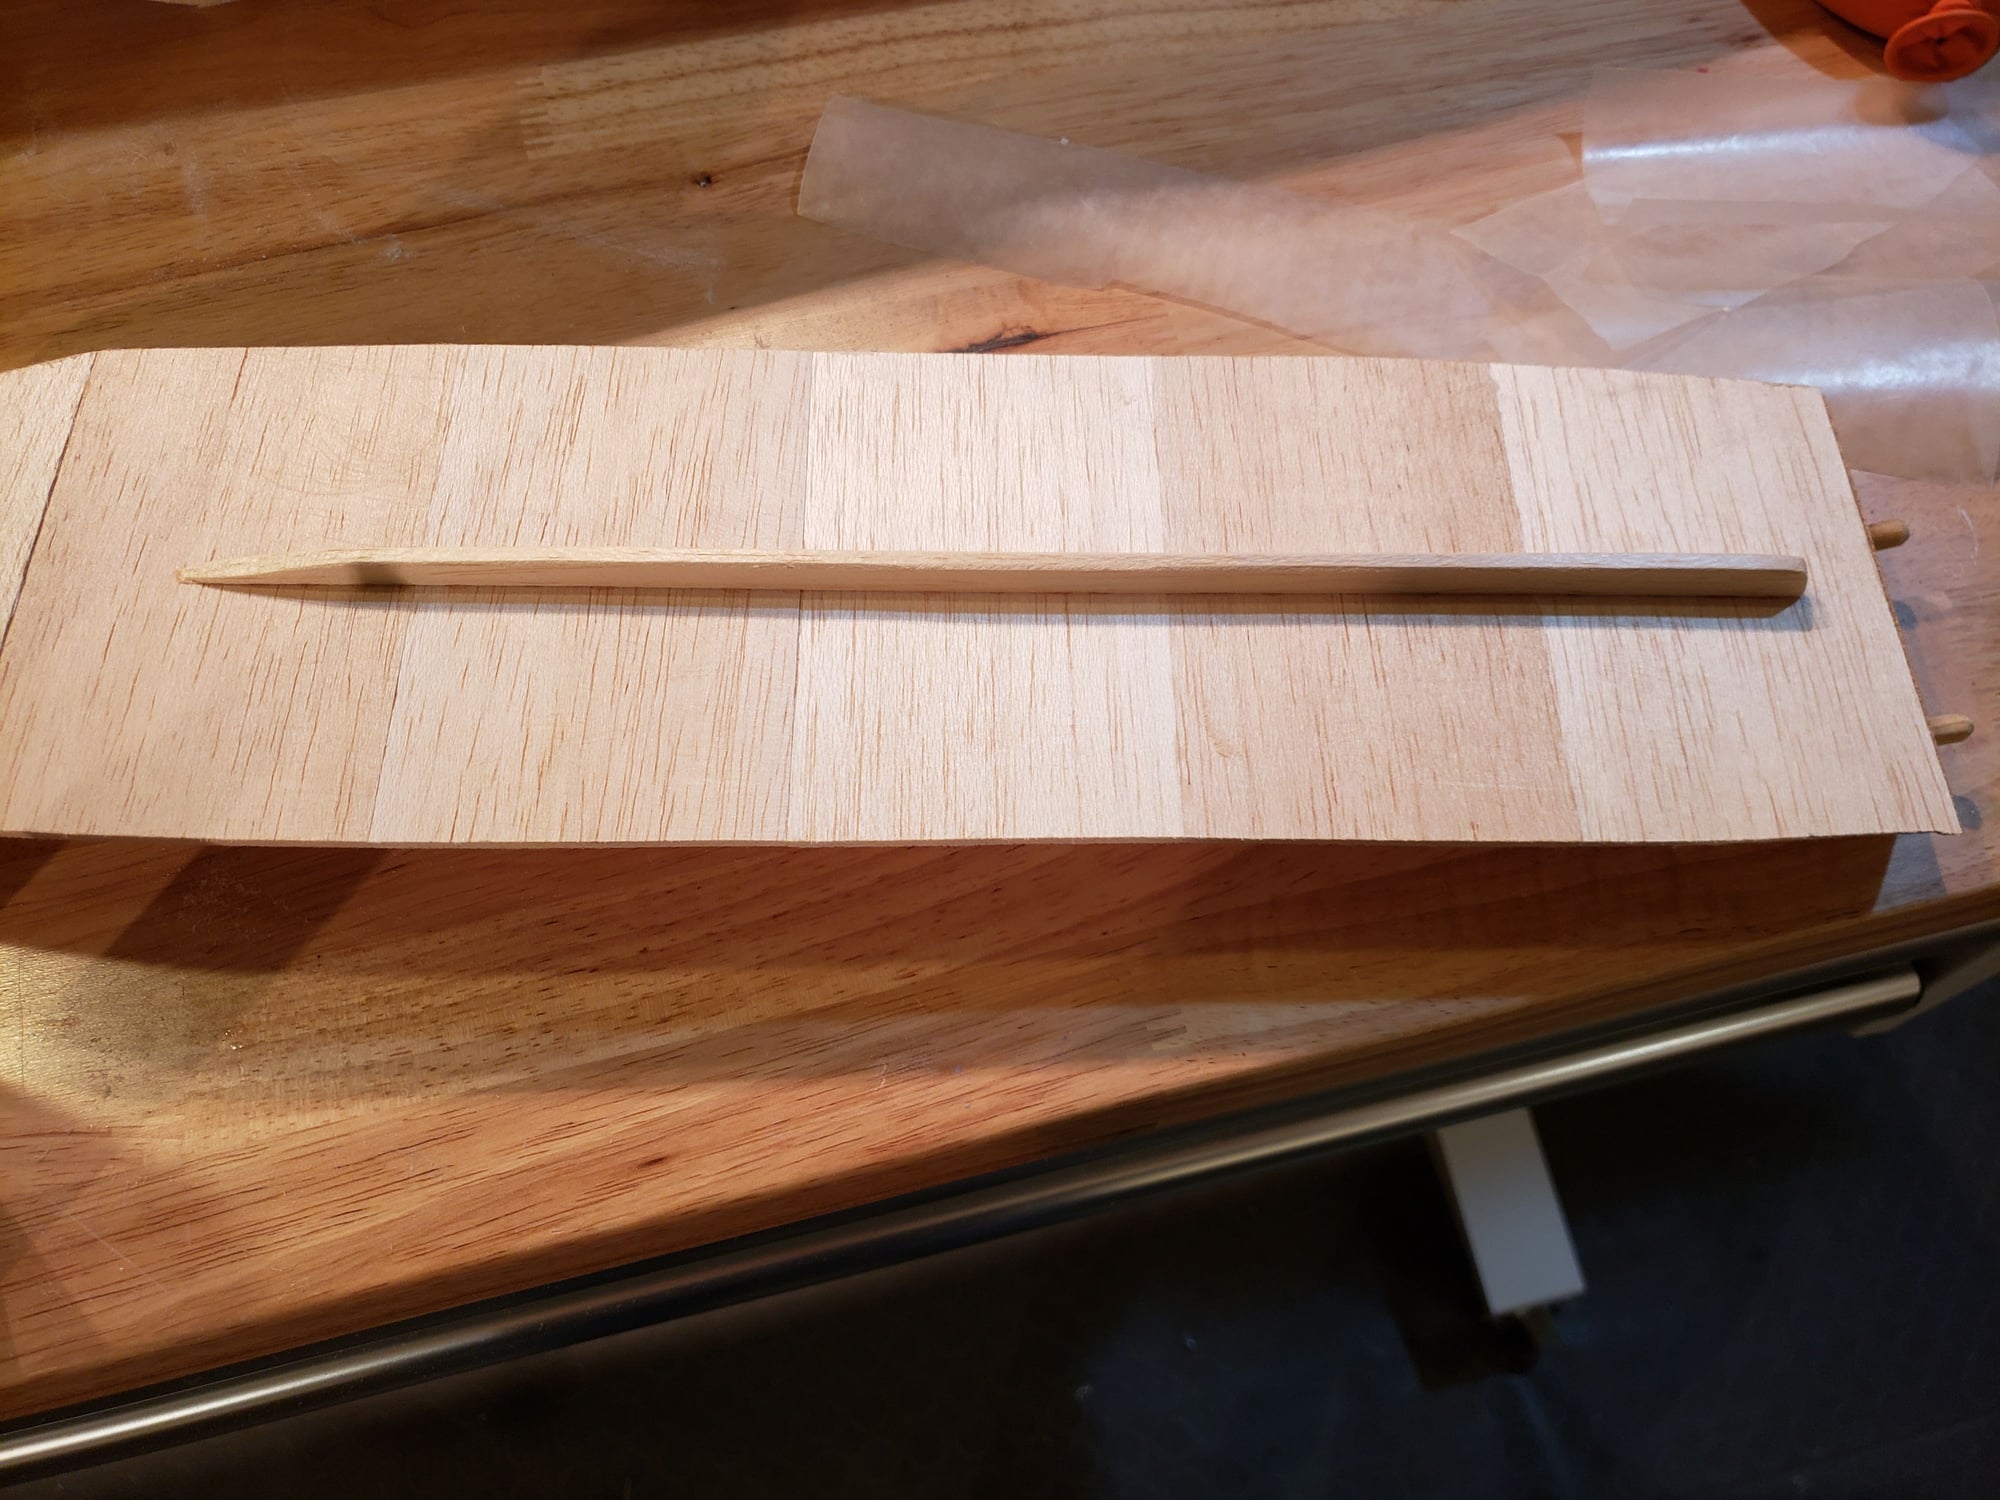
Cockpit opening before adding any floor, which will be built on top of this.

Lay down some wax paper to glue up the floor sections.
Add and glue together the floor. NOTE - the front of the canopy mount is installed here and glued to the floor.
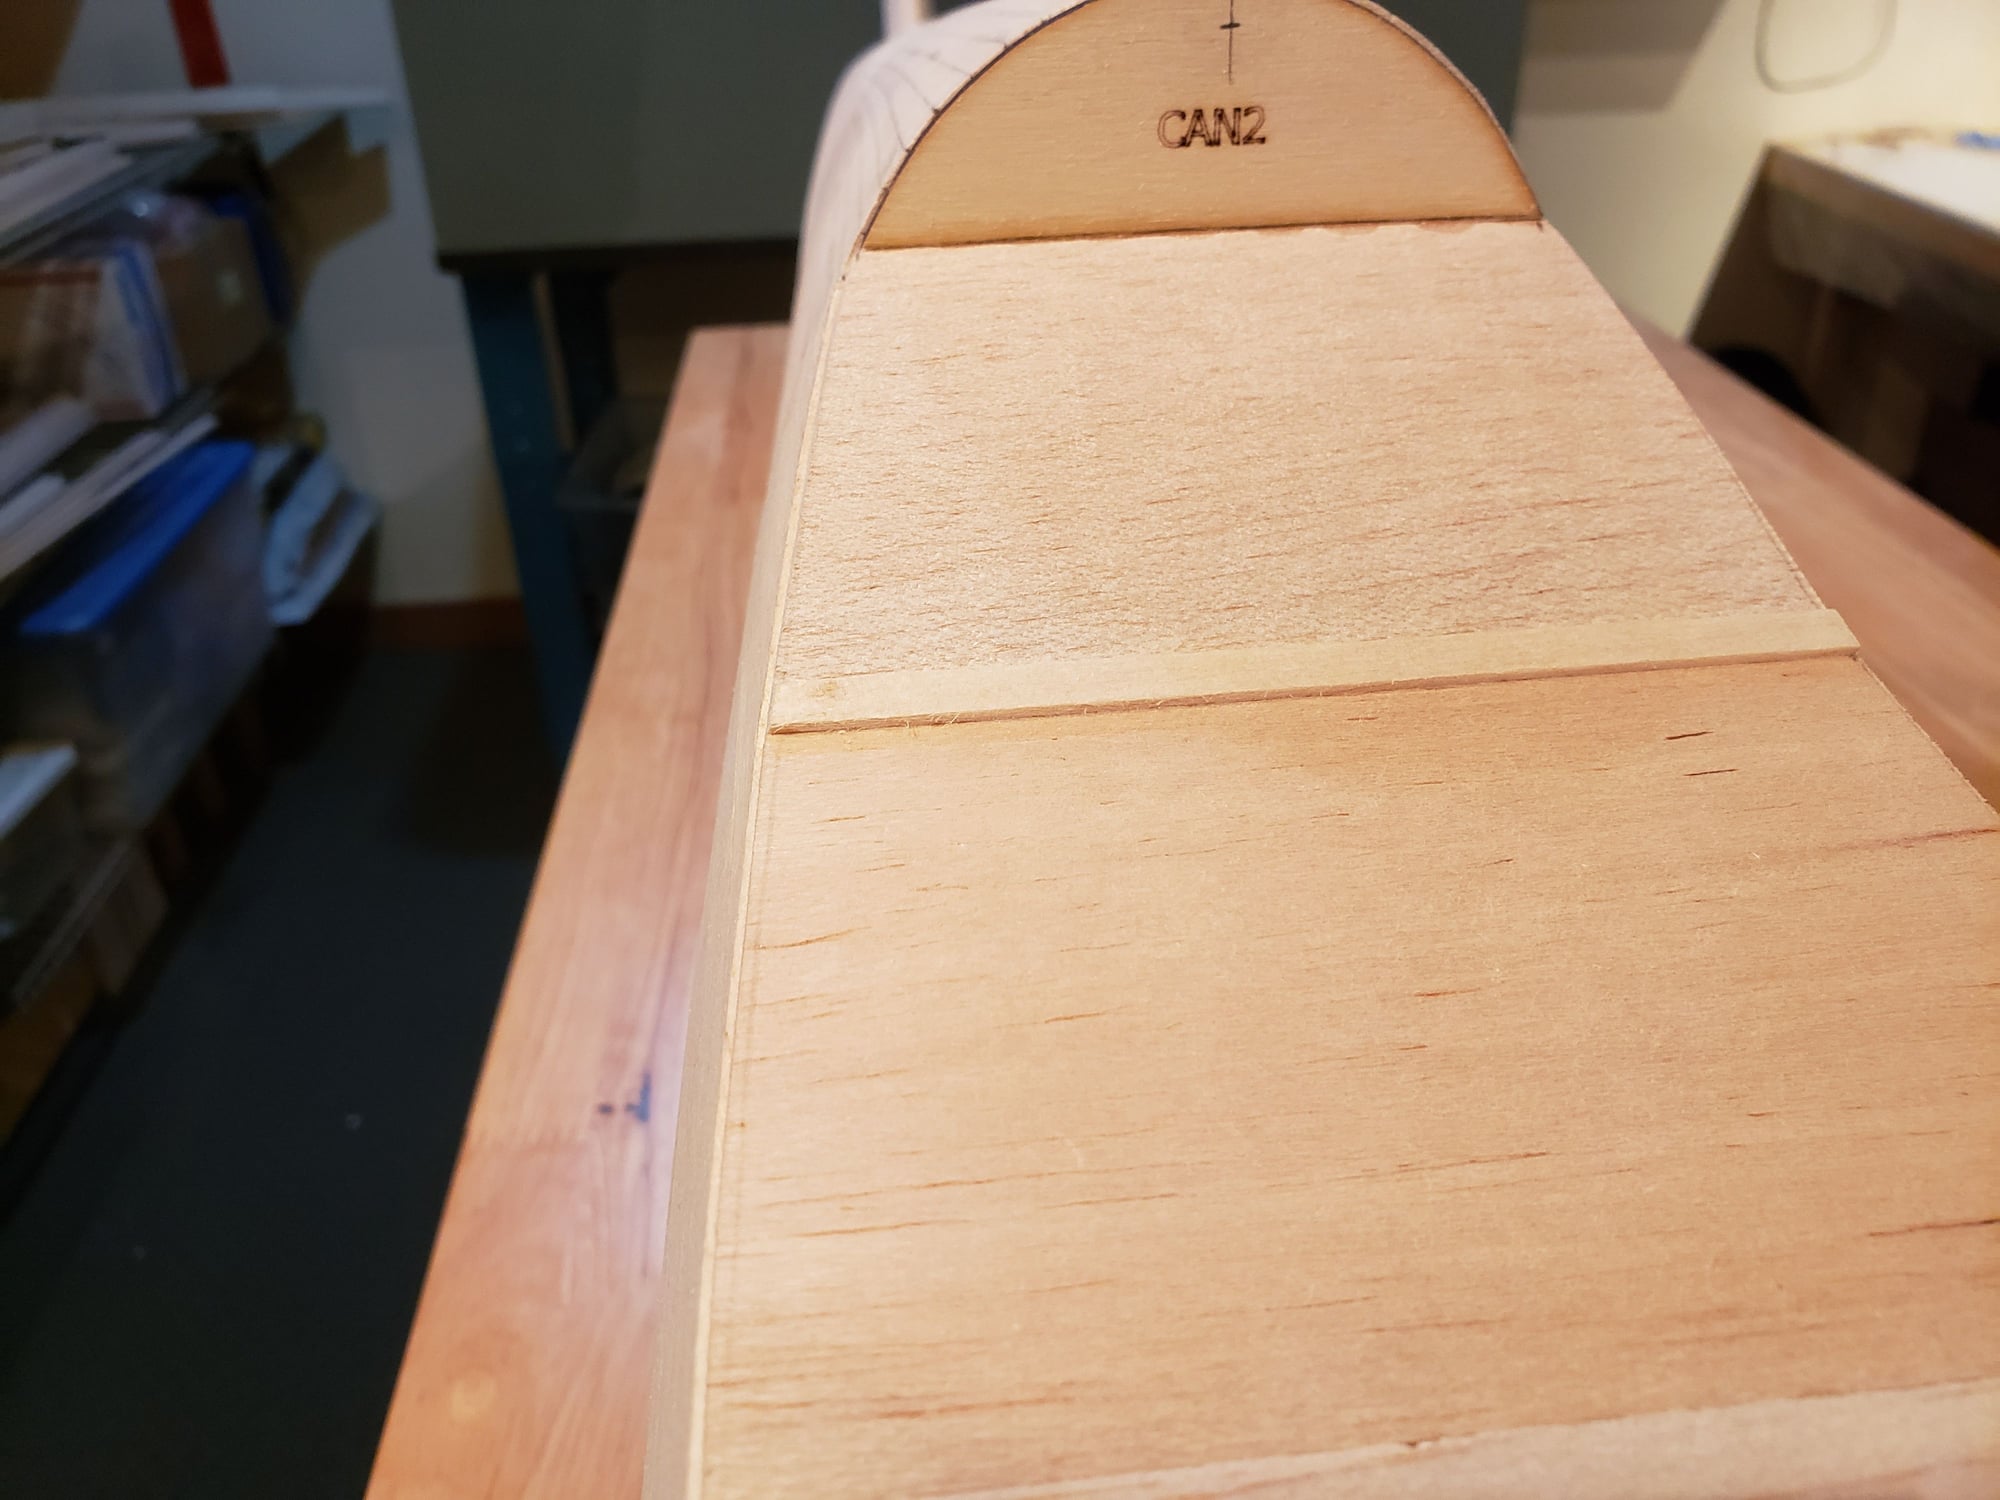
Finish the floor adding the rear canopy support. Trim to the shape of the fuse.
Add bracing at key areas.
The picts go step by step basically. I'll put this in a couple of posts as there are a lot of pictures.
Trying to keep this light.
Cockpit opening before adding any floor, which will be built on top of this.
Lay down some wax paper to glue up the floor sections.
Add and glue together the floor. NOTE - the front of the canopy mount is installed here and glued to the floor.
Finish the floor adding the rear canopy support. Trim to the shape of the fuse.
Add bracing at key areas.
10-23-2023, 07:31 AM
#41
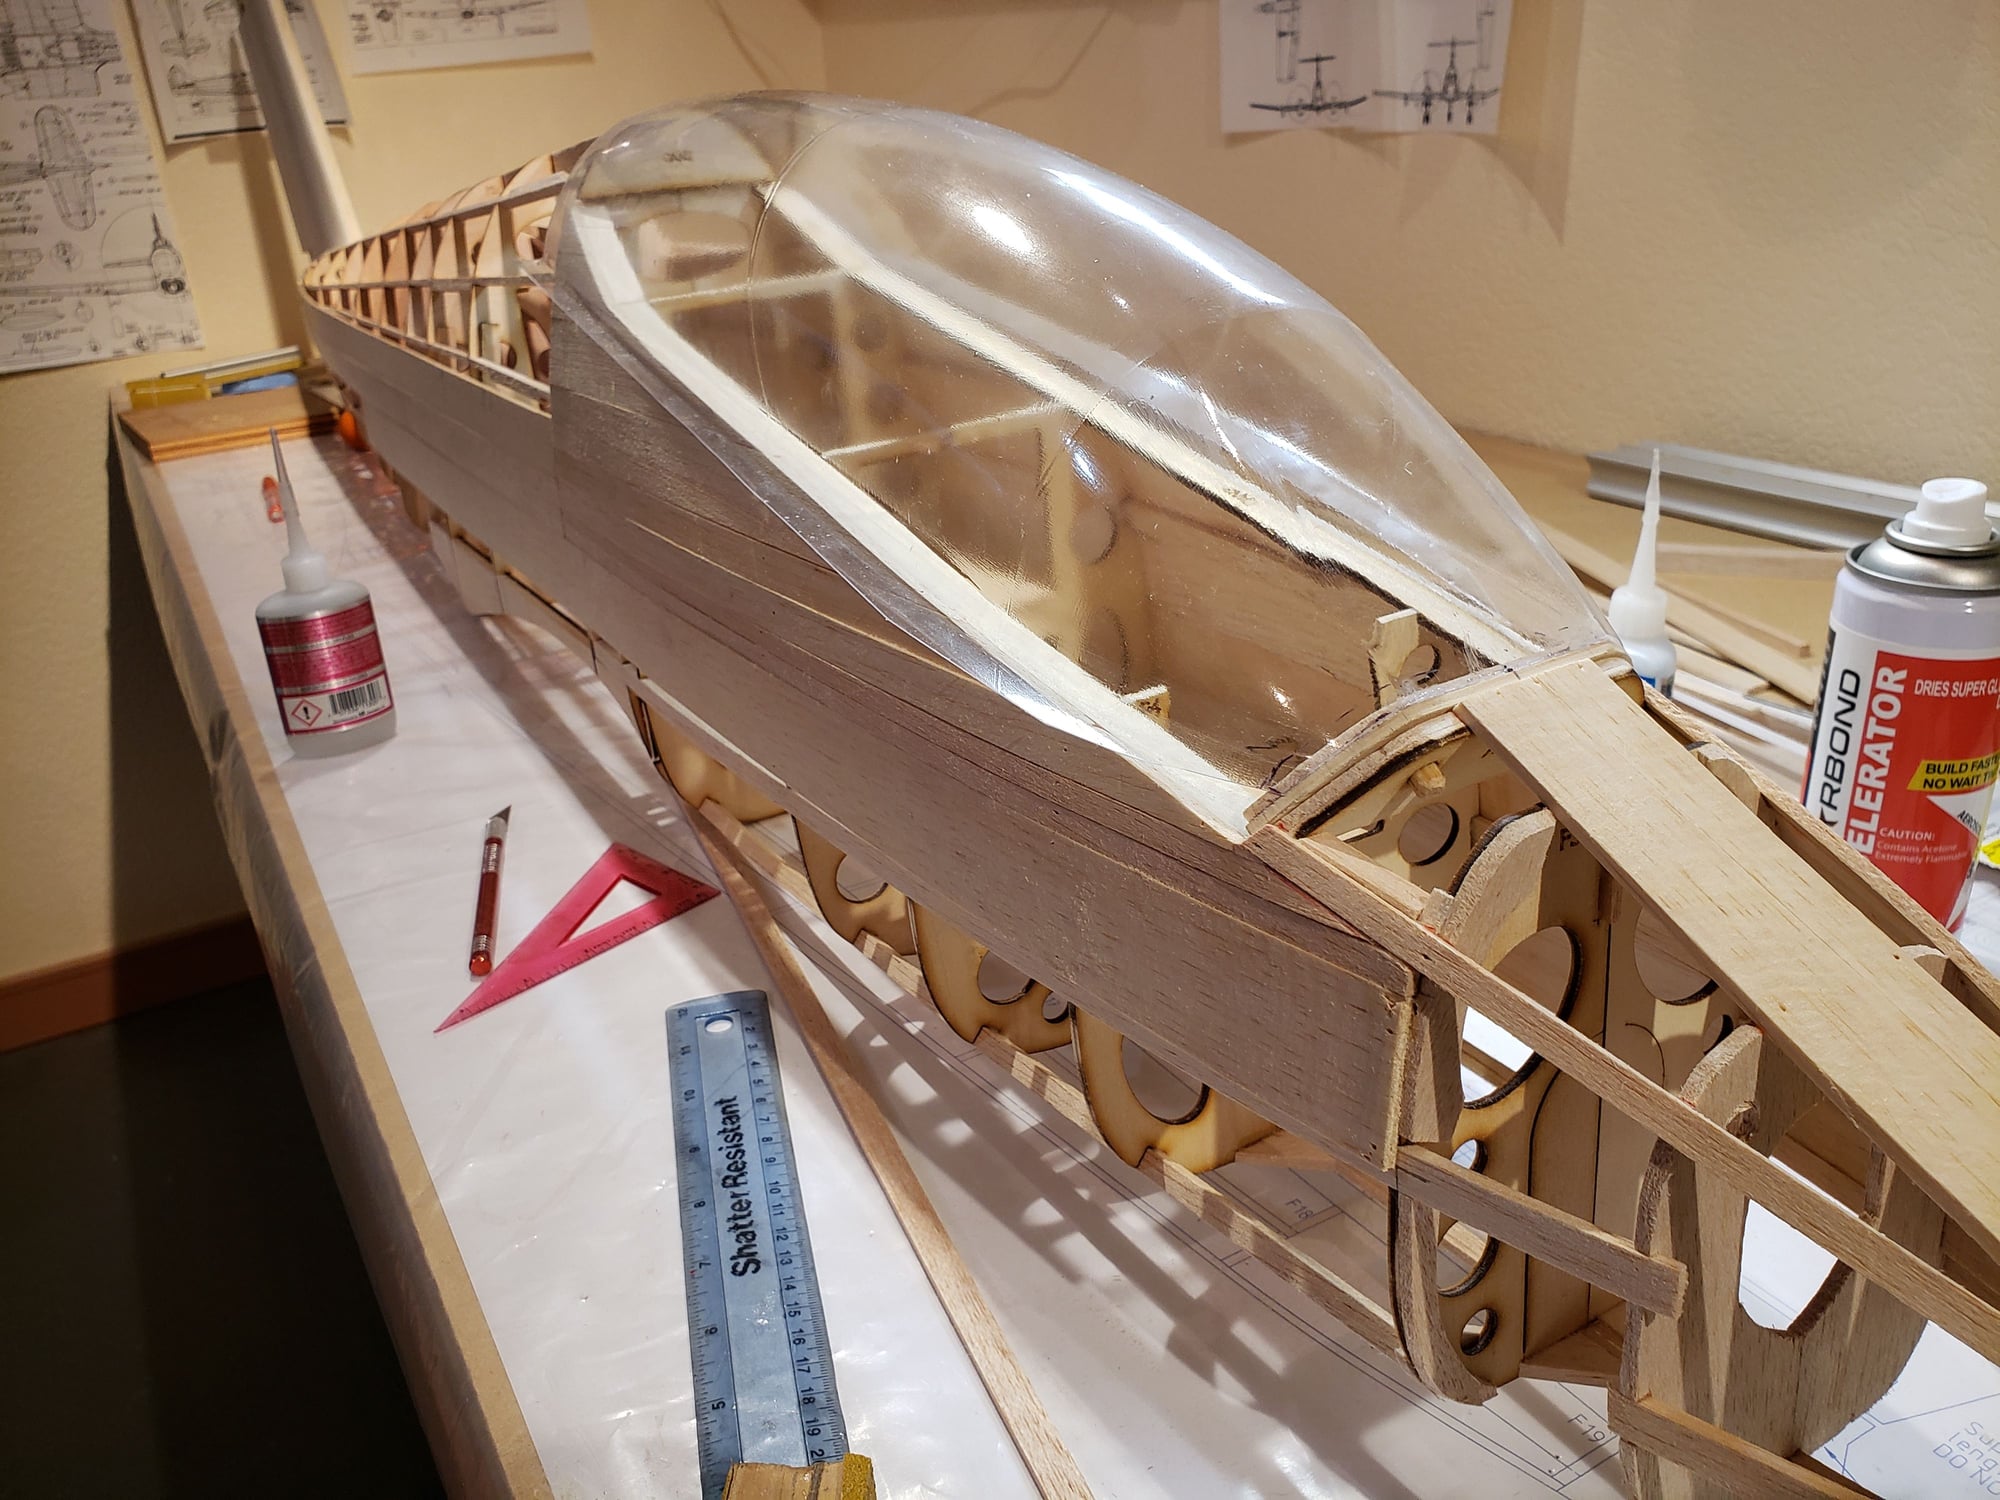
Continue the process ... fit the canopy to the floor. The floor will be trimmed slightly so that the canopy fits flush to the sides of the fuse.
At this point, you might as, "Where did you get a Pucara Fenix canopy?" ... glad you asked
I found a very close substitute at Park Flyer Plastics. It's the canopy they make for the T2A Buckeye
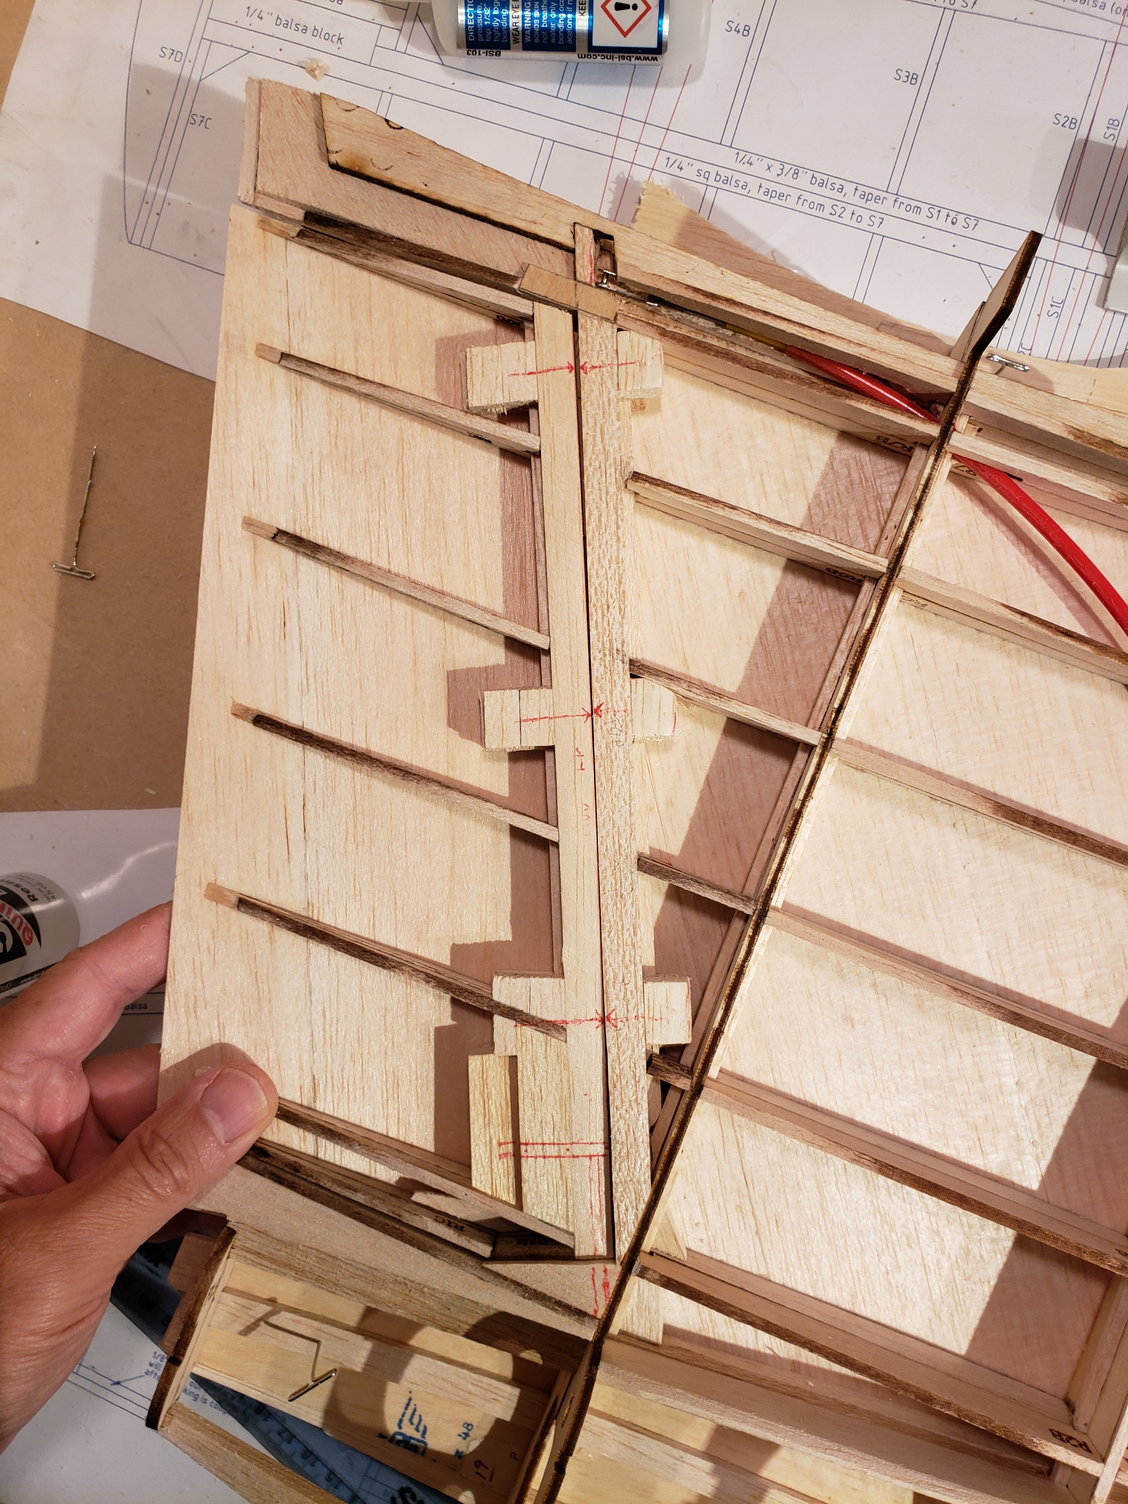
First, remove the floor and add a 1/4" x 3/8" stiffener down the middle. This can be removed _after_ the canopy is glued in place (much later).
You can barely see the 1/32" relief of the canopy floor.
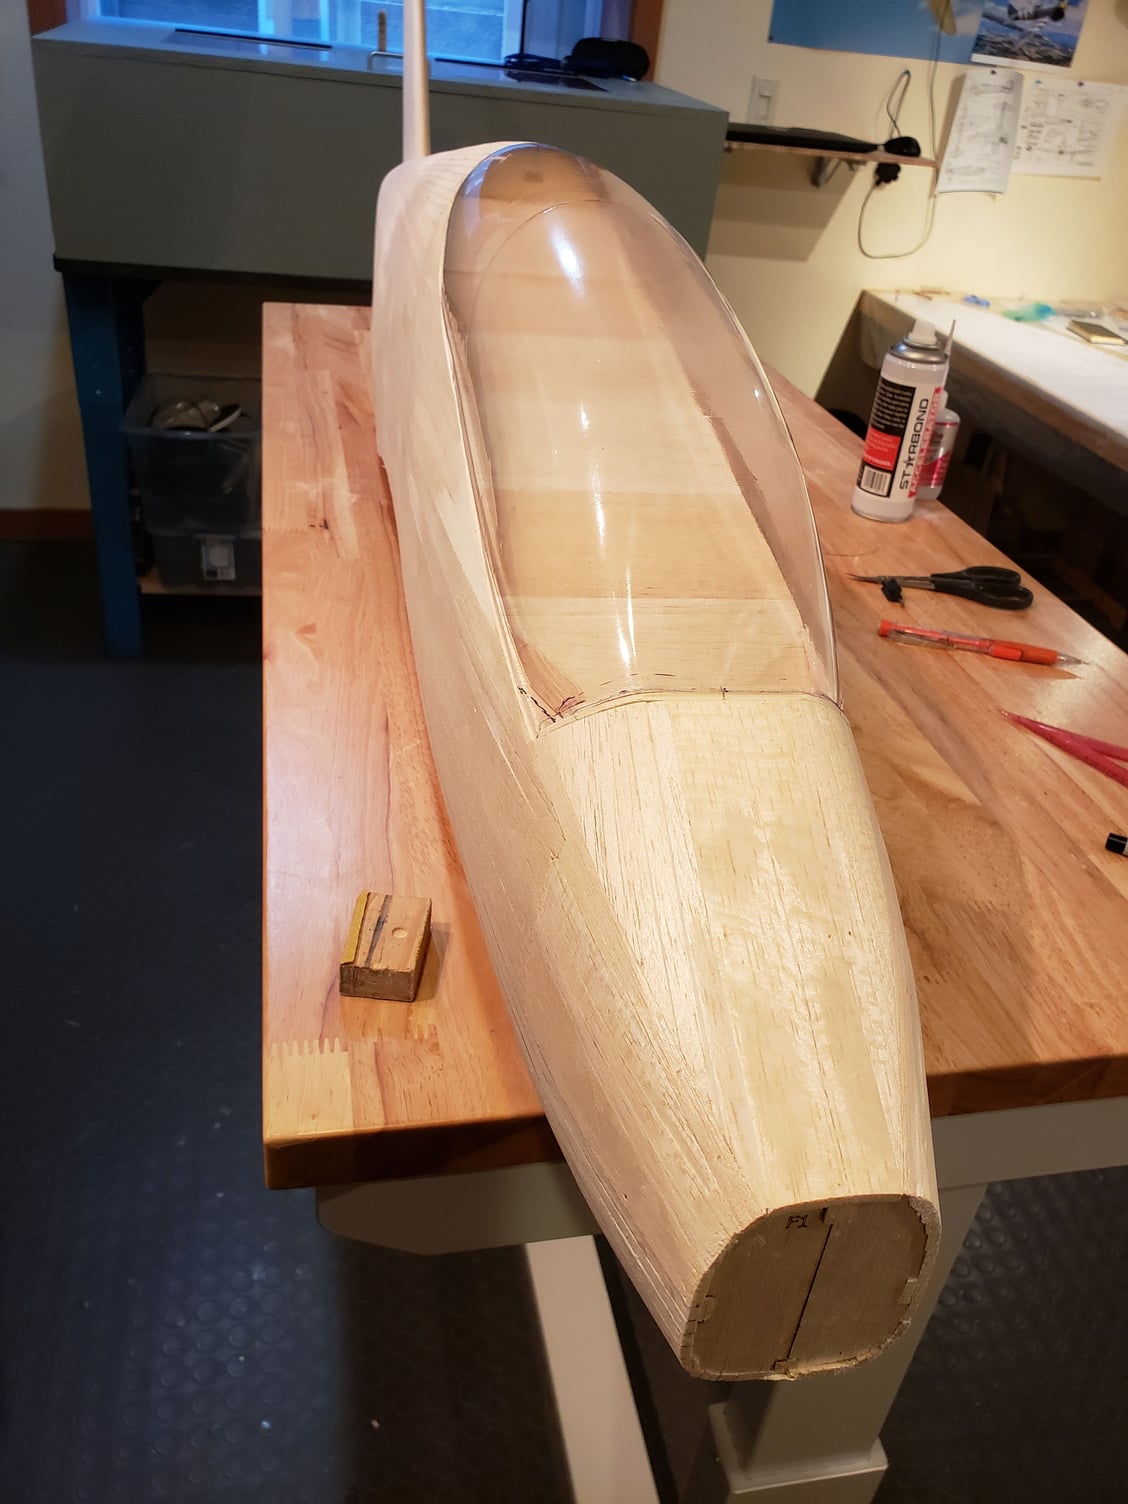
After more trimming and fitting the canopy sits nicely.
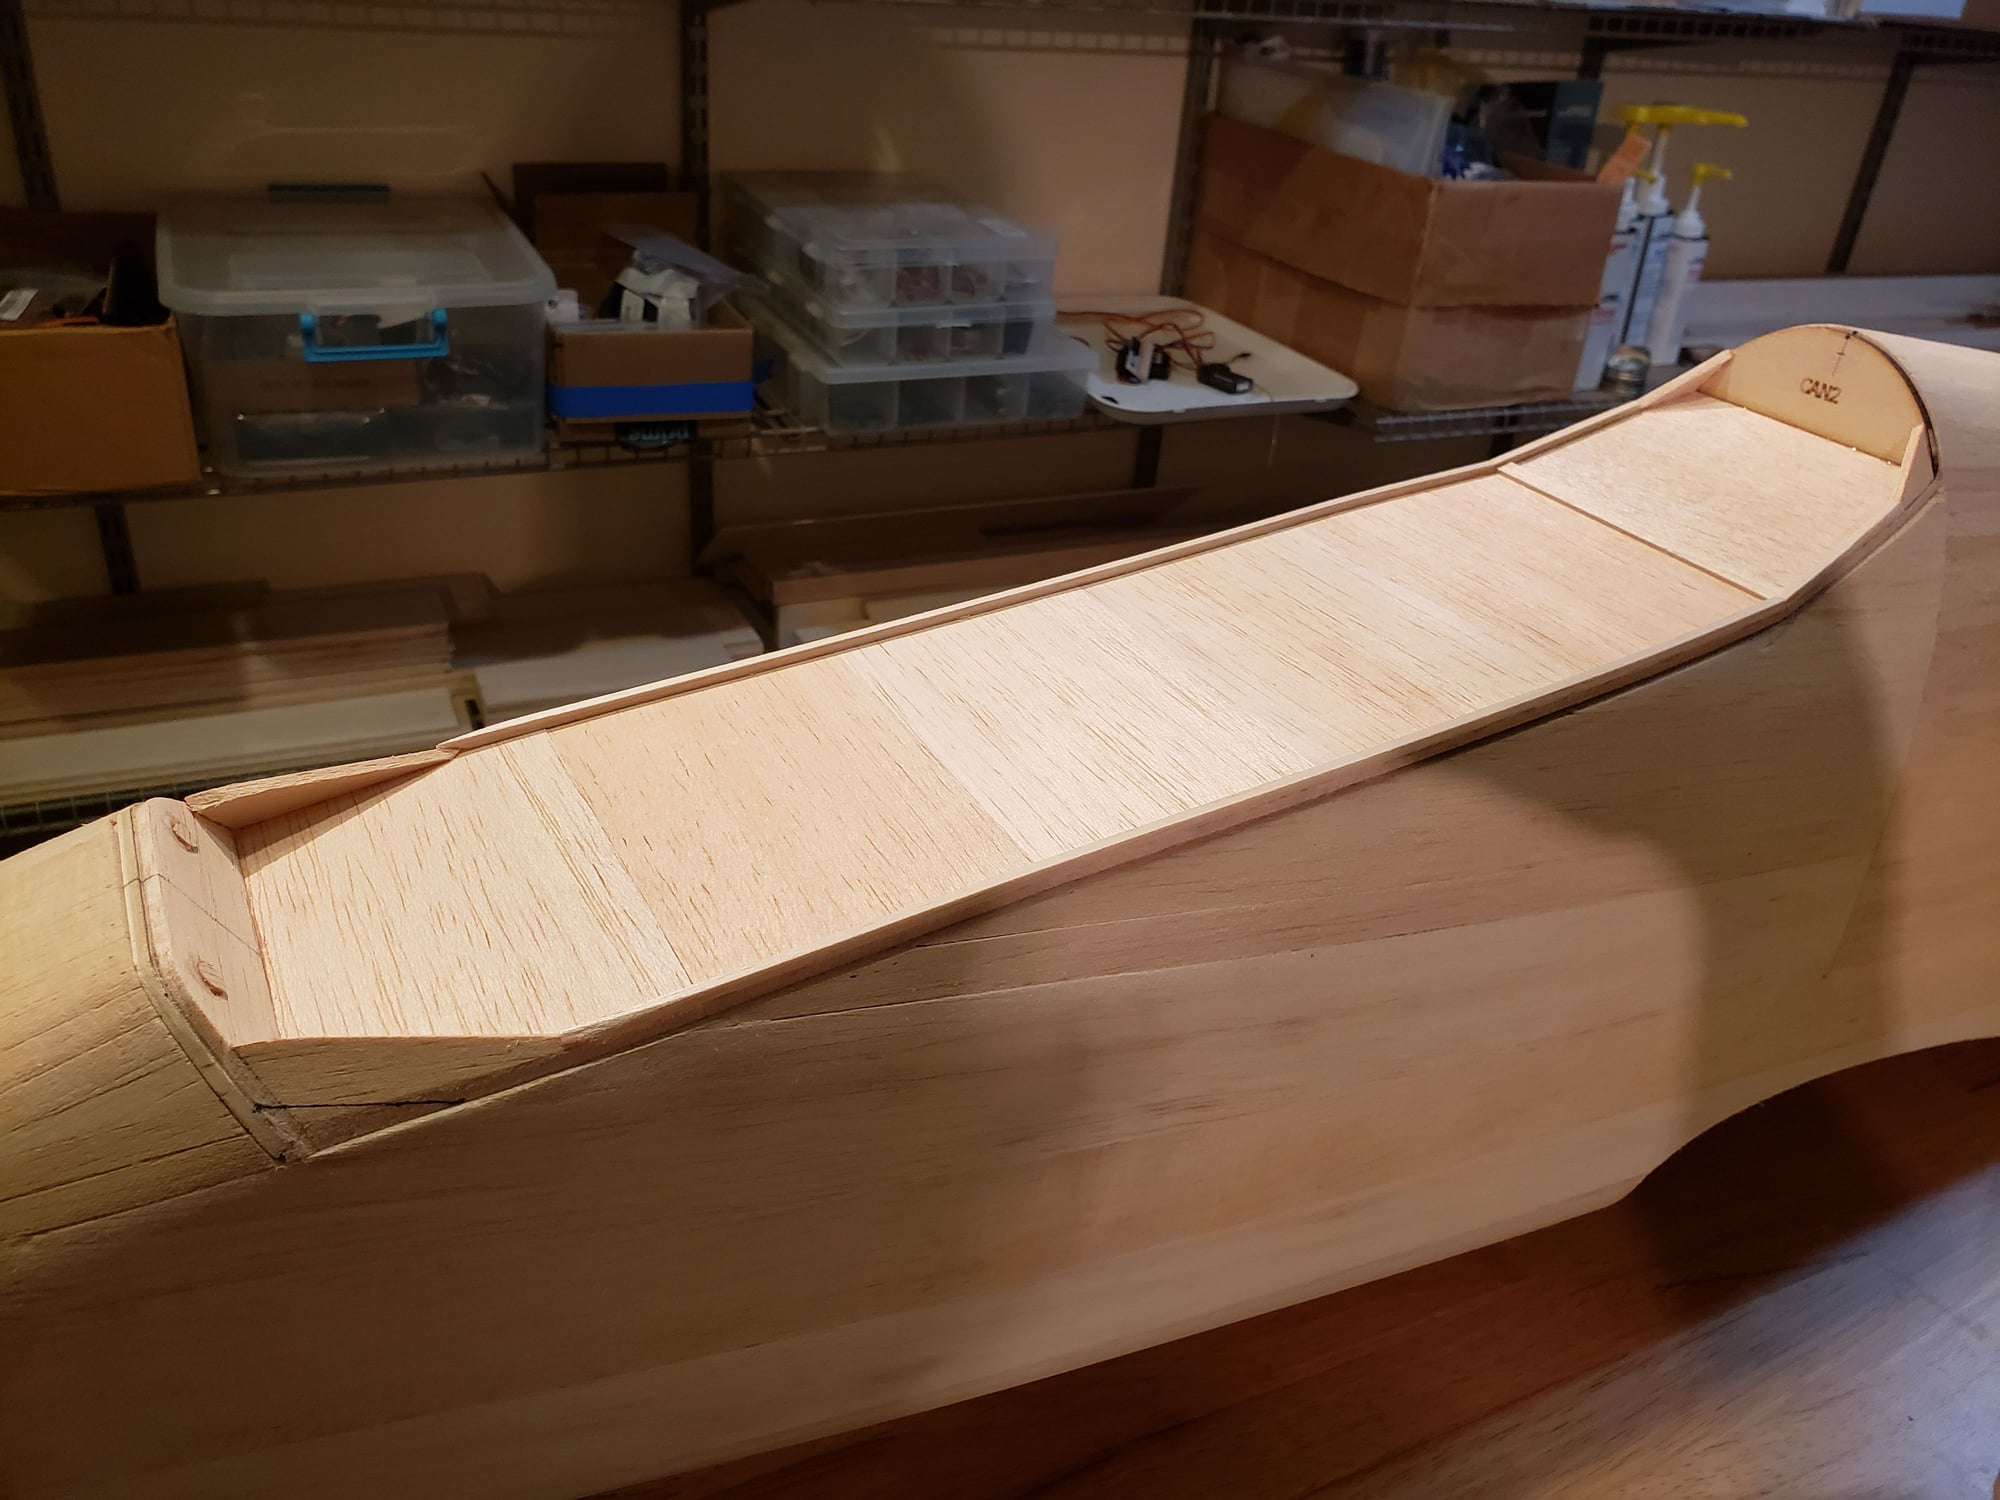
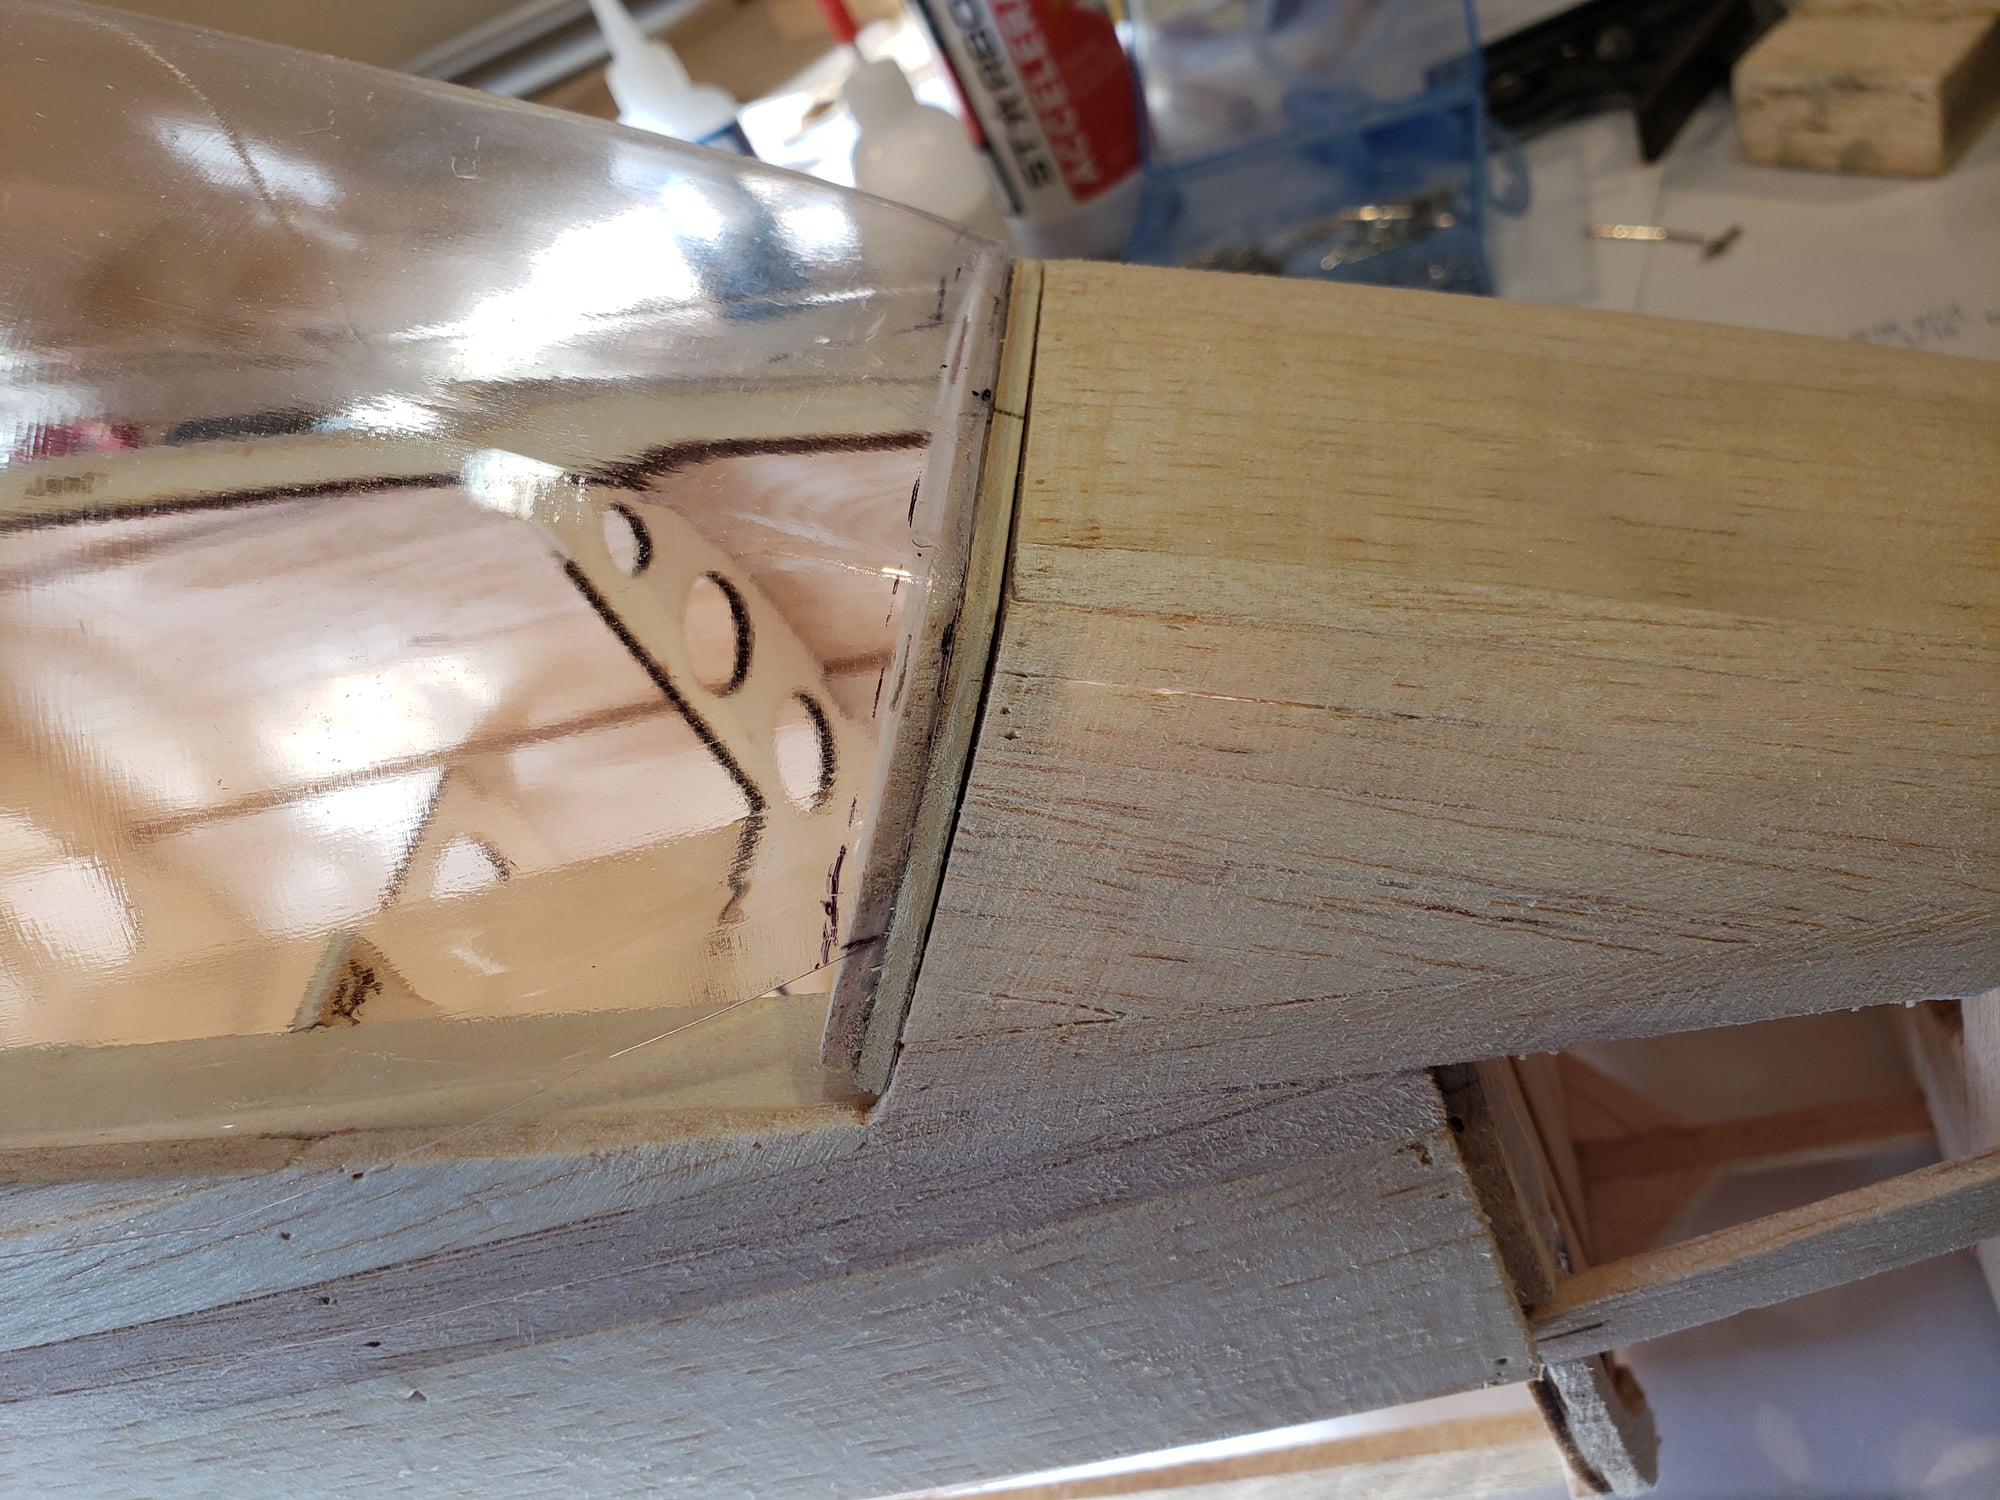
Add 1/8" sq rail along the side. This will further stiffen the floor give more area to glue the canopy. Also added gussets at the rear of the canopy support.
Canopy fits very nicely now! It won't be glued till near the end of the build (after doing a little cockpit detailing).
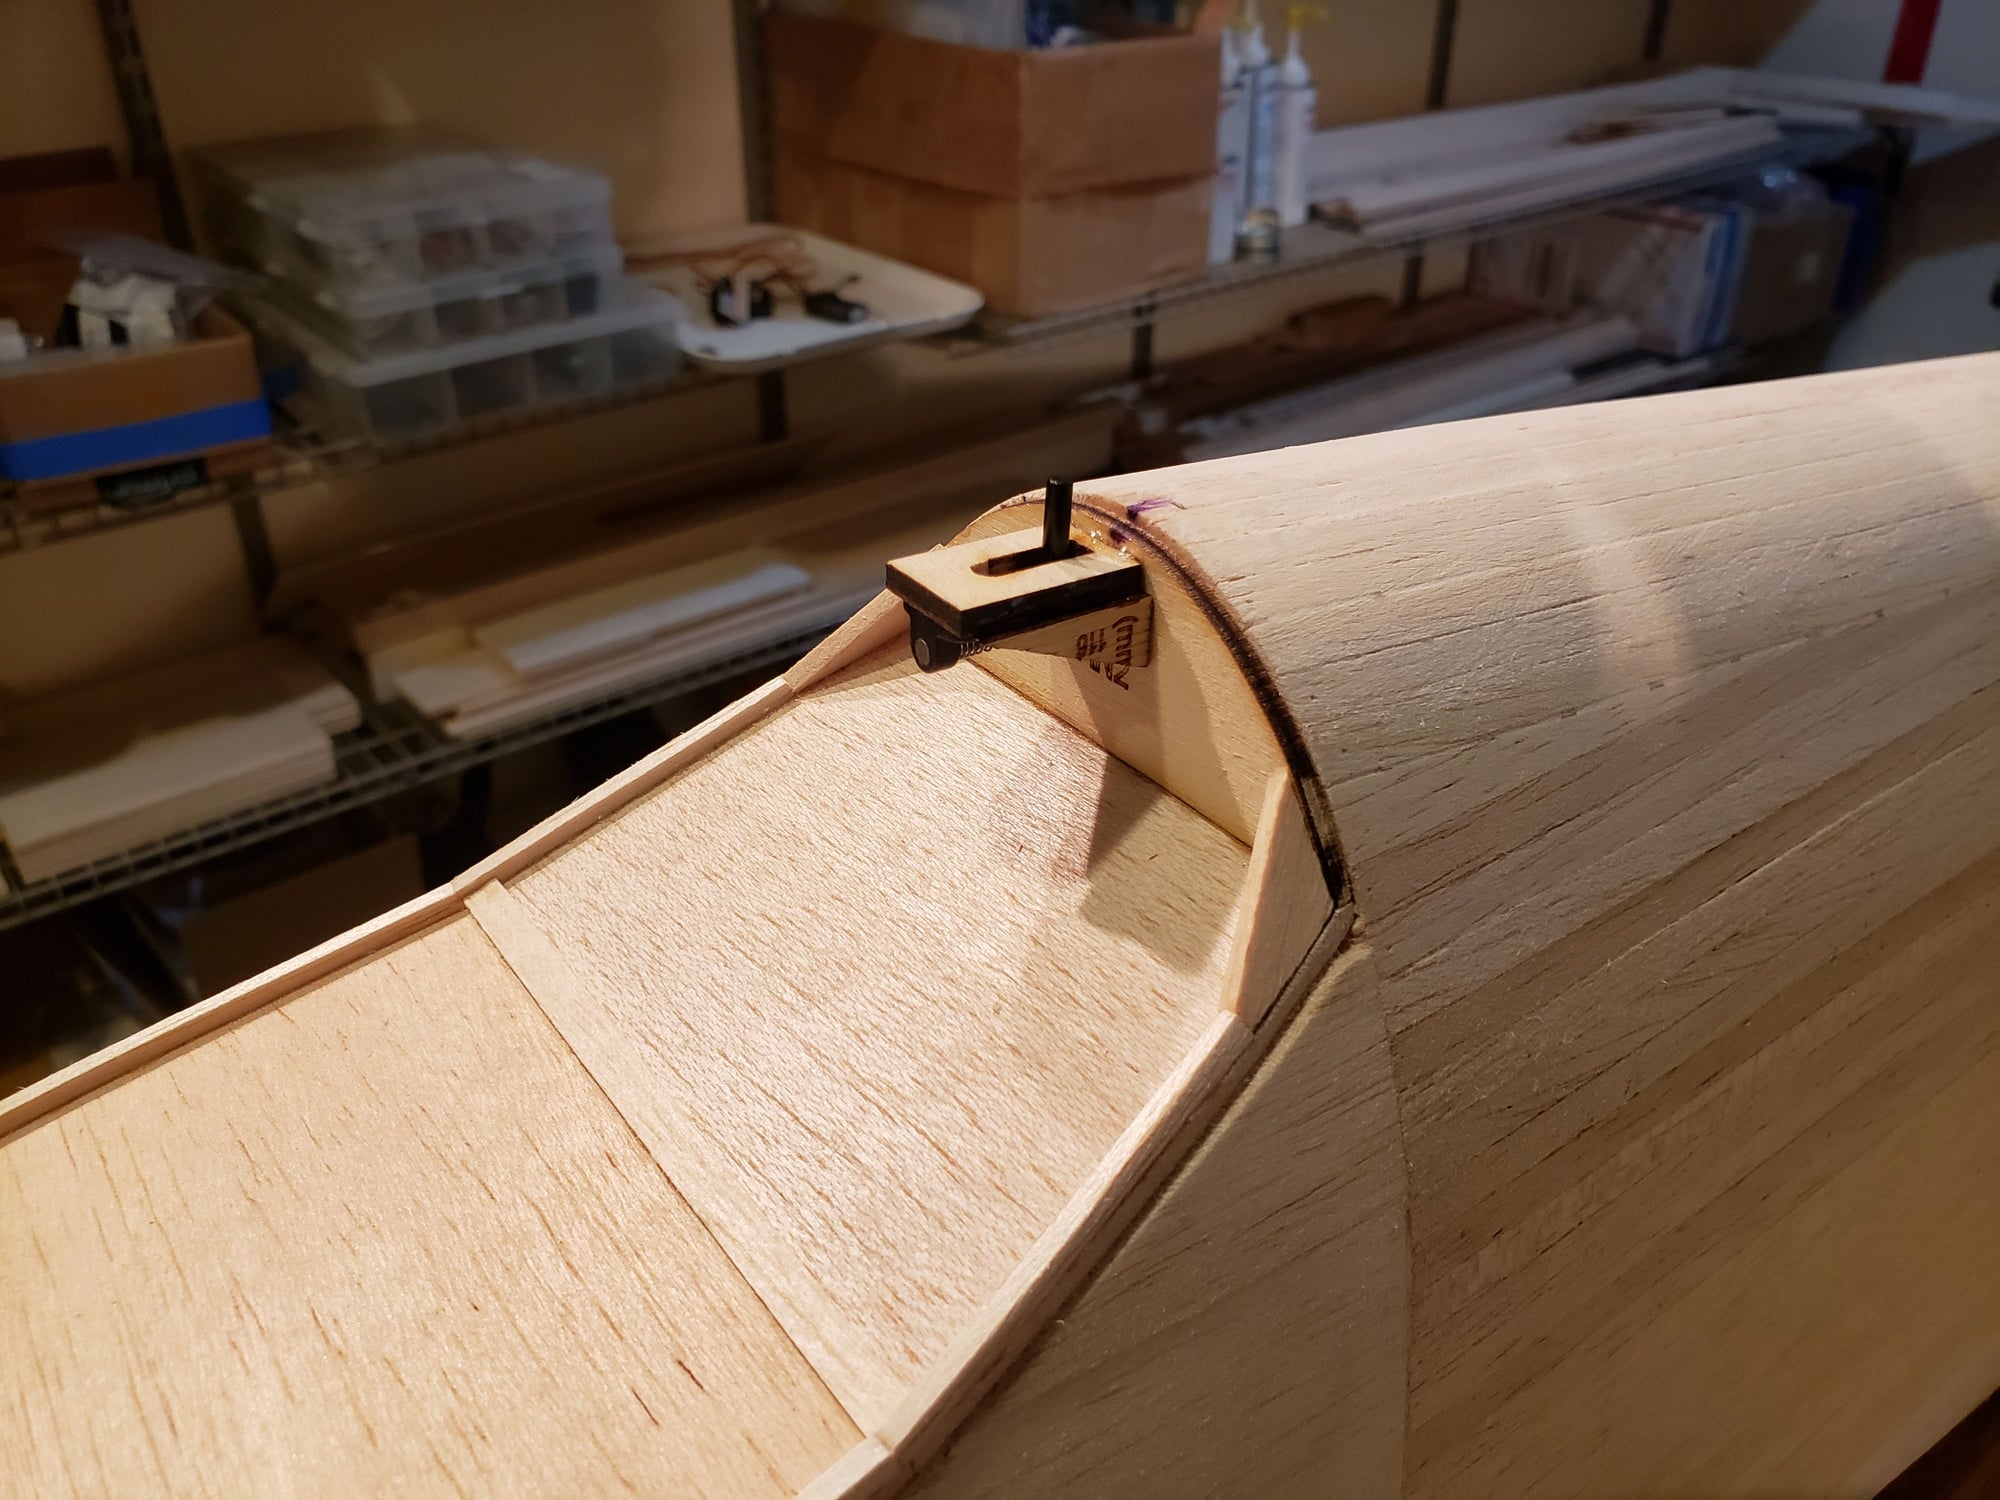
Added a latch to the rear canopy support.
At this point, you might as, "Where did you get a Pucara Fenix canopy?" ... glad you asked
I found a very close substitute at Park Flyer Plastics. It's the canopy they make for the T2A Buckeye
First, remove the floor and add a 1/4" x 3/8" stiffener down the middle. This can be removed _after_ the canopy is glued in place (much later).
You can barely see the 1/32" relief of the canopy floor.
After more trimming and fitting the canopy sits nicely.
Add 1/8" sq rail along the side. This will further stiffen the floor give more area to glue the canopy. Also added gussets at the rear of the canopy support.
Canopy fits very nicely now! It won't be glued till near the end of the build (after doing a little cockpit detailing).
Added a latch to the rear canopy support.
10-29-2023, 04:17 PM
#42
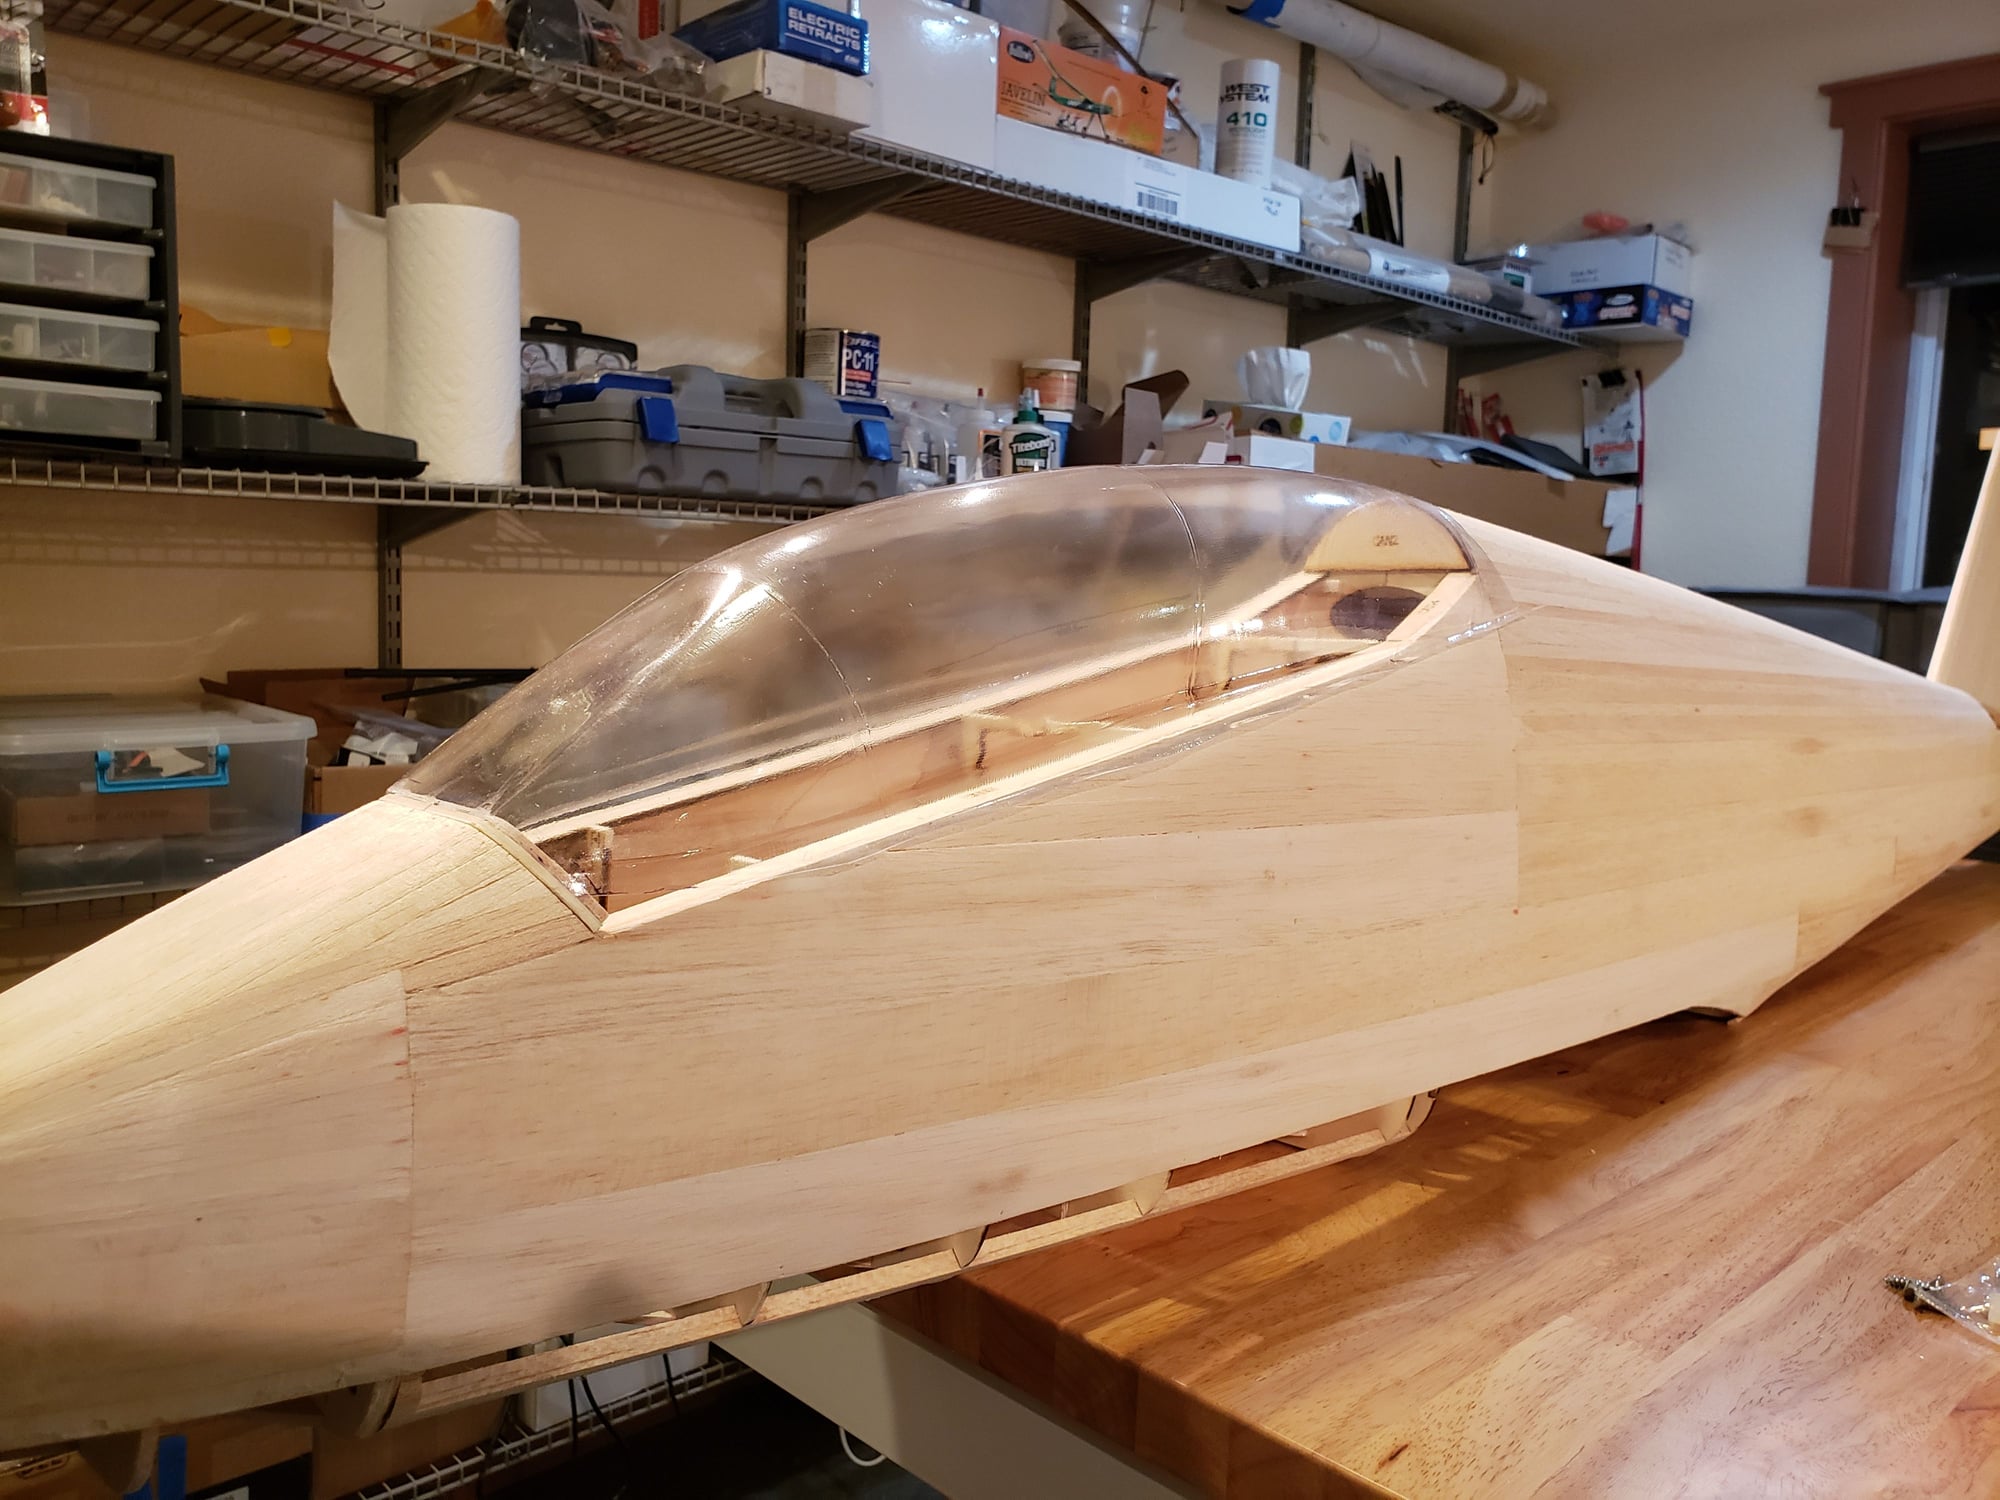
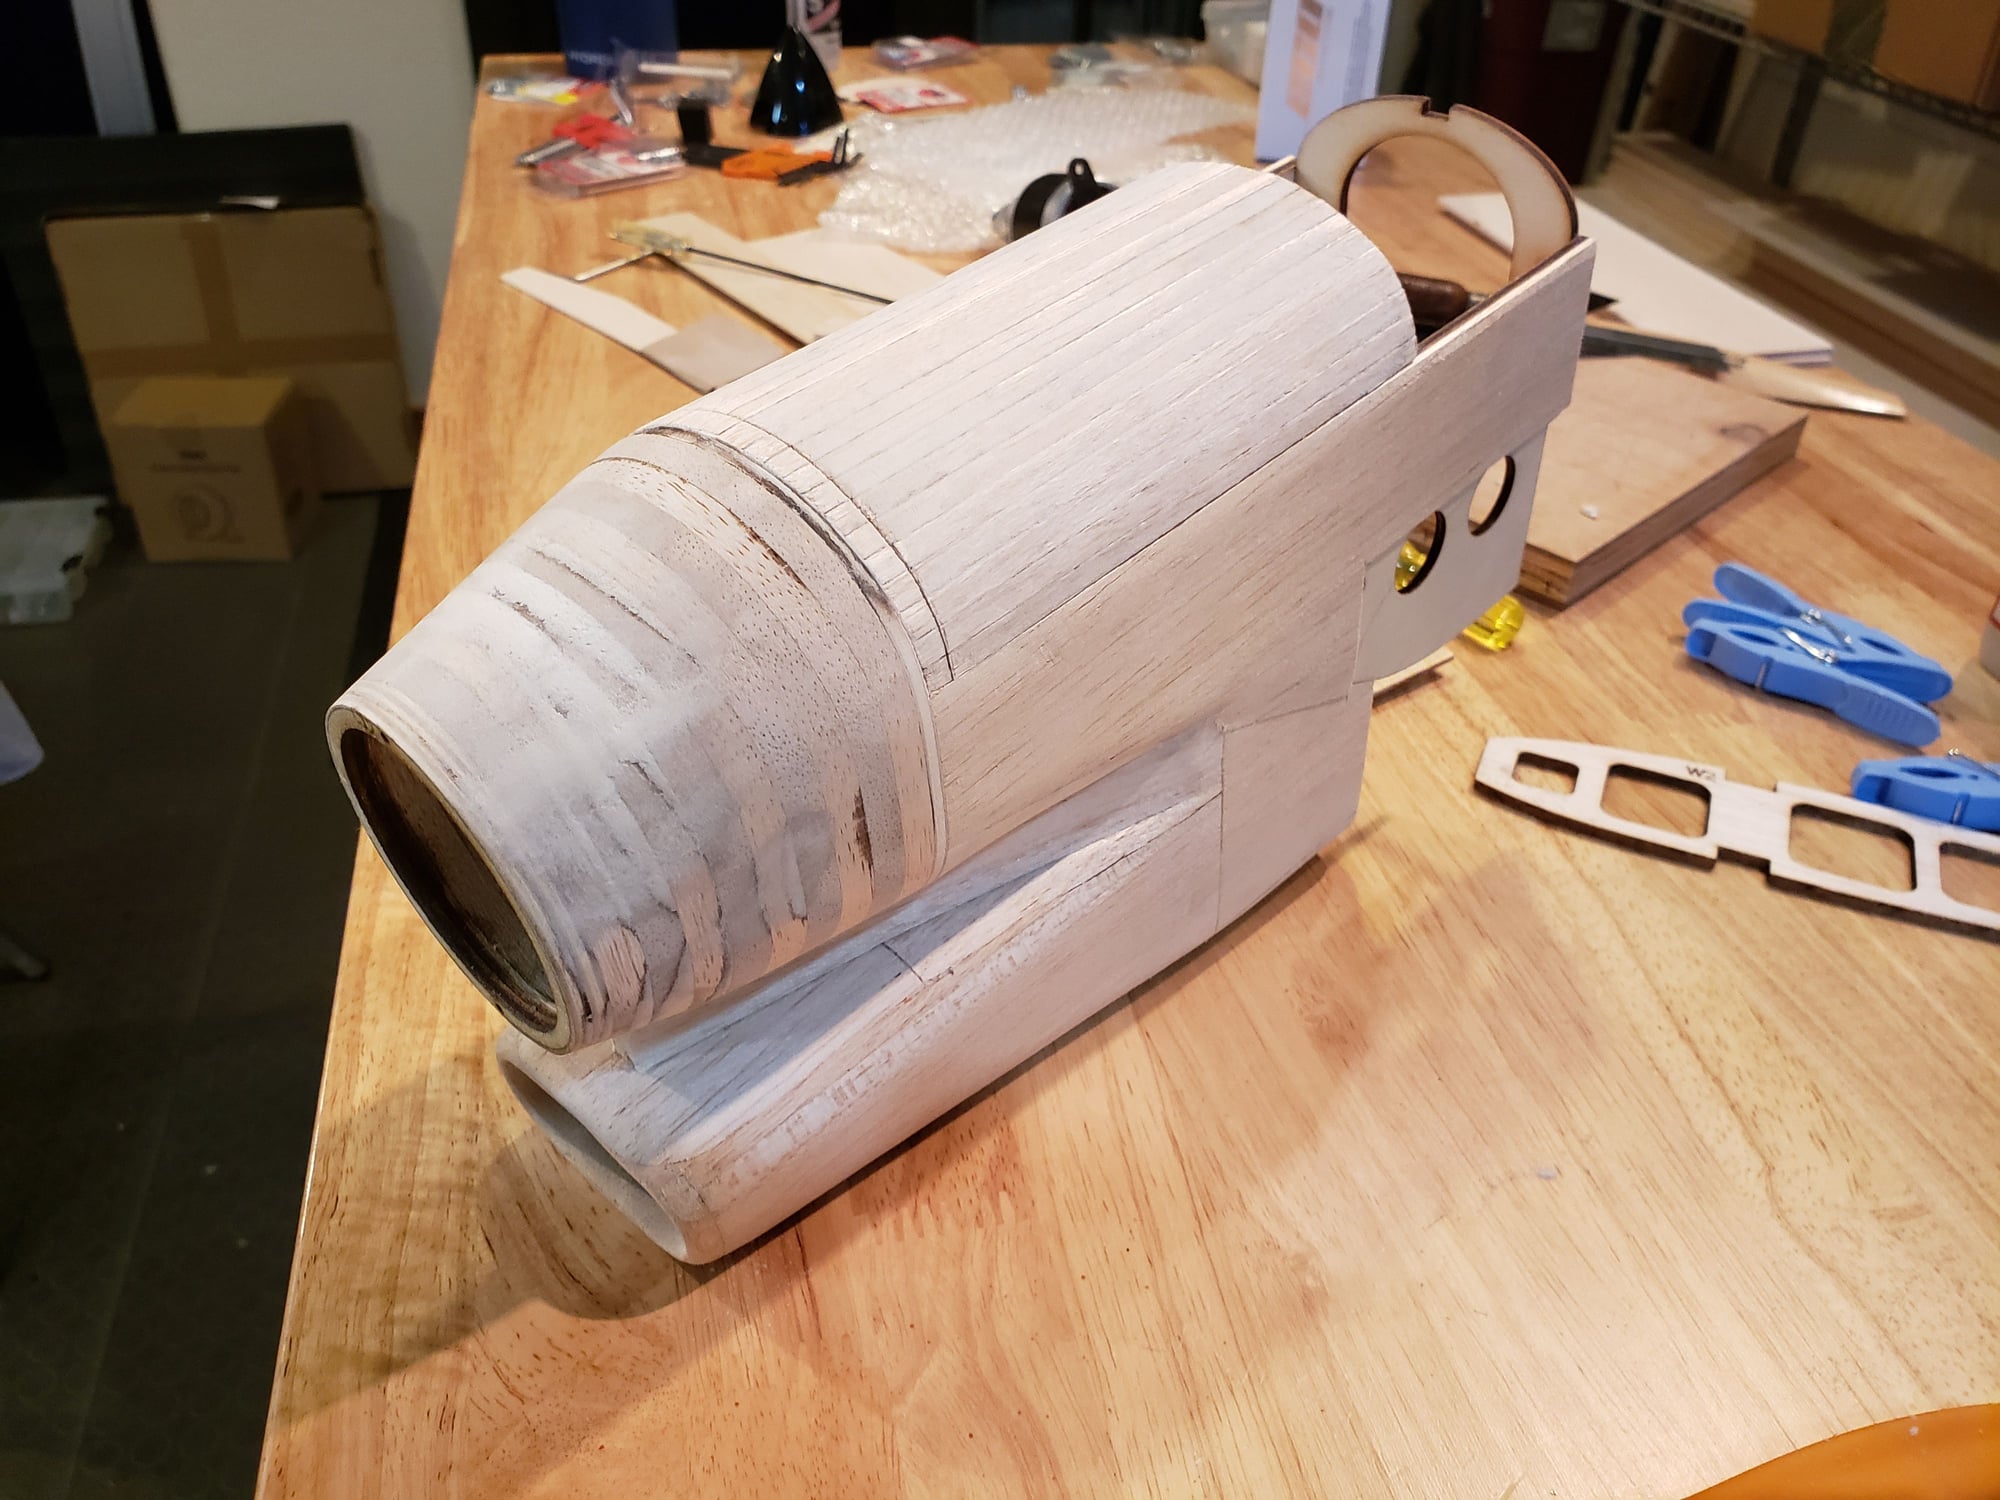
Added nose and tail cone using layers of sheet balsa. That completes the basic fuse!
The total weight of everything in the picture is 2.75 lbs. That will do to keep the plane under its maximum allowed weight of 15 lbs.
The total weight of everything in the picture is 2.75 lbs. That will do to keep the plane under its maximum allowed weight of 15 lbs.
 10-29-2023, 04:51 PM
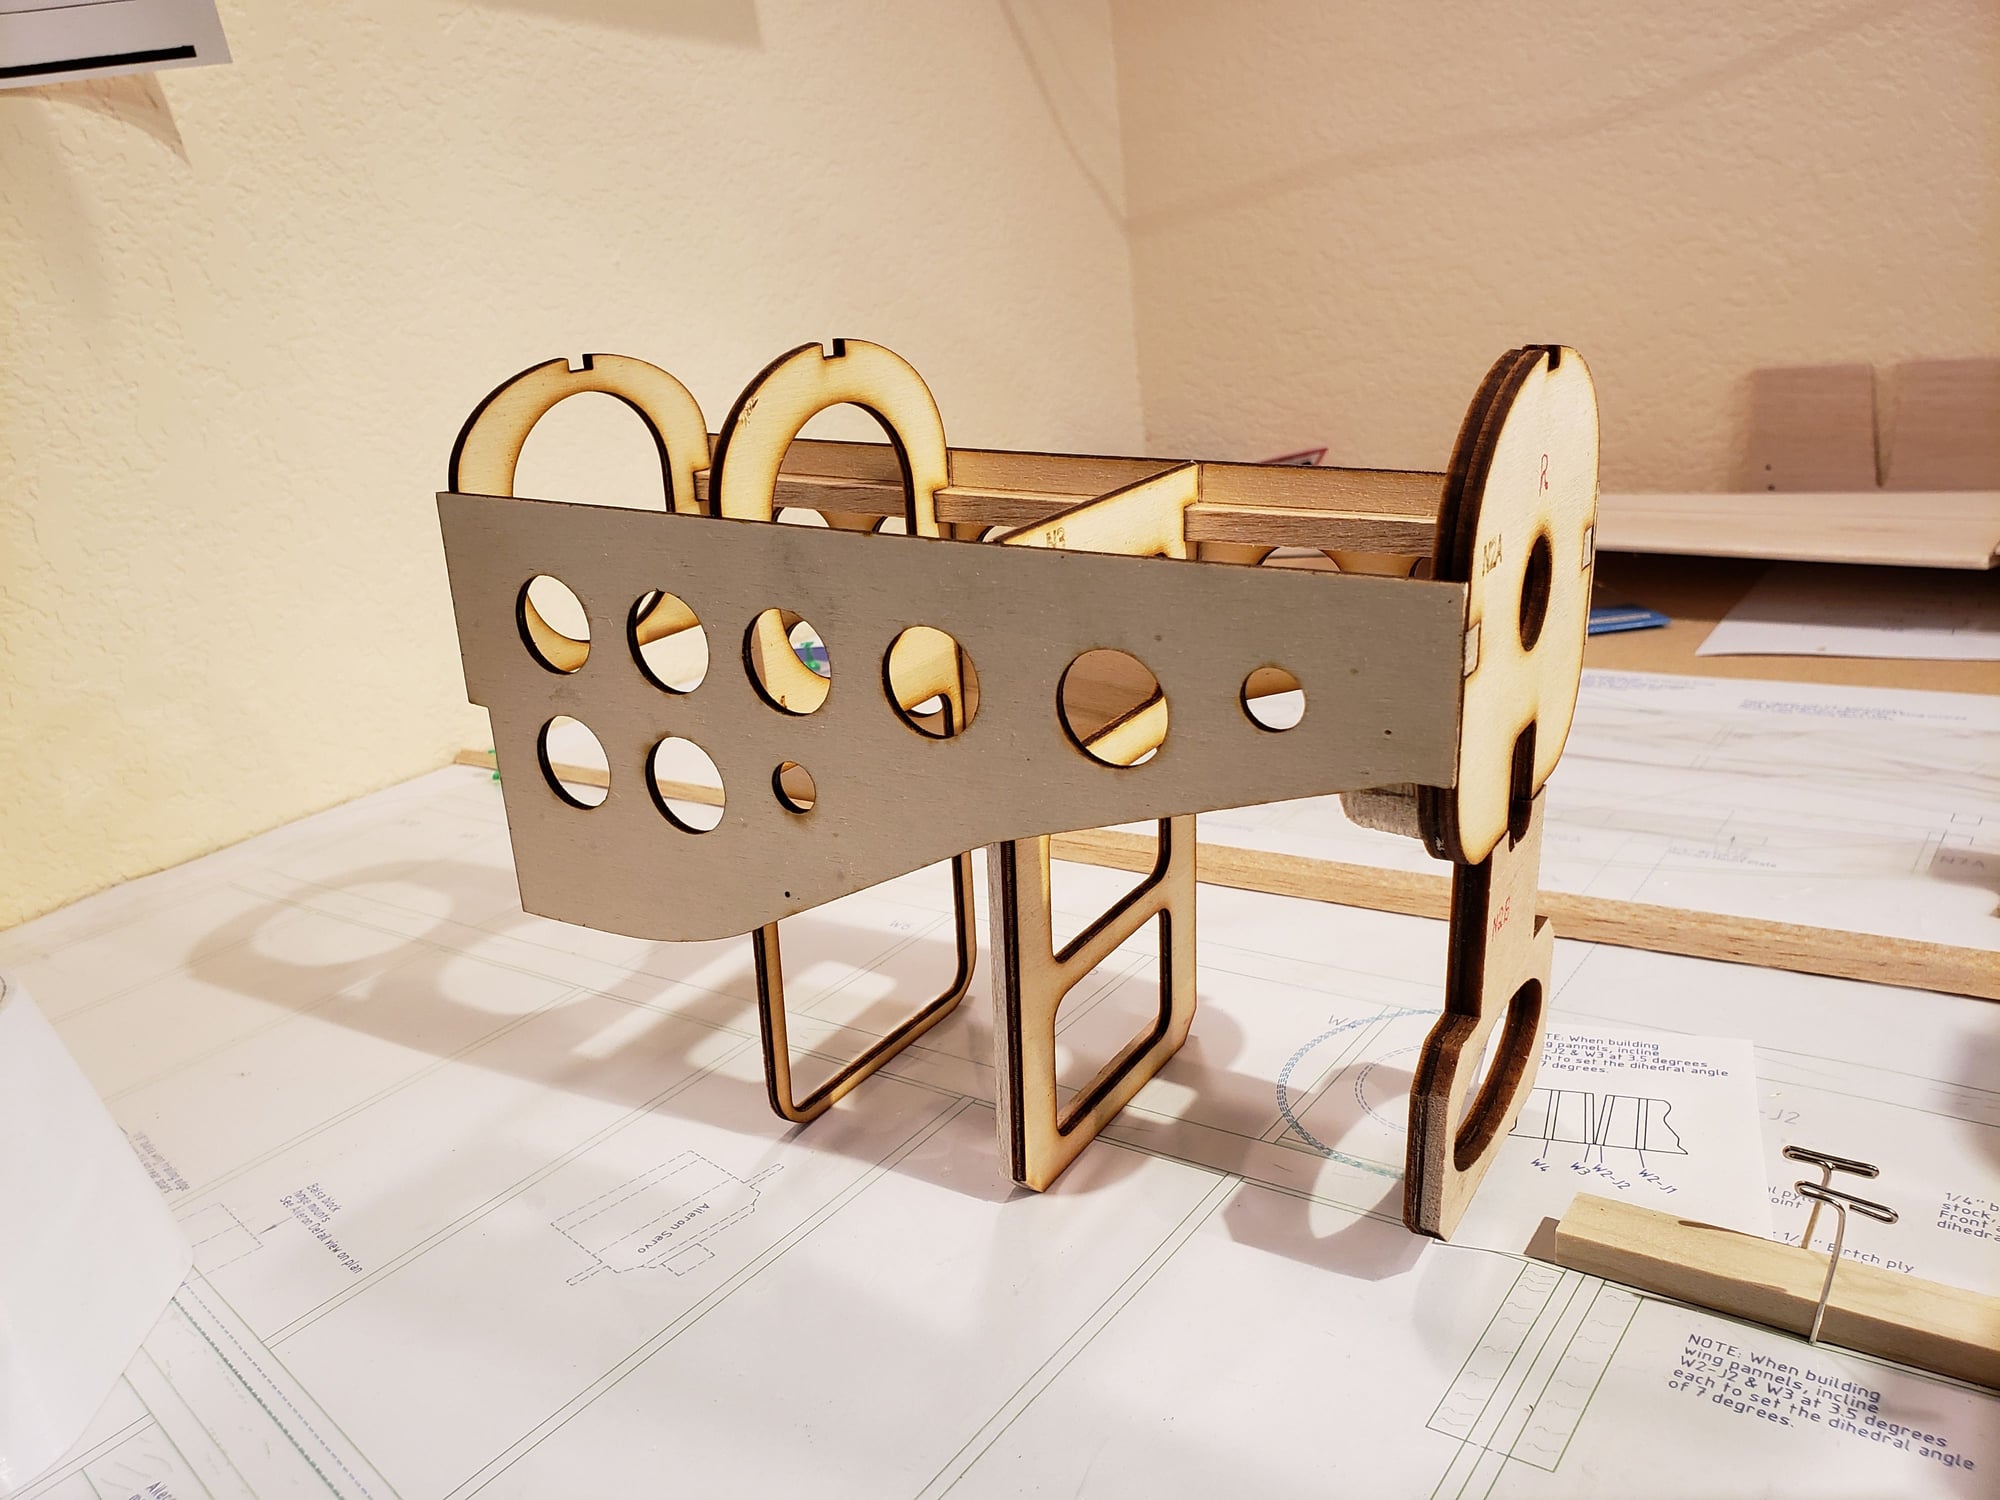
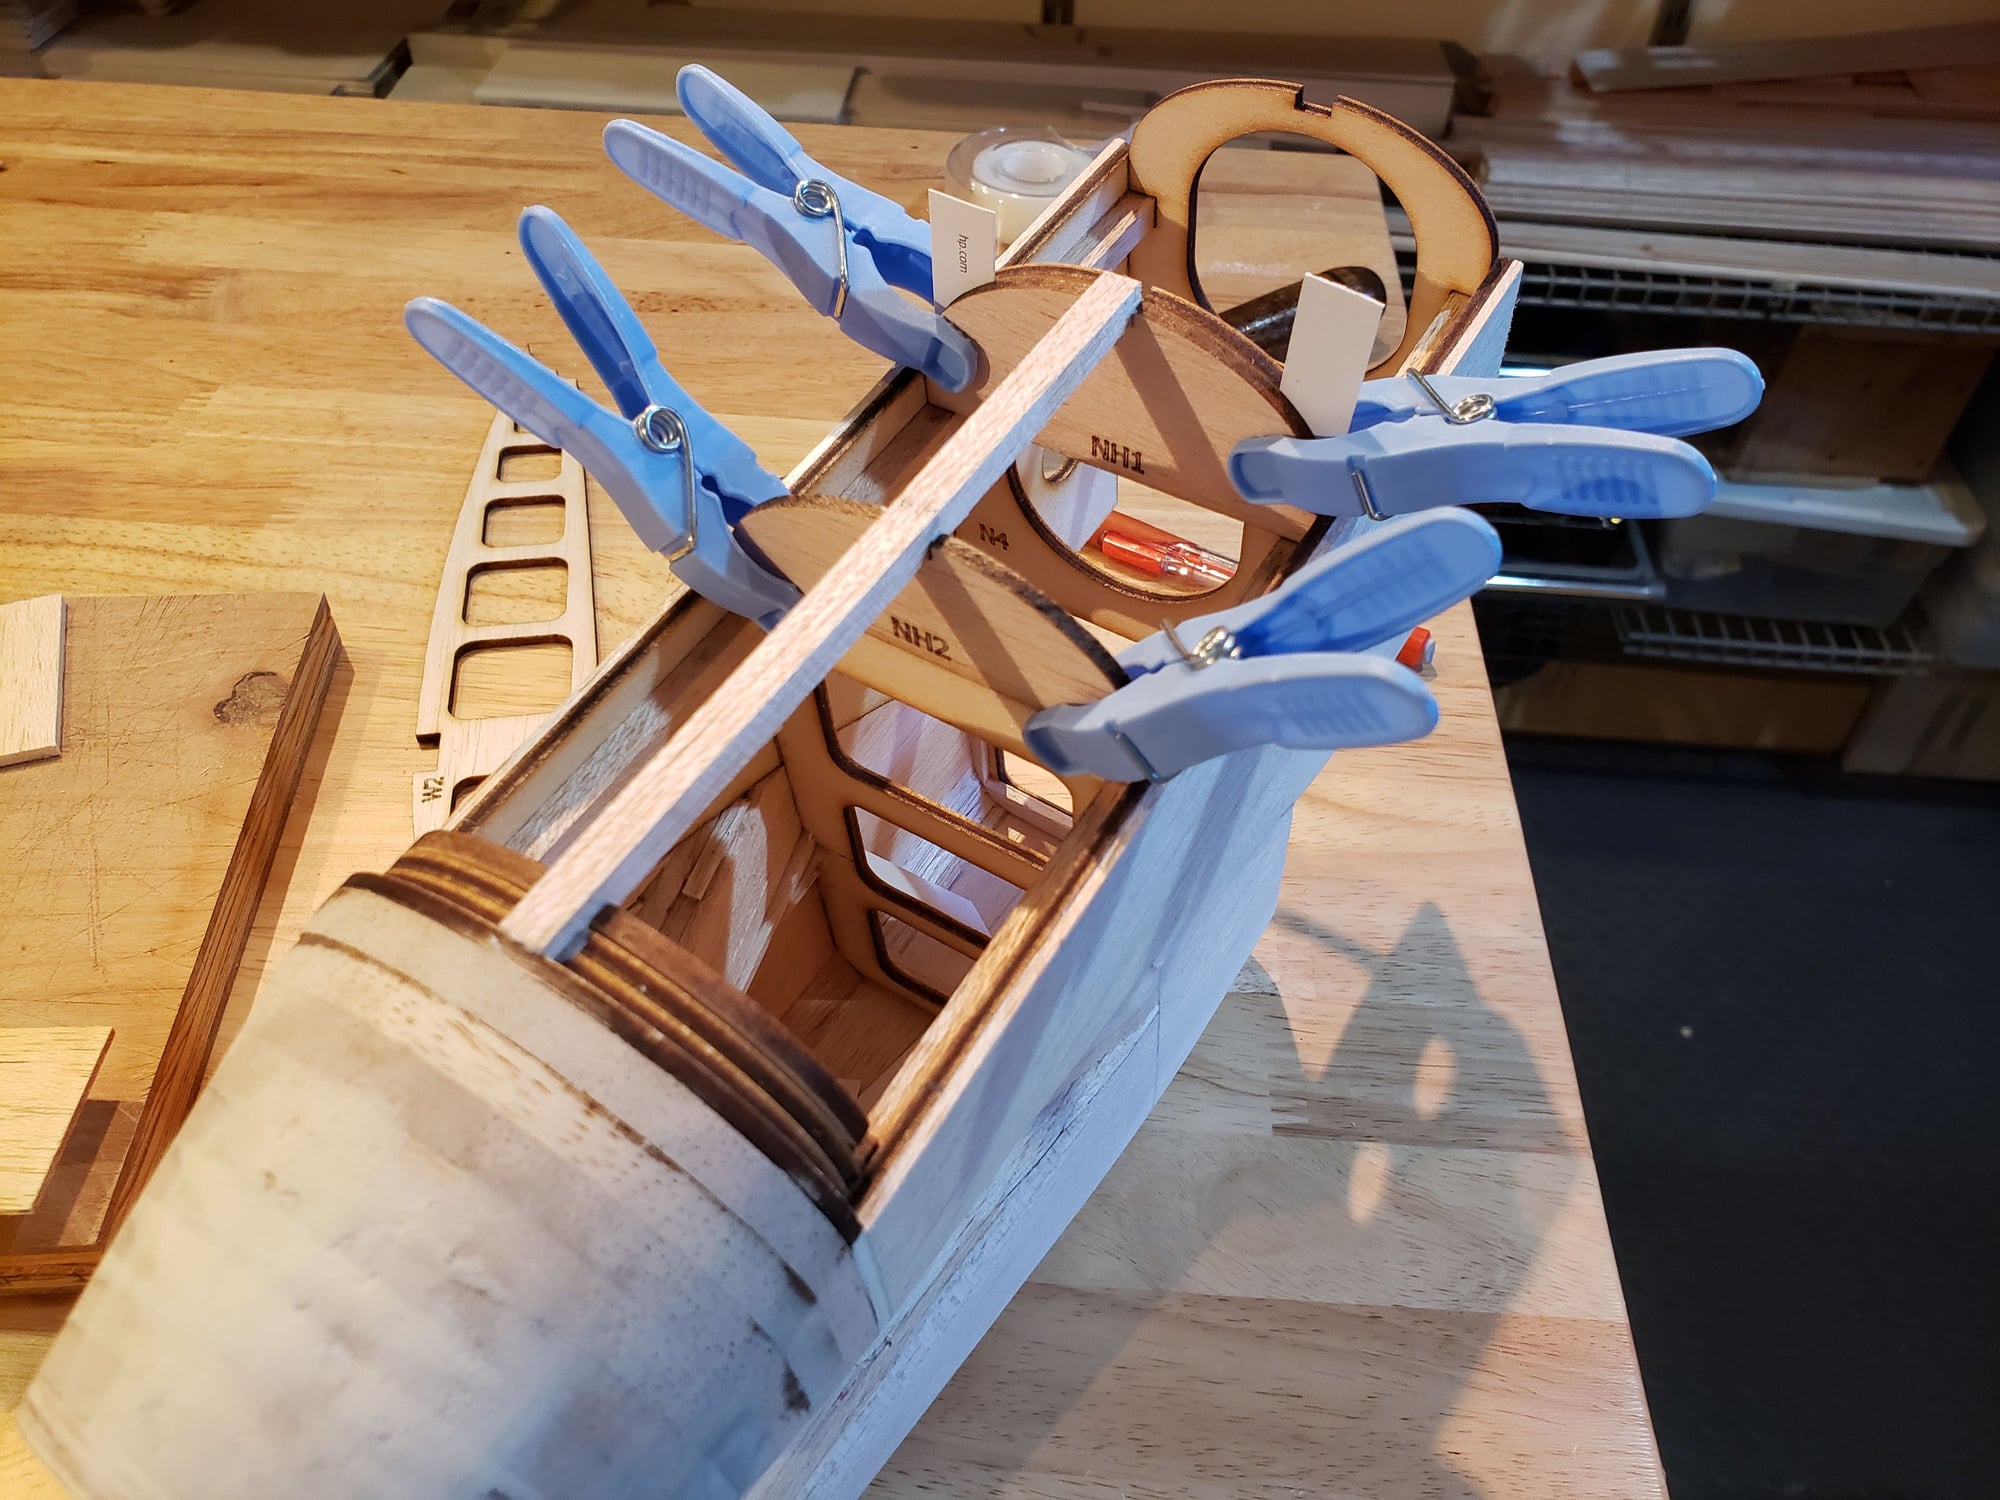
#44
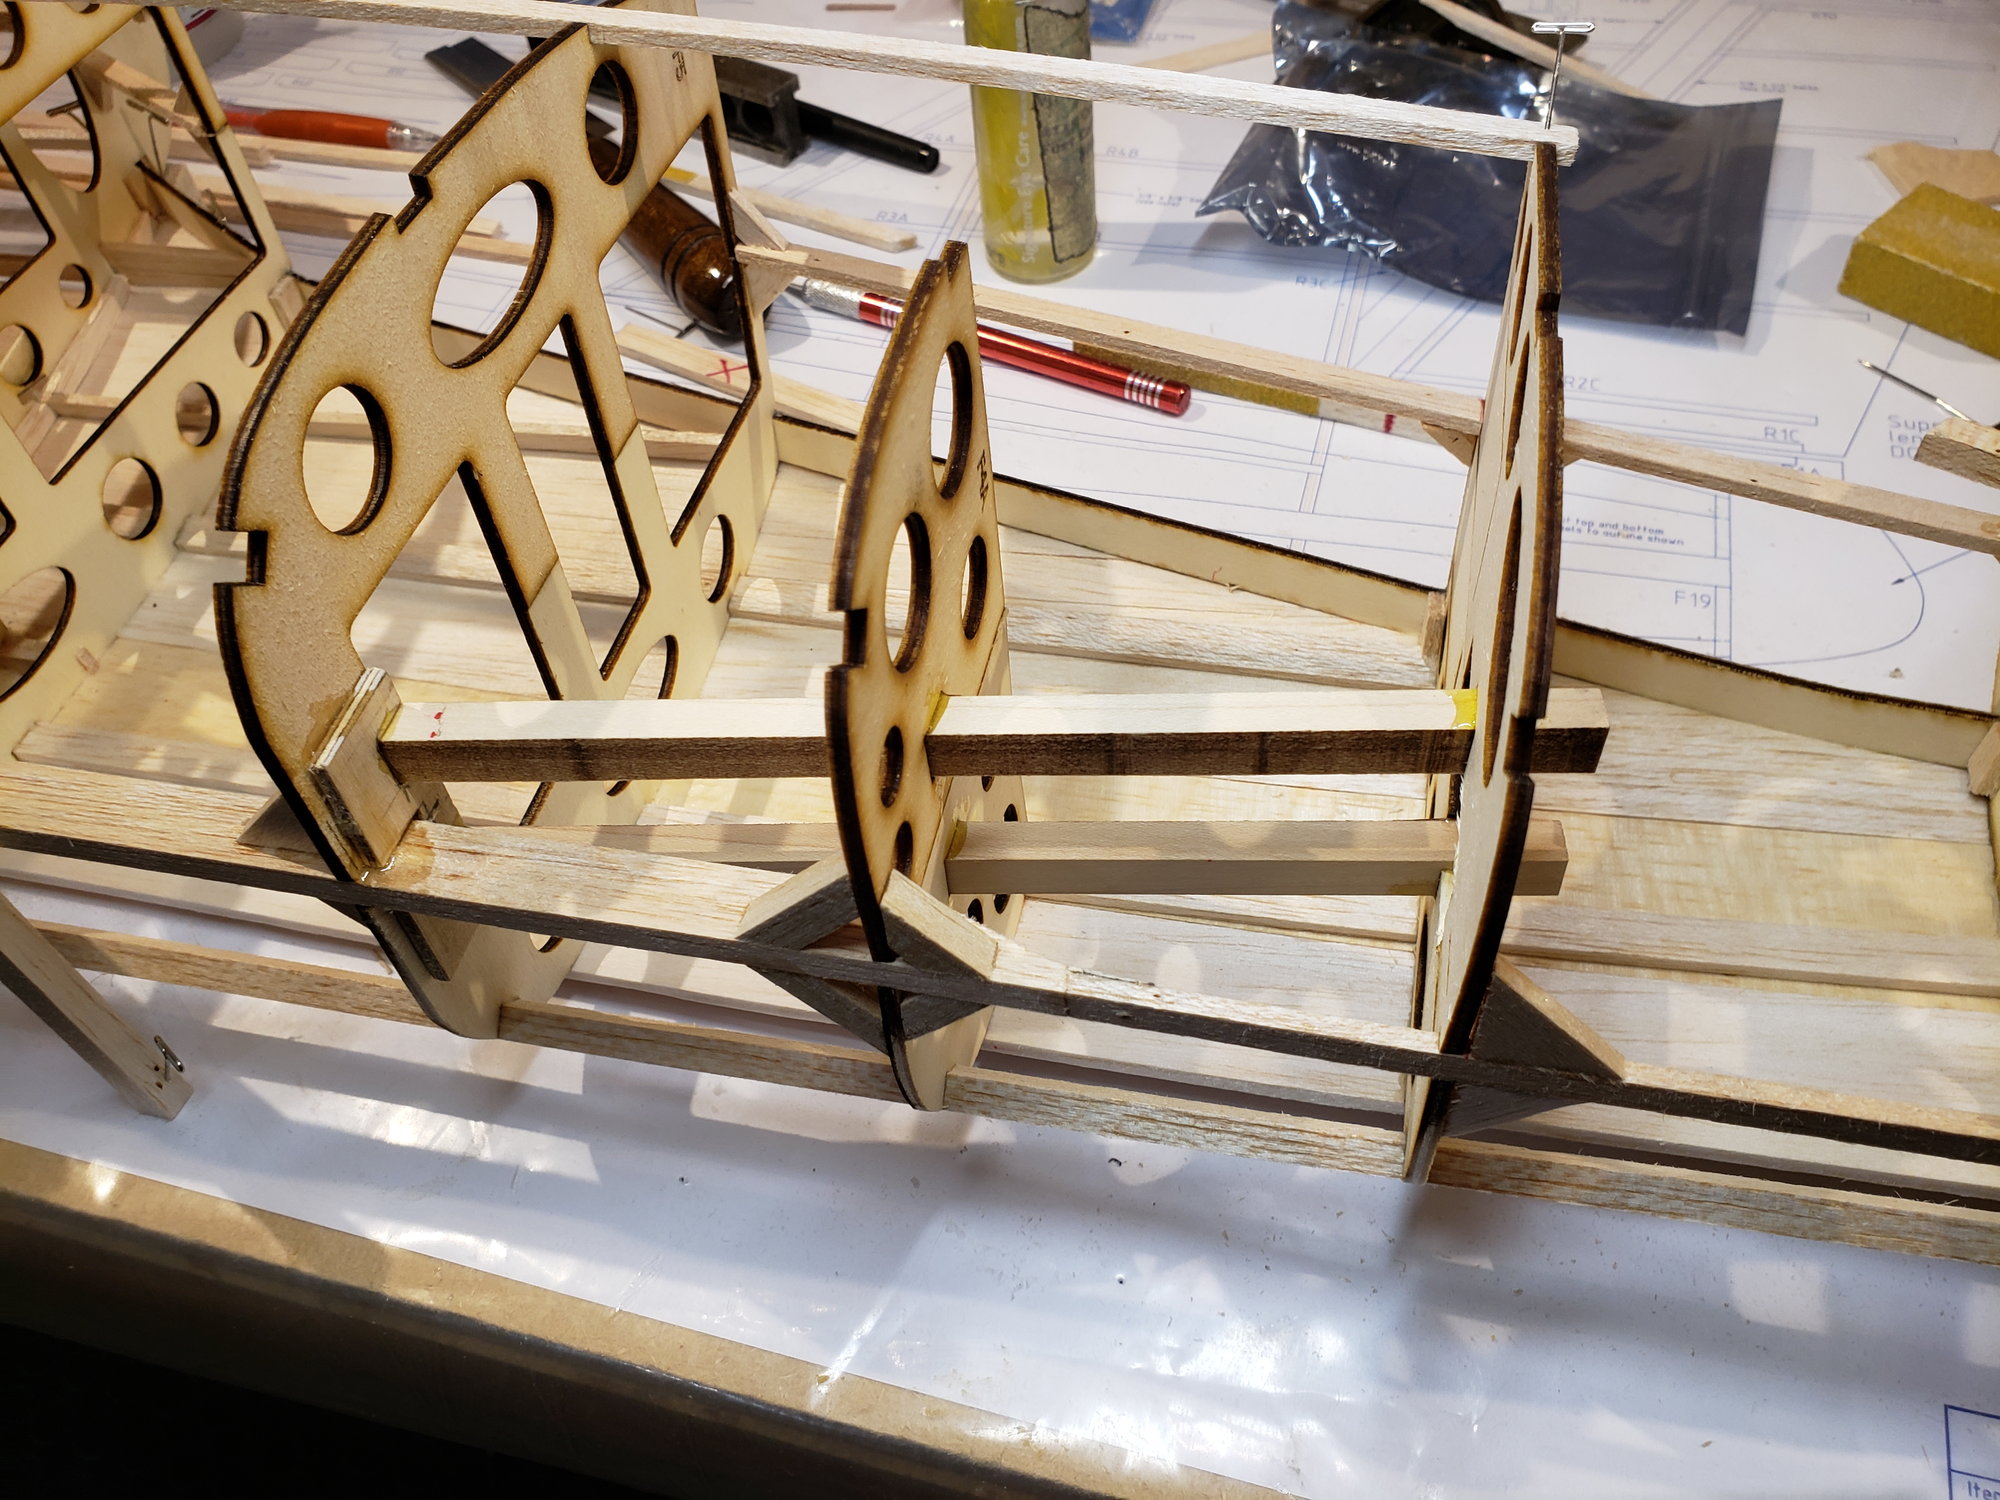
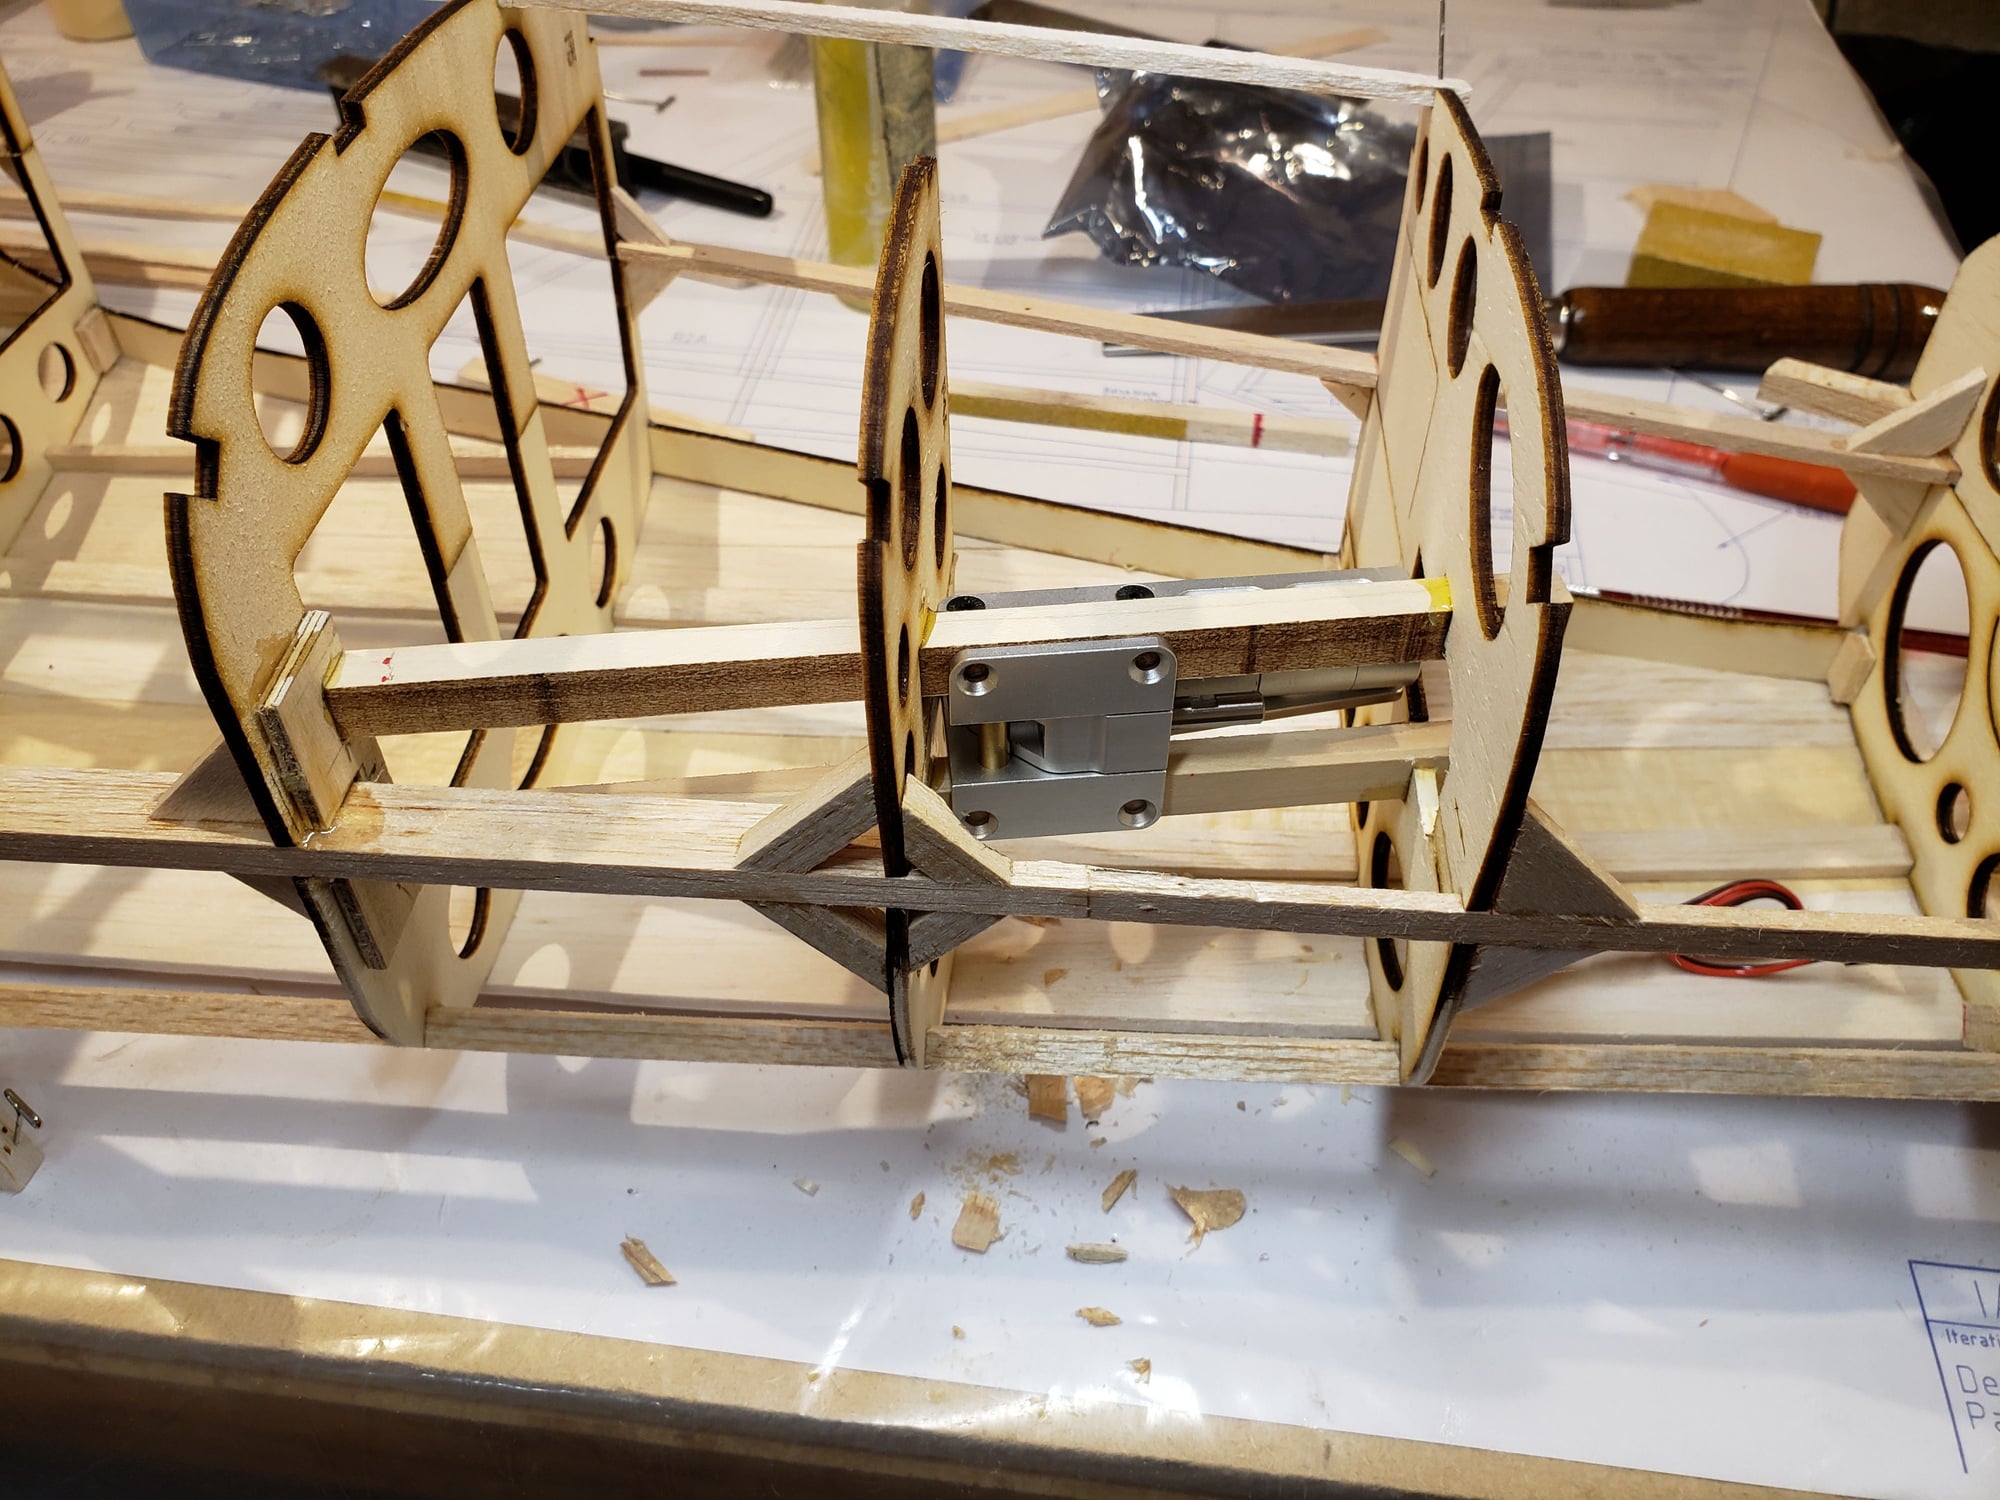
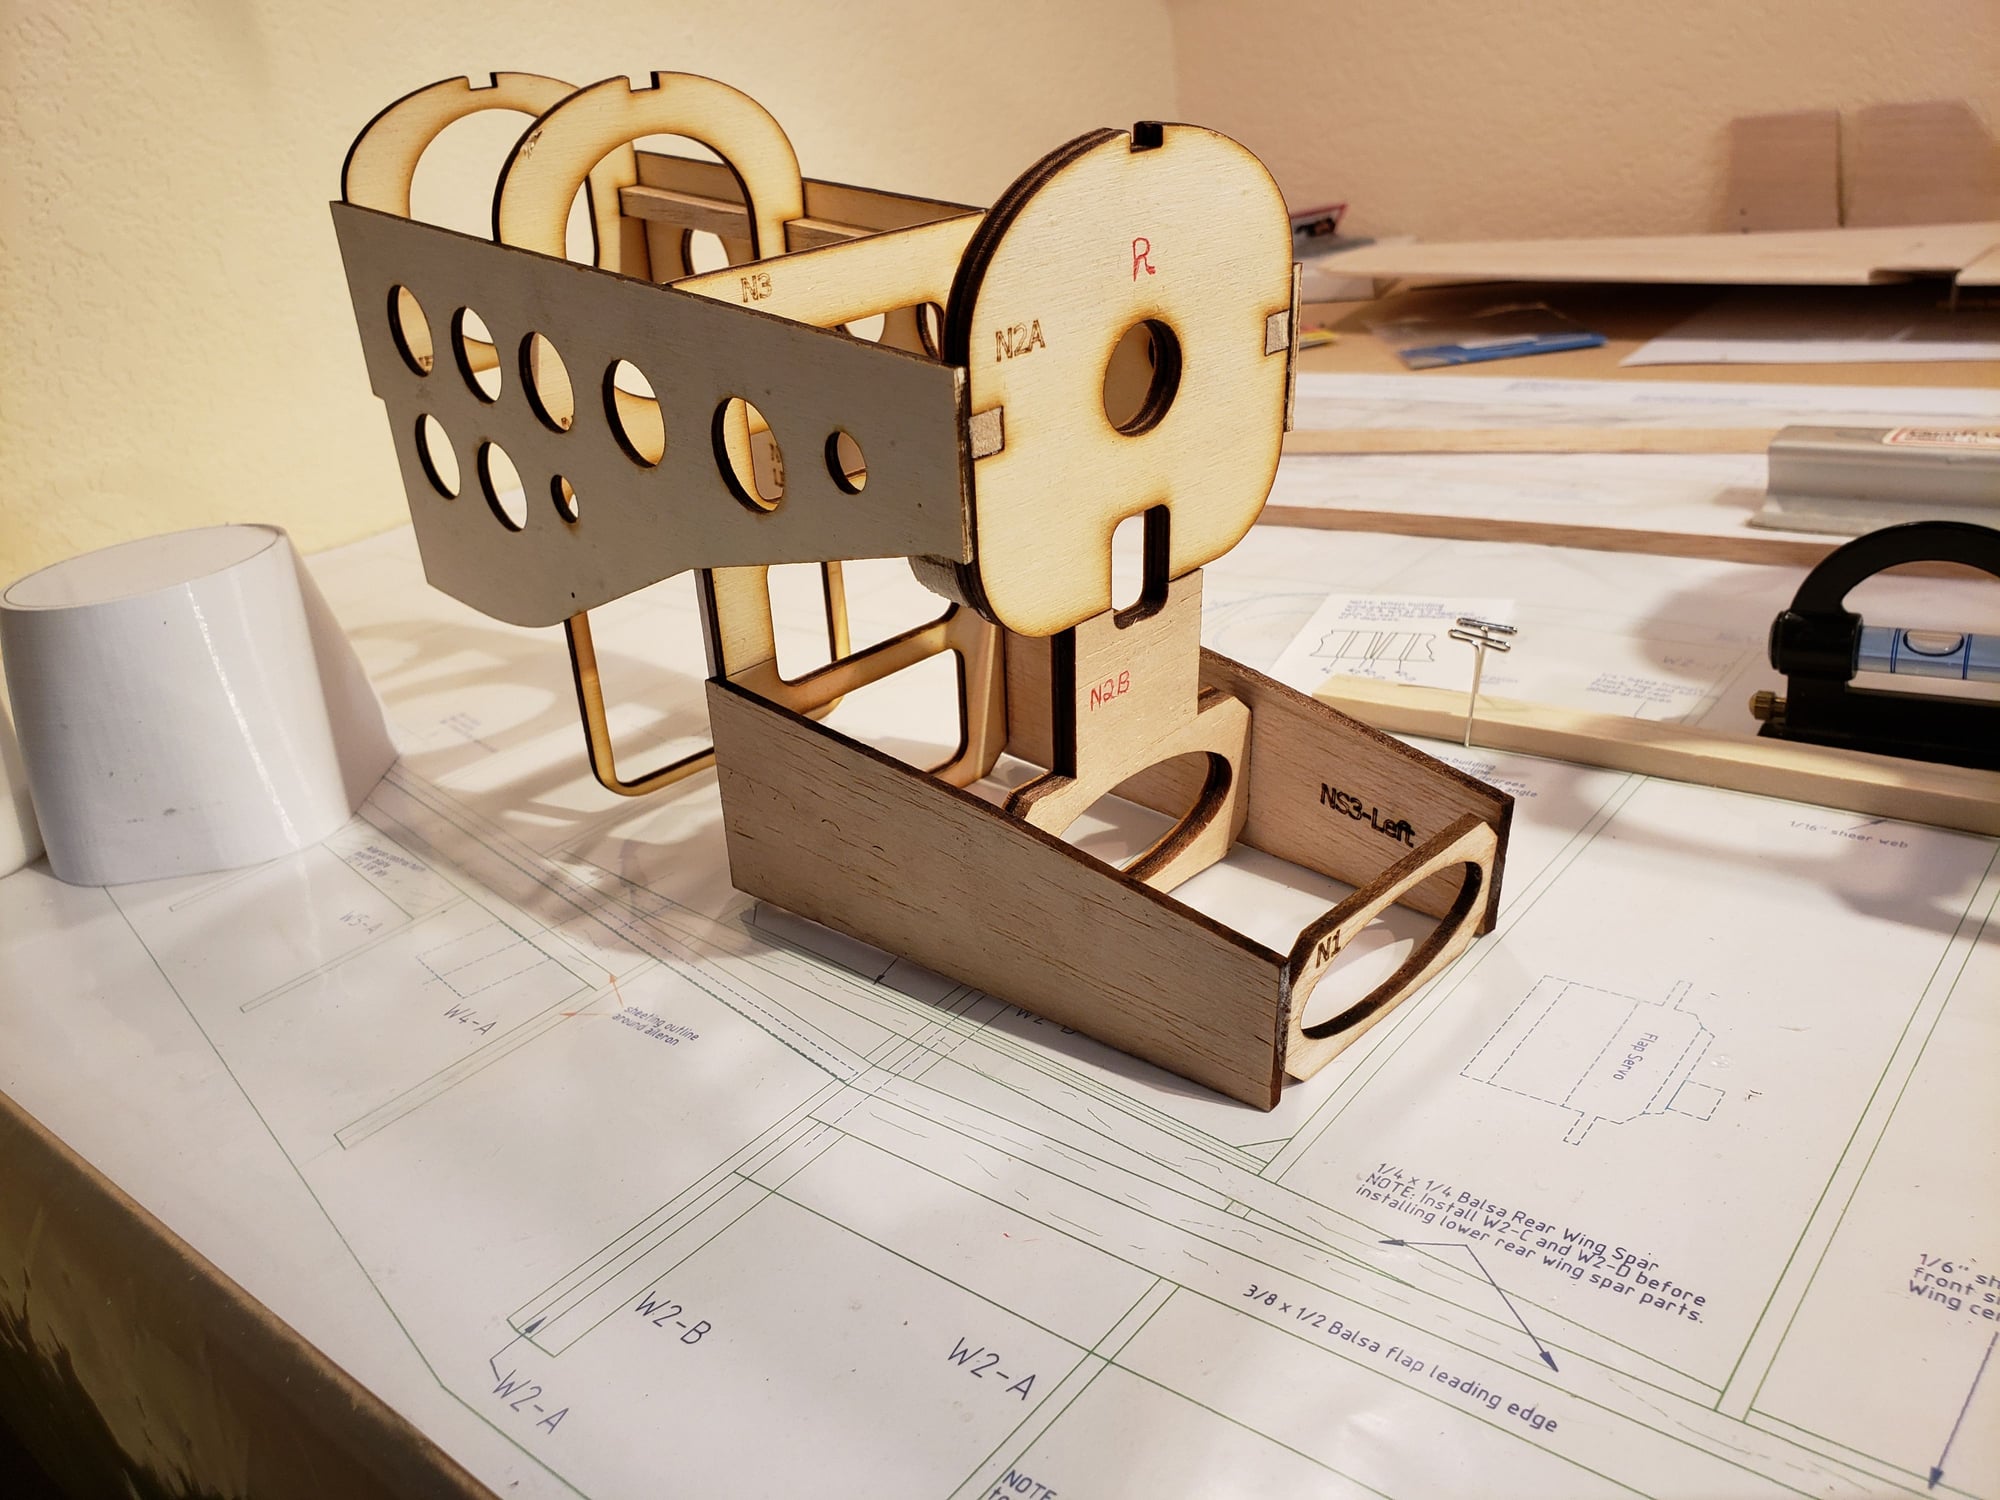
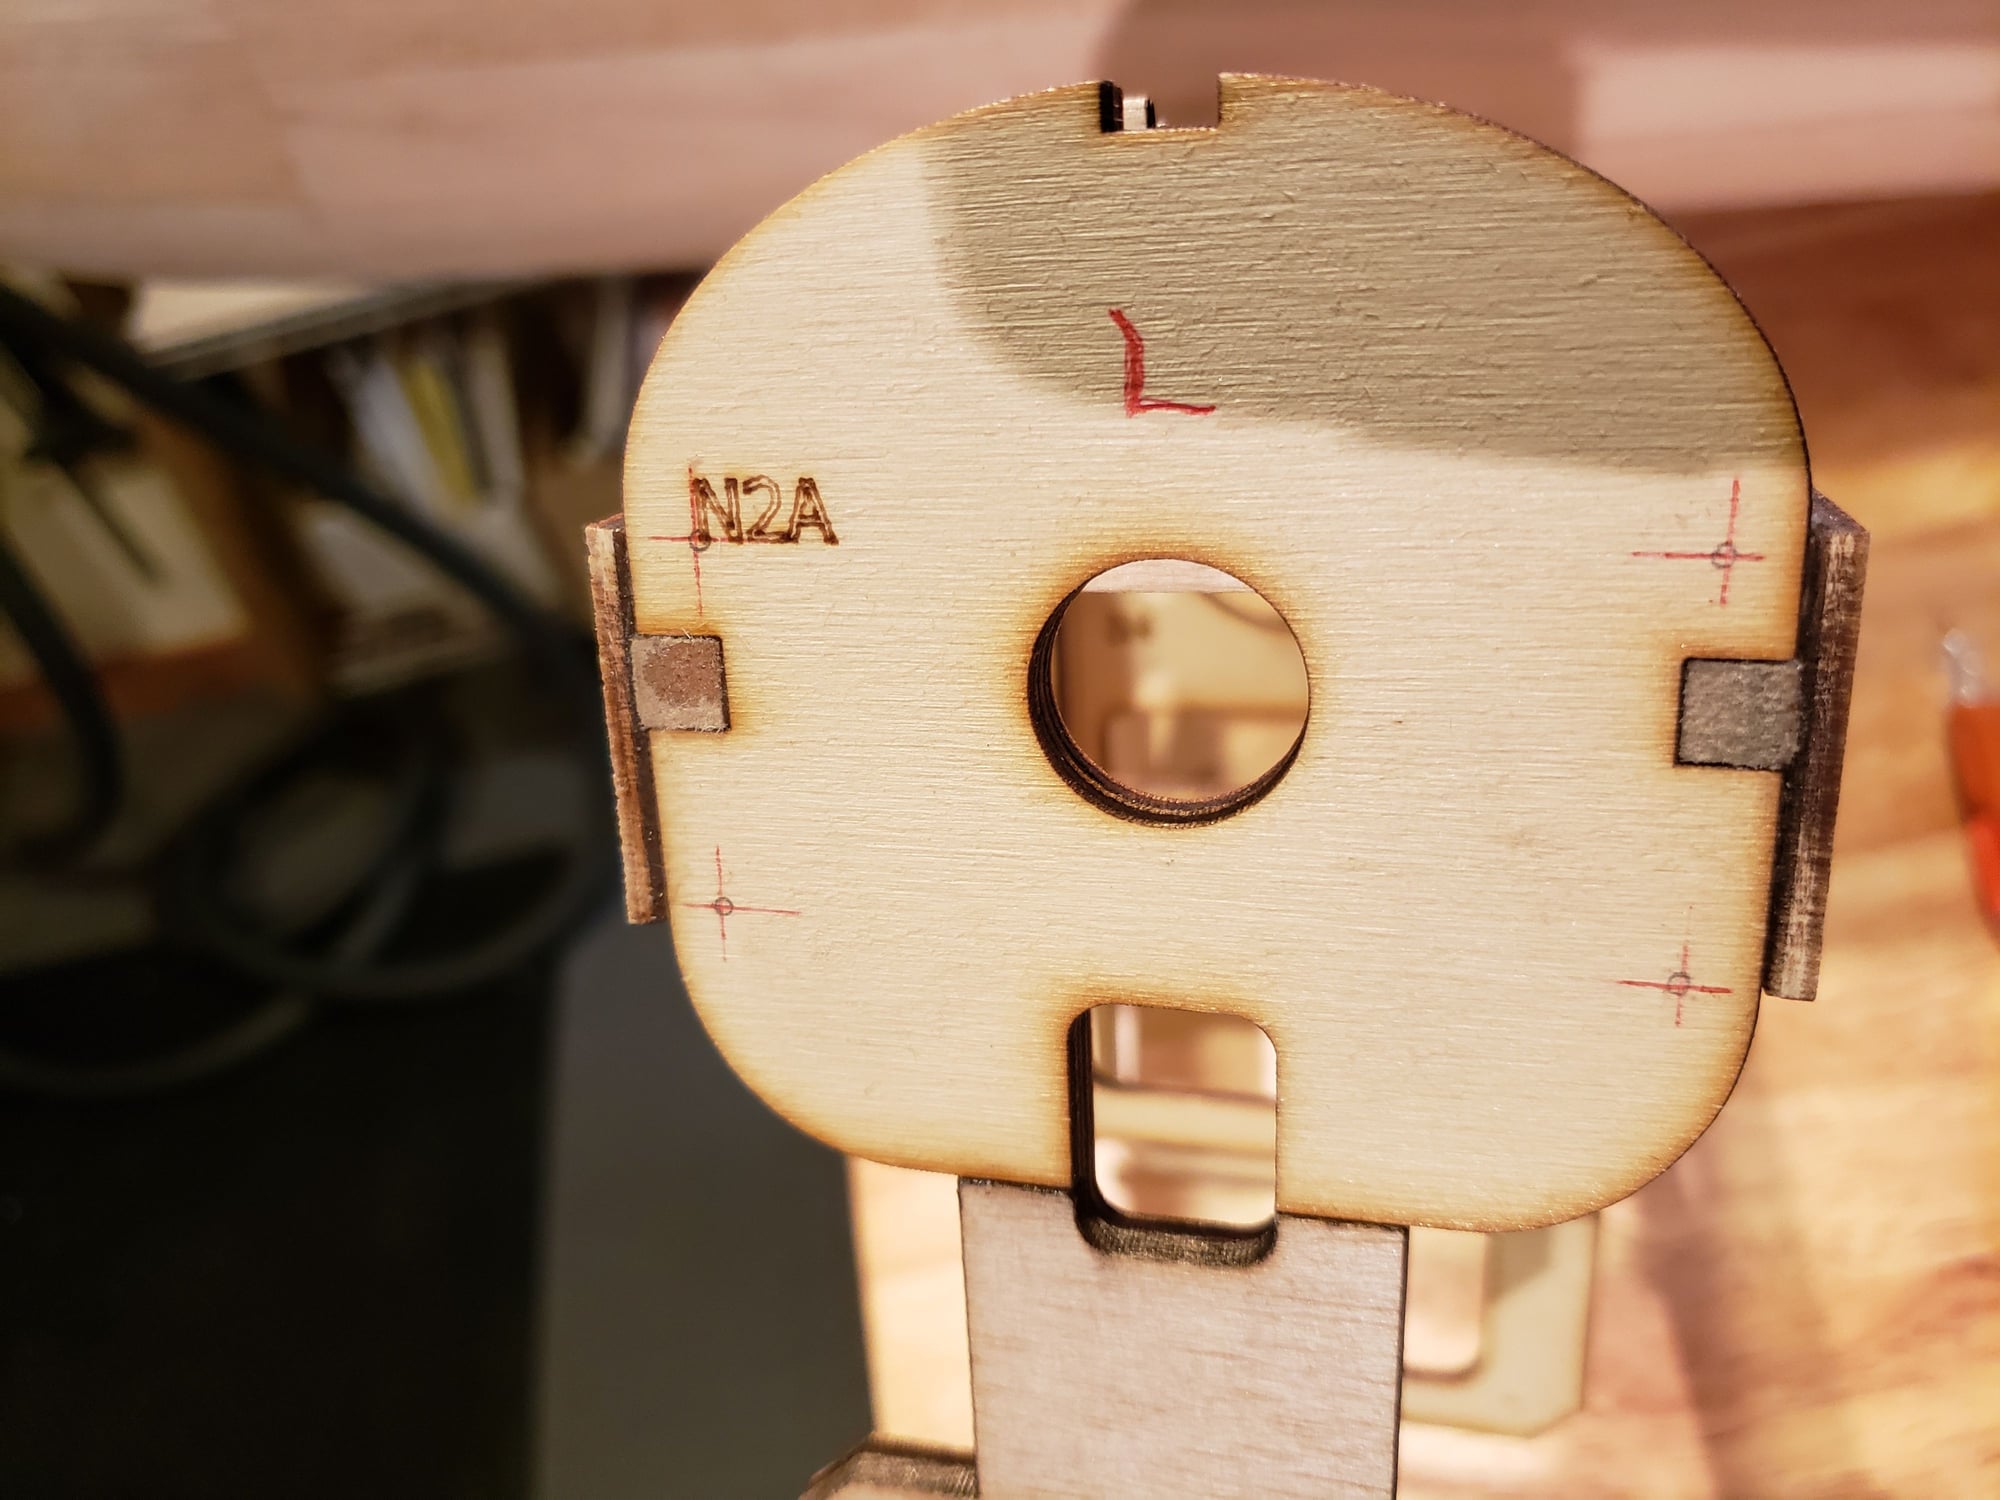
The nacelle on the Fenix is somewhat box shaped, at least through its middle. The sides are parallel. So, in the design the nacelle slides into an opening in the wing. To get the best fit possible, I'll partially assemble the nacelle before continuing the wing.
3 sub assemblies.
The firewall needs to be absolutely square to the sides.
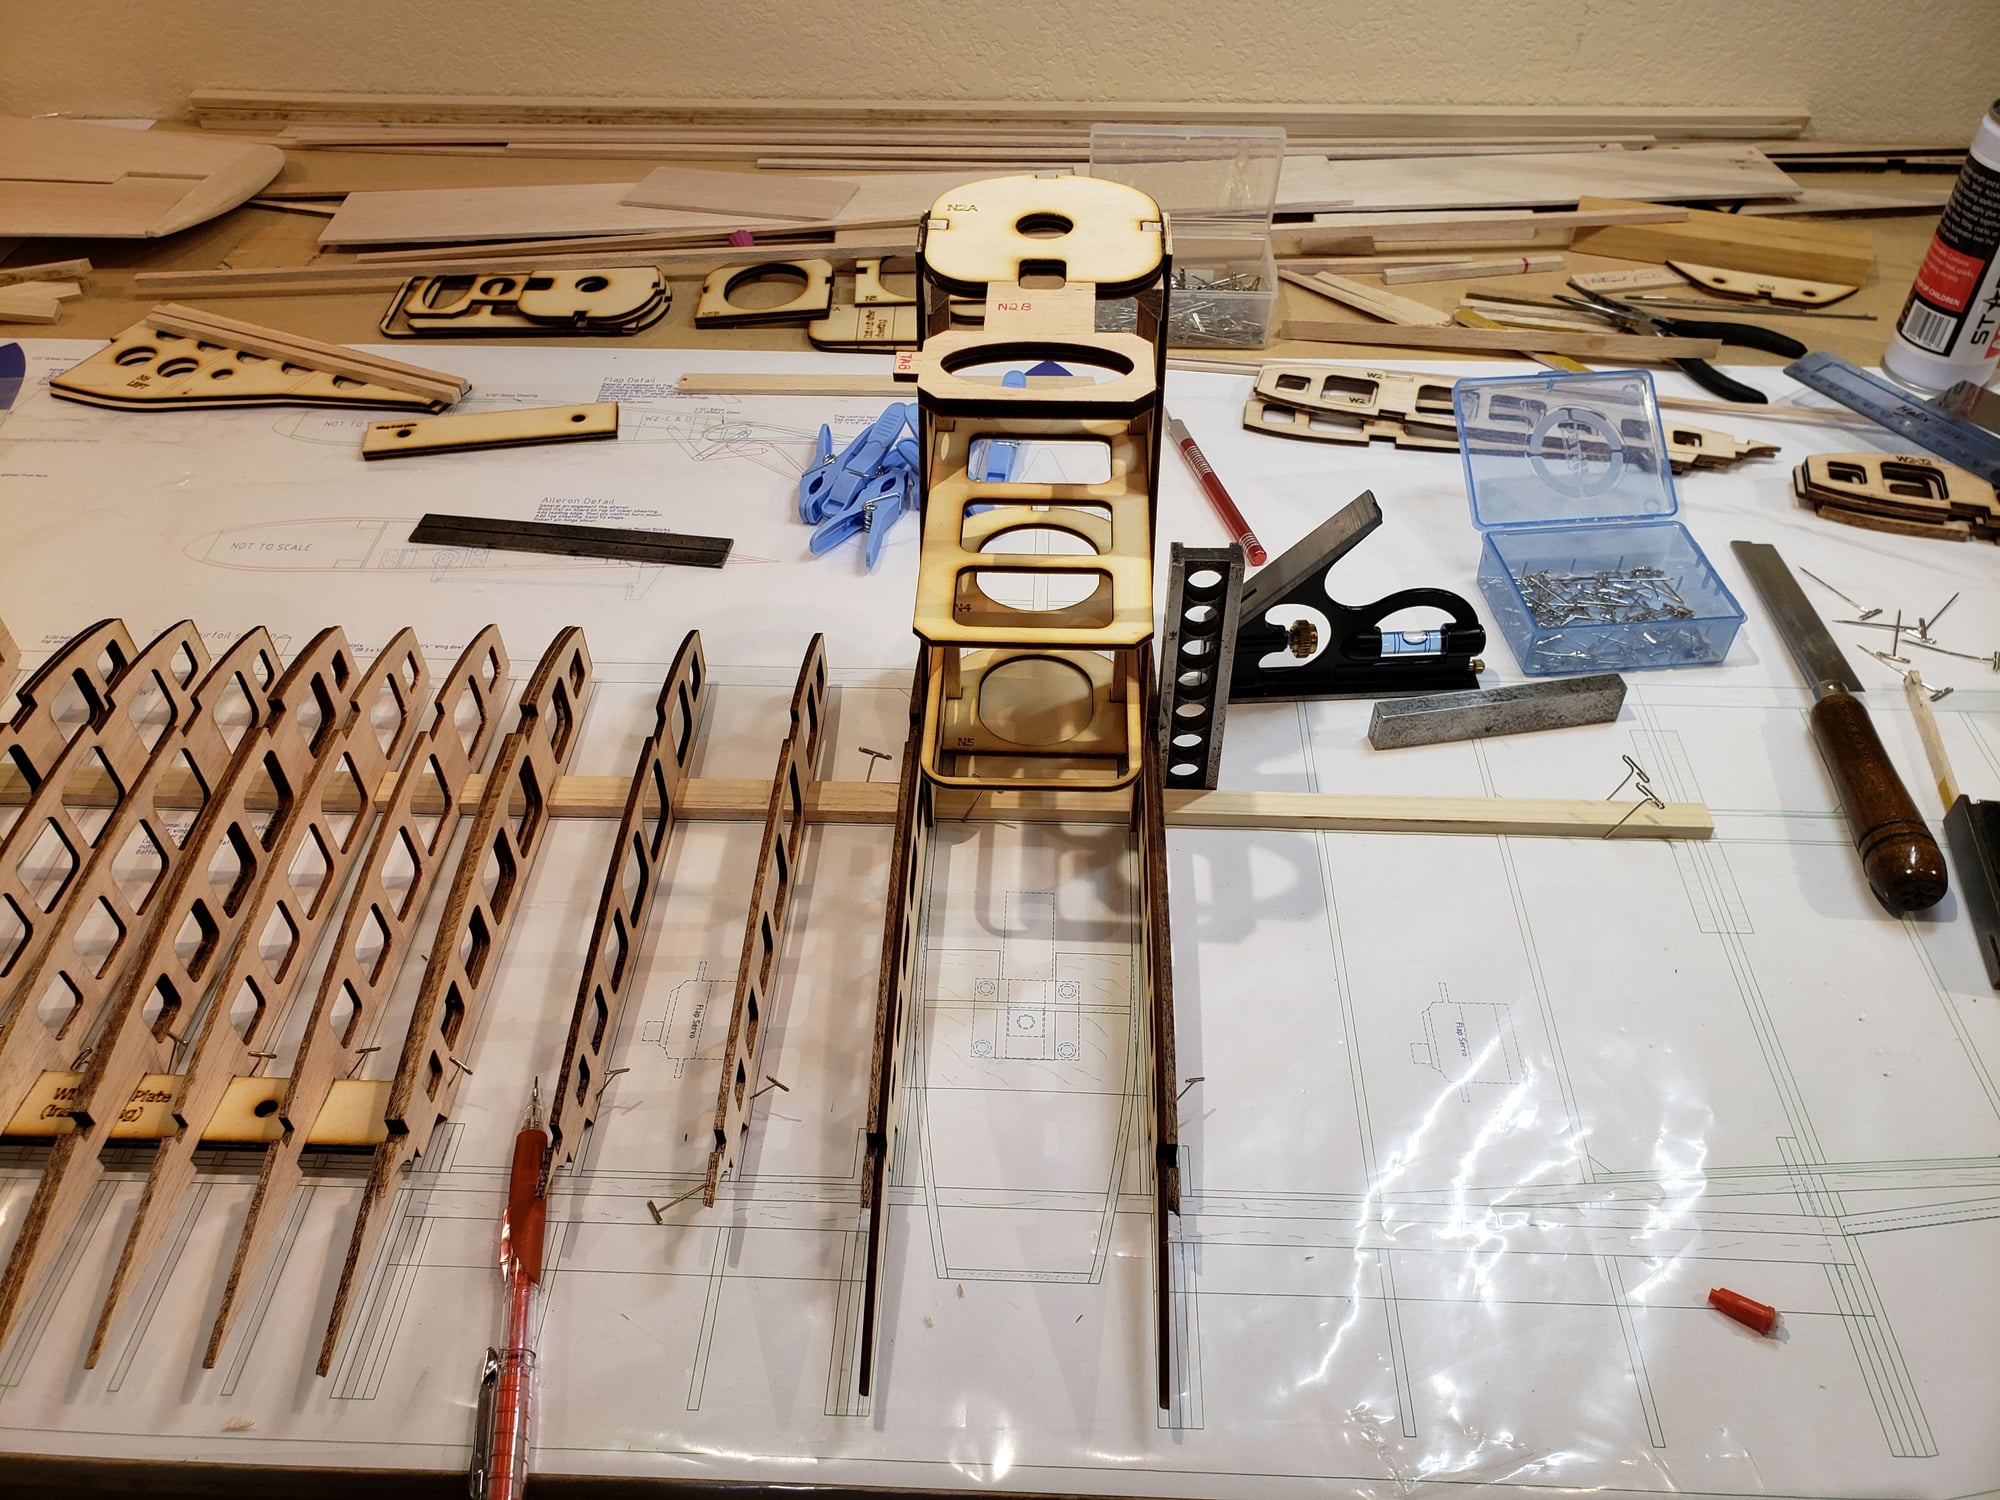
Use the partially completed nacelle to set the spacing for the next wing rib.
3 sub assemblies.
The firewall needs to be absolutely square to the sides.
Use the partially completed nacelle to set the spacing for the next wing rib.
 10-29-2023, 05:06 PM
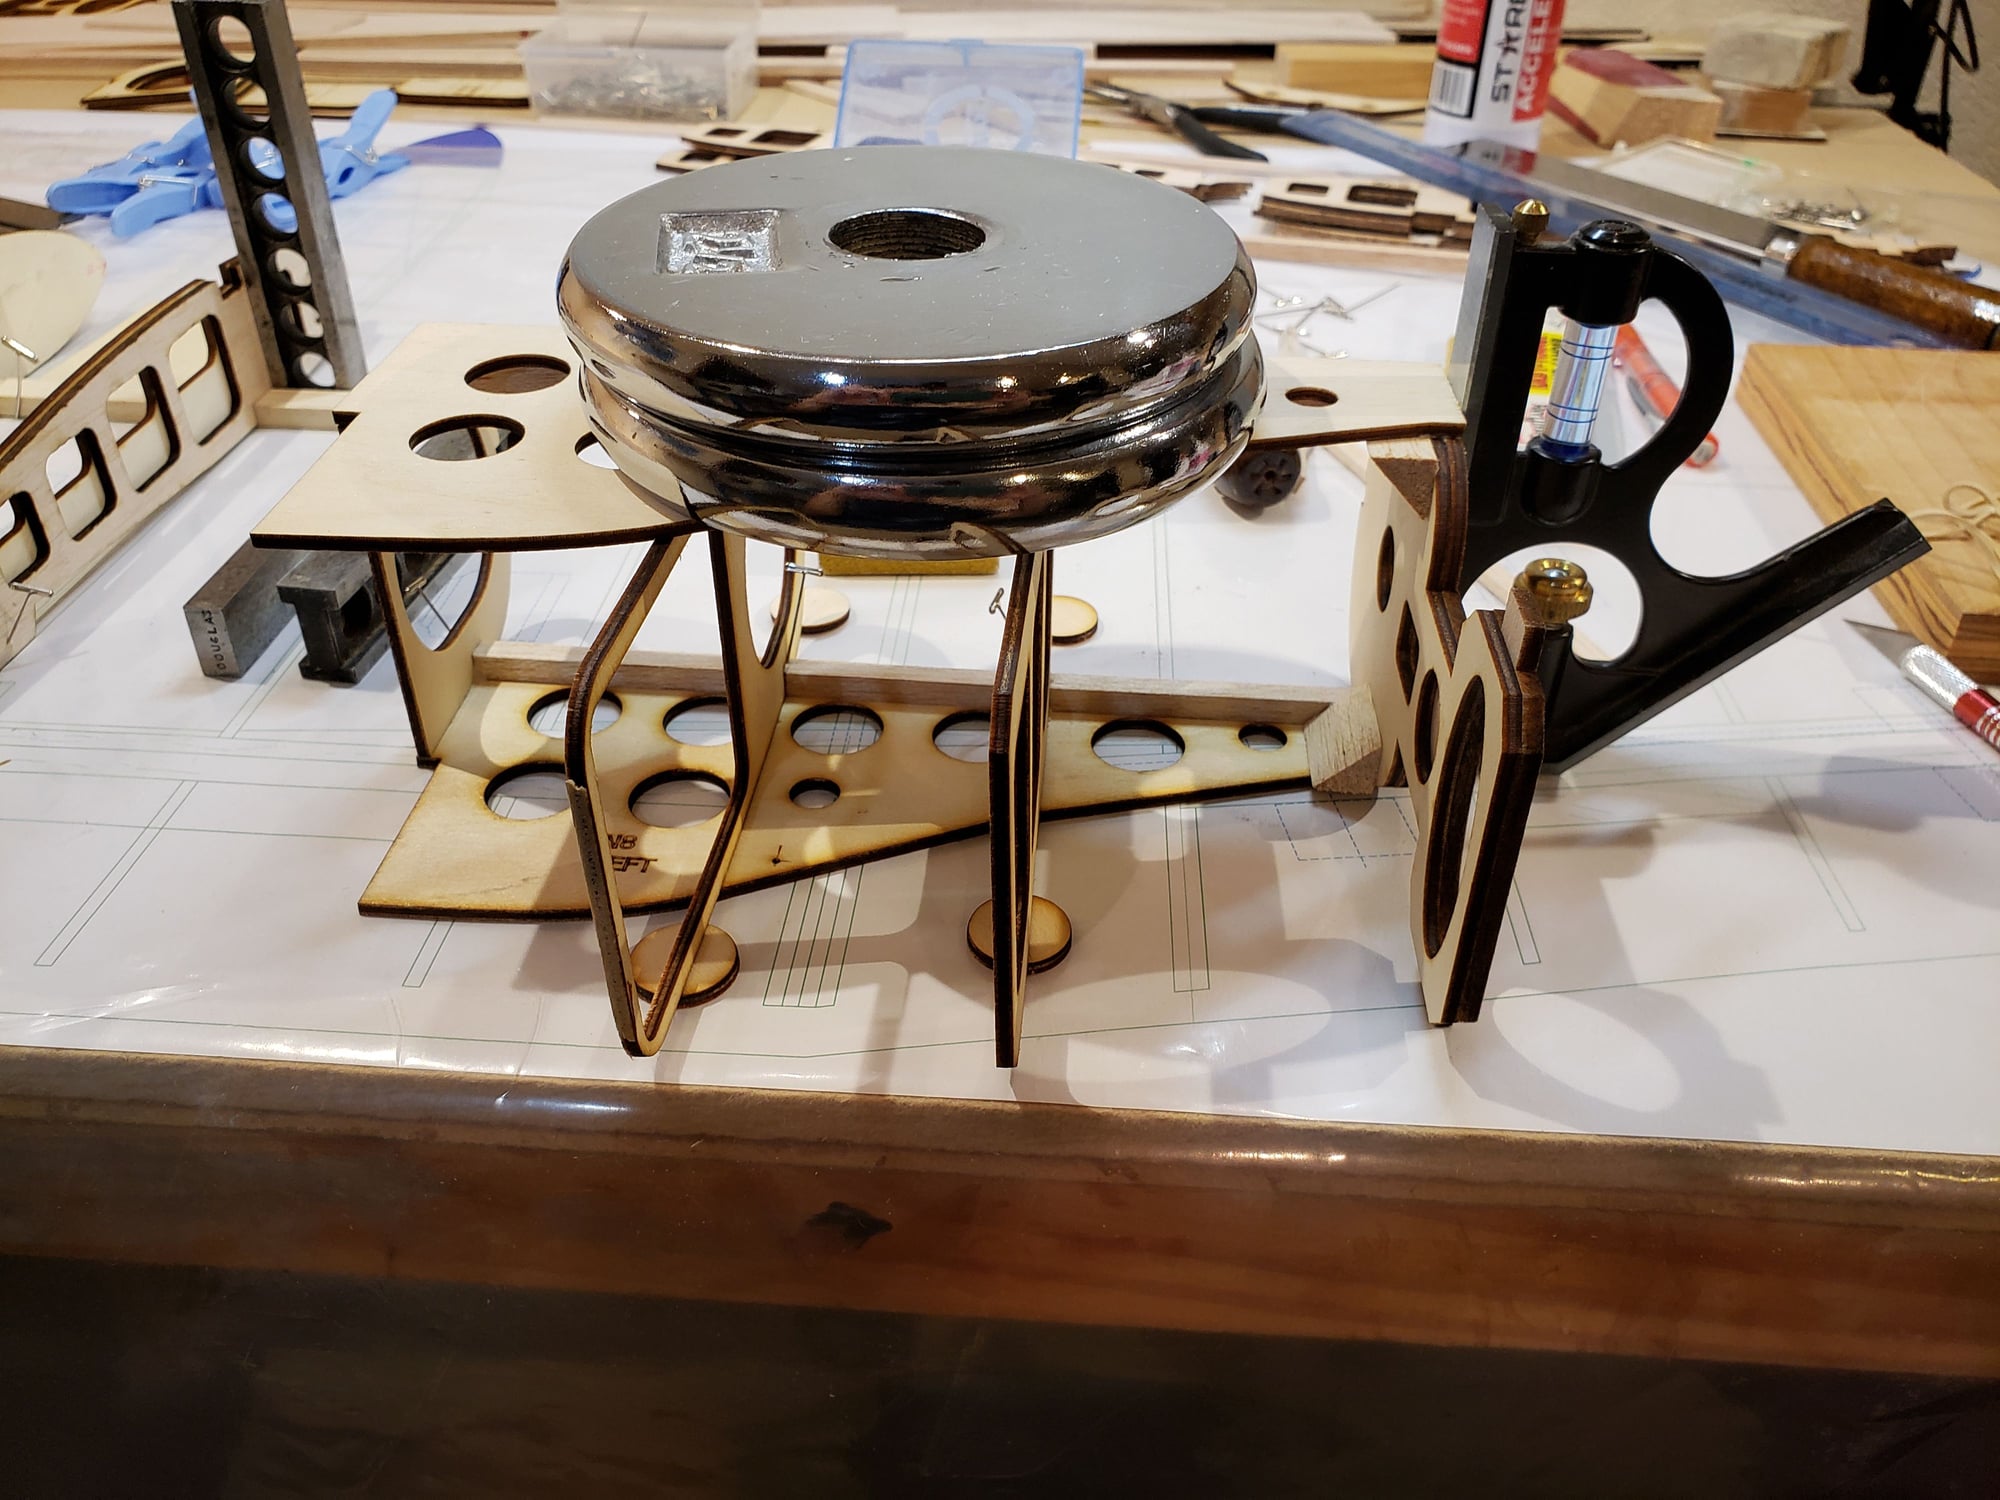
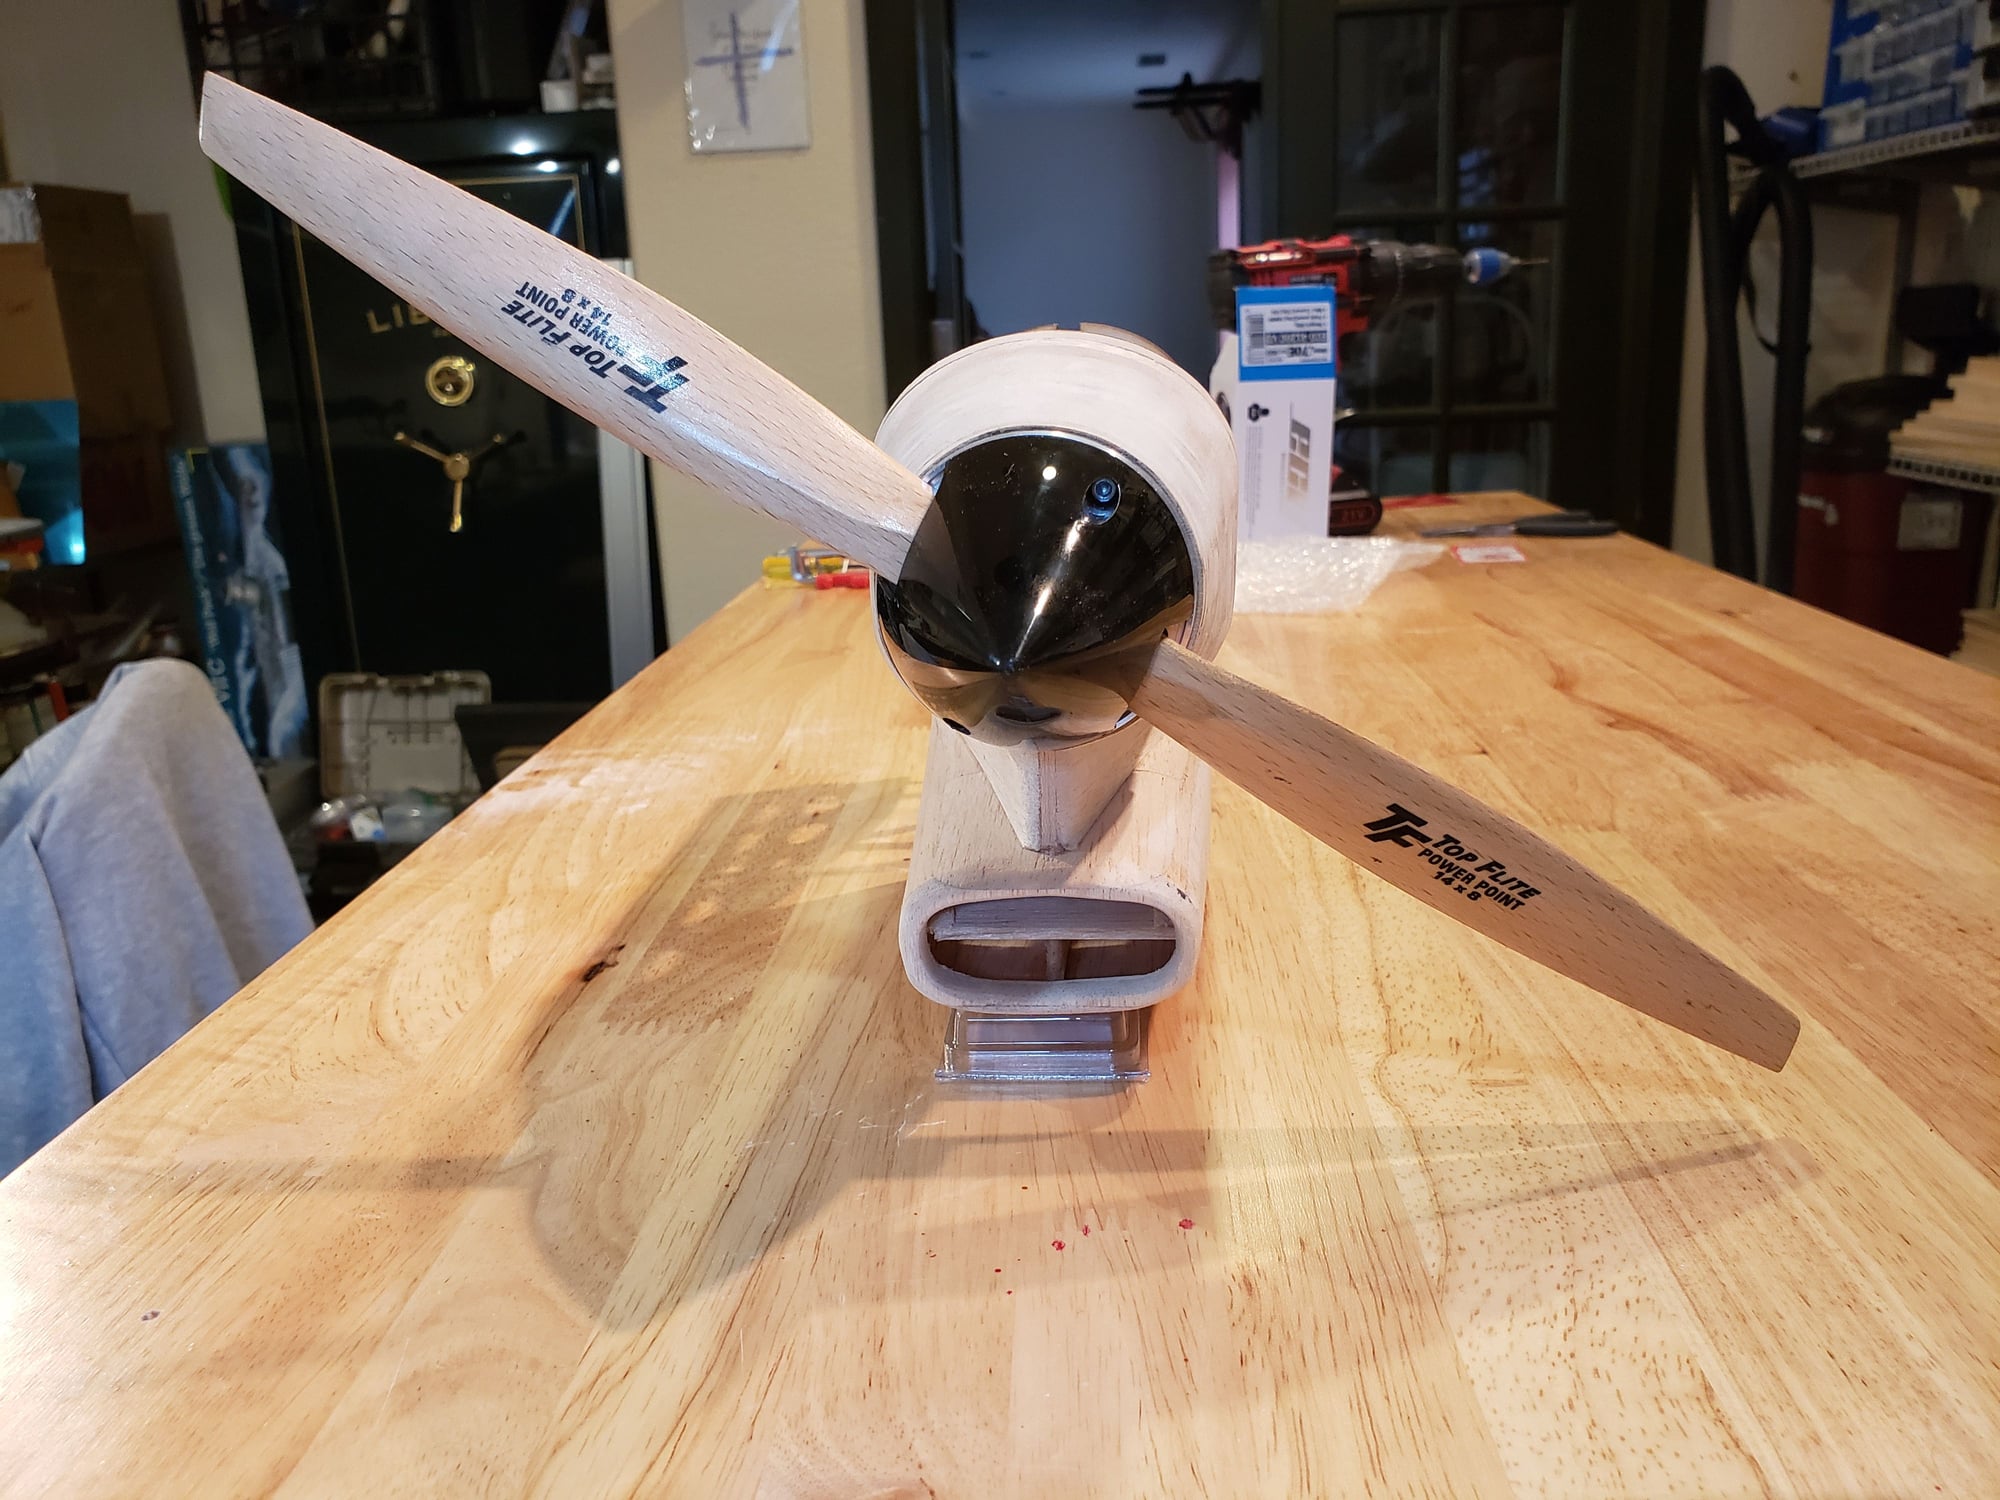
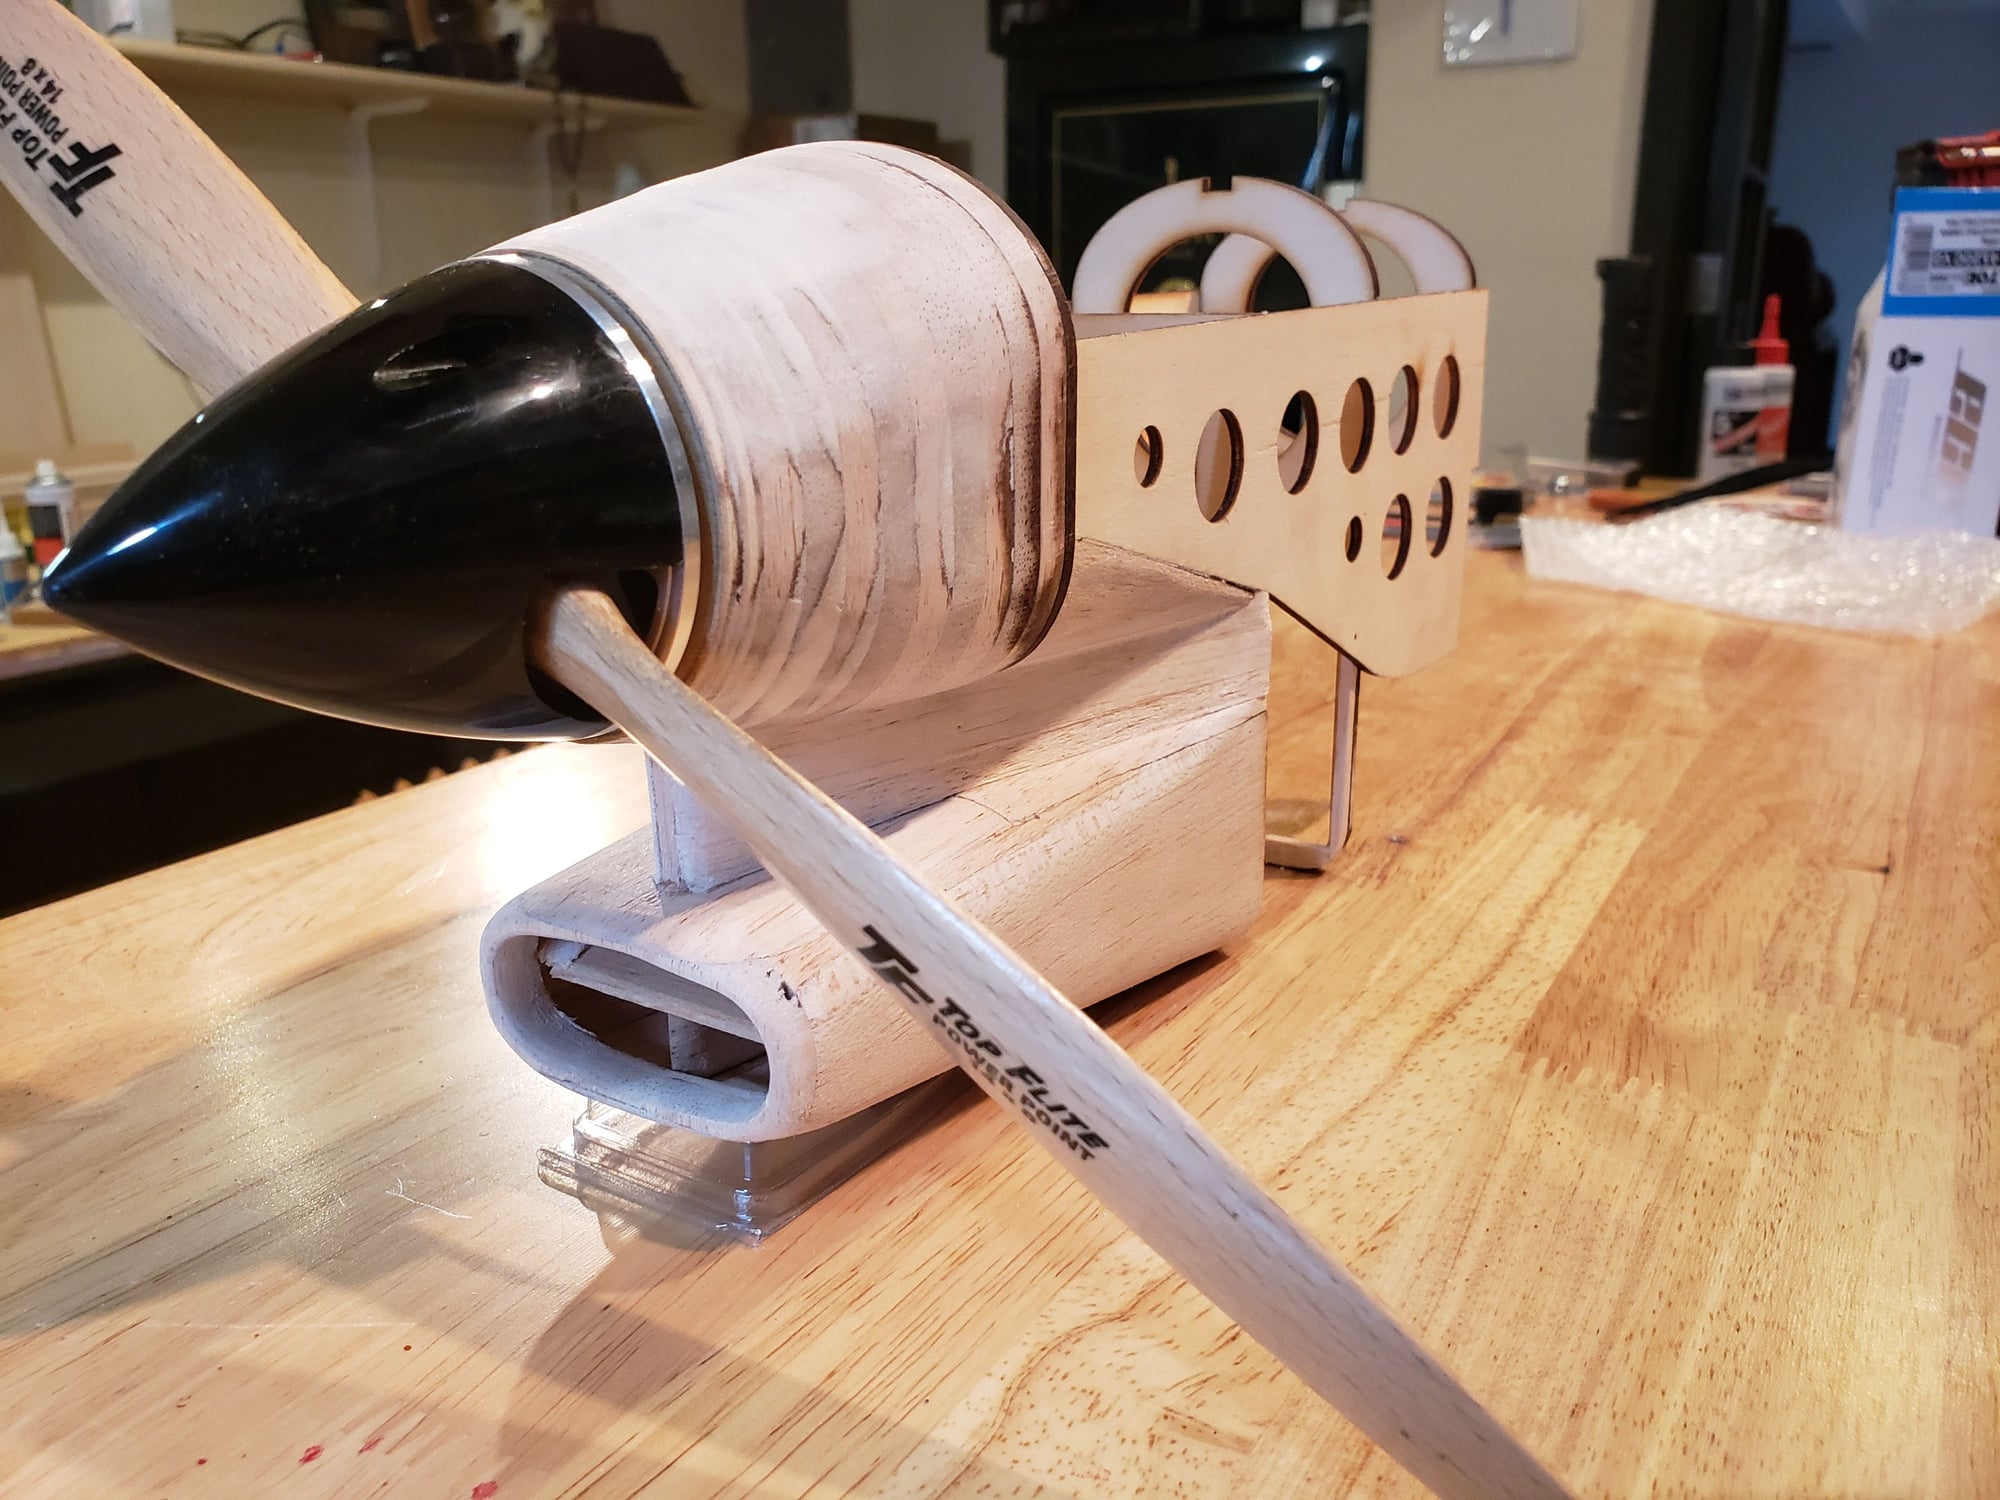
#46
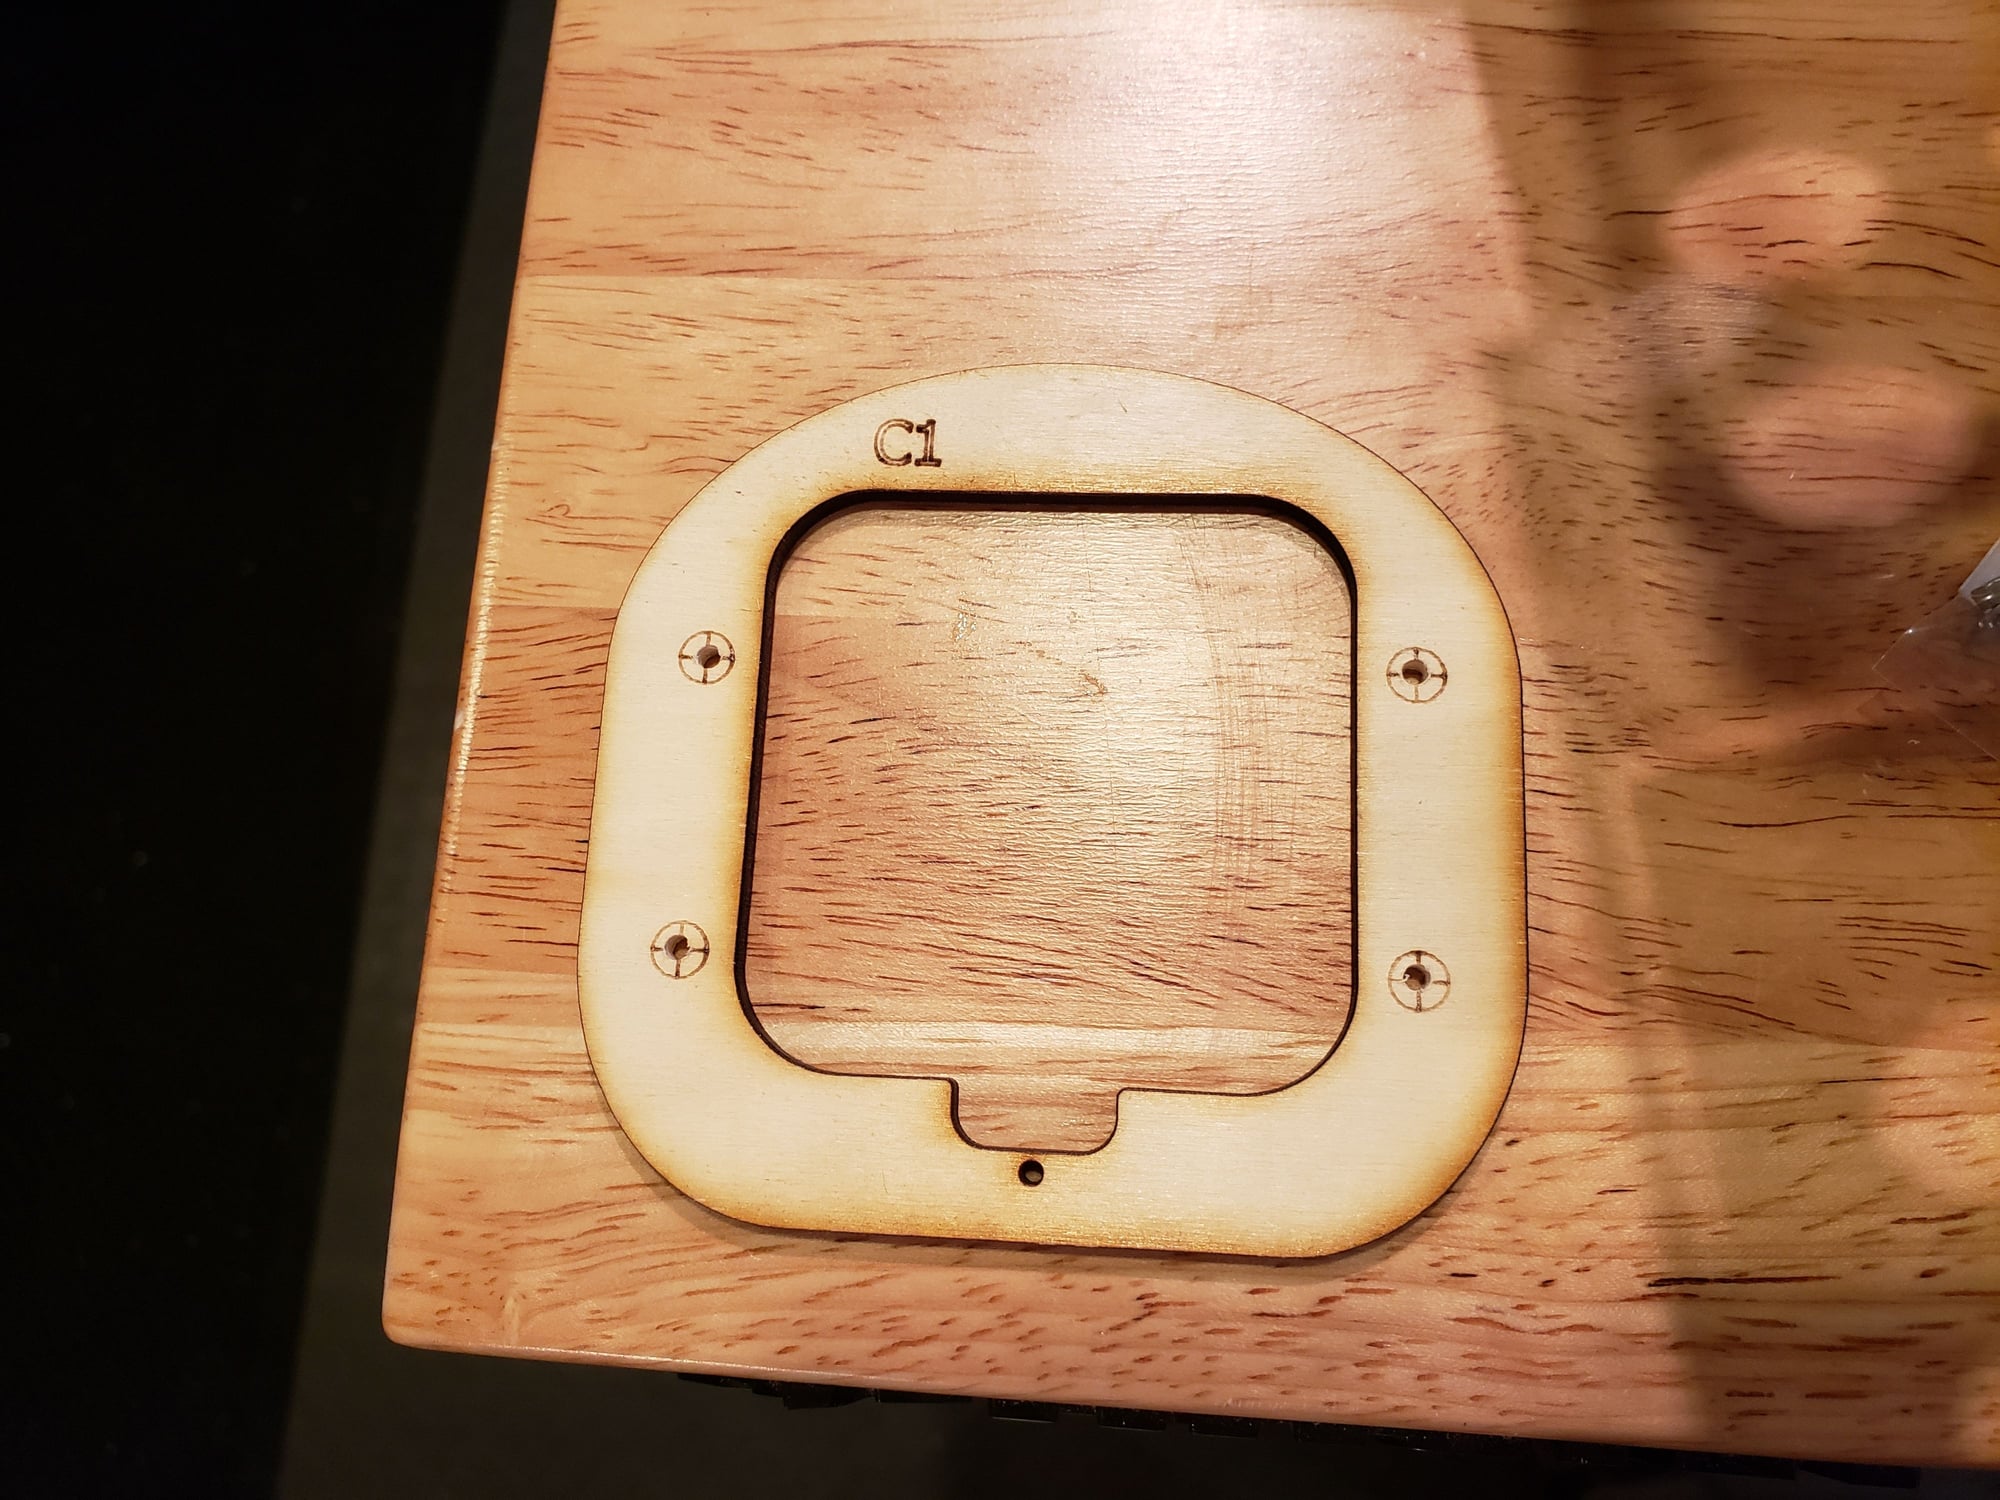
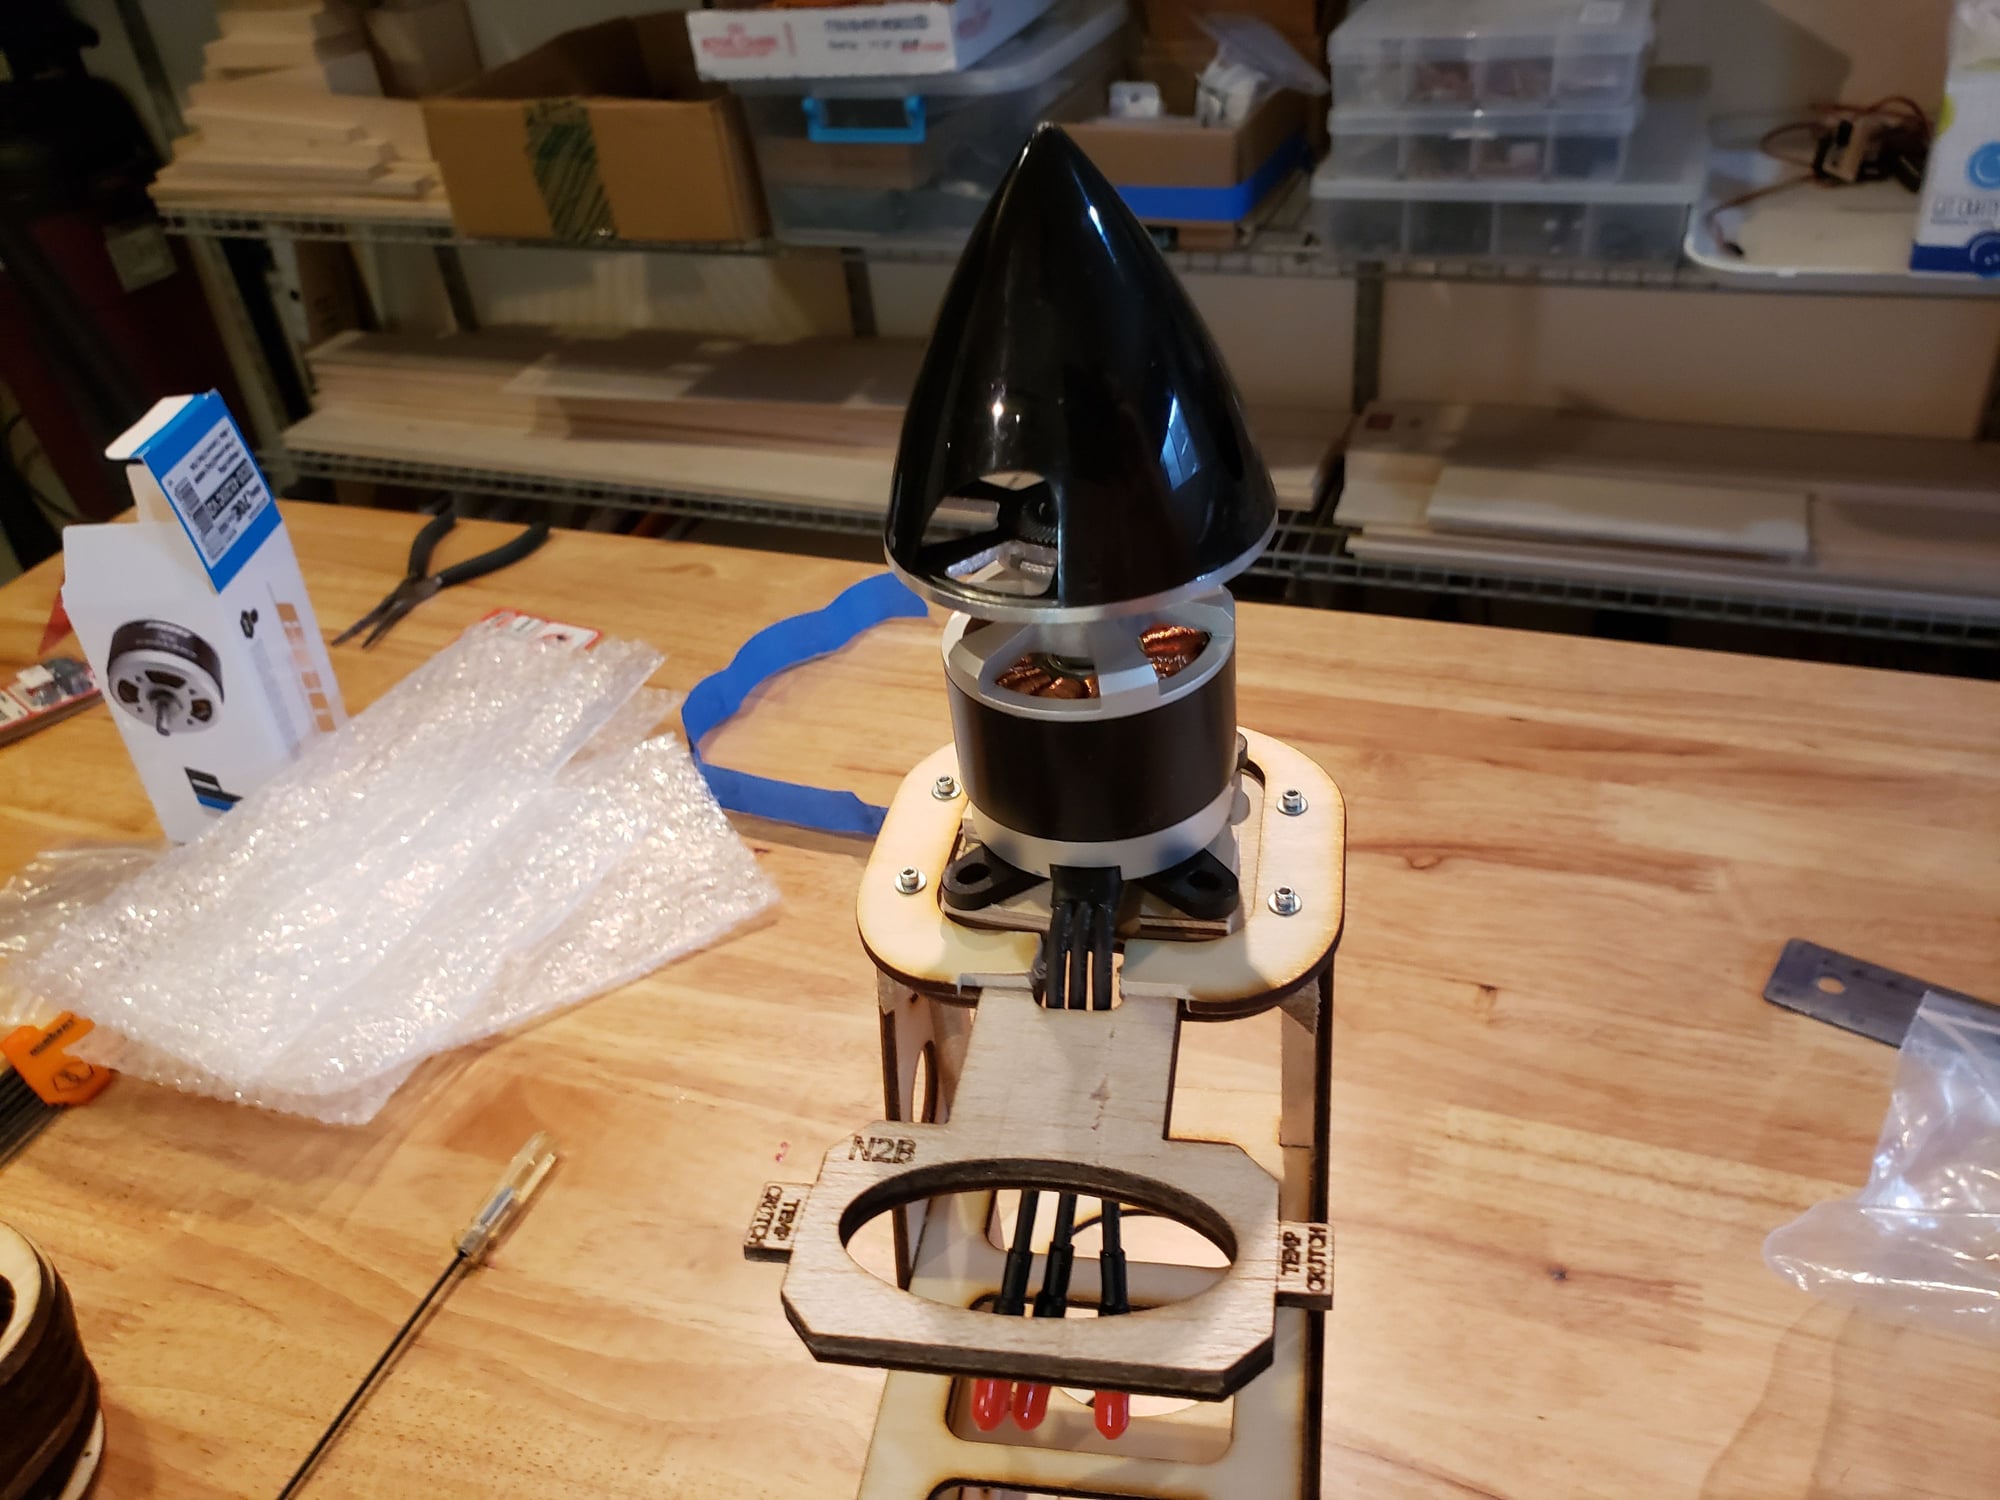
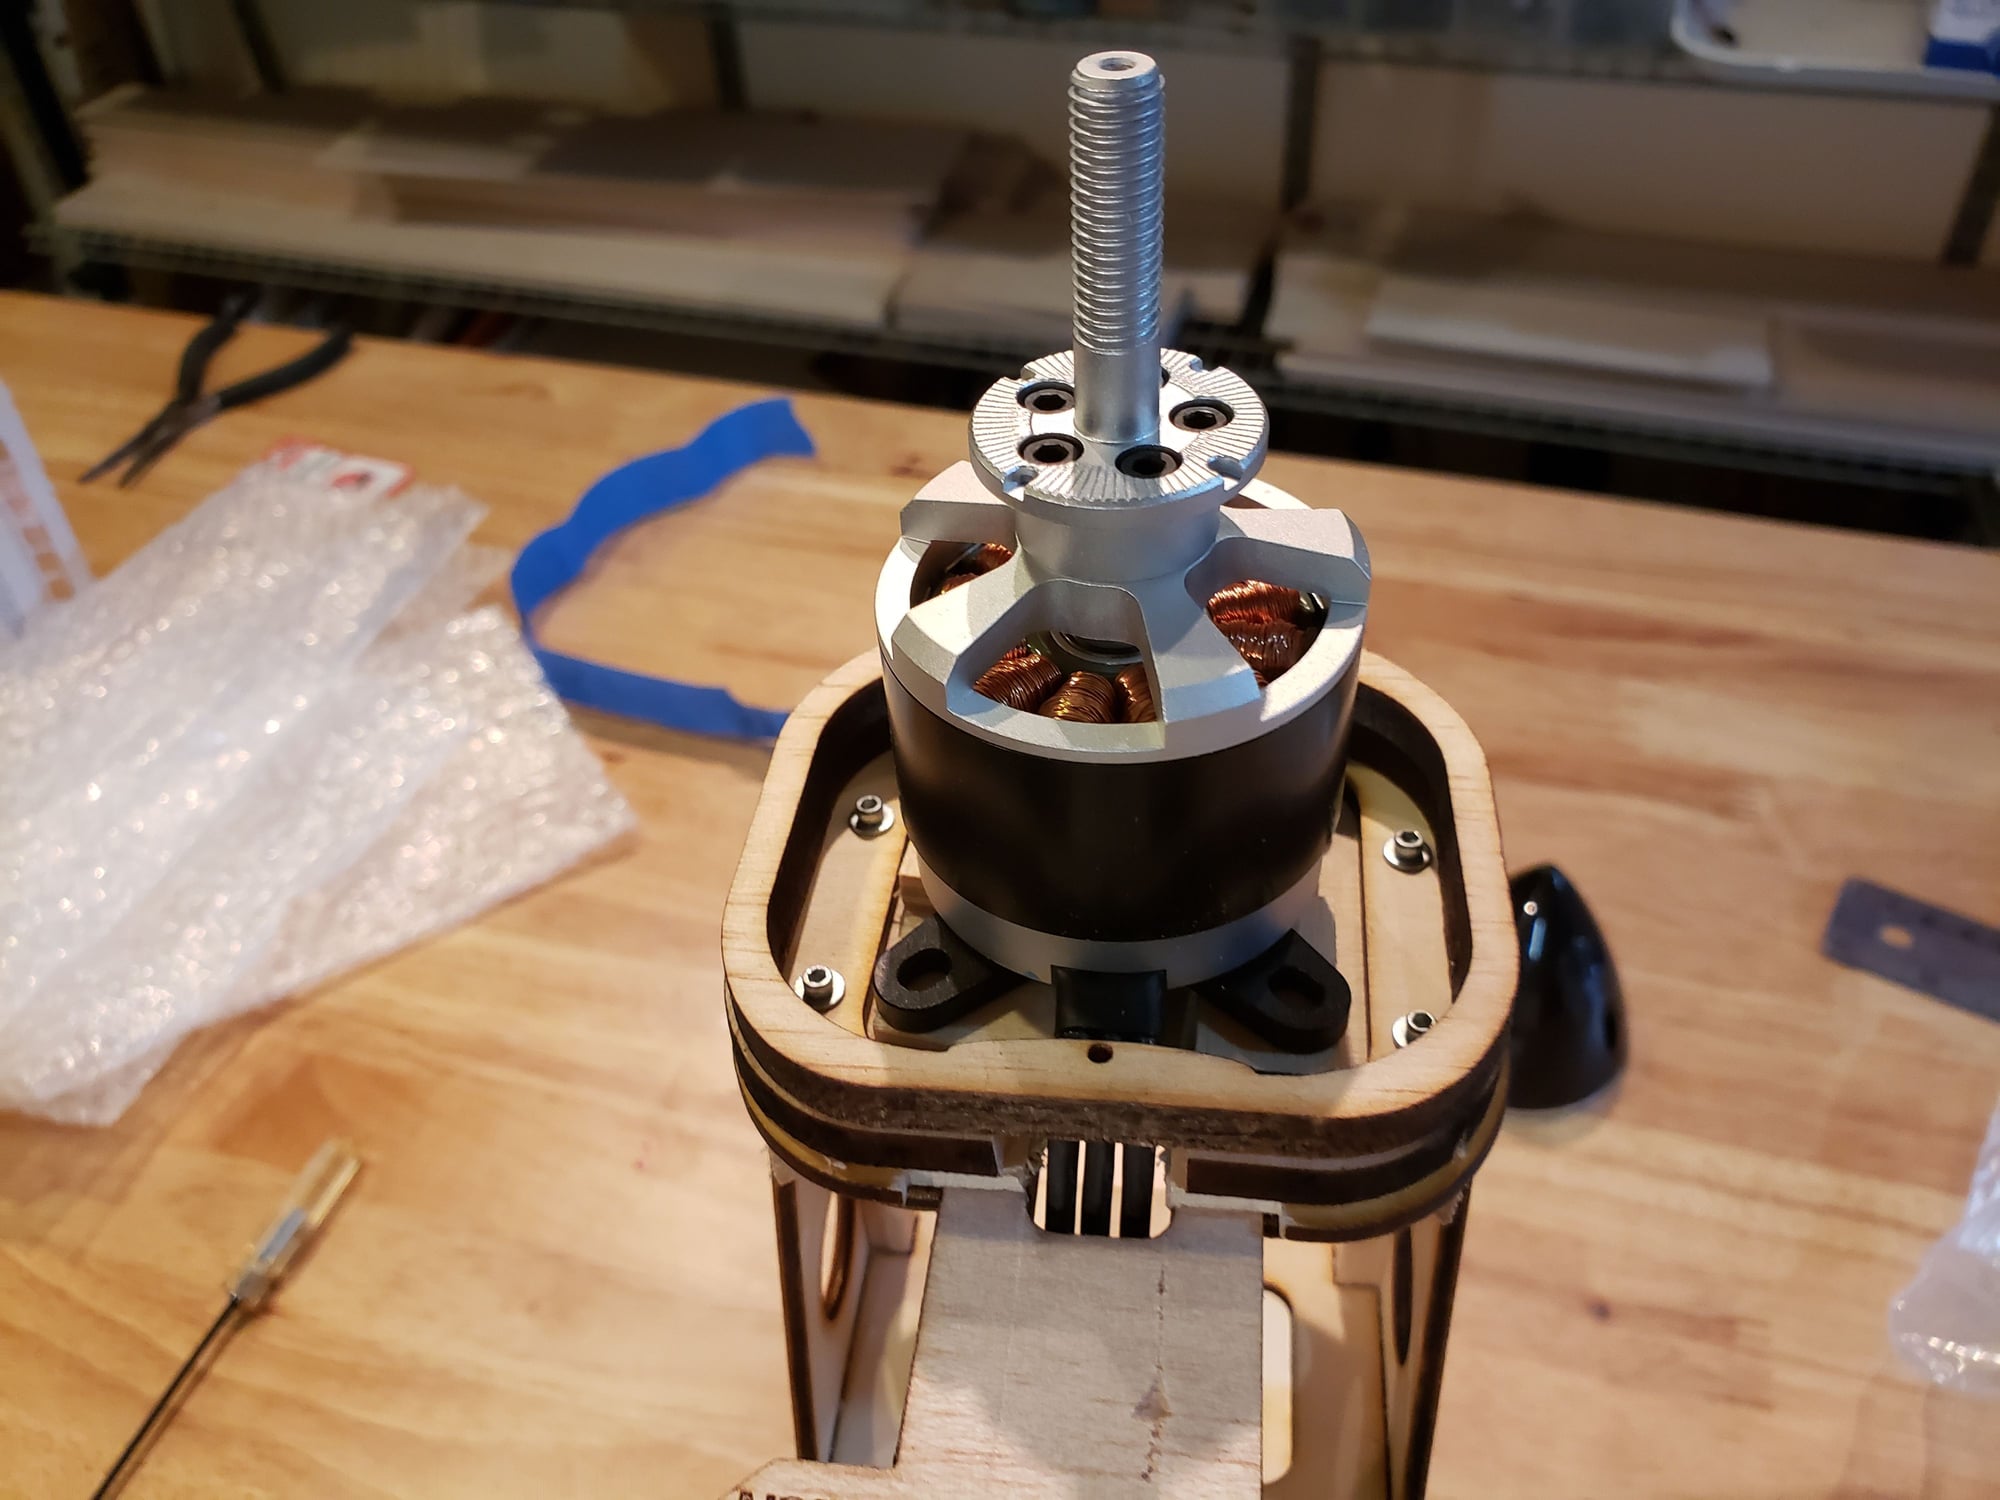
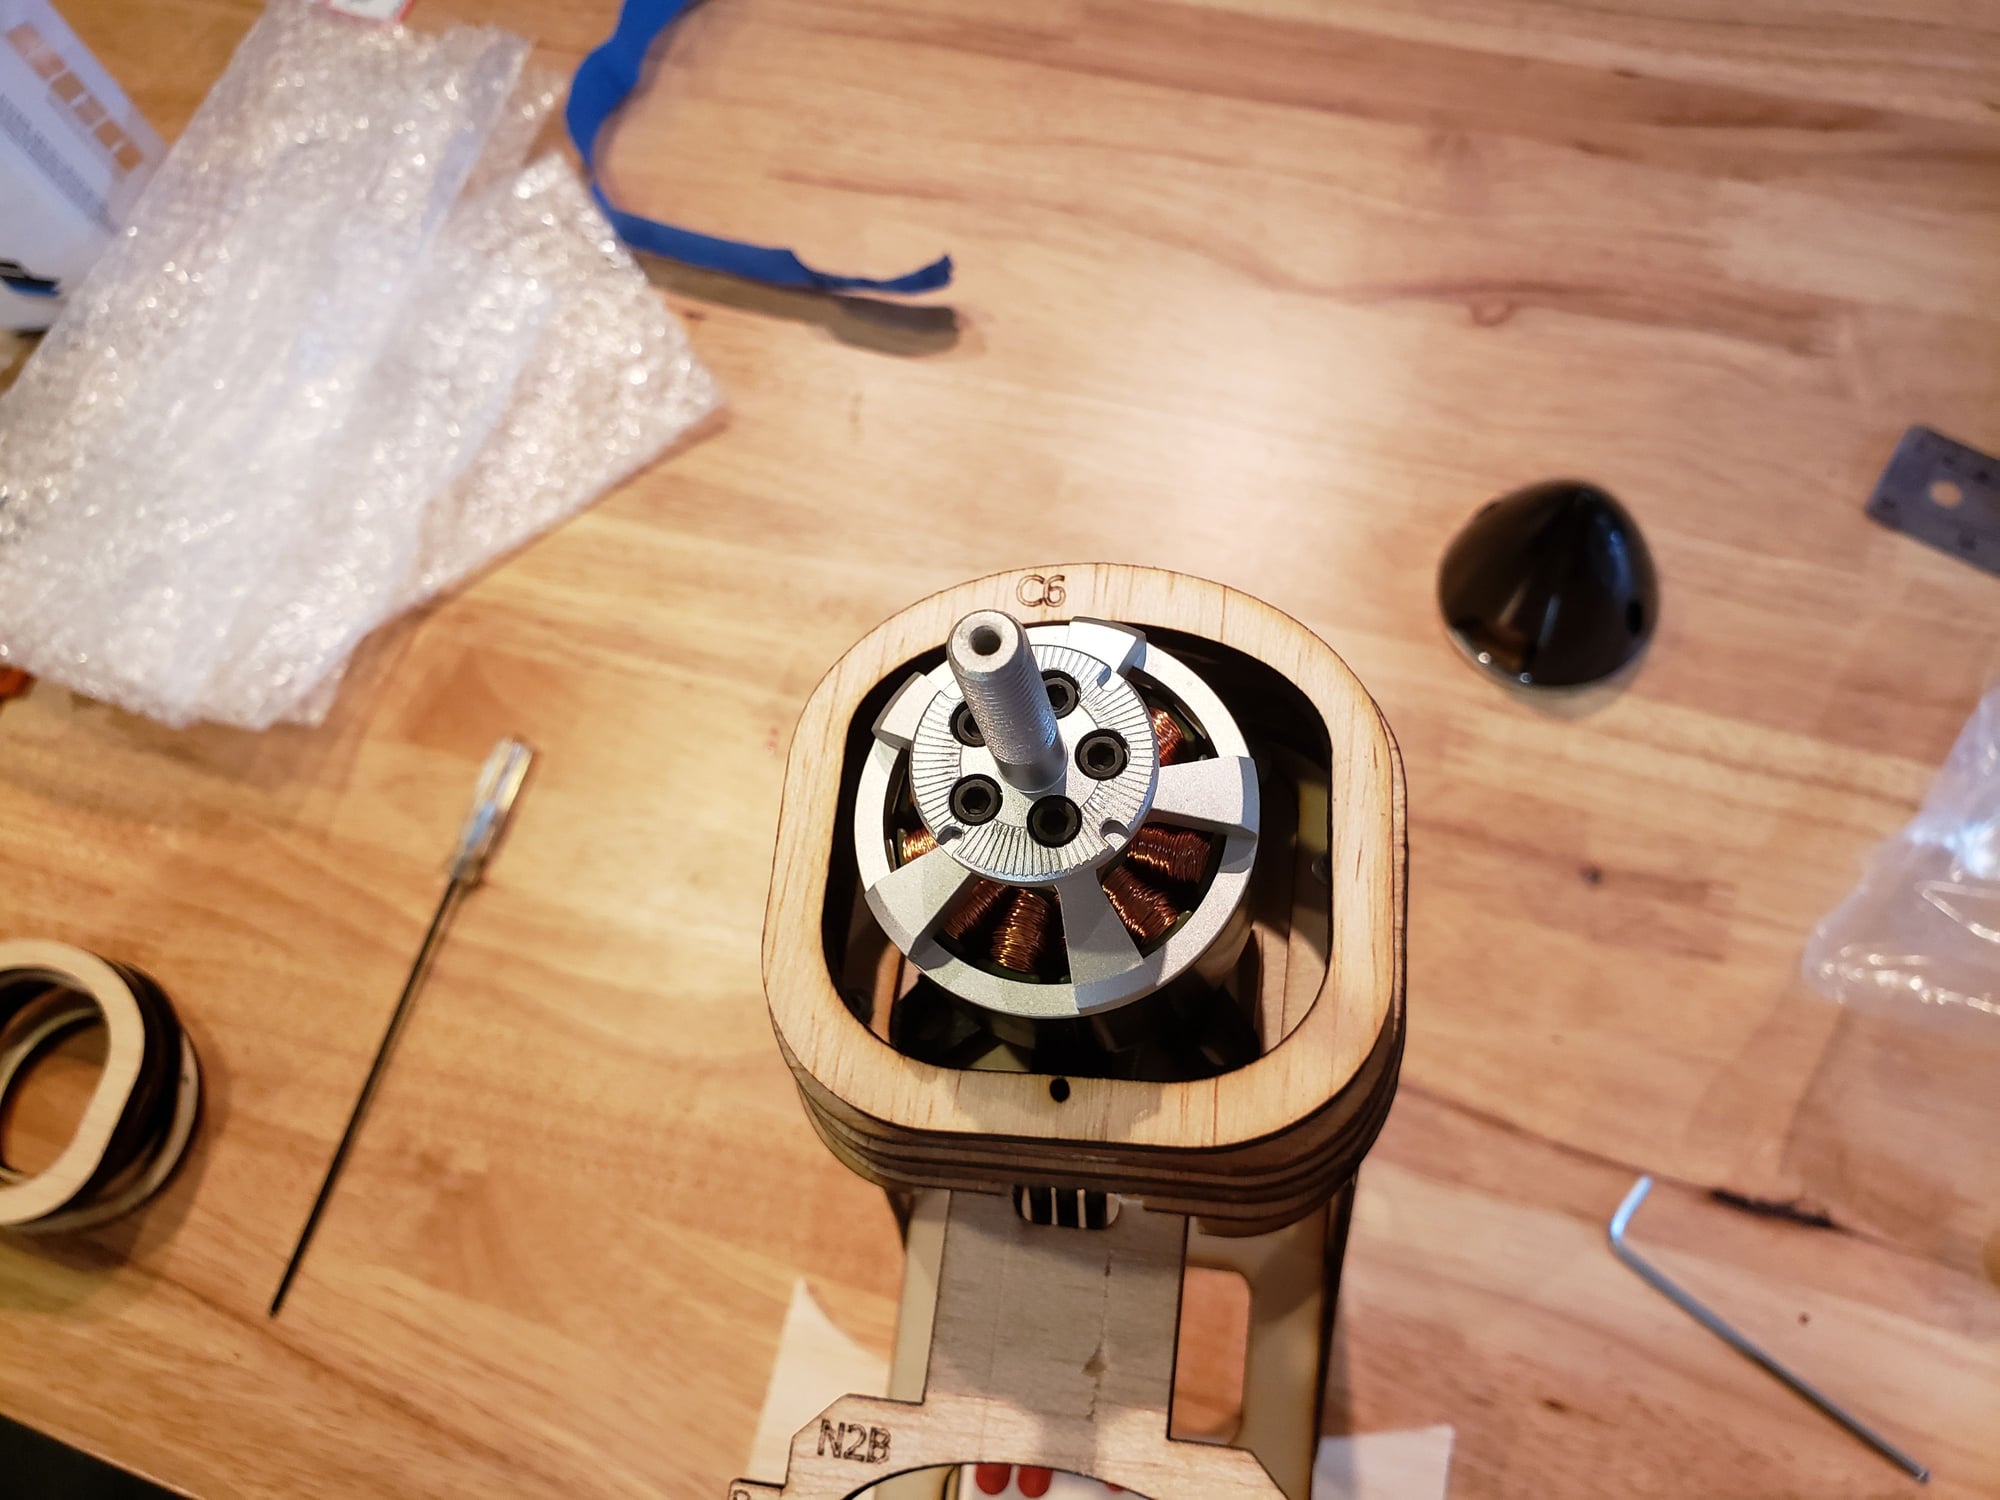
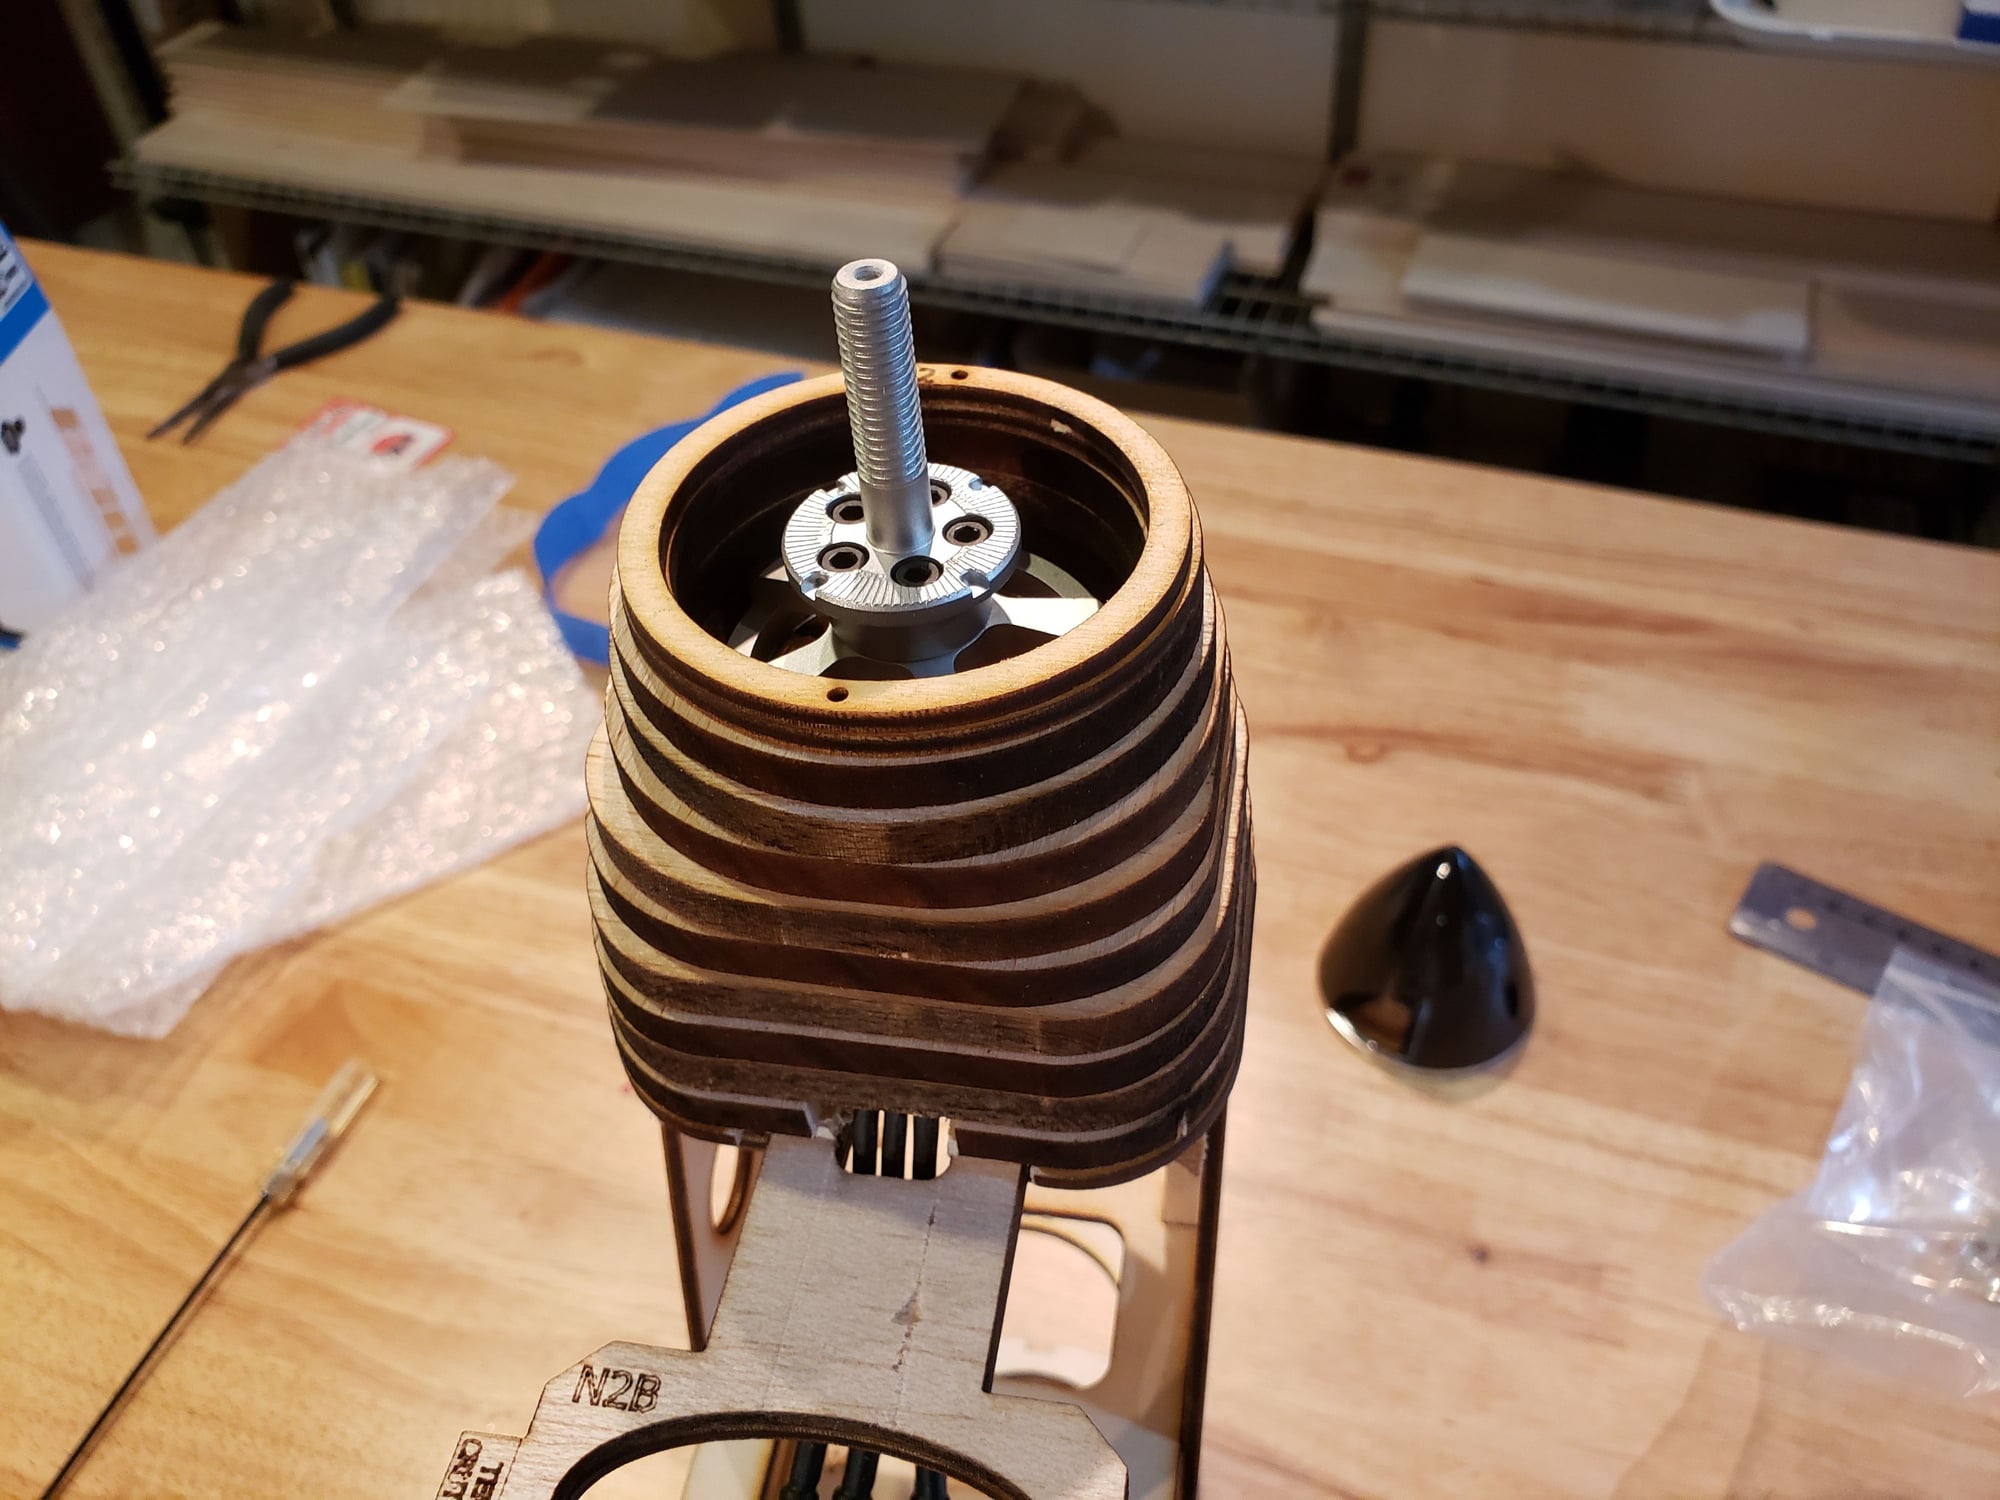
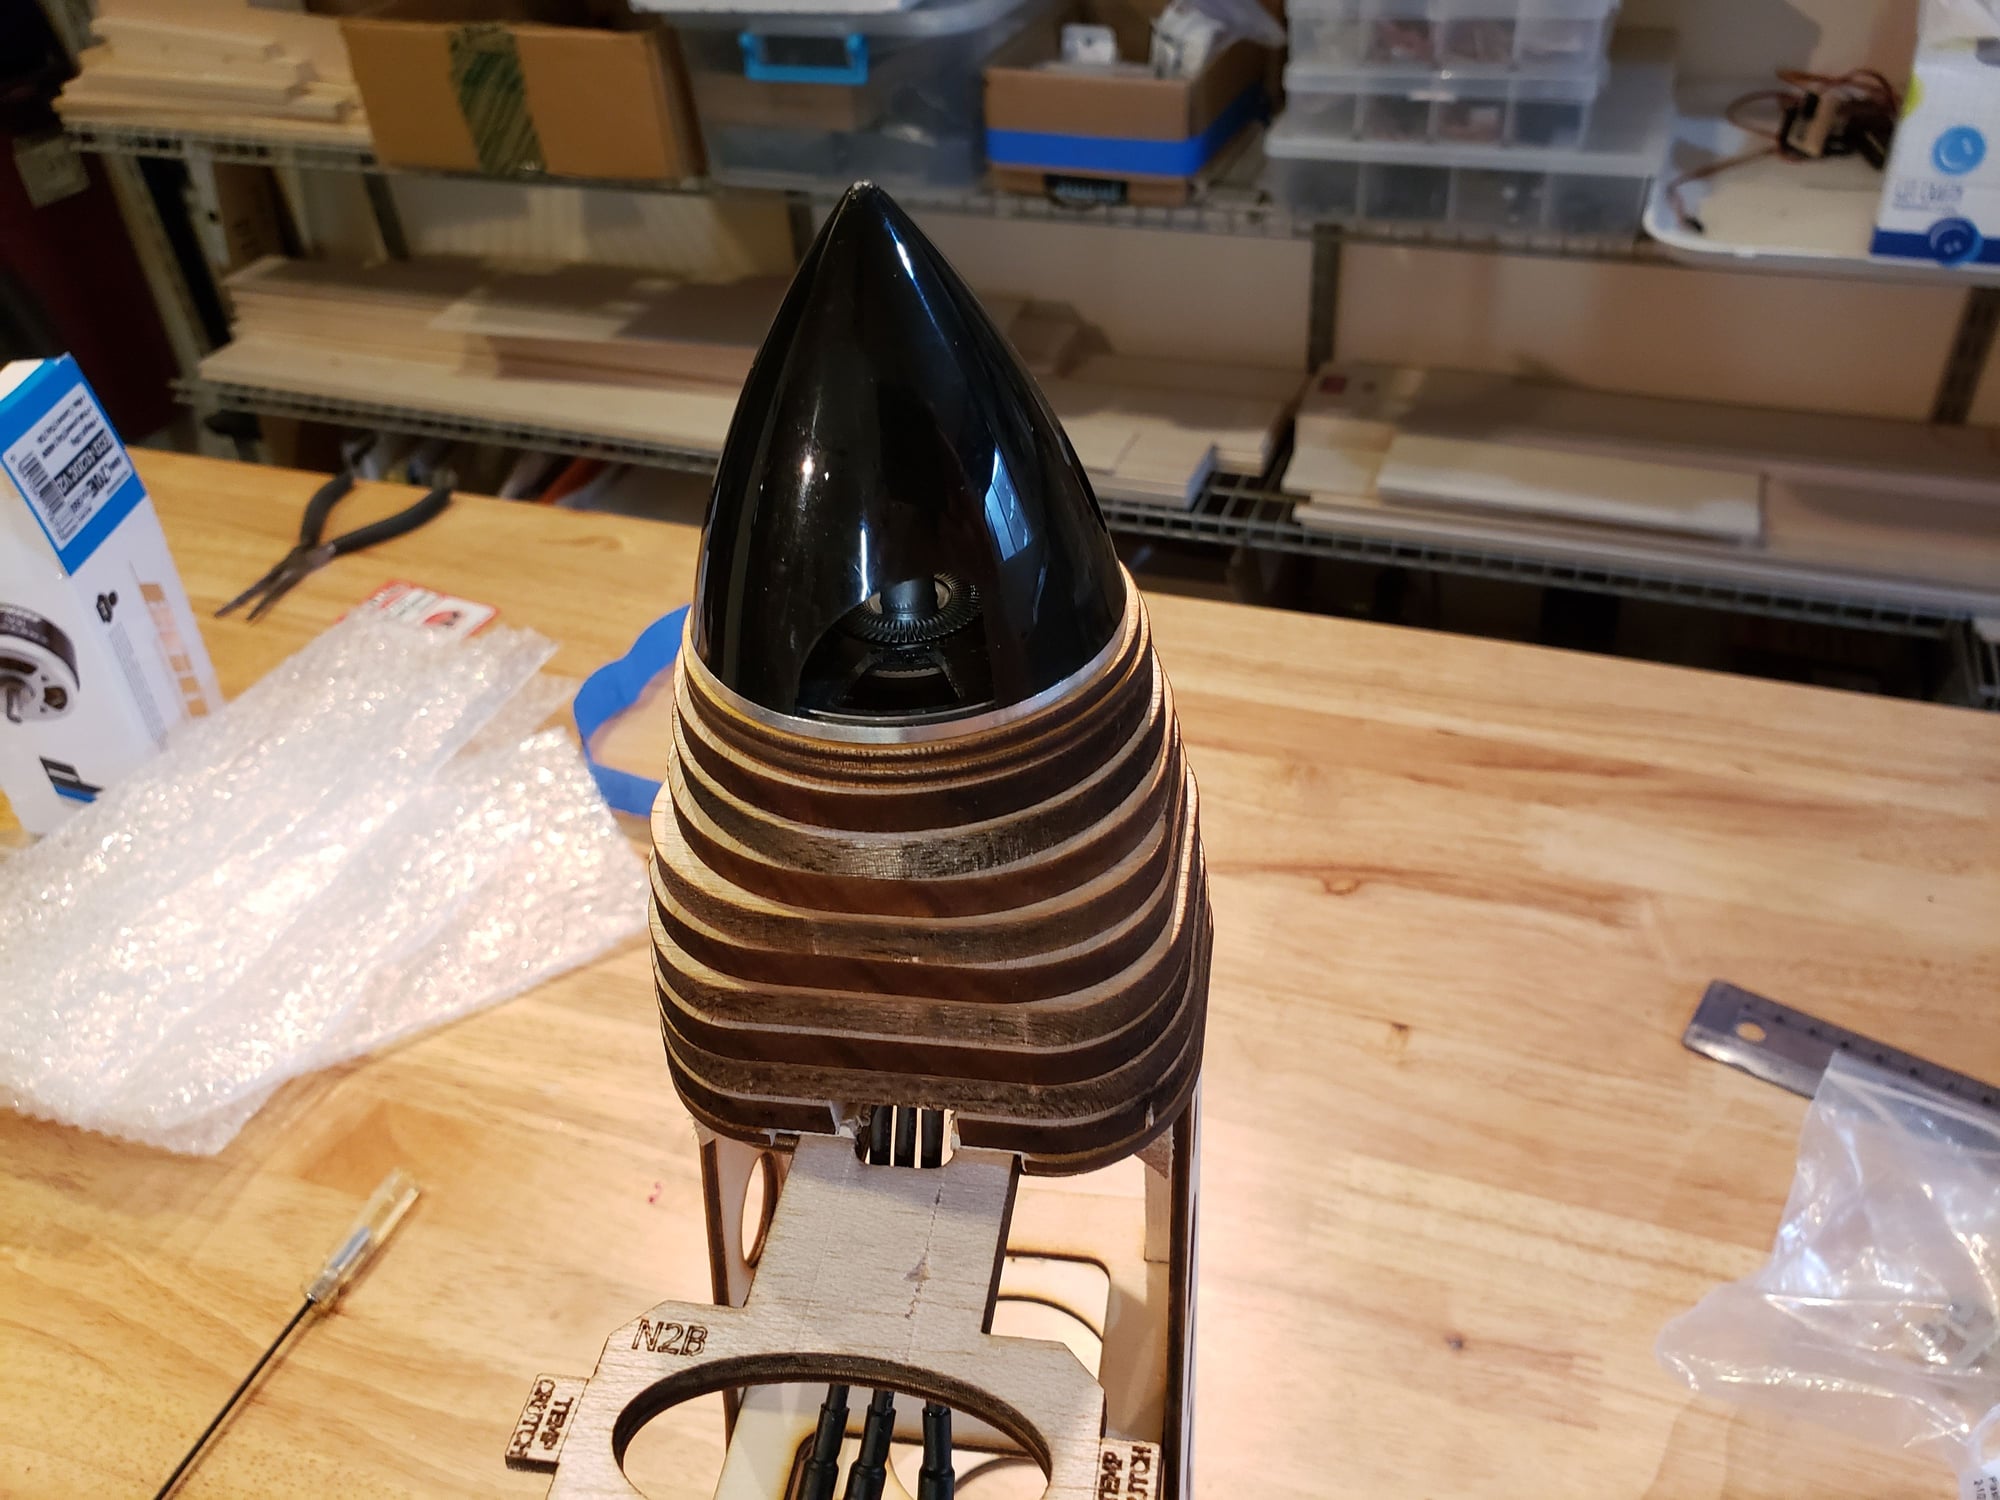
Around the motor is a roughly conical shaped cowl. This needs to be removeable to access the motor. It's made from layers of 1/4" balsa with ply at the base and front. The balsa layers were cut at 90 degrees to each other to alternate the direction of the grain making a more stable overall assembly. Work starts by mounting the first layer with screws, this is what will allow it to come off. Then mount the motor. Mine needed 1/4" standoffs for the back of the spinner to sit just in front of the cowl. Then the numbered layers are added aligning with the spinner.


 11-01-2023, 07:42 PM
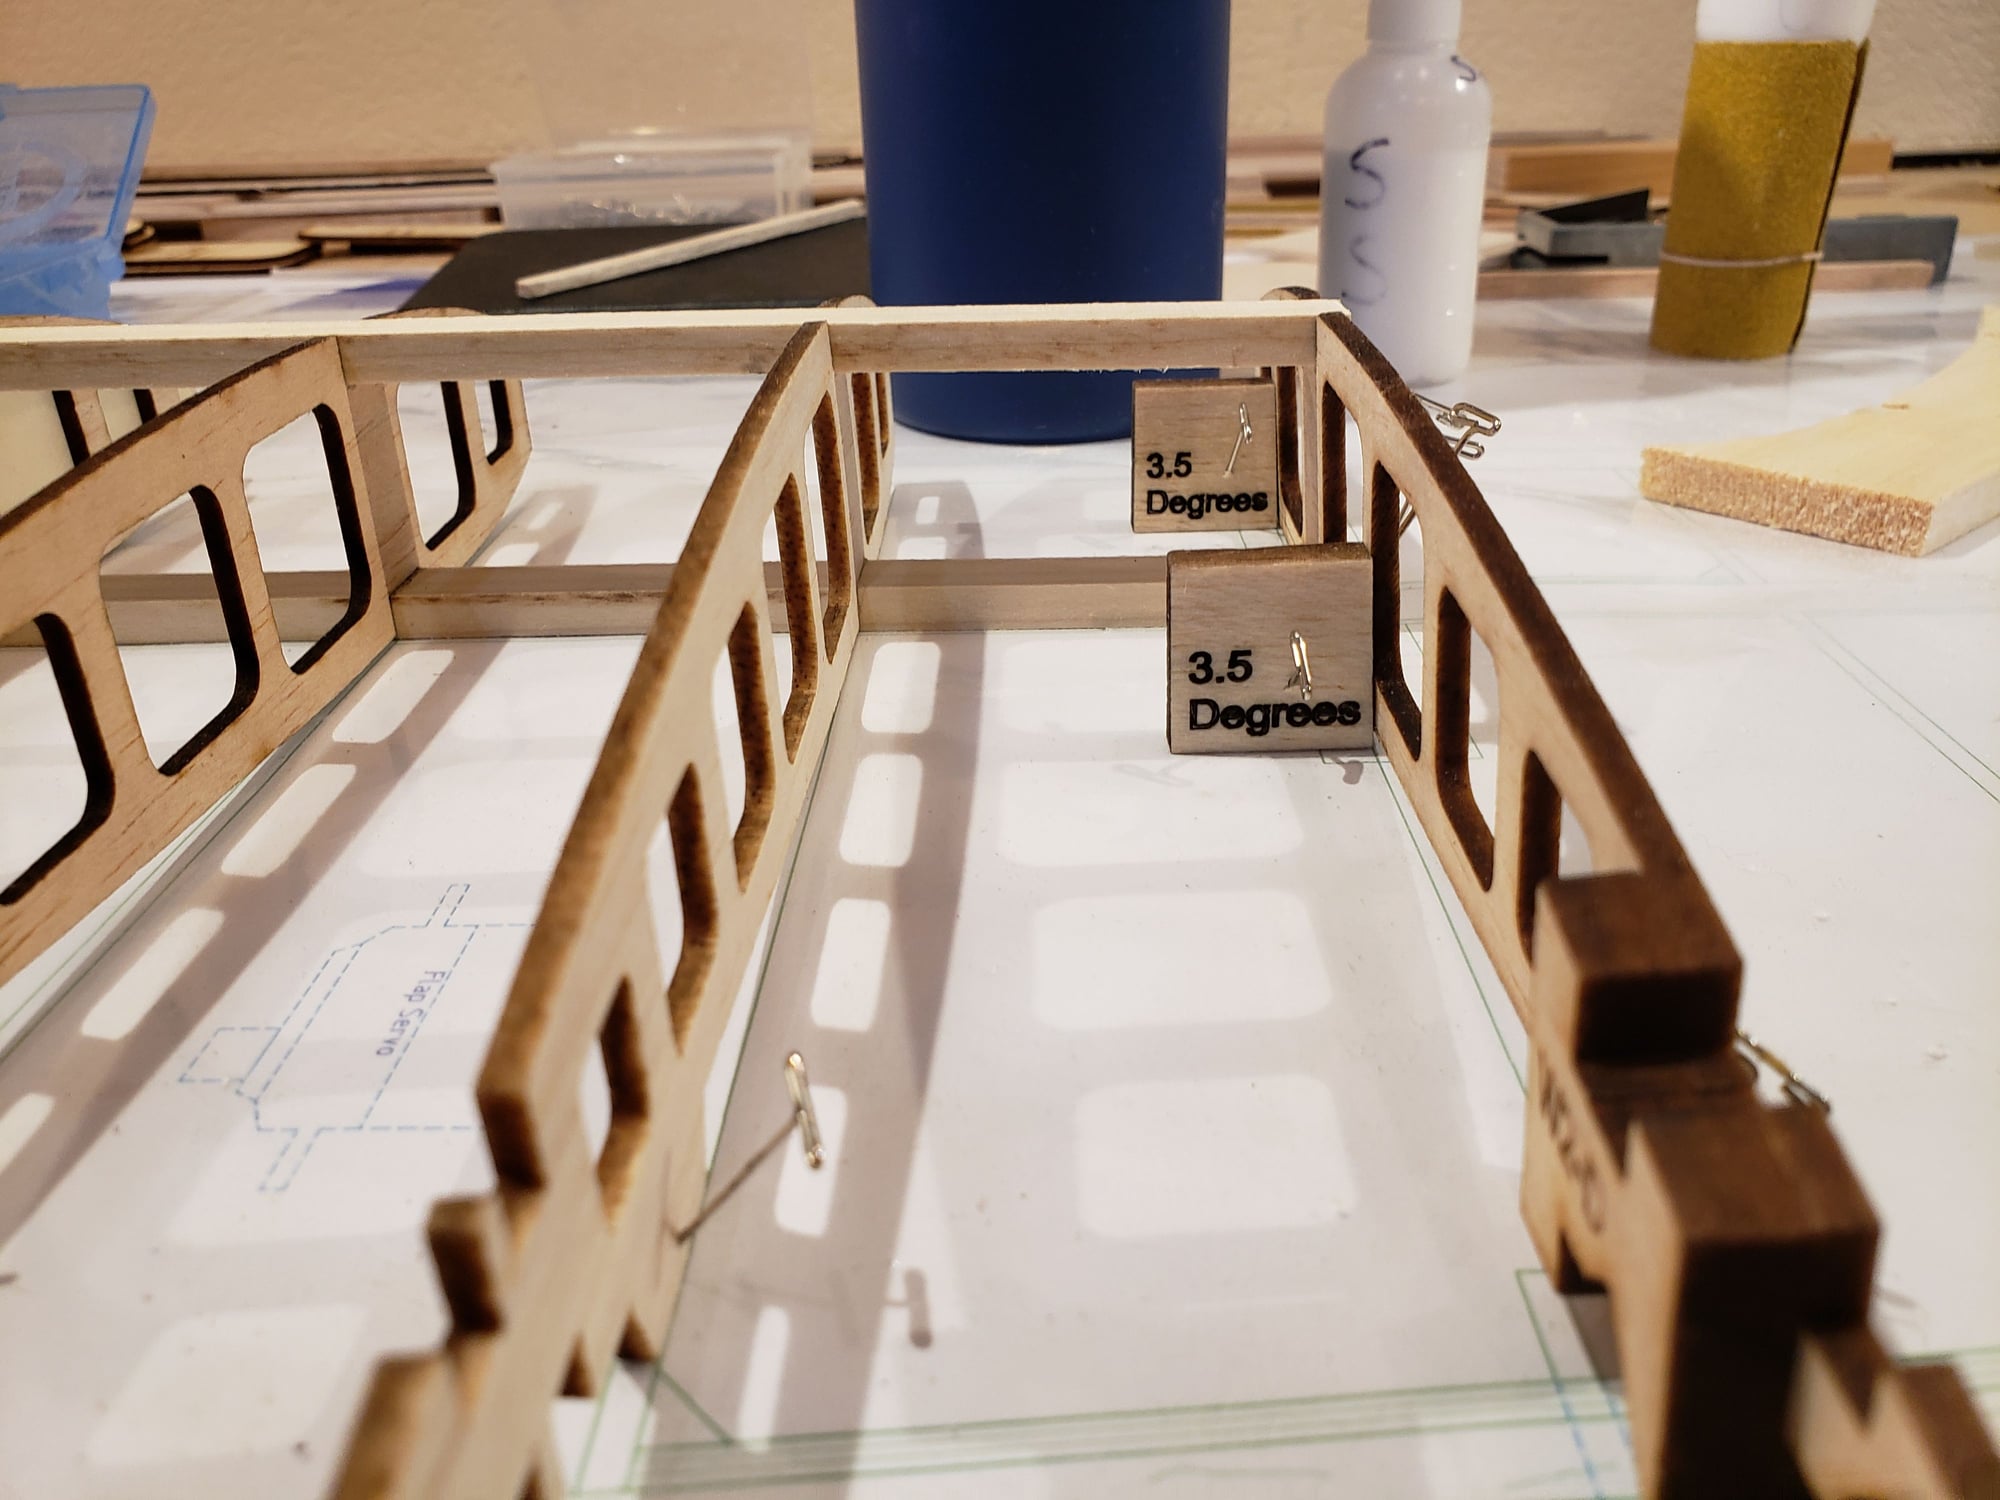
#50
The Pucara Fenix has slotted flaps. When deployed, a gap is opened between the trailing edge of the wing and the leading edge of the flap that allows air to pass from below the wing to the top and across the flap. To get the proper movement, the hinge and pivot point are below the wing. In this picture, you can see the hinges, one at each end of each flap. I'll set up an external hinge on my flaps as well.