


IA-58H Pucara Fenix Custom Plan and Build

 01-08-2024, 08:28 AM
#78
If you look at the Pucara wing, there are 2 hard points at the wing joint outboard of the nacelles. Pretty clear that these are a permanent fixture as they include the landing light. I drew up and assembled a couple of these to be able to mount the E-flite payload release. They went together quickly. The horizontal lines on the side sheeting are just etched reference lines for the ribs.
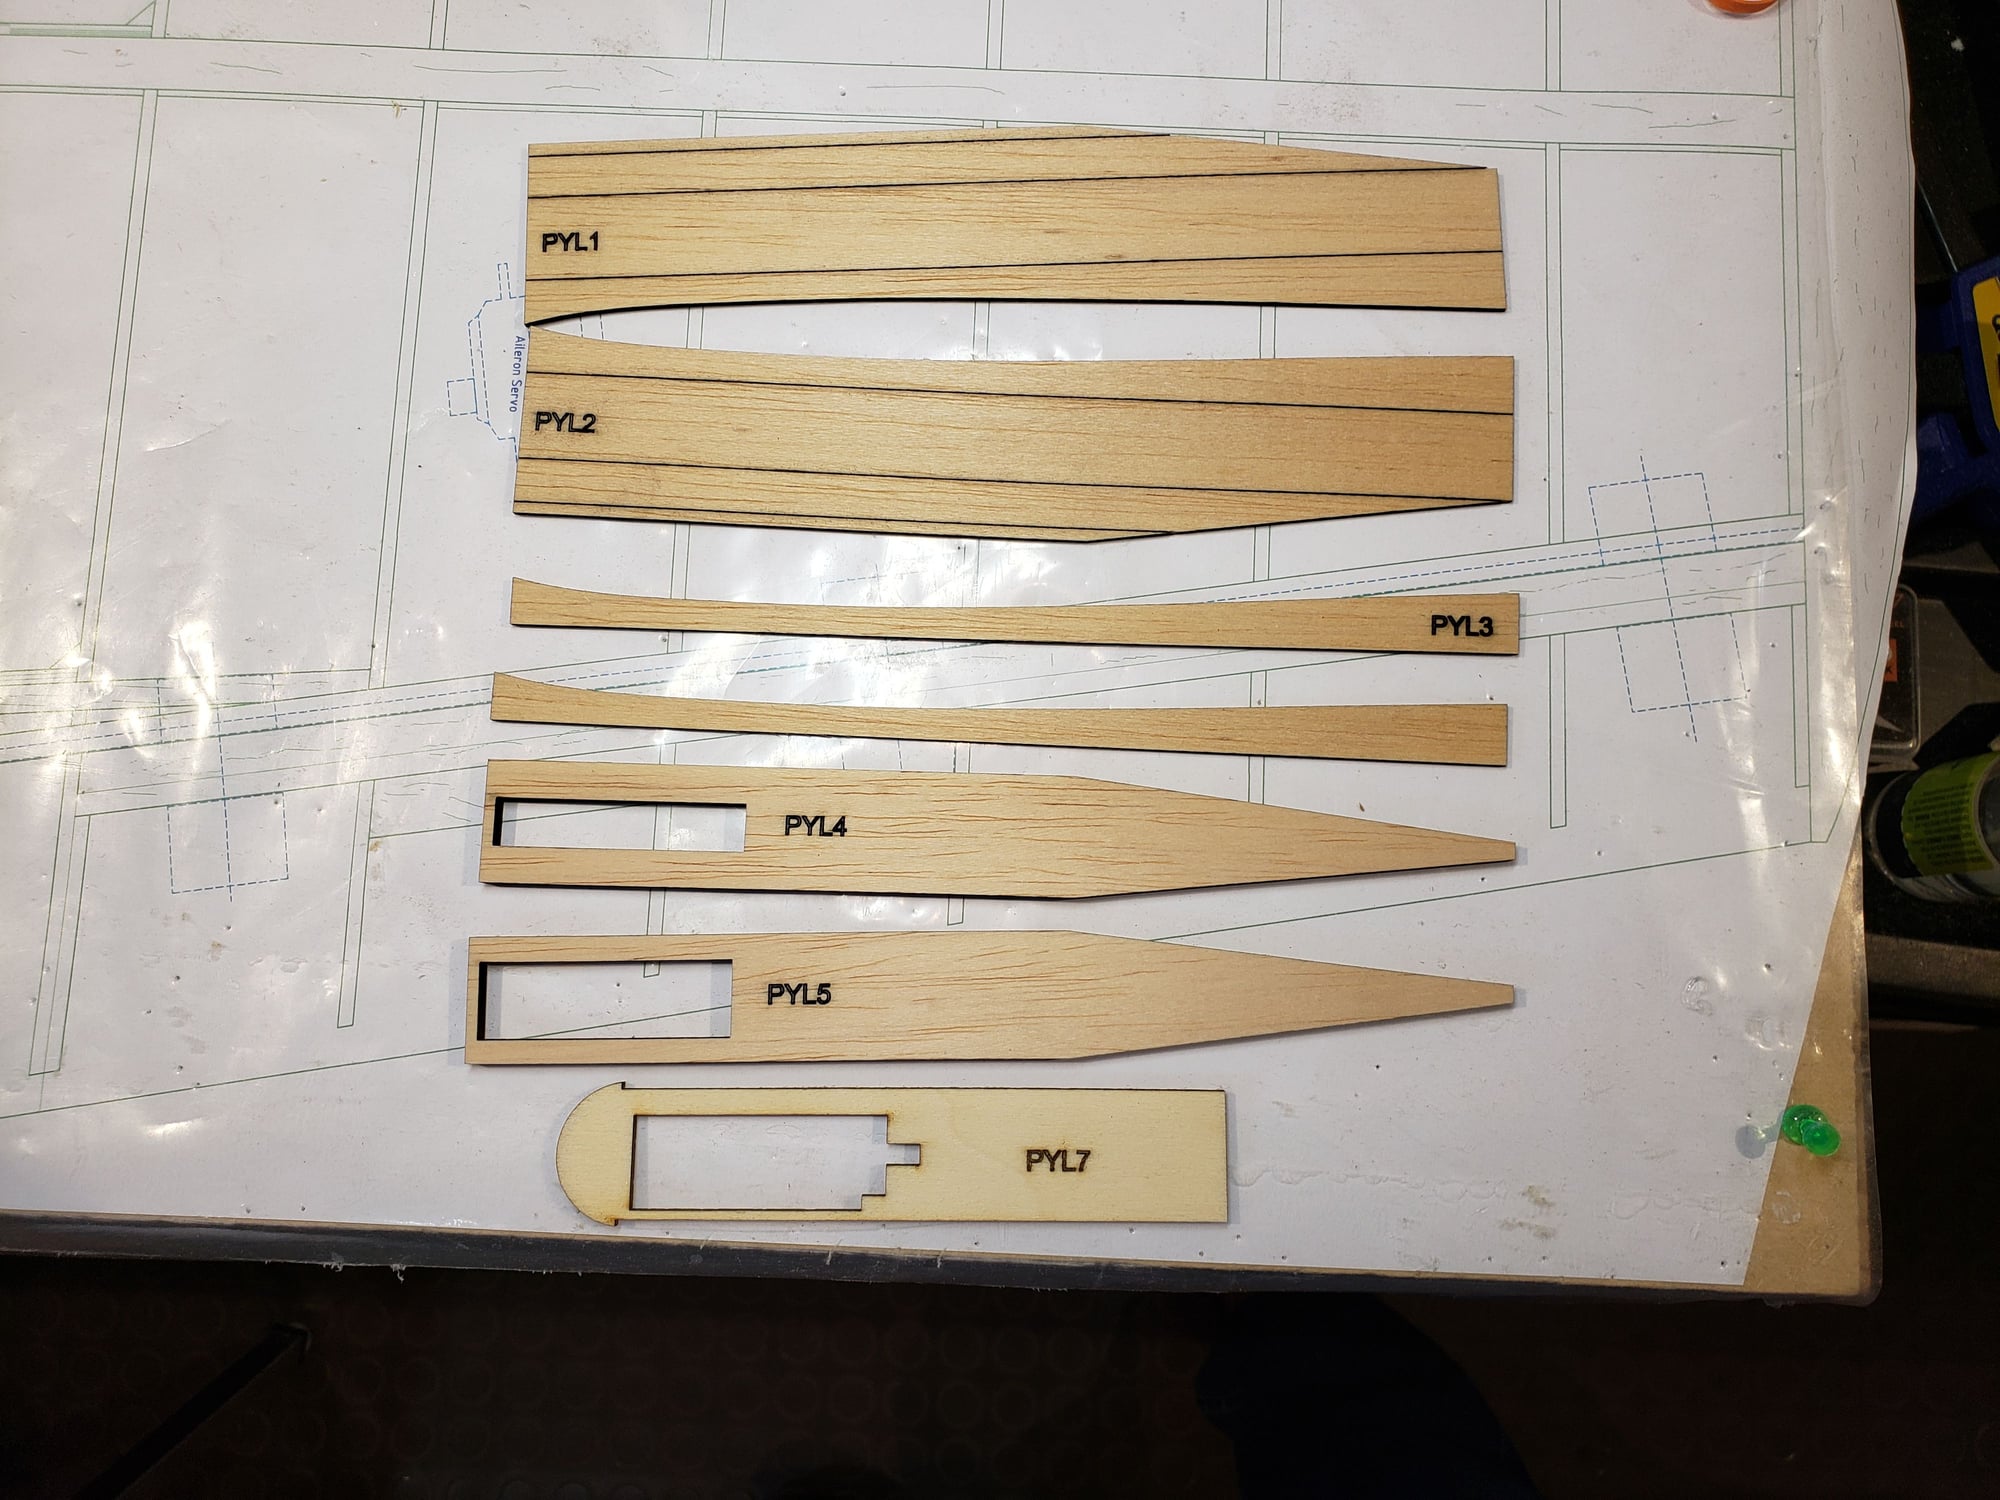
All the parts
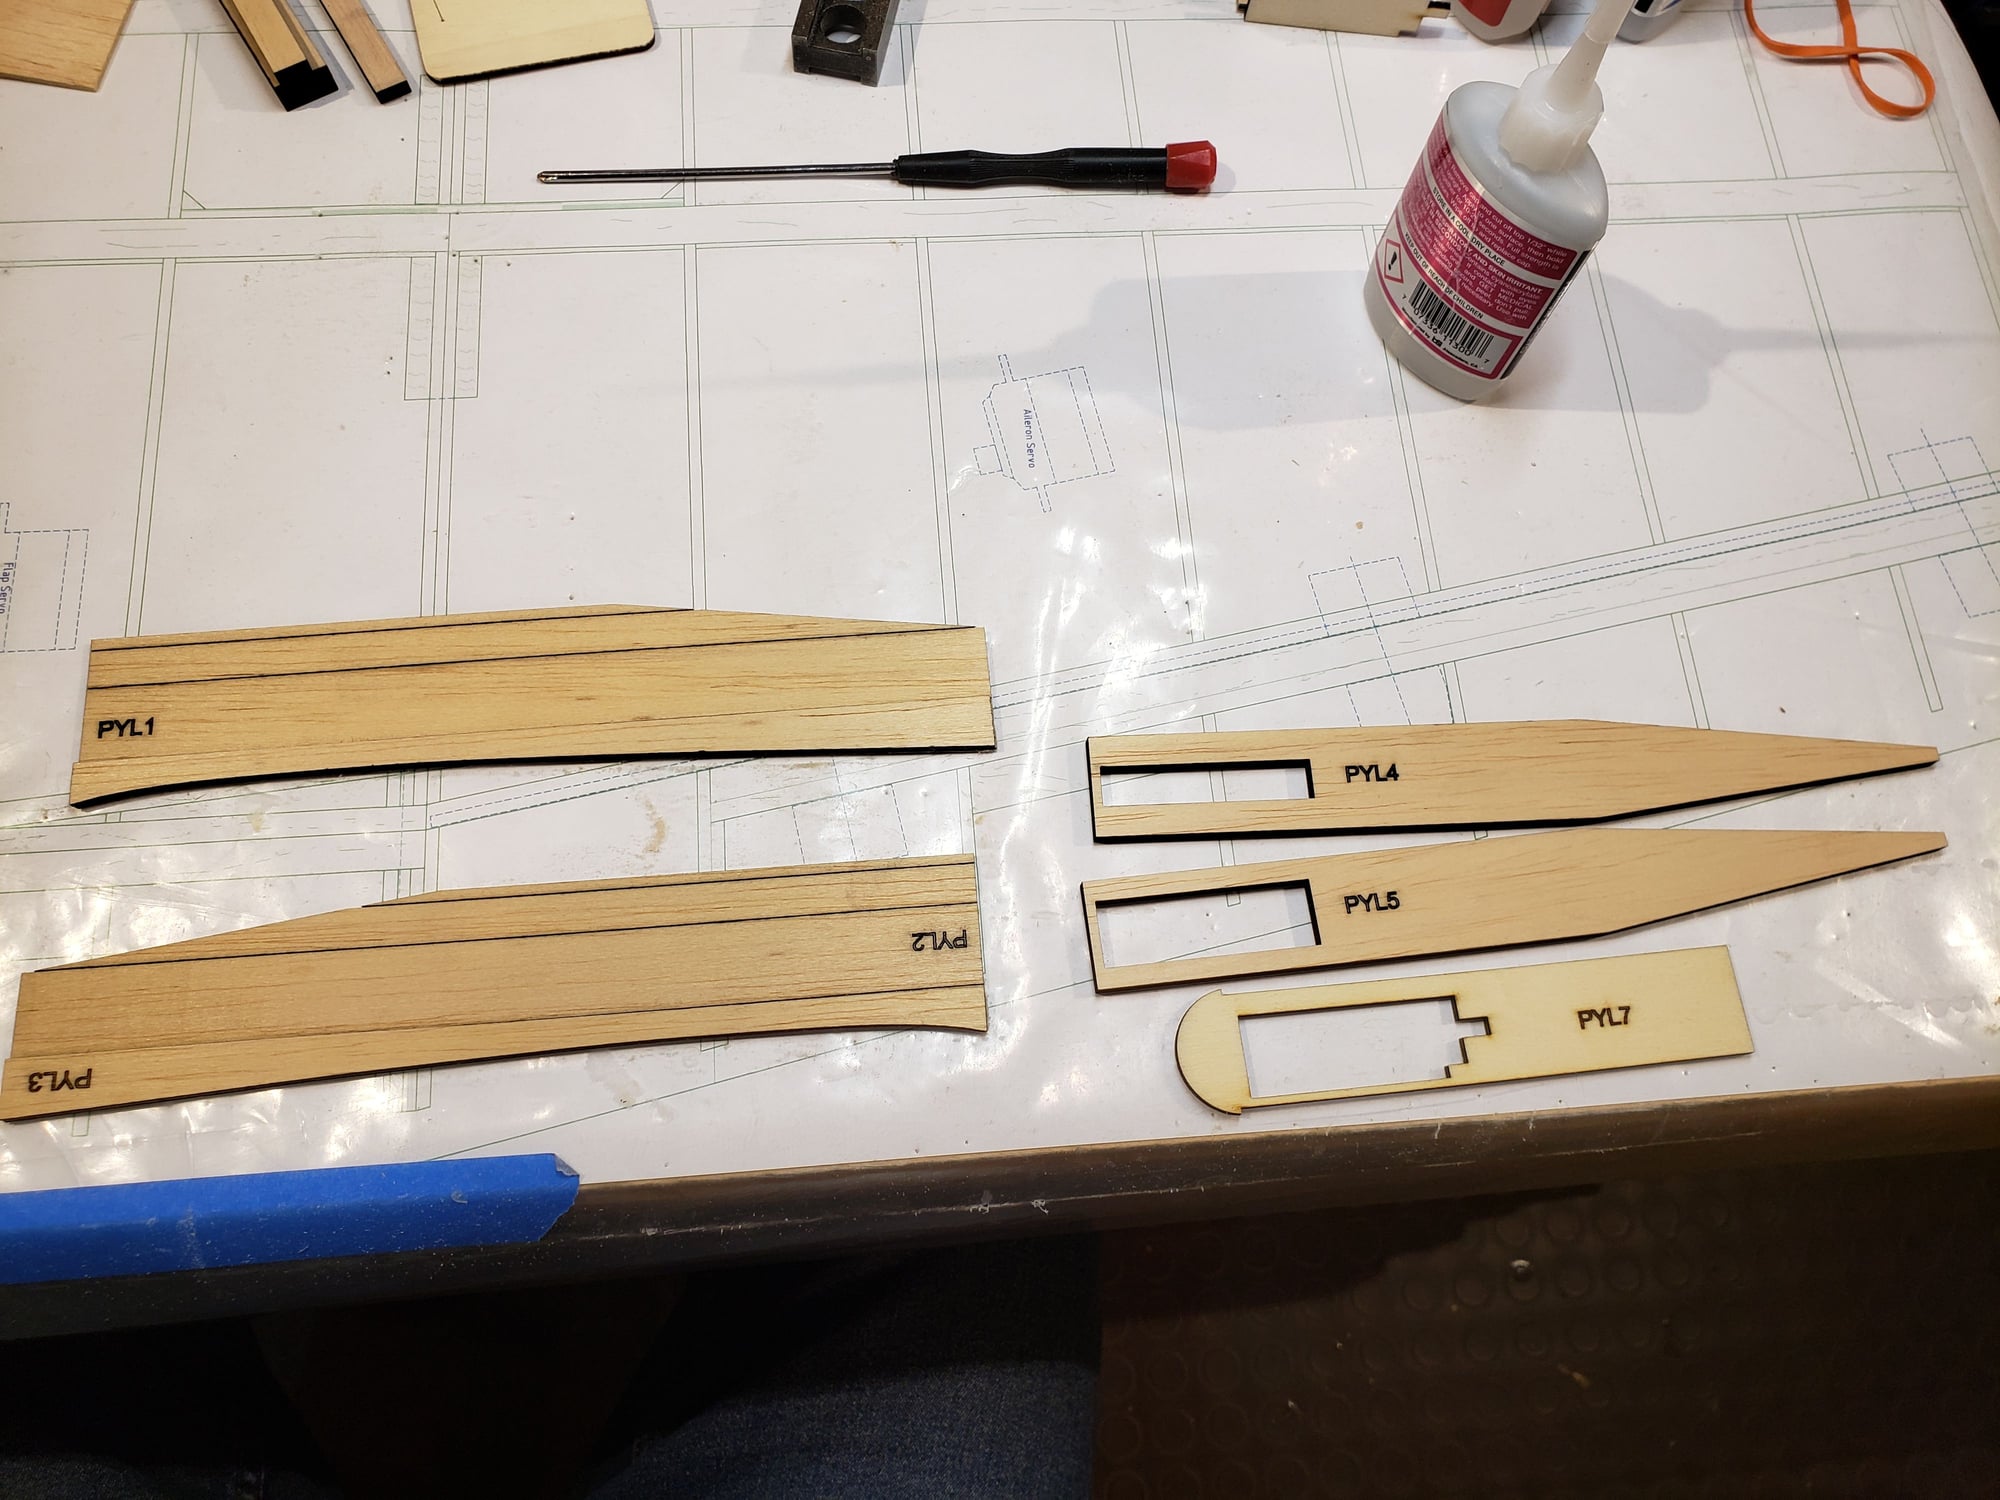
Glue the doublers along the wing mounting edge.
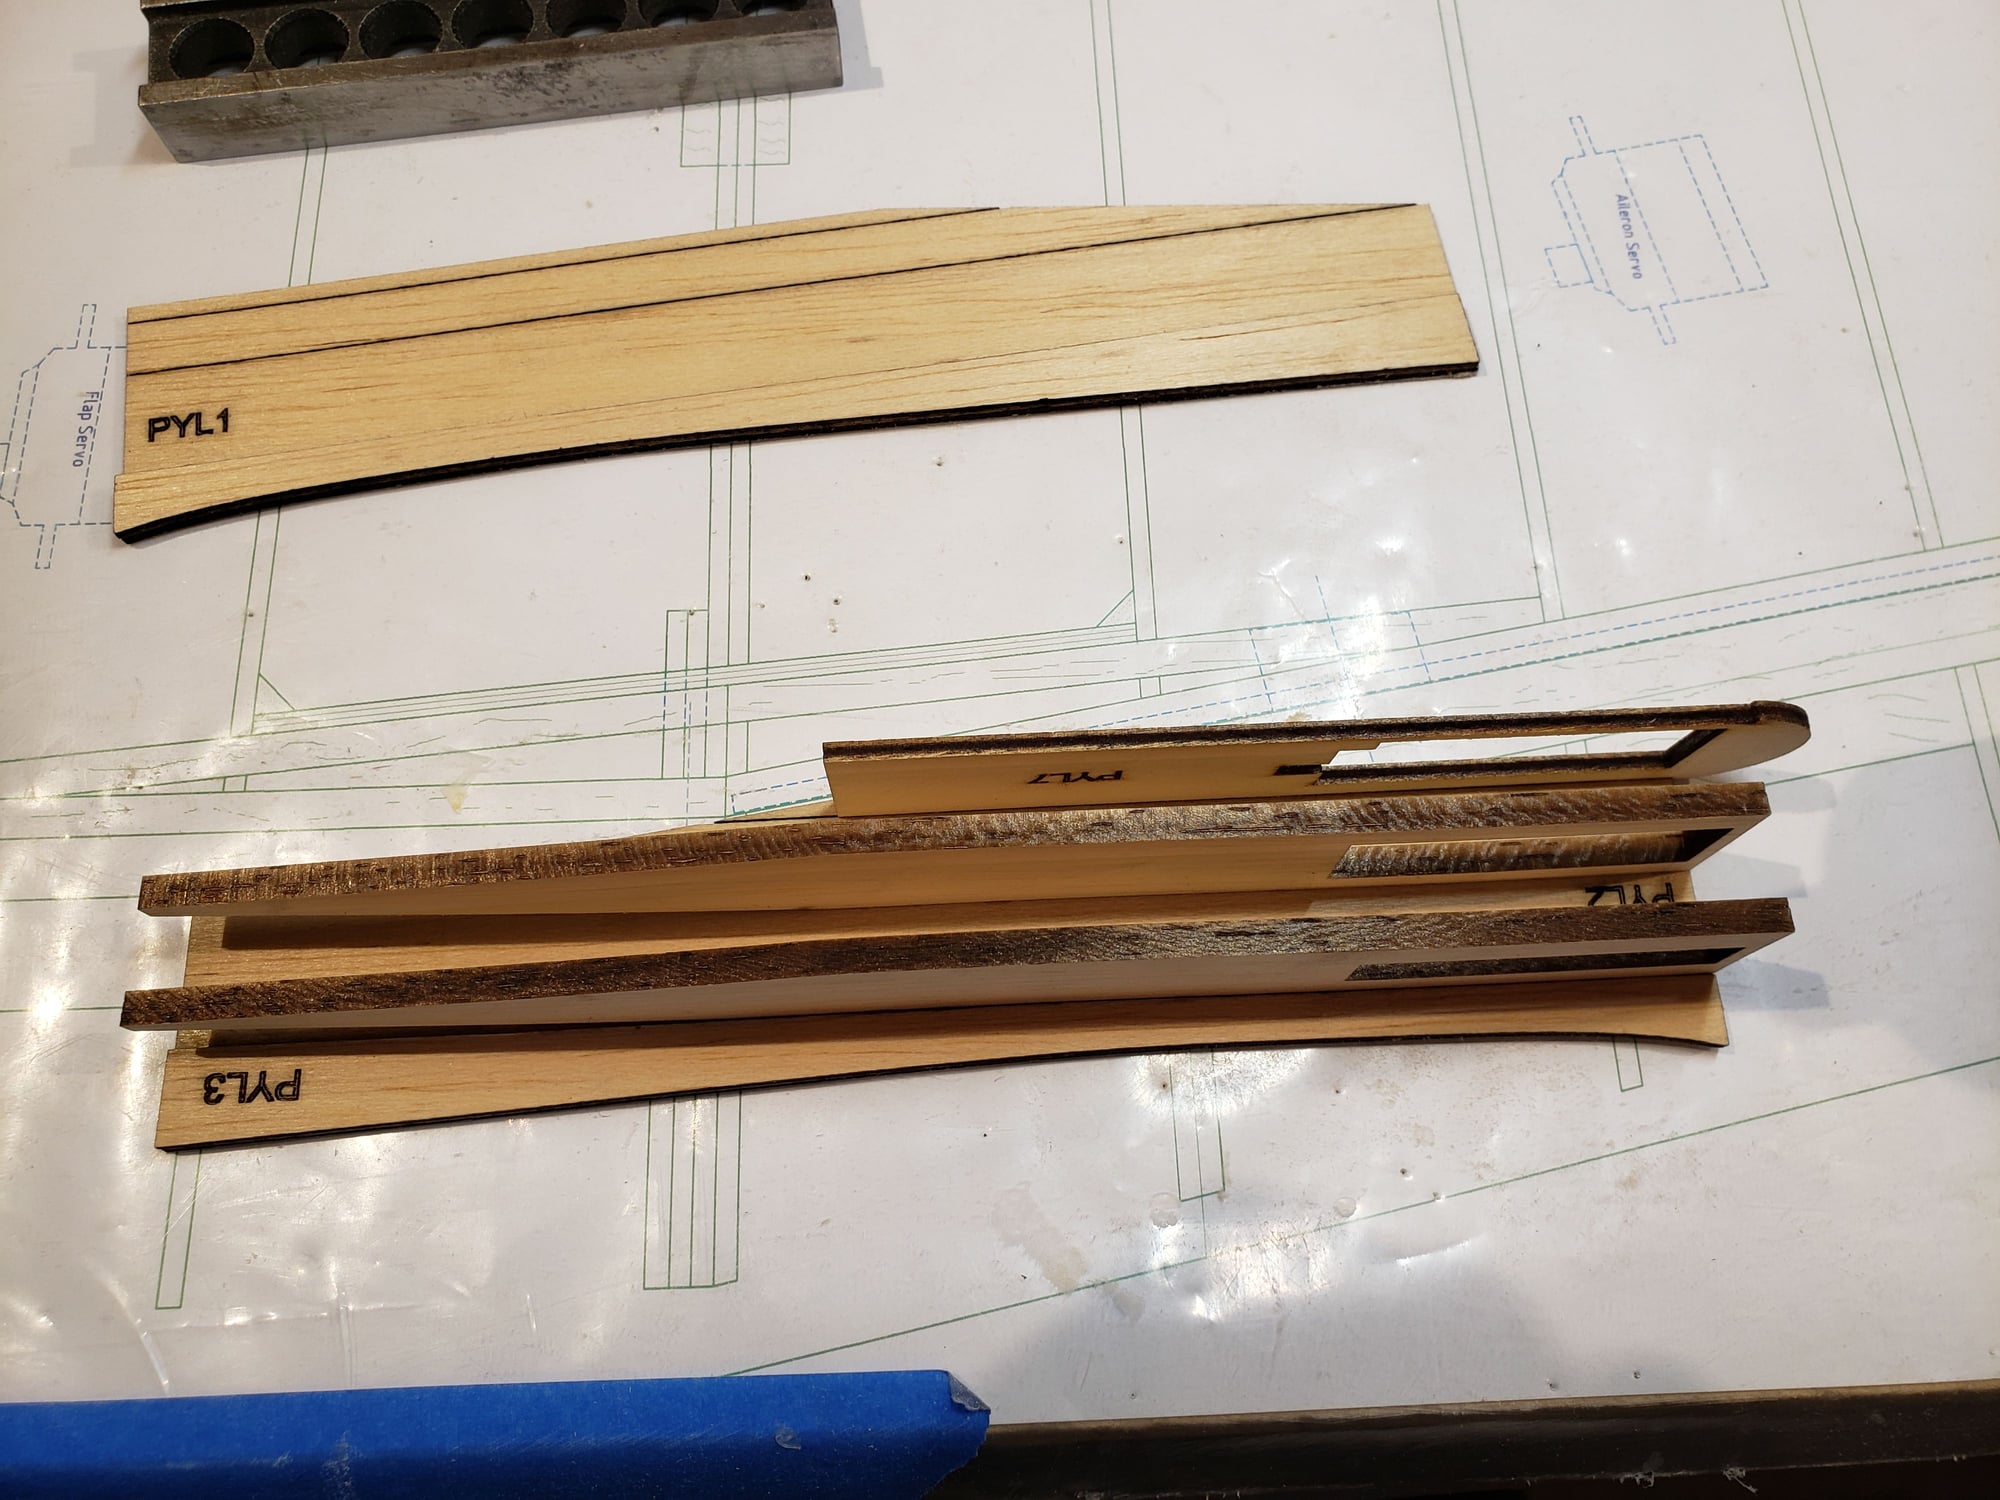
Attach the ribs
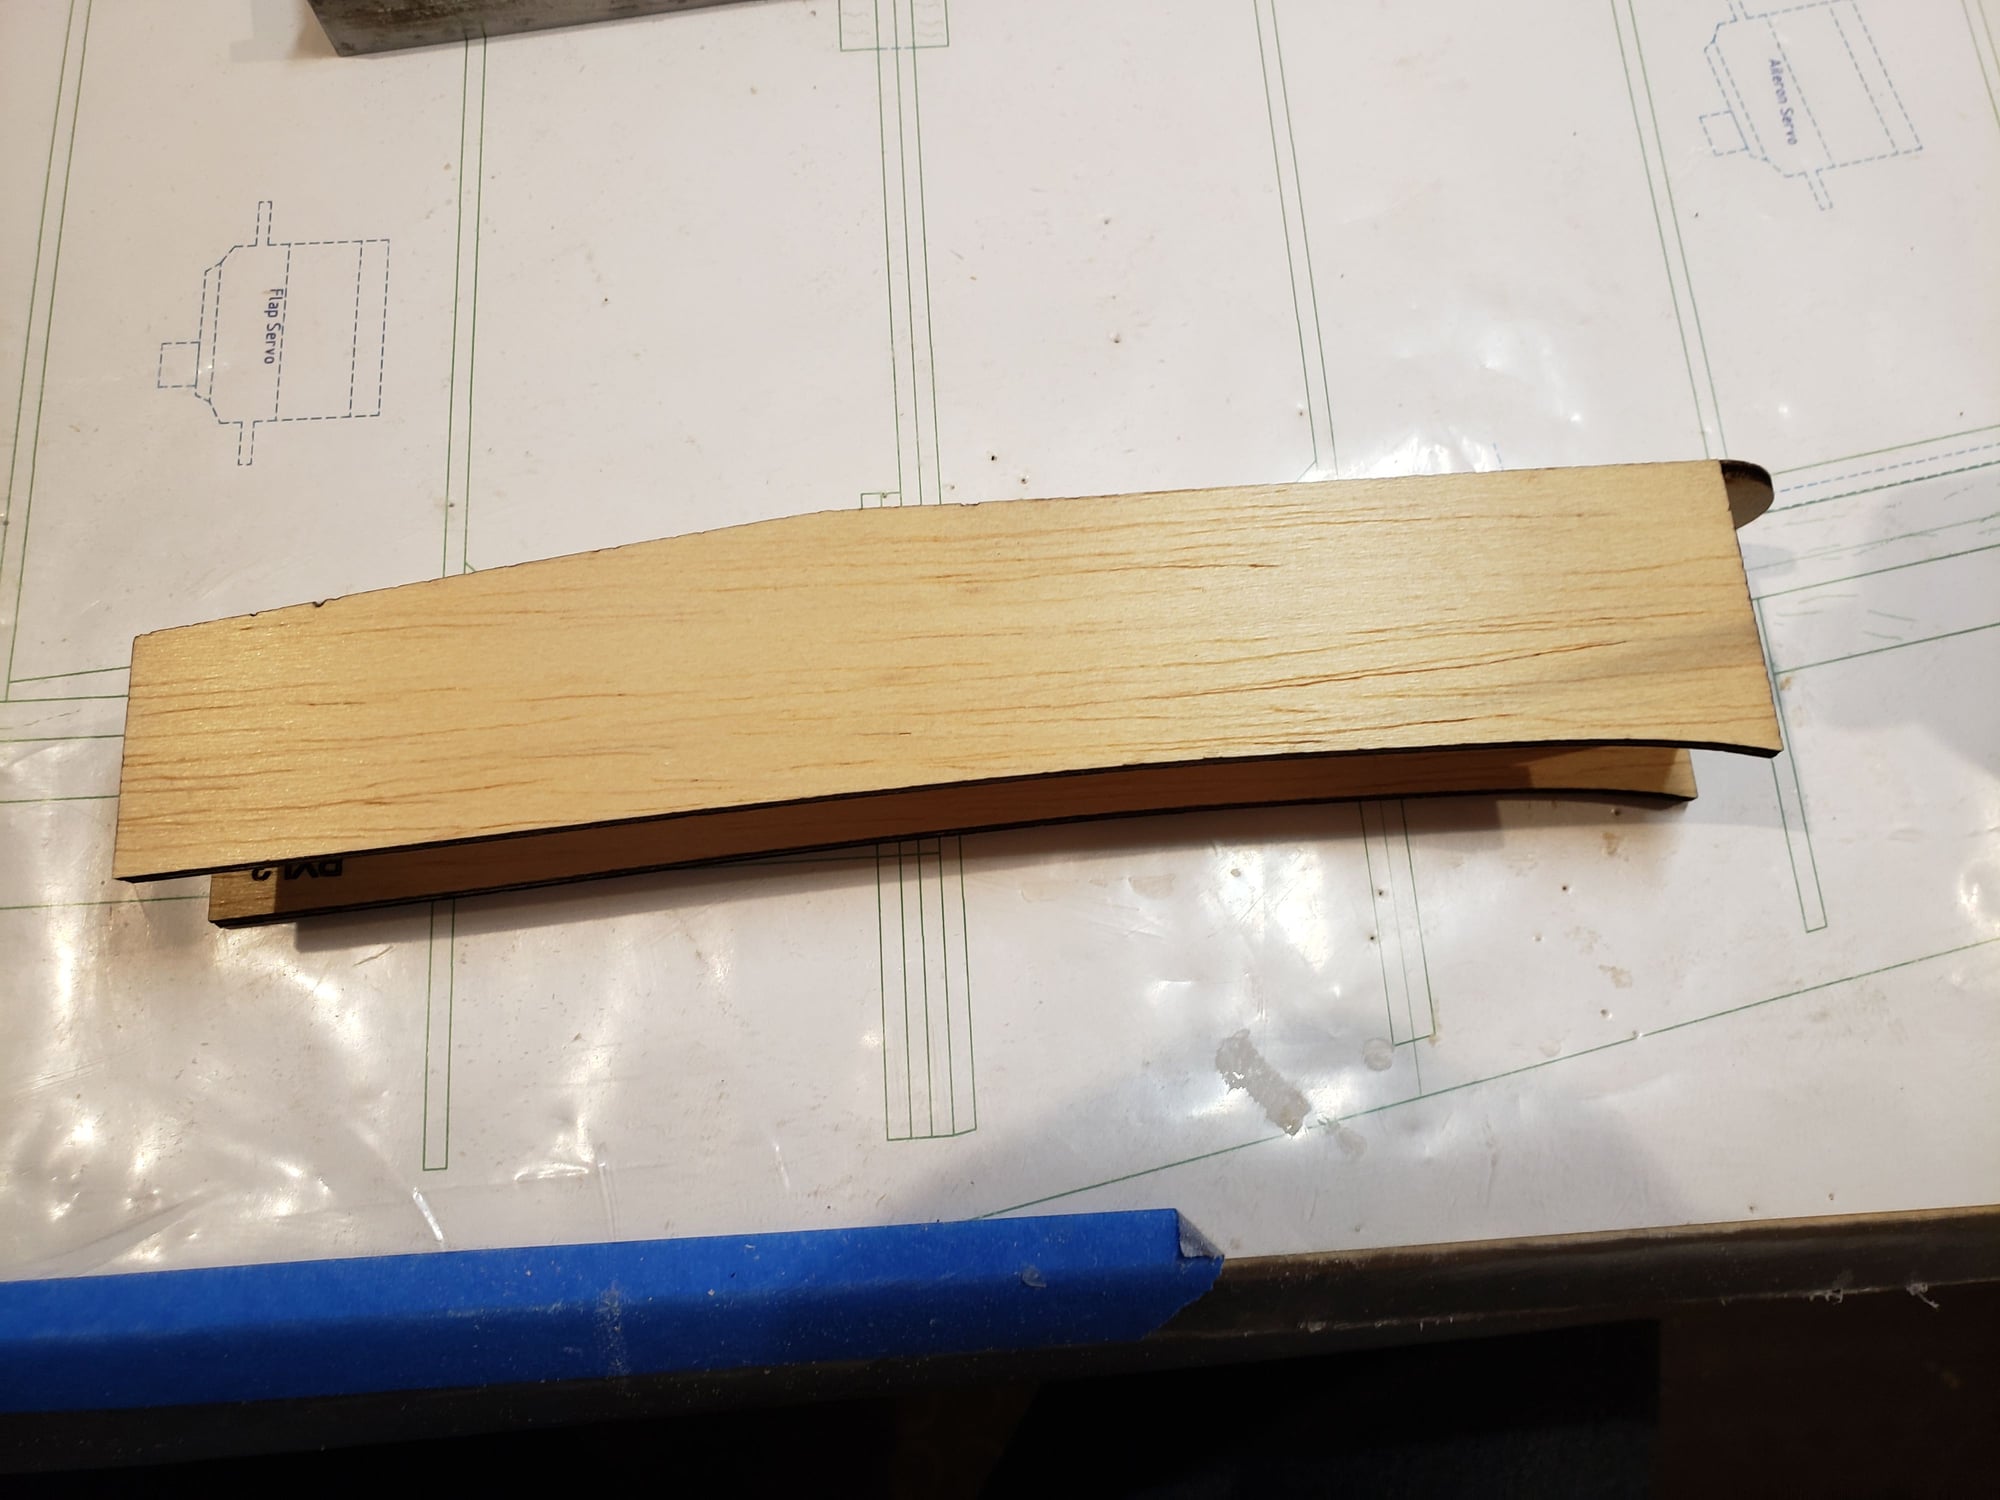
Add the other side.
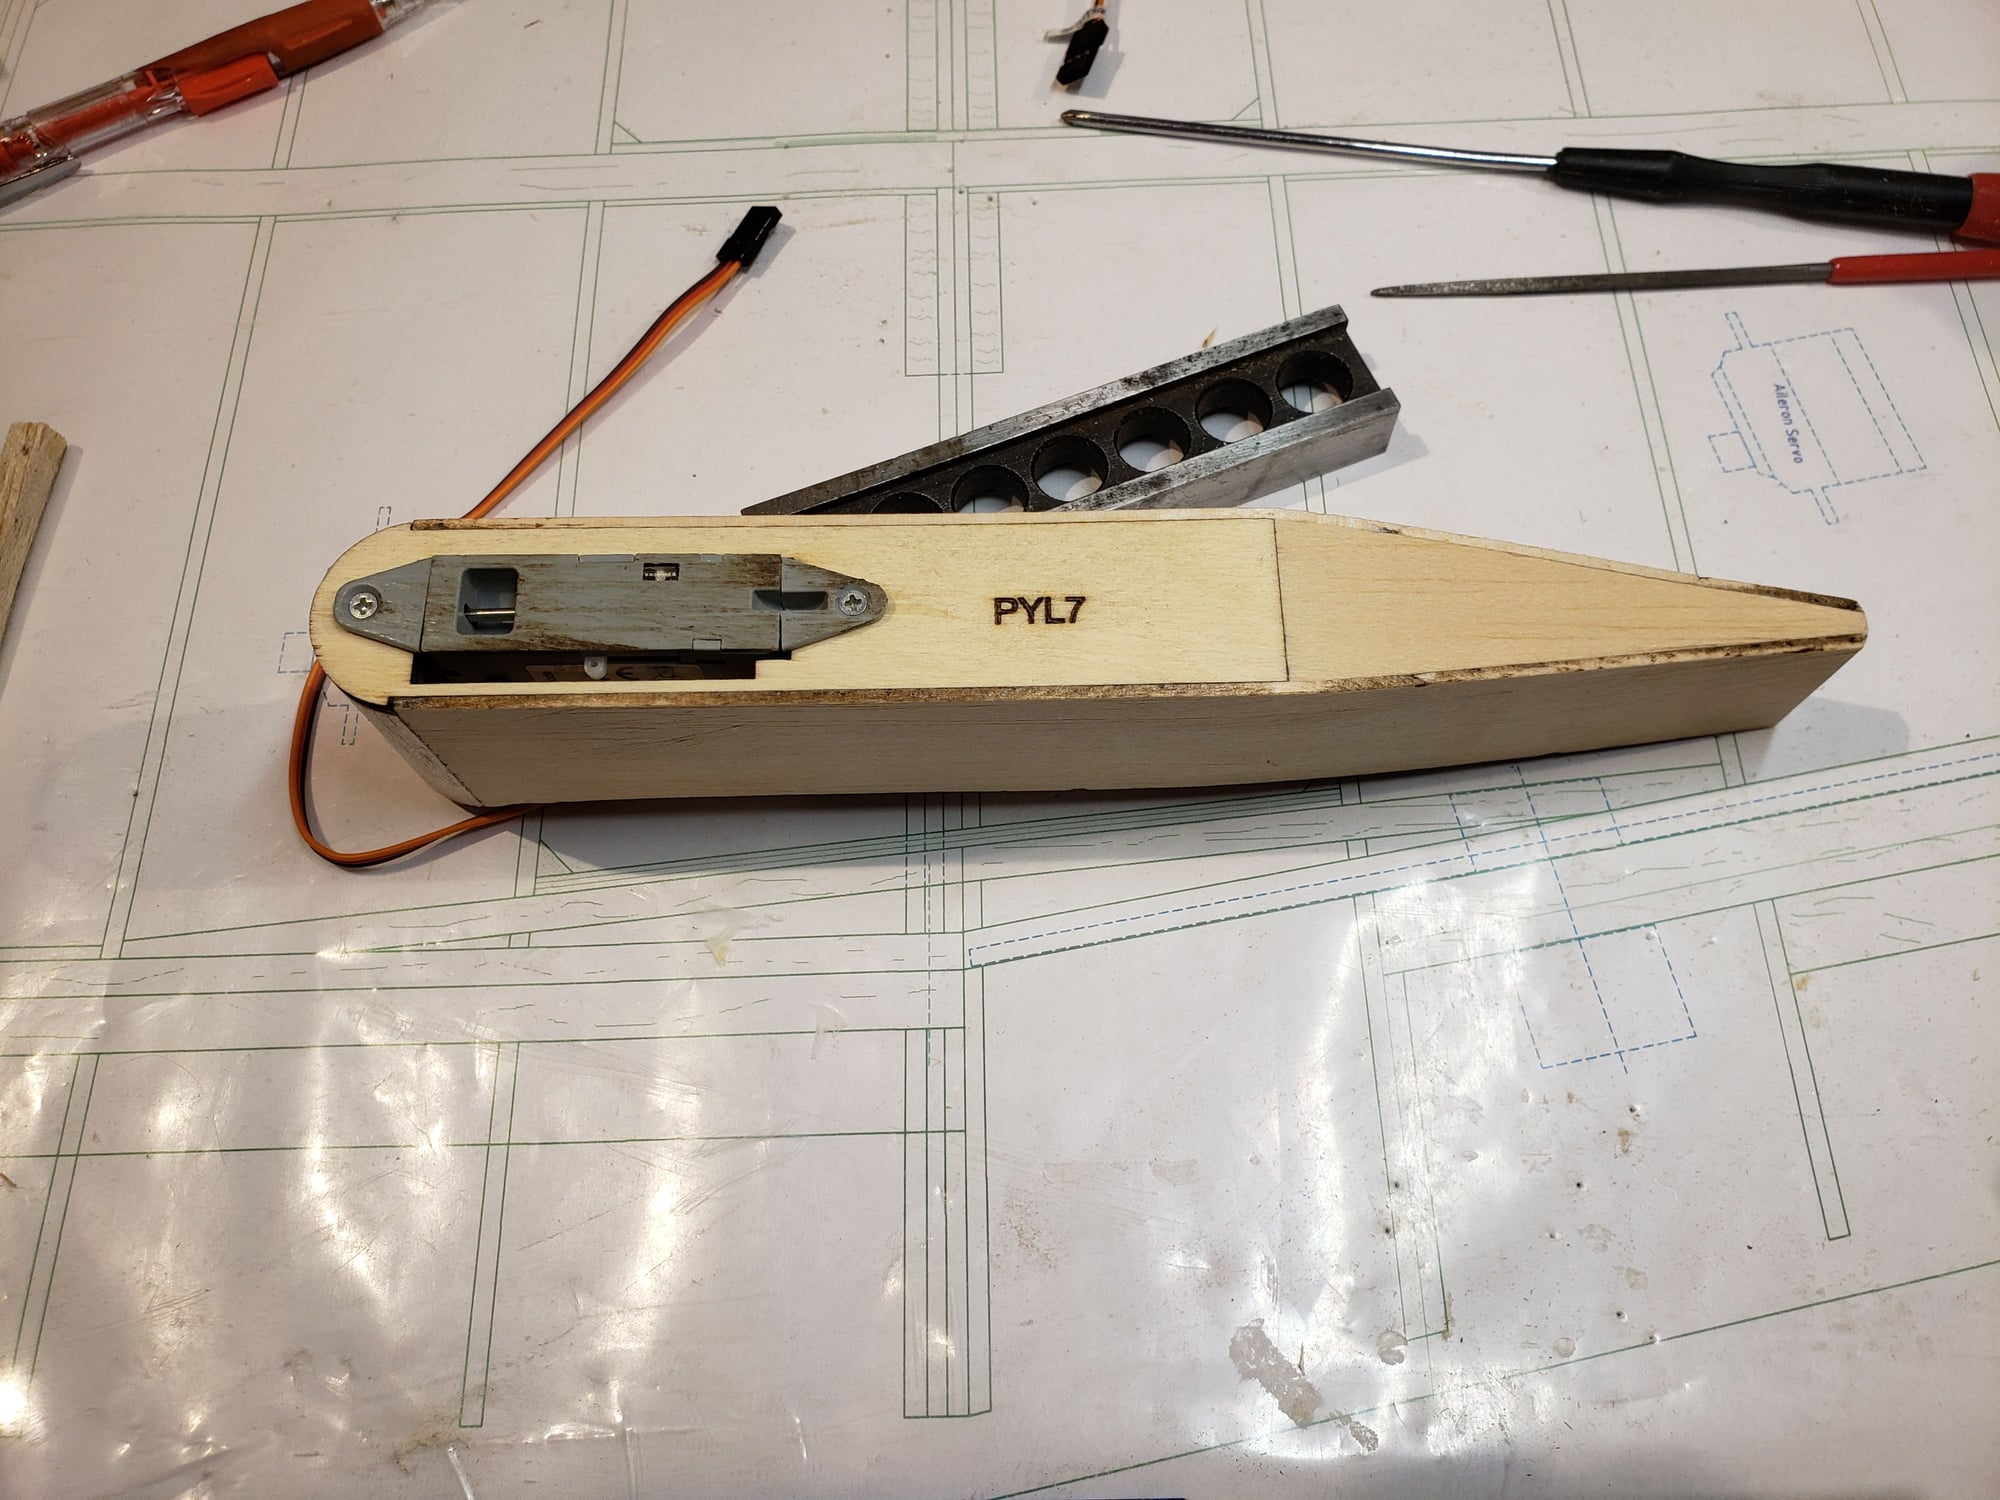
Spritz water on the sides then glue in place. Then add a piece of filler (behind PYL7) and install the payload release.
All the parts
Glue the doublers along the wing mounting edge.
Attach the ribs
Add the other side.
Spritz water on the sides then glue in place. Then add a piece of filler (behind PYL7) and install the payload release.
01-11-2024, 04:34 PM
#79
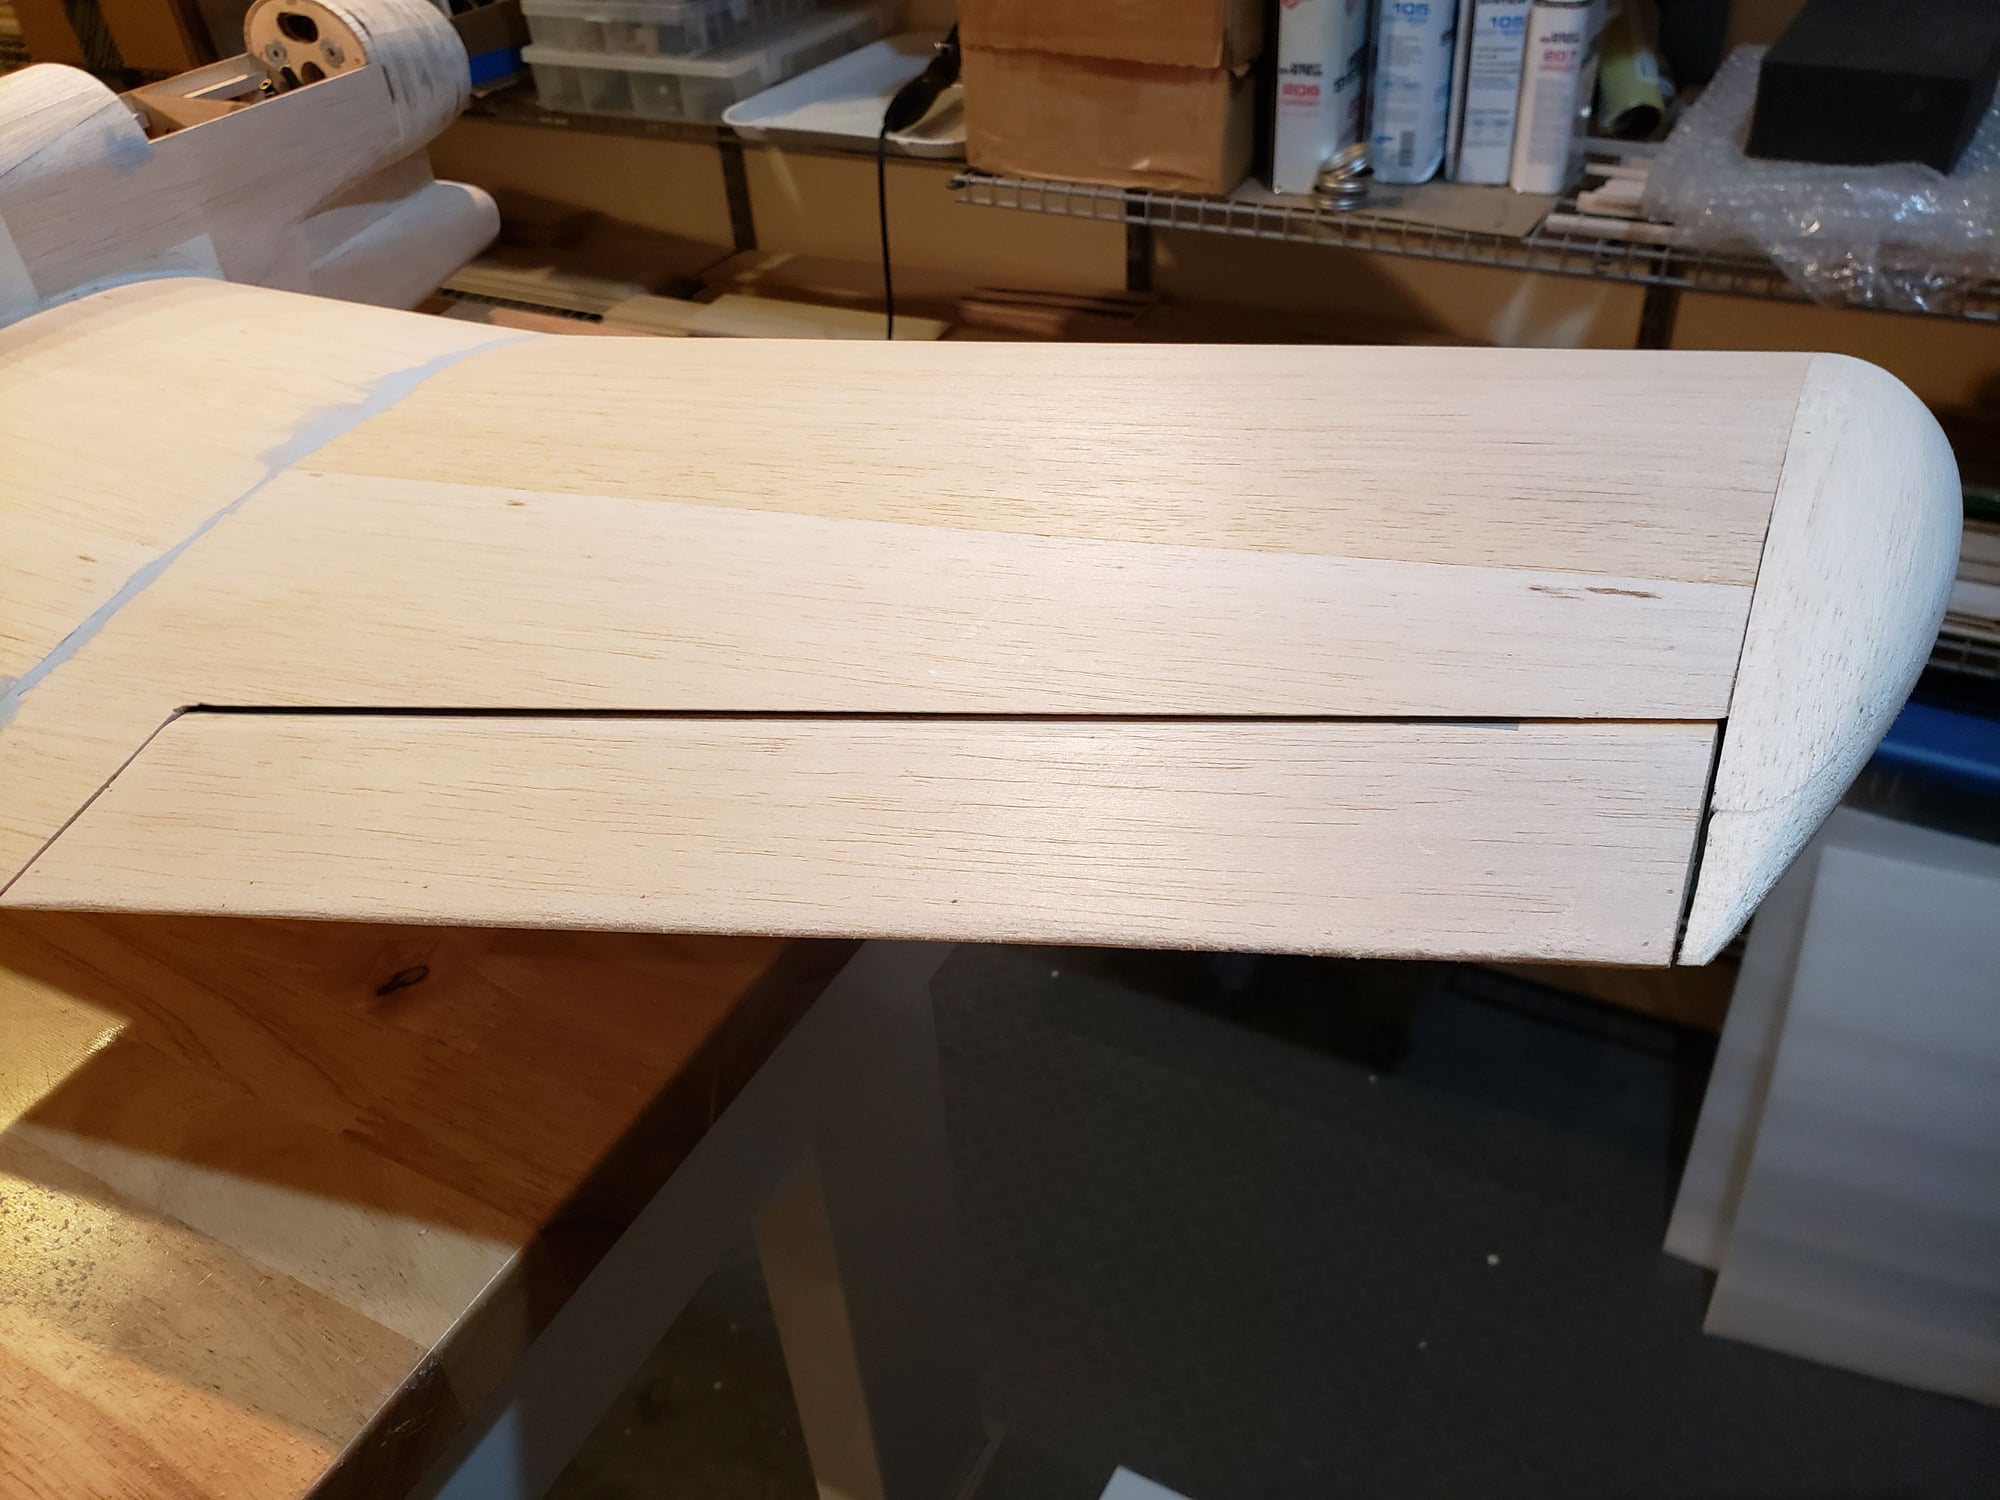
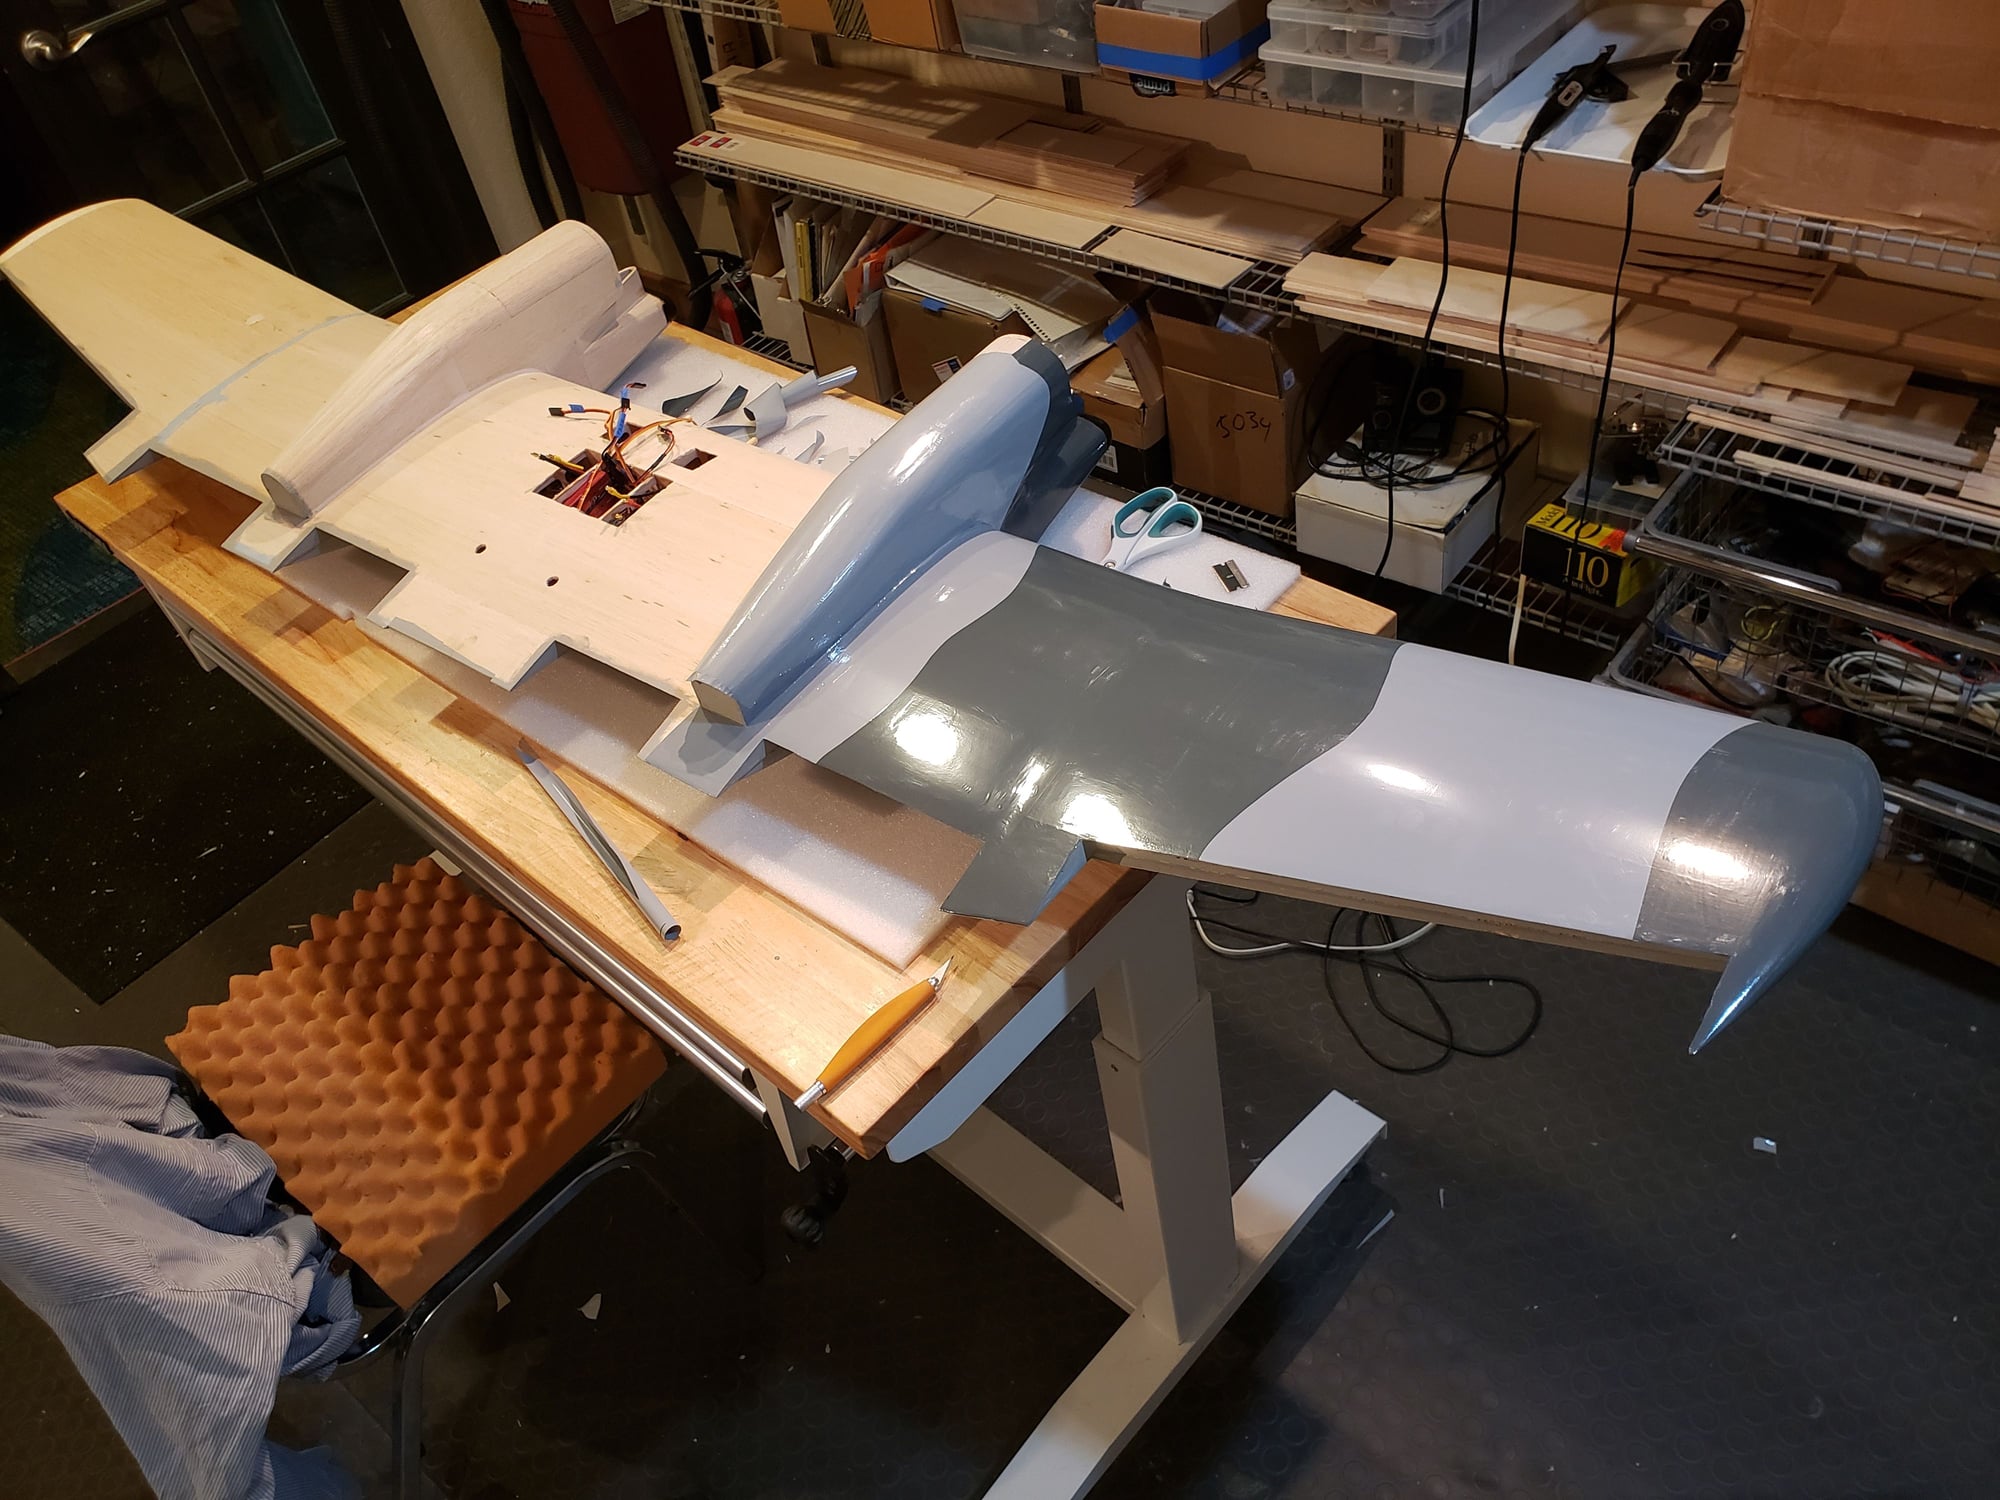
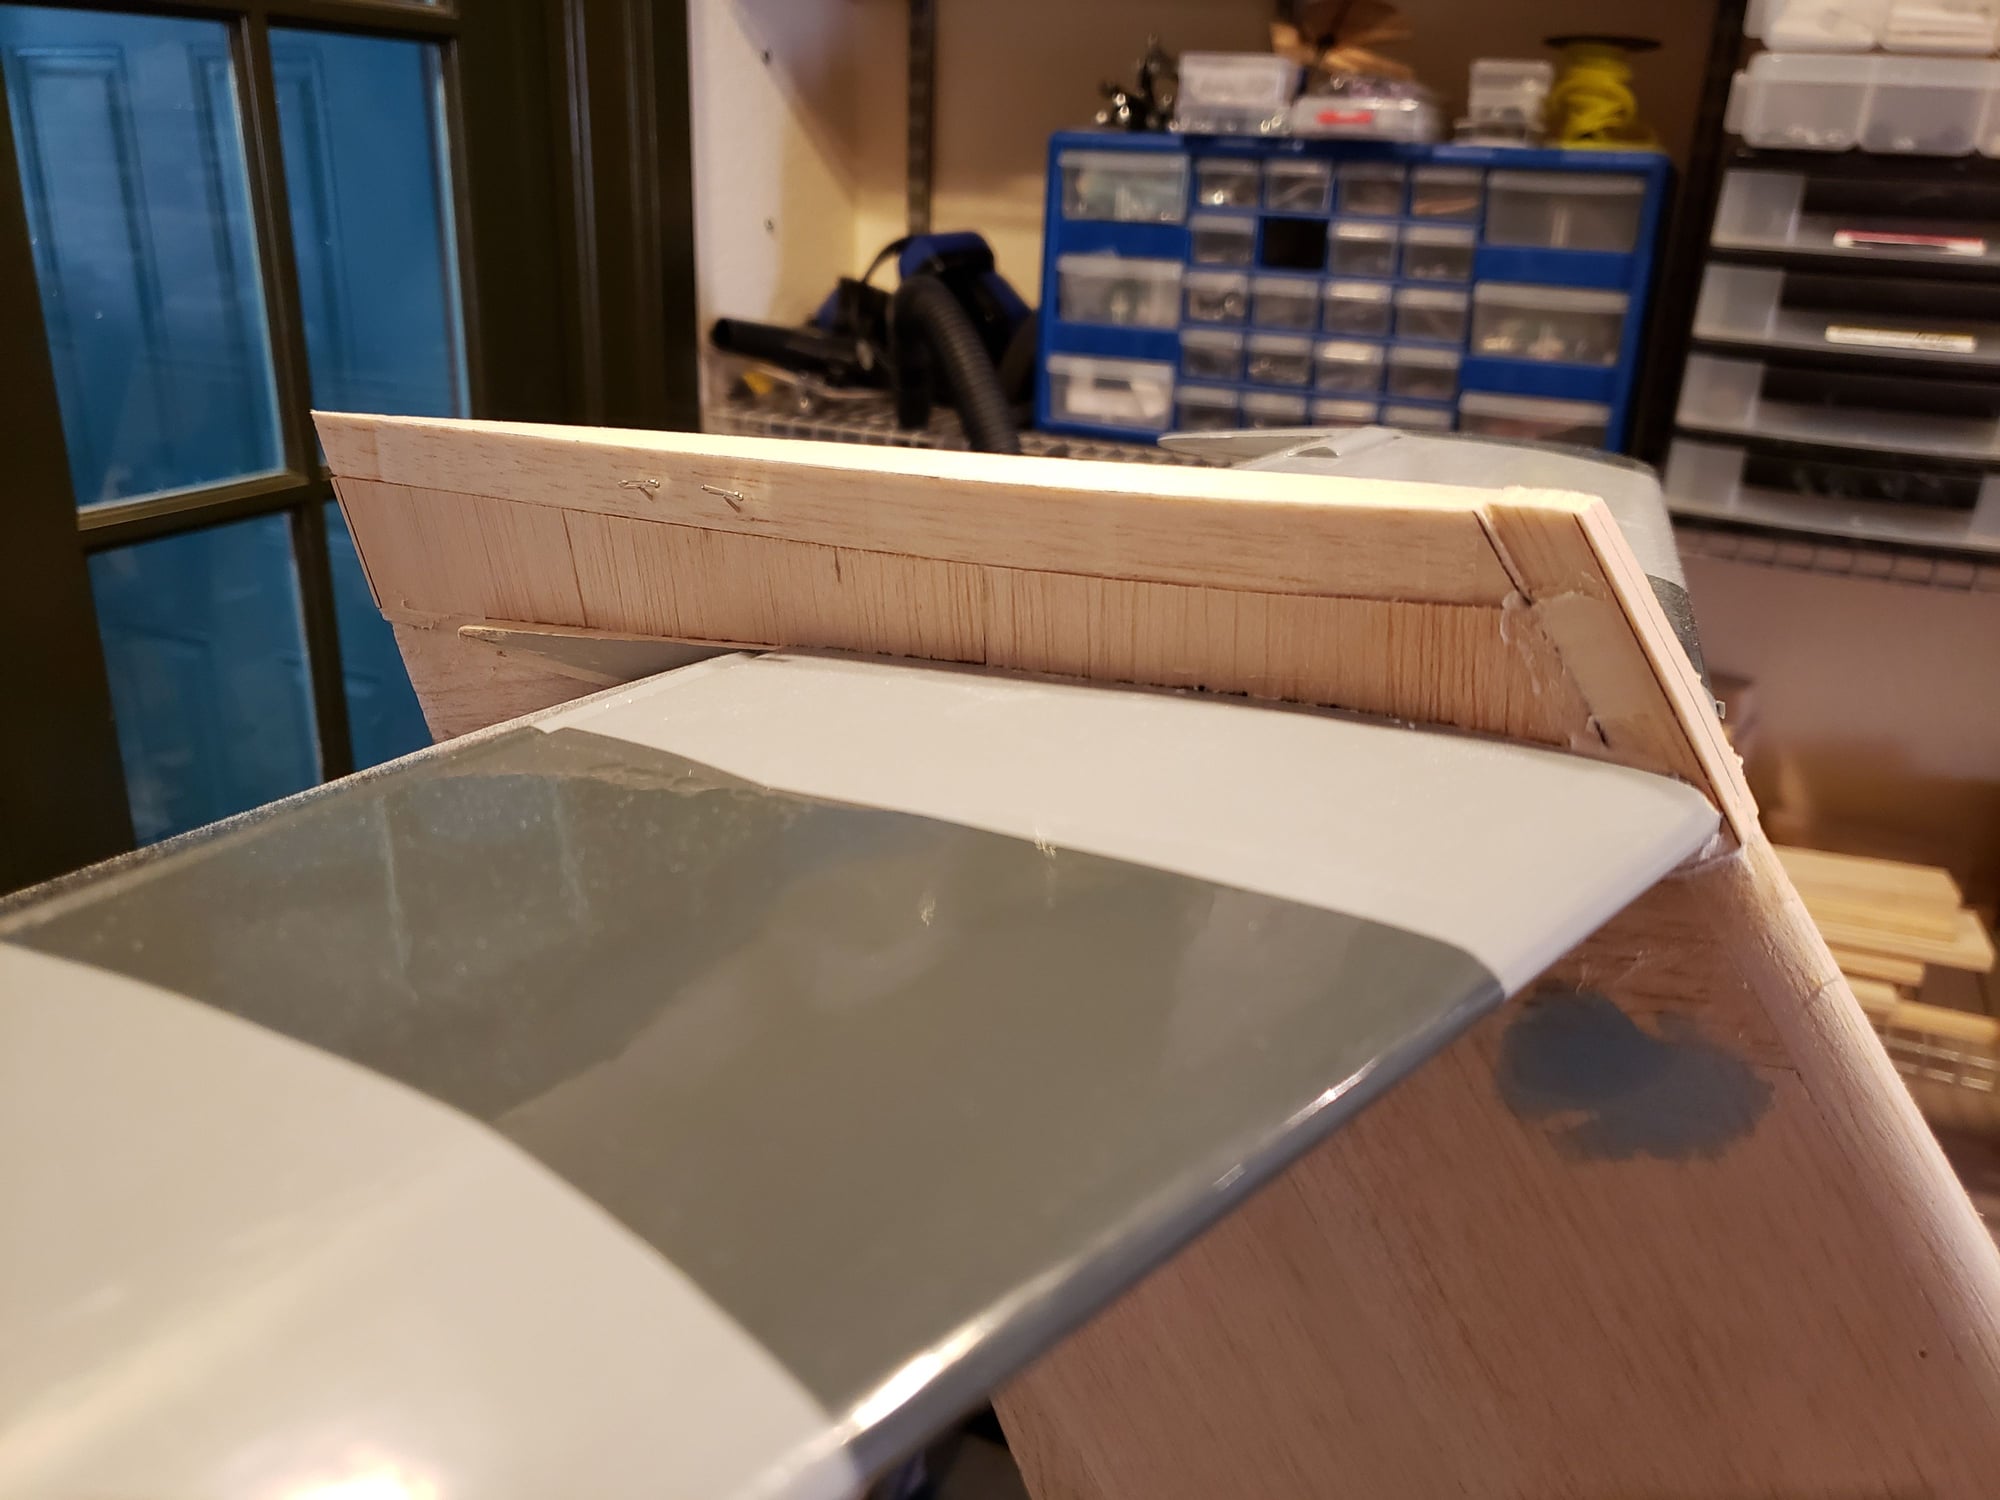
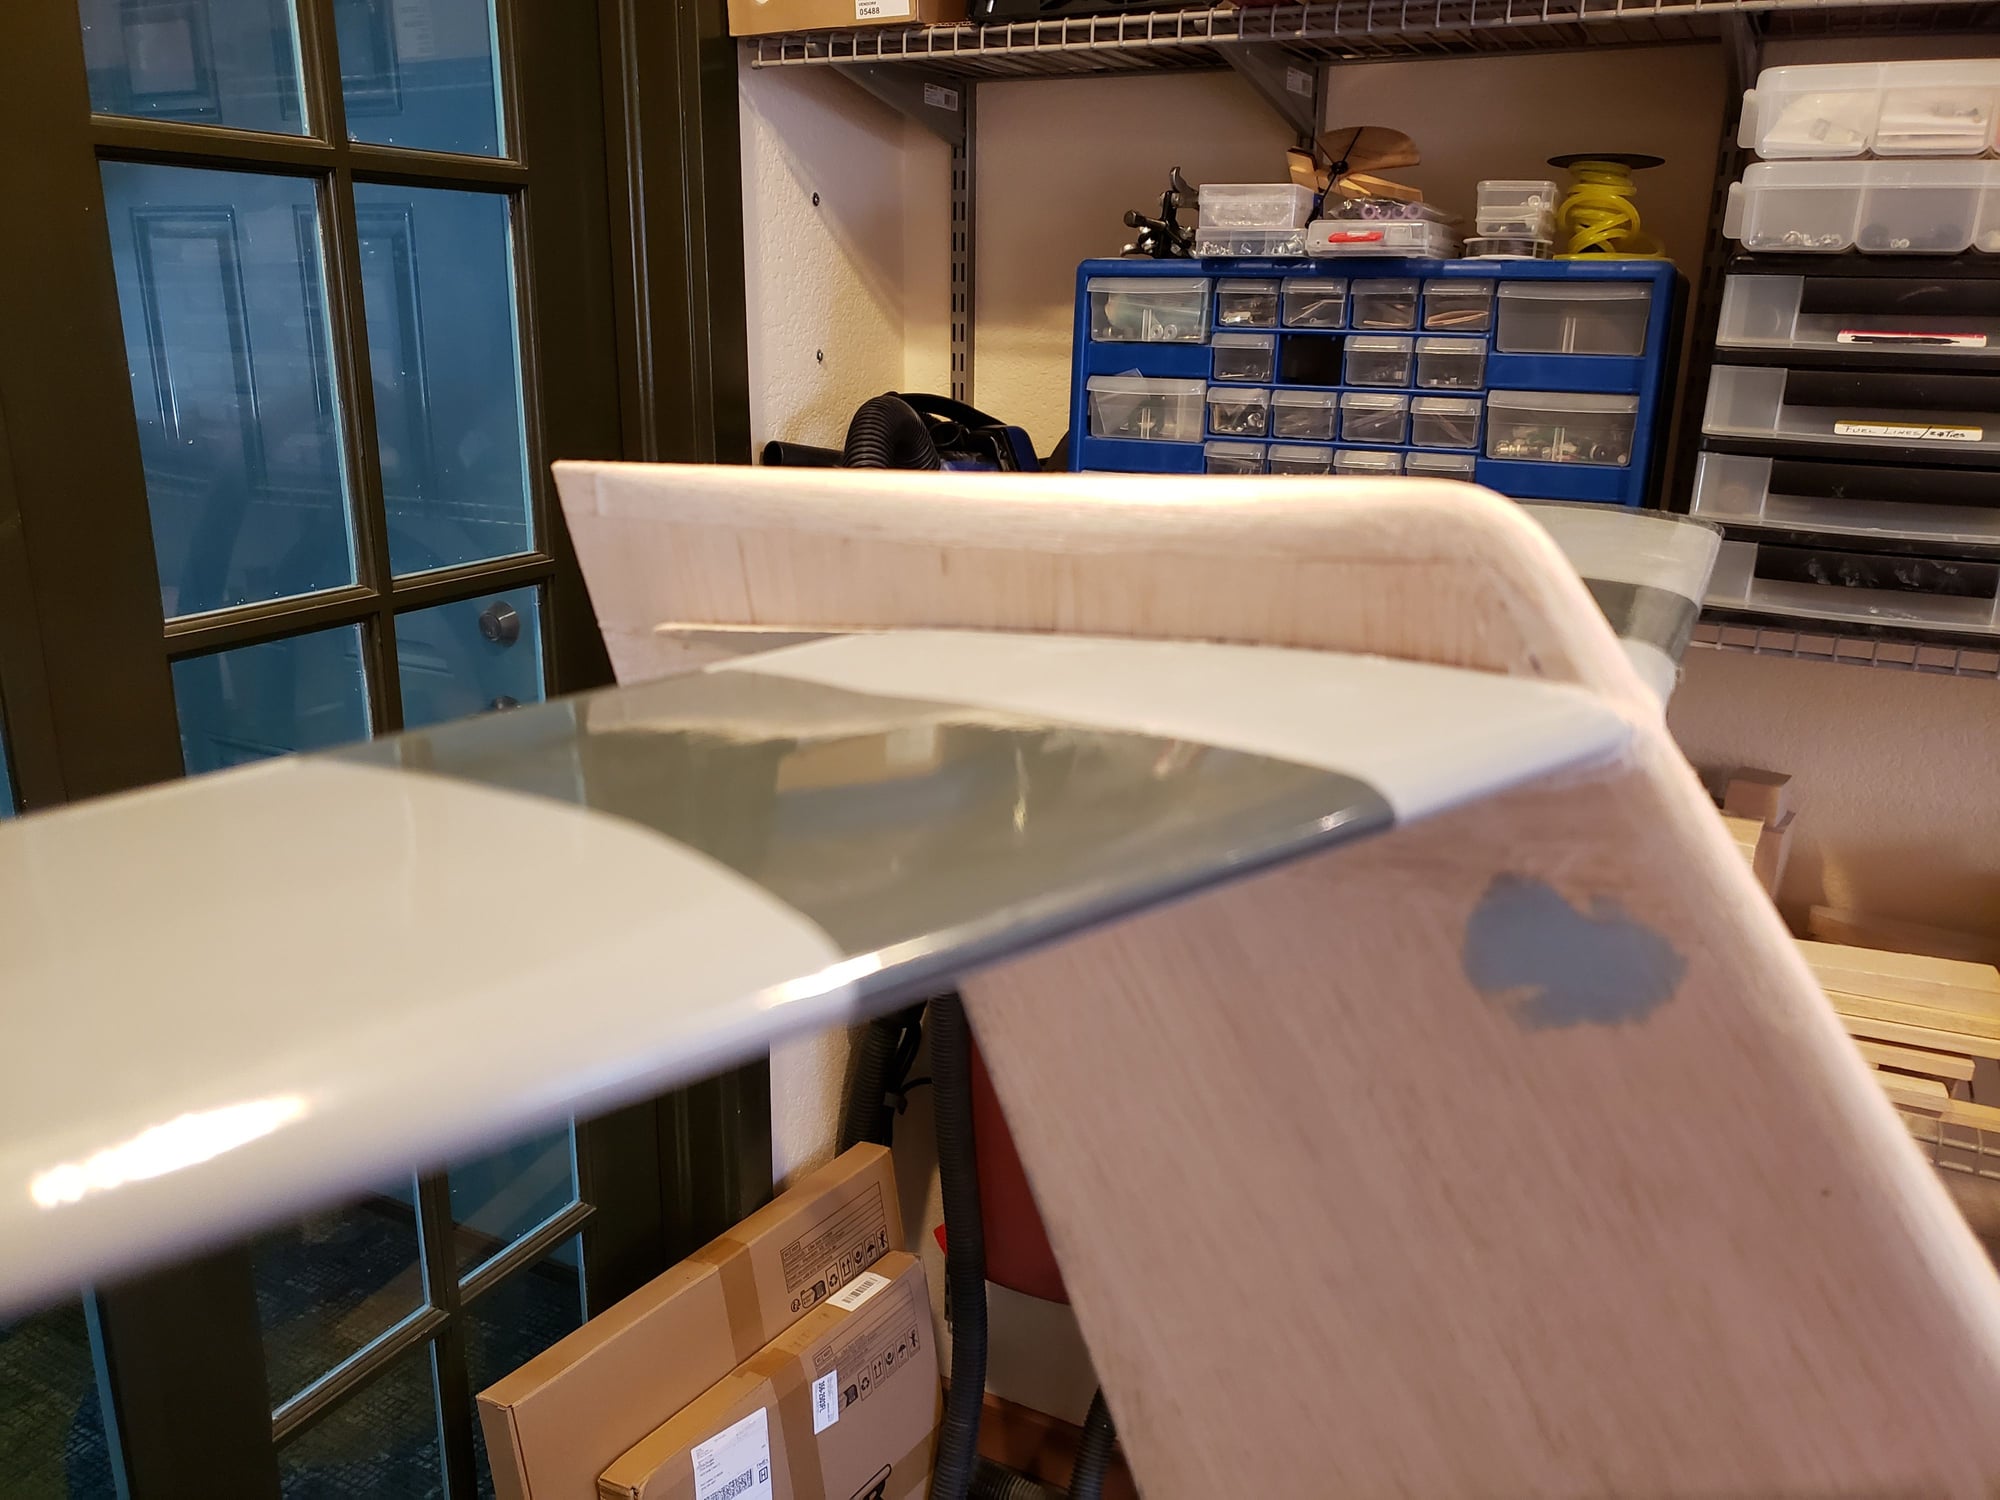
With the last of the wiring in wing, the bottom can be sheeted ... Finally! 
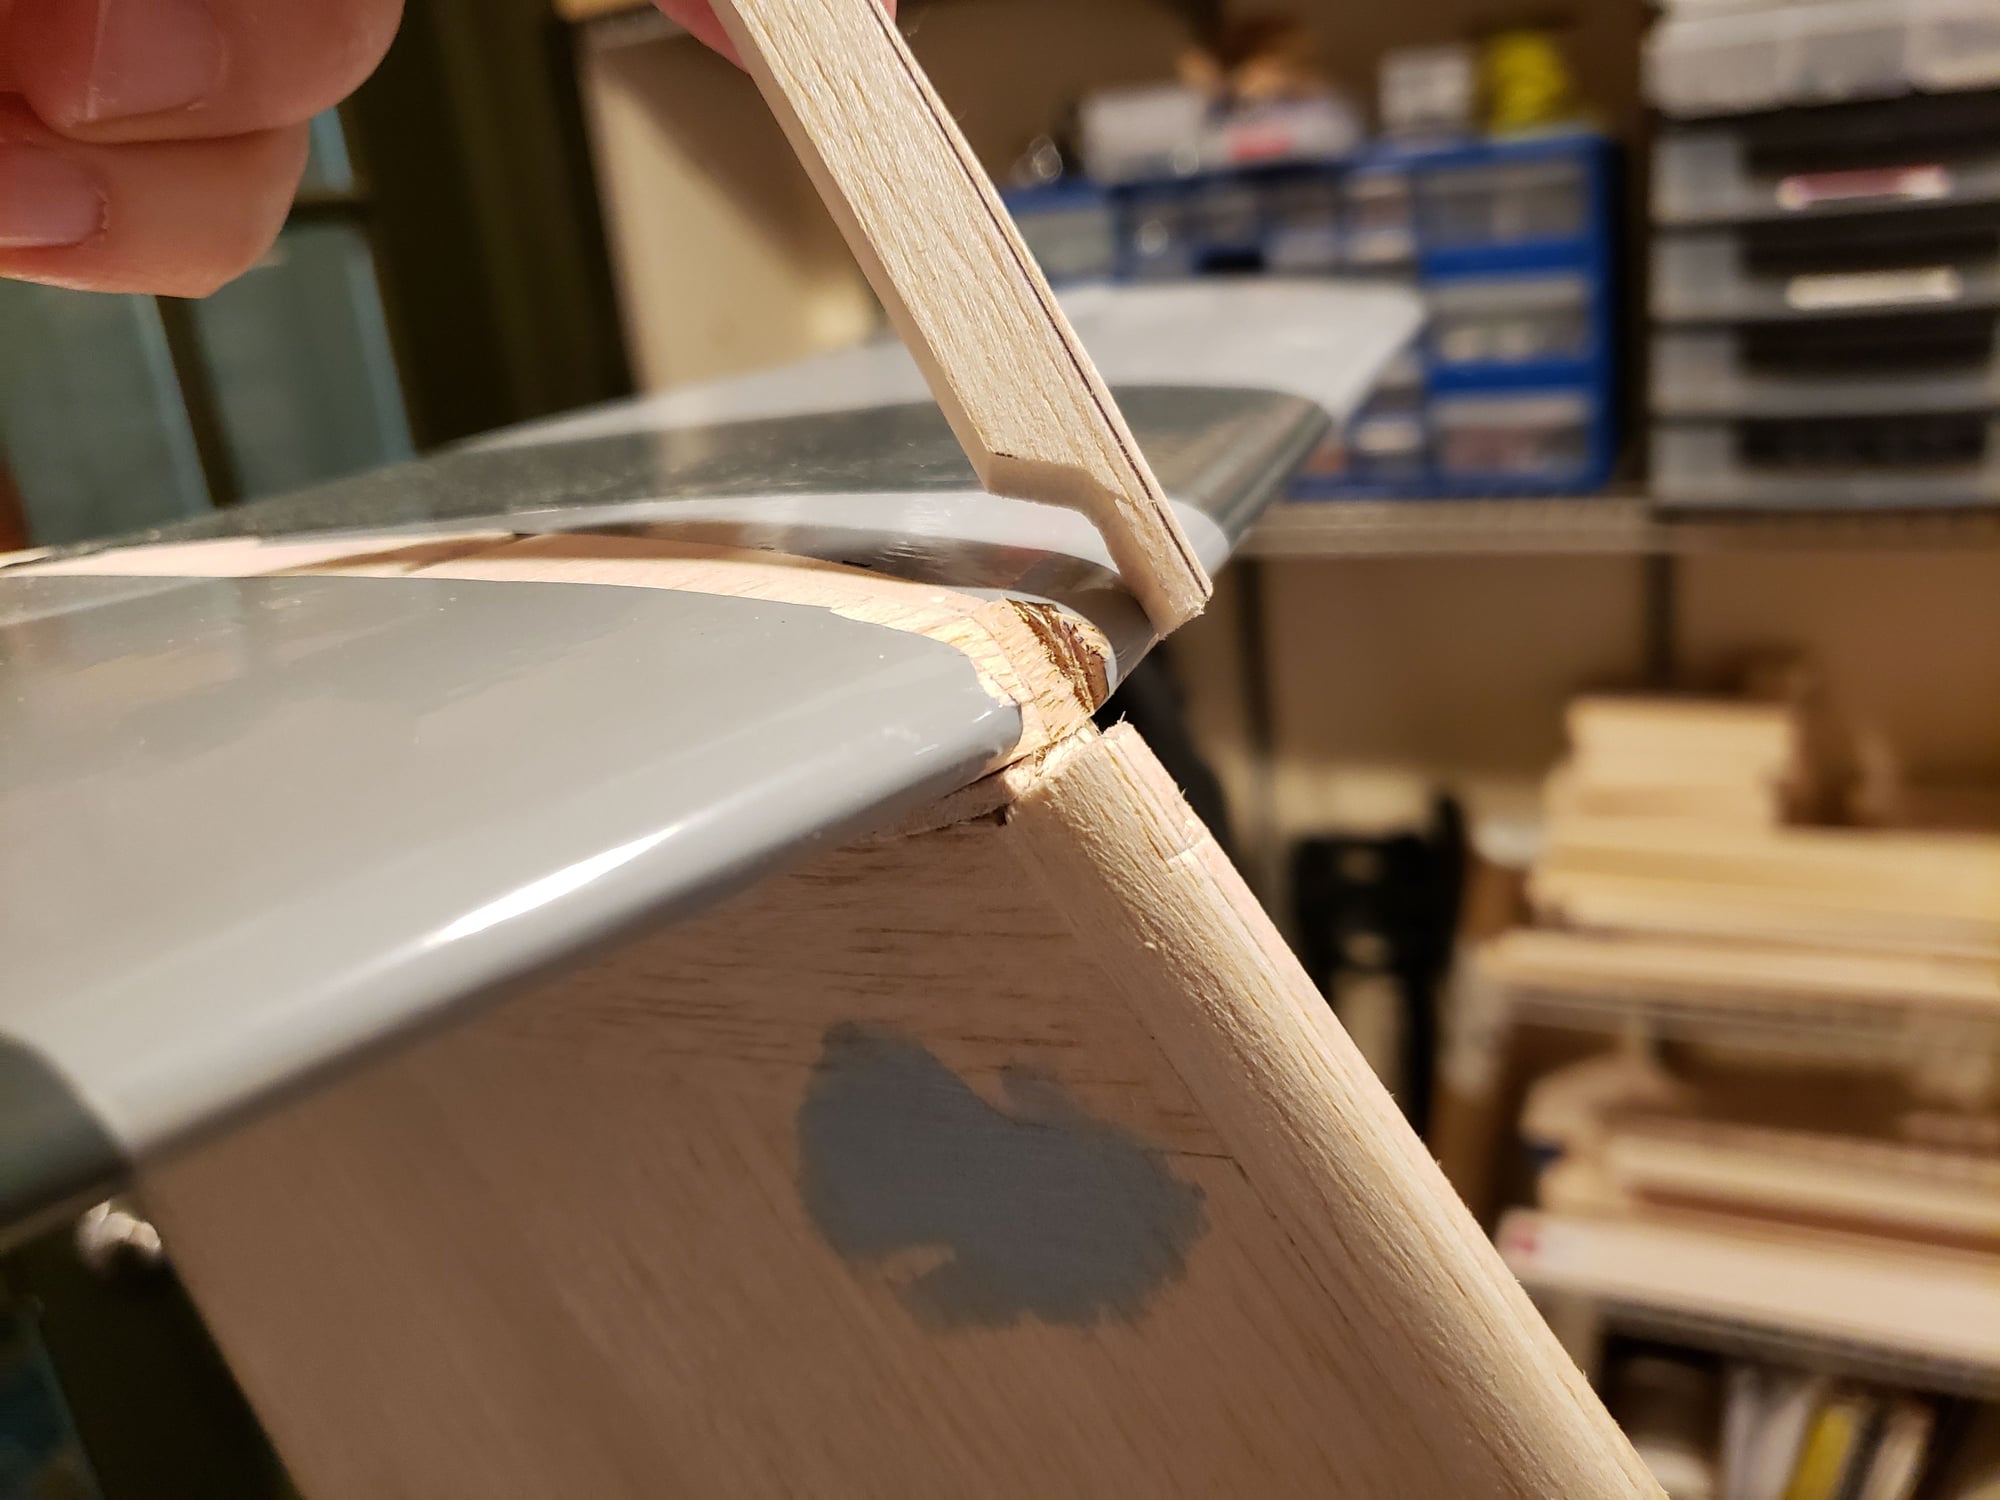
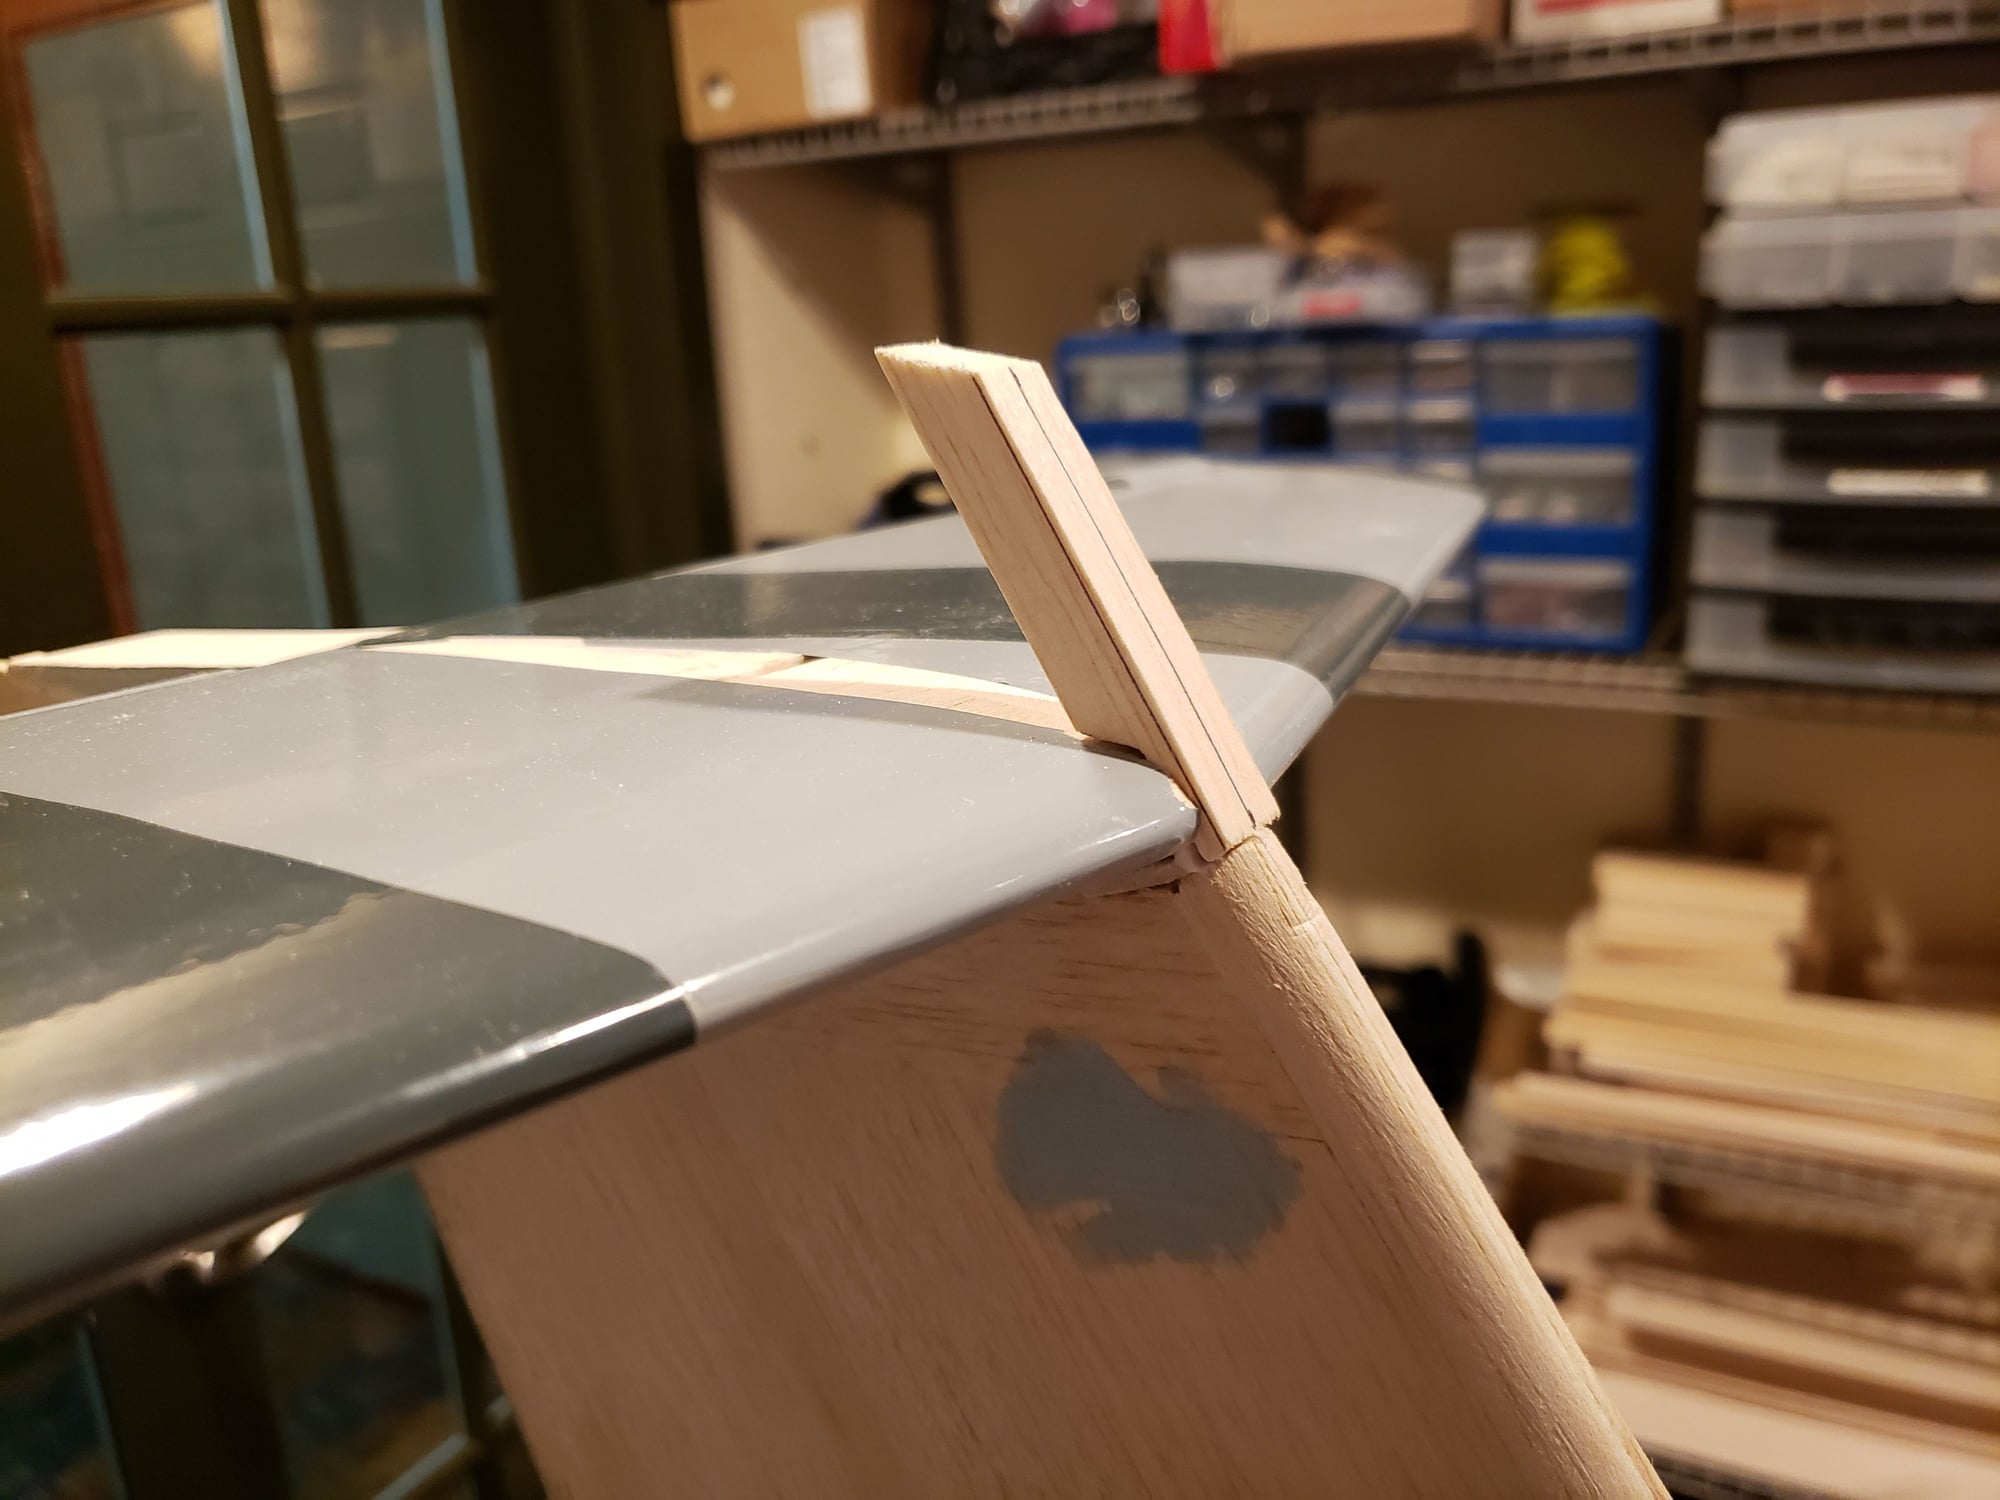
You'll note if you look close that there is a trench of sorts where the flap joins the TE of the wing. To allow air to flow smoothly into the slot (when the flap is open) the TE needs to be curved. The second photo shows this close up.
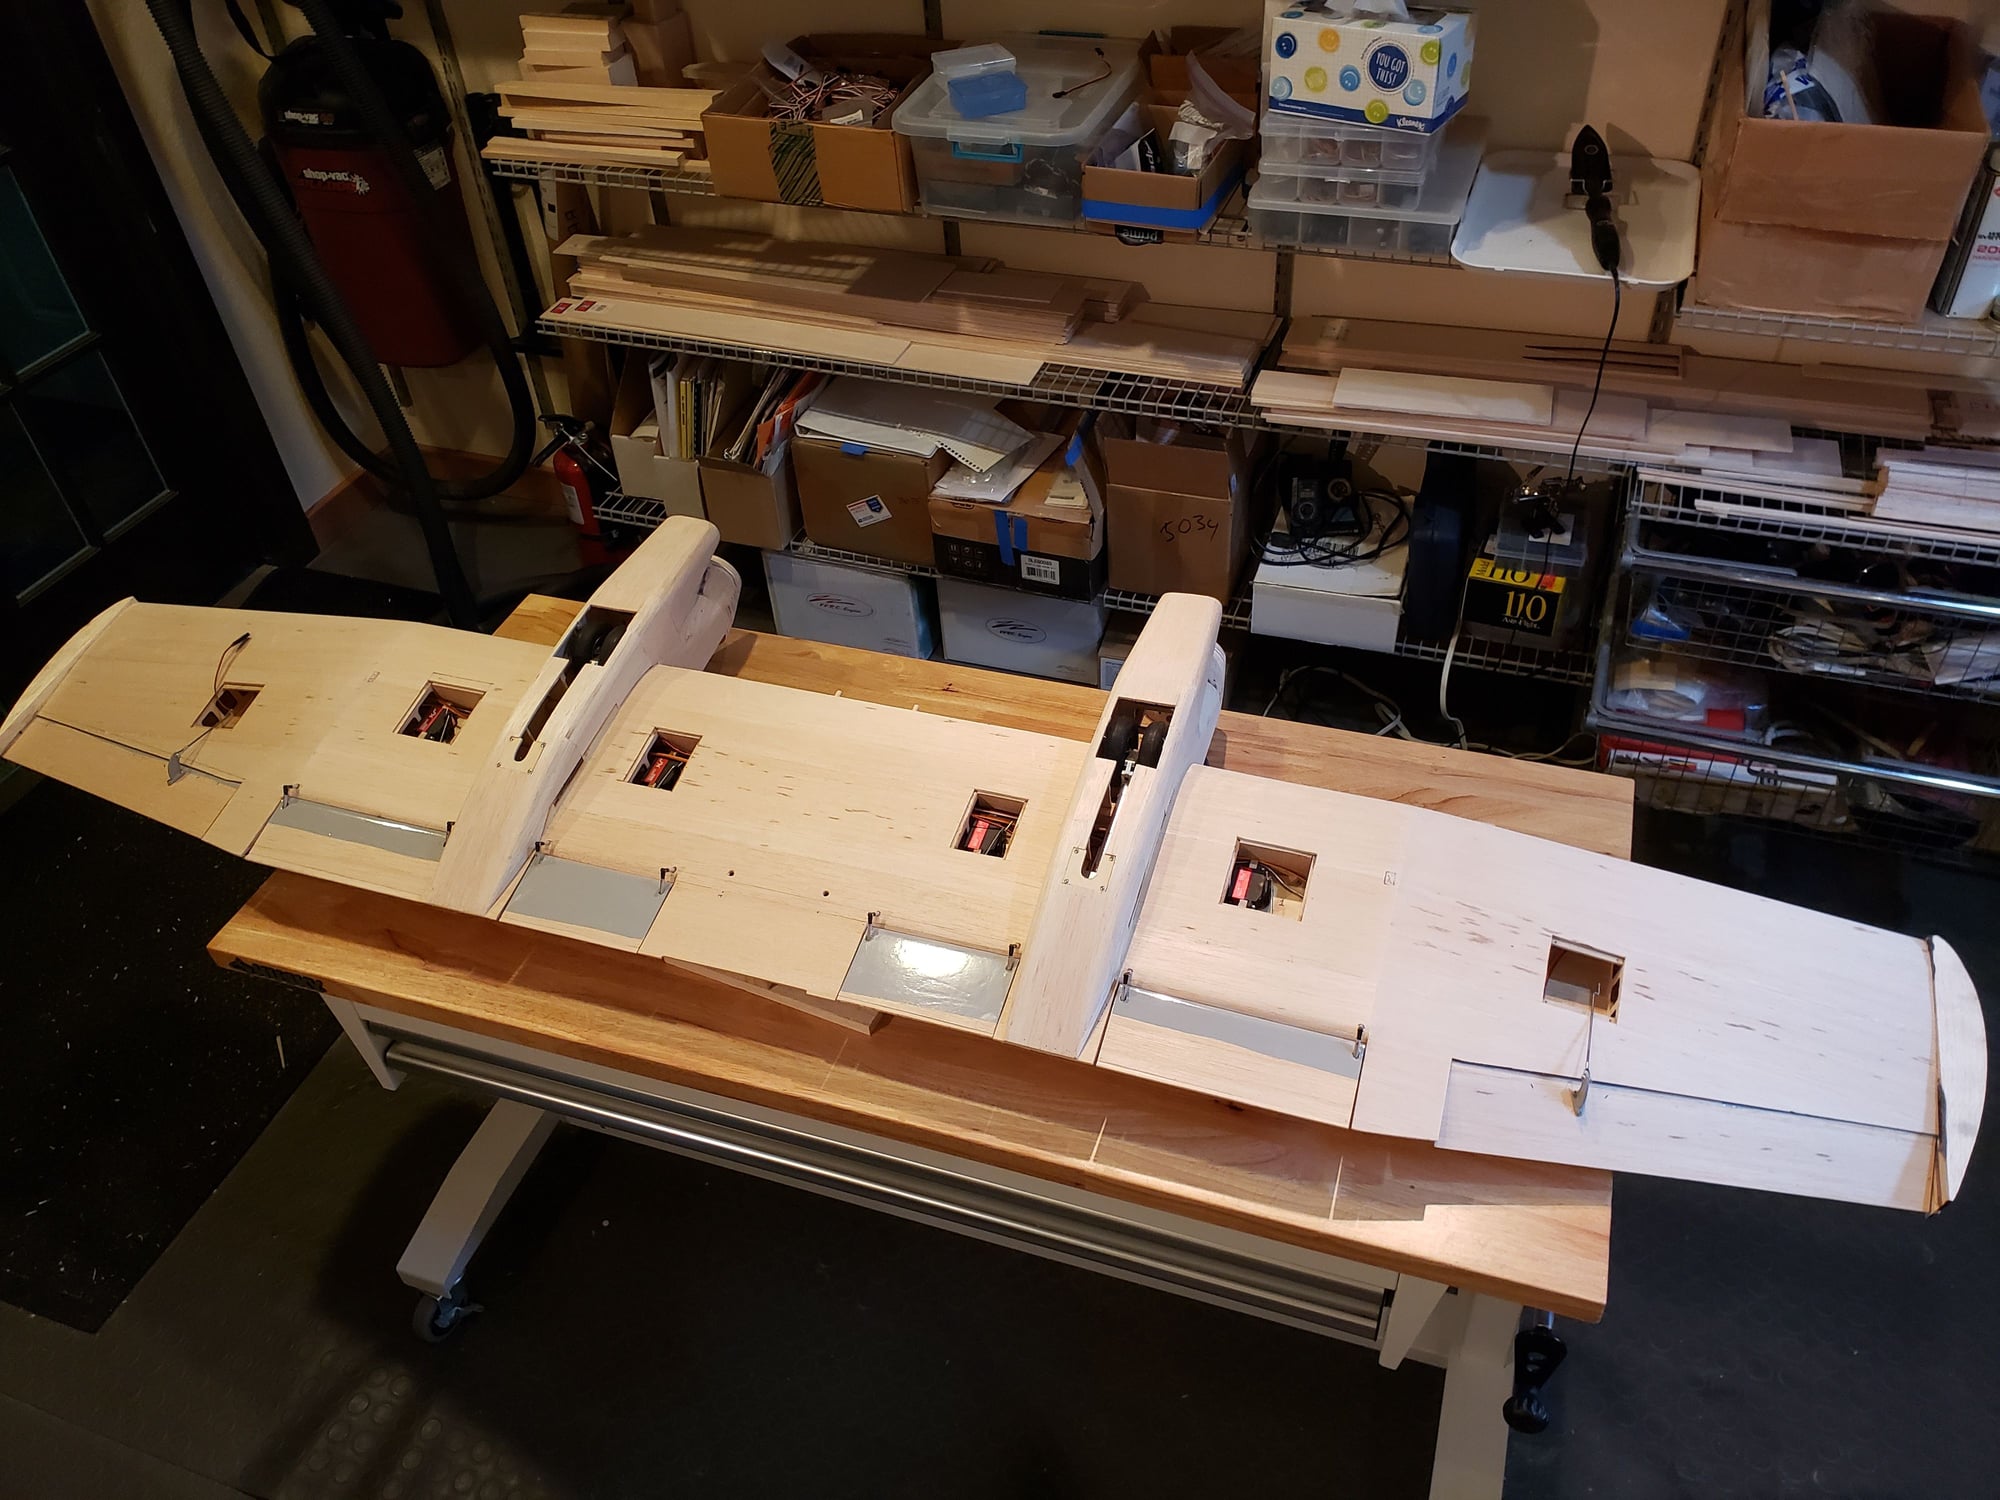
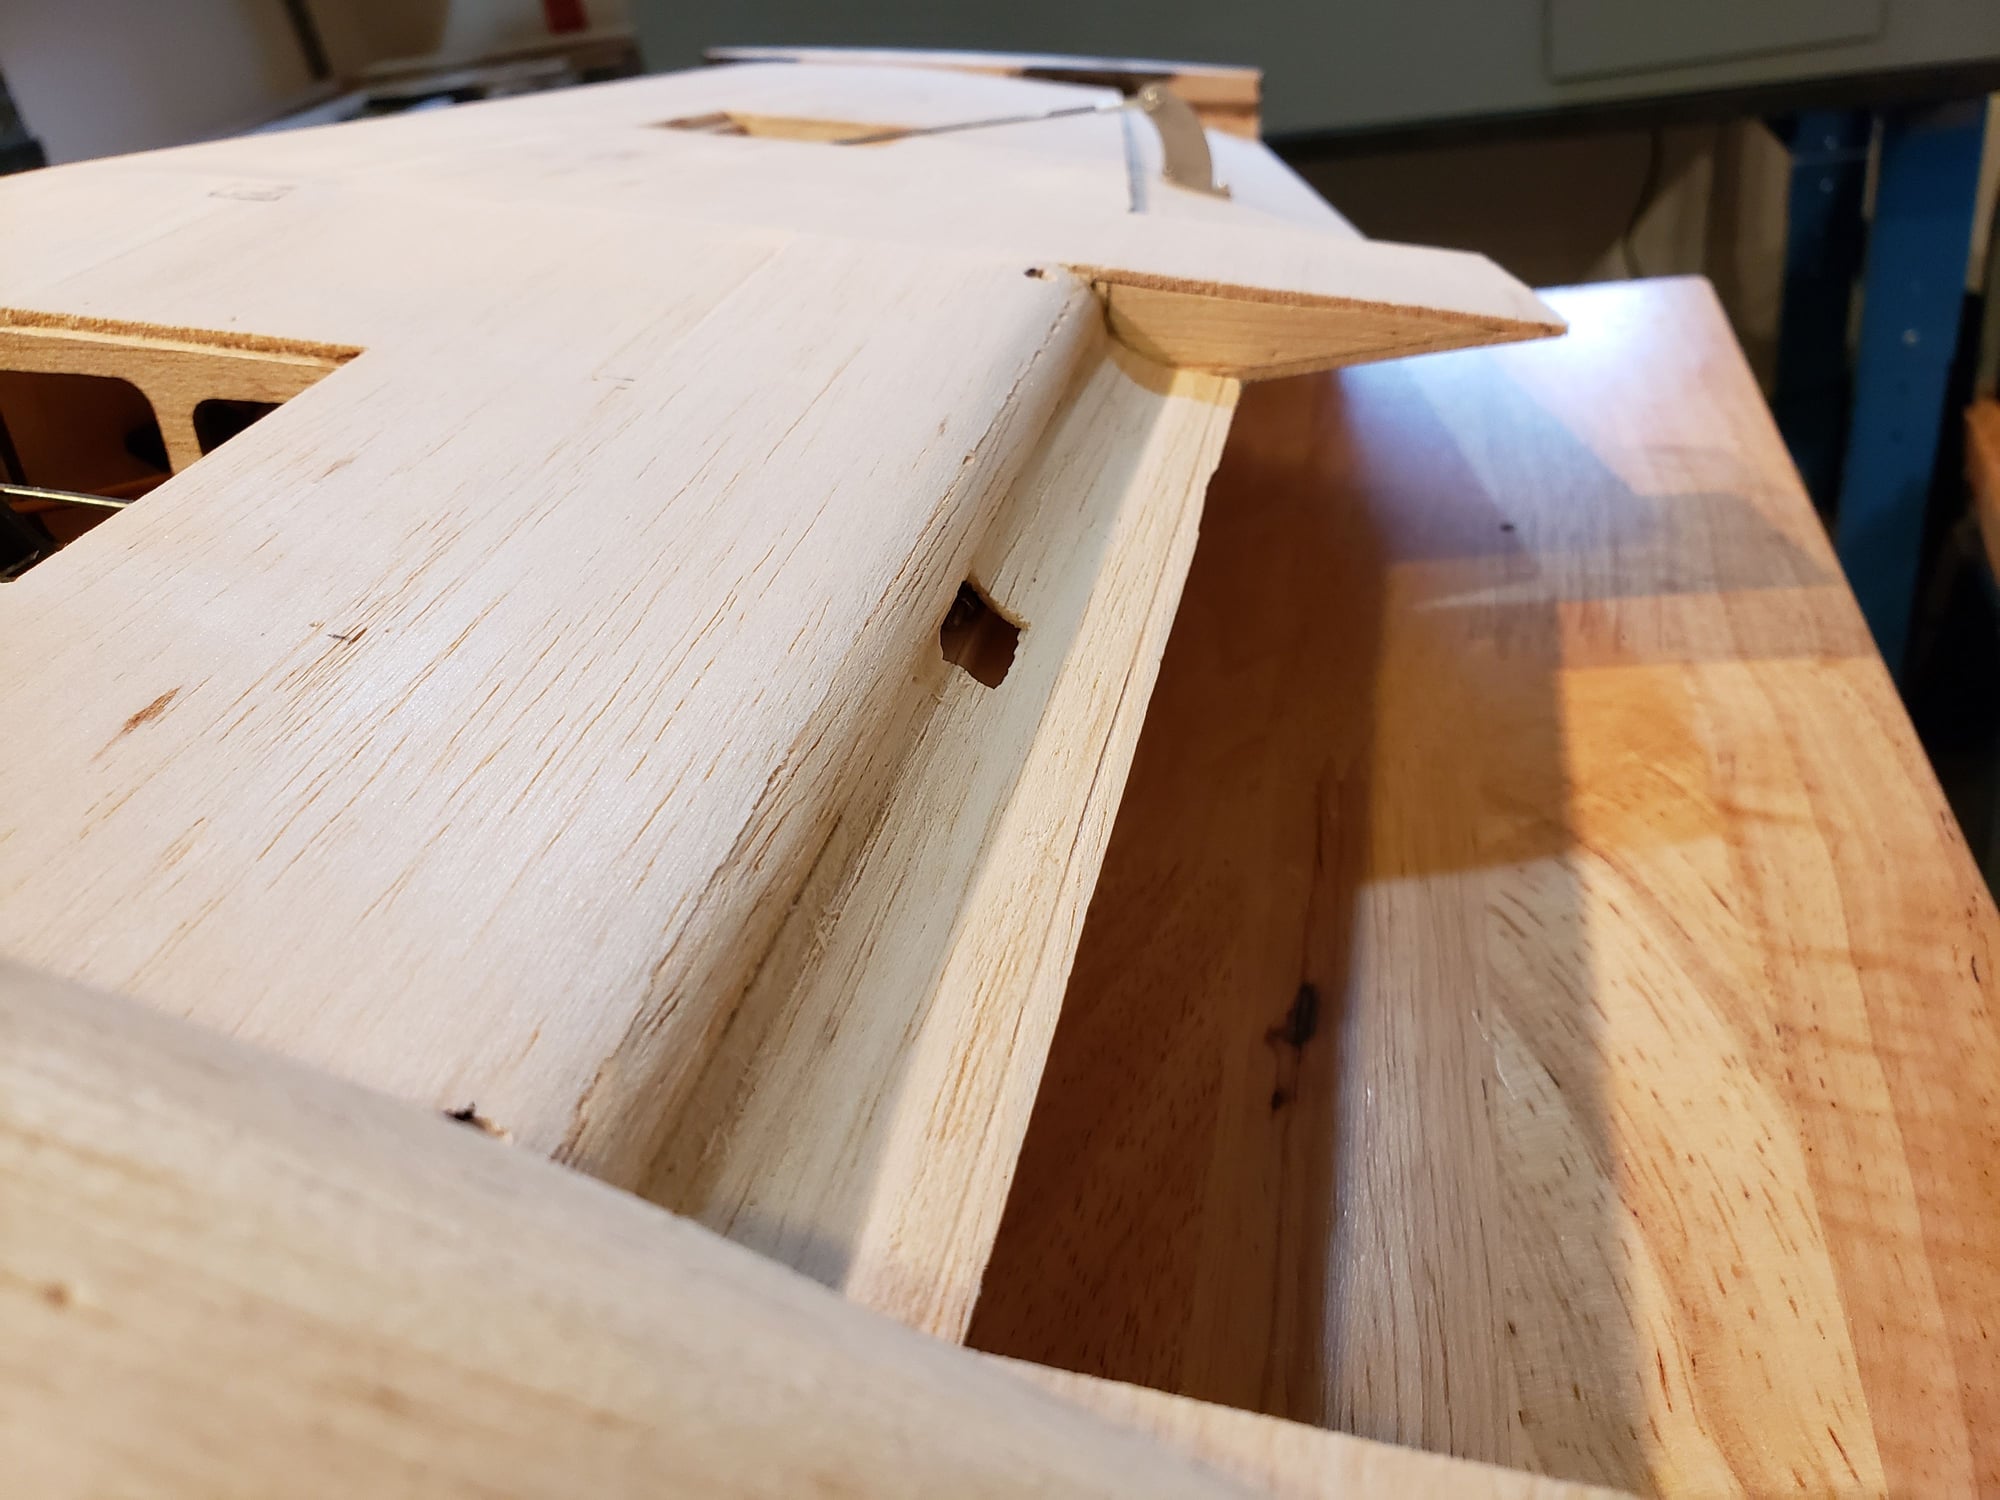
You'll note if you look close that there is a trench of sorts where the flap joins the TE of the wing. To allow air to flow smoothly into the slot (when the flap is open) the TE needs to be curved. The second photo shows this close up.
 01-11-2024, 04:40 PM
#81
Wing tip was made from laying up 3 sheets of 1/2" balsa (cut roughly to shape) then sanded to the final shape.
At this point I also checked the wing for any warp and the desired washout. I confirmed that the center section is perfectly straight and there is 1.25 degrees of washout at each wing tip.
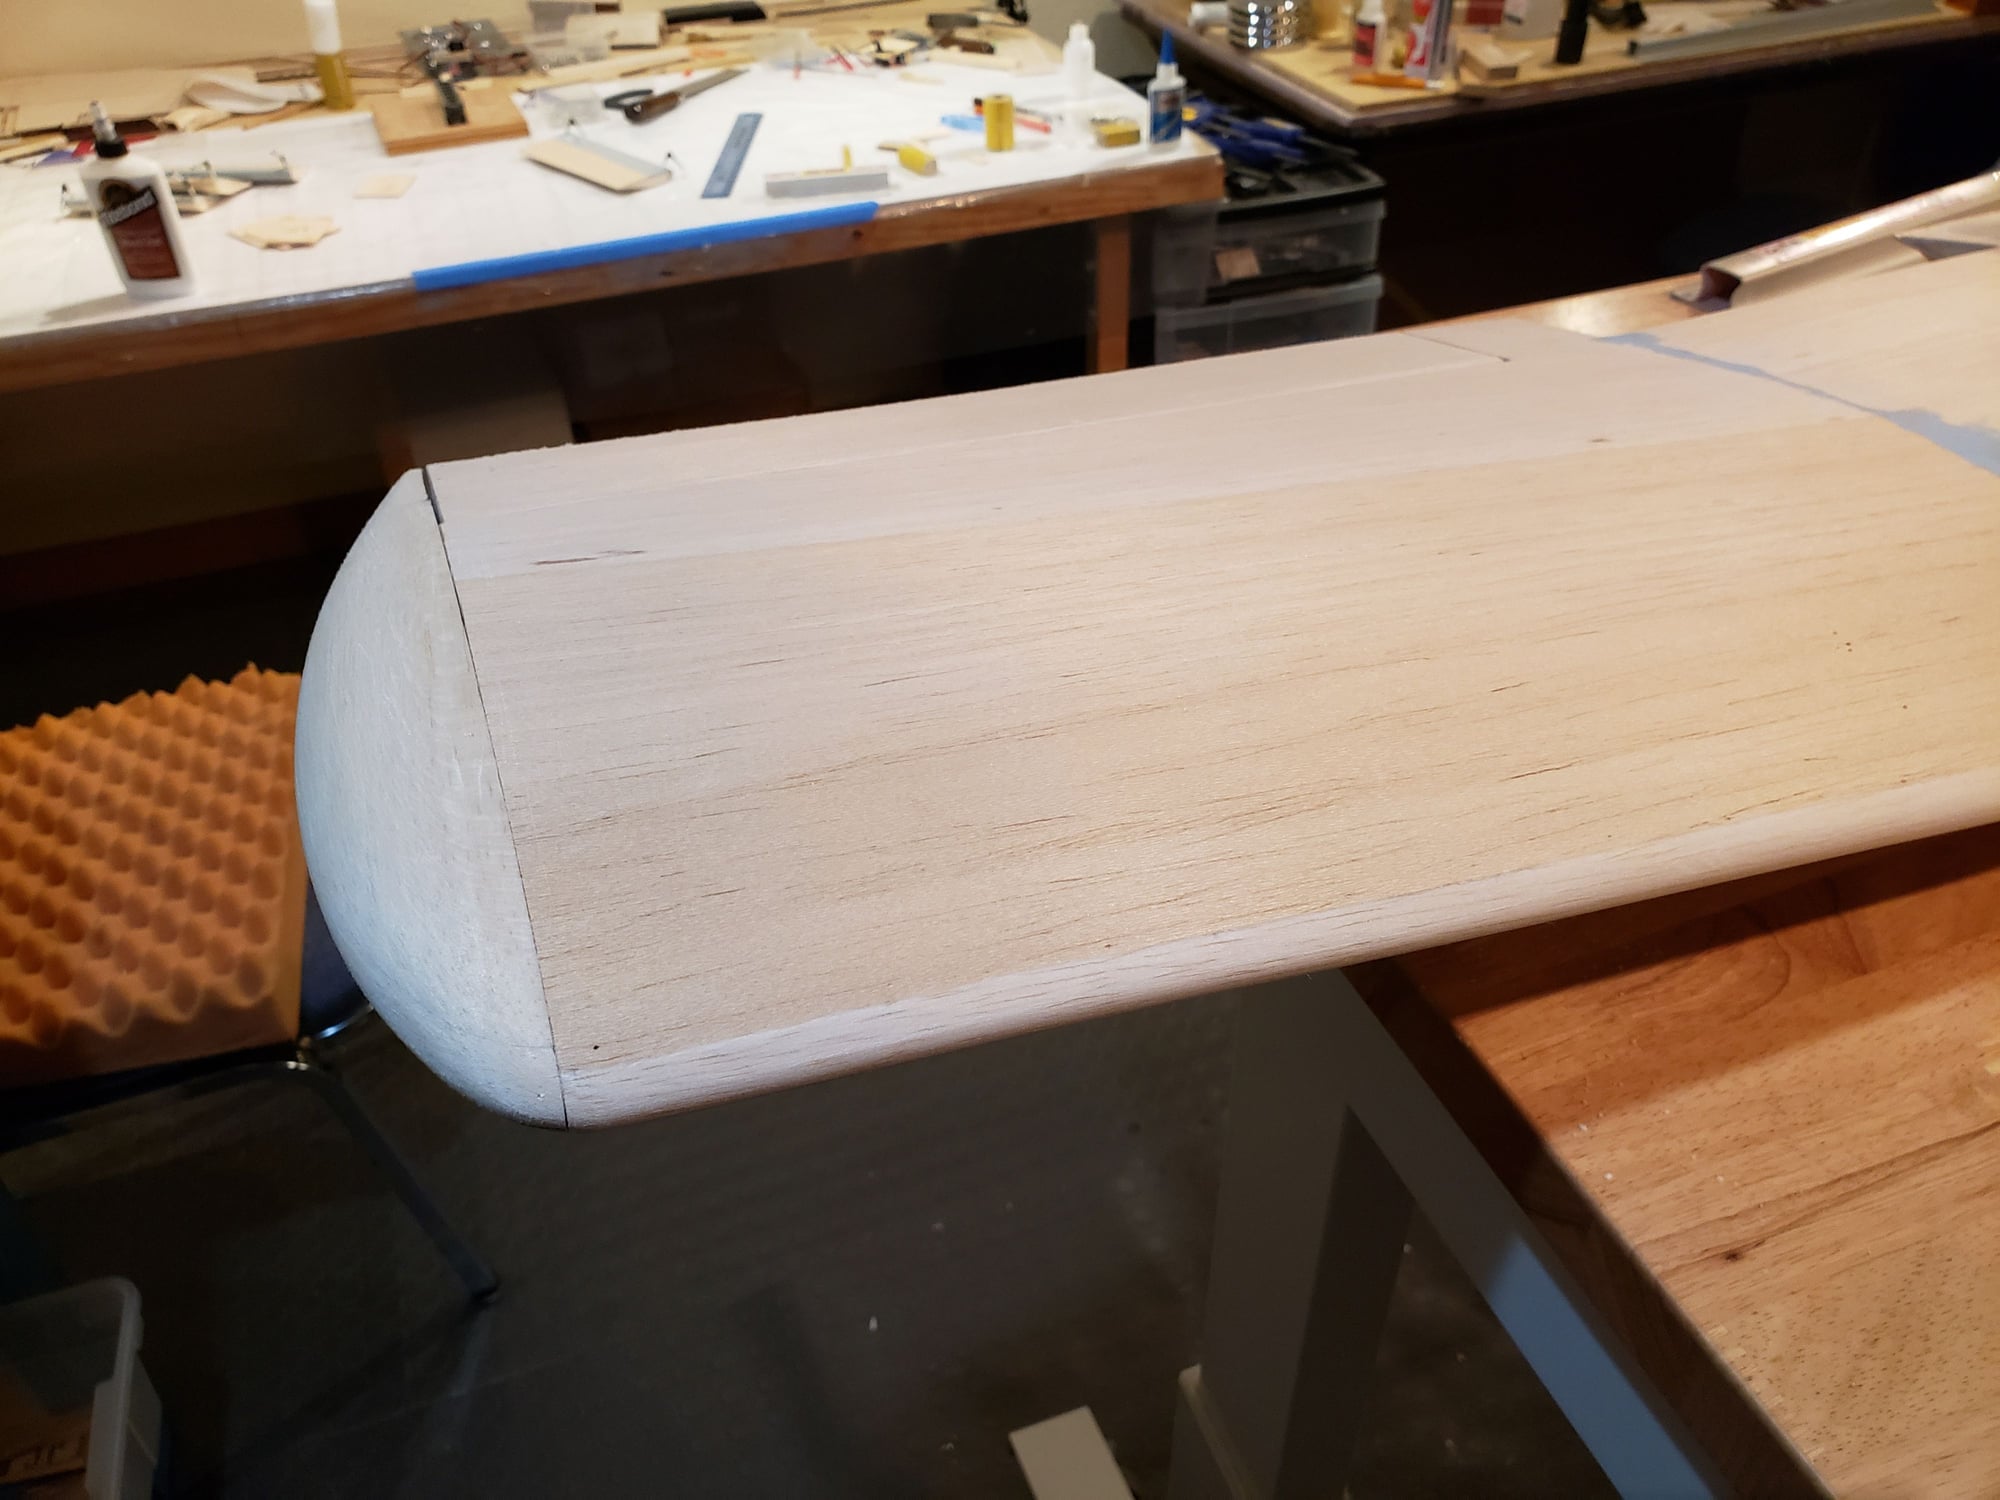
At this point I also checked the wing for any warp and the desired washout. I confirmed that the center section is perfectly straight and there is 1.25 degrees of washout at each wing tip.
01-15-2024, 04:45 PM
#82
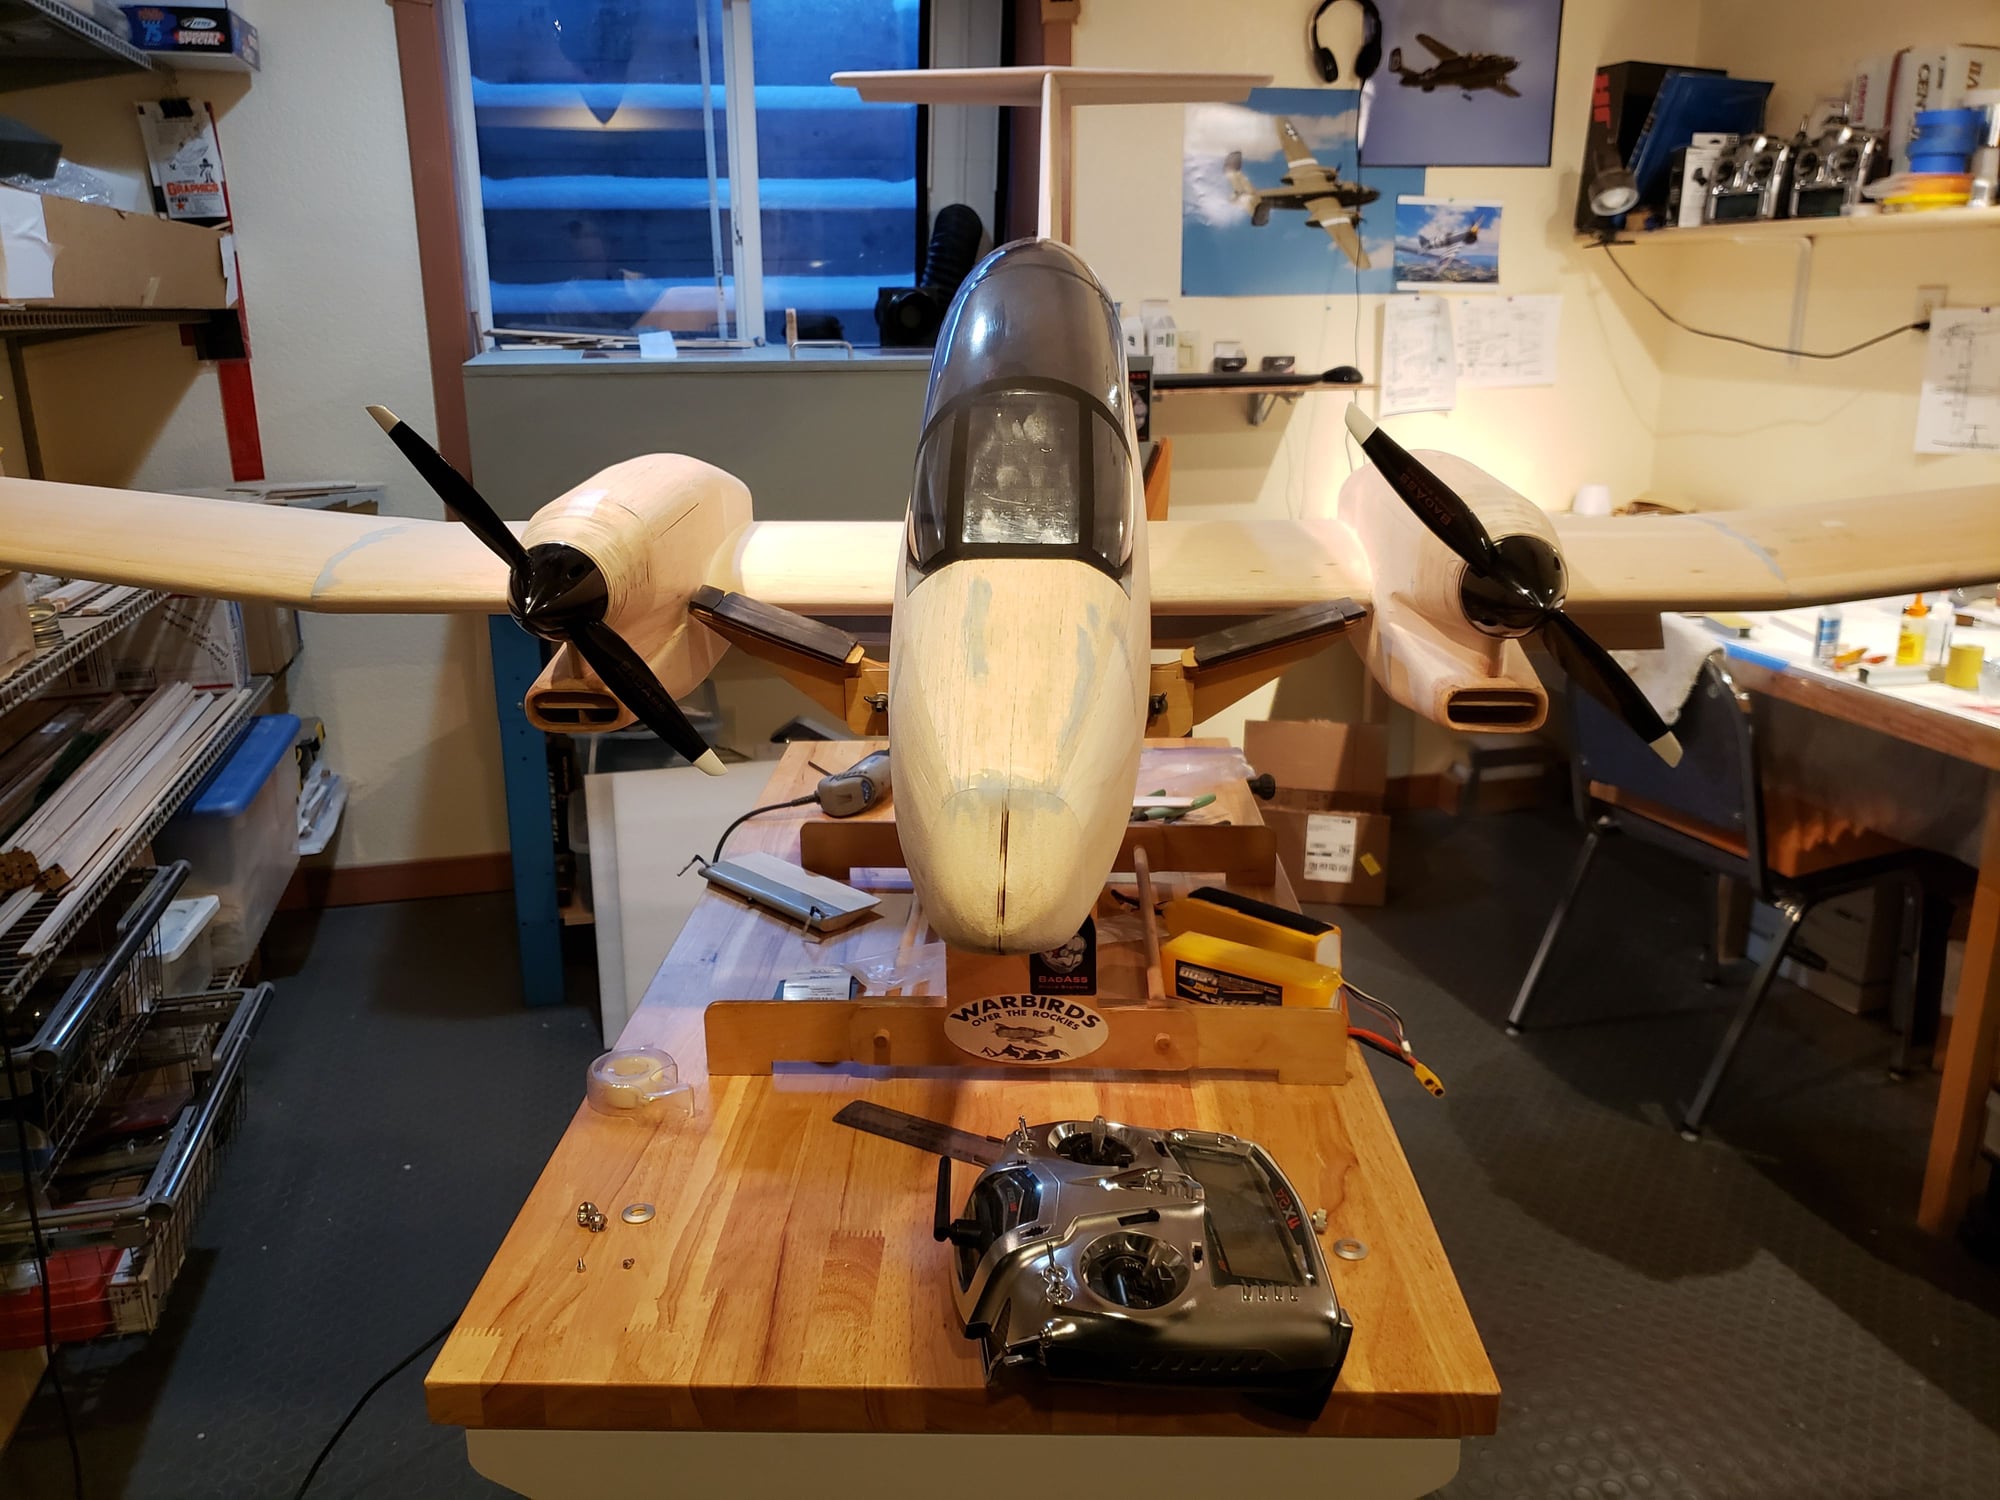
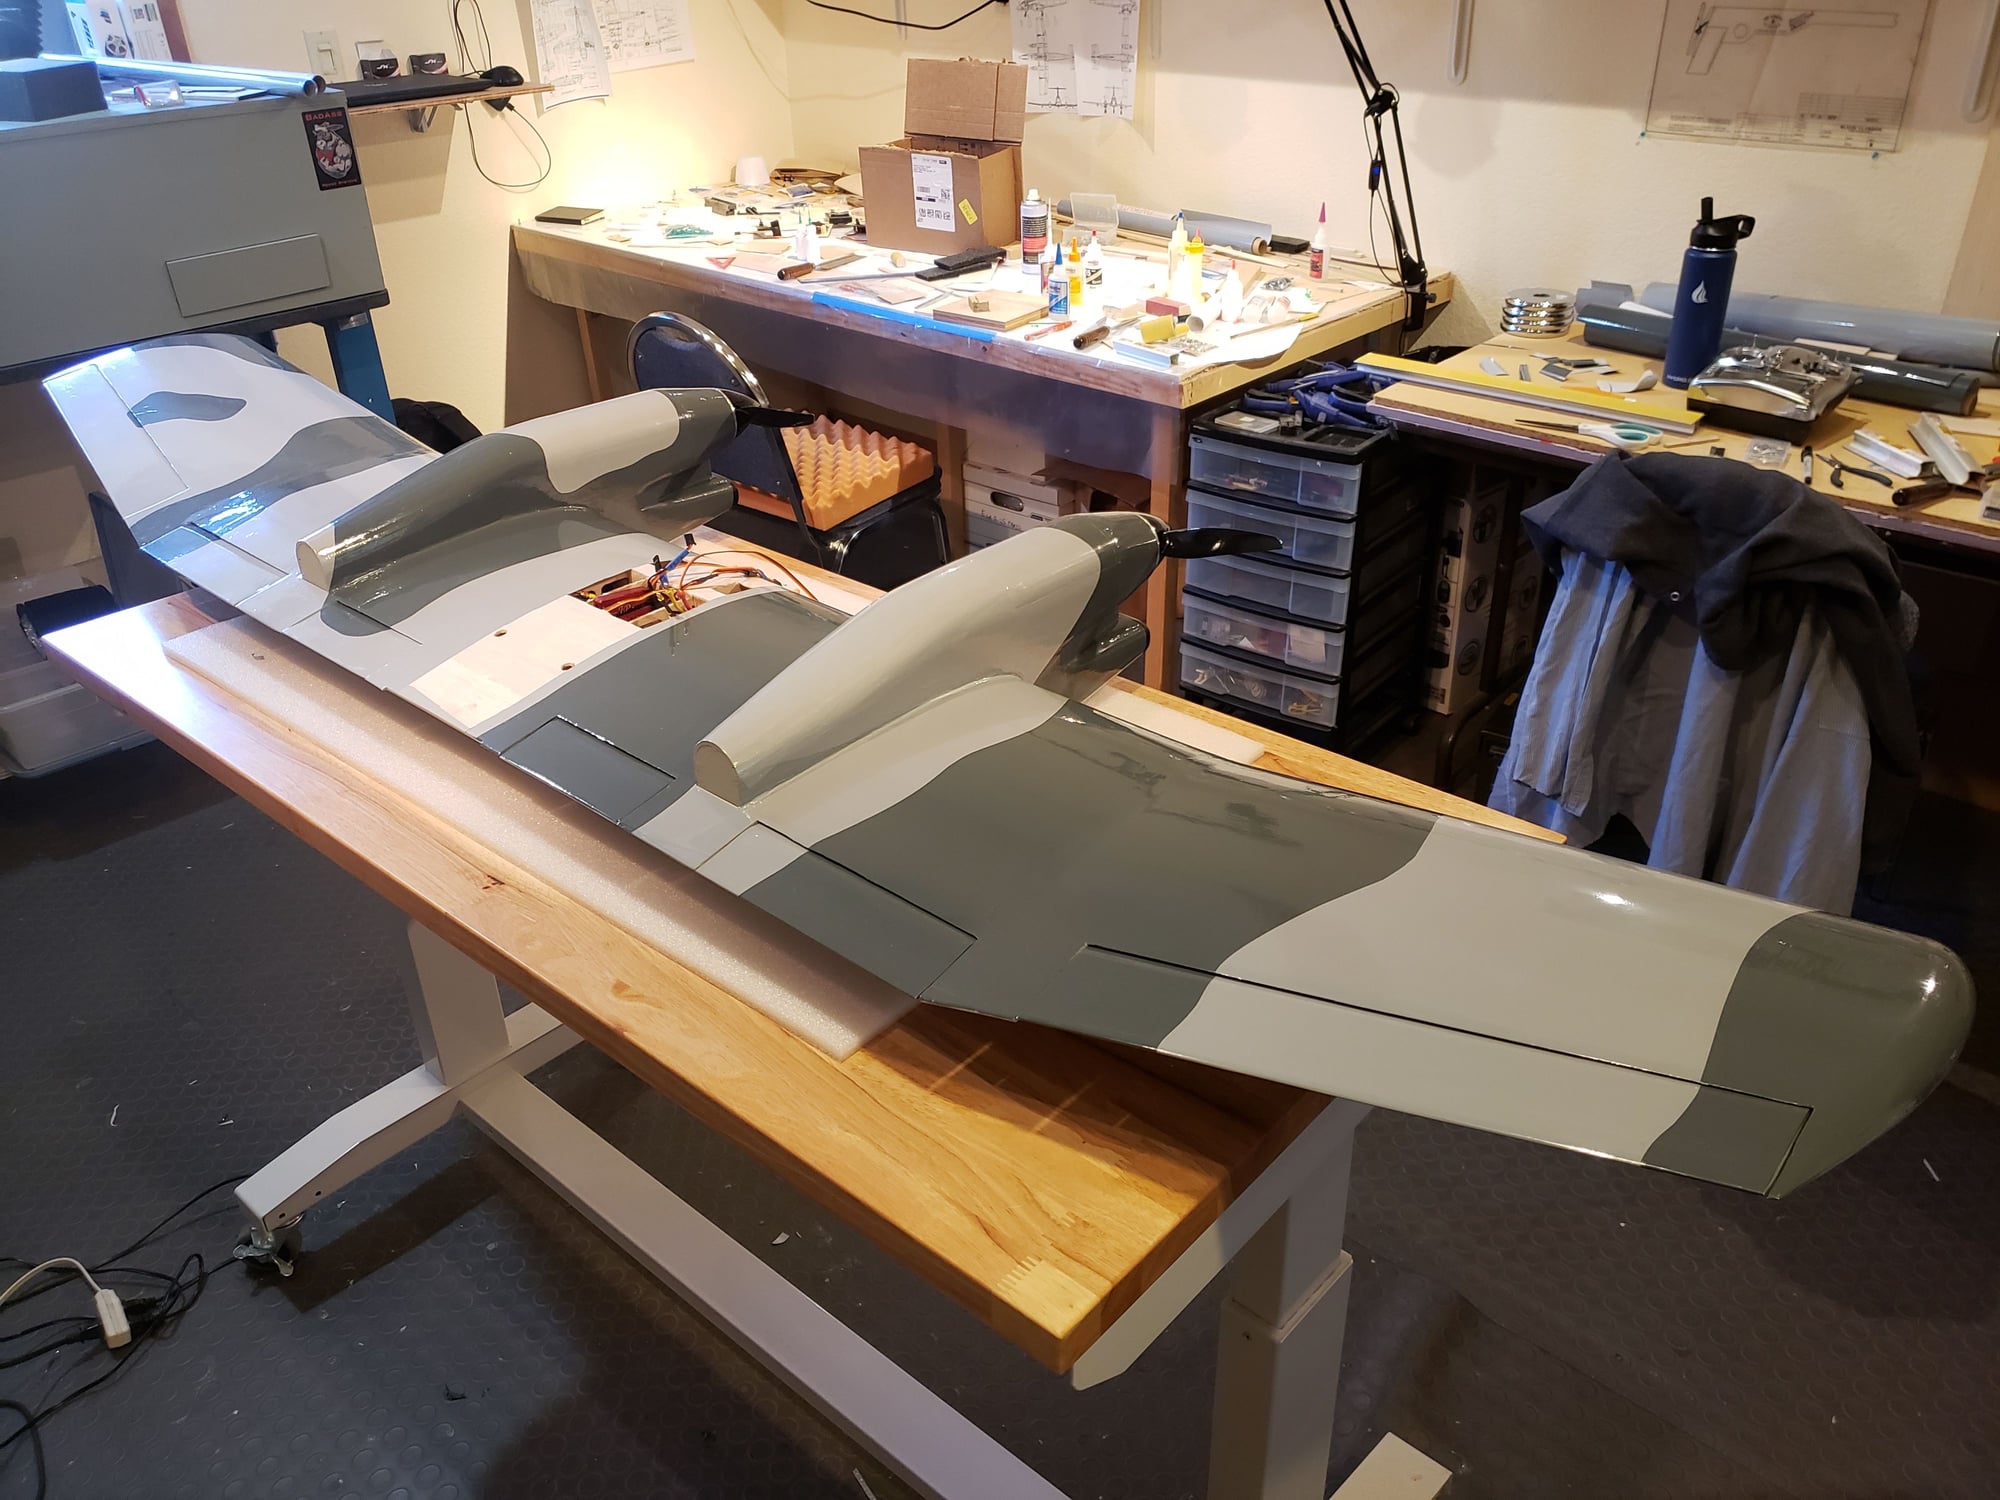
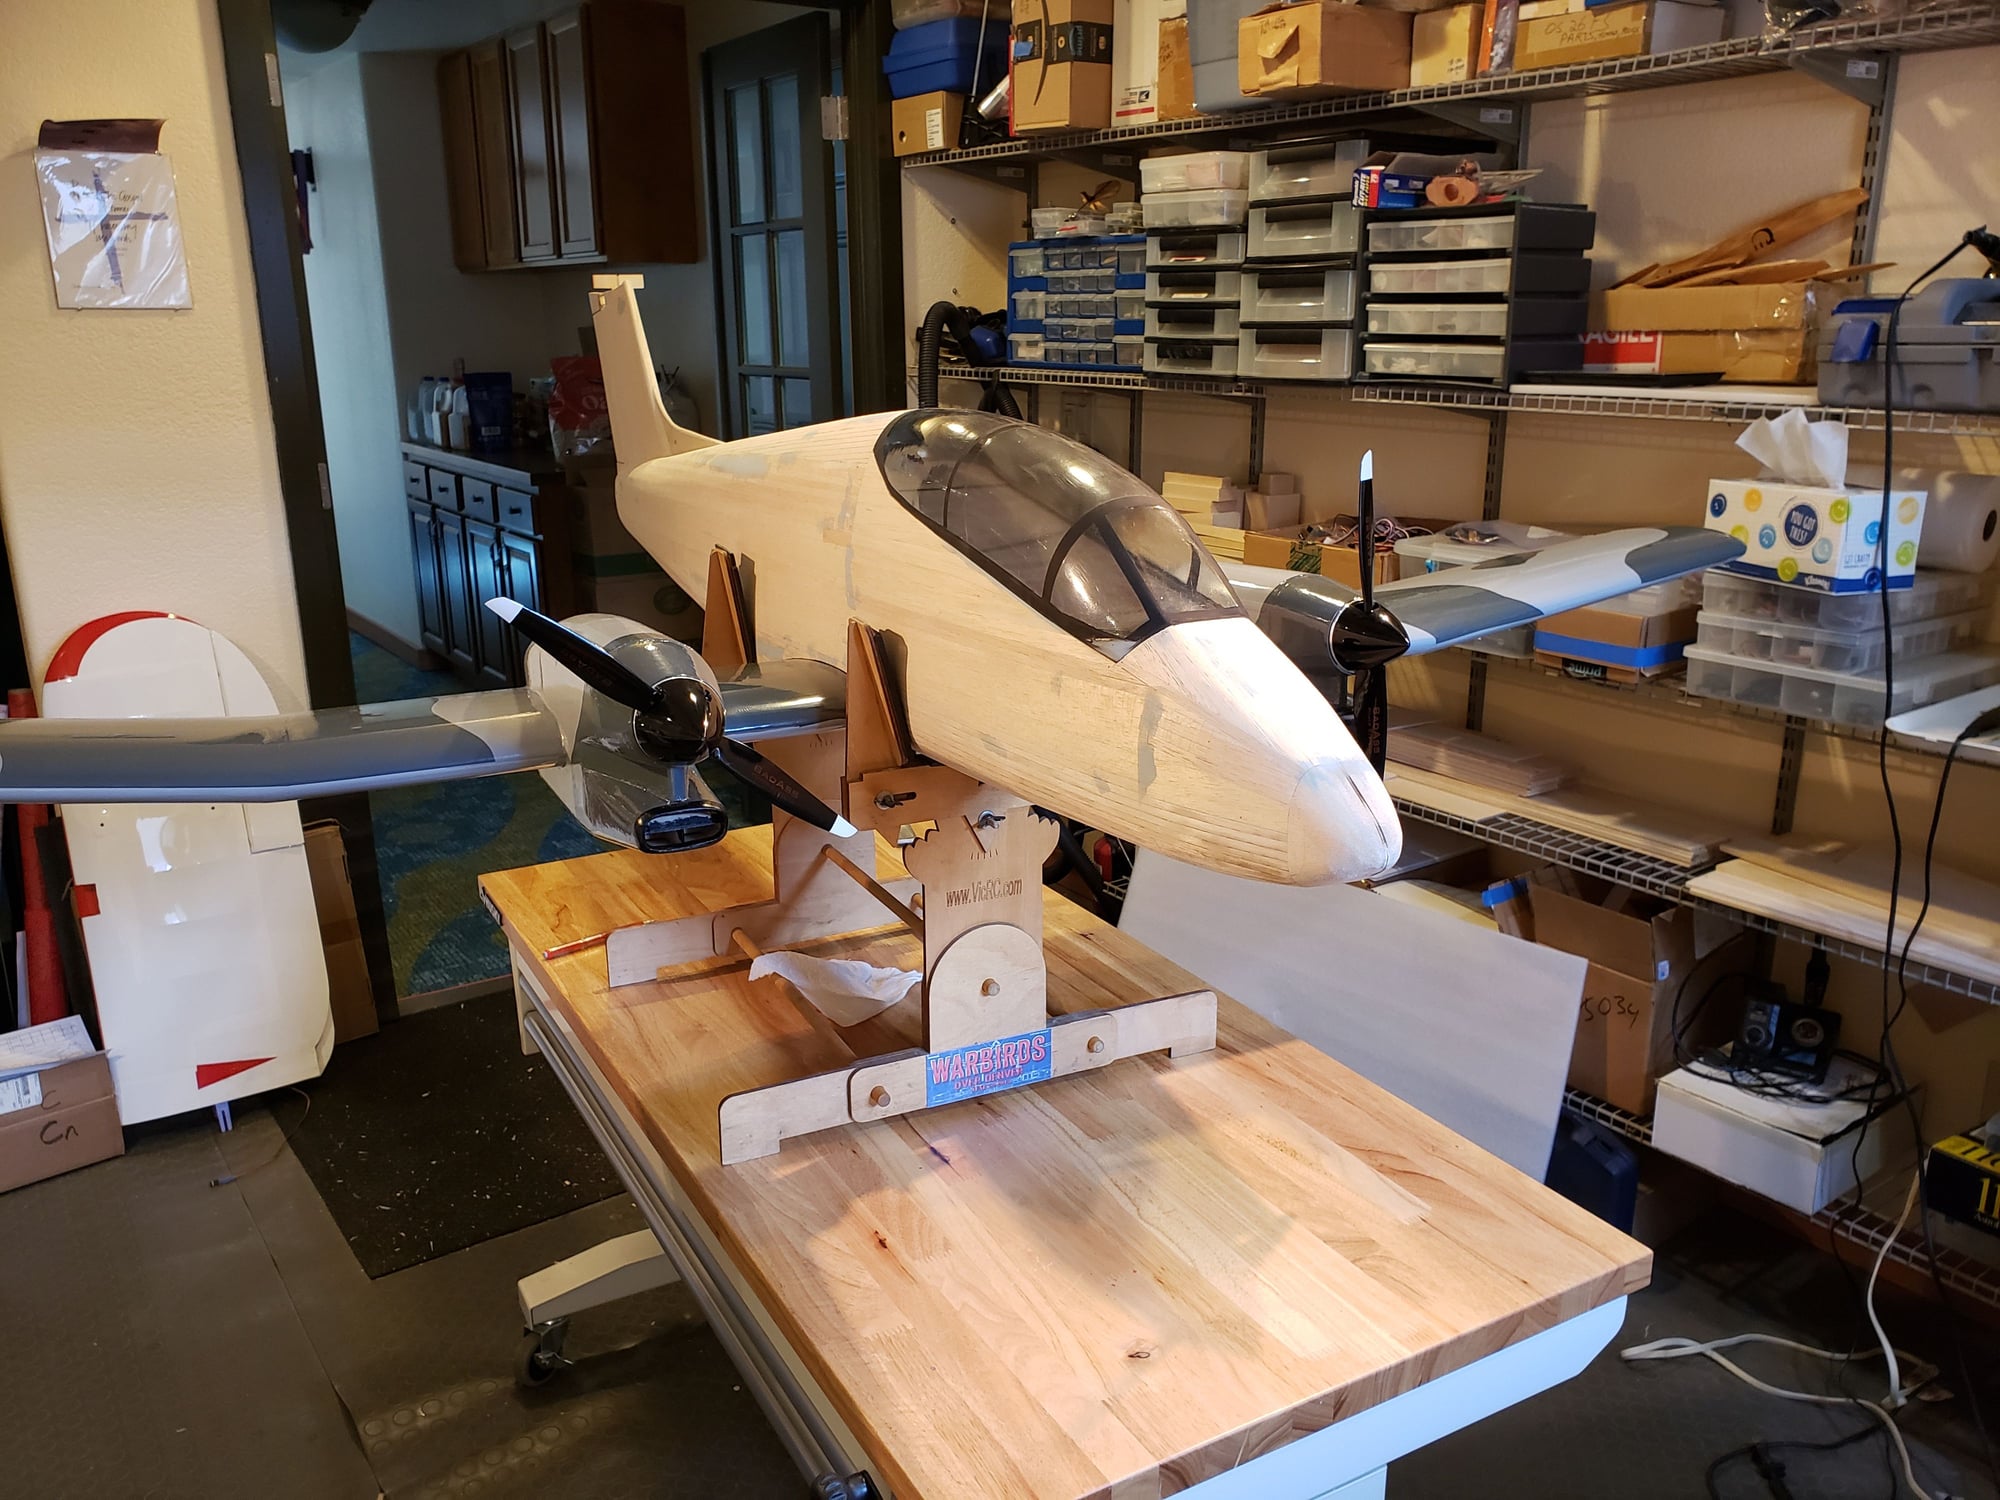
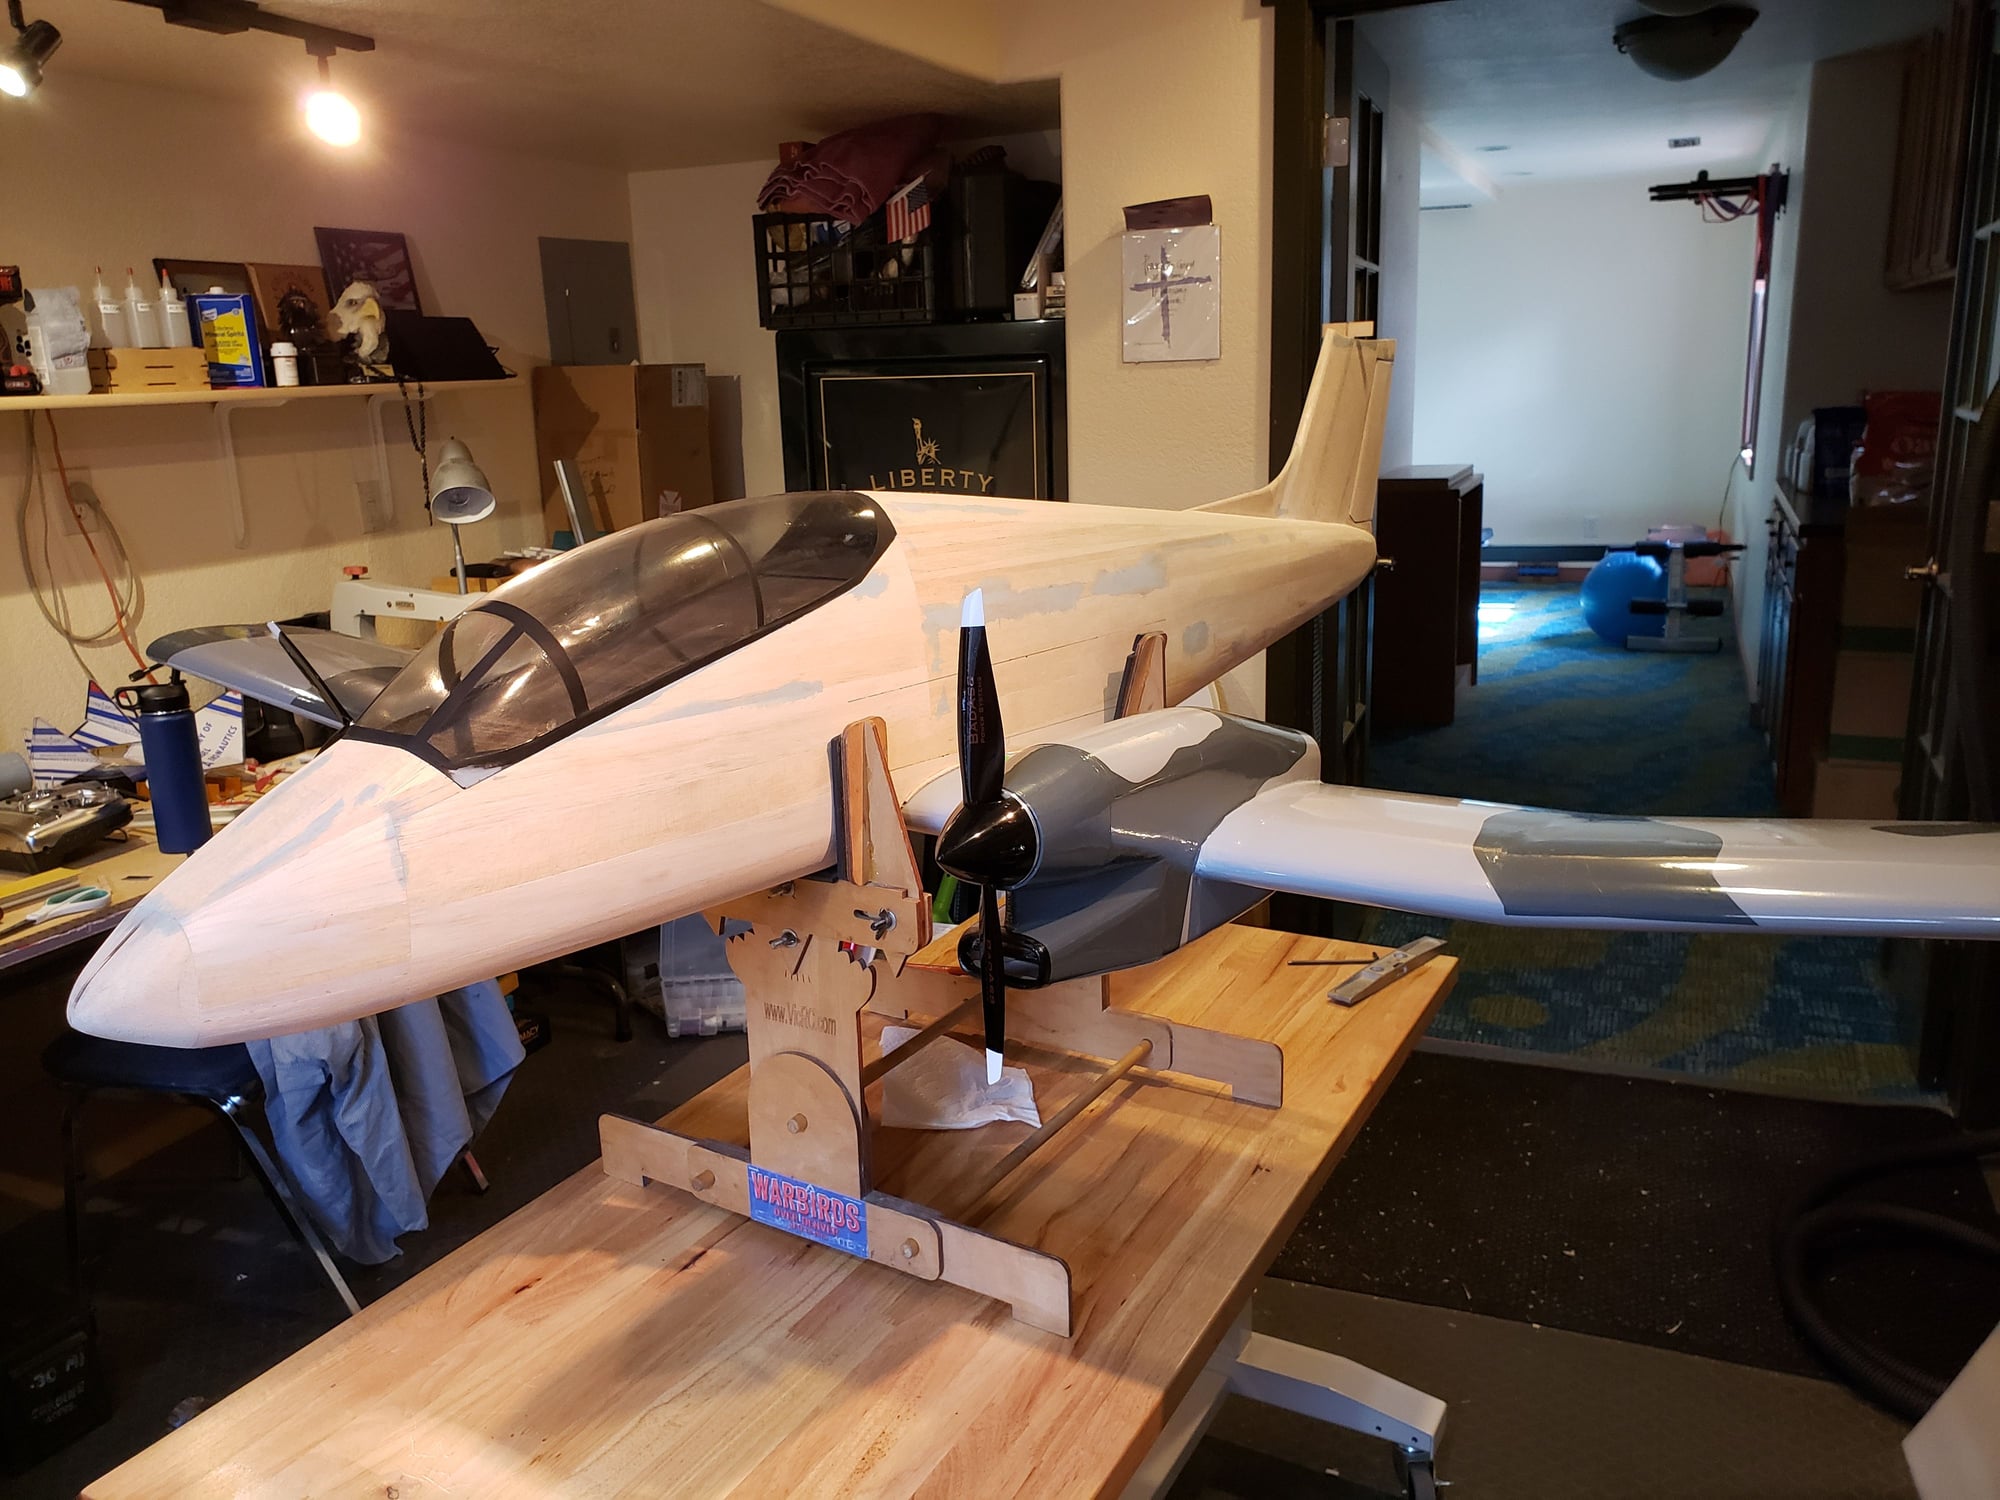
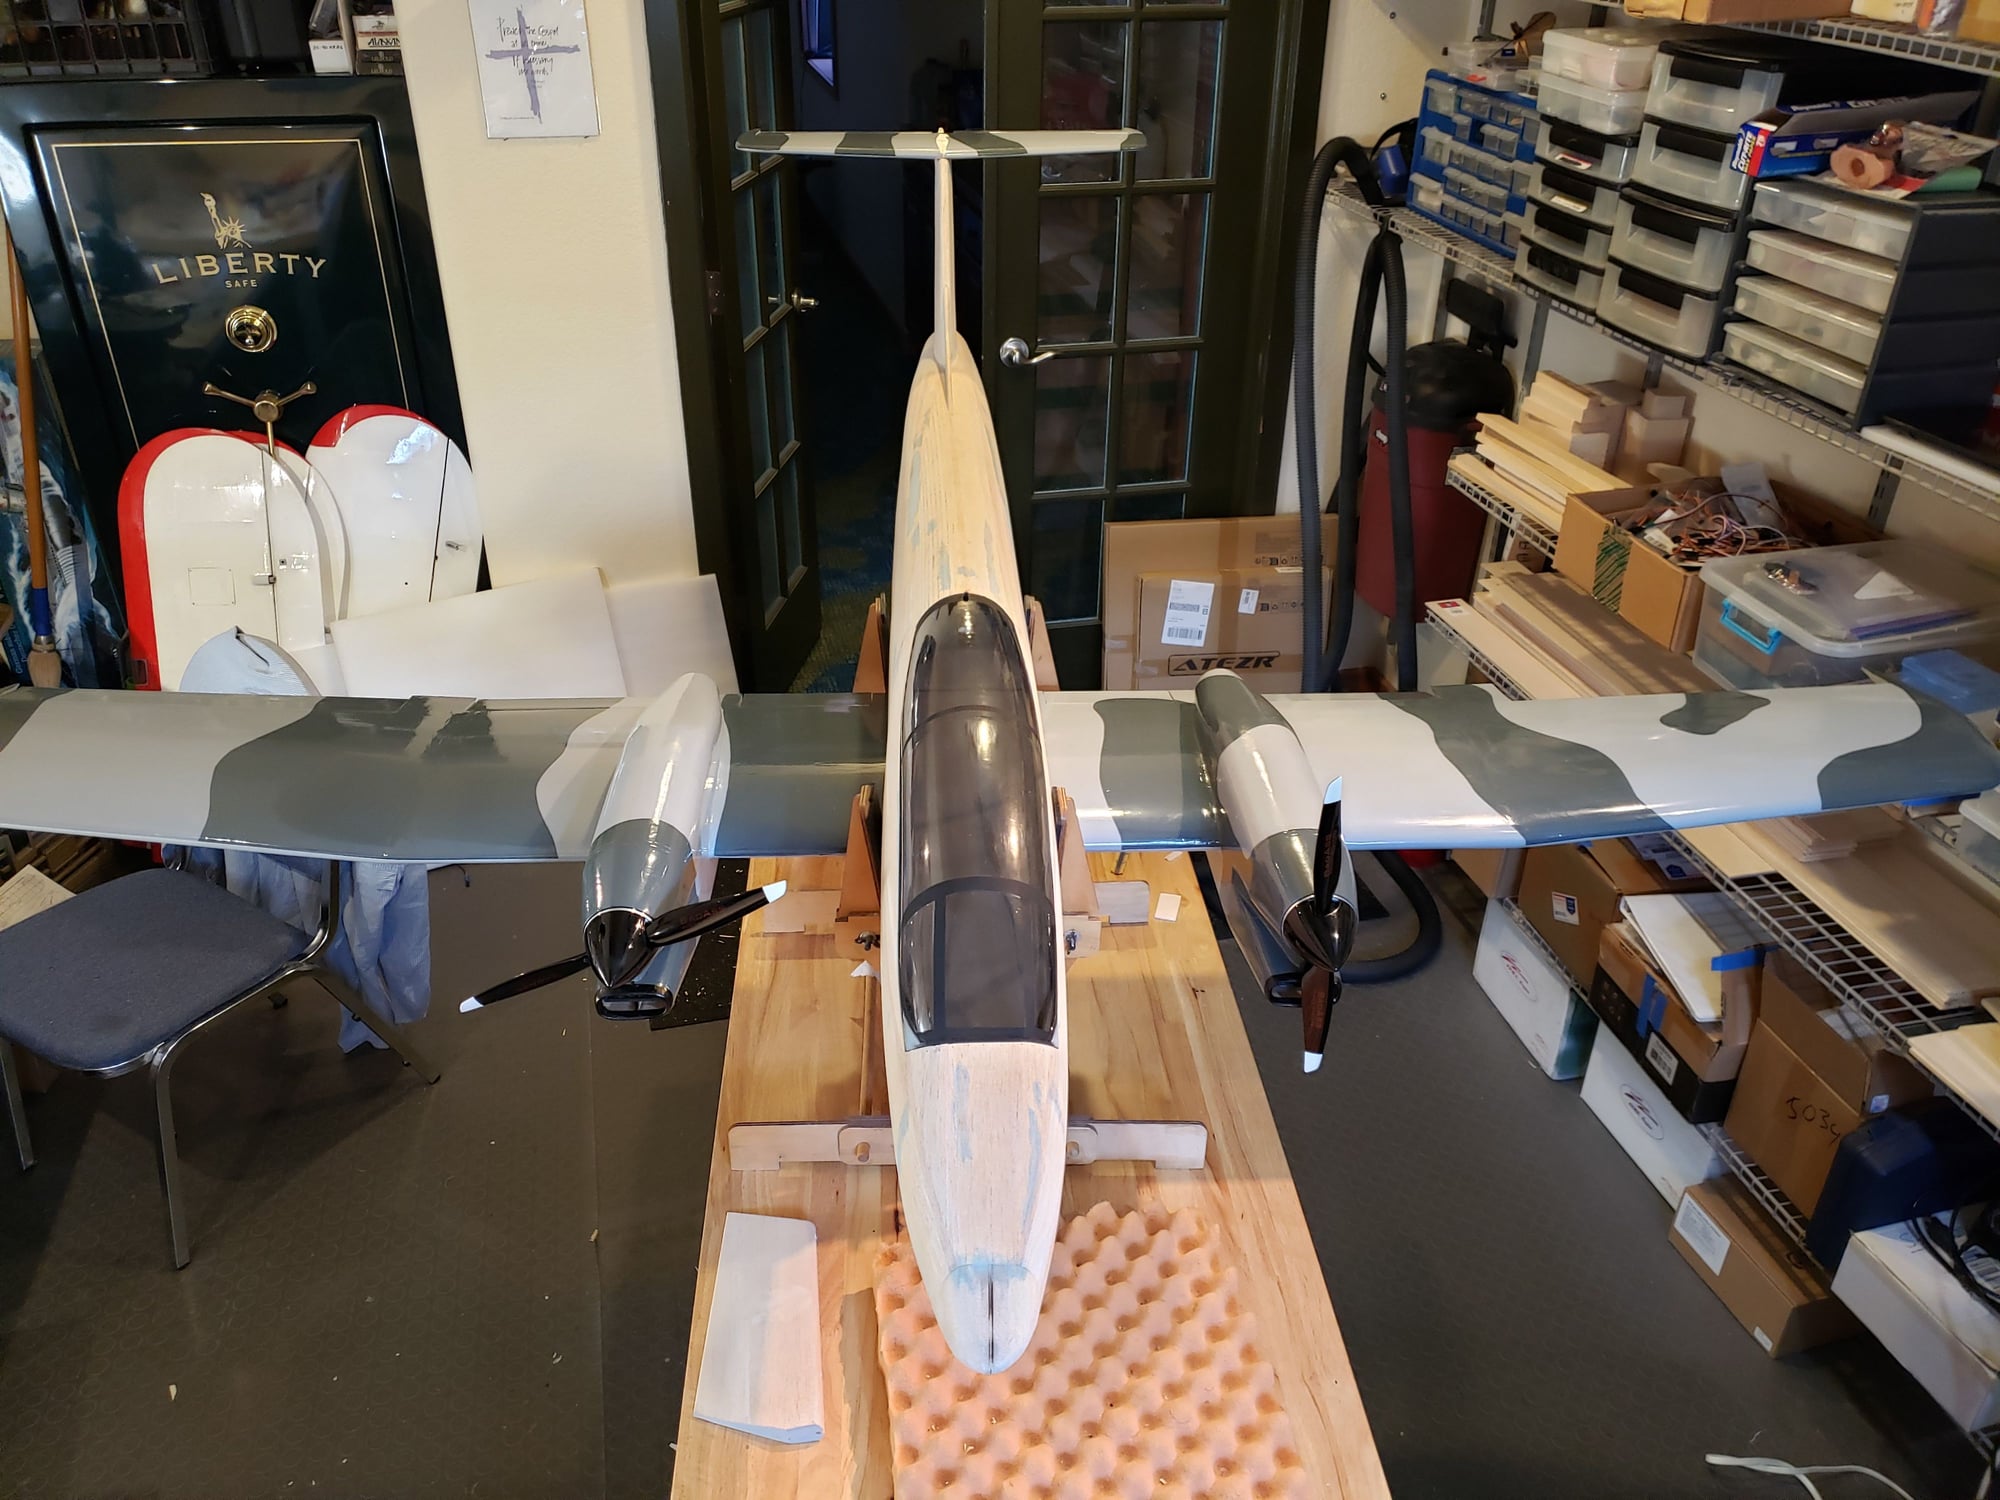
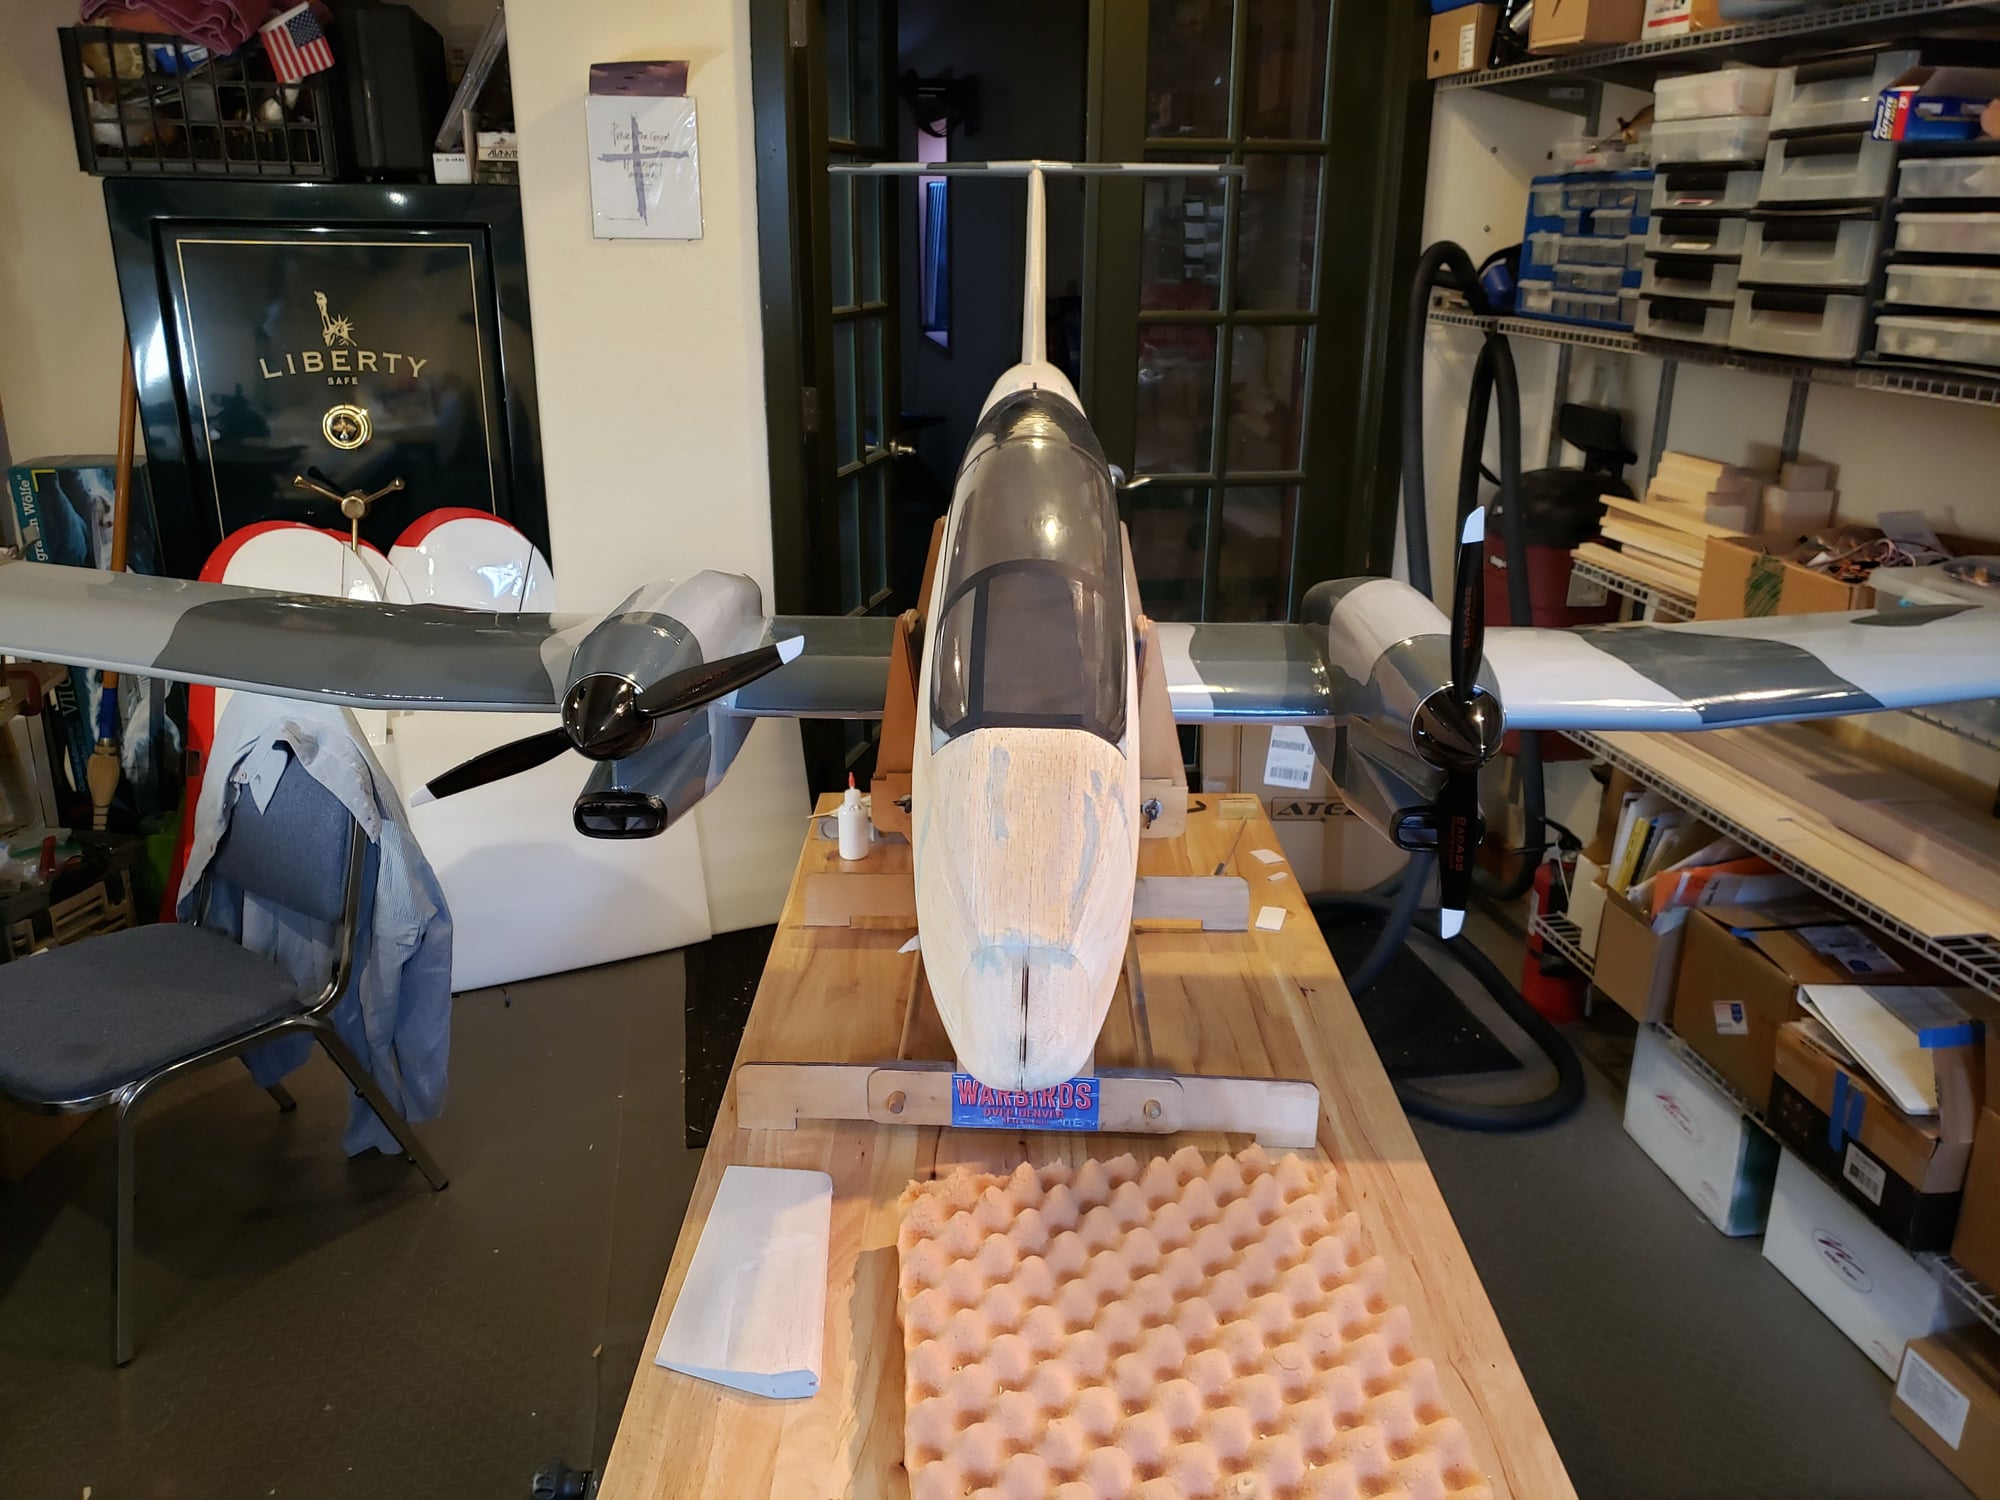
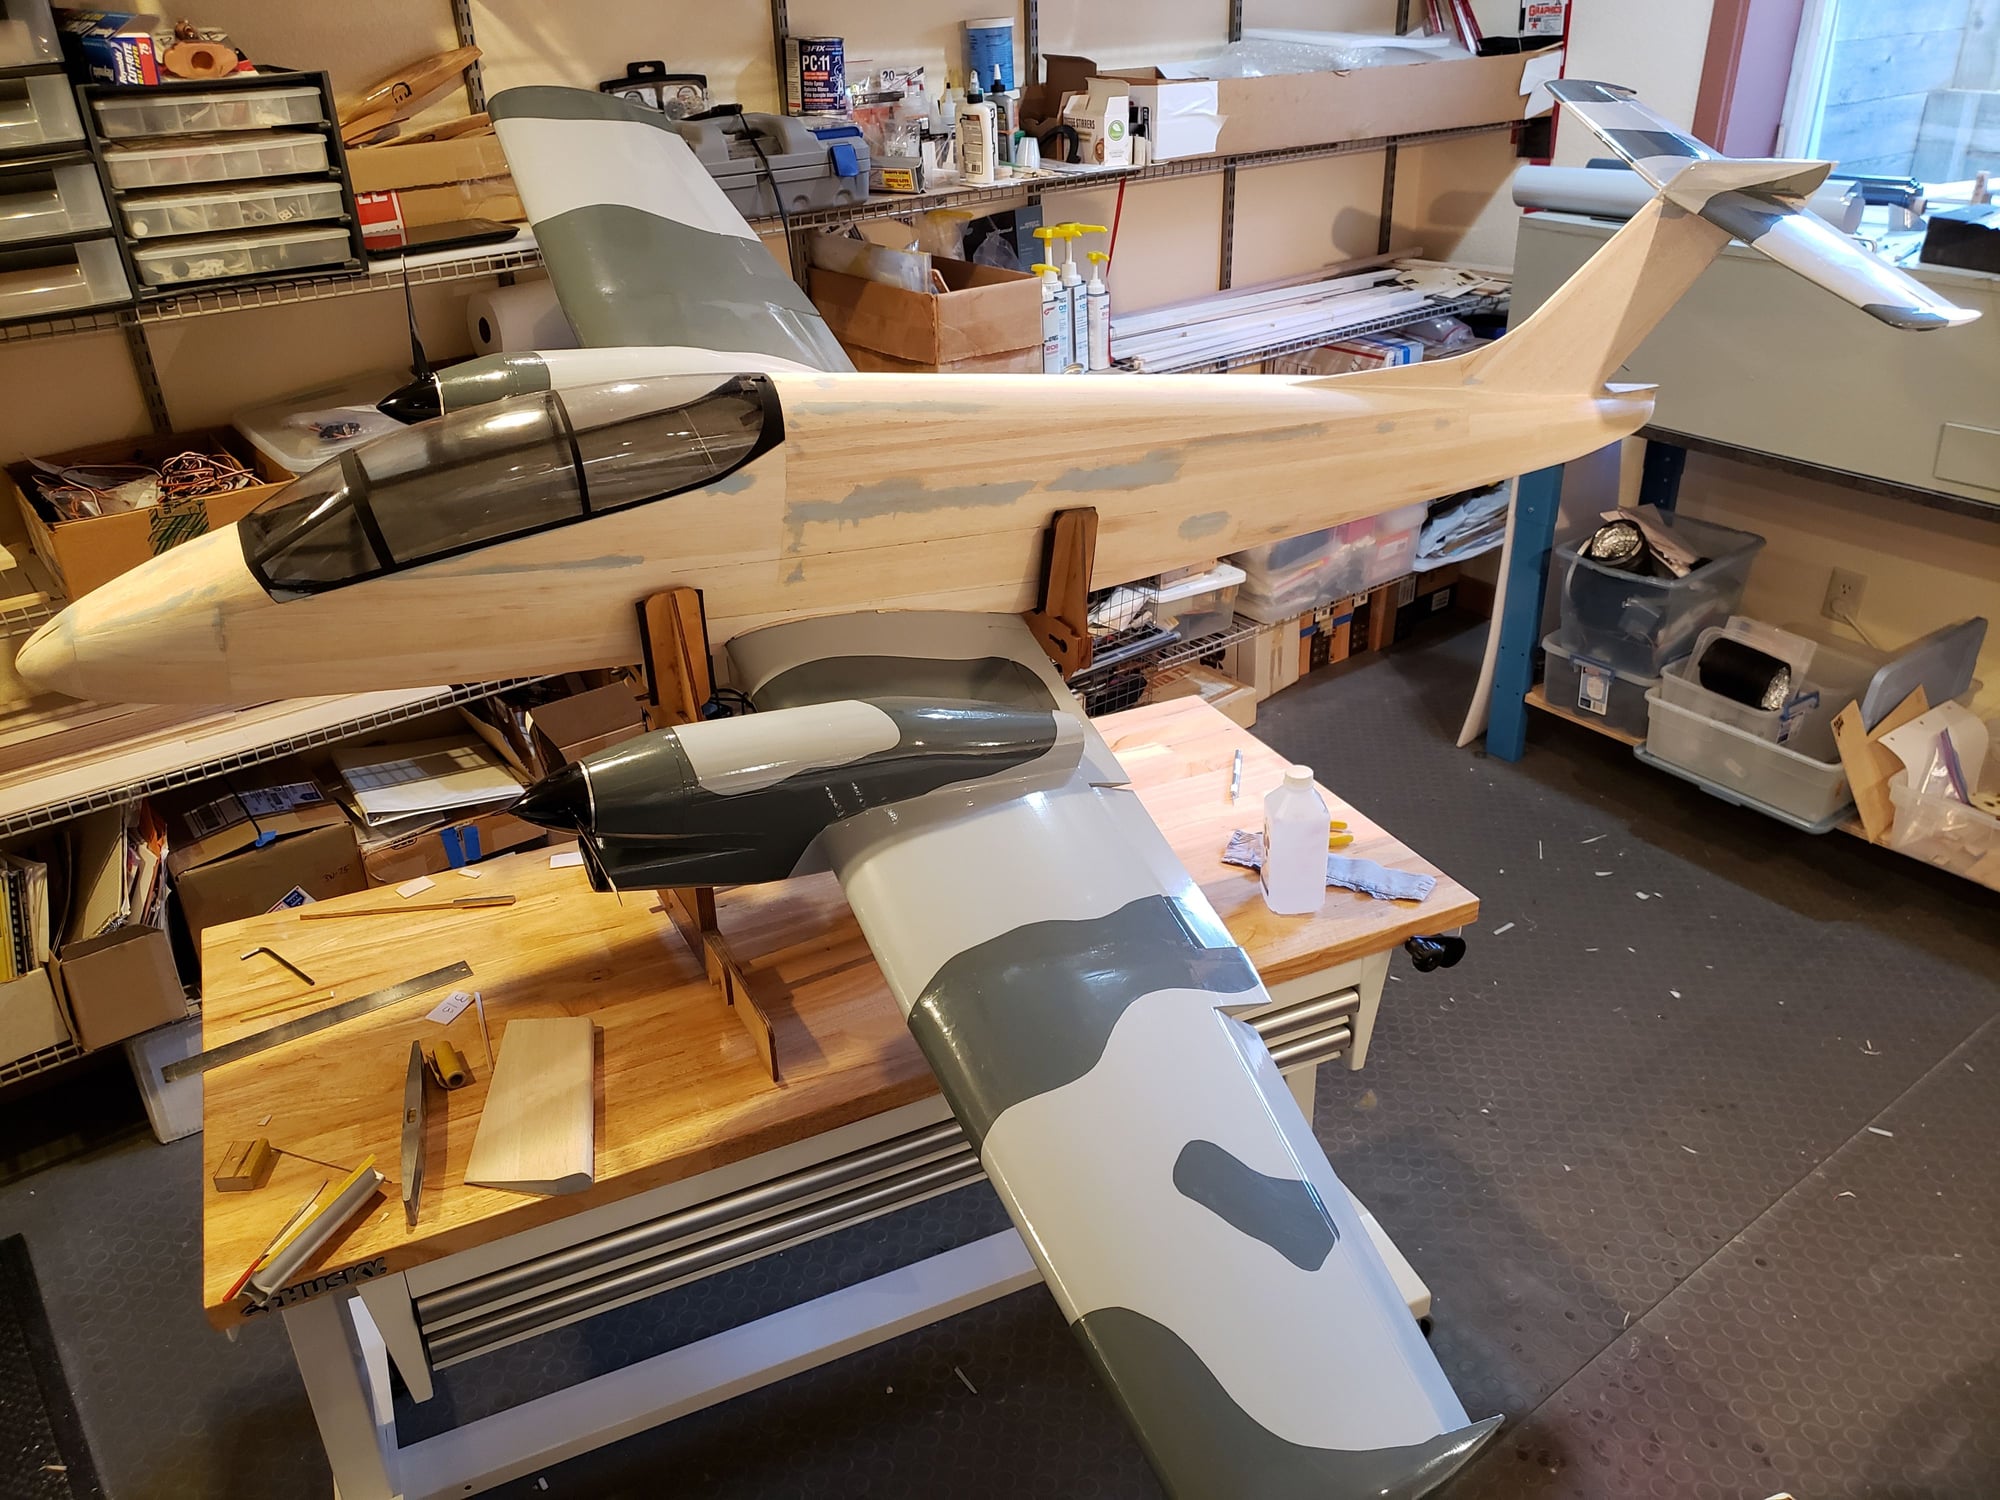
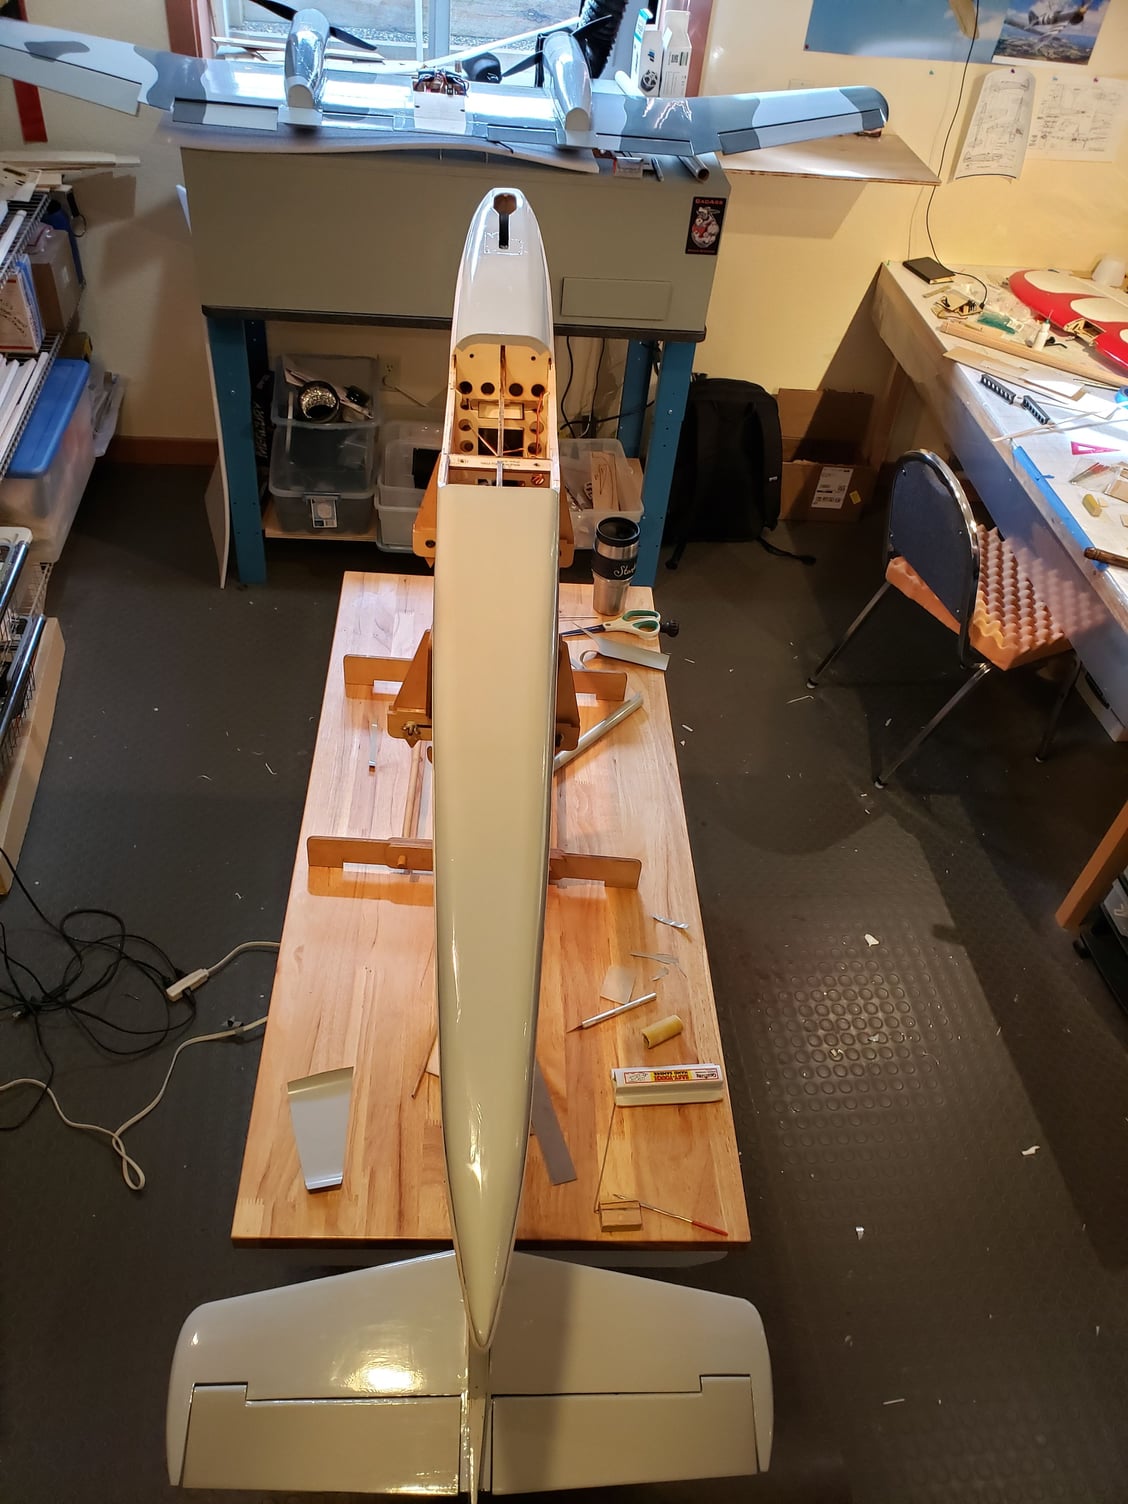
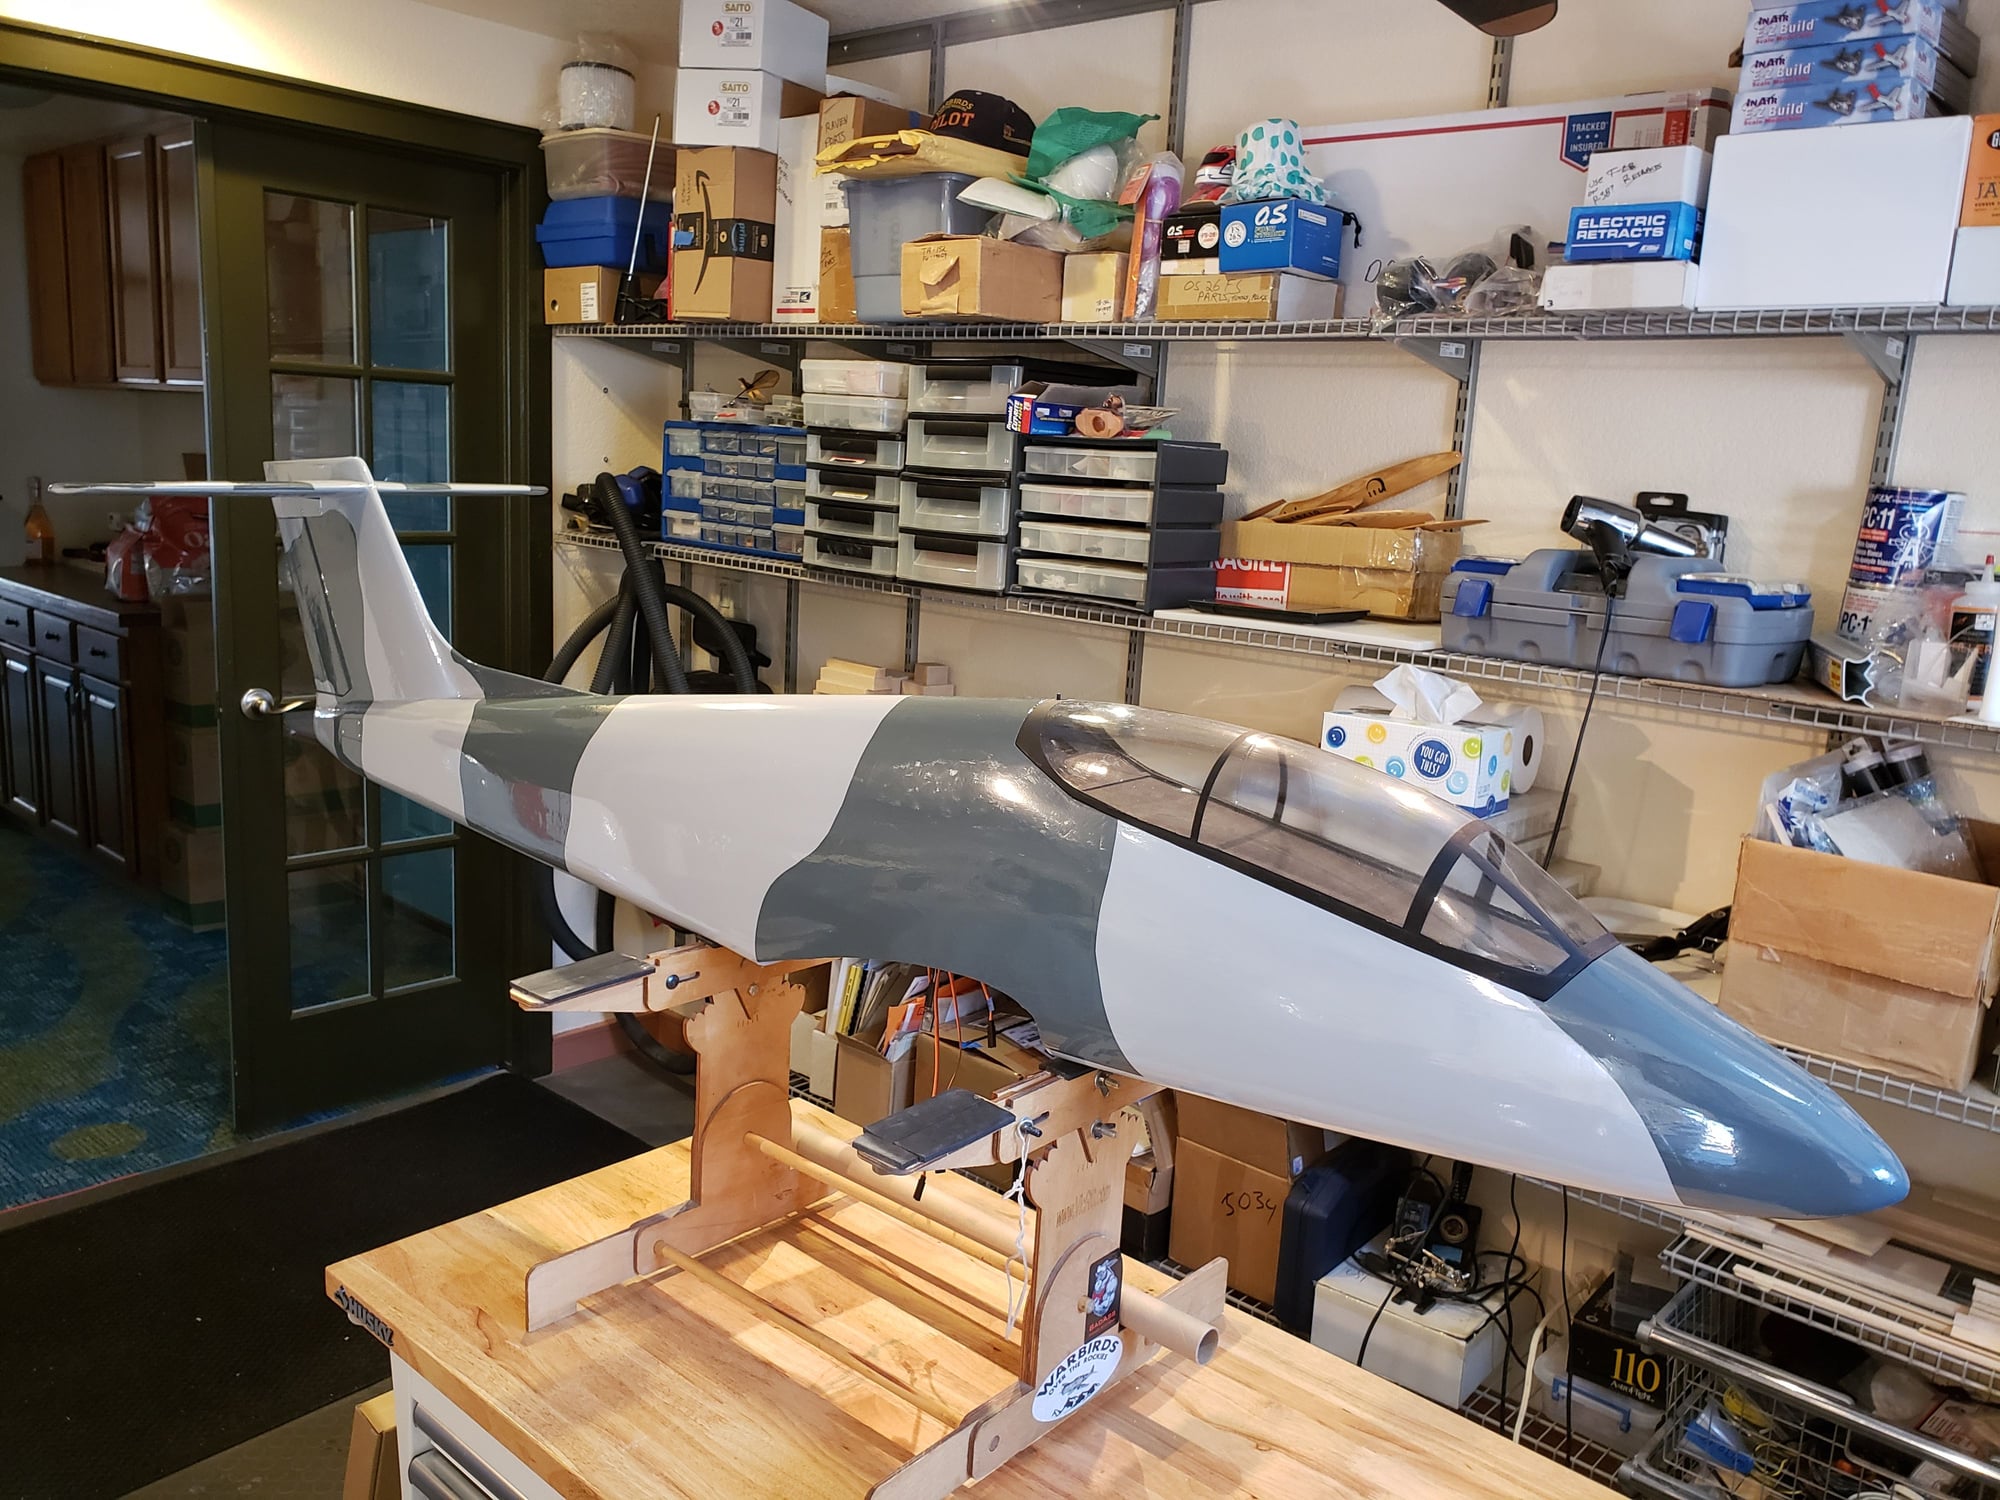
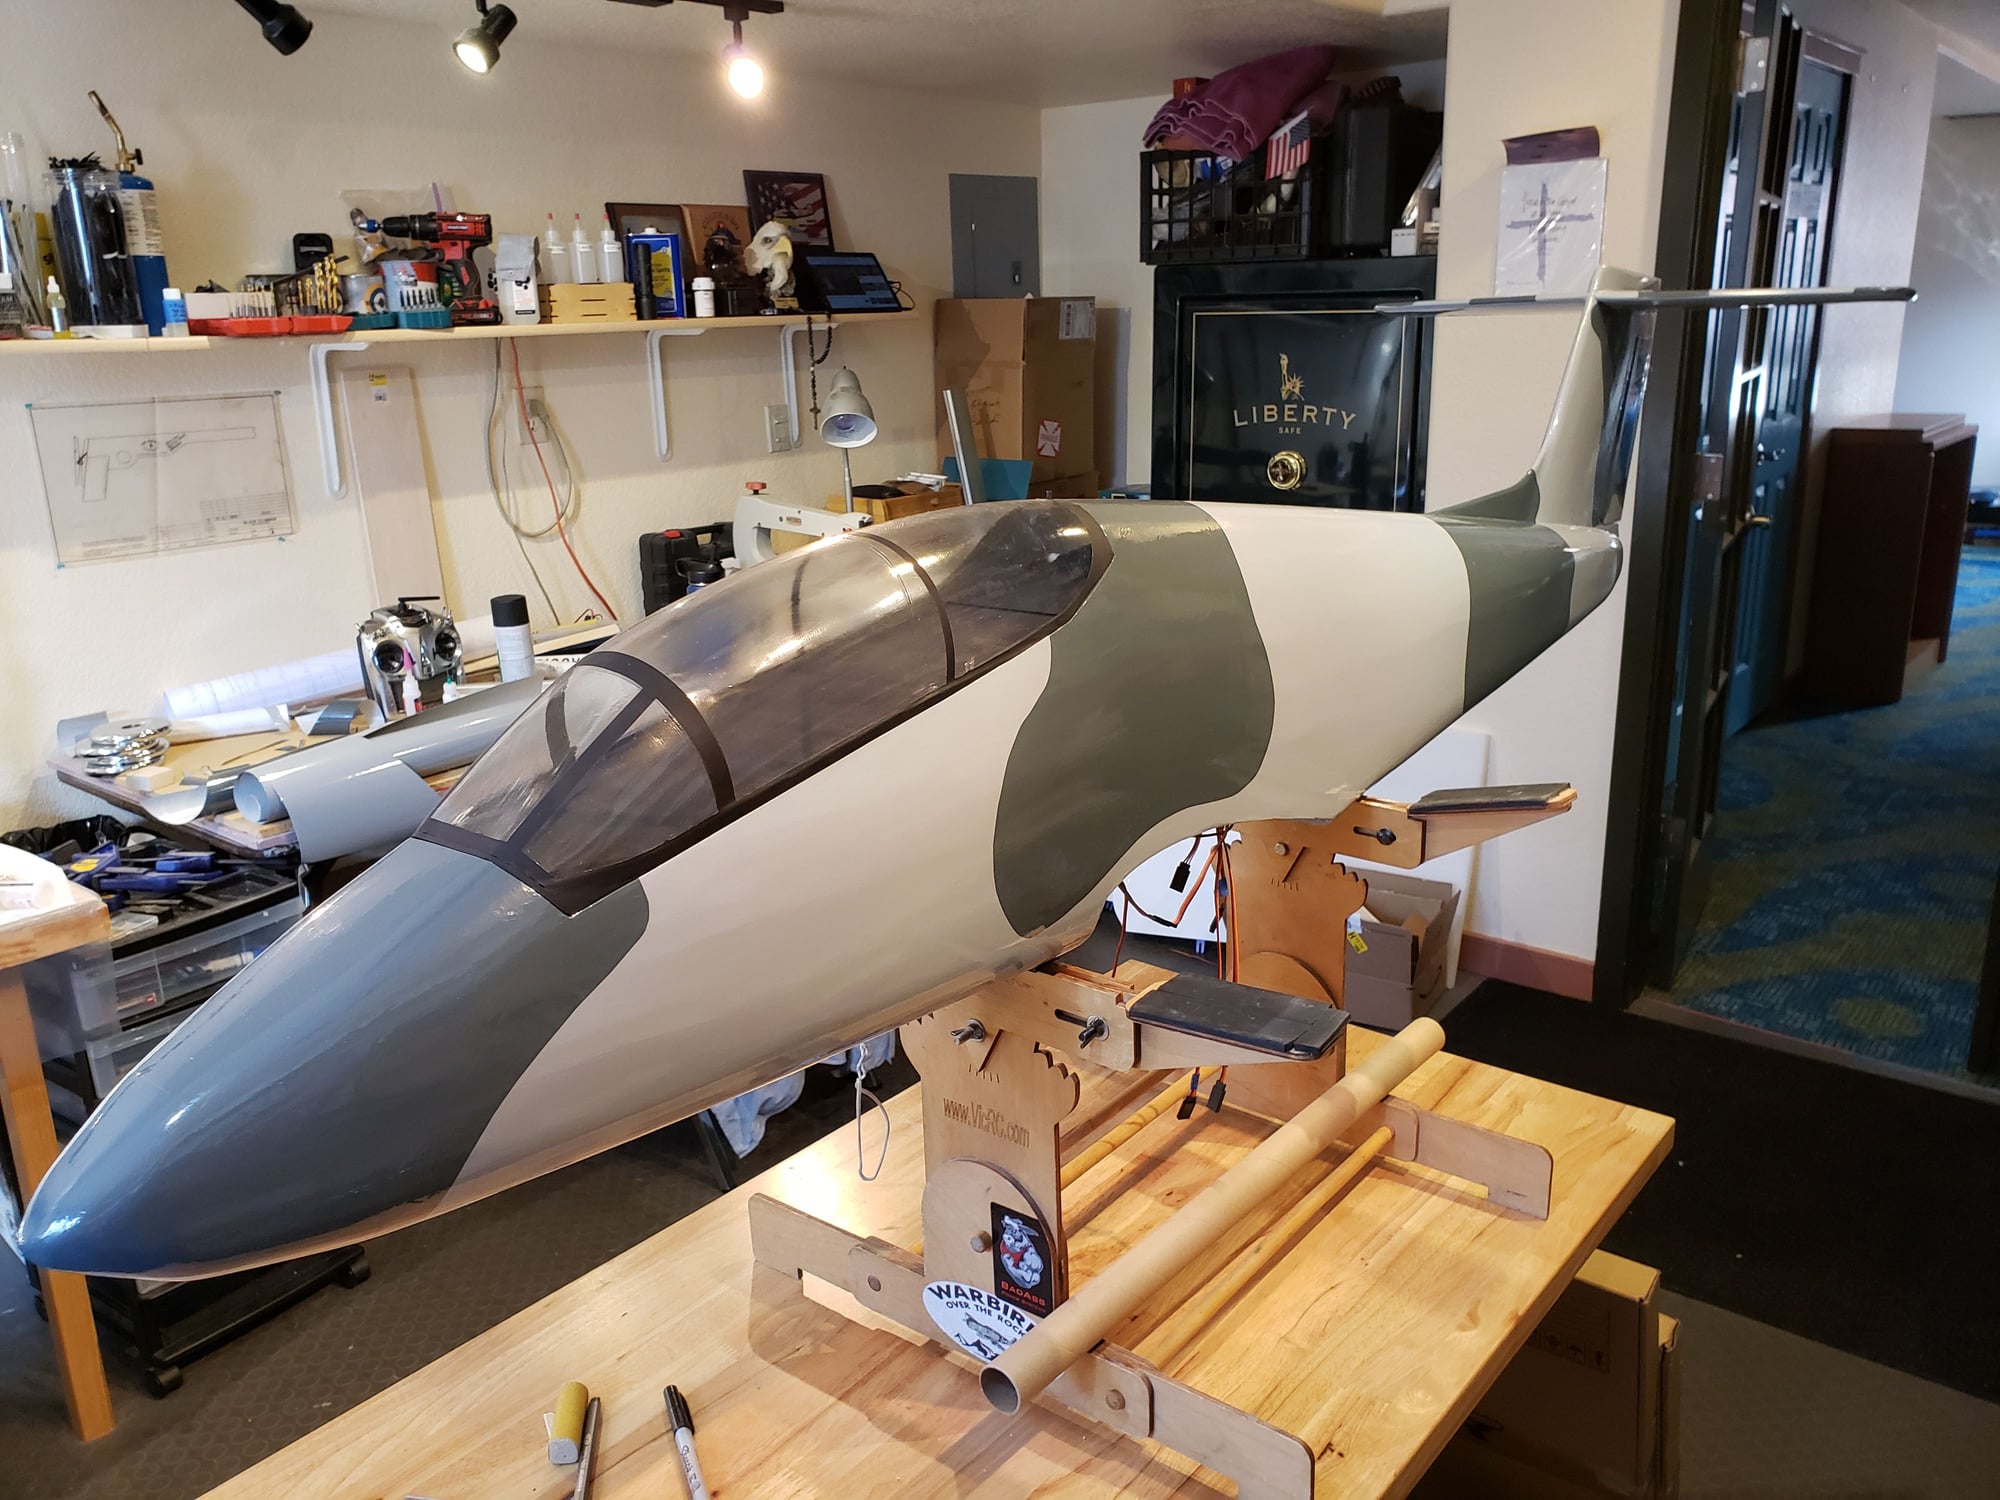
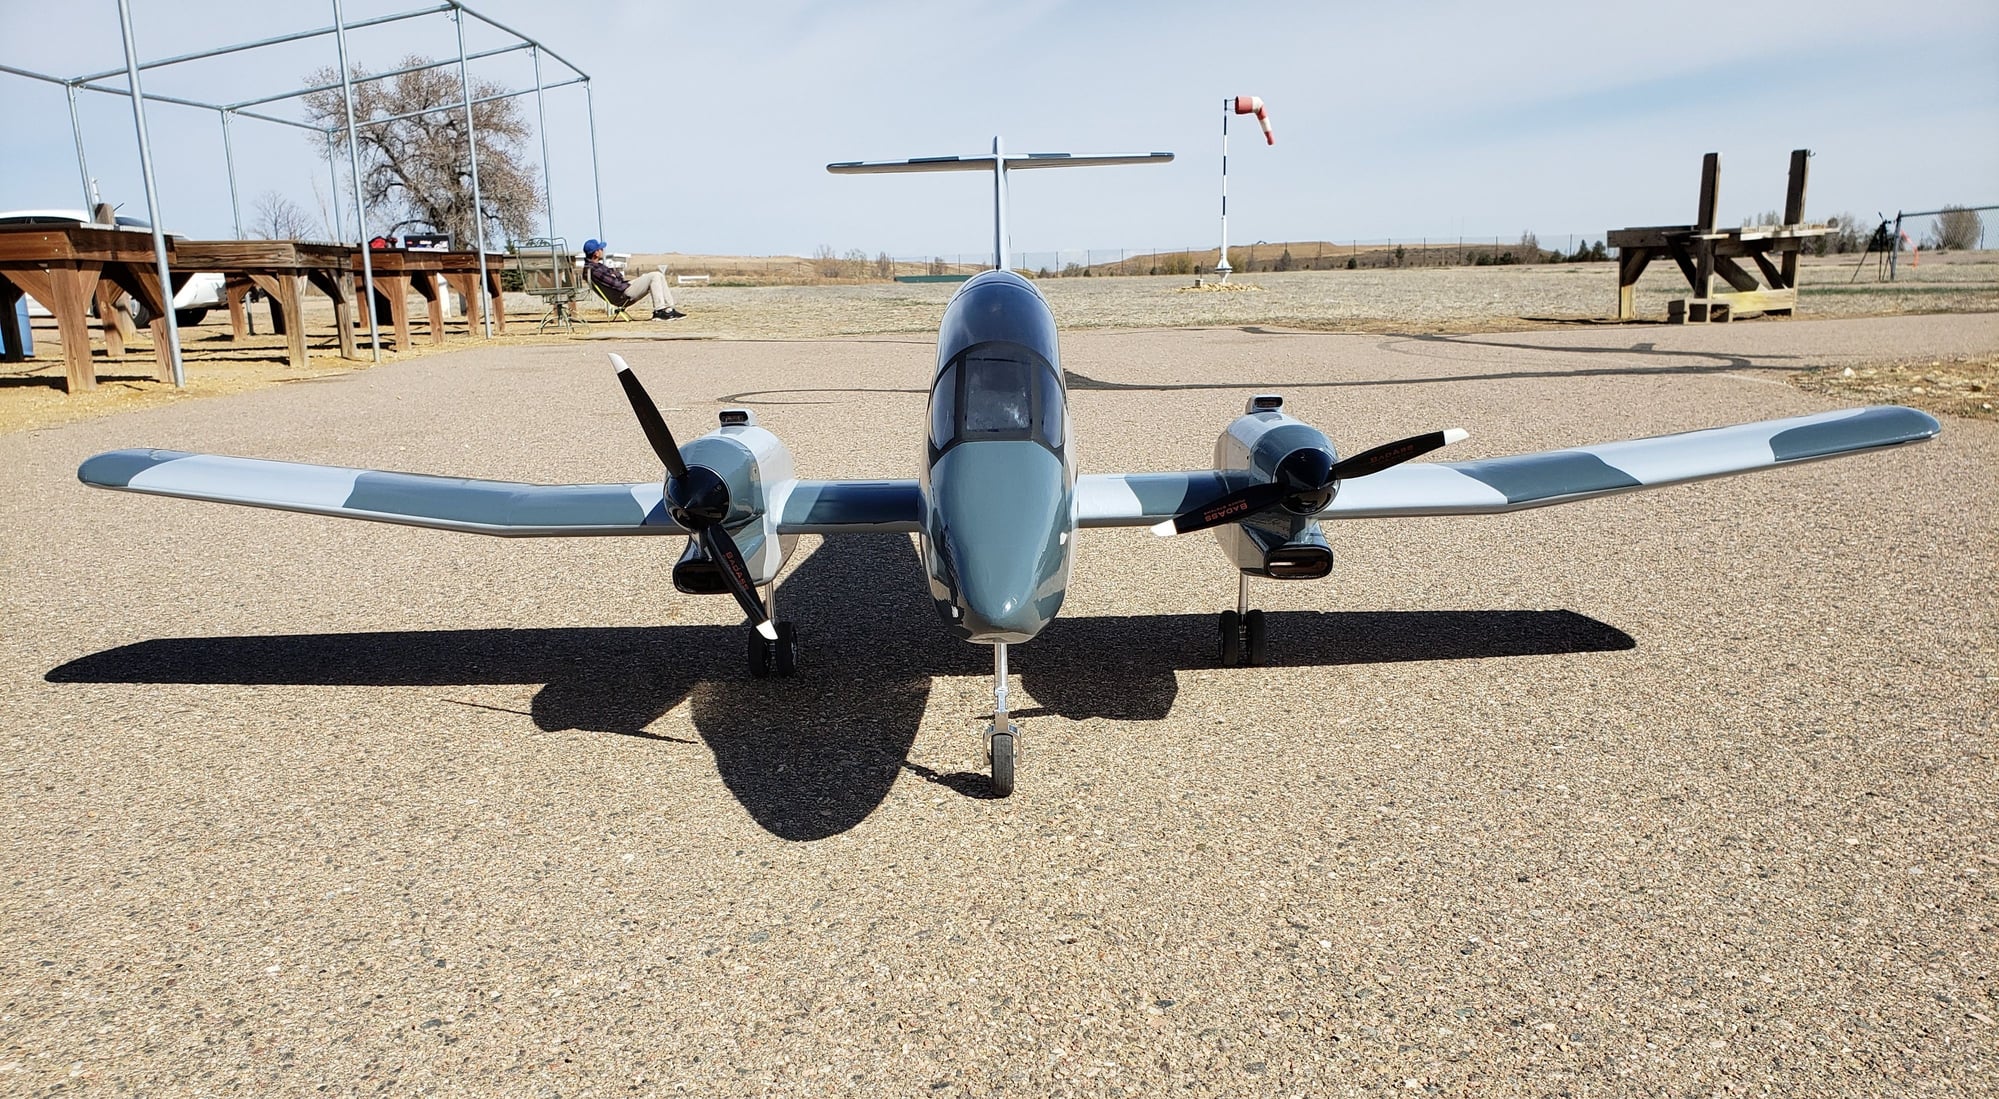
Today was a key milestone. Fully assemble the aircraft and ensure everything fits properly before starting the finish work. Also a weigh in. As set up below, which is everything required to fly save the motor batteries and monokote covering. She weighs 10 lbs 10 oz. My target flying weight is 15 lbs. A pair of 6S 5000mAh batteries weight 3 lbs 5oz, which takes me to just under 14 lbs total. Adding the monokote and she will still be under 15 total, which is GREAT news.


01-21-2024, 02:54 PM
#83
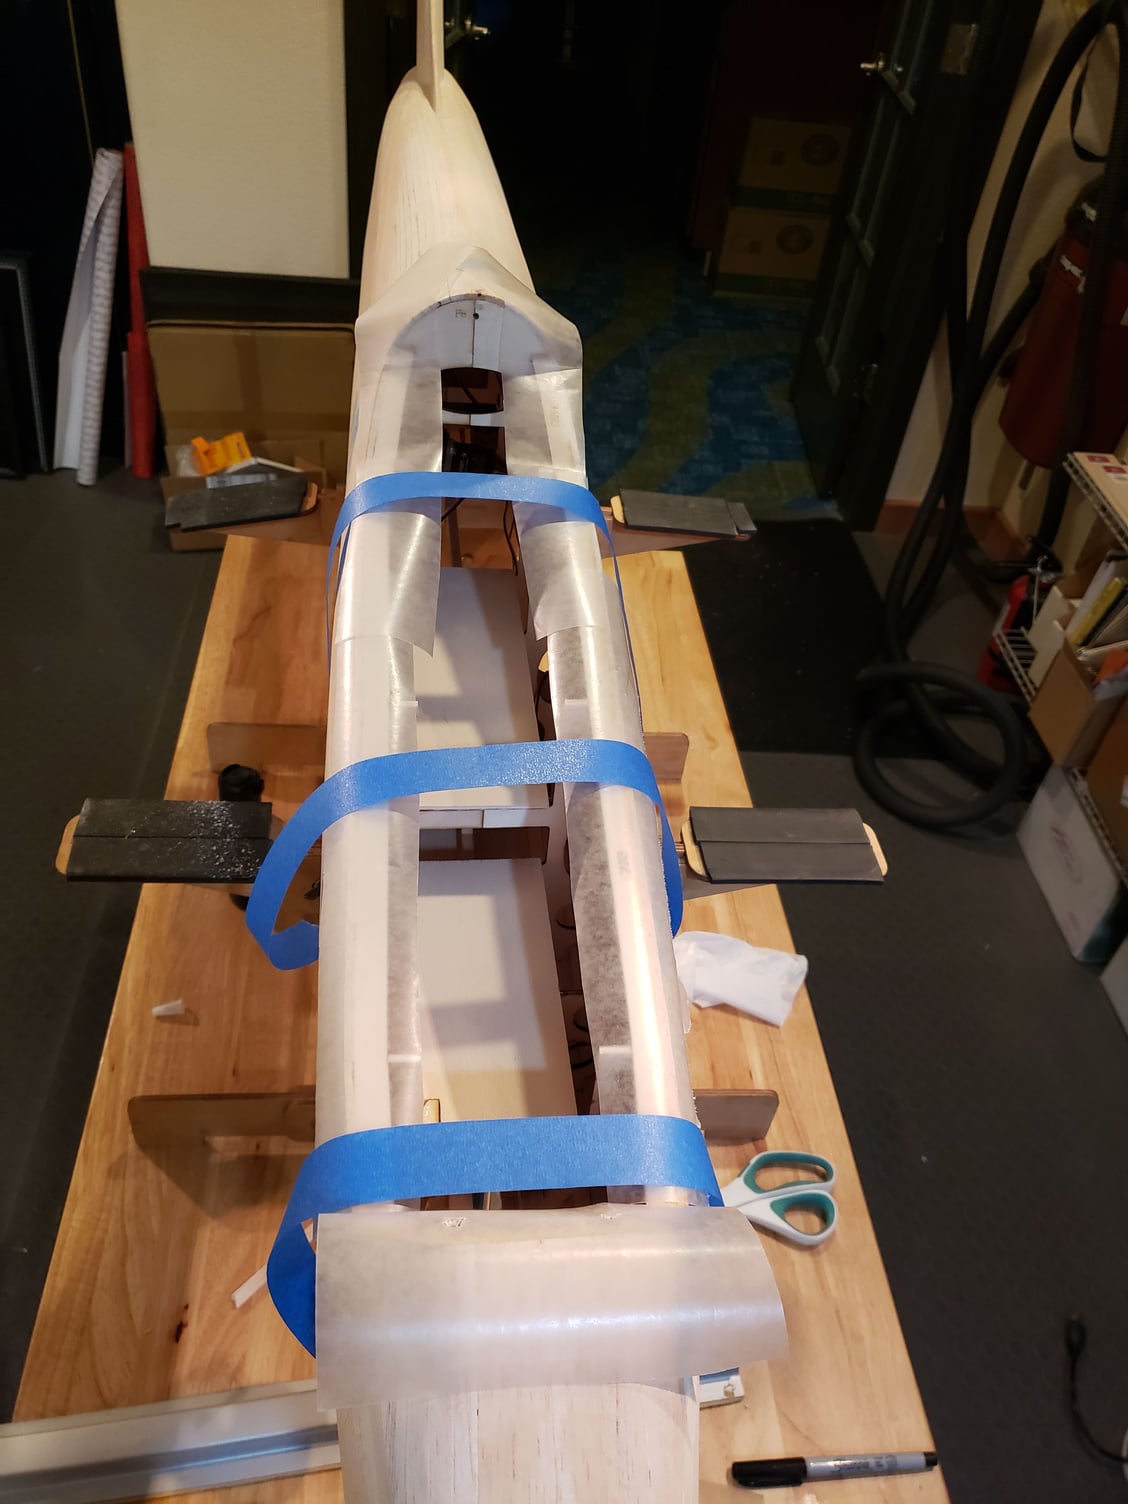
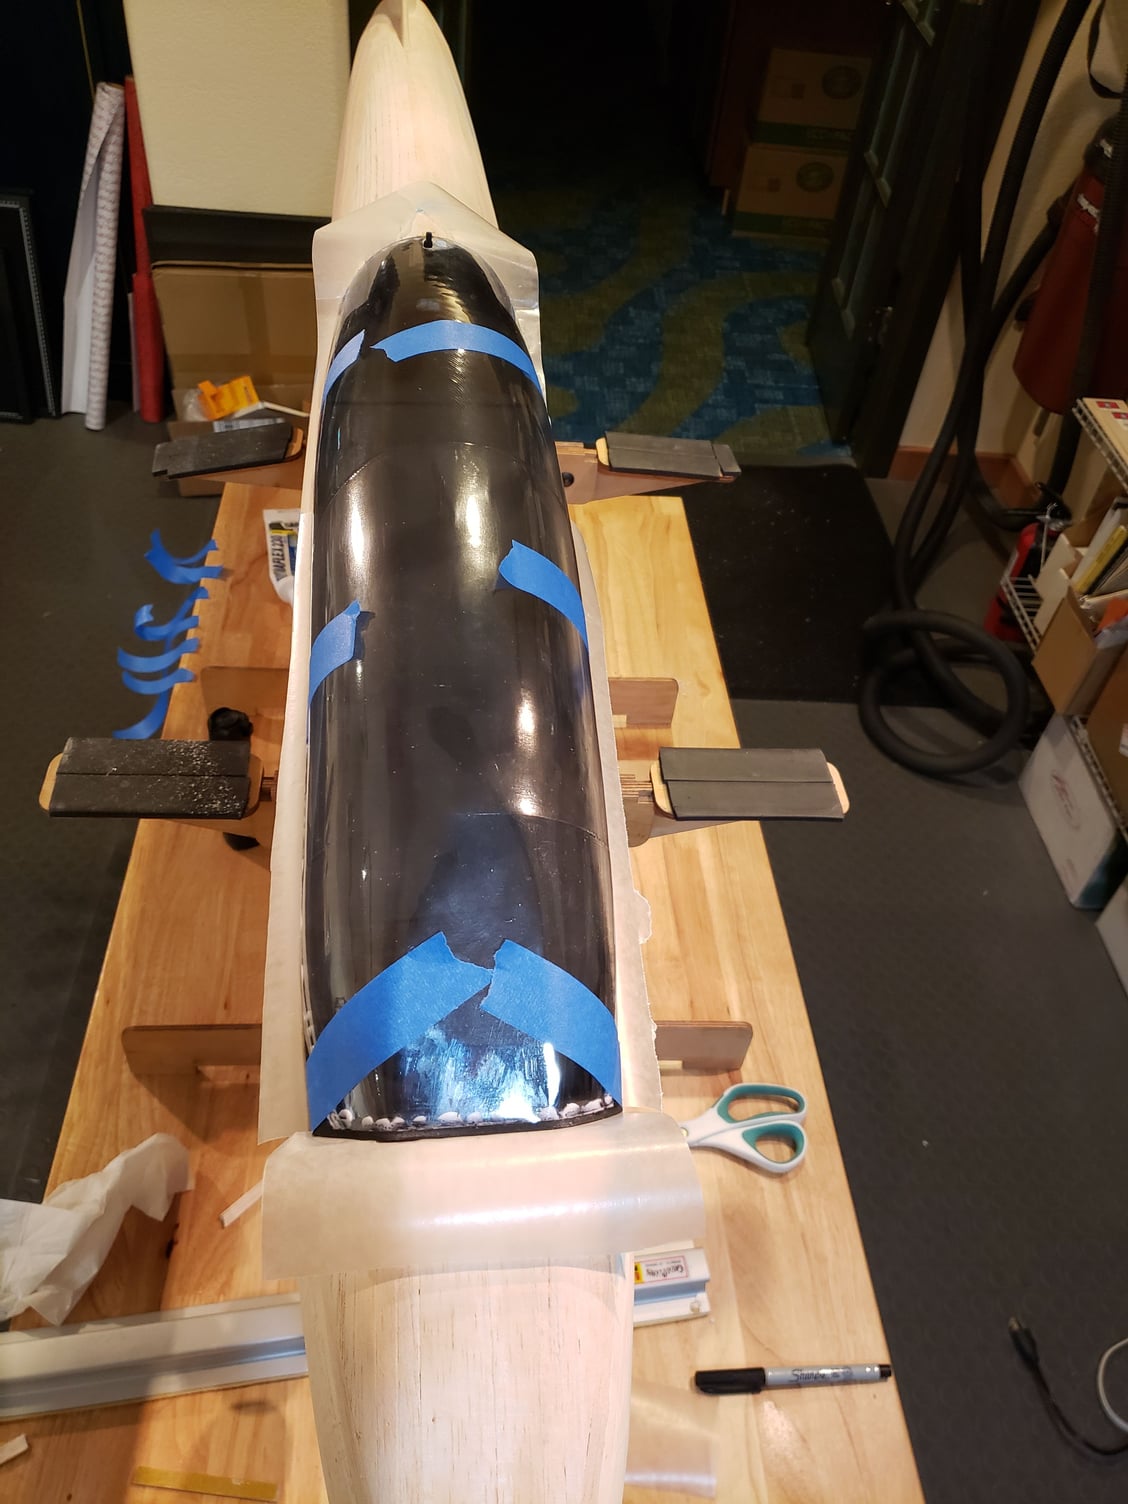
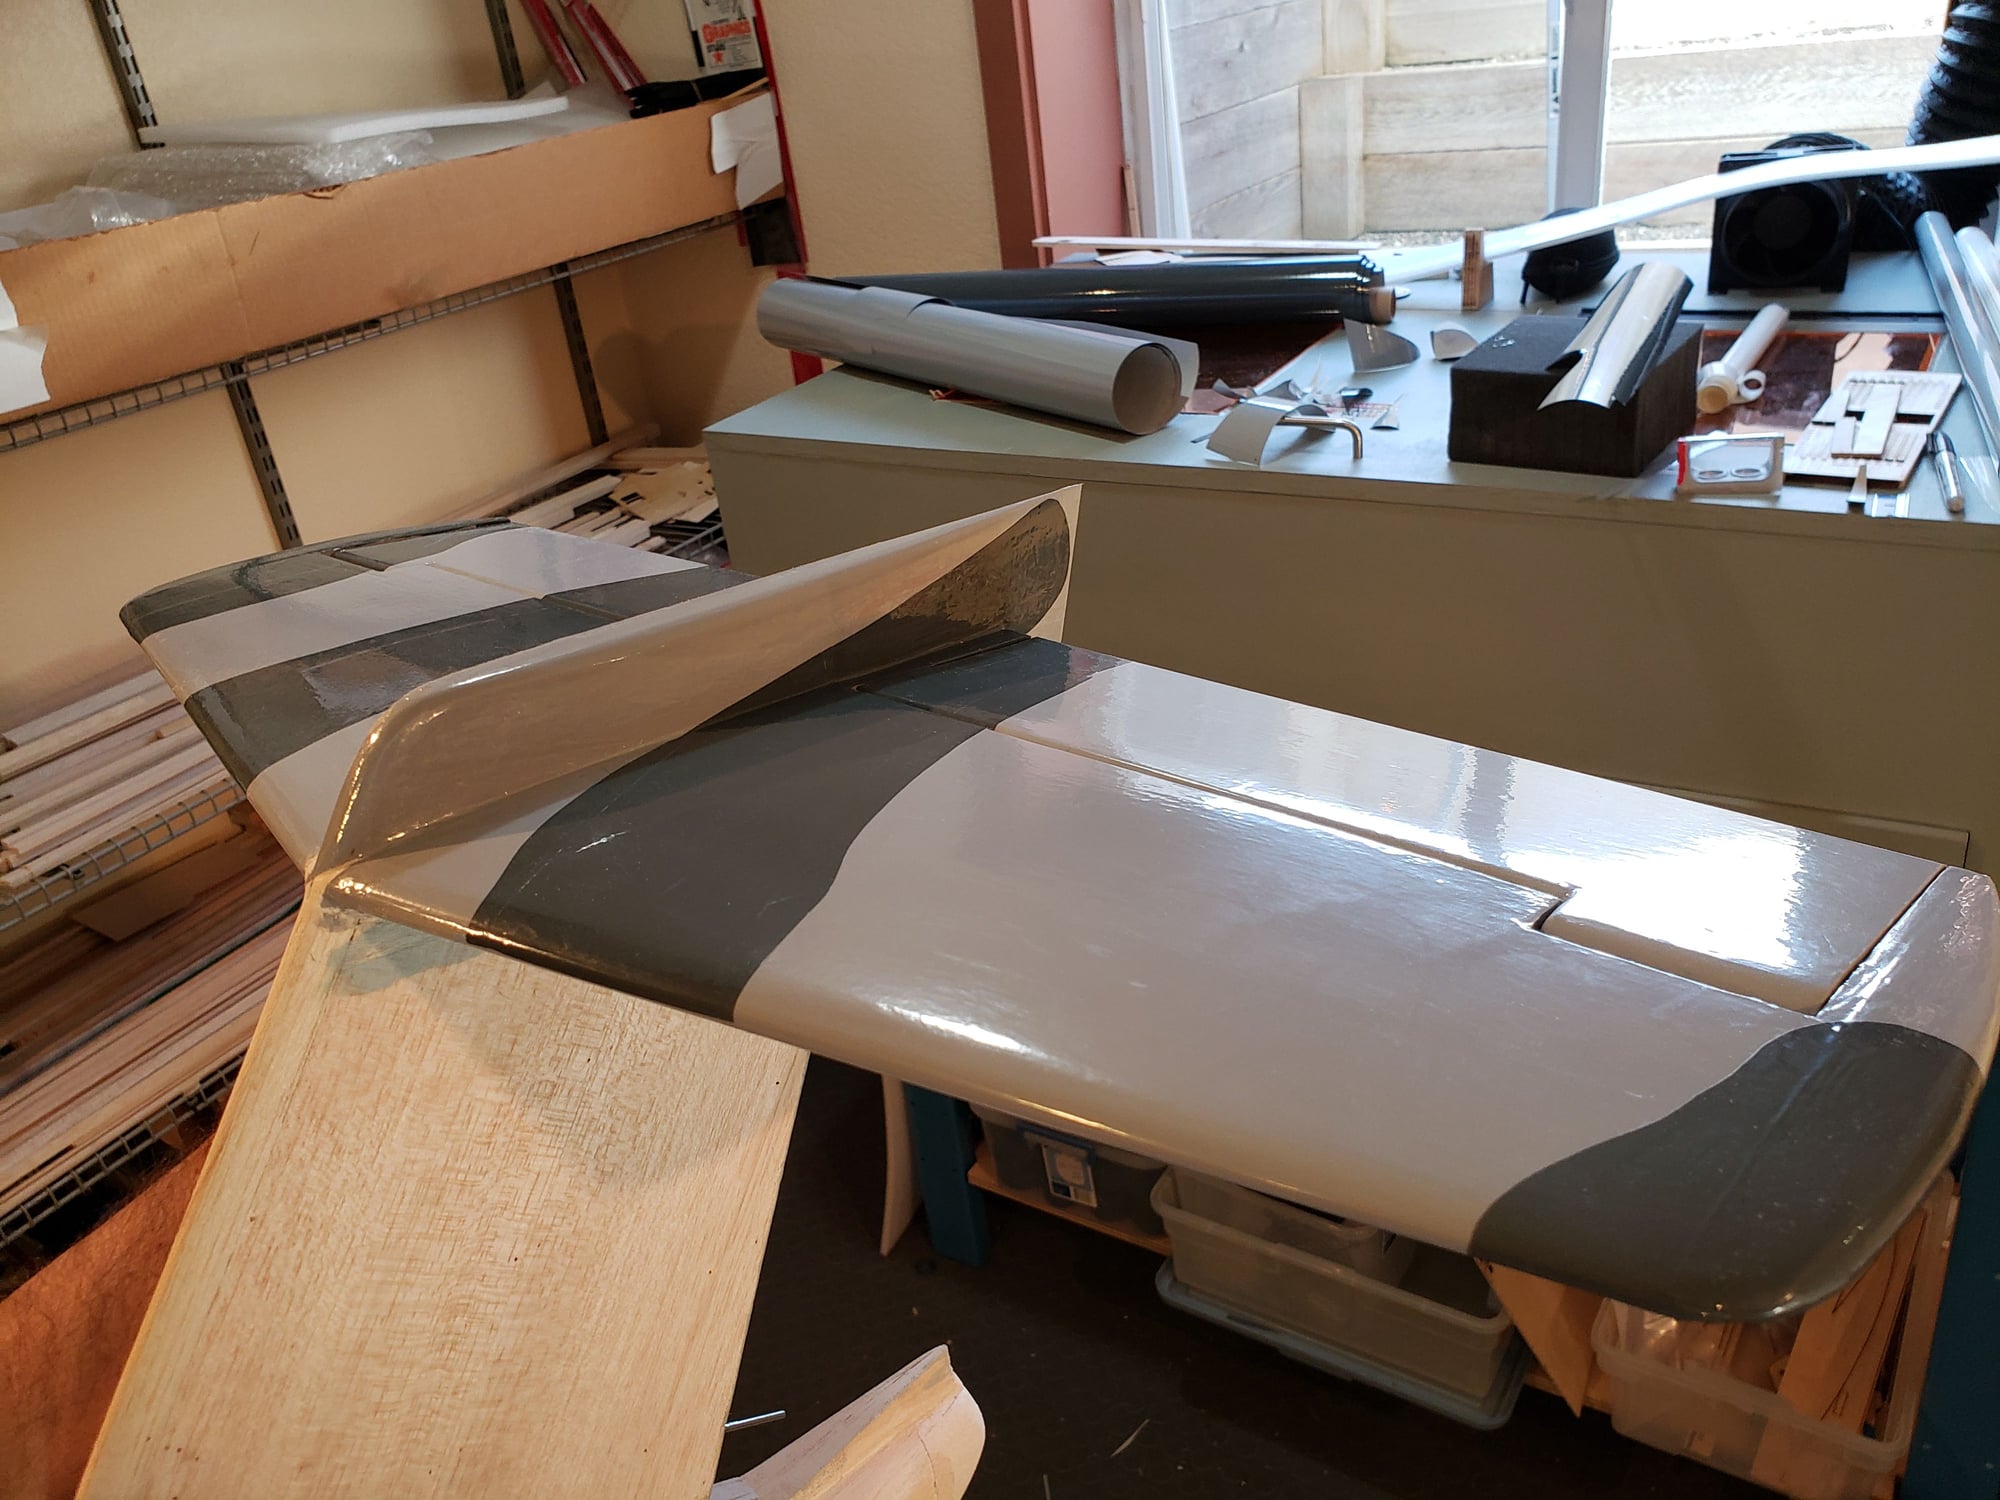
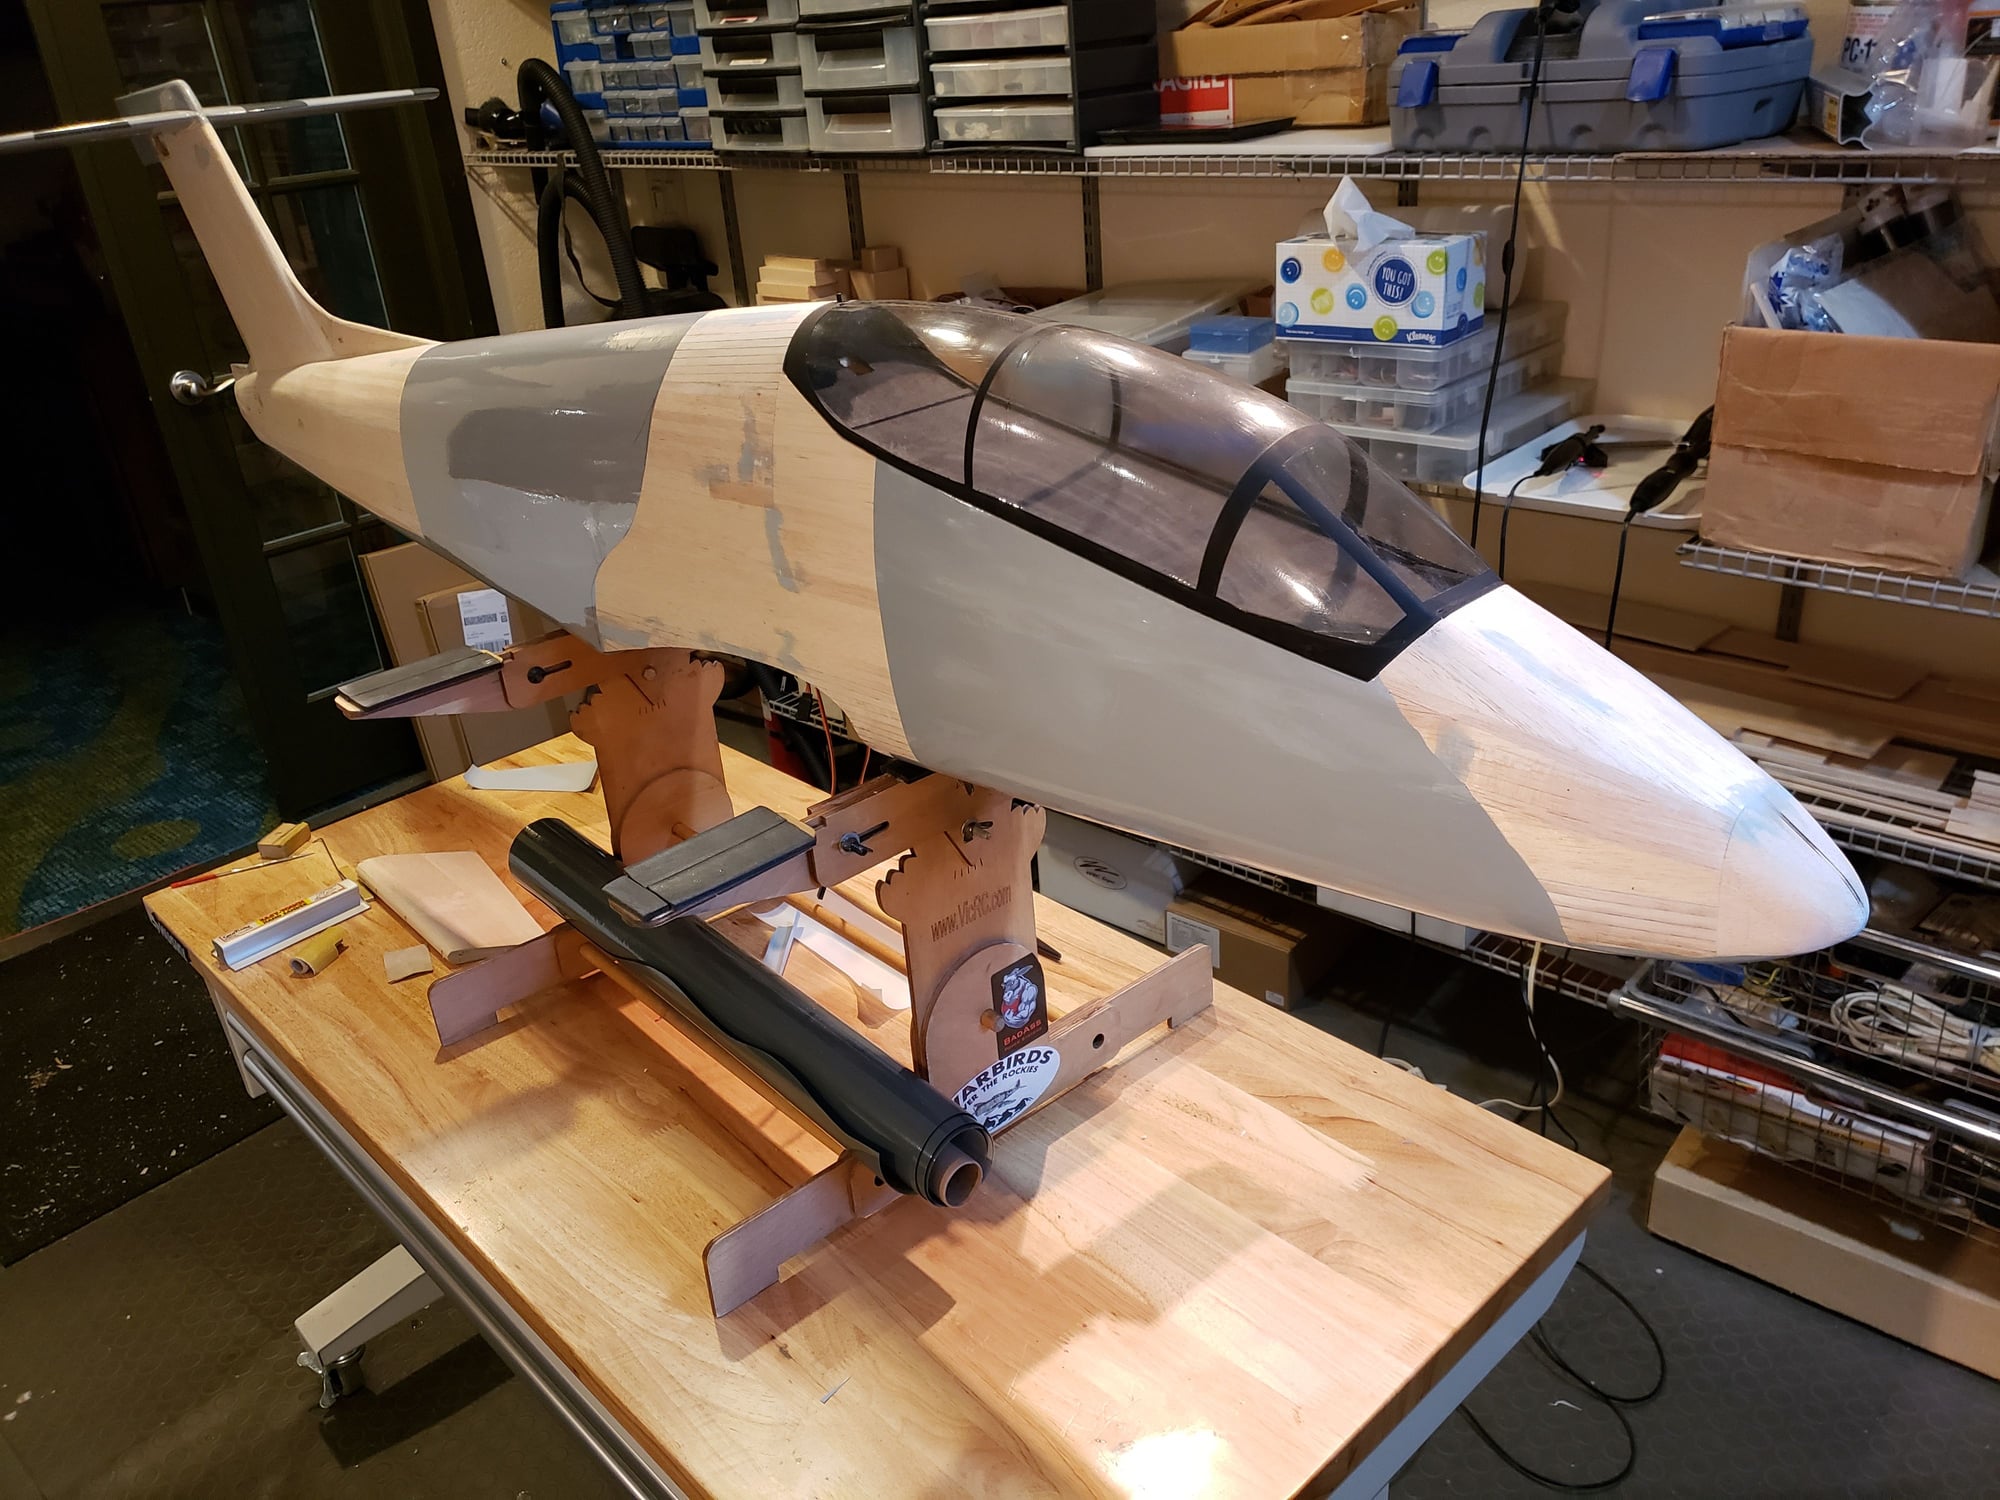
Starting the covering process. The bottom will be solid light grey and the top will be a mixed grey camo look. Something like the first image (note the 'E' variant shown is a conceptual design).
Second image shows the start ... bottom of the wing first.
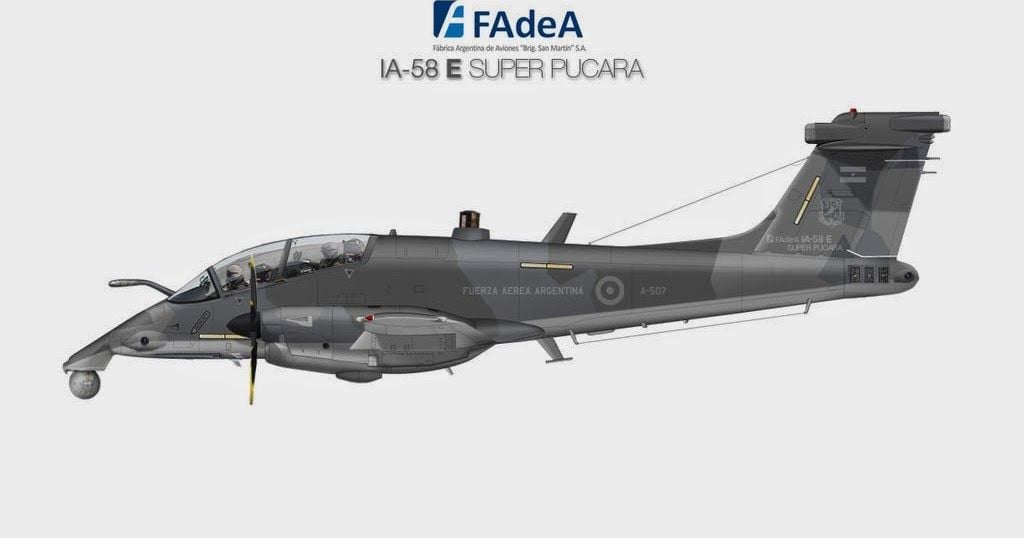
Second image shows the start ... bottom of the wing first.
 01-21-2024, 07:41 PM
#85
- P-38: top of props rotate _away_from_ the aircraft centerline
- F-82: top of props rotate _towards_ the aircraft centerline
The full scale Pucara does not have counter rotating props, but I will employ them. I will mimic the P-38 with the prop tops spinning away from the centerline.

 02-25-2024, 04:00 PM
#90
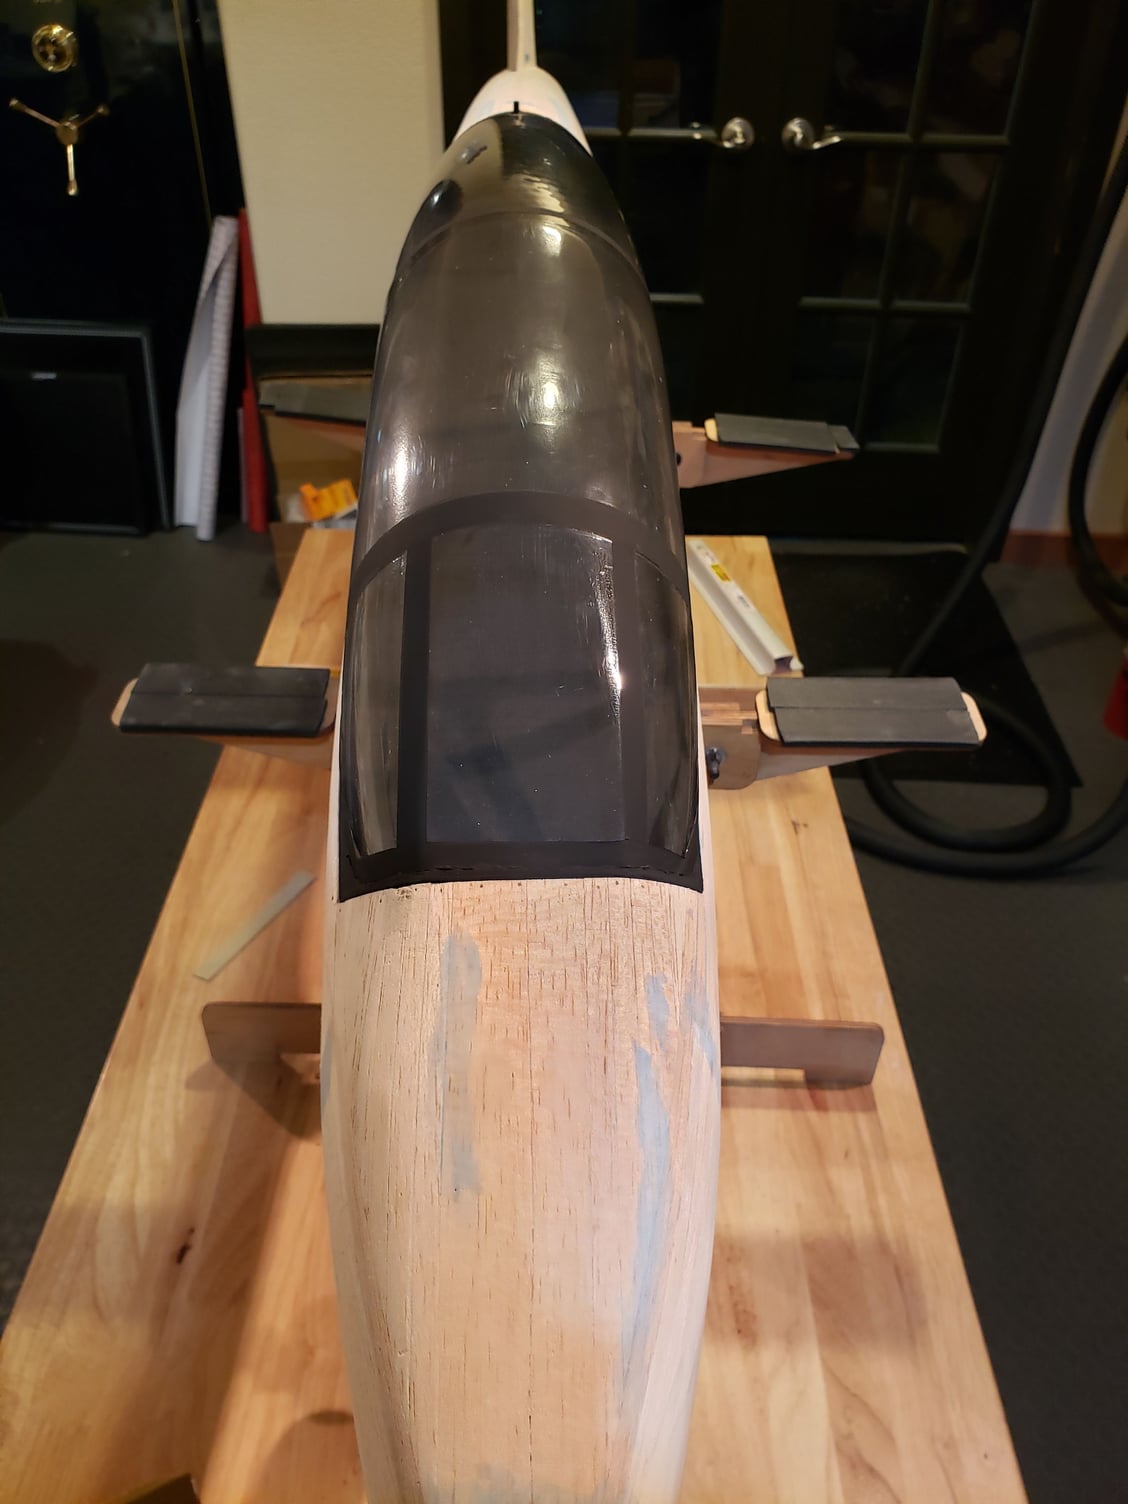
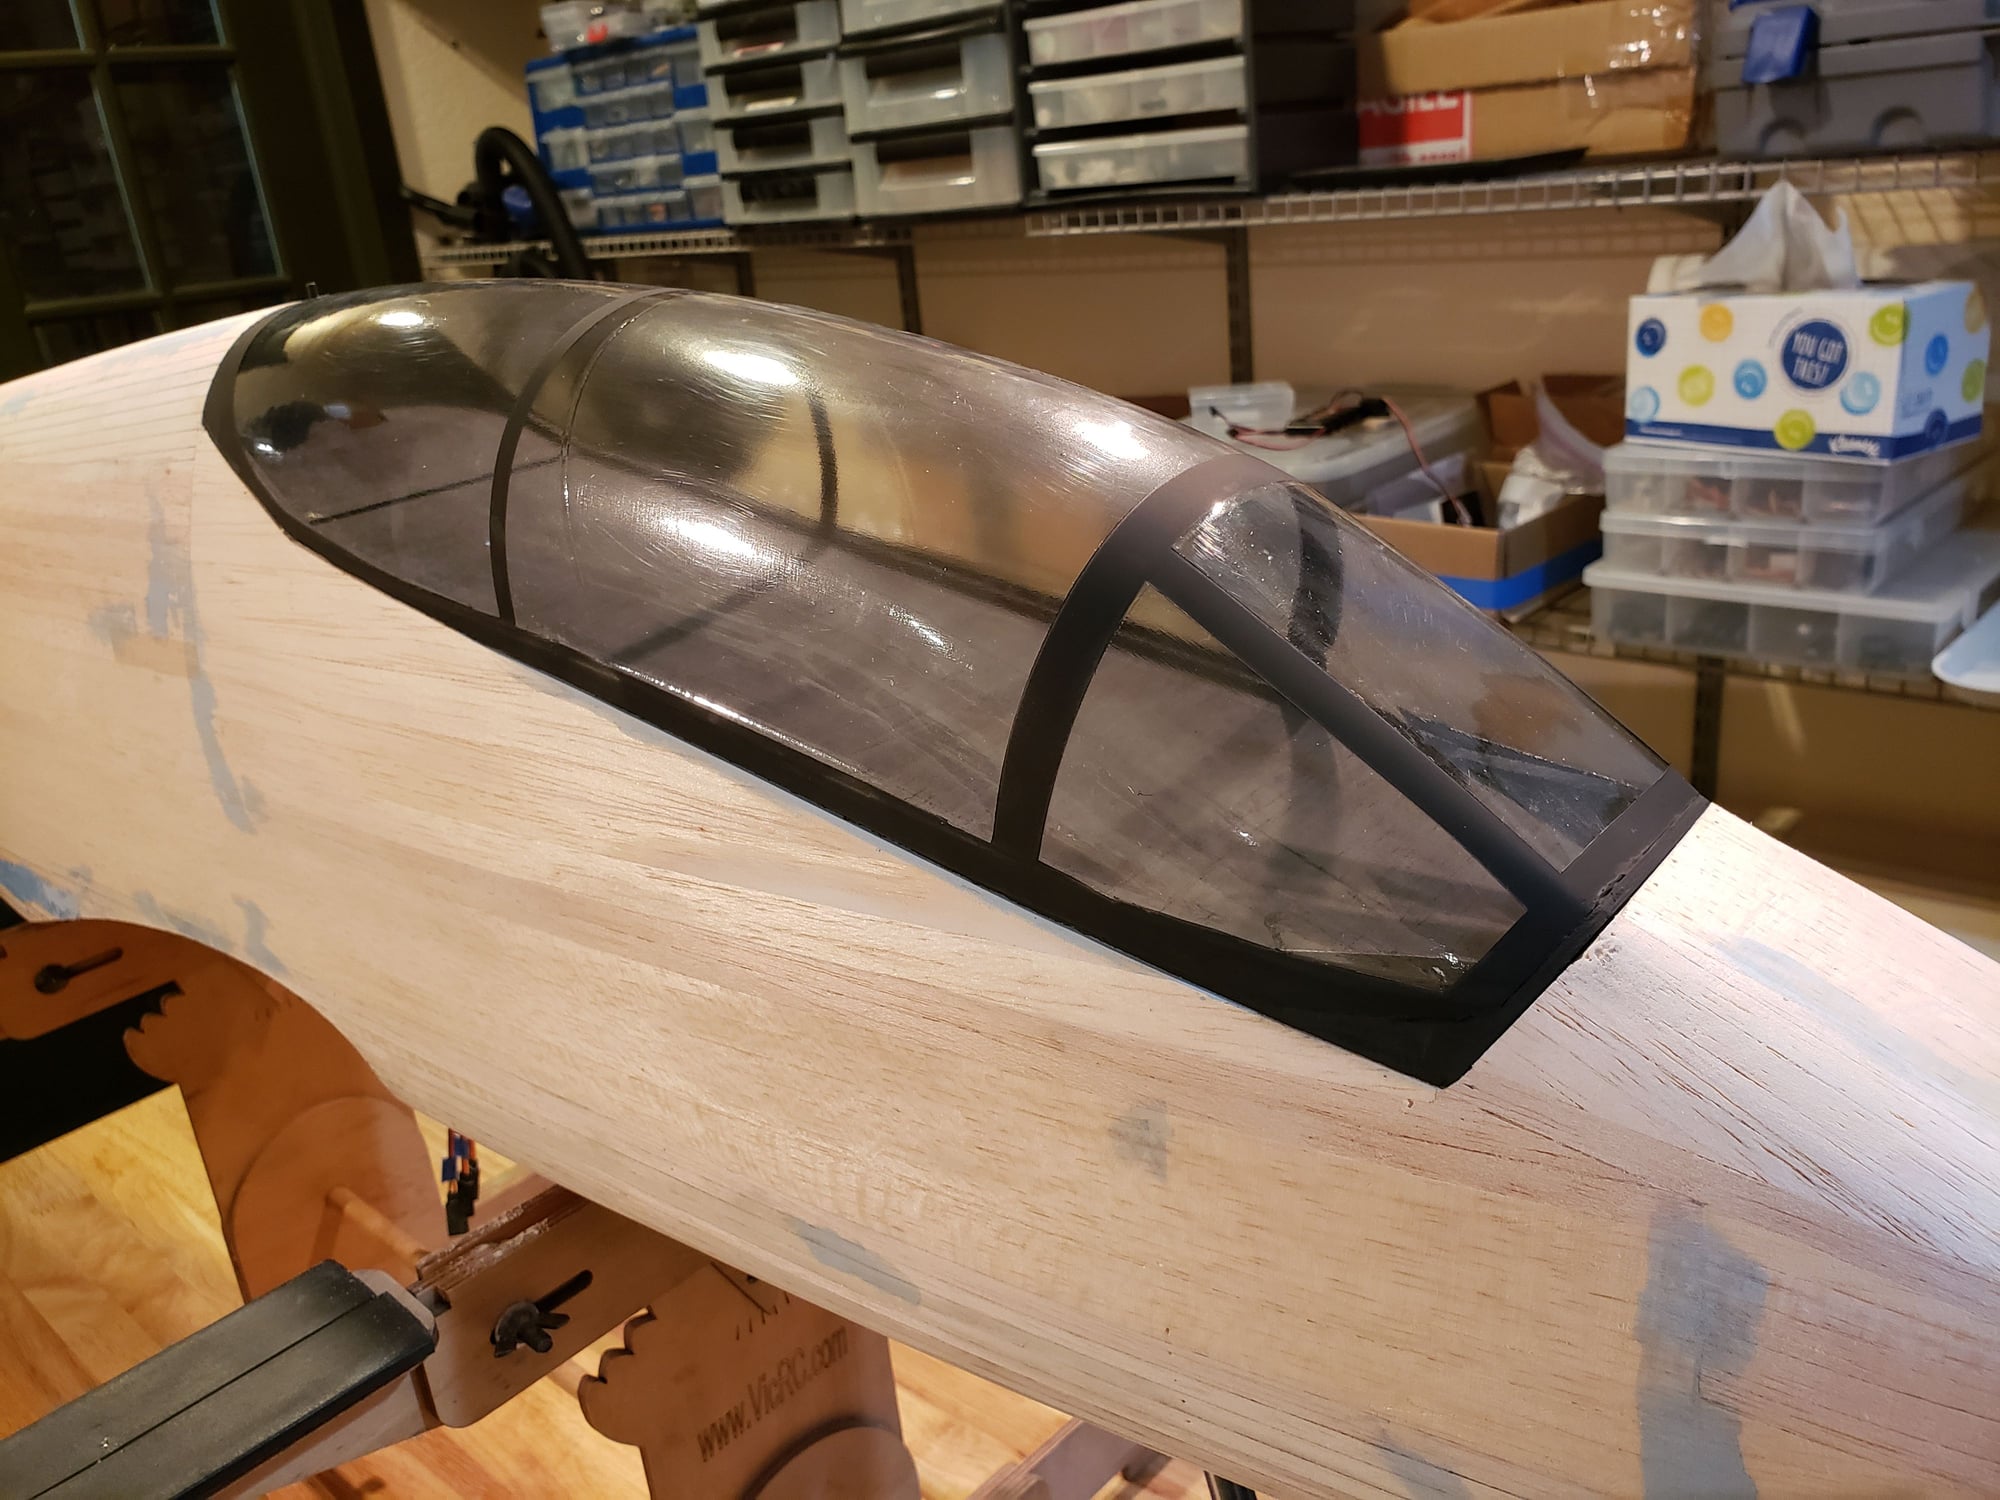
Last thing to build is the V-stab extension over the H-stab. Picts and descriptions below.
LE get set first. Cut a notch and shape the LE part.
Glue it in *straight*, this sets everything else up.
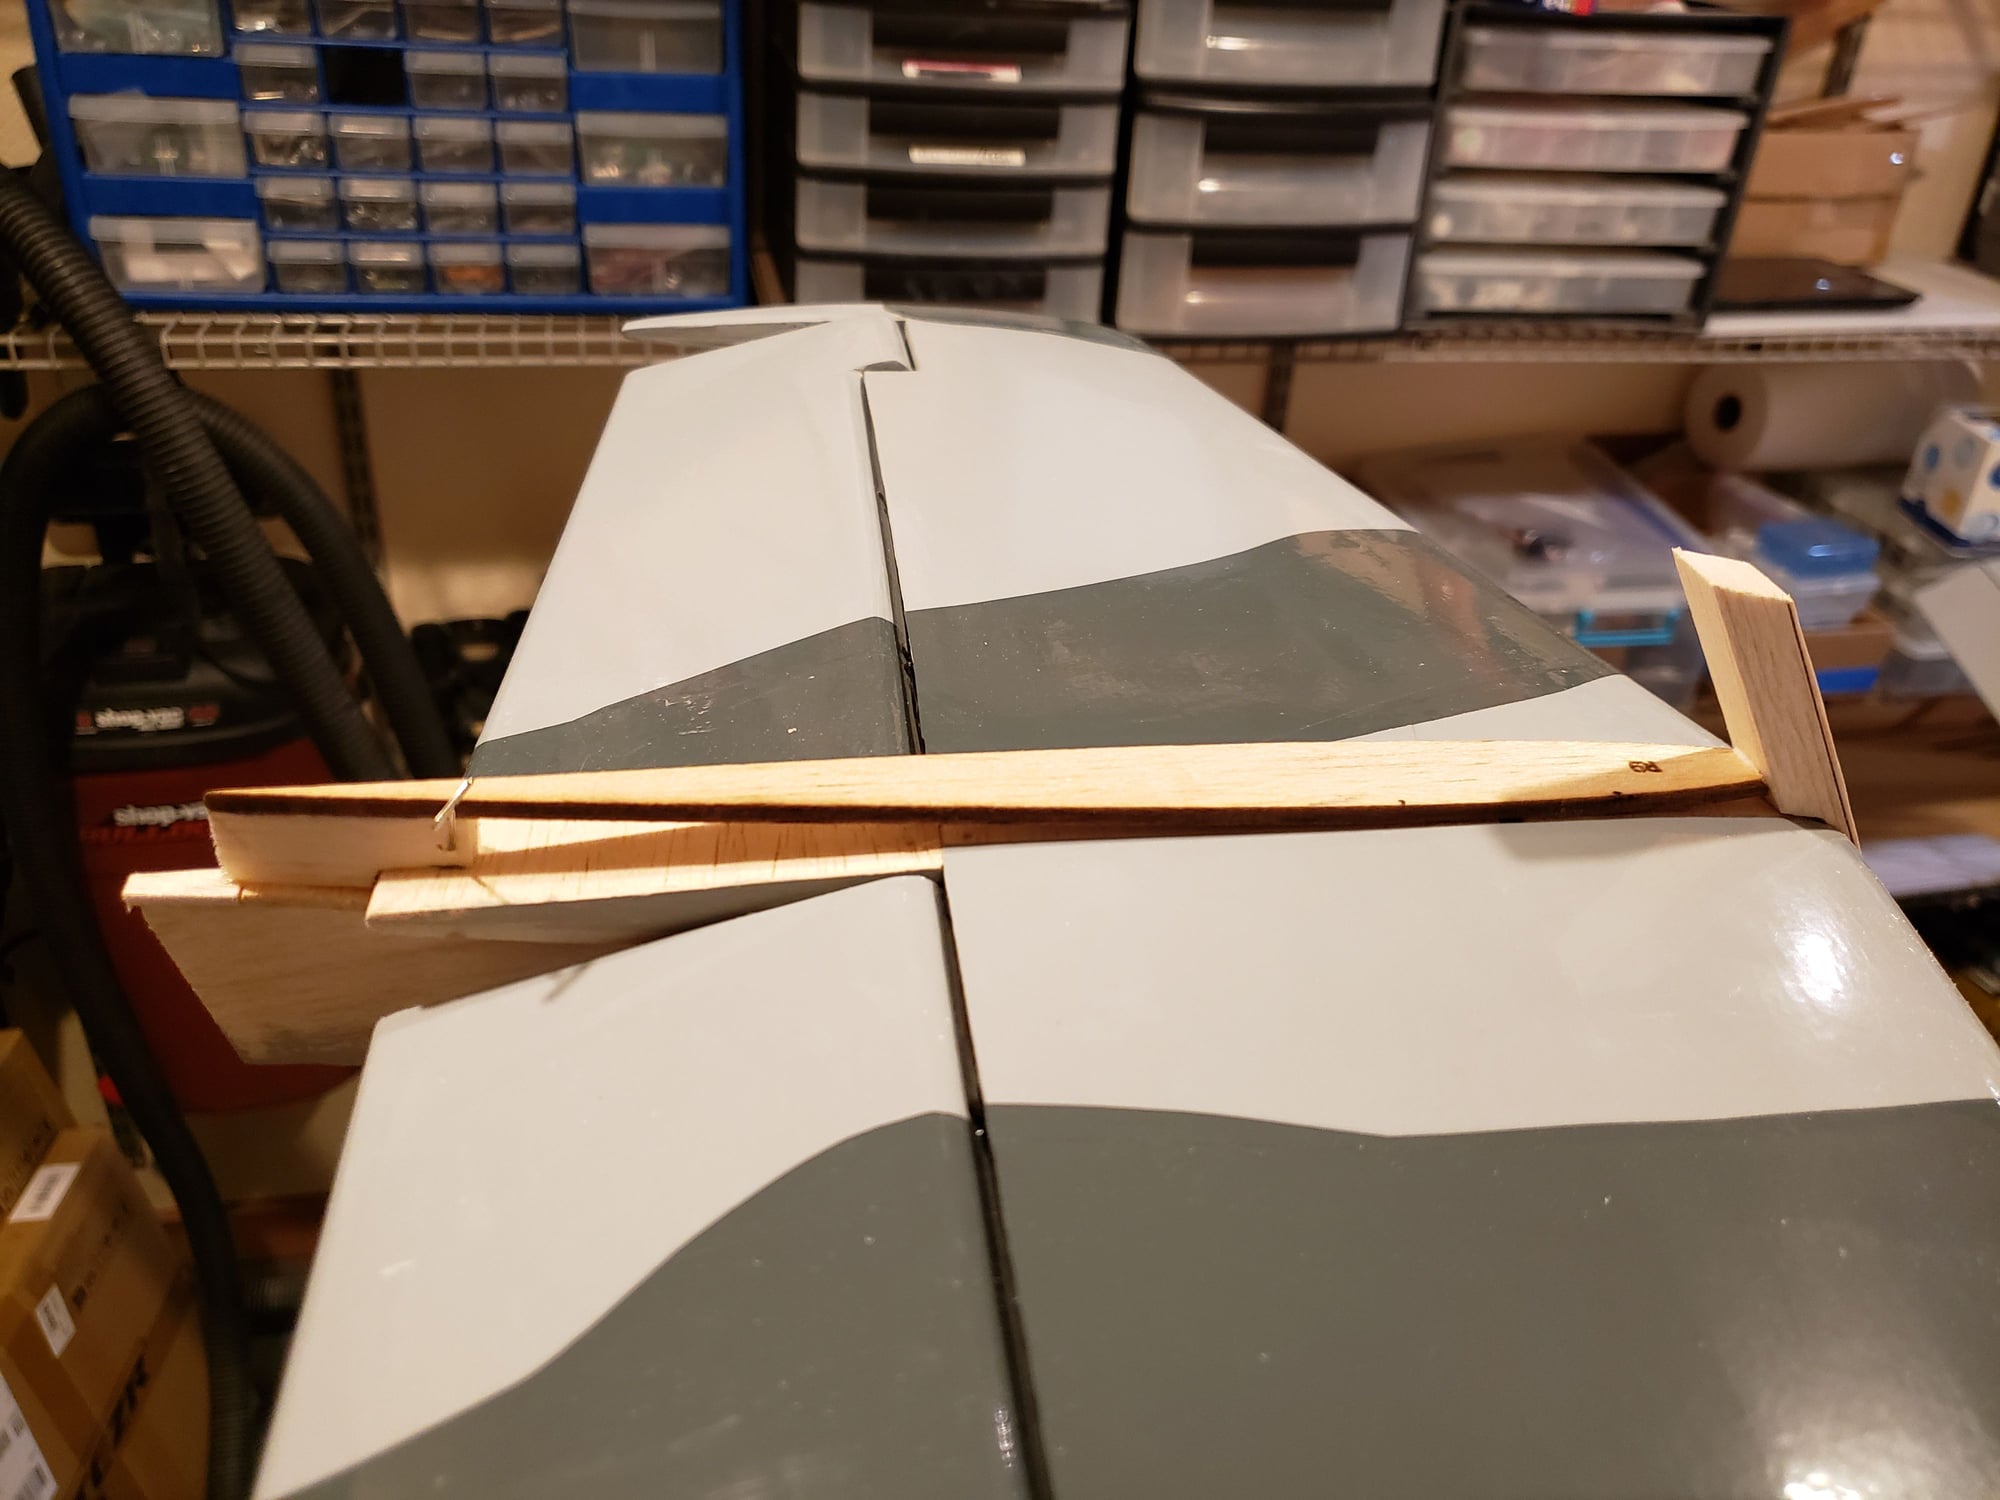
First R9 rib goes in glued to top of H-stab with a support at its TE.
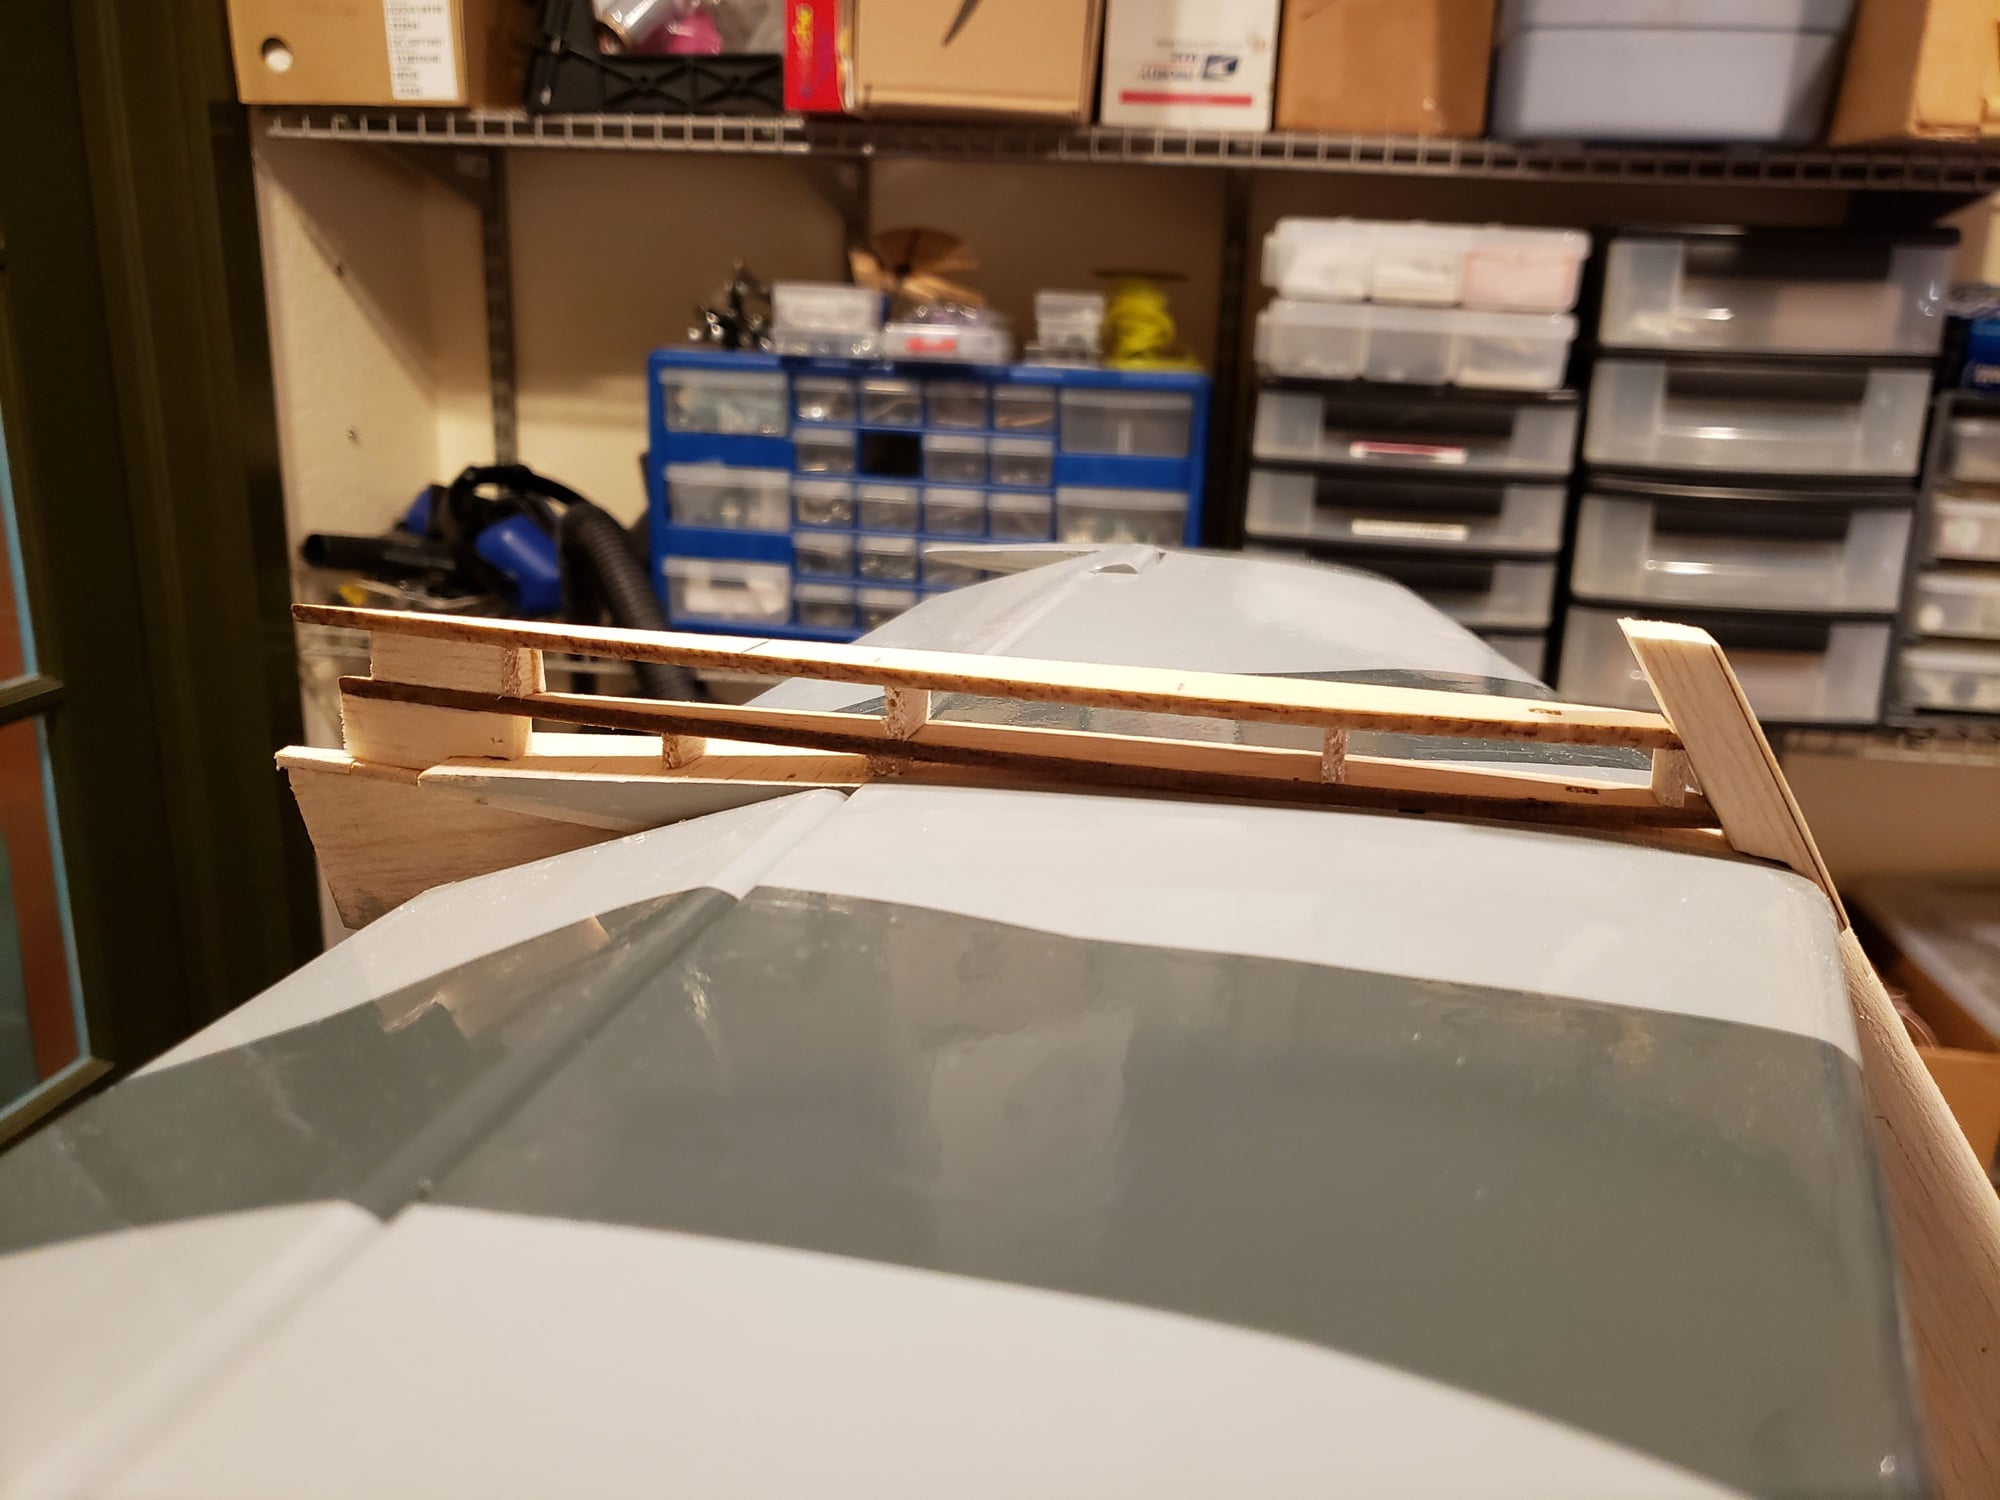
Added second R9 rib with 3/8" spacers under it.
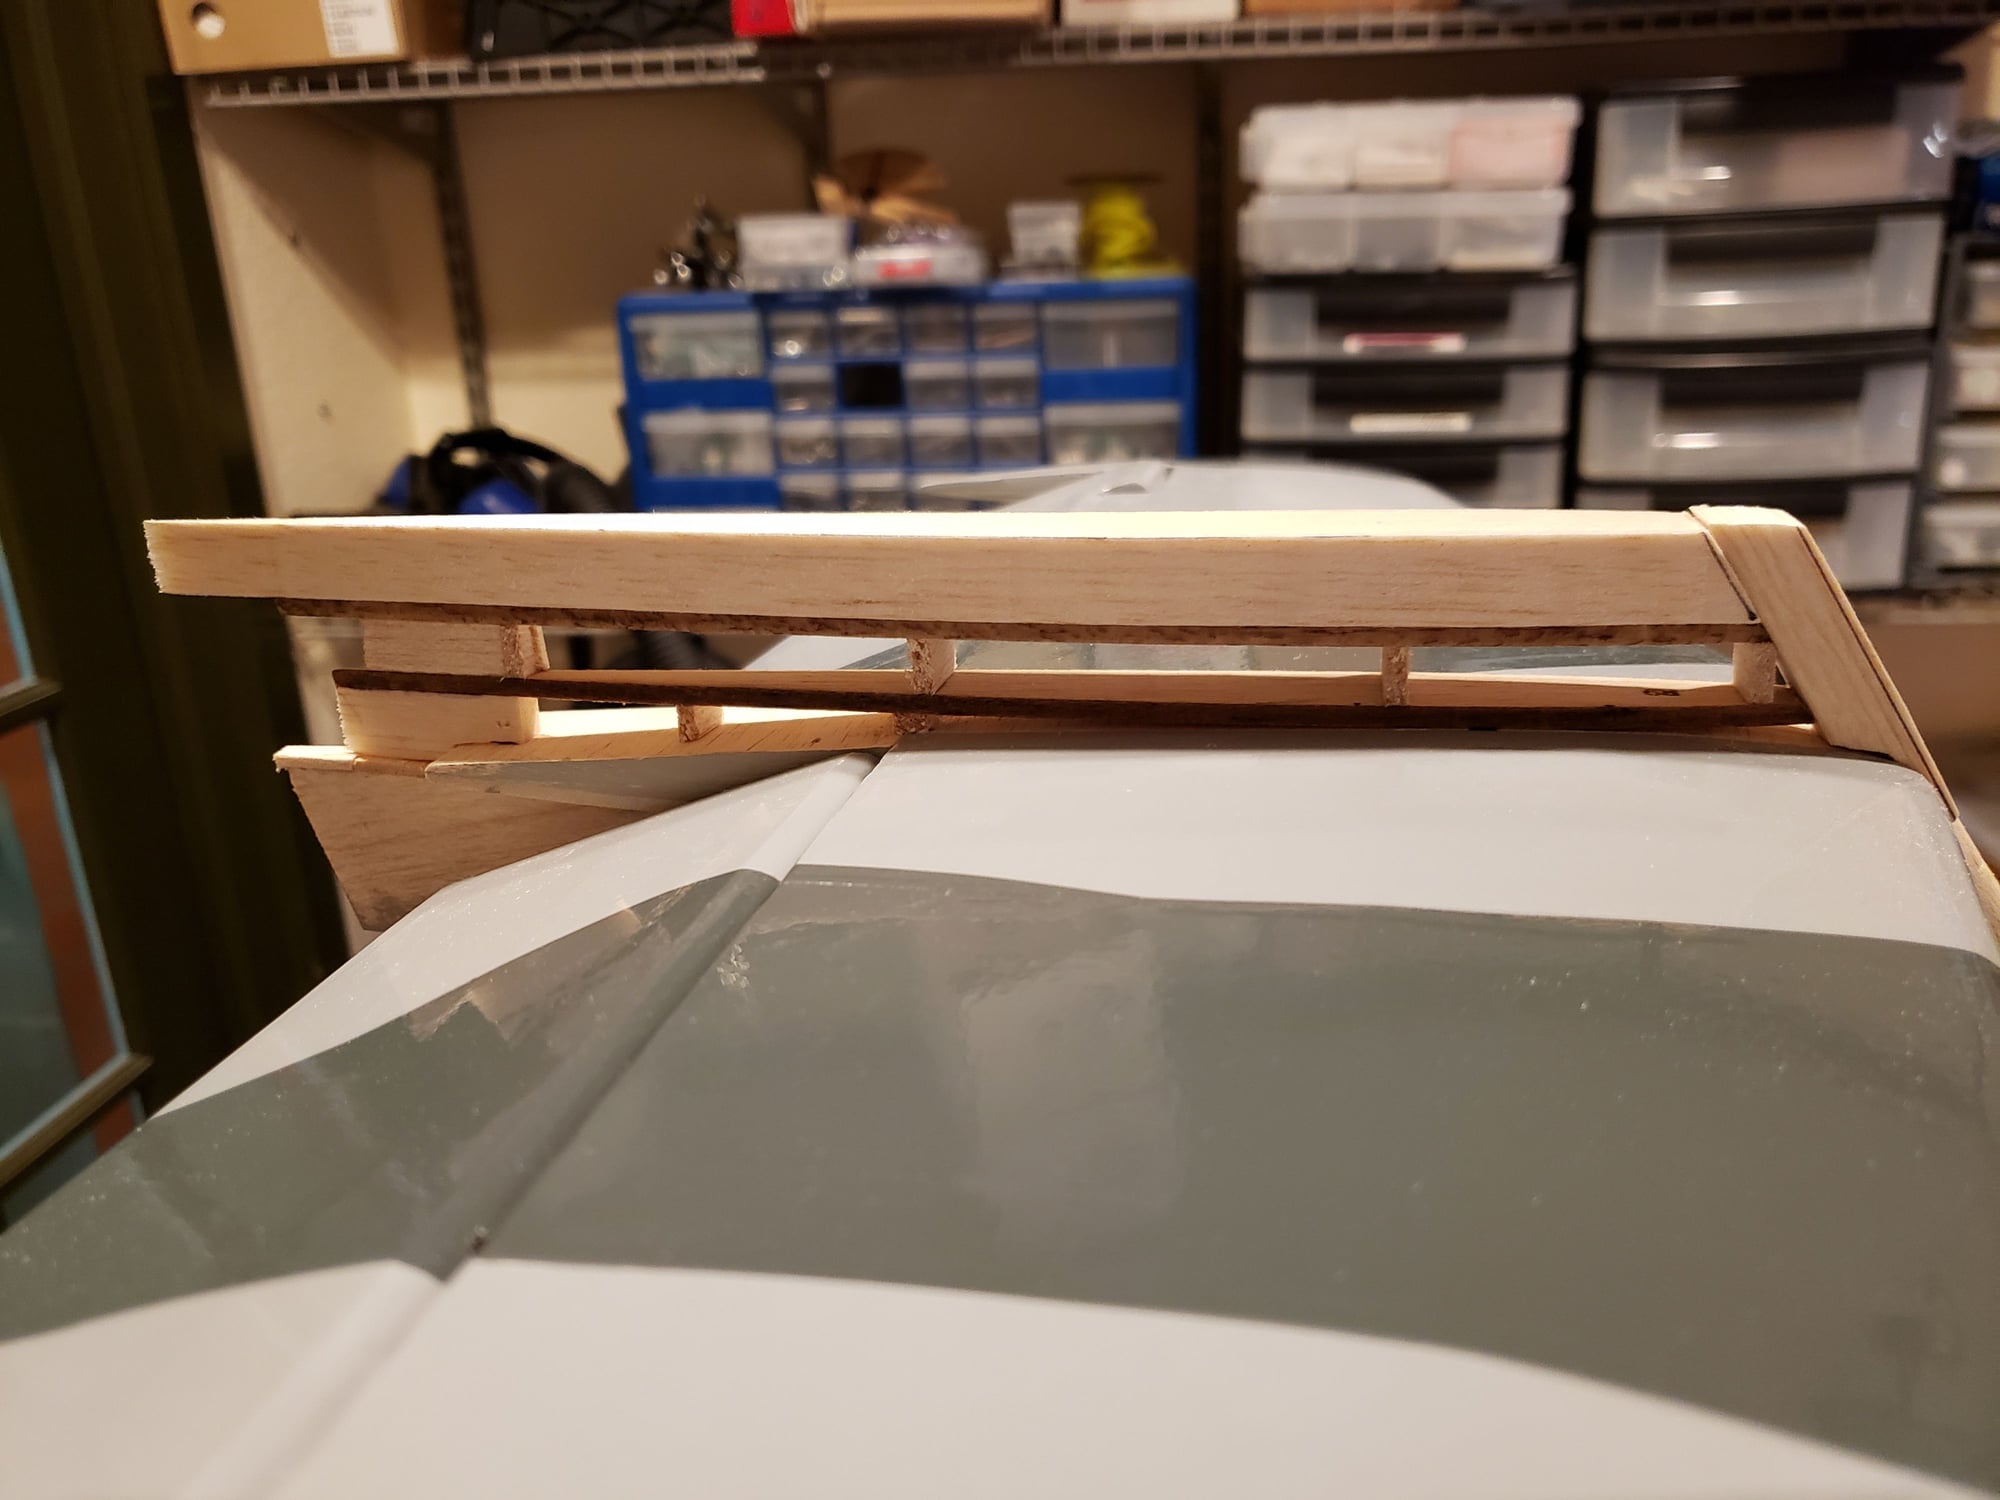
Dry fit the 1/2" top block.
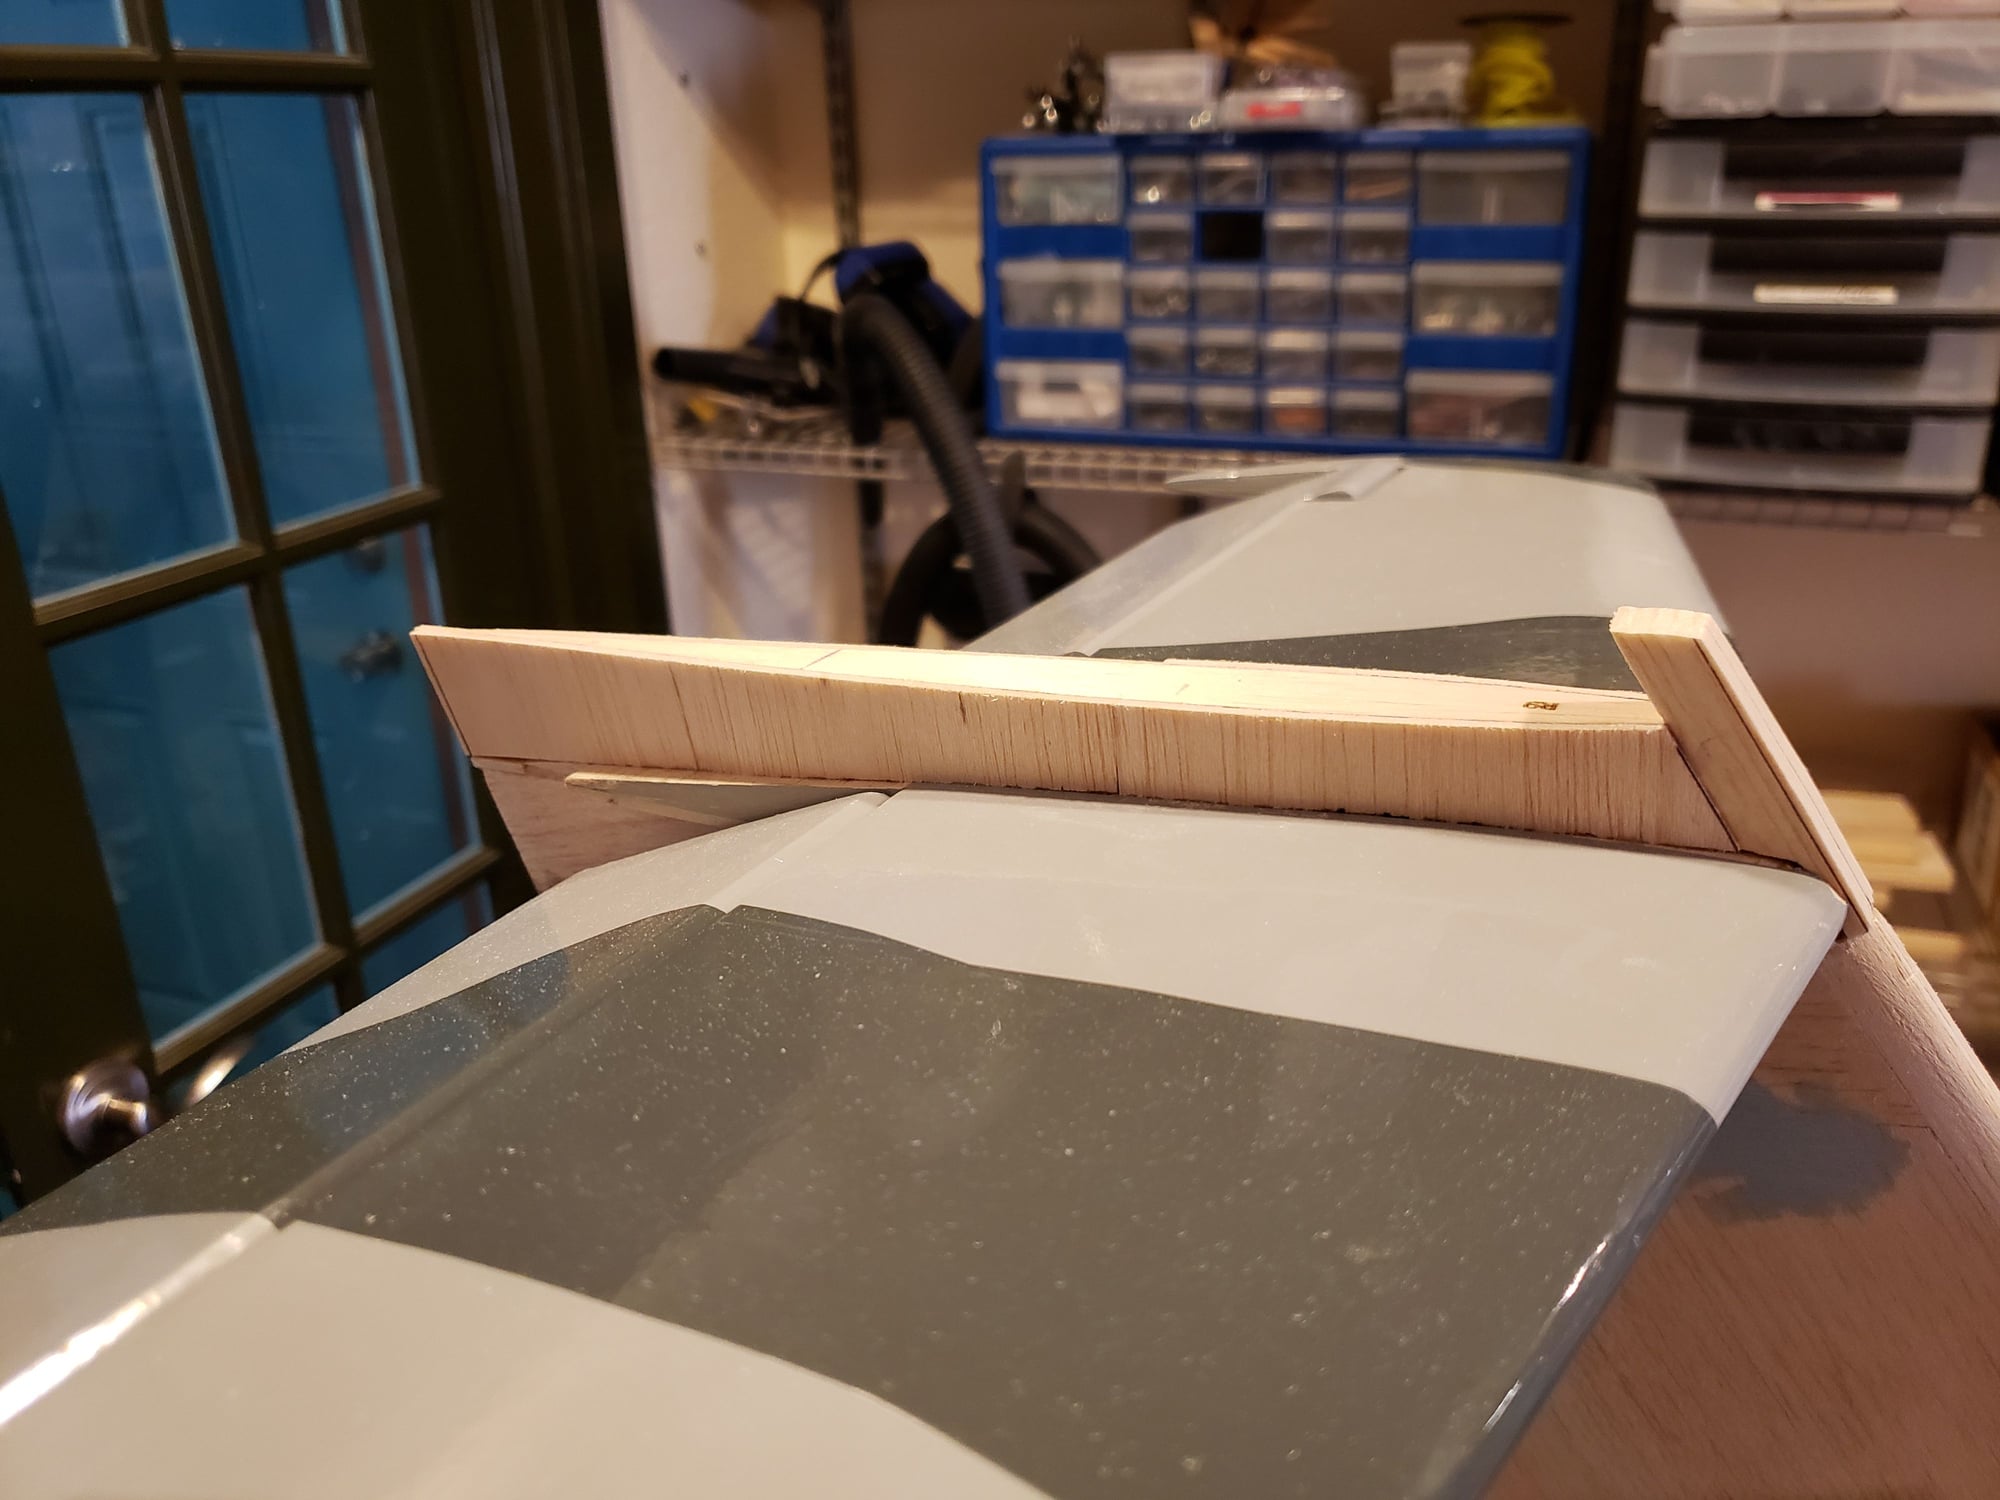
Sheet sides with 3/32" sheeting.
Glue the top block on.
Fill and sand to shape.
LE get set first. Cut a notch and shape the LE part.
Glue it in *straight*, this sets everything else up.
First R9 rib goes in glued to top of H-stab with a support at its TE.
Added second R9 rib with 3/8" spacers under it.
Dry fit the 1/2" top block.
Sheet sides with 3/32" sheeting.
Glue the top block on.
Fill and sand to shape.
 03-12-2024, 01:48 PM
#94
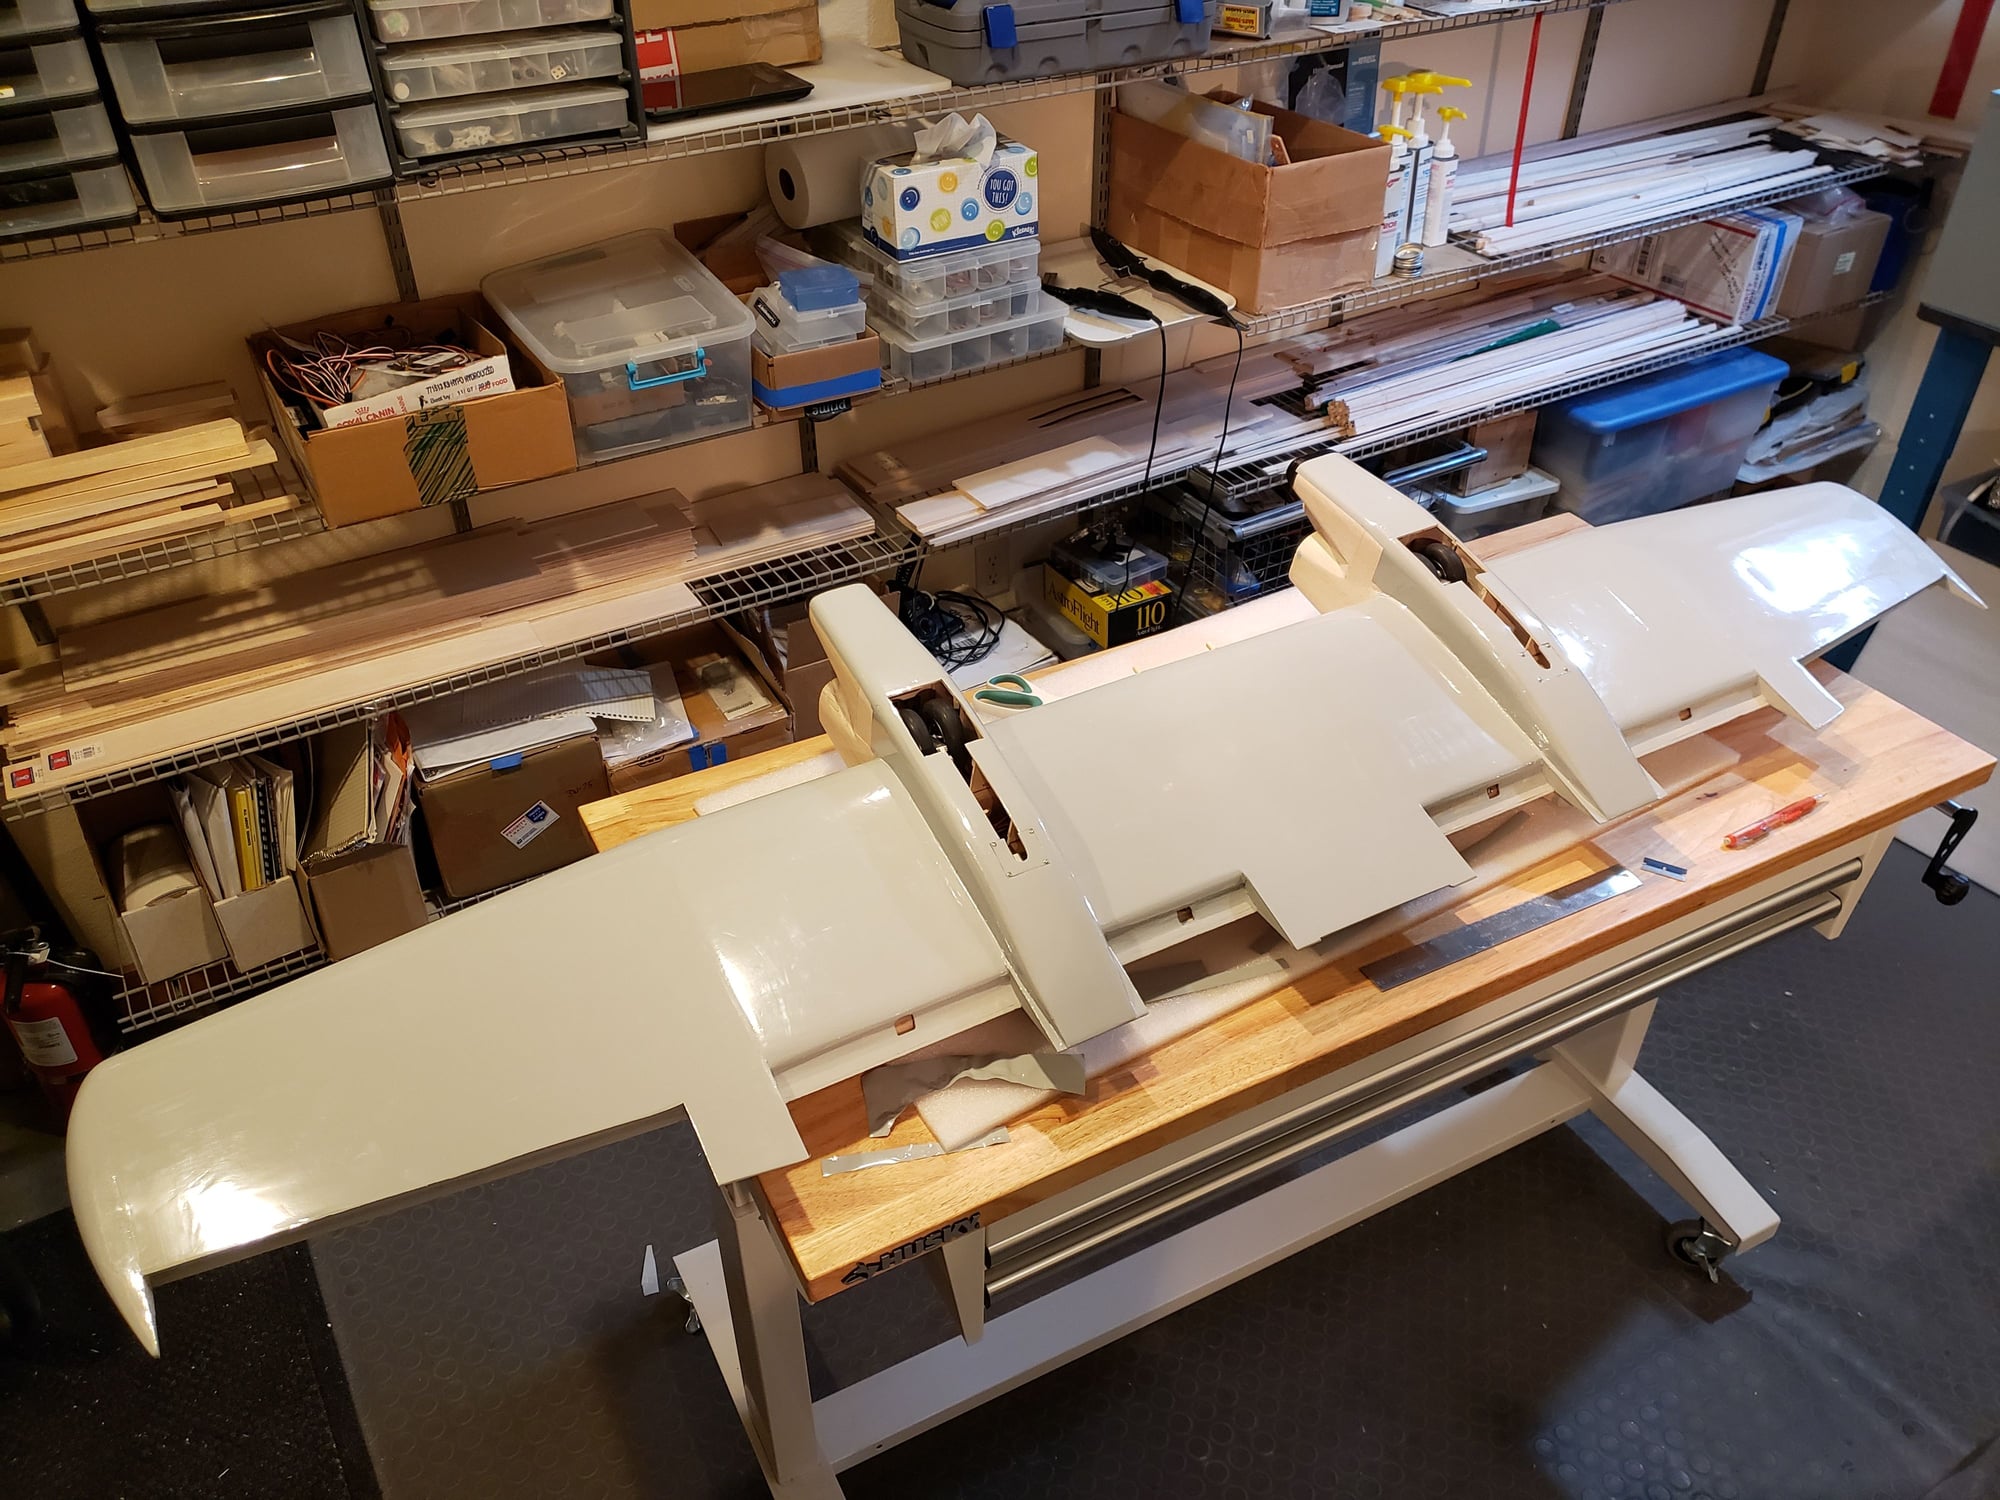
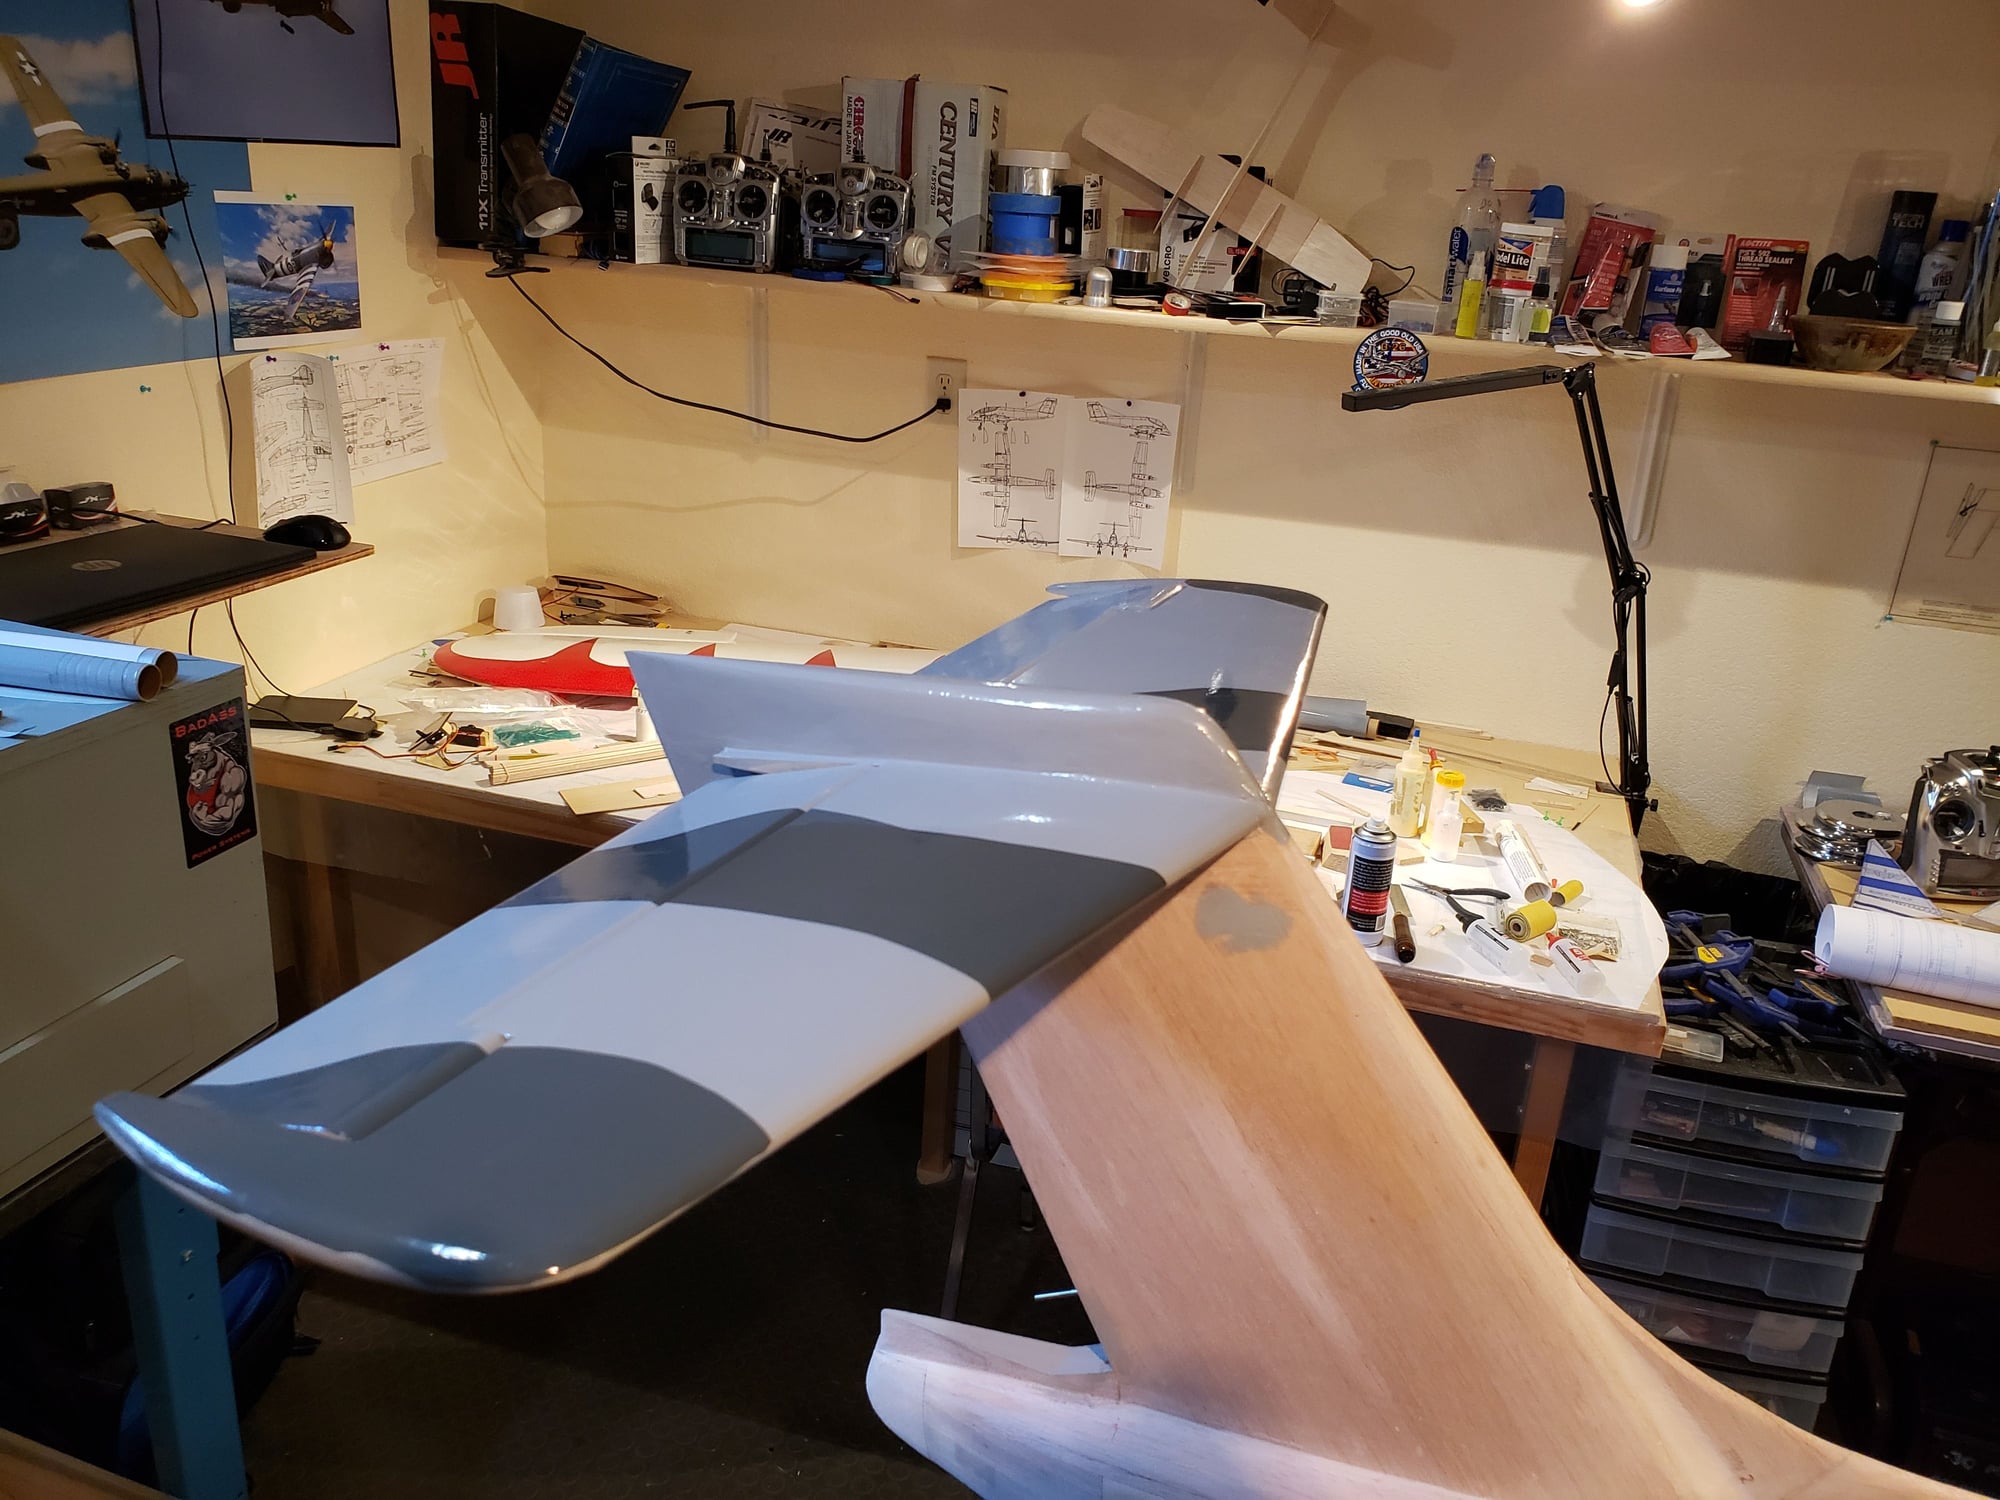
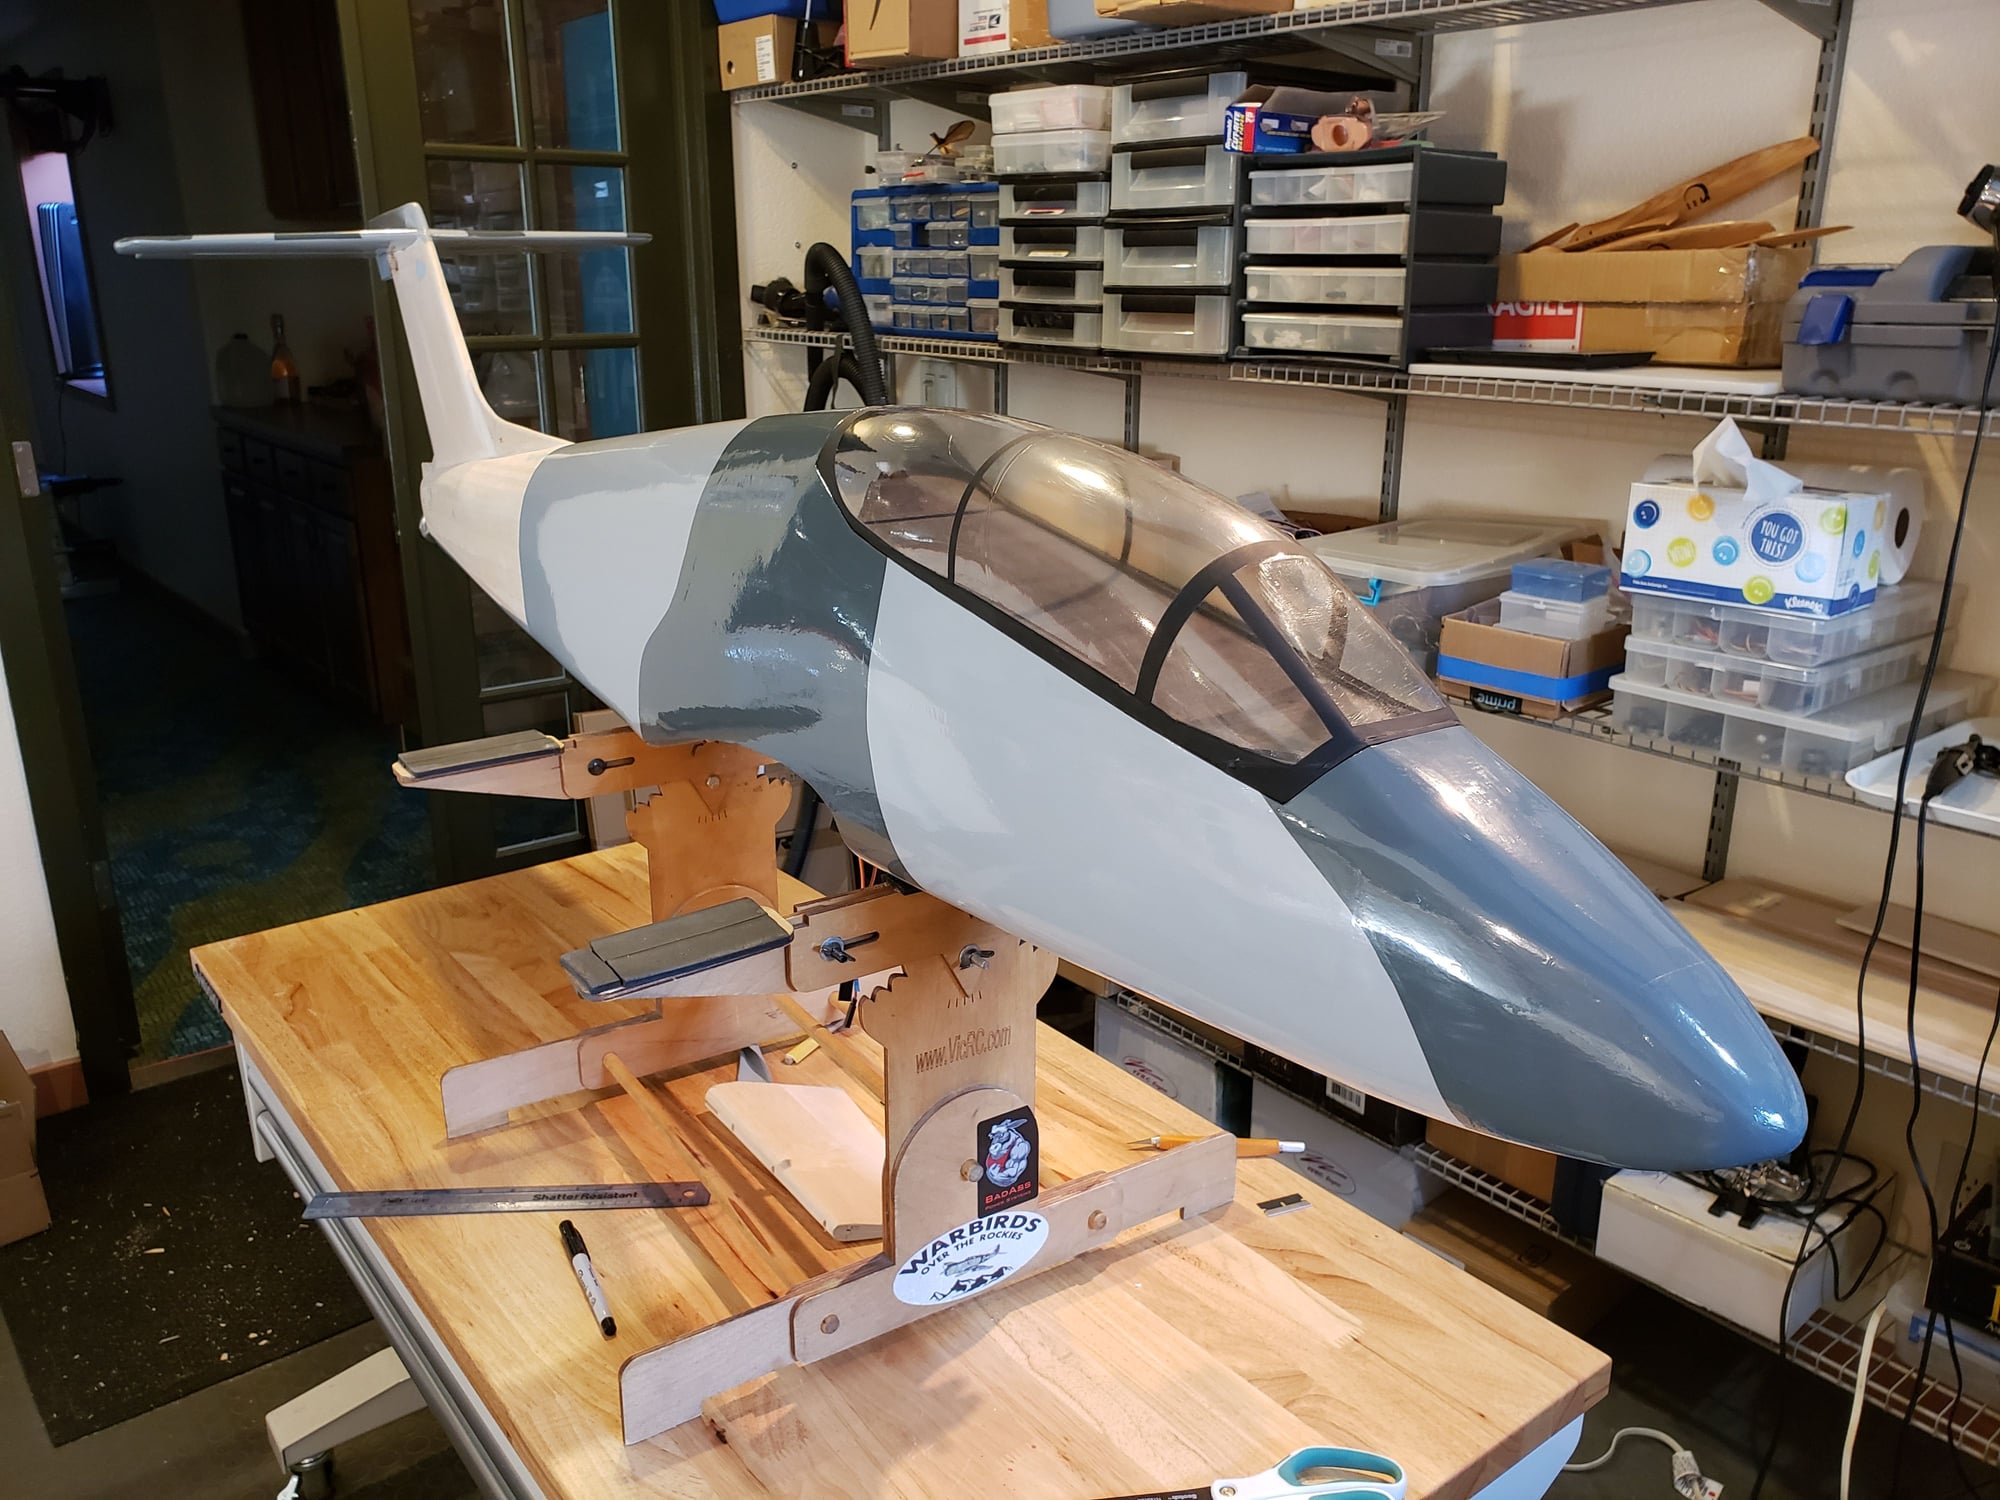
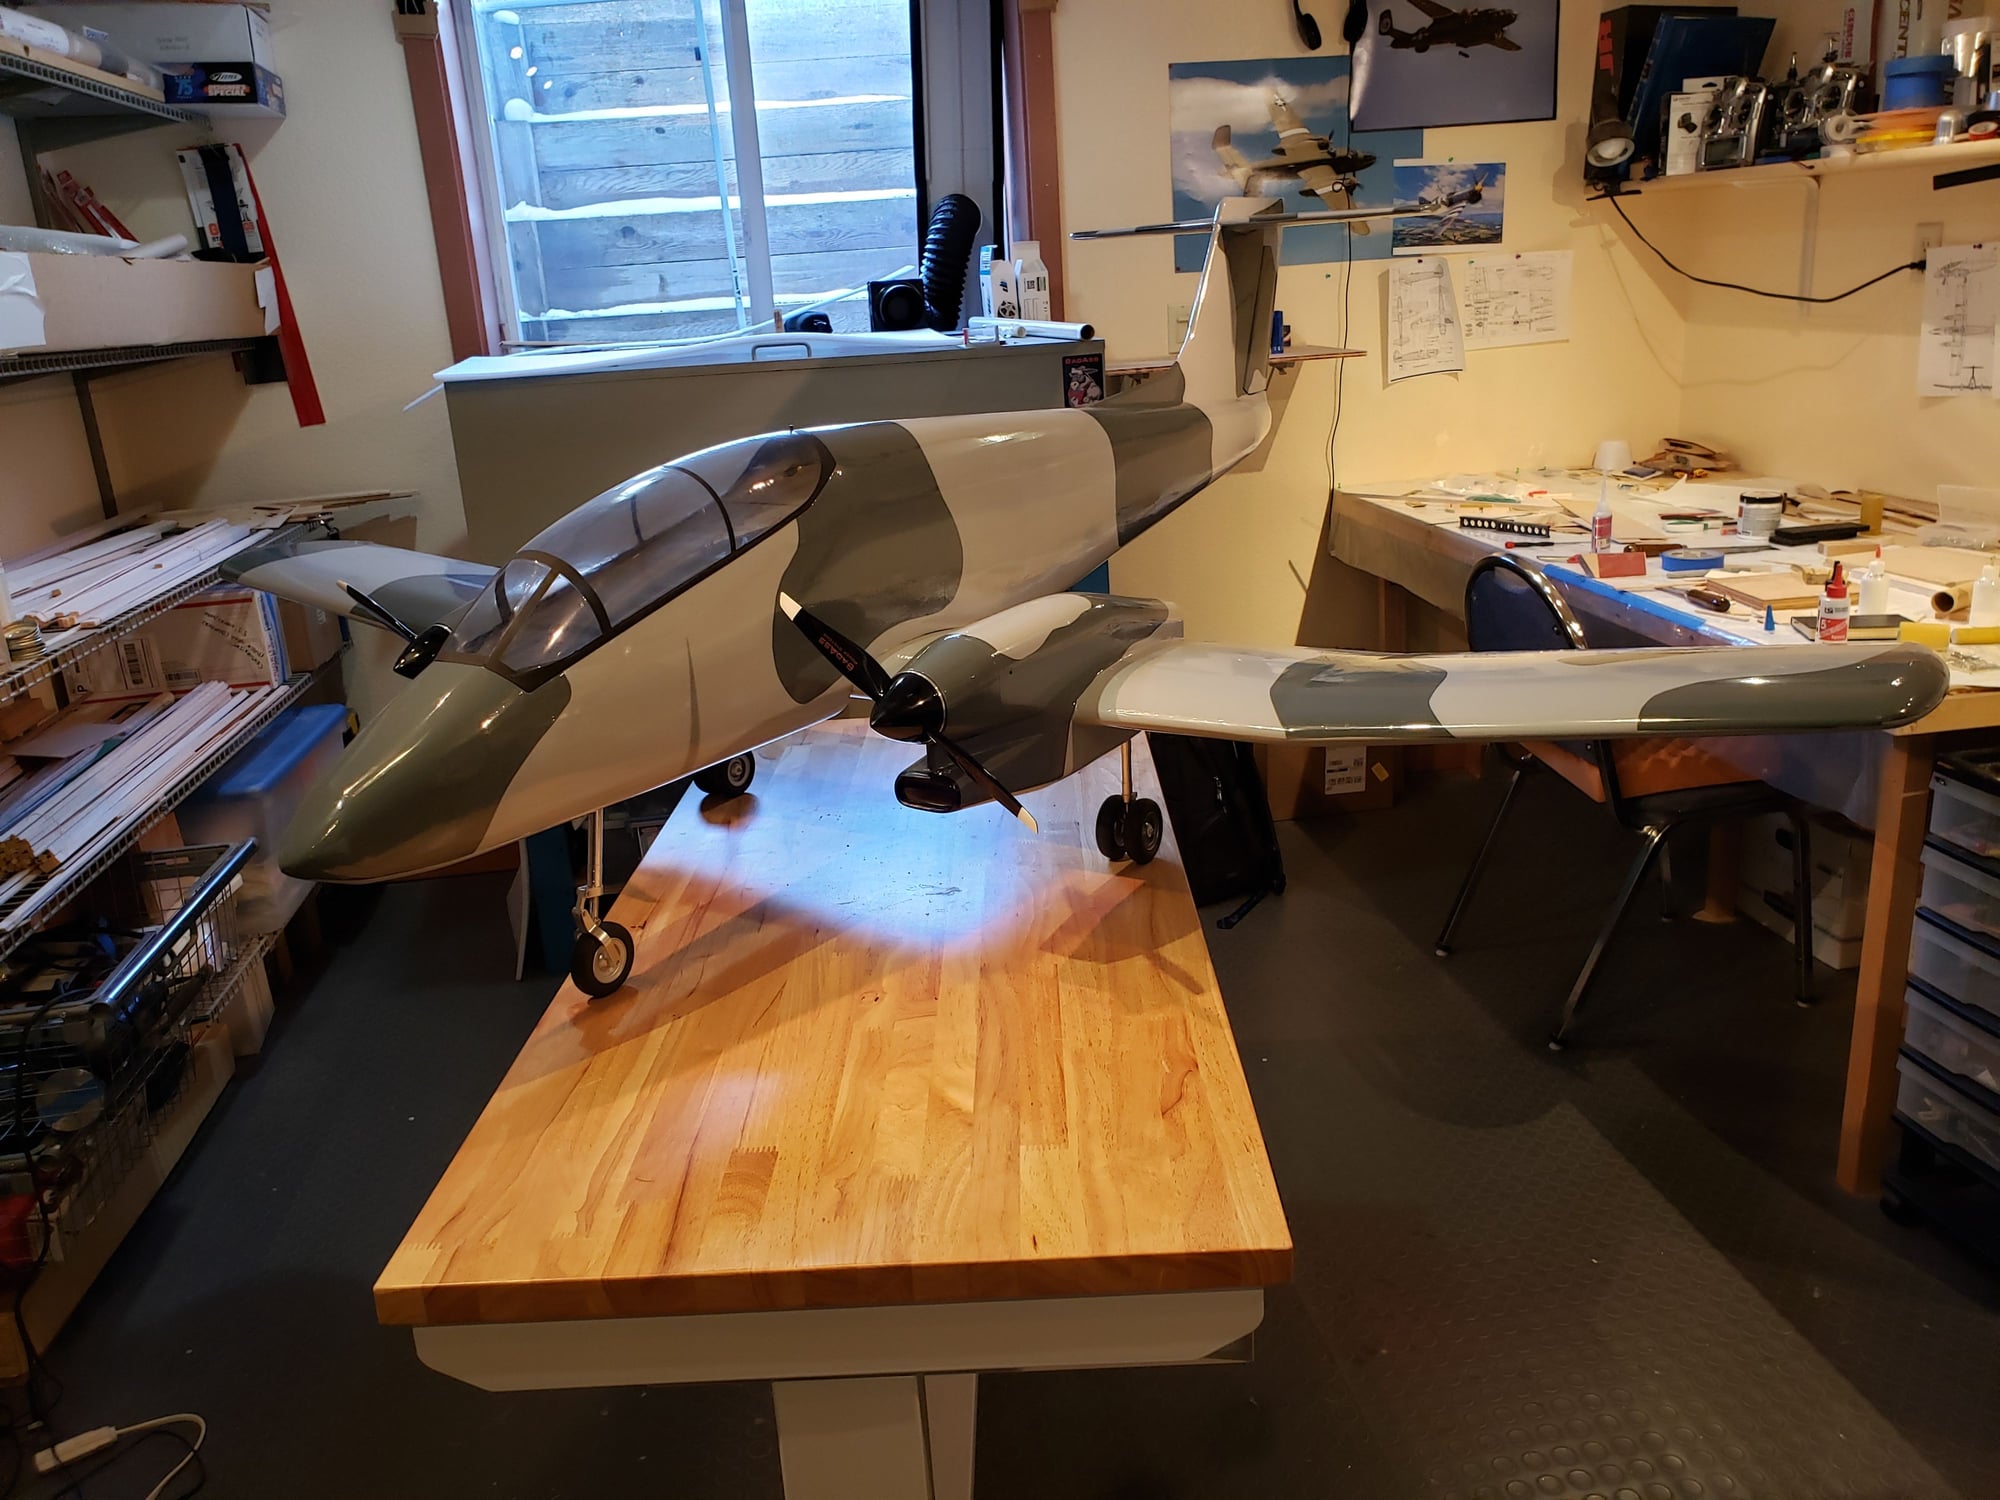
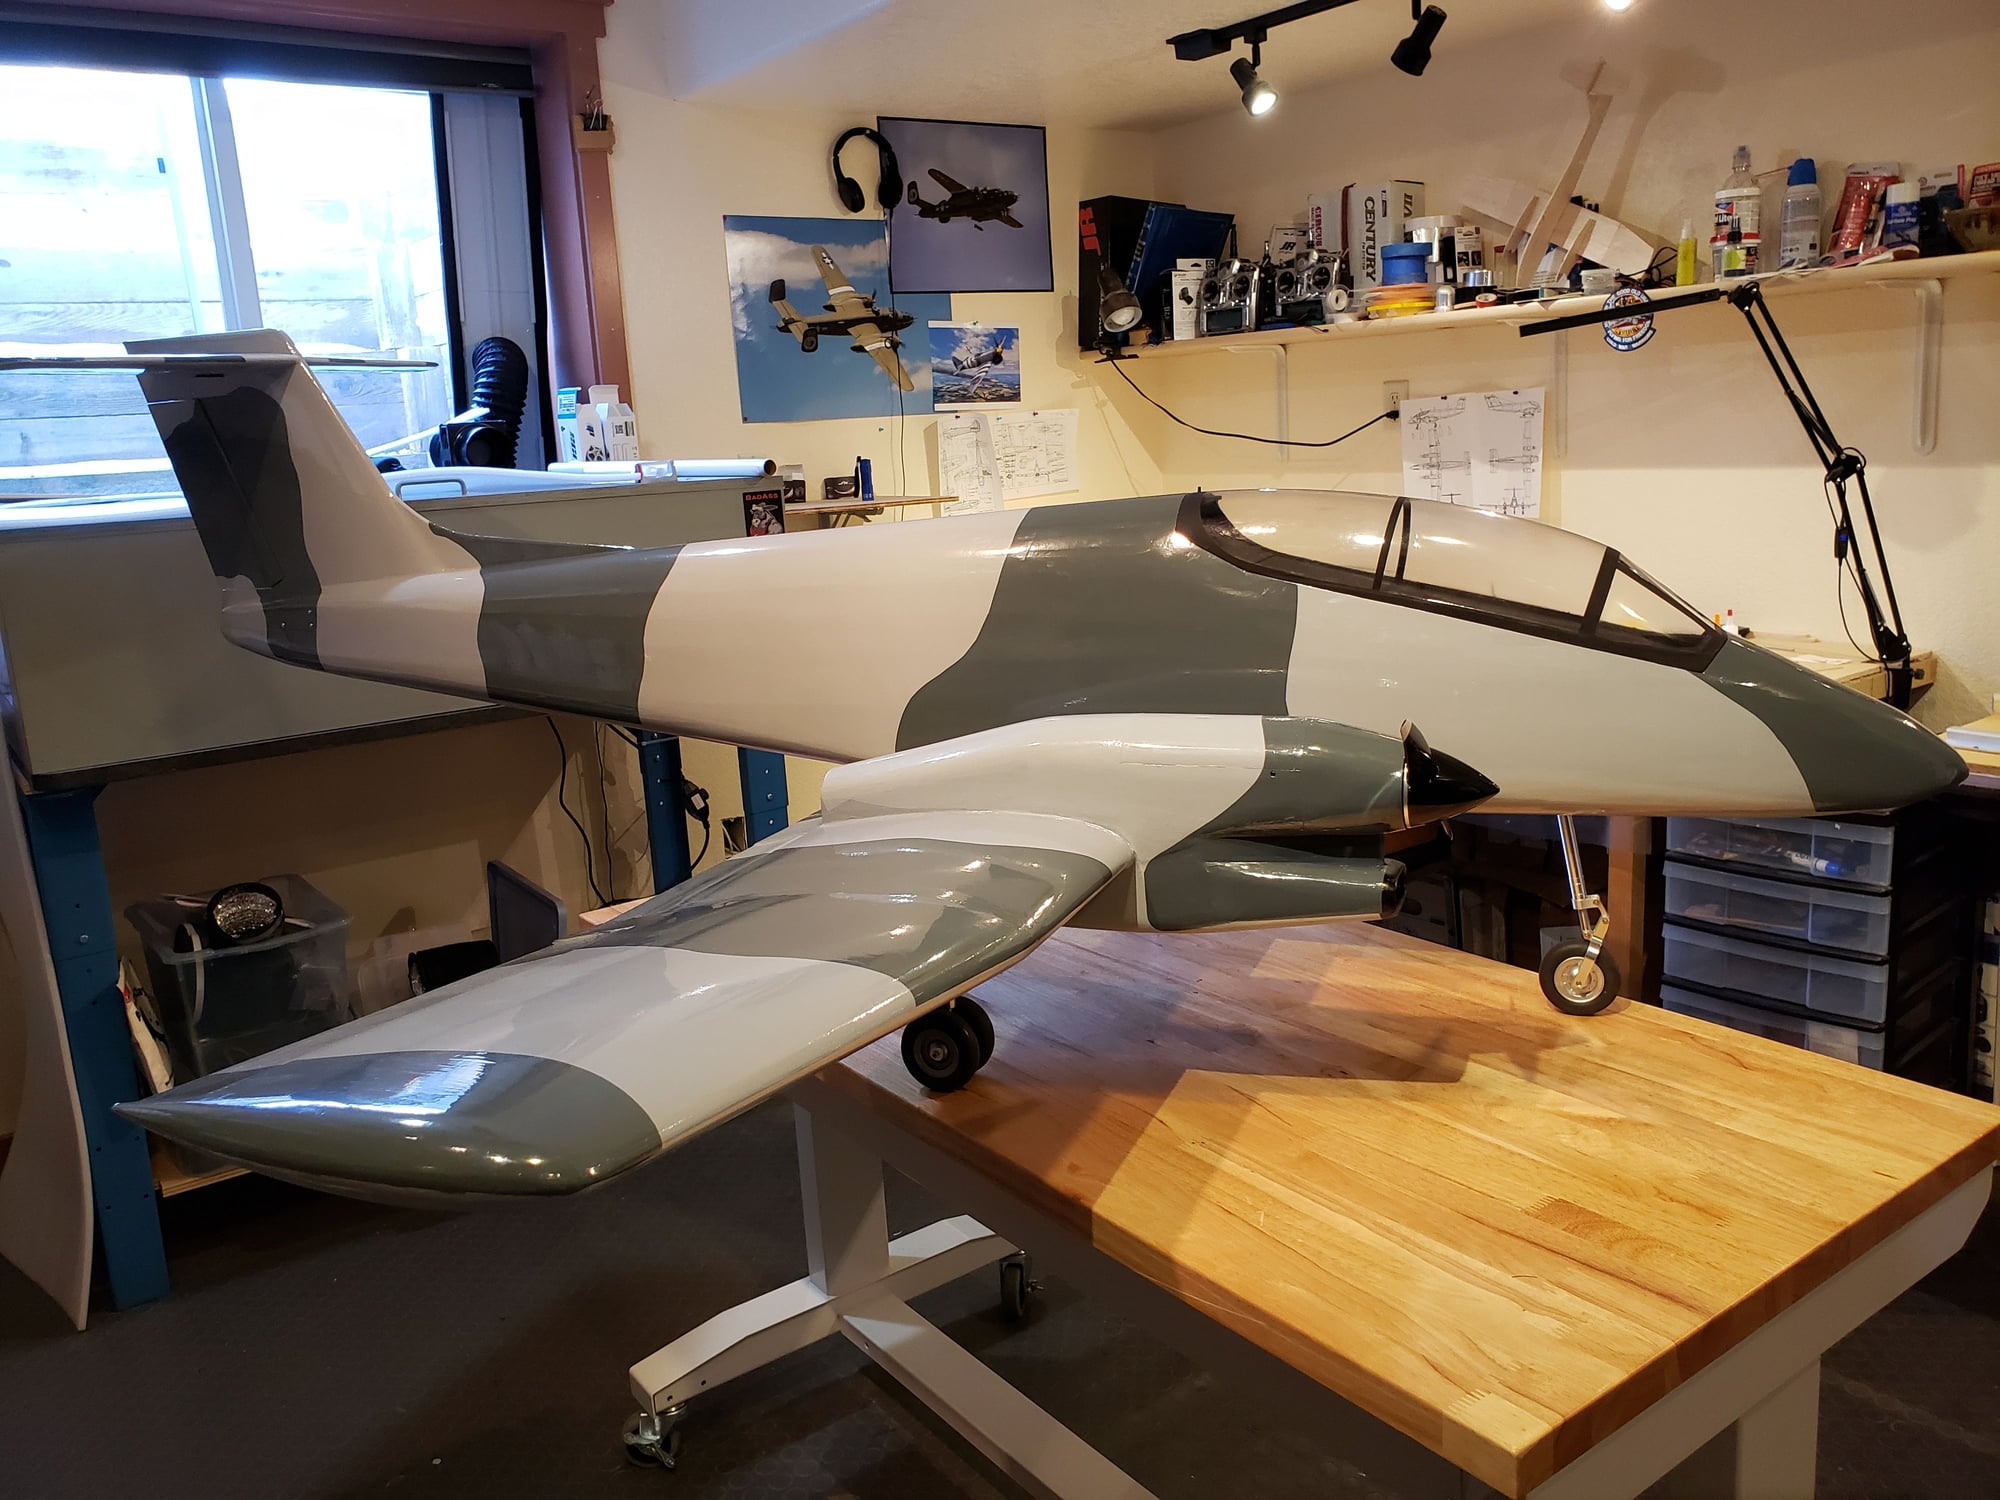
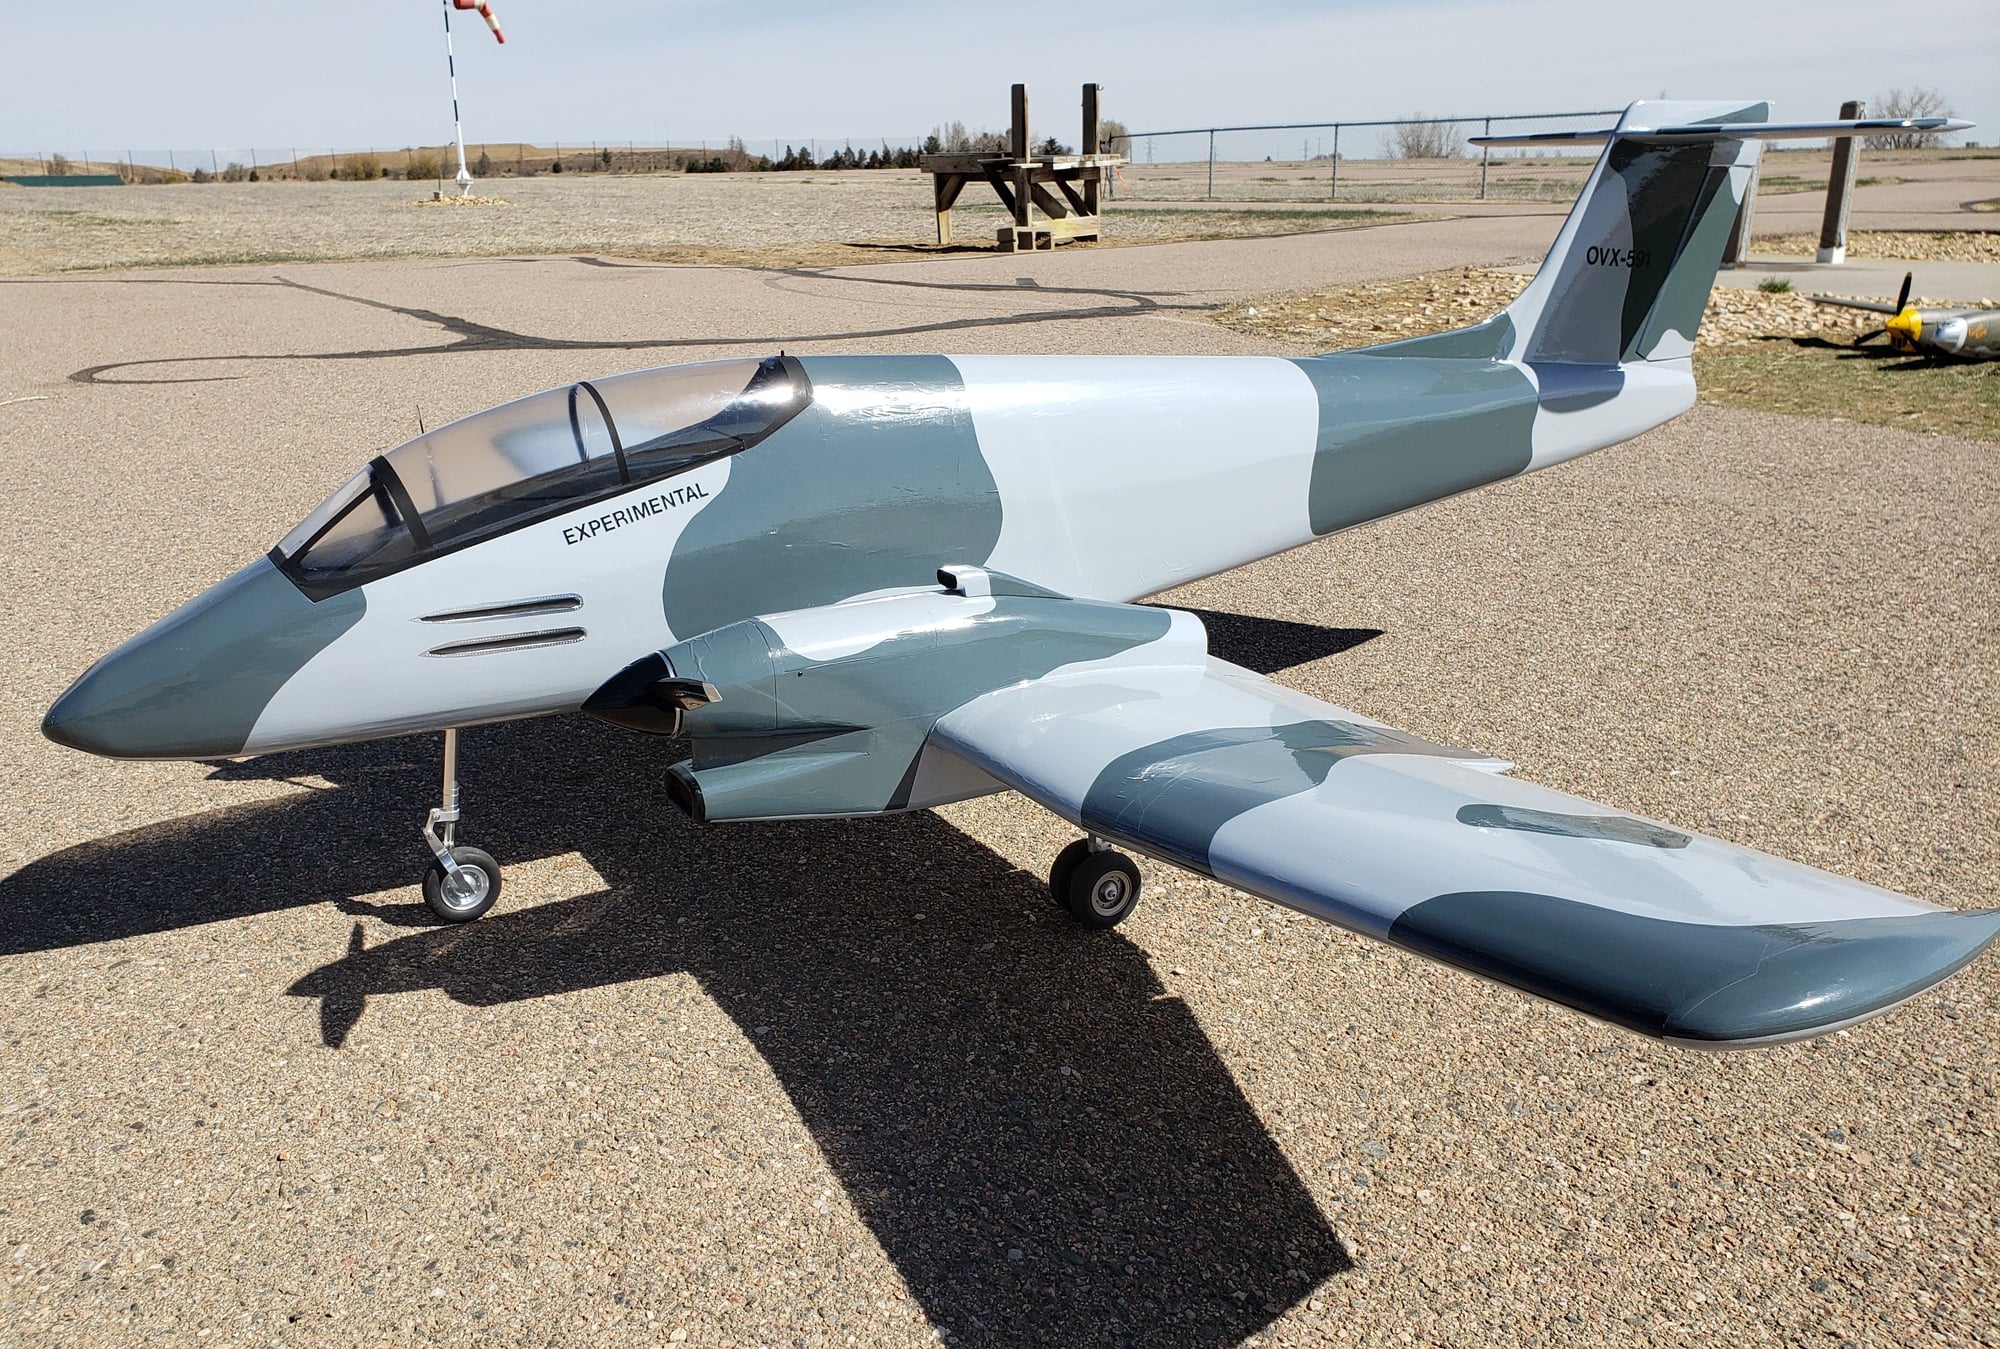
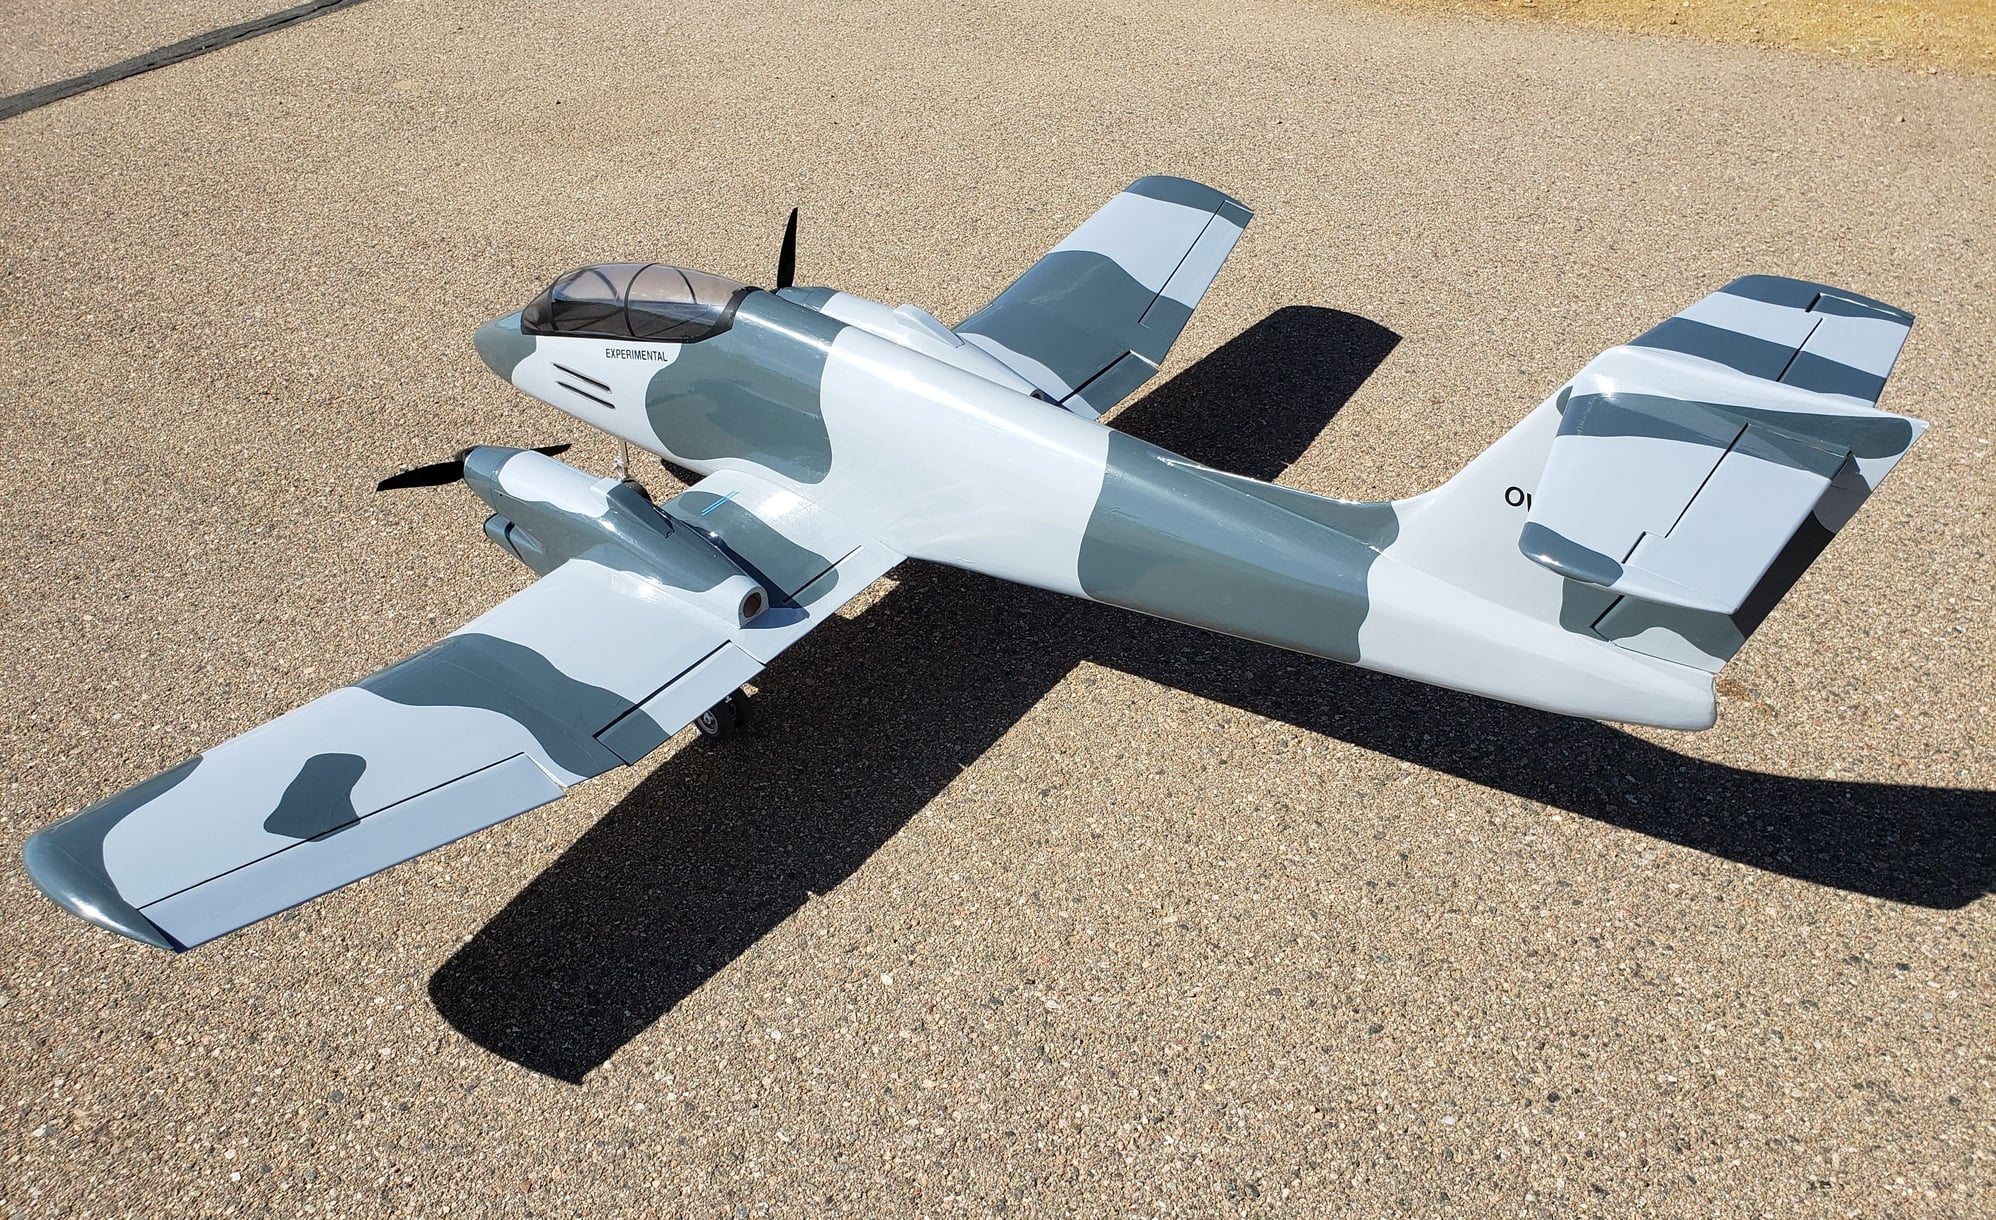
Well, the covering job is complete ... finally 
This is my second time doing a camo scheme. Definitely adds a good bit of work ... but looks good (IMHO).
Now I need to install a few more components, balance the plane, put in some cooling ports for the motors and ESCs, set up the radio, ... Getting close!
This is my second time doing a camo scheme. Definitely adds a good bit of work ... but looks good (IMHO).
Now I need to install a few more components, balance the plane, put in some cooling ports for the motors and ESCs, set up the radio, ... Getting close!
03-17-2024, 10:54 AM
#95
The covering is complete. Now to finish mounting components, balance the plane, program the radio. There are lots of details to add, not the least of which is decals. But that can wait till after it flies.
04-06-2024, 07:13 AM
#96
Well, I was finally able to get the maiden flight done. I took a couple of trips to the field for ground testing then had to wait through some Colorado spring wind and snow. But yesterday we had a break in the weather and I got the plane up. The plane is very stable and the flight was very smooth. Only trim change was a couple clicks of elevator. Besides the takeoff run (and landing), the entire flight was conducted between 1/3 and 1/2 power. I just flew the typical racetrack pattern, no rolls, loops, etc. Kept it simple. I tried the flaps, they are very effective, but generate a notable pitch down, which was to be expected. Given I hadn't programed any flap / elevator mix I didn't want to land with them deployed as I'd be holding up elevator on the entire approach. The flap up landing was uneventful. Took two approaches to the runway. Being a fairly clean design she holds on to speed easily. The first approach was a little fast, she was still 5' off the ground at mid field. Slowed up more for the second approach. Flight was stable all the way to touchdown with about 150' rollout.
I was not able to get a video of the flight, but here's a pic from the field after the landing. I plan to fly again on Monday and should be able to get a video.
Things to do before next flight
- program flap/elevator mix
- increase elevator travel
- move CG back 1/4"

I was not able to get a video of the flight, but here's a pic from the field after the landing. I plan to fly again on Monday and should be able to get a video.
Things to do before next flight
- program flap/elevator mix
- increase elevator travel
- move CG back 1/4"
 04-15-2024, 08:51 AM
#98
OK, finally was able to get some video. Here's the takeoff and landing. I'll be getting a full flight video, but will be another week or so as I'm busy supporting a local collage engineering competition.
(In YouTube set the resolution high for best viewing)
Takeoff and initial pass:
Touchdown and rollout:
(In YouTube set the resolution high for best viewing)
Takeoff and initial pass:
Last edited by Joe-RCBuilder; 04-15-2024 at 09:03 AM. Reason: Added text
