Heat formed plastic cowl
 03-16-2014 | 11:41 AM
#1

Thread Starter
Senior Member
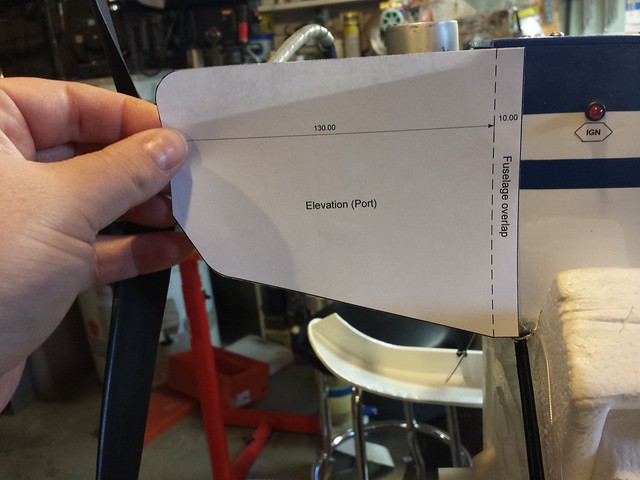
I thought I'd have a go at forming a plastic cowl to cover the DLE 20 I recently installed on my Hobbistar.
I didn't find a whole lot of information on line - there's a fair bit about vacuforming but that's not something I'm willing to spend time on right now. I decided I would make a plug out of lumber and mold the cowl around that. First step, as always... plans.
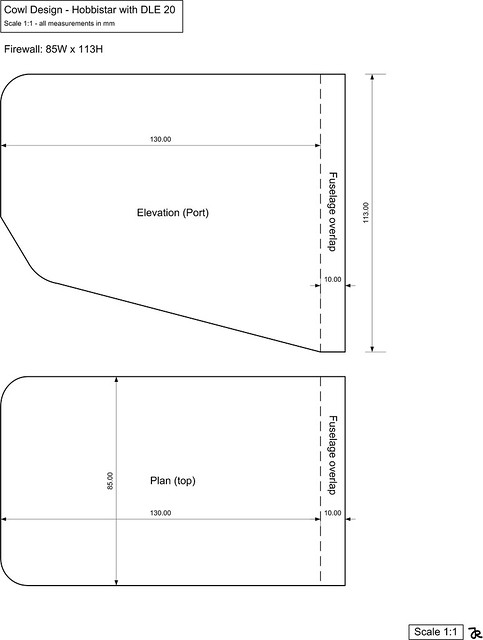

I didn't find a whole lot of information on line - there's a fair bit about vacuforming but that's not something I'm willing to spend time on right now. I decided I would make a plug out of lumber and mold the cowl around that. First step, as always... plans.
 03-16-2014 | 12:12 PM
#2
Thread Starter
Senior Member
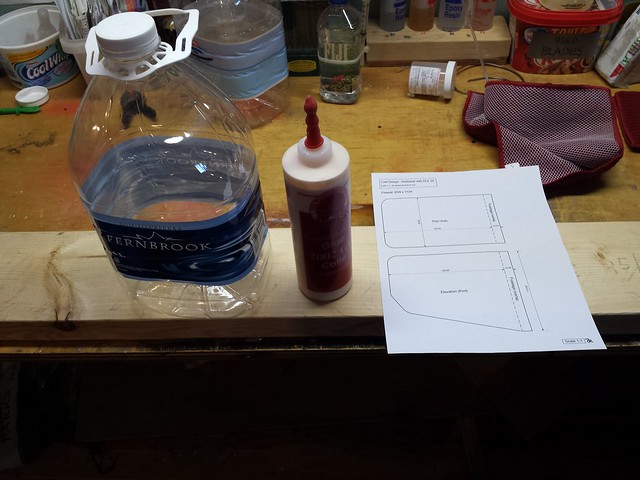
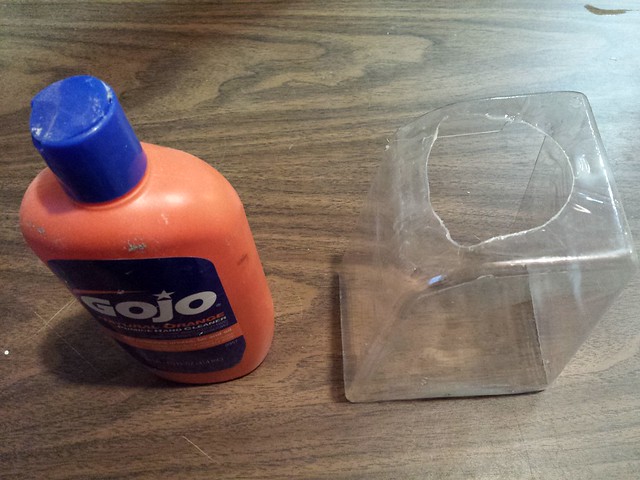
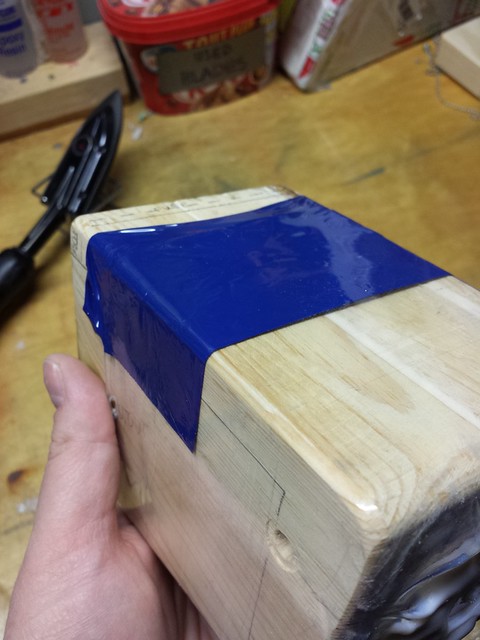
Next, the basic materials - a length of 2 x 6, a 4L plastic water bottle and some glue.
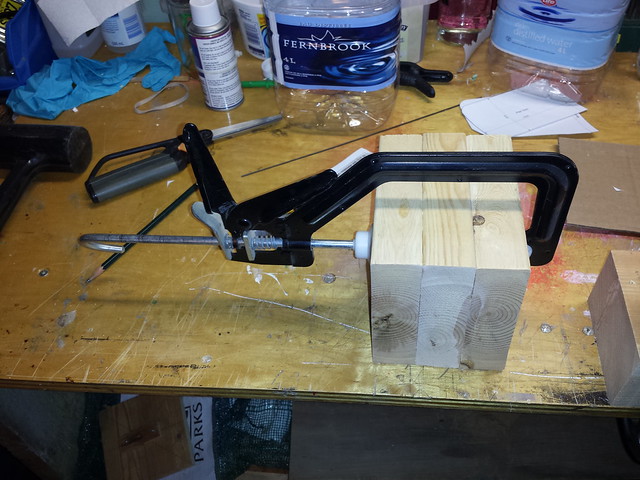
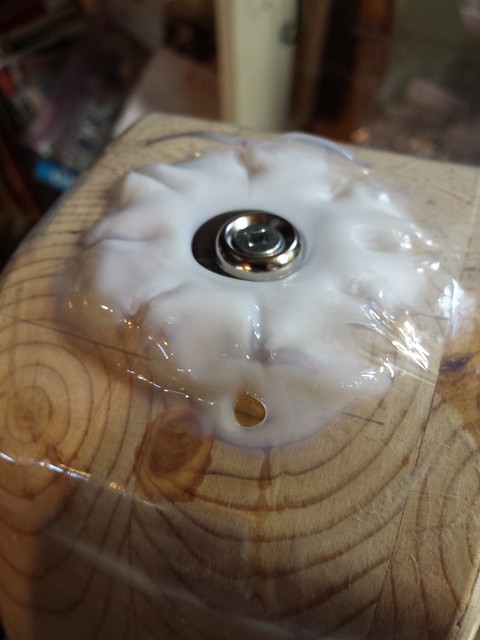
On to the plug. I started by cutting three pieces of 2 x 6 roughly to length and squaring one end against a stop block.

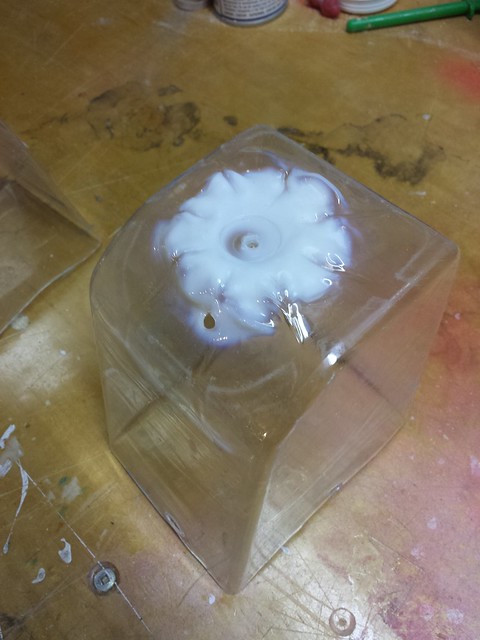
Next step - glue and clamps.
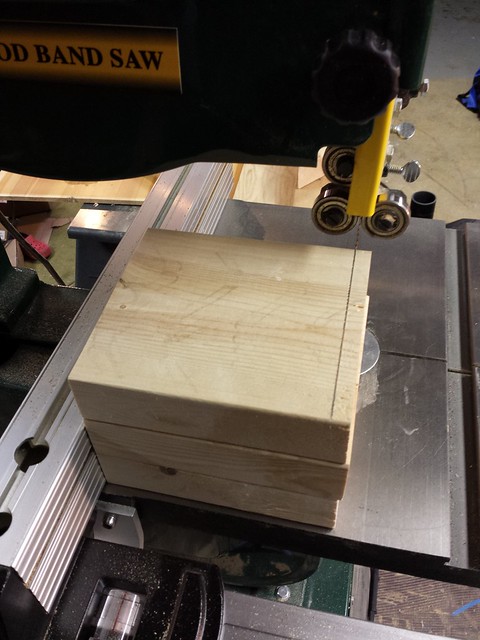
Time for cutting.
On to the plug. I started by cutting three pieces of 2 x 6 roughly to length and squaring one end against a stop block.
Next step - glue and clamps.
Time for cutting.
03-16-2014 | 12:16 PM
#3
Thread Starter
Senior Member
Here's the rough shape with gaps filled.
Time to round the corners - for that I dusted off my router table.

1/4" roundover bit.

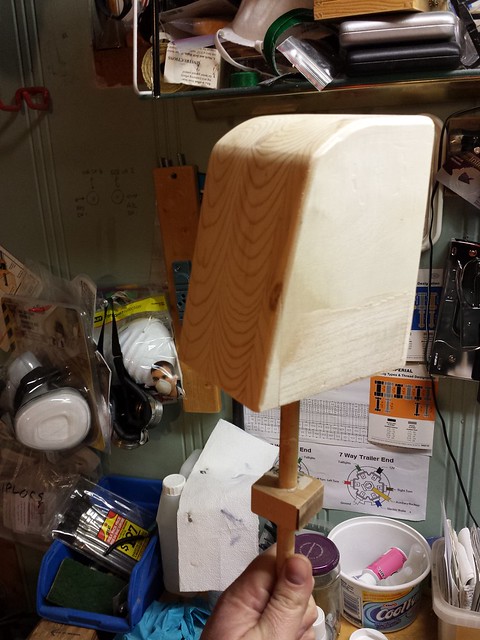
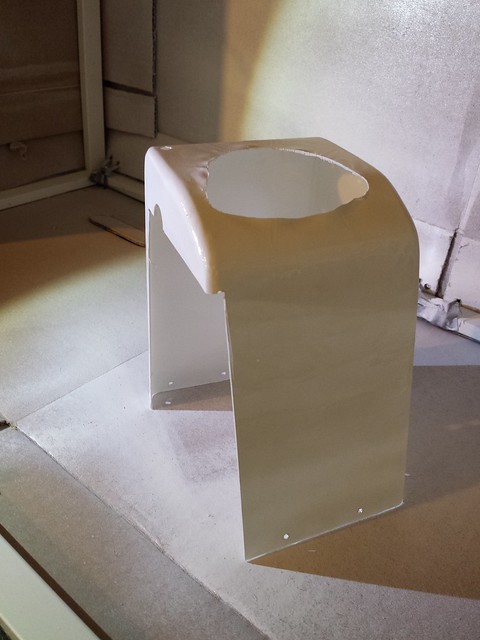
Here's the plug, shaped and drilled for a pivot rod.
Time to round the corners - for that I dusted off my router table.
1/4" roundover bit.
Here's the plug, shaped and drilled for a pivot rod.
03-16-2014 | 12:24 PM
#4
Thread Starter
Senior Member
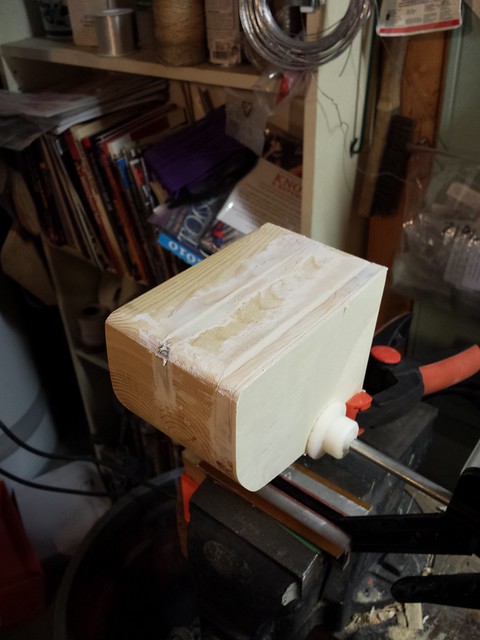
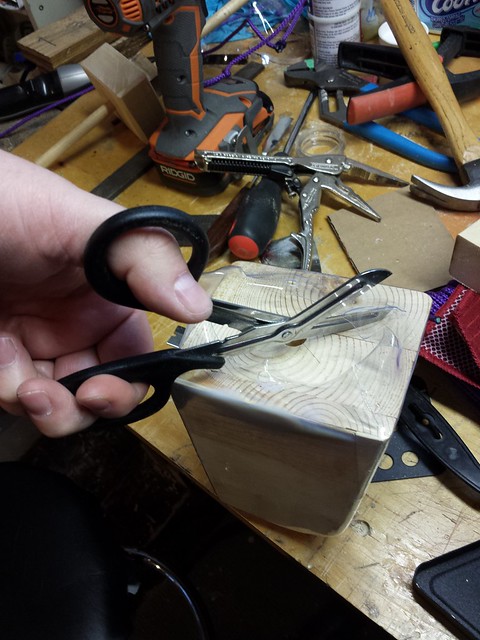
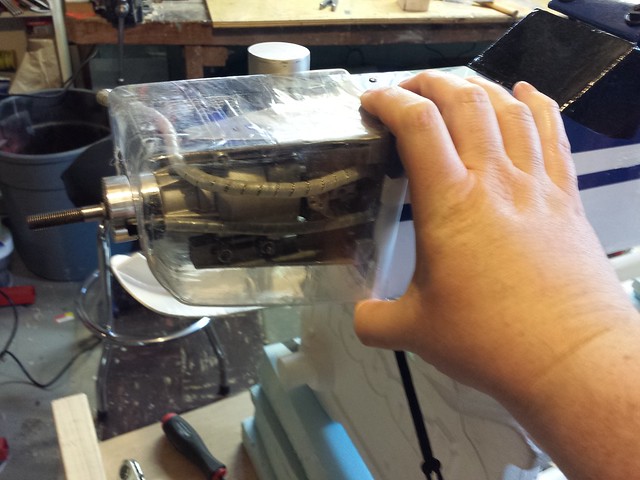
Plug and rod mounted in vise. This arrangement will allow me to rotate the plug as I heat the plastic.

I did a couple of tests - here's the second one before heating. Screwing the cowl onto the plug at the front is a lesson learned, as are the cords at the bottom for tension.
Test #2 on the plug. Note the milky-white plastic - that's an indication of too much heat (as is the hole!).
Here's the test piece off the plug.
Time for the real thing.
03-16-2014 | 12:30 PM
#5
Thread Starter
Senior Member
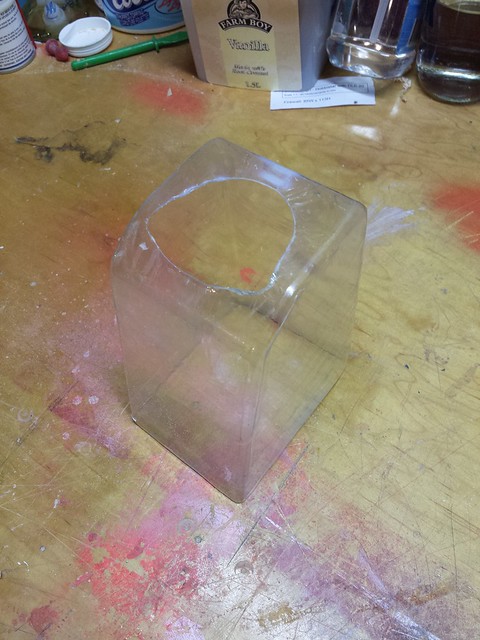
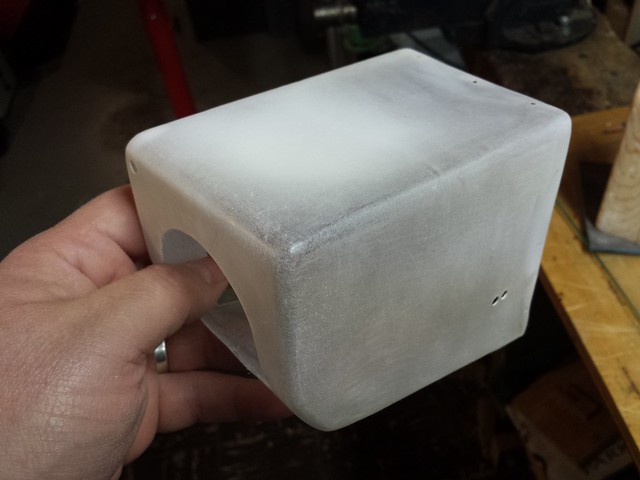
I was very careful with the actual cowl and didn't burn through anywhere, though the plastic did whiten in spots. The heat gun worked like a charm, shrinking the plastic tightly to the plug in most places. I worked slowly; I figure it took about an hour to shrink to the cowl to my satisfaction.
Amazing how tightly it folds around the bottom.

Removing the excess now.


Amazing how tightly it folds around the bottom.
Removing the excess now.
03-16-2014 | 12:39 PM
#6
Thread Starter
Senior Member
Time now to remove the cowl from the plug. I mounted an angle bracket to the back so it could be clamped in the vise.

I also rounded off the corners of a steel ruler so as not to pierce the cowl from the inside.

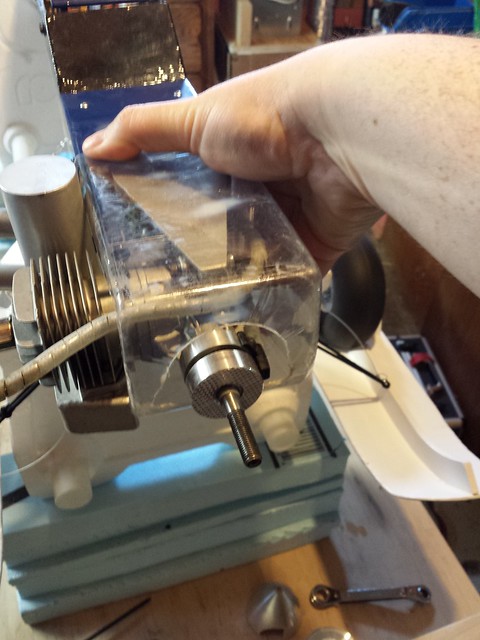
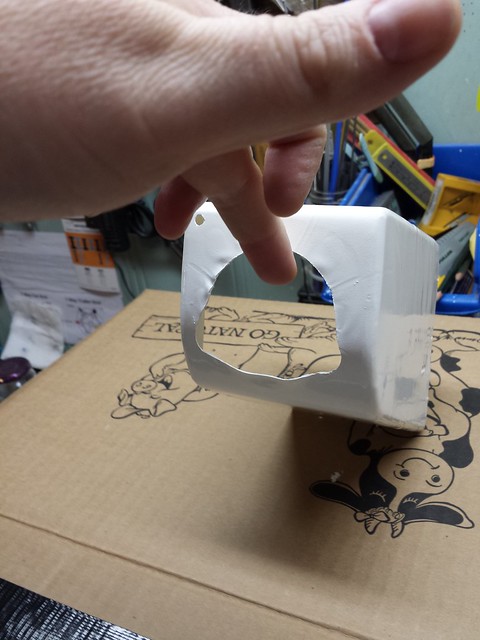
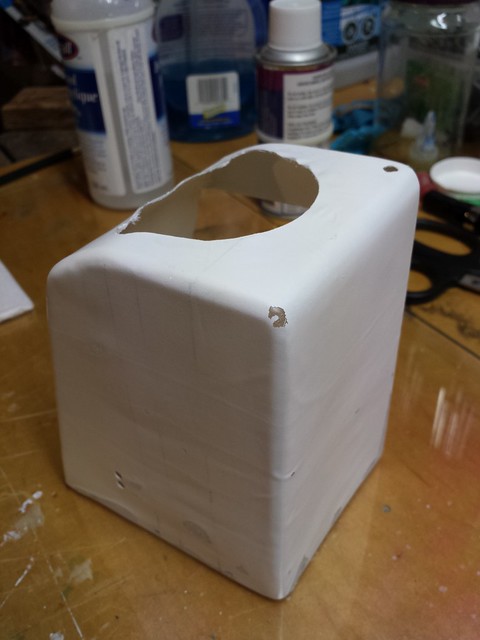
After quite a struggle I took a minute to cut out the front in hopes it would help release the cowl.

I also blew compressed air in around all the faces. The heat had boiled some of the residual sap in the wood of the plug, which bonded pretty well to the cowl... that didn't help. After a lot of effort and with a lot of force I got them separated at the cost of some skinned knuckles.
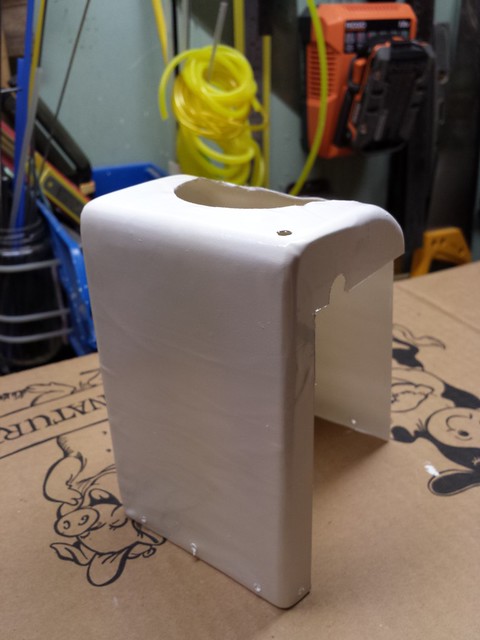
Here's the cowl off the plug.
I also rounded off the corners of a steel ruler so as not to pierce the cowl from the inside.
After quite a struggle I took a minute to cut out the front in hopes it would help release the cowl.
I also blew compressed air in around all the faces. The heat had boiled some of the residual sap in the wood of the plug, which bonded pretty well to the cowl... that didn't help. After a lot of effort and with a lot of force I got them separated at the cost of some skinned knuckles.
Here's the cowl off the plug.
03-16-2014 | 12:42 PM
#7
Thread Starter
Senior Member
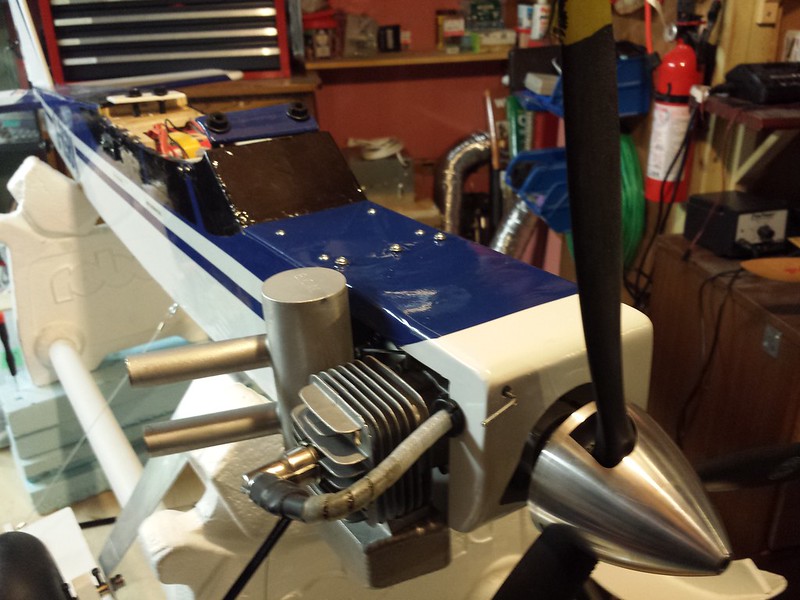
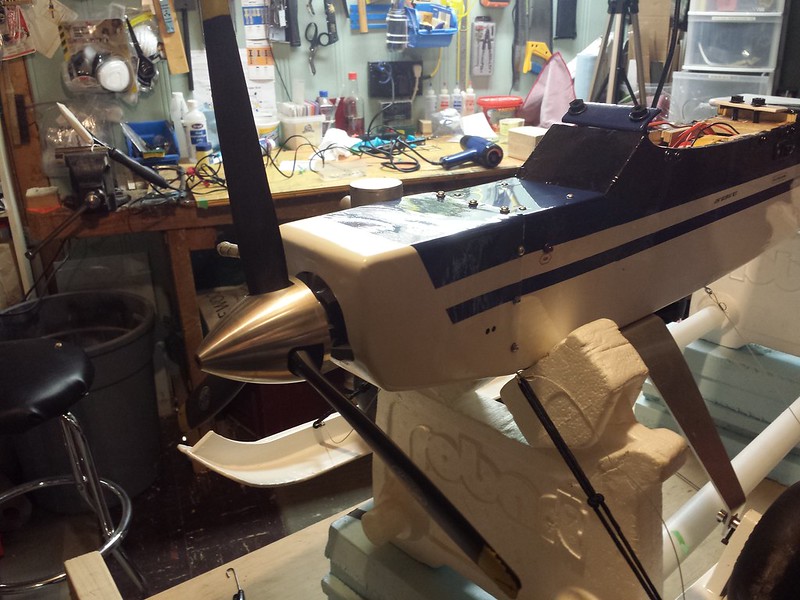
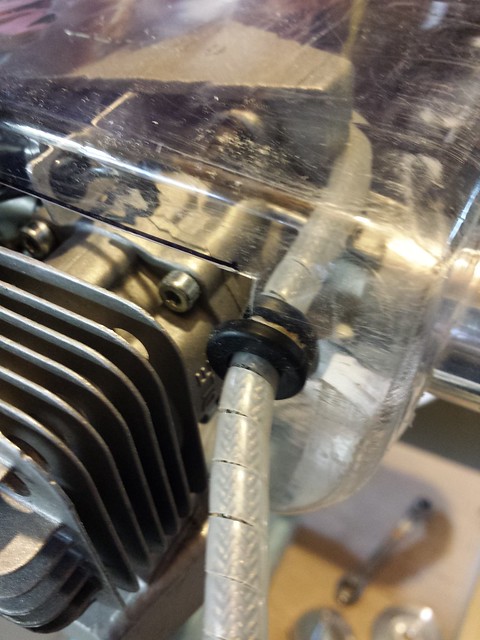
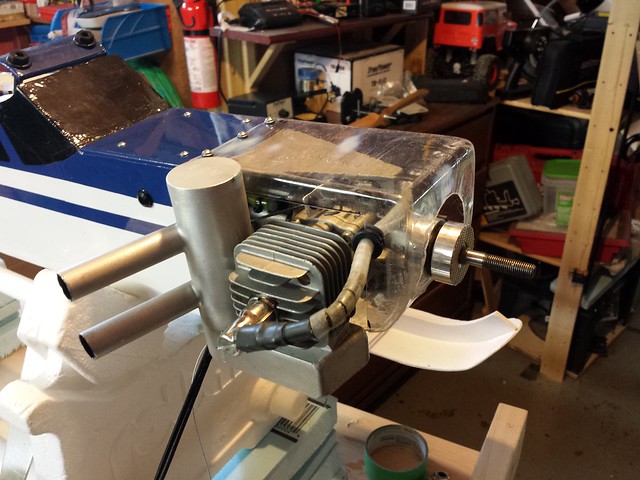
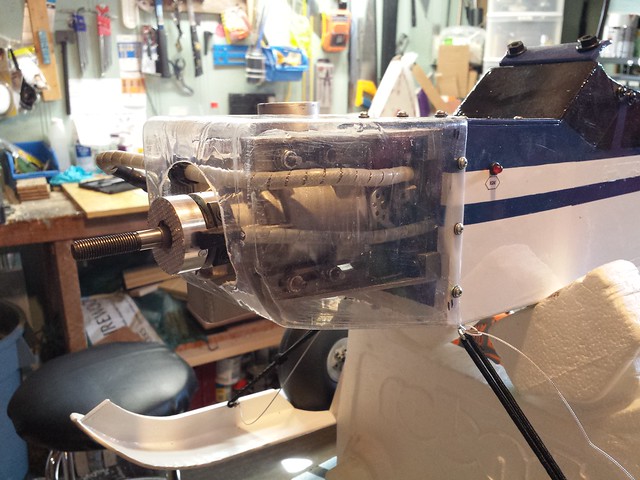
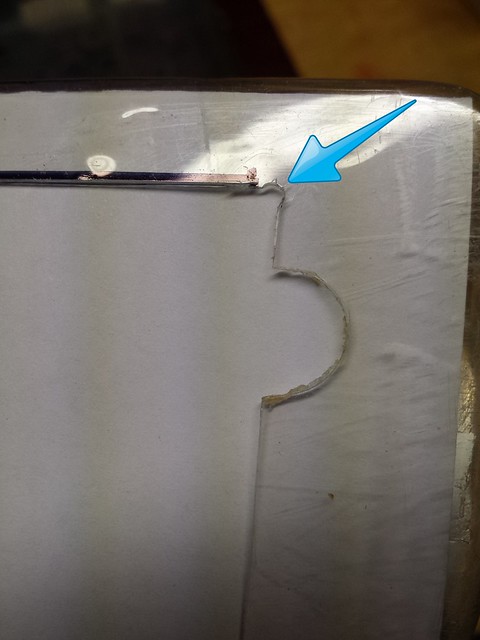
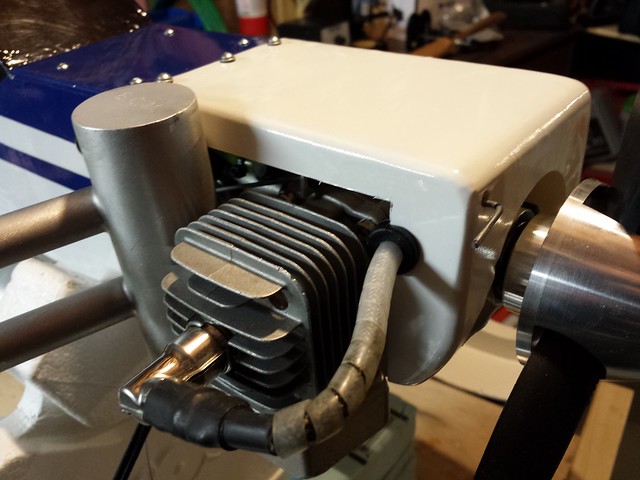
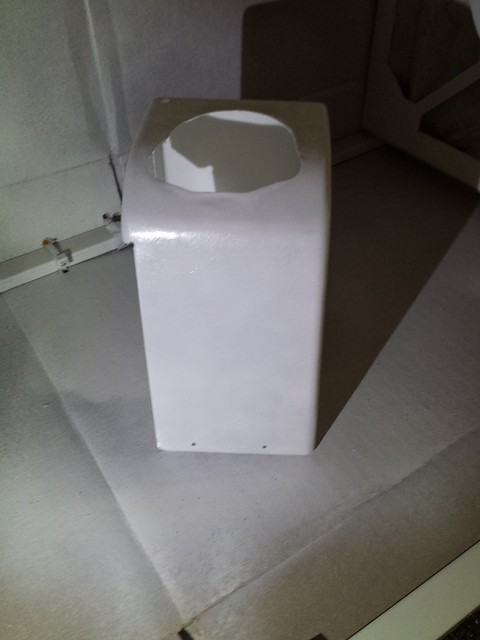
After a few measurements I slid the cowl back on the block and cut out the opening for the cylinder head and muffler.
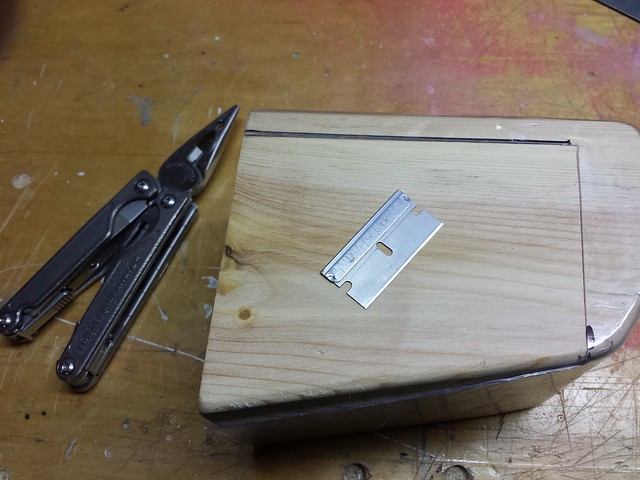
First test fits.
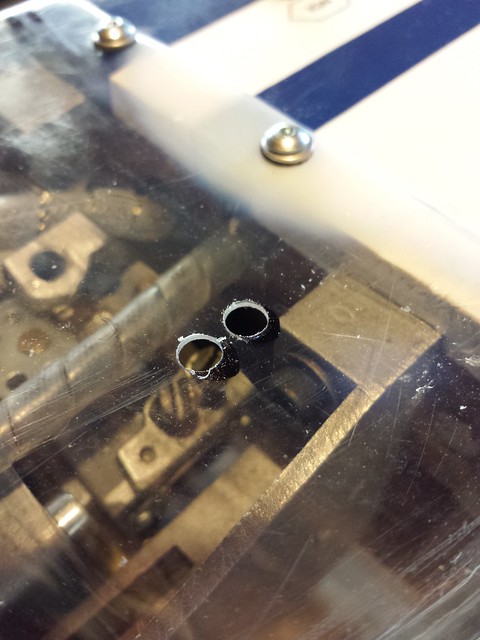
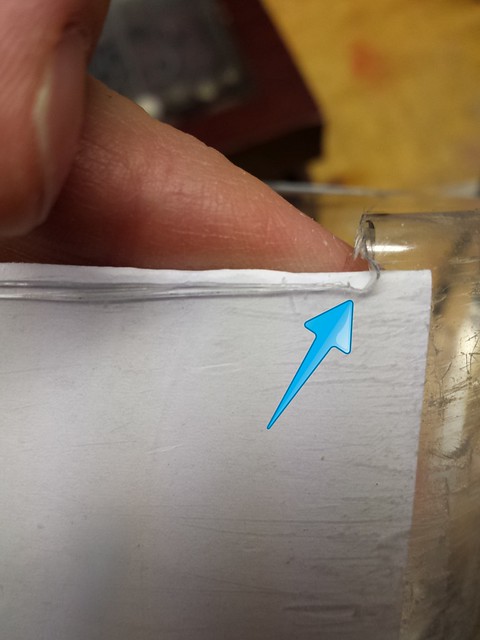
A notch for the plug wire and a matching grommet.
First test fits.
A notch for the plug wire and a matching grommet.


 03-16-2014 | 12:51 PM
#10
Thread Starter
Senior Member
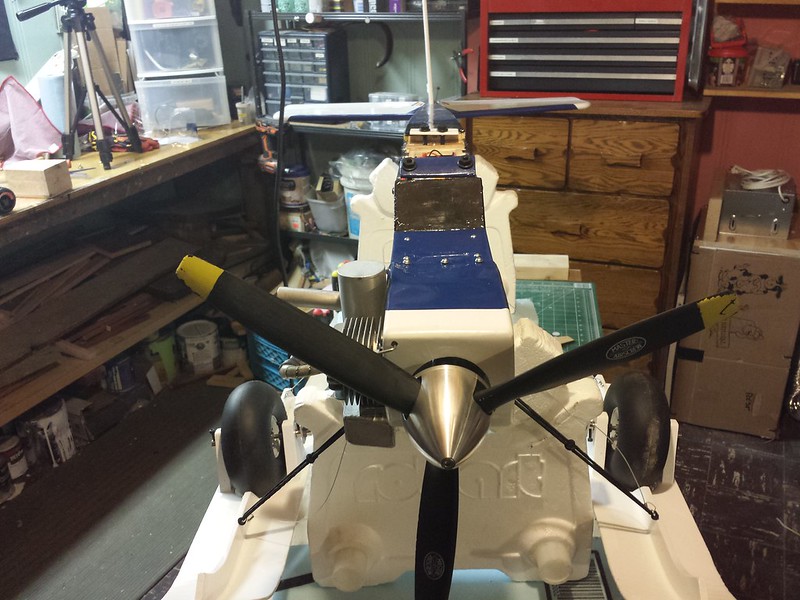
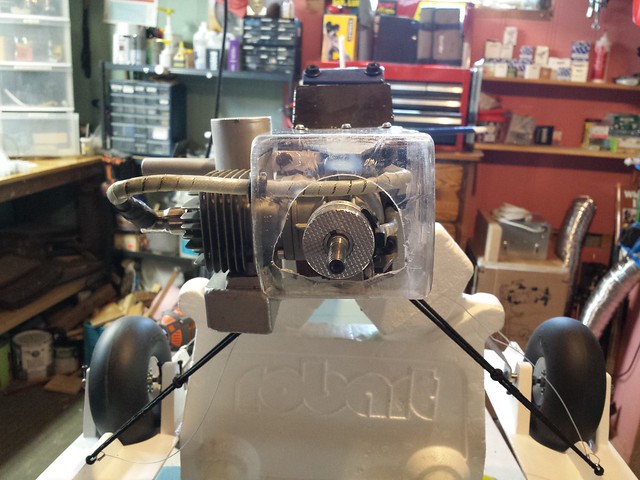
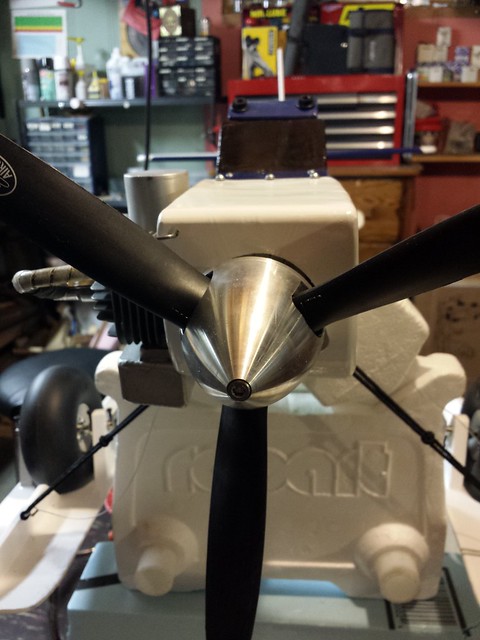
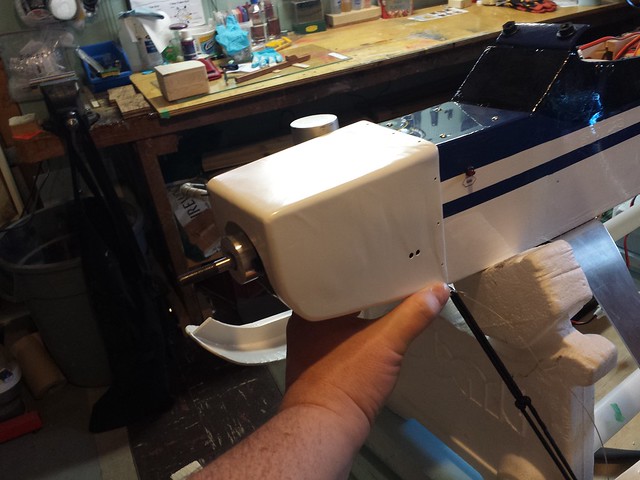
The original choke rod was now under the cowl...
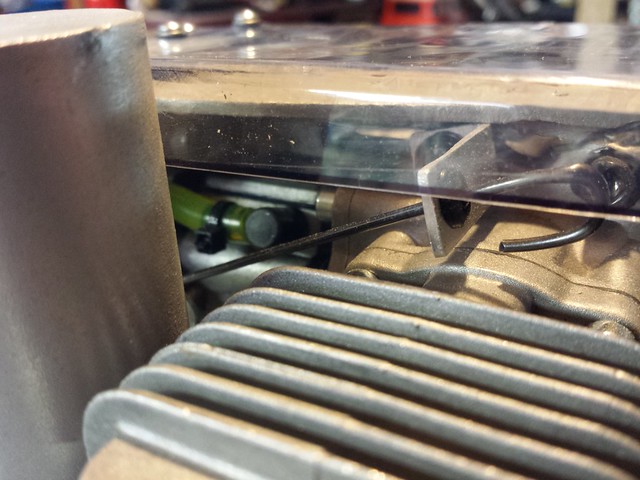
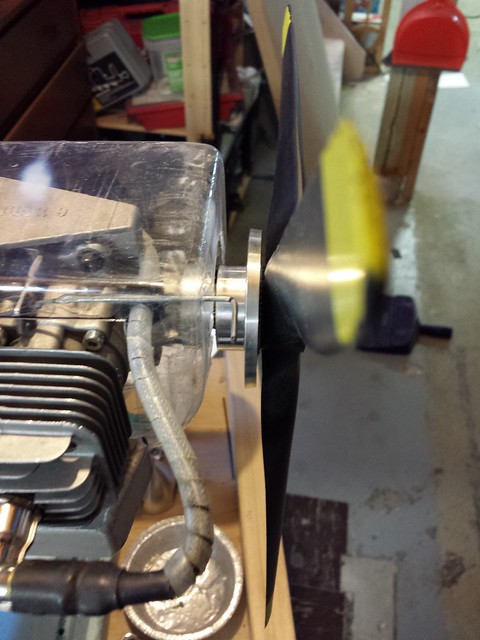
... so a new one was required, shown here with the choke open.
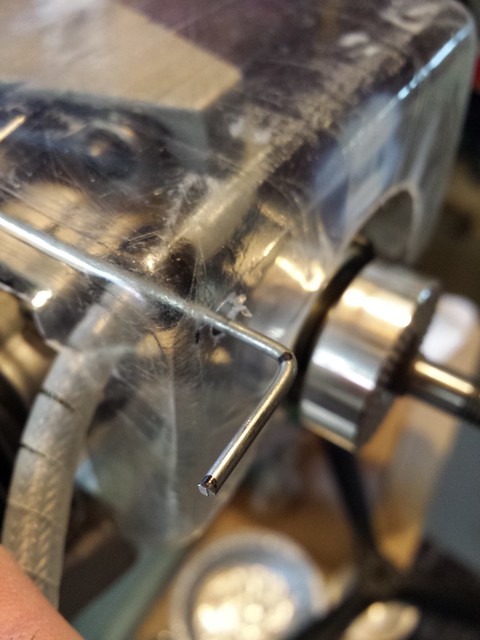
Plenty of room between choke rod and prop.
Coming soon - paint and striping.
... so a new one was required, shown here with the choke open.
Plenty of room between choke rod and prop.
Coming soon - paint and striping.
03-16-2014 | 04:46 PM
#12
Thread Starter
Senior Member
Thanks! Given the time and effort I don't know if such a thing would be profitable, but it was certainly interesting to do it for myself.
 03-17-2014 | 05:15 PM
#14
Thread Starter
Senior Member
Some painting tonight. I started with an abrasive hand cleaner and gave it a good scrubbing inside and out.

After it was rinsed and dried I scuffed it thoroughly with a red 3M abrasive pad.
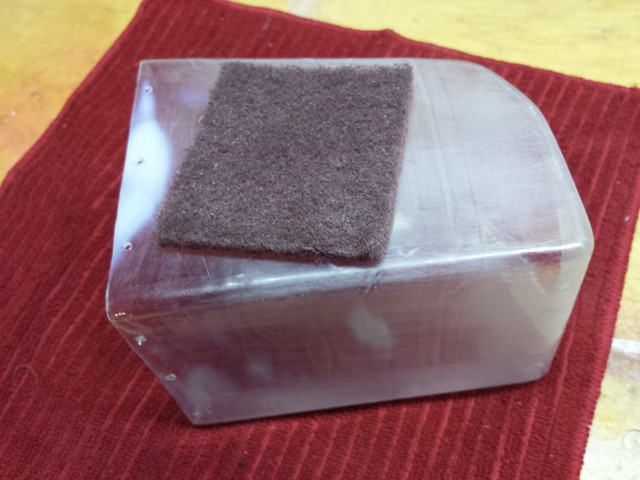
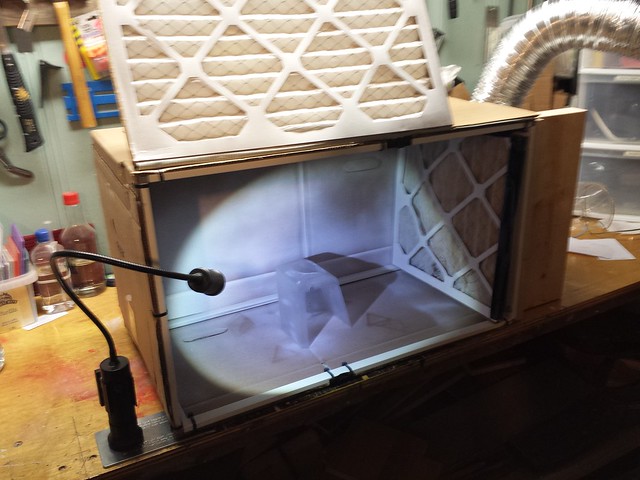
After washing it again I set up the paint box.
After it was rinsed and dried I scuffed it thoroughly with a red 3M abrasive pad.
After washing it again I set up the paint box.
03-17-2014 | 05:20 PM
#15
Thread Starter
Senior Member
I'm using Tremclad gloss white. First coat.

Curing for about 45 minutes between coats.

Third coat.

We'll see how it looks tomorrow and I'll decide if more coats are needed.
Curing for about 45 minutes between coats.
Third coat.
We'll see how it looks tomorrow and I'll decide if more coats are needed.

 03-19-2014 | 02:19 AM
#17
Thread Starter
Senior Member
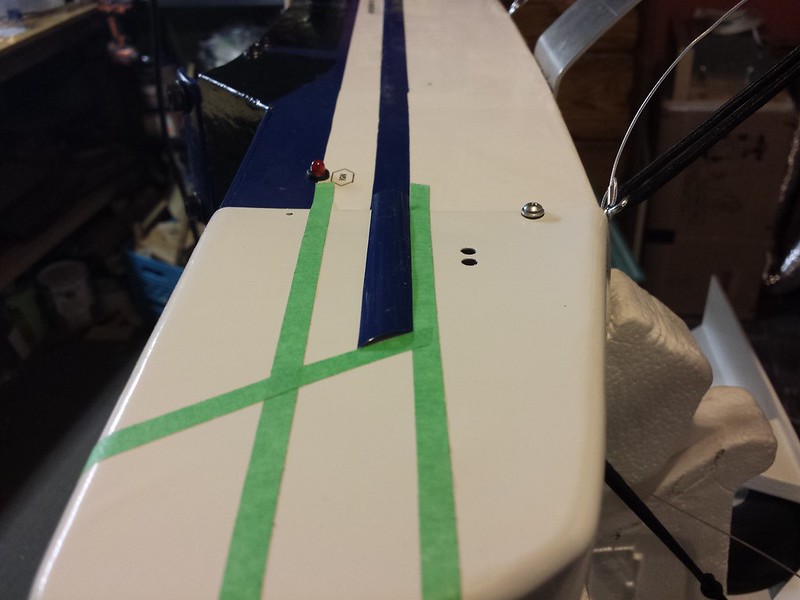
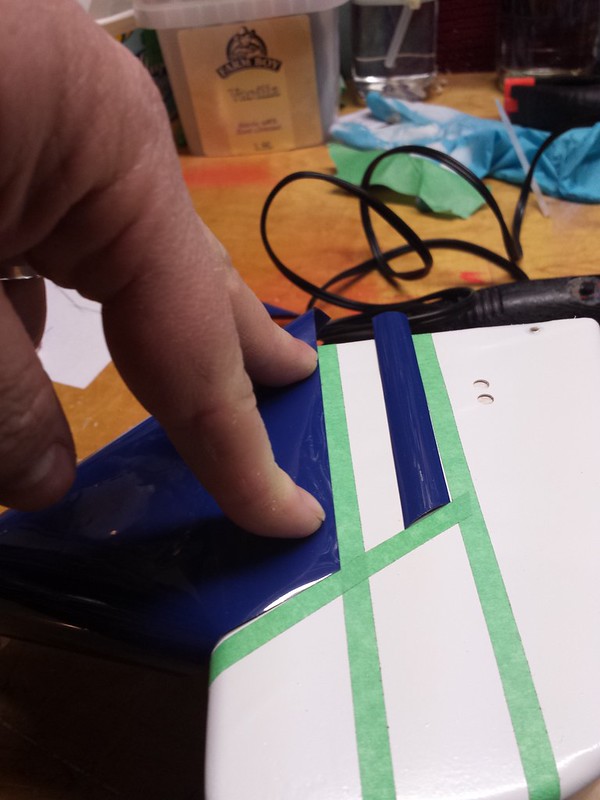
I want to put some striping on the cowl when the paint cures so I tried it on one of my test pieces, first ironing then shrinking with the heat gun. I put it on the form so it wouldn't shrink further. Turned out pretty good.
I tried on the painted cowl too.
I tried on the painted cowl too.
03-19-2014 | 02:22 AM
#18
Thread Starter
Senior Member
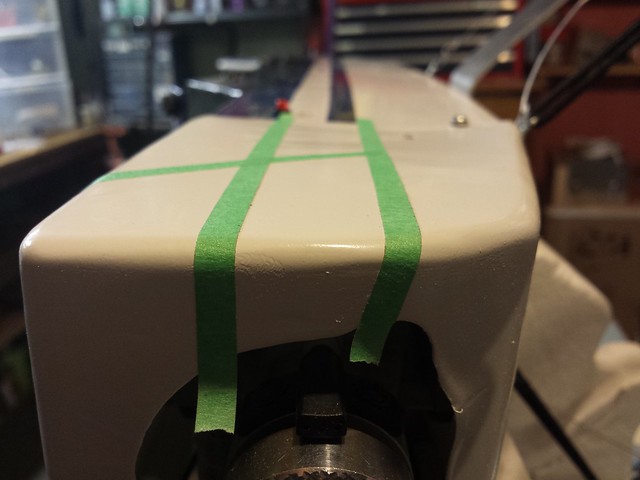
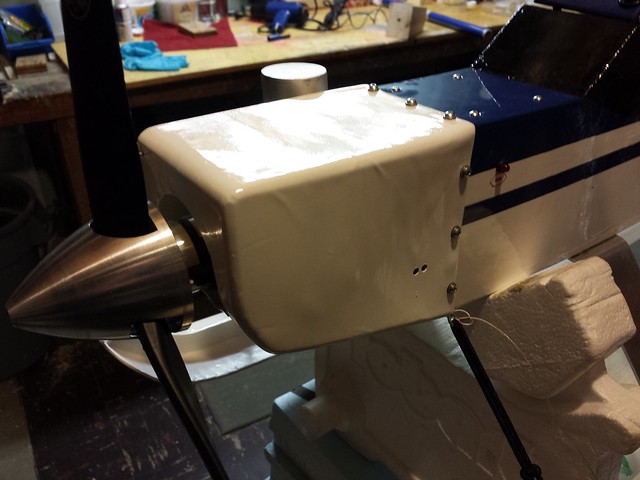
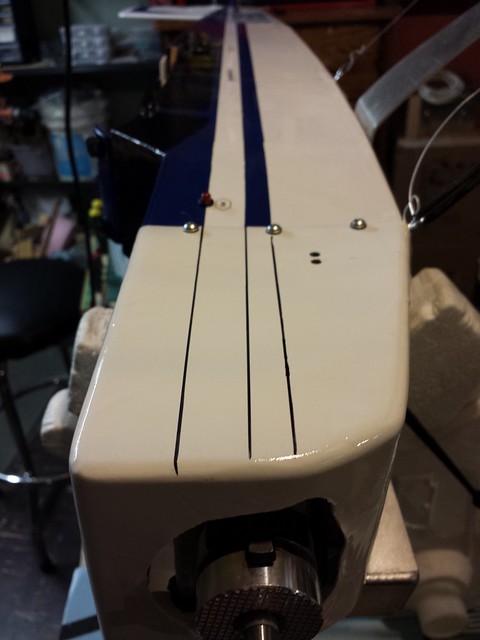
On the port side I marked the extensions for the stripes. I will likely not extend them all the way to the front but made the lines long enough to keep my options open.
03-20-2014 | 02:30 AM
#19
Thread Starter
Senior Member
Sometimes or, as my wife will tell you, most of the time, once I get going on a project I am driven to get it done. In this case I got ahead of myself - the screw holes were not sanded flat, meaning the film would not iron down properly. And the marks I made to guide the stripes would not come completely off.
So, I've taken a step back.
Sanded the holes flush...
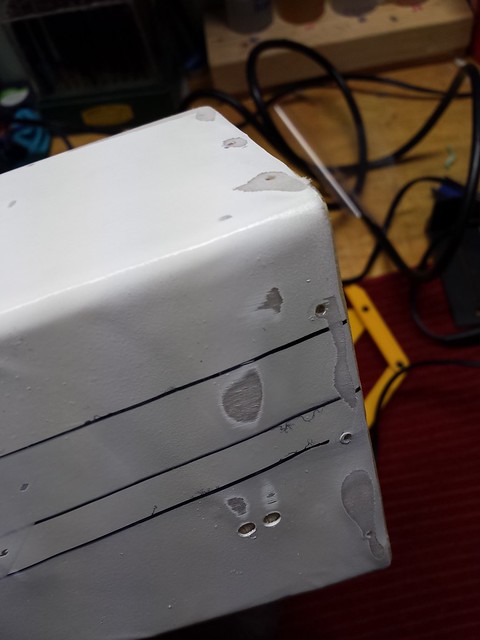
Removed as much of the marker as I could...

Scuffed the whole thing for some more coats of paint.
When the painting is (re-) done I will give it a longer curing time and find another way of marking the path for the stripes.
So, I've taken a step back.
Sanded the holes flush...
Removed as much of the marker as I could...
Scuffed the whole thing for some more coats of paint.
When the painting is (re-) done I will give it a longer curing time and find another way of marking the path for the stripes.
03-21-2014 | 09:07 PM
#20

My Feedback: (1)
I would prime the cowl before recoating the white color to try to prevent the leftover magic marker lines from bleeding thru. I sometimes use a #2 lead pencil to lightly mark for positioning items. A "dry erase " type marker might be better but with fresh white paint it is likley to absorb any color you put on it.
03-22-2014 | 08:53 AM
#21
Thread Starter
Senior Member
I would prime the cowl before recoating the white color to try to prevent the leftover magic marker lines from bleeding thru. I sometimes use a #2 lead pencil to lightly mark for positioning items. A "dry erase " type marker might be better but with fresh white paint it is likley to absorb any color you put on it.
03-22-2014 | 08:53 AM
#22
Thread Starter
Senior Member
While I was at it I figured I should remove some of the wrinkles... and while I was at that I decided to remove all the paint. Here's the cowl stripped and sanded for a fresh start. After I took this picture I put the nitrile gloves one and washed, rinsed and dried it.
This time I decided to use Krylon Fusion for Plastic.
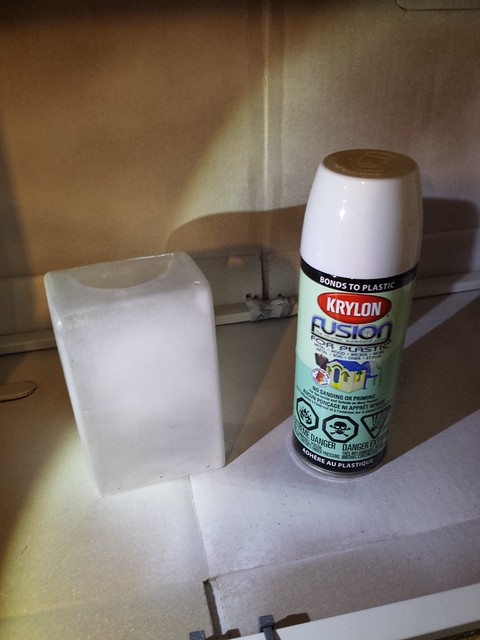
First coat.
This time I decided to use Krylon Fusion for Plastic.
First coat.
03-23-2014 | 01:26 PM
#23
Thread Starter
Senior Member
Here it is after several coats.

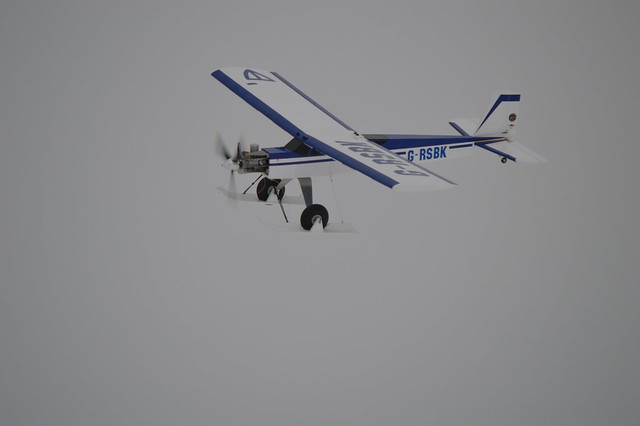
A quick look on the plane.
The cure time is 7 days... so sometime next weekend I'll go to work on the stripes.
A quick look on the plane.
The cure time is 7 days... so sometime next weekend I'll go to work on the stripes.