


Landing Gear Bending Brake
 07-27-2018 | 09:13 AM
#1

Thread Starter

Since I returned to RC all my airplanes have been taildraggers. I use flat aluminum for the main gear and wire for the tail wheel. Bending aluminum on a vice is ok but using a brake is much better. So I made this bending brake. So far it works pretty good. I’ve just used scrap aluminum pieces for practice.
Using the brake will be much much better. I sometimes bend a little angle, forward or aft, to the gear leg. I definitely bend some toe-in on the axle end. I’ve practiced that already and am pleased with the results.
Last thing I need to do is shape the bending form for a good bend radius. I’ll probably use a Ľ” or ⅜” piece for that. It will be bolted in place so easy to insert aluminum.
The brake can be used to make brackets and small boxes if needed. But the main purpose is bending the LG.
 08-07-2018 | 01:50 PM
#2
Thread Starter
I found a scrap ⅜” piece that I could use for a bending form. I shaped one corner then tried a sample bend. It came out pretty good. All of 5-10 seconds doing the bend. This first piece came out pretty good. But I wanted to soften the bend a little bit more. So I worked on it a bit more. Then I bent the 1 ˝” piece. That one came out very nice.
Now I have to smooth the form some more. Then I’ll drill the attach points to the brake. One more practice 2” piece and then I will bend my first landing gear.


Now I have to smooth the form some more. Then I’ll drill the attach points to the brake. One more practice 2” piece and then I will bend my first landing gear.
Last edited by ETpilot; 08-07-2018 at 02:03 PM.
08-11-2018 | 02:47 PM
#4
Thread Starter
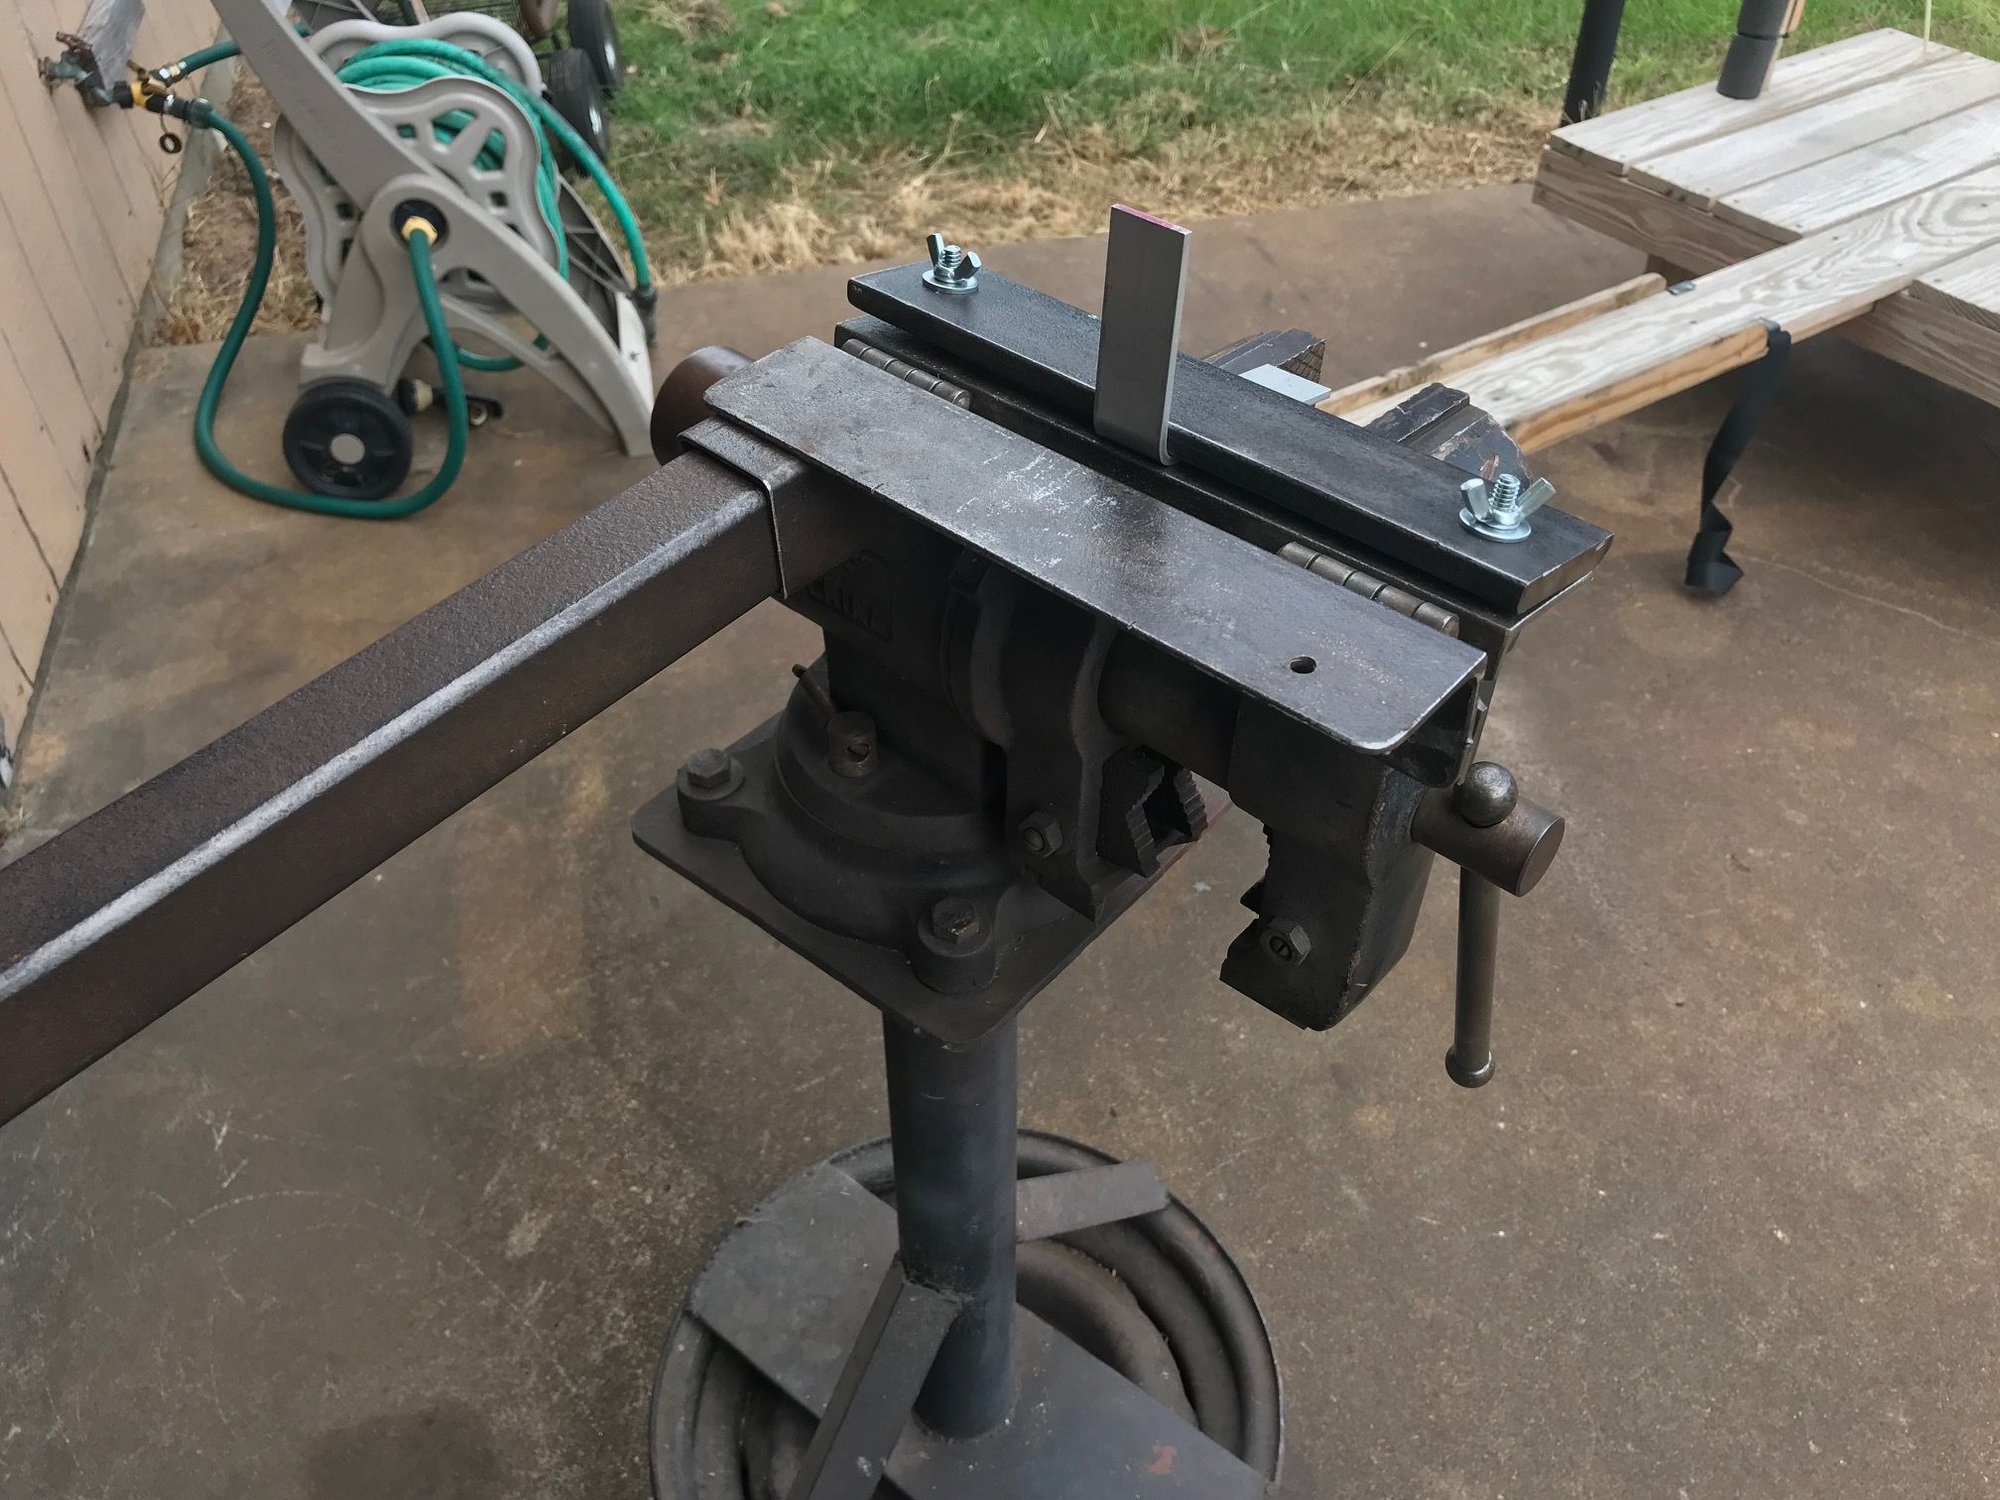
Thanks jaka. Here is the final product. I wasn't too sure if the wing nuts would apply sufficient pressure turning by hand. But it worked out. I can make a tool to turn tighter if needed. I didn’t have any 2” scrap aluminum. So I flipped the bending form and tried a 90* bend. I made about an 80* bend. Flipping the bending form is for thinner metal; ⅛” stock could not go 90*. I’m well pleased with this bender. Now I’ll bend my first landing gear. Drawing it out now.
08-11-2018 | 07:28 PM
#5
My Feedback: (14)
Joined: Feb 2009
Posts: 143
Likes: 0
Received 0 Likes
on
0 Posts
From: austin, TX
If you are blending T6 6061 or 7075 make sure you have radius at least twice the thickness to avoid stress cracking. You can bend any thickness material as long as you have an appropriate radius.
08-12-2018 | 04:10 AM
#6
Thread Starter
Bend radius is very important for a good bend. Thanks for bringing it up.
08-19-2018 | 01:07 PM
#7
Thread Starter
A little off topic. This past week I had a refrigerator emergency. My 20 YO refrigerator stopped cooling. I had to set up 2 mini refrigerators and a mini freezer that I had. Saved most of the food but some went in the trash; not enough room. I went out looking for a new comparable refrigerator and sure got sticker shock. I started thinking my refrigerator is in excellent condition, let’s try a repair if doable.
So I started troubleshooting and found the start relay for the compressor was defective. So I installed one of those 3 n 1 solid state hard starts. And I am back in business for now. Will have to keep checking and get ready for a replacement down the road, should it fail again. Saving money for the event, lol.


So I started troubleshooting and found the start relay for the compressor was defective. So I installed one of those 3 n 1 solid state hard starts. And I am back in business for now. Will have to keep checking and get ready for a replacement down the road, should it fail again. Saving money for the event, lol.
08-19-2018 | 01:11 PM
#8
Thread Starter
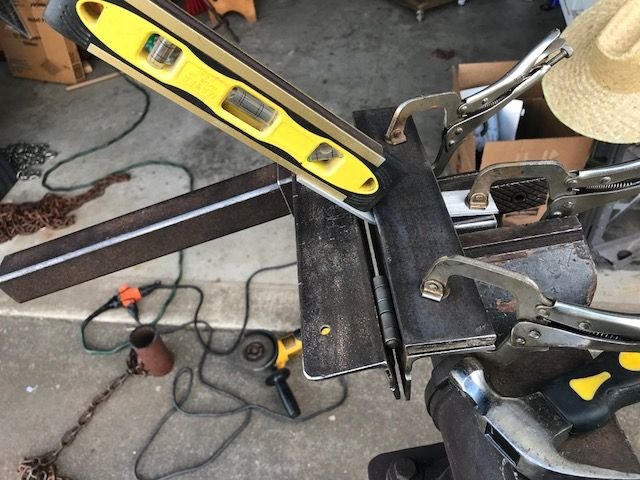
Back to this bender. I started thinking how to determine when I reached the desired bend angle. I gave thought to different ways but settled on a protractor indicator. So I made this protractor indicator. It is held in place with magnets and is adjustable fore and aft. I tested it with several angles on the T--Bevel and it works good. I will try it on my first landing gear. Landing gear rough cut and bend lines marked. It will be a 40/50* bend.


 08-20-2018 | 05:59 AM
#9
Thread Starter
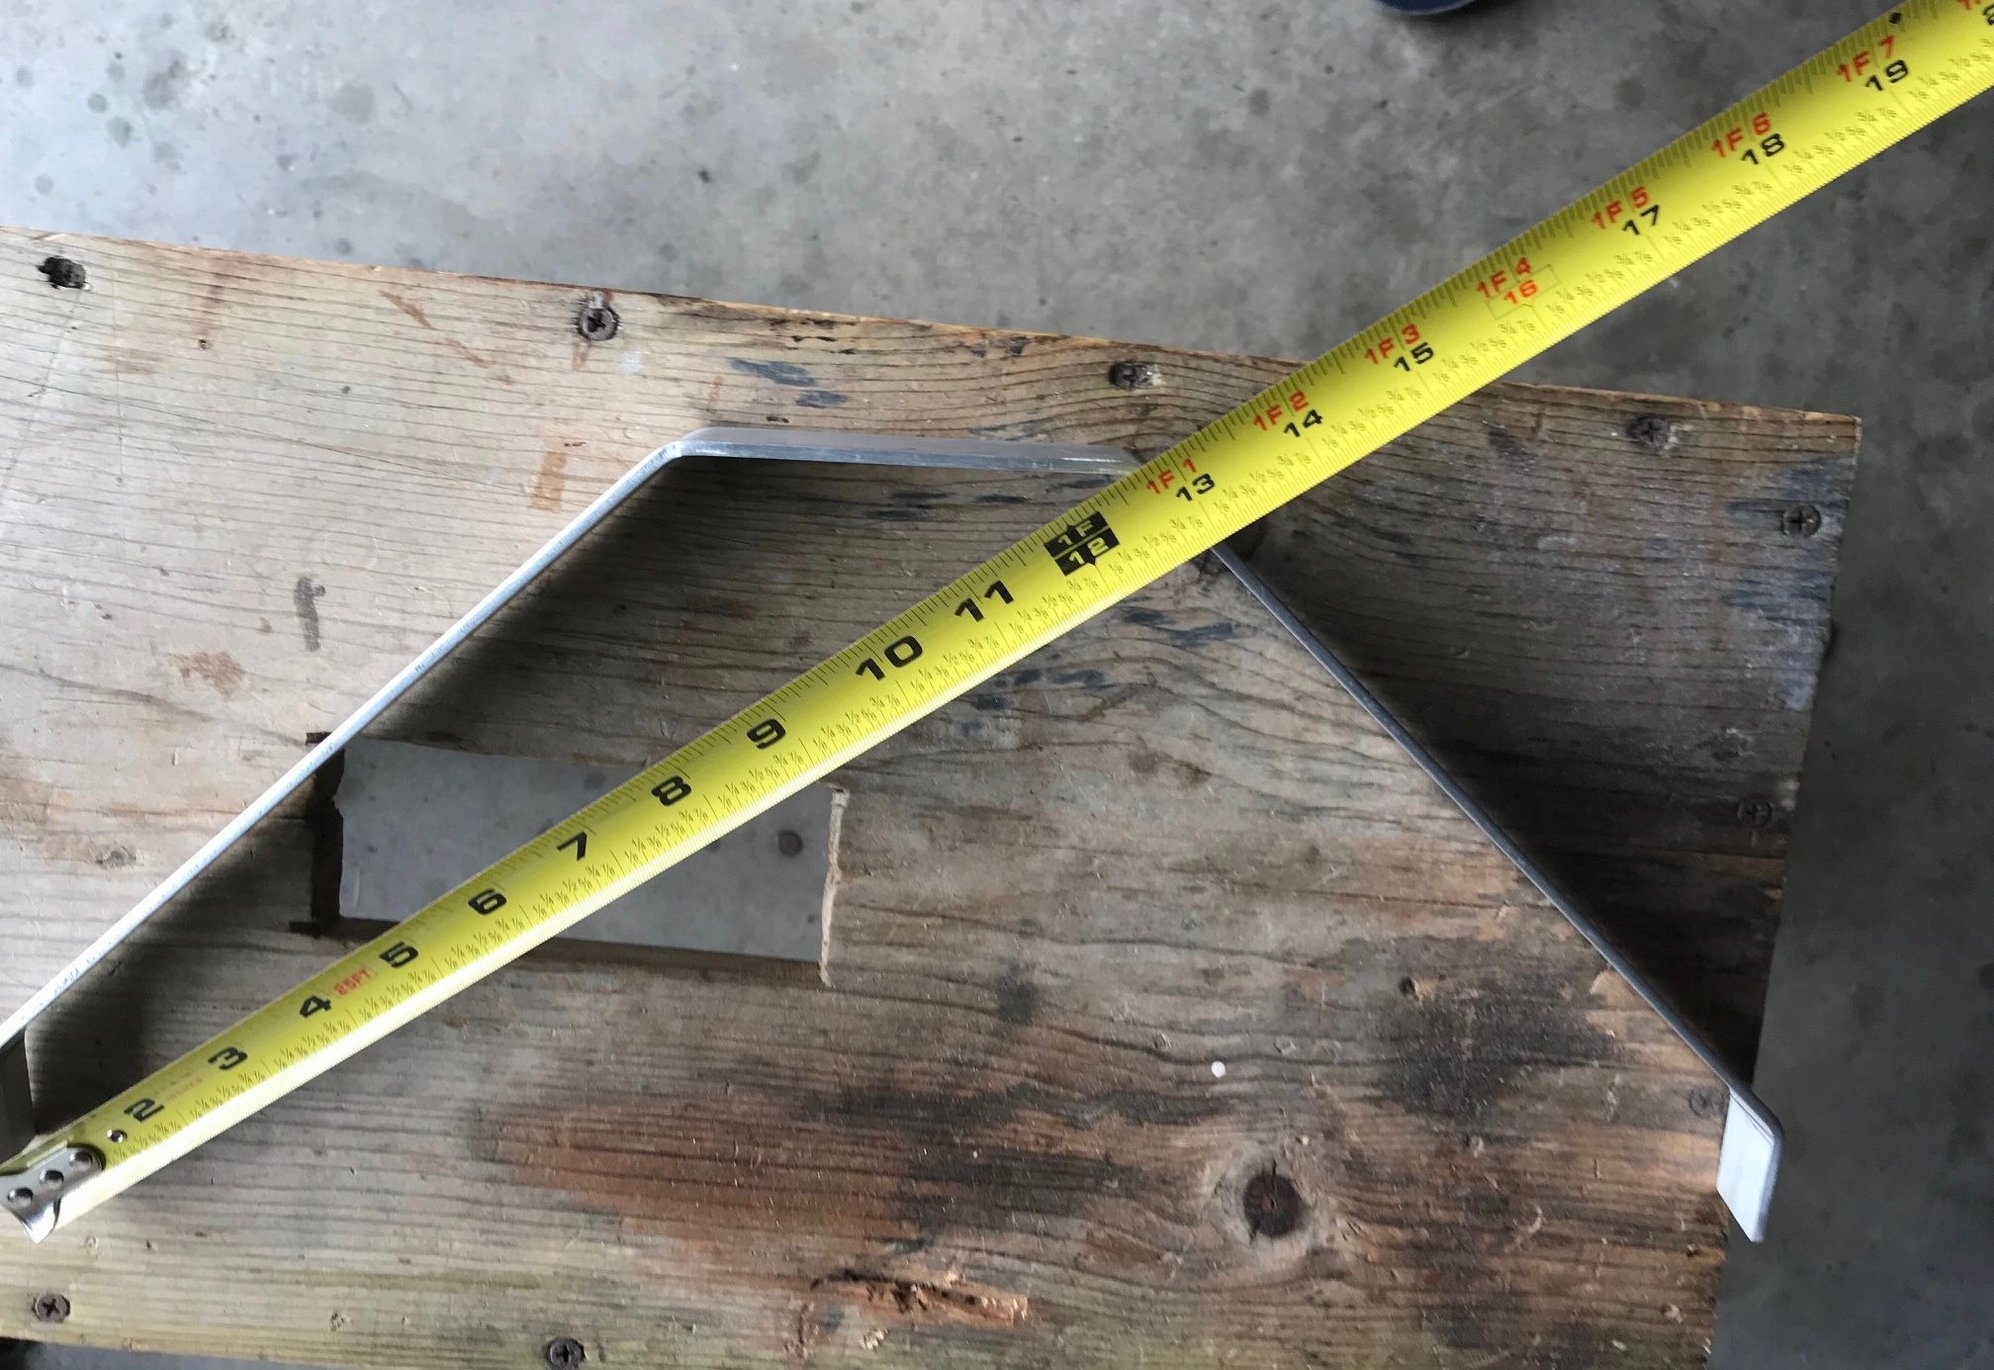
Today I bent my first landing gear. Overall the process went well. The protractor was a good addition. I need to use longer bolts so I can easily remove the gear, after a bend, without having to remove the bending form. Also once I am comfortable that the bender is working good I will tack weld the bolt head and washer so no need to use a wrench.
To measure the accuracy of your LG, you measure from corner to corner. The measurements should be equal. I did this on the gear leg bend and also after the axle bend. Final test; check it for level.
This bending brake is a keeper. LOL.


To measure the accuracy of your LG, you measure from corner to corner. The measurements should be equal. I did this on the gear leg bend and also after the axle bend. Final test; check it for level.
This bending brake is a keeper. LOL.
Last edited by ETpilot; 08-20-2018 at 06:06 AM.
11-13-2018 | 08:48 AM
#10
very nice..... you can make a nice landing gear for almost nothing if you can do a decent job of bending it. that nice smooth radius in the bend is exactly what you should have. the aluminum is easy to get ahold of, it's the bend that makes most guys buy a landing gear. being able to bend you own, allows you to build exactly the size you need or want, without having to compromise with commercially available sizes and designs.
05-17-2020 | 05:11 AM
#12
I know this thread is a couple years old but I have a question; if the OP is still around:
Did you have to account for springback of the aluminum when setting the bend angle?. I would think you have to overbend it and allow it to relax to see where it winds up.
carl
Did you have to account for springback of the aluminum when setting the bend angle?. I would think you have to overbend it and allow it to relax to see where it winds up.
carl
05-17-2020 | 02:47 PM
#13
Thread Starter
Carl, yes you have to deal with some spring back with flat stock and wire bends.
This is where the protractor helps. An example, what I do, say a 45* bend. First bend I’ll take it to 45*. Then using protractor I’ll check to see how many degrees of spring back I get. Say 10*, so I’ll use 1/2 of 10*. So second bend I’ll take it to 50*. Check the spring back and use 1/2 again. This way I can get it right on the bend degrees needed. What you don’t want to do is over bend the flat stock. Under bend is good. Over bend is not good.
Just use some left over flat stock as test pieces with the bender you have. With some practice you can get the right bend. Just have to practice a bit.
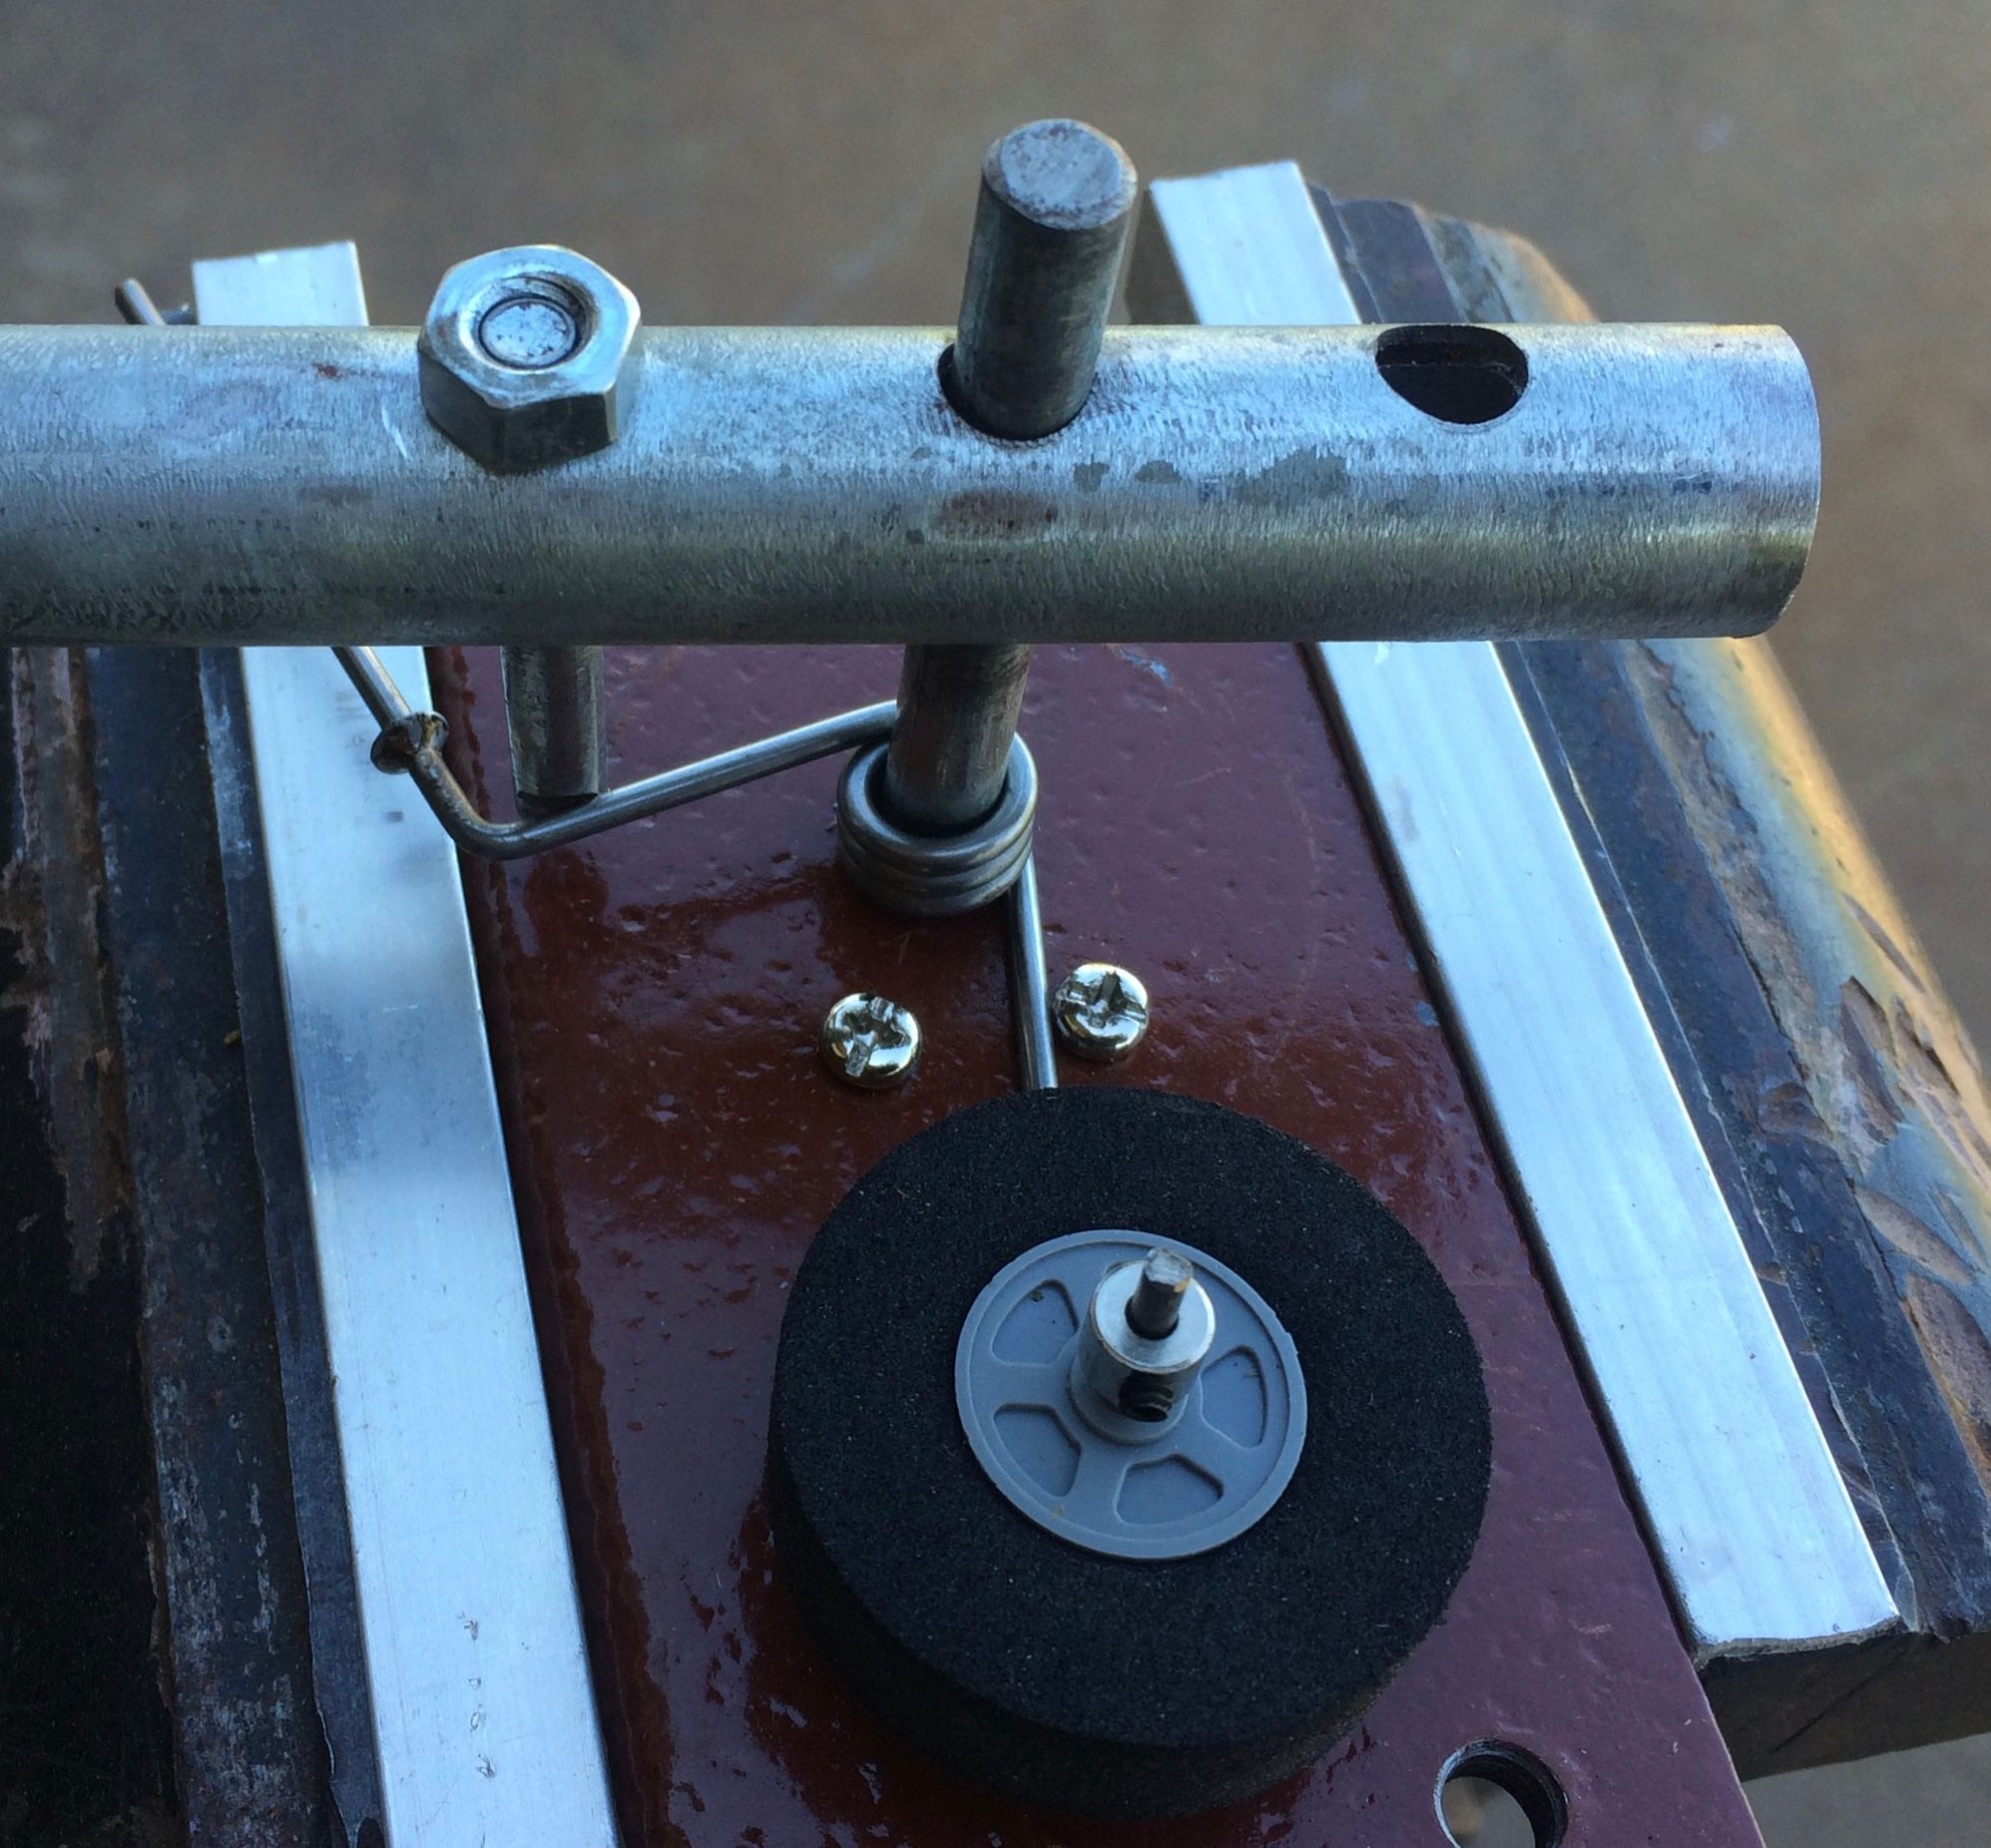
Here is a wire bender I made. It makes left or right bends and left or right coils. The tail wheel pictured was made on this bender. I have to deal with a little Wire spring back too.
This is where the protractor helps. An example, what I do, say a 45* bend. First bend I’ll take it to 45*. Then using protractor I’ll check to see how many degrees of spring back I get. Say 10*, so I’ll use 1/2 of 10*. So second bend I’ll take it to 50*. Check the spring back and use 1/2 again. This way I can get it right on the bend degrees needed. What you don’t want to do is over bend the flat stock. Under bend is good. Over bend is not good.
Just use some left over flat stock as test pieces with the bender you have. With some practice you can get the right bend. Just have to practice a bit.
Here is a wire bender I made. It makes left or right bends and left or right coils. The tail wheel pictured was made on this bender. I have to deal with a little Wire spring back too.


