


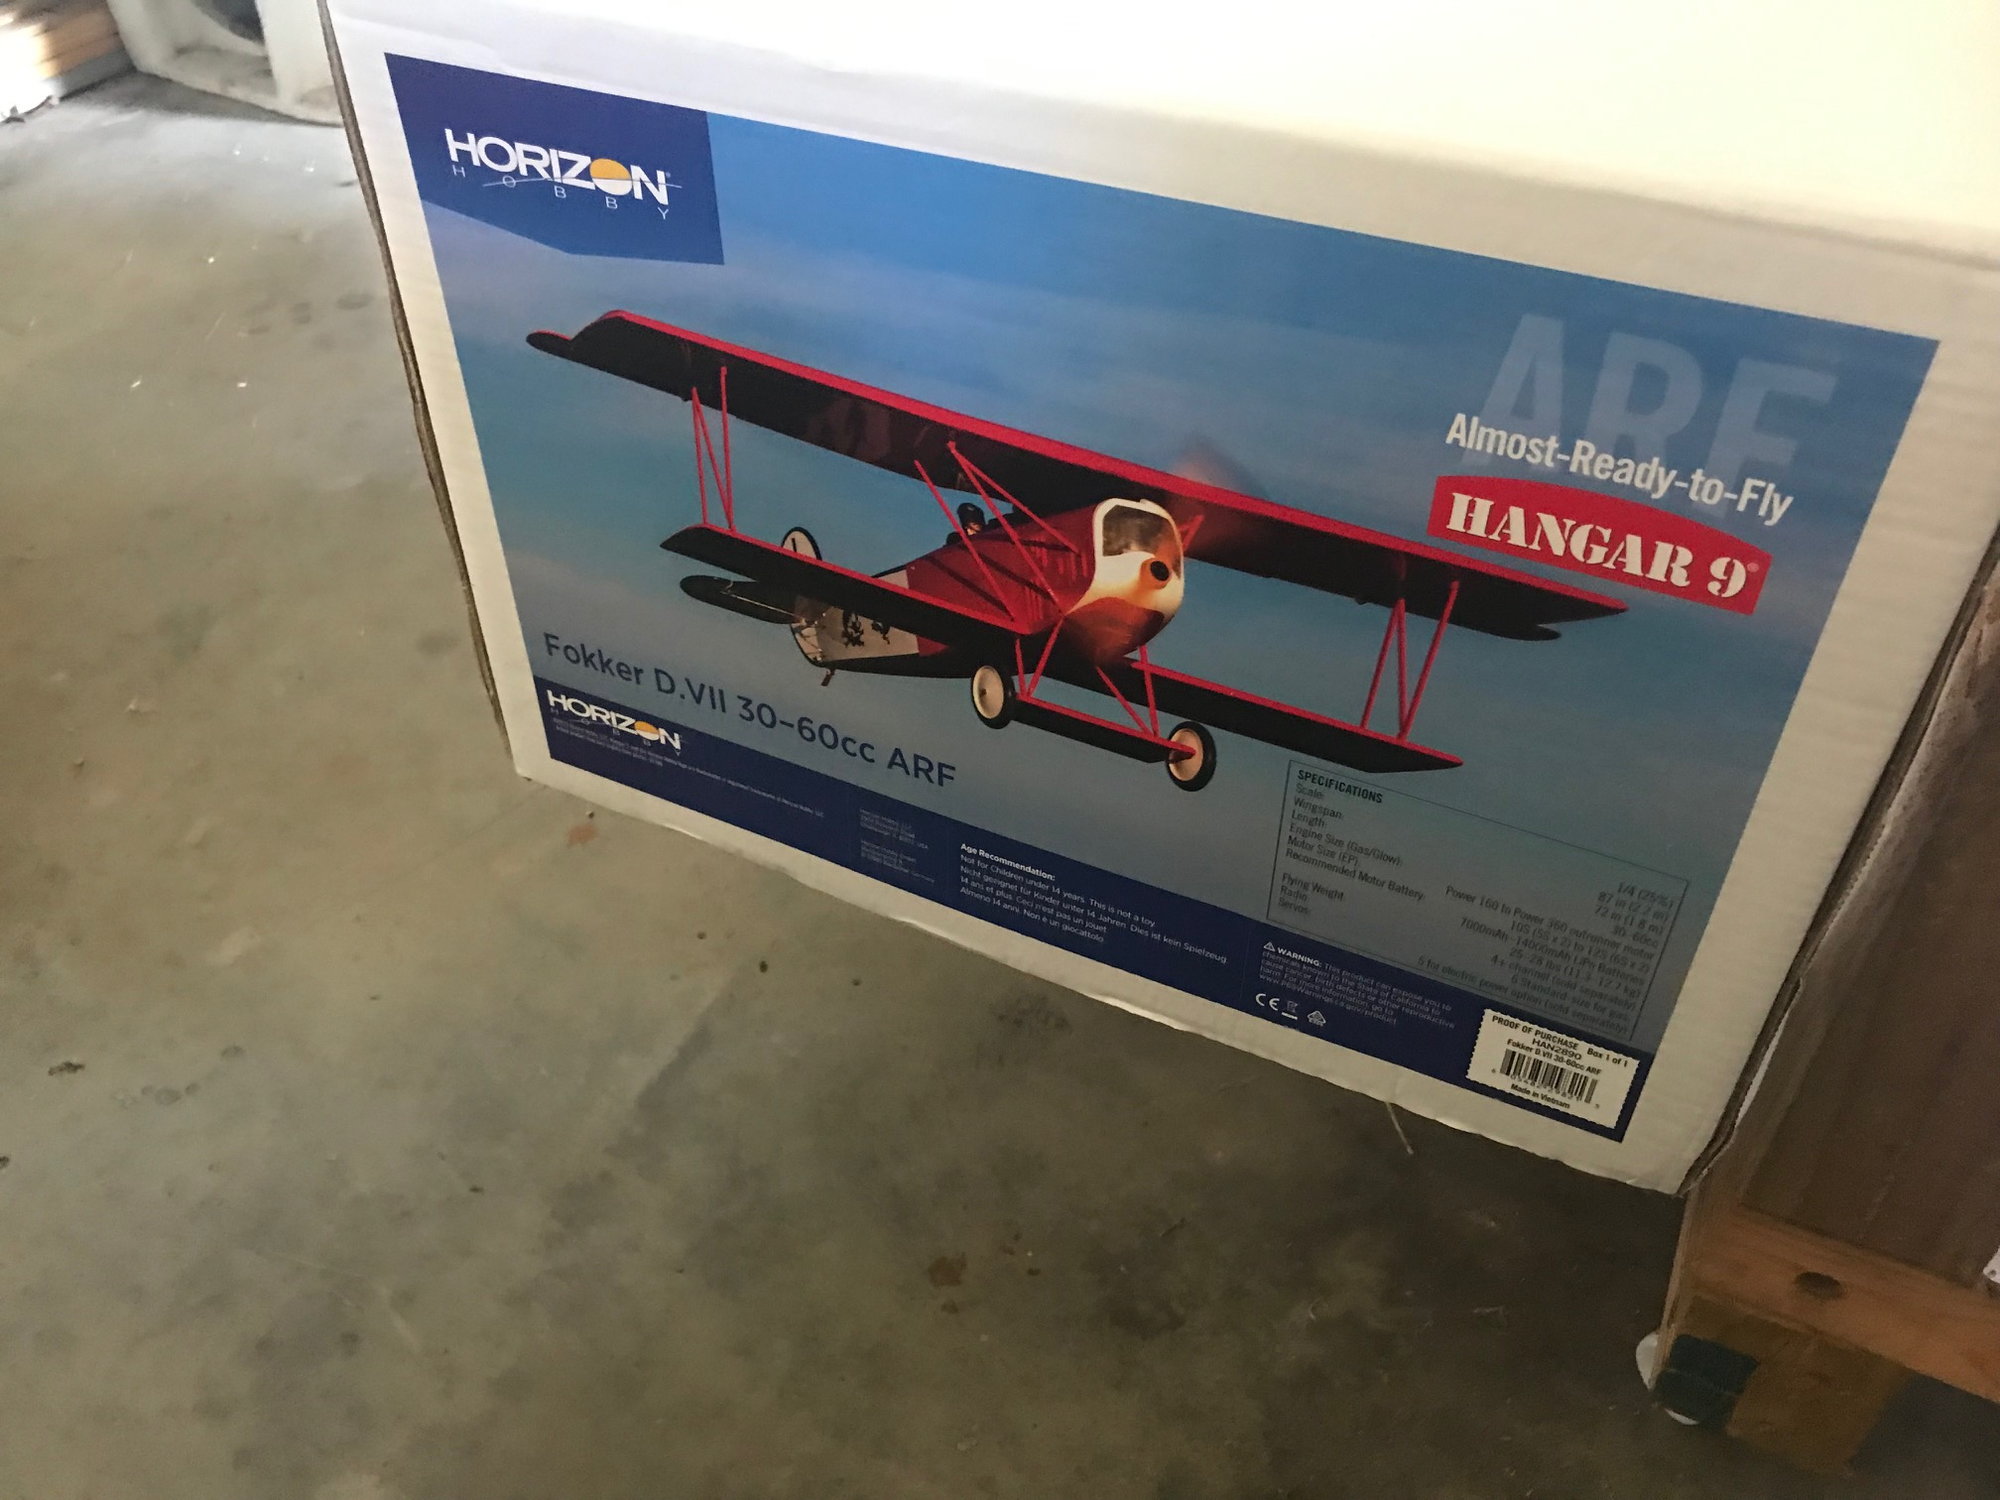
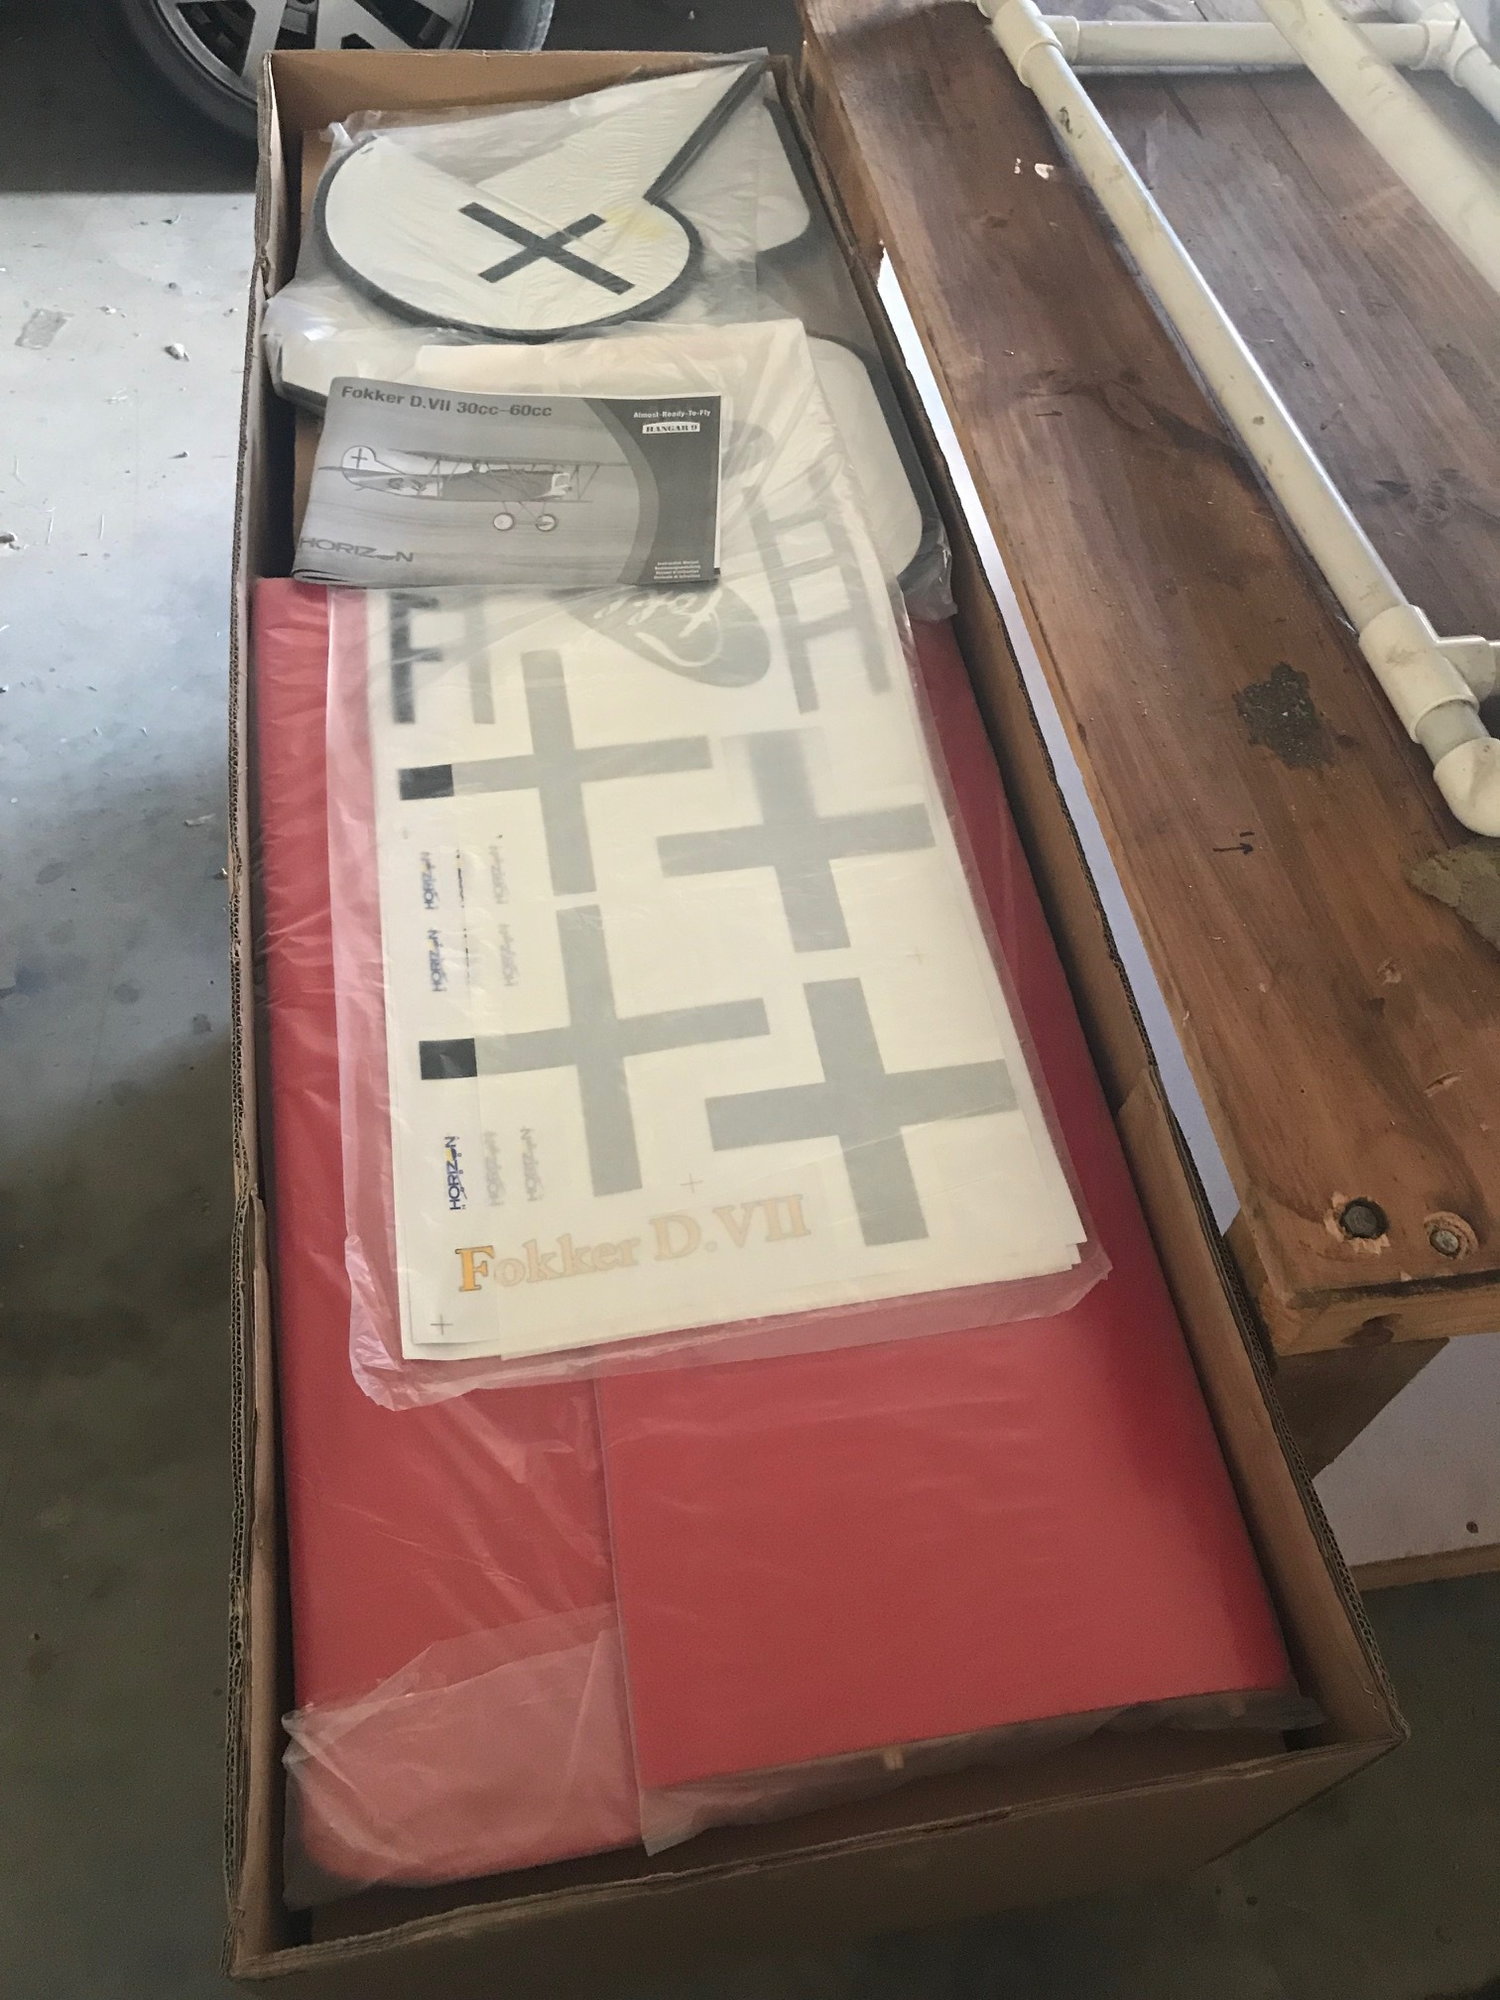
Hanger 9 Fokker DVII
 07-25-2019, 07:55 PM
#1

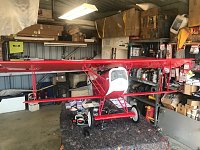
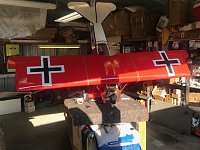
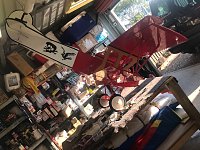
Took delivery of my latest model, a H9 Fokker DVII.
Will be putting a spare Zenoah G38 in the nose which should be perfect for it. Why you need to put a 60cc and do 3D with a scale WWI model is beyond me but each to their own!
Will be putting a spare Zenoah G38 in the nose which should be perfect for it. Why you need to put a 60cc and do 3D with a scale WWI model is beyond me but each to their own!
 07-26-2019, 10:15 AM
#2
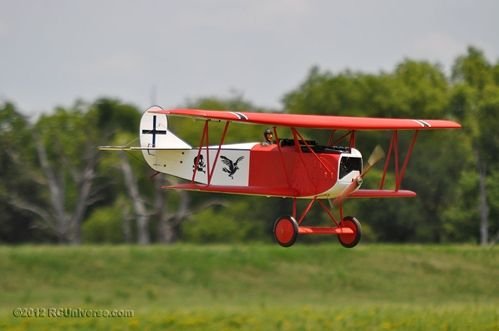
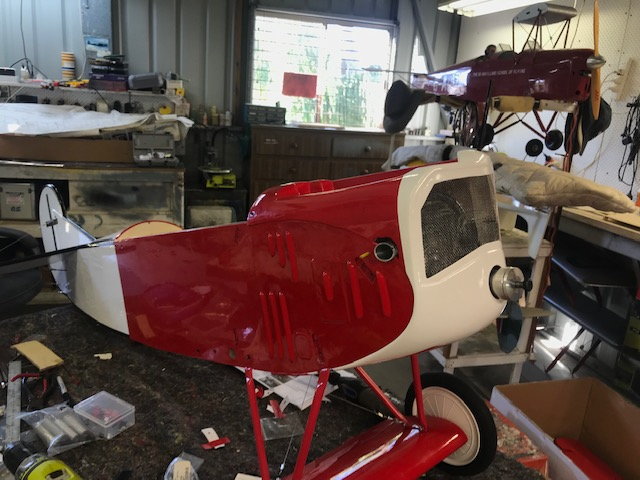
This is the 2nd Balsa USA Fokker D-VII I have build, the first one crashed, dumb thumbs. The red D-VII was built in '09 and has flown in 7 state over the years. I have had a Zenoah 38 in both airplanes, flys it great, plenty power. You are going to love this airplane. My Fokker is covered with solartex red & white. The bottom of each wing was painted with an airbrush and stentals .
Rich
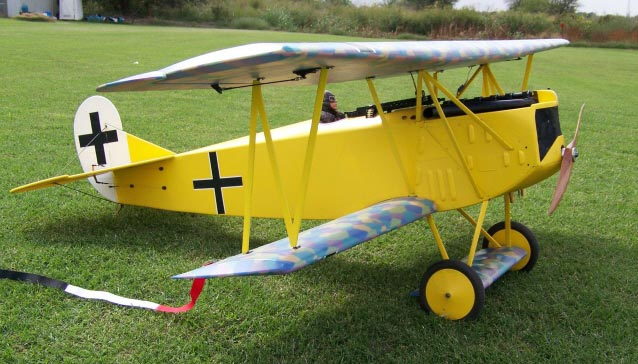
First Fokker D-VII

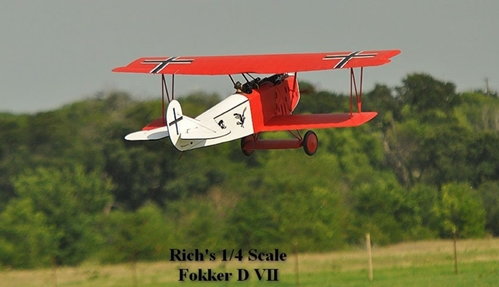
Rich
First Fokker D-VII
Last edited by jwrich; 07-26-2019 at 10:17 AM.
07-26-2019, 10:30 AM
#3

My Feedback: (243)
It is nice to see Horizon/Hangar 9, and other manufacturers, releasing scale offerings alongside their sport and 3D airframes. Most modelers in our hobby are sport flyers but during the past 6-8 years 3D airframes dominated the marketplace to the detriment of sport and scale offerings. Good to see something other than another stick banging model.
07-29-2019, 05:40 PM
#4
It is nice to see Horizon/Hangar 9, and other manufacturers, releasing scale offerings alongside their sport and 3D airframes. Most modelers in our hobby are sport flyers but during the past 6-8 years 3D airframes dominated the marketplace to the detriment of sport and scale offerings. Good to see something other than another stick banging model.
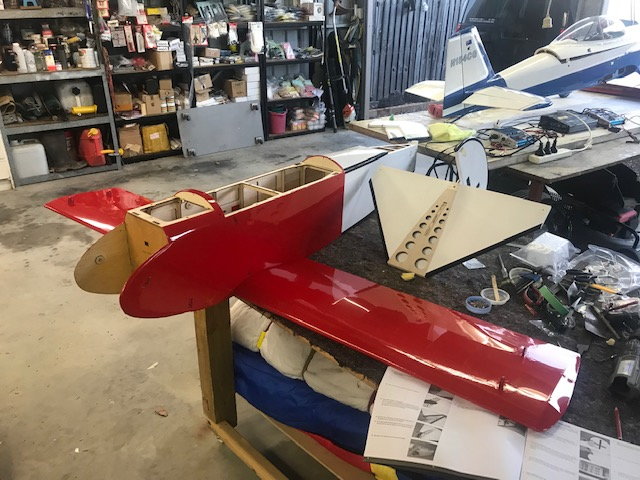
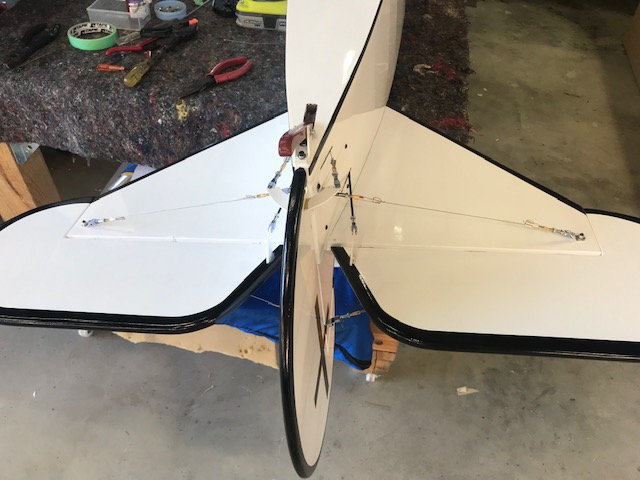
Did a bit of work on this assesmebly, cant call it a build. Next job is to epoxy the tail feathers on.
Thinking of getting a 90 degree carb bend for the G38 to make the linkages easier and I'm also not sure the G38 will fit with the side mounted carby.
Happy snaps.

 07-29-2019, 05:44 PM
#5
Rich,
good to know the model flies well with a G38. Has yours got the side mounted carby or did you fit a carb bend?
I'll be interested to ee if the H9 C of G location is correct or not. This is my 4th H9 ARF and while they are excellent models not one has stated a correct C of G location!
cheers
Peter
good to know the model flies well with a G38. Has yours got the side mounted carby or did you fit a carb bend?
I'll be interested to ee if the H9 C of G location is correct or not. This is my 4th H9 ARF and while they are excellent models not one has stated a correct C of G location!
cheers
Peter
07-29-2019, 09:38 PM
#6
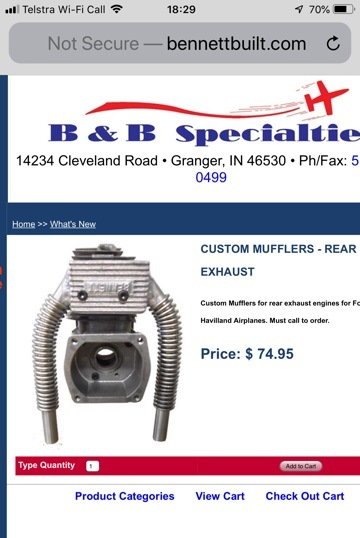
Peter I have a couple pictures of mounting the 38, it must be angled. You can see how I modified the muffler. You can also get a muffler for the G-38 from B&B Specialties B & B Specialties, LLC - Home of Bennett Built products
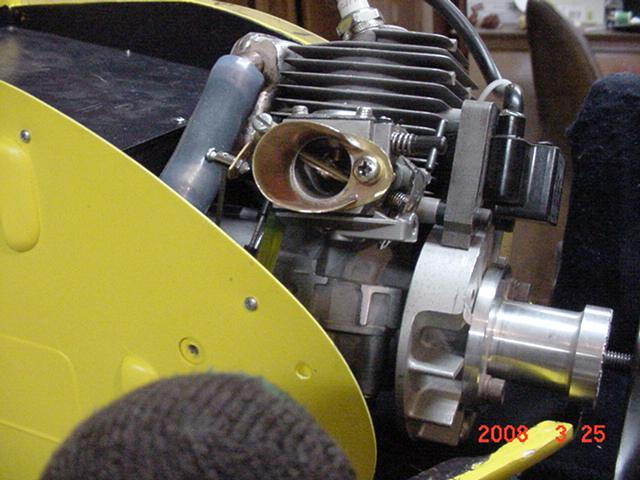
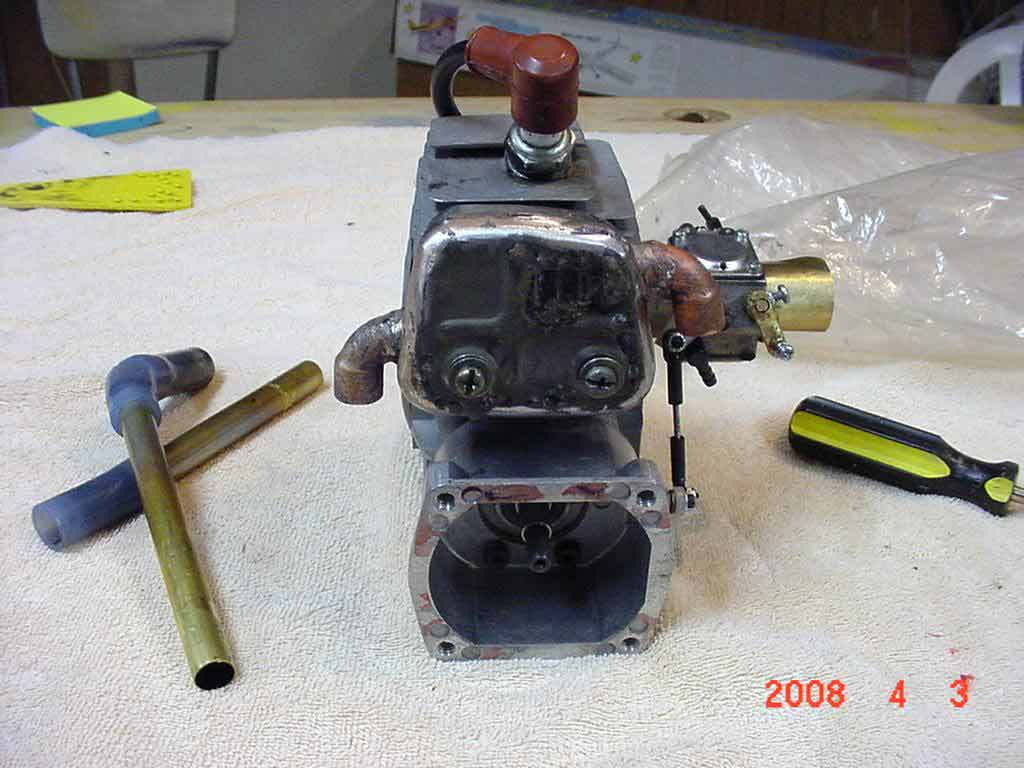
Hope this helps
Hope this helps
Last edited by jwrich; 07-29-2019 at 09:41 PM.
07-30-2019, 03:40 PM
#7
many thanks for those photos, sort of confims my thinking as well. Muffler will be a challenge for sure.
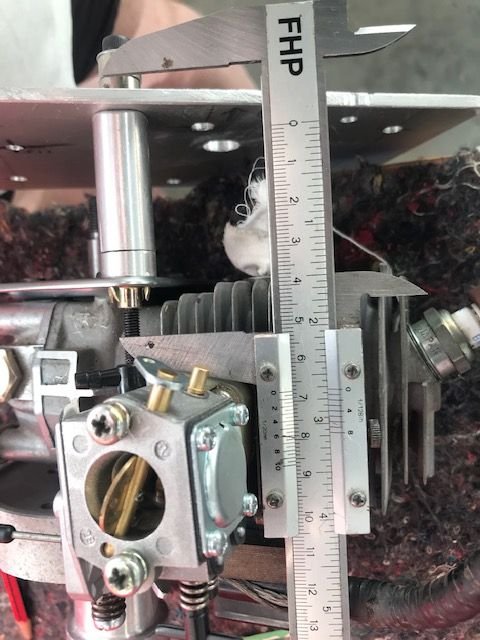
I'll check to see how mine fits into the fokker and will need to work out distances from firewall to prop thrust washer on the engine.
cheers
P
I'll check to see how mine fits into the fokker and will need to work out distances from firewall to prop thrust washer on the engine.
cheers
P
07-31-2019, 02:38 PM
#8
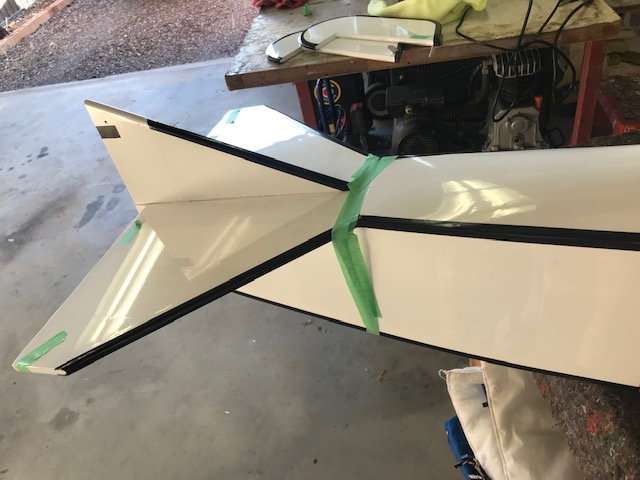
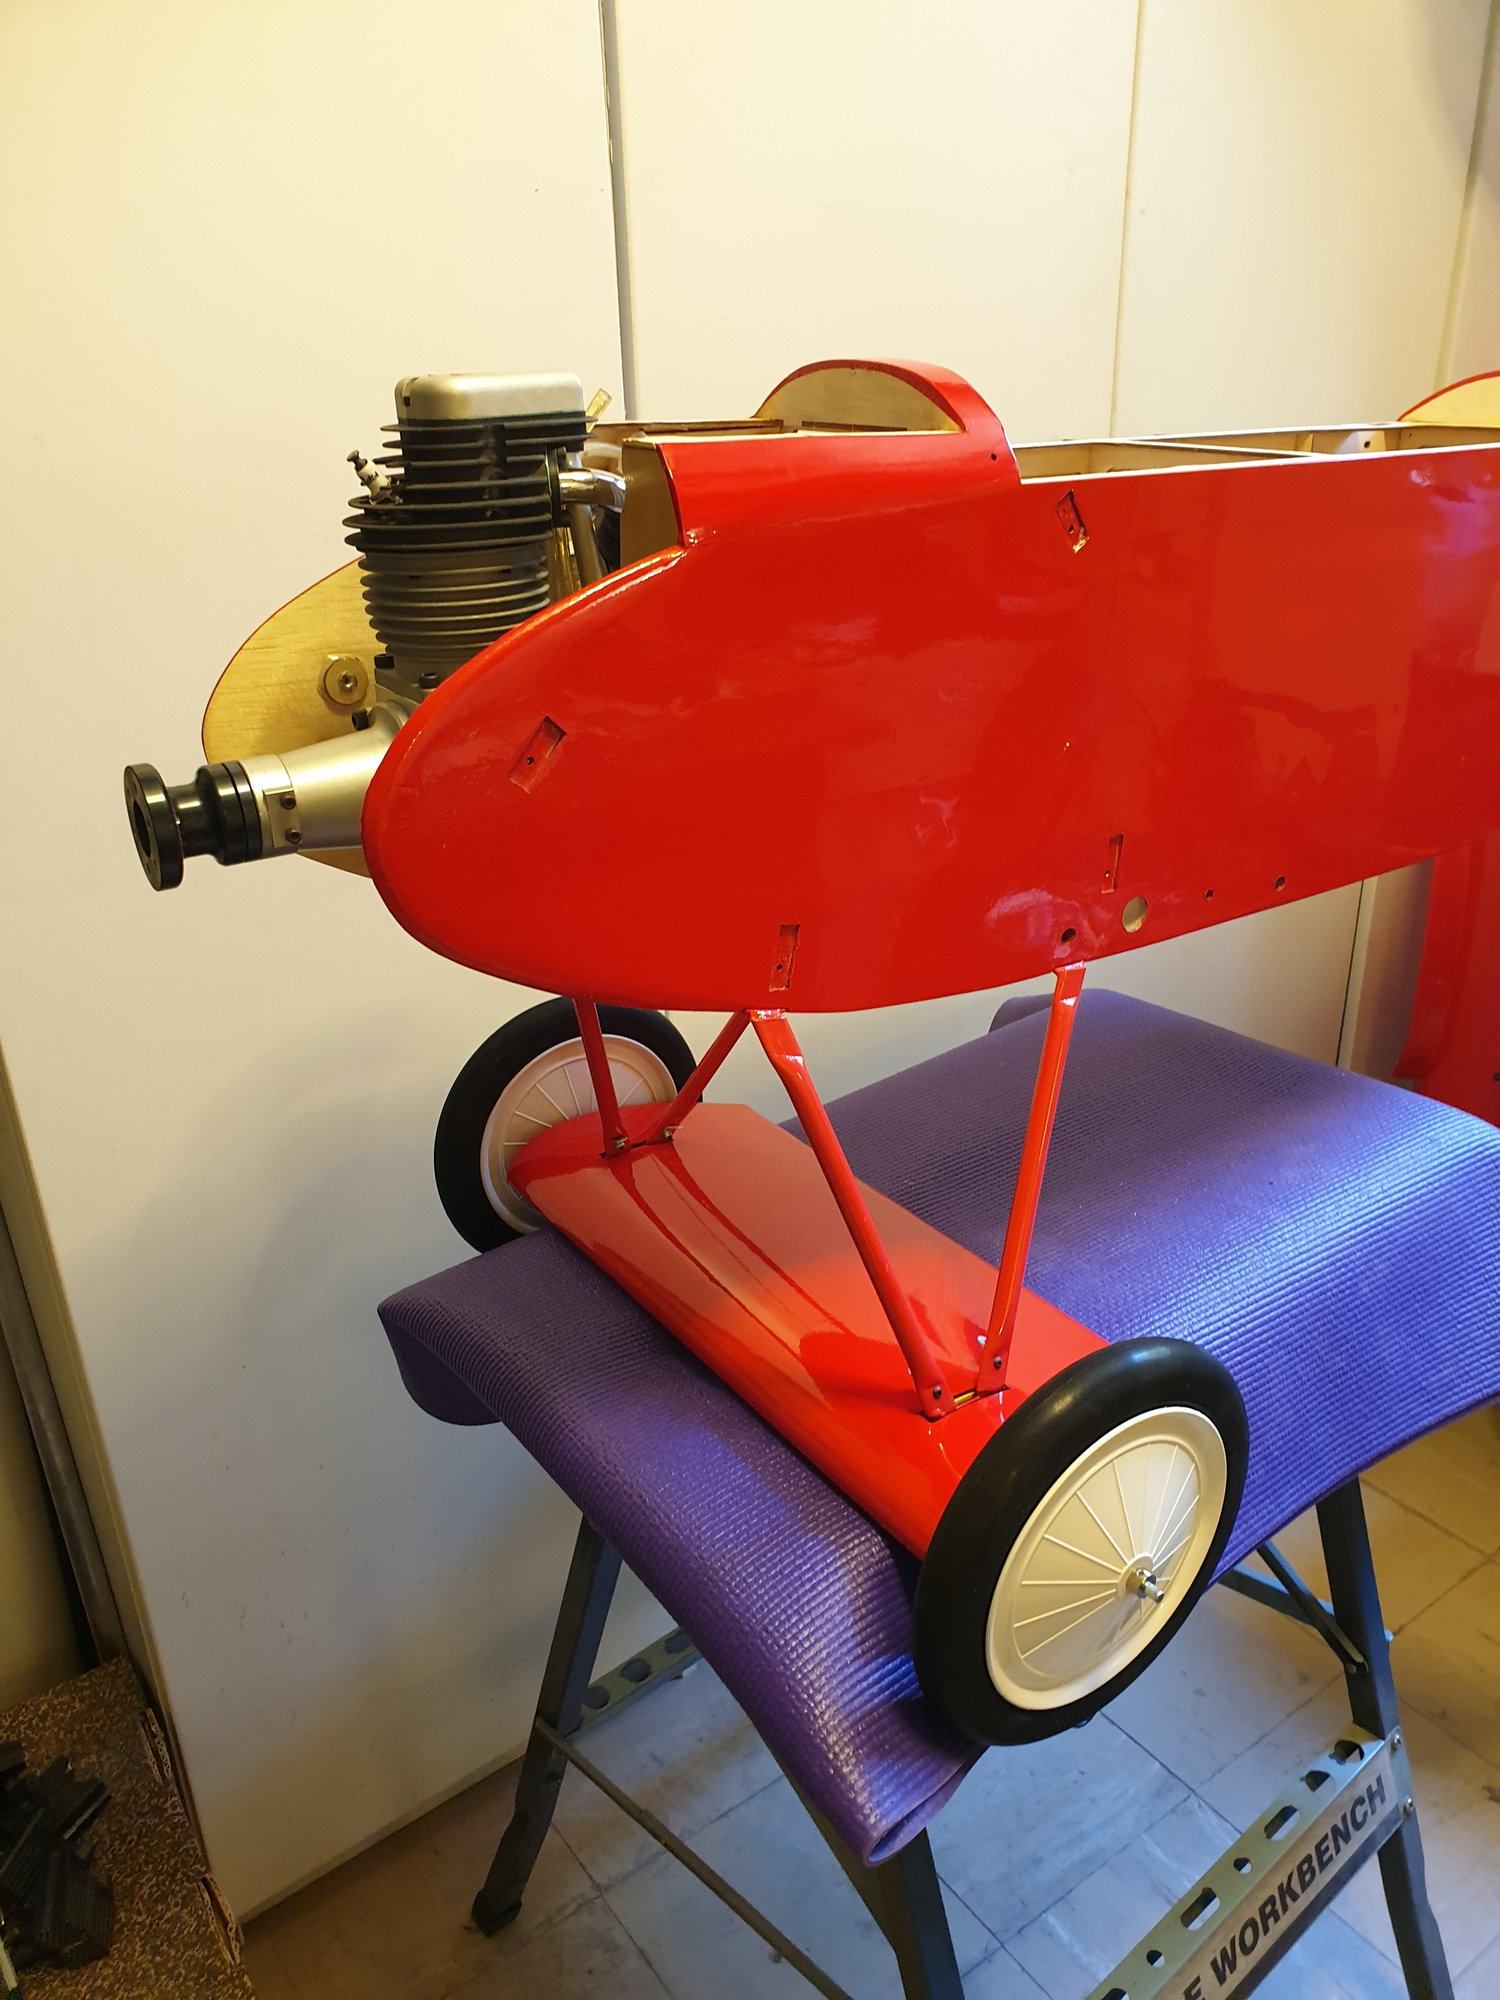
Tail feathers on. Will start looking at the engine mounting next. Will use the distances I have with the Evo 33 in my RV-4 to work out the firewall to prop hub distance that is required as the Evo 33 is one the engines used in this Fokker and has set length standoffs supplied.
I intend to get some rubber isotaion mounts that will mount to a 4mm alluminium plate and then onto the firewall. The G38 will then bolt to this allow plate. Thi is the set up I have with same engin in my 90" Spitfire and it works very well.
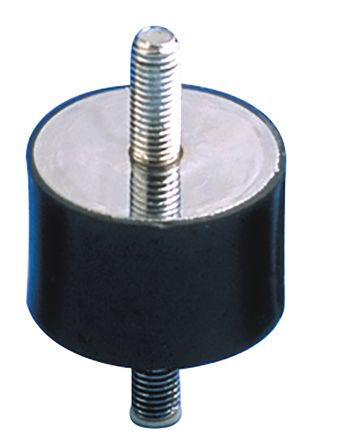

I intend to get some rubber isotaion mounts that will mount to a 4mm alluminium plate and then onto the firewall. The G38 will then bolt to this allow plate. Thi is the set up I have with same engin in my 90" Spitfire and it works very well.
Last edited by planenutzz; 07-31-2019 at 02:47 PM.
08-03-2019, 07:10 PM
#11
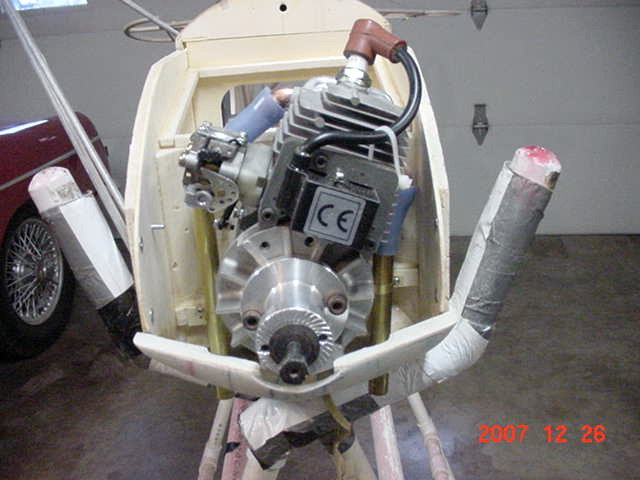
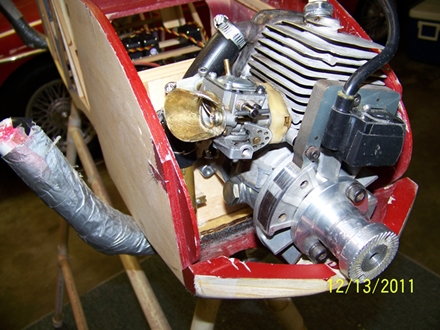
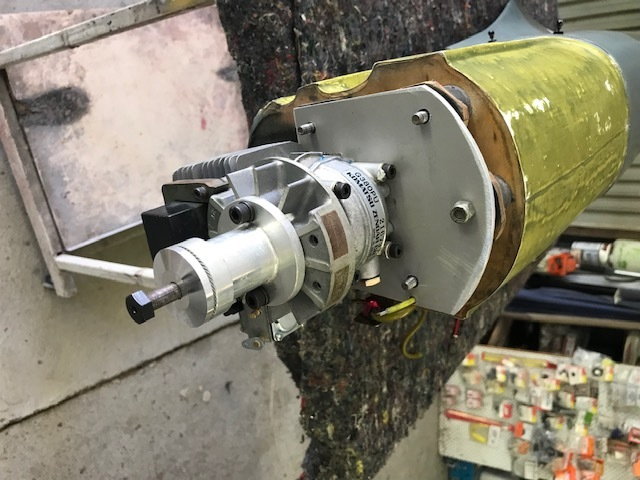
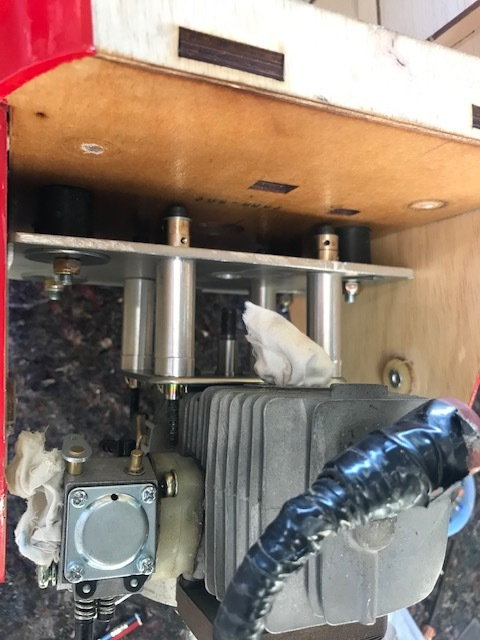
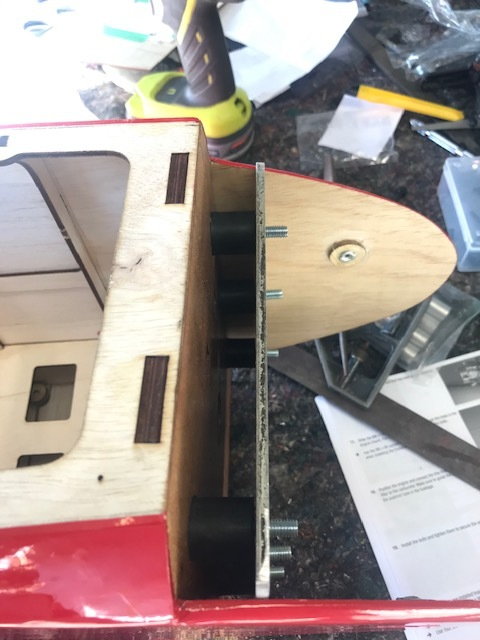
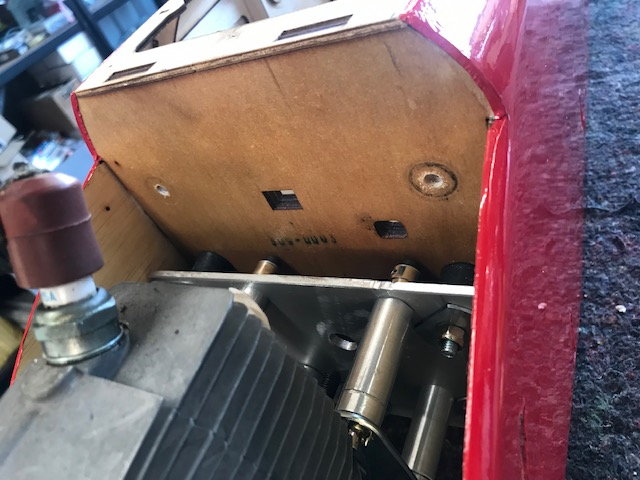
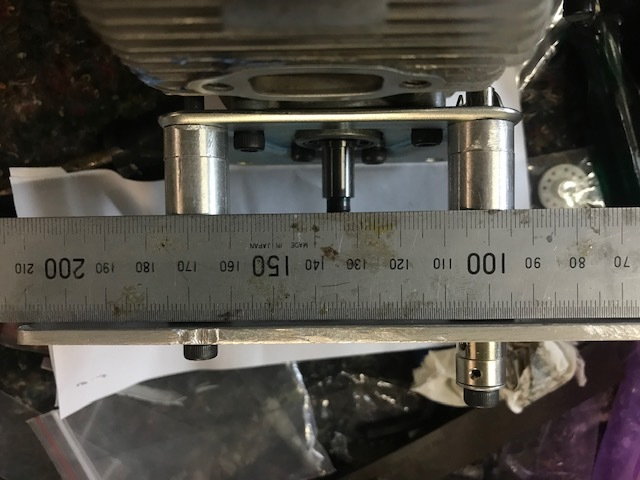
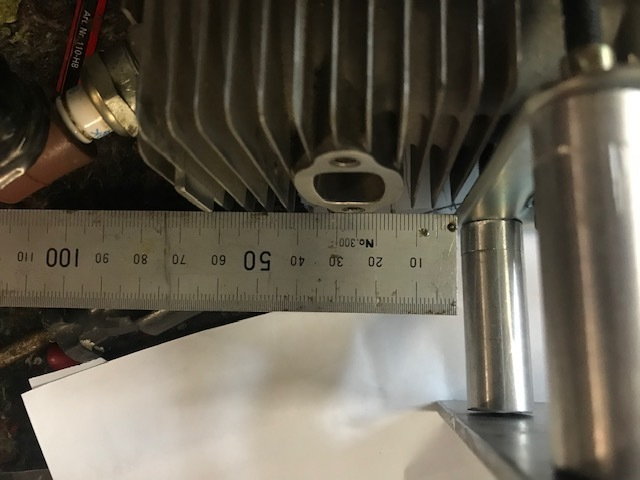
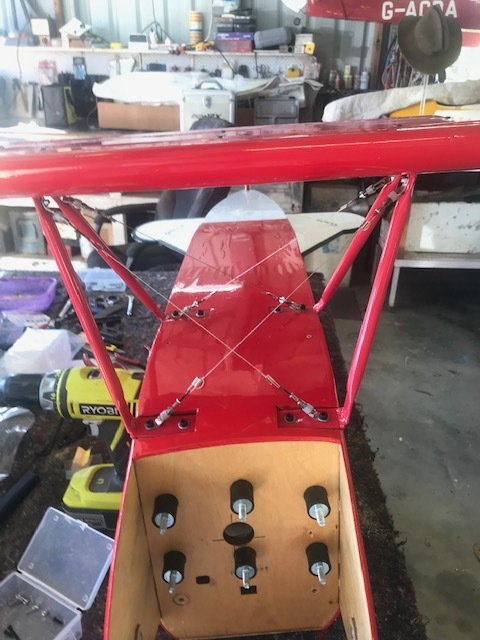
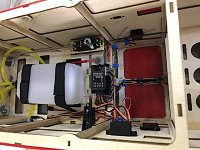
Progress so far. Aluminium mount is fitted to 6 rubber isolation mounts.
I had to cut the mount down as I forgot to allow for the muffler.
I am thinking I can get away without the 90 degree carb bend, will have a play with a 90 degree arm and see how it works. If that is successful I will then use a velocity stack to feed air to the carby. It will stick out a bit but can paint it red.
Need to get a prop yet, thinking an xoar wooden prop in the style of WWI.
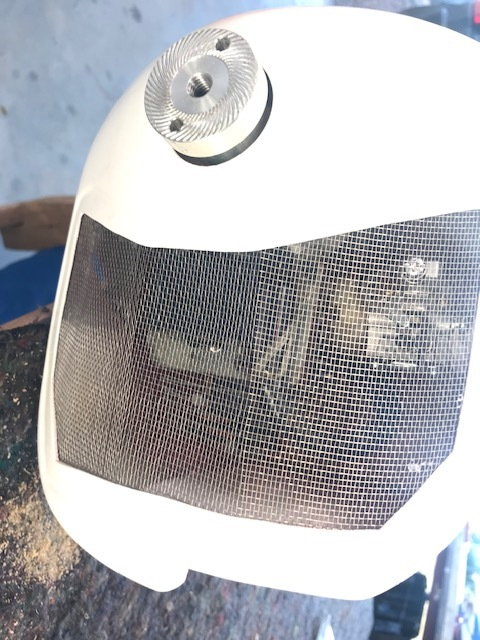
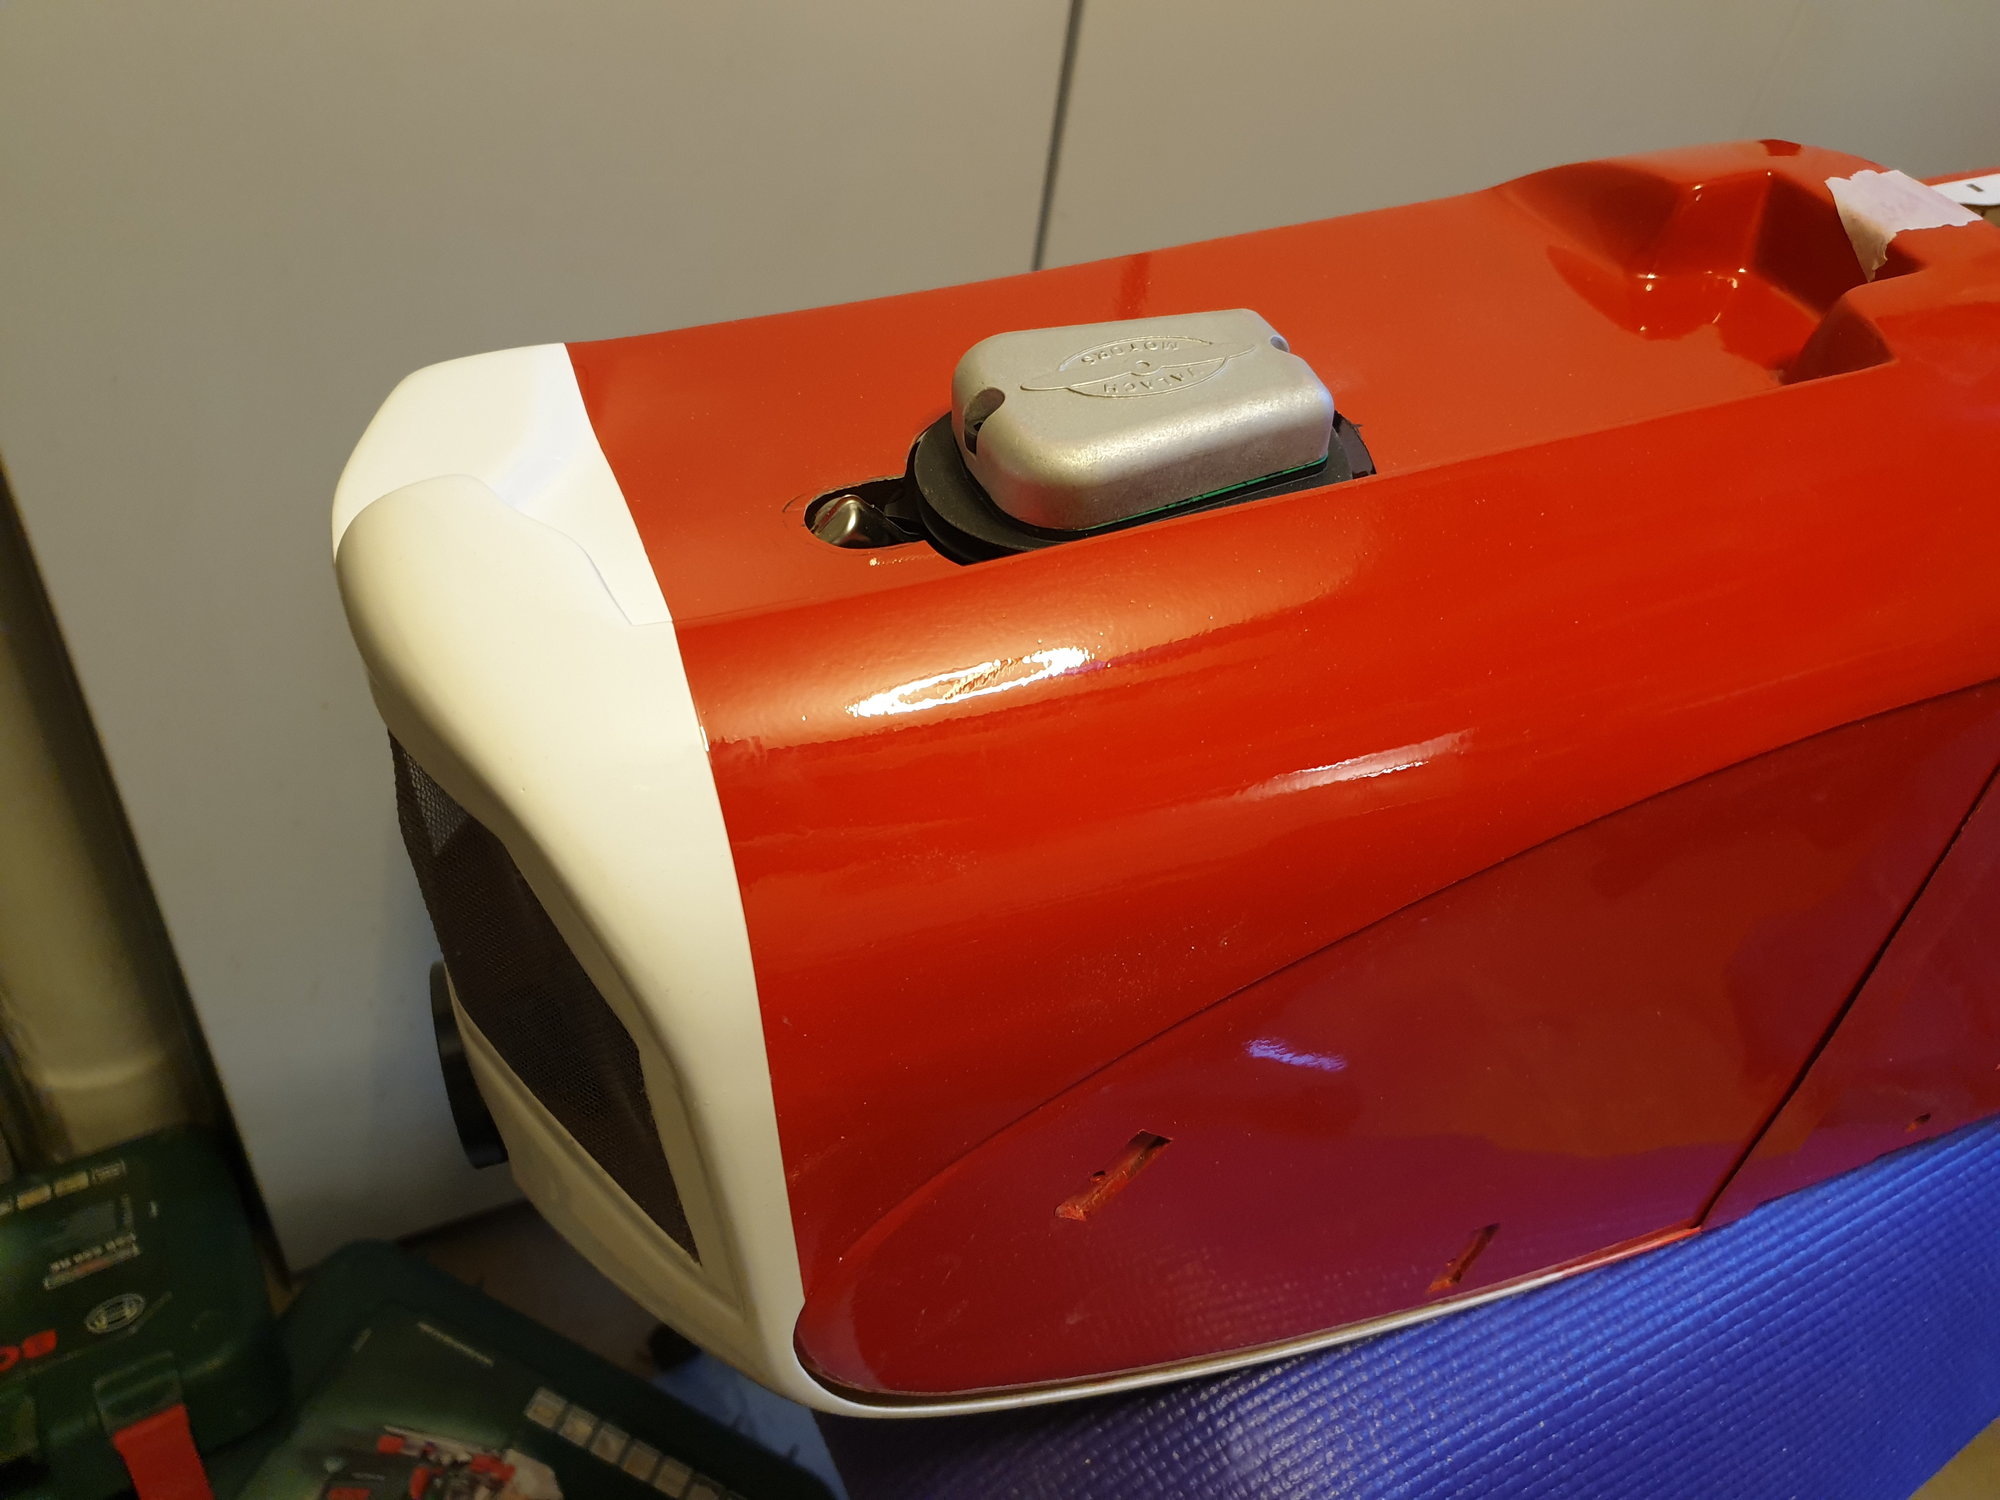
Only down side to the mounting is that I will have to cut an opening in top of the cowl for the spark plug boot, not overly worried as it will be hidden amongst the dummy exhaust anyway.
For the muffler I will knock up a dummy using balsa and see if I can get it fabricated at a local engineering works. I have one on my spit like this. For the fokker I will make it wider and have the oulets towards to outside so that can go down on either side of the mount and be clamped there.
Hard to explain.
Still need to get some 5 bolts and lock nots to use through the alum spacers. Ones shown are too long and using the T-nuts temporarily.
Later alligator.
P


I had to cut the mount down as I forgot to allow for the muffler.
I am thinking I can get away without the 90 degree carb bend, will have a play with a 90 degree arm and see how it works. If that is successful I will then use a velocity stack to feed air to the carby. It will stick out a bit but can paint it red.
Need to get a prop yet, thinking an xoar wooden prop in the style of WWI.
Only down side to the mounting is that I will have to cut an opening in top of the cowl for the spark plug boot, not overly worried as it will be hidden amongst the dummy exhaust anyway.
For the muffler I will knock up a dummy using balsa and see if I can get it fabricated at a local engineering works. I have one on my spit like this. For the fokker I will make it wider and have the oulets towards to outside so that can go down on either side of the mount and be clamped there.
Hard to explain.
Still need to get some 5 bolts and lock nots to use through the alum spacers. Ones shown are too long and using the T-nuts temporarily.
Later alligator.
P
08-03-2019, 11:44 PM
#12
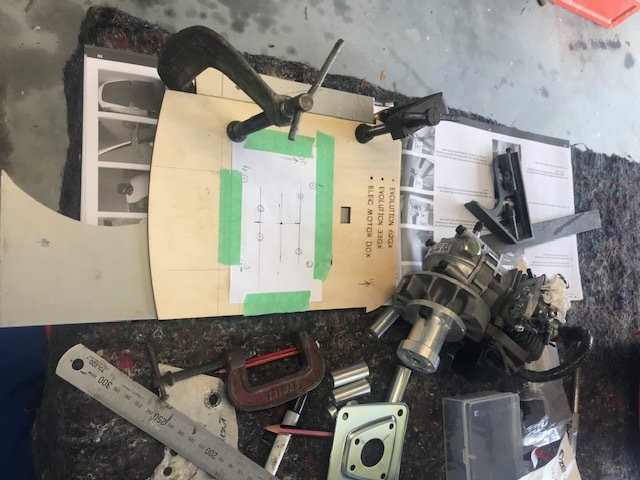
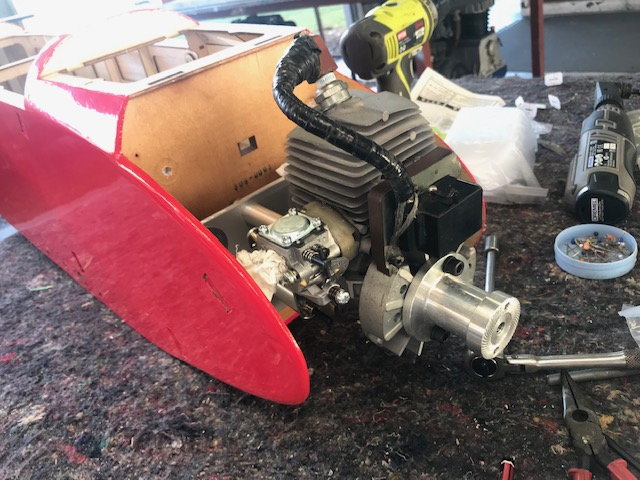
Carby linkage sorted.
Need to get new gaskets for cylinder to nylon housing and from housing to carby.
Hoping a bennetts muffler may fit with tubes pointing down, have emailed them for some dimensions.

Need to get new gaskets for cylinder to nylon housing and from housing to carby.
Hoping a bennetts muffler may fit with tubes pointing down, have emailed them for some dimensions.
08-05-2019, 06:47 AM
#13
I can see why you used the soft mounts, I didn't realize the firewall was so far back. Good idea. Looking at it now, I think if you rotated a little with the carb up a little, you will have better draw on the carb and the plug wire is hidden. This worked well for me.
Rich
Rich
08-06-2019, 05:01 PM
#14
will be using a zenoah velocity stack which will draw external air. Not worried about the spark plug lead & boot as they will be hidden in amongst the dummy exhaust.
It is stand waaaaay back scale anyway.
cheers
P
It is stand waaaaay back scale anyway.
cheers
P
08-07-2019, 03:11 PM
#15
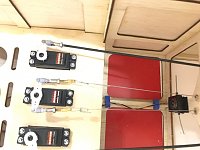
I fitted the rudder and elevators last night as well as installed the associated servos.Not really worth a photo.
Control rods, linkages are next then onto the U/C and centre section.
Hope to order the muffler this Friday from BBI.
Couple of 3600mAh LiION Rx packs also to be ordered and an XOAR prop.
cheers
P
Control rods, linkages are next then onto the U/C and centre section.
Hope to order the muffler this Friday from BBI.
Couple of 3600mAh LiION Rx packs also to be ordered and an XOAR prop.
cheers
P
08-07-2019, 03:32 PM
#17
08-11-2019, 02:16 PM
#19
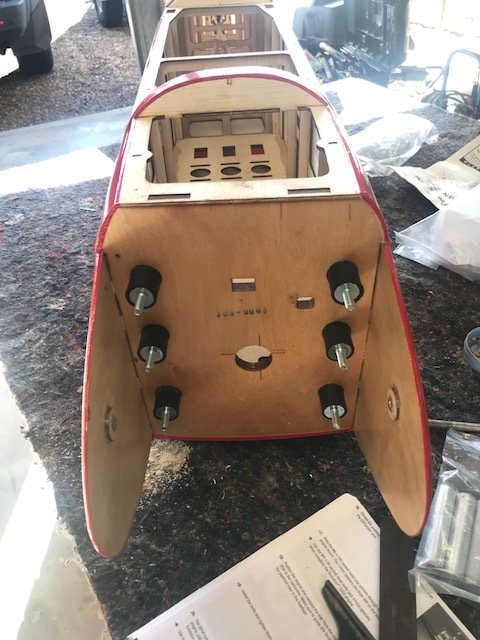
Progress from the weekend. 18 hours over Saturday and Sunday!
I have found that quite a bit of small hardware is missing from this kit, 8 of the rigging couplers and clevises, lock nuts, 4 grub screws for the wheel collars. Undercariage legs not drilled.
Fuel tank kit had no tubing.
QC lacking with this sort of stuff. Hopefully nothing else is missing.
Directions are lacking in a few key areas and had to work out what the hell they were wanting done with cowl in particular. Look at end photo then work backwards.
Have the XOAR 20x8 WWI prop ordered as well as the muffler from BBI.
Carb & engine gaskets also ordered. Only a couple of LiION packs to order now. Next pay day!
Last edited by planenutzz; 08-11-2019 at 02:19 PM.
08-18-2019, 02:41 PM
#21
Good progress on the Fokker.Couple of small jobs to finish. Muffler to fit when it arrives. Battery packs should be here this week. Eneloop 2500mA/h 6V packs x 2.
Gaskets to engine and carby to fit, throttle throw to set.
All other systems are in, ailerons have differential programmed and expo on elevators, rudder and aileron. I have a bit of aileron to rudder couple mixed in too.
Did a quick balance check and it is slightly tail heavy with cowl and prop off. Battery packs will fine tune that so looks like no extra weight in the nose will be required which is very good news.
08-24-2019, 03:13 AM
#23
I have also bitten the bullet with this offering and it does not disappoint. Only thing is, the 2-stroke sound may not do full justice to the potential presence of this airframe. So, here goes yet another powerplant choice: the venerable Valach 60cc 4-stroke which will swing an almost scale size prop (26") and exhaust in an almost scale location. And yes, it fits! (OK, needs some relief cutting of the firewall but nothing an average builder can't deal with). Can't wait to putter it around with this sound and then prop hang it when bored. 


08-27-2019, 02:35 PM
#24
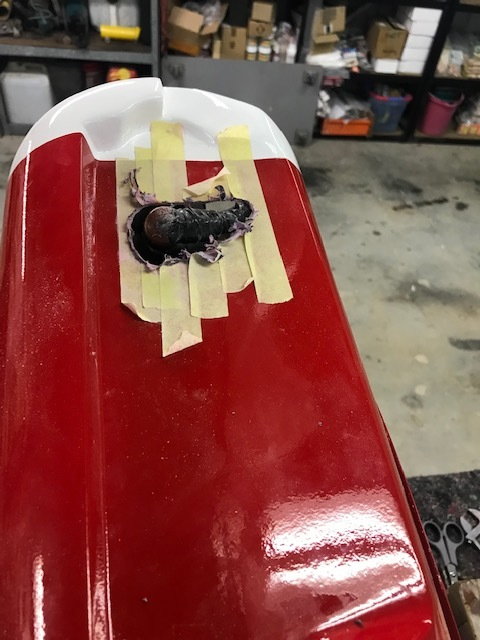
Muffler has arrived, the angles were a bit off forcing me to grind about 1/8" off the alum standoffs so that the flexi pipes could fit.Battery packs have also arrived, 2 x 6V 2500mA/h NiMh Eneloop packs.
Prop hole spacer has been done but a friend of mine on his lathe.
Have to get 4 hose clamps and some plumbing pipe brackets to secure the exhaust pipes.
Later . . .


Prop hole spacer has been done but a friend of mine on his lathe.
Have to get 4 hose clamps and some plumbing pipe brackets to secure the exhaust pipes.
Later . . .
08-27-2019, 02:37 PM
#25
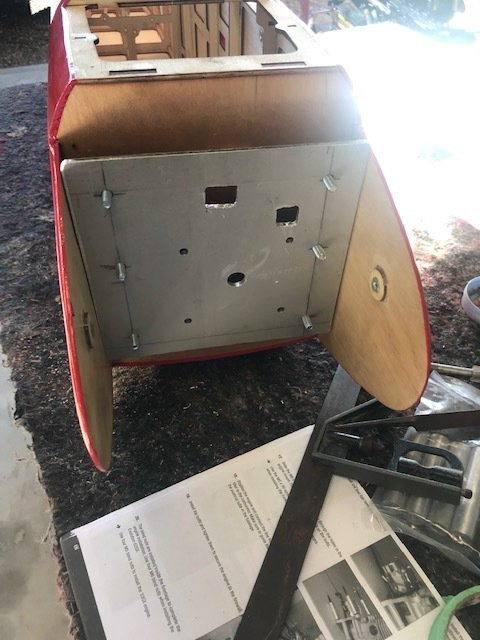
mmm I'd be reinforcing what is left of that firewall, especially around the bottom of that "V". Vibration cause it to splt there.
Carbon fibre cloth epoxied in place and a strap accross the top to lock that in.
Carbon fibre cloth epoxied in place and a strap accross the top to lock that in.