


Carf 800S turbine powered glider
 10-23-2017, 01:36 PM
#101
I'm in the middle of the process of building my DG800 and I have a question. Anybody seeing an offset of the turbine when installing it ?
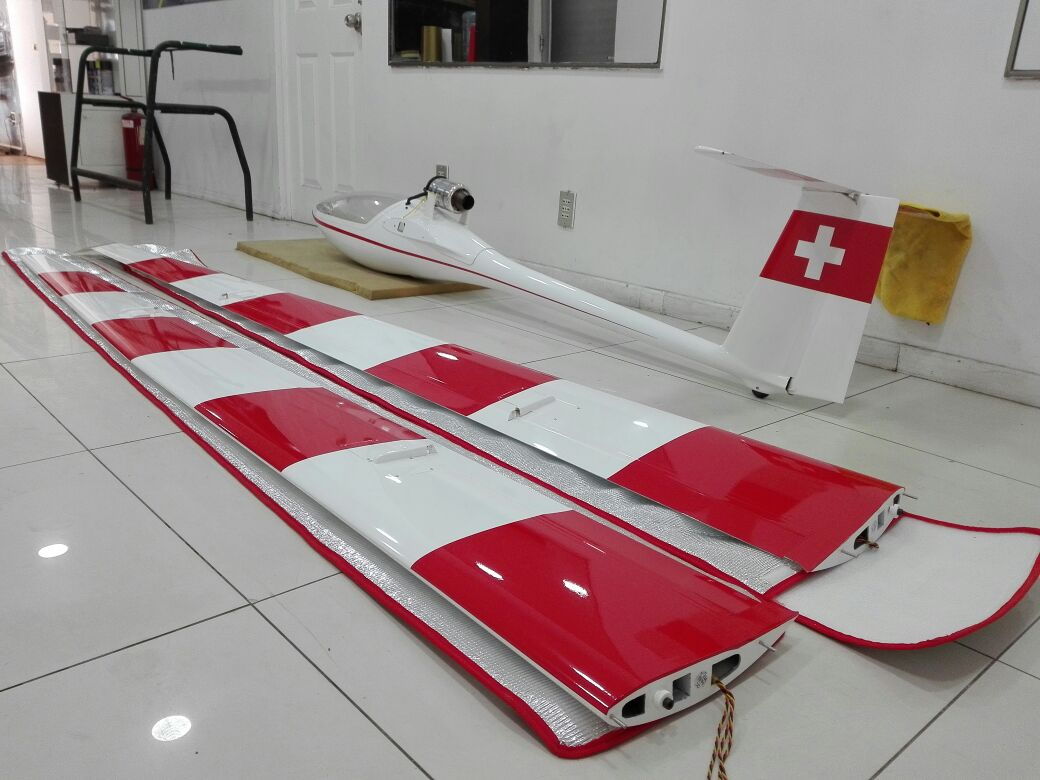
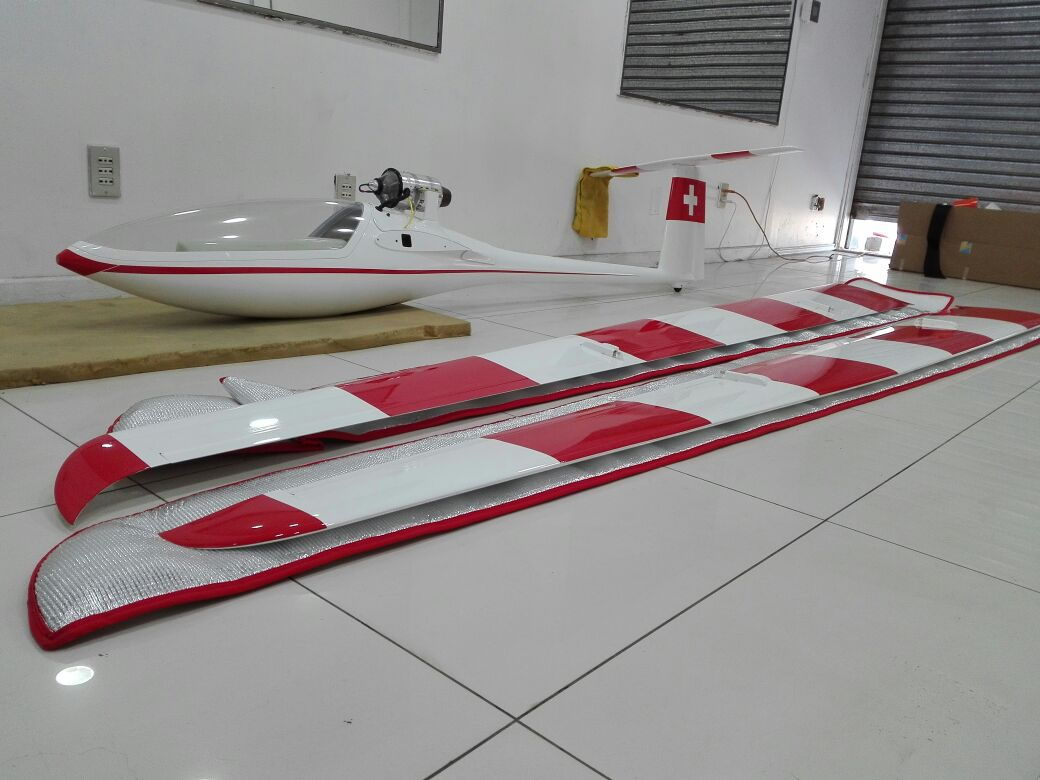
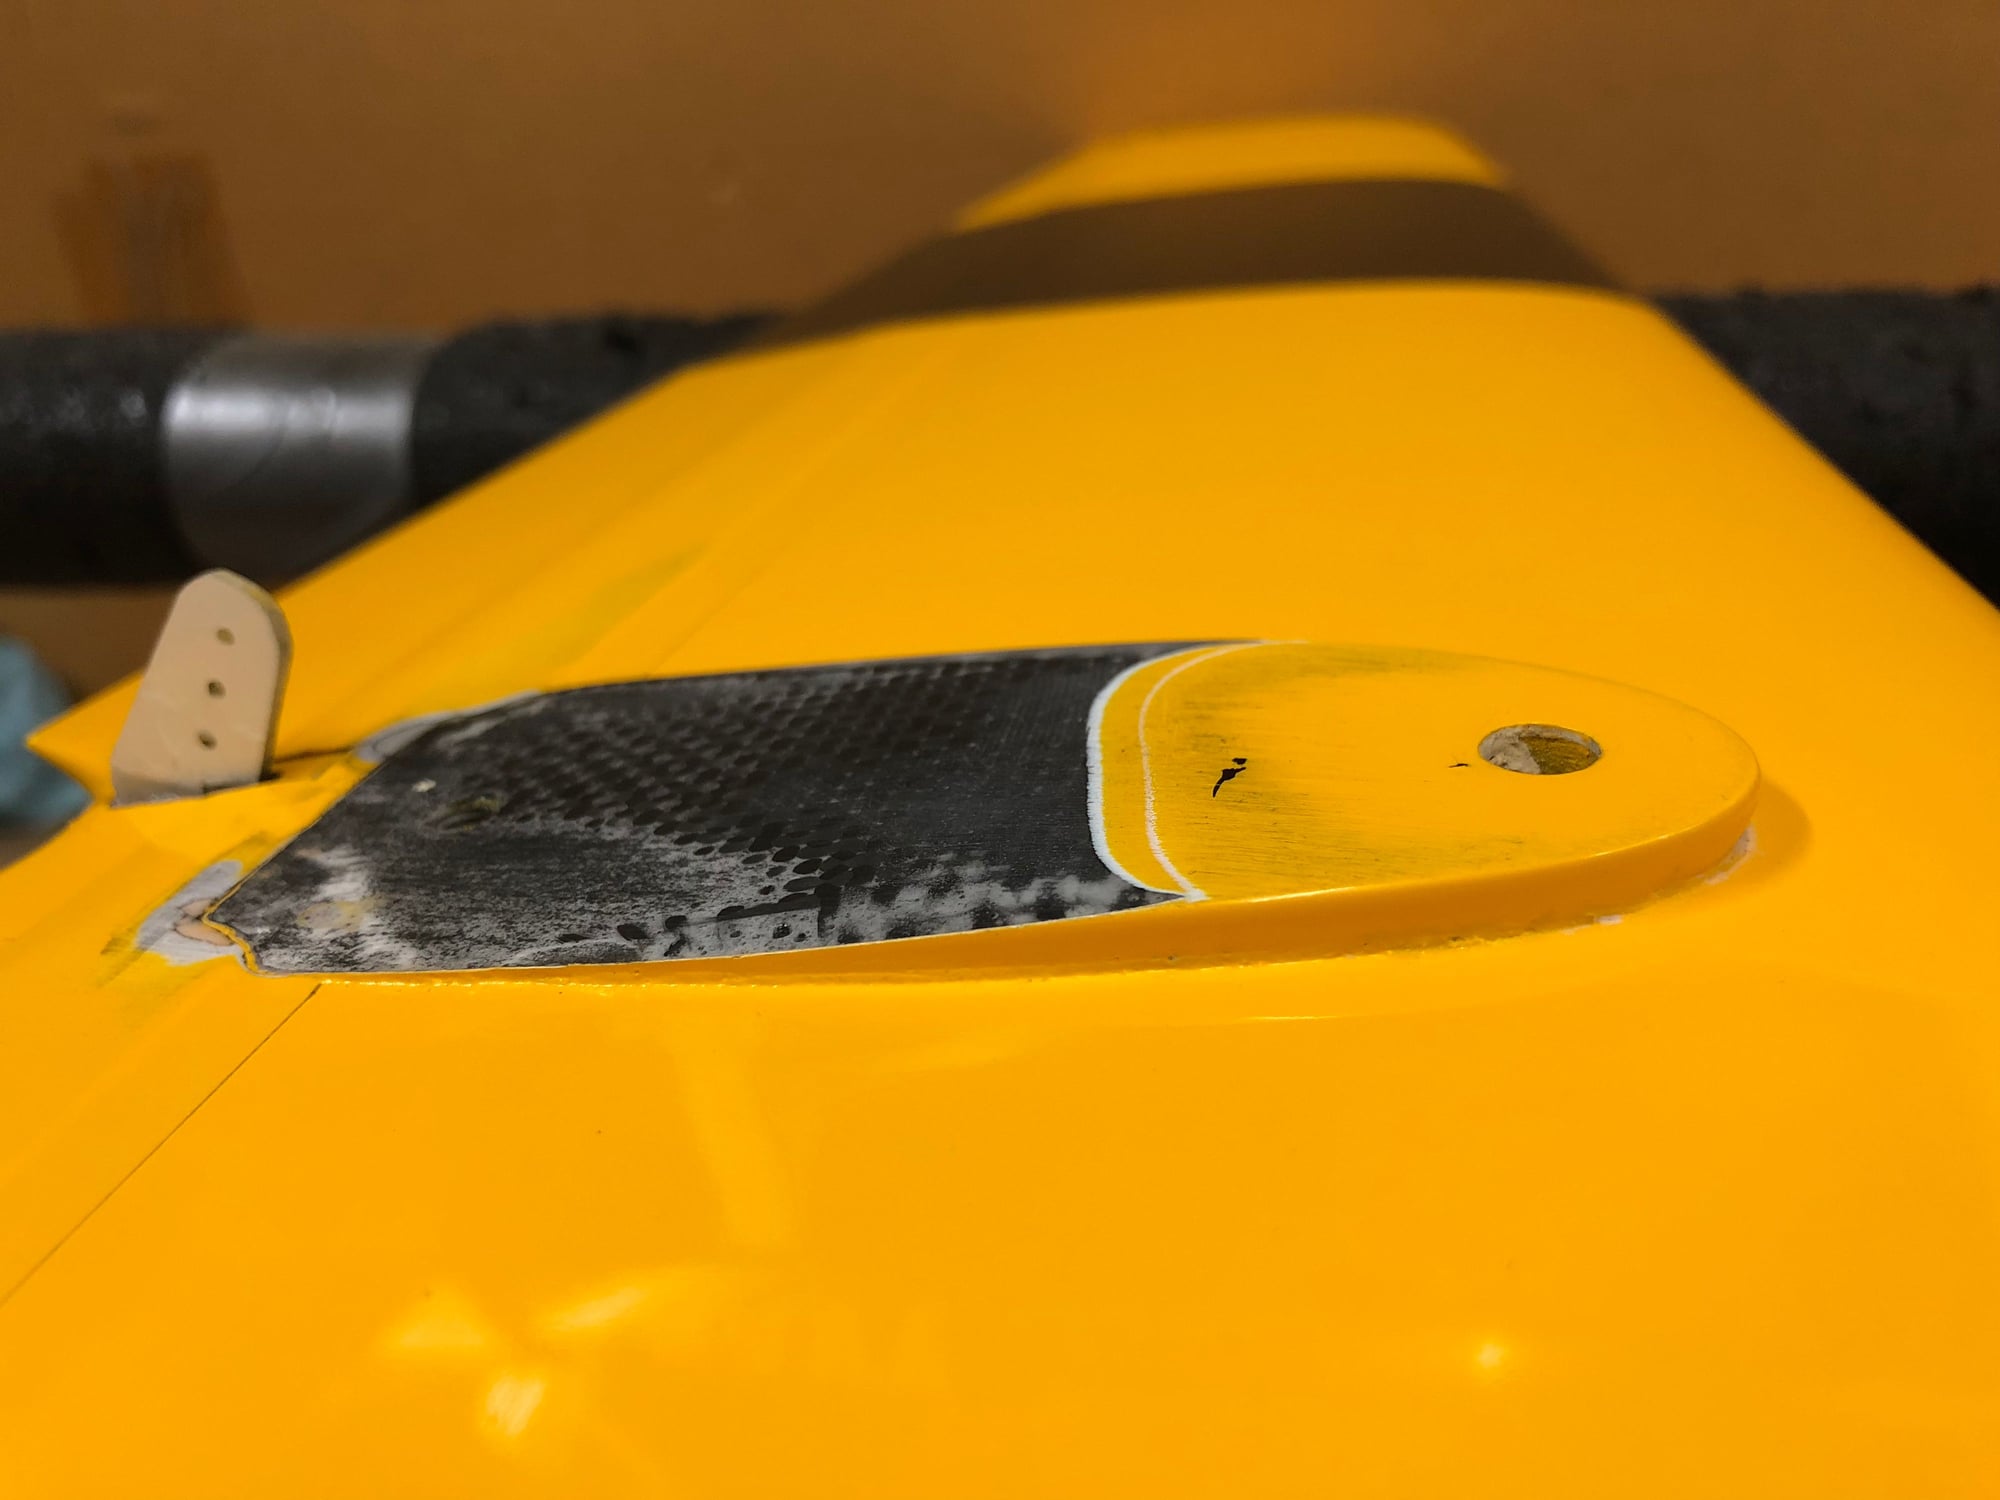
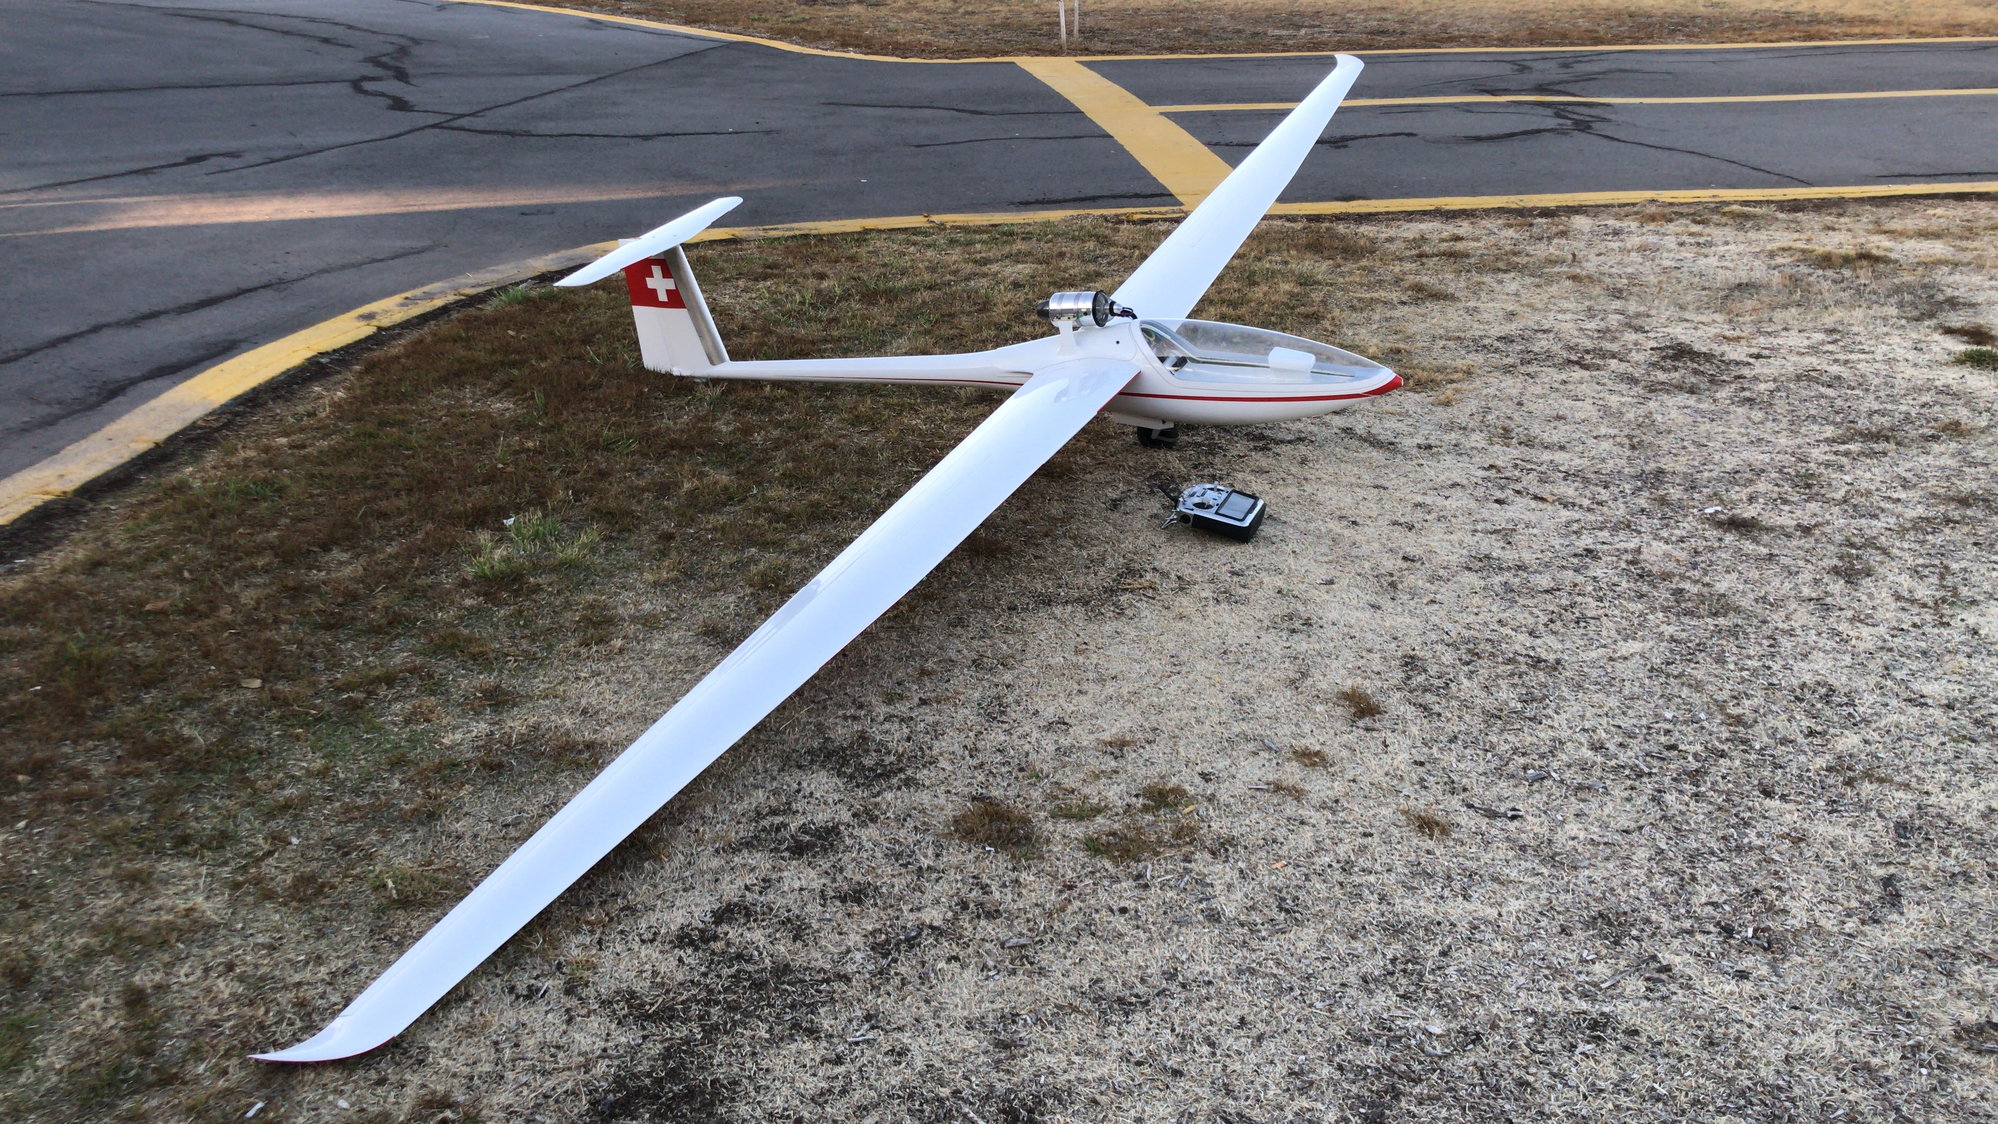
When mounting, we followed all the instructions, made sure everything was aligned but the left mounting pod seems to be a little bit more forward than the right one so that puts the turbine at an angle and not in line with the glider fuse.
I asked my CARF representative and he got a response from the factory saying that this was done on purpose, that the turbine should have and offset and that I should read the instructions since its clearly indicated in there. Problem is that I can't find that indication anywhere on the instructions and it just doesn't make sense for me since. Offset is quite noticeable to the right.
I've seen some other pictures with the turbines installed in line with the fuse.
Anybody with a similar experience ?
Last edited by Gonzalo38; 10-23-2017 at 05:52 PM.

 03-22-2018, 10:19 PM
#103

I just by a second hand DG800 and have a question about Airbrake and Butterfly (Crow). Is it meant that I will use them together at throttle stick for example?
Thanks in advance
Daniel
Thanks in advance
Daniel
05-08-2018, 07:49 PM
#104
Haven't had much time to finish this project but finally this week I decided that it was time to resume the project and I'm hoping to have it ready for maiden in around 2 or 3 weeks.
Now it was time to apply some color......
Now it was time to apply some color......
05-08-2018, 10:44 PM
#105

 05-09-2018, 09:02 AM
#106
Wing13z...... that's a very nice looking DG800. Love the color.
The horizontal stab was sanded as per the instructions for older models. Unfortunately, I don't have it here in oder for me to be able to get some pictures. Let me see if over the weekend I can do it.
The horizontal stab was sanded as per the instructions for older models. Unfortunately, I don't have it here in oder for me to be able to get some pictures. Let me see if over the weekend I can do it.
05-09-2018, 09:16 AM
#107
Thanks 😃 I will be waiting for your stab pic.
05-12-2018, 06:17 PM
#108
Wing13z:
Not the best pictures and maybe not the best sanding, but this is how in looks. In the closeup pictures the sanding doesn't look great but when you see the glider, it looks OK.
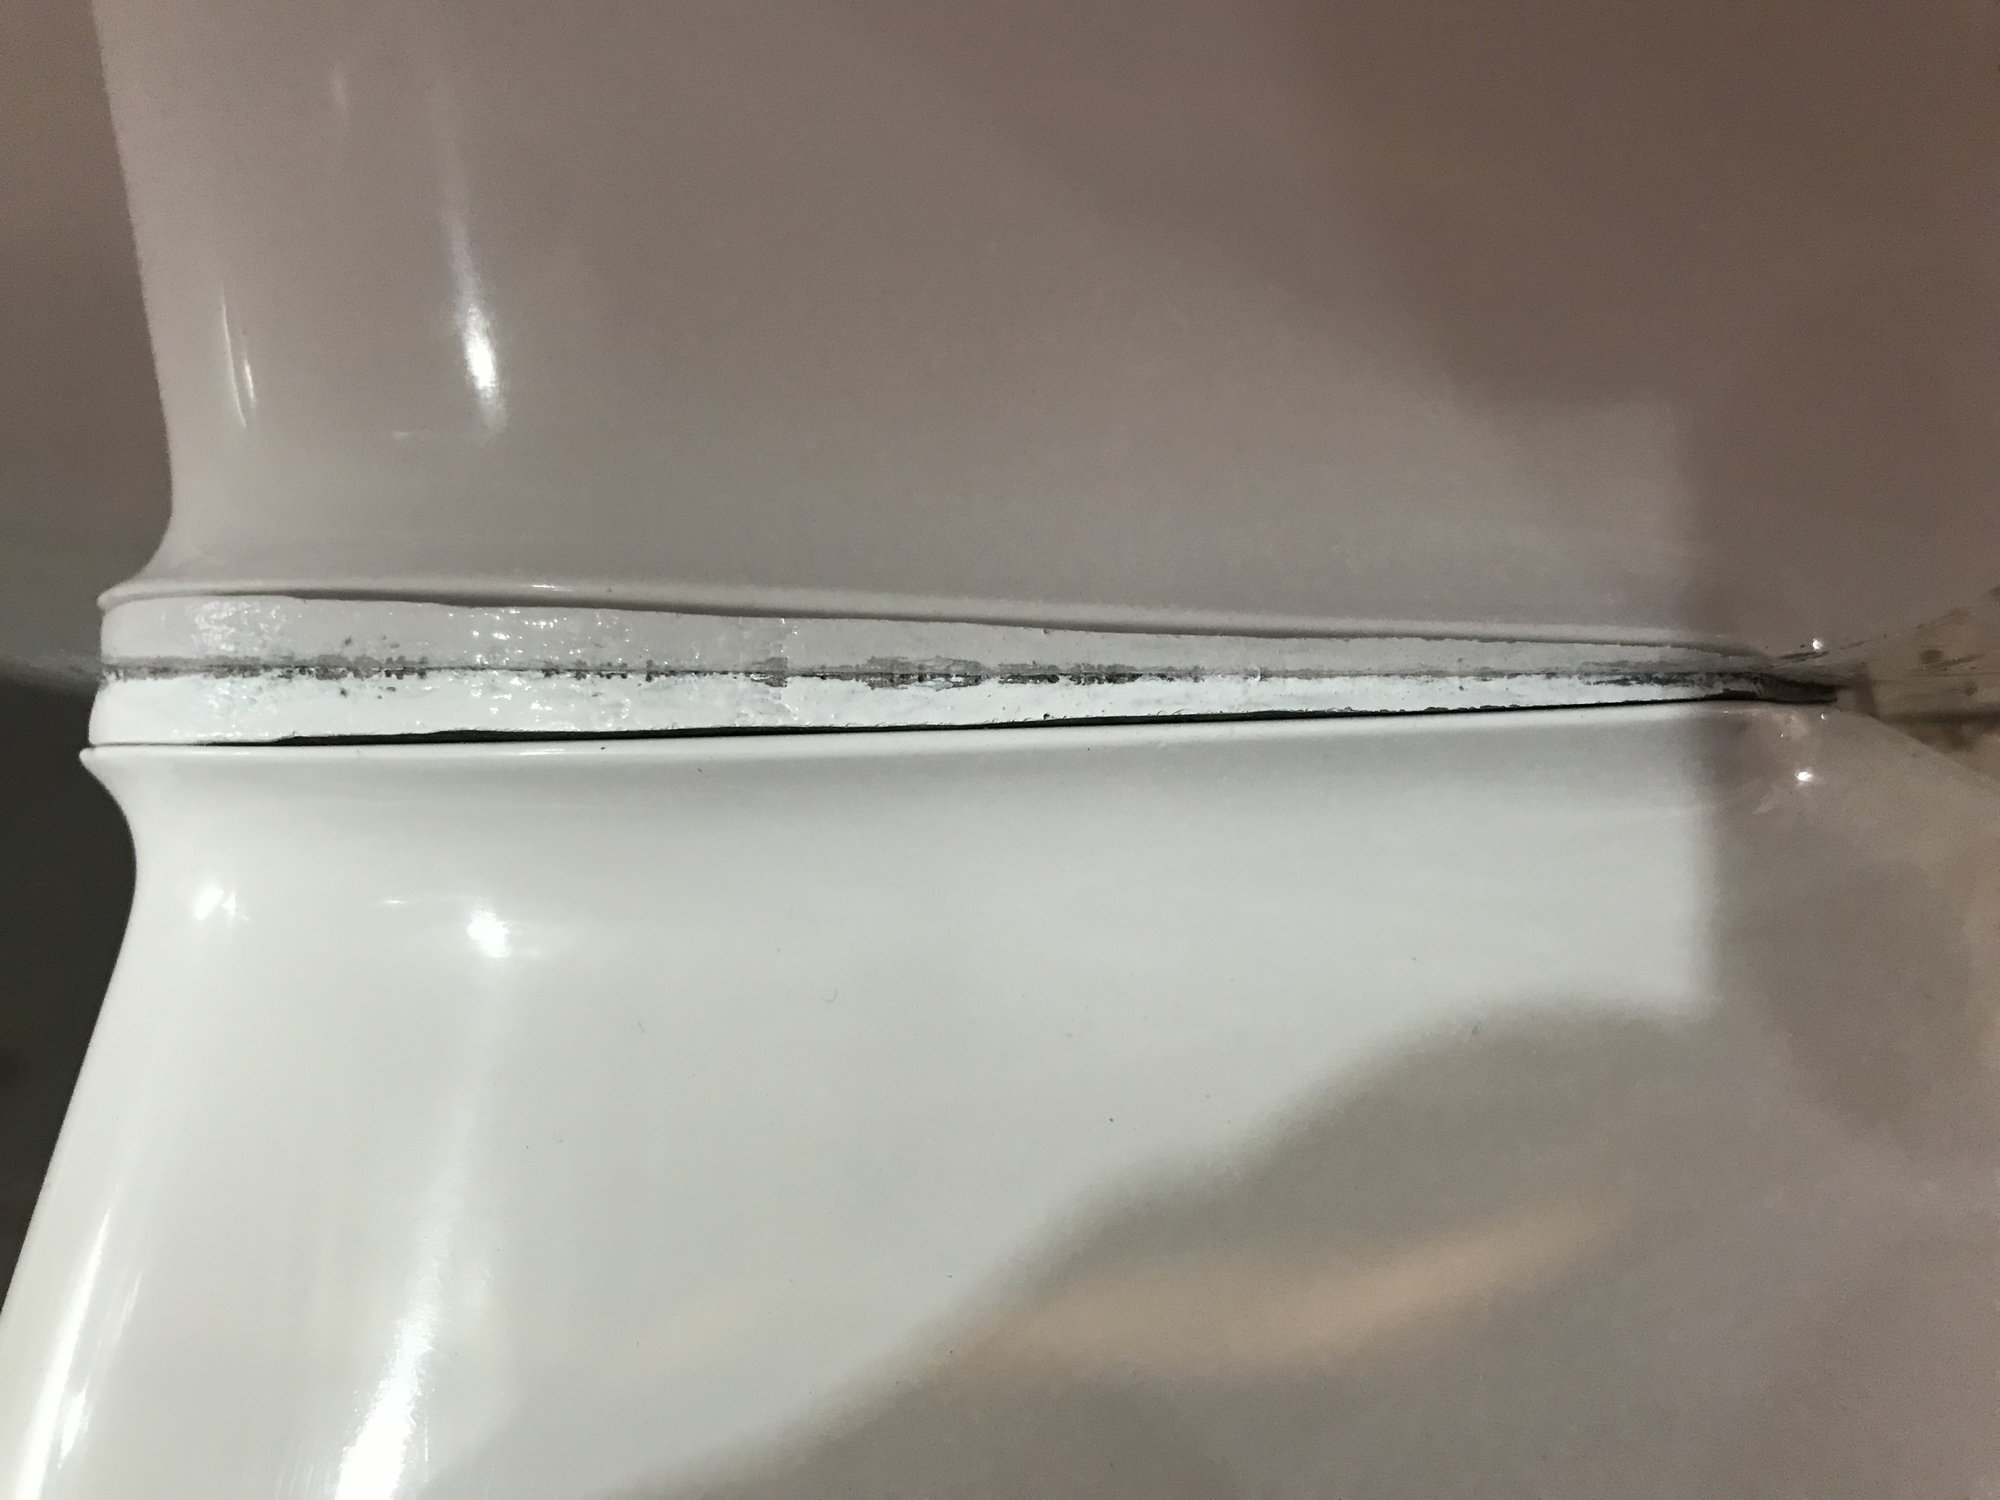
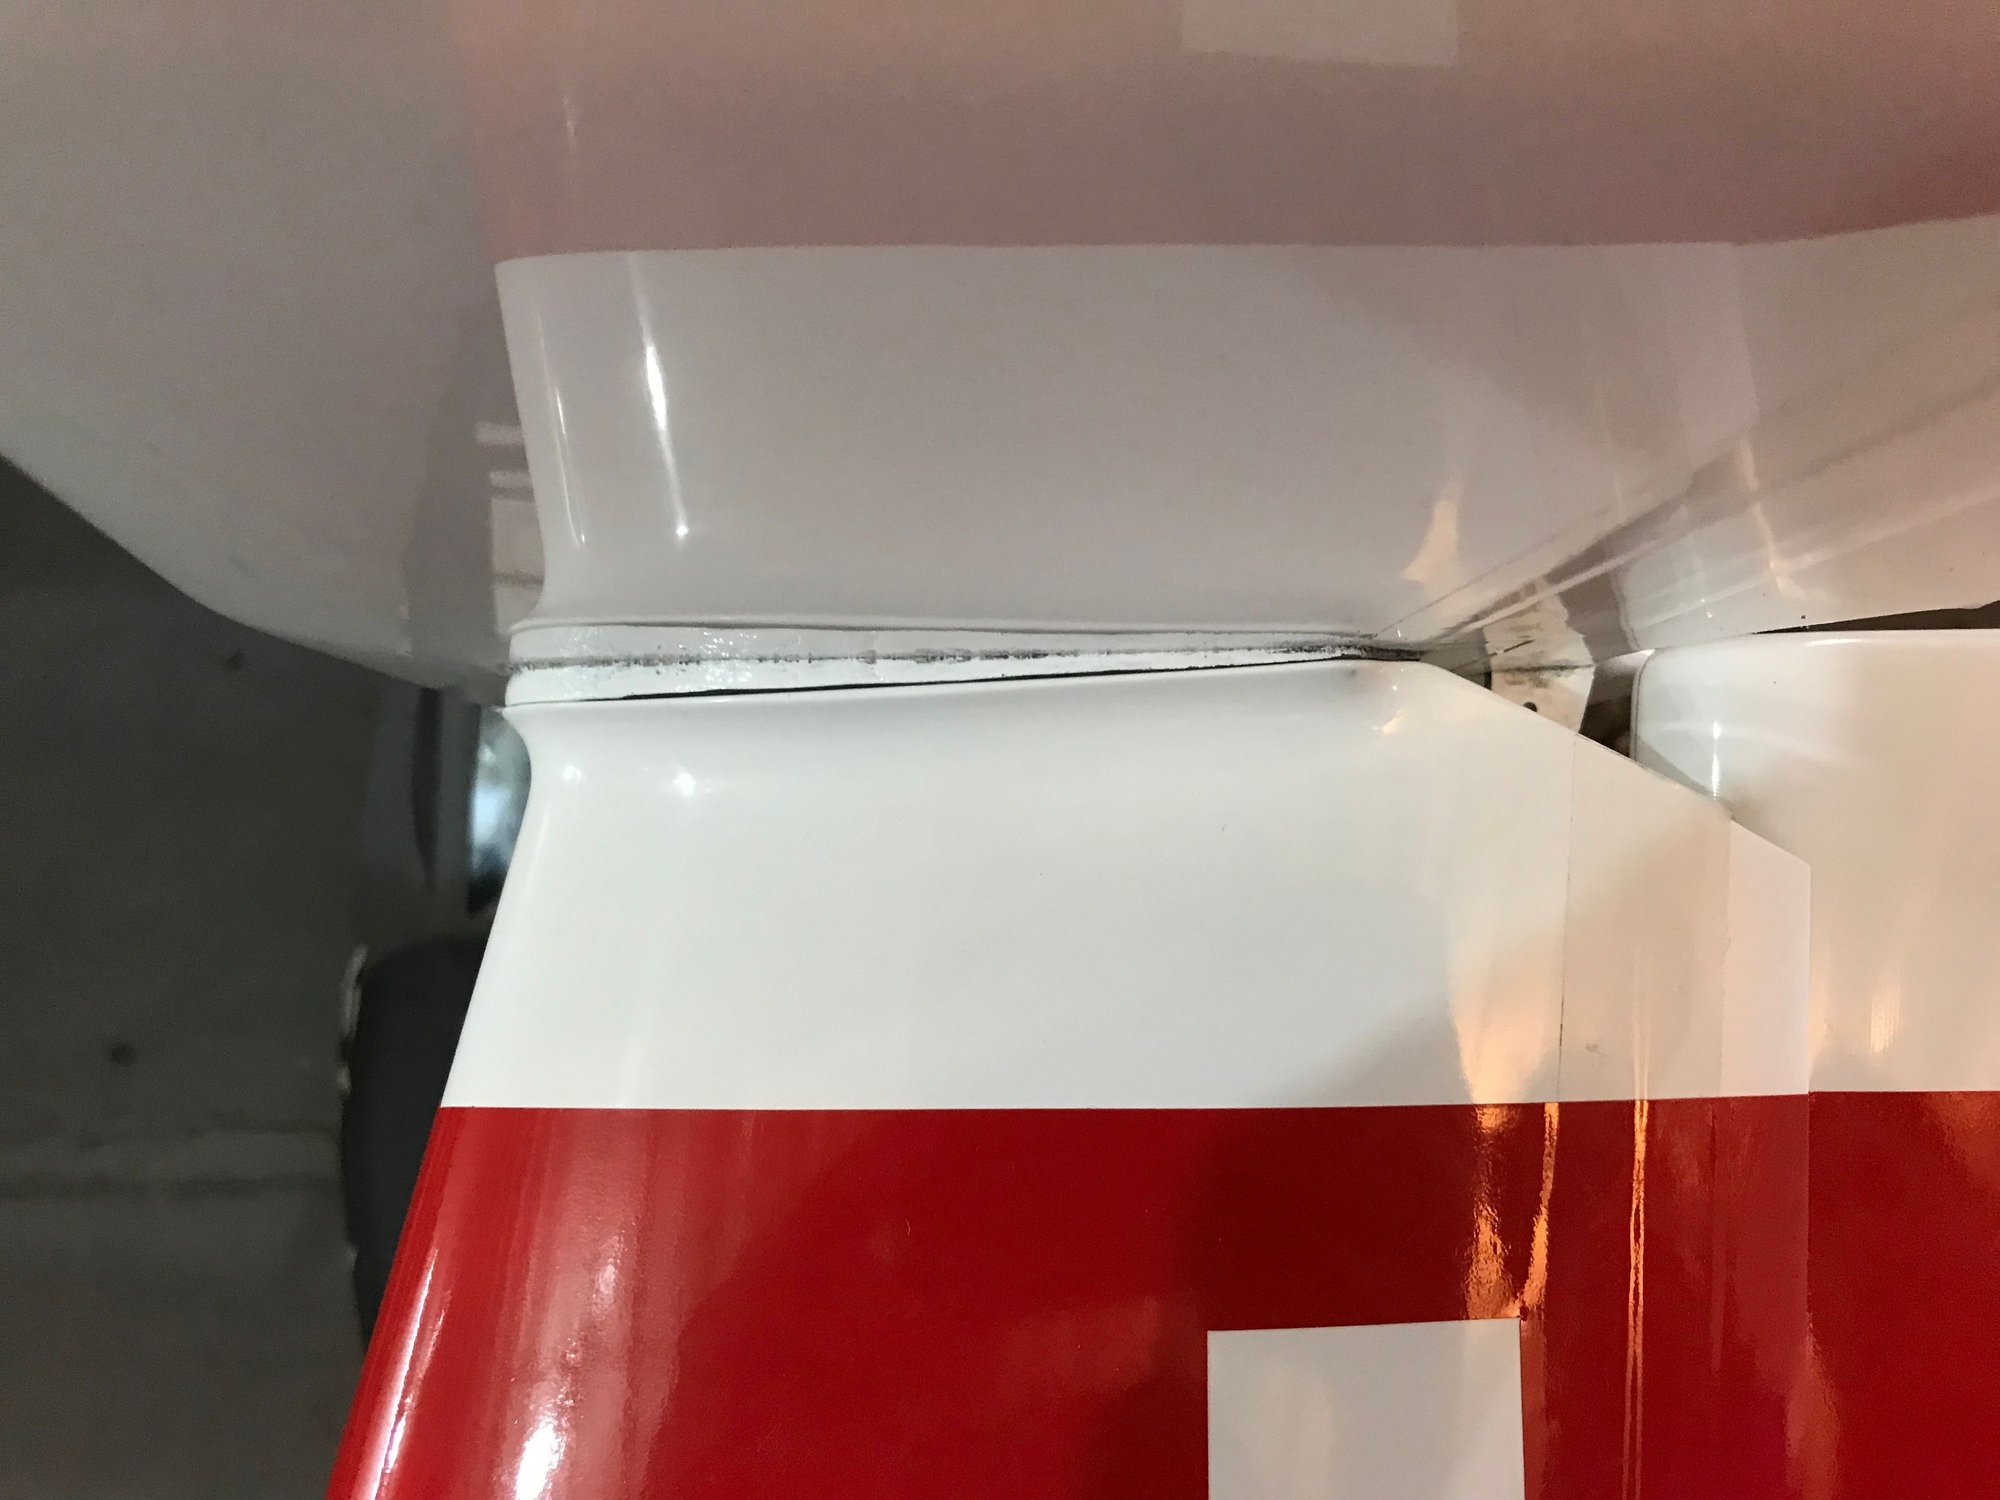
Not the best pictures and maybe not the best sanding, but this is how in looks. In the closeup pictures the sanding doesn't look great but when you see the glider, it looks OK.
05-14-2018, 12:46 AM
#109
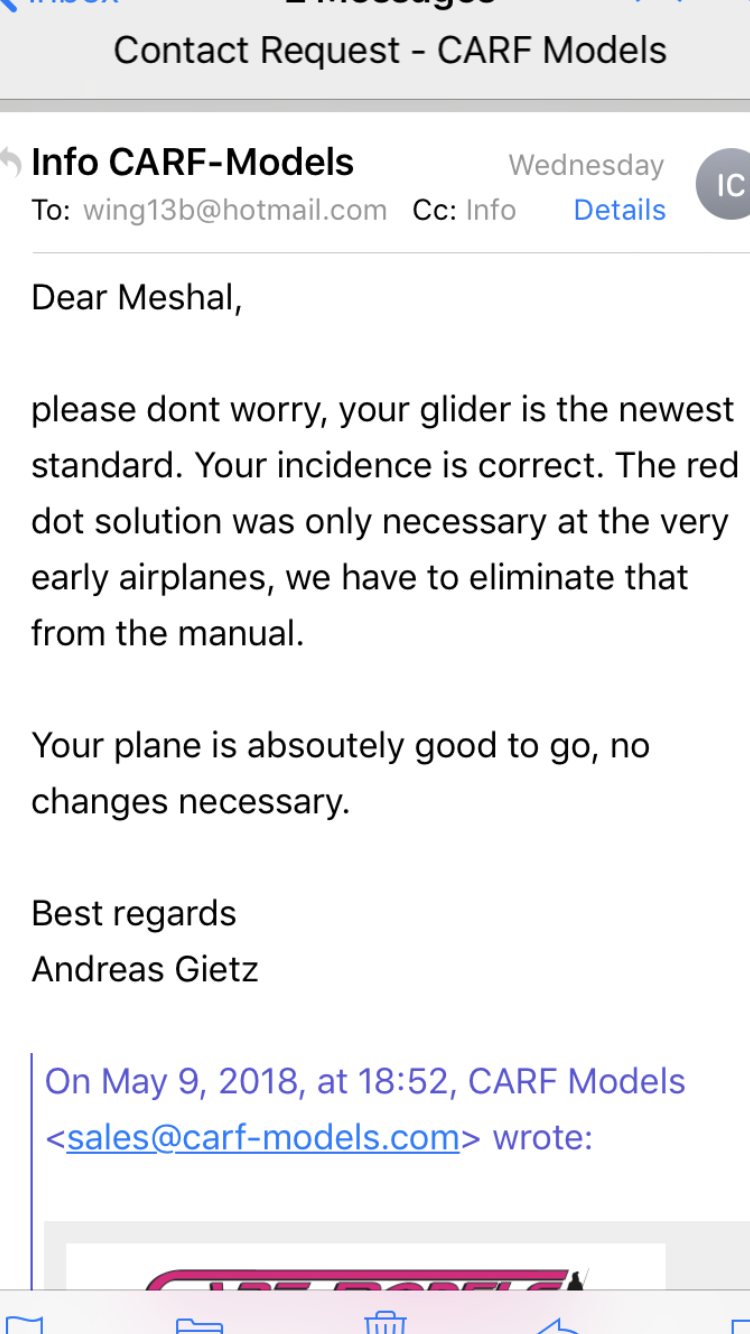
You can see how it looks now, and take a look on the CARF email. I believe that manual is screwed up!!
 05-14-2018, 03:38 AM
#111
Thanks for the info. My plane was an early model (been seating on a warehouse for a long time) so I think mine needed the sanding.
Too bad CARF didn't send a new replacement part and asked owners to sand, leaving a not very nice looking part.
Too bad CARF didn't send a new replacement part and asked owners to sand, leaving a not very nice looking part.
05-14-2018, 03:55 AM
#112
The question is why CARF did not updated their manual since then!!
Thanks for your replay Gonzalo38 and good luck with your maiden flight 😃✌🏻
06-16-2018, 03:21 PM
#113
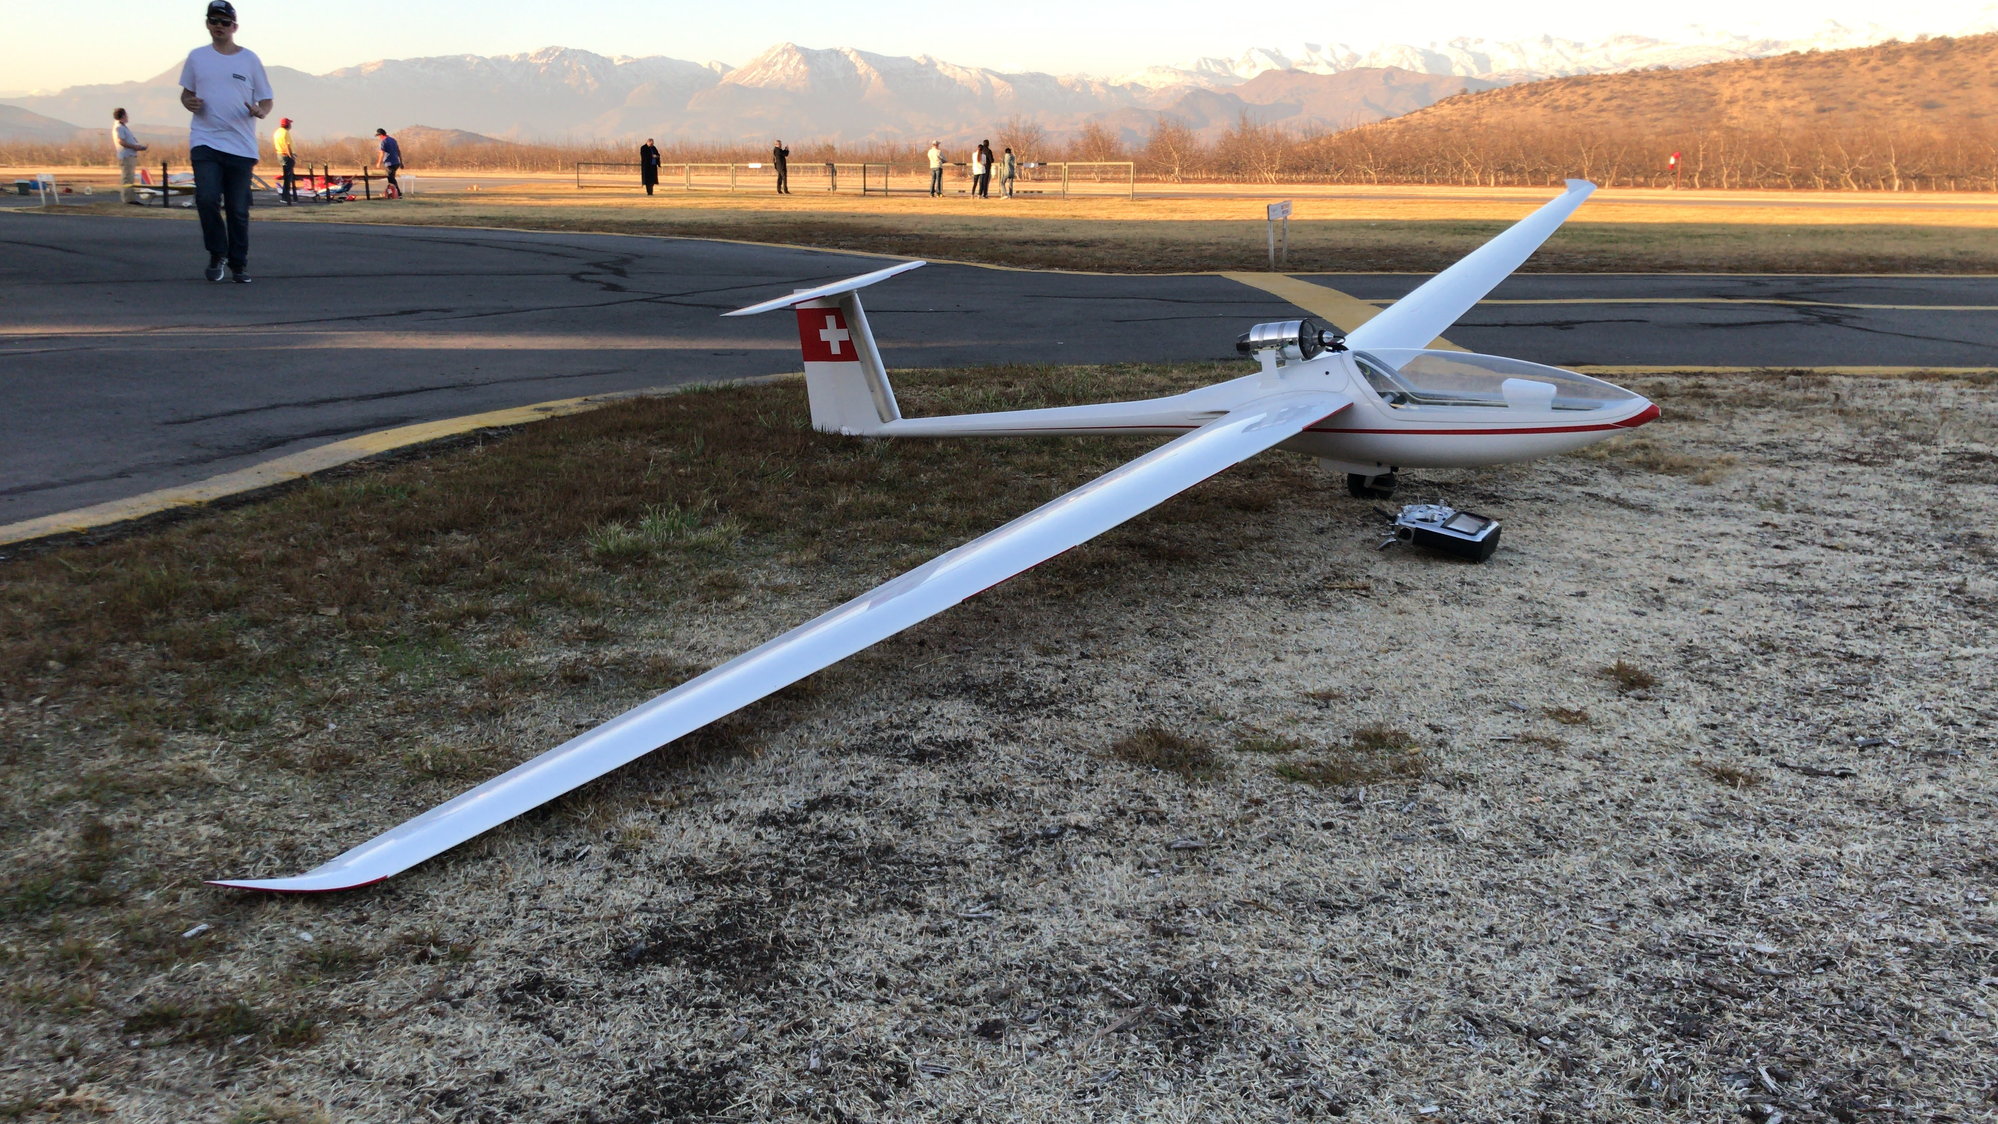
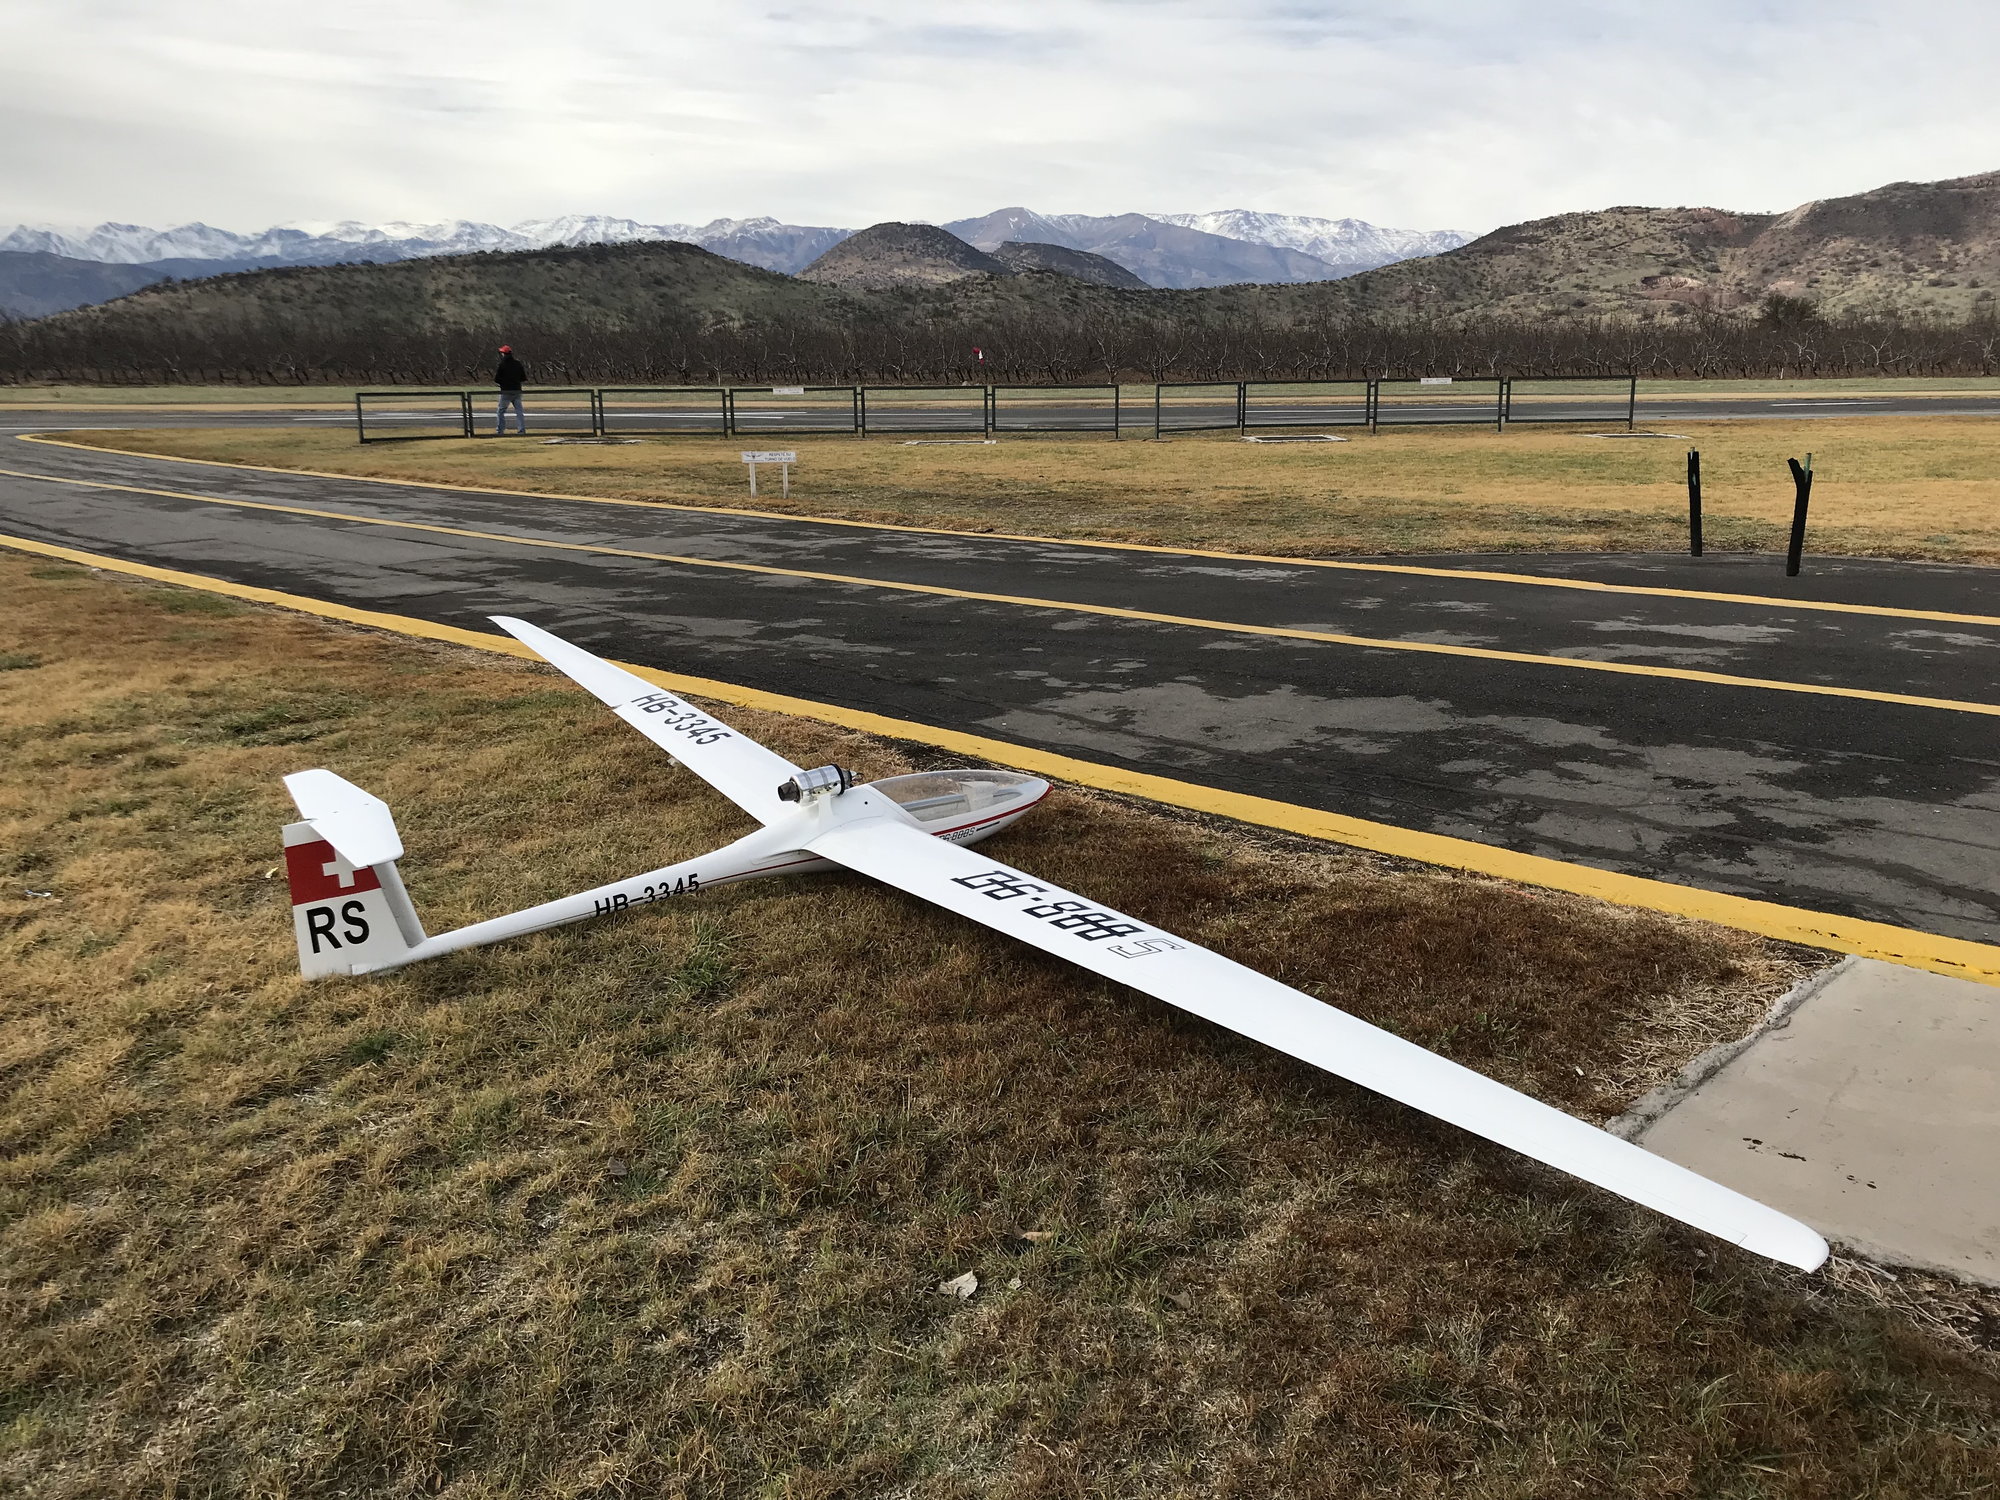
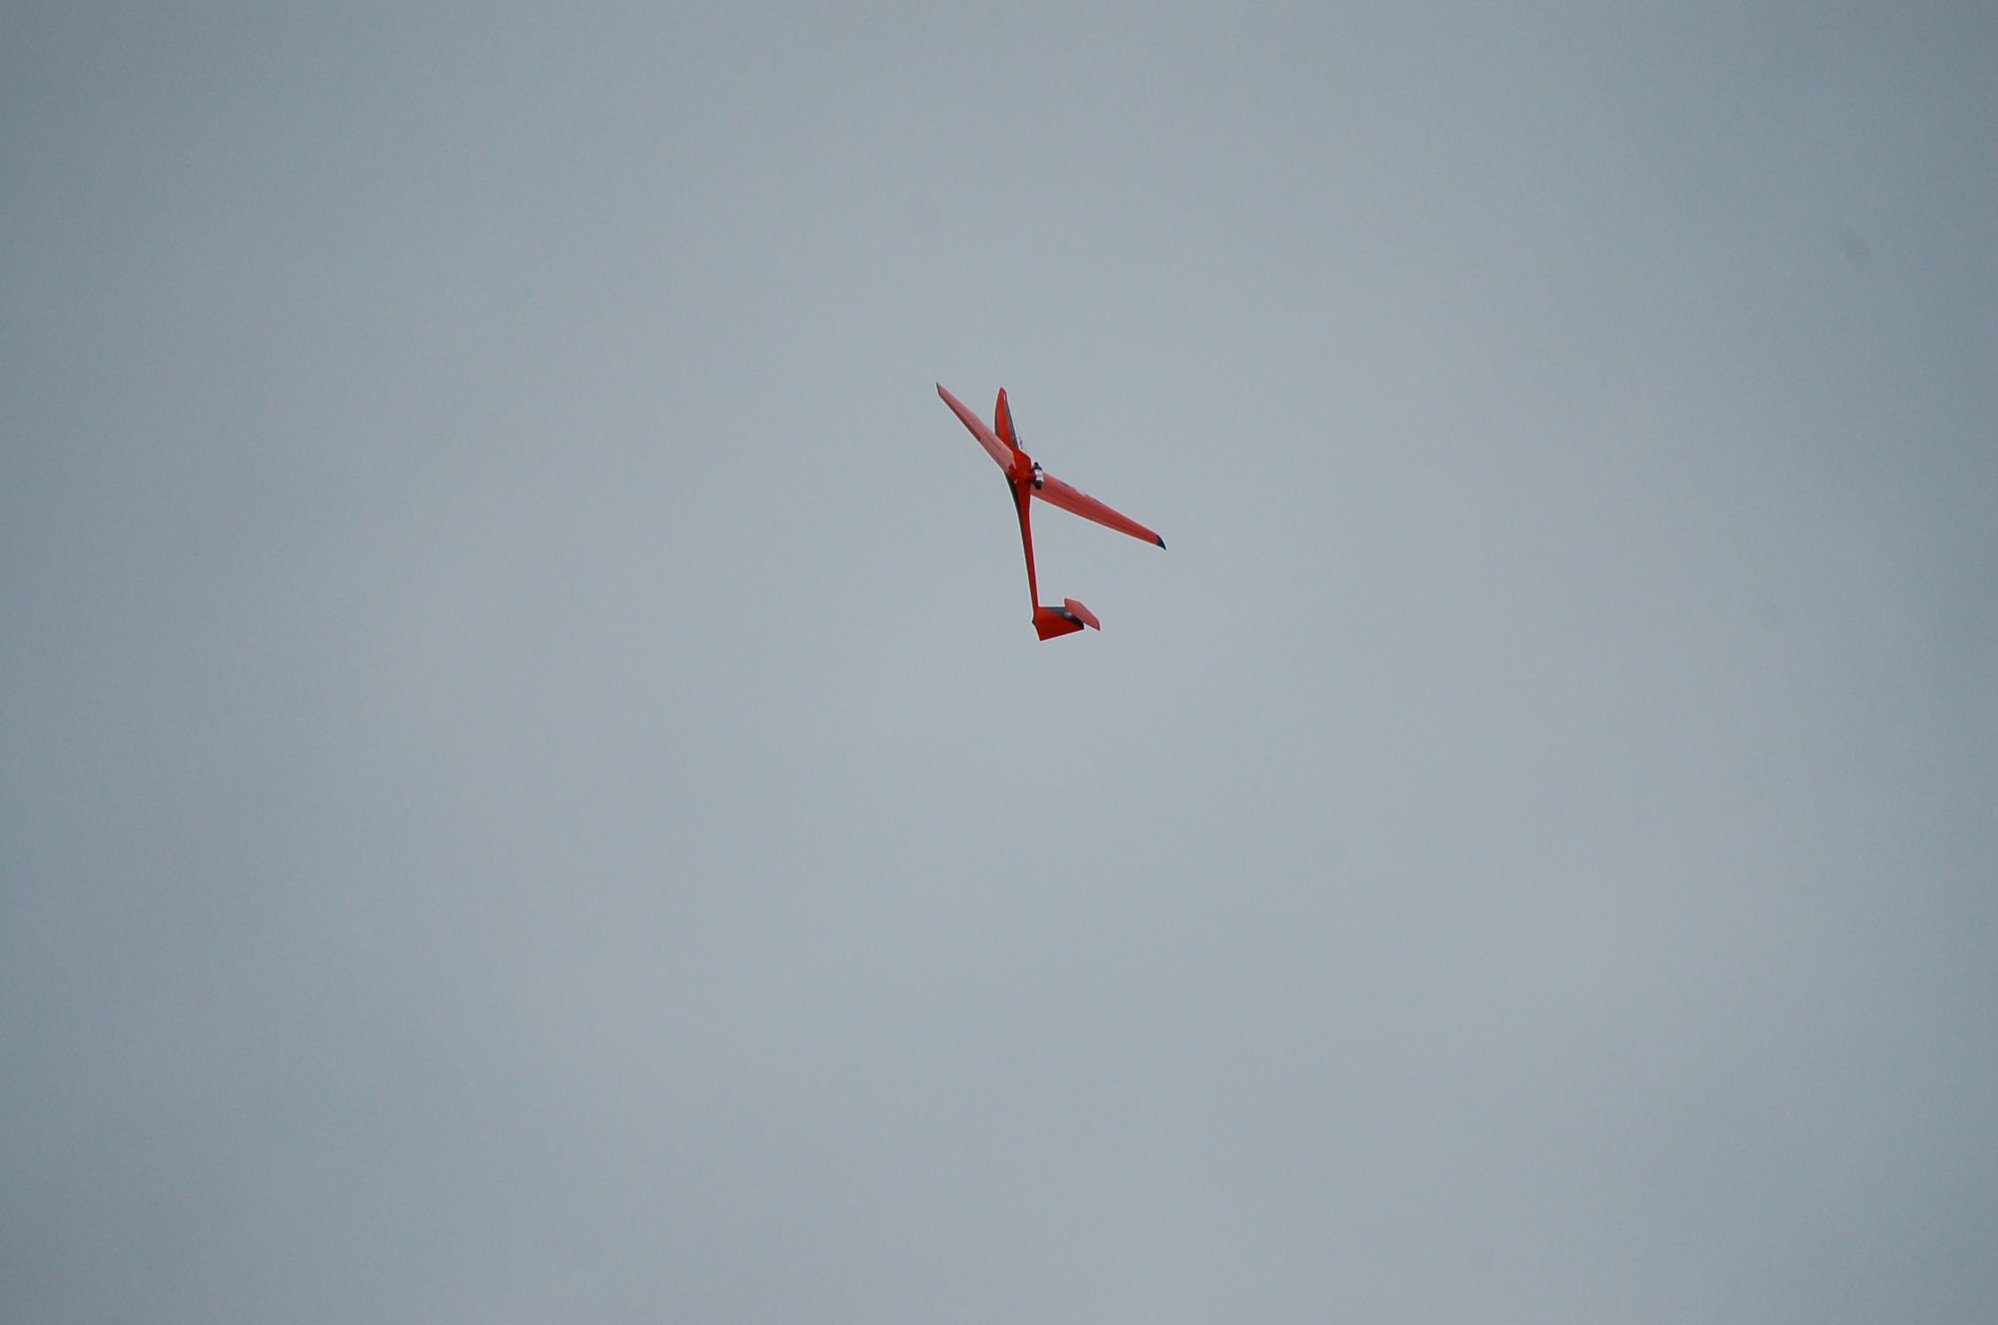
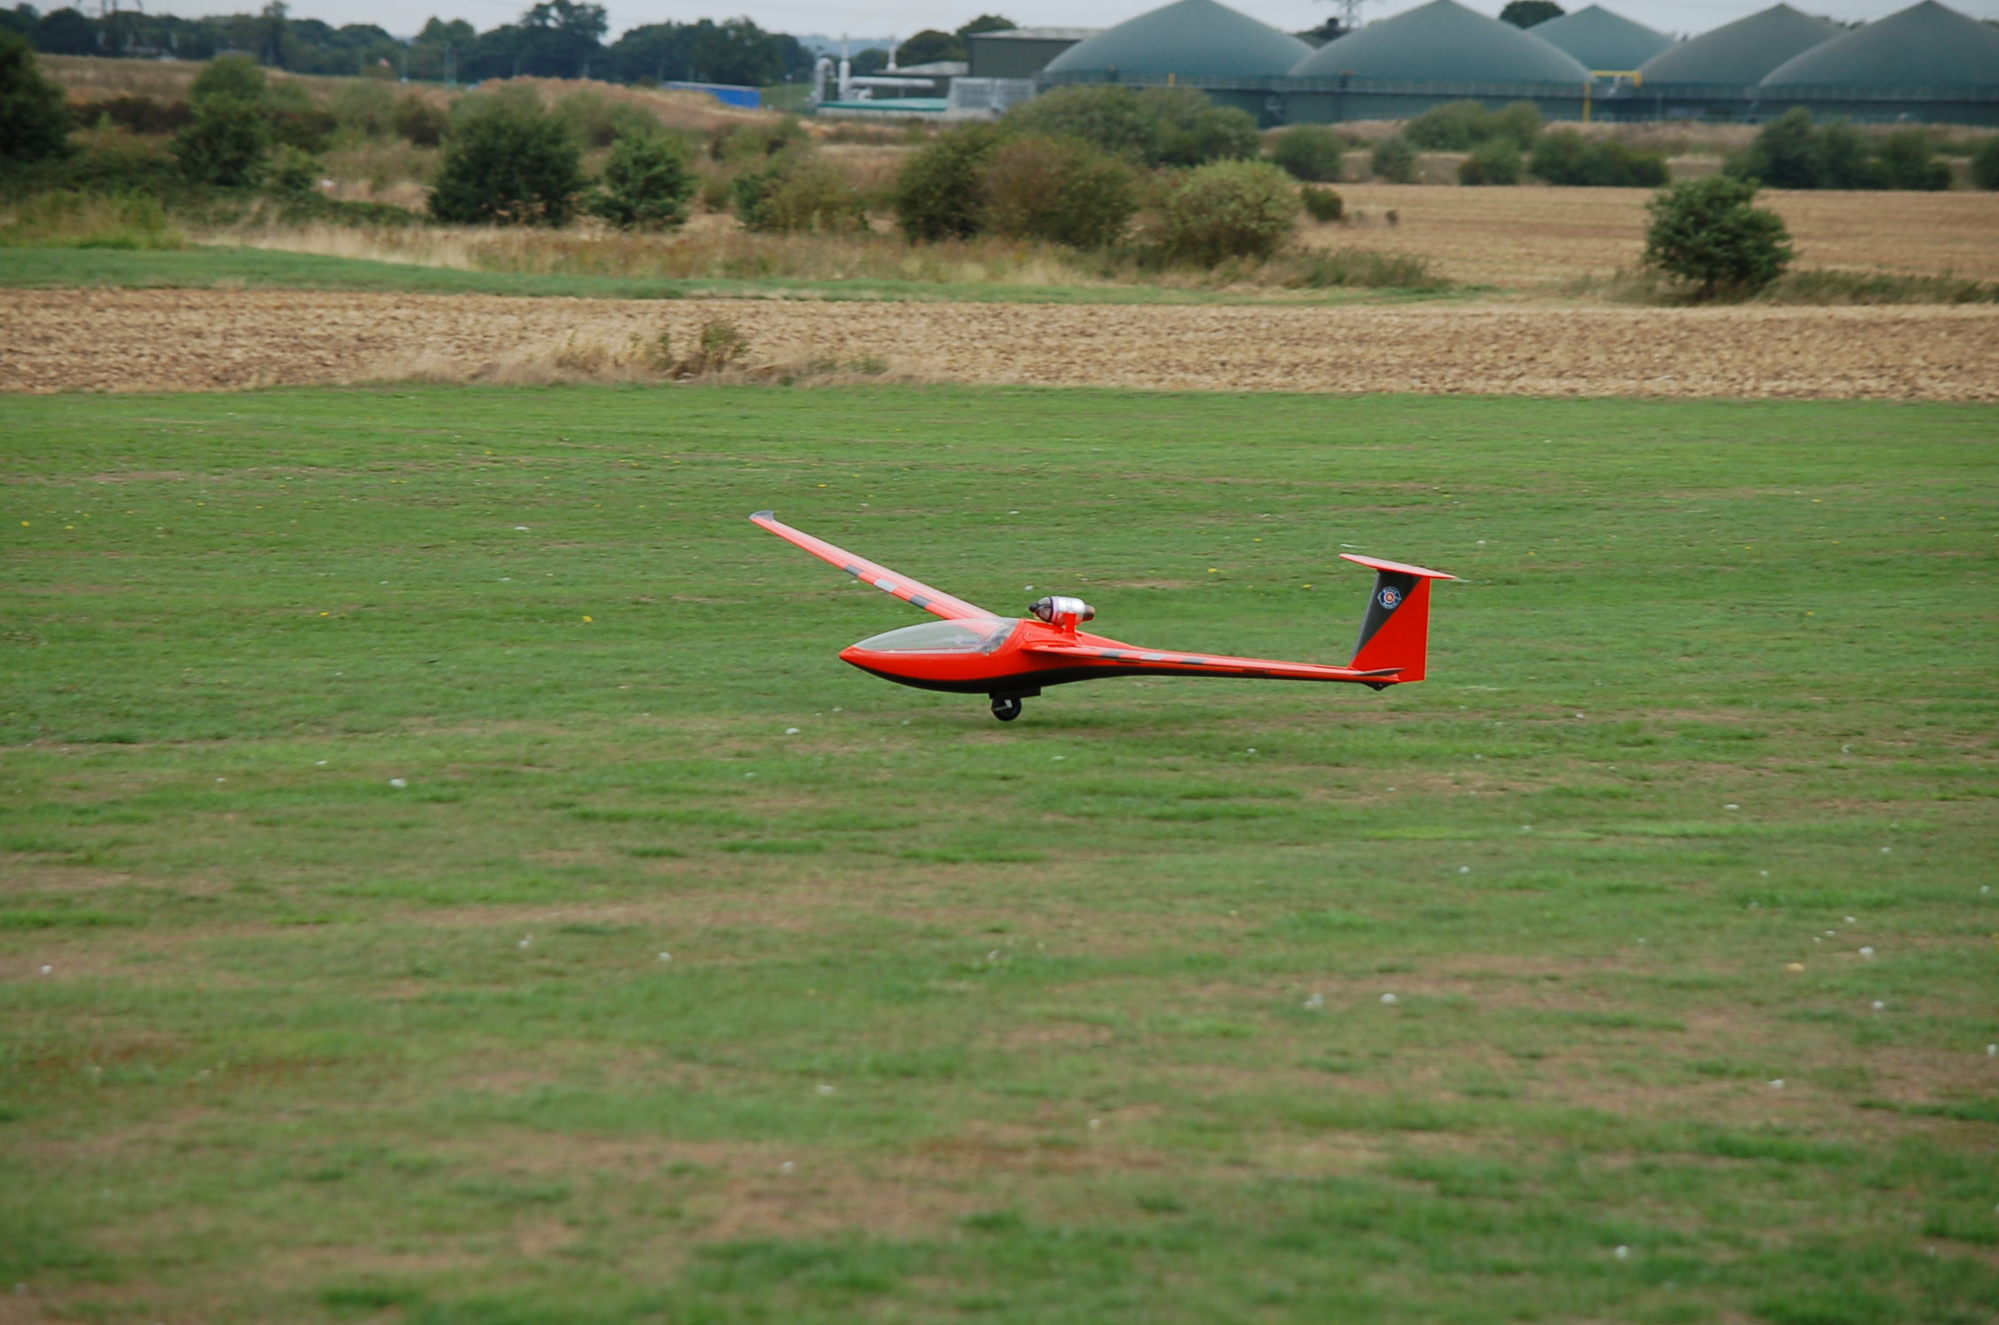
Today we were finally able to maiden my CARF DG-800........ great couple of flights.
Decided to leave the turbine with the factory recommended angle instead of installing it straight. With the turbine on an angle, the glider needs left rudder to go straight during take off, but during flight the effect is not noticeable and you don't really need to use the rudder.
Just need to check the ailerons since the glider is rolling very slowly. What kind of throws are you guys using in your ailerons ?
No big changes of pitch during flight.... only with the air brakes out where the glider tends to lower the nose very fast.
Thanks to my builder Claudio Rojas for a great build.
For next flight I'm planning to program the iGyro that is installed and that should help with any pitch changes and heavy winds.
Last edited by Gonzalo38; 06-16-2018 at 04:58 PM.
06-17-2018, 08:54 AM
#114
By the way.... are you guys using the flaps to complement the ailerons in order to give the glider more authority when rolling ? Or it�s just a thing to give the ailerons more throw ?
07-02-2018, 01:27 PM
#115
Not a very good day in terms of visibility but kept trying to figure out ailerons throws. We modified ailerons but still not enough for the glider to roll nicely. Next step is going to be to use flaps as recommended in the instructions but we will start with very small movement of the surfaces.
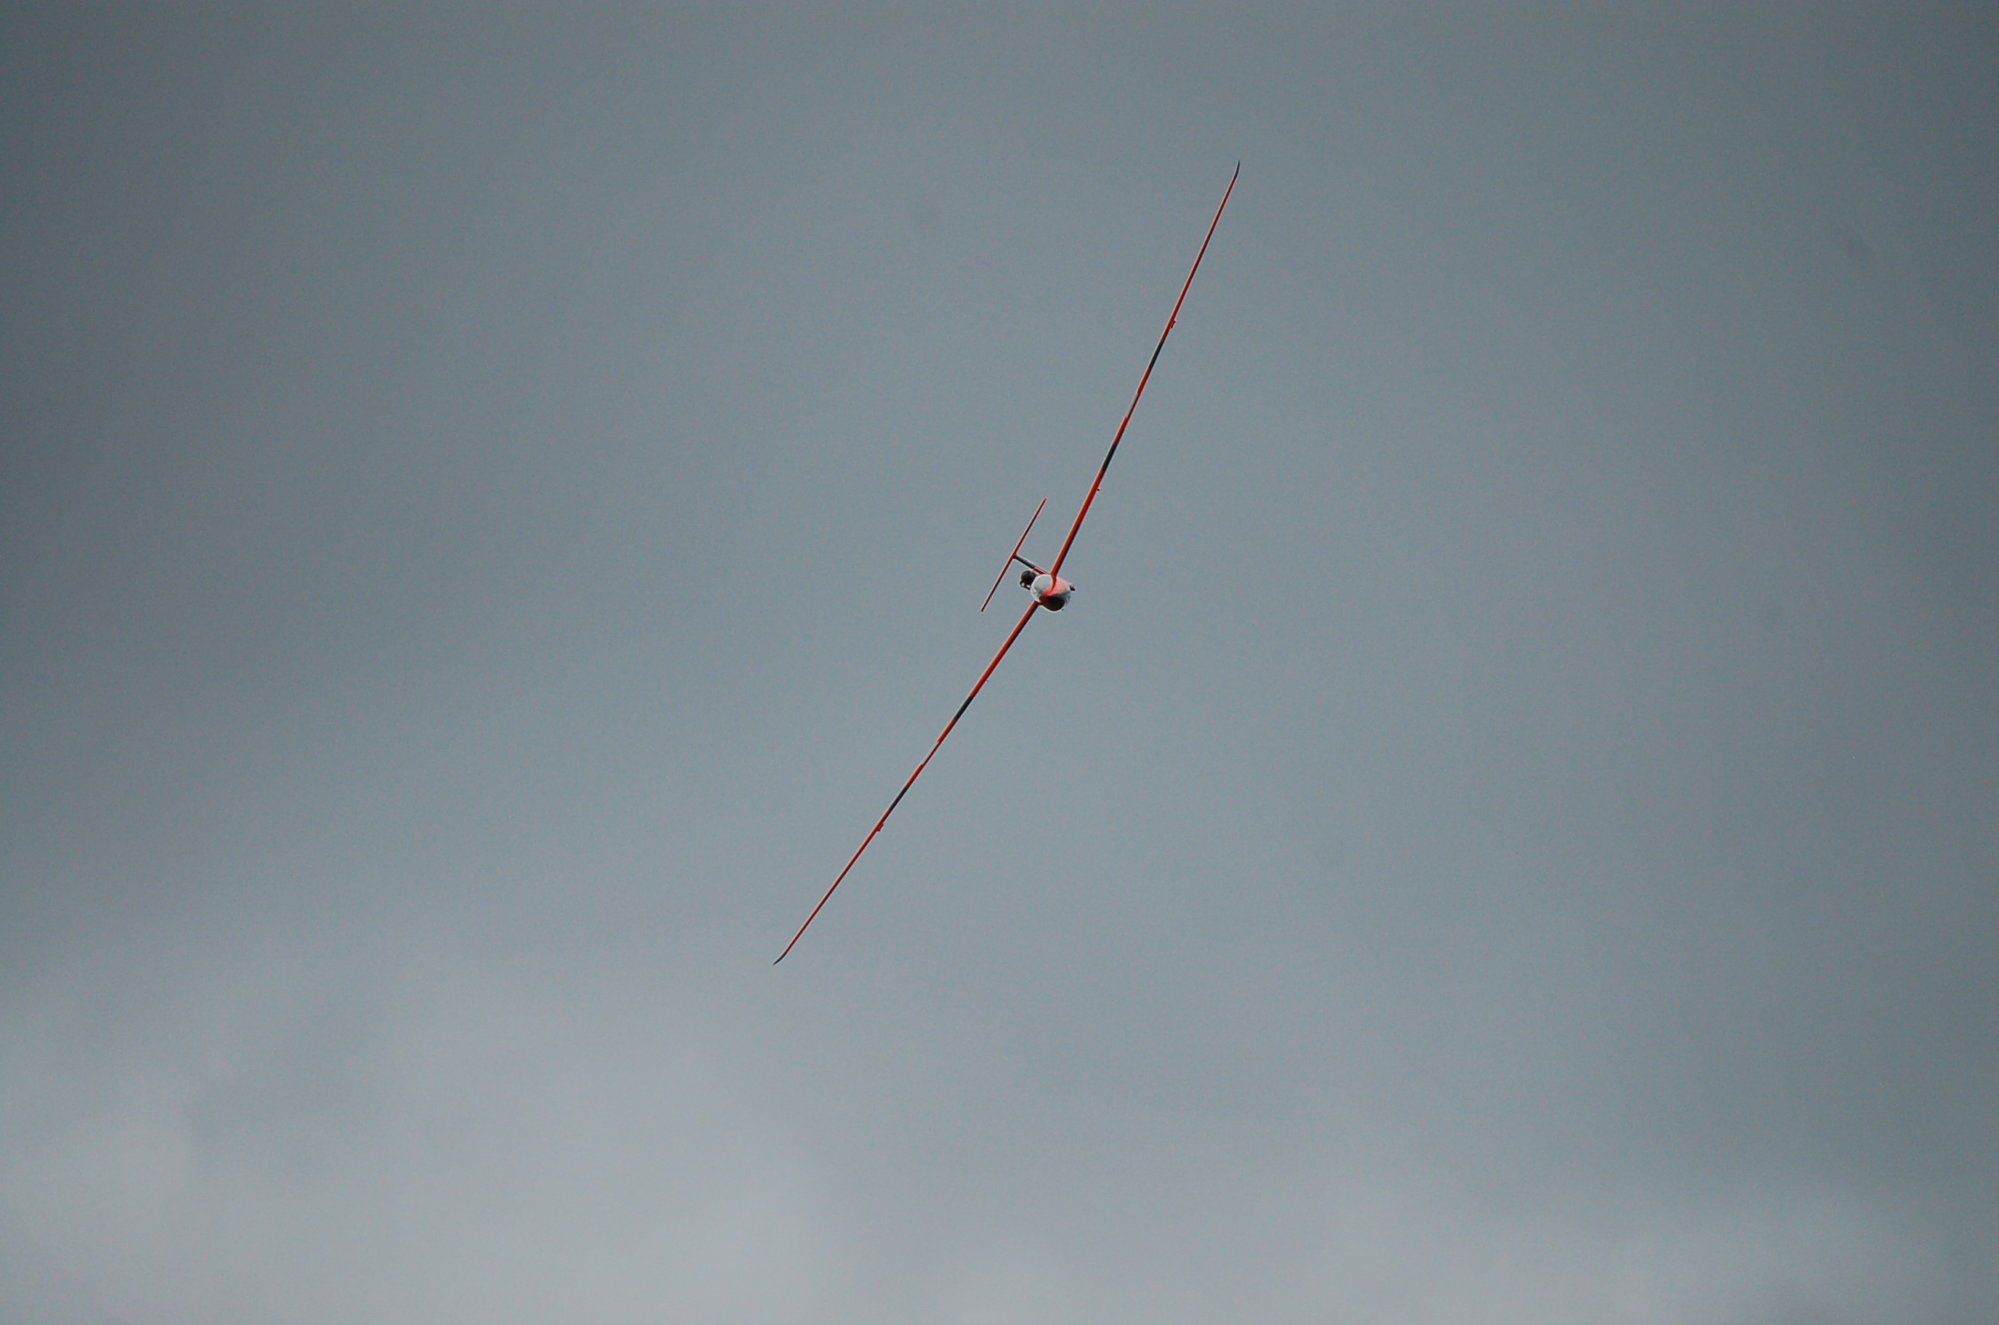
High speed pass.....
High speed pass.....
07-02-2018, 02:18 PM
#116
Not a very good day in terms of visibility but kept trying to figure out ailerons throws. We modified ailerons but still not enough for the glider to roll nicely. Next step is going to be to use flaps as recommended in the instructions but we will start with very small movement of the surfaces.
High speed pass.....
https://youtu.be/KIuVL0PhAvg
High speed pass.....
https://youtu.be/KIuVL0PhAvg
I didn�t fly mine yet, the weather jet is too hot now.
07-02-2018, 02:42 PM
#117
Hopefully I can dial in the aileron situation fast and next step should be to program the iGyro. That should help with some not very nice tendencies that I have noticed. When taking of and maybe because the turbine it's on an angle, you need to really use your rudder / ailerons to keep the glider straight on the runway and most times this is difficult to achieve. The other one is that when you apply full throttle, the nose of the glider tends to dive. This could be dangerous if you are in a really low pass and it also prevents the glider to do nice loops if you are applying full throttle. For a nice loop, go full speed and as you start going up, bring down the throttle and let the glider finish the maneuver with the energy it carries. Plenty of energy to do several consecutive loops without using the turbine...
07-02-2018, 02:53 PM
#118
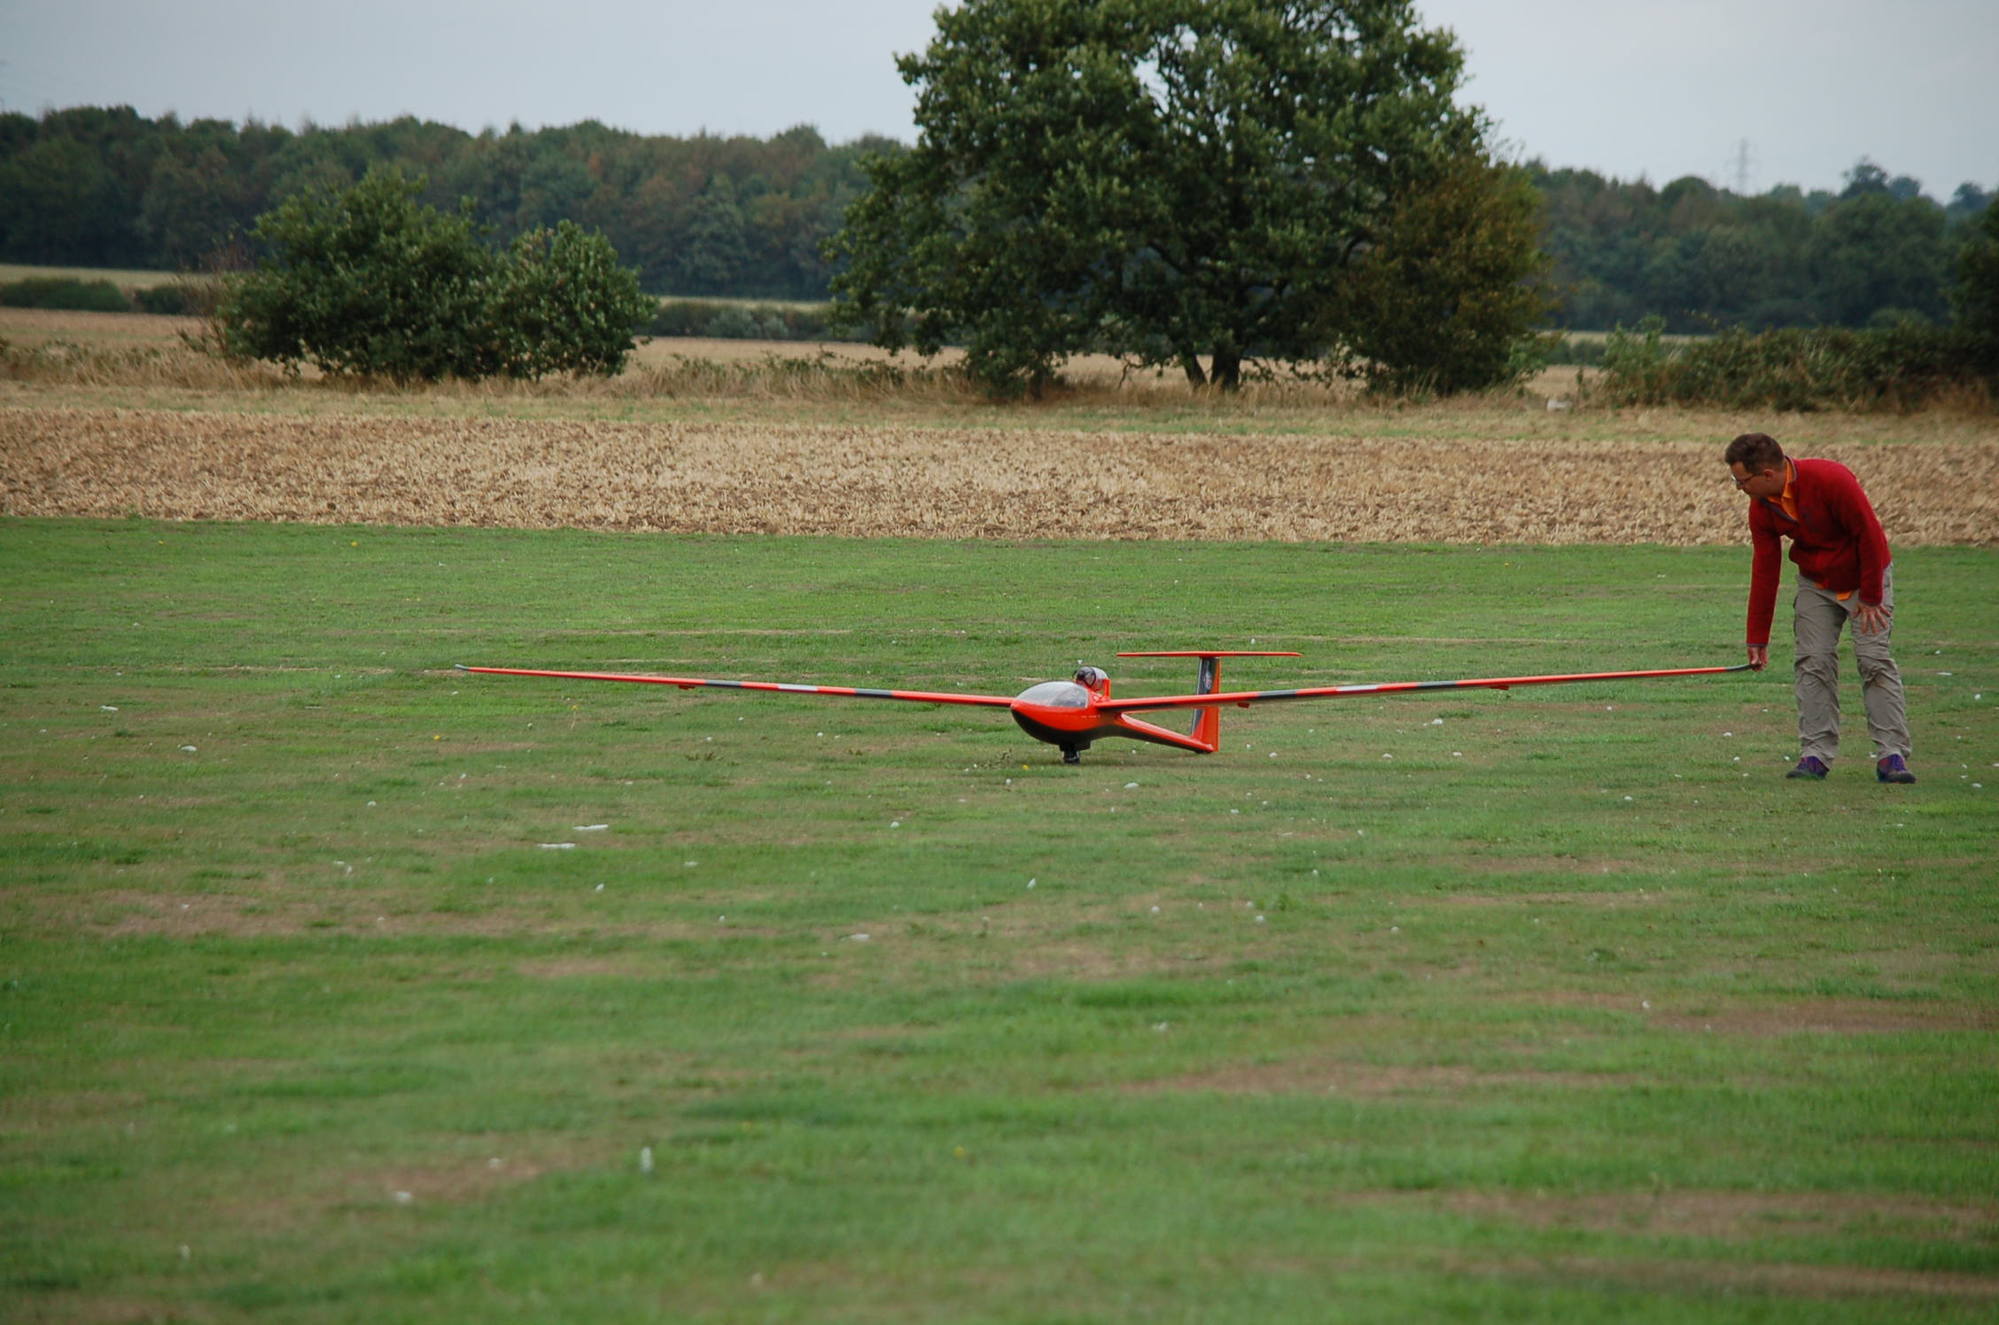
By the way..... installing the wings is really difficult since there is very little space to put you hand inside the fuselage and be able to tight the nuts, so I'm looking at making some space in my hangar and be able to leave it assembled and ready to fly for whenever I need it (which is proving to be a difficult task.....).
Try to pay attention when you are building one, to leave enough space to be able to put your hands inside and be able to have good access to the locking nuts. With all the turbine stuff... things get quite busy inside the fuselage.
Try to pay attention when you are building one, to leave enough space to be able to put your hands inside and be able to have good access to the locking nuts. With all the turbine stuff... things get quite busy inside the fuselage.
Last edited by Gonzalo38; 07-02-2018 at 03:03 PM.
07-02-2018, 03:39 PM
#119
By the way..... installing the wings is really difficult since there is very little space to put you hand inside the fuselage and be able to tight the nuts, so I'm looking at making some space in my hangar and be able to leave it assembled and ready to fly for whenever I need it (which is proving to be a difficult task.....).
I did arrange everything well because like you said it�s too much stuff inside when you get the glider done. I do believe that you have a problem with the stab angle as they mentioned in the manual. You may need to sand it and get that angle correct to stop that diving when applying full throtle. Thanks for the info and will be looking for the next video 😃👍🏻
07-02-2018, 03:51 PM
#120
Stab was sanded as per CARF�s instruction..... but I do understand that this has has nothing to do with the glider pointing the nose down at full throttle. It ia mostly done to make the goide go at higher speeds at neutral elevator without feeling like you need to trim down the elevator.
07-09-2018, 04:15 AM
#121
Yesterday we were able to program the flaps to help then ailerons and what a change....... now the glider is rolling faster as it should have been since the first flight. I guess that's why in the manual they tell you to program your flaps also as ailerons.
Last change was to program the iGyro (70% gains) and that took care of all the strange attitudes like the sinking nose on power. The glider is now flying very smoothly and ready for the coming season of flying.
Low passes at full speed and after a dive are so fun. It's amazing the speed of this thing and how much energy it can carry. Not difficult to do over 5 loops on a row with the turbine on idle just because of that energy.
Wing13z.... hopefully you can maiden yours soon.
07-09-2018, 05:12 AM
#122
Yesterday we were able to program the flaps to help then ailerons and what a change....... now the glider is rolling faster as it should have been since the first flight. I guess that's why in the manual they tell you to program your flaps also as ailerons.
Last change was to program the iGyro (70% gains) and that took care of all the strange attitudes like the sinking nose on power. The glider is now flying very smoothly and ready for the coming season of flying.
Low passes at full speed and after a dive are so fun. It's amazing the speed of this thing and how much energy it can carry. Not difficult to do over 5 loops on a row with the turbine on idle just because of that energy.
Wing13z.... hopefully you can maiden yours soon.
Last change was to program the iGyro (70% gains) and that took care of all the strange attitudes like the sinking nose on power. The glider is now flying very smoothly and ready for the coming season of flying.
Low passes at full speed and after a dive are so fun. It's amazing the speed of this thing and how much energy it can carry. Not difficult to do over 5 loops on a row with the turbine on idle just because of that energy.
Wing13z.... hopefully you can maiden yours soon.
Did you do any mixes?
You better get a video for your next flight 😃
07-09-2018, 07:12 AM
#123
Will measure all surfaces over this coming weekend so that I can give you the correct numbers. I do have a butterfly mix and will also get the info on that one......
Gliders rolls better to the left that to the right (maybe because of the offset of the turbine) but that is solved with the iGyro.
Gliders rolls better to the left that to the right (maybe because of the offset of the turbine) but that is solved with the iGyro.
08-18-2018, 06:47 AM
#124
Had the great pleasure to test fly Stuart Naylor's DG-800 JetCat P-100Rx combo...what a great toy! Took off and landed in 40-45m with a 10 knot head wind.
08-19-2018, 06:42 AM
#125
Dave. Great pictures and great color for visibility.
The turbine was mounted on an angle as per the original instructions ? With this setup, you find any bad tendencies ? Mine had some that were fixed with the iGyro
The turbine was mounted on an angle as per the original instructions ? With this setup, you find any bad tendencies ? Mine had some that were fixed with the iGyro