


Peppermint Pattie .60 electric conversion and build thread


 03-02-2025 | 04:00 AM
#56

Thread Starter

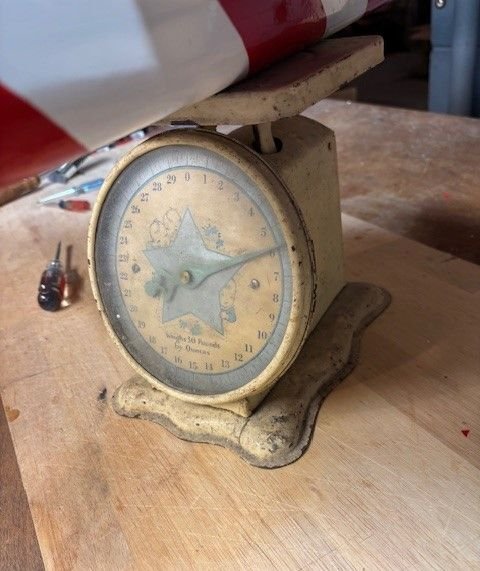
So now all the blue color and the black trim have been applied - time to start with the red stripes. Right now, the completed bare frame weighs in at 2 3/4 pounds.


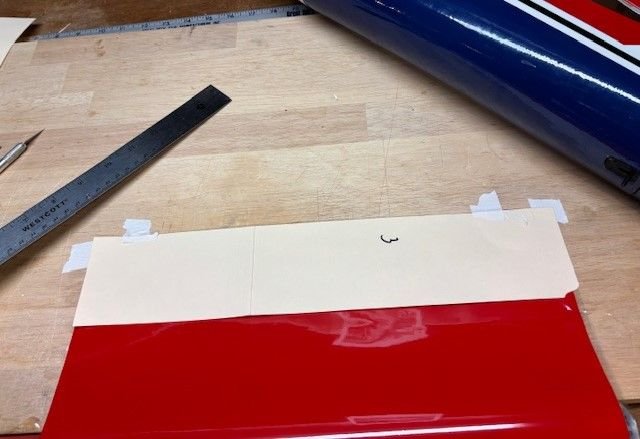
 03-02-2025 | 02:15 PM
#59
Thread Starter
Rather than keep measuring 3" on the monokote, I made another template. I tape the monokote, then tape the template. Next I put a steel ruler at the edge of the template, and cut. Saves a lot of measuring.
03-04-2025 | 03:01 AM
#60
Thread Starter
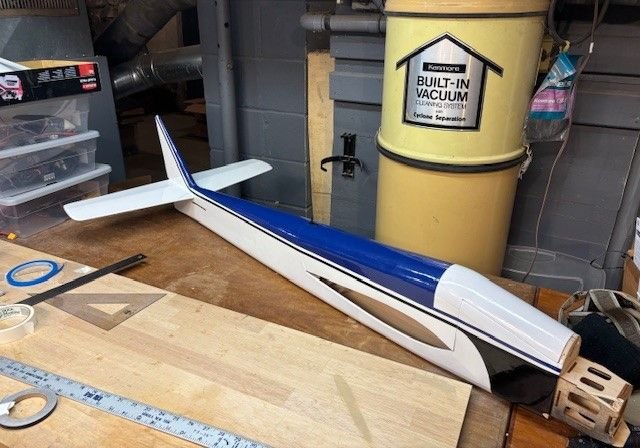
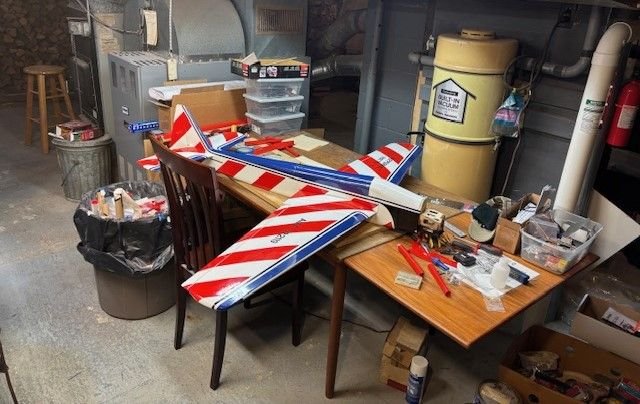
Red stripes on fuselage are done. I can start putting equipment in. Still need to do the wing. Each stripe takes me about 15 minutes. The rudder to stab intersection was especially tedious.

 03-12-2025 | 02:45 AM
#62
Thread Starter
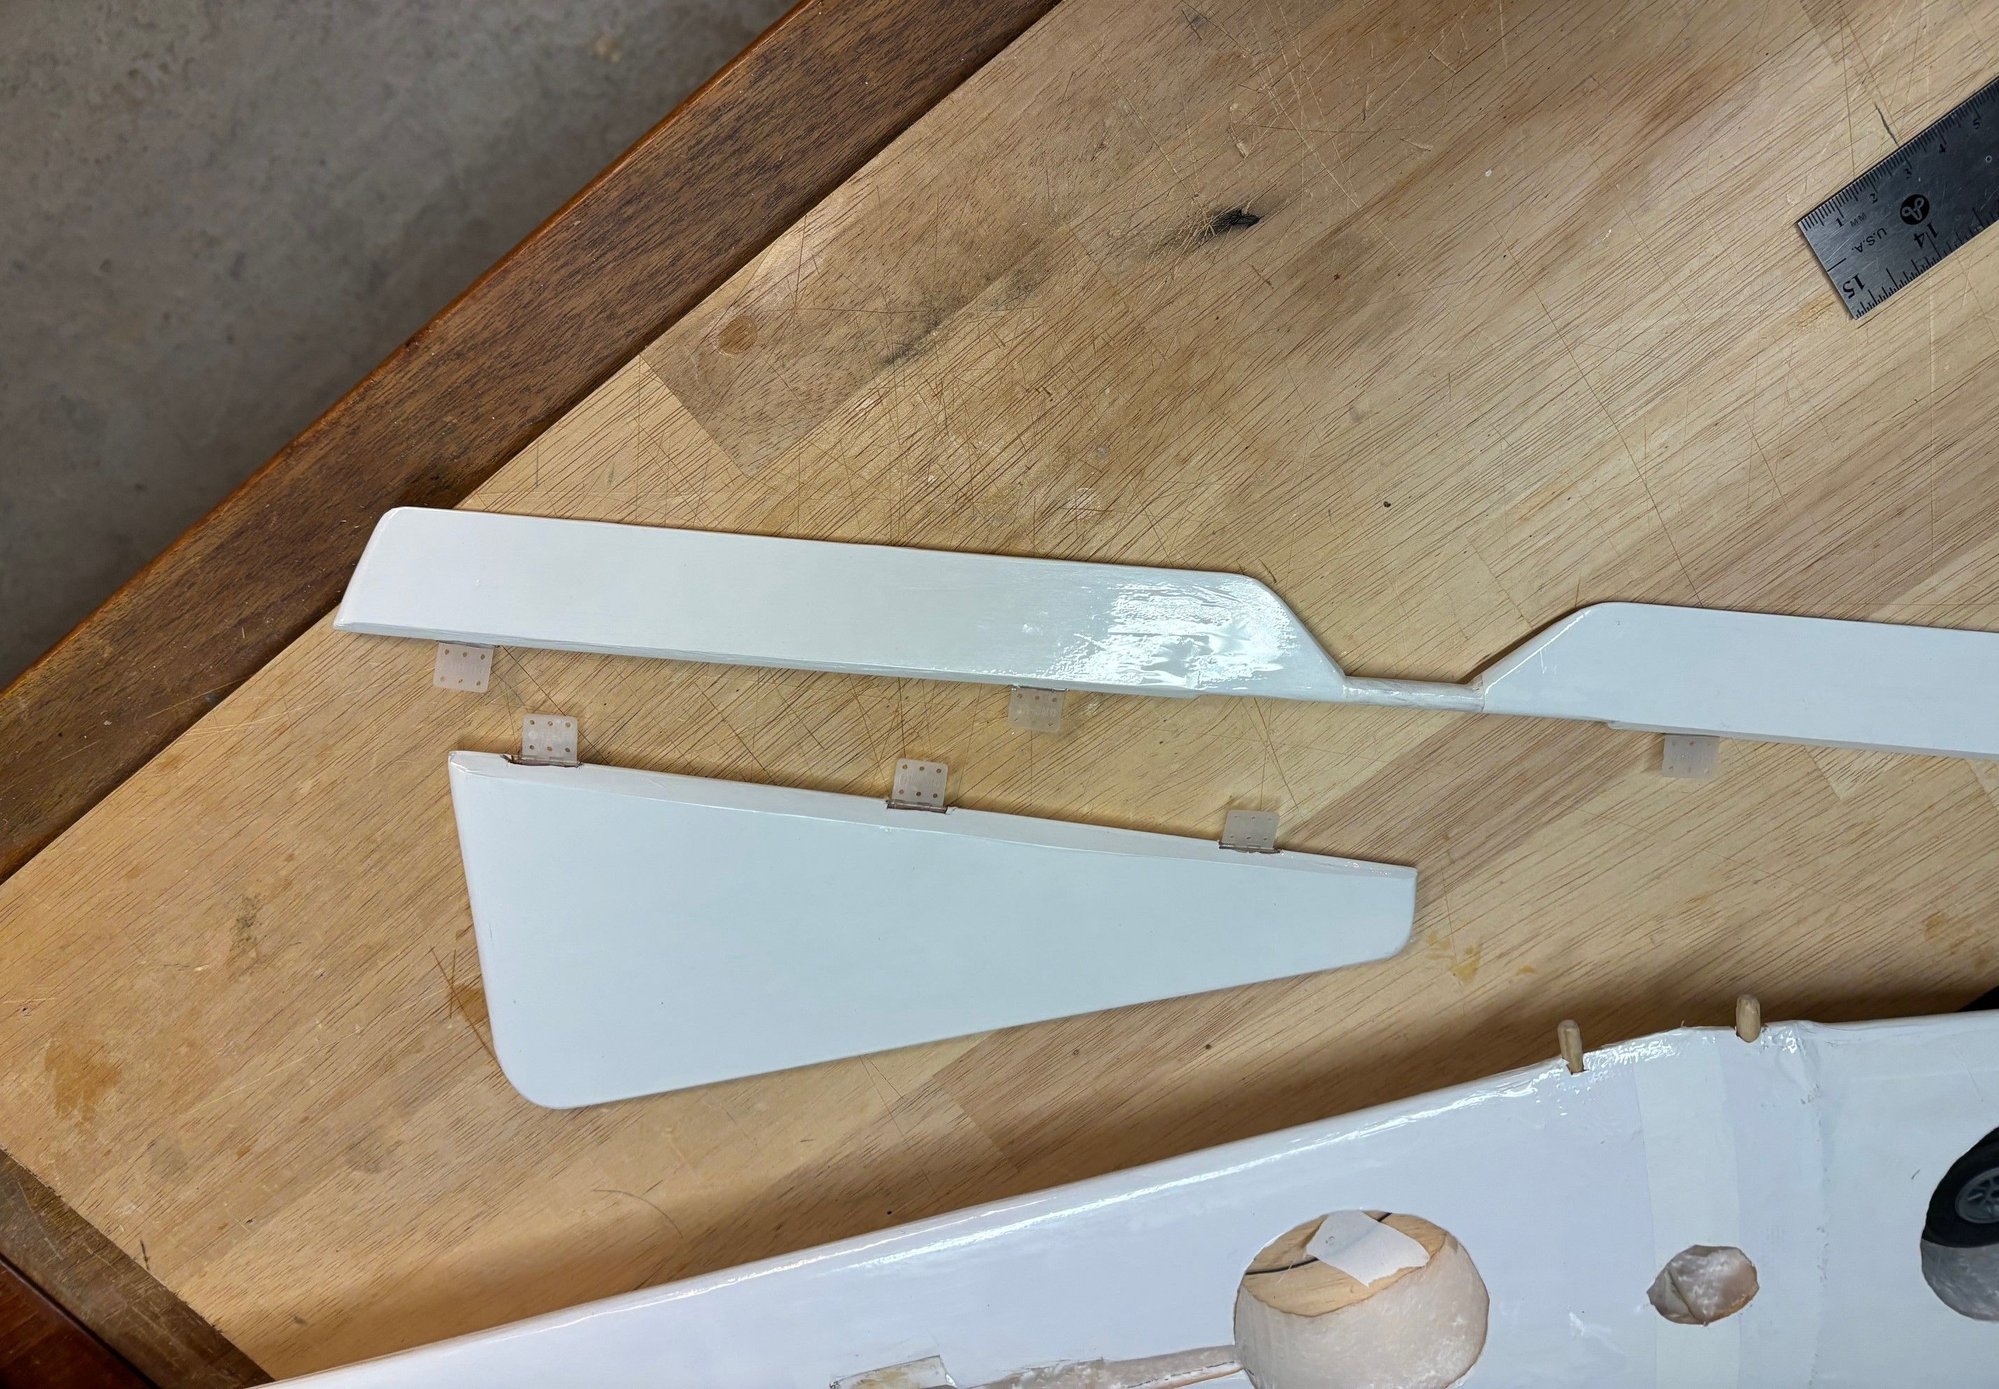
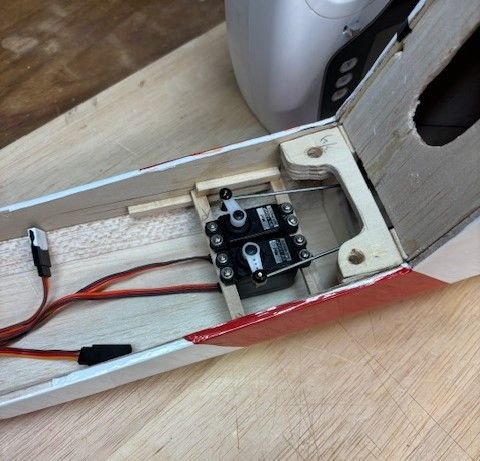
Now I can start to install the equipment. I'm going "old school" for the R & E pushrods - threaded rod married to 1/4" dowels. only difference is using medium CA instead of 5 min epoxy to coat the thread.

03-13-2025 | 06:56 AM
#63
Thread Starter
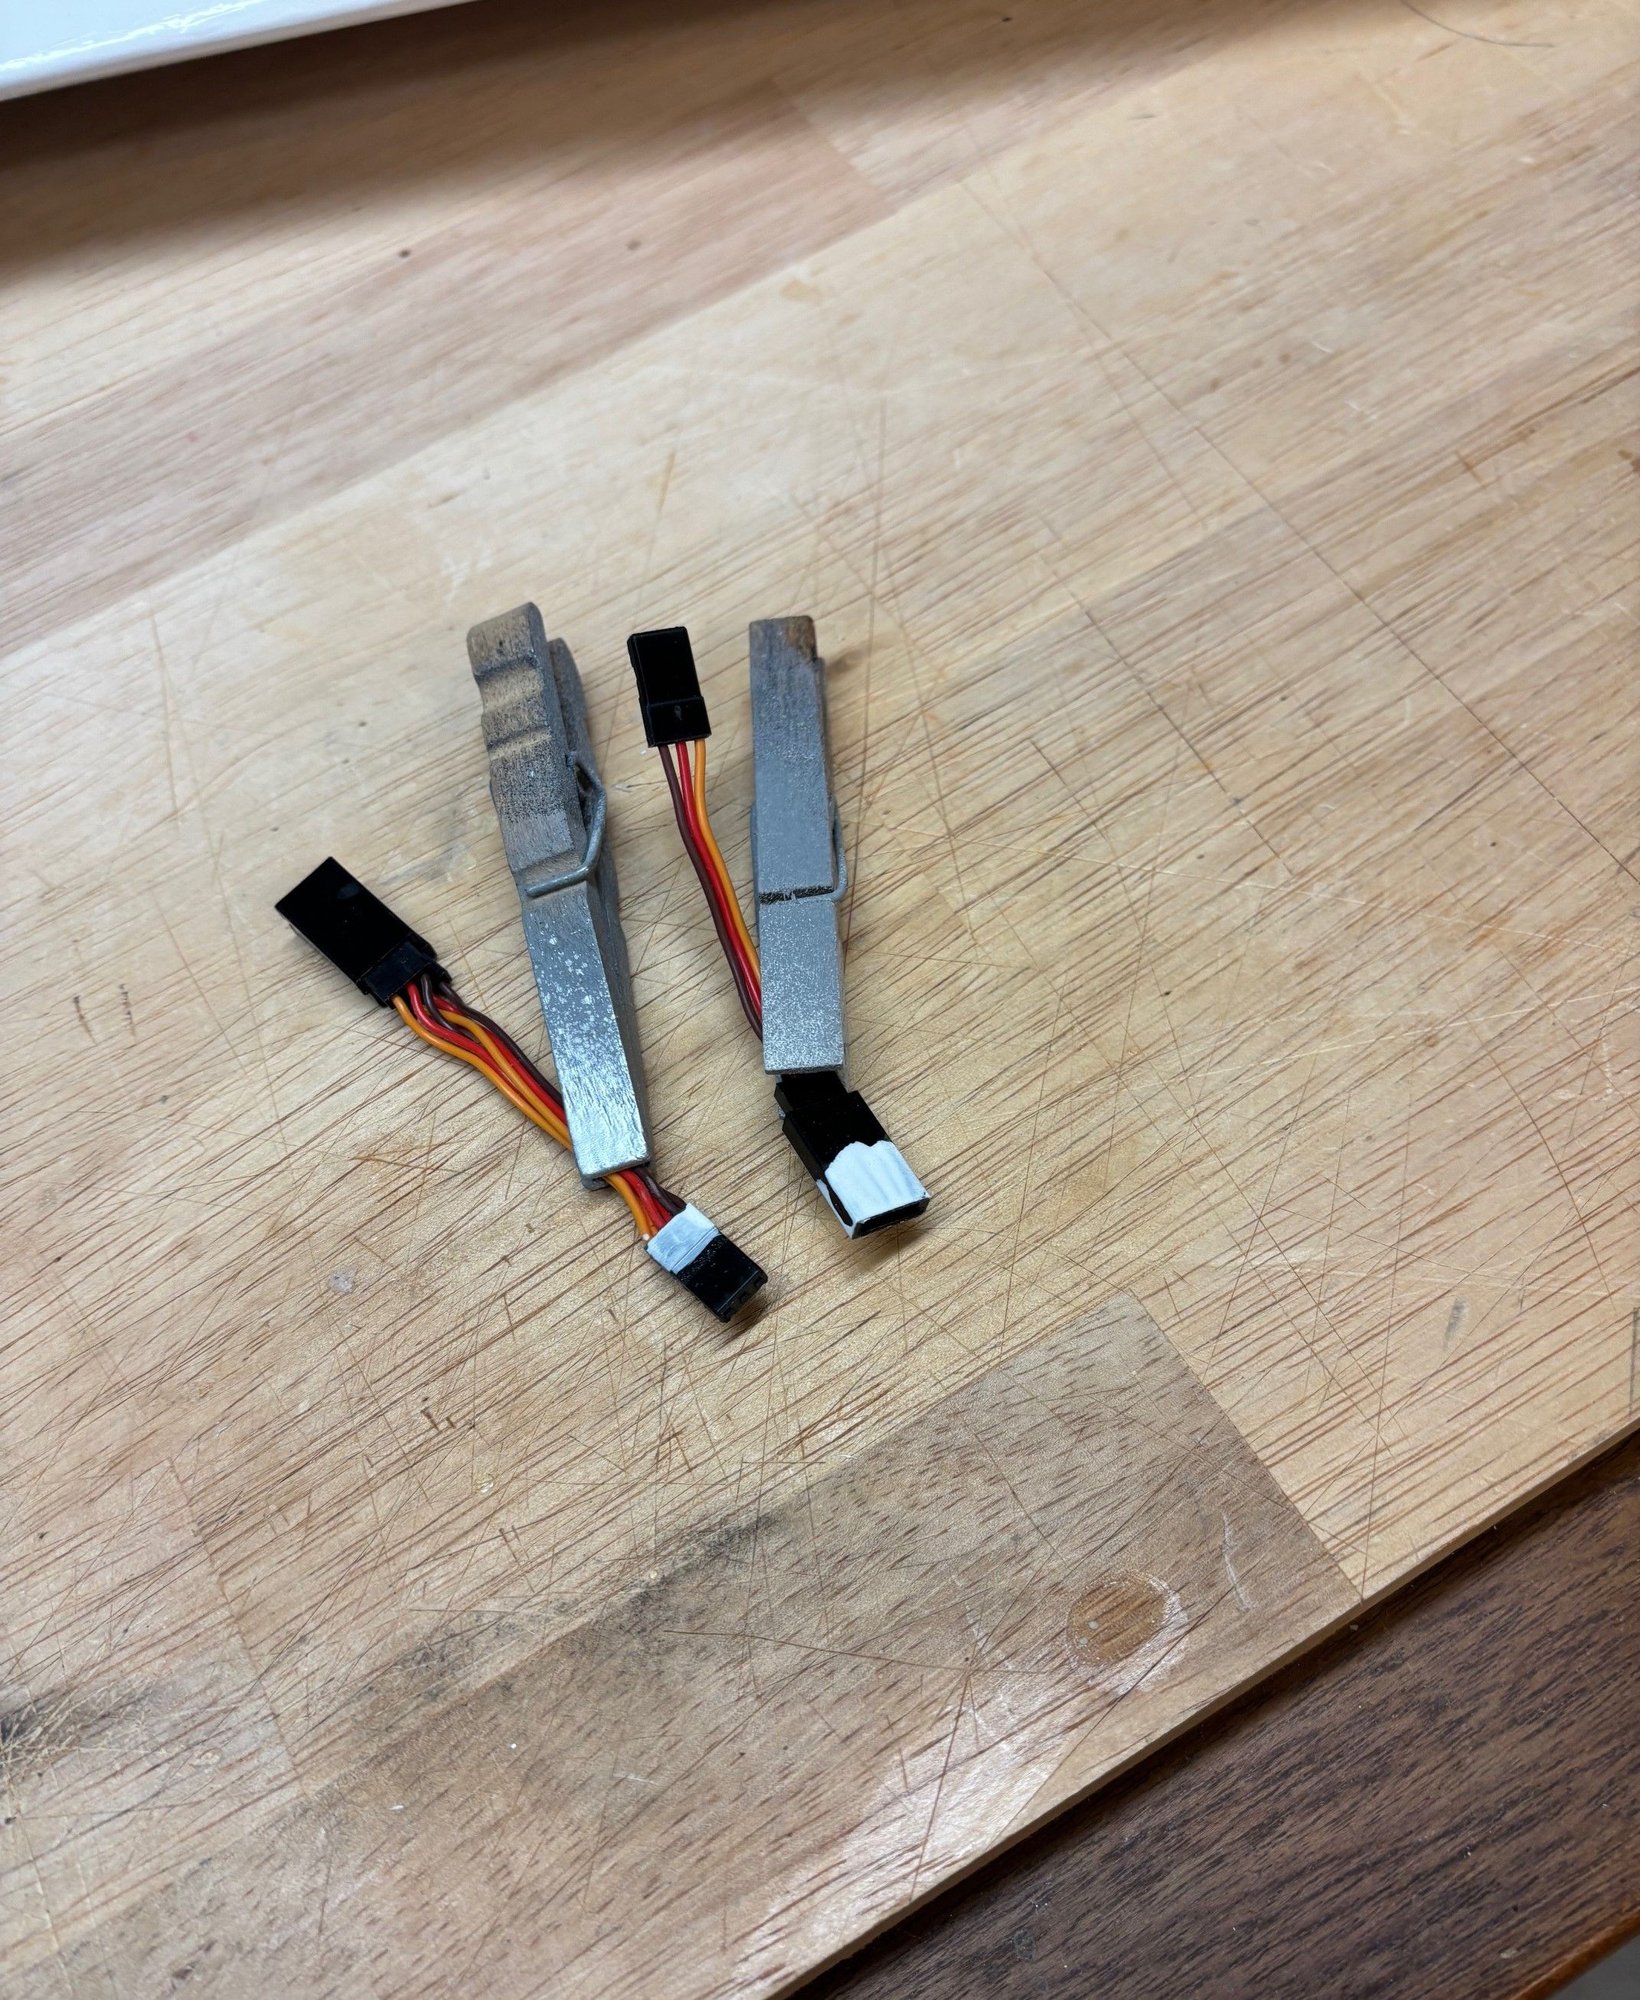
Hooked up the pushrods to the servos, using those brass cubes with setscrews - only problem is when I looked at the side view, those cubes stuck up into where the wing goes. *sigh* So I had to remove the servo arms and re-install the connectors upside down.
03-14-2025 | 02:55 AM
#64
Thread Starter
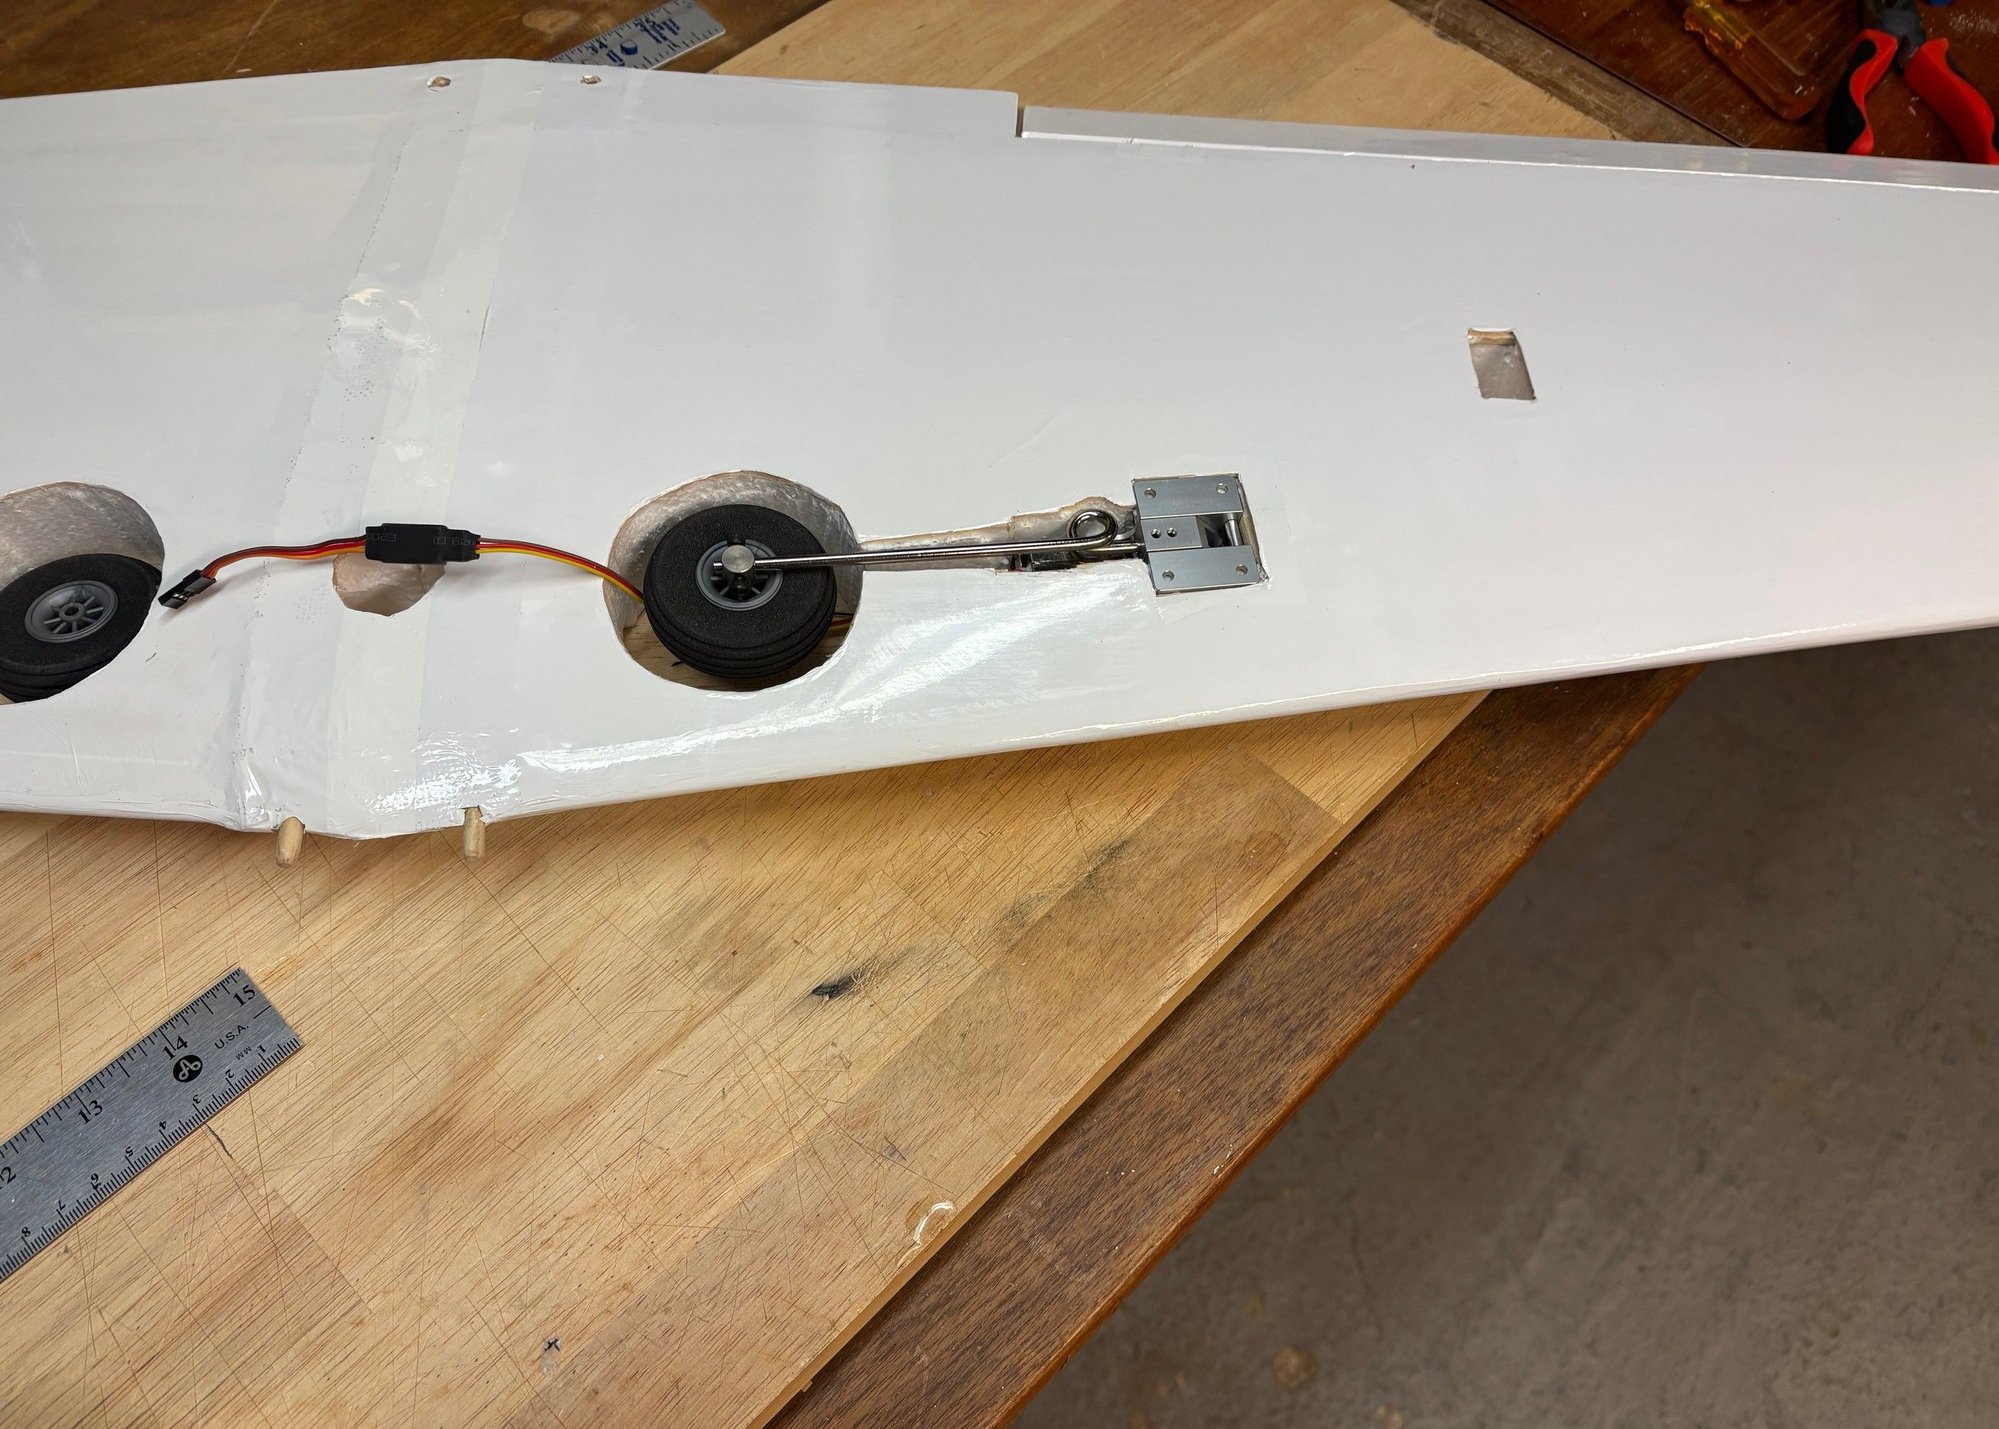
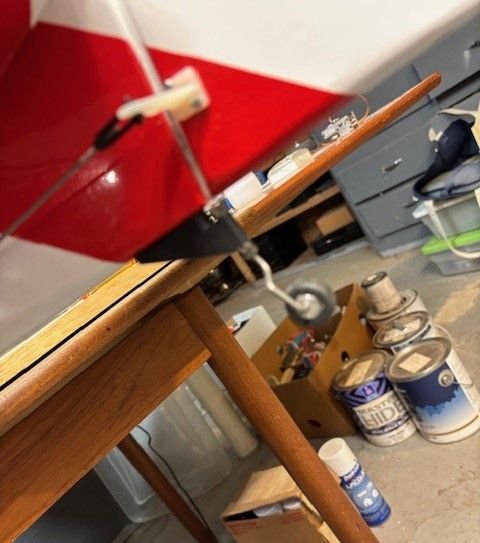
Really getting down to the final parts. Here's the free-wheeling tail wheel. I figure that with the large rudder, it will turn the plane, and the wheel will just follow.
 04-11-2025 | 03:17 AM
#72
Thread Starter
I went through the dudgeon, and came up with this.....
Here's the whole, complete evolution of all the Peppermint Patties:
Niris: I have a print of the original plan w/ some notes - no date on the plans. It was published, however, in Model Aviation October 1975.
Niris II: a copy of the original plans, with notes for versions III, IV, V, and VI. Changes noted were engine mount, Aileron placement and shape, rudder cross-section, and the like. Funny thing, I don't remember building all these versions. Unfortunately, no dates are on the plans.
Major fuselage changes generated the Peppermint Pattie .60 - I have the original plans, with a note that they were modified in 11/79. Then I found the Peppermint Pattie II ! This is what Master Kit produced, but that was after it was sold from CT to the Midwest somewhere. It was dated 12/81. Notes on the plan state the nose was lengthened 1" for a 16 oz tank, the tail 2" for lateral area, bottom of fuse was made parallel to thrust line for increased side area (read smoother knife edges) Main gear changed to make retract and fixed gear placement the same, gear lengthened 1/2" for ground clearance, and lastly, the fuse doubler was extended beyond the wing TE to disperse forces. (must have been a crash breakage point?) The .60 Pattie was marketed as "the pattern ship of the '80's"
Now let's back up to the .15 Pattie: Published in March 1978 R/C Sportsman, I have early photos of my first one, which differ from the Masterkit version. I have a photo of me hand launching it at Rocky Hill. Sadly, I could not find my original plans. I think I gave them to M/K to reproduce, they might have had the same sort of notes I put on the other plans as I evolved each design.
Pattie .40: I have the original plans, dated 7/79. Sadly, I only built one of them, and didn't like the way it flew. It needed stab anhedral to prevent a pitch problem in knife edge, I remember clearly having to cut the stab and make the modification. After one season, I sold it at the WRAMS show. I remember doing it after Rhett Miller won the Nats with a .40 Contendor(?)
So that's the complete history that I can document. I will findo out what it costs to reproduce plans and keep you posted.
By the way, my current .15 Pattie is done like Ed Kasmirski's Taurus, MAN Jan '63 cover. And yes, I had one of those, too.
04-13-2025 | 06:51 AM
#73
Thread Starter
My next build will be a Mark's Models Windfree sailplane w/ electric assist. The build thread is here:
Windfree sailplane w/folding prop assist
Windfree sailplane w/folding prop assist

