


H9 Spitfire Build


 10-13-2014 | 08:07 AM
#1504
dawhale,
I sent you an email and private message again. I am not sure why any of my pm's have not gone through. They are not listed in sent items or anywhere else. Anyway I'll be checking both. Thanks!
I sent you an email and private message again. I am not sure why any of my pm's have not gone through. They are not listed in sent items or anywhere else. Anyway I'll be checking both. Thanks!
10-13-2014 | 08:09 AM
#1505
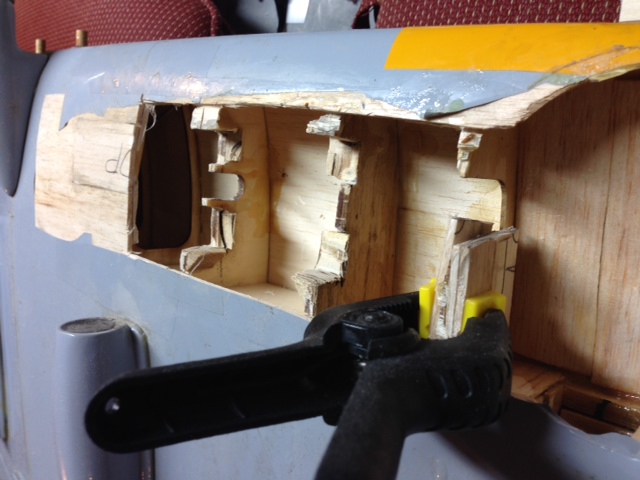
I decided it would be best to cut out the old mounts and replace as the wood was pretty tore up. Not hard at all and took about 30 minutes with a dremel. I will be fiberglassing the wing rips and tri-stock for added strenth.
11-07-2014 | 06:19 PM
#1506
Member
Joined: Feb 2014
Posts: 39
Likes: 0
Received 0 Likes
on
0 Posts
So I posted on here back in April in regards to replacing the flimsy Hangar 9 landing gear wire with some 3/16" cold-rolled steel from Lowe's. Currently I am building the plane but figured I would contribute to the thread as the landing gear has been an issue for many and I don't think anyone has done what I am currently doing.
I drilled out the H9-supplied mechanical retract to accept the slightly larger 3/16" steel which ended up about 3" long. The Robart 650 Oleo struts I used only need 5/8" of wire to hold onto, but I wanted a longer rod to help resist bending. The Oleos and retract mechanism can take about 3" total so I went with that. I also drilled out the smaller bushing that Robart supplied to 3/16" so the rod was supported at the top and bottom of the strut. The complete set-up lis shown in the picture where you can also see the 3/8" nylon washer that I drilled out, painted (unpainted in picture), and used as a spacer since the Oleos are about 1/2 too short. When I JB Welded the bushings into the struts, I did not JB Weld the lower bushing, only the top one that got threaded in and set-screwed as per Robart's instructions. All the set-screws for the retracts, struts, and axles were Loc-tited. I also CA'd the retract mounts as there isn't enough space to add much reinforcement unless I strip the covering. I decided instead of creating a problem I would wait and see how the set-up works and make a repair if necessary with better access. Also, I changed out the factory plastic control horn on the retract with Dubro control horns as the factory one broke as I was removing the control rod. Someone mentioned the control rods bent trying to deal with the extra weight of the Robart Oleos so I reinforced mine with carbon fiber tube.
Will post a picture of the finished project once I am done getting the gear doors on tomorrow and will let you know how it works when I get it in the air probably next season but perhaps this year.
11-23-2014 | 06:35 AM
#1507
Member
Joined: Feb 2014
Posts: 39
Likes: 0
Received 0 Likes
on
0 Posts
I have a Saito 125 for this plane and figured I would put in a larger fuel tank as some of you guys were saying you wanted more flight time. The 20 oz tank would require me to chop out too much of the former to be comfortable with however. This led me to buy a DuBro 16 oz and a Sullivan 16 oz fuel tank. I figured the 2 extra ounces would be better than nothing, I wouldn't have to worry about a cheap tank splitting, the actual fuel would sit lower which would avoid the flooding some guys were reporting, and the location of the outlets would assist m use of a fuel dot.
Imagine my surprise when I tried comparing the volume of the 16 oz tanks to the factory 14 oz tank and found them to be smaller. Initially I filled up the factory tank with water and poured it into the other two. When they both failed to hold the volume from the 14 oz tank I broke out the measuring cup. Turns out the H9 "14 oz" tank actually holds about 15 ozs. The Sullivan and DuBro "16 oz" tanks only held 14 ozs.
Was completely unexpected so I figured I would share in case it helps someone.


