Great Planes Basic Light Trainer - Success!!
 08-29-2005 | 09:39 PM
#1

Thread Starter
Member
Joined: Jul 2005
Posts: 49
Likes: 0
Received 0 Likes
on
0 Posts
From: Euclid,
OH
My 2nd attempt on this plane. I am new to electrics, flew glow about 15 years ago. Loved the idea of a park flyer and just happened to live near a municipal baseball complex that has three baseball fields butted together with no dividing fences! First BLT (think of it as sandwich one) flew, but not very well on the standar electrifly 280gd 4:1:1 drive 10x4.7 prop. First landing popped off the motor and collapsed the wire landing gear. Yeah, it was a hard landing, but not that hard!! Reset the landing gear and tried a hand launch on the second flight (different area, just grass and no infield to ROG). Did not throw it hard enough to fly. Crash broke the stick fuse in two right at the landing gear. Placed pieces back in the box and started researching power systems and model design. Bought a e-flite park 370 and an e-flight 5:3:1 gearbox. Bought a wattmeter, many different sized props and several different NIMH batteries to ensure I wouldn't burn up the motor. Finally got a match with a 750mAhr 7.2v pack from Graupner for a severely crumpled Tipsy (story for another day). Running a e-flight 10x7 prop generated 12oz static thrust at 7 amps (motor rated maximun). OK. This time built the BLT (sandwich two) with taller landing gear, tipped forward slightly to provide more spring in the thing. Also, just used a 1/4 inch solid balsa stick for the fuse. Shaved the front and side to mount the e-flight Gearbox with the required down and right thrust. Used Dubro park flyer tail skid and pushrod assemblies. Ready to fly weight was 13oz!! First flight ROG'ed to a nice steady climb. I let it get two mistakes high and went to 1/2 throttle. No trimming necessary at all. Was able to do figure eights and loops. After about 12 minutes, I brought it down because I could tell the battery was getting "soft". Landed in the infield with no problem. Now, the acid test - hand launch! Switch to a fresh battery, full throttle and sandwich two just flew out of my hand! Two more practice landings and only a 10 minute flight this time due to the winds kicking up. Yes, it will fly in wind with the park 370 brushless, but I don't trust my flying skills. Now I have it in my truck extended cab ready to go at a moments notice!! Yay!! Great Planes power systems just are not strong enough for newbies. I need to get high fast to have time to react. Could not do that with the 280gd.
 08-30-2005 | 01:38 PM
#2

Senior Member
The BLT was my second plane. A pretty good 3 channel plane which did handle some wind, as you've found. Flew steady when trimmed for straight and level.
I never went stock either, using a GWS 300 C box and a 9x7 prop right from the start on 8.4Volts. I bet the brushless is even nicer!
I don't know why Great planes doesn't change the design of the nose. I finally when to a solid stick like you, and built the front so it would be easy to replace. I'm surprised you didn't split the pylon either. If you ever rebuild that part, a light 1/32 sheet contact cemented cross grain will add enormous strength with little weight penalty.
If you used slow CA to glue the the tail to the fuse (balsa to plastic), when you get a chance, you may want to add some packing tape to the tail--an inch or less on the bottom of the horizontal stab and on to the side of the fuse--done to both sides. I'm not sure, but I still think one of my crashes was due to the tail coming loose--I know for a fact it wasn't pilot error and it didn't look like a glitch.
03-20-2008 | 02:40 PM
#3
Member
Joined: Feb 2005
Posts: 73
Likes: 0
Received 0 Likes
on
0 Posts
From: Coram,
NY
Hey Flyranger and Timepilot-
I'm building this plane now, and I ordered all the stock components, except I got a 650mAh battery instead of 1200mAh to save weight. Is my setup going to fly? I had concerns that the stock components were not ideal...
Can I go with a LiPo battery on this plane? Does a LiPo need a special ESC, or can I use the one I got with the NiCad? I was reading that the biggest problem this plane has is too much weight, both in construction and the stock 1200mAh battery. That is why I went with the smaller battery, but it seems that a LiPo would give me the best of both worlds... I don't have any experience in matching components so I'm a little lost. This is my first electric kit build.
Thanks for your help.
James
03-21-2008 | 12:19 AM
#4
Senior Member
There seem to be many who don't think a plane flys well unless it can go straight up. Your BLT will fly, but like a trainer. I didn't fly my BLT stock, but with components close to stock. I decided to fly my BLT with GWS motors and gearboxes because GWS has a bunch of information on their power systems on their website.
As far as lipo's, nothing is impossible. I don't have my BLT to test this theory, but I would suspect that getting the CG right would be a challenge. If I were building one now, I'd consider using a light outrunner, rated at about 100 watts, and put a small lipo on top, in front of the wing pylon.
But I definitely wouldn't use a lipo on a BLT until you've got more experience. The nimh cells (you should use nimh, not nicad cells) will survive the crashes better. and the BLT doesn't crash well. I learned the art of rebuilding.... Other than some punctured covering, the wing never suffered any damage. My favorite part of the plane!
I did't think the plane was heavy. Go easy on the glue. Use a lighter covering on the wing and tail to make it even lighter.
You can without doubt use the old ESC if you are using a 2S (7.4V) lipo IF you are careful with the voltage cutoff. ESC's cut power to the motor before the battery goes dead so you still have power to the electronics. Problem is, Lipos don't like being overdrained, and if the ESC isn't designed to run with lipos, there is a danger of overdraining them. Once you get experienced, you'll likely never run your batteries 'dead' but until you get experience, you don't know how to calculate and get a sense for this.
An older ESC could burn up if used with a 11.1V Lipo. Check the specs, get a new ESC, or ask how to calculate flight times. But basically, the 650 mAh battery will give you about 10 - 12 minutes of flight. If that is the case, I'd only use an 800 mAh lipo for 12 minutes of the same kind of flying and then land.
03-24-2008 | 12:28 PM
#5
Member
Joined: Feb 2005
Posts: 73
Likes: 0
Received 0 Likes
on
0 Posts
From: Coram,
NY
Thanks for your reassurance. I have 2 NiMH 650mAh bat packs. I don't need this plane to climb straight up, I am still learning and if I can fly it at all I will be very happy.
The plane is almost complete, I am using Coverite microlite covering which is lighter than monokote. In retrospect I wish I drilled out the ribs to save some more weight.
I've been flying this plane on the RealFlight simulator trying to get used to it's flying characteristics. I think I chose to build this plane because I thought it looked neat, I didn't worry too much about how it will fly at the time I bought it. It was sort of a whim. If I make another slow flying trainer type plane it will be the Mountain Models DuskStik. I've heard better things about that one than the BLT. I think that I might move into more advanced flyers if I master this one however. I'm also finishing up a Great Planes PT-40 right now too.
James
03-24-2008 | 11:47 PM
#6
Senior Member
ORIGINAL: JamesDL
I've been flying this plane on the RealFlight simulator trying to get used to it's flying characteristics.
I've been flying this plane on the RealFlight simulator trying to get used to it's flying characteristics.
ORIGINAL: JamesDL
I think that I might move into more advanced flyers if I master this one however. I'm also finishing up a Great Planes PT-40 right now too.
I think that I might move into more advanced flyers if I master this one however. I'm also finishing up a Great Planes PT-40 right now too.
The BLT does have it's own style. I thought it had a certain appeal, too.
I'd love to see some pics of your build, especially the mods.
03-26-2008 | 11:45 AM
#7
Member
Joined: Feb 2005
Posts: 73
Likes: 0
Received 0 Likes
on
0 Posts
From: Coram,
NY
I can definitely post some pictures tonight. I think I will actually have this plane completed tonight as my covering materials just arrived in the mail today. I'm doing transparent blue with silver trim instead of white. I was going to use some black trim as well, but things were getting too expensive...
I'm going to be adding a Dubro micro steerable tailwheel instead of the tail skid the plan calls for. I will couple it to the rudder using a small pushrod. Other changes I made include vertical grain shear webs instead of horizontal, and a "reinforcing strip" that hides a nasty hole I put in the fuse when my the edge of my sandpaper caught [:@]. I also swept the landing gear forward a few degrees using basswood chocks glued to the fuse sides. The basswood also reinforces the landing gear area better than the balsa strip the instructions say to use.
The electronics are all installed. I've been cycling one of my battery packs by charging it fully and then discharging it by holding the plane in place and running the motor with propeller attached at 3/4 throttle. Doing it this way takes about 10 minutes with the motor running continuously. If I get 10 minutes of flight time I will be more than satisfied.
Tonight I will cover the wings and fins, attach the tail feathers to the fuse, connect the pushrods to the rudder and elevator, and find the balance point for the battery pack. Hopefully I will be flying it this weekend.
James
03-26-2008 | 04:59 PM
#8
Senior Member
All sounds good, and looking forward to the pics. Be careful when you discharge a motor that way. Check to ensure none of the parts are getting hot (motor, esc & battery). It's not such a big deal with the BLT because everything is, hopefully, hanging in the wind, but will make a big difference when the parts are housed in a cowl and fuselage.
03-30-2008 | 11:54 PM
#9
Member
Joined: Feb 2005
Posts: 73
Likes: 0
Received 0 Likes
on
0 Posts
From: Coram,
NY
Sorry I never posted any pics of this plane... I put in the tailwheel, but decided not to couple it to the rudder, it just spins freely. I think it is much more durable and attractive than a balsa tailskid.
This weekend the plane flew OK, but I kept feeling like it was too heavy. I wish I made cutouts in all the wing ribs. I also over-sanded the fuselage and made it very weak. I used so much glue and balsa strips to make repairs and reinforcements to it that it is now hopelessly heavy, not to mention what it looks like.
I will build the hollow square stick fuselage again, but this time I will put strips of tri stock in the corners of it. Then I will sand the fuse into a cylindrical shape behind the wings to the tail feathers. The nose will remain square, but I will round the corners to make it more attractive. I think this will result in a very attractive, and structurally strong fuselage only a little heavier than the stock fuse. The nose will be especially strong, as it will stay square, and also have the tristock glued inside. Does this sound like a good idea?
I'm also wondering why it needs such a long nose. It there a reason aerodynamically speaking that the prop needs to be so far forward of the wing pylon? The heavy motor mounted on the long thin fuse is what makes it break so easily. If I shortened this part of the fuse, it would be a lot more durable, especially in a rough bounce landing when the motor weight acts like a lever to snap the fuse. It might not look as aesthetically pleasing though, which is the main thing I like about this model...
Attached are some pics. This was the plane before maiden.
James
03-31-2008 | 12:23 AM
#10
Senior Member
You've done a nice job finishing it. Thanks for the pics.
I don't think the cut outs in the ribs would have made all that much difference. As I remember, what I actually liked about my BLT over my Slow Stick was that it did fly heavier. It had a much more solid feel to it in the air. When the wind was more than calm and under 10, the BLT would be the plane I took out.
I do admire all the work you're putting in to making your stick look good.
The long nose has to do with balancing the plane. WWI and 'Old Timer' planes have short noses because their engines were heavier and needed to be in closer to the CG. You could shorten the nose and move the battery back to adjust CG. A bit shouldn't change flight characteristics much. You'd have to ask someone else about what would happen if you mounted it on the pylon. That would eliminate breaking that part of the plane though, wouldn't it!
Anything you do to strengthen the nose will help, but by design, it's weak which is why I finally went to a solid stick just for the nose. It is not a forgiving design in that regard, and because of that, this plane taught me to pay attention, to always keep the plane in control, and to respect the atitude of the plane. It was a good lesson and taugh me the best defense was to land gently.
In one of the pics, it looks like there may be a a warp in your horizontal stab--is that just the angle of the camera?
Thanks again for the update!
03-31-2008 | 01:28 AM
#11
Member
Joined: Feb 2005
Posts: 73
Likes: 0
Received 0 Likes
on
0 Posts
From: Coram,
NY
Thanks for the compliments. I am a novice builder, but I am very meticulous and a little OCD about how things look when I build.
That warping is from the pulling of the covering. I got the stab and fin nice and straight with gentle twisting and the heat gun before I flew it. It certainly looks a lot nicer in these pics than it does after I repaired the nose 3 times and the tail once today... The wing never suffered a dent, but the fuse sure took a beating. One time, simply taxiing around my driveway to get a feel for the plane I had a relatively gentle nose-over that broke the fuse in half... very frustrating.
Here are pics of it as it looks right now... You can see the silver trim and decal I put on the wing. The nose broke like this several times today. I finally added strips of balsa all over the place, which made it hold up better. The break here happened in the car ride home actually...
James
04-01-2008 | 12:34 AM
#12
Senior Member
ORIGINAL: JamesDL
The wing never suffered a dent, ....
The wing never suffered a dent, ....
The only damage I ever had to the wing was a puncture from the pylon--but the fuse was destroyed--a complete rebuild, the pylon and forward.
It's almost time to say you've suffered enough and go get yourself an Estarter!
04-01-2008 | 11:57 PM
#13
Member
Joined: Feb 2005
Posts: 73
Likes: 0
Received 0 Likes
on
0 Posts
From: Coram,
NY
Heh, I've thought about throwing this one in the trash, but I'm something of a collector... I'd like to rebuild it with my ideas and experience to make it better, see if it flies, and then hang it on the ceiling just to "have" it. Otherwise this whole experience will feel like a waste.
I'm definitely going to build a another park flyer that can actually take some wear and tear and fly it regularly. Mountain Models' stuff looks really nice and I've read all good things about them, especially the DuskStik.
I also bought a GWS Pico Stik on clearance at a hobby store in my area that went out of business. In the next few weeks I'm going to put it together and give it a try.
James
05-18-2024 | 08:53 AM
#14


Joined: Sep 2008
Posts: 83
Likes: 0
Received 0 Likes
on
0 Posts
From: Kolkata, West Bengal, India
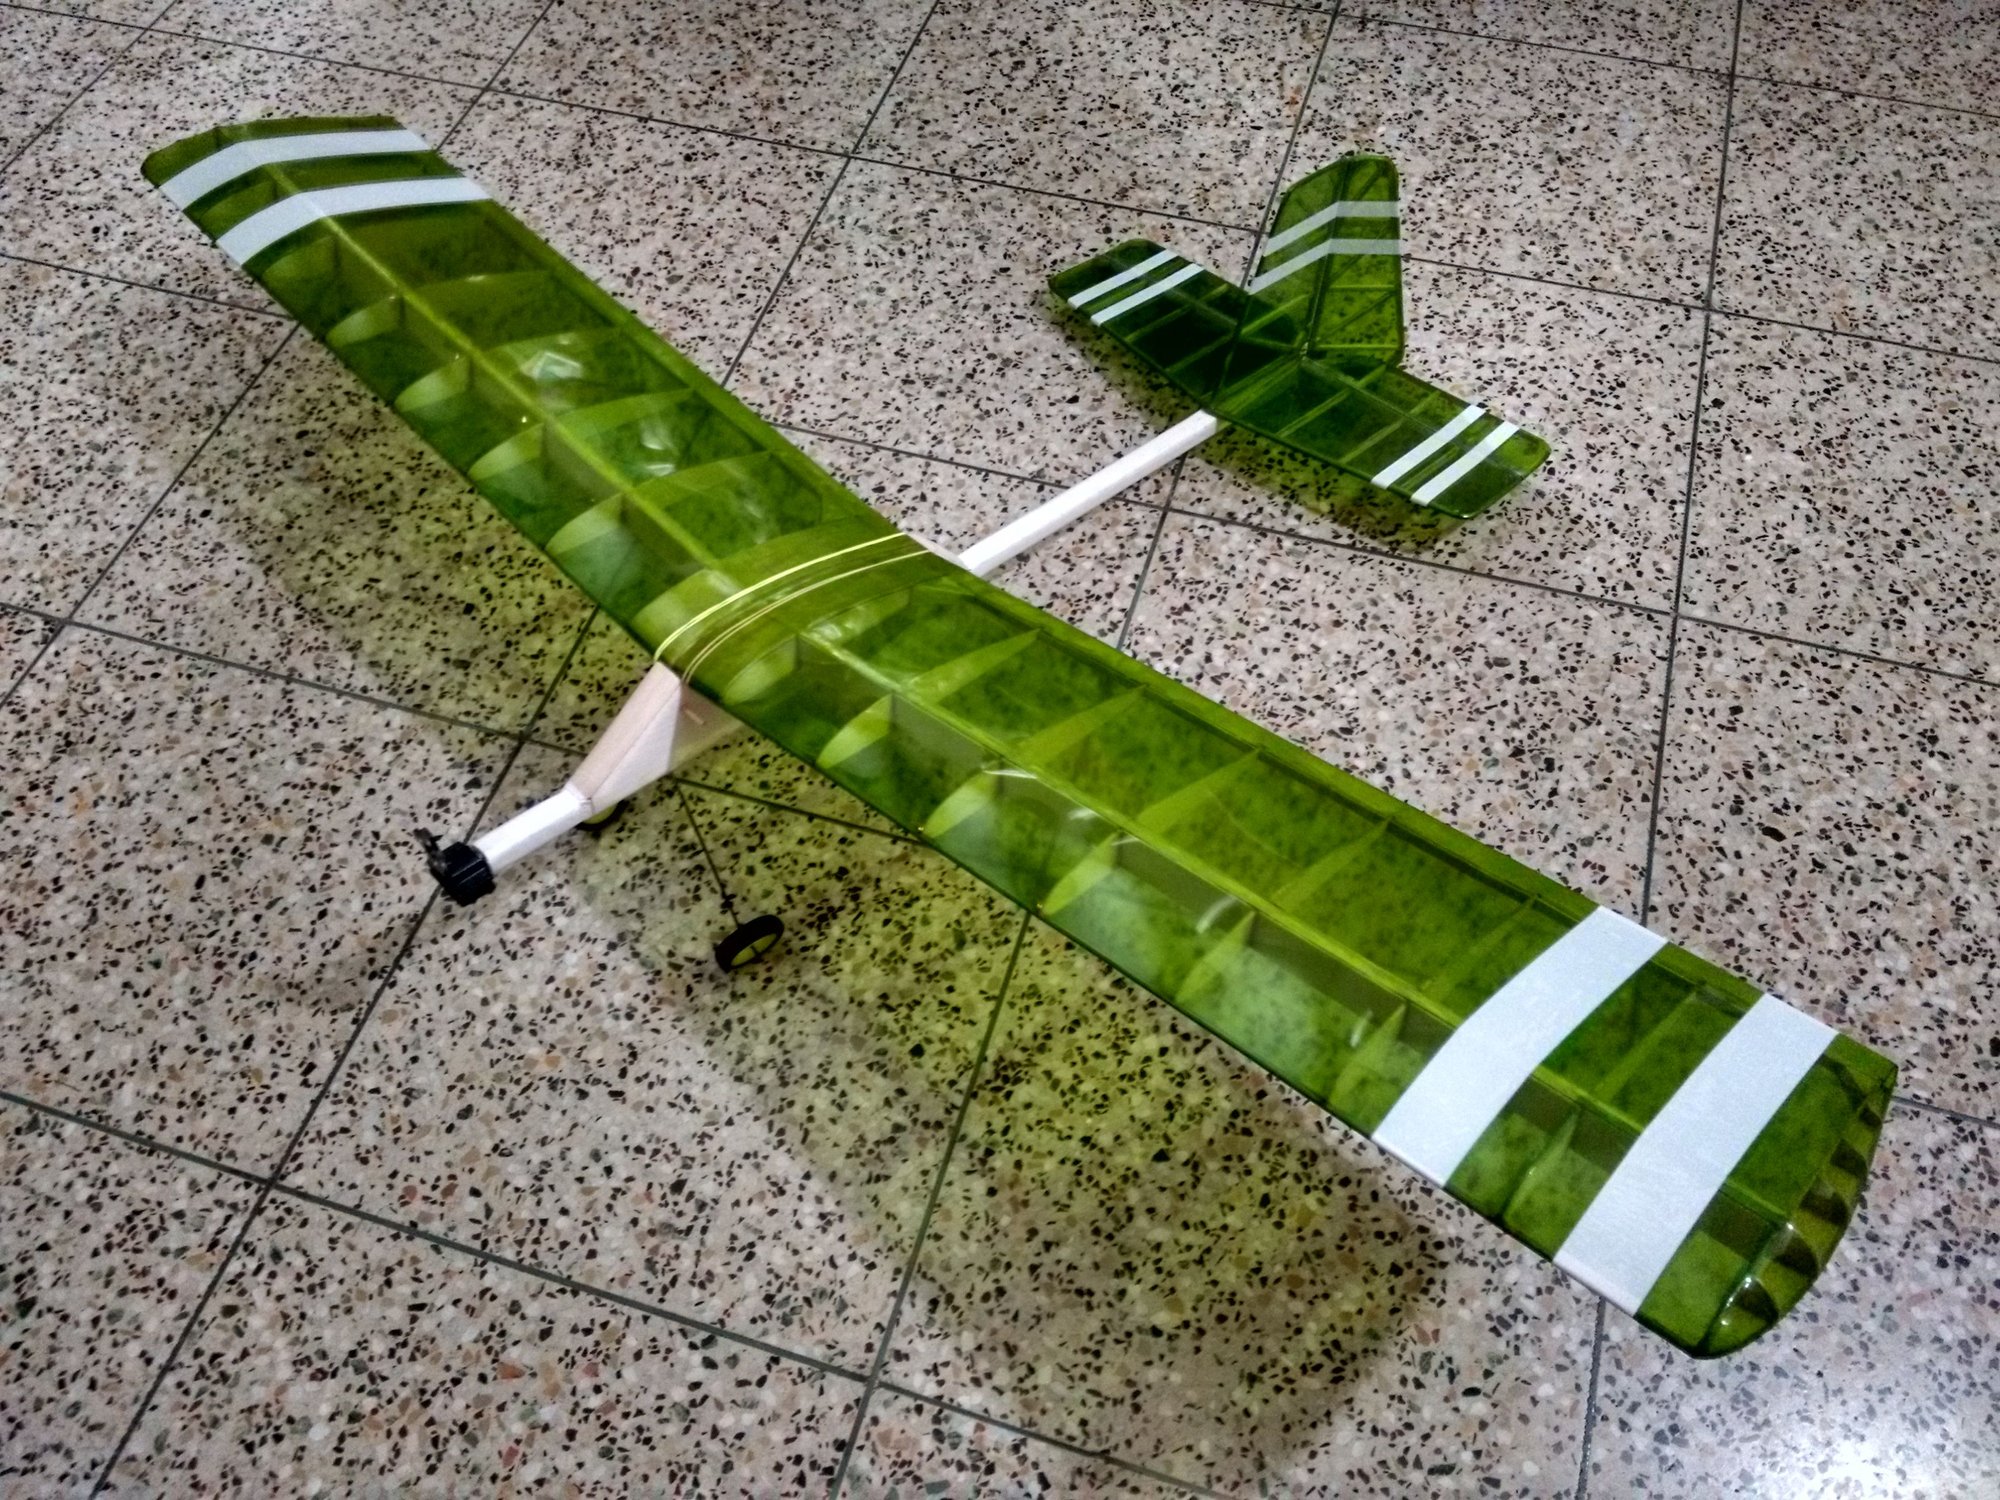
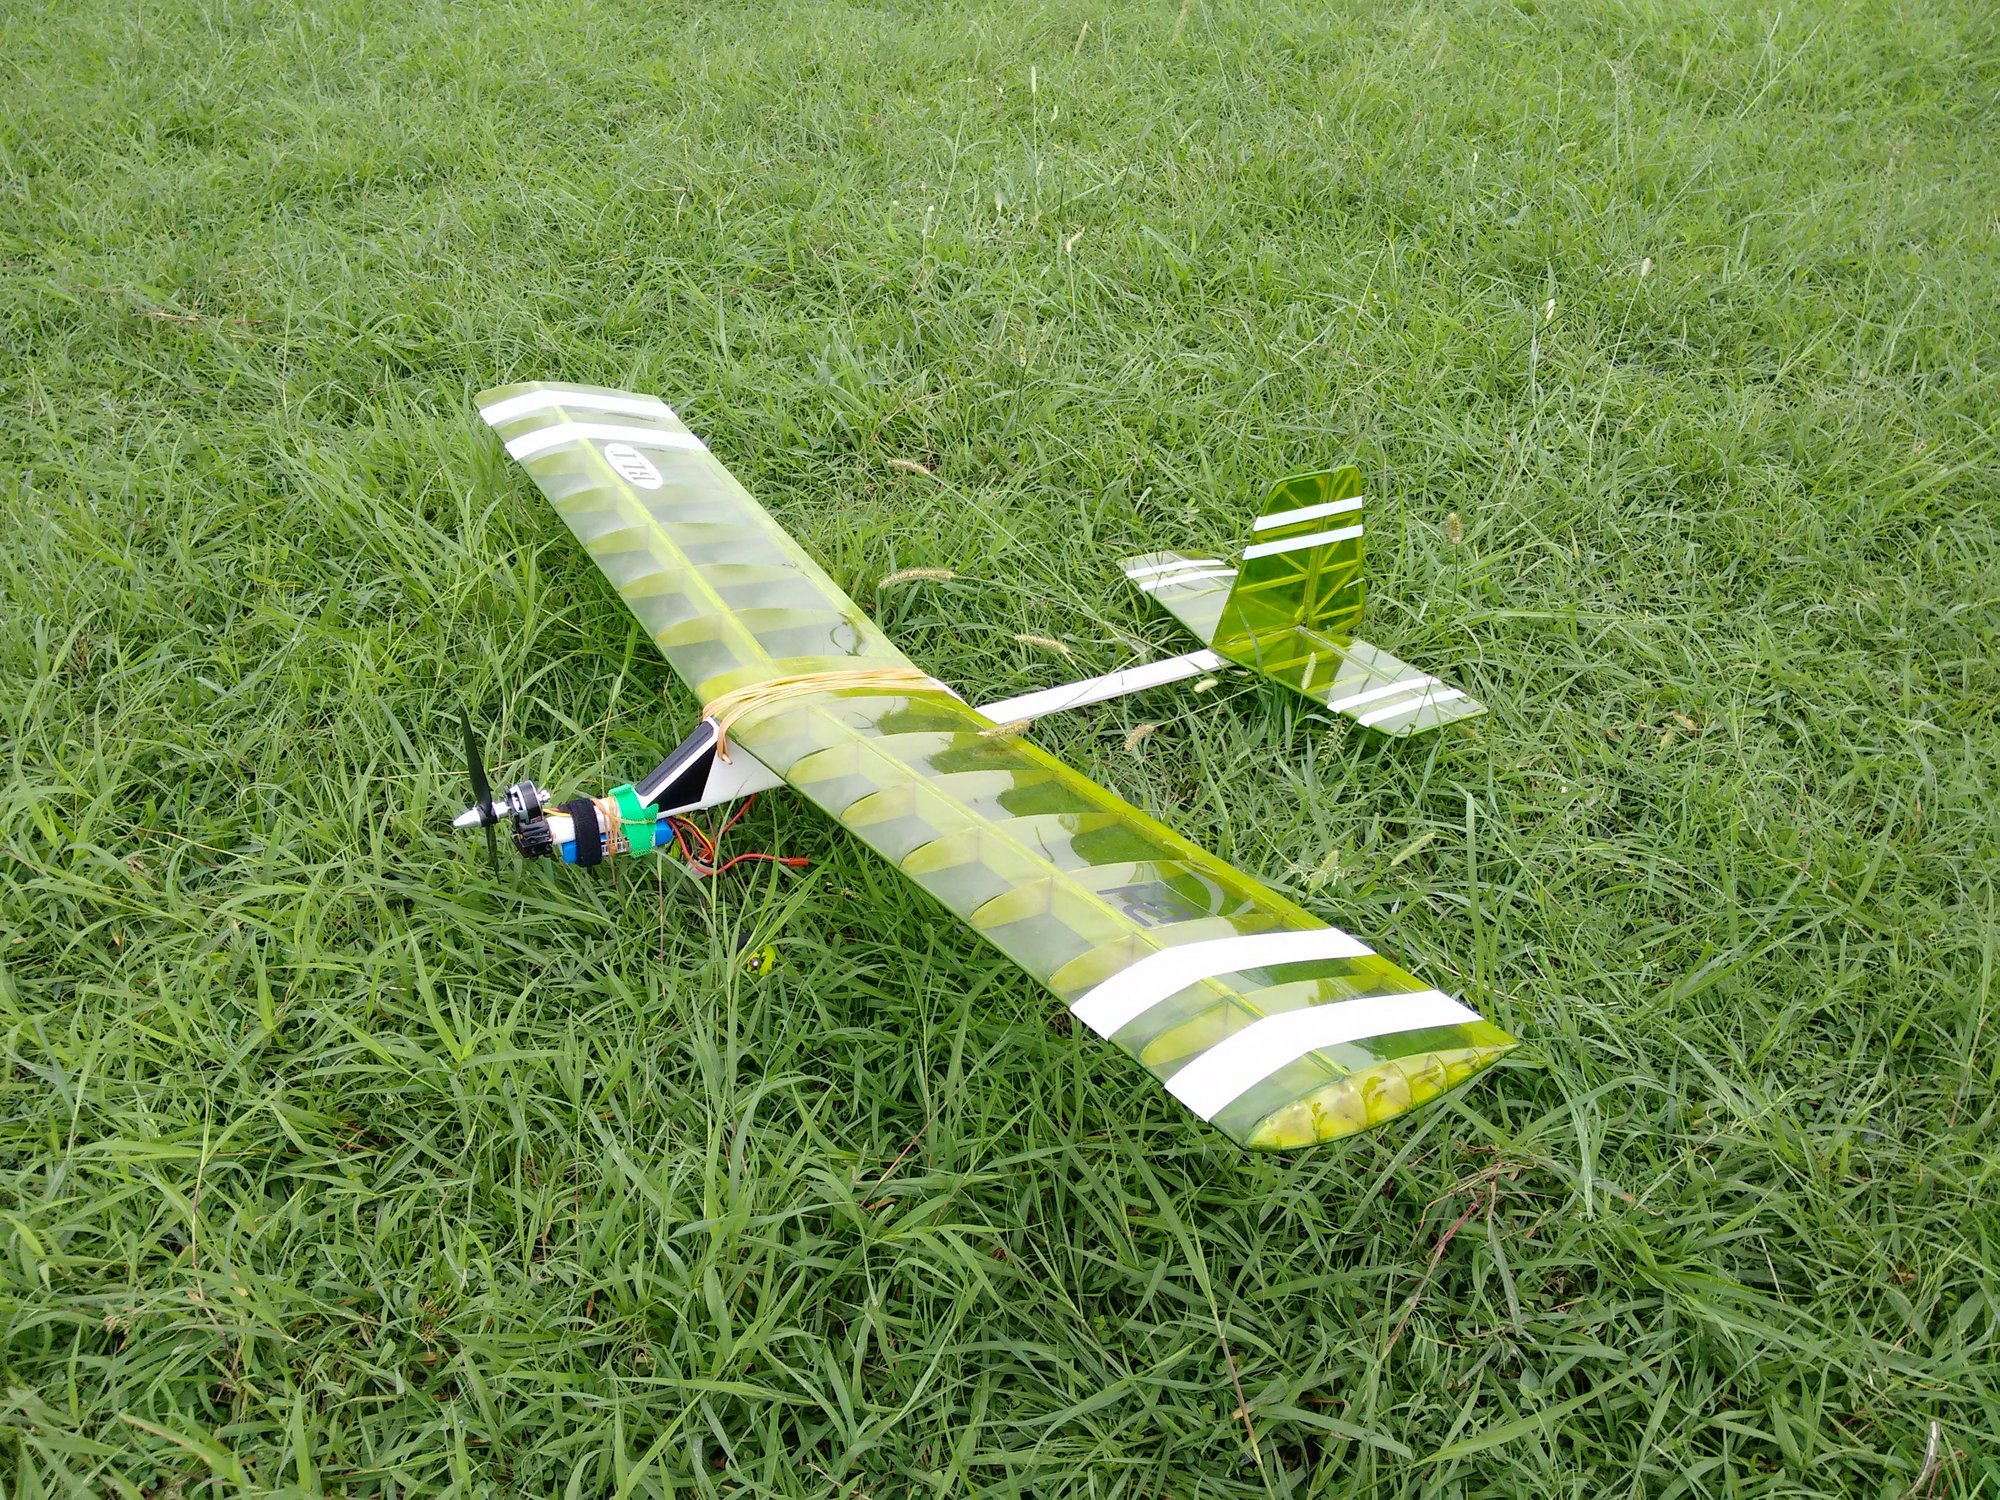
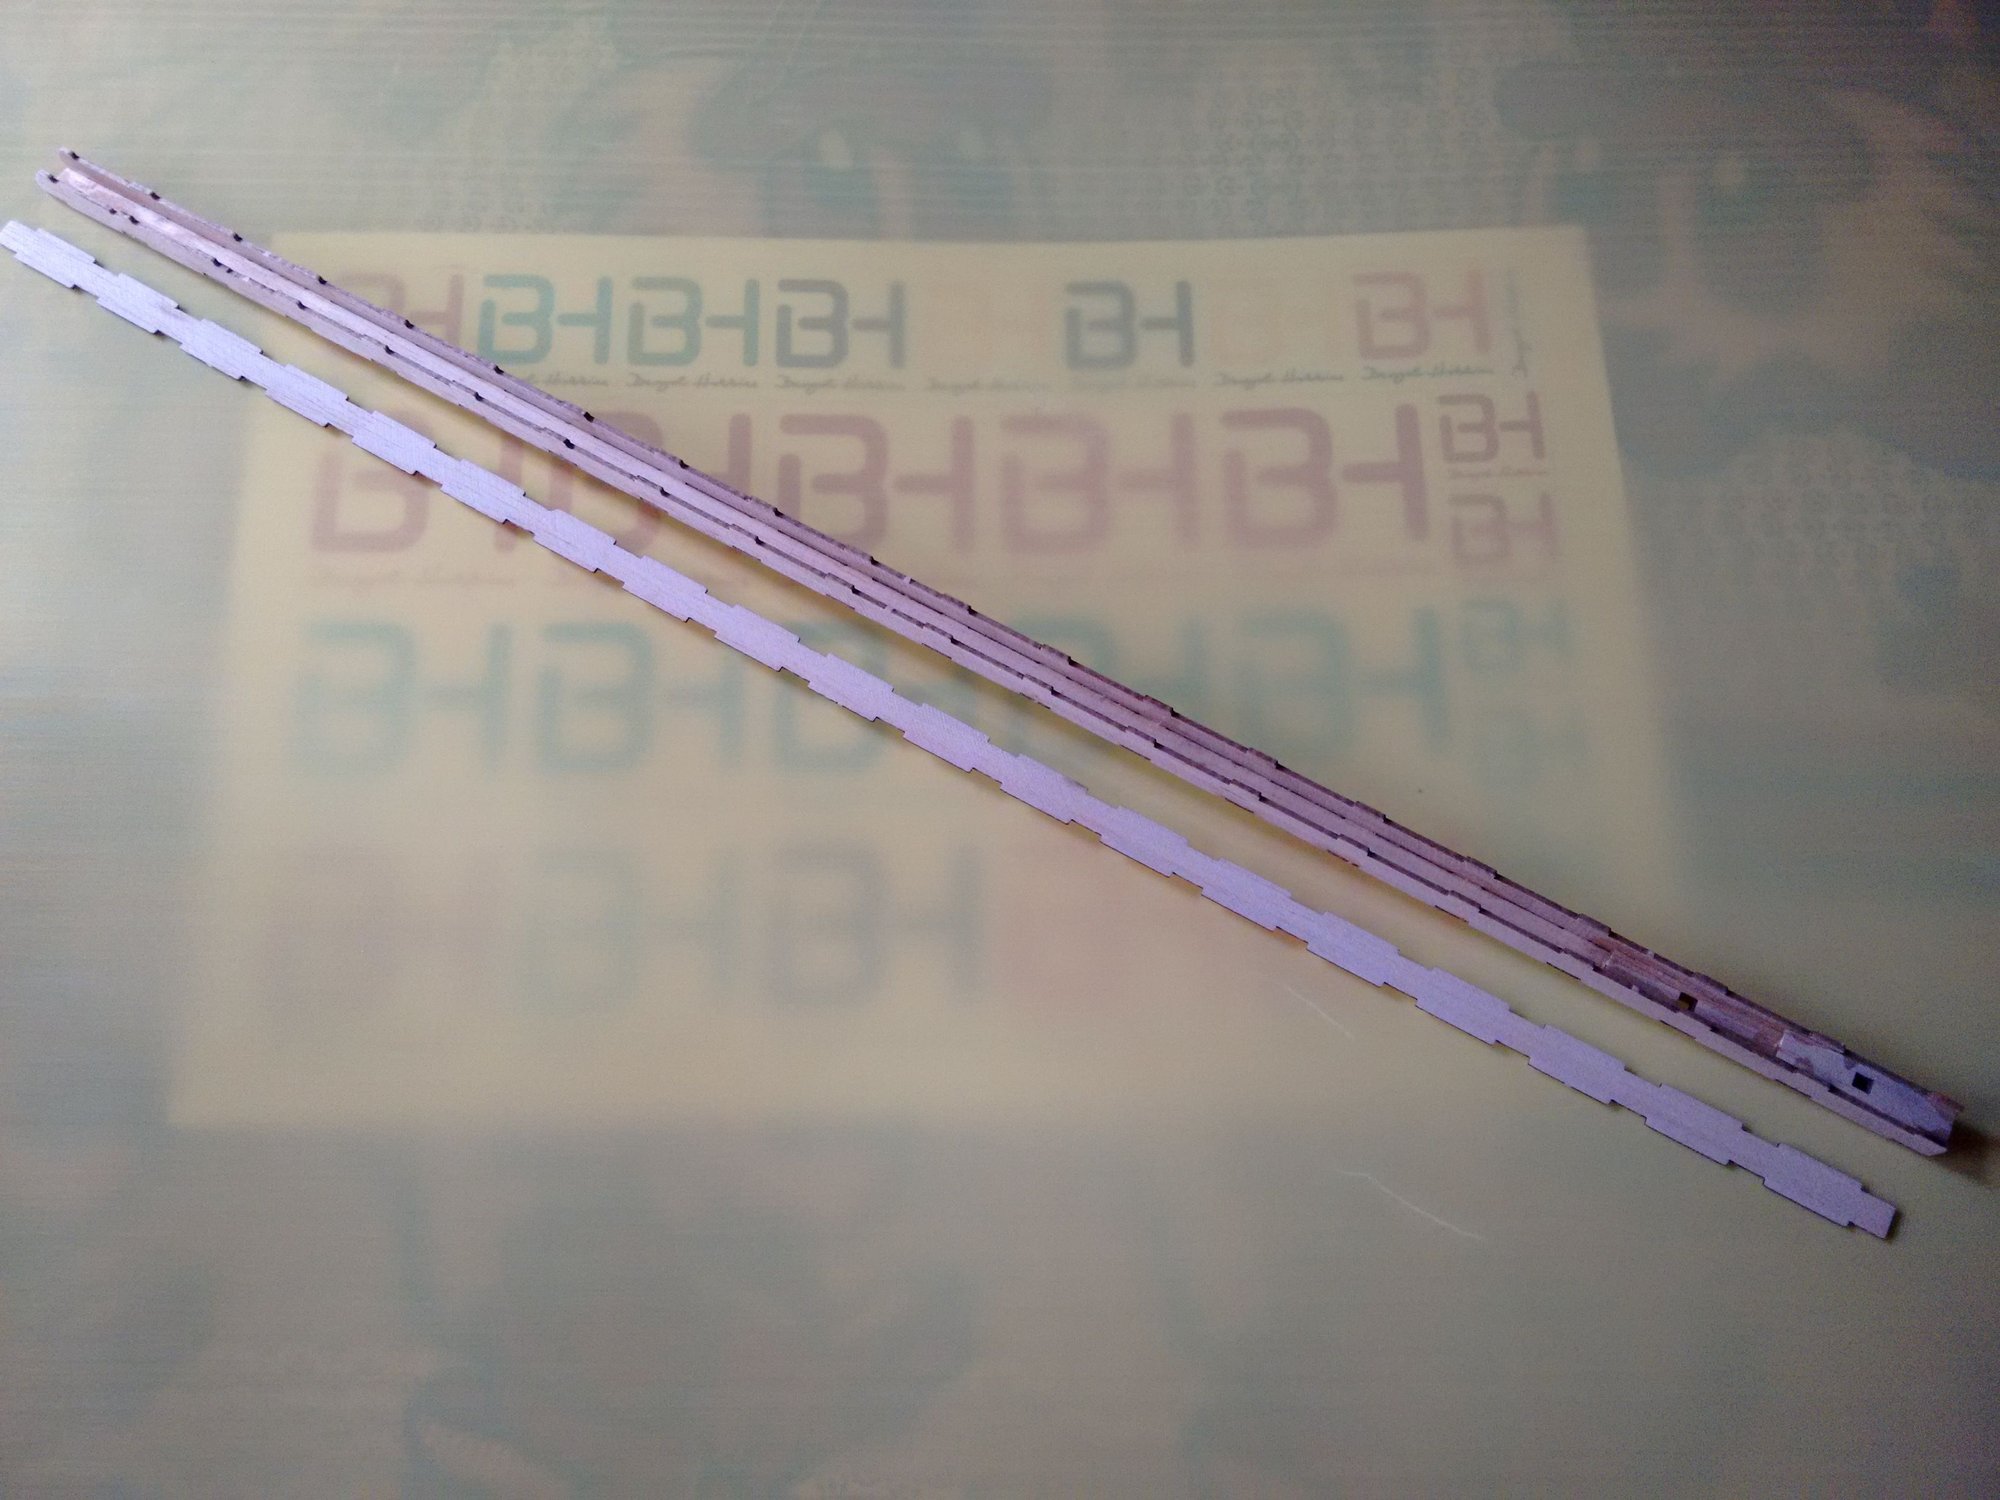
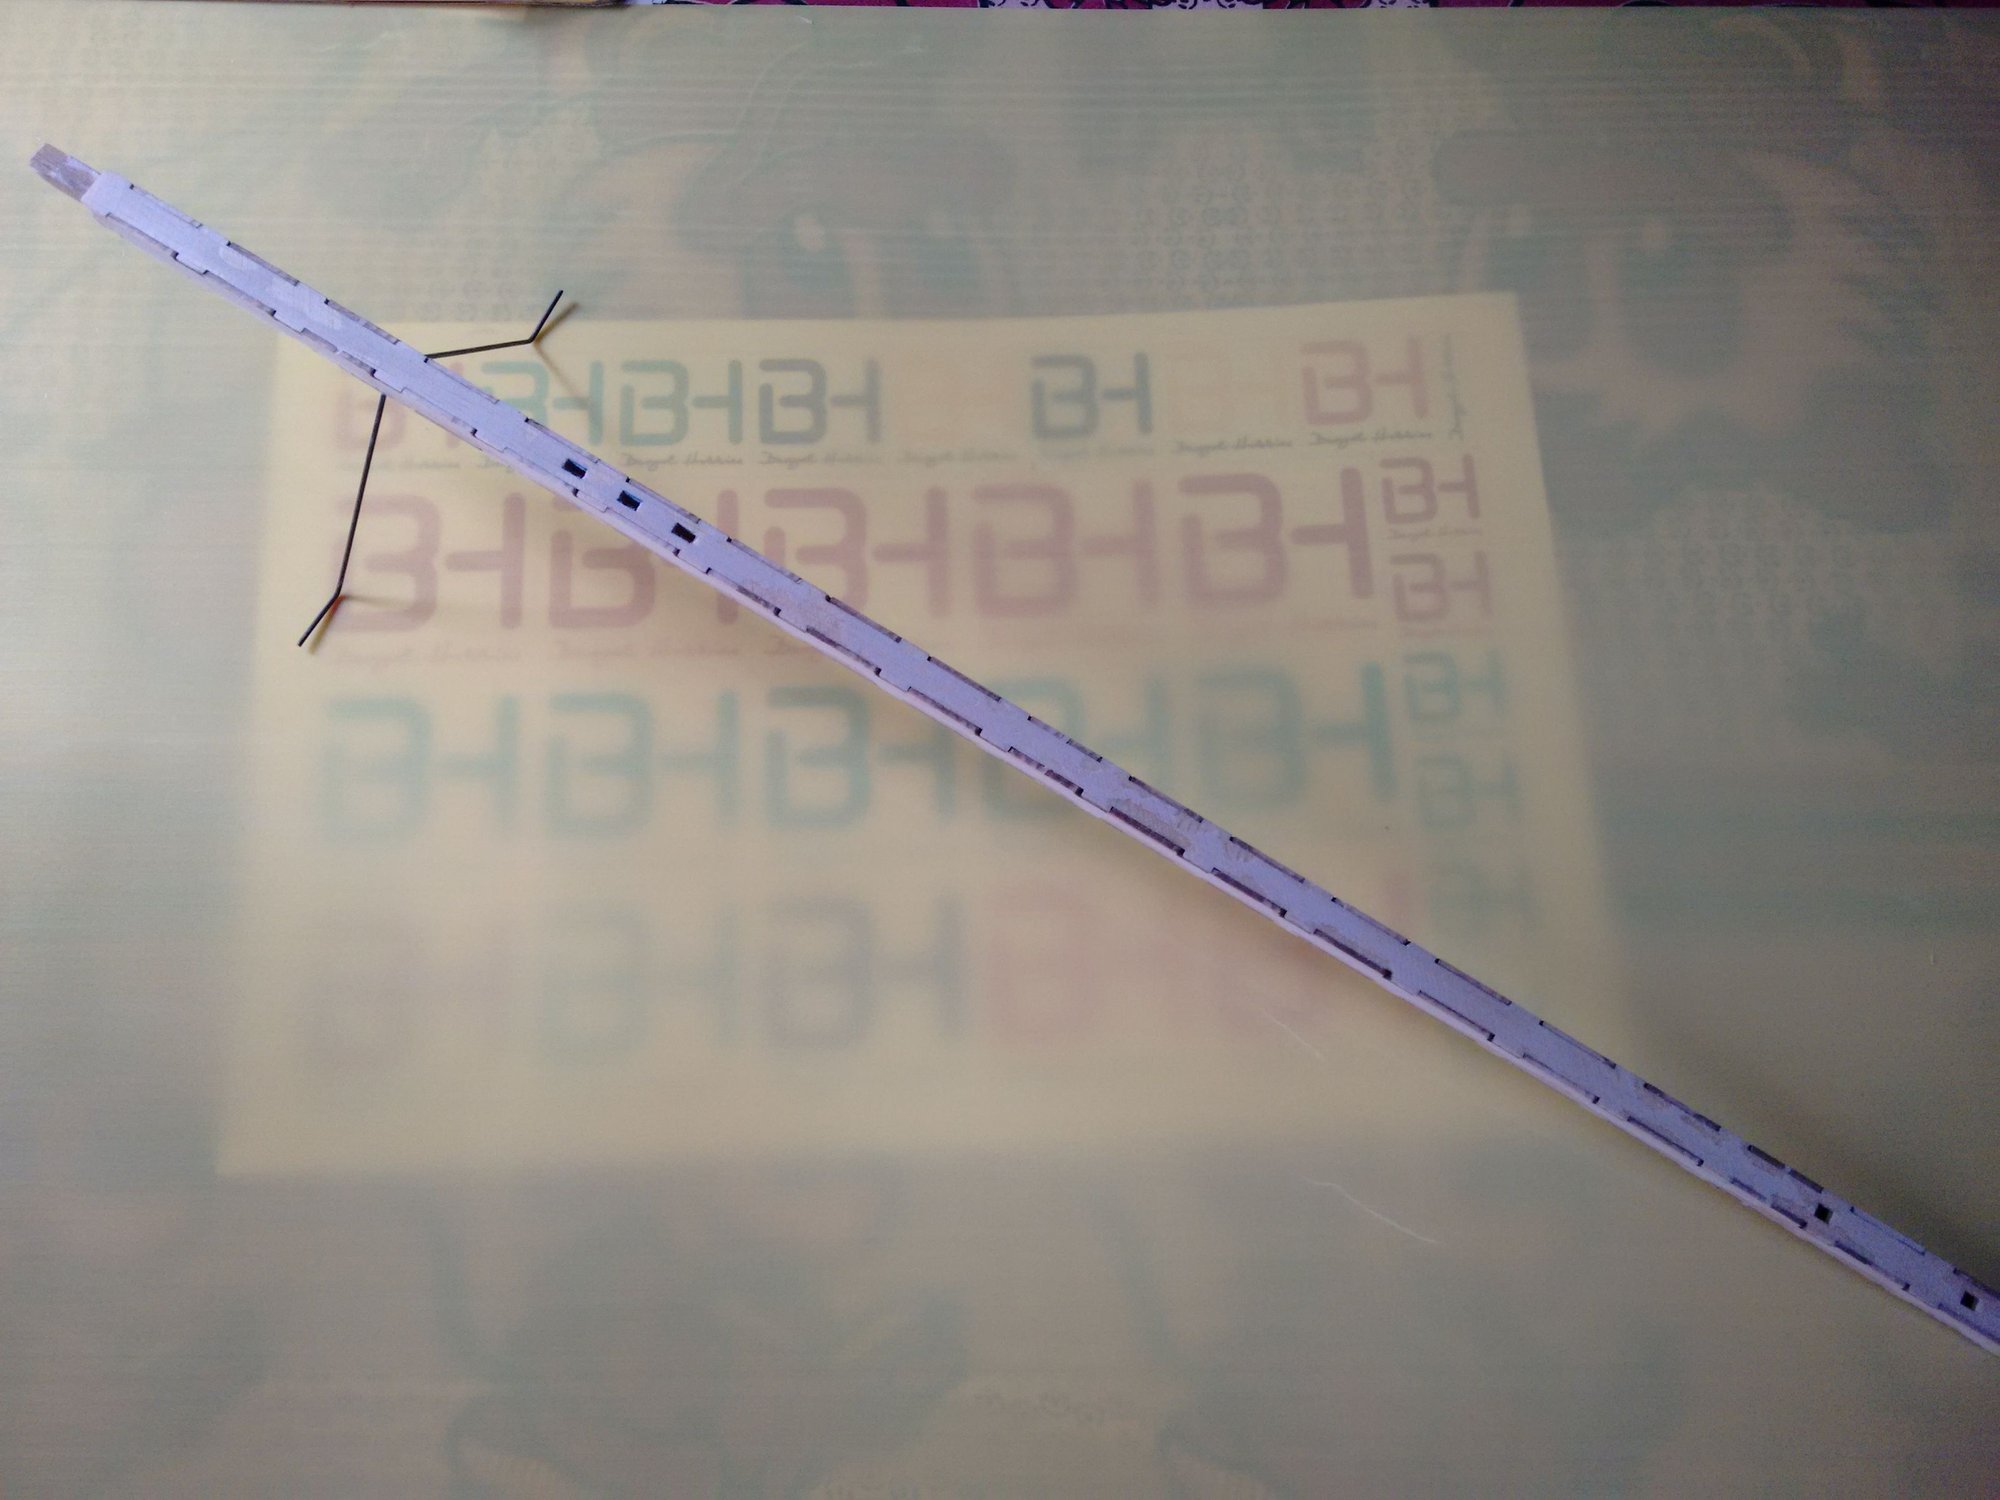
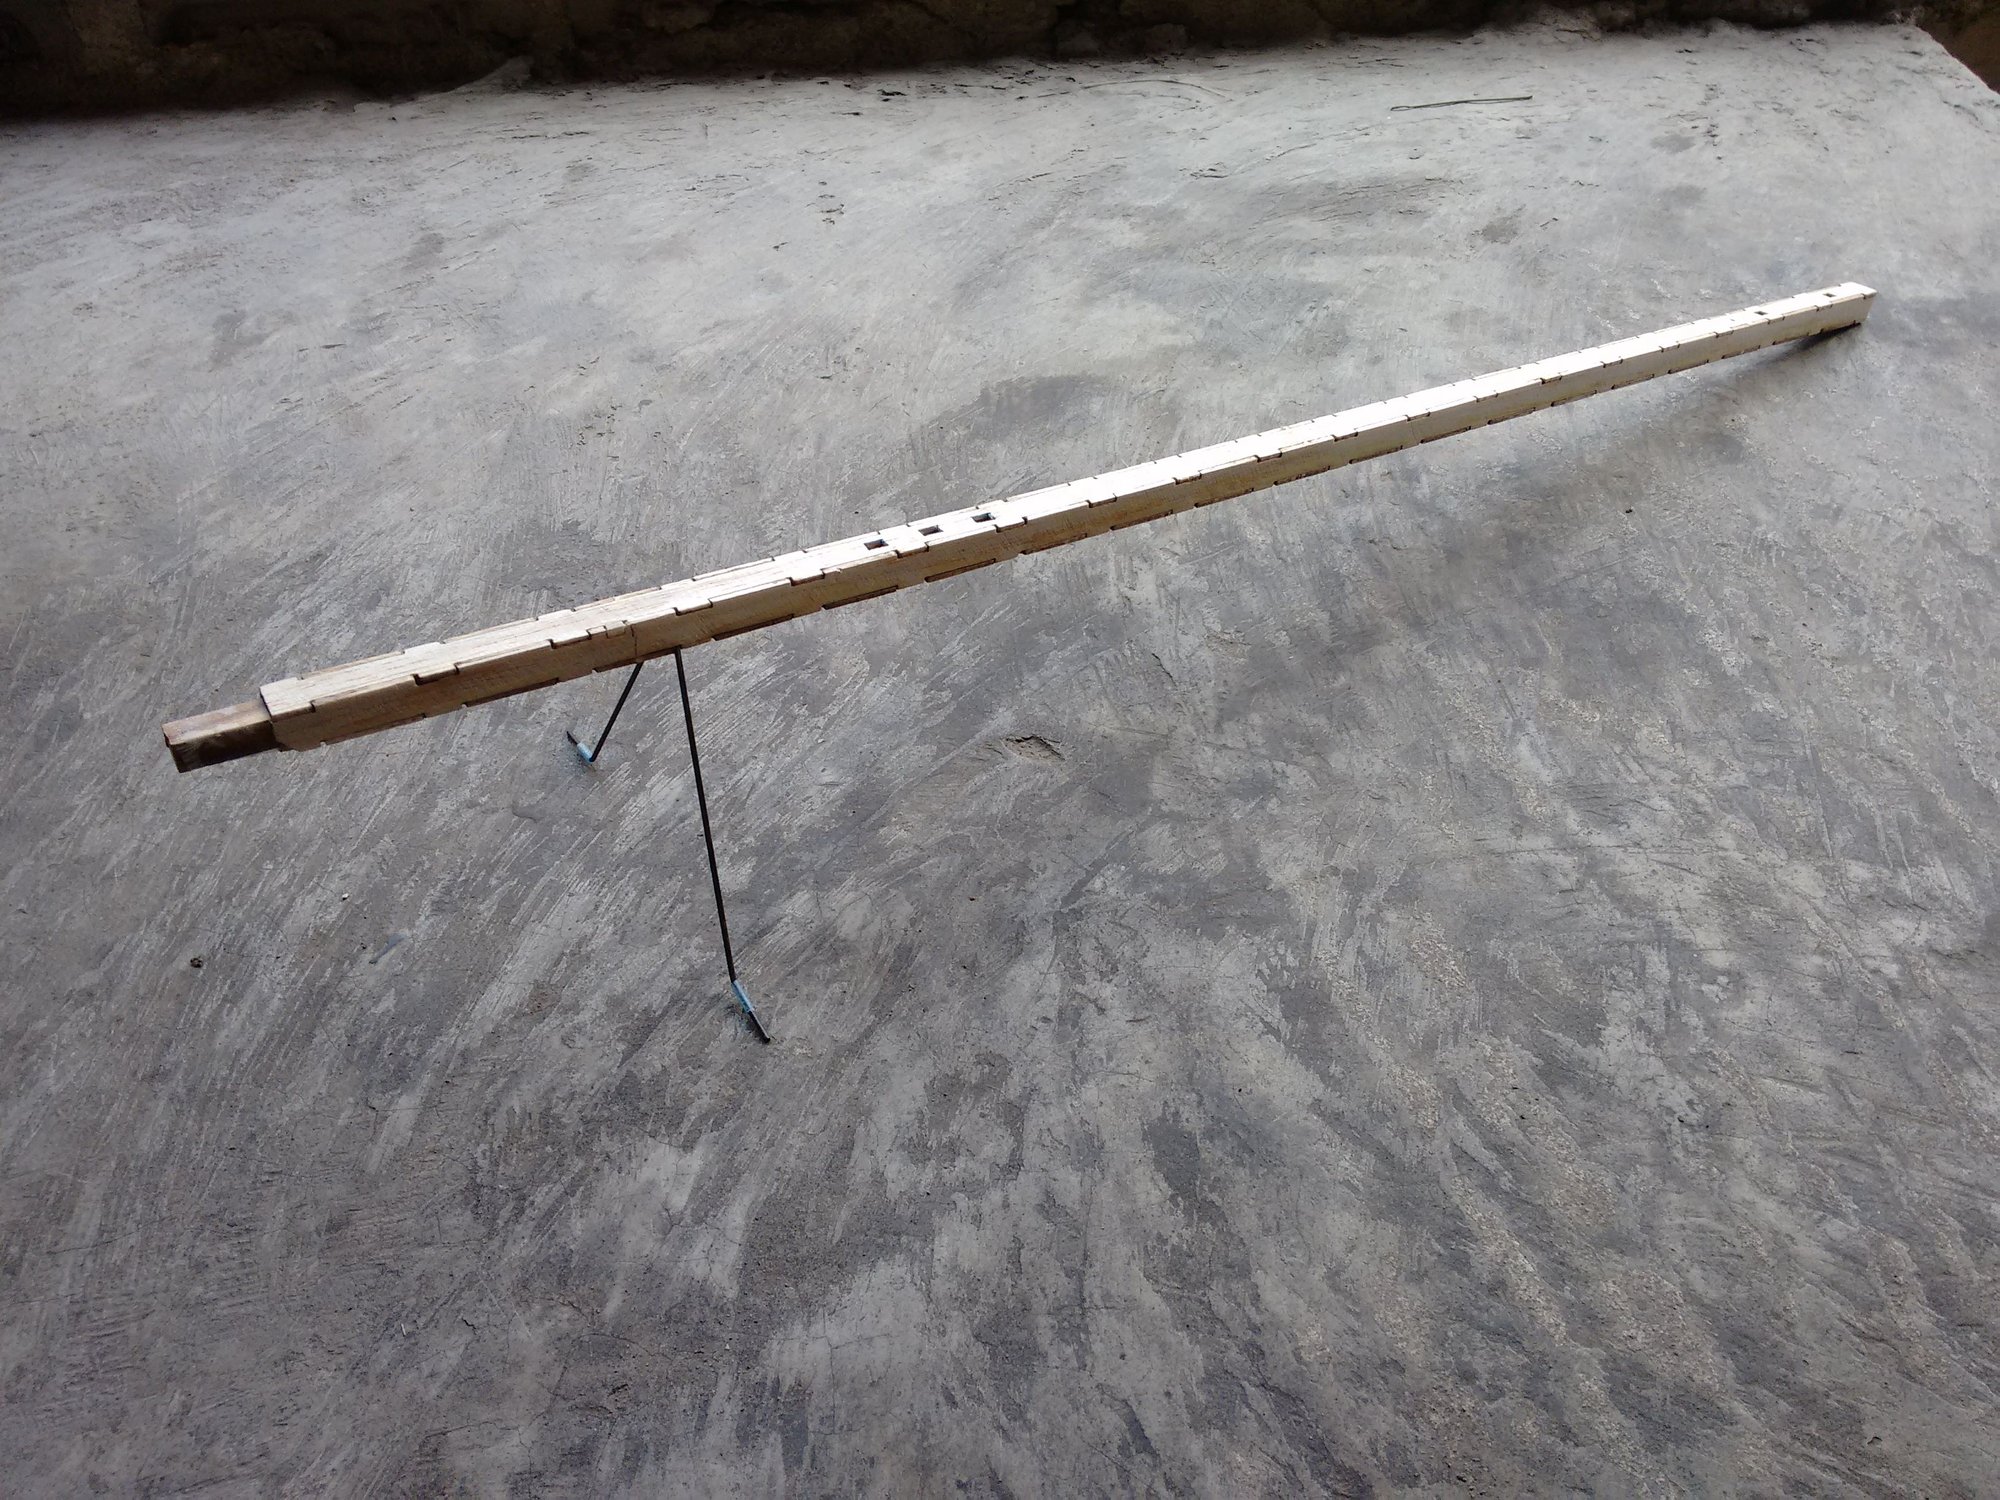
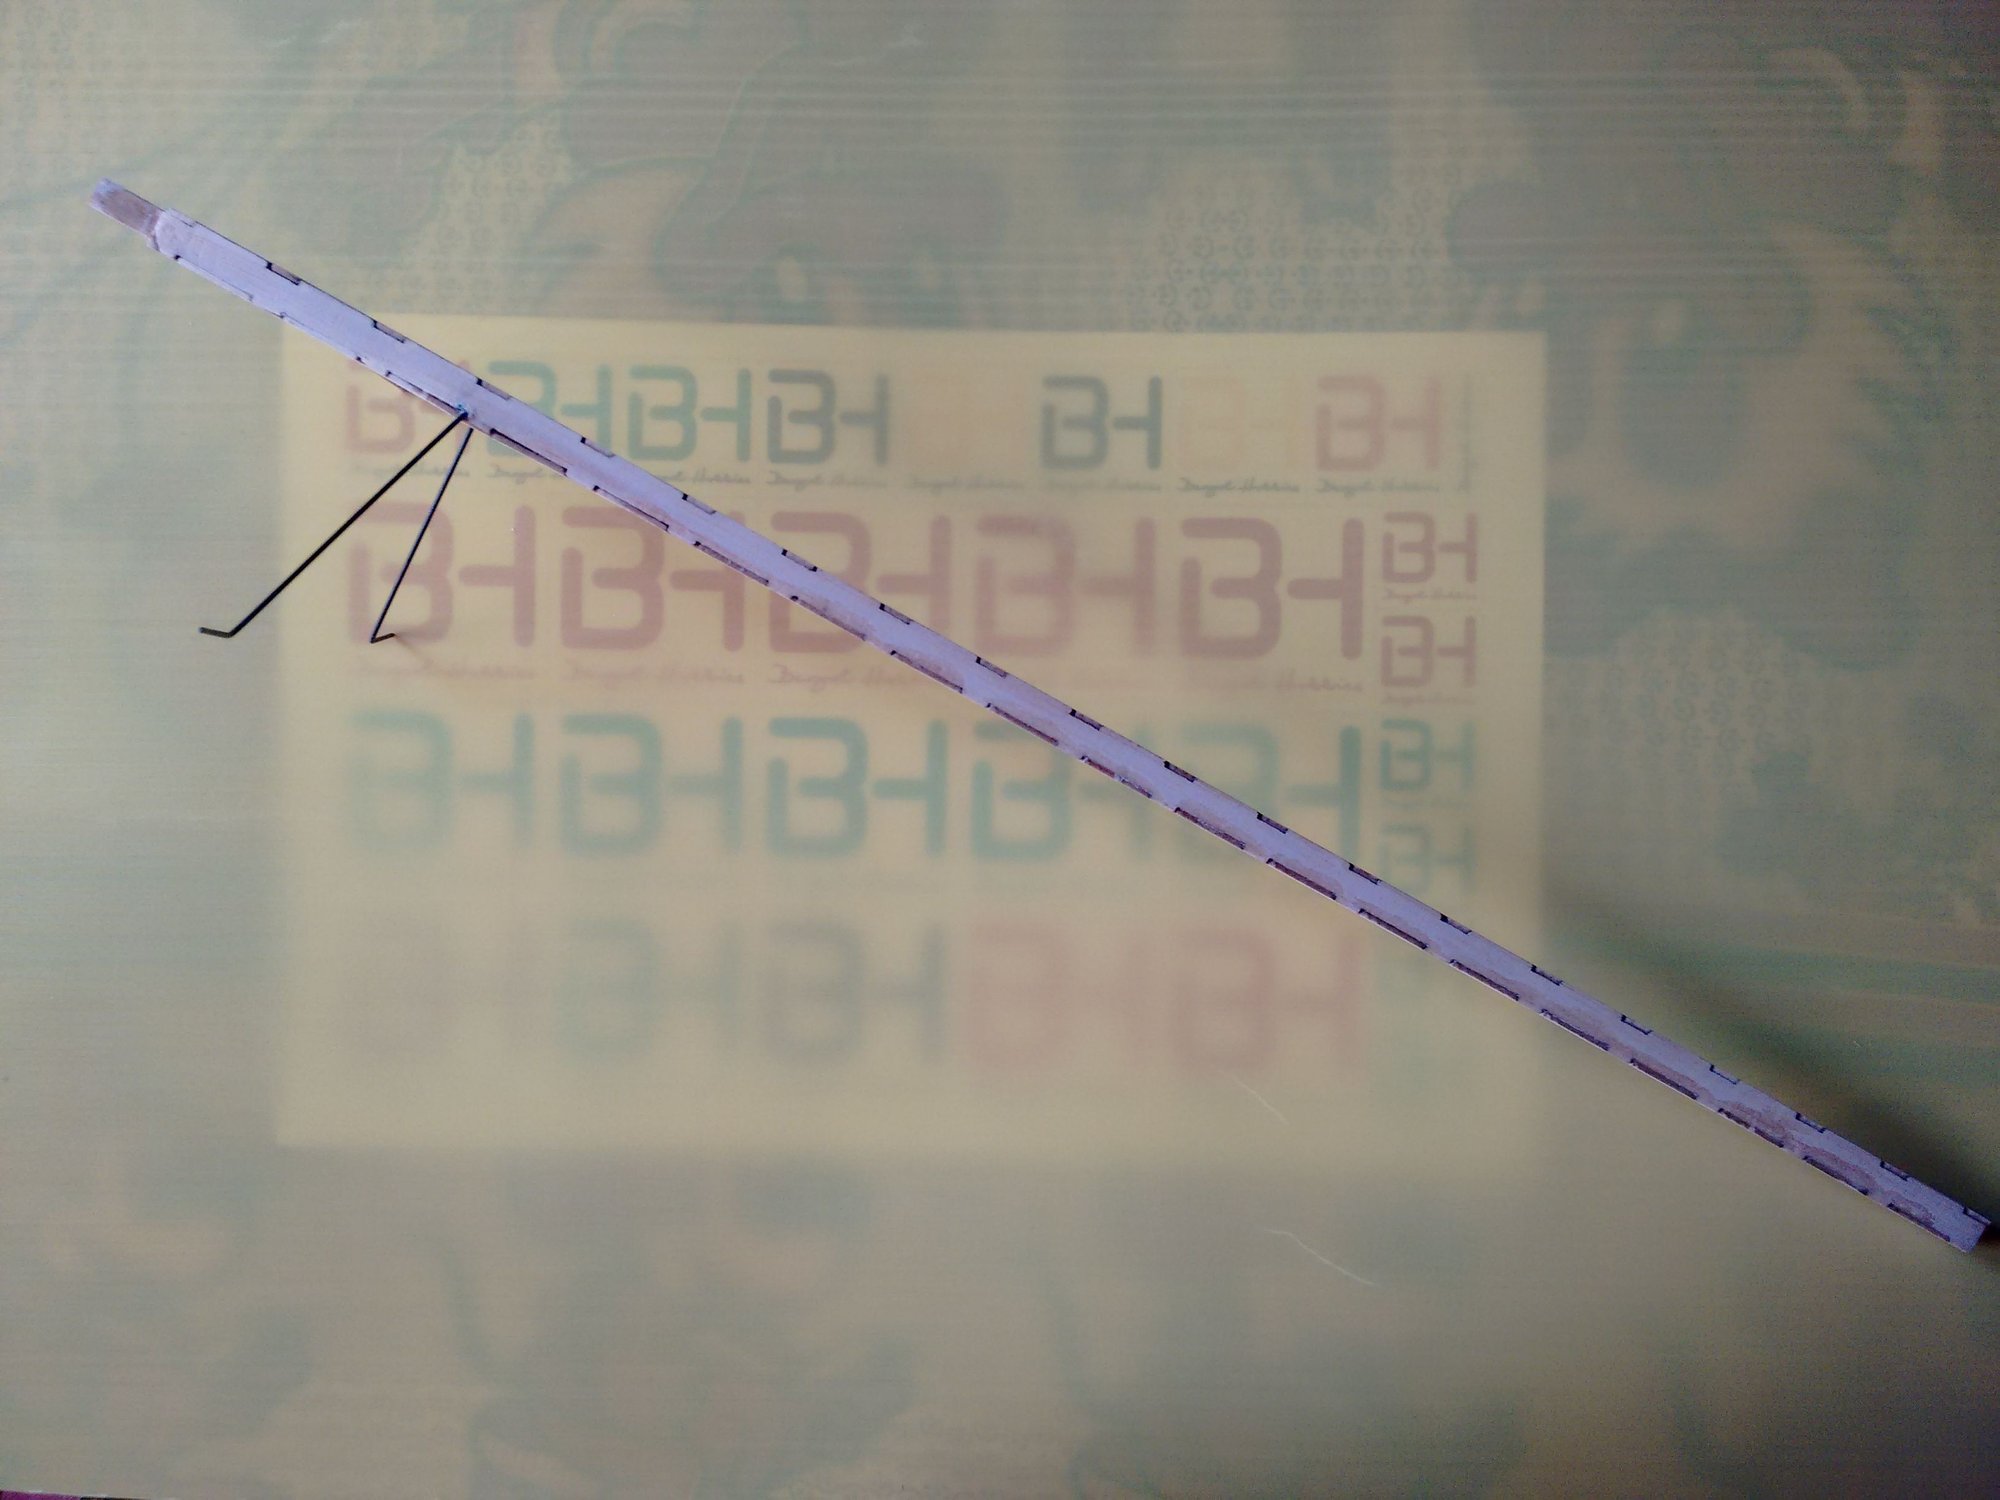
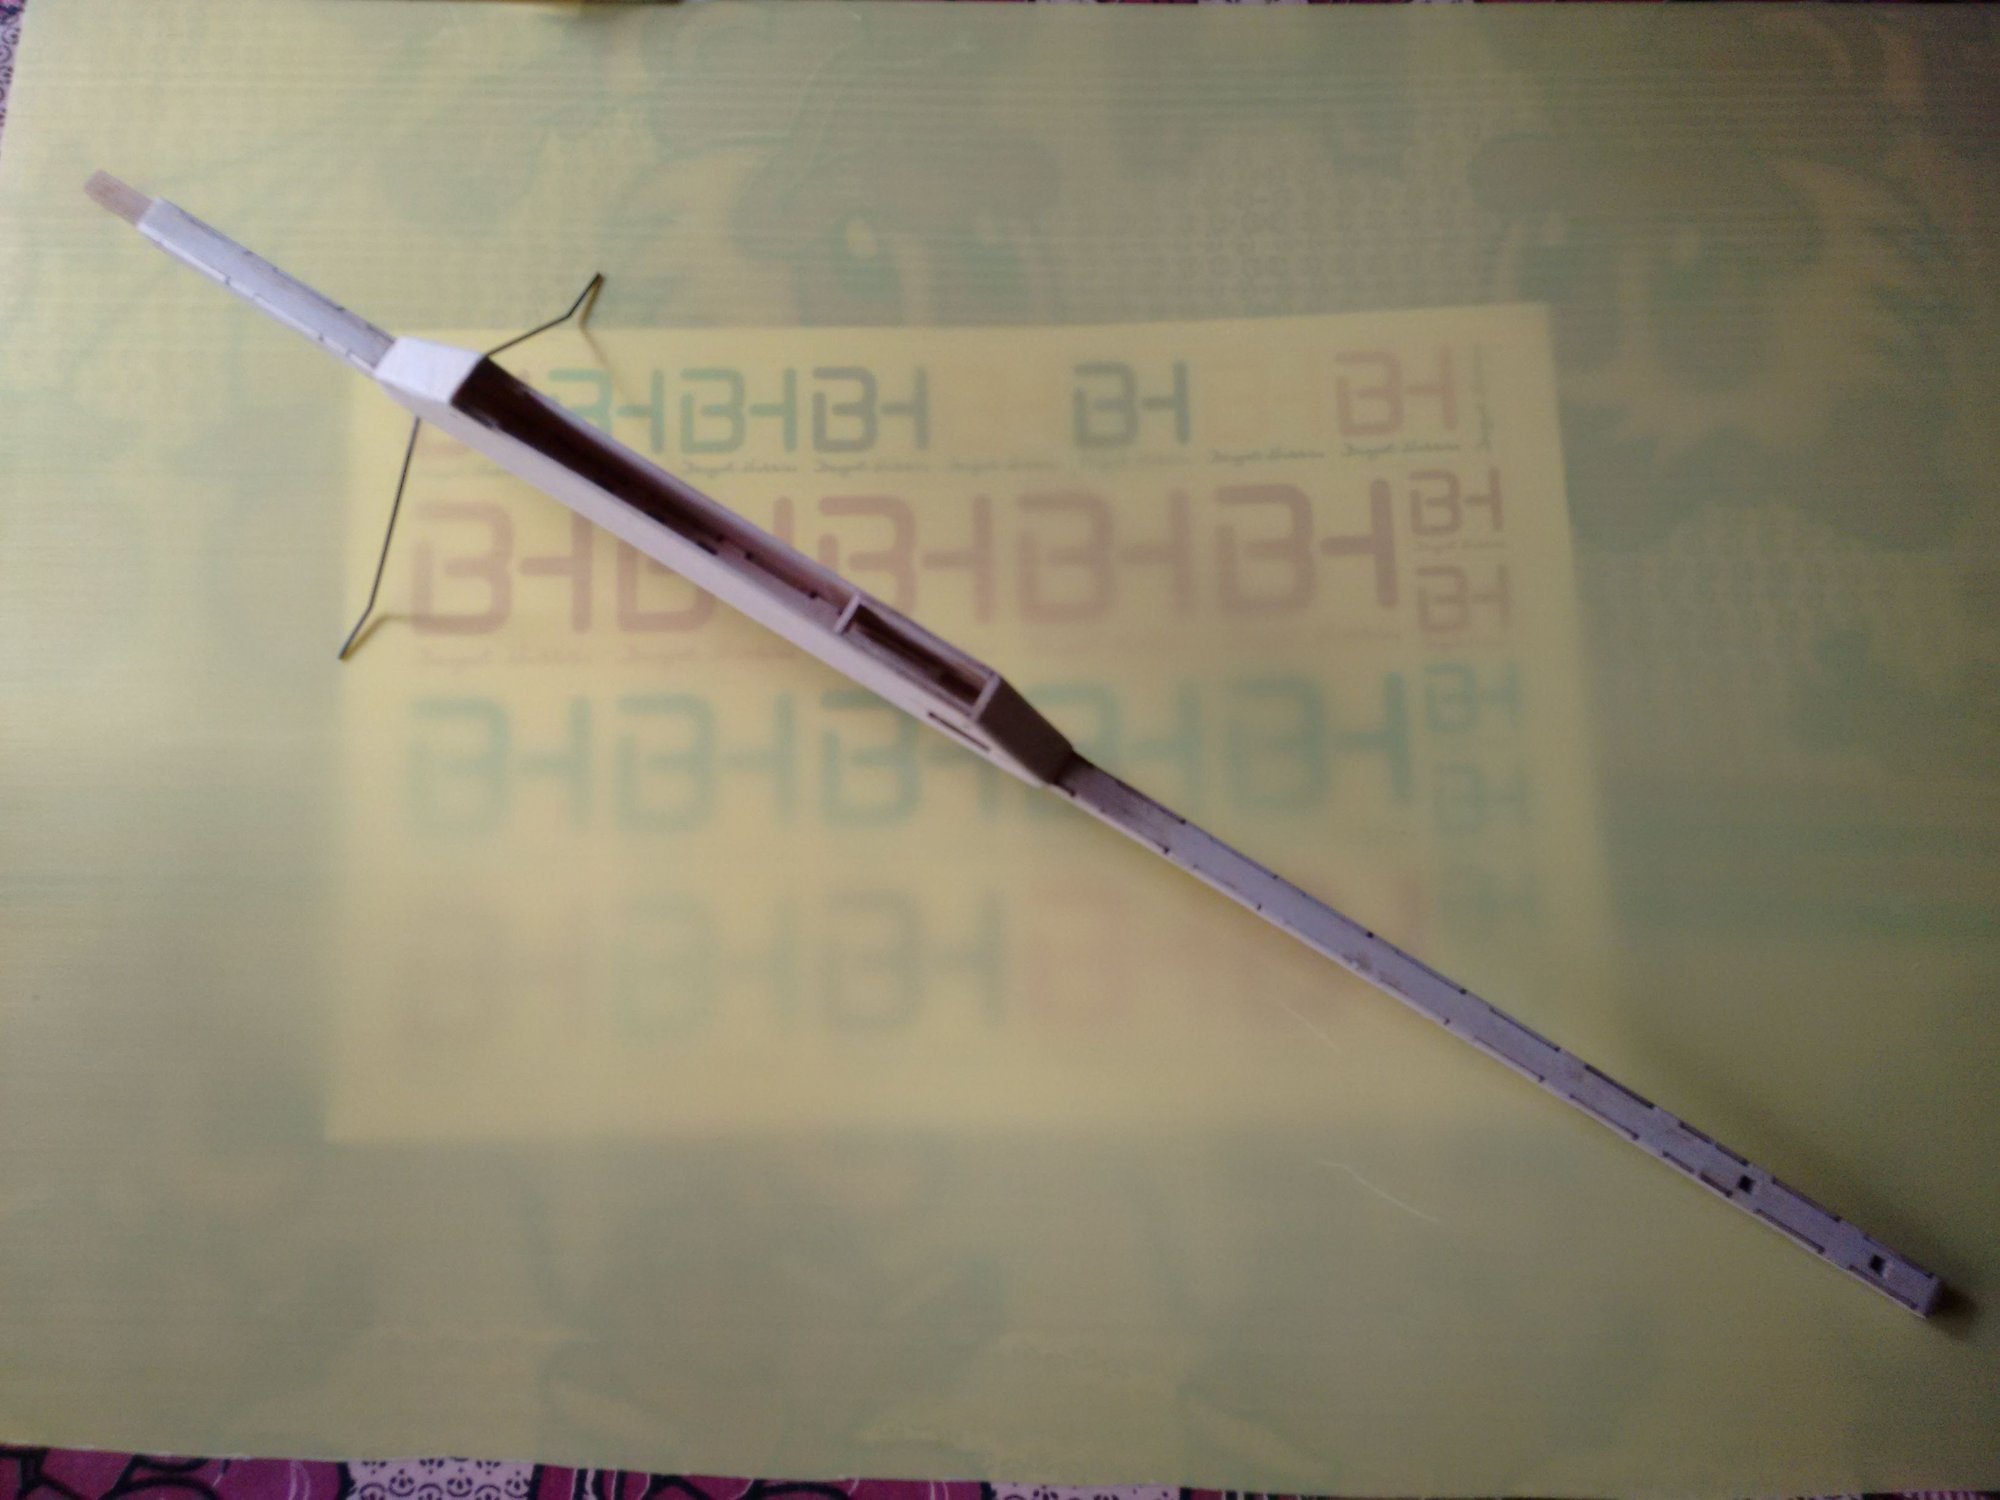
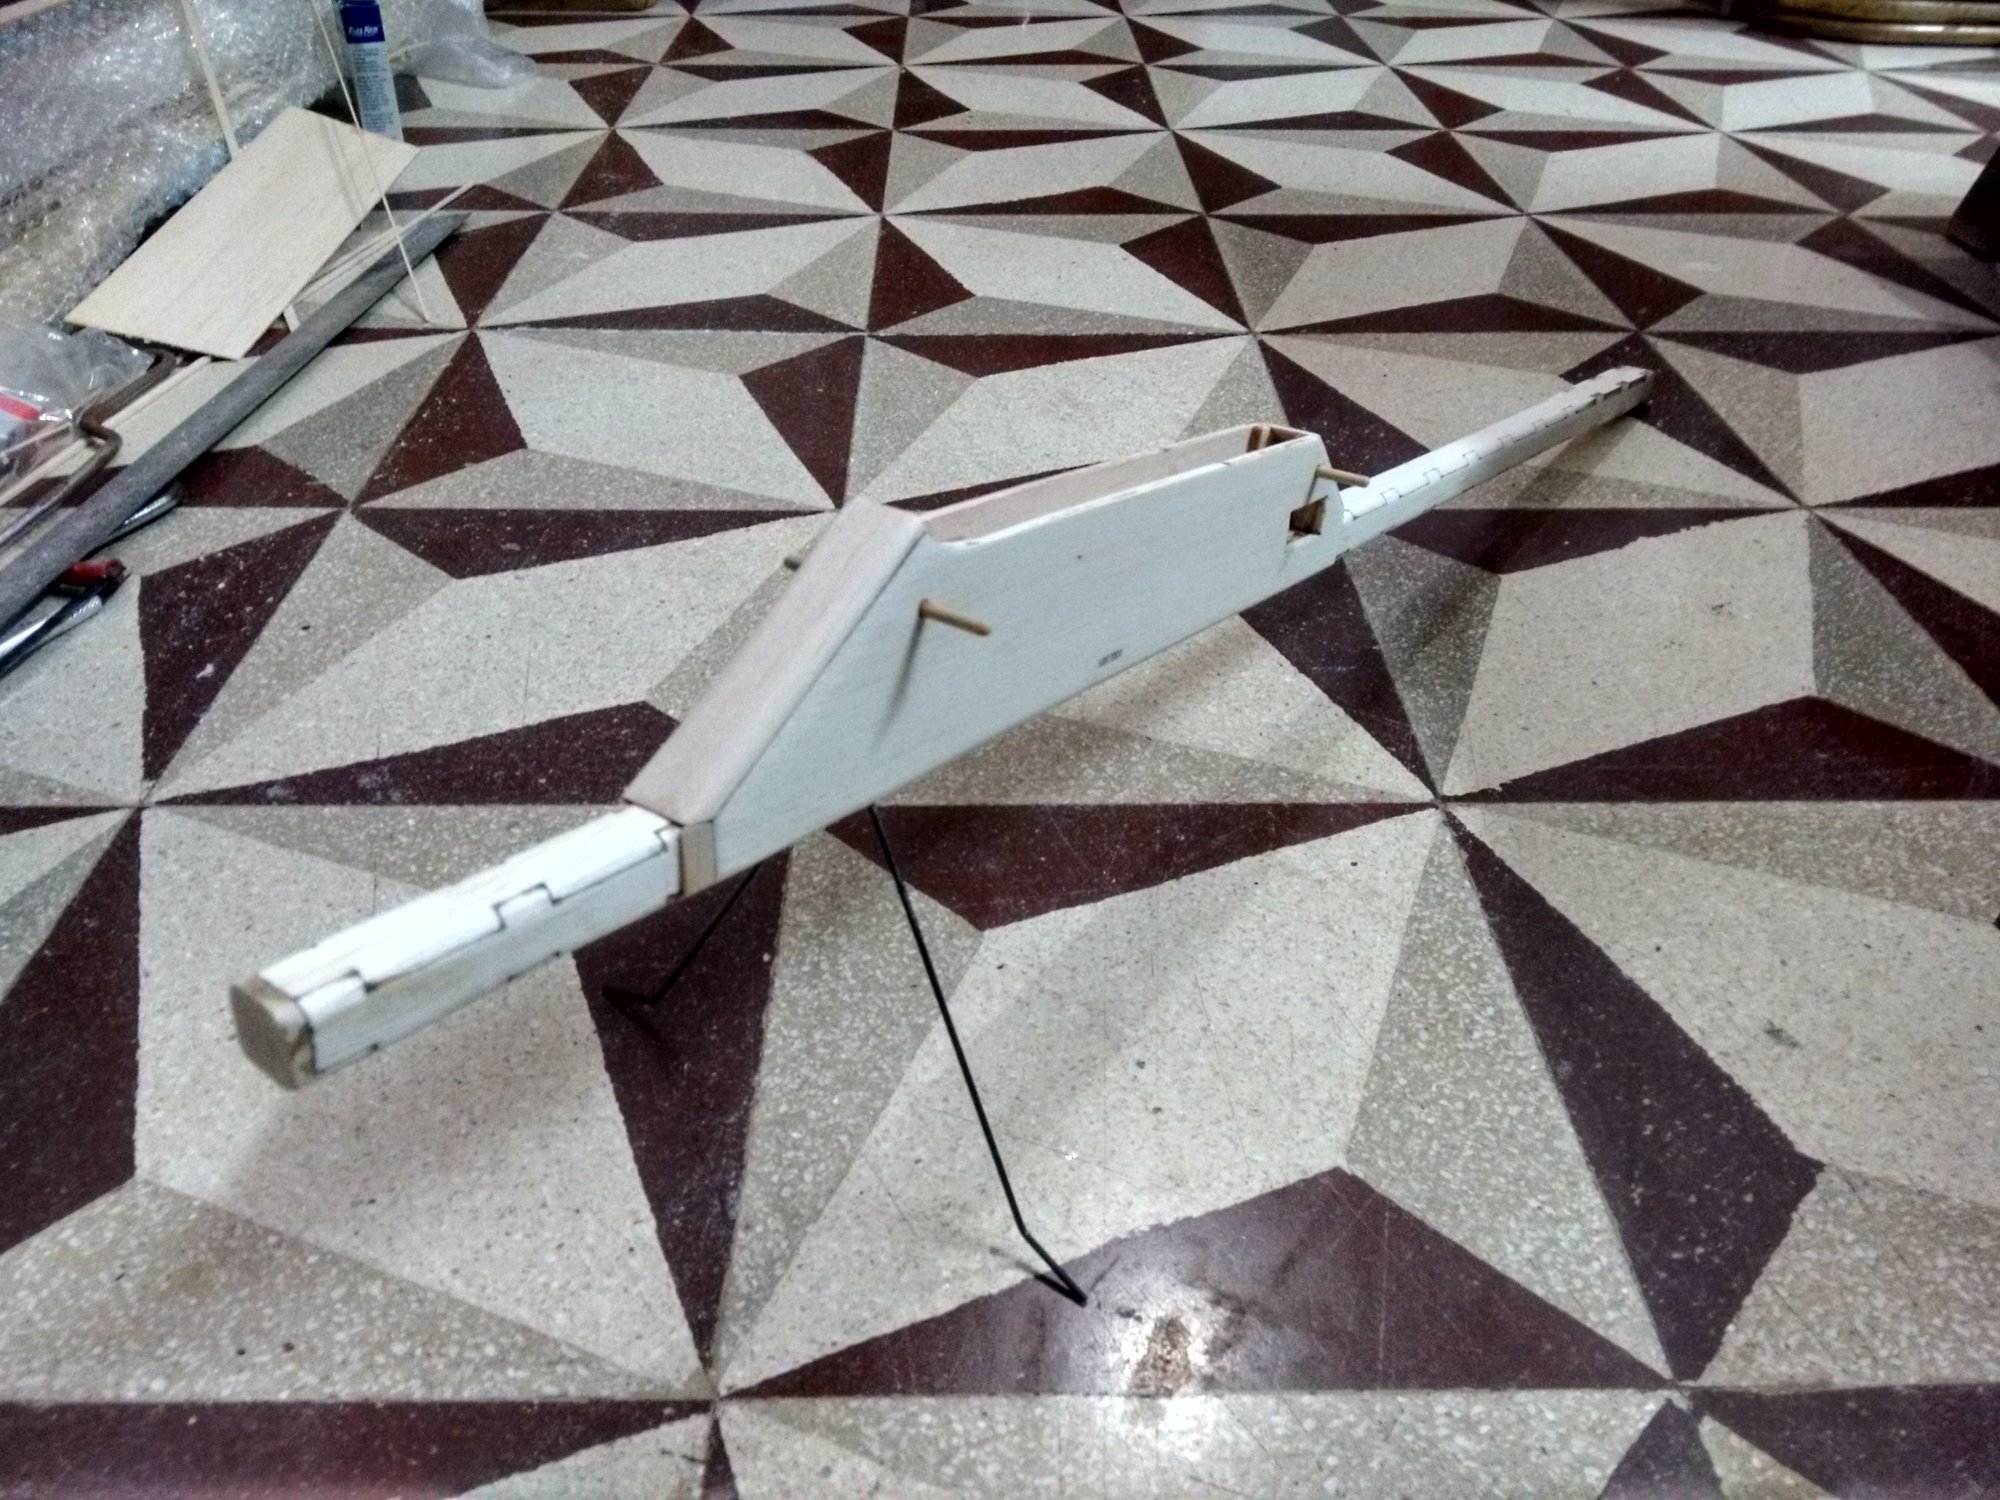
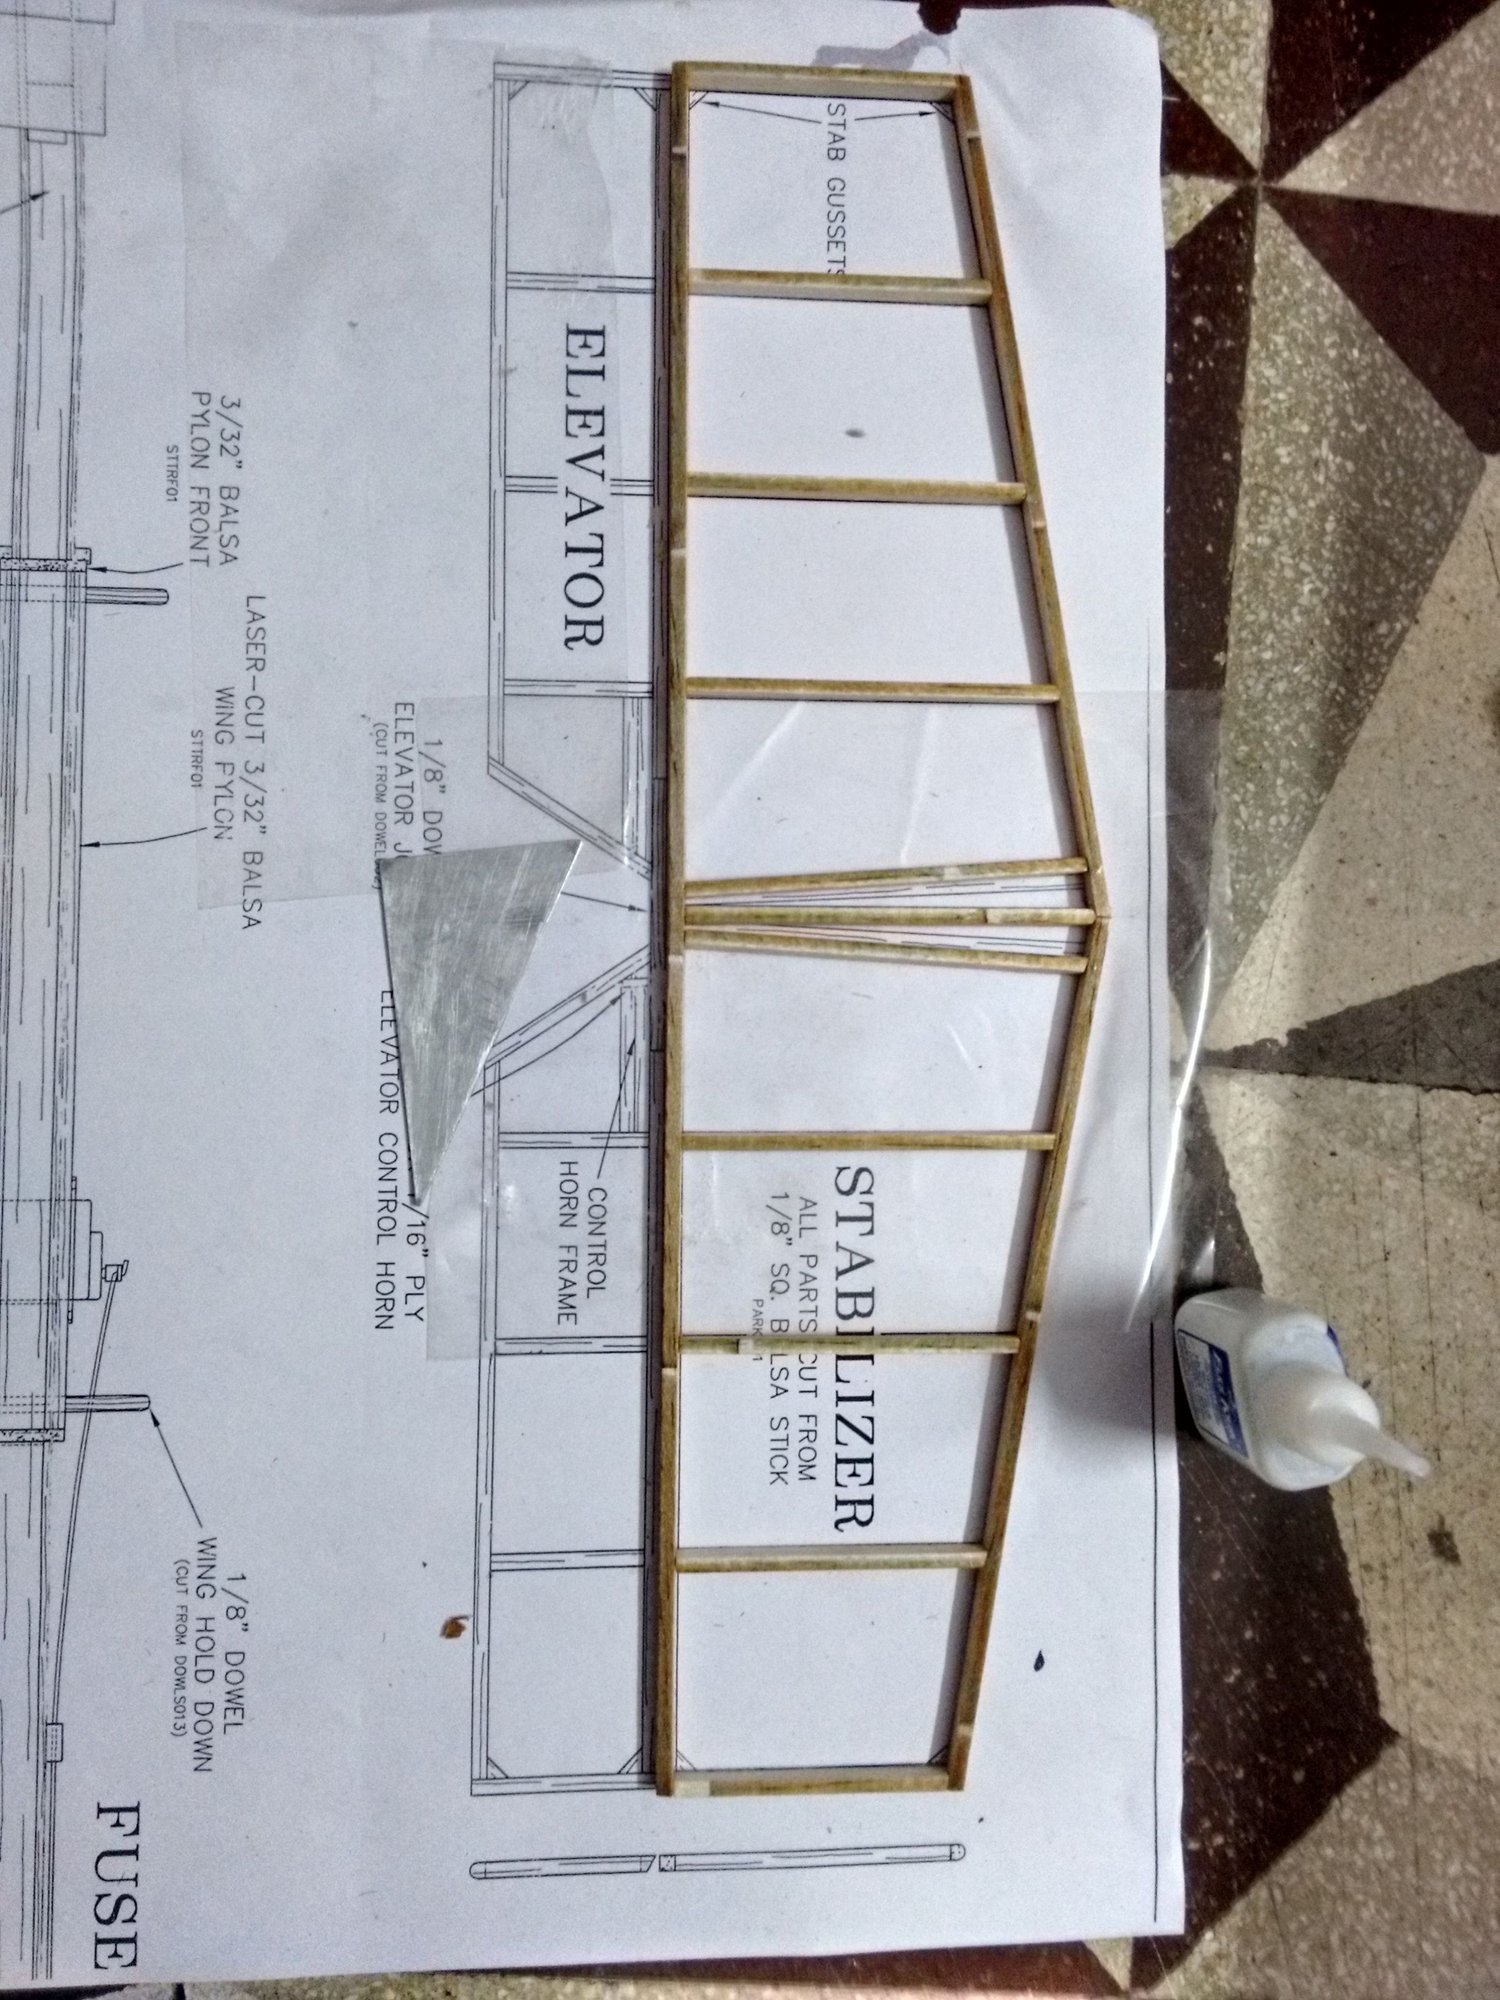
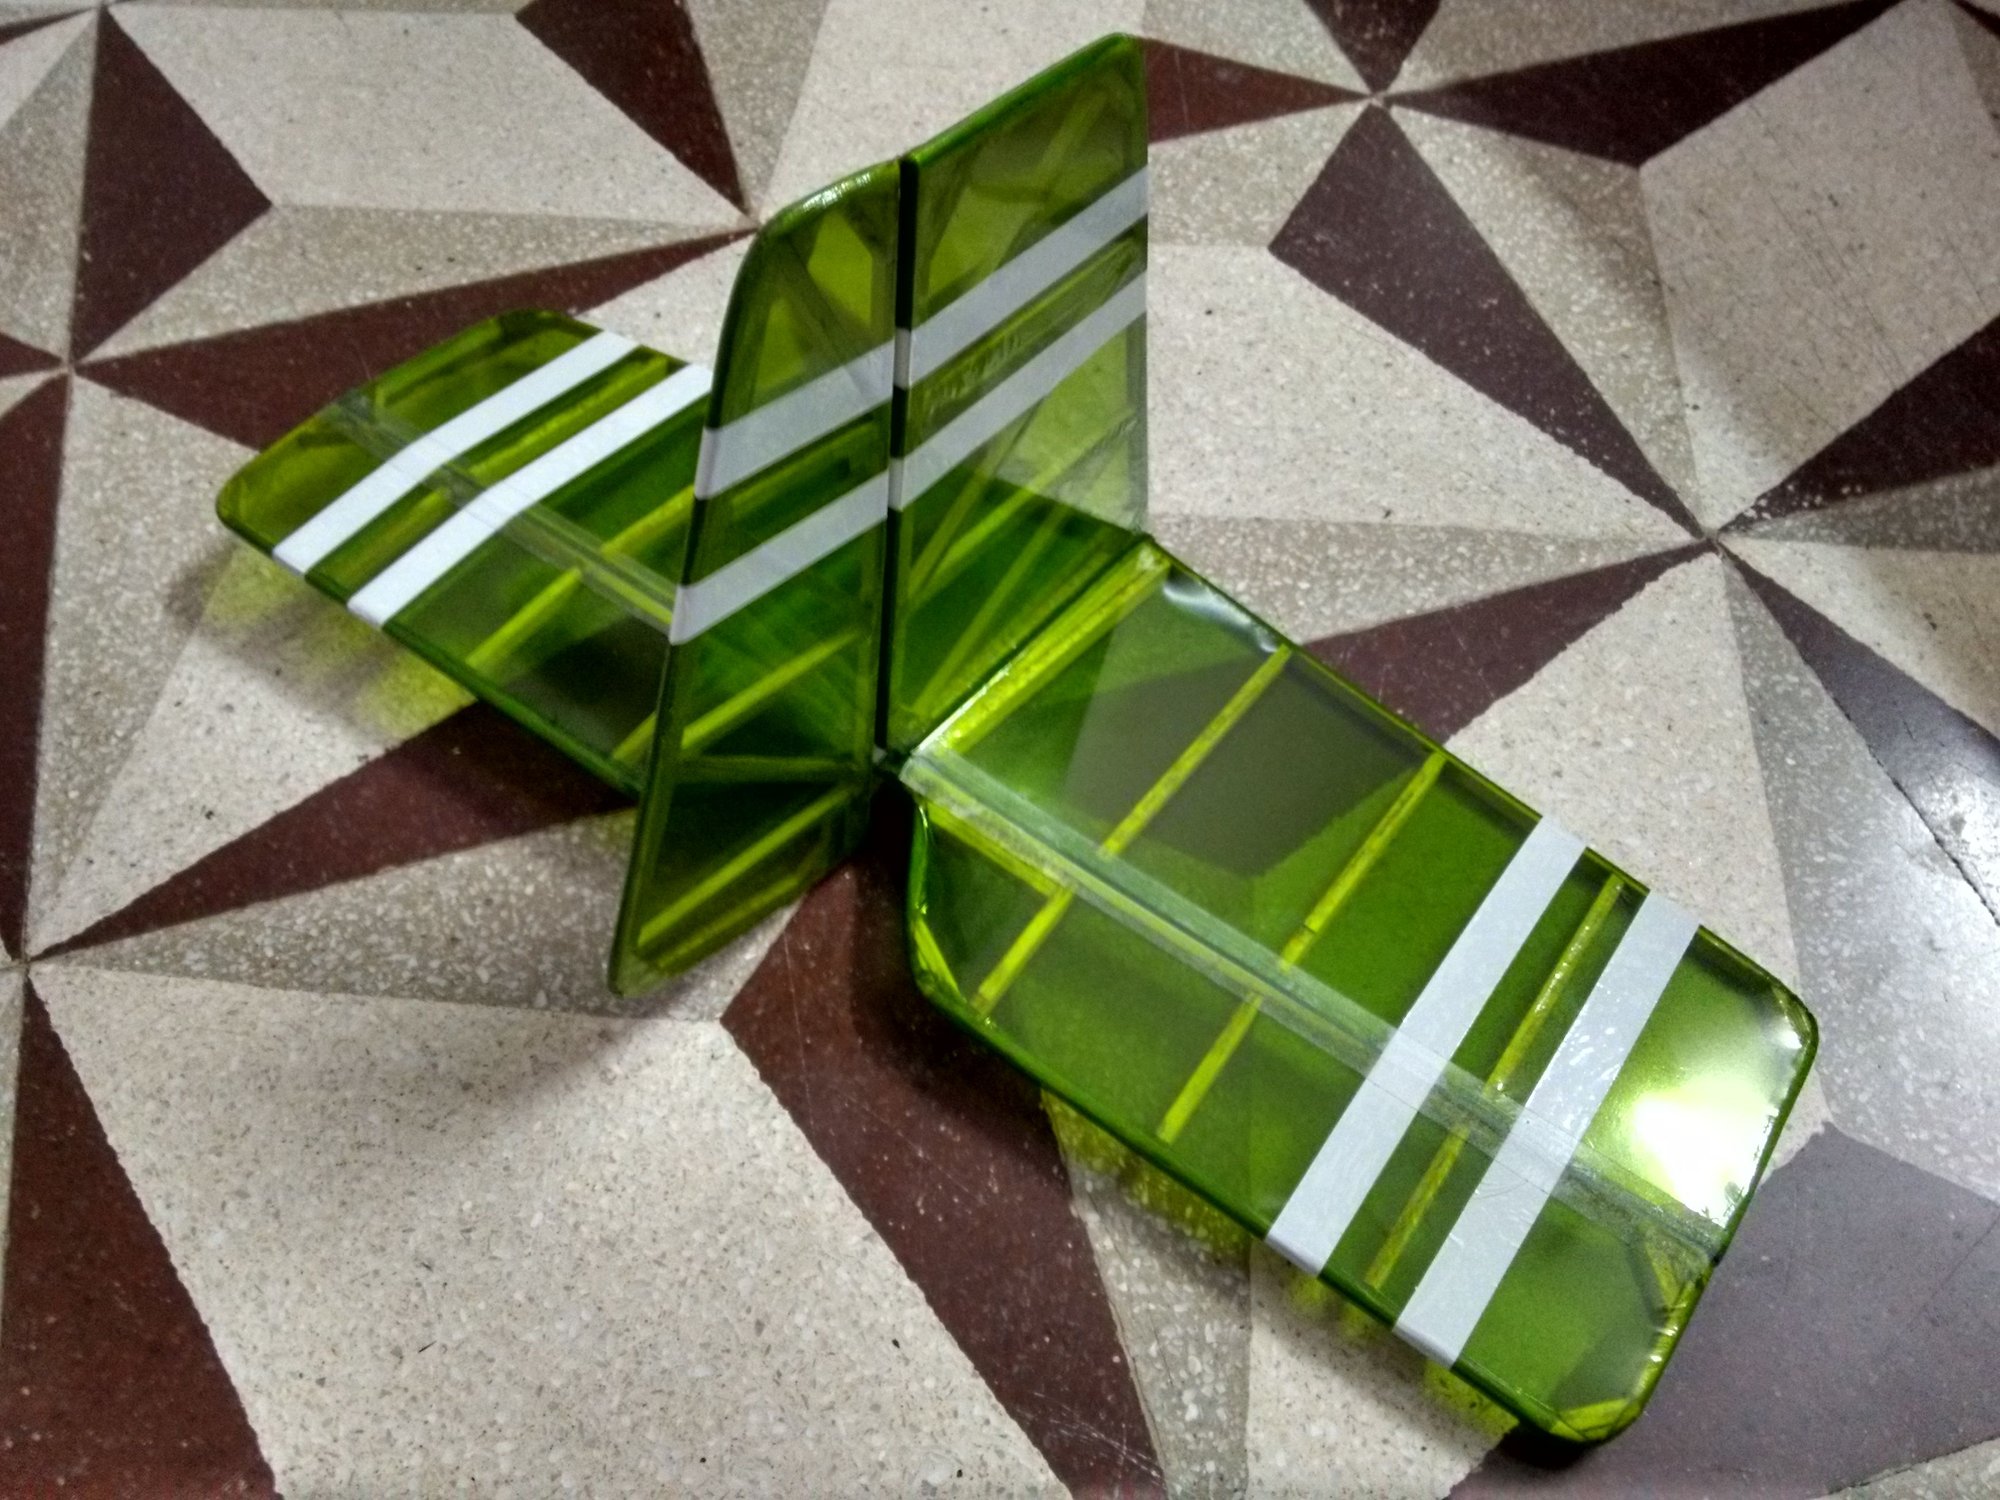
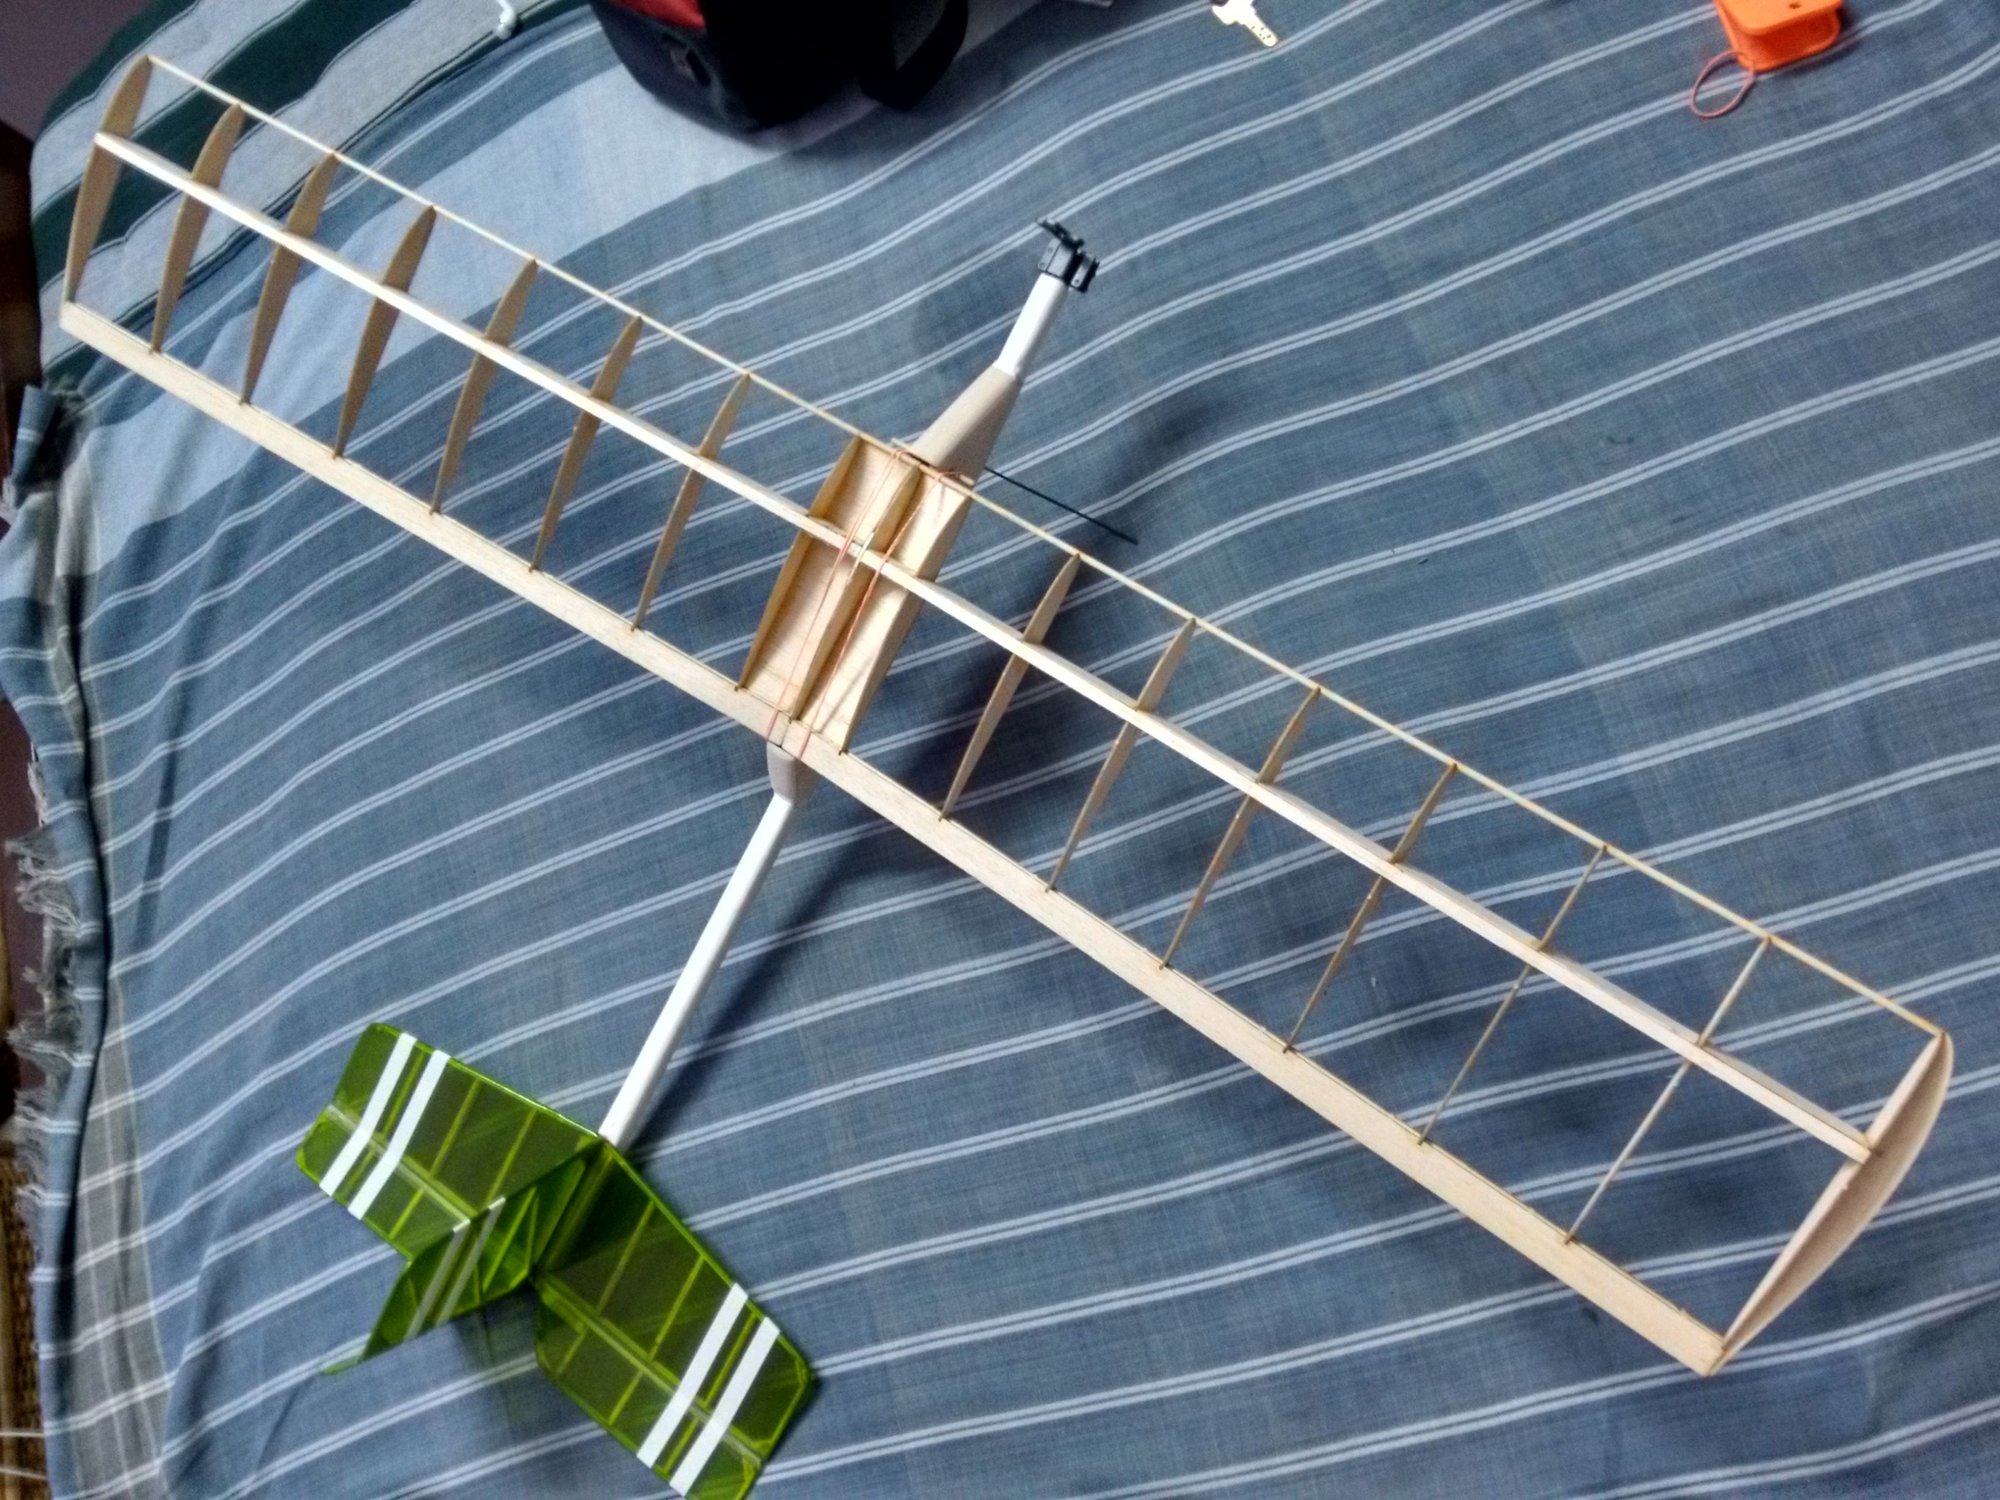
BLT KIT (Revised) - Laser Cut & Require Items
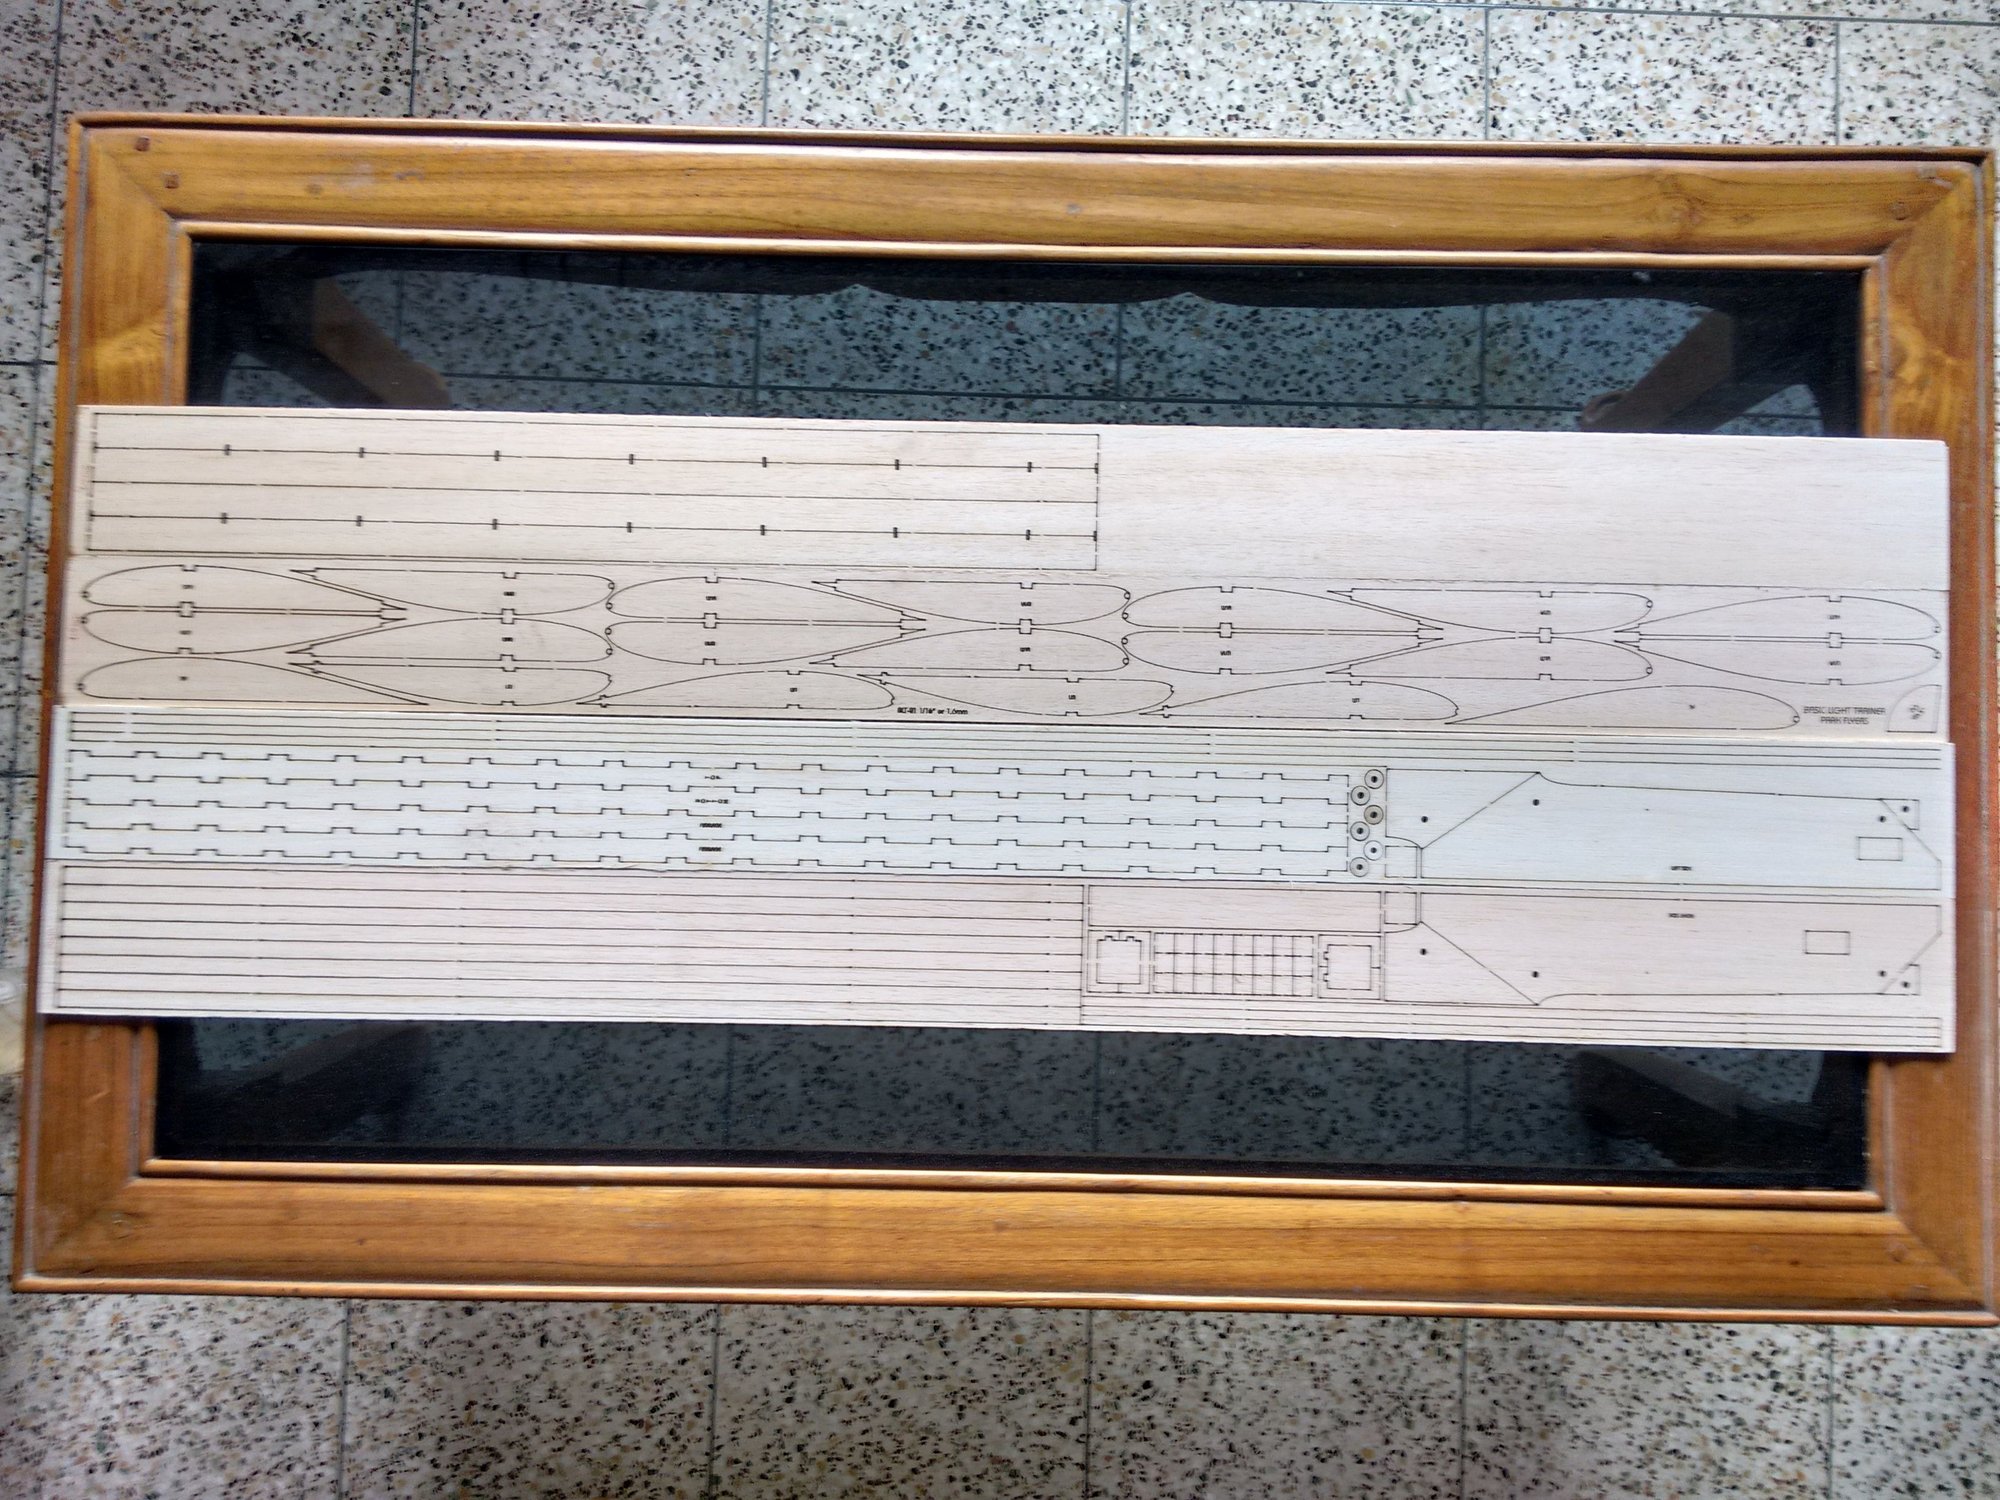
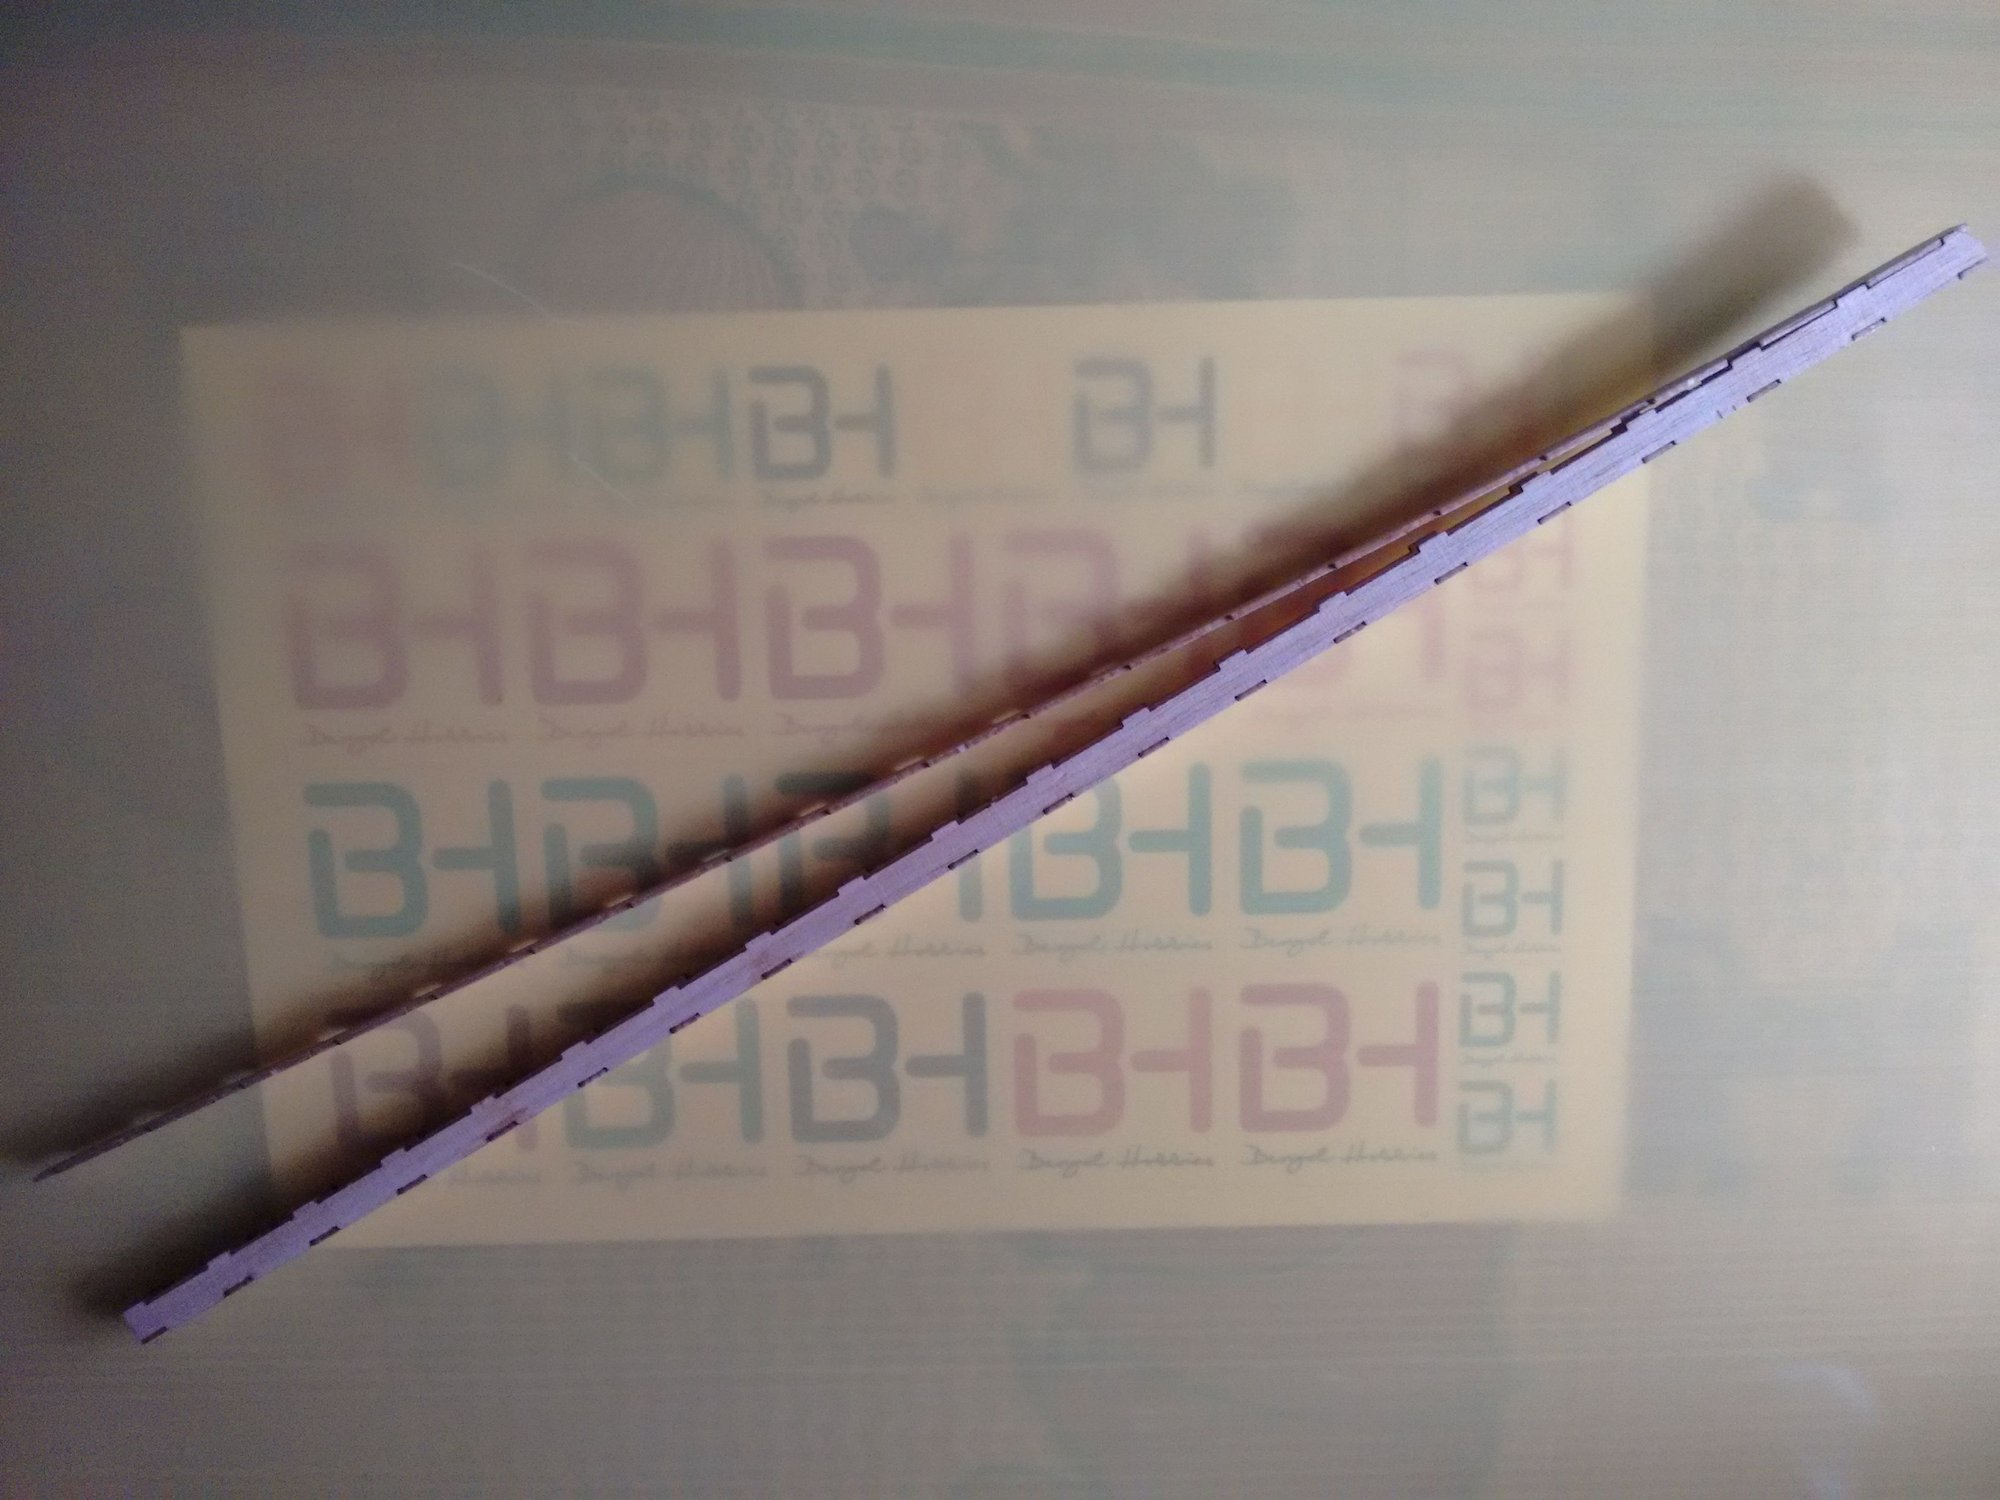
BLT KIT (Revised) - Laser Cut
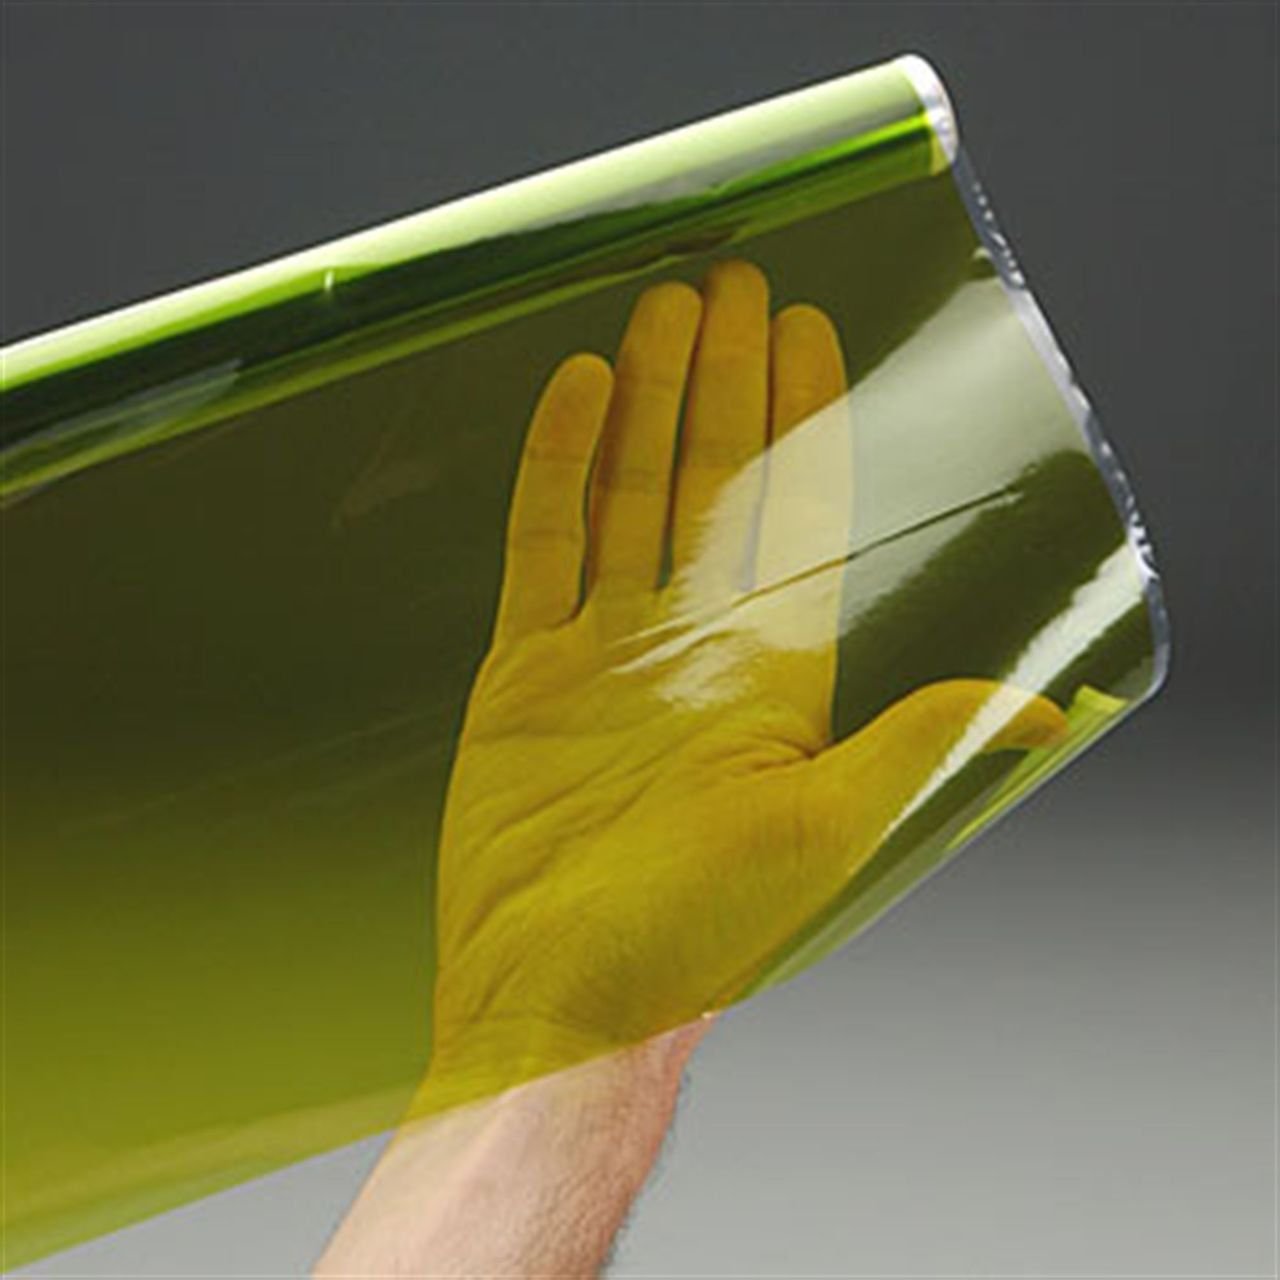
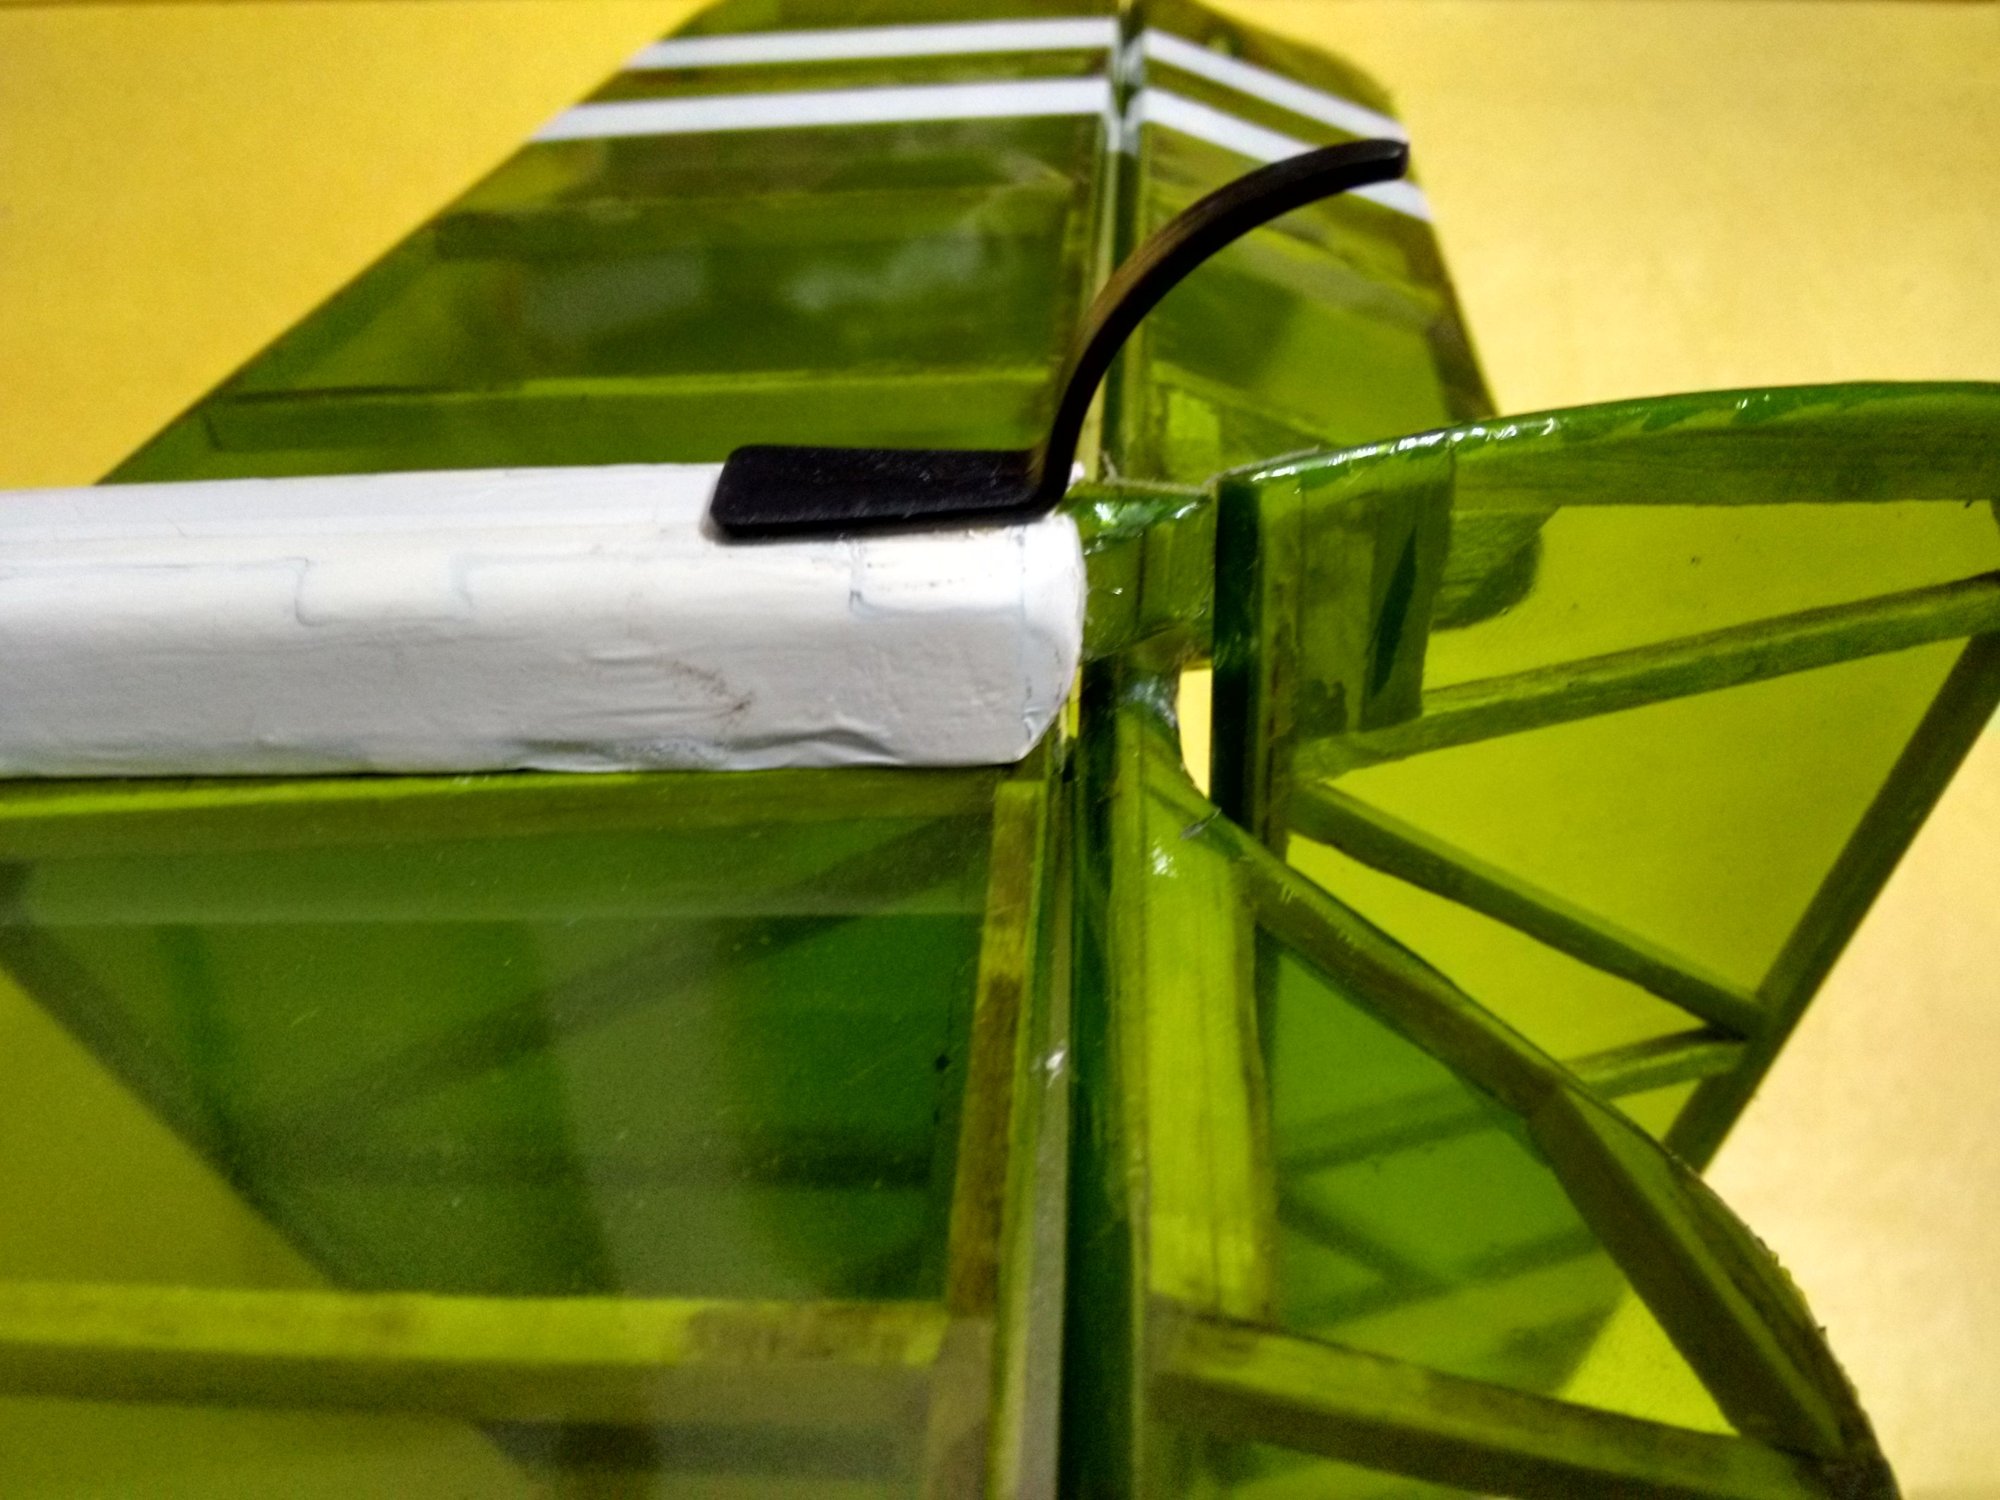
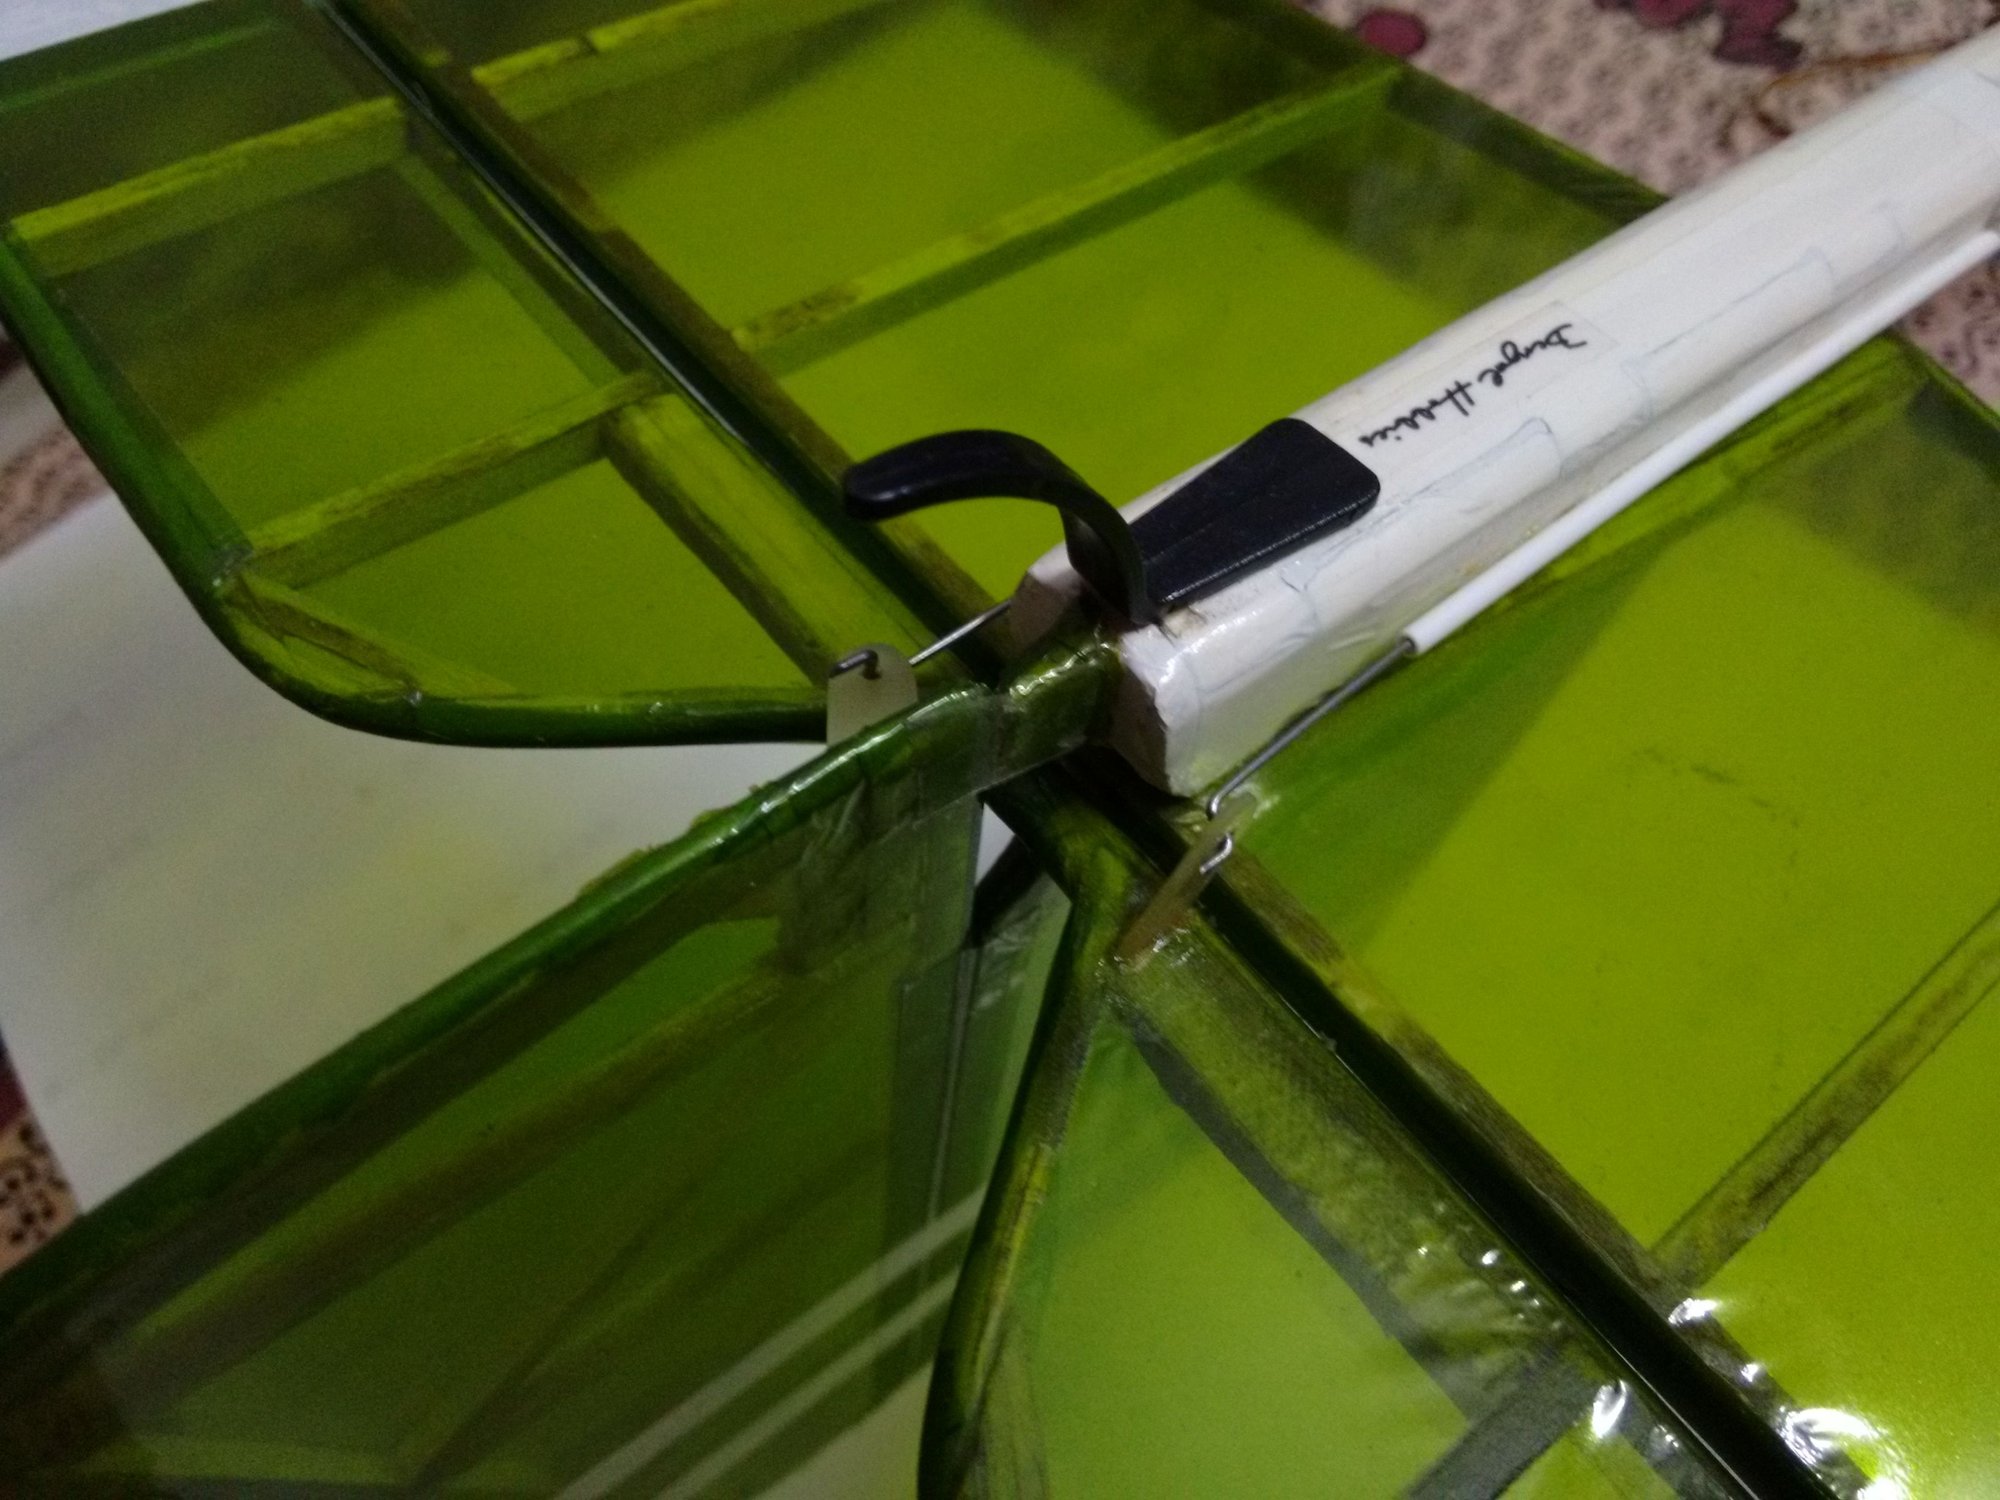
Coverite 21st Century Microlite Transparent Green COVQ0252
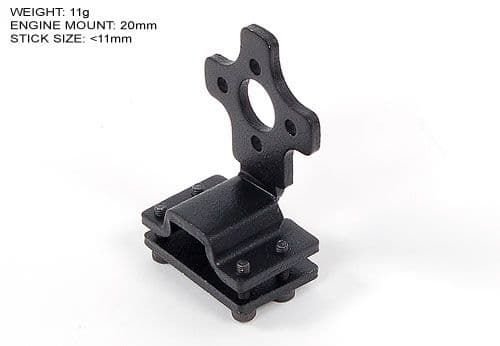
HXT Alloy Composite Stick Mount 20mm
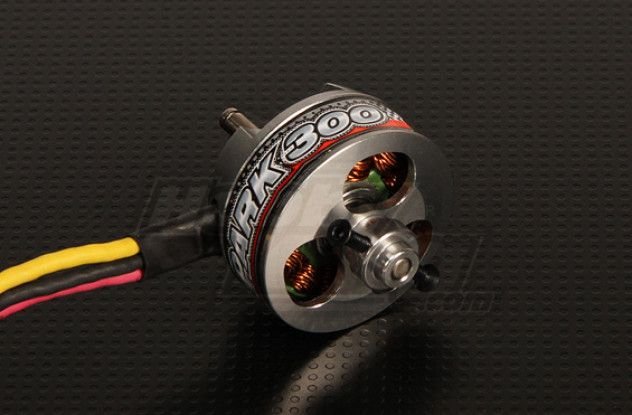
Turnigy Park300 Brushless Outrunner 1380kv

GWS EP Propeller DD-8040 203x102mm
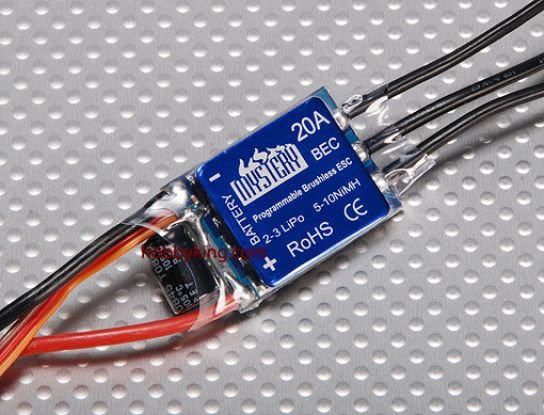
Mystery 20A Brushless Speed Controller

OrangeRx R410X DSMX

Turnigy 2S 800mAh 20C
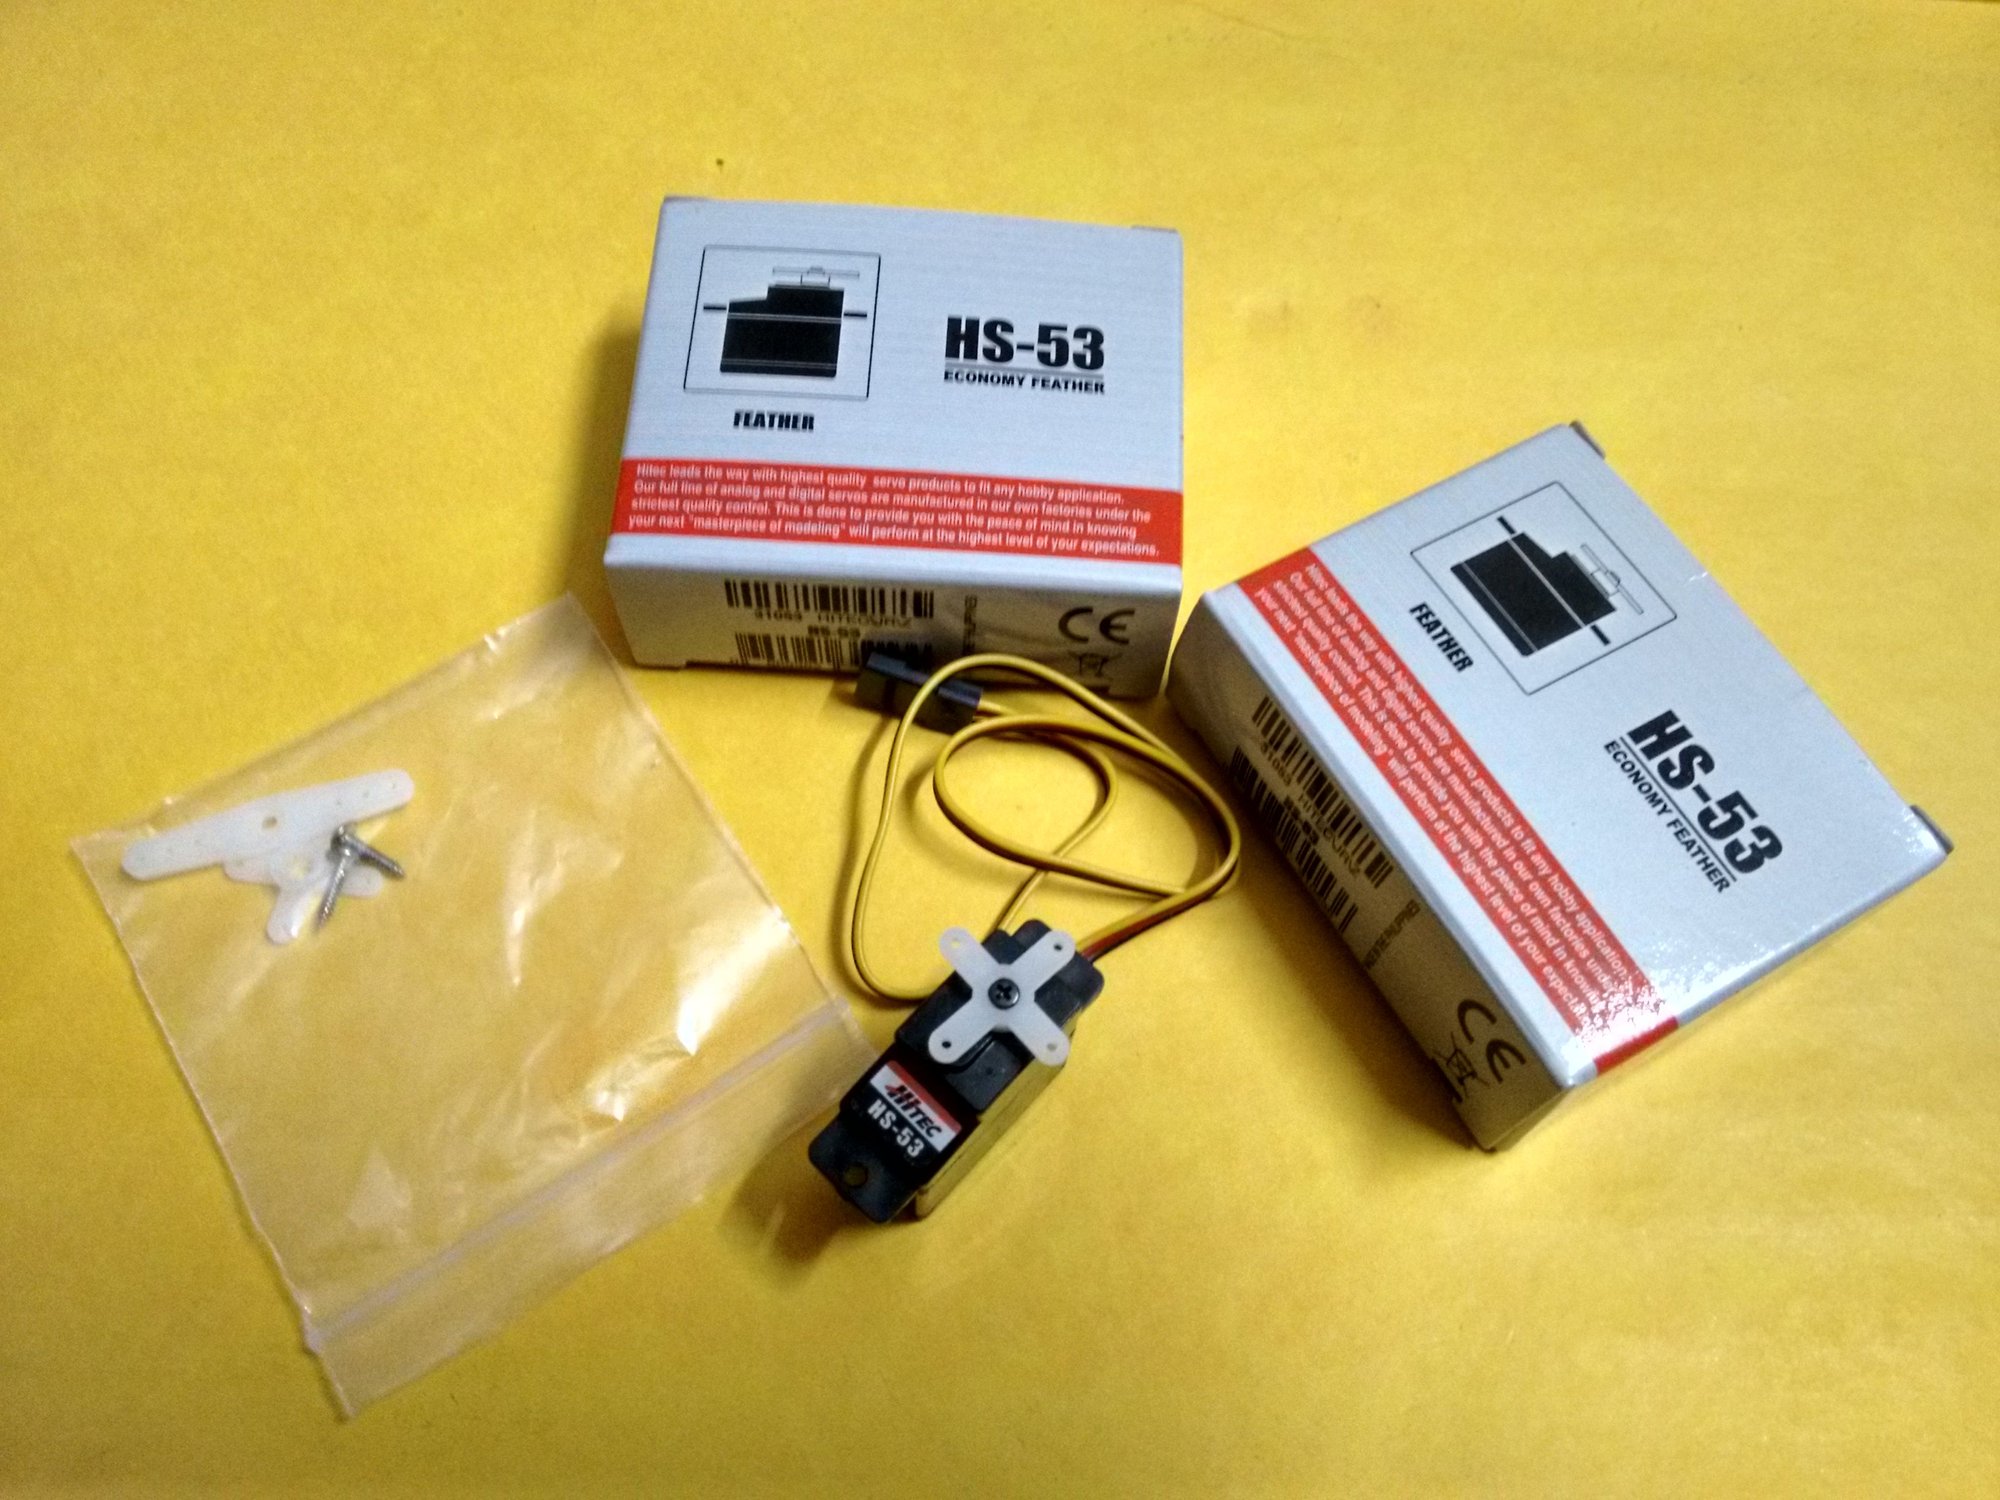
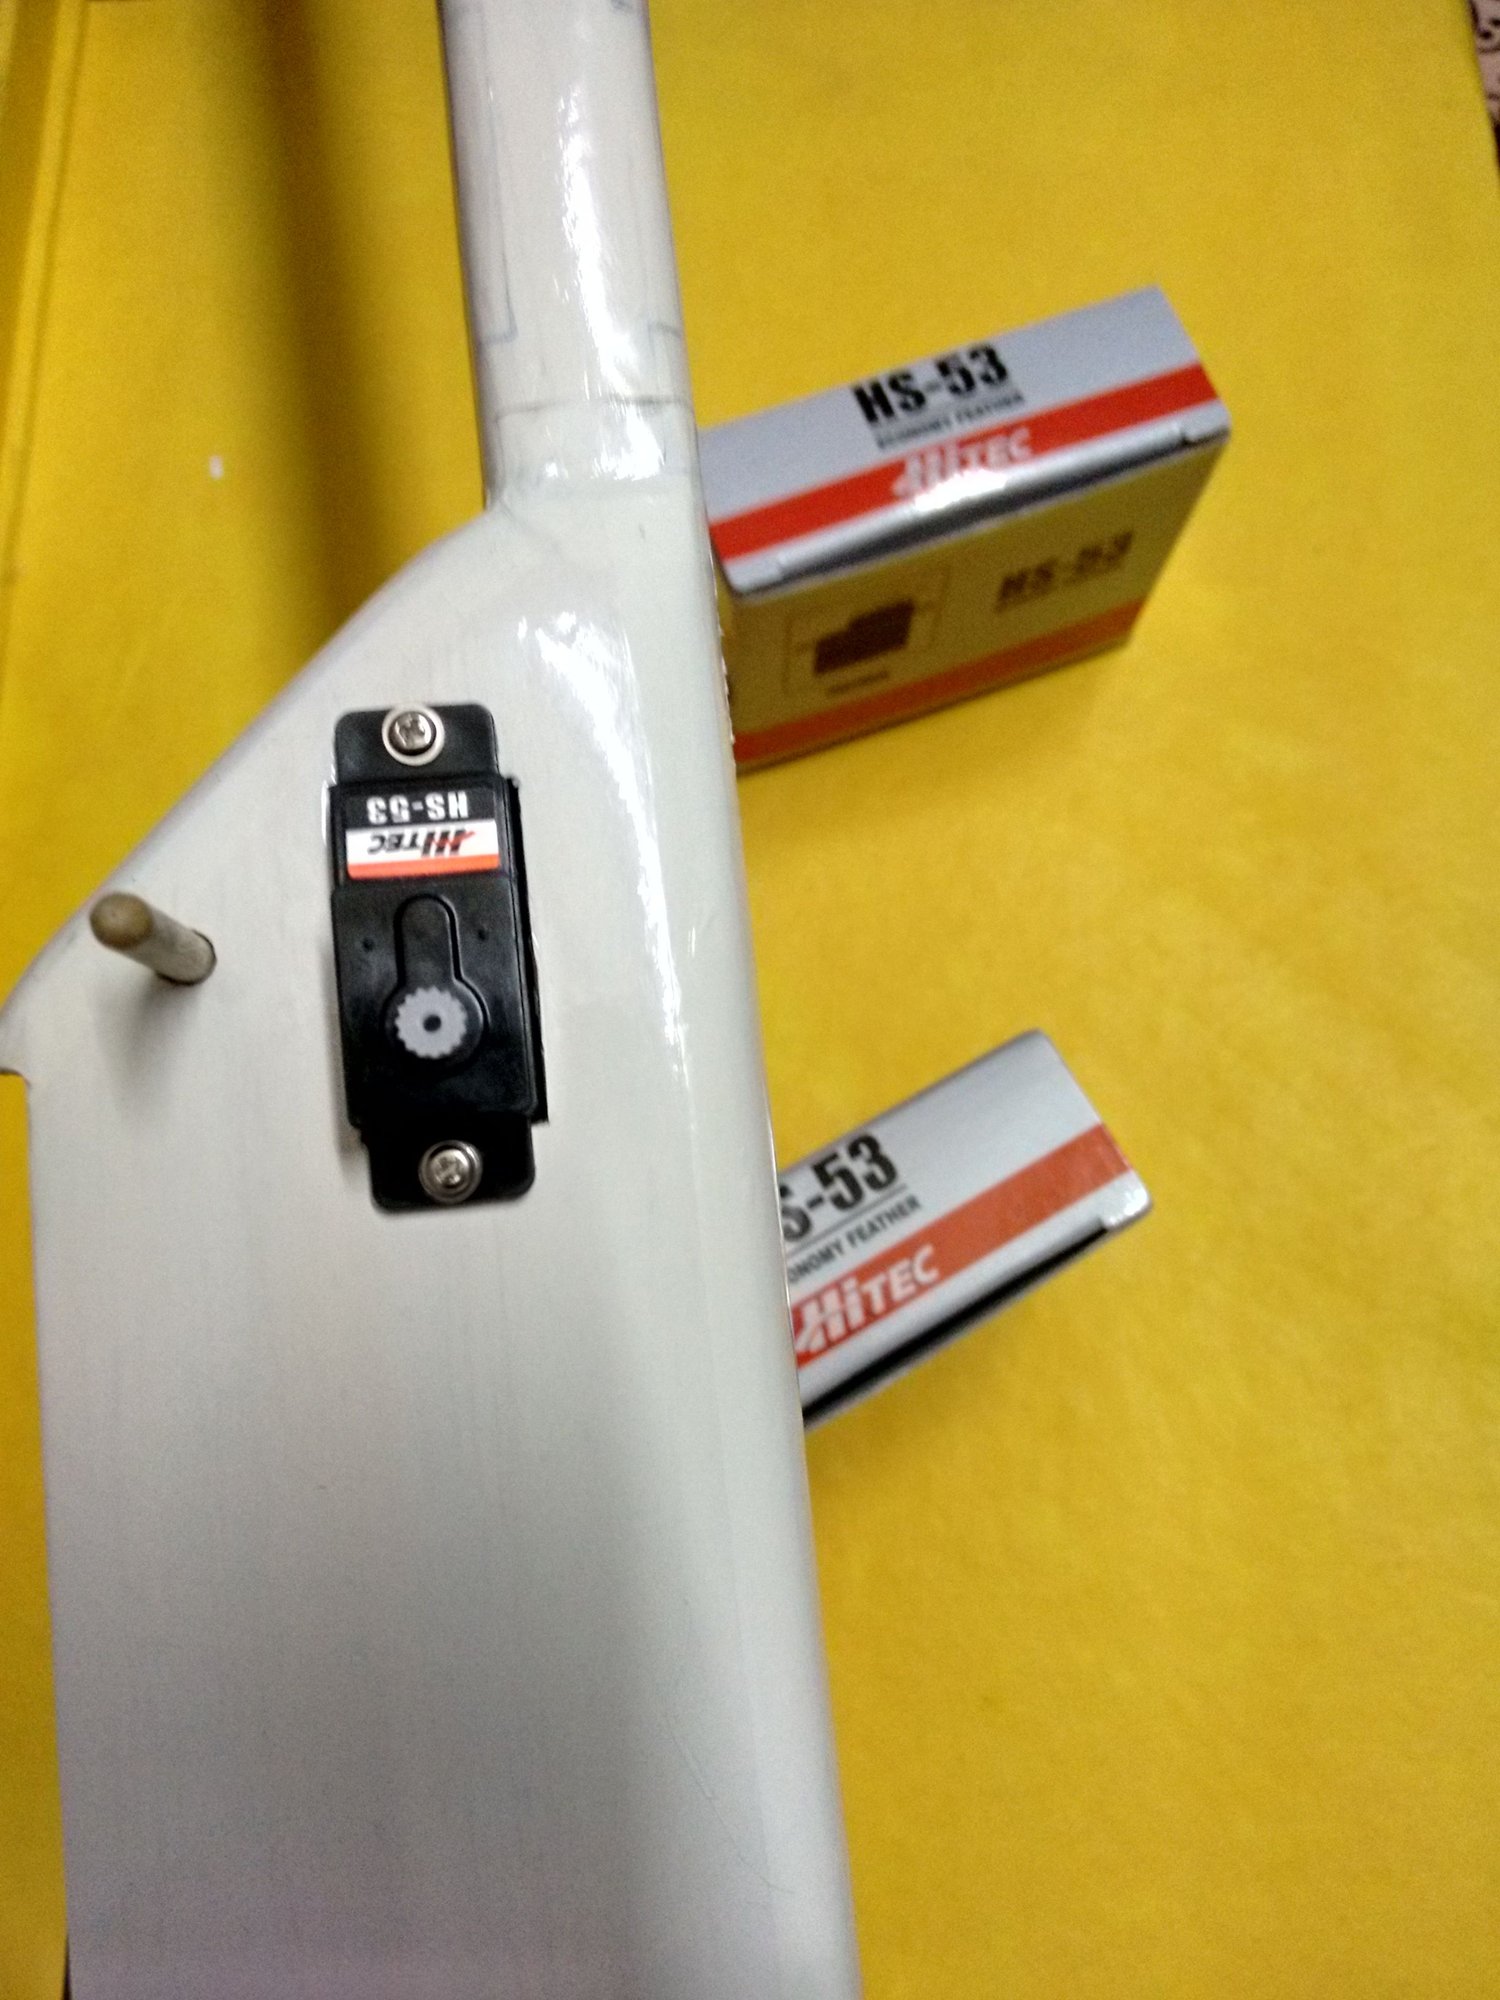
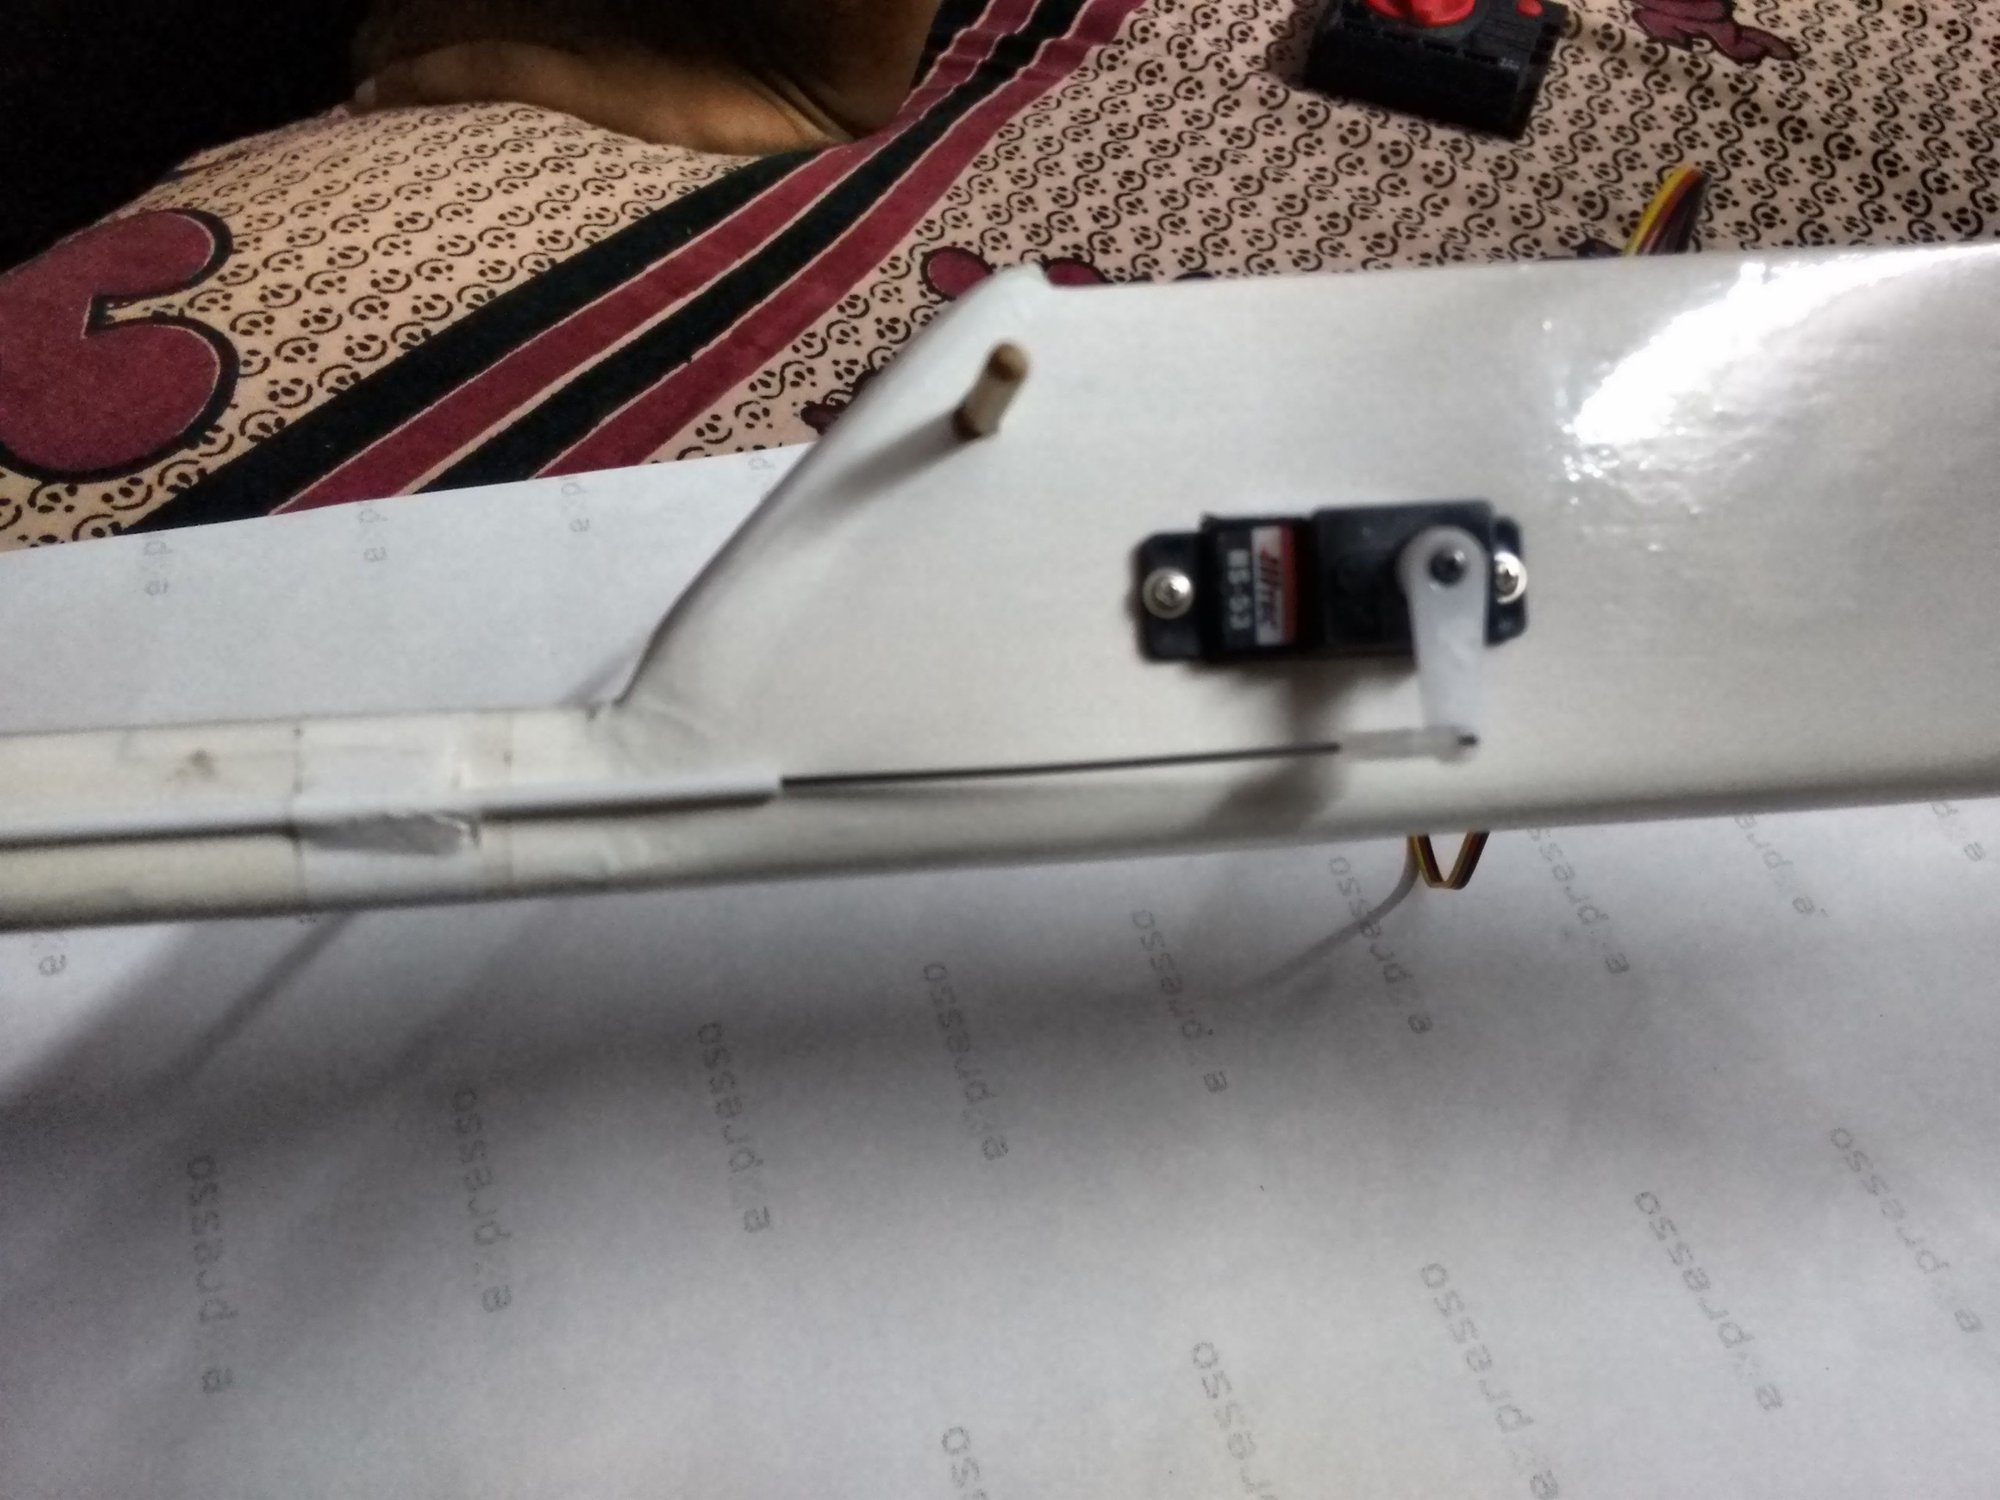
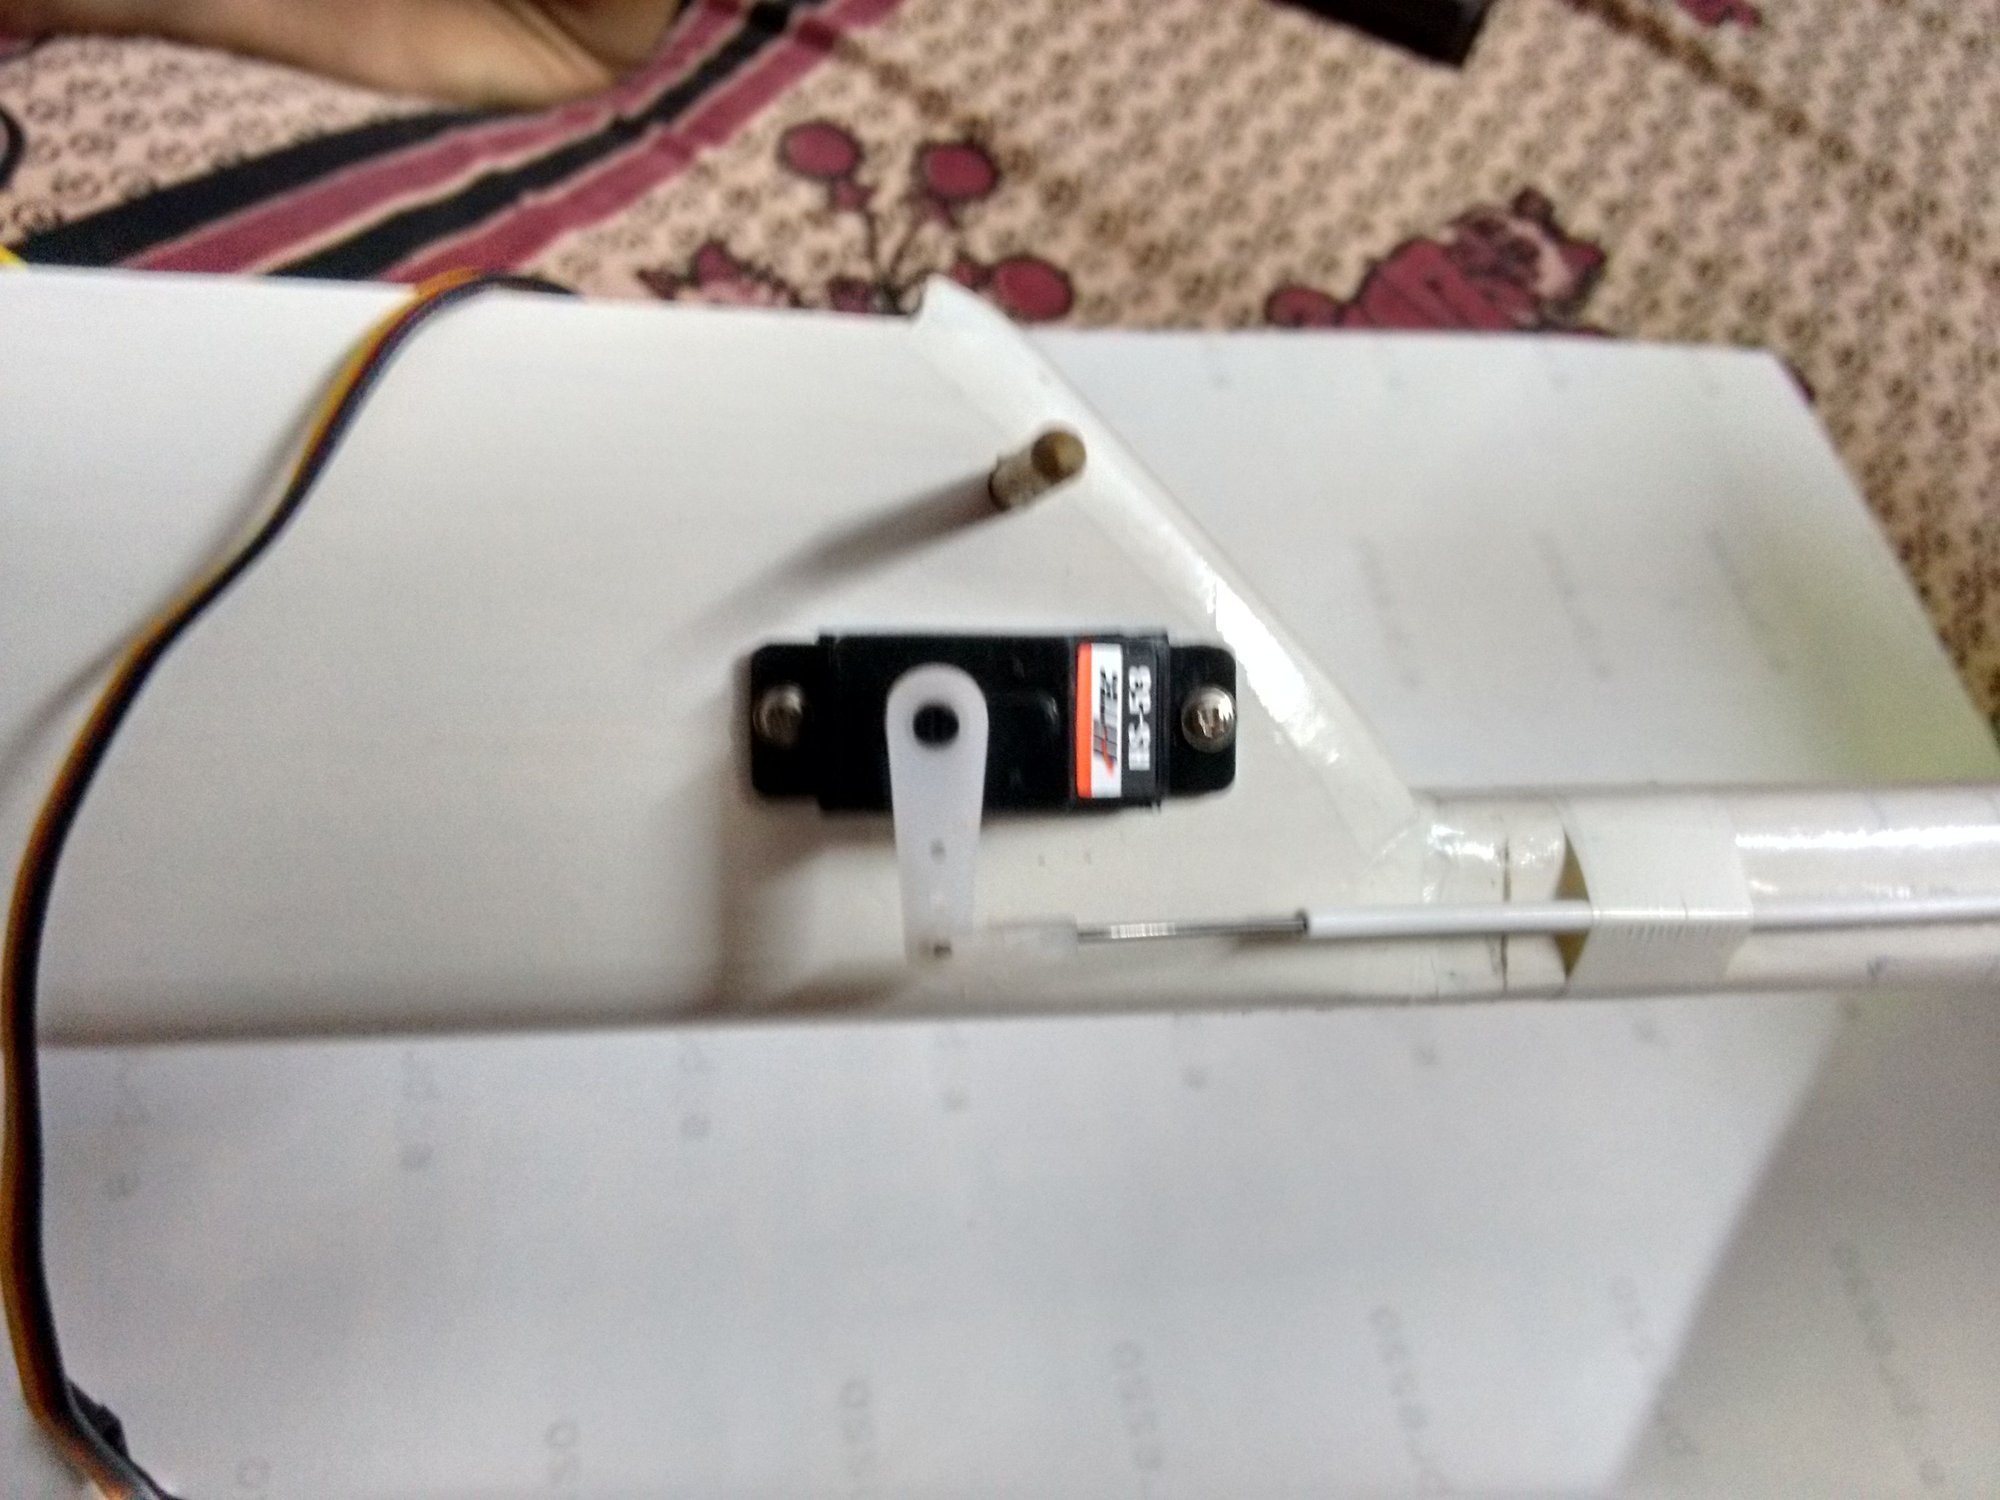
Hitec HS053

Light Wire Landing Strut D1.8x145mm
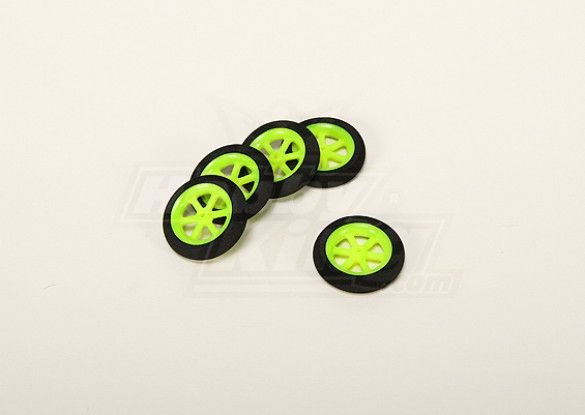
Super Light Multi Spoke Wheel
Du-Bro Micro Tail Skid DUB853
BLT KIT (Revised) - Laser Cut
Coverite 21st Century Microlite Transparent Green COVQ0252
HXT Alloy Composite Stick Mount 20mm
Turnigy Park300 Brushless Outrunner 1380kv
GWS EP Propeller DD-8040 203x102mm
Mystery 20A Brushless Speed Controller
OrangeRx R410X DSMX
Turnigy 2S 800mAh 20C
Hitec HS053
Light Wire Landing Strut D1.8x145mm
Super Light Multi Spoke Wheel
Du-Bro Micro Tail Skid DUB853


 05-18-2024 | 09:21 AM
#18
Joined: Sep 2008
Posts: 83
Likes: 0
Received 0 Likes
on
0 Posts
From: Kolkata, West Bengal, India