


Elite Aerosport Rebel Pro Build


 11-07-2015, 09:07 PM
#54

Thread Starter

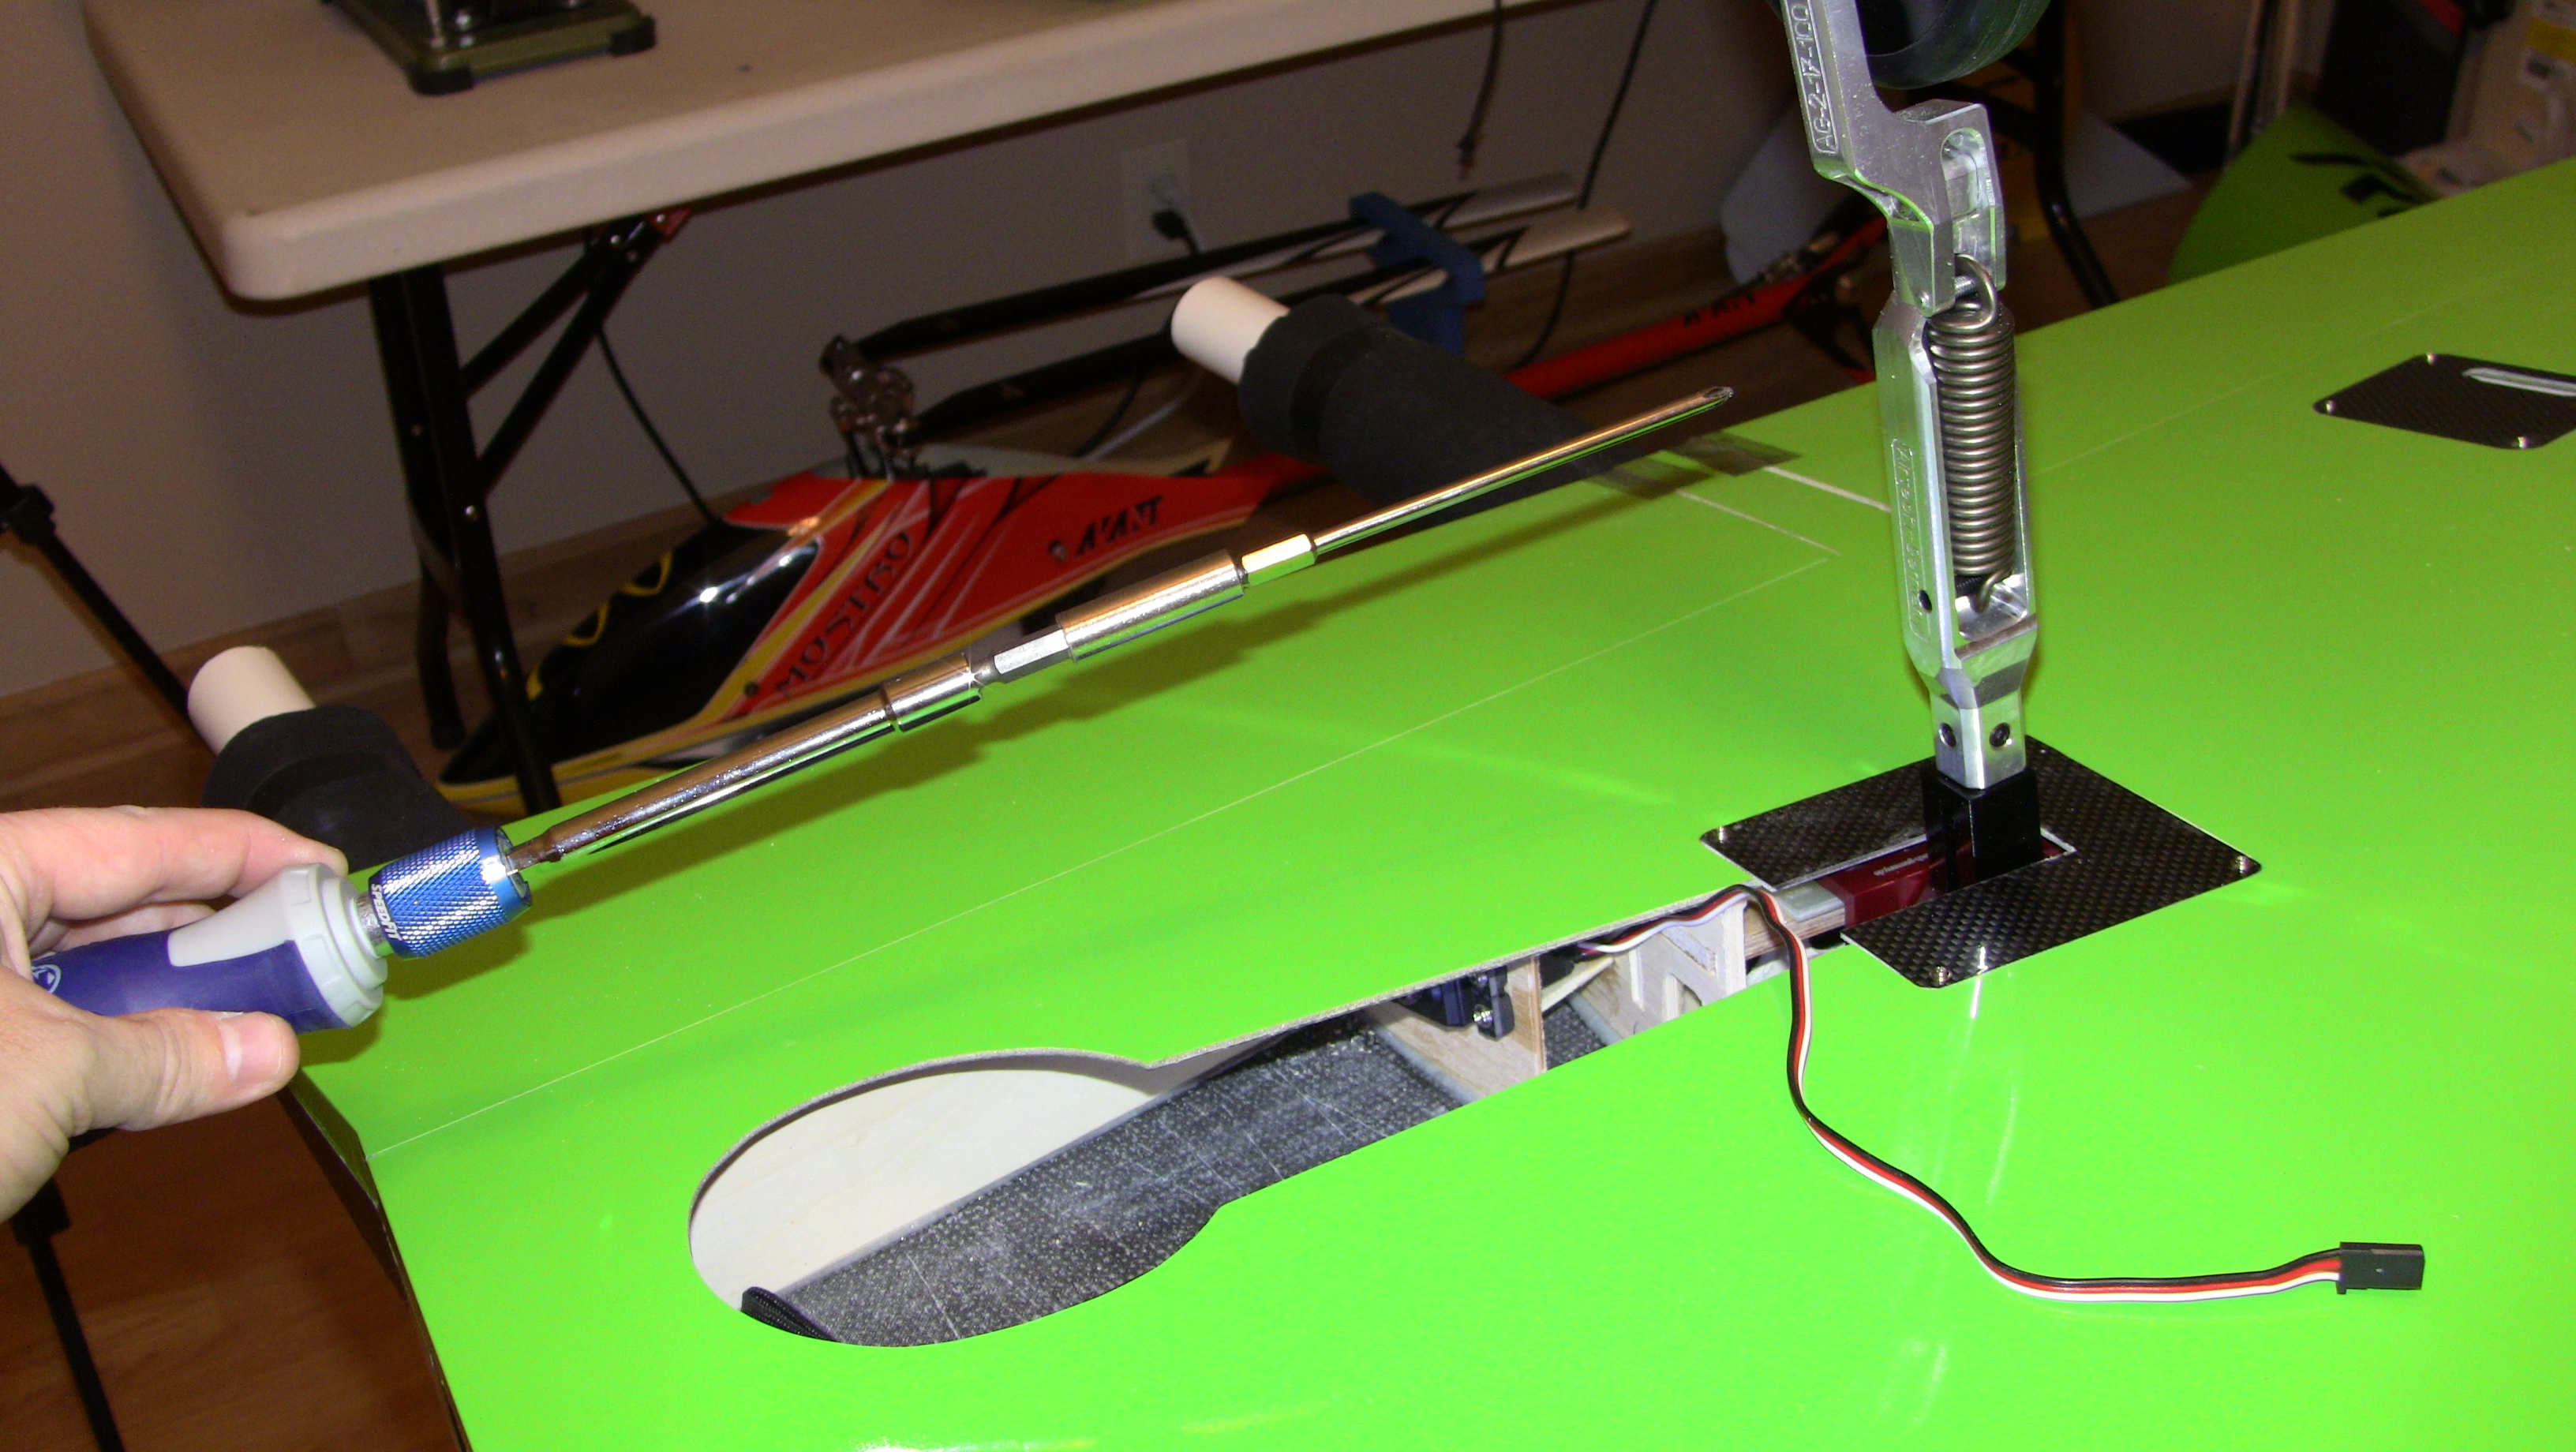
problem solved! LOL just a little dremel sanding in the middle and bam it sits flat. Joe what sizes screws did you use to attach the flex plate to the wood blocks and what size did you use to attach the gear to the flex plate. The only thing the instructions show are the 6mm hole you drill in the wood mounts to allow for the extra screw for the gear to plate mounting. Im guess just a big screw around the 6mm
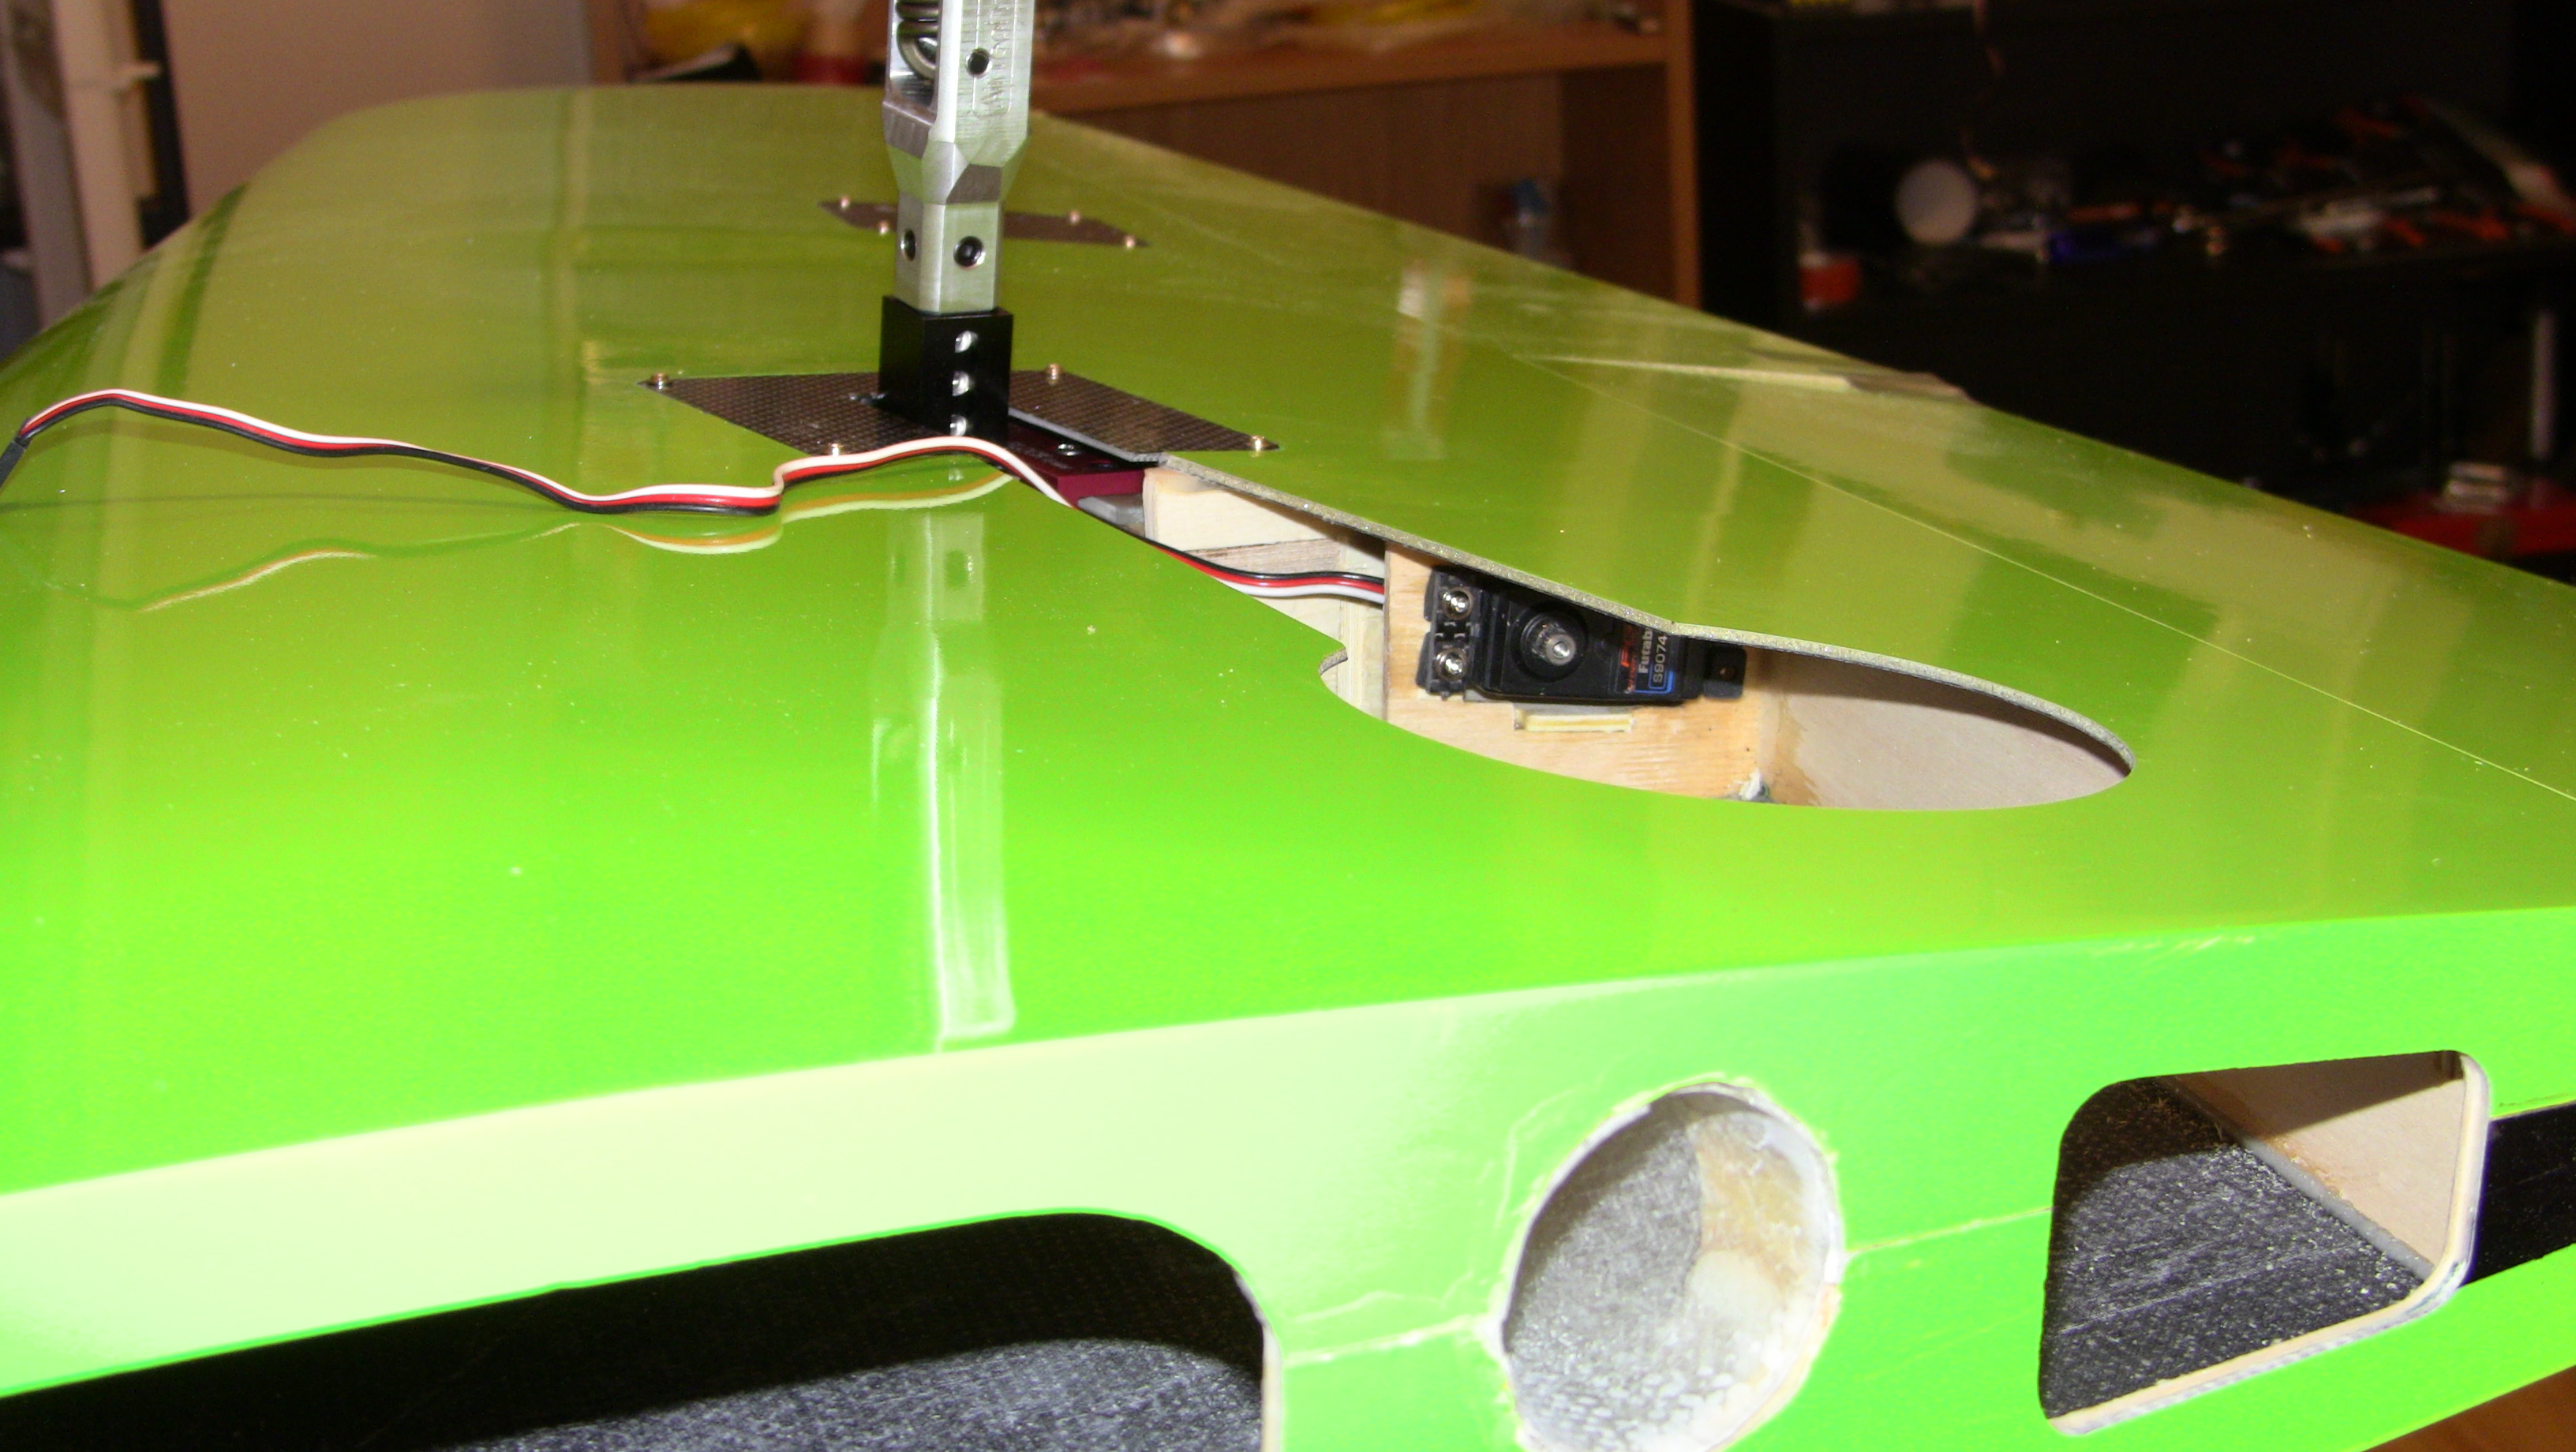
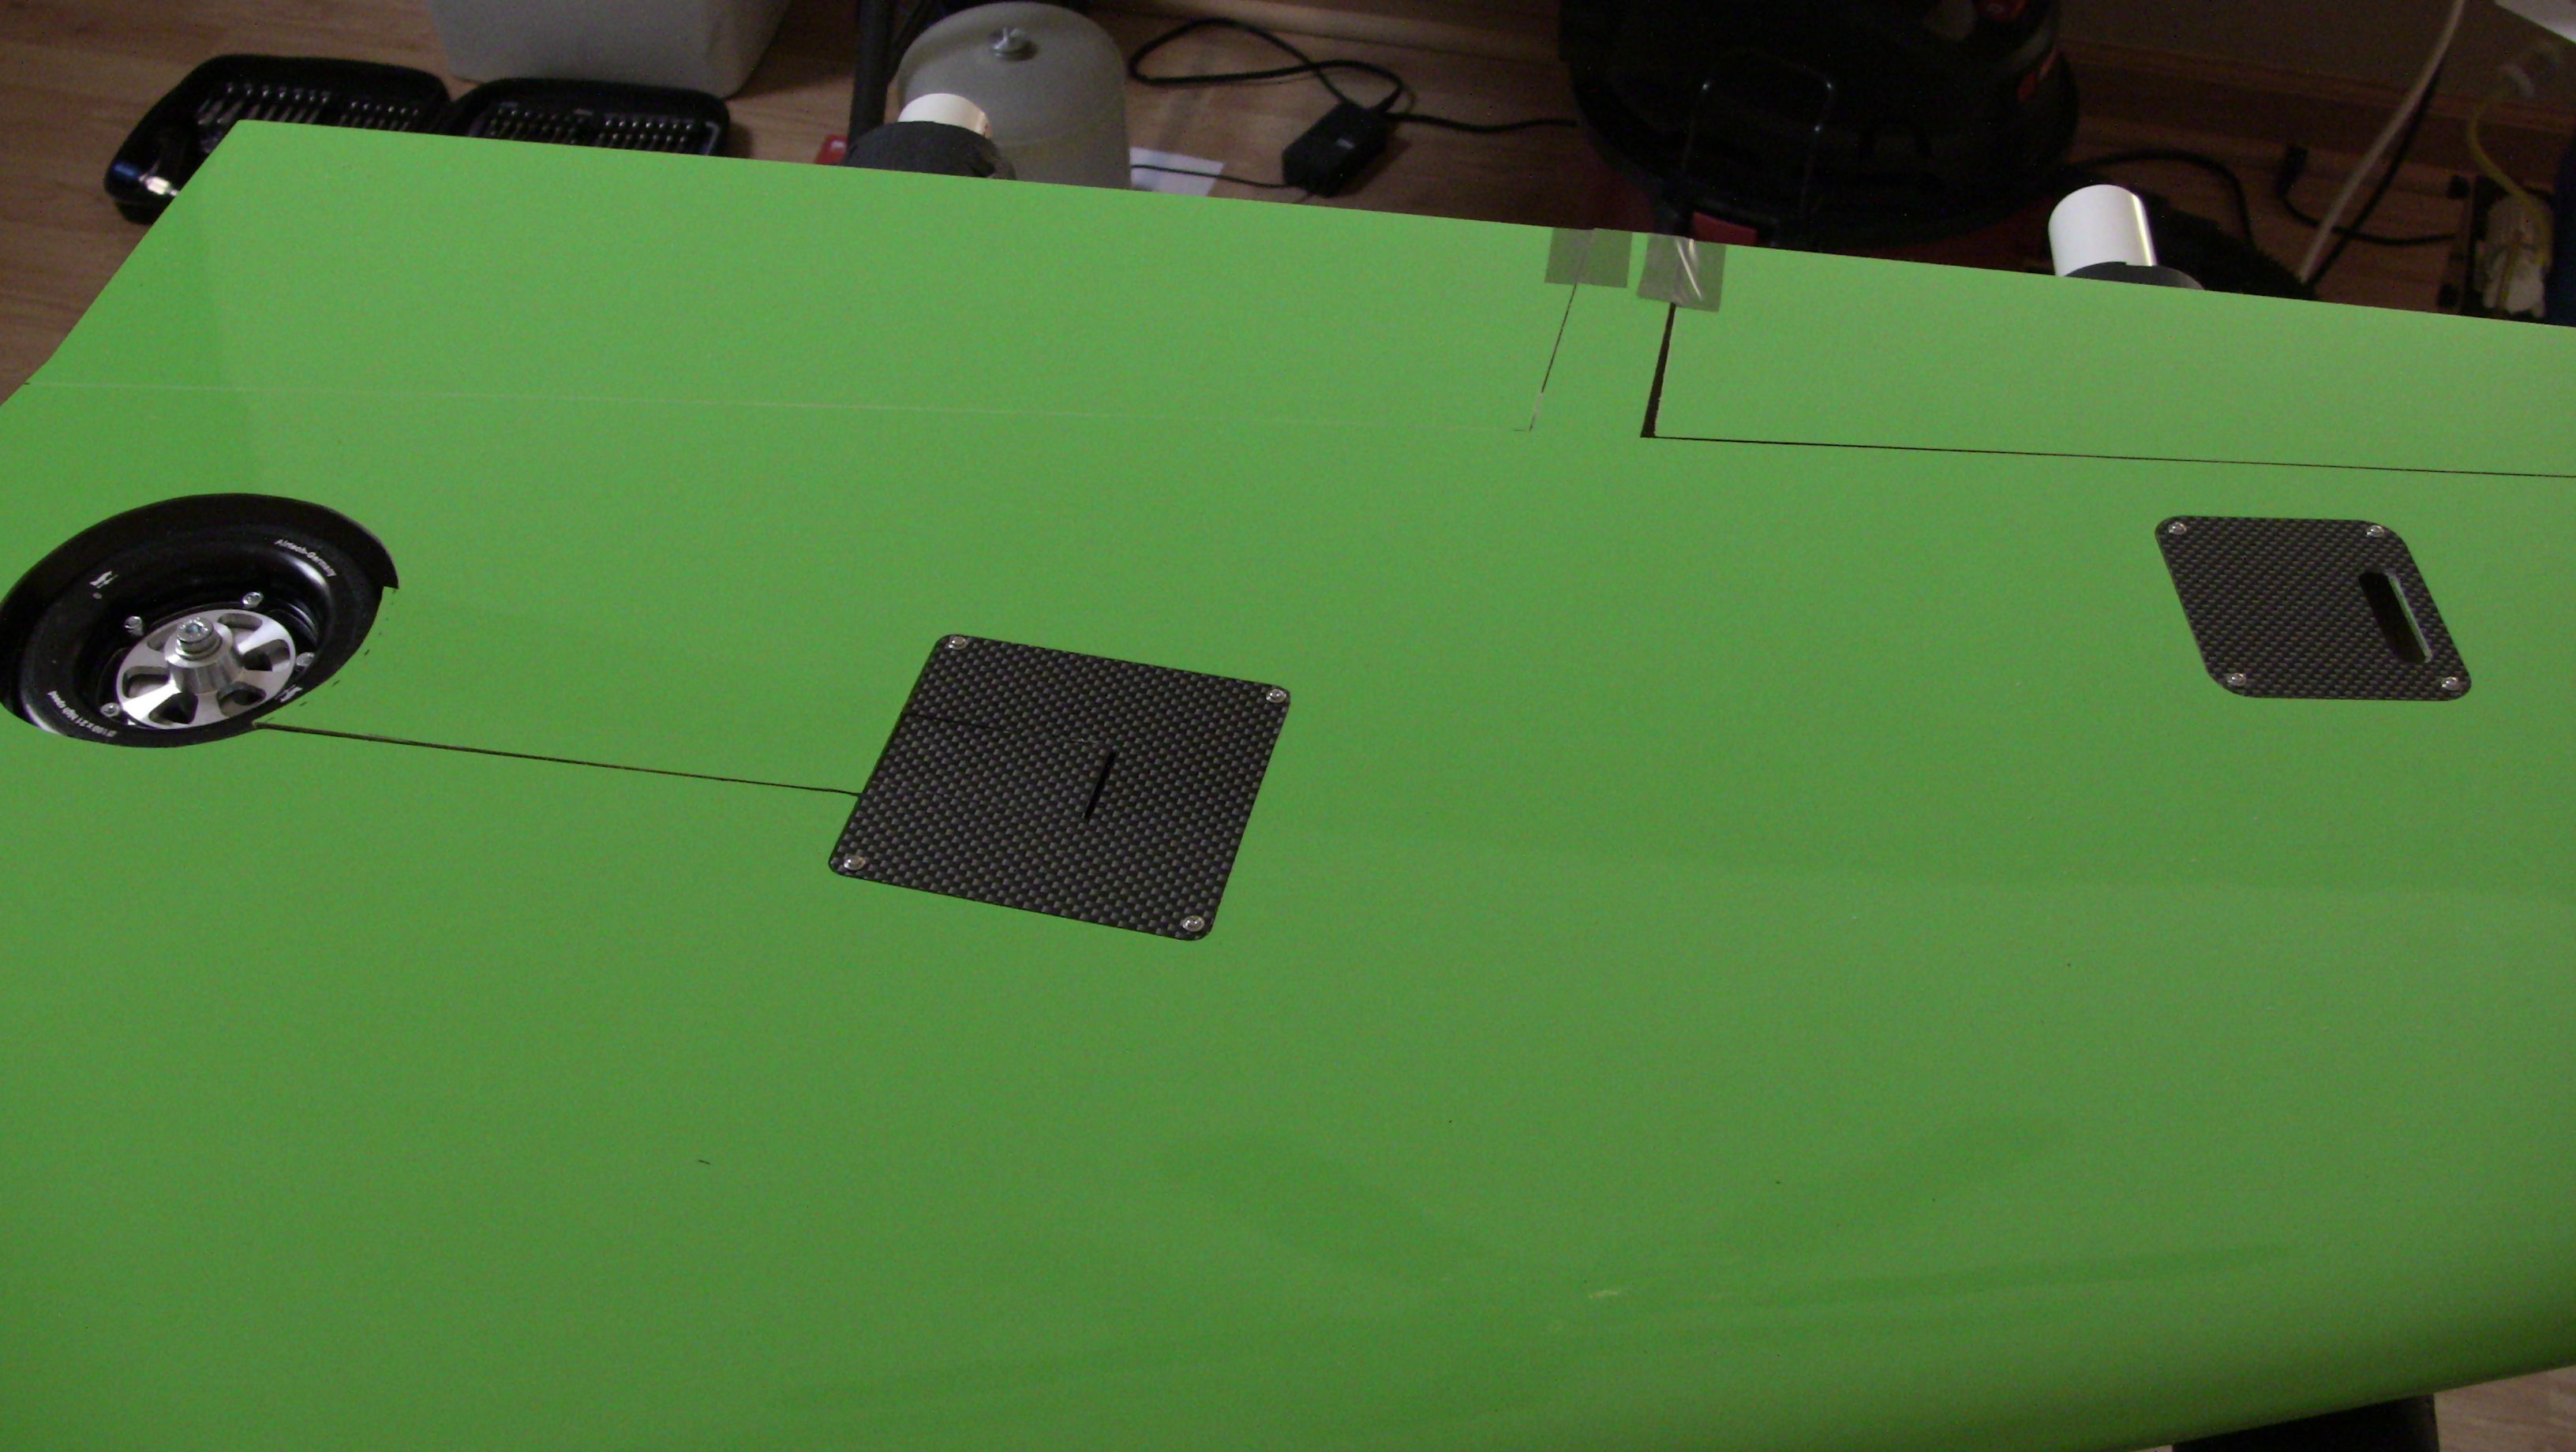
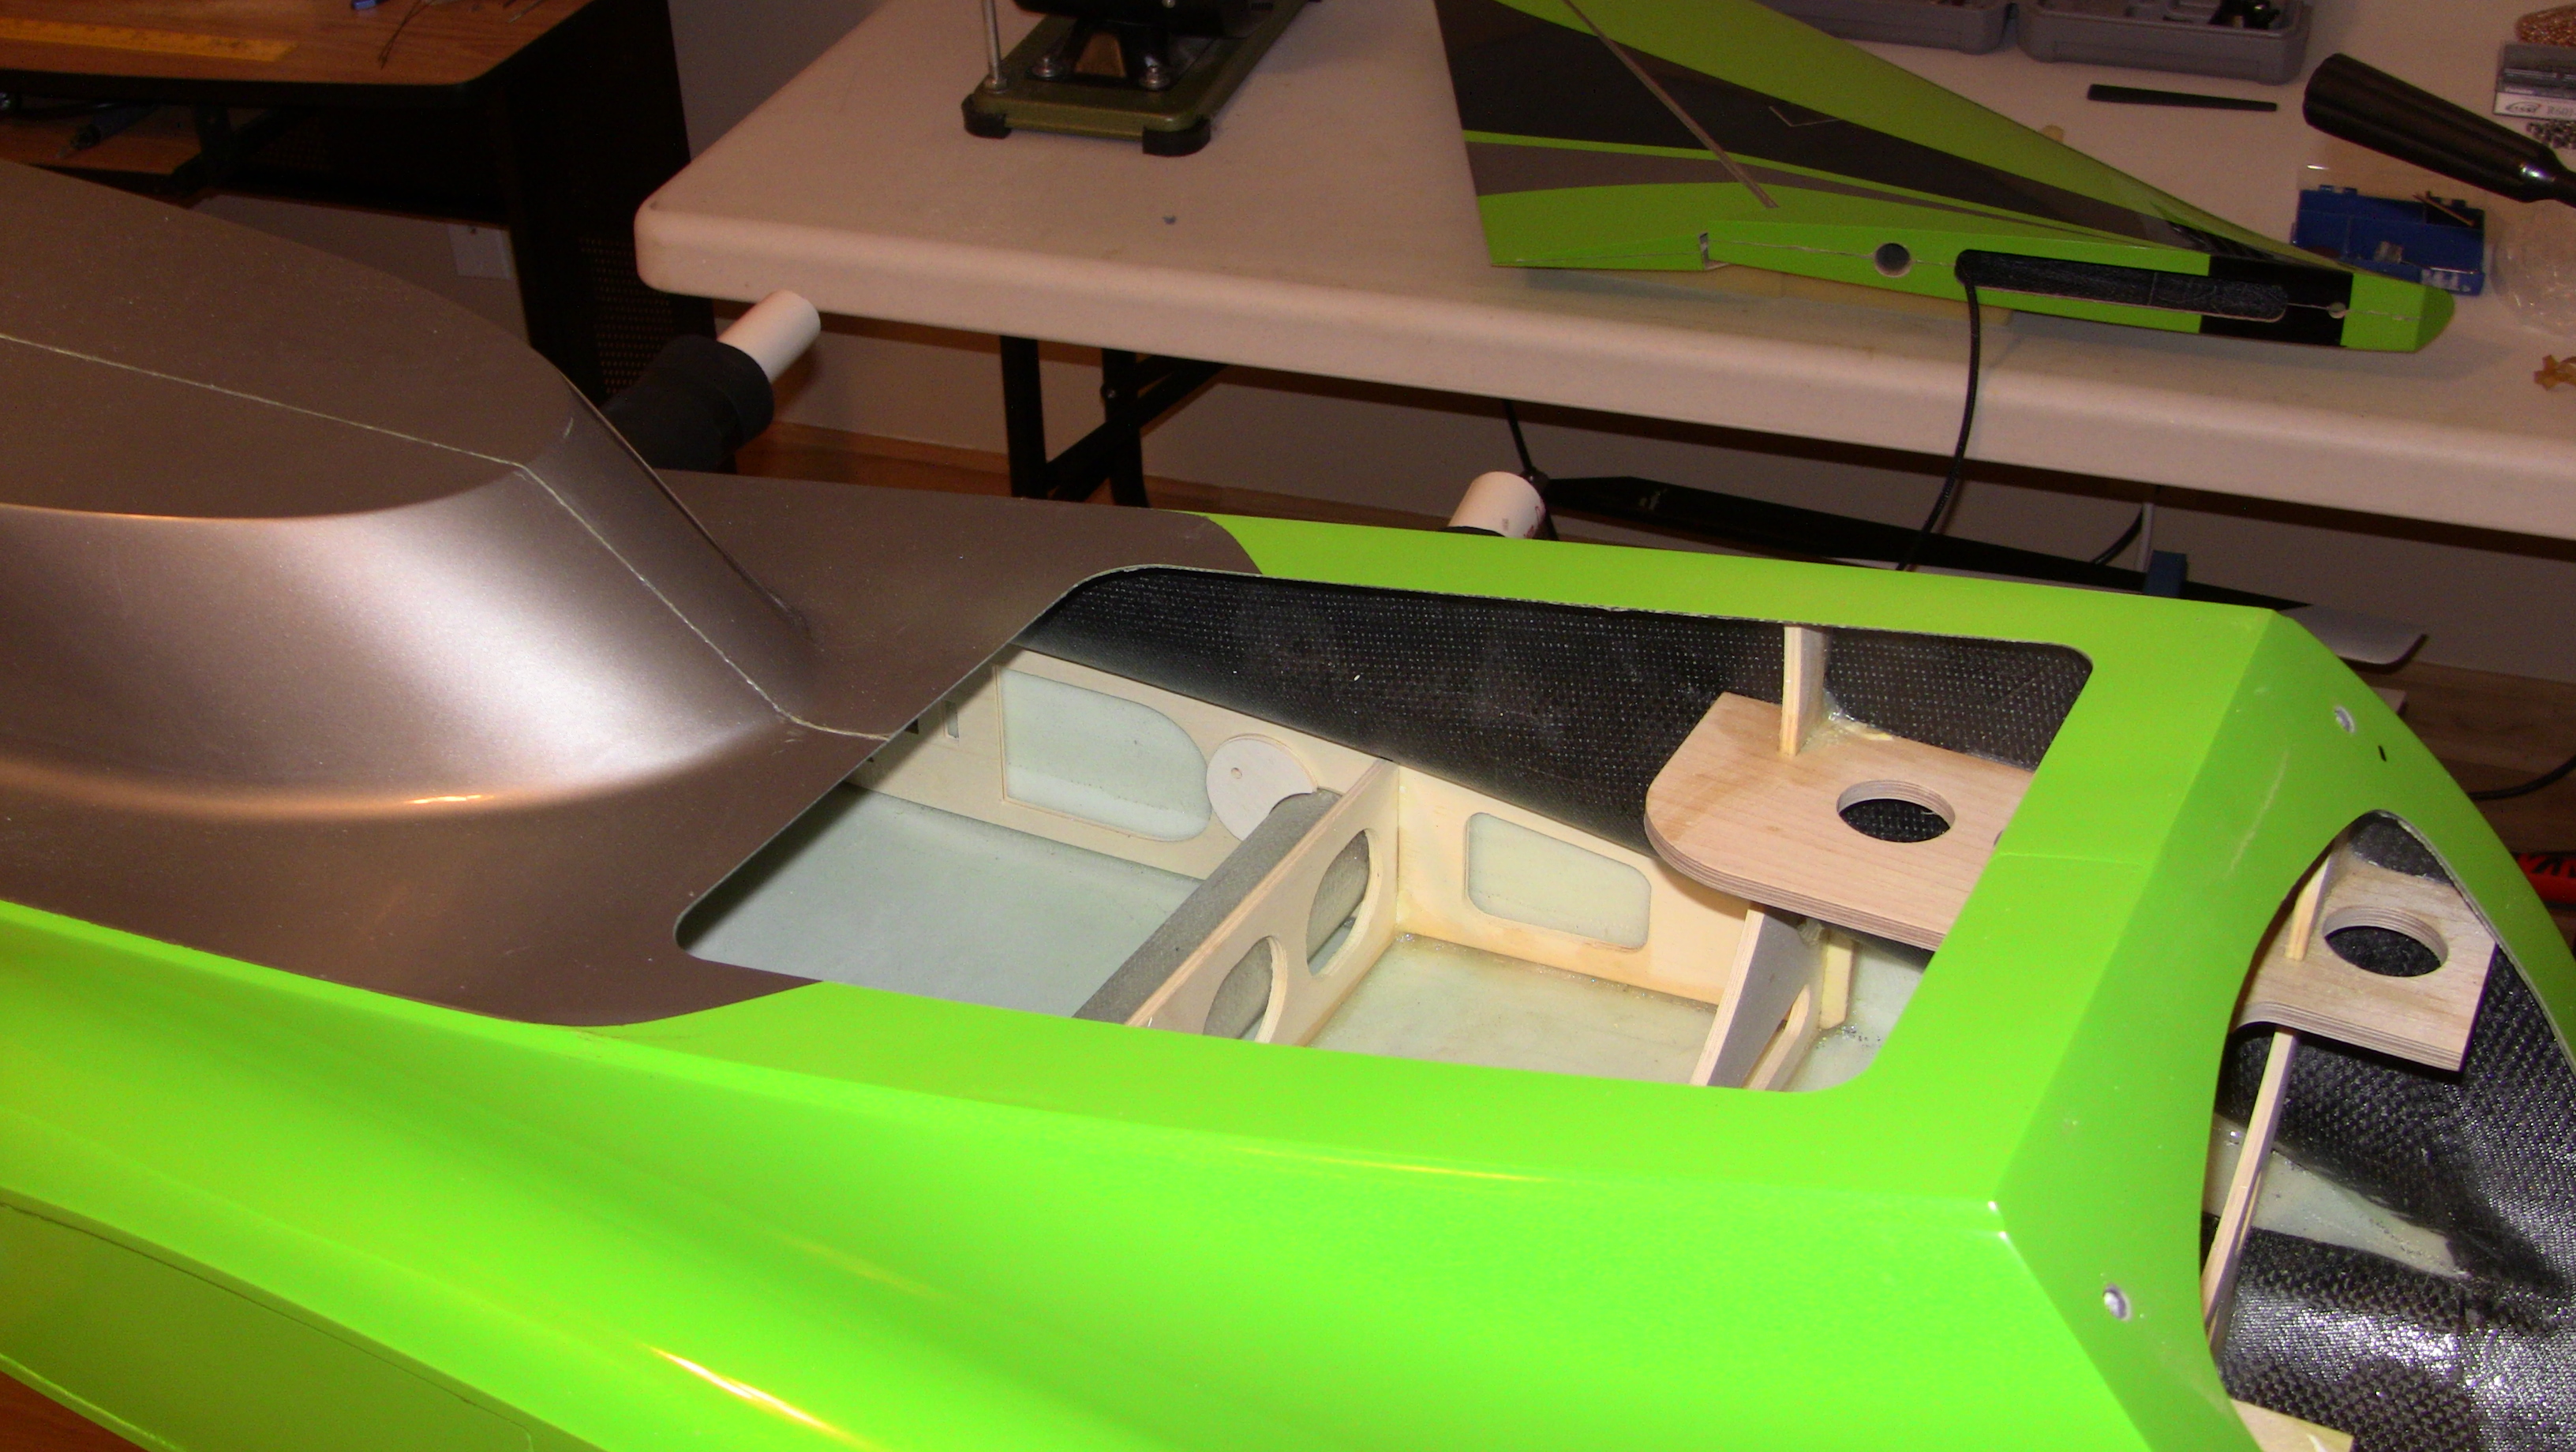
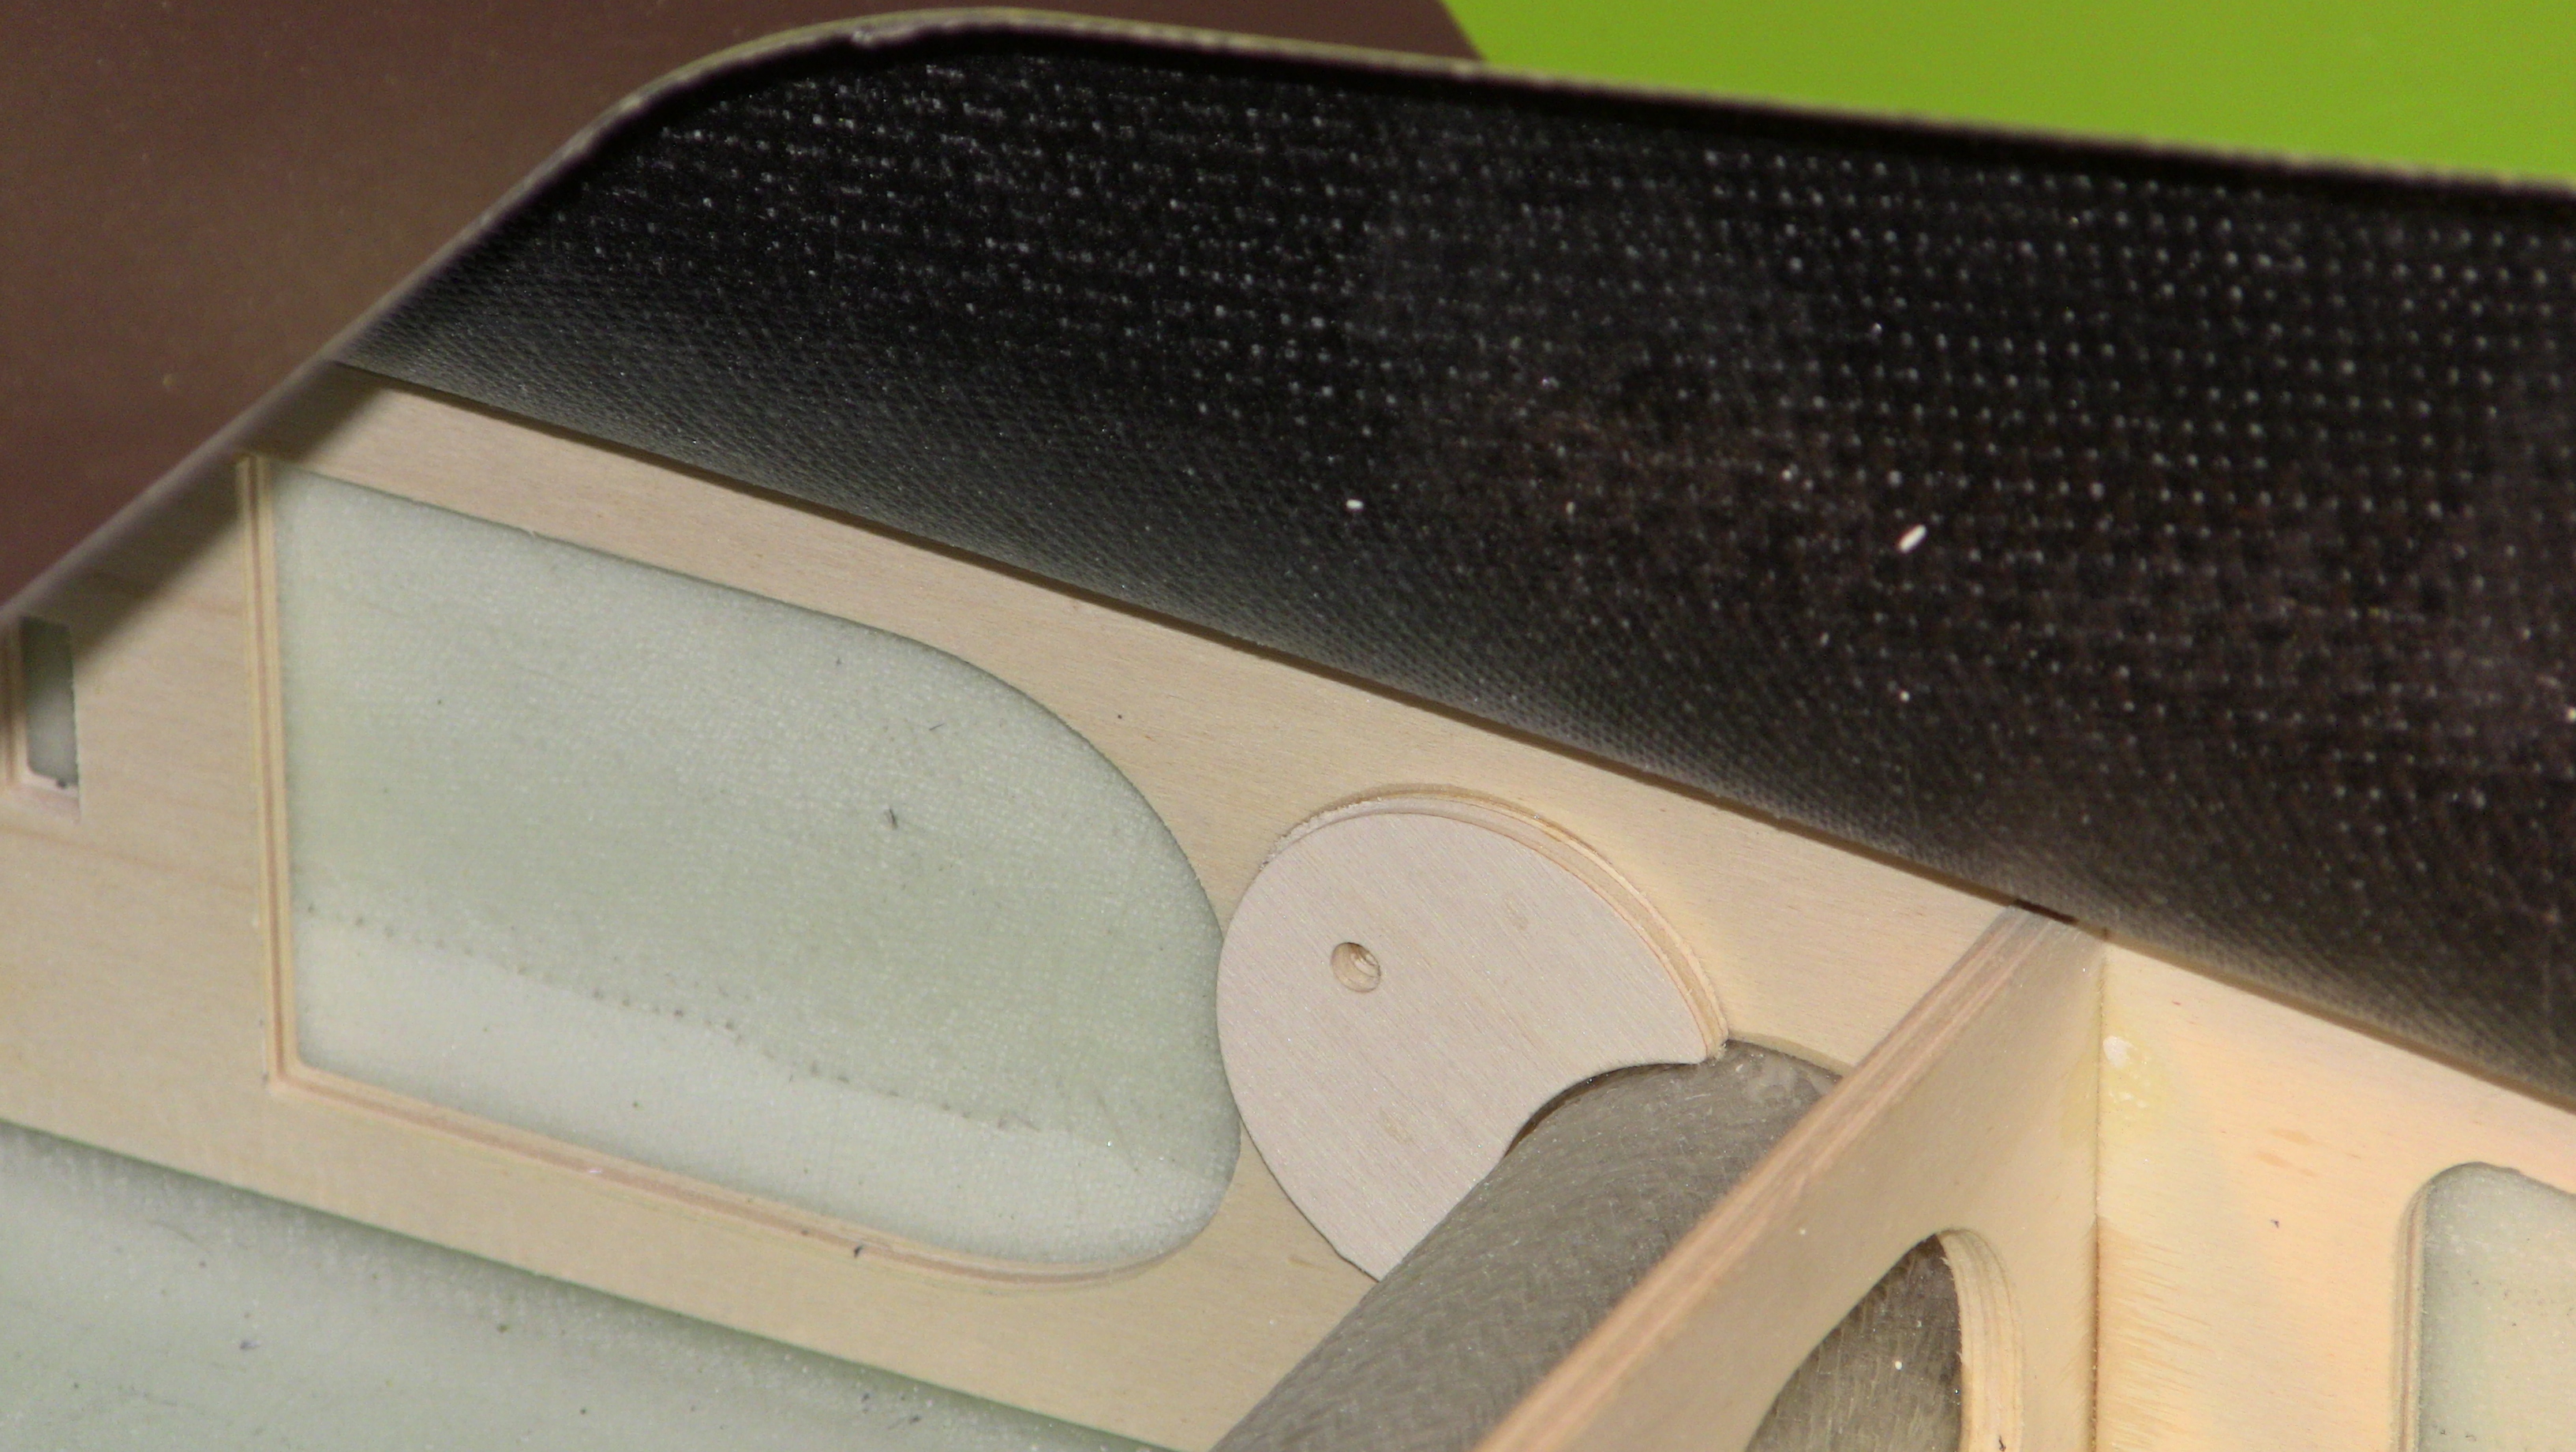
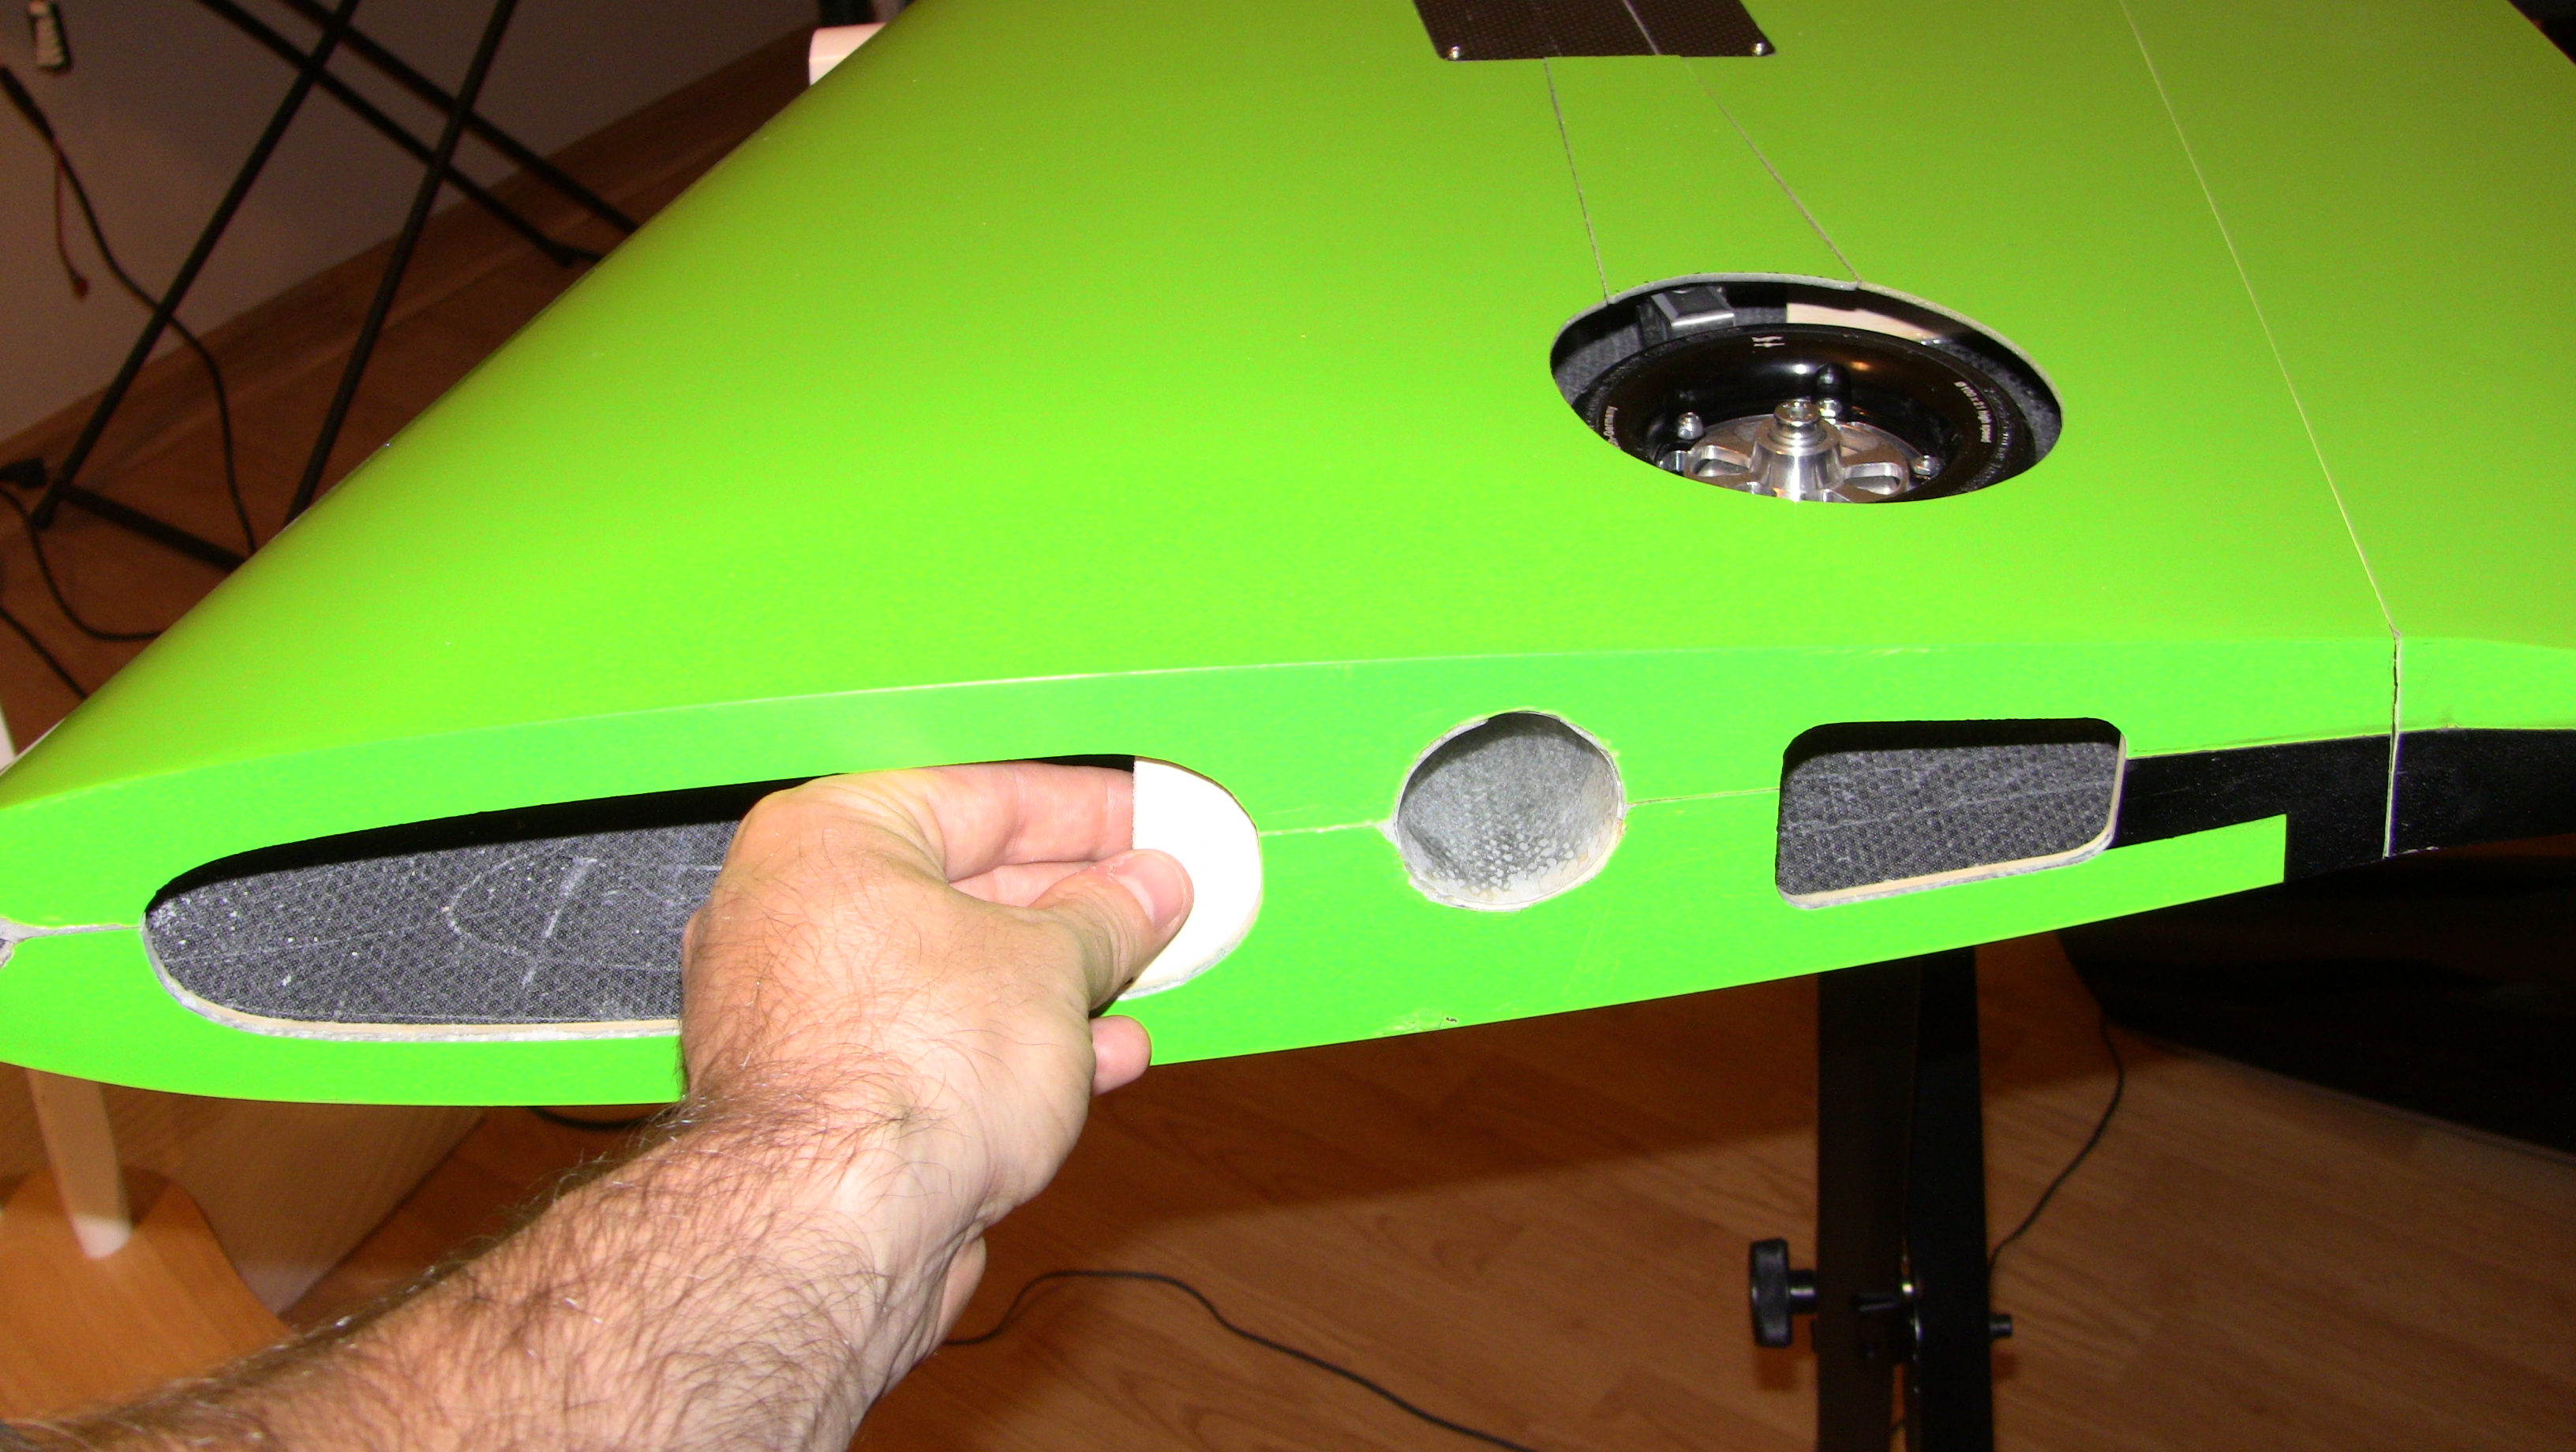
Heads up pay special attention when cutting the wheel opening, if you not careful you will hit a wood spar. My first cut got close, but I noticed before I cut to much and was able to shift the circle.
Coming together nice, lost of life things today so its slow going last video for the night is uploading
my youtube channel is on the signature box below as well.
11-08-2015, 11:16 AM
#58
Thread Starter
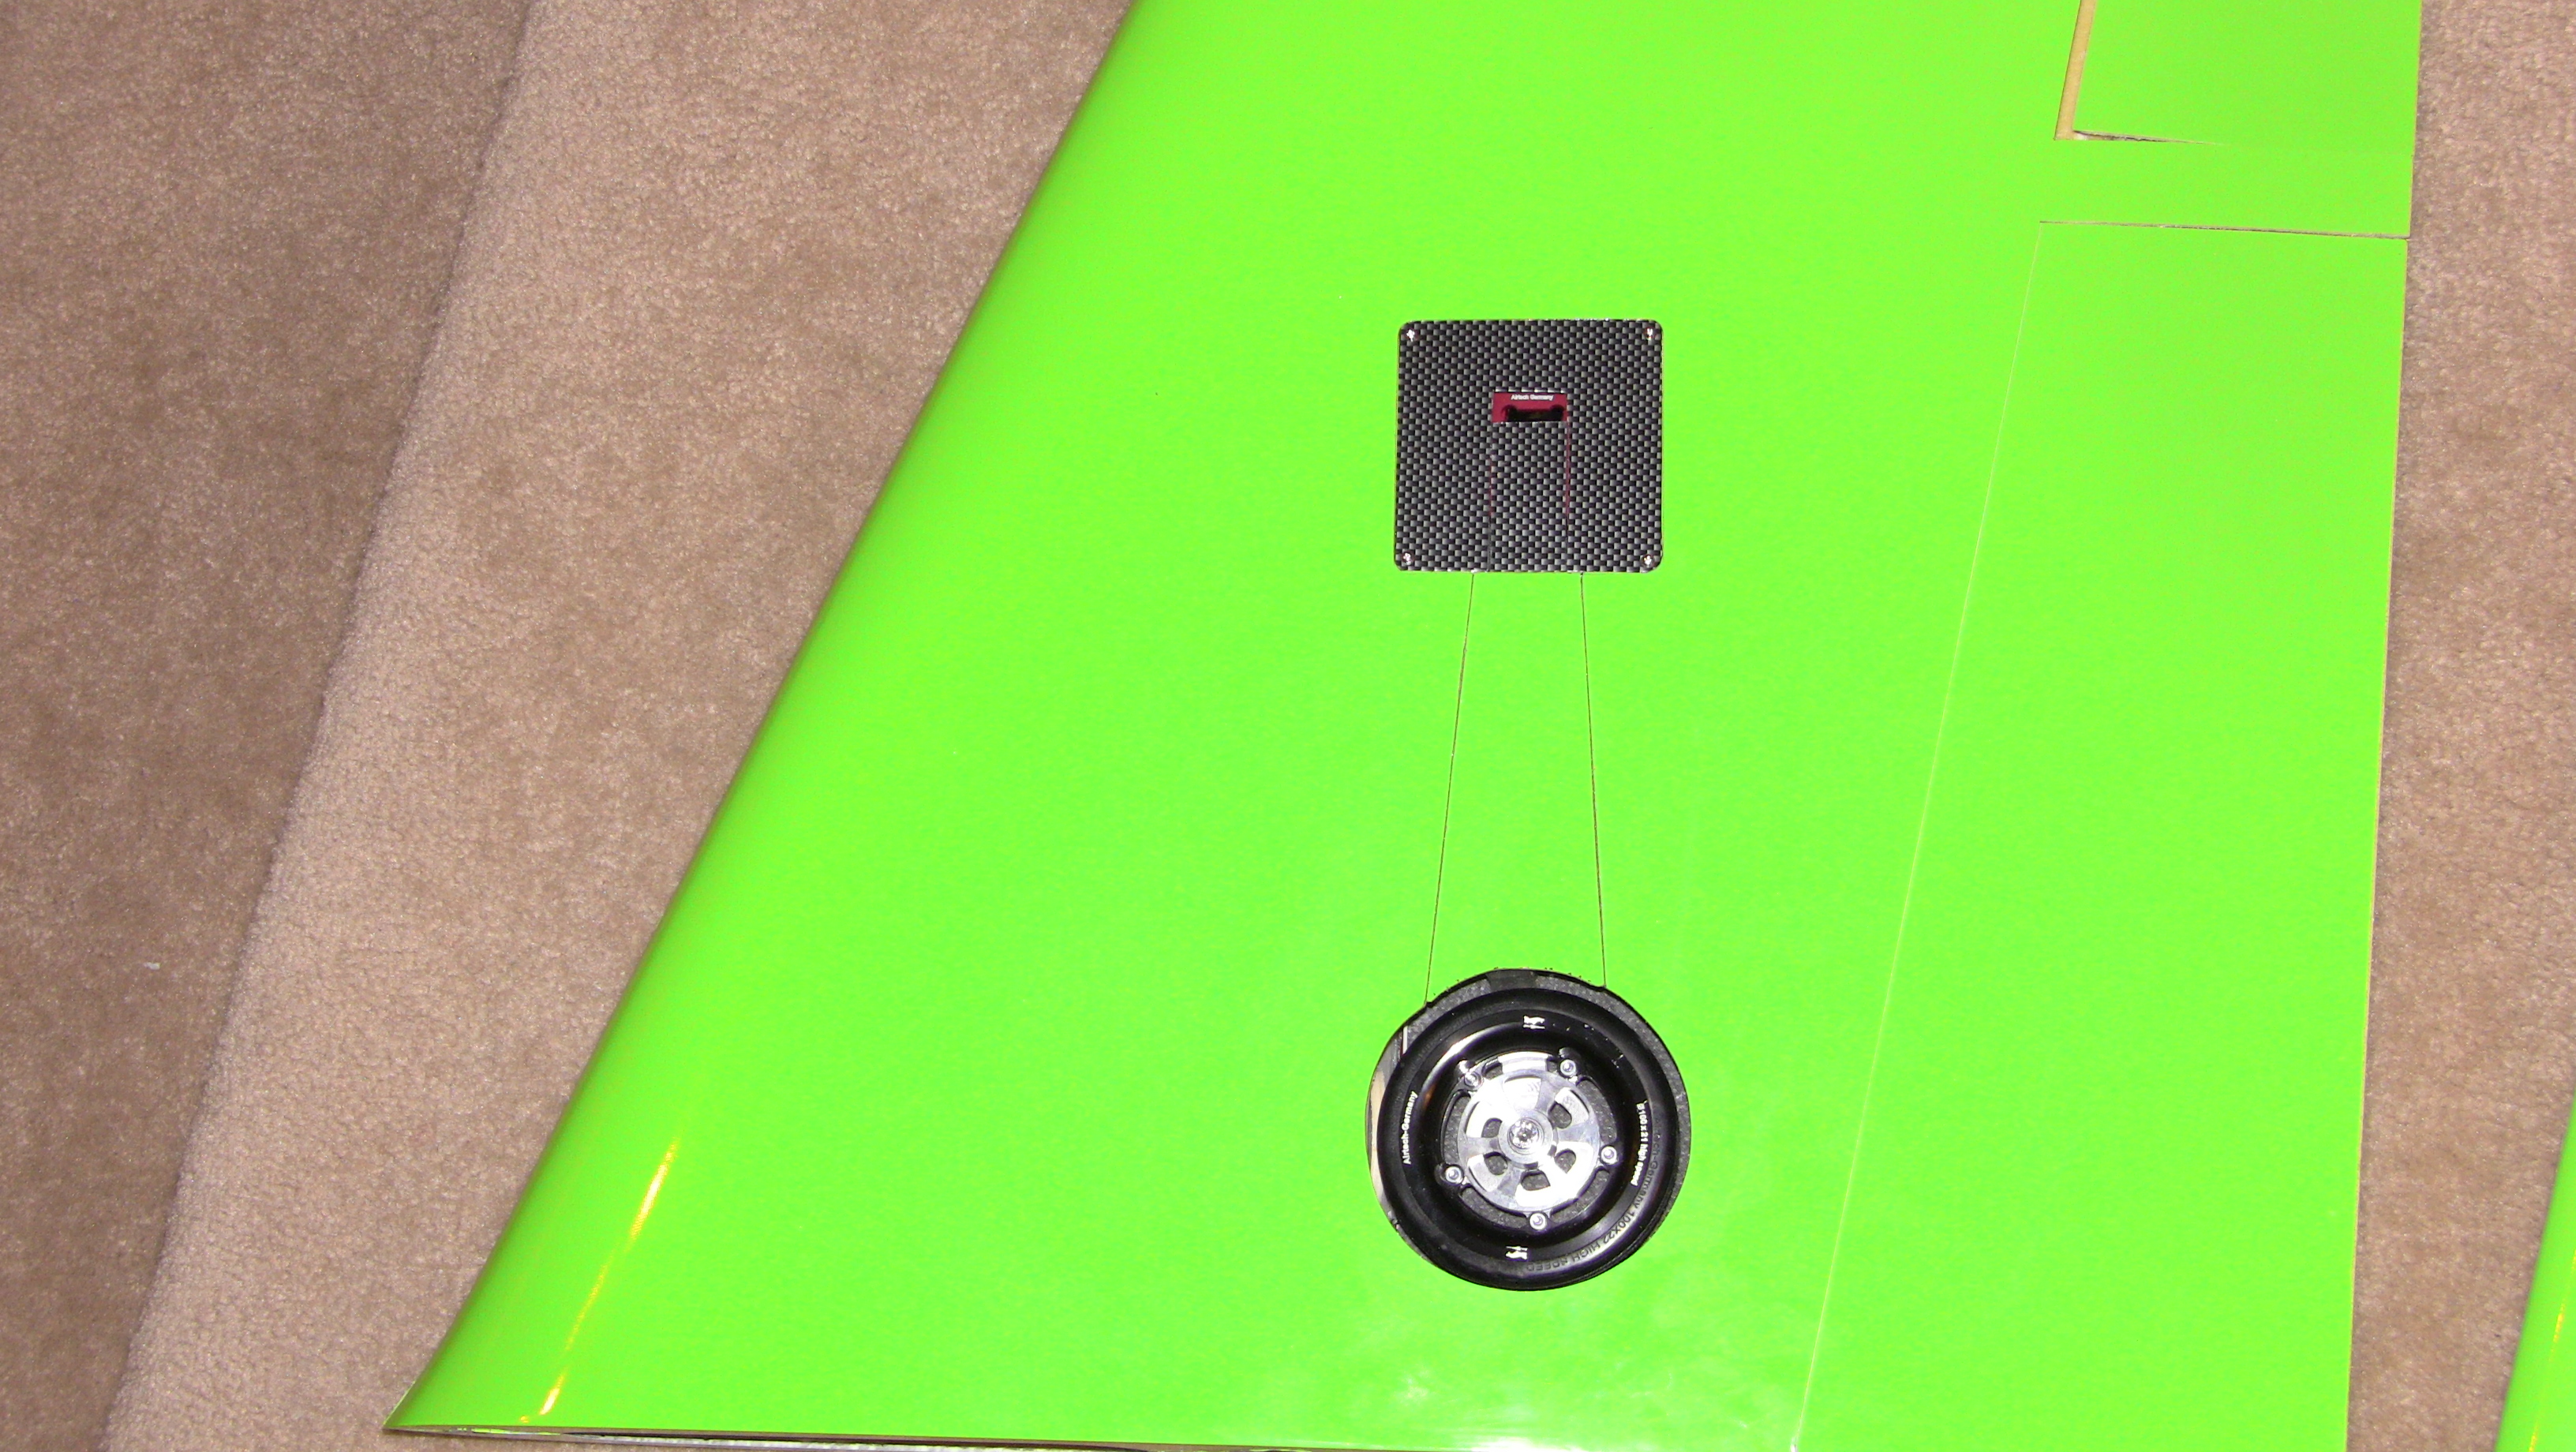
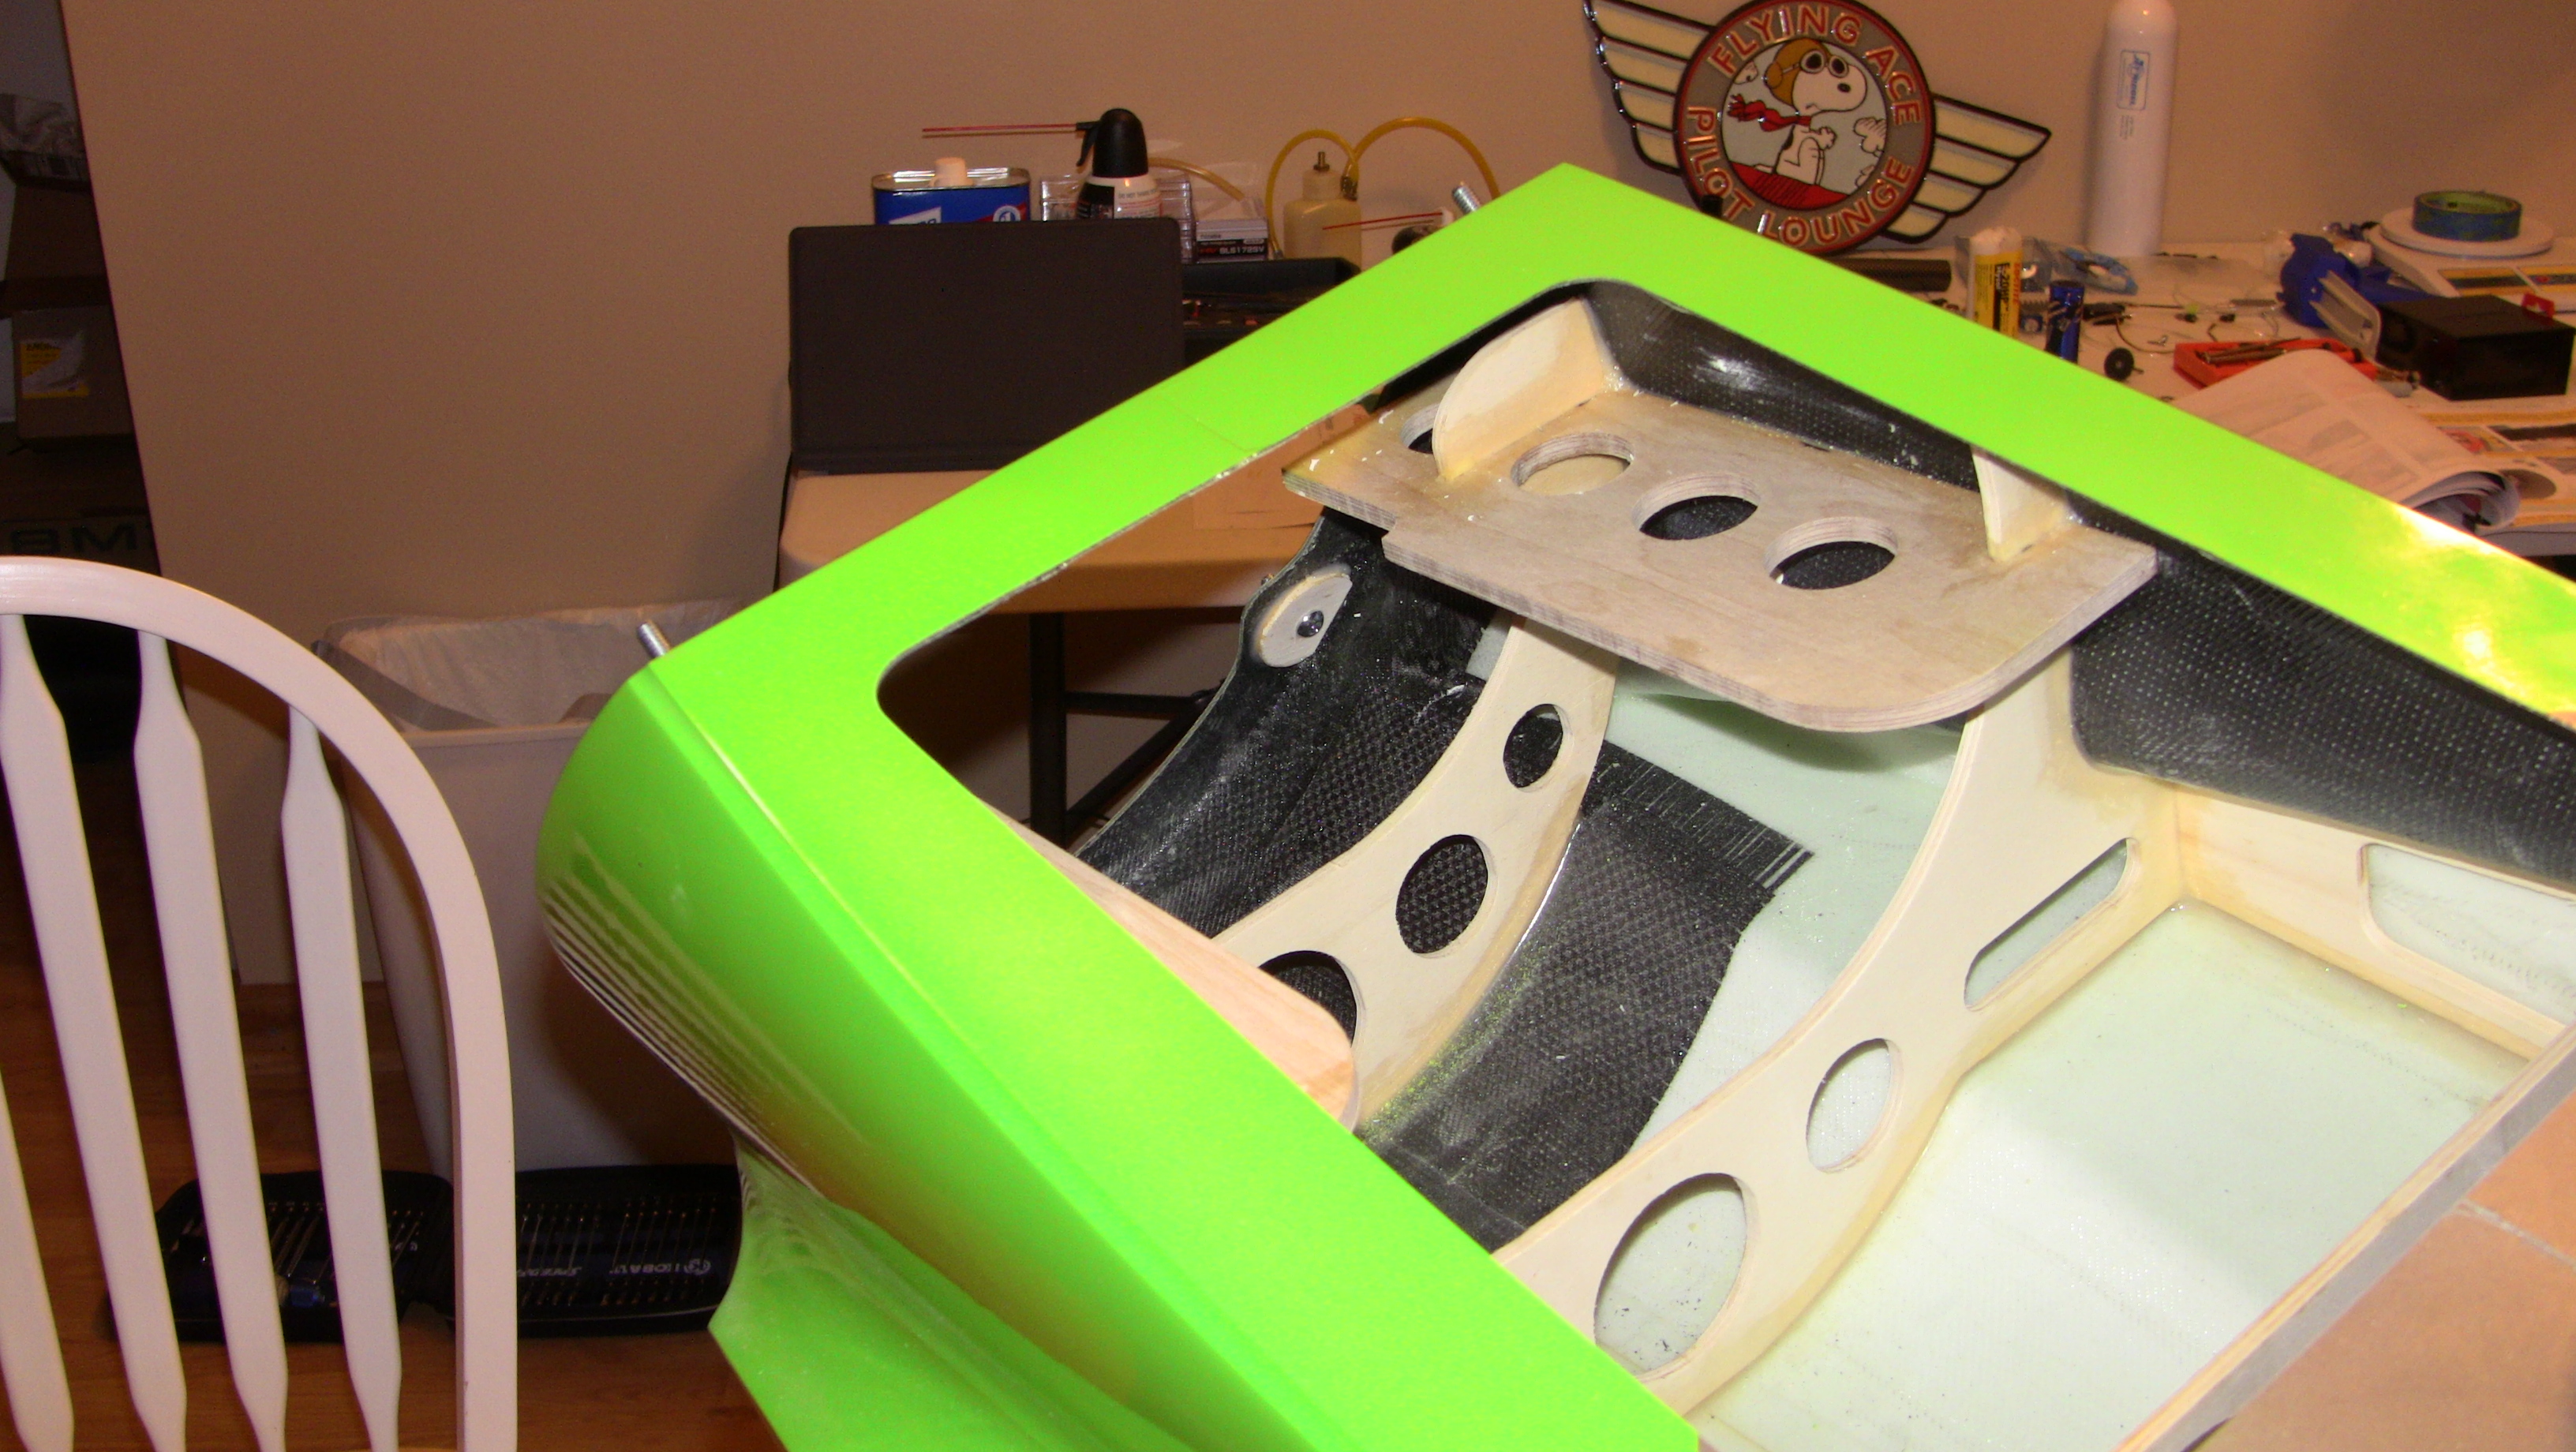
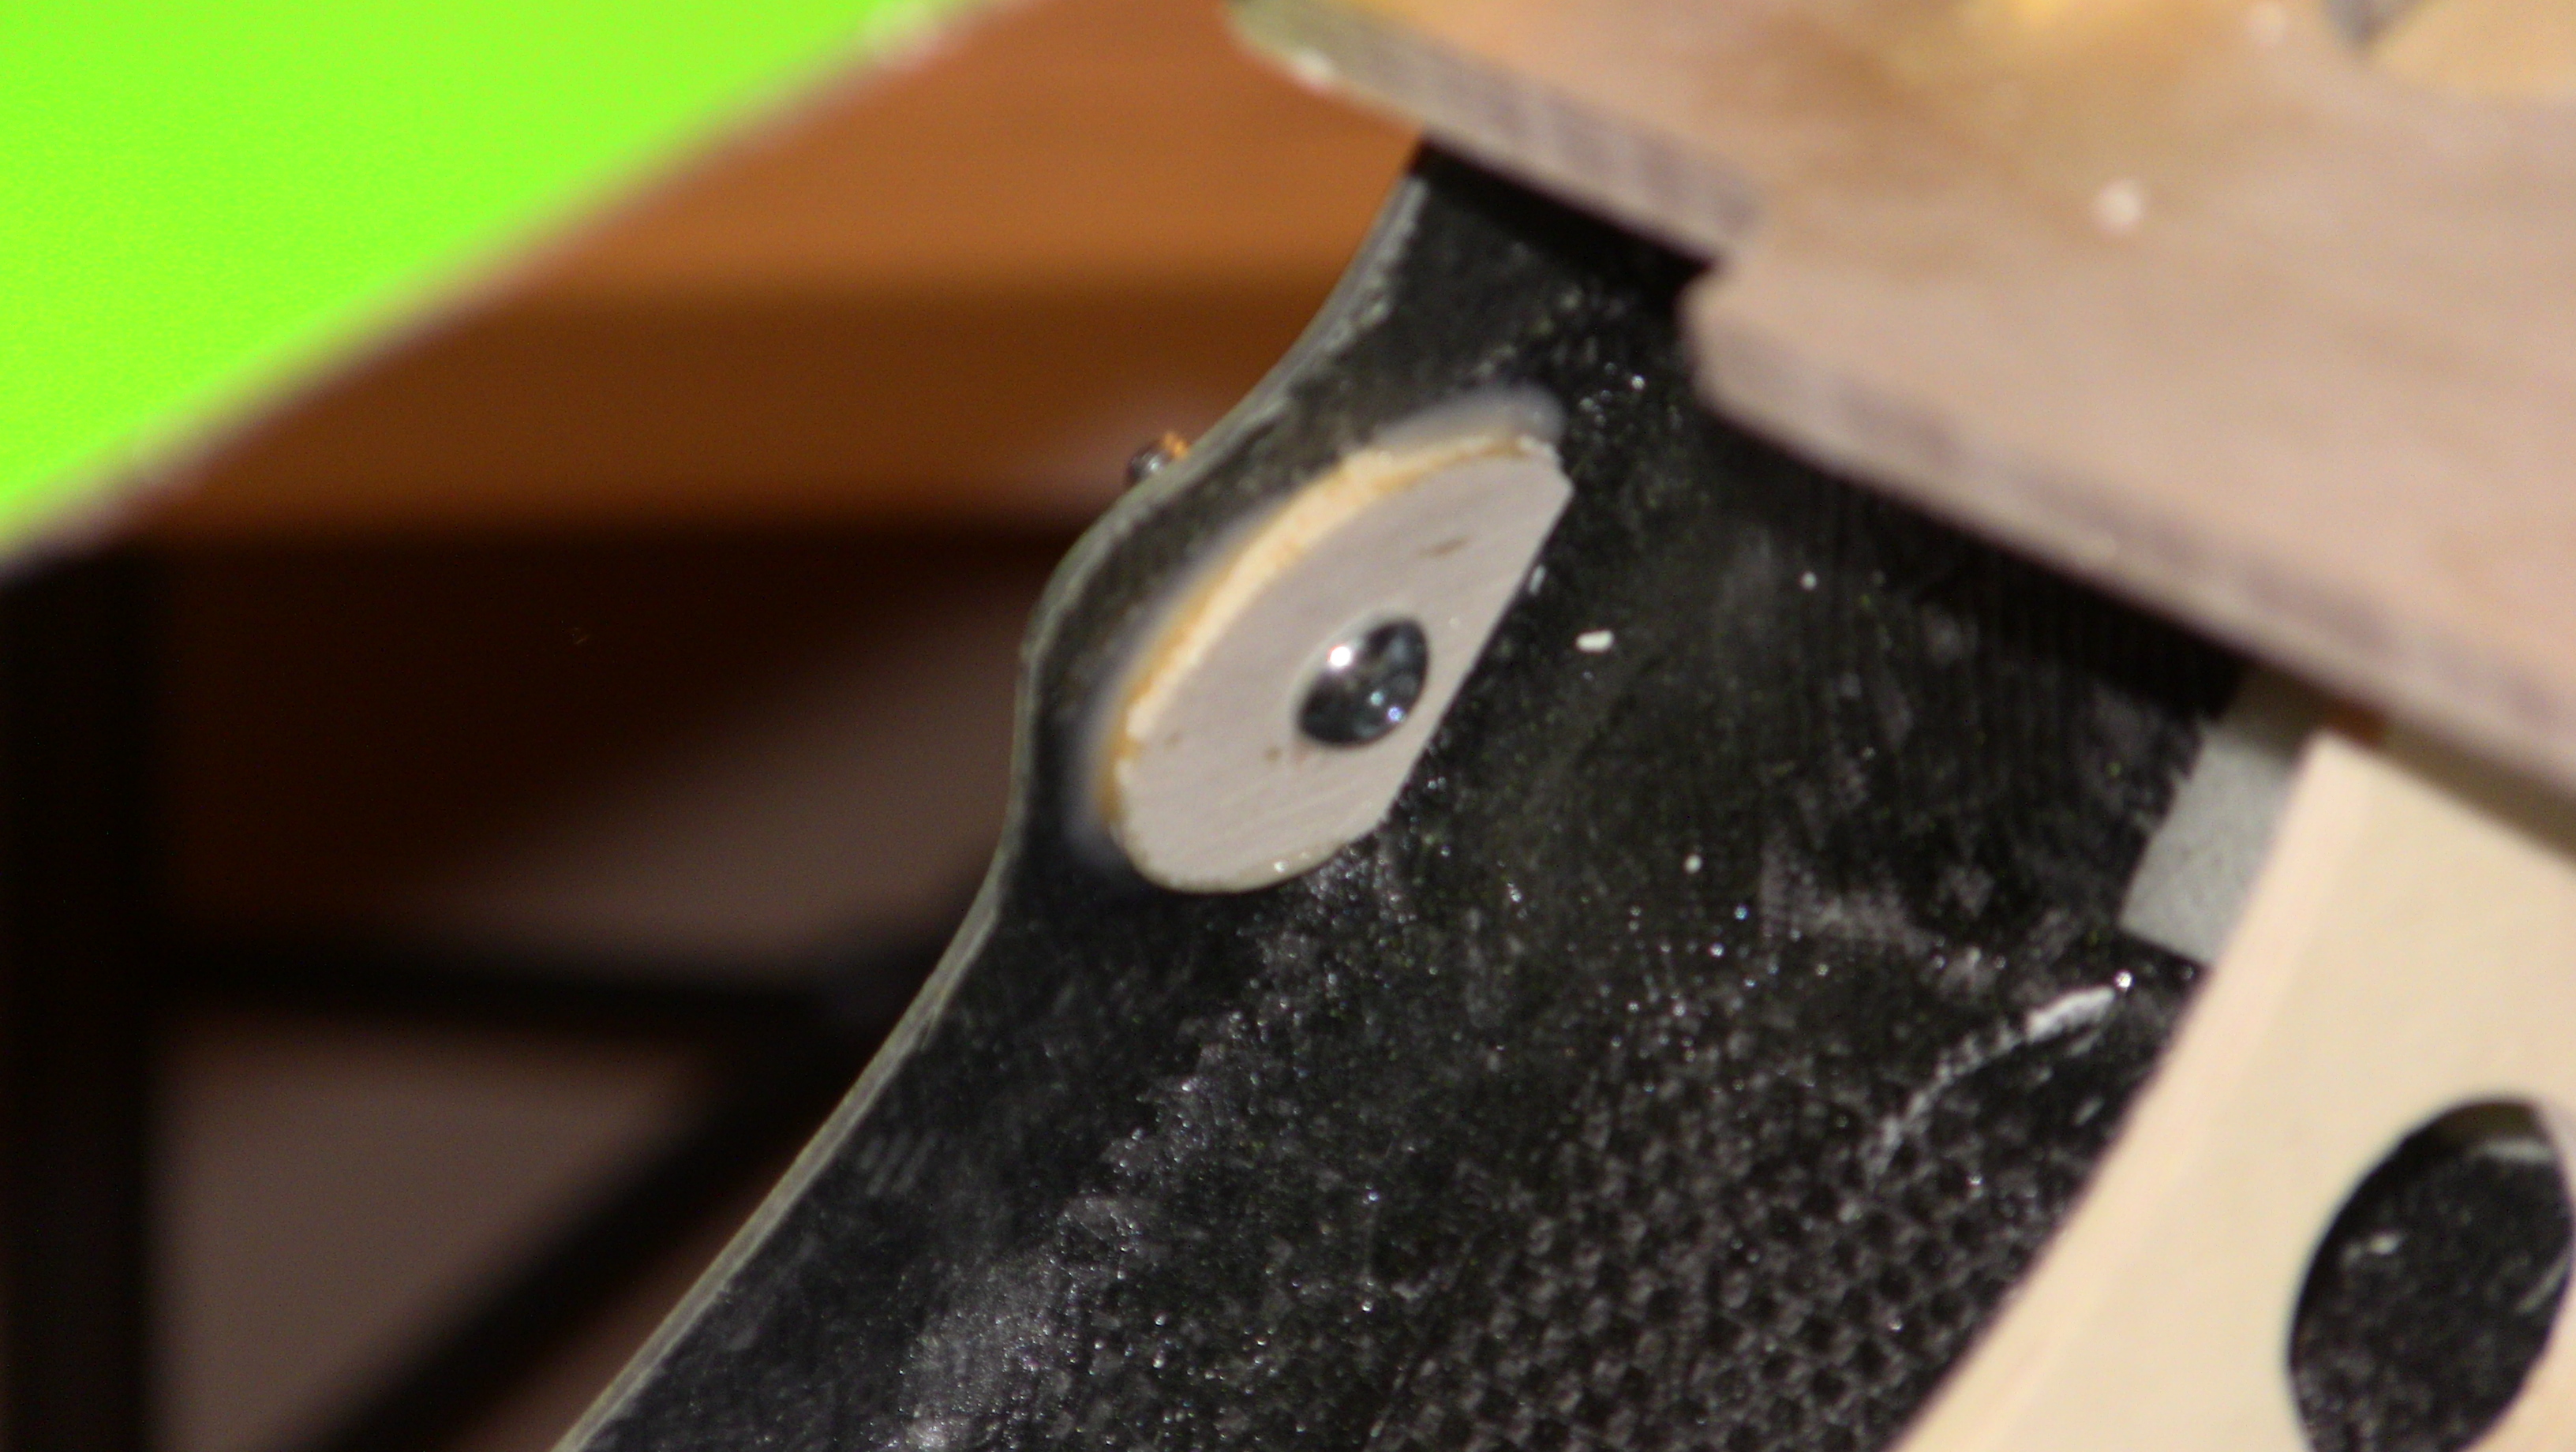
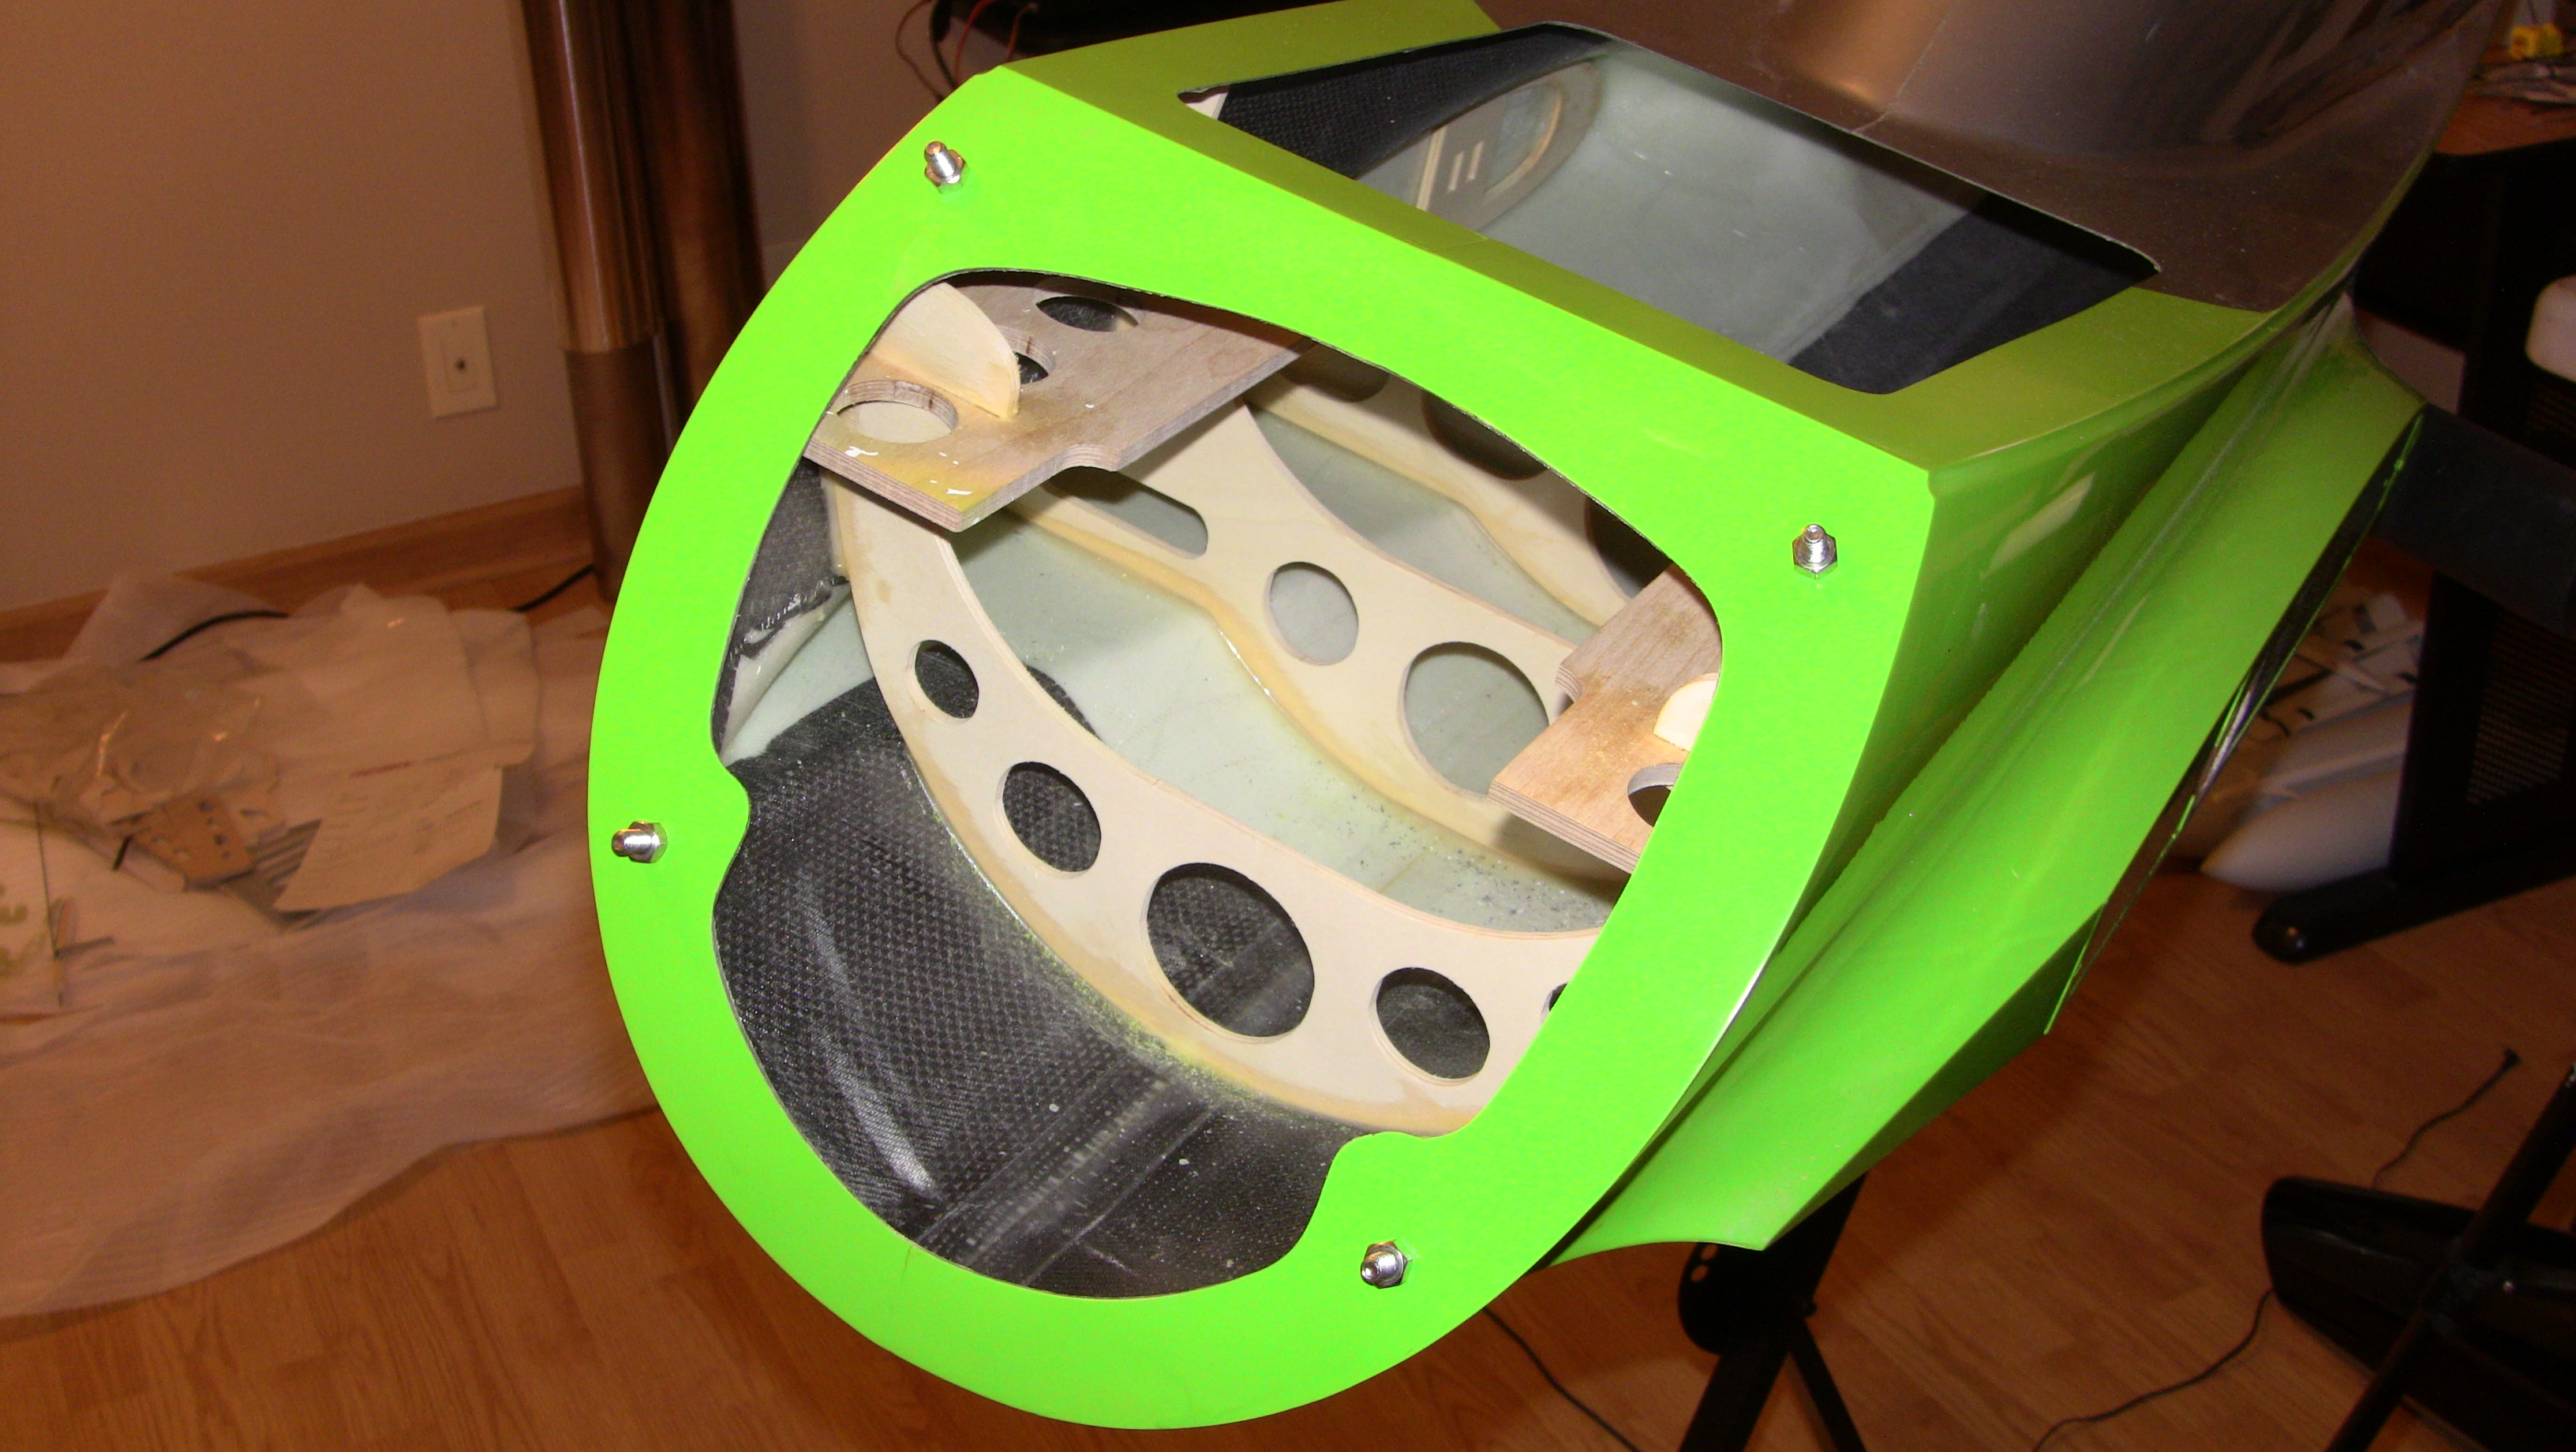
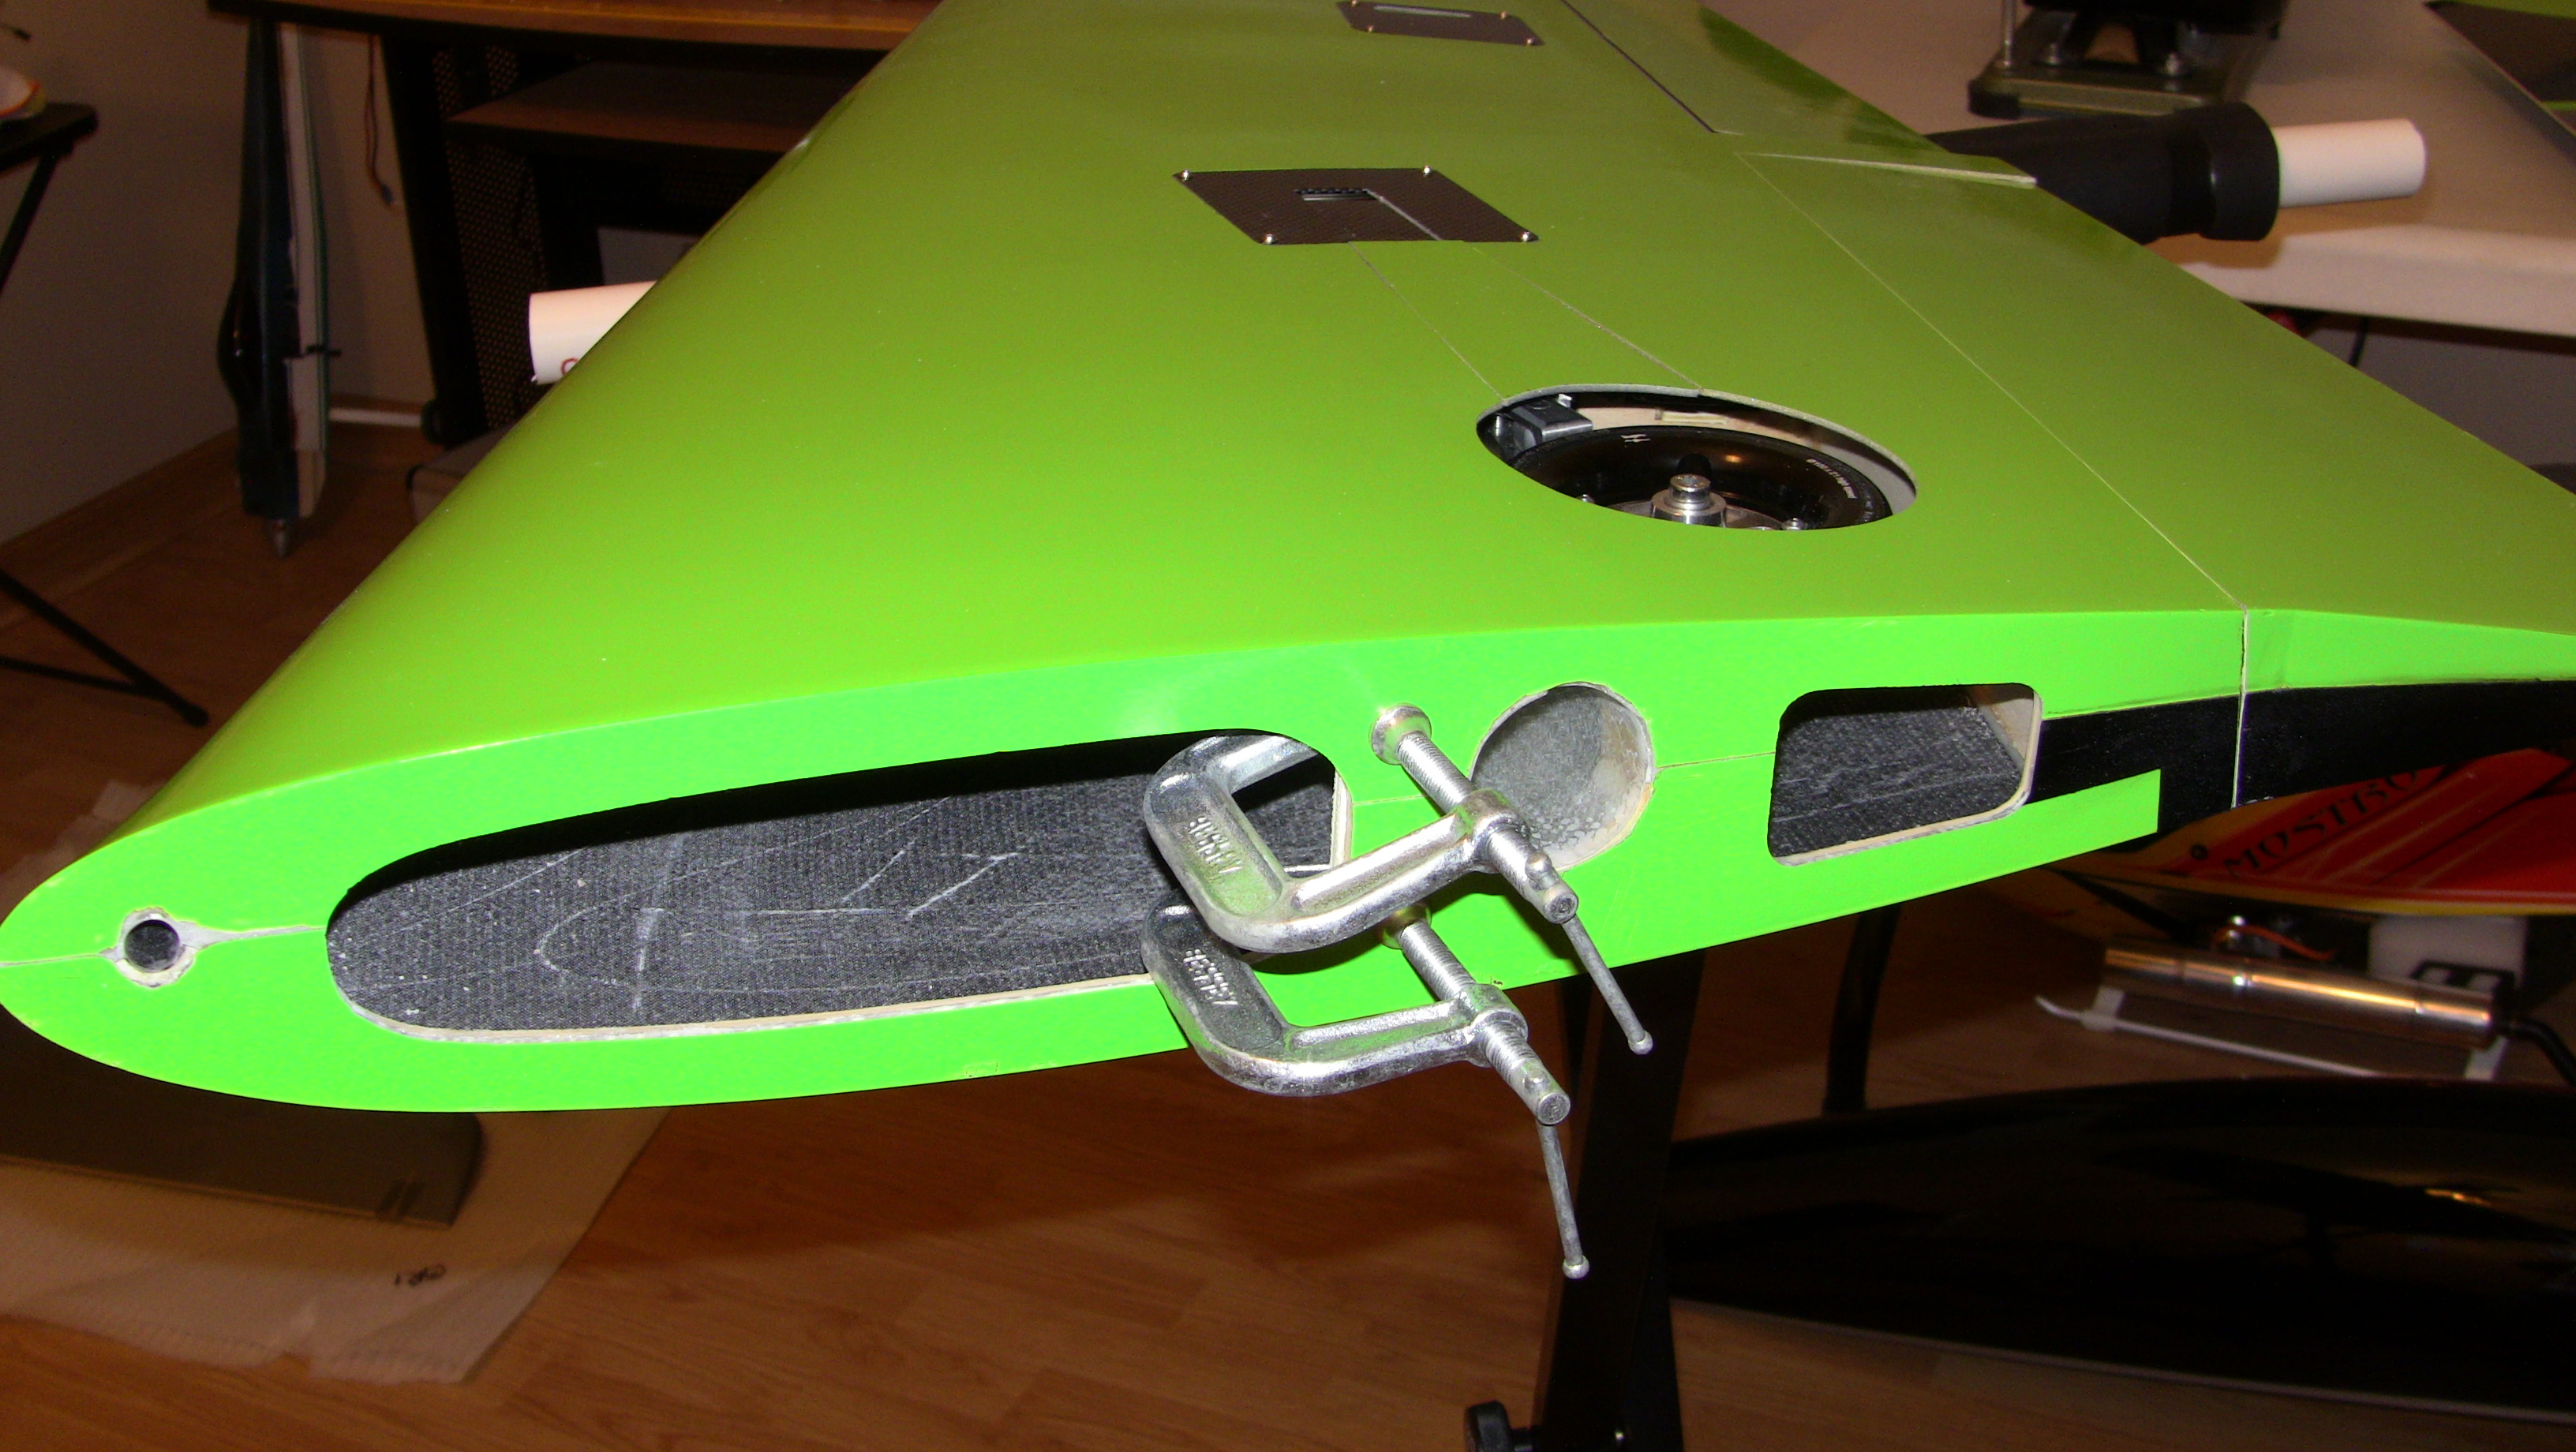
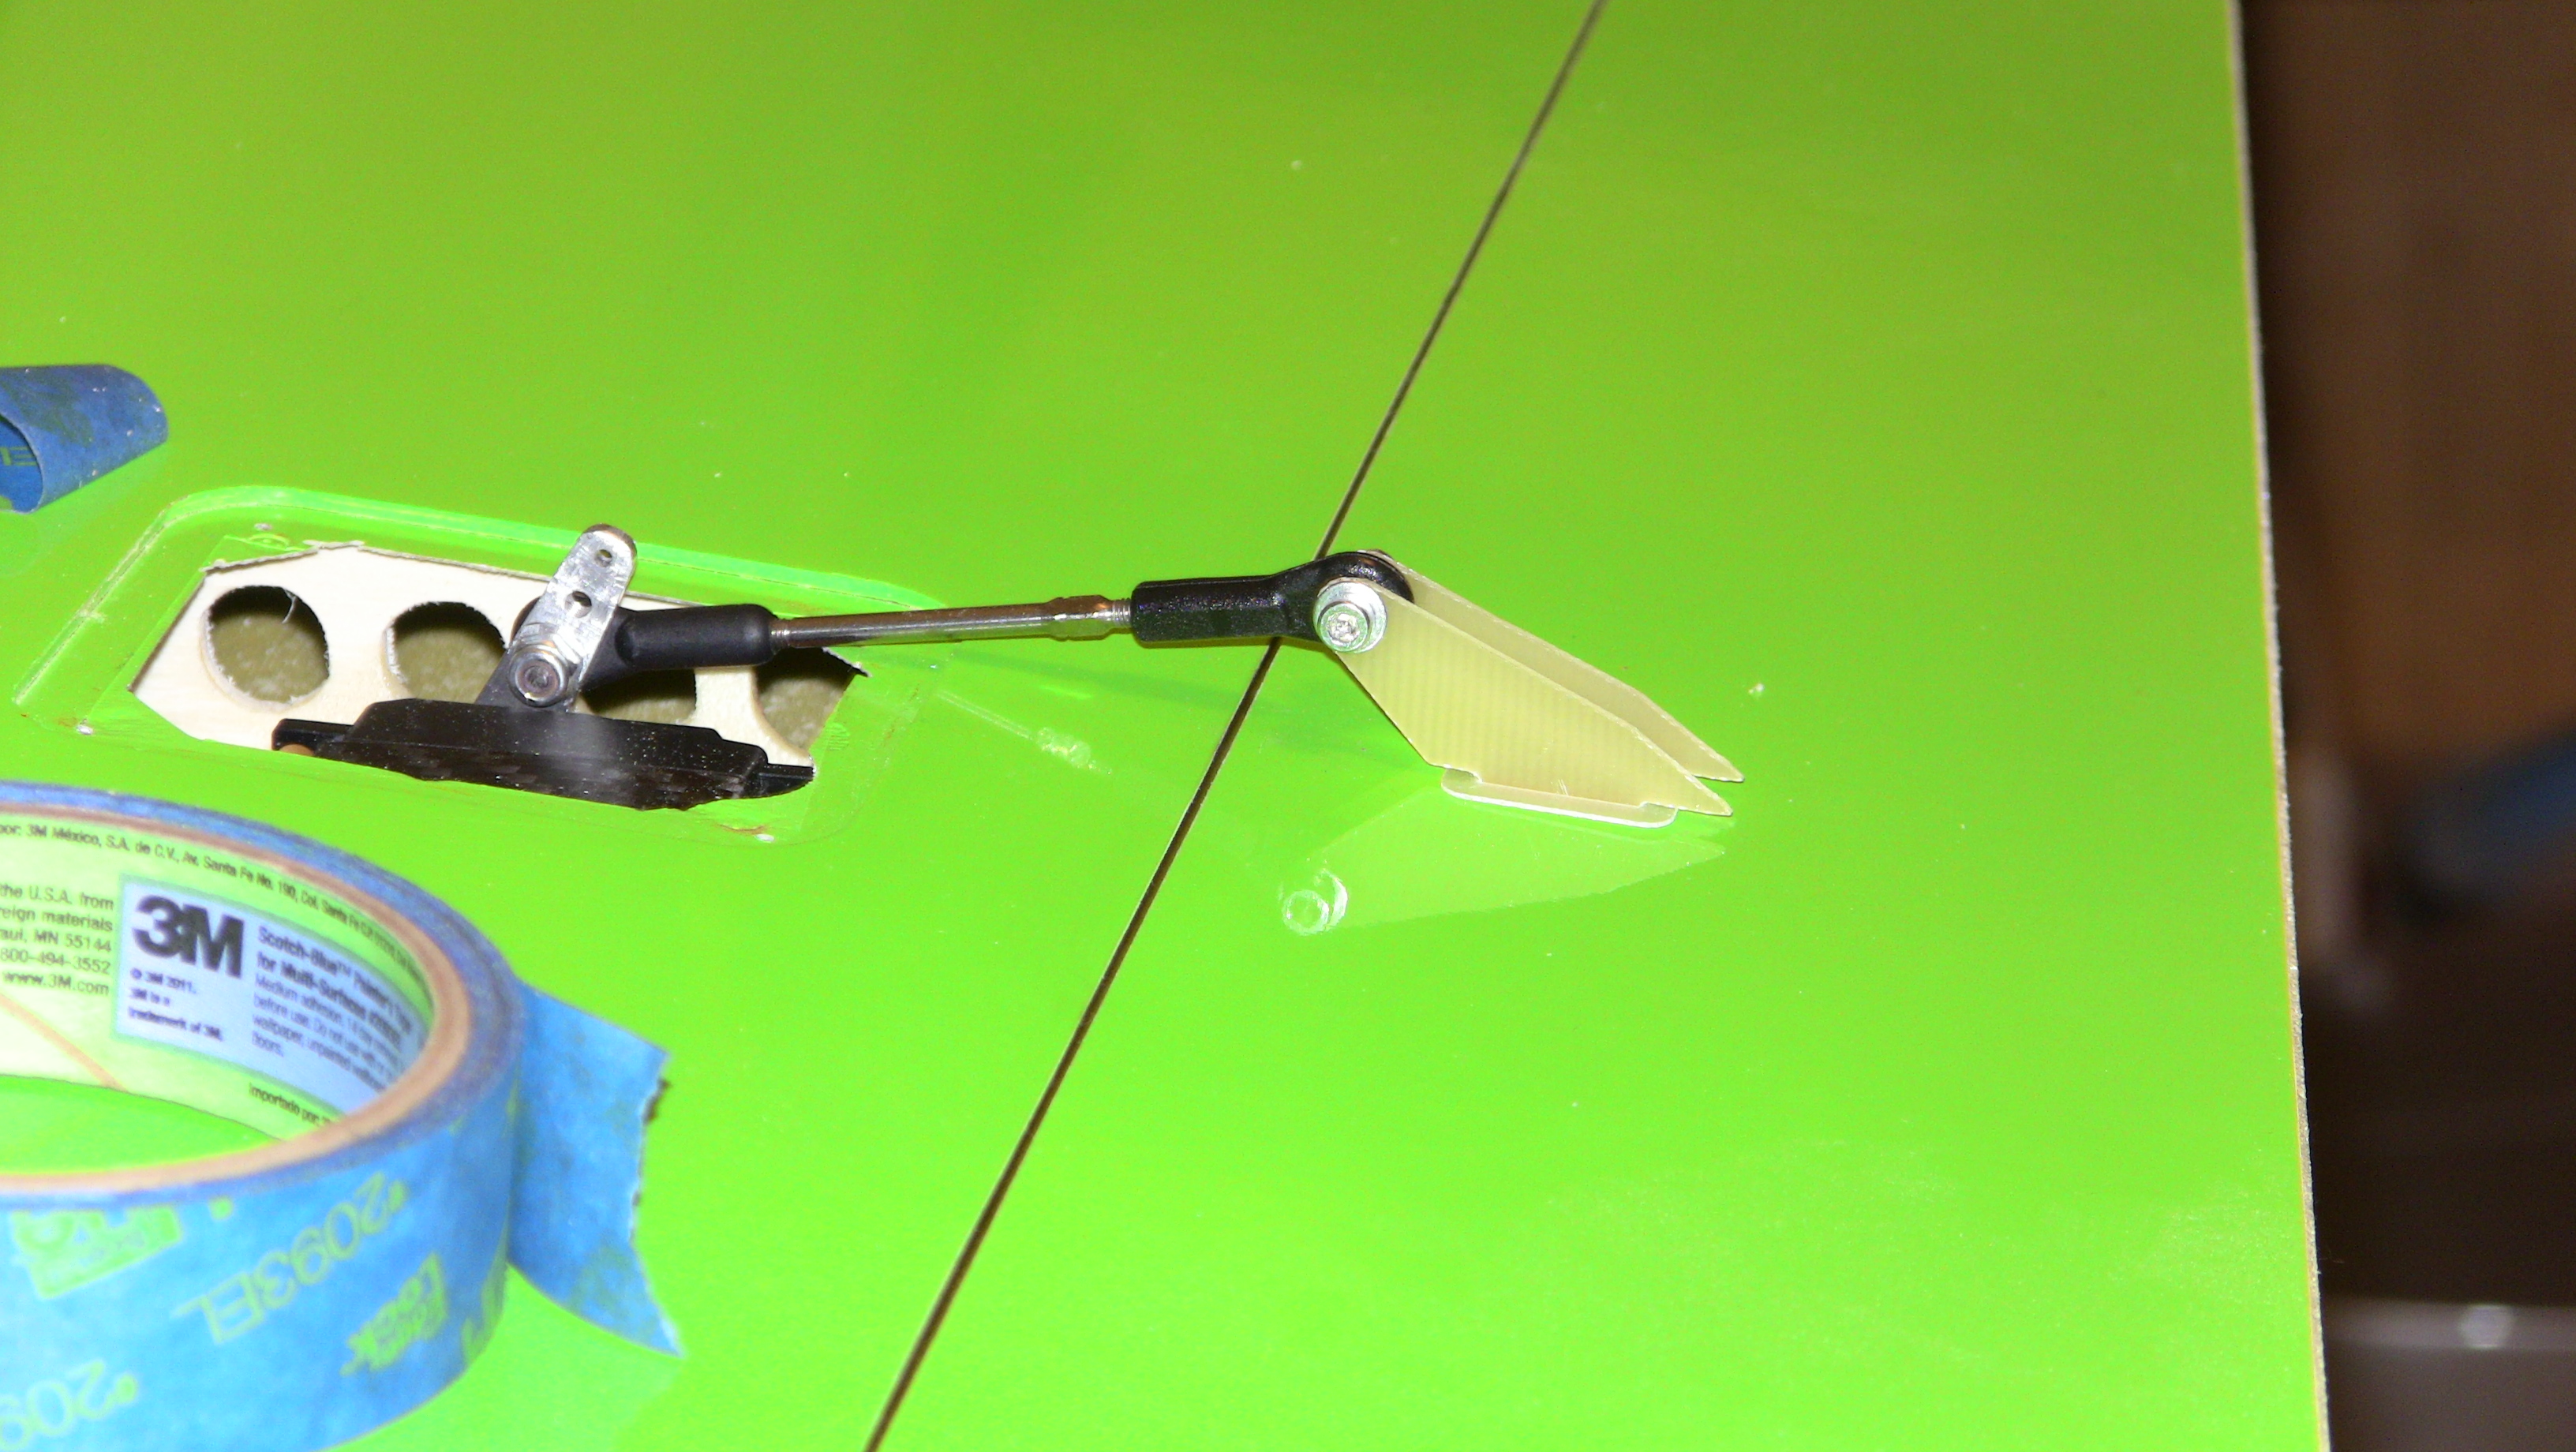
Finishing up the main gear mounting this morning, I think it turned out great. I will say take your time its easy to mess up and cut too much. I went and crabbed some #6 screws with the tapered head to mount the retract to the flex plate. If anyone knows the builder personally if you could tell him to NOT cut things int he flex plate it would be great. Im sure these were are prefect for the designed gear but not so much for the Elite Gear, I explained this in my video that's uploading. Still super happy with how the carbon looks and once the other wing is done I will be adding the flap servo inside the wings.


Running without the flash today so if the pics are a little darker
Running without the flash today so if the pics are a little darker

The following users liked this post:
pfact (09-14-2021)
11-08-2015, 12:13 PM
#60
I now see why I thought your gear setup looked strange, you have it further back on the mounting rails than I positioned mine. Sorry for the misunderstanding.
I like the gear leg covers. Might have to look into this option.
Nice work and I like your videos too.
I like the gear leg covers. Might have to look into this option.
Nice work and I like your videos too.
11-08-2015, 01:00 PM
#61
Thread Starter
Thanks guys, trying to figure out the best way to get lighting better for the videos. Going to the movies with the kid tonight so a delay for now, plus i need a long philips screw driver for the flap servos. Always one more tool you need
 11-08-2015, 08:23 PM
#63
Thread Starter
Okay so minus control horns and linkages the wings, rudder and stabs are done. I have moved on to the joining of the tail, the instructions show two methods. One is for a semi-permanent and the other is a remove every day setup so if you have a small vehicle. More things are required for the B options and I dont need to remove the tail every time I go flying.
Got three videos uploading and I am calling it a night, tomorrow I am going to cut and glue in all the control horns, cut the servo horn openings and install the rods. This will get me to the fuselage, at this rate I will be done building in a few days then just getting all the equipment in. Cheers!


Oh and don't laugh at my long homemade screw driver for the flap servo, it worked like a champ! LOL
Got three videos uploading and I am calling it a night, tomorrow I am going to cut and glue in all the control horns, cut the servo horn openings and install the rods. This will get me to the fuselage, at this rate I will be done building in a few days then just getting all the equipment in. Cheers!
Oh and don't laugh at my long homemade screw driver for the flap servo, it worked like a champ! LOL
Last edited by FenderBean; 11-08-2015 at 08:27 PM.
11-09-2015, 04:15 PM
#64
Thread Starter
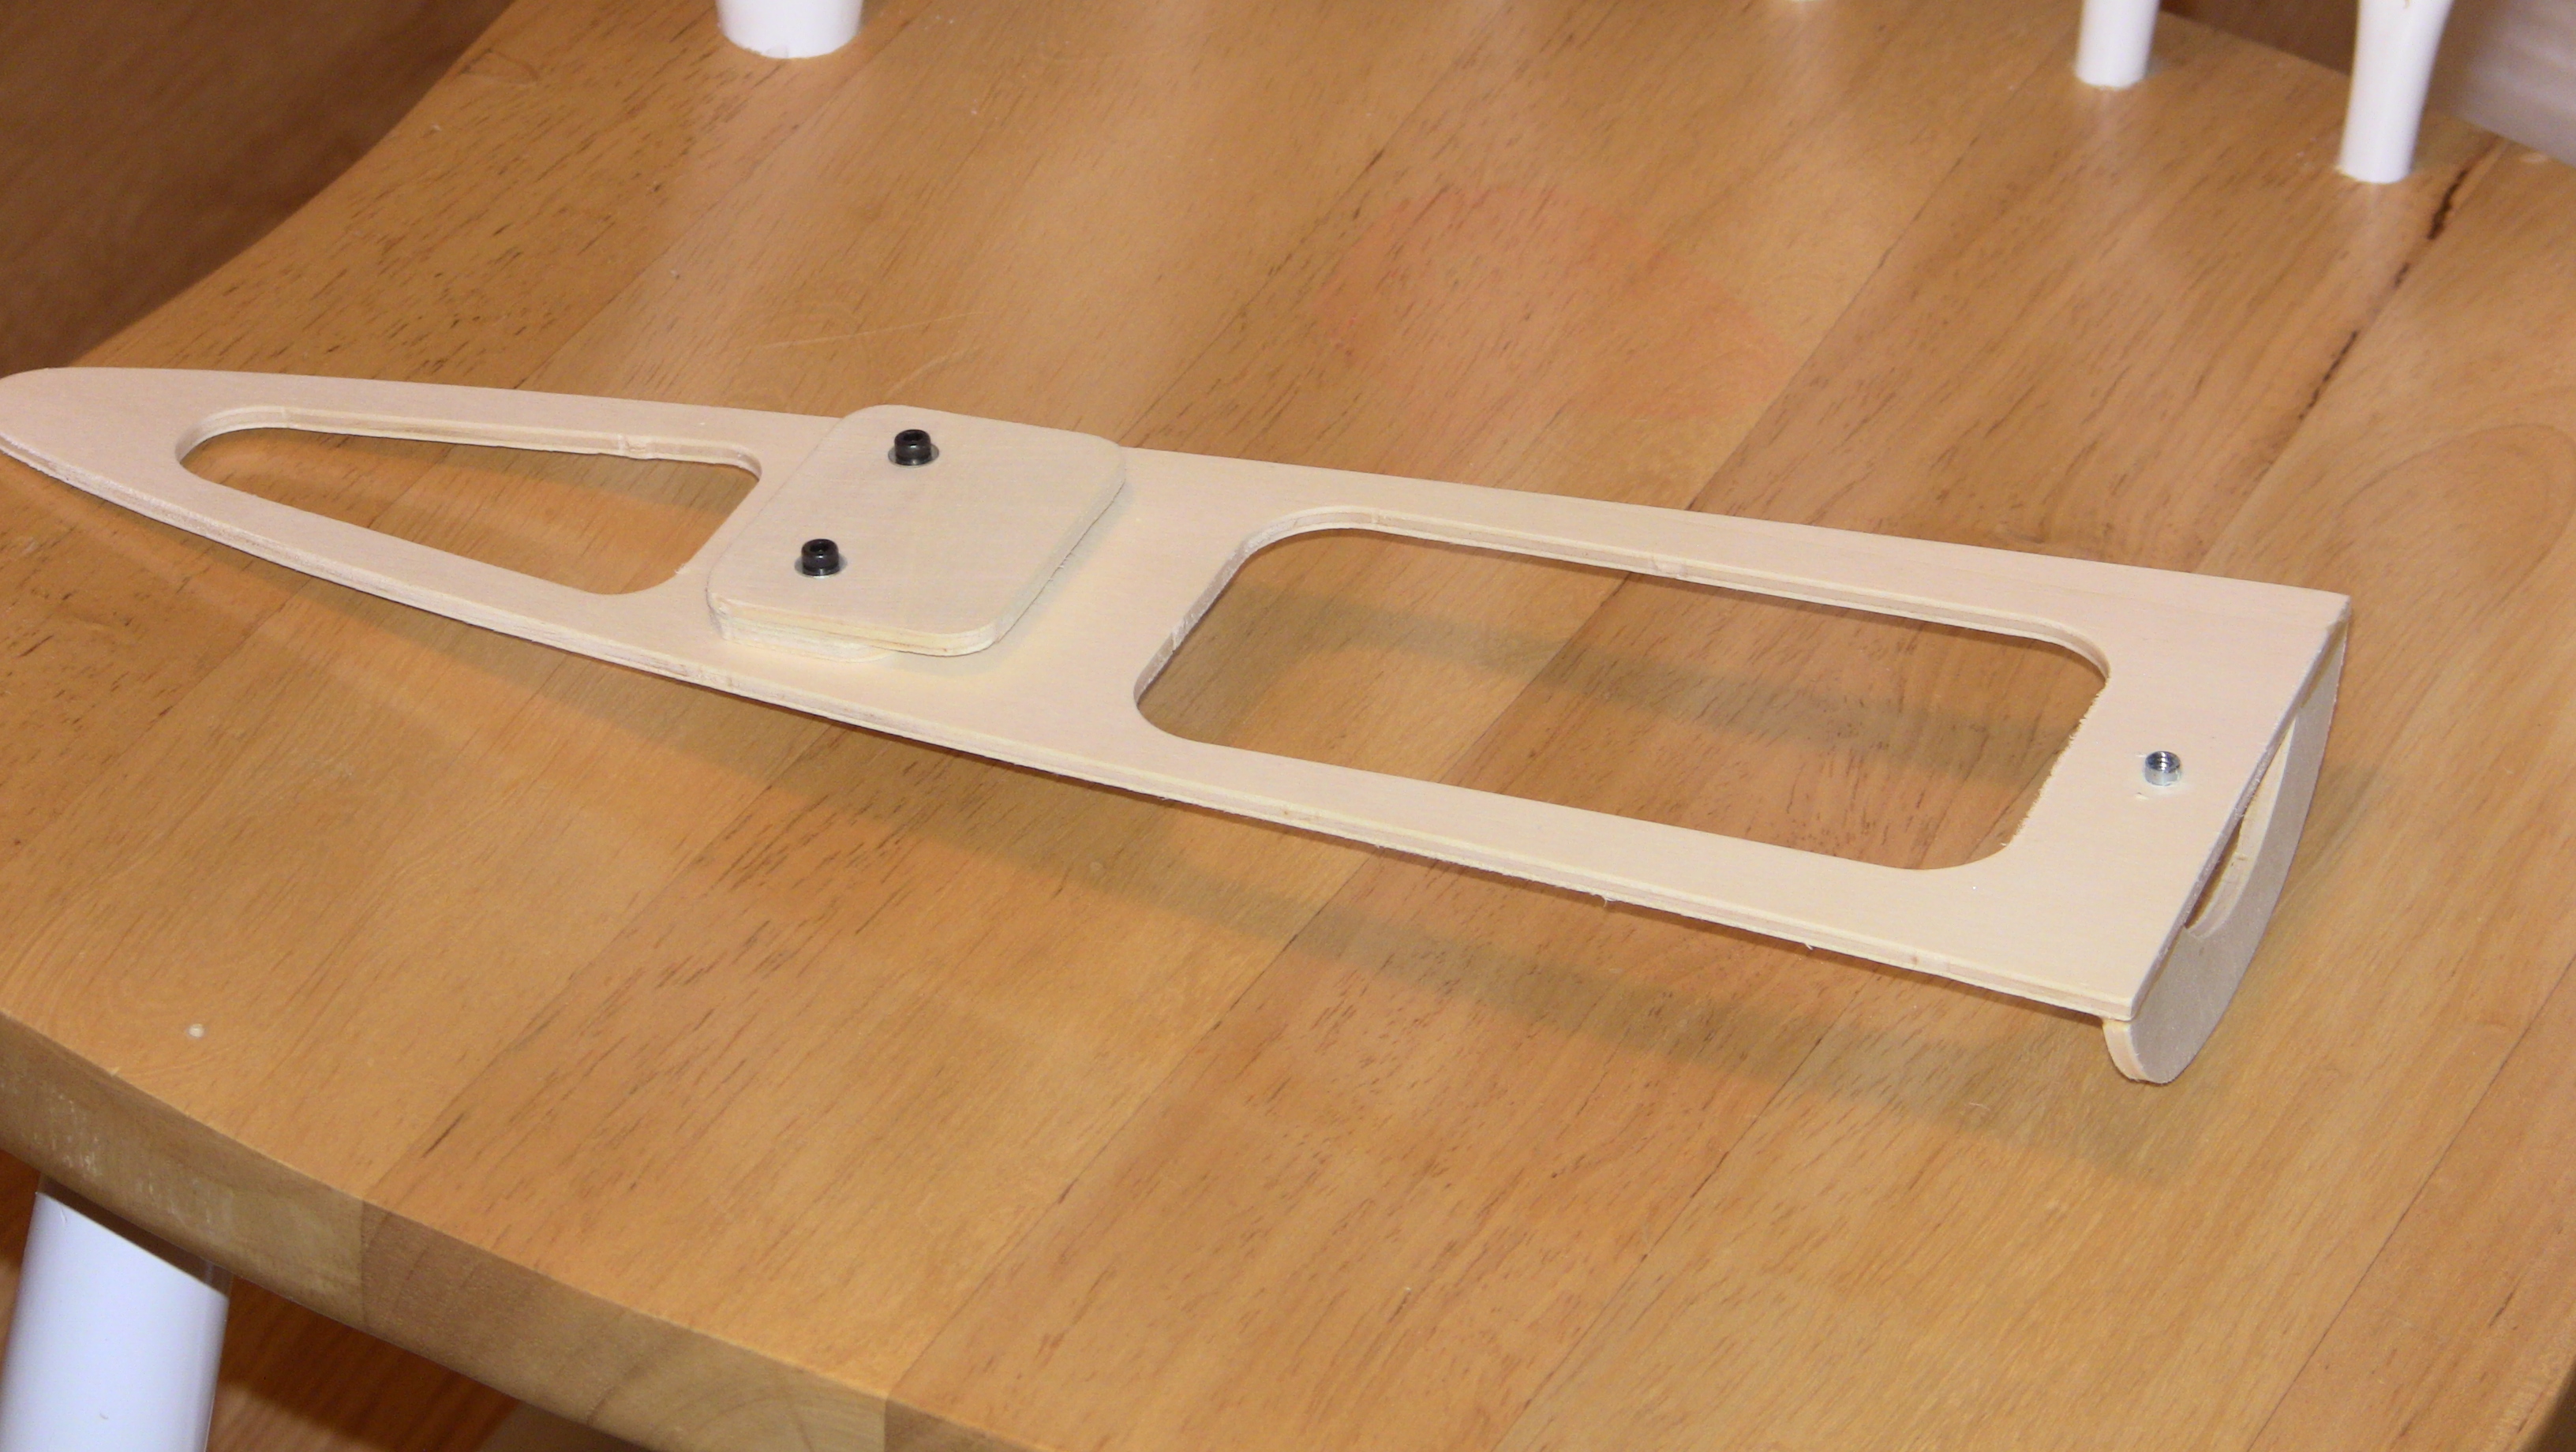
Slow day, I have no clue where the time goes when im in the hobby room building. Seems like very little gets done before the days over, but I did do a few things. I got the back plates in the tall section so not i can join the two, and I worked on the canopy mounts for the front while some glued dried. I finally got to the control horn install and thats were it slooooowwweedd down! Started on one wing and almost done before I had to take a break, the only negative I will throw out is the lack of good linkages and ball ends. I had a good stock so its not a big deal ut they provided a long threaded rod to cut linkages. Due to the sizes of some of the rods I may have to use it, this means I will need some carbon tubes to slide over them for strength, just a small thing. I did a small mod to the inside of the canopy to support the carbon rod.


I have a couple videos uploading
I have a couple videos uploading
Last edited by FenderBean; 11-09-2015 at 04:21 PM.
 11-10-2015, 07:18 PM
#66
Thread Starter
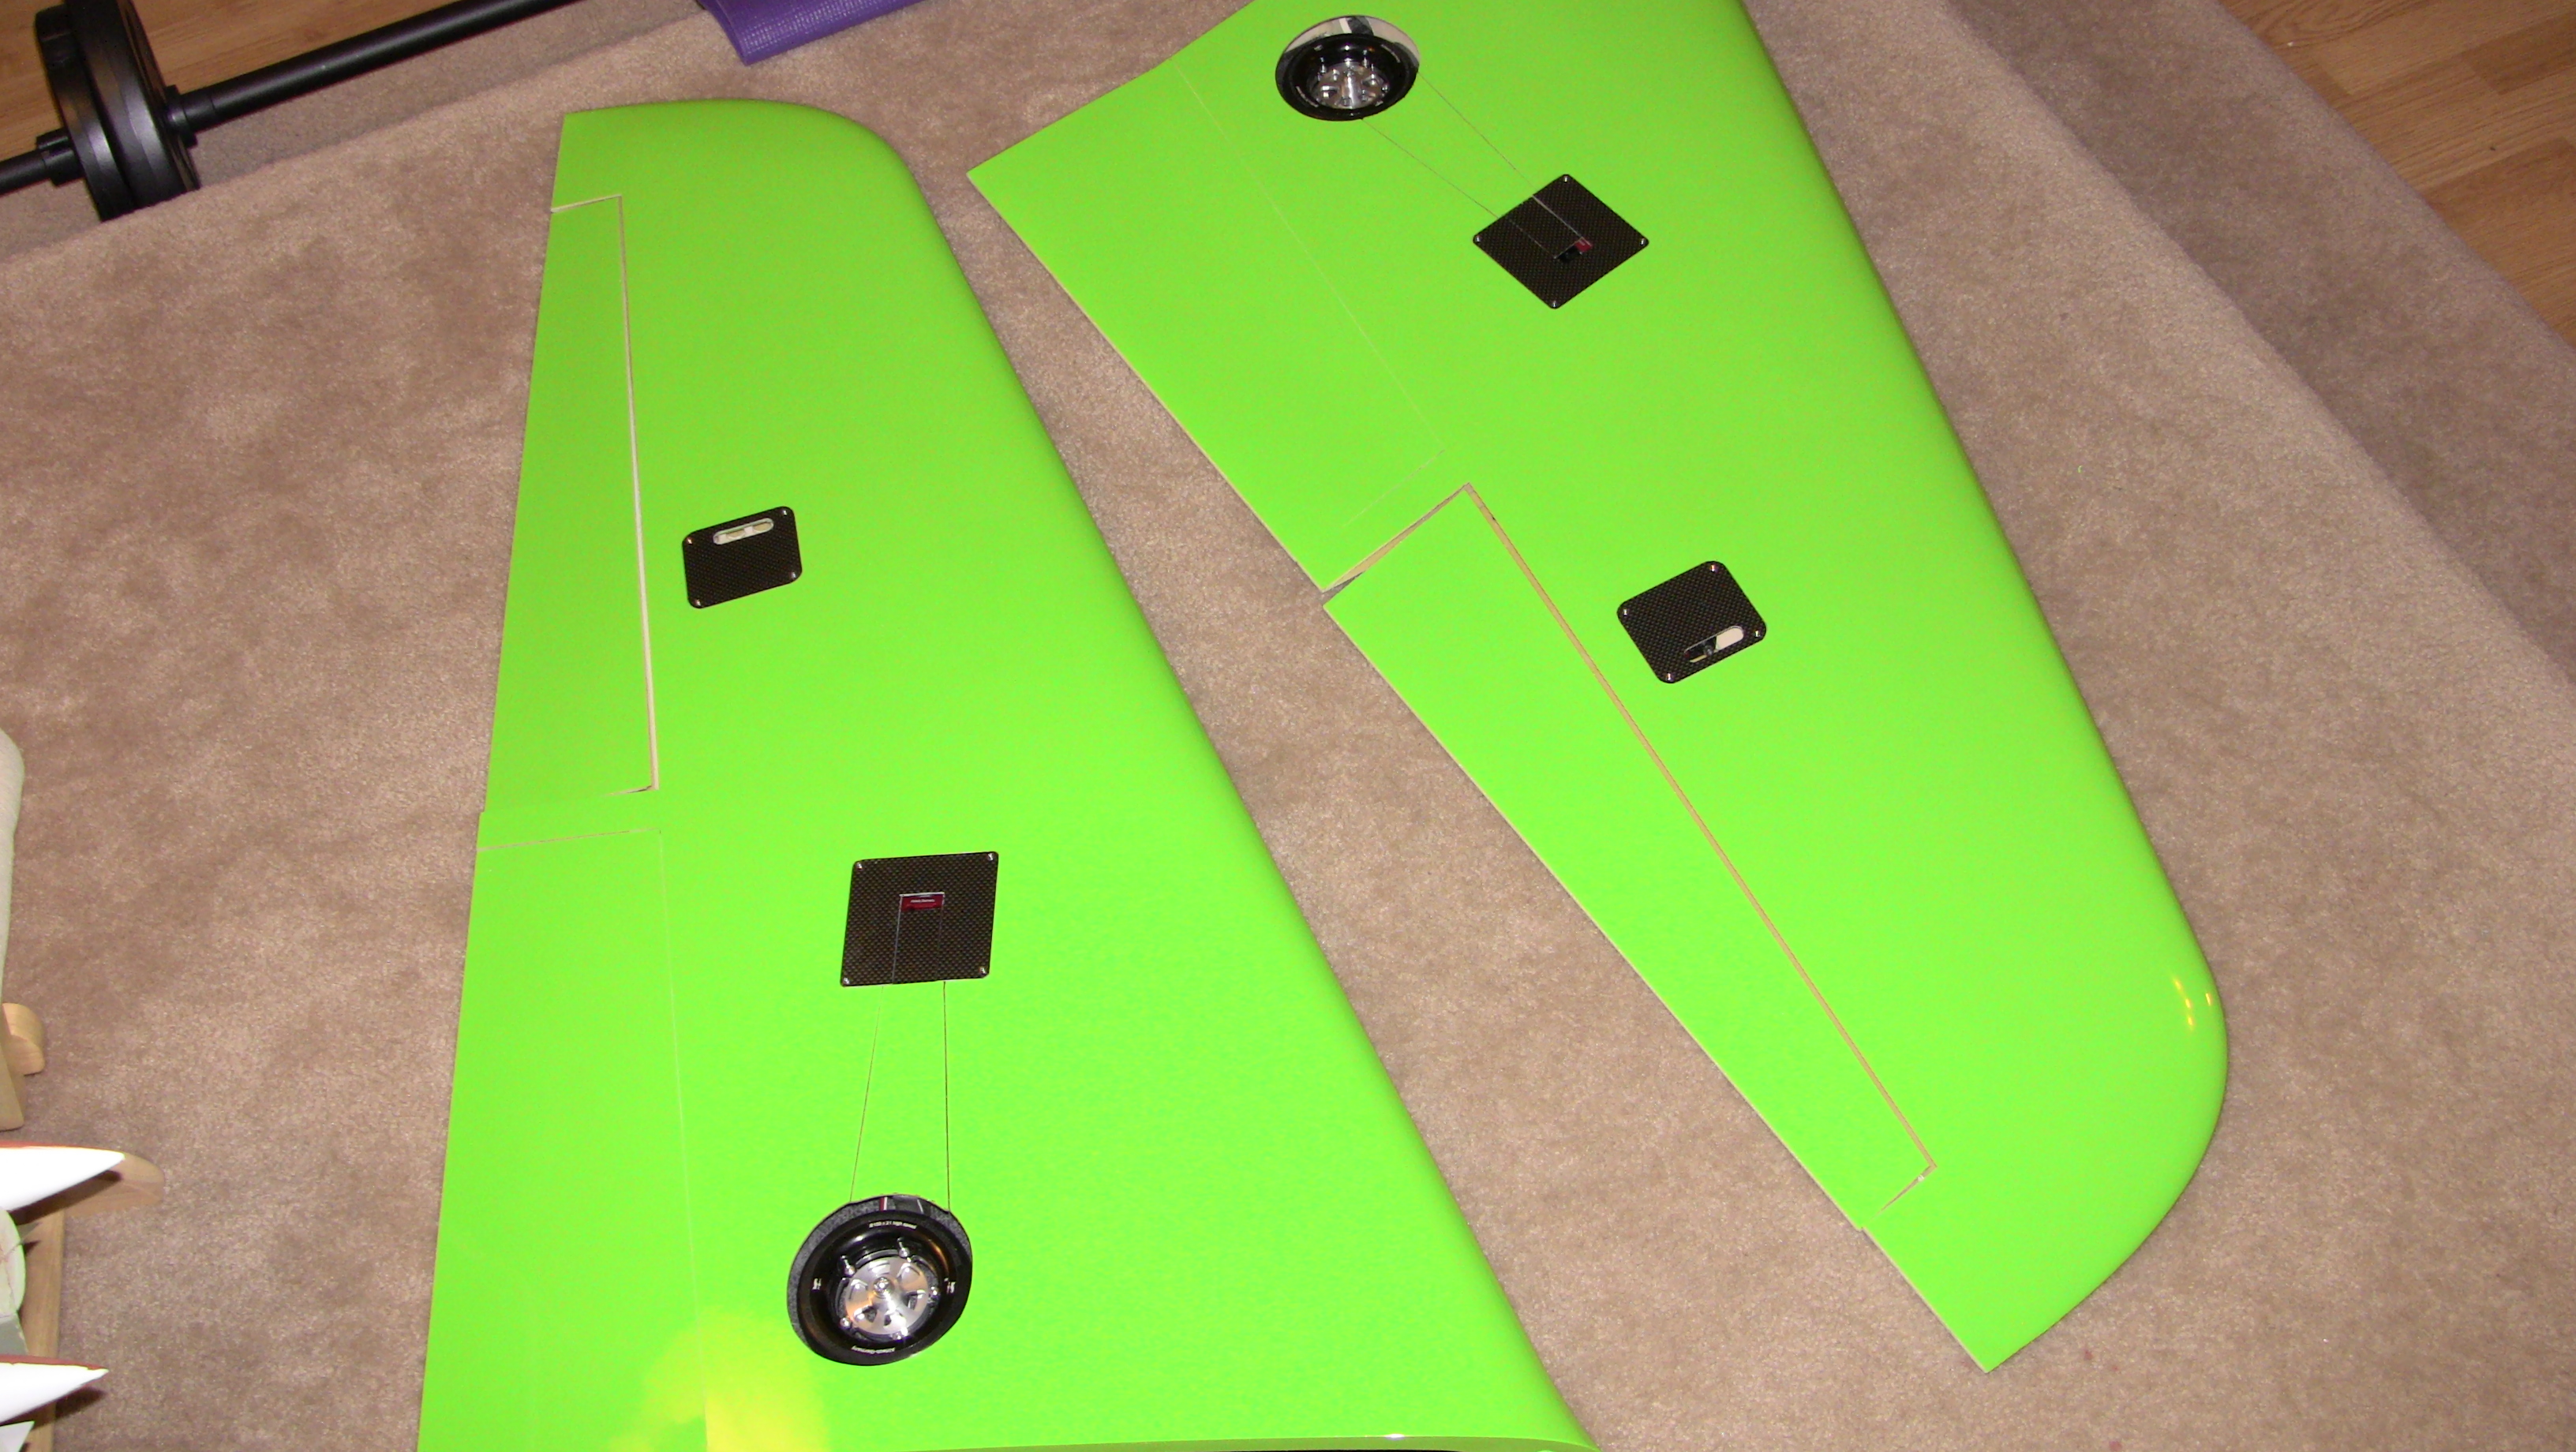
Finally got the wings done, the first one took awhile but the second went much faster. I did end up using the supplied 3mm rod to make the flap control rods since it needed a length I didnt have. I did slide a carbon tube over it and hysol it on, so its plenty strong. I guess I should have just dont this for all the controls but I dont have and metal 3mm rod ends, all mine are 4-40. I wanted to use the metal end on the servo arms to make it inline instead of have a ball end mounted to the top of the servo. I am using servo arms short enough to let me keep my end points at or near 100-140%. Not much to show but heck there isnt much to this jet, I will be done tomorrow then its finally assembly!
I did two videos, the first got long winded, they are uploading now. Cheers!


Mod Alert! see video!
I did two videos, the first got long winded, they are uploading now. Cheers!
Mod Alert! see video!
Last edited by FenderBean; 11-10-2015 at 07:20 PM.
11-11-2015, 02:46 PM
#67
Thread Starter
Well wings are done and setup, the only thing left to do is mount the strut door. I moved on to the Elevators and Rudder, took longer than I figured just due to having to make some linkages and drill some servo horns but they are in and the control horns are curing. So now the fun part, getting the fuselage done and then the longest part for me! The dreaded equipment organization!!!I m so picky lol
I have four videos uploading showing various things


 I did miss speak on one part in the video the rudder does have a template, I forgot I had it. Cheers Happy Veterans Day!!
I have four videos uploading showing various things
11-12-2015, 06:24 PM
#69
Thread Starter
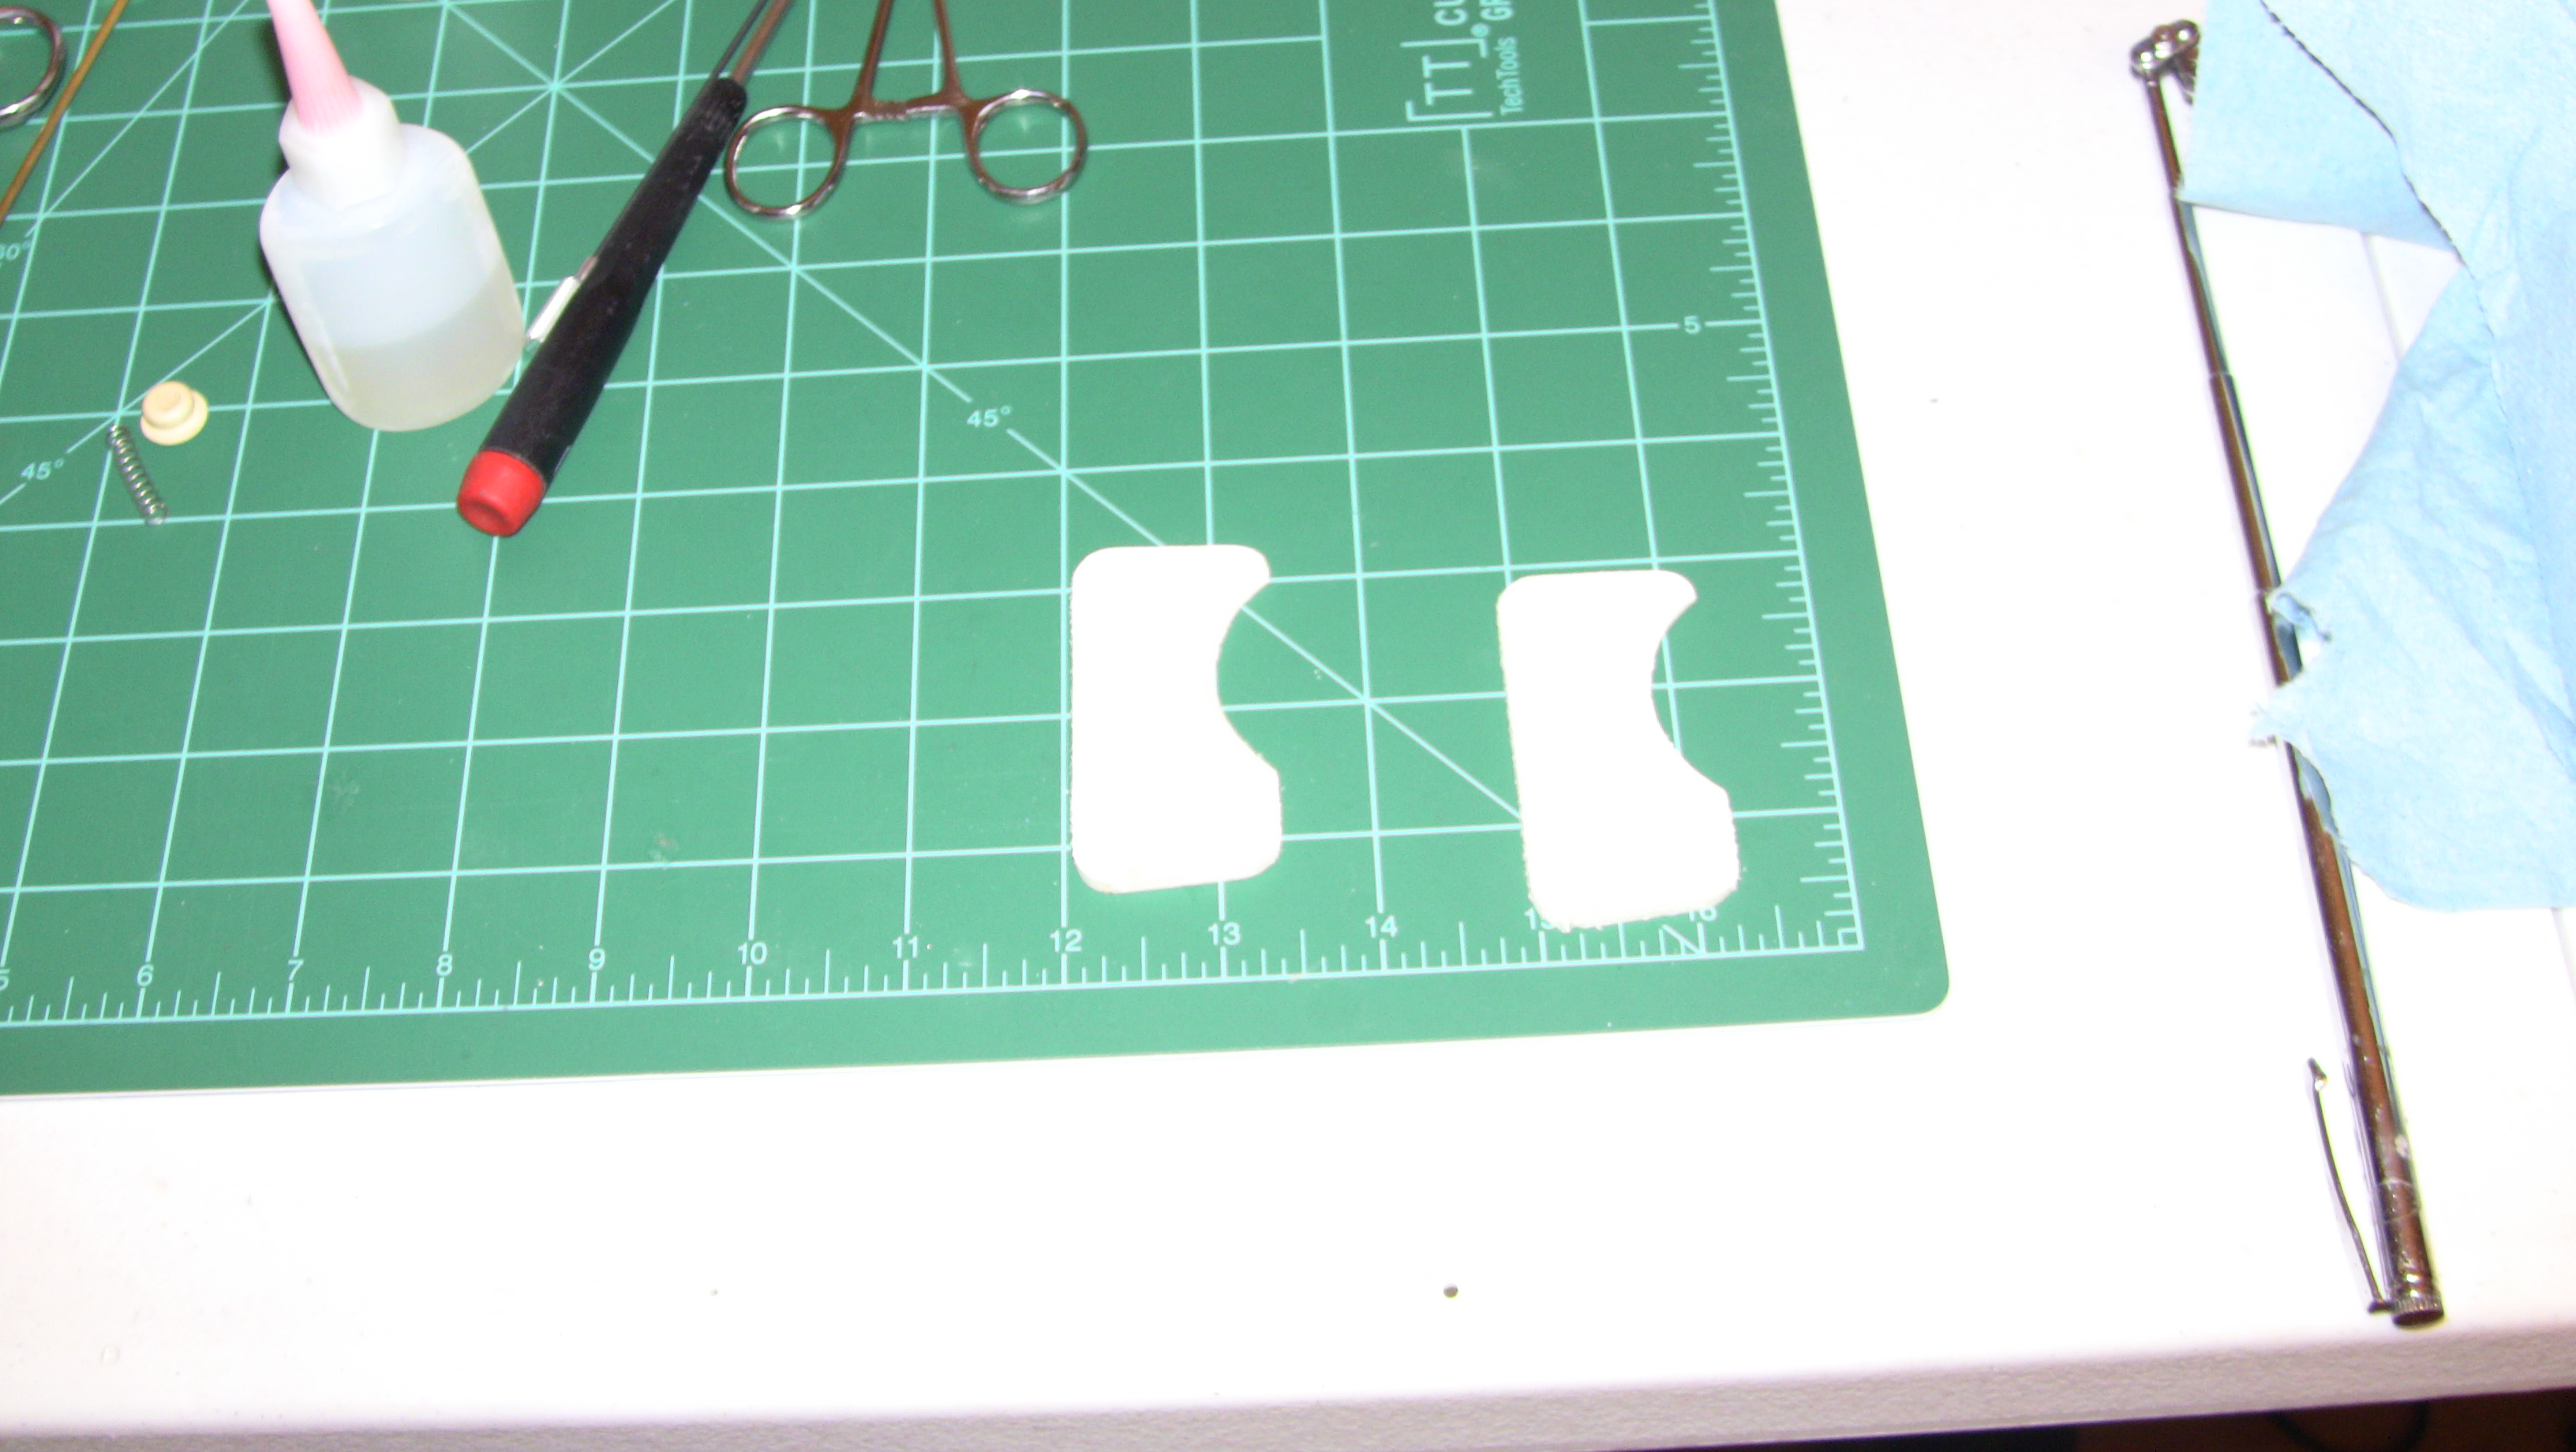
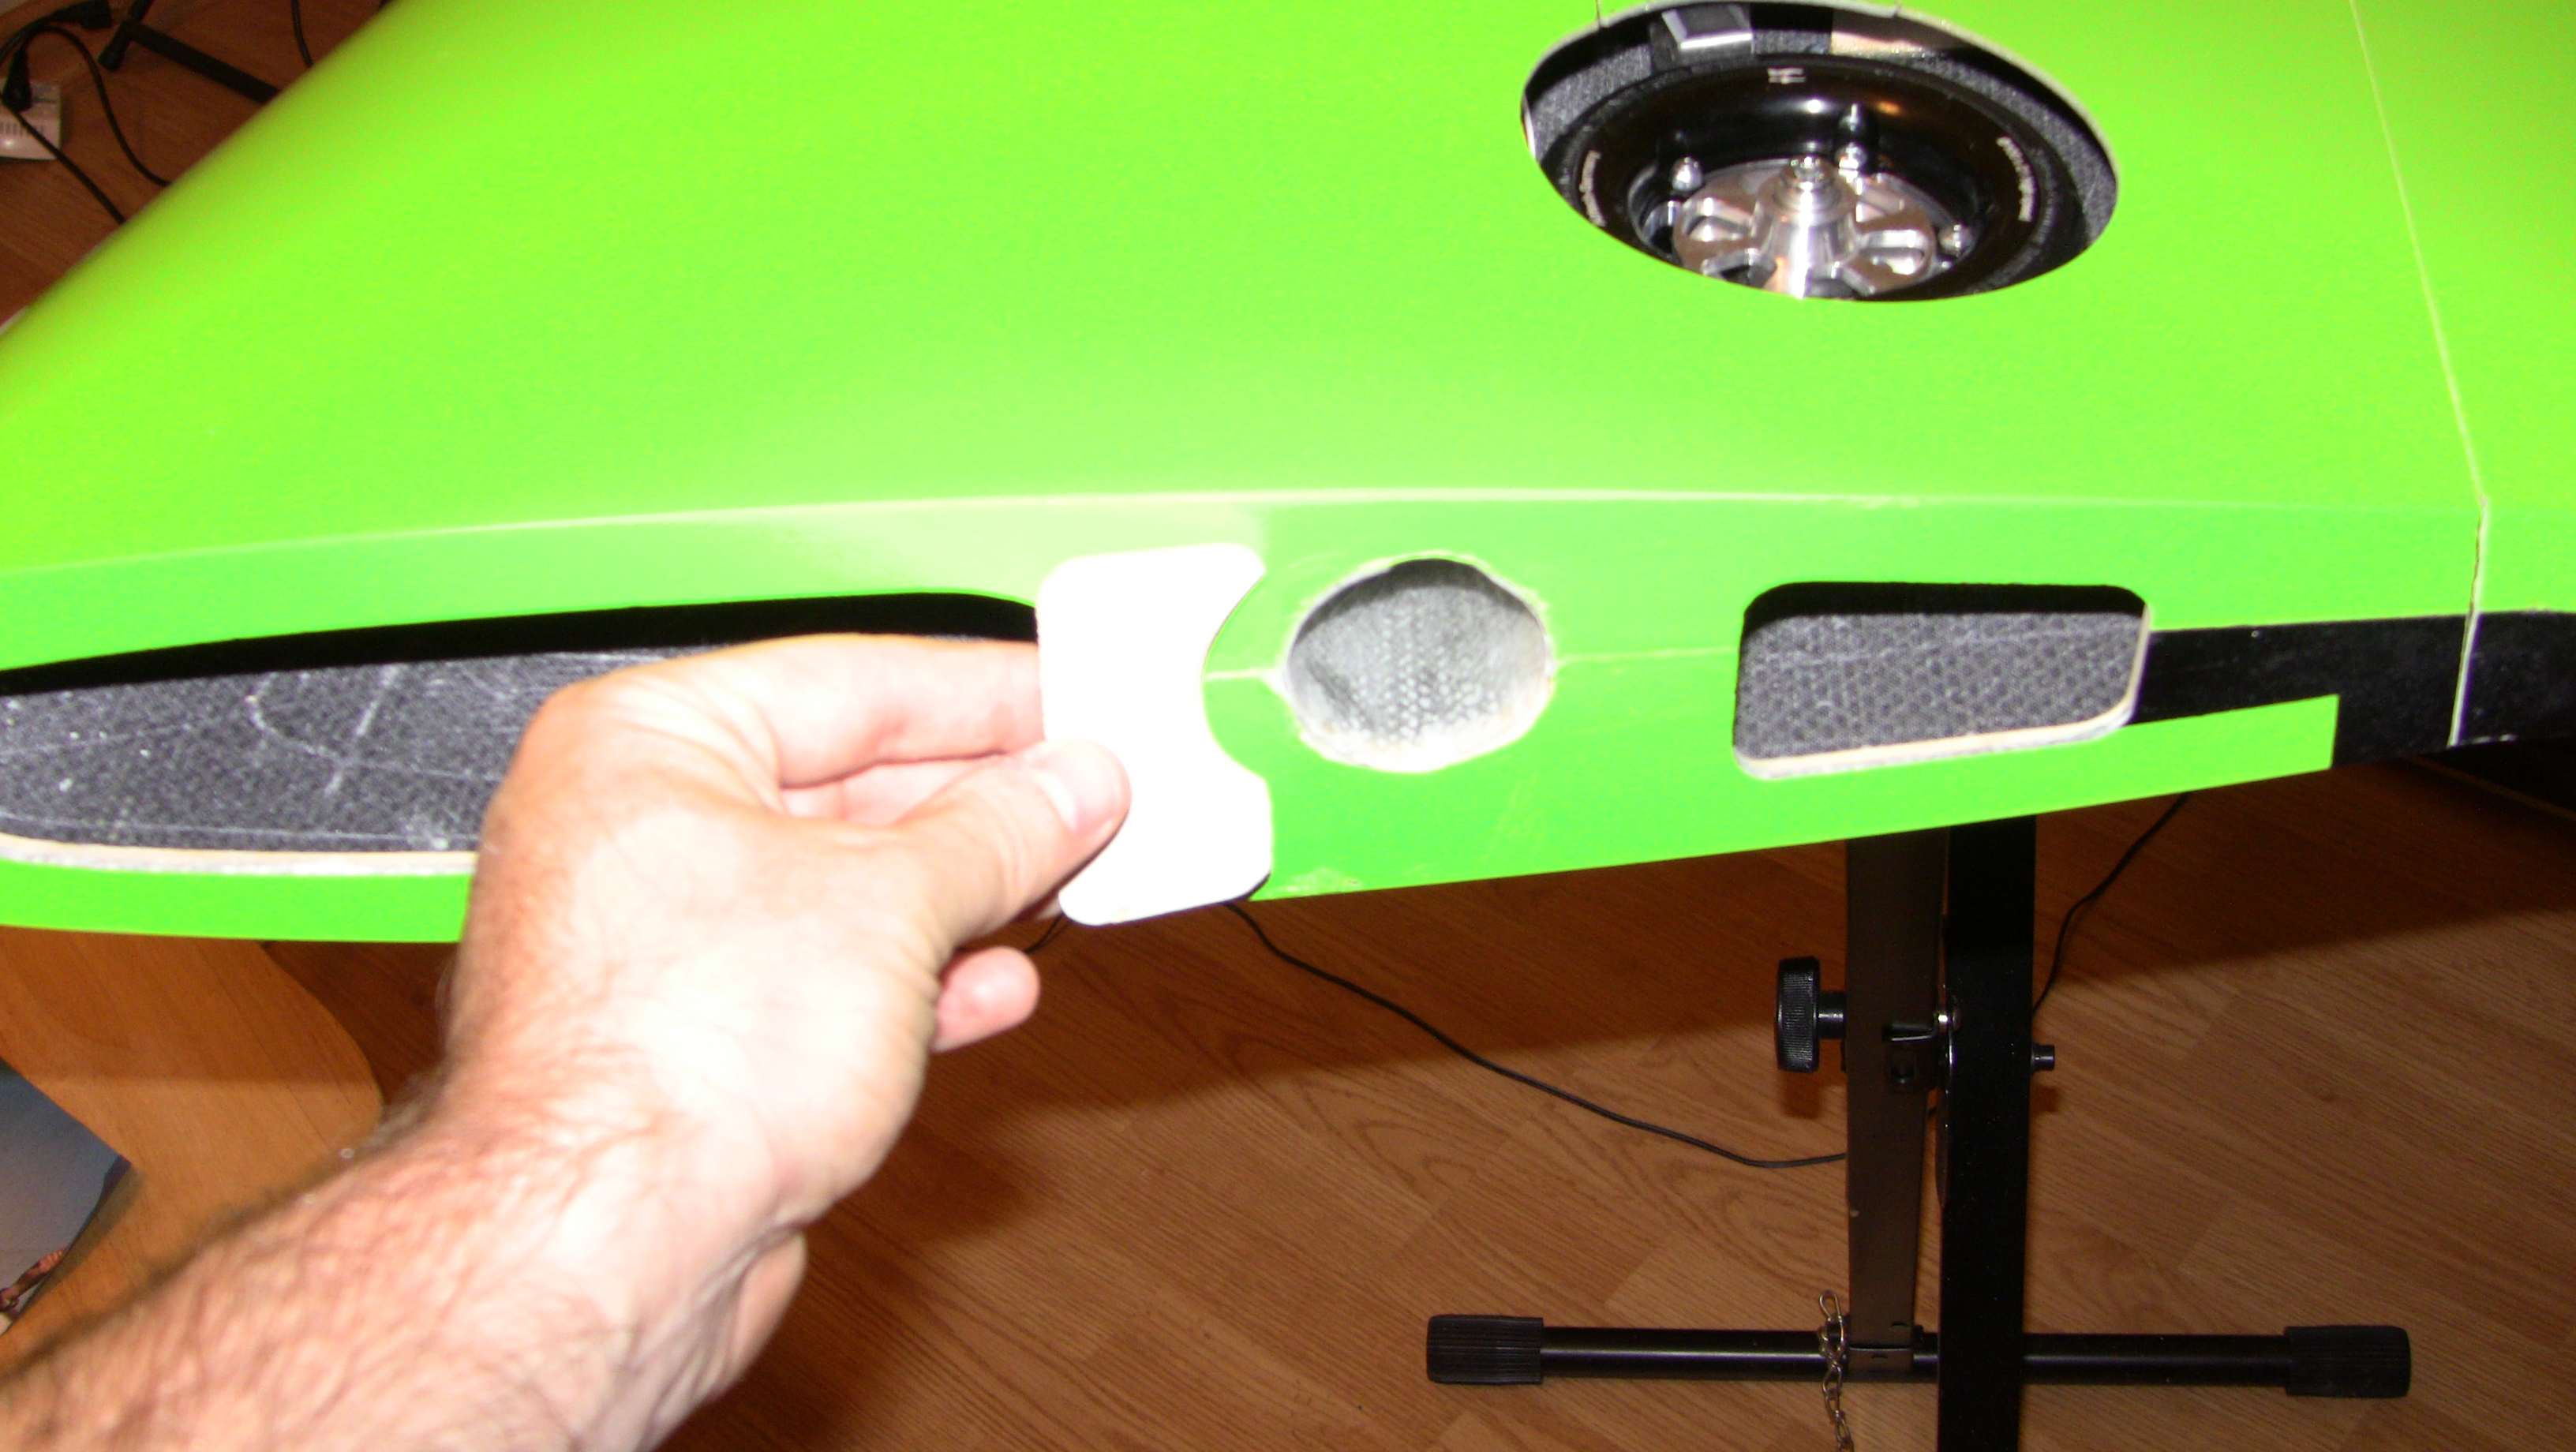
Started on a few odds and ends today, it was back to work so not much done but its getting down to the end. After tonight all I will have is the nose gear mounts/nose door and then the pipe mount brackets.  I got this thing a week ago! Anyway tank mounts are in drying, I tried some super military grade hysol that has a much faster cure time. I also assembled the front battery tray, which by the way is cool since it has a lock for easy removal of the battery. I also added the back tank holder, this prevents the tank from sliding forward out of the holder.
Another videos is uploading: https://www.youtube.com/playlist?lis...lQOg8hZdfaom2I
I cannot stay up to late tonight, I have a early show for a practice run for the Titans football game Sunday, finally get to fly down the middle of Nashville below the building tops and its for the titans Guess we will be the highlight of that game for sure LOL
I feel like im posting to myself not many folks asking questions on the build these days.


I got this thing a week ago! Anyway tank mounts are in drying, I tried some super military grade hysol that has a much faster cure time. I also assembled the front battery tray, which by the way is cool since it has a lock for easy removal of the battery. I also added the back tank holder, this prevents the tank from sliding forward out of the holder. Another videos is uploading: https://www.youtube.com/playlist?lis...lQOg8hZdfaom2I
I cannot stay up to late tonight, I have a early show for a practice run for the Titans football game Sunday, finally get to fly down the middle of Nashville below the building tops and its for the titans
Guess we will be the highlight of that game for sure LOLI feel like im posting to myself not many folks asking questions on the build these days.
11-13-2015, 01:49 AM
#71
it's looking really good Keith! every day I'm drooling over the photos. I really like the battery fastening systtem with a single bolt. Was that part of the kit or your own design?
11-13-2015, 05:17 AM
#72

Join Date: Apr 2006
Location: LUXEMBOURG
Posts: 154
Likes: 0
Received 0 Likes
on
0 Posts
[QUOTE=
I feel like im posting to myself not many folks asking questions on the build these days.
[/QUOTE]
Well Keith, there may be more silent follower's like me, don't despair. At least lots of people are viewing; I shall get mine next week. But really you are posting a whole manual that should be worth to consider.
11-13-2015, 07:16 AM
#74
Thread Starter
The screw is part of the design, I normally get more questions is why I mentioned it. I enjoy doing builds as long as they help I will keep at it. I'm trying to get my next project which is a scale jet this one is going to fast. lol