


The new T1 models F16 build thread
 07-03-2018, 06:45 AM
#1


Will go over the plug and play version. This plane is 1\8th scale. Has electric brakes and gear and doors. Light option along with after burner lights is available also.
evening number 1
spent about 2.5 hours on it this night.
this aircraft is available at pacificrcjets.com
contact Dirk

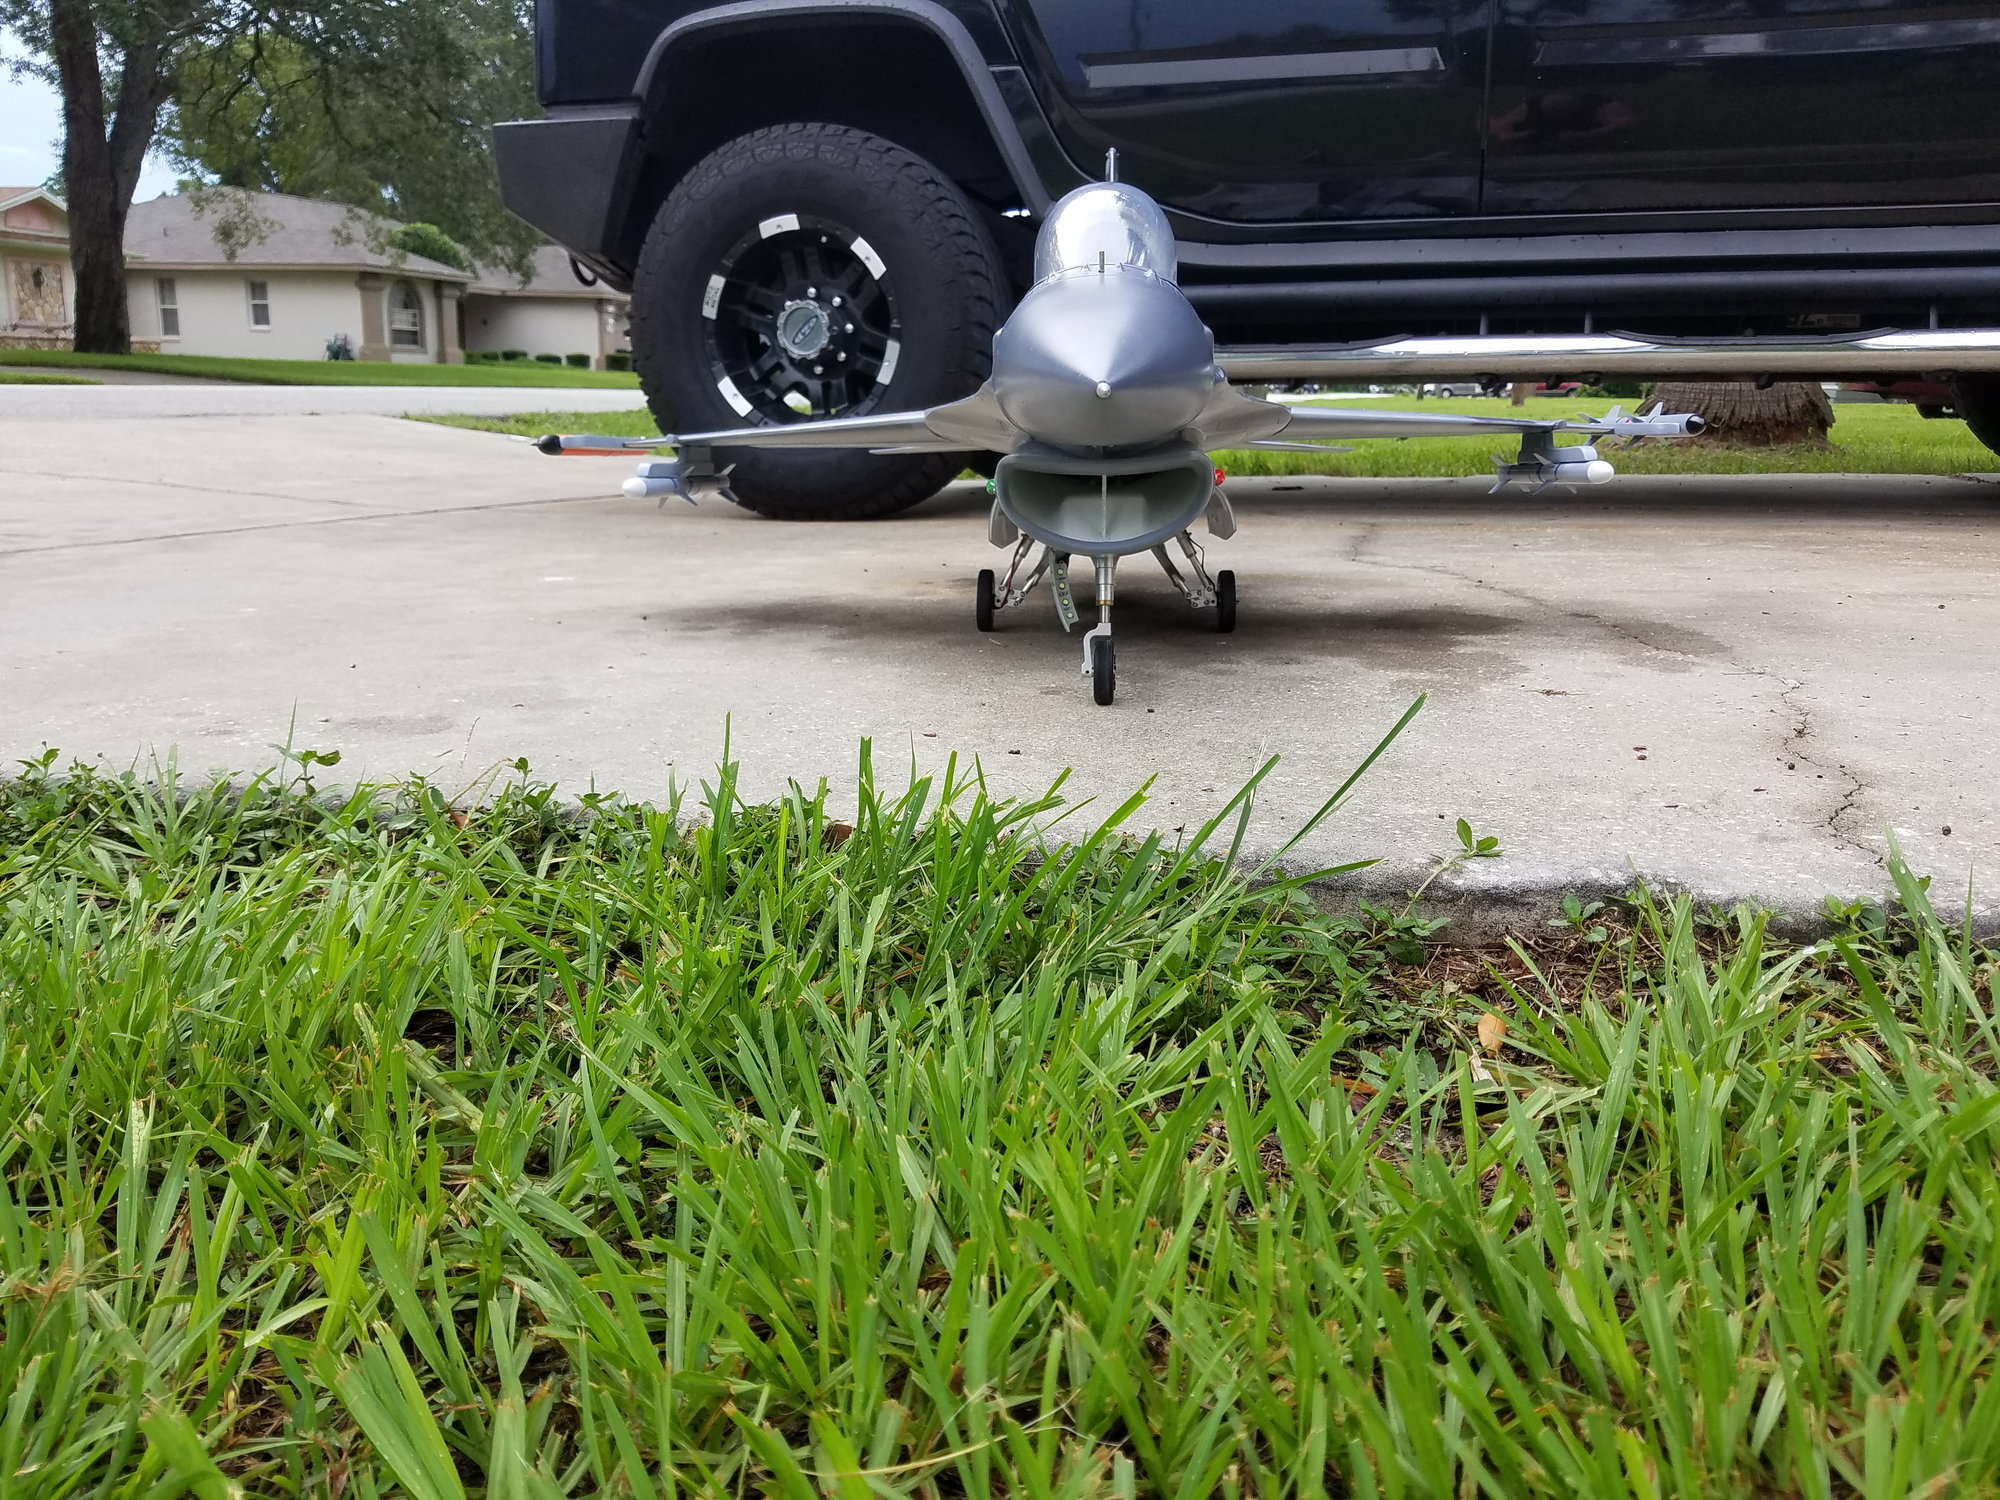
How she comes out of the box
evening number 1
spent about 2.5 hours on it this night.
this aircraft is available at pacificrcjets.com
contact Dirk
How she comes out of the box
Last edited by gunradd; 07-03-2018 at 07:07 AM.
 07-03-2018, 06:51 AM
#2
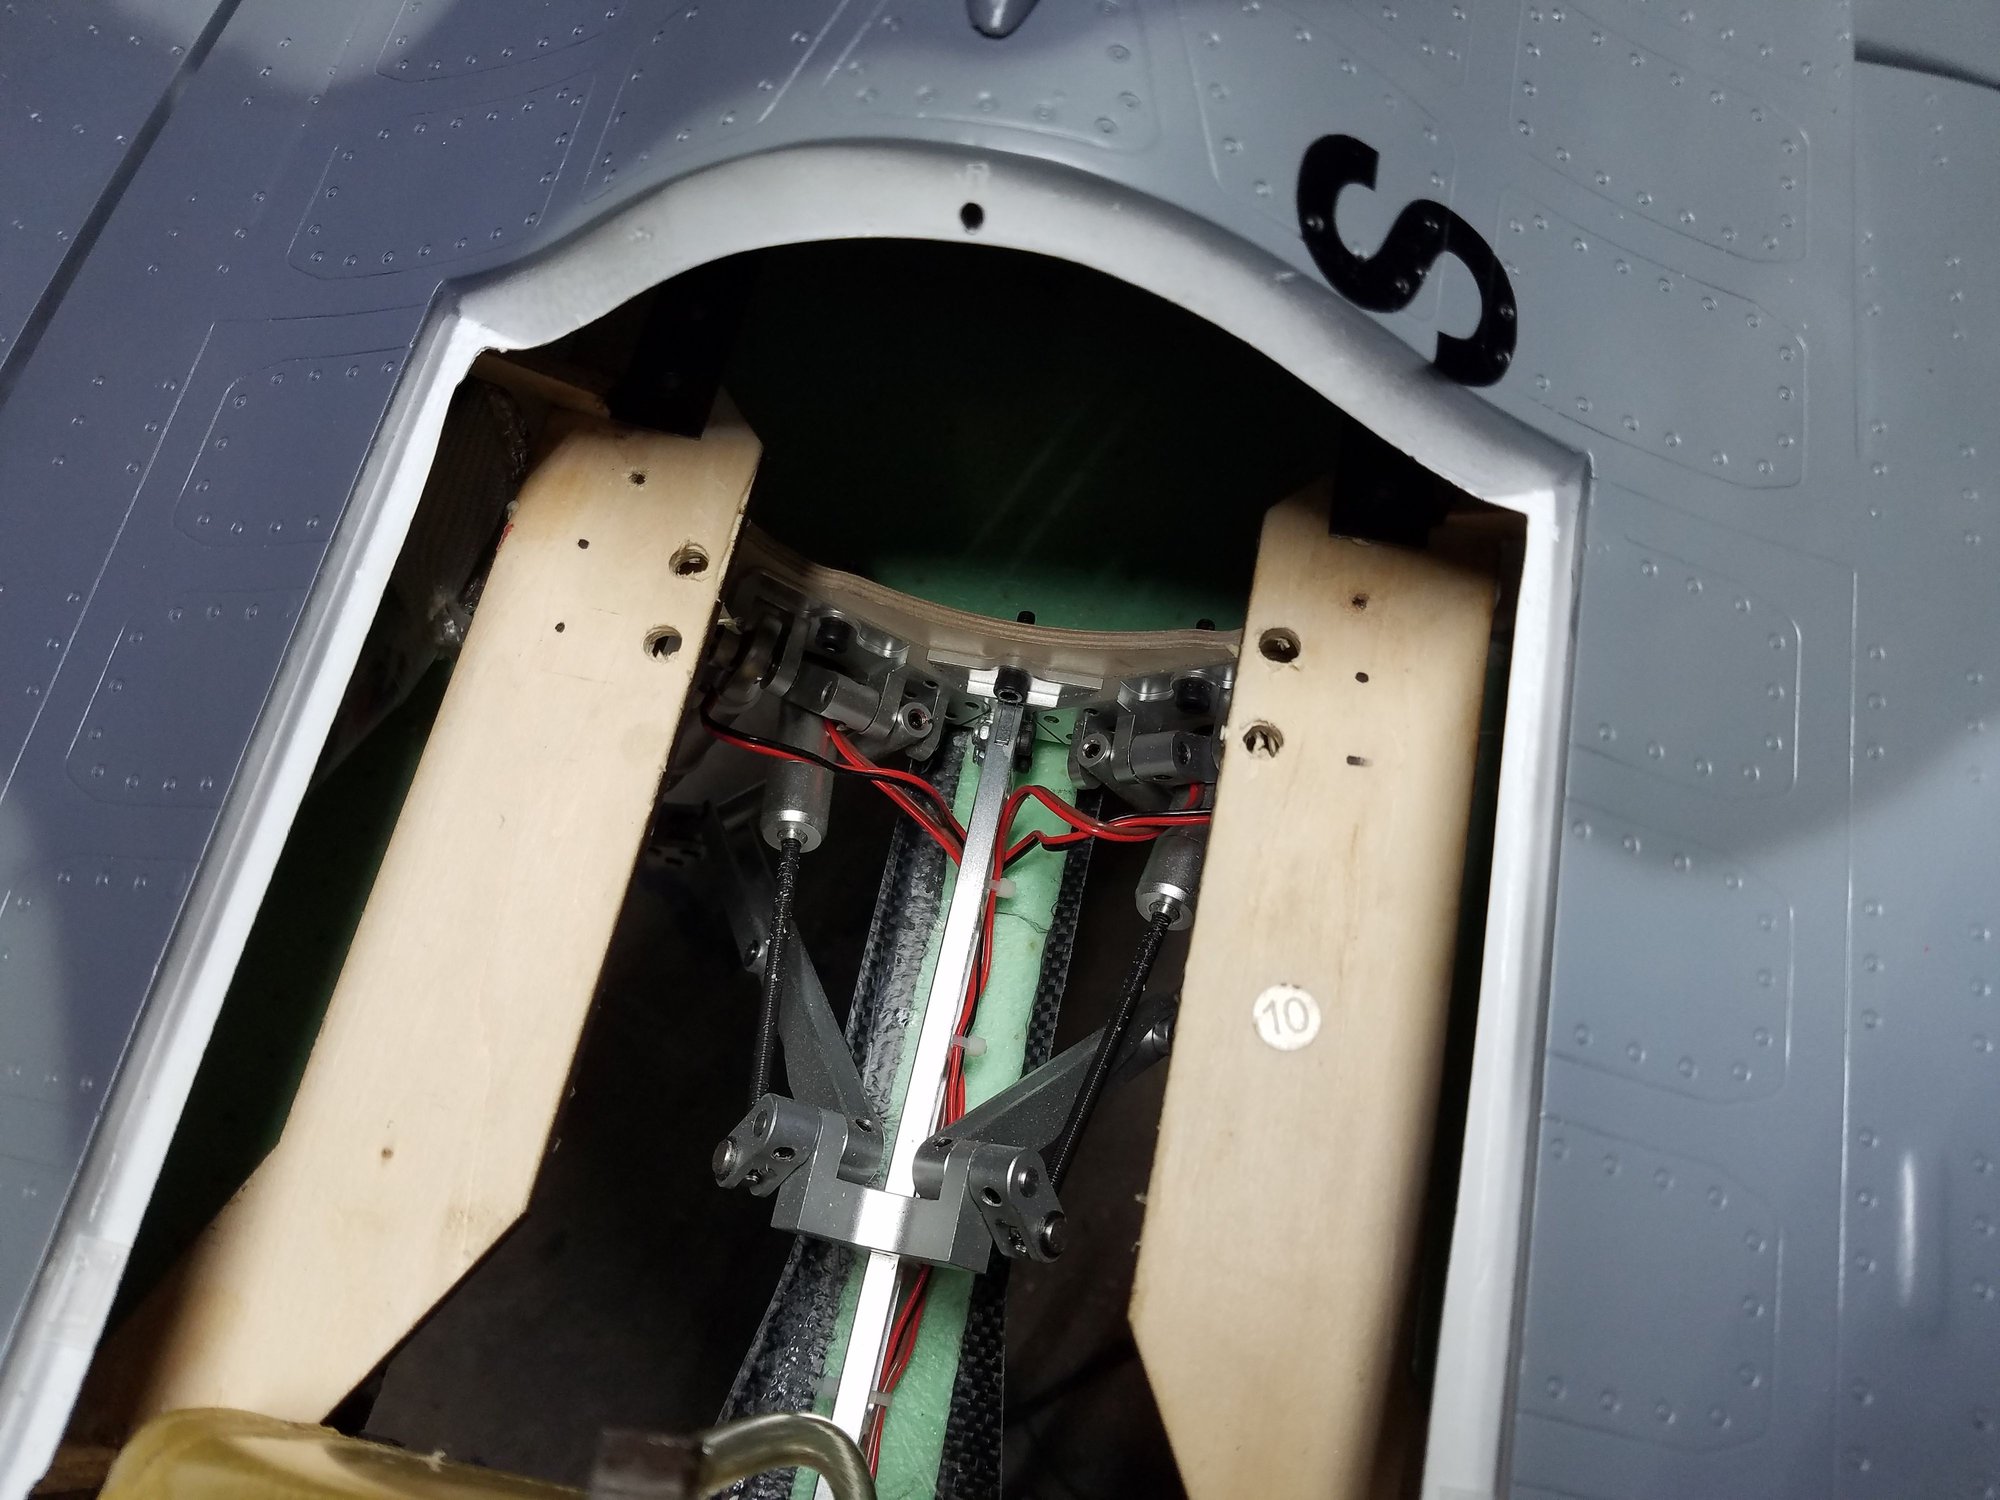
First I installed the vertical and wings. Servos are already installed and wires done so this is easy.
next was the horizontal stabs. First remove the little panel on the bottoms to access the linkage. Remove the arm and slide the elevator on and tighten the 2 set screws. Reinstall linkage and panel.
a nice touch is the wires for the tail surfaces all have heat protection on them from the factory.

next was the horizontal stabs. First remove the little panel on the bottoms to access the linkage. Remove the arm and slide the elevator on and tighten the 2 set screws. Reinstall linkage and panel.
a nice touch is the wires for the tail surfaces all have heat protection on them from the factory.
07-03-2018, 06:57 AM
#3
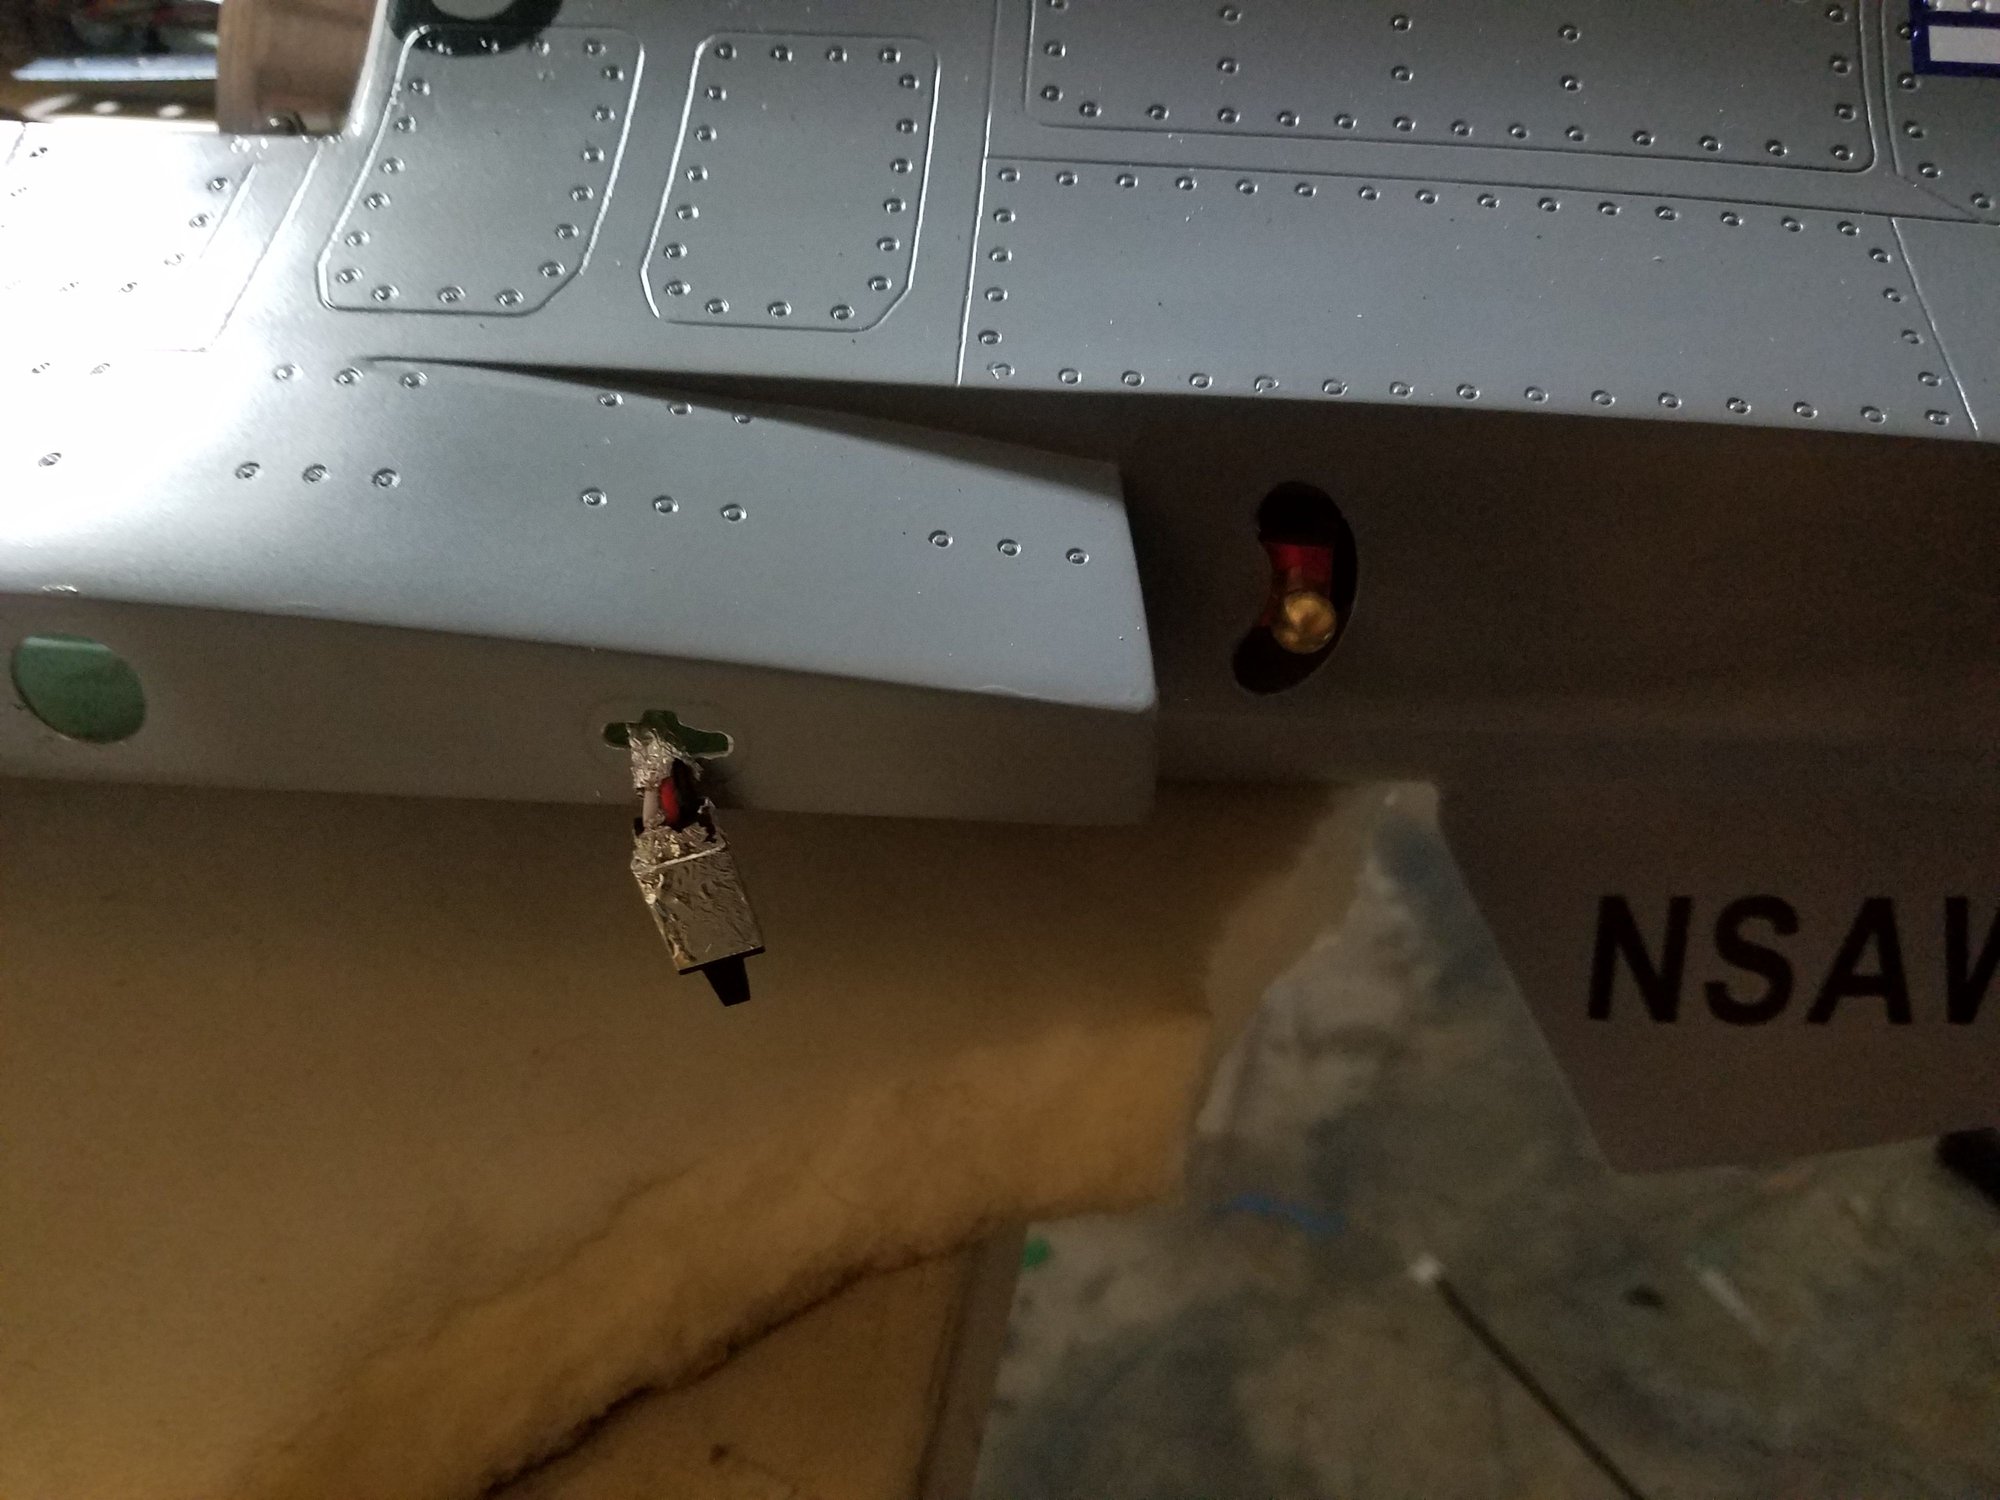
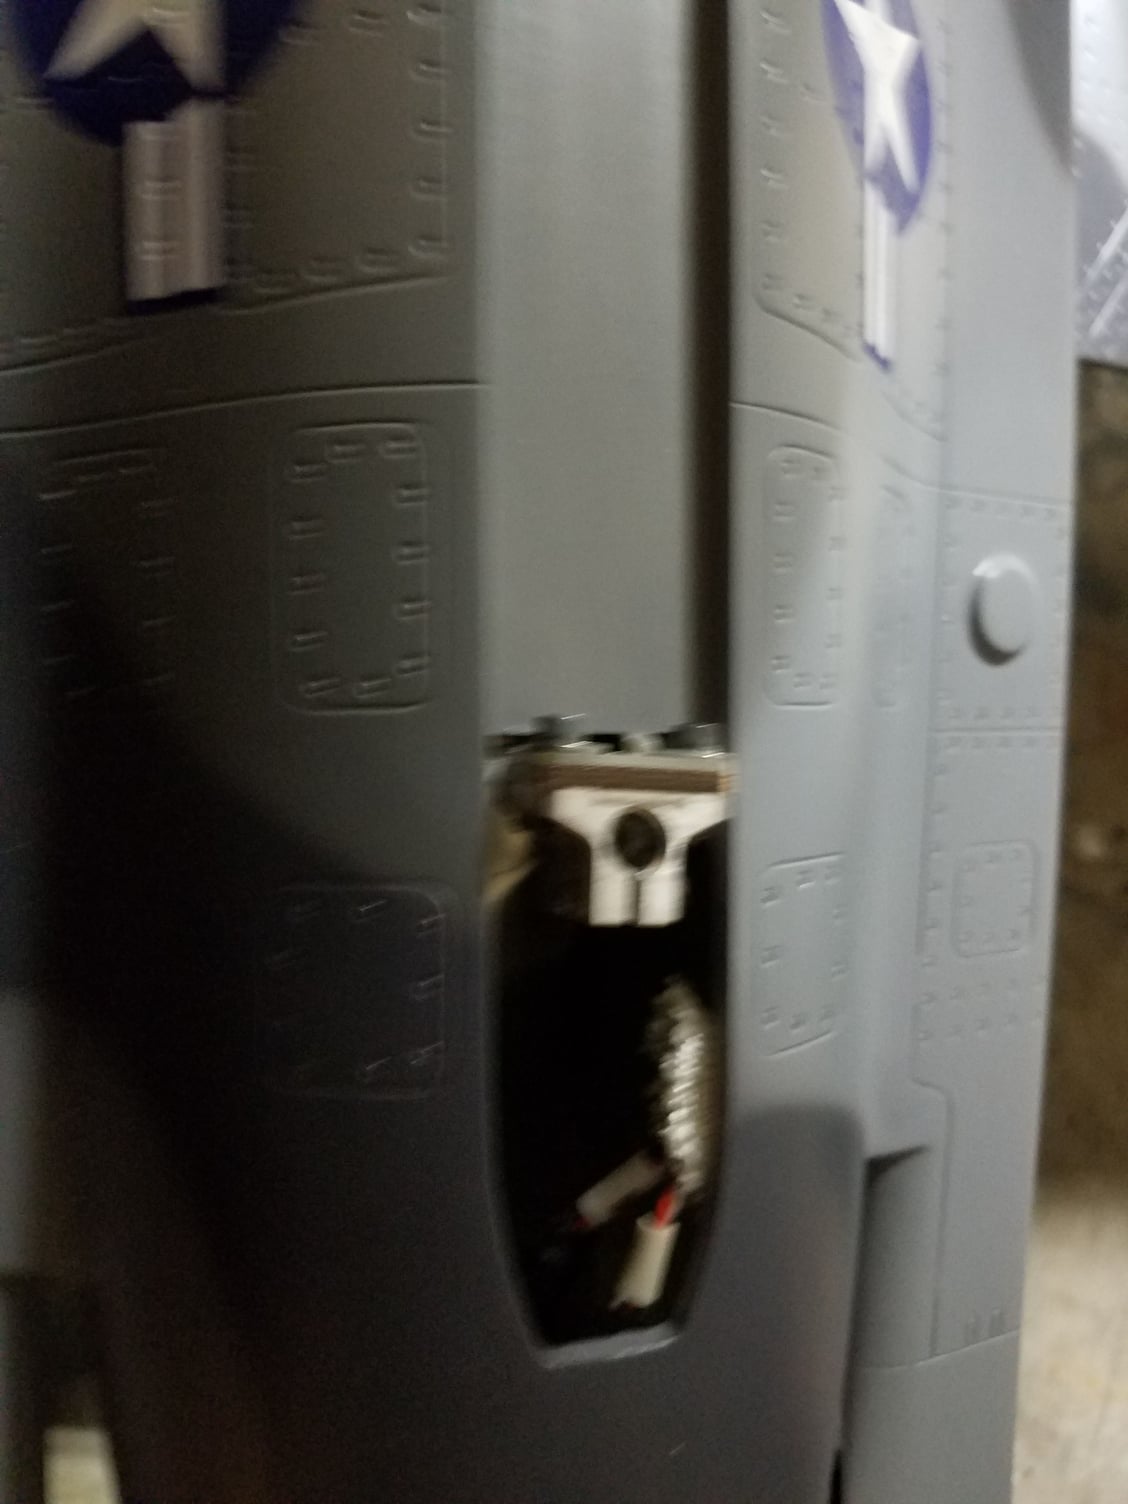
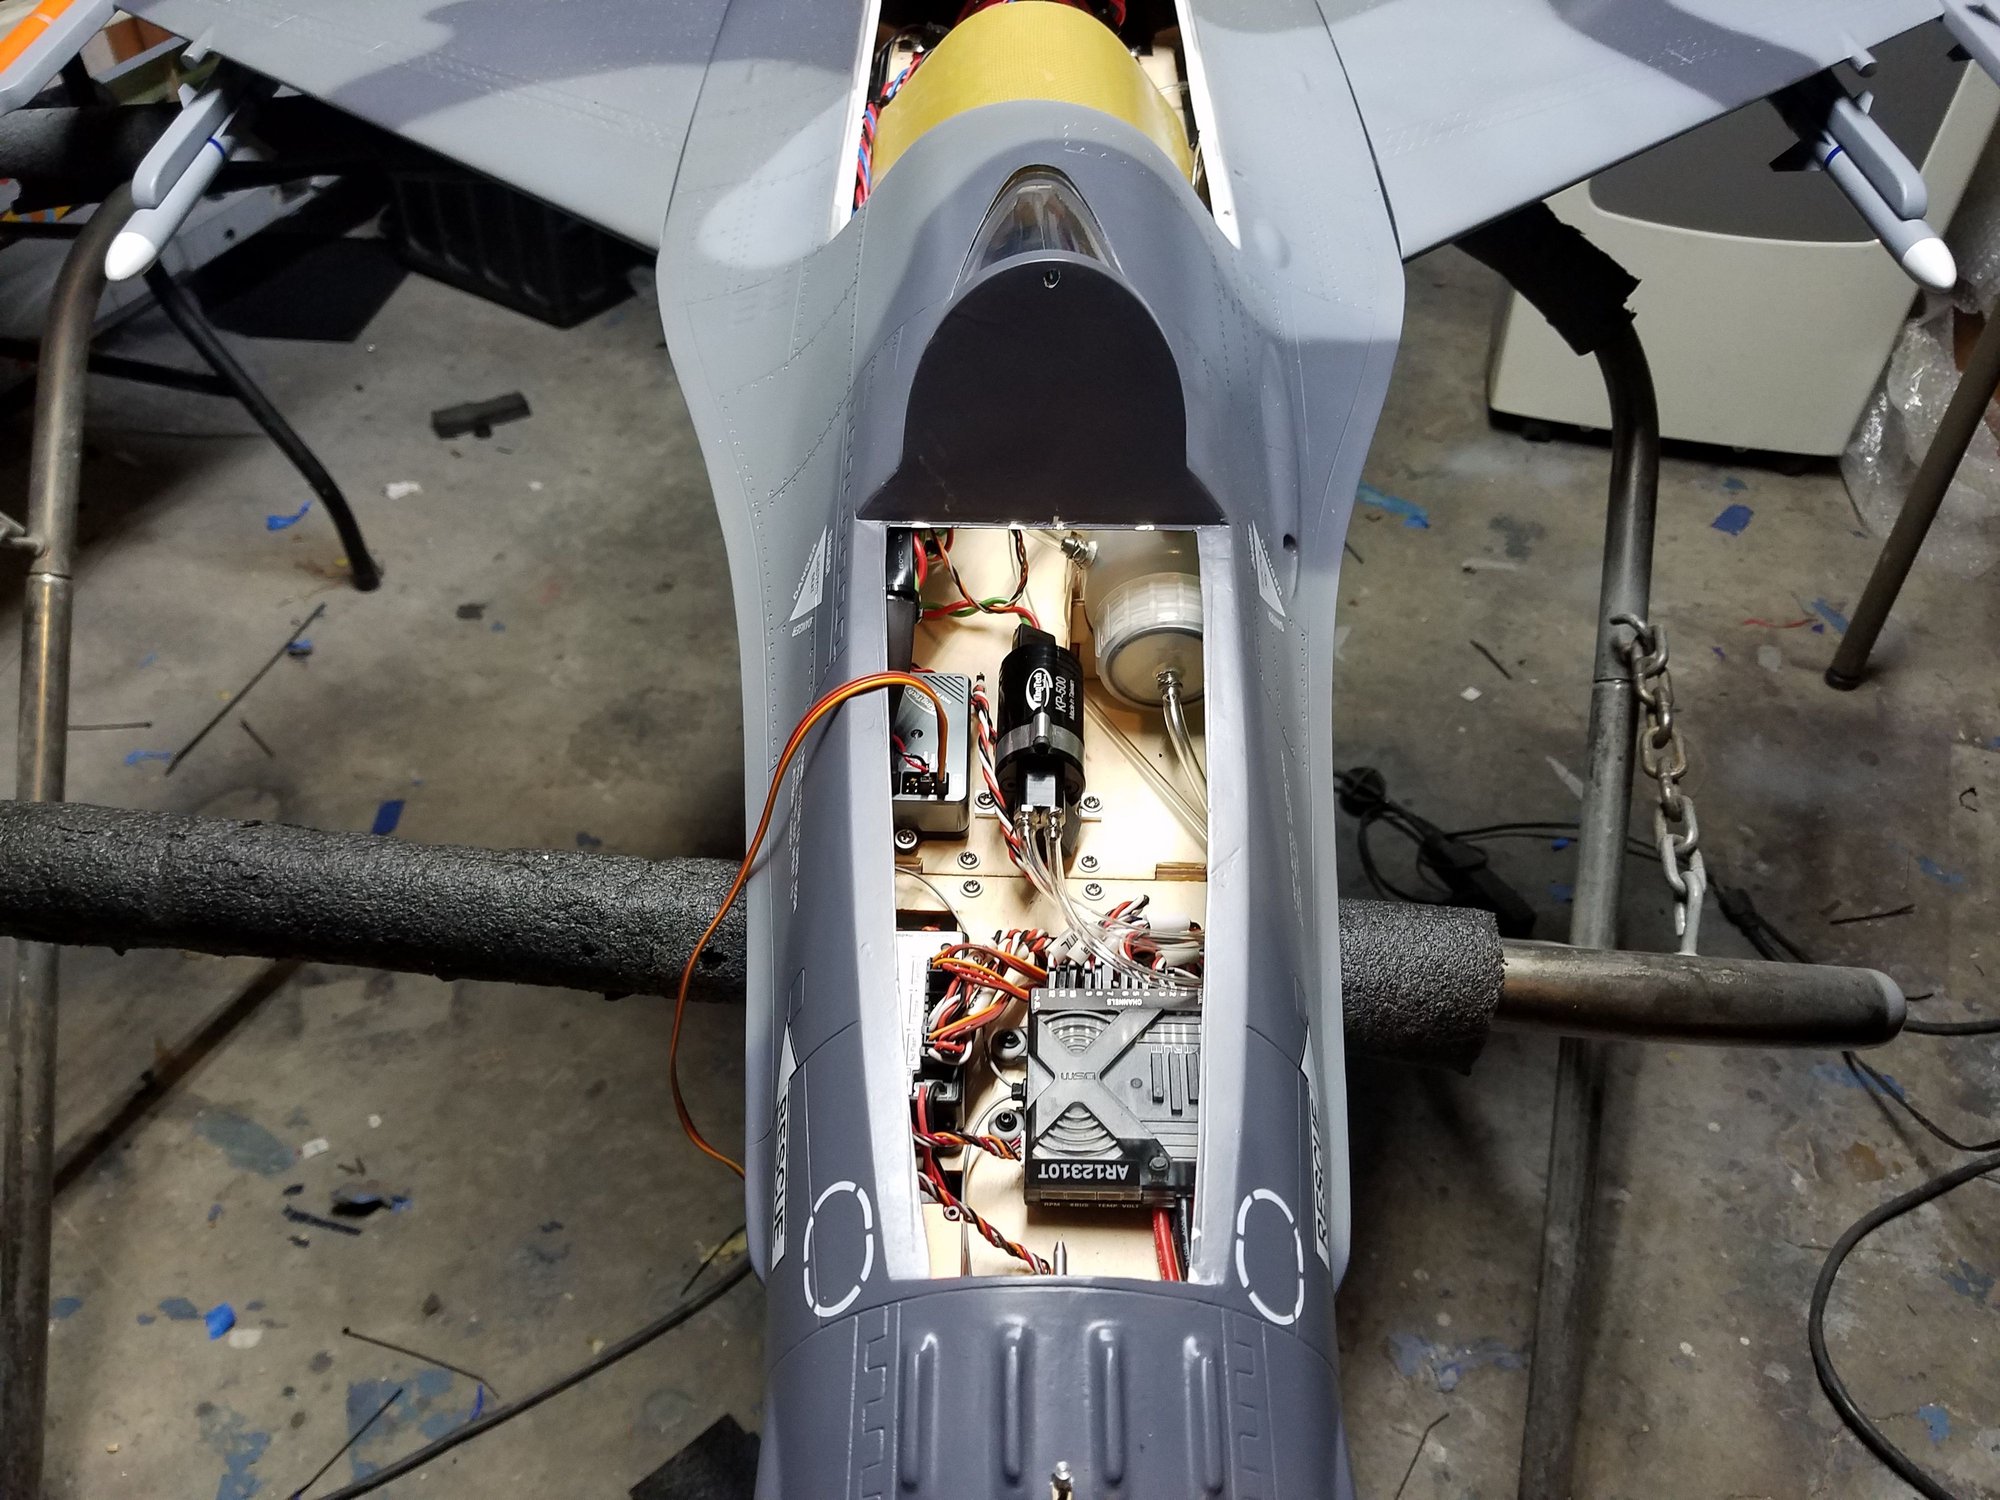
Next I started on installing the receiver. I'm using a 12 channel power safe receiver and will install the new asx gyro.
this part took some time. All the wires where labeled but it was in Chinese and I could not read it. So took me a while to figure it all out with all the light wires in the same bundle. We will work with the factory to try and get this changed.
Under the fuel tank you will find a power wire to use to power the light controller and brake controller already made. Note it has and xt60 connector on it and needs a small 2 cell lipo.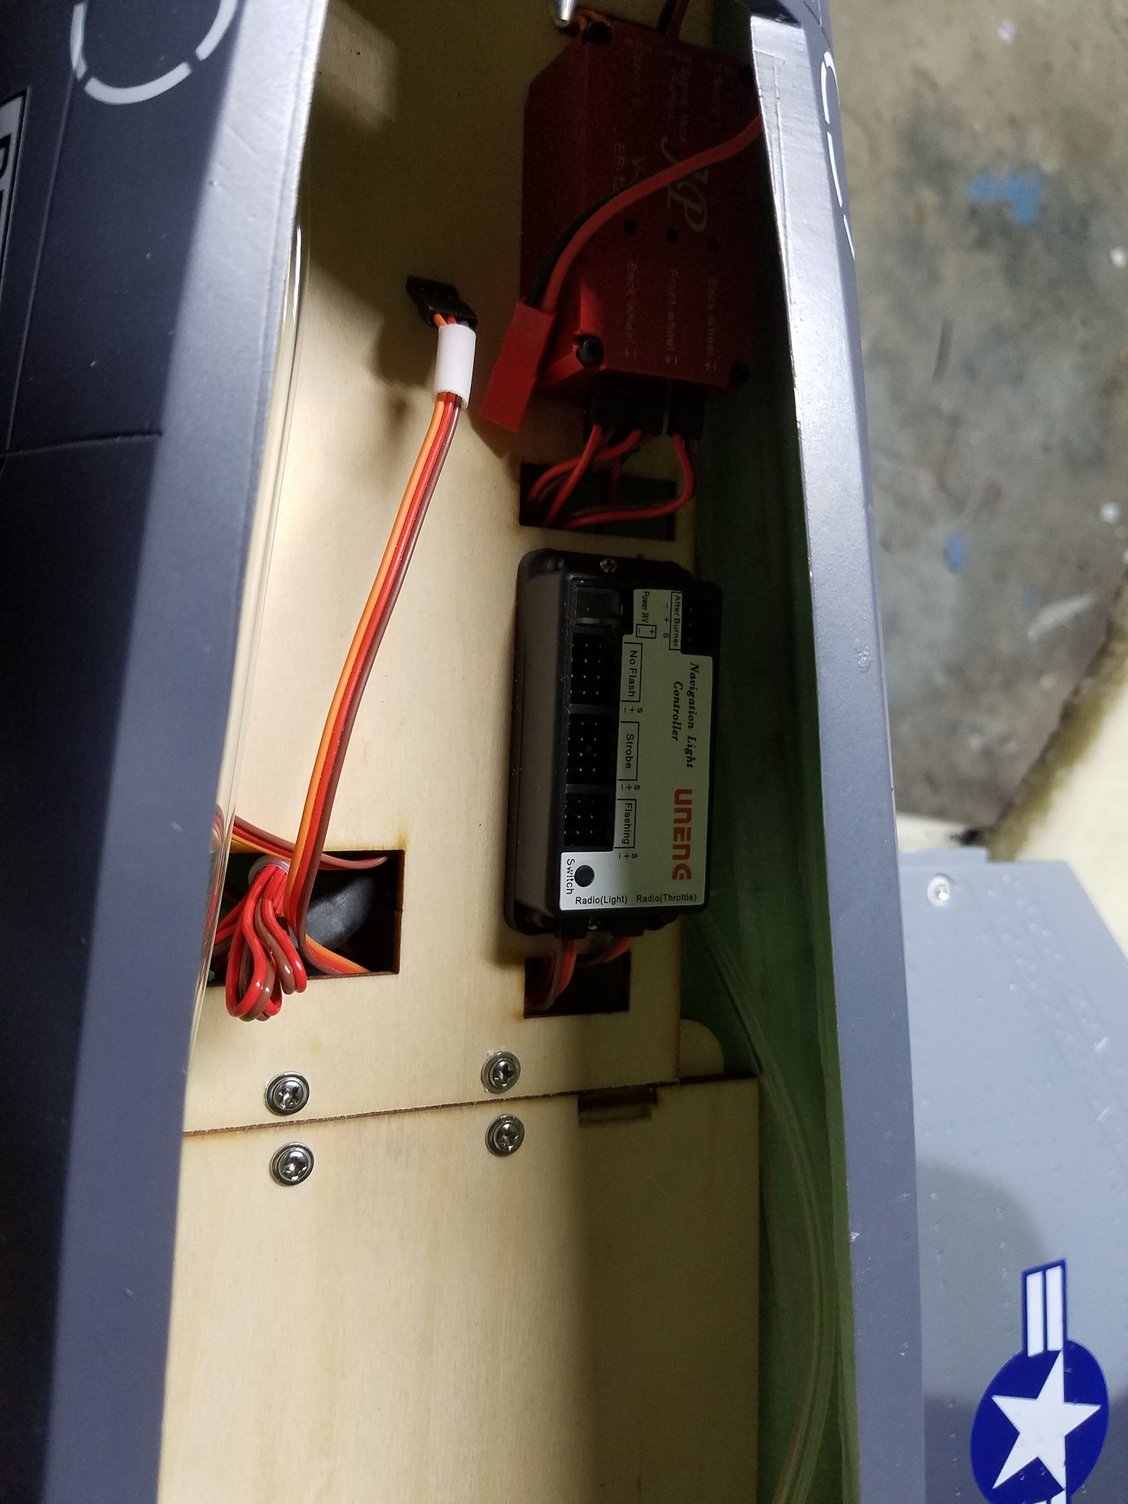
 07-03-2018, 07:05 AM
#5
So far only spent about 2 and a half hours on it and got all flight controls done lights done and gear completed along with gear doors. Tonight I will be working on the fuel system and turbine install and if all goes well she will be done. Will be powering it with a kingtech K85. Look forward to watching my son fly this thing at Kentucky jets.

 07-03-2018, 07:58 AM
#7

Looks sweet, hopefully see it in action next week (if I make it).
Just curious, would you ever consider running the lights off the turbine or receiver battery? I know they draw little to nothing and a tiny lipo will handle them, but in that same regard I figure why bother with an extra battery at all?
Just curious, would you ever consider running the lights off the turbine or receiver battery? I know they draw little to nothing and a tiny lipo will handle them, but in that same regard I figure why bother with an extra battery at all?
07-03-2018, 08:13 AM
#8

Good luck with the Nav lights! The factory installed ones on my T One still are not working correctly, and I have been waiting for weeks to get answers/resolutions from Dirk! One was dead on arrival and the other will not strobe or flash no matter which controller output port you plug into. The instructions for the Pilot Nav Light Controller appear to address the provided controller. There are three different modes accessed by the manual switch. Also, instead of using a Txer three position switch for the different modes, you have to toggle the controller's on and off switch three times to get thru them. Same for the manual switch. No instructions makes for a bit of bench time investigating these issues. Have not found a supplier that can supply an exact match for the DOA Green LED. The only ones out there that I have found are a bit brighter and have a different mounting on the heatsink. They run a bit hotter too. Hopefully the Lens Cover won't cook. Still looking for a resolution for the lower fuse LED that will not flash or blink. Like I said, Good Luck!
07-03-2018, 11:07 AM
#9
Looks good, I�ve been waiting for this thread.
How do you think it�ll fly off a grass field? Will you be testing this?
Do you think a VT 80 will fit? Diameter is 90.5 mm.
Thanks! And thanks for doing this thread!
How do you think it�ll fly off a grass field? Will you be testing this?
Do you think a VT 80 will fit? Diameter is 90.5 mm.
Thanks! And thanks for doing this thread!
07-03-2018, 05:36 PM
#10
Gear feels very robust don't see why my grasp would be an issue.
for the lights I just hooked it all up and left the wires that go to the receiver to turn them on and off not connected. All lights working fine.
worked on it for about an hour and 45mins. Other than cg and gyro programming she is ready to fly. So easy build can be done in 4 hours no problem.
all hidden linkages also.
07-03-2018, 05:43 PM
#11
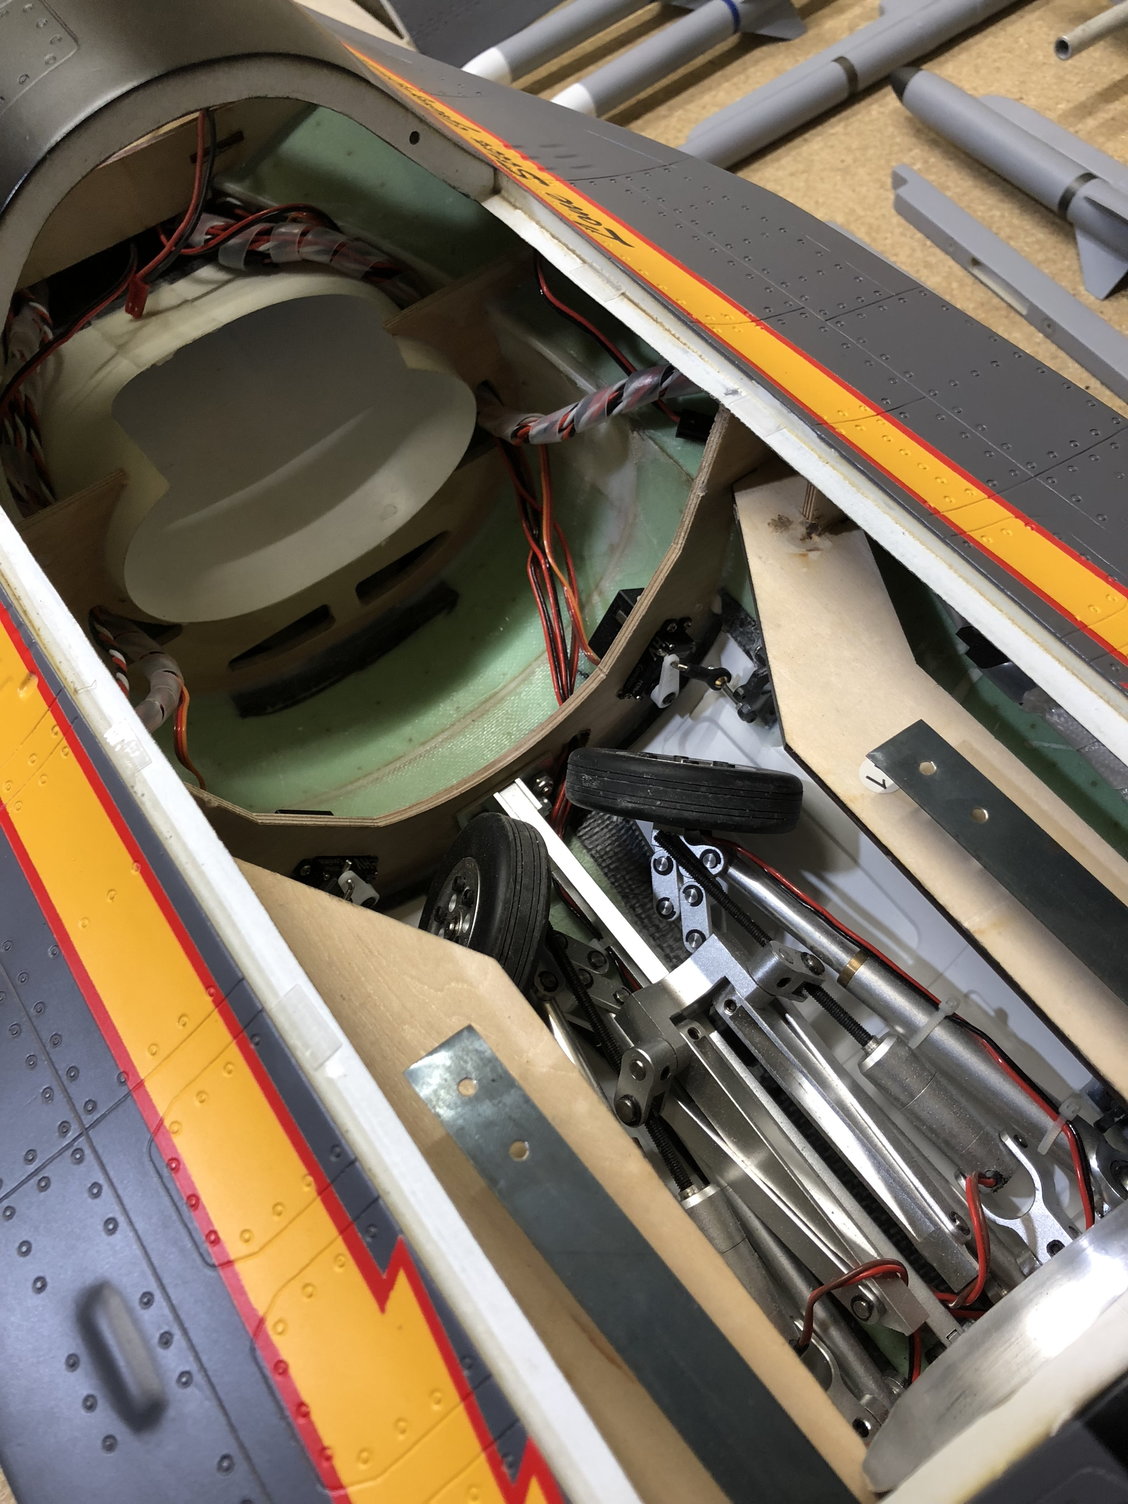
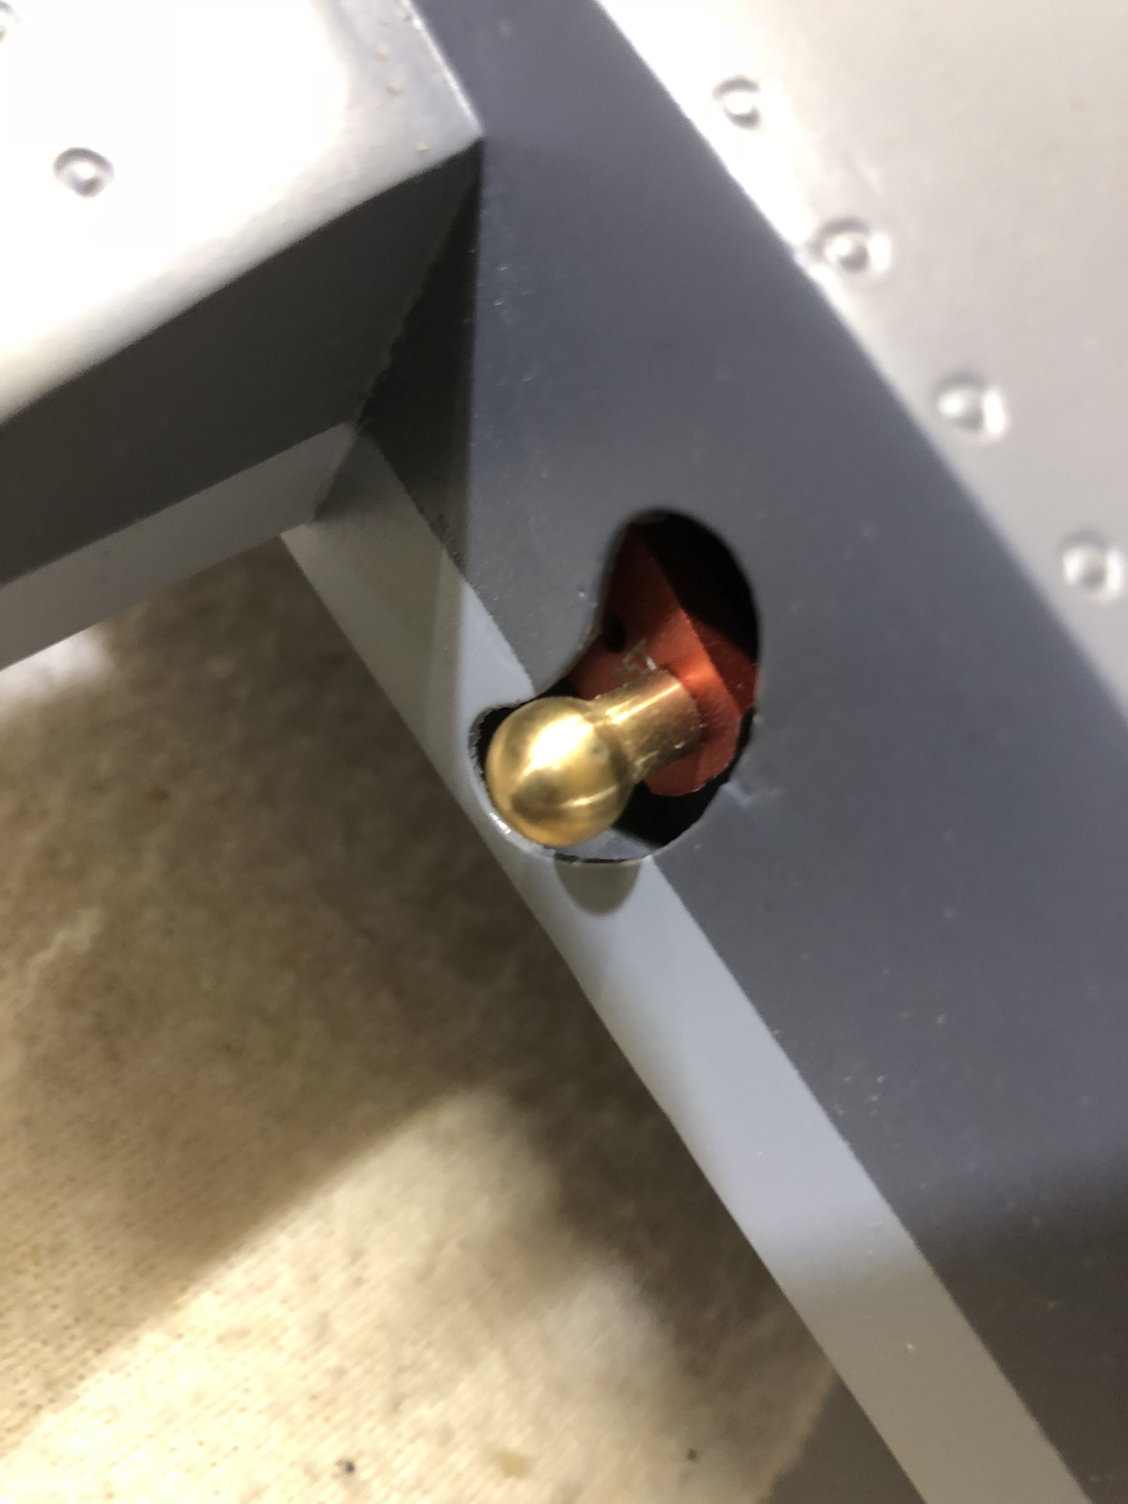
First I pulled the fuel tank back and removed the clunk. Its preinstalled but as president Reagan said trust but verify 😎. Reinstalled it after safety wiring all fuel connections. Now you need to install the fuel vent while the fuel tank is slid back right under where the tank sits. Next up I installed the pump and ecu next to the uat. Next drilled 2 small holes in the mounting brackets that are preinstalled on the fuel tank and installed screws. I then had to drill 4 relief holes for the turbine mounting screws and mounted the turbine. Next screwed in the pipe.
Relief holes for turbine mounts
Relief holes for turbine mounts
07-03-2018, 05:45 PM
#12
Looks sweet, hopefully see it in action next week (if I make it).
Just curious, would you ever consider running the lights off the turbine or receiver battery? I know they draw little to nothing and a tiny lipo will handle them, but in that same regard I figure why bother with an extra battery at all?
Just curious, would you ever consider running the lights off the turbine or receiver battery? I know they draw little to nothing and a tiny lipo will handle them, but in that same regard I figure why bother with an extra battery at all?
I am with you! I hate lipos. But these lights will only work on 7.4
I tried the ecu life pack and they started getting hot. 2 cell life and they don't come on. Dirk is trying to get them to use a different light controller in the future.
07-03-2018, 05:50 PM
#13
Lenn Todd sorry to hear about you light issues. I will continue to try and push for these companies to use better stuff. When I got my skymaster f18 the light controller burned up right when I plugged it in smoke everywhere. Got a new one still had issues but no fire at least. Finally figured out the wires where never stripped before the terminals where crimped on..... real big pain. Had to rewire the entire plane.
so I understand your frustration. Are you going to Kentucky next week?
so I understand your frustration. Are you going to Kentucky next week?
07-04-2018, 12:31 PM
#14

Lenn Todd sorry to hear about you light issues. I will continue to try and push for these companies to use better stuff. When I got my skymaster f18 the light controller burned up right when I plugged it in smoke everywhere. Got a new one still had issues but no fire at least. Finally figured out the wires where never stripped before the terminals where crimped on..... real big pain. Had to rewire the entire plane.
so I understand your frustration. Are you going to Kentucky next week?
so I understand your frustration. Are you going to Kentucky next week?
TB
07-17-2018, 04:34 AM
#18
Not sure if anyone got video. I flew it 4 times. It flew great. Very light and I was able to do nice high alphas with it. We had an issue with the gear and had to stop flying it. We already had the factory change the part that broke and will be getting a new gear part for it soon. All new planes will have the new gear parts already installed.
I didn't have enough channels to program the gyro yet so flew it with no gyro. We just about had the CG figured out before the gear problem. When the new parts arrive I will get the details ironed out. Going to install the Xicoy gear controller LGC15 to save some channels and this will also give it differential braking and nose steering gyro. None of this is needed but its just the way I like to build jets.
Dirk at PacificRCJets now carries the new gear controllers.
Flight times with the 85 where 5 mins but keep in mind this was at Kentucky and at a busy flight line so landed early incase of having to wait to land. The 85 is a bit much and you spend most of the flight at half throttle. The only time I really got on the throttle was after a nice long high alpha pass I punched it to do a slow vertical climb out of the alpha.
On another note Barry and I called the factory and had them change the shape of the main fuel tank and location of the vent. This will allow a little more fuel and better draining of the fuel tank at the end of a flight. We didn't find any other problems and love the plane. Cant wait to fly it more.
Last edited by gunradd; 07-17-2018 at 04:53 AM.
 07-17-2018, 04:51 AM
#20
It is not the same gear as the HSD but it uses the same brakes and gear controller as the HSD. For voltage they recommend using a 2 cell lipo…. I hate lipos and will most likely use power from one of the receiver batteries after installing the Xicoy controller.
Last edited by gunradd; 07-17-2018 at 05:05 AM.
07-17-2018, 05:04 AM
#21
On another note Barry and I called the factory and had them change the shape of the main fuel tank and location of the vent. This will allow a little more fuel and better draining of the fuel tank at the end of a flight. We didn't find any other problems and love the plane. Cant wait to fly it more.
07-17-2018, 05:08 AM
#22
New tank will have front vent so will be at highest point and the tank will have a round part on the bottom where the clunk sits normally to help it stay in the fuel longer. We didn't have any issues with it but we just feel it could be better and the factory is fantastic about listing to us on improvements. Before we even left the event we where looking at pictures of the new mold for the fuel tank they sent to us.
08-09-2018, 12:22 PM
#25

It has arrived!!!!!
What a little gem, I will be installing a K-70 in this on. It is the Plug And Play version so there is not much to do. I will take some assembly photos as i move forward.
T-One Models really did a great job with this one! As always.....

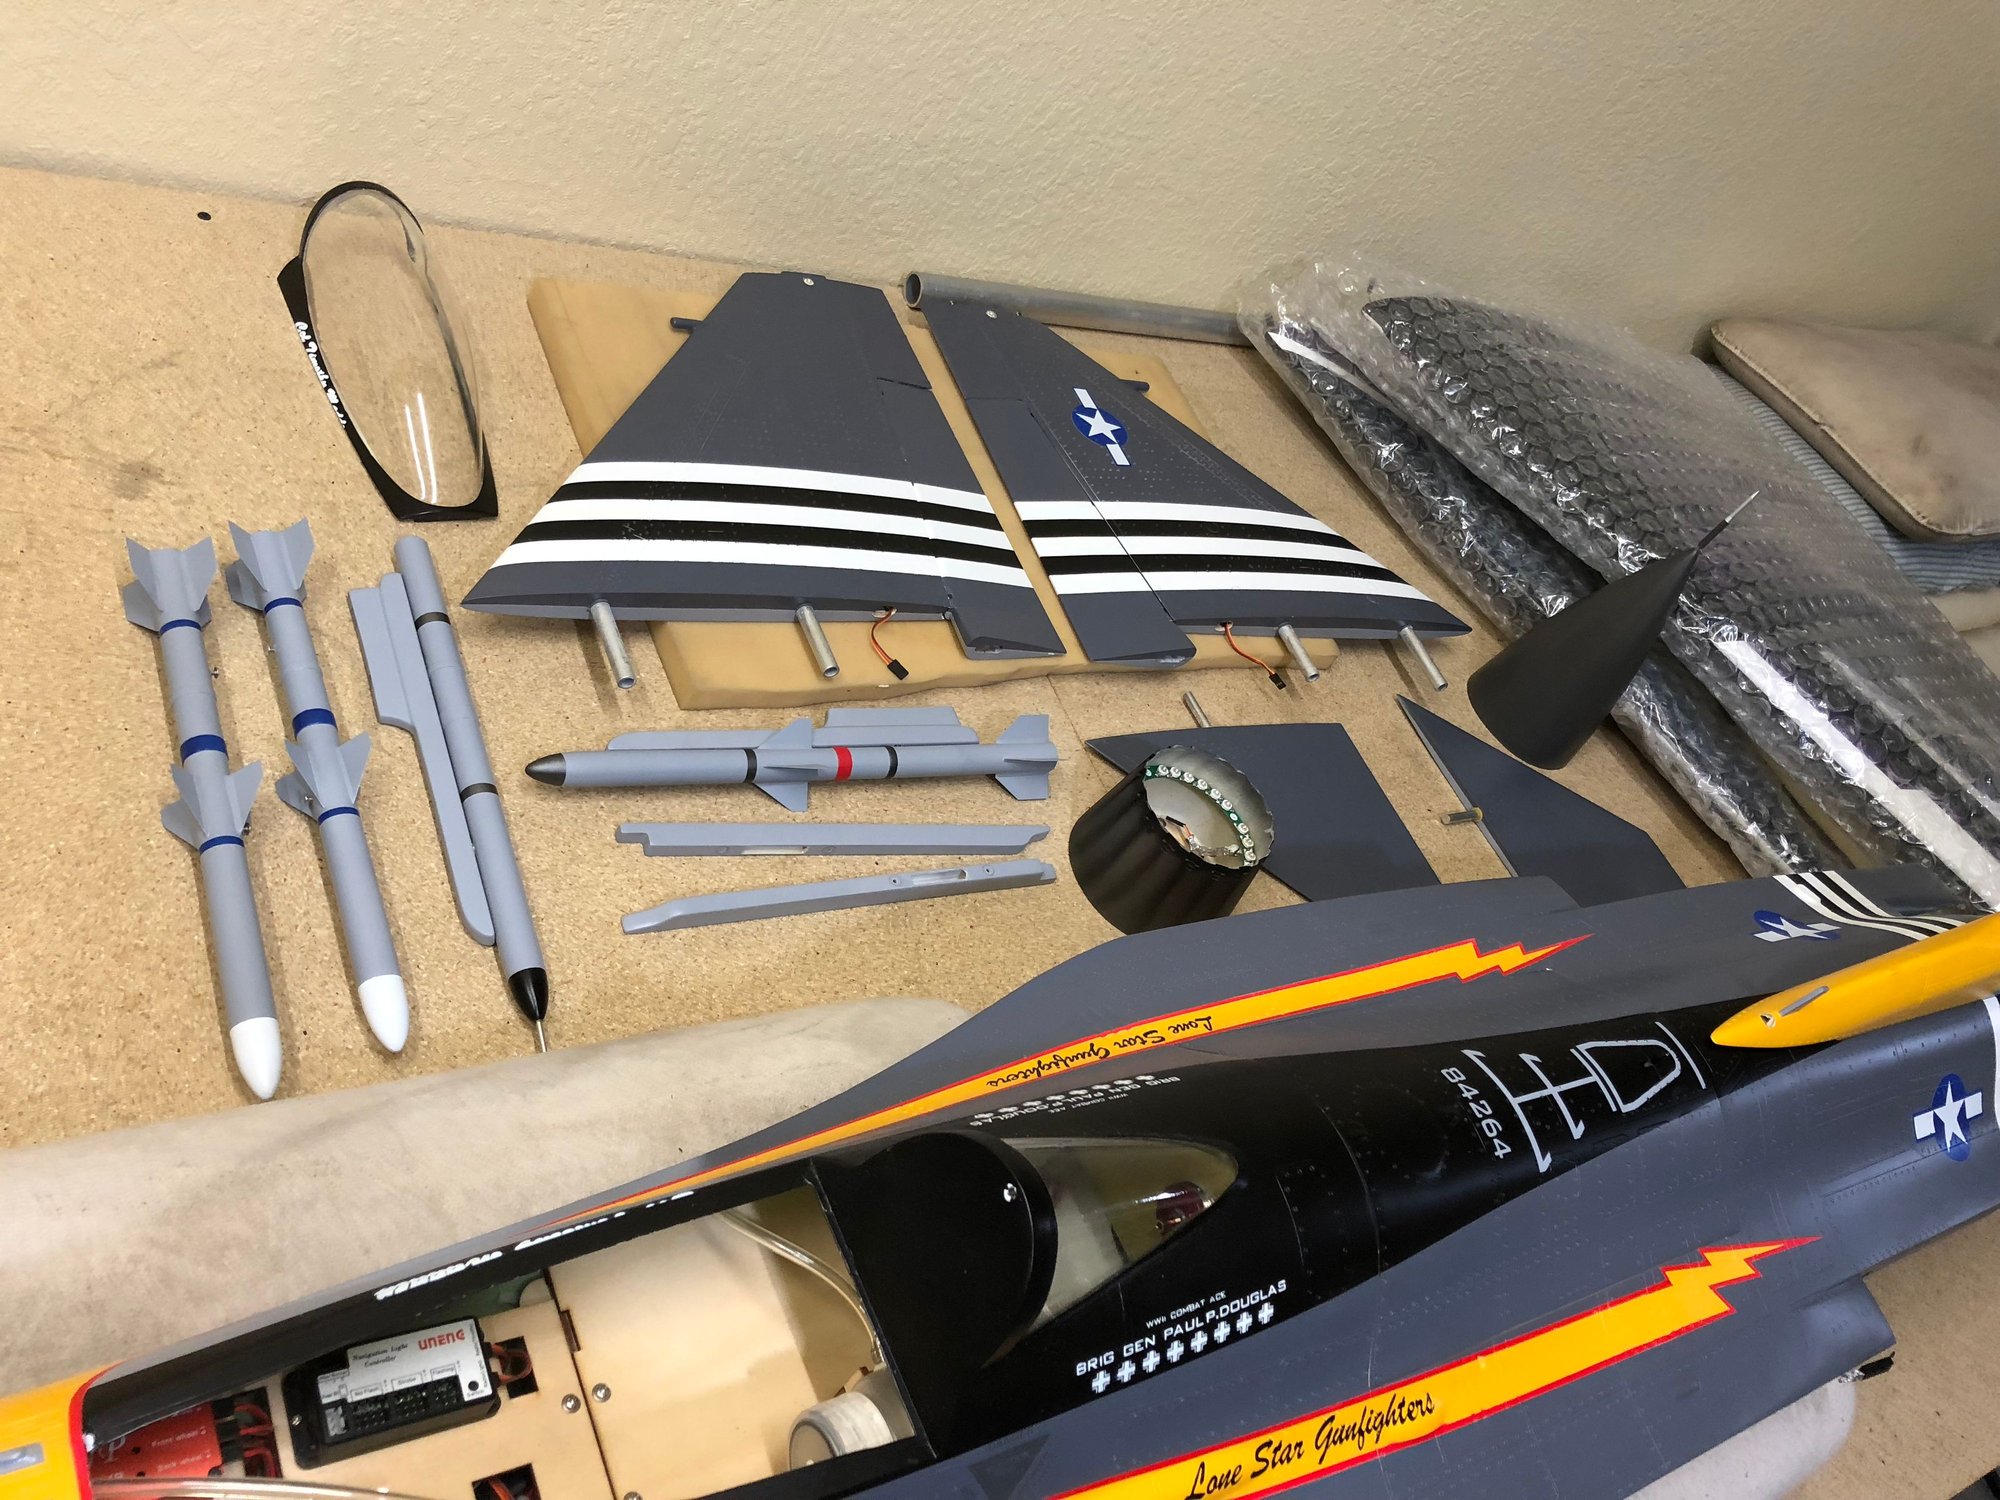


What a little gem, I will be installing a K-70 in this on. It is the Plug And Play version so there is not much to do. I will take some assembly photos as i move forward.
T-One Models really did a great job with this one! As always.....