


1/7 Scale Blackburn Buccaneer All Composite Scratch Build
 03-26-2019, 05:30 PM
#251

Depending on how the next rudder layup goes using a single layer of 3oz glass on either side I may go with just one layer each side of the Airex for the wing, or double it up on the outer layer. That would provide both more strength and also robustness (more 'ding'-proof).
Considering laying a carbon tape on the inner skin along the spars - it shouldn't add too much more weight.
Paul
Considering laying a carbon tape on the inner skin along the spars - it shouldn't add too much more weight.
Paul
 04-02-2019, 03:34 PM
#254
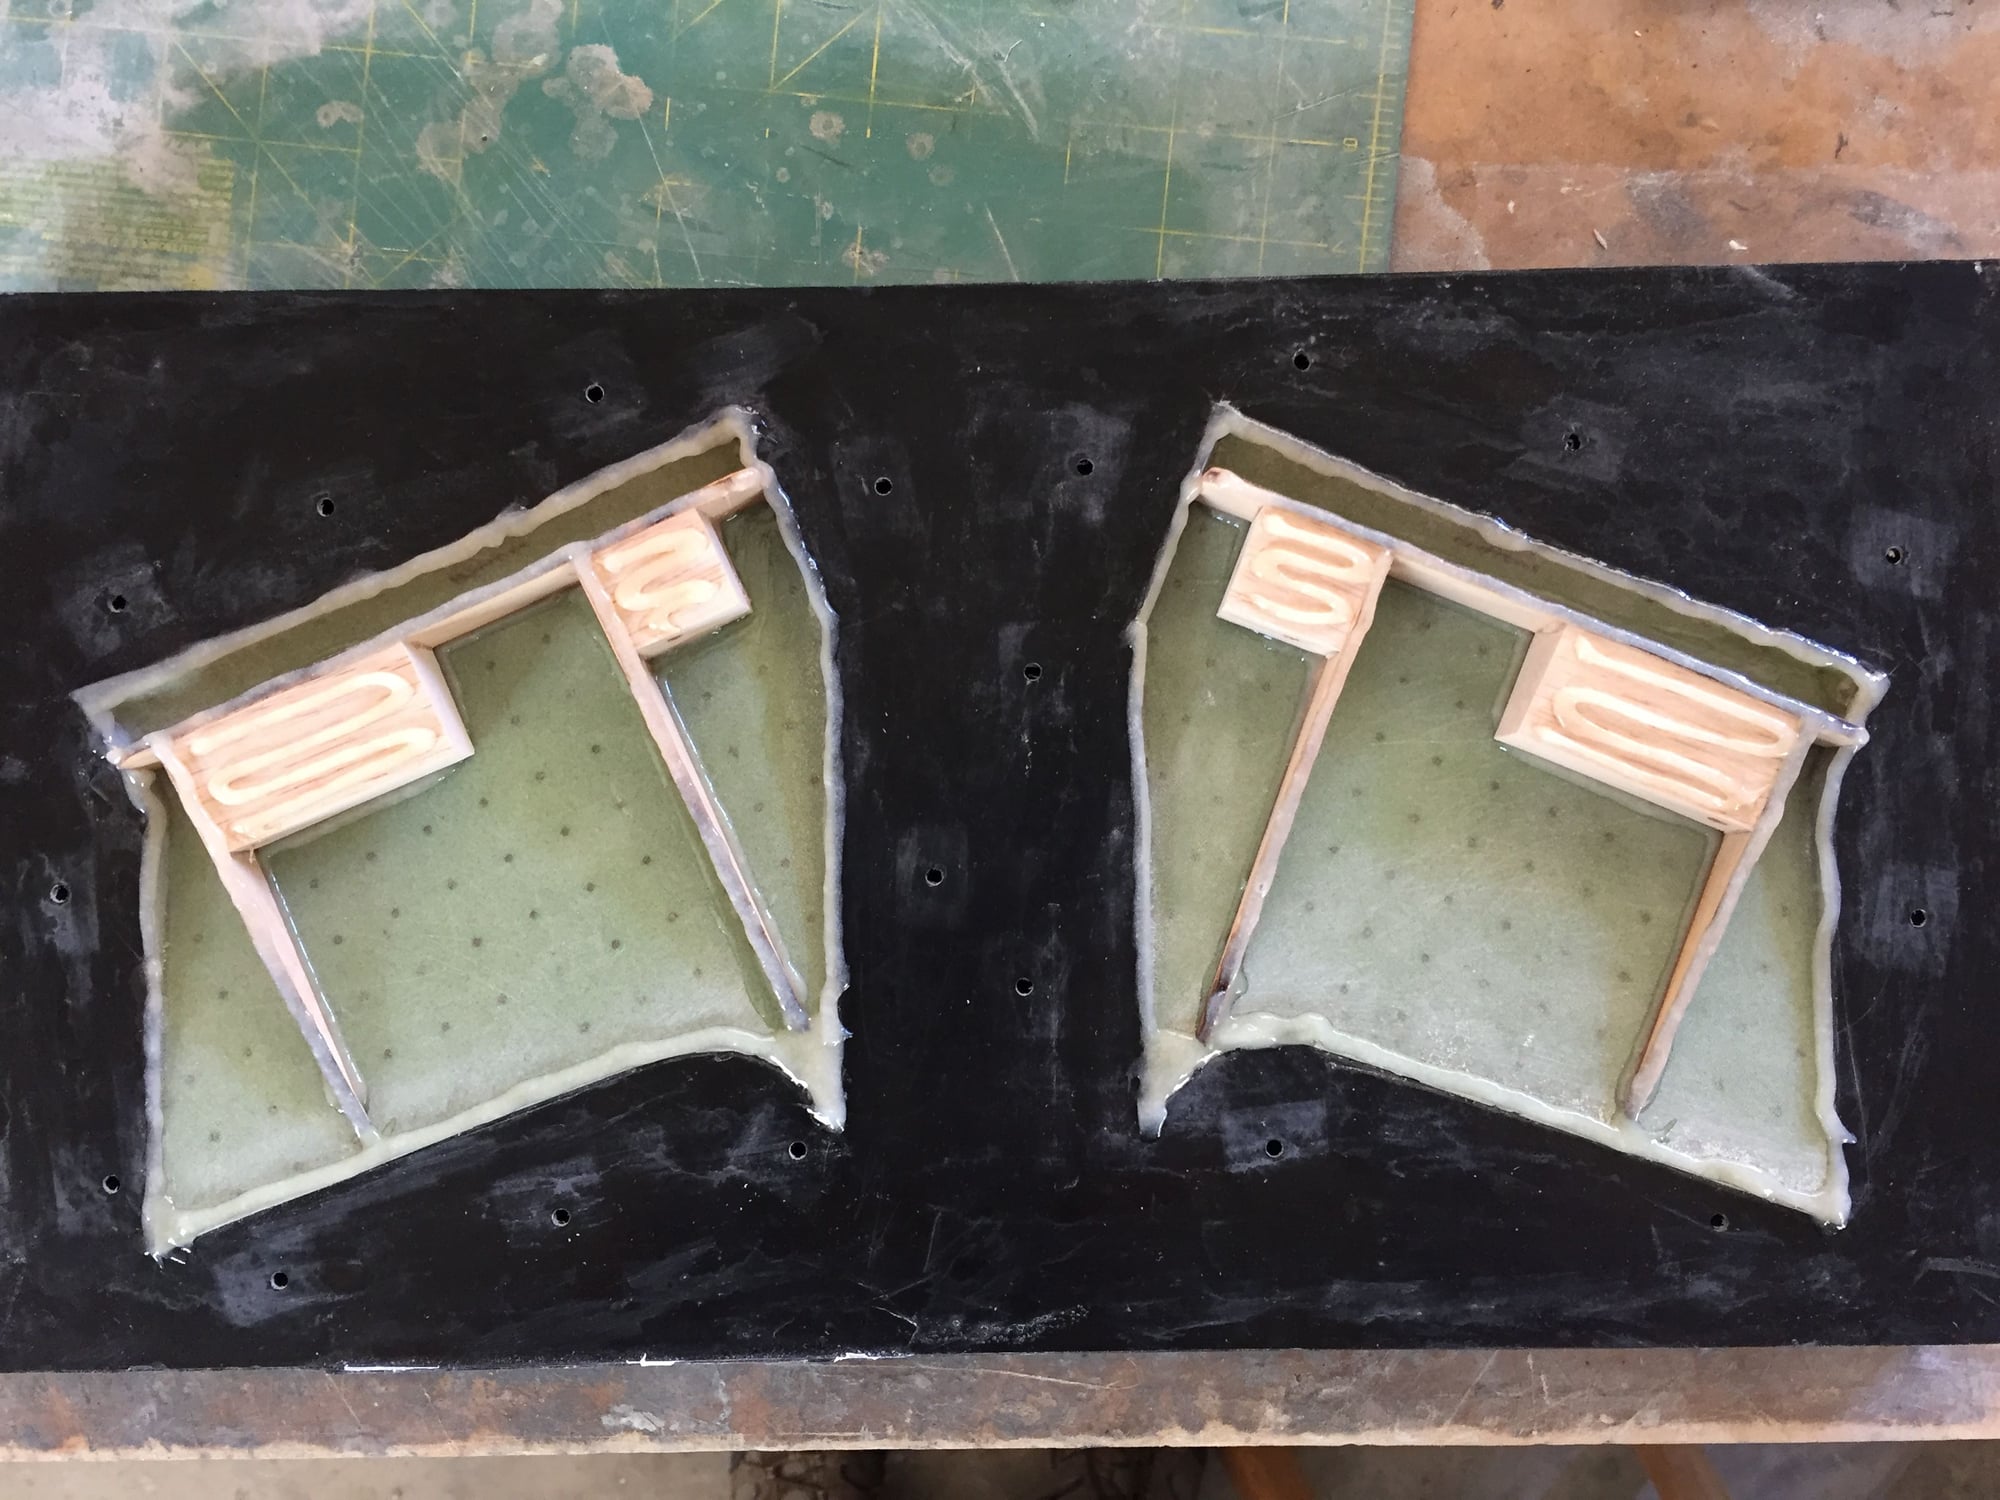
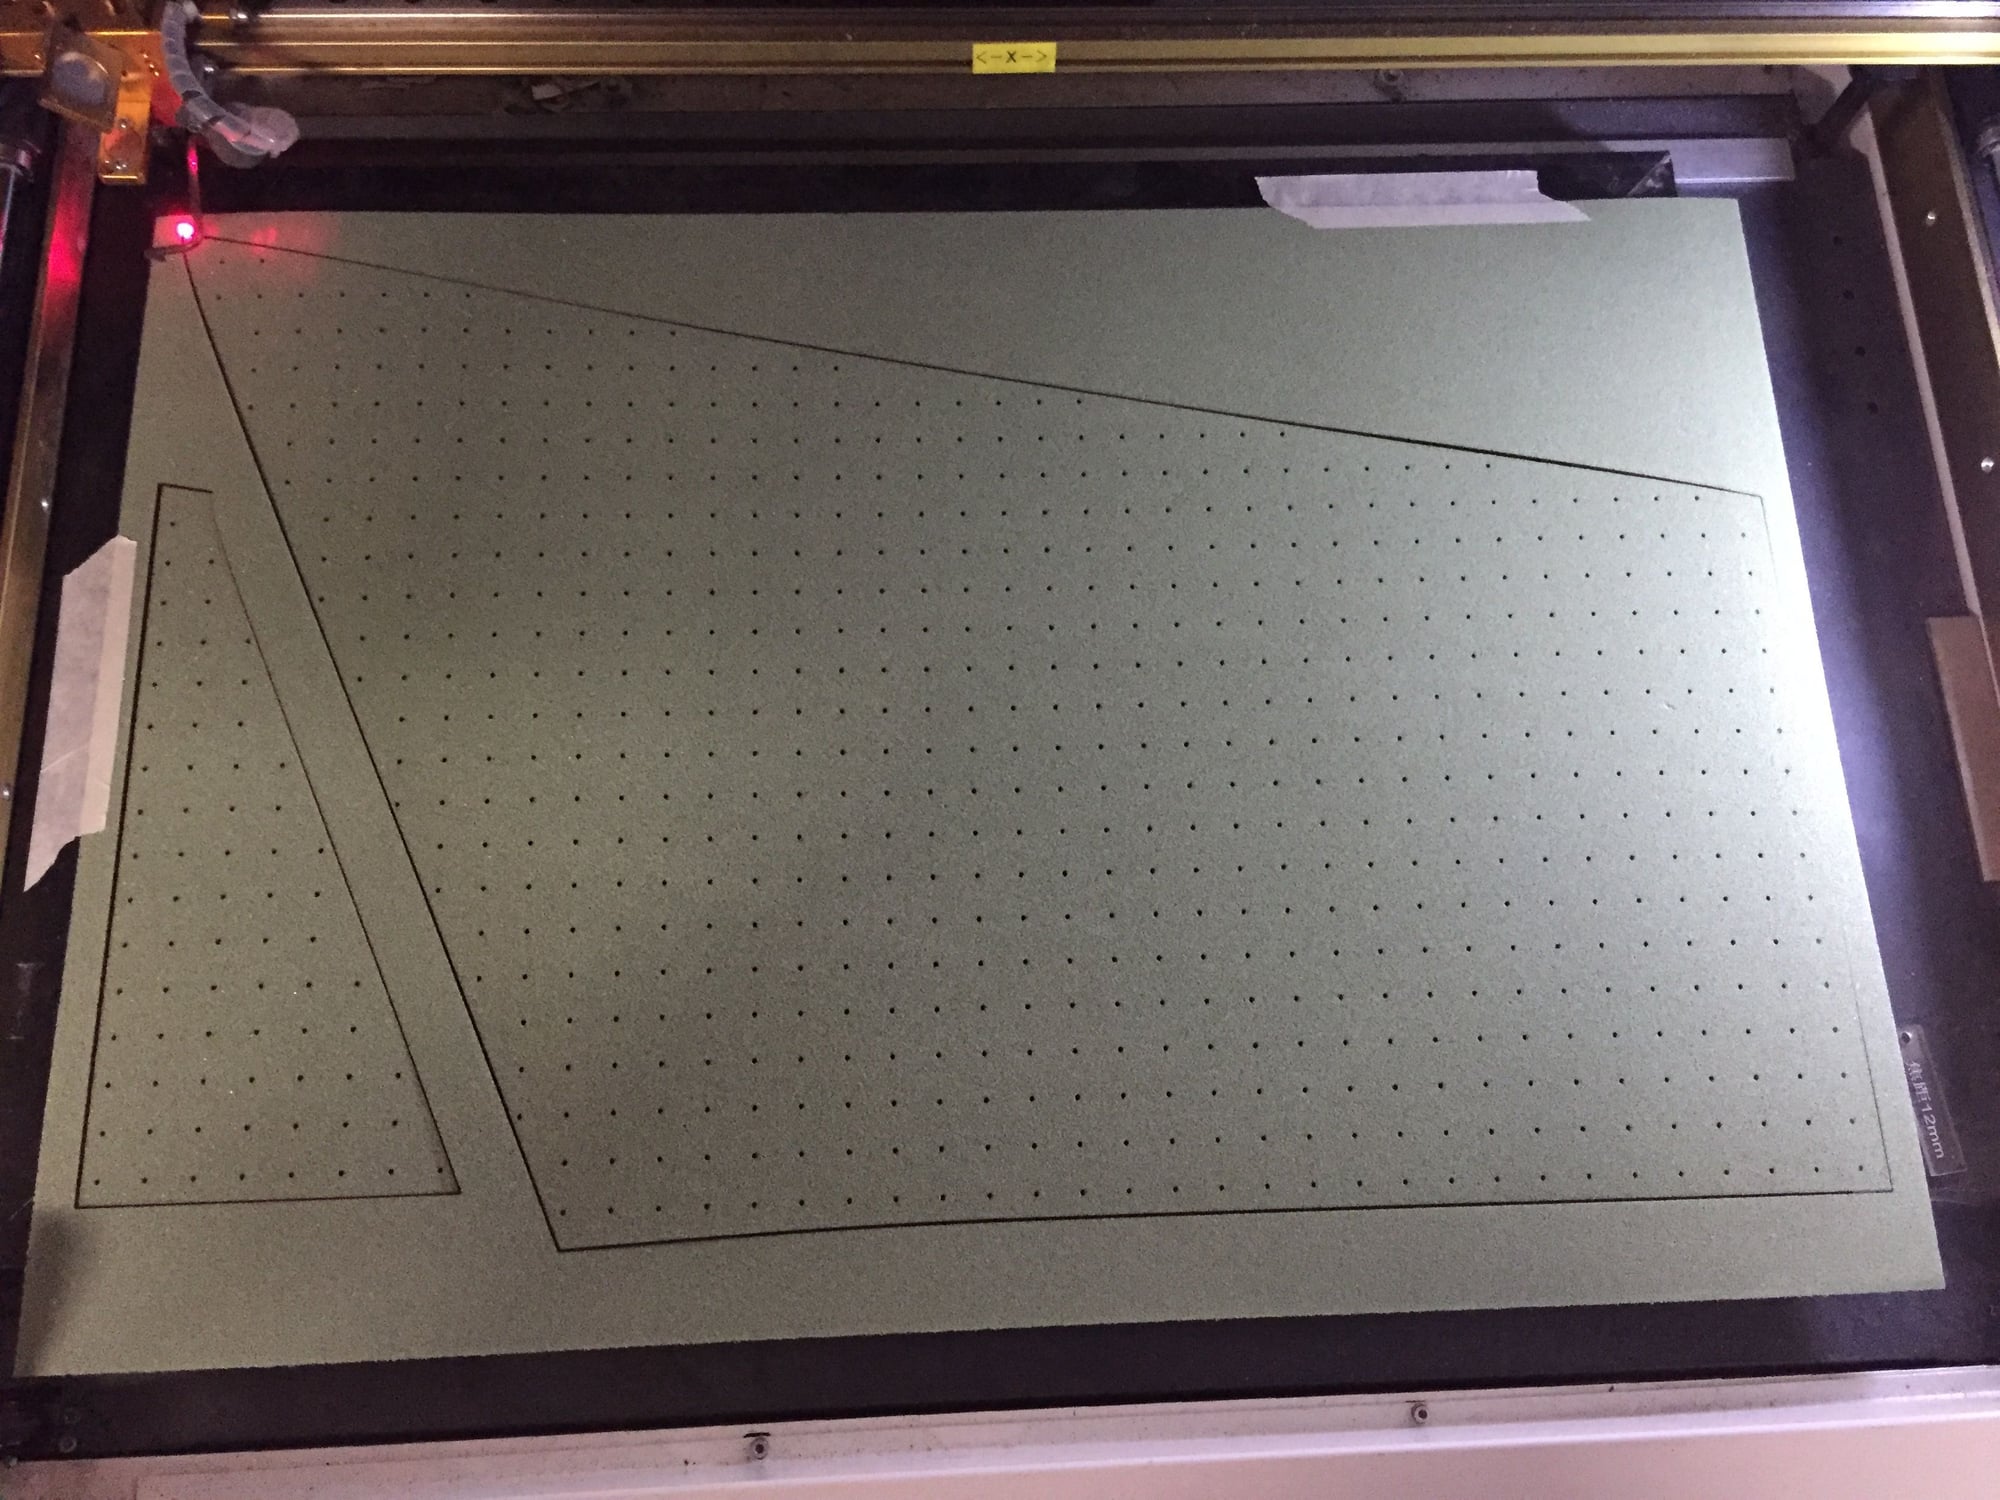
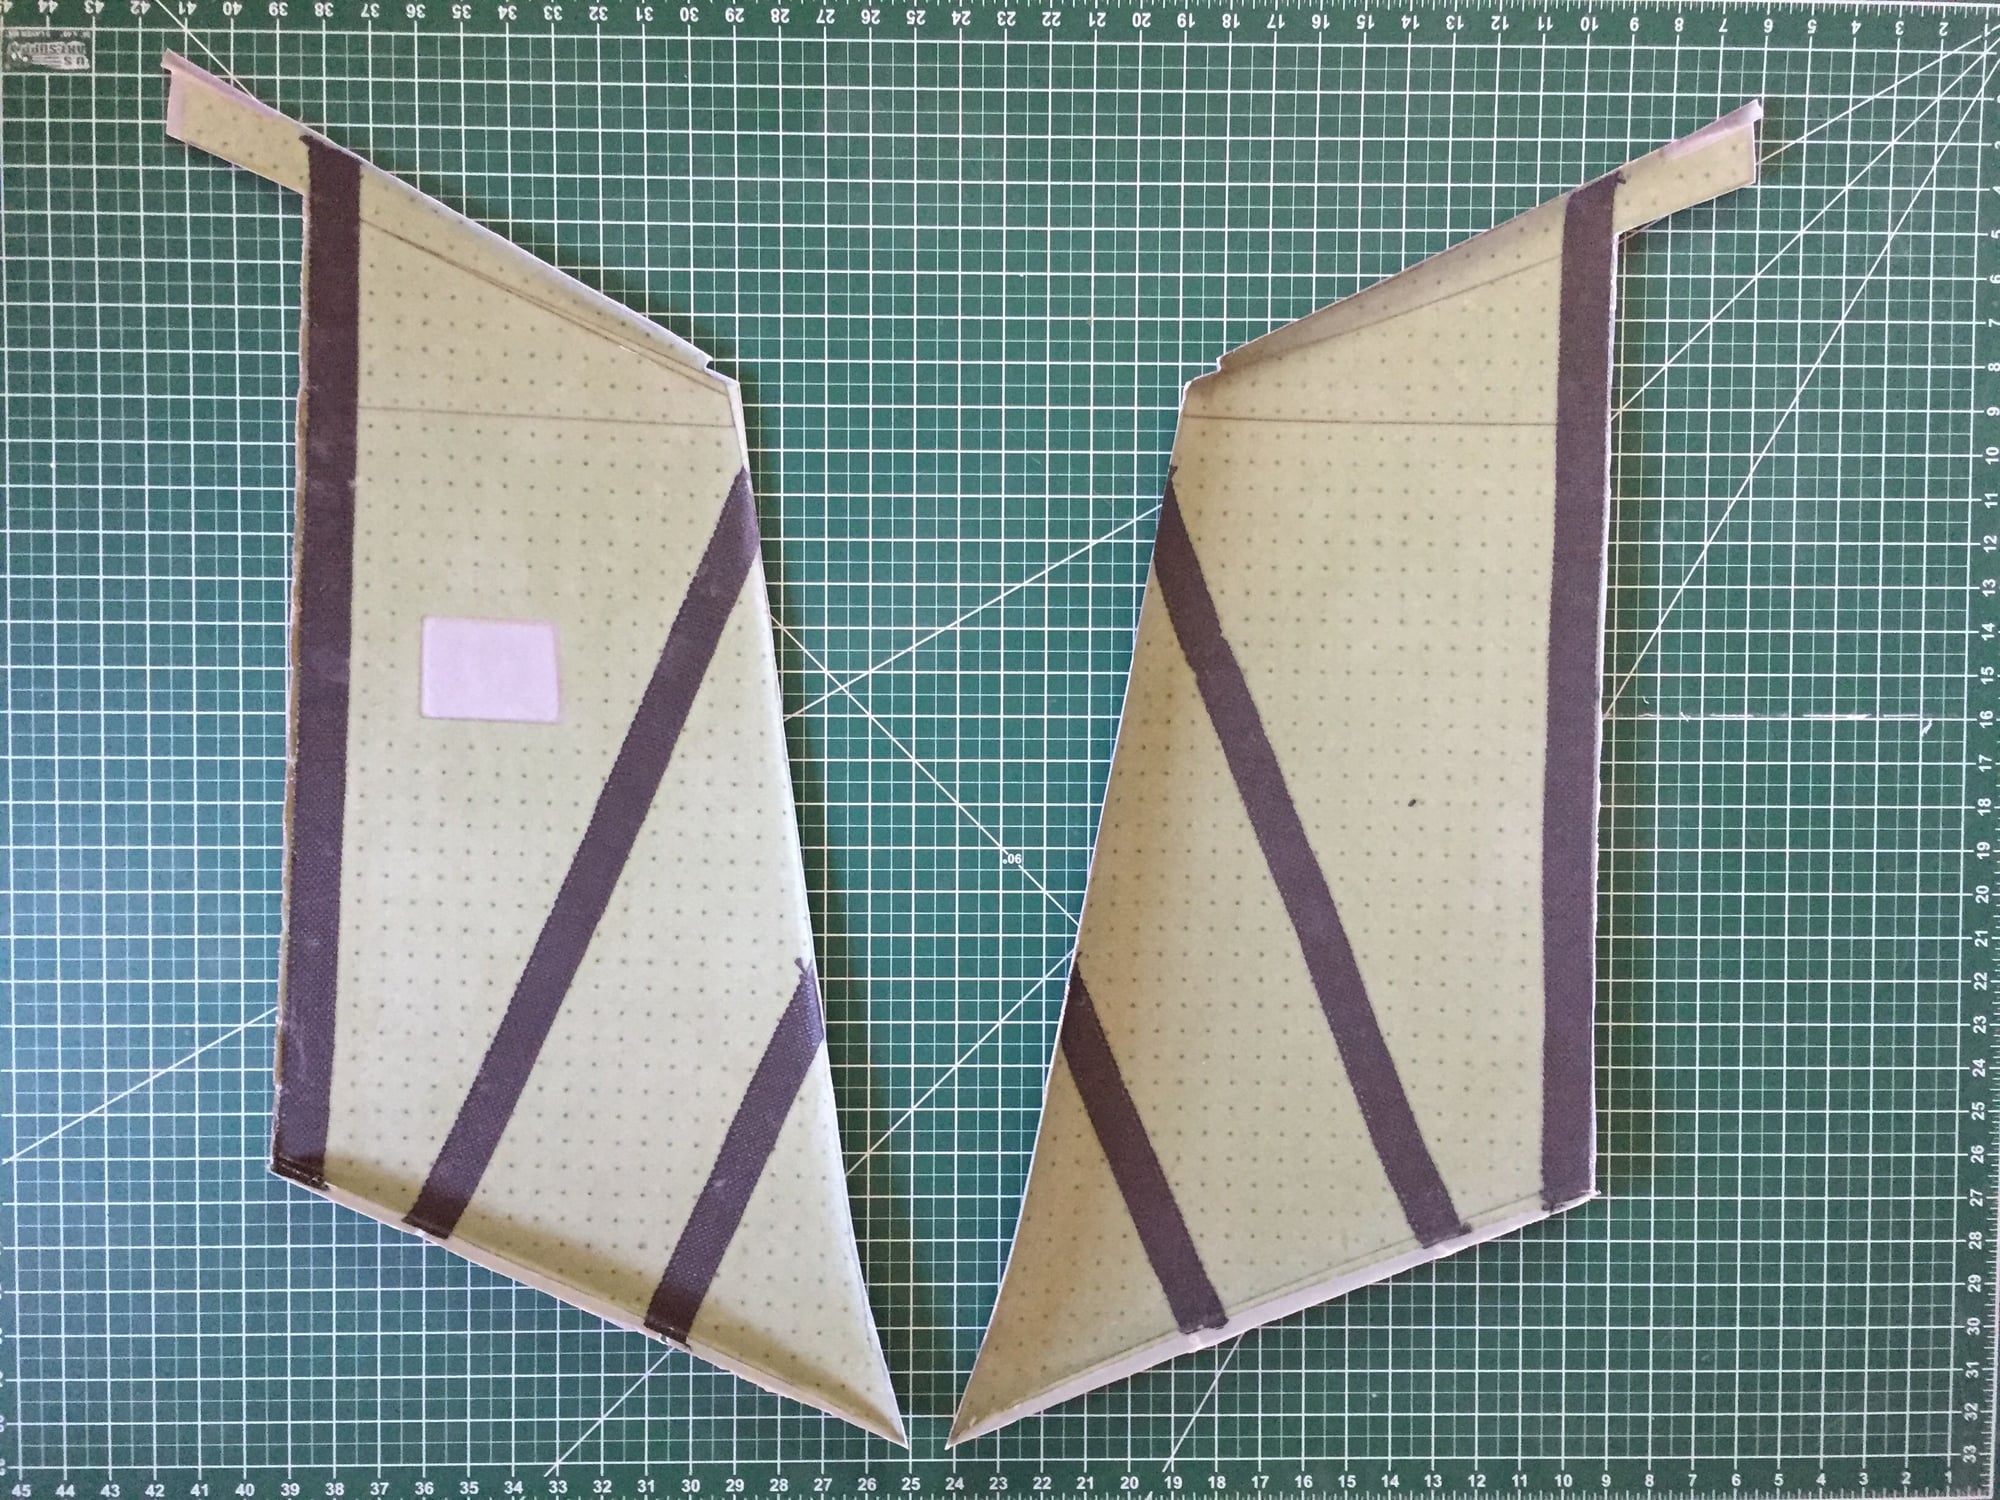
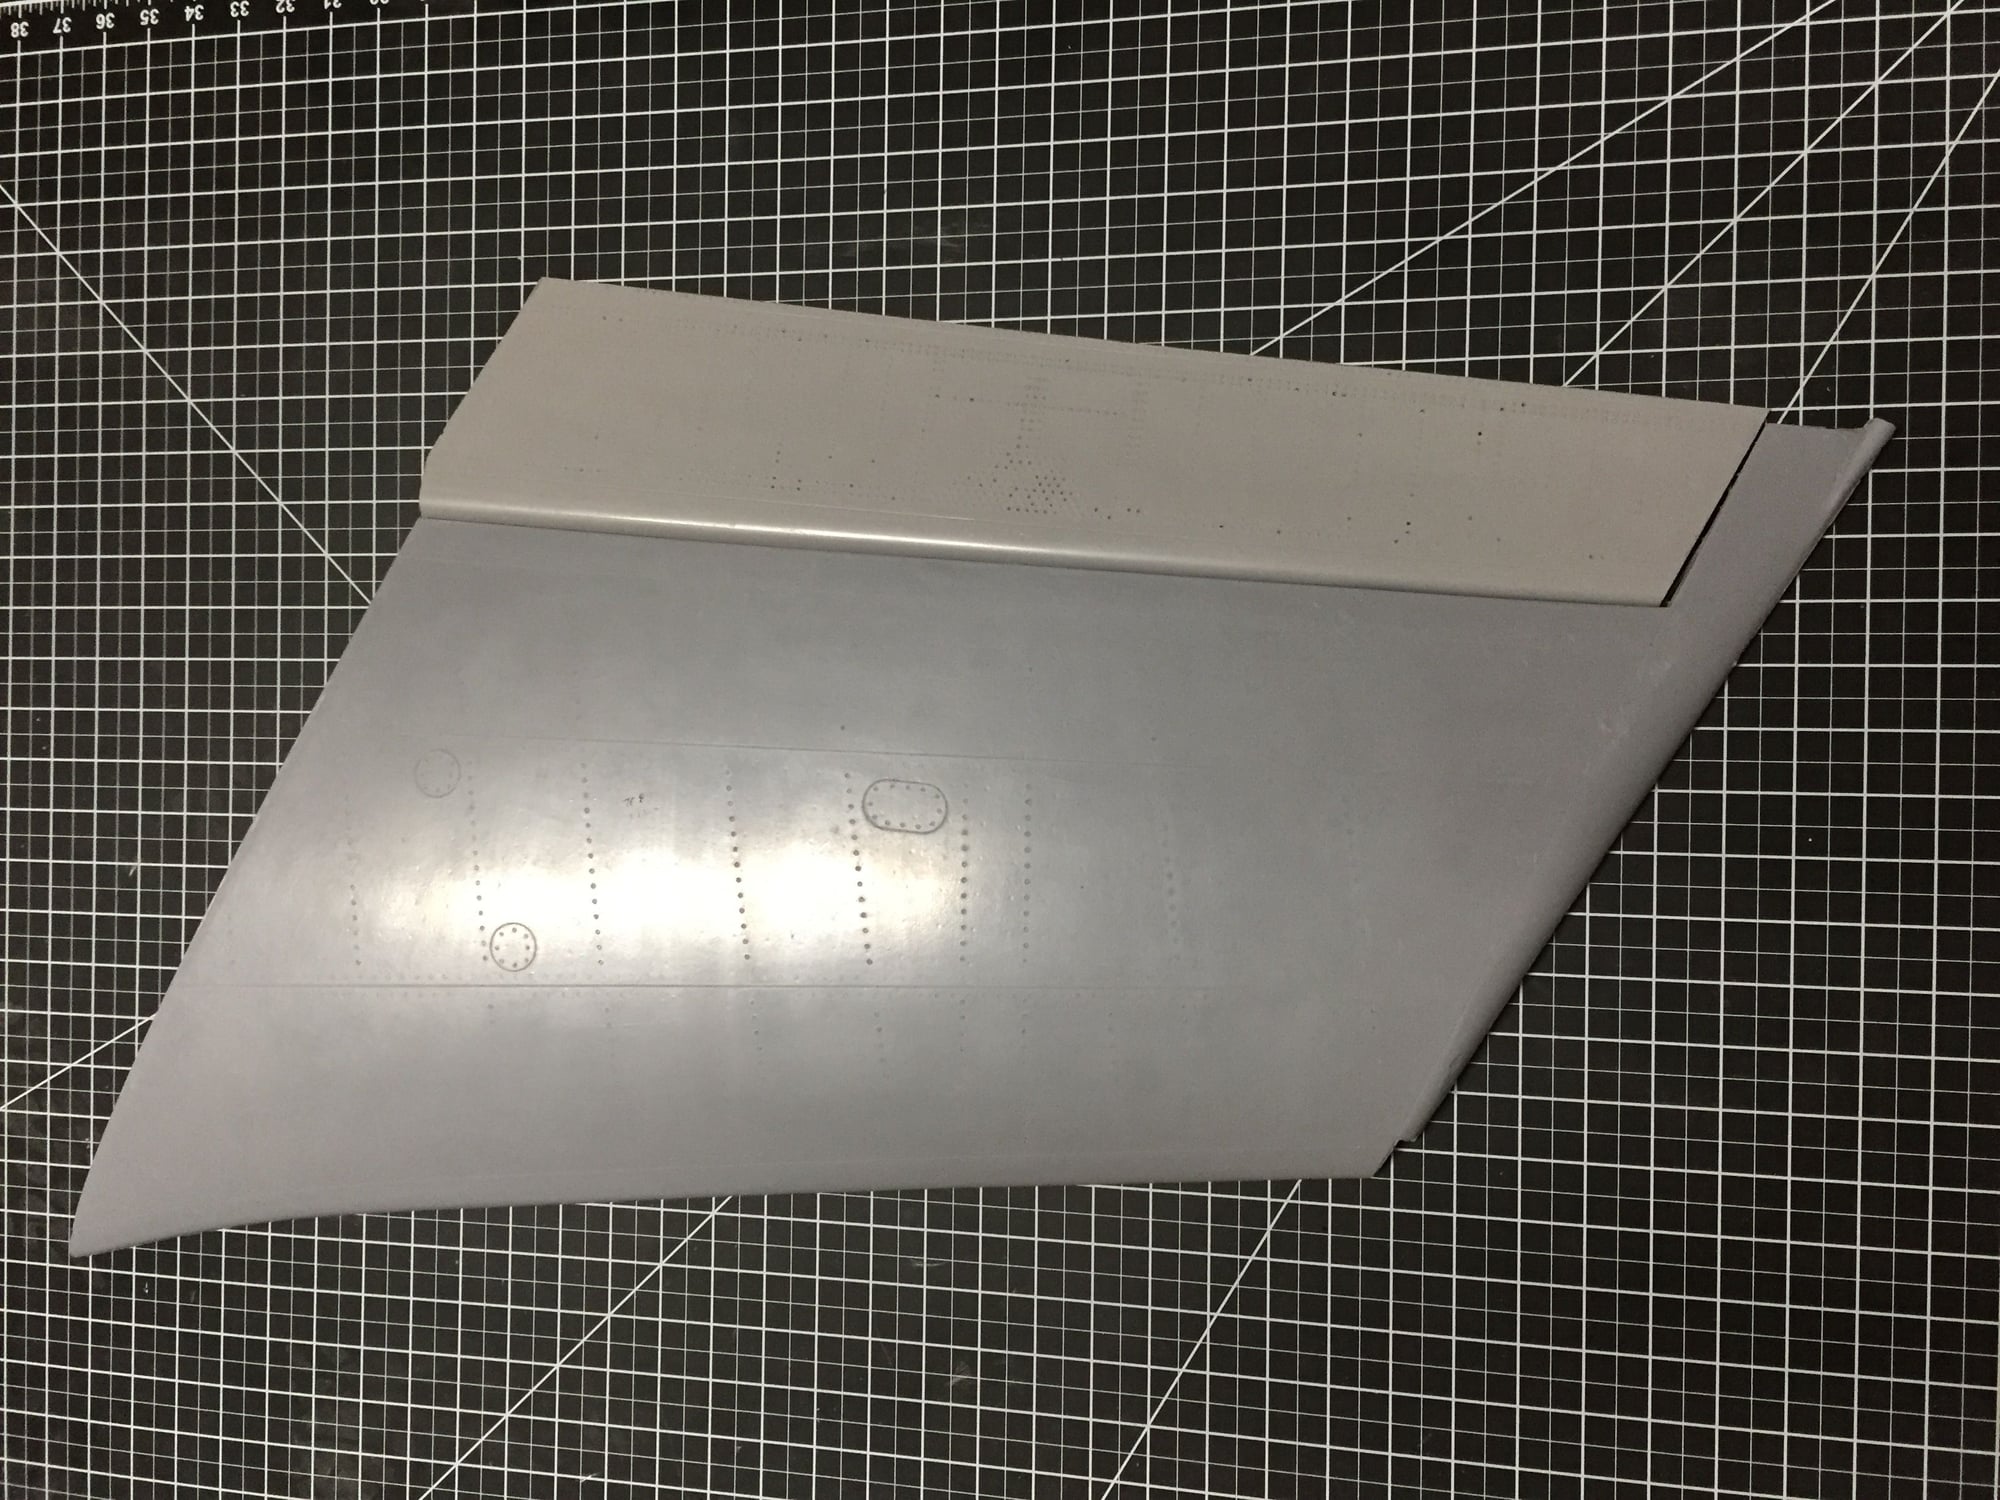
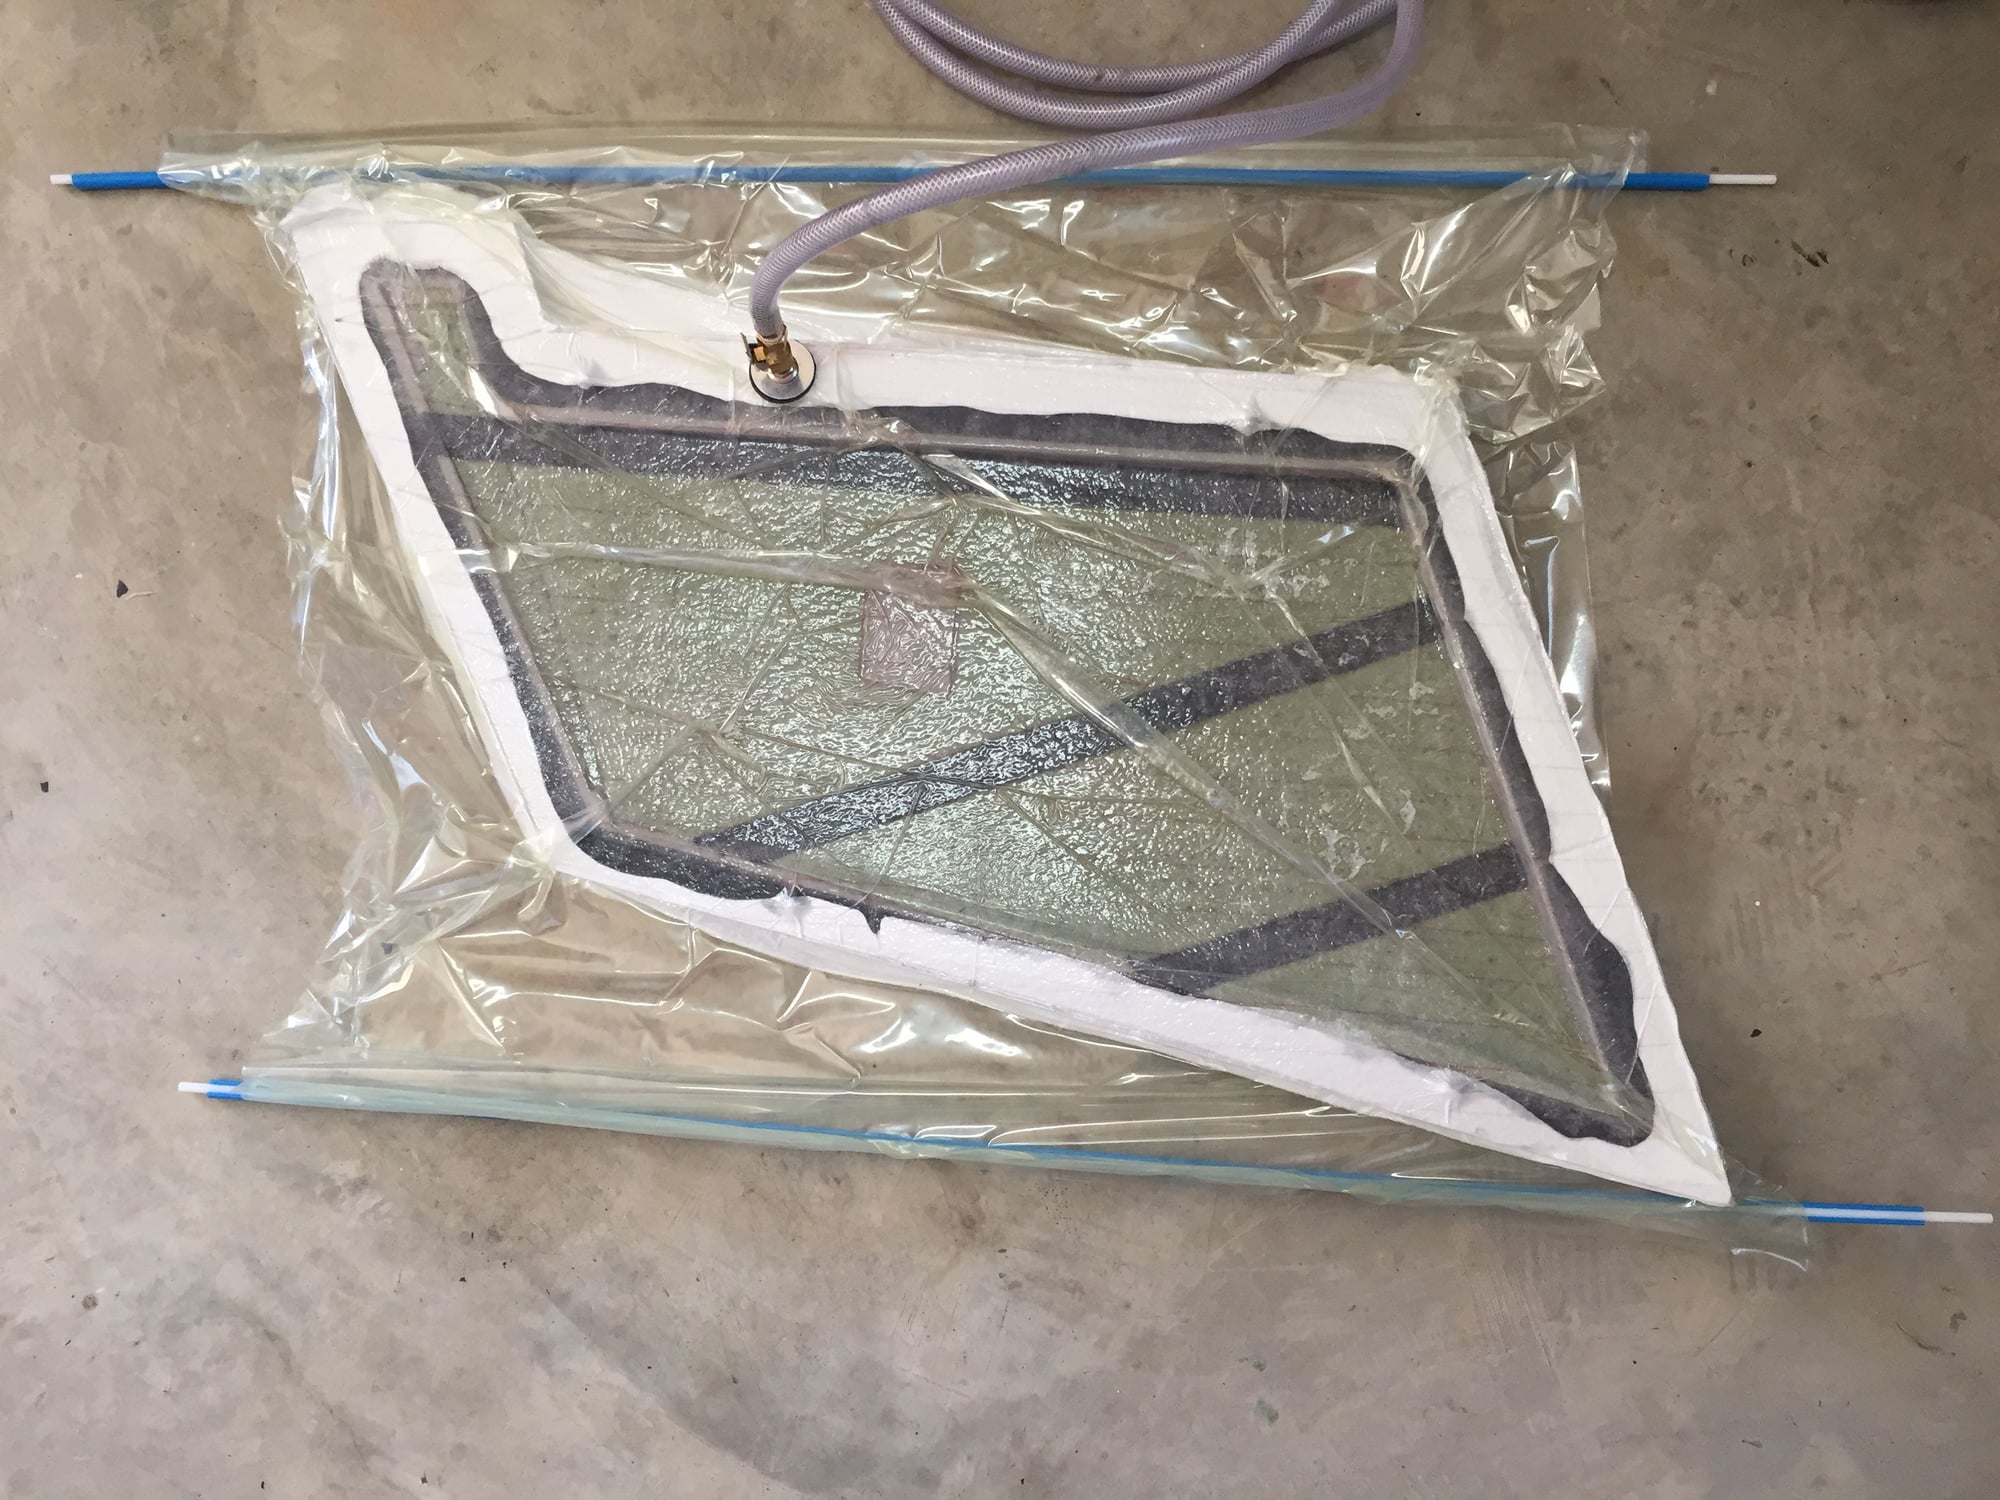
I remade the rudder using 3oz satin fabric rather than the previous 9oz. All other construction remained the same.
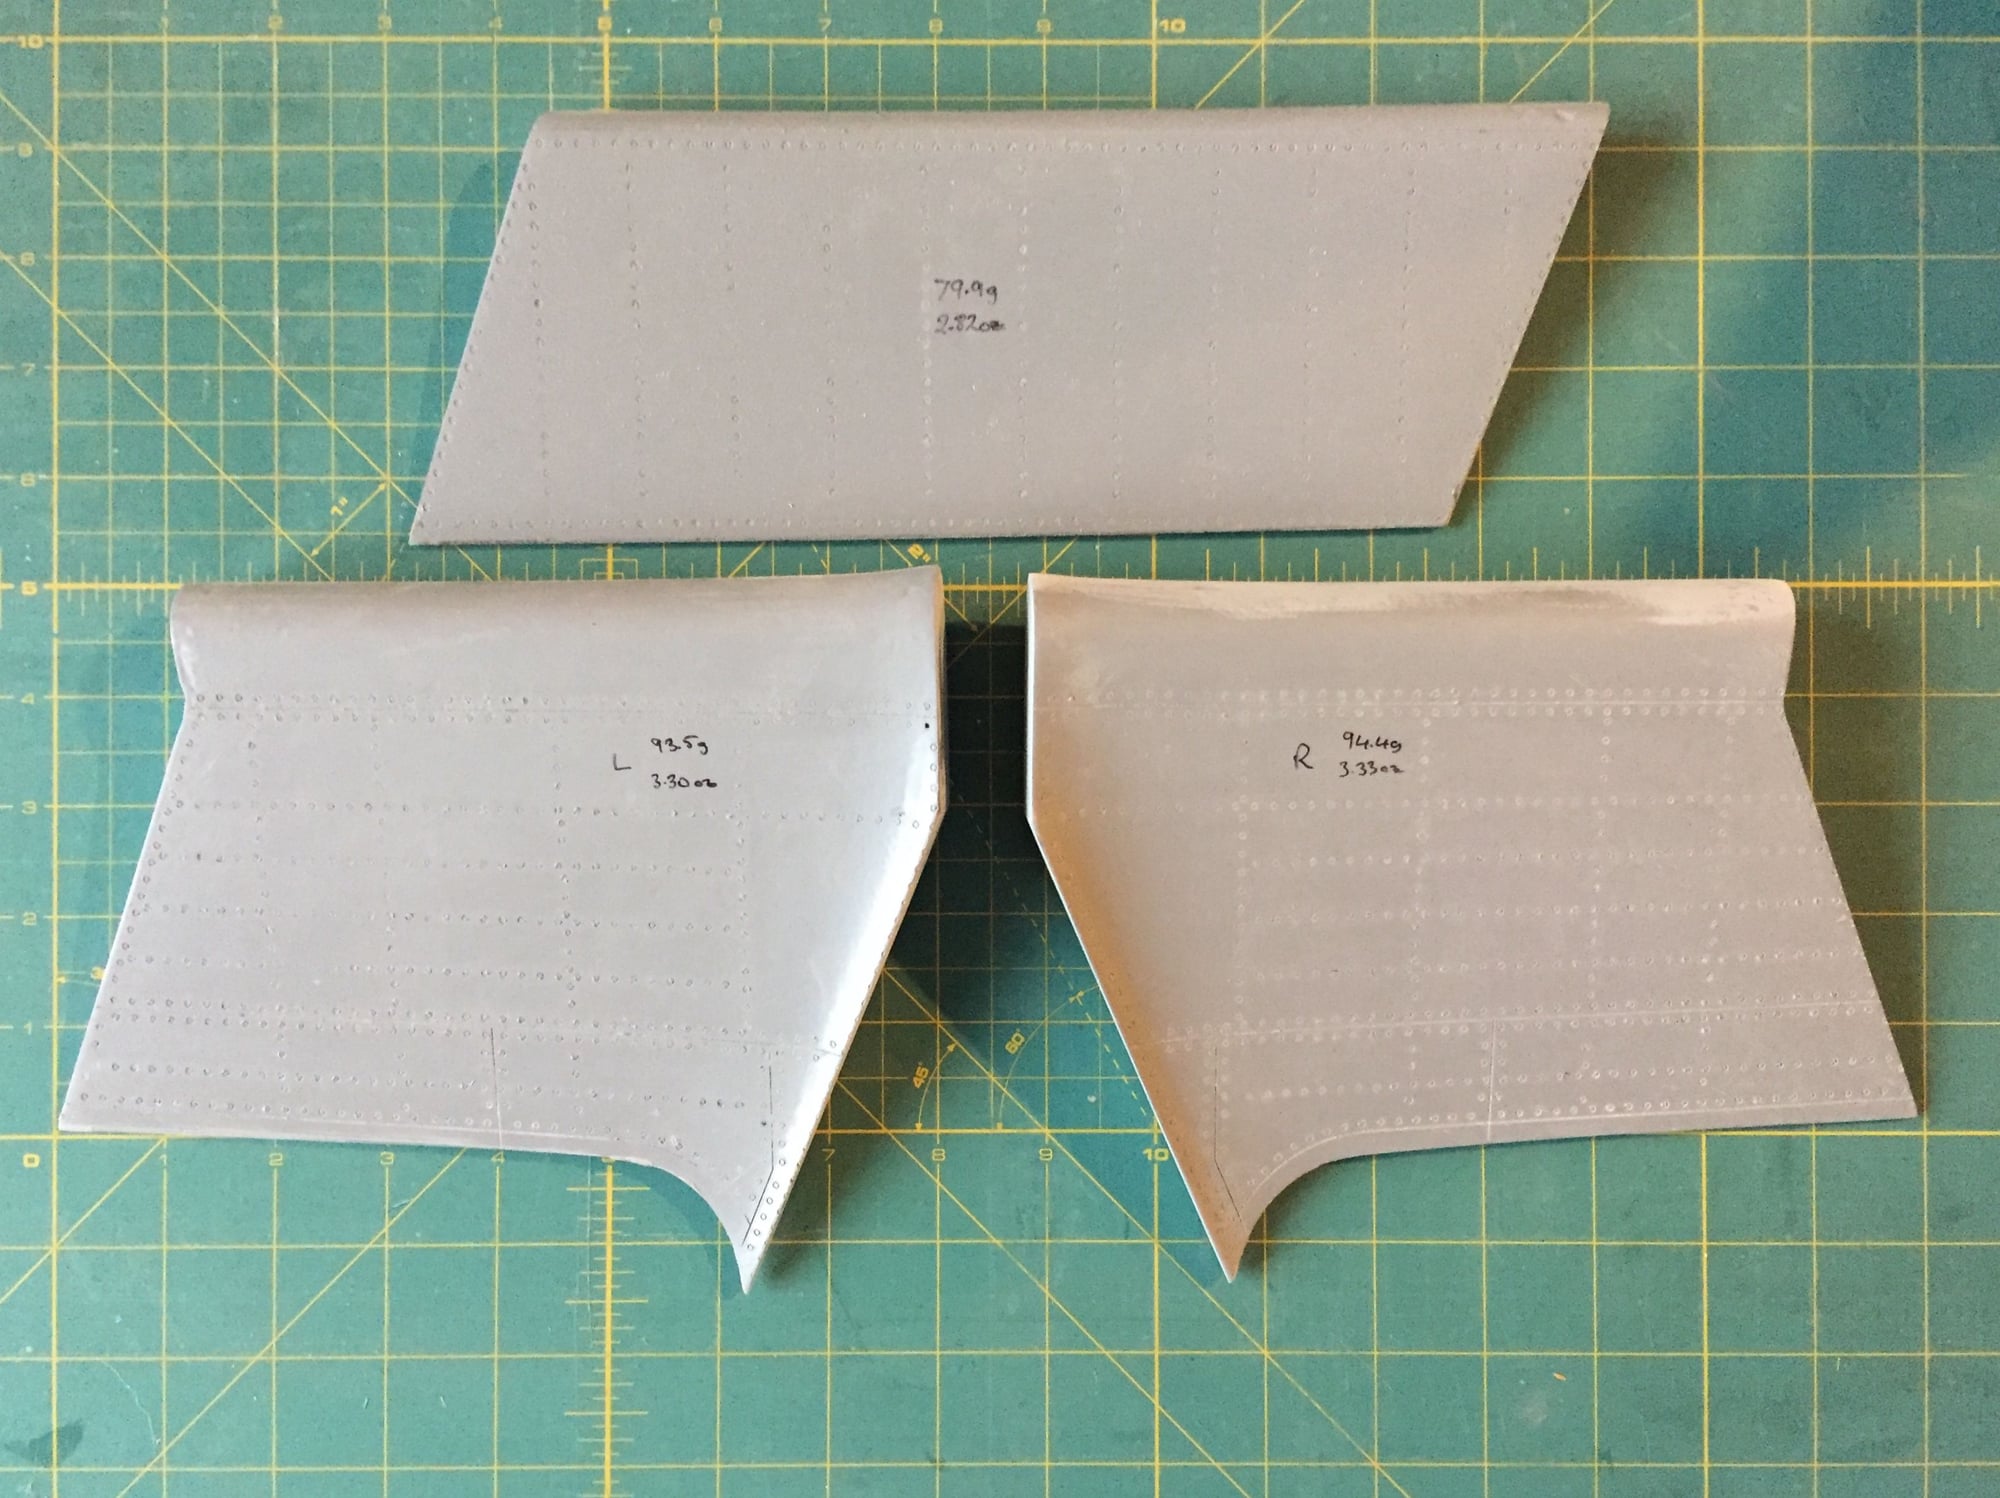
I ended up saving nearly 1oz (2.82oz/79.9g compared to 3.70oz/104.7g), a 24% weight savings. It still feels bullet proof with no noticeable flexibility. I could probably drop down to 1.5oz cloth for a little extra weight savings.
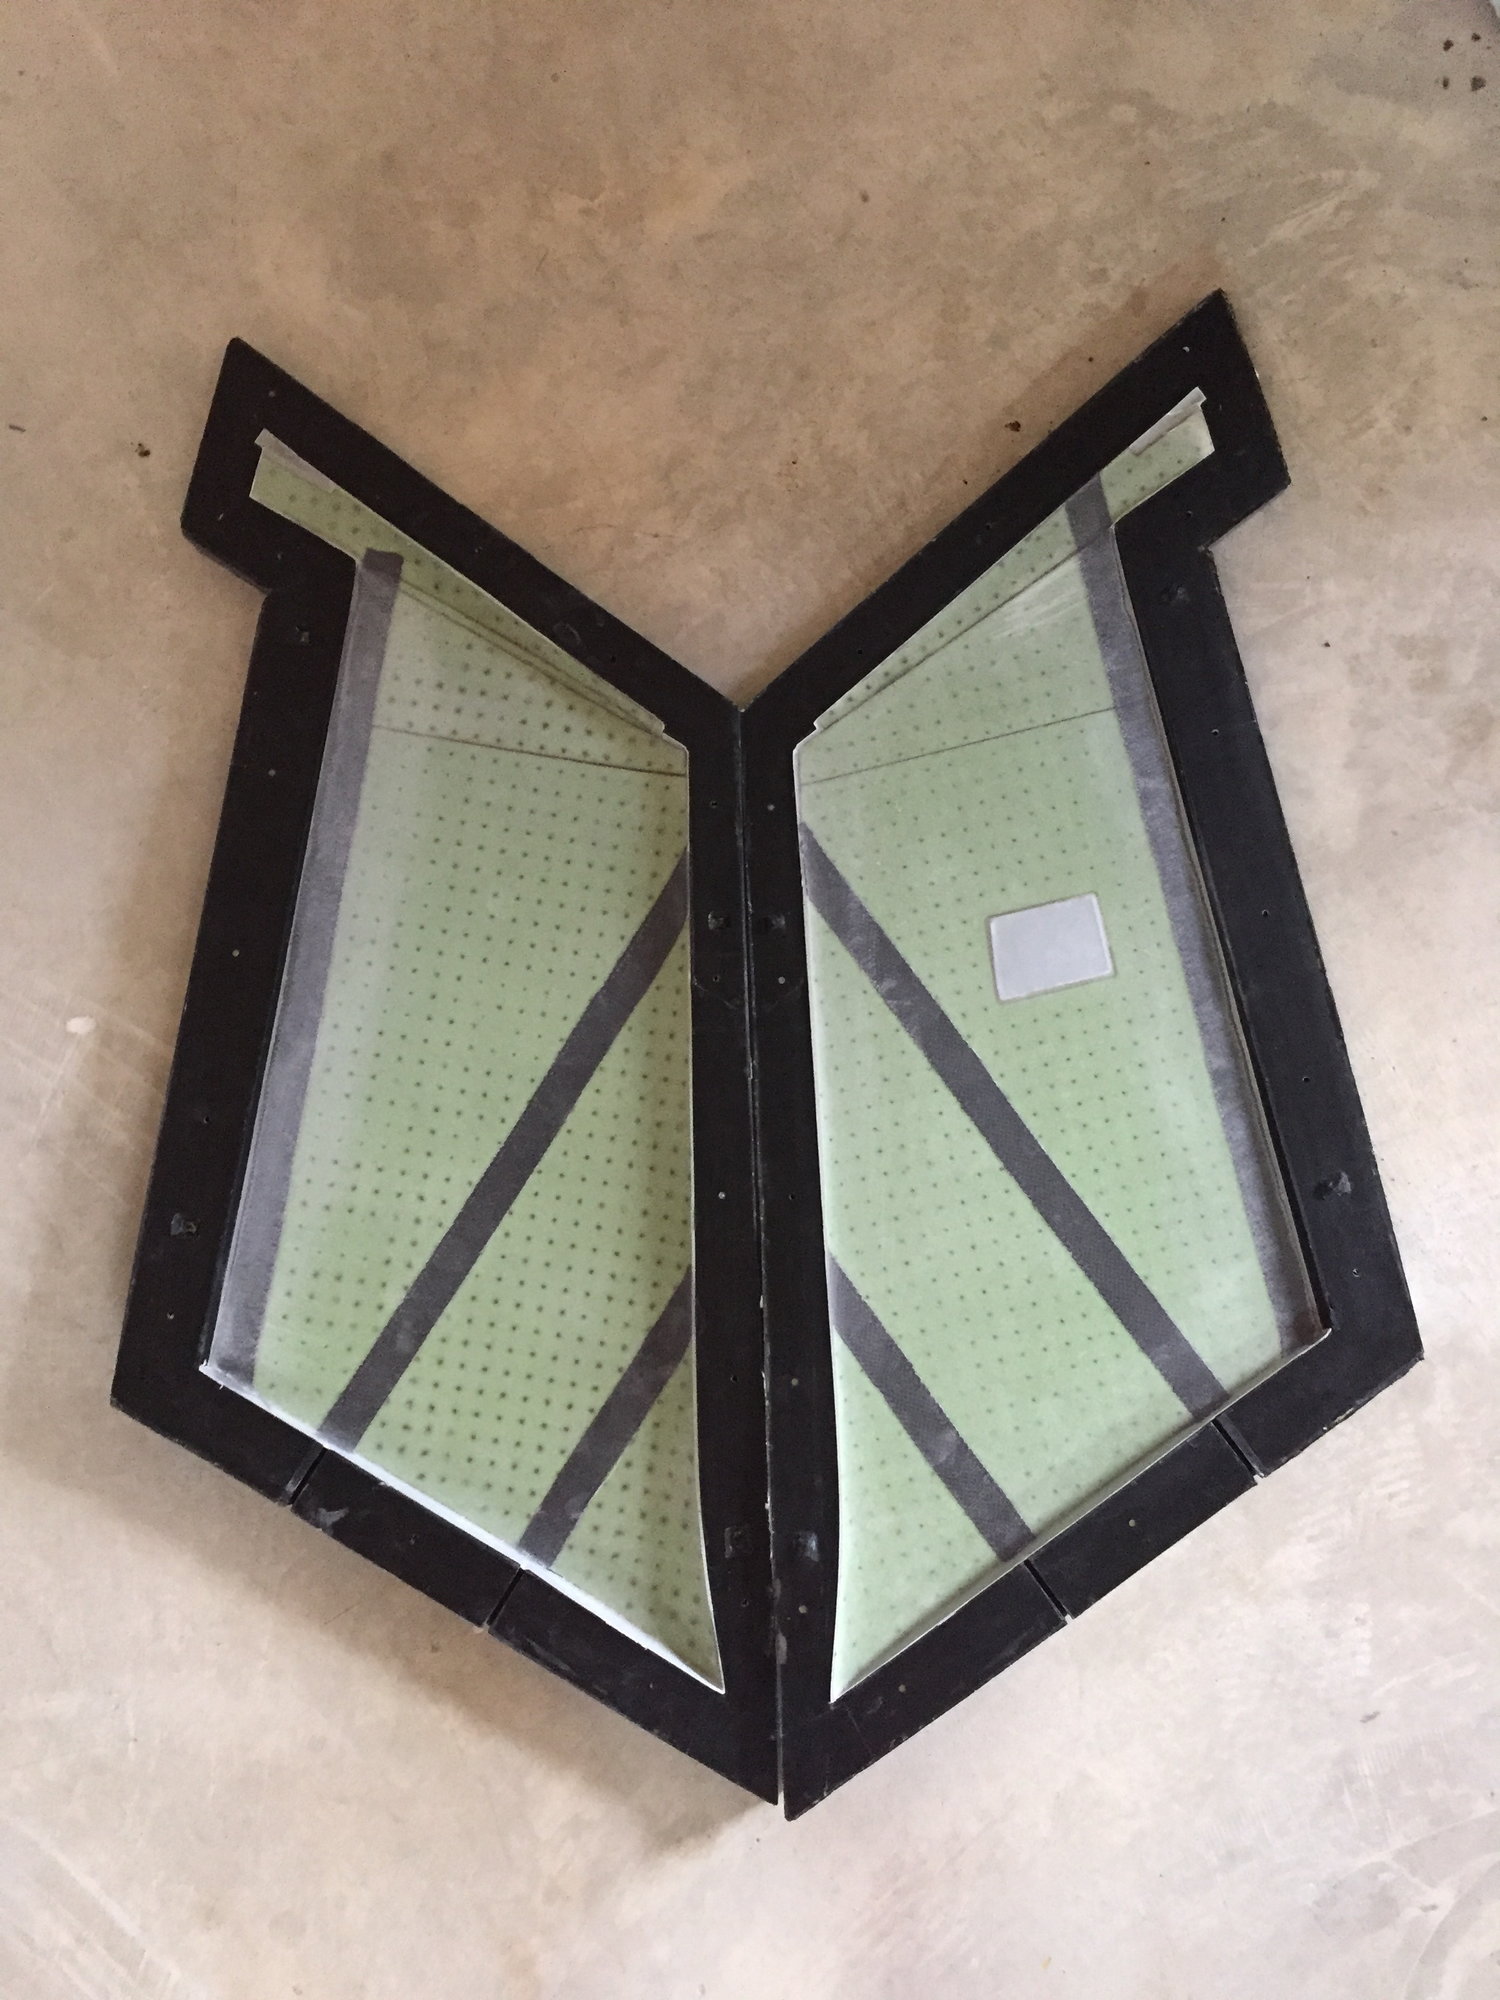
The second version came out with much better quality than the first one, so I'll call the second one a flight part. Time to move on to the inner flaps.
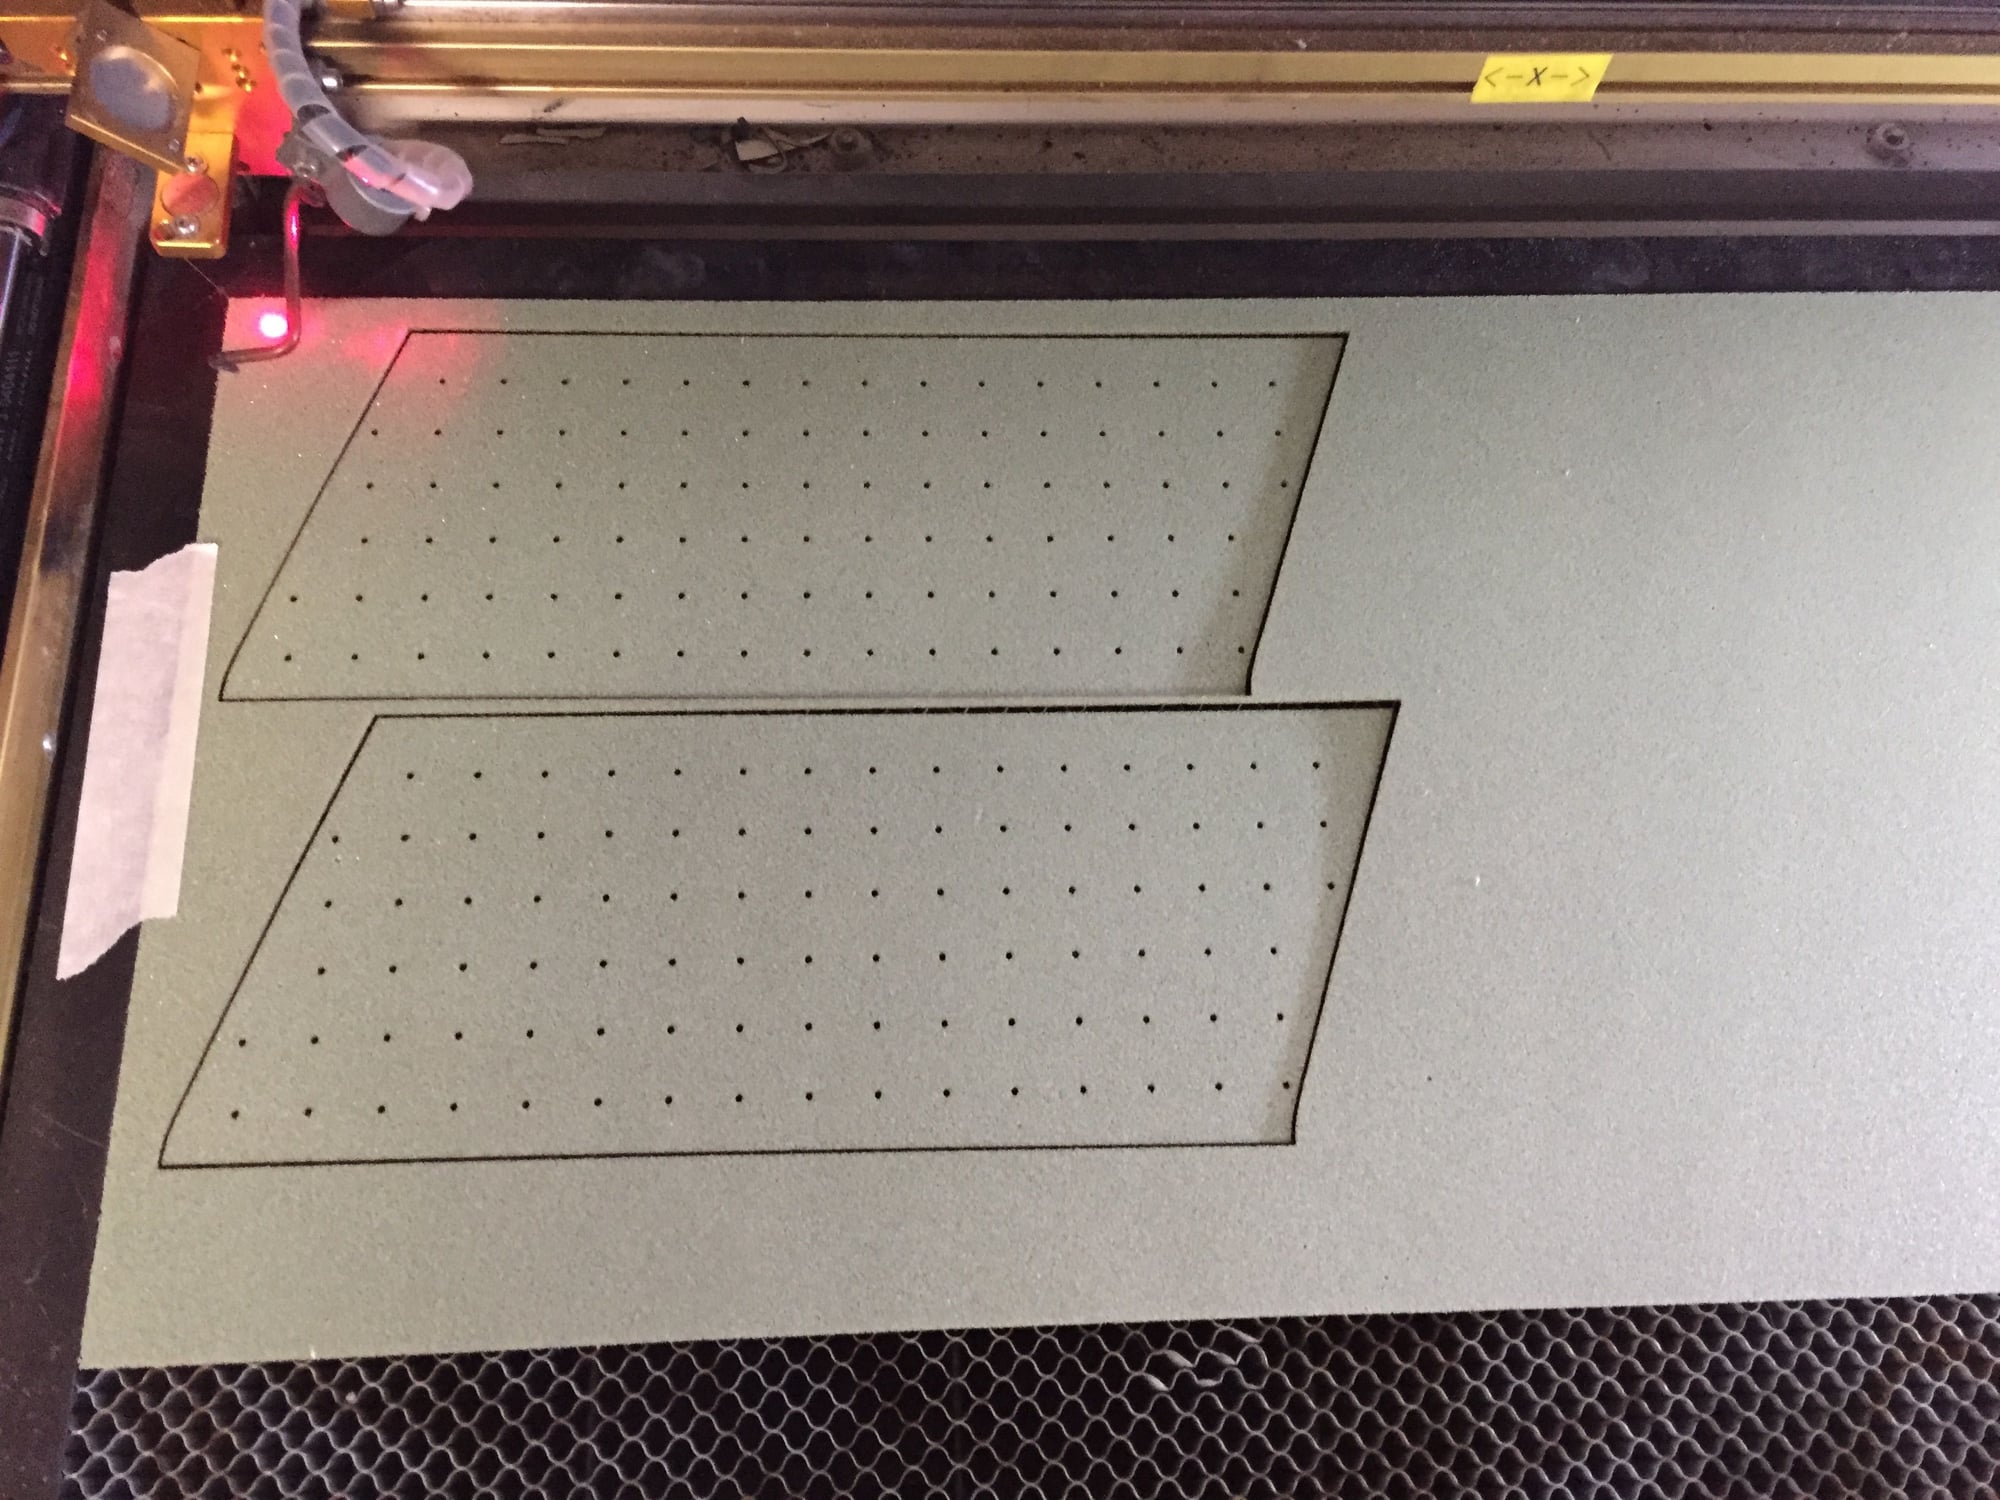
Laser cutting the Airex foam skins
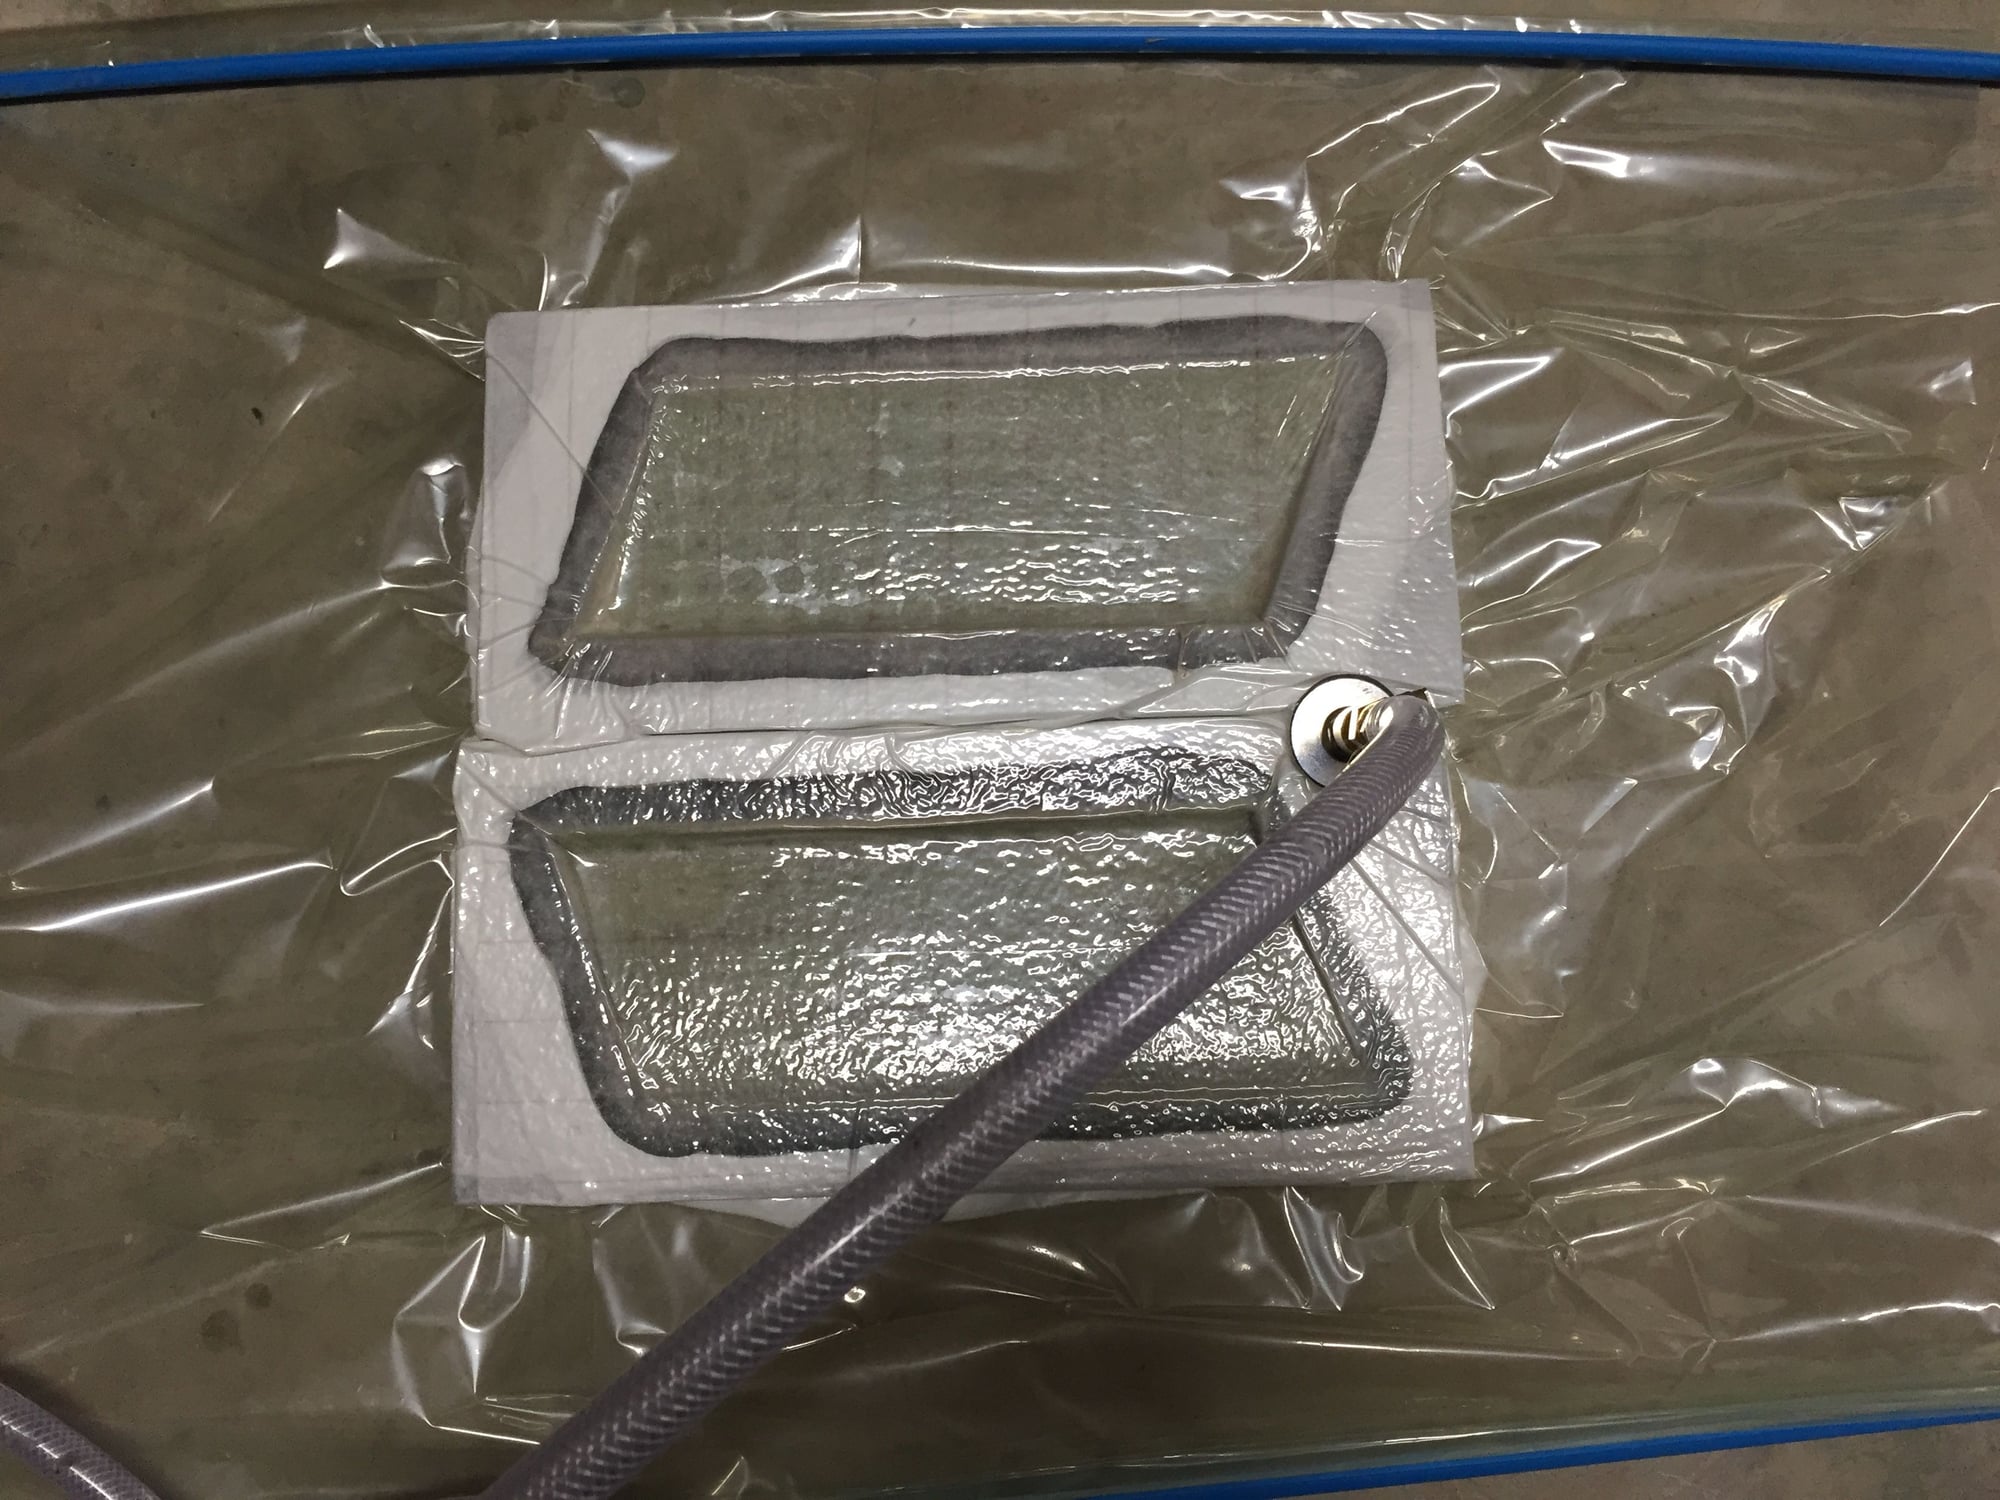
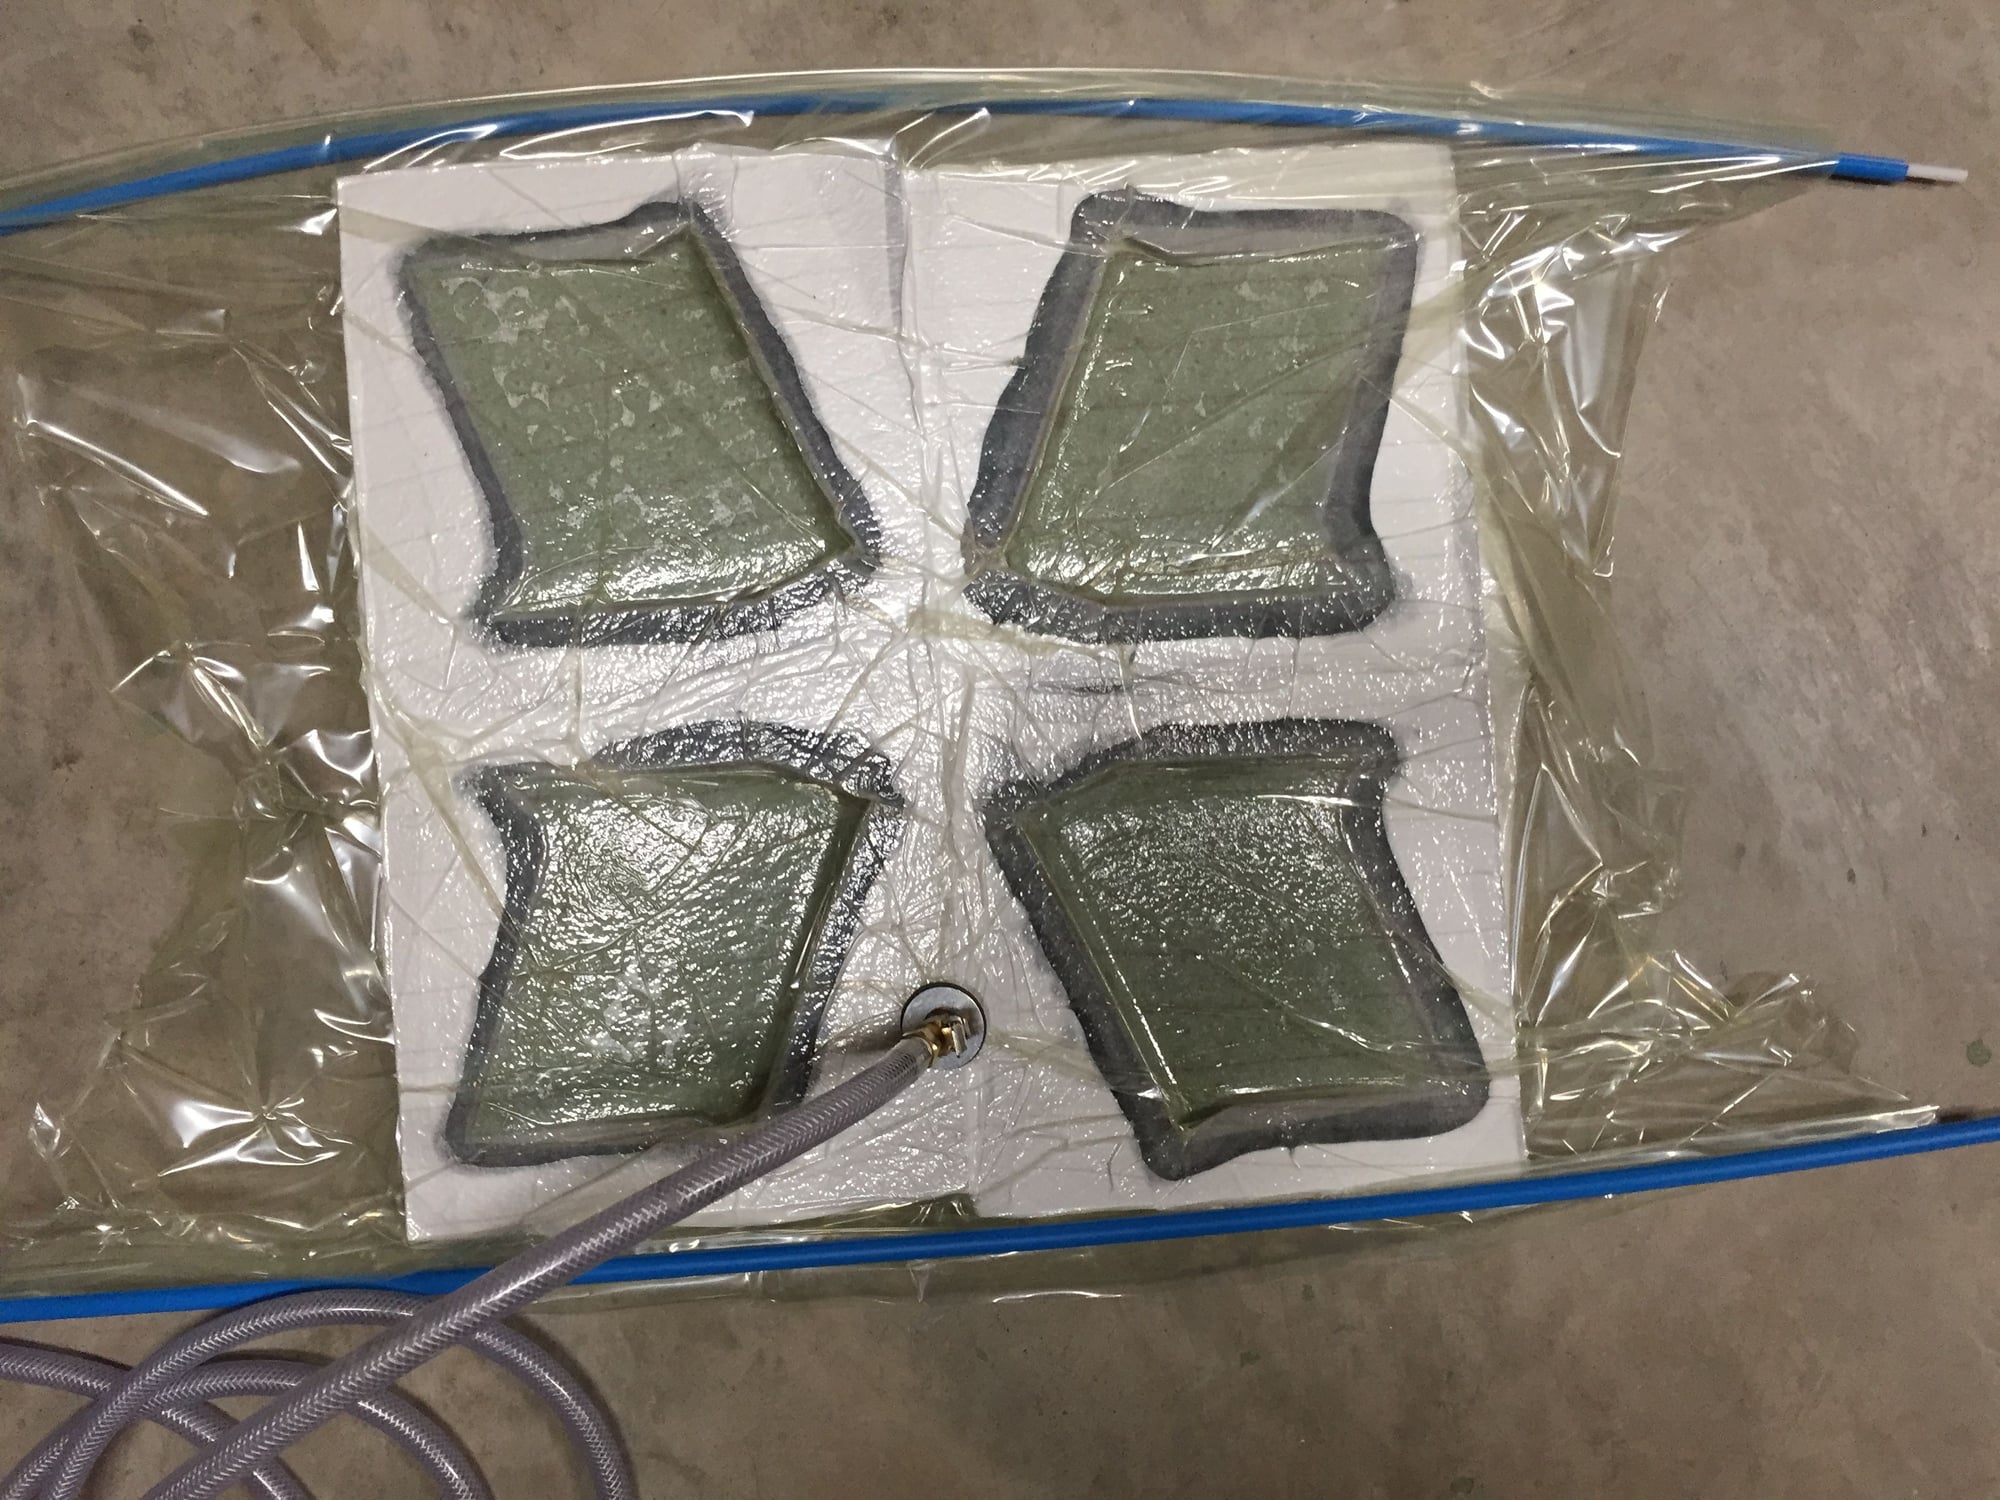
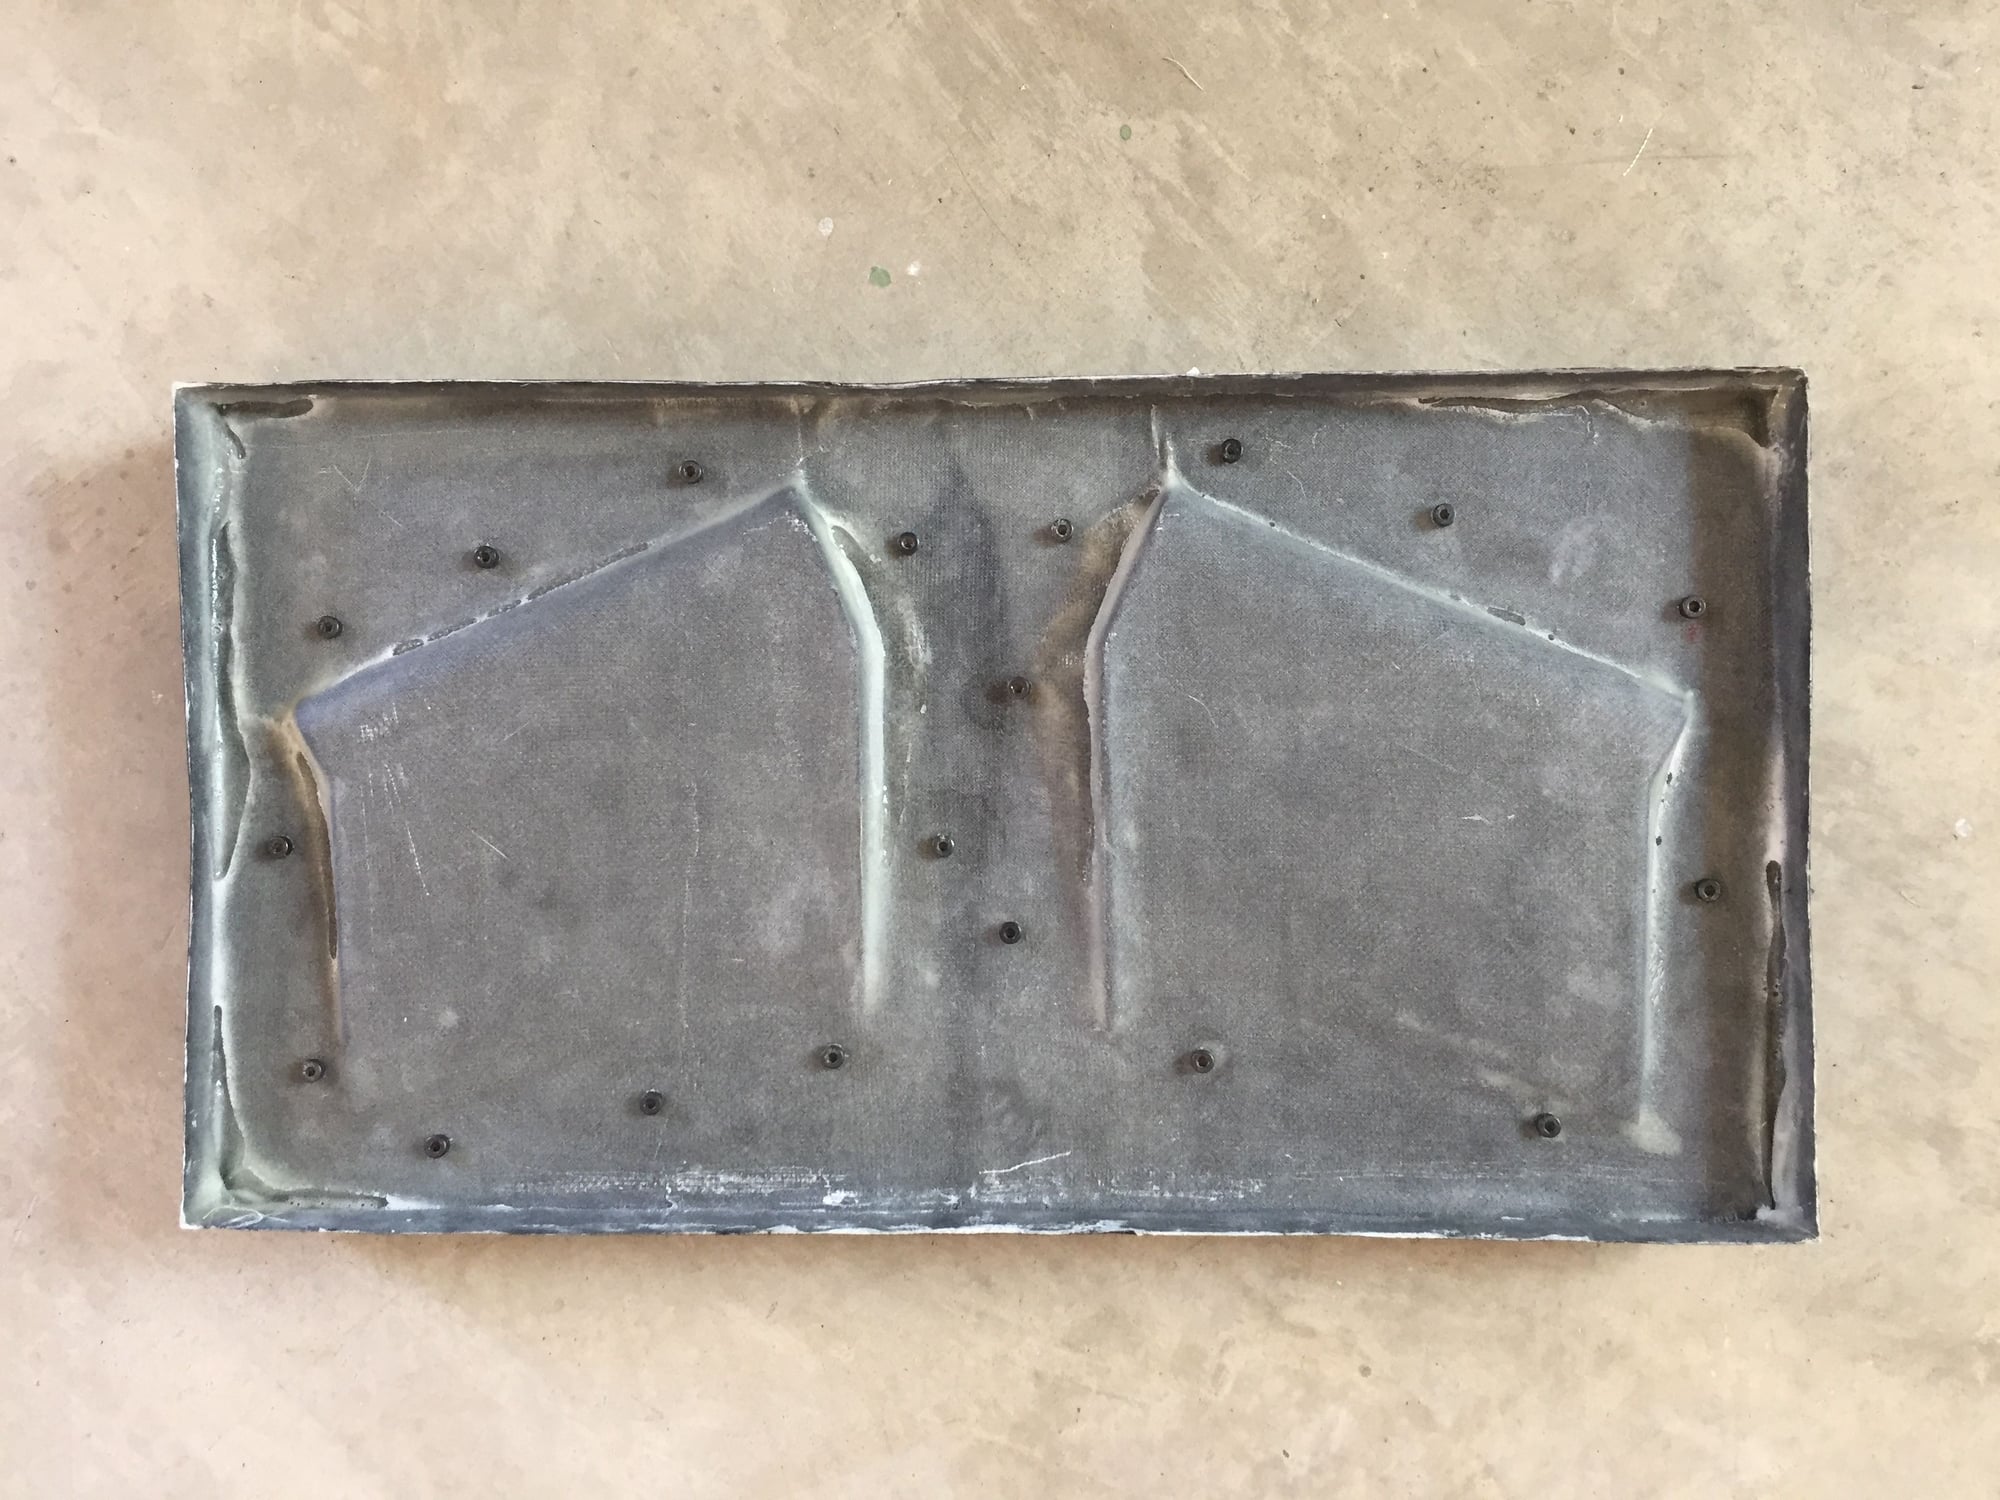
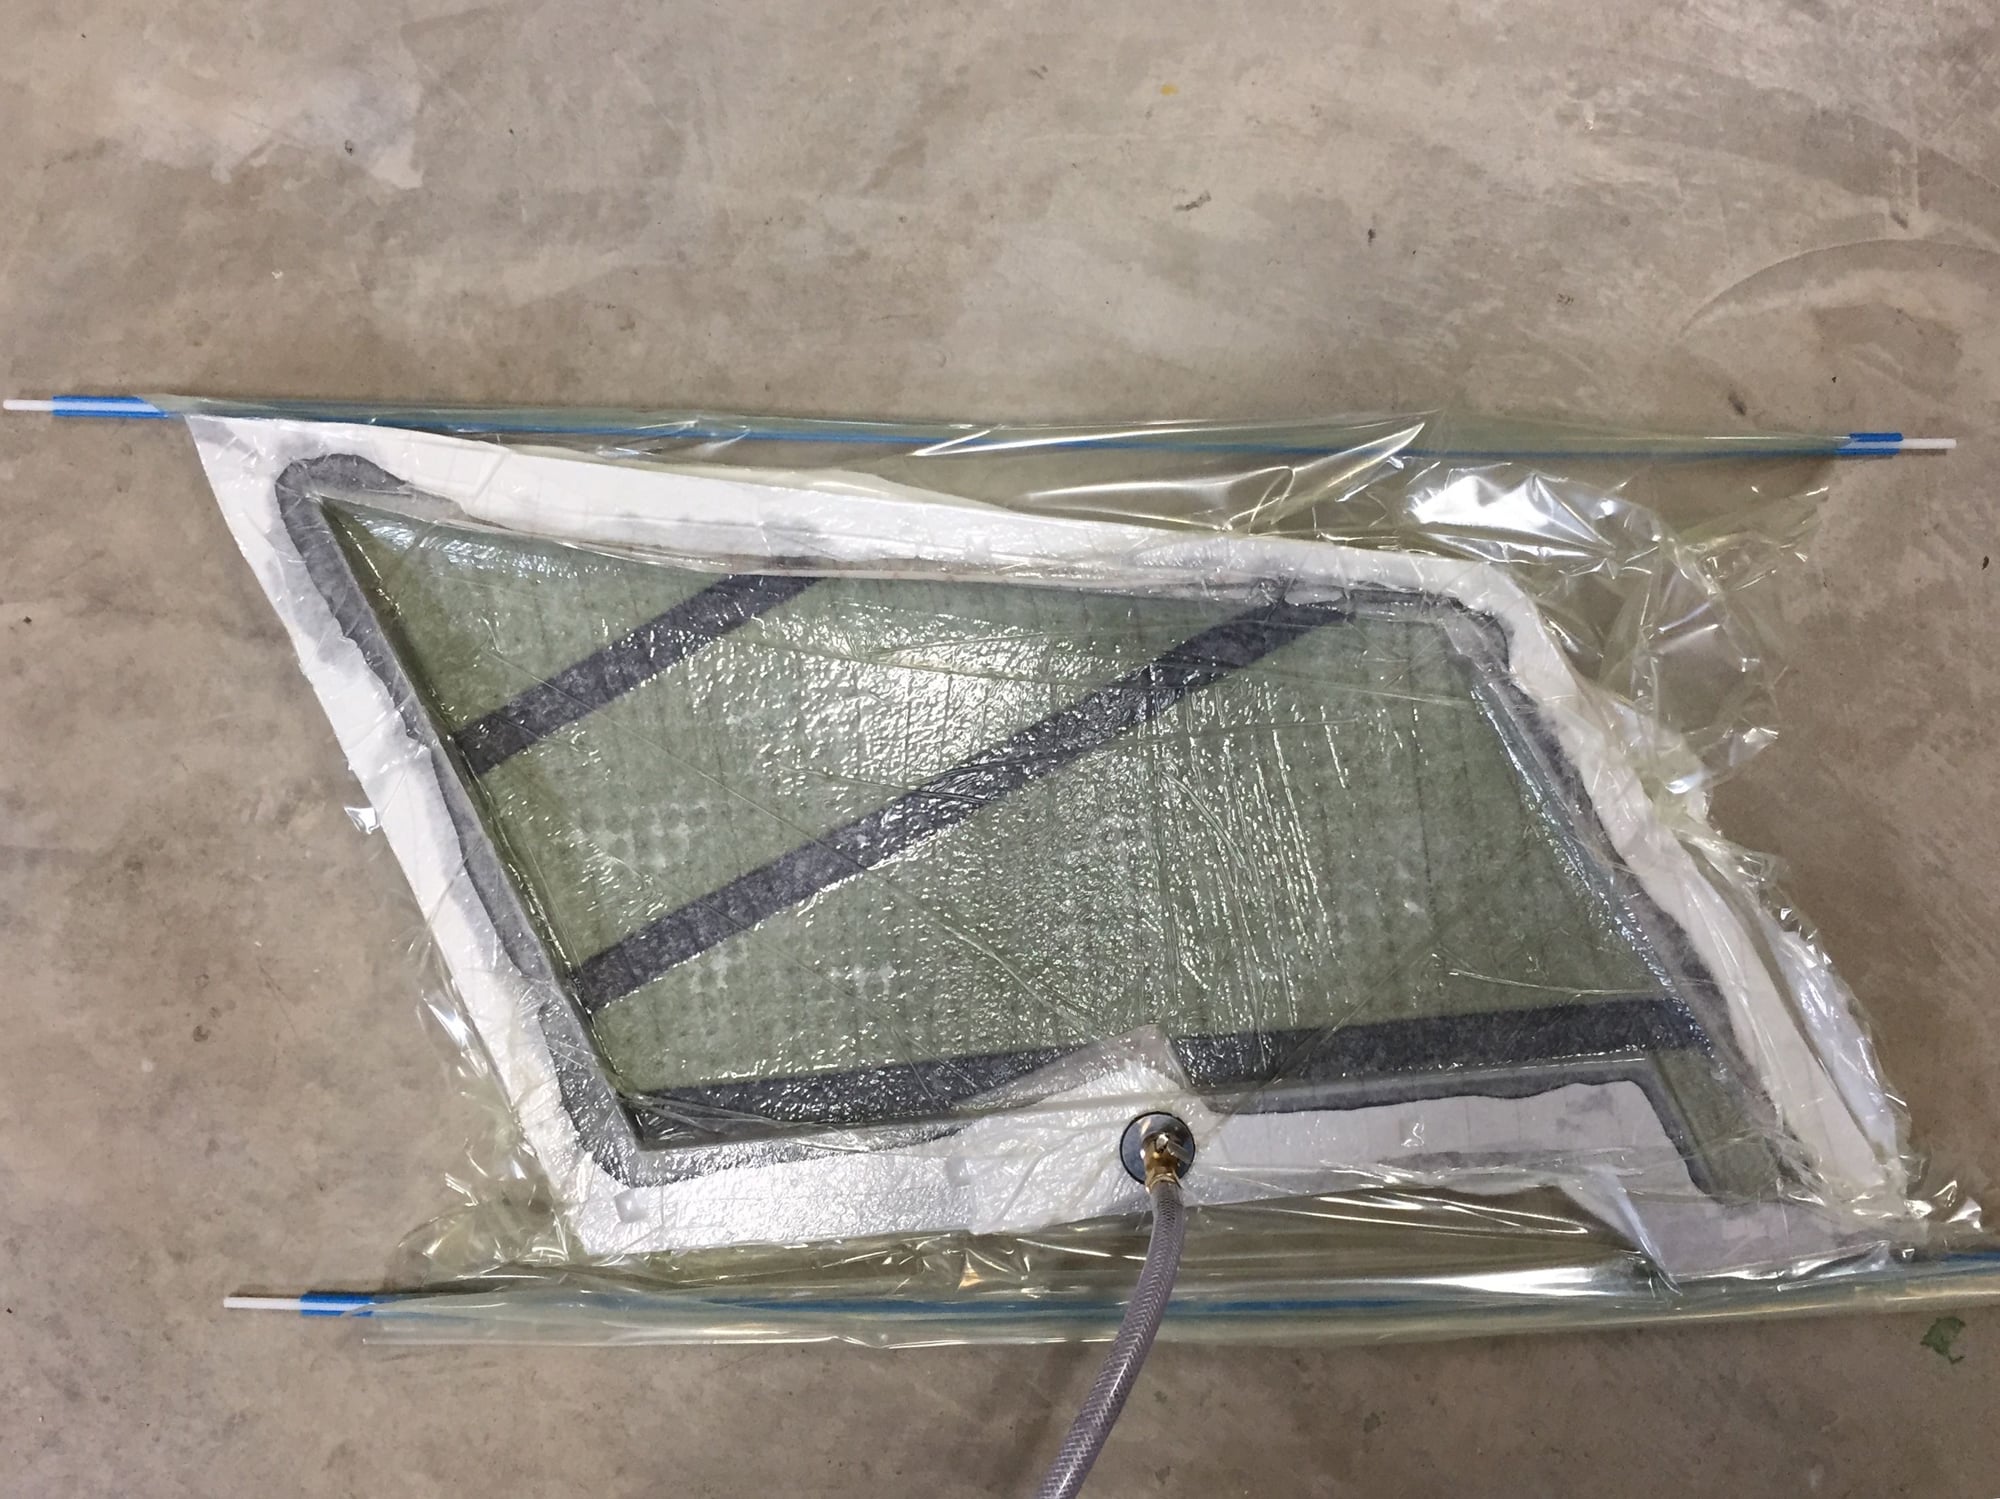
Vacuum bagging the skins
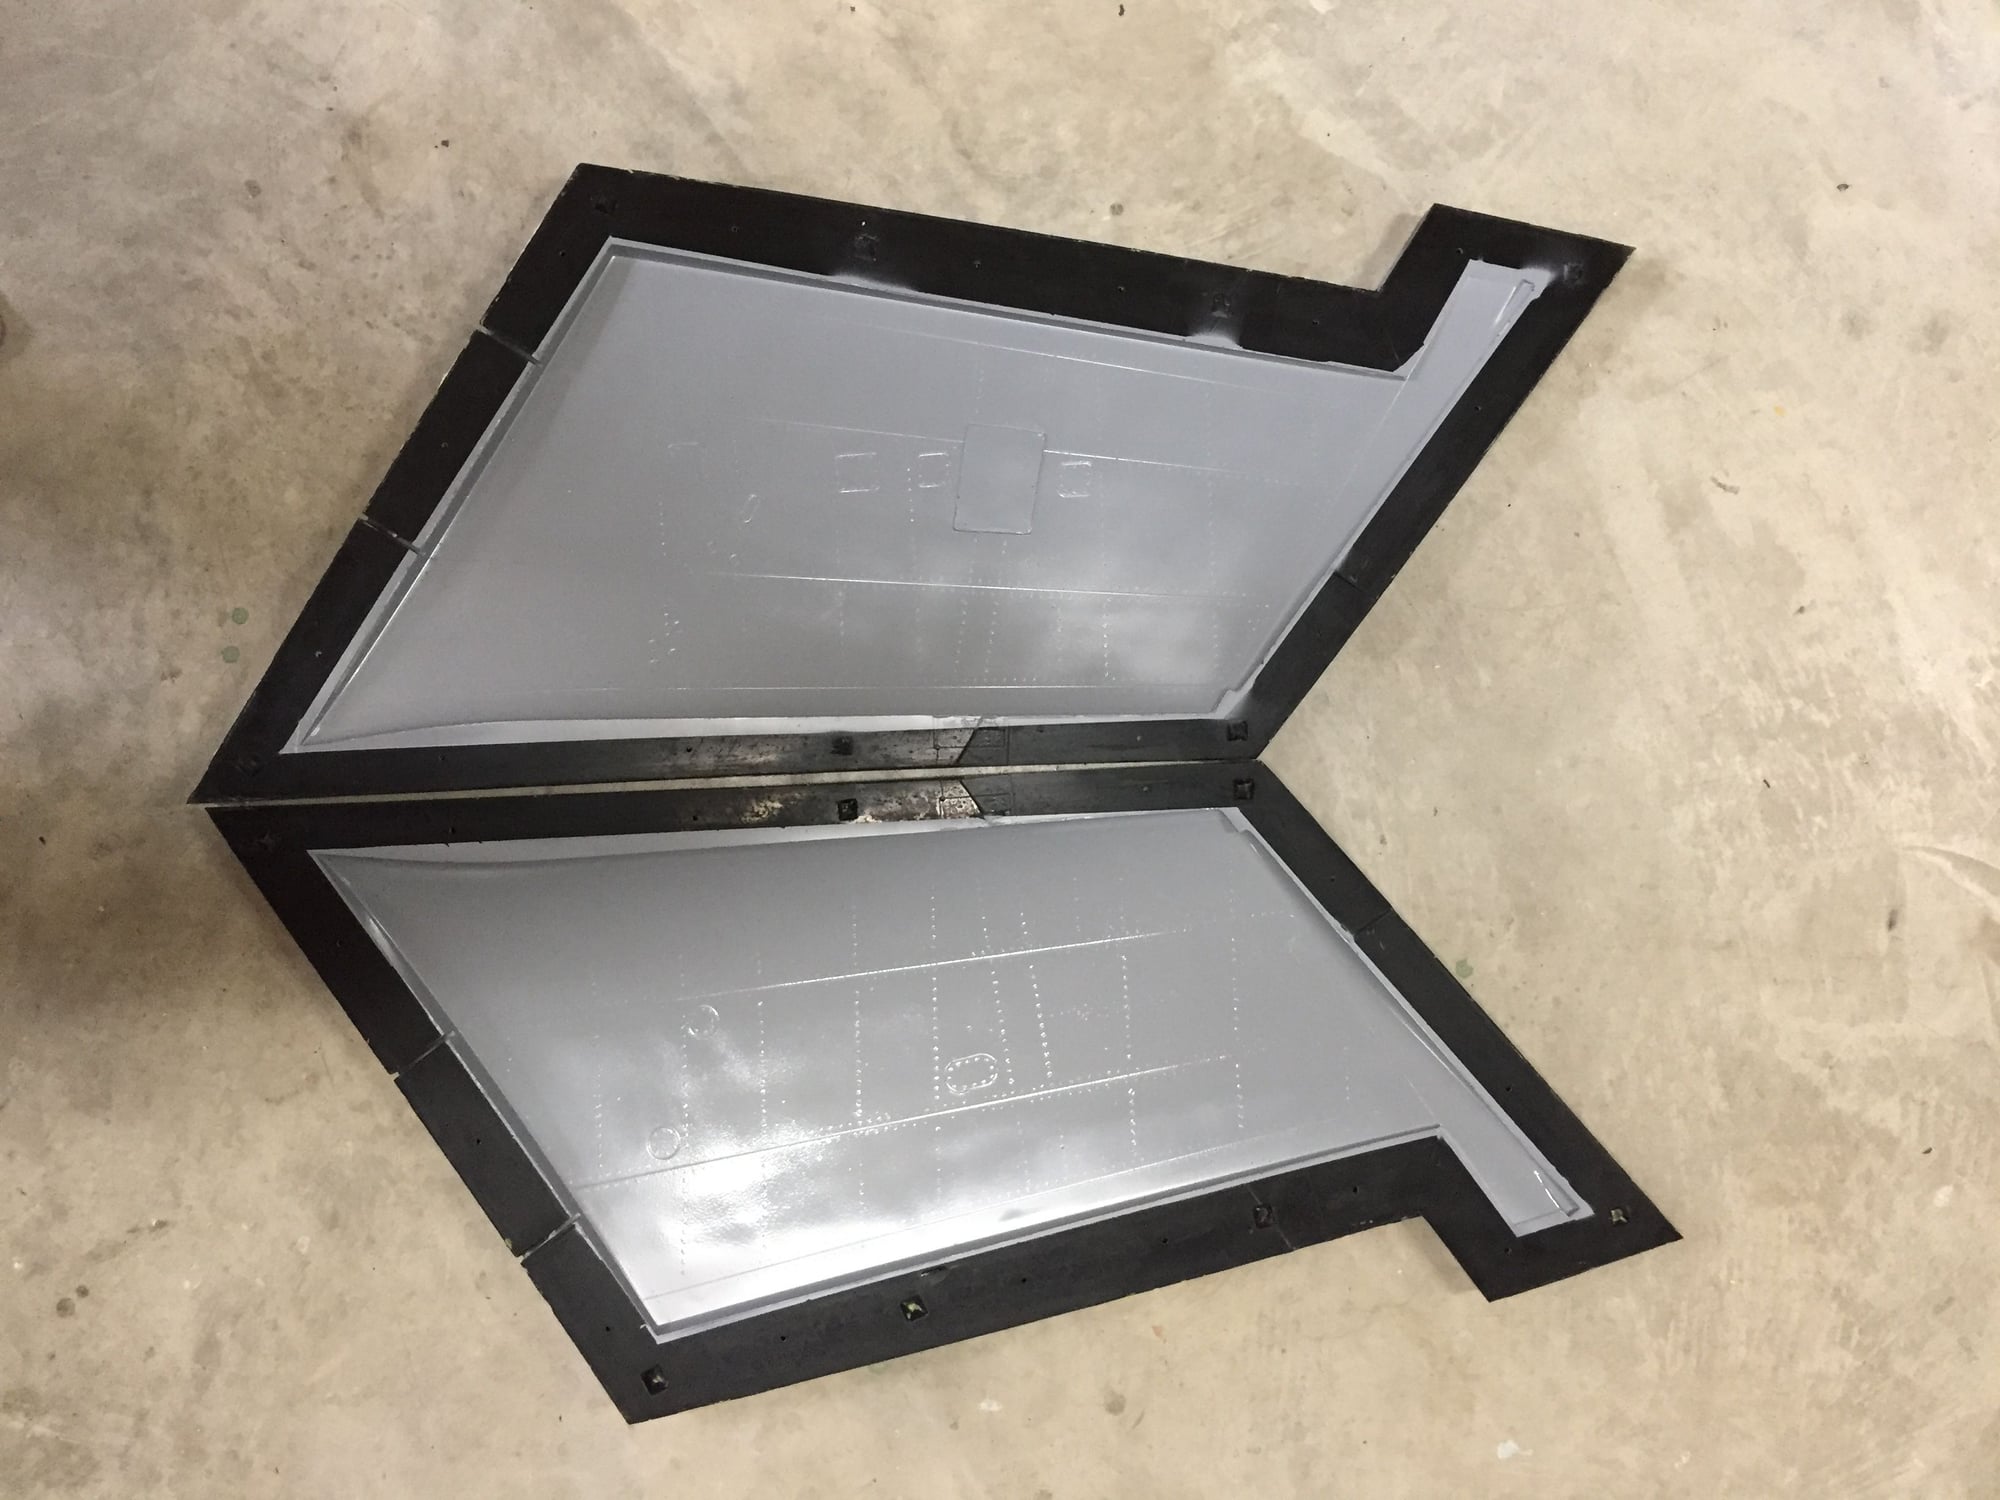
Ready to close up the mold

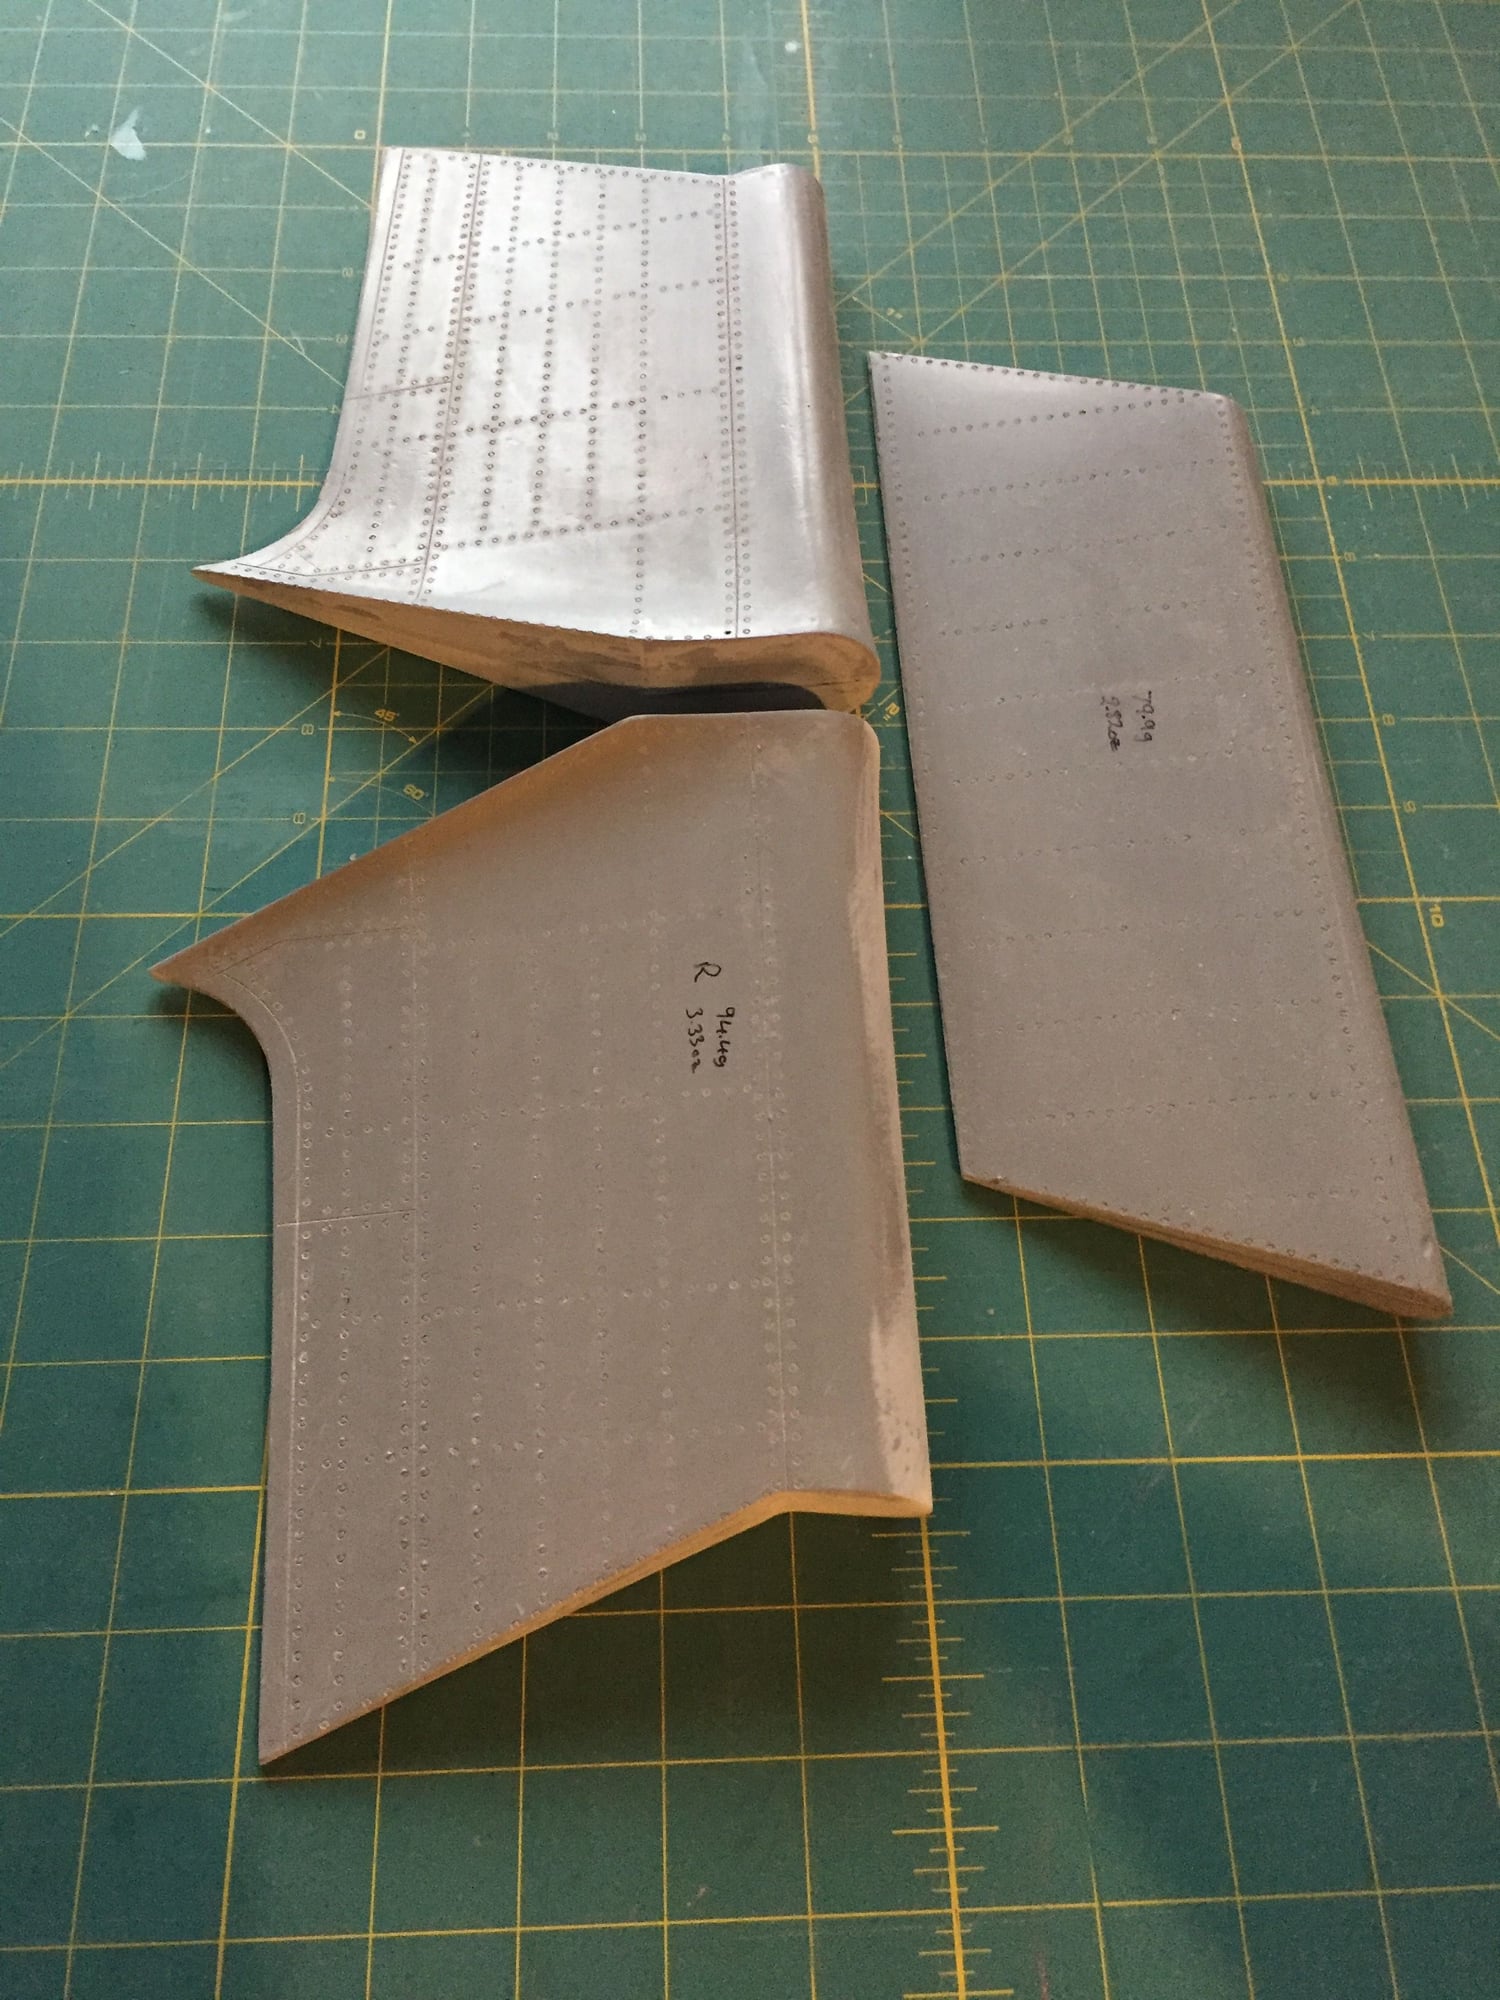
First and second part for comparison.
Paul
I ended up saving nearly 1oz (2.82oz/79.9g compared to 3.70oz/104.7g), a 24% weight savings. It still feels bullet proof with no noticeable flexibility. I could probably drop down to 1.5oz cloth for a little extra weight savings.
The second version came out with much better quality than the first one, so I'll call the second one a flight part. Time to move on to the inner flaps.
Laser cutting the Airex foam skins
Vacuum bagging the skins
Ready to close up the mold
First and second part for comparison.
Paul

 04-06-2019, 07:11 AM
#256
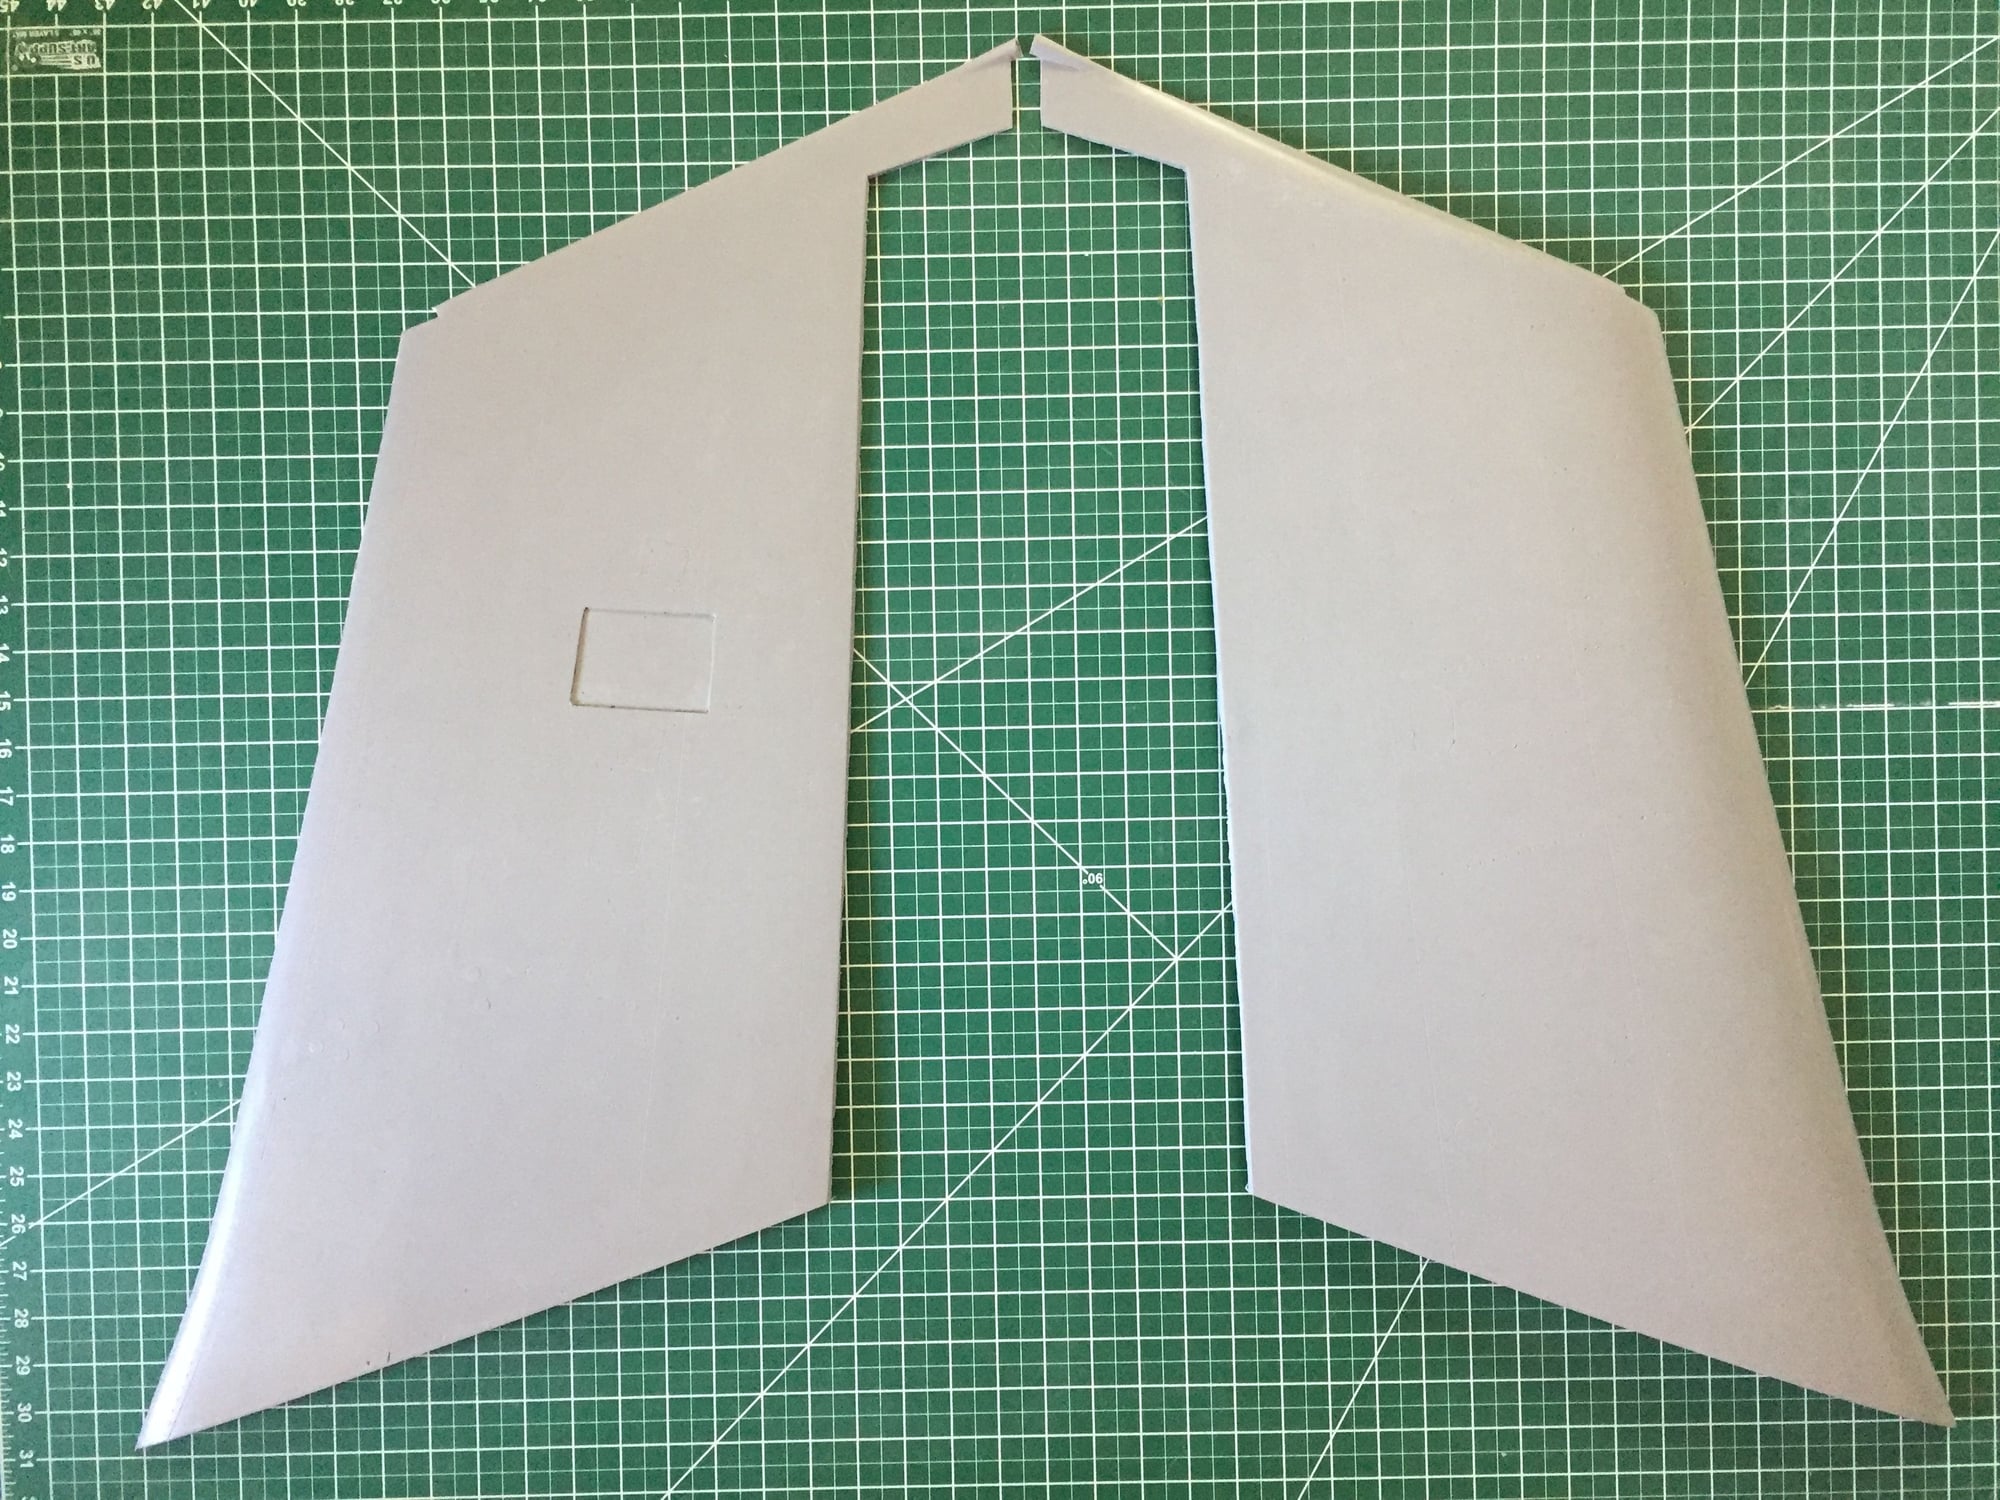
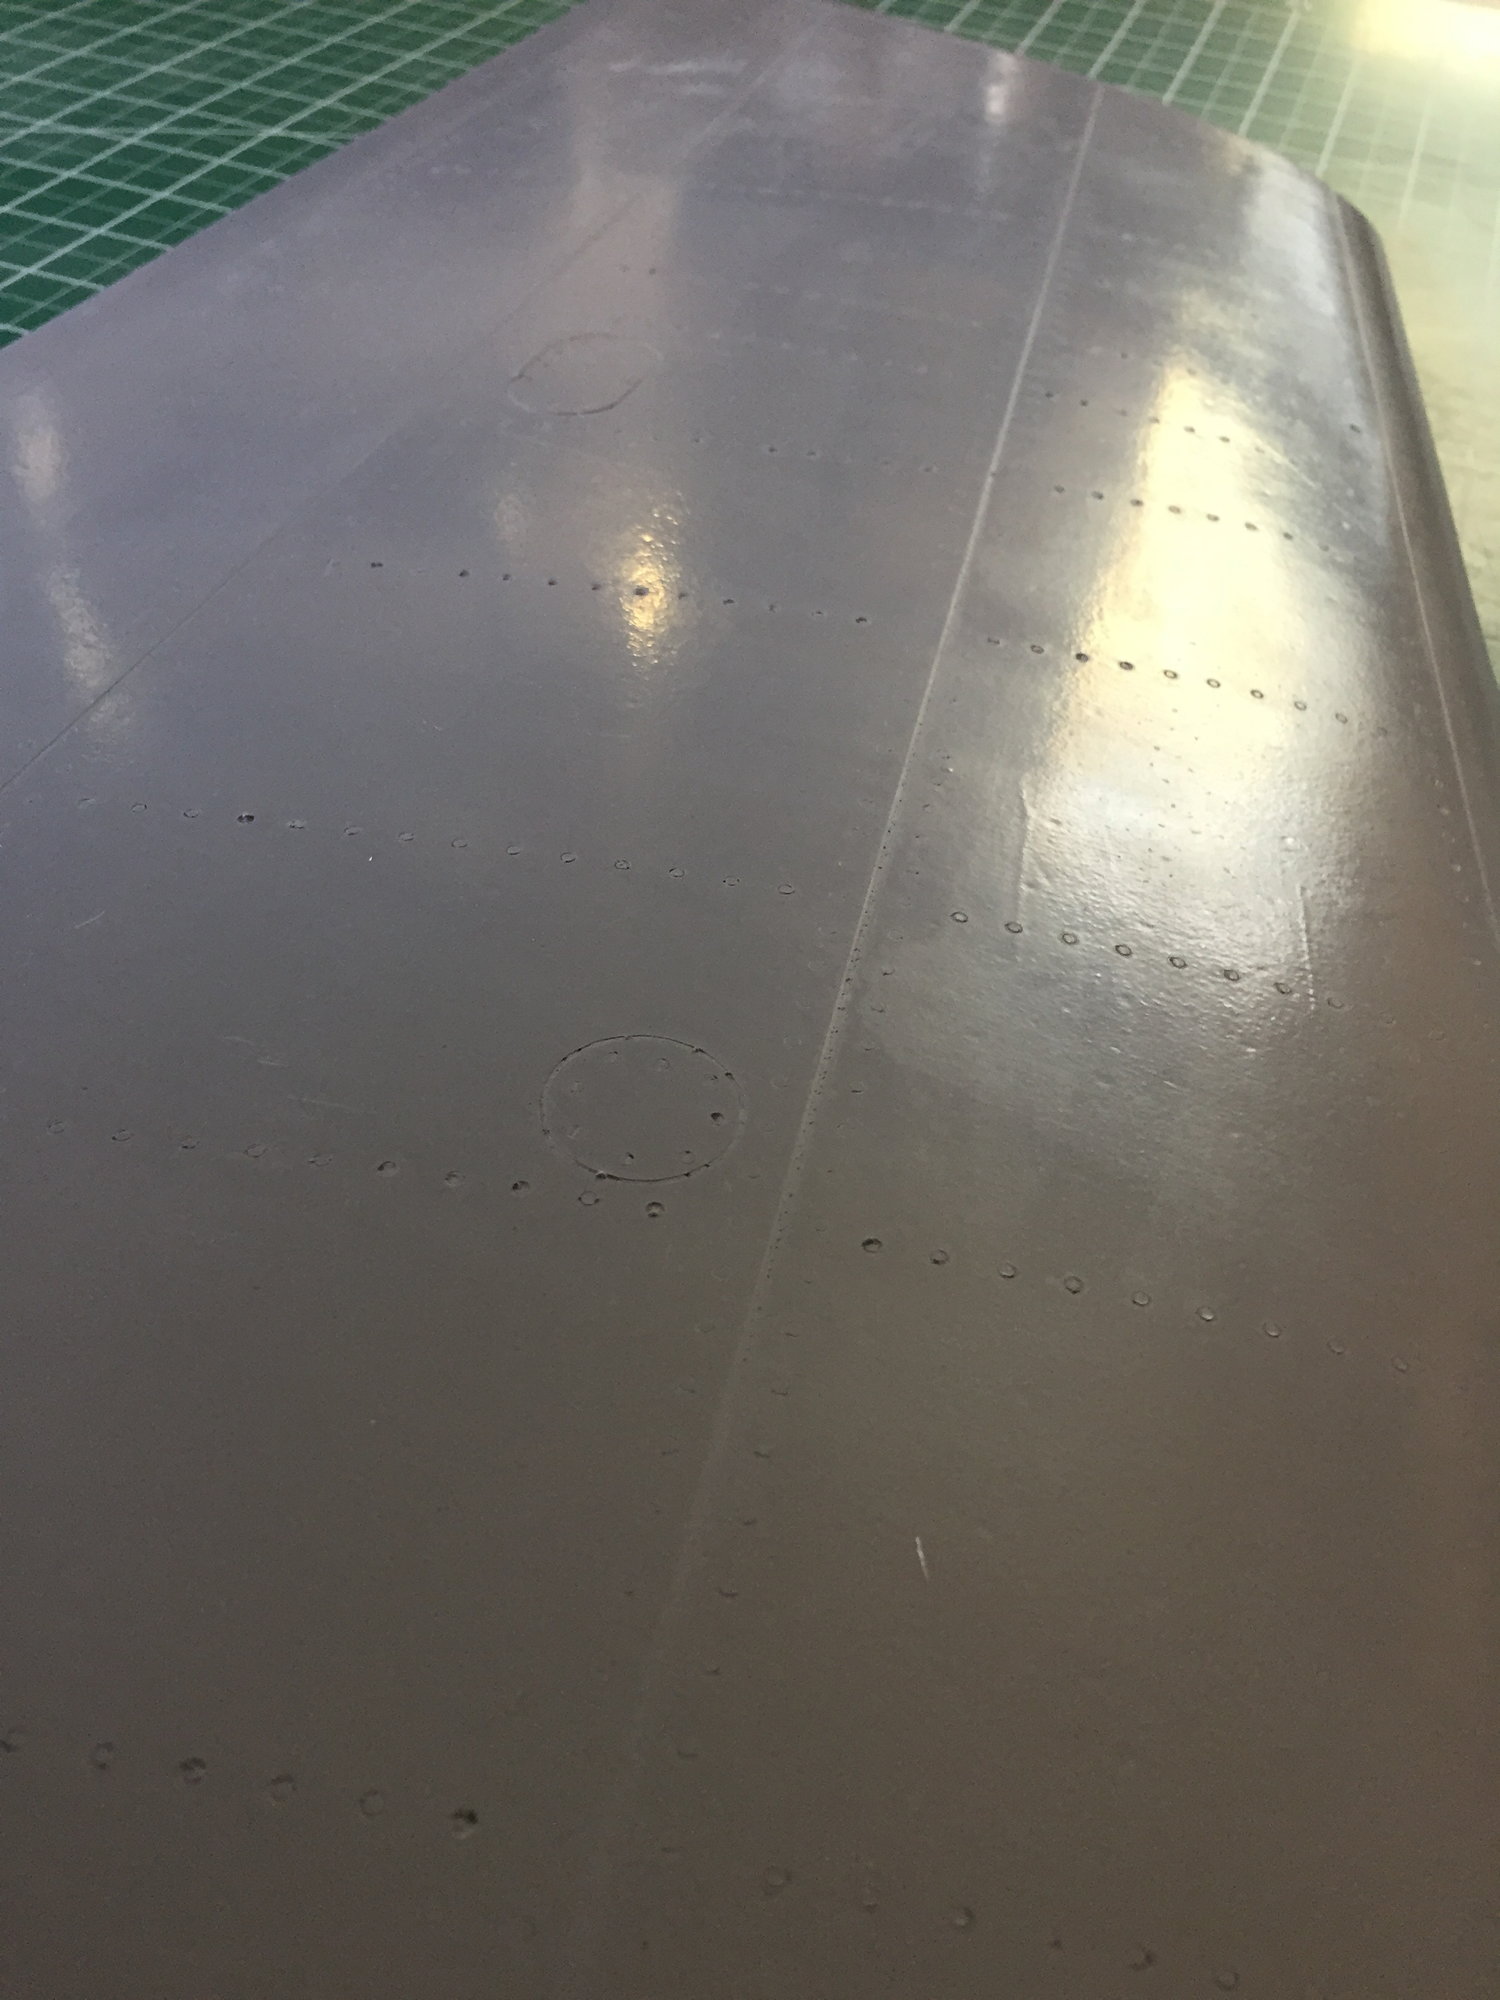
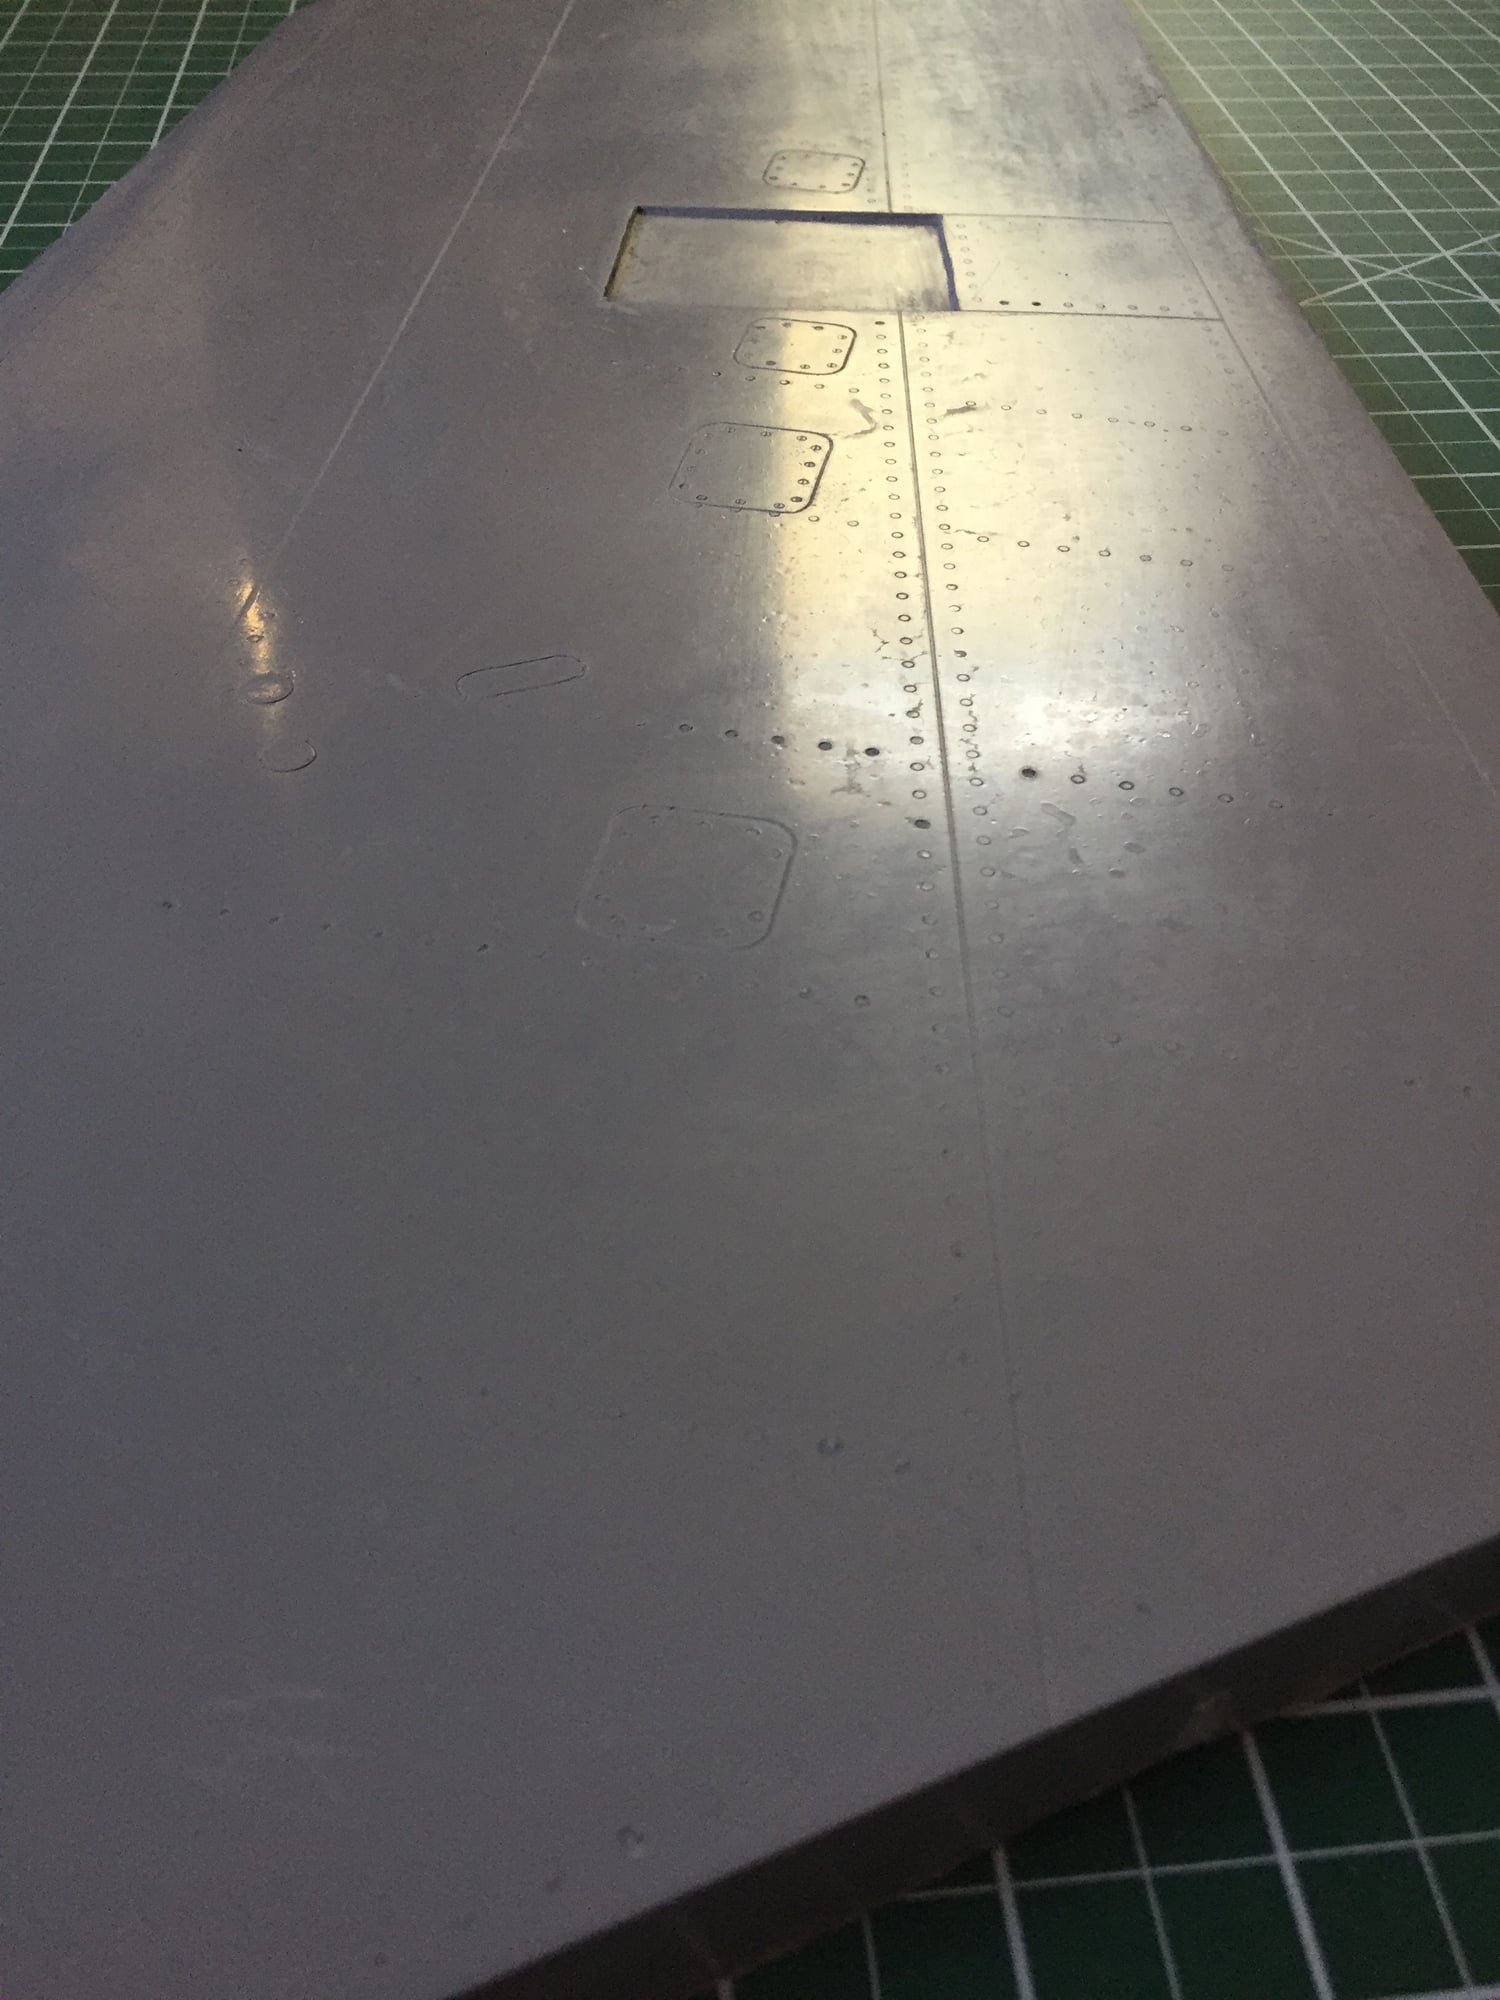
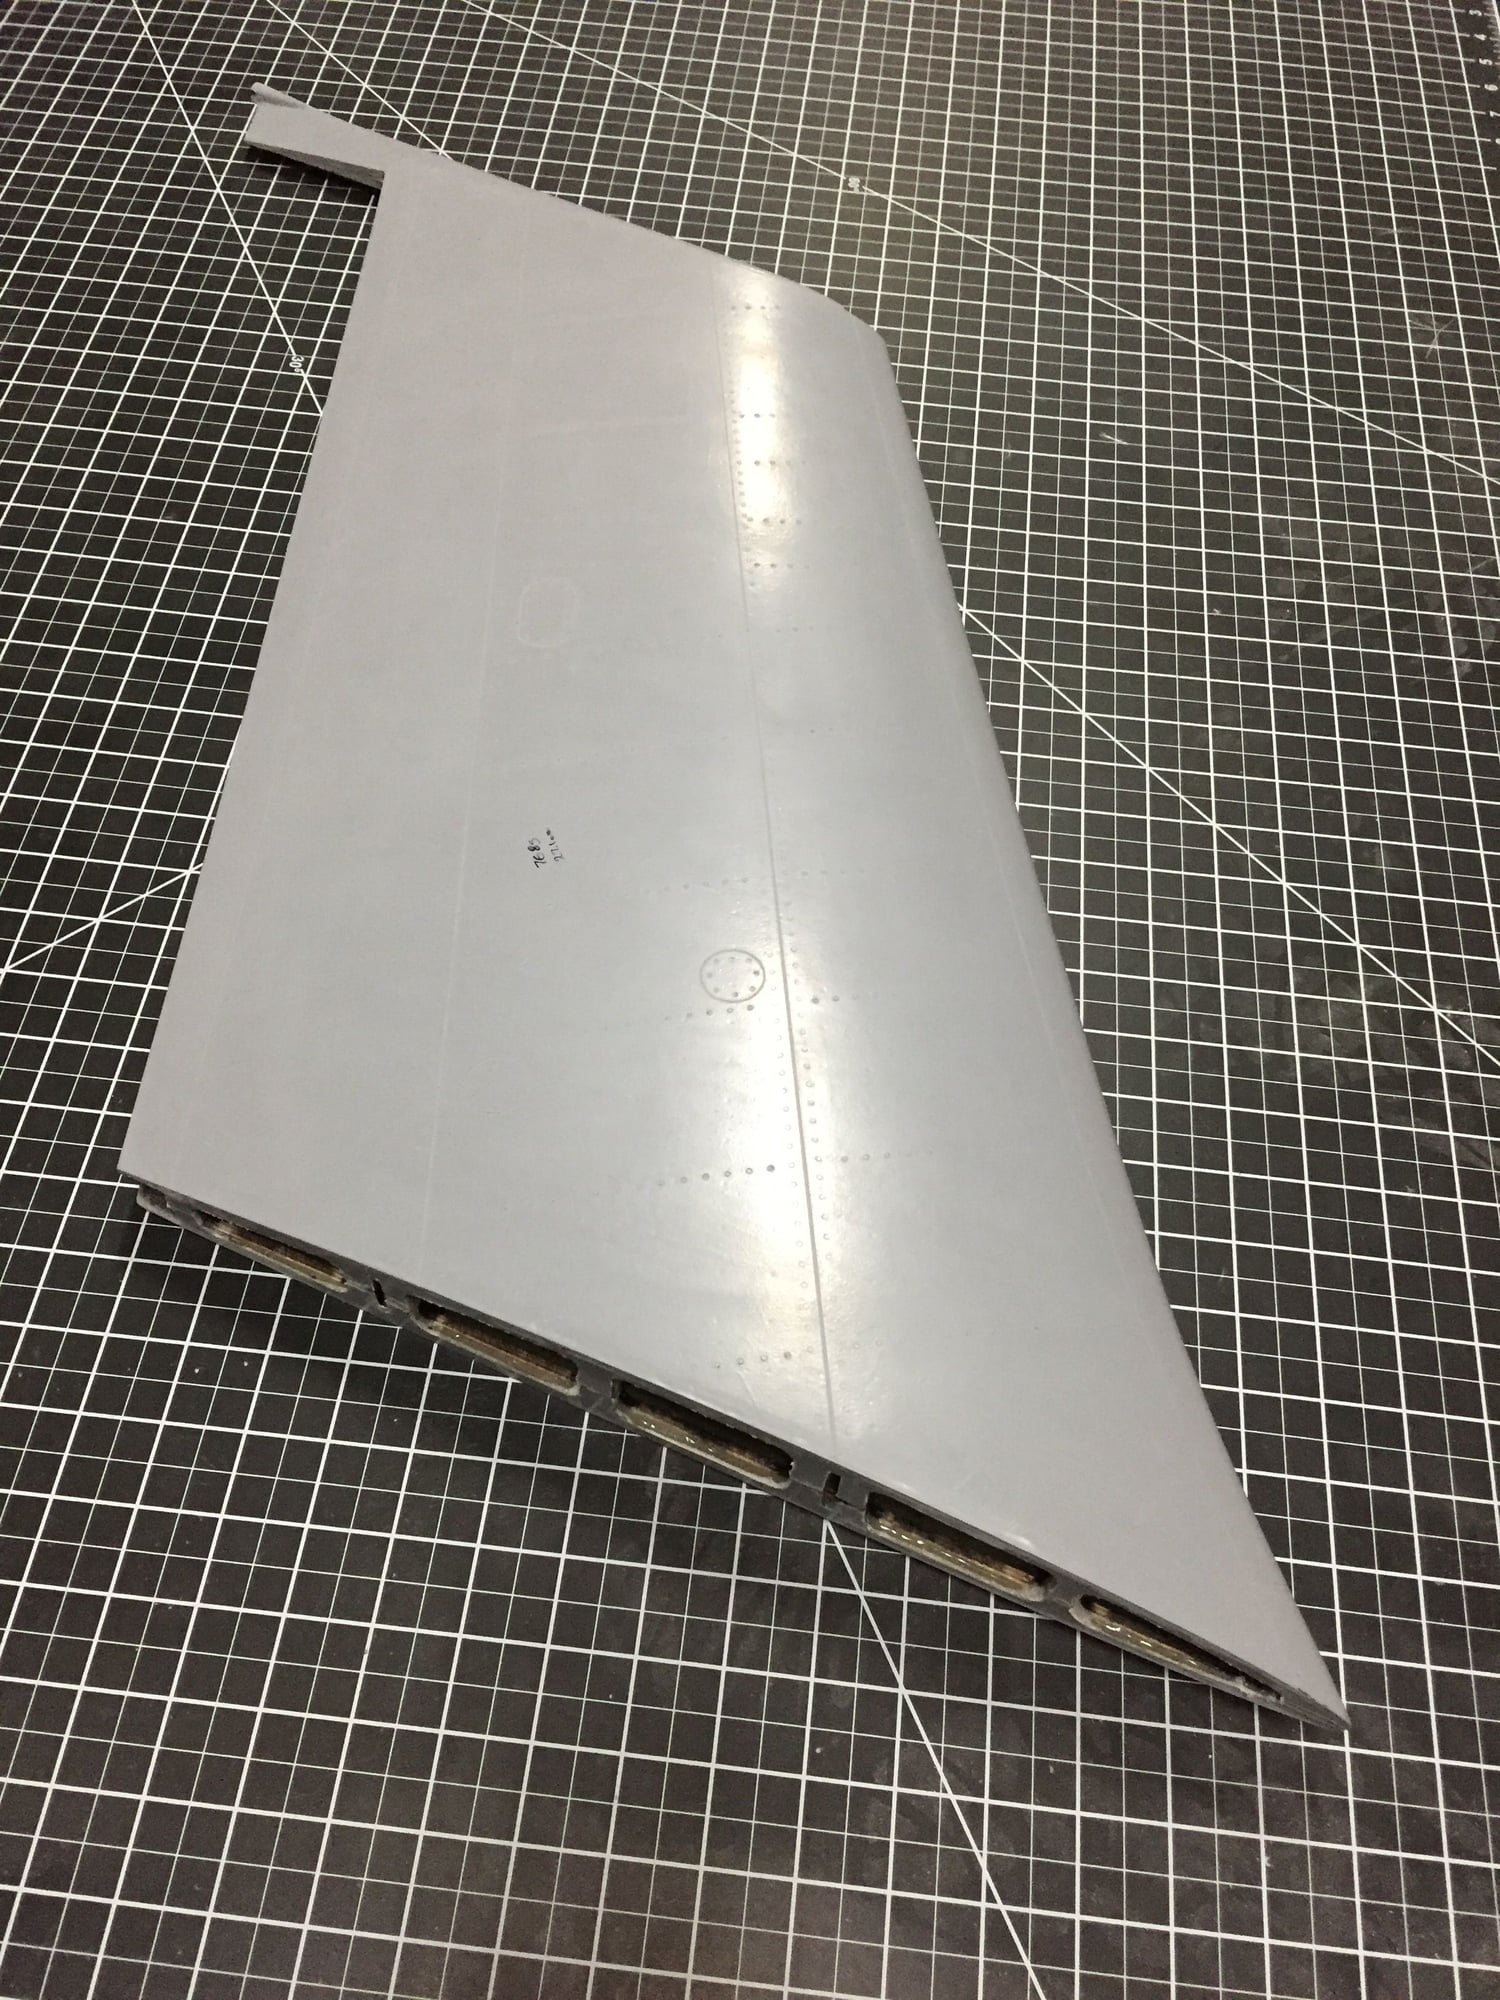
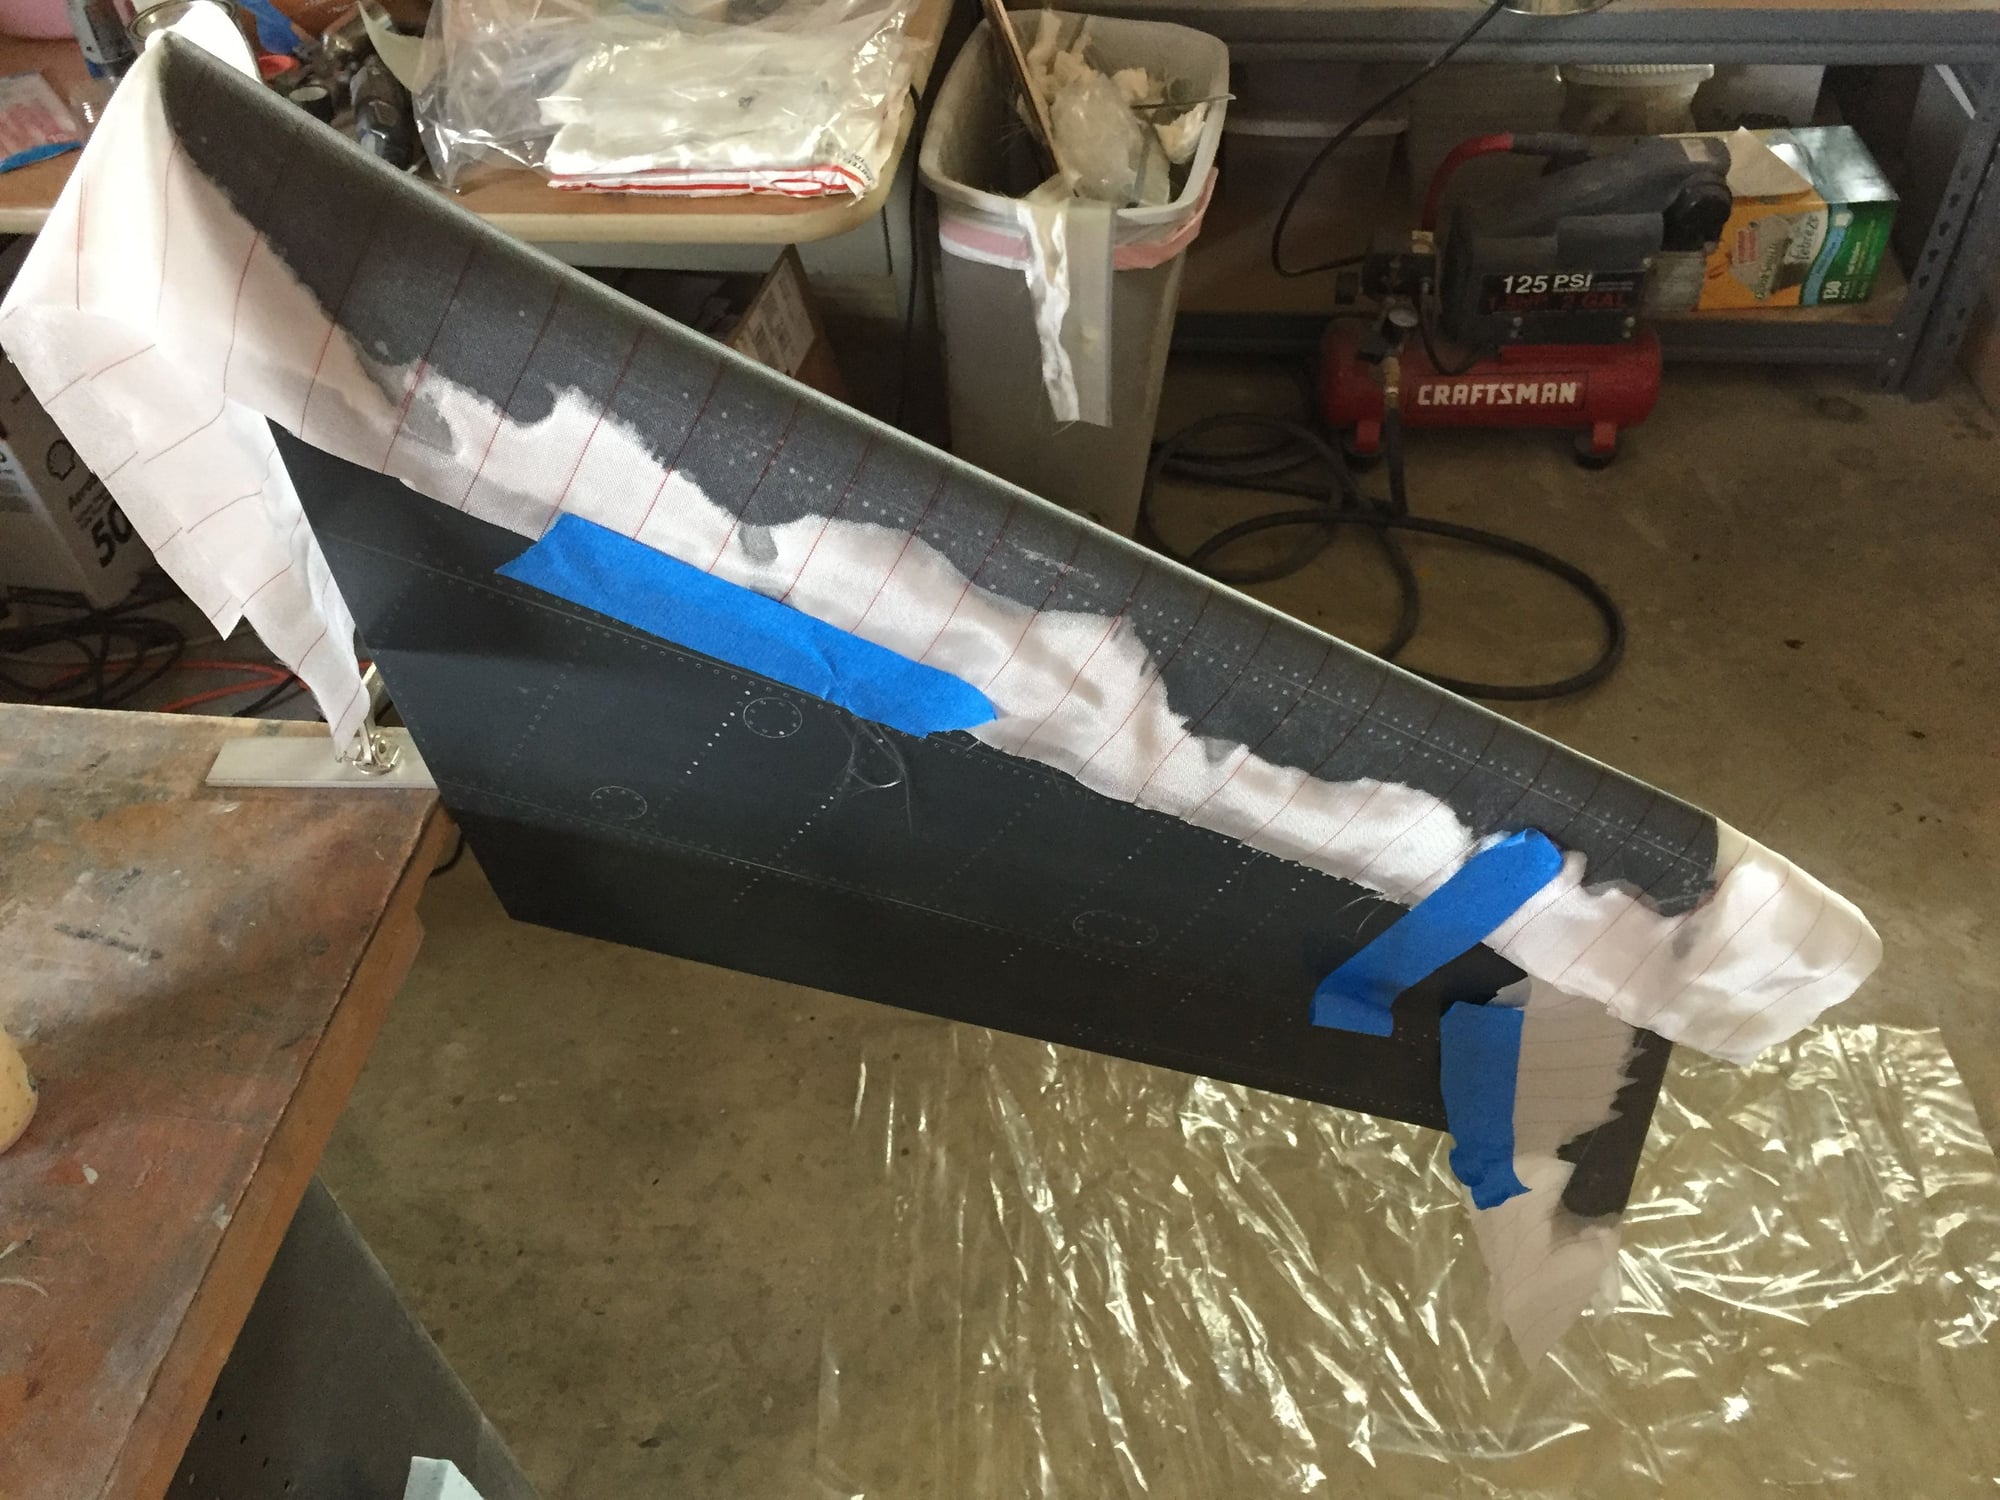
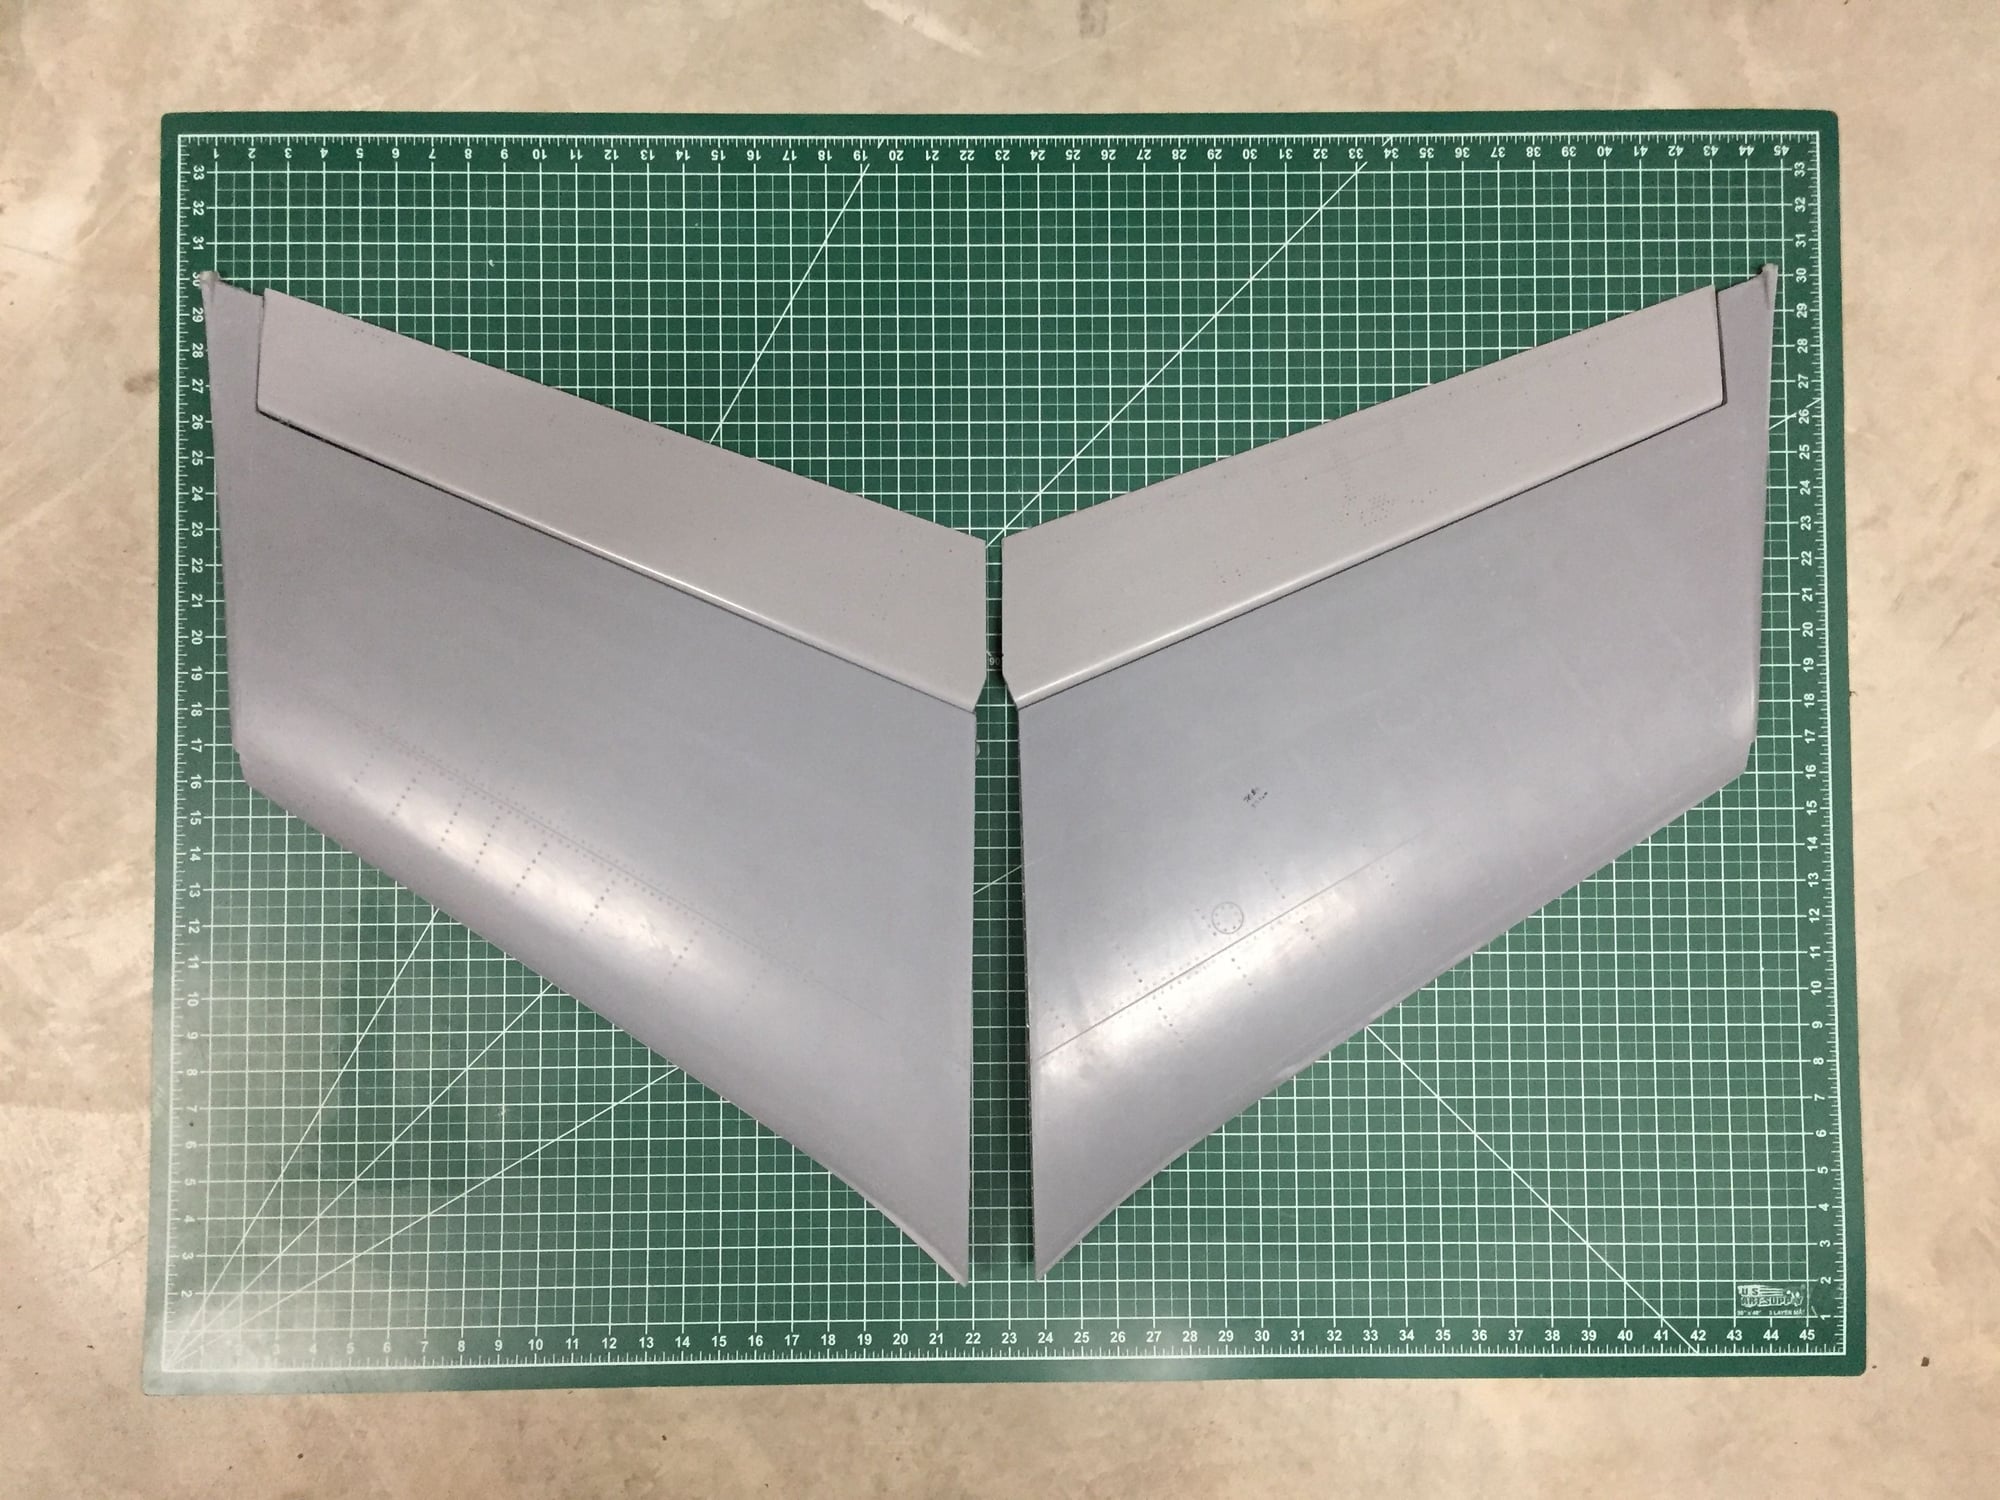
I completed the build of the inner flaps. Really happy with the quality of the final pieces.
I am now complete with all flight control surfaces, although I may remake the outer flaperons using the Airex construction method, as I used just plain glass skins on the original ones.
Paul
I am now complete with all flight control surfaces, although I may remake the outer flaperons using the Airex construction method, as I used just plain glass skins on the original ones.
Paul

 04-14-2019, 08:42 AM
#261
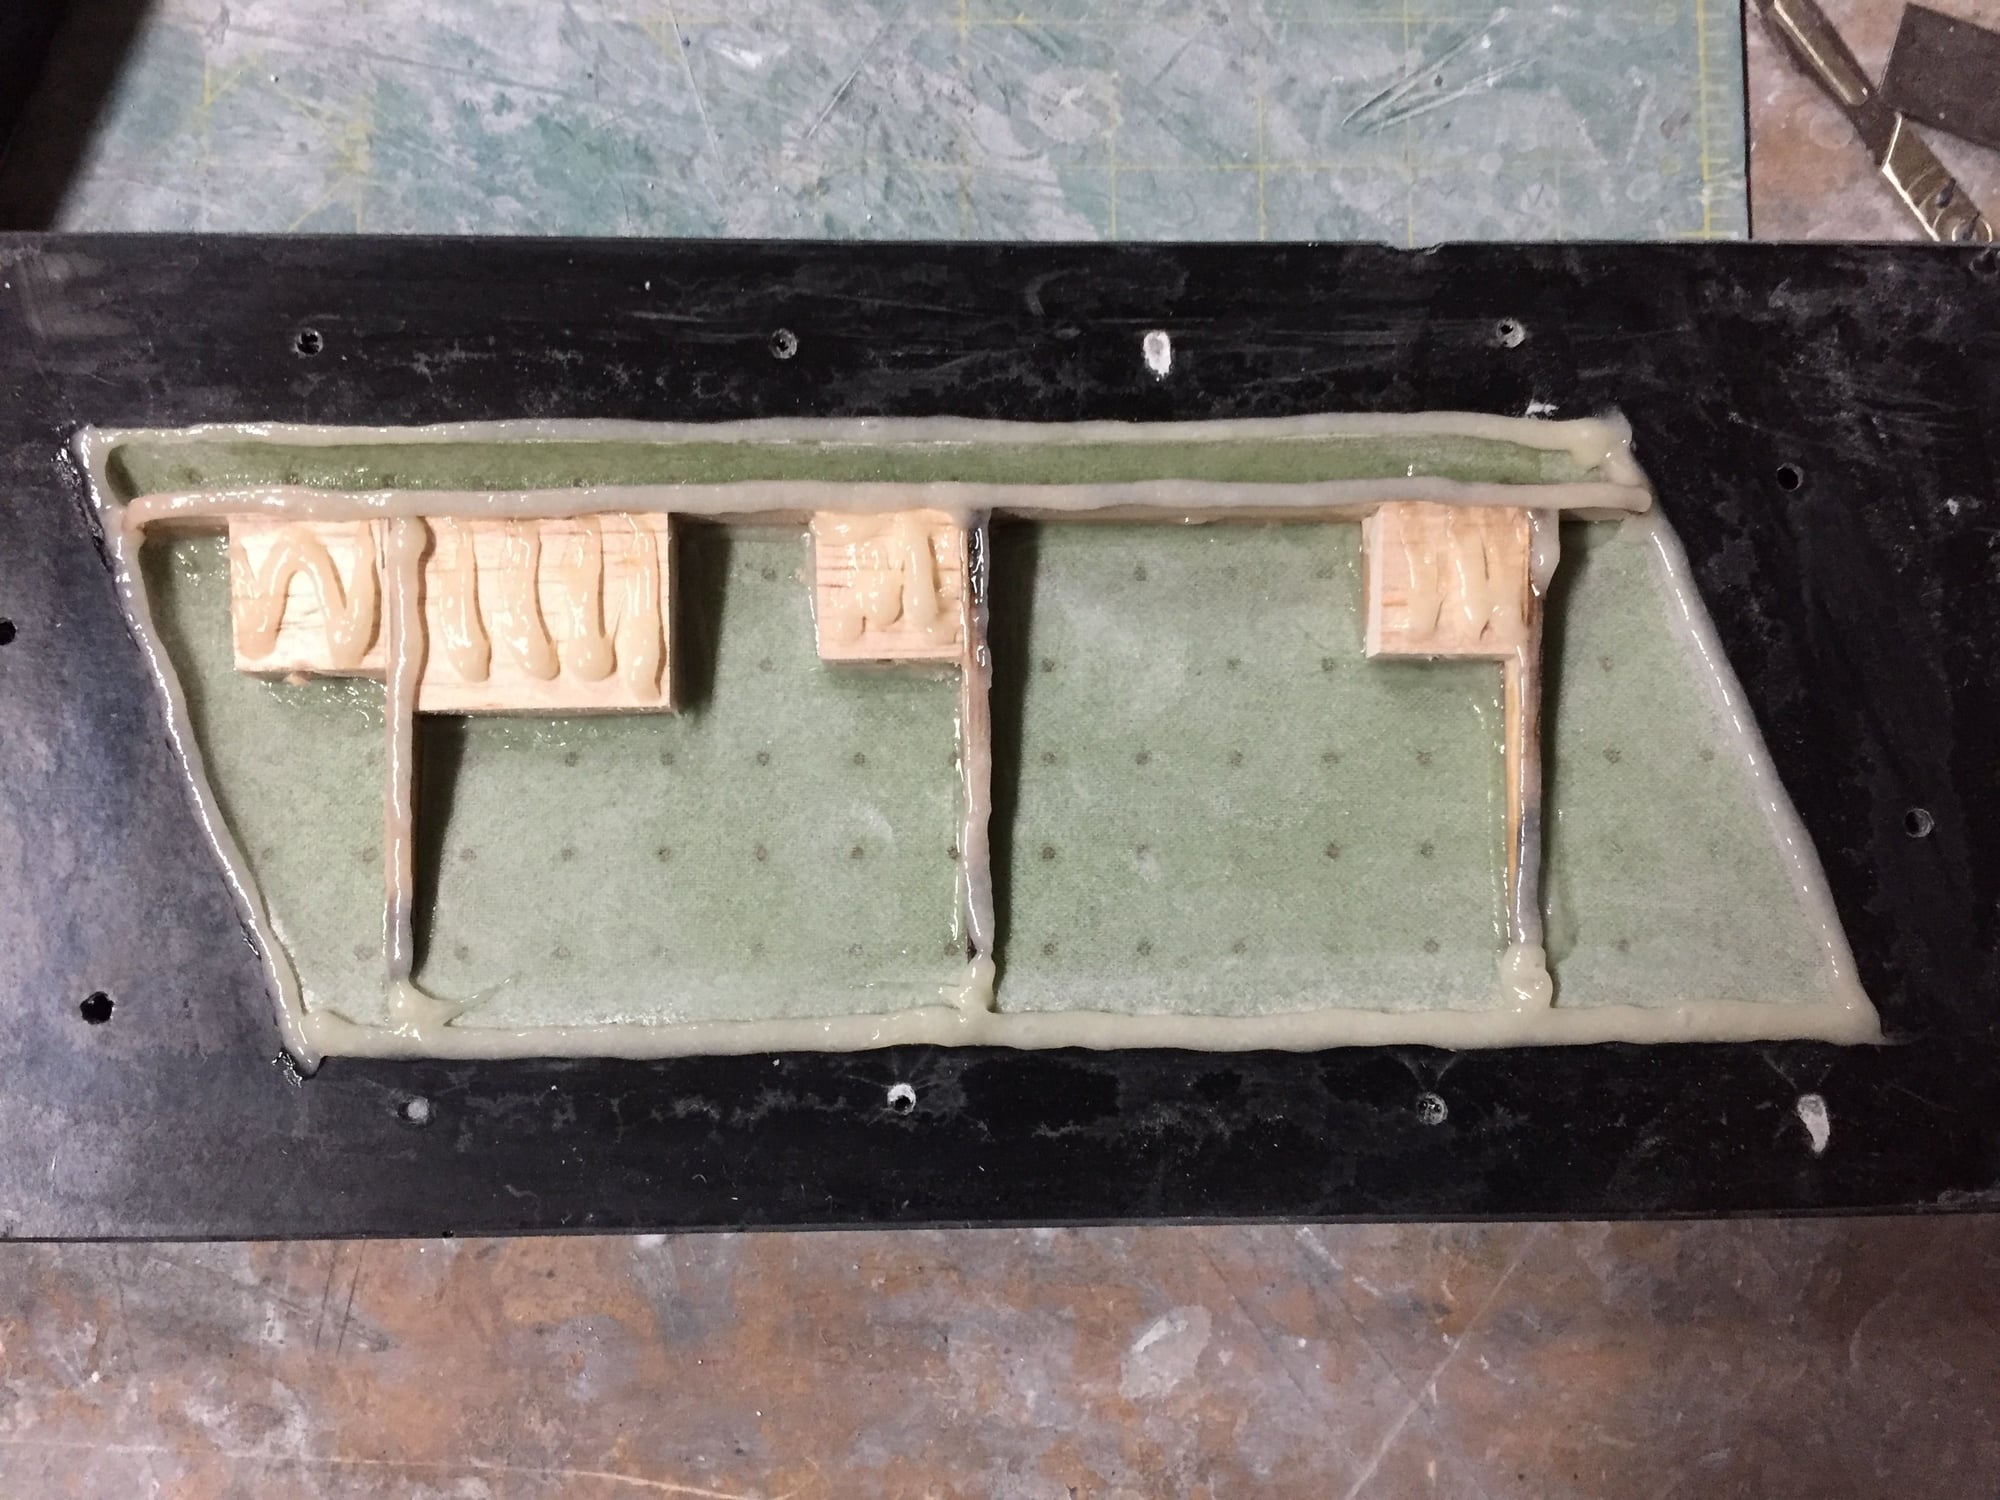
Continued to work on the wing. I made a false leading edge of 2 layers of 9oz glass for a lap joint to ensure a strong bond of the top and bottom wing skins.
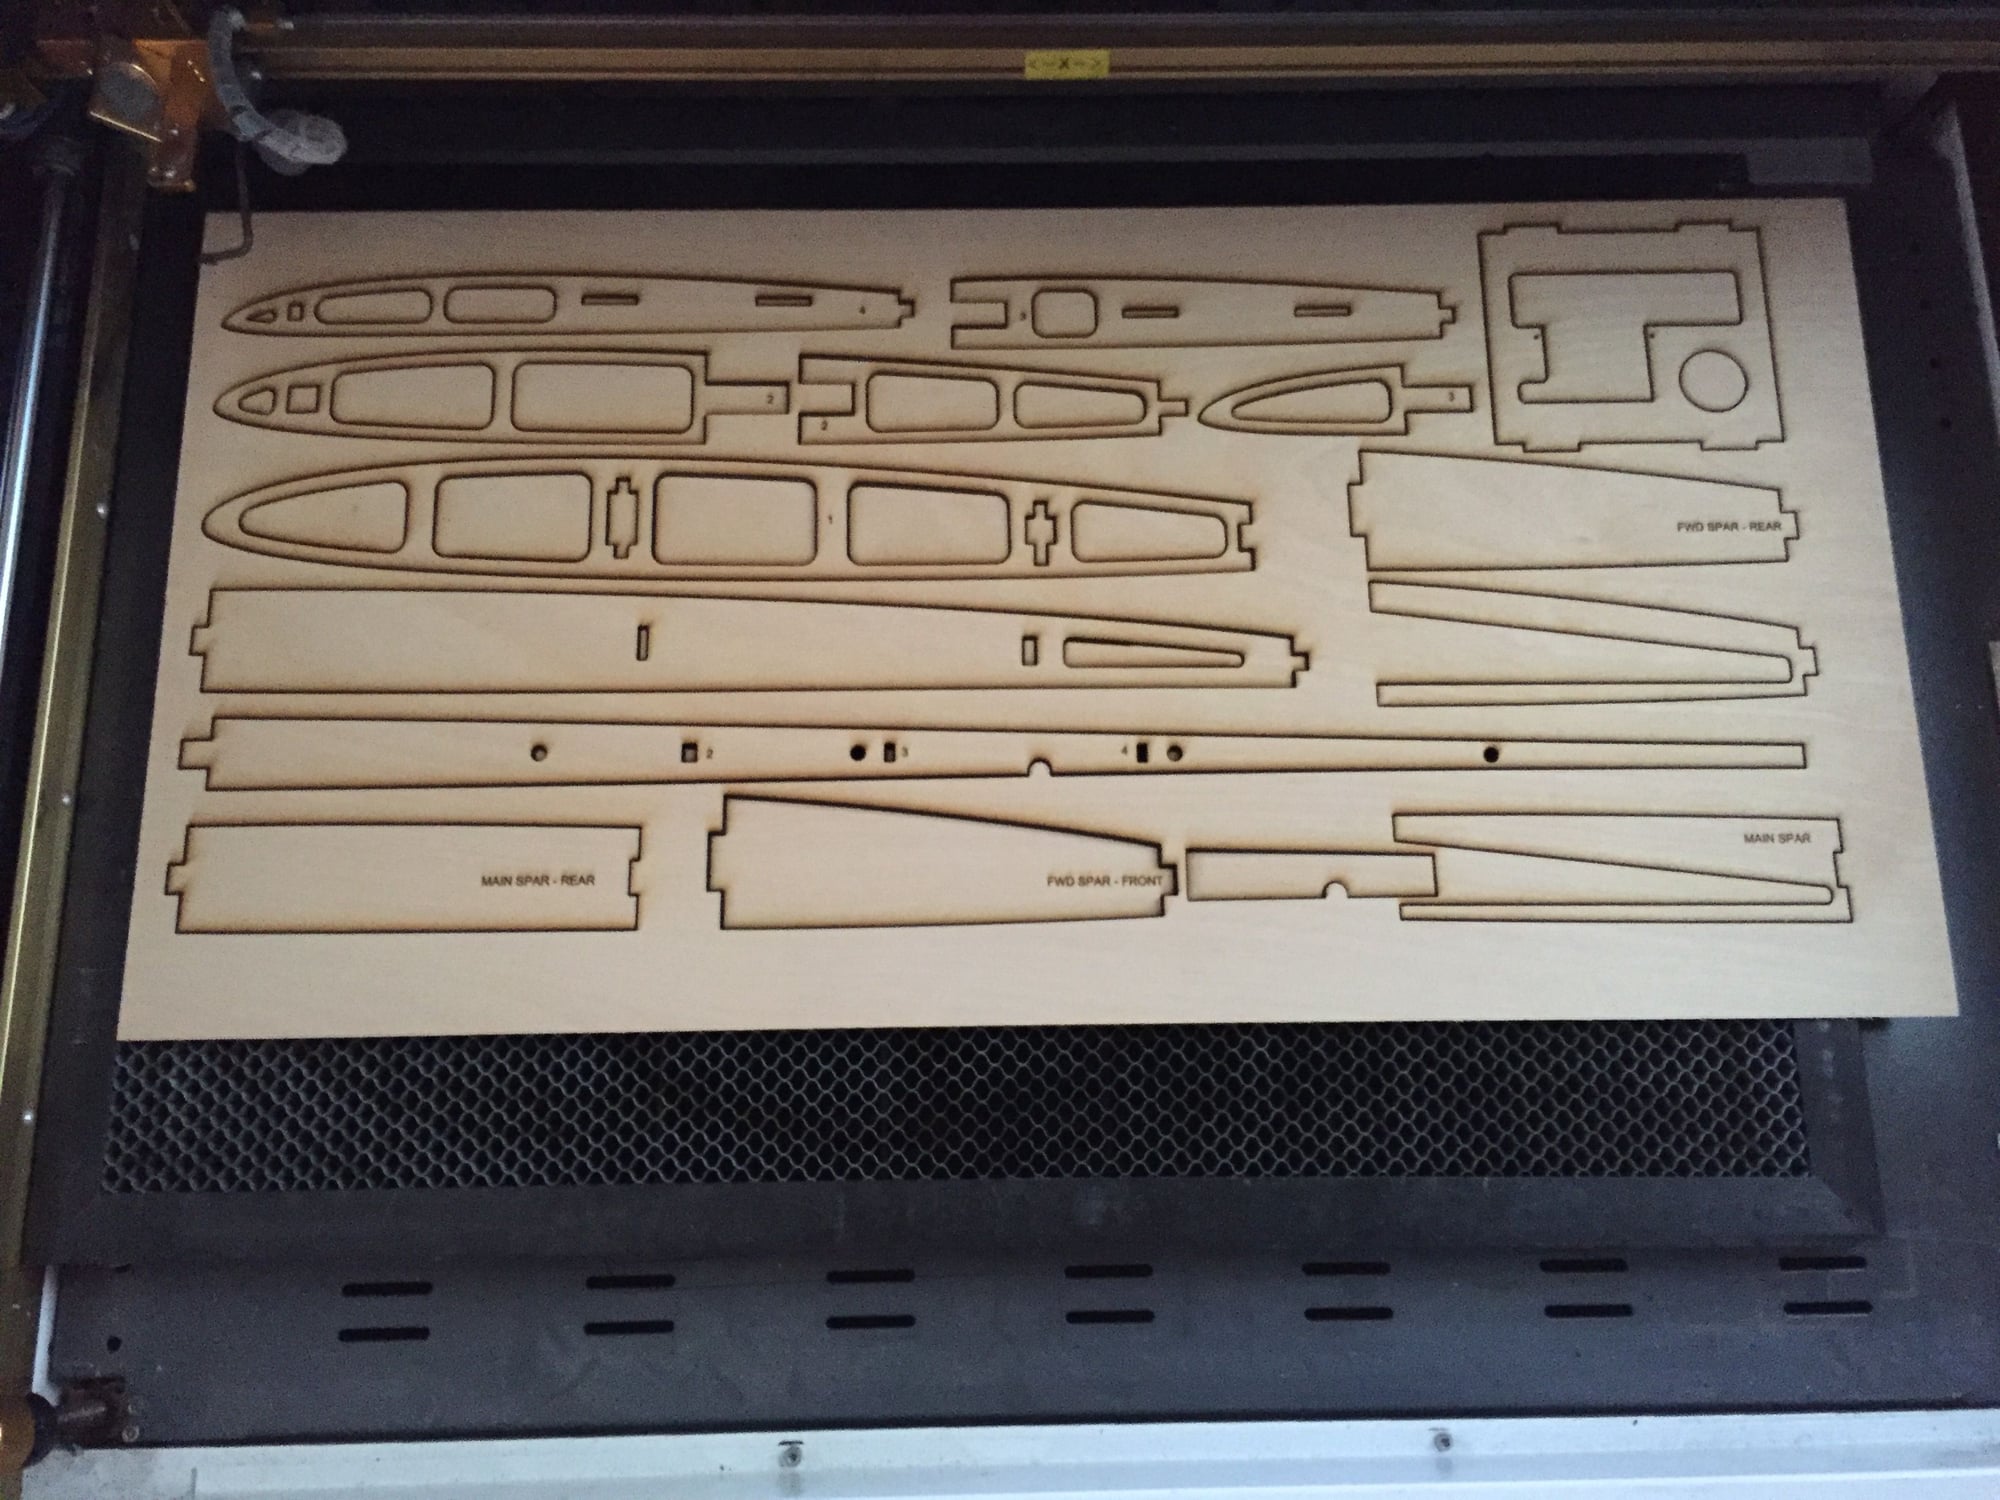
Laser cutting the wing internal structure
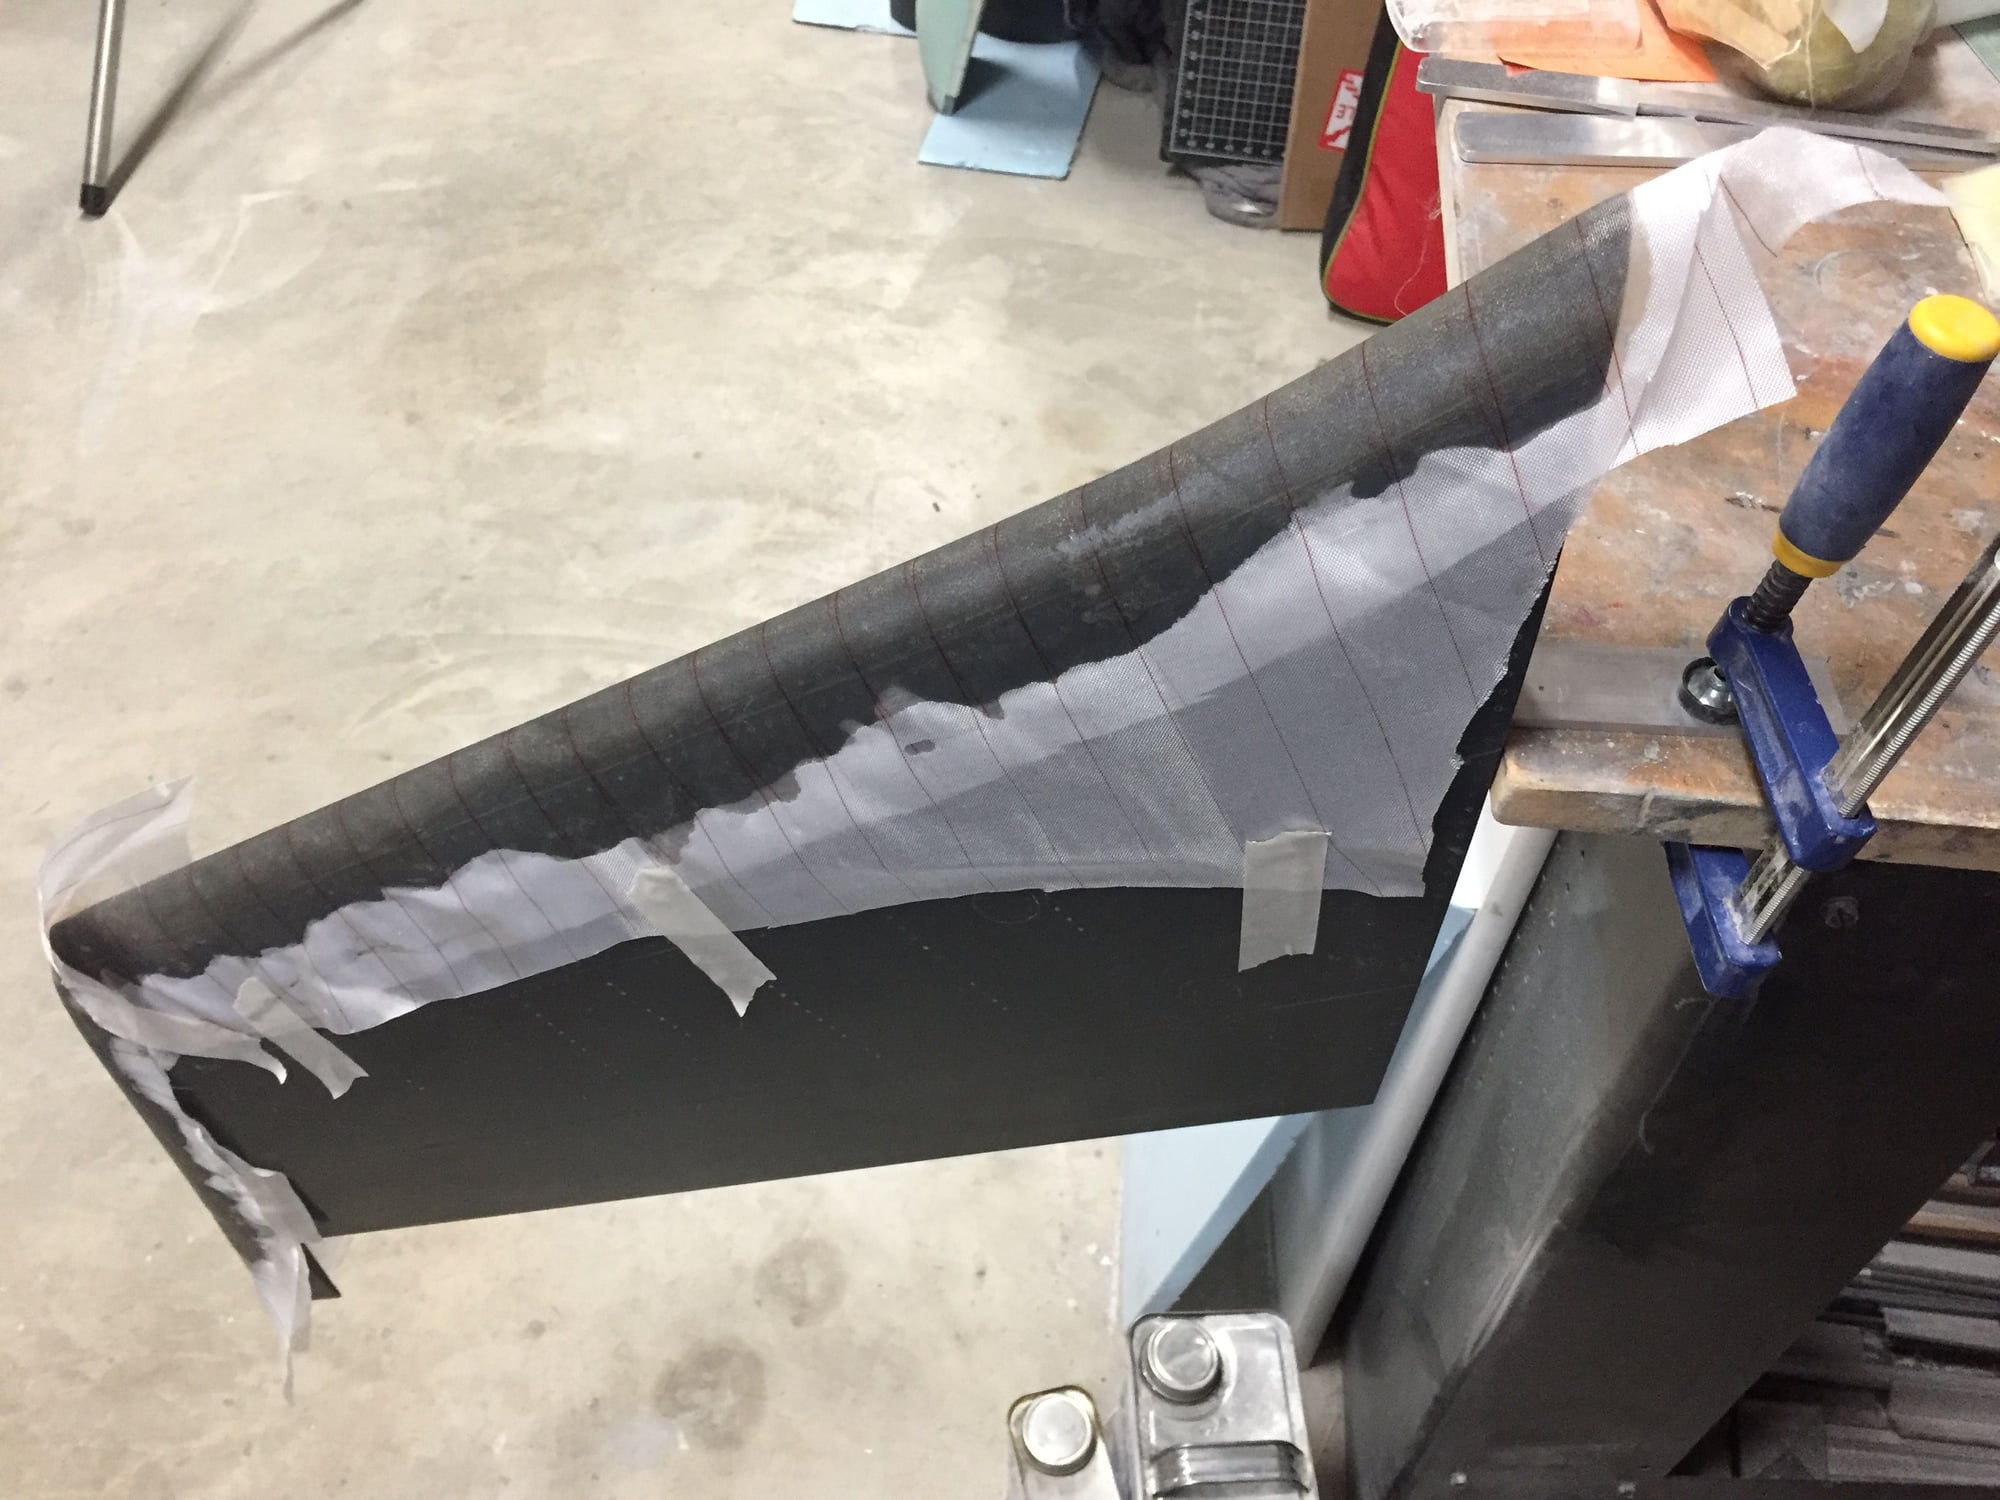
Molding the false leading edge
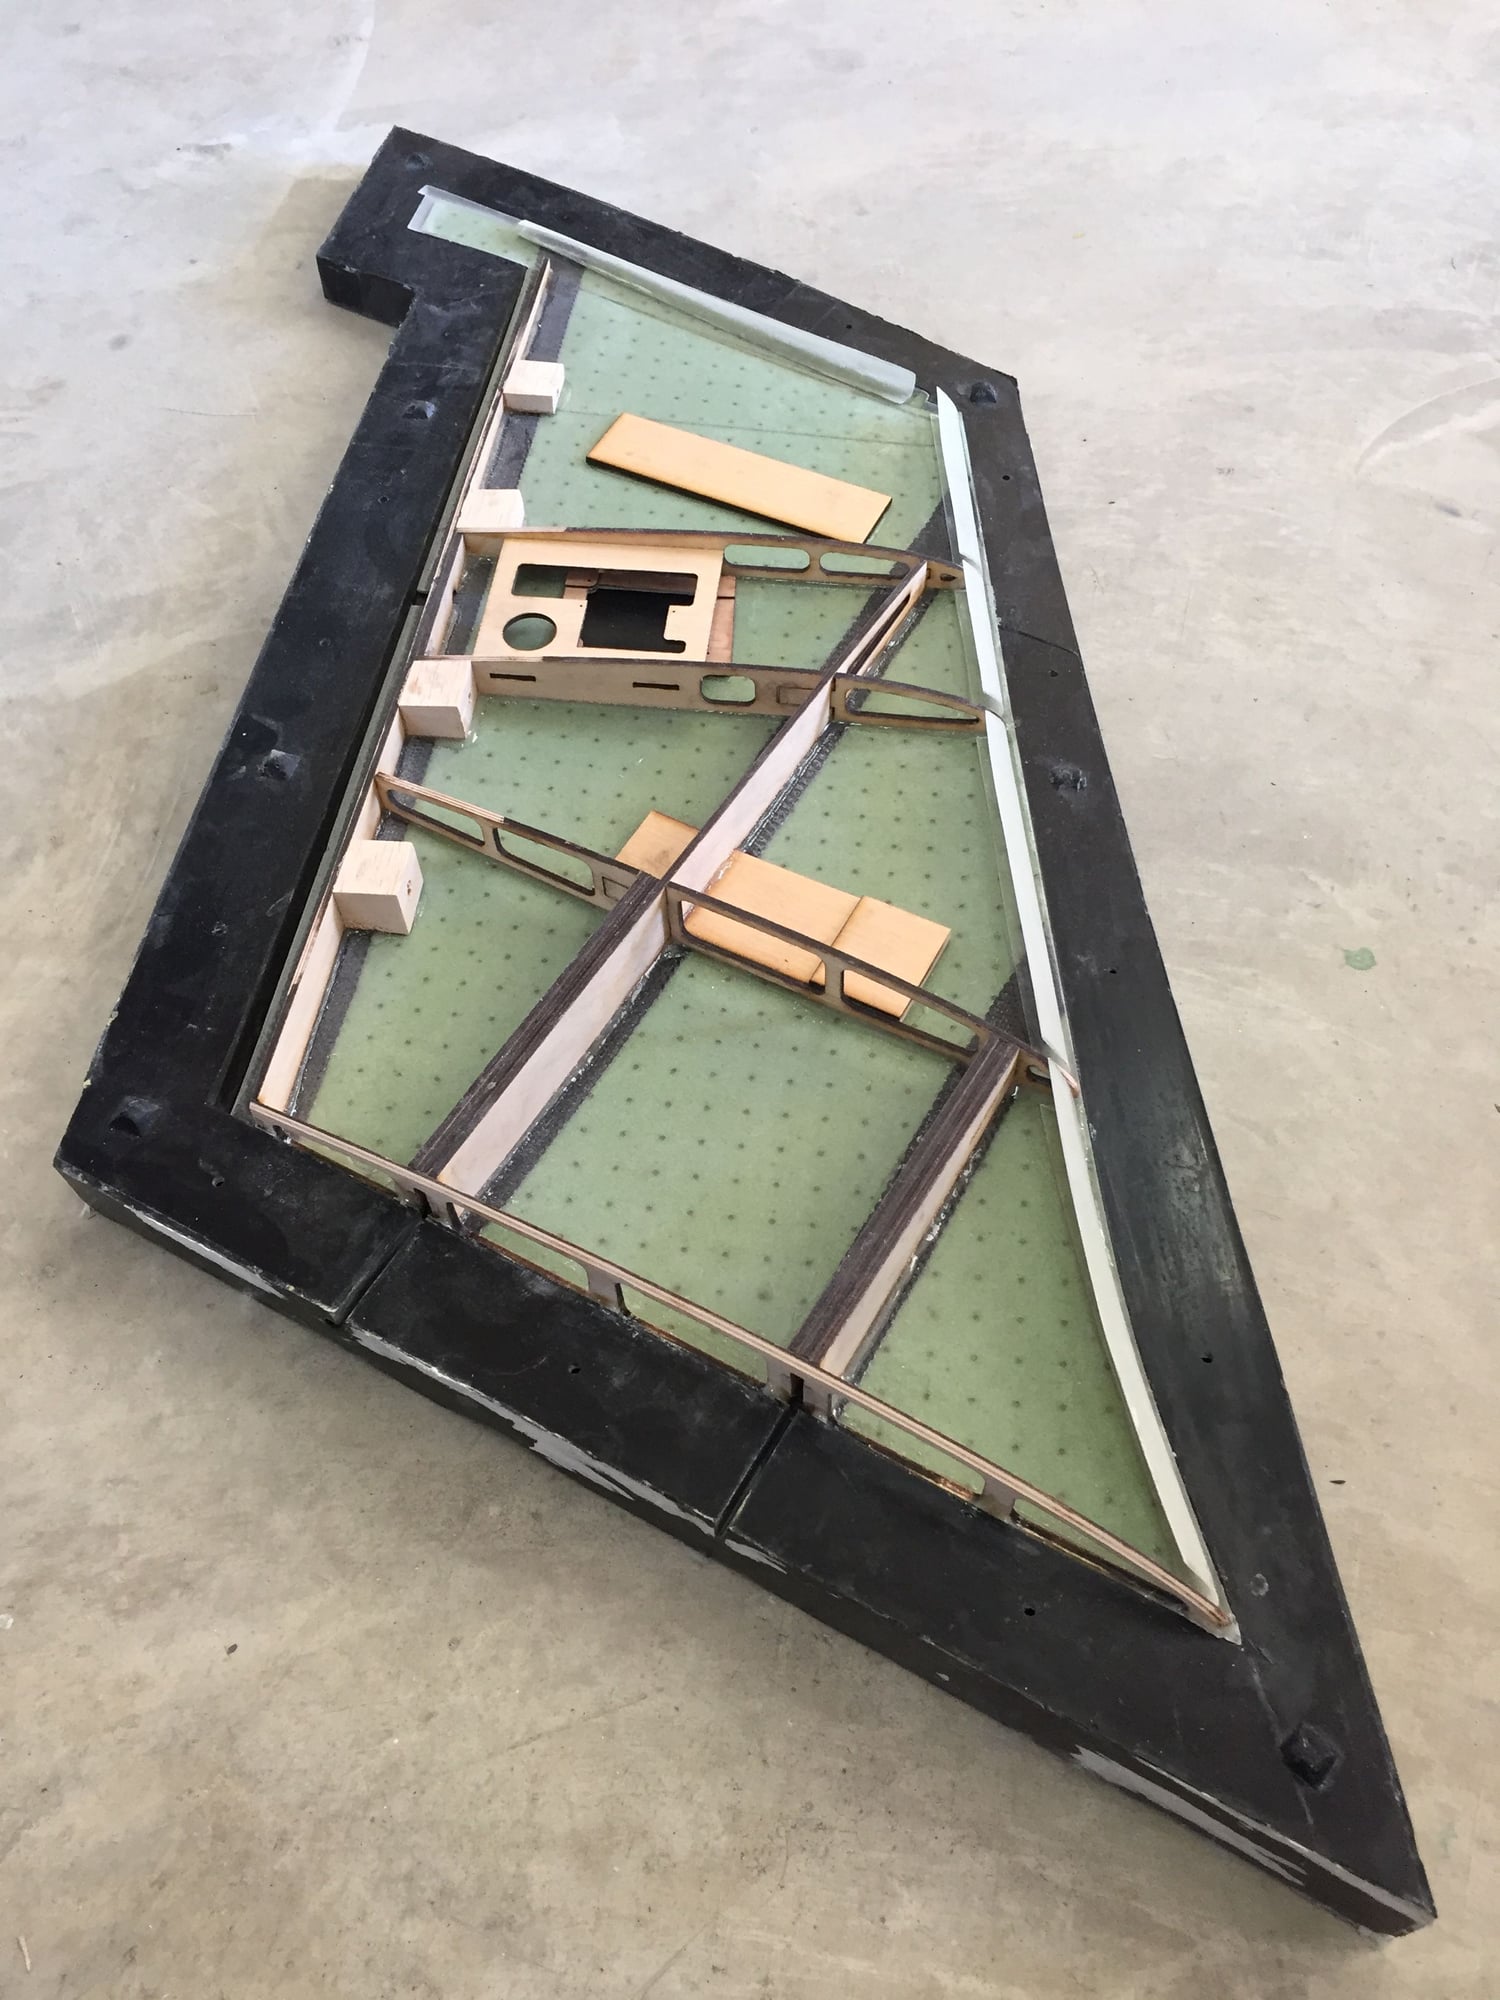
Internal structure and false leading edges bonded in place on lower skin, ready to close up.
Paul
Laser cutting the wing internal structure
Molding the false leading edge
Internal structure and false leading edges bonded in place on lower skin, ready to close up.
Paul
Last edited by JSF-TC; 04-14-2019 at 08:45 AM.
04-14-2019, 02:11 PM
#262
04-14-2019, 08:15 PM
#263

Join Date: Sep 2013
Posts: 631
Likes: 0
Received 0 Likes
on
0 Posts
Continued to work on the wing. I made a false leading edge of 2 layers of 9oz glass for a lap joint to ensure a strong bond of the top and bottom wing skins.
Laser cutting the wing internal structure
Molding the false leading edge
Internal structure and false leading edges bonded in place on lower skin, ready to close up.
Paul
Laser cutting the wing internal structure
Molding the false leading edge
Internal structure and false leading edges bonded in place on lower skin, ready to close up.
Paul
Good work!
04-15-2019, 03:28 AM
#264
Thanks for the comments. It does feel good to see the larger pieces take their final form. Feels like progress is being made.
I opened up the wing mold this morning - extremely happy with the end result. The wing feels totally rigid with no sign of any flexibility. I just need to finish cleaning up the edges and it will be finished, ready for servo, control surface and lighting install.
Paul
I opened up the wing mold this morning - extremely happy with the end result. The wing feels totally rigid with no sign of any flexibility. I just need to finish cleaning up the edges and it will be finished, ready for servo, control surface and lighting install.
Paul

 04-29-2019, 04:57 PM
#268
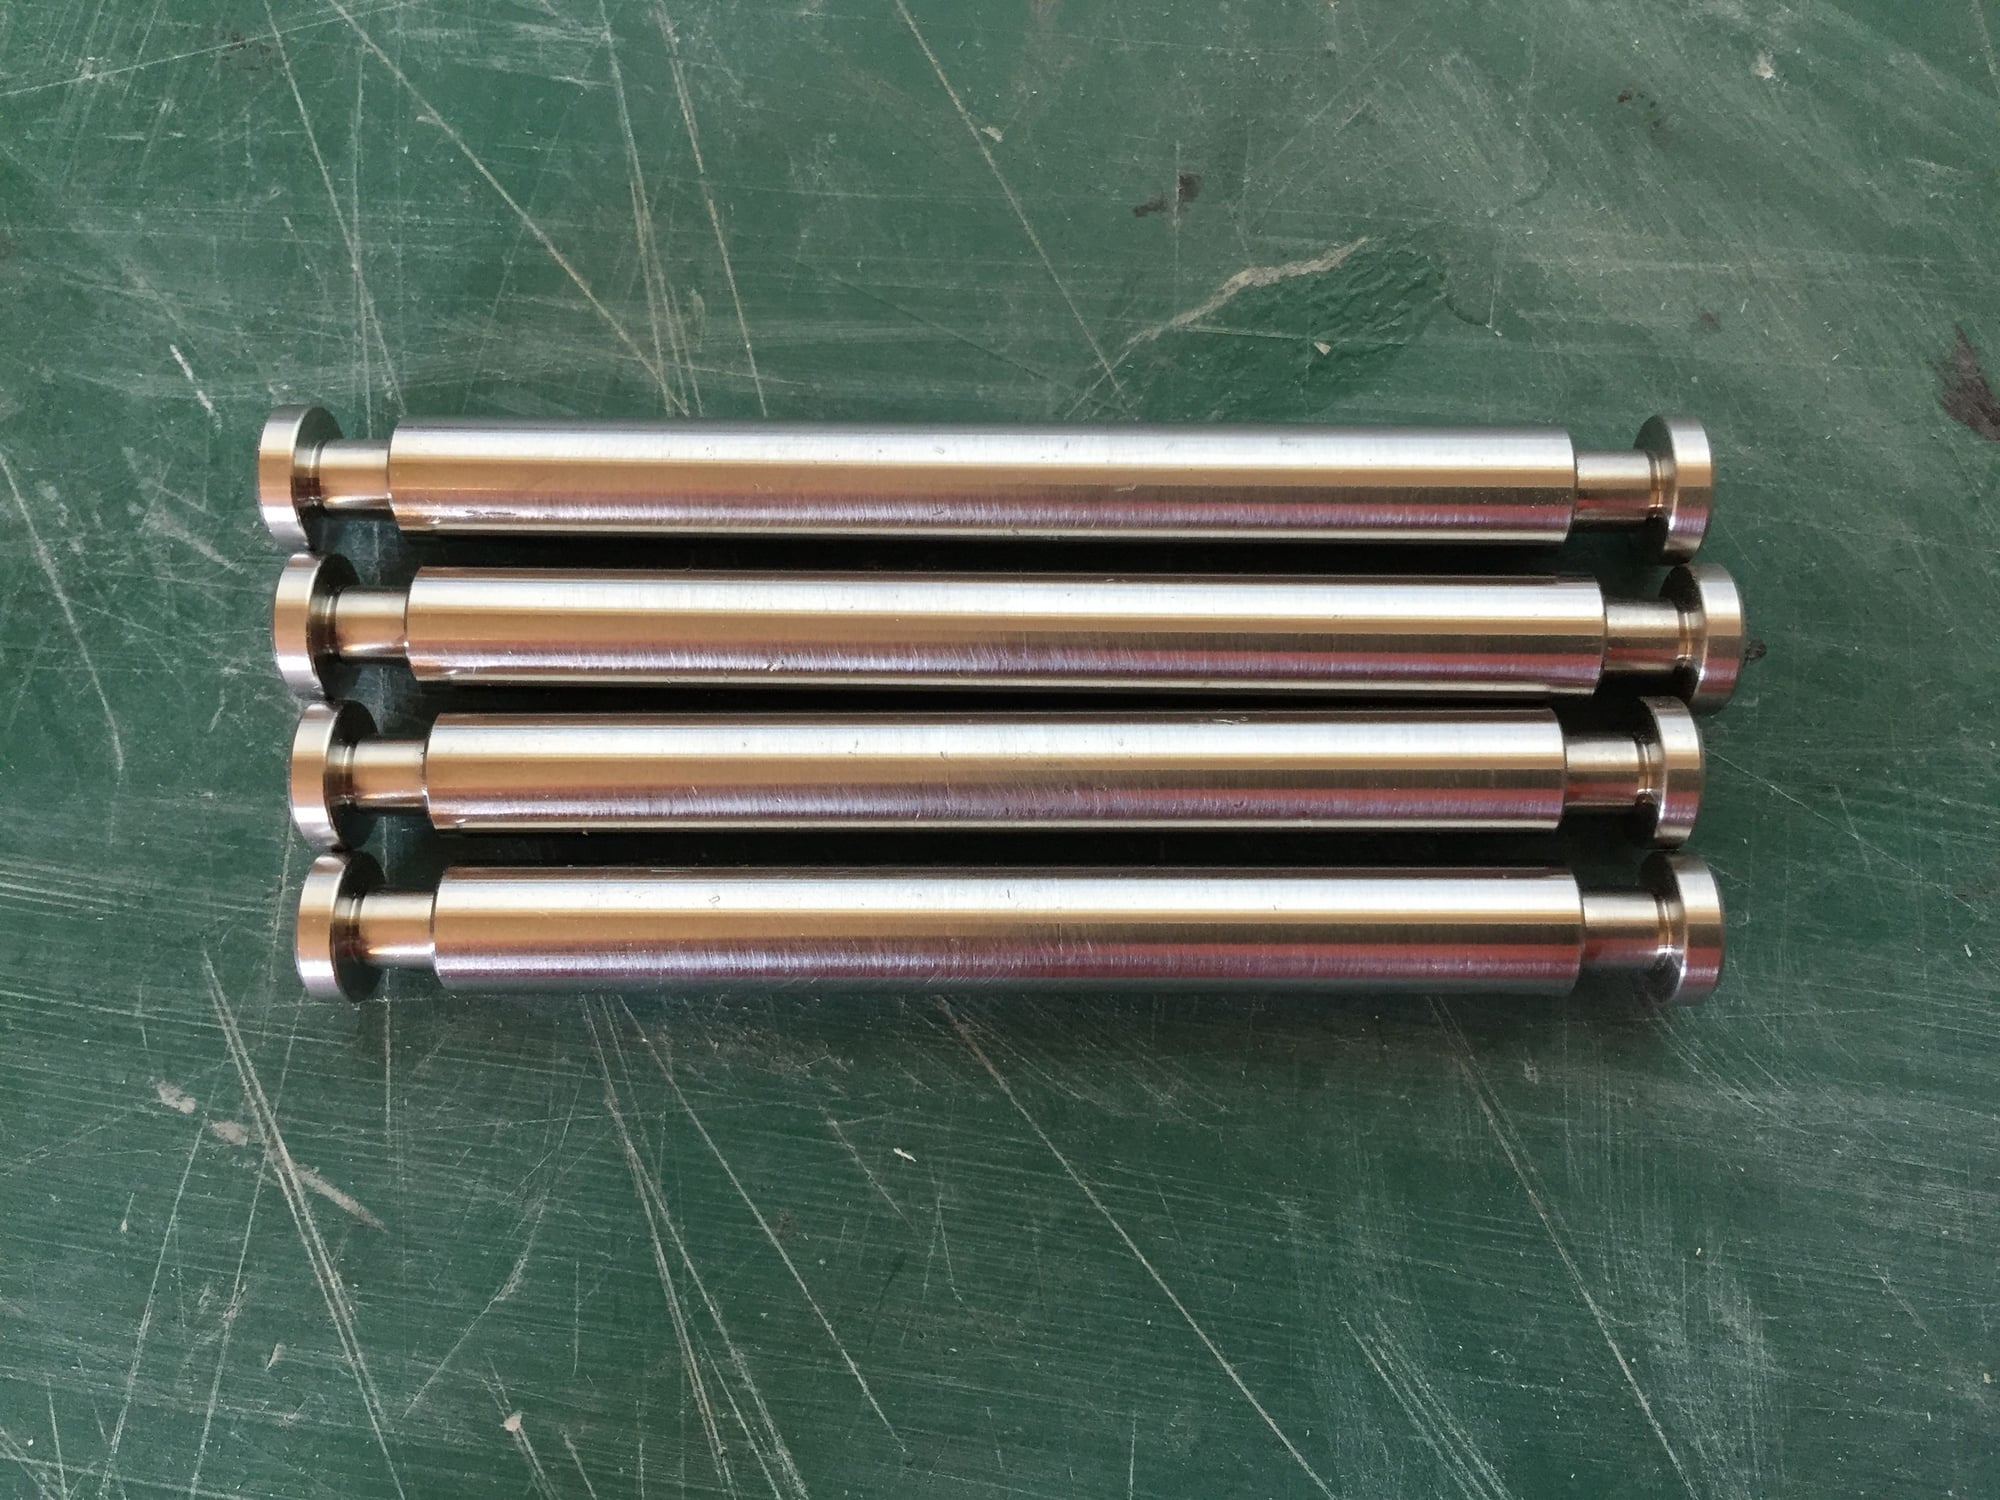
I've been researching options for getting my main gear custom machined, primarily by the usual RC gear suppliers. All with no luck, no-one seems interested, so I have resorted to doing it myself. I have a few parts being machined by one of the on-line machine shops, and along with help from a friend who has a mini-lathe we made the first parts; the main pivot pins and pins for the shrink mechanism.
Hopefully it all works out otherwise I will have invested a huge amount for some fancy aluminum paperweights.............

Paul
Hopefully it all works out otherwise I will have invested a huge amount for some fancy aluminum paperweights.............
Paul
Last edited by JSF-TC; 04-29-2019 at 05:06 PM.
 06-14-2019, 06:18 PM
#270
After a small pause on the Buccaneer while I started on another of my bucket list projects (all composite Spitfire starting from full scale measurements (the Monforton book) to a CAD model) I'm back on the Buccaneer.
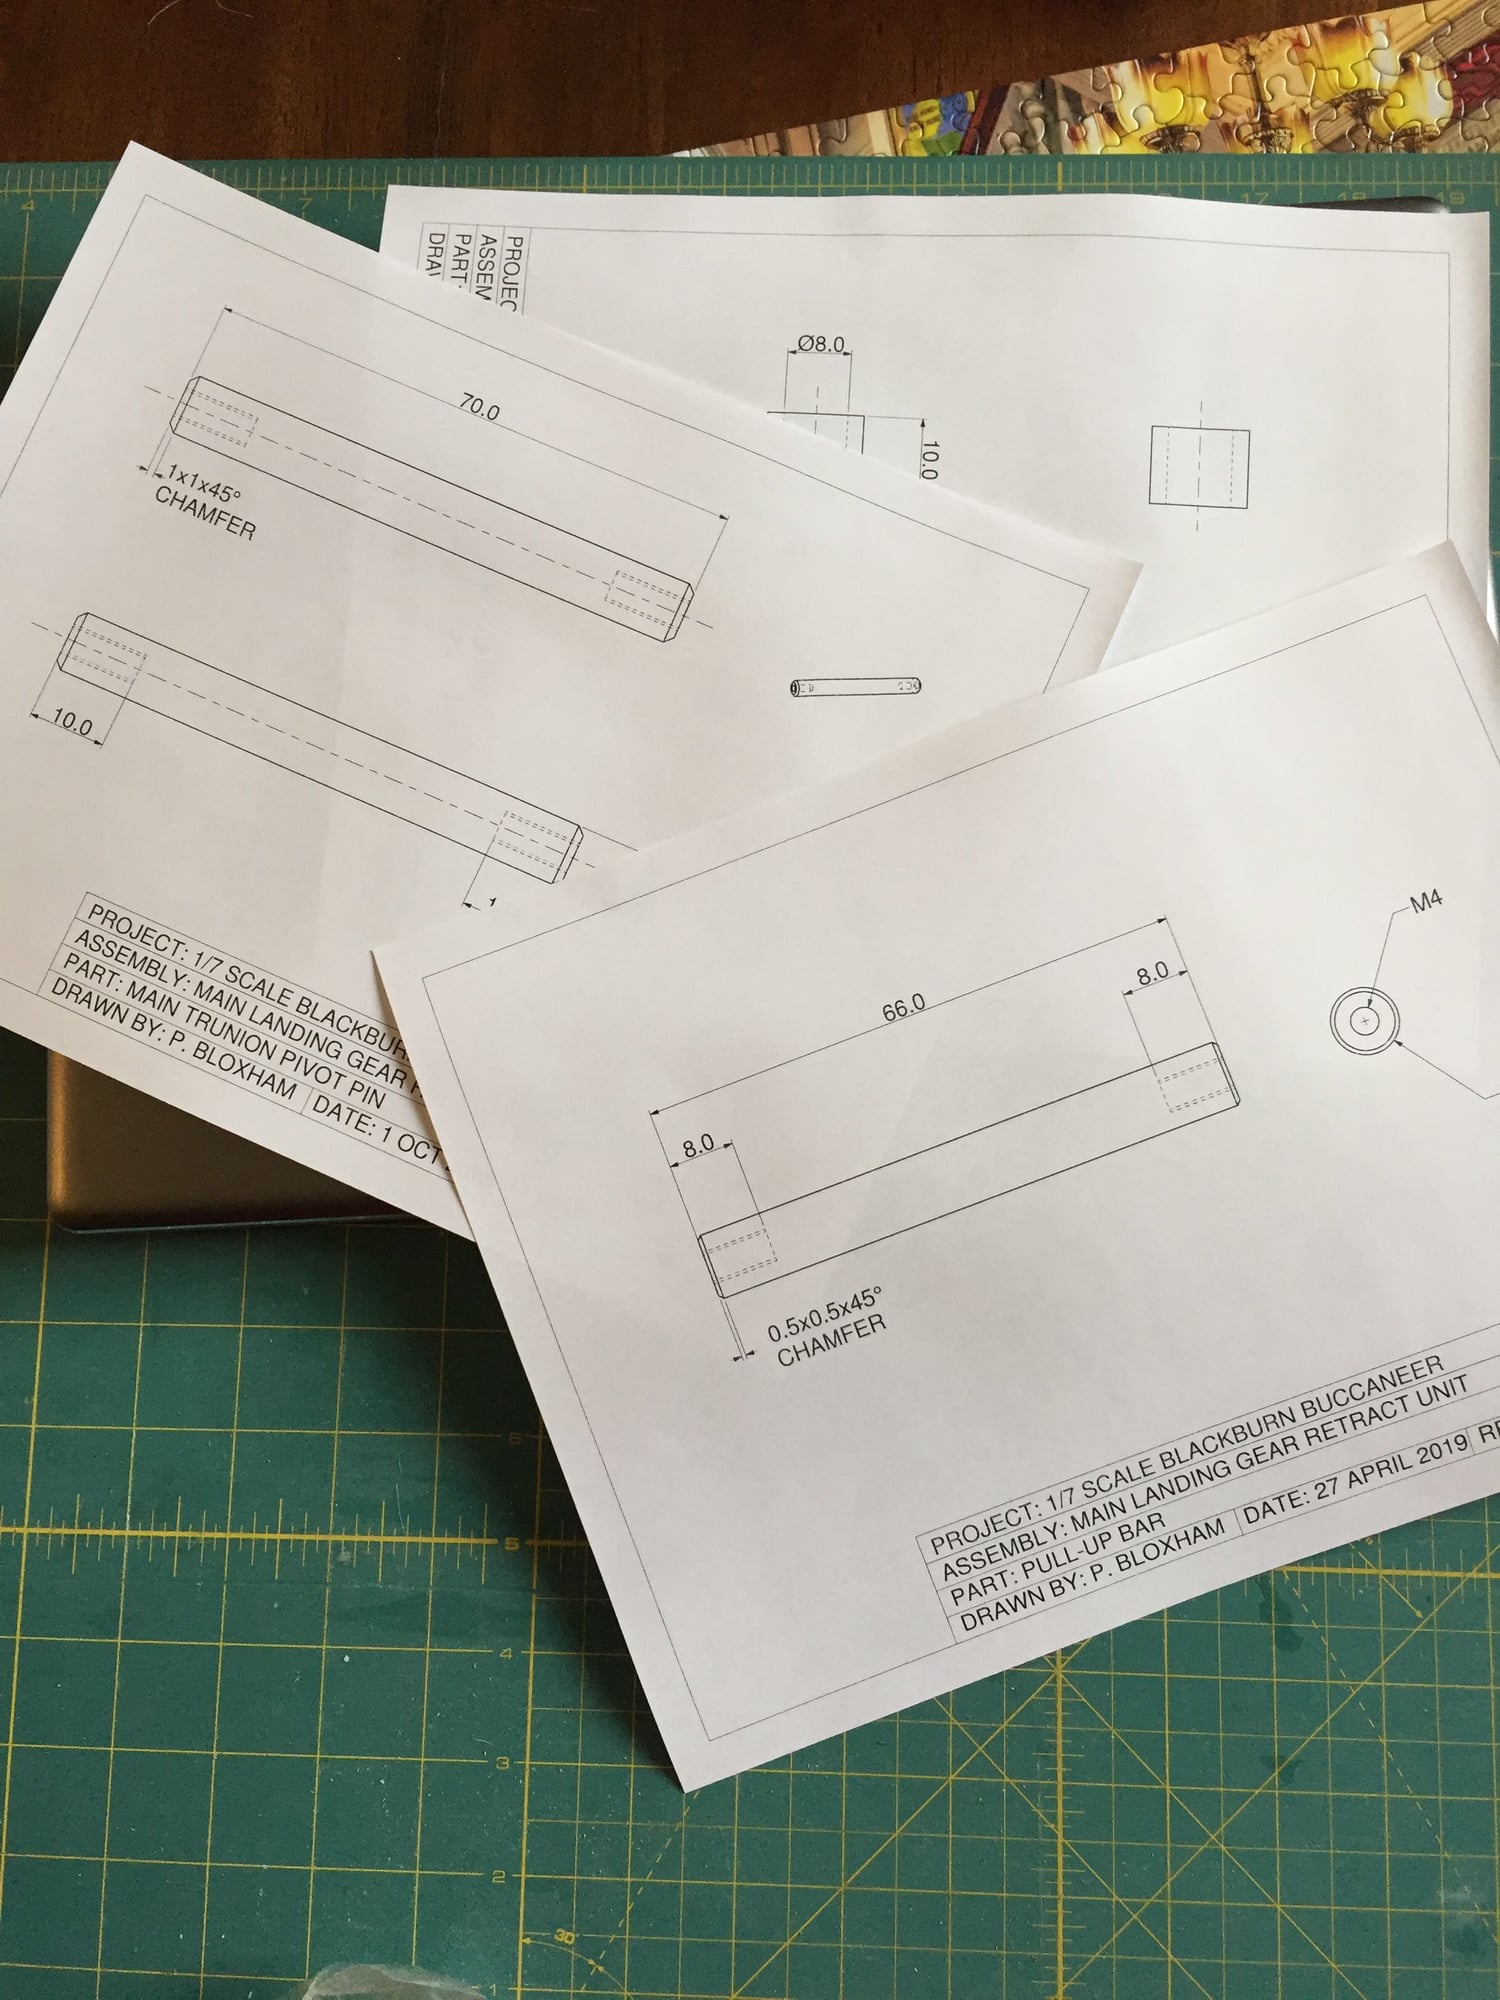
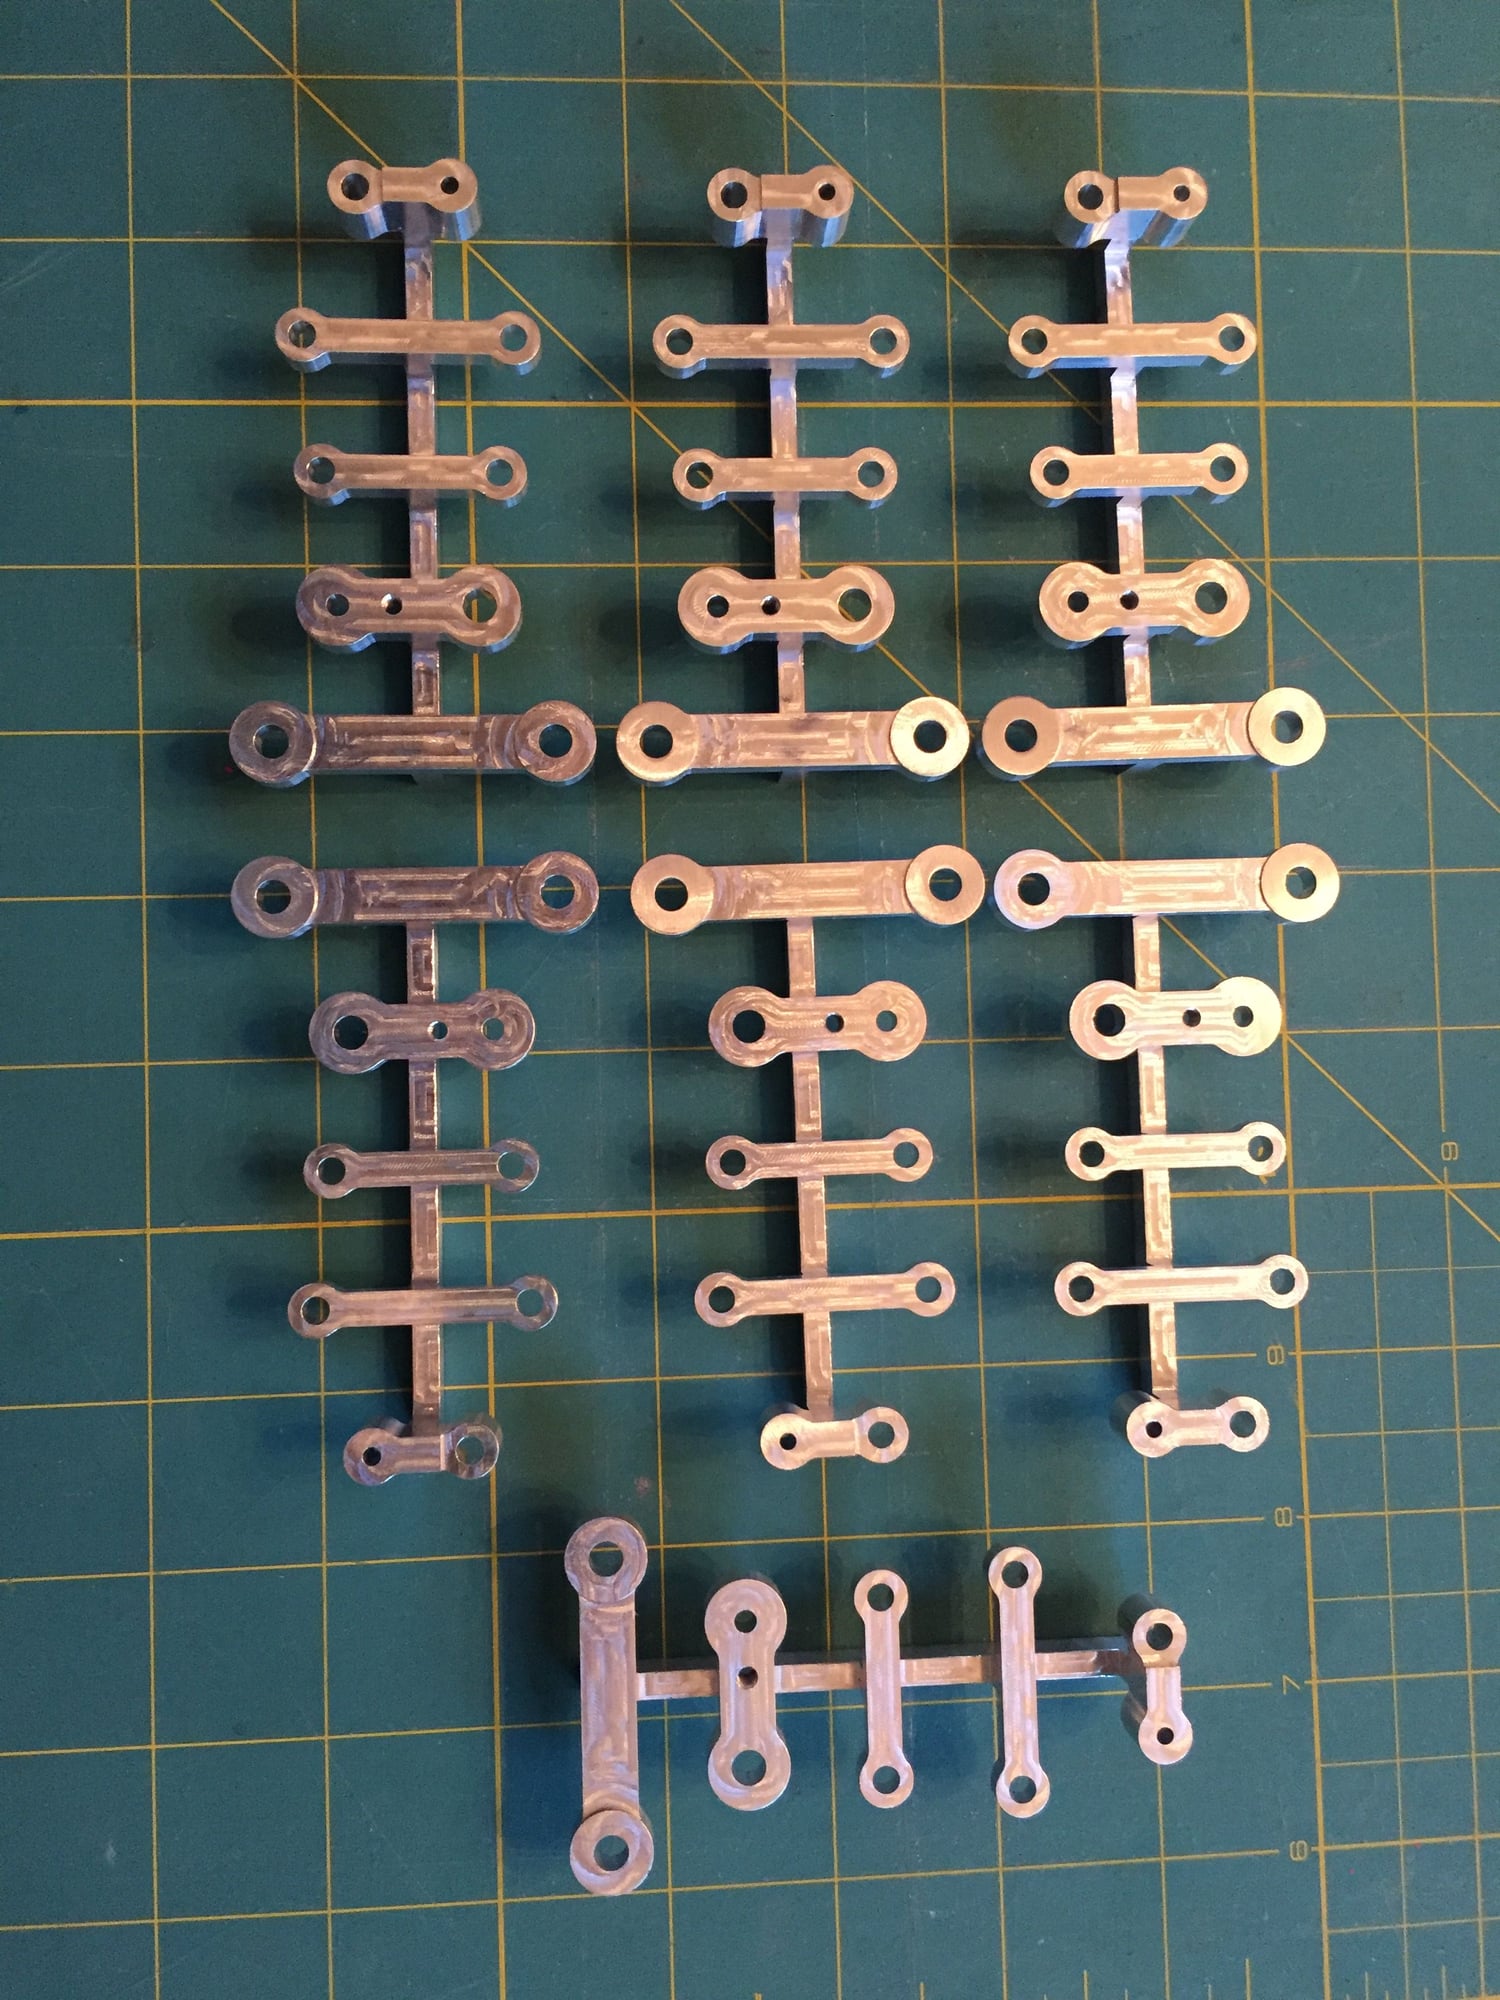
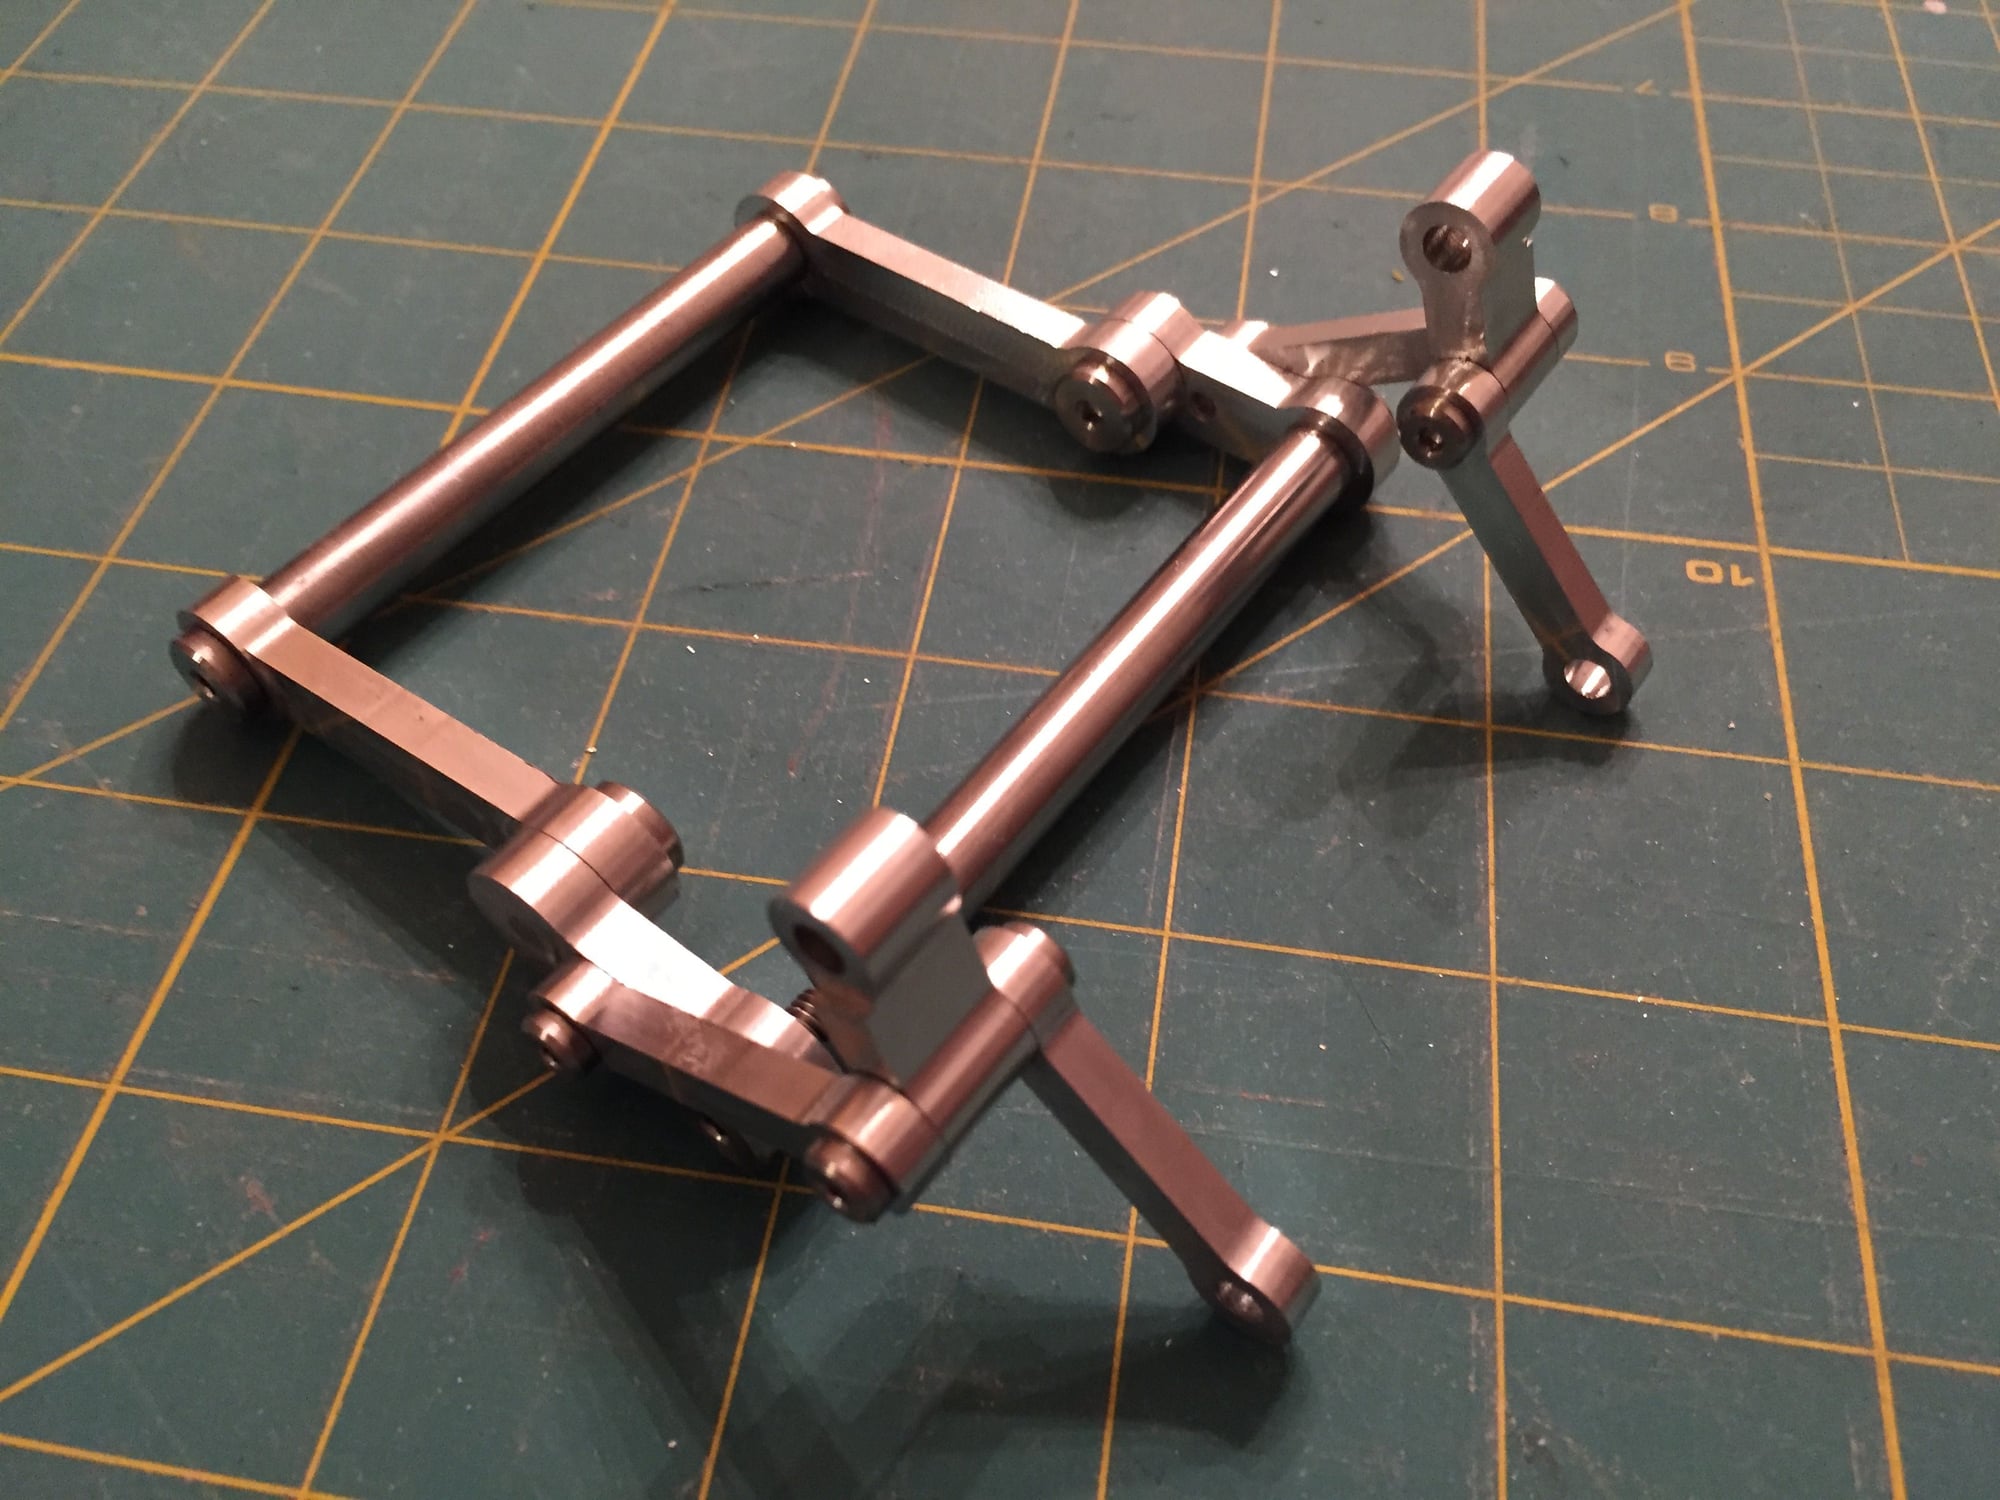
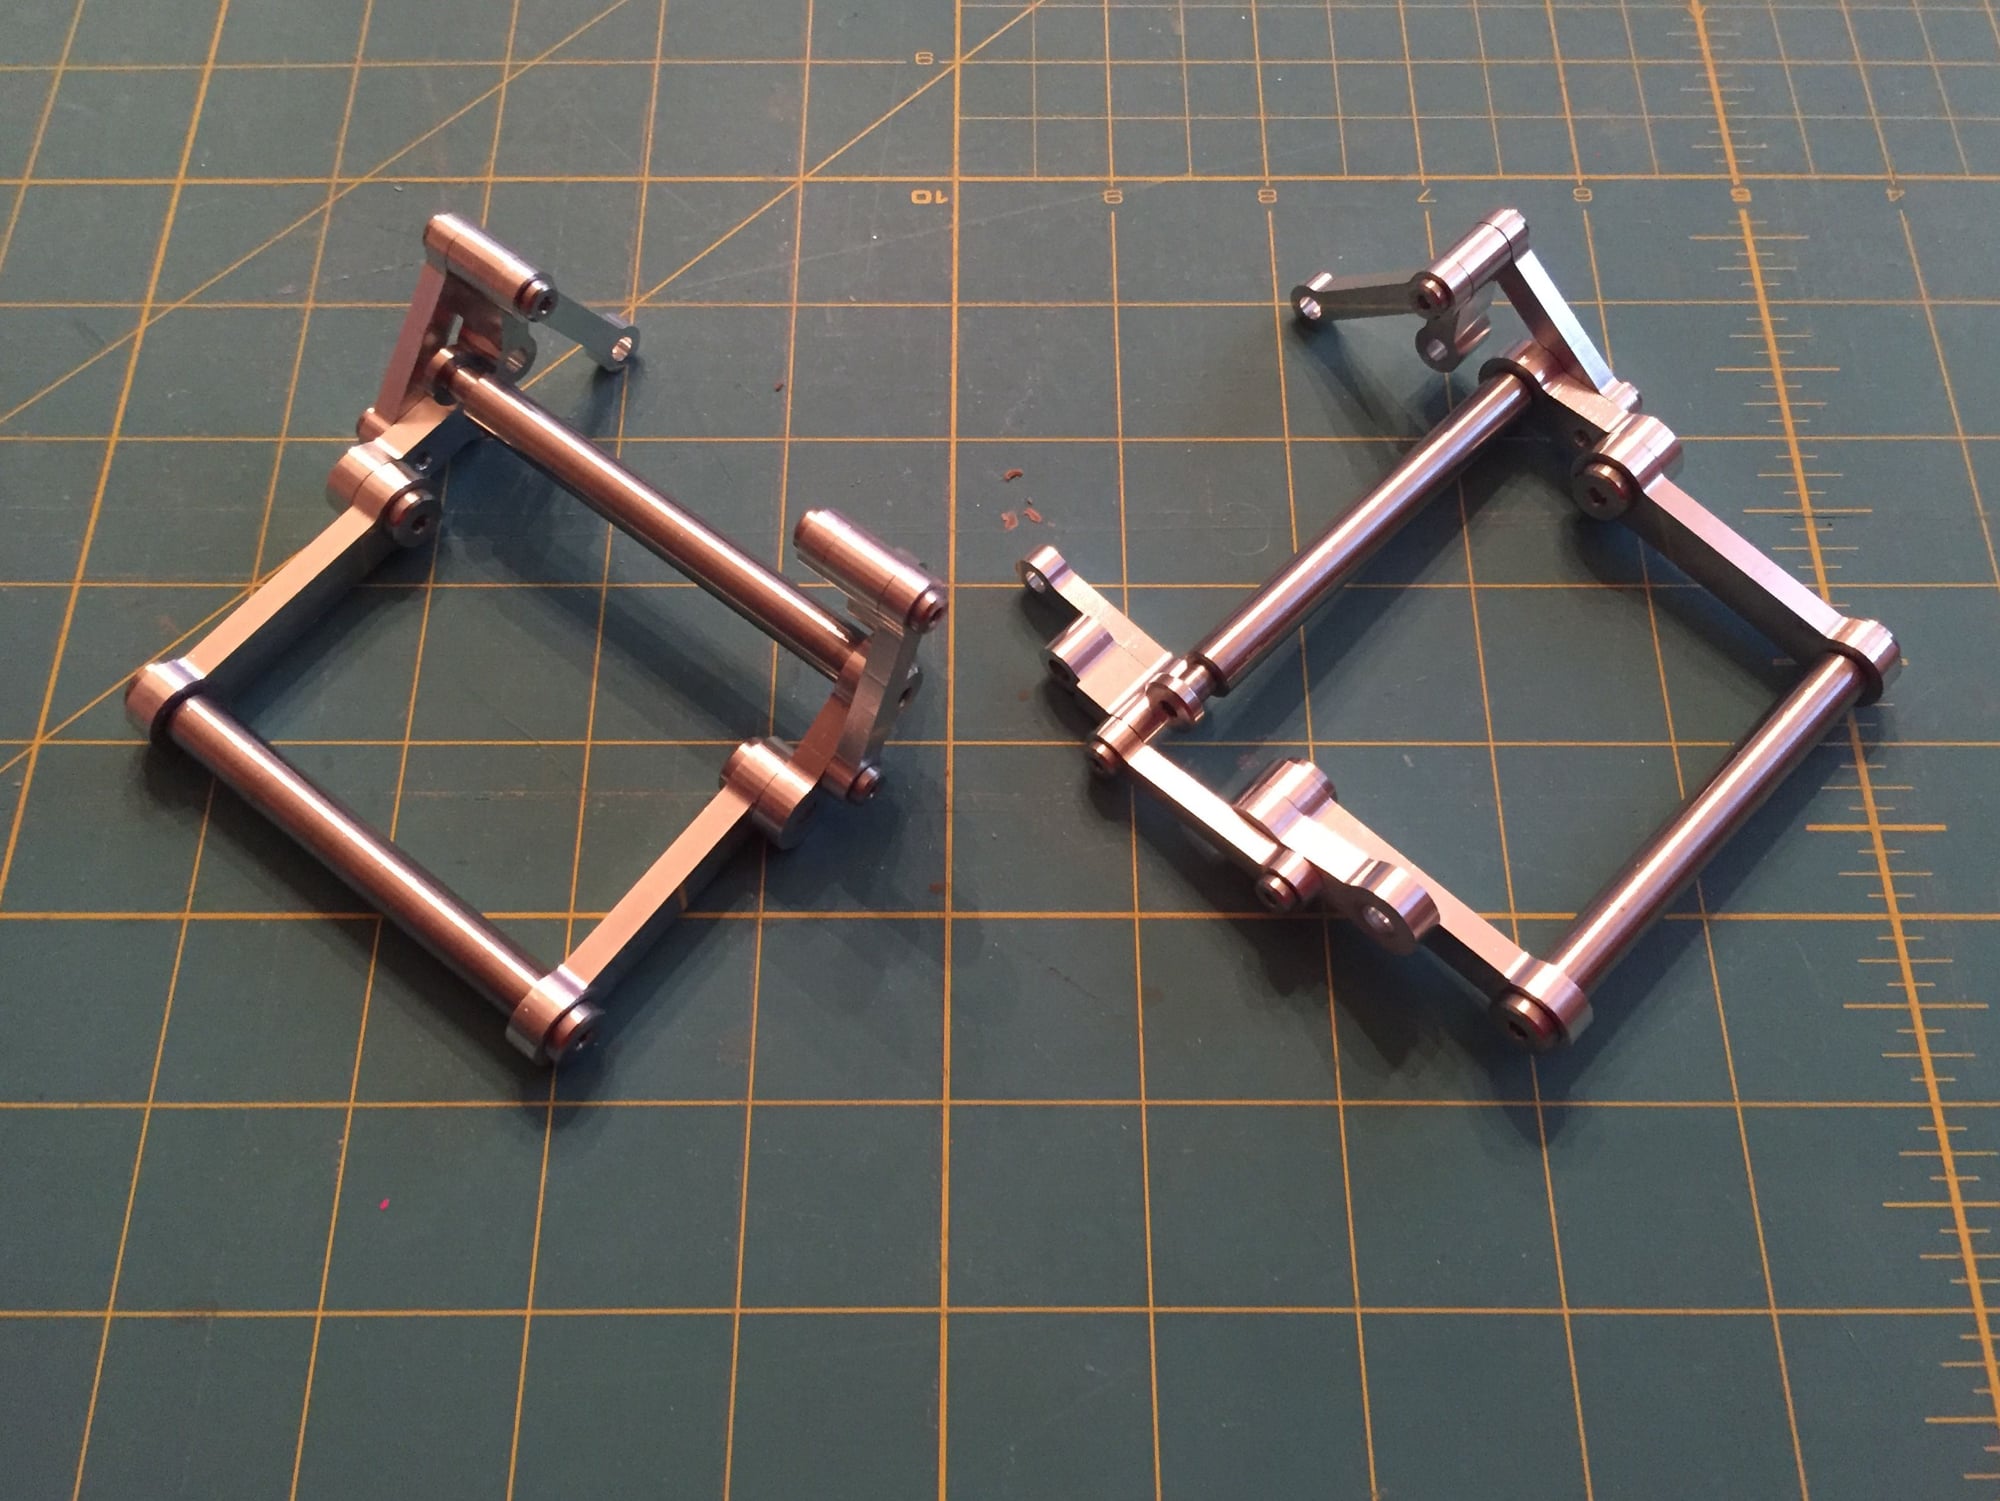
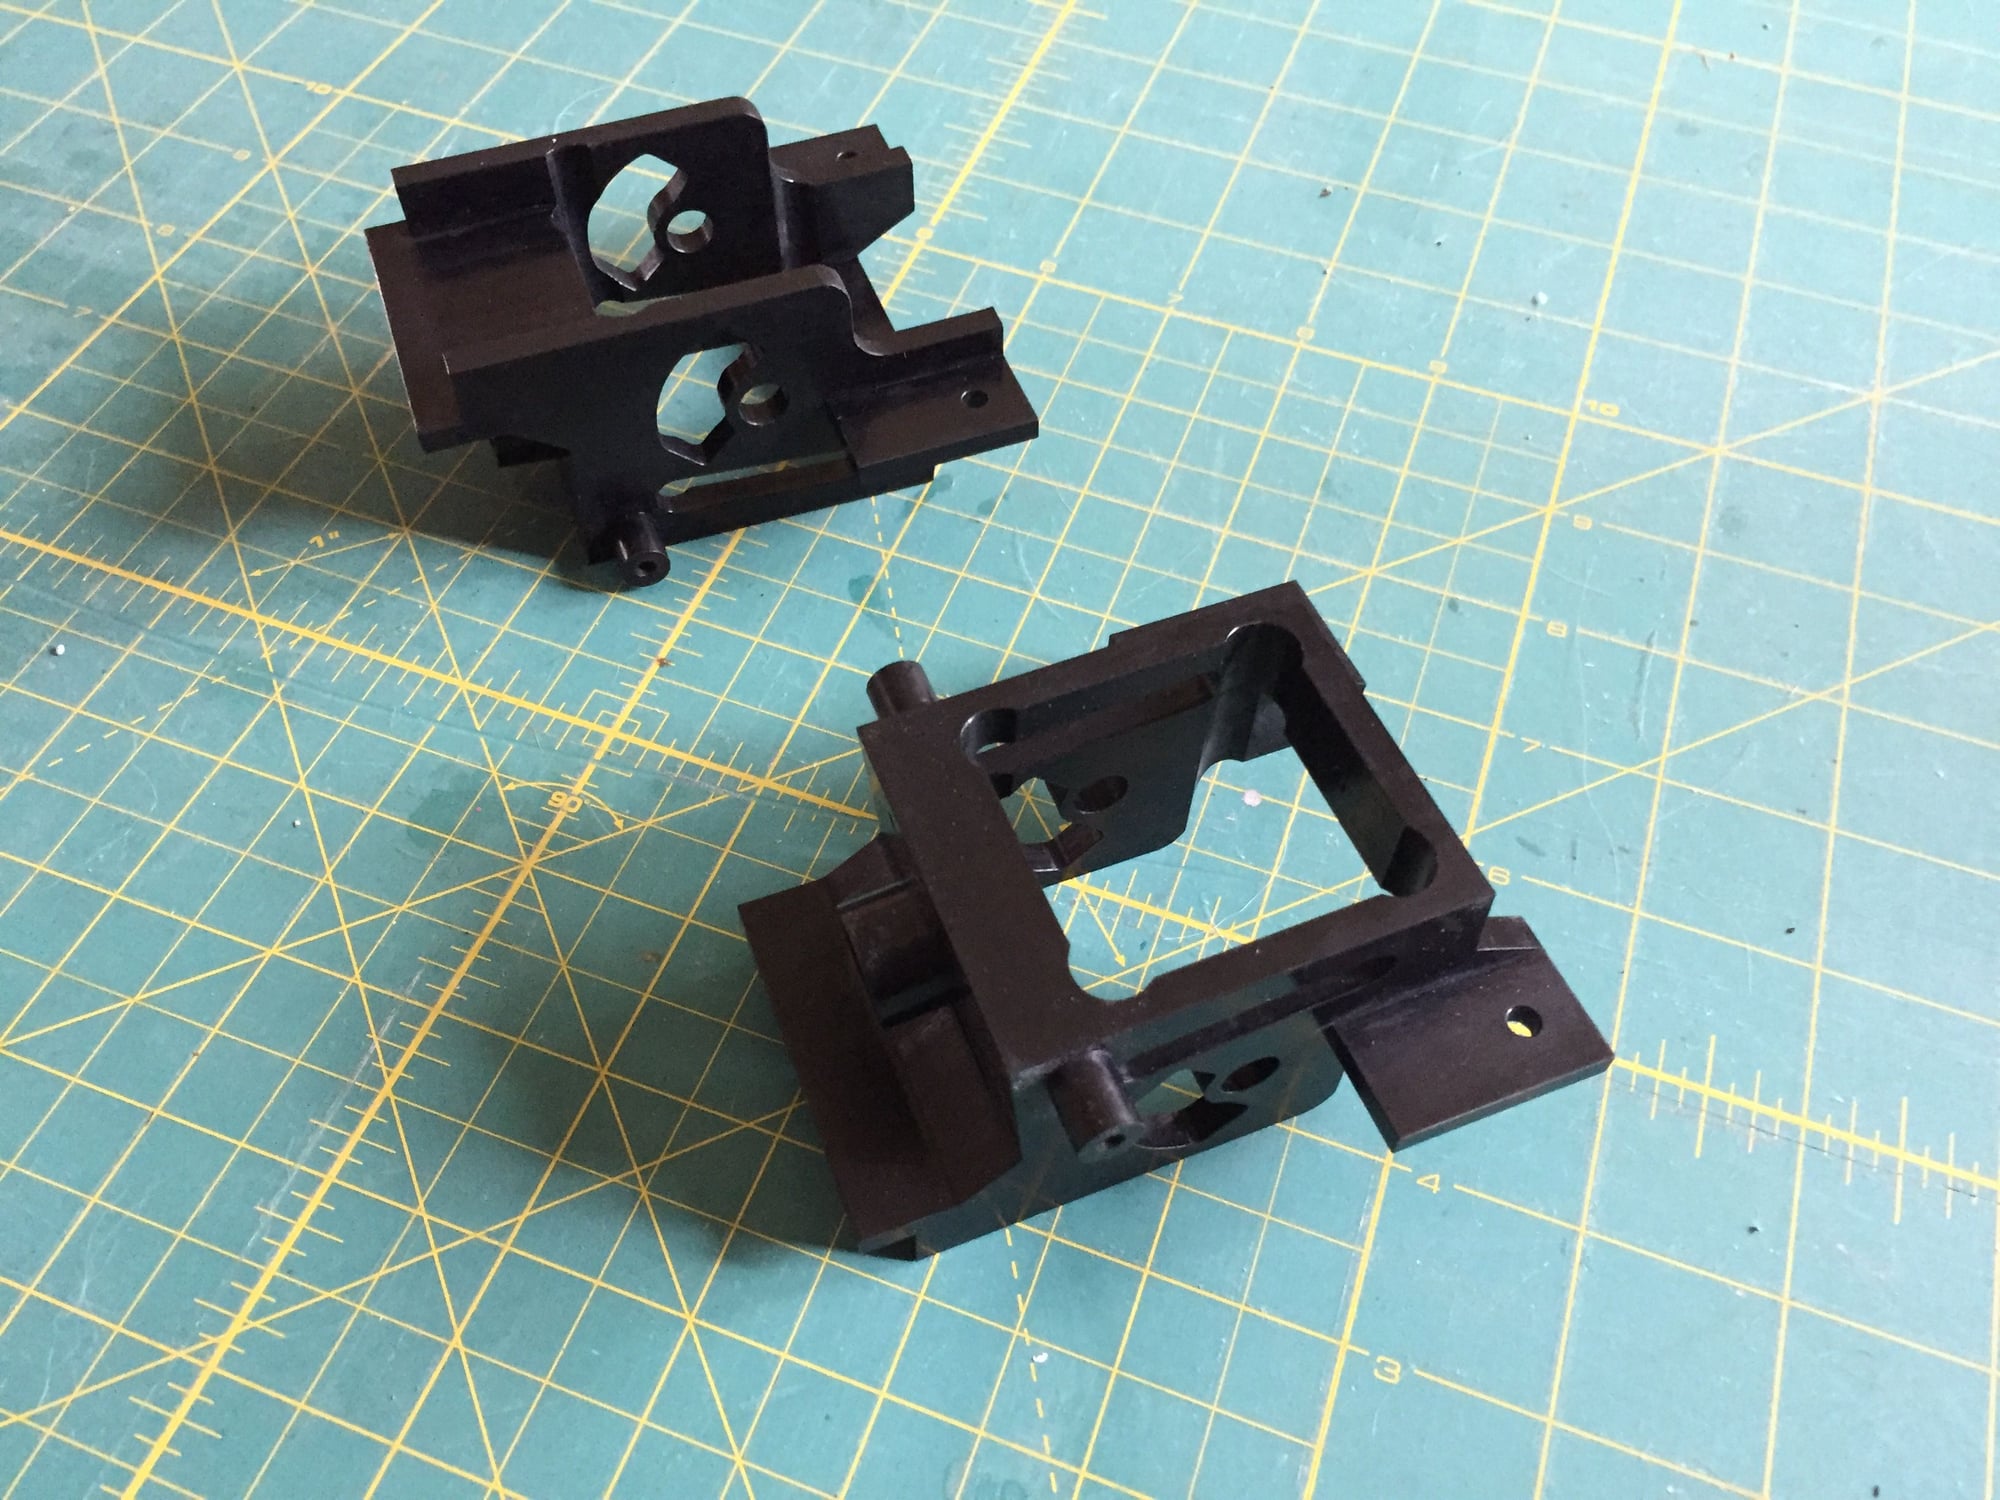
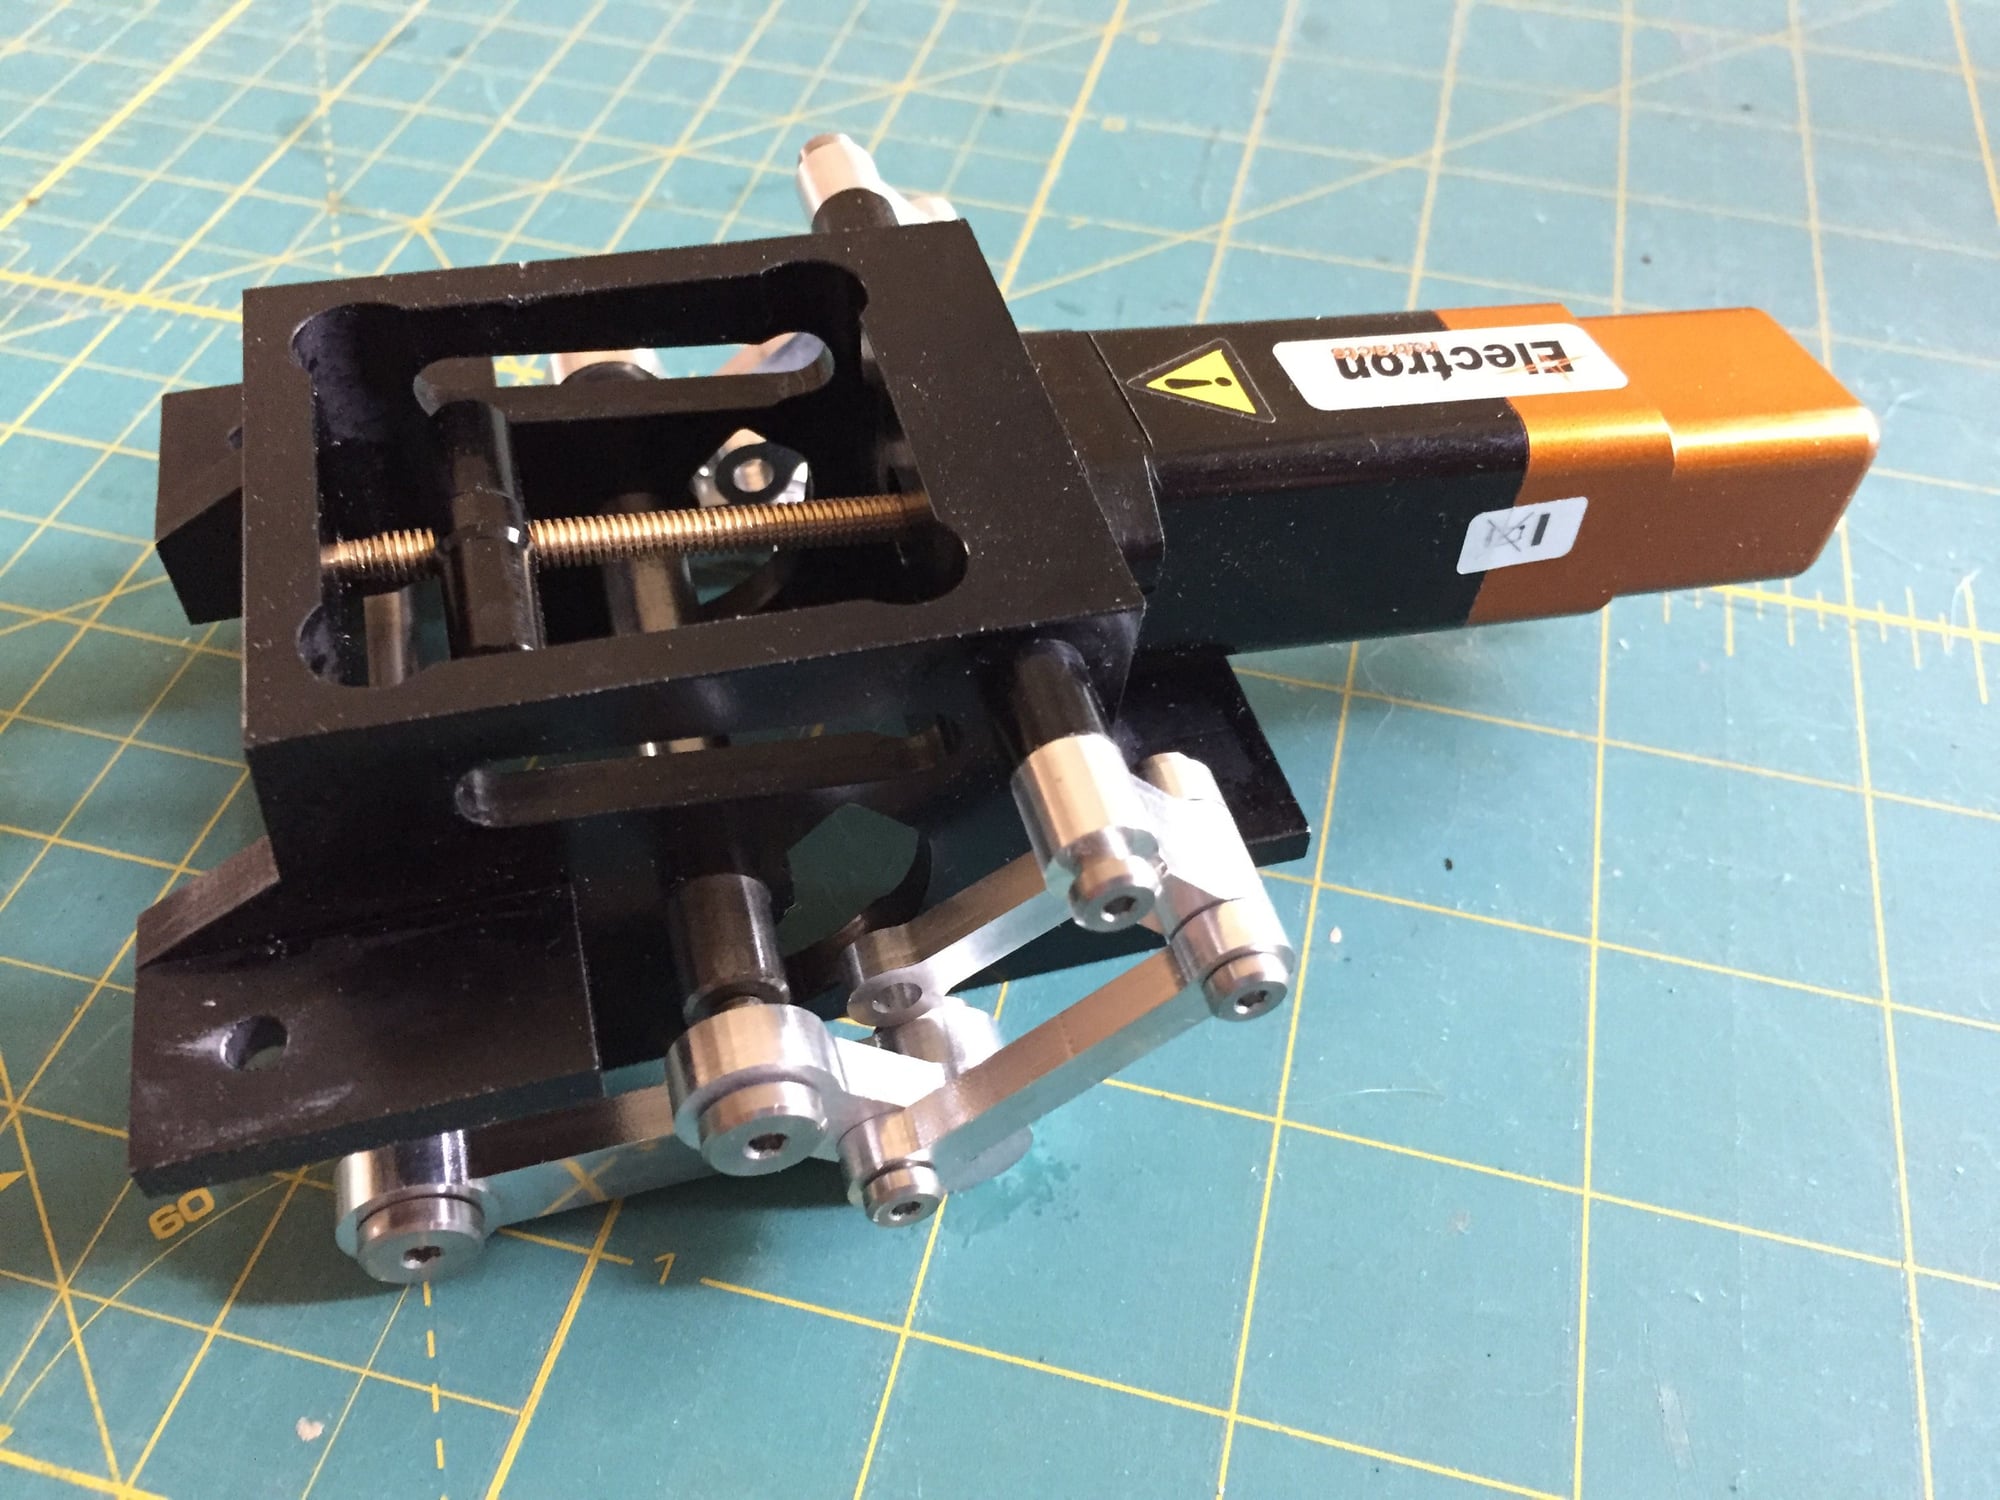
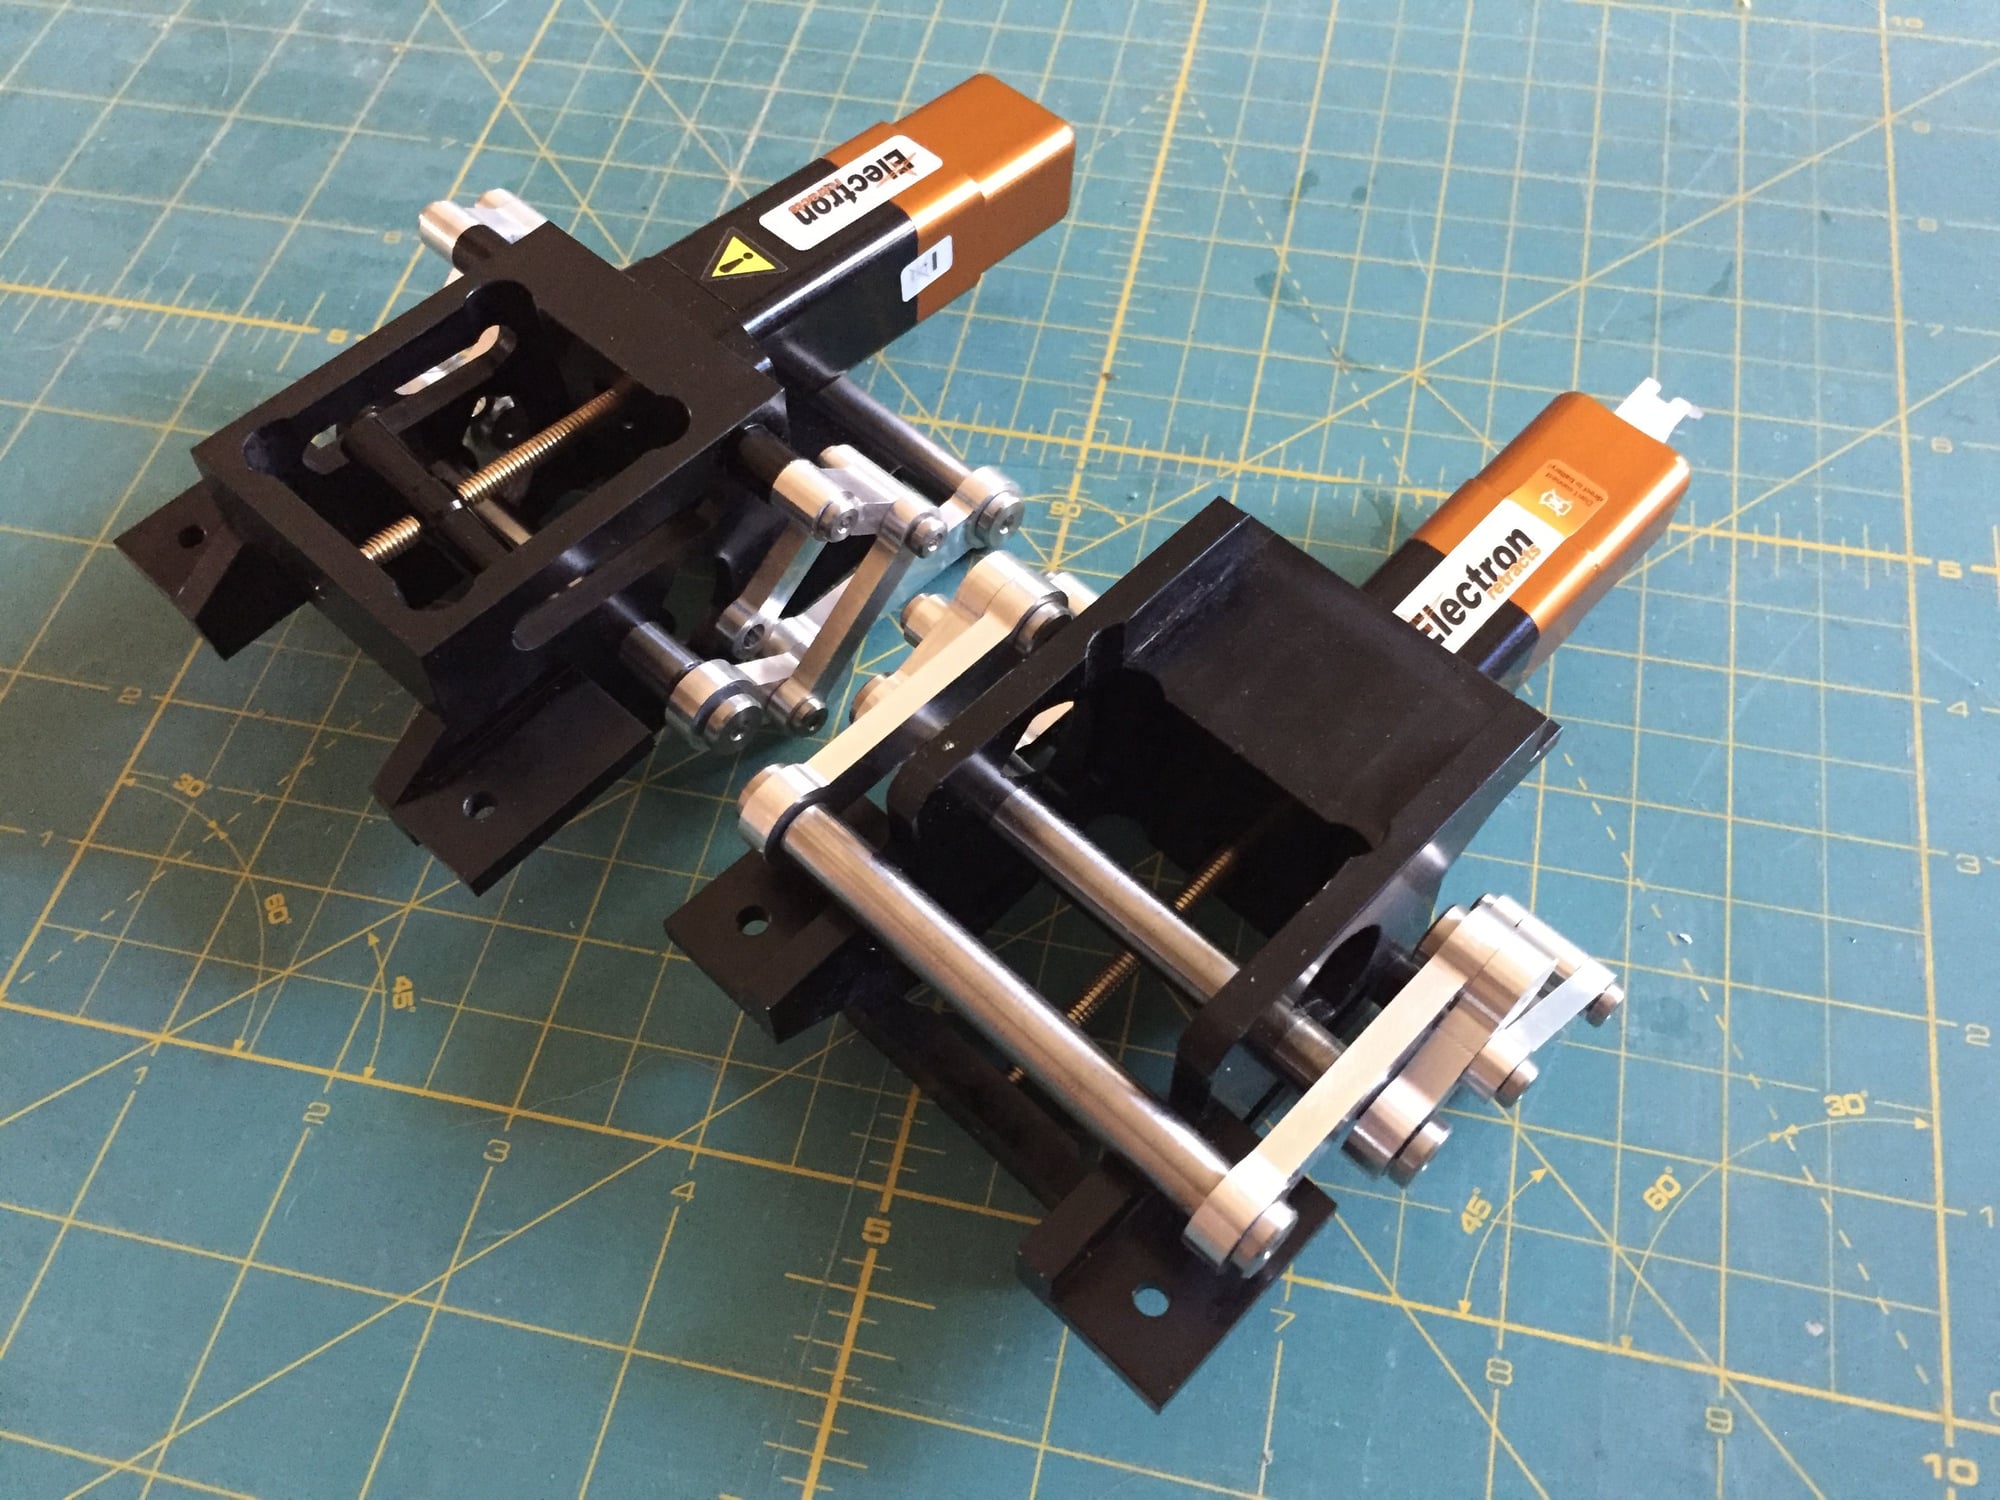
I have been working some aspects at a low level, with the main accomplishment of getting some significant parts of the main gear retracts built.With the design set and proven by a 3D printed version, after failing to find a custom builder/ machine shop willing to take on the project, I started sending parts out to the on-line machine shop vendors.
A friend has a mini-lathe, so we started by making the main pivot shafts and the pull-up bars. Next up were getting the shrink linkage machined, followed by the main retract frame, which have all been assembled. It is looking good so far, but I'm still considering options for the main leg. None of this is cheap, especially for only a couple of copies of each part. Bulk ordering drives the unit costs down, but I don't need 50 or 100 retracts, at least without proving the first one works.
Paul
06-14-2019, 06:23 PM
#271
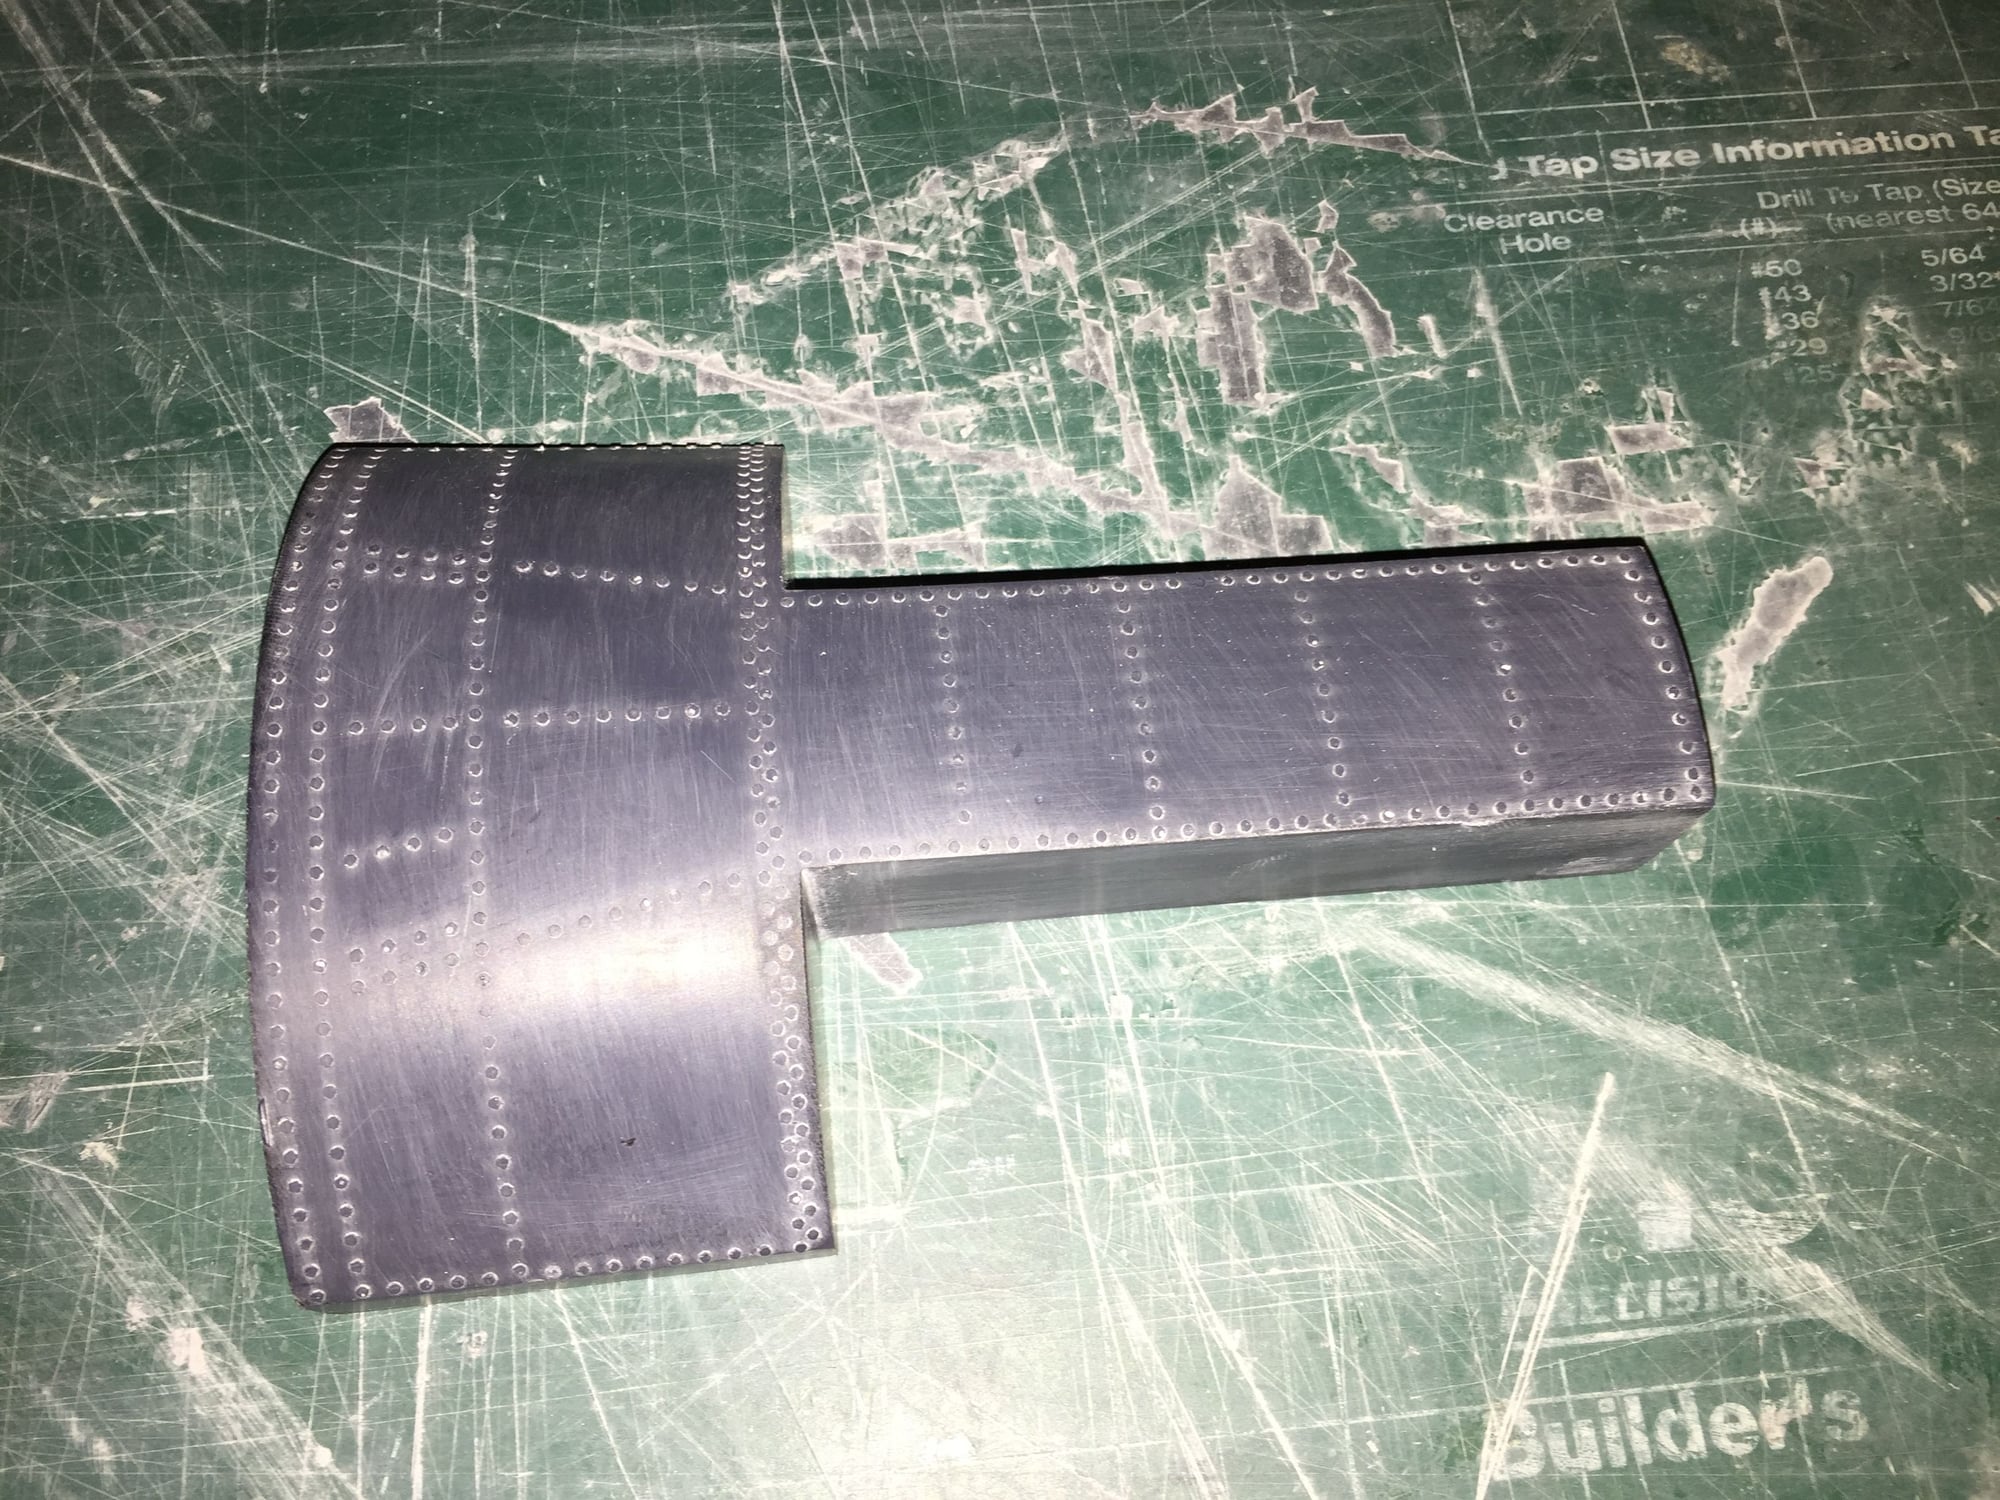
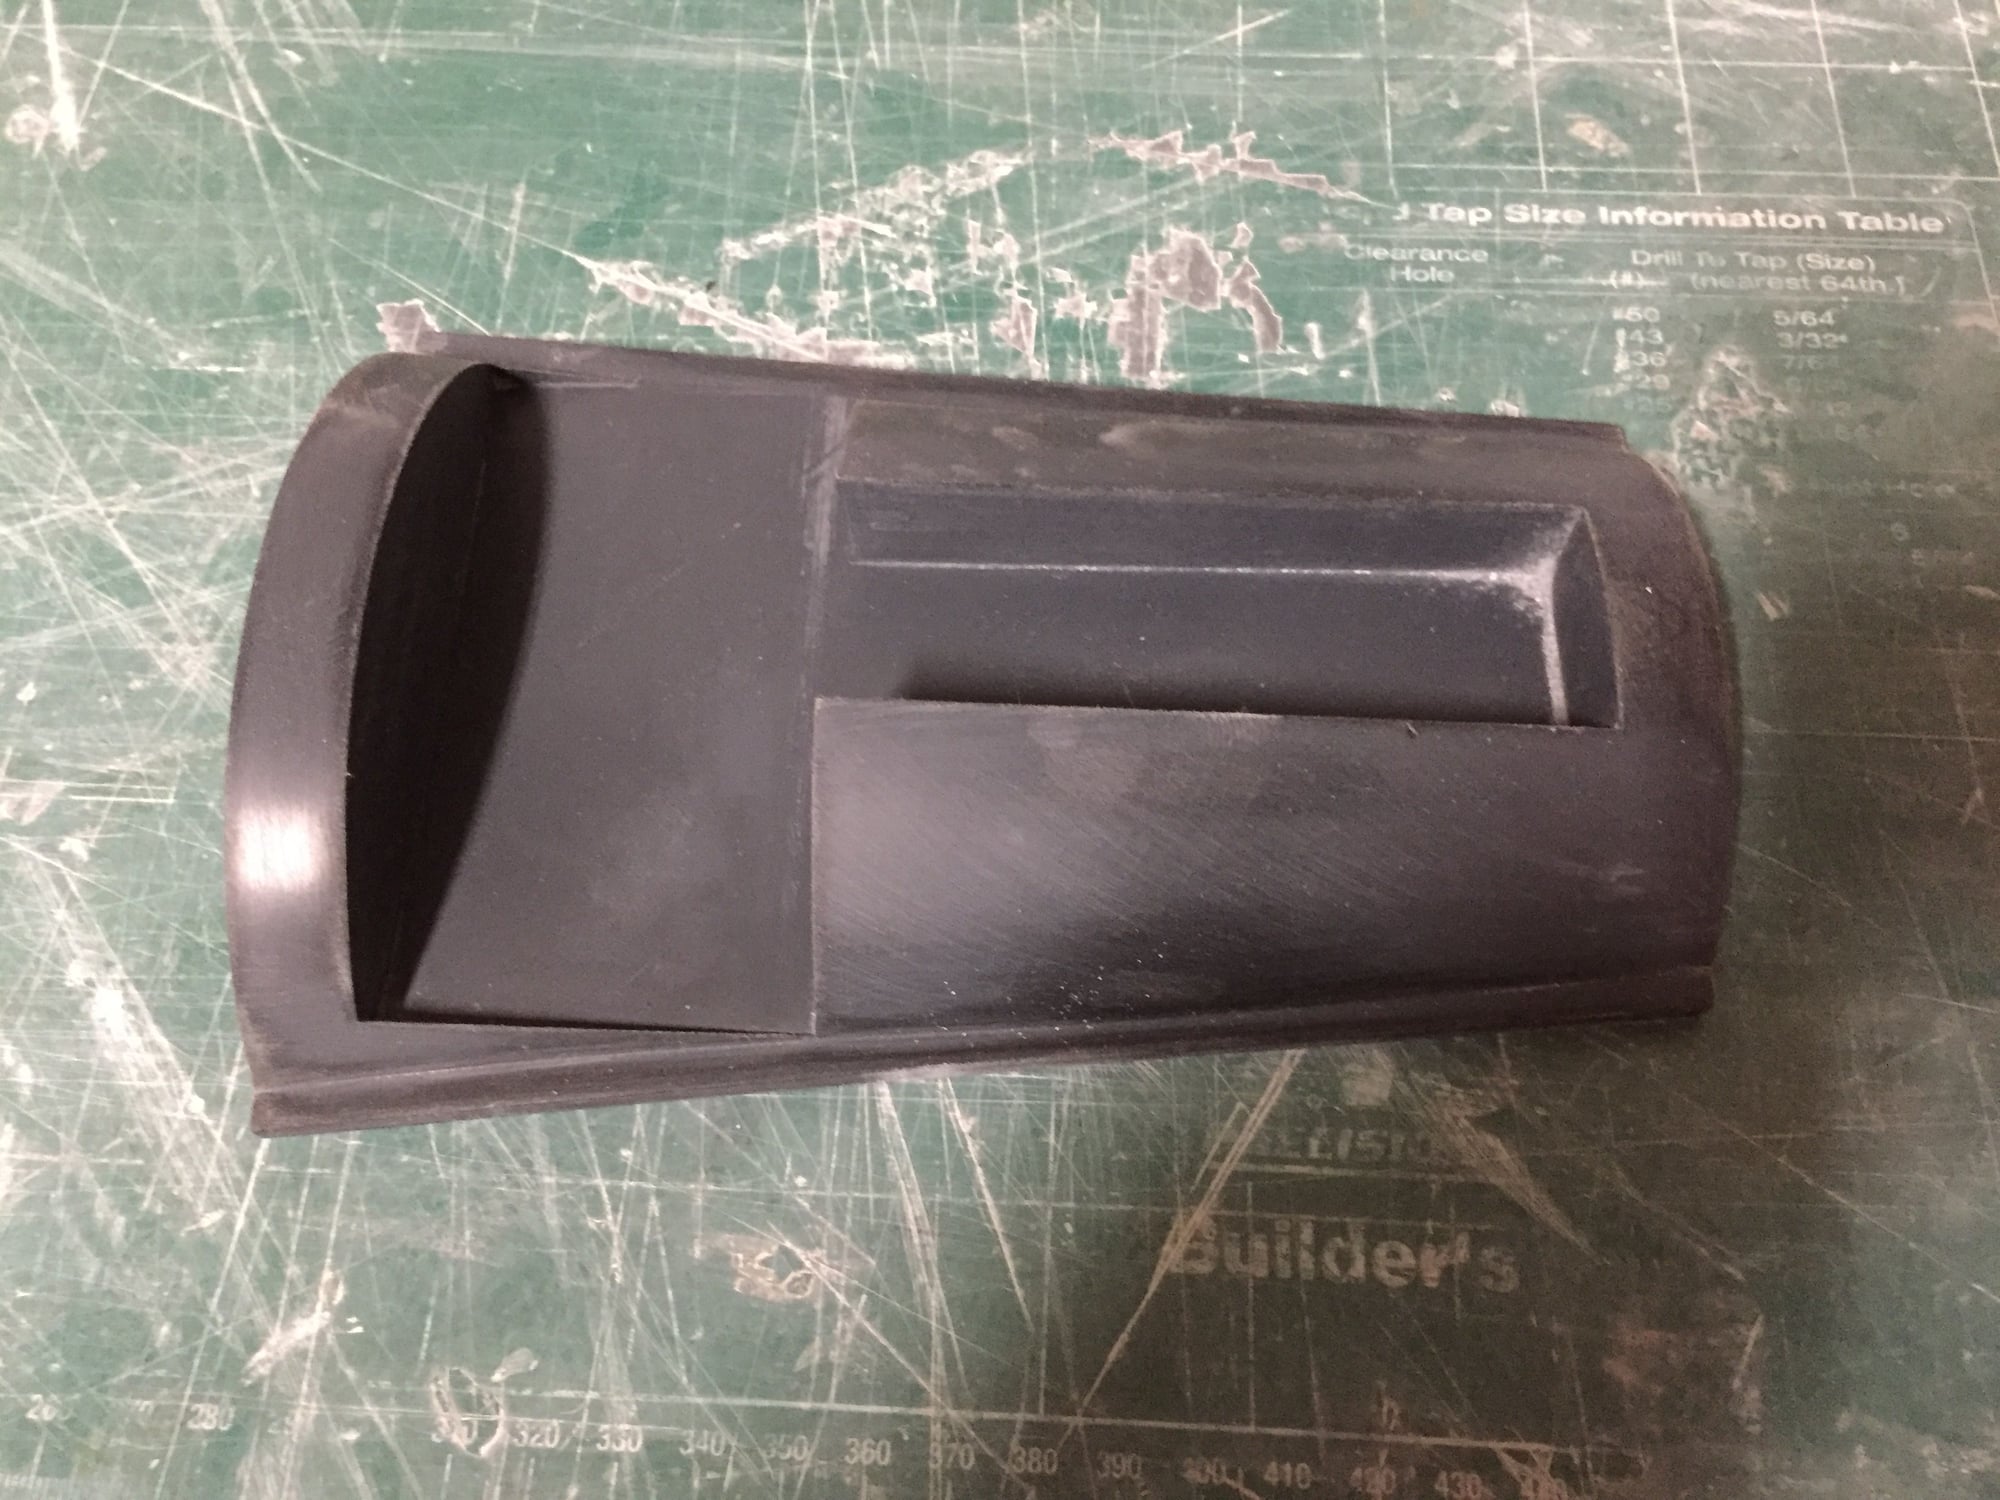
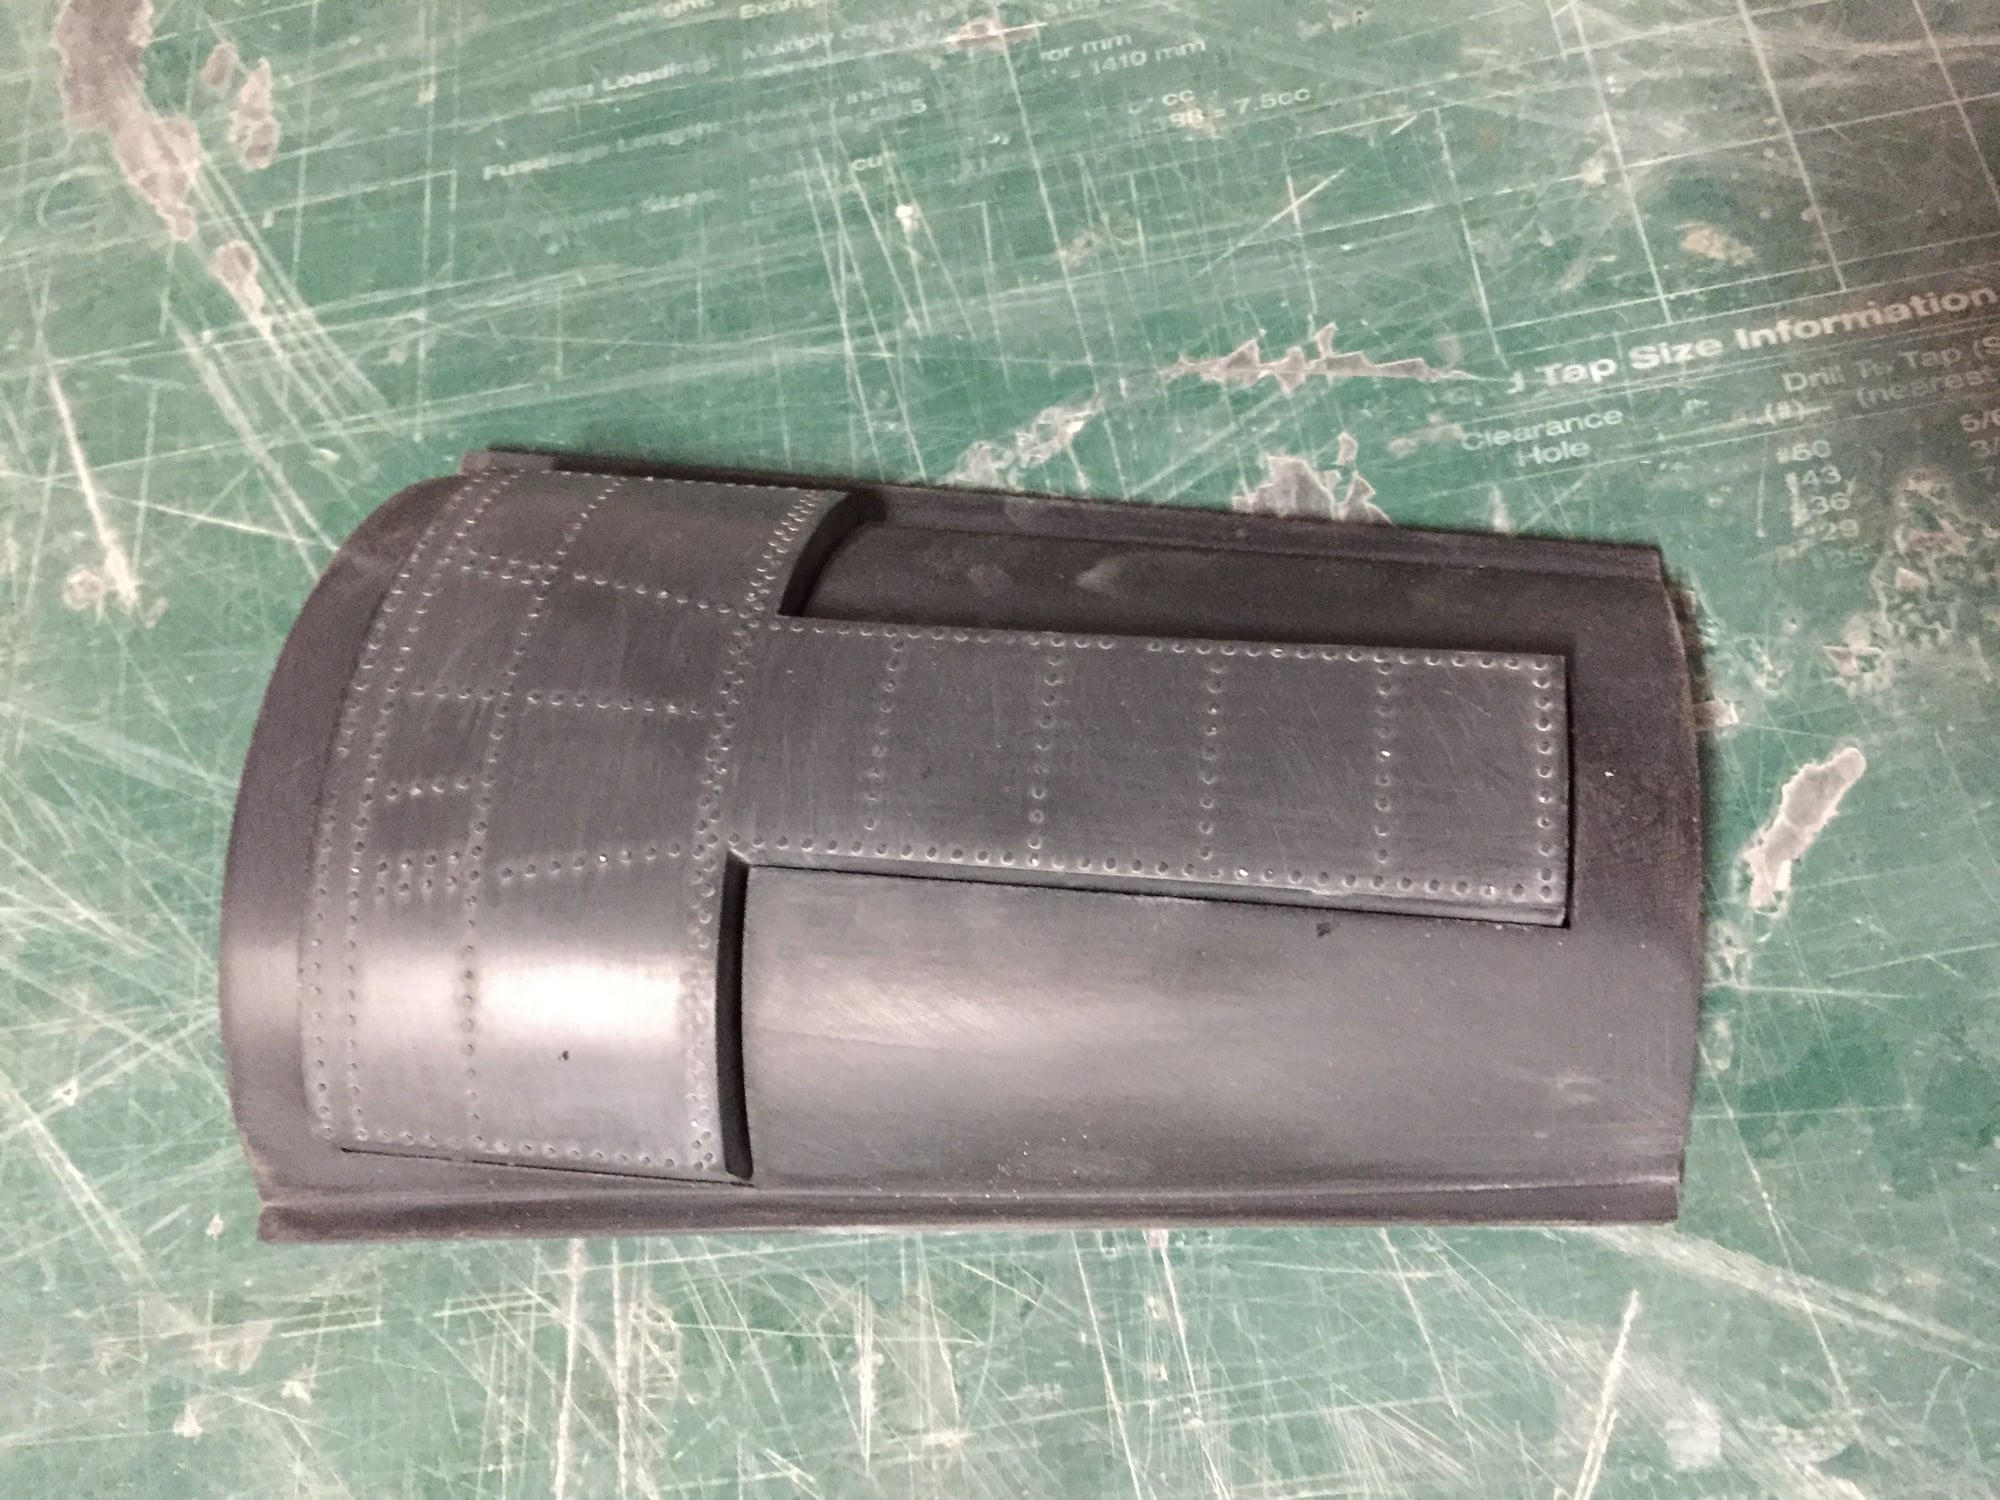
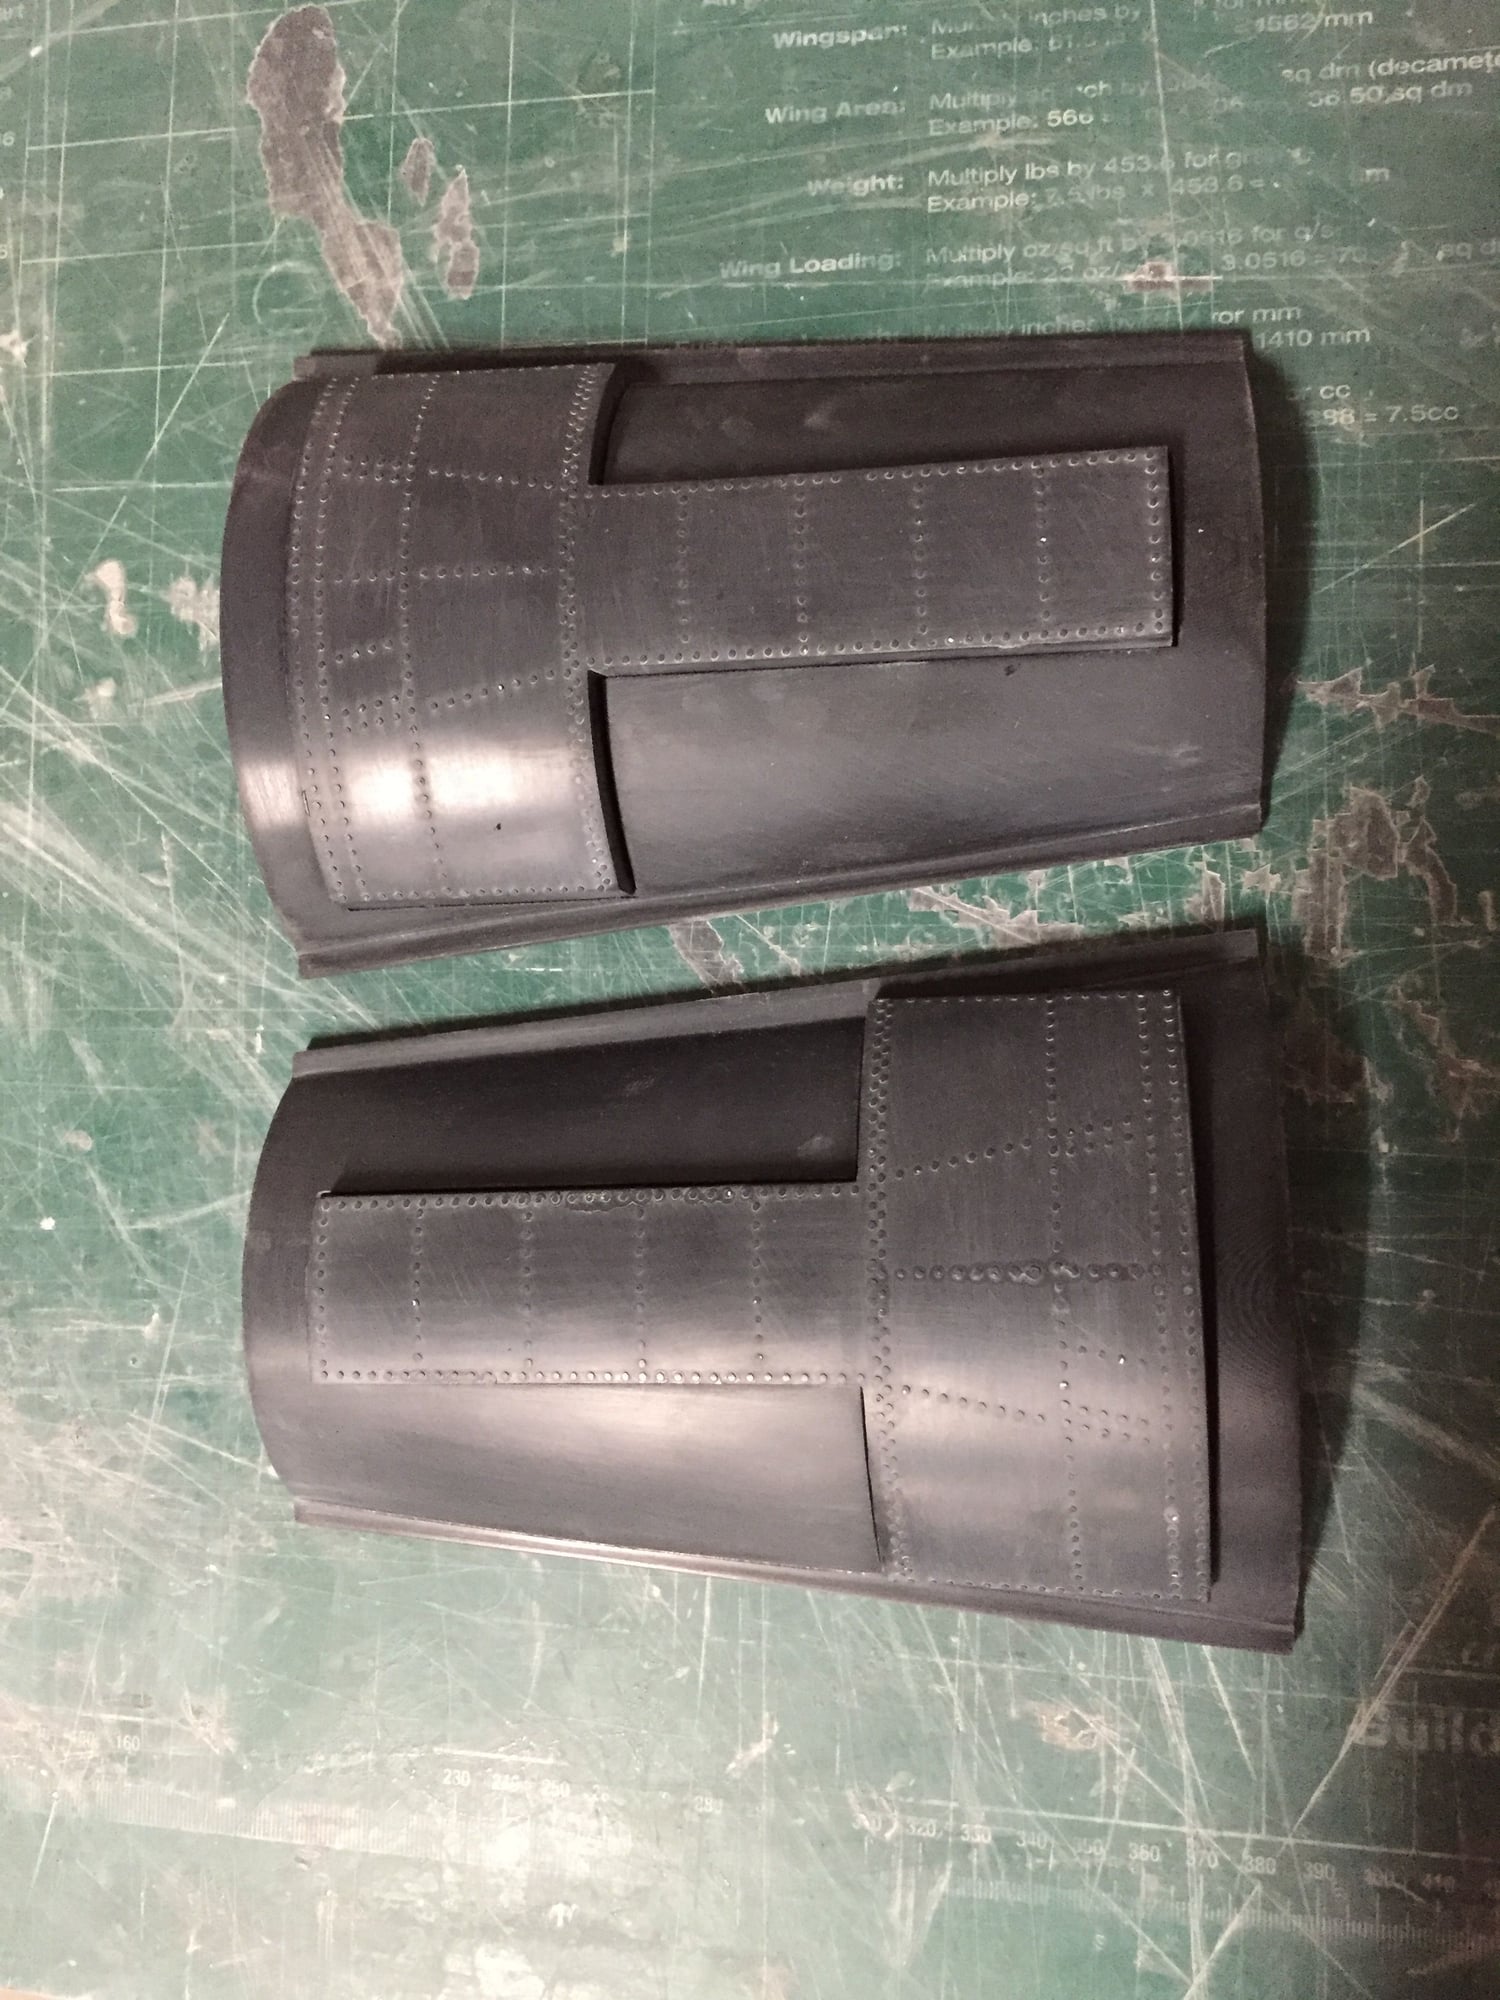
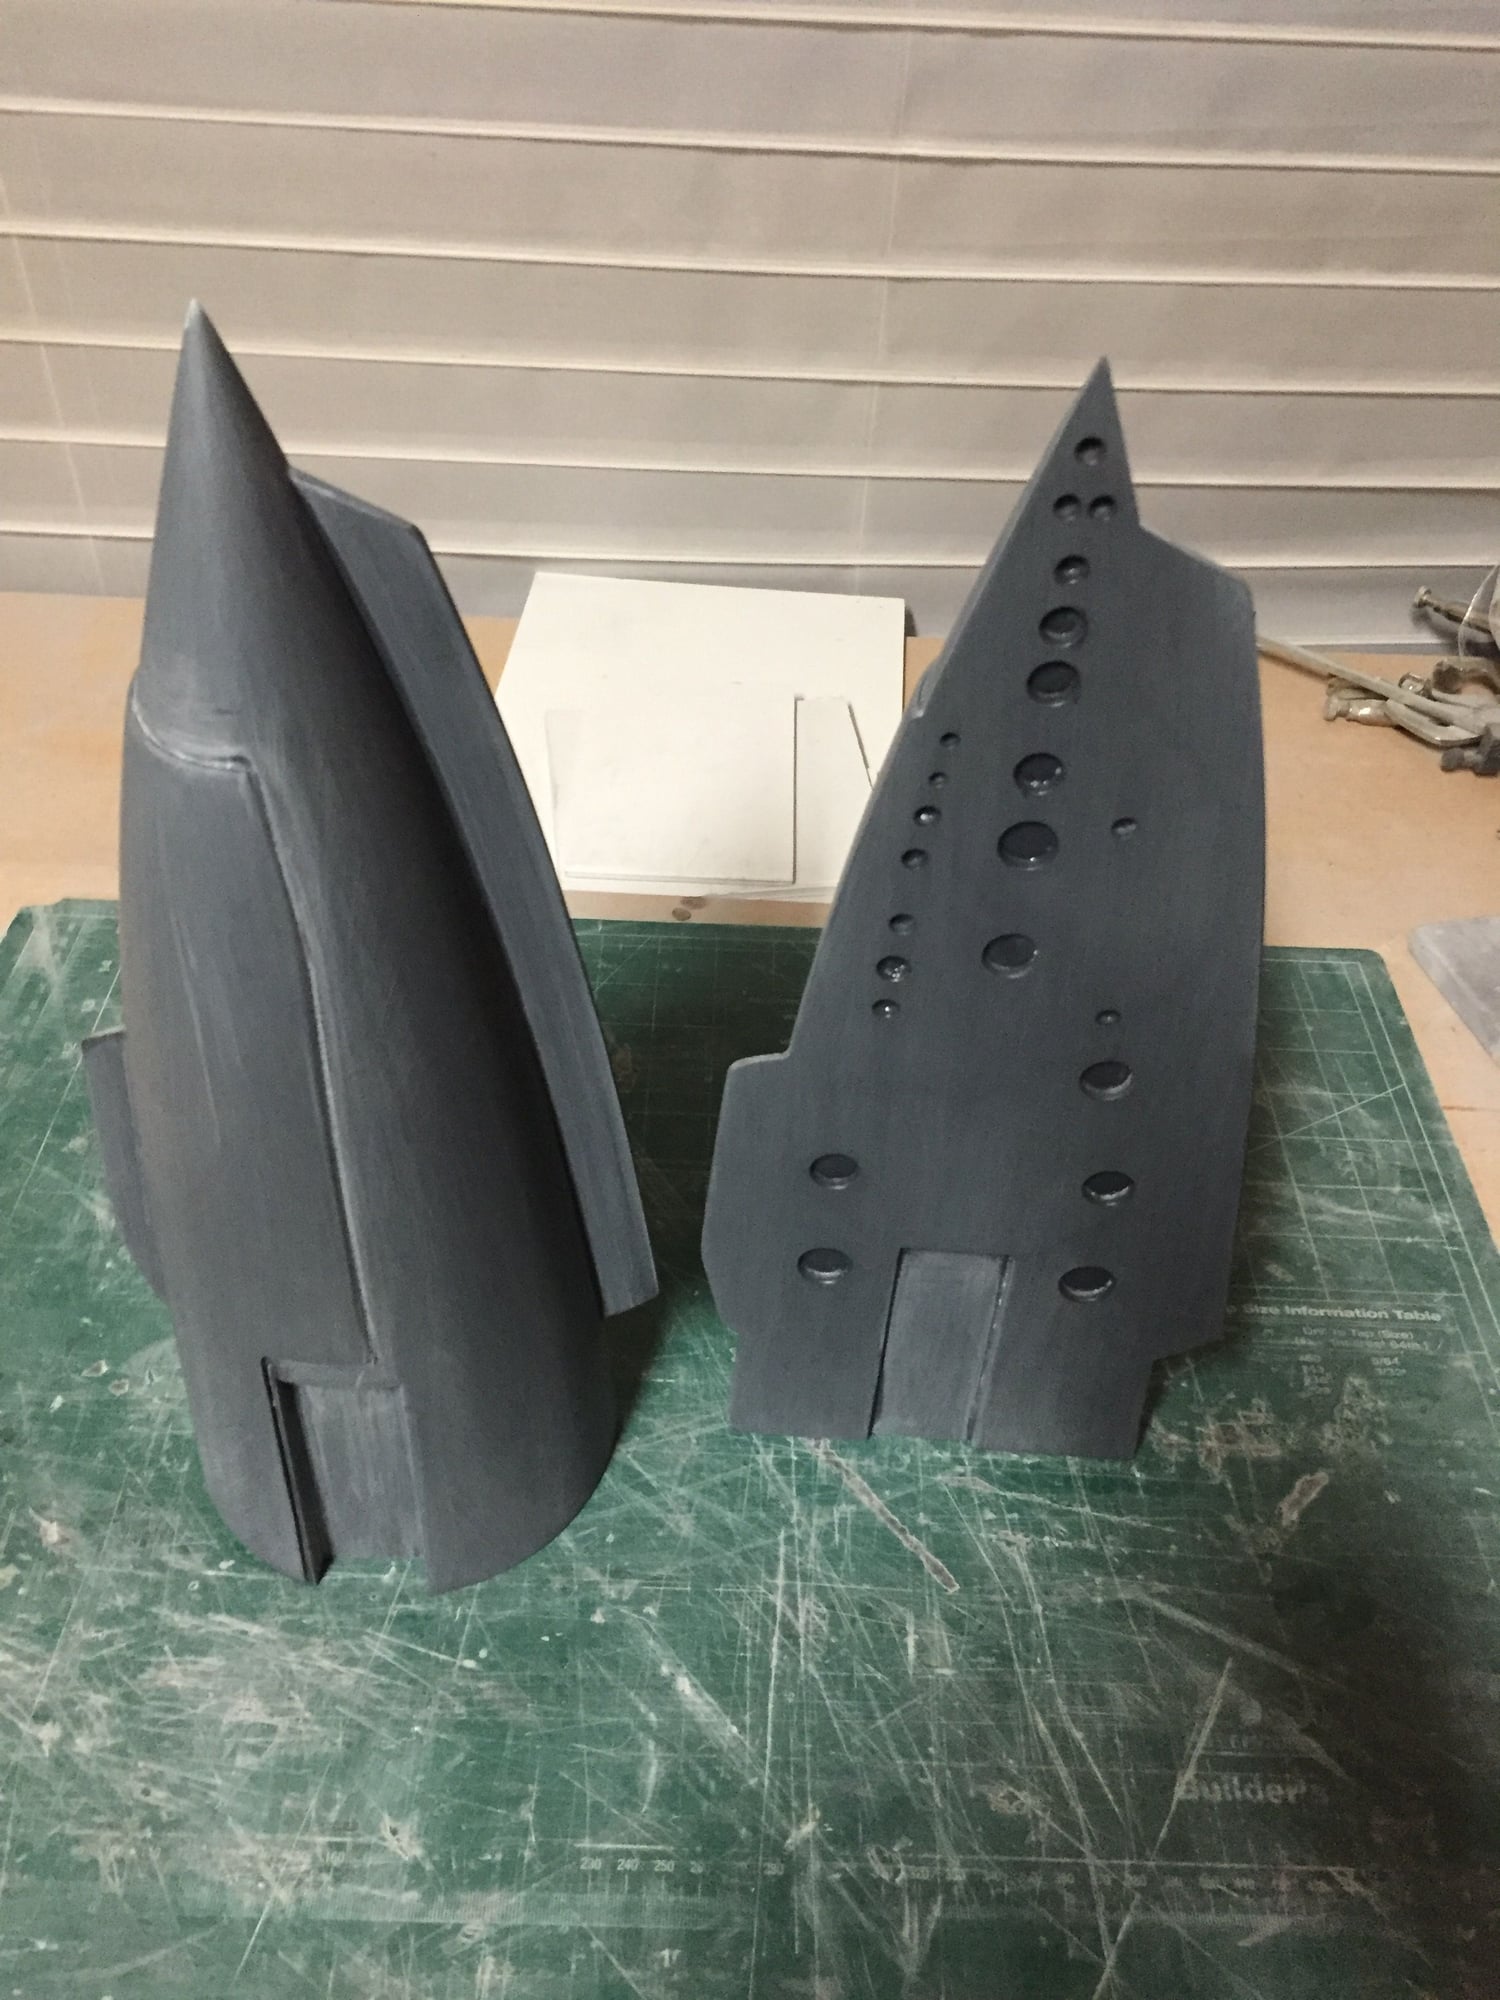
I've been pondering how to make the parting plane and mold for the speedbrake drag links. I eventually settled on 3D printing the parting plane. These are now finished and ready for mold making. With all the raised rivet detail, I'll be reverting back to wax/ PVA for the release agent on these, as Frekote doesn't seem to do will with the raised details.
I'm also part way through re-making the speedbrake plugs after the failure of the first set of molds. I've had them printed for a while, but now just finishing the initial Duratec surfacing, and they are ready to start adding all the surface detail.
Paul
I'm also part way through re-making the speedbrake plugs after the failure of the first set of molds. I've had them printed for a while, but now just finishing the initial Duratec surfacing, and they are ready to start adding all the surface detail.
Paul
06-15-2019, 04:38 AM
#273

I� ve just picked up a copy of the Haynes Buccaneer Owners Workshop Manual.
Masses of pictures inc close ups of many aspects of the jet plus the usual superb Mike Badrocke cutaway drawing which I am sure you would find most useful.
Normal price is 25 pounds but was on offer for 6 .
Could send you a copy if they have another.
Really looking forward to seeing your Bucc finished and airborne, brilliant job.
06-15-2019, 07:51 AM
#275
The bookshop had another copy, still at 6 pounds.
Yours will leave UK on Monday.
Delighted to help this quite amazing project, modelling at its finest.
Enjoy the book.
David,.
Yours will leave UK on Monday.
Delighted to help this quite amazing project, modelling at its finest.
Enjoy the book.
David,.