Go Back  RCU Forums > RC Airplanes > RC Jets
Reload this Page >

Reaction 54 Jet Kit

Community
Search
Notices
RC Jets Discuss RC jets in this forum plus rc turbines and ducted fan power systems

Reaction 54 Jet Kit

Thread Tools
 
Search this Thread
 
Old 04-01-2019, 12:32 PM
  #4451  
CARS II
My Feedback: (7)
 
CARS II's Avatar
 
Join Date: Oct 2002
Location: Sacramento CA
Posts: 6,589
Received 123 Likes on 106 Posts
Default

You did, did I listen to you, of course not, my bad ( sad face now )
Old 04-02-2019, 11:25 AM
  #4452  
flyinfool1
My Feedback: (2)
 
flyinfool1's Avatar
 
Join Date: Jan 2002
Location: Cudahy, WI
Posts: 879
Likes: 0
Received 8 Likes on 5 Posts
Default

Sad face ? Sounds a lot more like a happy face.
The sad face will come after you get the P60 back and then have to go buy another K80.........
Old 04-06-2019, 09:18 PM
  #4453  
CARS II
My Feedback: (7)
 
CARS II's Avatar
 
Join Date: Oct 2002
Location: Sacramento CA
Posts: 6,589
Received 123 Likes on 106 Posts
Default


Today I flew my Reaction 54 at Woosdland/Davis, a flying field near home, this is a jet friendly club, 4 flights all togather, the K80 worked flawlessly, lots of thrust, more than needed.

Last edited by CARS II; 04-06-2019 at 09:21 PM.
Old 04-06-2019, 09:59 PM
  #4454  
Afterburners
Senior Member
 
Afterburners's Avatar
 
Join Date: Feb 2019
Location: New City, NY
Posts: 304
Received 21 Likes on 19 Posts
Default

Better to have it and not need it than to need it and not have it.
Old 04-07-2019, 03:06 PM
  #4455  
CARS II
My Feedback: (7)
 
CARS II's Avatar
 
Join Date: Oct 2002
Location: Sacramento CA
Posts: 6,589
Received 123 Likes on 106 Posts
Default

Agreed!

I was experimenting TO with the first notch of flaps down, it made rotation more natural and effortless, I will be using that setting for TO from now on.
.
Old 08-28-2019, 07:03 AM
  #4456  
flyinfool1
My Feedback: (2)
 
flyinfool1's Avatar
 
Join Date: Jan 2002
Location: Cudahy, WI
Posts: 879
Likes: 0
Received 8 Likes on 5 Posts
Default

First landing

FINALLY
The weatherman has cooperated and let use fly.
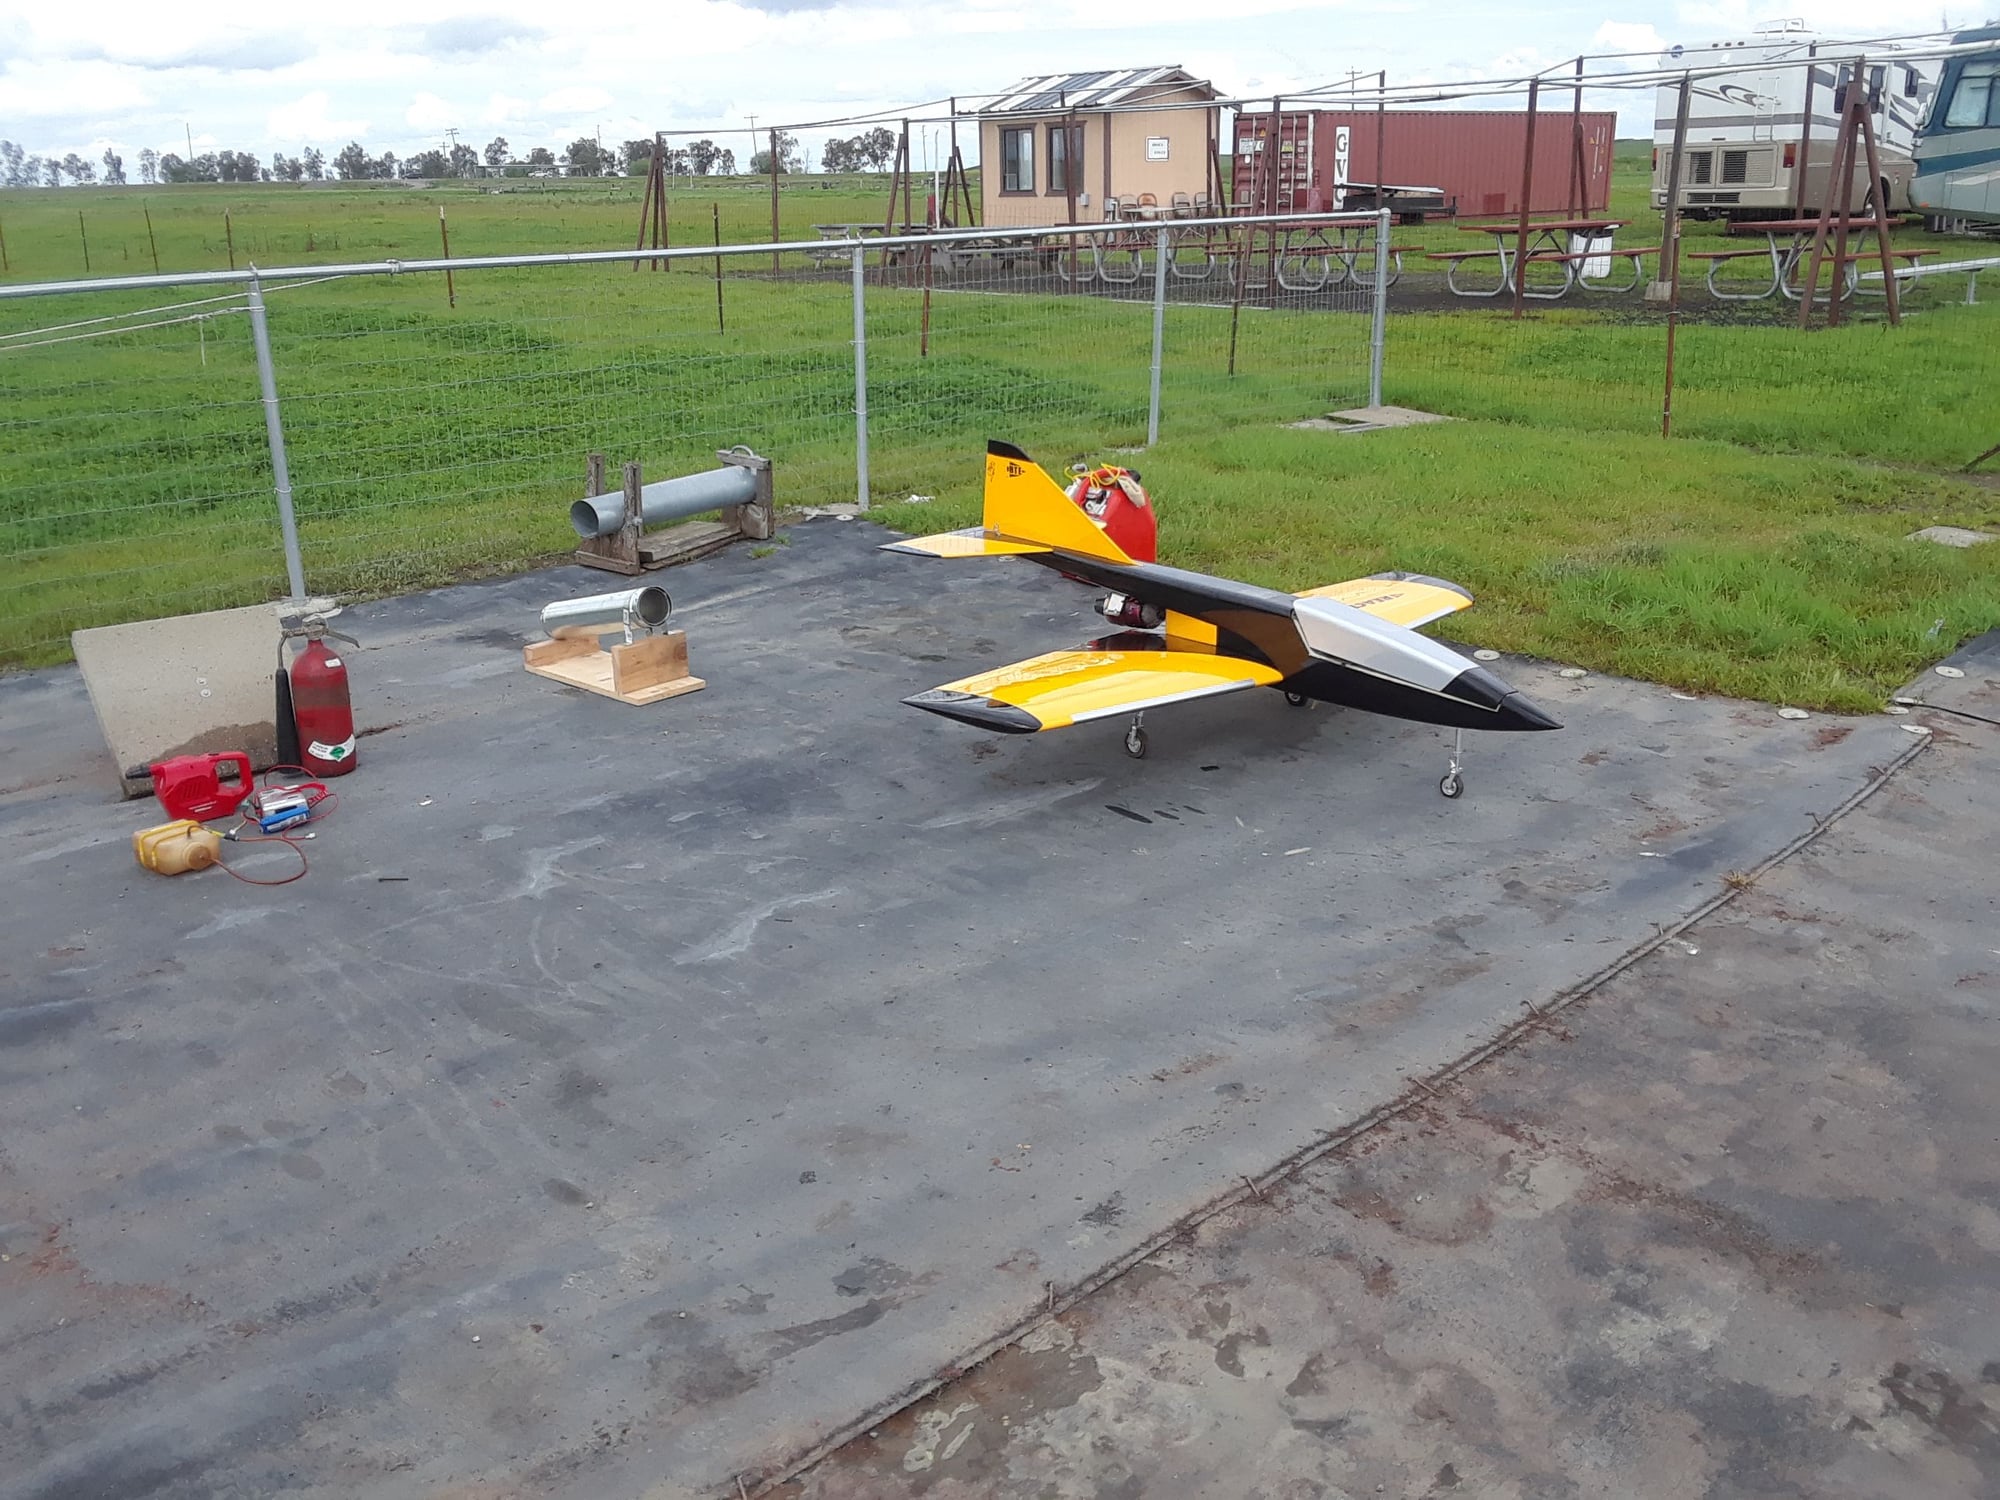
Her is the pic of the now 2 R54s at our field.
The white orange is a new one that has just maidened (the build was finished nearly a year ago) and 2 flights later had its owner signed off for his waiver.

I see a lot more scorched grass at the field.

New and old. The new freshly maidened R54 in white and orange and my 13+ year old R54 in red, white and blue.


First Landing

Old 08-28-2019, 10:11 AM
  #4457  
highhorse
My Feedback: (2)
 
highhorse's Avatar
 
Join Date: Nov 2006
Location: Memphis, TN
Posts: 2,565
Received 93 Likes on 49 Posts
Default

Very nice. Congrats to you both!
Old 08-28-2019, 10:41 AM
  #4458  
redtail
My Feedback: (15)
 
redtail's Avatar
 
Join Date: Oct 2002
Location: Alexandria, VA
Posts: 2,625
Received 6 Likes on 6 Posts
Default

Certainly Give My Congrats. Chic
Old 08-28-2019, 11:35 AM
  #4459  
CARS II
My Feedback: (7)
 
CARS II's Avatar
 
Join Date: Oct 2002
Location: Sacramento CA
Posts: 6,589
Received 123 Likes on 106 Posts
Default

Congrats! I sure miss mine, it should be up and running in Oct.
Old 08-28-2019, 03:06 PM
  #4460  
dwhorn
My Feedback: (28)
 
Join Date: Jun 2009
Location: De Pere, WI
Posts: 74
Likes: 0
Received 5 Likes on 3 Posts
Default

Congratulations ! Nice looking jets.
Old 11-27-2019, 04:05 PM
  #4461  
CARS II
My Feedback: (7)
 
CARS II's Avatar
 
Join Date: Oct 2002
Location: Sacramento CA
Posts: 6,589
Received 123 Likes on 106 Posts
Default


Ok guys, after debating for months, I have decided to fallow everyone's advice to fly the Reaction with the K80, since I now have a P80, the P80 will fly my Turbinator

Ok, I'm ready, say it, " I told you so"
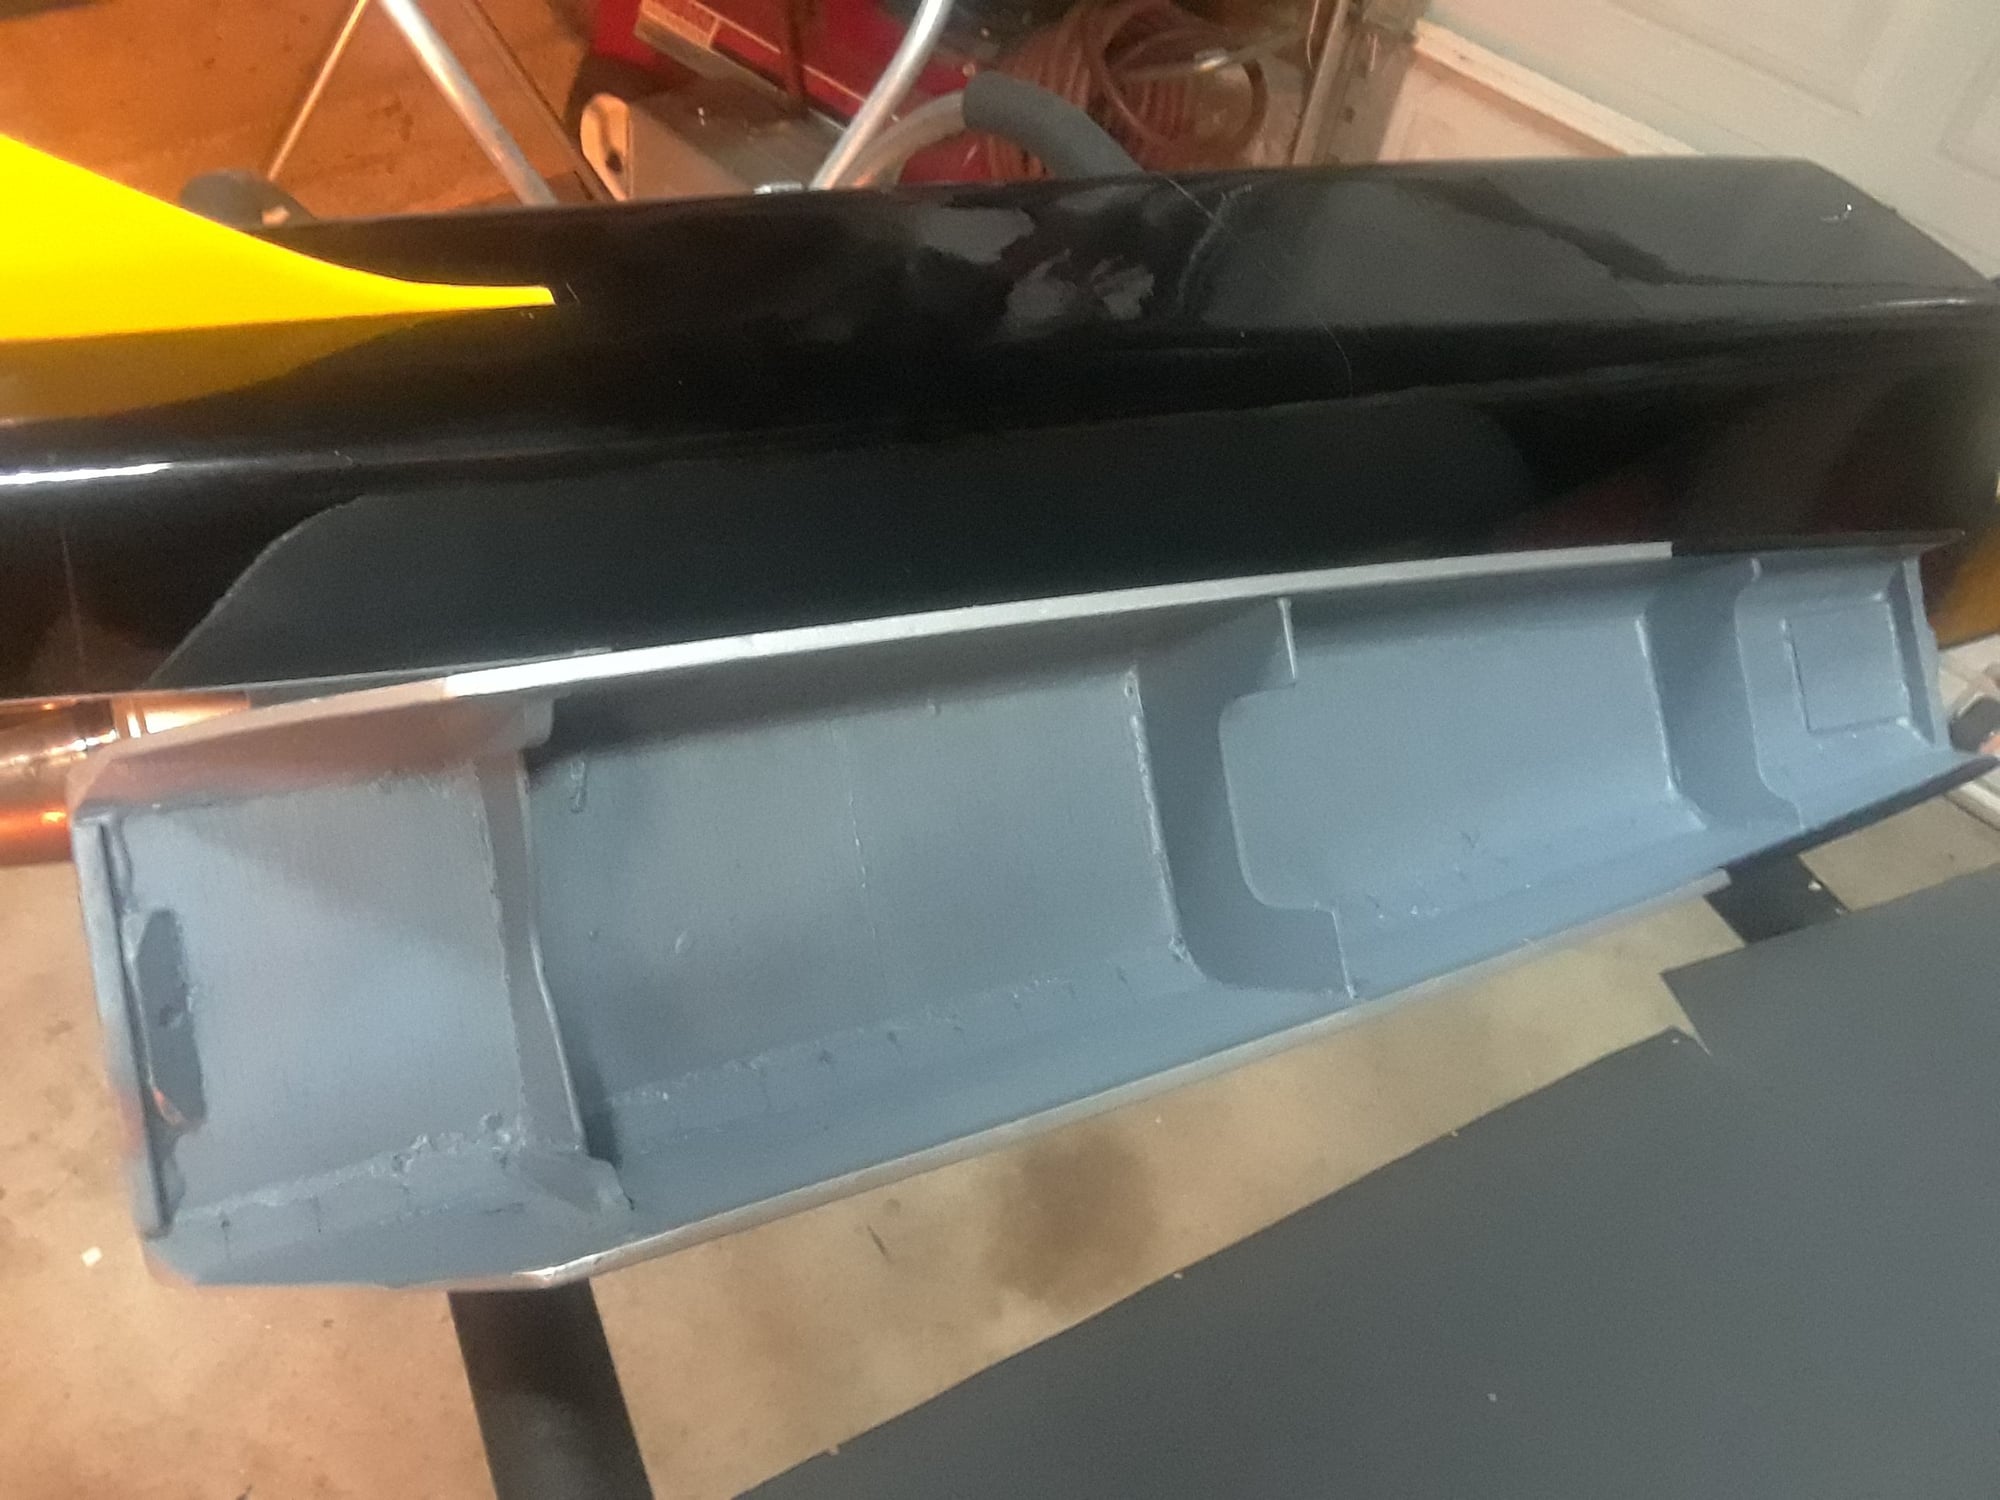
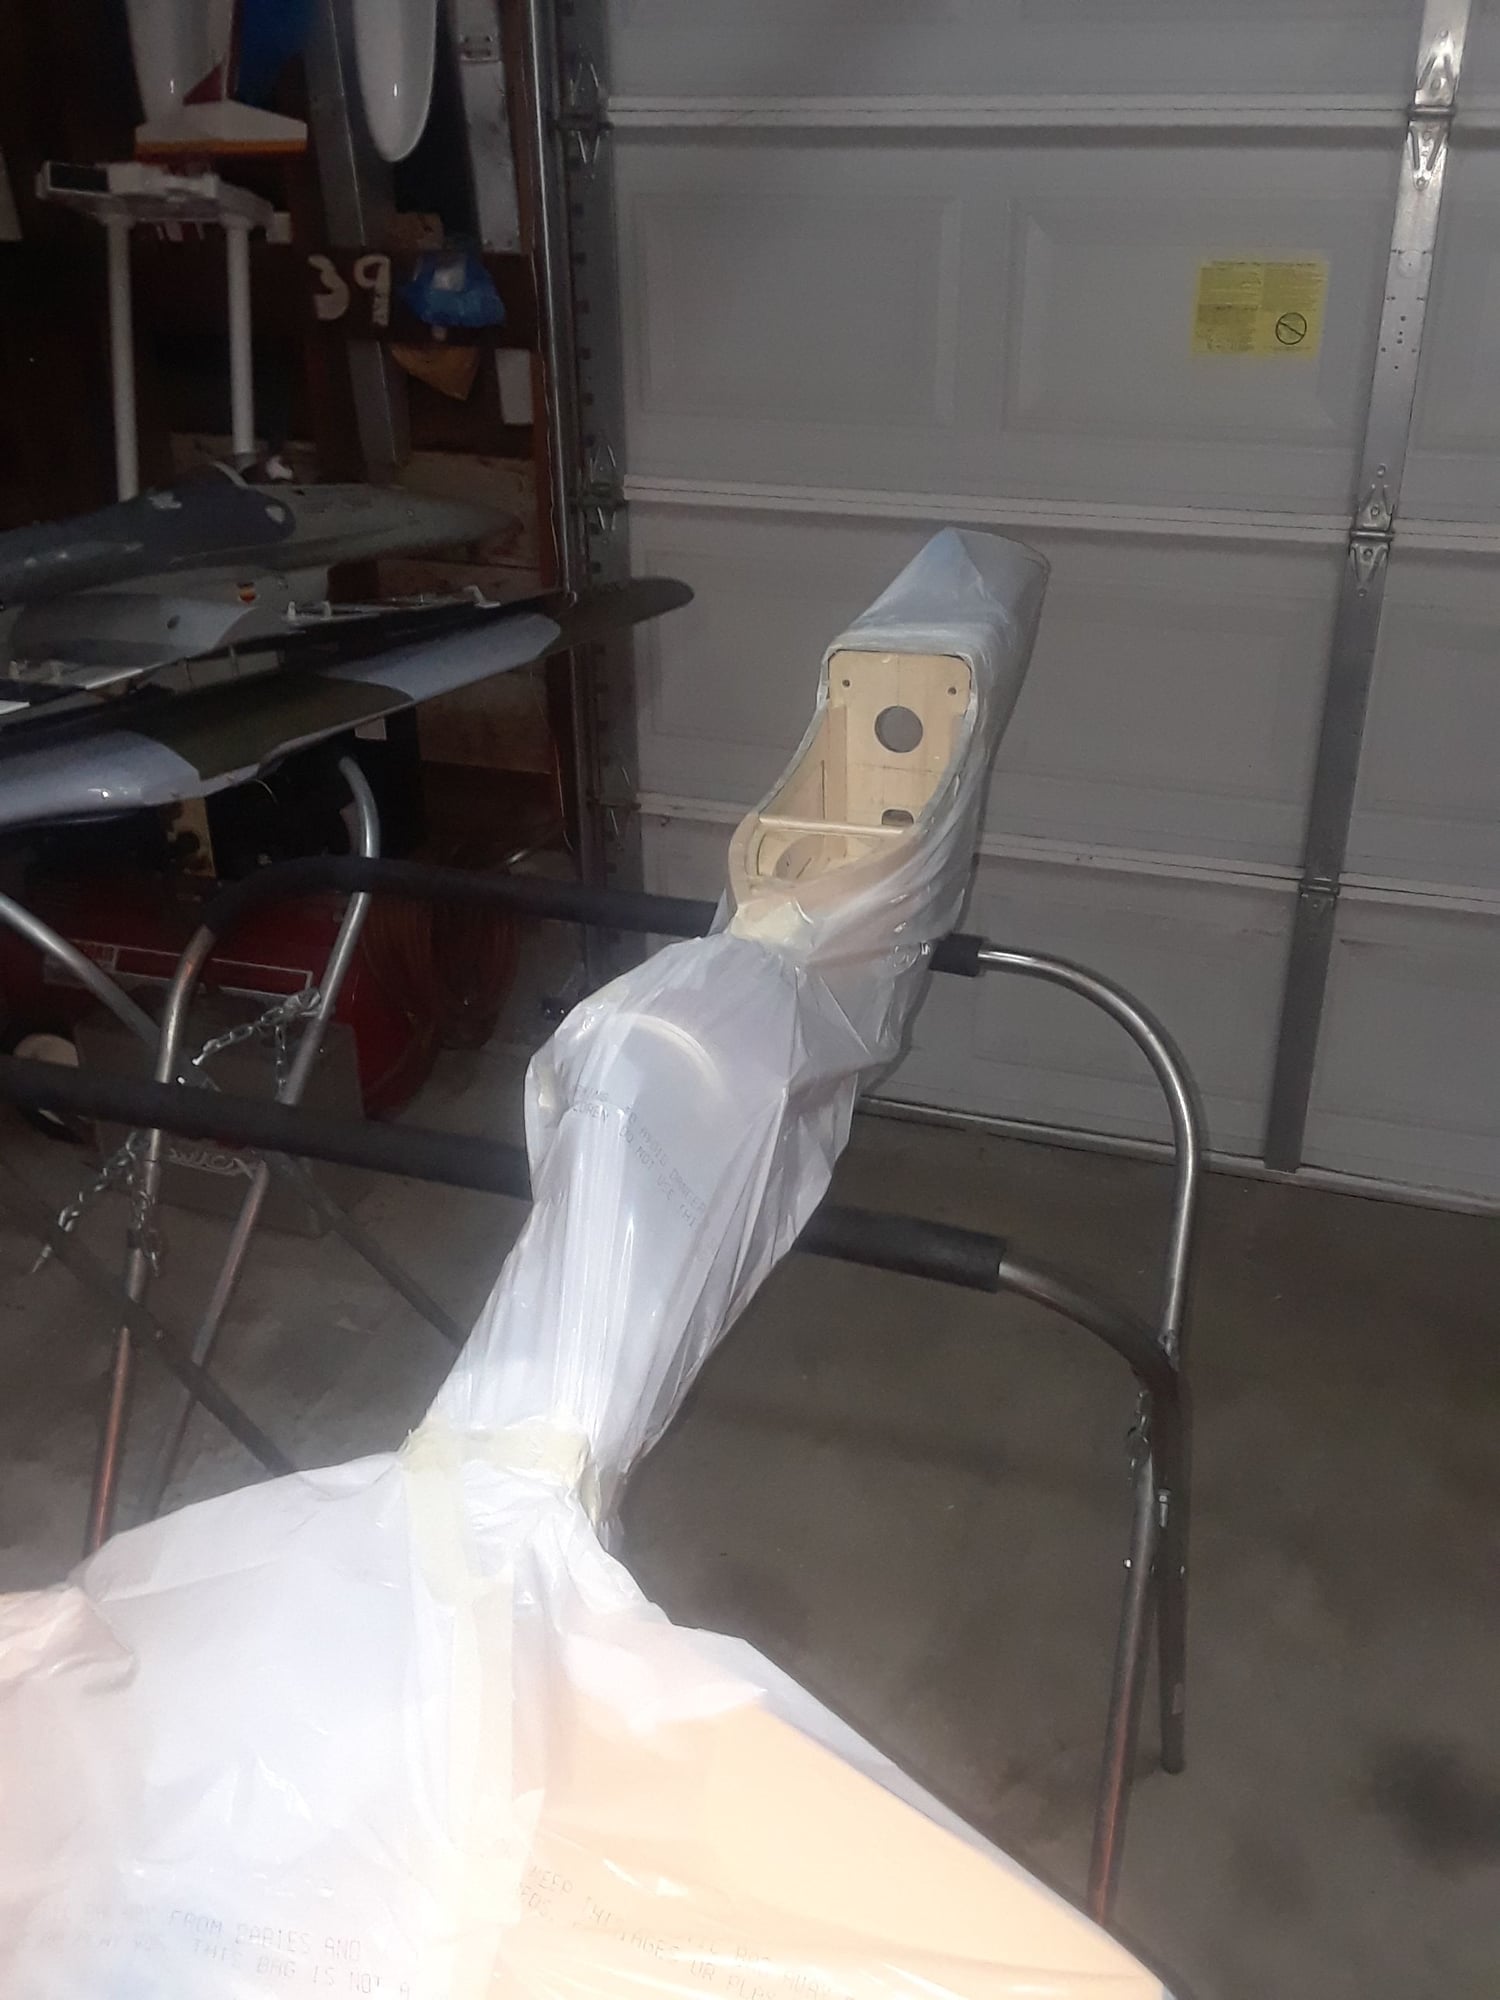
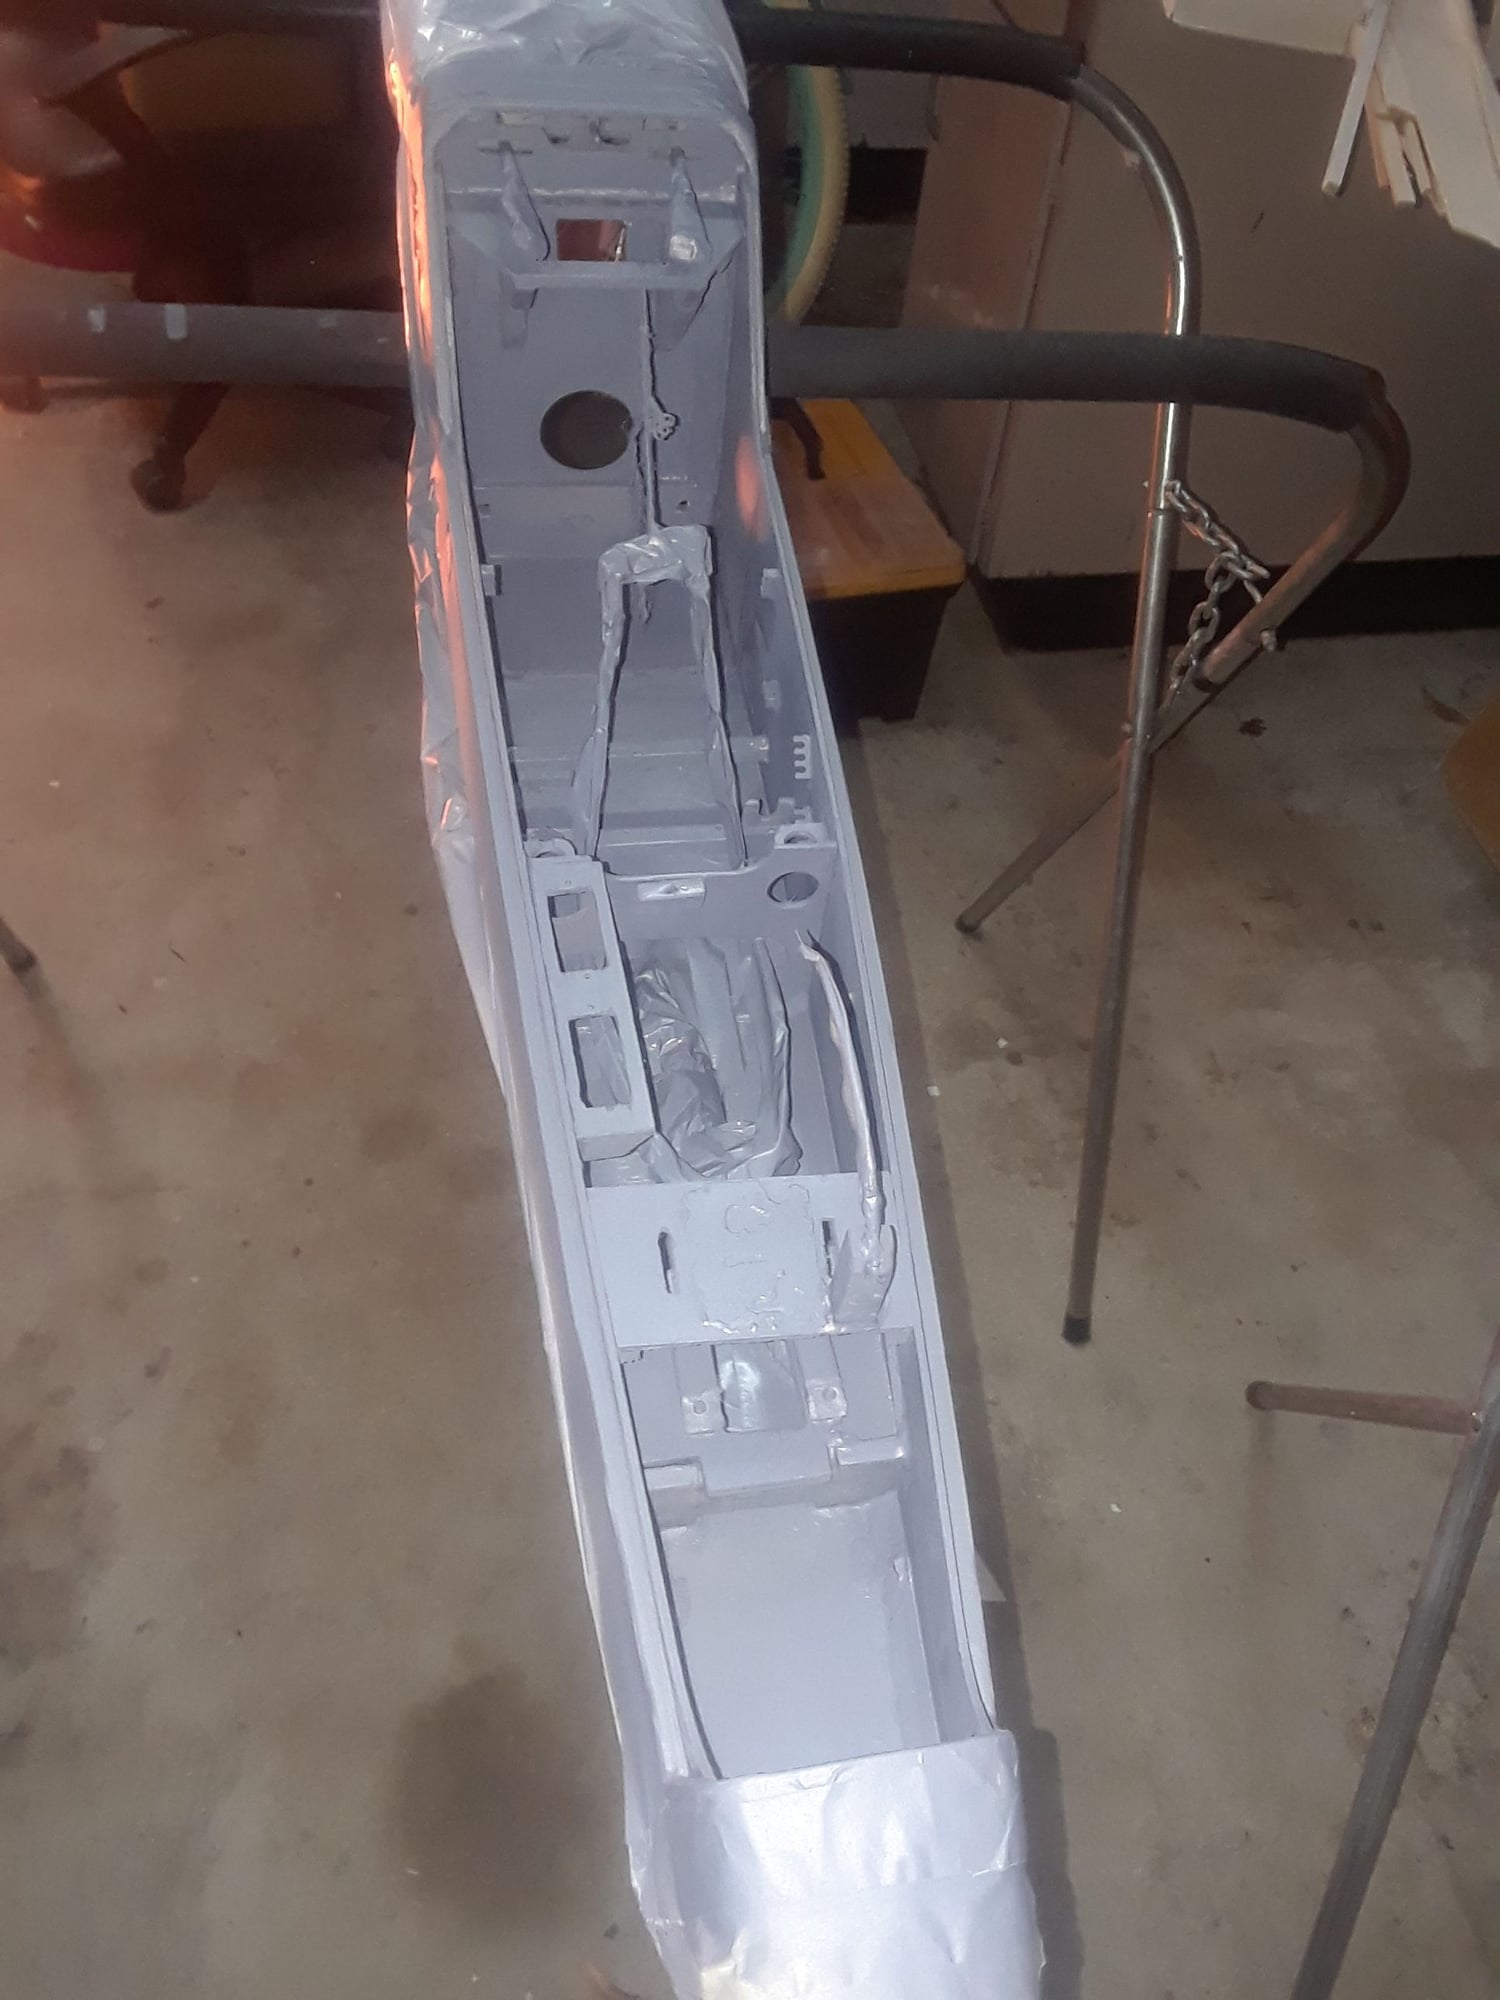
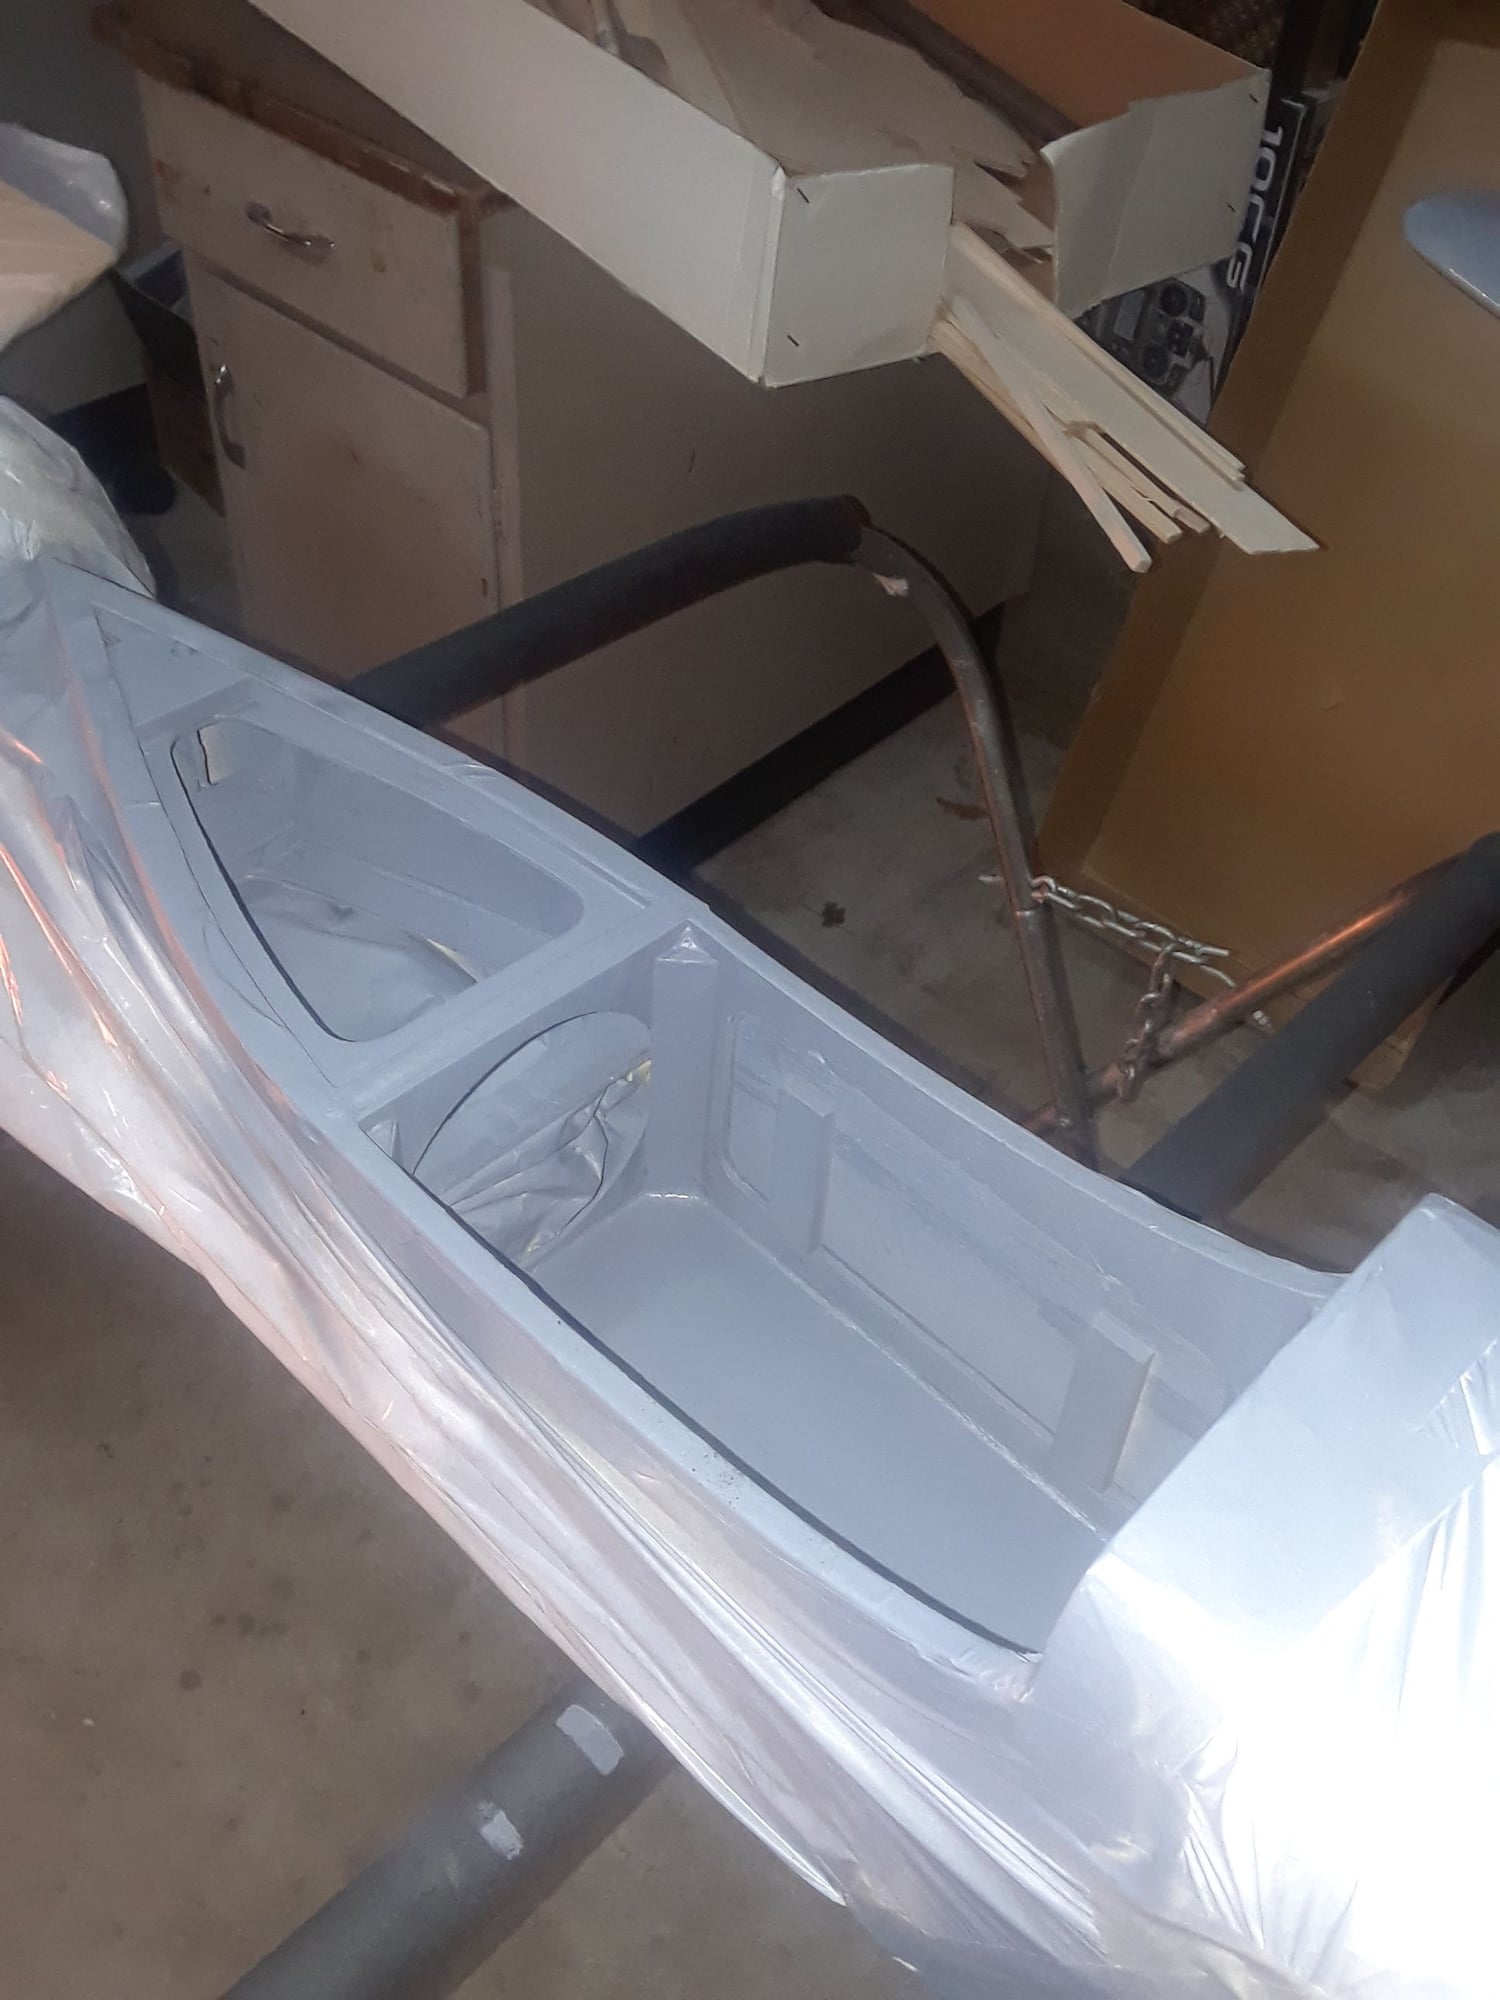
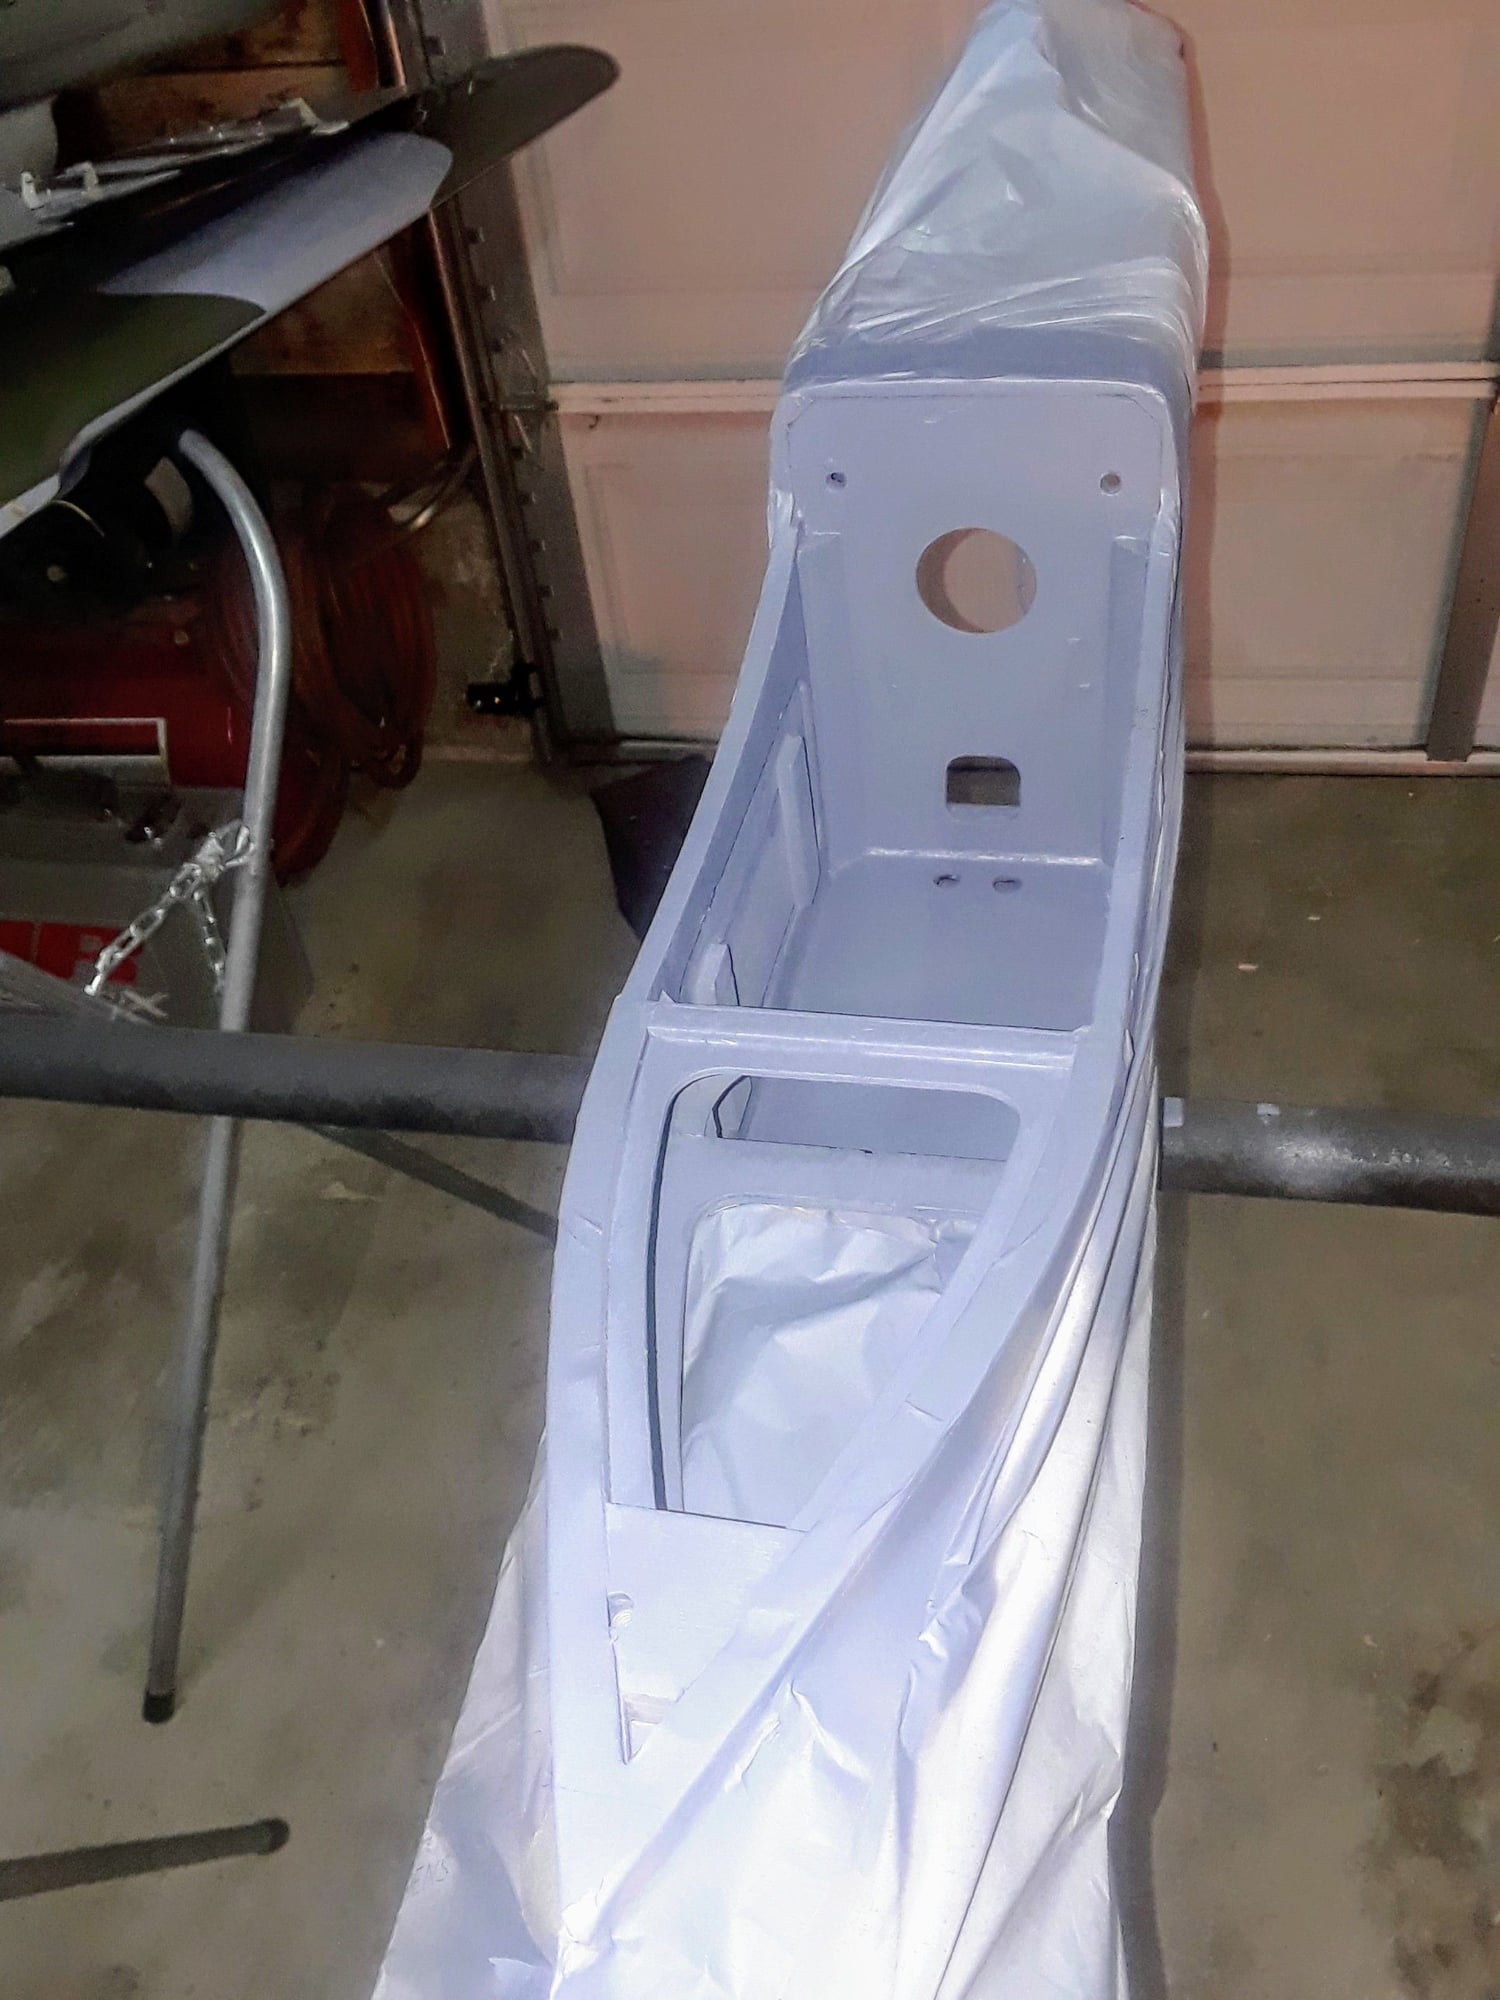
I'm redoing a bit of the install by removing bulkhead #4 and changing a few minor things also painting the interiors with primer gray.

Last edited by CARS II; 11-27-2019 at 04:08 PM.
Old 11-27-2019, 05:40 PM
  #4462  
CARS II
My Feedback: (7)
 
CARS II's Avatar
 
Join Date: Oct 2002
Location: Sacramento CA
Posts: 6,589
Received 123 Likes on 106 Posts
Default


Ready for the primer.
Old 11-27-2019, 08:26 PM
  #4463  
CARS II
My Feedback: (7)
 
CARS II's Avatar
 
Join Date: Oct 2002
Location: Sacramento CA
Posts: 6,589
Received 123 Likes on 106 Posts
Default


Done for tonight.

Last edited by CARS II; 11-27-2019 at 08:28 PM.
Old 11-28-2019, 10:18 PM
  #4464  
CARS II
My Feedback: (7)
 
CARS II's Avatar
 
Join Date: Oct 2002
Location: Sacramento CA
Posts: 6,589
Received 123 Likes on 106 Posts
Default


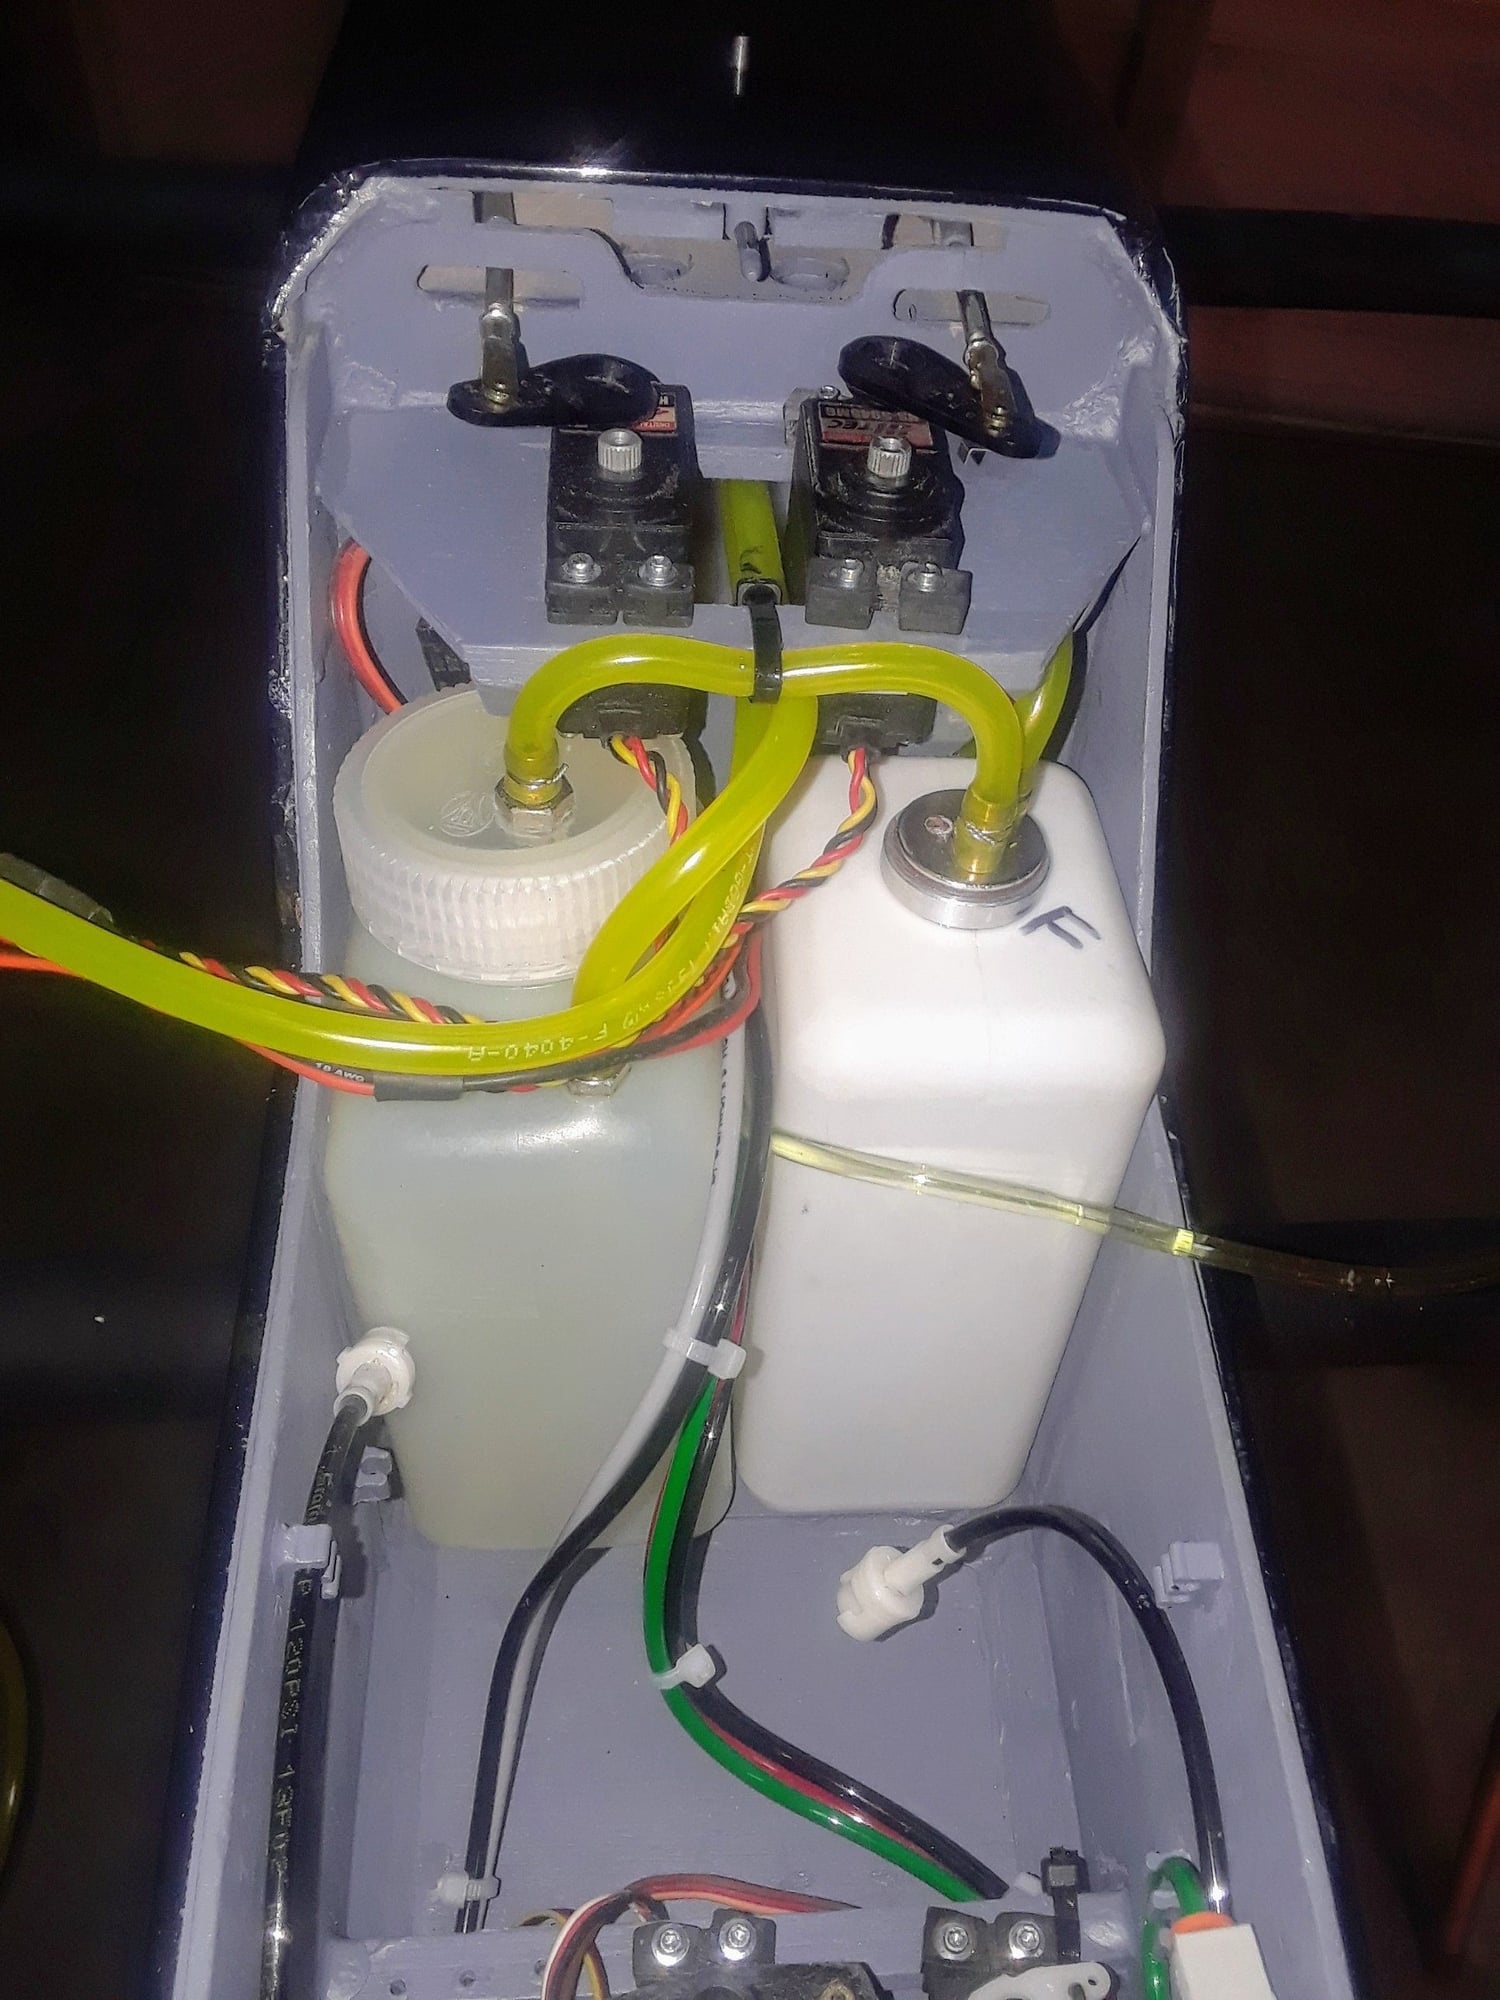
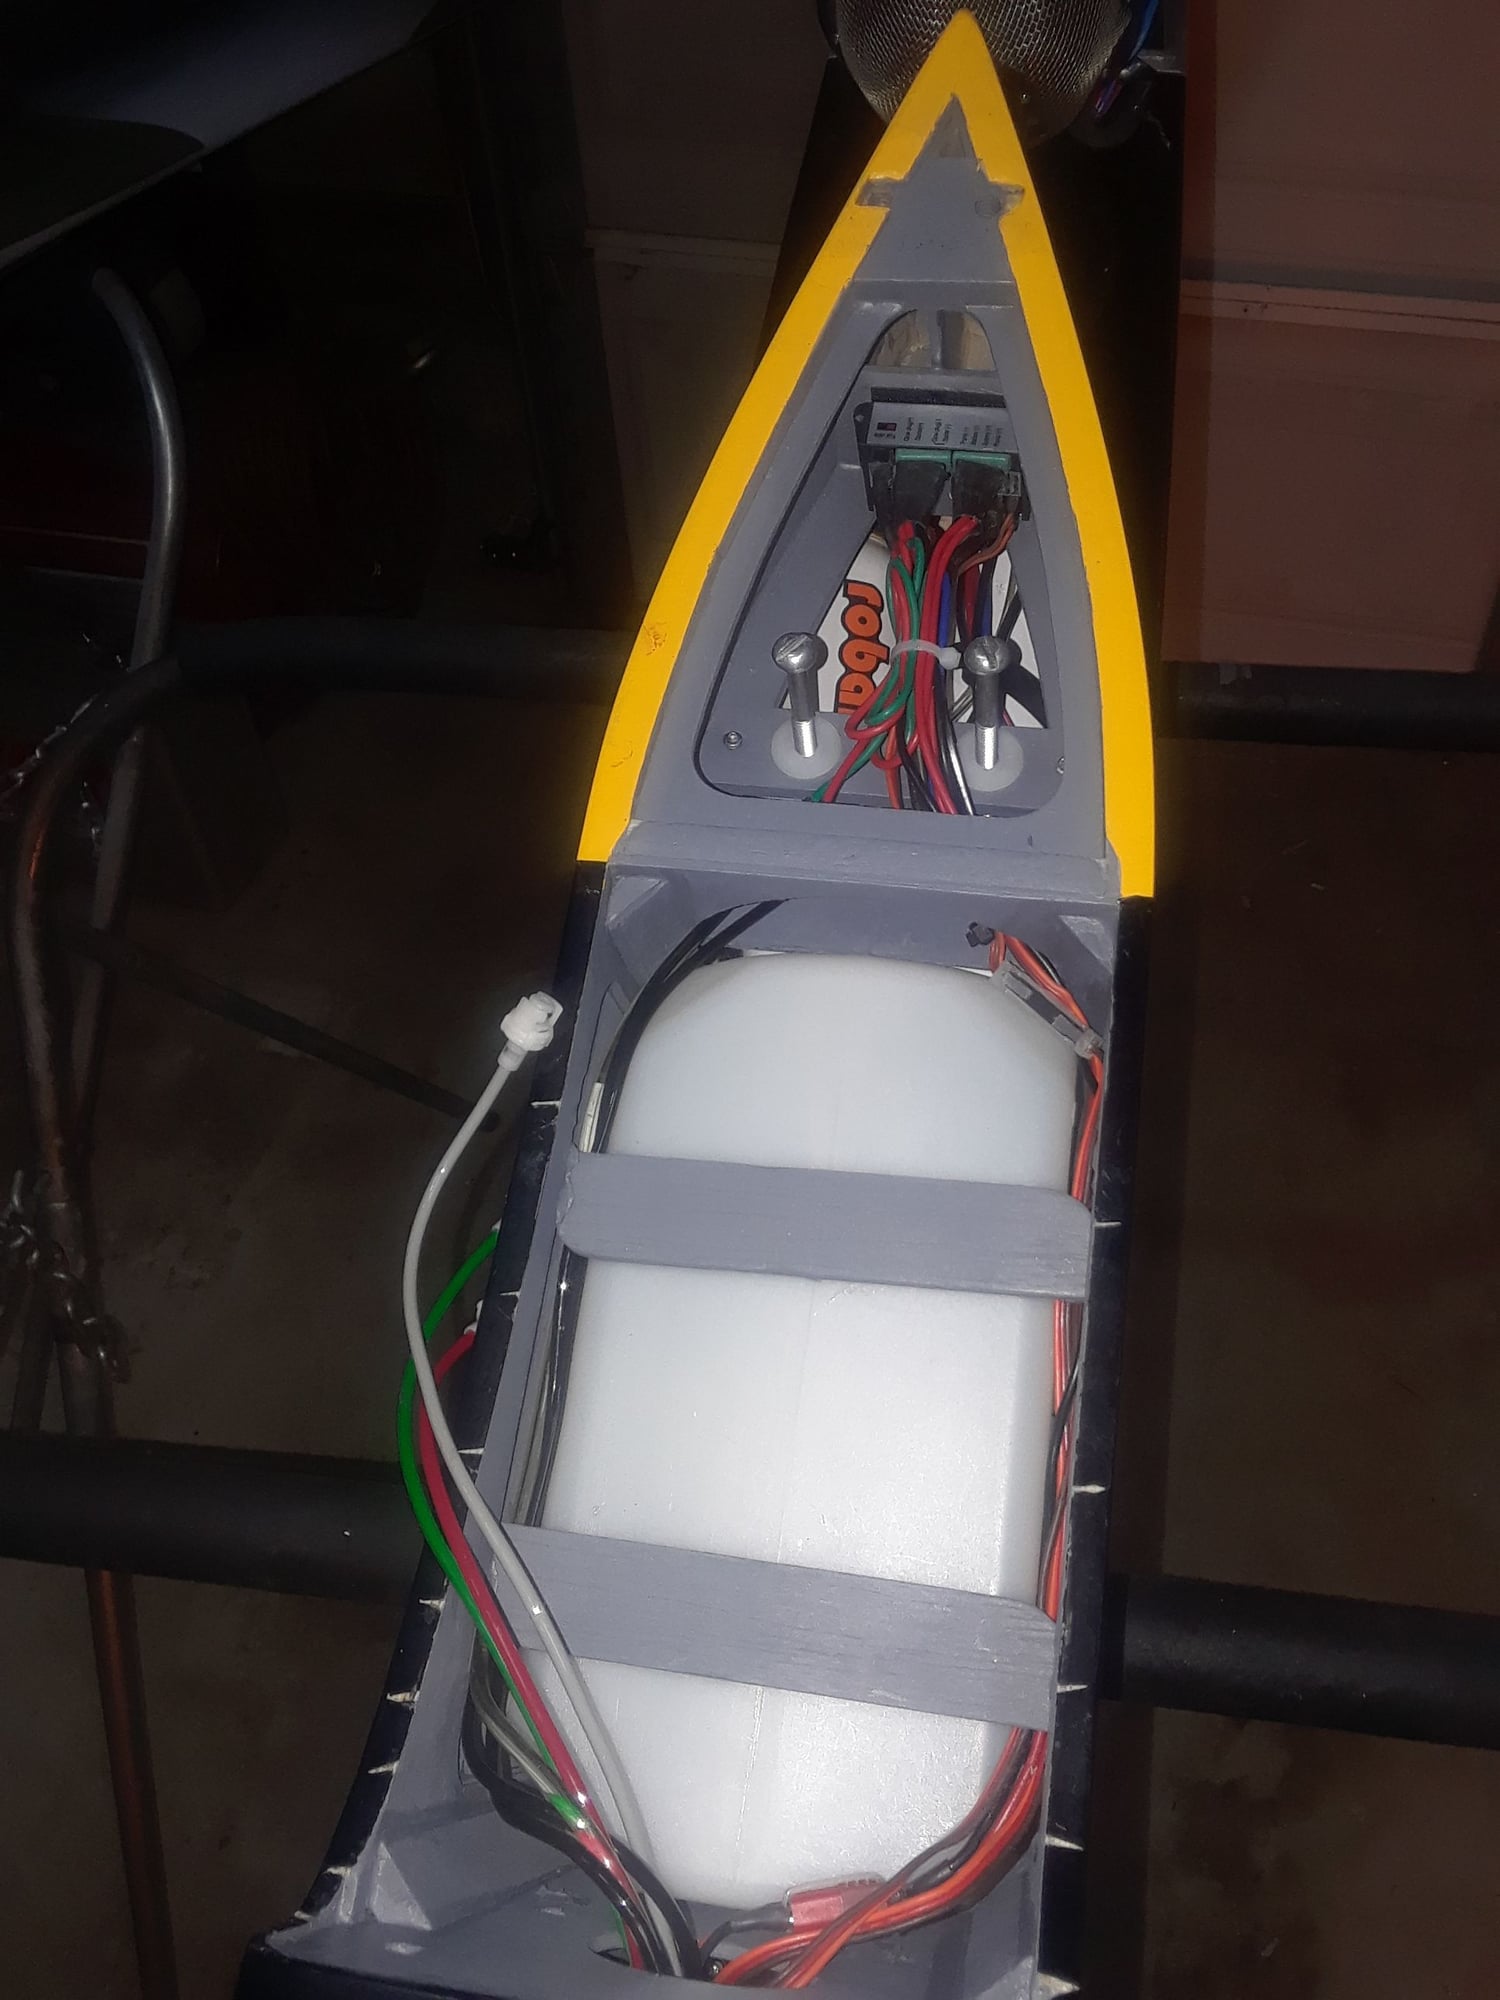
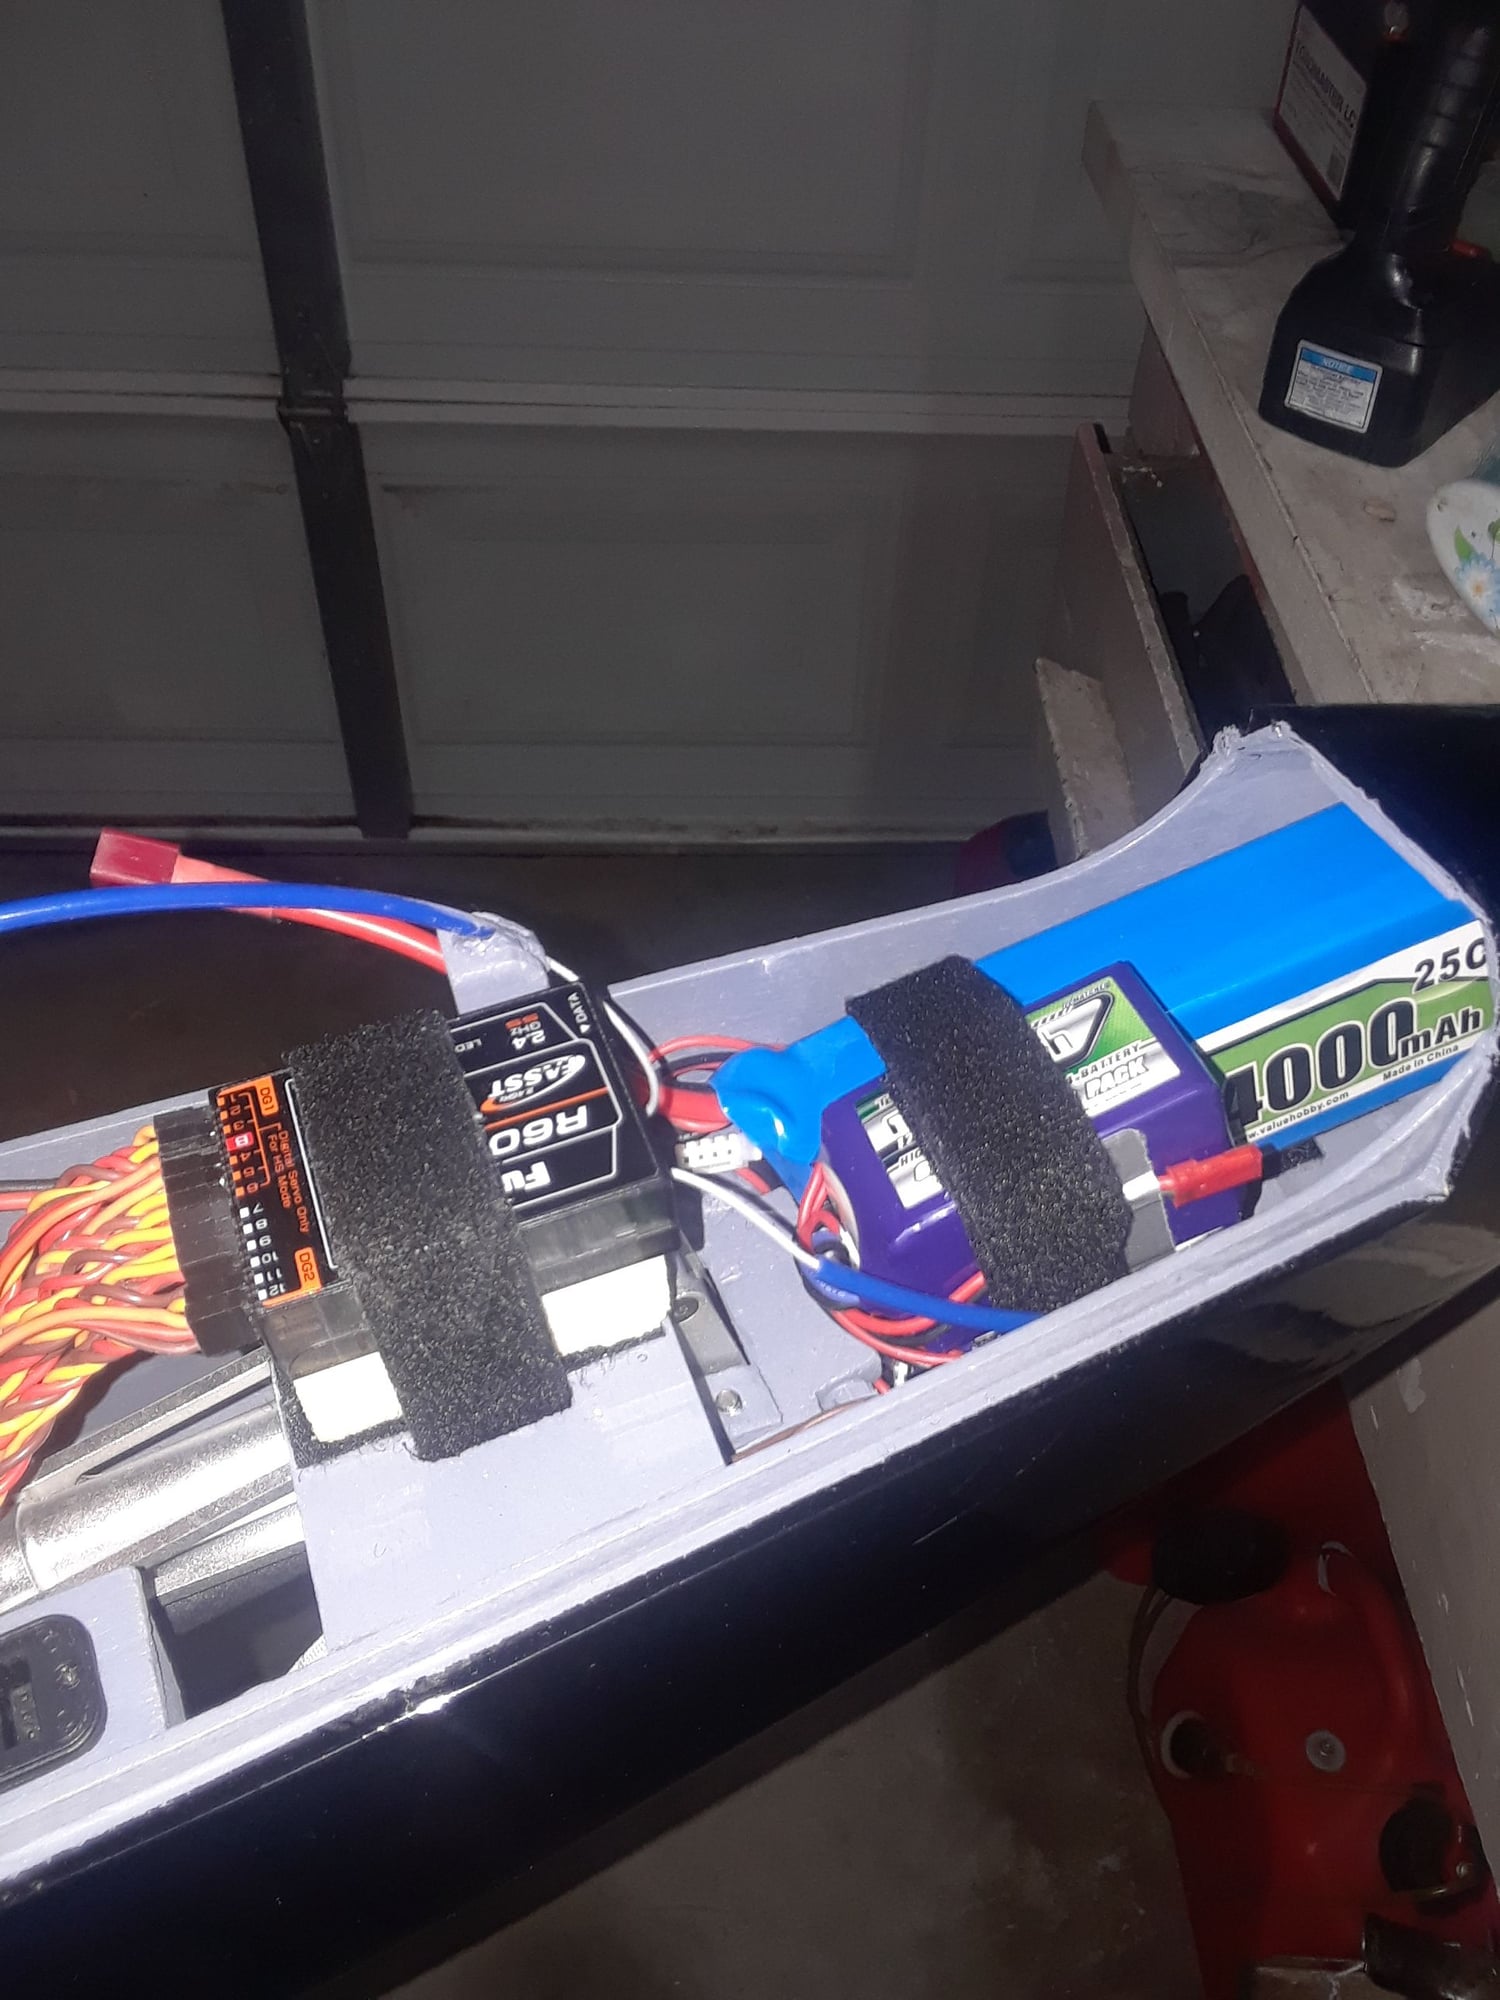
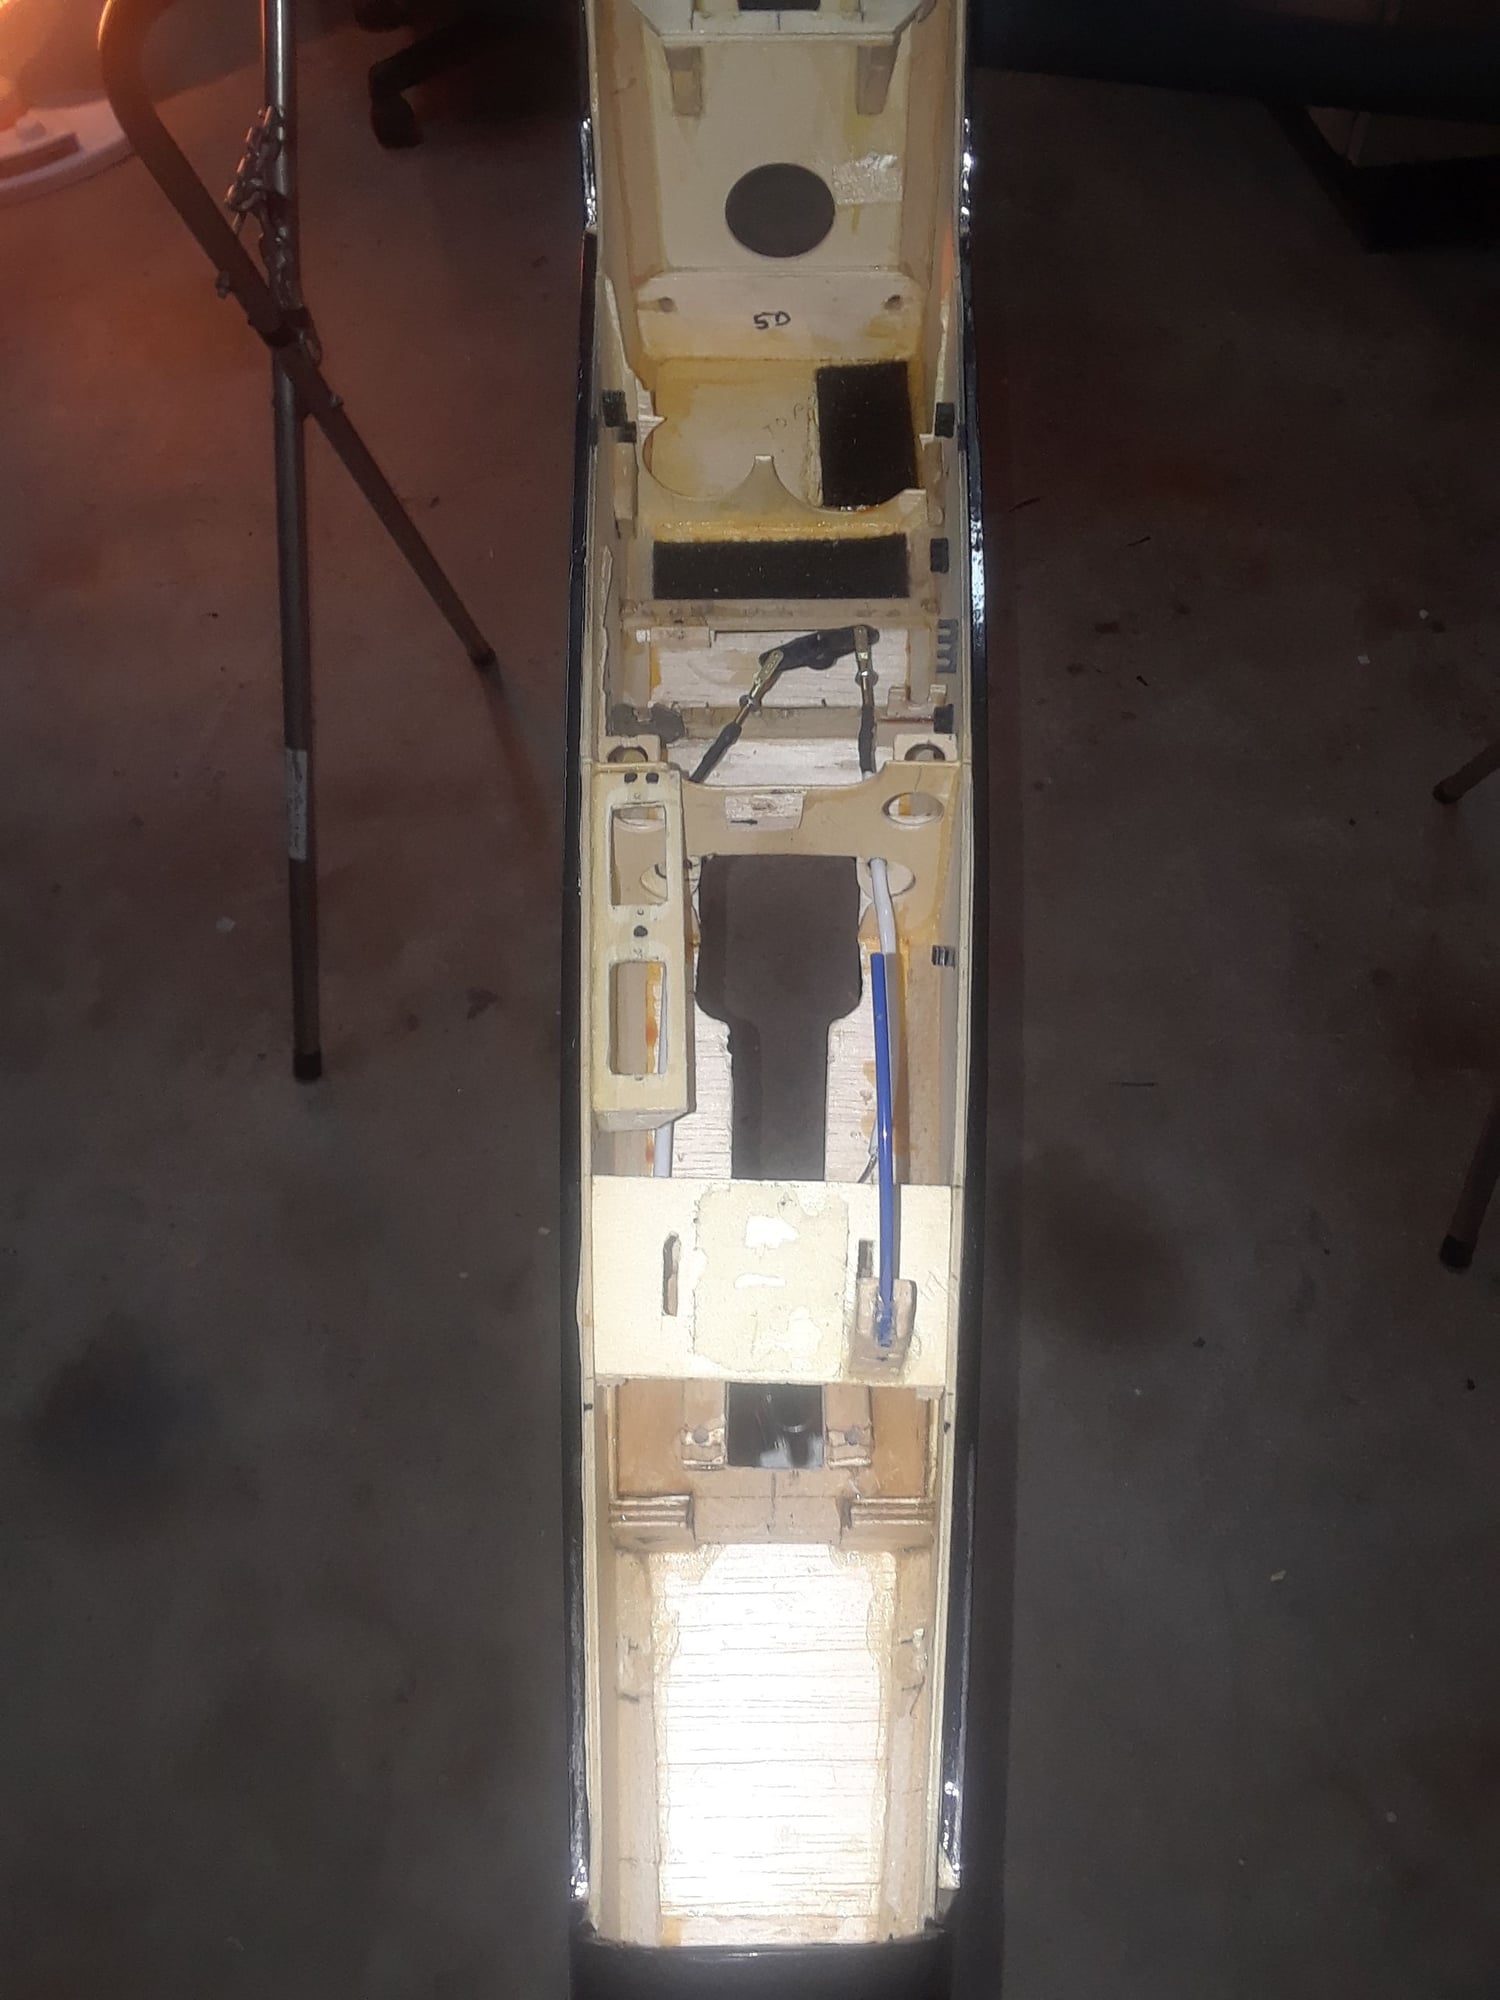
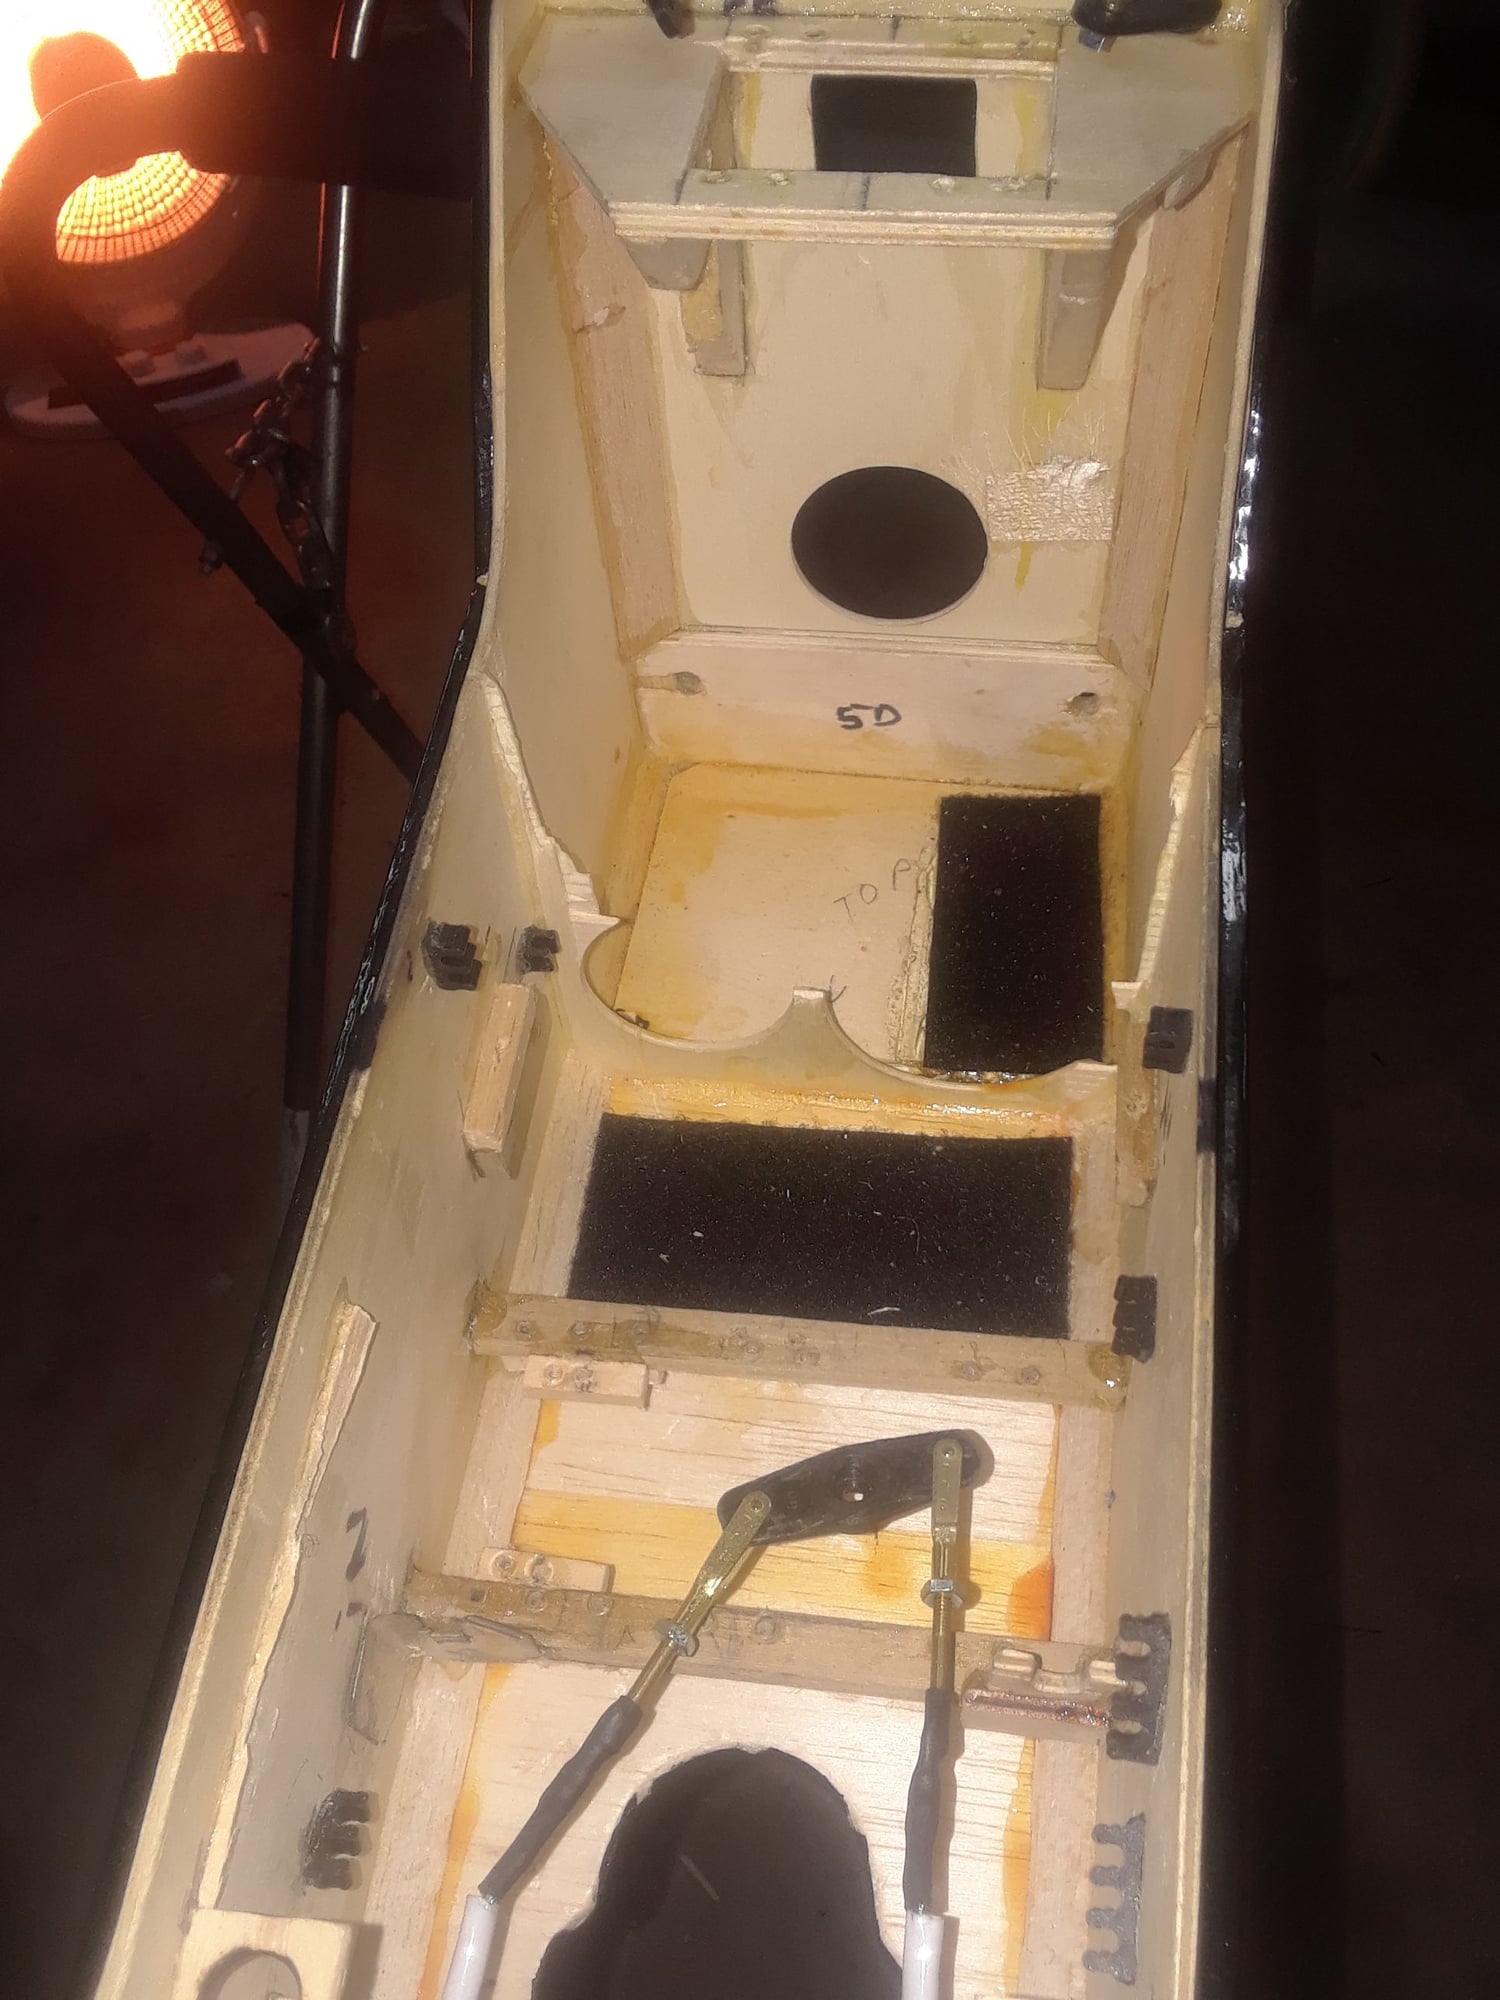
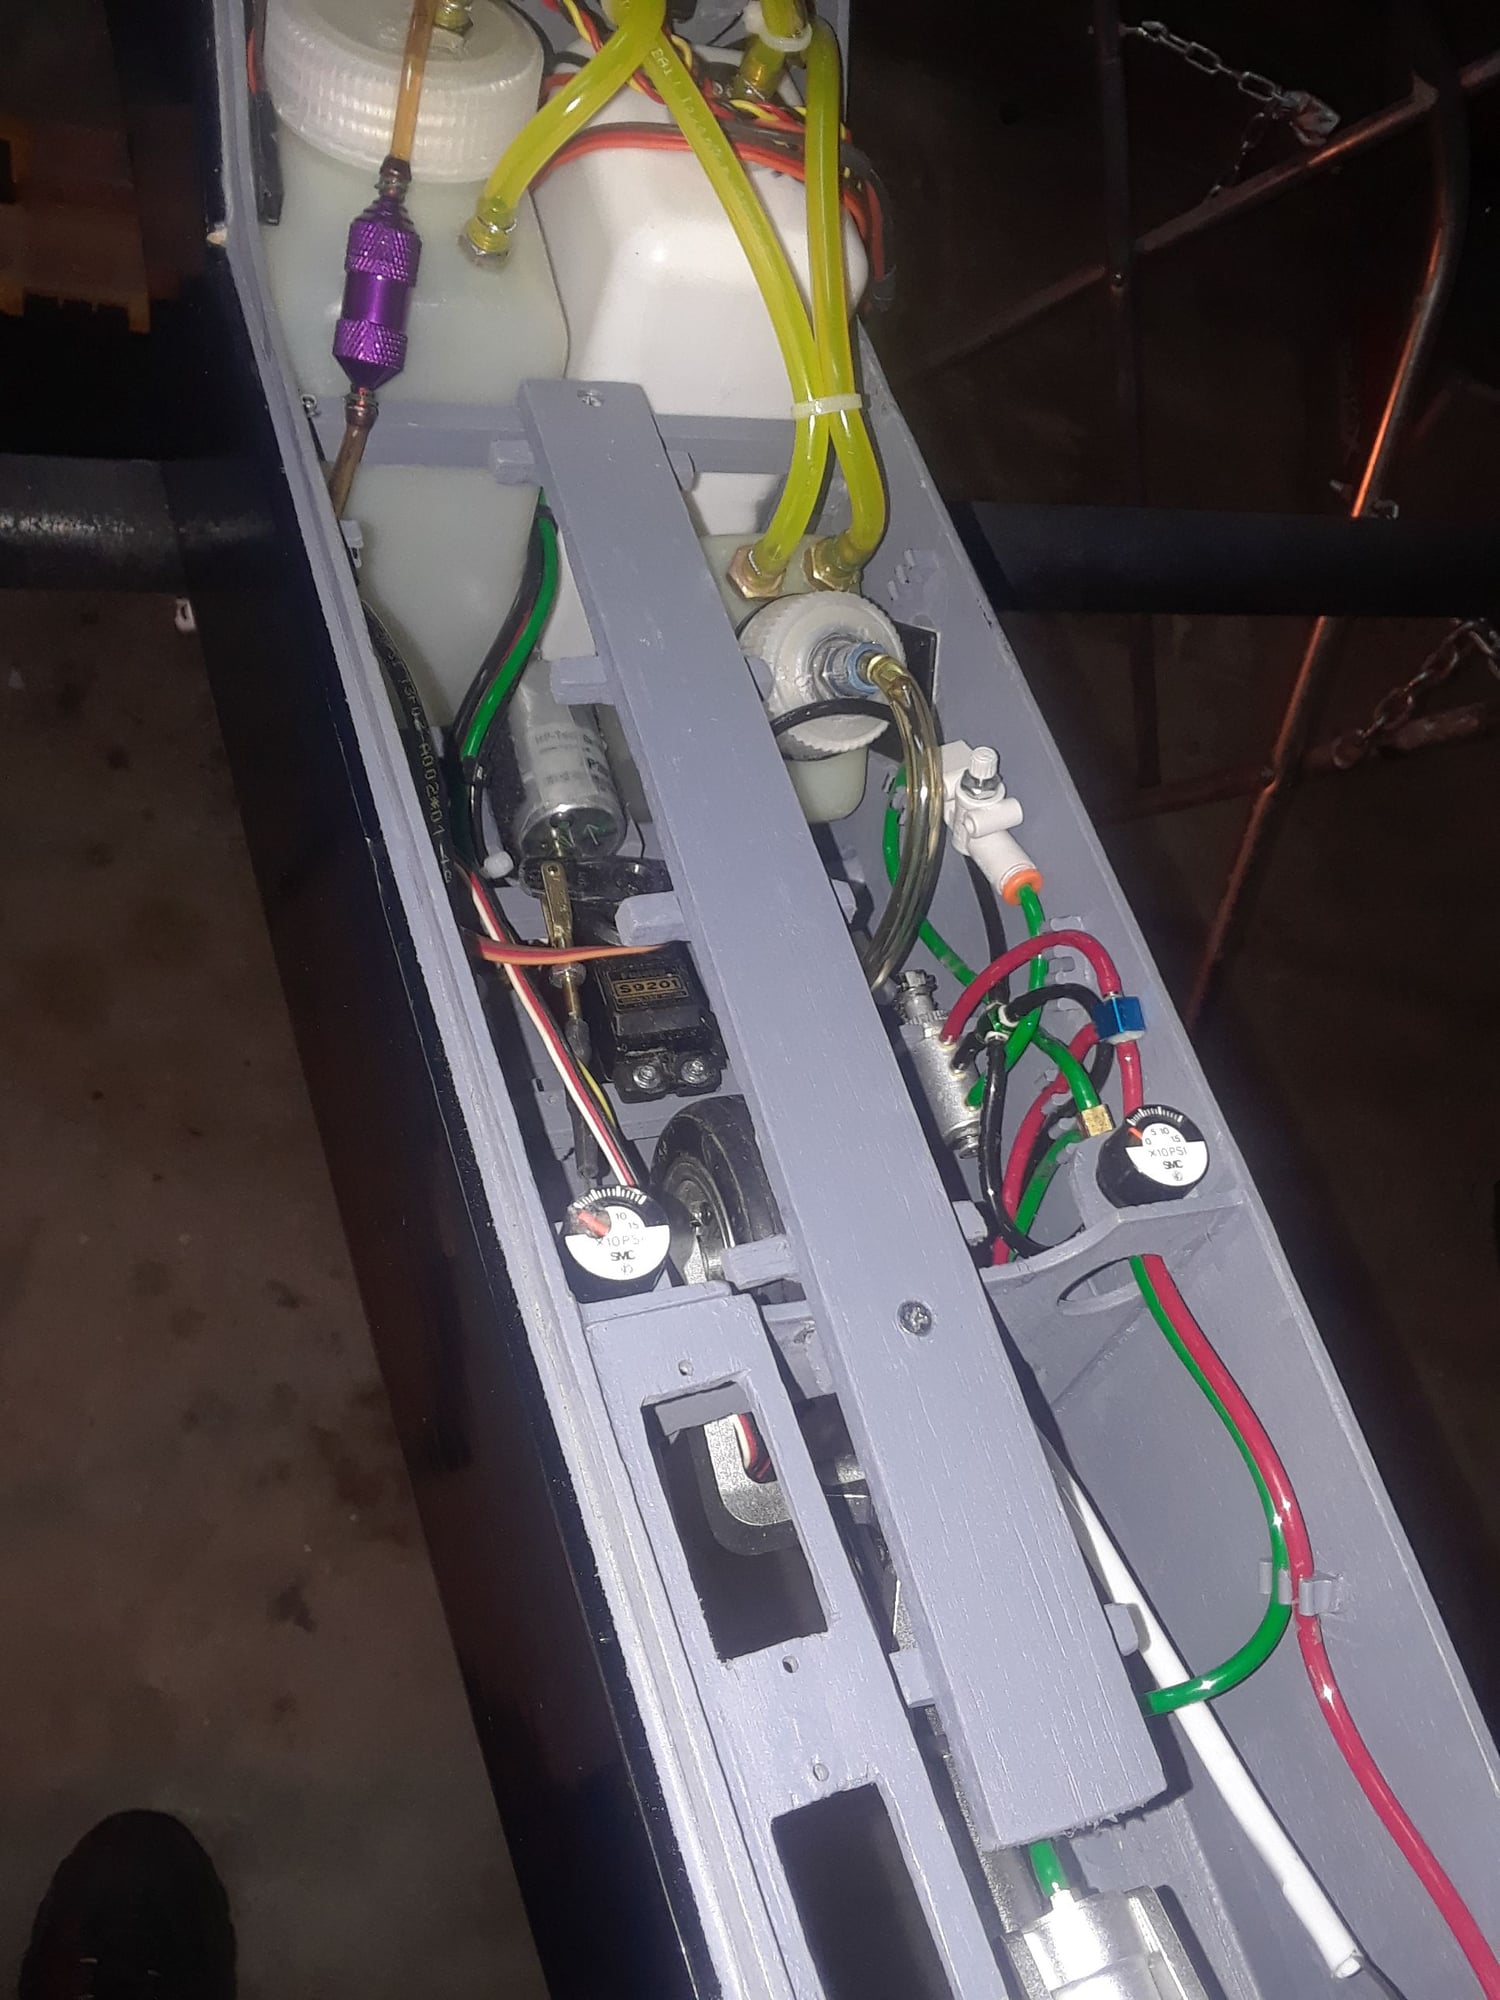
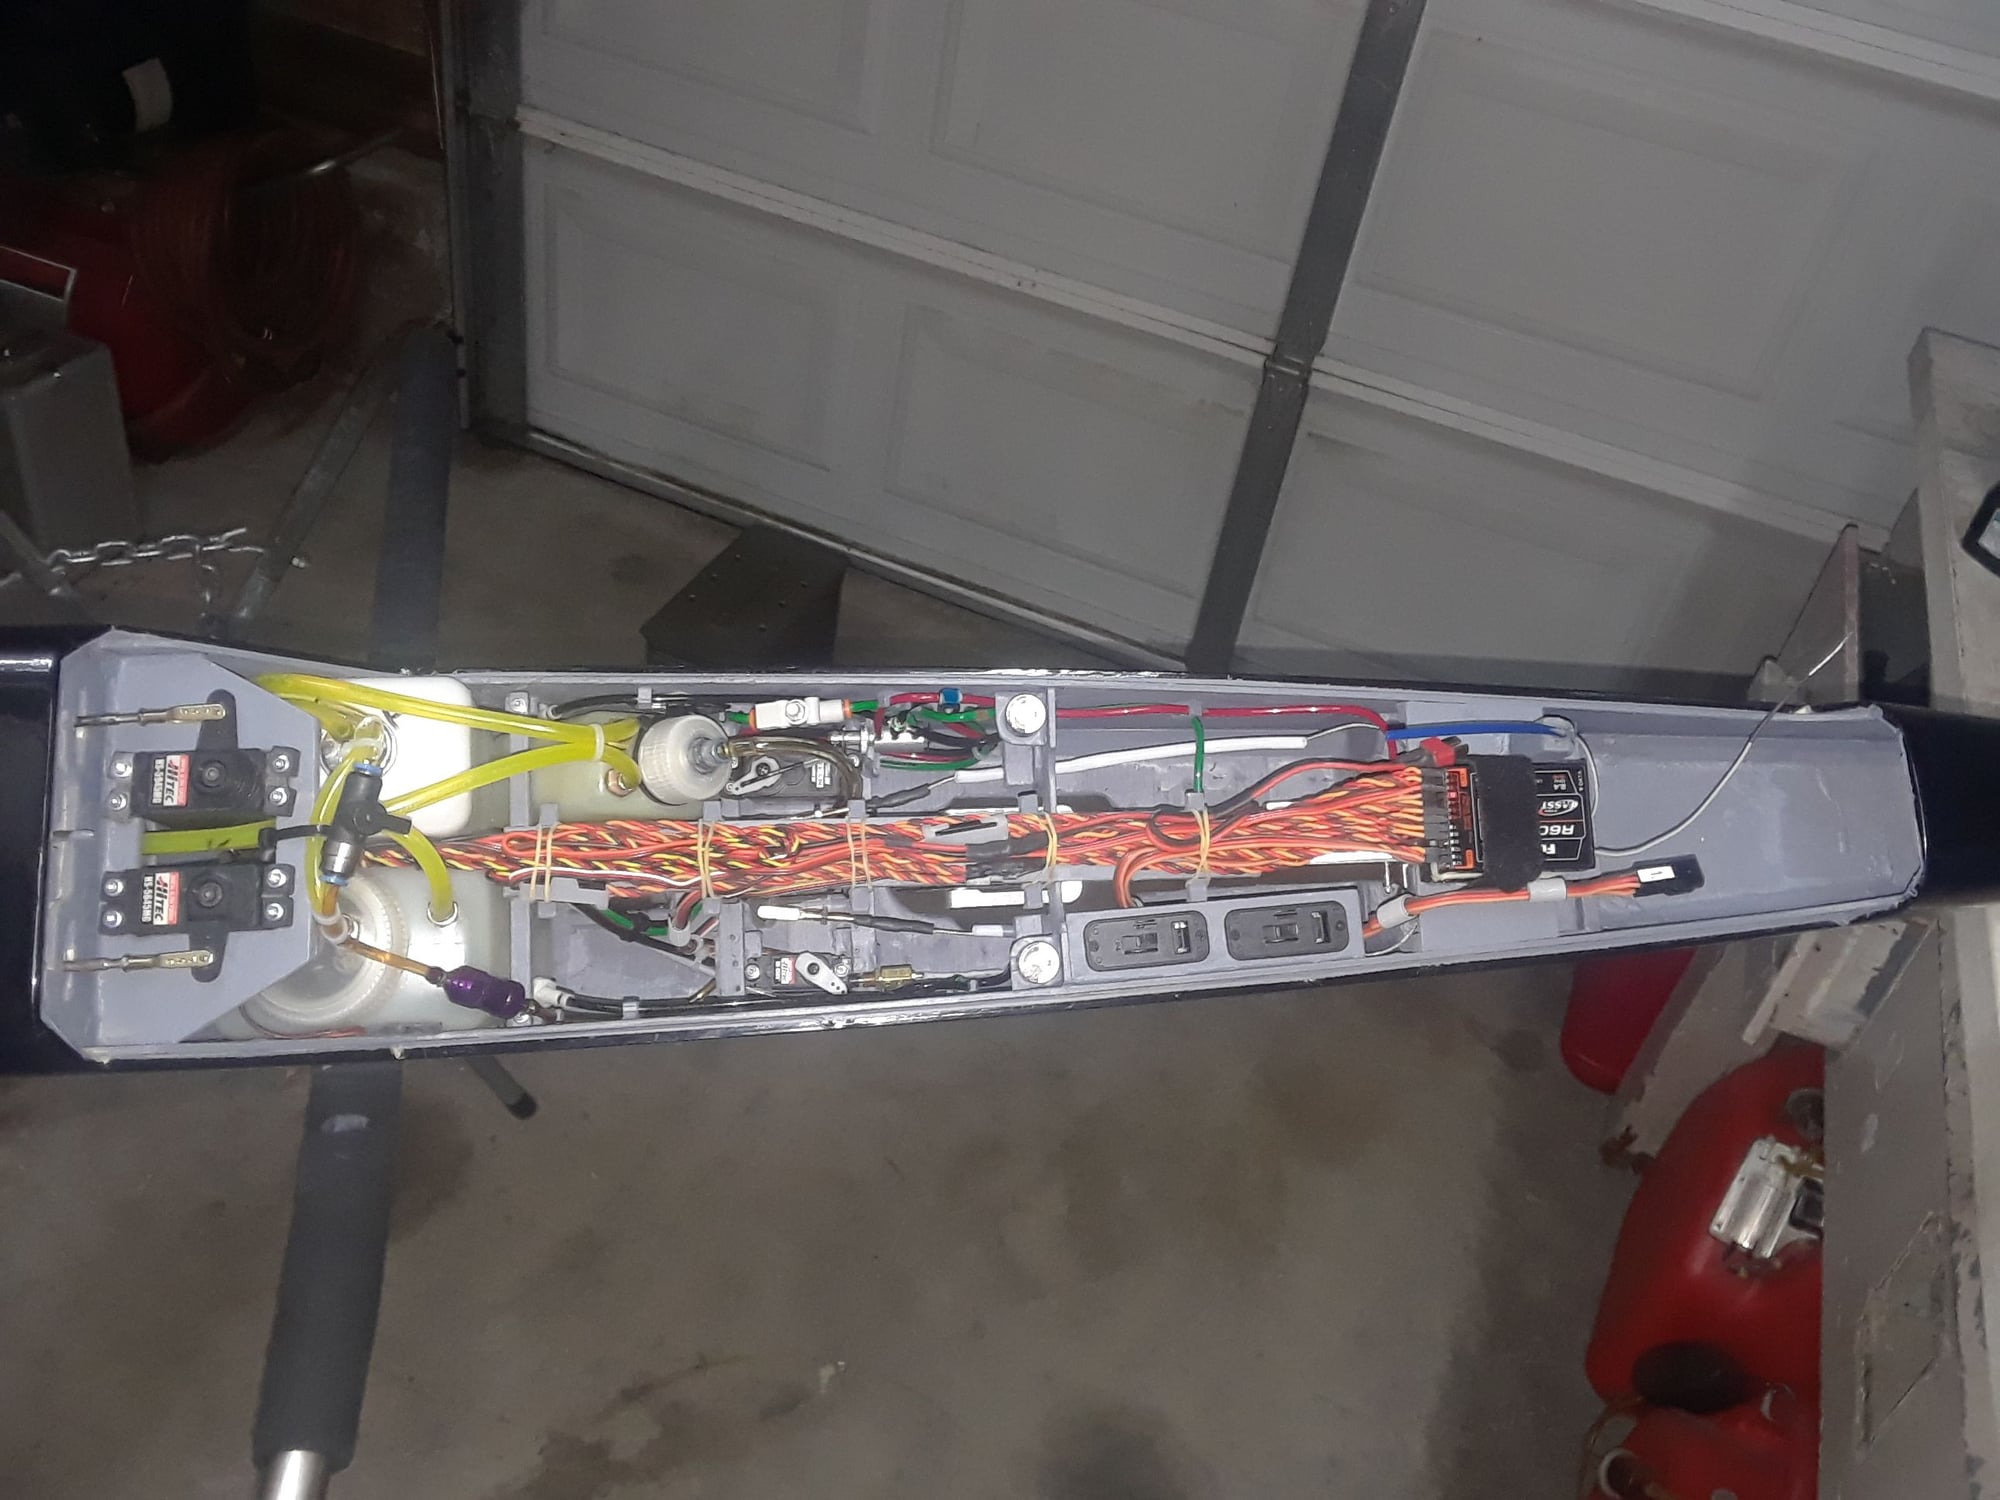
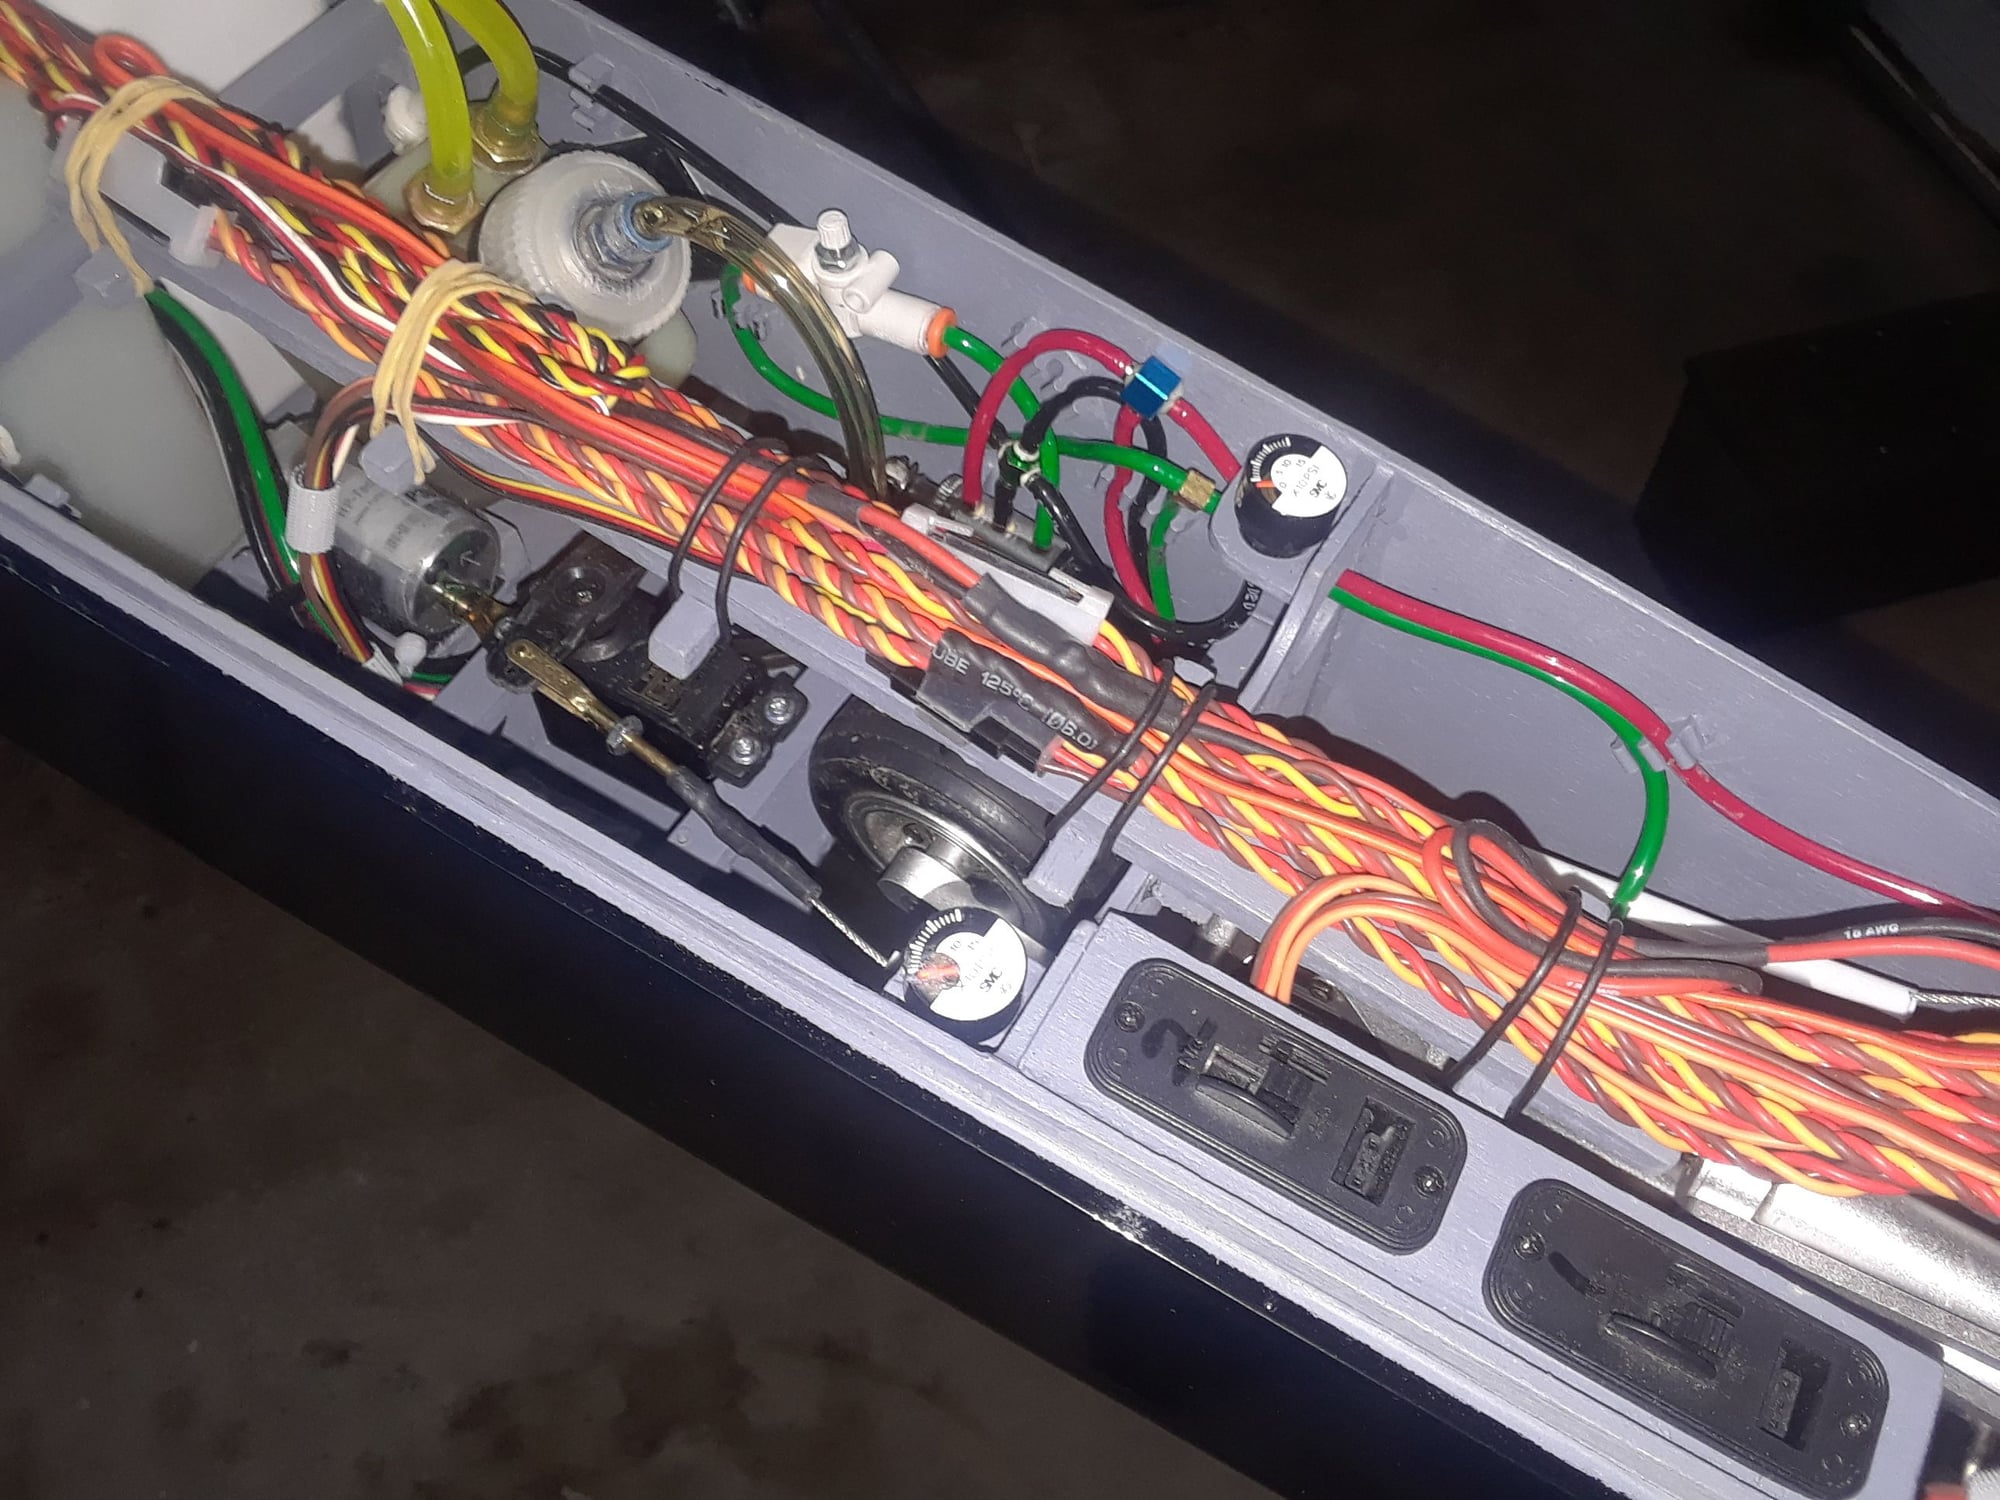
Ok, the equipment is going back in, the vent port has been moved with less of it protruding out, since the K80 burns a bit more fuel per min, I added a 3rd tank ( 14 oz ) for a total of 90 oz now, the UAT and pump are been moved to the space where the JC ECU used to be ( the KT ECU is in the back ) I'll be using two 1700 mah LIFE for the receiver this time (smaller ones) and the same 4K LIFE for the ECU.

I still have to work out a few minor install problems but, all looks good at the moment.

After the install, I will be adding some triming to the scheme to make it a bit more attractive and some grafics from Callie grafics.

Last edited by CARS II; 11-29-2019 at 02:09 PM.
Old 11-30-2019, 05:32 PM
  #4465  
BruceTharpe
My Feedback: (1)
 
BruceTharpe's Avatar
 
Join Date: Nov 2003
Location: Rogue River, OR
Posts: 694
Likes: 0
Received 7 Likes on 4 Posts
Default

I like the grey primer interior. More business-like
Old 11-30-2019, 10:44 PM
  #4466  
CARS II
My Feedback: (7)
 
CARS II's Avatar
 
Join Date: Oct 2002
Location: Sacramento CA
Posts: 6,589
Received 123 Likes on 106 Posts
Default

Thanks Bruce, yeah! It now means bussines, specially with the 19 lbs thrust engine hanging in the back.

I will try my best to get some videos of it in action.
Old 12-01-2019, 06:21 PM
  #4467  
CARS II
My Feedback: (7)
 
CARS II's Avatar
 
Join Date: Oct 2002
Location: Sacramento CA
Posts: 6,589
Received 123 Likes on 106 Posts
Default


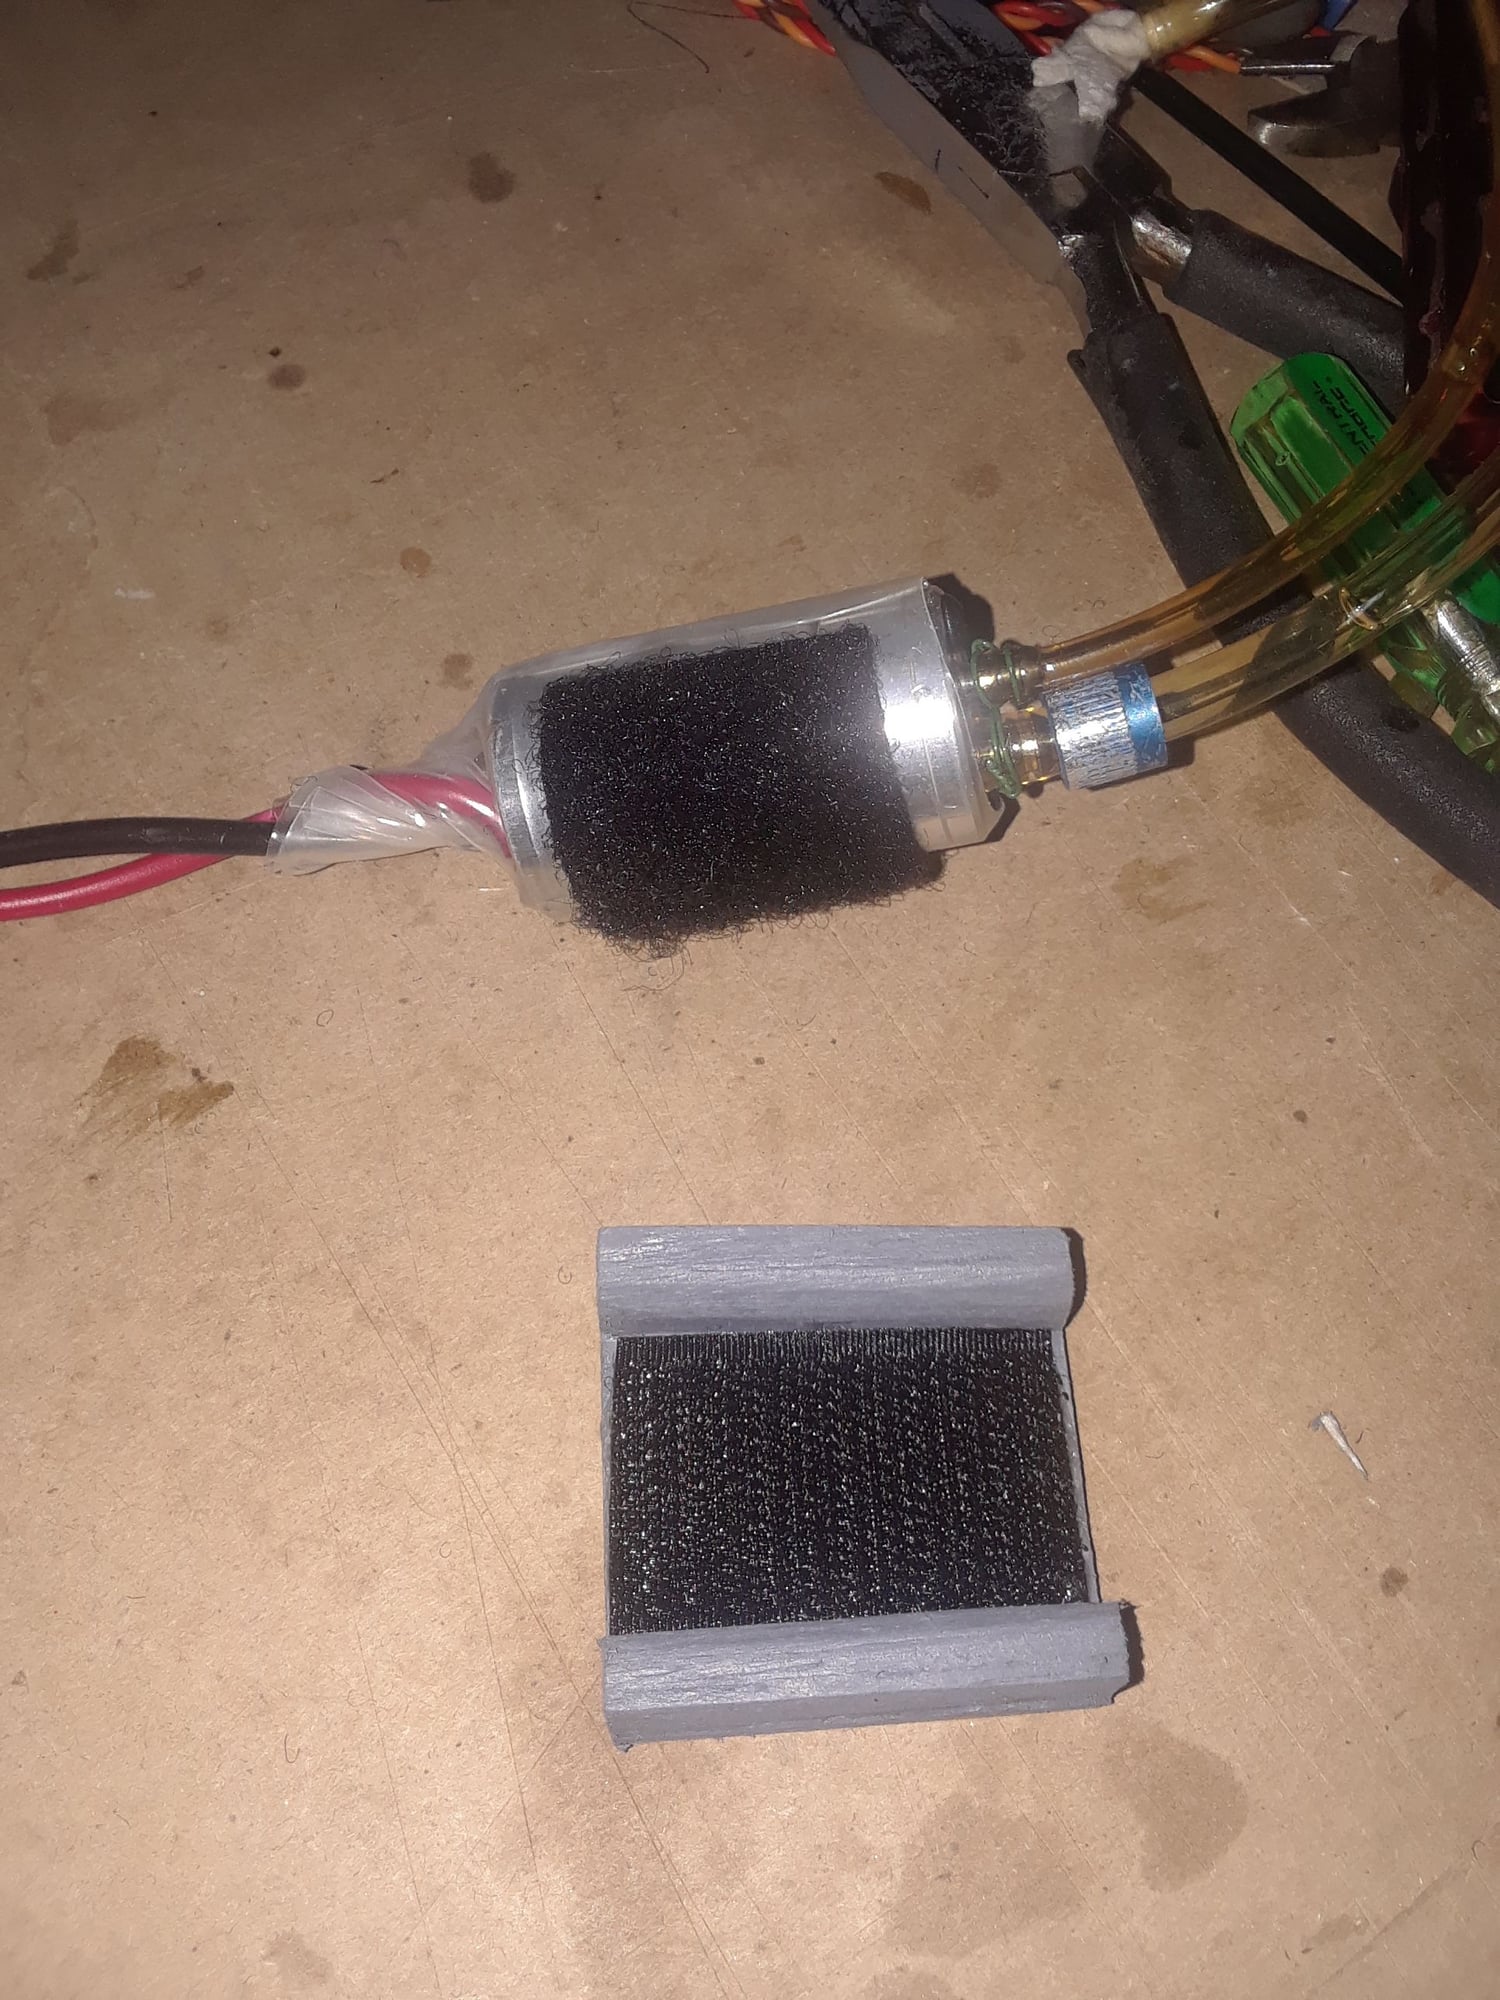
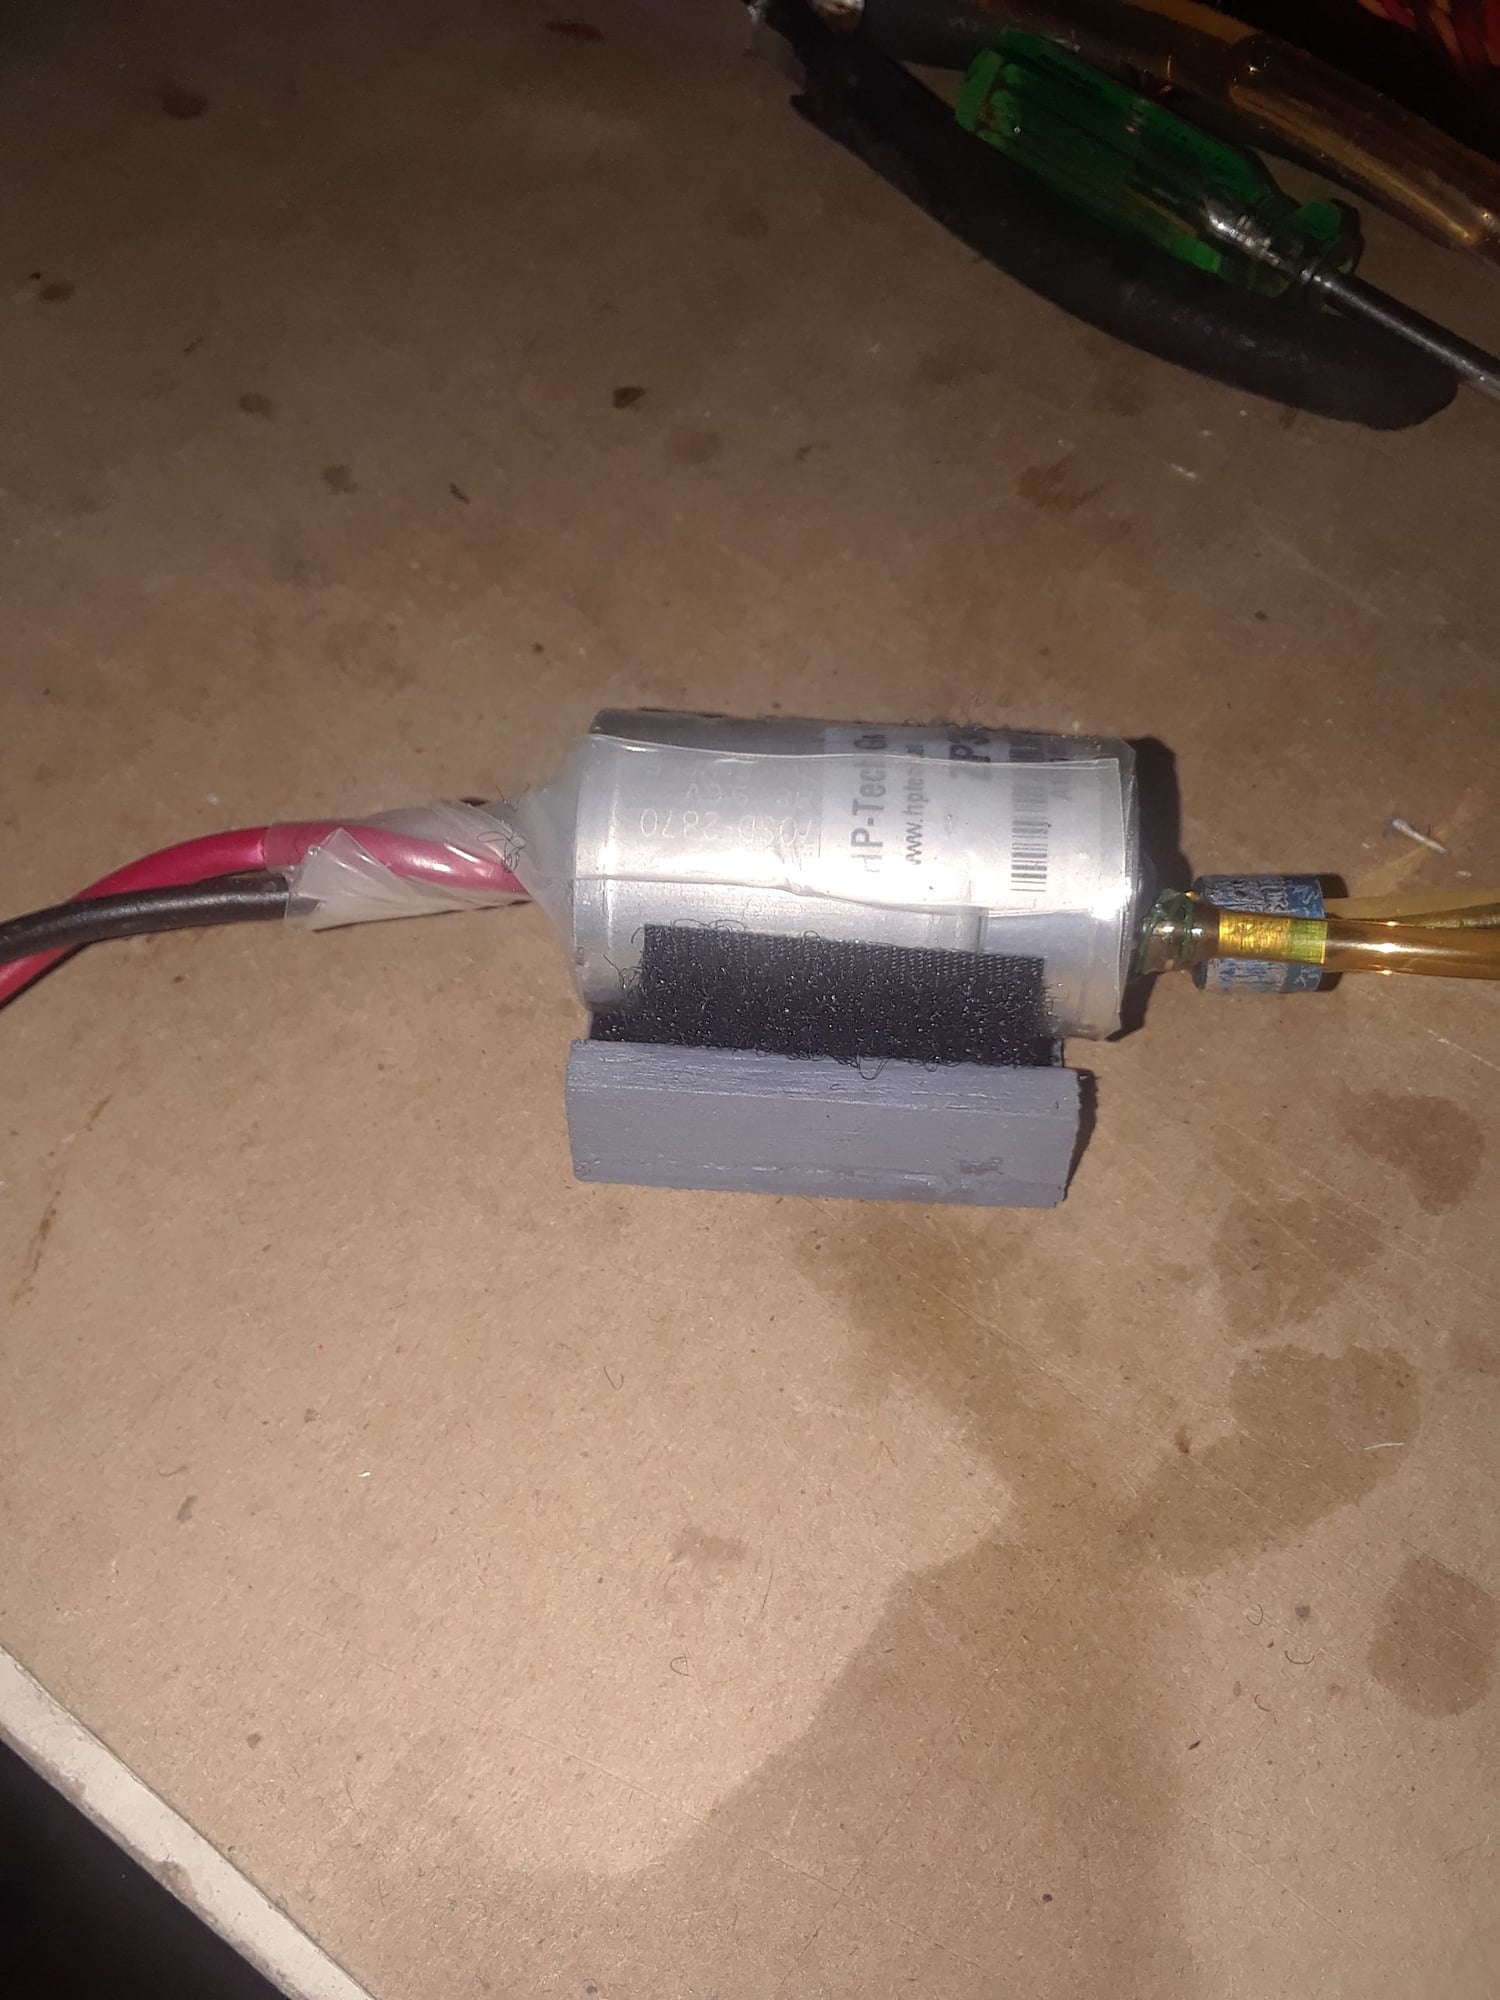
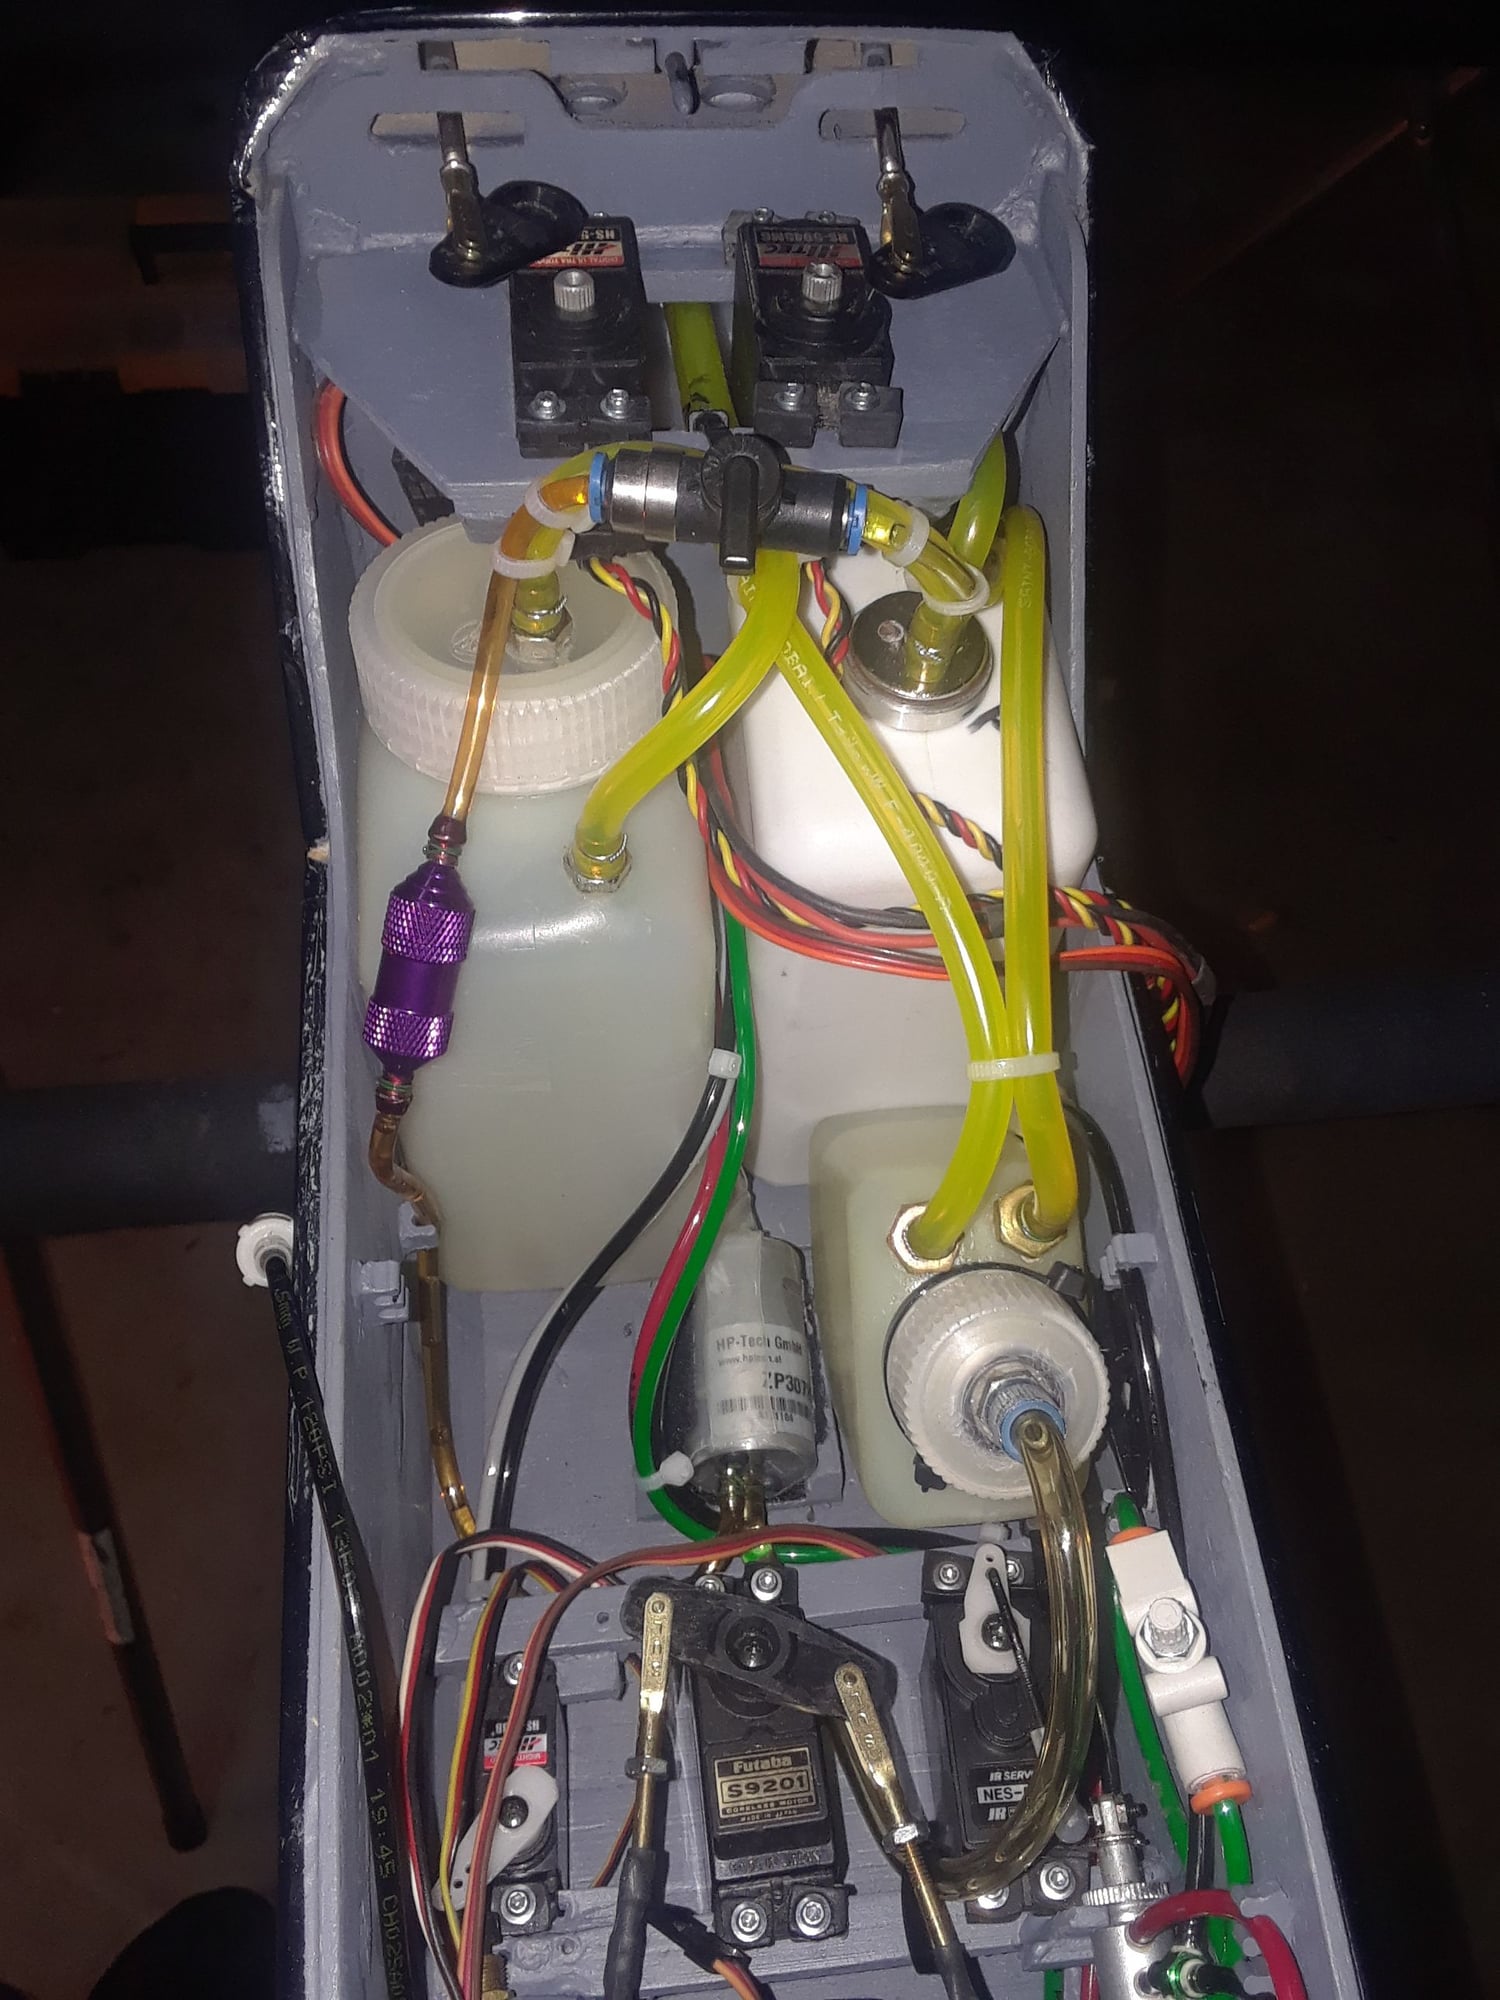
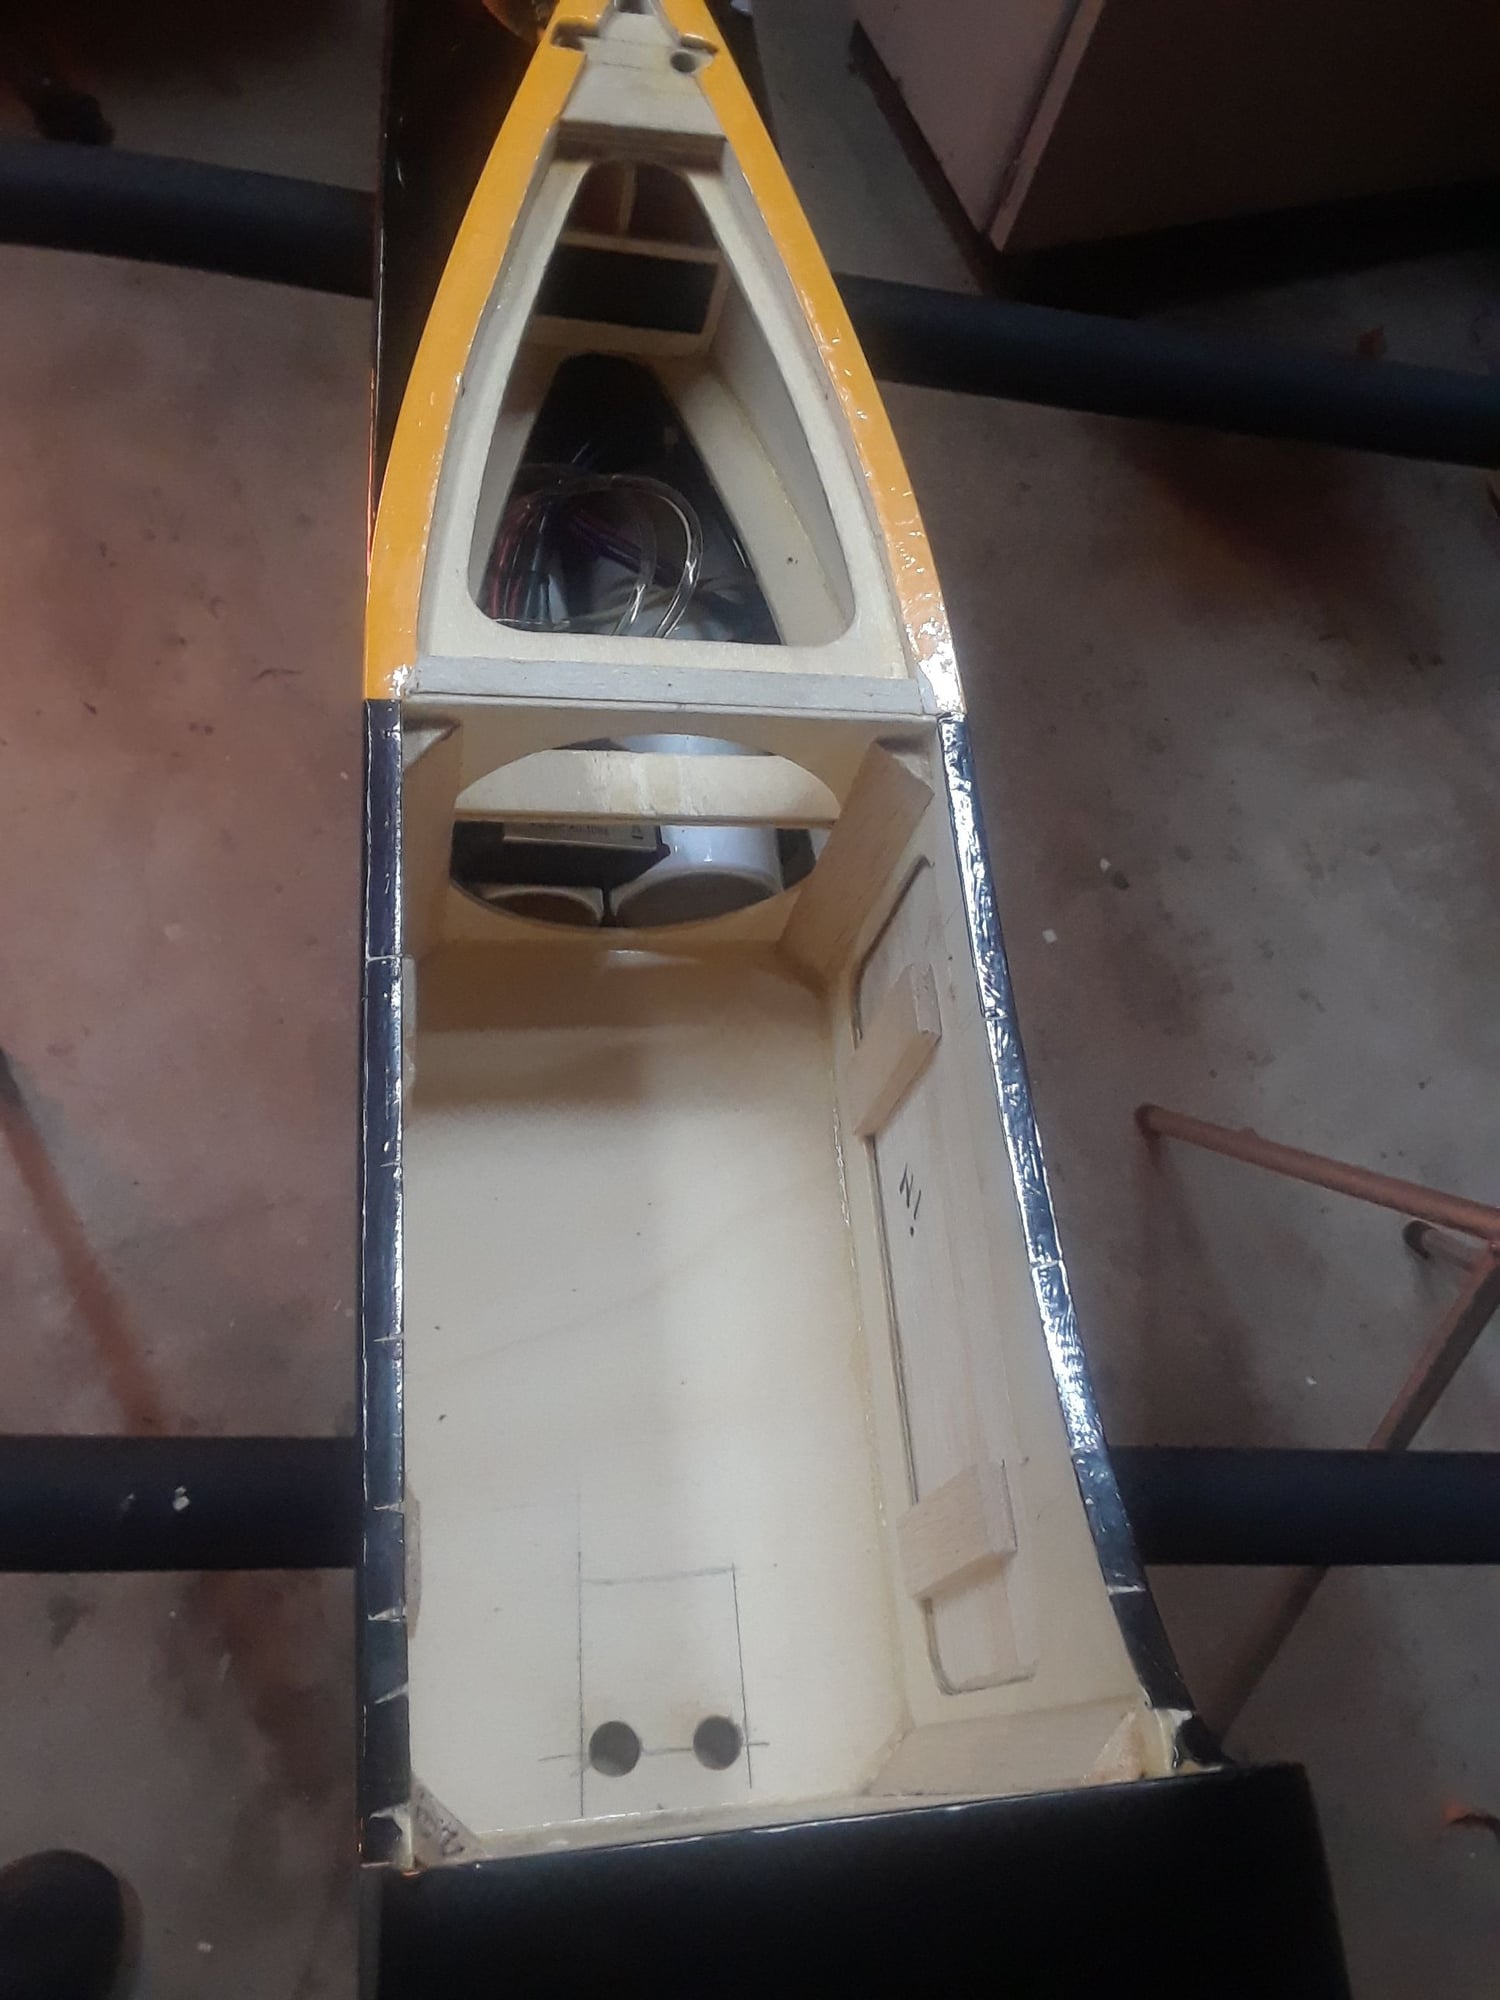
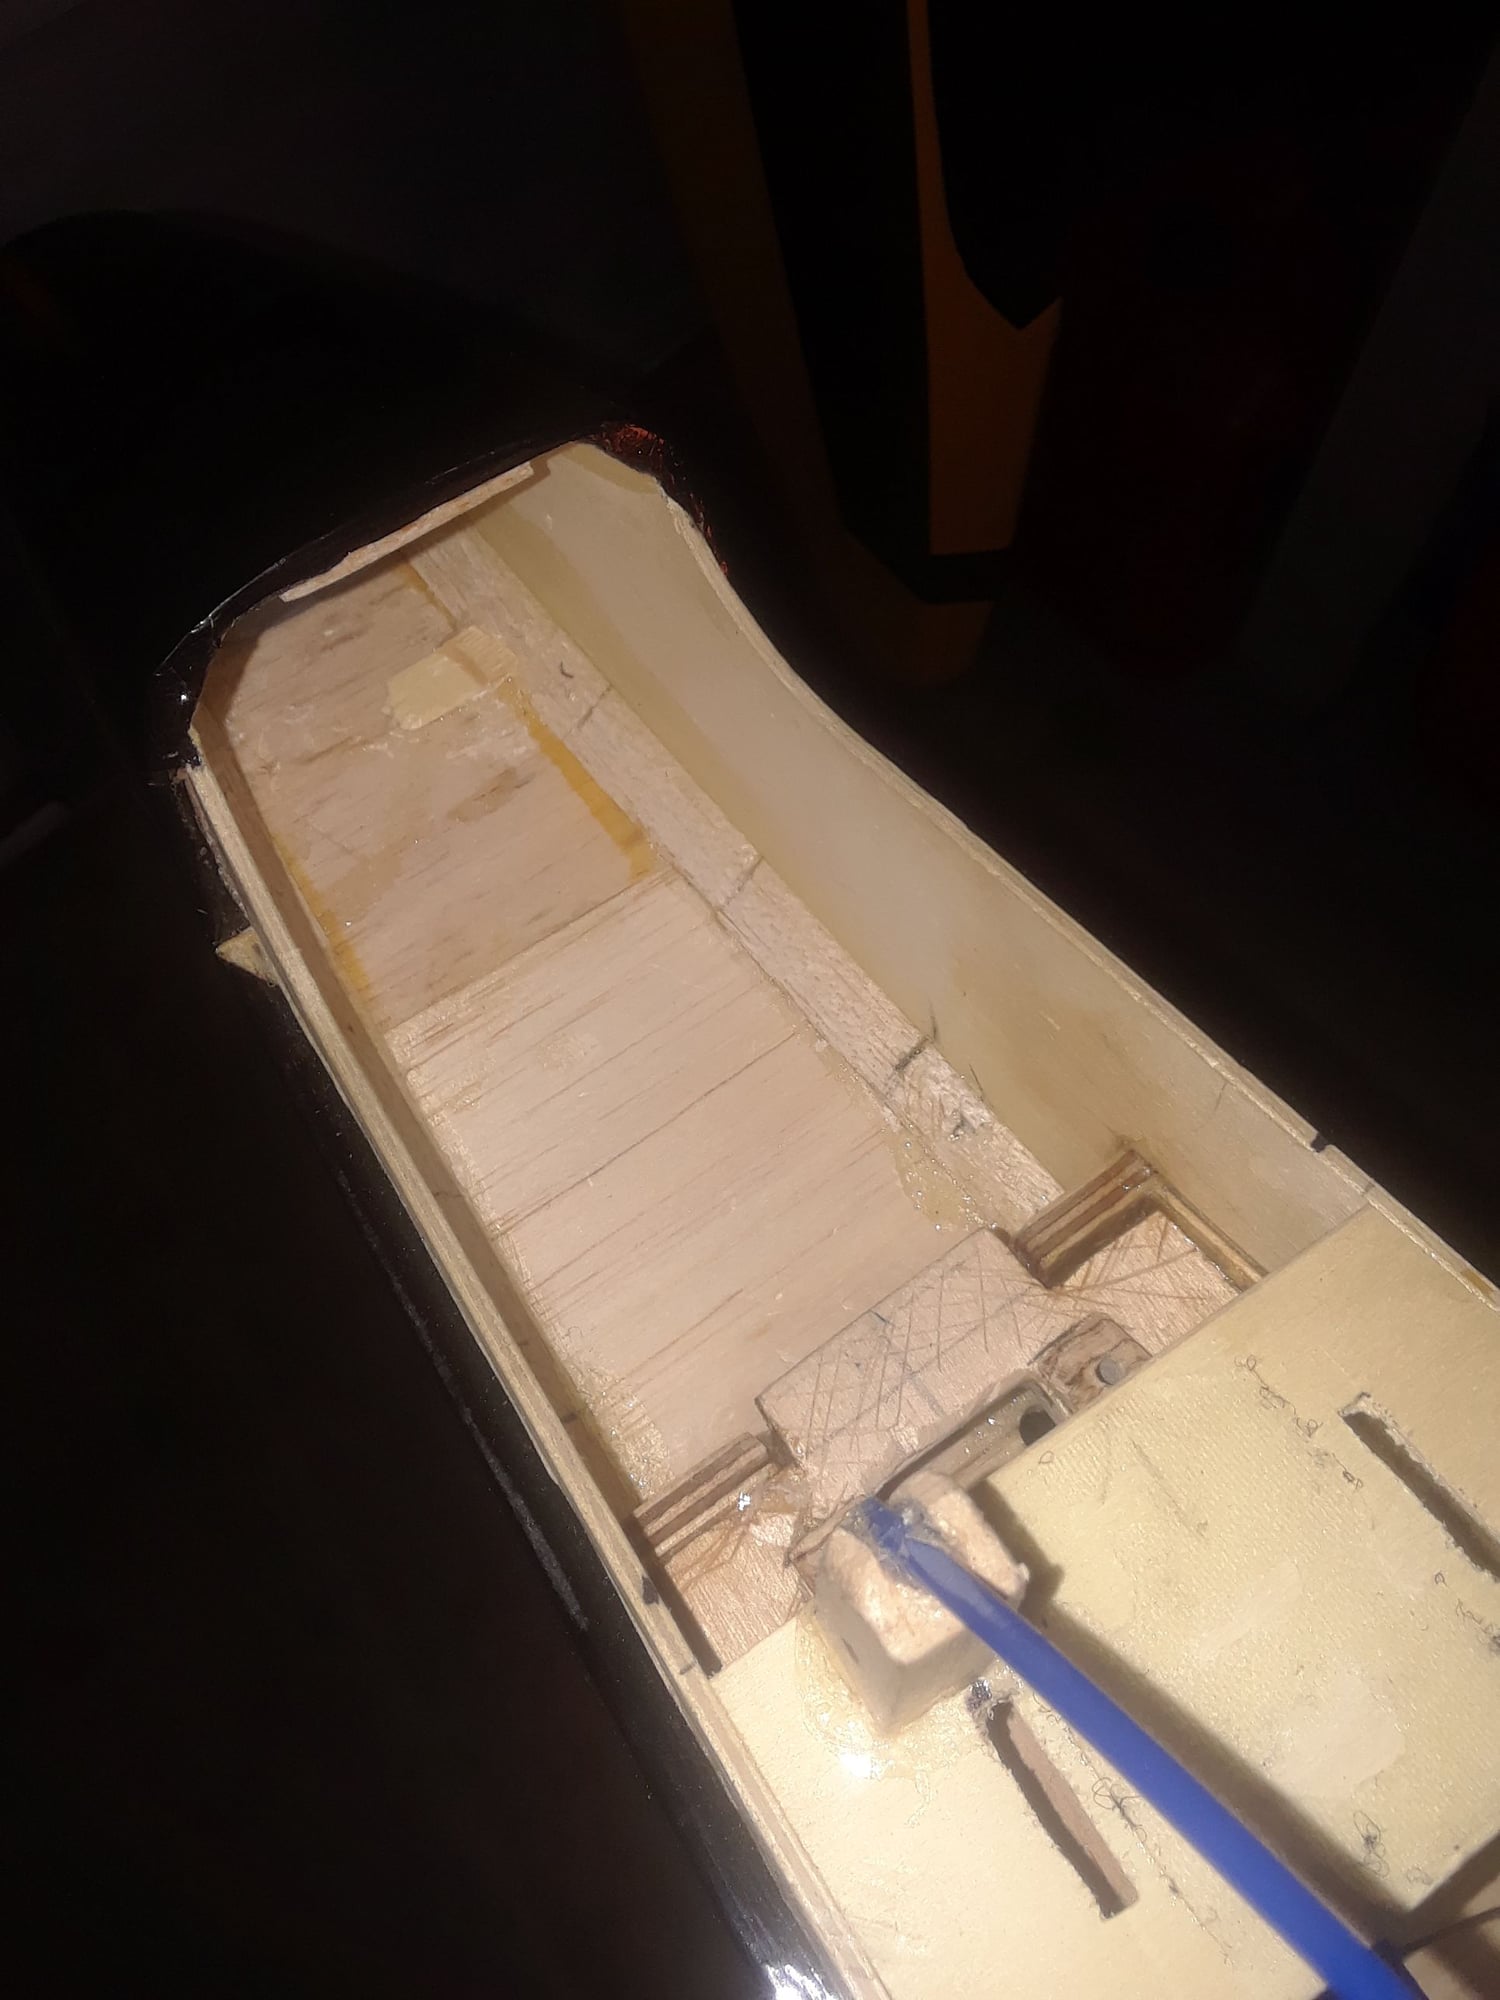
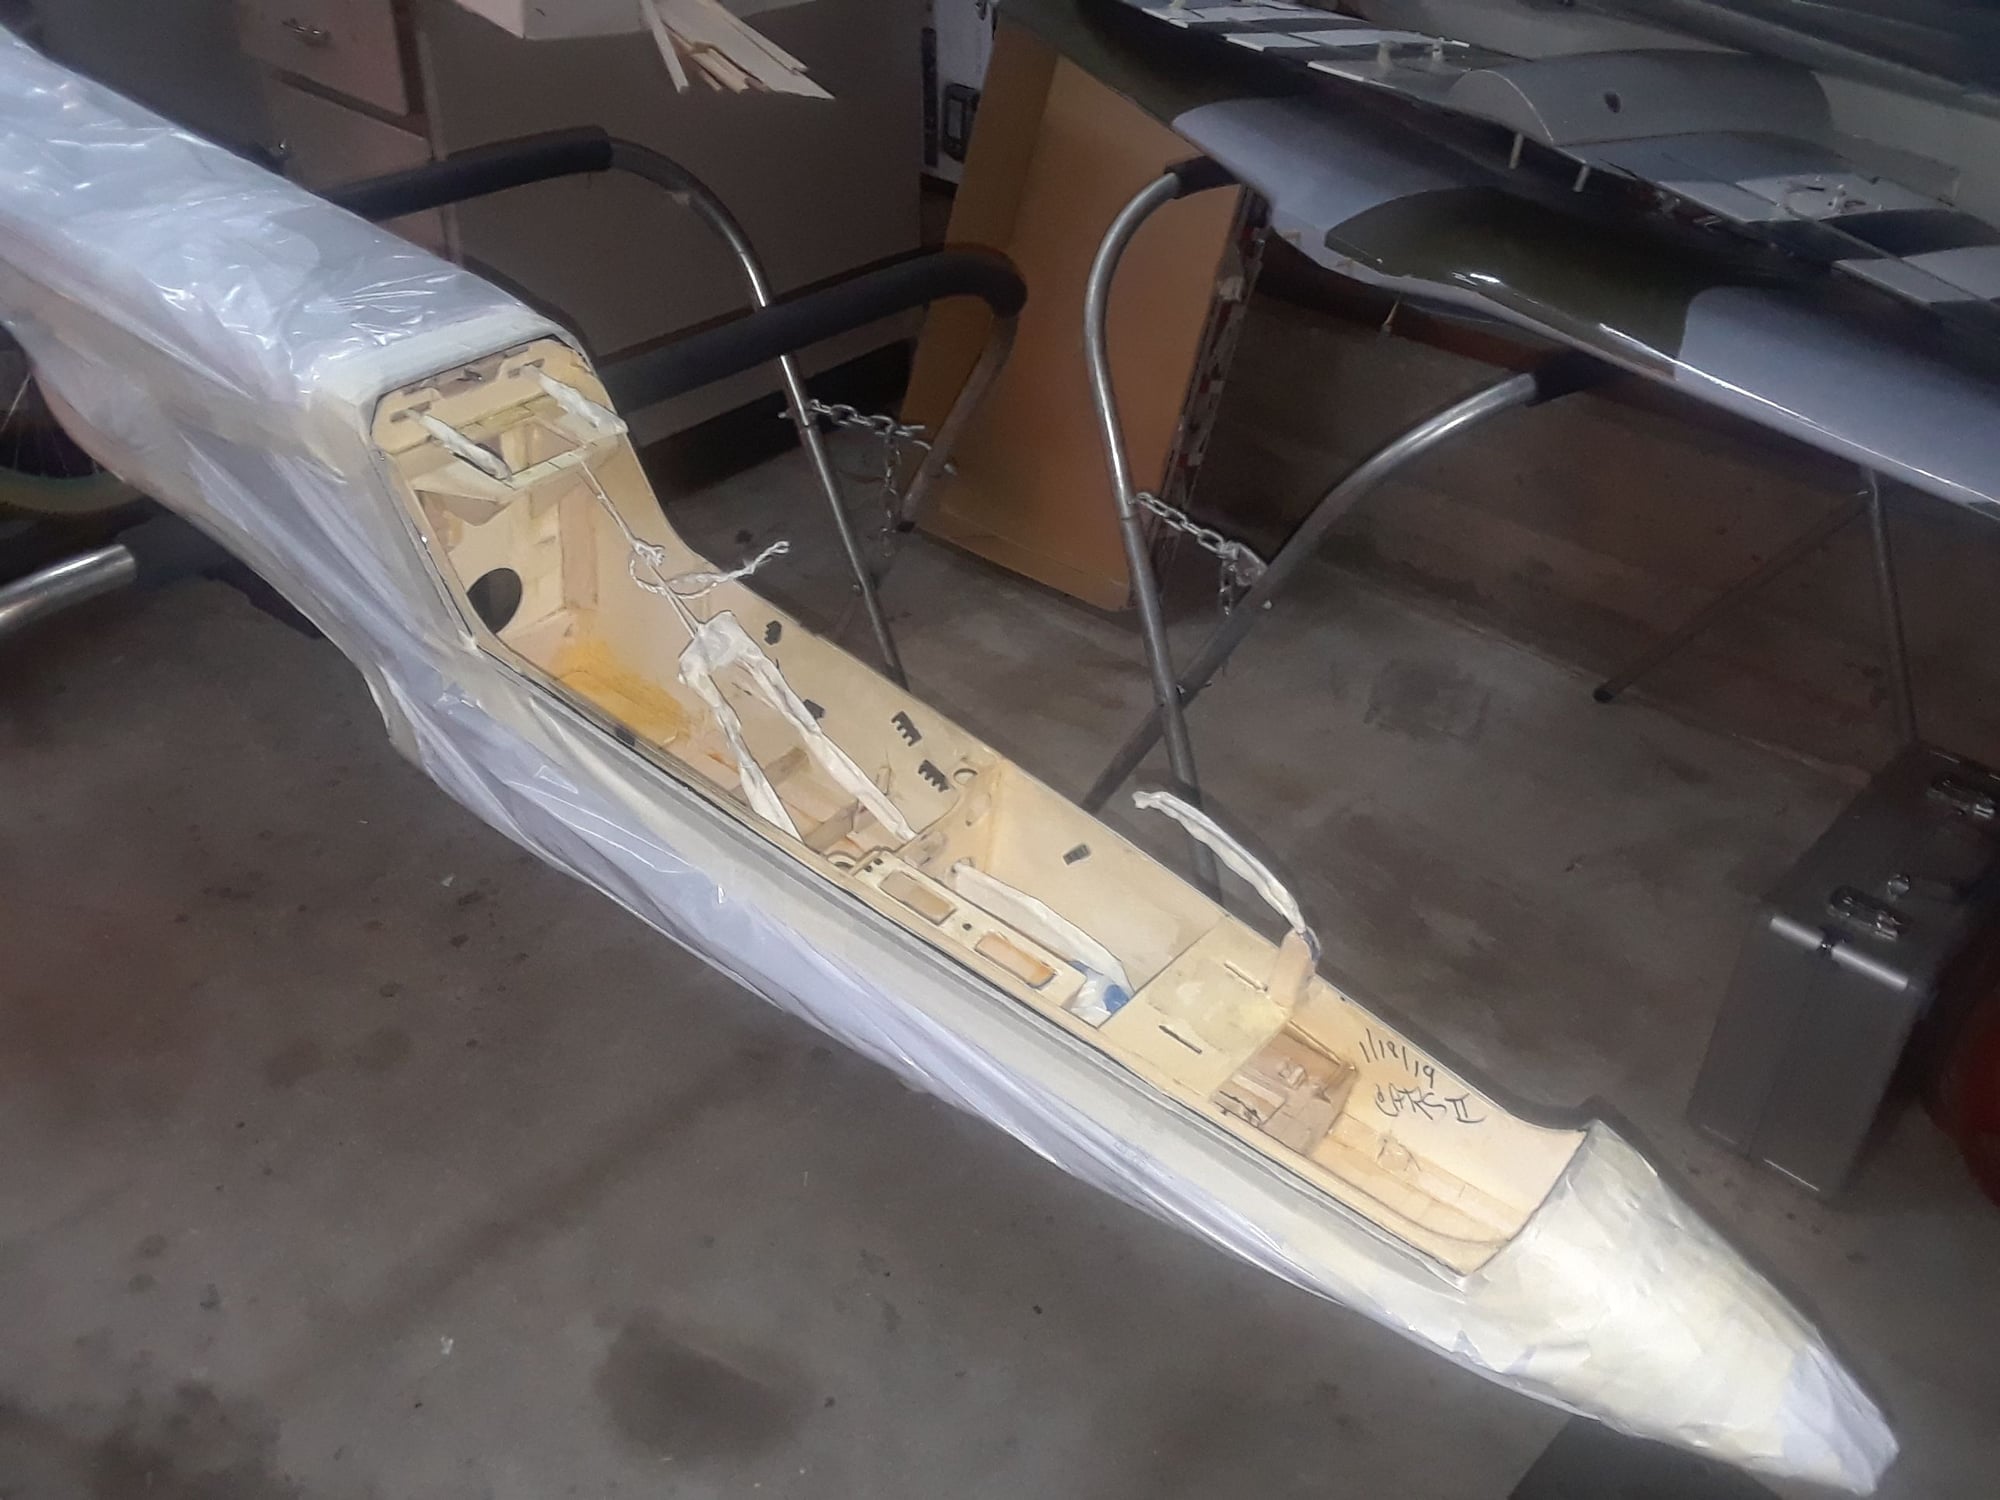
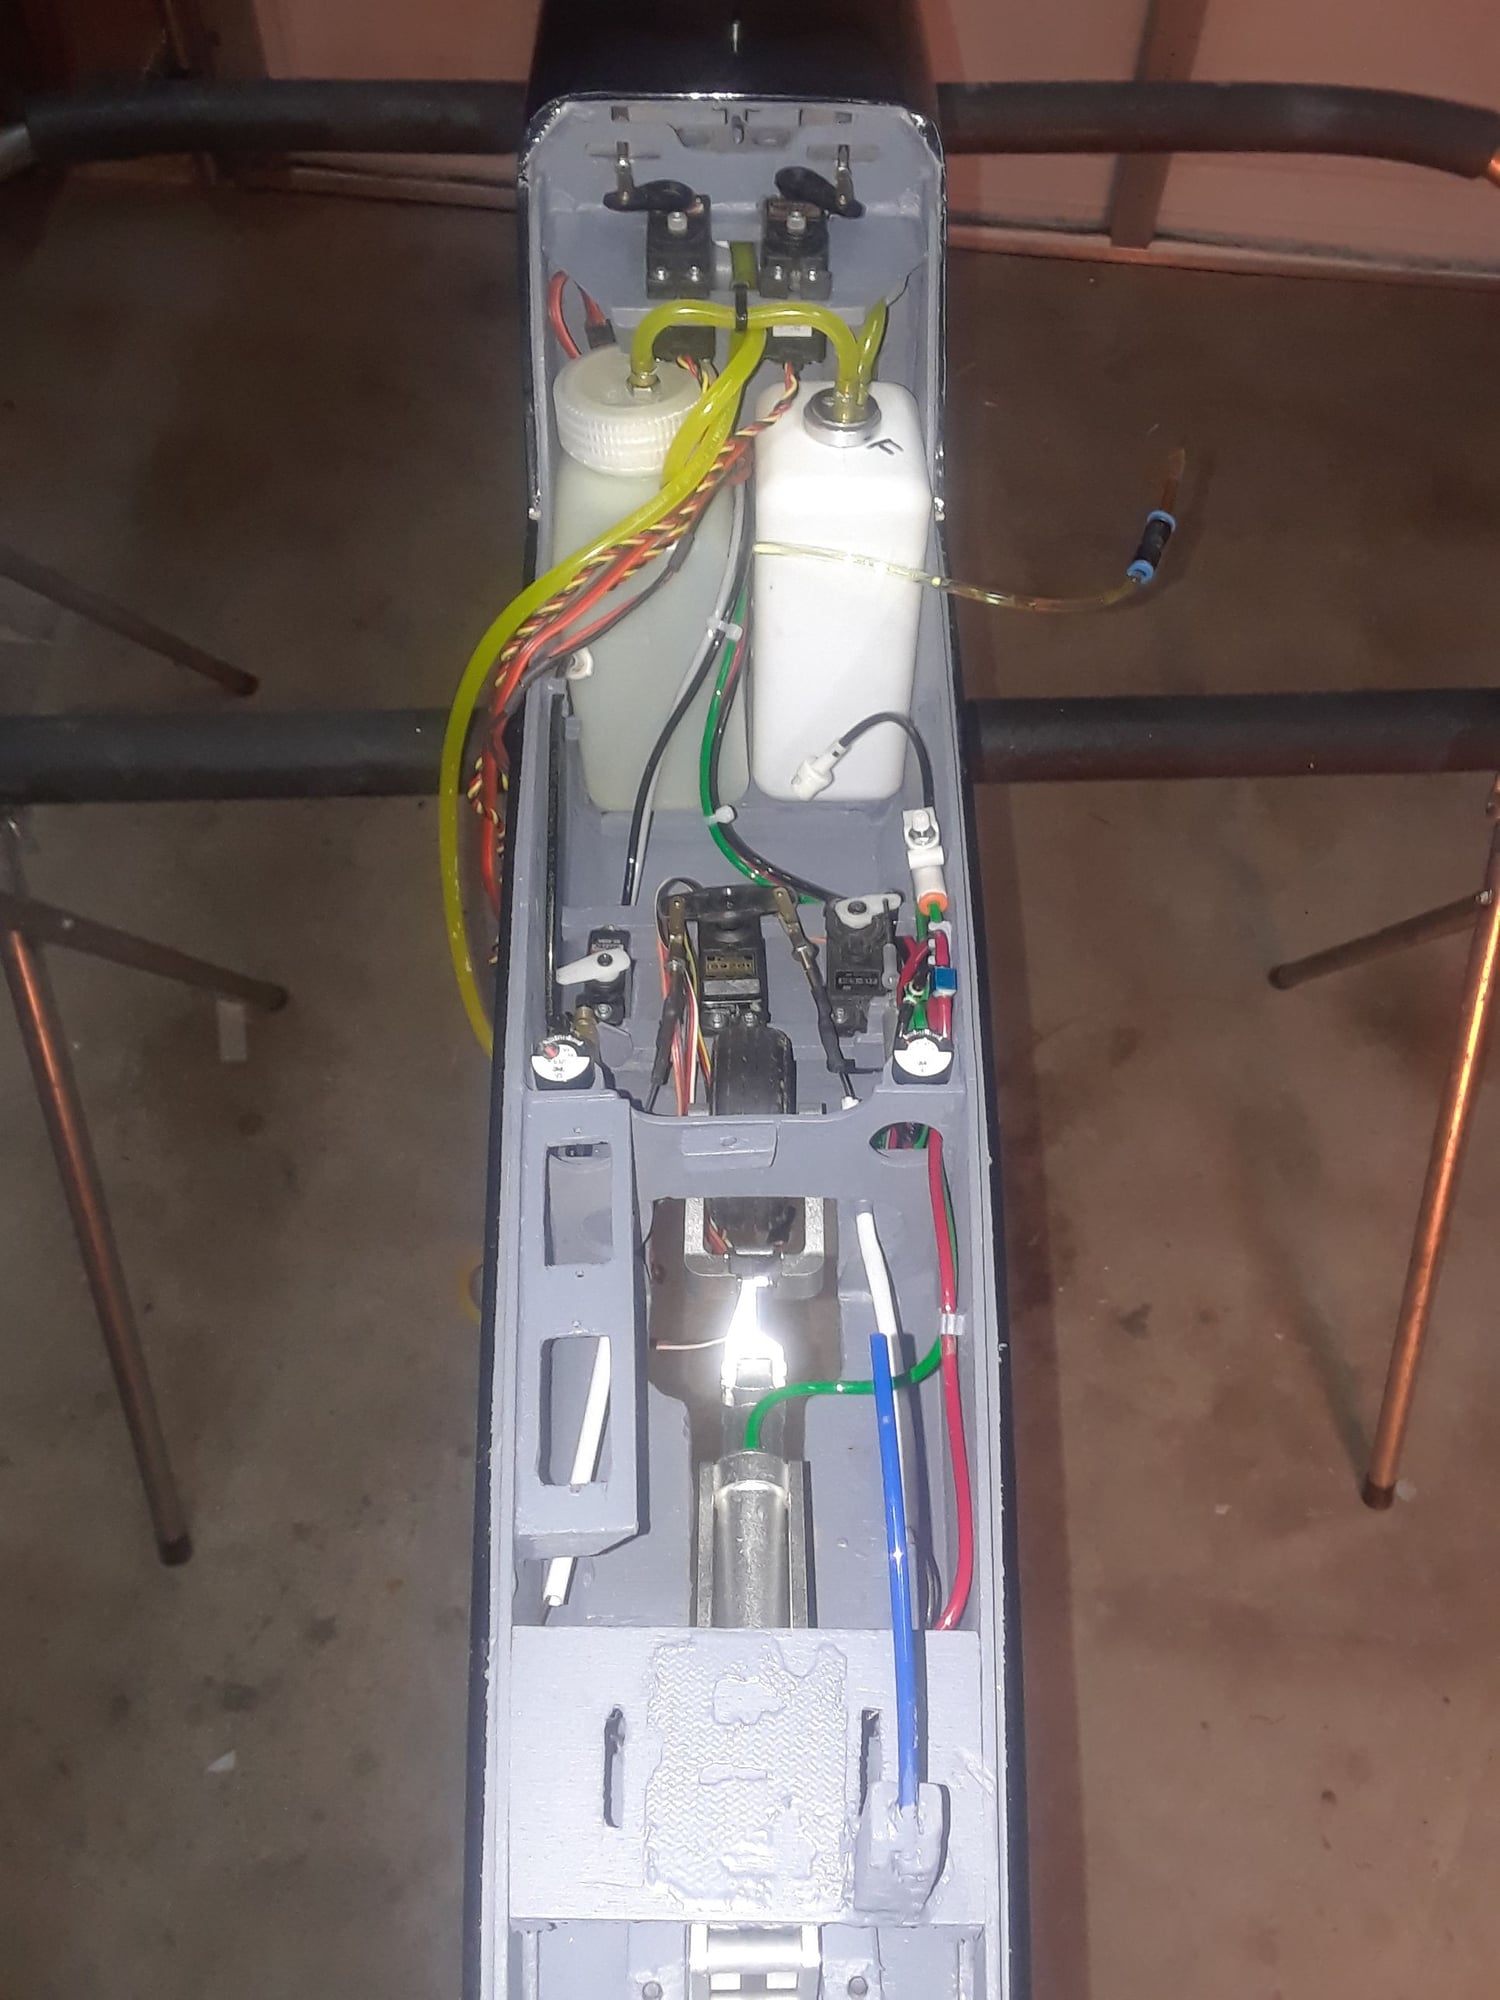
Some work been done, the fuel system is back in, there still room in there to add more stuff to it the fuel pump is just been held with Velcro on a mount that is also Velcro down to the floor, some of these accessories doesn't have to be anchored down supper secure and I can remove it all and let it hang to the side in less than 5 min and back in in 5 min also.

Last edited by CARS II; 12-01-2019 at 06:24 PM.
Old 12-01-2019, 06:43 PM
  #4468  
Afterburners
Senior Member
 
Afterburners's Avatar
 
Join Date: Feb 2019
Location: New City, NY
Posts: 304
Received 21 Likes on 19 Posts
Default

Looking good Carlos. Just my opinion but I would give the tubing on the Festo shutoff a little more free play.
Old 12-01-2019, 08:29 PM
  #4469  
CARS II
My Feedback: (7)
 
CARS II's Avatar
 
Join Date: Oct 2002
Location: Sacramento CA
Posts: 6,589
Received 123 Likes on 106 Posts
Default

Let me see.

Thanks.
Old 12-01-2019, 08:50 PM
  #4470  
CARS II
My Feedback: (7)
 
CARS II's Avatar
 
Join Date: Oct 2002
Location: Sacramento CA
Posts: 6,589
Received 123 Likes on 106 Posts
Default


I had to build a bridge to support the extention's rail and to secure the fuel tanks.

I will be replacing the rubber bands with 1" O rings.

Last edited by CARS II; 12-01-2019 at 08:55 PM.
Old 12-01-2019, 11:06 PM
  #4471  
CARS II
My Feedback: (7)
 
CARS II's Avatar
 
Join Date: Oct 2002
Location: Sacramento CA
Posts: 6,589
Received 123 Likes on 106 Posts
Default


Done for tonight, all is in, except the batts, I will add them tomorrow and will test and check everything again, I will also run the engine.
After all that I will work on the scheme enhancements.
Old 12-02-2019, 06:05 AM
  #4472  
joeflyer
My Feedback: (48)
 
Join Date: Dec 2001
Location: Plymouth, MI
Posts: 2,957
Likes: 0
Received 16 Likes on 14 Posts
Default

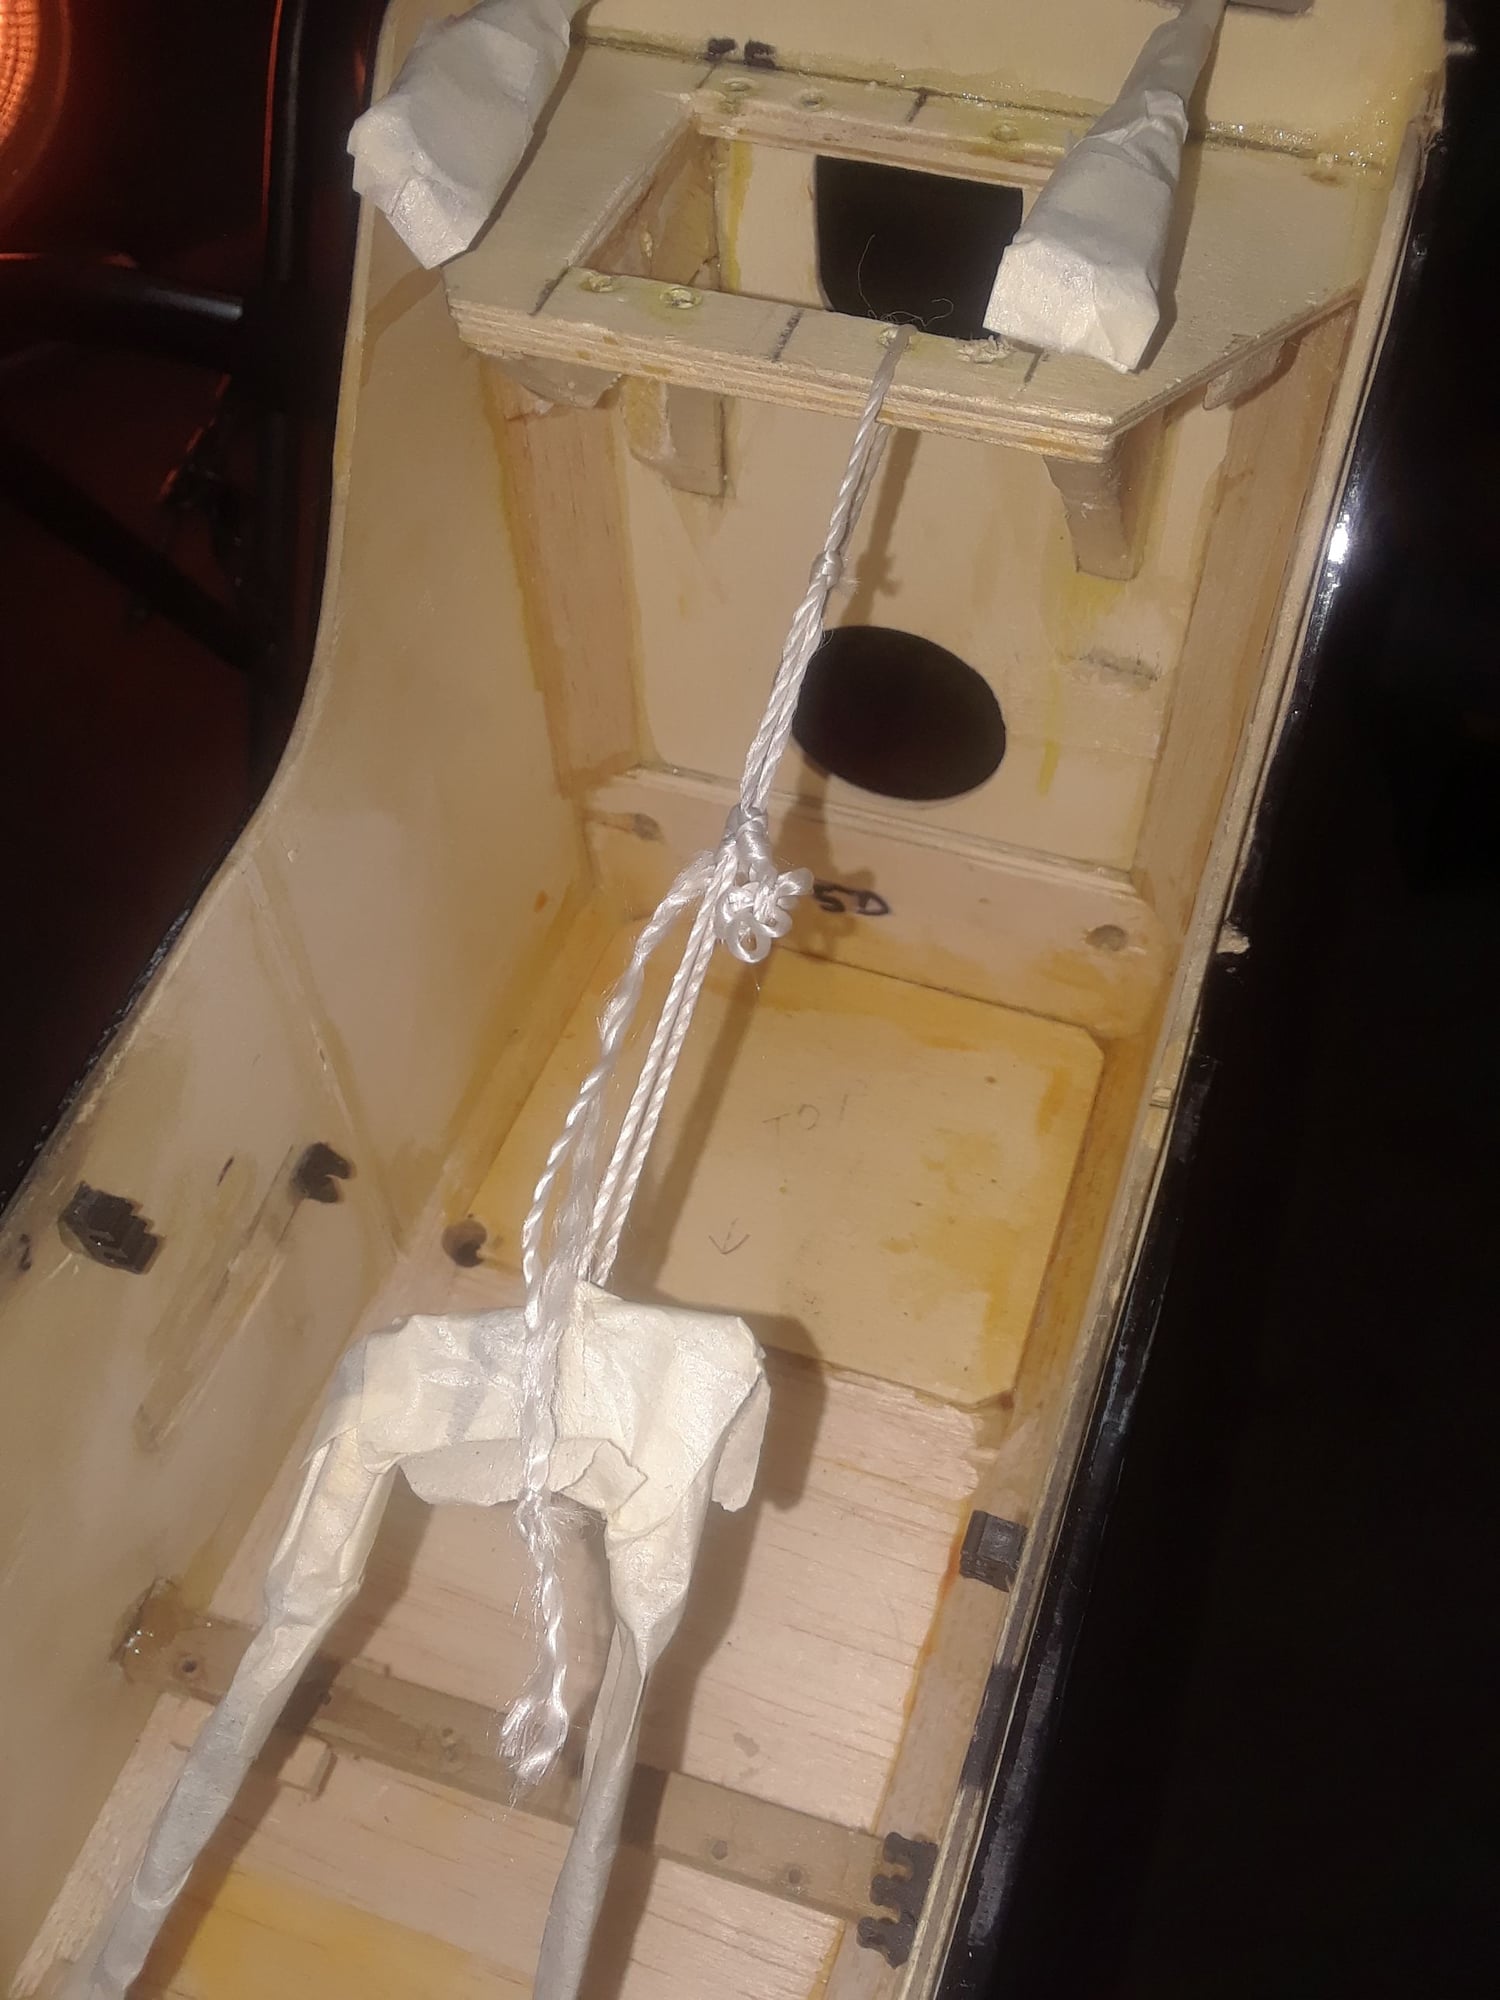
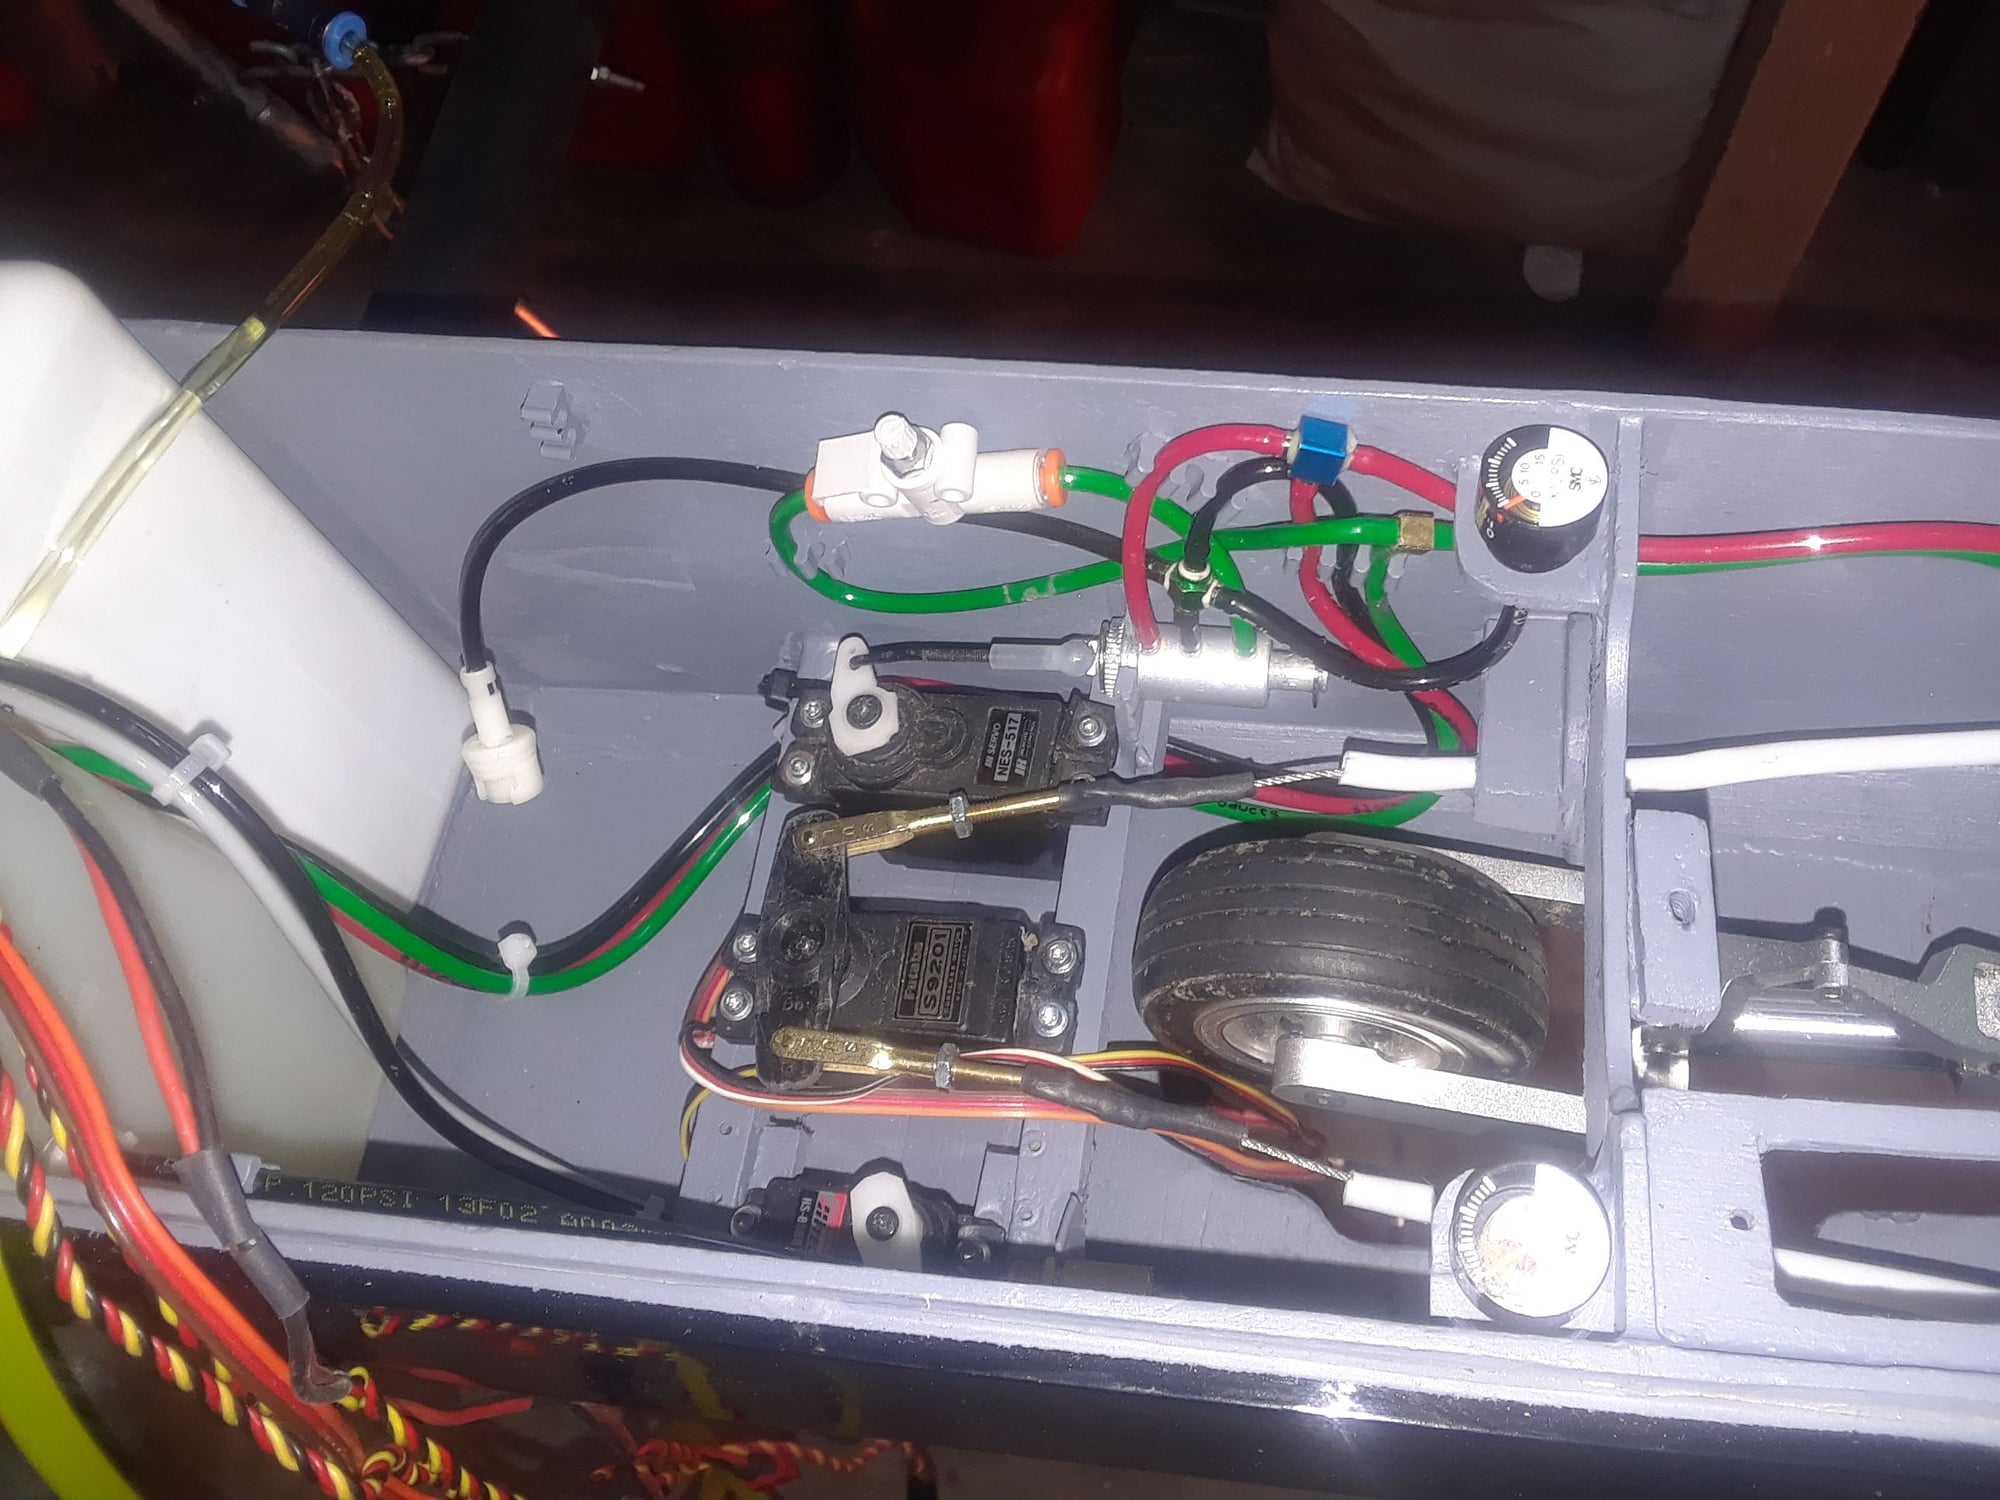
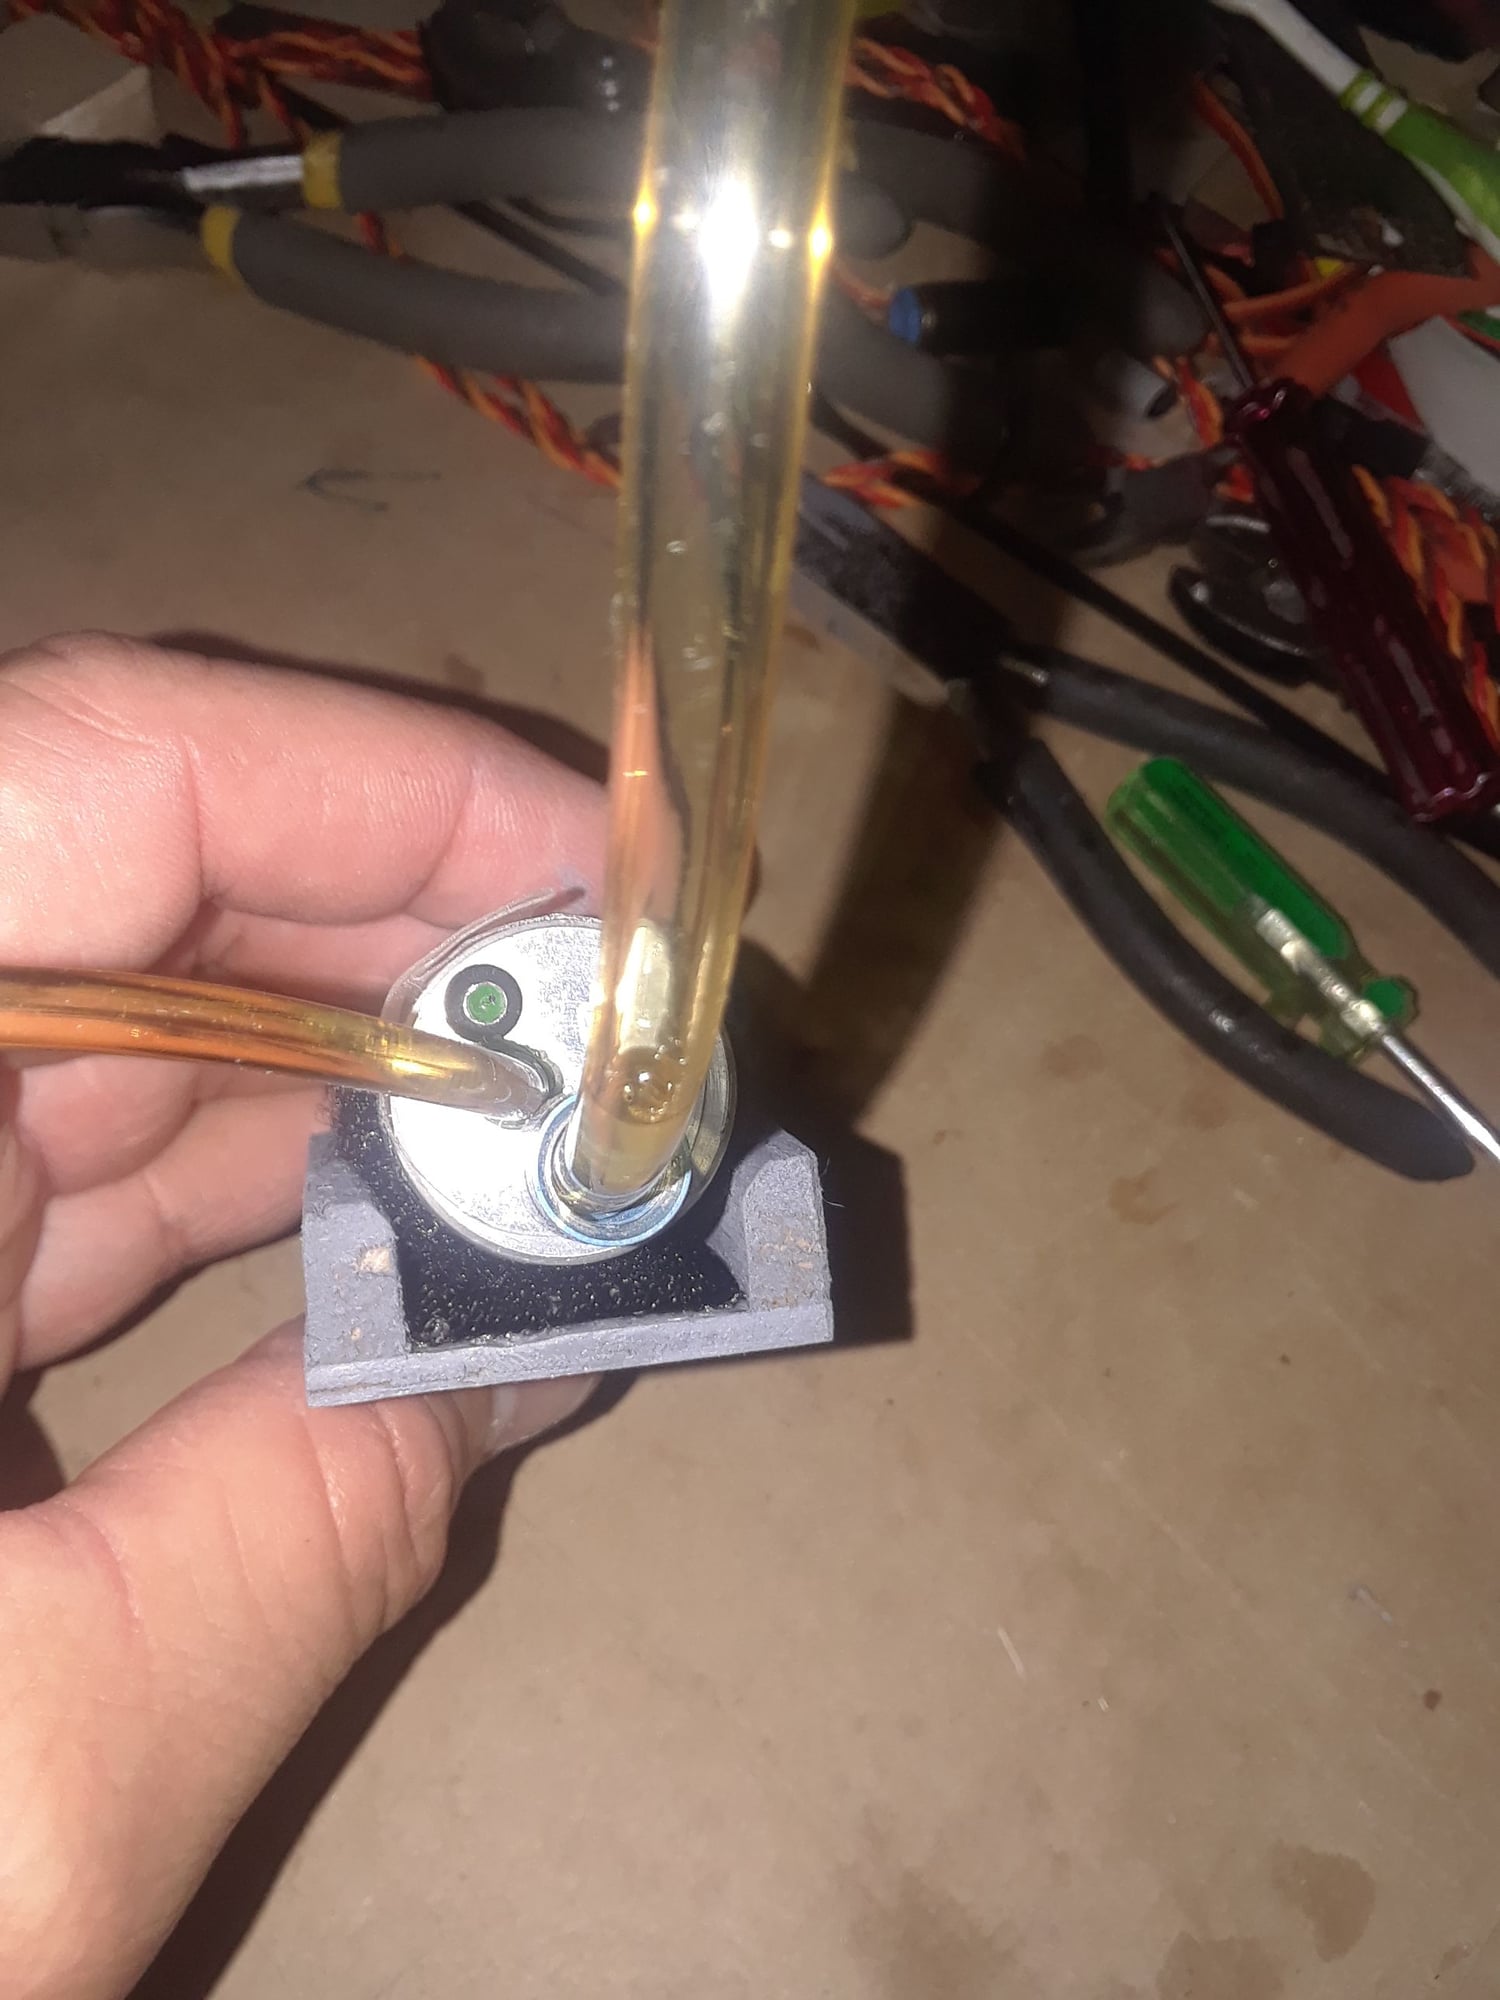
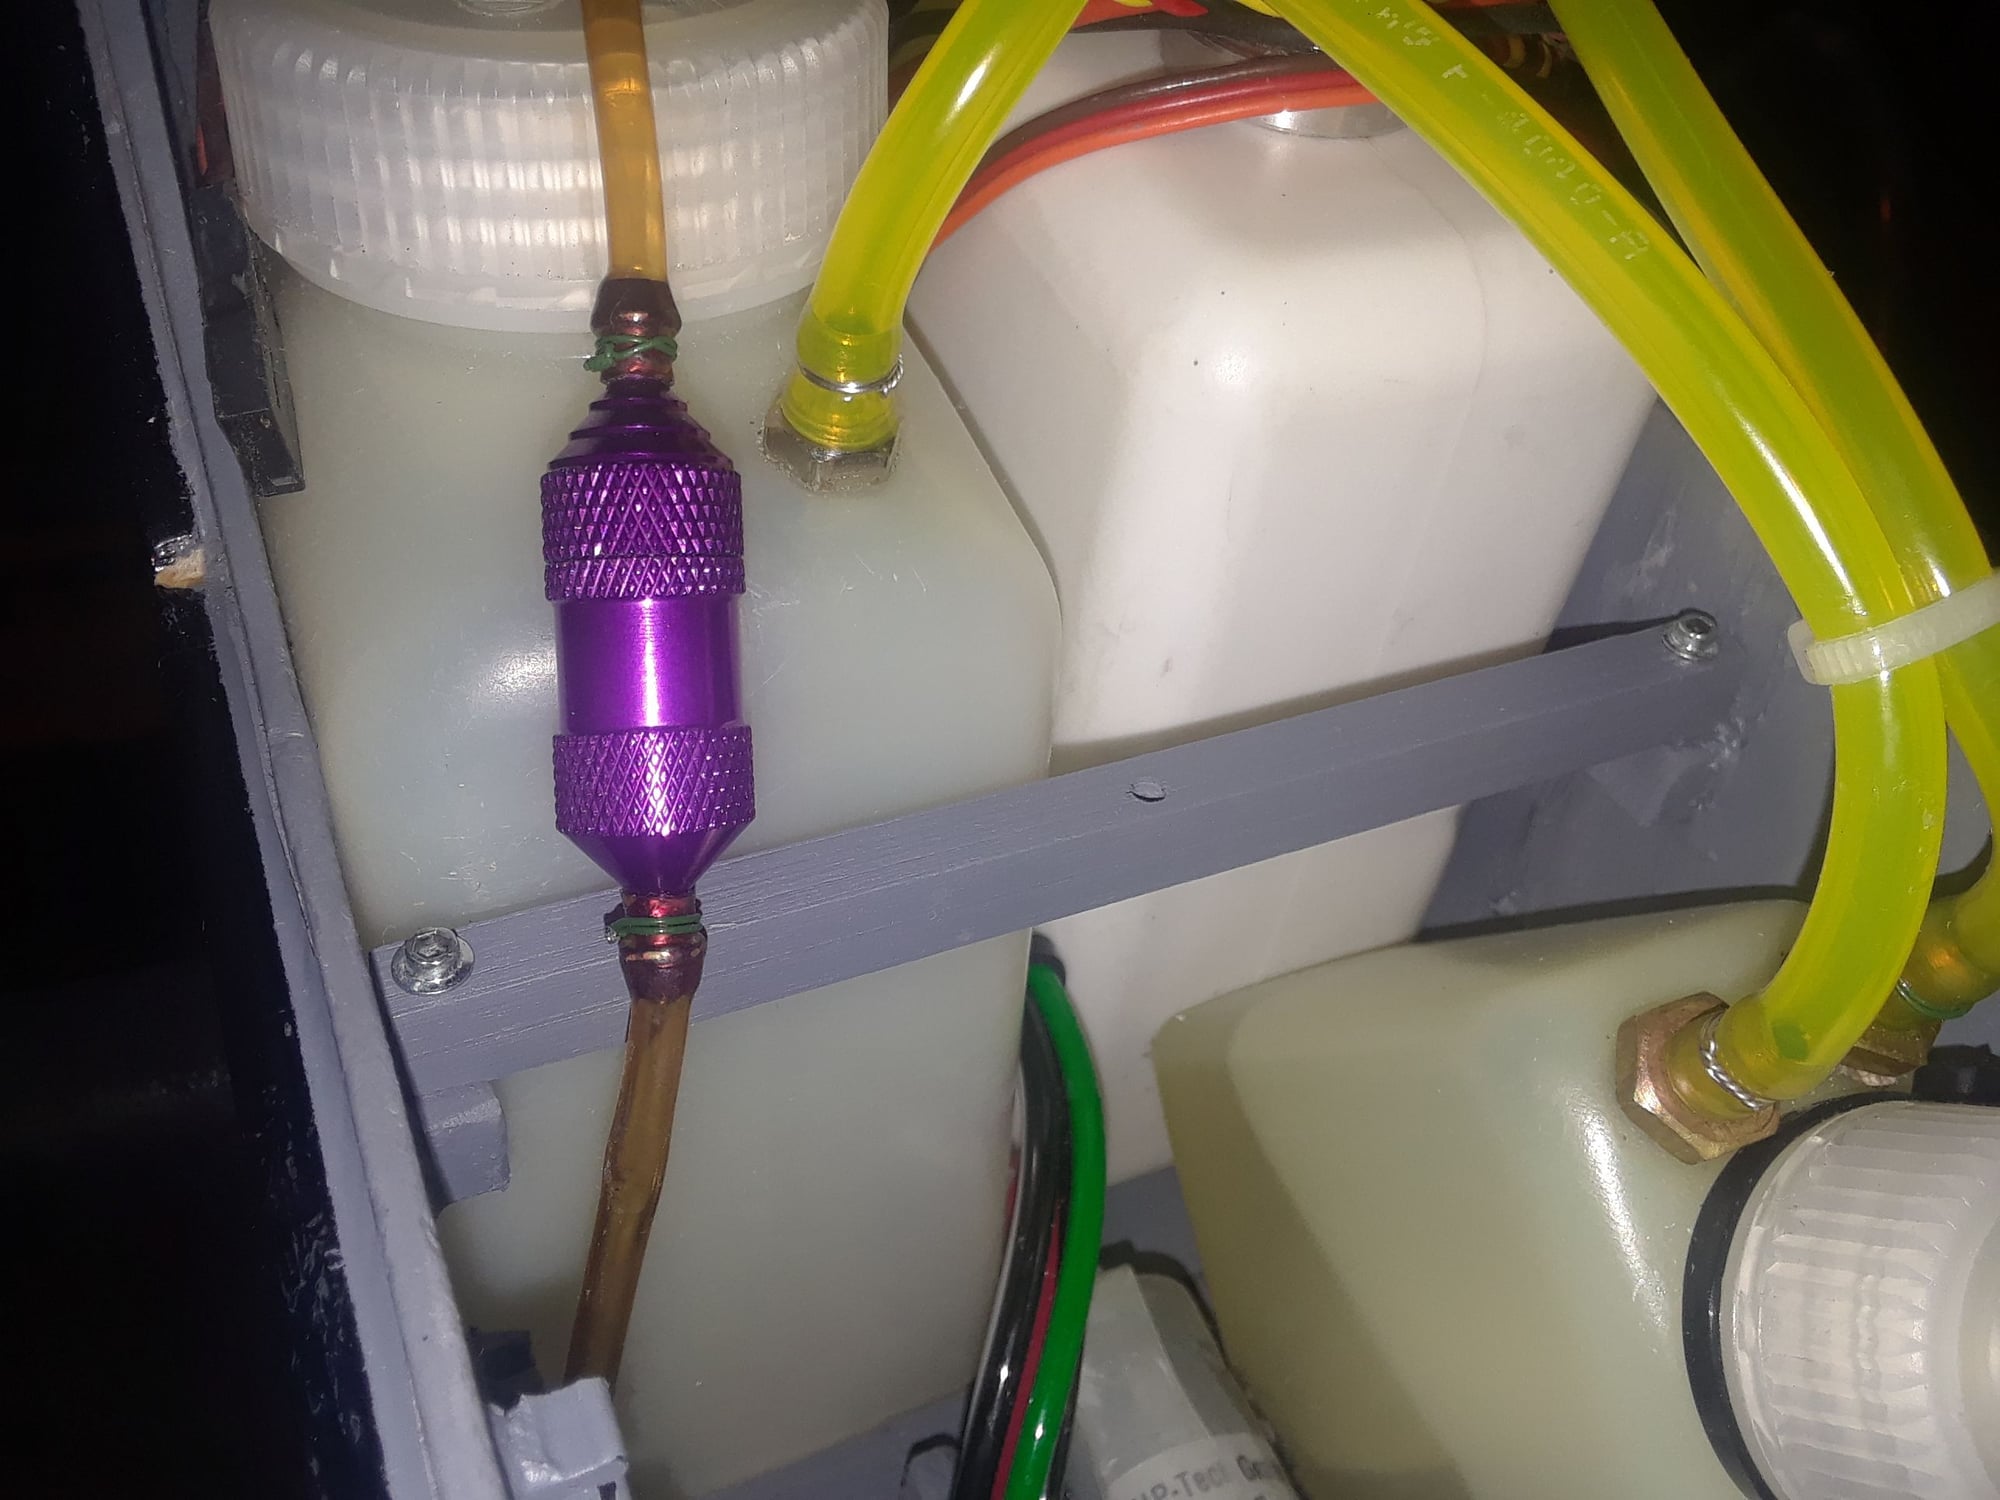
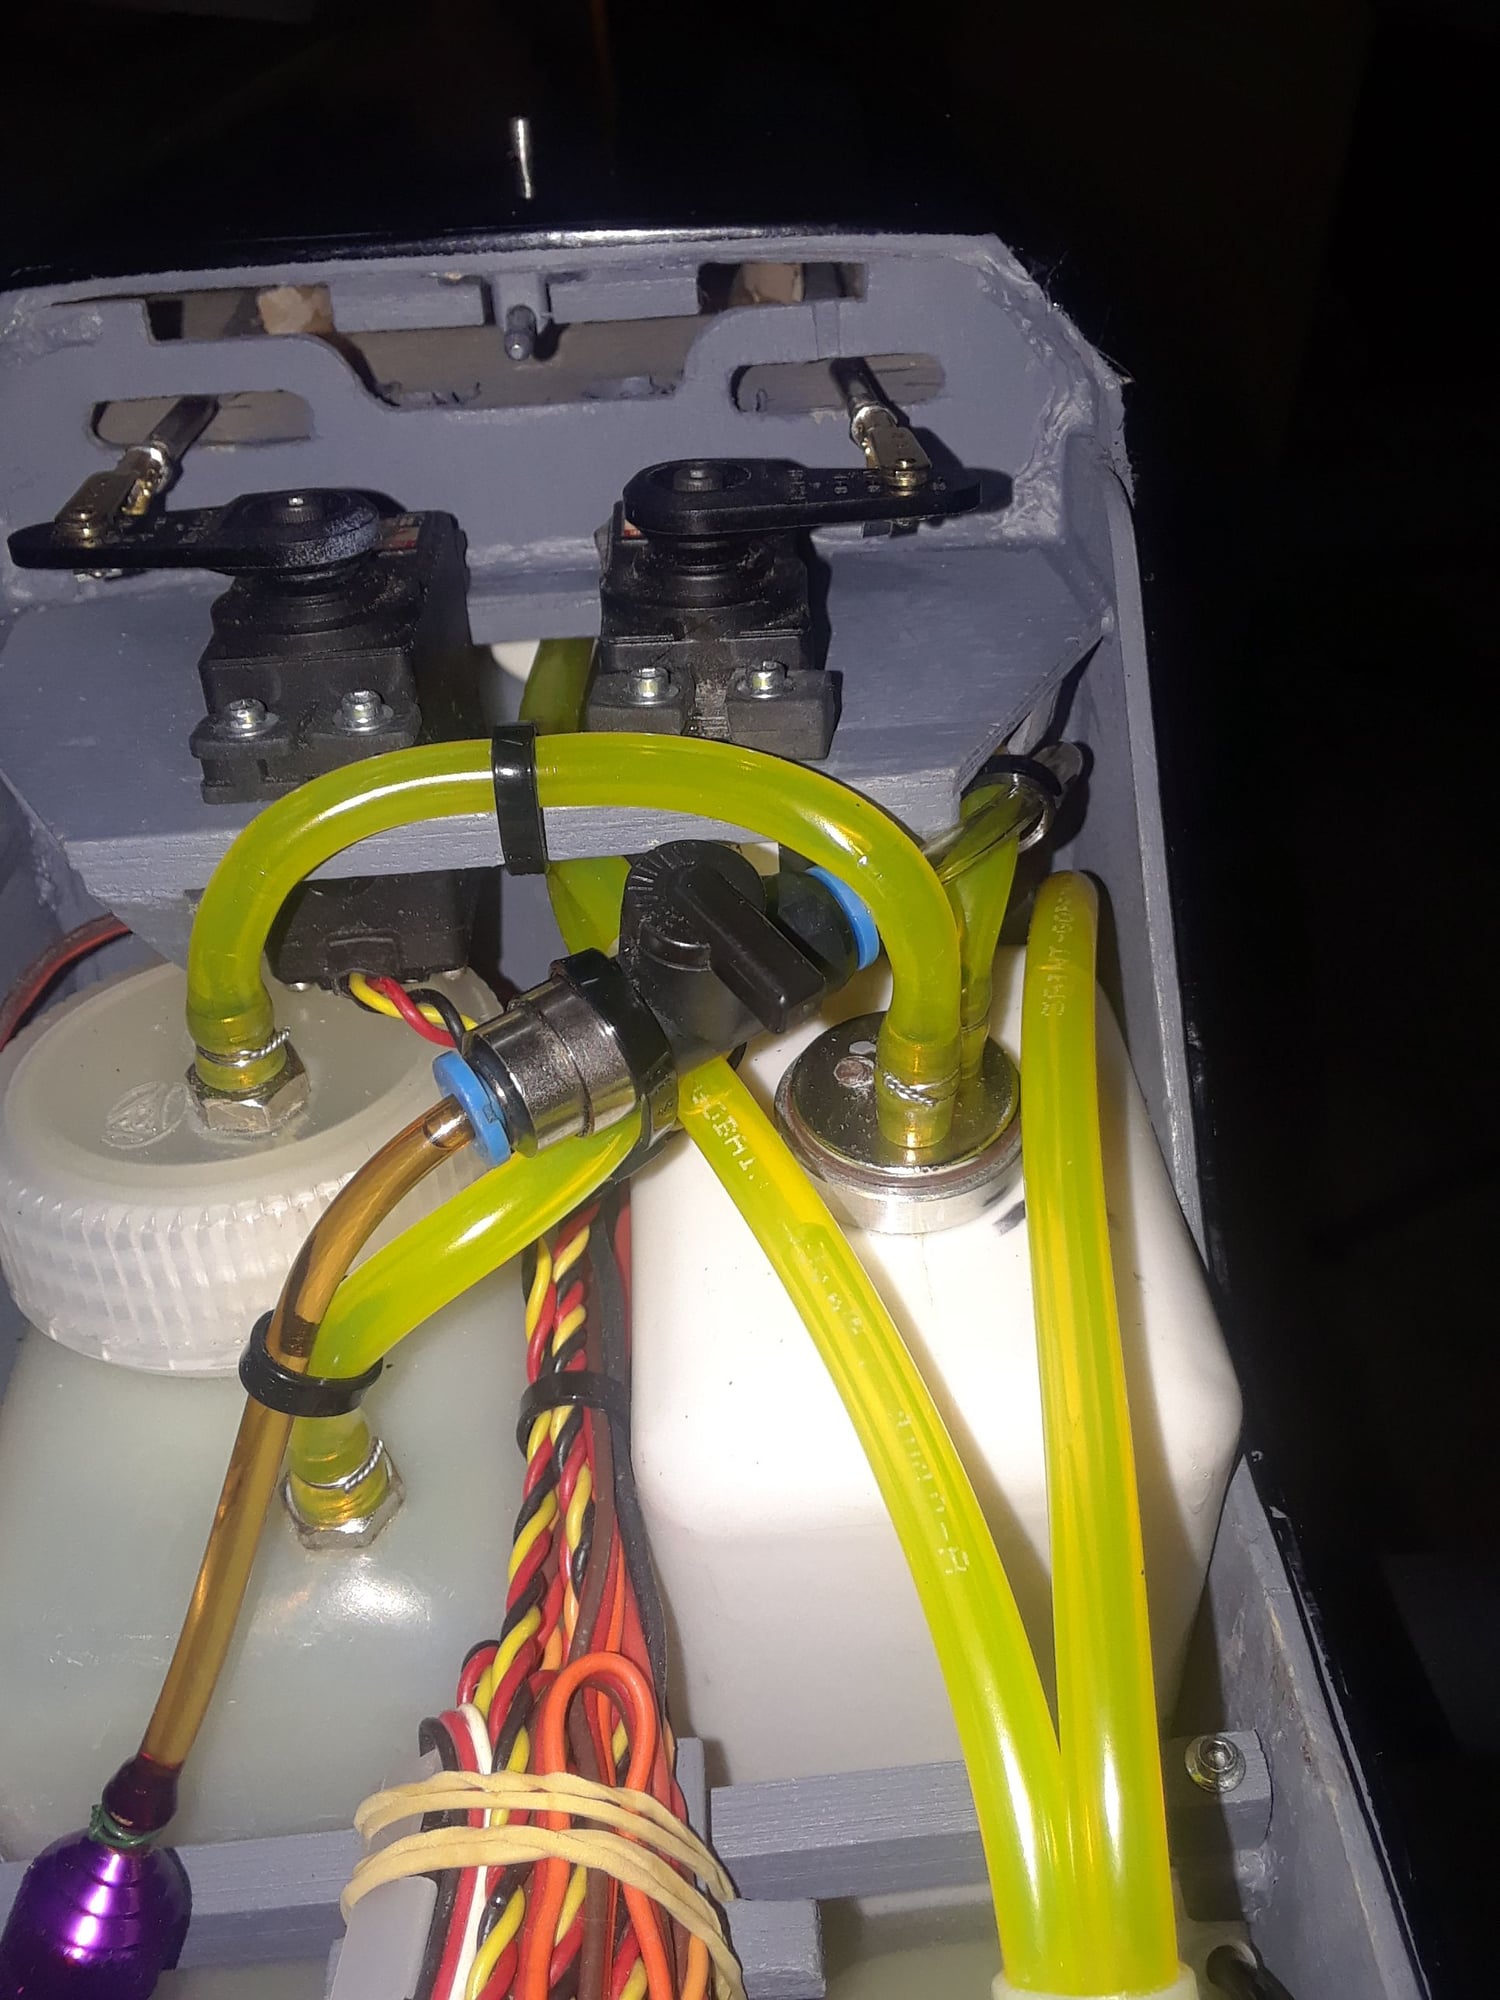
Your Festo valve is mounted incorrectly and will leak if you don't fix it.
Festos are not designed to be used with Tygon; the Tygon is too soft and not exactly the correct size. Change that to a polyurethane tube.
Also having a tight bend right at the valve puts a side load on the o-rings inside the Festo and will cause a leak. The tubing should have about an inch straight section just before and after the valve.
Old 12-02-2019, 06:54 AM
  #4473  
CARS II
My Feedback: (7)
 
CARS II's Avatar
 
Join Date: Oct 2002
Location: Sacramento CA
Posts: 6,589
Received 123 Likes on 106 Posts
Default


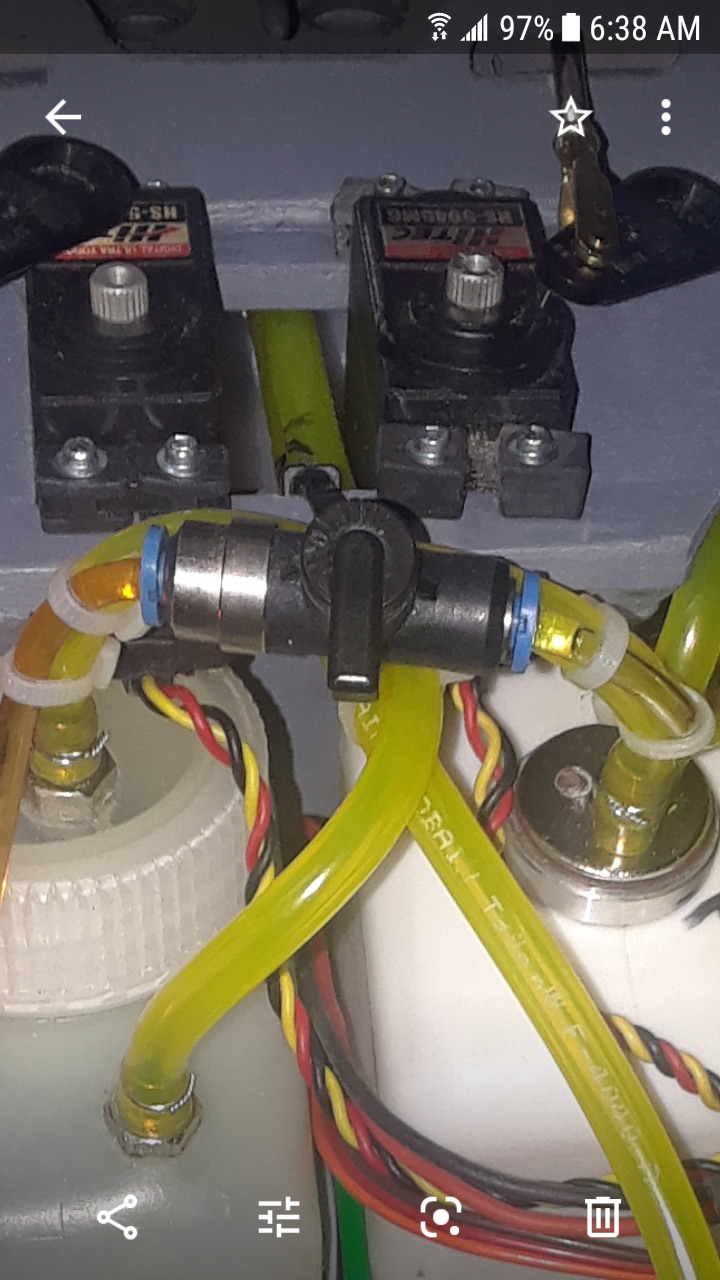
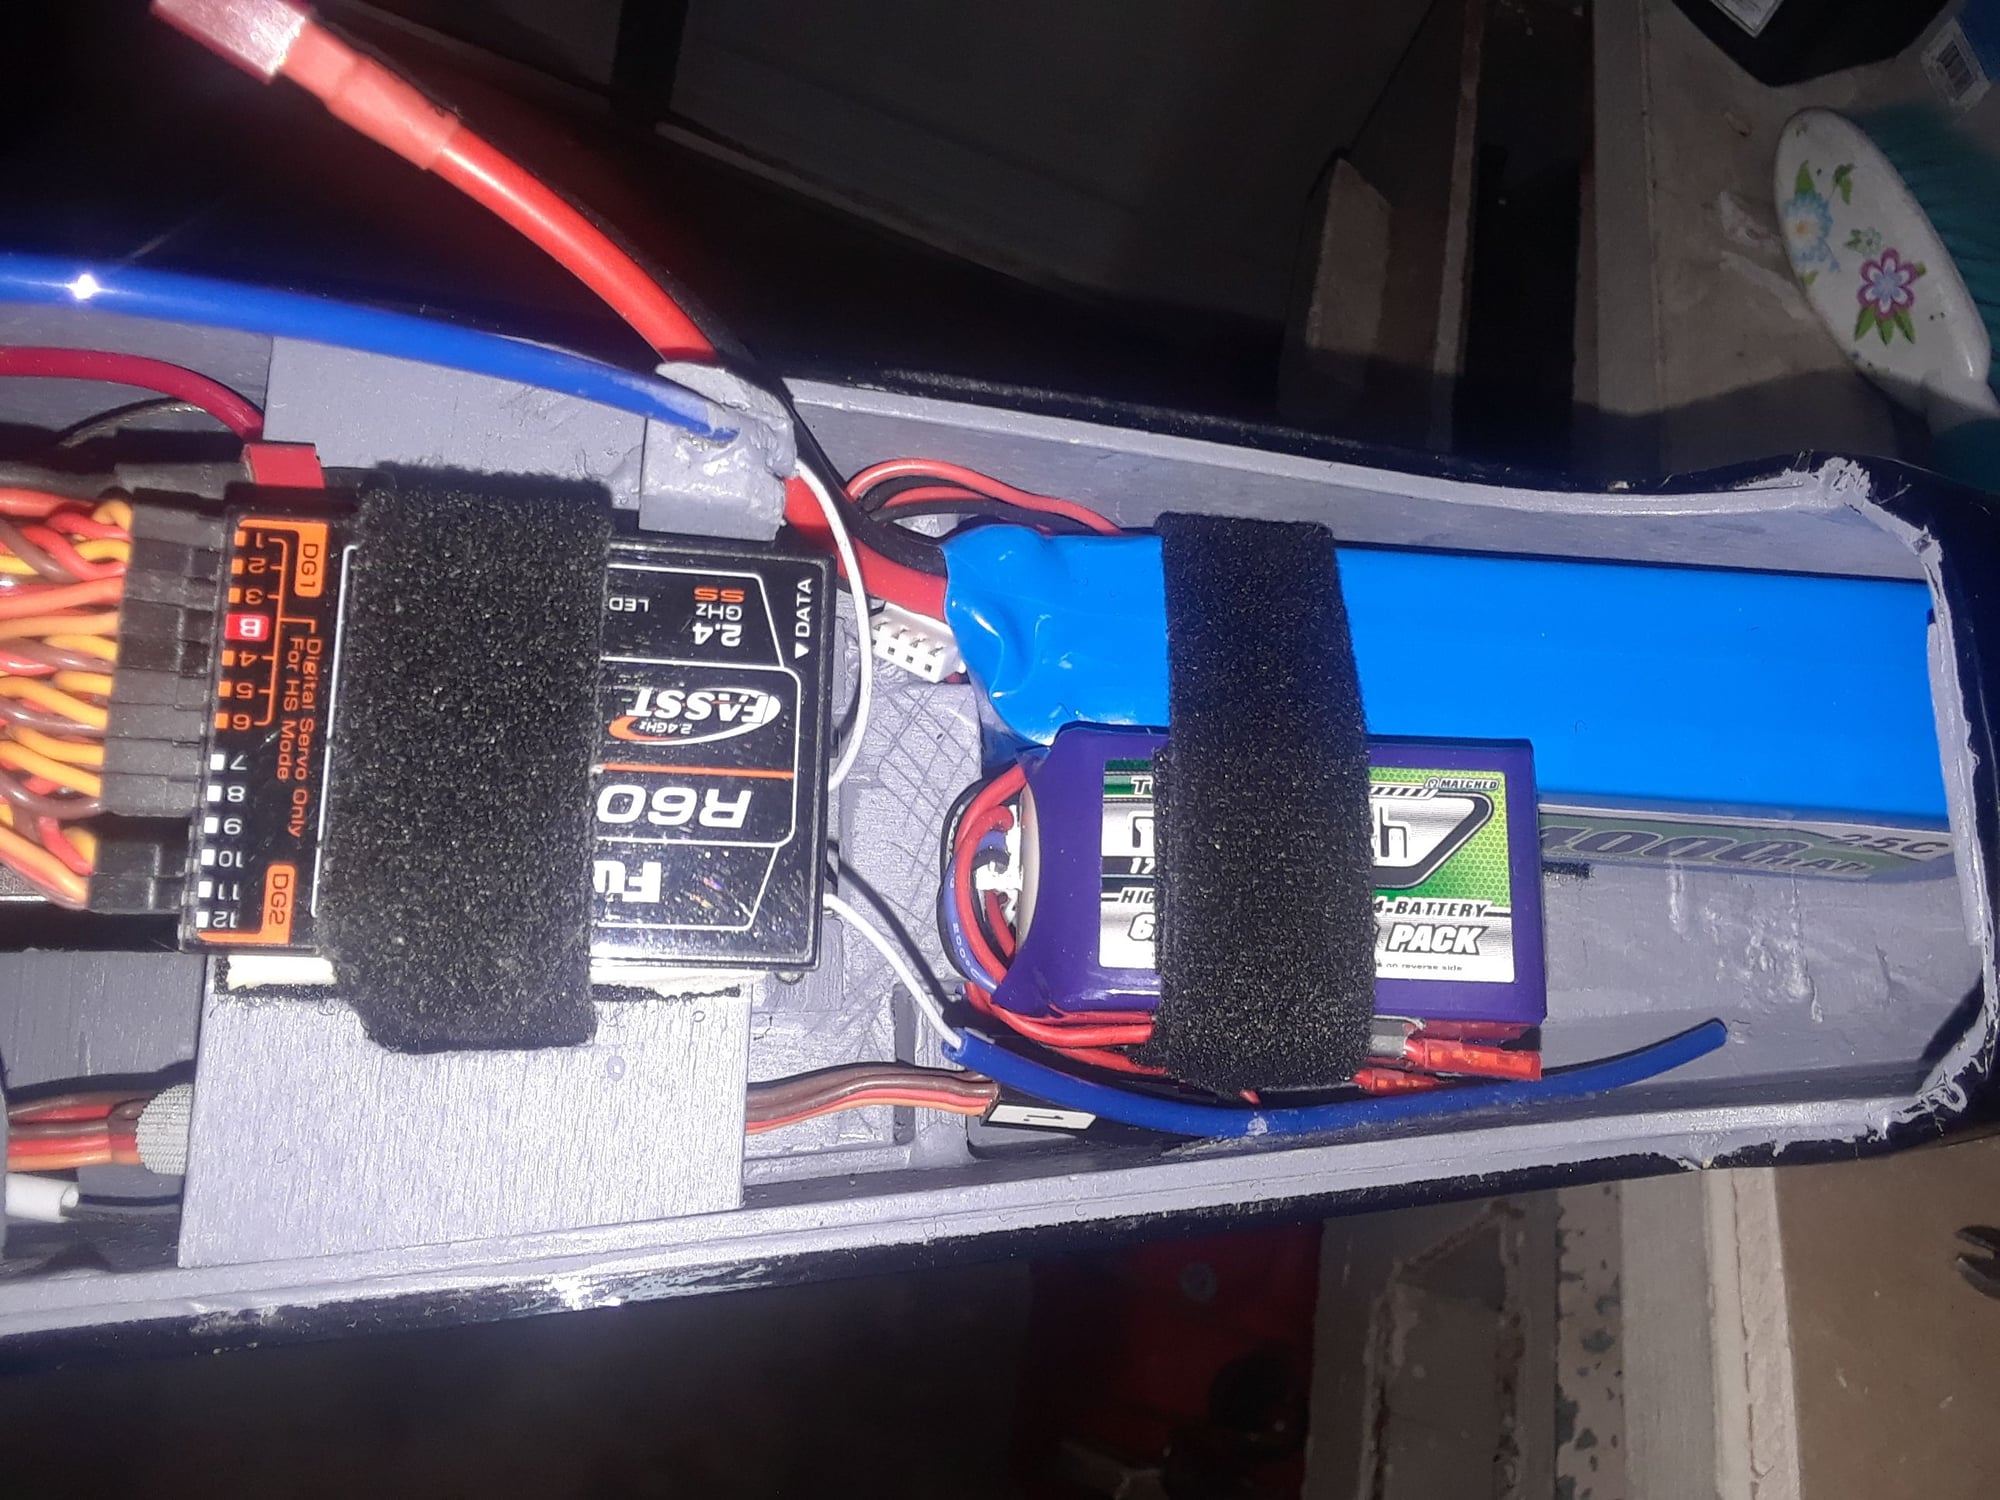
Joe, thank you for your advice, I totally agree with you on only using clear fuel line with the Festo valves, I've seen installs where Tygon fuel lines has been use at the on/off valves, that is a leak waiting to happen, I've augmented one of the pictures to show that 4mm fuel line is been use on the on/off valve, you are probably right on the bends of the fuel lines at the on/off valve, I feel comfortable the way it is because I've installed it that way on other airplanes with good results, I will look at it to see if I can move the valve to a different position.

Tks.

Last edited by CARS II; 12-02-2019 at 11:40 AM.
Old 12-02-2019, 03:11 PM
  #4474  
CARS II
My Feedback: (7)
 
CARS II's Avatar
 
Join Date: Oct 2002
Location: Sacramento CA
Posts: 6,589
Received 123 Likes on 106 Posts
Default


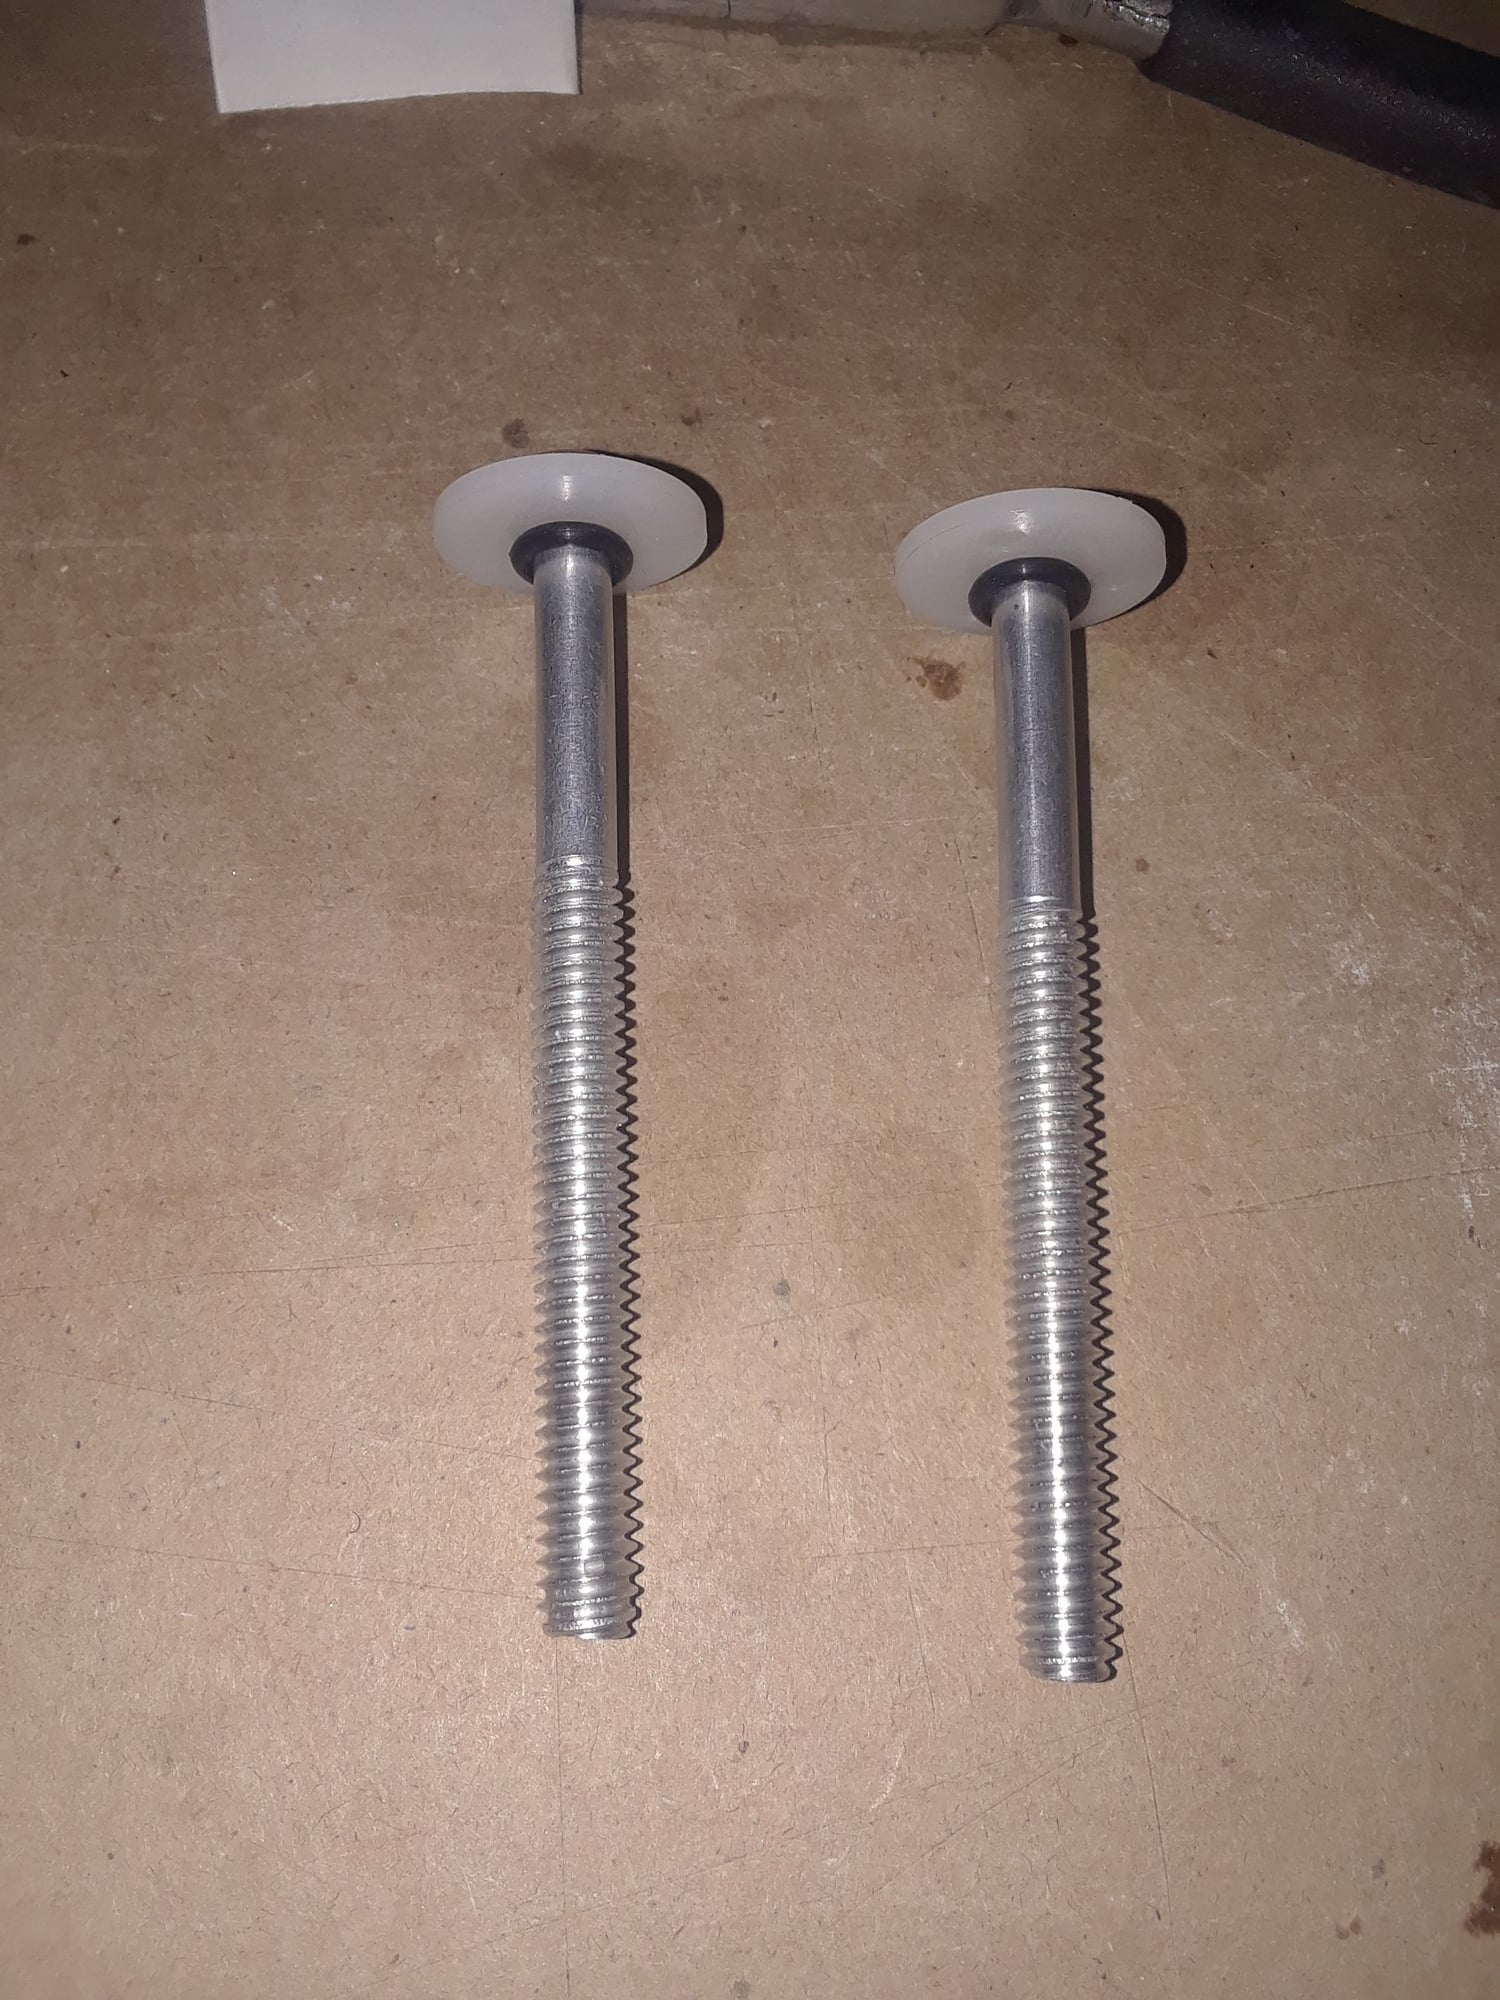
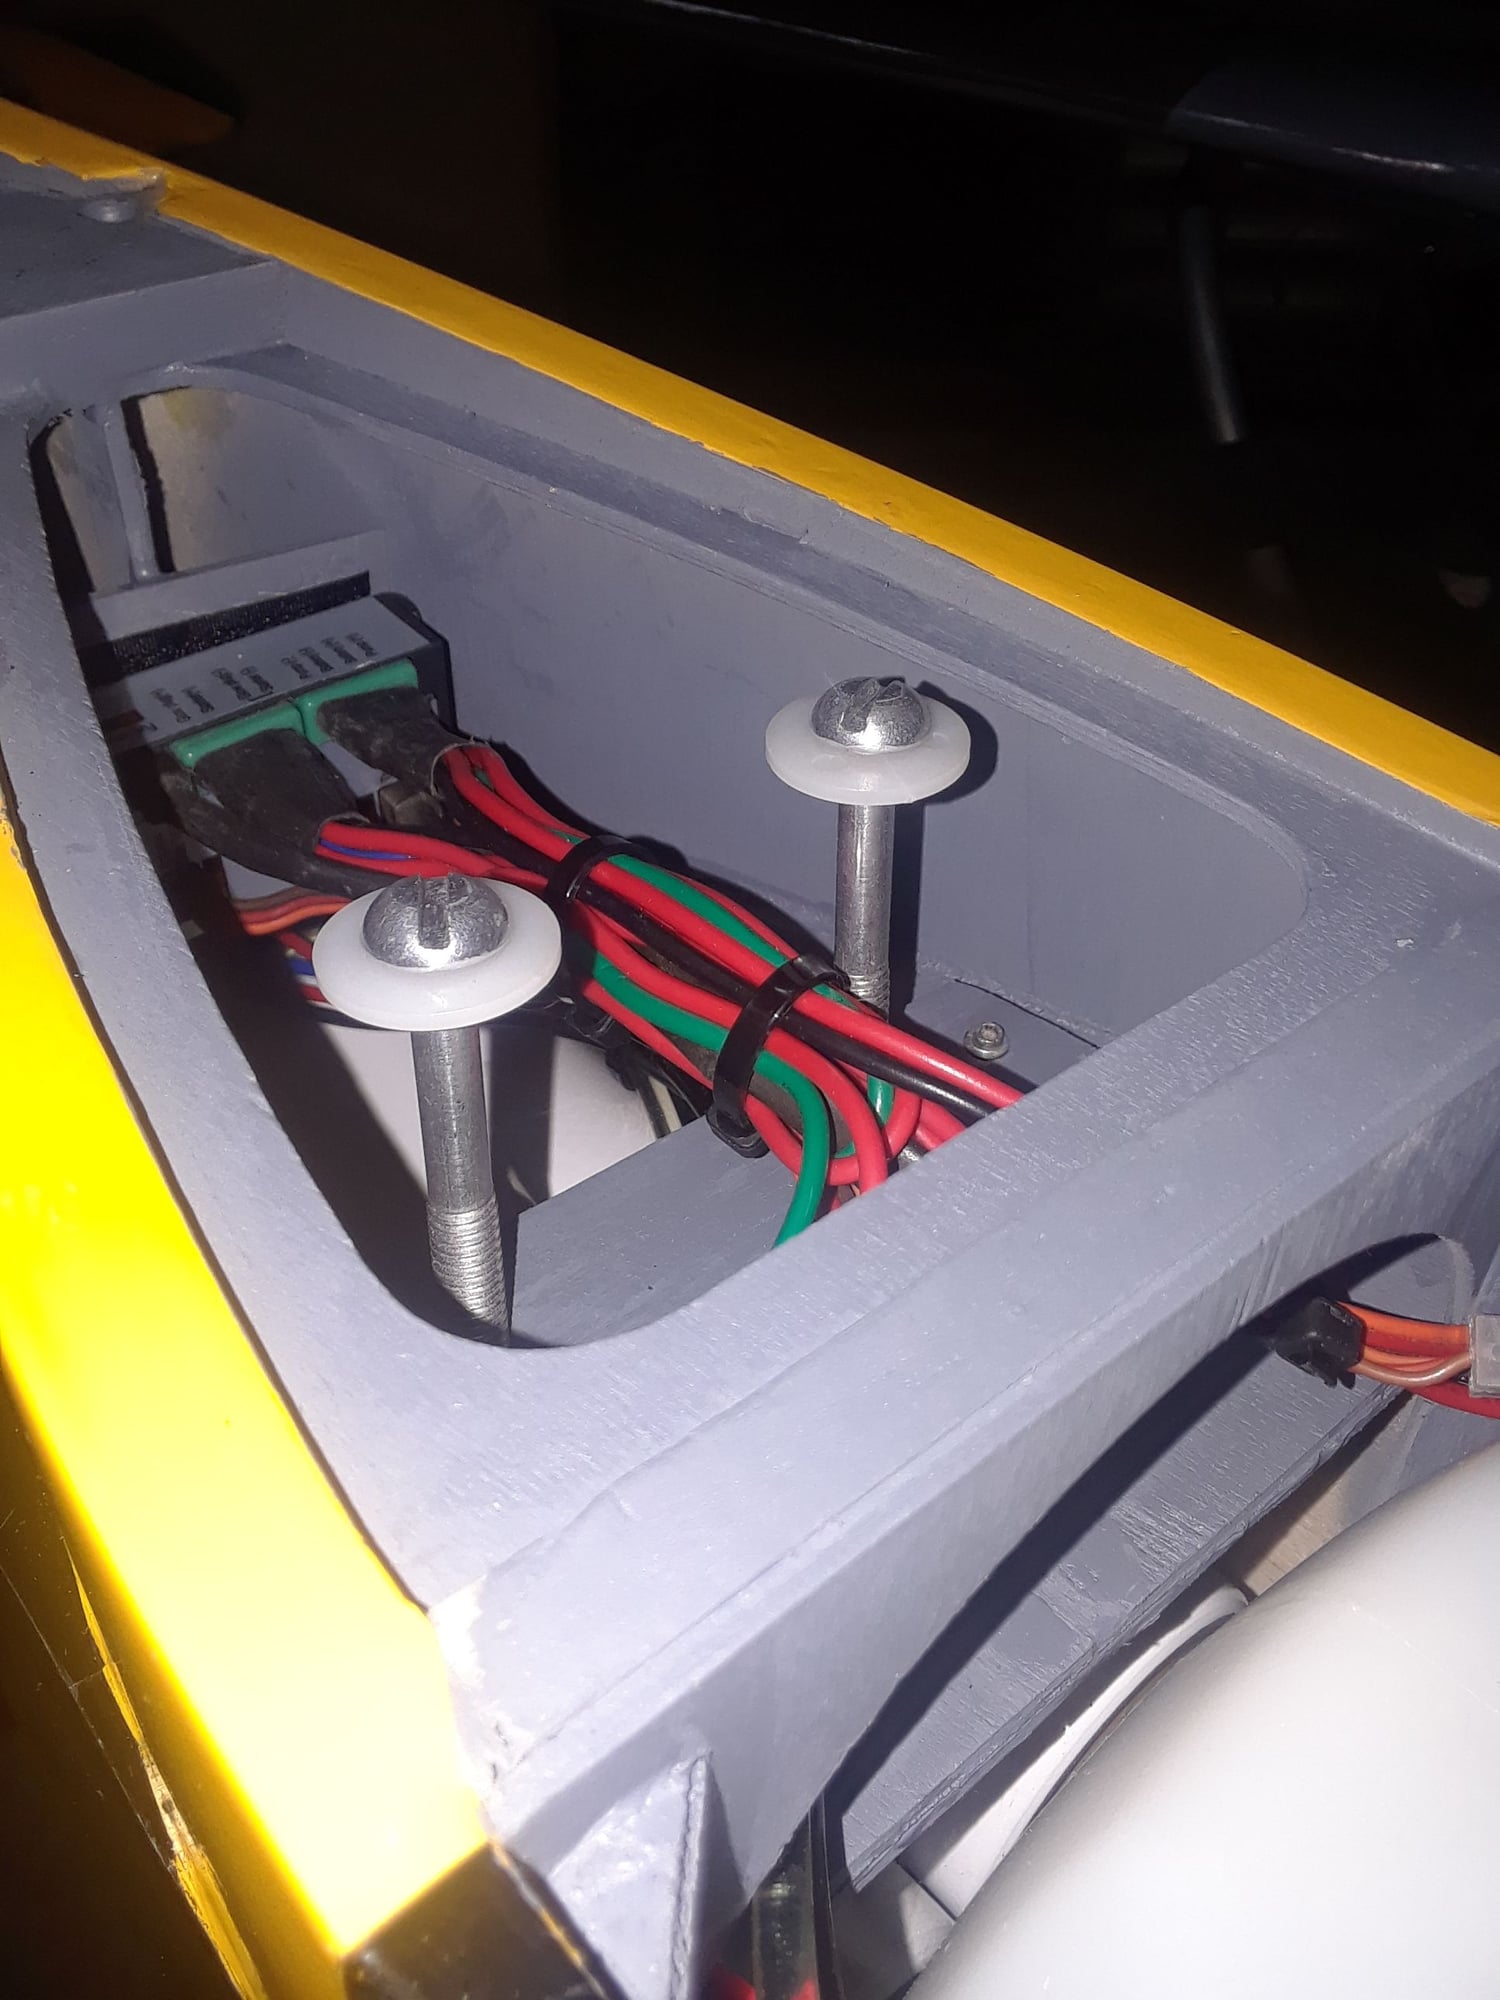
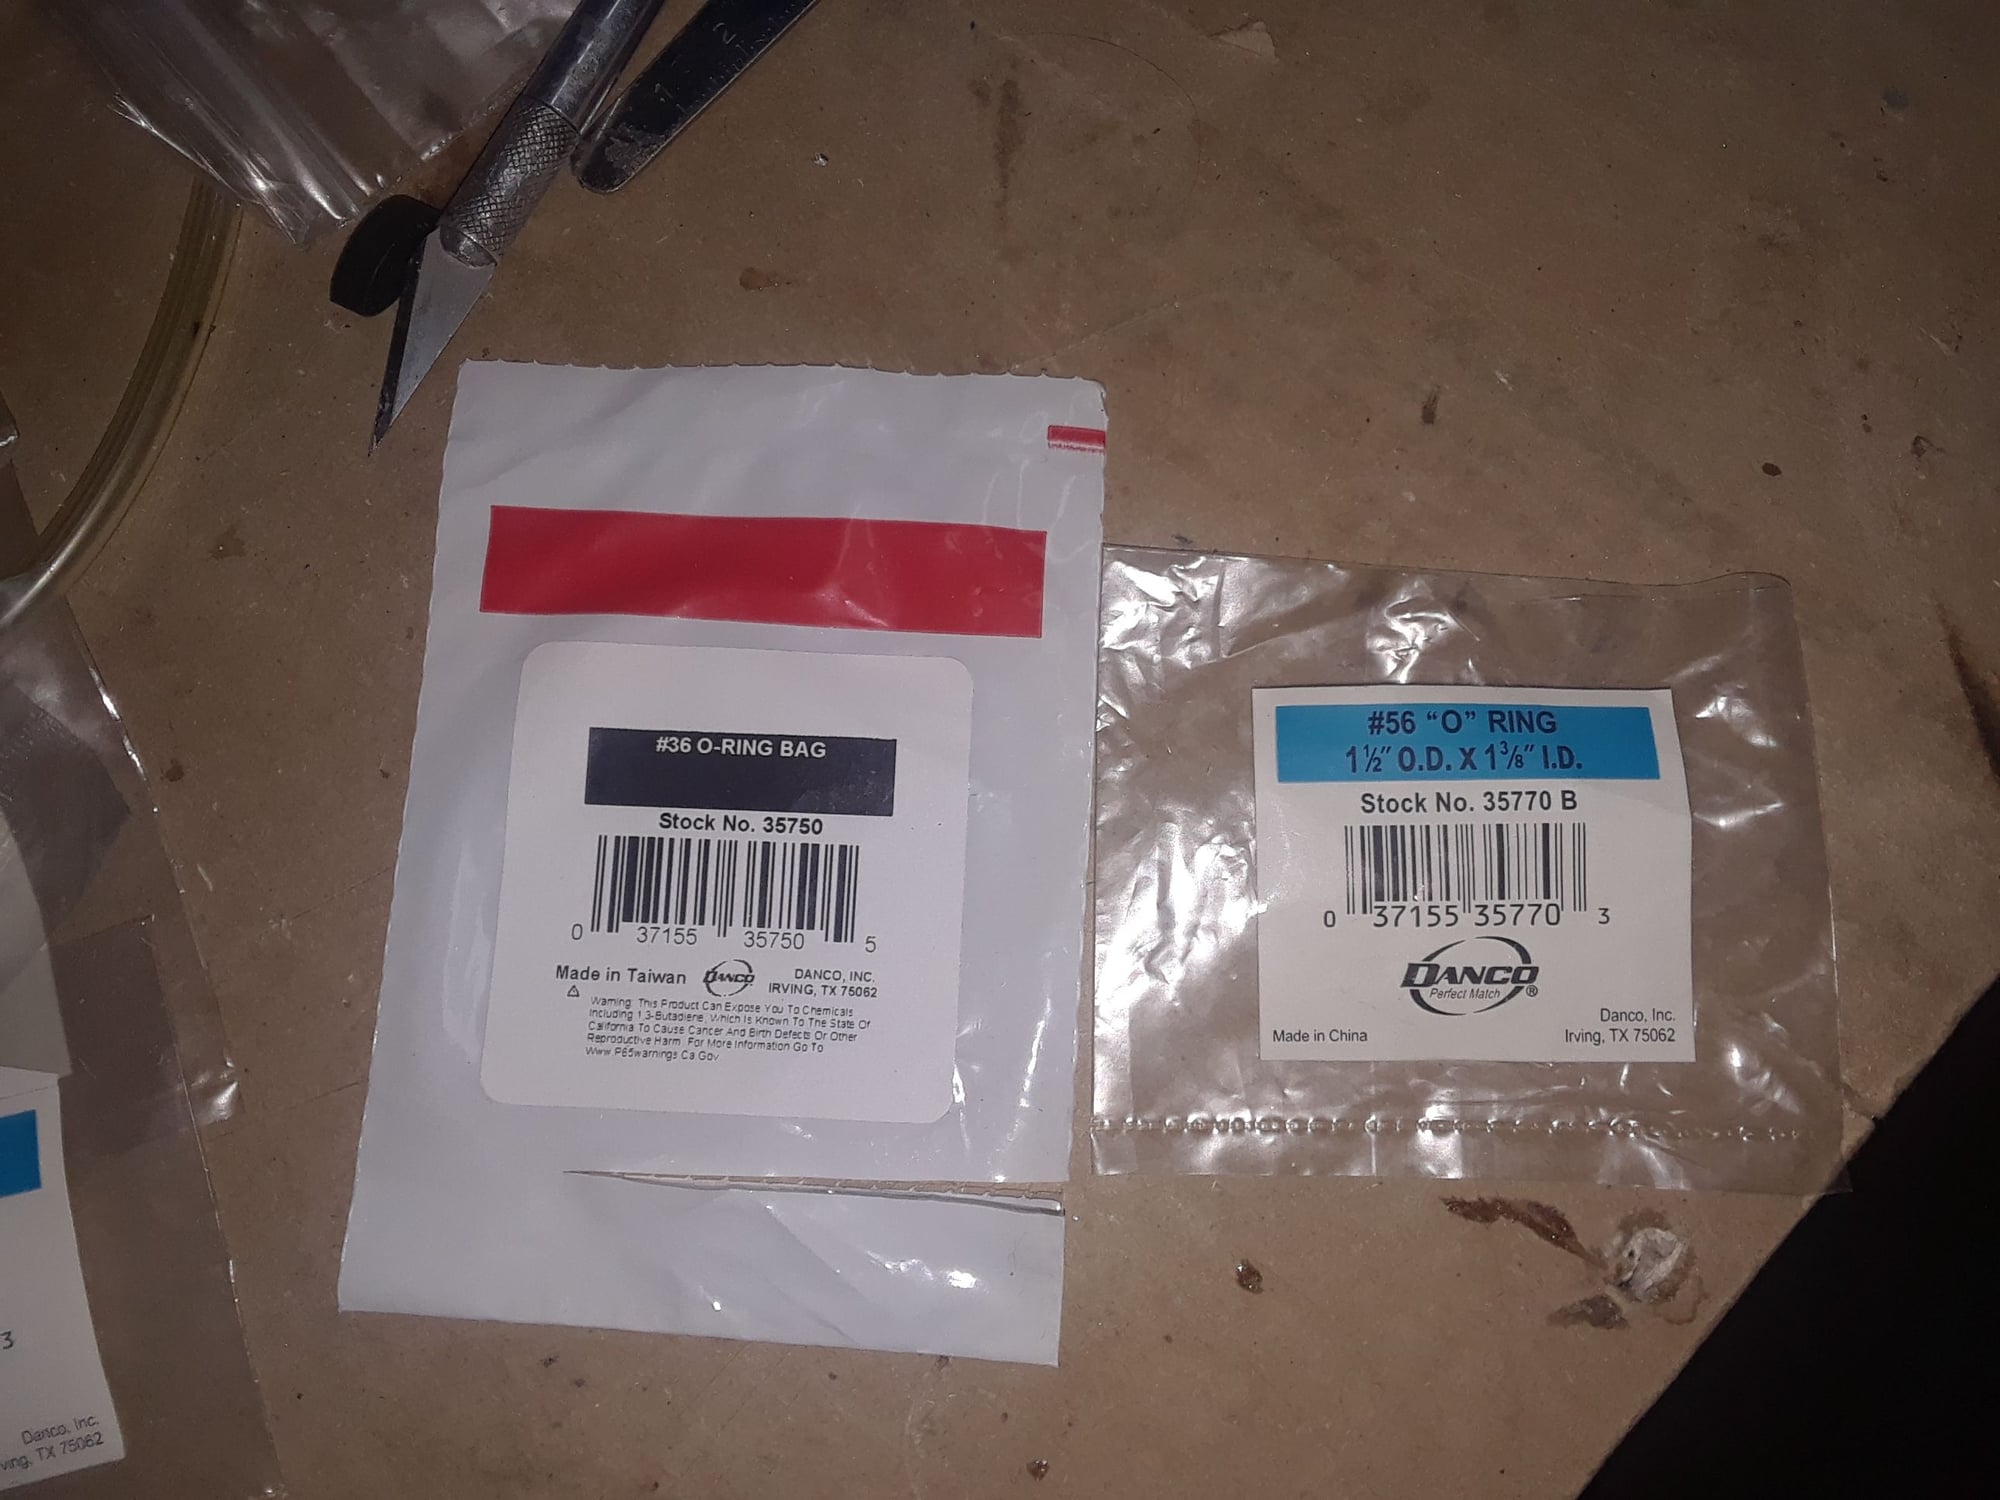
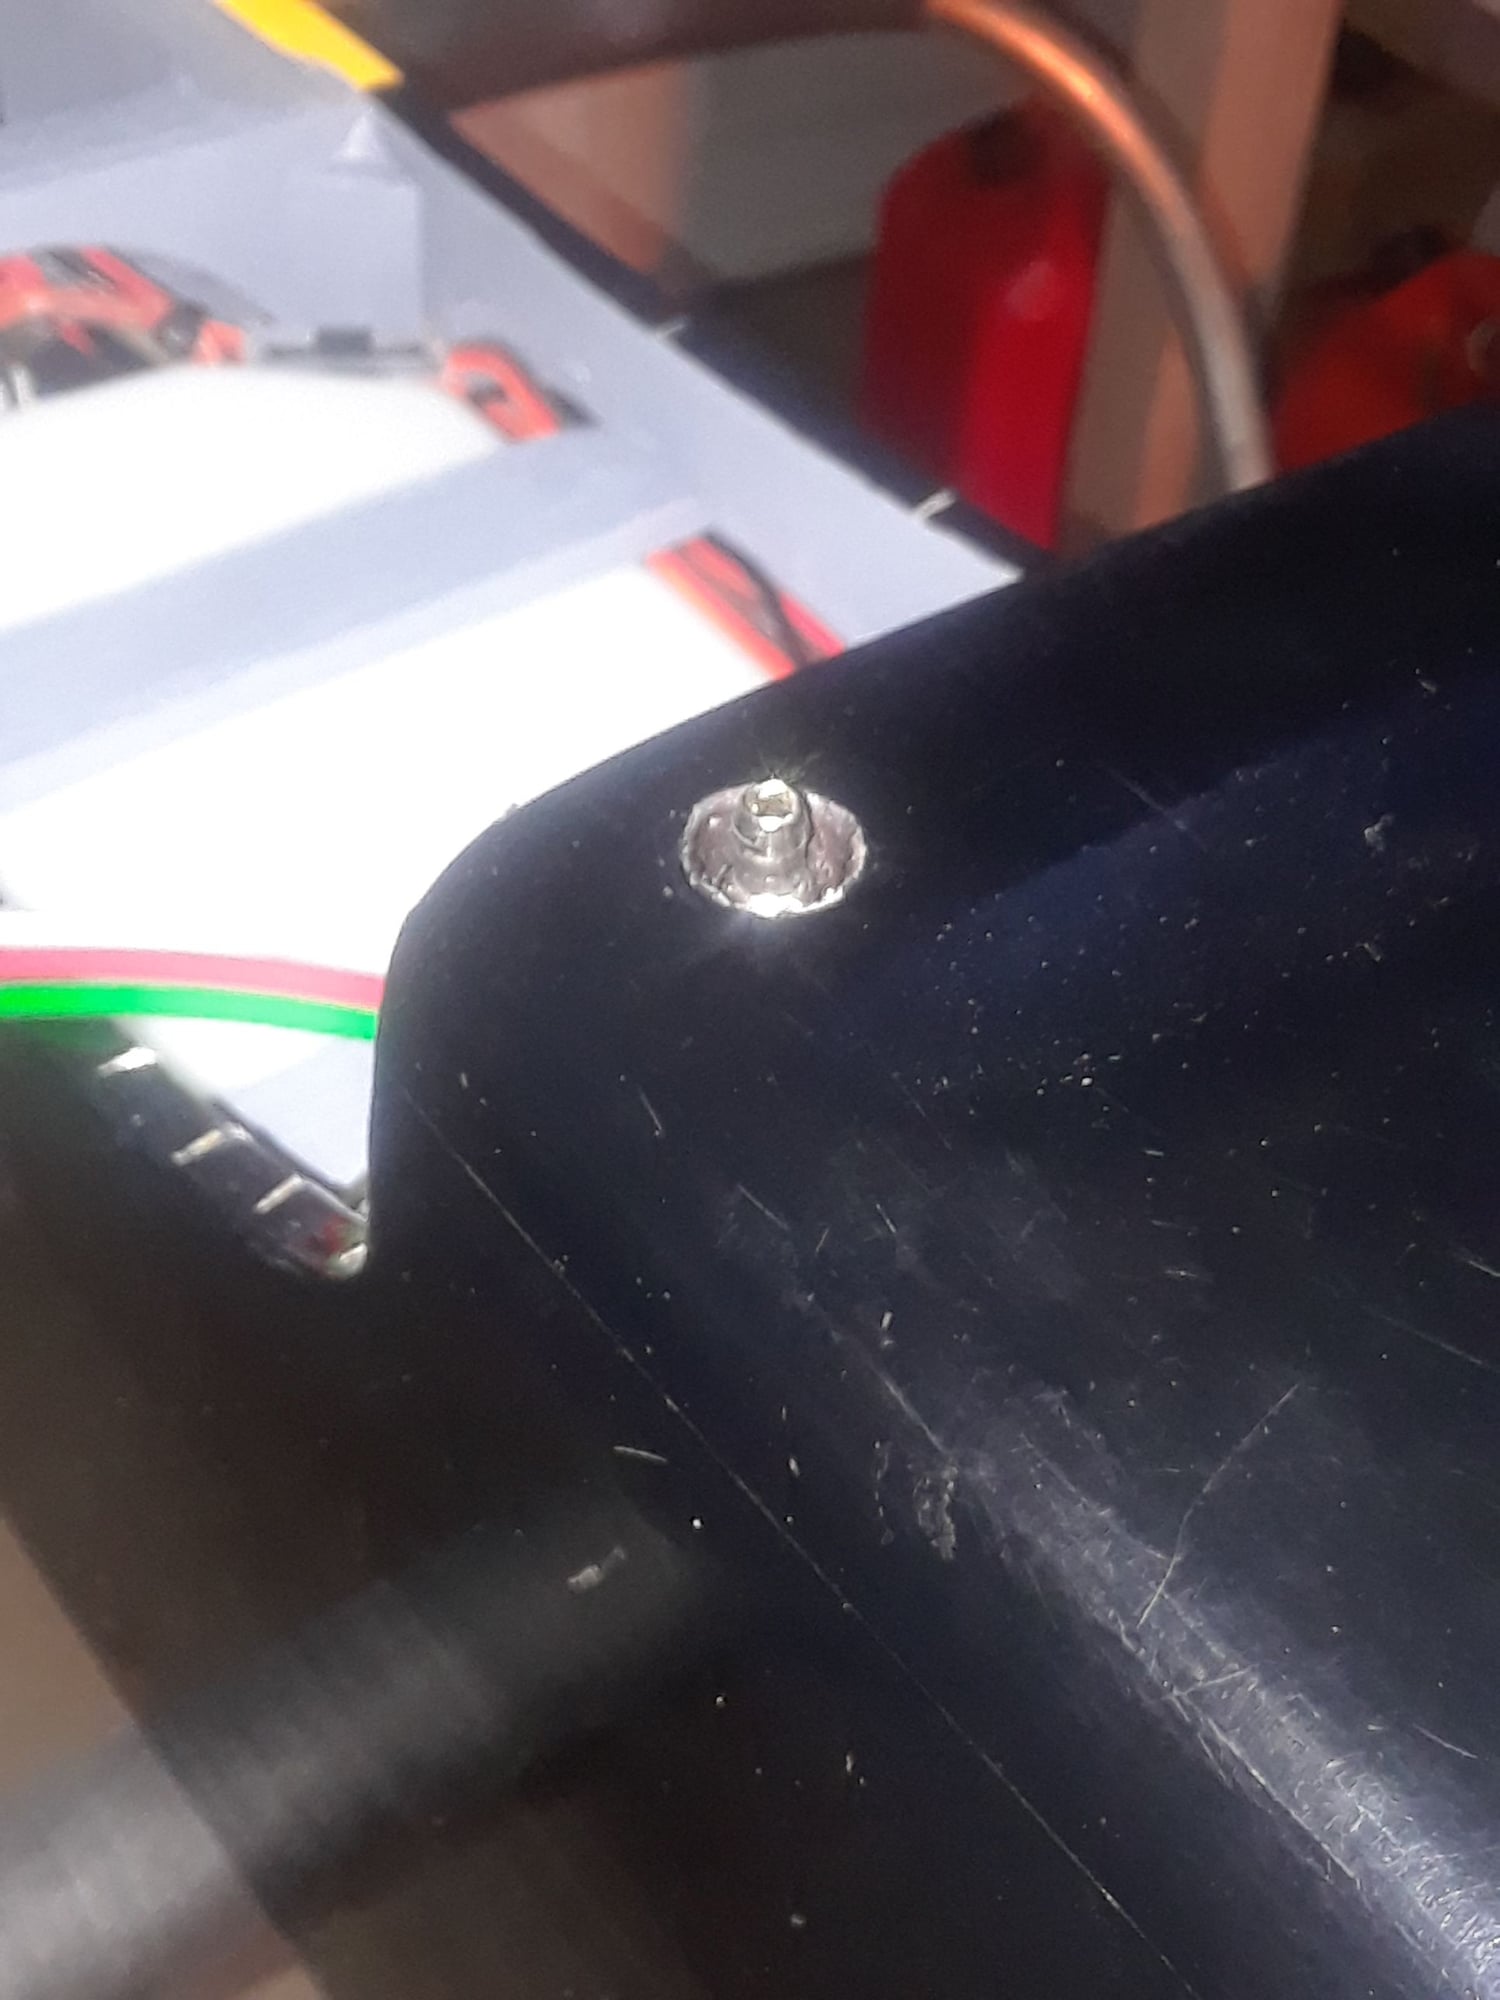
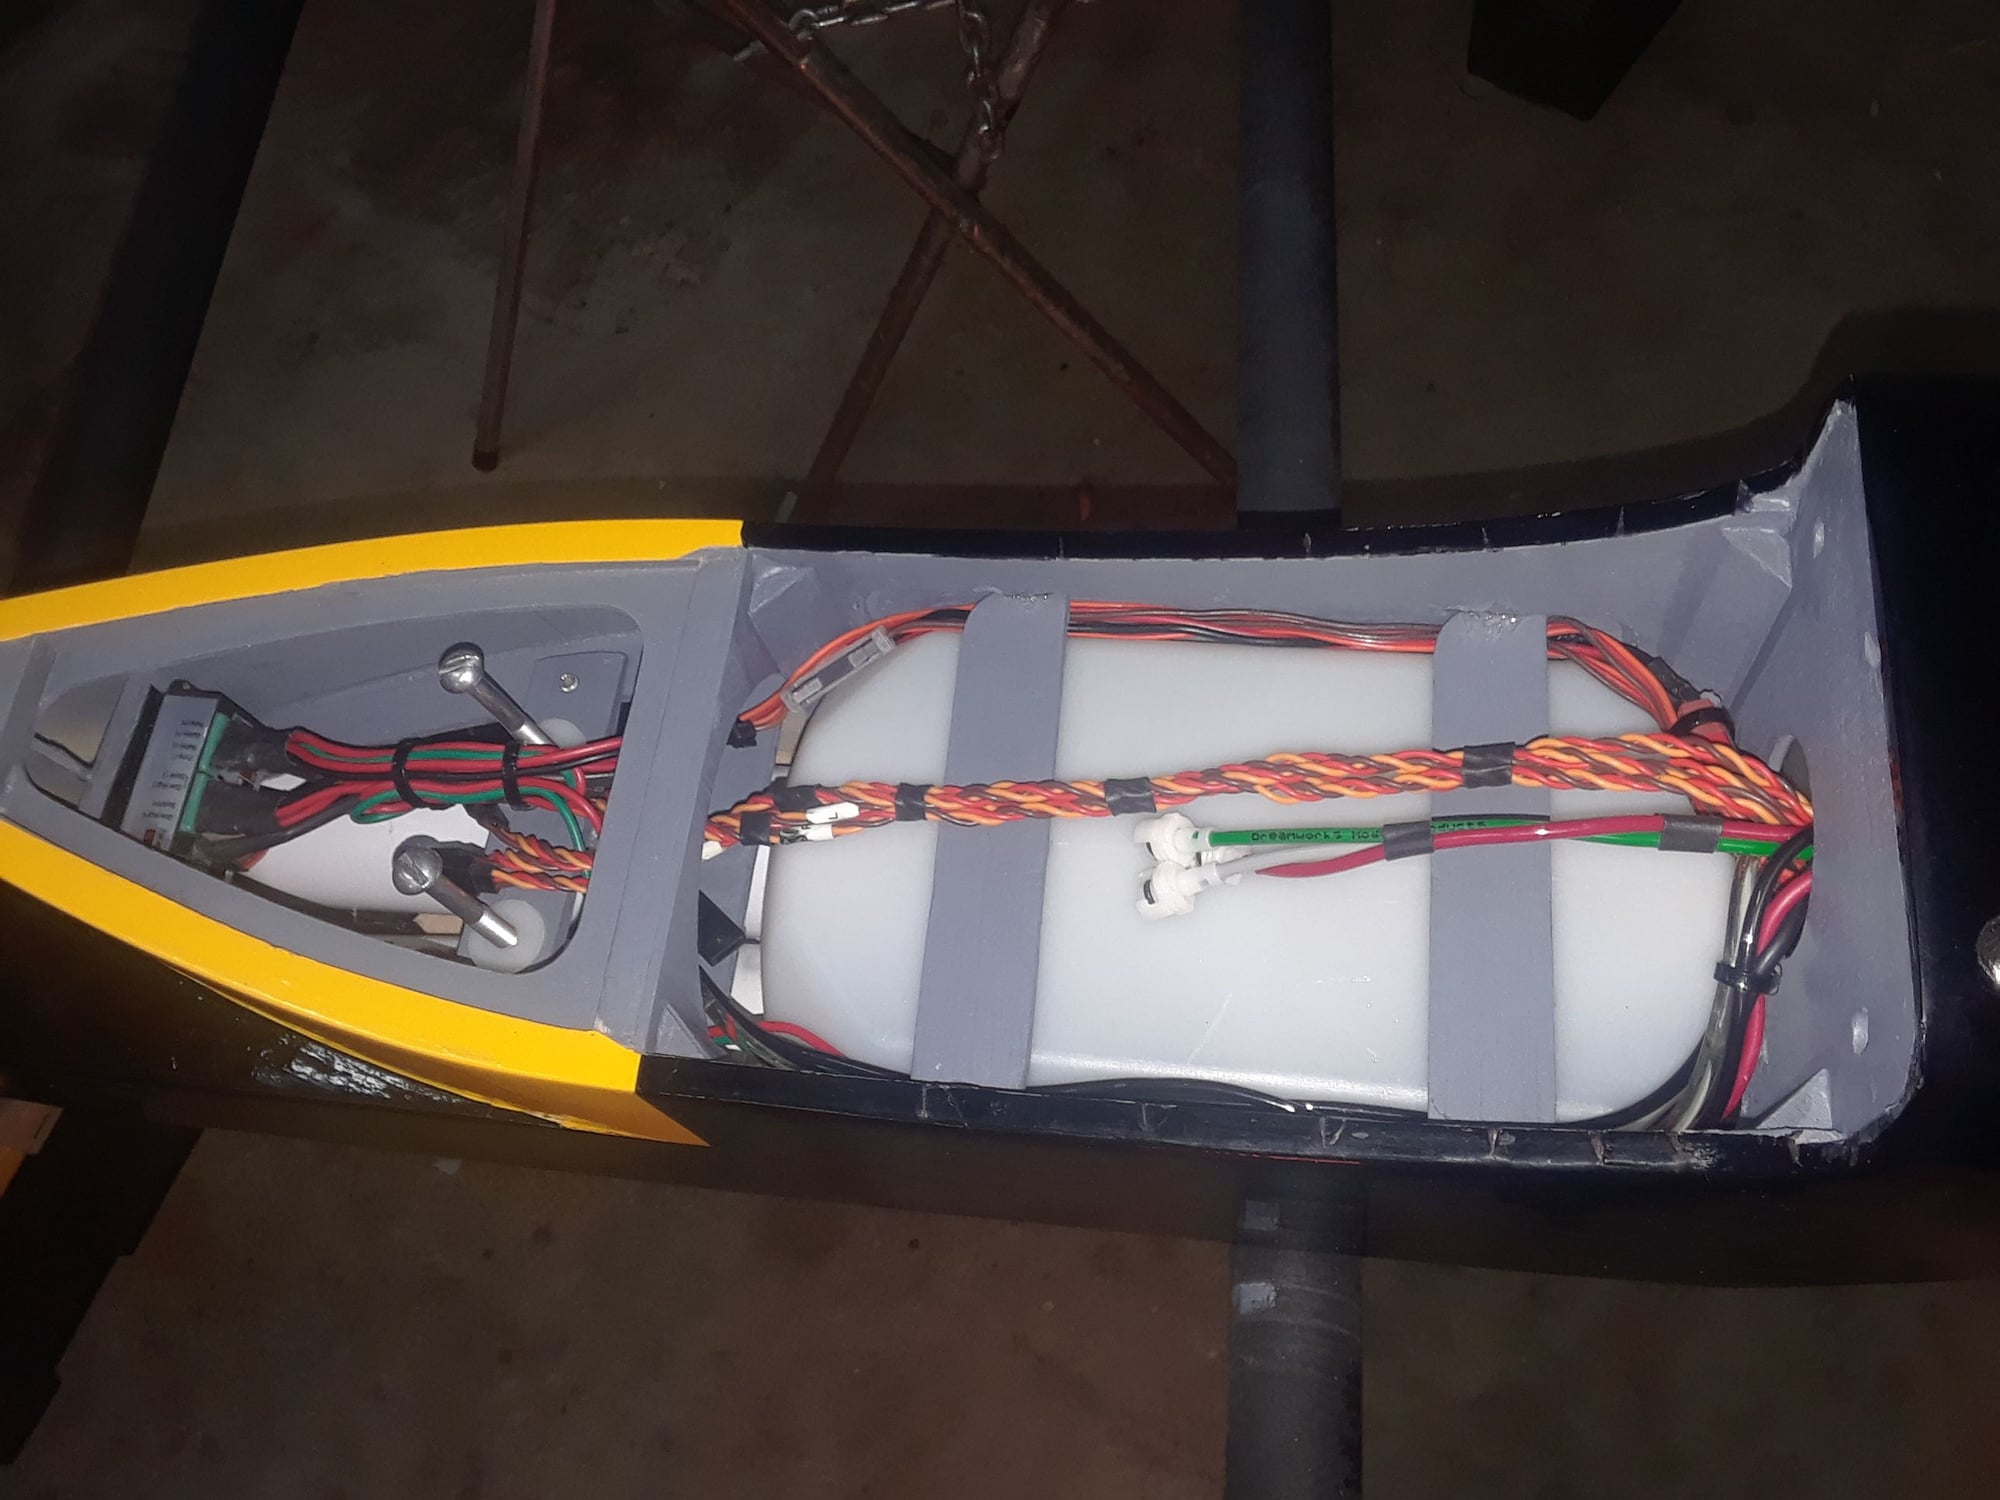
Following suggestions ( thank you Marty and Joe ) I made a small change to the position of the fuel lines leading to the fuel shut off valve also replaced the rubber bands holding the extentions with 1 1/2" O rings ( the store only had 3, needs 2 more ) and added O rings to the wing hold down screws to stop the plastic washer from falling inside the fuse every time they were removed.

Last edited by CARS II; 12-03-2019 at 09:04 AM.
Old 12-02-2019, 06:46 PM
  #4475  
CARS II
My Feedback: (7)
 
CARS II's Avatar
 
Join Date: Oct 2002
Location: Sacramento CA
Posts: 6,589
Received 123 Likes on 106 Posts
Default


Batts are in and secure.


Contact Us - Archive - Advertising - Cookie Policy - Privacy Statement - Terms of Service -

Copyright © 2024 MH Sub I, LLC dba Internet Brands. All rights reserved. Use of this site indicates your consent to the Terms of Use.