


MidWest AT-6 Texan Plans built not a kit
 11-14-2025 | 09:37 AM
#1
Thread Starter

My Feedback: (1)
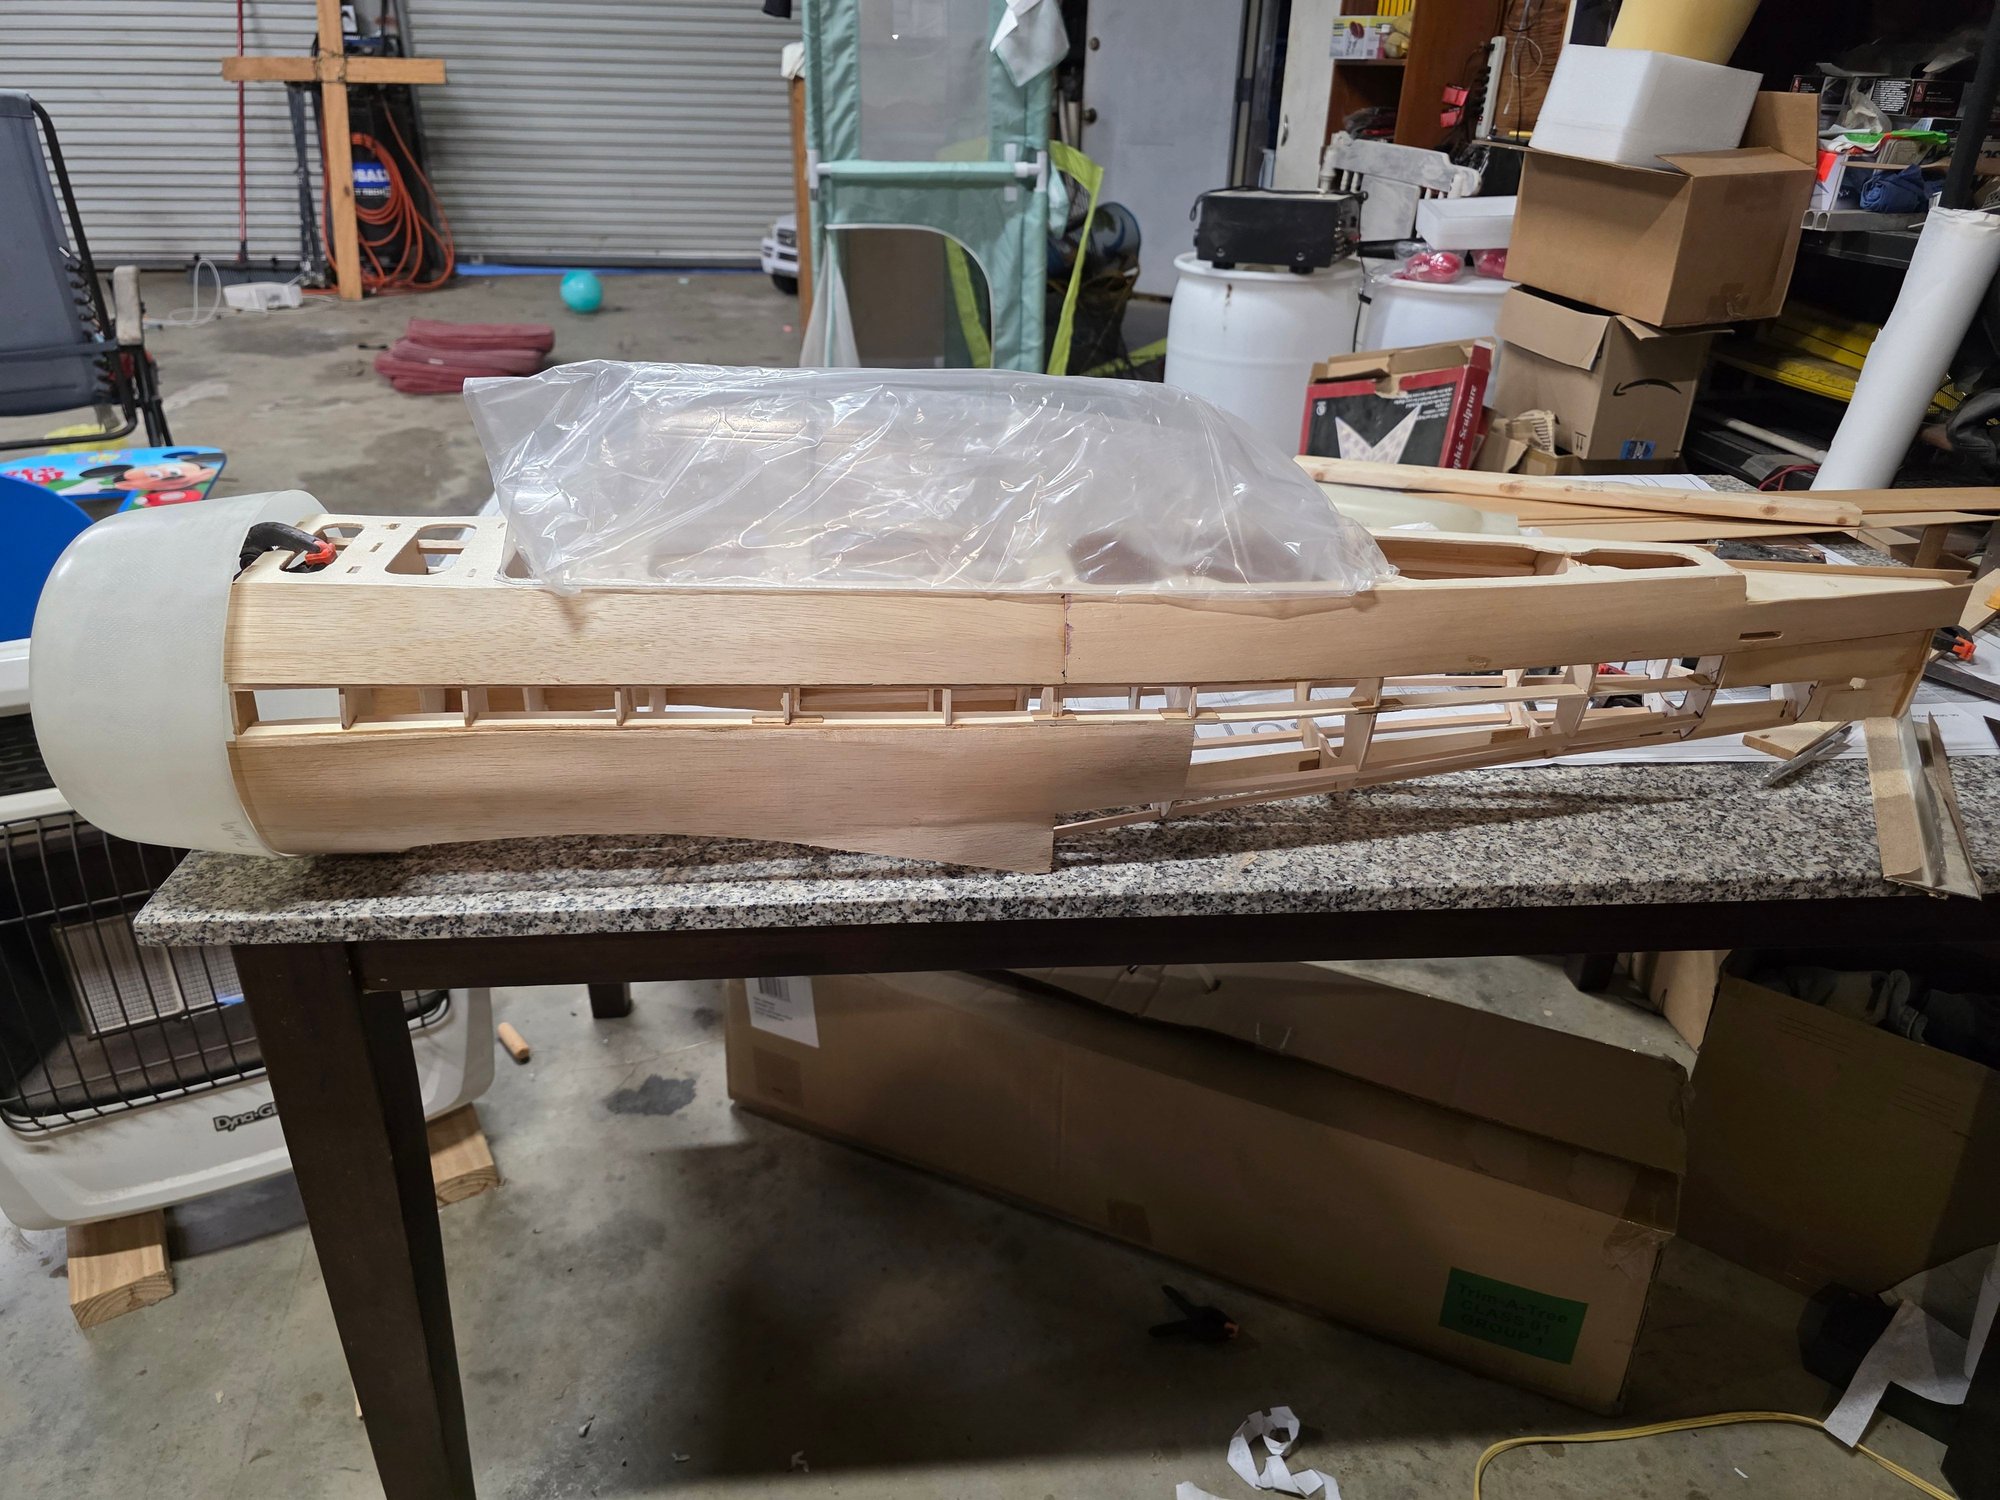
I am just starting my AT-6 build from the MidWest plans and manual. I spent several weeks getting the enlarged drawings to the right size and gluing to plywood to start cutting the bulhead formers and stringers. I found aftermarket canopy, cowl and wheel well that I had ordered for this build. I am curious of those who have built this kit in the past of what engine you have used. This is the first of possibly 6 that will be built for me, my sons, and my grandsons. The biggest challenge I see going forward is finding the robart 620 series retract for it or something comparable. So speak up and tell me or show me what you have.
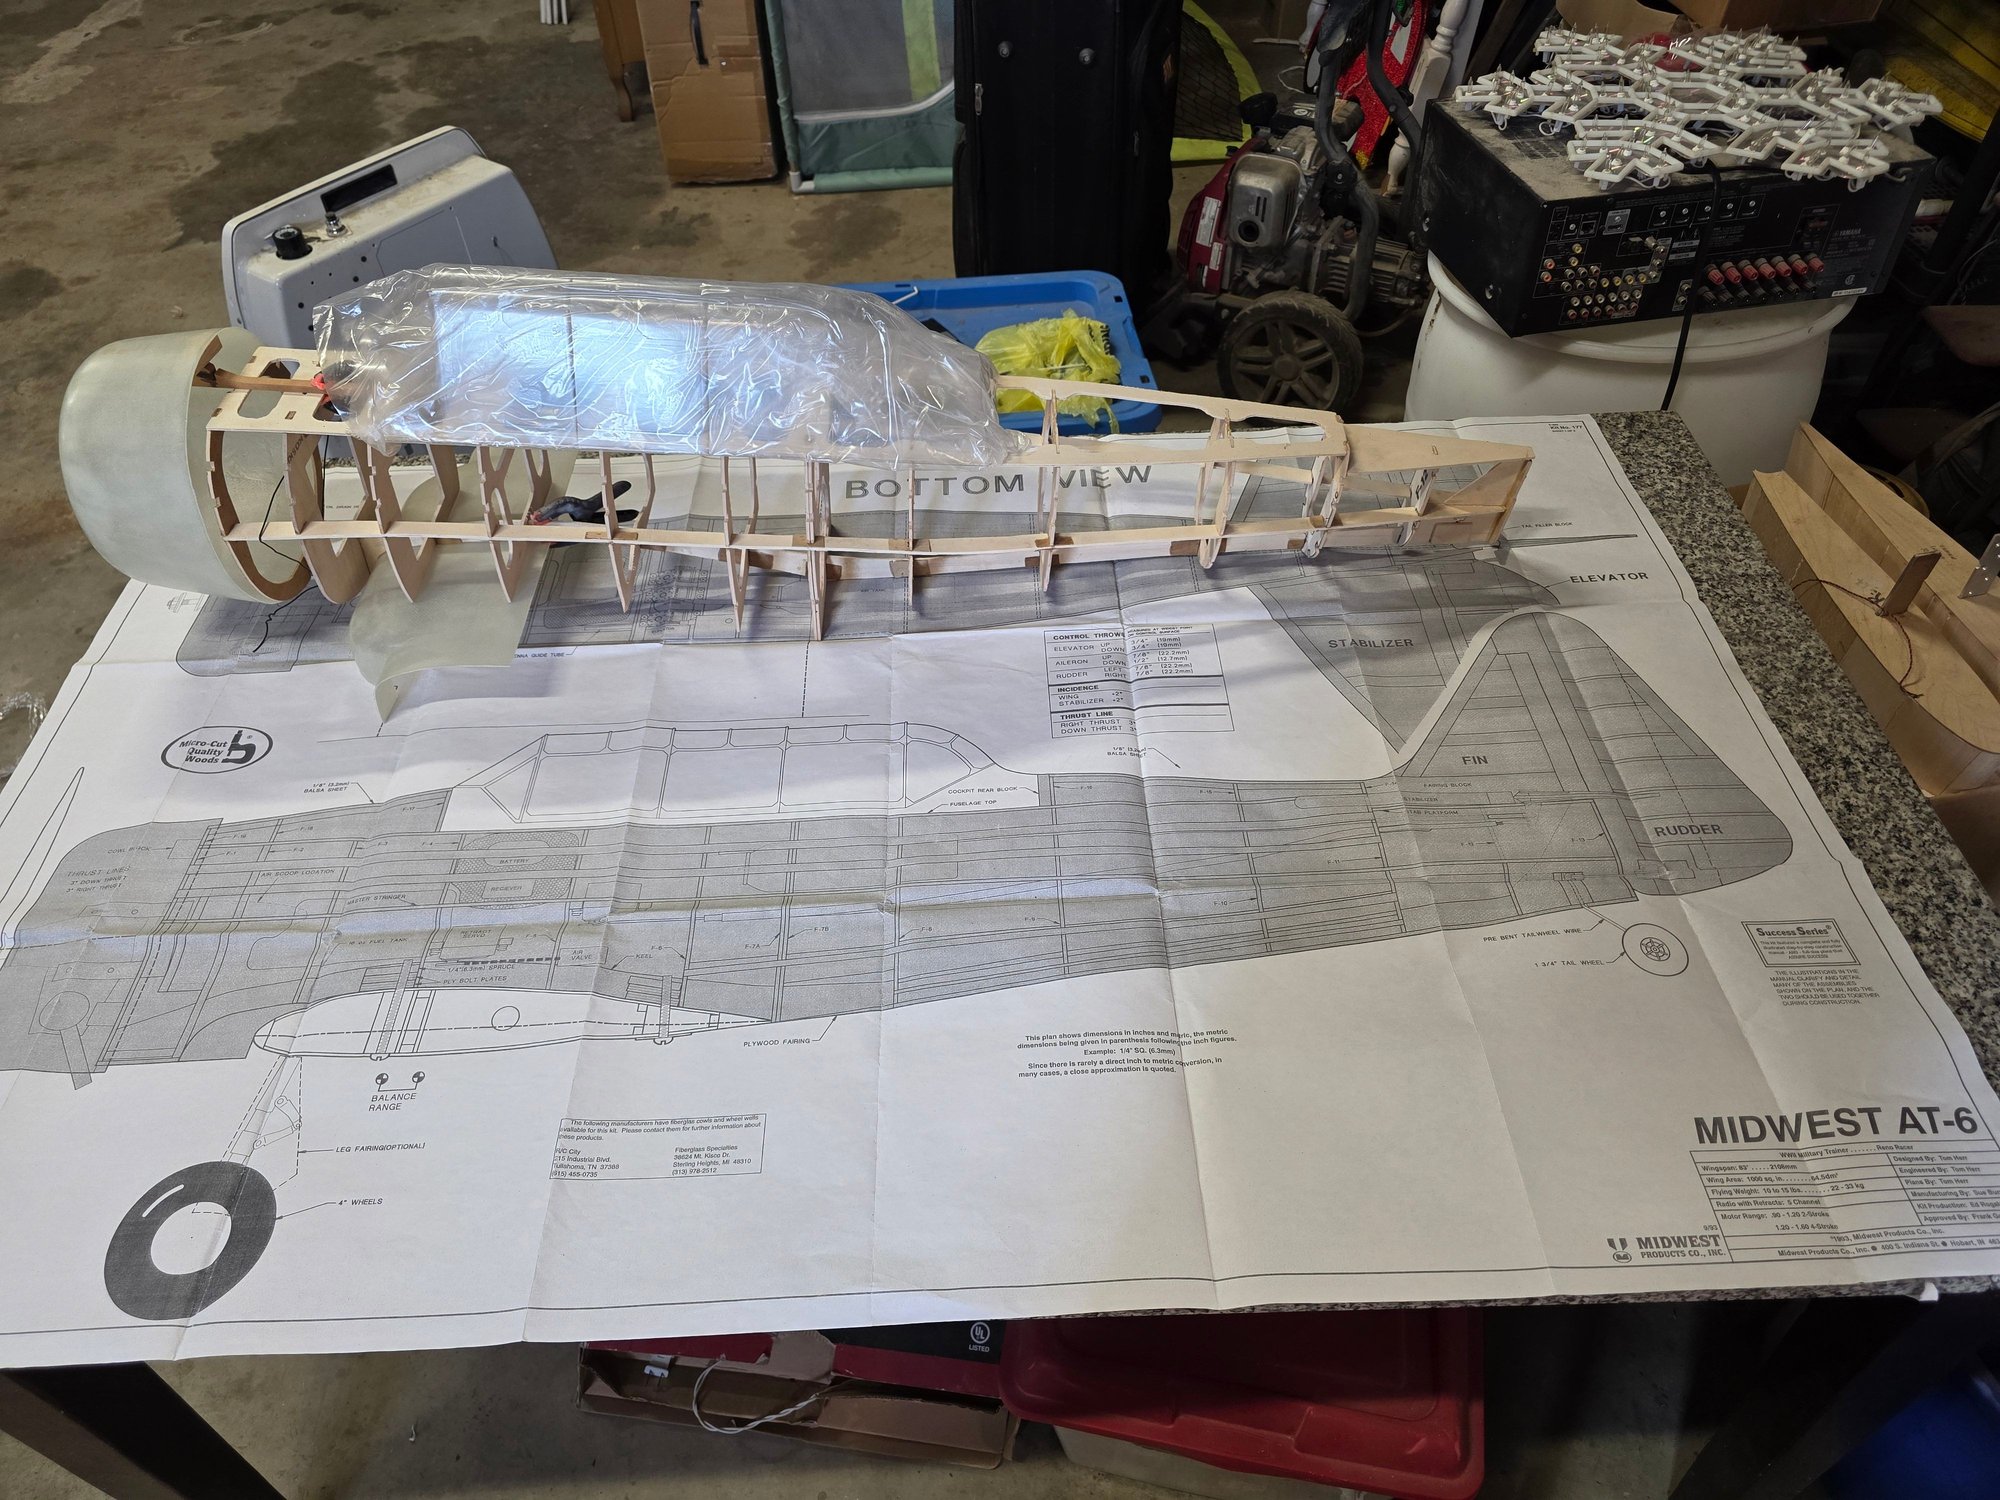
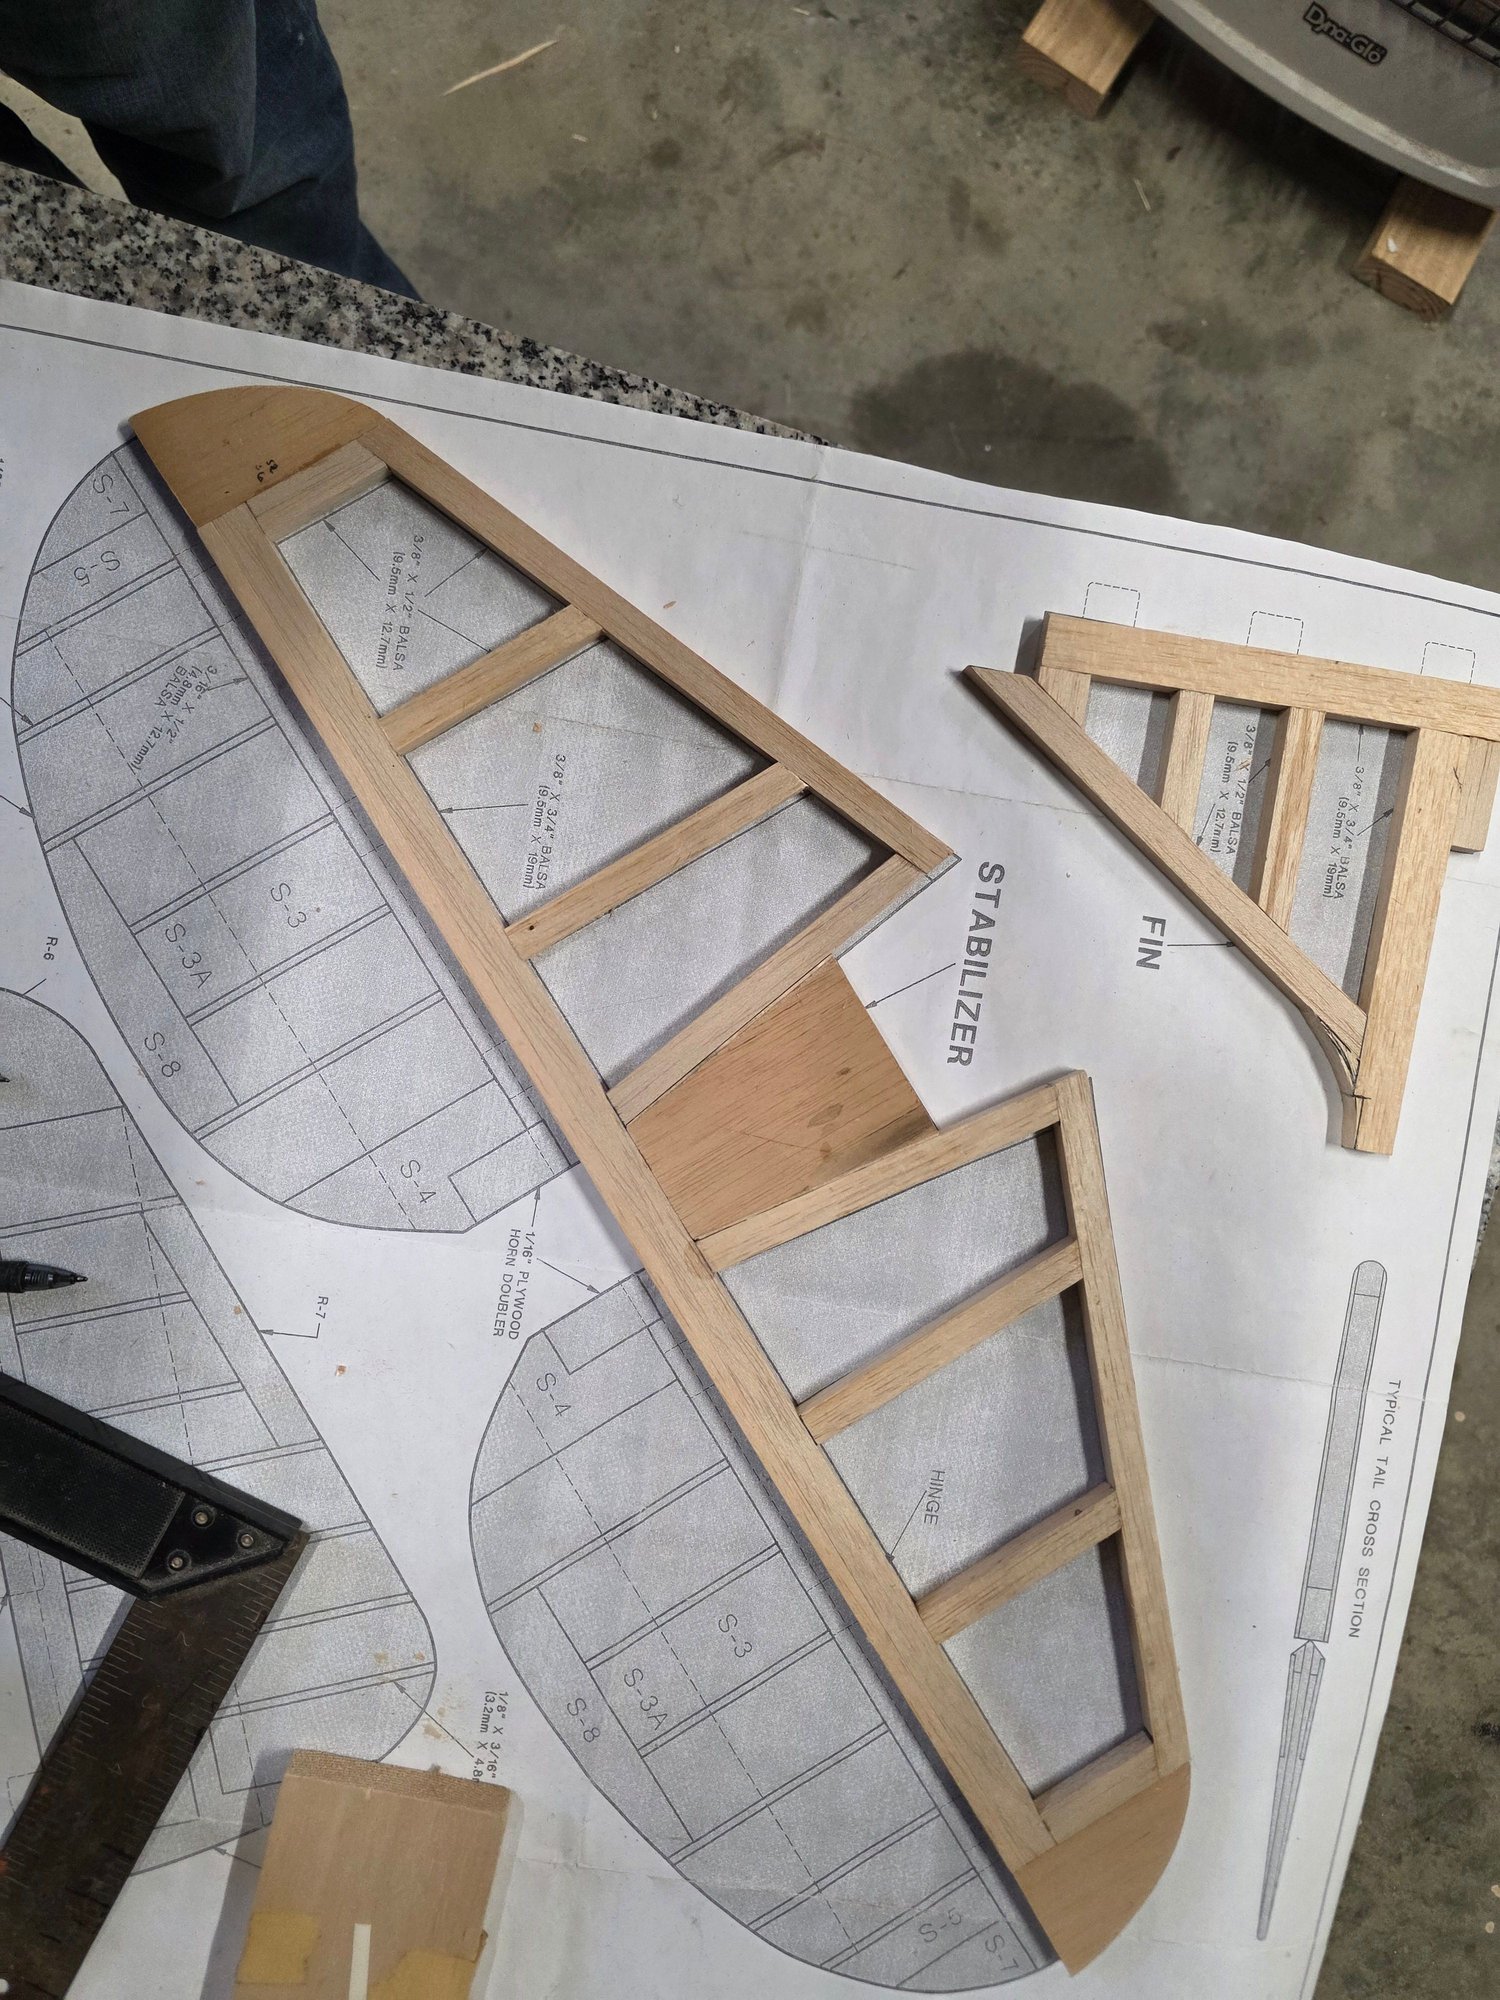
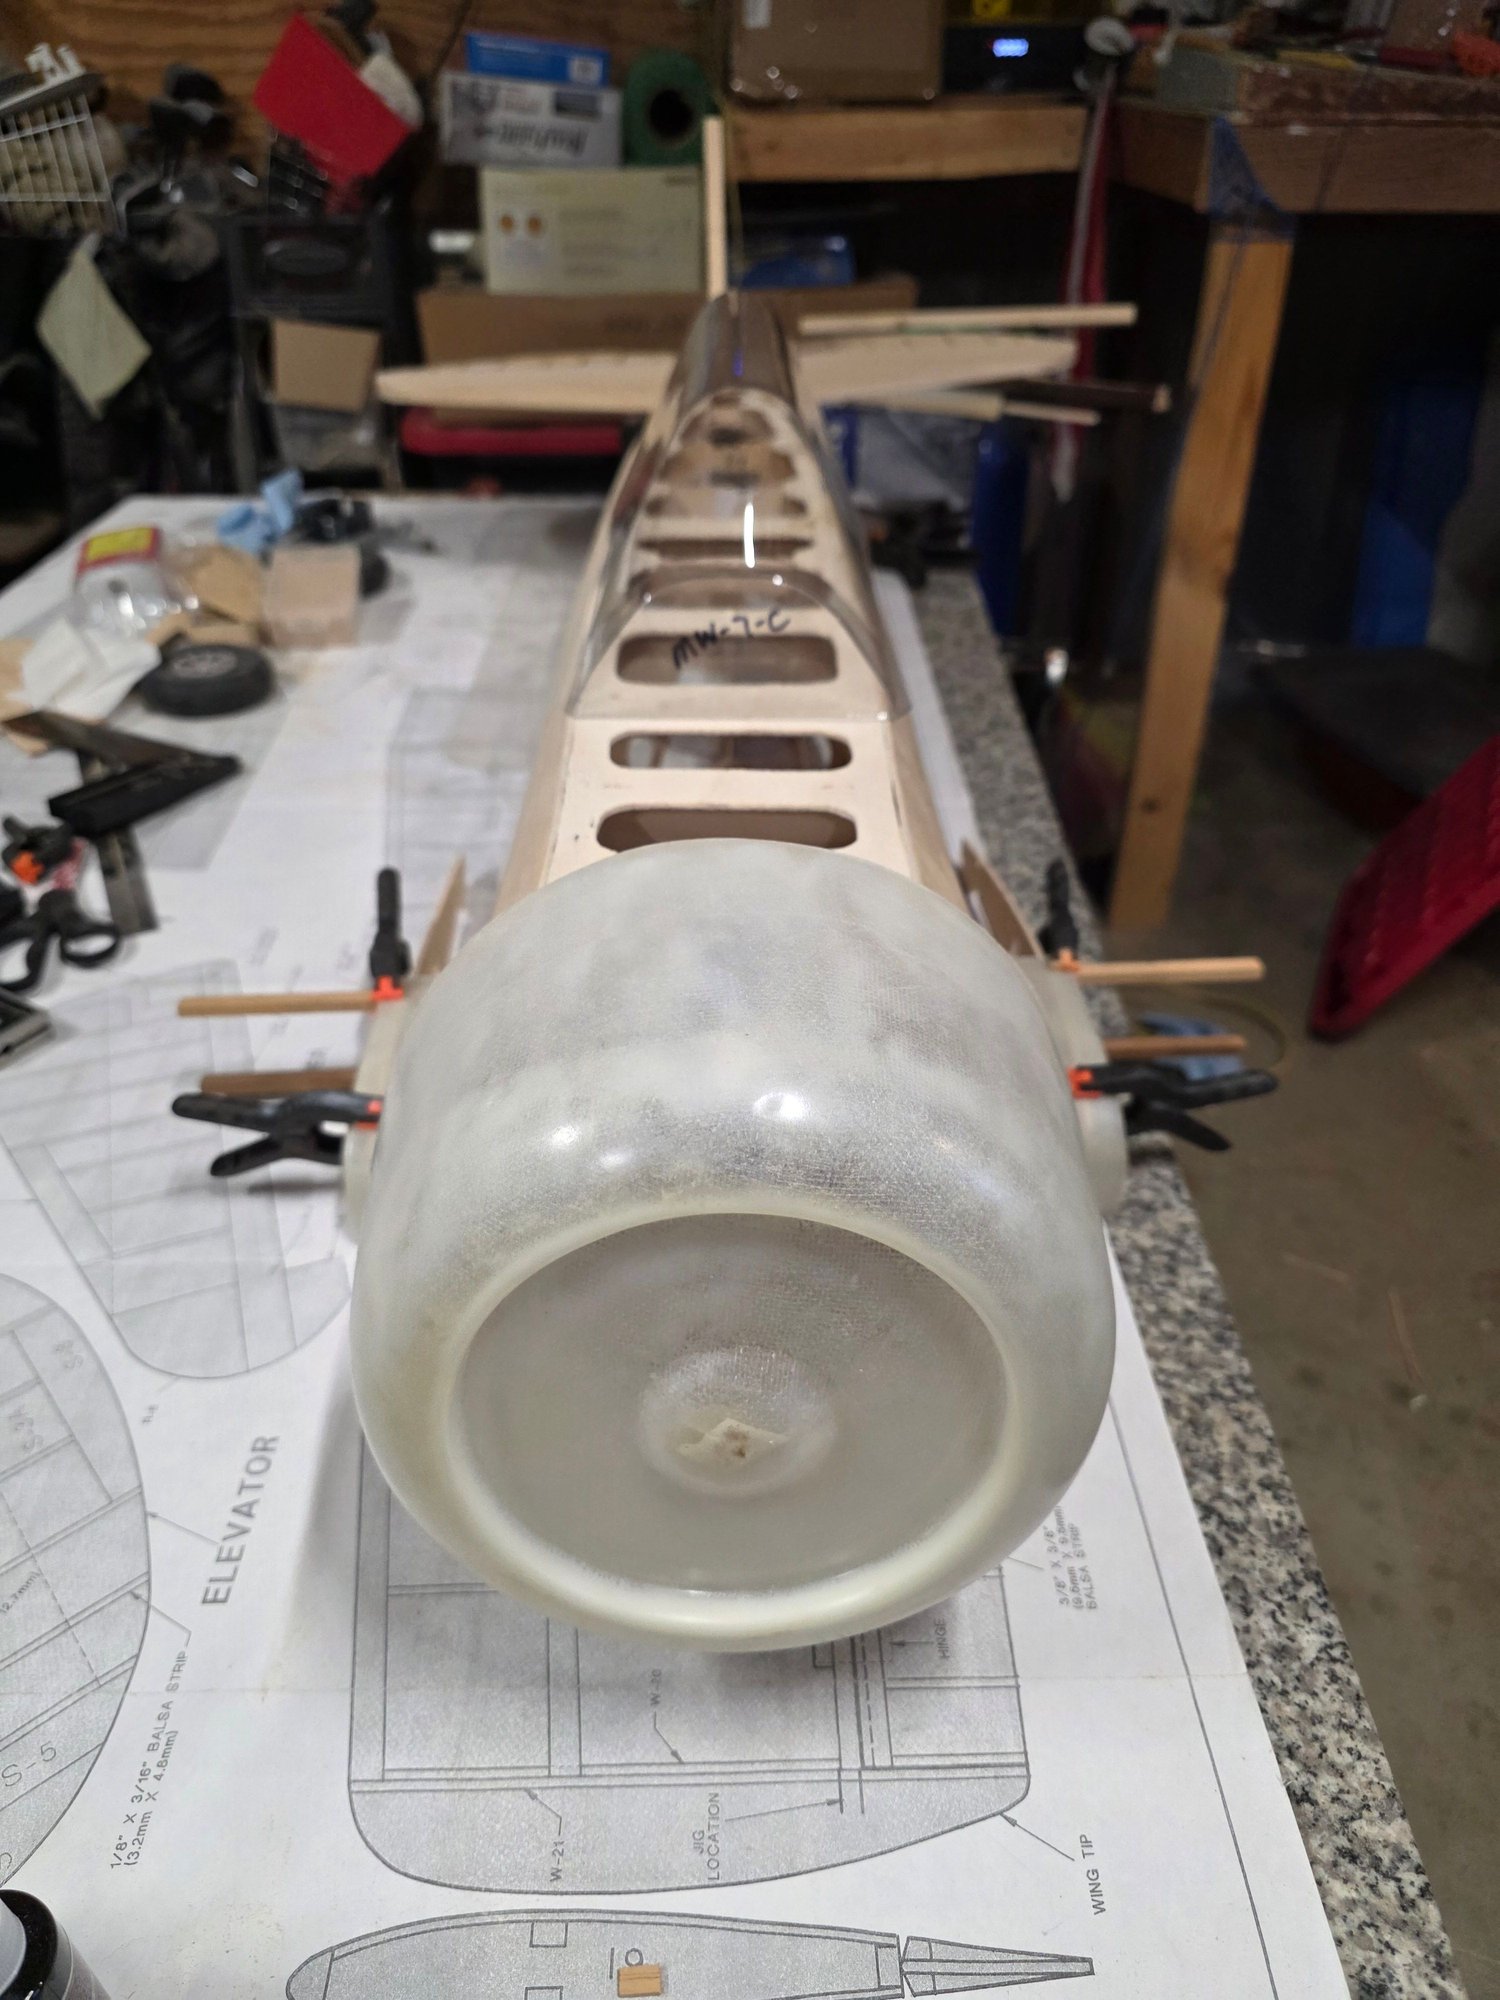
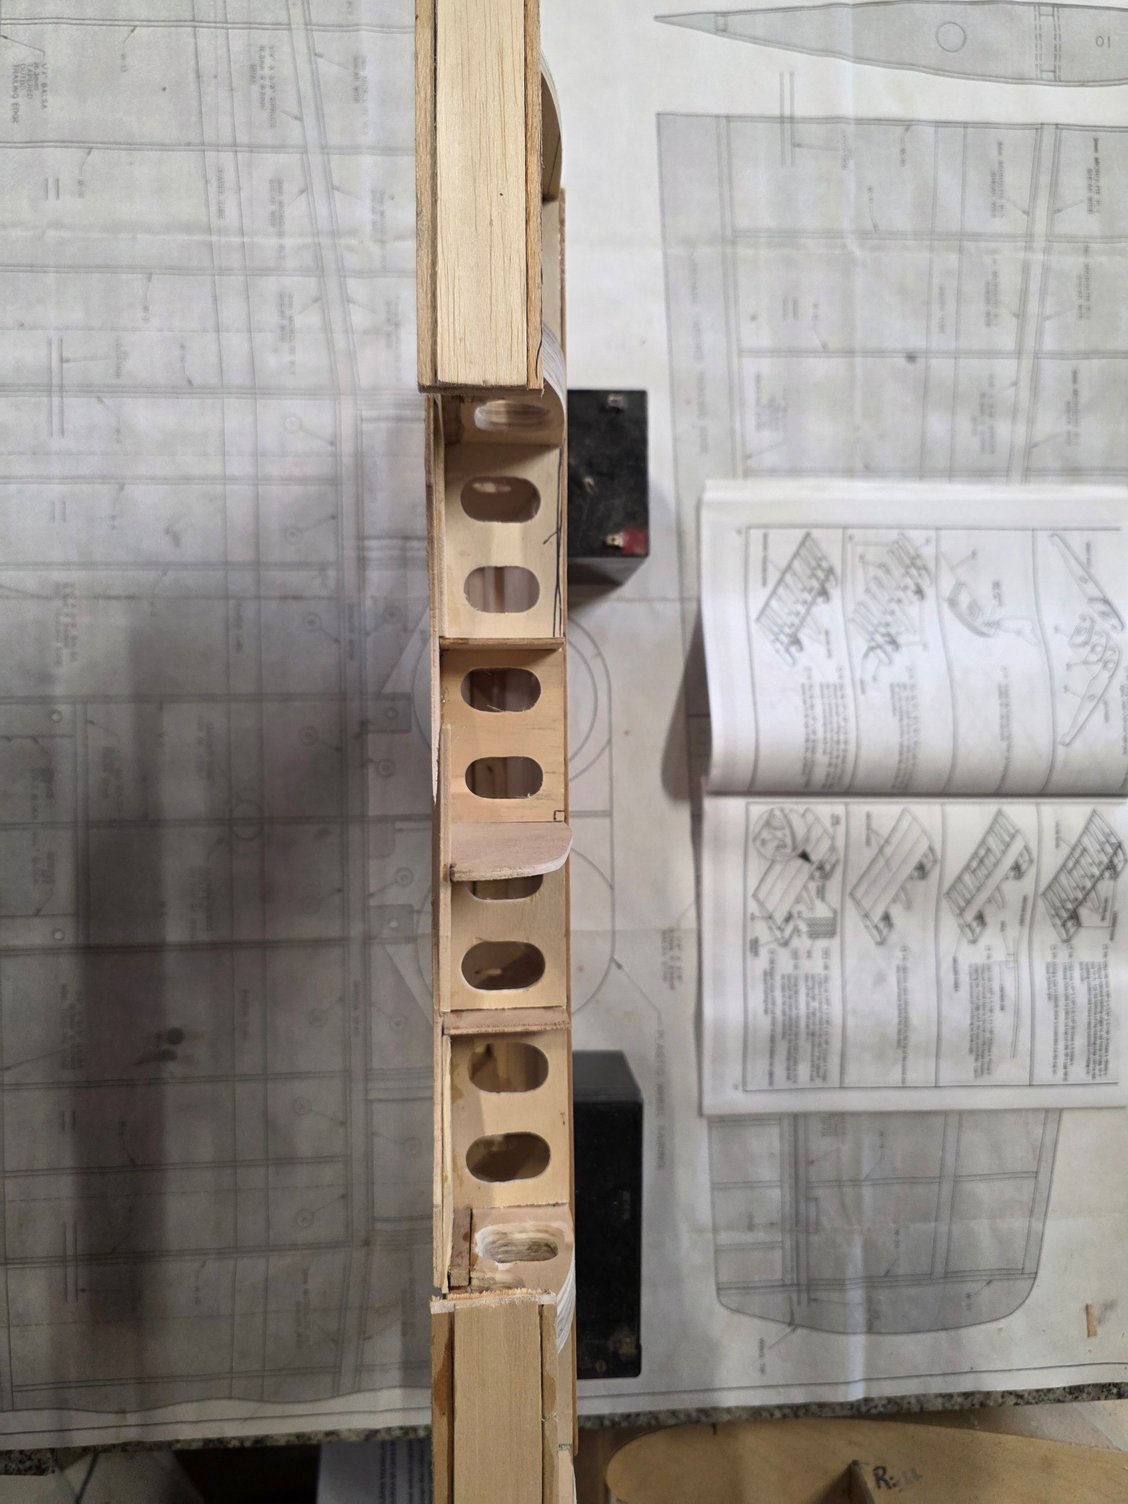
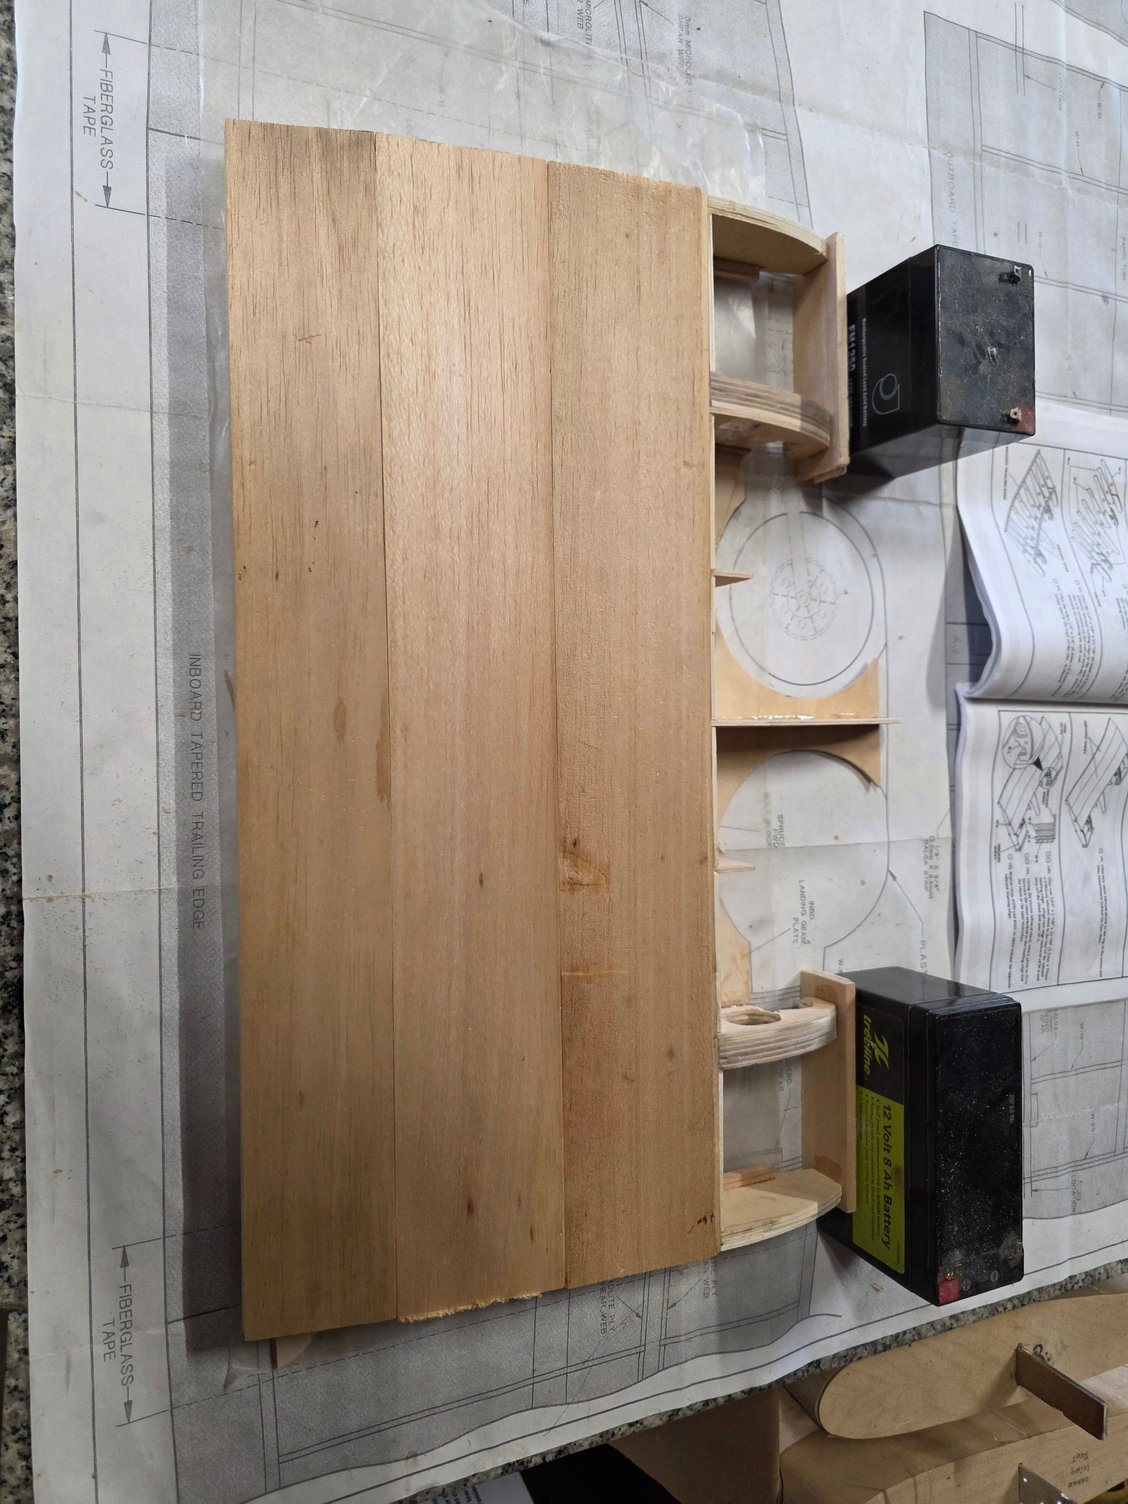
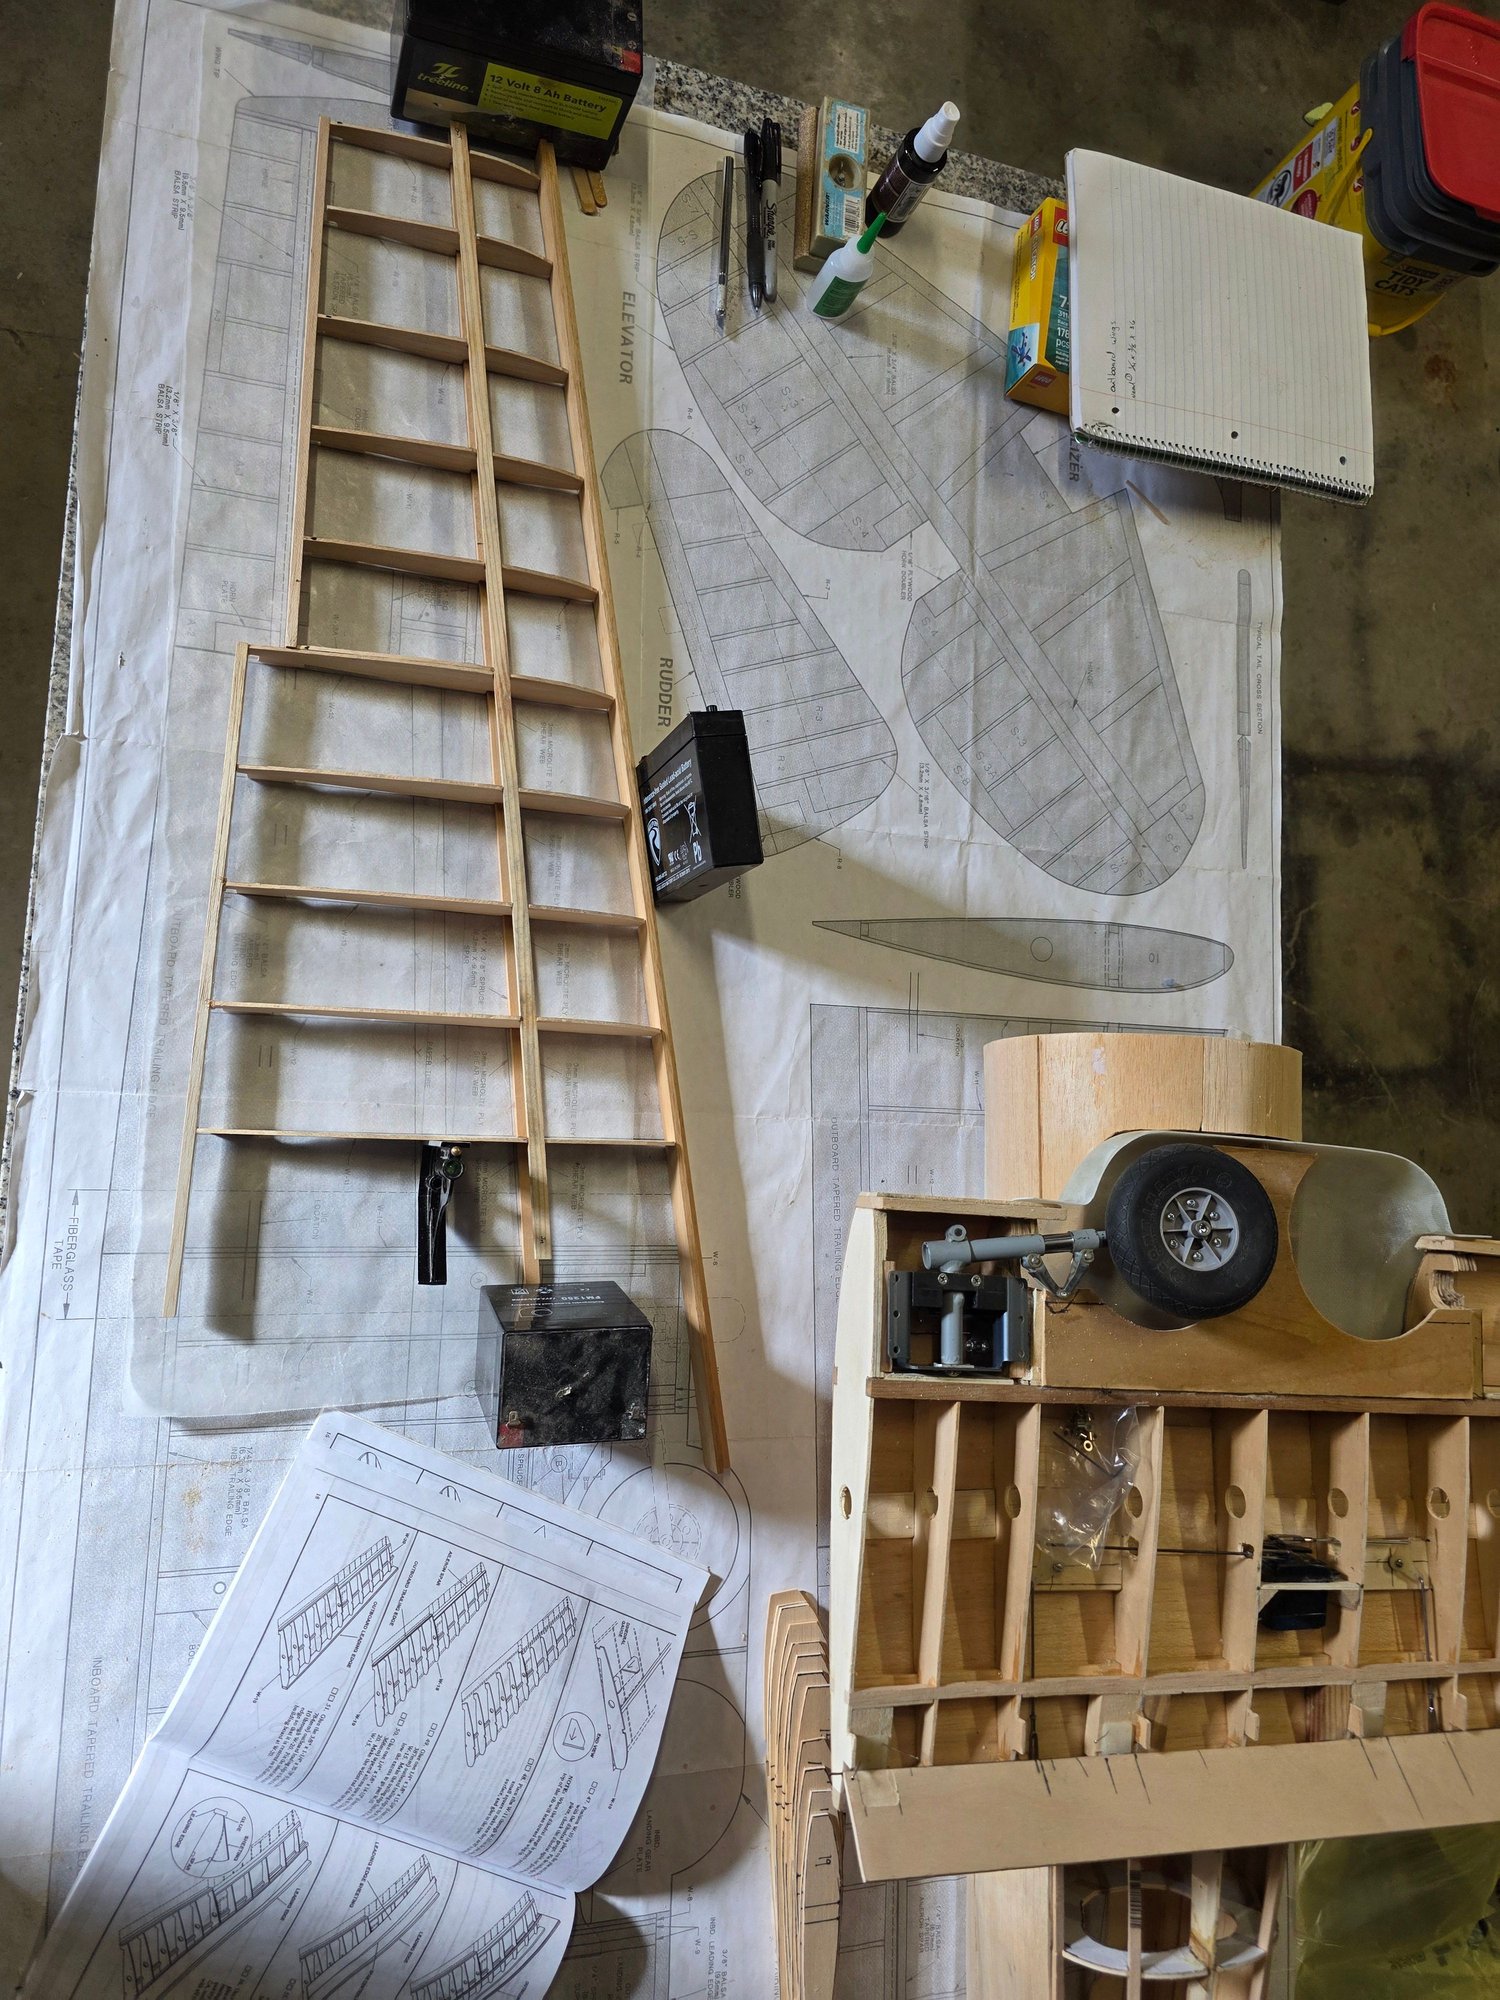
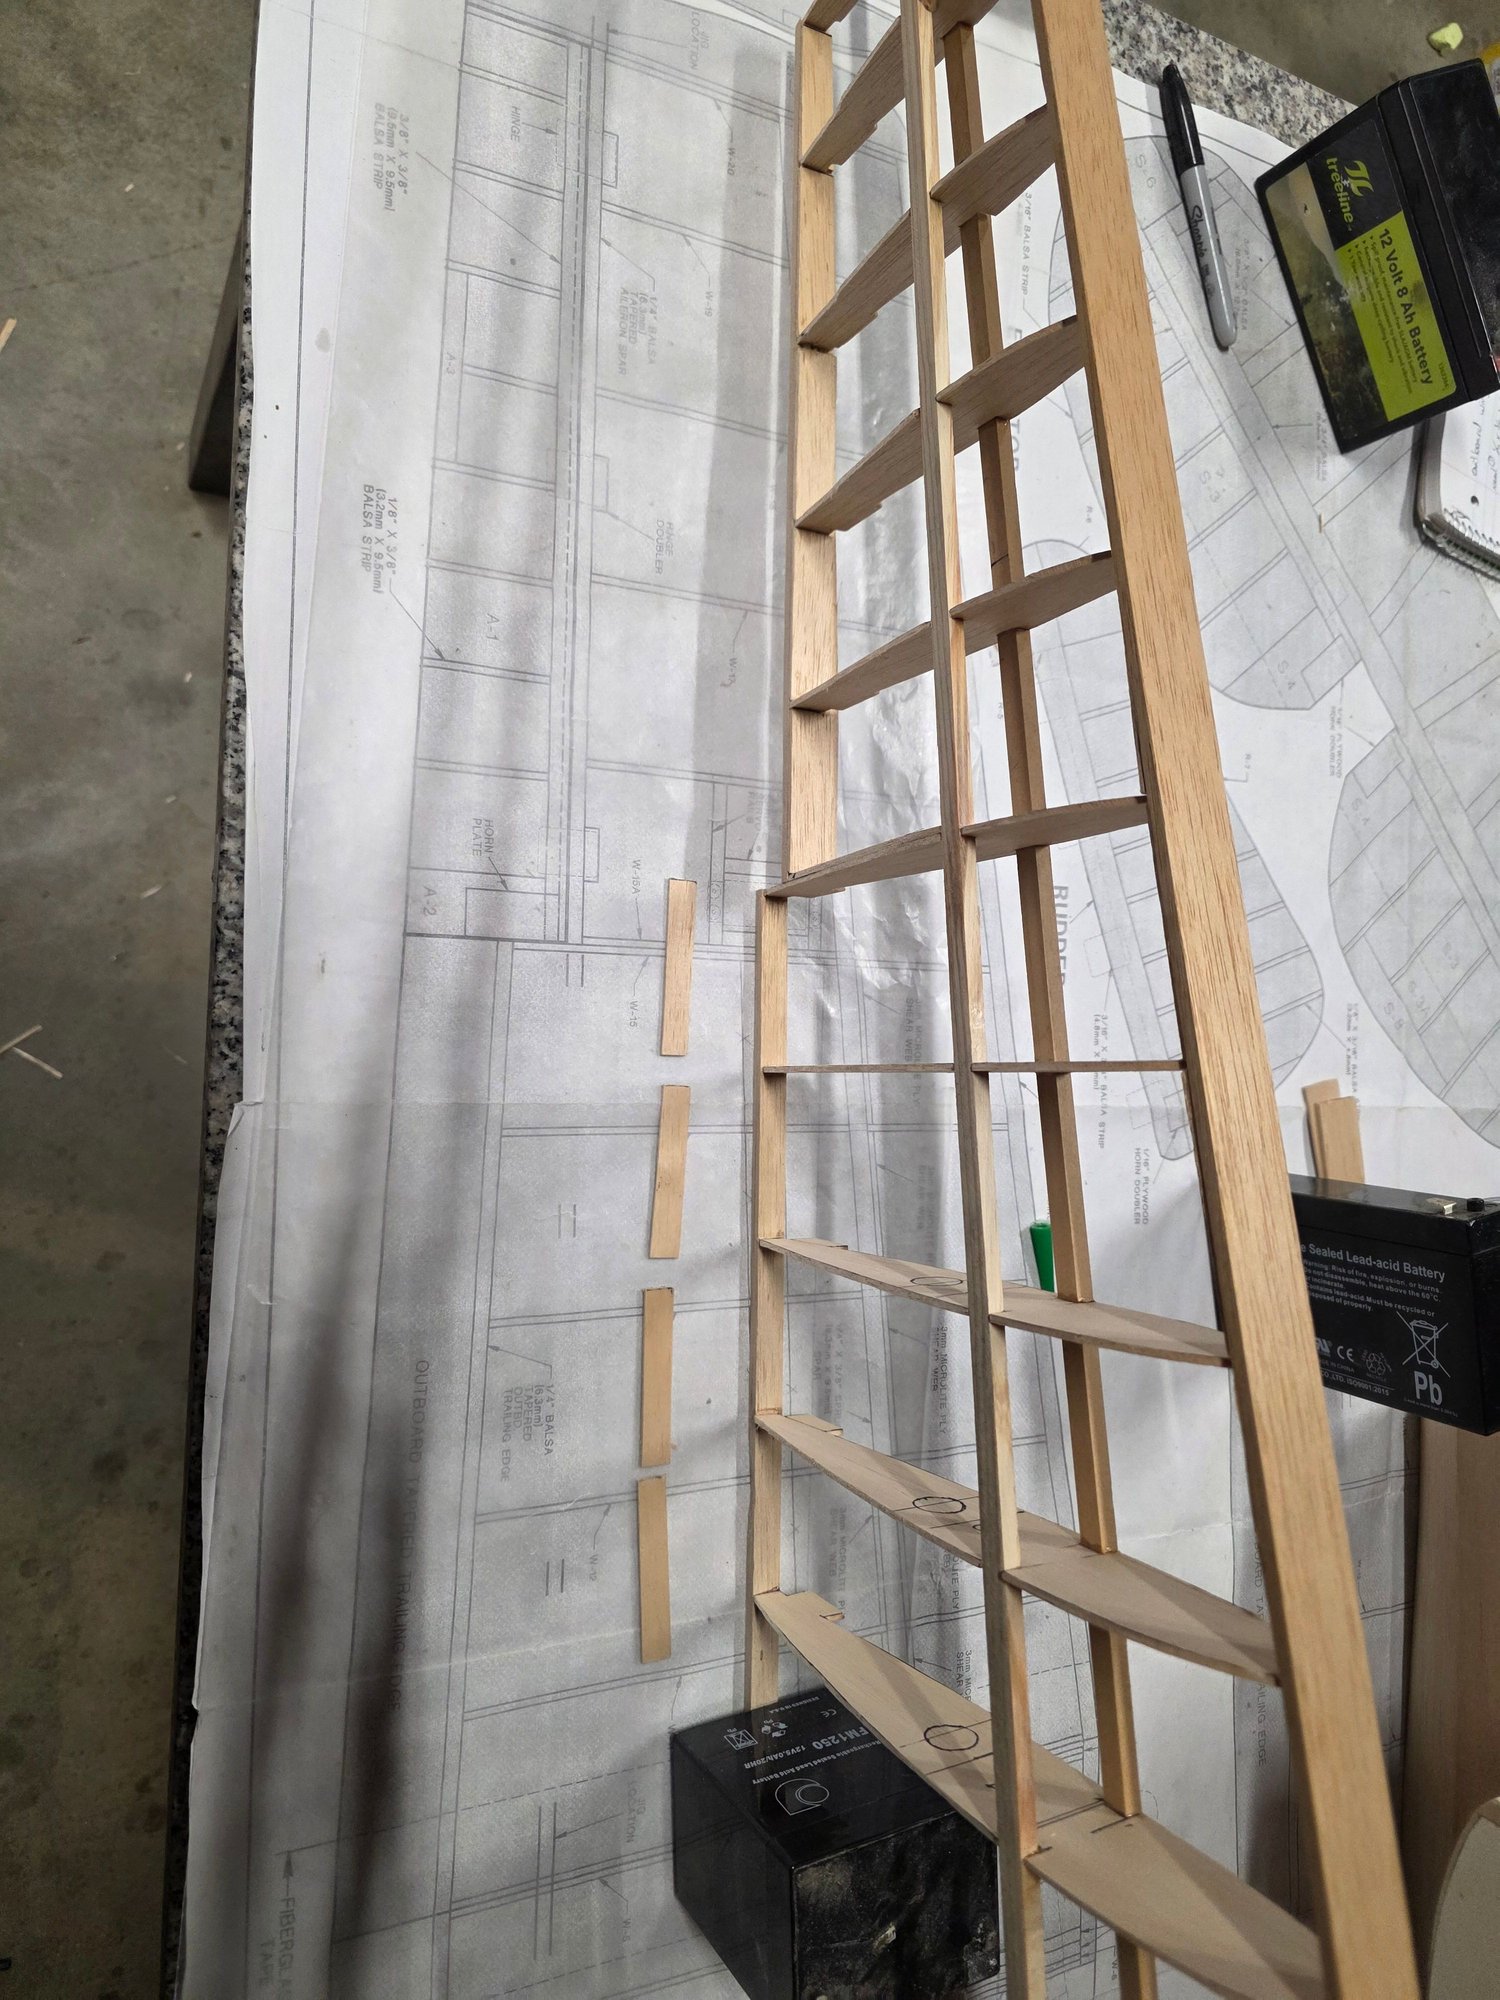
Hand cut bulkheads, stringers and formers
Hand cut bulkheads, stringers and formers
 11-21-2025 | 03:49 PM
#2

I have done some plan building, and from scratch. I have used a projector to enlarge plans.. traced an blown up full size parts..But I never did the route of enlarging the little parts pics in the instruction book. I was always afraid nothing would fit right.
It is fun seeing you go that direction and the fuse is looking pretty nice.
It is fun seeing you go that direction and the fuse is looking pretty nice.
11-22-2025 | 09:45 AM
#3
Thread Starter
My Feedback: (1)
I was sitting at work and had the plans with me so I wasted a few sheets of paper at work and a little printer ink until I got the right ratio that the parts matched the plans then went from there. So far everything is matching up to the plans after I determined the right ratio to increase to. To be honest though I was really worried at first but print a part and cut it out and lay it against the plans until it matched. Then I increase the other parts to that same size or ratio and everything seems to be spot on.
11-26-2025 | 07:31 PM
#4
You remind me of a story from WAY back. I had a buddy in the printing business. One of his employees left and went to work at a shop with a BIG copier.. it was back when they were rare.. I was telling him I would like to make a 18 inch Guillows kit 80 inches.. He says come on over the boss is gone all week. We bs'd and copied and taped. I don't think his machine could increase the plans in one jump. This was in the early 90's..Anyhow we got it done, an did a FW 190 as well.
12-07-2025 | 03:55 PM
#5
Thread Starter
My Feedback: (1)

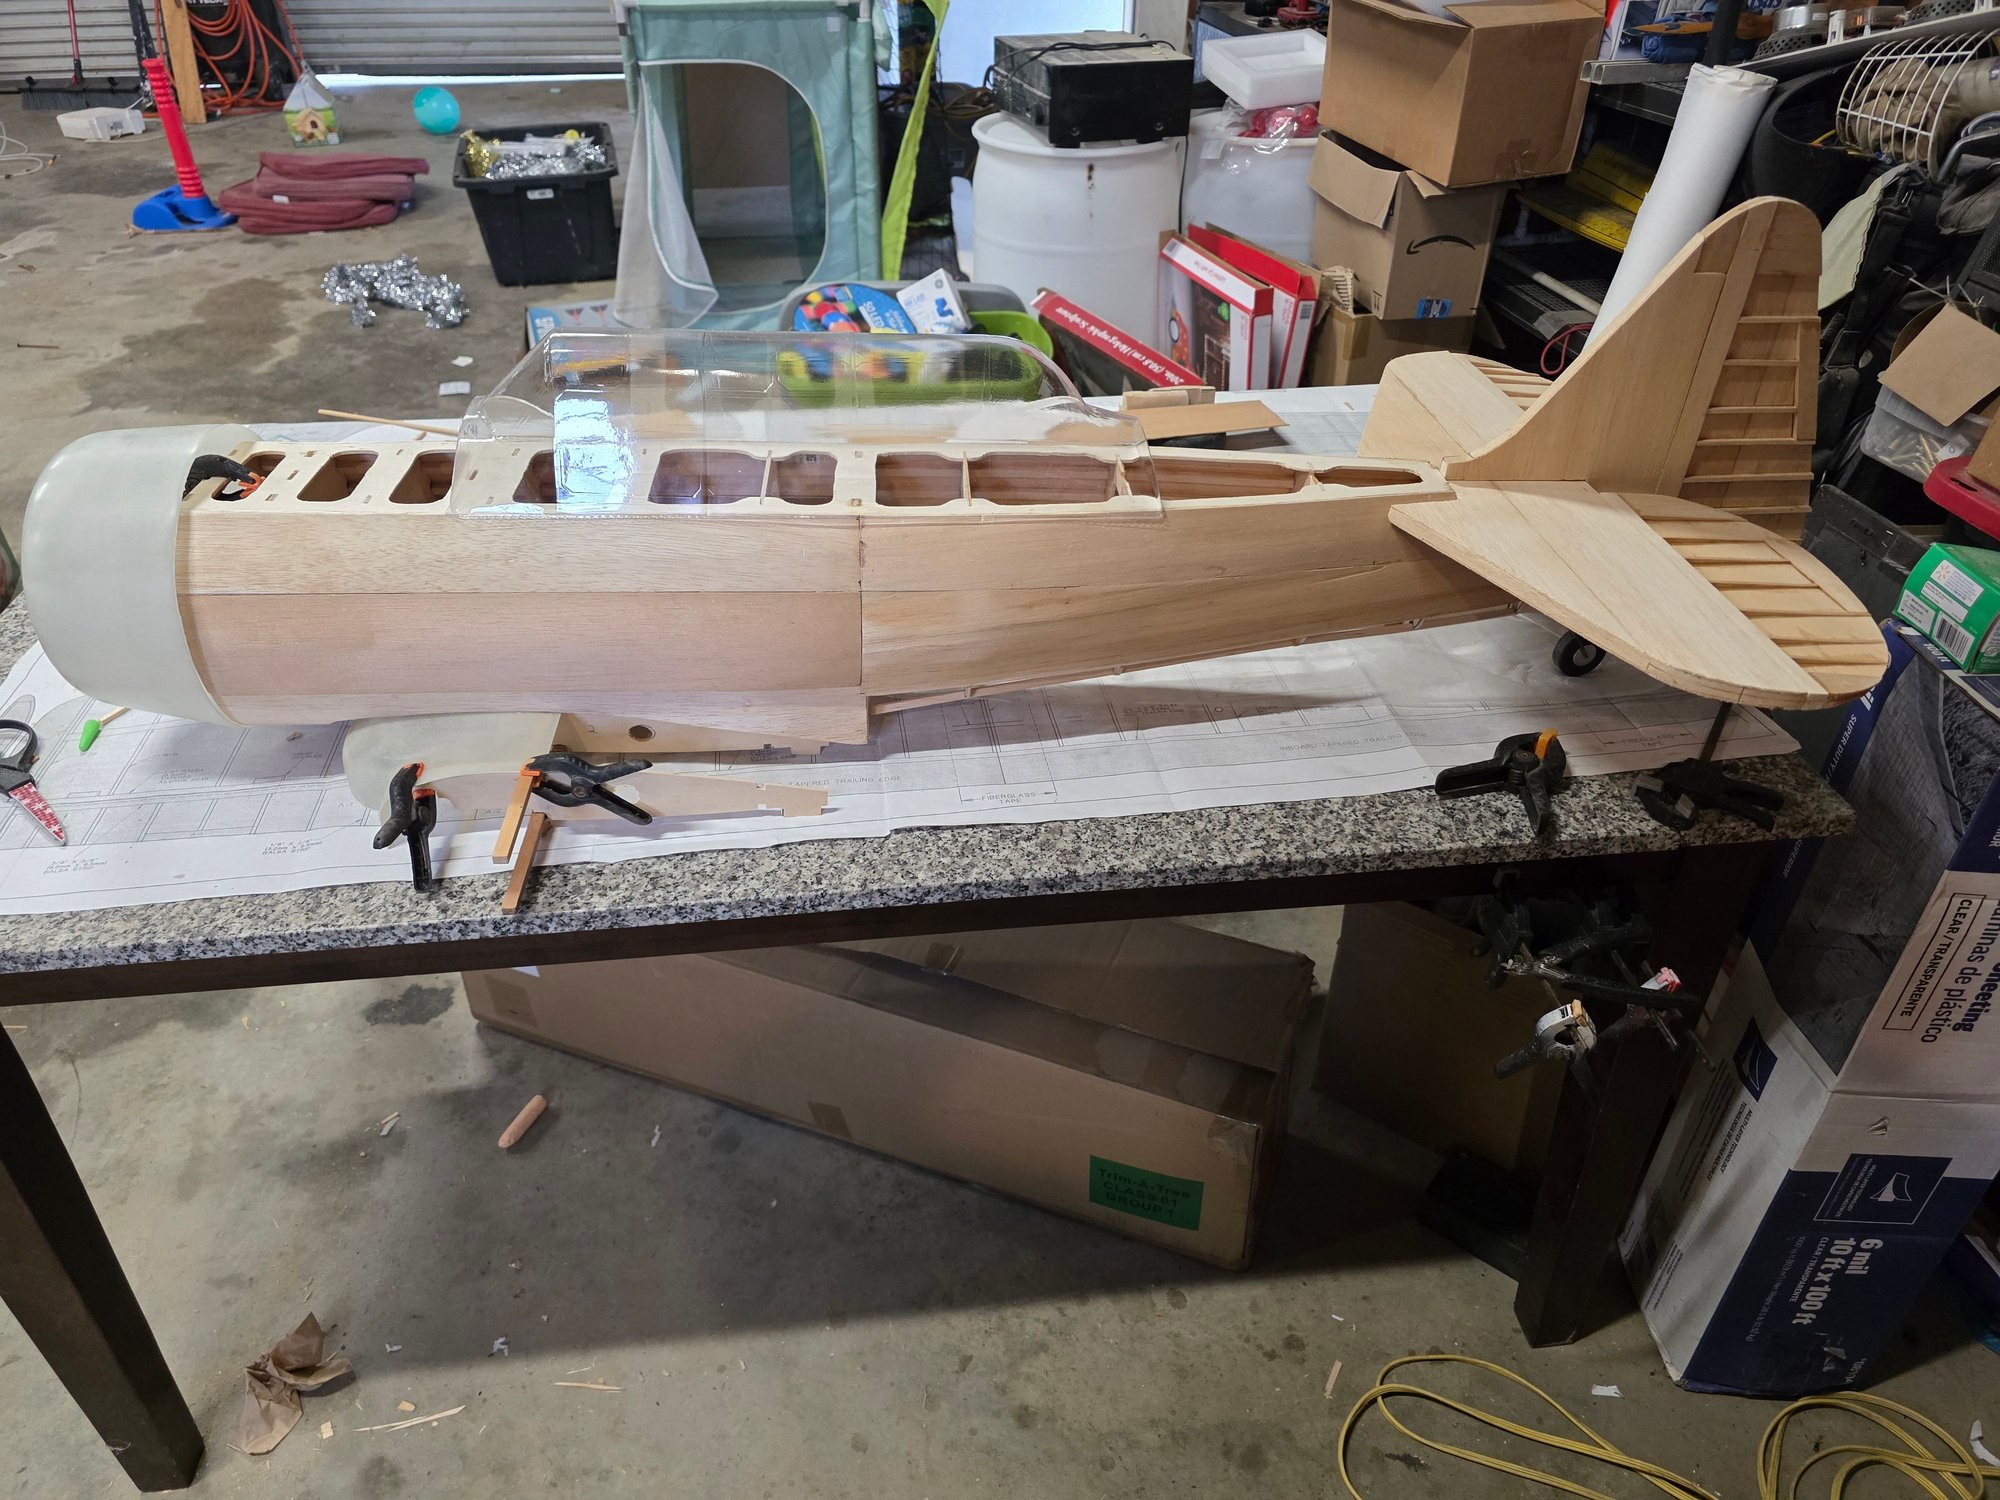
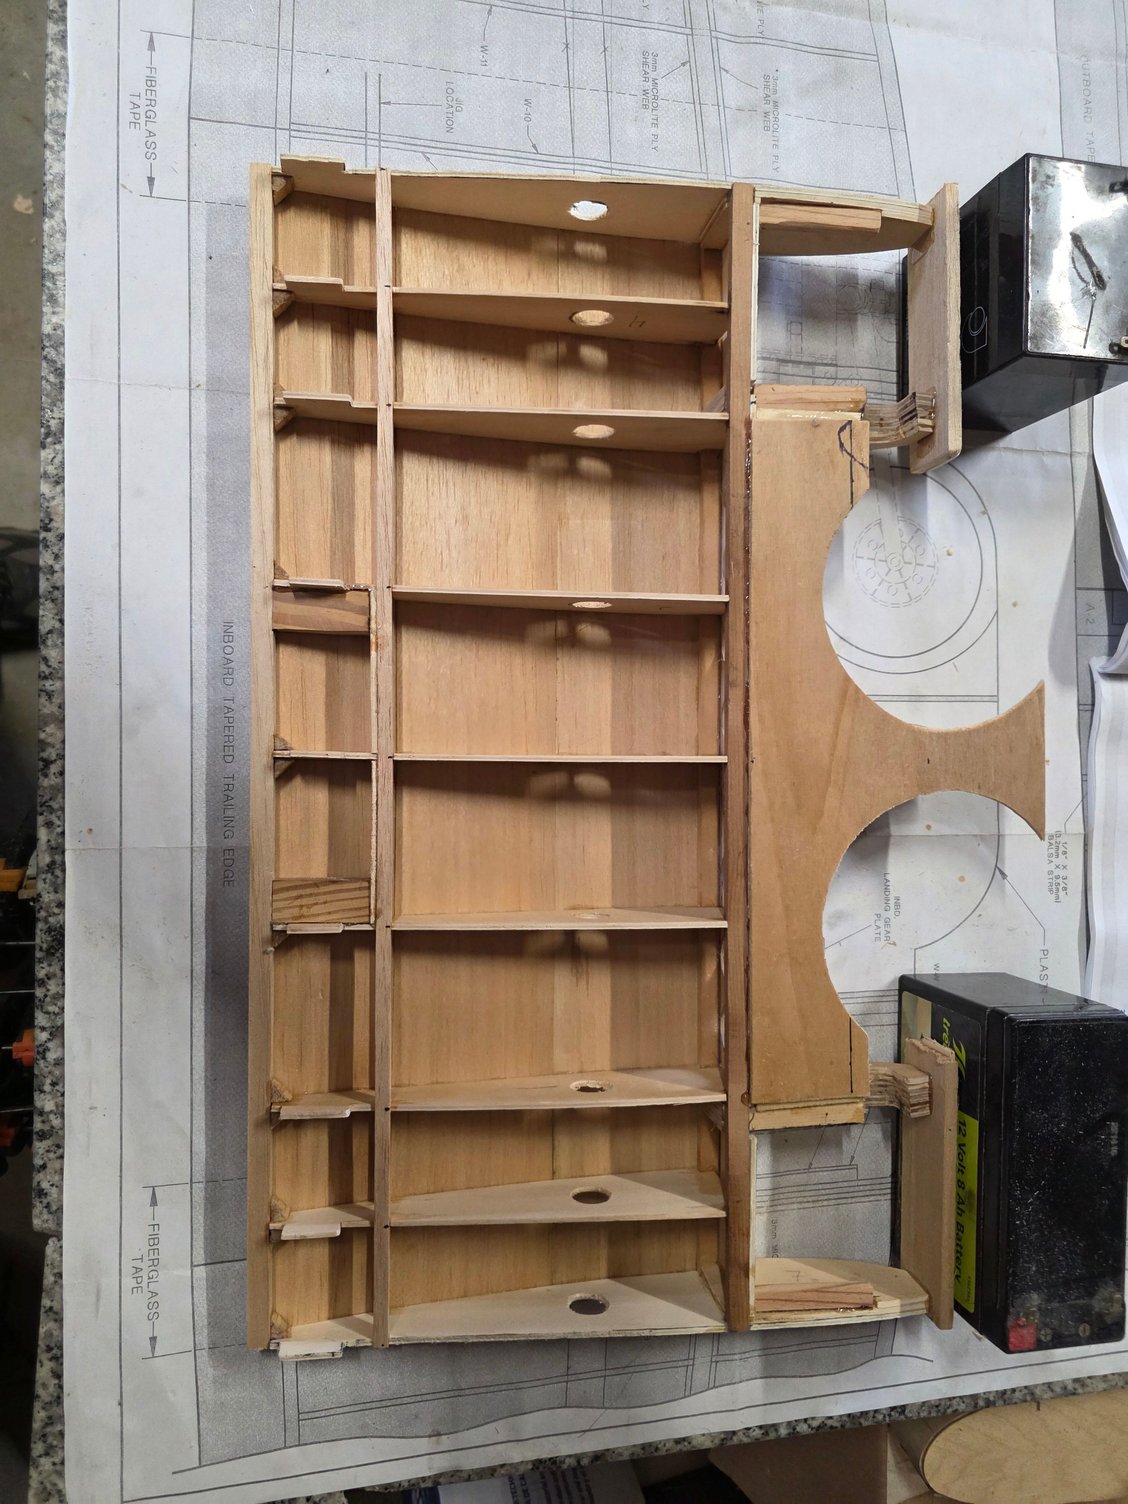
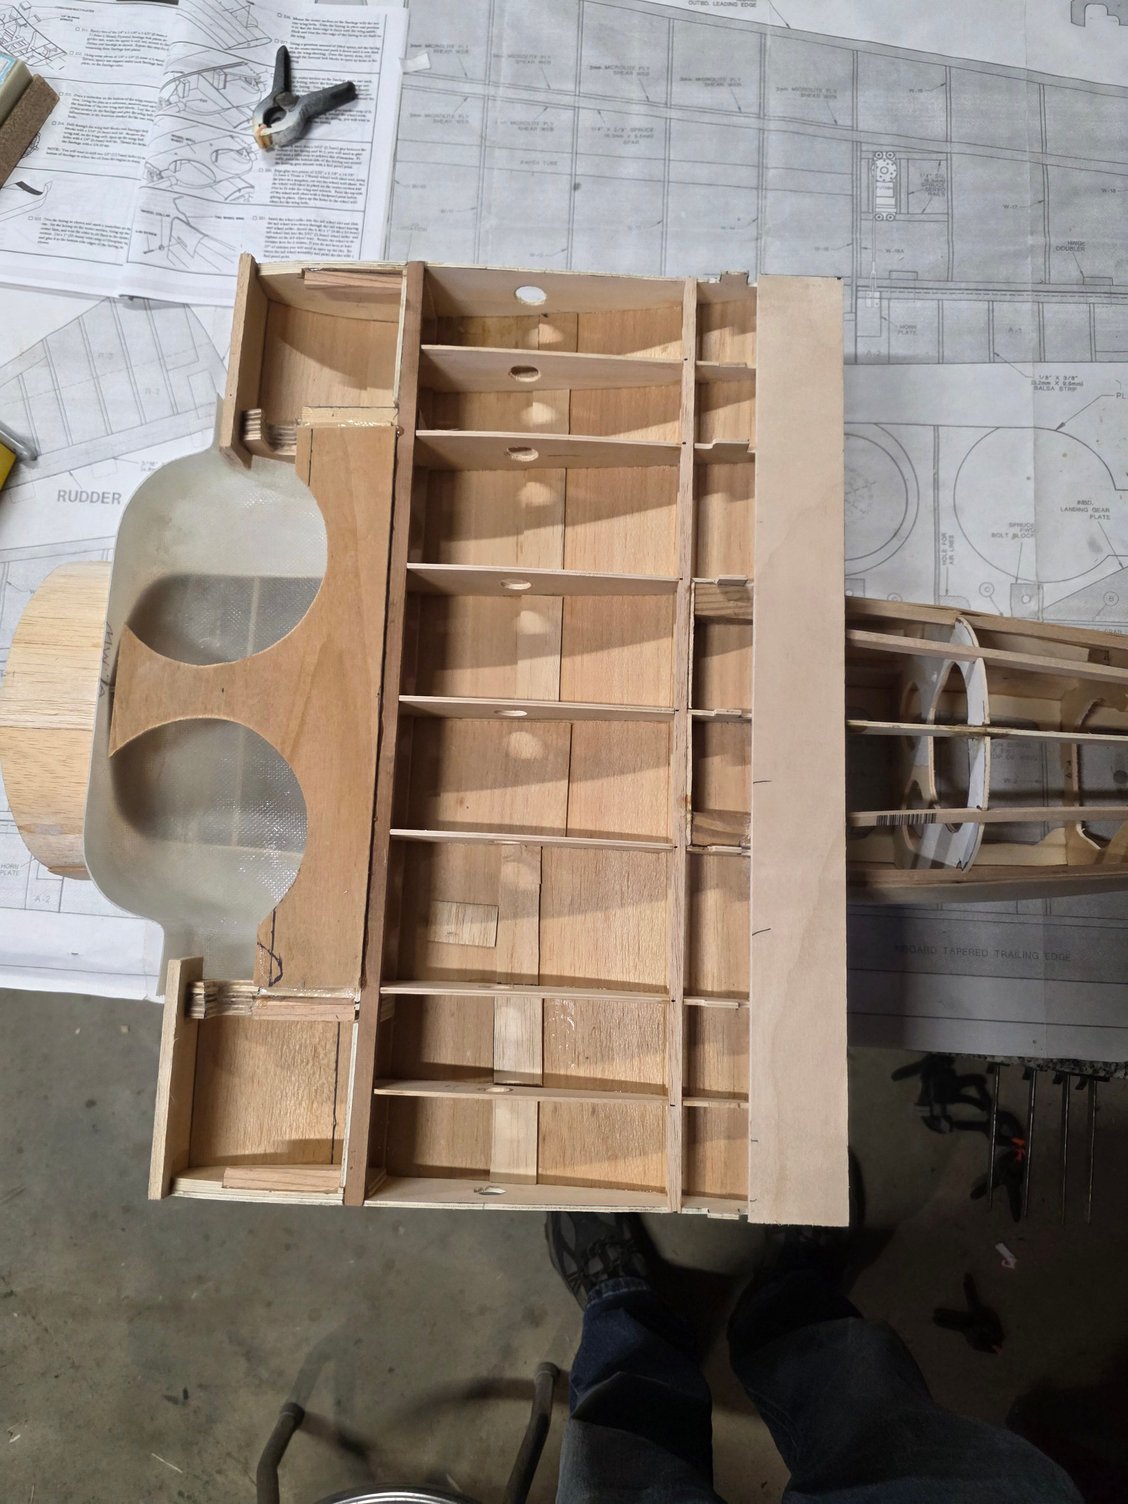
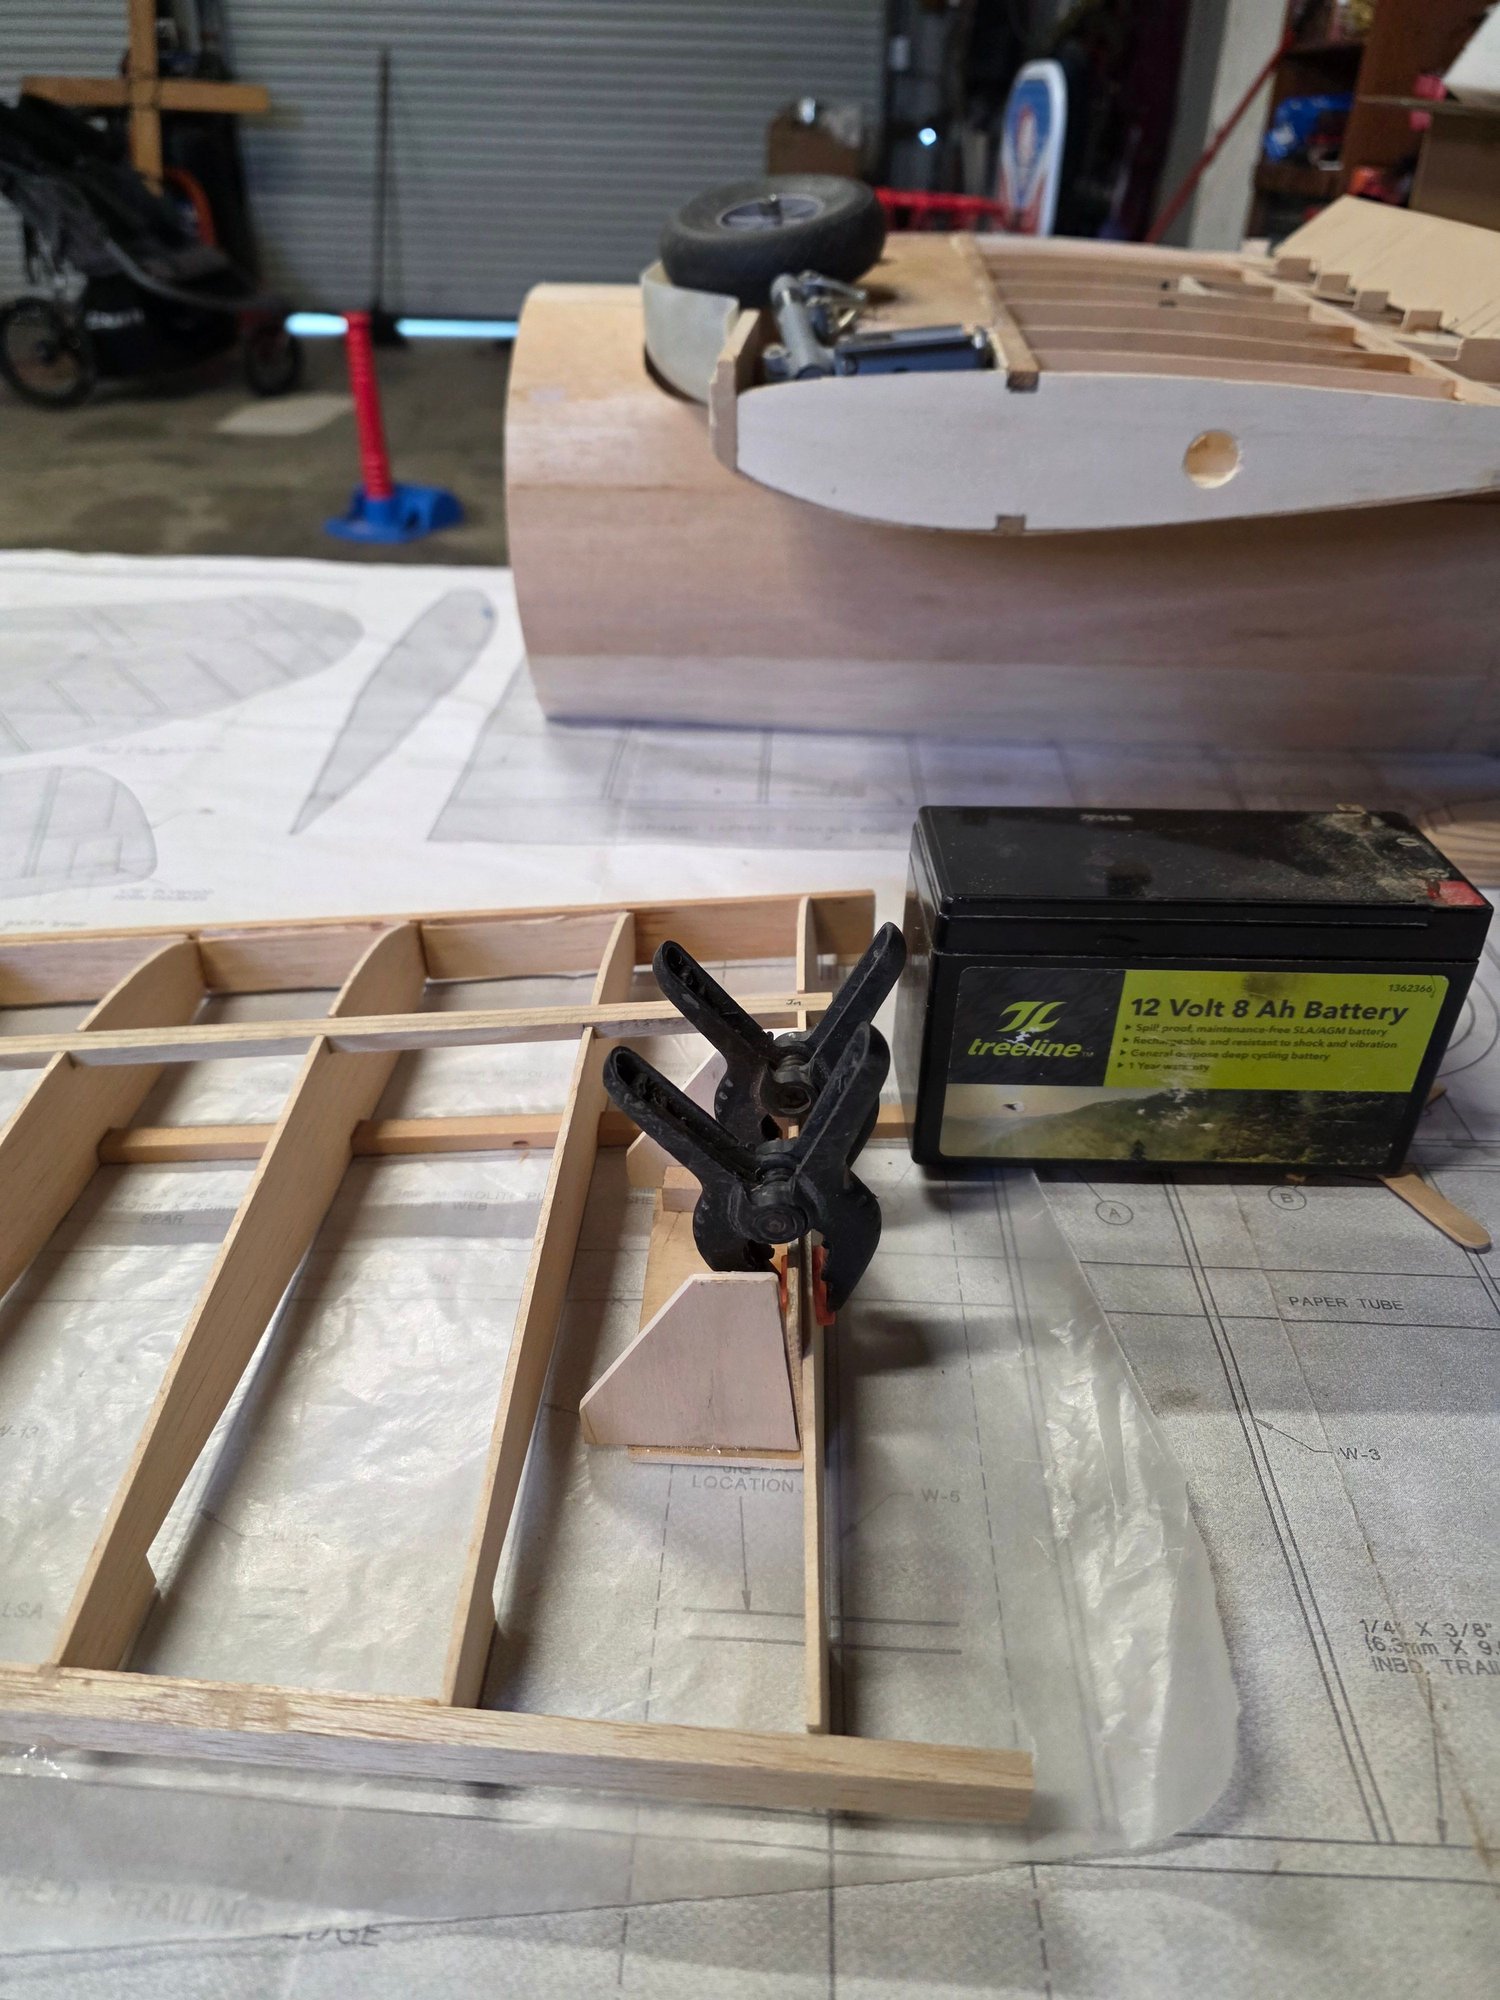
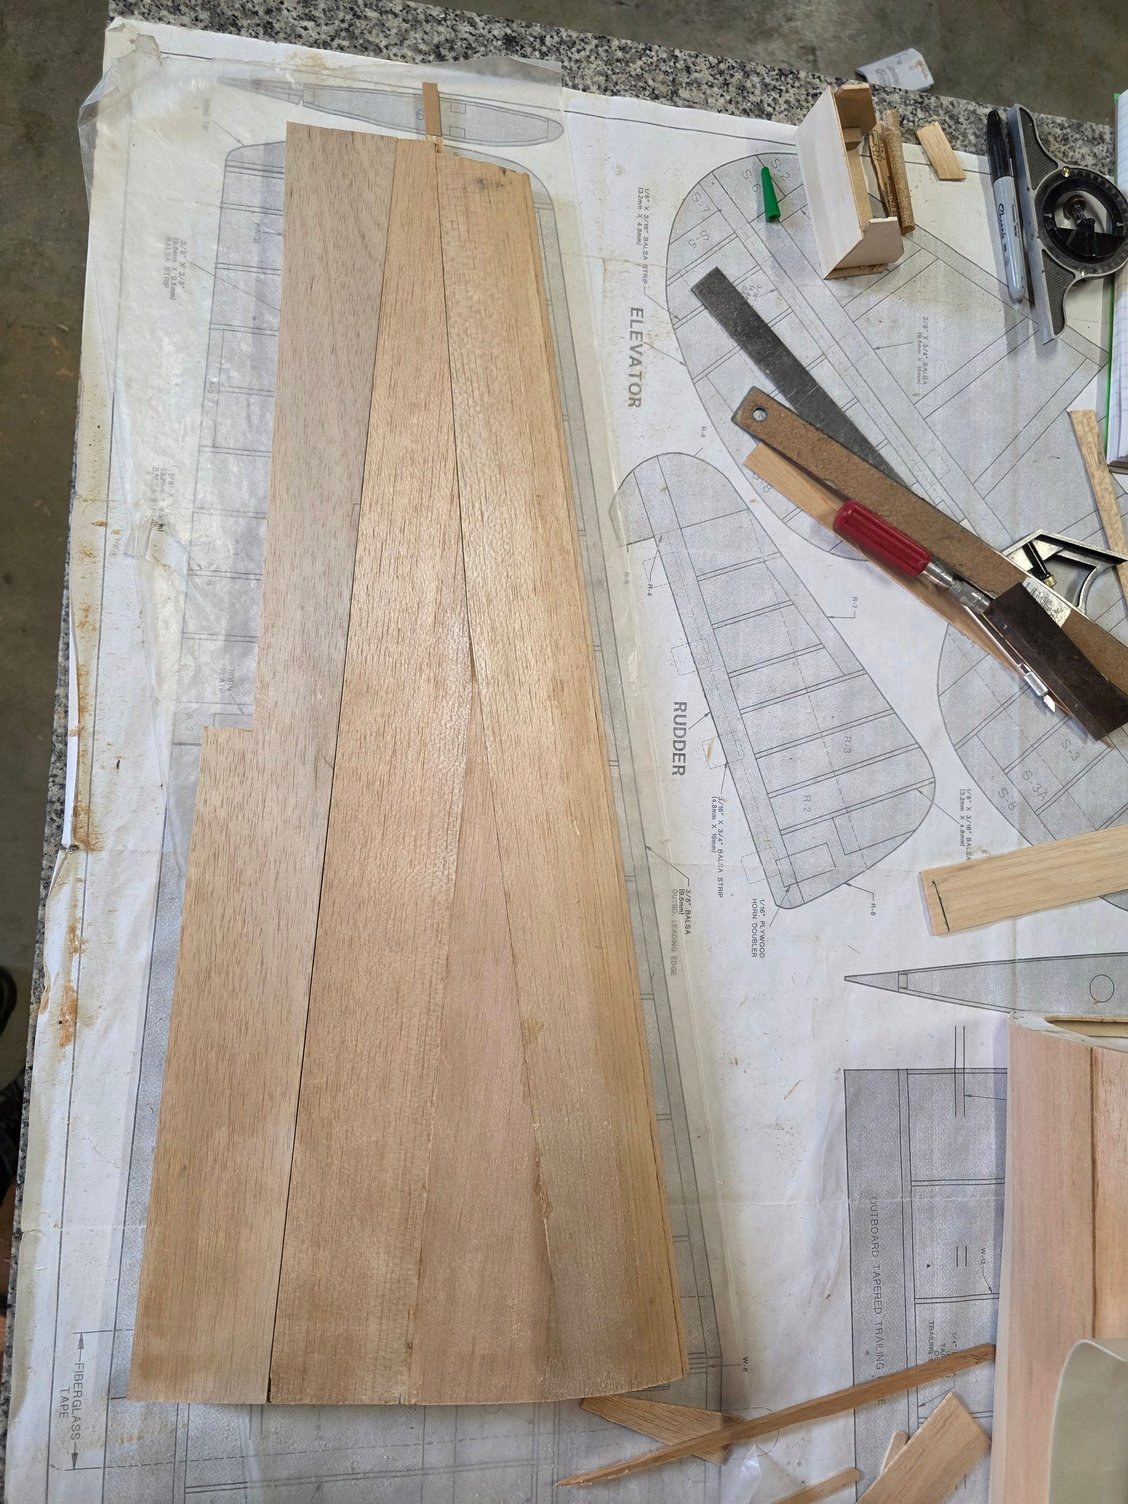
Just starting on the sheeting
Just starting the planking but had to add some items to imagine what it.will lok like.finished.
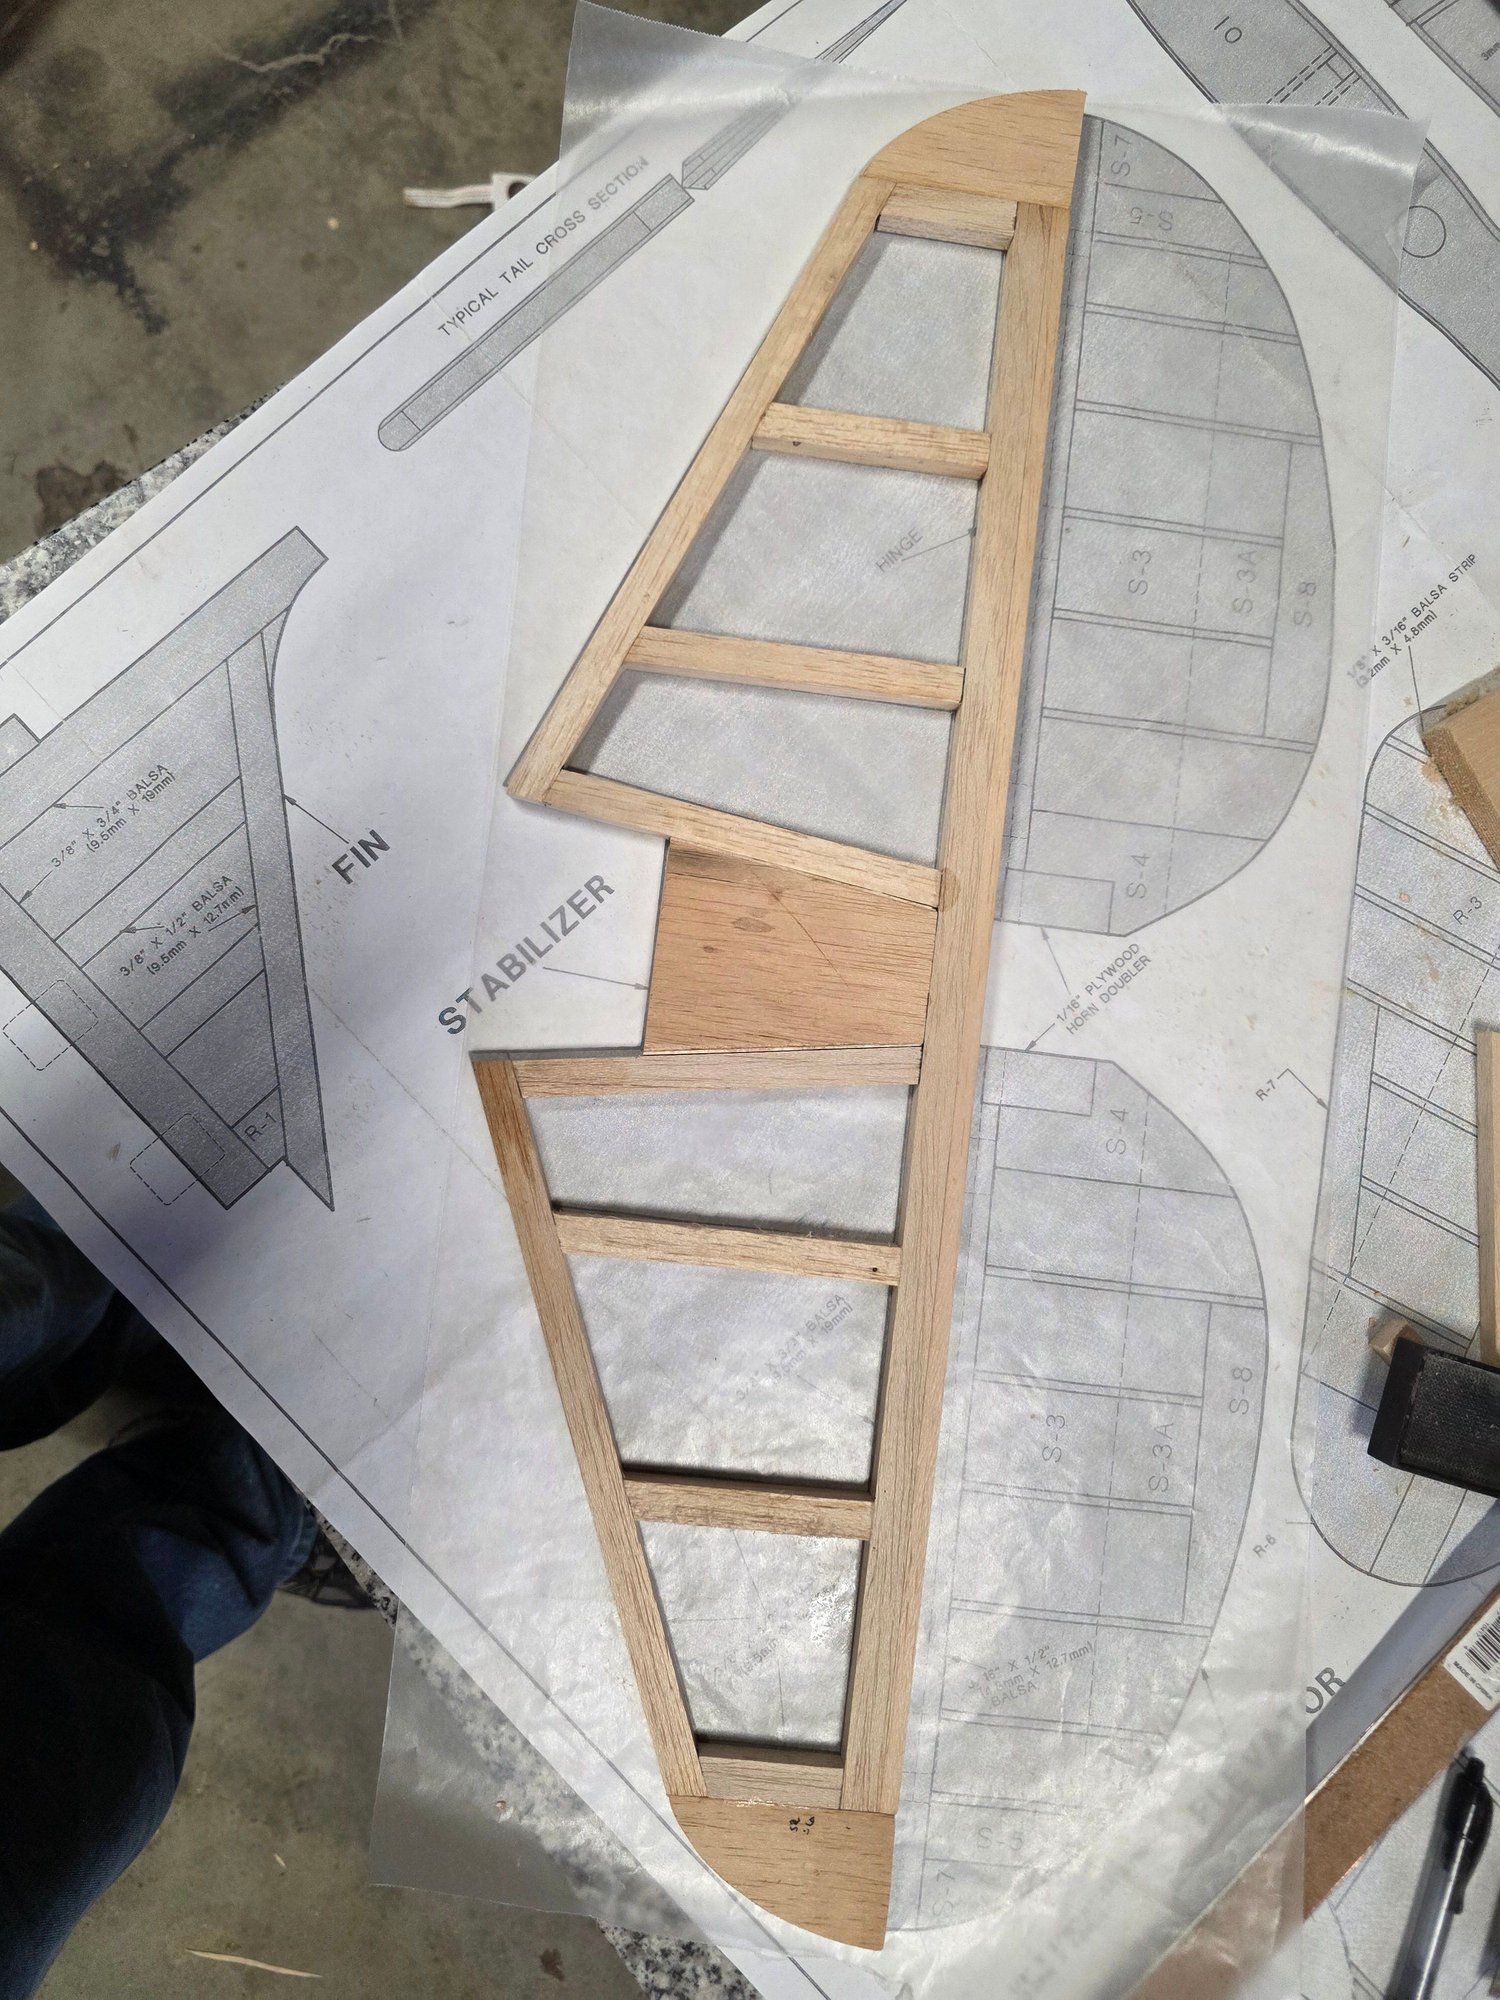
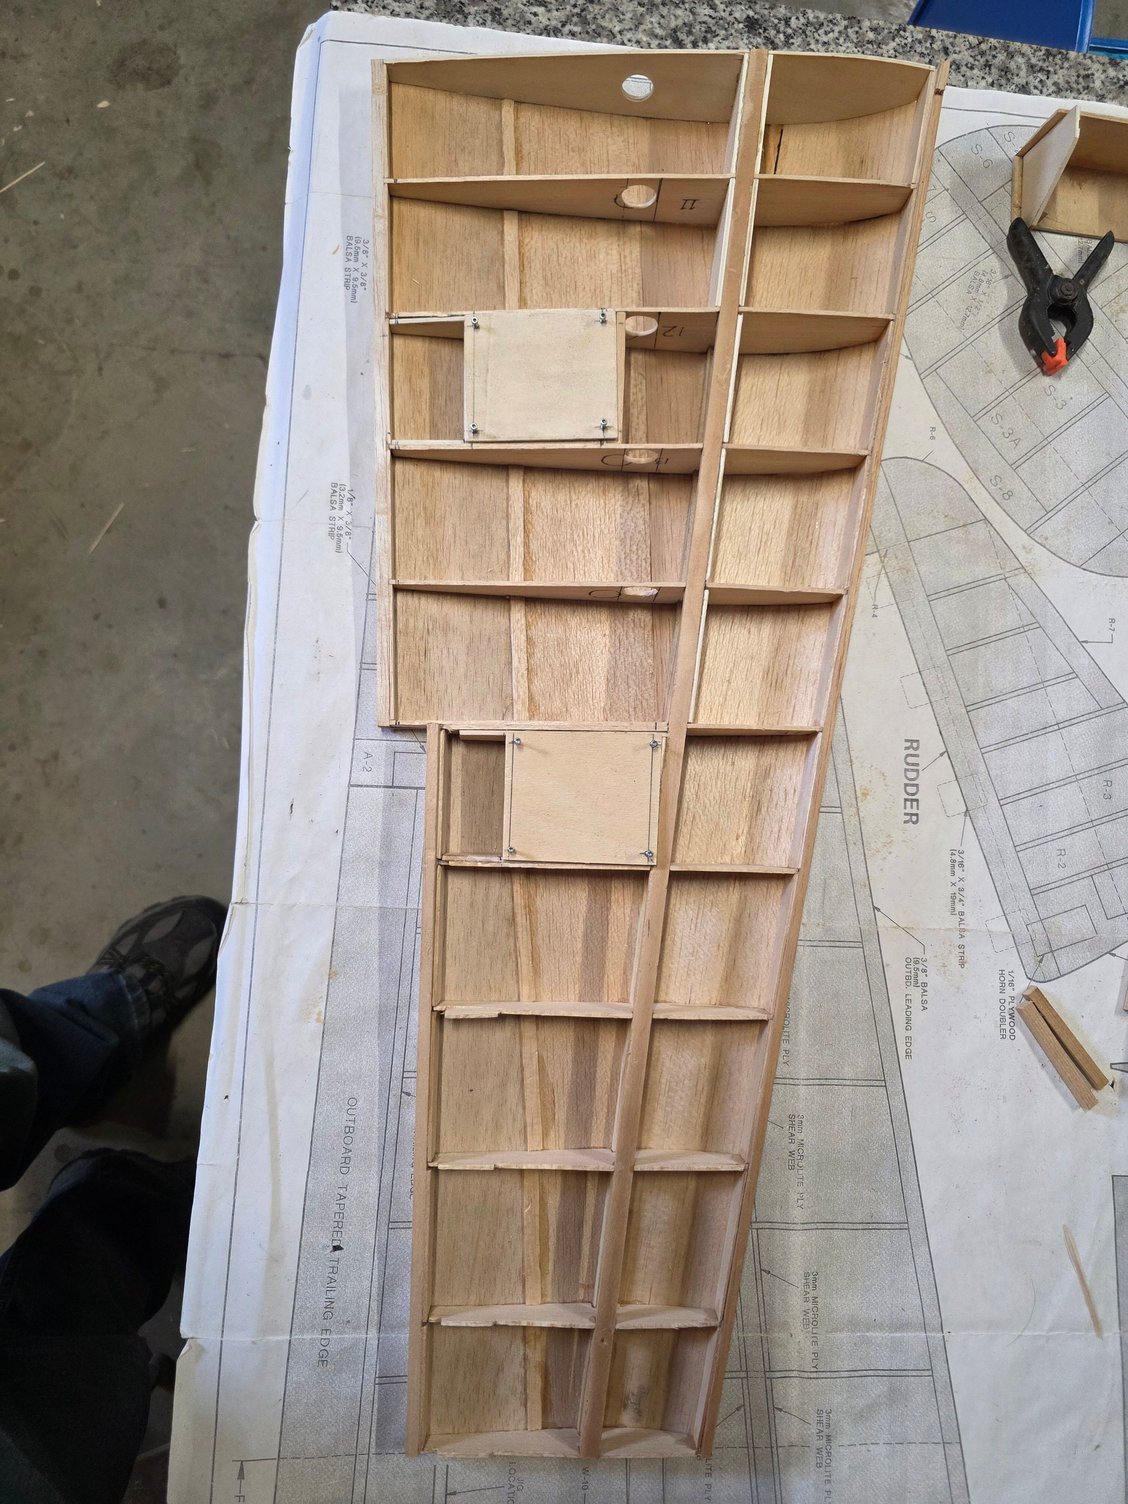
It needed a tail so here we start.
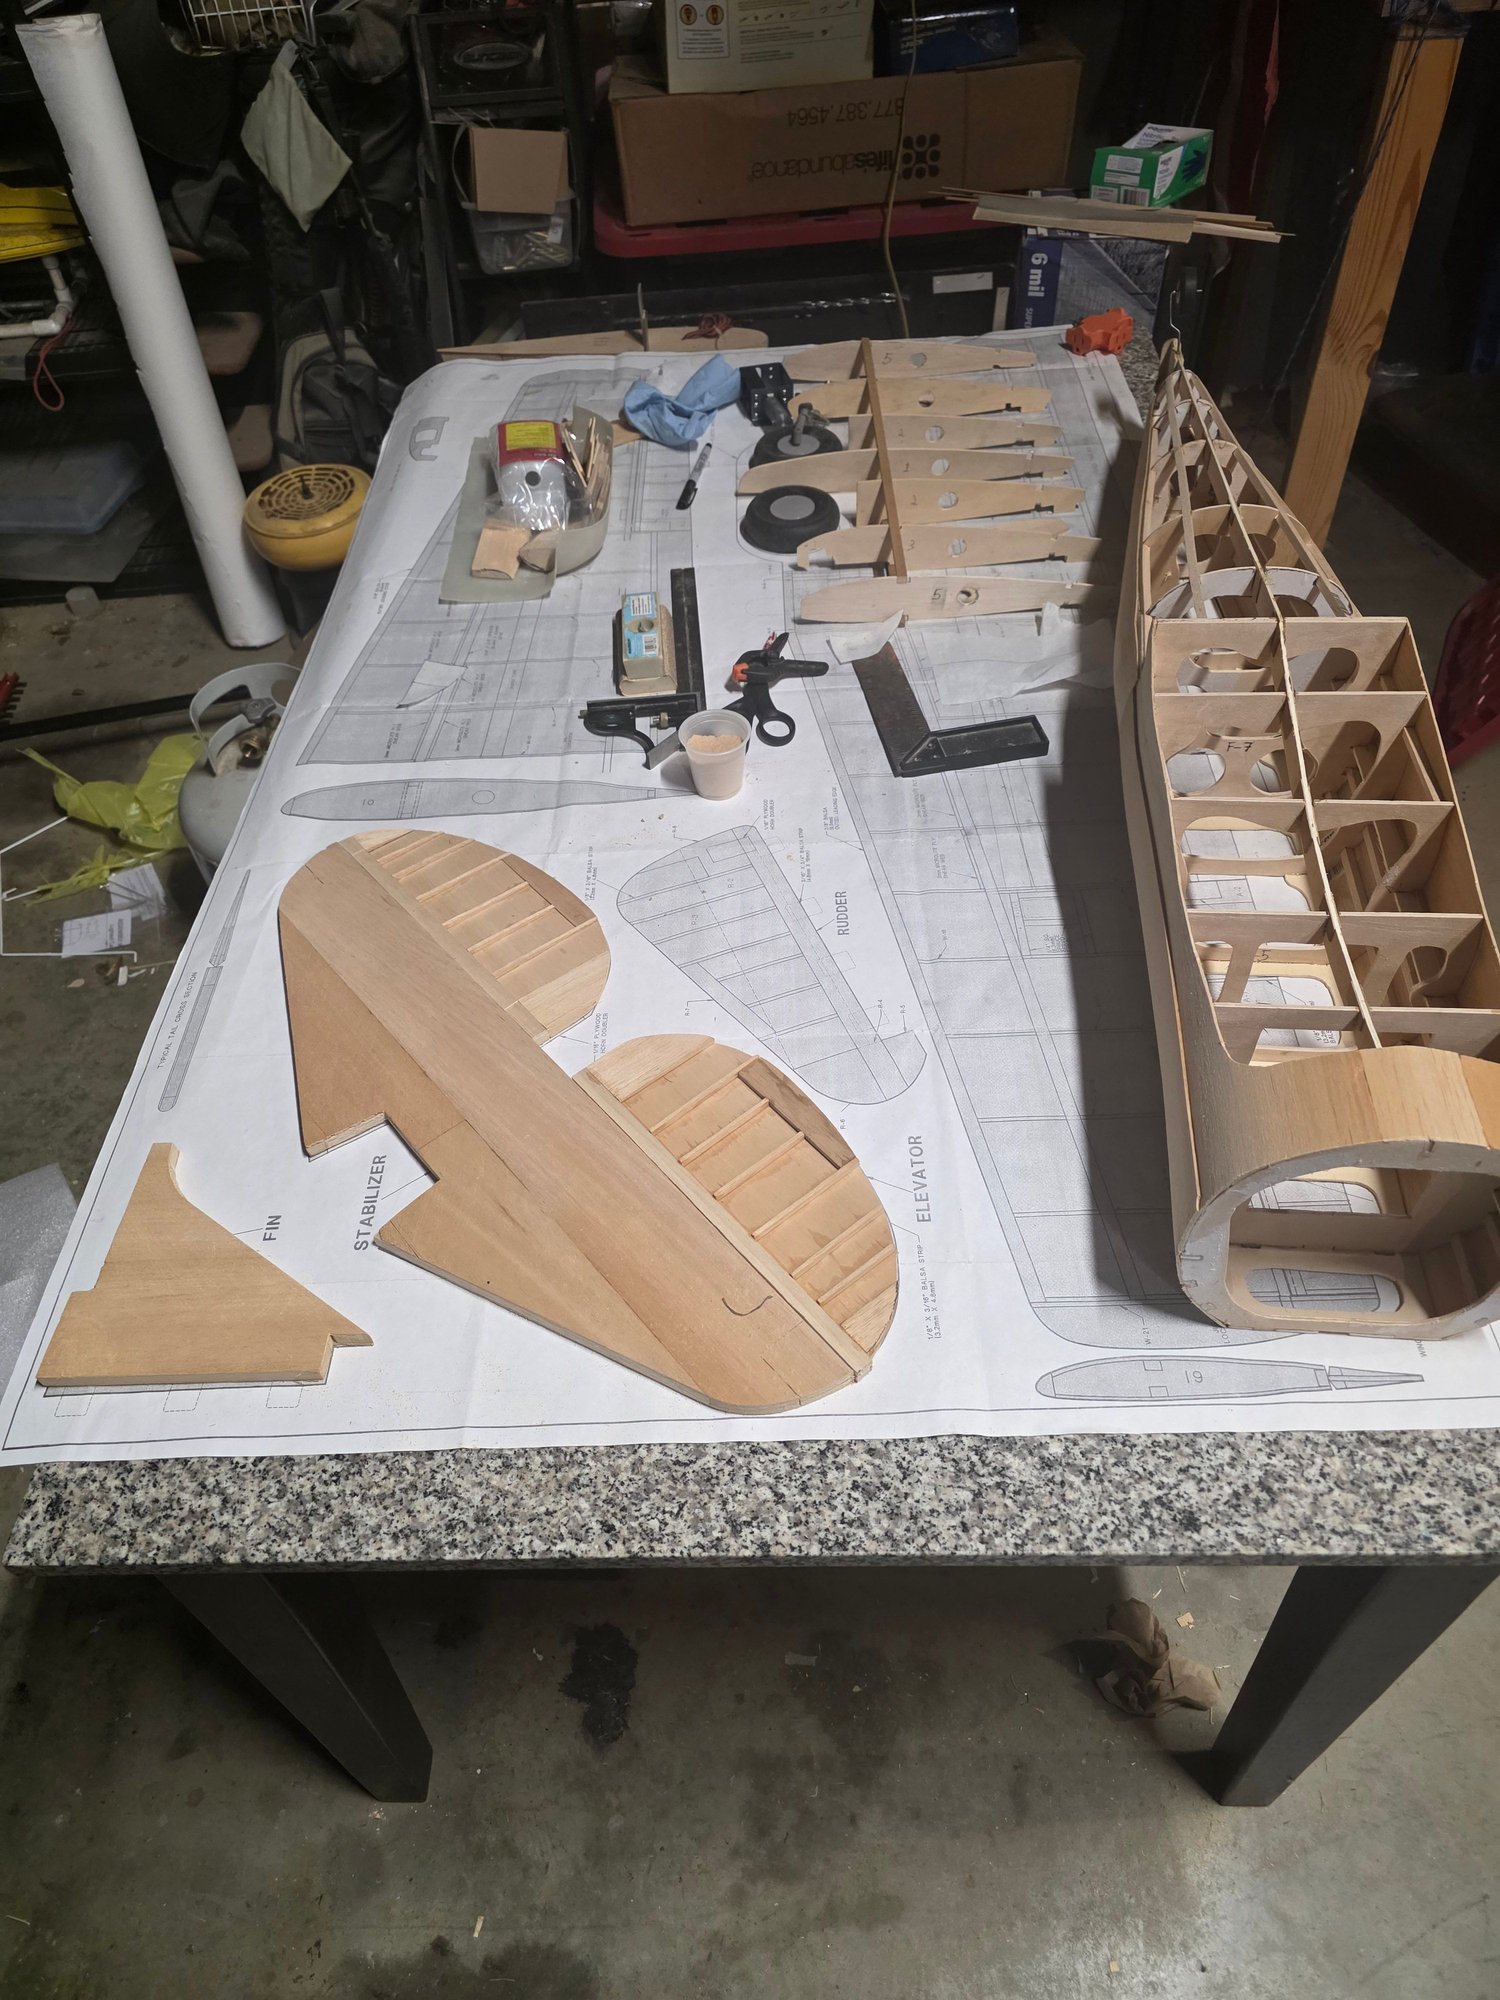
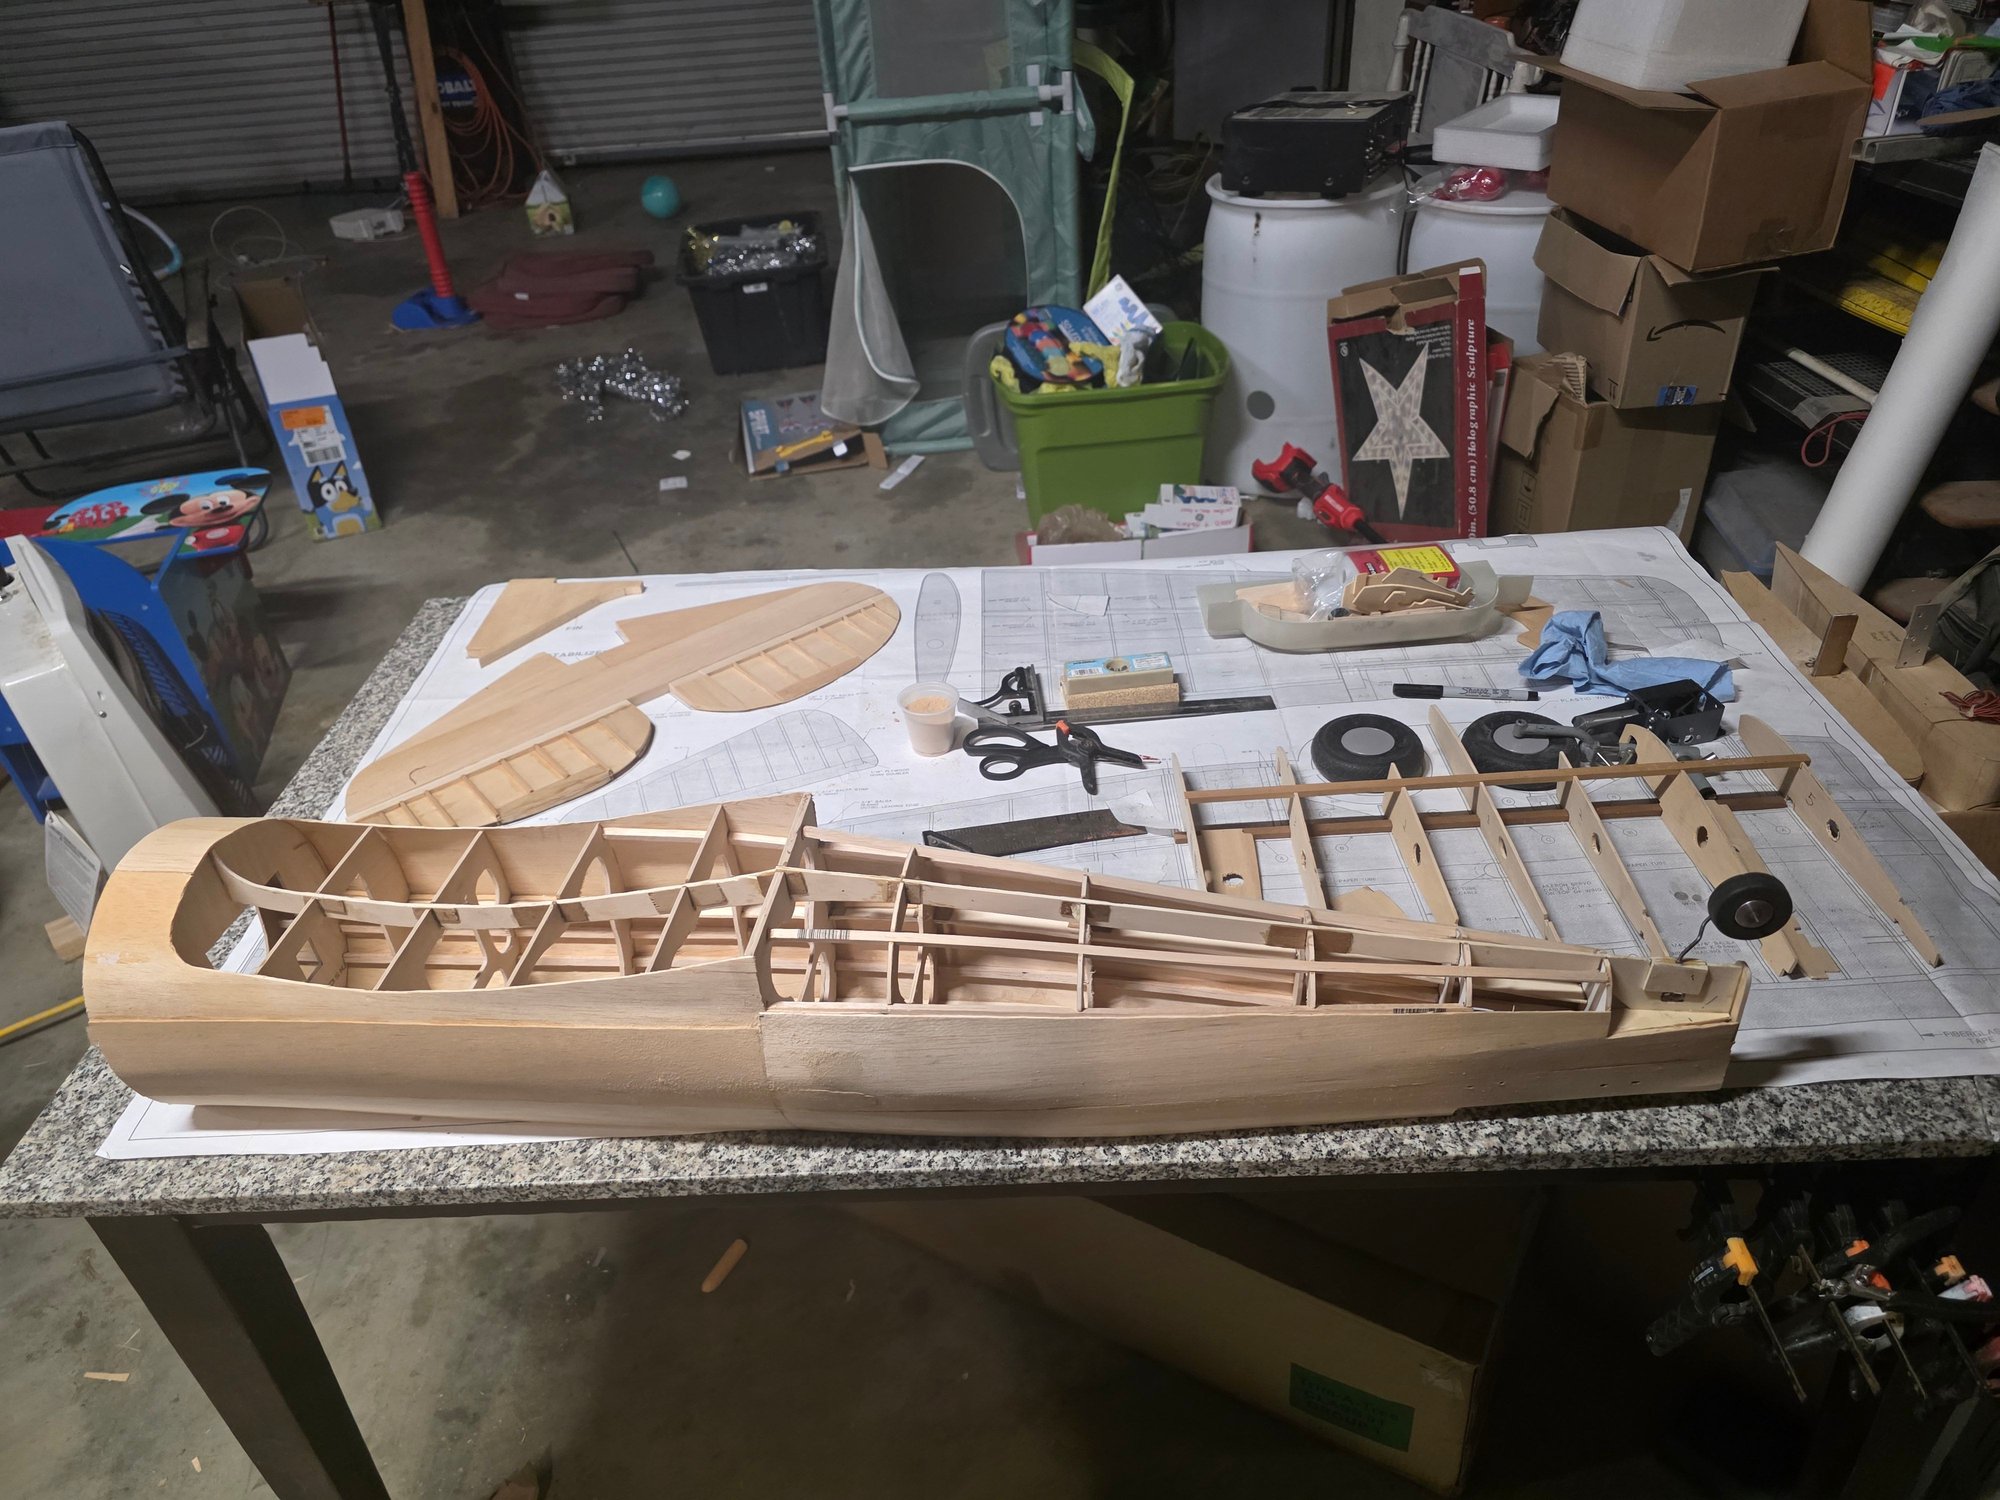
setting up the center section, I am really considering leaving it attached and adding wing tubes for a 3 piece wing
 12-15-2025 | 05:58 PM
#8

My Feedback: (60)
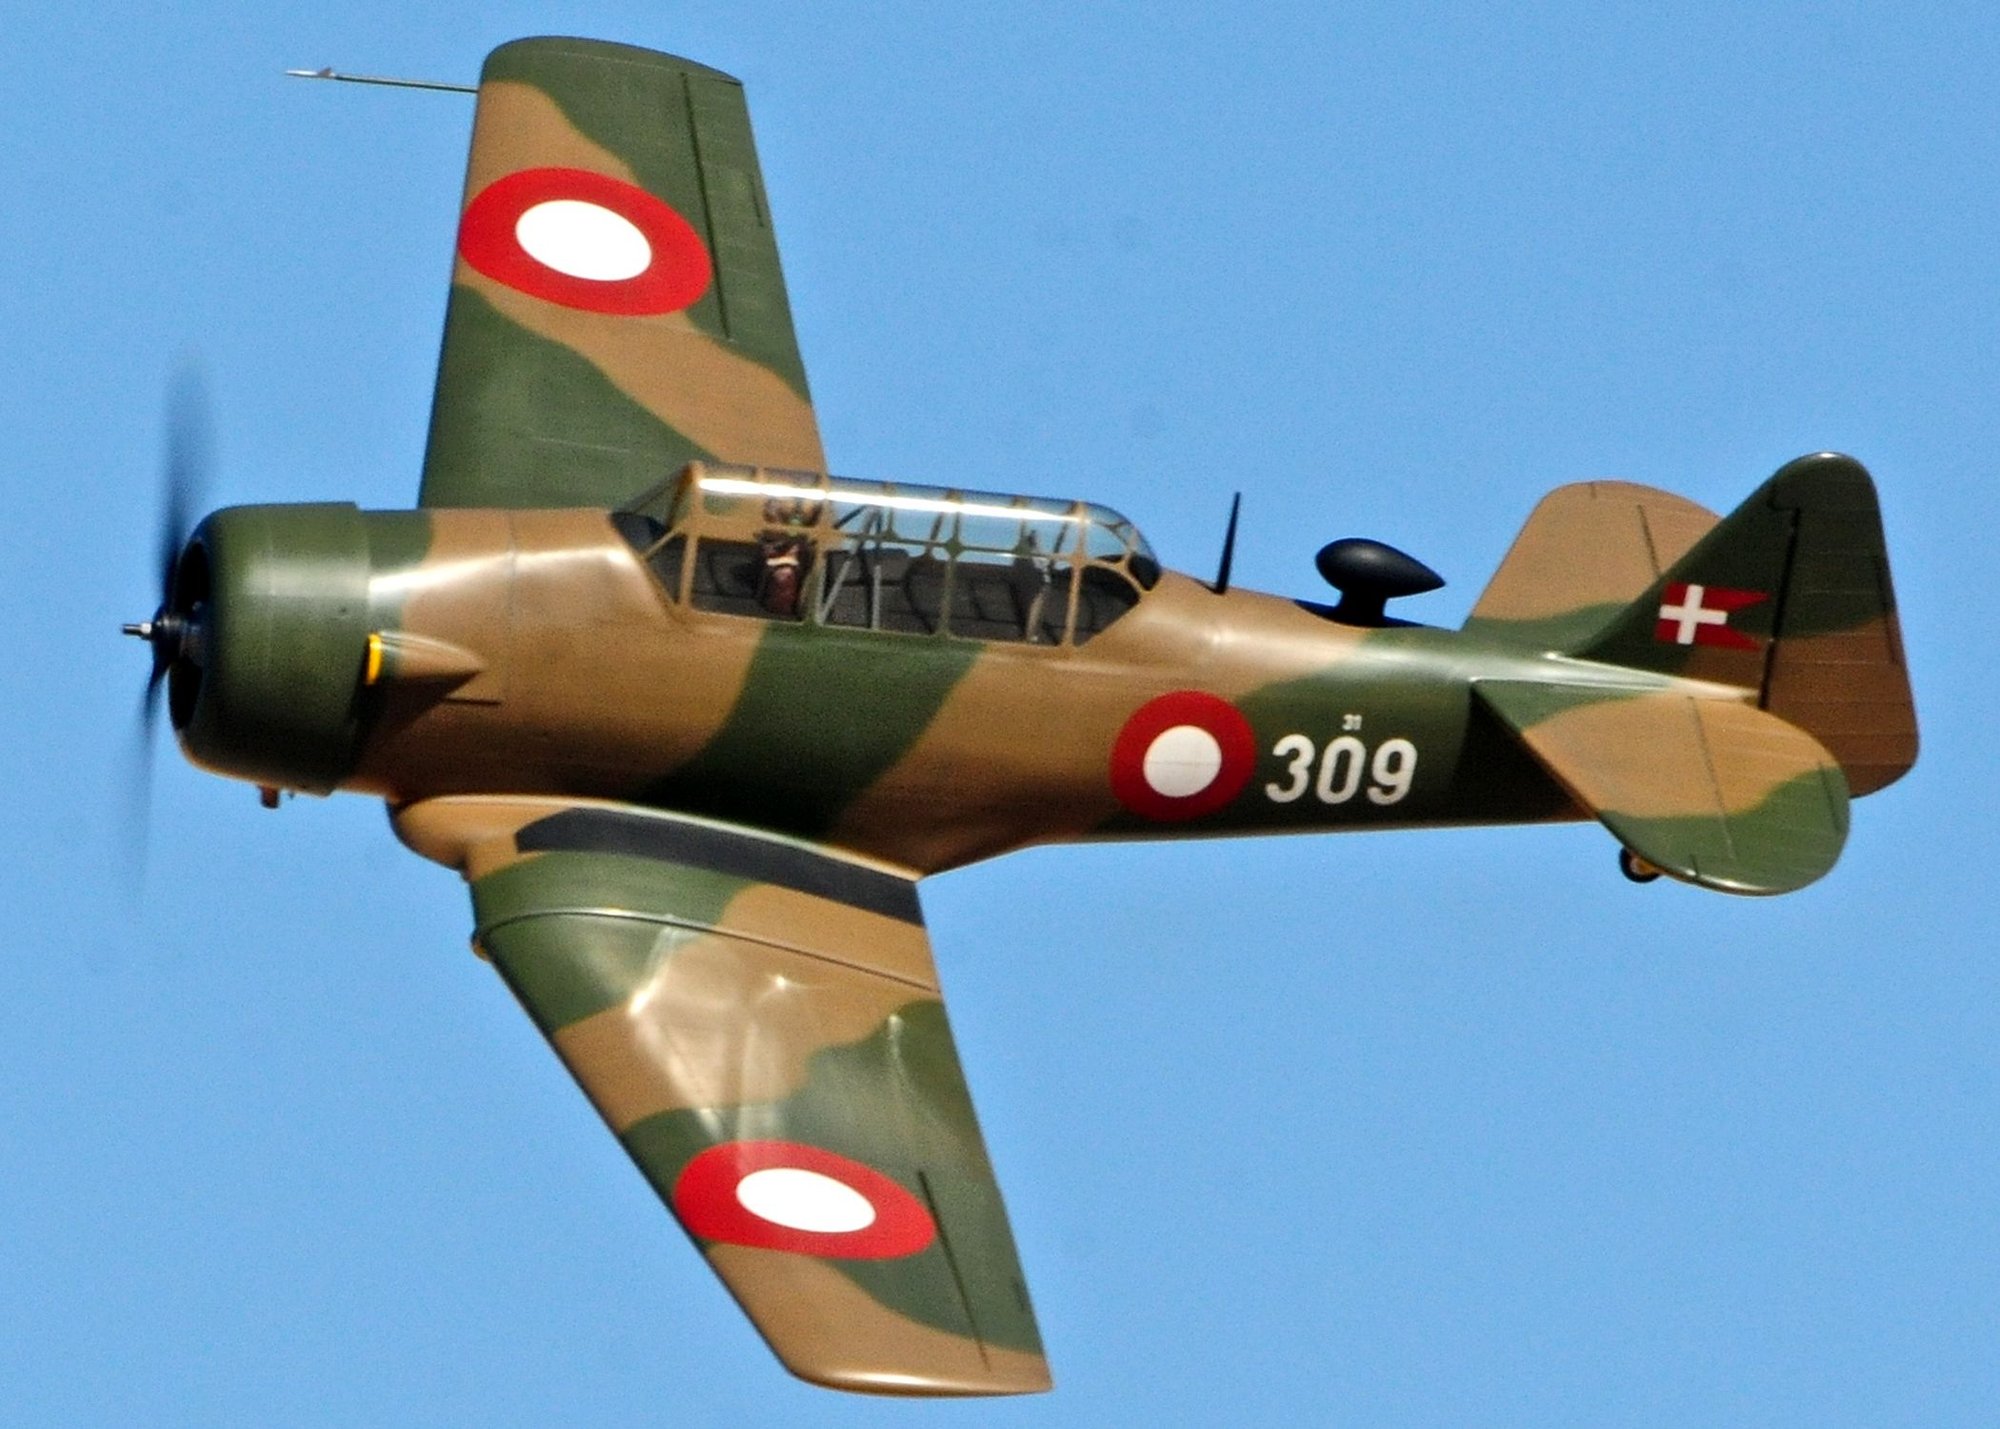
Looking very nice thus far, well done. I had a Midwest Texan (Harvard for the purists!) for about eight years and loved it. As with most T-6's it was an absolute pain on the ground and a well exercised left thumb is absolutely essential on take off and landing. In flight it is more like a pattern ship than a trainer/warbird and I loved flying it. In my opinion the recommended center of gravity is much too far forward and is a major contributor to the airplane's somewhat poor reputation. I calculated my balance point at ~27-28% of the total wing area which is 5 inches back from the leading edge at the root. As measured from the true L.E., not the front of the wheel well extension. The recommended CG is just a bit less than 4 inches back which, if memory serves, is something less than 20% of the total wing area. That is crazy nose heavy, imho. Something to keep in mind anyway. Oh, I had an OS 1.60 two stroke in my bird which was more than ample for the 17lb finished weight.
PS - Adding flaps is recommended, I did not and regretted it.

PS - Adding flaps is recommended, I did not and regretted it.
Last edited by Chad Veich; 12-15-2025 at 06:02 PM.


 12-31-2025 | 08:49 AM
#12
Thread Starter
My Feedback: (1)
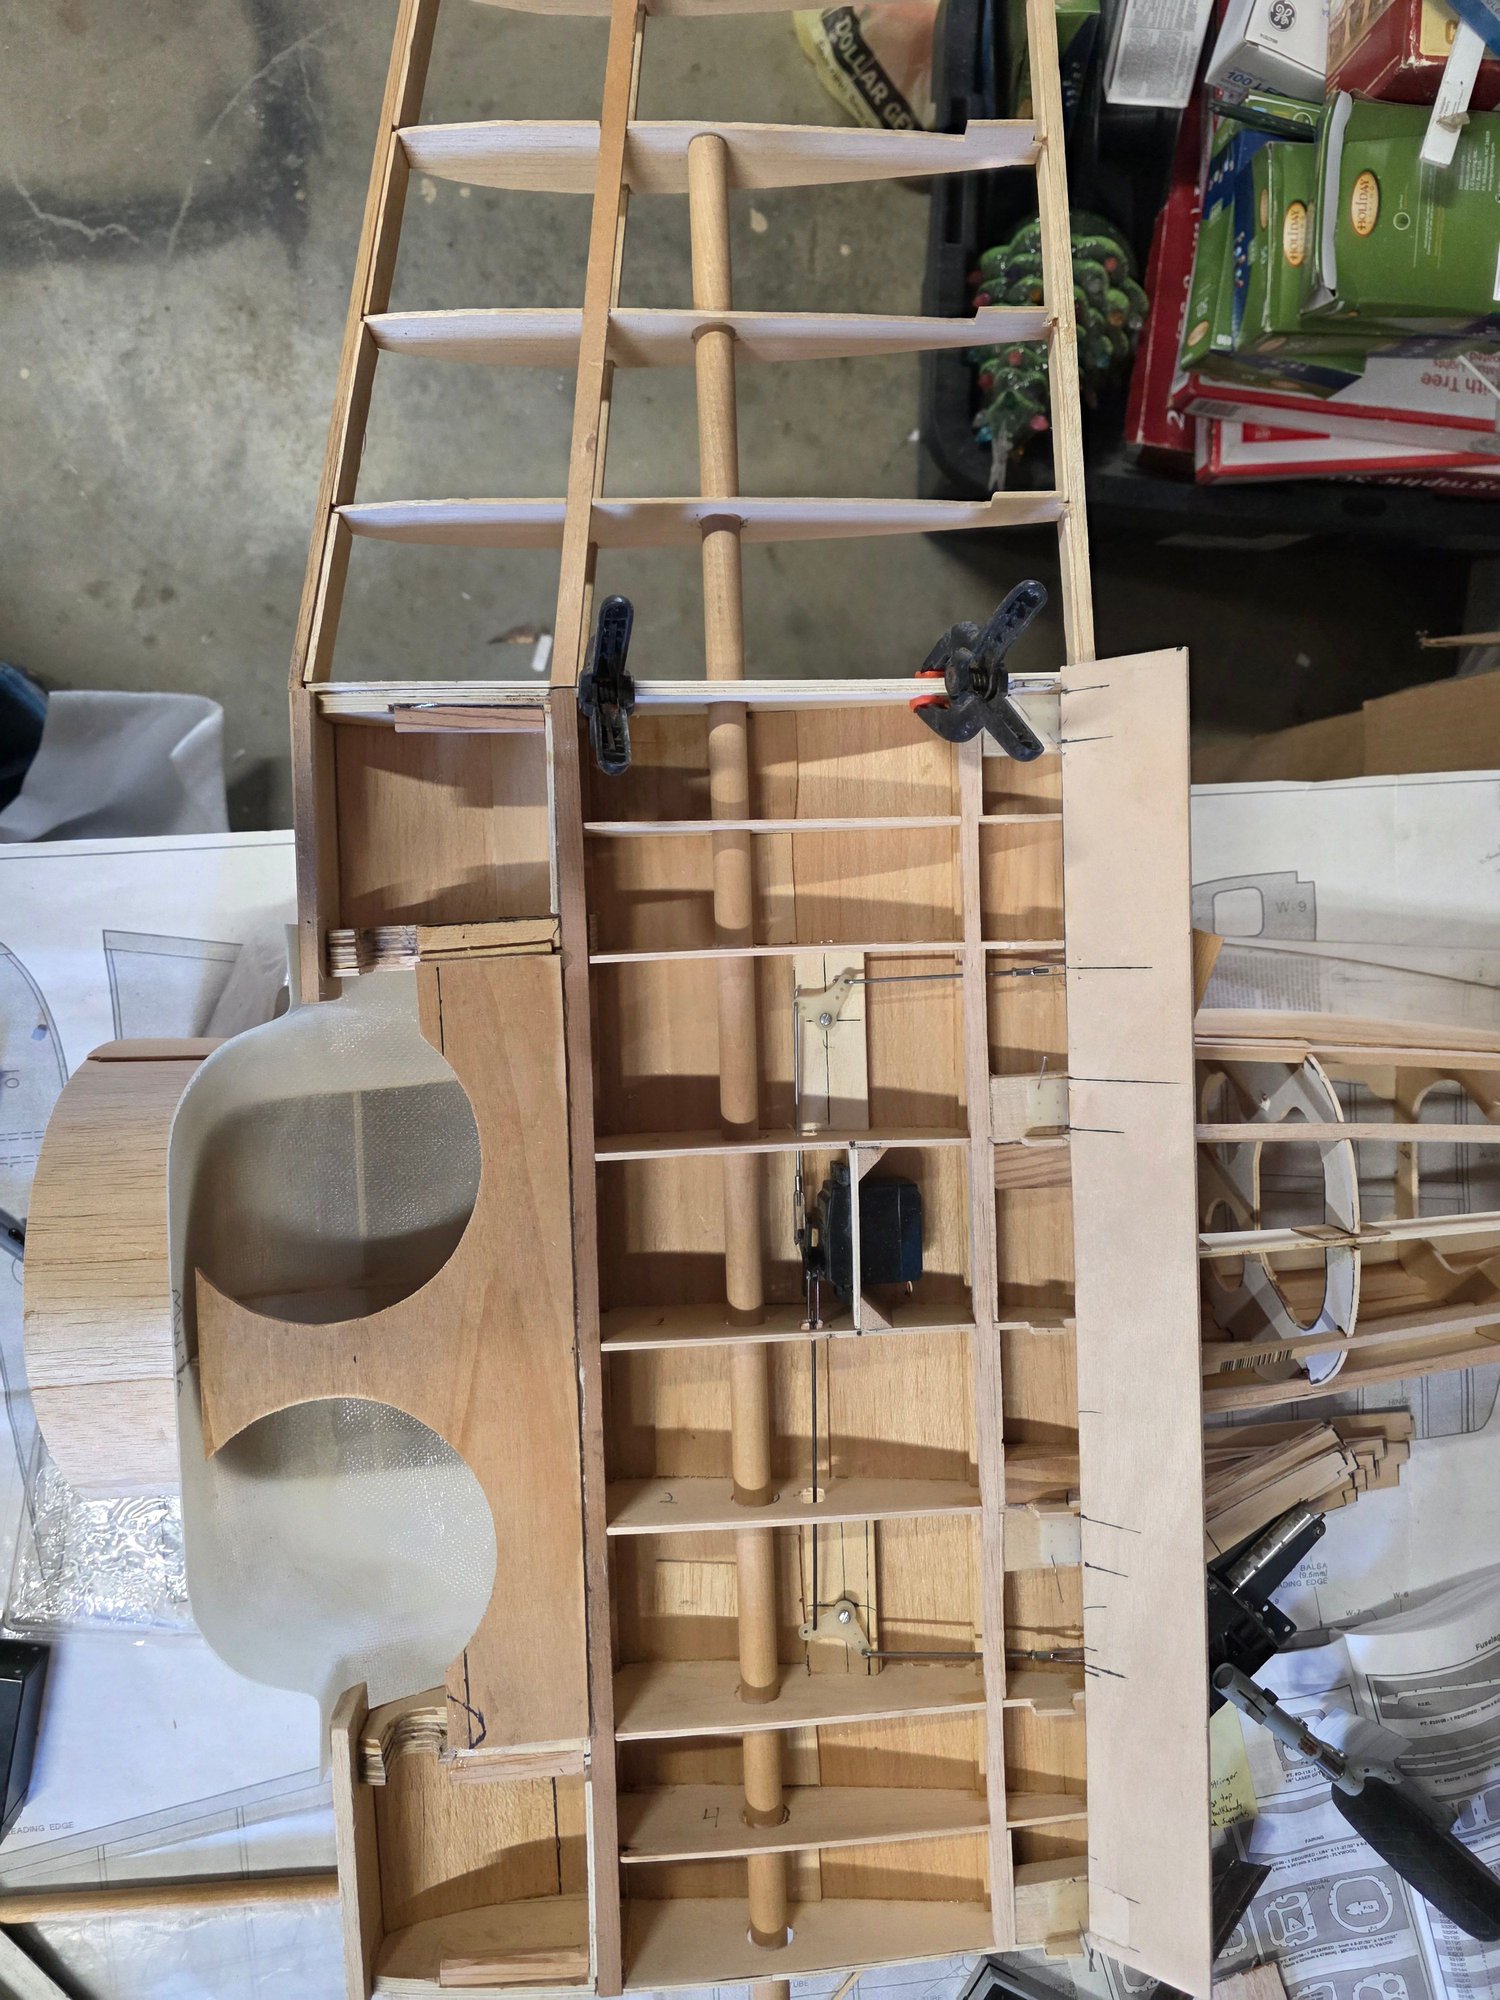
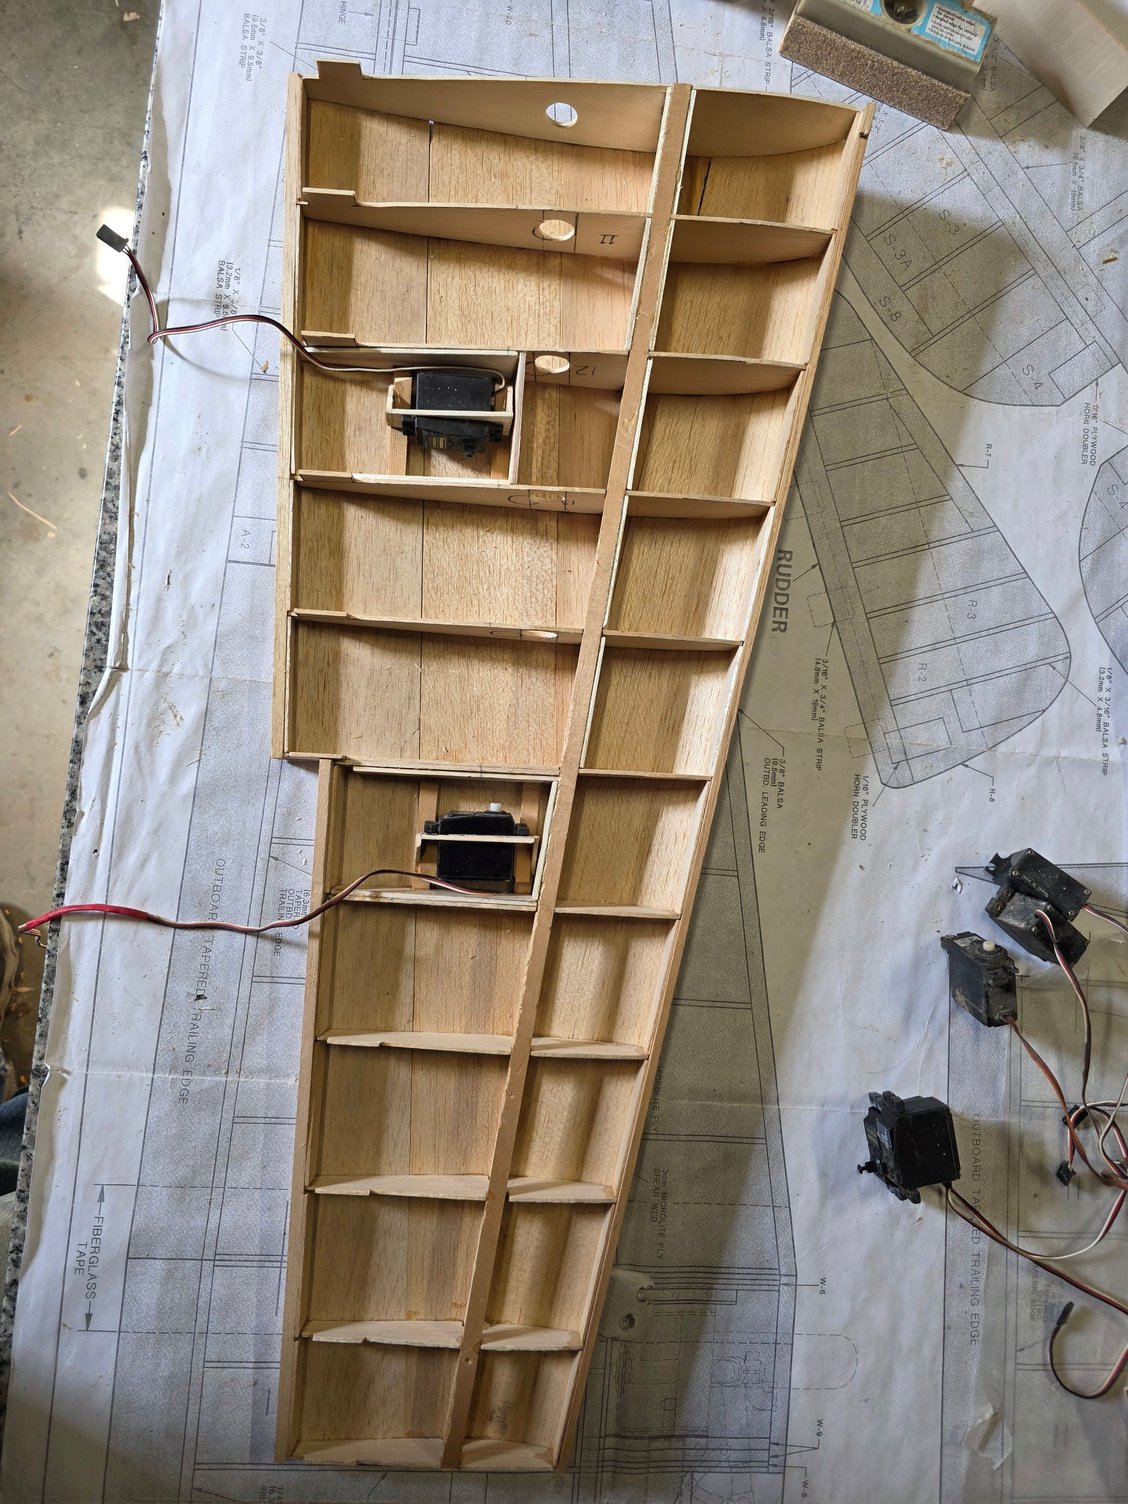
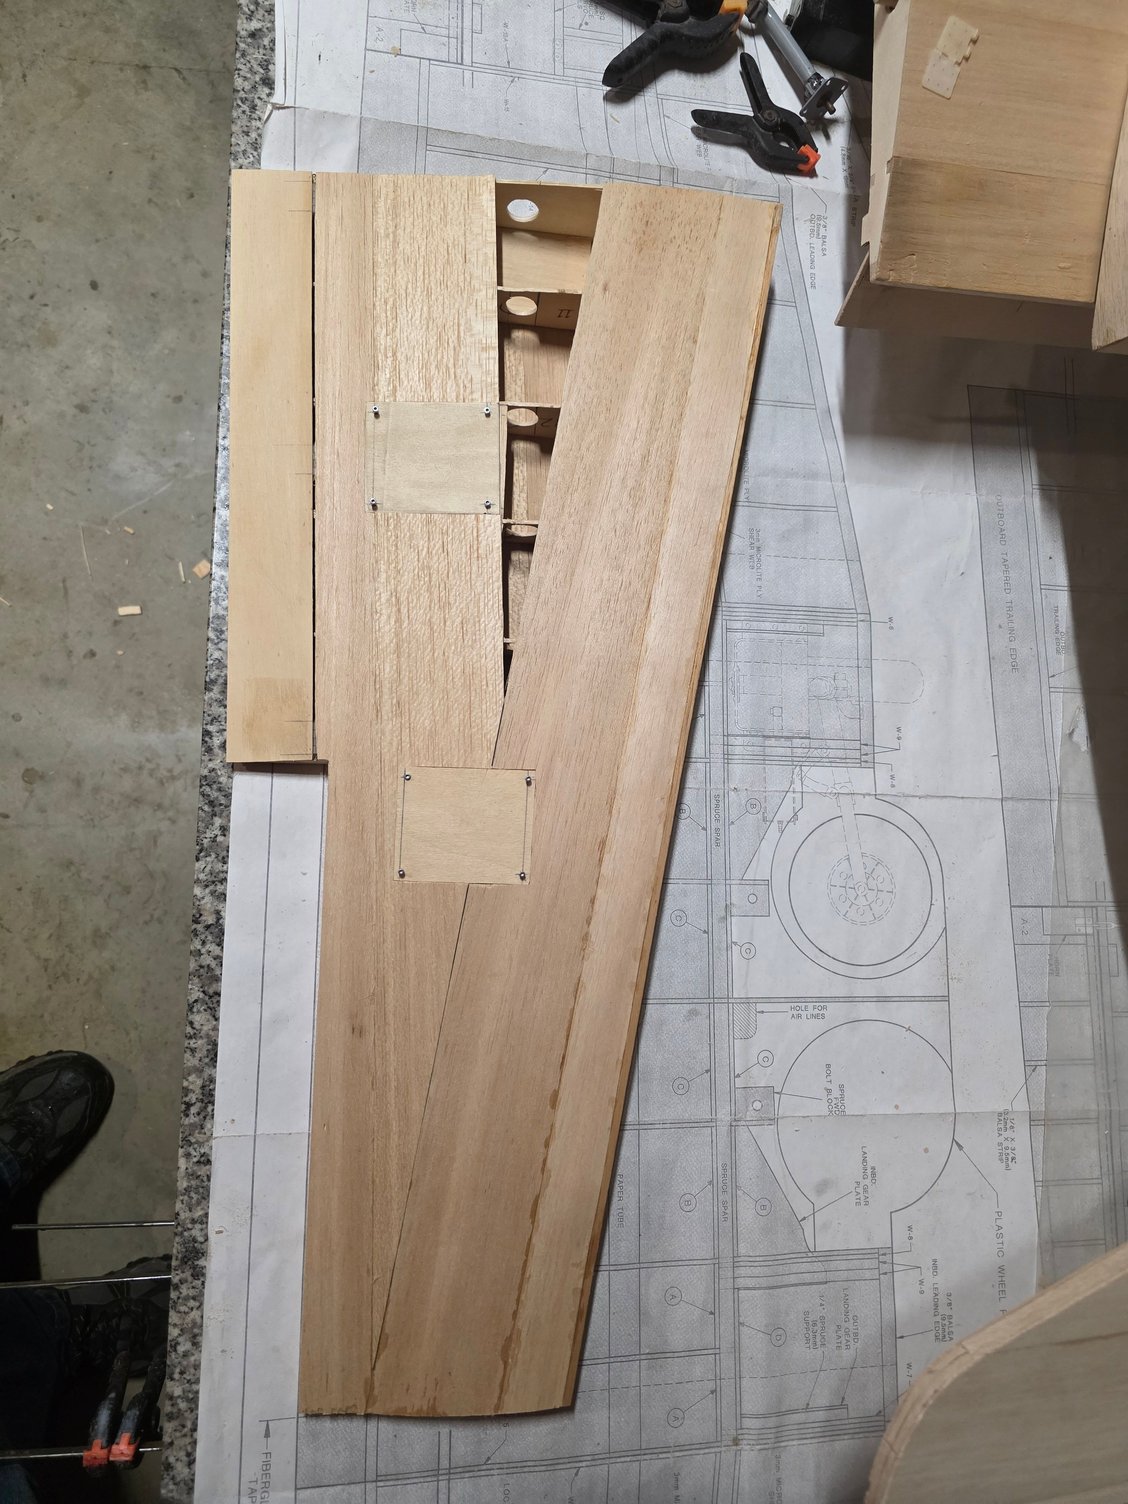
Adding flaps to the inboard section it will be a single servo with 2 point of contact
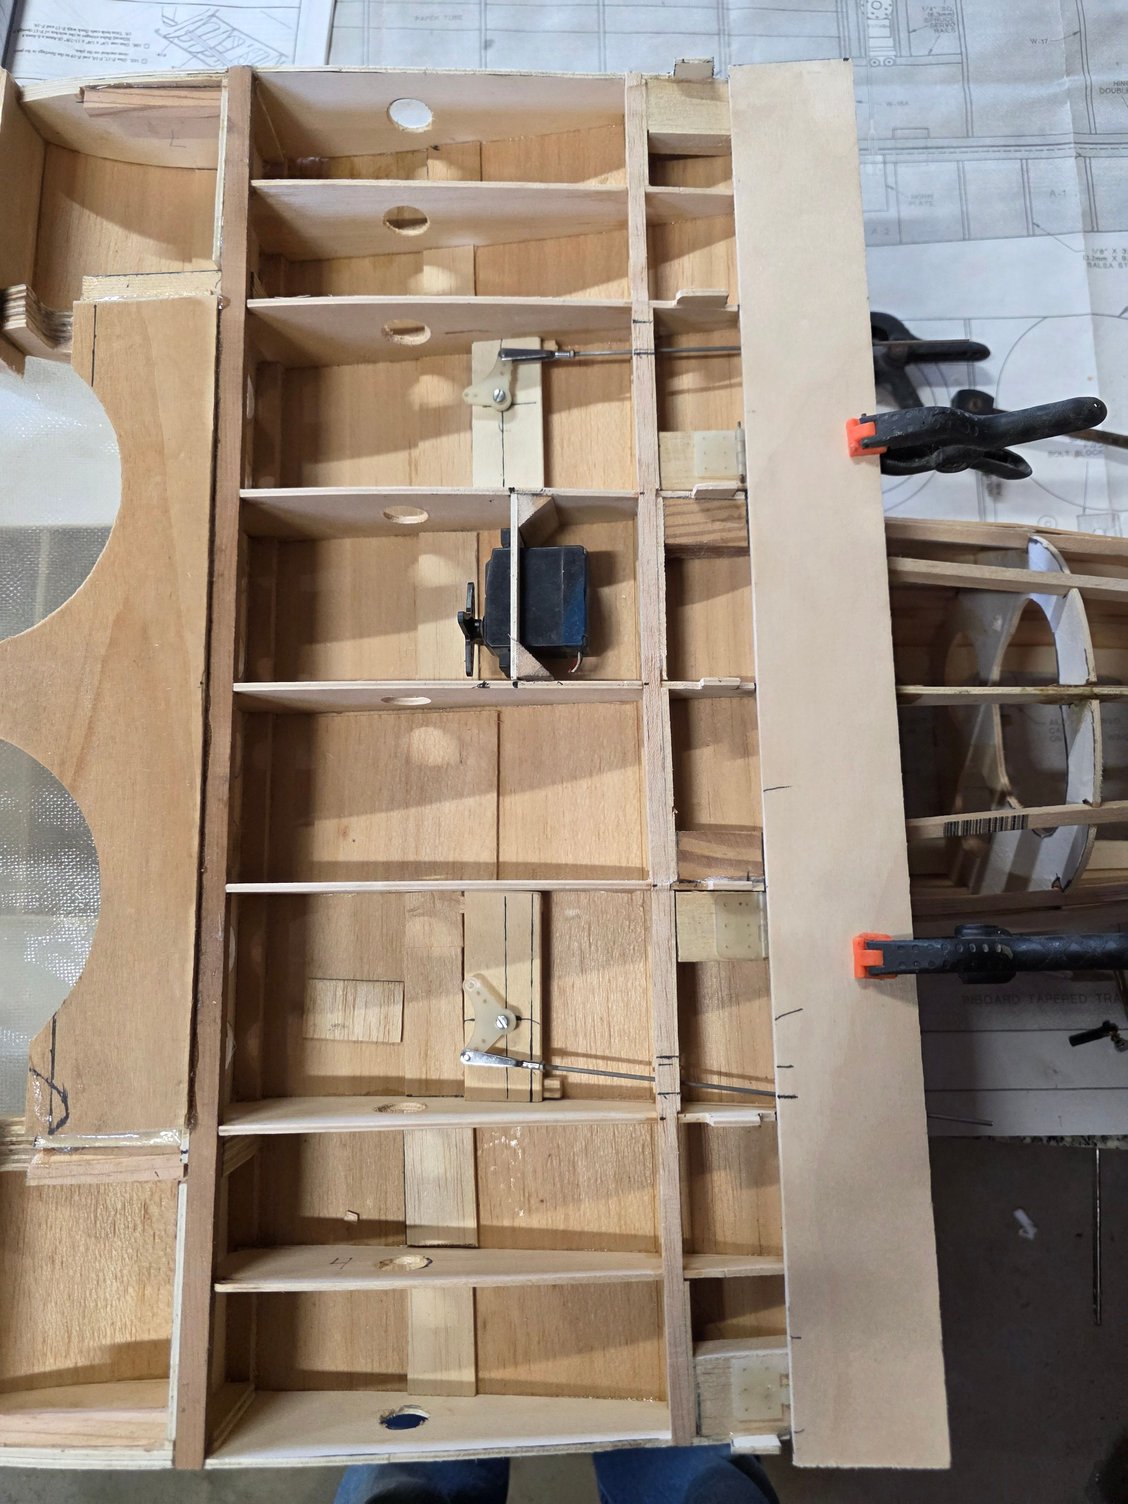
Roughing in the servo and bellcranks
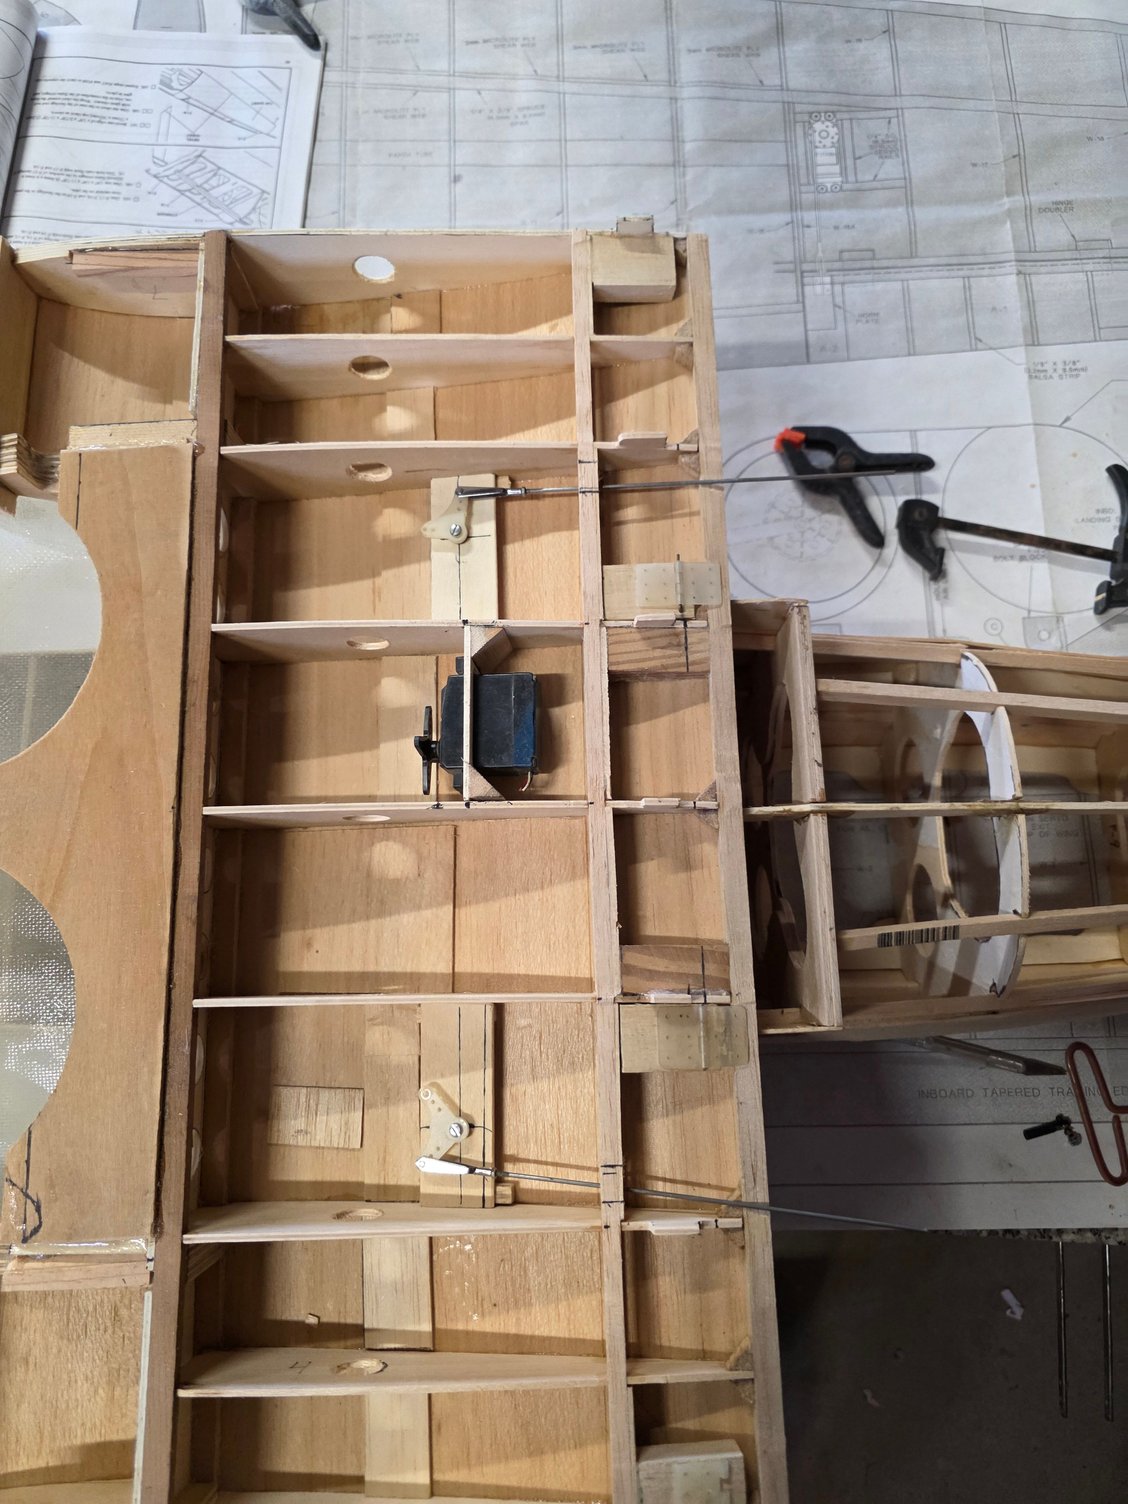
Added balsa hinge blocks and will use 4 hinges for the center wing section.
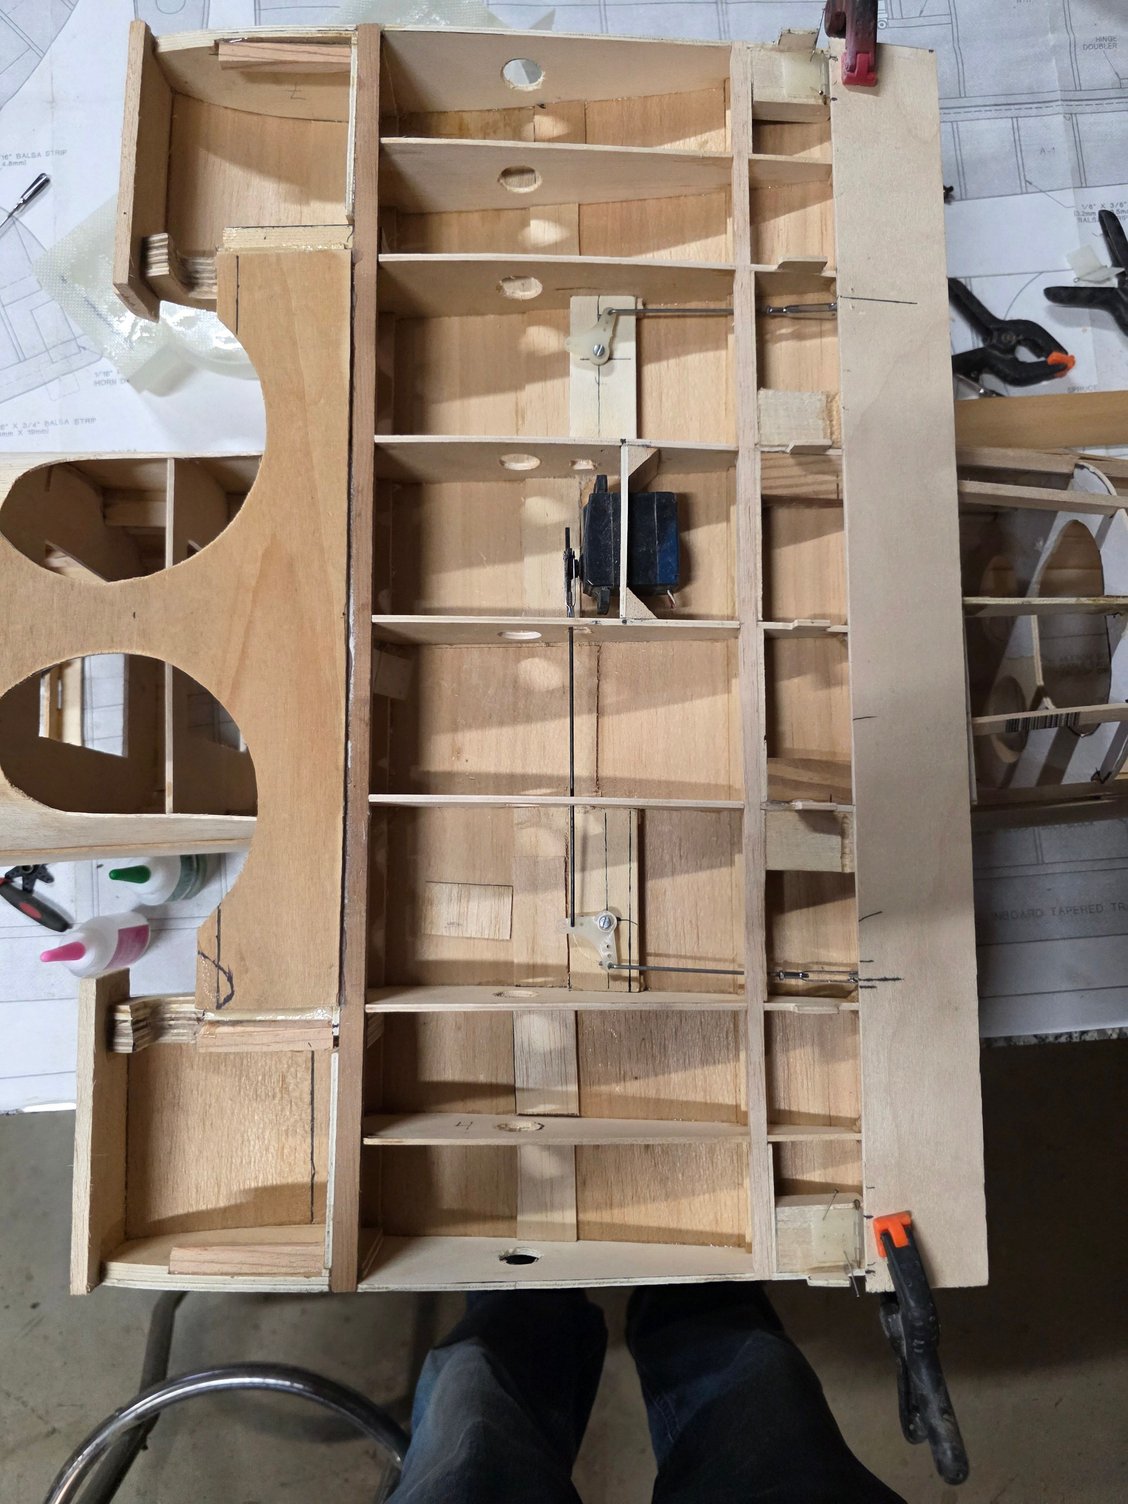
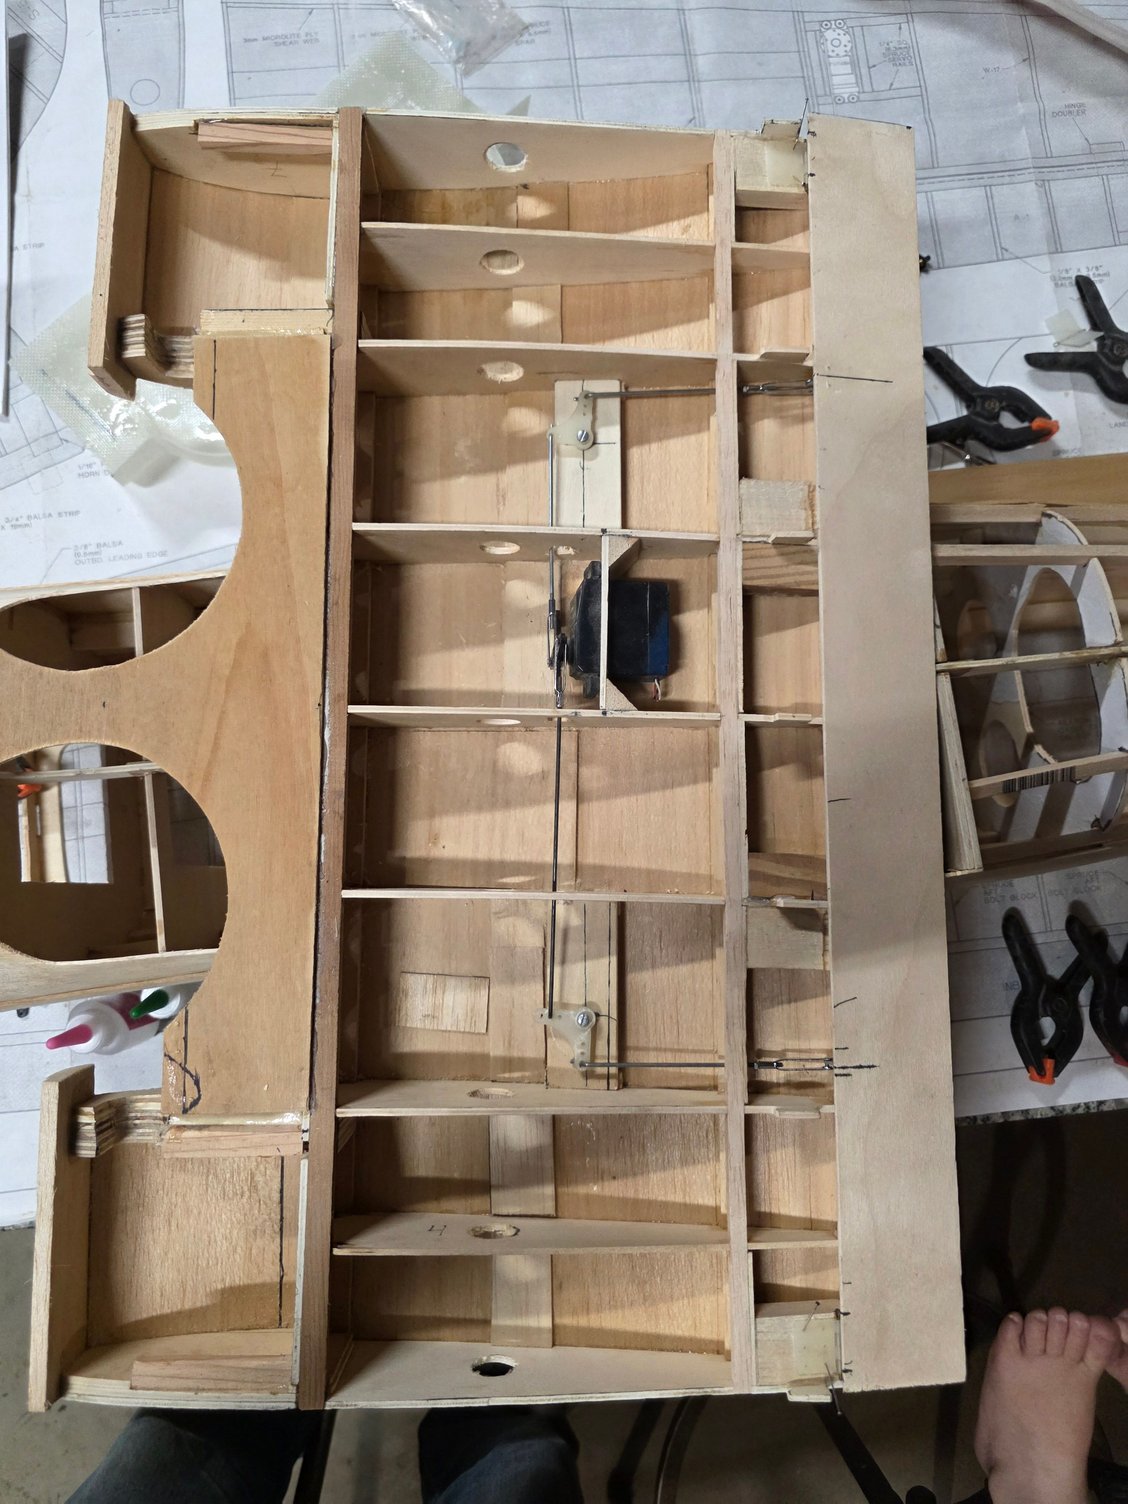
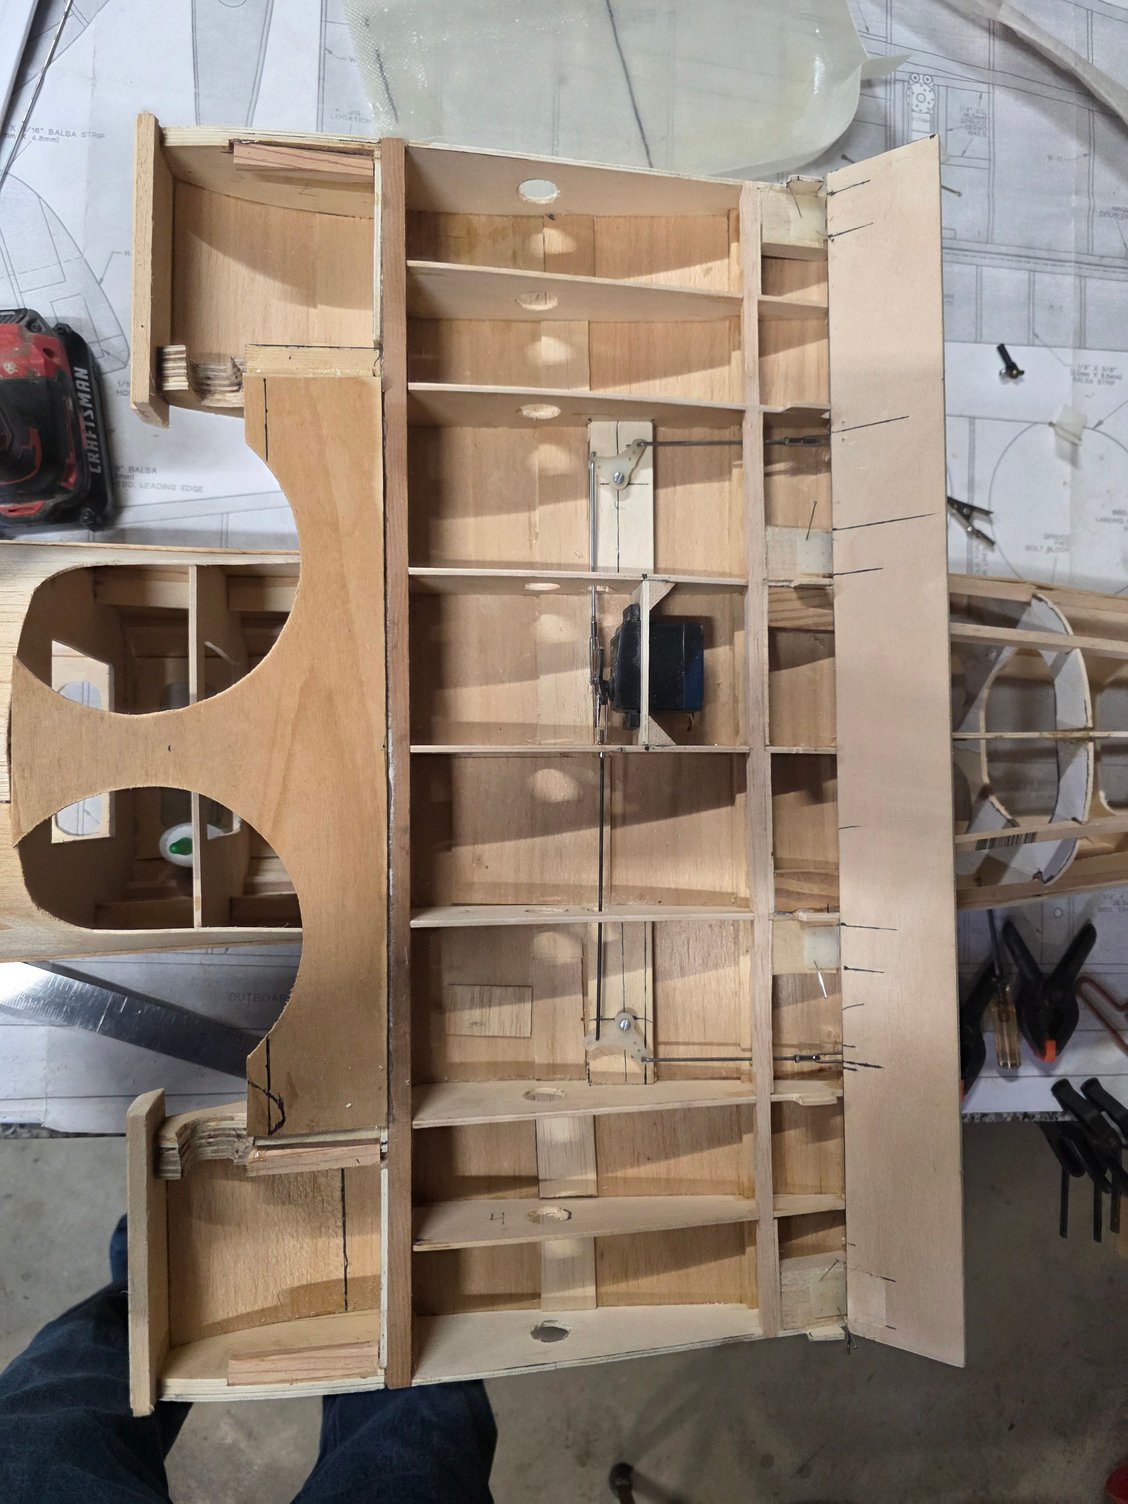
After all is set and cotrol rods are hooked up. half the hinge is glued and set.into the flap itself with the other half only pin into the hinge blocks until a later date.
12-31-2025 | 09:55 AM
#13
Thread Starter
My Feedback: (1)
I laid out the hand cut ribs on the spruce spars and the went back and set and glued all the ribs. I started from the outboard rib #20 and worked inboard to rib #11. I then glued in the trailing edge and then leading edge. Upon gluing the trailing and leading edge I then built the incidence jig. Utilizing the jig, I glued in rib #10. The incidence from the jig turned out to be a bit much. After measuring the incidence, it turned out to be 5 degree so I adjusted it back to 4 degree and when clamped to wing look much better than 5 degree.
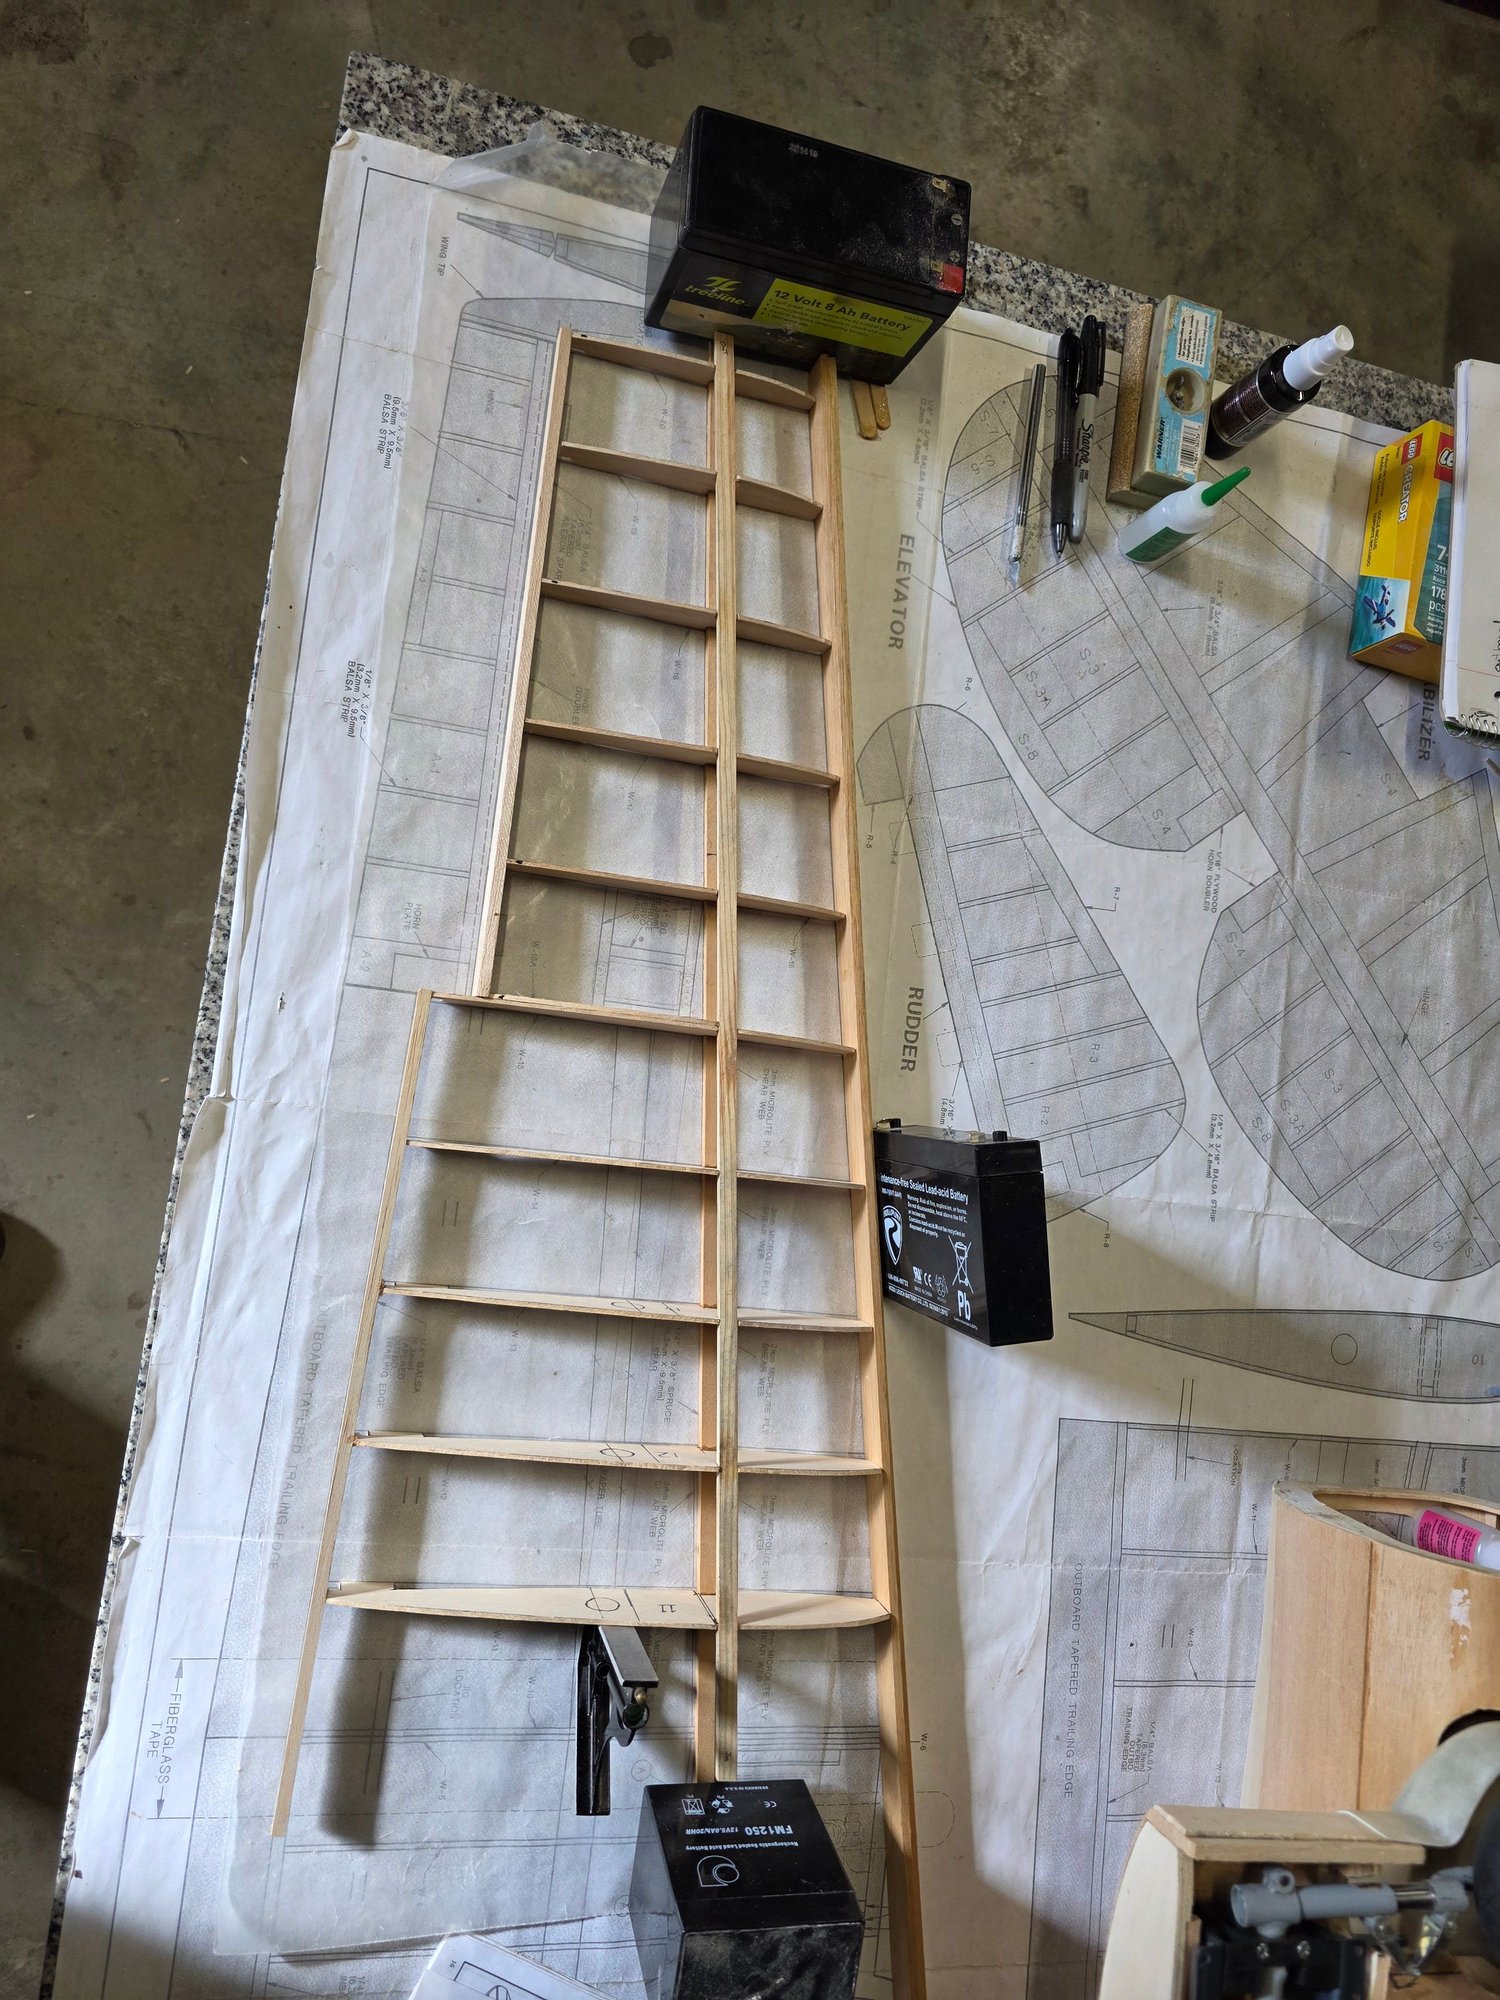
Laying out the ribs
Beginning to glue in ribs
Glue in leading and trailing edges

The incidence gauge
Setting rib #10
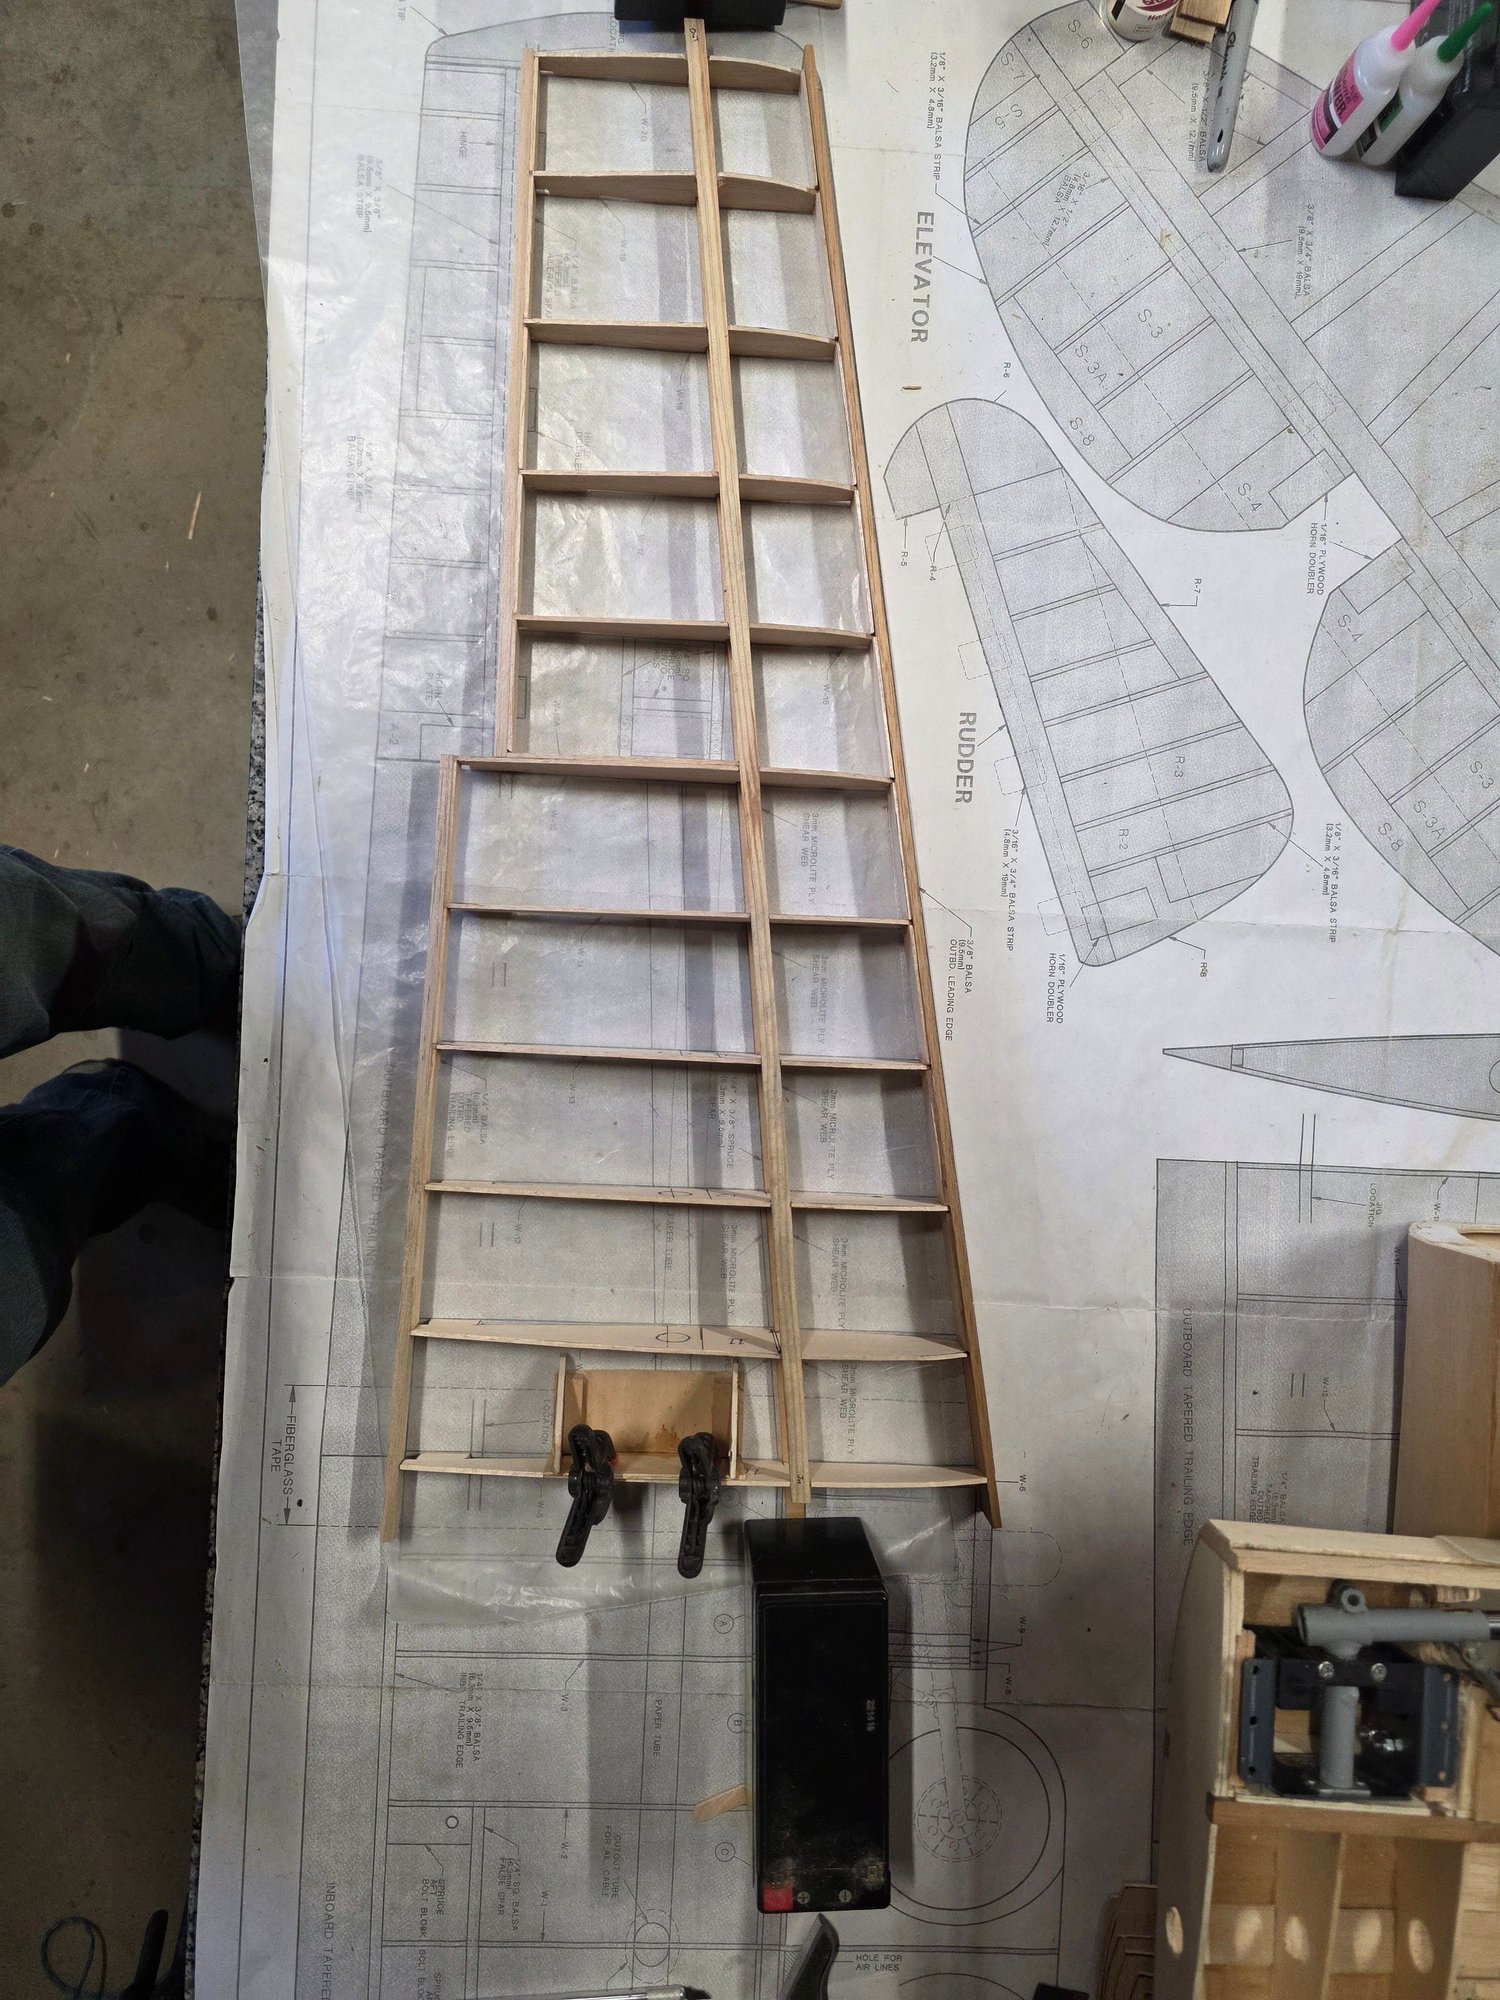
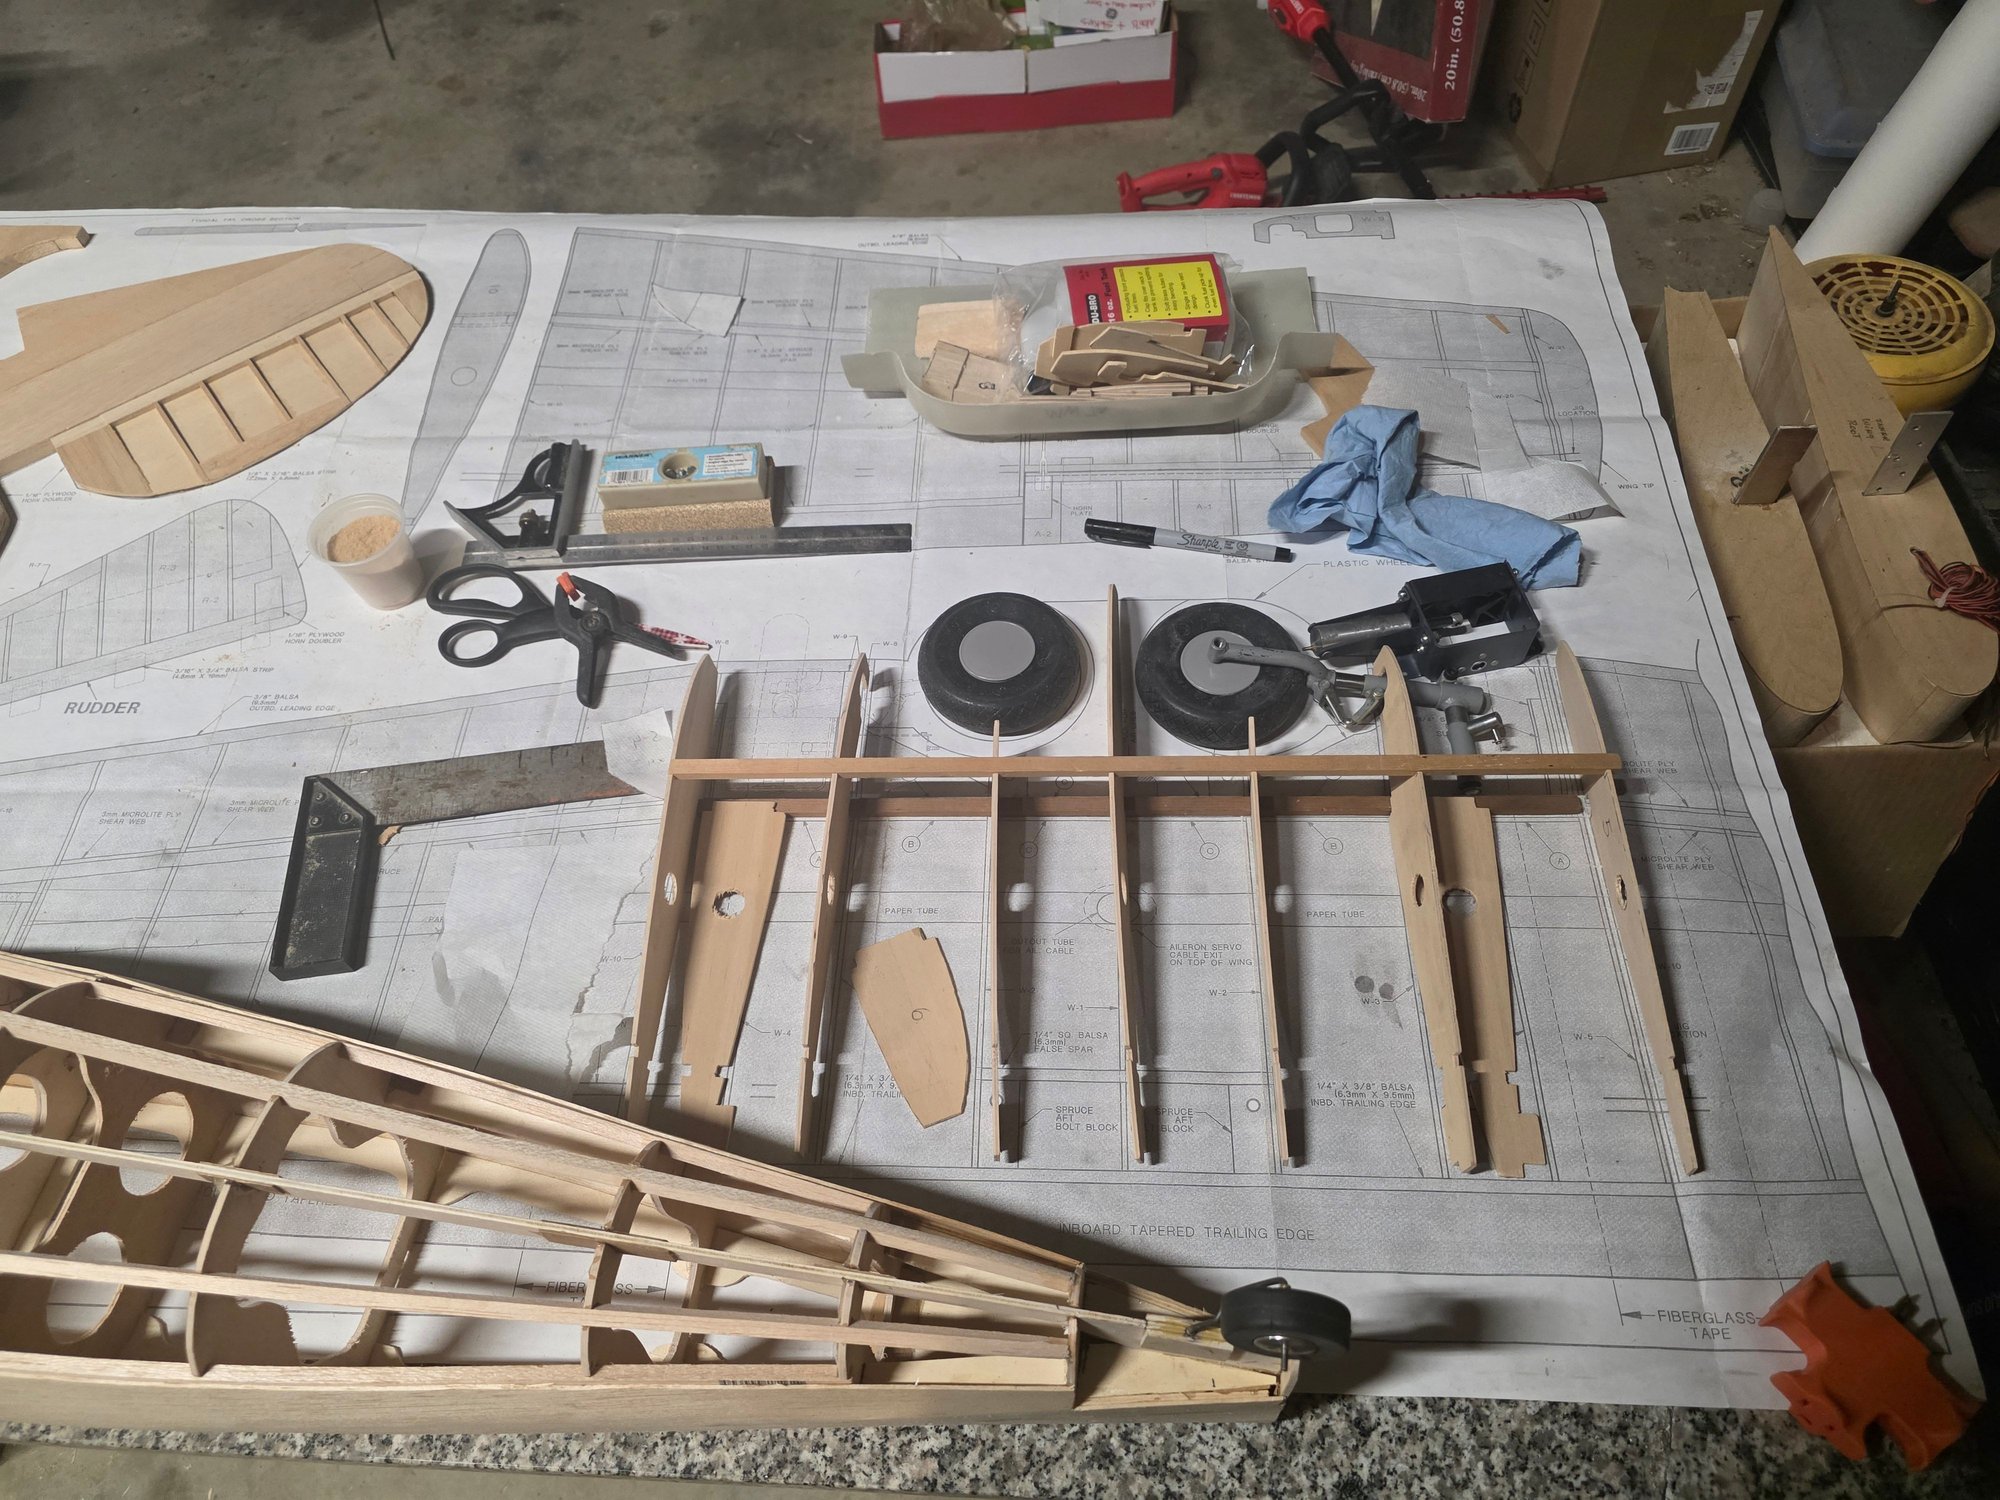
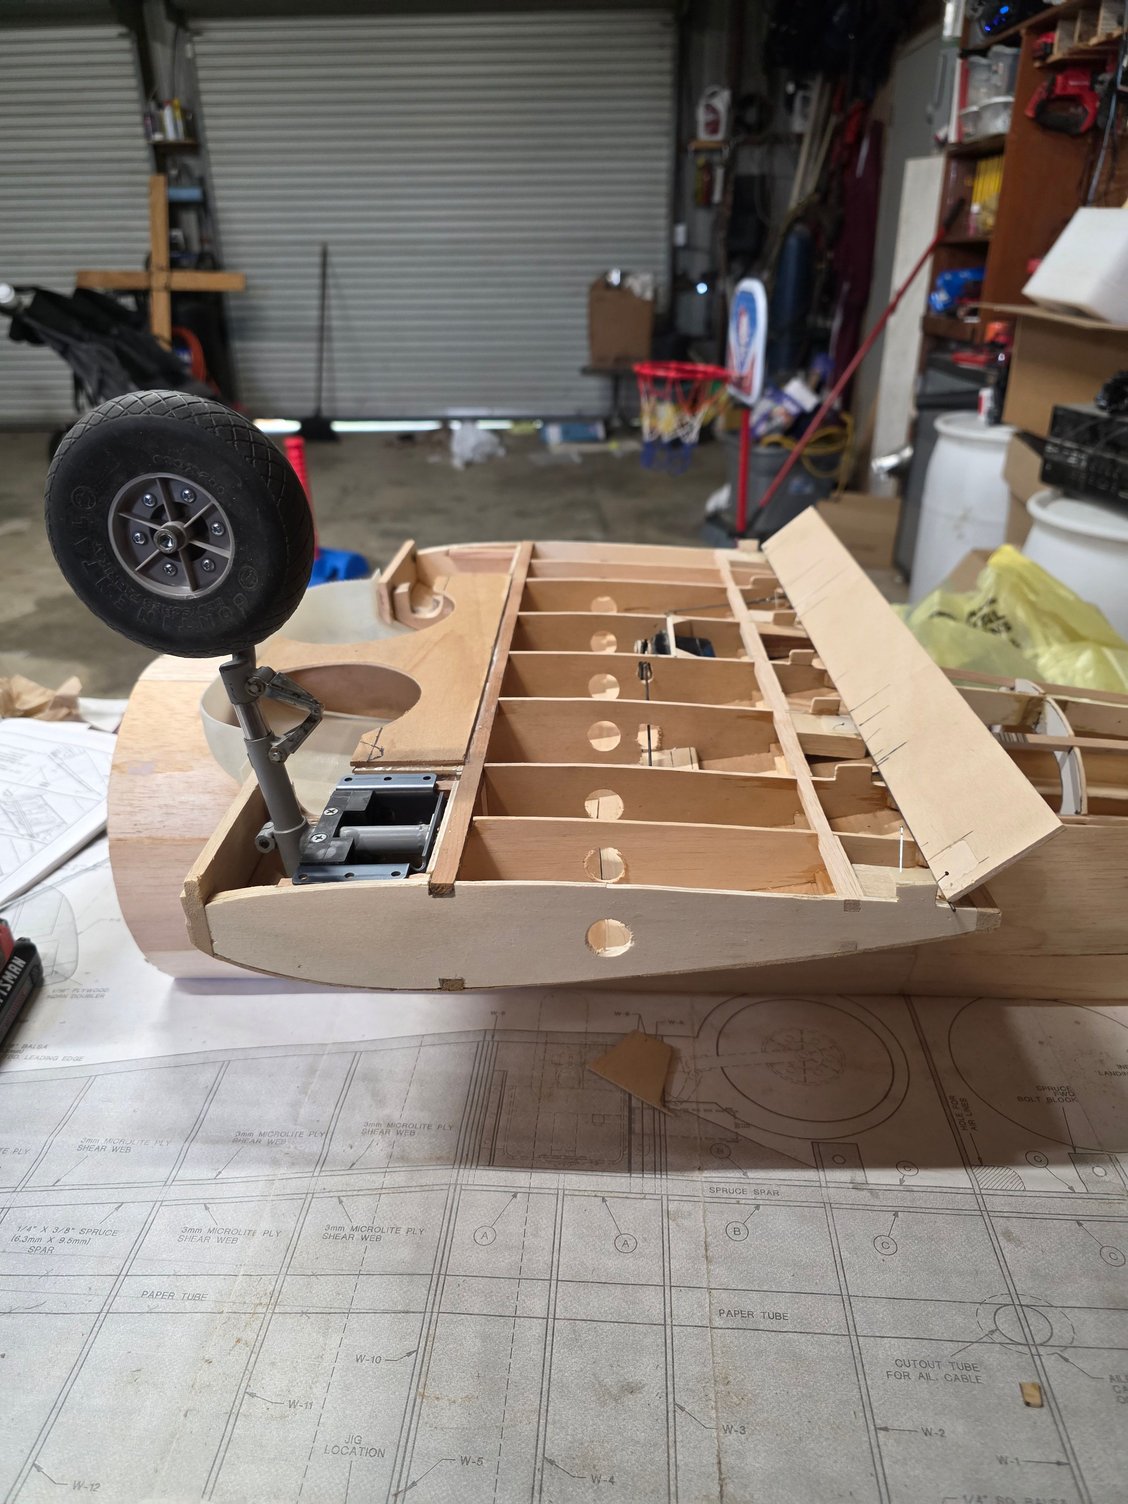
fitting the outboard wing and lining up the holes for a wing tube.
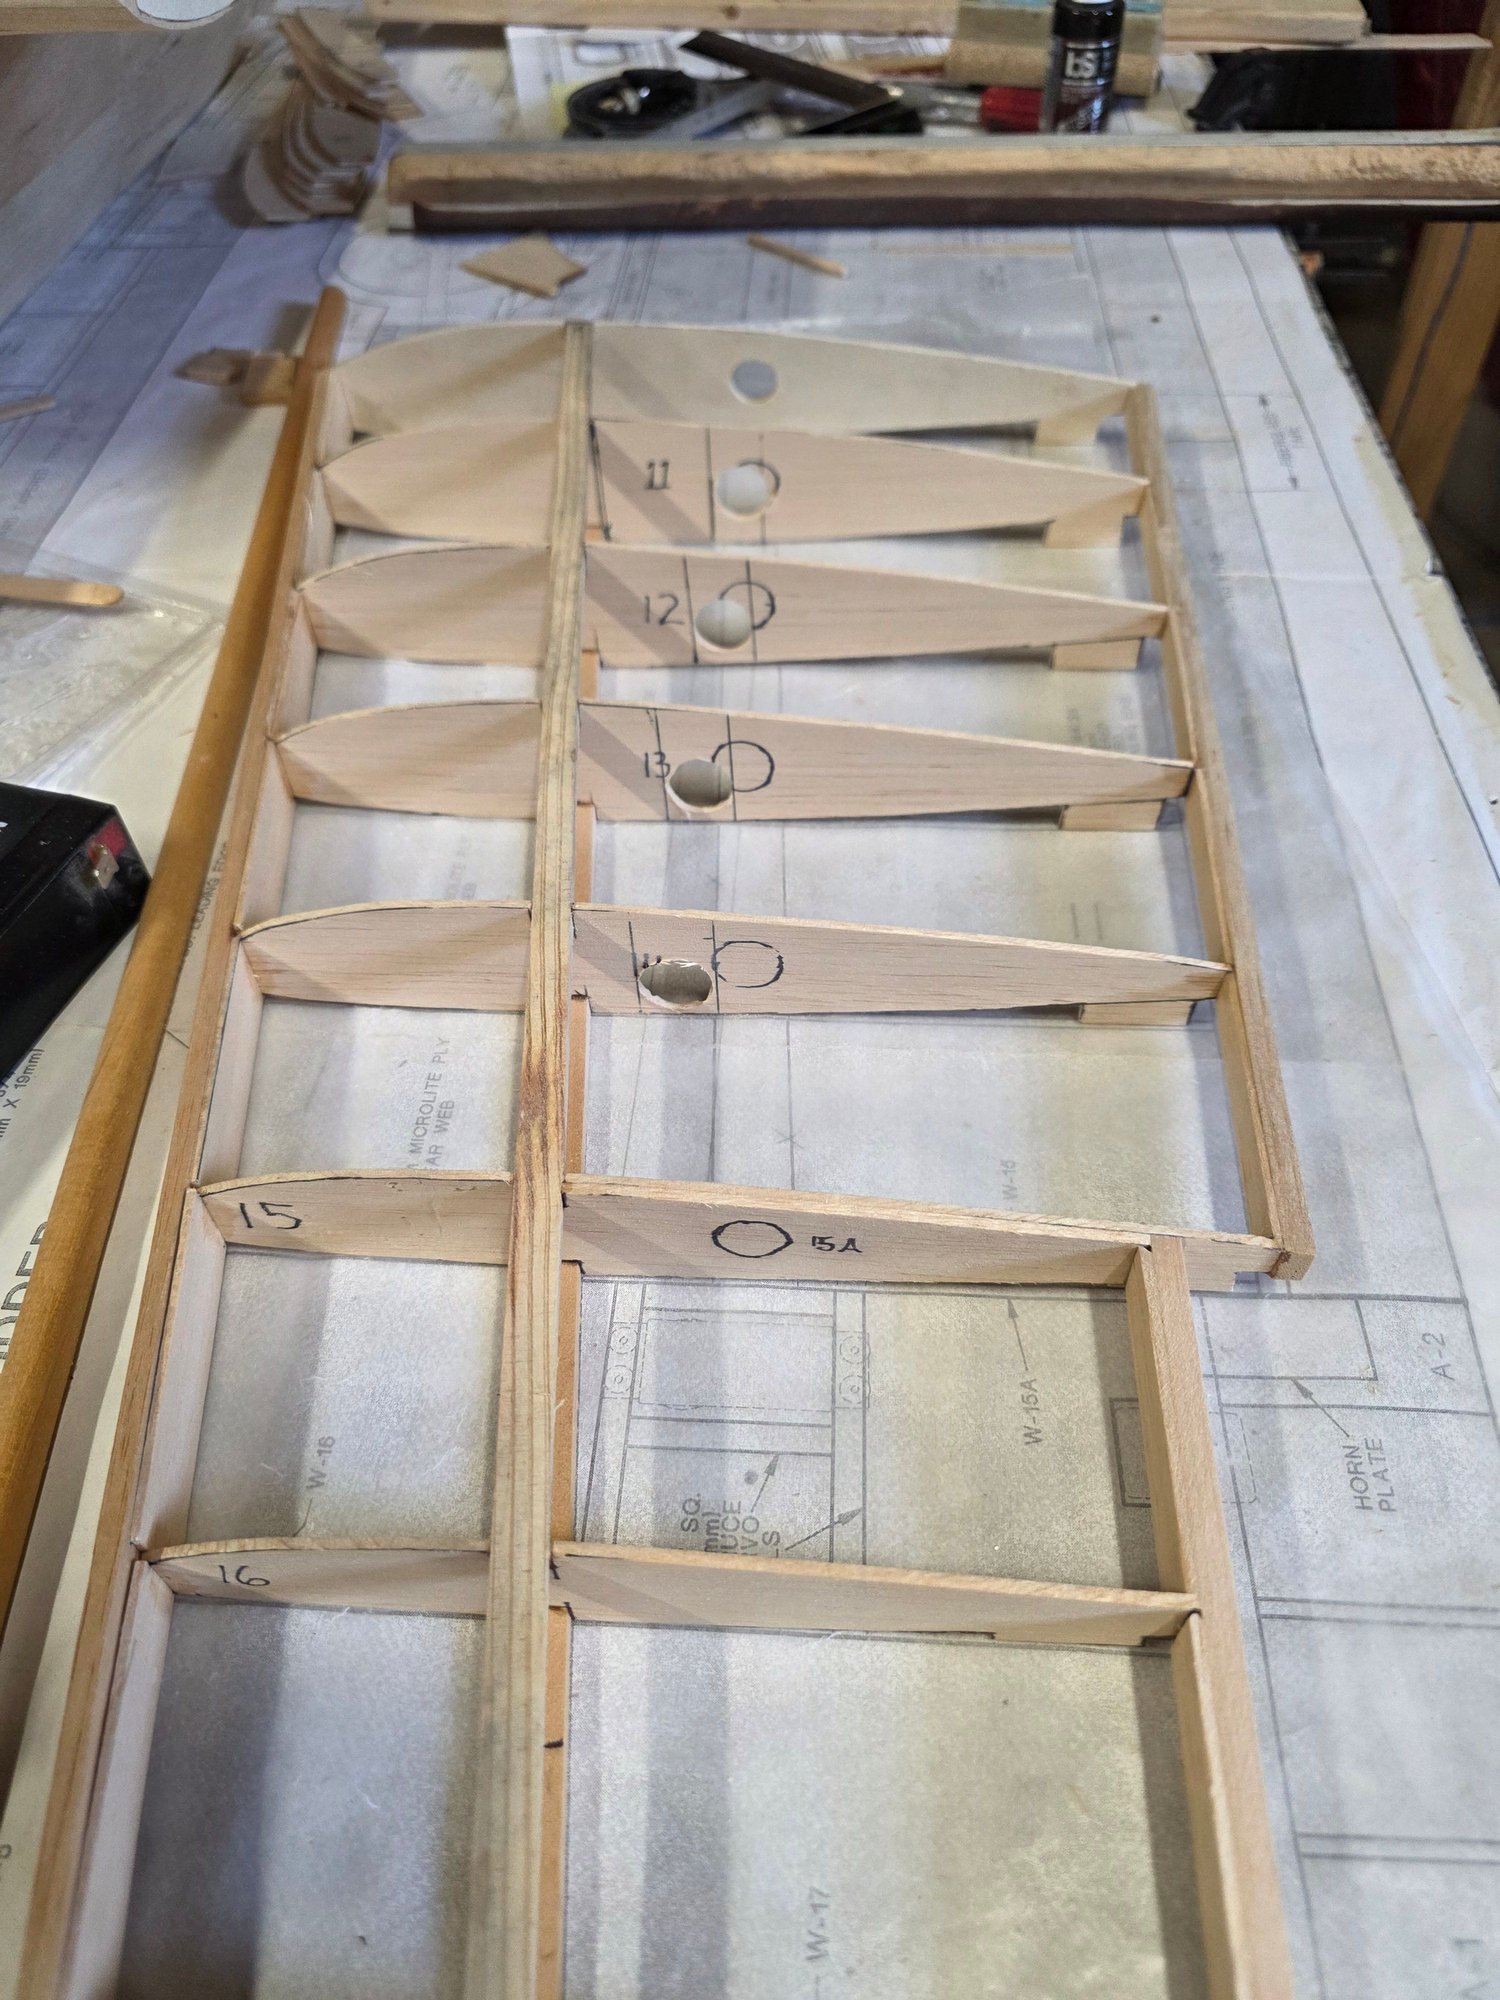
Laying out the ribs
Beginning to glue in ribs
Glue in leading and trailing edges
The incidence gauge
Setting rib #10
fitting the outboard wing and lining up the holes for a wing tube.
01-03-2026 | 04:56 PM
#14
Thread Starter
My Feedback: (1)
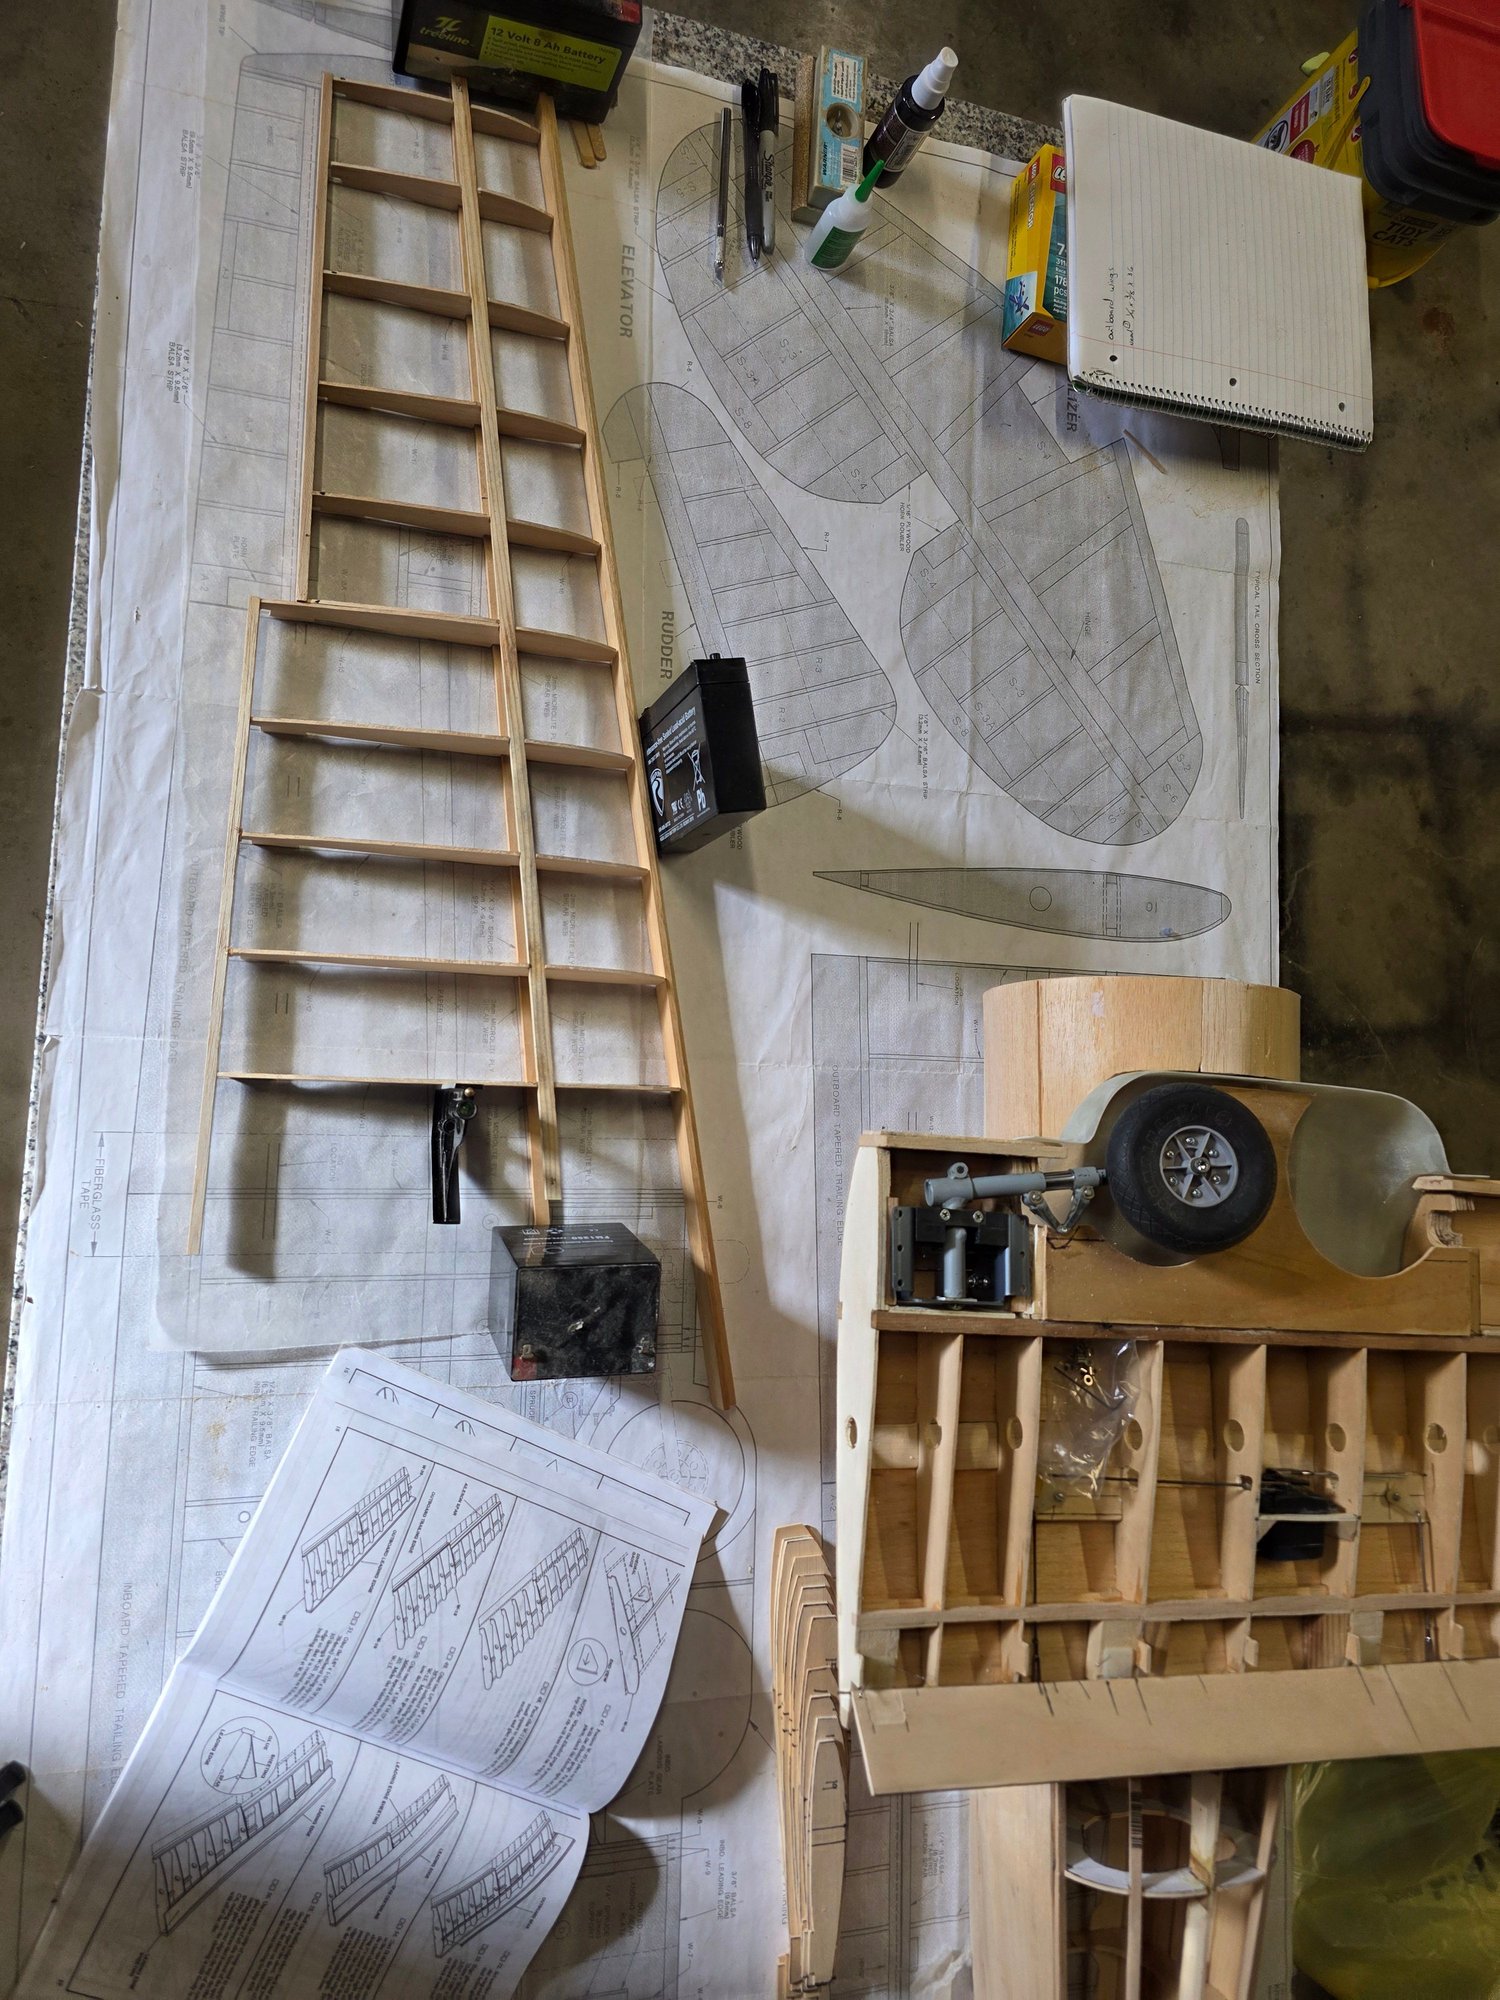
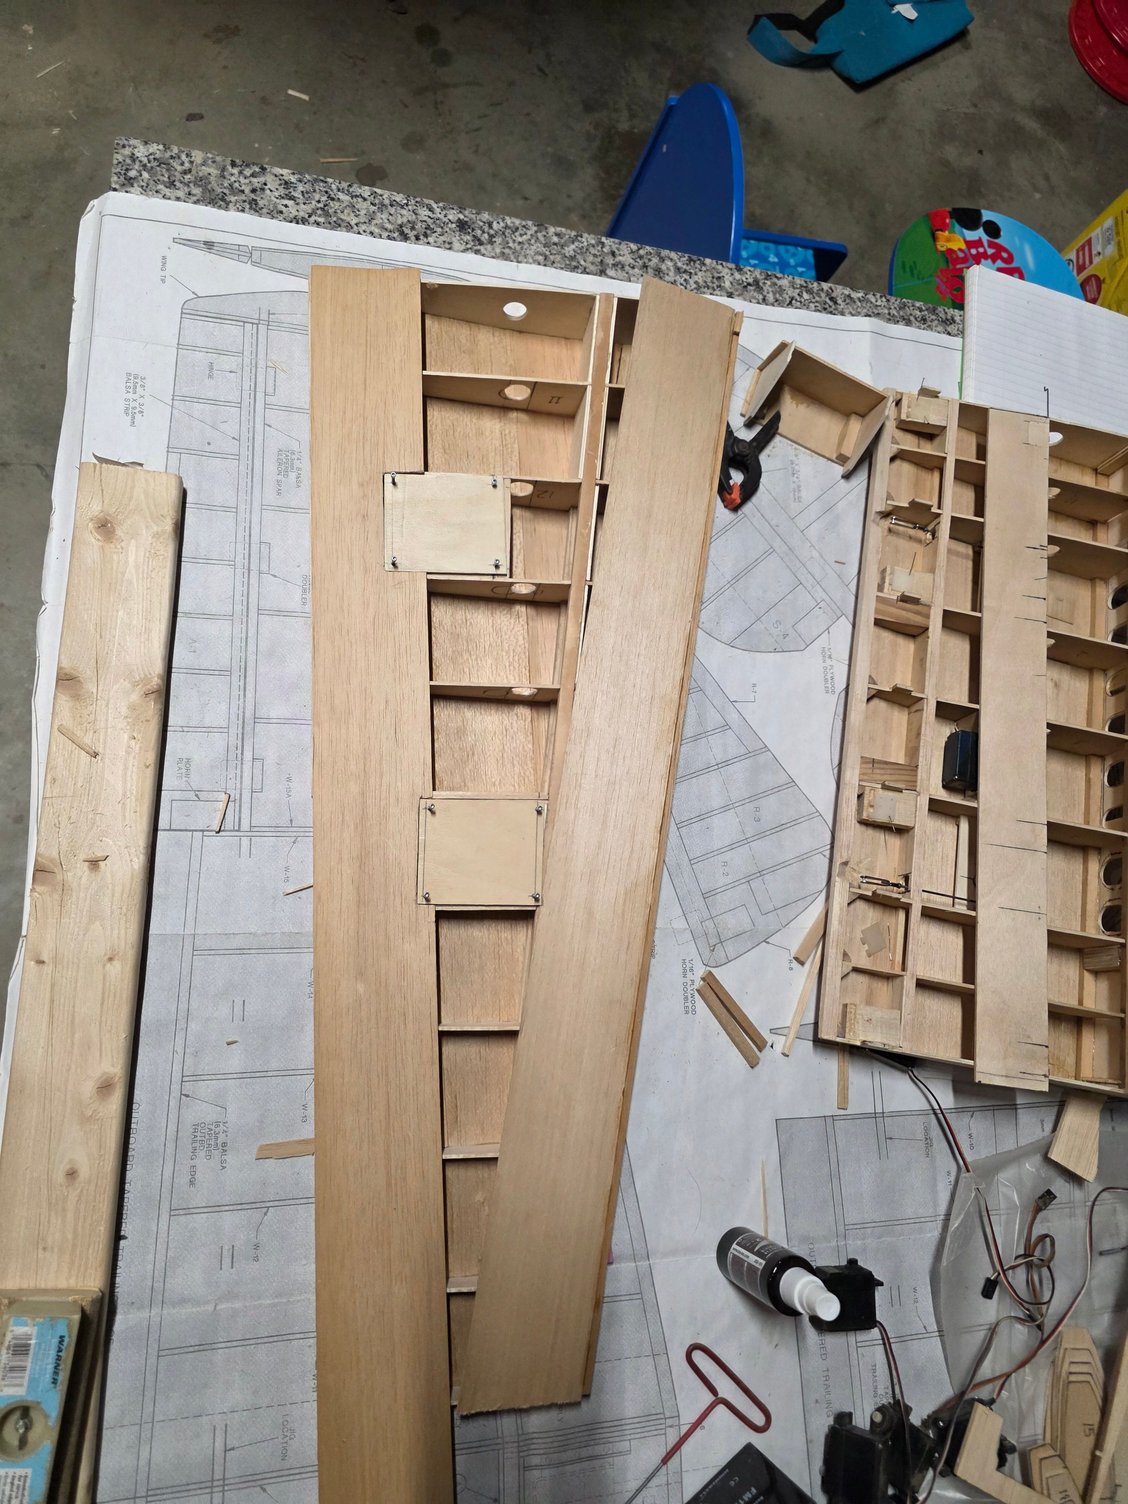
Well after a good days worth of roughing in flaps and getting the wing all laid up and glued here are the photos,

Top side sheeted
servo hatch cover
the servo boxes
sheeting the bottom of the outboard wing
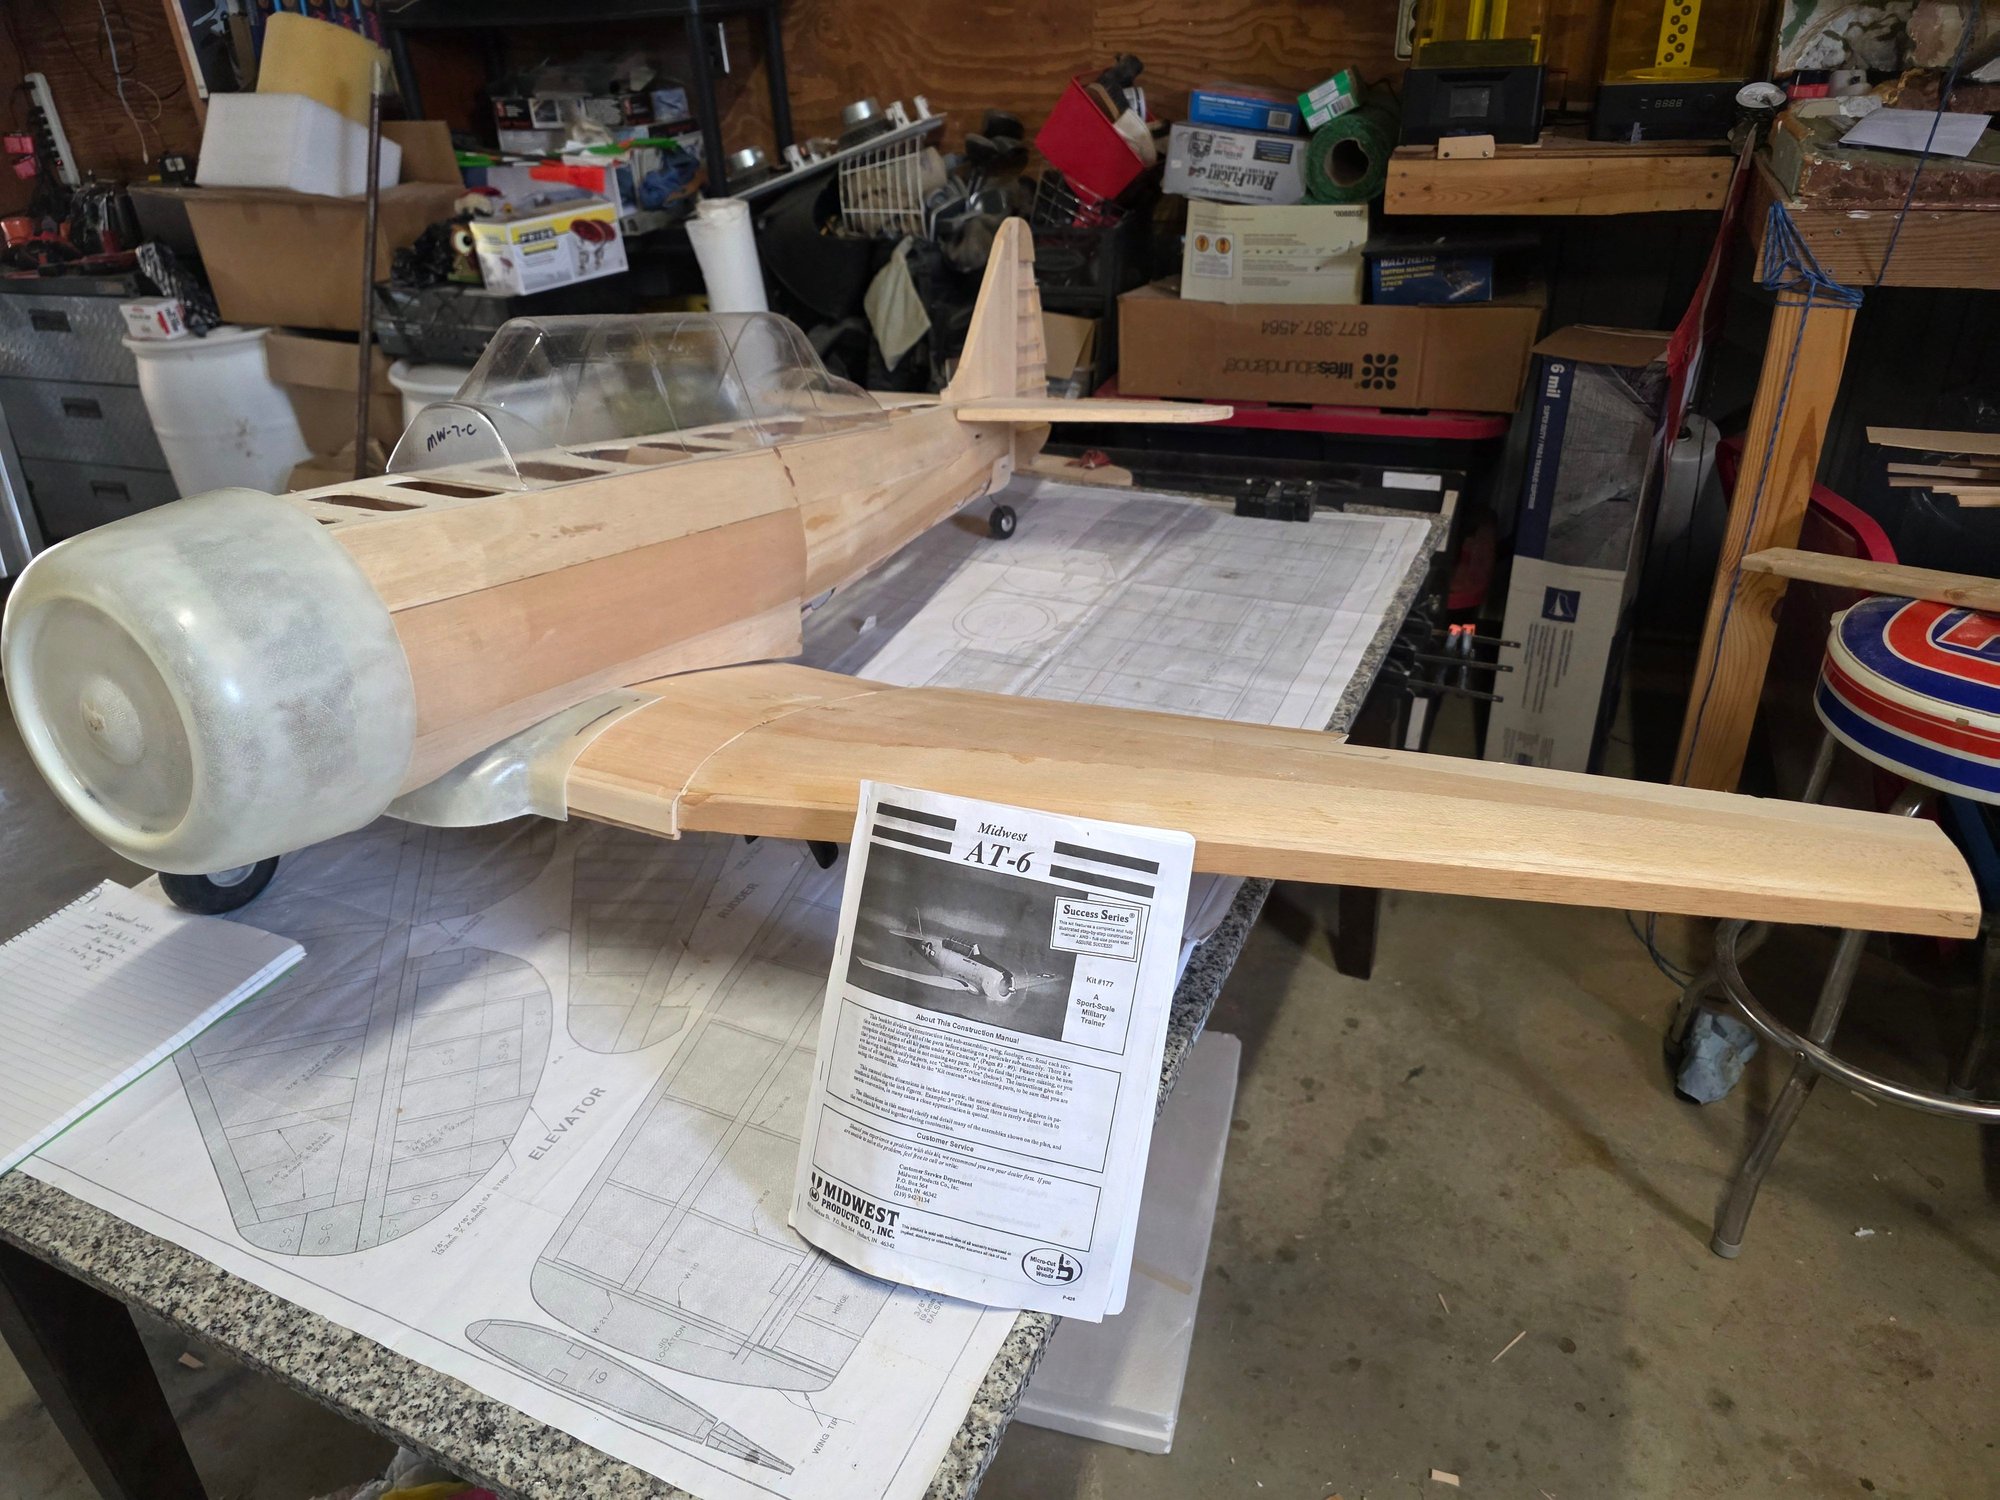
a quick updated preview ot the T-6
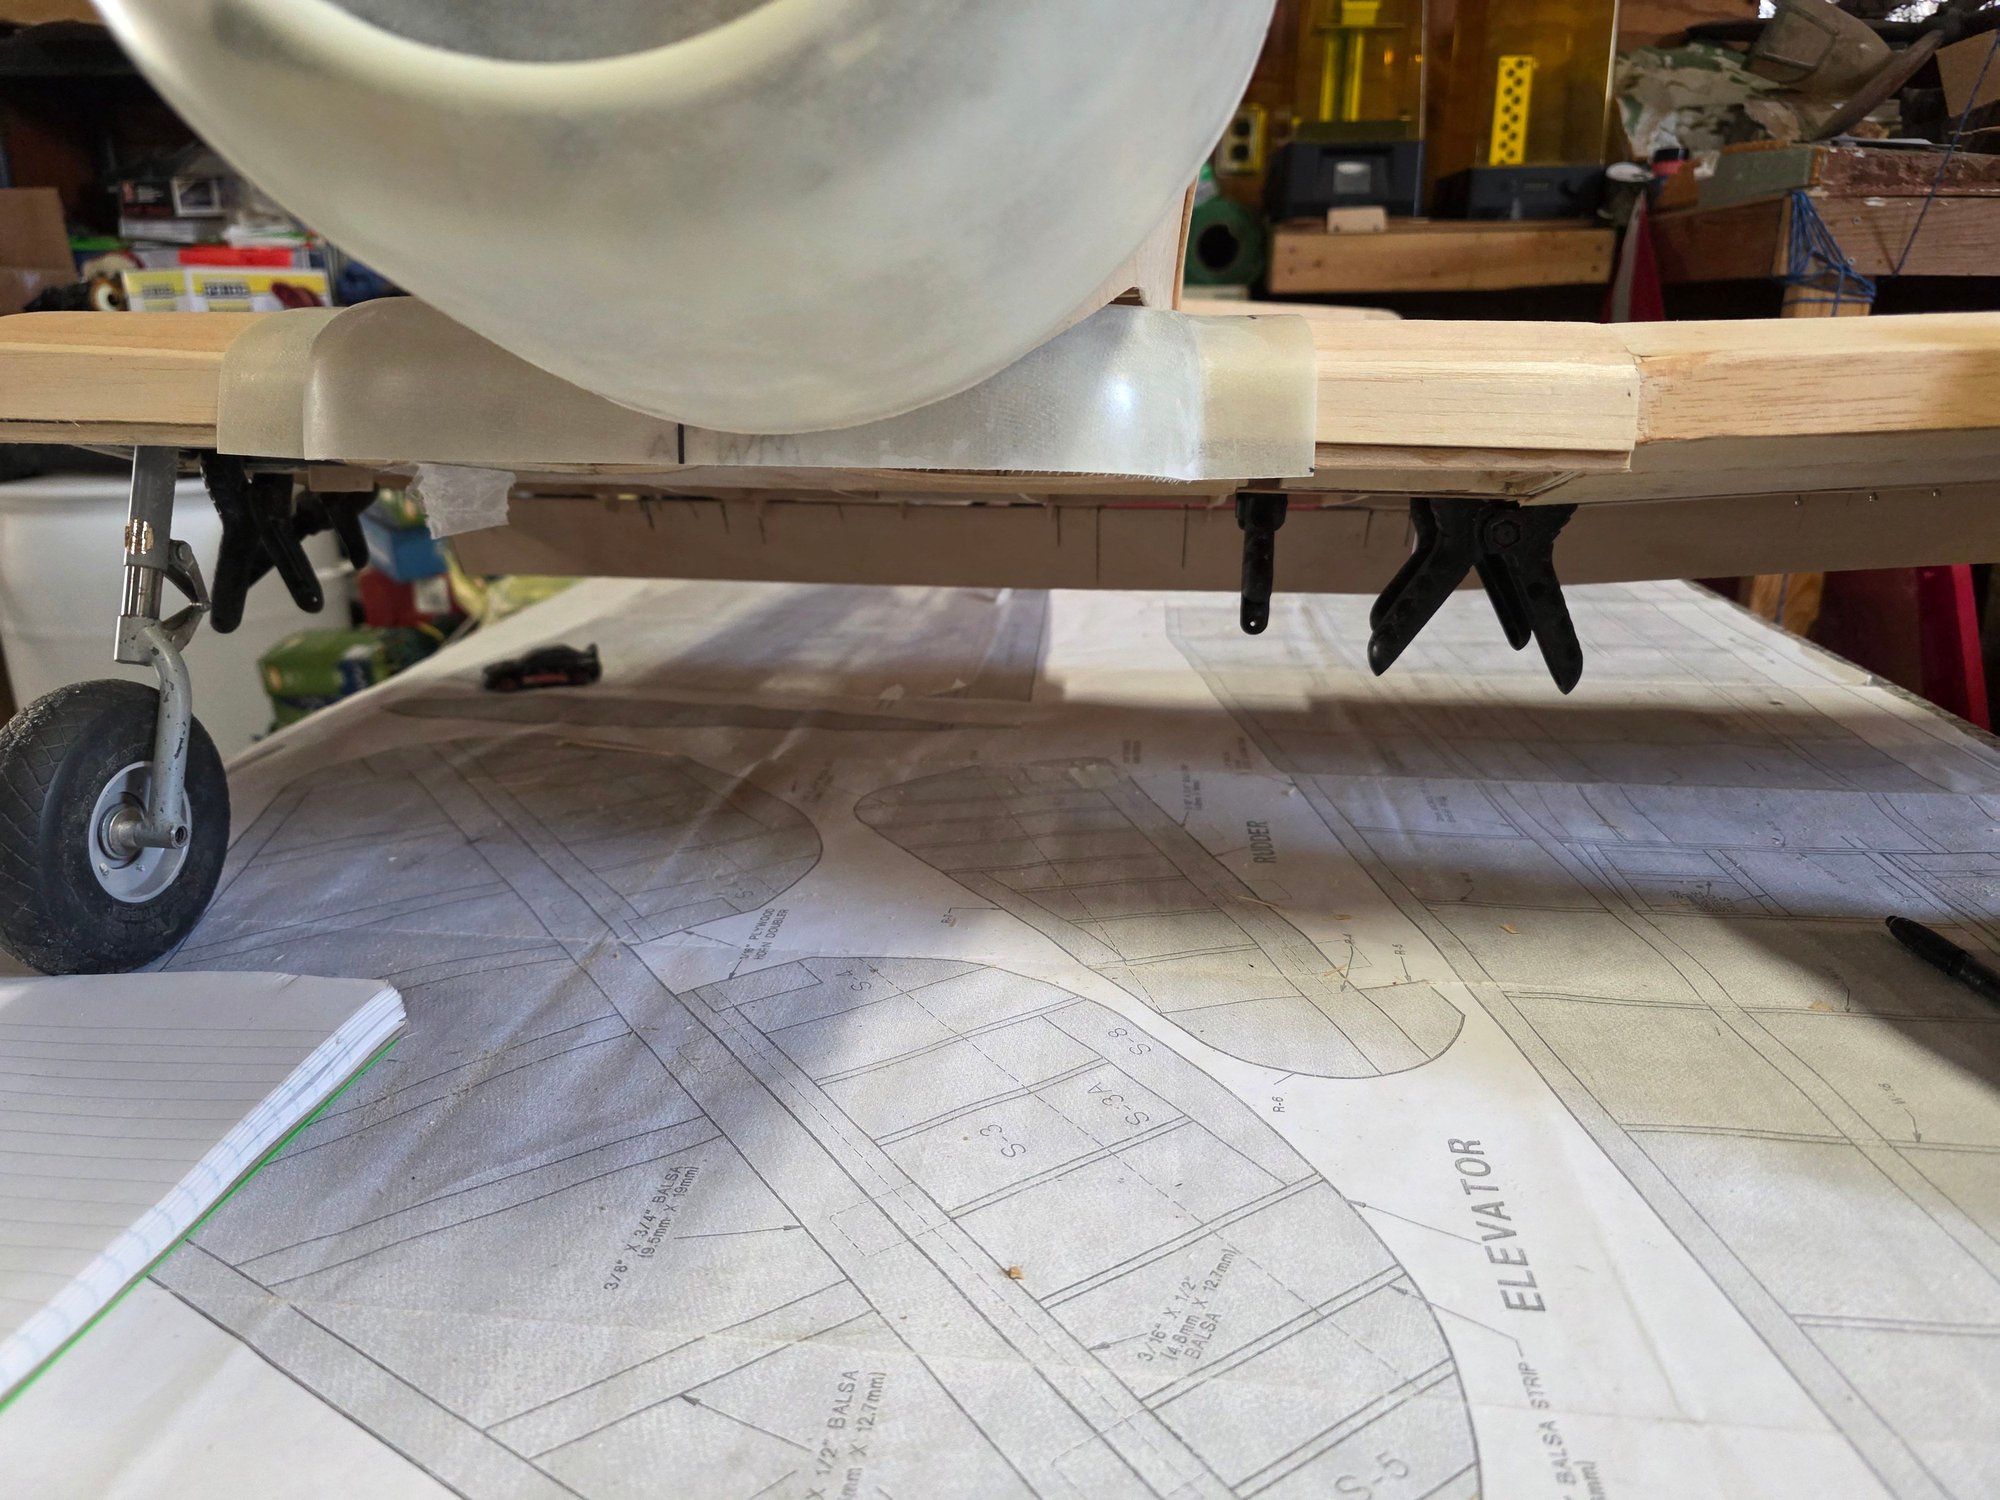
Still searching for the left main retract. You can see the flaps dropping underneath
a look from the side along the flaps
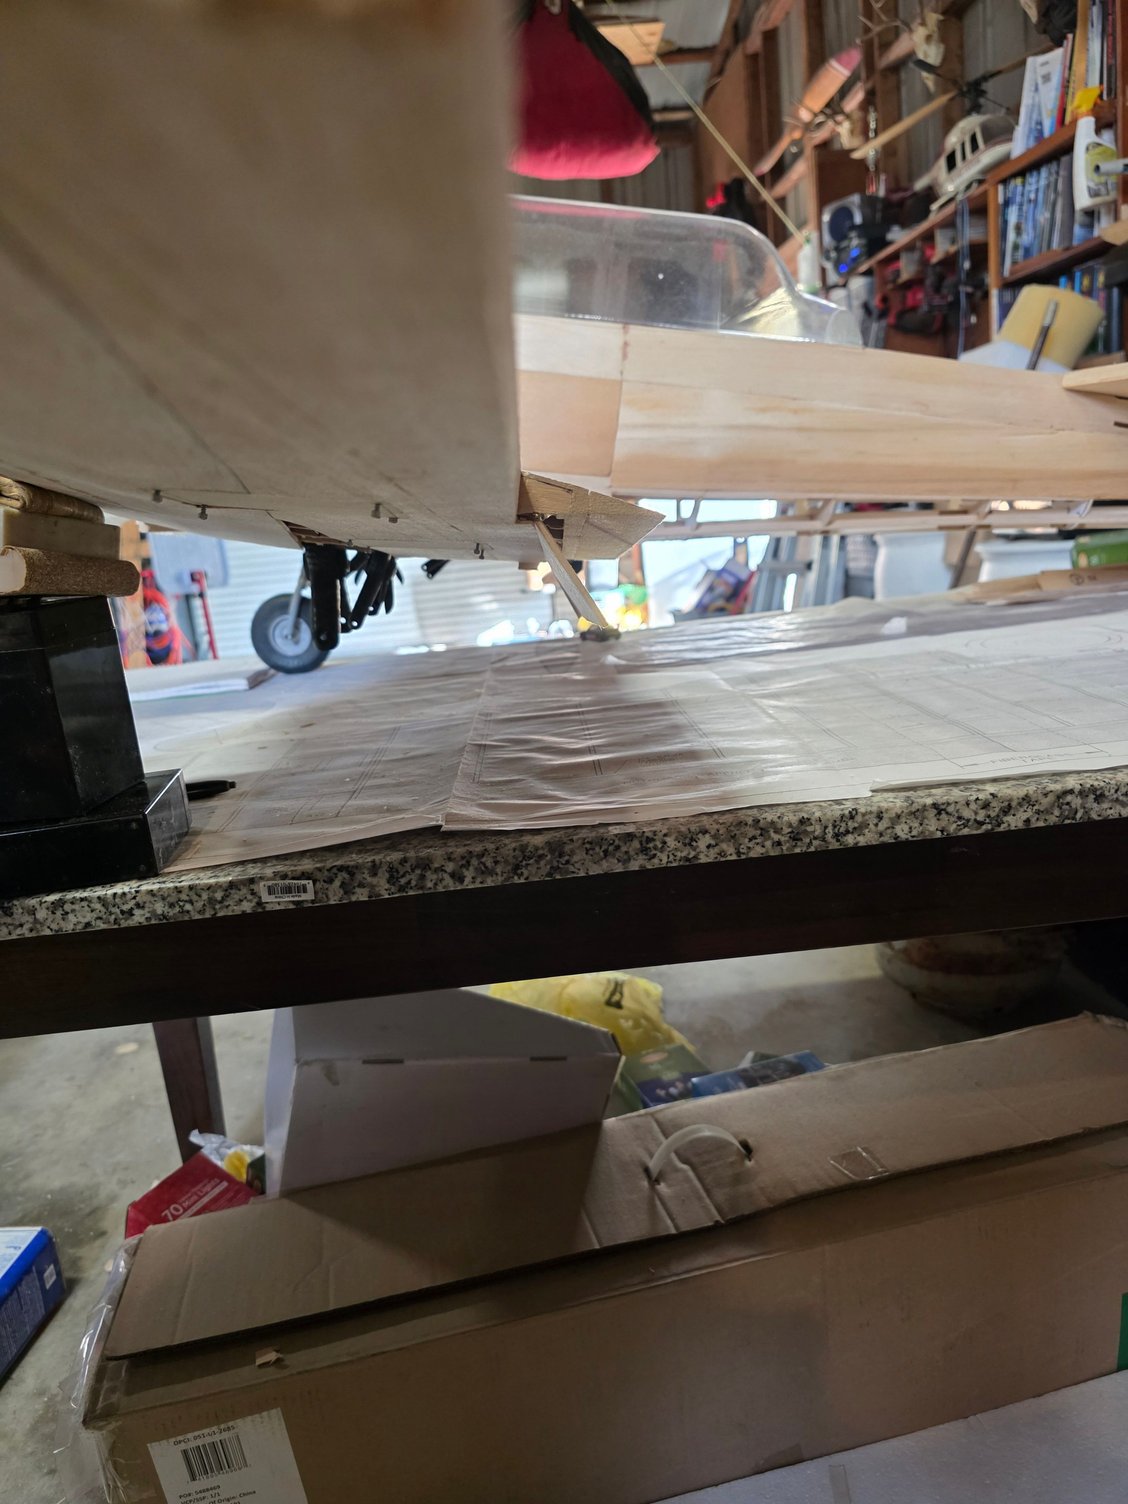
up to closing the wing completely up. I'm waiting on a carbon fiber tube for the wing tube fit into the outboard section before i finish closing it up. I had to run to the hobby store to replenish my stock of ply, hardwood sticks and sheets of balsa.
Top side sheeted
servo hatch cover
the servo boxes
sheeting the bottom of the outboard wing
a quick updated preview ot the T-6
Still searching for the left main retract. You can see the flaps dropping underneath
a look from the side along the flaps
up to closing the wing completely up. I'm waiting on a carbon fiber tube for the wing tube fit into the outboard section before i finish closing it up. I had to run to the hobby store to replenish my stock of ply, hardwood sticks and sheets of balsa.
02-01-2026 | 03:50 PM
#15
Thread Starter
My Feedback: (1)
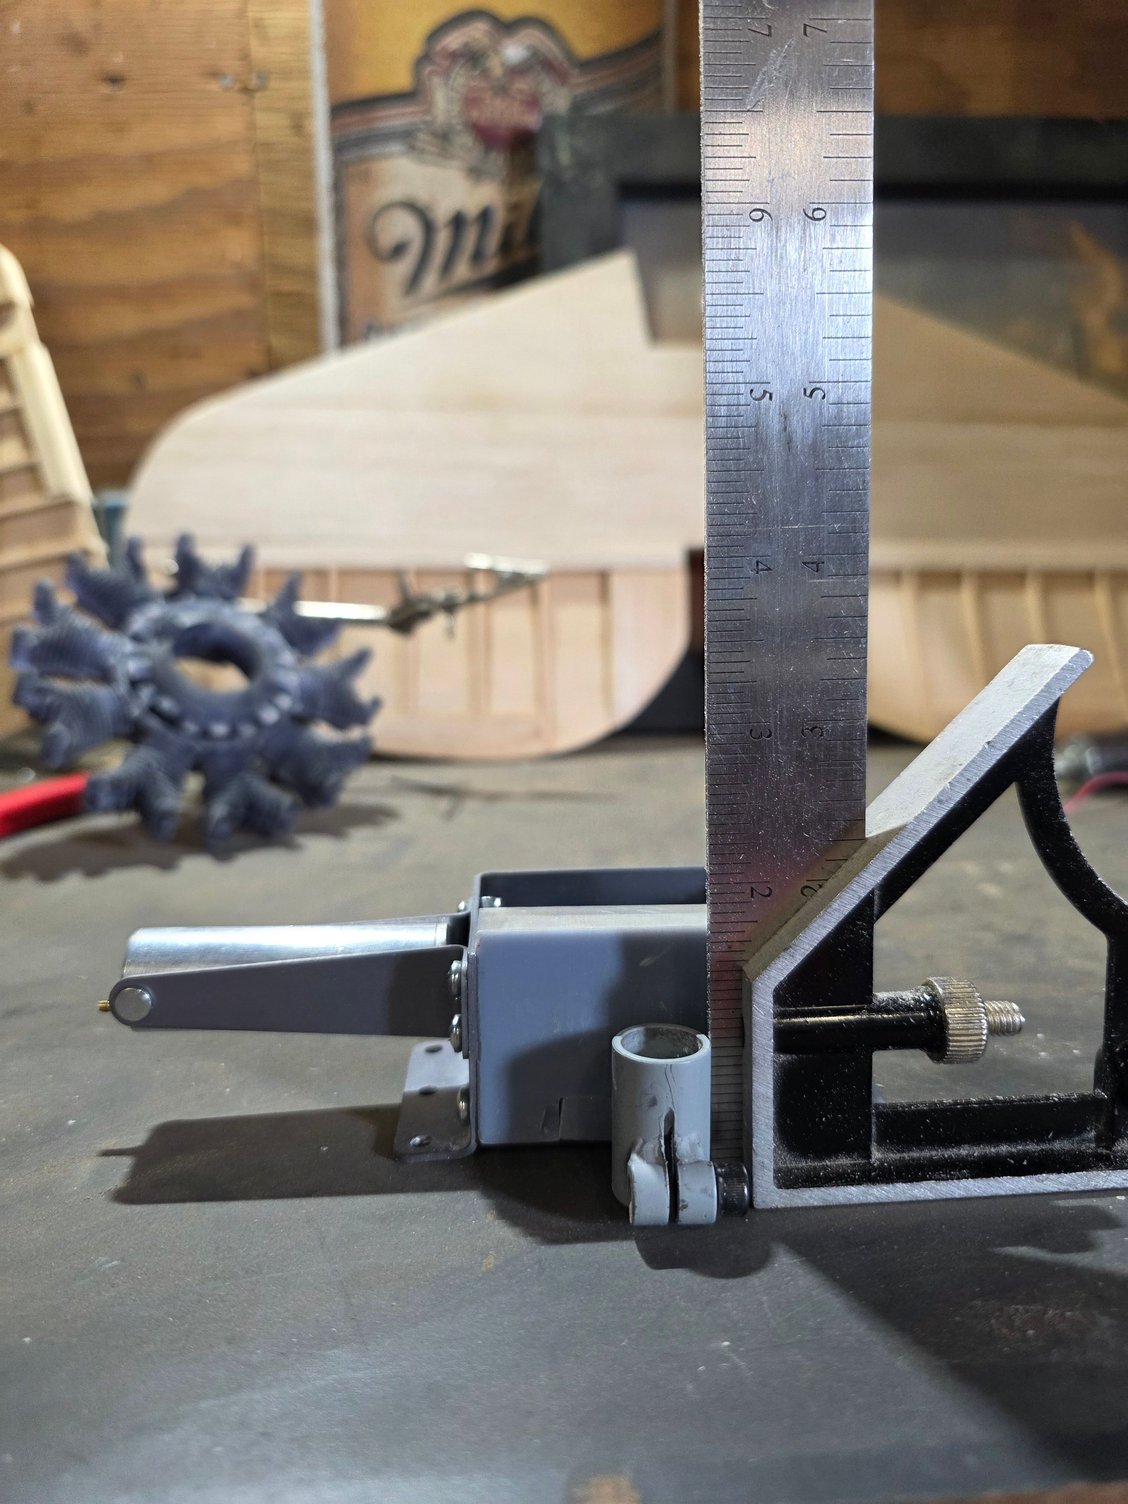
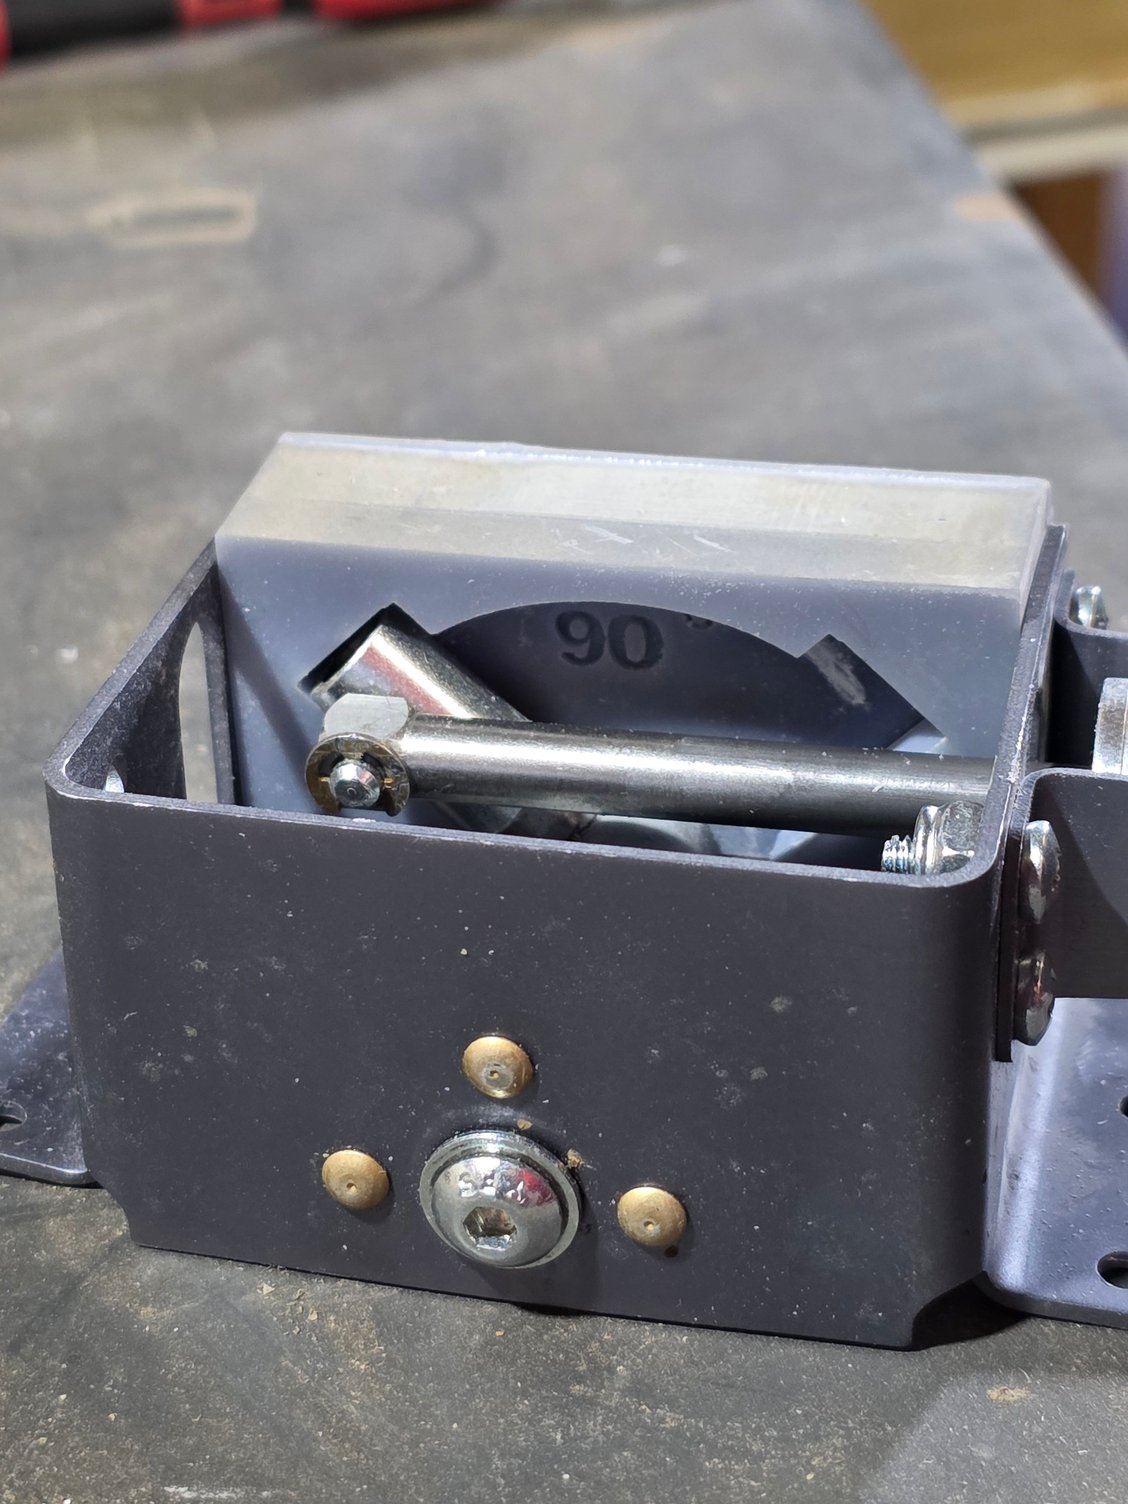
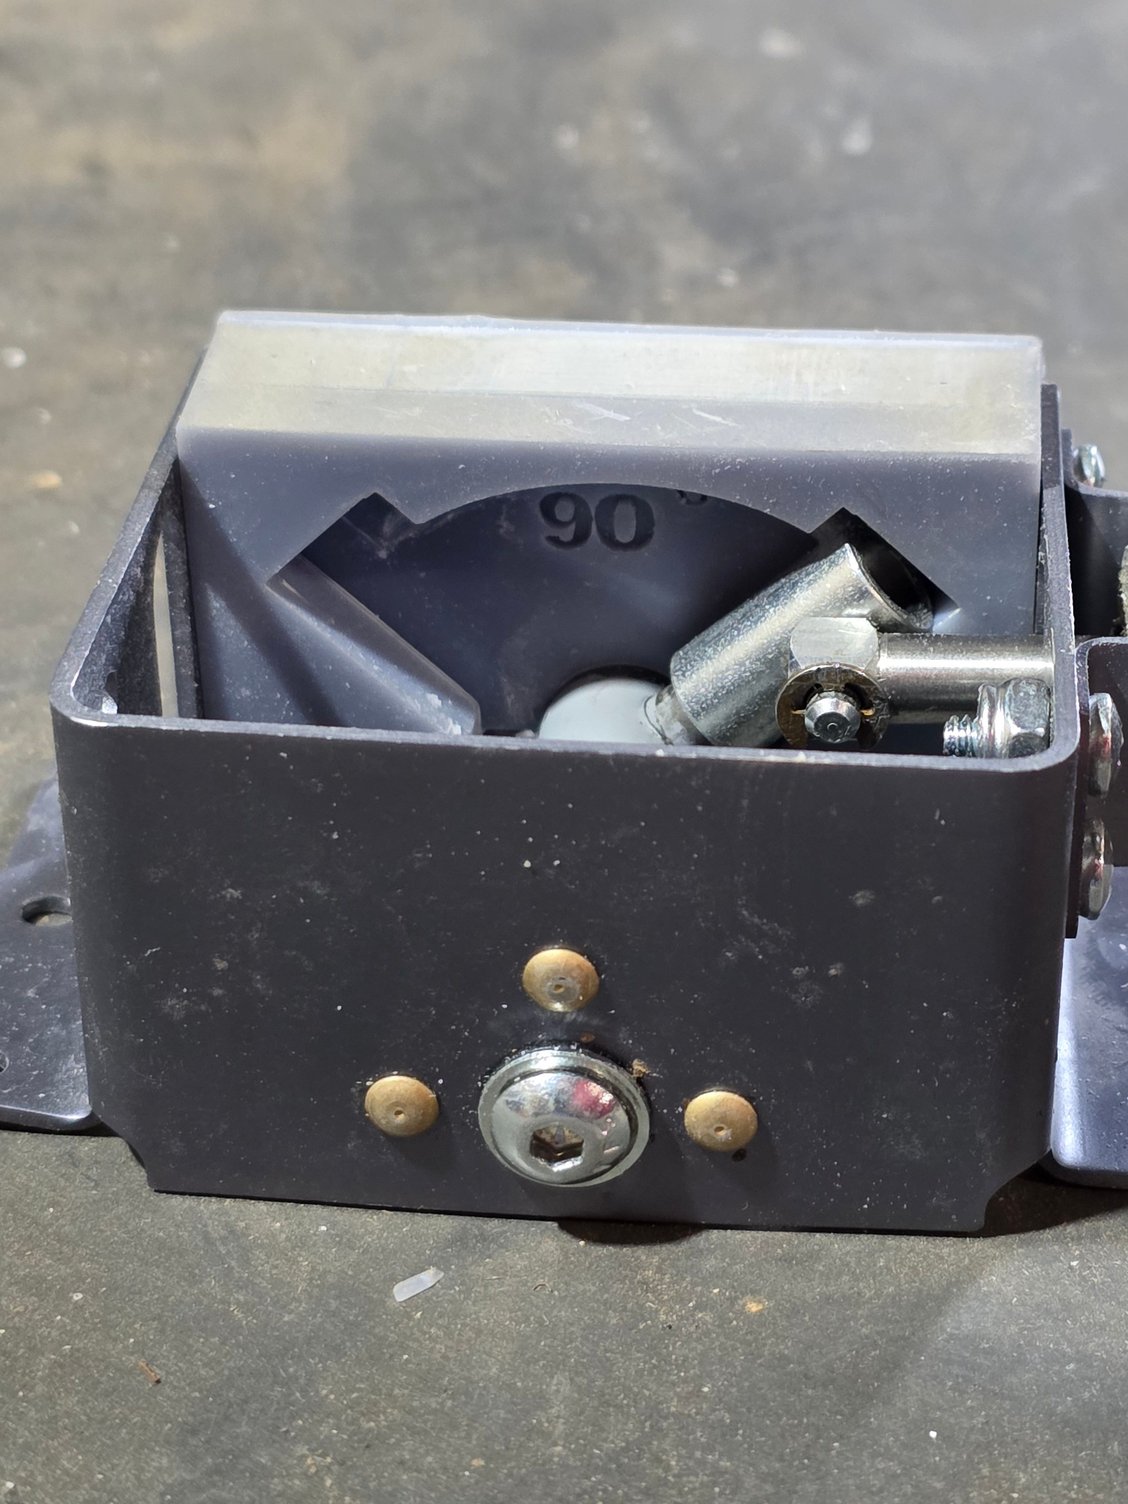
[size=13px] So I only had one Robart 620 retract for the T6. I've been watching and watching and watching the different forums and ebay for a set. I ended up buying the one I have off ebay. I bought a set of 85 degree retracts several months later with hopes of being able to find a 90 degree block to swap out. The company that bought the rights to the Robart Retract and strut line are not producing the T6 620 Retract however they do produce an aluminum 90 degree block for a meer 75 dollars. I then turn to the different 3d file websites in hopes of someone who has already designed the 90 degree block well no luck there either. So Tinkercad I go. I spent the better part of two days designing and printing a couple of different tries at getting the block right. The third printed block turned out almost perfect. The following photos are of the finished product. I left my design in a couple of files to be able to quickly change the angle from 90 degree to what ever. Not sure yet but for those who can 3d print I may sell the files a for a whole lot less than what High via is selling their aluminum block for but then again Iay just strat doing a original robart repair business.on the side who knows.[/size]
02-10-2026 | 12:50 PM
#17
Joined: May 2015
Posts: 10
Likes: 0
Received 0 Likes
on
0 Posts
Hi SCrawford
I have a midwest AT6 mostly complete framework (wing panels ready to join. 3 flaps created with servos in wing, Robart Retracks(never used) with hoses, canasters, valves, and scale wheels,
complete electrical lighting system, scale light cutouts in wing, scale aluminum aileron hinges, freize ailerons, fiberglass cowl and wheel fairing, body modified for full size airmen. Plane is modified for electric e-flite 1.6 and 2 5 cell batteries. I have proper fiberglass for covering and all servos. Wanting to sell for $550 without motor and batteries. I can give you dimensions, weight and pictures for aluminum extended motor mount which fits the cowl and balances. If you are interested or know of anyone, its a good deal
Thanks Andy
Last edited by AndyNealG; 02-10-2026 at 12:59 PM.


