


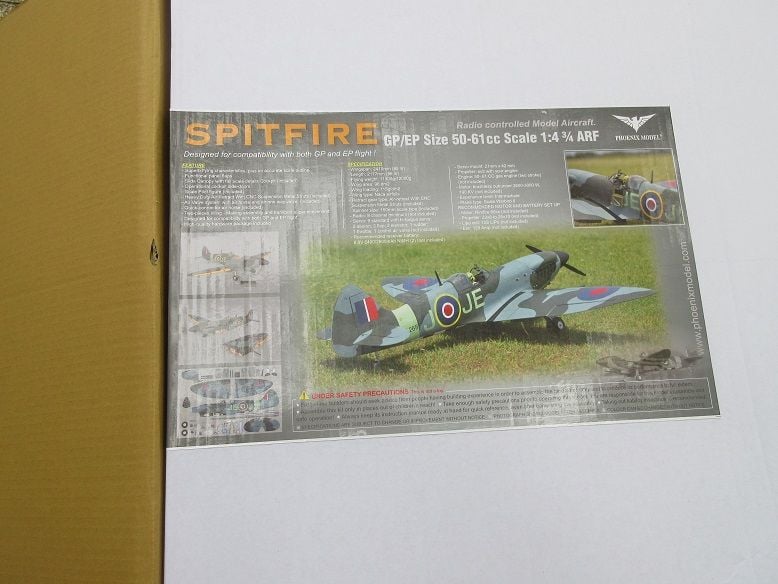
Spitfire arf 95" phoenix assembly
 07-25-2018, 04:12 AM
#201
Todd,
You're right about the cowl mating the the LE of the wing.
My cowl must have been created a little too small as it is a tight fit just to get the cowl over the front of the fuse.
I'm leaving it 'as is'. The changes would only require removing the extra standoffs and shortening the linkages on the throttle/choke.
This morning, I put two new bolts for the ones that came lose. Some blue loctite should hold all the engine bolts on, now.
Think I'll leave the cowl off, again, for the next flight to make sure all's good.
Need to make some wing and tail feather covers.


 07-25-2018, 03:05 PM
#203
Dan,
We did that at the field. It was leaning some but it was helping the needed left aileron.
===========
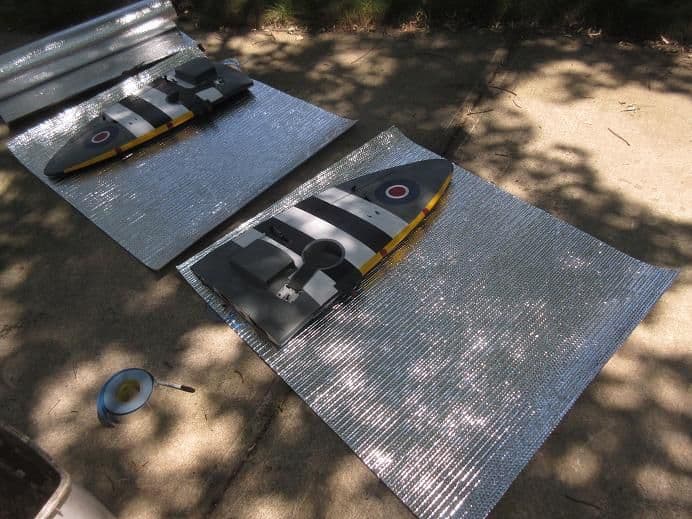
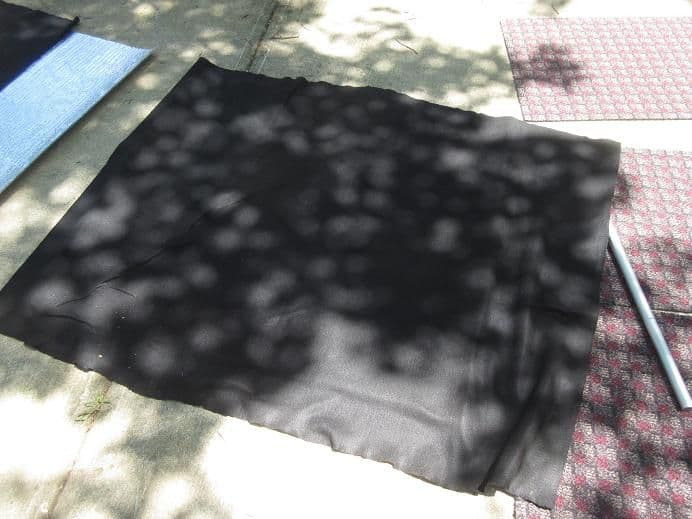
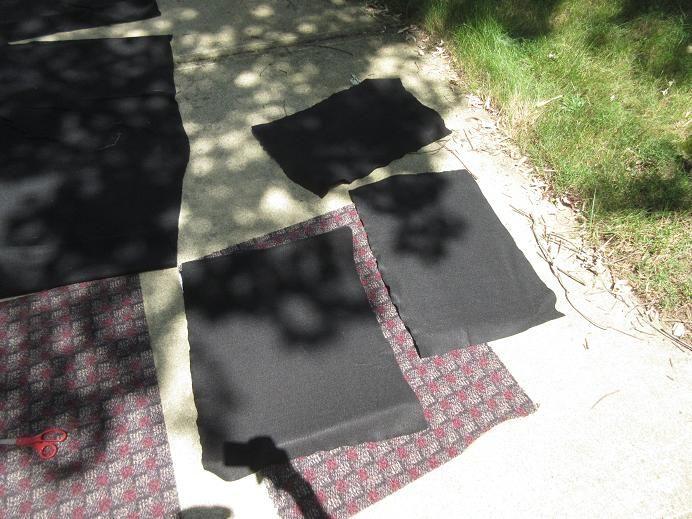
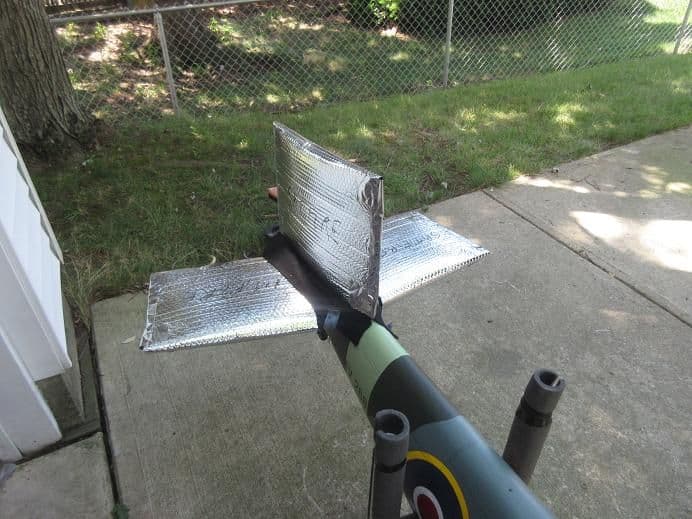
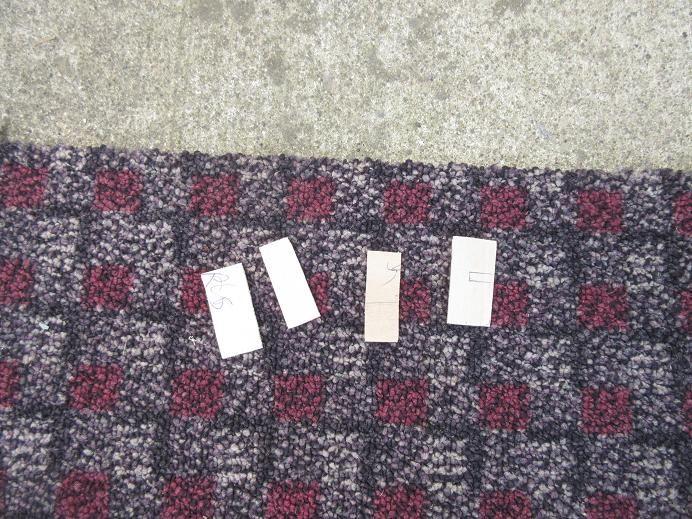
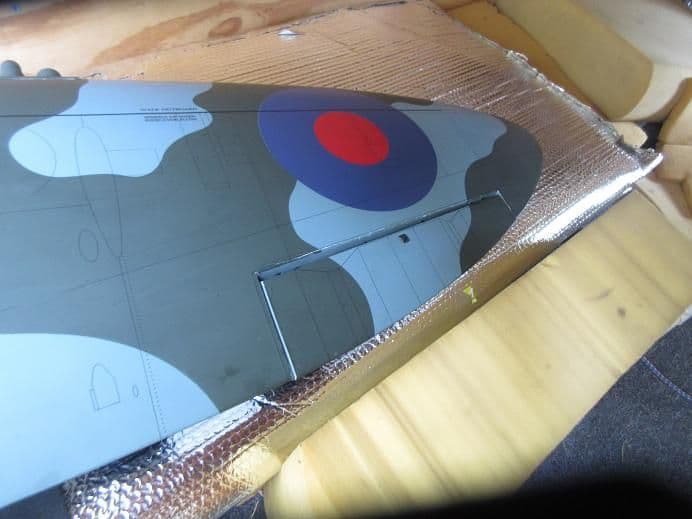
Wing/tail feather protectors.
Materials needed, plus aluminum tape.
Insulation at HD, 3M spray adhesive and felt cloth.
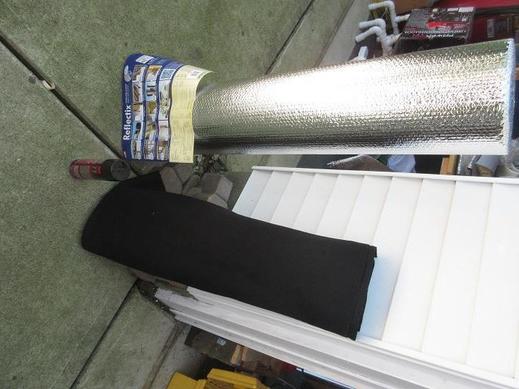
Best to have the insulation 'weave/grain' along the length to aid in folding in half.
Spray the the 3M to the insulation (not needed on felt) and apply the felt.
No need to worry about wrinkles as it's interior and the wing won't care!
Best to have about 4" too big of felt around each edge in case initial contact is off a 'bit'.
Tail feather covers.
Wings done.
Pockets for guns and wing tubes.
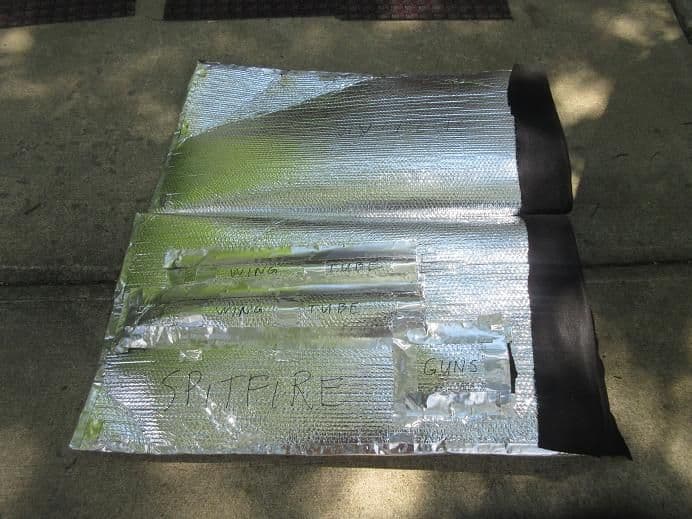
Tail feathers.
Some velcro across the felt helps keep the covers from sliding off.
We did that at the field. It was leaning some but it was helping the needed left aileron.
===========
Wing/tail feather protectors.
Materials needed, plus aluminum tape.
Insulation at HD, 3M spray adhesive and felt cloth.
Best to have the insulation 'weave/grain' along the length to aid in folding in half.
Spray the the 3M to the insulation (not needed on felt) and apply the felt.
No need to worry about wrinkles as it's interior and the wing won't care!
Best to have about 4" too big of felt around each edge in case initial contact is off a 'bit'.
Tail feather covers.
Wings done.
Pockets for guns and wing tubes.
Tail feathers.
Some velcro across the felt helps keep the covers from sliding off.
Last edited by samparfitt; 07-25-2018 at 03:33 PM.
07-27-2018, 11:04 AM
#204
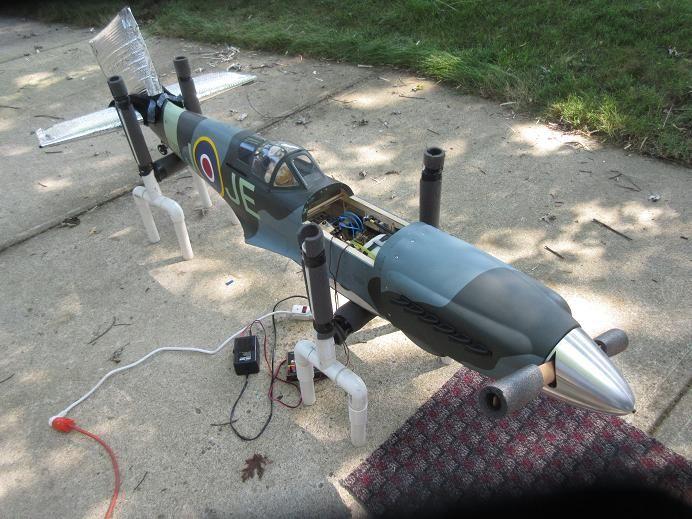
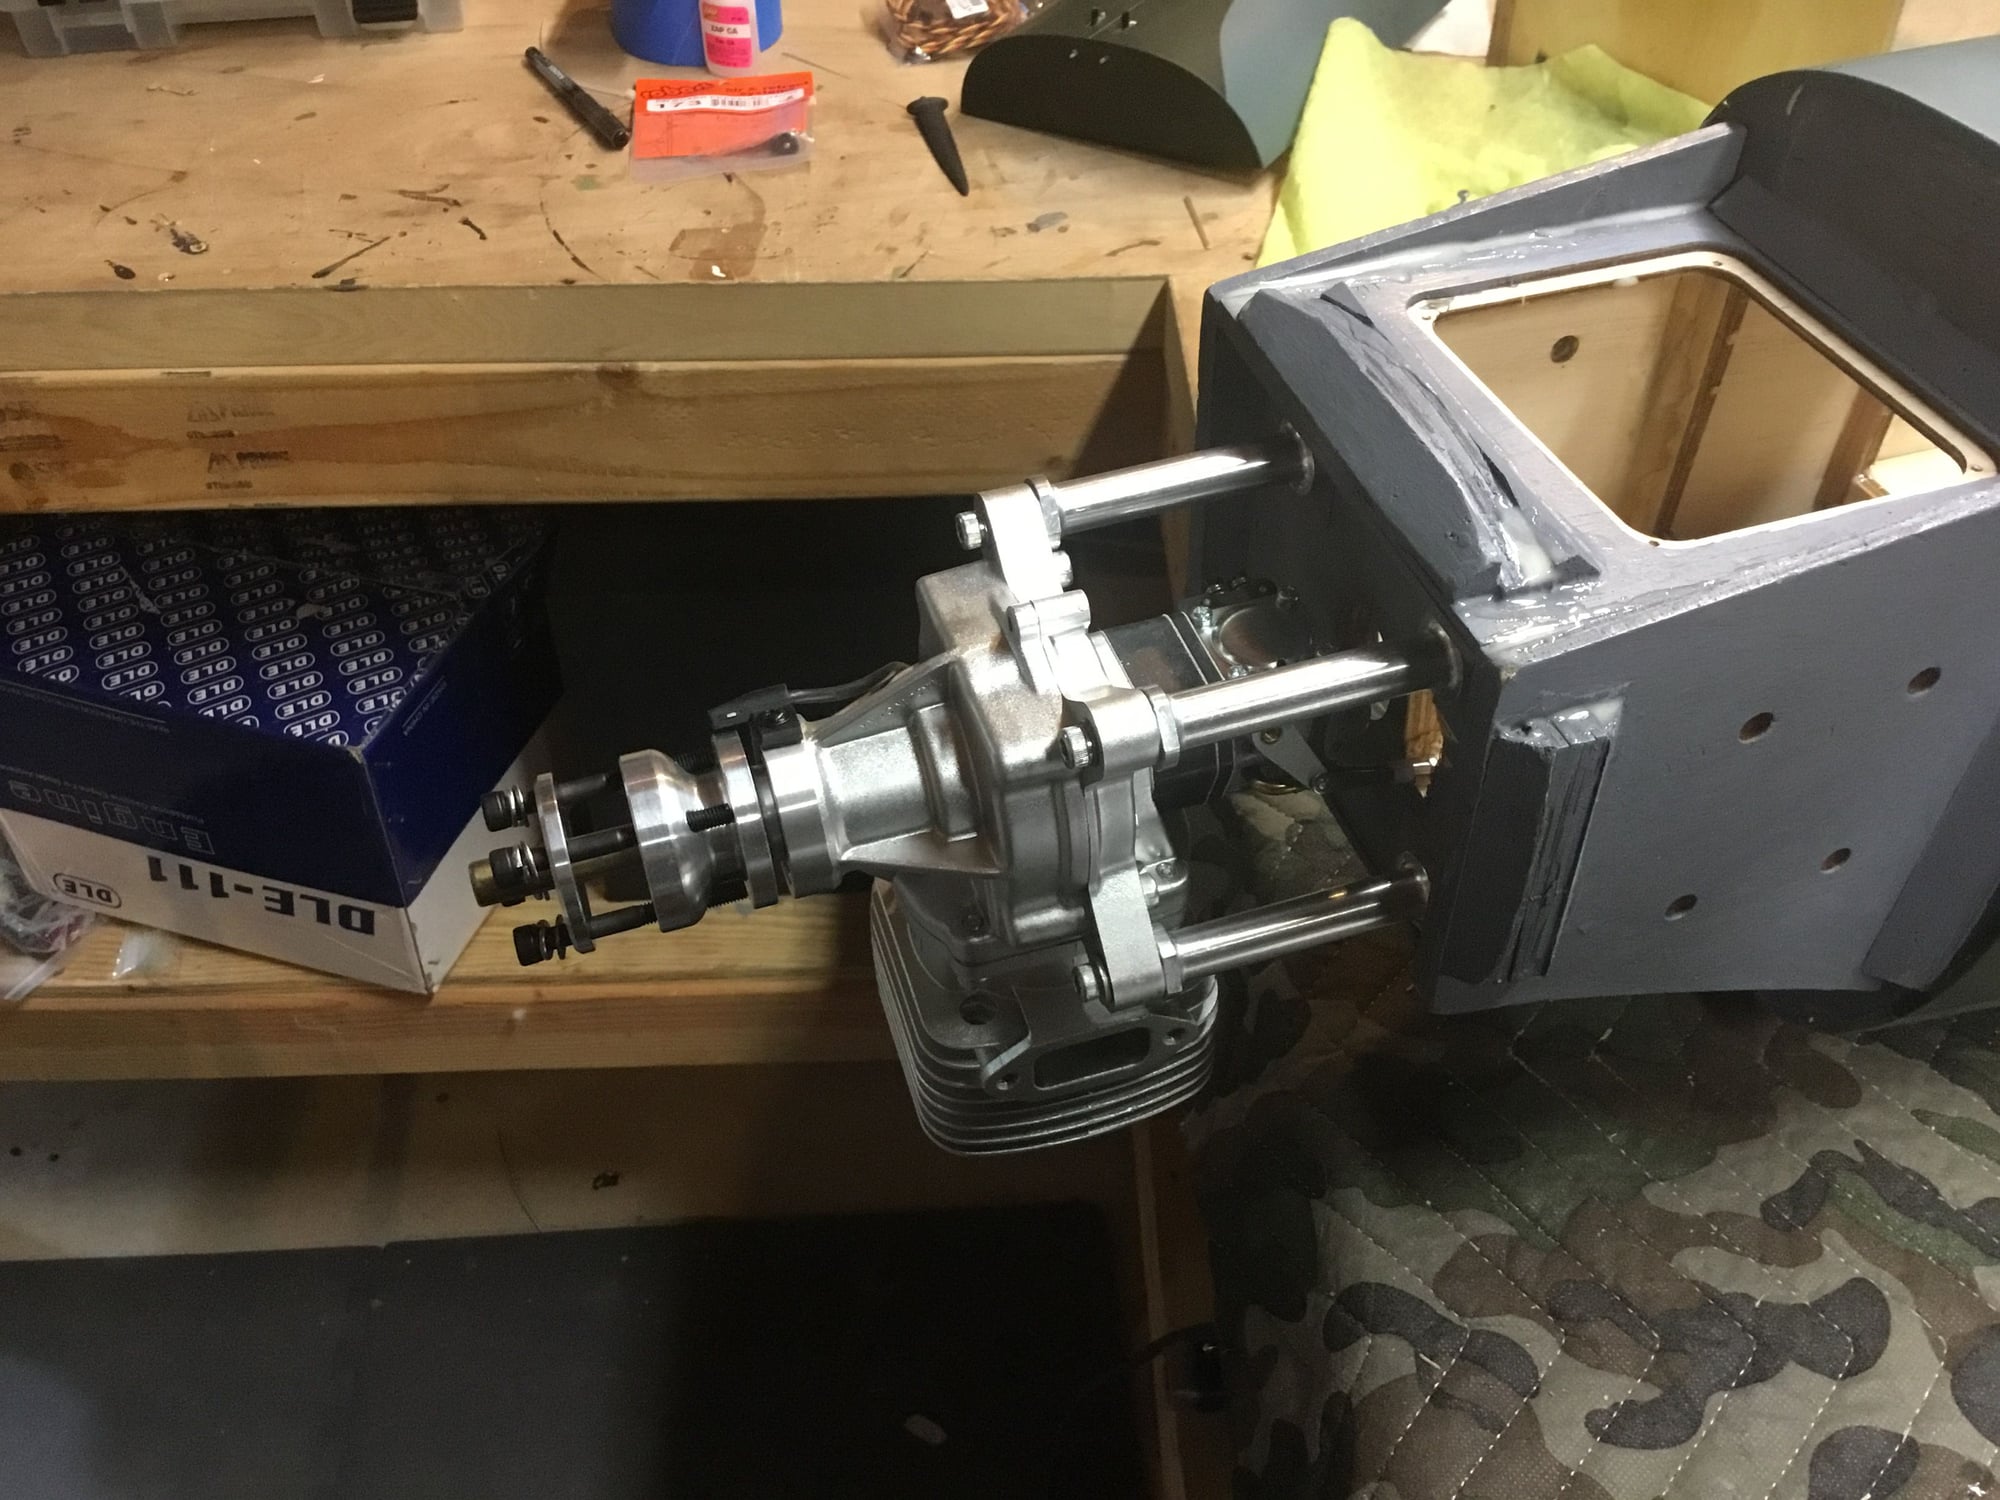
Cowl install.
Since I have the cowl out farther than suggested, I installed two pieces of T shaped ply along the sides of the fire wall so the front of the cowl can be secured and reduced vibration.
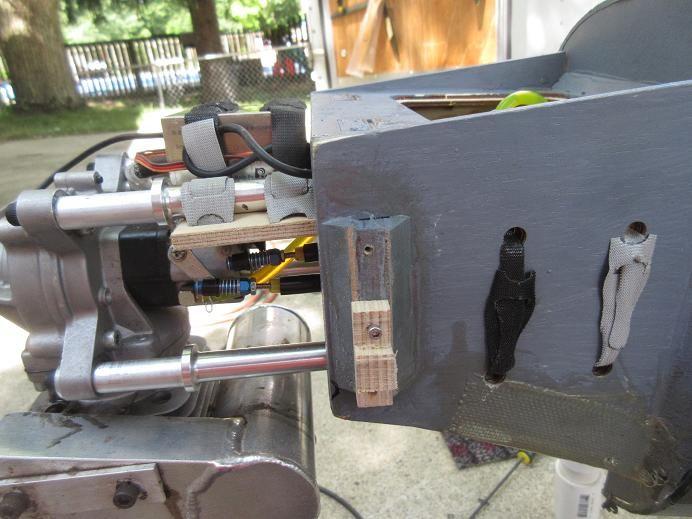
Inside view of front cowl mounts.
Along with epoxy, these were also mechanically secured.
Also, epoxied some 1/8" thick aircraft ply along the top inside of the fuse to secure the cowl.
Fuse upside down to let gravity hold the four pieces of ply while the epoxy cures.
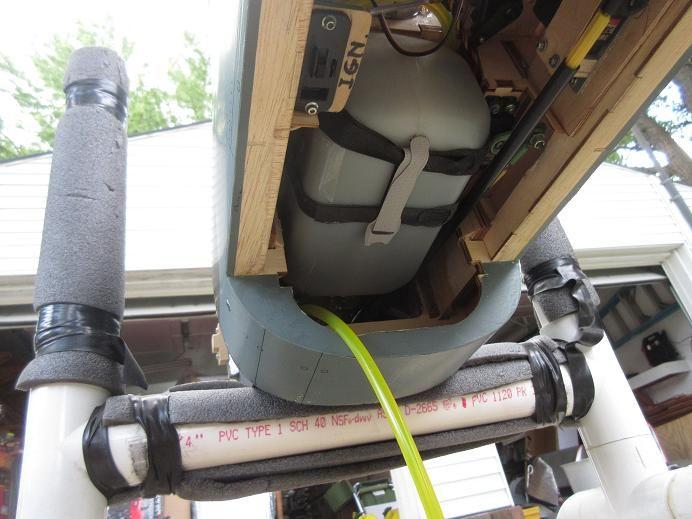
Finished product.
Used large button head screws.
Total of 10 screws holding the cowl to the fuse should 'do it'.
Presently, some hex head servo screws holding front of cowl to fuse.
Since I have the cowl out farther than suggested, I installed two pieces of T shaped ply along the sides of the fire wall so the front of the cowl can be secured and reduced vibration.
Inside view of front cowl mounts.
Along with epoxy, these were also mechanically secured.
Also, epoxied some 1/8" thick aircraft ply along the top inside of the fuse to secure the cowl.
Fuse upside down to let gravity hold the four pieces of ply while the epoxy cures.
Finished product.
Used large button head screws.
Total of 10 screws holding the cowl to the fuse should 'do it'.
Presently, some hex head servo screws holding front of cowl to fuse.
Last edited by samparfitt; 07-27-2018 at 11:08 AM.


 07-30-2018, 06:03 AM
#206

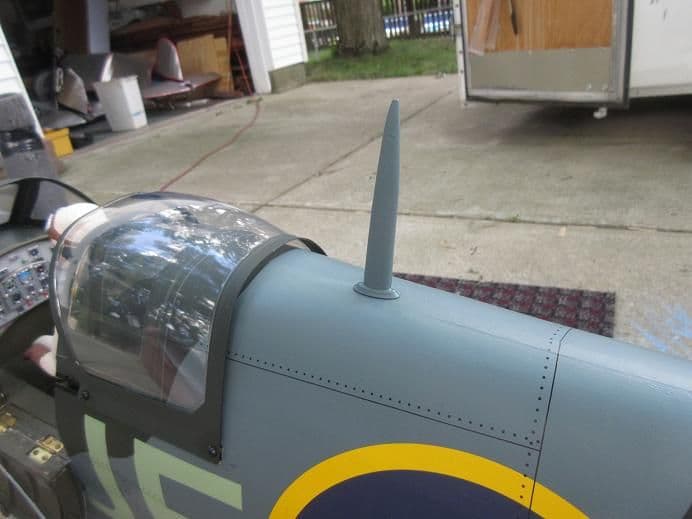
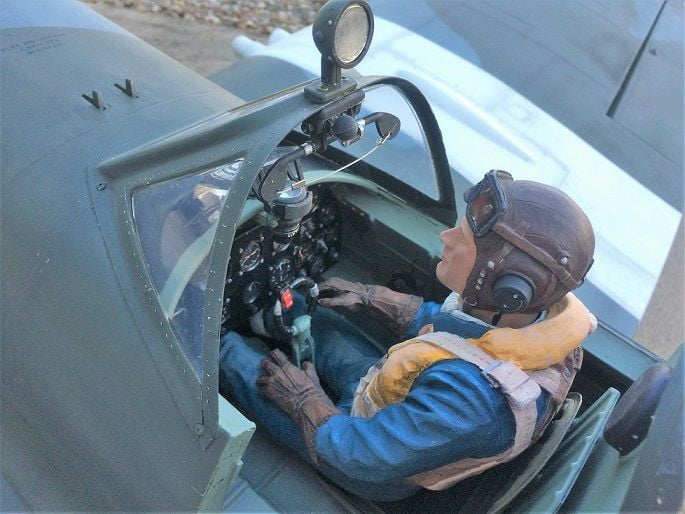
I didn't mount my antenna because it was not the correct type for the Mk14 I was representing with my scheme. I did spend some time upgrading the cockpit though.
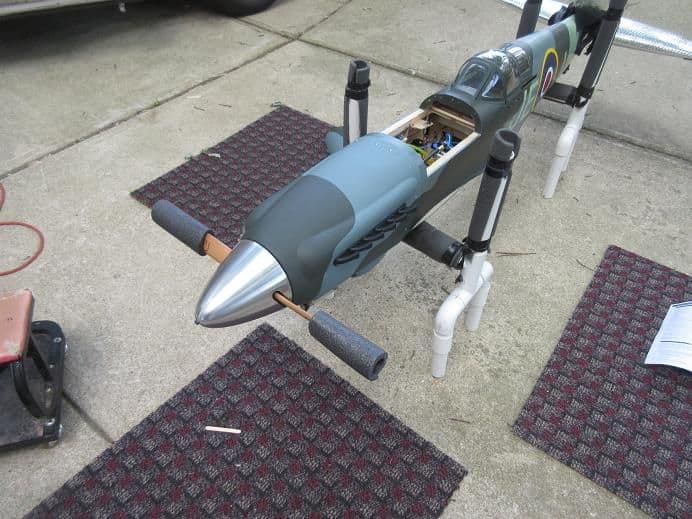
I have quite a few flights on the Spitfire. Still trying to get air to the DLE-61 carb. On hot days the carb tends to heat soak causing the plane to start running poorly after a couple minutes into the flight. A shield to block the muffler heat helps, but a plate above the carb to mount weight didn't help with airflow so I removed it and re-mounted the weights. I added some holes in the cowl to try to get more air into the engine cavity. I also opened up the back scoop even more than I had it. My next step is to make some tubes that do a better job of routing the cool air straight to the carb.
I know, the holes in the cowl aren't scale. If the engine doesn't run well all the scale details in the world don't account for much.
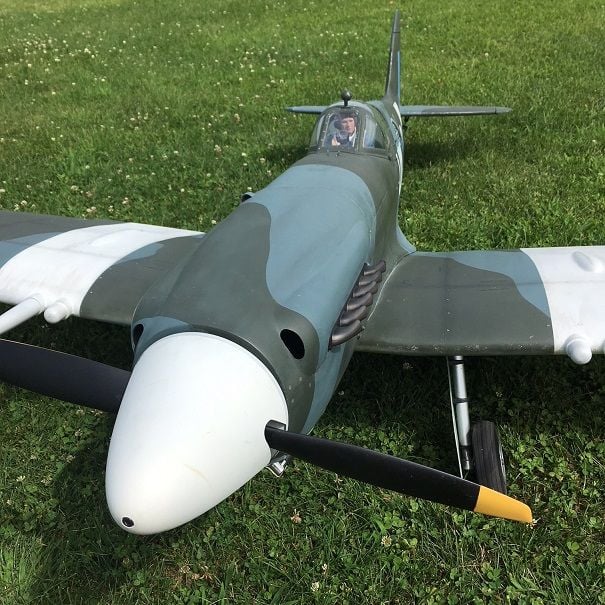
07-30-2018, 12:48 PM
#207
Todd,
Nice work on the cockpit.
Good idea on making holes in the front of the cowl.
If I remember, Sean put a 'smiley' face type hole under the spinner.
On the ground, no one sees the holes in the cowl and in the air, no one can see that far.
=============
Weird,
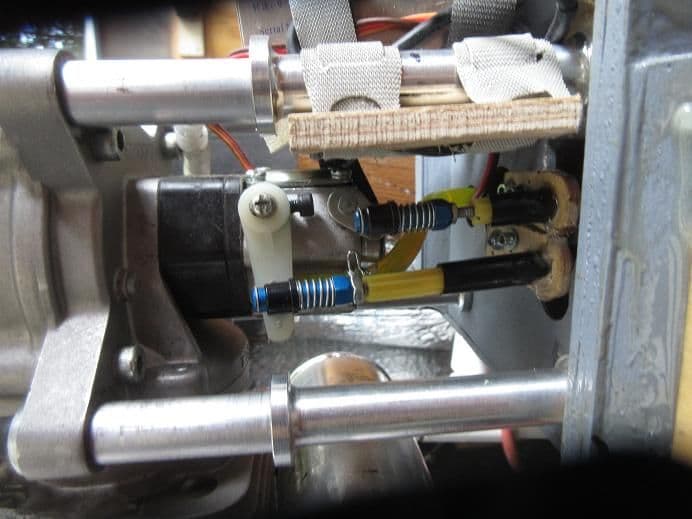
After 5 flights, the choke linkage in now interfering with the throttle linkage.
I put a generic longer nylon control horn for the existing metal horn and all's 'good'.
The nylon horn has a brass insert plus I put loctite on the set screw: brass is the only metal I know of where the screws won't 'unscrew'.
When the choke is open, the throttle linkage would hit the choke linkage on the low side so I couldn't get the engine to idle at the proper RPM's.
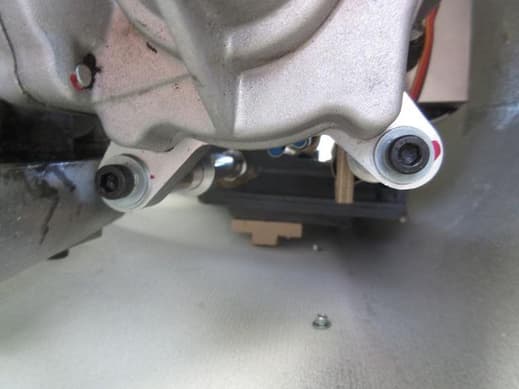
Twice, now, I've had the bolts come loose on the fire wall side of the engine mounts.
First time, blue loctite was used, this time red loctite was used.
Nice work on the cockpit.
Good idea on making holes in the front of the cowl.
If I remember, Sean put a 'smiley' face type hole under the spinner.
On the ground, no one sees the holes in the cowl and in the air, no one can see that far.
=============
Weird,
After 5 flights, the choke linkage in now interfering with the throttle linkage.
I put a generic longer nylon control horn for the existing metal horn and all's 'good'.
The nylon horn has a brass insert plus I put loctite on the set screw: brass is the only metal I know of where the screws won't 'unscrew'.
When the choke is open, the throttle linkage would hit the choke linkage on the low side so I couldn't get the engine to idle at the proper RPM's.
Twice, now, I've had the bolts come loose on the fire wall side of the engine mounts.
First time, blue loctite was used, this time red loctite was used.
Last edited by samparfitt; 07-30-2018 at 12:51 PM.
08-03-2018, 07:04 AM
#208
Updates:
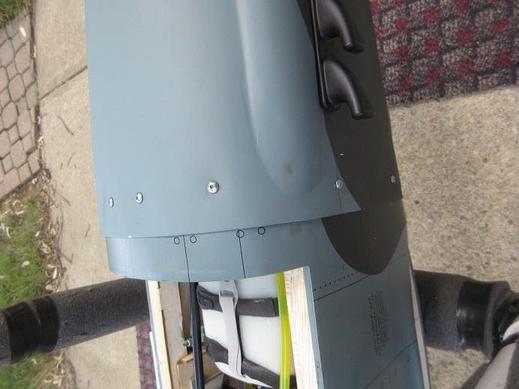
The LE of the aileron covering (overlap section) came loose and had to re-heat it.
Noticed wear of the paint where the wing meets the fuse. Appears that the paint is only on the surface of the covering material so any hanger rash is going to be easily visible. Seems like it would be best to clear coat the plane with some minwax polycrylic.
Had to add more aileron travel as the rolls were very slow. Having to put in about a 1/4" trim on them probably induced this problem.
Plane was nosing over in the grass. Think I had too much toe in.
Also, on one taxi, the plane kept veering to the right. The set screw in the bottom of the oleo fell out, which secures the axle.
The turning wheel also moved the axle bolt in, thus, locking up on the wheel.
The bolts securing the gear to the wing also were loose.
After several flights I think I have most of the 'bugs ironed out'.
Last edited by samparfitt; 08-03-2018 at 07:06 AM.
08-03-2018, 10:14 AM
#209
Stuff:
Went to ACE hardware to get the metric set screw for holding the wheel axle and they didn't have any that size.
Since I was going by Fastenal, might as well stop there.
Was surprised they had such small sizes (my new 'stop' for small fasteners).
I got the set screws about twice as long as needed and they stick out the bottom of the oleo by about an 1/8" but the blue loctite puddled around the threads instead on inside the hex head hole.
Noticed half of one of the gear doors was missing.
I fly at a lot of fields with grass so I'm just leaving them off.

 08-09-2019, 01:01 PM
#215
FYI,
Just got notice that Tower has shipped my spit that I ordered July 1. They show them in stock, presently.
My fuse got destroyed in a cartwheel last Fall, when it landed but floated and then landed on its nose. Back then I was going to order another fuse but way too expensive but Tower had some specials plus free shipping so I bought another one. This time I'm going to FG around the center of the fuse as it broke into 3 pieces.
One nice thing with the new one, I'll have a lot of spare parts from the old one, ie gear, wings, etc. The engine and spinner wasn't damaged so assembling the new one will be cheap.
Last edited by samparfitt; 08-09-2019 at 01:04 PM.
08-12-2019, 09:50 AM
#216
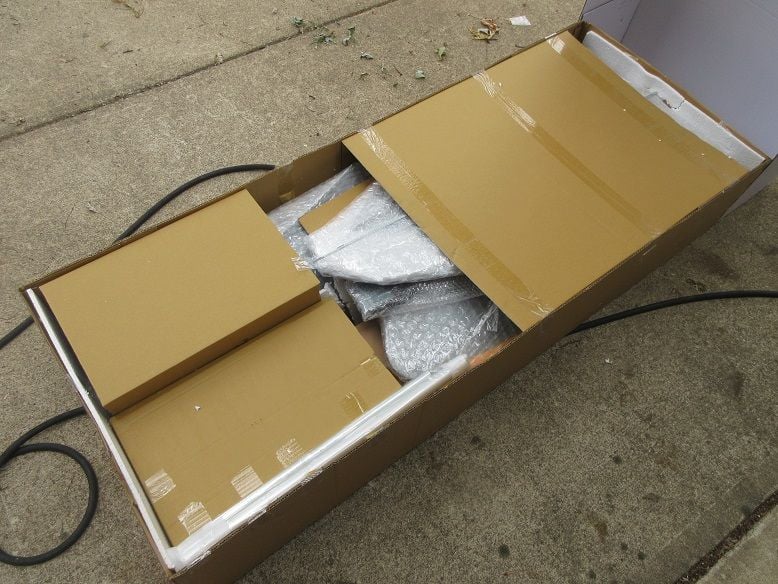
Spit arrived via Fedex.
Kind of glad I ordered it now as, with tariffs going up Sept 1, it should save me some bucks. I've been notified by two manufacturers in my railroad hobby that prices are going up.

Opened the box just to see if all appears to look good. No time, now, with Fond du Lac this week.
Kind of glad I ordered it now as, with tariffs going up Sept 1, it should save me some bucks. I've been notified by two manufacturers in my railroad hobby that prices are going up.
Opened the box just to see if all appears to look good. No time, now, with Fond du Lac this week.

 01-06-2020, 11:54 AM
#218

does anyone realized that the landing gear plates are made out of balsa wood and not plywood. I realized this during the build but was hoping that it would be ok, then Murphy law kicked in. I ran off the runway a little bit on landing on a short runway but enough to break the landing plate into pieces.
Also, I have a really bad left aileron trim with a heavy left wing. If I balance the wings, the left ail trim will be worsen.
Also, I have a really bad left aileron trim with a heavy left wing. If I balance the wings, the left ail trim will be worsen.
Last edited by HiCurrent; 01-06-2020 at 11:56 AM.
01-06-2020, 01:06 PM
#221
I don't have mine anymore, but I had the gear mounting apart a couple of times. Mine was not Balsa, it was cheap plywood, not a good aircraft plywood like one would prefer. The design was quite good, but the wood would delaminate easily.
I can't say what yours is made of, but I know for sure mine was not Balsa. Balsa is much softer. I've never seen Balsa plywood, and mine surely had multiple plys. Mine did not rip out easily, it took some pretty harsh landings to damage it.
Maybe they changed production and put balsa in later versions?
01-06-2020, 02:11 PM
#222
Mine looks like hard grade balsa sandwiched together. When I was putting the gears in, it got squeezed quite easily. I was afraid to tightened it up too much. Definitely not plywood. I knew it would not withstand hard landing and definitely not over bumps.
I just got mine from Towers last december. Only 2 flights and the gears got busted up real bad for just going over 1 bump at less than 10mph. And I did fiberglass over the plate to add strength.
I just got mine from Towers last december. Only 2 flights and the gears got busted up real bad for just going over 1 bump at less than 10mph. And I did fiberglass over the plate to add strength.
Last edited by HiCurrent; 01-06-2020 at 02:14 PM.
01-10-2020, 05:23 PM
#224

My Feedback: (1)
On mine there was a small change in pitch when flaps are deployed so I added an elevator mix, but the pitch change was small, so you should have no problem using manual trim on the first flight and then adding a mix. It won't do anything drastic and the amount of pitch will vary depending upon the amount of flap throw. I did not like the stock amount of flap throw, which was very little around 30 degrees or so, so I modified the leading edge of the flap to get around 60 degrees of flap. Still not close to scale, but it's effective and does slow the plane.
Overall a good practice plane and it has held up well. Certainly a great value, in my opinion.
-Ed B.
01-10-2020, 08:03 PM
#225
Hi,
On mine there was a small change in pitch when flaps are deployed so I added an elevator mix, but the pitch change was small, so you should have no problem using manual trim on the first flight and then adding a mix. It won't do anything drastic and the amount of pitch will vary depending upon the amount of flap throw. I did not like the stock amount of flap throw, which was very little around 30 degrees or so, so I modified the leading edge of the flap to get around 60 degrees of flap. Still not close to scale, but it's effective and does slow the plane.
Overall a good practice plane and it has held up well. Certainly a great value, in my opinion.
-Ed B.
Thank you for the response. Does it pitch up or down. My full flaps currently setup at almost 40 degrees