TopRCModel FW-190
 12-28-2019, 01:46 PM
#701
Junior Member
Join Date: Dec 2019
Posts: 4
Likes: 0
Received 0 Likes
on
0 Posts
could be possible to have the file of this fan?
THanks
Francesco
 12-29-2019, 10:50 AM
#702

My Feedback: (6)
It turns out I have a fan from Reverend, it is fine. Because of a package I got from another gent who crashed his FW-190 I got a new metal spinner and fan along with the Sierra gear. I have this unit it's fine and Ill send it to you for $25 plus shipping.
Sparky
Sparky

 01-01-2020, 08:33 PM
#706
My Feedback: (6)
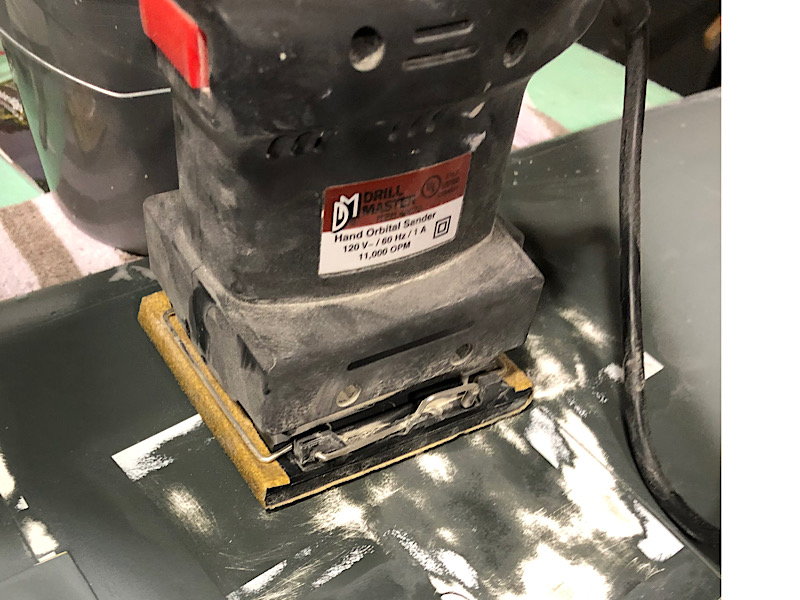
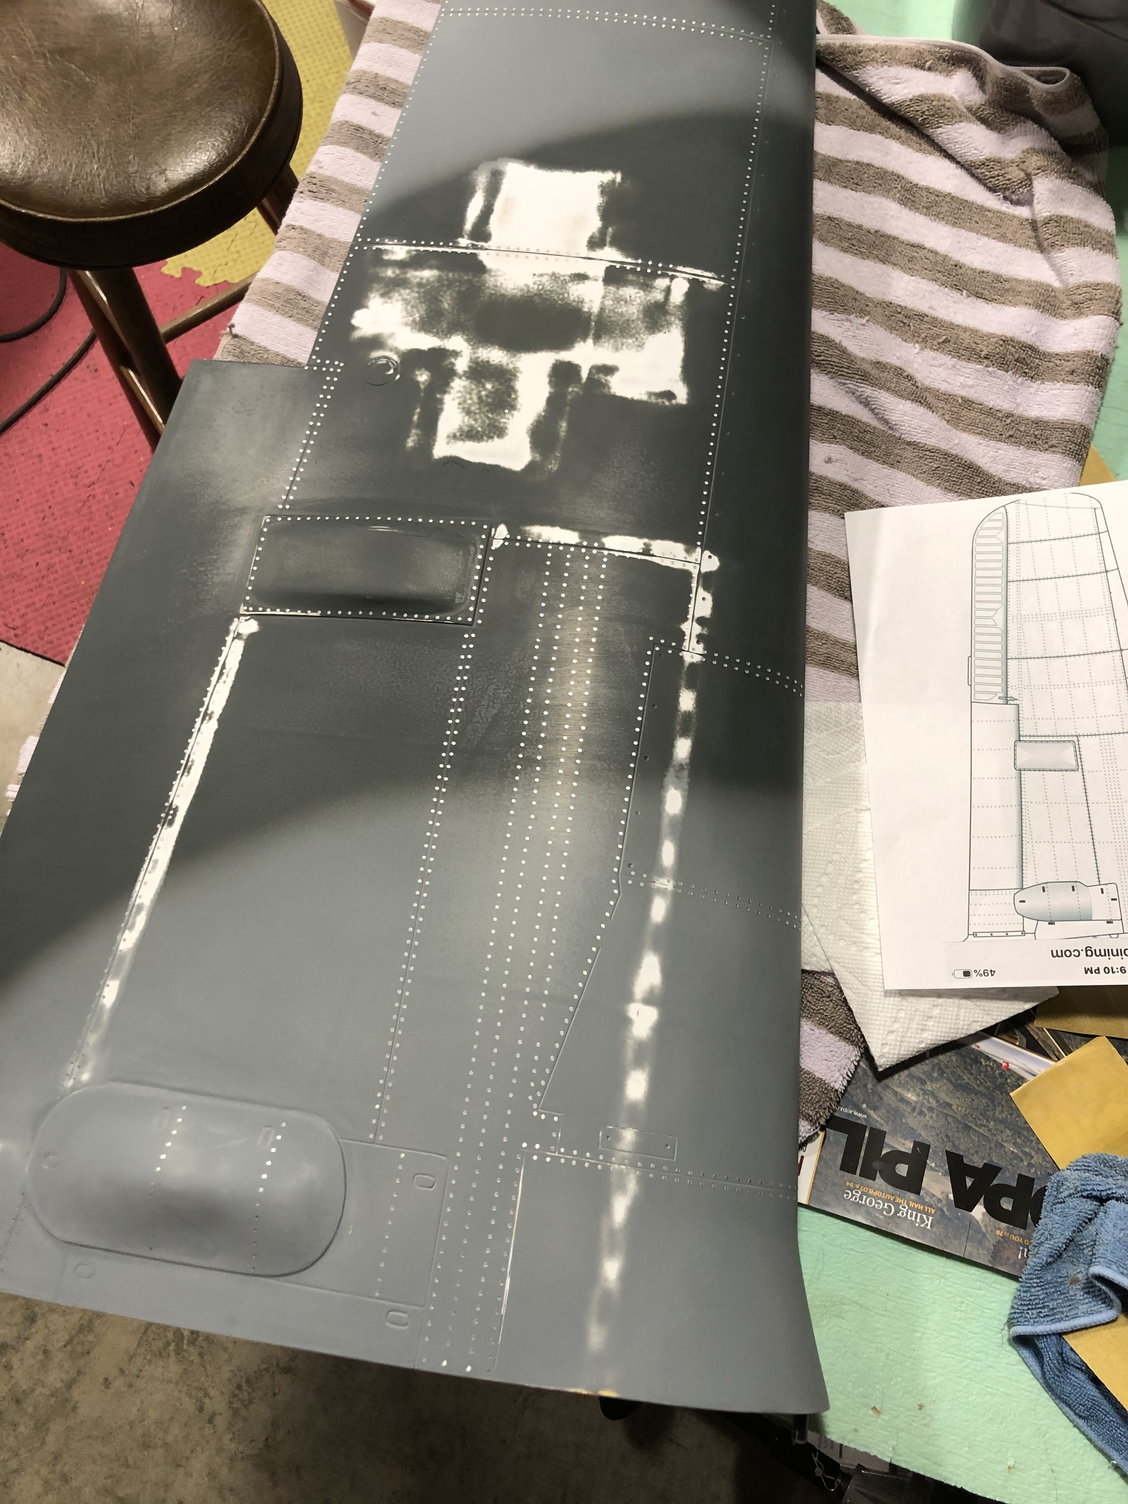
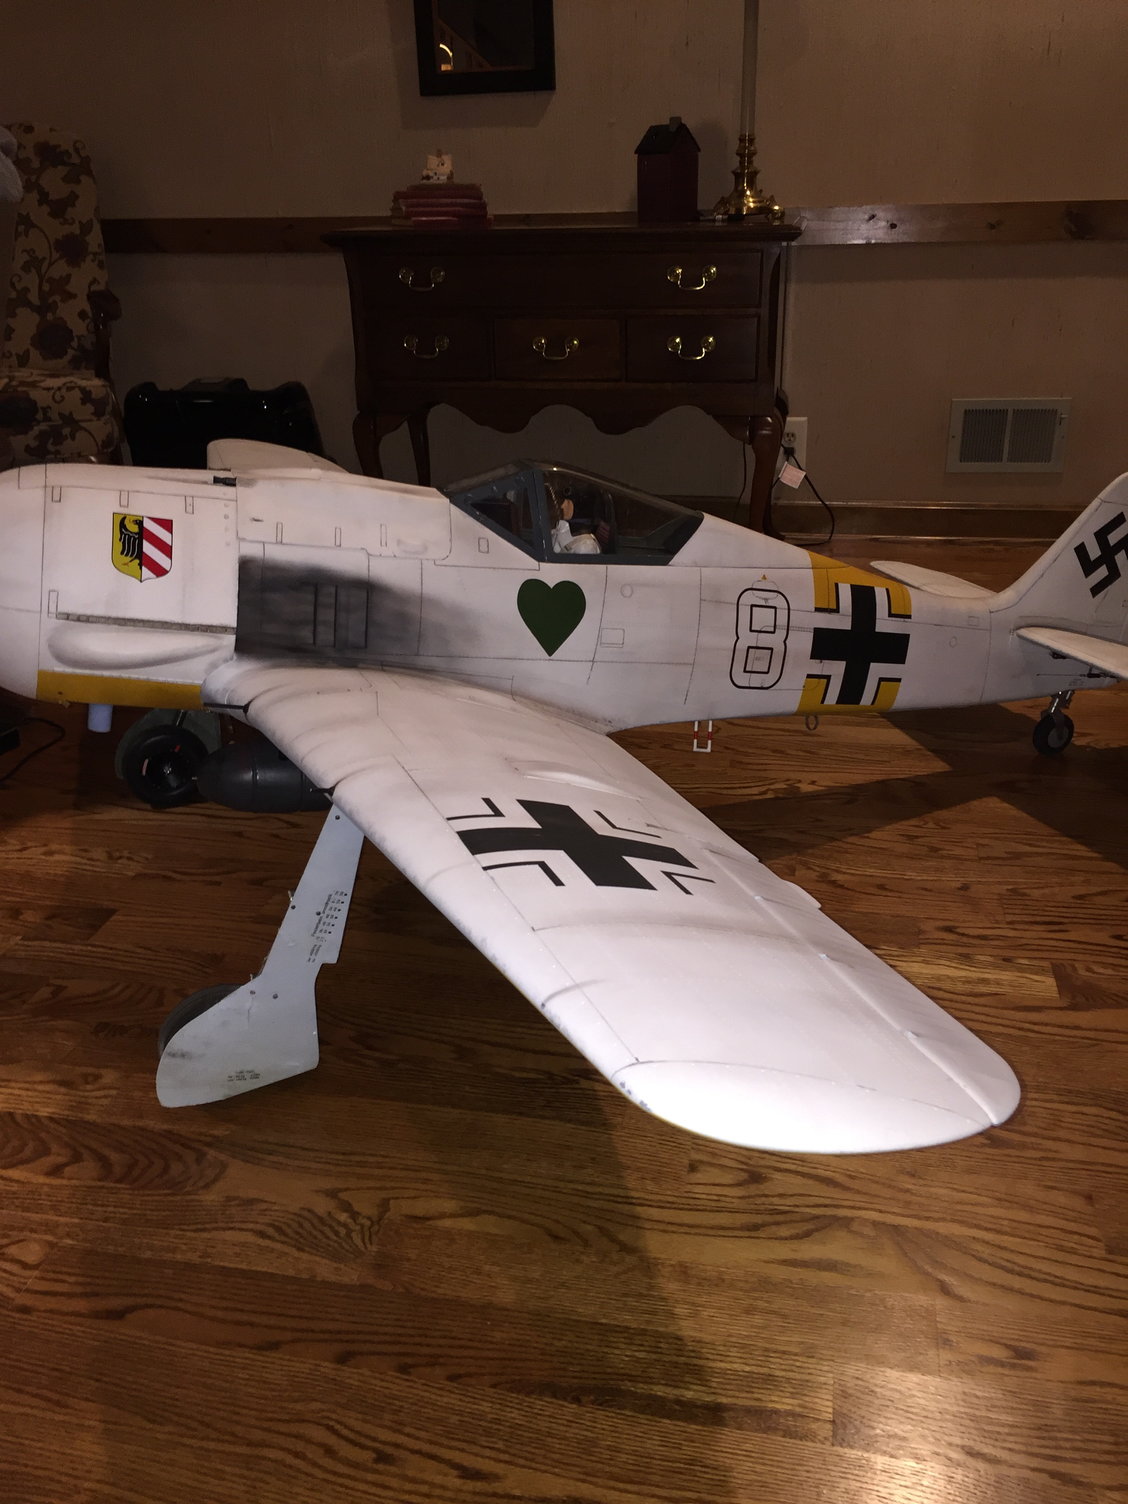
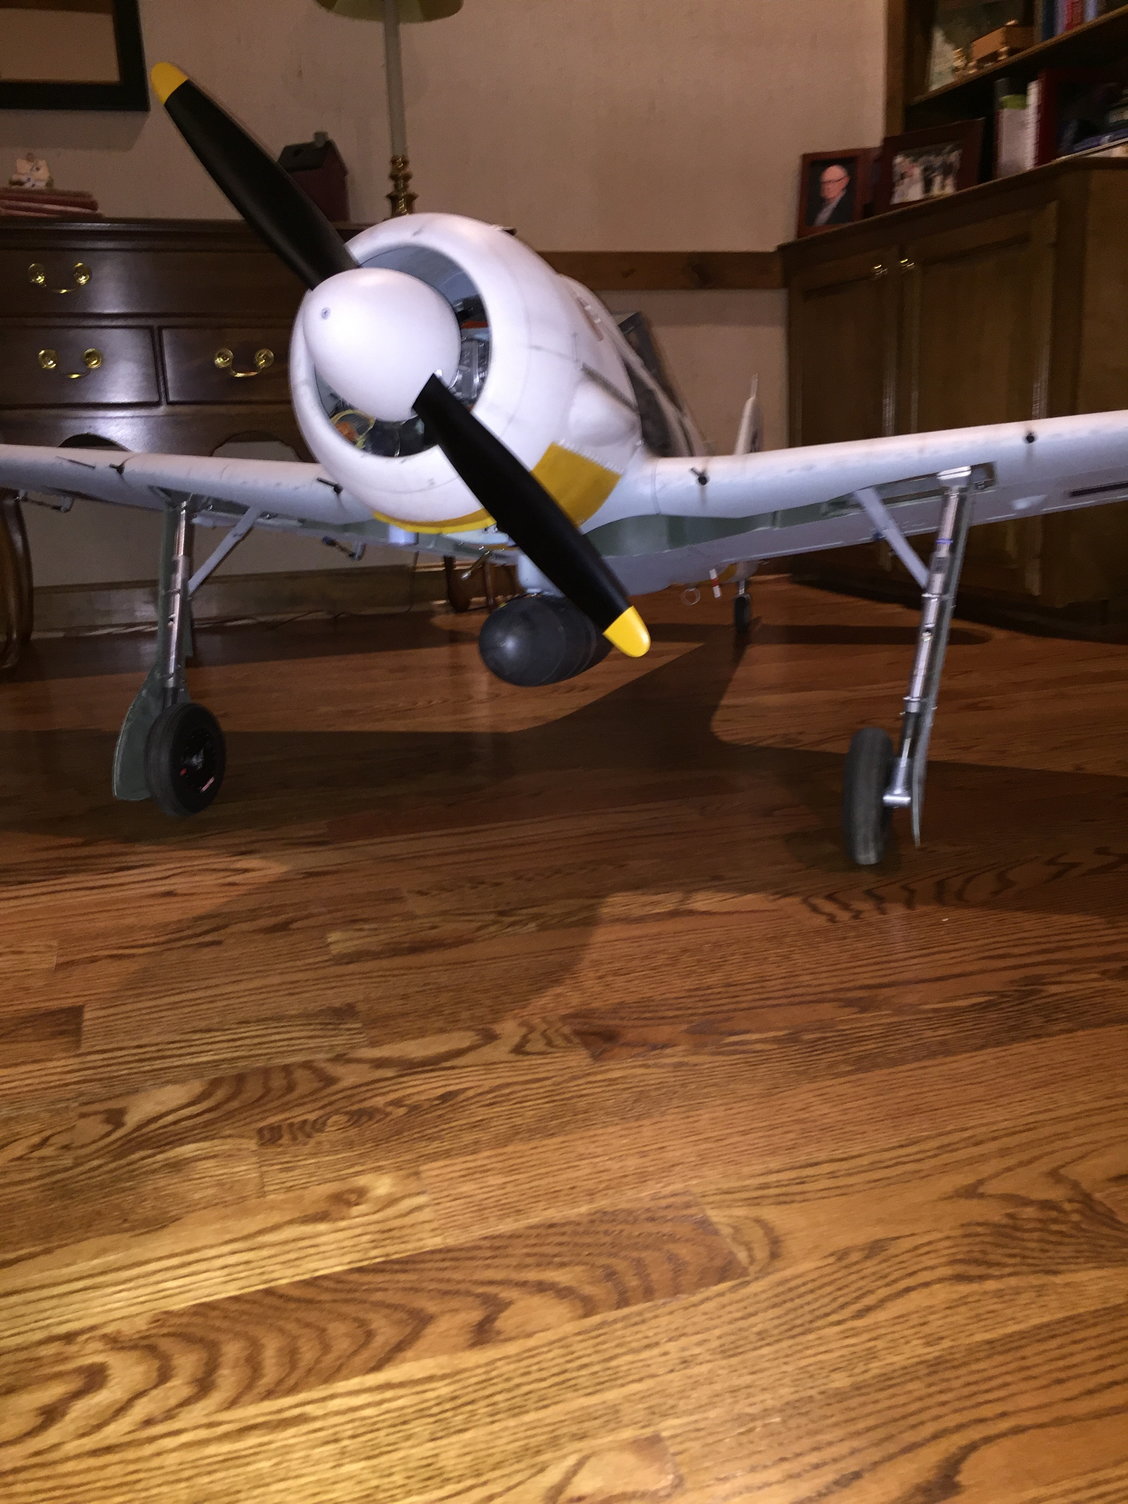
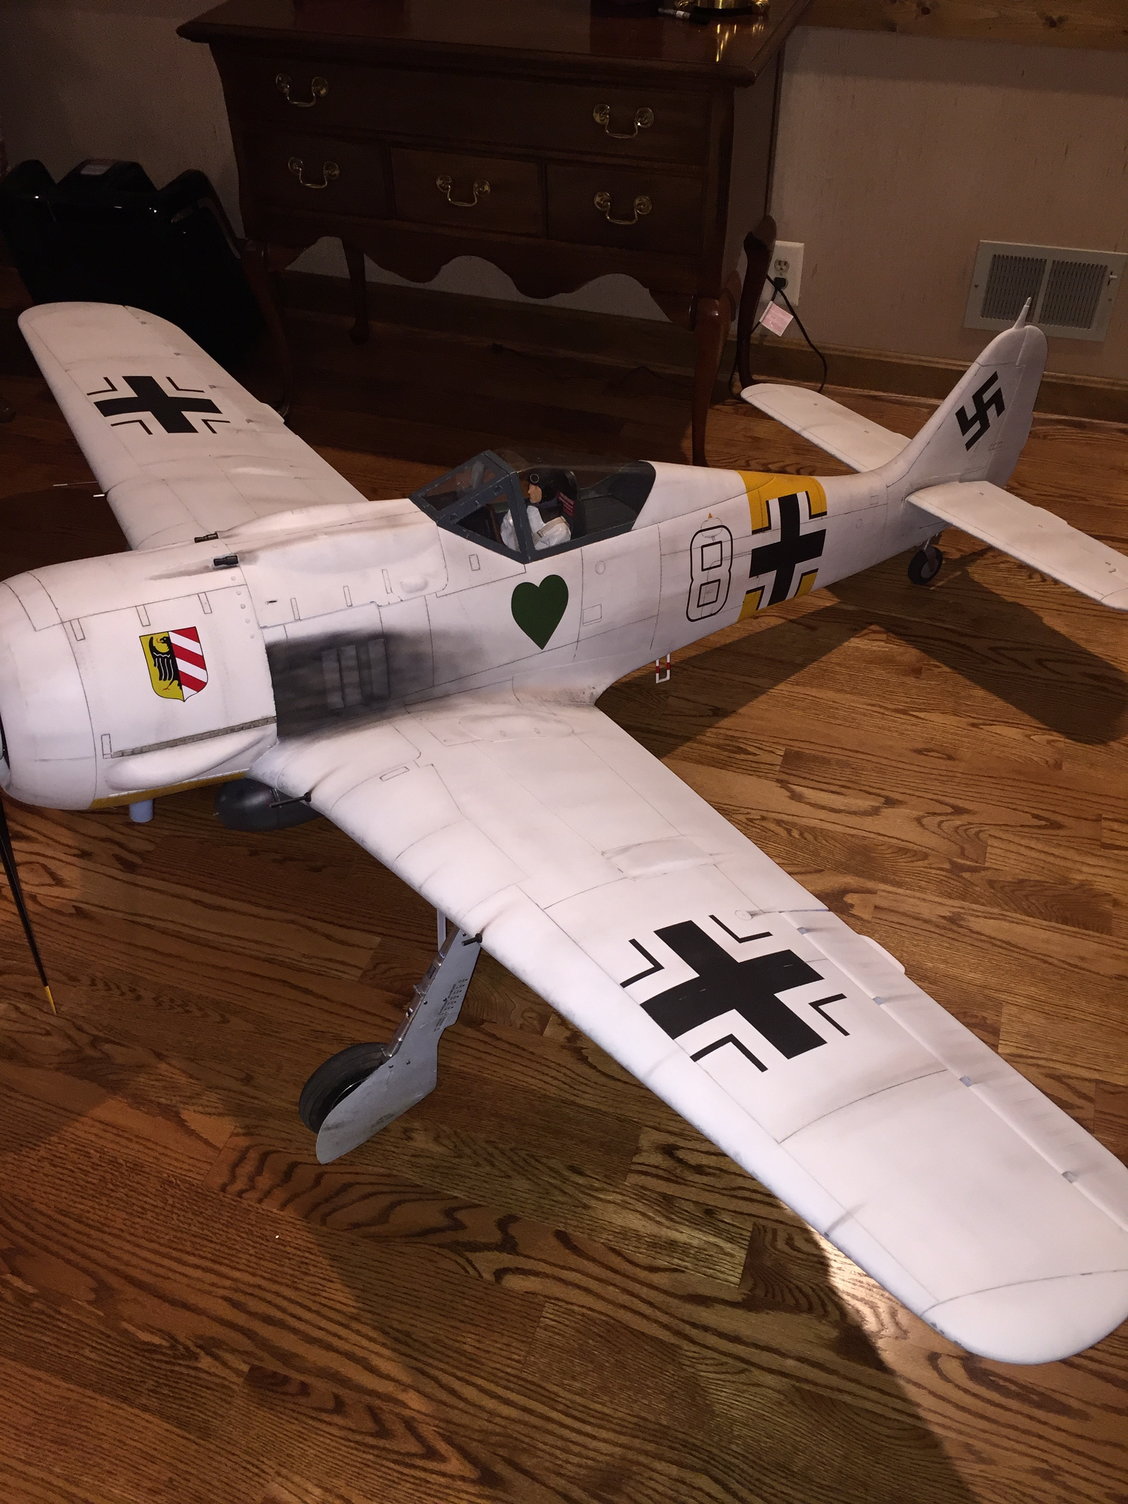
I have sanded some on my plane to prep it for my US Navy paint scheme. I think its 320 paper dry and just scuffing the surface to give the Klass Kote paint something to cling too. I'm kind of surprised how many imperfections show up in the painted surface when its is sanded.
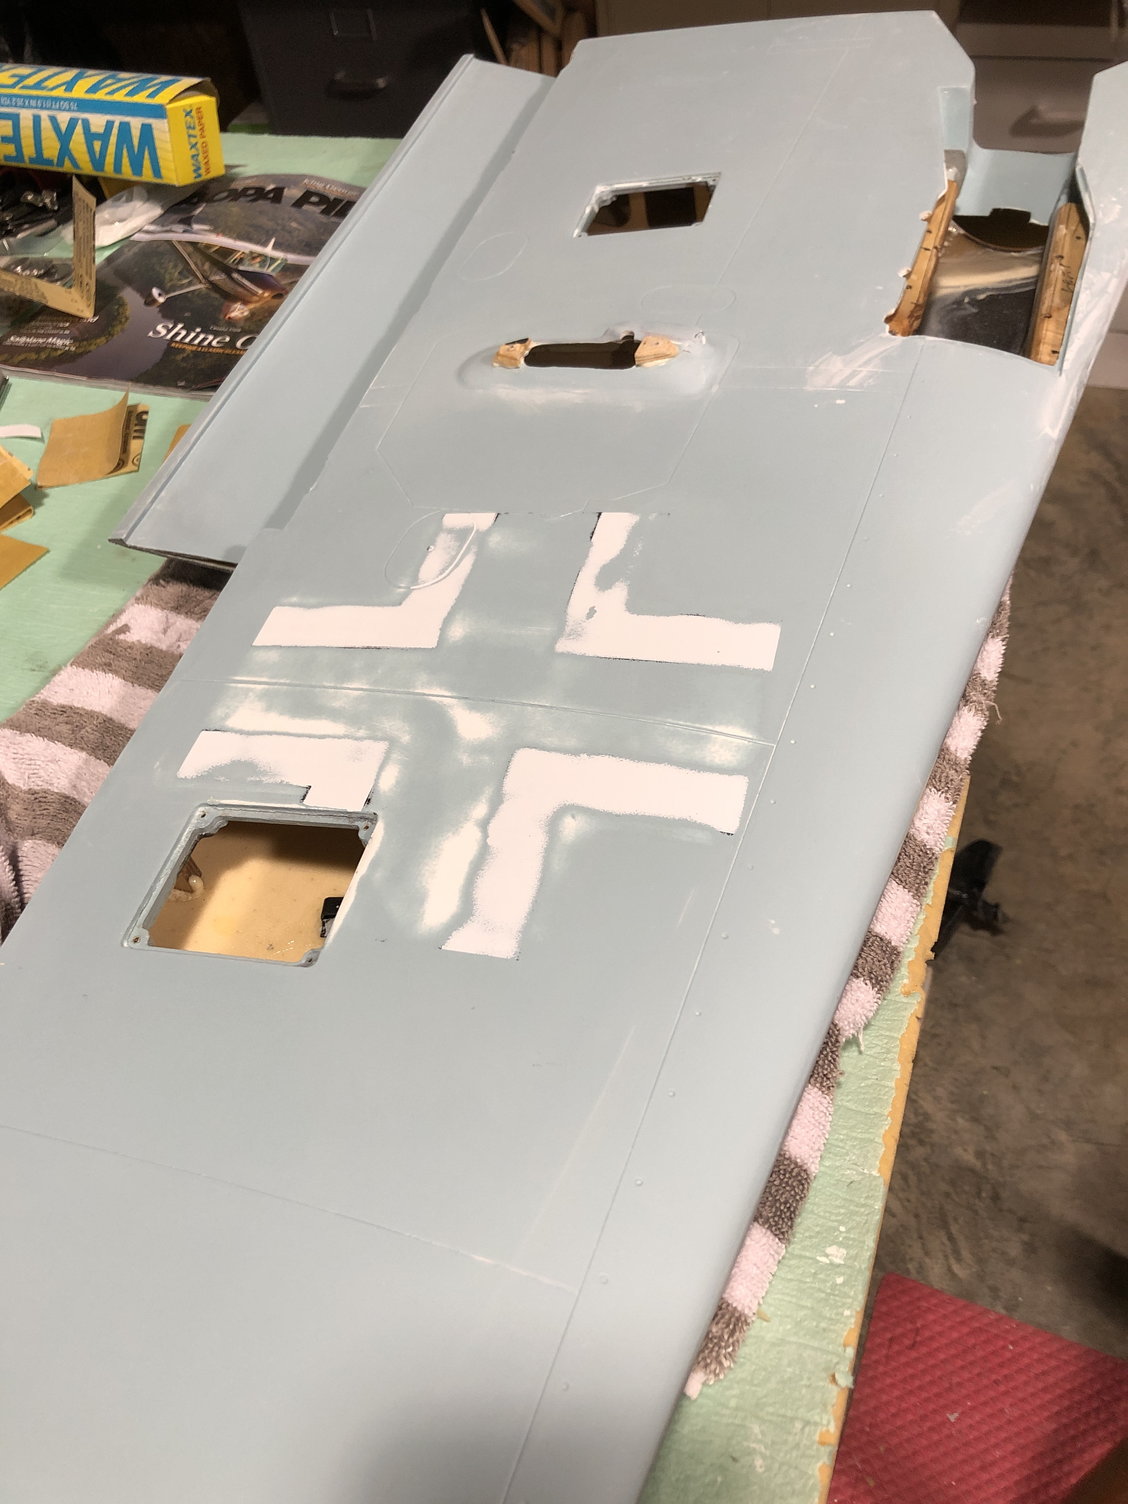
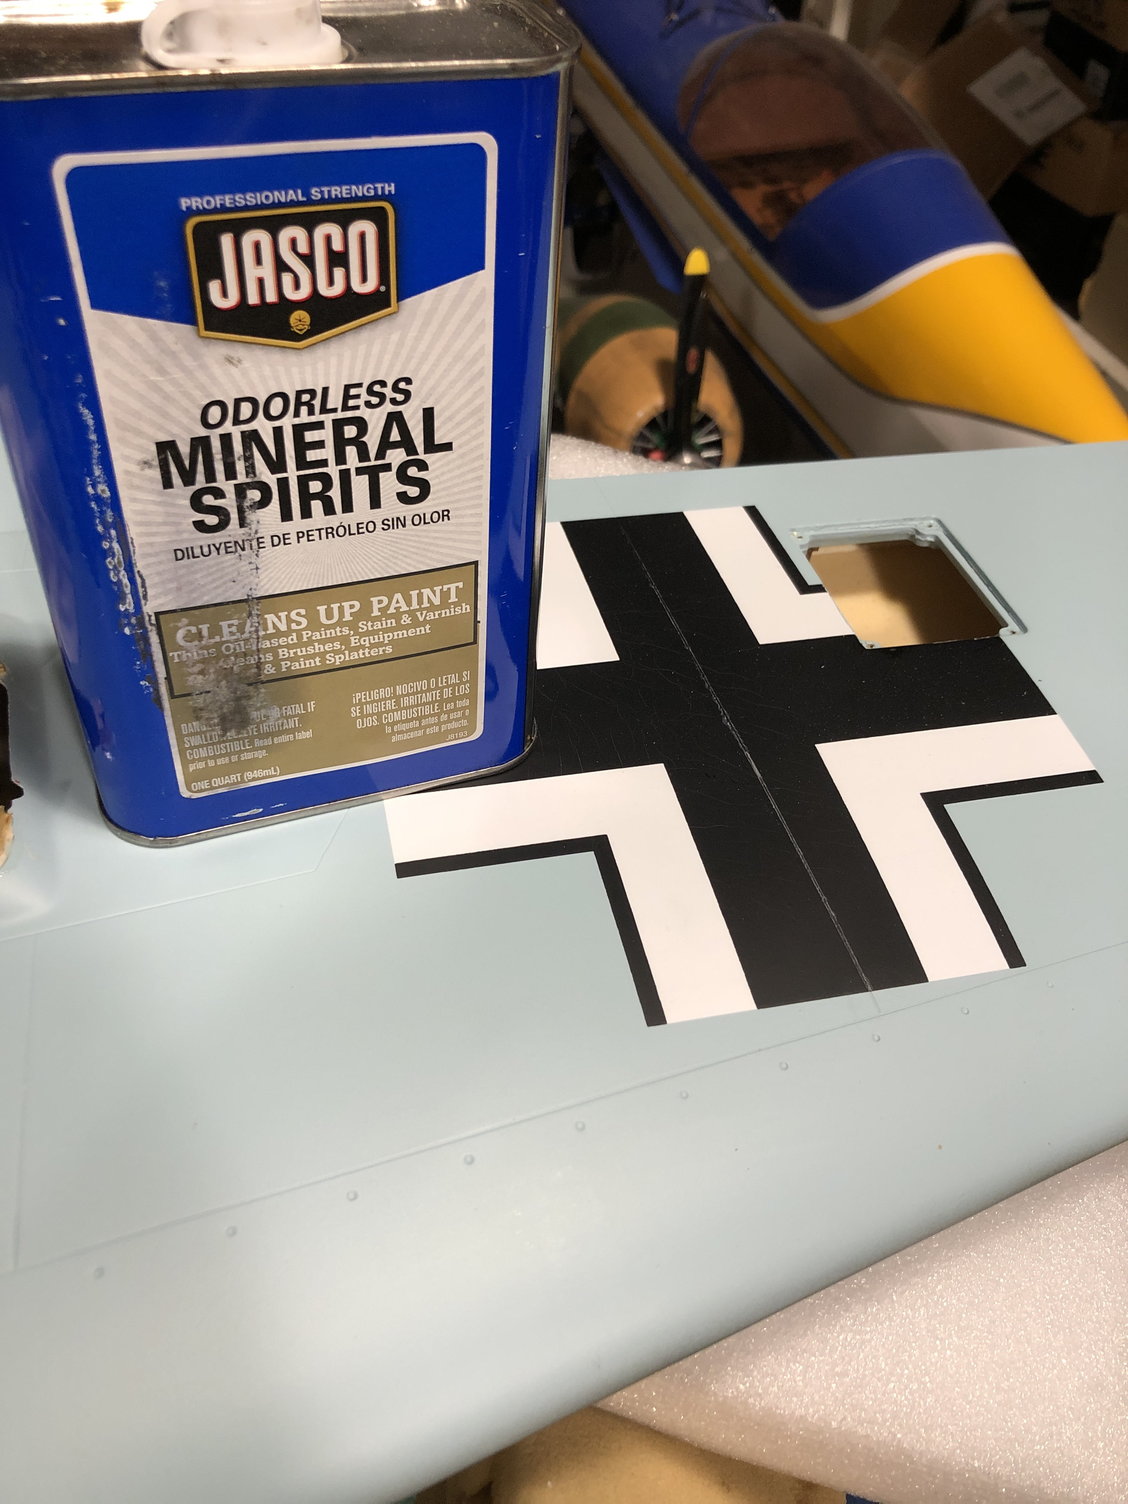
Test painting of the bottom with their satin Insignia White shows one coat coverage is satisfactory over the green German RLM color.
I have been able to remove the cockpit tub from the fuse and all the clear plastic from the canopy without much effort. I plan to replace the flat Plastic from the windscreen. I'm toying with the idea of using really thick Plastic for the front center to simulate the bullet proof glass.
I would like to see if I can get a replacement canopy plastic mine has several marks (like stretch marks) from the molding process. I also determined the armor plate for the back of the pilot is attached to the canopy and slides back and forth unlike the way it was provided in the kit attached to the seat.
I have the I Fly Tallies cockpit kit prefinished (wow is it nice!!!) in 1/4 scale and it is too big for the tub. If I had to do it again I would get the unfinished kit (cheaper) and then I could more easily fit to the existing space. It isn't a competition plane so if a valve or switch isn't in the right place no one will care or know.
I have my sierra gear installed I had to shim the gear up 1/8" so the the gear didn't hit the inside of the upper wing surface during the retraction process. I have fitted my GT-80 twin cly engine as well. Un-modified the engine places the prop too far out from the cowl. I had a machinist friend machine a shorter prop drive adapter. Other options would be to move the firewall back a bit but I would rather not disturbed what is there. Also since I'm using the spring starter (6 OZ were you need it) I had to drill a 2" hole in the firewall to clear the sping assembly on the back side, and then cut the upper side of the firewall for the carb to clear everything.
Lots of things coming together all at once!
Sparky
 01-06-2020, 05:53 AM
#709
Sorry to hear you’re still feeling crappy. Get some rest...you’ve earned it! I’ve been rushing to get mine finished cause my wife is having surgery next week and the recovery for her will be about six weeks. I’m waiting for some decent weather to reset the engine. Put a 28x10 on this time. Can’t wait to fly together!
01-06-2020, 06:39 AM
#710
My Feedback: (6)
Tim,
Version 2 looks great! No surprises on this build, you did all the hard thinking on the first one.
I think we are suppose to have some warm weather. I think I am about to the painting part, one of my least favorite parts of modeling , mostly because of the mess and the potential for a major screw up in a mater of seconds.
Did you do the tailwheel hookup the same as the last one?
Sparky
01-06-2020, 10:22 AM
#711
Hi Sparky! I did the tail wheel the same. Ran the pull-pull from the stock rudder horns to the steering arm of the tail wheel. Gives a lot (too much) of steering but with the DLE 111 the tail wheel doesn’t spend a lot of time on the ground.
01-06-2020, 10:27 AM
#712
Just curious Sparky...does your plane have a piece of 3/16” plywood mounted between the stab tubes mounted in the plane? Mine does and Jimmy’s does not. My first plane also did not have this.
 01-06-2020, 11:45 AM
#714
My Feedback: (6)
No I don't recall any reinforcement. Can you post a picture of it?
On my RCSB post you can see what I did for the fuse reinforcement. What serial number do you have on yours?
There is a number written on all the parts with a red sharpie apparently by the factory. I guess to keep the parts matched to one airframe, mine is #23.
The step ladder was manually activated on the FS. Are you hooking it to the gear or separate channel?
I never could get the cannon tips to print maybe we can try again.
Sparky
01-06-2020, 12:03 PM
#715
Ladder is manually inserted. The plane is just shy of 38 pounds and I didn’t want to add any more weight. When I pull the ladder out after static display it plugs into a holder under the gun hood so I don’t lose it.
01-06-2020, 12:08 PM
#716
Almost forgot...my first plane was #40 and this plane is #2.
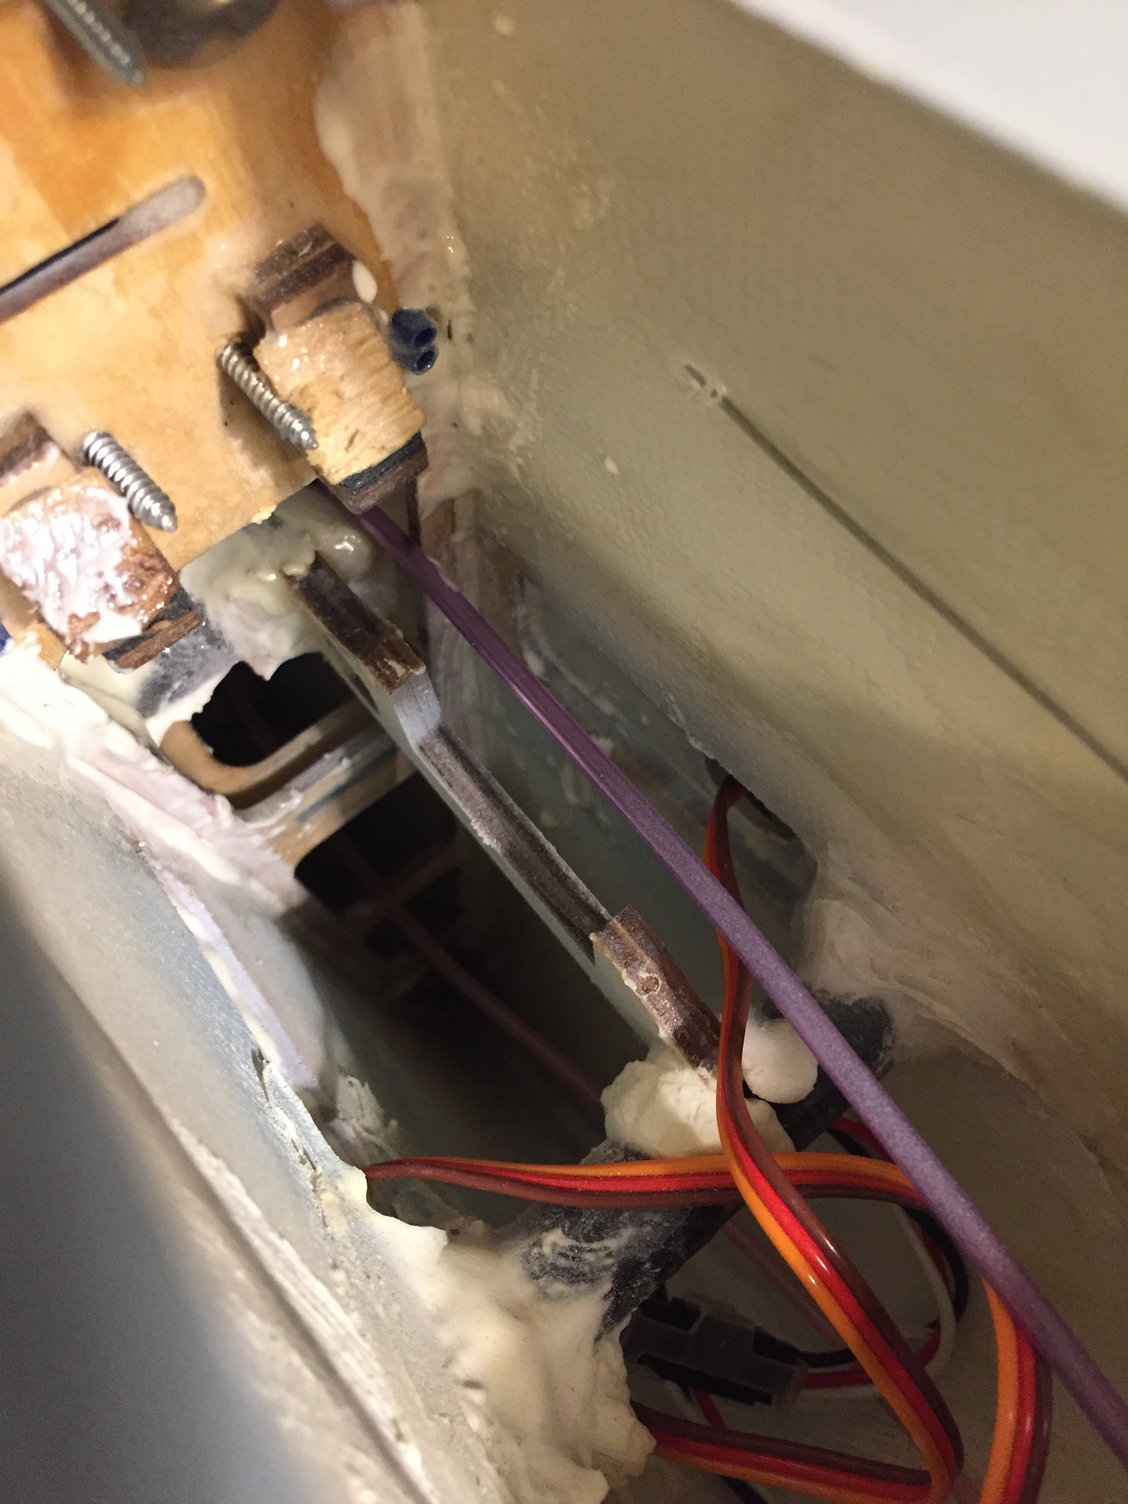
This is the piece of ply between the stab tubes. Not sure they used enough glue!
This is the piece of ply between the stab tubes. Not sure they used enough glue!
Last edited by tevans55; 01-06-2020 at 12:12 PM.
01-06-2020, 12:57 PM
#717
Junior Member
Join Date: Aug 2019
Posts: 1
Likes: 0
Received 0 Likes
on
0 Posts
Has anyone had problems with VQ Warbirds? I purchased their SBD Dauntless 60 size. When it arrived. The tail section was all cracked, the pilots were tossed around and broken. Spoke with the TX Distributor and were kind enough to send me out electric re-tracks to make up. Problem is when they arrived they were in "bad" shape. parts didn't fit, different lengths and dented posts. Tried to contact Taiwan VQ. No reply or customer service. I know you for me, I'll "Never" buy another VQ Air Frame. Just wanted to ask if I was the only one who had this much trouble before?
01-06-2020, 01:29 PM
#718
Has anyone had problems with VQ Warbirds? I purchased their SBD Dauntless 60 size. When it arrived. The tail section was all cracked, the pilots were tossed around and broken. Spoke with the TX Distributor and were kind enough to send me out electric re-tracks to make up. Problem is when they arrived they were in "bad" shape. parts didn't fit, different lengths and dented posts. Tried to contact Taiwan VQ. No reply or customer service. I know you for me, I'll "Never" buy another VQ Air Frame. Just wanted to ask if I was the only one who had this much trouble before?
01-15-2020, 01:45 PM
#720
Senior Member
Hello guys.
I just ordered a Saito FG90R3.
I just read the whole thread of the Zero and Focke Wulf. Specs seems to be the same in terms of weight, size, wingloading etc.
Conclusion “seems” to be the Saito is a little to small in terms of power in the FW and perfect for the Zero?
my question is why? Does the FW have so much drag or do I miss something?
thanks guys!
01-16-2020, 12:20 AM
#722
Join Date: Jan 2007
Location: Tvedestrand, NORWAY
Posts: 56
Likes: 0
Received 0 Likes
on
0 Posts
My Zero has the FG90 and total weight dry is 15 kg (Without drop tank).
I am very happy with the Zero with the 90. Its a perfect match for this model, and this weight. Good power in all directions. All over a great combo.
My FW had the FG90, and the total weight dry was 17 kg. (Extra paint and without the drop tank)
I have now changed to Moki 180 engine. Total 18 kg dry. (Also without the drop tank). Perfect combo. Just super ! Highly recommended !
I felt that the FW was underpowered with the 90. I would say that the 90 has a limit when the weight is coming up to 16,5-17 kg.