


FokkeRC 1/5 Spitfire MKIX build log
 01-06-2024, 10:29 AM
#376

Thread Starter

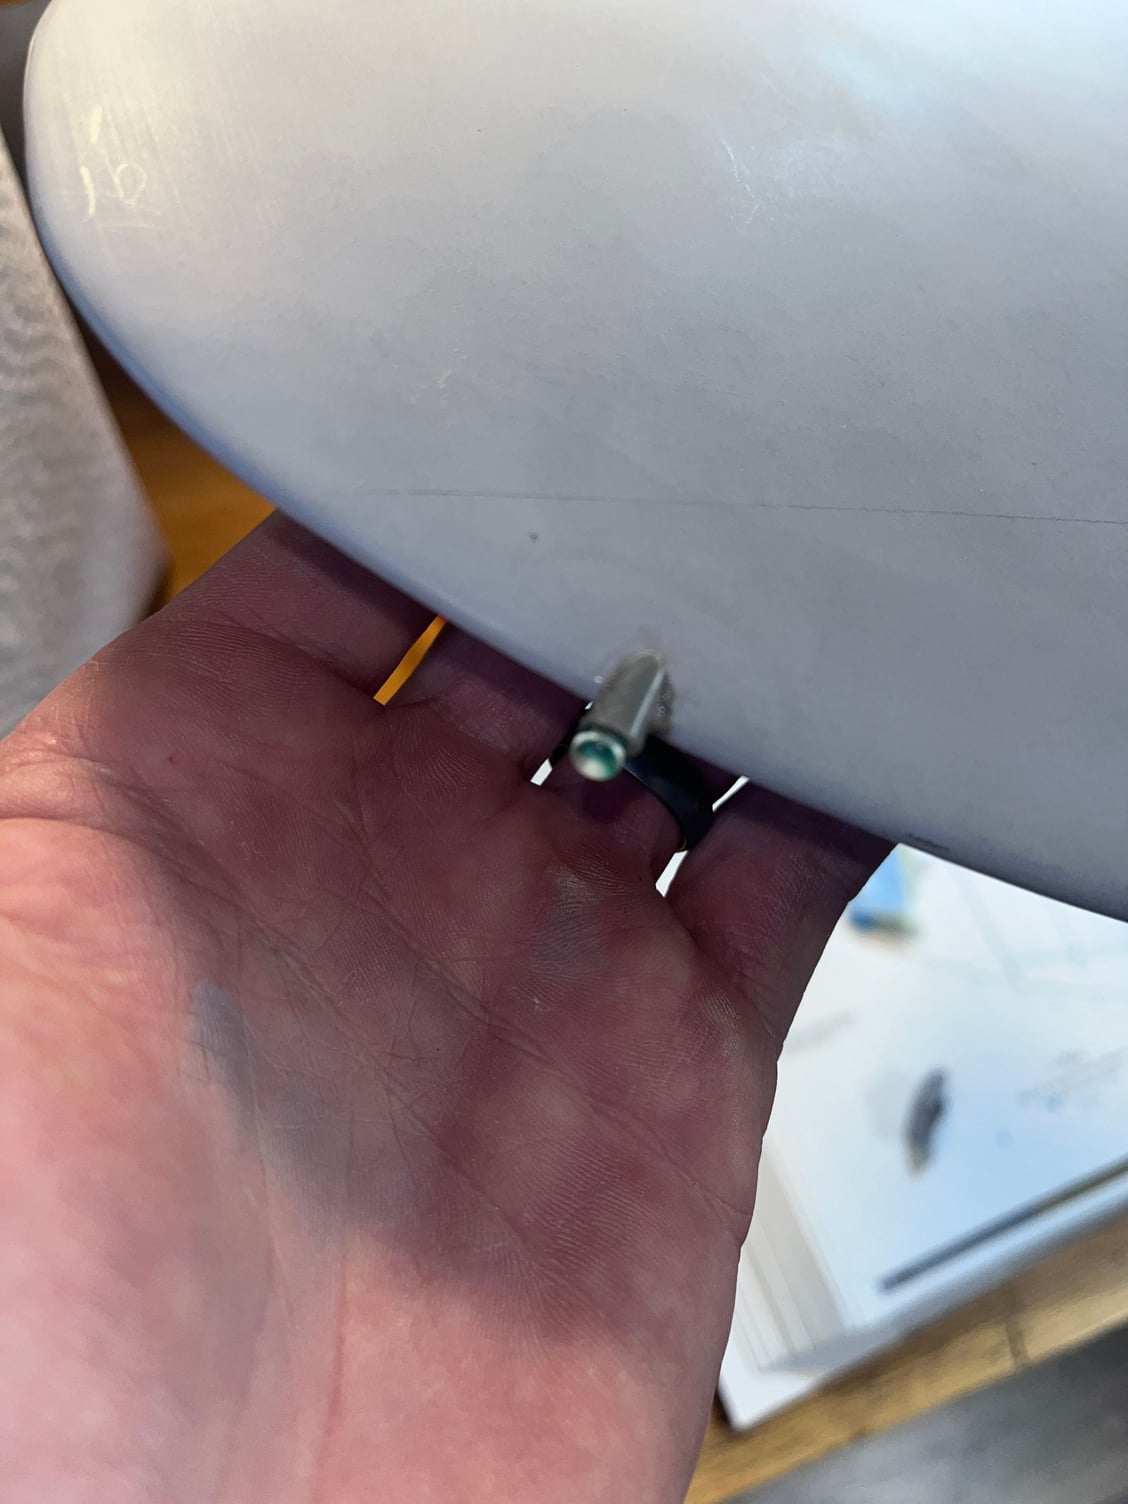
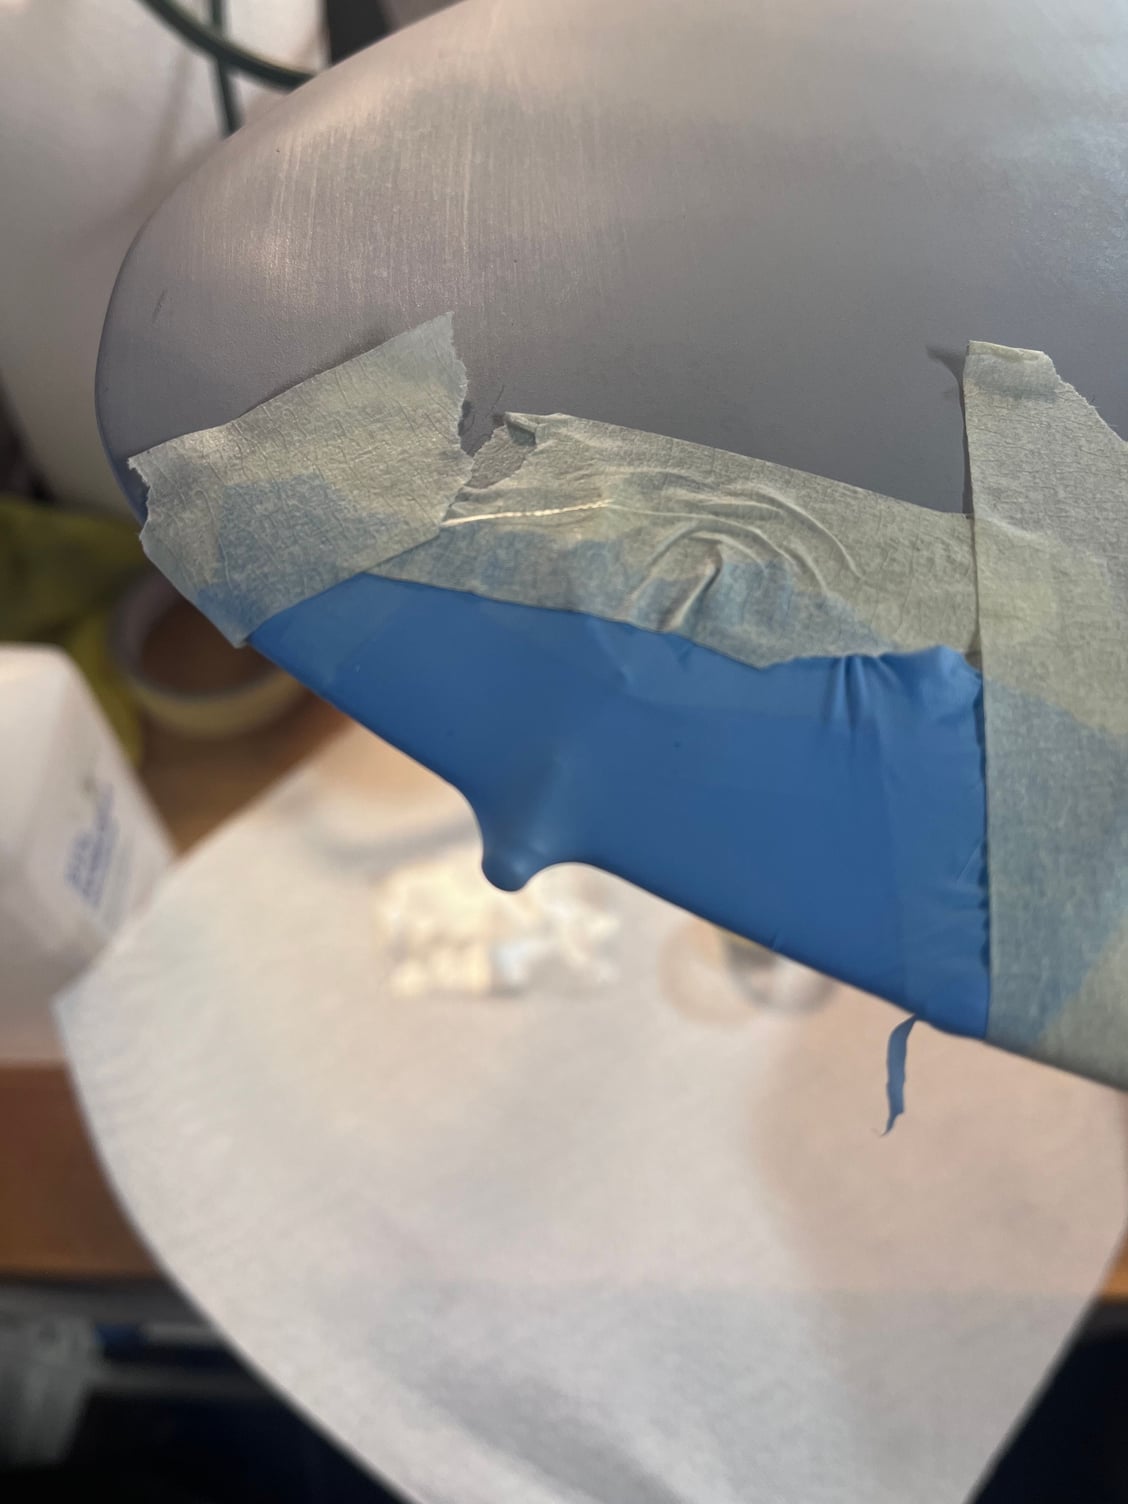
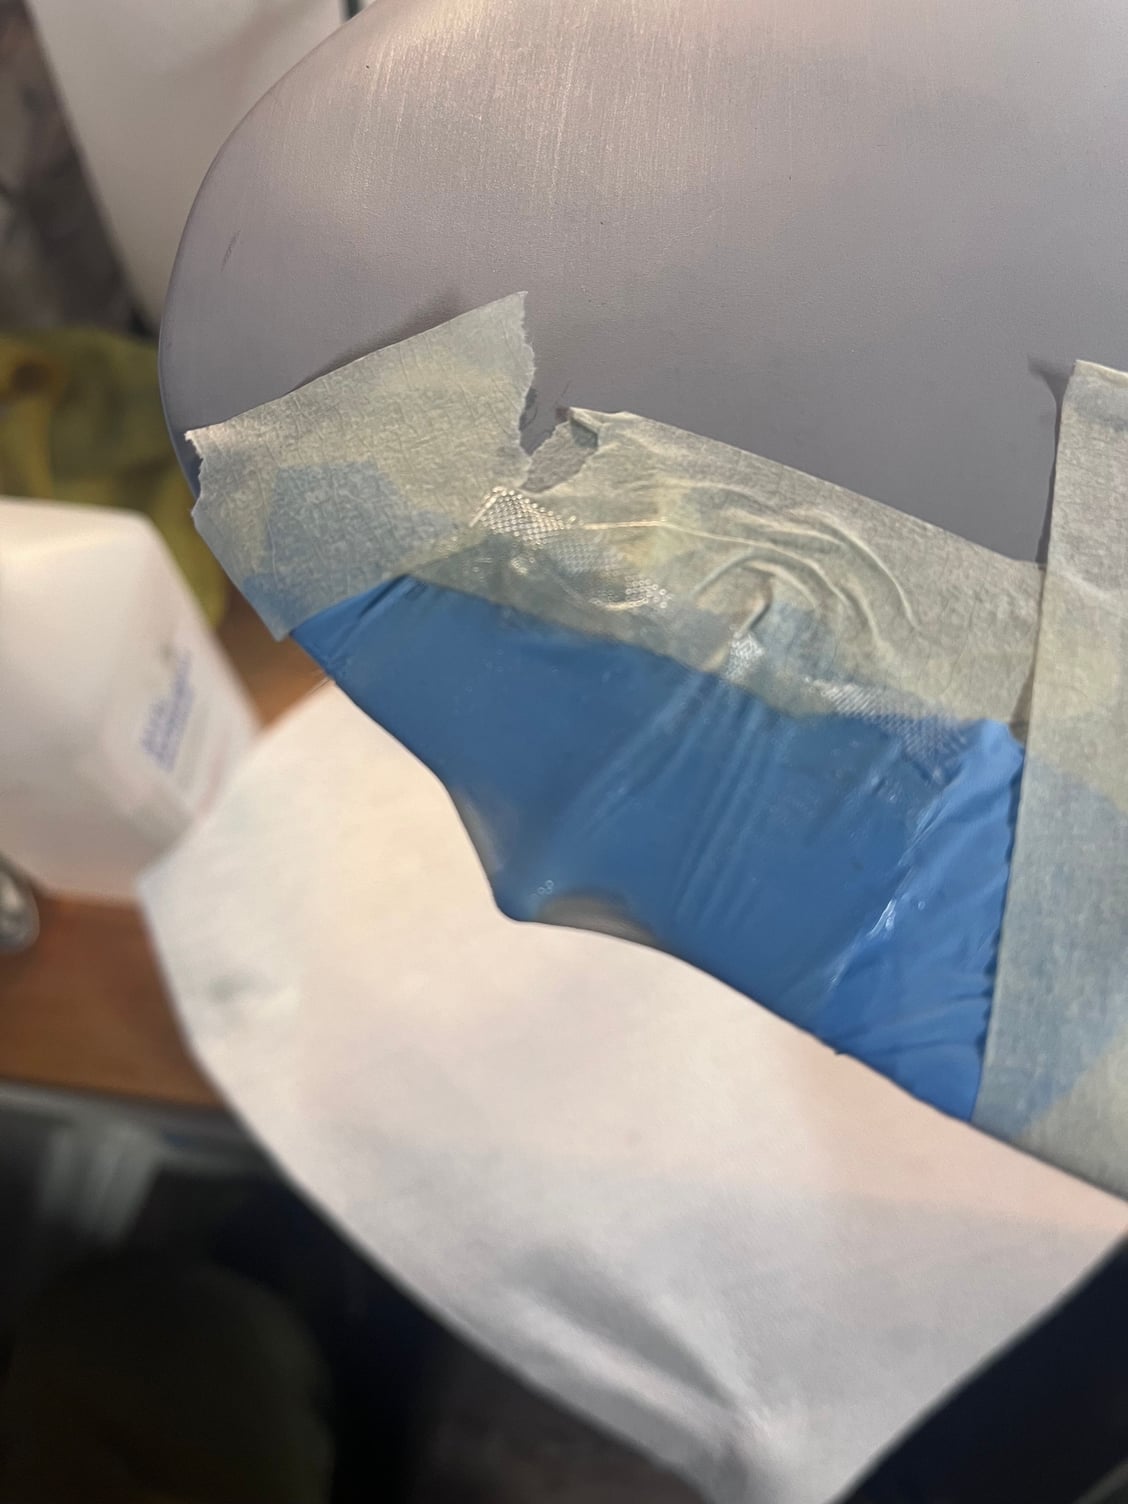
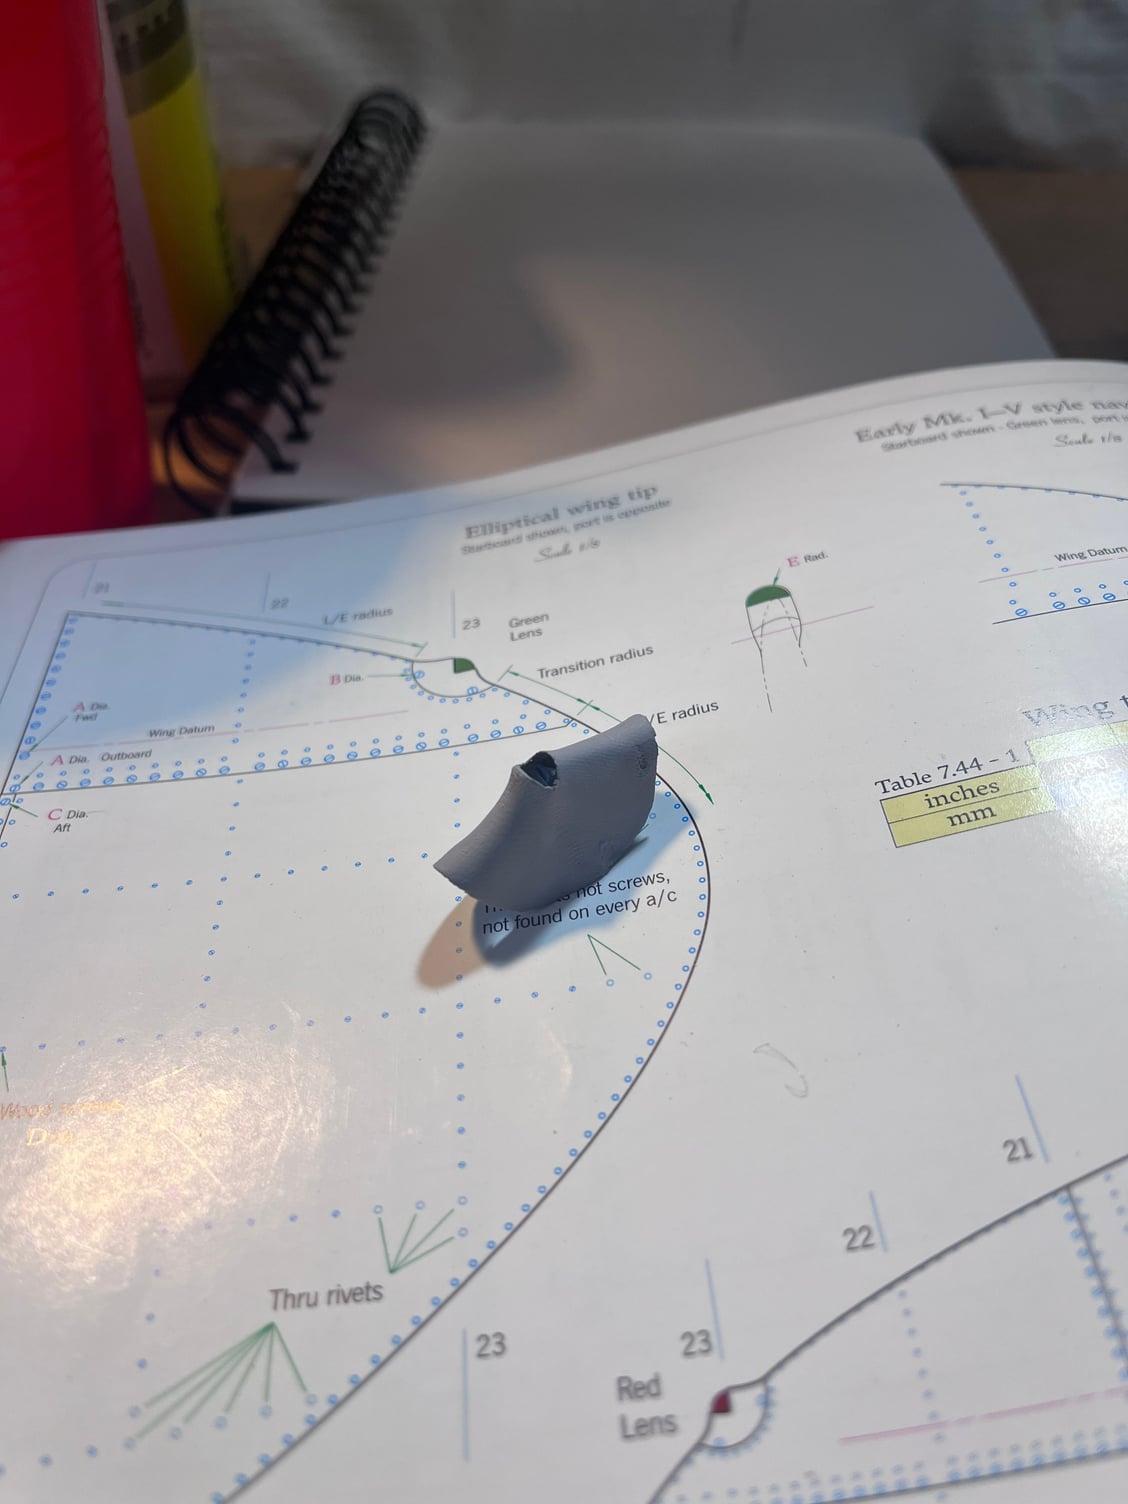
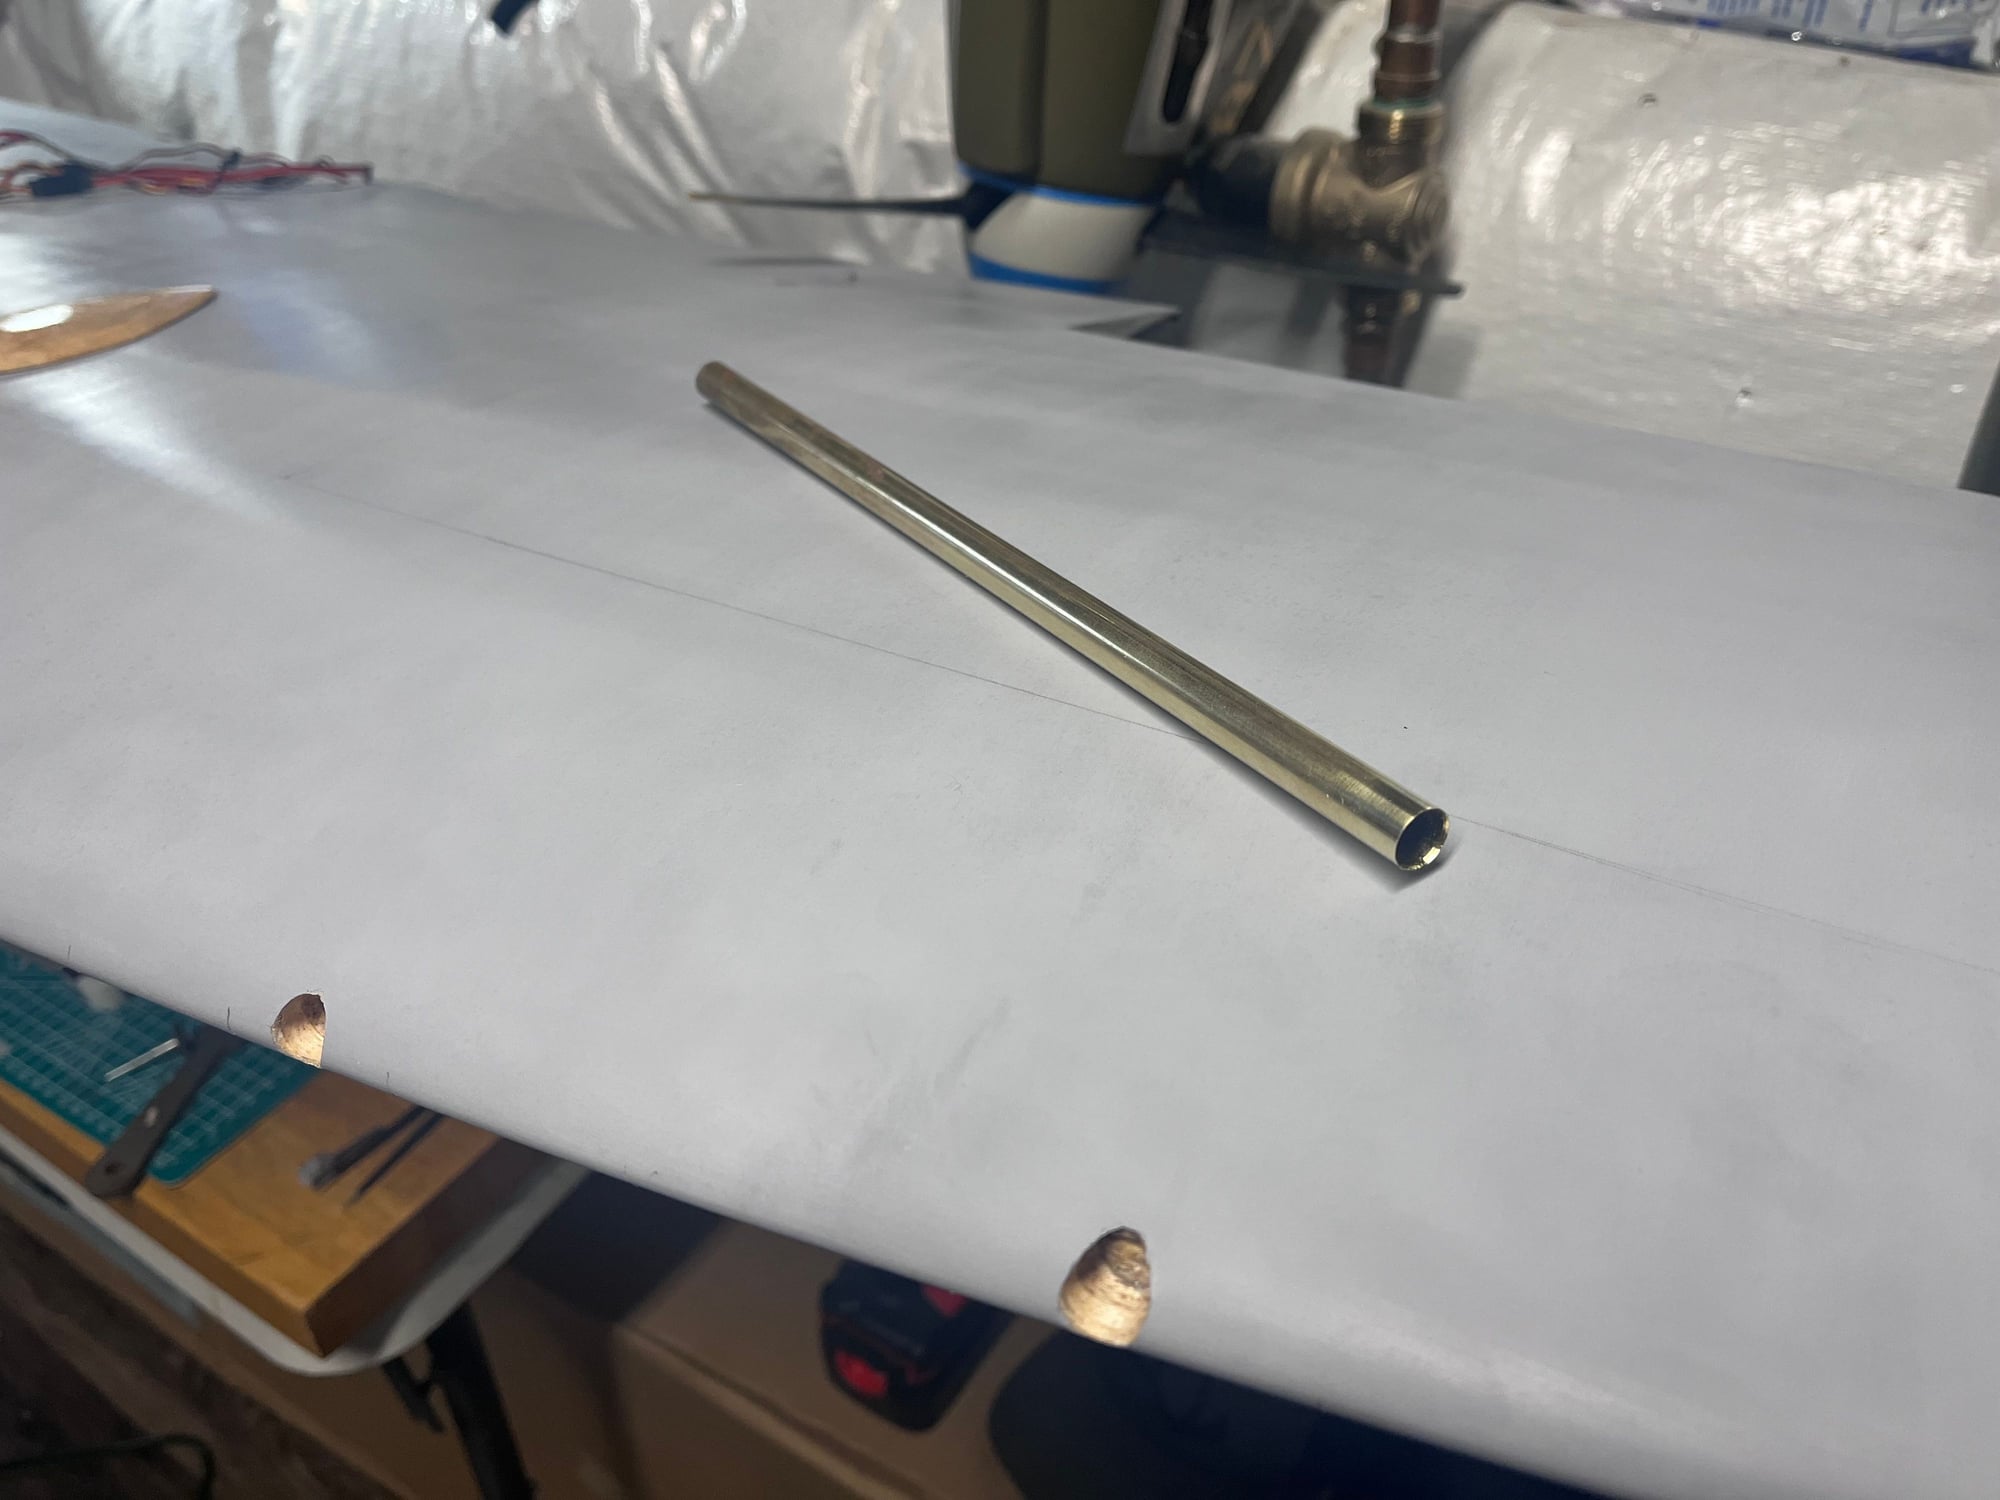
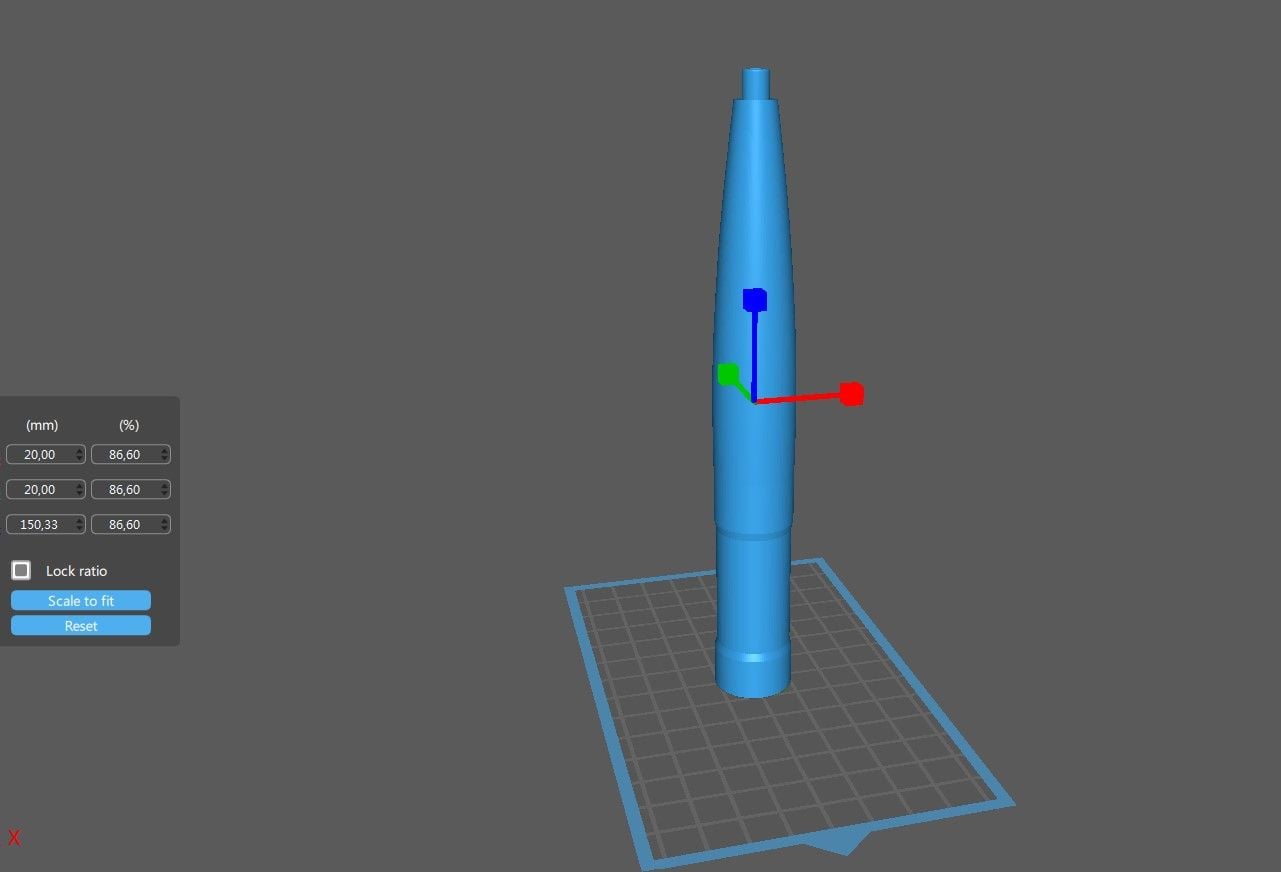
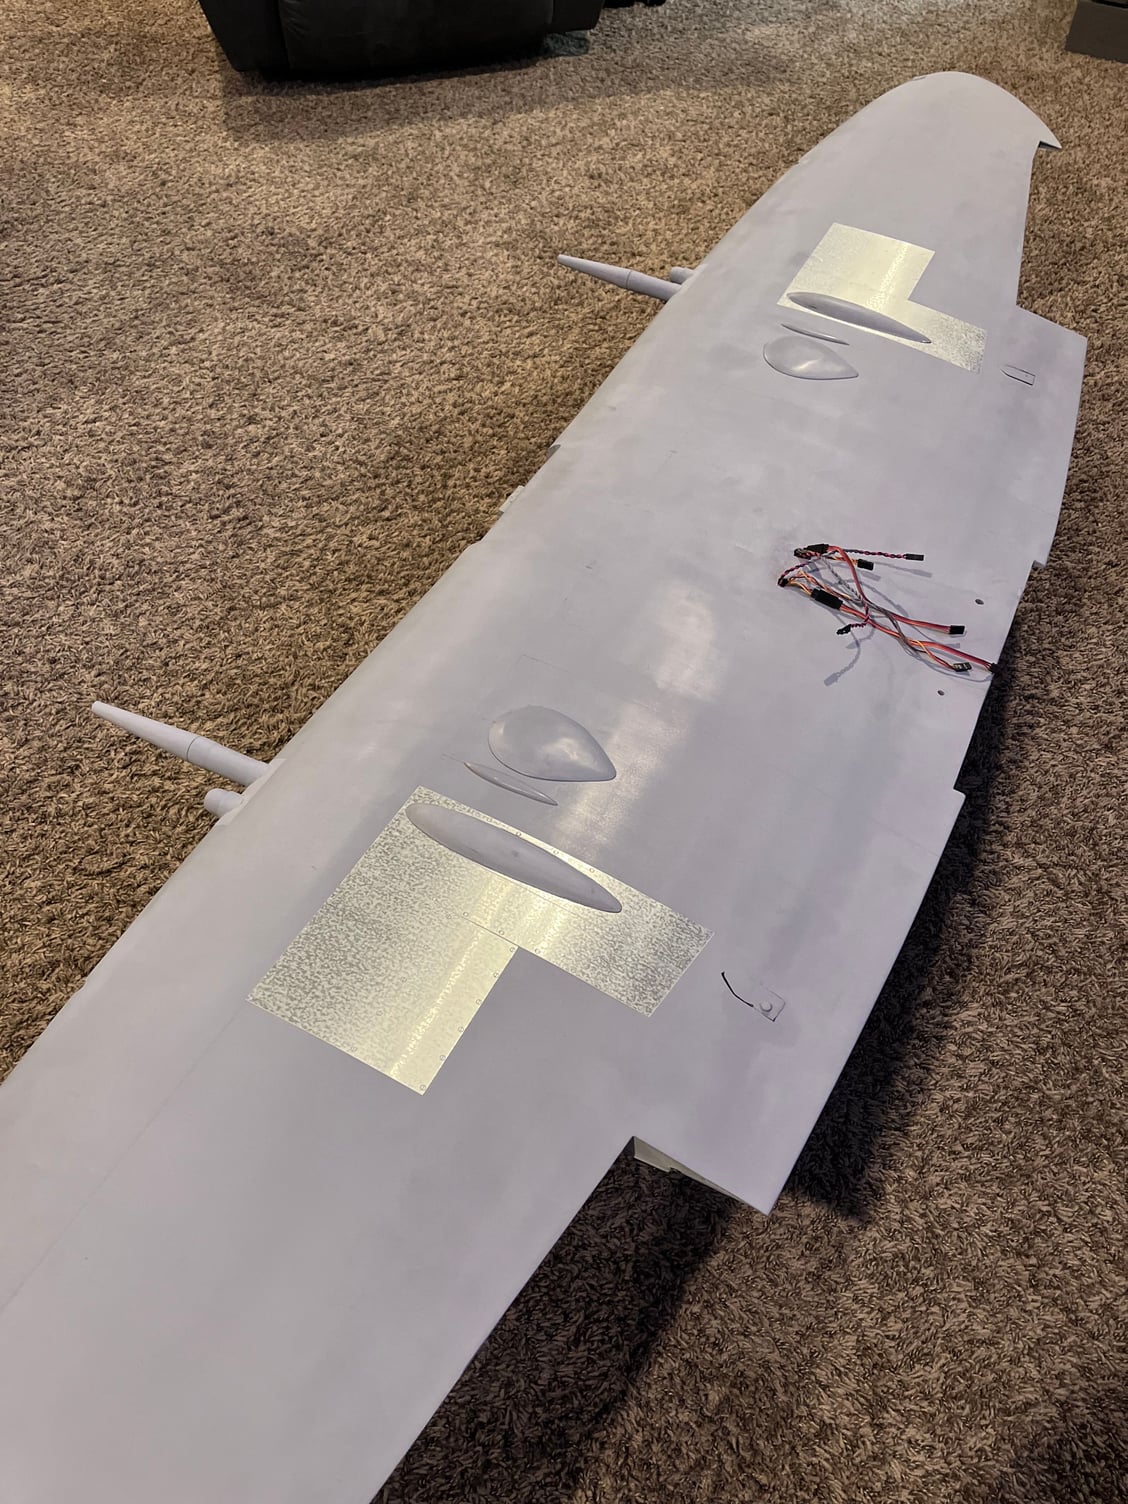
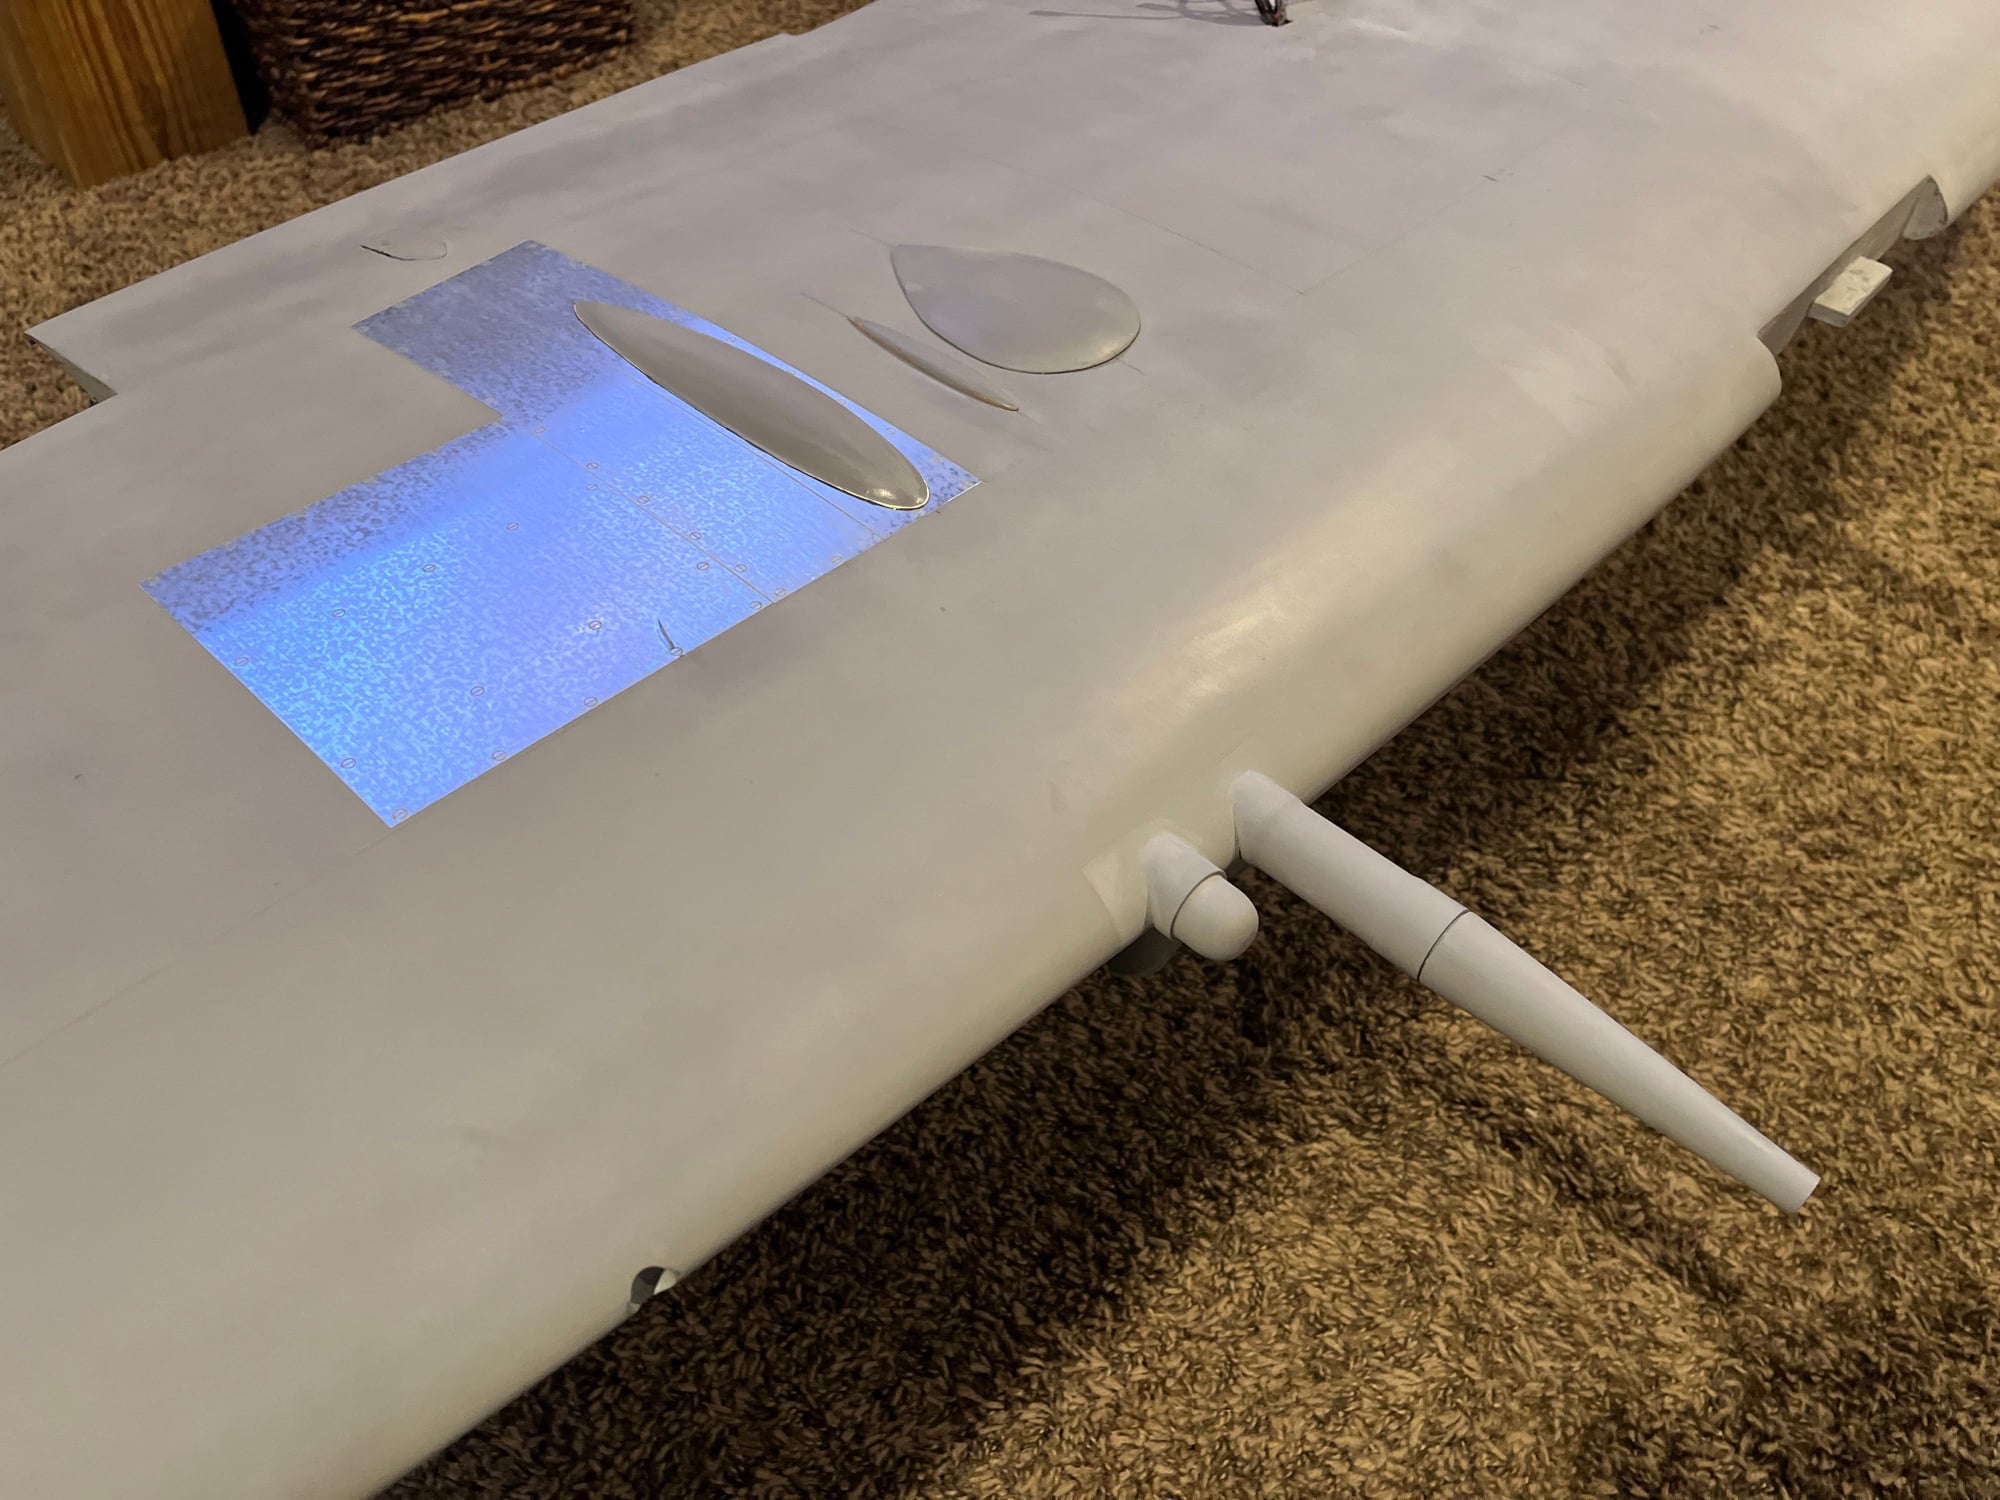
While waiting on blisters to cure began on the wing tip nav lights and frog eye fairings as well as the browning .303 shrouds.
David Glen(Warbirds in my Workshop) gave me a great idea on building the fairings. His work is insanely beautiful and worth taking a look at.


David Glen(Warbirds in my Workshop) gave me a great idea on building the fairings. His work is insanely beautiful and worth taking a look at.
 01-17-2024, 05:14 AM
#377
Thread Starter
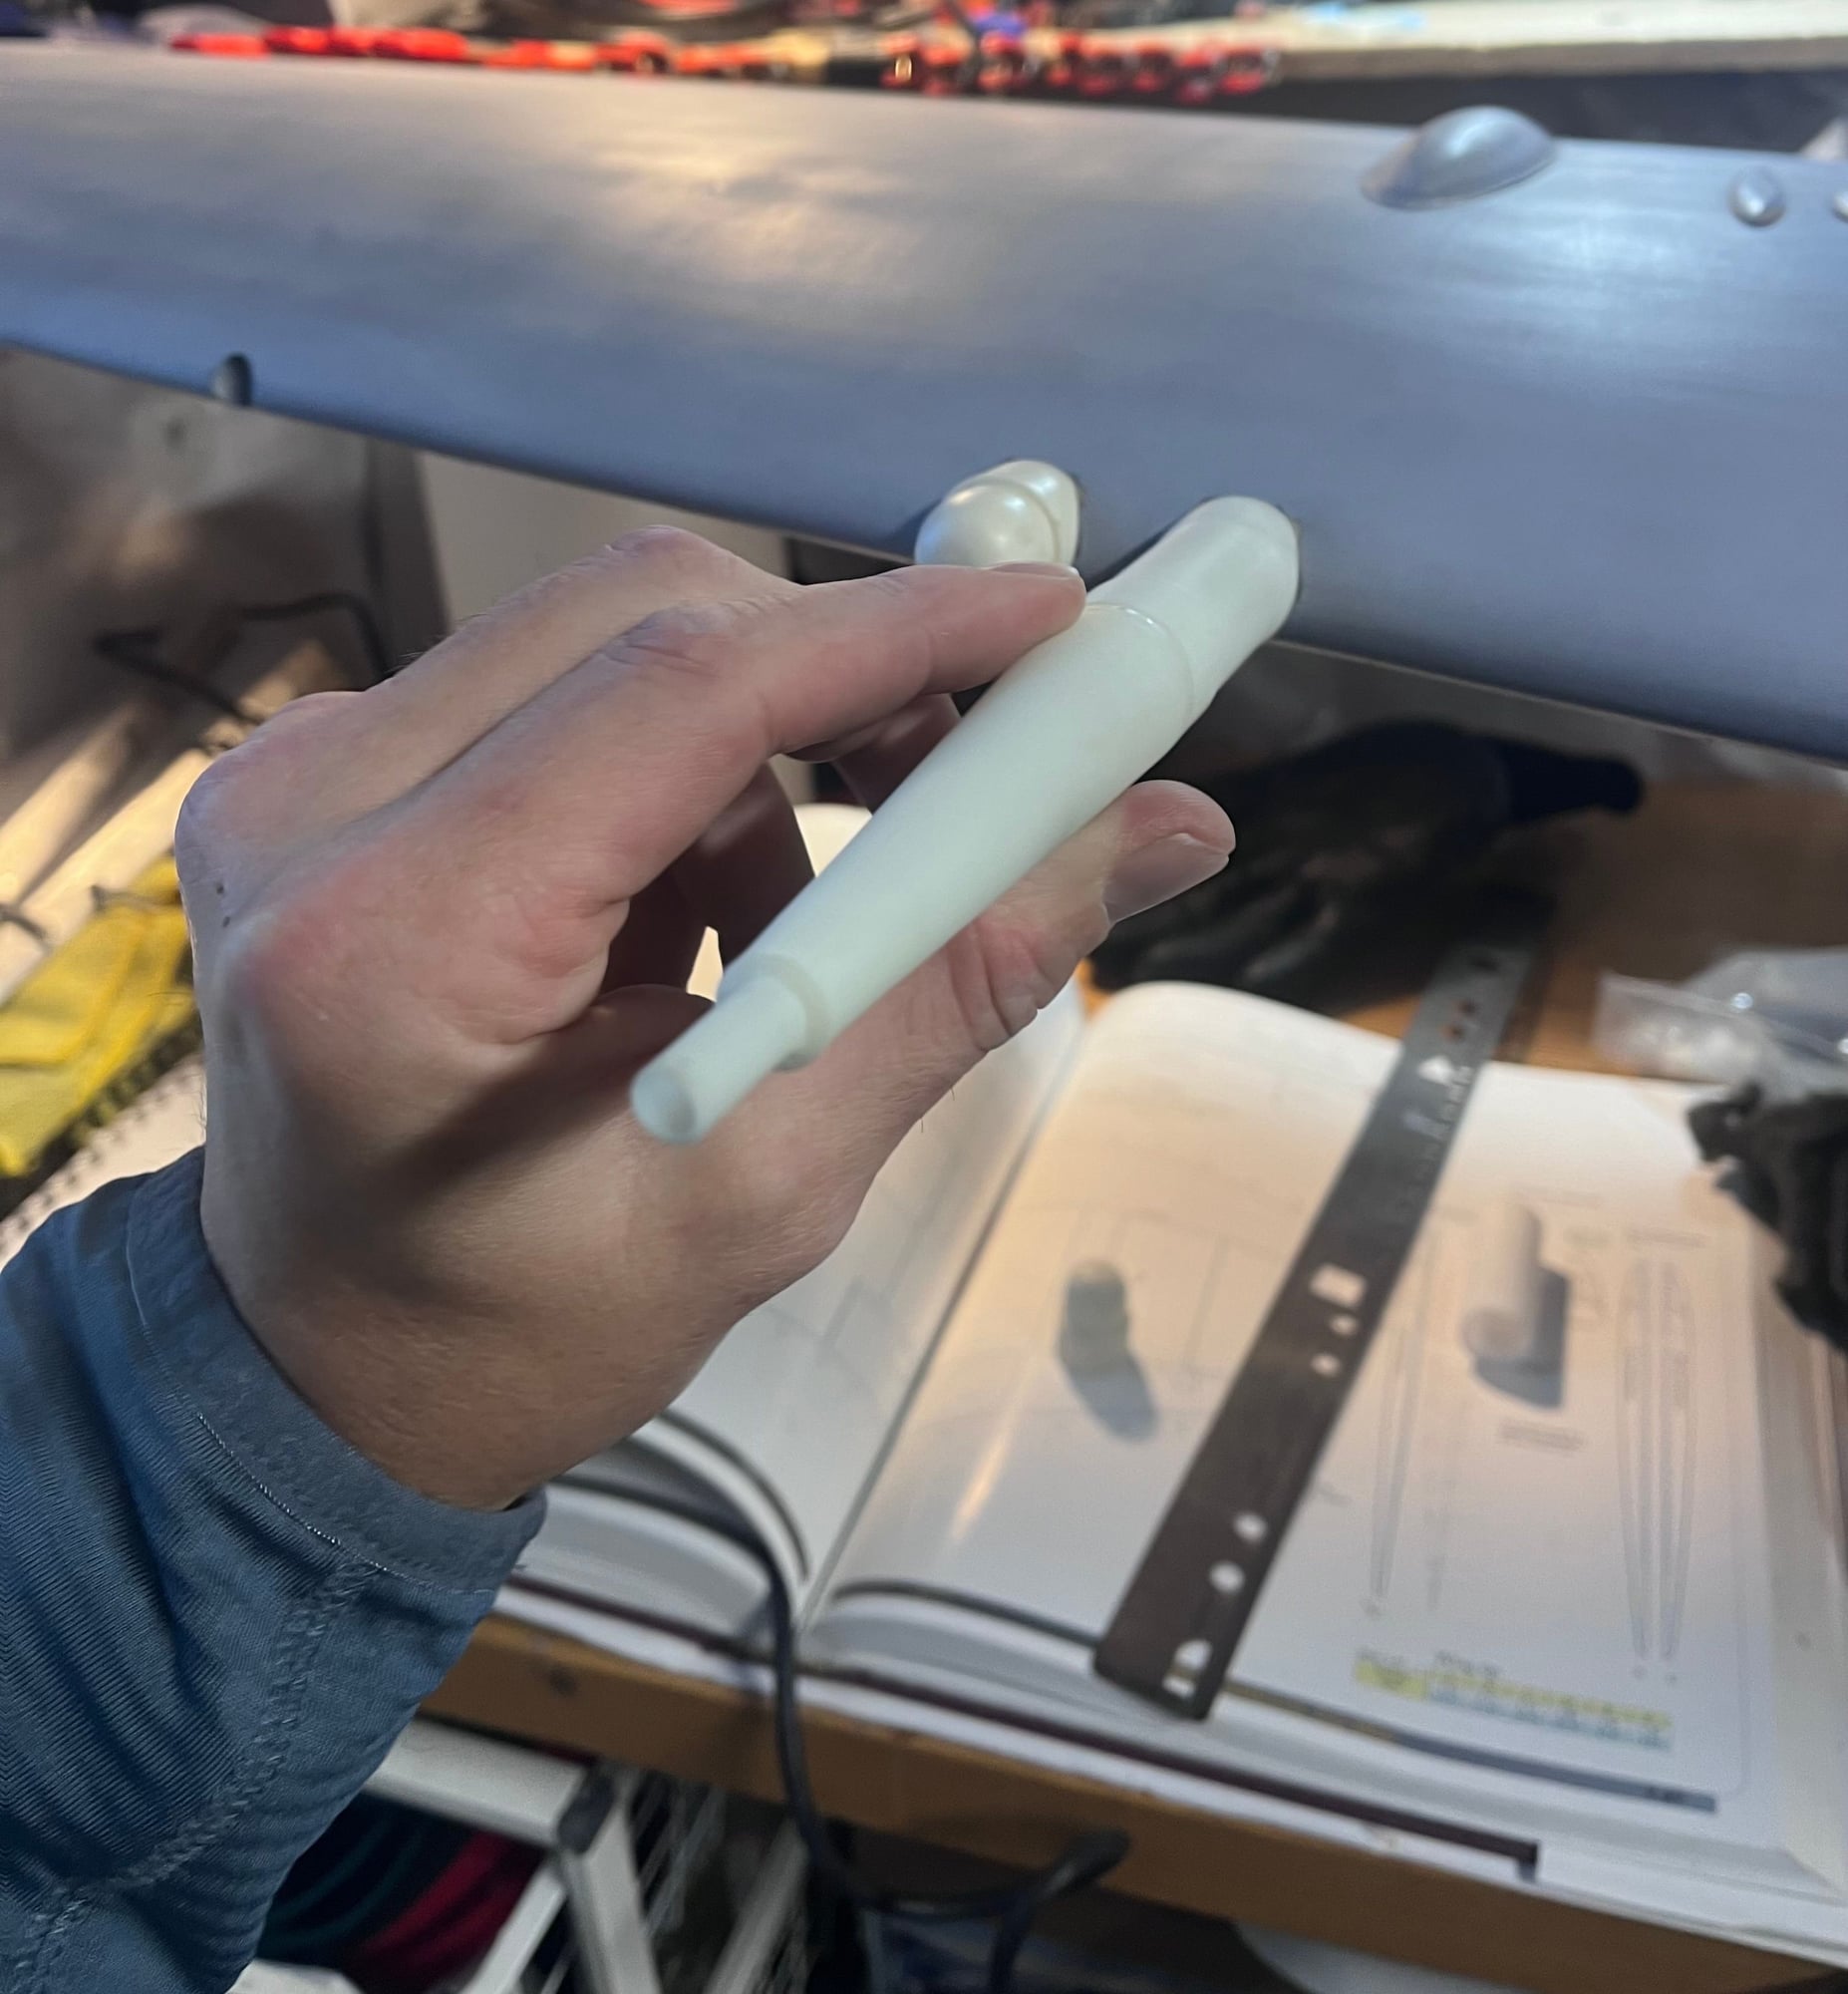
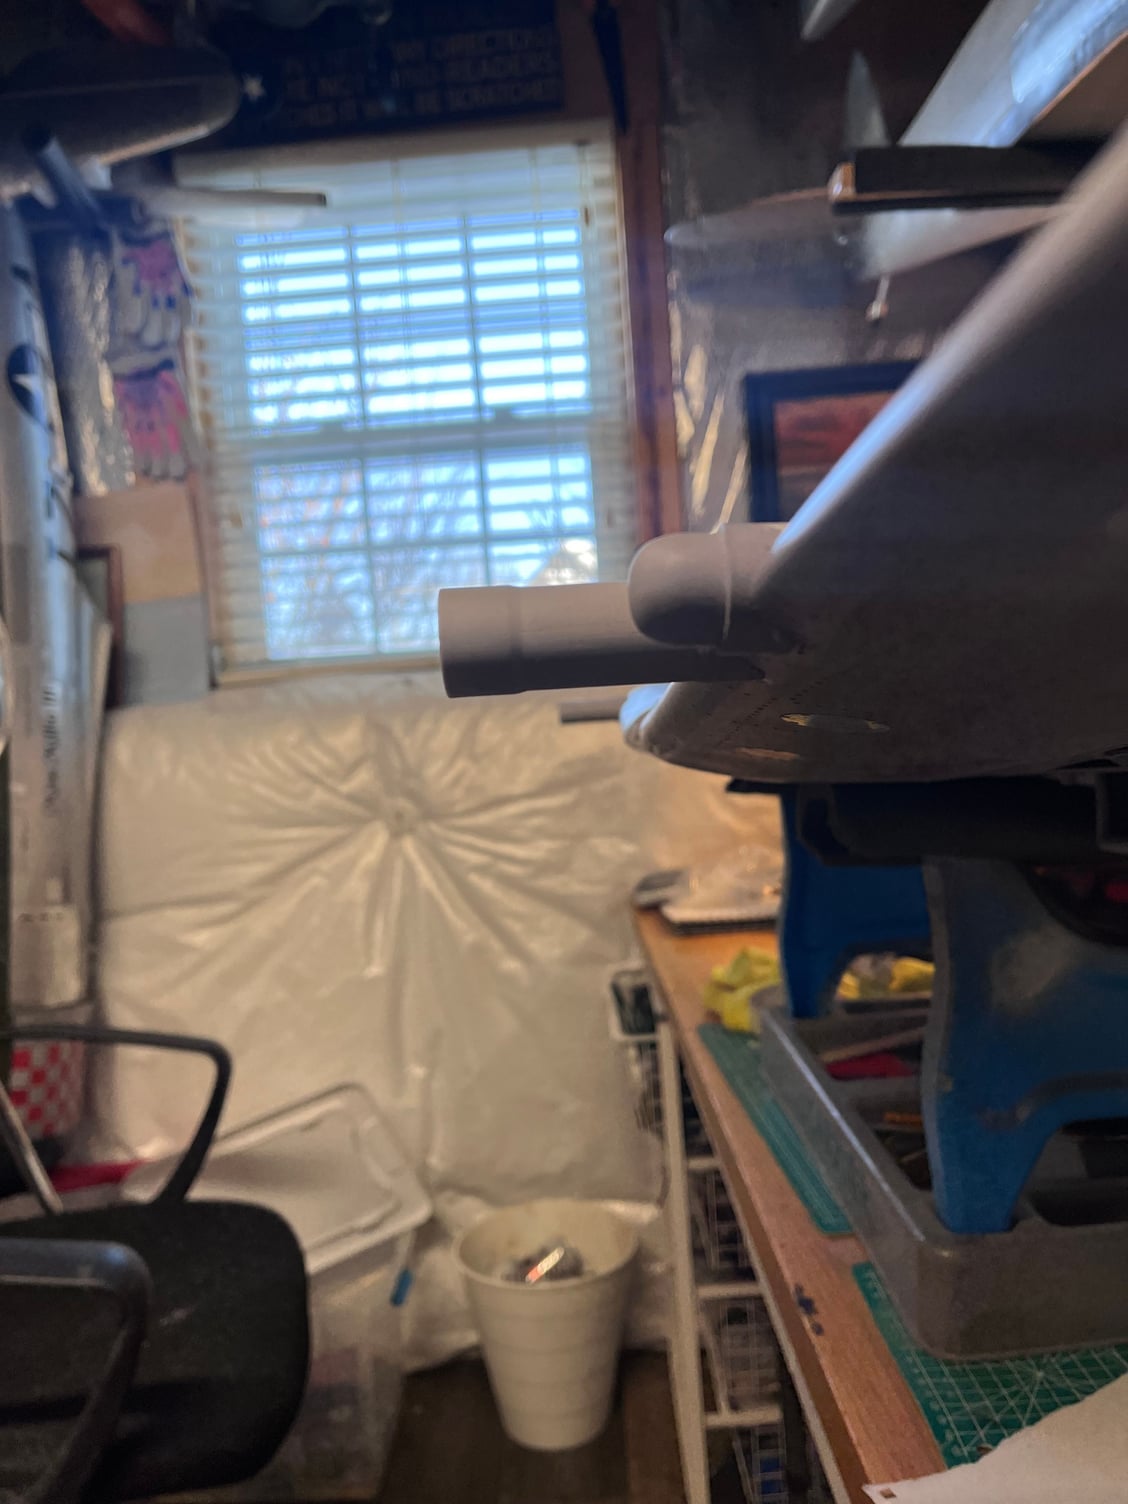
I�m about finished up with the Hispano cannons and nav fairings, some light sanding to do yet. Jiri at JPWarbirds is printing elliptical cannon shrouds for me as the current ones are the narrow early model variant. Hopefully today I can mount all the blisters on upper surface. Then I can get going with riveting and panels.
01-17-2024, 07:03 AM
#378
Your work continues to impress! Coincidentally, I just checked in with Jiri 2 days ago with a question - and he responded overnight! I used Rumen’s cannons, which had a lot of 3D printing rings to sand and fill and sand and fill and …. LOL. Either Jiri’s come with a super finish or you sanded and filled and sanded and … Looks great! (I decided to go Isaac Najary’s direction and make them detachable which gives an obvious seam vs your seamless finish). Given the first crash they’ll detach anyway, I thought I’d pre-empt haha!
I just decided last night to have Jiri make the blisters for me along with the seat back structure which I forgot when ordering the seat. BTW, to your thread followers, his work is excellent quality and he is super to work with.
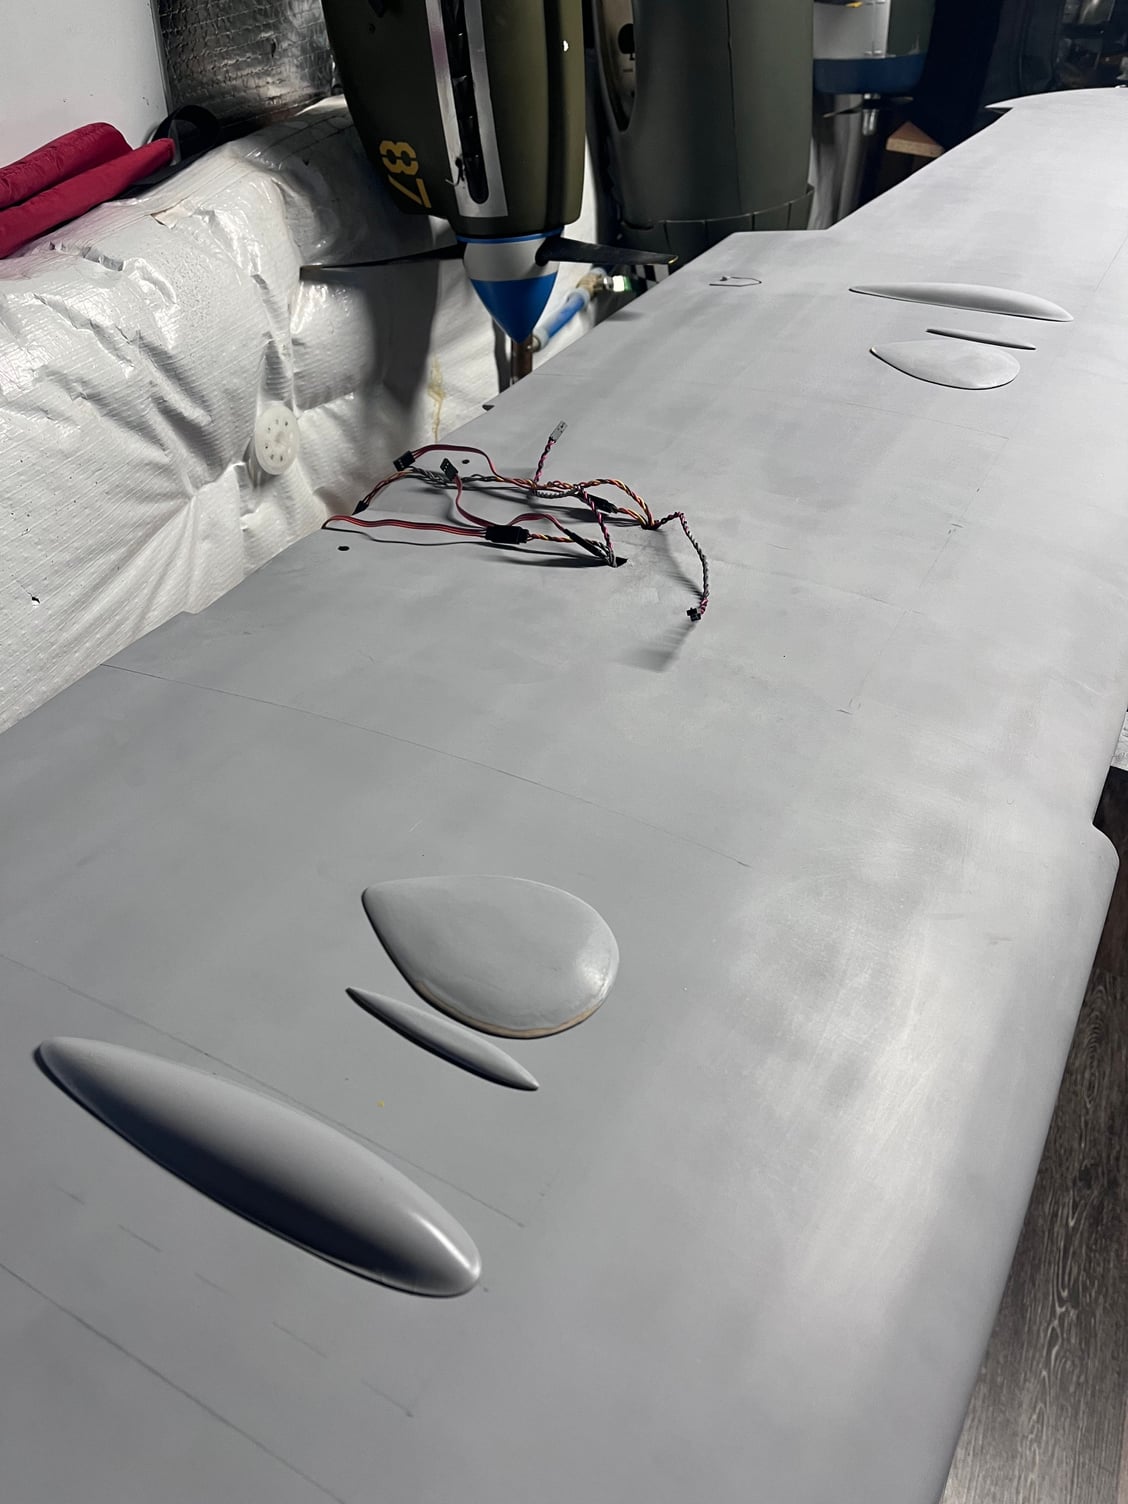
My skilled paint work before this project was a 1” cutting in brush. Now I am detail painting cockpit parts using what looks like a single whisker off a squirrel!
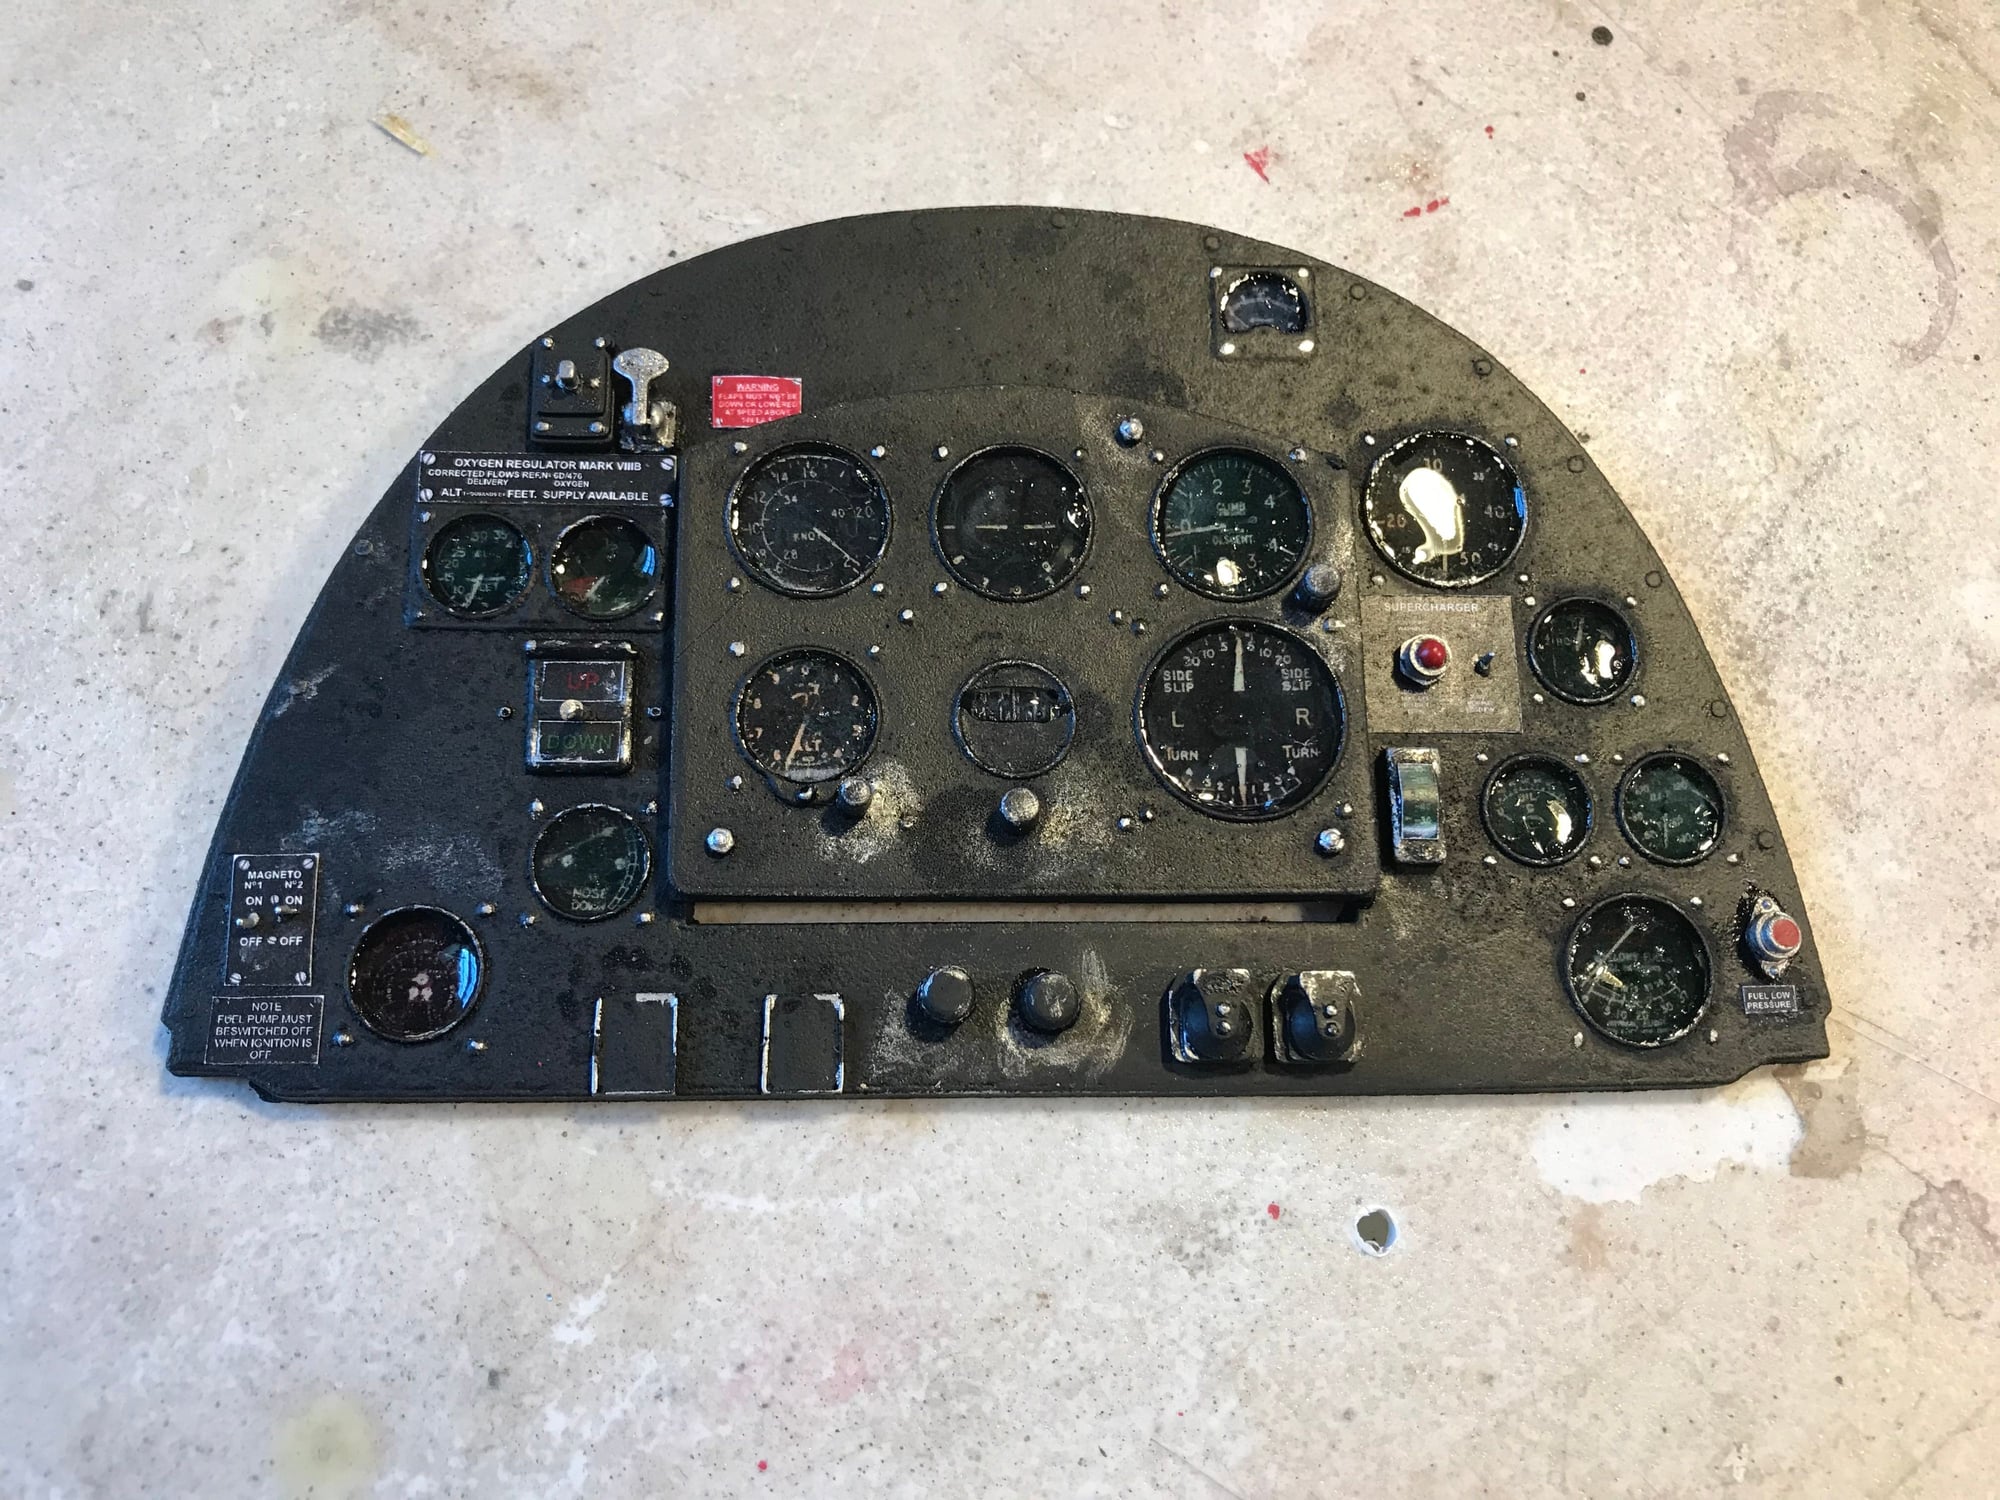
So I’d like to ask a question of you and your followers. (Be gentle as I am a newbie way out over his ski’s!). I realized I cannot do wing fairings without skinning the fuselage. And it makes more sense to do the much MUCH delayed cockpit before I skin. So my questions: Did you use Jiri’s printed paper gauges for the cockpit dash or other supplier or ….? And did you source plastic circles for guage covers? I am not looking forward to cutting out the circles with scissors and don’t know of a better option, so open to ideas. Thanks!
I just decided last night to have Jiri make the blisters for me along with the seat back structure which I forgot when ordering the seat. BTW, to your thread followers, his work is excellent quality and he is super to work with.
My skilled paint work before this project was a 1” cutting in brush. Now I am detail painting cockpit parts using what looks like a single whisker off a squirrel!
So I’d like to ask a question of you and your followers. (Be gentle as I am a newbie way out over his ski’s!). I realized I cannot do wing fairings without skinning the fuselage. And it makes more sense to do the much MUCH delayed cockpit before I skin. So my questions: Did you use Jiri’s printed paper gauges for the cockpit dash or other supplier or ….? And did you source plastic circles for guage covers? I am not looking forward to cutting out the circles with scissors and don’t know of a better option, so open to ideas. Thanks!
01-17-2024, 08:24 AM
#379
Thread Starter
Your work continues to impress! Coincidentally, I just checked in with Jiri 2 days ago with a question - and he responded overnight! I used Rumen�s cannons, which had a lot of 3D printing rings to sand and fill and sand and fill and �. LOL. Either Jiri�s come with a super finish or you sanded and filled and sanded and � Looks great! (I decided to go Isaac Najary�s direction and make them detachable which gives an obvious seam vs your seamless finish). Given the first crash they�ll detach anyway, I thought I�d pre-empt haha!
I just decided last night to have Jiri make the blisters for me along with the seat back structure which I forgot when ordering the seat. BTW, to your thread followers, his work is excellent quality and he is super to work with.
My skilled paint work before this project was a 1� cutting in brush. Now I am detail painting cockpit parts using what looks like a single whisker off a squirrel!
So I�d like to ask a question of you and your followers. (Be gentle as I am a newbie way out over his ski�s!). I realized I cannot do wing fairings without skinning the fuselage. And it makes more sense to do the much MUCH delayed cockpit before I skin. So my questions: Did you use Jiri�s printed paper gauges for the cockpit dash or other supplier or �.? And did you source plastic circles for guage covers? I am not looking forward to cutting out the circles with scissors and don�t know of a better option, so open to ideas. Thanks!
The following users liked this post:
Findgareth (01-17-2024)
01-17-2024, 10:08 AM
#382
Thread Starter
01-17-2024, 06:54 PM
#383
Thread Starter
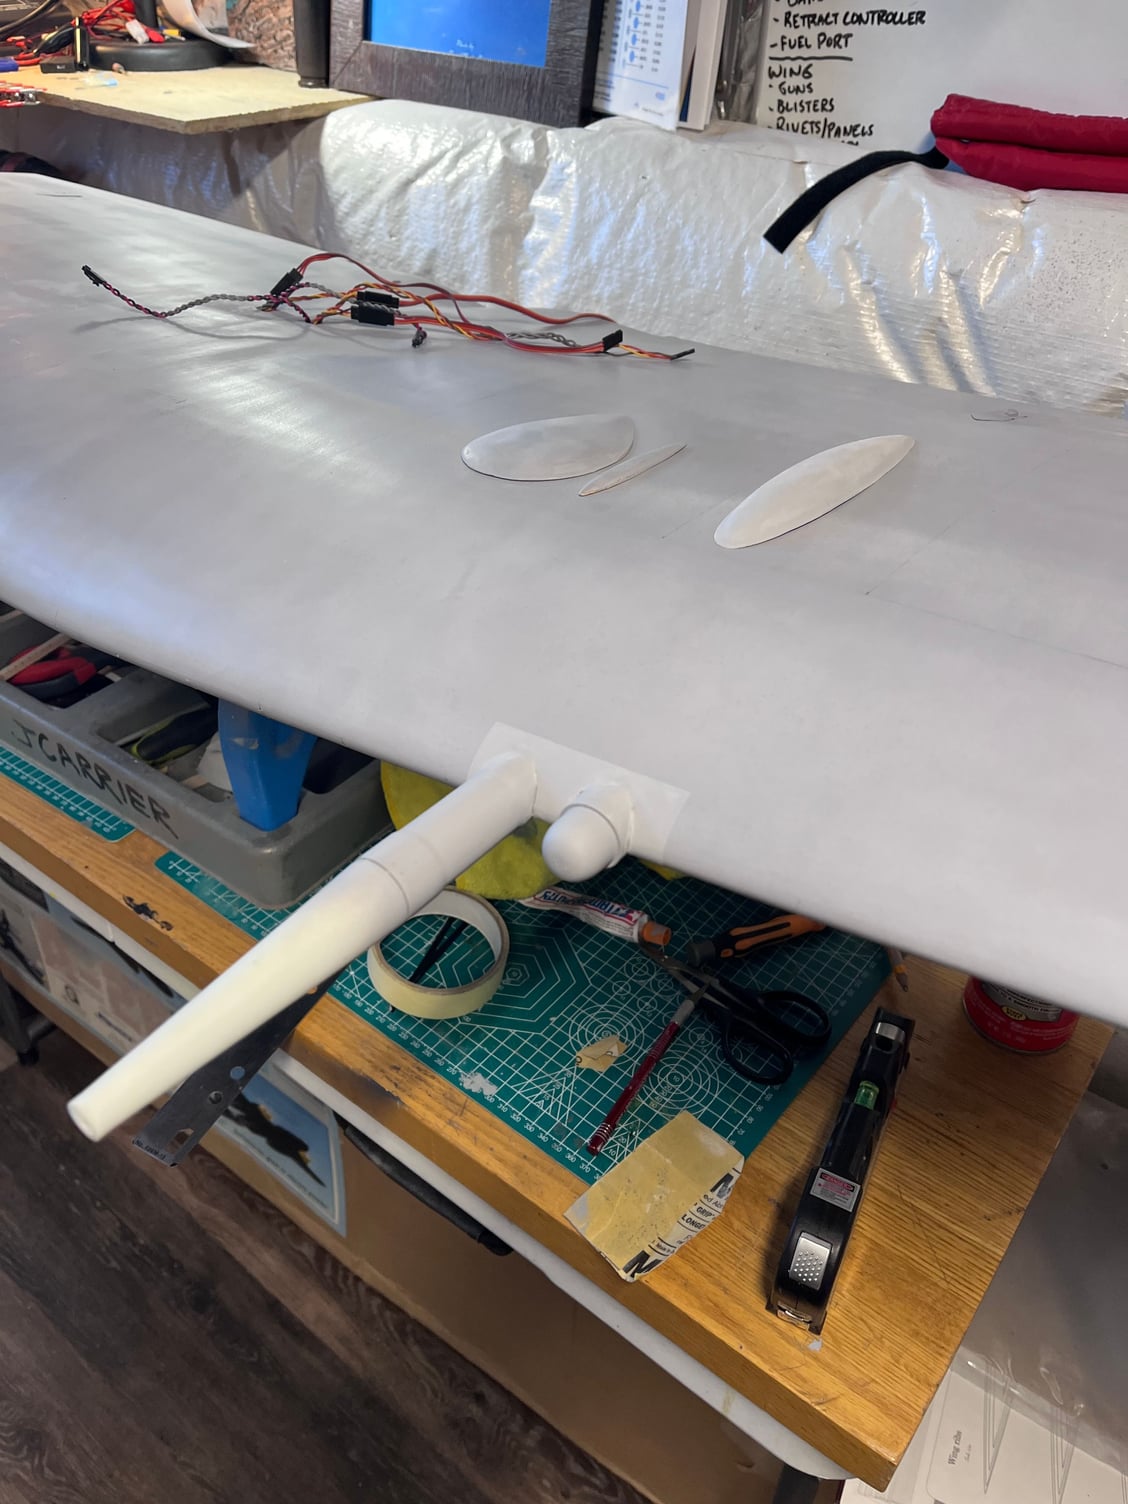
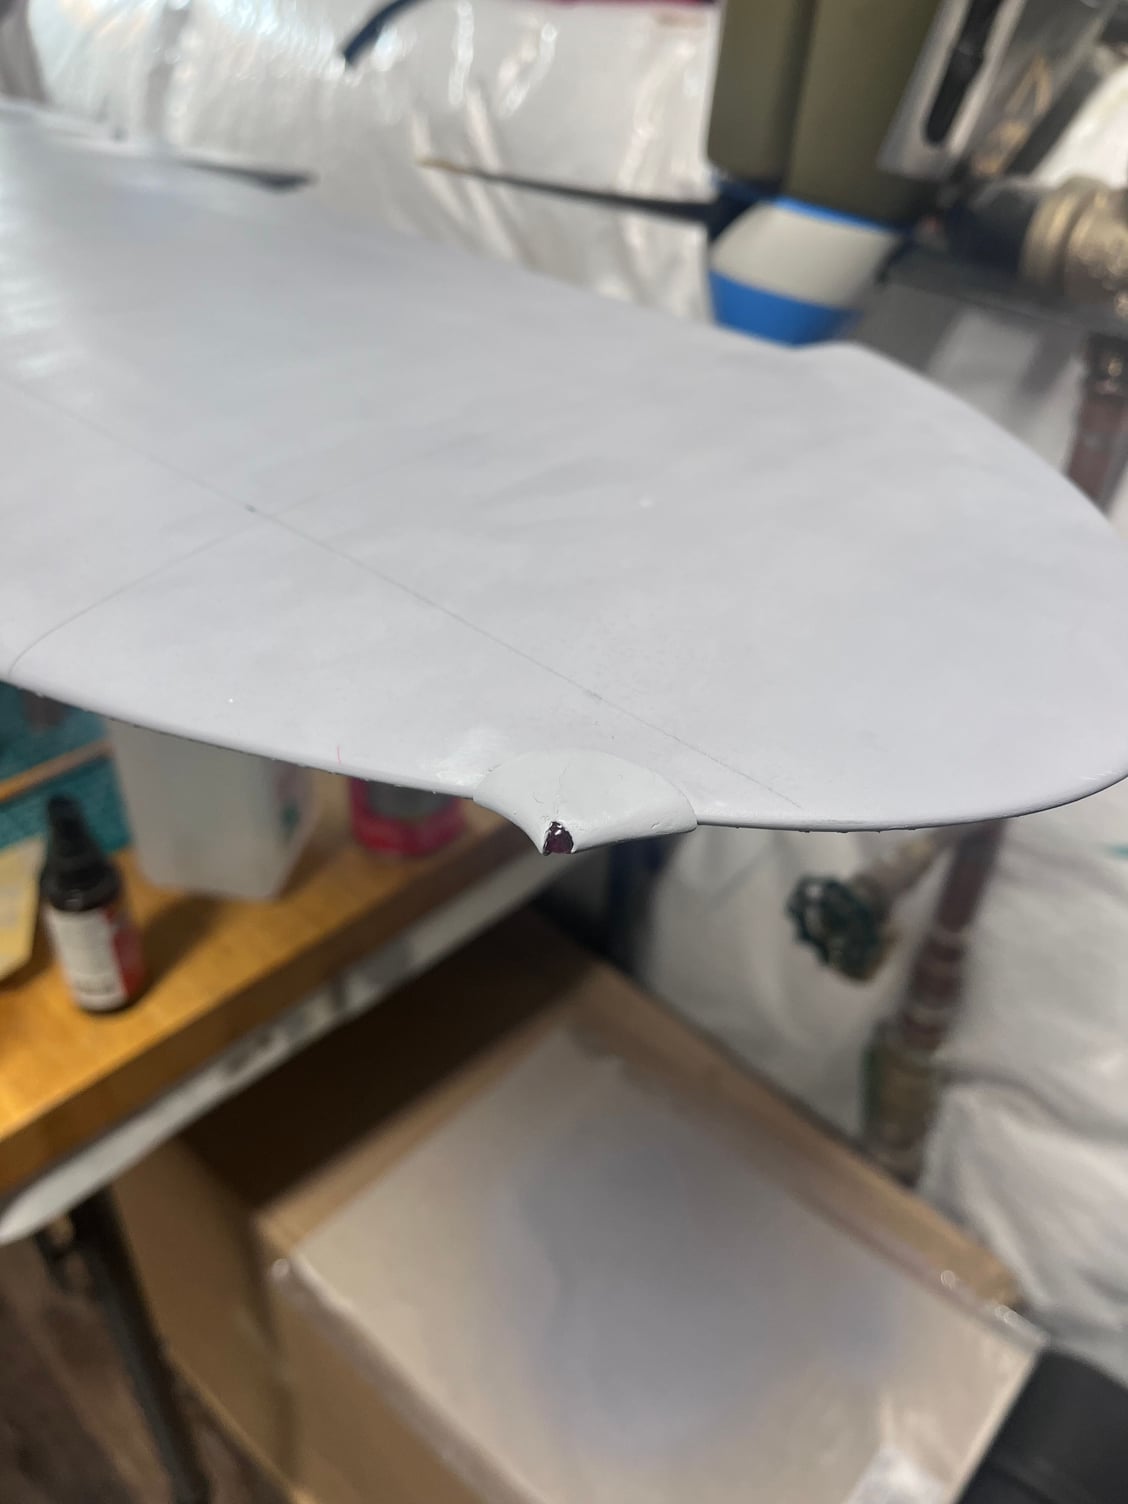
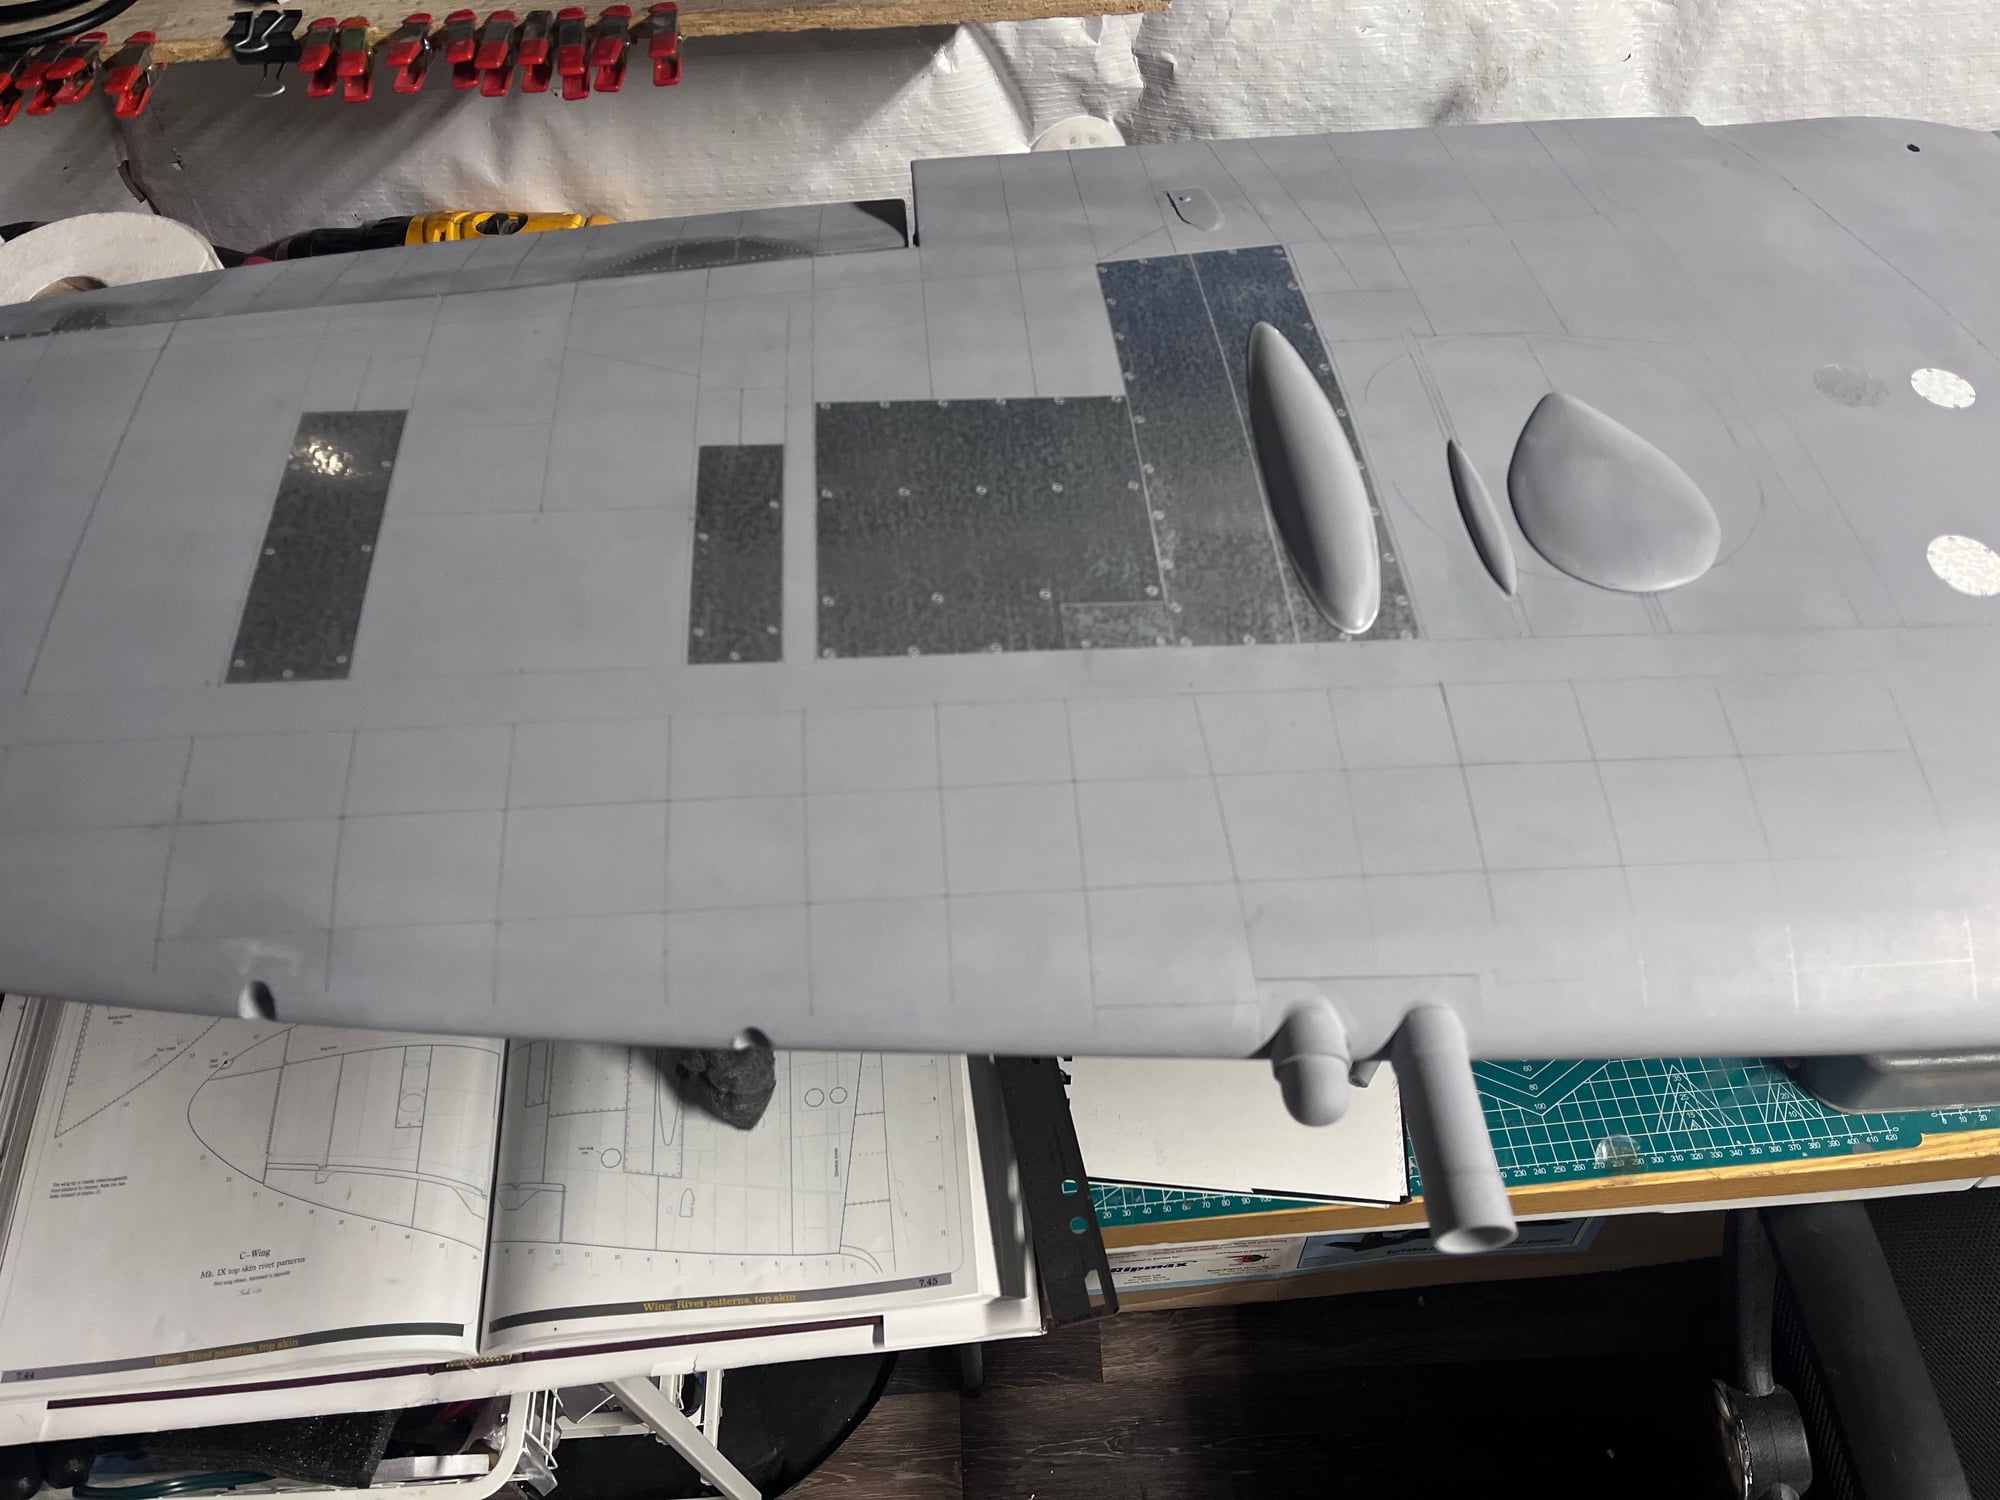
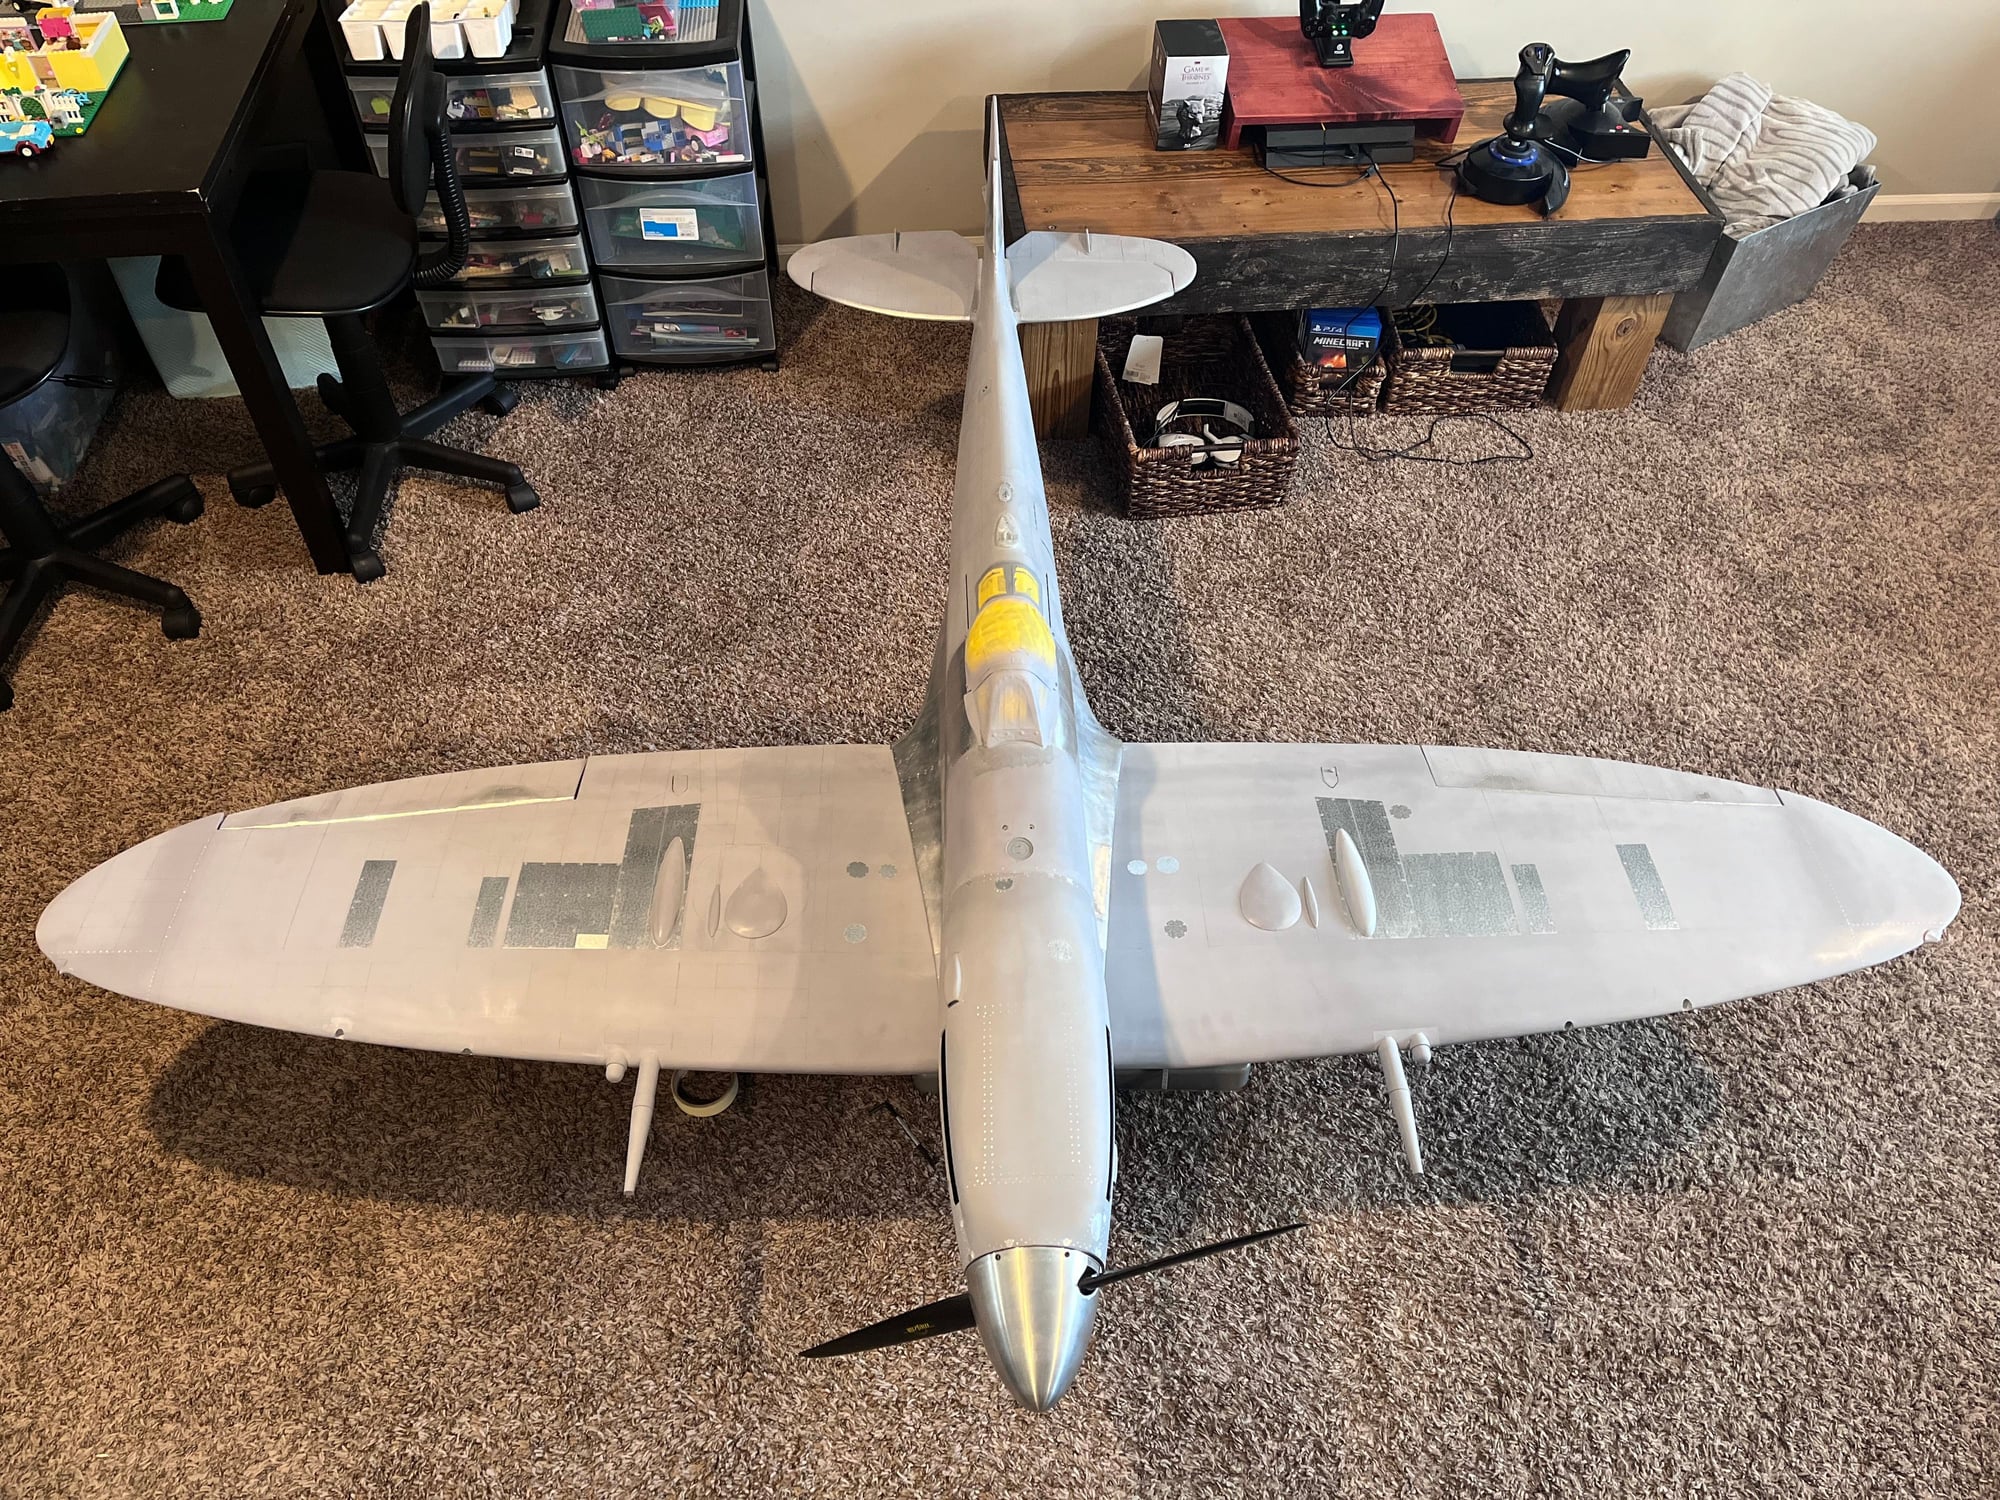
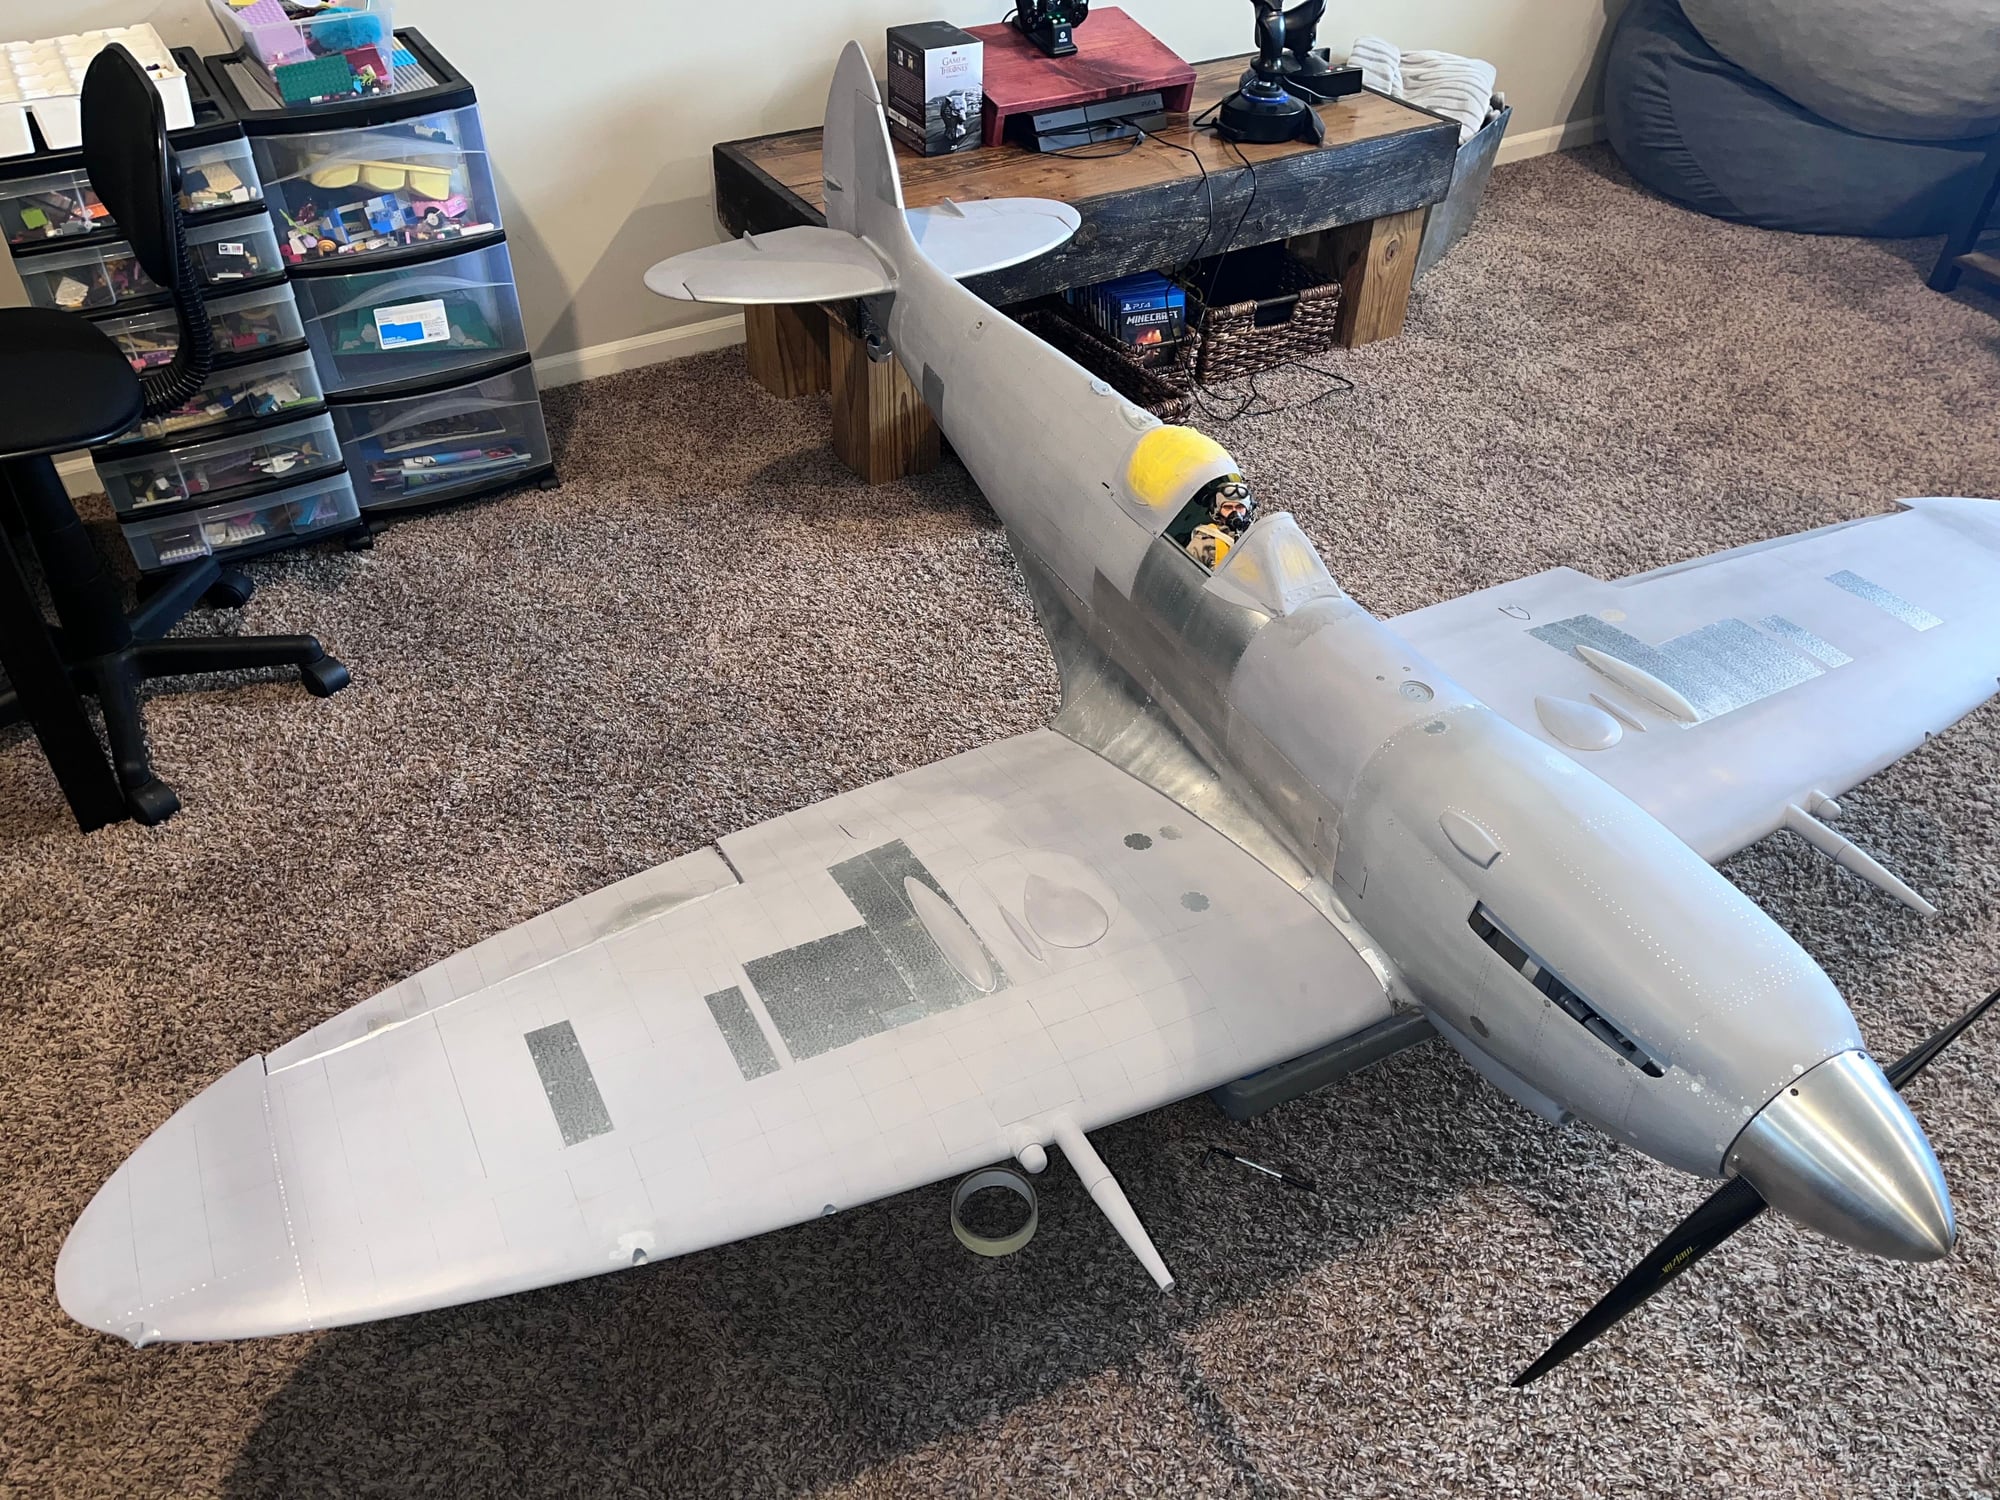
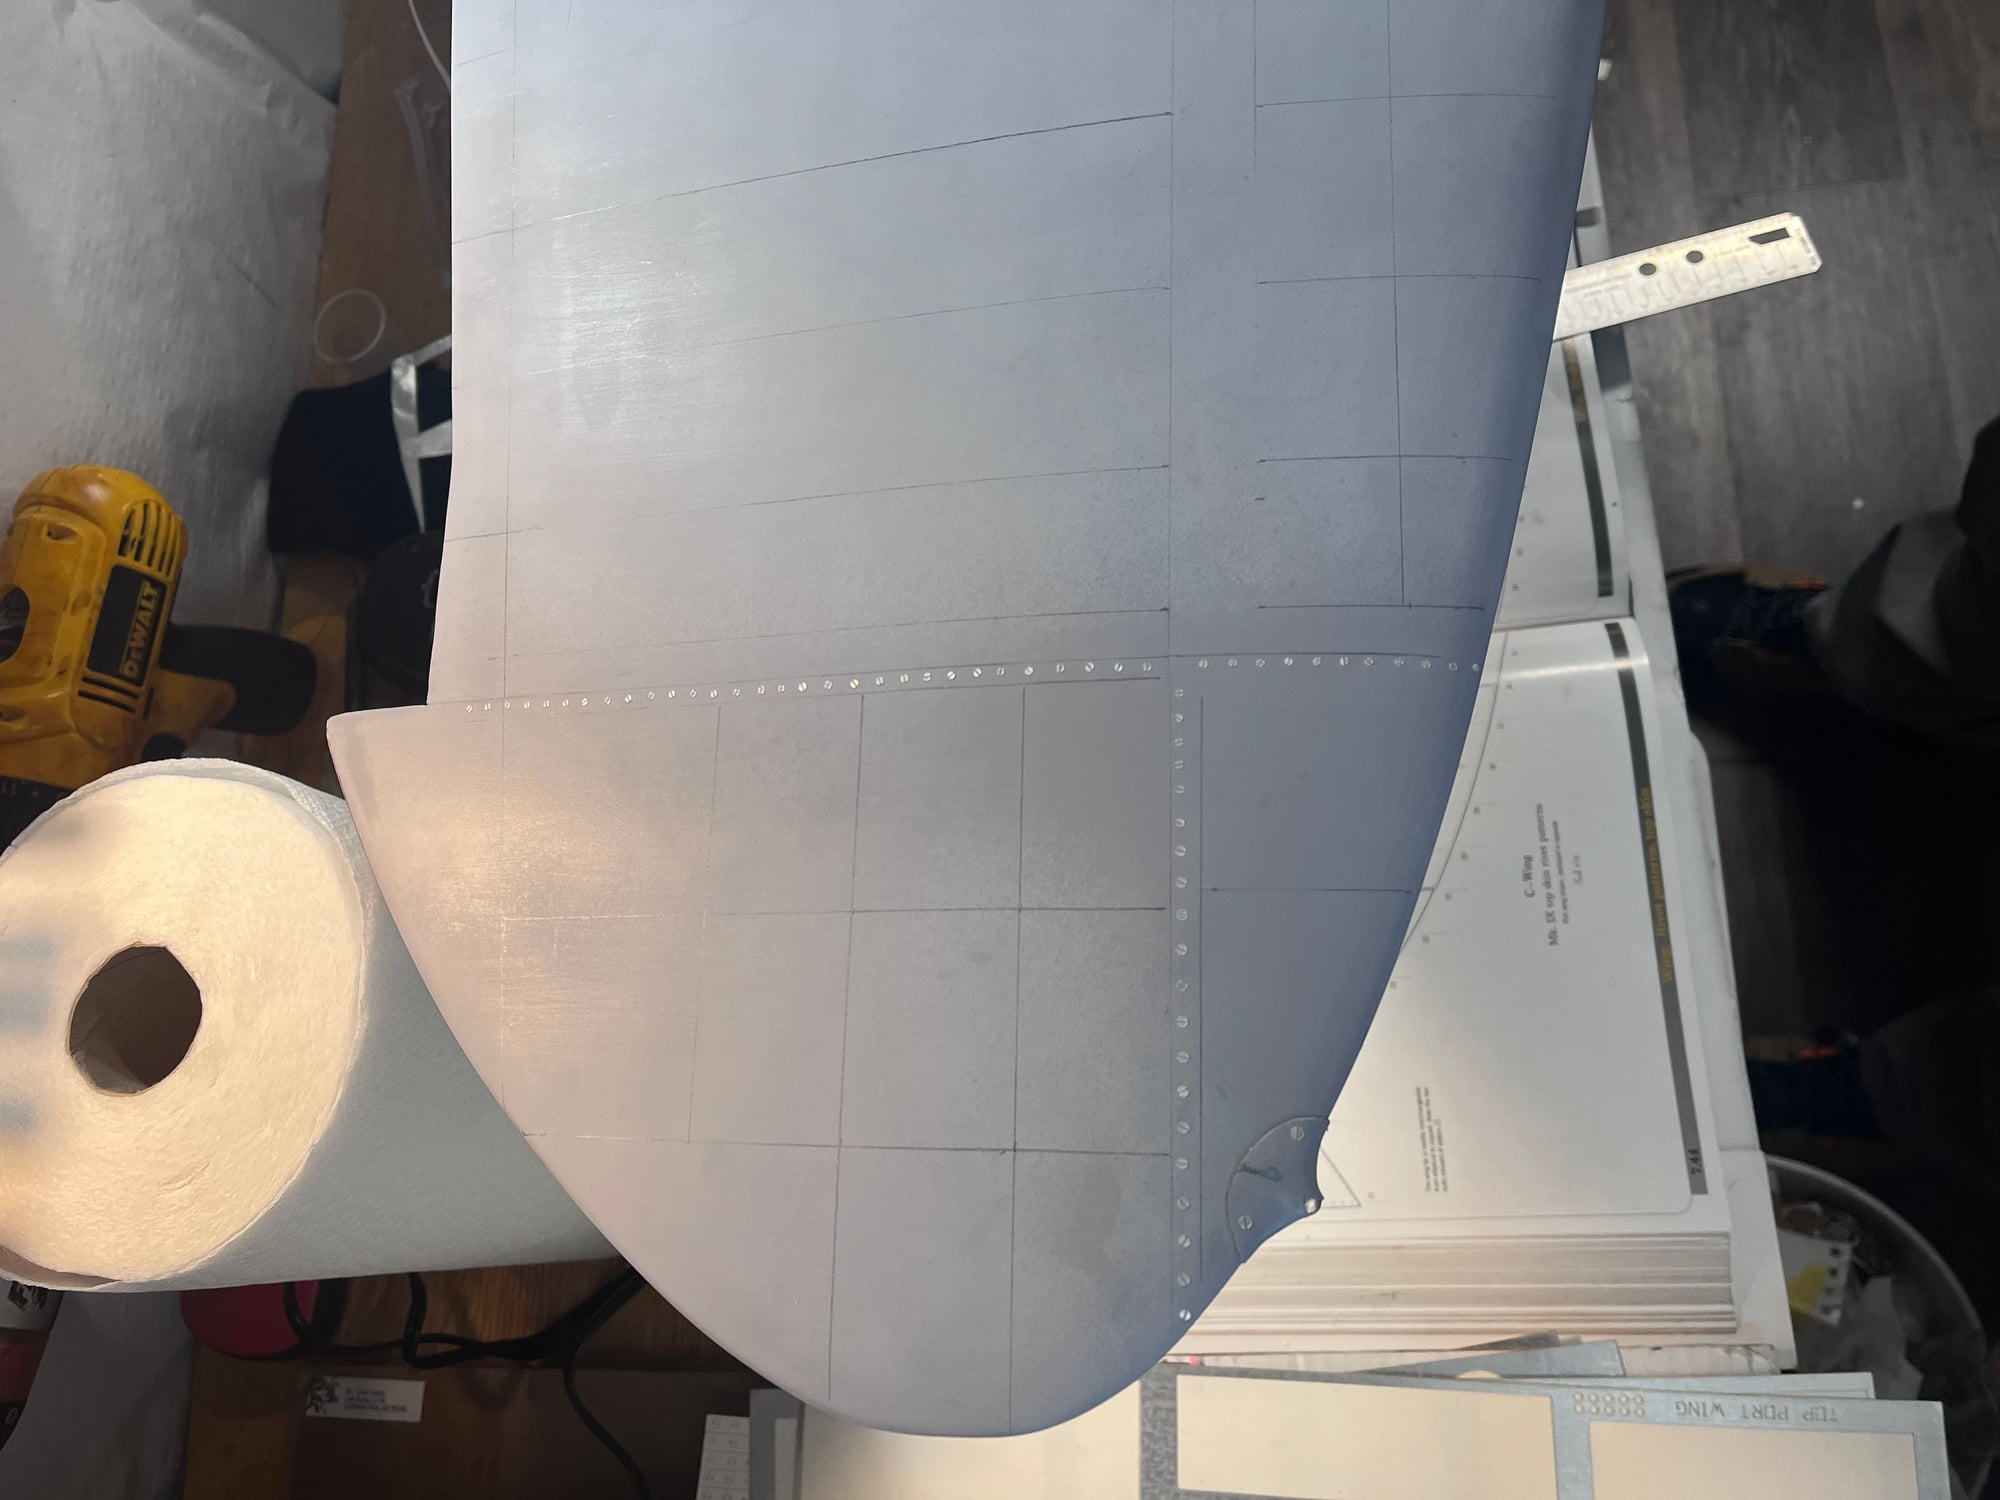
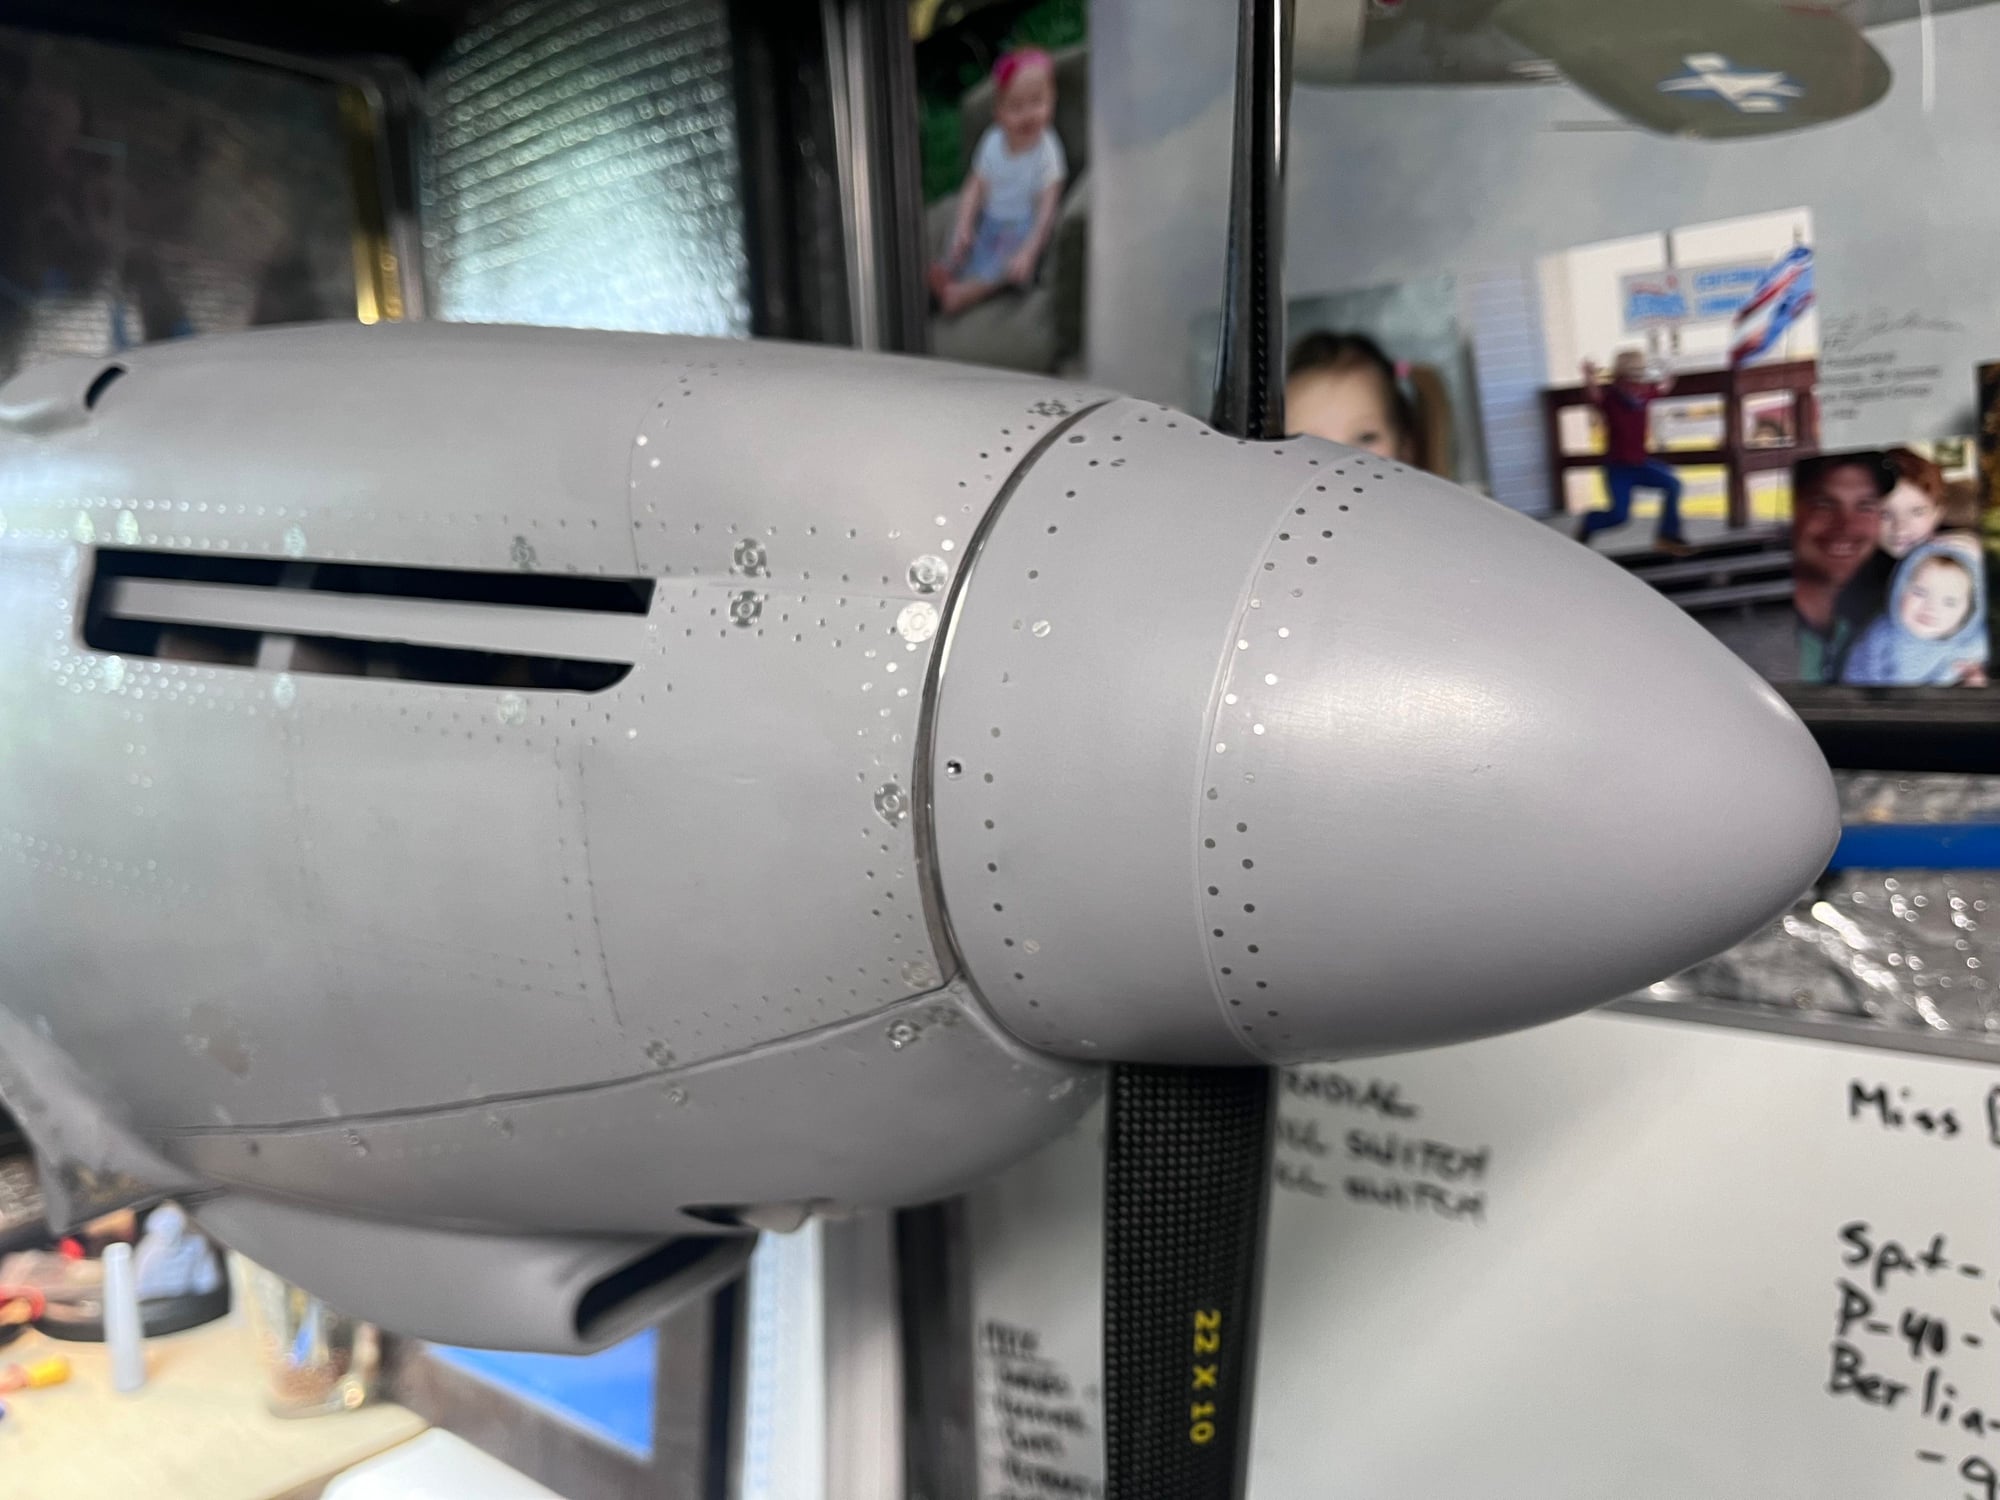
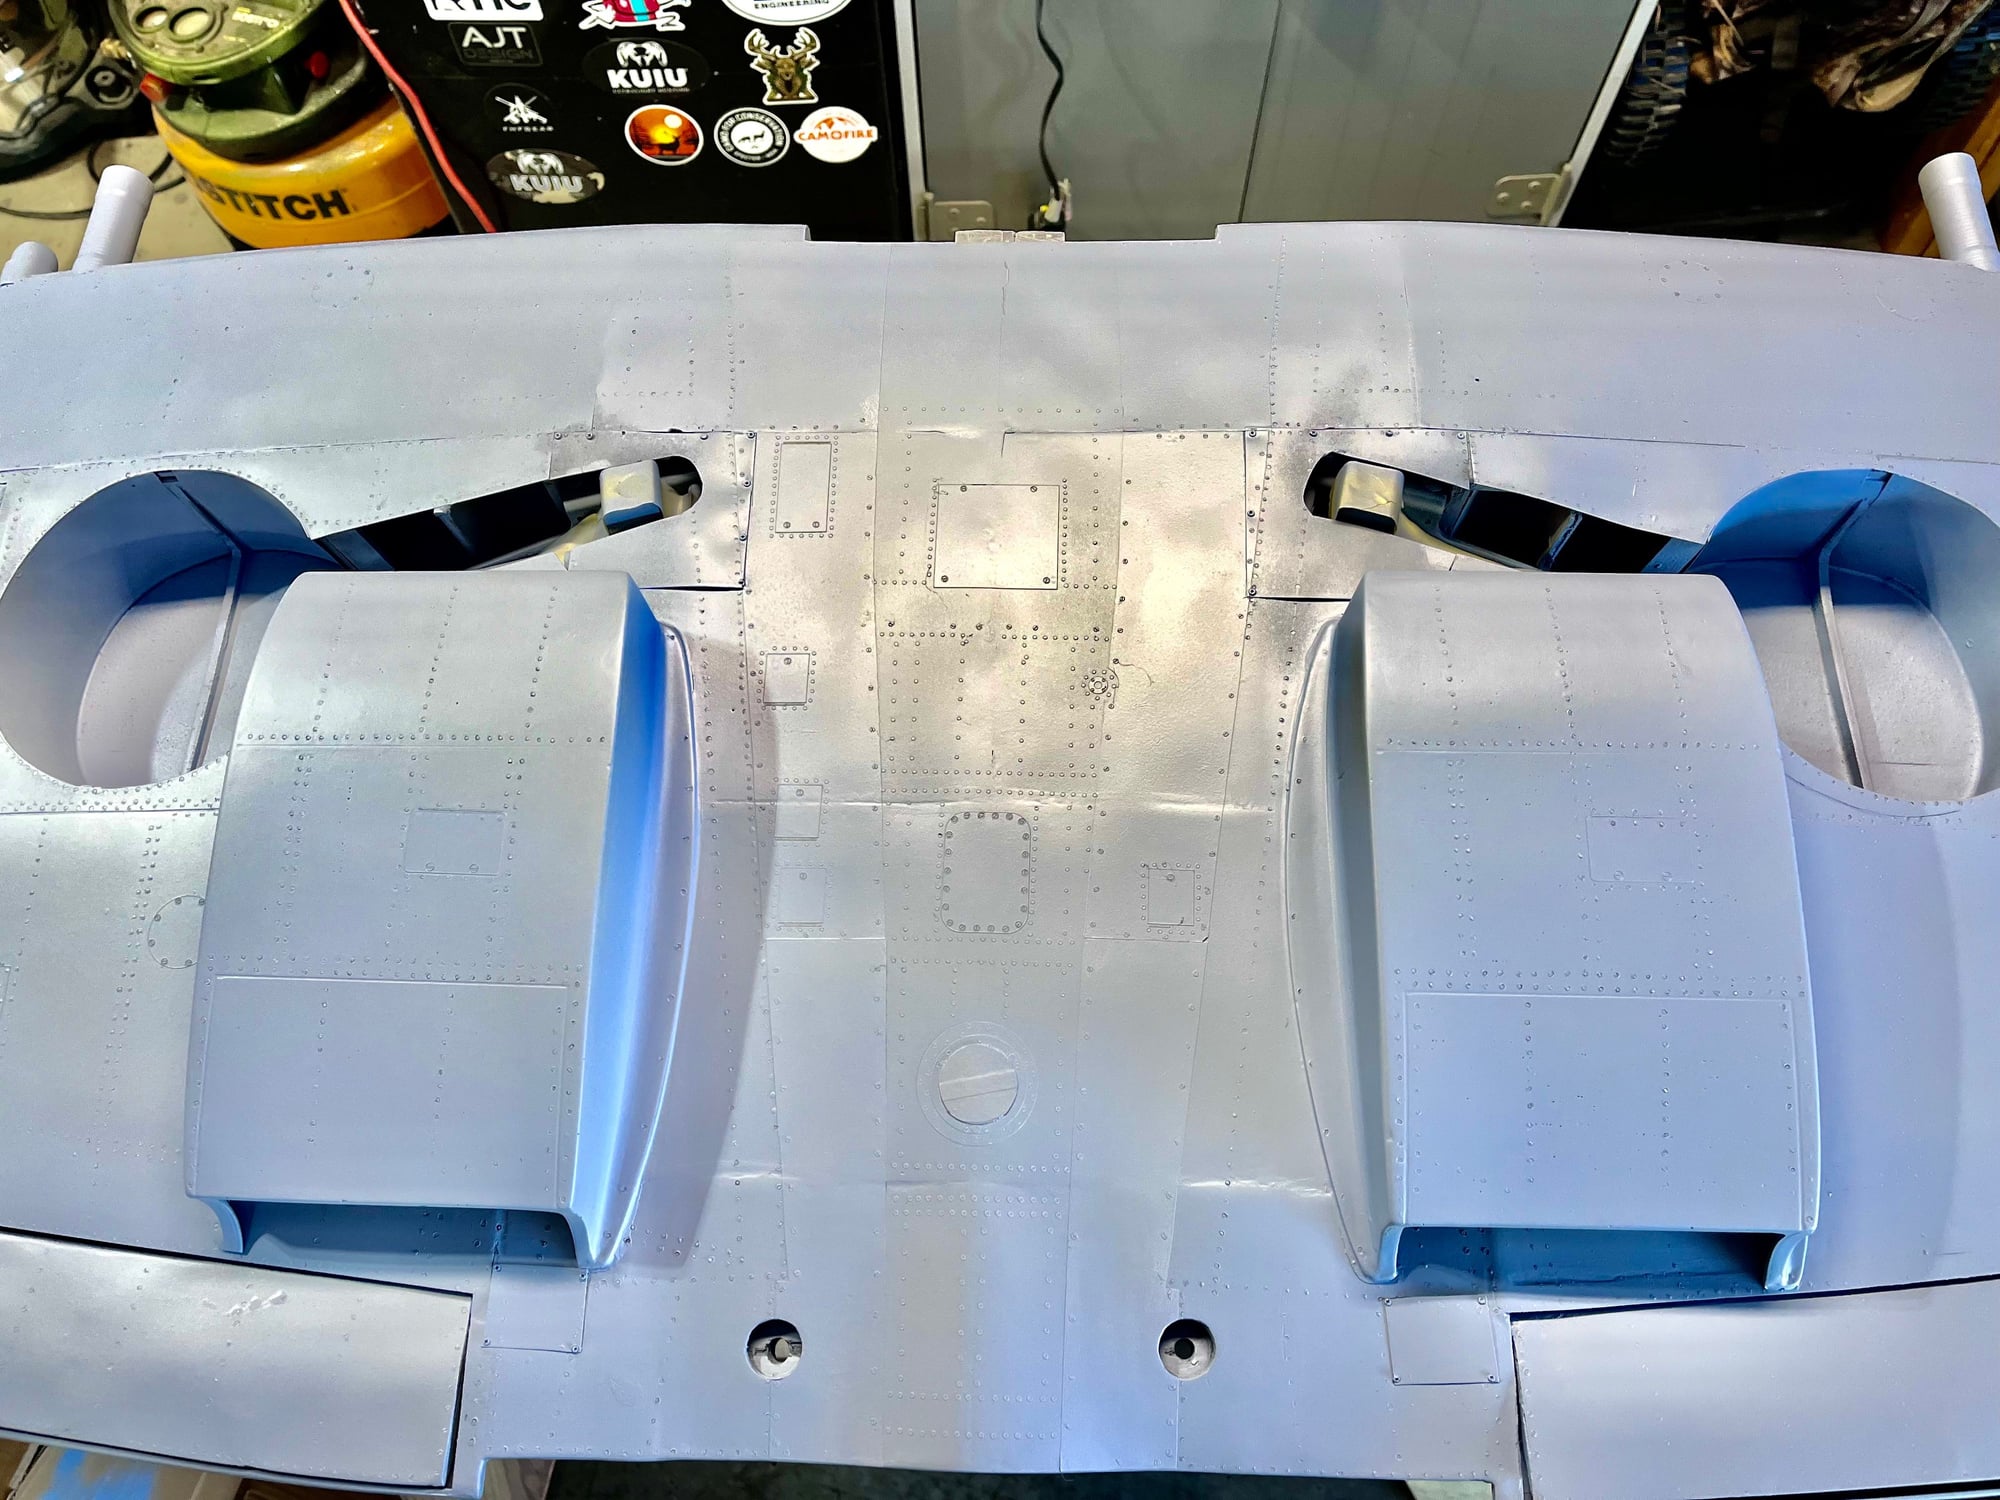
Finished up mounting blisters and cannons today, the barrels I have on in the photos are the early variant, but I wanted to see them on. Also started laying some paneling. Hopefully I�ll be able to start in on the rivets soon.

The following users liked this post:
fokke (01-24-2024)
04-22-2024, 01:15 PM
#385
Thread Starter
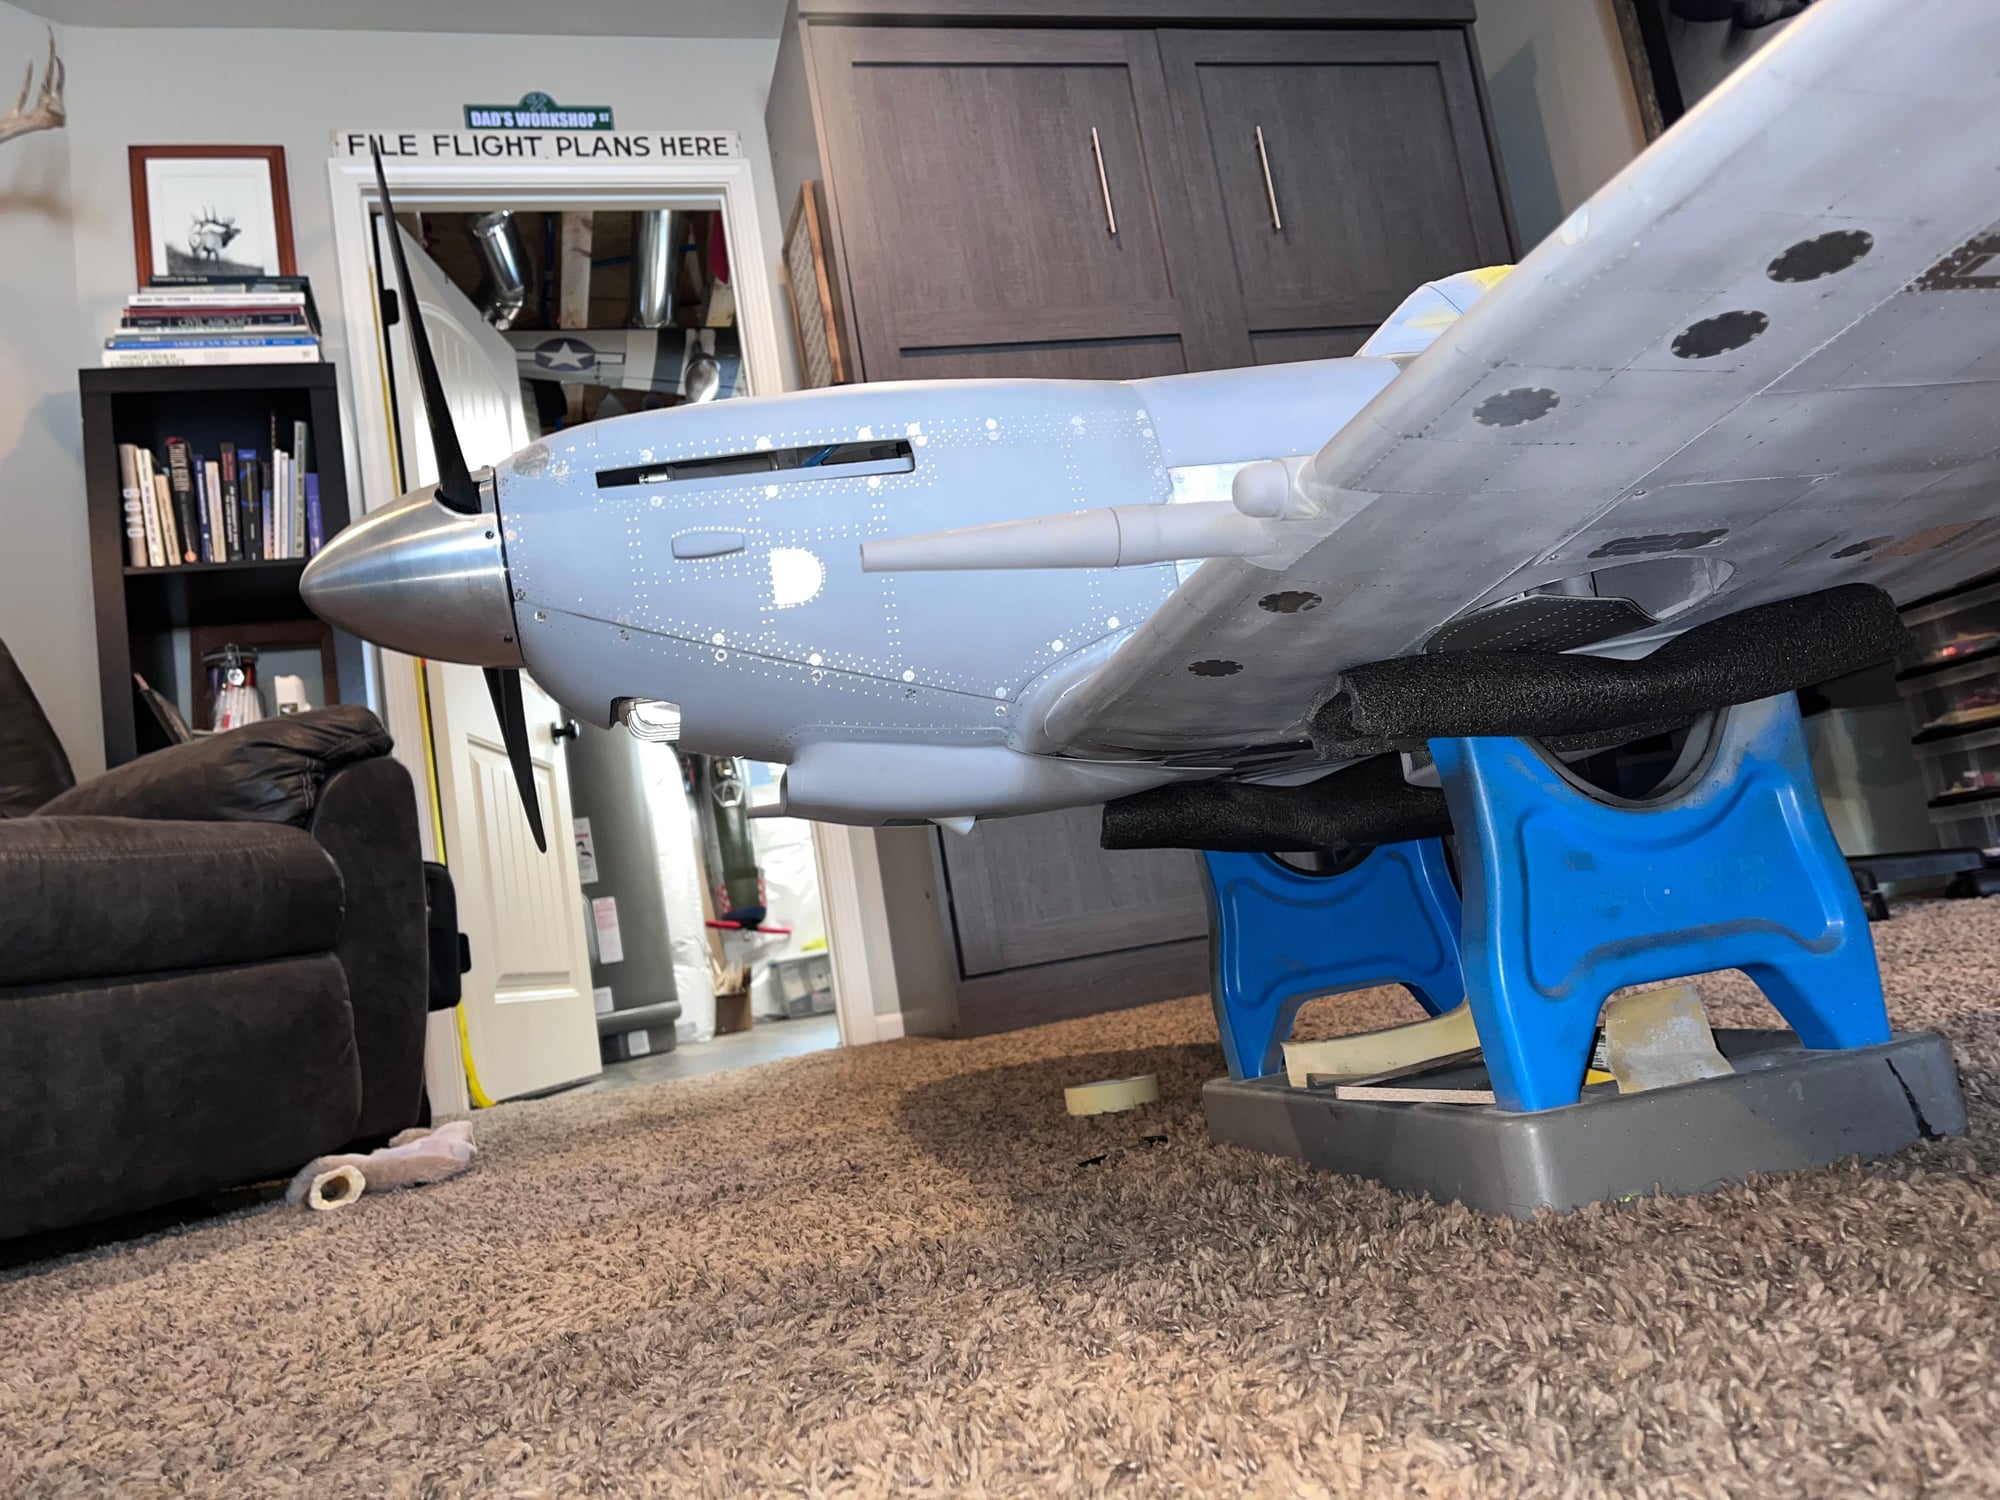
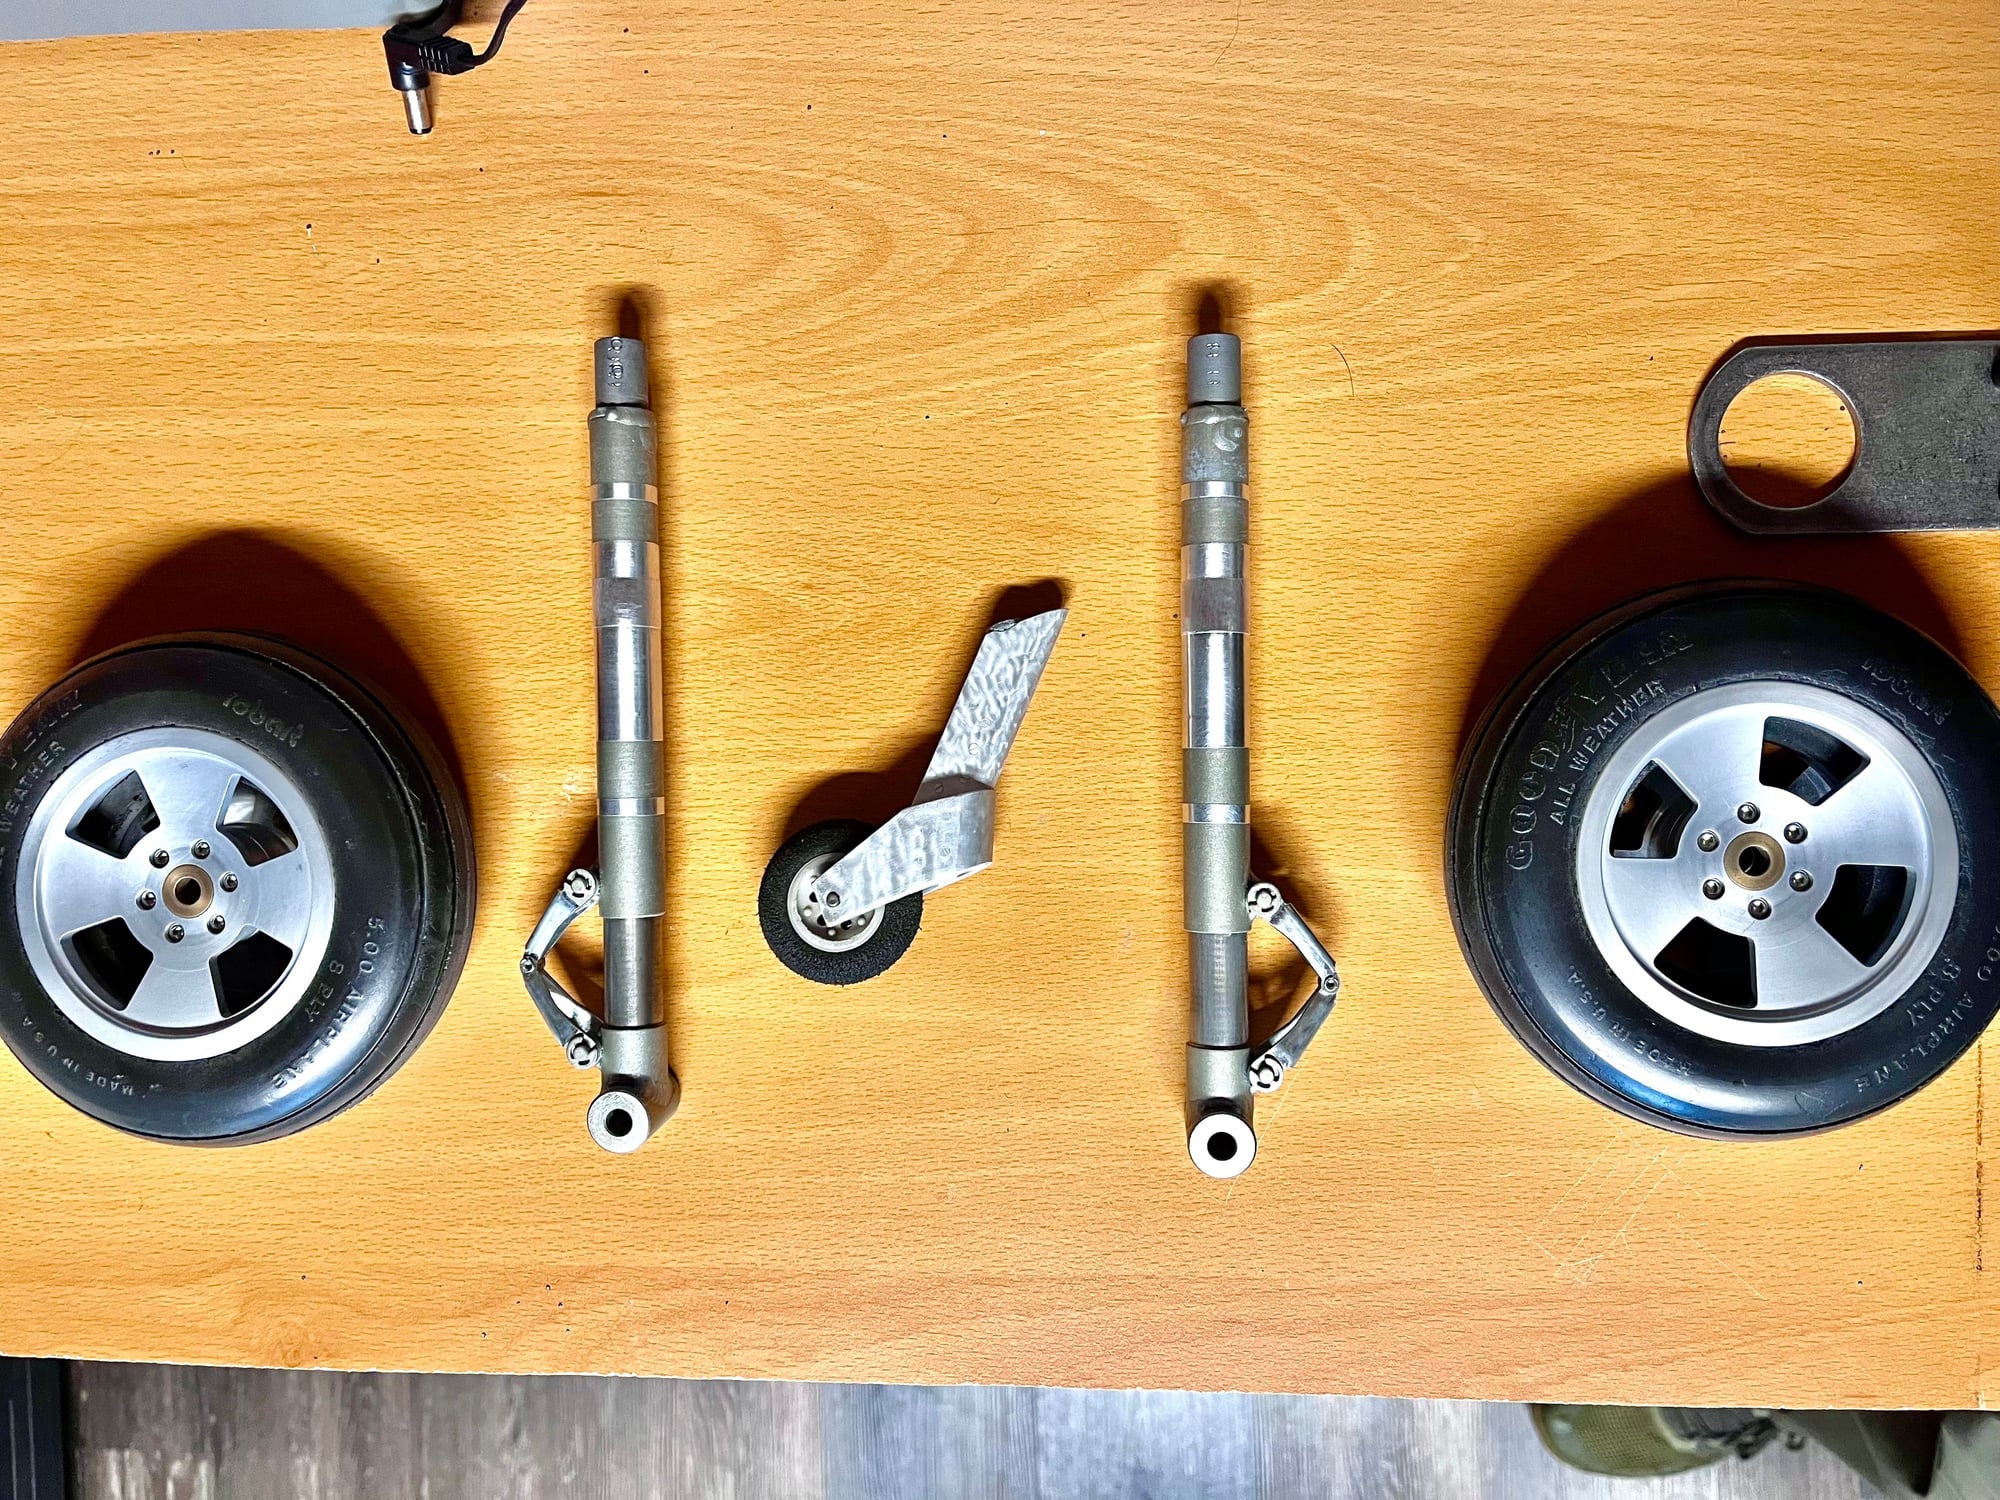
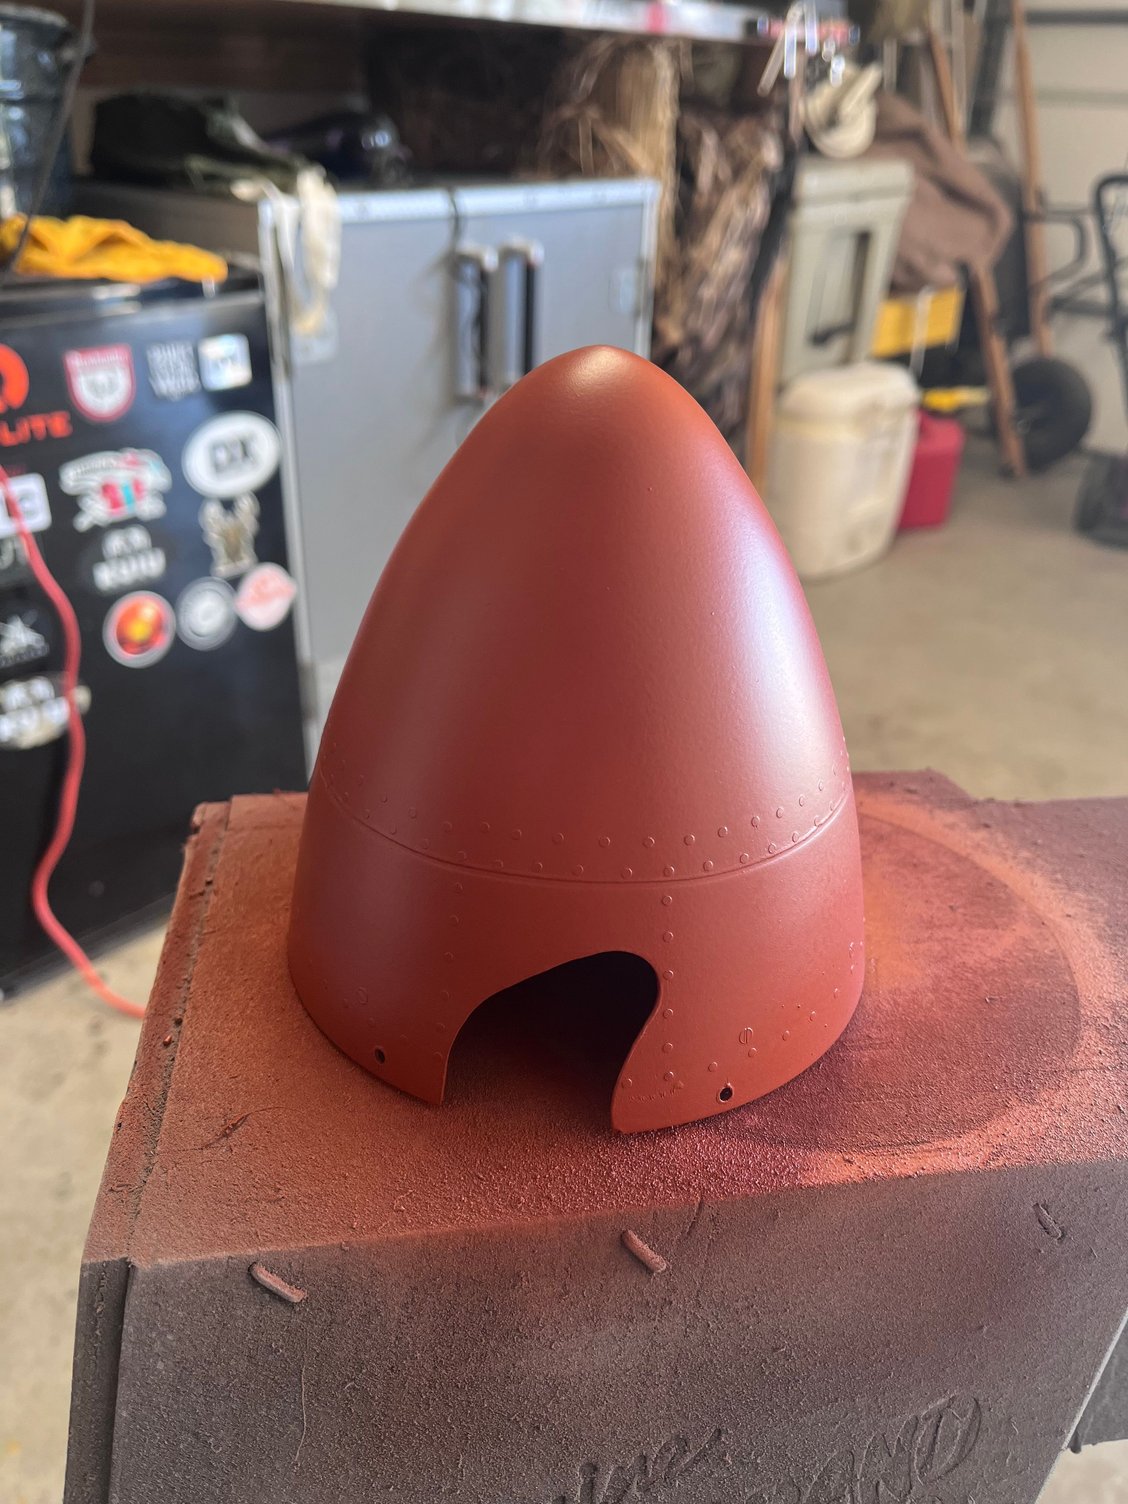
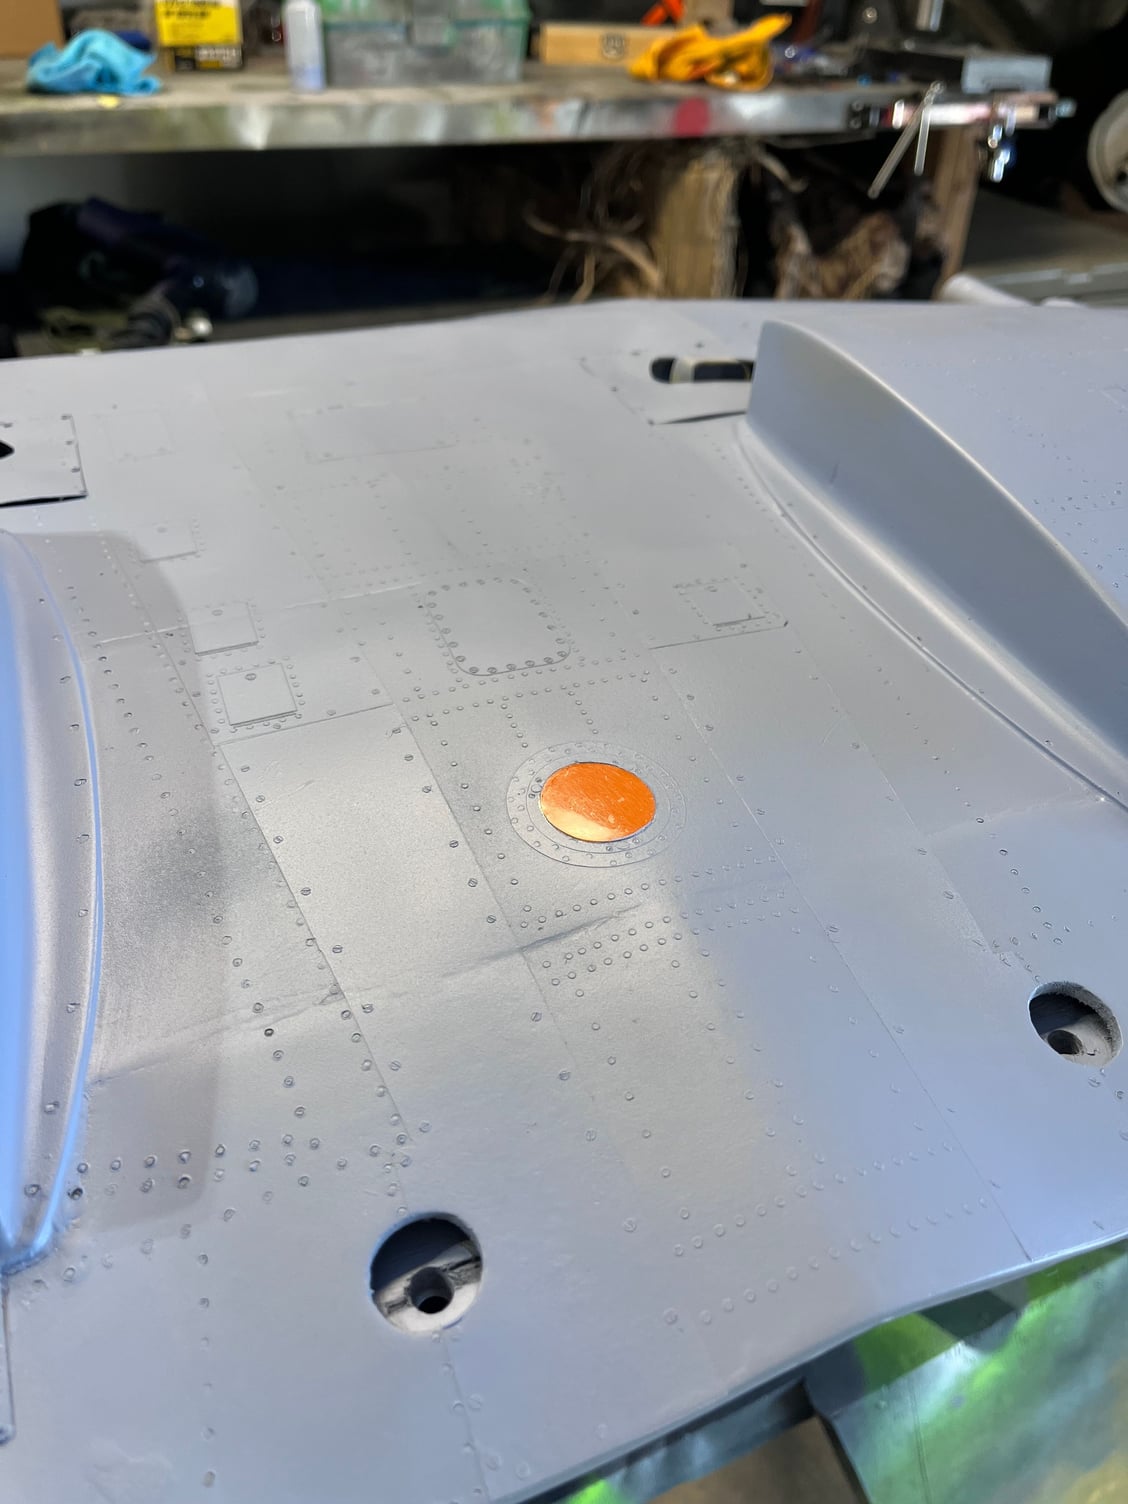
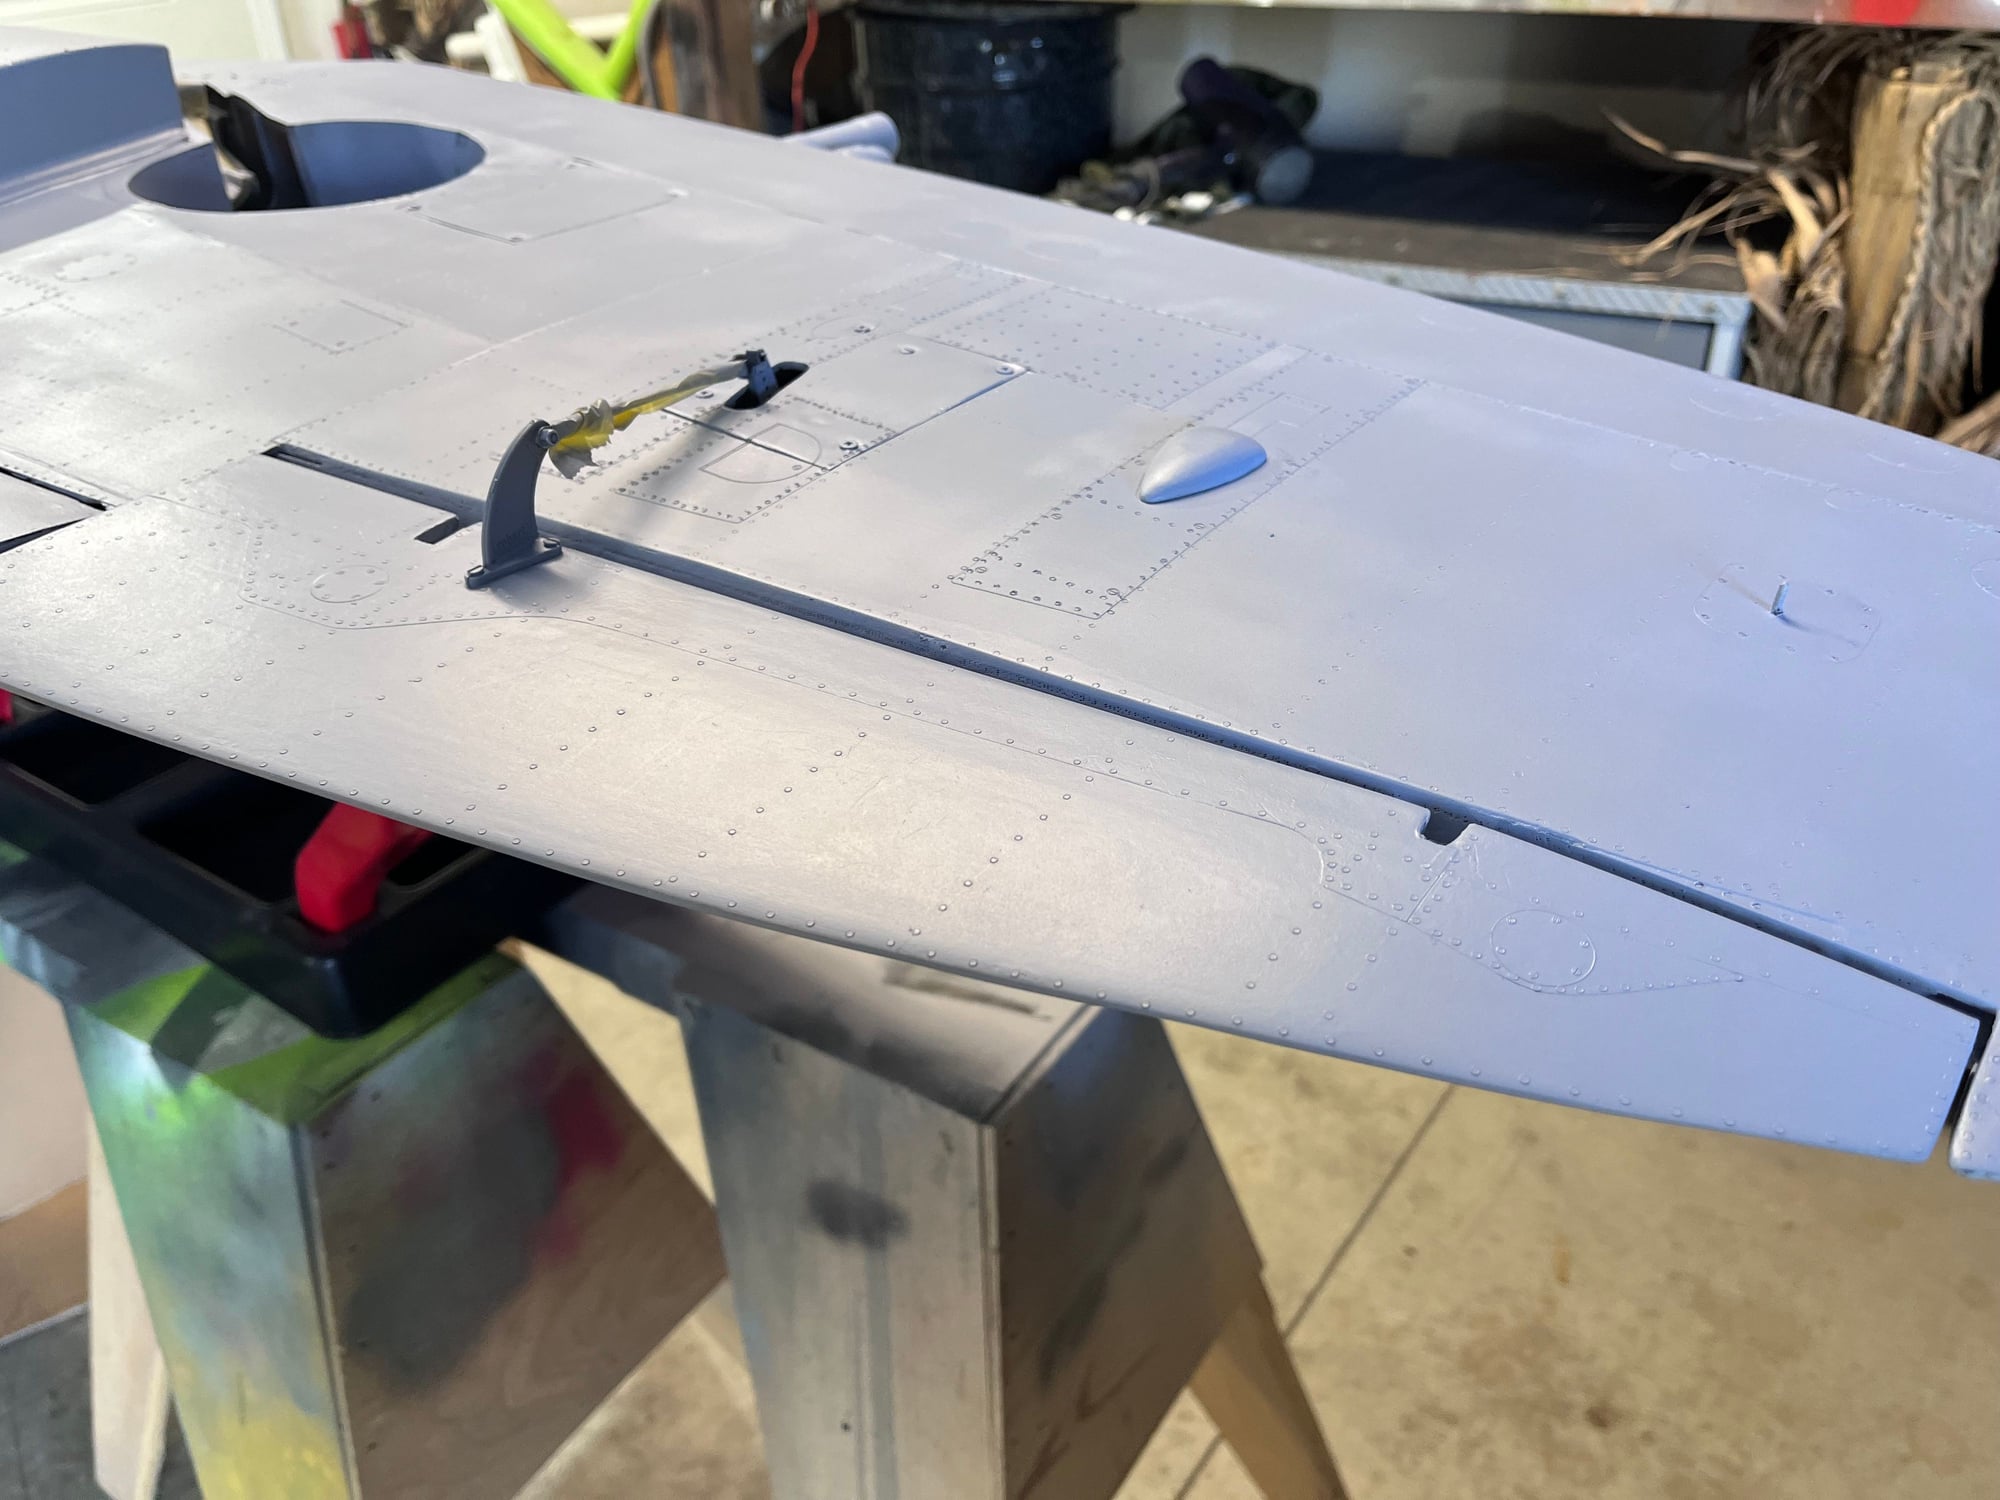
It has been a bit since I�ve posted any progress, finished up radio install and batts, detailed the gear, spinner and began paint prep. I�m using warbirdcolors and so far I�m enjoying them. They thin out nice for both my badger detail airbrush or my hplv. Hoping to finish the base coat completed in next few weeks then washes, weathering and detail.
The following users liked this post:
fokke (04-23-2024)
