


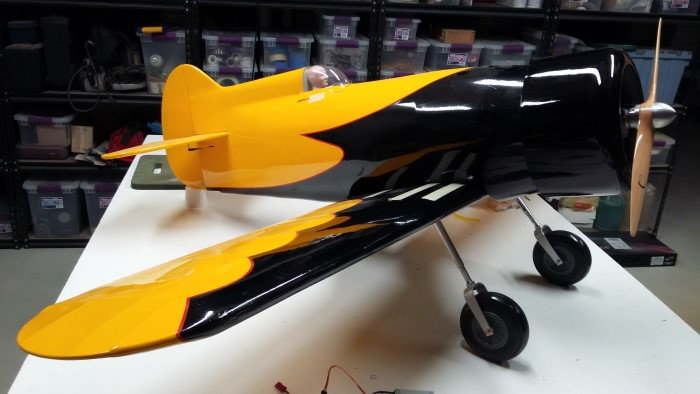
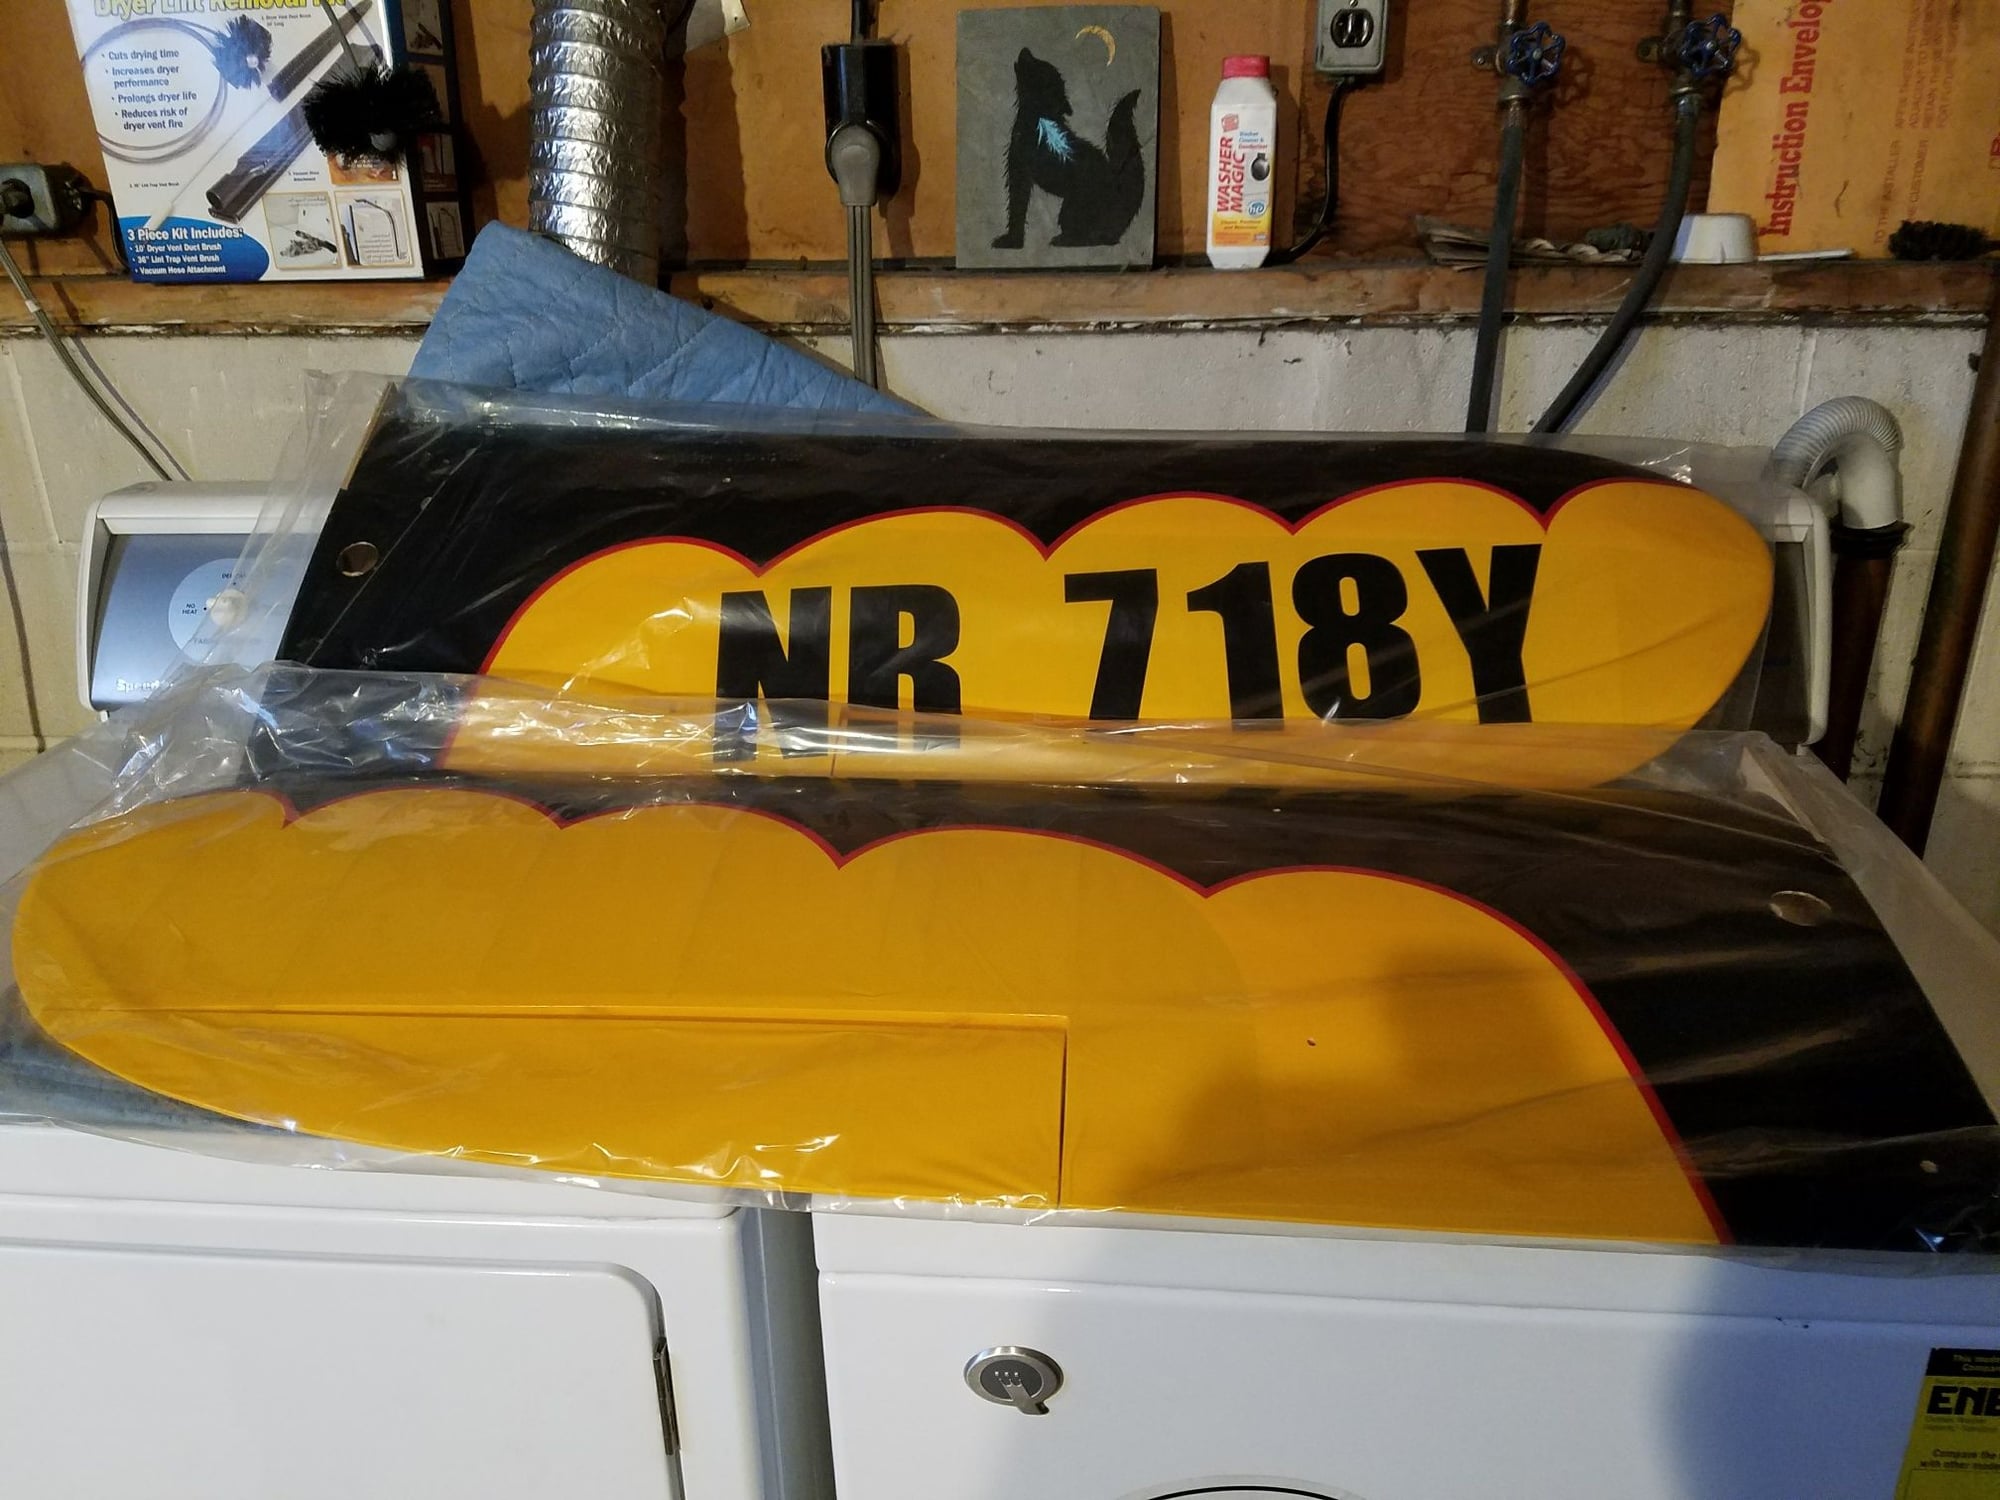
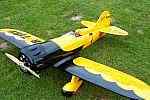
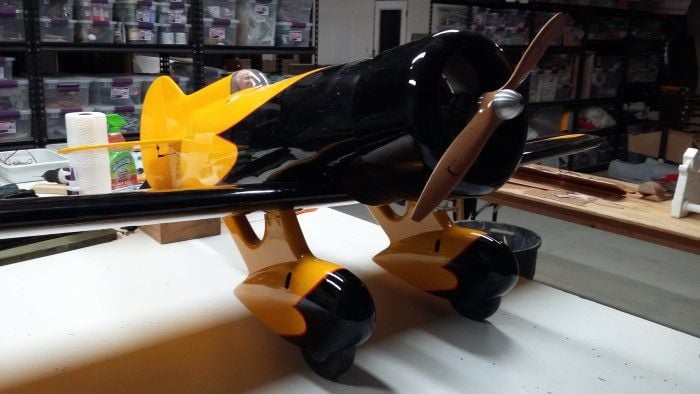
Seagull Gee Bee Z


 09-28-2015 | 01:03 AM
#703

Hey Guys !
Here is my new Gee Bee Z. It got a new engine last week :
https://www.youtube.com/watch?v=XTWssnESI28
Tom
Here is my new Gee Bee Z. It got a new engine last week :
https://www.youtube.com/watch?v=XTWssnESI28
Tom
 10-22-2015 | 11:00 AM
#705
 10-23-2015 | 03:49 PM
#709
Well, maybe. I think you could brace it up enough that the firewall would hold. The thing that makes me reconsider is the landing gear, they are kind of weak. The plane is pretty stout otherwise.
09-26-2018 | 02:57 AM
#710

My Feedback: (34)
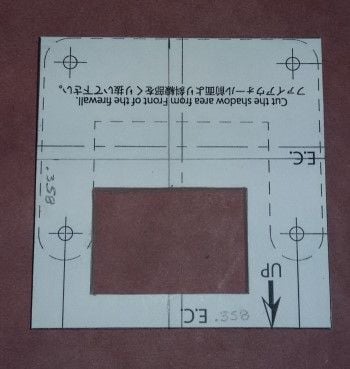
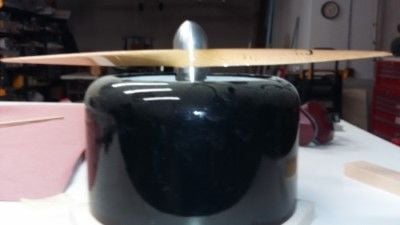
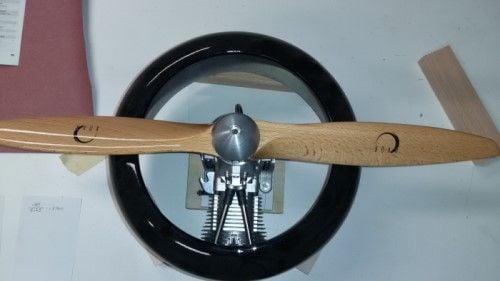
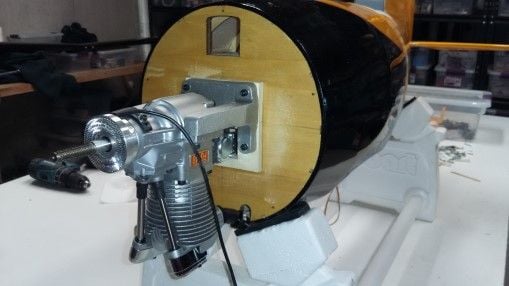
Just started my Seagull Gee Bee Z. Making my first post to this thread. I have read about 7 of the 29 pages of the thread so far and see nothing about engine thrust lines. My ARF kit seems to have no angle to the firewall so I am going to add 1.5 degrees down and 1.5 degrees right. I made a shim to bring the engine out to the right position and give it the angles. Going with a Saito FG-40 gasser on this Z running a 19 X 10 XOAR. It is going to cowl in nicely with the head down and maybe only the rockers protruding from the cowl. Leo
10-07-2018 | 02:08 PM
#712
My Feedback: (34)
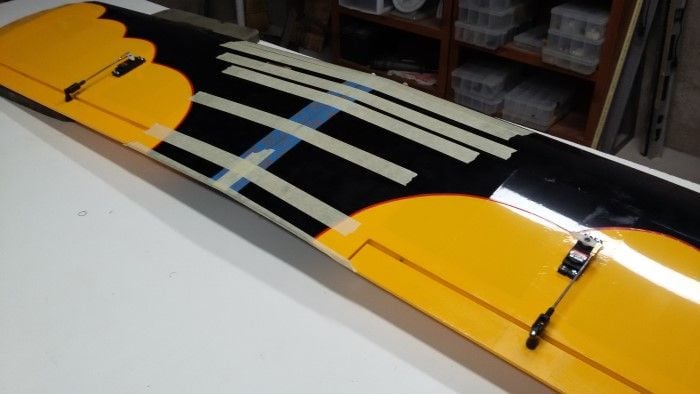
Epoxied my engine firewall wedge to the air-frame. It gives me about 1.5 deg. down and 1.5 deg. right thrust. Had to take a jigsaw and cut a rectangular hole in the firewall to clear the carb. Epoxied the stab and rudder on, it was really easy. Also used their flex hinges as they are easy. These hinges are not the greatest for giants but if you keep and eye on them you can catch breakage. Leo

10-11-2018 | 02:53 AM
#714
My Feedback: (34)
Lifer, I do have some of the blue Radio South Hinges and put them on one side of the elevator and the white kit hinges on the right. We will see how they compare over time.
Installed some servos and pushrods in the fuse. I used Nelson hardware to improve the quality of the linkages. Substituted flat washers for the reinforcements to get a lower profile and look better. A few drops of CA under the washer and keepers makes it more solid during installation. The pushrods provided ended up being too short, so I substituted longer 2-56 rods. Leo
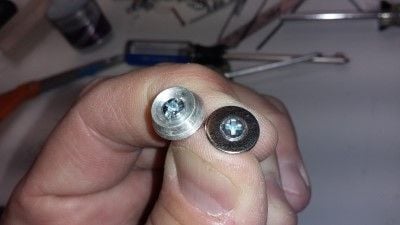
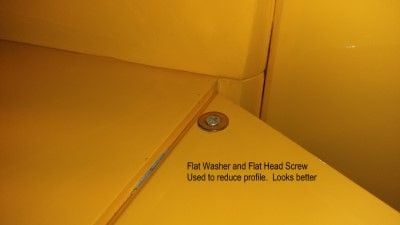
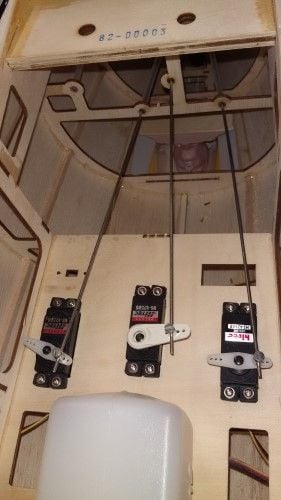
Installed some servos and pushrods in the fuse. I used Nelson hardware to improve the quality of the linkages. Substituted flat washers for the reinforcements to get a lower profile and look better. A few drops of CA under the washer and keepers makes it more solid during installation. The pushrods provided ended up being too short, so I substituted longer 2-56 rods. Leo
Last edited by Spychalla Aircraft; 10-11-2018 at 02:56 AM.
10-11-2018 | 03:29 AM
#716
I would agree with Lifer, mine is a few years old now and has a DLE 35 on it. I would either solder or Z-bend those ends and get rid if the EZ connectors. Just my 2 cents.
 11-14-2018 | 12:53 PM
#719
if any one wants to buy a NIB PA GeeBee Y (yellow, 82"span) I have one I will sell, it will come with Robart spring struts, I also have a MVVS 35 and or a Super Tartan 44cc twin I will sell, it sure will go with ether engine,
I am sticking to 70" span planes or smaller
Jim
I am sticking to 70" span planes or smaller
Jim
Last edited by the Wasp; 11-14-2018 at 12:56 PM.
11-14-2018 | 01:17 PM
#721
I wouldn't mind shipping it, but I need a bigger box to ship it,,
edited. as for the price, I have a bit over $650 invested in it, that is a total of the money out of my pocket to get it here plus the struts, the landing struts are off my fist GBY that crashed and they have about 10 flights on them and some of the flat paint that Robart has panted them with has come off, and I have an extra wing that is good that goes with it if you want it shipped too, comes with 3 sets of tires, I want $480 plus shipping,, will you pay UPS to box it and ship it ??
Jim
 11-23-2018 | 03:57 AM
#725
My Feedback: (34)
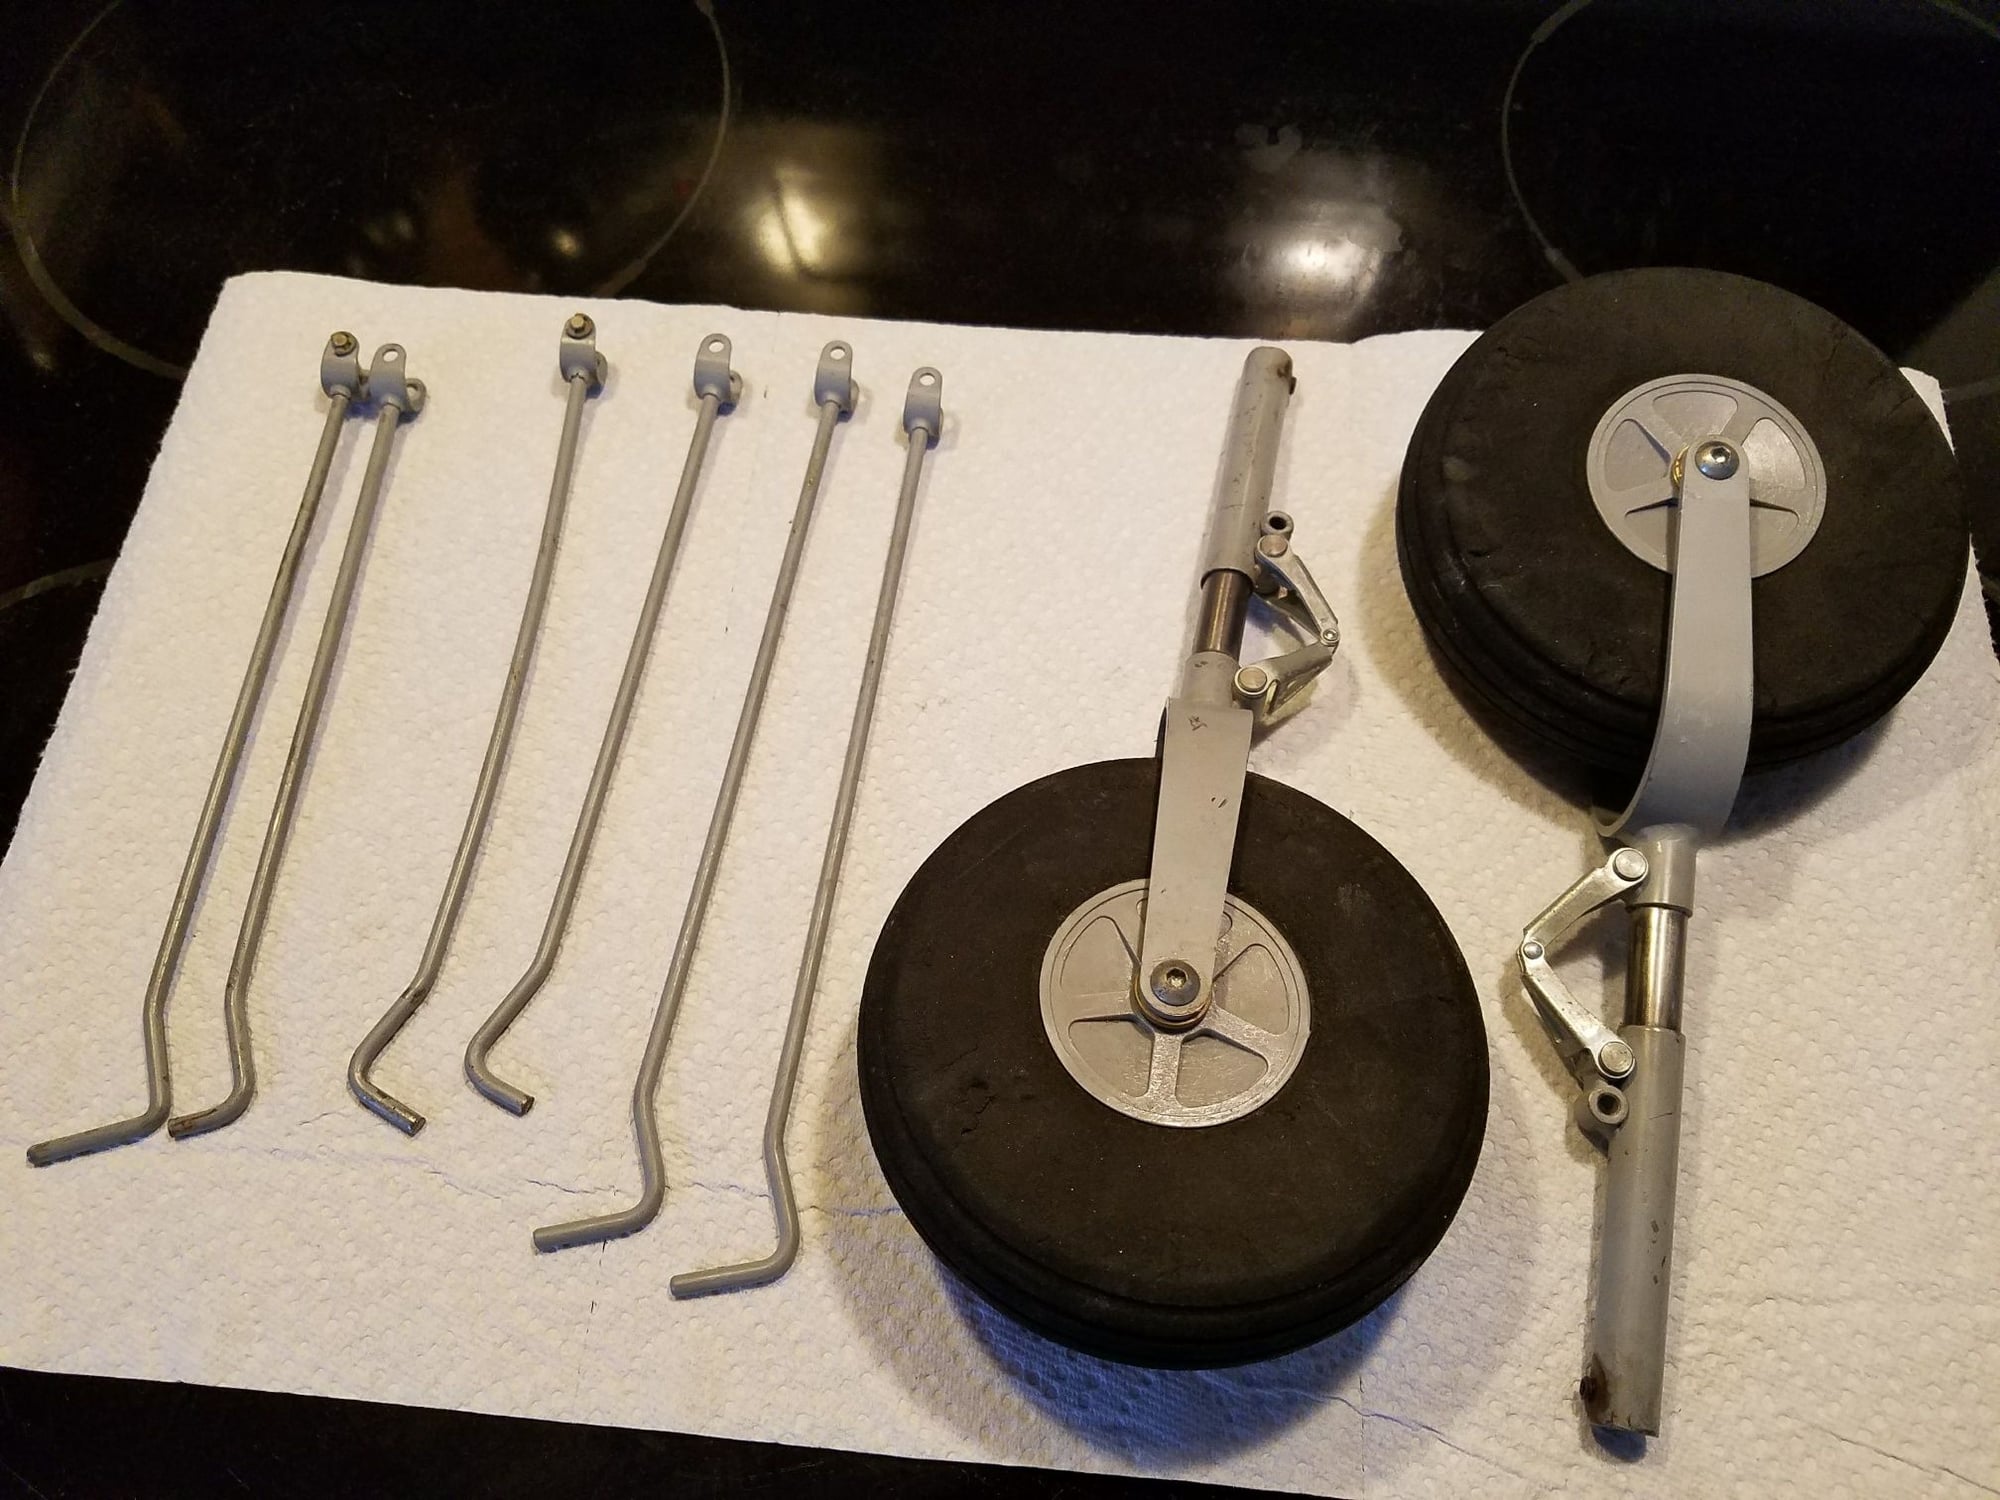
Z is on the gear with wheel pants. The mounting was pretty straight forward, but I think I will pull them back off and shim with thin plywood to take up the gaps behind the fiberglass giving the wood screws the ability to clamp the pants and not deform the fiberglass. It is also critical that the angle of the wire gear be bent to center the wheels in the pants. Mine are too far forward right now by about 1/2 inch and they rub on the front of the pants when the airplane sits on the bench.
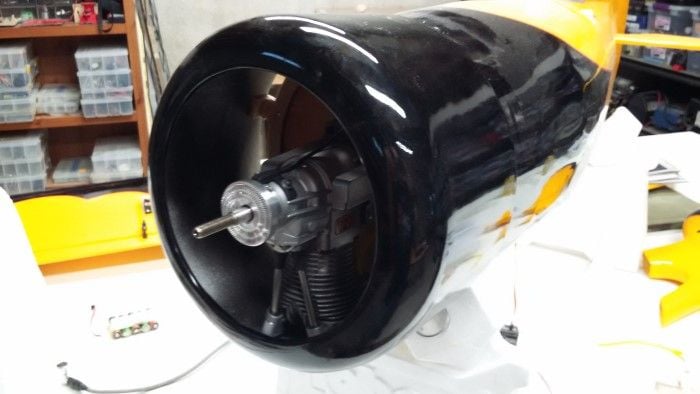
I ordered a 1/2 3D printed Pratt & Whitney Wasp Jr. from Damon at Atwood Aviation. The diameter we agreed on was 9.6". He can print whatever a person wants. The plan is to install this on the front of a baffle in the cowl and then just expose the cylinder head for the Saito. The surprising thing is when you block all the open area of a cowling like this and duct the air right past the cylinder only, your cooling of the engine actually improves! Crazy thing. I will be using a thermocouple temp probe with telemetry on the head so we will have actual readings. The goal is continuous operation below 300 deg. F if possible. Leo
I ordered a 1/2 3D printed Pratt & Whitney Wasp Jr. from Damon at Atwood Aviation. The diameter we agreed on was 9.6". He can print whatever a person wants. The plan is to install this on the front of a baffle in the cowl and then just expose the cylinder head for the Saito. The surprising thing is when you block all the open area of a cowling like this and duct the air right past the cylinder only, your cooling of the engine actually improves! Crazy thing. I will be using a thermocouple temp probe with telemetry on the head so we will have actual readings. The goal is continuous operation below 300 deg. F if possible. Leo

