


~~SIG Brotherhood ~~


 01-02-2019, 03:33 PM
#3480
Junior Member
Join Date: Jan 2019
Posts: 20
Likes: 0
Received 0 Likes
on
0 Posts
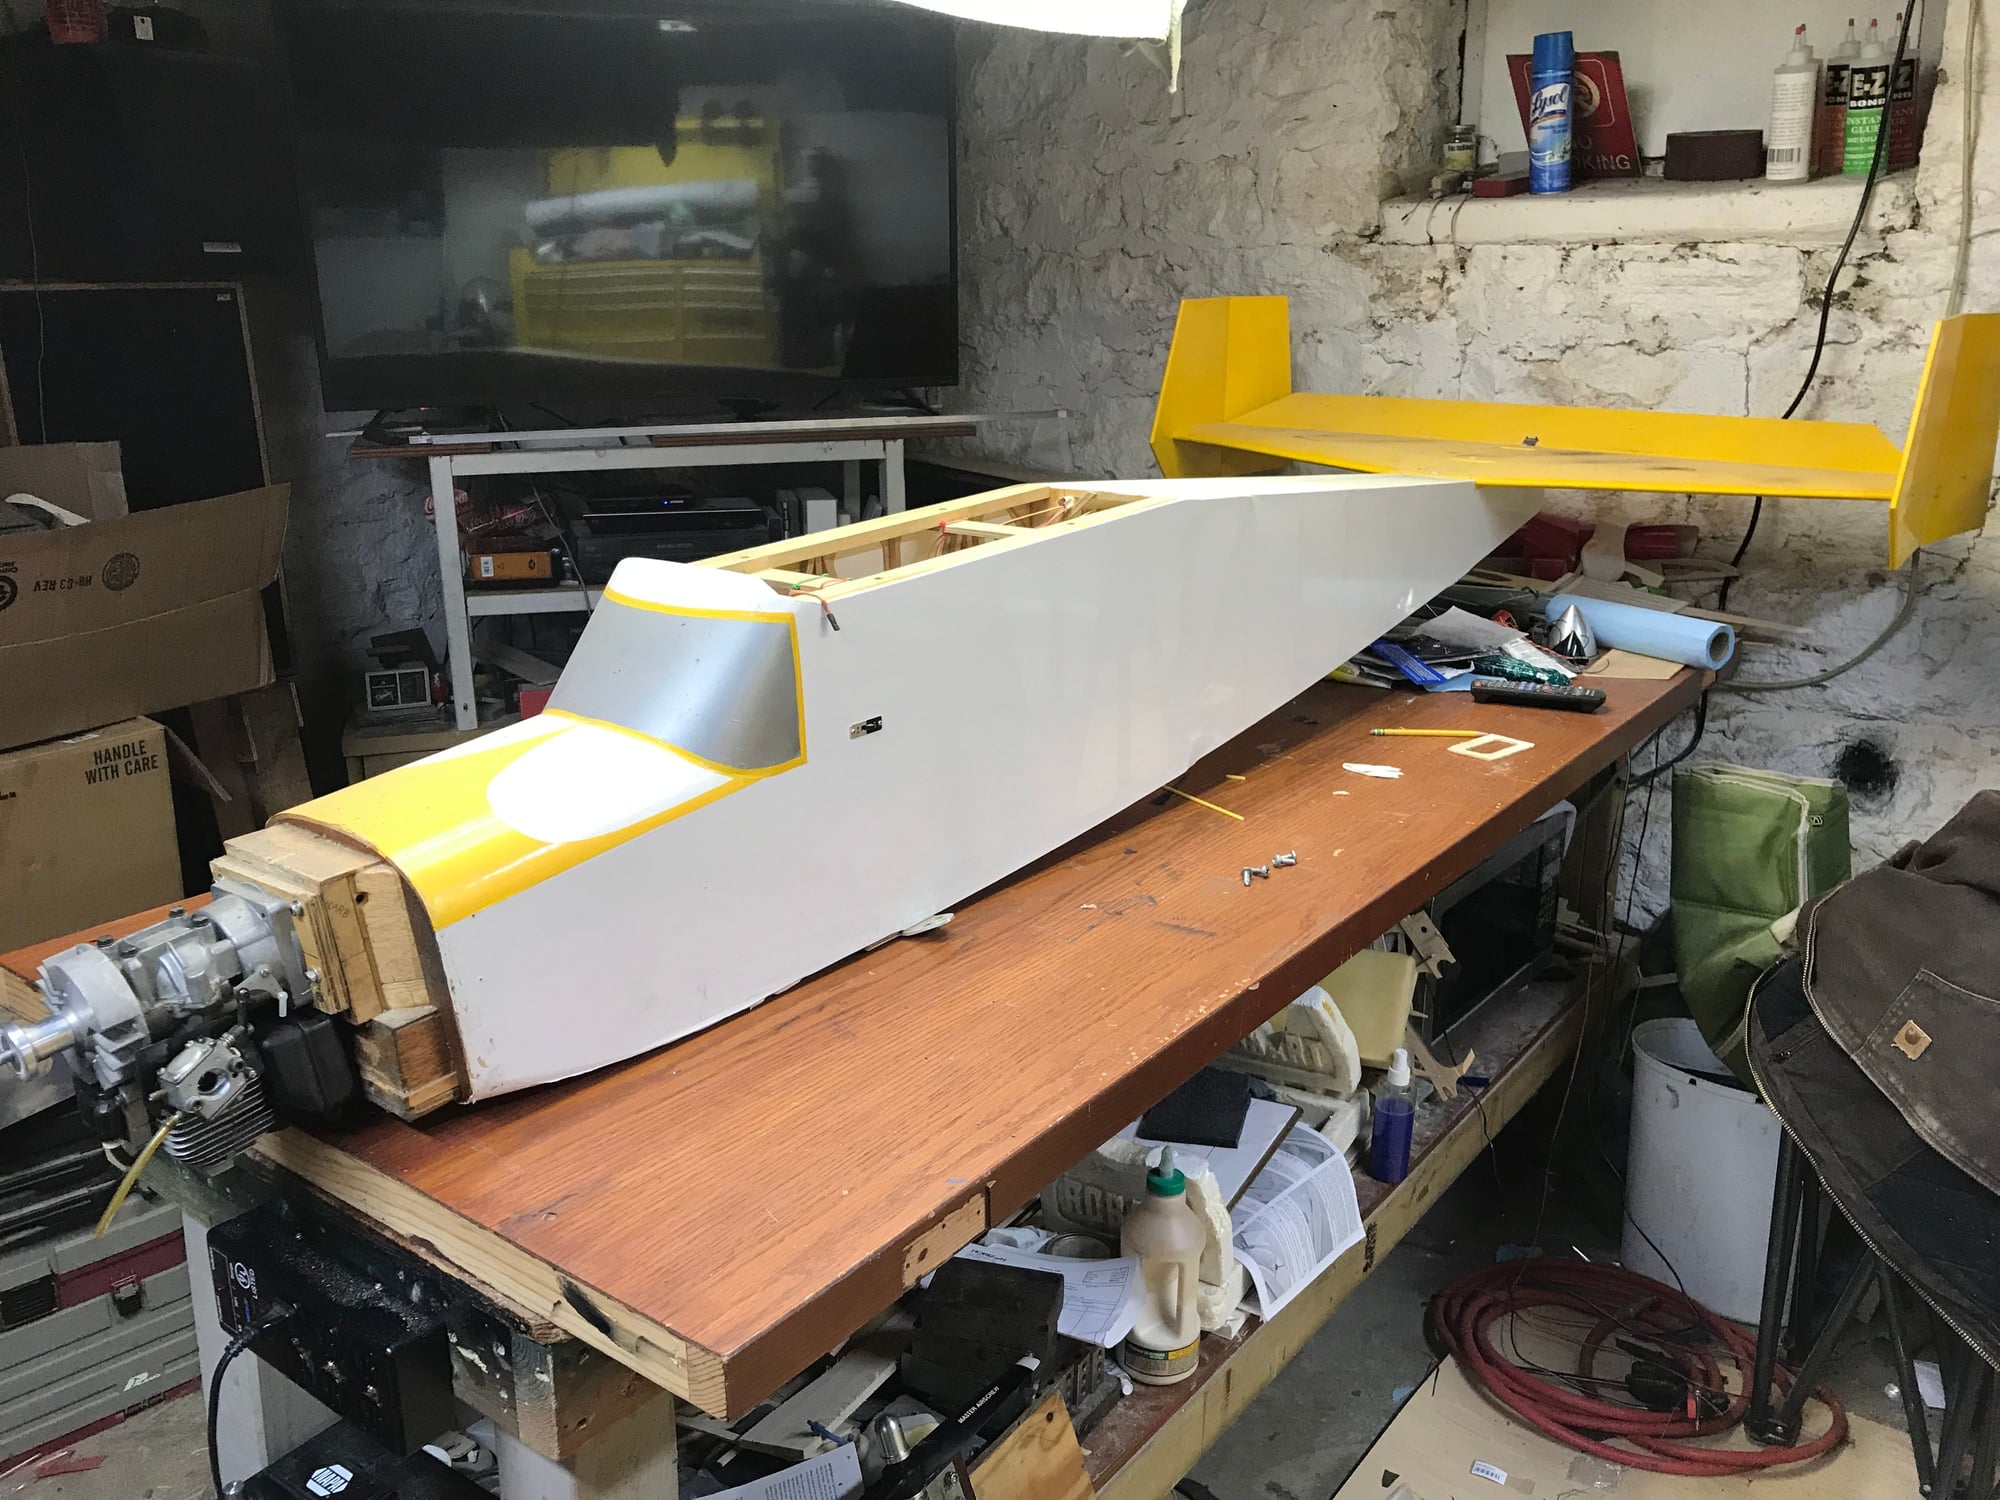
Hello, I have been in the hobby for 39 years but have not used RCU until now. I post very little on any internet resource. I'm old/retired but still trying to stay in the game. I am in need of some insight into the build of the Rascal 168 that I received after ordering it during the Toledo introduction. Yes it's been in the box for a while. I have framed up the fuselage, laminated the tail feathers and started on the wing. I have encountered some things that are perplexing. I need to figure out what I may be doing wrong.
Thanks to anyone that is willing to share their experience in the build of the Rascal 168. SIG informed me that this is my only resource for assistance on this kit.
Al
Thanks to anyone that is willing to share their experience in the build of the Rascal 168. SIG informed me that this is my only resource for assistance on this kit.
Al

 01-02-2019, 06:27 PM
#3482

Thread Starter
Hello, I have been in the hobby for 39 years but have not used RCU until now. I post very little on any internet resource. I'm old/retired but still trying to stay in the game. I am in need of some insight into the build of the Rascal 168 that I received after ordering it during the Toledo introduction. Yes it's been in the box for a while. I have framed up the fuselage, laminated the tail feathers and started on the wing. I have encountered some things that are perplexing. I need to figure out what I may be doing wrong.
Thanks to anyone that is willing to share their experience in the build of the Rascal 168. SIG informed me that this is my only resource for assistance on this kit.
Al
Thanks to anyone that is willing to share their experience in the build of the Rascal 168. SIG informed me that this is my only resource for assistance on this kit.
Al
I built one and can help. What is it you are having an issue with?
 01-02-2019, 11:52 PM
#3486
Join Date: Aug 2017
Posts: 18
Likes: 0
Received 0 Likes
on
0 Posts
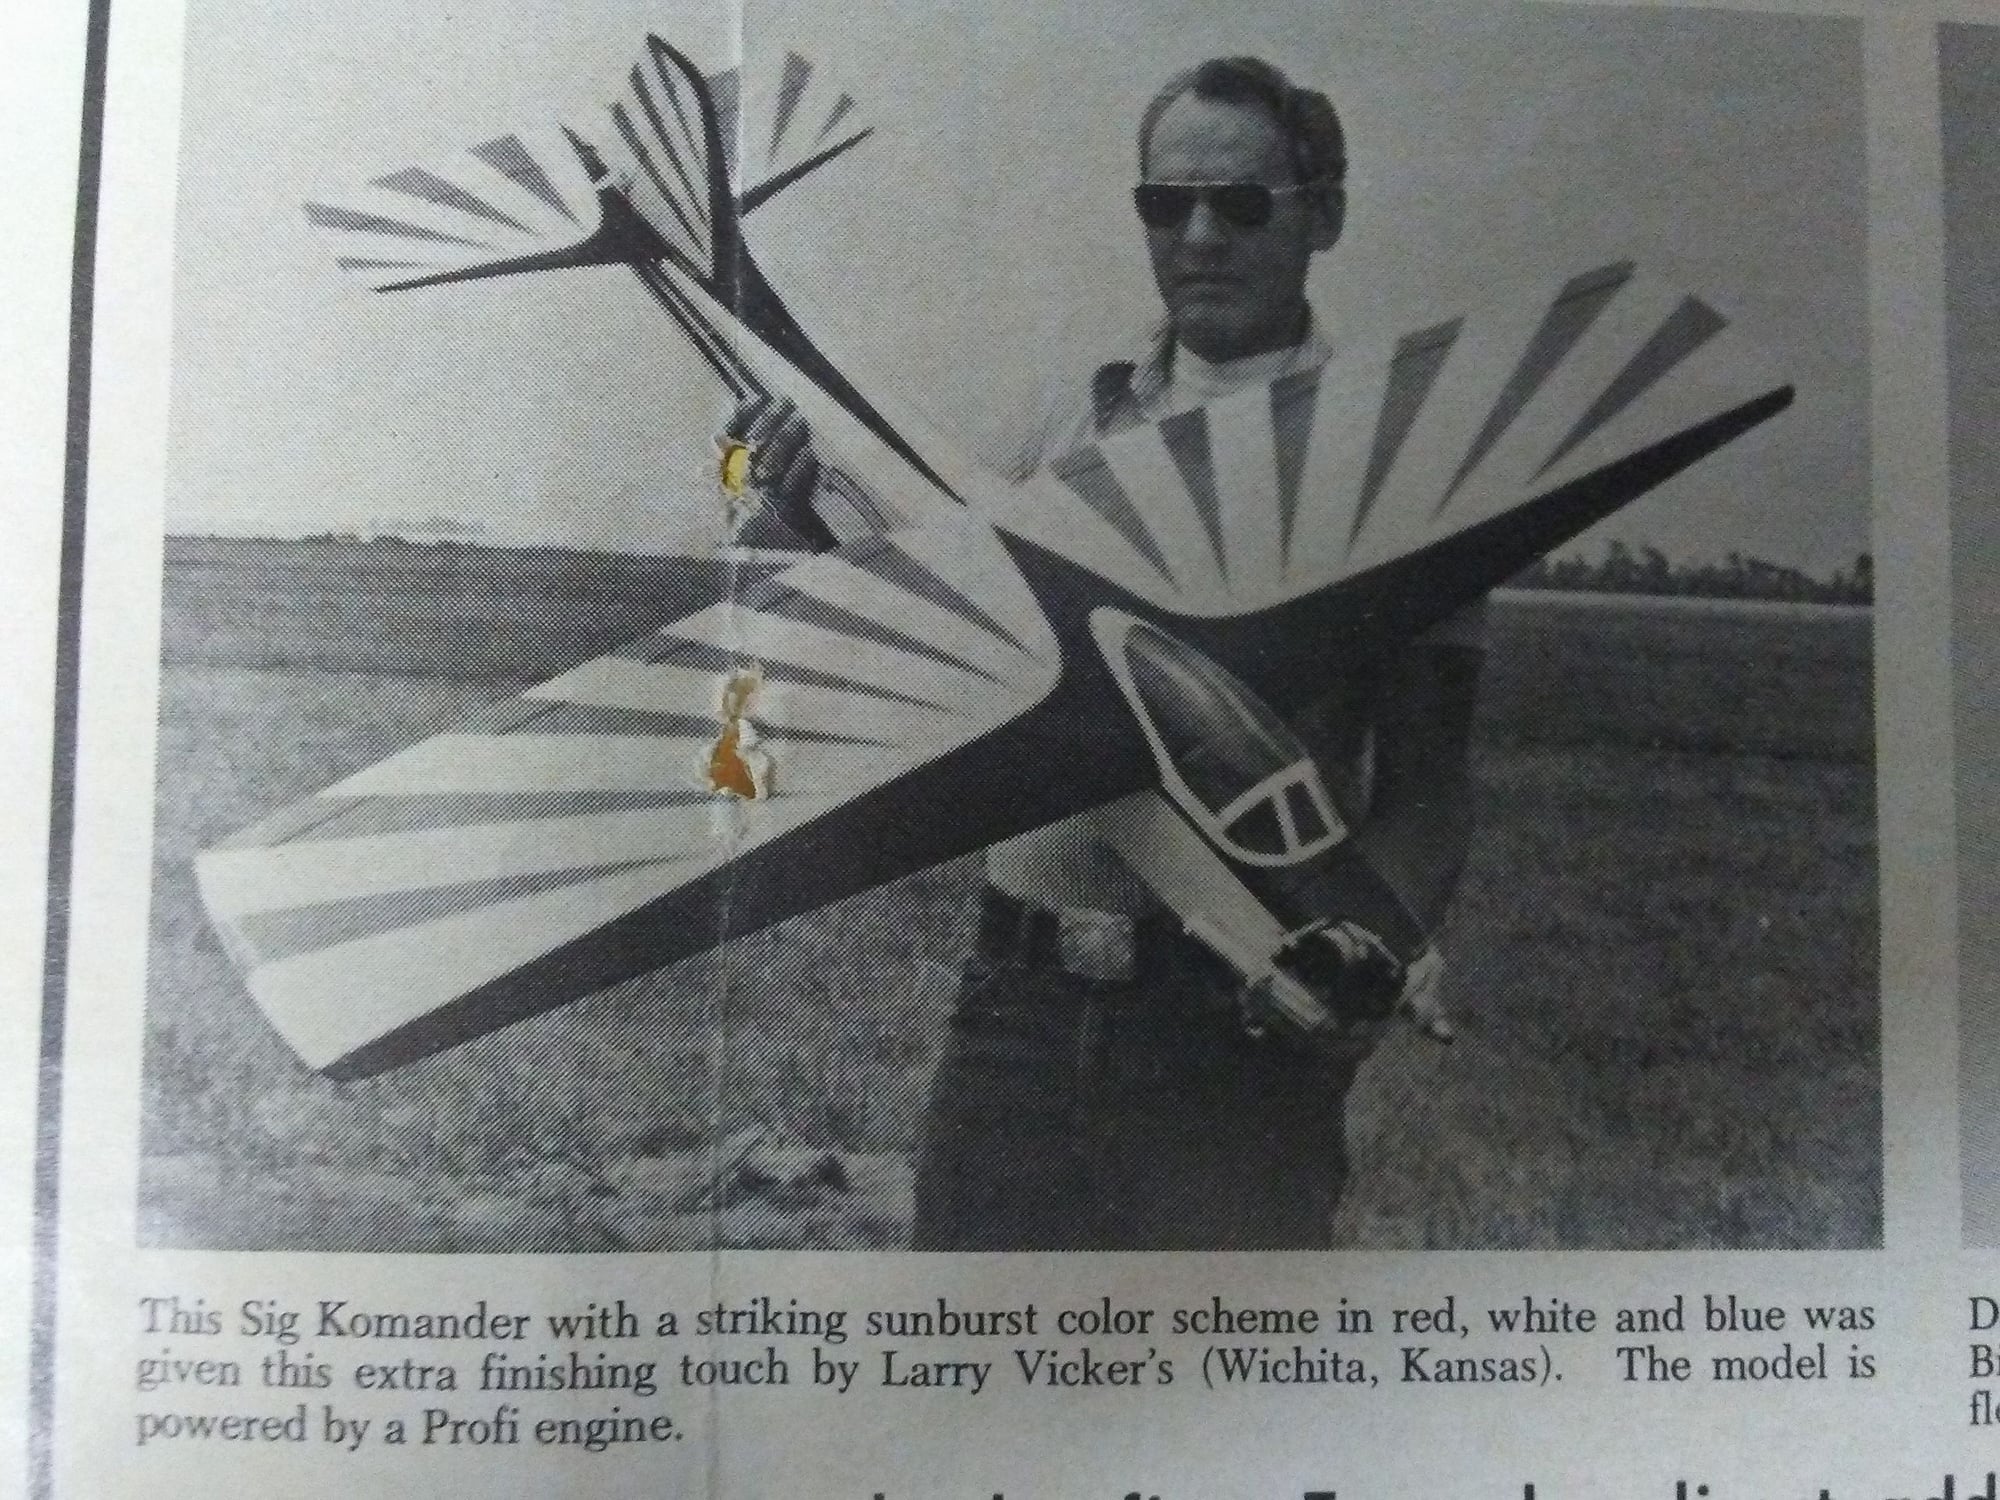
This appeared in M.A.N. Feb. 1977, taken at the SIG Fly-in 1976. I was in 7th grade when this was published. My 1st R/C plane was a SIG KOMANDER, this same year.
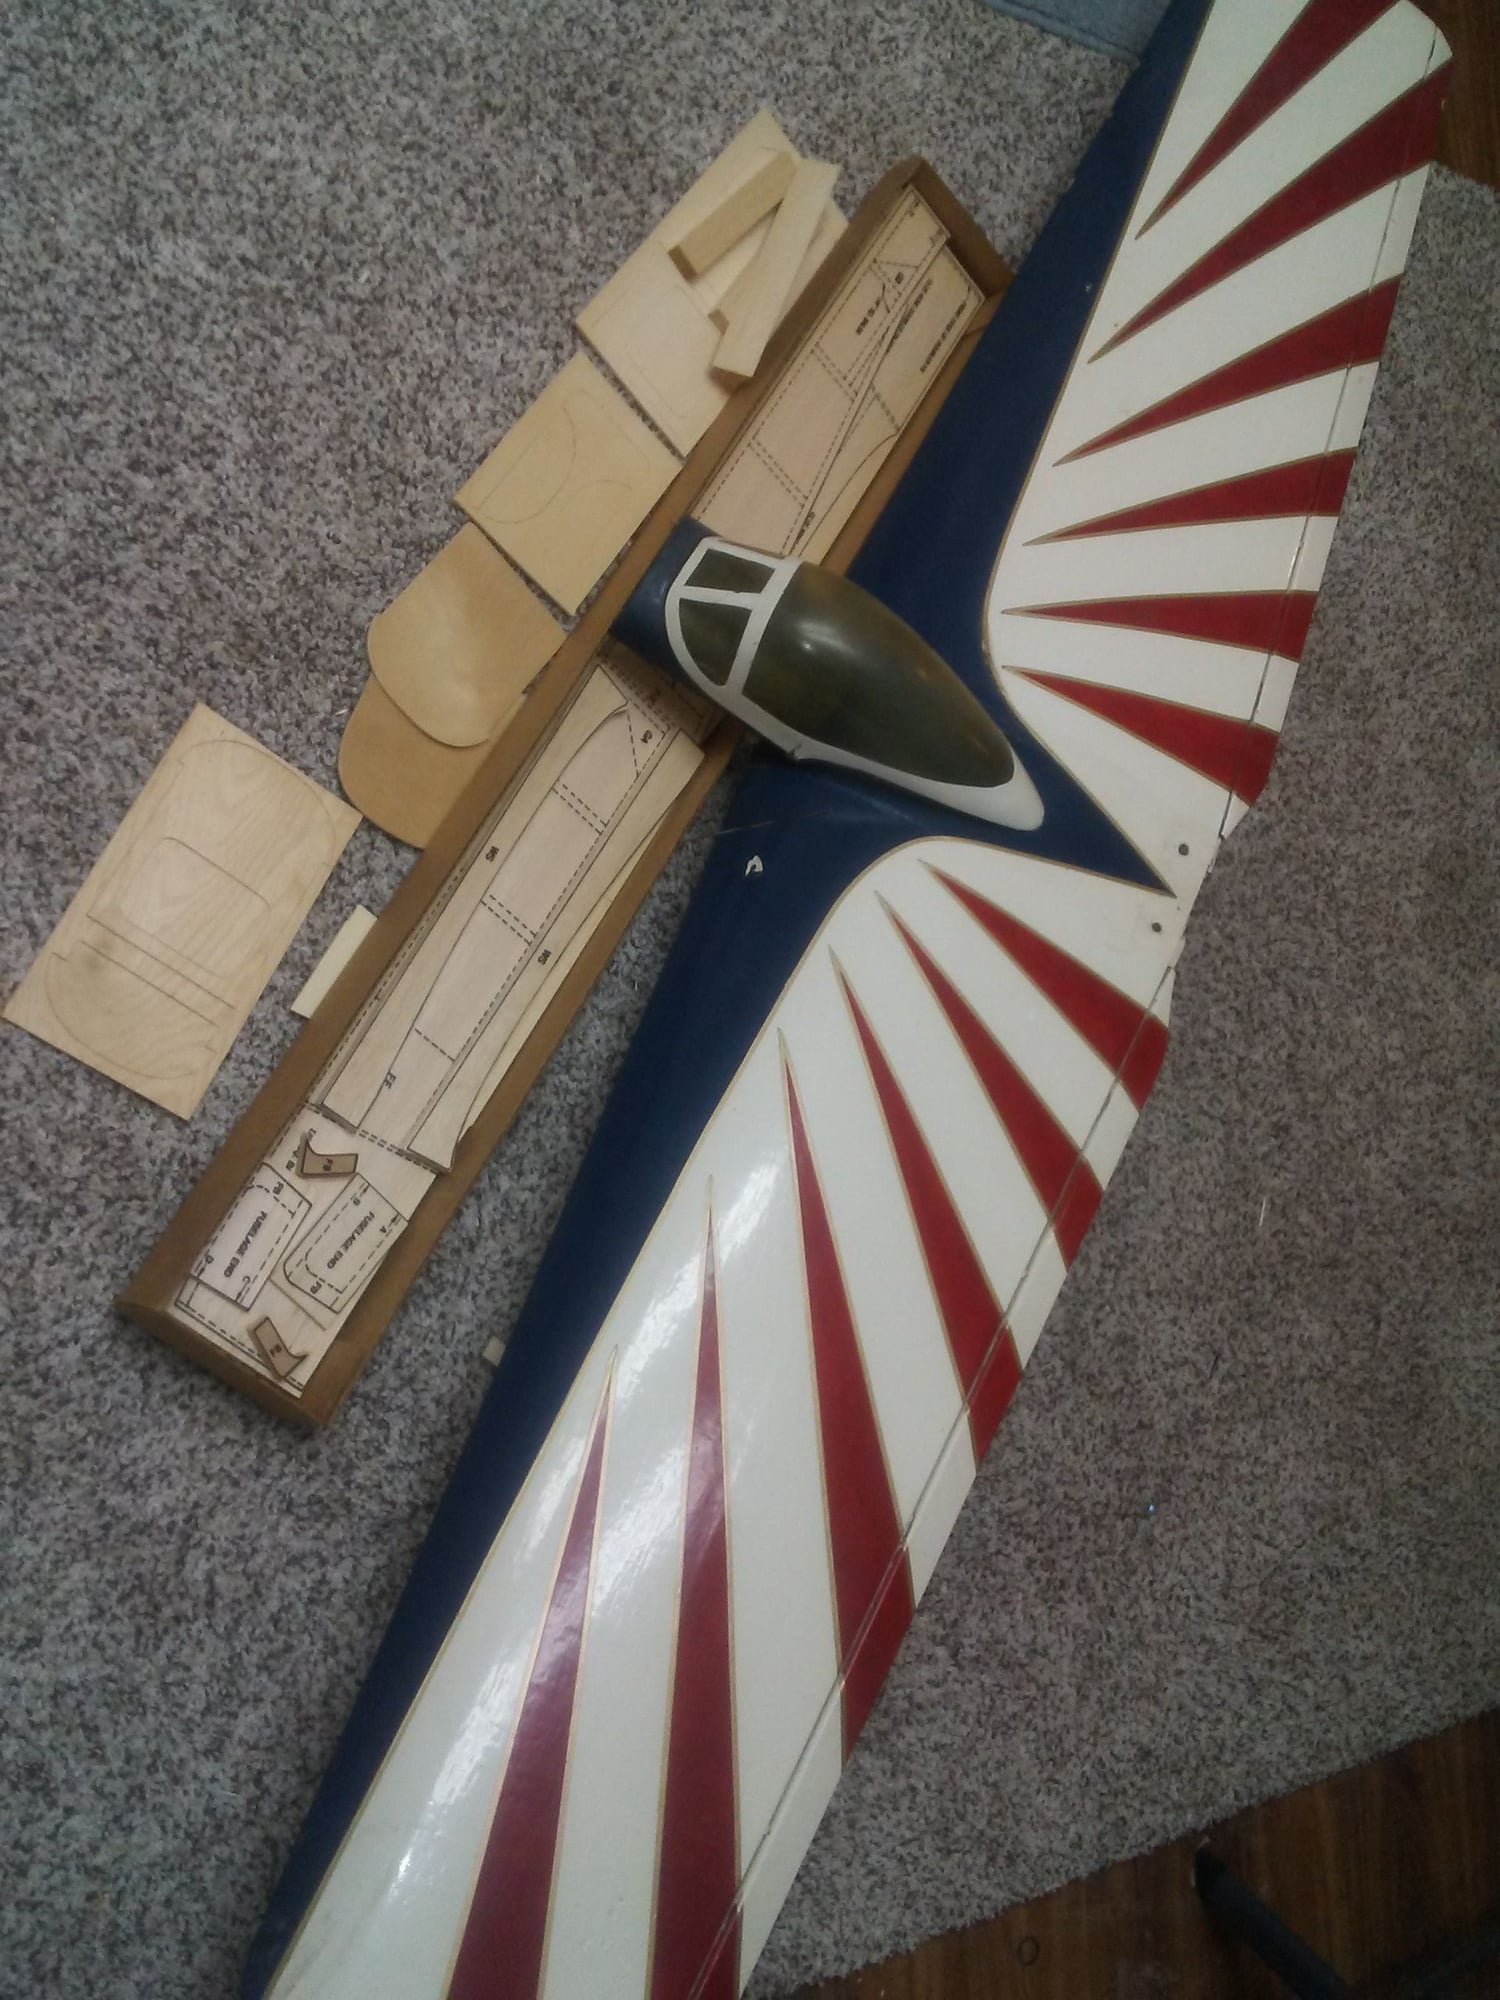
I received this a couple of years ago. I knew immediatly what it was, and it's significance.
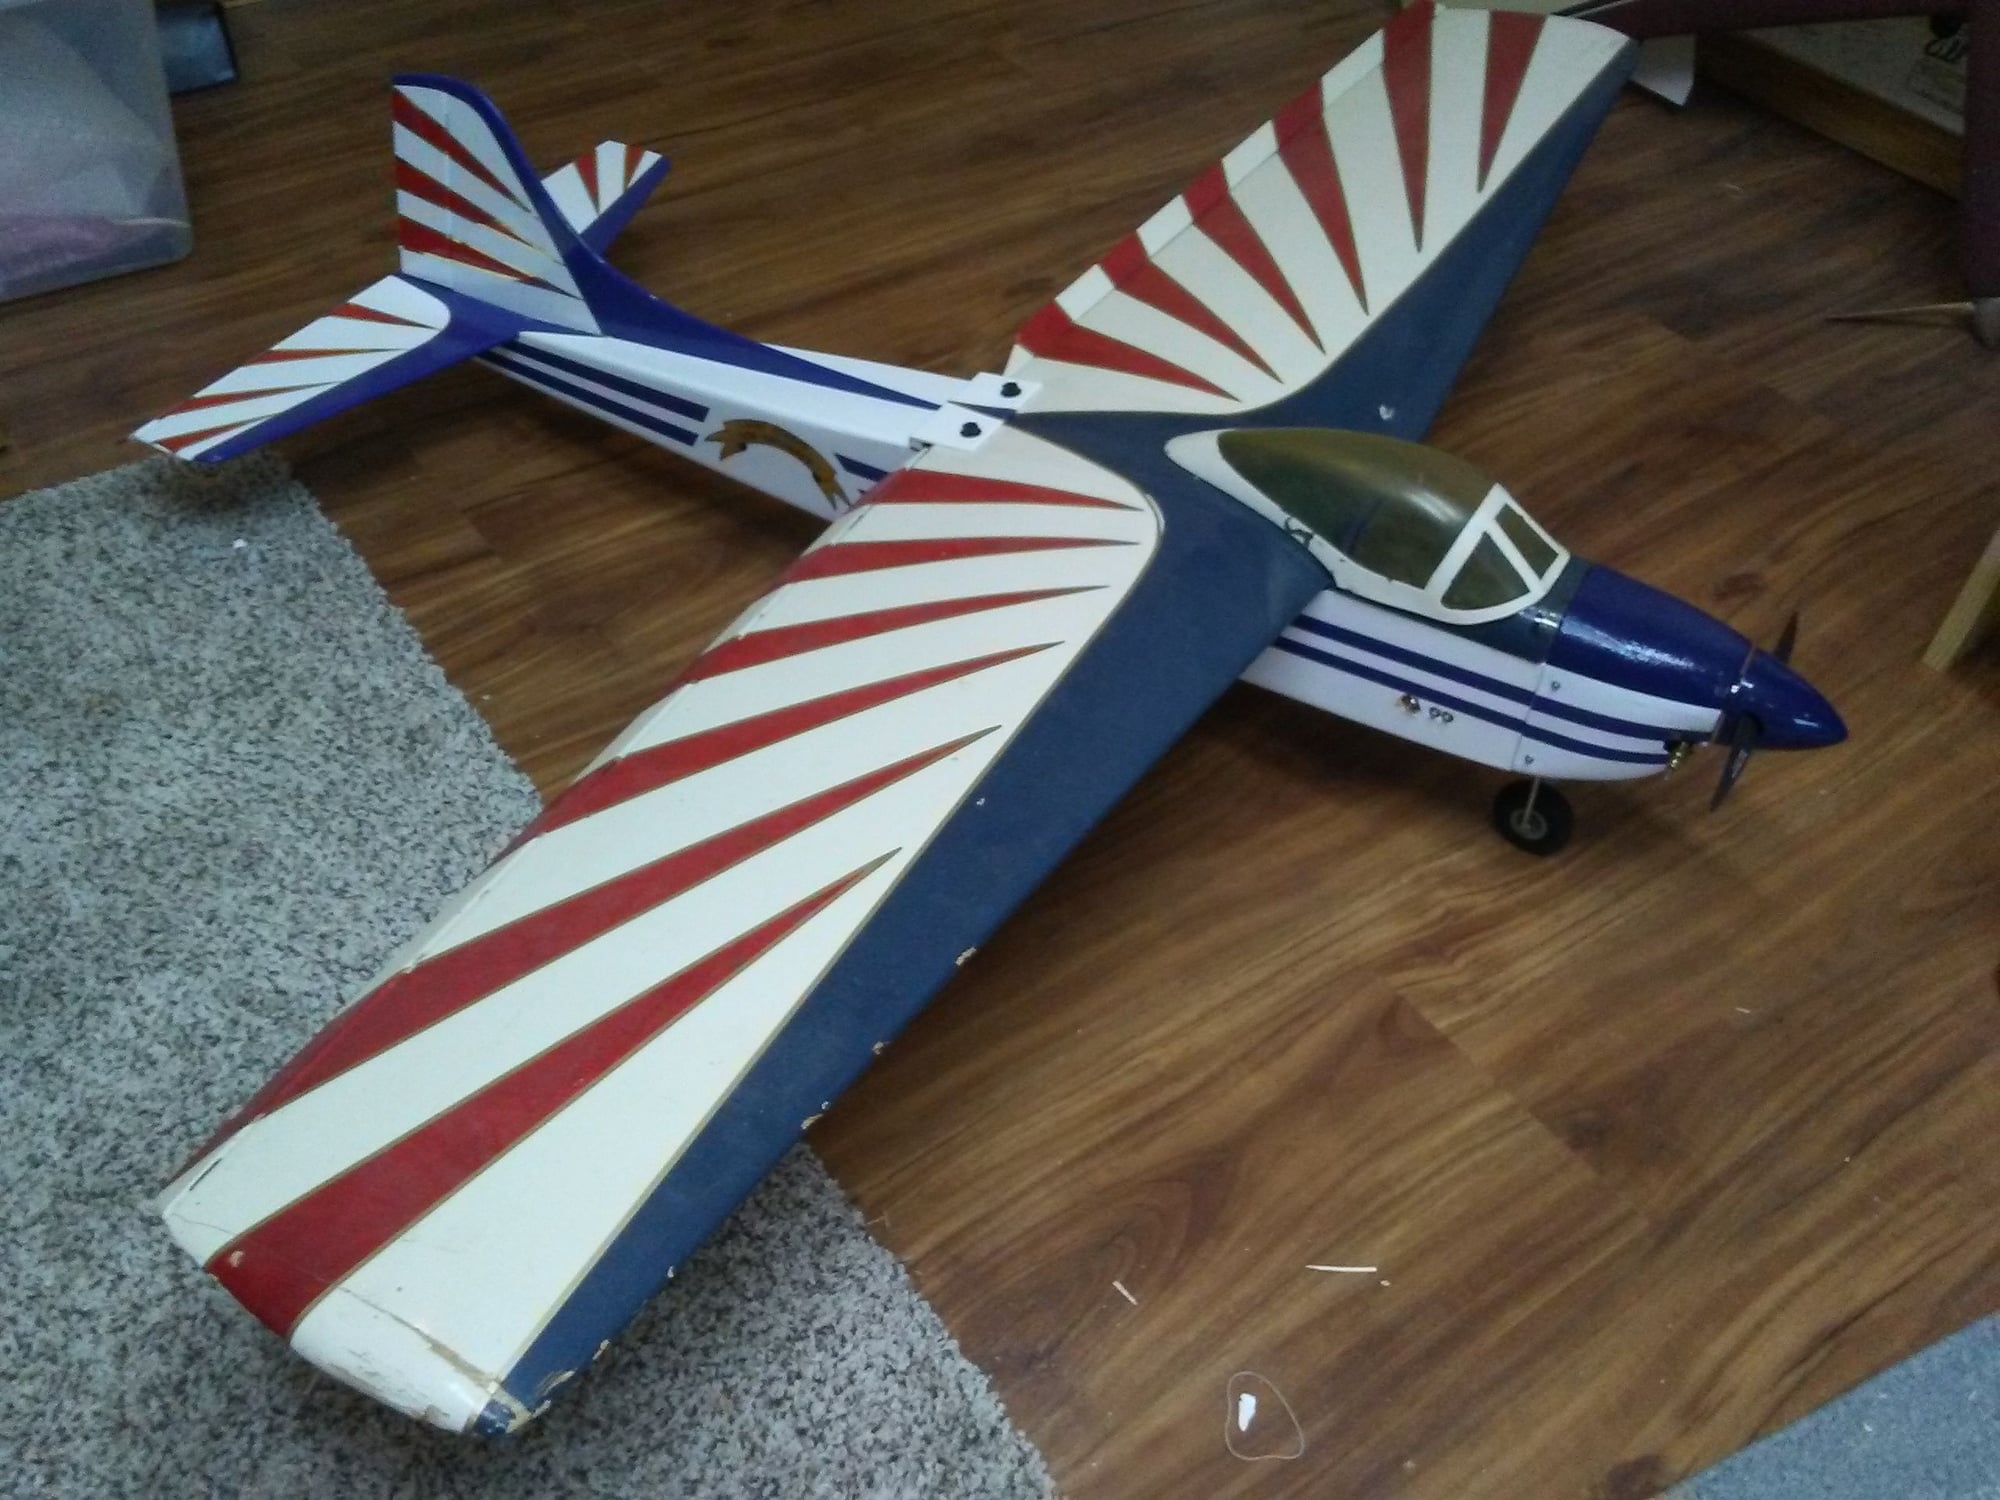
I completed the beautiful airplane, and vacuum-formed the cowl for it, using one from my kit, to make a mold. I installed a Supertiger .40, inverted, and lowered the fuel tank as required.
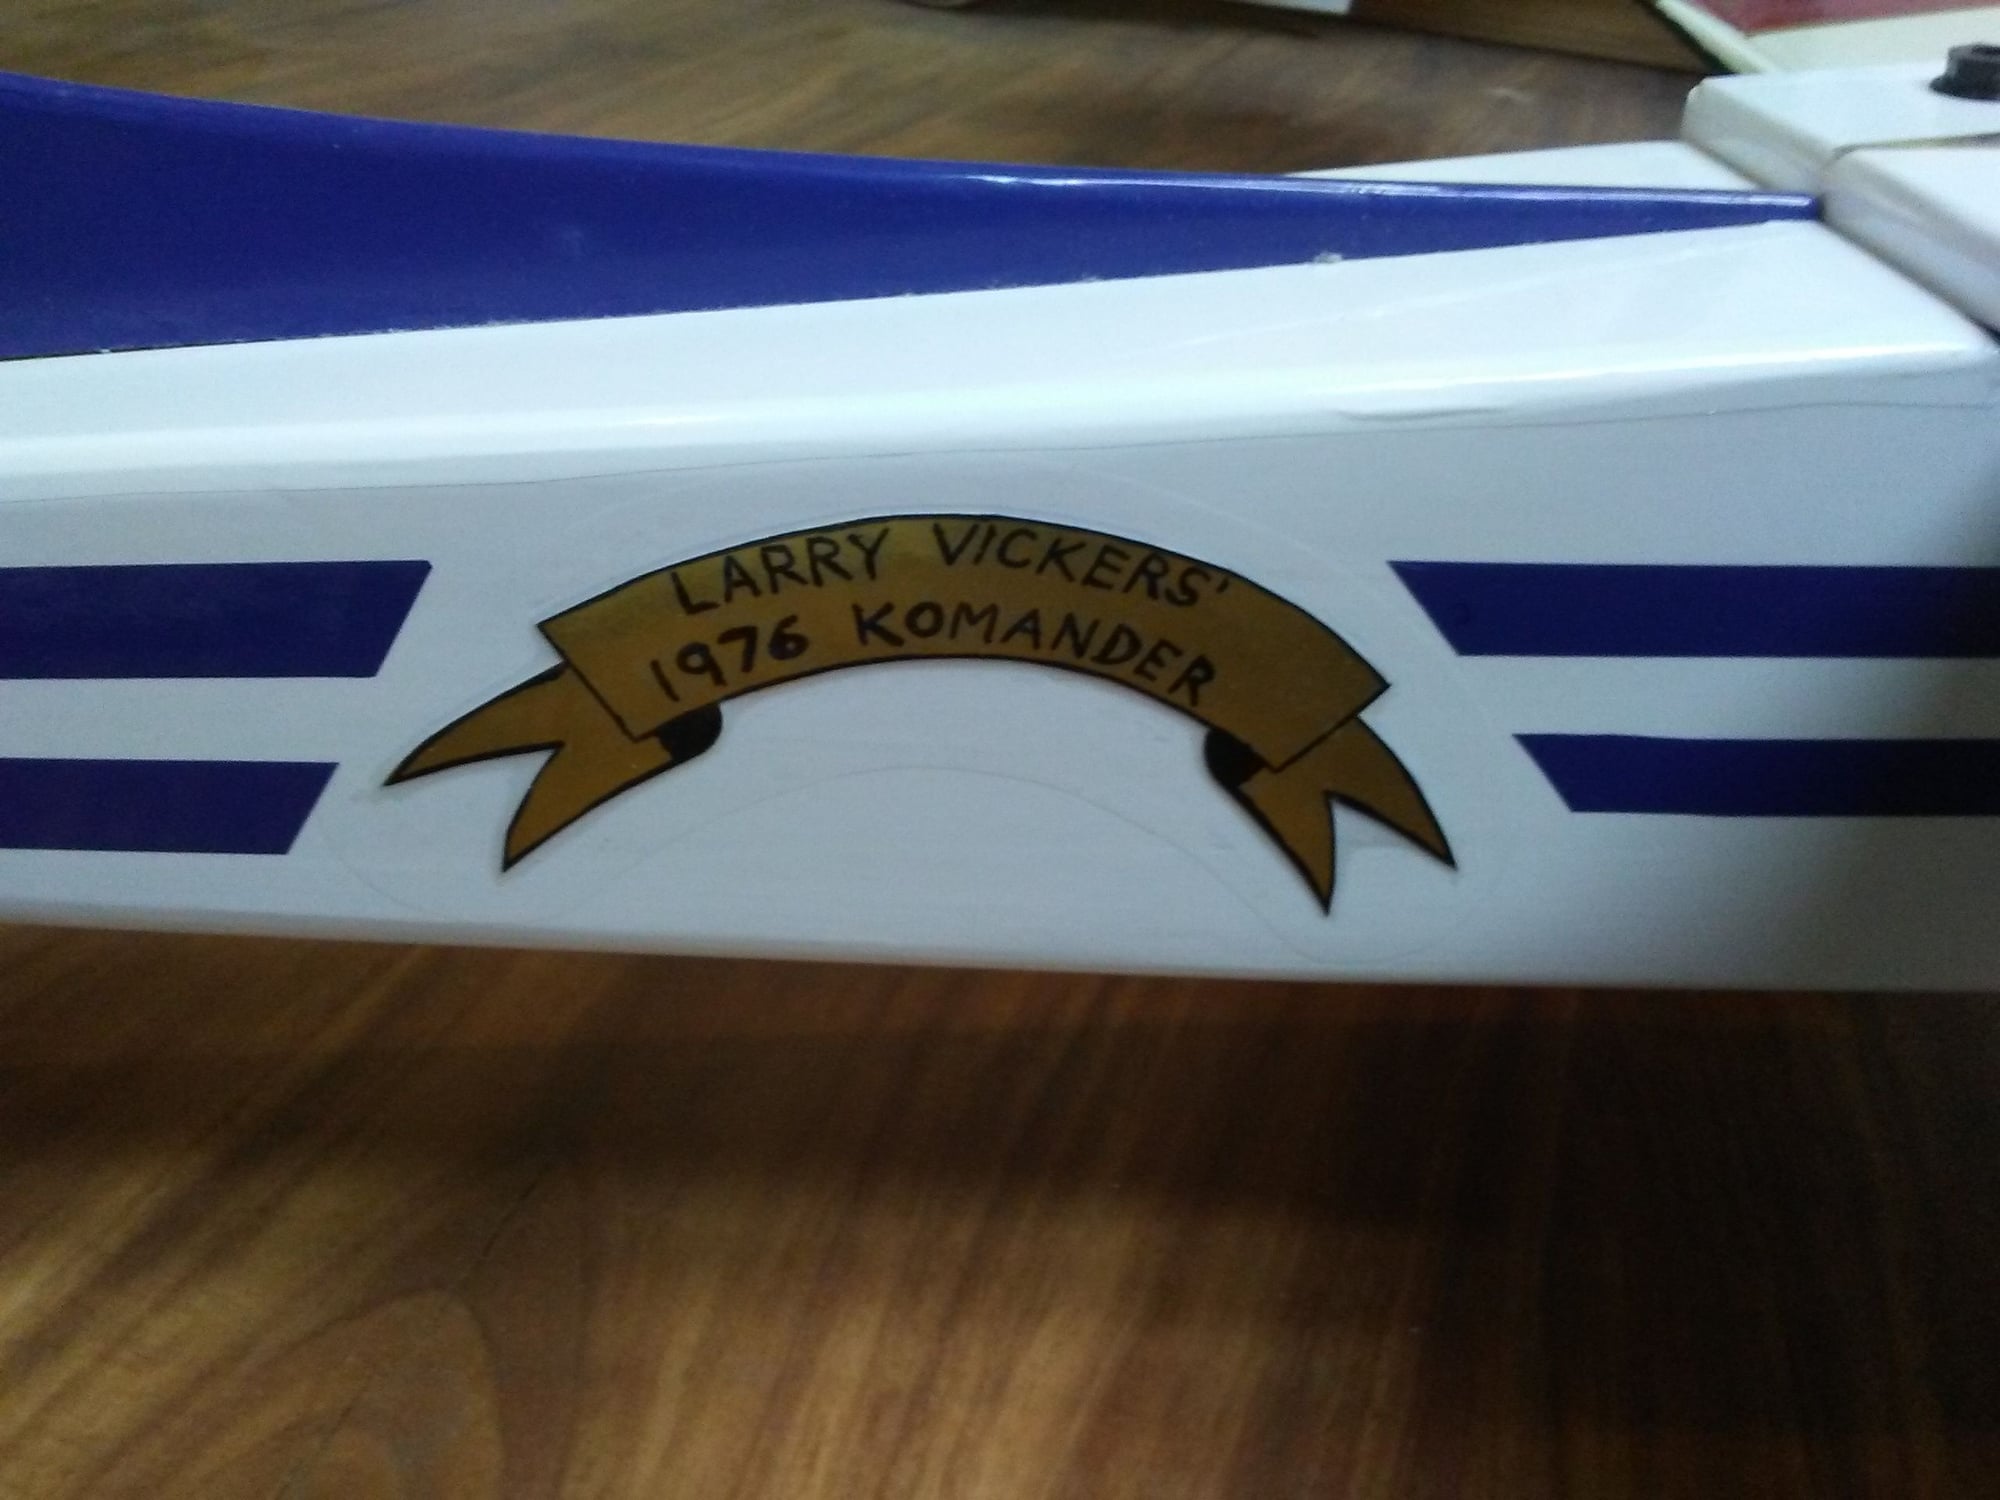
I don't know what the banner on Larry's Komander read, but here's what I put on the refurbished Komander. I'm guessing Larry attended the 1976 Fly-in before he could apply the forward fuselage stripes.
Last edited by GUS THE I.A.; 01-03-2019 at 12:13 AM.
01-03-2019, 02:08 AM
#3487
Join Date: Aug 2017
Posts: 18
Likes: 0
Received 0 Likes
on
0 Posts
I'm finally able to share pictures of my SIG Air Force. 
King Kobra, taildragger, retractable landing gear, inverted engine, neato wing and stabilizer tips, steerable tailwheel.
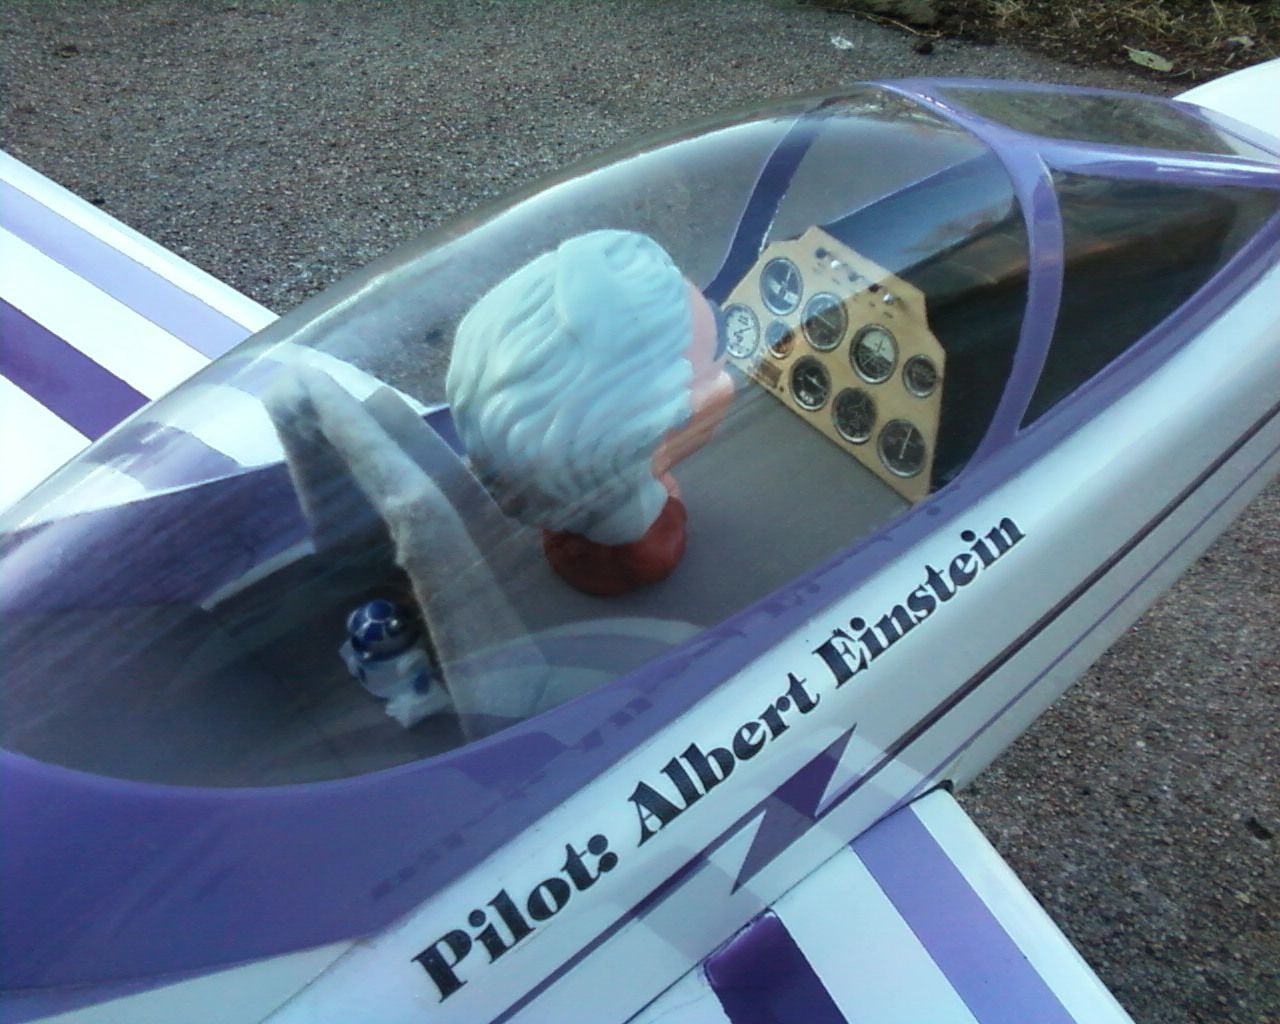
Albert Einstein flies the King Kobra.
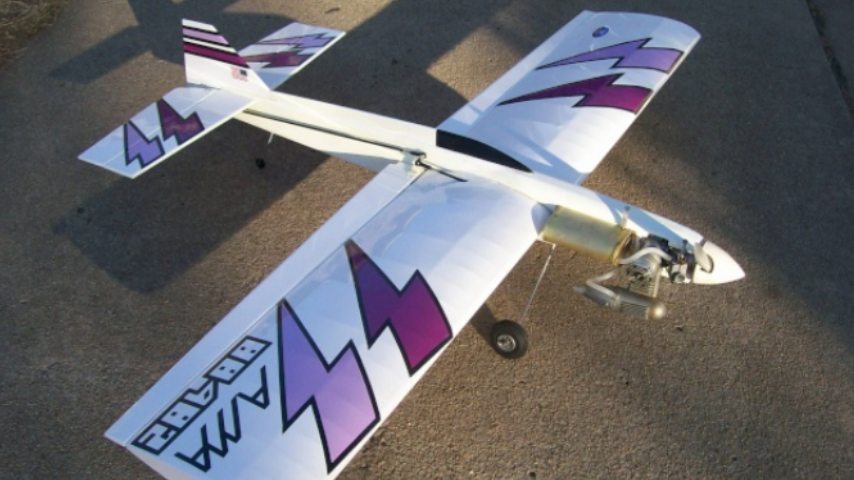
SIG Twister, albeit "Fancherized" is a great flying control line plane!
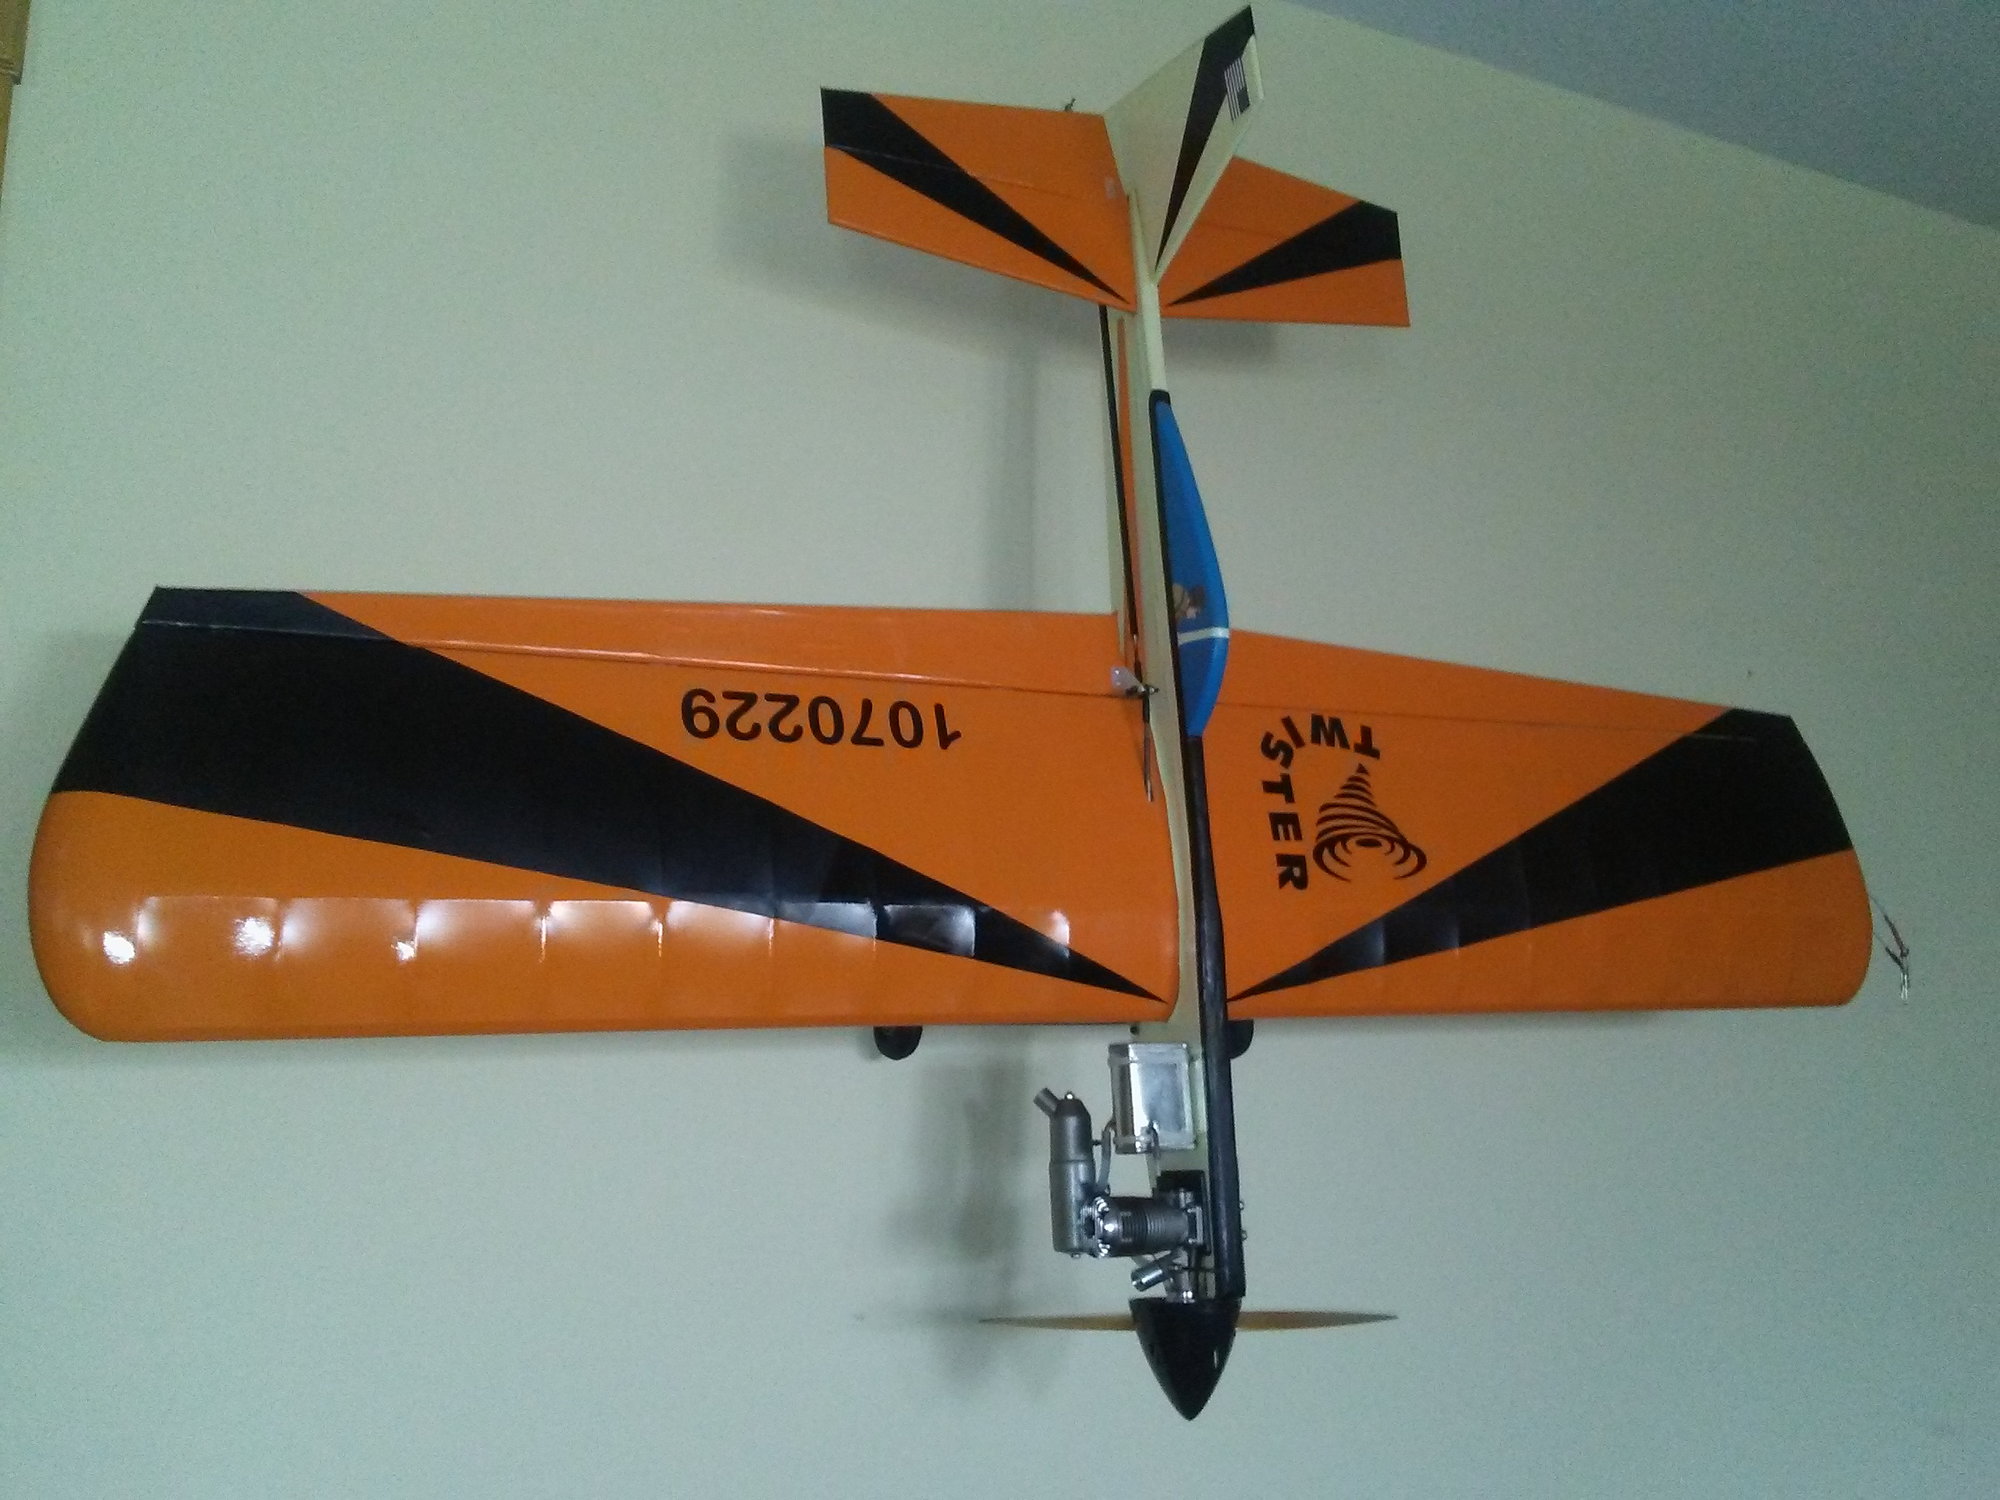
Twister that I built for a friend, with my own design logo.
King Kobra, taildragger, retractable landing gear, inverted engine, neato wing and stabilizer tips, steerable tailwheel.
Albert Einstein flies the King Kobra.
SIG Twister, albeit "Fancherized" is a great flying control line plane!
Twister that I built for a friend, with my own design logo.
Last edited by GUS THE I.A.; 01-03-2019 at 02:13 AM.
01-03-2019, 04:23 AM
#3488
well awsome what would you like help with? Like they say i have built two and considering a therd. Yes everyone a therd. I like the plane that much. Anyway, what are the question�s you have? let it rip and Acdii and i will set you straight.
Last edited by Captcrunch44; 01-03-2019 at 04:47 AM.
01-03-2019, 08:07 AM
#3489
Thread Starter
Here is my build thread http://www.rcuniverse.com/forum/kit-...it-review.html
Wing build is on page two. This was started before the updates to the site, so all the photos are sideways for some odd reason.
01-03-2019, 08:30 AM
#3490
Junior Member
Join Date: Jan 2019
Posts: 20
Likes: 0
Received 0 Likes
on
0 Posts
I will visit the build link. I attempted to post pictures and an explanation but I was denied. The text was with regard to the spacing of the rib slots for the front wing mount. They are not the same as the rib slots on the main spar and the front profile of the center rib pair do not match up with the slot in the front wing mount.
01-03-2019, 08:48 AM
#3492
Junior Member
Join Date: Jan 2019
Posts: 20
Likes: 0
Received 0 Likes
on
0 Posts
I could not see the front wing mount detail in question. The slots on the laminated front wing mount look similar to what I have but would not match the center rib I have or match the spacing of the main spar. Thanks for the link.
There are two tabs on the front of the center rib. They are on the top and bottom of the rib where the front wing mount has a single slot on the bottom only. I can not post pictures yet but I could email them to someone.
There are two tabs on the front of the center rib. They are on the top and bottom of the rib where the front wing mount has a single slot on the bottom only. I can not post pictures yet but I could email them to someone.
Last edited by alfalfa51; 01-03-2019 at 08:57 AM.
01-03-2019, 08:59 AM
#3493
If you have the means one peace spar caps is my recommendation.
As far as the center ribs they will only go together one way.
And like acdii said fill in gaps with triangle stock.
Also they send extra peace for the center at the dowls for shimming
01-03-2019, 09:00 AM
#3494
also overlap the spar cap top and bottom at the center section and then scarf in the last few inches out board.
If you have the means one peace spar caps is my recommendation.
As far as the center ribs they will only go together one way.
And like acdii said fill in gaps with triangle stock.
Also they send extra peace for the center at the dowls for shimming
01-03-2019, 12:34 PM
#3496
Thread Starter
If you have the fuse already assembled, then I suggest pinning wax paper, or some other barrier to the fuse and then assemble the center ribs, give them a cardboard gap, thickness of two match book covers between the ribs and the fuse before gluing. Mine were too tight and I had to sand them before the wing would fit the fuse.
Post up pics of the parts in question. Looking at the pics of mine, there are two center ribs that glue together and slot into the bottom of the main spar, and butt against the forward spar. The dowel plate sits flush with the bulkhead 3 where it attaches, so there is a gap between it and the forward spar. It is inside the gap between the main spar and forward spar that I did the most reinforcing with tri stock.
Post up pics of the parts in question. Looking at the pics of mine, there are two center ribs that glue together and slot into the bottom of the main spar, and butt against the forward spar. The dowel plate sits flush with the bulkhead 3 where it attaches, so there is a gap between it and the forward spar. It is inside the gap between the main spar and forward spar that I did the most reinforcing with tri stock.
01-03-2019, 06:32 PM
#3497
Junior Member
Join Date: Jan 2019
Posts: 20
Likes: 0
Received 0 Likes
on
0 Posts
acdii, A limit of five posts per day has kicked in. This will have to hold over until Friday. It looks like the clock has changed to Friday
I'm not there yet. I can't assemble the main spar, front wing mount (kind of a mini spar) and three ribs in the center without breaking the ribs. I tried to force the ribs onto the main spar and the front wing mount and they were bent to the point that the trailing edge of the two ribs next to the center rib were within an inch of touching each other. I know they have taper back to match the fuselage but nowhere near that. I have tried to post pictures but I don't believe I have reached the posting count that will allow that. I expect to be able to reinforce the rib joints to the spar once I can assemble the the center ribs.
I talked to CaptCrunch44 an hour ago. The issues I am having apply to the first production run of the 168. He said the second run and his second build had parts that took care of what I am encountering. I'm going to see if SIG can supply me with the six pieces that are causing me pain.
Last edited by alfalfa51; 01-04-2019 at 07:38 AM.
01-04-2019, 08:39 AM
#3498
Senior Member

Join Date: Jan 2006
Location: Pitt Meadows,
BC, CANADA
Posts: 862
Likes: 0
Received 0 Likes
on
0 Posts
If you go back and read the thread on the 168, you will see that we had to open up/adjust the rib slots to get everything to fit together. Don't try to force the parts together, just ease the slots so things fit properly.
Another thing, try to reduce the weight in the back of the fuse as much as you can, substitute balsa for the plywood. This plane takes a LOT of weight up front to balance.
I was so disgusted with the outcome of mine that I eventually cut it into small pieces and threw it away. Mine showed no inclination to fly with a 90cc 3 cyl radial, probably just as well, the wing would have probably snapped...(this was before Sig finally admitted to a problem and sent out wing struts).
I'm sorry if I sound a little bitter, but that was a lot of money down the drain, and the first group of builders had to figure out all the problems.
I may be a sucker for punishment, but I see Hobby Express has a 15ft. Telemaster kit available.......hmmm!
Good luck with your 168, post some pictures when you can.
Cheers,
Dave.
01-04-2019, 08:49 AM
#3499
Junior Member
Join Date: Jan 2019
Posts: 20
Likes: 0
Received 0 Likes
on
0 Posts
With a little encouragement from Captcrunch44 I went after the parts that I was having issues with. My concern was that I would weaken an already marginal structure. The suggestion was to sand the slots that were the problem. The bandsaw worked well as an aggressive sander substitute. Again Captcrunch44 says the second production run of the 168 takes care of several issues including this one. I will attempt to post some pictures once I get to the magical 10 posts.
01-04-2019, 08:55 AM
#3500
Junior Member
Join Date: Jan 2019
Posts: 20
Likes: 0
Received 0 Likes
on
0 Posts
Thanks mogman, I have already laminated the tail horizontal and vertical. I was going to convert to dual elevator servos but It appears that is a bad idea on this tail heavy airframe.