


Jp 4

 09-13-2016 | 04:18 AM
#177


Joined: Oct 2014
Posts: 888
Likes: 0
Received 0 Likes
on
0 Posts
From: Roseville, CA
Did you shorten the emitter wire or is that even possible?
09-13-2016 | 05:52 PM
#178
Thread Starter
I didn't shorten the emitter wire, i just cut it in 2, thread one end through the driver's visor then re soldered the ends together. i probably could have shortened it, it doesnt have far to go to reach the MF unit.
09-13-2016 | 06:48 PM
#179
If you don't want to get into soldering you can also release the pins(actually sockets) out of the plug using a hobby knife to lift the tabs that hold the pins in the plug. This is just to get the wire through tighter spaces without the plug, if you want to make shorter you'll have to do some soldering or crimping.
09-14-2016 | 04:46 AM
#181
Joined: Oct 2014
Posts: 888
Likes: 0
Received 0 Likes
on
0 Posts
From: Roseville, CA
I like your idea, looks much better than going down the hatch.
09-14-2016 | 04:47 AM
#182
Joined: Oct 2014
Posts: 888
Likes: 0
Received 0 Likes
on
0 Posts
From: Roseville, CA
If you don't want to get into soldering you can also release the pins(actually sockets) out of the plug using a hobby knife to lift the tabs that hold the pins in the plug. This is just to get the wire through tighter spaces without the plug, if you want to make shorter you'll have to do some soldering or crimping.
09-14-2016 | 05:48 AM
#183

Joined: Jan 2009
Posts: 1,567
Likes: 0
Received 0 Likes
on
0 Posts
From: King,
NC
The method of removing the plugs from the molex connector is what I use when needed. Just be careful when lifting the lock tab that you don't break it. I also added an IR bulb tube to the soukoph to avoid the exposure of the wire on my Hetzers.
Herman
Herman
09-19-2016 | 12:21 PM
#184
Thread Starter
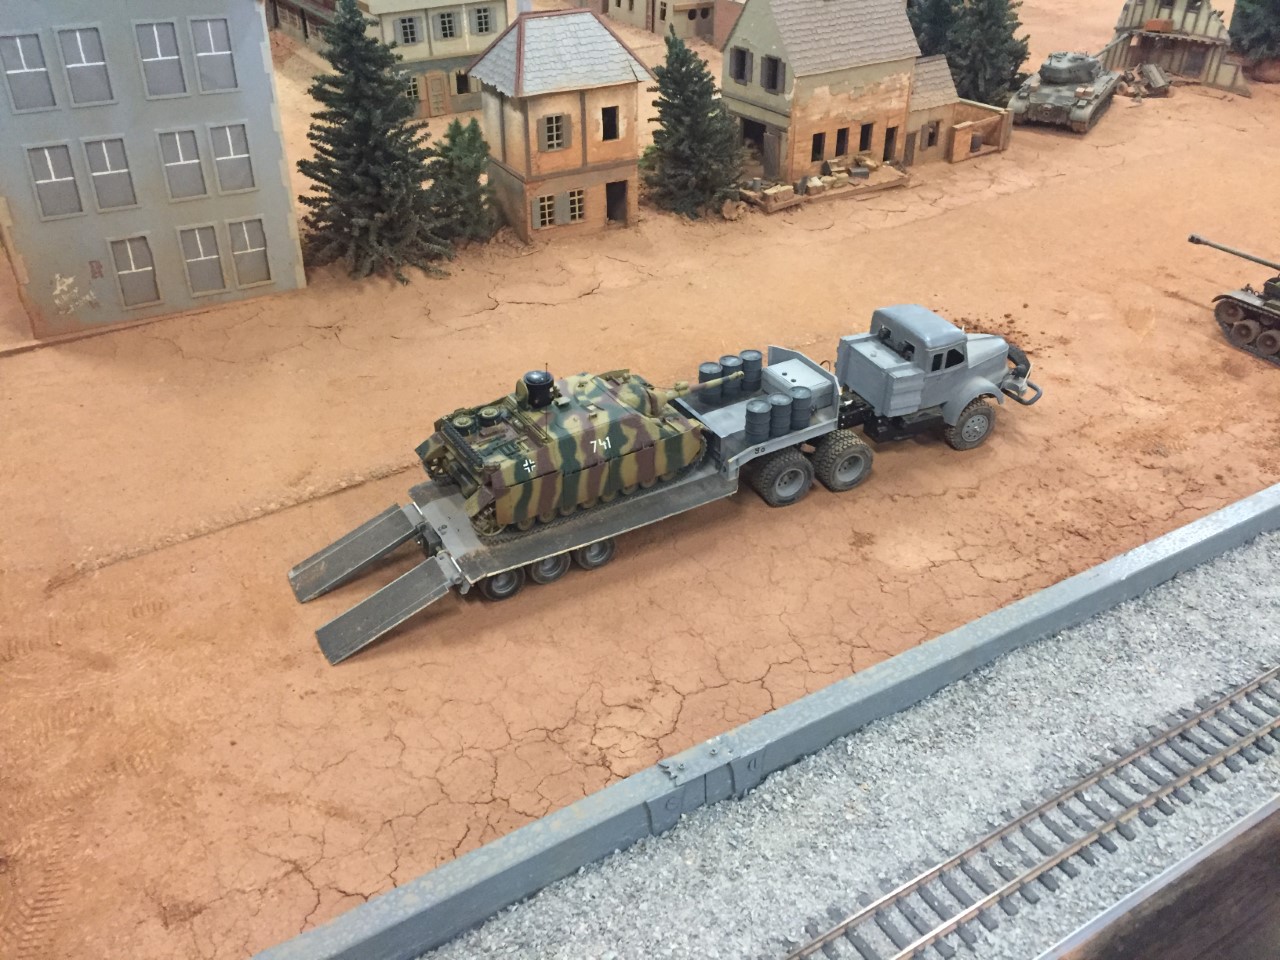
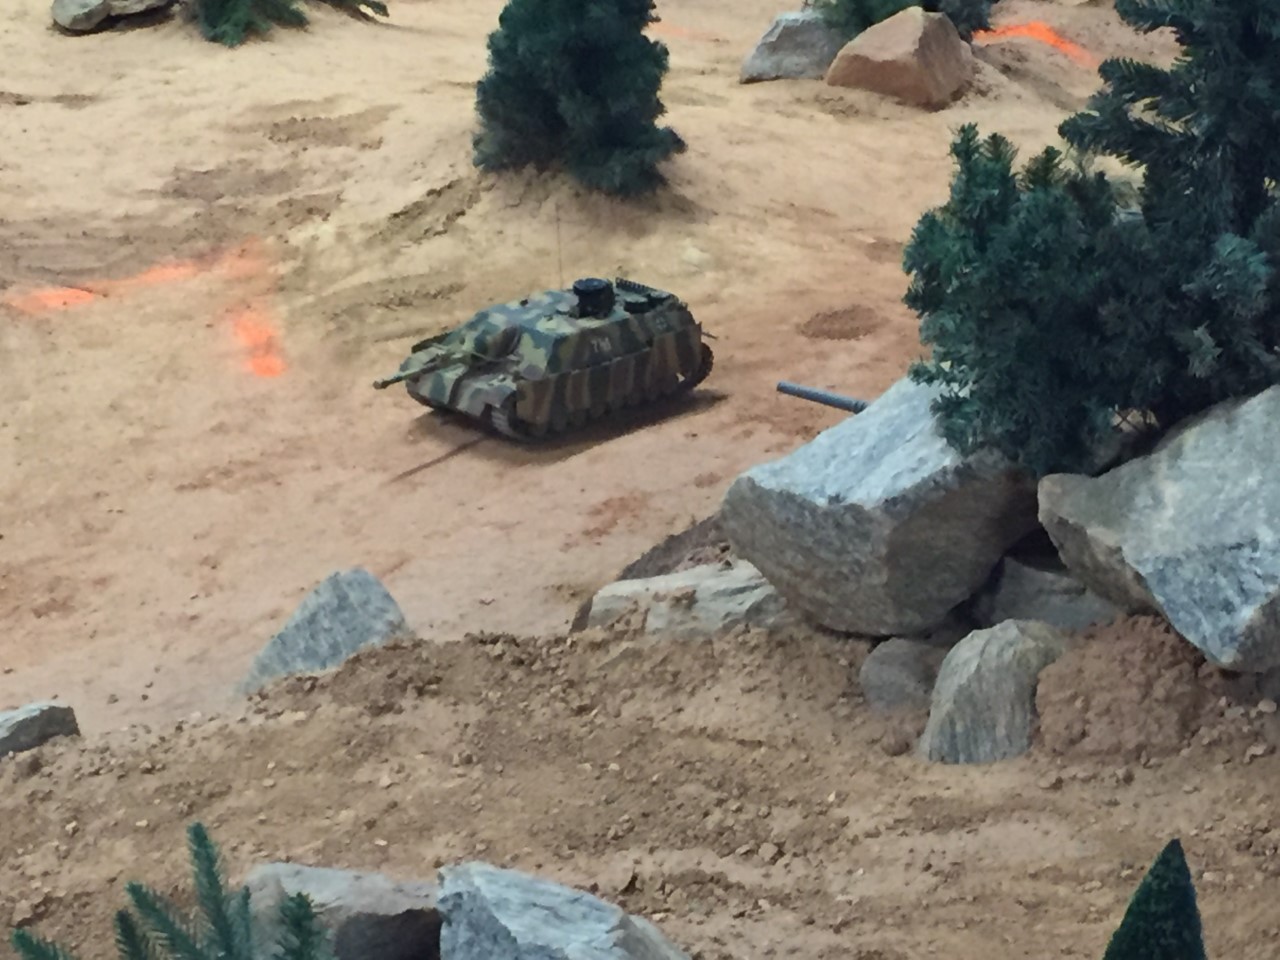
The Jagdpanzer IV performed well, no issues. The side skirts, i think did as designed and while i didnt get any pics of them off, i did lose two (on the same side), but with the O ring attachment, no parts broke. the plastic idler wheel is holding up with metal tracks, which i had a track pin backing out and i think this might have helped in the losing of one side skirts. The shorter L48 barrel is a dream and battled great, if you are going to build a battling JagdPanzer the shorter barrel is pretty hard to beat.
09-19-2016 | 04:17 PM
#185
Thanks for sharing the photos, nice to see it on the battlefield.
09-20-2016 | 09:56 AM
#187
Thread Starter
thanks, the panzer IV suspension is a great platform for battling, the JP 4 and the P4 did great the past weekend. but I do tend to battle my mediums more than the heavies.

 09-22-2016 | 09:45 AM
#191
Thread Starter
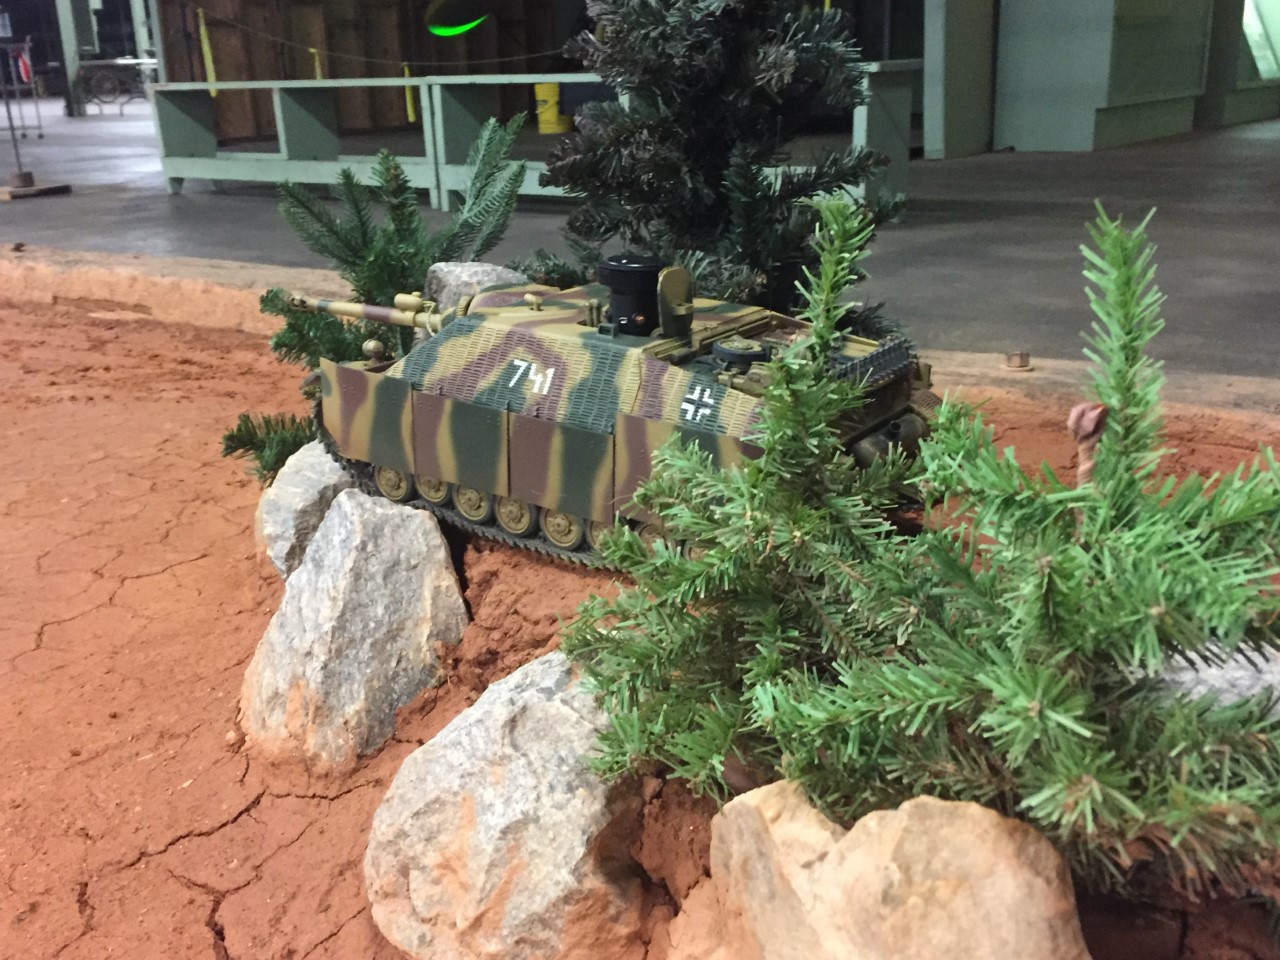
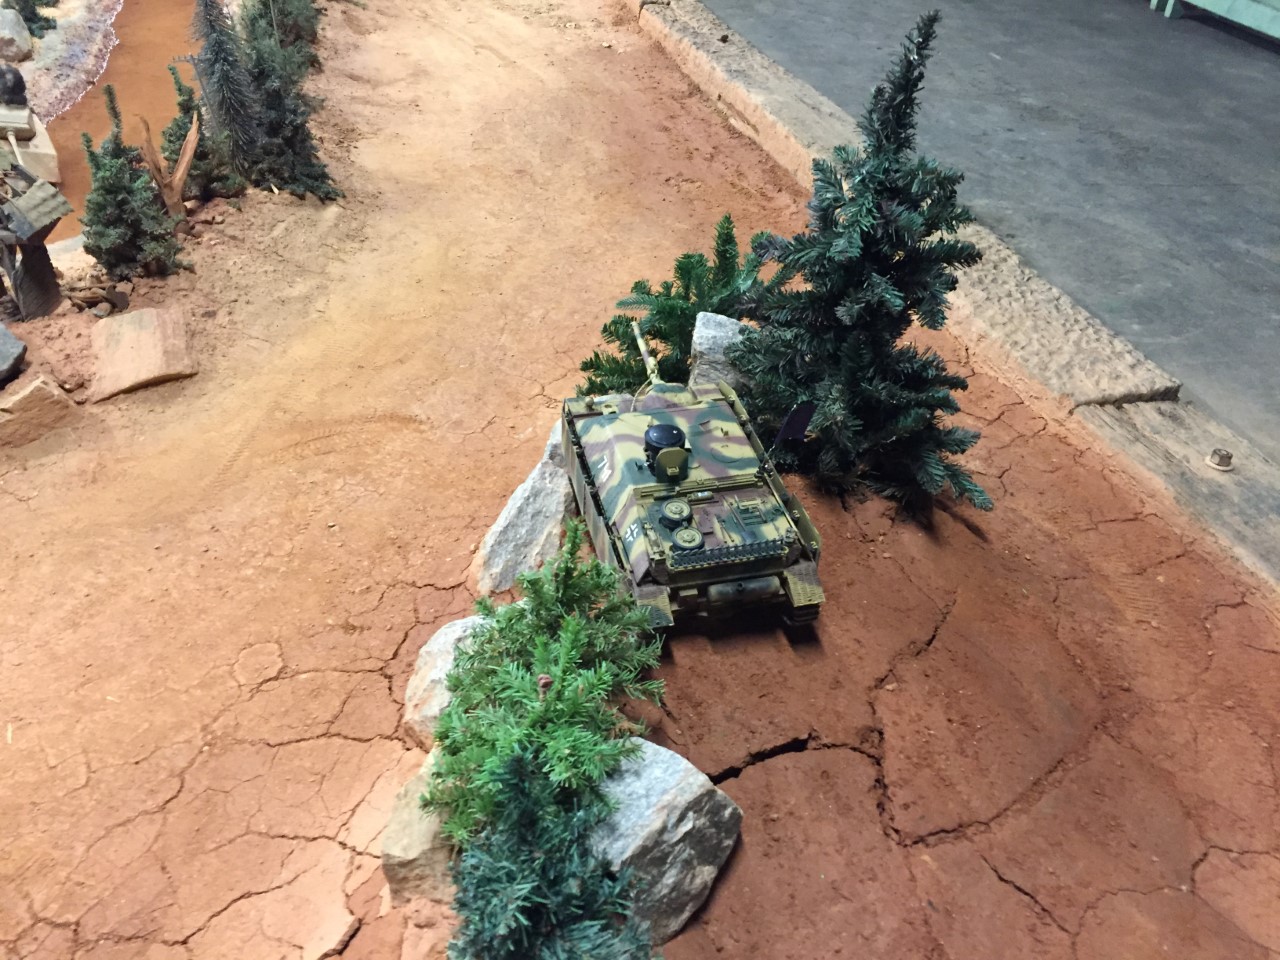
It has Impact late style Panzer IV tracks and are really great, I have them also on my Panzer IV and really don't have any issues with them. The only problem i have ever had was on the JP4 when a track pin backed out and rubbed against the side skirts. I think, but can't confirm that it is what caused the last side skirt to pop up at that weird angle. After the battle i took it back to the bench and pushed it back in and didn't have any more problems.
09-22-2016 | 11:43 AM
#192
Joined: Oct 2014
Posts: 888
Likes: 0
Received 0 Likes
on
0 Posts
From: Roseville, CA
It has Impact late style Panzer IV tracks and are really great, I have them also on my Panzer IV and really don't have any issues with them. The only problem i have ever had was on the JP4 when a track pin backed out and rubbed against the side skirts. I think, but can't confirm that it is what caused the last side skirt to pop up at that weird angle. After the battle i took it back to the bench and pushed it back in and didn't have any more problems.
09-22-2016 | 11:56 AM
#193
Thread Starter
Yea, the end skirts have the bend in them that make them closer to the tracks and those skirts come pretty close to the tracks. That is why i think the track pin forced the last skirt up at that crazy angle.


