


Hangar 9 60cc Corsair
 04-28-2015, 12:16 PM
#1851
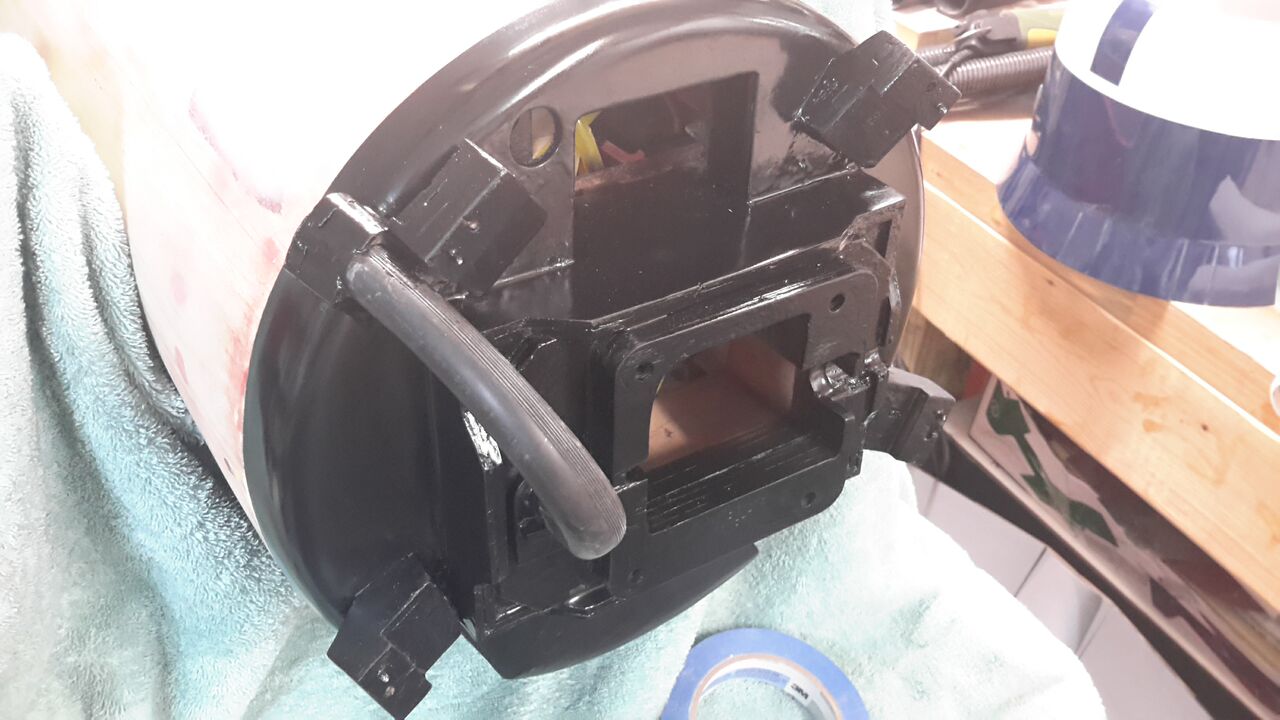
So luckily, I have two Evolution 7-77 motors in my possession. I've found by comparing the two closely, that one of them was supplied with no o-rings on any of the intake tubes... no wonder that engine was leaky as all hell and I had to use engine sealant around every intake tube top and bottom.
Just a heads-up for guys buying the EVO 7-77... take a good thorough look over the engine before accepting the new $1,300 + engine.
Also, on my 2nd radial engine ordered directly from Horizon, the front-cover where the 'Evolution Radial' is stamped is not aligned the same as most other EVO 7-77's I've seen where the 'Evolution Radial' is below cylinder #1. On mine, the UT 7-77 is below and in line with cylinder #1.
... look over your engines carefully guys. Seems the QC department falls asleep sometimes.
Last edited by chorner; 04-28-2015 at 12:19 PM.

 05-06-2015, 04:46 PM
#1853

My Feedback: (1)
I am nearing the point of priming my plane after a long effort of filling in the open areas of the wing, fiberglassing the entire plane, sanding, straightening, filling, etc. I thought I would share the fairly ugly prep that will turn into something very nice when it's done. I can hardly wait. It may not seem like much right now, but if you were to run your hand along any of the surfaces, you would understand how smooth and straight it really is. I will follow up with pictures after the painting is complete.
Standing up in the background is the fuselage for a scratch built Don Smith 12' wingspan B24 Liberator that is off the bench but back on once the Corsair is complete.
Enjoy


Standing up in the background is the fuselage for a scratch built Don Smith 12' wingspan B24 Liberator that is off the bench but back on once the Corsair is complete.
Enjoy
05-07-2015, 01:51 AM
#1857
My Feedback: (1)
I say most definitely worth the effort to get rid of any paint lines from not being able to reach the hidden parts.
05-07-2015, 01:56 AM
#1858
My Feedback: (1)
In my experience, it will be lighter with glass and paint than with film or fabric covering. I also suppose that is a matter of how heavy one applies the glass and paint. As an example, I covered a full 12' wing of the B24 and watched the weight as I went along. From start to finish, less than 8 oz was gained. I do not leave any resin behind other than what it takes to hold the glass to the substrate. The real test is in the painting and priming. I like to remove as much material as possible rather than adding more to cover something up. There will be very little primer remaining, only what will fill the weave left over from the sanding of the fiberglass. I am using Klasskote paint which is heavily pigmented (read heavy) with extremely light coats to build up a full cover. It doesn't take much and it is a very nice finish.
So, my expectation is that it will be lighter than it was originally. Time will tell, and so will I (I will post it here).
So, my expectation is that it will be lighter than it was originally. Time will tell, and so will I (I will post it here).
05-07-2015, 01:59 AM
#1859
My Feedback: (1)
I am repeating the burgandy and cream color scheme for the post war racer, lucky gallon. I had it done with other paint and mixture of film and graphic covering but didn't like the outcome. Since it is for me, I took the time and extra effort to strip it back down to what you see in the pictures. It needed a lot of repairs and the glass makes it bulletproof with very little weight gain and a nice substrate for the paint. I am psyched to see it painted soon.
The Keleo firewall mount is awesome also. It just simply works.
The Keleo firewall mount is awesome also. It just simply works.
05-07-2015, 05:16 AM
#1860
Different ones came out in different ways. Most were able to be twisted loose, some were already loose, some I had to use a zona saw to cut through the hinge and drill out the plastic from the hole. None of them presented a problem of leaving a damaged hole for re-installing them. Just took my time.
I say most definitely worth the effort to get rid of any paint lines from not being able to reach the hidden parts.
I say most definitely worth the effort to get rid of any paint lines from not being able to reach the hidden parts.
 Can get nasty!
05-07-2015, 04:38 PM
Can get nasty!
05-07-2015, 04:38 PM
#1861
My Feedback: (5)
Join Date: Jan 2010
Location: vancouver, BC, CANADA
Posts: 131
Likes: 0
Received 0 Likes
on
0 Posts
im in need of some parts had a bit of a mishap when i had a bit of a hard landing the good old robarts couldnt take it and the part at the top that twist the retraccts broke so of it came and flung up into the center section .soooo i need a center section and right wing panel as far as the robart gear air operated i think ill be switching them out and put some real retracts in there sierra. goda say though robart quality has really gone down there where good at one time
05-10-2015, 11:36 AM
#1862
My Feedback: (1)
I built a spray booth in the back yard out of a canopy with screened sides. It keeps the dirt and bugs away while giving me ventilation and fresh air. I built a stand that holds the wing and fuselage as well as allowing them to rotate in order to get to all sides evenly. Worked pretty well but for the final coat, I think it needs to be a bit shorter. I will wait about 8 hours for the primer to dry and then start sanding and picking up areas that were missed. Primer shows all the faults that can't be seen until it's applied. The cover paint will show even more. Enjoy.
05-11-2015, 03:37 PM
#1863
My Feedback: (1)
I modified the spray booth, new version 2.0. Much better and easier to work with. I was able to sand the primer and get the cream paint put on within 24 hours. The MFR recommended to put the base coat on top of the primer within 24 hours to obtain a chemical bond rather than a simple adhesion connection. The parts are tack free at this point and will be ready for masking and painting the burgundy tomorrow. It will take some time to mask it, in order to get it right the first time. It may not be finished painting until the end of the week. I guess I have to go to work tomorrow.


05-11-2015, 06:15 PM
#1864
Junior Member
Join Date: Jul 2013
Location: , FL
Posts: 26
Likes: 0
Received 0 Likes
on
0 Posts
If you haven't seen this before it's worth looking at. I truly enjoy watching it over and over.
https://www.youtube.com/watch?v=veBLPWiYoOU
GaryM
https://www.youtube.com/watch?v=veBLPWiYoOU
GaryM
05-20-2015, 08:19 AM
#1871
Well Sierra charged my CC yesterday so hopefully that means my retracts, air control kit and wheels shipped.. If they come by Friday that would coincidentally be exactly 3 weeks from my last post lol.
Have there been more reported firewall issues than the one? I was looking at mine last night and it seems pretty solid.. I was going to pin it but the way it's built it pretty much already is.
Have there been more reported firewall issues than the one? I was looking at mine last night and it seems pretty solid.. I was going to pin it but the way it's built it pretty much already is.
05-20-2015, 08:26 AM
#1872

Join Date: May 2011
Location: Litchfield Park,
AZ
Posts: 208
Likes: 0
Received 0 Likes
on
0 Posts
Thanks,
Cheers
05-22-2015, 07:46 PM
#1873
Retracts came today.. Wow! The quality is really impressive and the operation is really smooth, they are SOLID!
Glad I waited on these.. The wheels look good, I'm not sure if they are as nice as the Robart wheels but they will get the job done for sure.
Glad I waited on these.. The wheels look good, I'm not sure if they are as nice as the Robart wheels but they will get the job done for sure.
Last edited by camss69; 05-22-2015 at 08:02 PM.
