


3W Bearcat with Moki 300
 07-06-2020, 03:08 AM
#326
Some close ups
The calculated (and long in advance estimated and hoped for) weight is about 1 kg, without cylinder or electric actuator. In my case, a large 28 mm thin-walled lightweight cylinder is added, I don't like the electric actuators very much. My colleagues prefer electric, they don't like the air.
That is pretty OK for a gear of this type and almost 500 mm length (strut with wheel). Carbon is not a good choice here because of the enormous complexity of the parts.
We will do the carbon one on the FW190 D9, which is much better suited for that
Summary:
Data:
1:4,25
Overall length without wheel 440 mm
wheel 140 mm
Suspension 2-stage ratio 5:1 spring force soft step / hard step
Final pressure per leg 330 N
Oil damping
Spring travel approx 55 mm (!)
weight 960 gr (without actuator)
Operation: at choice; air or electric
Uplock: no (deliberately not intended to keep the function as simple and safe as possible. This function is performed by the inner landing gear door (which is there anyway, why not make itself doubly useful)
Downlock: automatic forced sequence
Even if it still has to prove itself in practice, I am confident that this construction will work (knock three times on wood...)
 07-18-2020, 12:20 PM
#328

My Feedback: (7)
Detlef, your landing gear are real works of mechanical art. I thought I was showing an amazing amount of determination to finish my Bearcat project but you make me look like a slacker!! HA HA HA!!!!! Great work. Please keep us updated on all your progress.
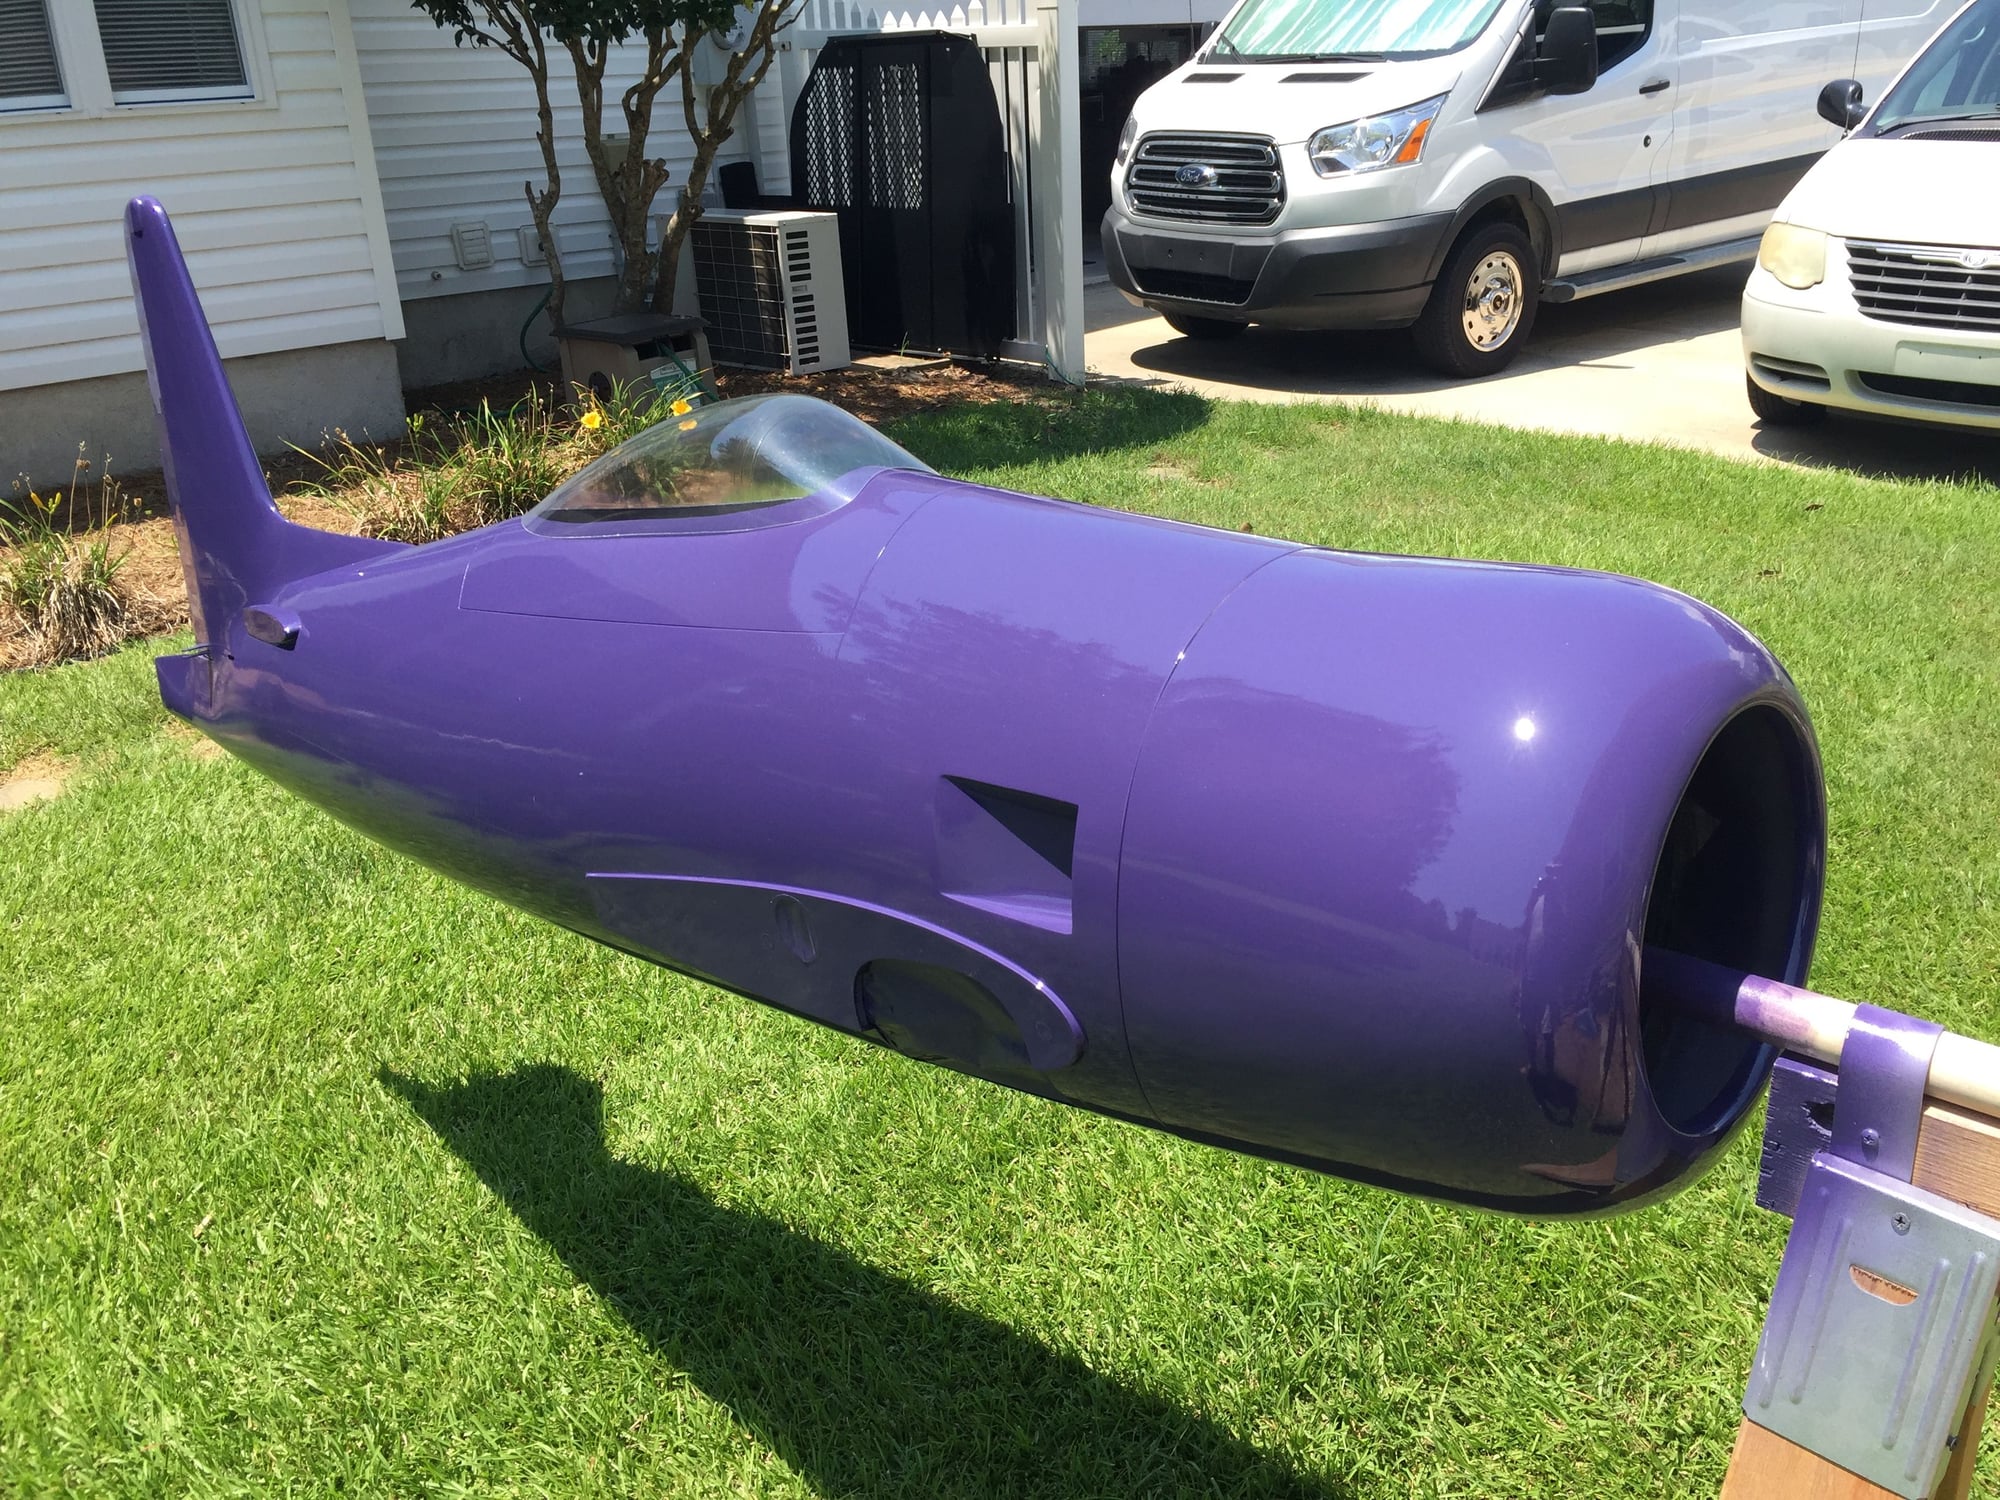
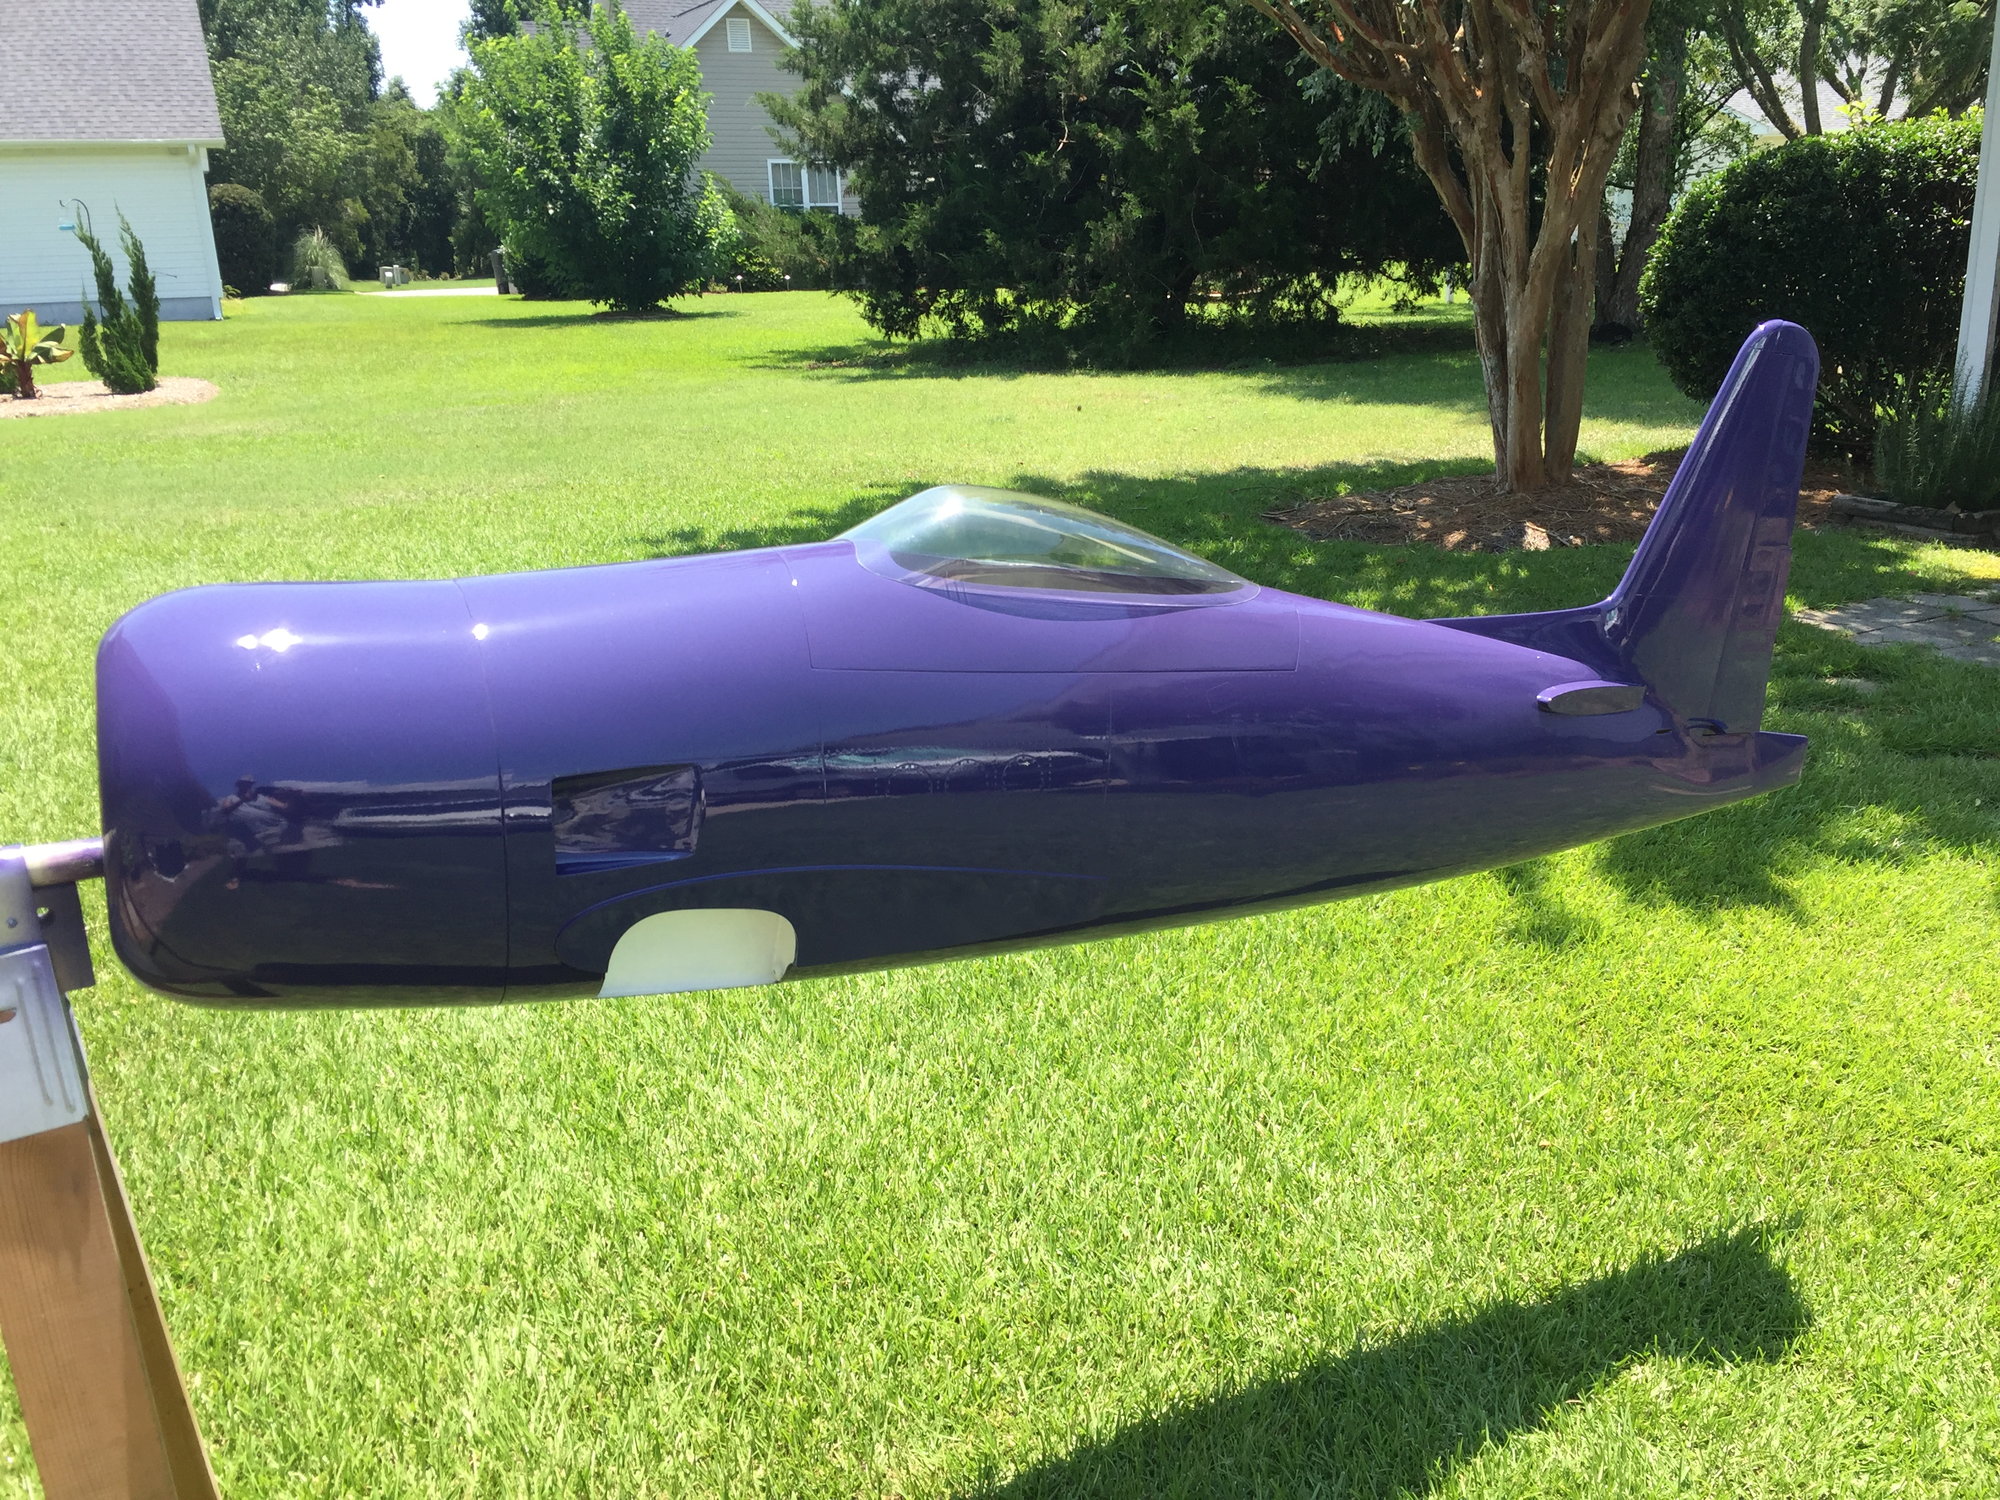
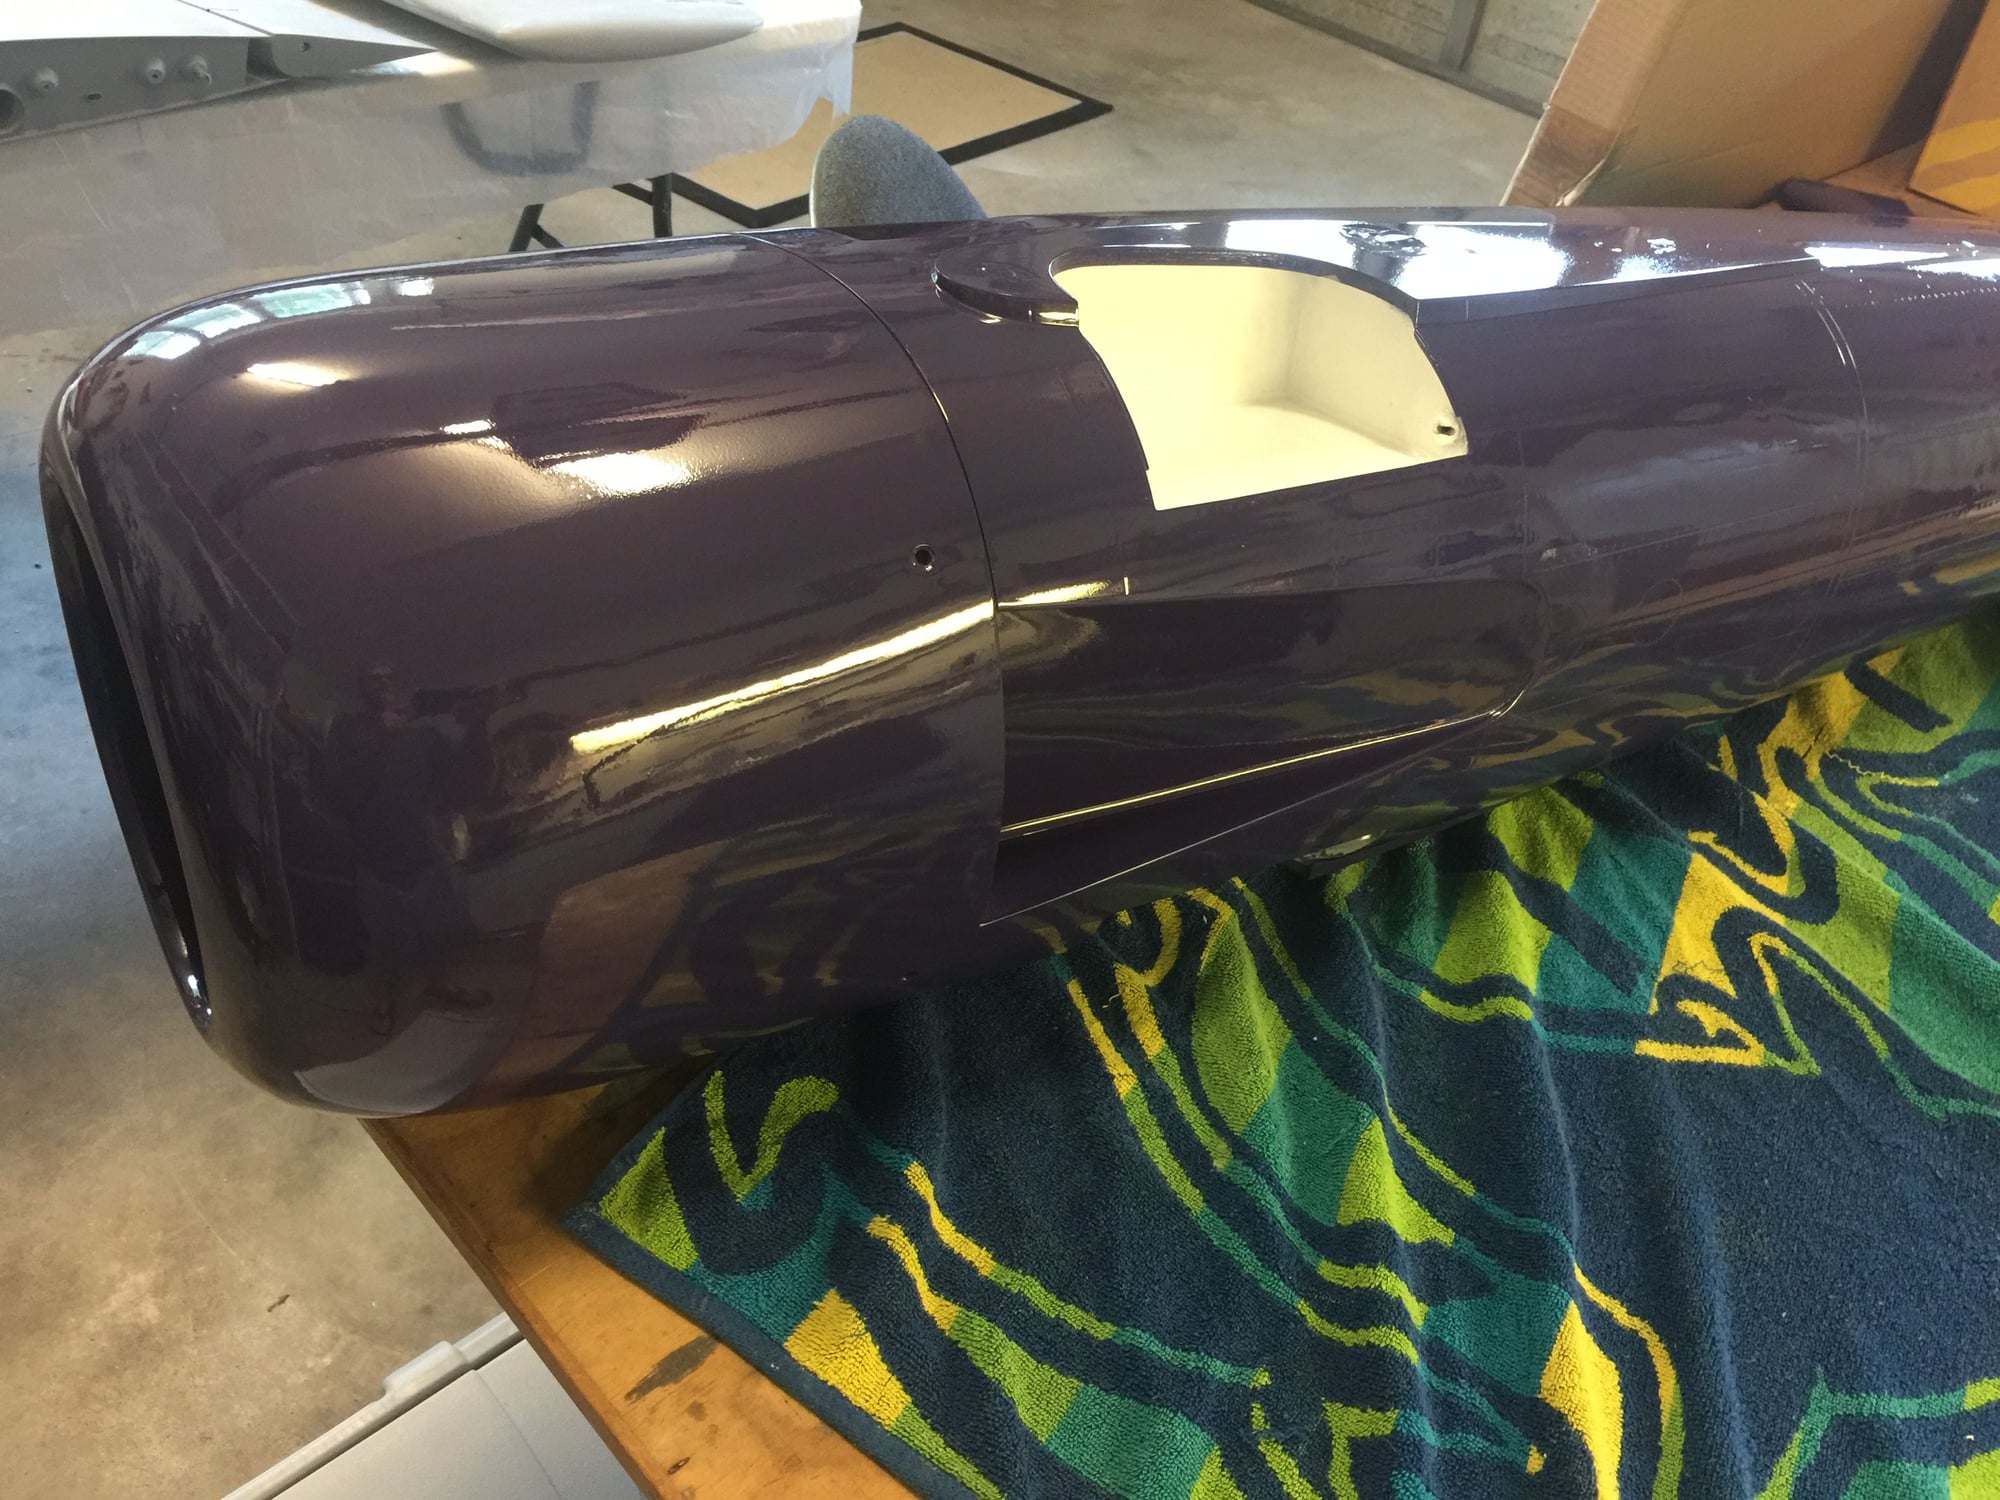
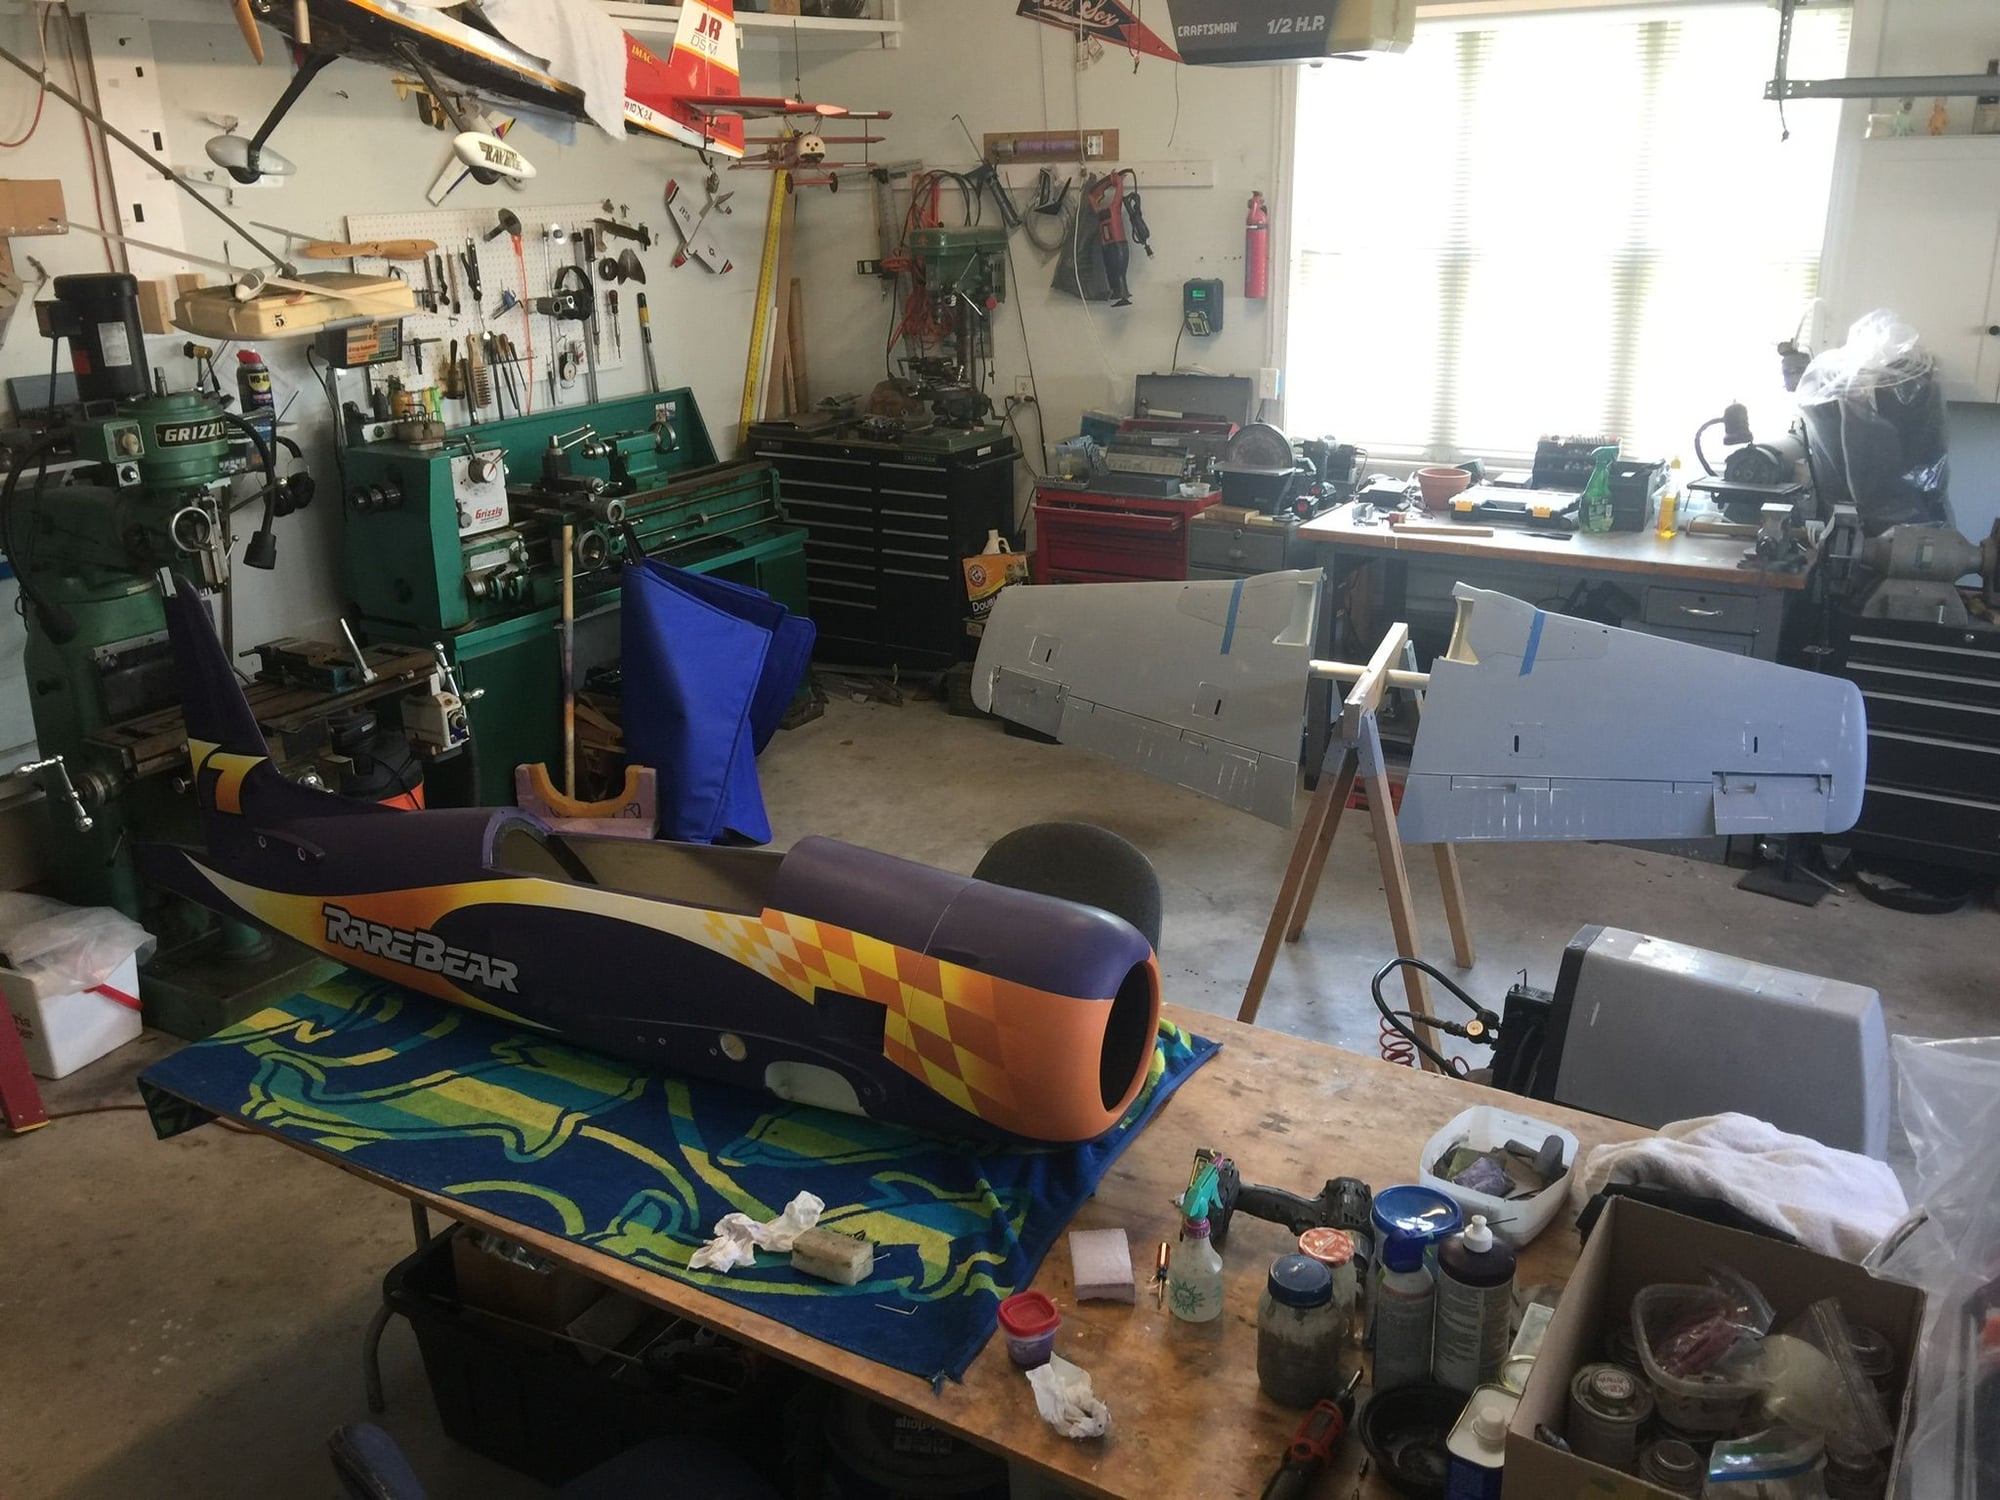
Jimbone, I gave up trying to get actual paint codes so I decided to wing it. In keeping with my �stand off scale� philosophy I decided to let my eye do the deciding. I went to Sherwin Williams and picked swatches that best approximated what I was seeing in the many photos online. The purple was always going to be the hard one to match. It needs to be as blue as it is purple and I think I nailed it. Sherwin Williams �Valiant Violet.� I�m quite happy with it. I have the great fortune to have a good friend with a professional paint booth at my disposal. What a blessing!
Im a big fan of epoxy paint so I had Klass Kote mix the paints. Today�s progress:
 07-20-2020, 06:04 AM
#332
My Feedback: (7)
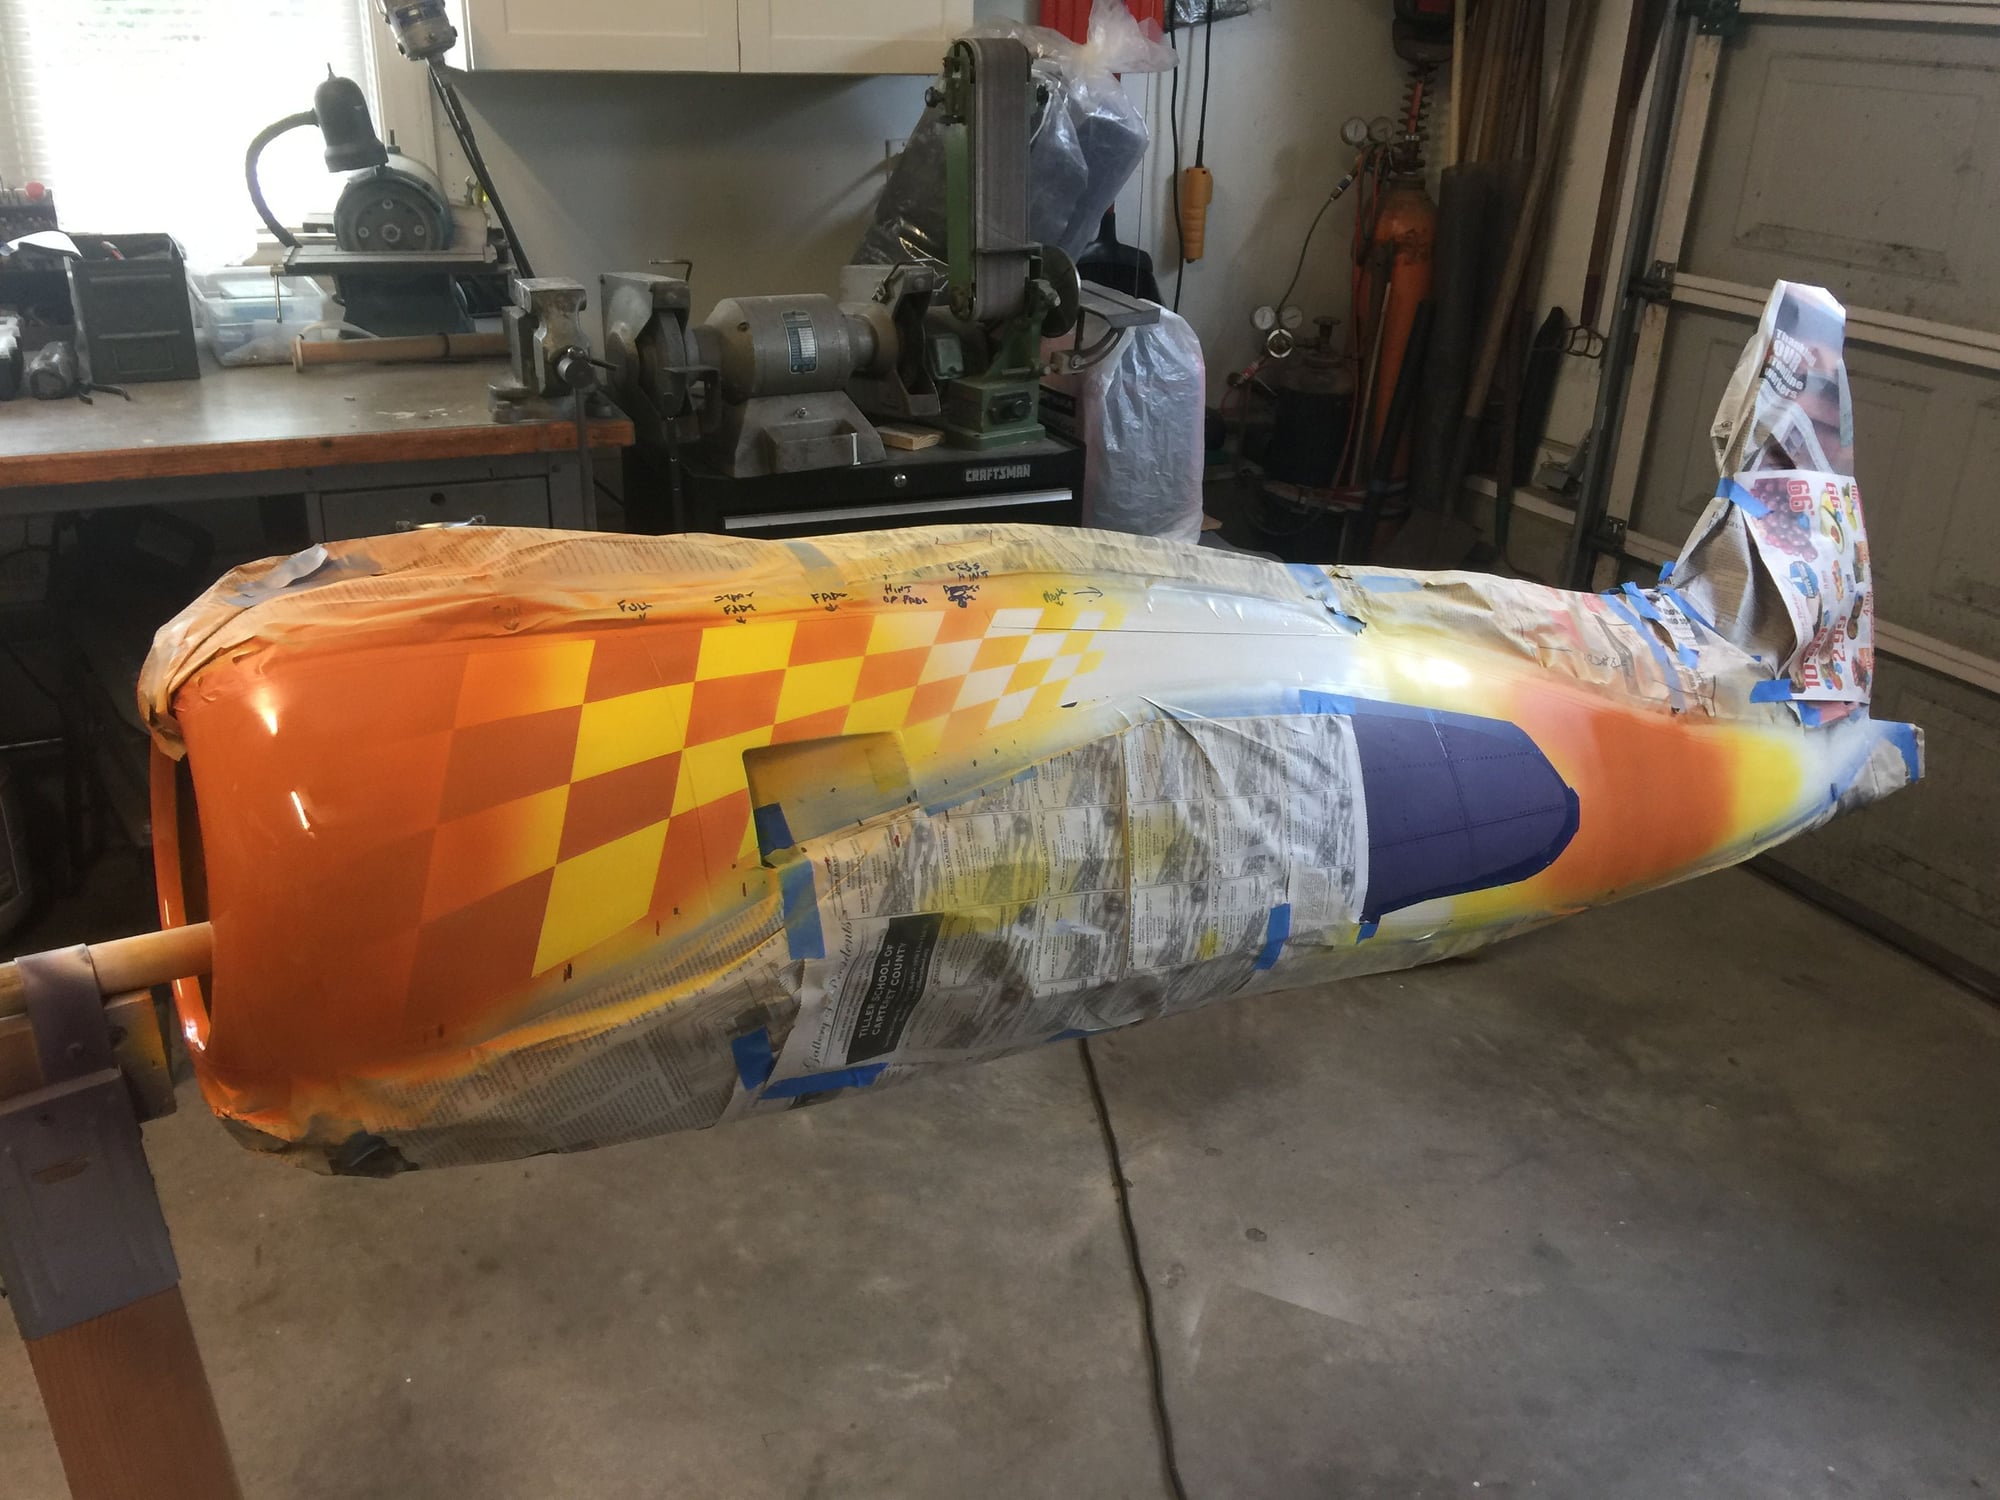
If you've been following this thread you saw that, for a couple days, I was determined to do a temporary test flight paint job of the simple gold and white scheme. Upon further thought, that was not feasible. Obviously I�m headed down the path toward the 2014 scheme that I absolutely love.
I had bought the complete mask package for that scheme quite a while ago - from Callie Graphics. I just got around to looking at it today and I�m very impressed. Leave it to Callie to nail it. She�s been at it for a long time.
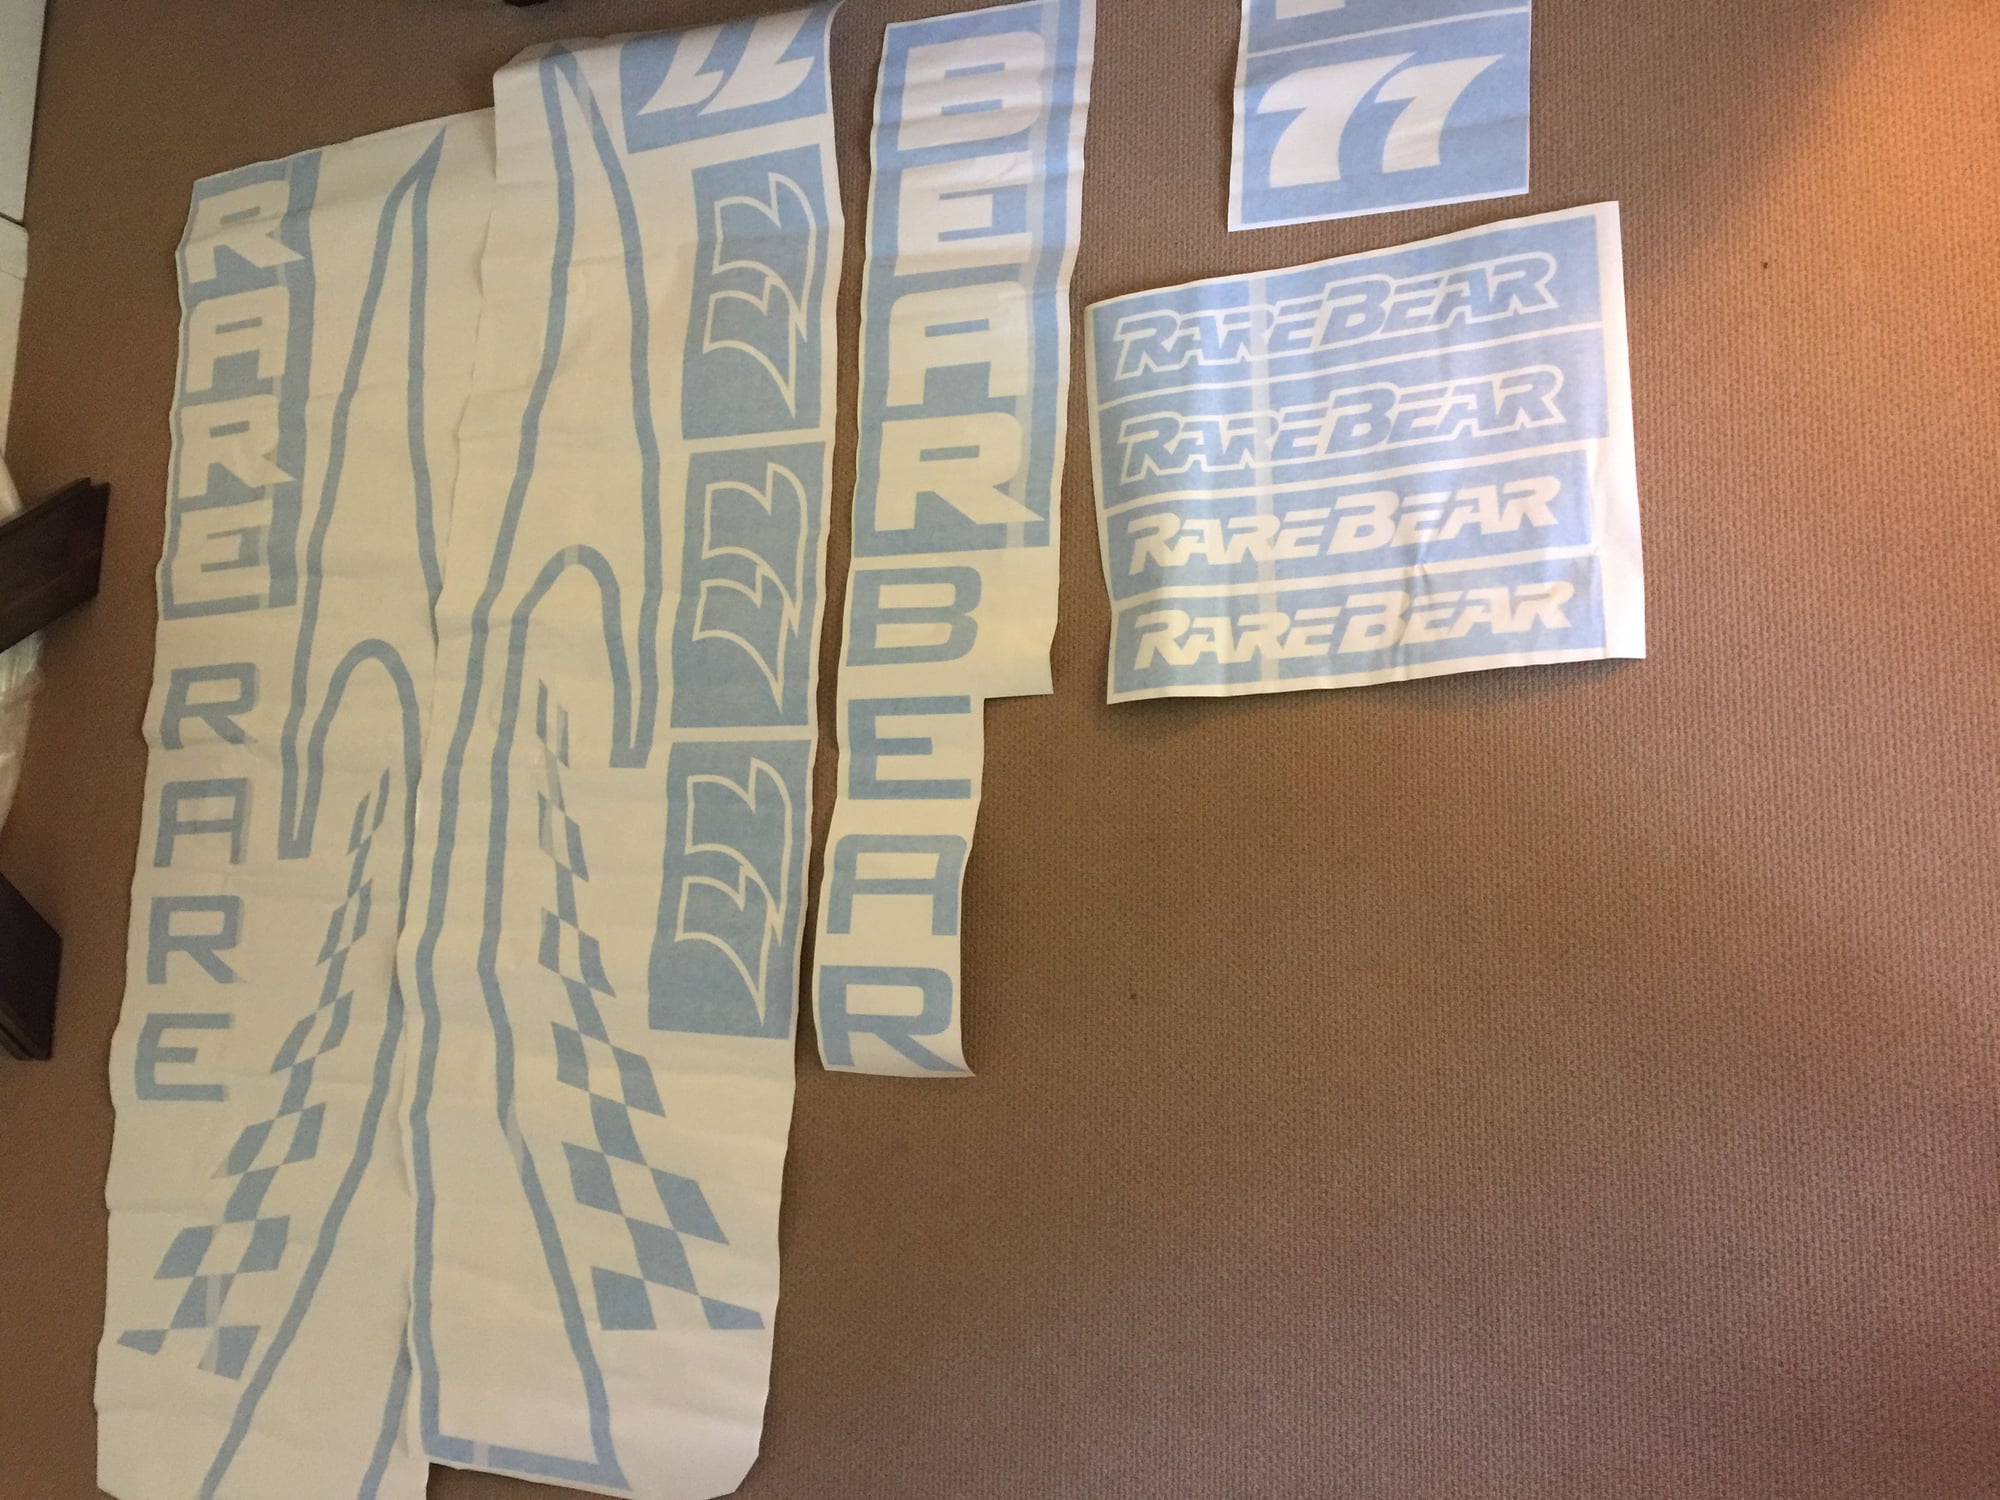
I had bought the complete mask package for that scheme quite a while ago - from Callie Graphics. I just got around to looking at it today and I�m very impressed. Leave it to Callie to nail it. She�s been at it for a long time.
Last edited by mitchilito; 07-20-2020 at 04:18 PM.
The following users liked this post:
Jimbone (07-21-2020)
01-16-2021, 12:25 PM
#334
My Feedback: (7)
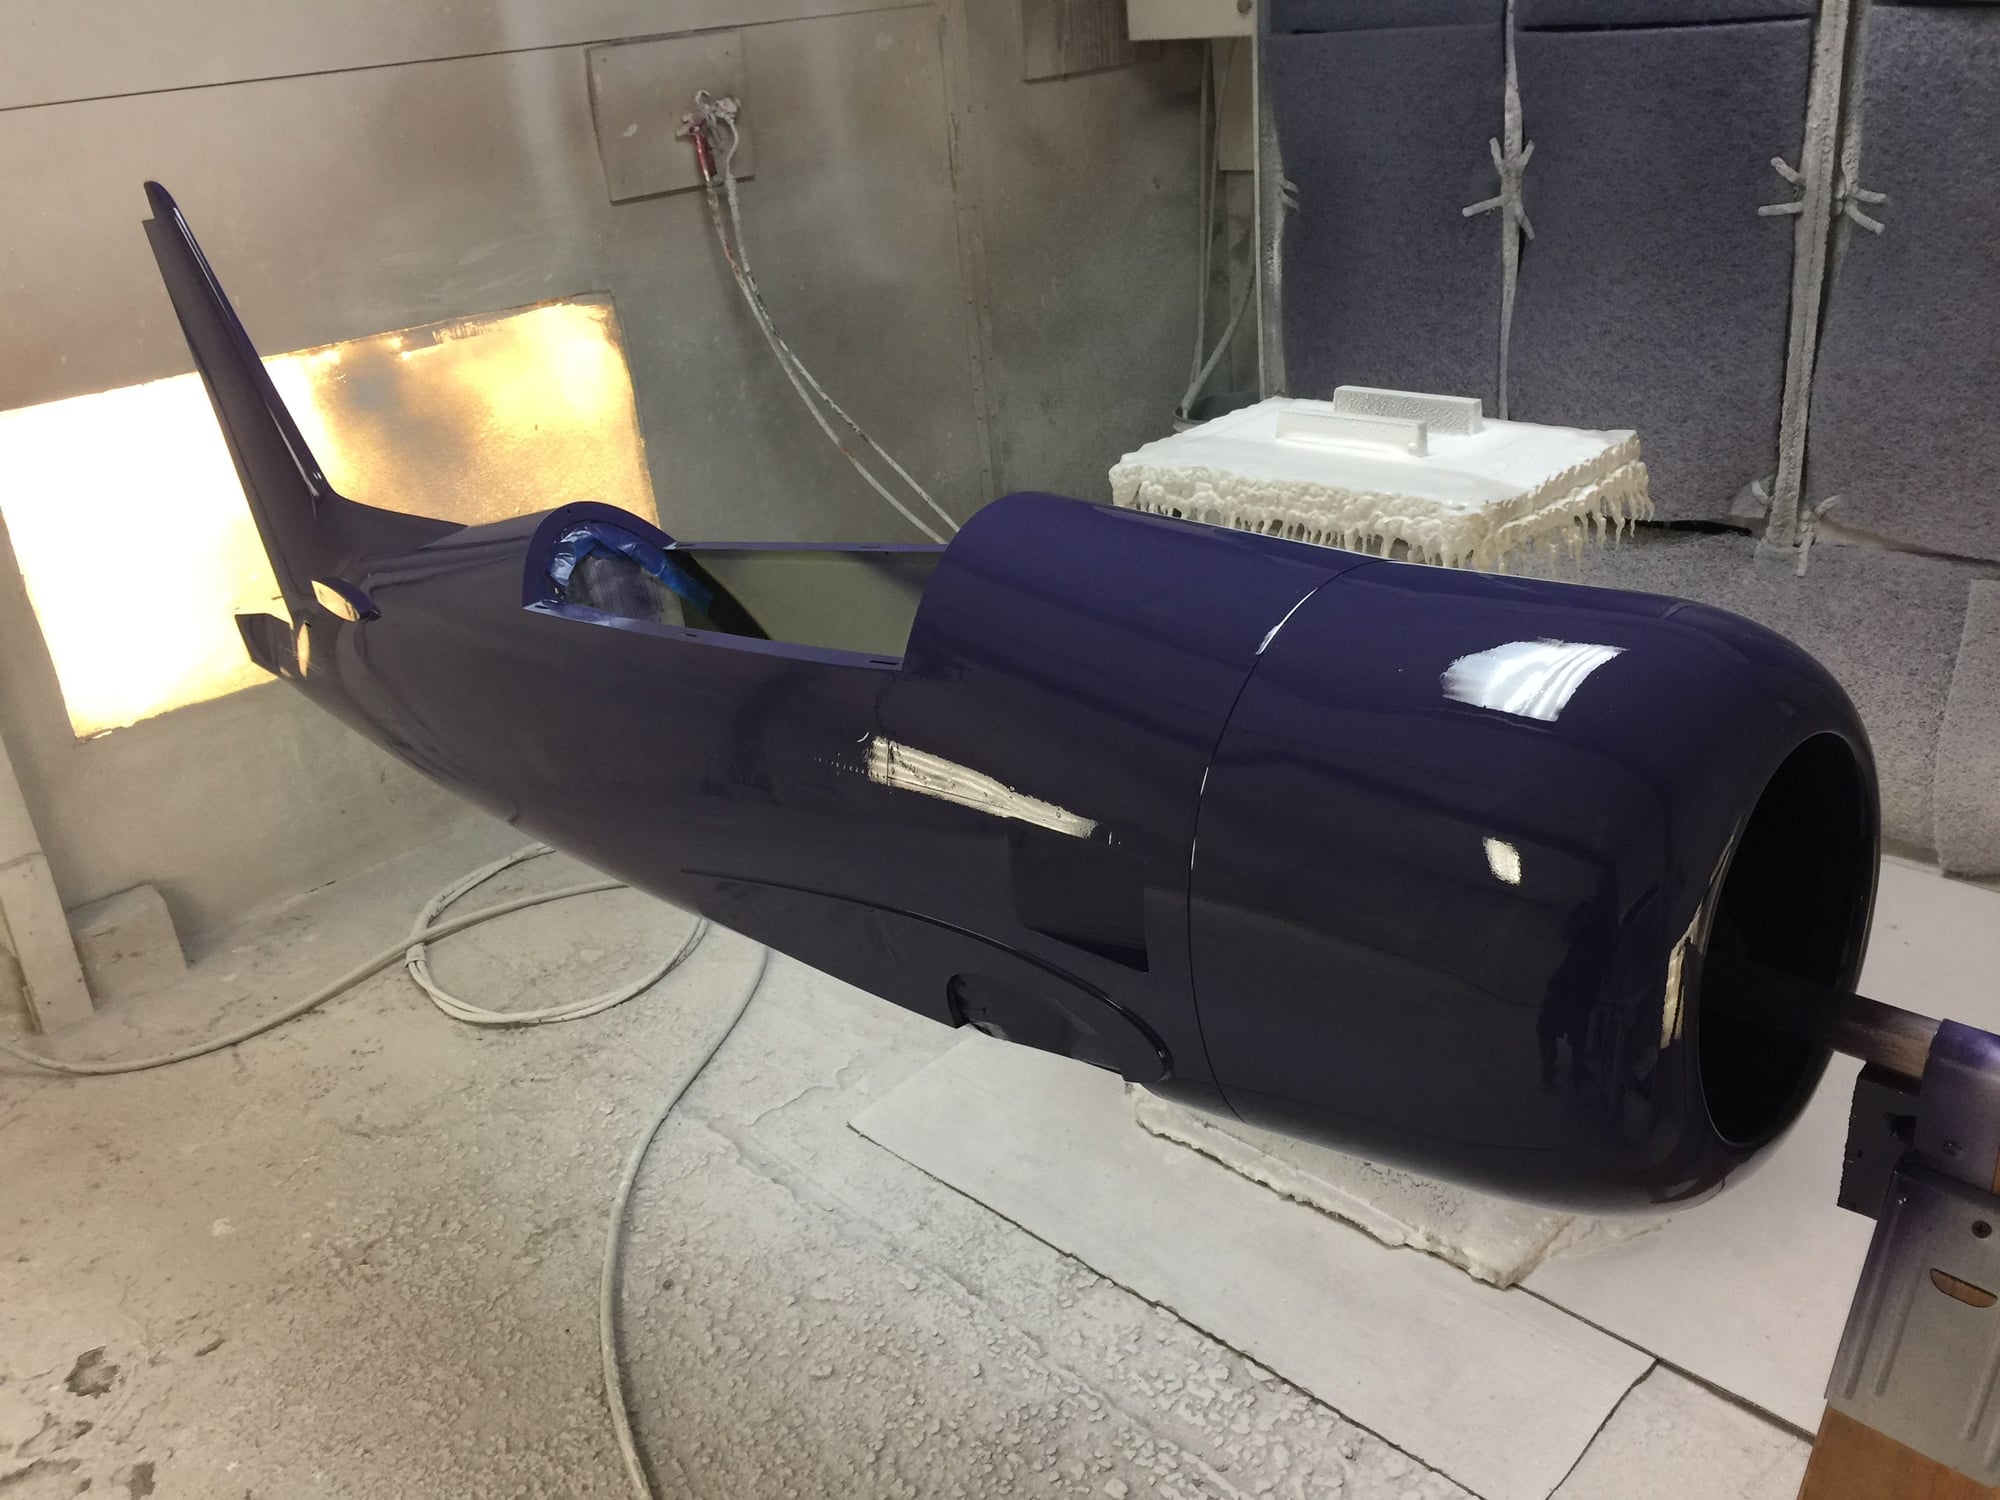
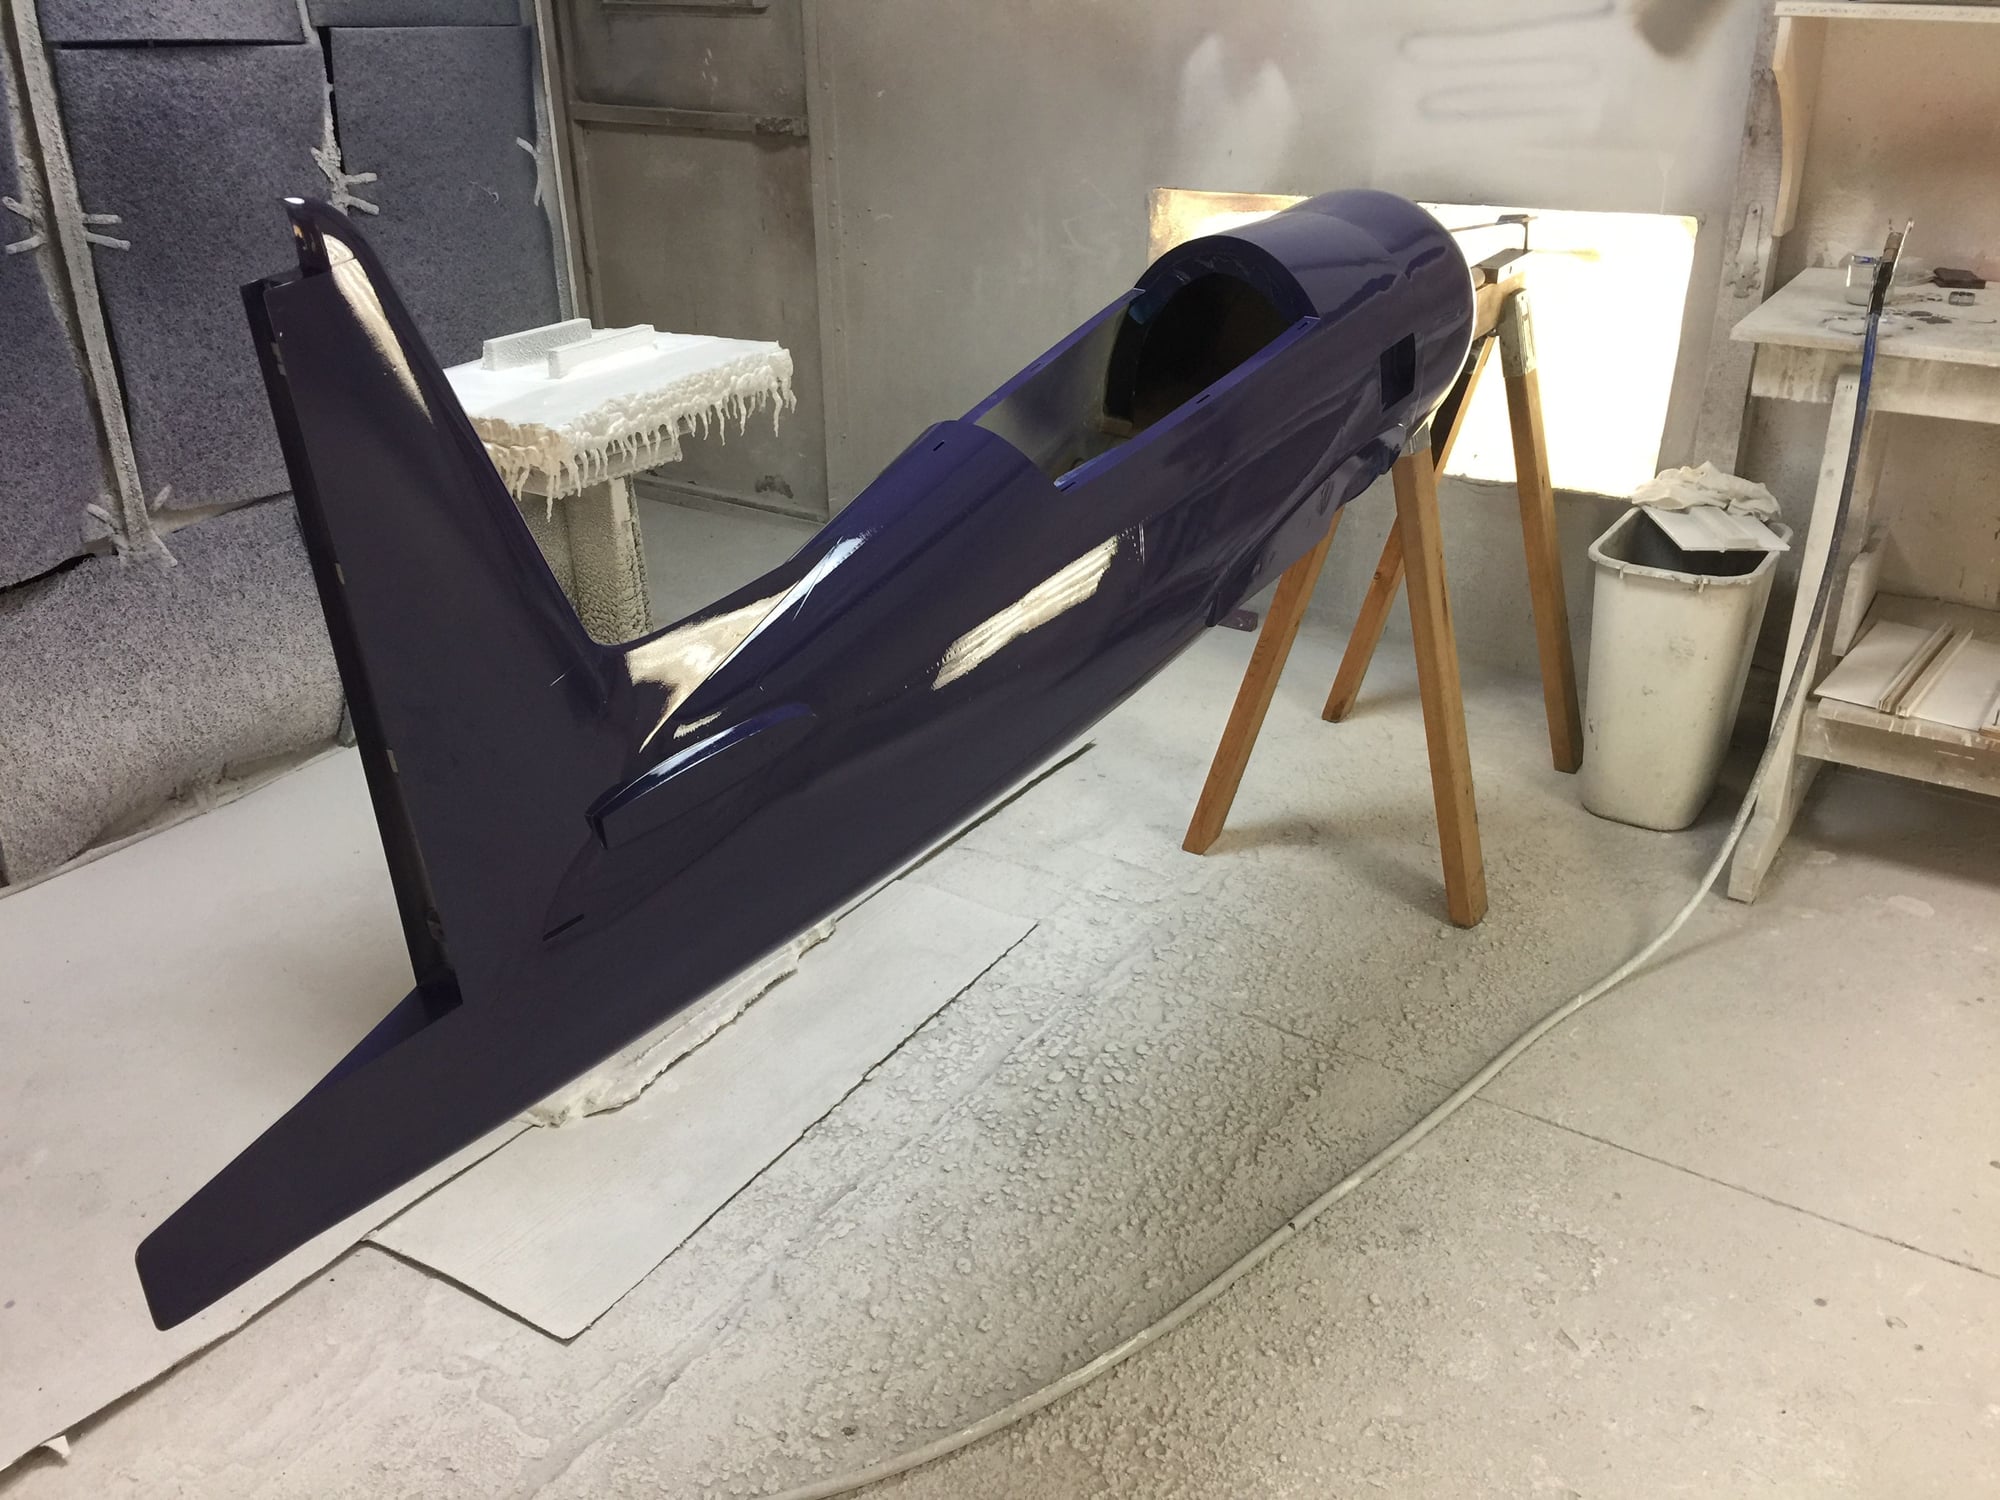
Holy cow, how long has it been since I posted?! Other projects got in the way of bear progresss but I�m back at it!,
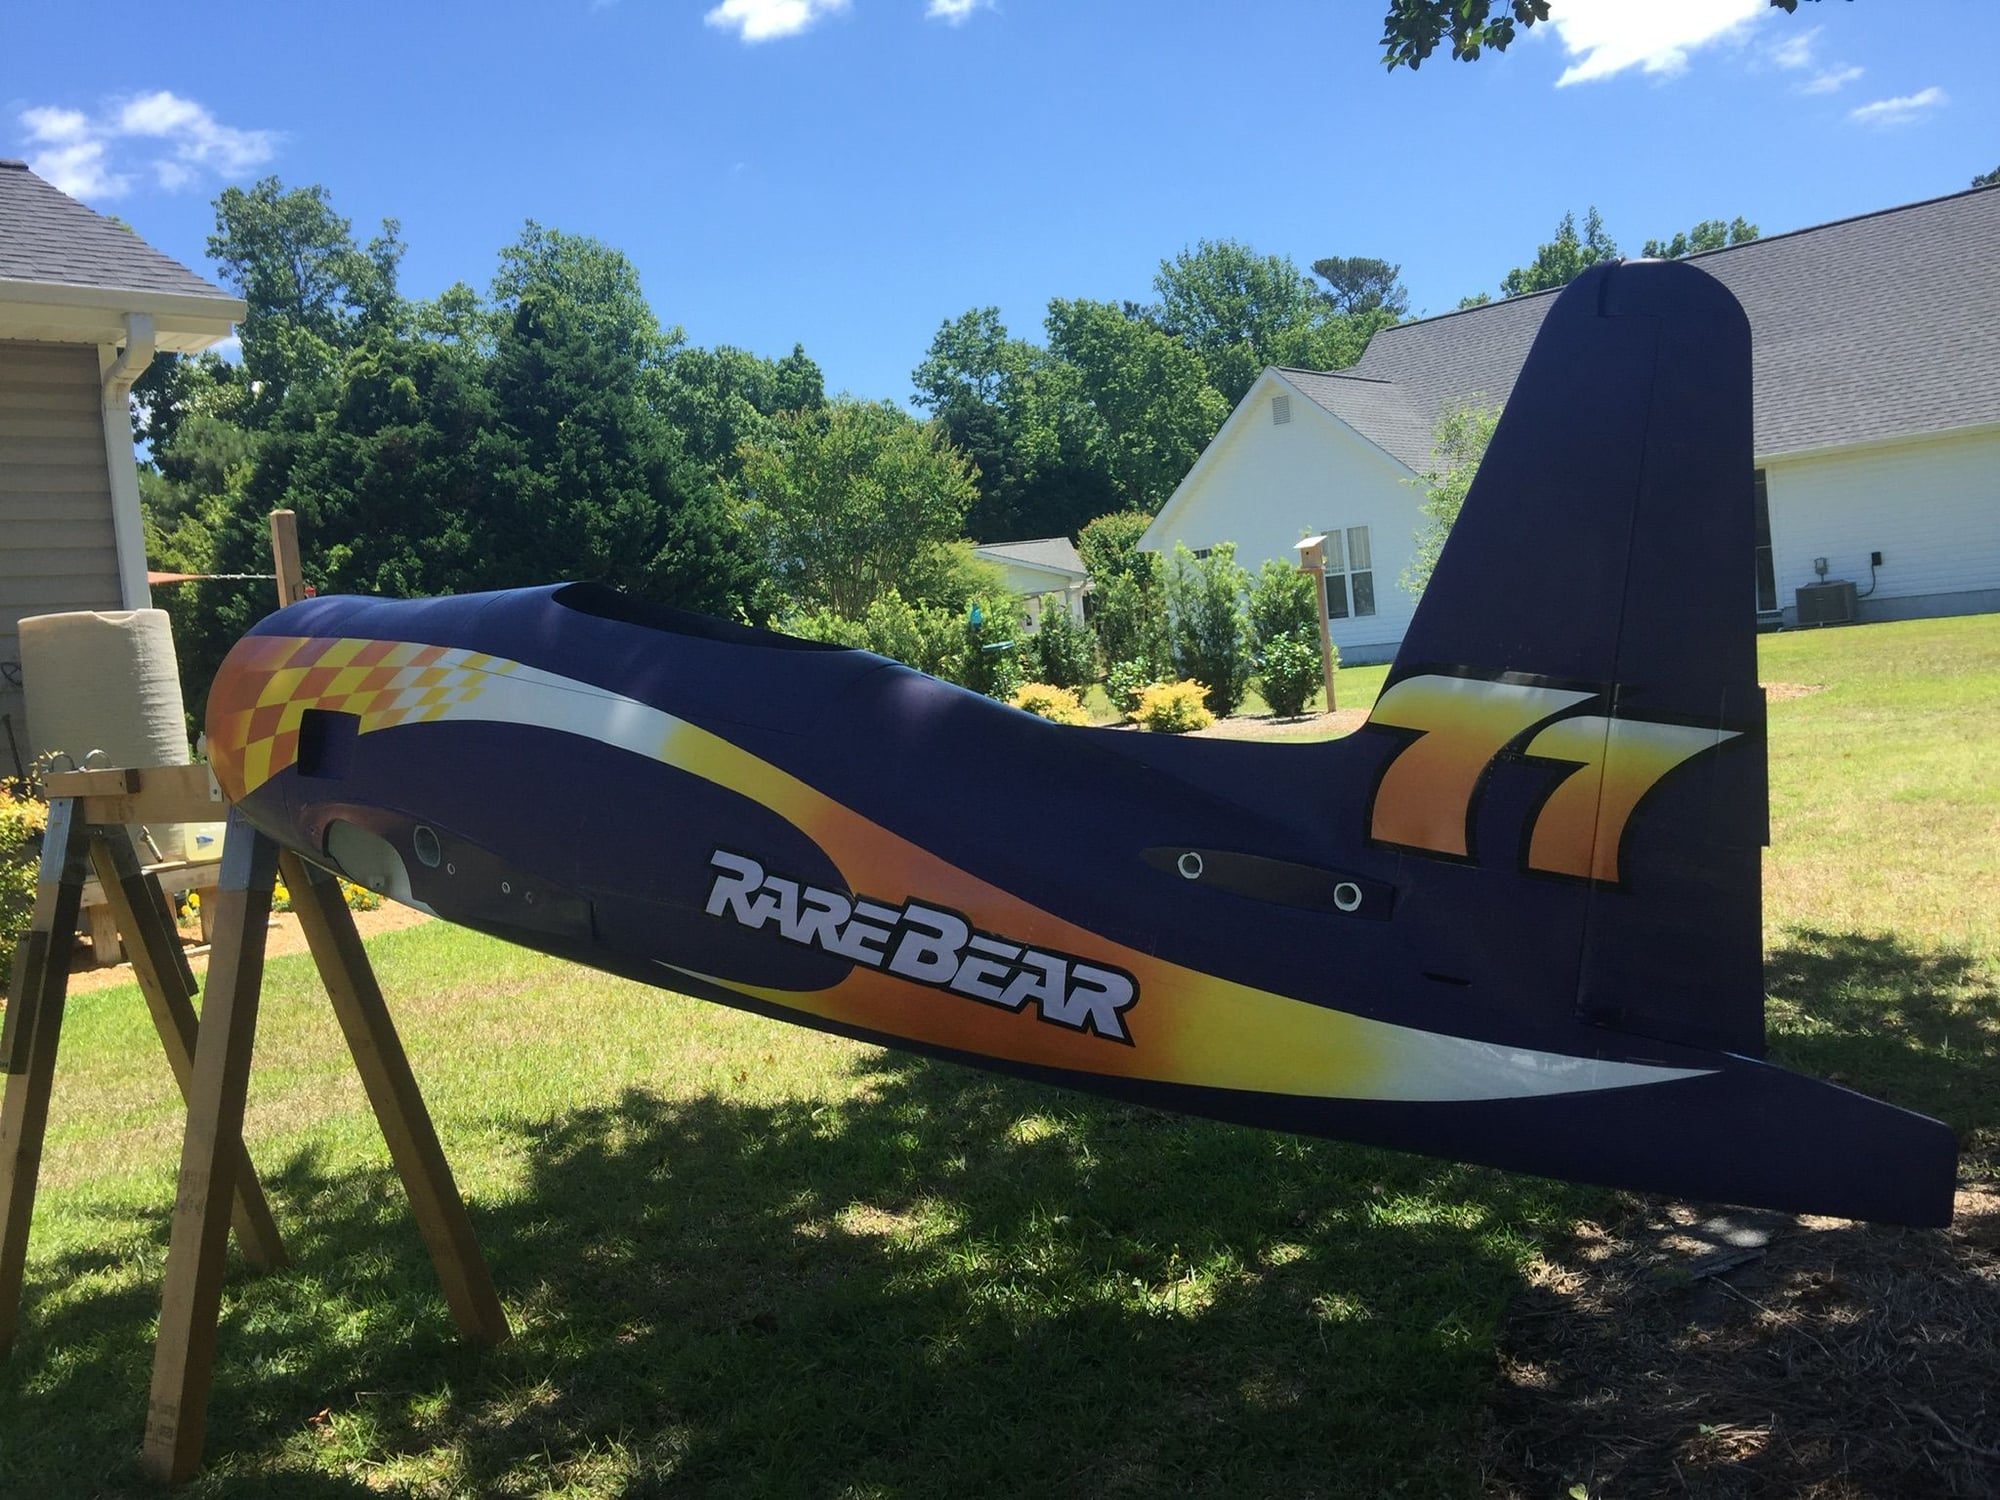
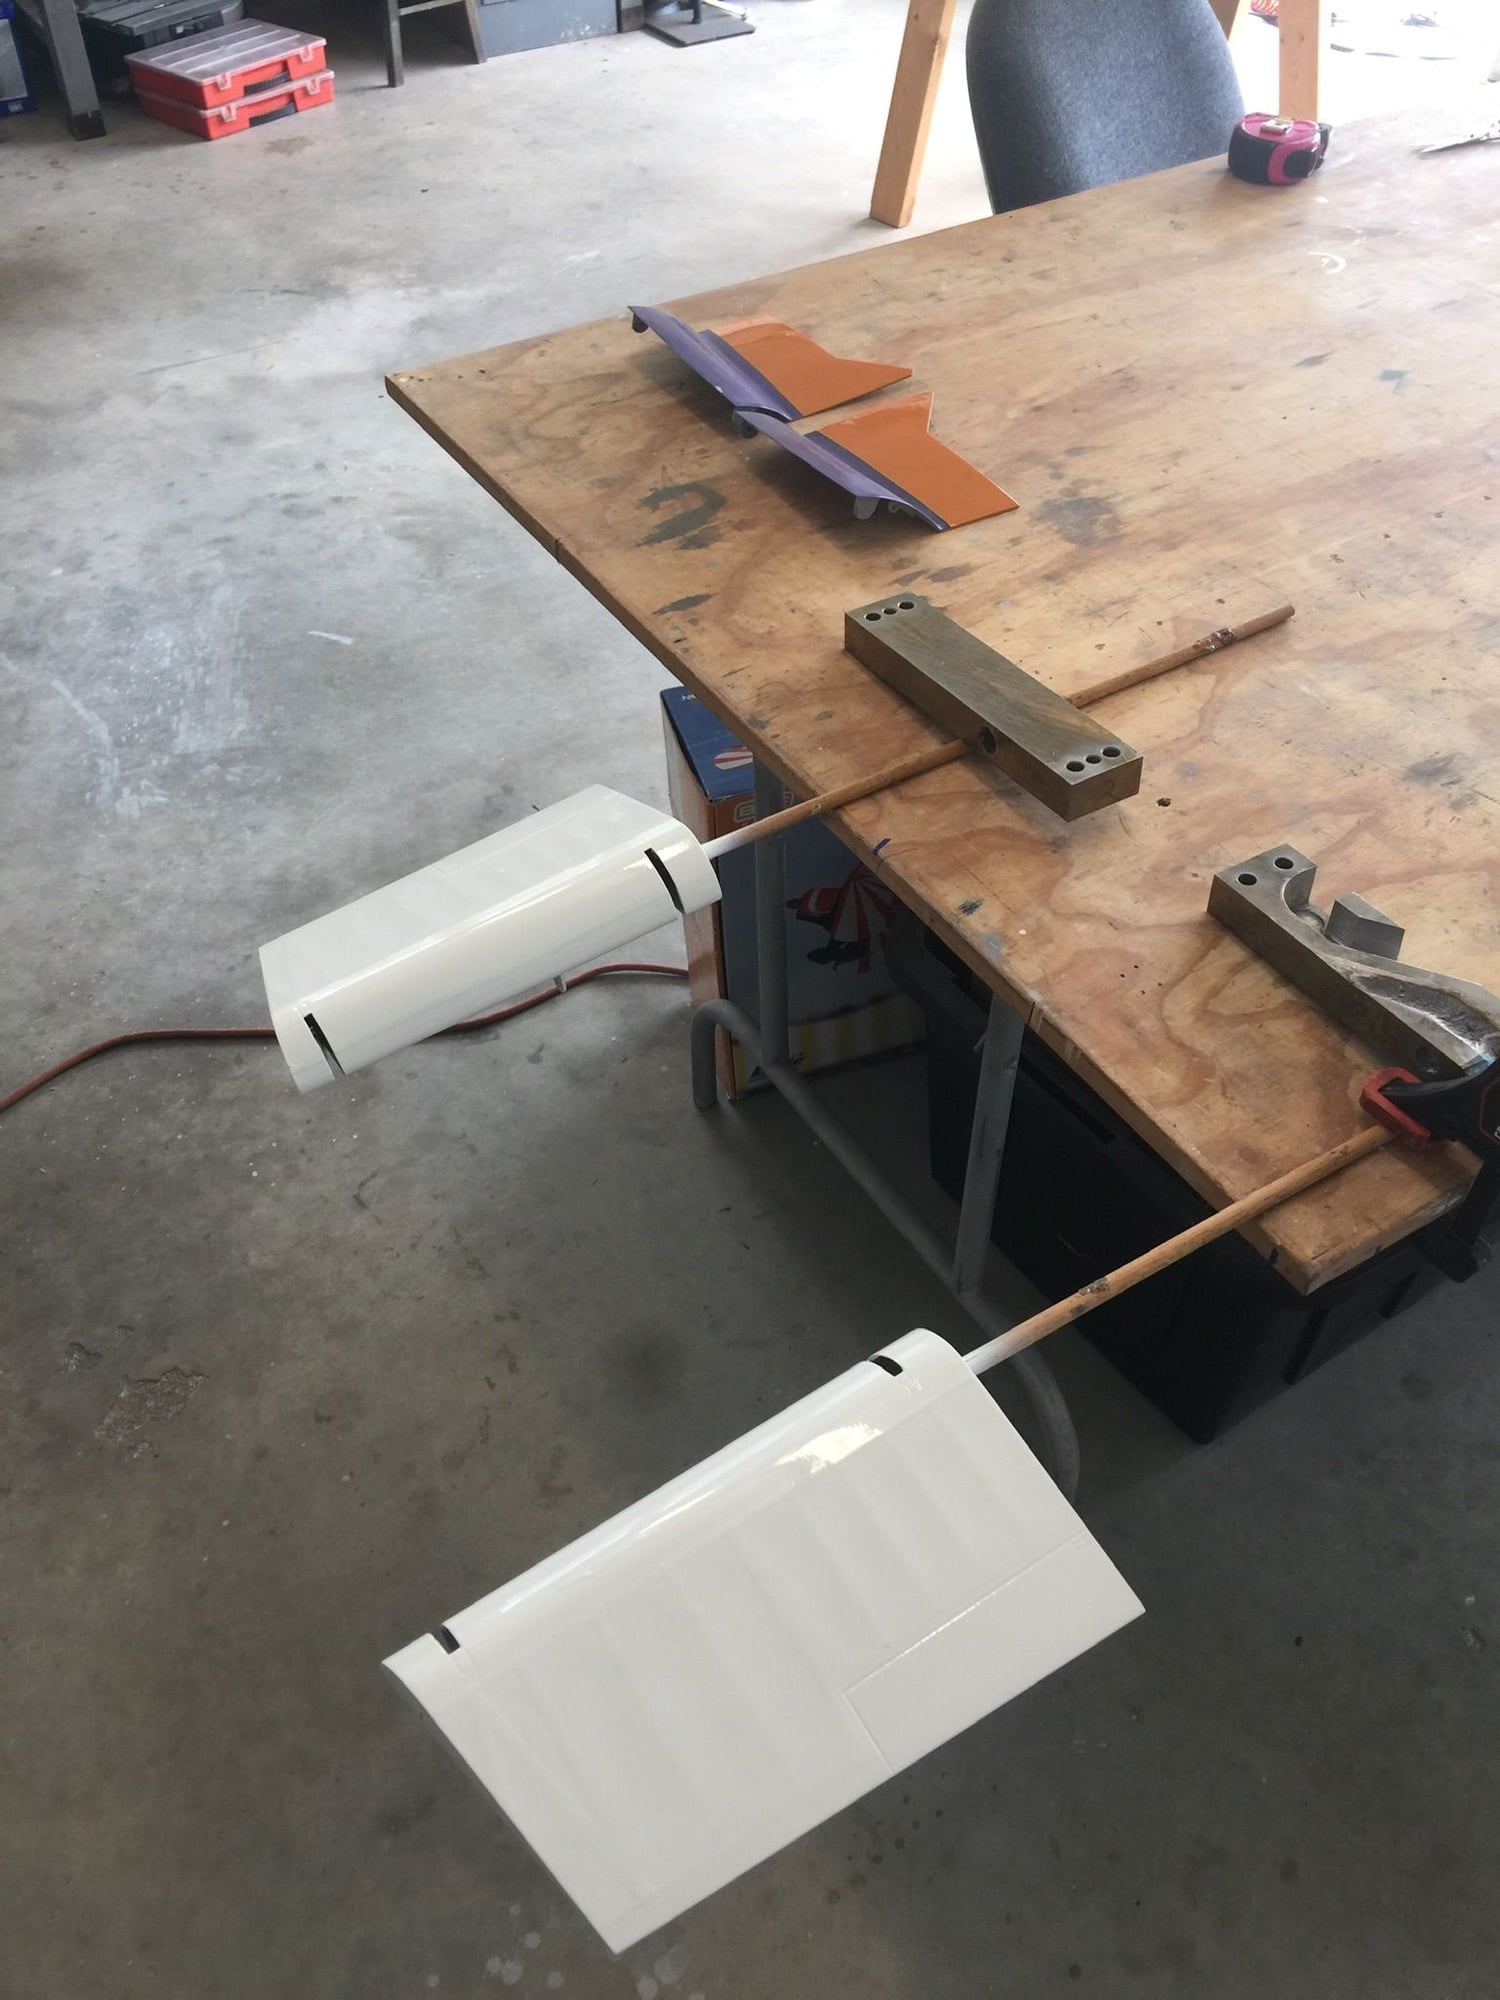
Wet sanded entire airframe and applied Callie graphics today. It�s actually getting very close to done now. Ya-hoooooooo.
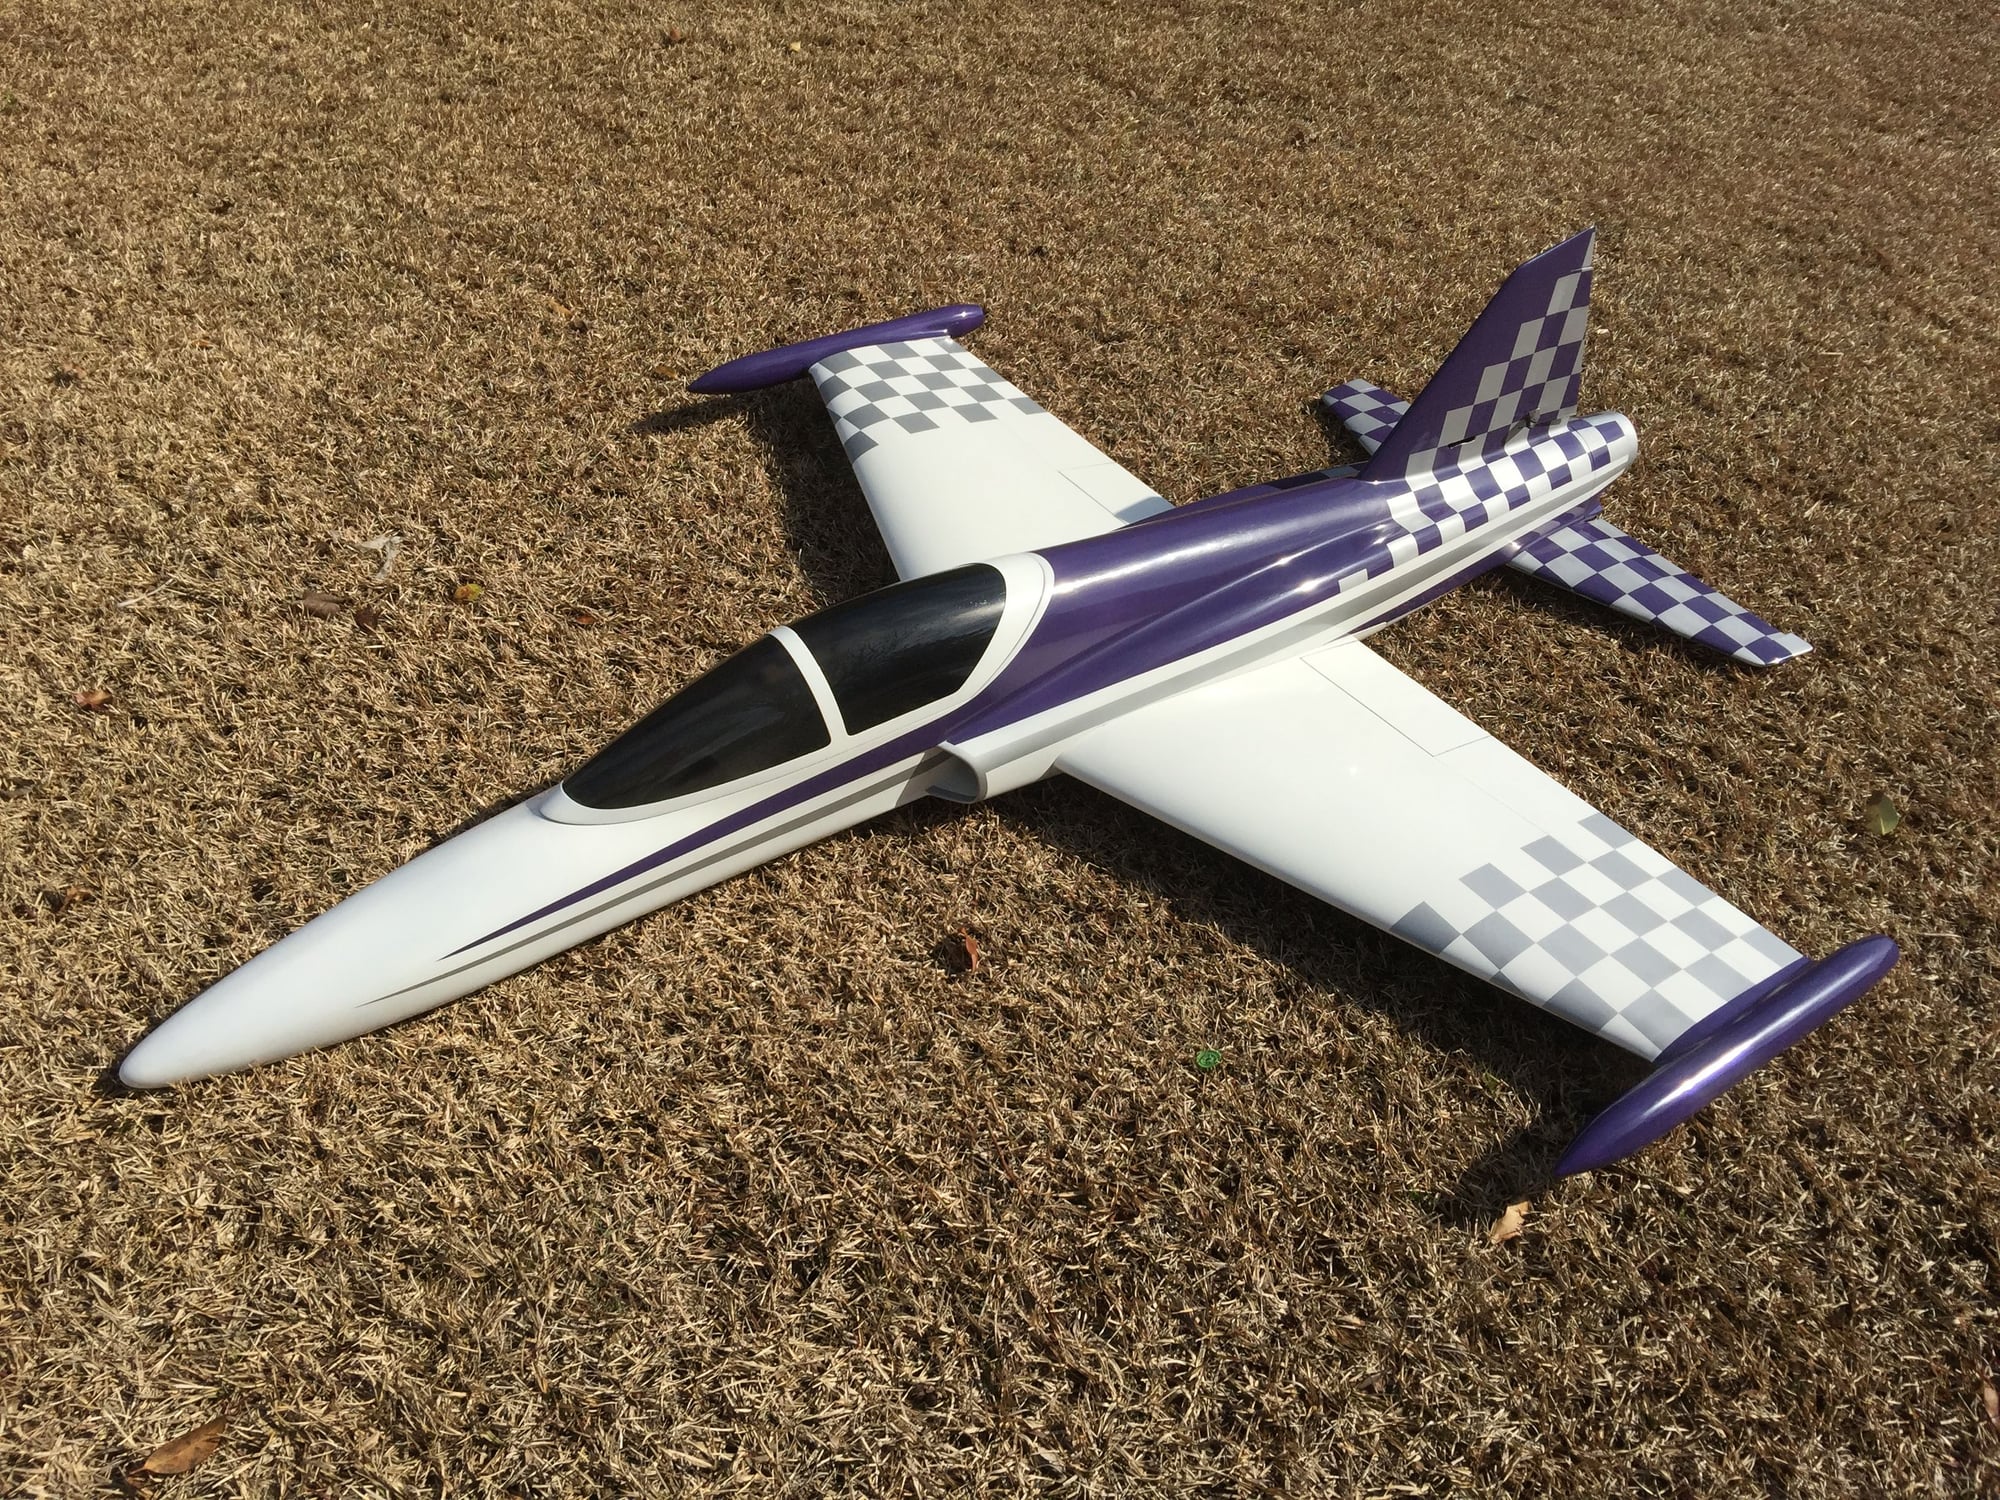
also painting a classic flash jet at the same time. I�ll throw a pic in of that too. This is what I did with left over Rear Bear purple! Still needs the silver stripe and silver checkerboard on the tail.
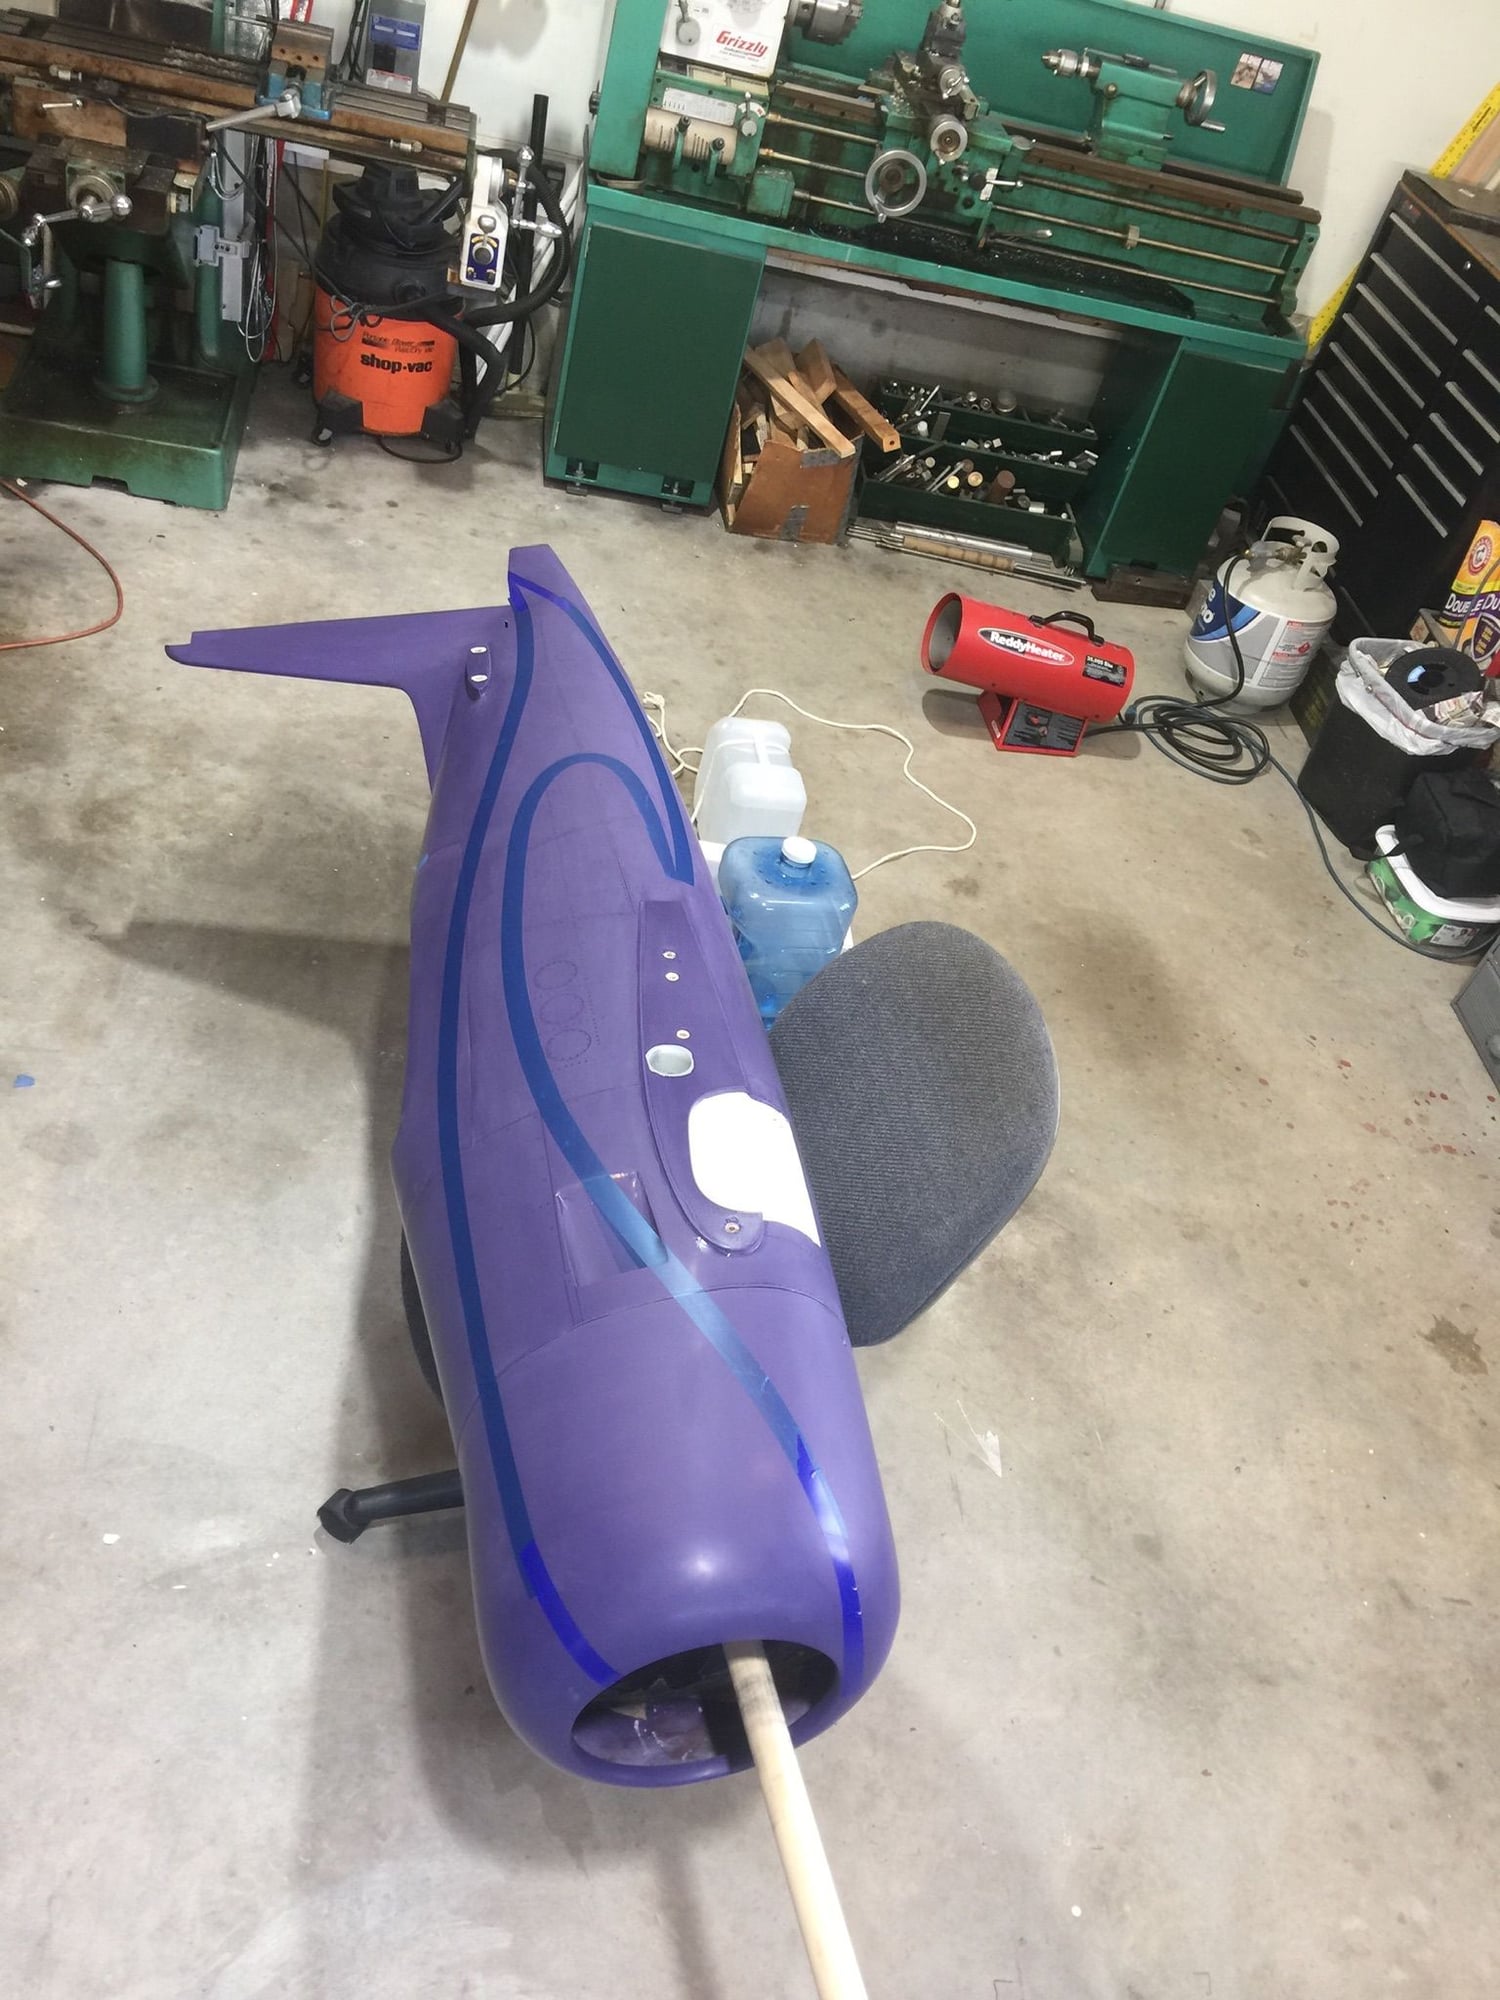
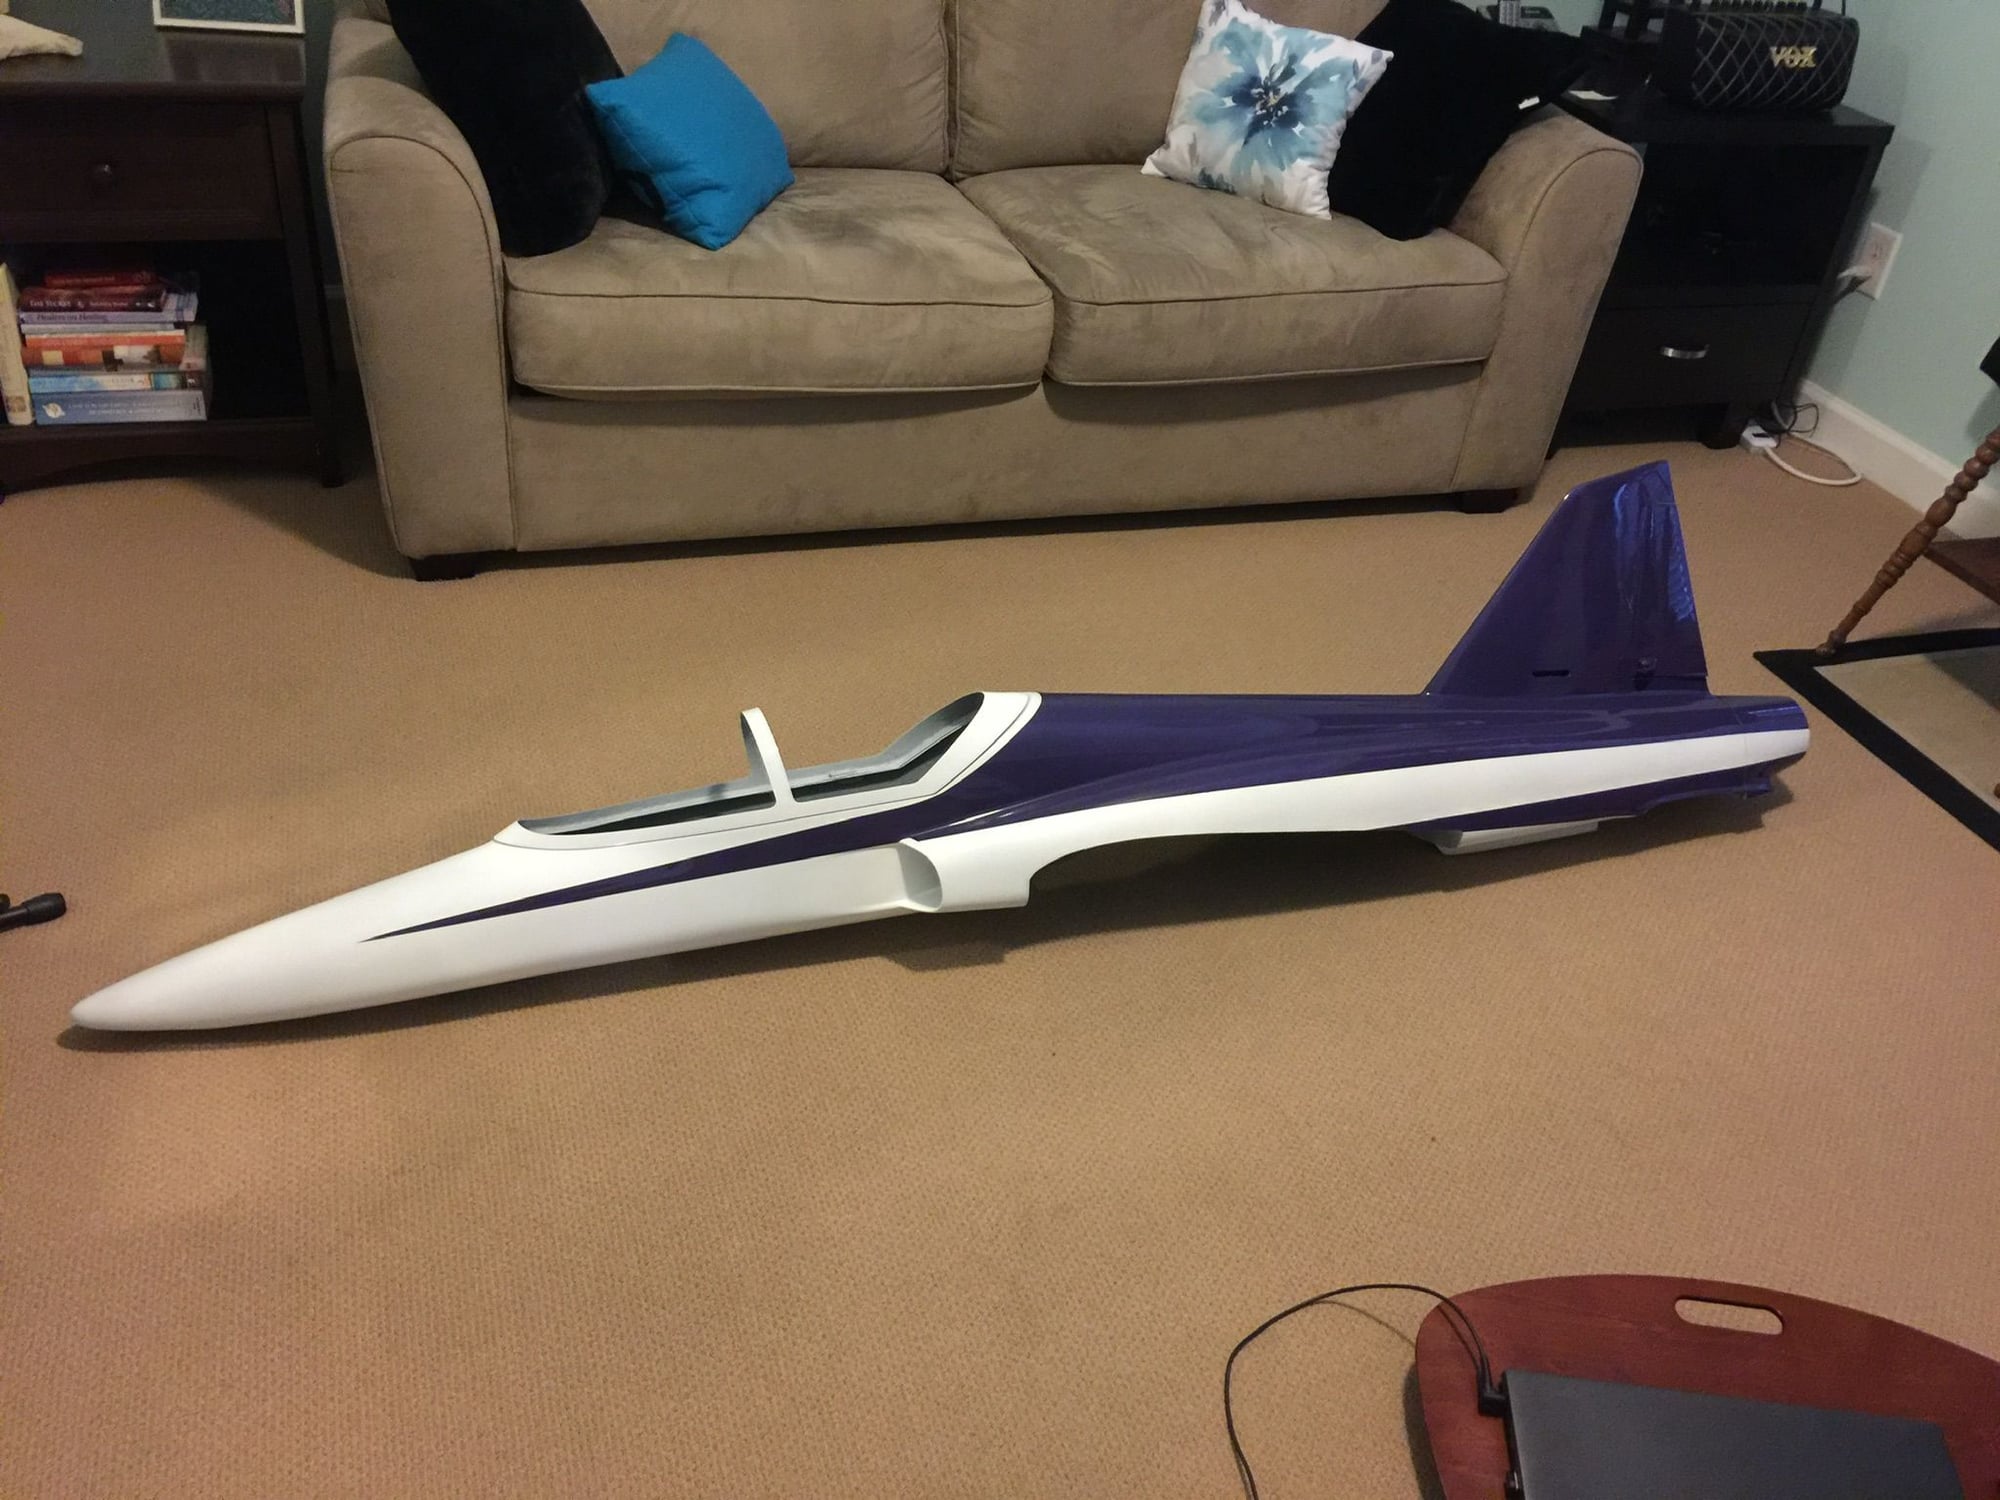
Wet sanded entire airframe and applied Callie graphics today. It�s actually getting very close to done now. Ya-hoooooooo.
also painting a classic flash jet at the same time. I�ll throw a pic in of that too. This is what I did with left over Rear Bear purple! Still needs the silver stripe and silver checkerboard on the tail.
Last edited by mitchilito; 01-17-2021 at 10:21 AM.
The following users liked this post:
Jimbone (03-11-2021)
03-07-2021, 11:06 AM
#338
Hi Mitch,
I have got no idea why the colour causes a deja-vu in my brain :-)
Looks like our first self-built bearcat wing is close to being finished. The ribs spars and formers have all been fittes into the mould, converted to cad- files and then cut out on a cnc mill.
So maybe some good news coming soon :-)

 05-26-2021, 04:04 AM
#343
My Feedback: (7)
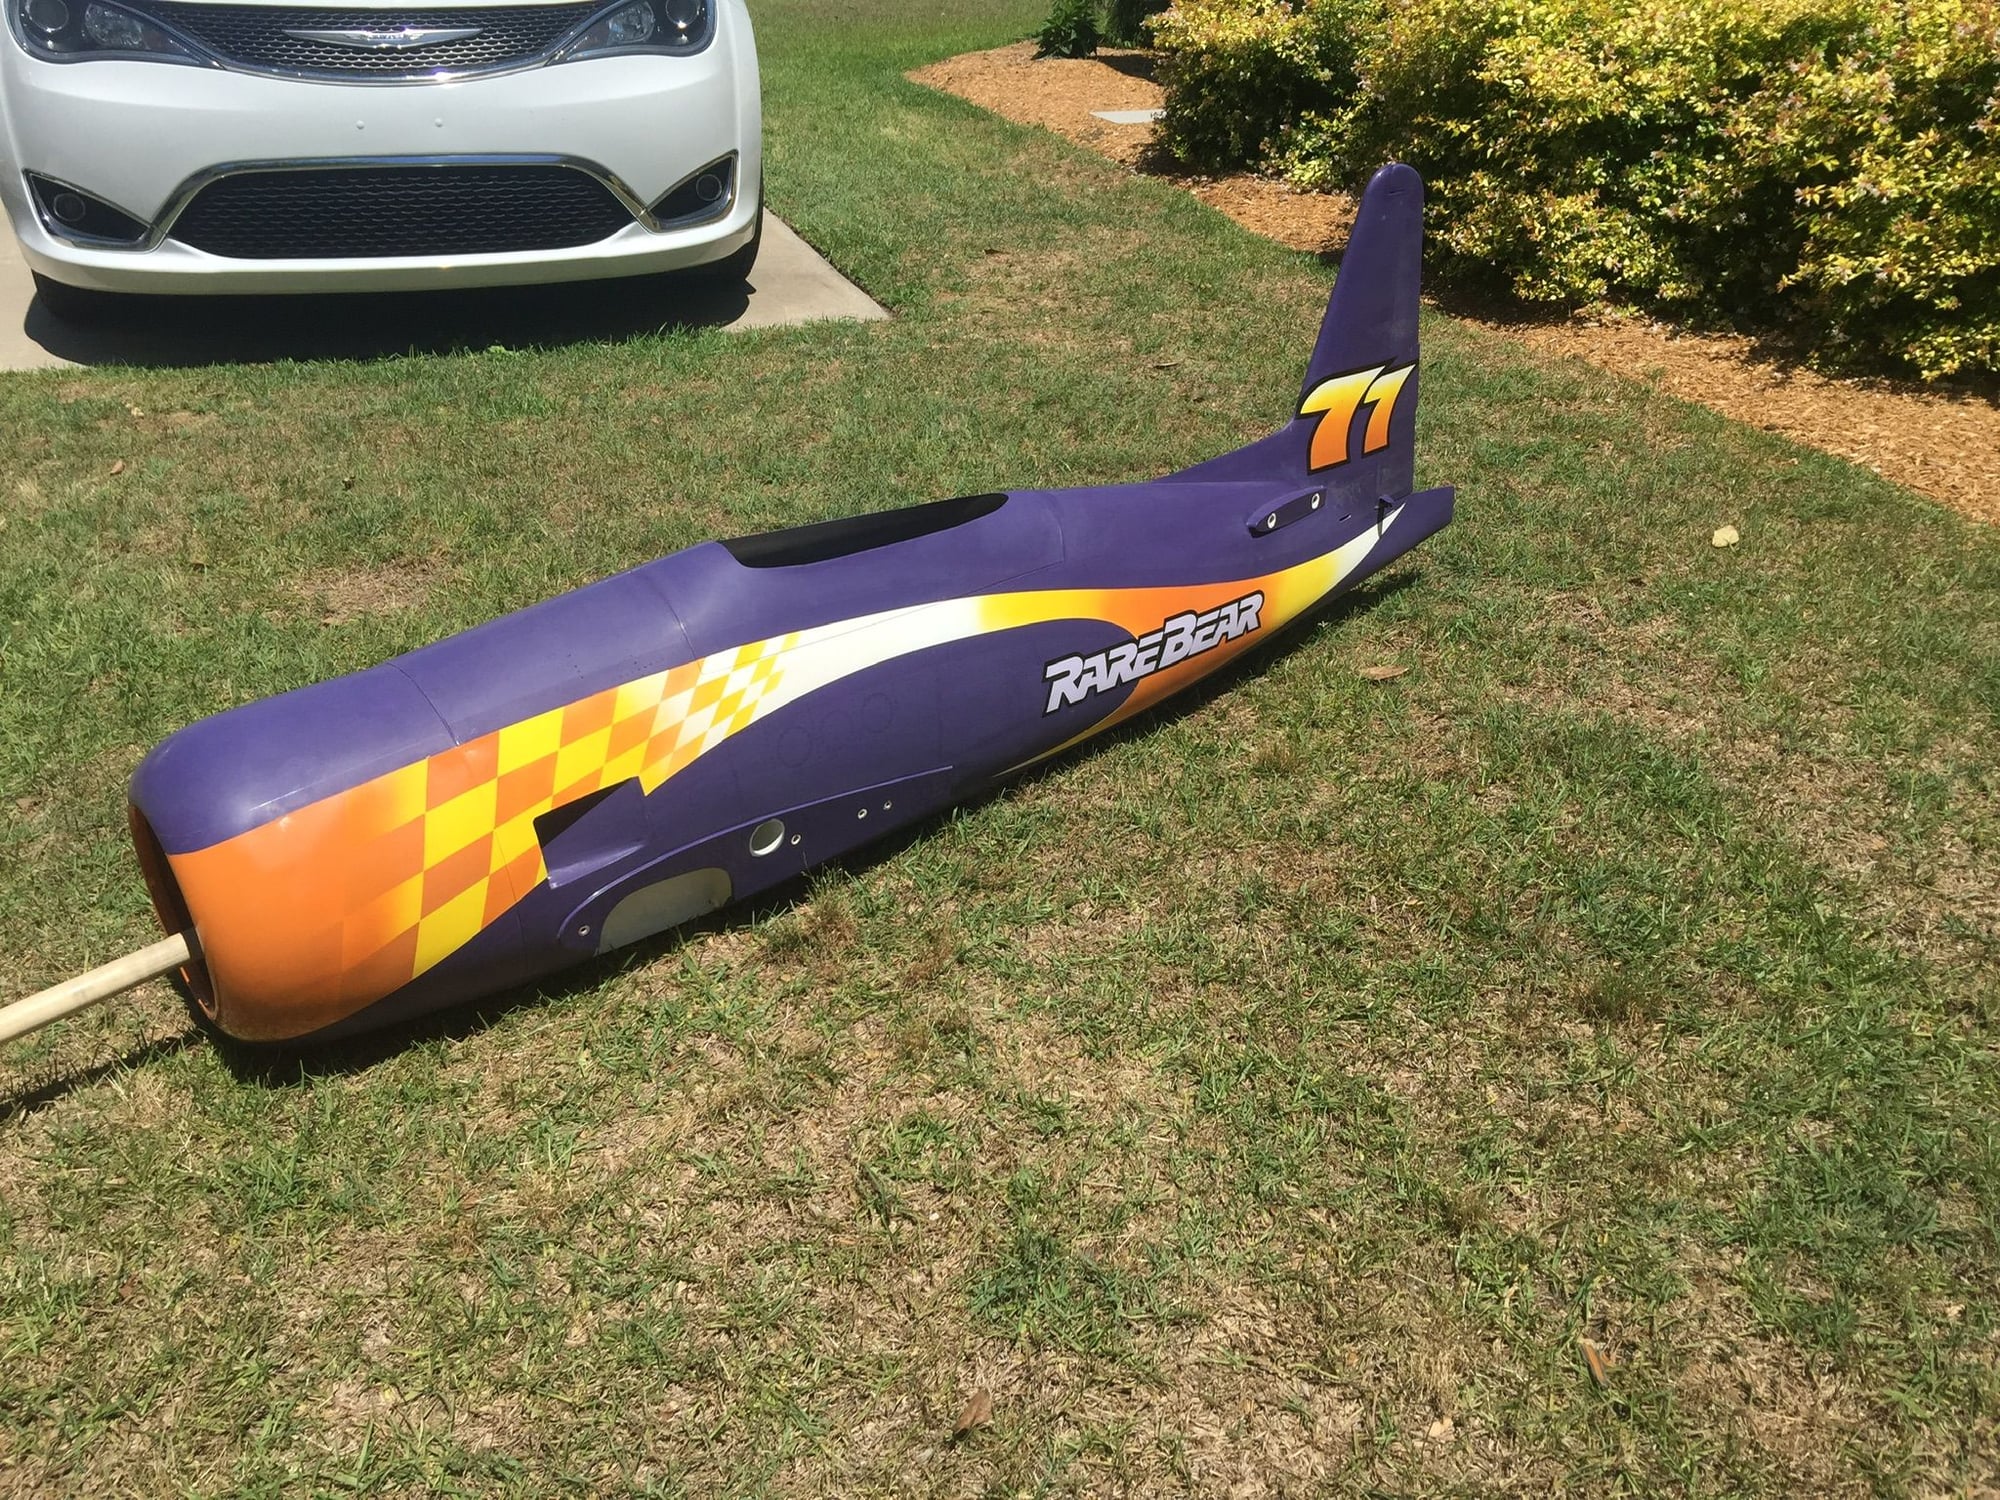
Getting closer.
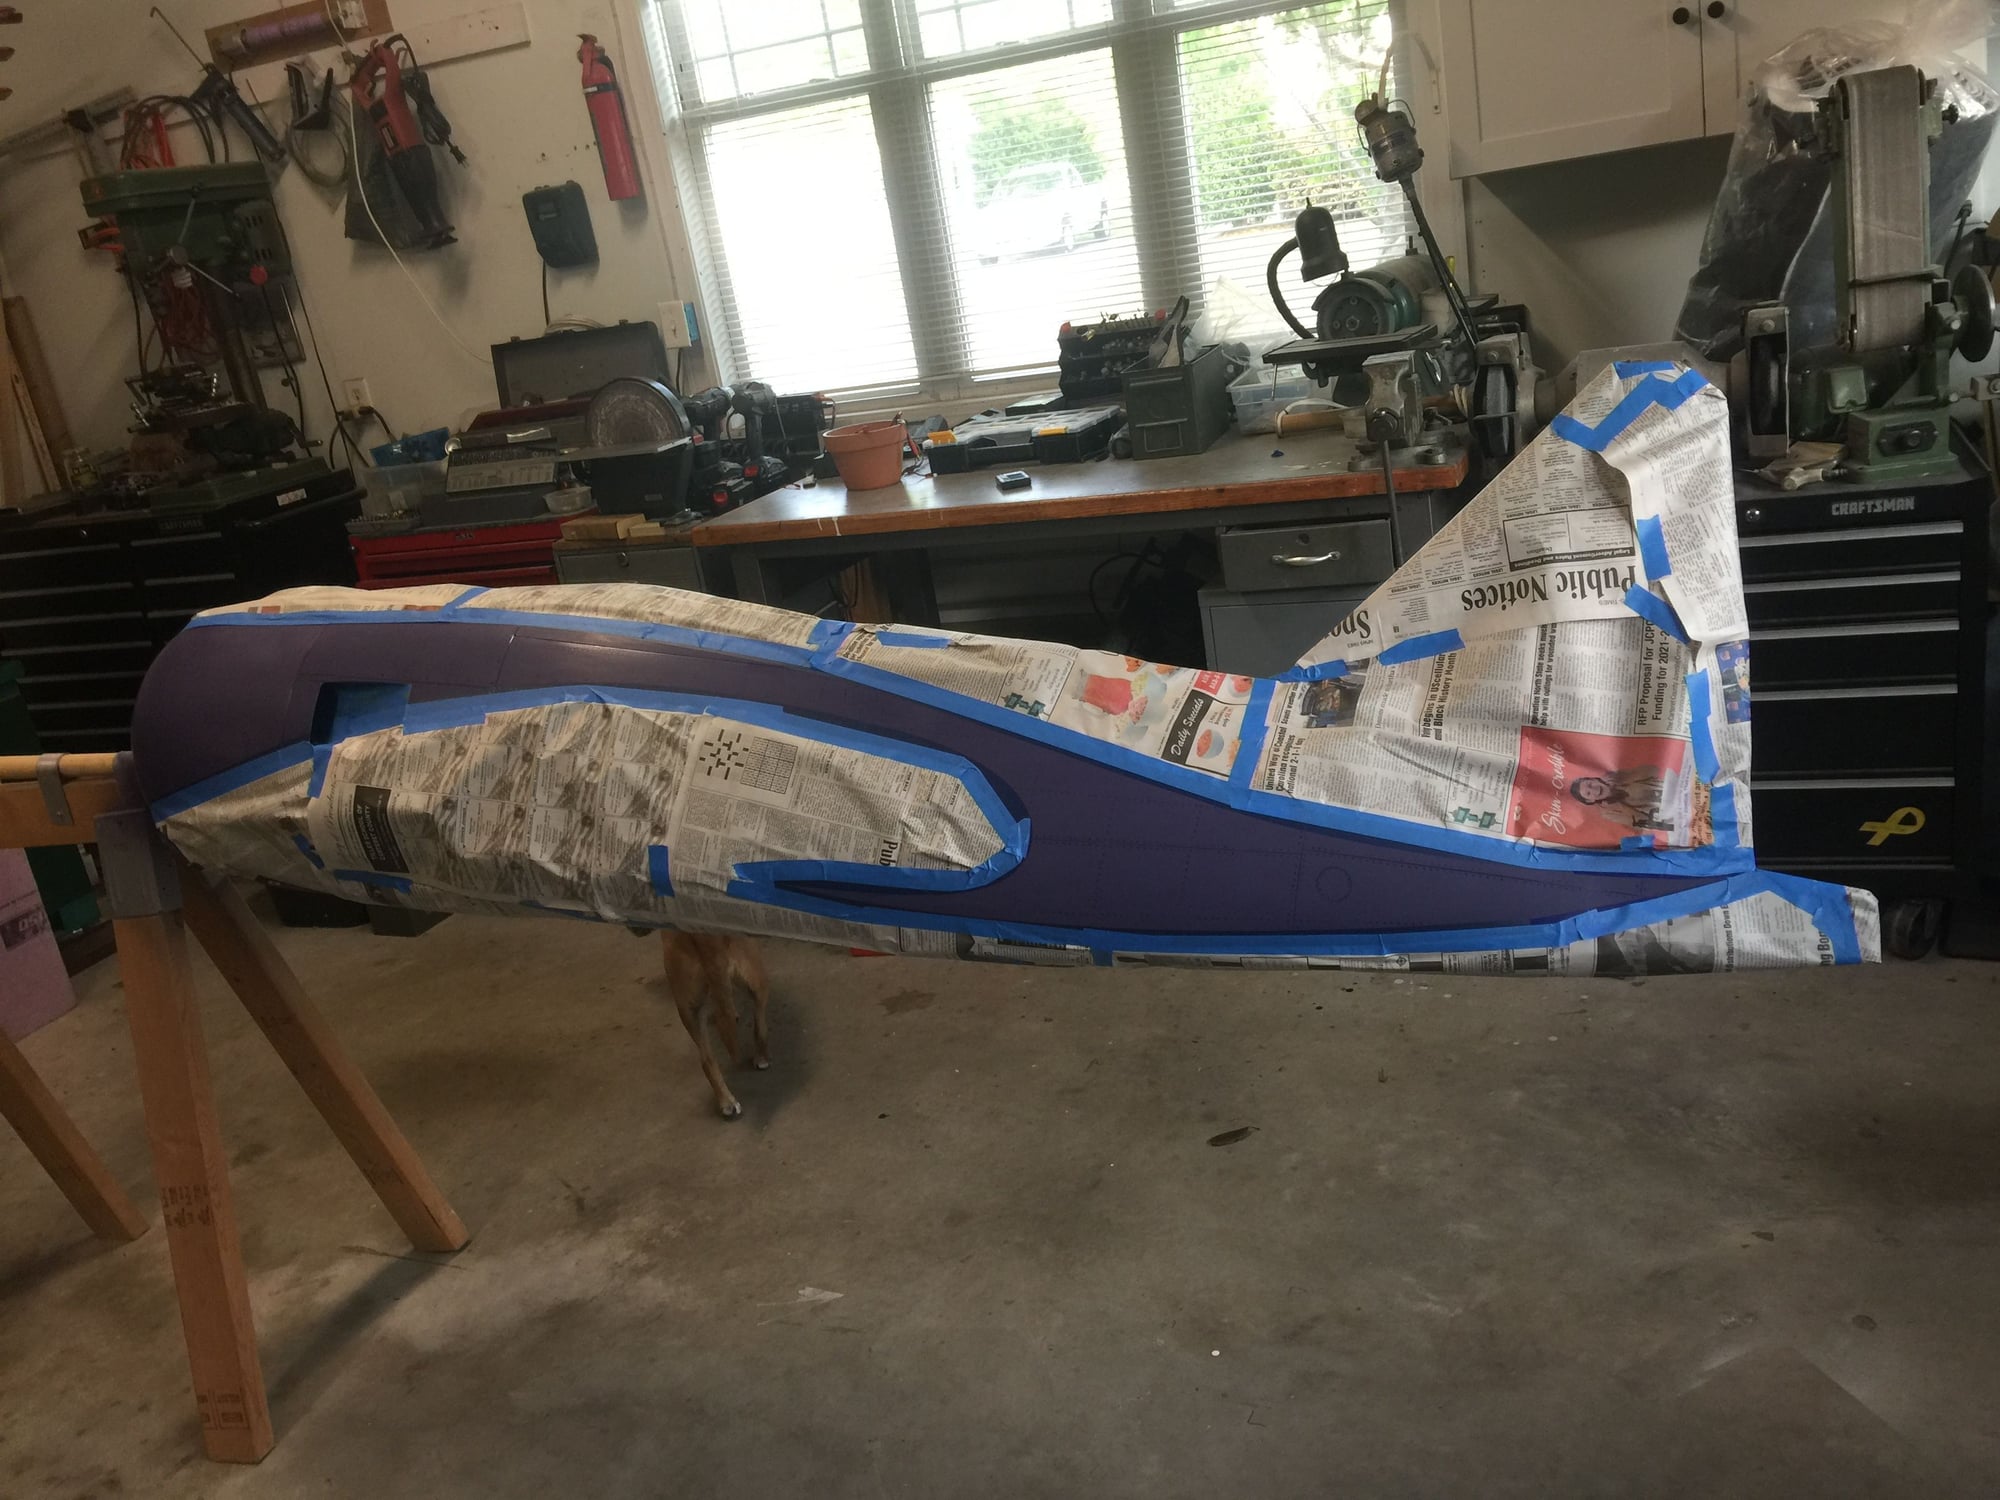
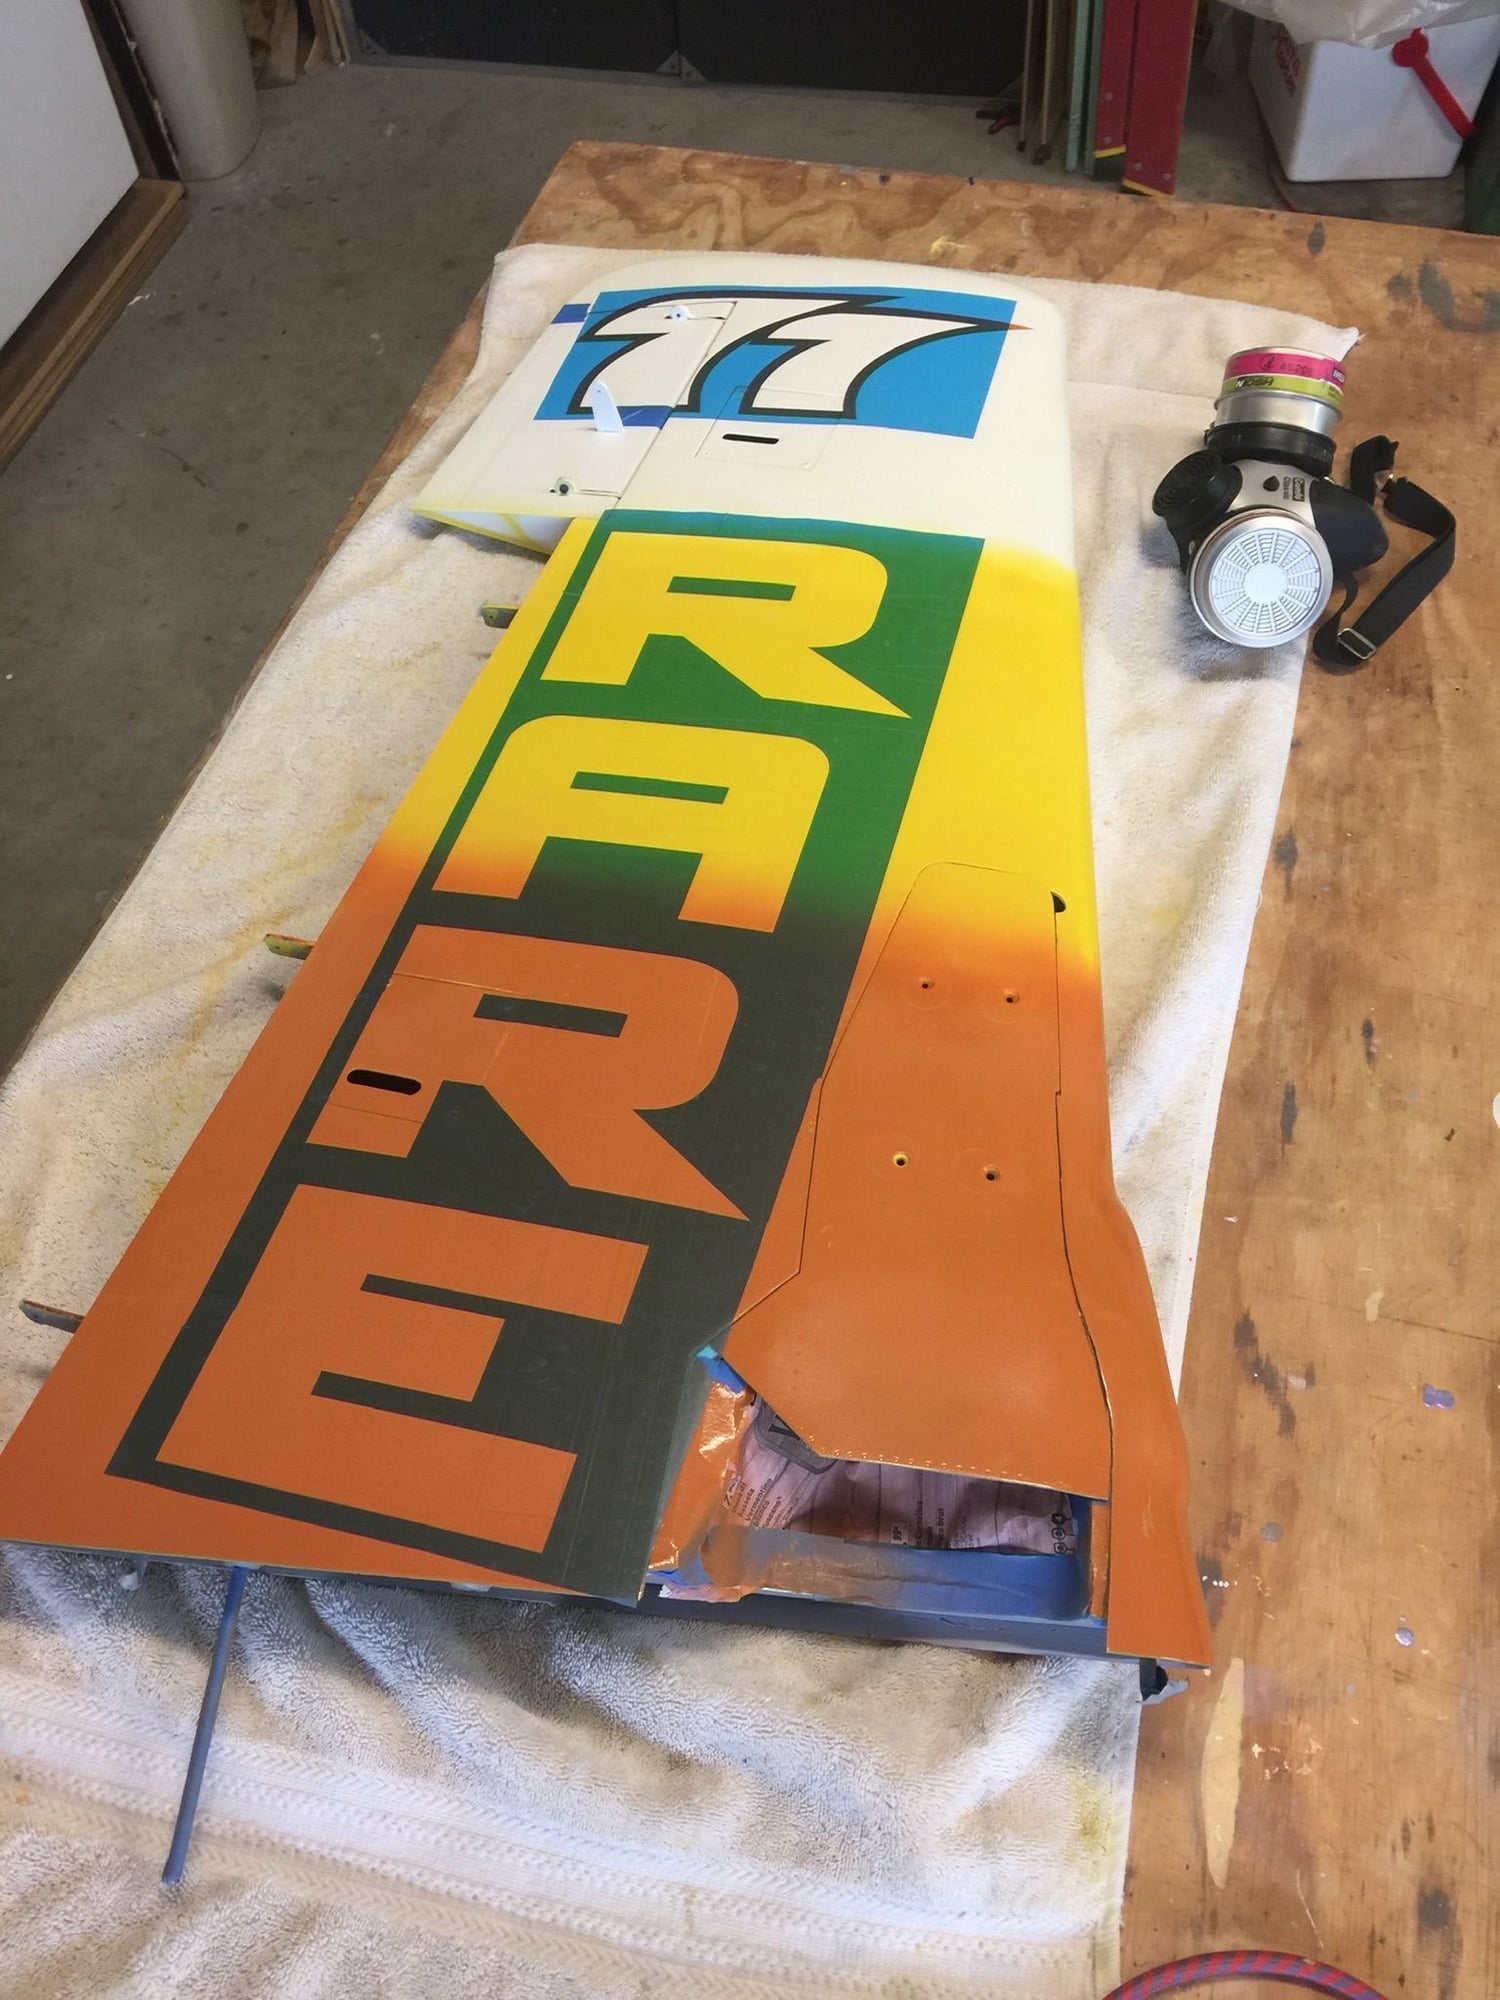
If anyone wants to know, I couldn�t use Callie�s checkerboard mask - that field is just too complicated. So I masked the whole field with regular blue masking tape, layed out the grid and hand cut using a very sharp #11 exacto blade - then peeled off unwanted squares.
I am NOT a very practiced artist but I think it came out very acceptably :-)
05-26-2021, 09:32 PM
#344
Sure Mitch it did .
You can imagine that kind of work only if you tried it once. Heavy stuff, but will look great in the end.
Somebody from Switzerland did the same scheme, I guess he made it quite similar. took a lot of hours but hey what a sight
I saw he original B-cat once in reno, and it is relly a stunner
05-27-2021, 03:44 AM
#345
My Feedback: (7)
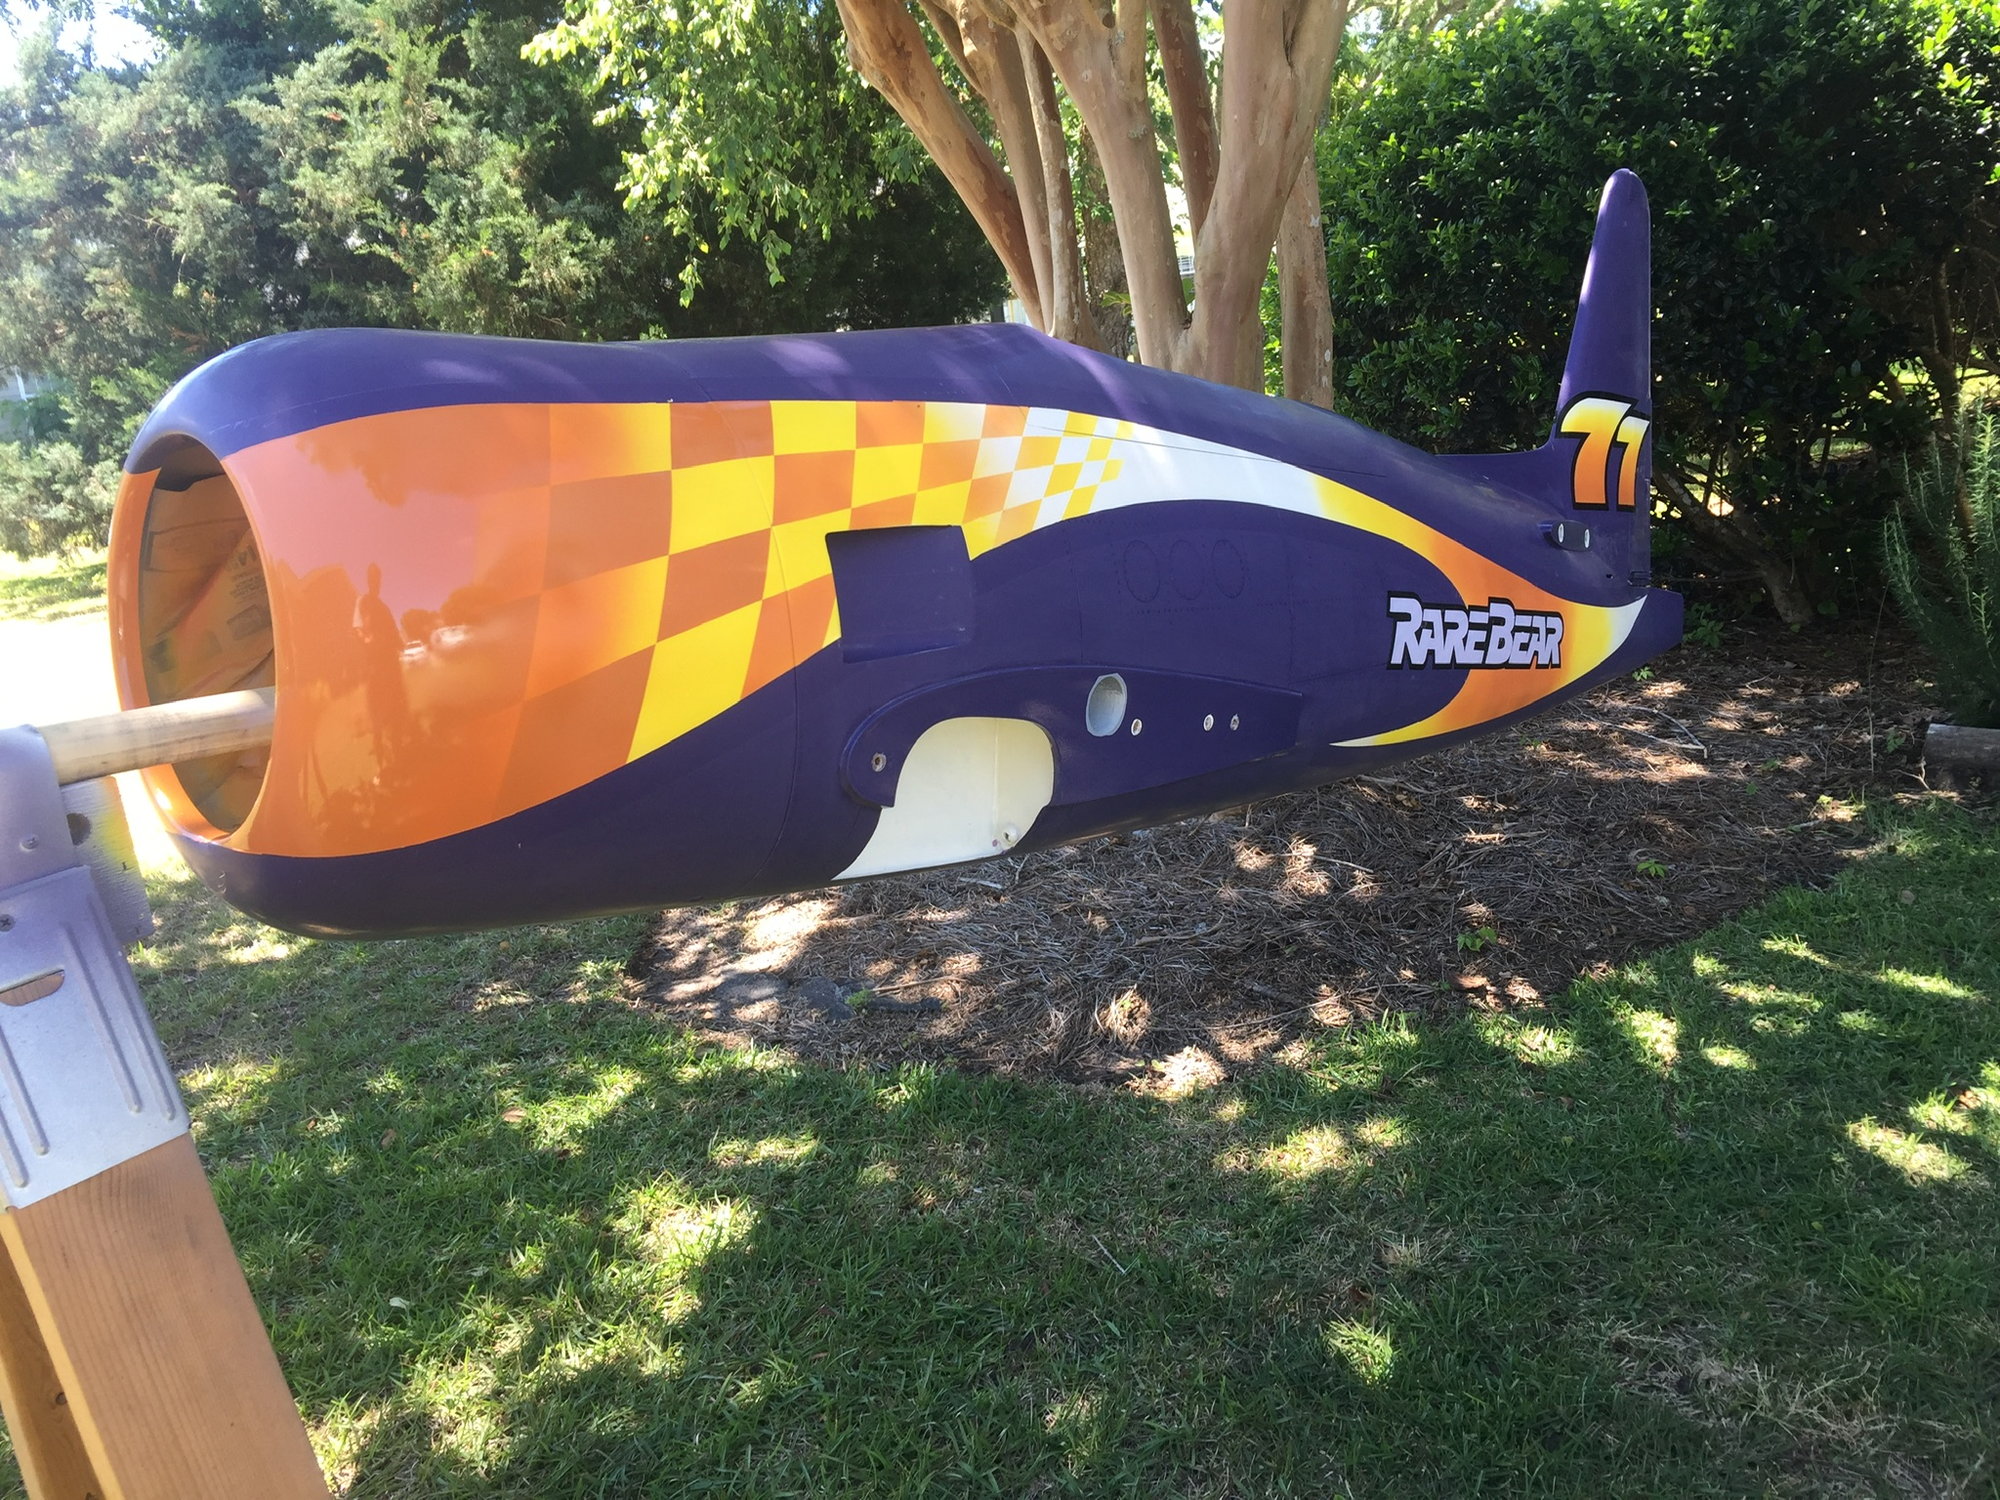
I also saw the Bear in Reno, Detlef - but so long ago it was white and gold :-0
Its funny, one might think the Bear is Orange/yellow/white but it isn�t really. I think I got very close to the stock colors and the �orange� is actually a sort of rust color. Maybe �burnt orange.�
My hat is off to the original creator of this scheme. Now THAT guy was an artist.
Its funny, one might think the Bear is Orange/yellow/white but it isn�t really. I think I got very close to the stock colors and the �orange� is actually a sort of rust color. Maybe �burnt orange.�
My hat is off to the original creator of this scheme. Now THAT guy was an artist.
Last edited by mitchilito; 05-27-2021 at 04:08 PM.
 06-03-2021, 03:28 AM
#347
My Feedback: (7)
I thought I’d take a minute to explain my paint process:
There are two reasons I’m using this process. 1) I’m painting in a very dusty environment. I did some painting in a paint booth but that wasn’t really acceptable either (several reasons). 2) I’m trying to avoid blasting on a huge amount of epoxy paint in order to get a high gloss.
So: I spray 2 light coats of Klass Kote epoxy, not really worrying about consistent gloss. Just thorough coverage. When doing all the fade effects the Bear has, it’s going to leave a dusty-looking surface anyway. Then I wet sand with 1500 grit to a uniform dull surface. Now all trace of dust is GONE.
With a single color the surface can now be polished to a mirror shine. In the case of the dusty fades, I sand down to a uniform (as possible) surface and then clear coat to a nice gloss - then sand again to remove dust and then polish. This process also nicely smooths all the edges in the trim effects.
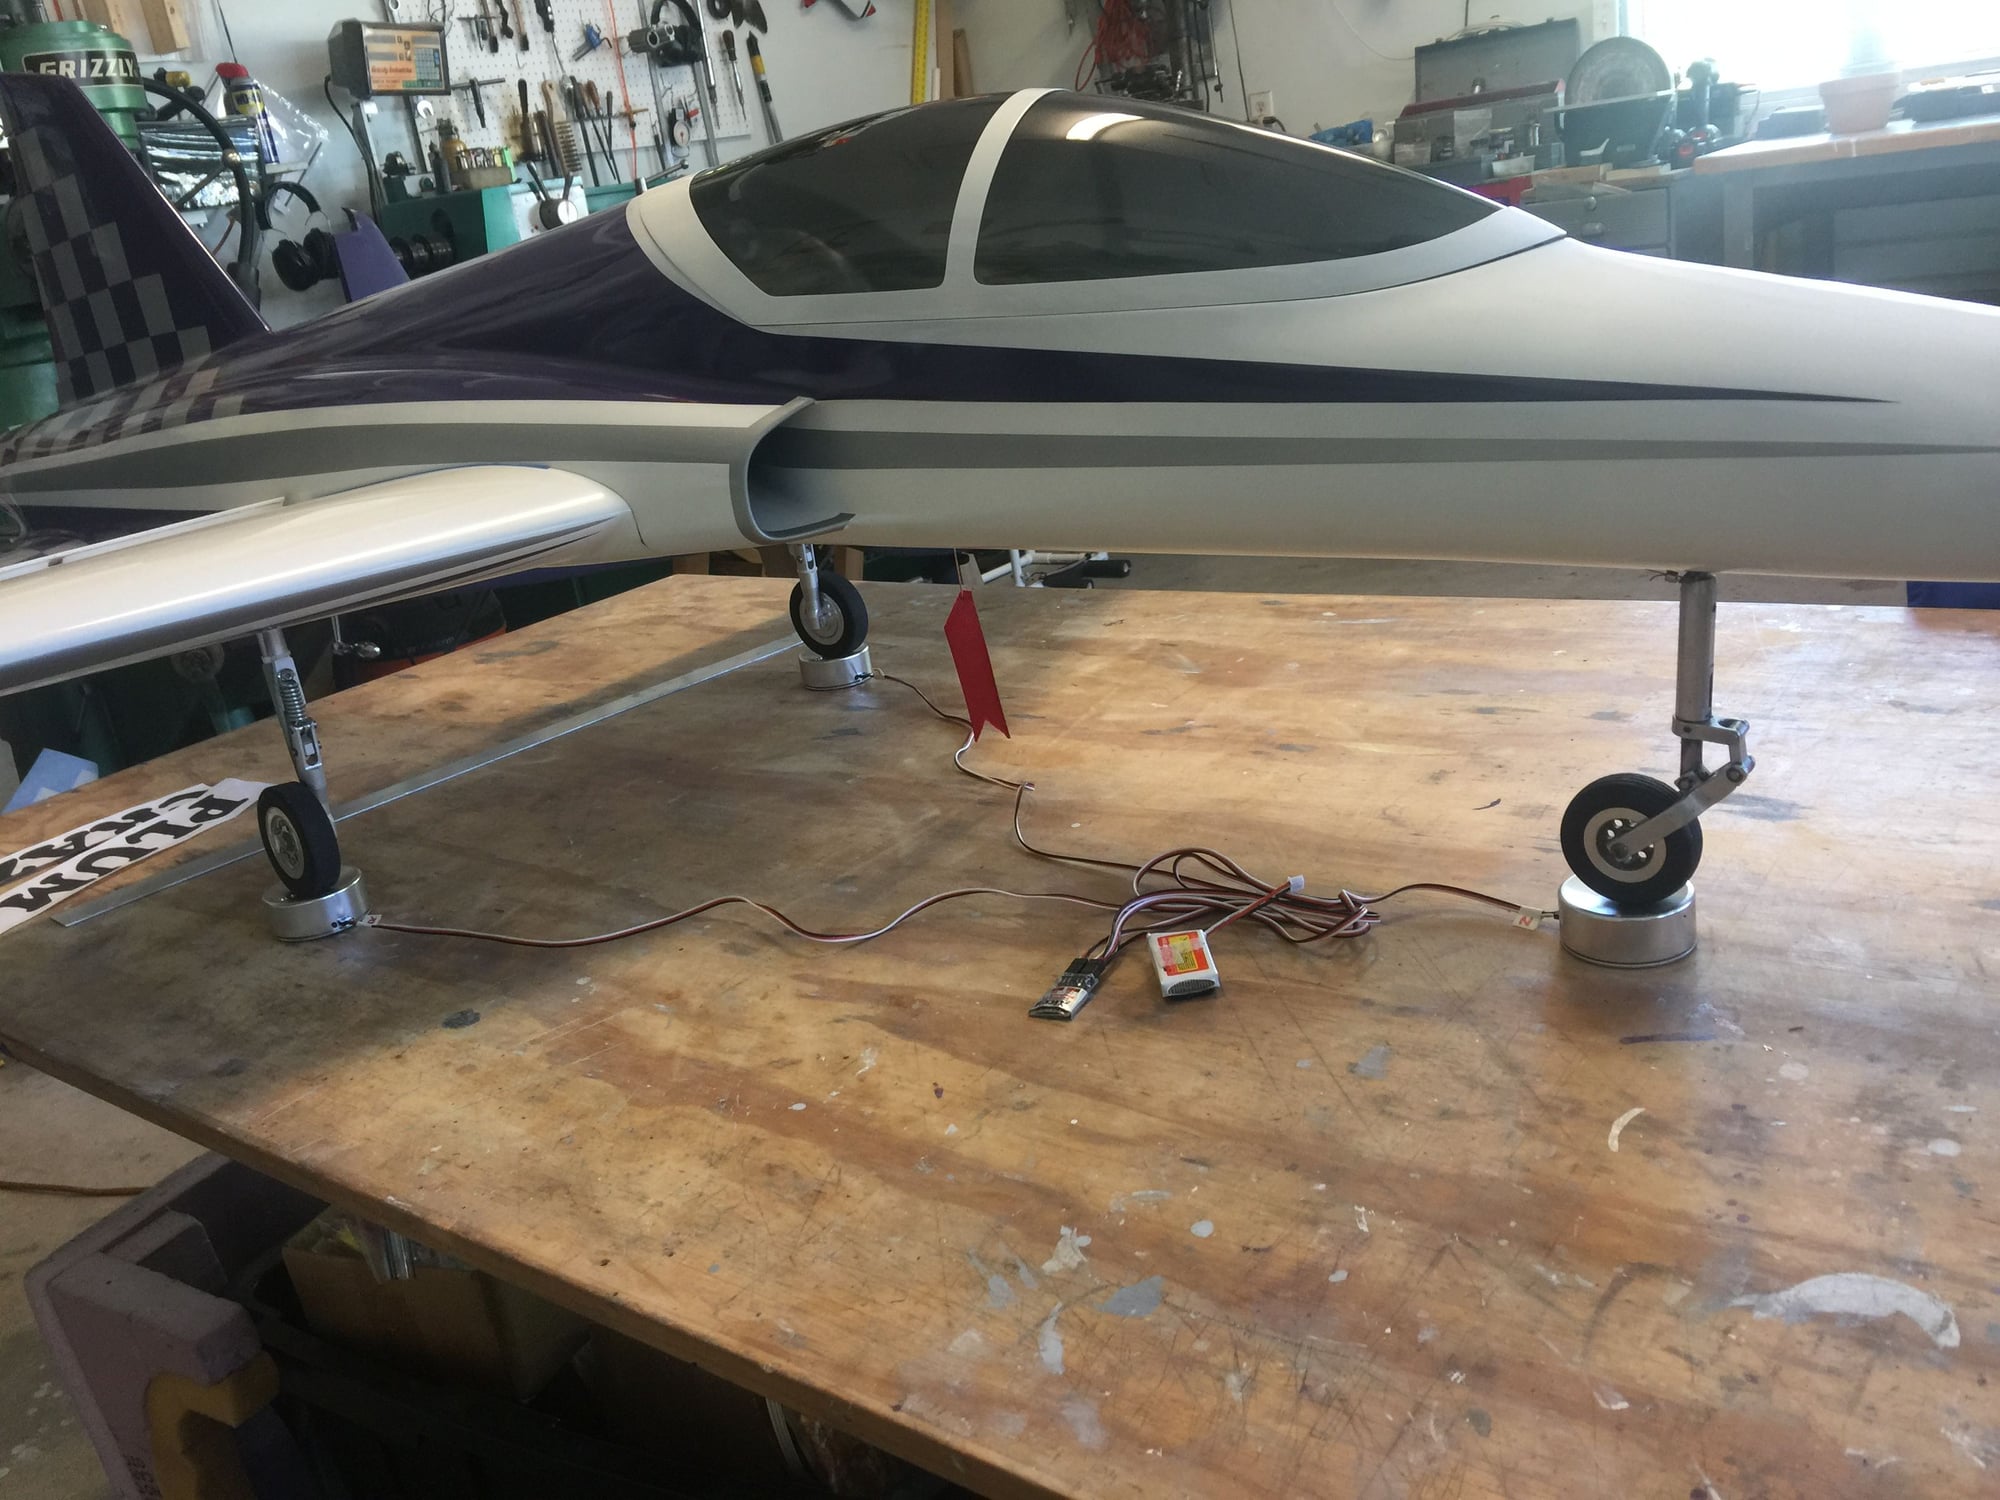
I had never done any of this before the Bear. This is one big reason I interrupted the Bear build to rebuild/paint the Flash. And that paint job proved the process works - it came out fantastic.
One big part of the process is 3M “Perfect it” compound. Once the surface is wet sanded to 1500 the Perfect It will take it to a mirror shine. I use a great little lipo-powered hand polisher I bought on Amazon (KIMO car polisher - works great) just for this. And the final result is as light a paint job as possible.
Now you know :-)
There are two reasons I’m using this process. 1) I’m painting in a very dusty environment. I did some painting in a paint booth but that wasn’t really acceptable either (several reasons). 2) I’m trying to avoid blasting on a huge amount of epoxy paint in order to get a high gloss.
So: I spray 2 light coats of Klass Kote epoxy, not really worrying about consistent gloss. Just thorough coverage. When doing all the fade effects the Bear has, it’s going to leave a dusty-looking surface anyway. Then I wet sand with 1500 grit to a uniform dull surface. Now all trace of dust is GONE.
With a single color the surface can now be polished to a mirror shine. In the case of the dusty fades, I sand down to a uniform (as possible) surface and then clear coat to a nice gloss - then sand again to remove dust and then polish. This process also nicely smooths all the edges in the trim effects.
I had never done any of this before the Bear. This is one big reason I interrupted the Bear build to rebuild/paint the Flash. And that paint job proved the process works - it came out fantastic.
One big part of the process is 3M “Perfect it” compound. Once the surface is wet sanded to 1500 the Perfect It will take it to a mirror shine. I use a great little lipo-powered hand polisher I bought on Amazon (KIMO car polisher - works great) just for this. And the final result is as light a paint job as possible.
Now you know :-)
Last edited by mitchilito; 06-03-2021 at 03:16 PM.
 07-08-2021, 08:48 AM
#350
My Feedback: (7)
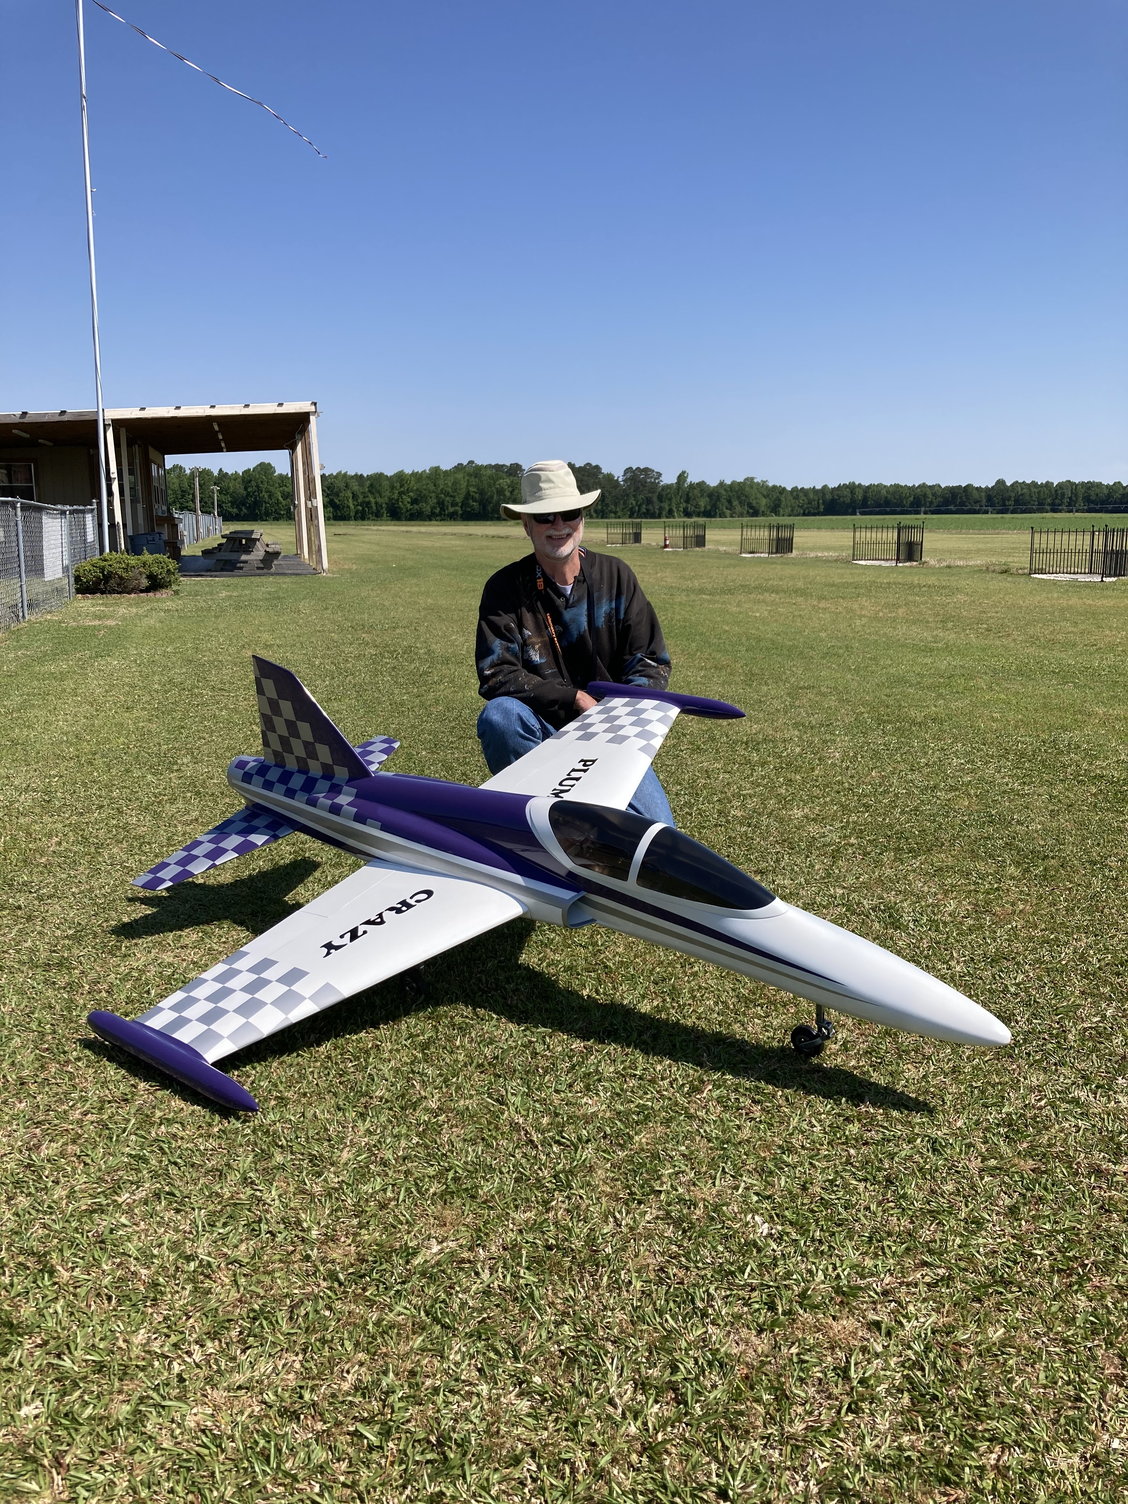
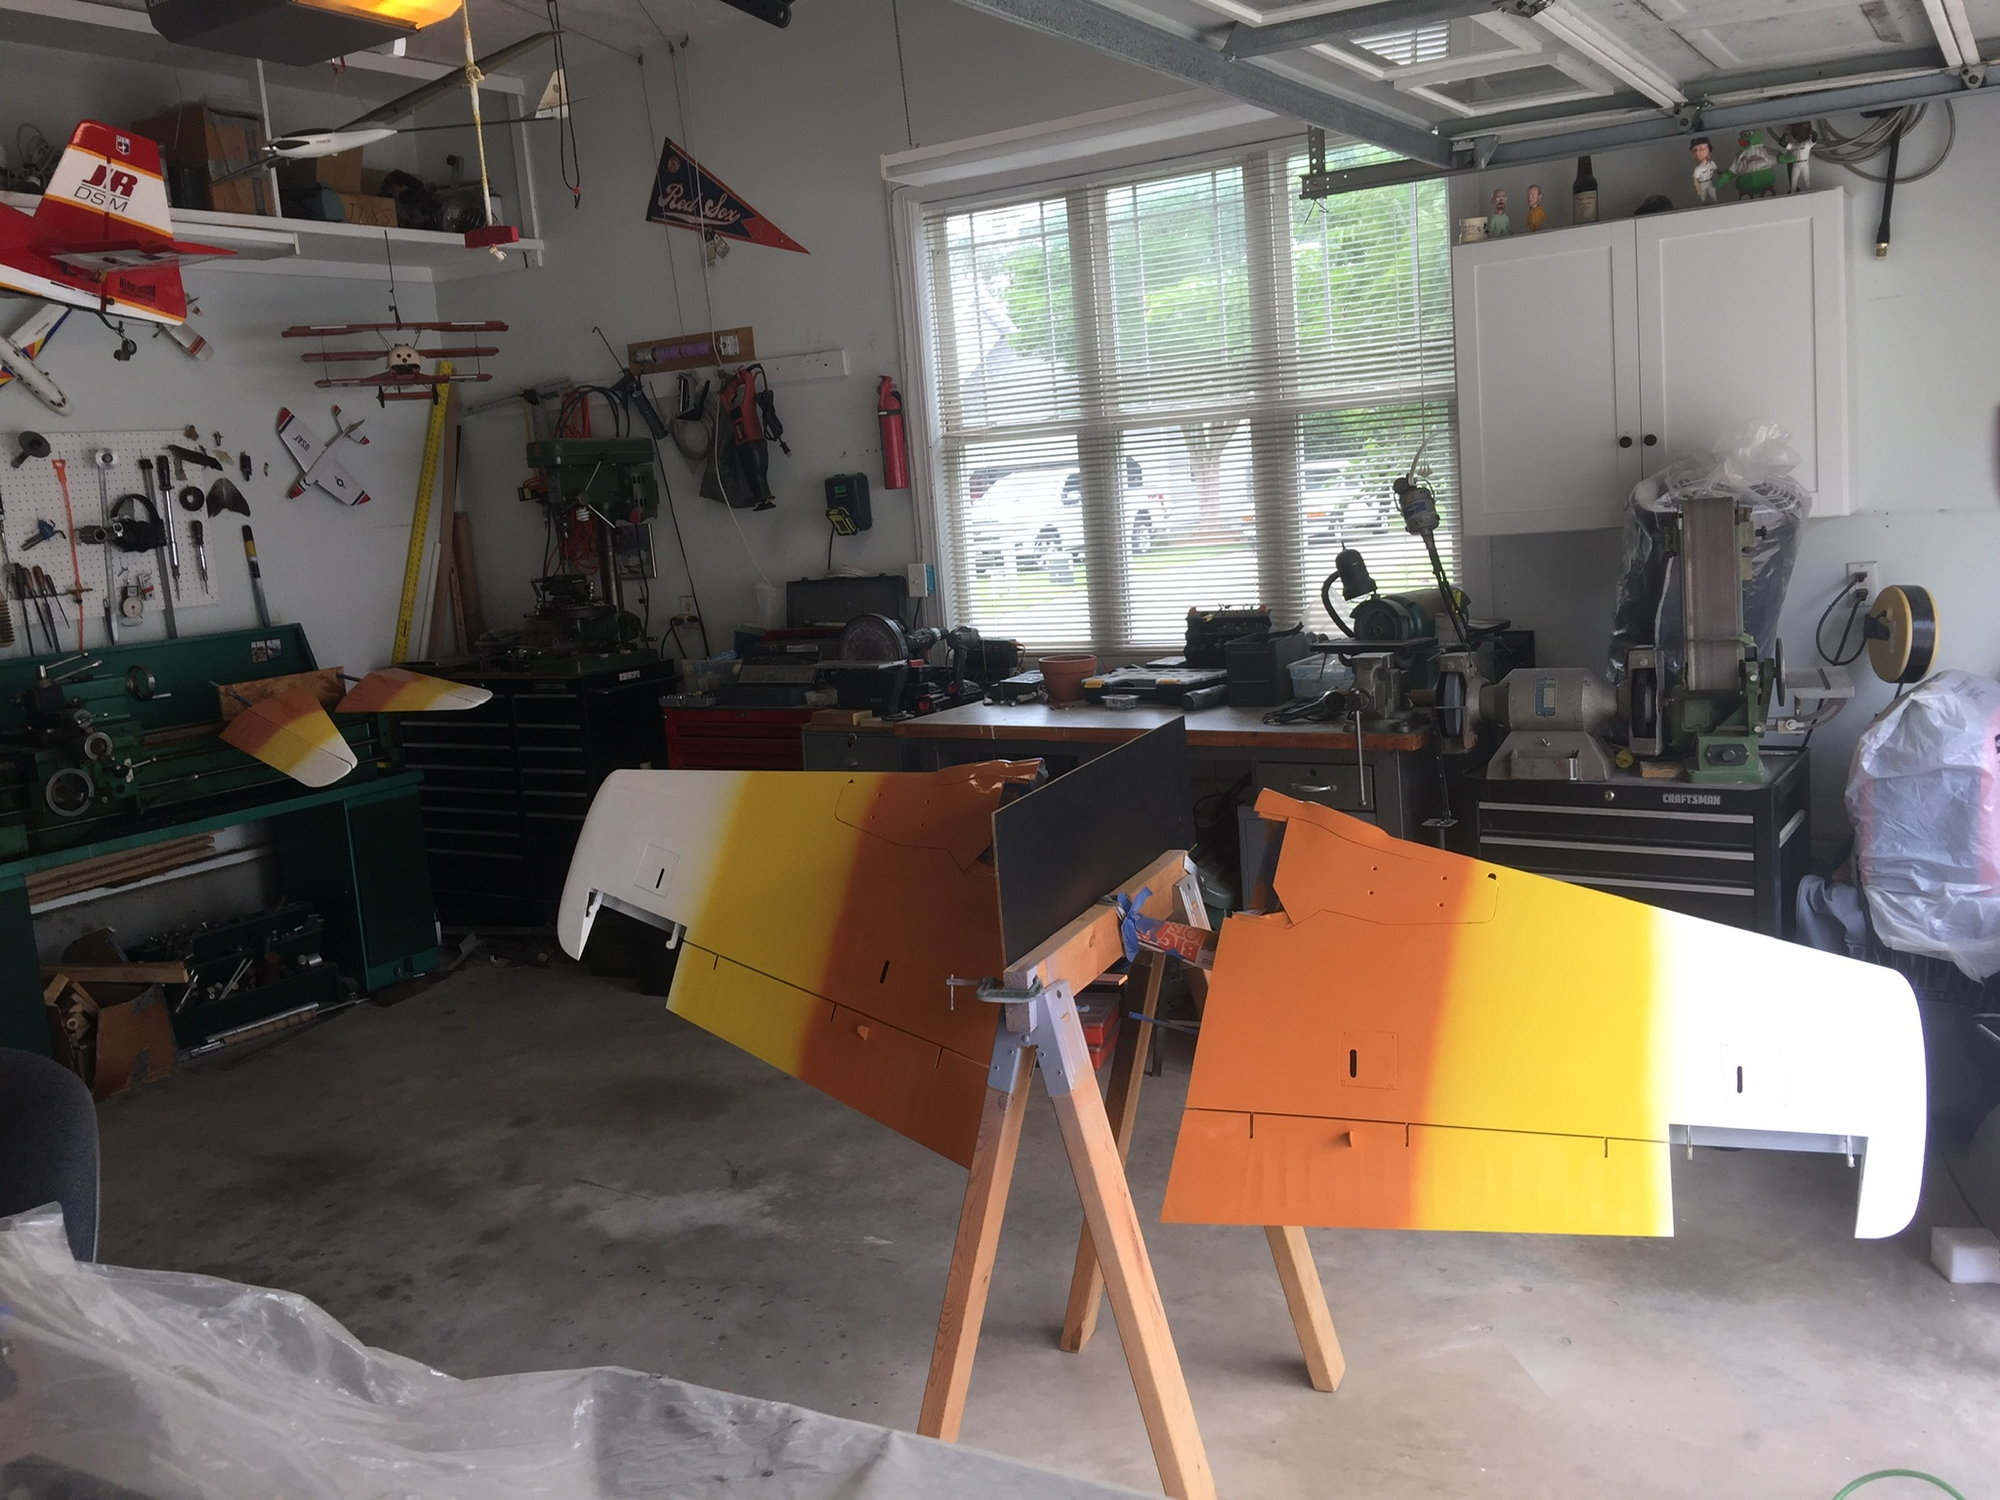
Silly me. Did I say I'd knock out the wings in a couple hours? You'd think by now I would've learned my lessons. The fades on the wings were MUCH harder that I thought. When all the dust settled they turned out to be harder to get right than the more complicated fuselage scheme. Who woulda guessed? Anyway, I managed to get it done and I'm getting the final graphics on the bottom of the wing.
Then the painting really will be done and it will be time to start the assemble! After six years I simply cannot believe that day is about to arrive.
Then the painting really will be done and it will be time to start the assemble! After six years I simply cannot believe that day is about to arrive.
Last edited by mitchilito; 07-09-2021 at 02:45 AM.