


Conquest 1 Bearcat
 12-03-2015 | 11:11 PM
#26
Spoke to Casey Smith earlier this evening. (So, "yes" everyone, he is still alive!) I told him about the Czechmate build we are doing, and he asked if you had your Bearcat kits done yet. I told him that you had; and, he stated that he had told you some time ago that when you did, that he wanted one. This is his favorite plane, so he still does. You might want to give him a call.
 12-04-2015 | 01:39 PM
#28

My Feedback: (66)
Jeff with 400 square inches the 70 is the best engine for flying and with some nitro this plane will do 145-150 with the 70 on 50% nitro and a 12x12 prop. The YS 90 is an awesome engine but the weight is about 12 ounces more than the 70. Tdstaf on here designs these kits as he draws the plans himself and has short kits cut out for you. If you have been some kits from scratch or from a kit then this is up your alley. I recommend you get in touch with him. He has some kits in the large 515 square inch size that fit that 91 very well and latter if want even more can opt for a YS115WS. His 515 sq" planes with YS 115WS, 50% nitro and a 13.5x13.5 APC prop will do a min of 160. My Tsunami of his with a 14x14 and 60% nitro did a two way average of 184MPH.
The following users liked this post:
Barrowed YS (01-10-2021)
The following users liked this post:
Barrowed YS (01-10-2021)
12-13-2015 | 08:28 PM
#31
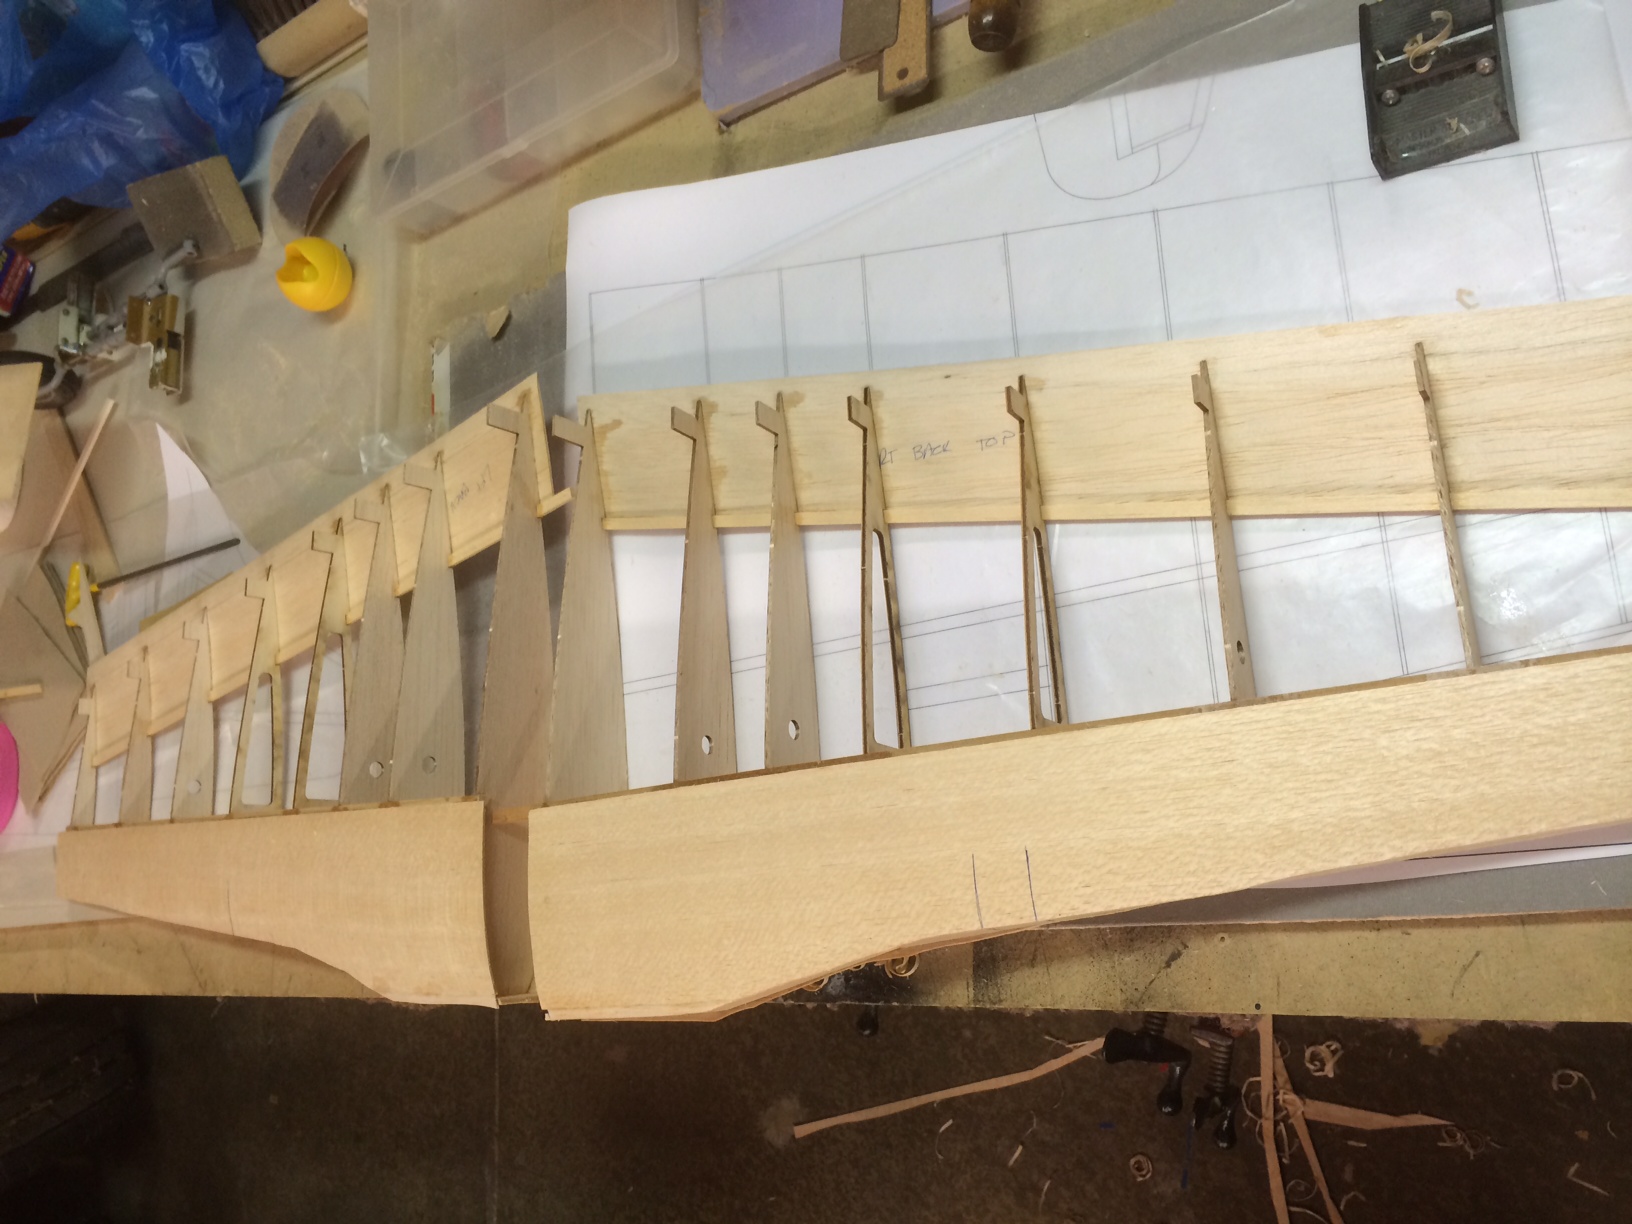
I've got in some work recently in between helping with the Czech Mate build.
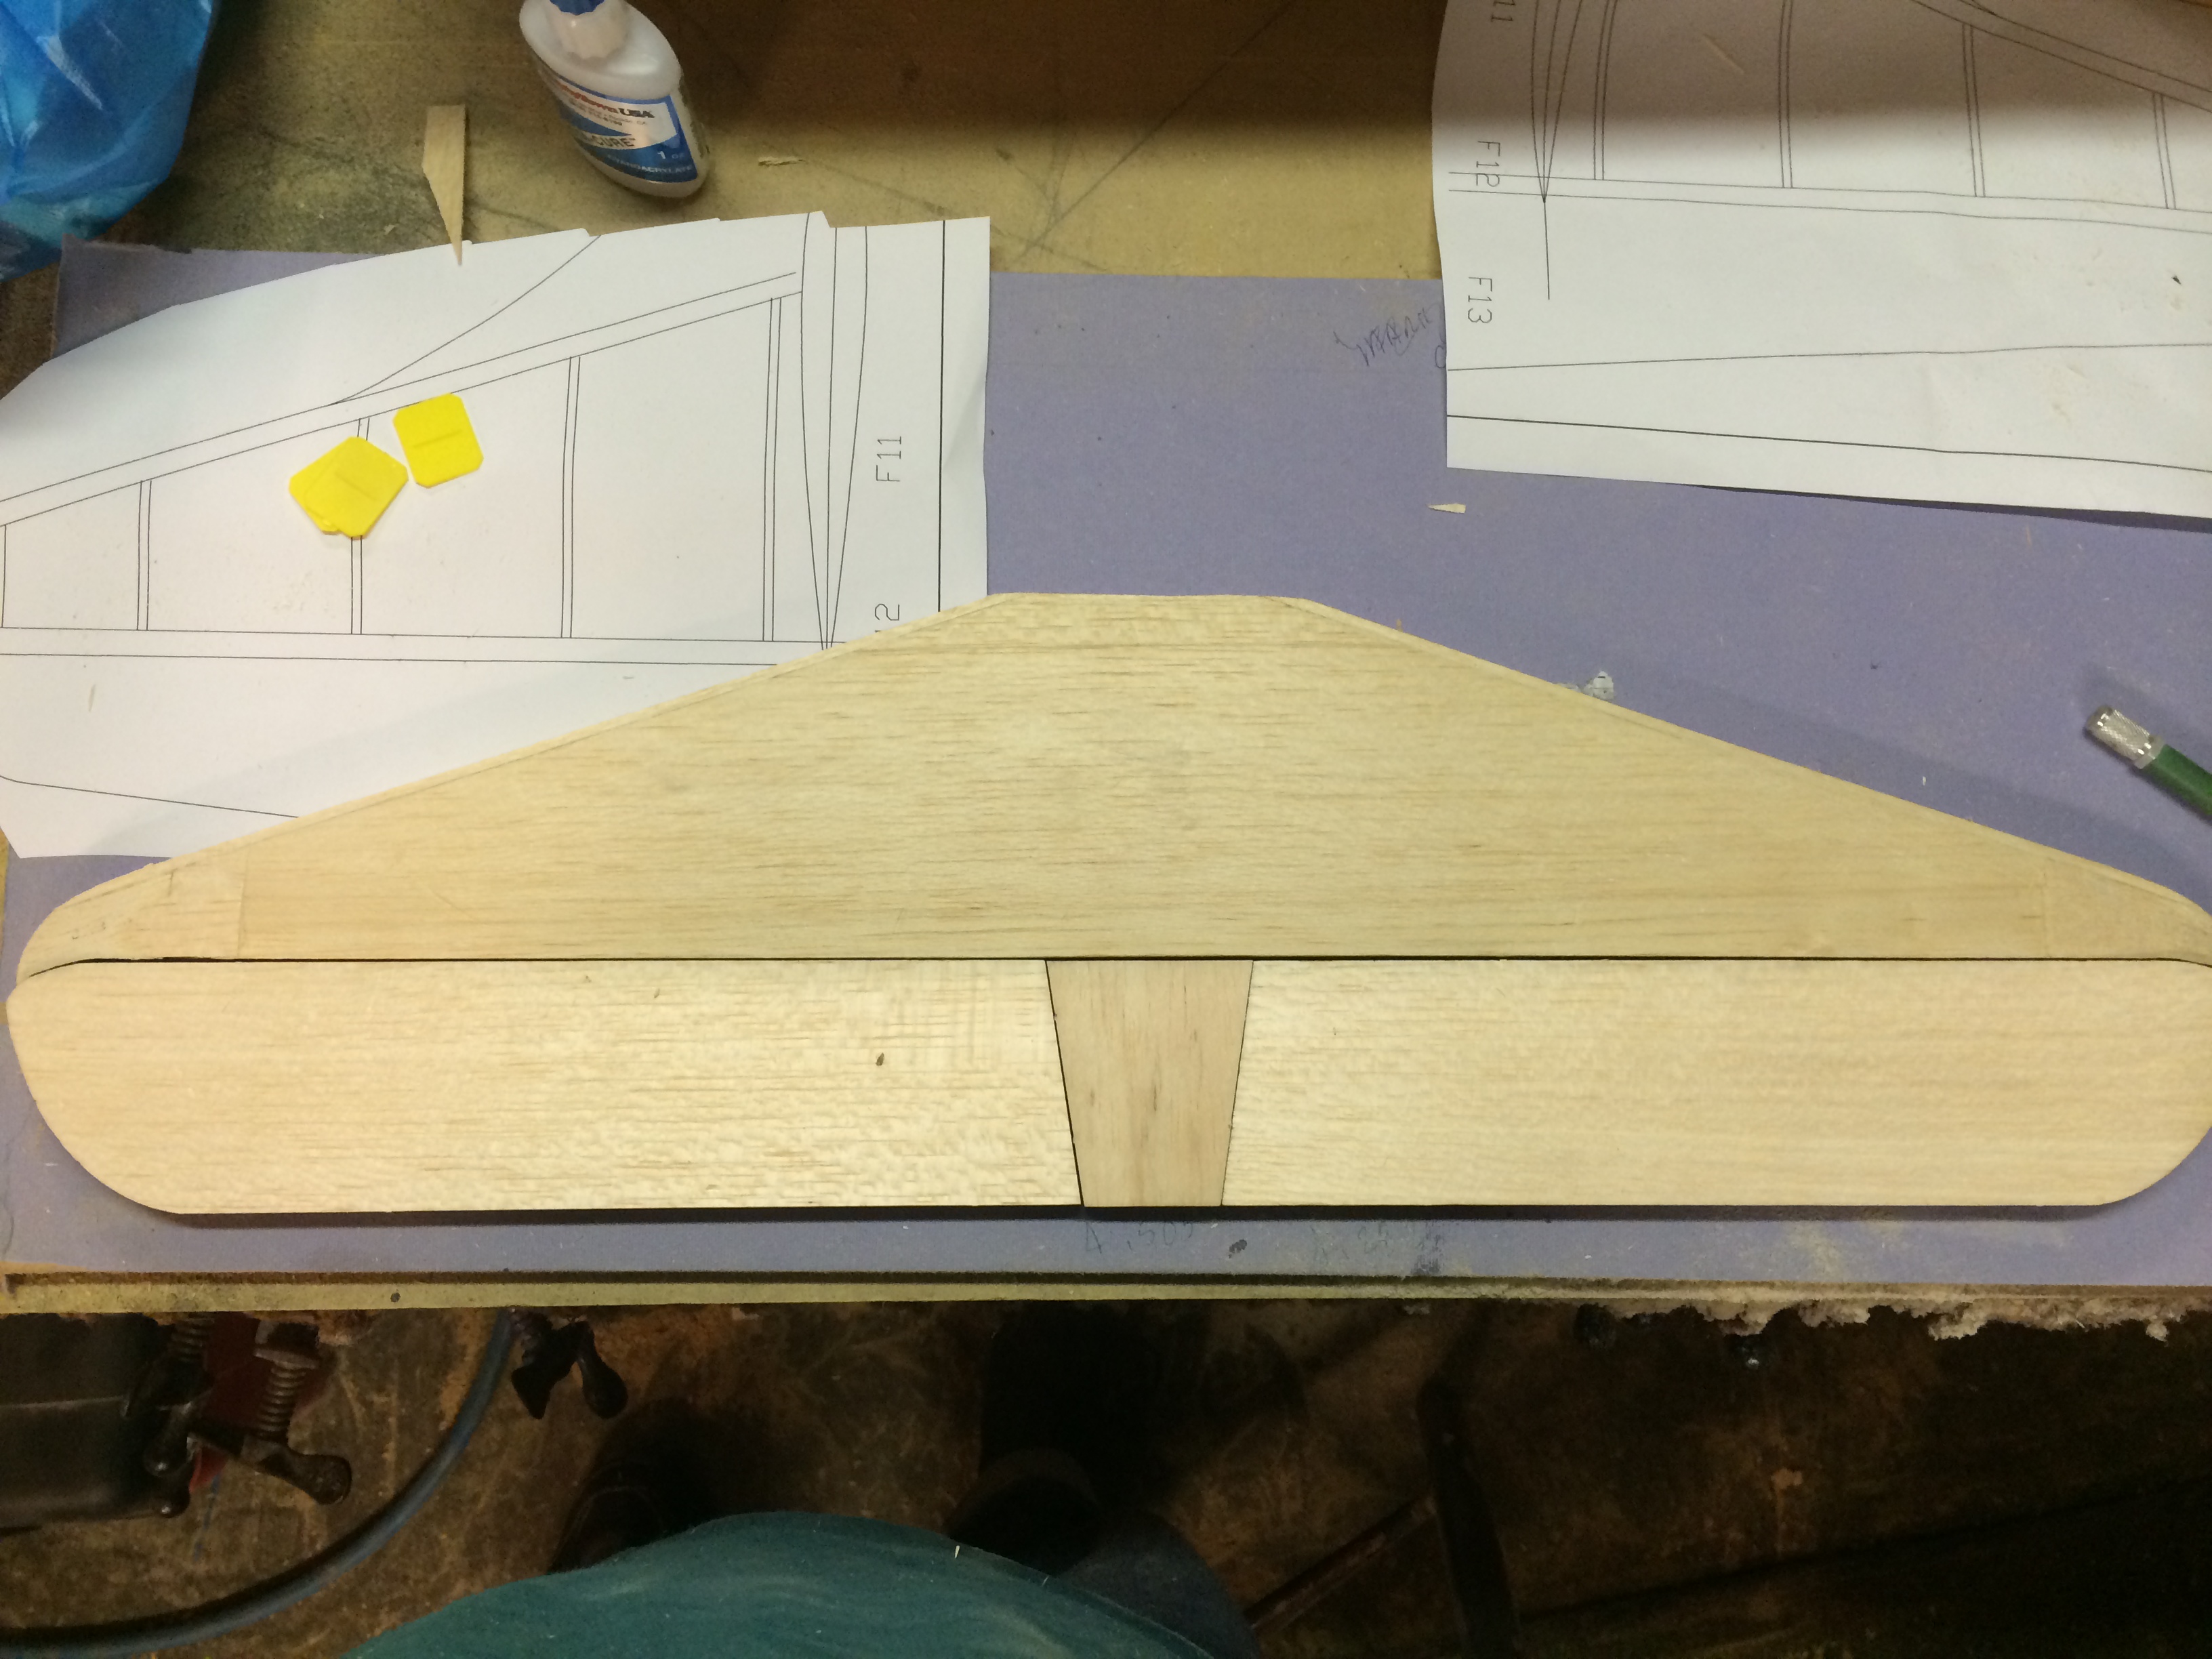
Got the tips installed on the horizontal last week and was having trouble loading the pictures. The elevators have not been shaped as of yet I will have to wait until the fuselage is being build to decide on how I want to do the linkage for them so I decided to continue on to the vertical stab.
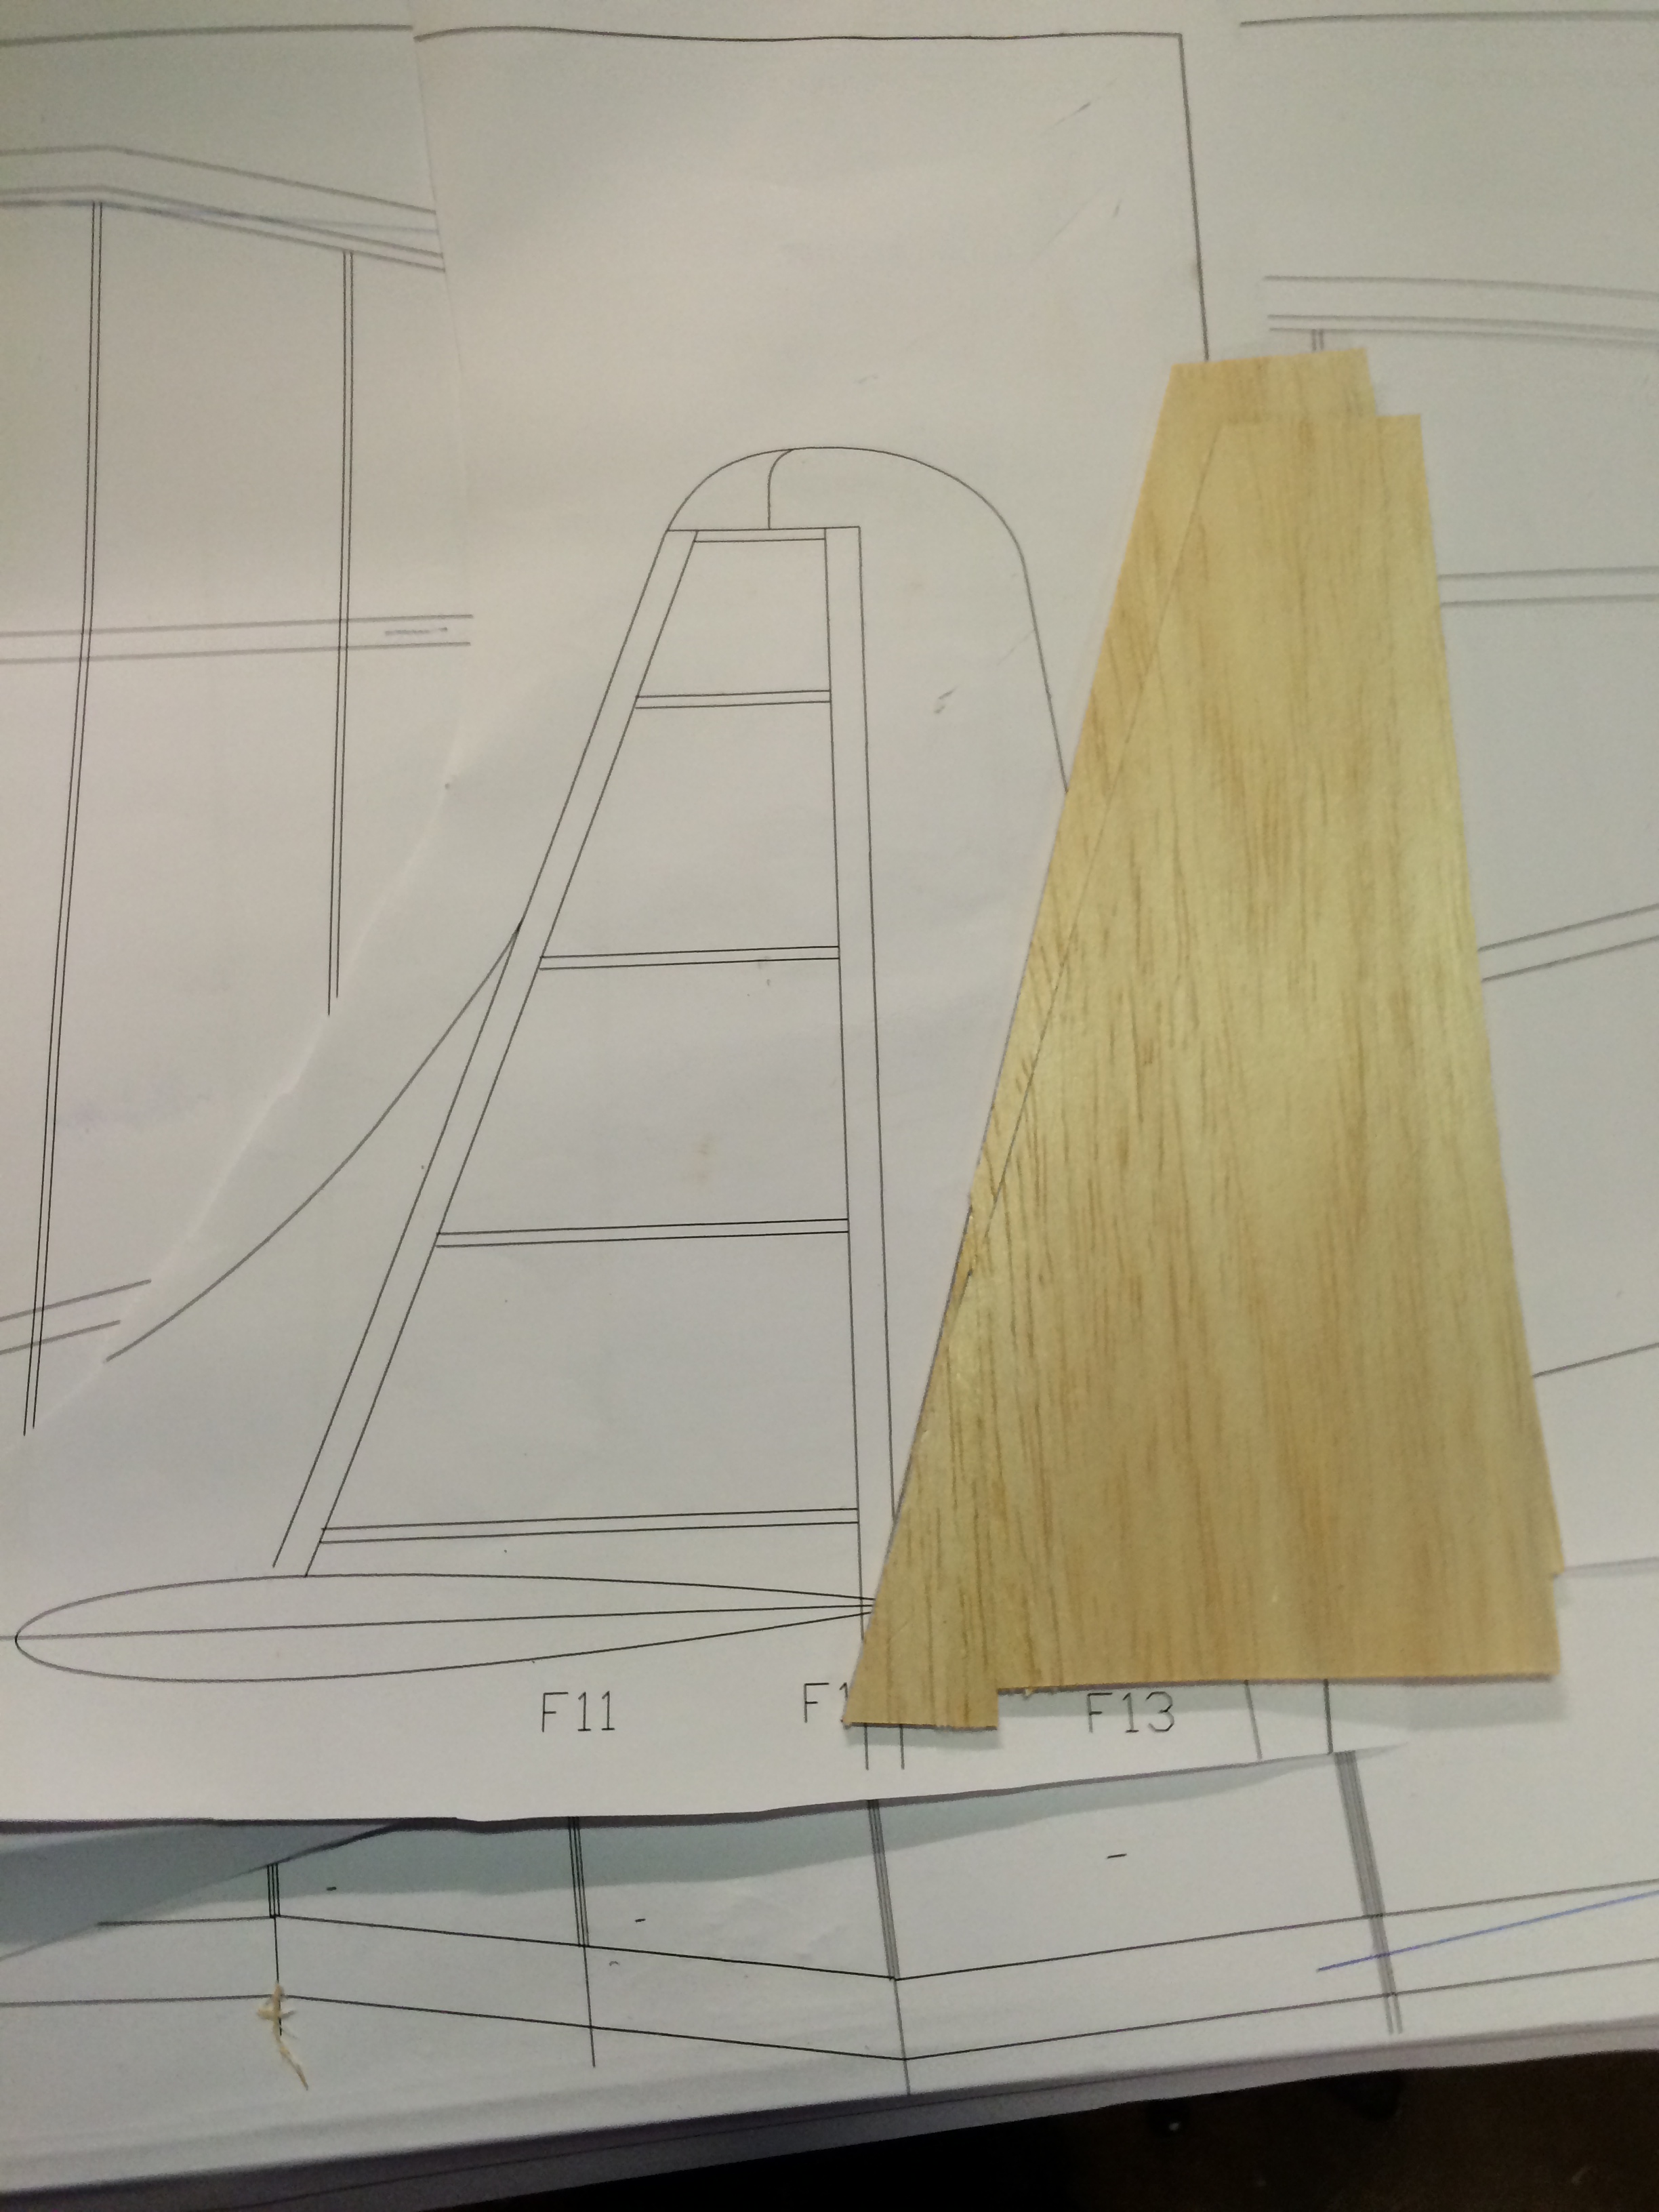
Here I pre cut the sheeting for each of the vertical halves.
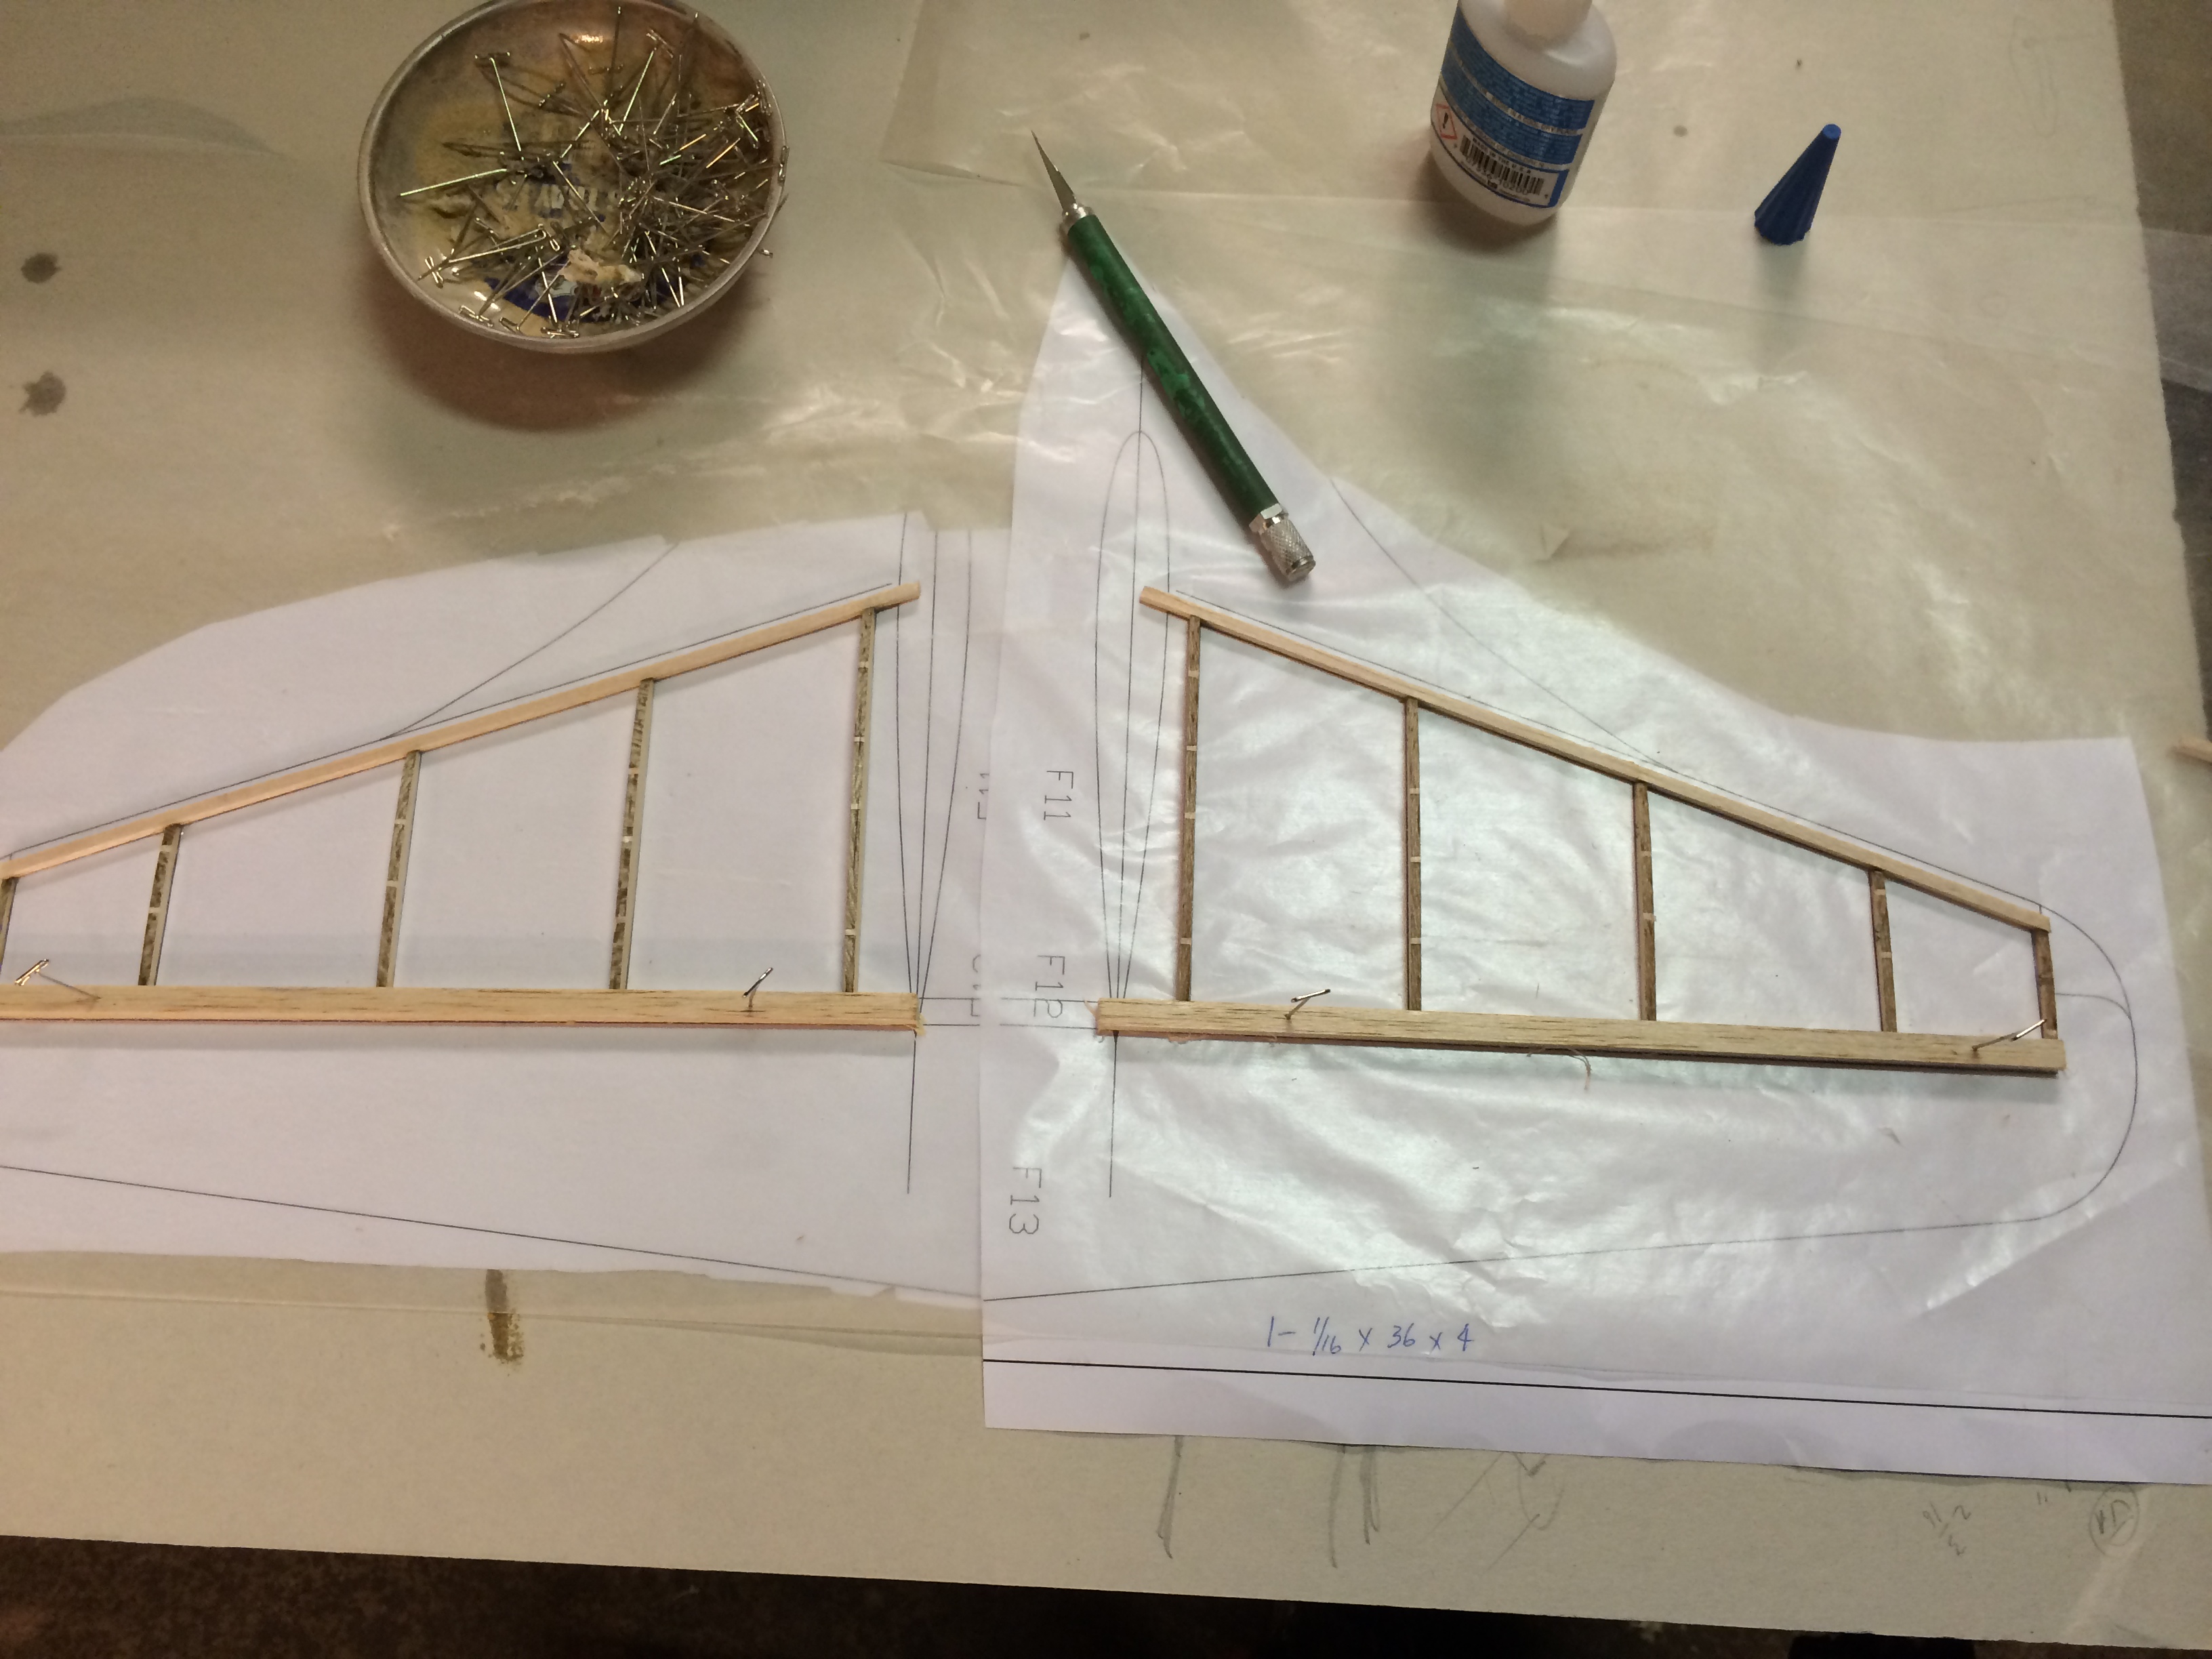
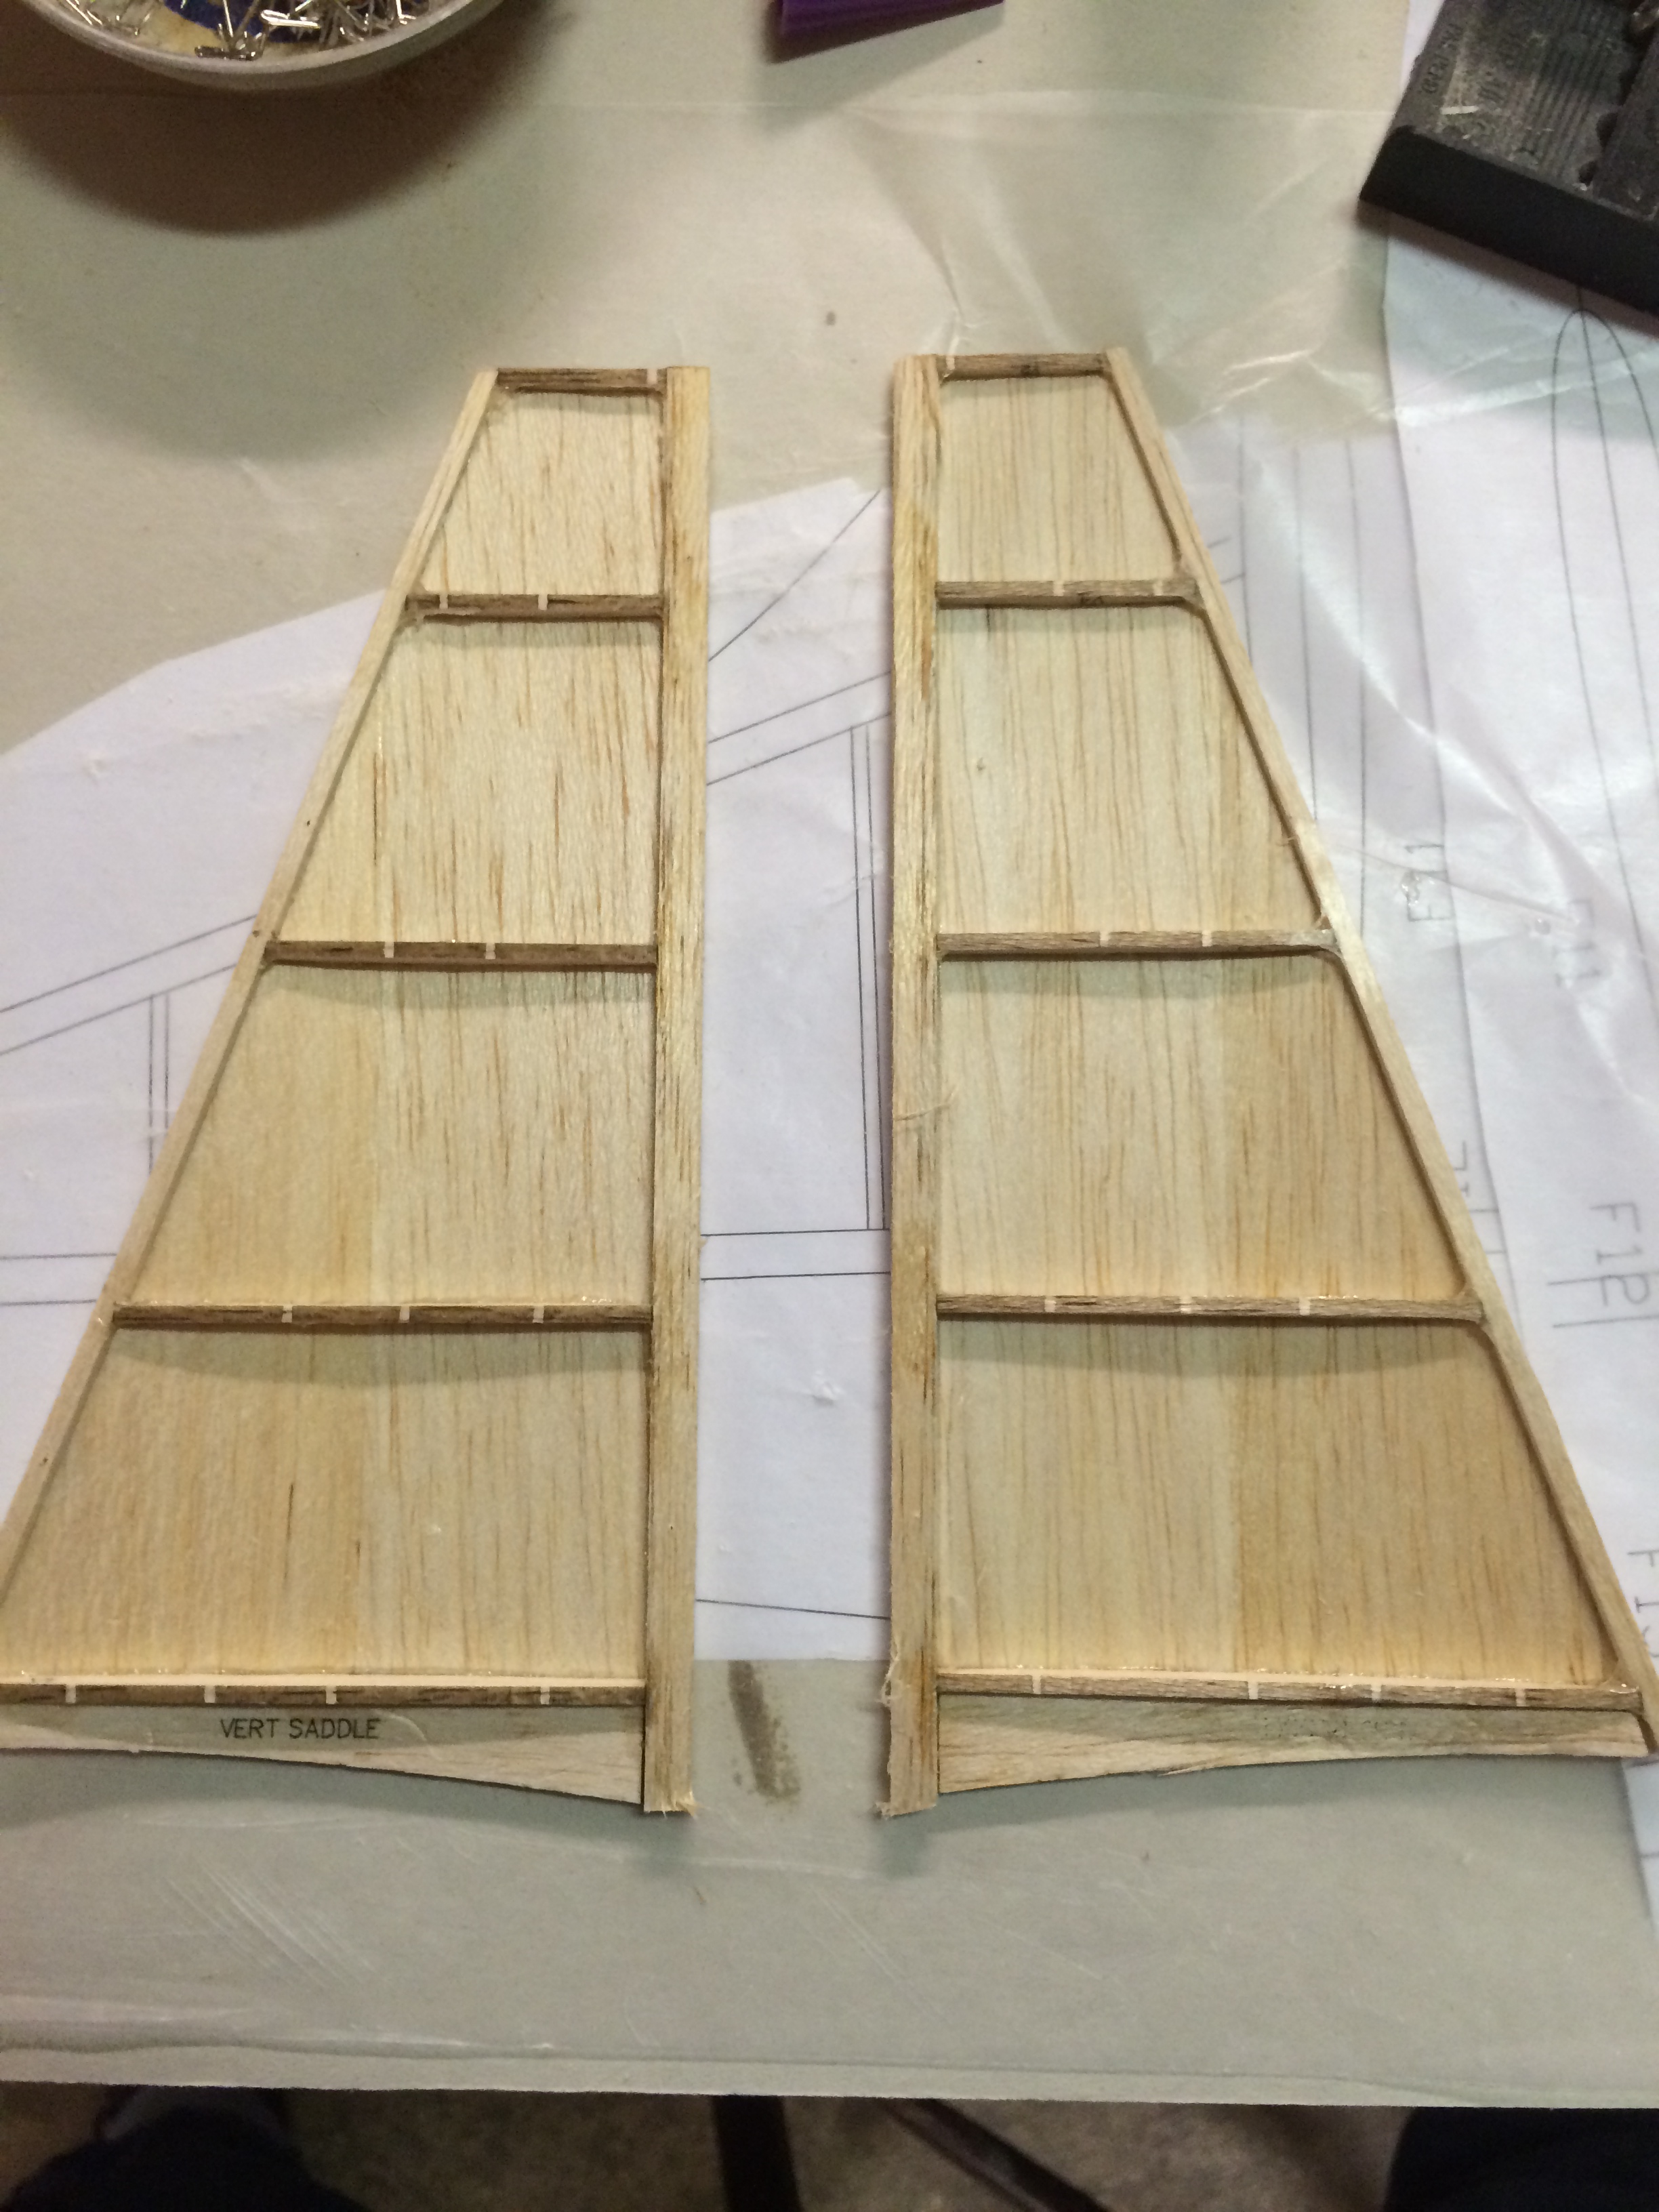
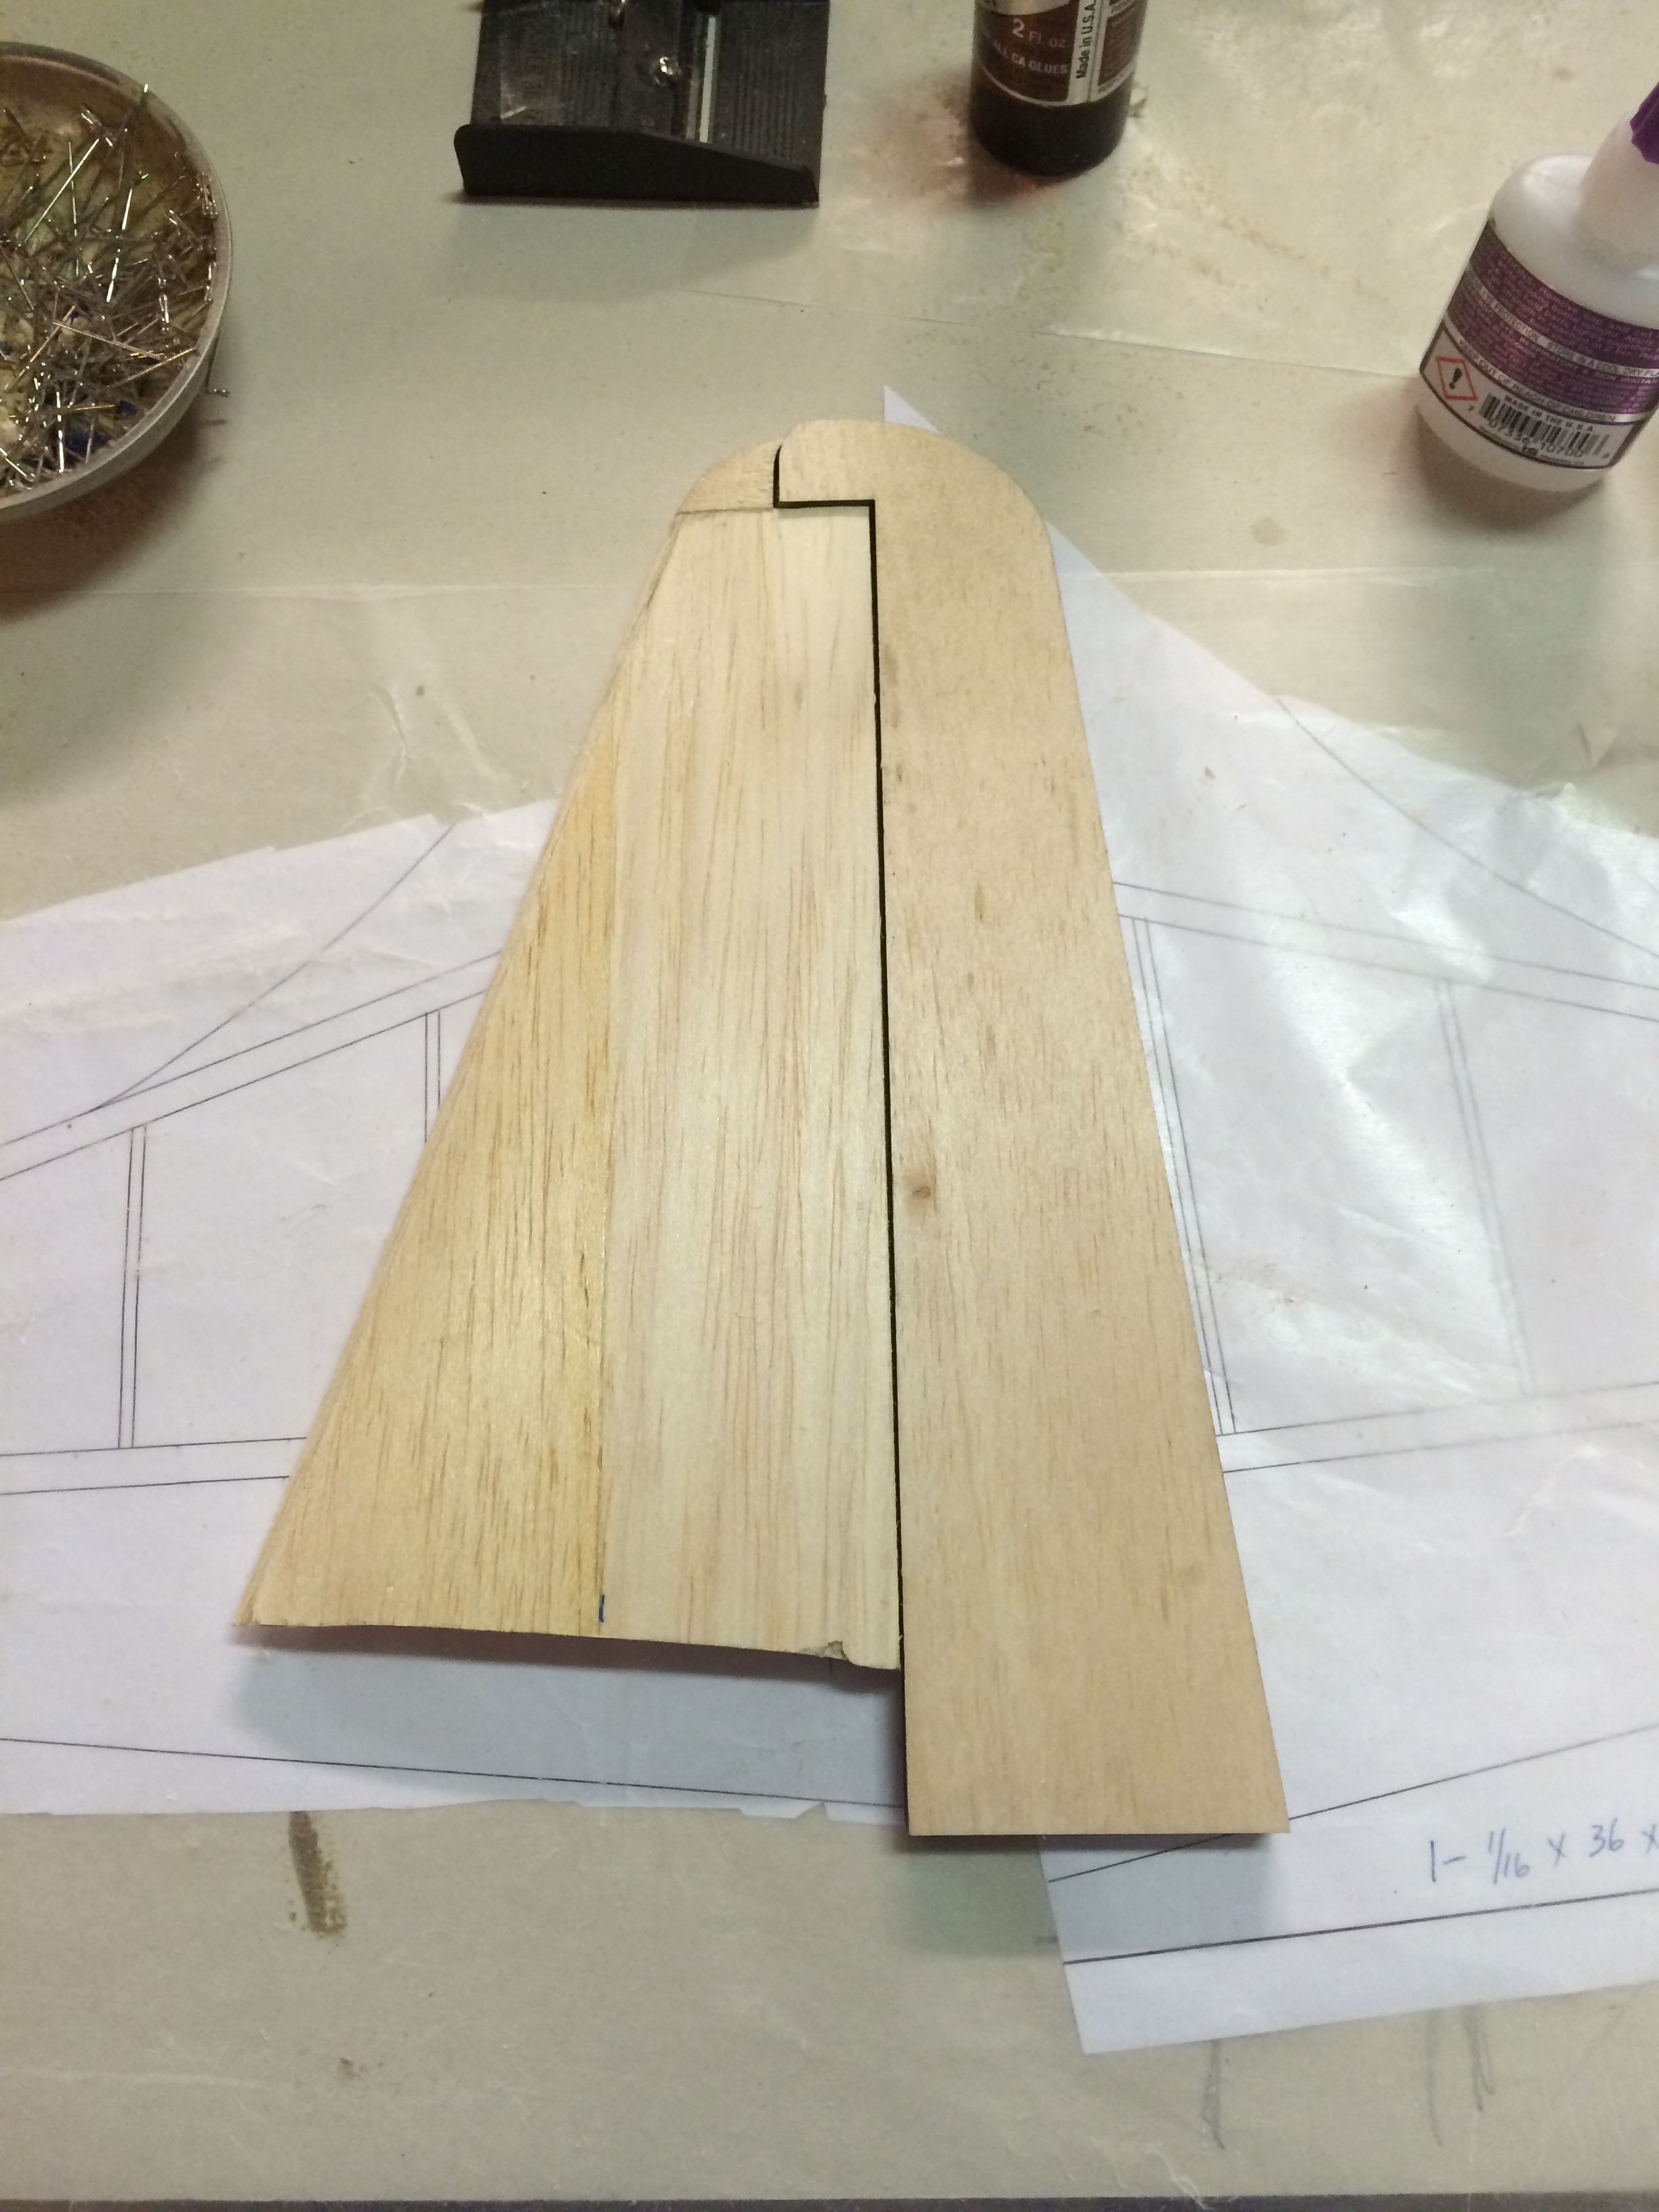
Then following the same procedure as the horizontal. Framed up the two halves, shaped, sheeted and installed the vertical saddles on each half. Cut the excess sheeting, glued the two completed halves together and attached the top tip and leading edge . I will complete the final shaping when the fuselage if framed up.
Got the tips installed on the horizontal last week and was having trouble loading the pictures. The elevators have not been shaped as of yet I will have to wait until the fuselage is being build to decide on how I want to do the linkage for them so I decided to continue on to the vertical stab.
Here I pre cut the sheeting for each of the vertical halves.
Then following the same procedure as the horizontal. Framed up the two halves, shaped, sheeted and installed the vertical saddles on each half. Cut the excess sheeting, glued the two completed halves together and attached the top tip and leading edge . I will complete the final shaping when the fuselage if framed up.
12-13-2015 | 08:45 PM
#32
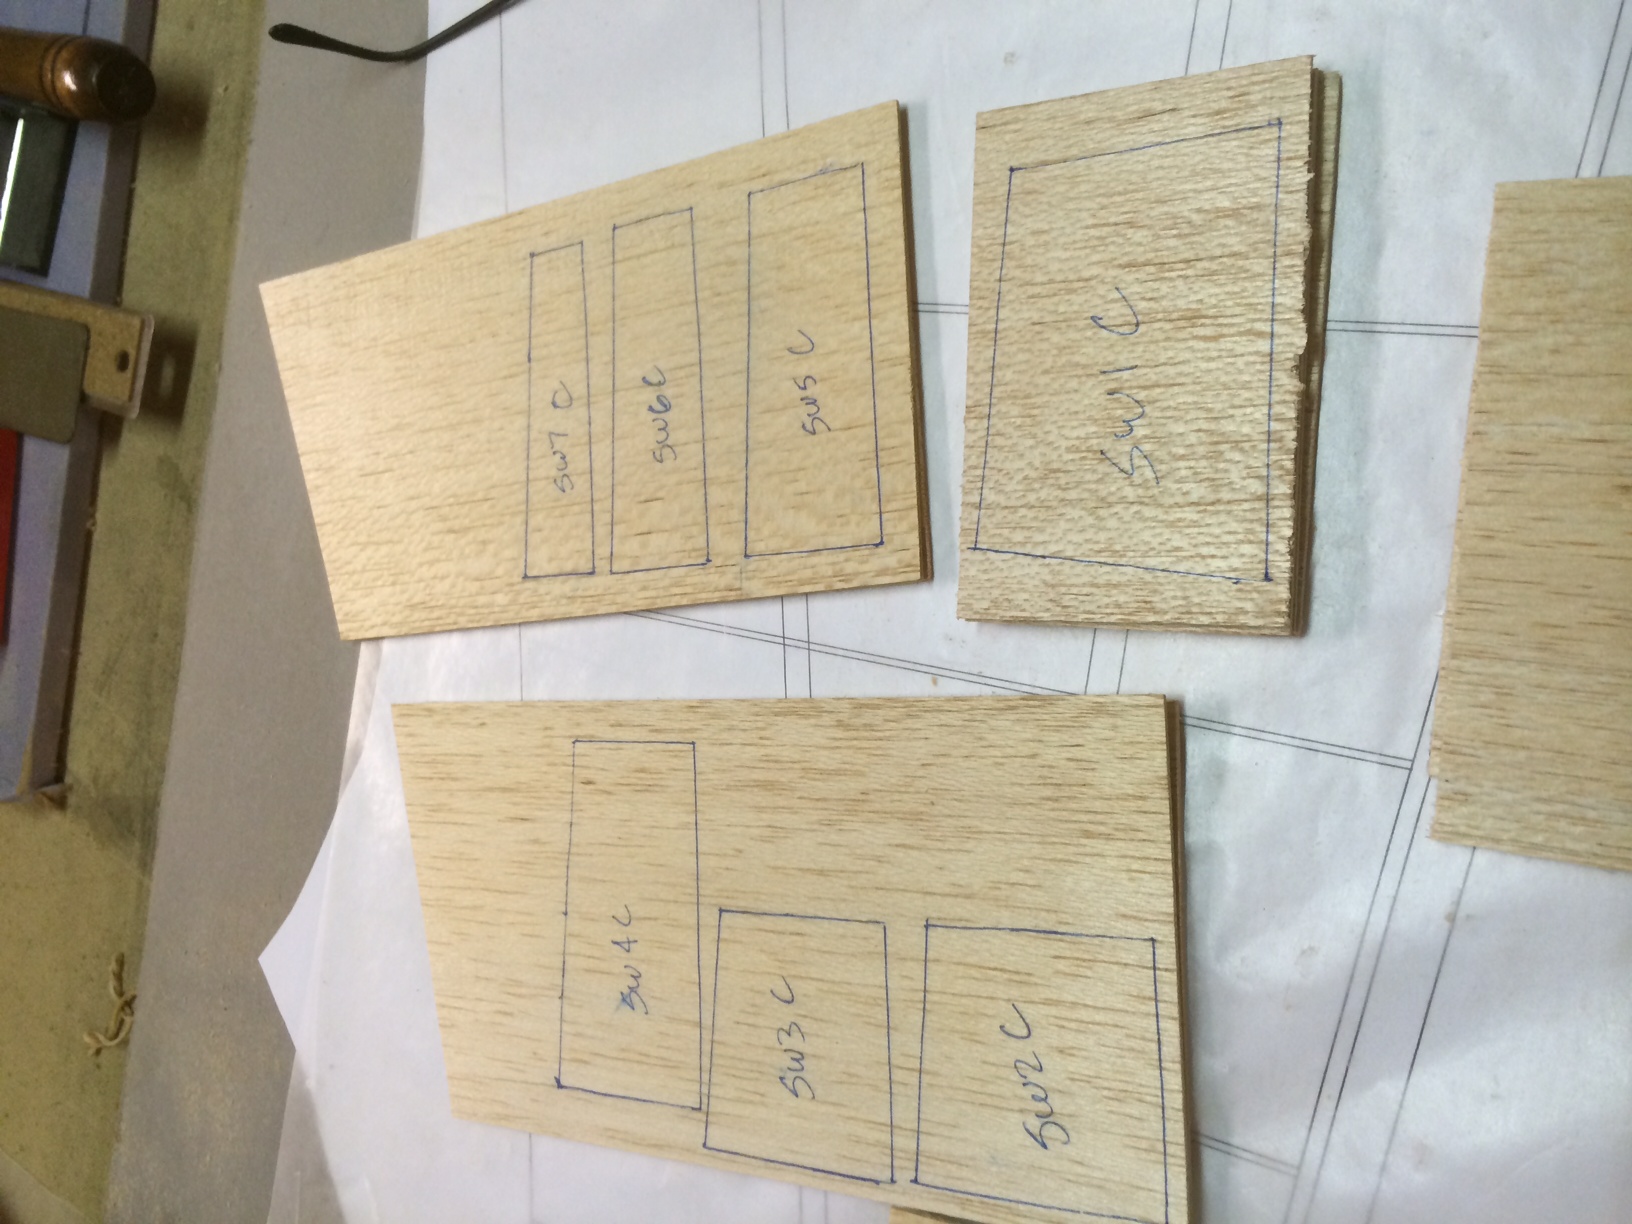
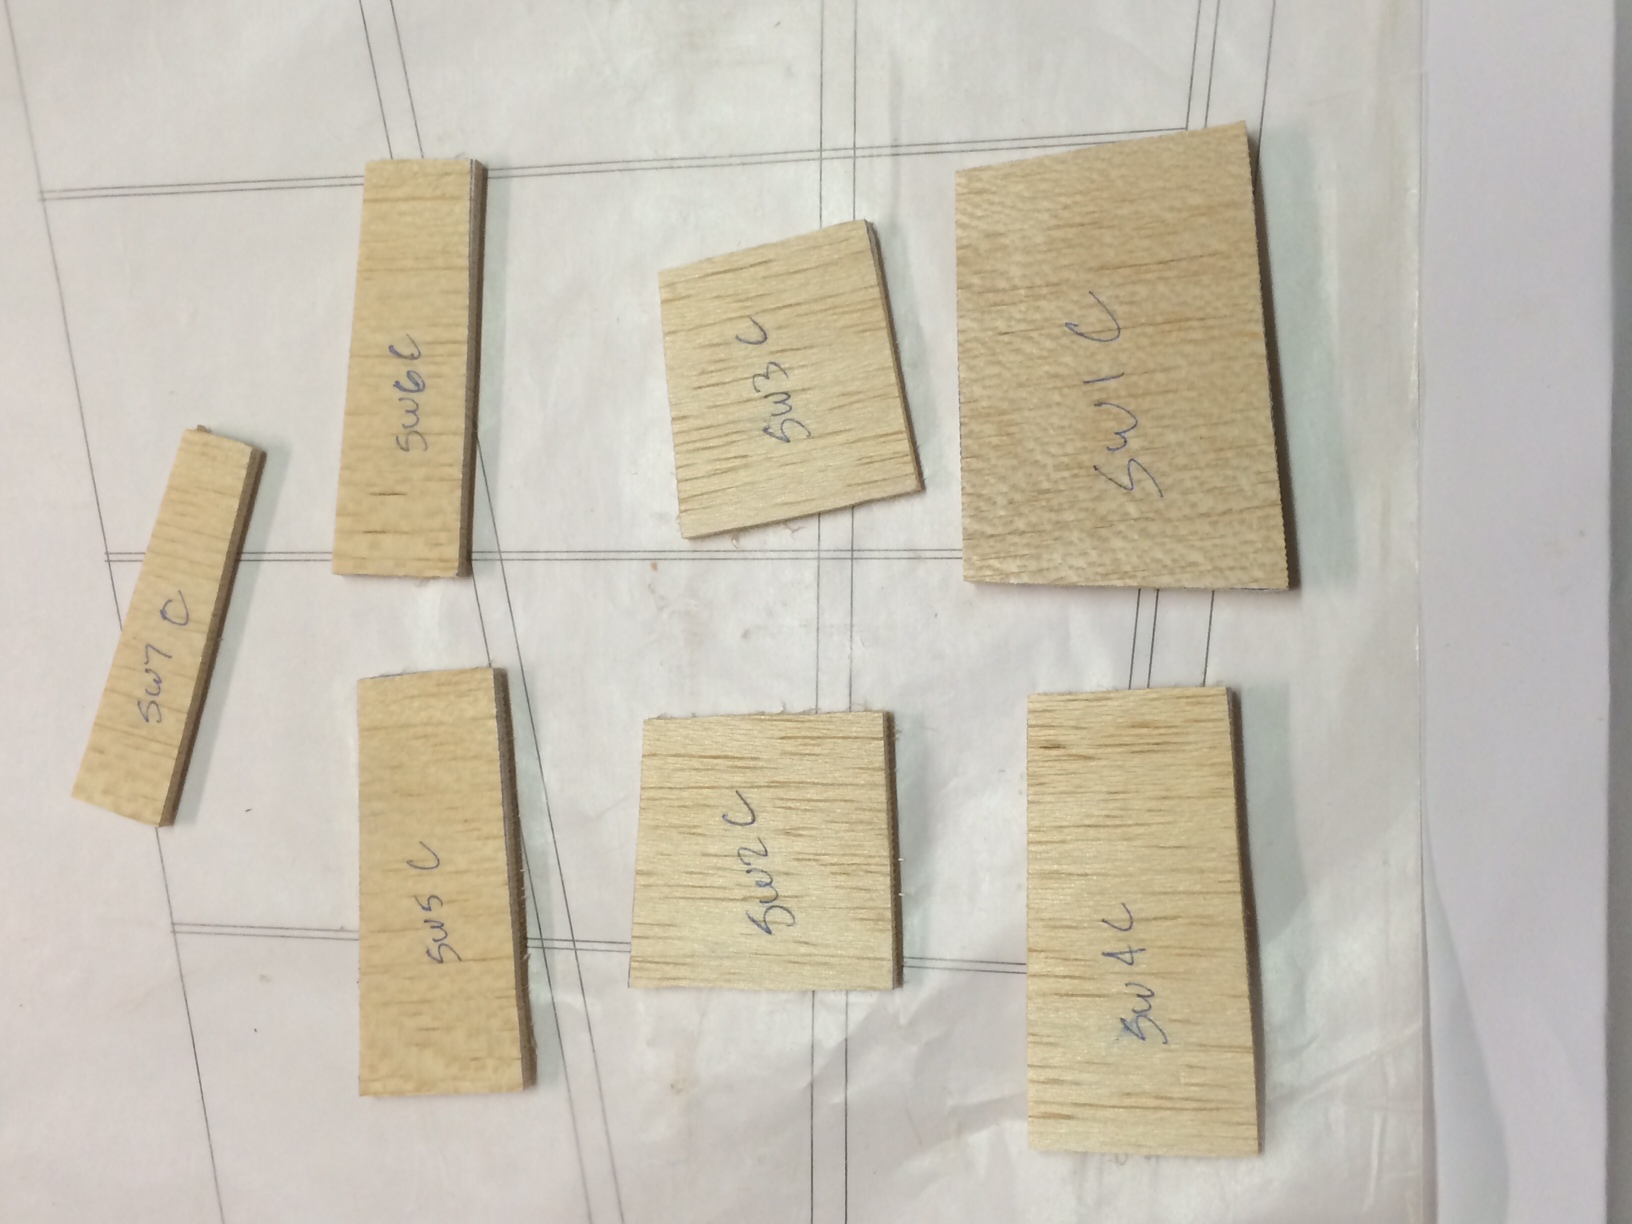
On Thursday I was able to start preparing all the wing skins.
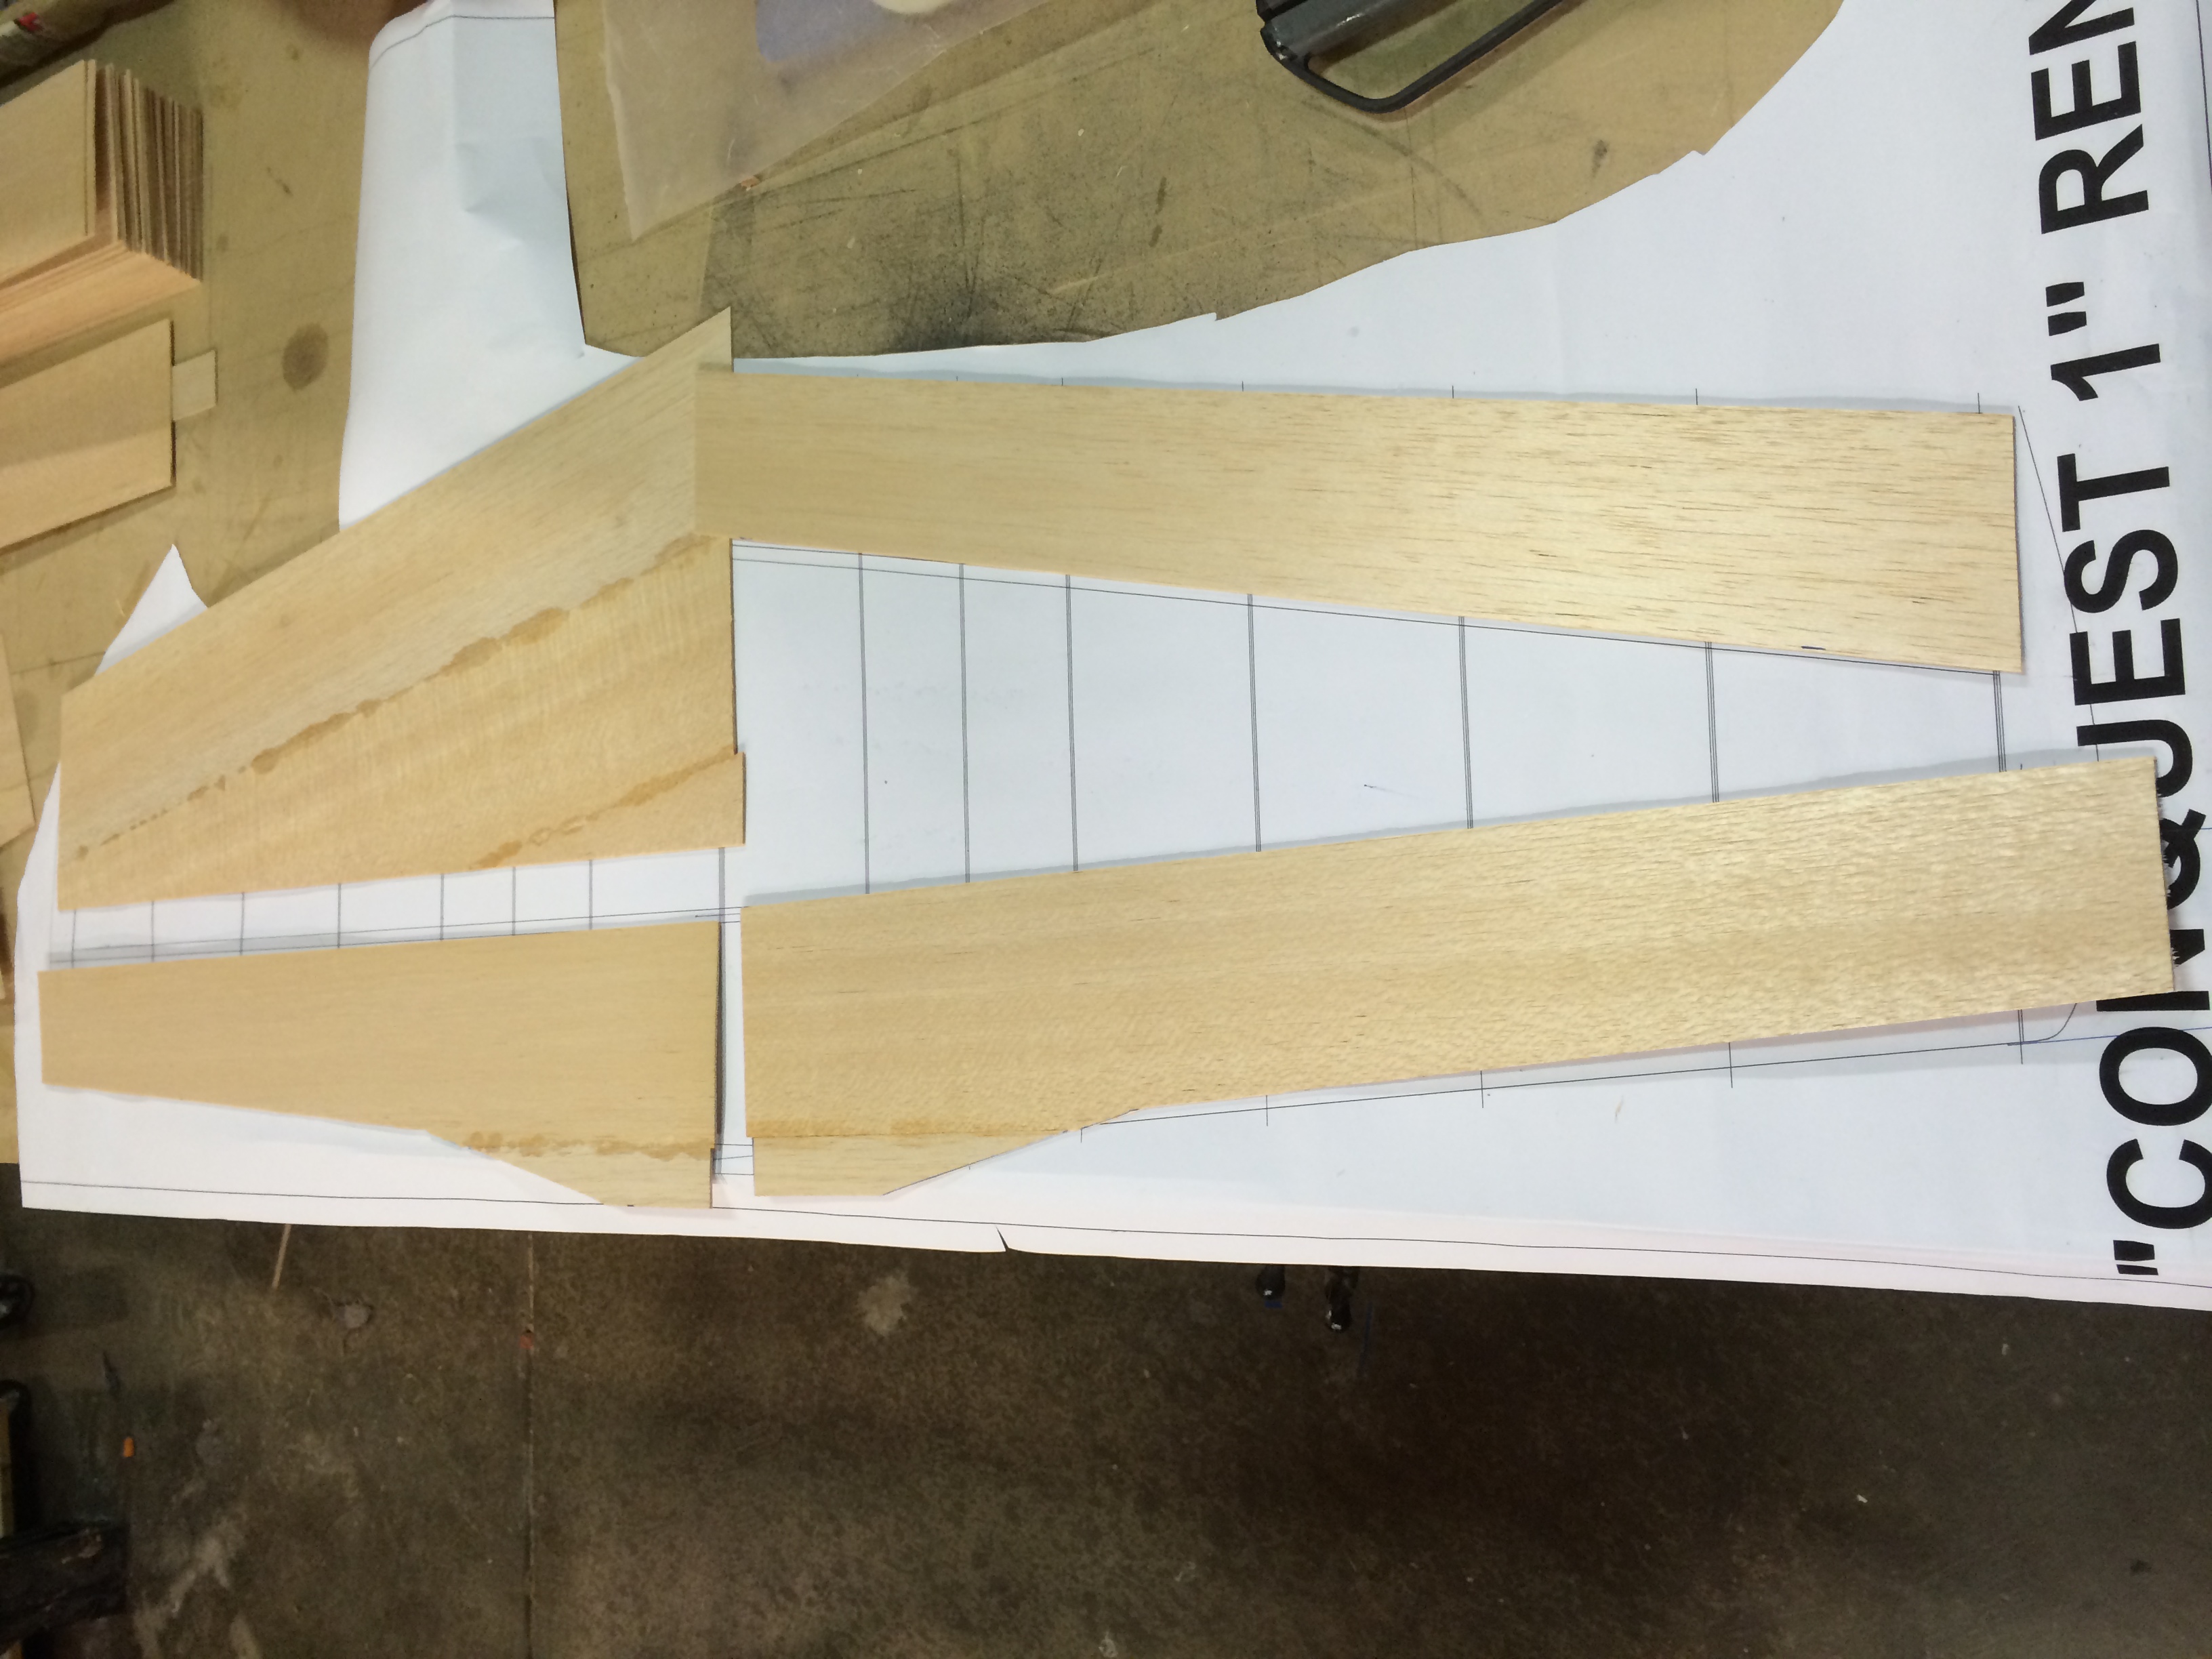
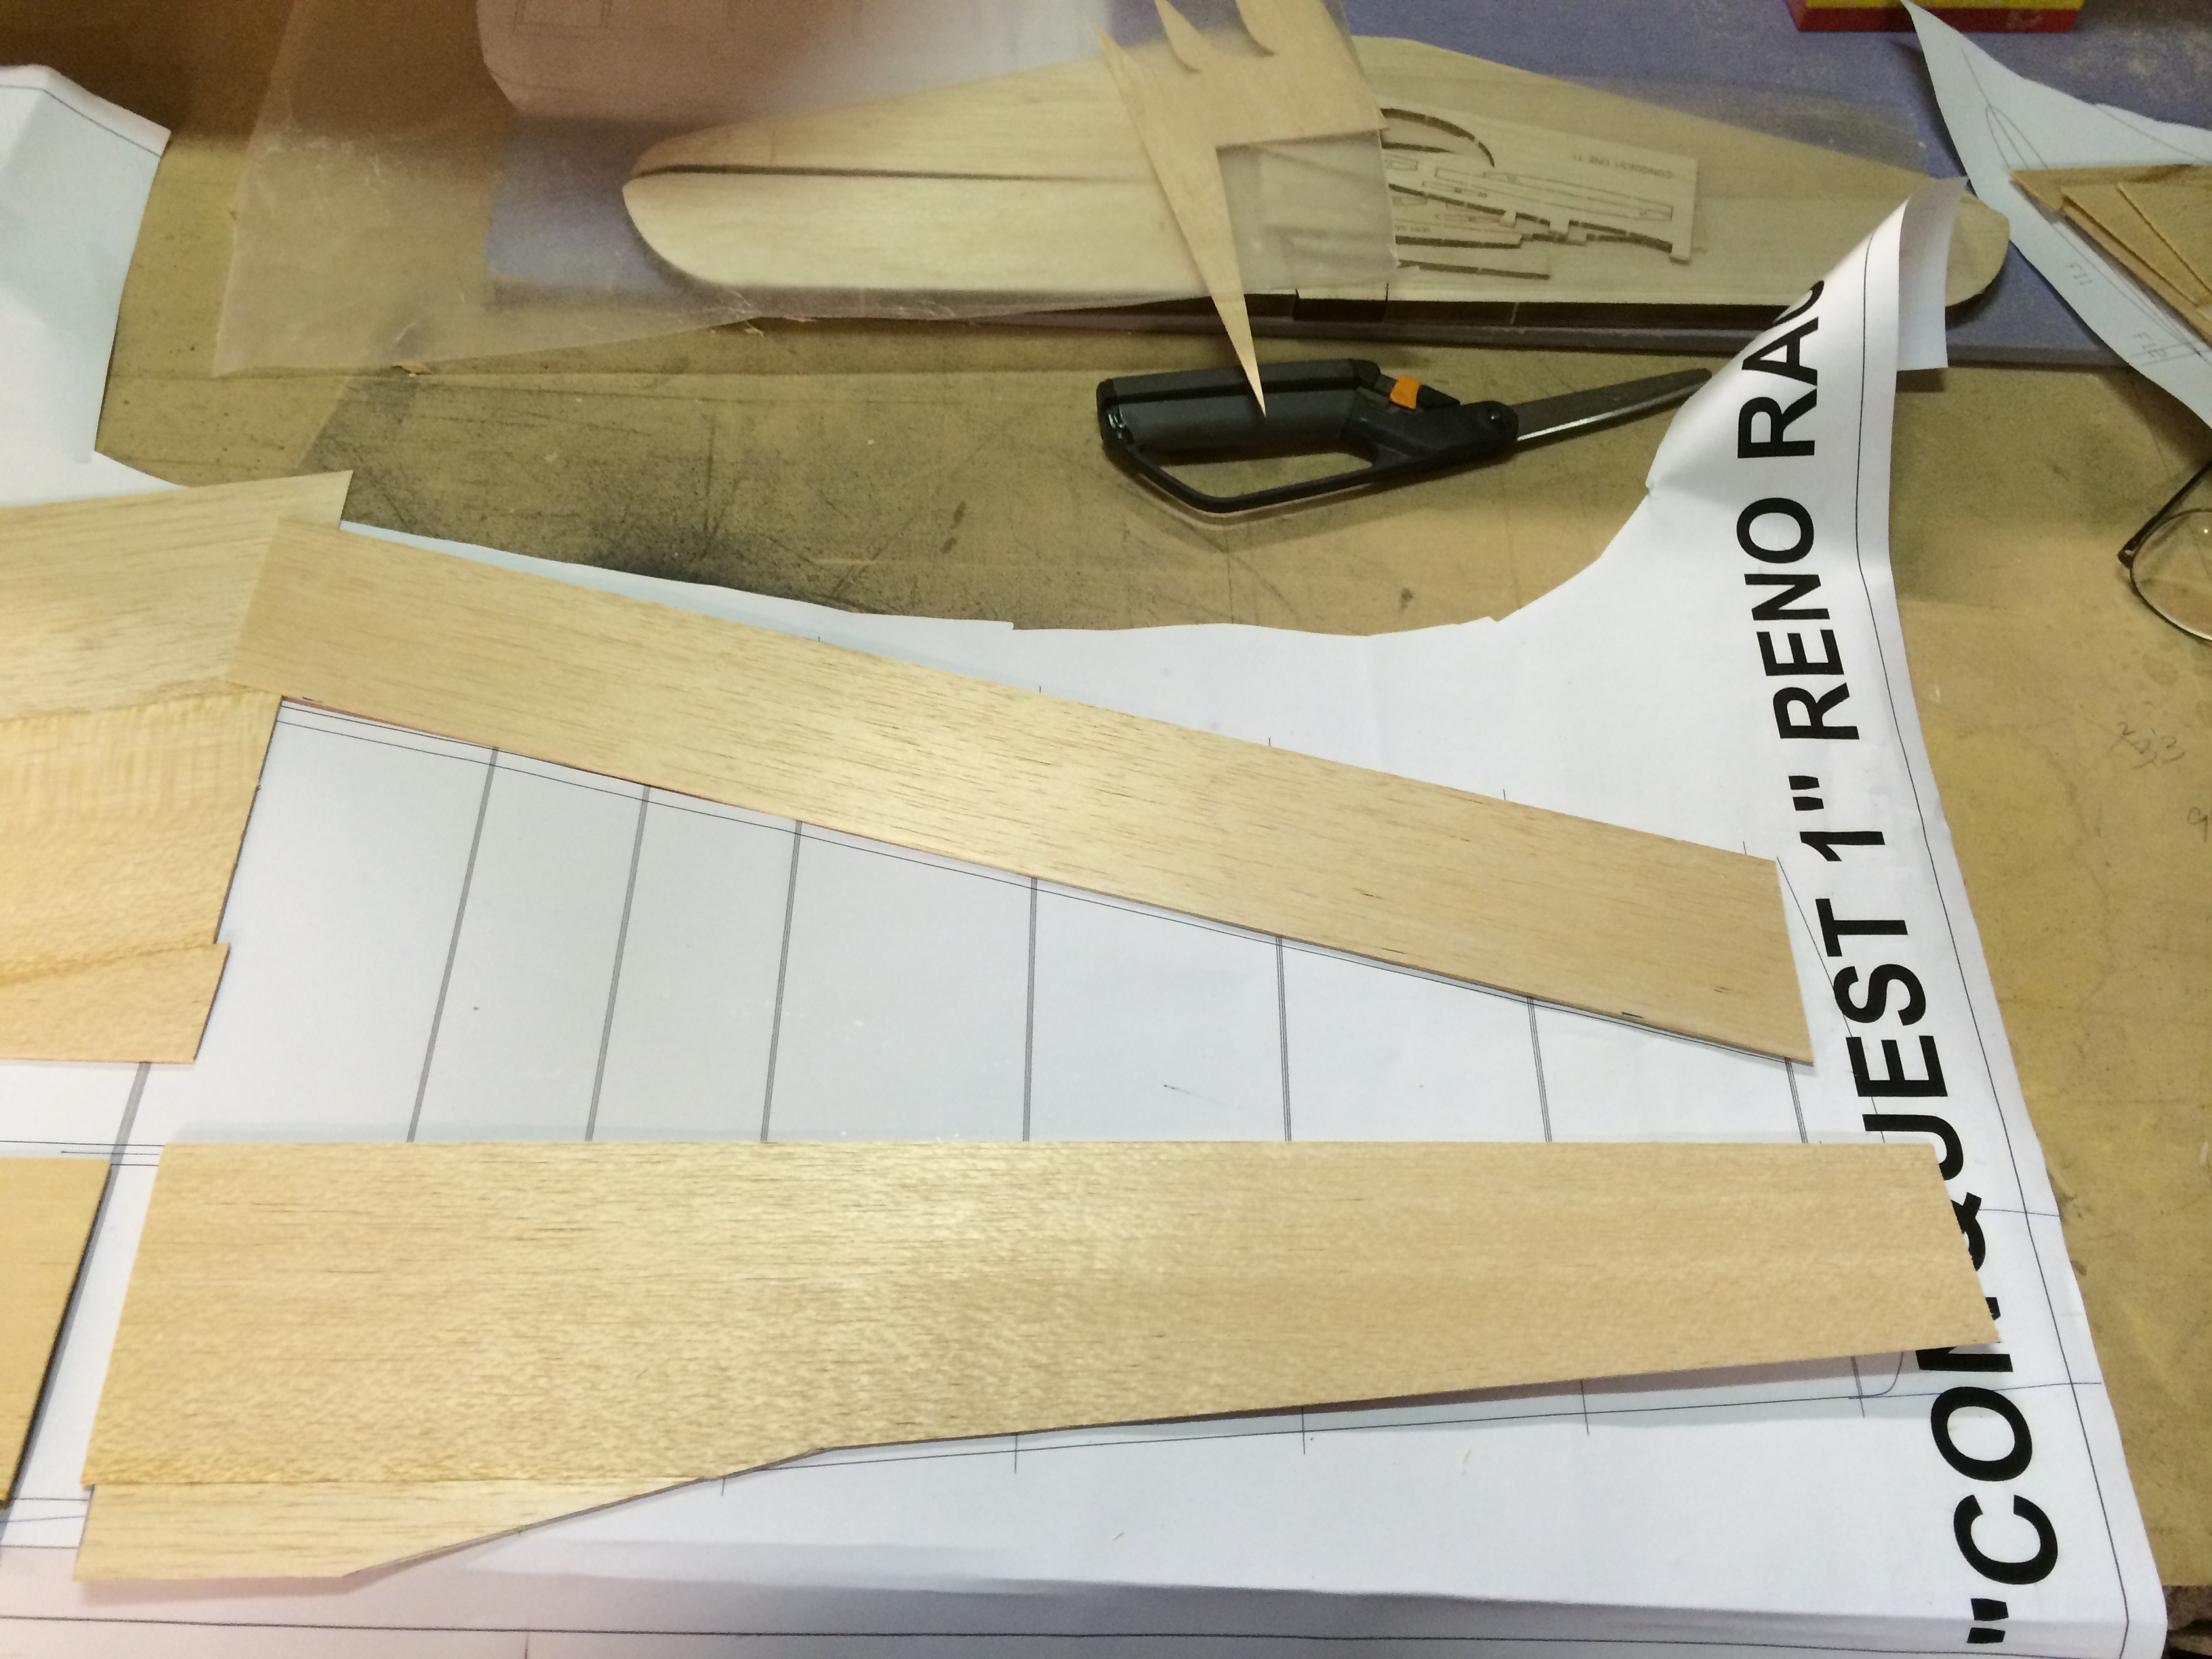
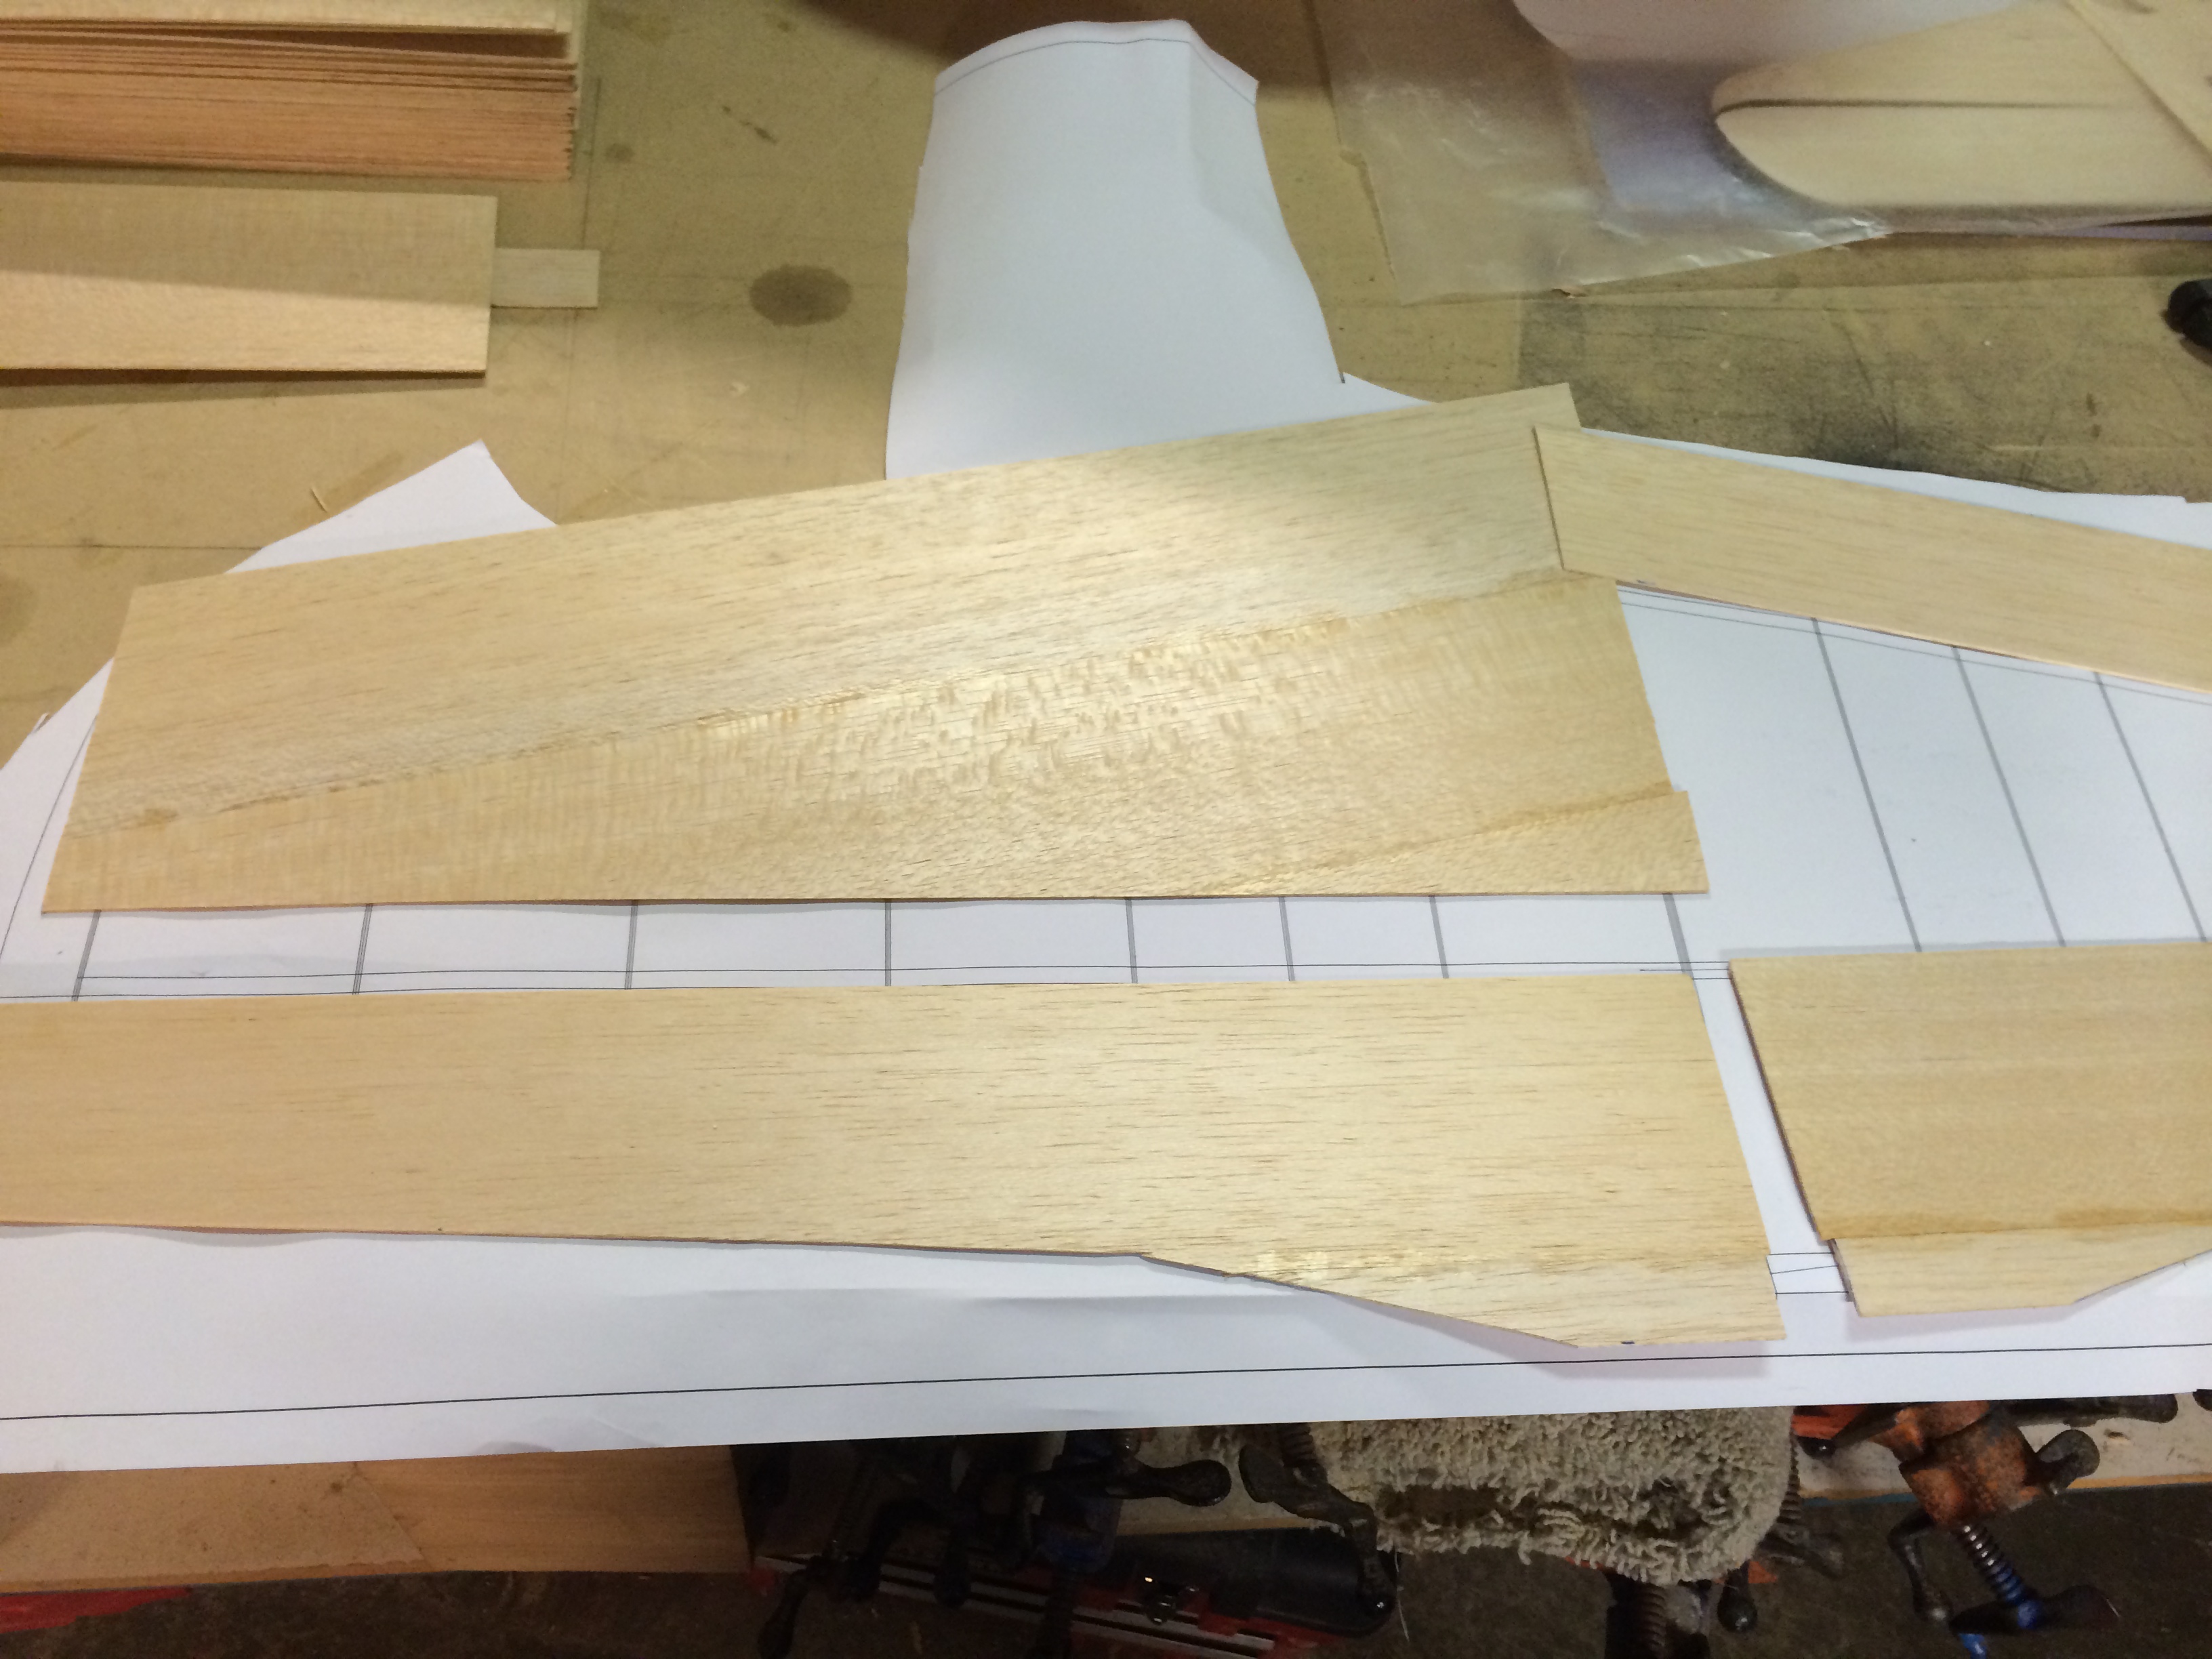
Above is the top and bottom skins for the left wing panel. I think I'm going to start including an extra sheet that has the patterns for these skins with the plans.

Here is a screen shot of the drawing I'm working on for the Tsutonami. My hope is it will make it easier for the builder to prepare all the needed wing skins, tail part skins, and shear webs.
Above is the top and bottom skins for the left wing panel. I think I'm going to start including an extra sheet that has the patterns for these skins with the plans.
Here is a screen shot of the drawing I'm working on for the Tsutonami. My hope is it will make it easier for the builder to prepare all the needed wing skins, tail part skins, and shear webs.
12-29-2015 | 07:21 PM
#34
After getting all the spars in place I glued the wing skins that were prepared ahead of time to the spars from the center out with medium Ca.
Then I turn the wing over and glue the sheeting from the inside with thin ca working my way from the center of the rib to the out side using the bench to making sure the sheeting is firmly against the ribs.
When I finished with both wing halves I glued in the gear blocks with 30 min epoxy and let them set for the night.
12-30-2015 | 08:10 PM
#35
After the epoxy cured for the night
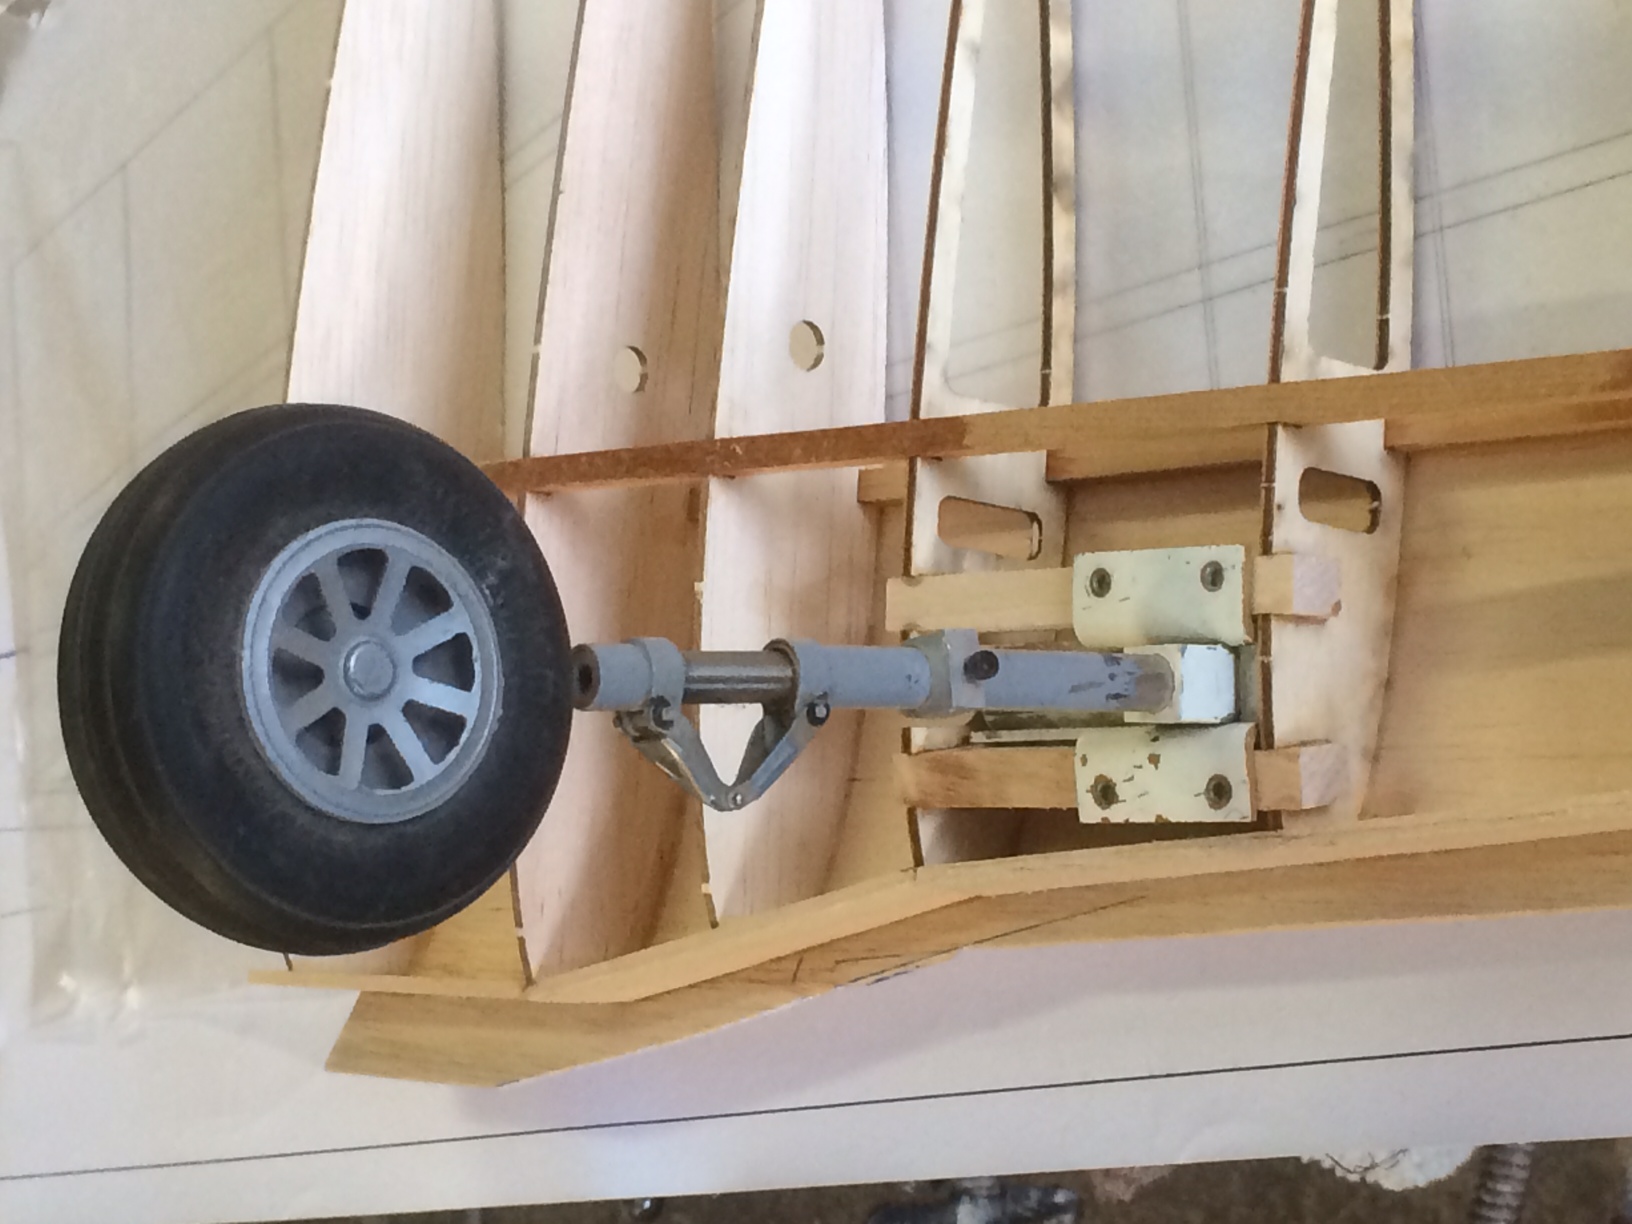
I fit the Spring air retracts. Drilled and tapped the gear blocks to fit 440 button screws. I will harden them with thin ca later.
So after that was done I need to cut out the shear webs because I forgot to do it when I was preparing the wing skins (DUH!)
After those were done I installed the lower front bottom skin. This time I had to use the accelerator sprayed on the back of the wing skin and use medium ca on all the ribs, spar, and leading edge doubler. You have to work quickly by starting with the spar and rolling the skin to the leading while firmly holding it in place while the glue sets. (A tip on this is I work my way from the wing tip to the center of the wing as it is the largest area that you can keep elevated while you roll the skin on.)

 01-02-2016 | 10:39 AM
#37

Yeah, you keep working' on him too, Jake! Between you, Altmeyer and I, just maybe we can get him away from his CAD-work long enough to fly some of these puppies!
As rewarding as it will be for him to see Jeff and Marty flying his Tsunamis, you flying his Me209, Eric and I flying his CzechMate, and Fyfe flying his Bearcat this season; nothing will quite be quite as good as competing with the designs, himself. I'm trying to get him to go to the Nats Scale Warbird Racing event with me. Keep poking him!
As rewarding as it will be for him to see Jeff and Marty flying his Tsunamis, you flying his Me209, Eric and I flying his CzechMate, and Fyfe flying his Bearcat this season; nothing will quite be quite as good as competing with the designs, himself. I'm trying to get him to go to the Nats Scale Warbird Racing event with me. Keep poking him!
01-02-2016 | 04:45 PM
#39
You won't have any problems, Marty. These kits are all built along the same lines, following the same techniques you see demonstrated with multiple models/examples on multiple threads now. Besides, I'm just a phone call away, If you need help right away. And, the idea of these build threads is to get people talking to each other, sharing their techniques, asking questions and getting answers so all will have a rewarding experience. If there's ANYTHING you've seen us do on any of the threads thus far, and require "MORE" in any way, please don't hesitate to ask. Likewise, if there is something we haven't gotten to yet, but you know you need more in-depth coverage/details/pictures, then let us know and we'll be sure to address it as requested.
Ollie
Ollie
Last edited by Iron Dog; 01-02-2016 at 04:53 PM.
01-02-2016 | 08:47 PM
#42
If I can put one of Tim's planes together and make it airworthy, a blind dialed-back chimp could do it. No offense to any so-described chimps, including Roy Batty.


