


CARF F4U-1 Corsair build thread


 11-09-2014, 08:29 PM
#2829
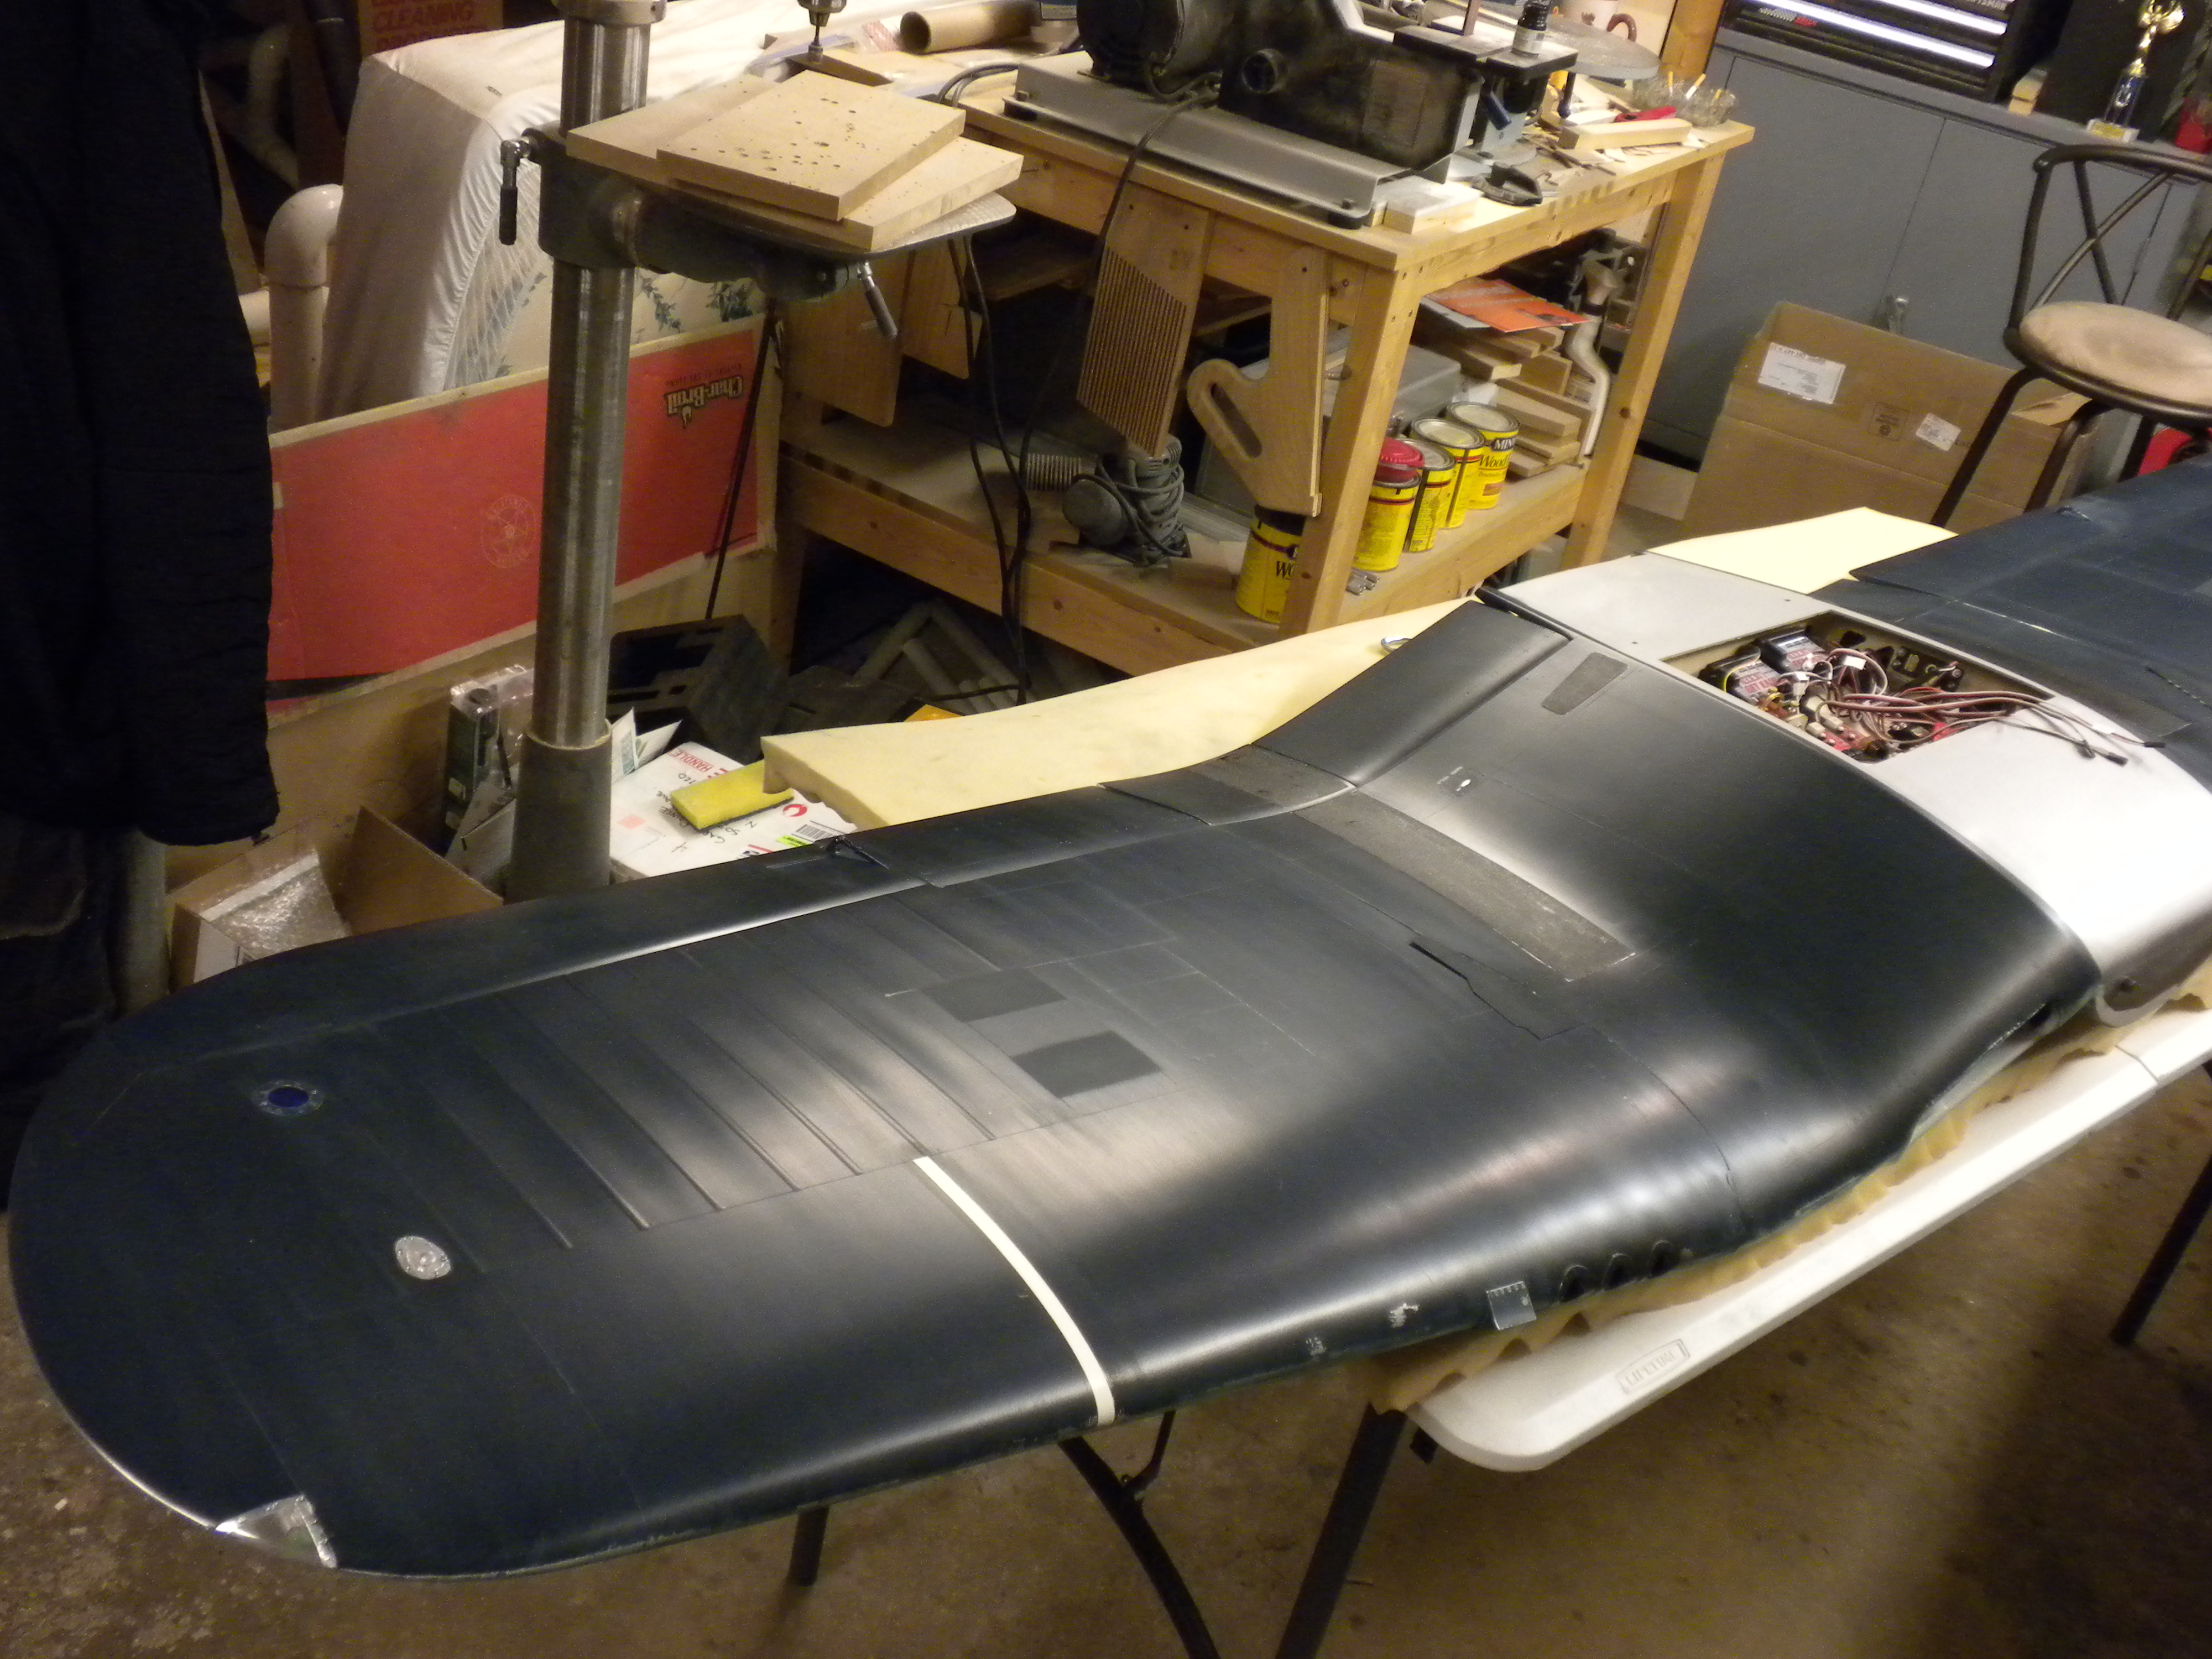
These oversize cut outs are unnecessary. Material will be added to the mirror side of them to fill these unsightly holes. Shown is an example of how it should look if built properly. All about getting the front hinges in the correct location. Now, it should be added that these cutouts were necessary with the original hinge design. However, this has long since been addressed. Shown is the new design that eliminated the need for these cut-outs.


Last edited by ram3500-RCU; 11-09-2014 at 08:33 PM.
 11-10-2014, 12:35 PM
#2833

Join Date: Sep 2006
Location: London, UNITED KINGDOM
Posts: 65
Likes: 0
Received 0 Likes
on
0 Posts
Hello,
I have been following this build with great interest and would like to thank all that contributed. This is by far the best resource for builders considering the CARF Corsair. I had a few questions :
1) How good is the ARF version version the normal build. I don't mind the difference in price but am more interest in how well everything will fit together
2) I'm thinking of purchasing an Authentic Scale Engine R9 versus the usual Moki. However, I'm not sure if it fits. The diameter seems fine but the engine appears to have more overall depth.
Indeed if you look at the drawings below (the middle one is the Authentic scale engine), it looks like you need 7more cm (about 2.5 inches) for the Authentic one (27.4cm versus 20.5cm). I assume that you can reduce the size of the engine offsets but it will still stick more out from the cowl (or the lip if the cowl. For those who have worked on the Corsair, do you think it will fit and will it look scale ?
3) I also realise that the engine exhaust is different than the Moki. There is one exhaust vs two. It looks to be at 35 minutes on the ring (if you think of a watch) which seems similar to one of the Moki exhausts. Finally, the exhaust diameter seems greater than the Moki at 3.2cm. That probably means the nice scale exhausts don't work or will require some modification.
Apologies for using the metric system, I live in the UK. I look forward to feedback.
Thank you
11-10-2014, 01:25 PM
#2834
Hello,
I have been following this build with great interest and would like to thank all that contributed. This is by far the best resource for builders considering the CARF Corsair. I had a few questions :
1) How good is the ARF version version the normal build. I don't mind the difference in price but am more interest in how well everything will fit together
2) I'm thinking of purchasing an Authentic Scale Engine R9 versus the usual Moki. However, I'm not sure if it fits. The diameter seems fine but the engine appears to have more overall depth.
Indeed if you look at the drawings below (the middle one is the Authentic scale engine), it looks like you need 7more cm (about 2.5 inches) for the Authentic one (27.4cm versus 20.5cm). I assume that you can reduce the size of the engine offsets but it will still stick more out from the cowl (or the lip if the cowl. For those who have worked on the Corsair, do you think it will fit and will it look scale ?
3) I also realise that the engine exhaust is different than the Moki. There is one exhaust vs two. It looks to be at 35 minutes on the ring (if you think of a watch) which seems similar to one of the Moki exhausts. Finally, the exhaust diameter seems greater than the Moki at 3.2cm. That probably means the nice scale exhausts don't work or will require some modification.
Apologies for using the metric system, I live in the UK. I look forward to feedback.
Thank you
I have been following this build with great interest and would like to thank all that contributed. This is by far the best resource for builders considering the CARF Corsair. I had a few questions :
1) How good is the ARF version version the normal build. I don't mind the difference in price but am more interest in how well everything will fit together
2) I'm thinking of purchasing an Authentic Scale Engine R9 versus the usual Moki. However, I'm not sure if it fits. The diameter seems fine but the engine appears to have more overall depth.
Indeed if you look at the drawings below (the middle one is the Authentic scale engine), it looks like you need 7more cm (about 2.5 inches) for the Authentic one (27.4cm versus 20.5cm). I assume that you can reduce the size of the engine offsets but it will still stick more out from the cowl (or the lip if the cowl. For those who have worked on the Corsair, do you think it will fit and will it look scale ?
3) I also realise that the engine exhaust is different than the Moki. There is one exhaust vs two. It looks to be at 35 minutes on the ring (if you think of a watch) which seems similar to one of the Moki exhausts. Finally, the exhaust diameter seems greater than the Moki at 3.2cm. That probably means the nice scale exhausts don't work or will require some modification.
Apologies for using the metric system, I live in the UK. I look forward to feedback.
Thank you
#1. The ARF version is quite good enough for most modelers. It is NOT the way to go if scale competition is the goal, as the factory fit and finish is not as good as it can be by a skilled and patient detail oriented "scale" builder.
#2. The Authentic Scale radial WILL fit in this aircraft. It has already been fitted to at least one Corsair that I know of. The ignition is quite bulky and must be considered early on in the equipment planning process, but it works.
#3. The single exhaust exit of the collector ring. The Corsair has two and some plumbing is needed. Again, all doable. If this engine takes off, I intend to work with Dan to come up with a scale stainless steel exhaust system for the Corsair, custom to this engine, just as we did for the Moki. The good thing is, on this engine, the collector ring can rotate anywhere you want it, unlike the Moki.
Hope this helps.
Gary
11-11-2014, 12:43 PM
#2837
Join Date: Sep 2006
Location: London, UNITED KINGDOM
Posts: 65
Likes: 0
Received 0 Likes
on
0 Posts
I'm fishing for a little more information re dimensions with the wings folded. Can somebody be kind enough to let me know how large and high the Corsair is with the wings on the folded position. Thanks
11-12-2014, 03:54 PM
#2838
I have been working on the canopy system on this damaged Corsair. I had to replace a couple damaged parts, straight some others, and re-solder some joints, but it is all back together now. I wanted to get all this working flawlessly before putting the cockpit back together. Here are a couple pictures of the canopy parts. A video of it in action is being uploaded now. I'll post a link later.


11-12-2014, 05:53 PM
#2839
Here is that video on the canopy repair. Sorry for the struggle I had during the making of it. It was hard to do while holding the camera. It really is easy to remove the canopy for service or painting. Also, in the video I state that the removal hole is only visible when the canopy is removed. Obviously, it is visible when the canopy is closed.
Canopy is working very smoothly, the slight motor hesitation not withstanding. On to other repairs :-)
http://www.youtube.com/watch?v=5EtxvMUm6sQ
Canopy is working very smoothly, the slight motor hesitation not withstanding. On to other repairs :-)
http://www.youtube.com/watch?v=5EtxvMUm6sQ
Last edited by ram3500-RCU; 11-12-2014 at 05:58 PM.
11-12-2014, 06:10 PM
#2840
Here are some previous videos I put together on this system, for the benefit of those of you working on this.
http://www.youtube.com/watch?v=8BMR2xiWVxE
http://www.youtube.com/watch?v=KfNt4N3kxfw
http://www.youtube.com/watch?v=uo_6f9sS1ww
http://www.youtube.com/watch?v=8BMR2xiWVxE
http://www.youtube.com/watch?v=KfNt4N3kxfw
http://www.youtube.com/watch?v=uo_6f9sS1ww
Last edited by ram3500-RCU; 11-12-2014 at 06:12 PM.
11-13-2014, 02:34 PM
#2841
Join Date: Sep 2006
Location: London, UNITED KINGDOM
Posts: 65
Likes: 0
Received 0 Likes
on
0 Posts
Very helpful. However, I didn't understand your comment about the hole at the end of the rail that will be hiden. With the canopy closed and and most of the rail visible, the hole at the end of the rail (on the right side on your video) is by definition visible.