


BJCraft BISIDE

 09-03-2014 | 07:13 PM
#477

My Feedback: (3)
I emailed Carden Wingbags about wing bags for the BiSide, they replied "No"
Revoc in Poland does offer them, multiple colors and options
http://www.shop.revoc.eu/en_US/p/Win...r-BJ-Craft/107
Shipping via EMS to the USA is about $60, so delivered they are about $175 USD (they accept Paypal)
If you want to see the colors, they are shown on the transmitter strap page
http://www.shop.revoc.eu/en_US/p/RC-harness-Double/88
Wing bag details and options
http://www.shop.revoc.eu/info/index/pageId/25/preview/1
http://www.shop.revoc.eu/info/index/pageId/23/preview/1
10-09-2014 | 06:33 AM
#481
My Feedback: (5)
Joined: Sep 2010
Posts: 57
Likes: 0
Received 0 Likes
on
0 Posts
From: Tulsa, OK
I wanted to let anyone who might be interested know that I have re-posted my BiSide for sale again.
http://www.rcuniverse.com/market/ite...itemId=1000971
This is a great deal for someone, if you are looking for a complete project just add receiver I am sure we can negotiate a fair price if I leave all the equipment in place. Just keep in mind everything in the plane was purchased brand new for the plane and has very little time on it, so I don't want to give it away. It has Plettenberg Advance motor,JR HV servos and all bb control links. Very nice setup.
Thanks,
10-09-2014 | 03:51 PM
#482
My Feedback: (3)
I emailed Carden Wingbags about wing bags for the BiSide, they replied "No"
Revoc in Poland does offer them, multiple colors and options
http://www.shop.revoc.eu/en_US/p/Win...r-BJ-Craft/107
Shipping via EMS to the USA is about $60, so delivered they are about $175 USD (they accept Paypal)
If you want to see the colors, they are shown on the transmitter strap page
http://www.shop.revoc.eu/en_US/p/RC-harness-Double/88
Wing bag details and options
http://www.shop.revoc.eu/info/index/pageId/25/preview/1
http://www.shop.revoc.eu/info/index/pageId/23/preview/1
Revoc in Poland does offer them, multiple colors and options
http://www.shop.revoc.eu/en_US/p/Win...r-BJ-Craft/107
Shipping via EMS to the USA is about $60, so delivered they are about $175 USD (they accept Paypal)
If you want to see the colors, they are shown on the transmitter strap page
http://www.shop.revoc.eu/en_US/p/RC-harness-Double/88
Wing bag details and options
http://www.shop.revoc.eu/info/index/pageId/25/preview/1
http://www.shop.revoc.eu/info/index/pageId/23/preview/1
The fit, quality of materials and craftsmanship exceeded any expectation I had. Simply amazing.
I would recommend to anyone looking for custom wing bags, I know I will use them again.
10-10-2014 | 01:42 PM
#483

My Feedback: (6)
Joined: Oct 2004
Posts: 15
Likes: 0
Received 0 Likes
on
0 Posts
From: Prairie Village,
KS
Anyone have a good method for removing the large BiSide and smaller BJ Craft decals off the ARF fuse w/o screwing up the paint? As I've done an ARC in darker colors w/o the busi-ness of the decals--I can see it better. The orange of the bottom of the wings blends with the orange on the fuse and makes it harder to see orientation on the ARF. The large decal doesn't help either--so I thought I would at least try it w/o the decal before I re-painted the orange green along with the struts and gear.
FYI on wing bags--I had a couple old OAXI fuse bags that I never use and coupled with stab covers--not tailored--but work pretty well. Probably other 2M fuse and stab covers would work as well.
Thanks,
Richard
FYI on wing bags--I had a couple old OAXI fuse bags that I never use and coupled with stab covers--not tailored--but work pretty well. Probably other 2M fuse and stab covers would work as well.
Thanks,
Richard
10-10-2014 | 02:39 PM
#484
My Feedback: (50)
Joined: Apr 2003
Posts: 558
Likes: 0
Received 0 Likes
on
0 Posts
From: Bolivia, NC
I haven't tried it on BJ Craft covering but the best solvent I've used is 3M adhesive solvent. It's available in automotive paint stores in quart cans. I've not had a paint or plastic that it has attacked but almost any adhesive i've tried it on has released. Go slow and lightly flood the glue as you lift the decal up.
10-15-2014 | 12:01 PM
#485
My Feedback: (45)
Richard,
I know on some of the BJ Craft planes that some of the graphics were actually clear coated over. The Nuance was an example of this. On the old Nuances, you could remove the top layer of graphics, but the bottom was under the clear coat. I would be cautious removing some of them until you are sure. I learned the hard way
Arch
11-21-2014 | 06:23 PM
#486
Was able to get my BiSide recovered and repainted. I was having a real tough time seeing it and actually hung it up after a bout a dozen flights because it would just disappear in flight.
Graphics will go on after the holiday, but I just wanted to get a few pics in its current state.
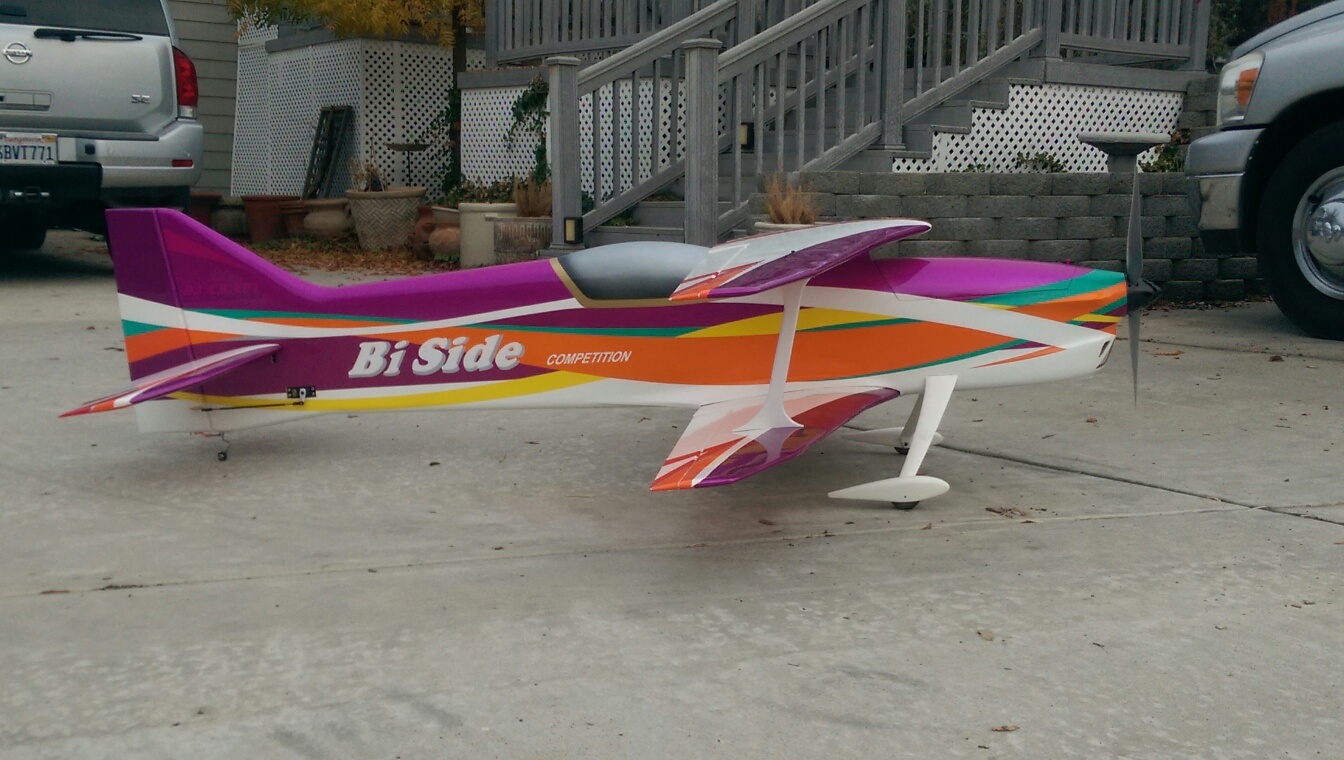
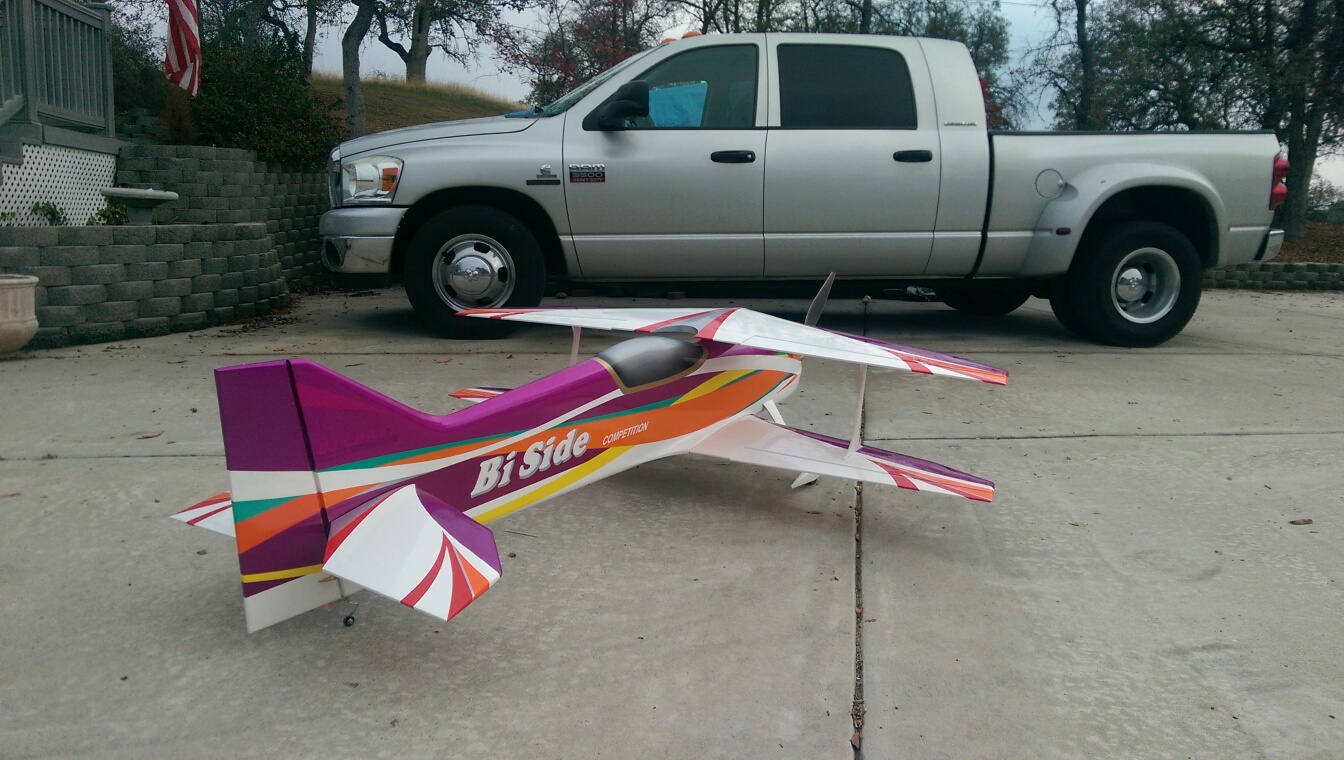
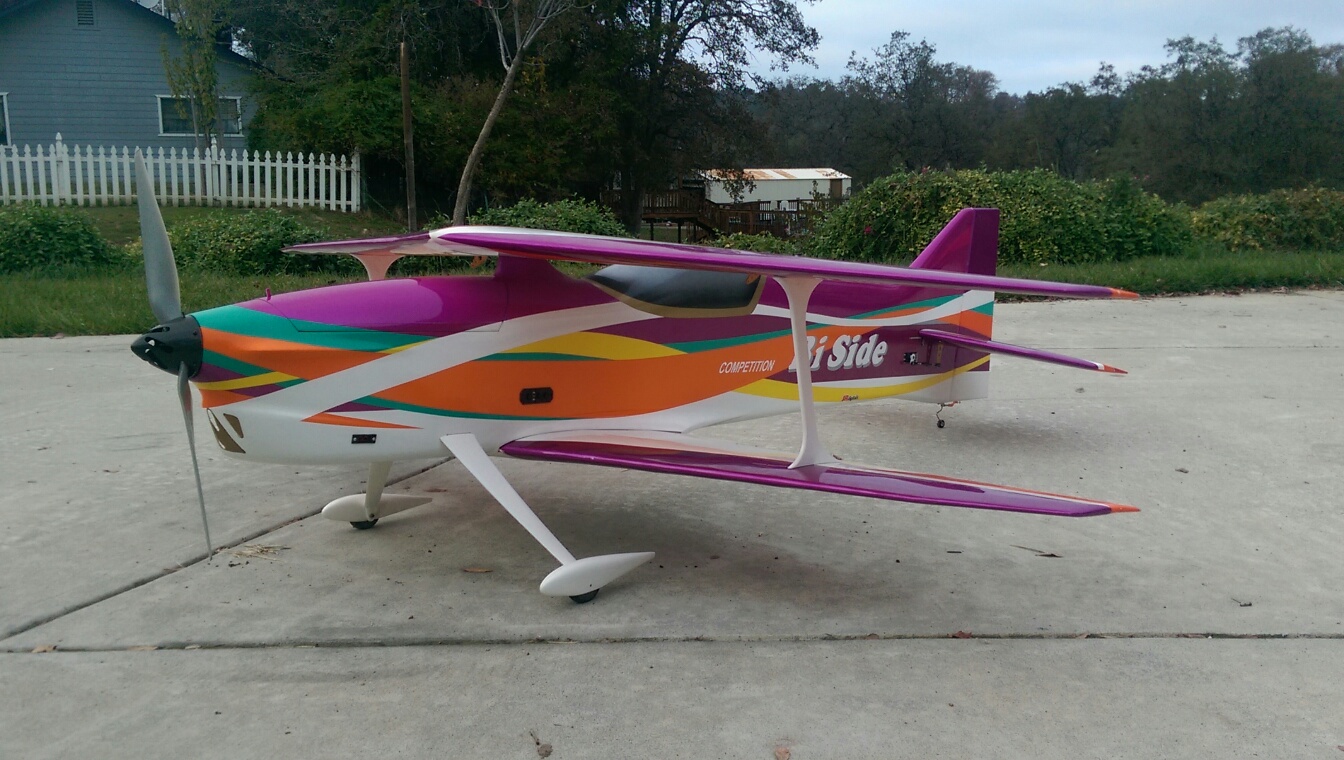
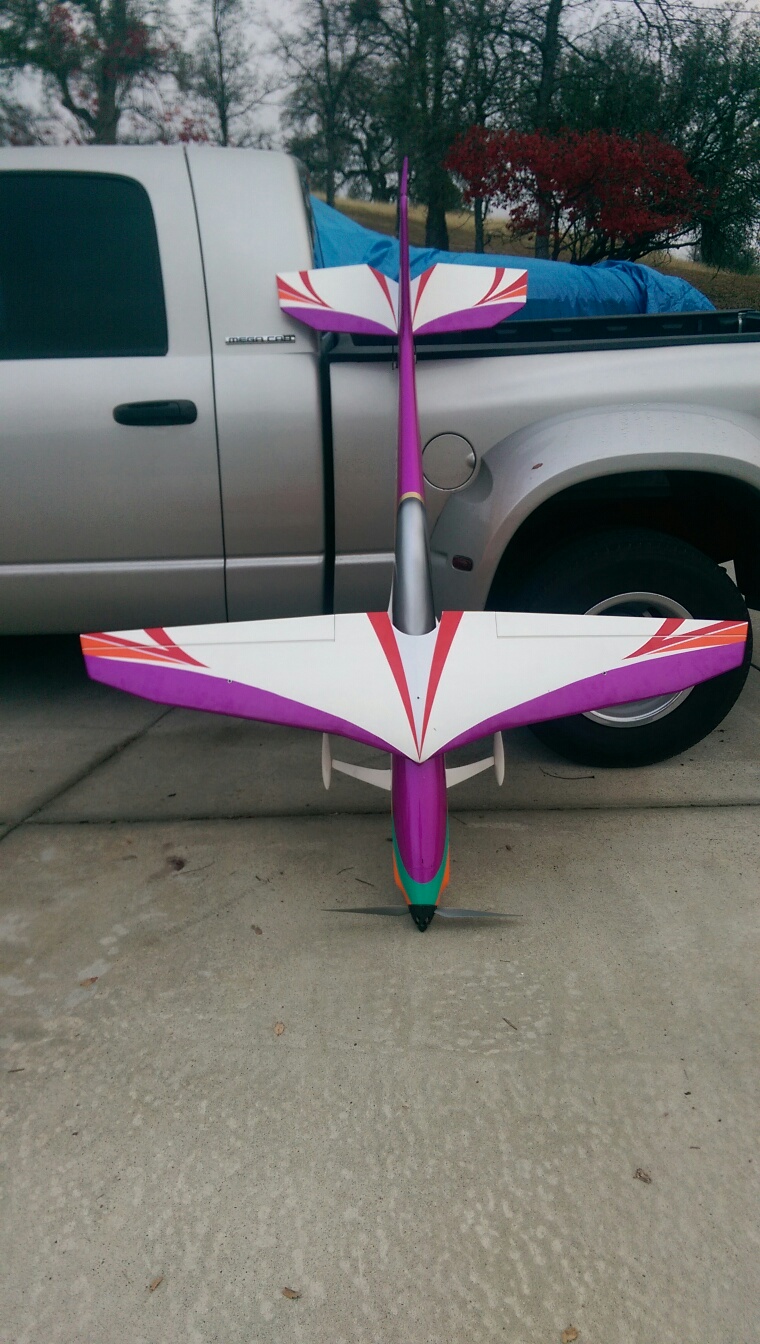
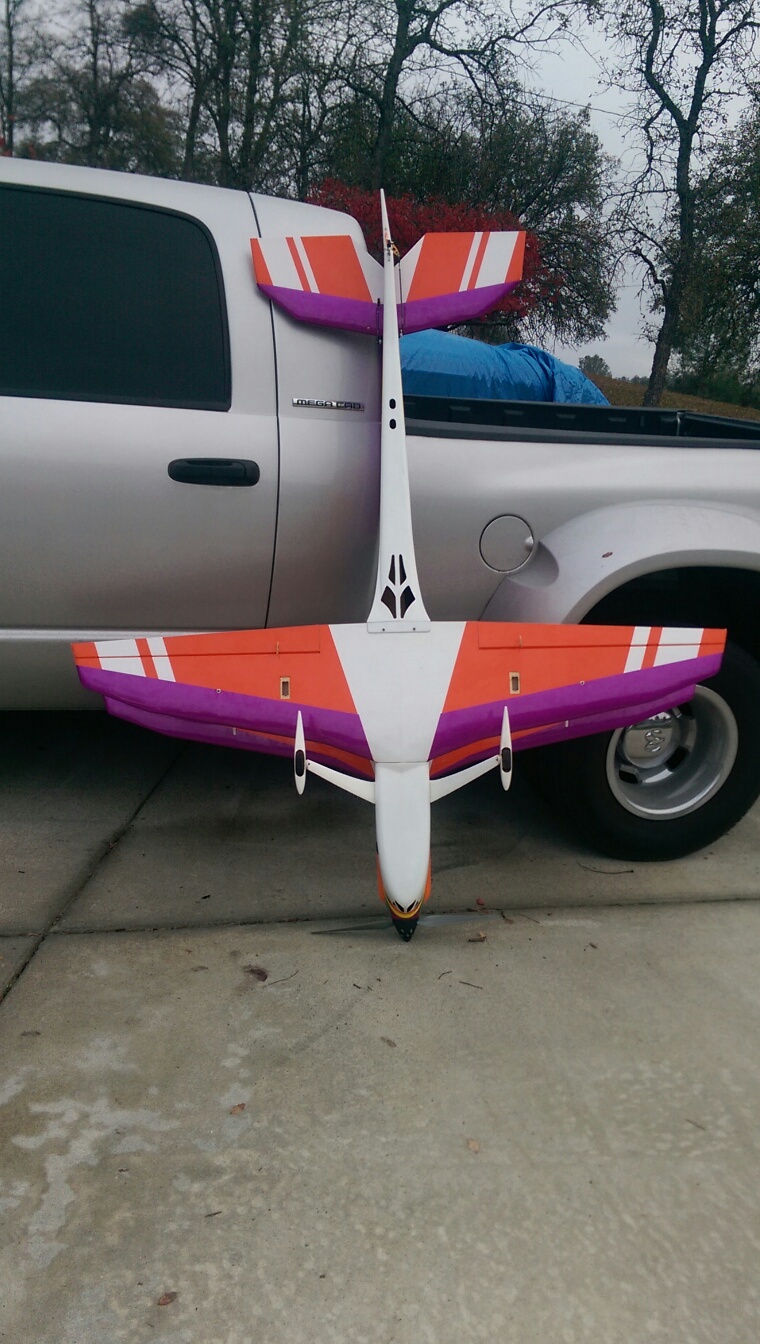
Tom M
Graphics will go on after the holiday, but I just wanted to get a few pics in its current state.
Tom M
11-29-2014 | 01:36 PM
#488
Thread Starter
My Feedback: (5)
B.J. Park recently sent me his thoughts on setting Throttle to Rudder mix on the BiSide. As I mentioned previously, you should install the motor so that it matches the nose ring. That sets the proper thrust angles. After flying it, you will see that it will need some throttle to rudder mix in order to track perfectly.
B.J. said that you really can't tweak the attitude of the plane by adding thrust. In experimenting with the plane, he added up to 5 degrees of right thust and it had no affect on normal flight but it went to the right in a power-off vertical downline. This showed that thrust adjustment was not the way to do it, and that the airplane should be set with the original thrust setting.
I followed his suggestion on my original BiSide and I set the trim of the plane for hands off straight & level flight at full throttle. Then I adjusted throttle to rudder mix at various throttle settings to get it dialed in. That process took me a while to get it right.
B.J. sent me a better process for setting this up. Here's the process he sent me. I tried it and, although I am not totally finished with it, it is much easier and faster than what I did:
1. Take the plane as high as you can, then go into a vertical dive with throttle at idle and with the belly or canopy facing you. If you are using a motor brake setting, then make sure that it is enabled. Adjust the rudder trim so that it is heading perfectly straight down. This took several clicks of left trim on my plane. B.J. says that this is the perfect rudder trim for the plane, aerodynamically and geometrically.
2. Now that you have established the idle downline trim, you need to set the throttle to rudder mix points. First, set the horizontal flight mix with the plane at mid throttle. Set the rudder mix point at this throttle setting so that it is flying straight on a horizontal line. Next, set mixing on vertical uplines at 75% and 100% throttle positions.
You will notice that the mixing is not linear. I used a LINE mix on my 18mz and the mix at mid throttle is about half that at full throttle. I am still working this a bit, so the values may change. I'll post a pic of the curve when I am finished with setting it up.
I was able to get it pretty dialed in in one afternoon, so I was pretty happy with the way it went. Originally, it took me several flying sessions to dial in the rudder to where I liked it.
12-06-2014 | 08:30 AM
#489
My Feedback: (41)
http://www.f3aunlimited.com/bj-craft...stab-fence-kit
We now have Stab Fence kits available for sale. I have a very small amount in stock at this time.
Also we have available new retro fit add ons to change the top incidence on the top wings struts. They come with a piece of white covering to make it look pretty.
I will pick up this cost if you pay me for the shipping first class is $2.50. You can let me know via email and we can arrange the shipping portion.
To qualify for a free top wing adjuster kit you will have needed to have bought the plane thru F3AUnlimited as the original owner. If this doesn't fit you let me know I'll figure it out.
My email address is [email protected]
See the included pictures as they speak volumes. On the stab fences there is a blurb on the product page that Mr Park wrote. It is not needed by everyone. Just a nice added feature.
http://www.f3aunlimited.com/bj-craft...stab-fence-kit
Thanks, Mike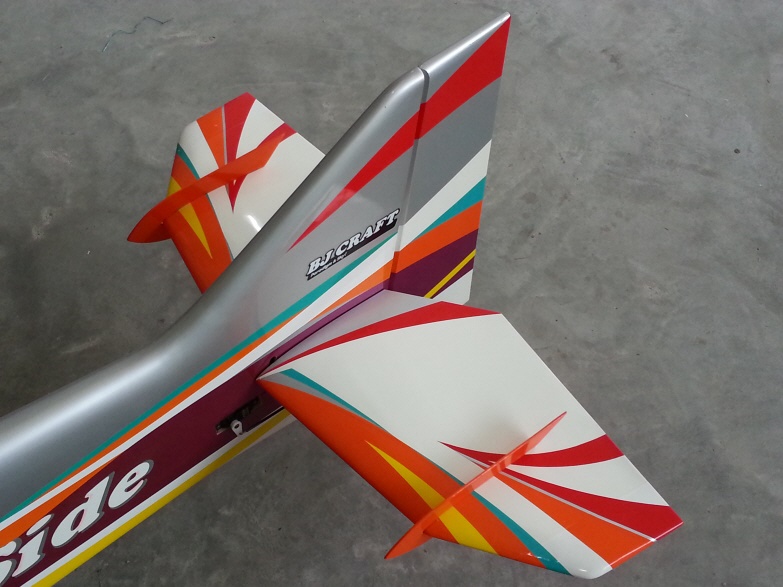
12-06-2014 | 08:34 AM
#490
My Feedback: (41)
Also to add this. The BiSide is well liked by many fliers and has a great presence in the air.
We have them on sale at the lowest price we can. I admit I bought quite a few.
If interested in getting one sent out right away let me know.
http://www.f3aunlimited.com/bj-craft-biside-arf
Free shipping. Trust me that's a lot of cost we are willing to absorb.
Mike
We have them on sale at the lowest price we can. I admit I bought quite a few.
If interested in getting one sent out right away let me know.
http://www.f3aunlimited.com/bj-craft-biside-arf
Free shipping. Trust me that's a lot of cost we are willing to absorb.
Mike
12-06-2014 | 04:07 PM
#492
My Feedback: (41)
Thanks Tom
If anyone wants the top incidence kit and they didn't buy the plane from us I will tack it on to any order including the stab fences at no charge. Just email me to let me know it's still N/C. Or put it into the comments box on the order.
Sorry if my previous message came across as exclusionary. I'm not sure what changing the incidence does maybe somebody could tell us.
Thanks, Mike
12-06-2014 | 05:51 PM
#493
My Feedback: (3)
Thanks Tom
If anyone wants the top incidence kit and they didn't buy the plane from us I will tack it on to any order including the stab fences at no charge. Just email me to let me know it's still N/C. Or put it into the comments box on the order.
Sorry if my previous message came across as exclusionary. I'm not sure what changing the incidence does maybe somebody could tell us.
Thanks, Mike
If anyone wants the top incidence kit and they didn't buy the plane from us I will tack it on to any order including the stab fences at no charge. Just email me to let me know it's still N/C. Or put it into the comments box on the order.
Sorry if my previous message came across as exclusionary. I'm not sure what changing the incidence does maybe somebody could tell us.
Thanks, Mike
http://www.rcuniverse.com/forum/elec...l#post11853551
12-07-2014 | 02:53 AM
#495
My Feedback: (3)
I'm a bit confused regarding the new wing incidence kit.
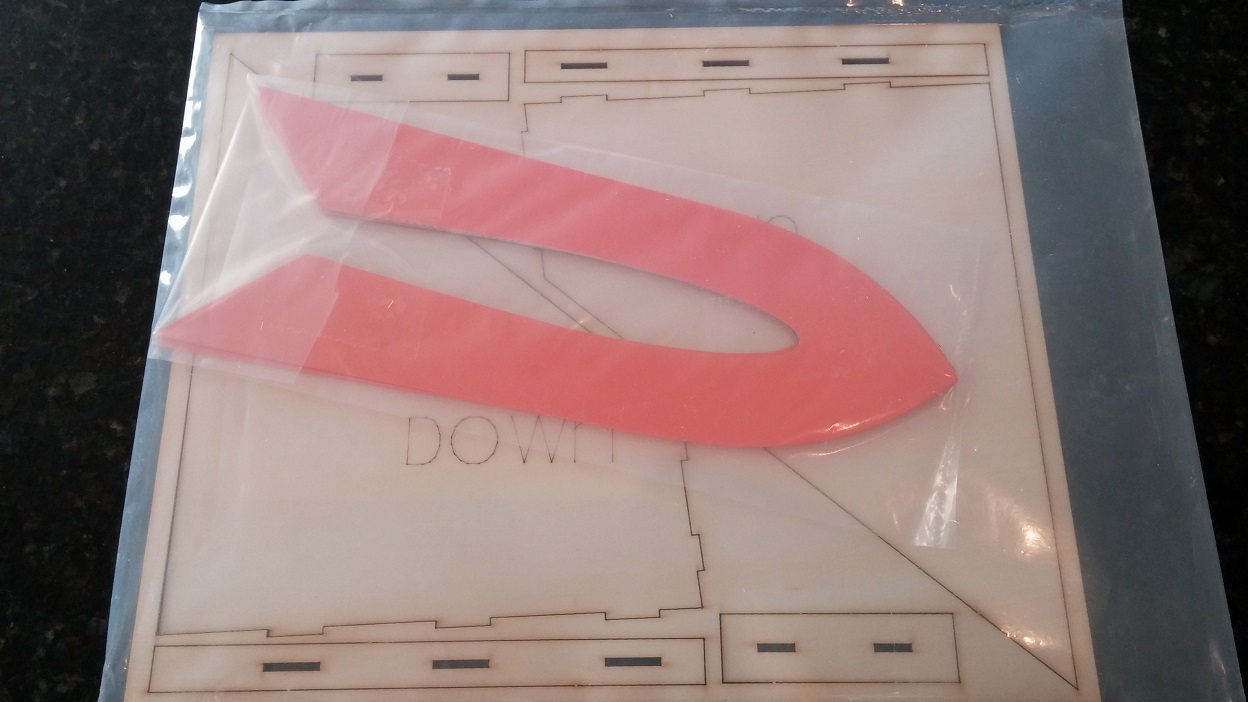
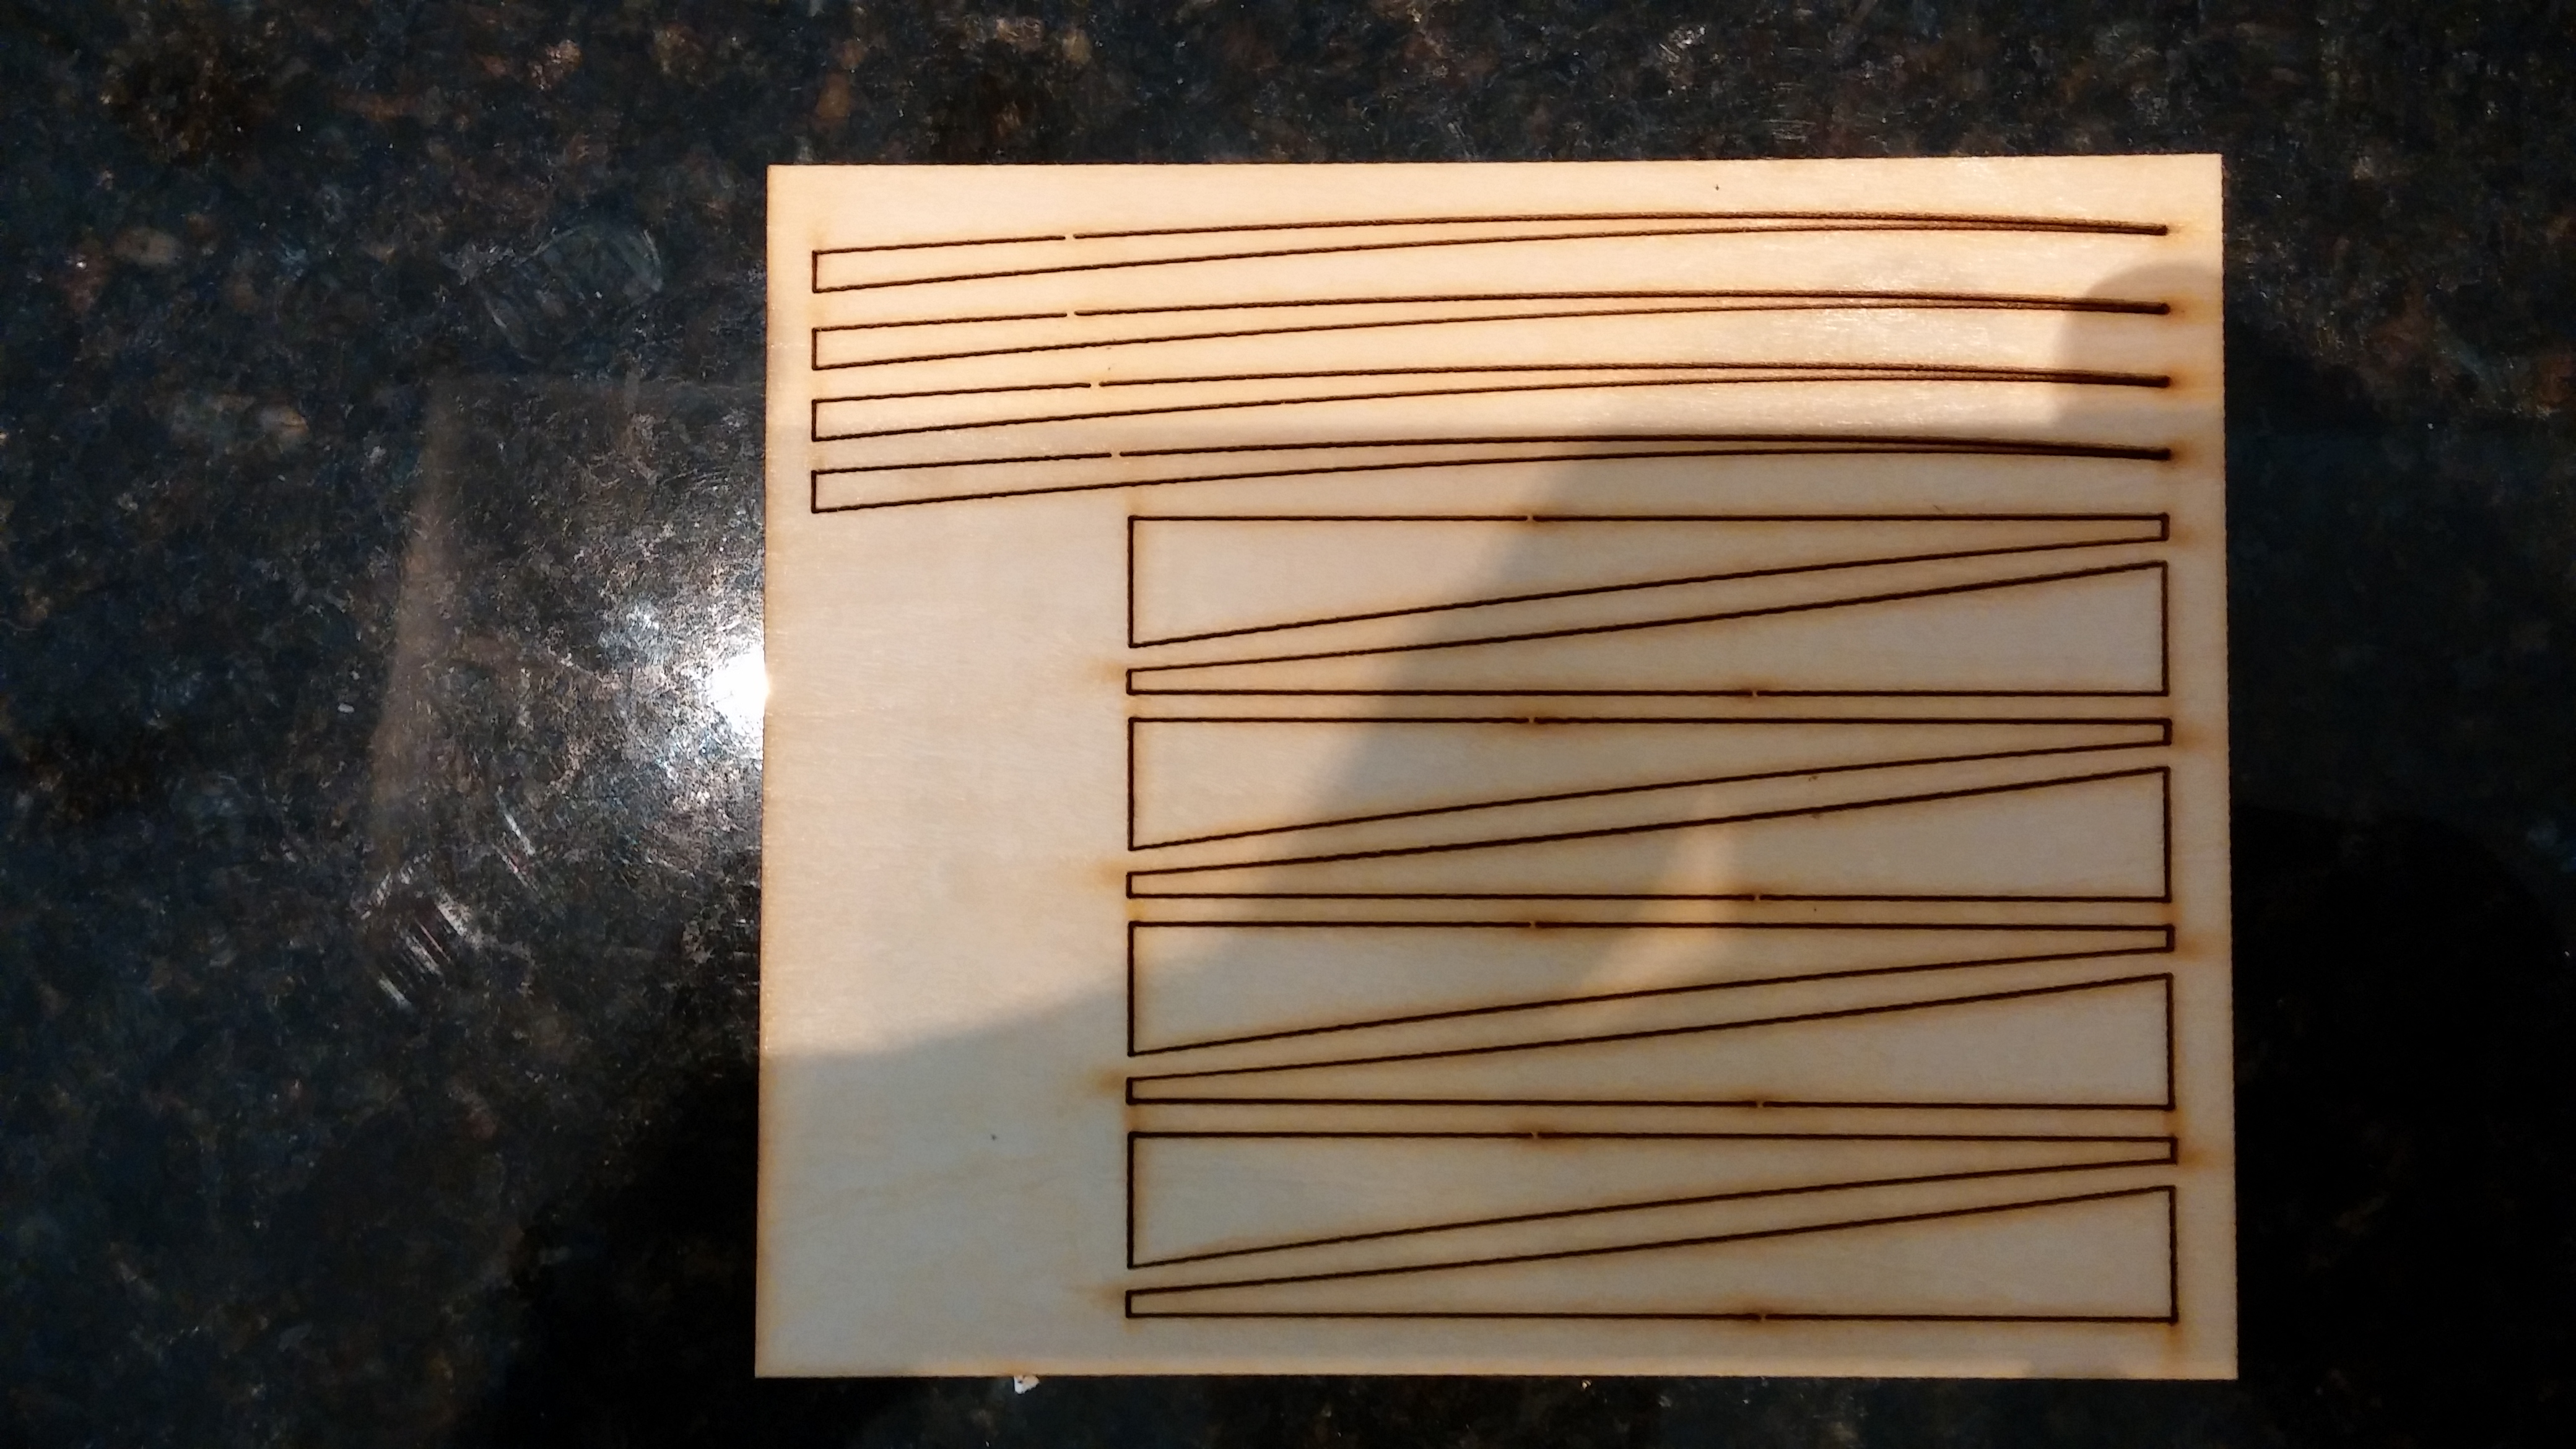
Are the 8 laser cut 'wedges' show on the bottom of the new wing incidence kit (that I assume mount on the fuse center pylon)...4th pic in Mike's post #489
http://www.rcuniverse.com/forum/atta...0&d=1417883308
the same as those that were previously provided for the top wing hold down kit (shown at the bottom of the BiSide assembly guide under "Add Up")
http://rcone.kr/upload2/files/data/d...e5c3c32/b2.jpg
http://rcone.kr/upload2/files/data/d...e5c3c32/b3.jpg
In other words, if you have already installed the top wing hold down add up, do you need to remove those pieces from the fuse pylon and install the new pieces?
I can't tell if they are the same by looking at just the pictures. I thought earlier in this thread it was said that the top wing carry kit cdnter pylon pieces did not change incidence, but the new kit does?
Thank you very much.
Last edited by ltc; 12-07-2014 at 02:58 AM.
12-07-2014 | 06:39 AM
#496

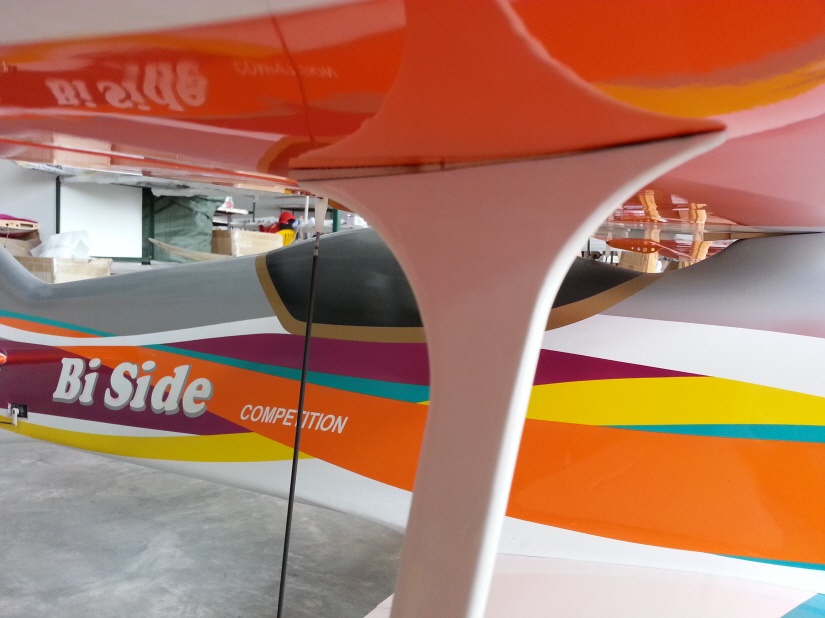
On a BiSide I built for a friend, I constructed similar incidence changing shims in order to bring the top wing into correct relation to the bottom wing (can't remember the number, but it was specified by BJ).
I let the strut shims set/control the top wing incidence, then added the center pylon wood as a support that did not effect the incidence. I suspect that is what the new kit does.
Dan
I let the strut shims set/control the top wing incidence, then added the center pylon wood as a support that did not effect the incidence. I suspect that is what the new kit does.
Dan
12-07-2014 | 10:04 AM
#497
Thread Starter
My Feedback: (5)
I'm a bit confused regarding the new wing incidence kit.
Are the 8 laser cut 'wedges' show on the bottom of the new wing incidence kit (that I assume mount on the fuse center pylon)...4th pic in Mike's post #489
http://www.rcuniverse.com/forum/atta...0&d=1417883308
the same as those that were previously provided for the top wing hold down kit (shown at the bottom of the BiSide assembly guide under "Add Up")
http://rcone.kr/upload2/files/data/d...e5c3c32/b2.jpg
http://rcone.kr/upload2/files/data/d...e5c3c32/b3.jpg
In other words, if you have already installed the top wing hold down add up, do you need to remove those pieces from the fuse pylon and install the new pieces?
I can't tell if they are the same by looking at just the pictures. I thought earlier in this thread it was said that the top wing carry kit cdnter pylon pieces did not change incidence, but the new kit does?
Thank you very much.
12-26-2014 | 06:59 AM
#499
We didn't try the BiSide without our equivalent home-built shim set, but I can tell you that with them the plane does excellent spin entries. Nose comes way up with no tendency to drop a wing before the nose drops.
Dan

