


Amadeus
 01-12-2017 | 12:05 PM
#151
Thread Starter

This project has been on hold due to work commitments. However I am unemployed for a while hopefully.
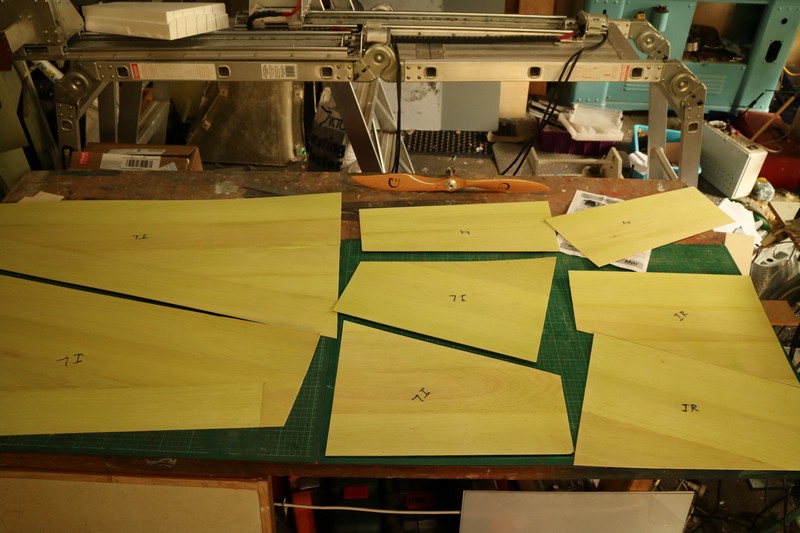
Time to build the wings. First worked out the sheeting plan. Most sheeting parallel to the trailing edge and one sheet parallel with the leading edge.
Time to build the wings. First worked out the sheeting plan. Most sheeting parallel to the trailing edge and one sheet parallel with the leading edge.
 01-12-2017 | 12:13 PM
#152
Thread Starter
Graded my wood for equal weights per panel. It is a gram a sheet too heavy but I will sand them to weight later.
Straightened all the edges with a sandpaper backed straight edge then sanded them.
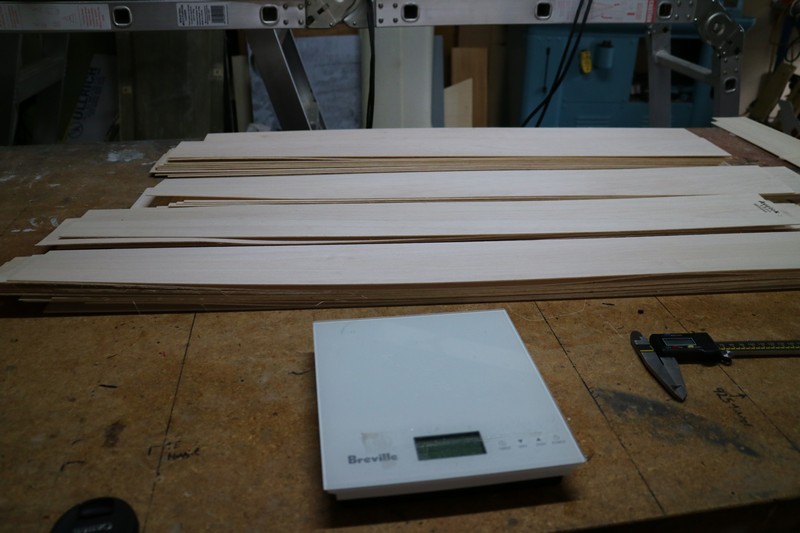
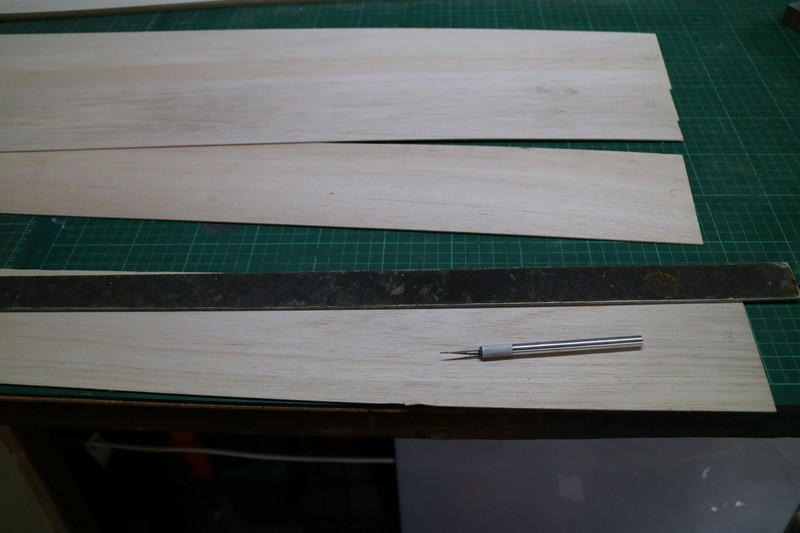
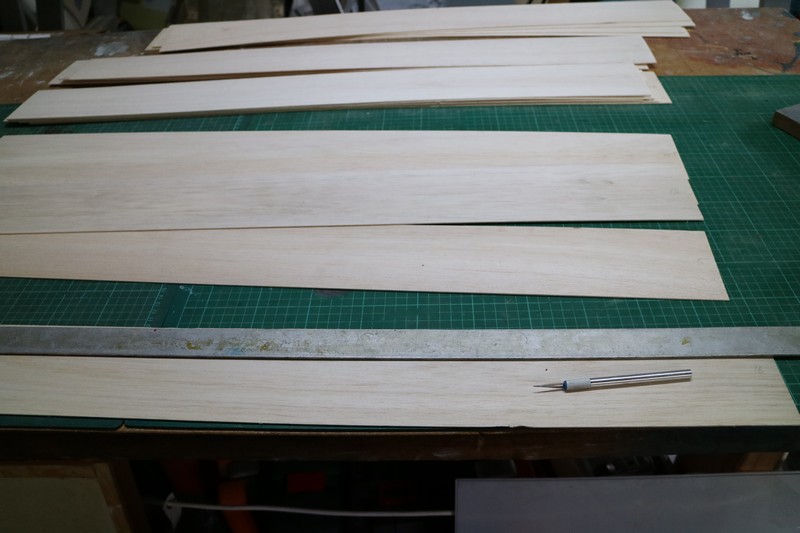

Straightened all the edges with a sandpaper backed straight edge then sanded them.
01-12-2017 | 12:20 PM
#154
Thread Starter
Had to extend the LE sheeting. BTW the glue bottle has a V cutout to hold the edge while applying the glue.
Last edited by RodneyFord; 01-12-2017 at 12:43 PM.

 01-12-2017 | 02:02 PM
#156
Thread Starter
The single sheet at the LE pretty much does it. Sometimes I will do it the other way with a single sheet parallel with the TE for the ailerons. Due to the wing taper it works better for me this way.
01-13-2017 | 09:23 PM
#158
Thread Starter
Haven't painted for a while so it was good to get the gun out again and start getting my hand back in. Put on 2 coats of dope sanded in between. Tinted the dope with a little colour (Green) for a visual indication of coverage. Sealing the inside surface of the skins stops the epoxy I will be using to glue them too the cores from soaking into the balsa. This reduces weight and promotes bonding. Hair spray will also work and is easier but I like the traditional materials. Started preparing the wing cores for bagging.
01-15-2017 | 12:26 PM
#159
Thread Starter
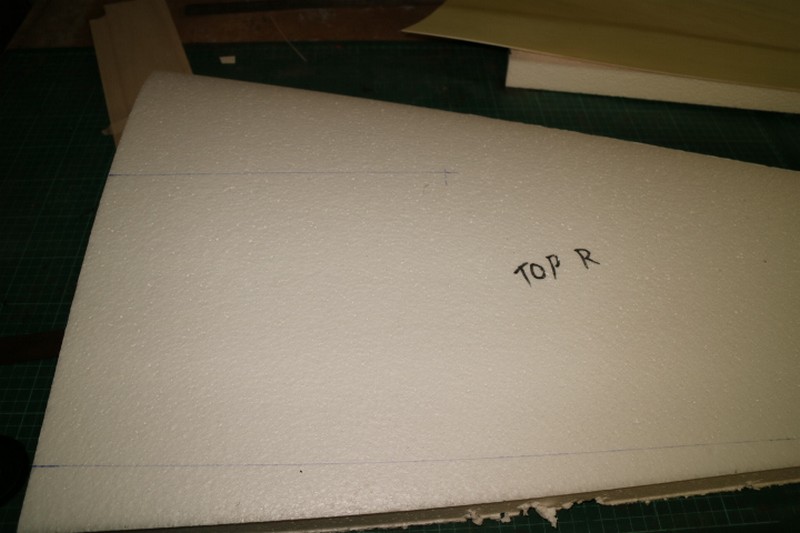
I sorted out the riblet shapes and spar hole position in Profili Pro. The dihedral is half way between zero and having the top surface of the wing flat. Did some test cuts first. I like to add some 5mm balsa to the riblets for a little more surface area.

01-27-2017 | 12:37 PM
#161
Thread Starter
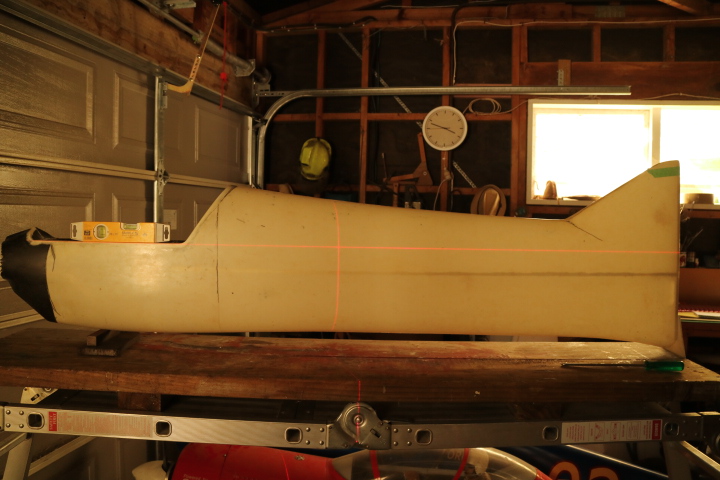
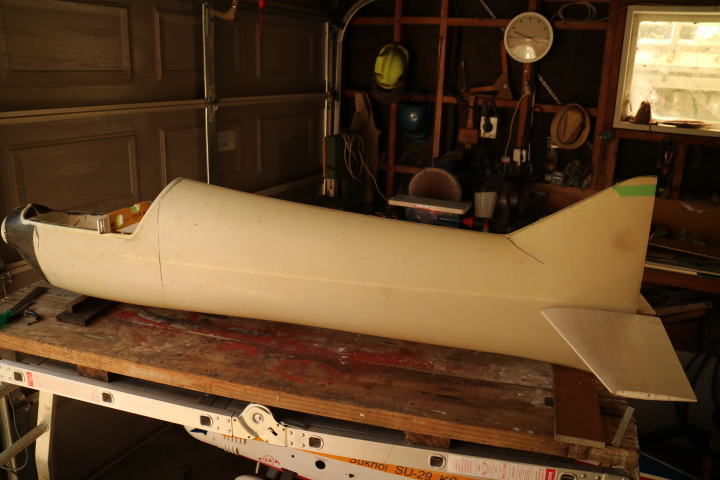
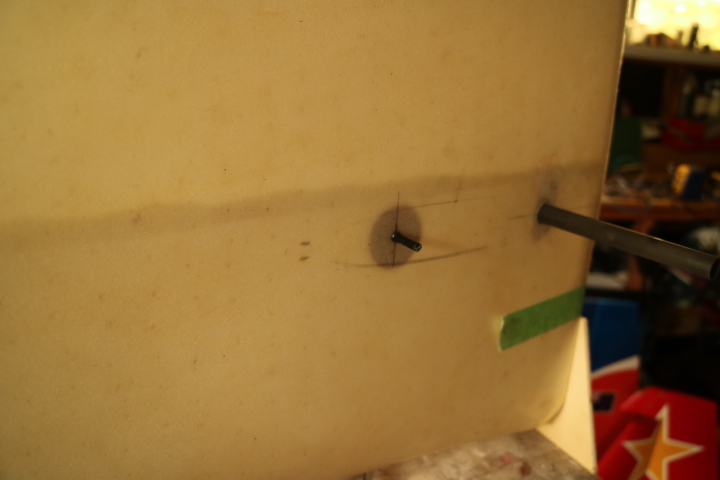
Made a fixture to hold the fuselage in position to set up the horizontal stabiliser. This is just a false tail post with a hole for access. In the first image you can make out the laser line I used to get the tube position.
01-31-2017 | 12:10 PM
#163
Thread Starter
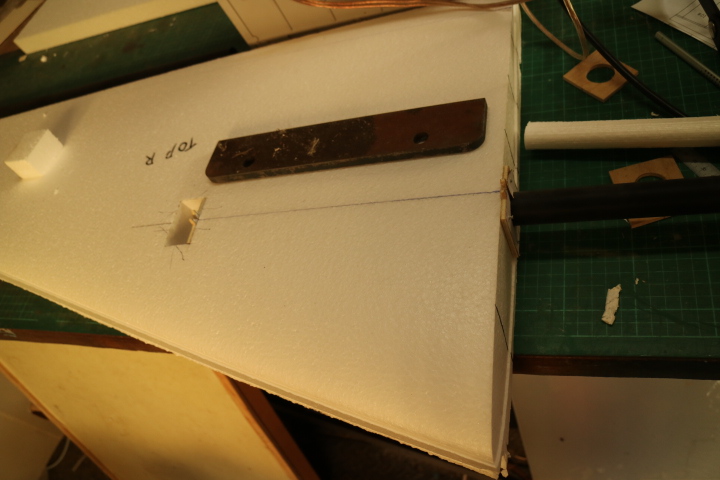
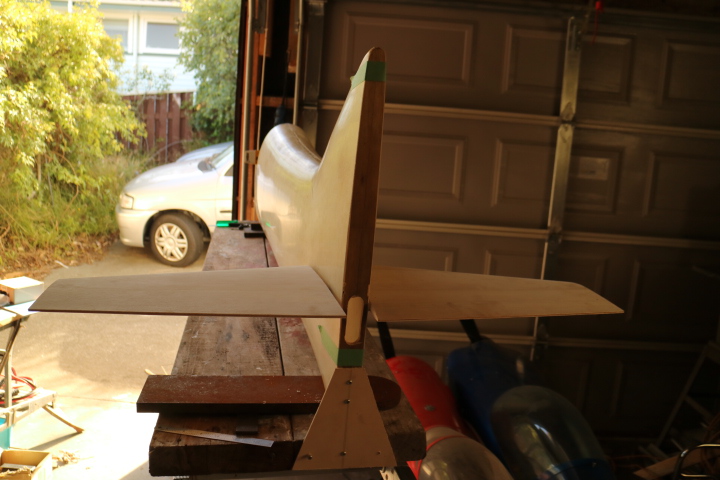
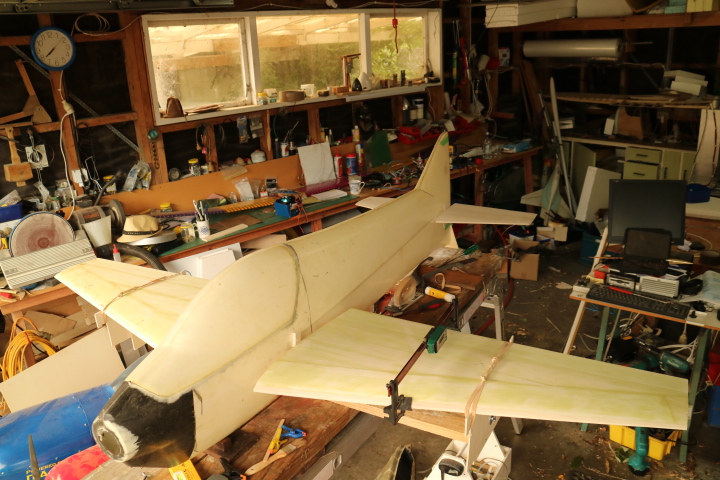
Setting up the wings with more fixtures. I'm setting it up as per Brian Hebert's triangular trimming method. 0.5 degree down thrust 0.5 degrees positive incidence on the wings and 0 on the stabs.
02-01-2017 | 08:32 PM
#164
Thread Starter
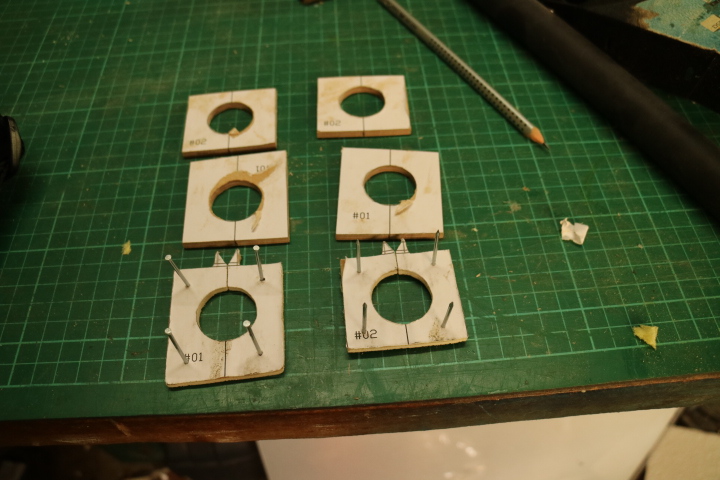
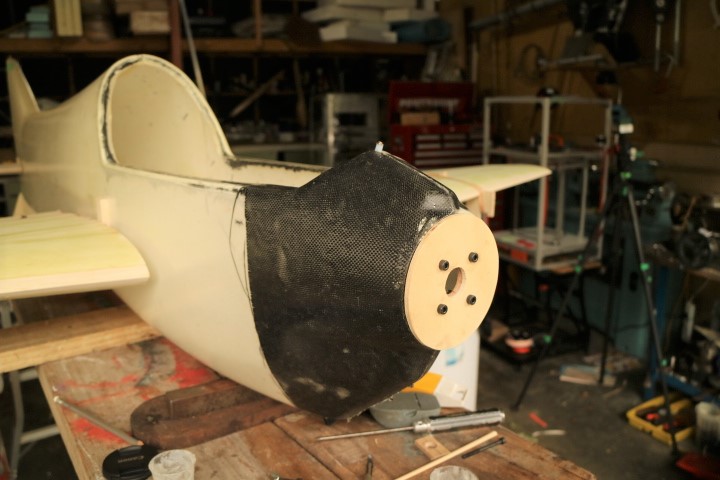
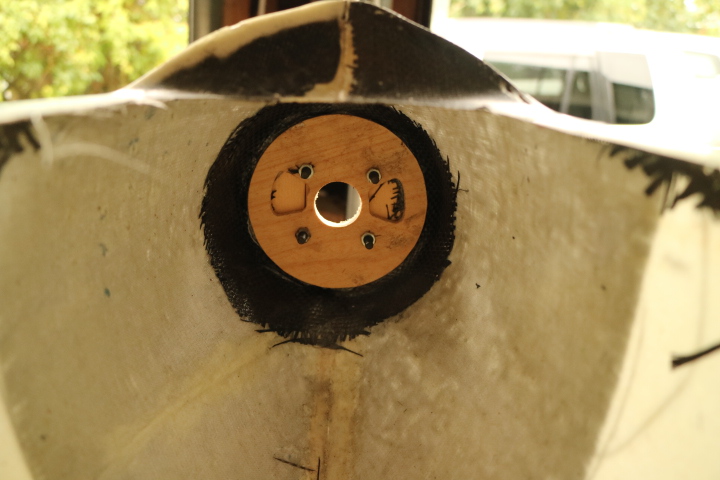
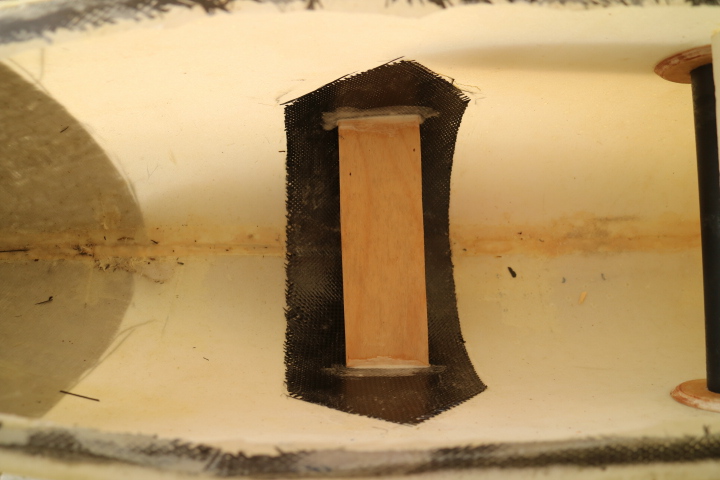
Glued in the front motor mount. Front plate is for clamping and alignment and will be discarded. Wing doughnuts are glued in too. They will get some carbon reinforcement.
Last edited by RodneyFord; 02-01-2017 at 08:36 PM.
02-02-2017 | 06:38 PM
#165
Thread Starter
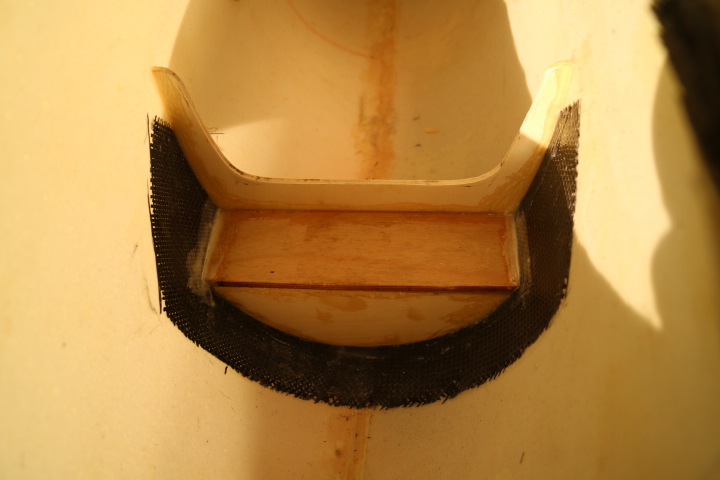
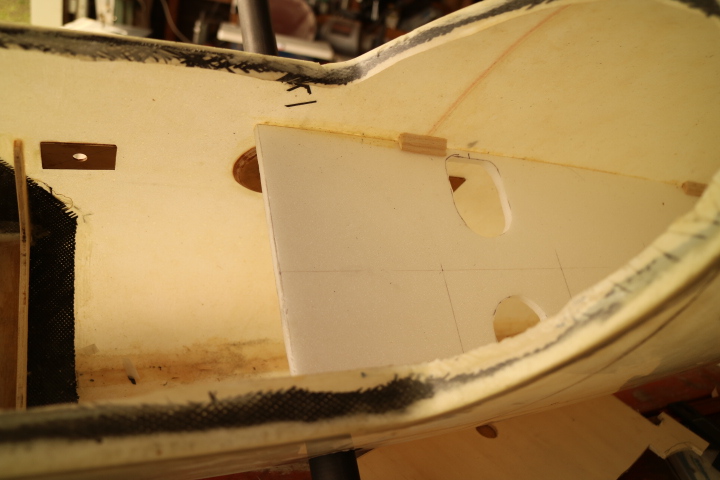
Got the UC mounting plate in along with carbon reinforcement. It will also have some reinforcing formers front and back. I'm going to use these legs I made a while ago for another project.
Last edited by RodneyFord; 02-03-2017 at 12:00 AM.
02-02-2017 | 08:59 PM
#166
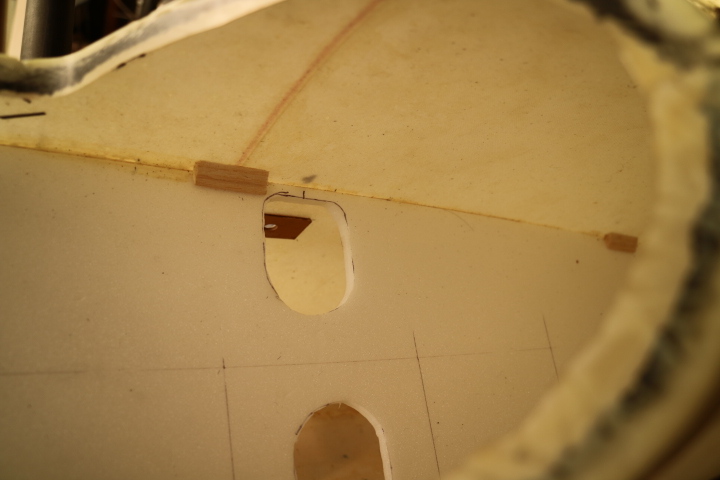
Thread Starter
Installed the UC formers. I developed the shapes by trial and error with the band saw and (mostly) the disc sander.
Last edited by RodneyFord; 02-03-2017 at 12:00 AM.
02-06-2017 | 05:59 PM
#167
Thread Starter
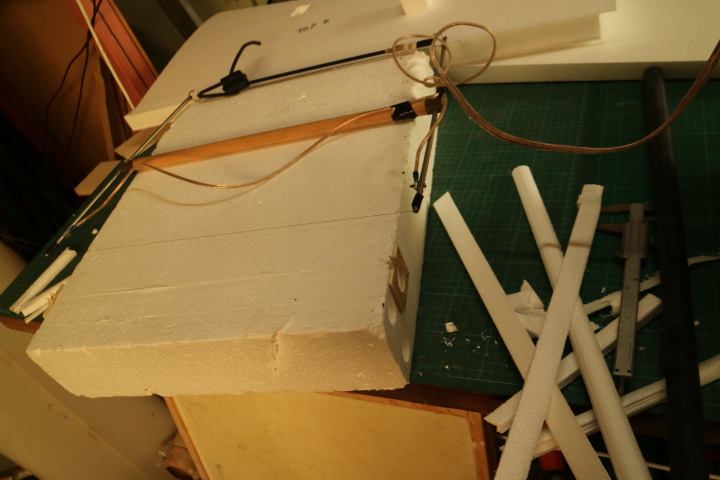
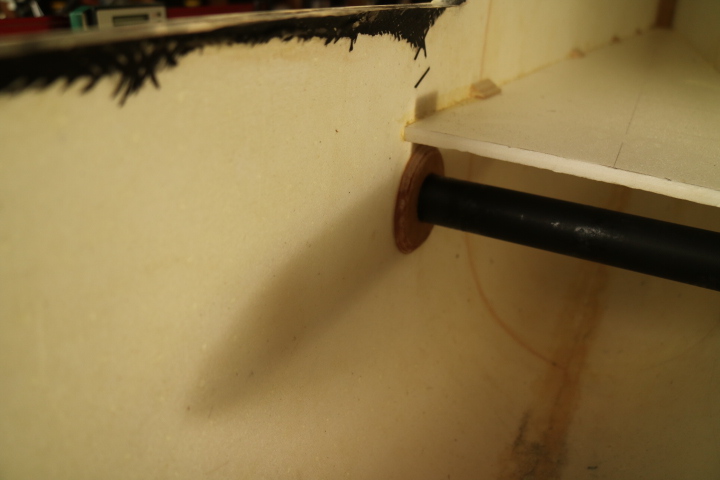
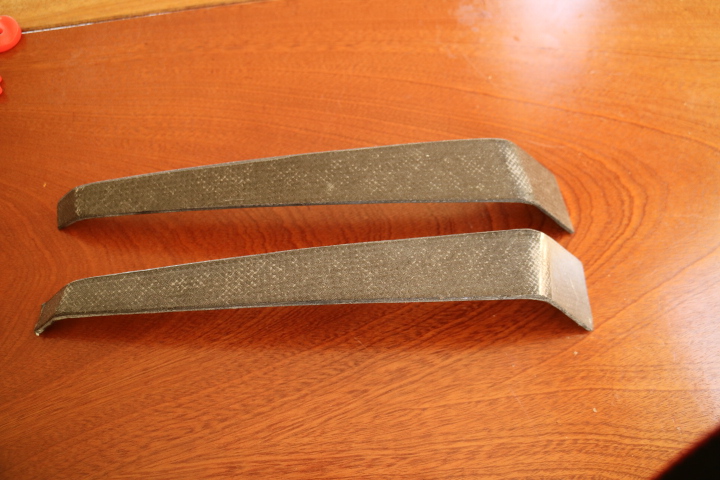
Stab anti rotation pin 4mm carbon tube.
Got a carbon arrow for the wing anti rotation pins. I glued them in one piece to keep them square and will cut them off when the glue dries.


Got a carbon arrow for the wing anti rotation pins. I glued them in one piece to keep them square and will cut them off when the glue dries.
02-20-2017 | 01:13 PM
#168
Thread Starter
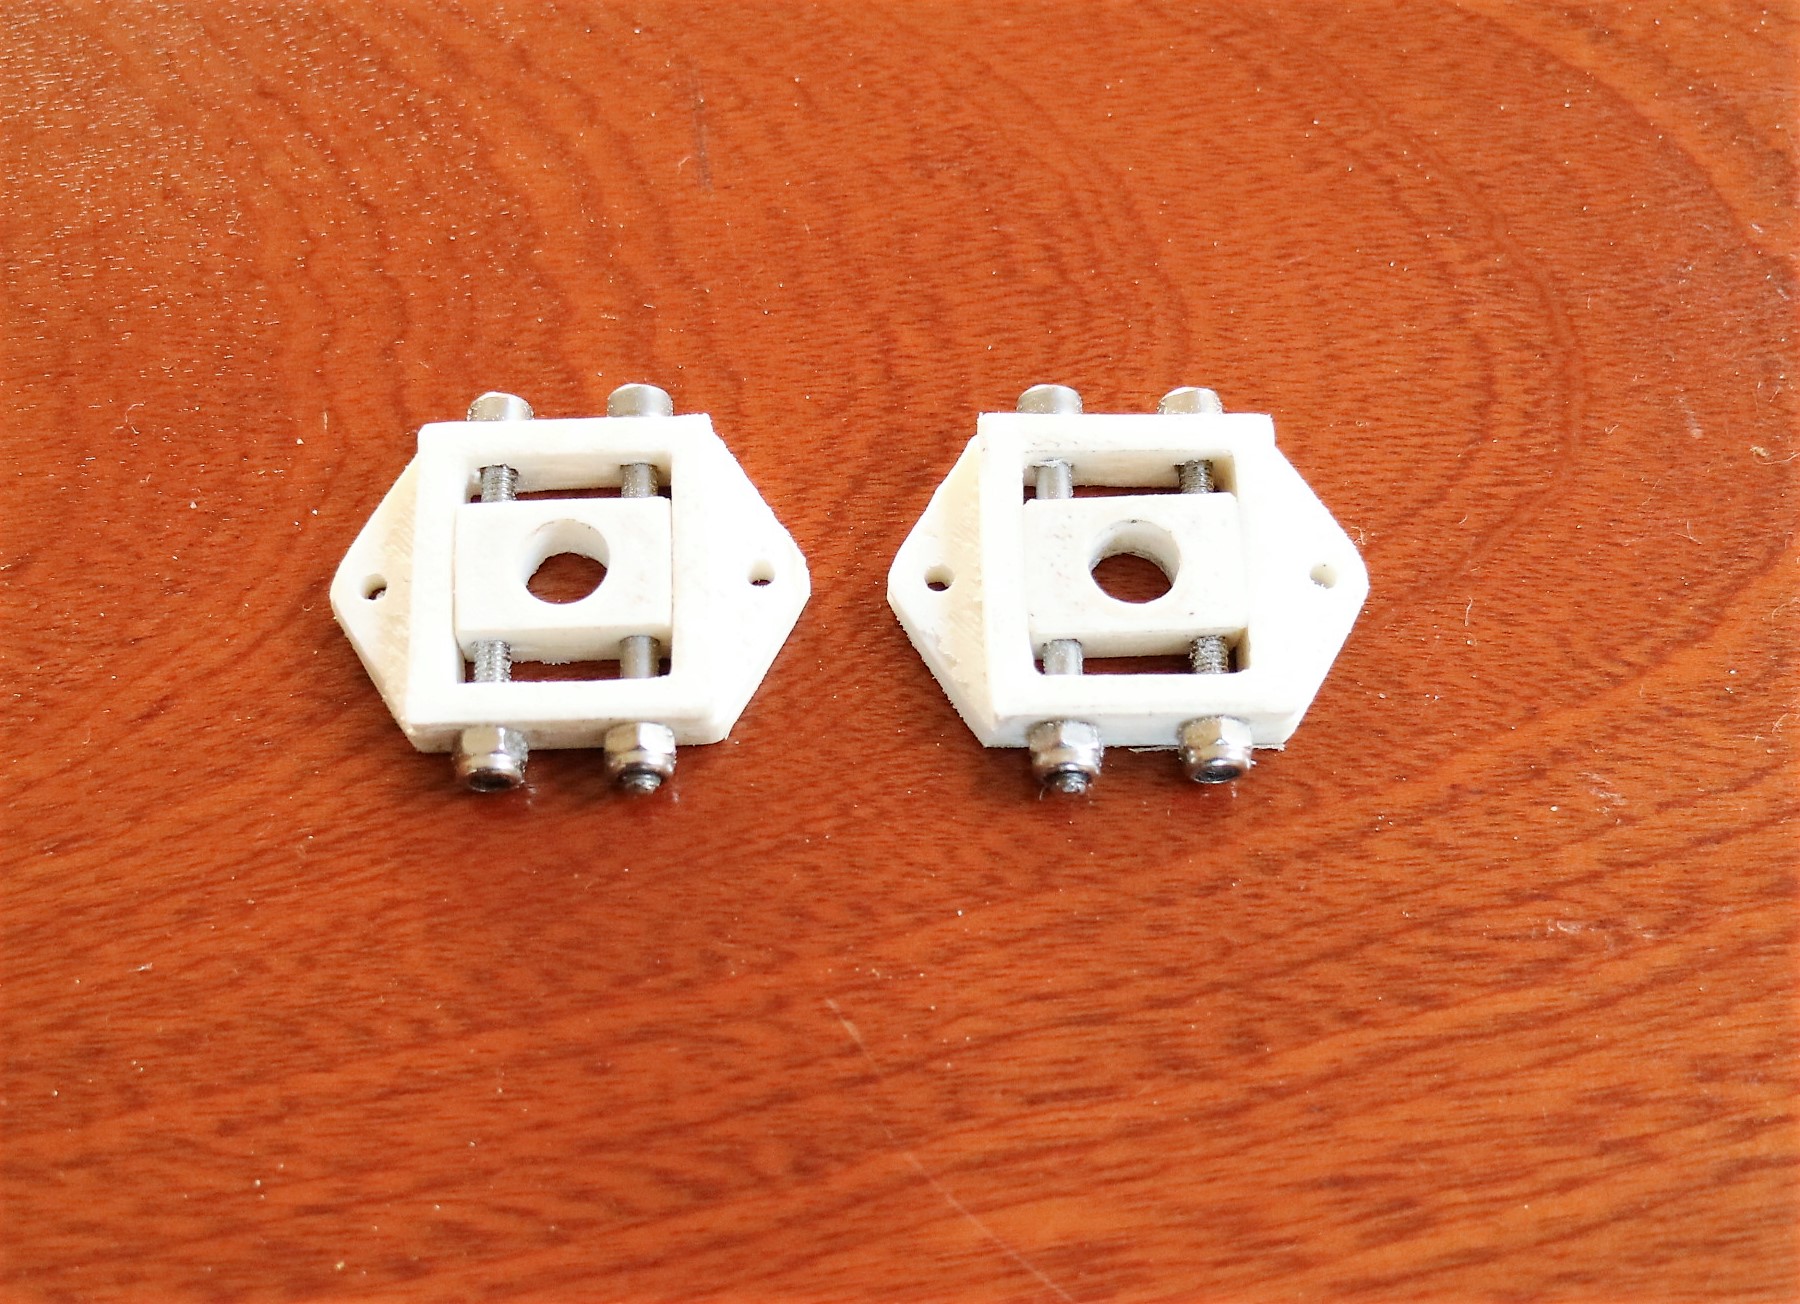
Got the ply plates in for mounting the incidence adjusters on. Designed and printed the incidence adjusters in ABS Poly-carbonate alloy, this stuff is incredibly tough.
Laminated the tail post from 5mm balsa and glued it in. Also got the ply/carbon tail wheel leg mount in.

Laminated the tail post from 5mm balsa and glued it in. Also got the ply/carbon tail wheel leg mount in.
09-20-2017 | 12:23 PM
#170
Thread Starter
Let's see, what have I missed. Foam core rudder. 2 pieces of foam cut on the CNC foam cutter. Vac bagged as usual. I added a bevel to the tail post as well.
09-20-2017 | 01:28 PM
#172
Thread Starter
Made a tail wheel assembly. 6mm nylon bolt that screws into threaded hardwood plug glued into the bottom of the tail post. Made the little 5mm diameter collars on the lathe.
09-22-2017 | 12:16 PM
#174
Thread Starter
Got wing servo mounts in and capped the trailing edges. Also some smart***** at work got to my straight edge.


