


TF Beechcraft Bonanza F33A Build

 01-20-2020, 10:01 AM
#704

Thread Starter
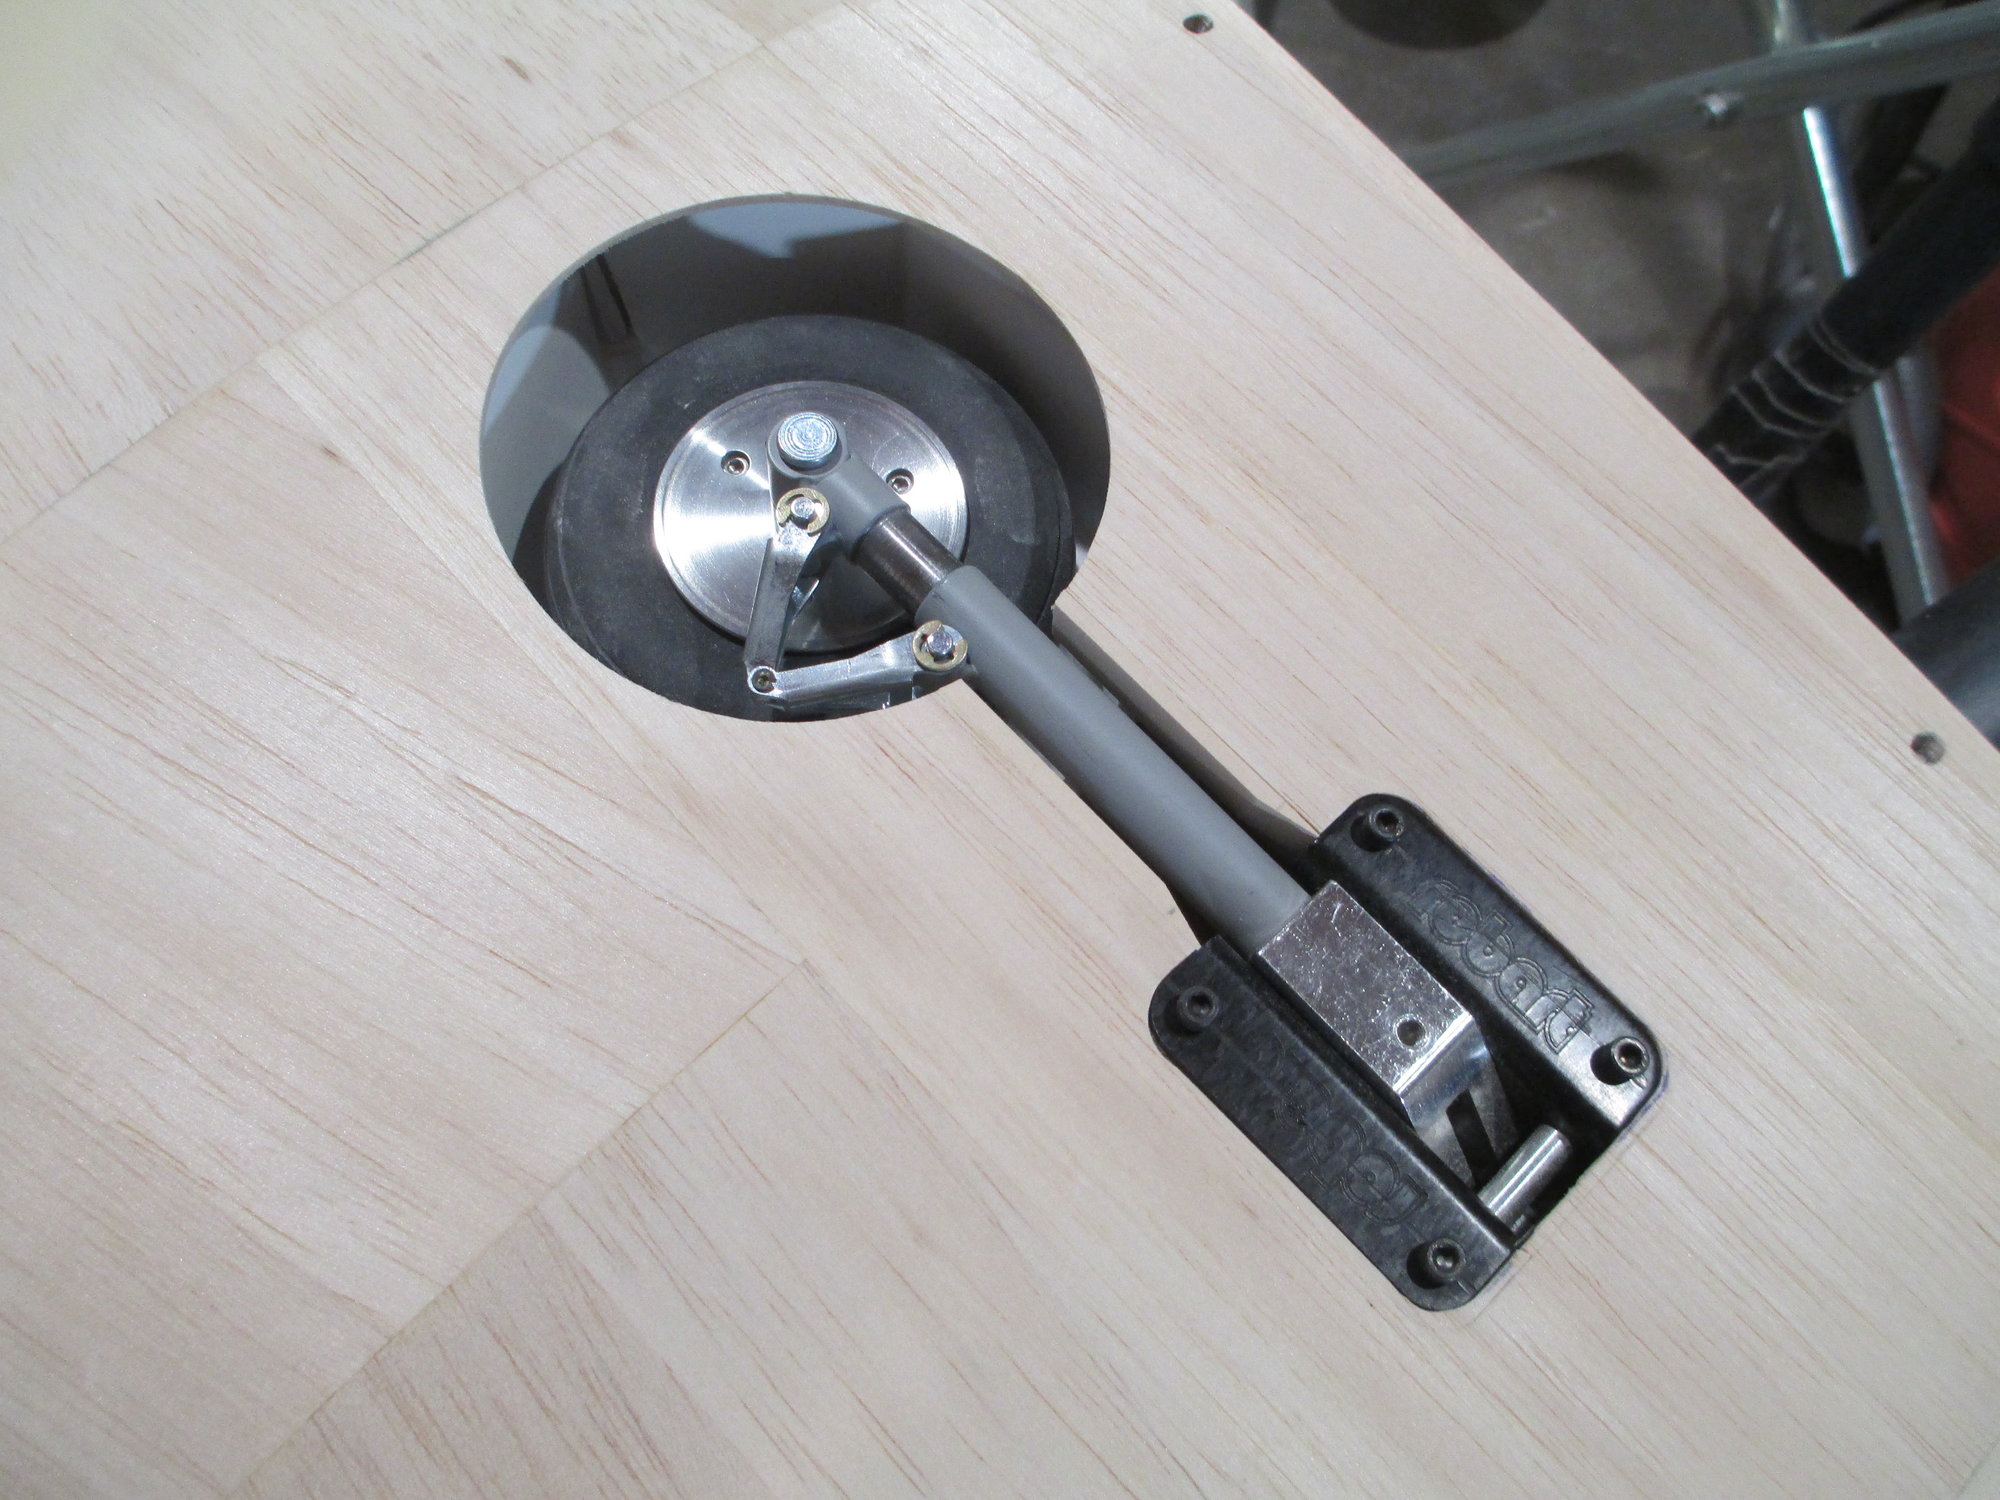
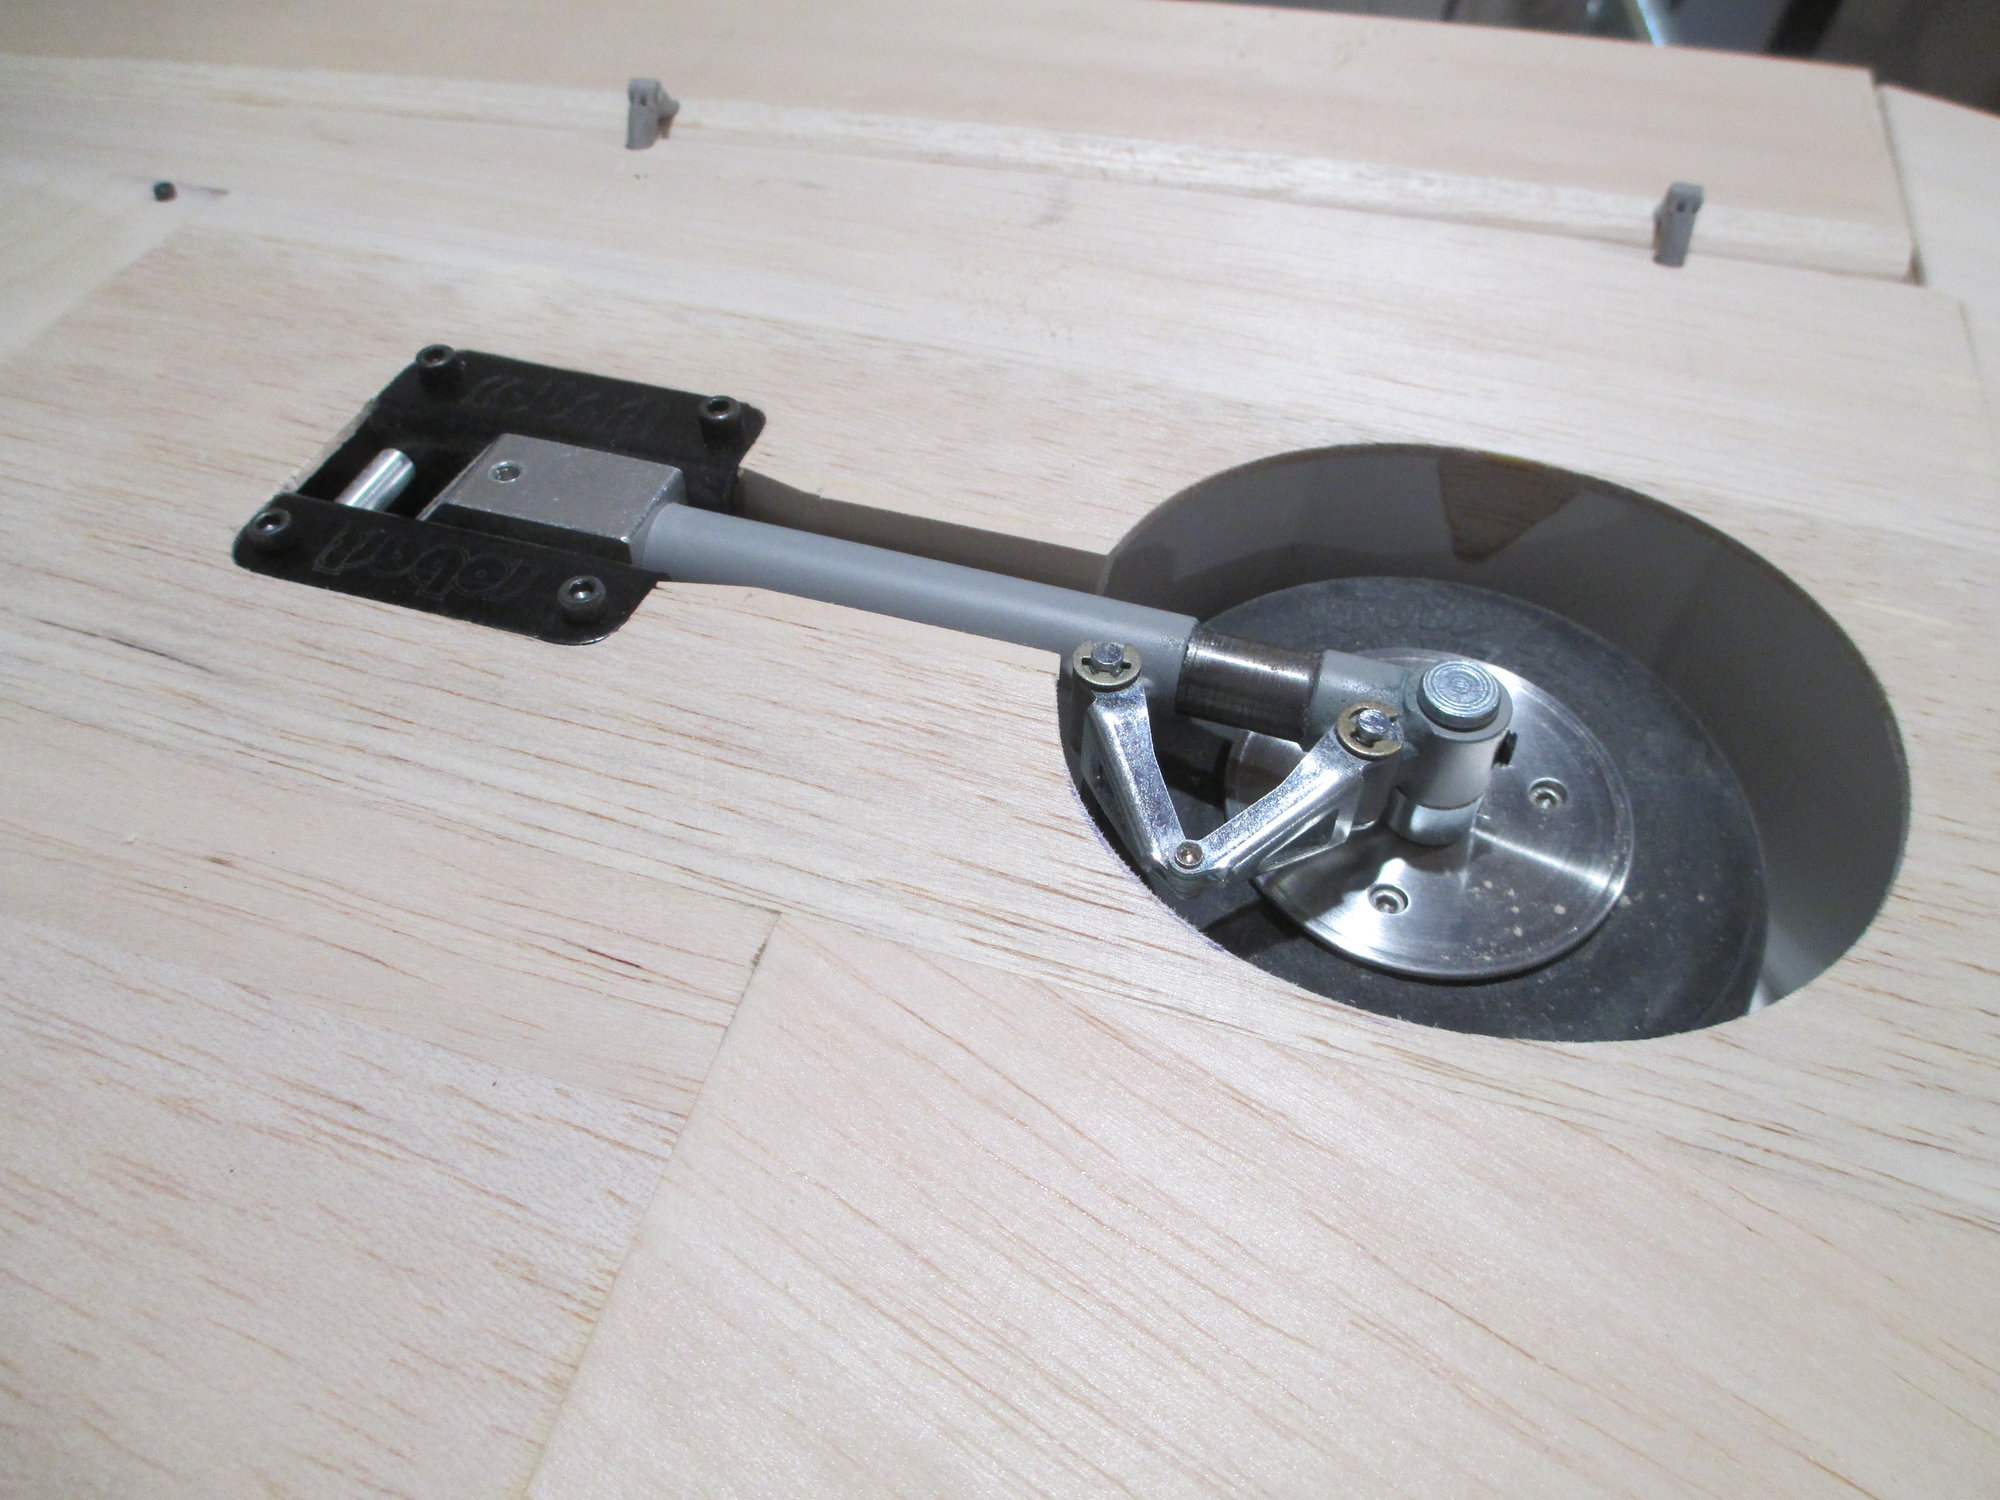
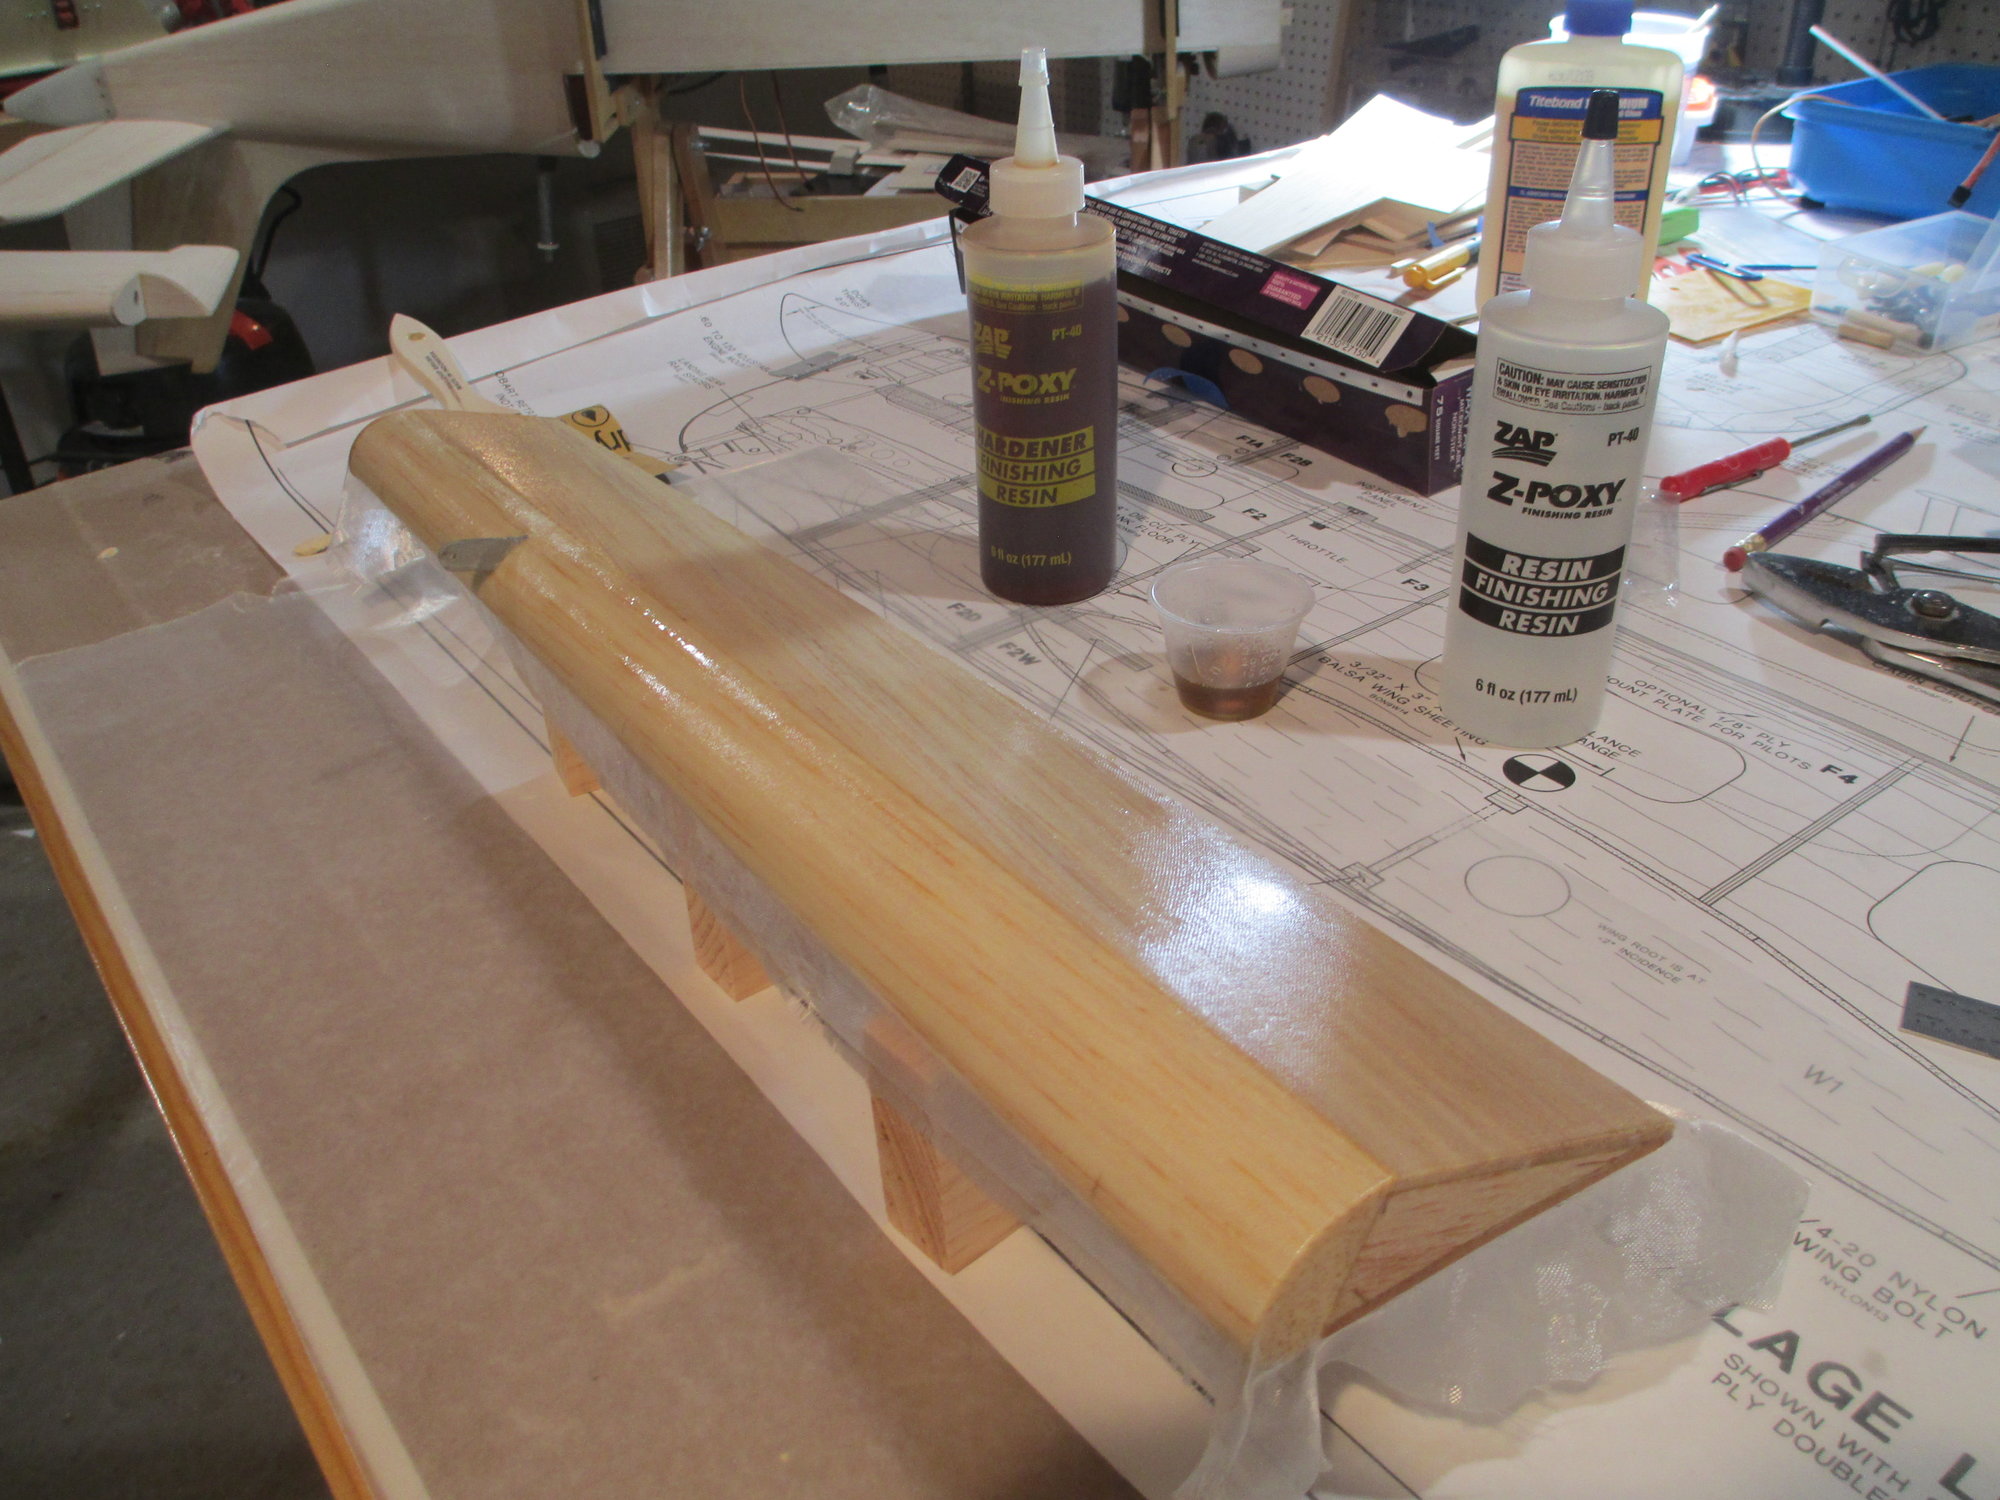
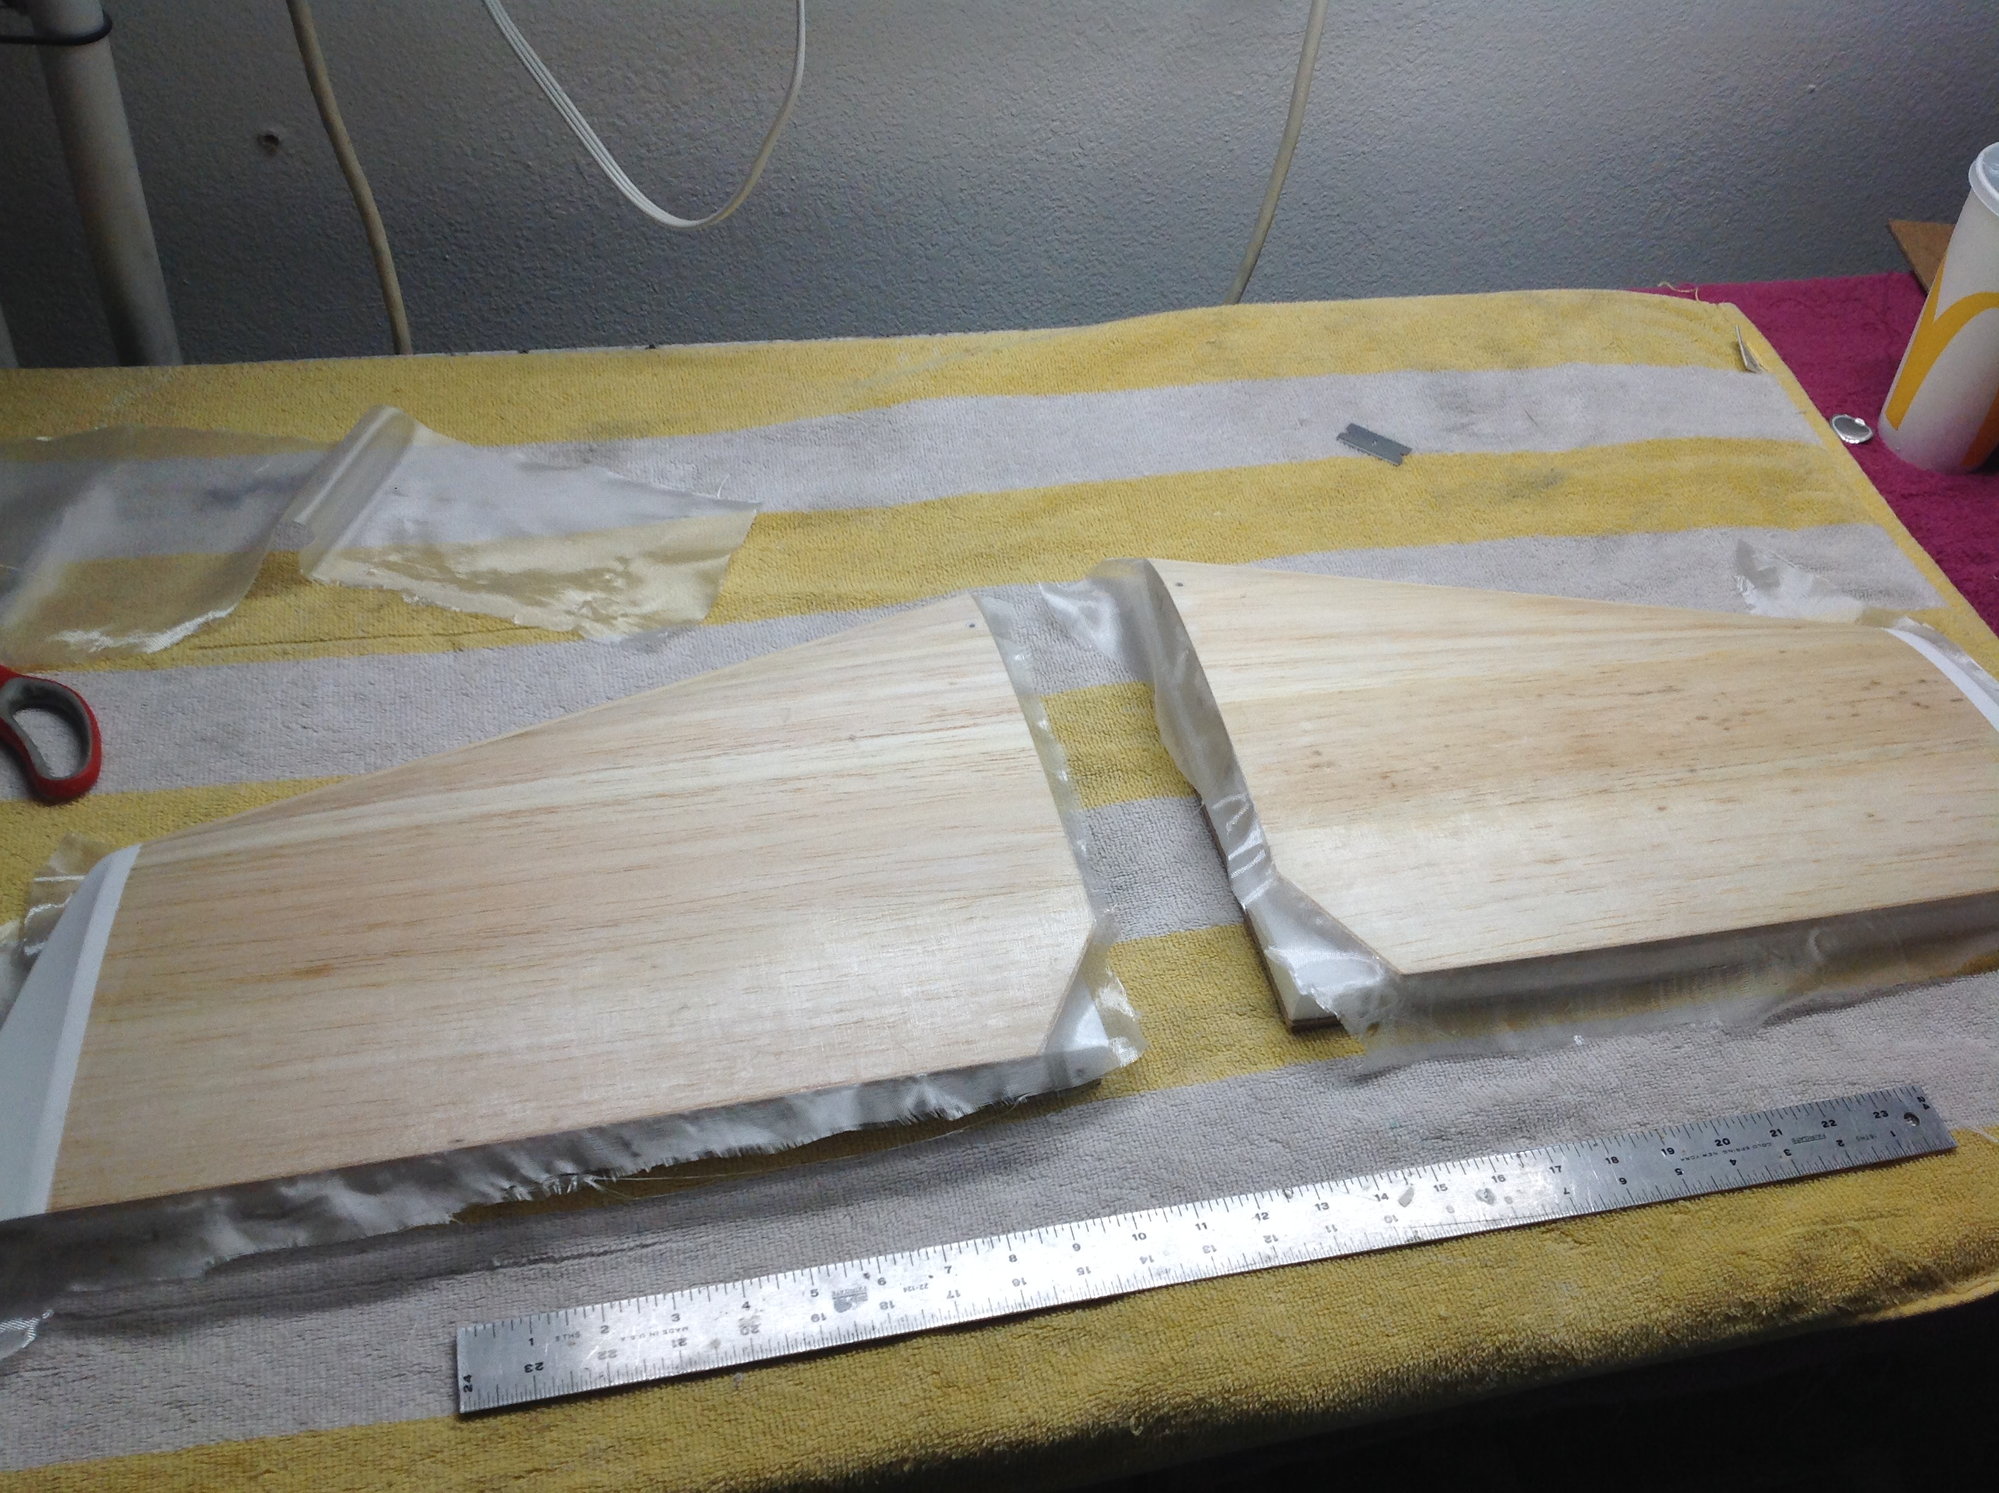
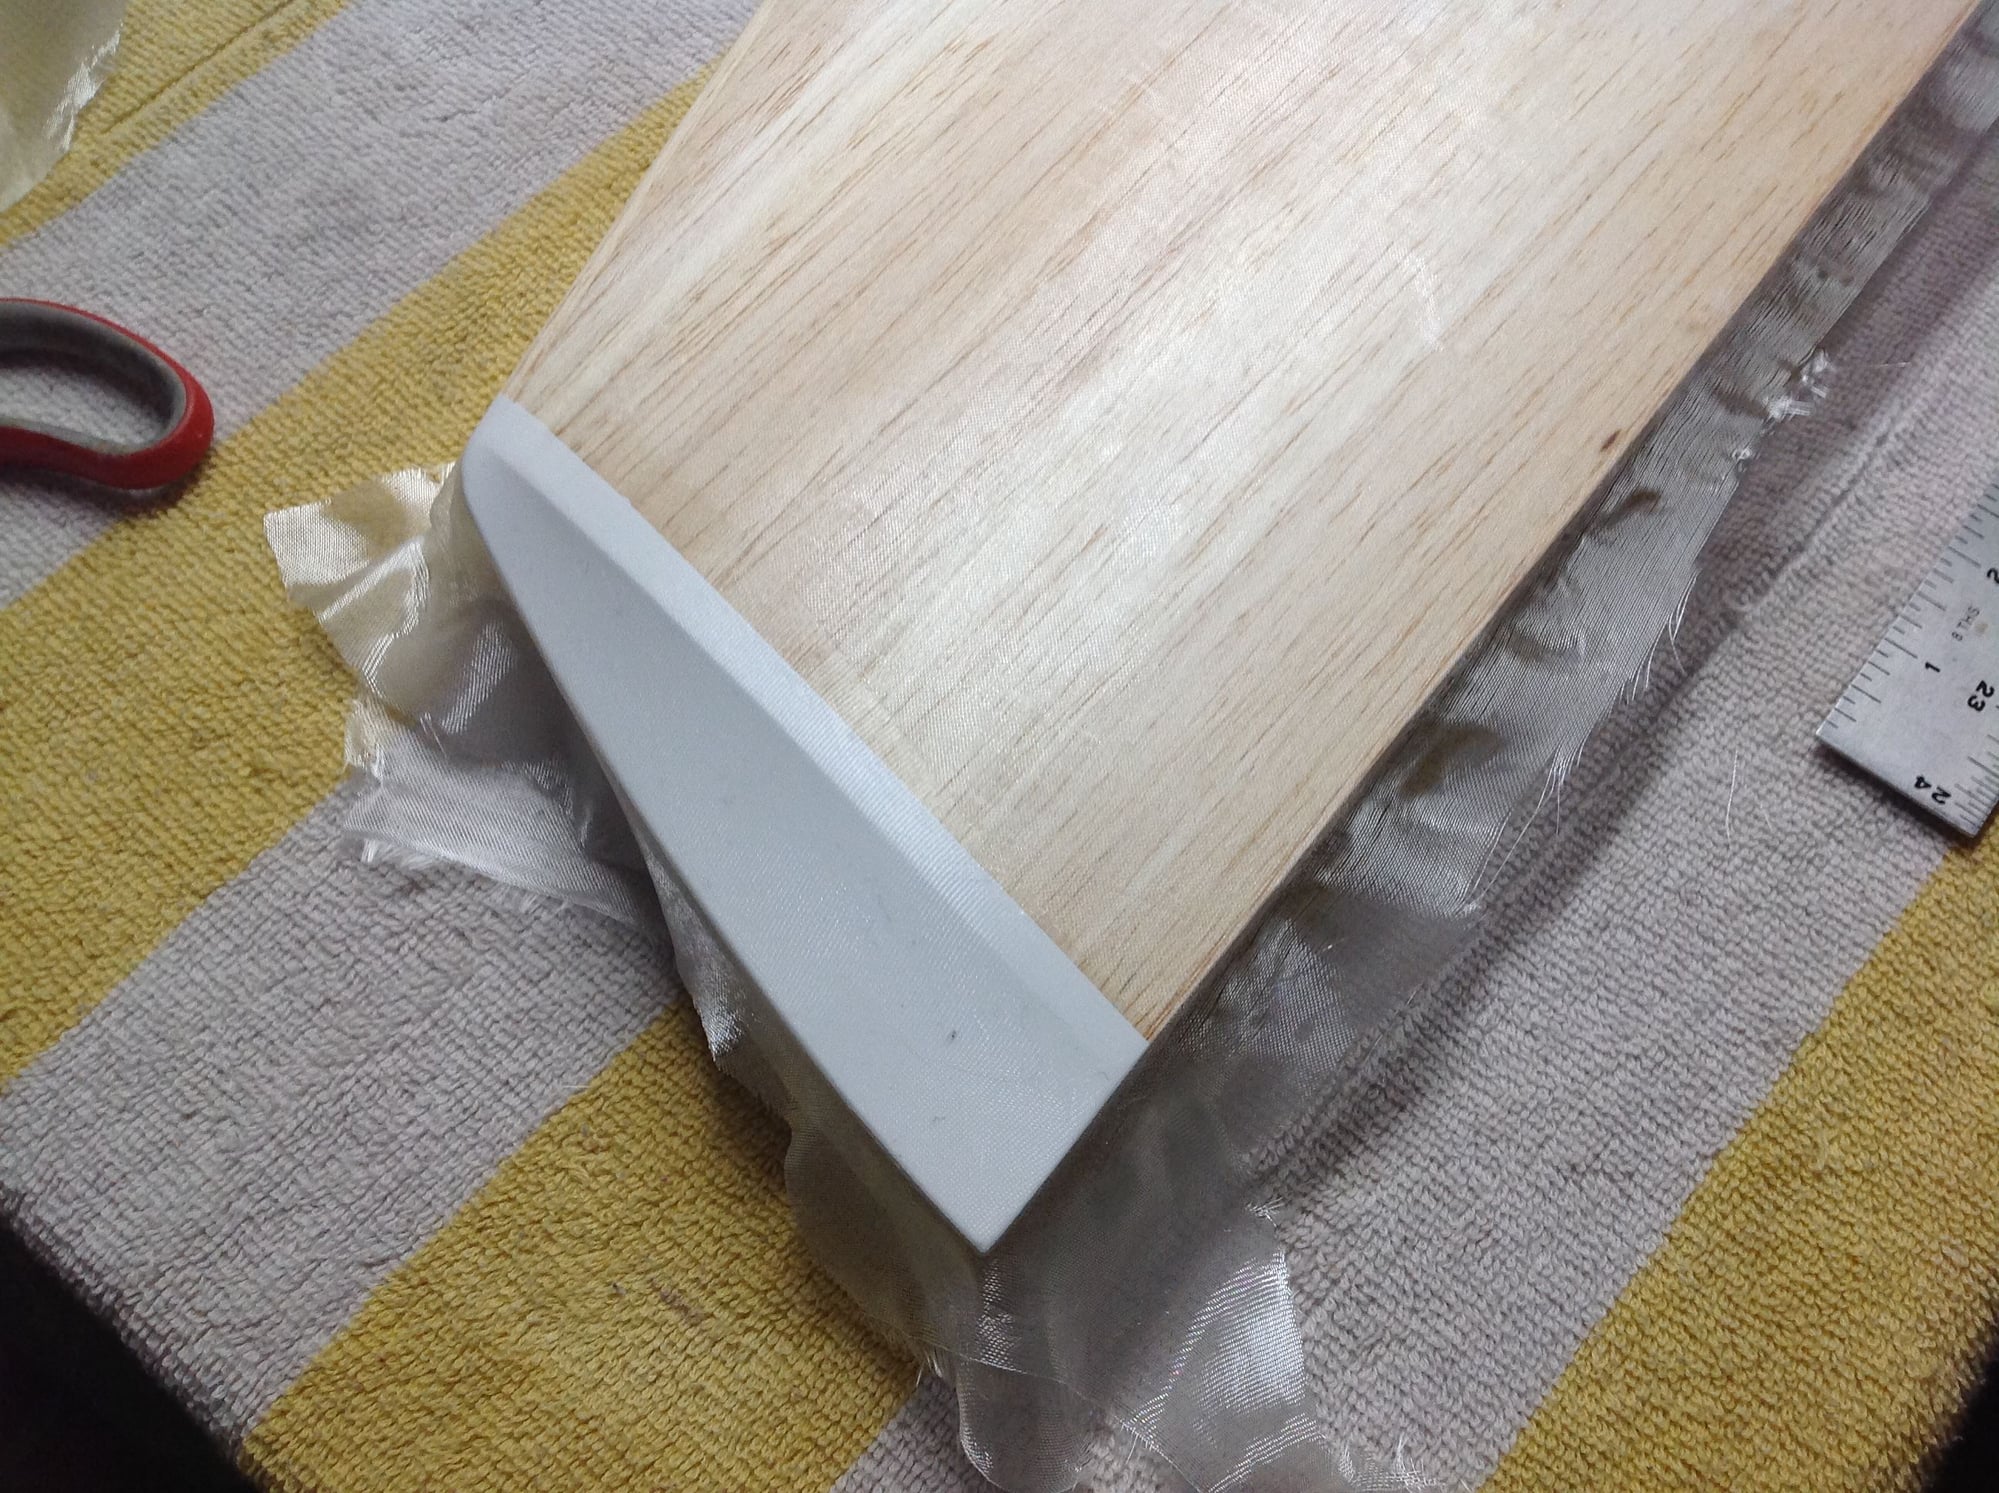
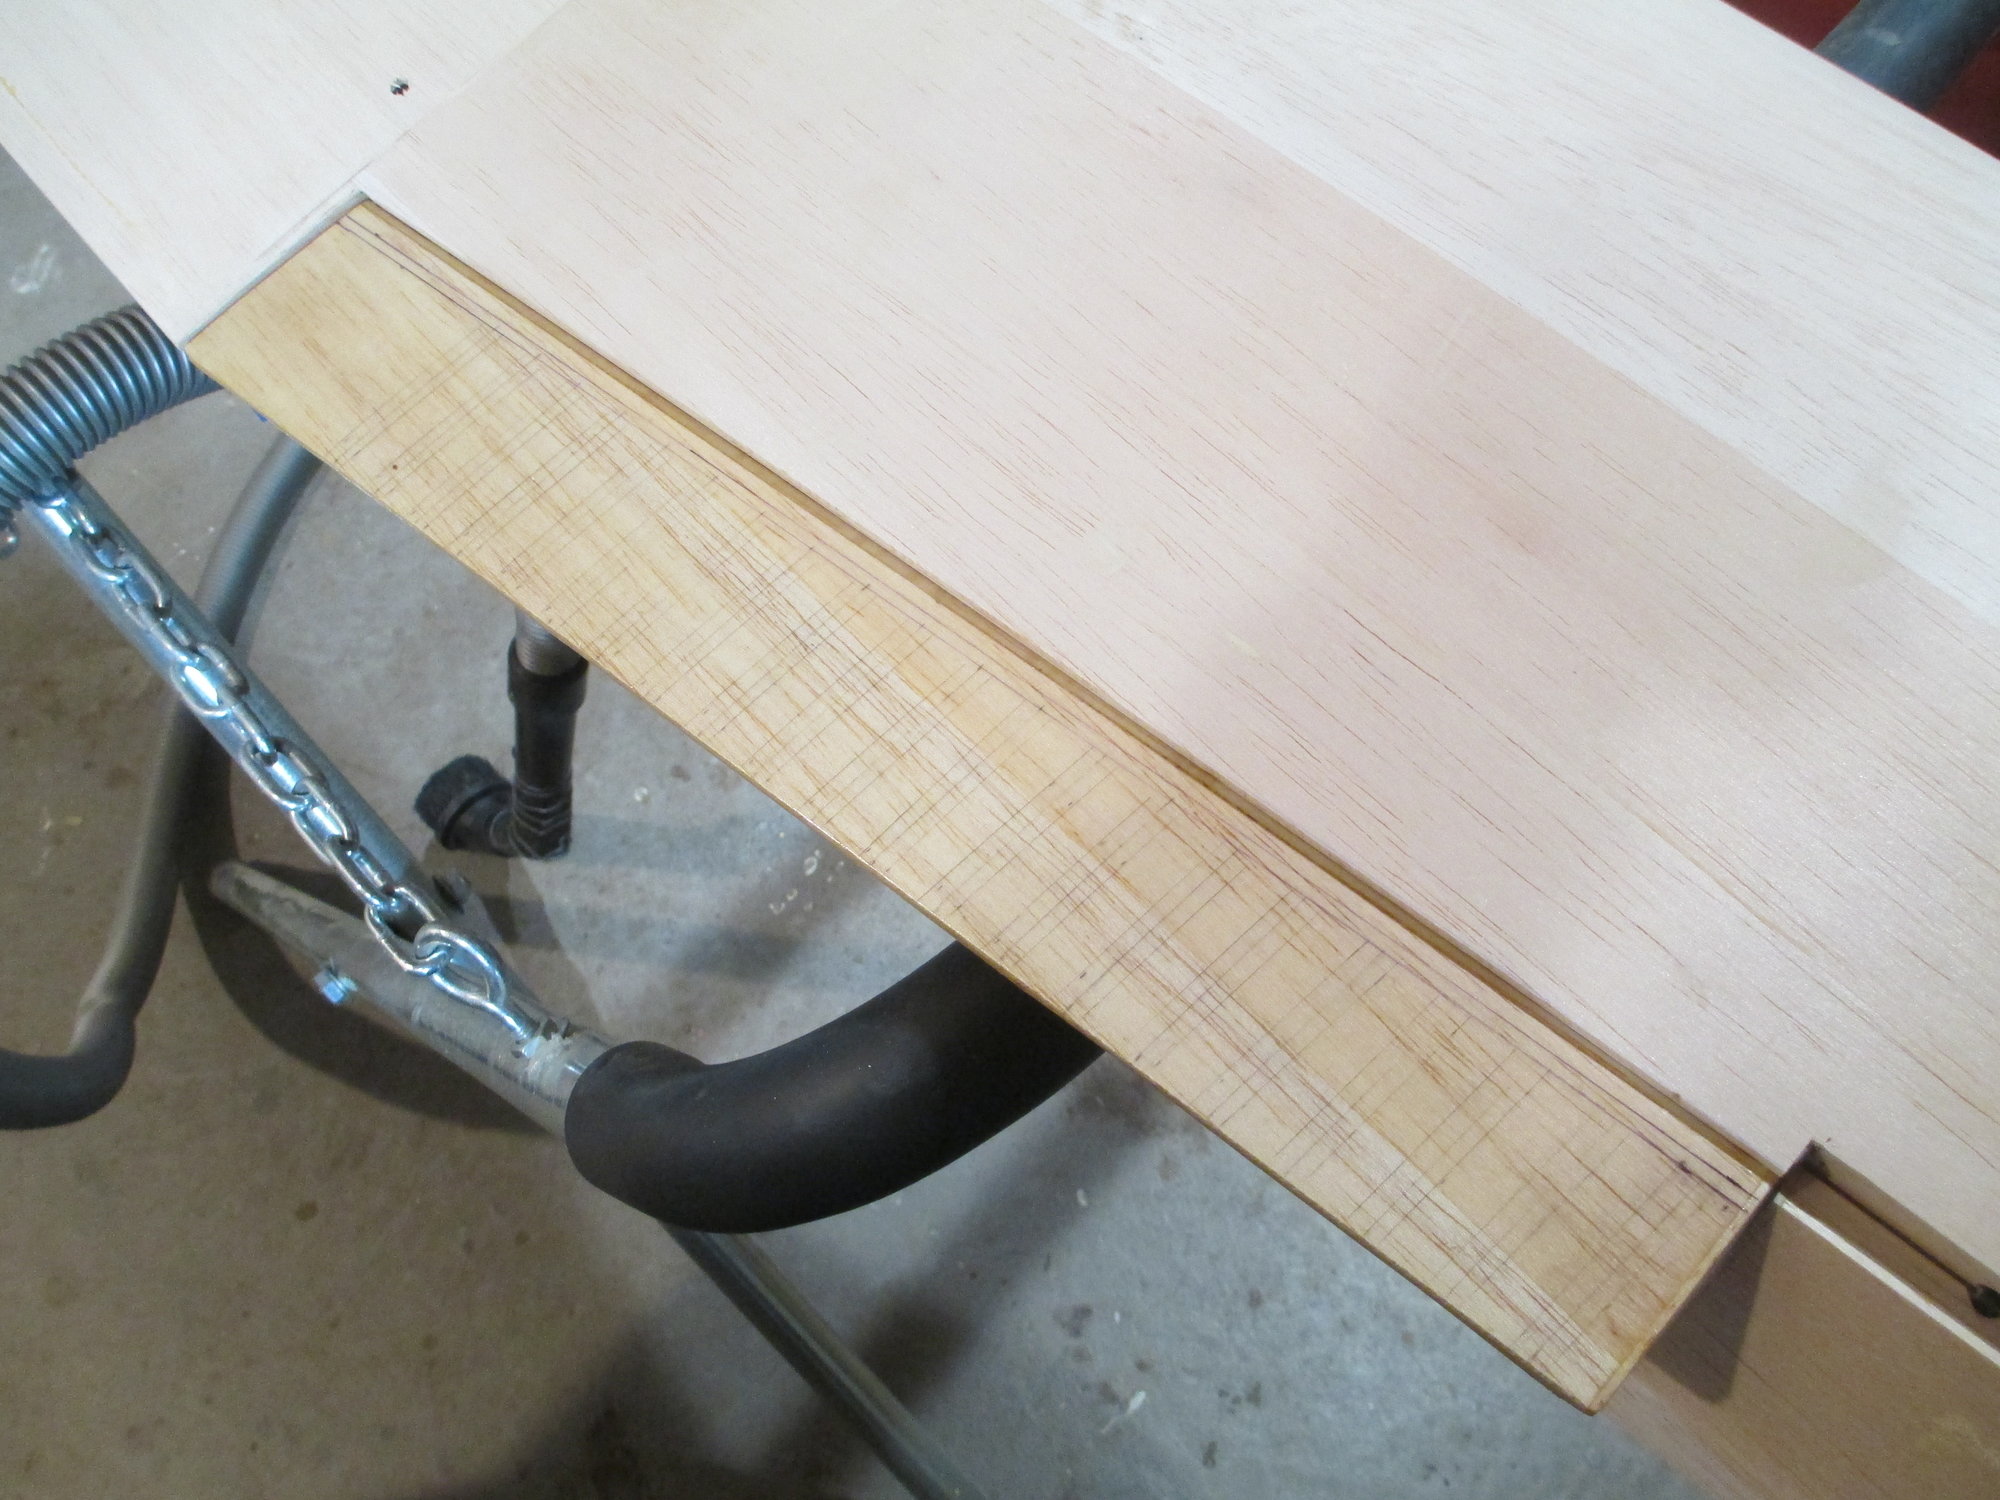
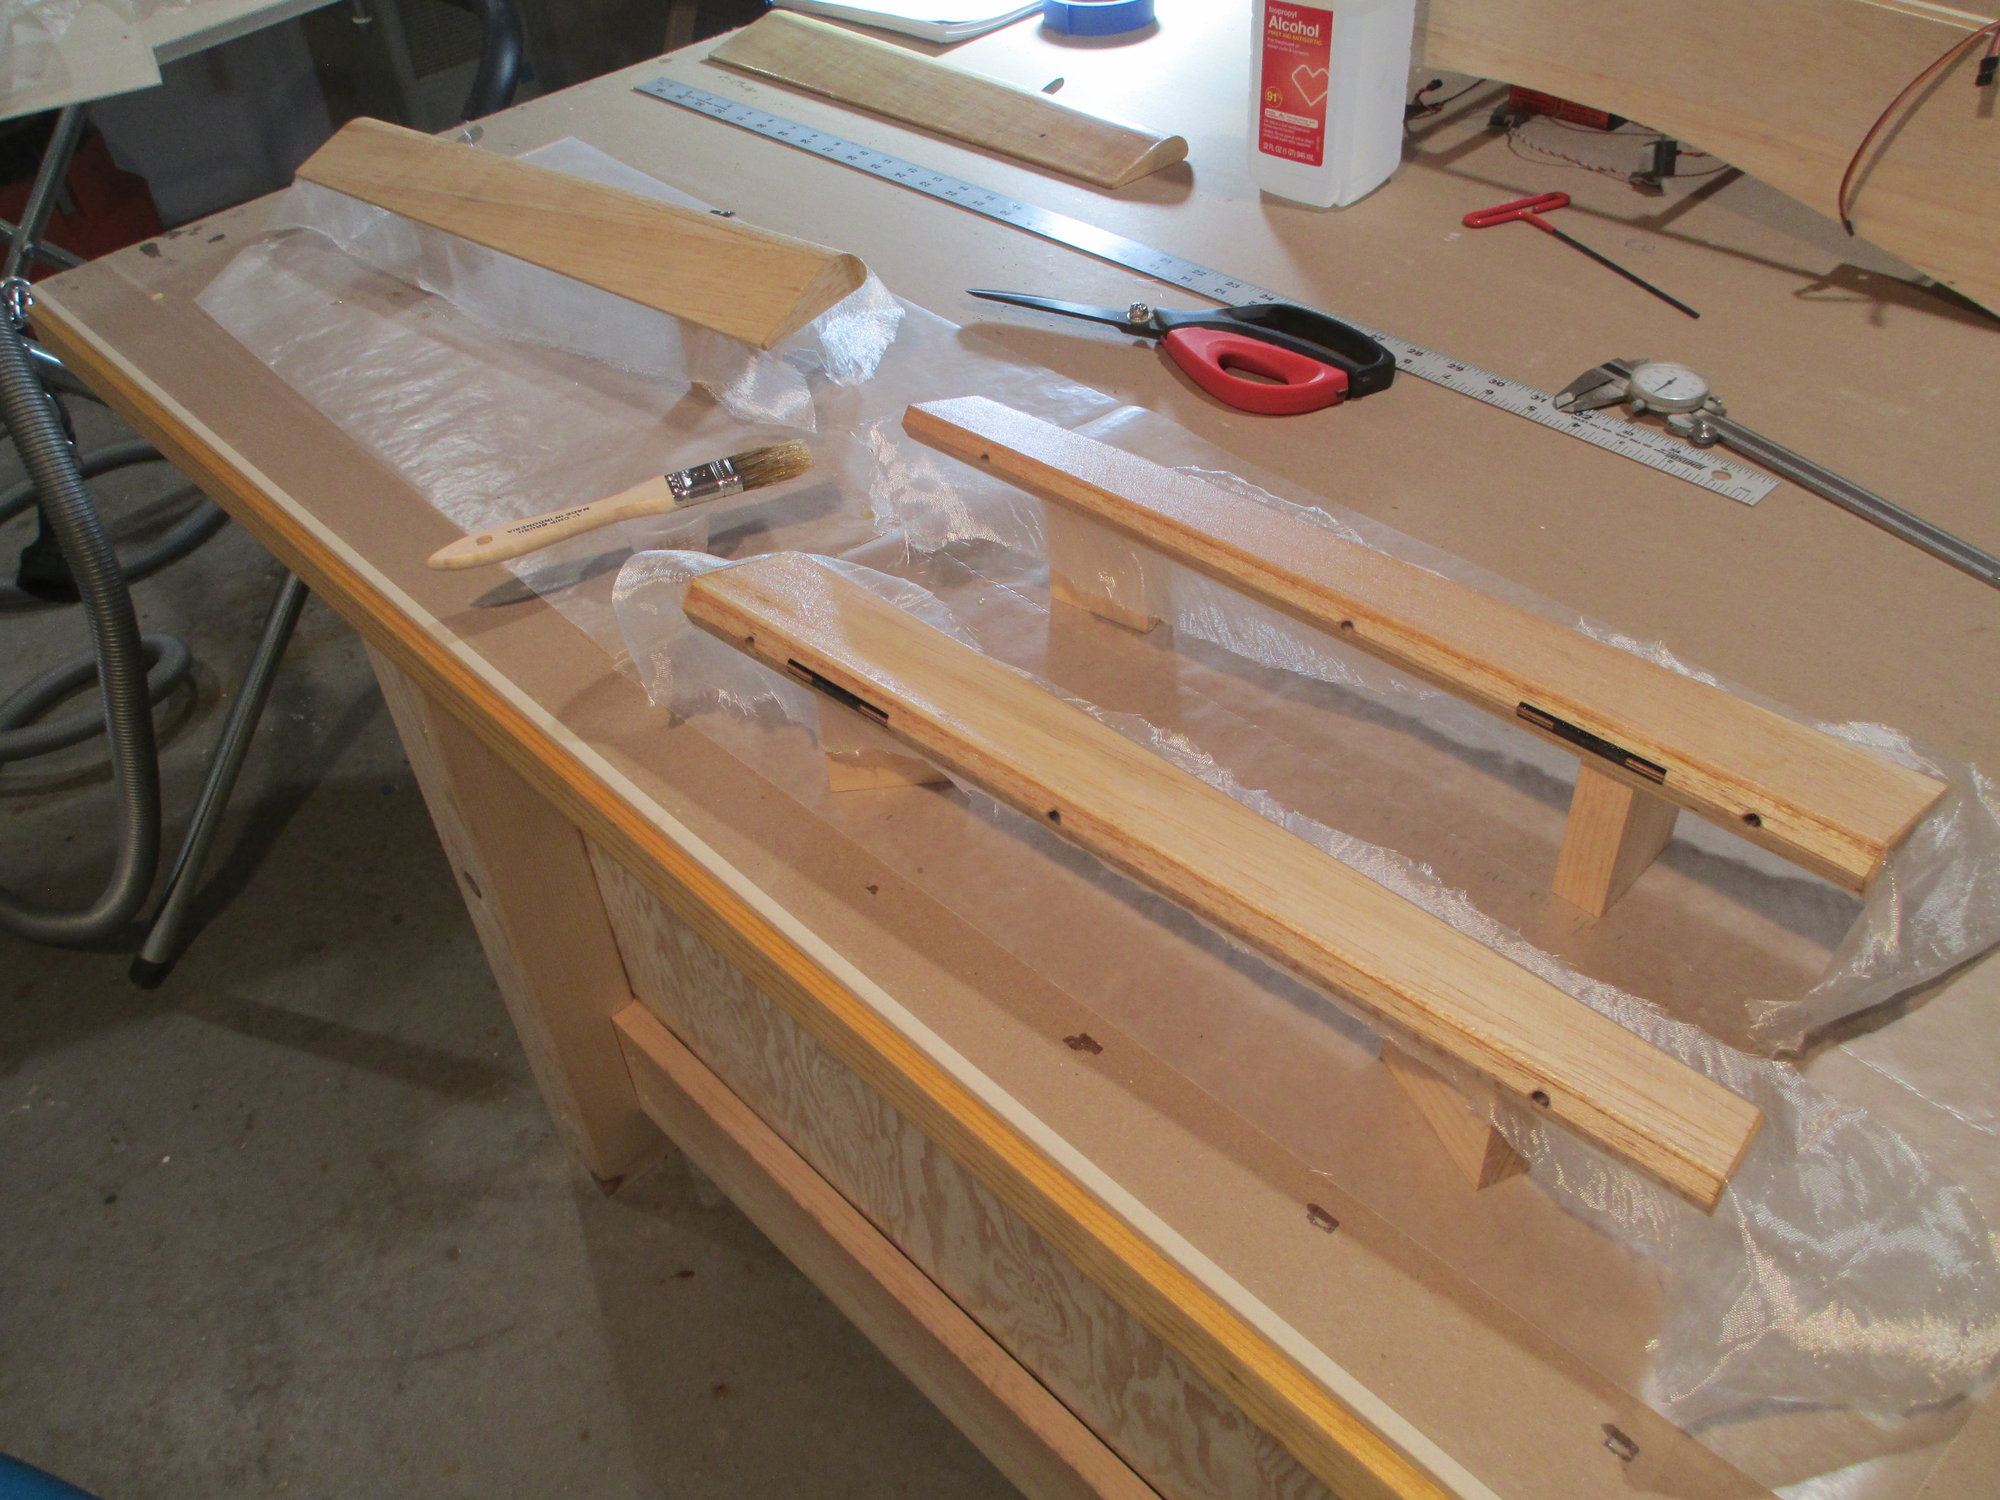
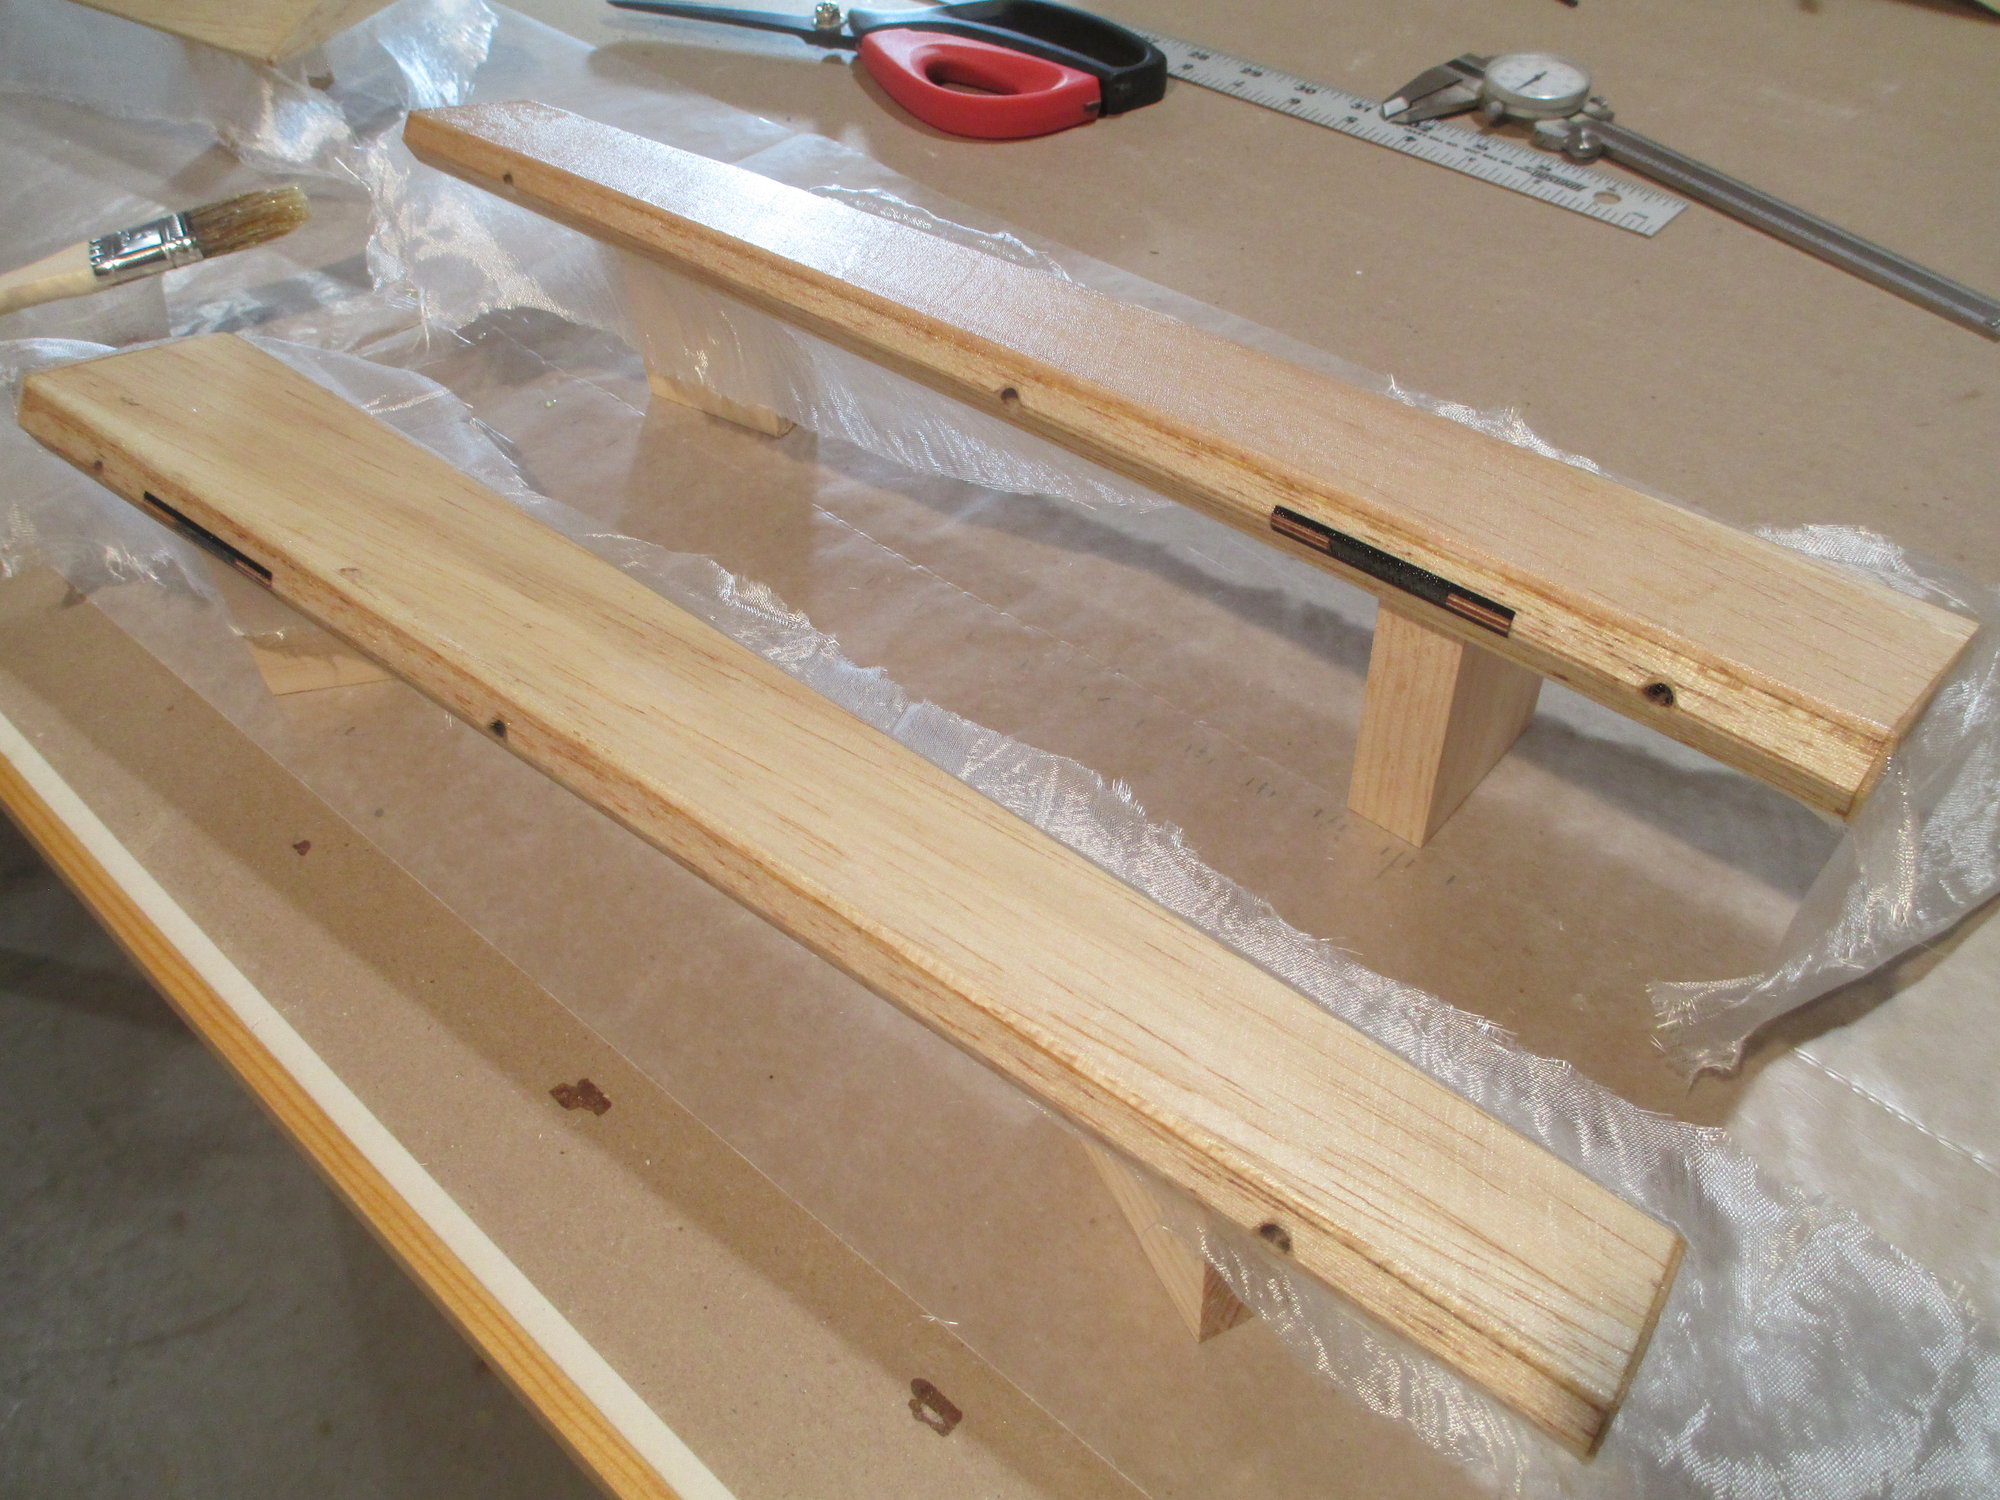
Sometimes you work all day to accomplish the small details that you hope others notice. Beside adjusting the gap surrounding each wheel, I added basswood strips flanking the strut opening on each strut.
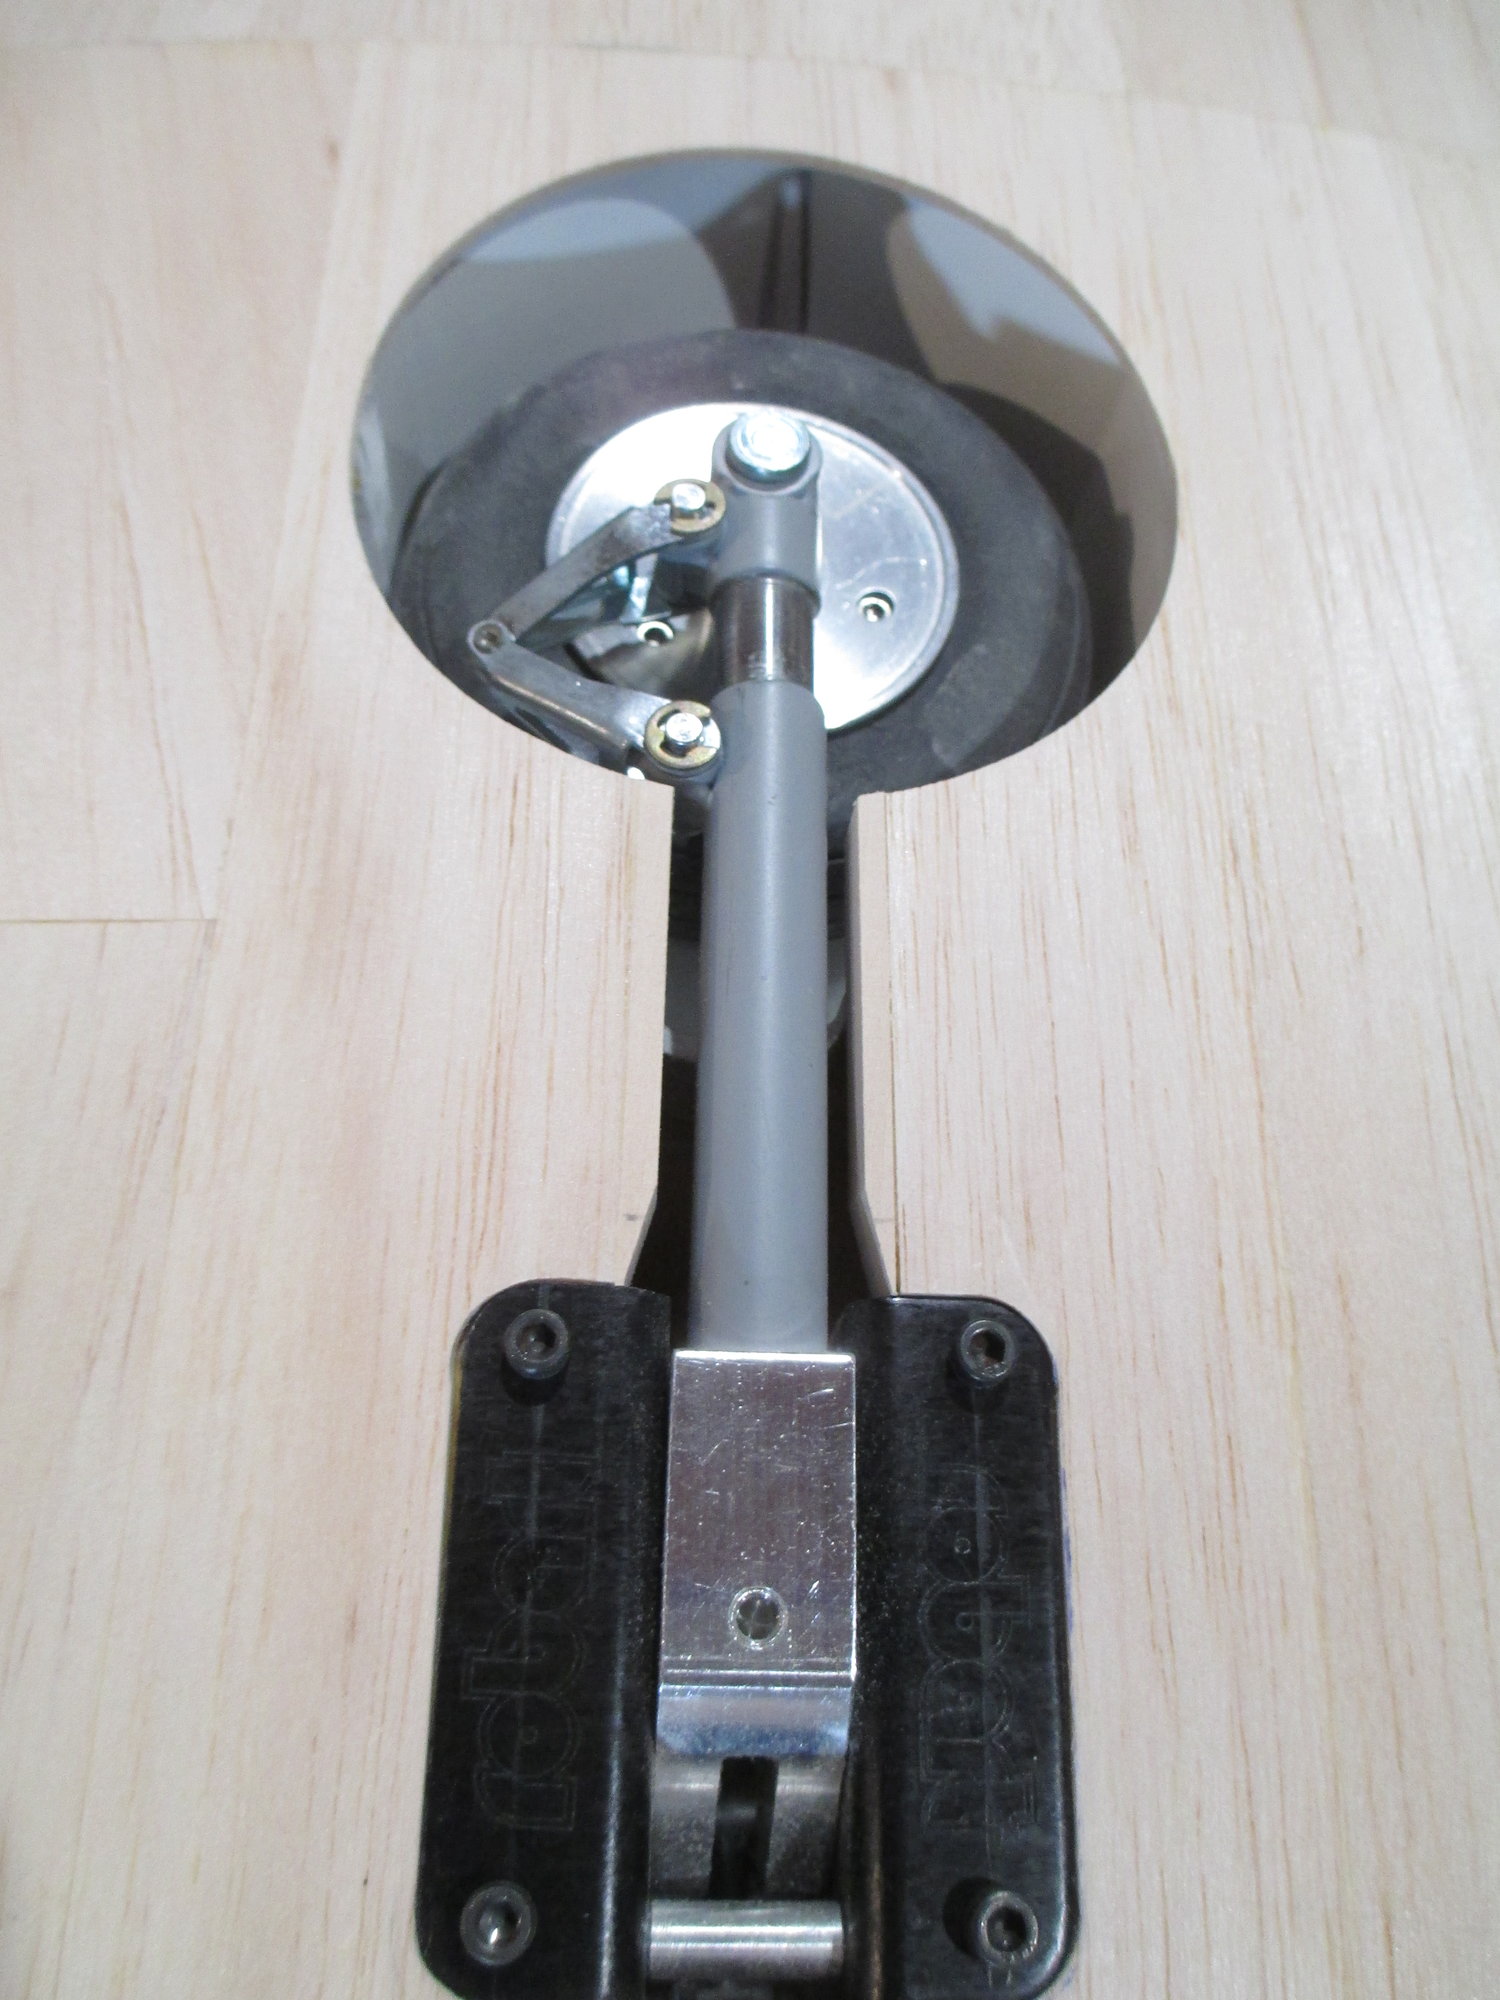
In addition to giving it a more finished look, adding the basswood will: a) adjust the gap between strut and wing sheeting, and b) add strength to the sides of the sheeting hopefully preventing any damage from occurring .
Now it's time to make-up the wheel covers!
Last edited by VincentJ; 01-20-2020 at 10:22 AM.
01-25-2020, 10:07 AM
#705
Thread Starter
While I may be fiberglassing, what I'm really doing is prepping the parts to make those corrugations that all Bonanza's have. After a lot of forethought, I decided on how best to make the corrugations. Using my Dremel rotary tool, I will route out 1/4" wide shallow flutes into the 3/32" balsa sheeting. Practicing on 1/32" sheeting, I was able to make shallow flutes without penetrating through. I also concluded that glassing the parts before routing will yield me a better/sharper edge once the balsa has been hardened by the resin rather than having to deal with glassing afterwards. Anyway, that's the plan, now it's time to fully commit to my plan and execute!!! Wish me luck...
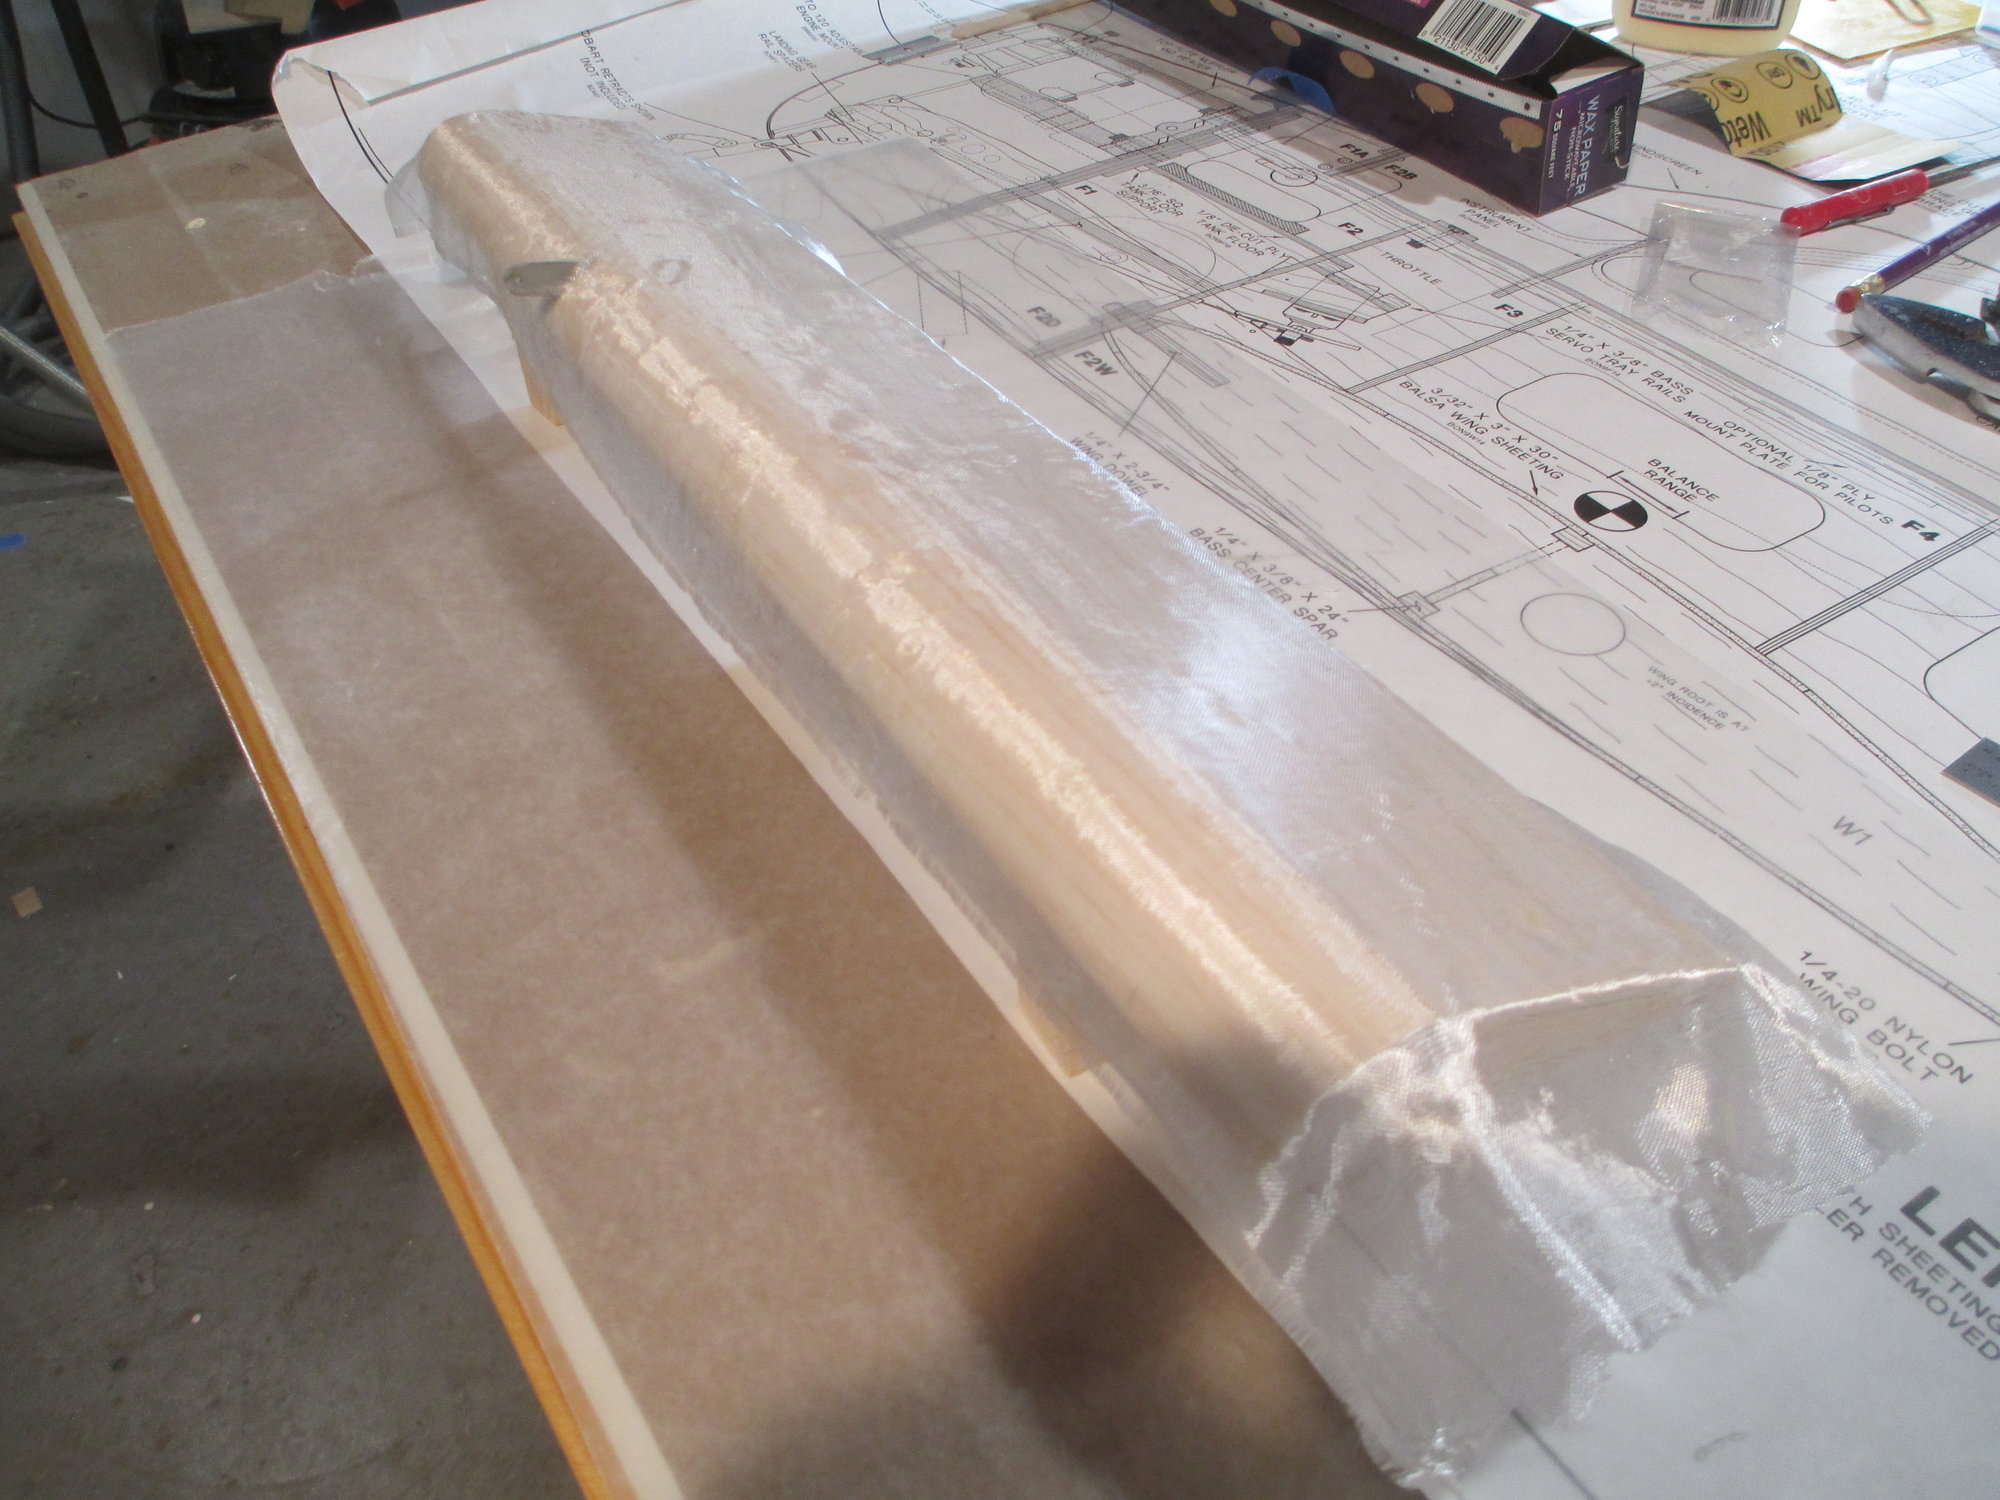
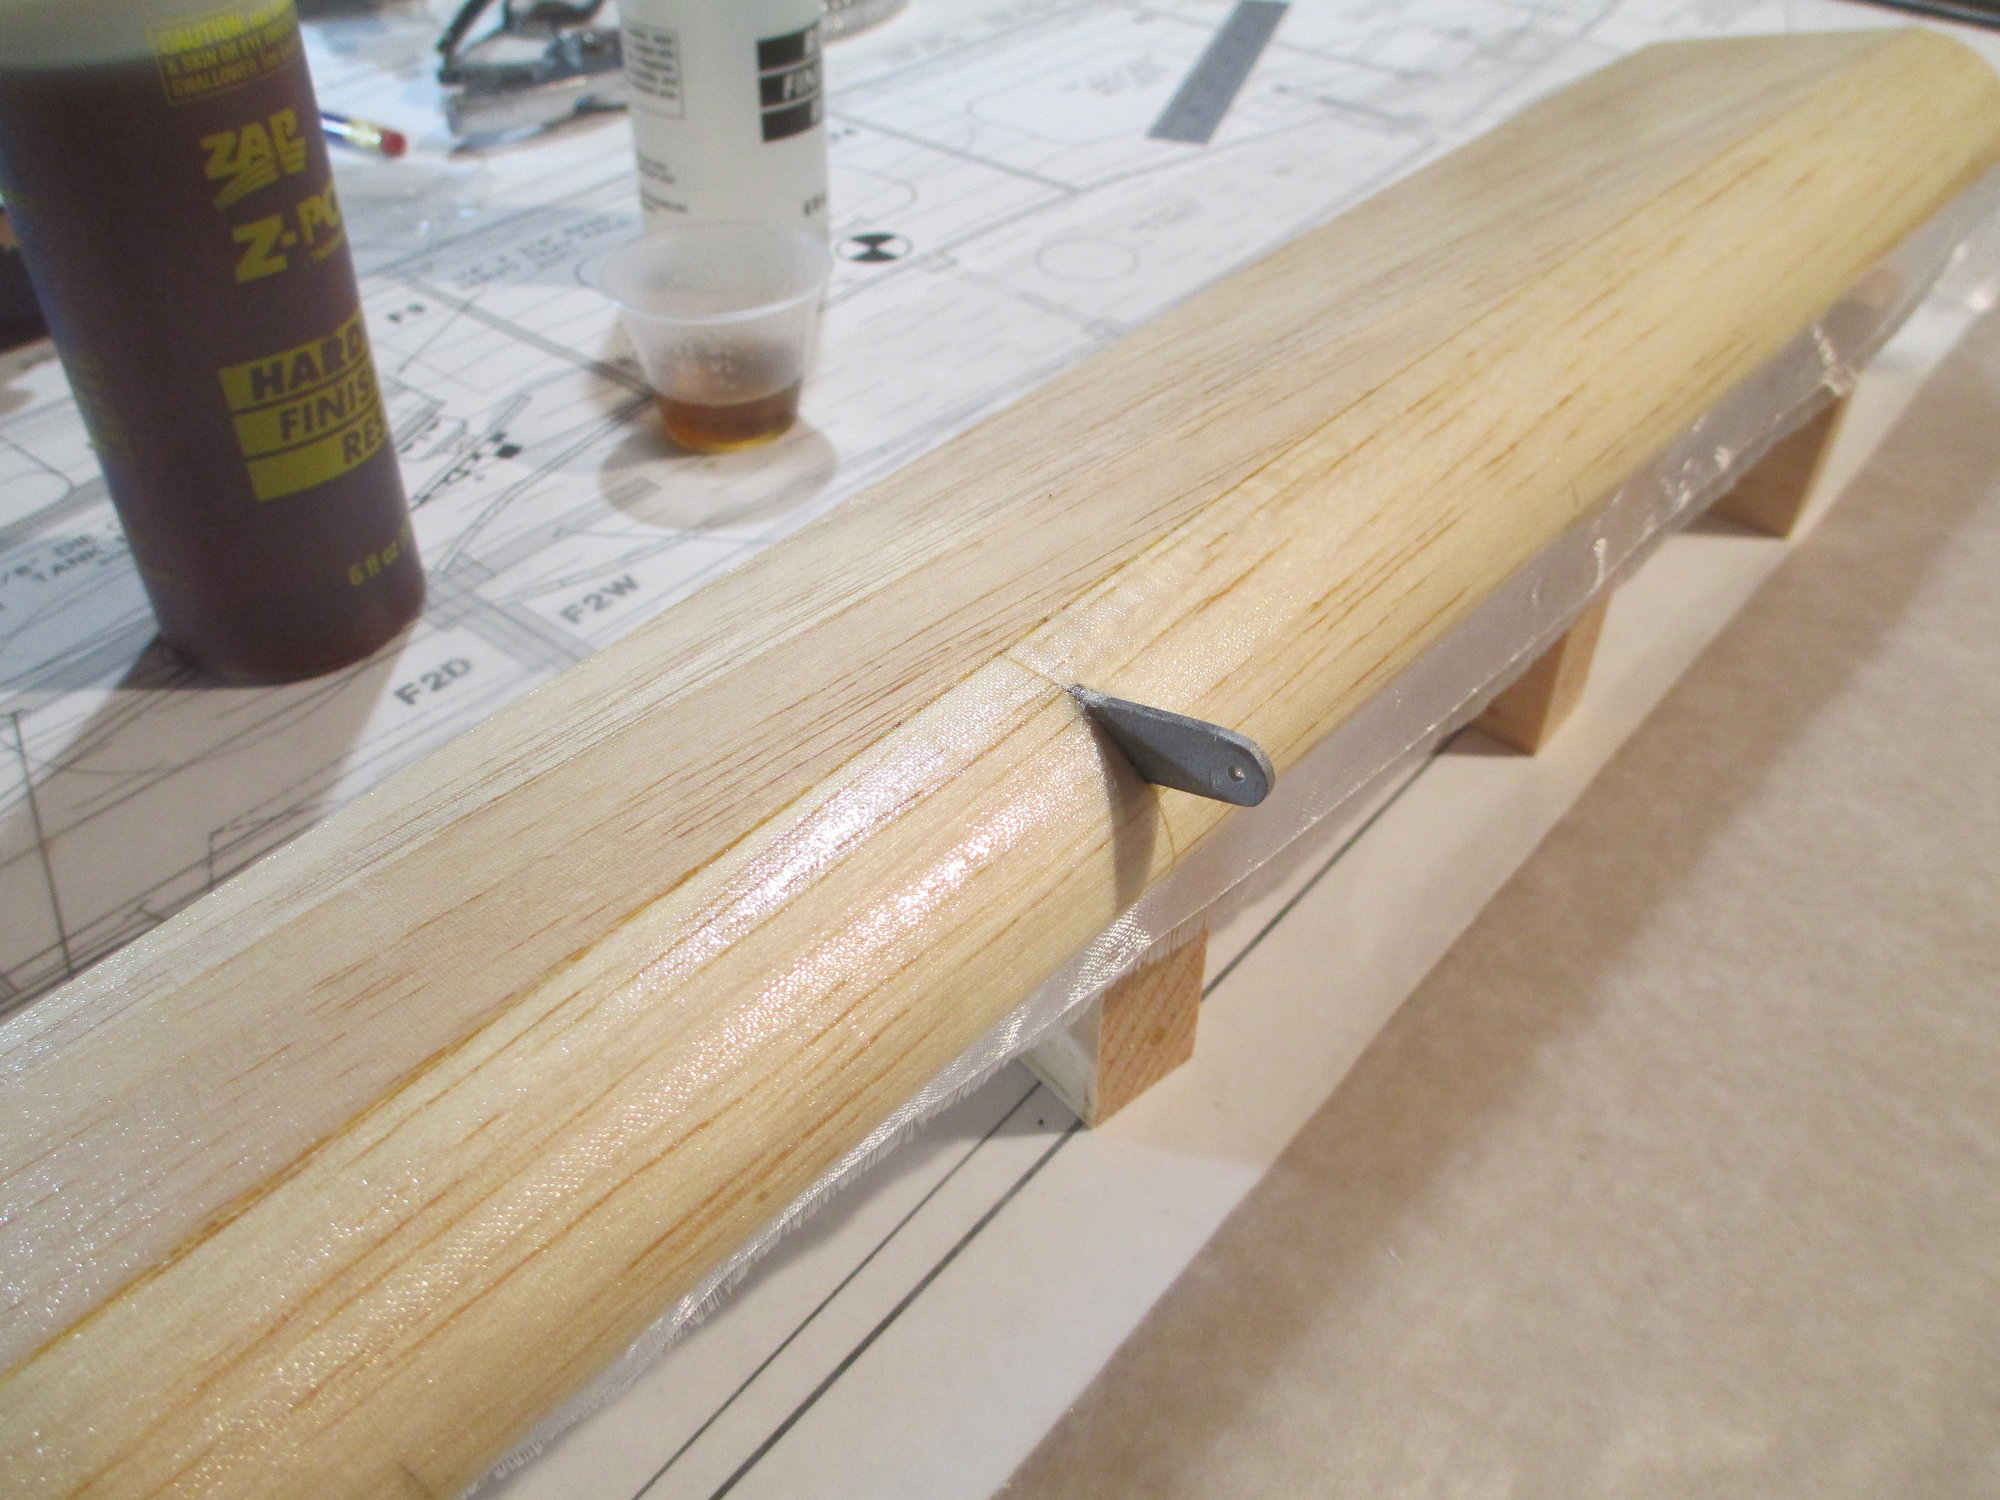
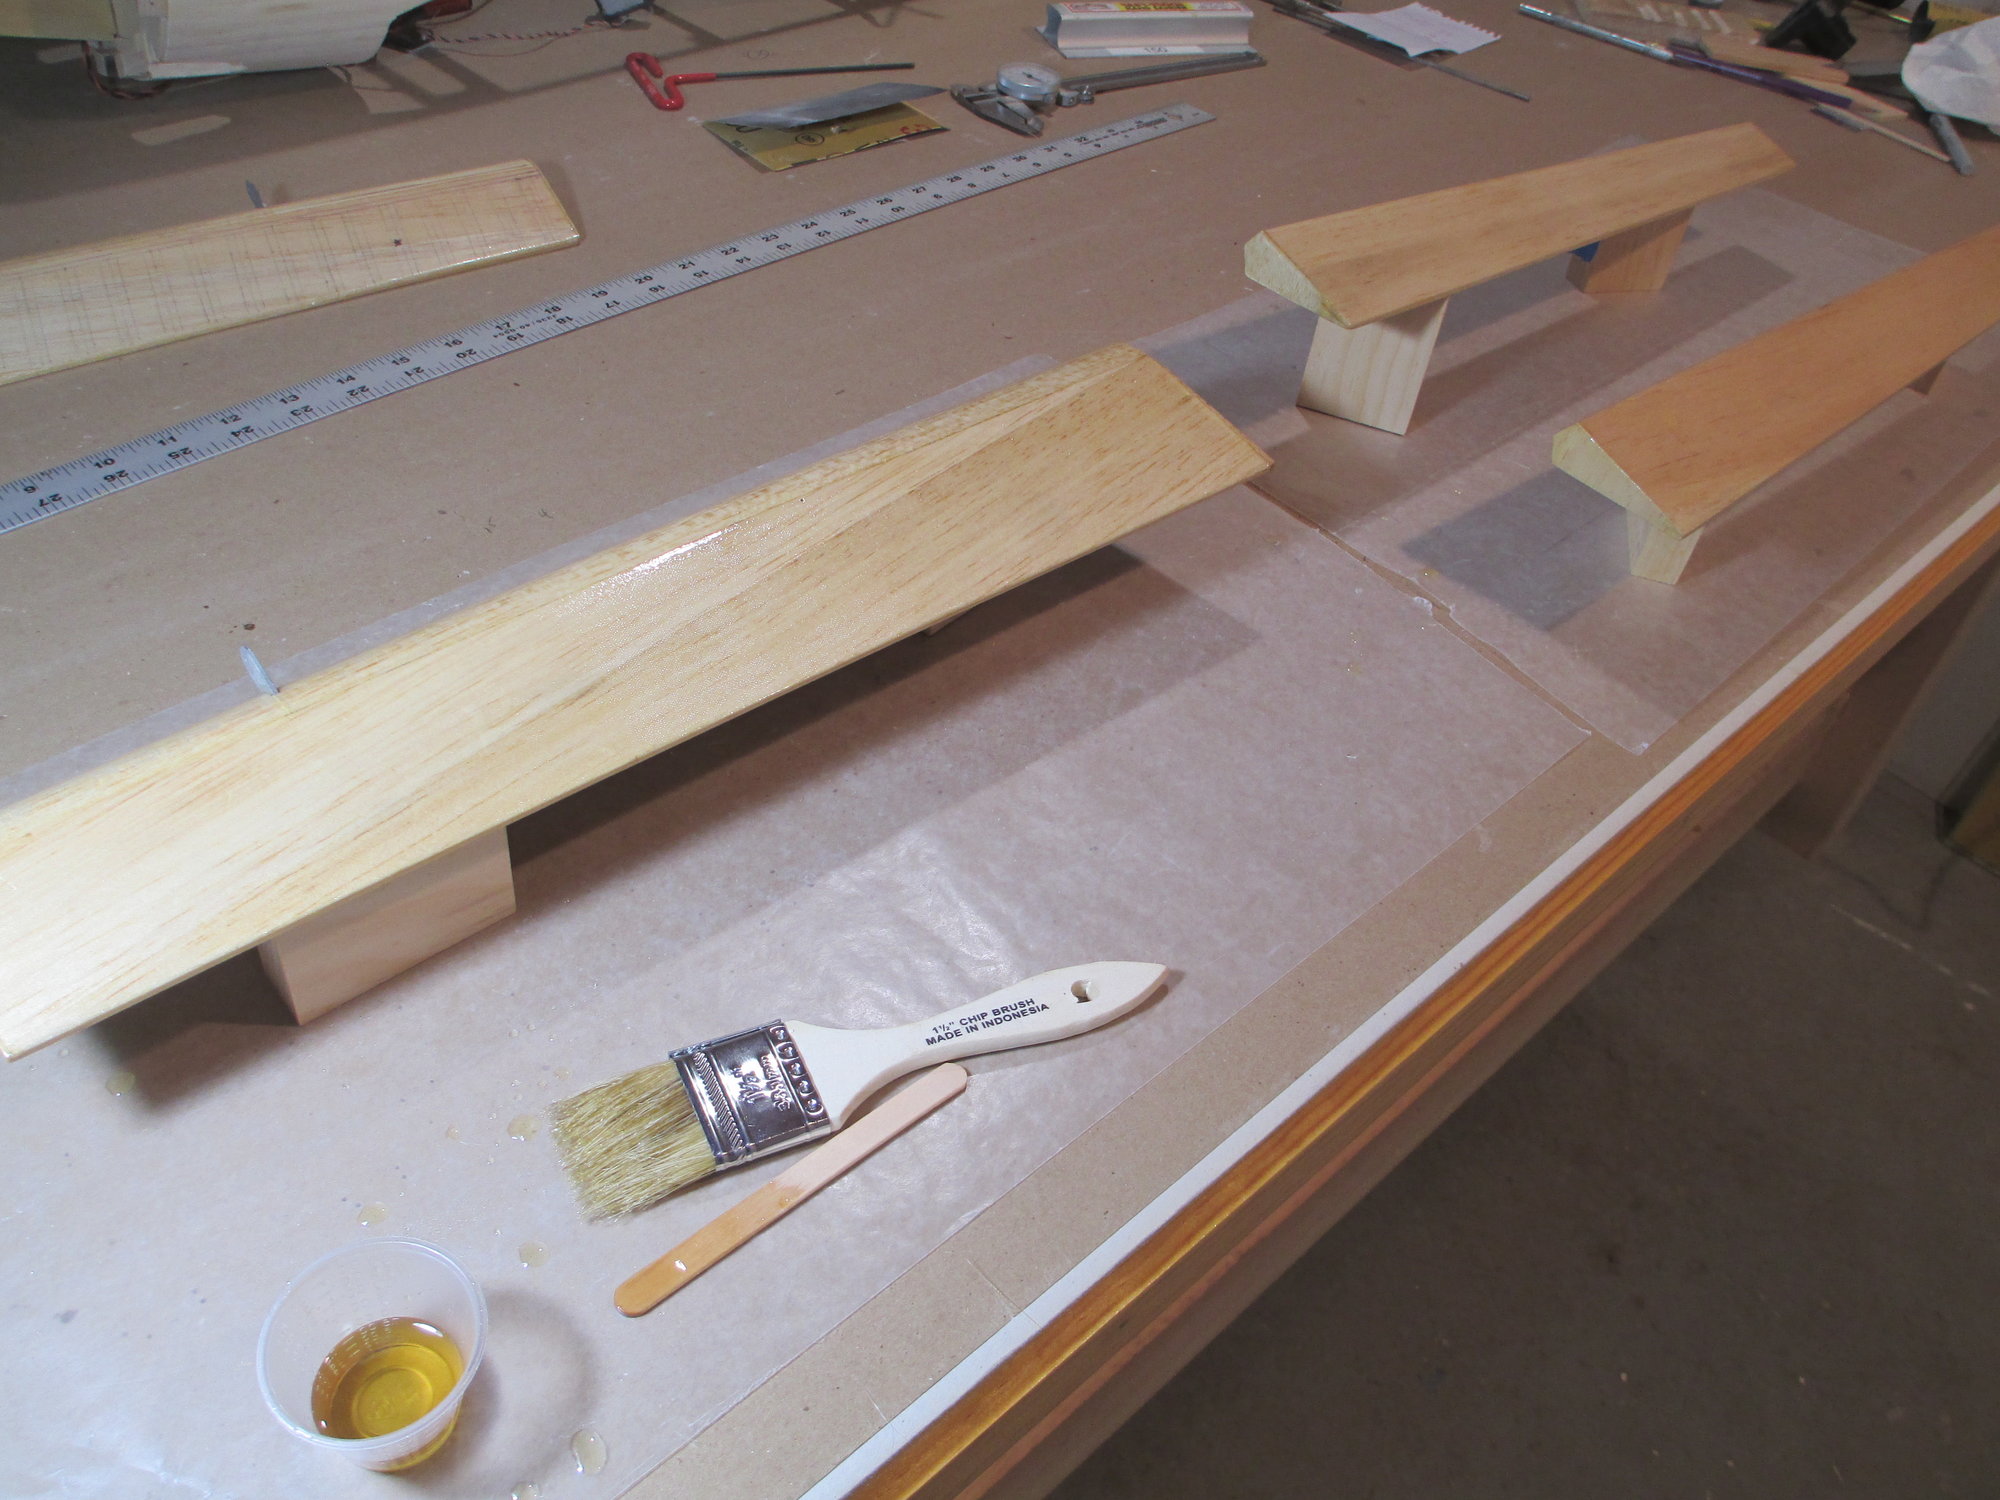
1/2 ounce fiberglass cloth was cut and laid over the flap making sure it has about one inch of overhang all around. I know many modelers don't like using such light weight cloth, they have a hard time with the cloth staying in place along with having the weave separating while spreading the thick resin using a credit card. This is the problem why! First, the resin they're using is way too thick for such a light weight cloth and secondly, don't use a card to spread the resin, use a brush!!! I promise you if you try this method, you will fall in love with how the light weight cloth will easily follow the most complex curves. In the end you will end up with a better and lighter project.
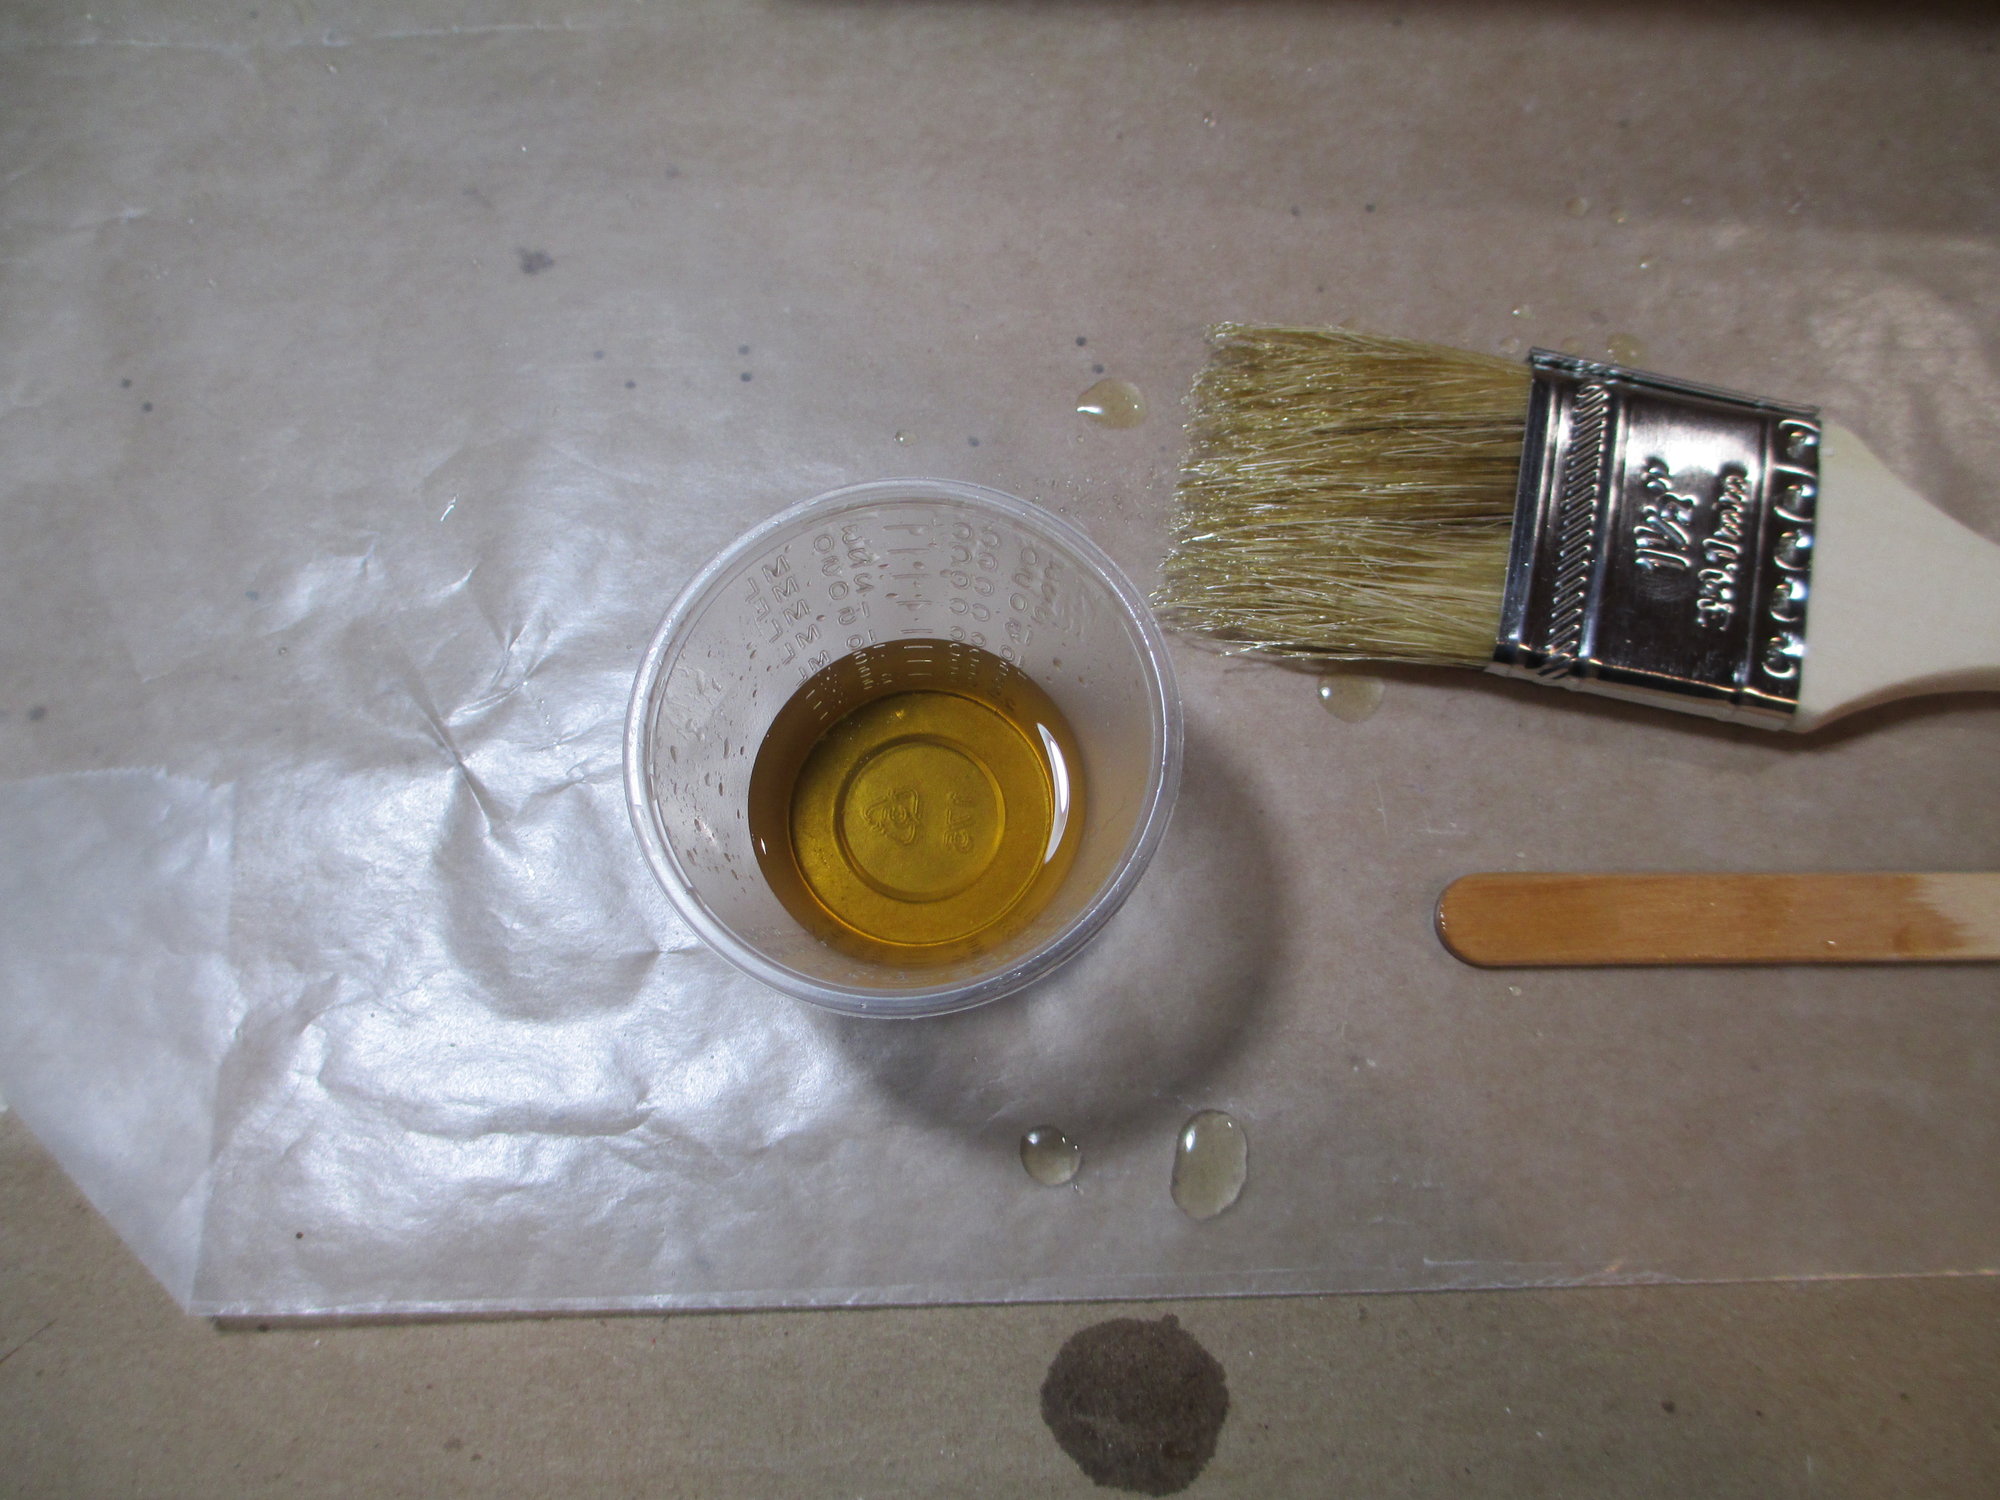
Earlier on in this thread I had shared the ratio that I use, but I will quickly refresh your memories. In the small mixing cup, I pulled 5 cc's of resin and another 5 cc's of hardener and gave it a quick mix. To that, I added 10 cc's of denatured alcohol and gave it a final mix.
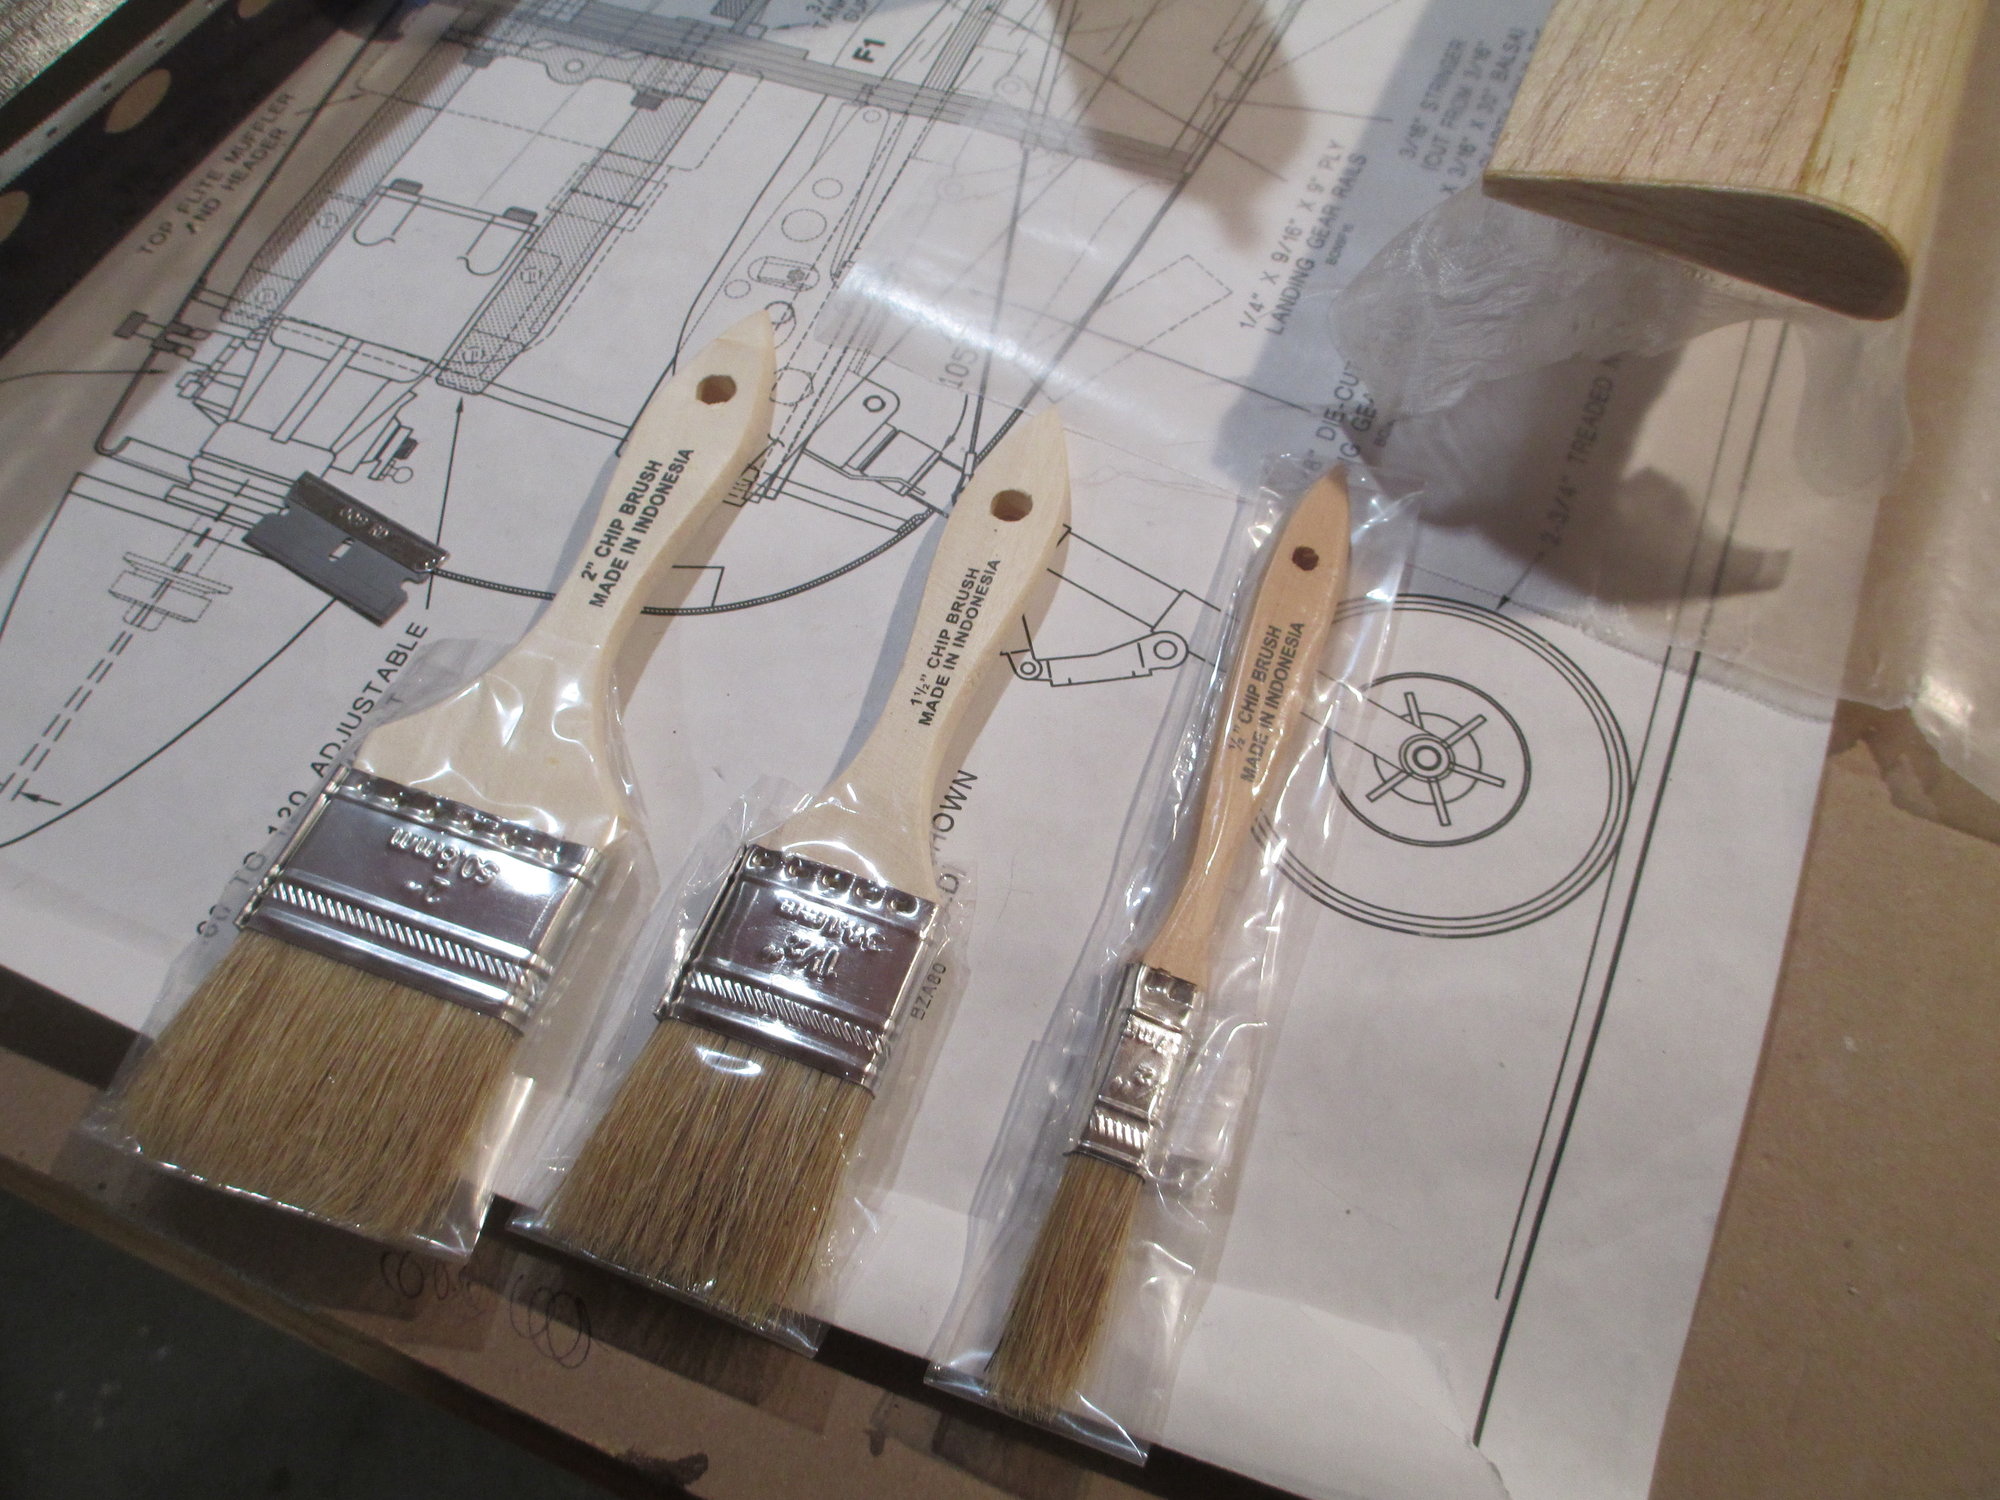
These are the chip brushes that I use to spread out the resin. I purchased them from my local hardware store. They are cheap and not worth the effort to clean. For today's job, I used the brush in the middle.
Liberally spread the mixture allowing it to wick into the balsa.
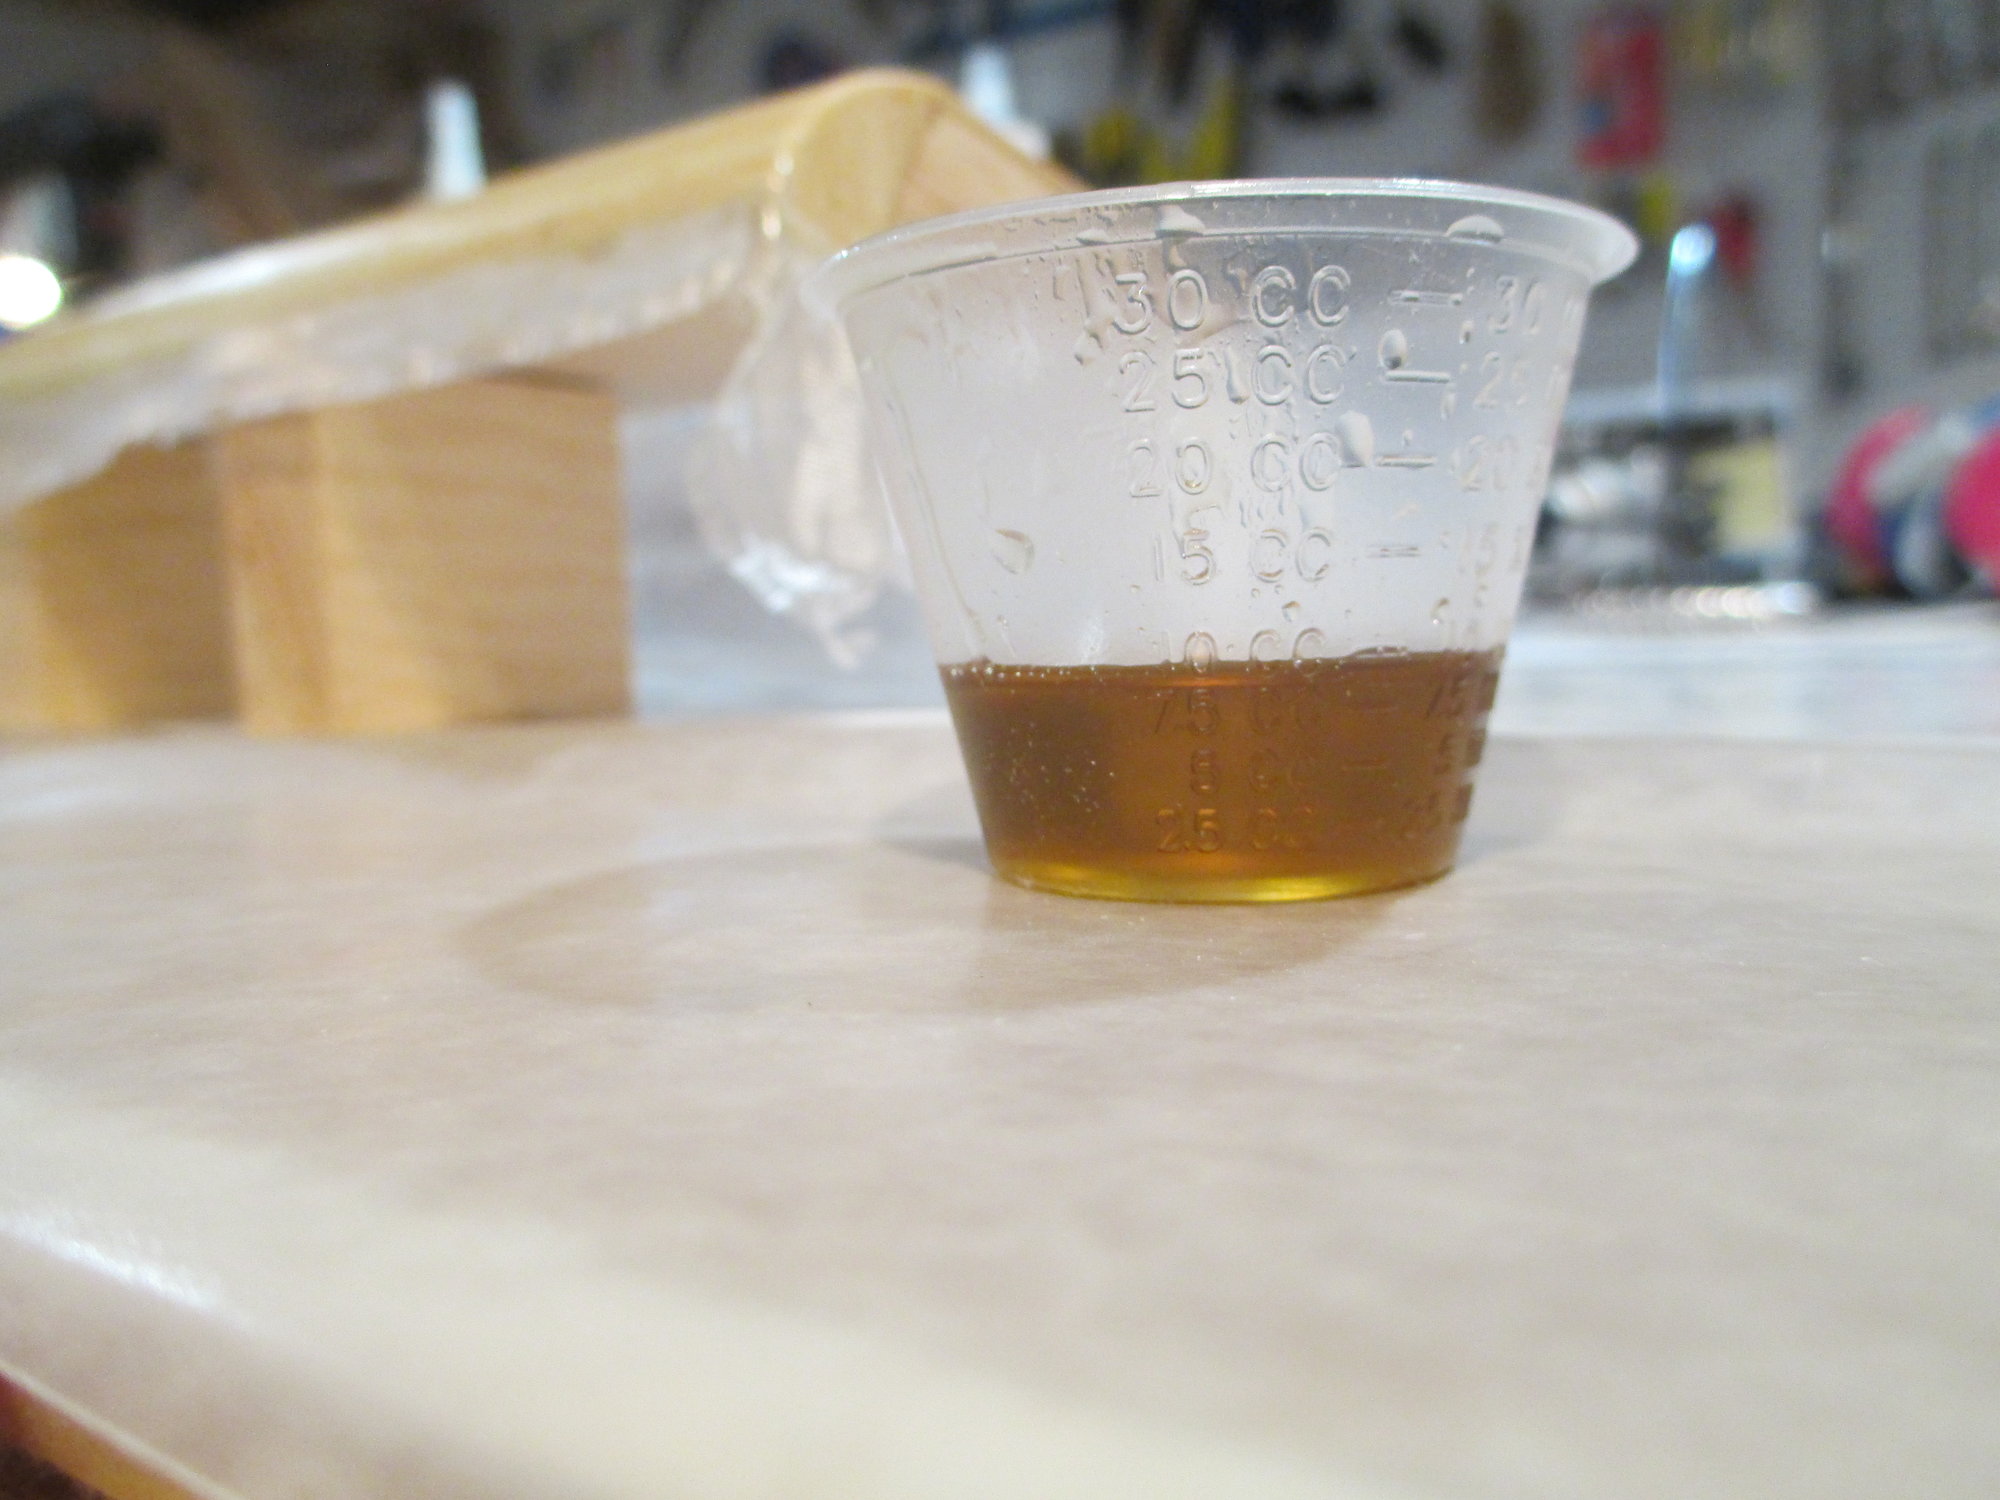
In total, I used 10 cc's.
1/2 ounce fiberglass cloth was cut and laid over the flap making sure it has about one inch of overhang all around. I know many modelers don't like using such light weight cloth, they have a hard time with the cloth staying in place along with having the weave separating while spreading the thick resin using a credit card. This is the problem why! First, the resin they're using is way too thick for such a light weight cloth and secondly, don't use a card to spread the resin, use a brush!!! I promise you if you try this method, you will fall in love with how the light weight cloth will easily follow the most complex curves. In the end you will end up with a better and lighter project.
Earlier on in this thread I had shared the ratio that I use, but I will quickly refresh your memories. In the small mixing cup, I pulled 5 cc's of resin and another 5 cc's of hardener and gave it a quick mix. To that, I added 10 cc's of denatured alcohol and gave it a final mix.
These are the chip brushes that I use to spread out the resin. I purchased them from my local hardware store. They are cheap and not worth the effort to clean. For today's job, I used the brush in the middle.
Liberally spread the mixture allowing it to wick into the balsa.
In total, I used 10 cc's.
Last edited by VincentJ; 01-25-2020 at 12:14 PM.

The following users liked this post:
VincentJ (01-25-2020)


The following users liked this post:
VincentJ (01-27-2020)
01-26-2020, 01:32 PM
#711
Thread Starter
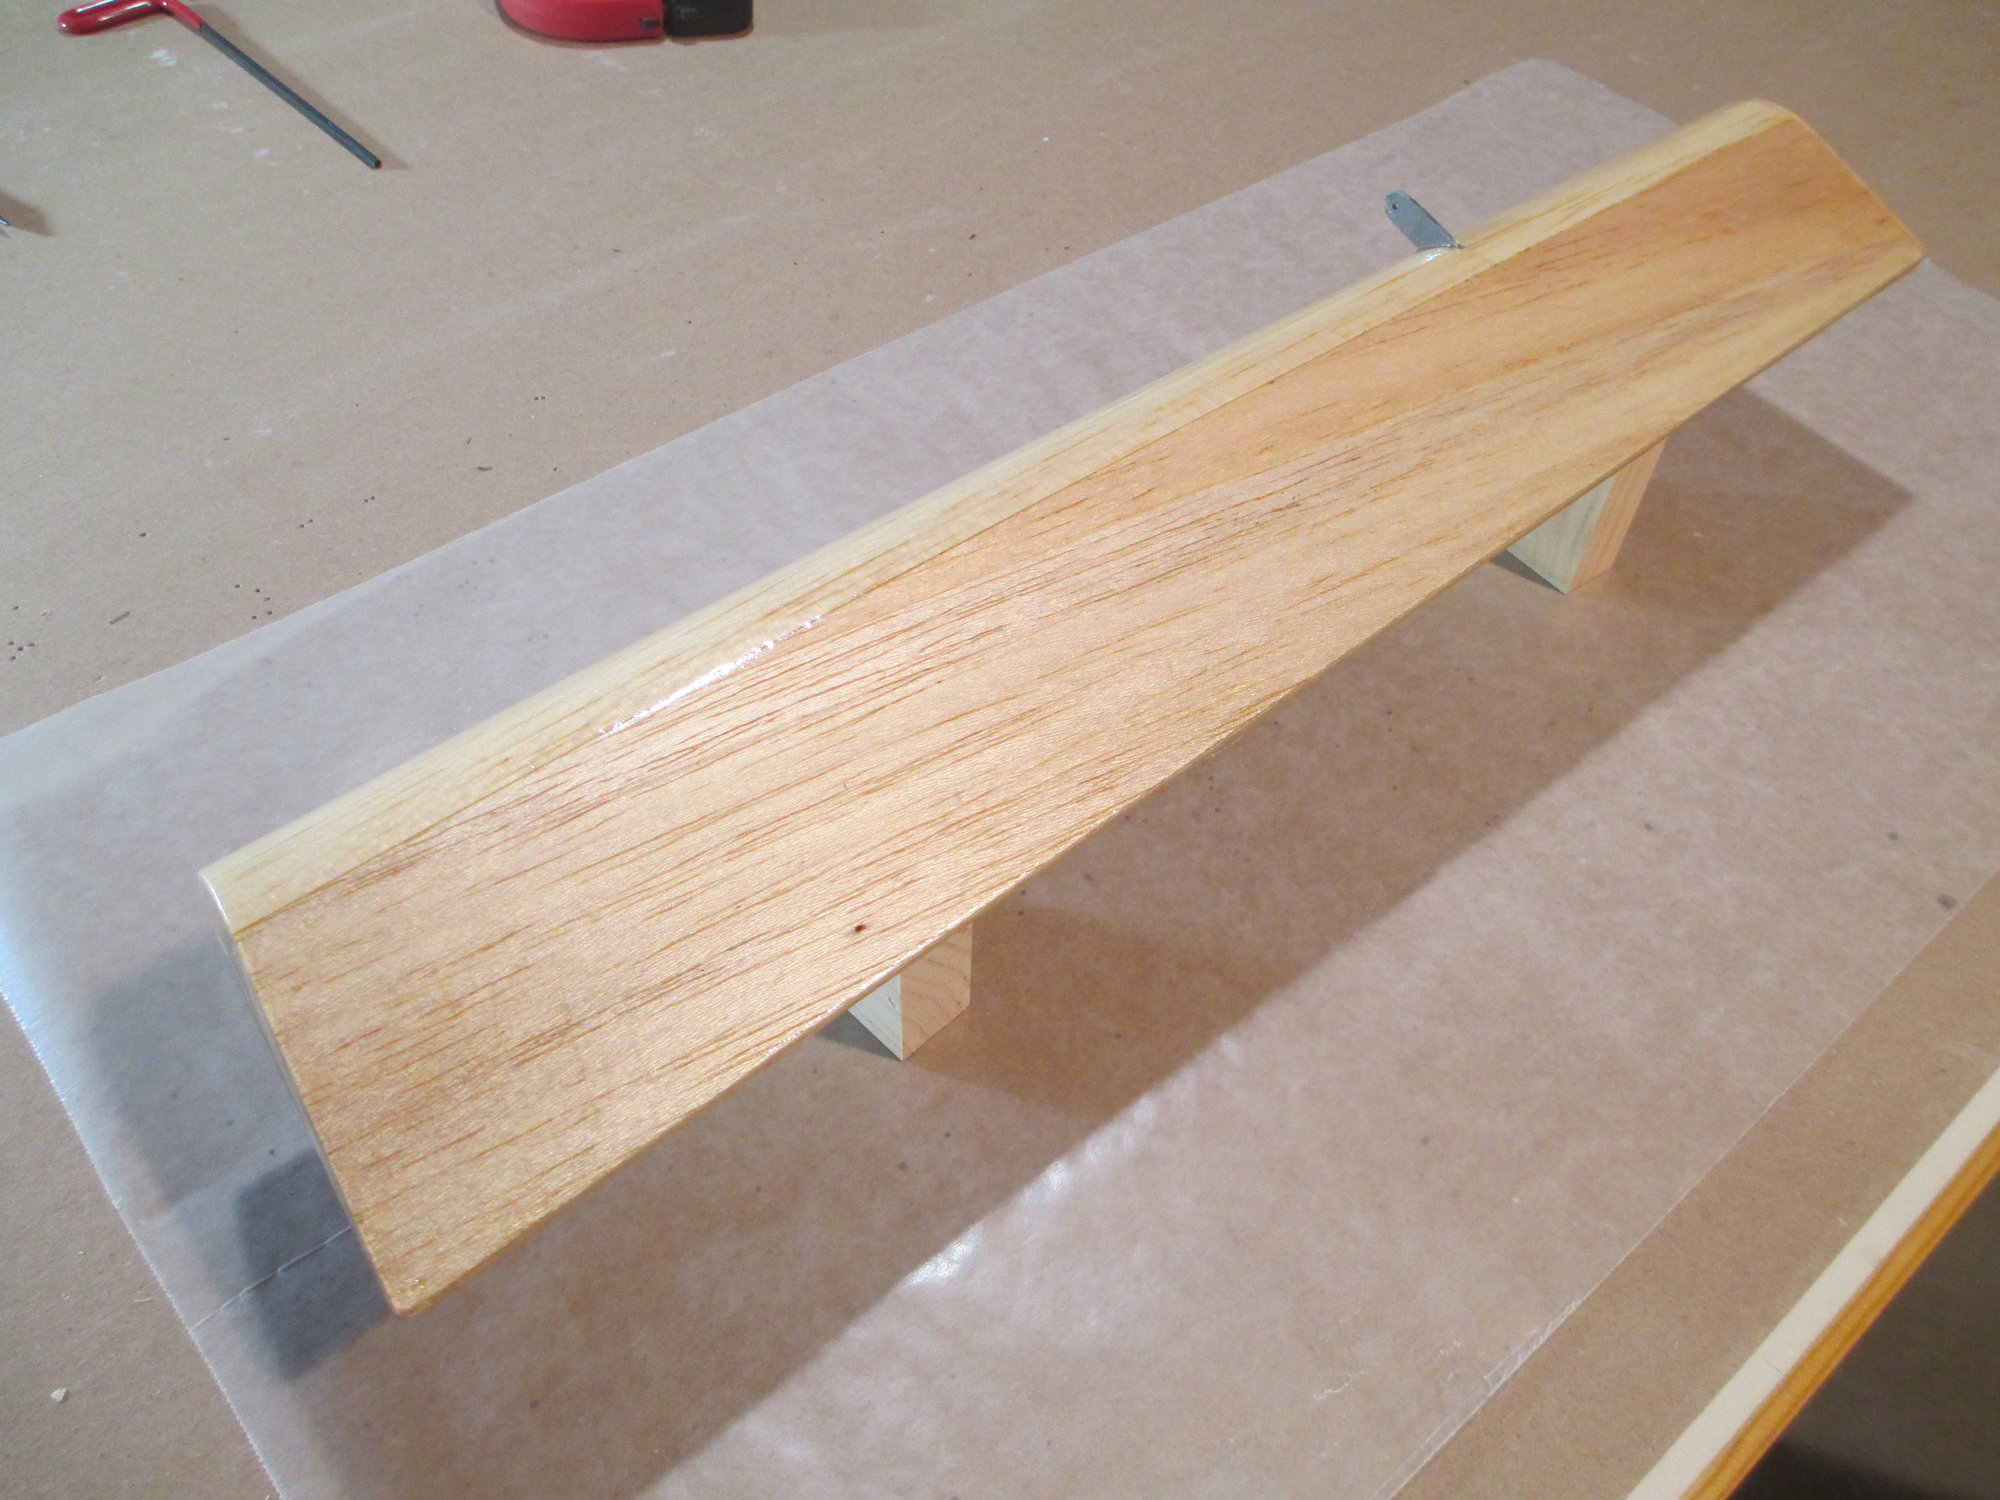
The right flap has been glassed. Two coats of resin was applied at this point.
Pencil lines show where the corrugations will go. If you're wondering why there aren't any on the left hand part of the flap, the reason is that this area will have the black textured material for entering into the plane.
Now that I have the logistics figured out, I will glass the remaining flap and two ailerons before I start routing the corrugations.
Last edited by VincentJ; 01-27-2020 at 03:29 AM.
01-26-2020, 03:05 PM
#712

subscribed! This is a great build and I am so envious of your skills!
Earlier you gave this tip.
Early in the build you bevel pieces to give a greater surface area for the glue. Wouldn't this tip reduce the area and make the bond weaker?
I have 3 kits that have been waiting for my kid to move out so I can have a hobby room. I have my room now. 22 years later.
thanks
John
Earlier you gave this tip.
Builders Tip: Now that the edges of the sheeting are jointed, you still have one more thing to do before you start spreading the glue. On the inside edge that will be butted up to the next sheet, sand a small bevel. The reason for doing this is to give clearance to the very small bead of glue that squeezed out and dried on the other sheet. This bevel will allow the two sheets to more closely butt up to one another.
I have 3 kits that have been waiting for my kid to move out so I can have a hobby room. I have my room now. 22 years later.
thanks
John
01-26-2020, 04:34 PM
#713
Thread Starter
subscribed! This is a great build and I am so envious of your skills!
Earlier you gave this tip.
Early in the build you bevel pieces to give a greater surface area for the glue. Wouldn't this tip reduce the area and make the bond weaker?
I have 3 kits that have been waiting for my kid to move out so I can have a hobby room. I have my room now. 22 years later.
thanks
John
Earlier you gave this tip.
Early in the build you bevel pieces to give a greater surface area for the glue. Wouldn't this tip reduce the area and make the bond weaker?
I have 3 kits that have been waiting for my kid to move out so I can have a hobby room. I have my room now. 22 years later.
thanks
John
Good luck with building those kits in your new digs...
Last edited by VincentJ; 01-27-2020 at 01:14 AM.
01-27-2020, 03:36 AM
#716
Thread Starter
Thanks Mike! Don't look at it that your stealing anything, we modelers like to share the information that we learned either from our own work or through the help of others.
The following users liked this post:
VincentJ (01-27-2020)
01-27-2020, 02:04 PM
#718
Thread Starter
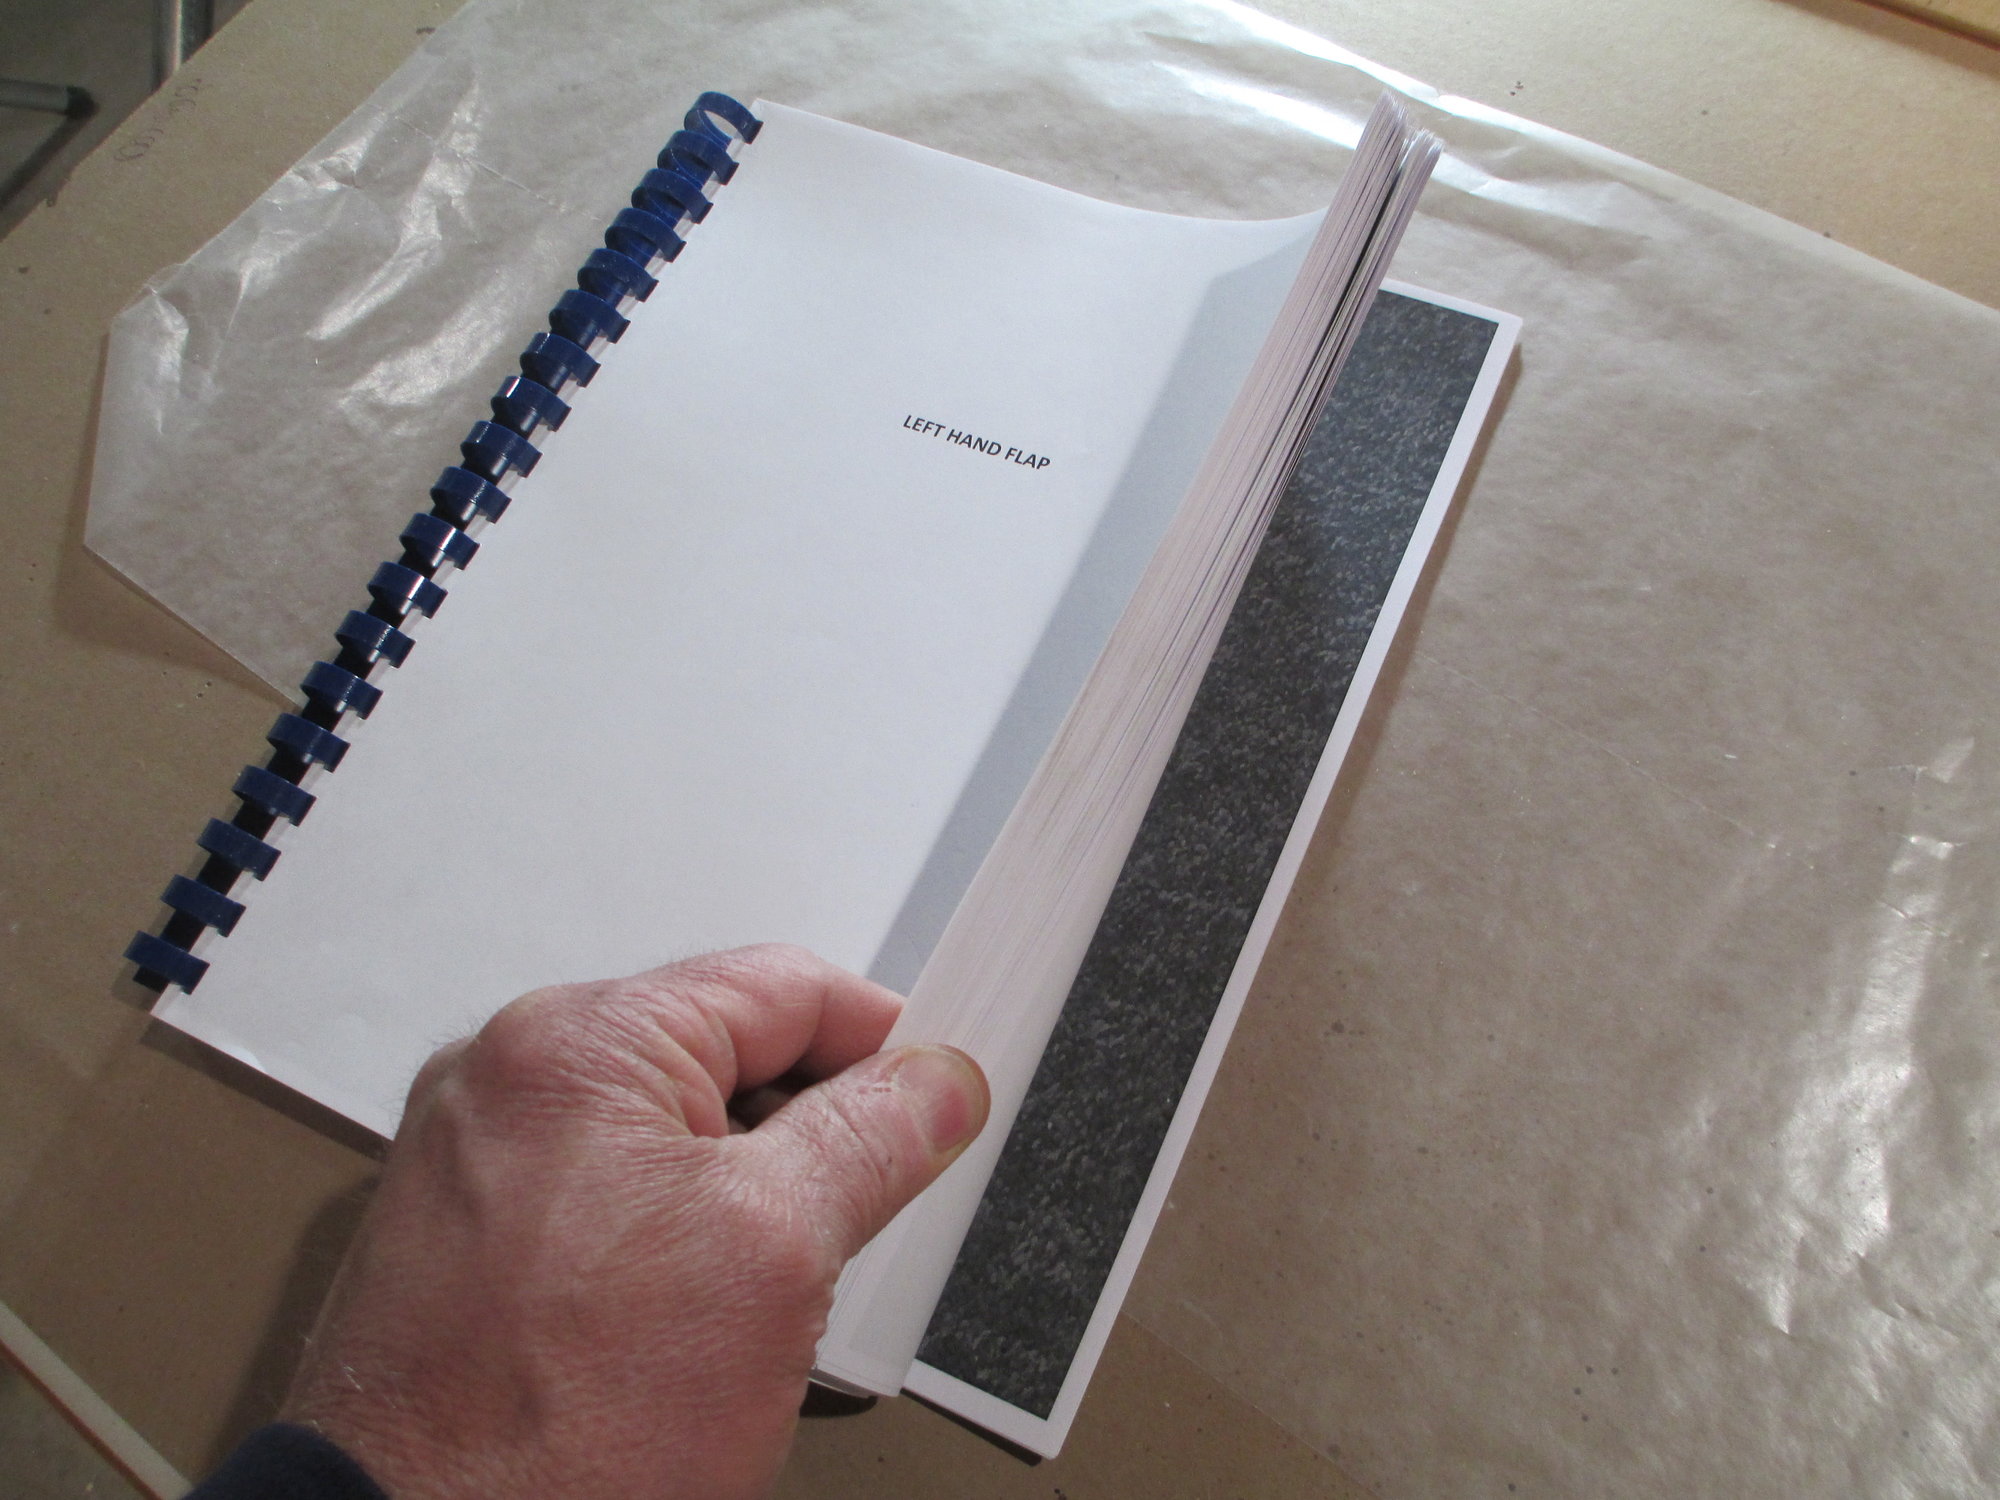
I'll start this evenings post with a builder's tip. You can never have too much scale documentation on hand. Even before I started to unroll the plans for this build, my partner Bob and I went to the Manchester, NH airport and photographed a Beechcraft Bonanza that Bob had tracked down. We took over 150 photos. Surely that would be enough...Nope! Here's where my tip will help: Needing even more scale documentation left me scratching my head, then it dawned on me where I might be able to find what I was looking for...ebay!!! I logged in and searched for the parts that I needed specific photos of. As an example, I wanted to see if I could find the RH flap, sure enough there were RH flaps for sale with detailed pictures providing me with the information that I was looking for...GOLD MINE!!!!
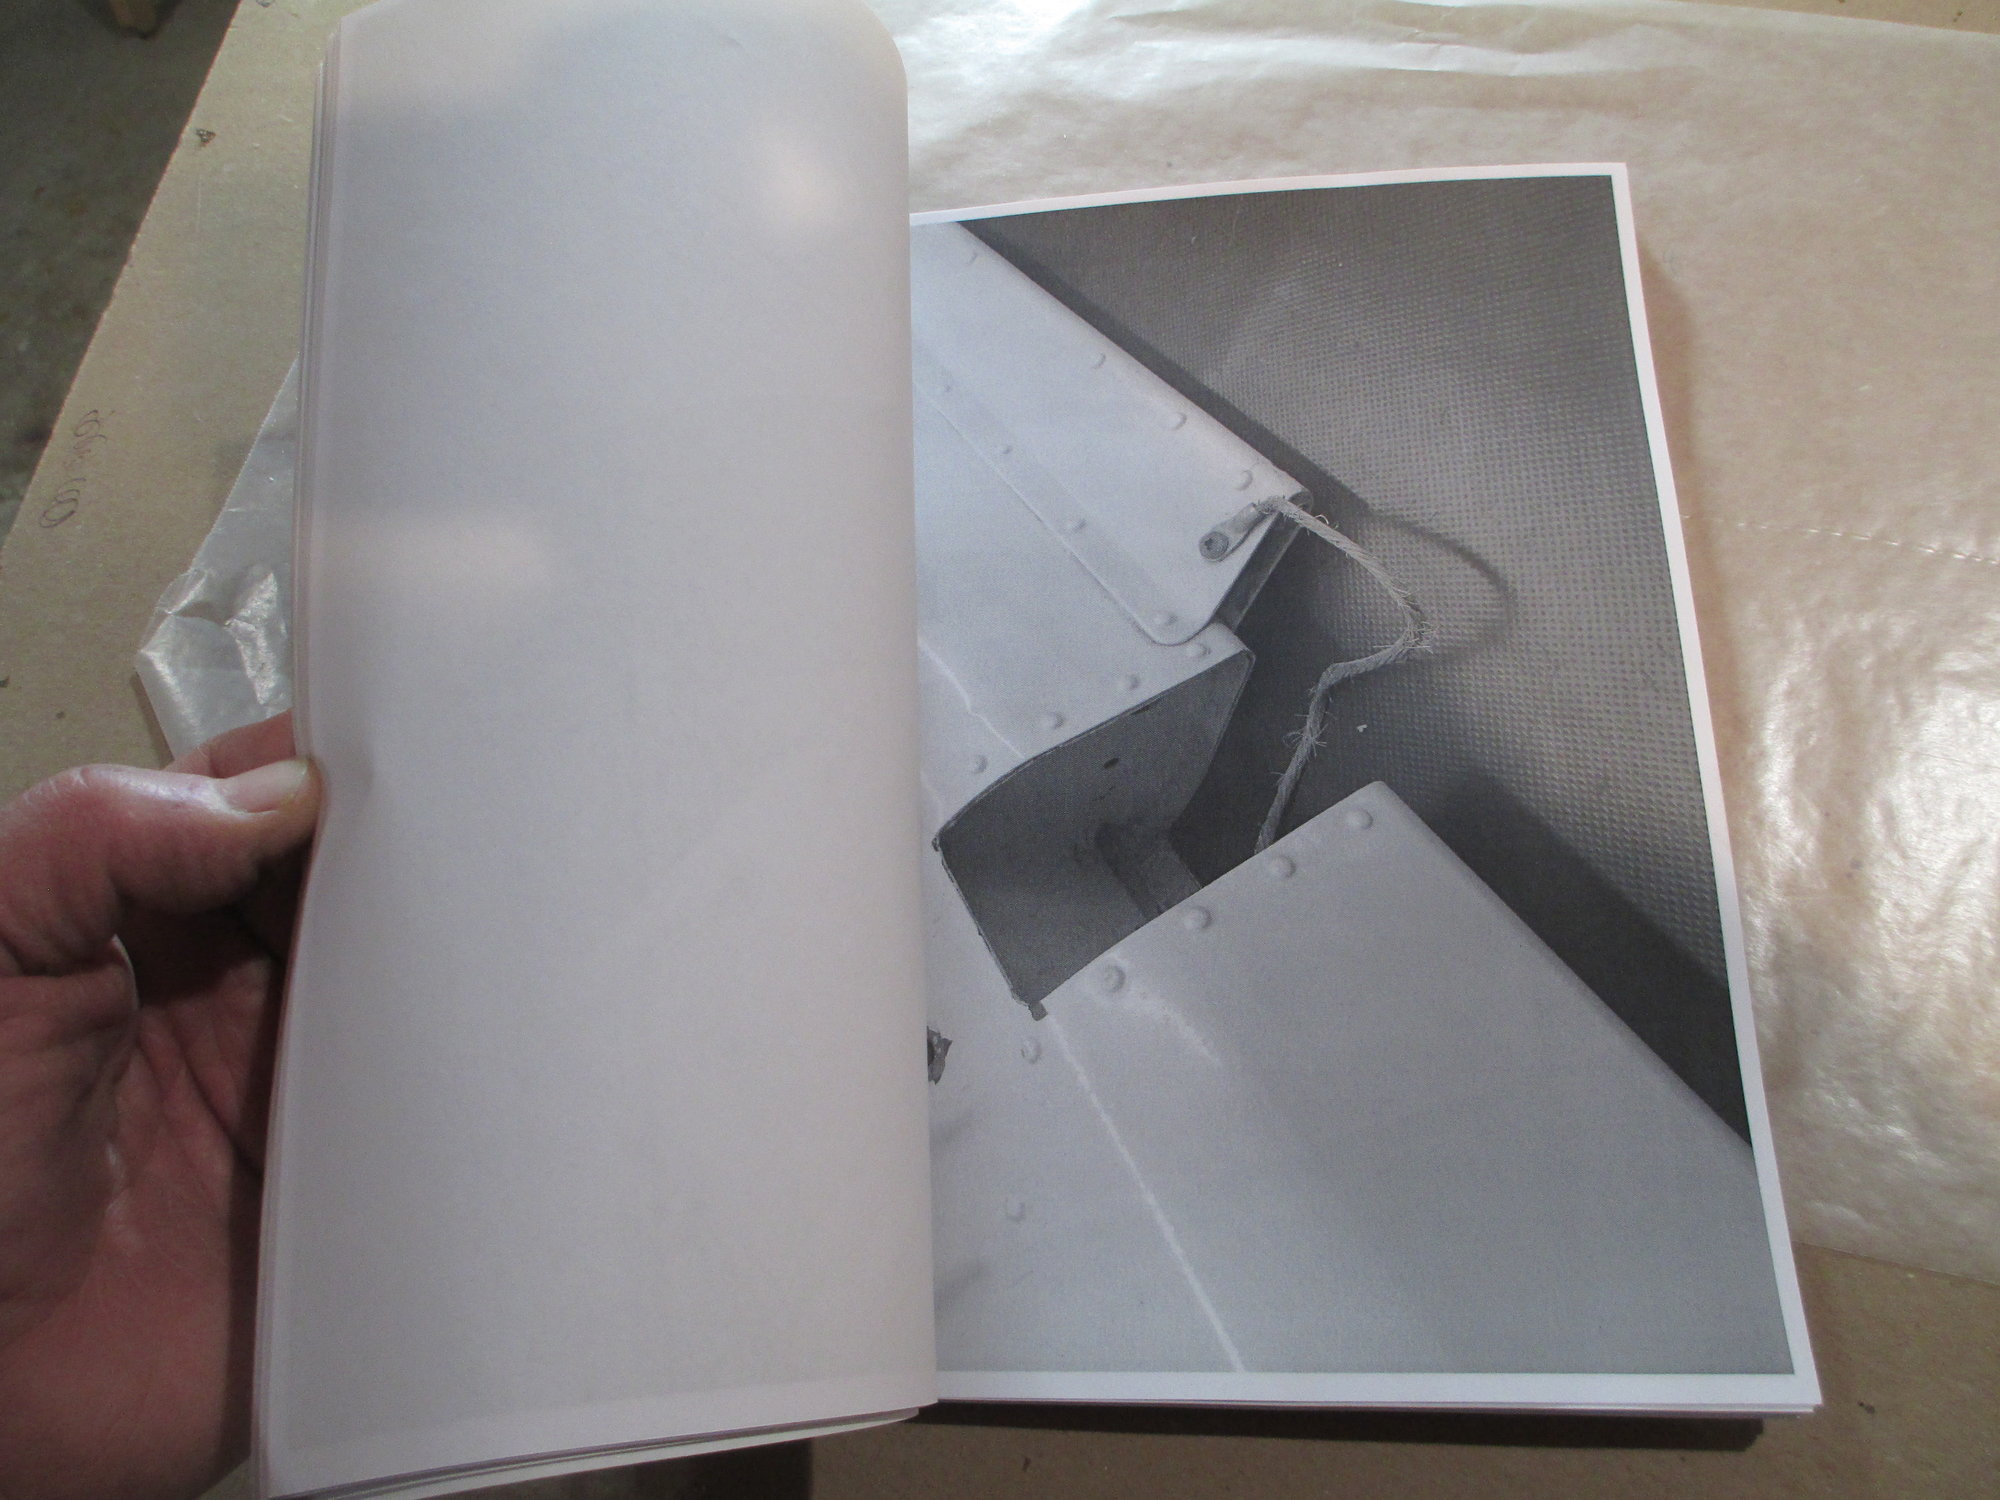
I bound all the detailed photographs in sections organized by each part.
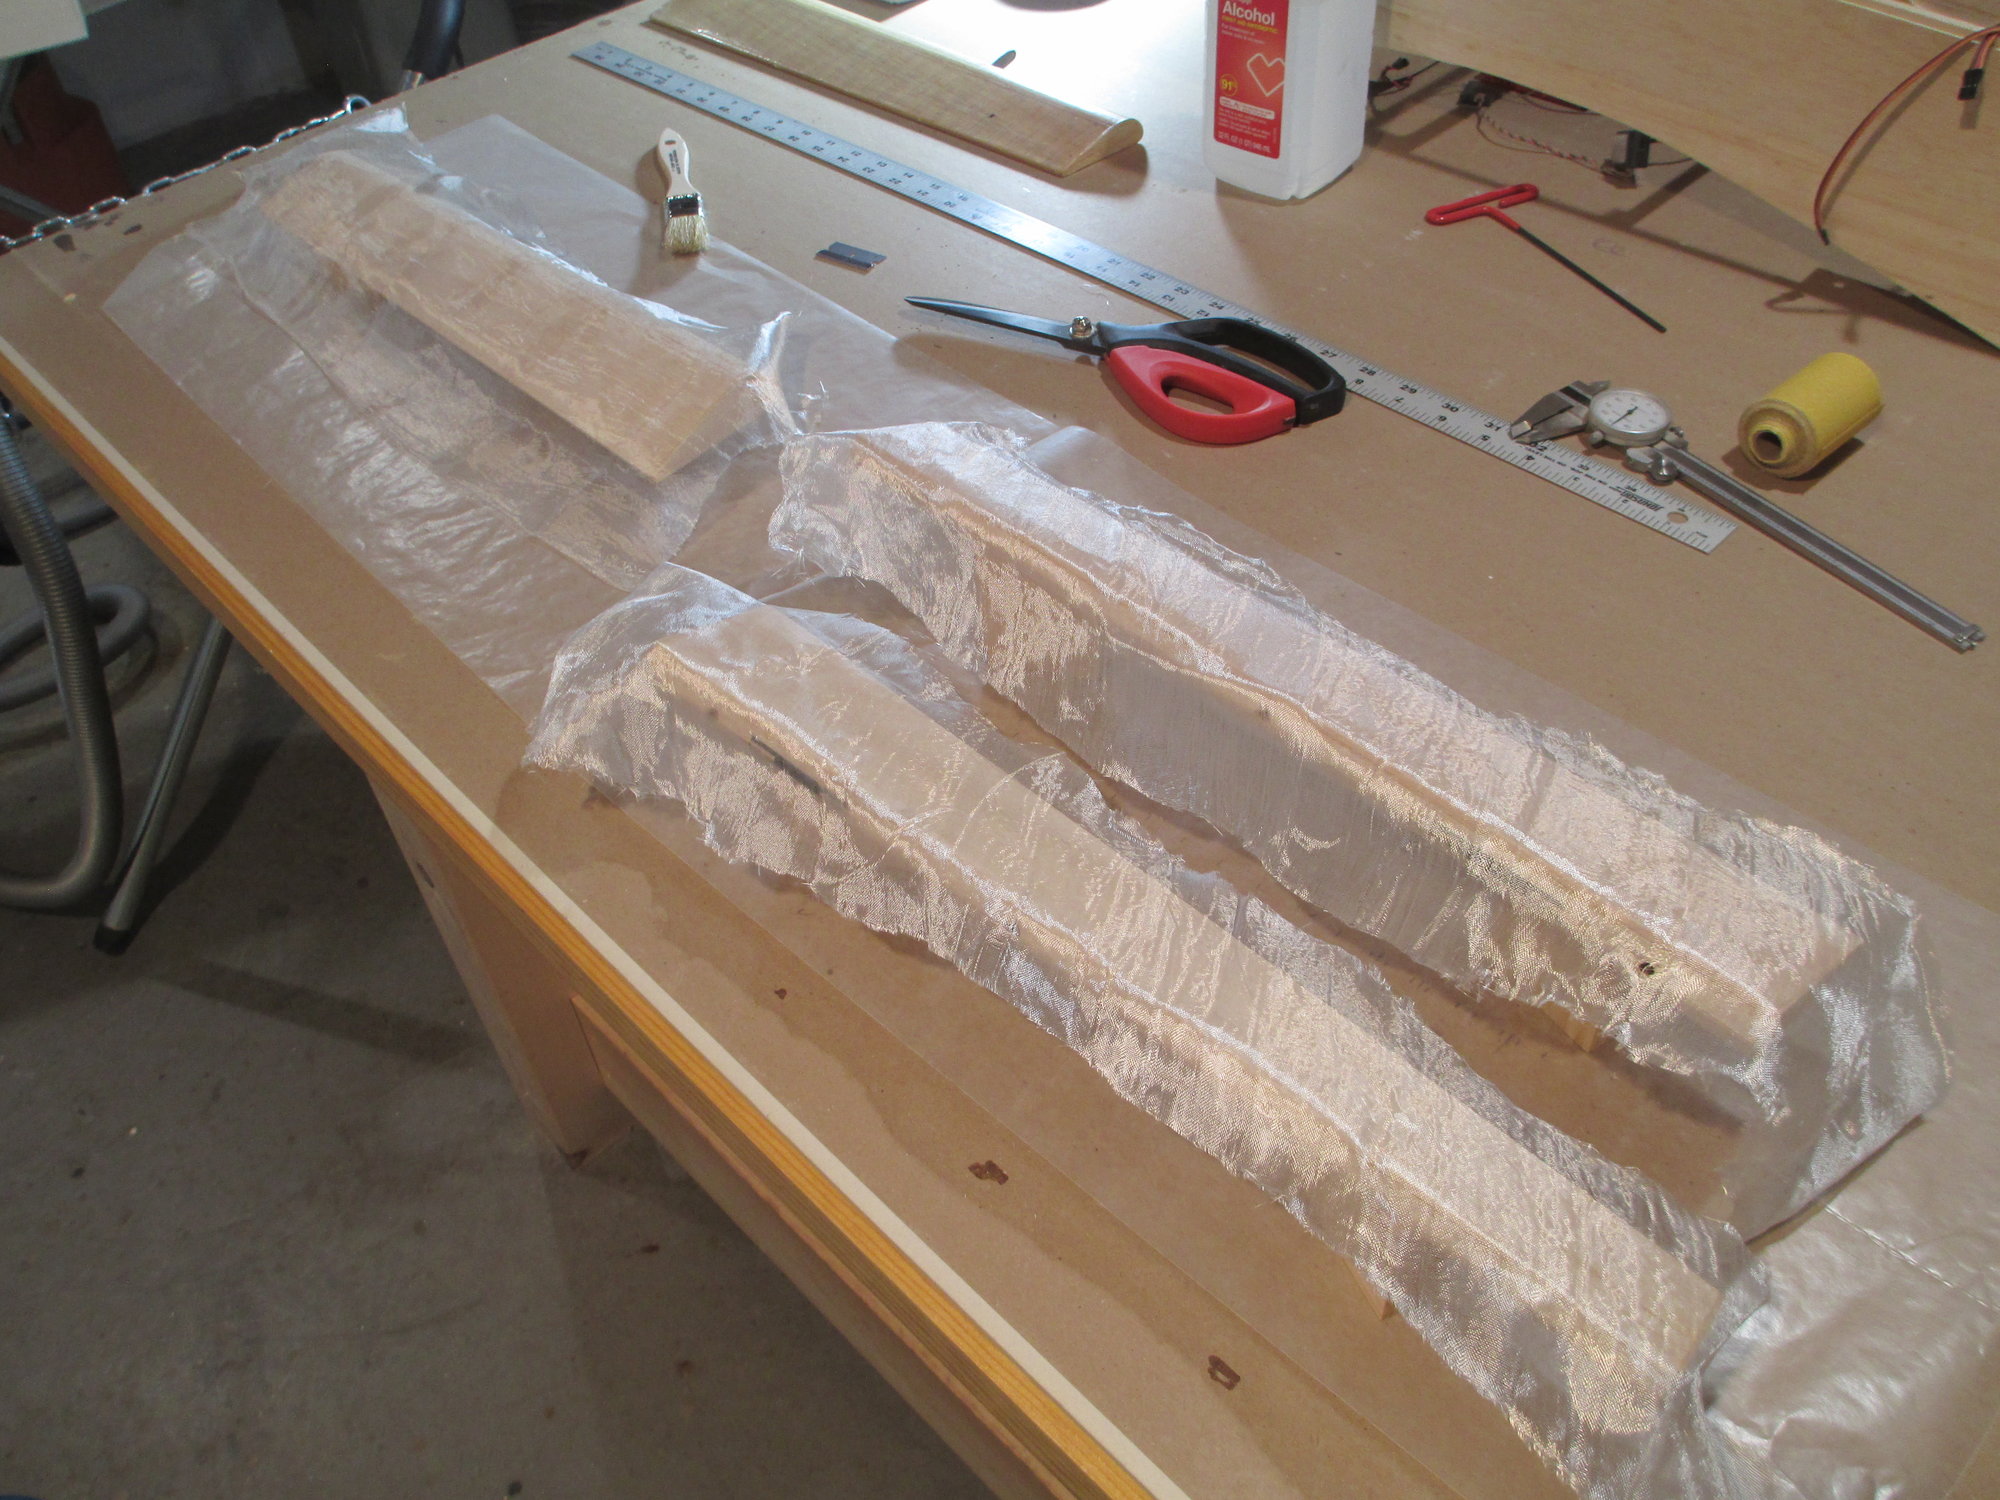
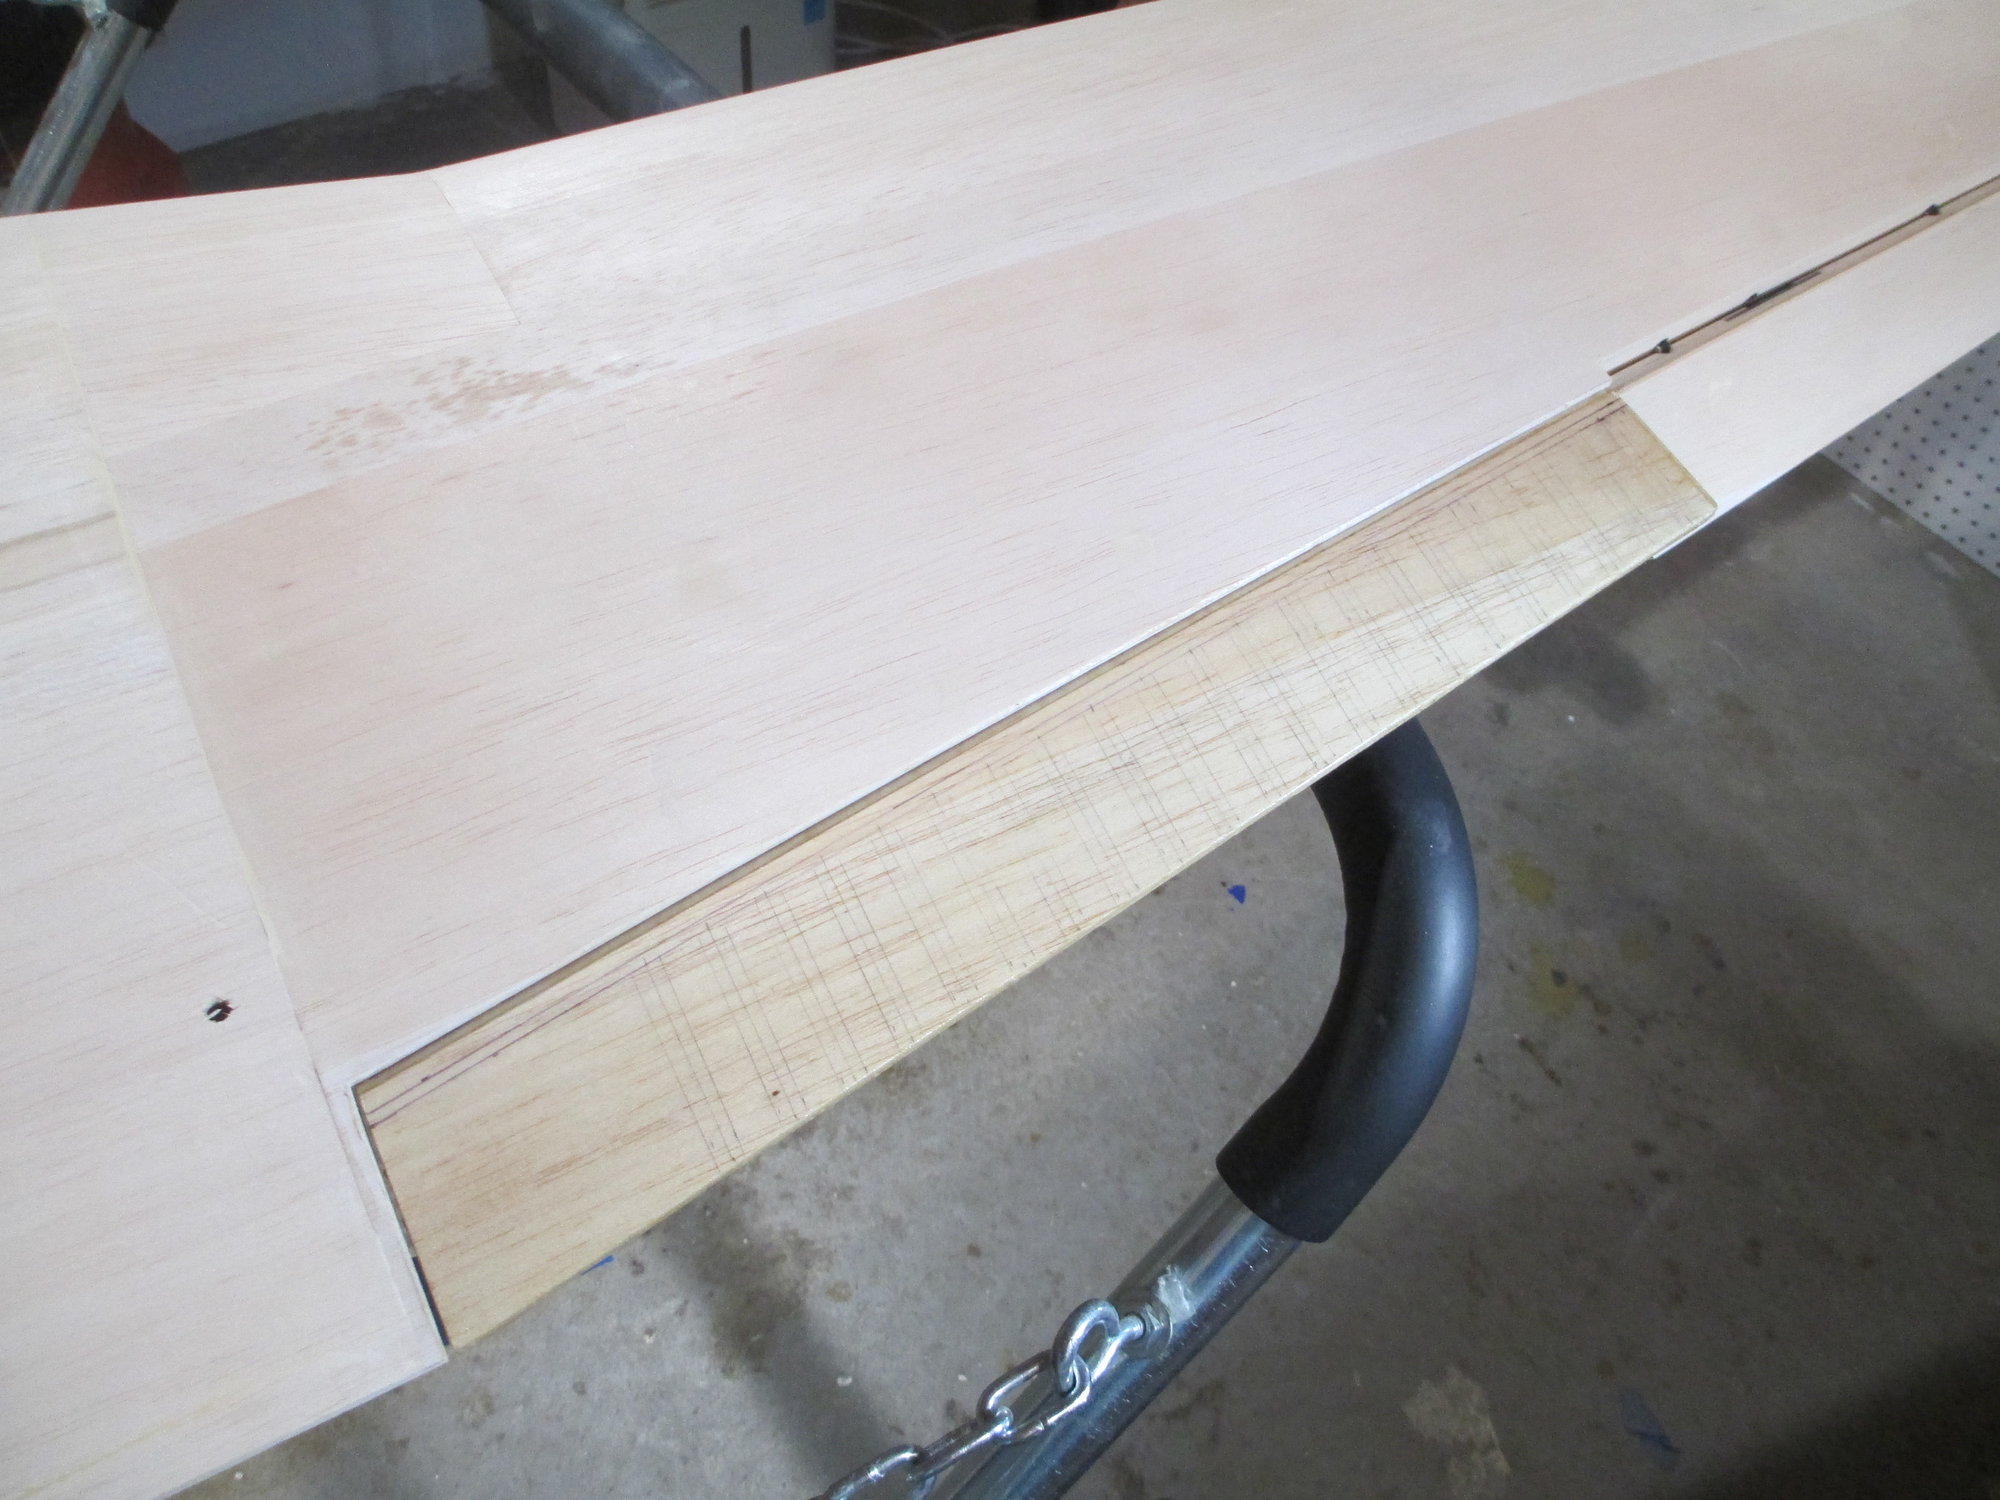
The remaining flap as well as the two ailerons are readied for glassing.
First coat of resin applied, tomorrow I'll trim them and glass the opposite sides...
Last edited by VincentJ; 01-28-2020 at 11:01 AM.
01-29-2020, 01:36 PM
#720
Thread Starter
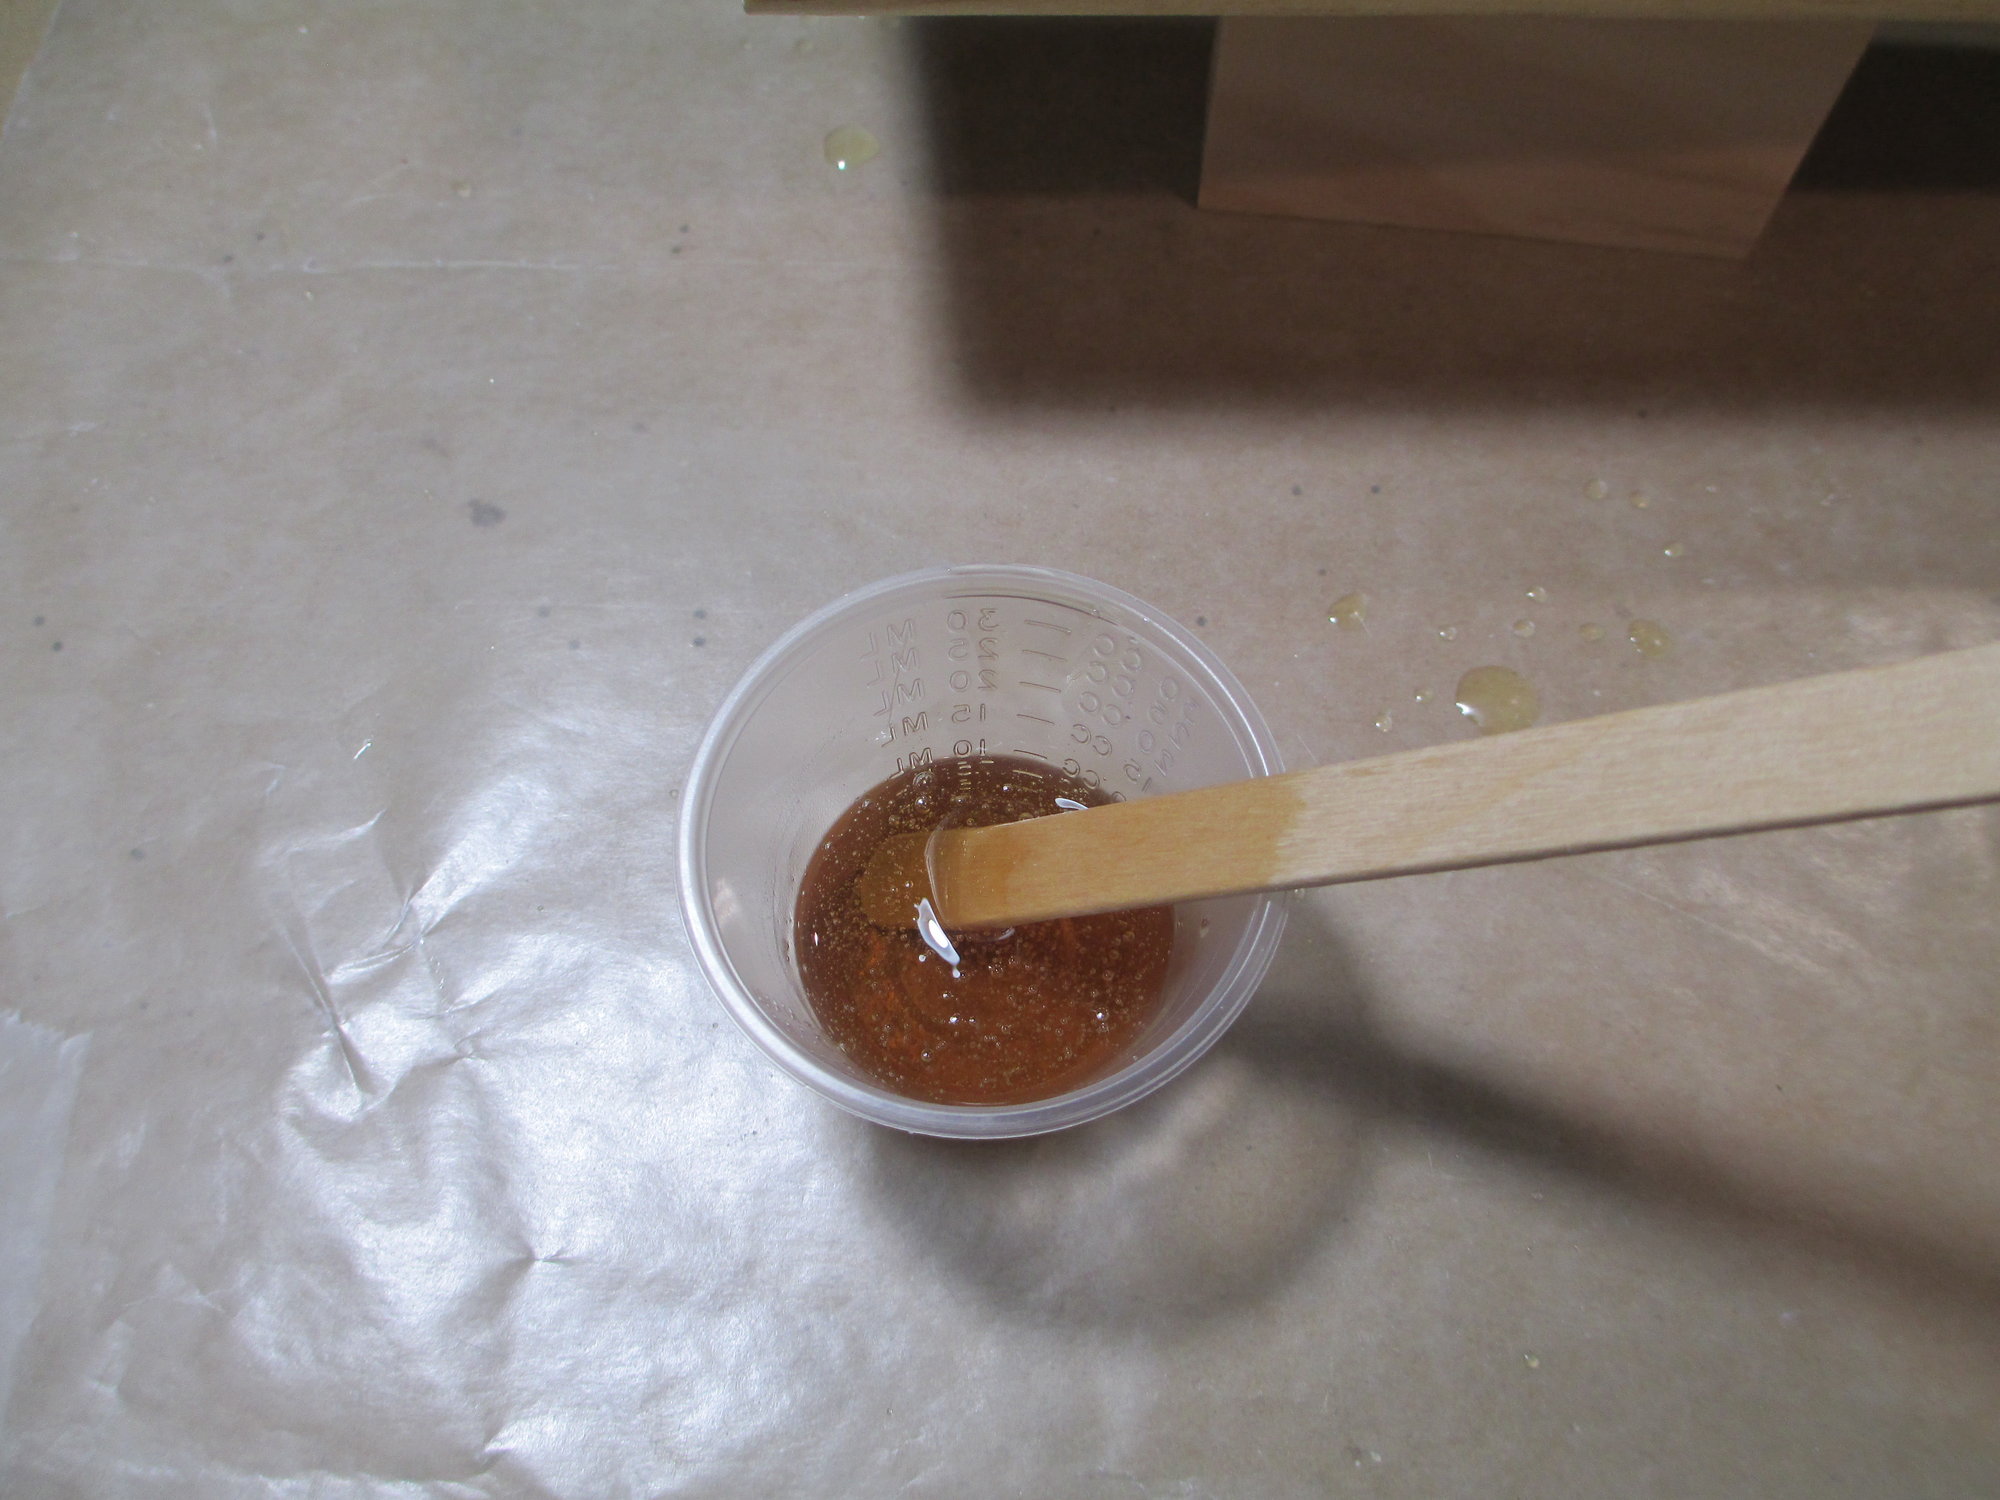
This photograph shows resin and hardener in their correct ratio and mixed.
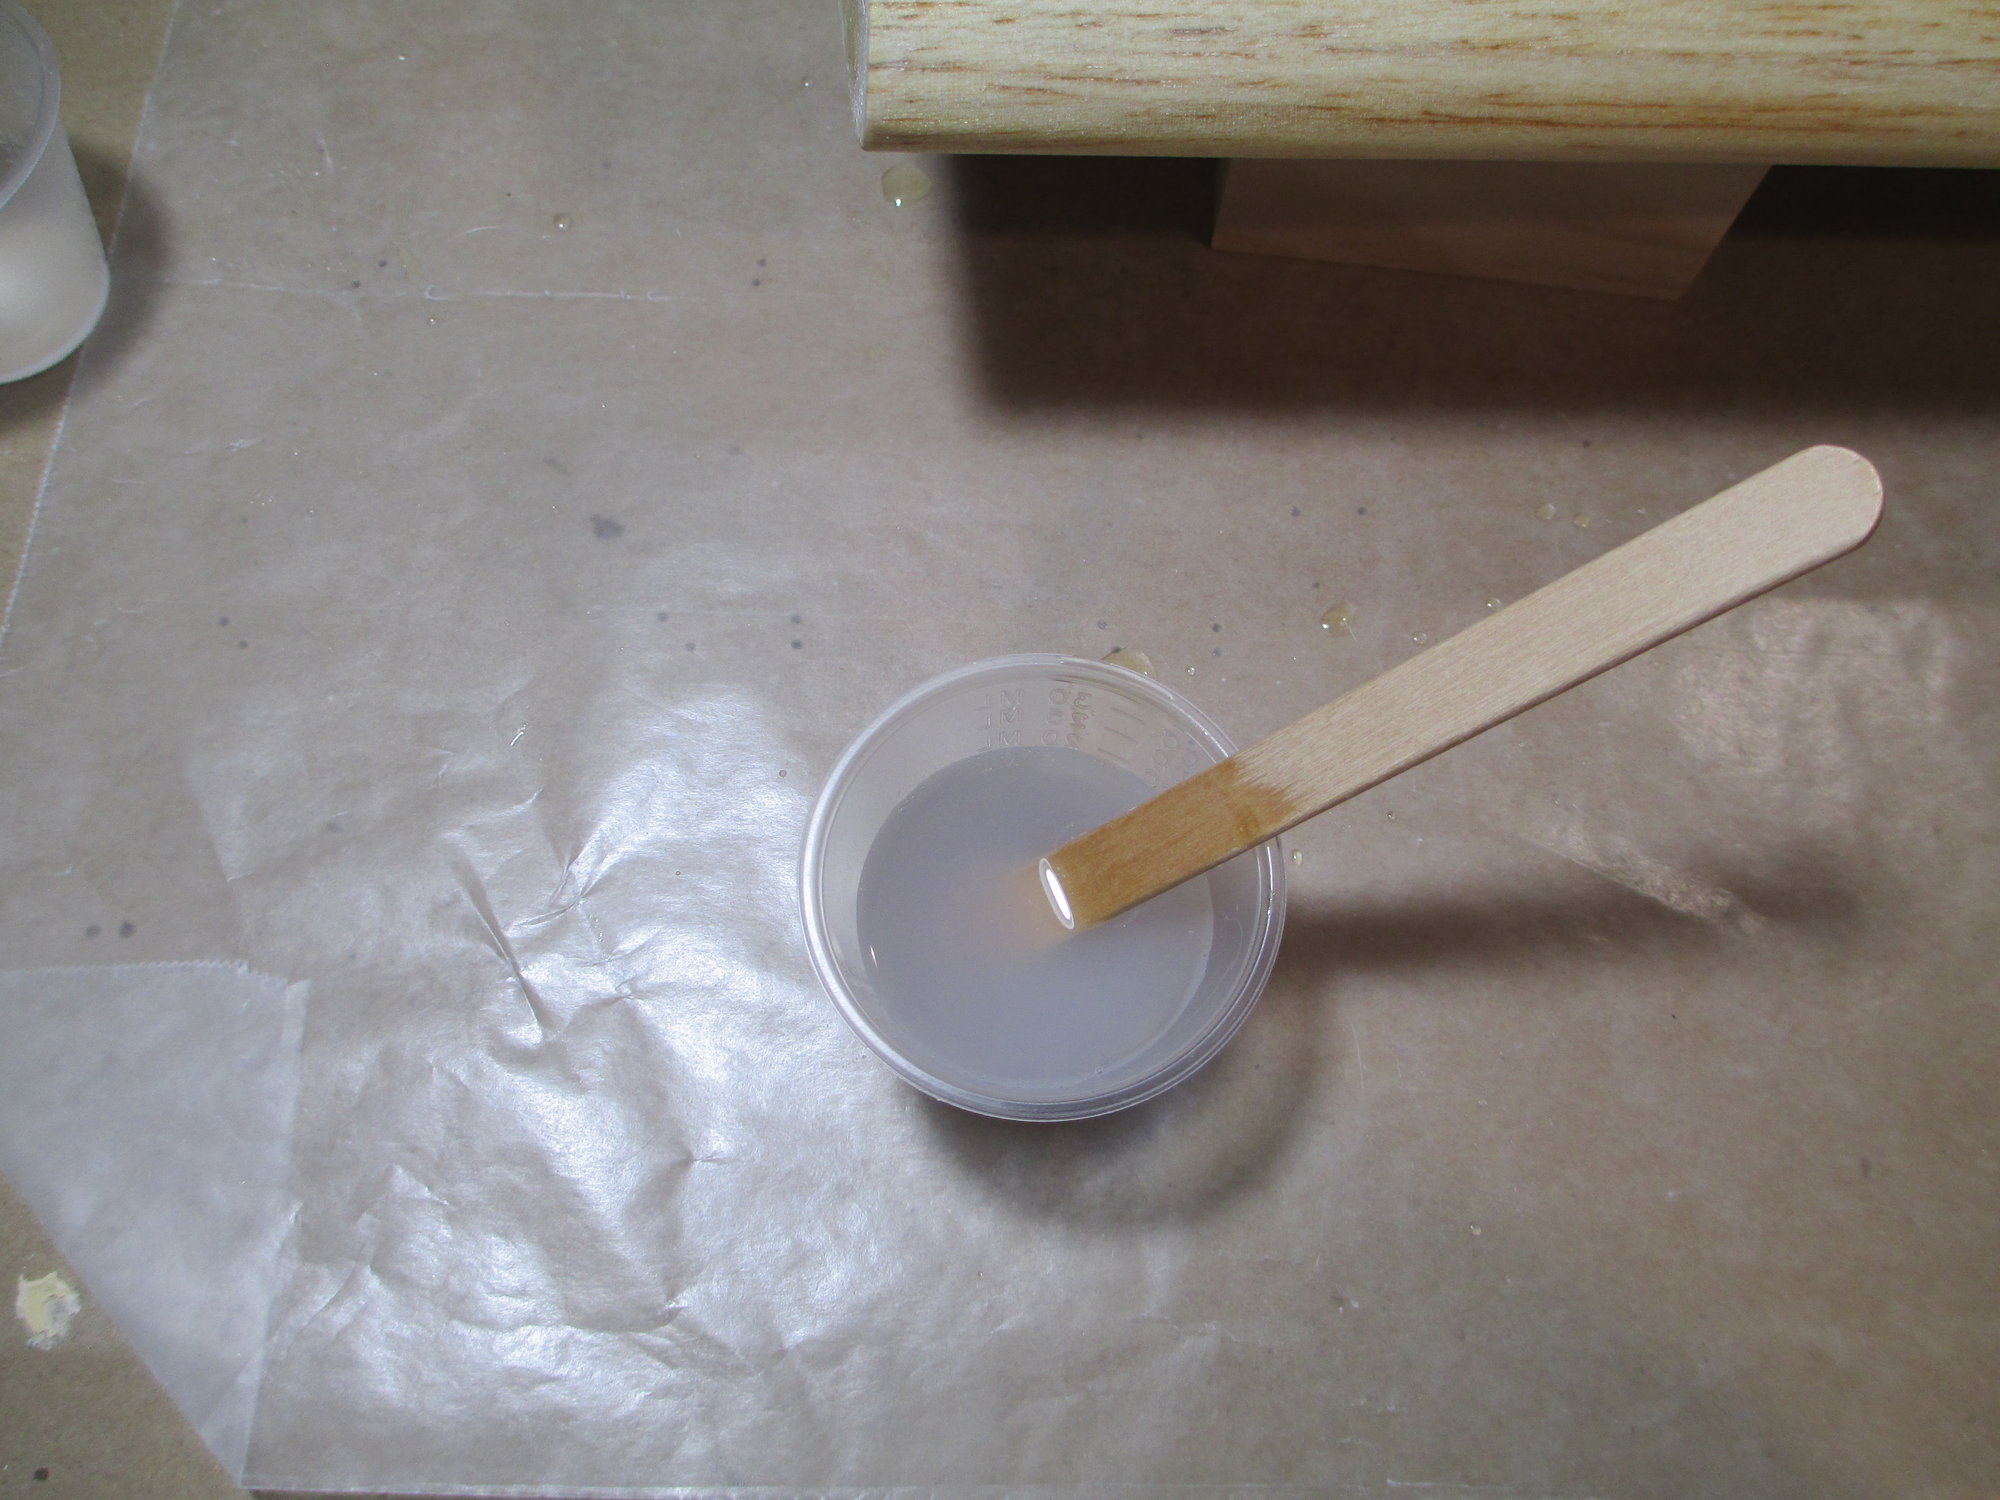
Now I add the denatured alcohol, as soon as you start to stir it, notice how cloudy the mixture becomes. This is normal, as the moisture in the resin is combining with the alcohol.
Keep mixing until your mixture becomes clear...
Second coat of resin applied to the control surfaces.

This weekend I will be anxious to route out my corrugations!
The following users liked this post:
Skypoint (06-29-2021)
01-30-2020, 07:32 AM
#725
Thread Starter